Olivia Part Two
The order of operations nightmare.
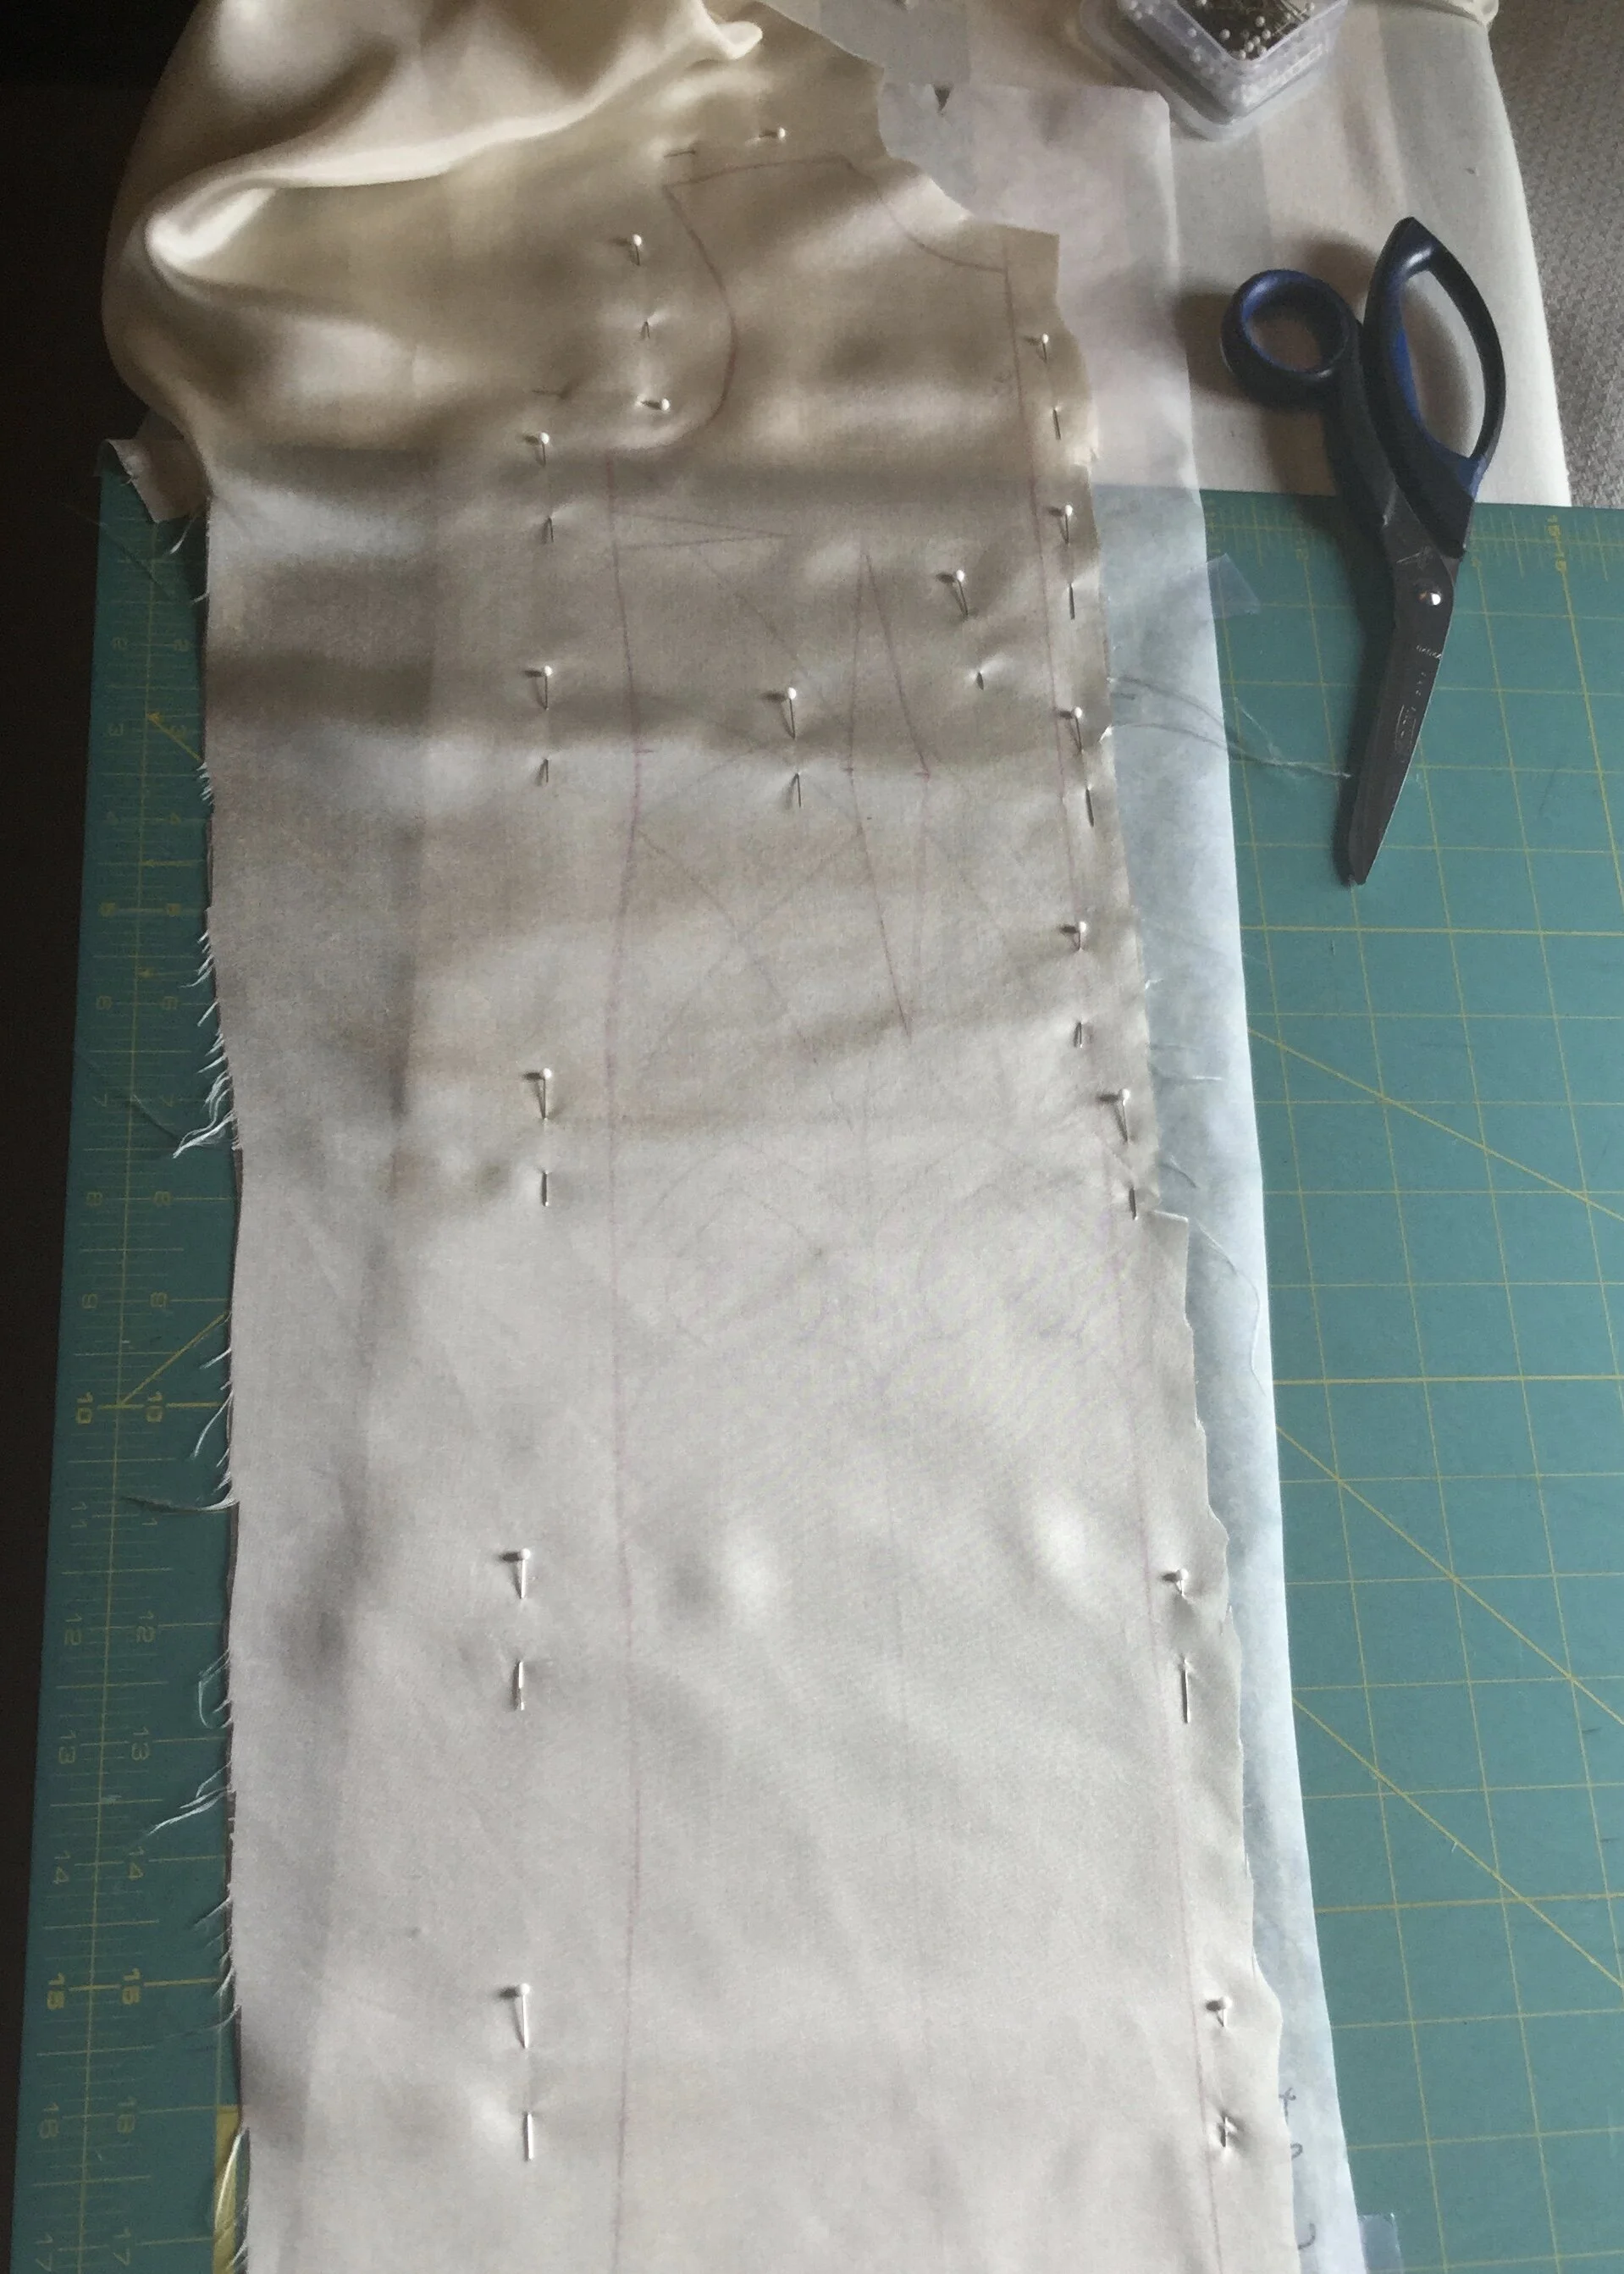
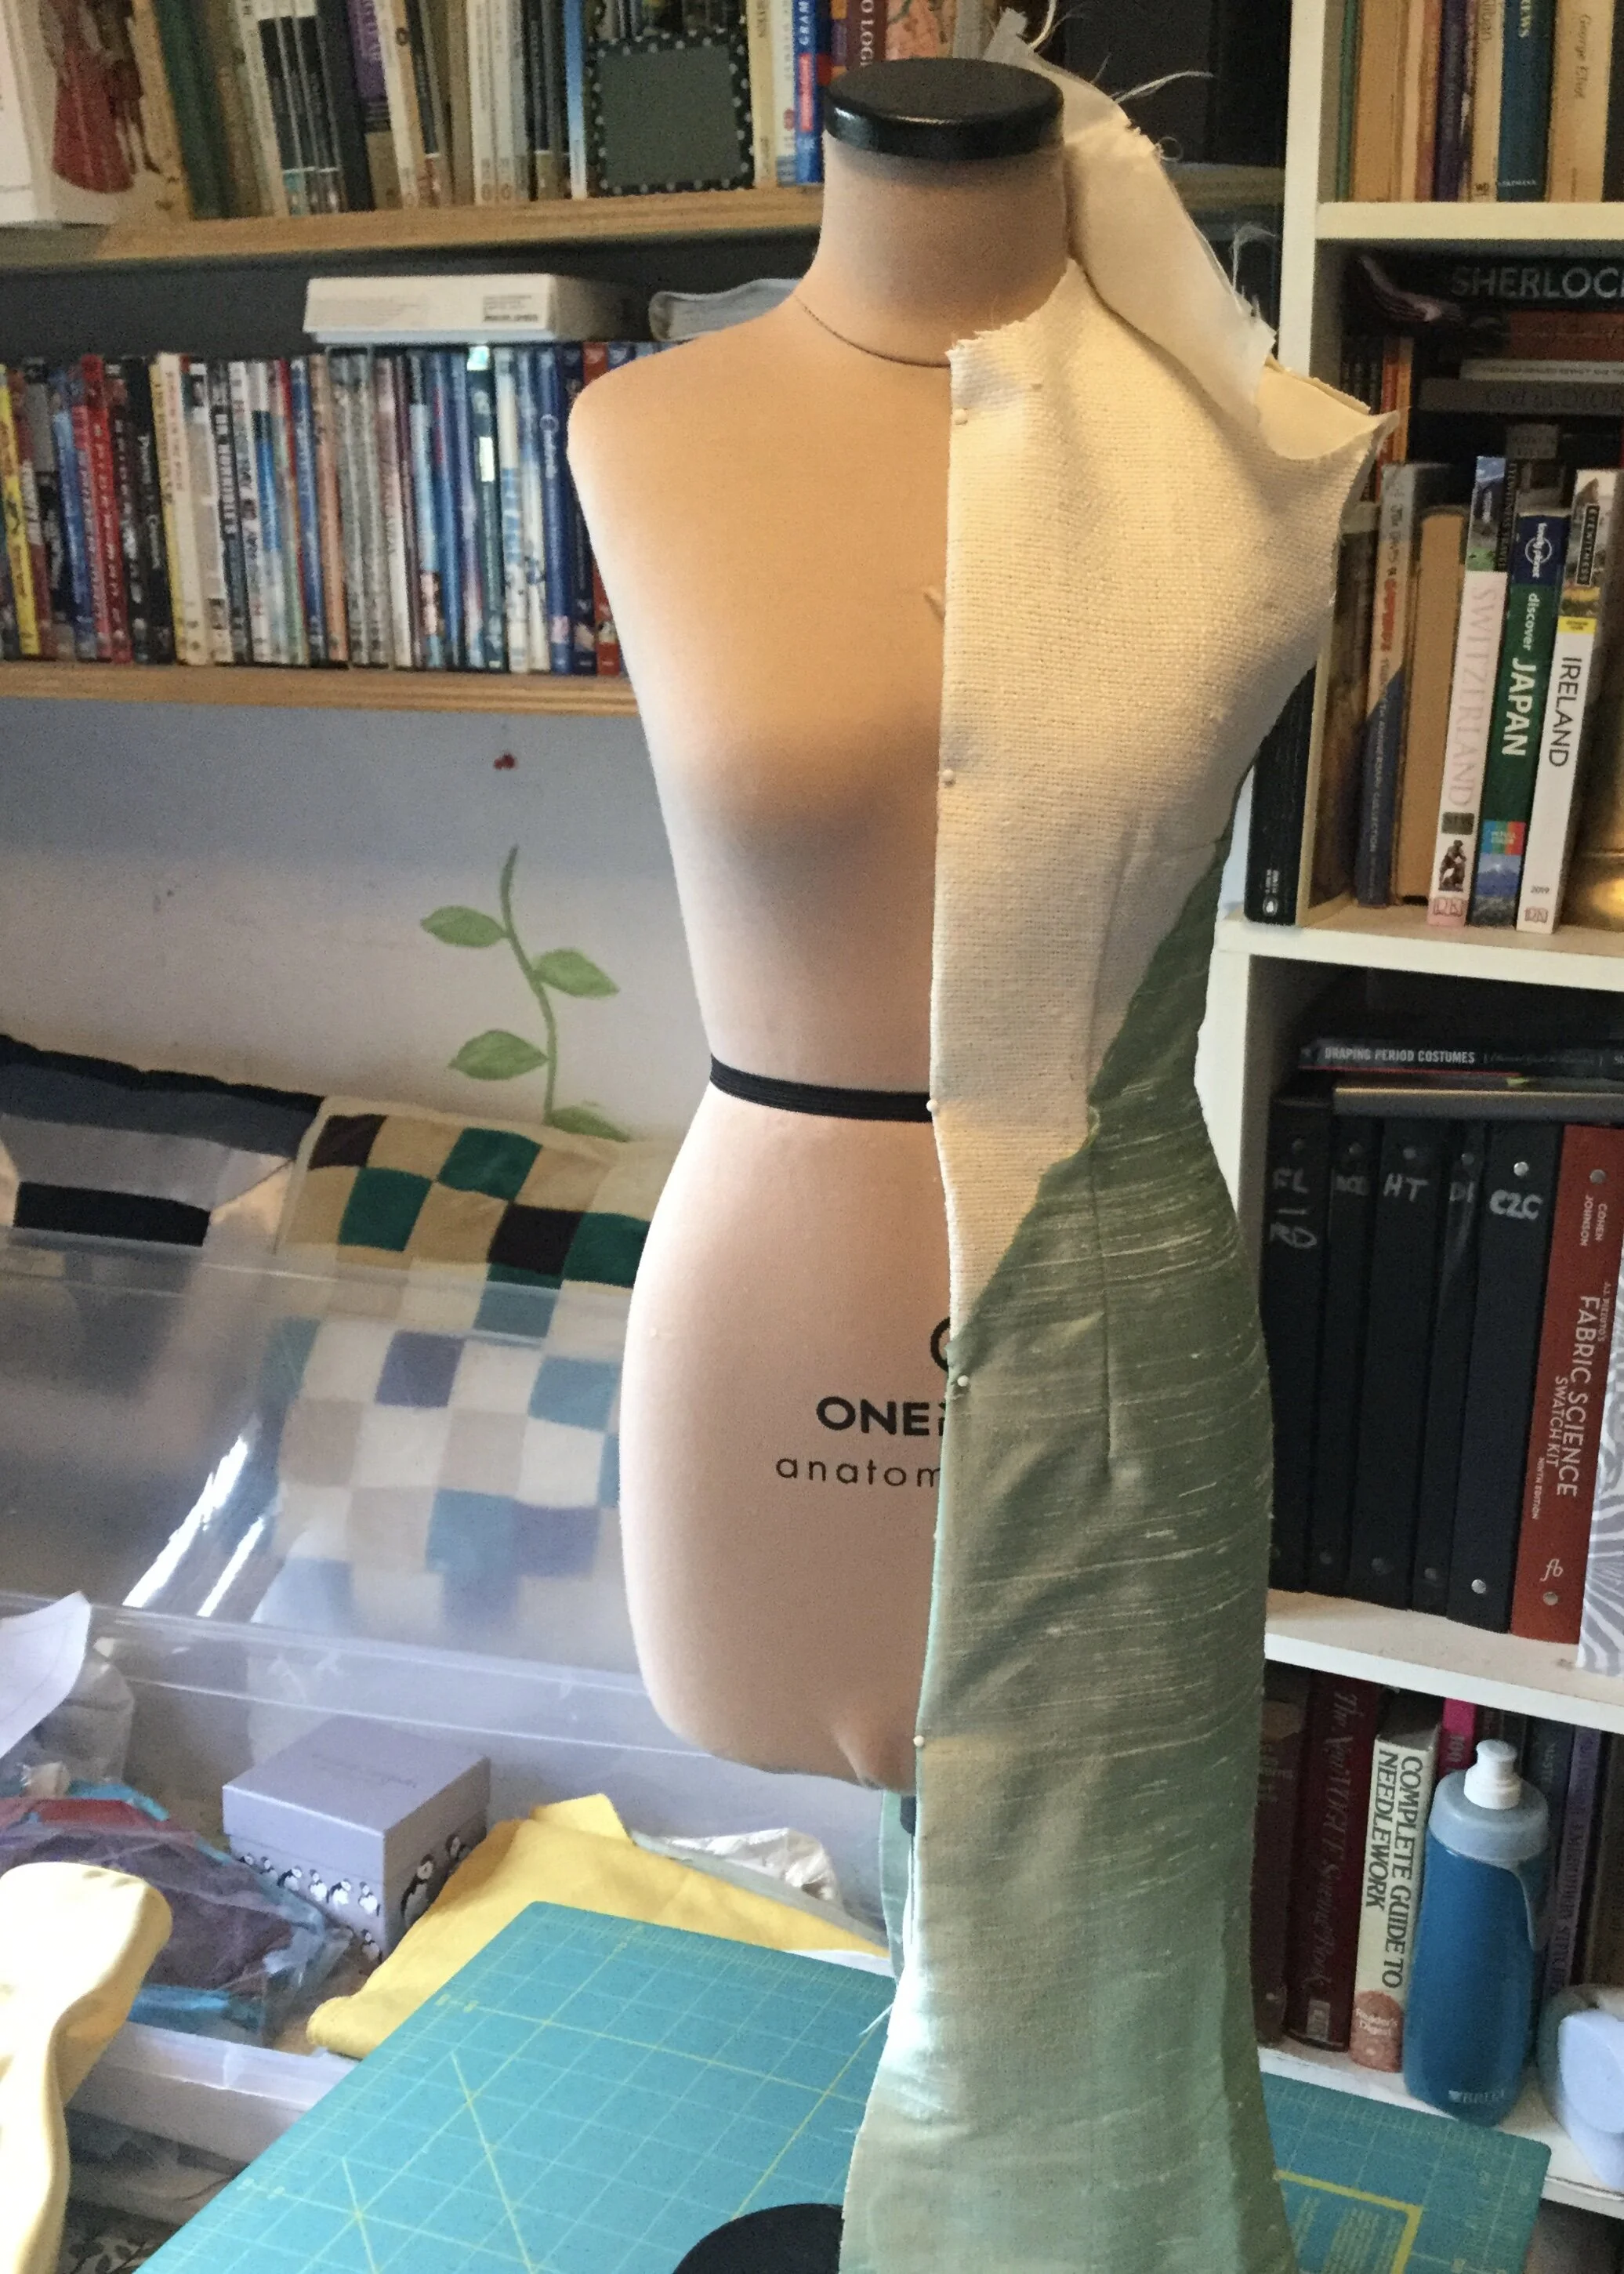
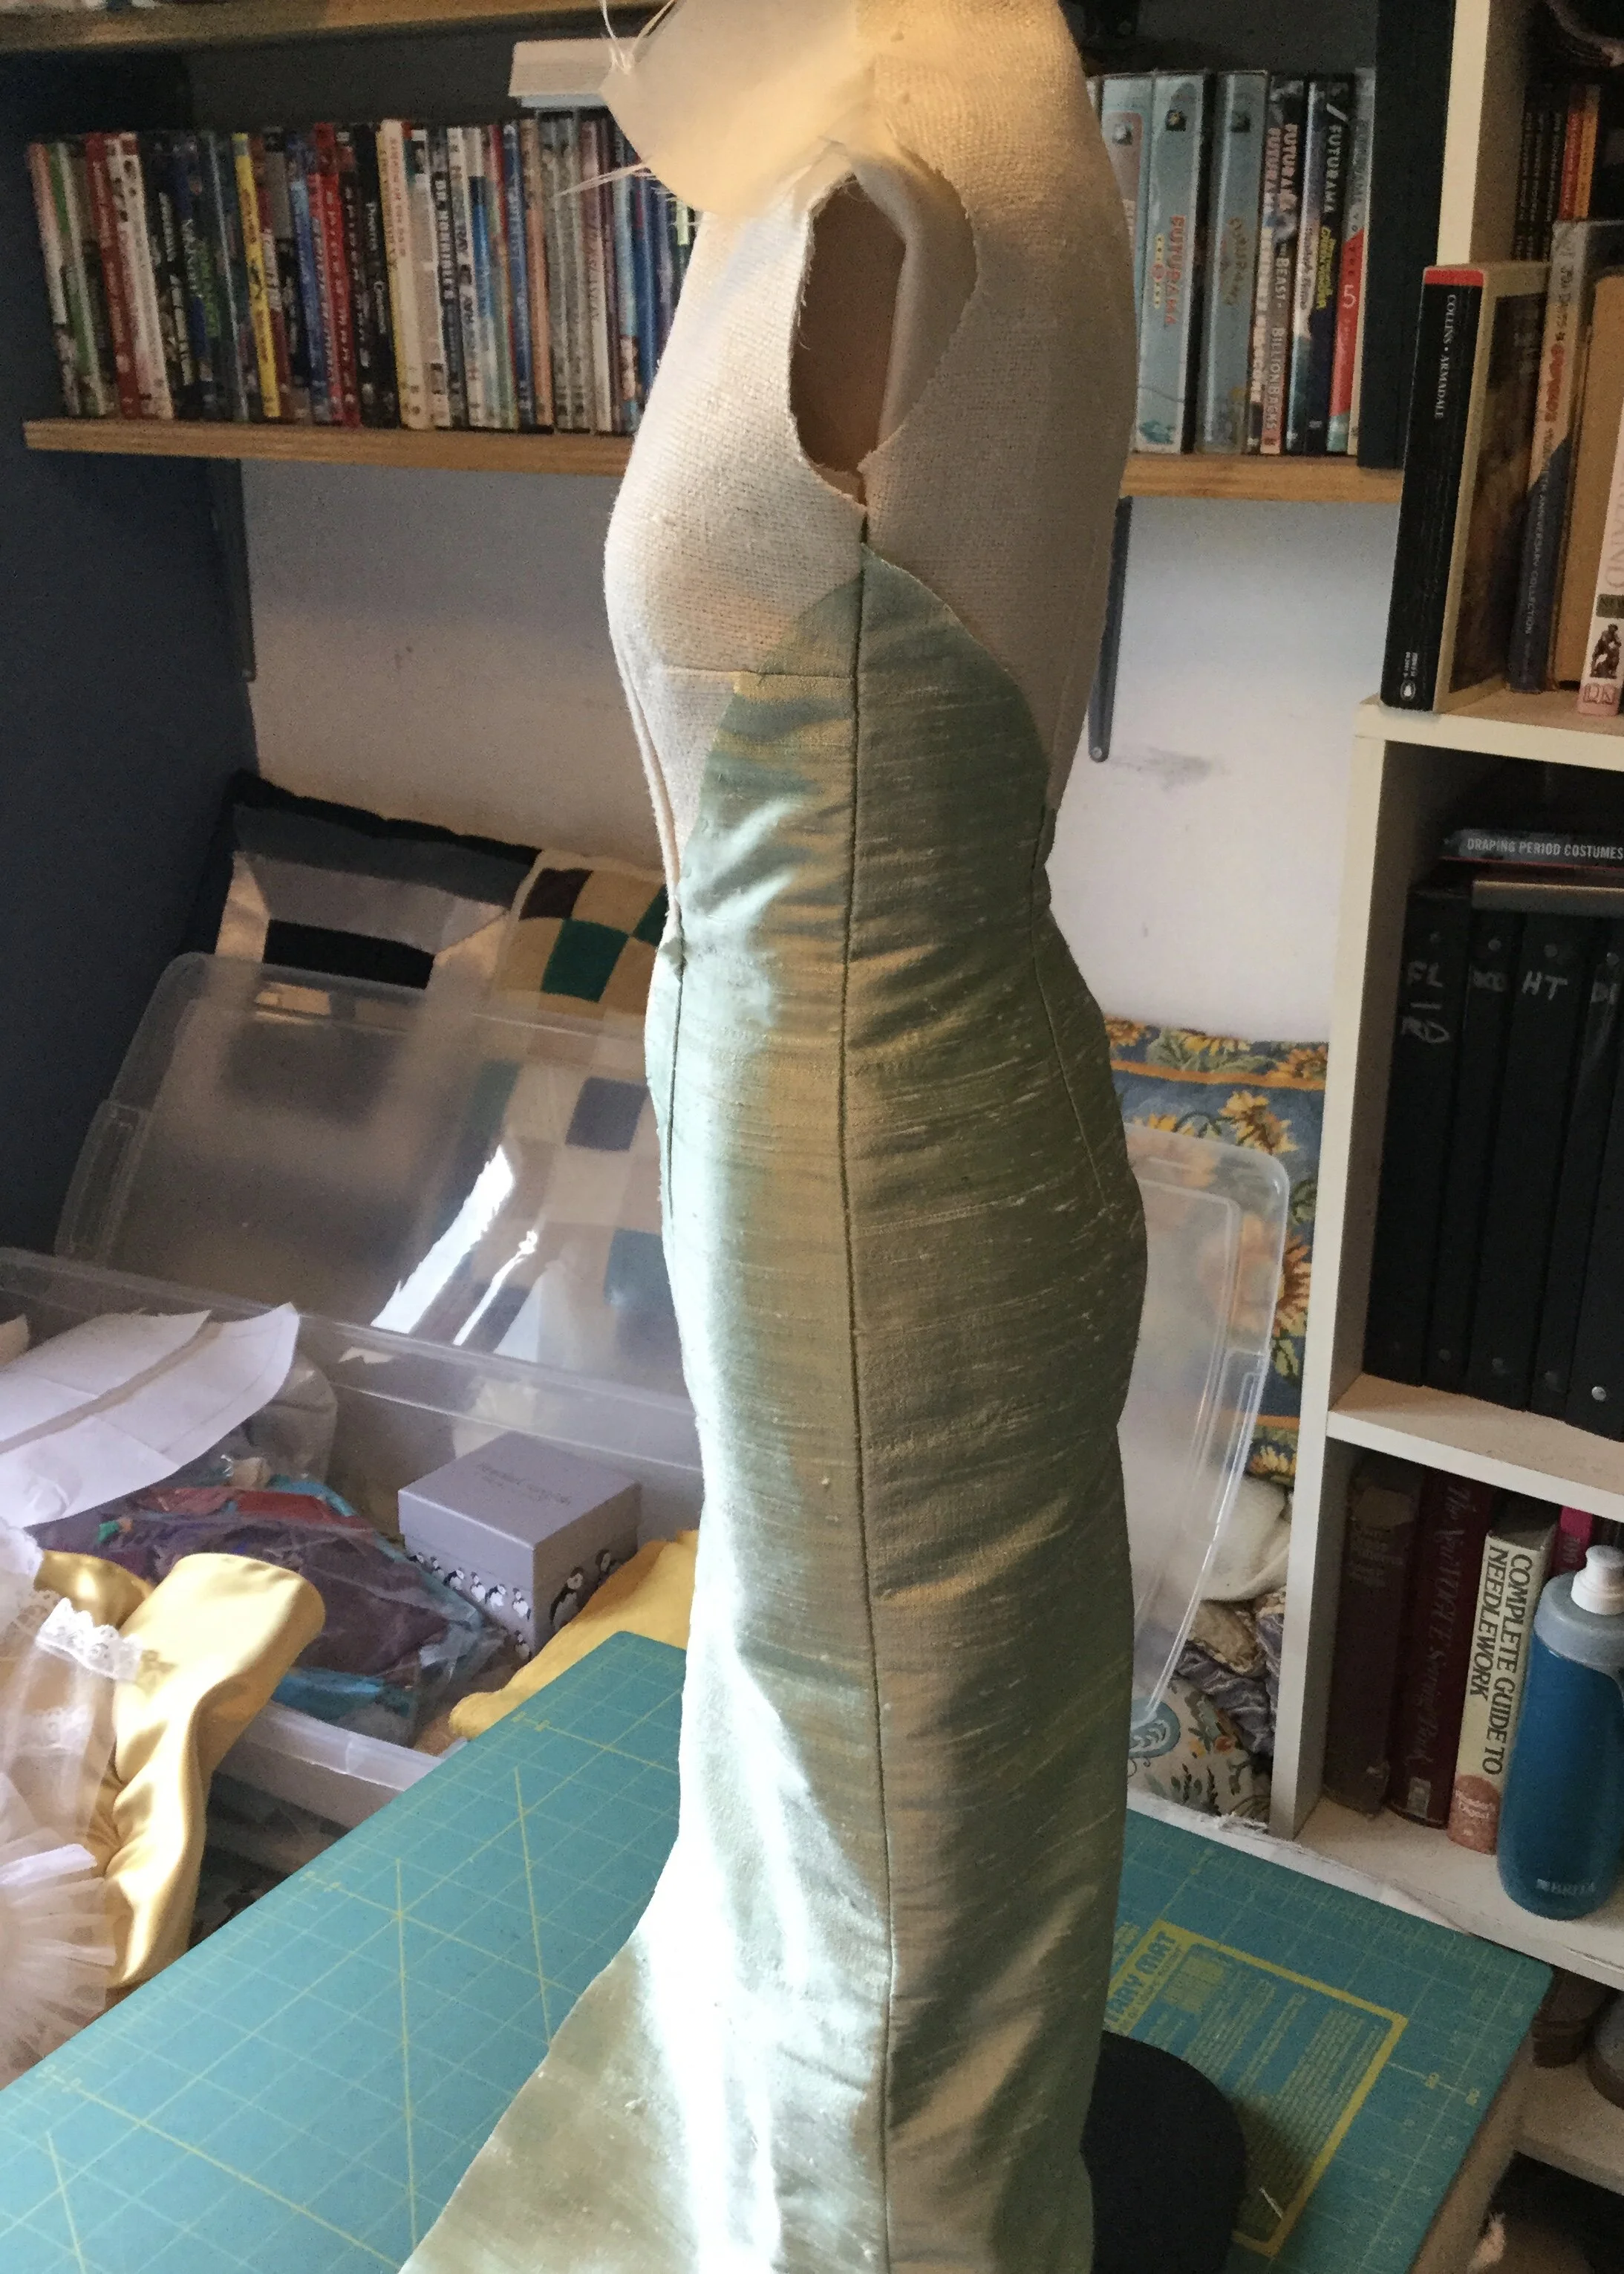
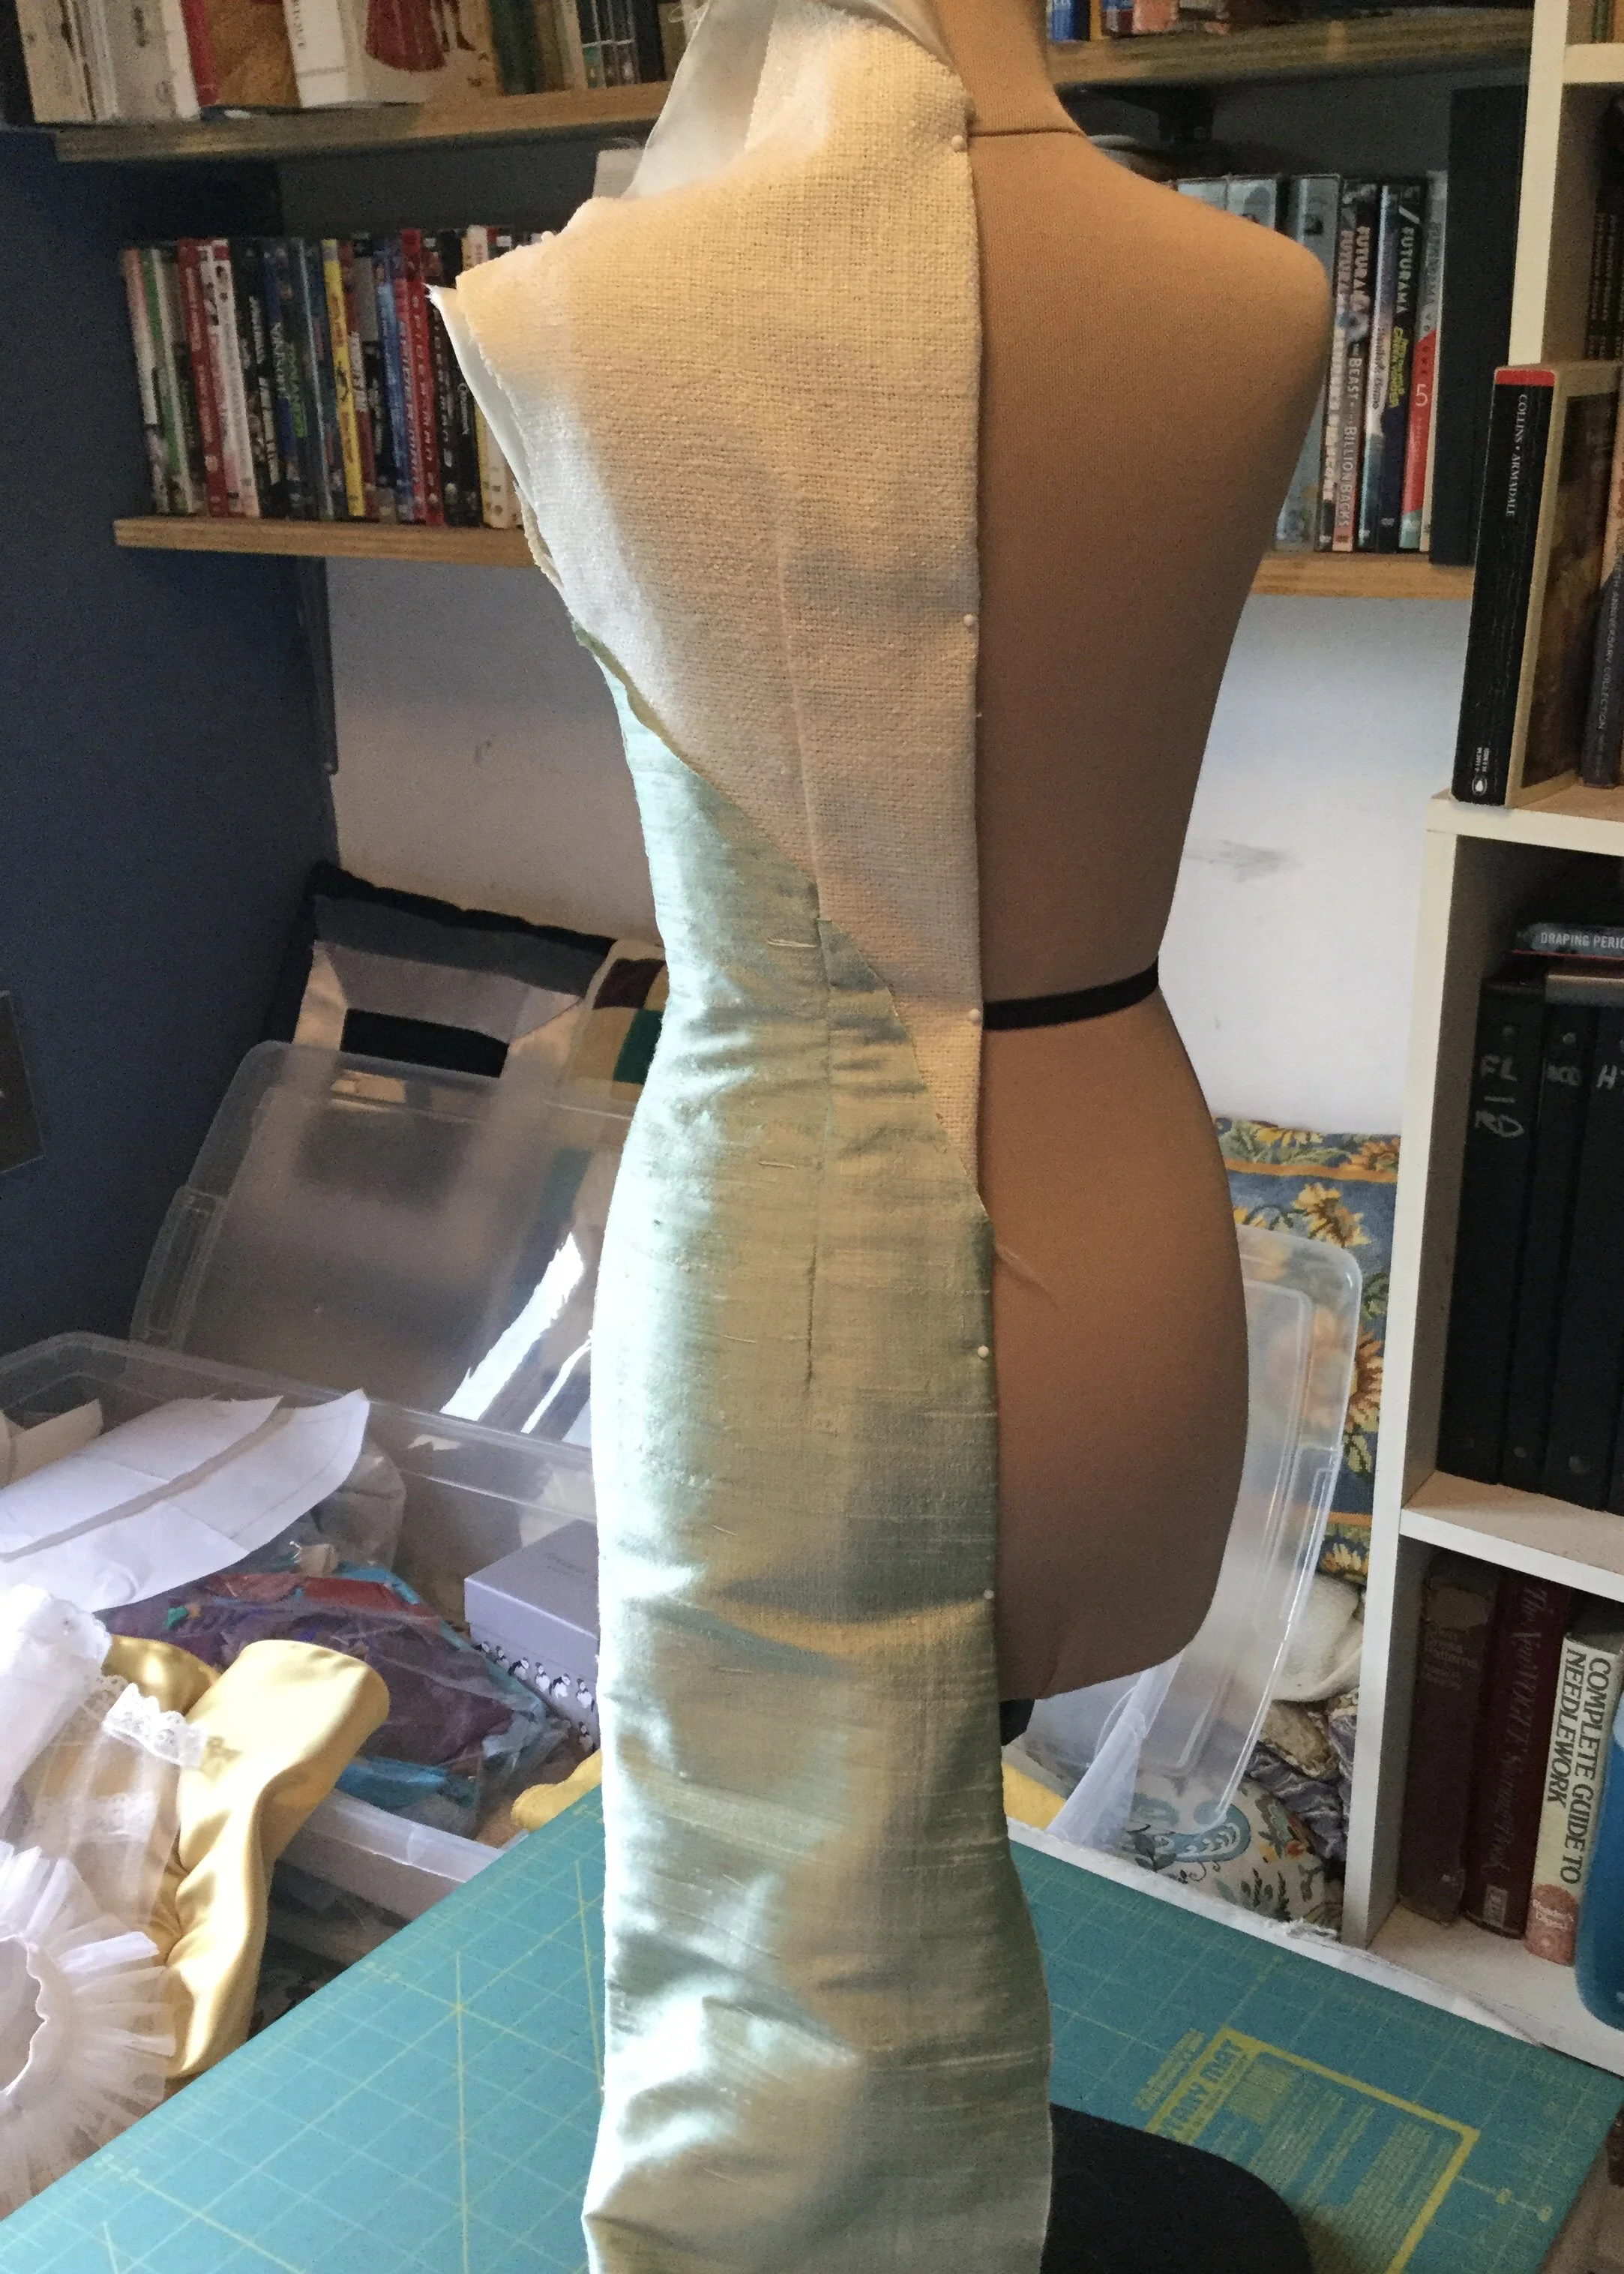
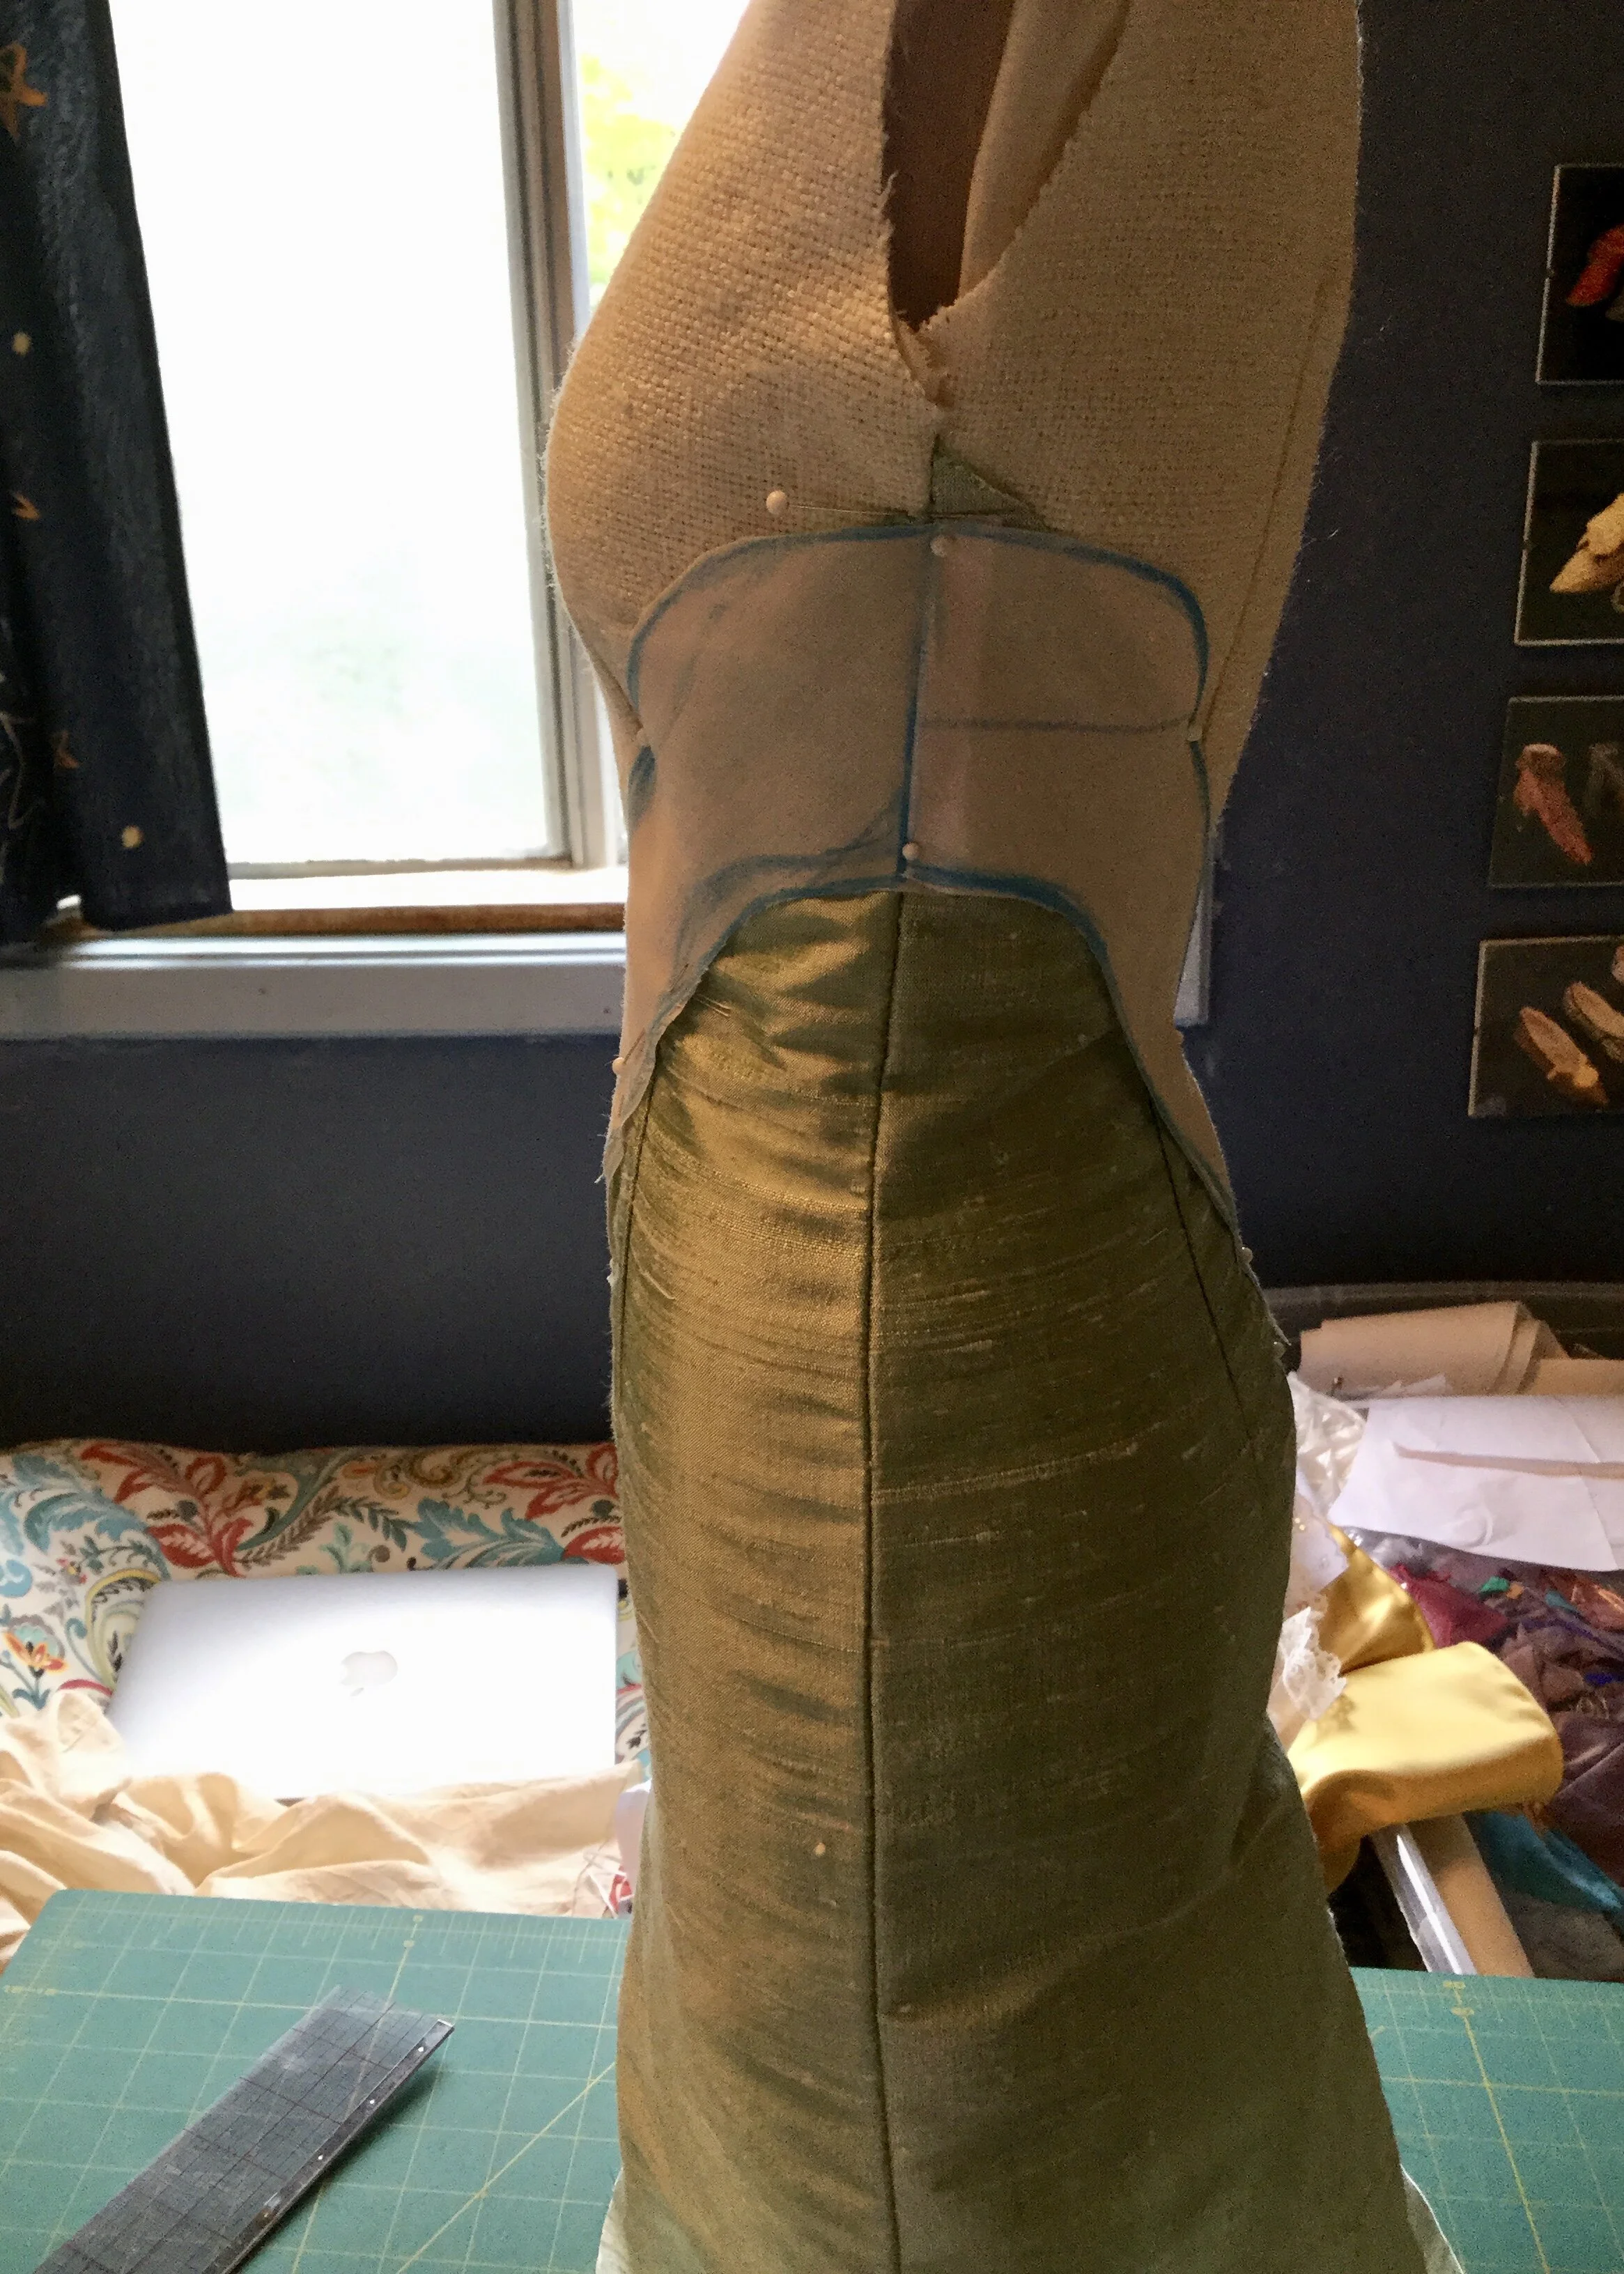
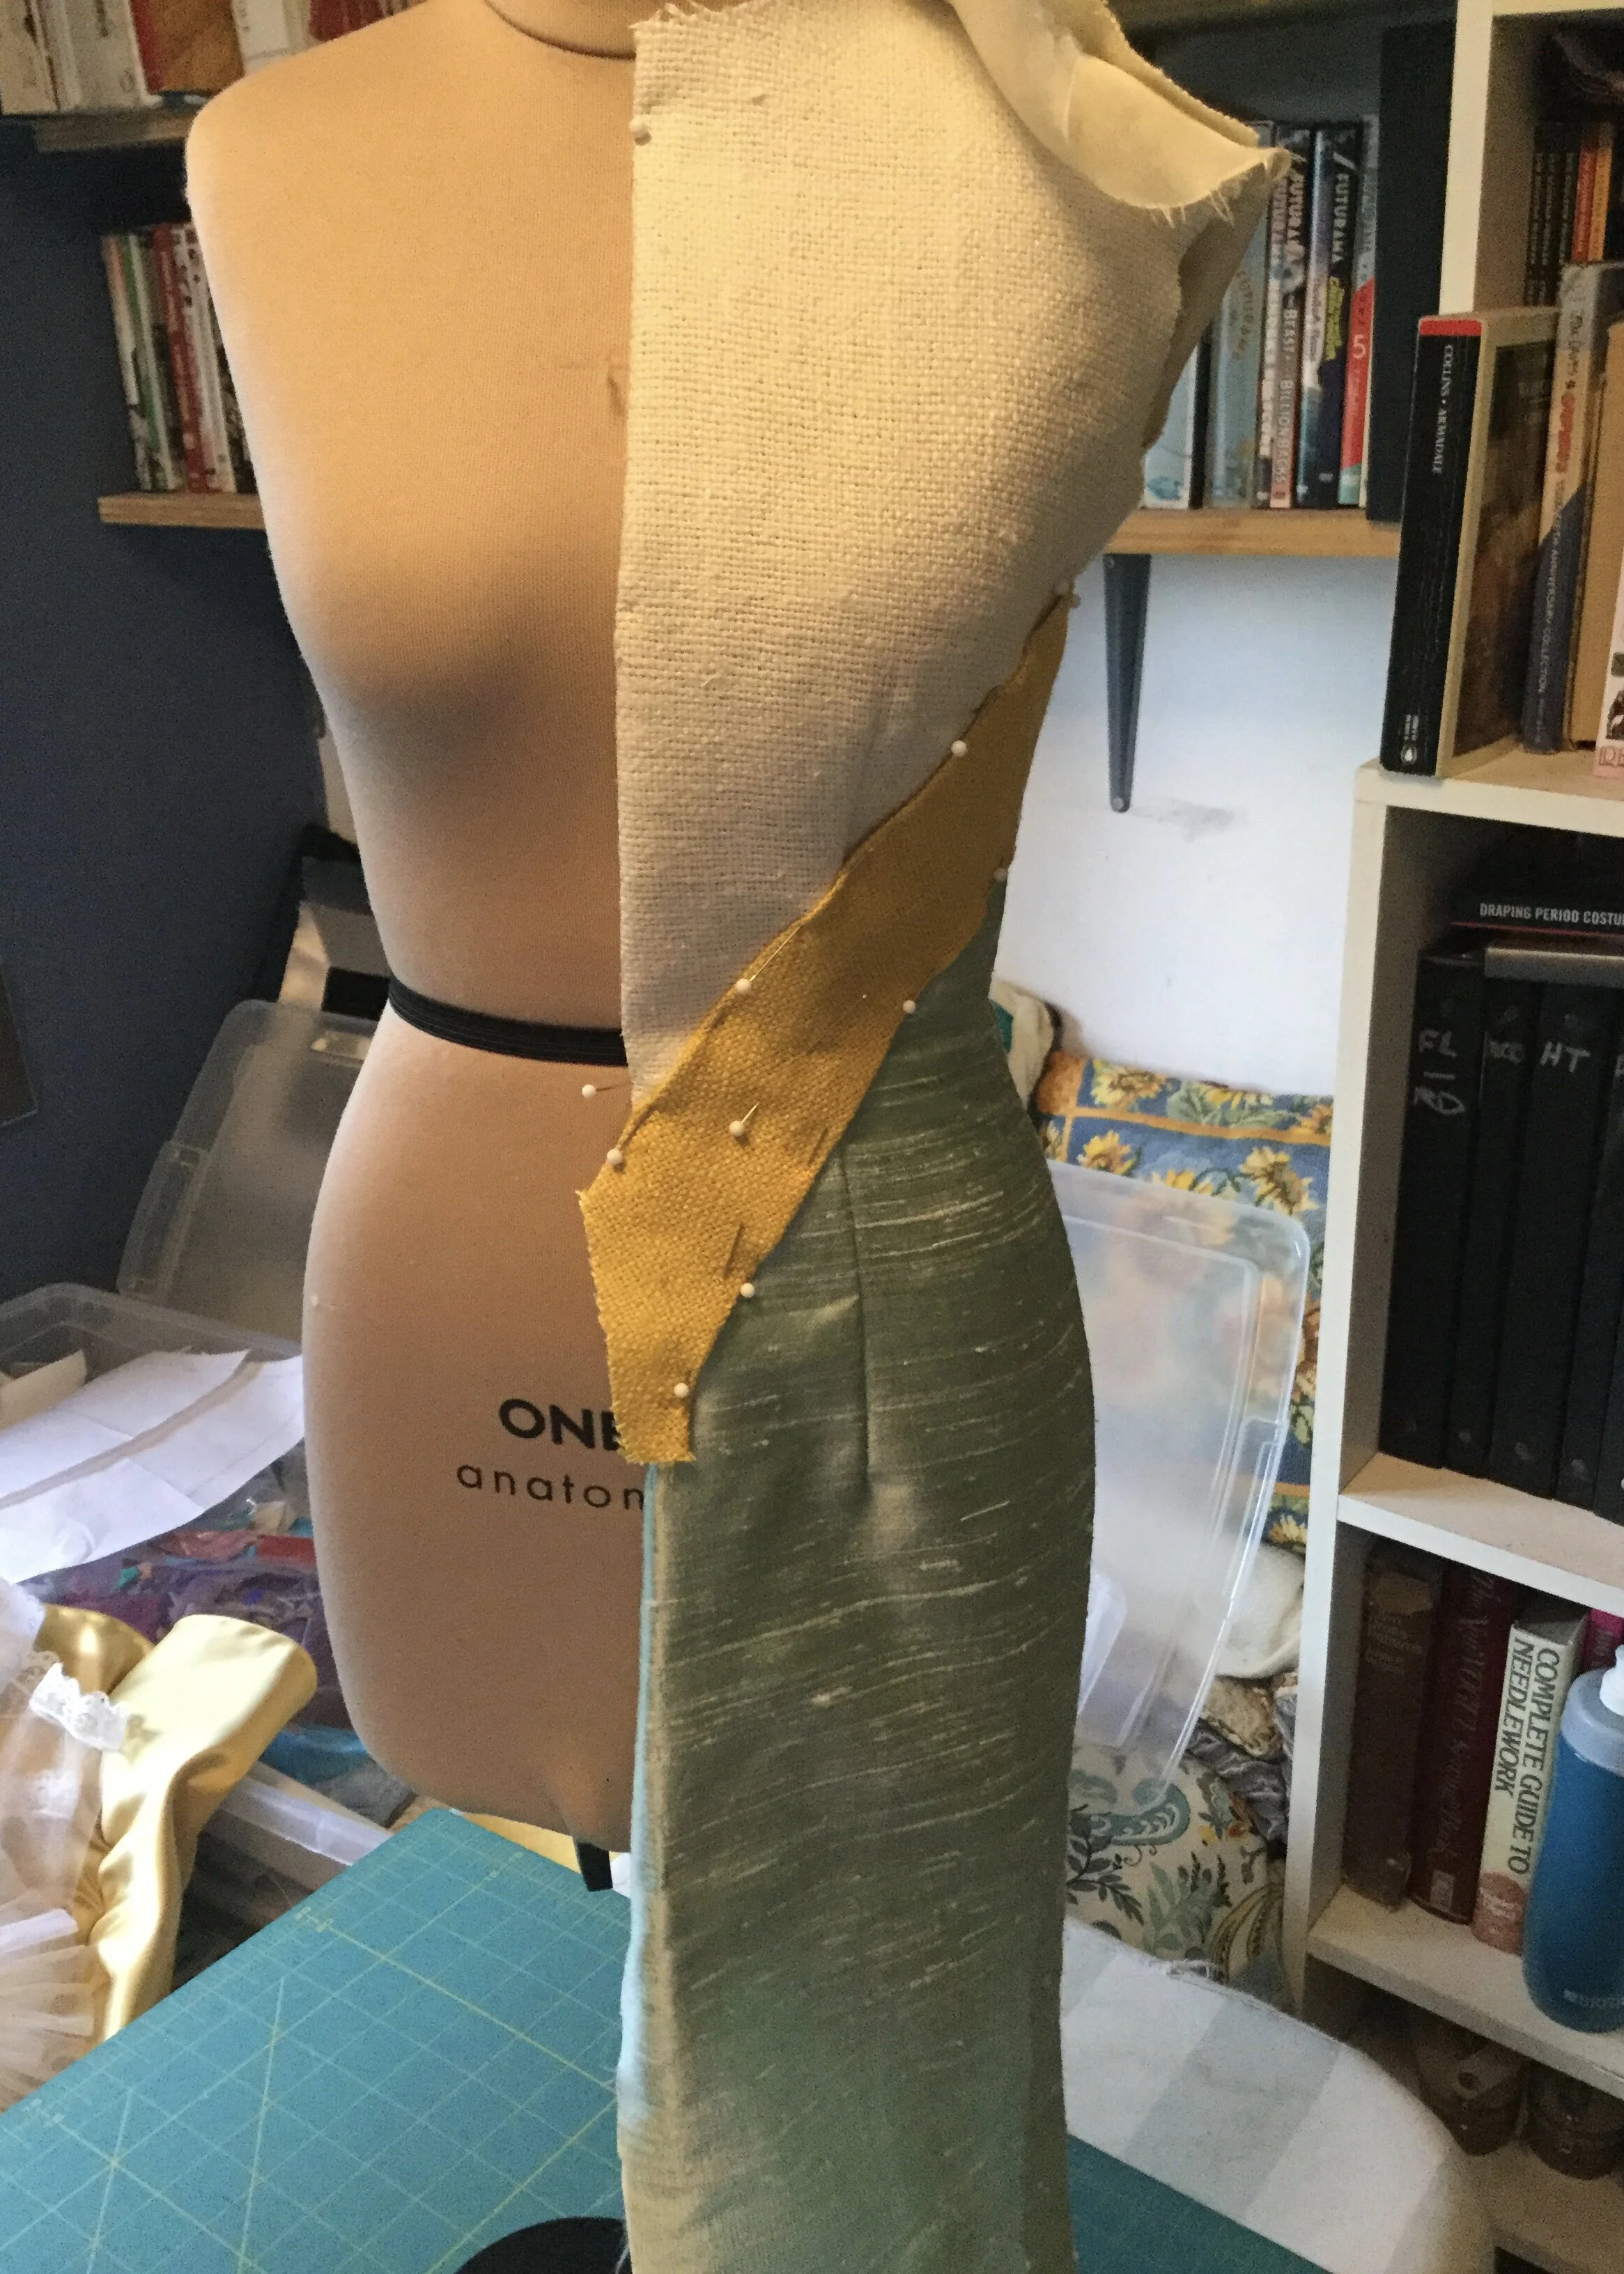
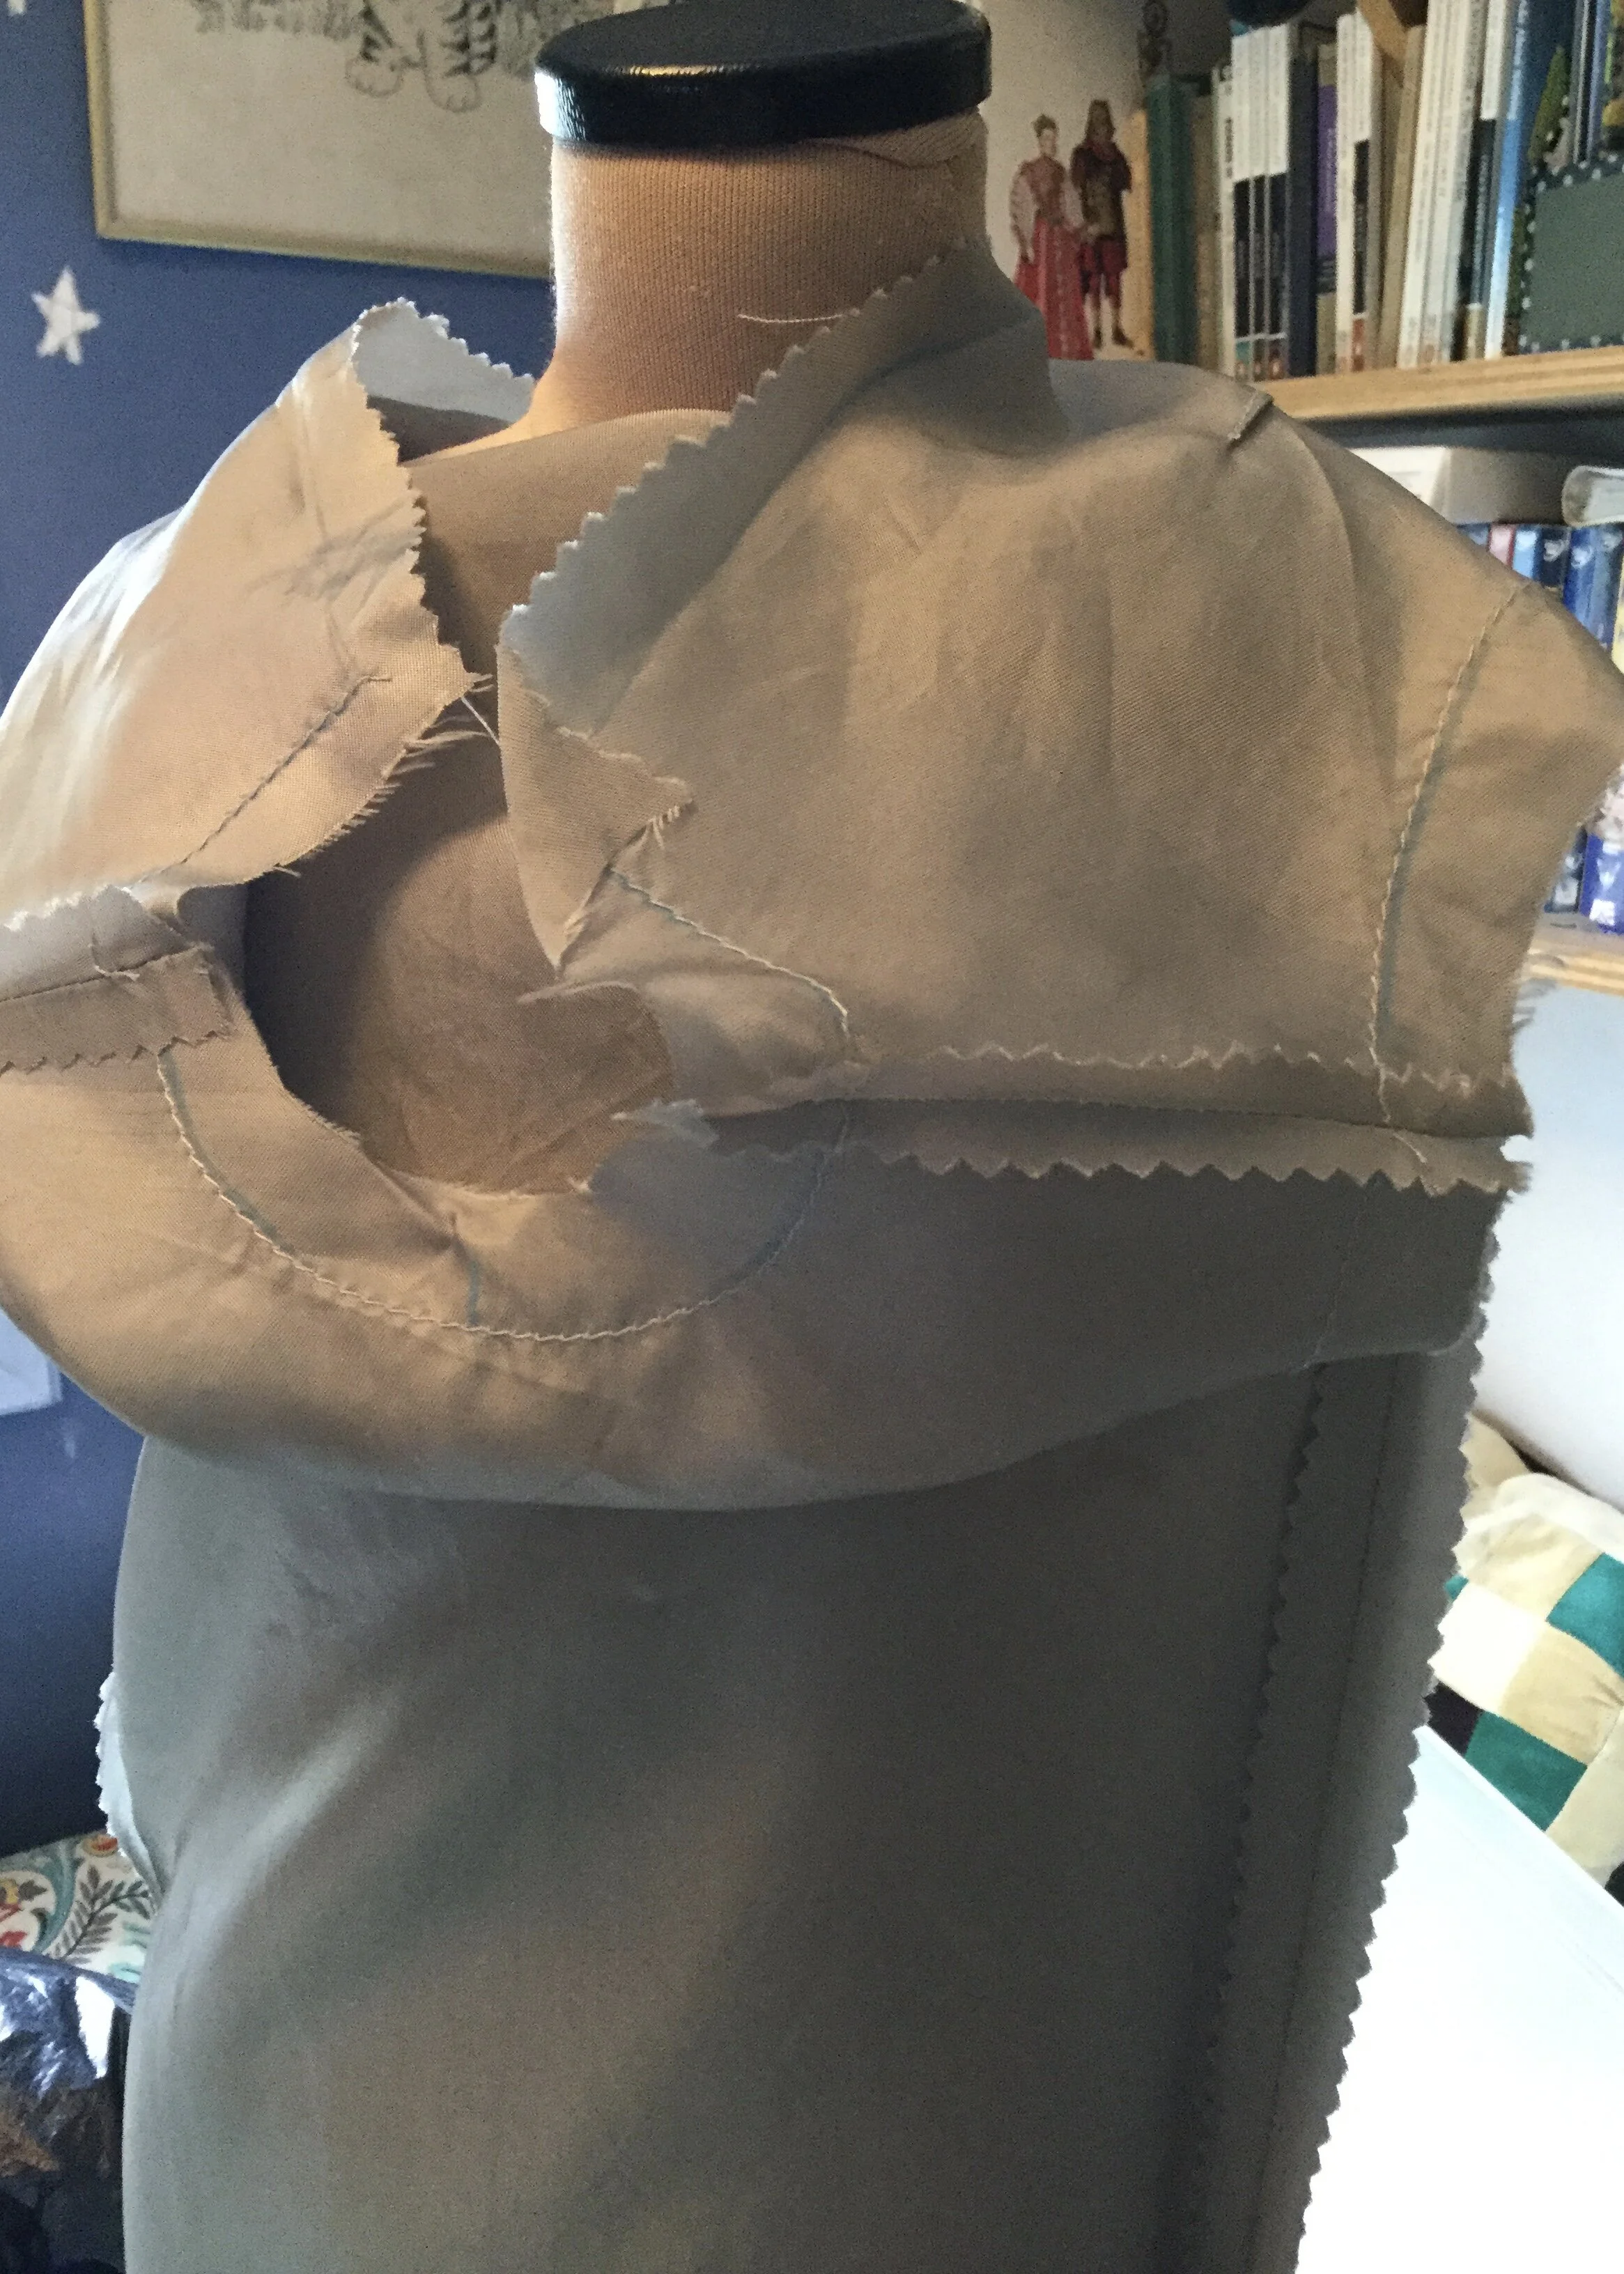
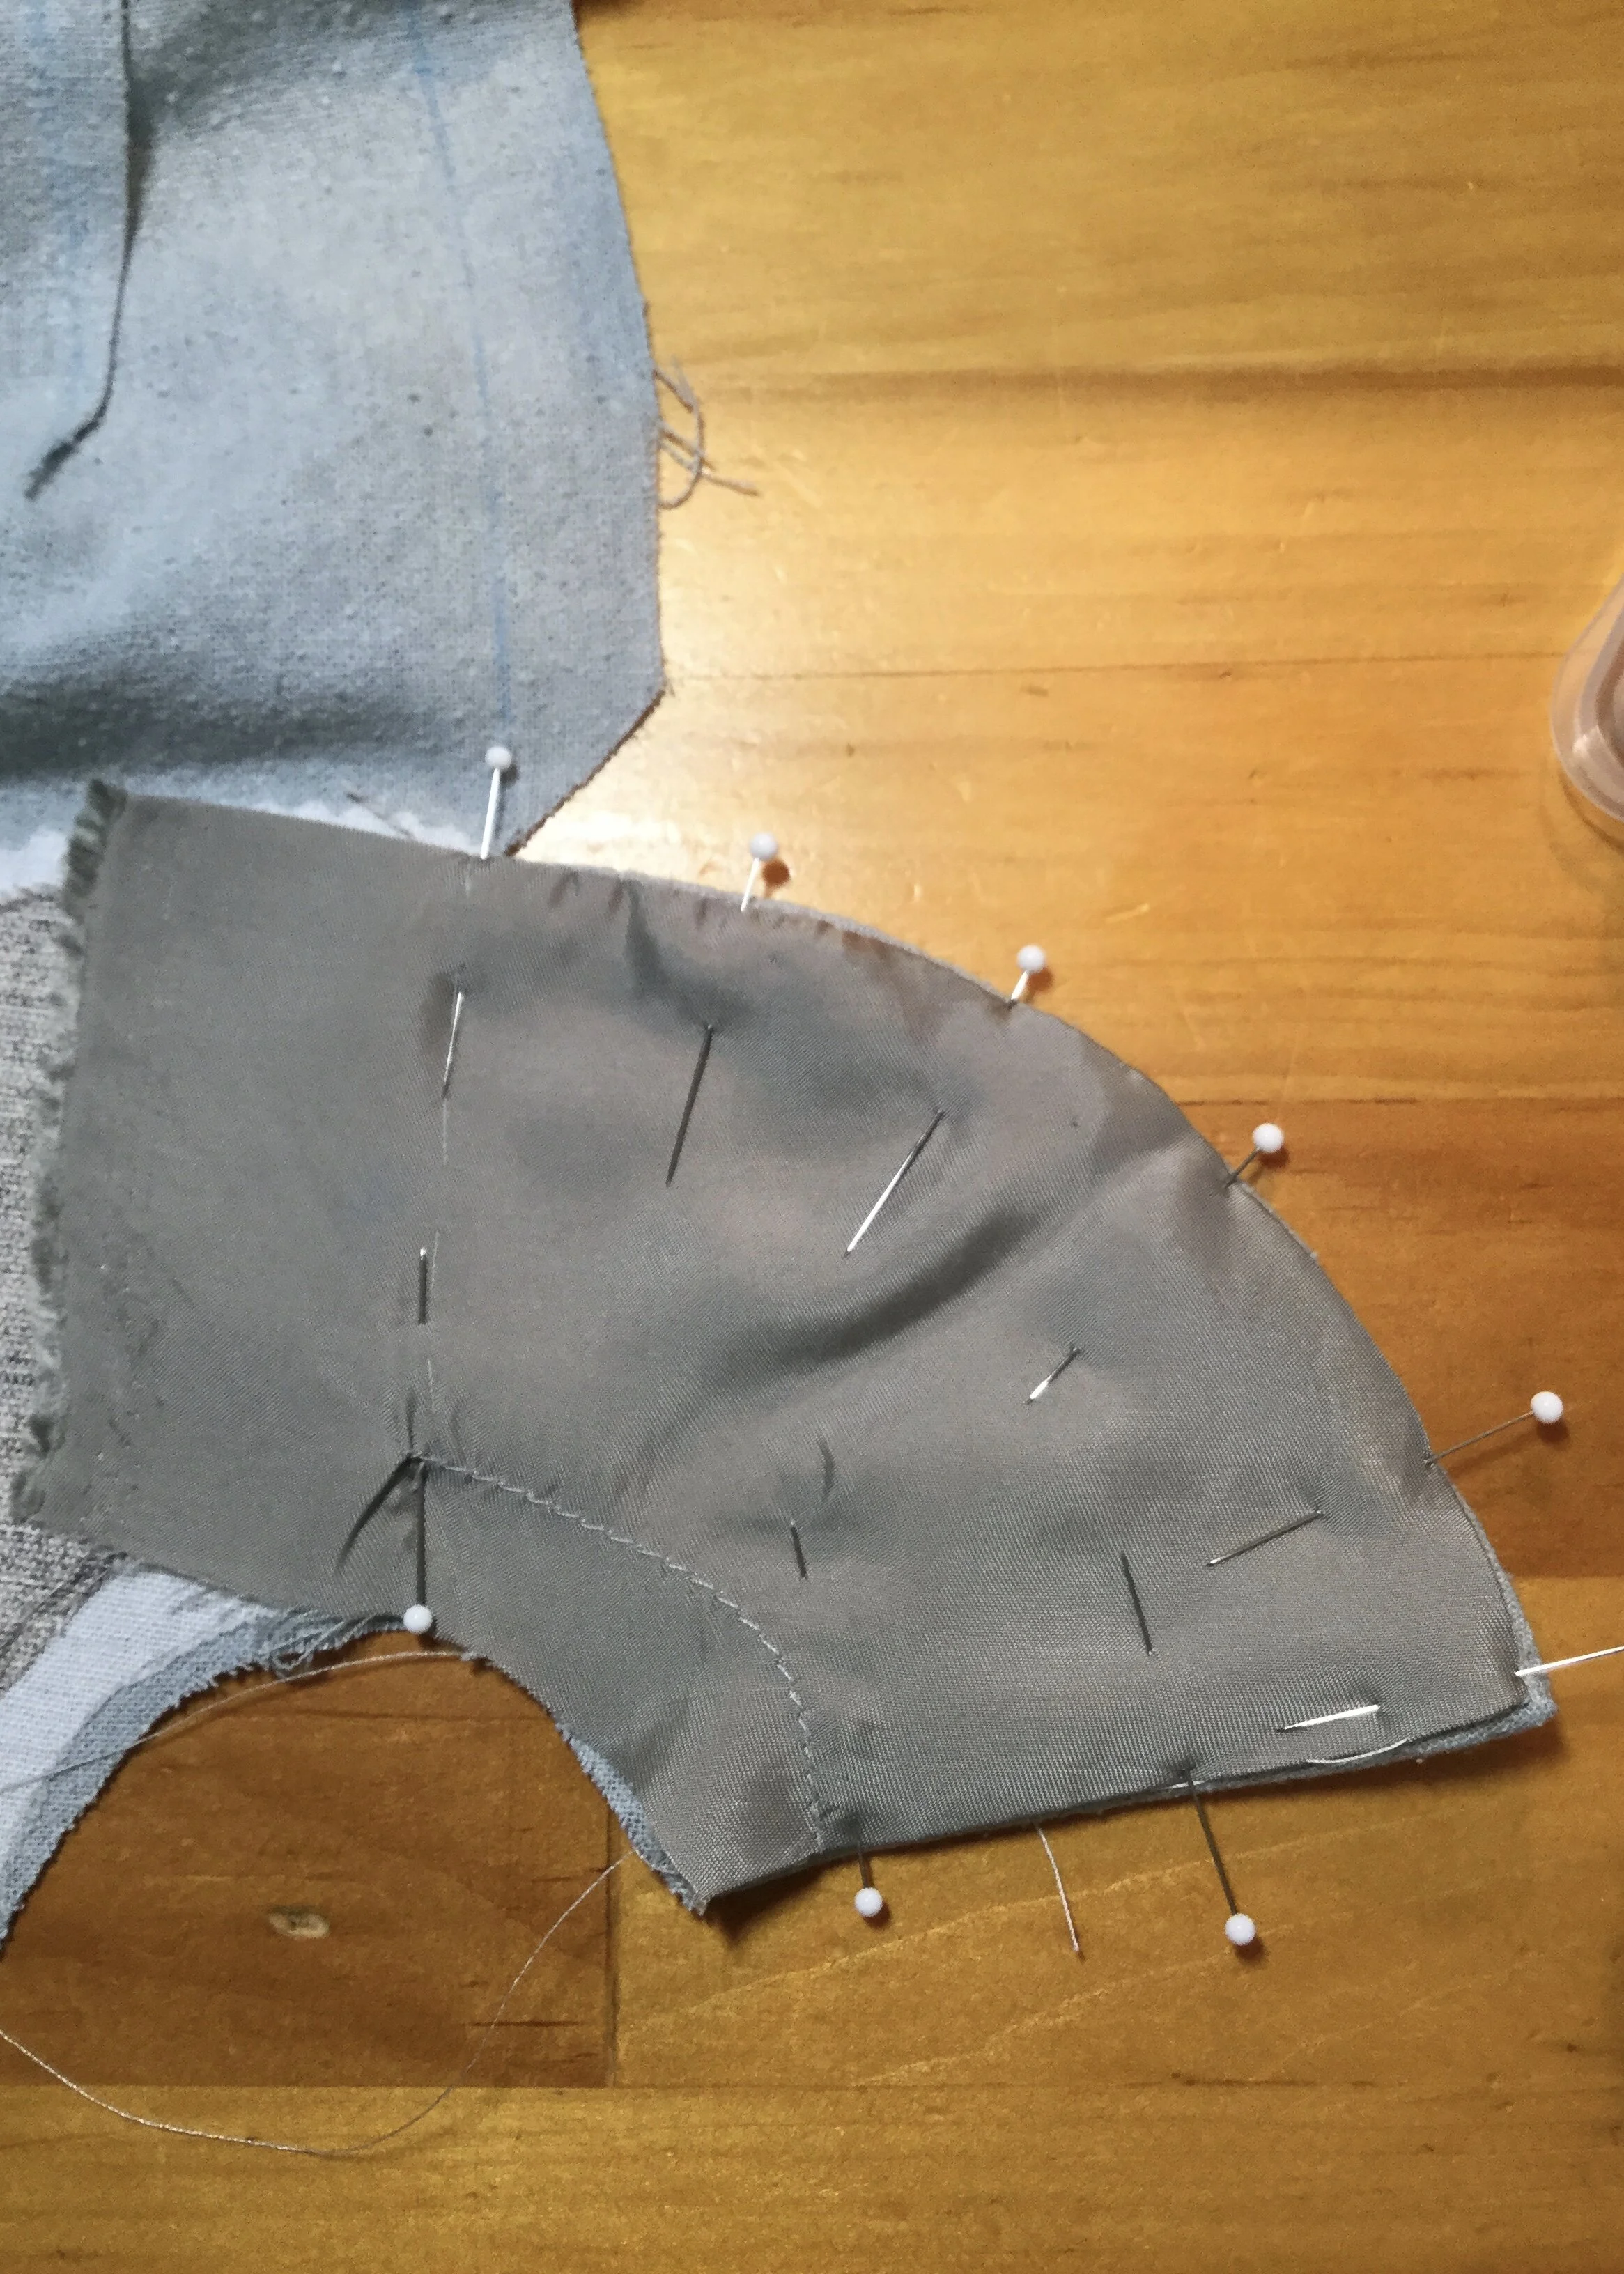
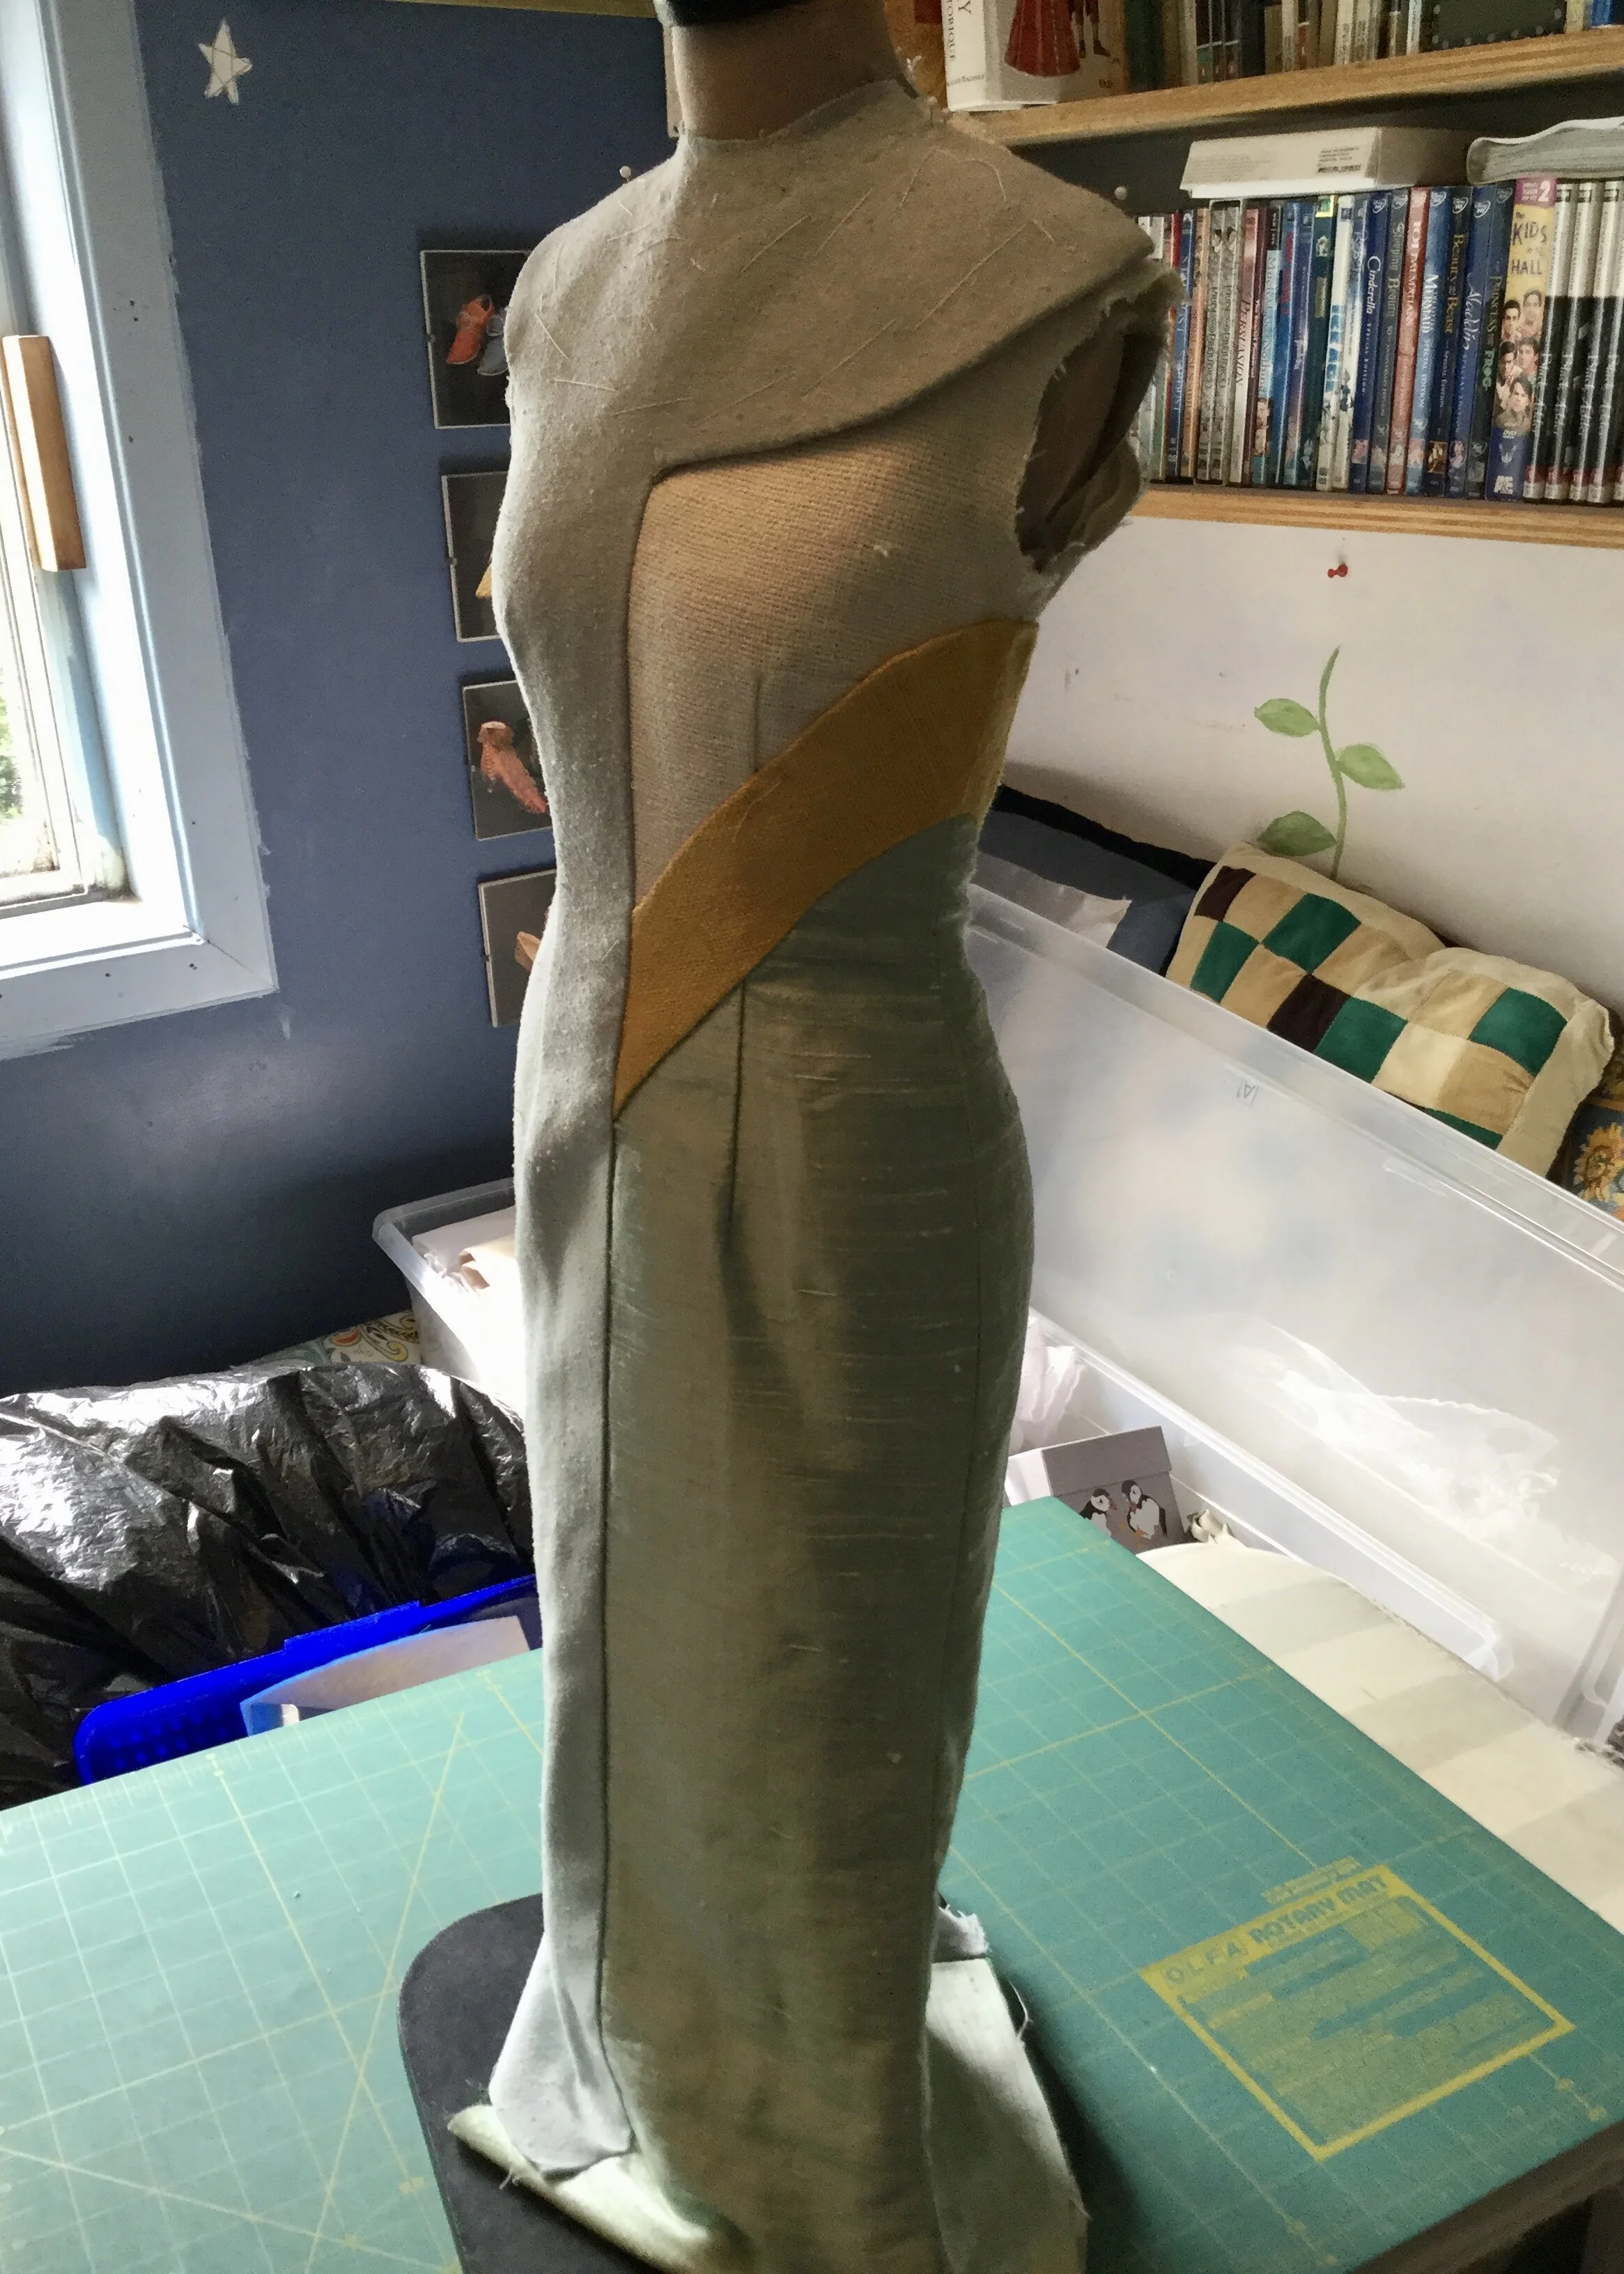
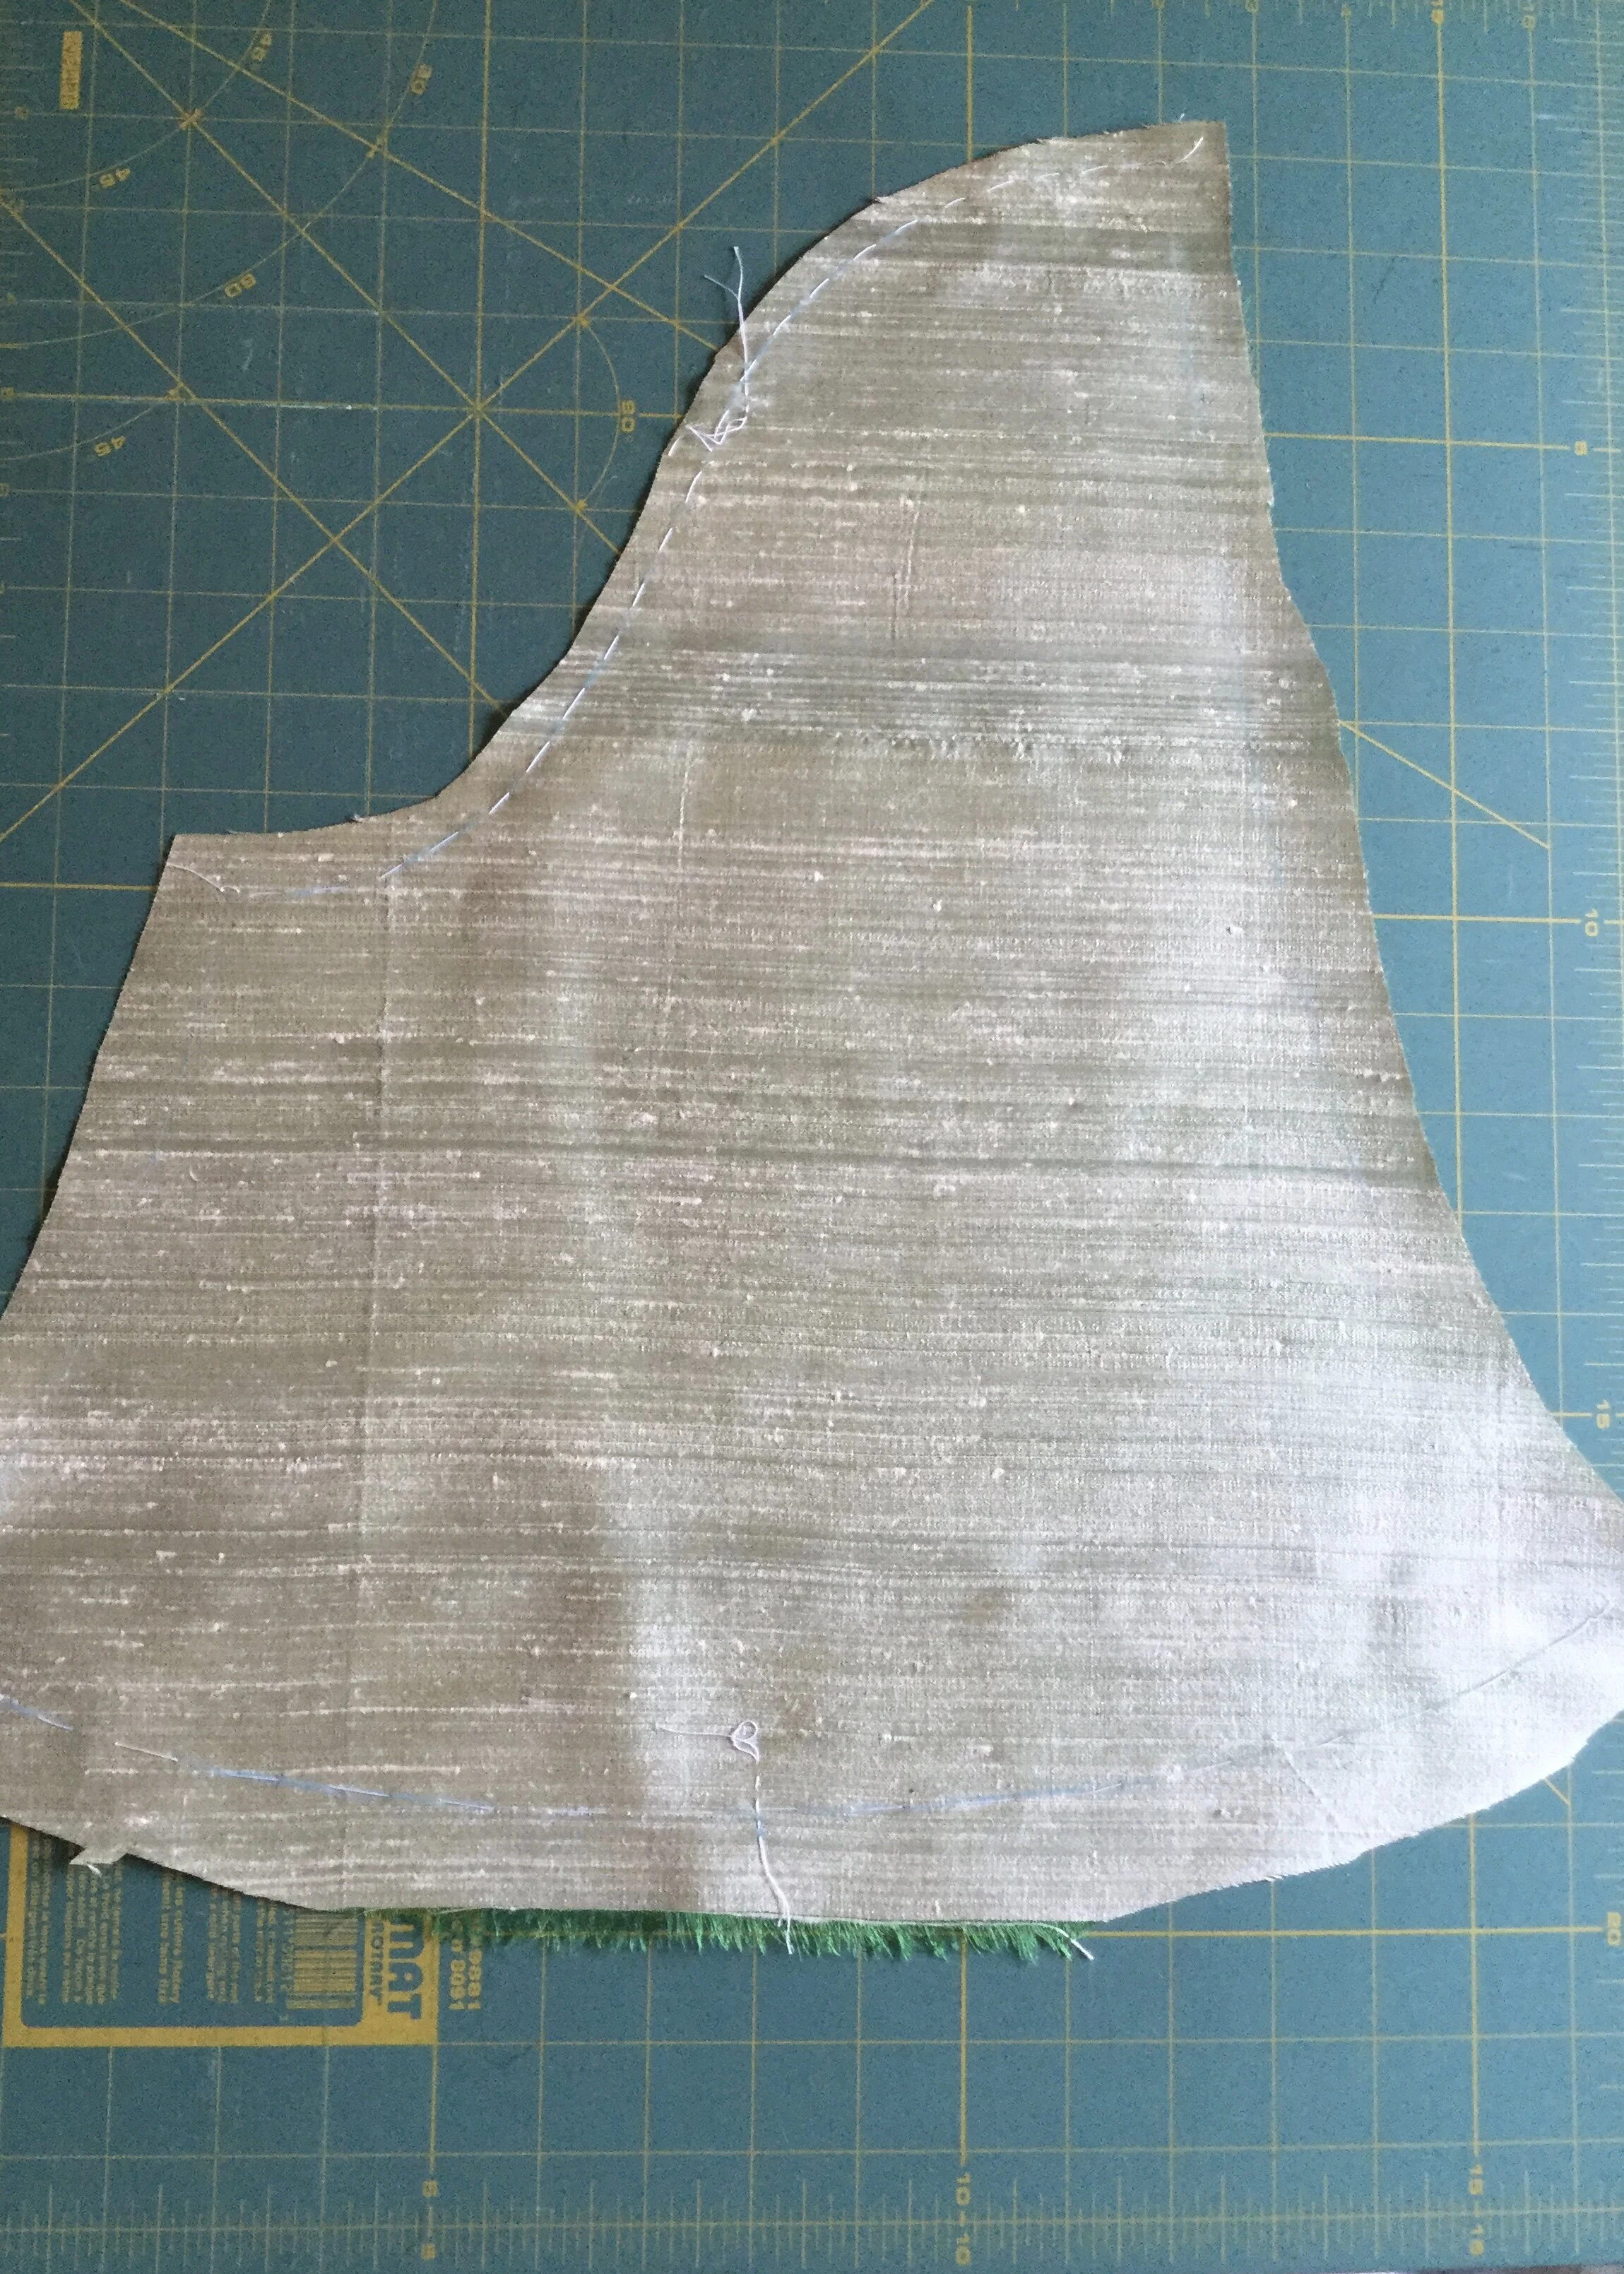
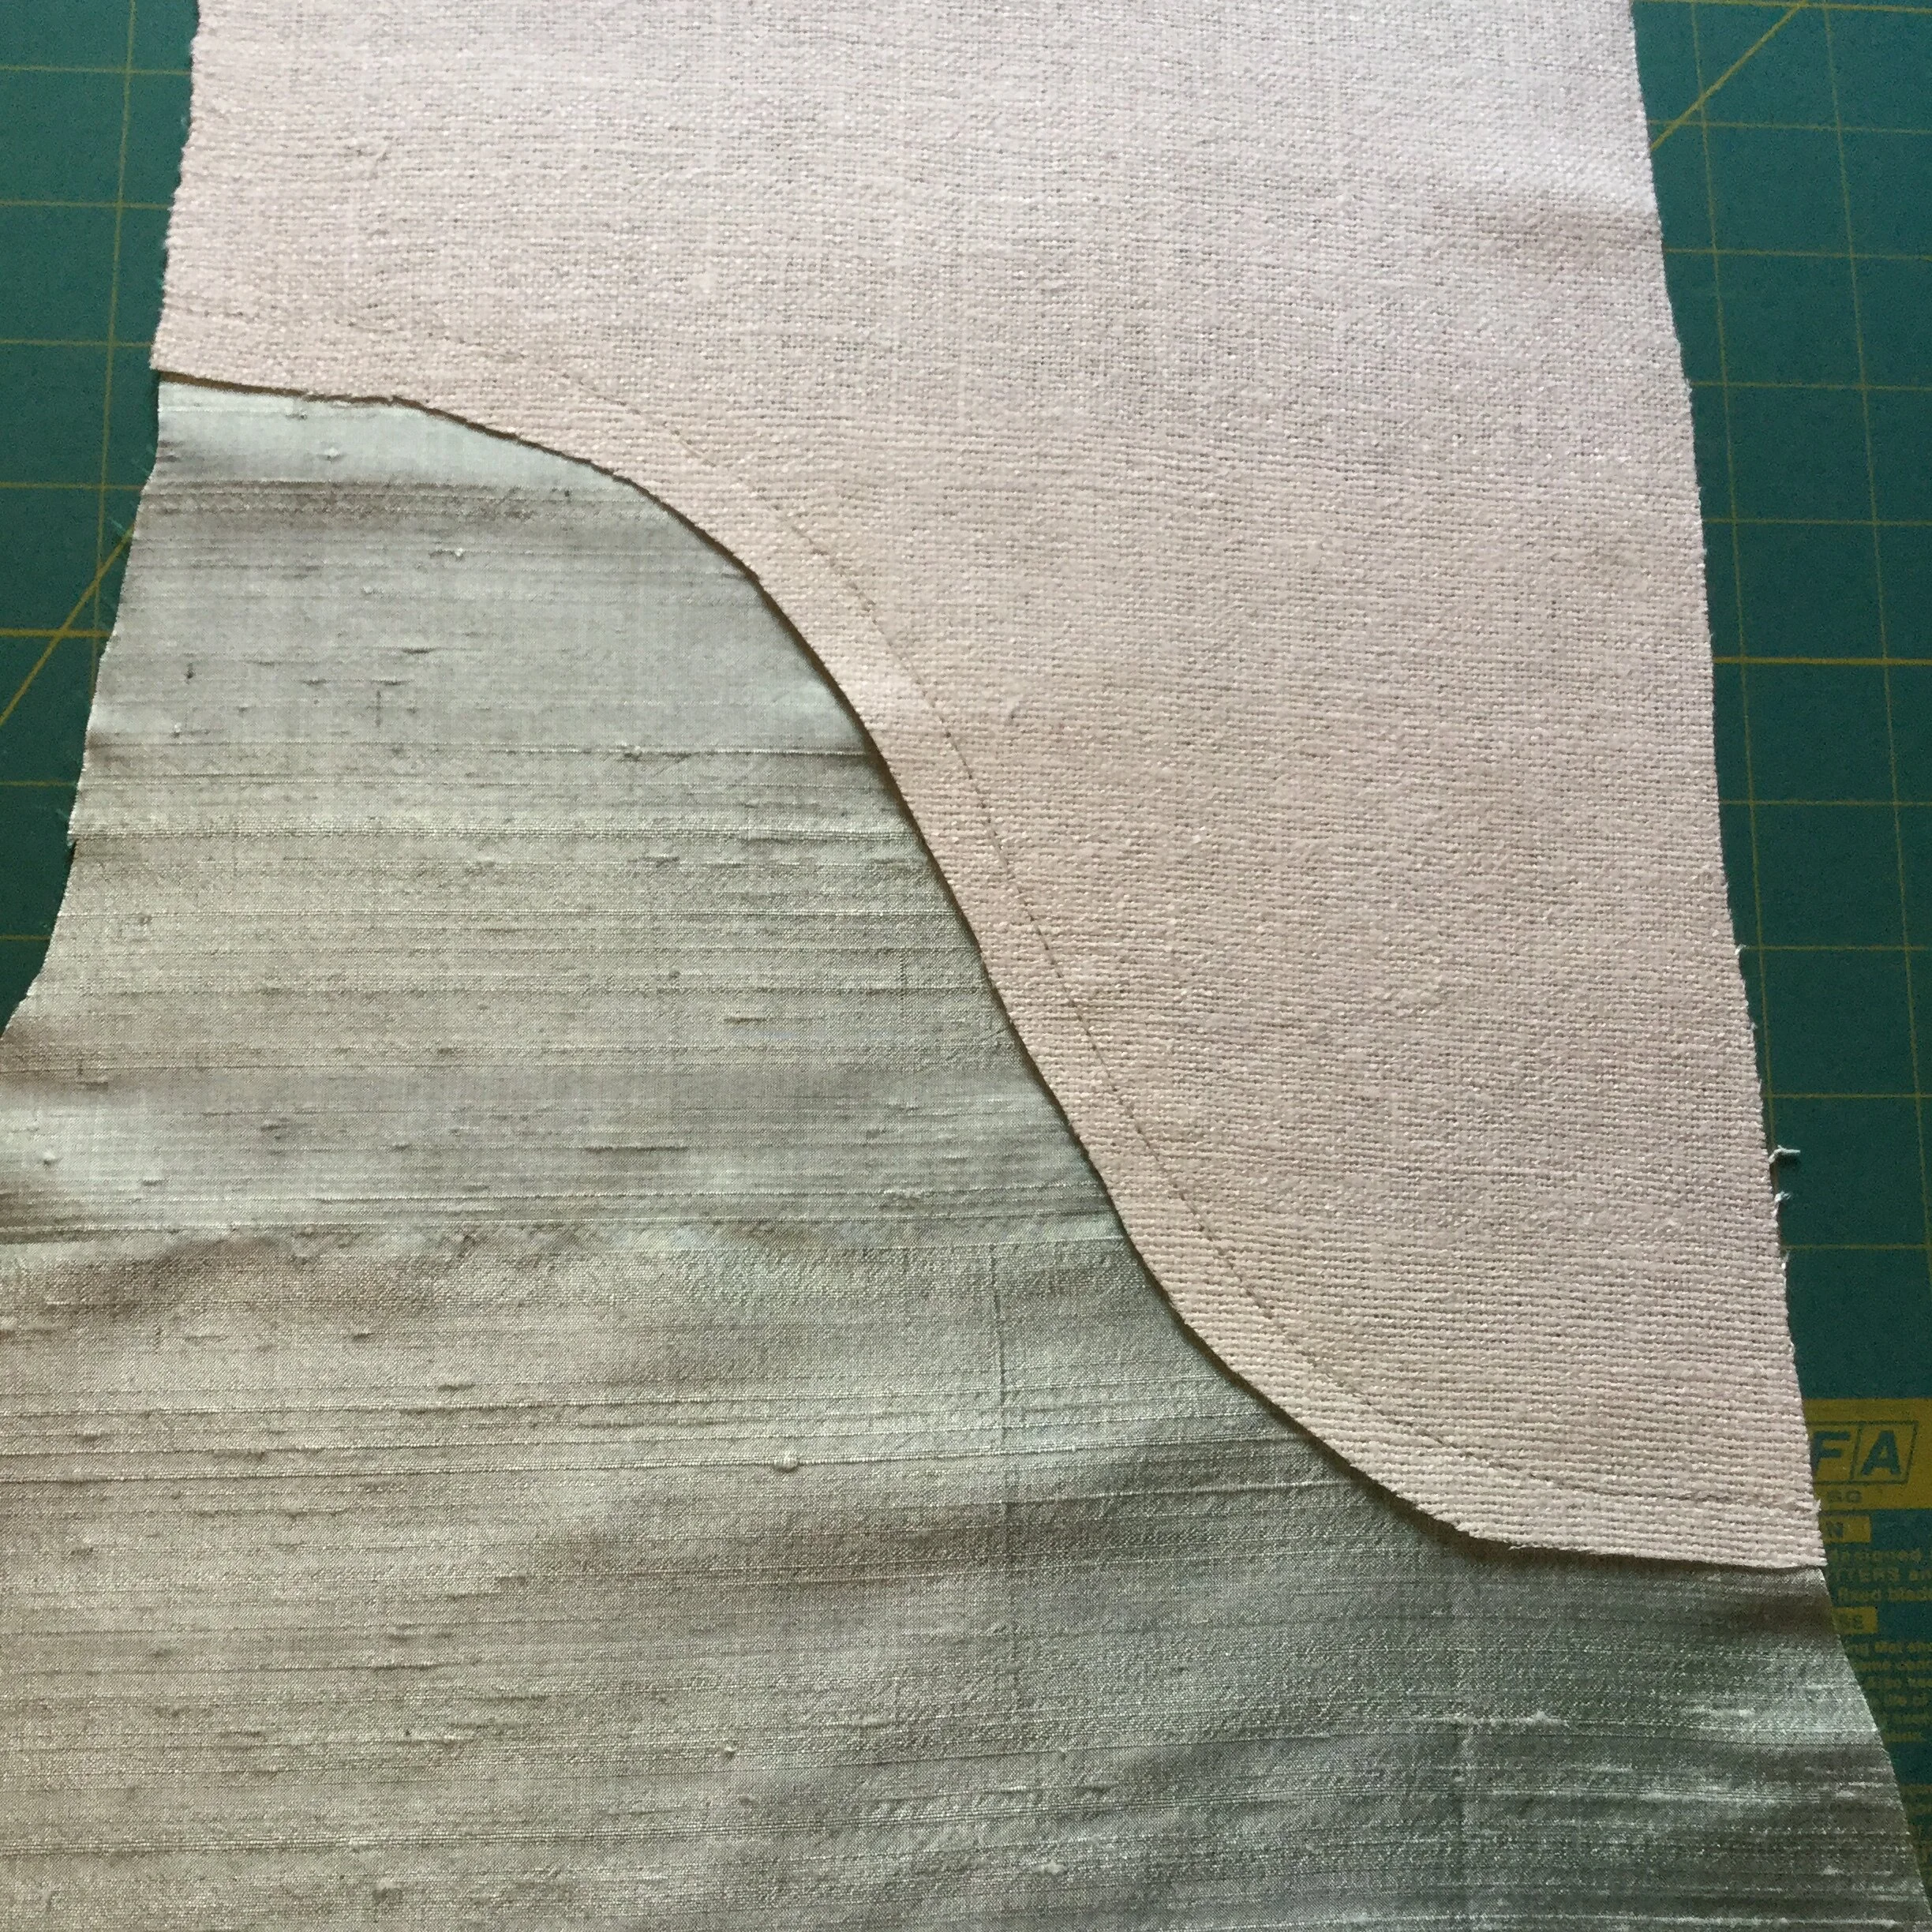
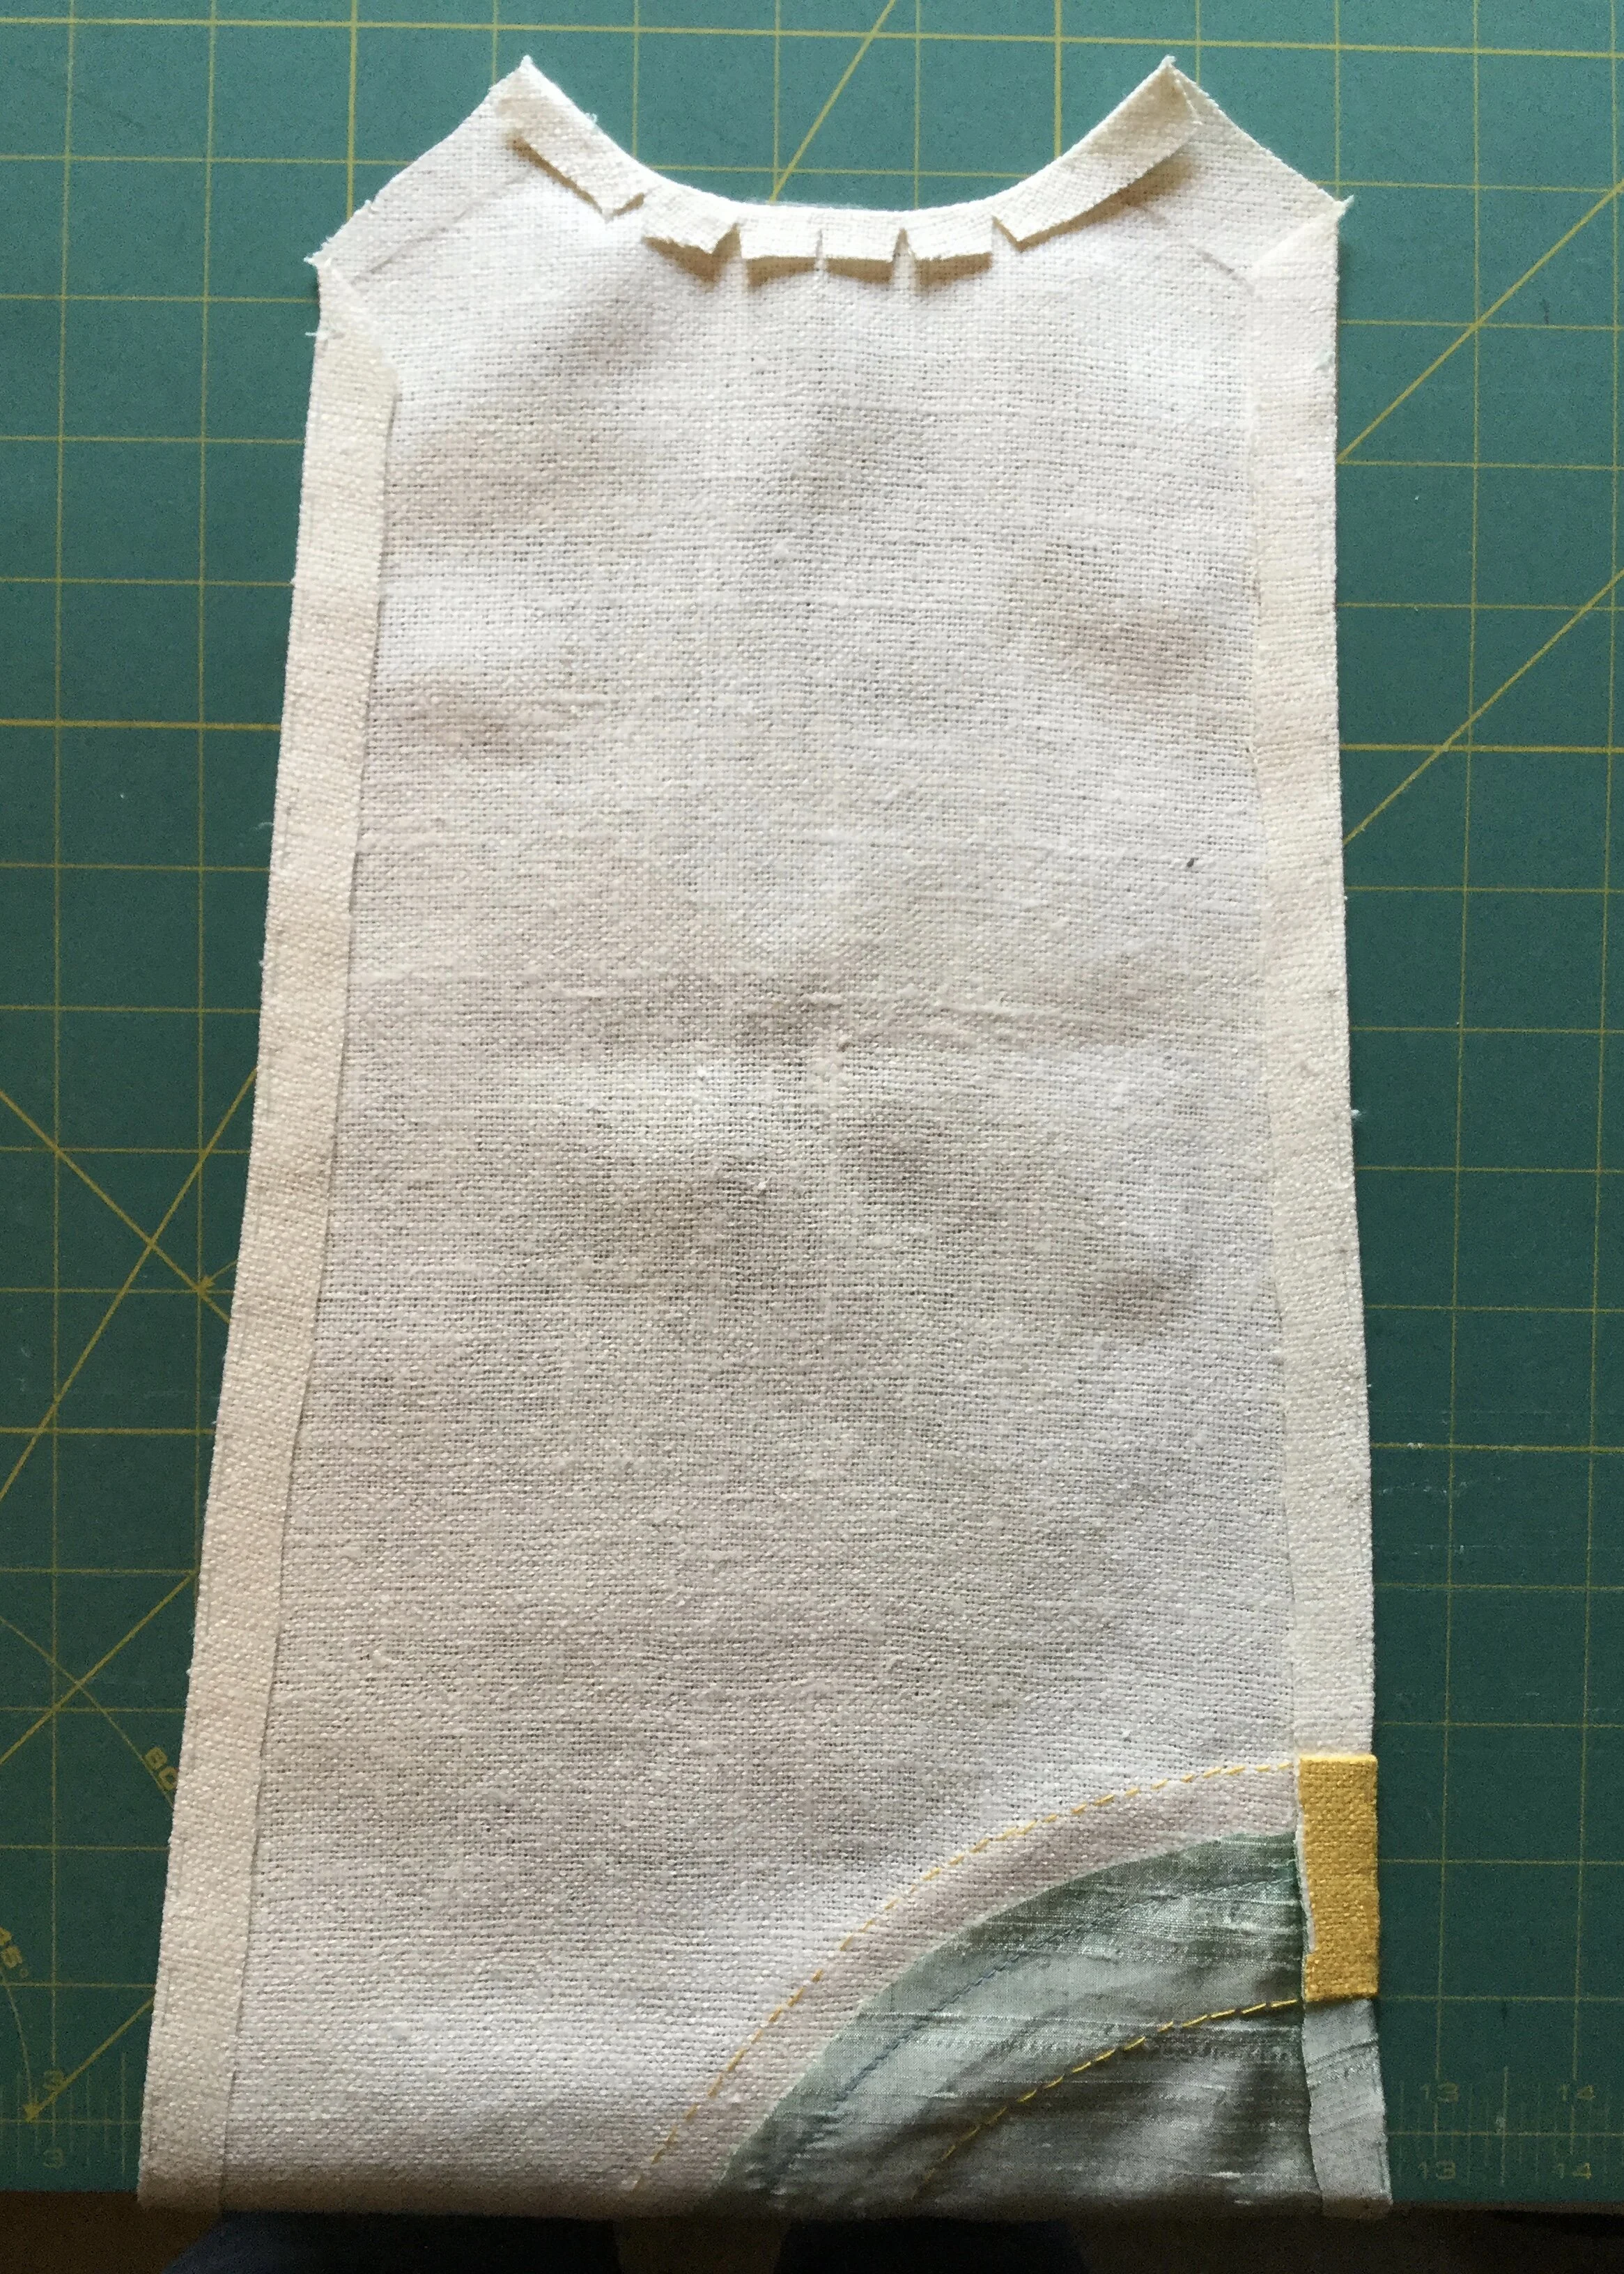
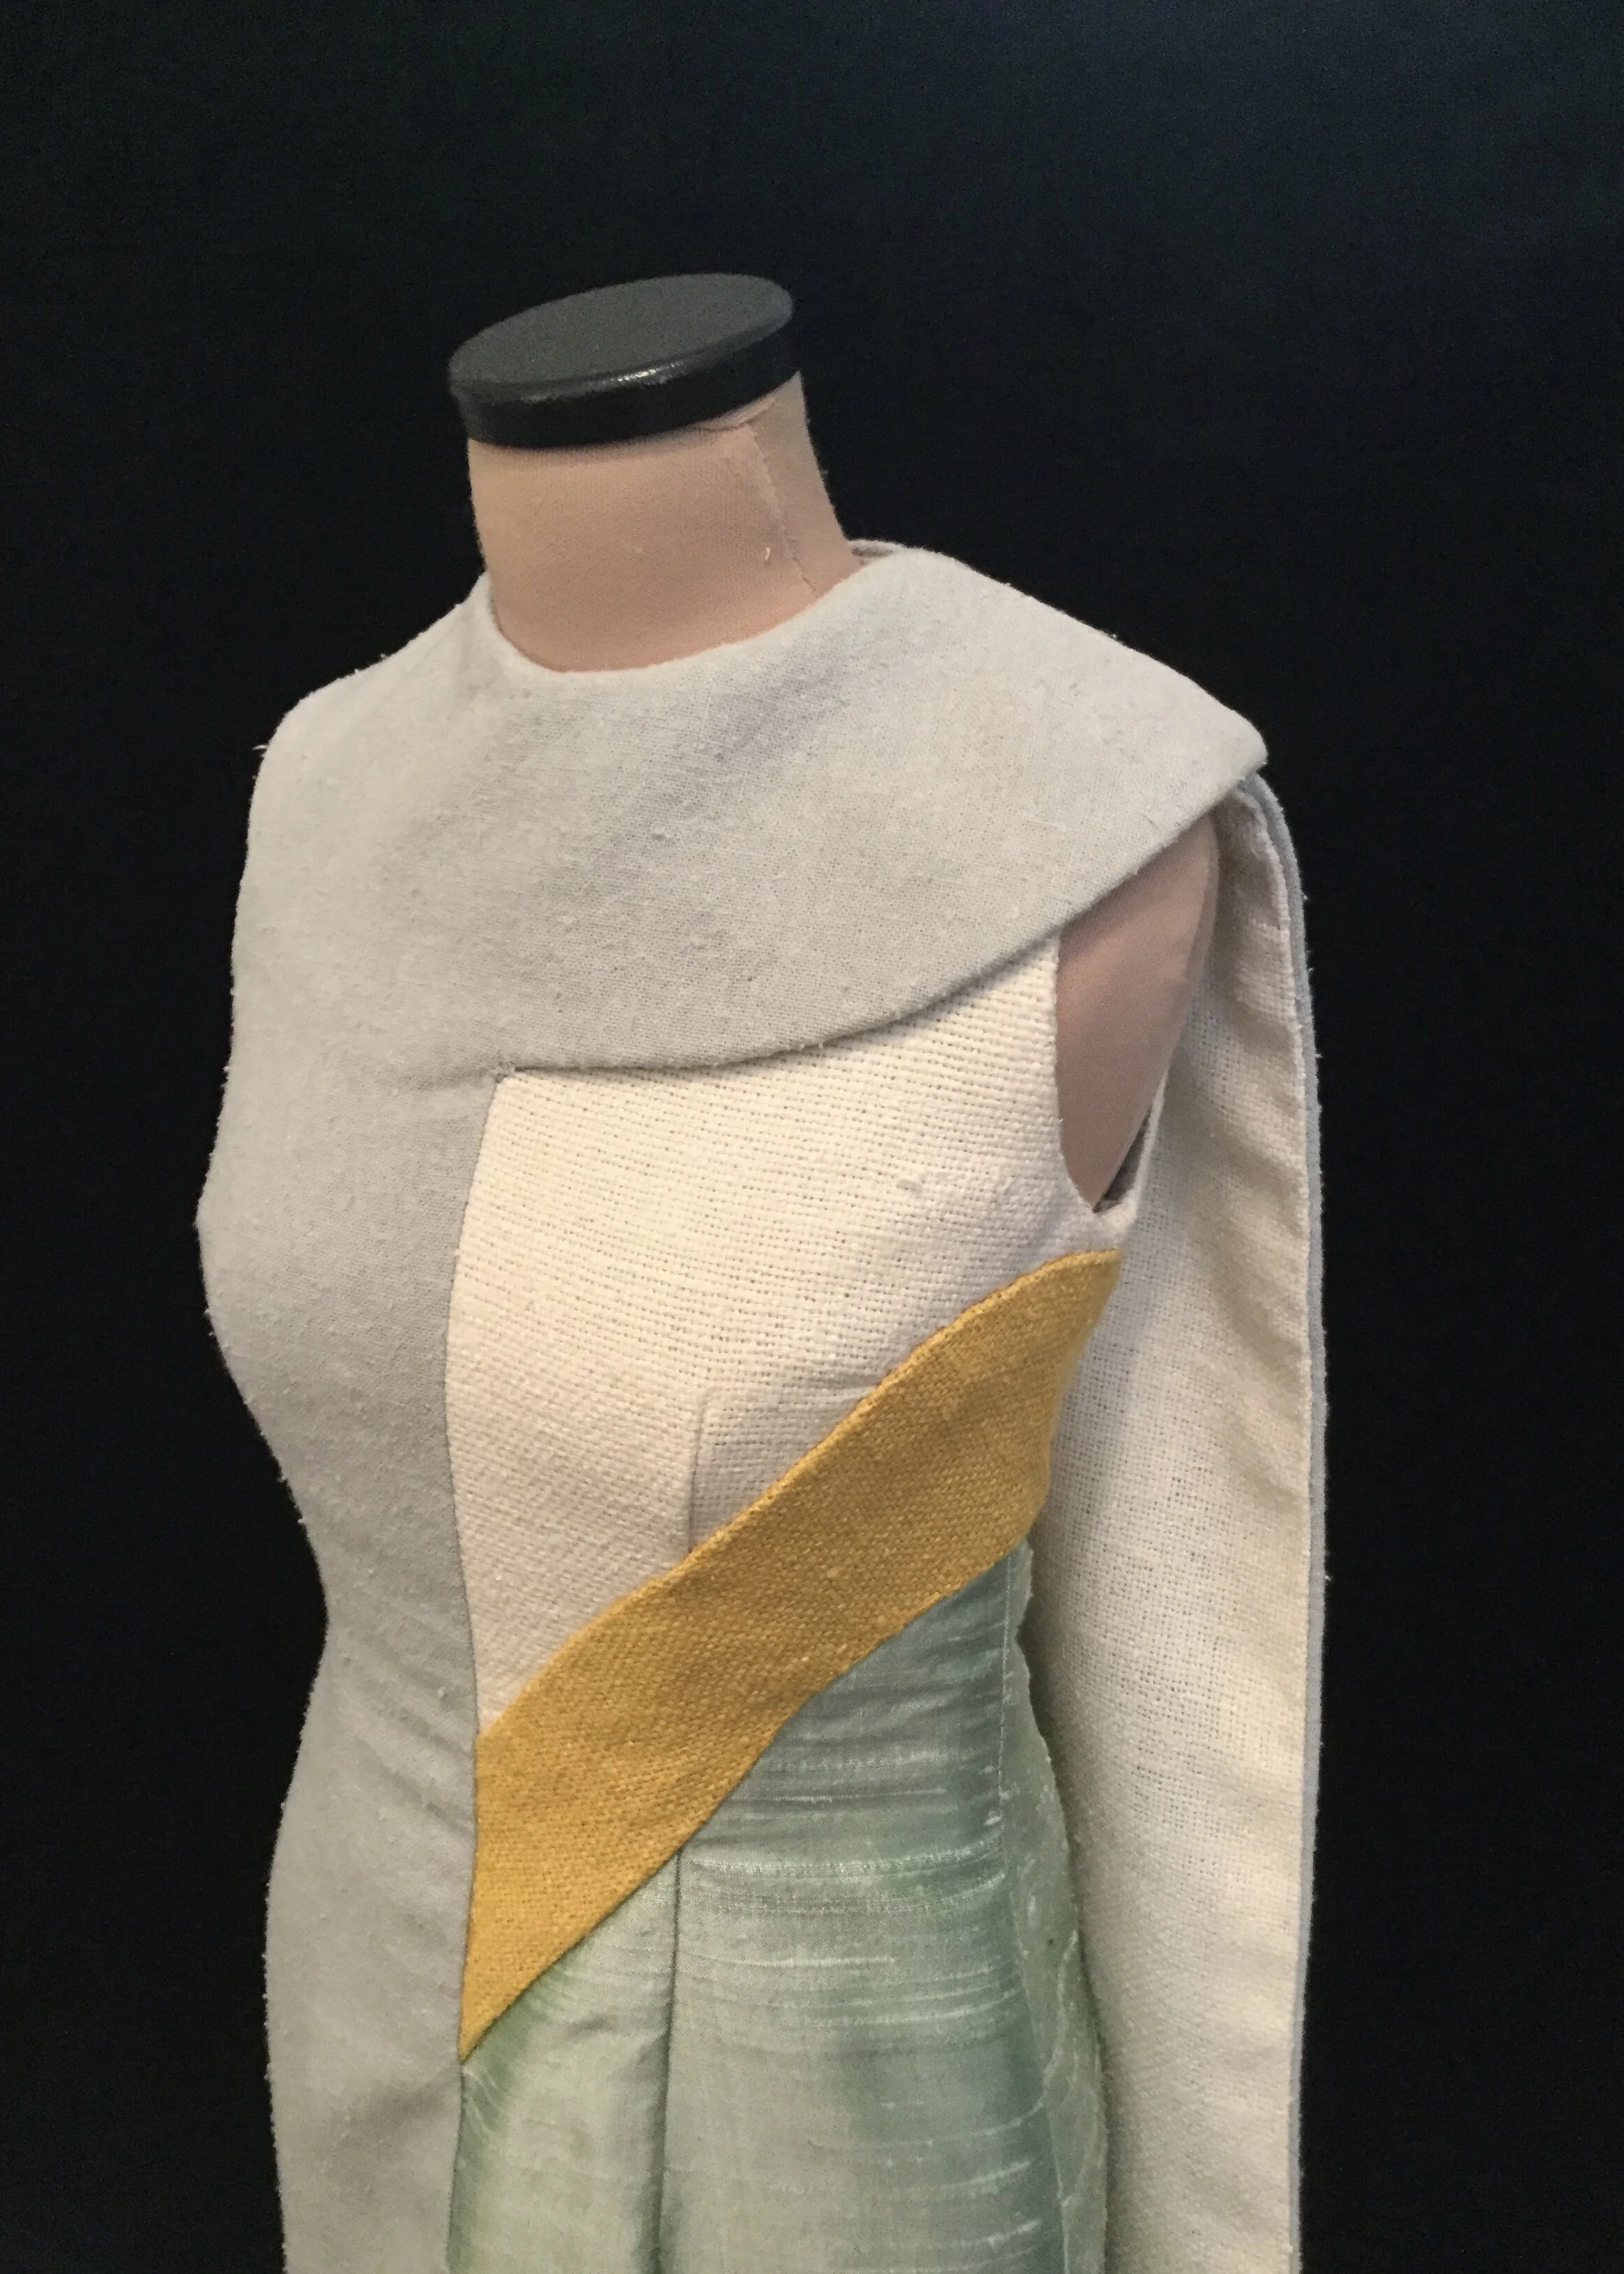
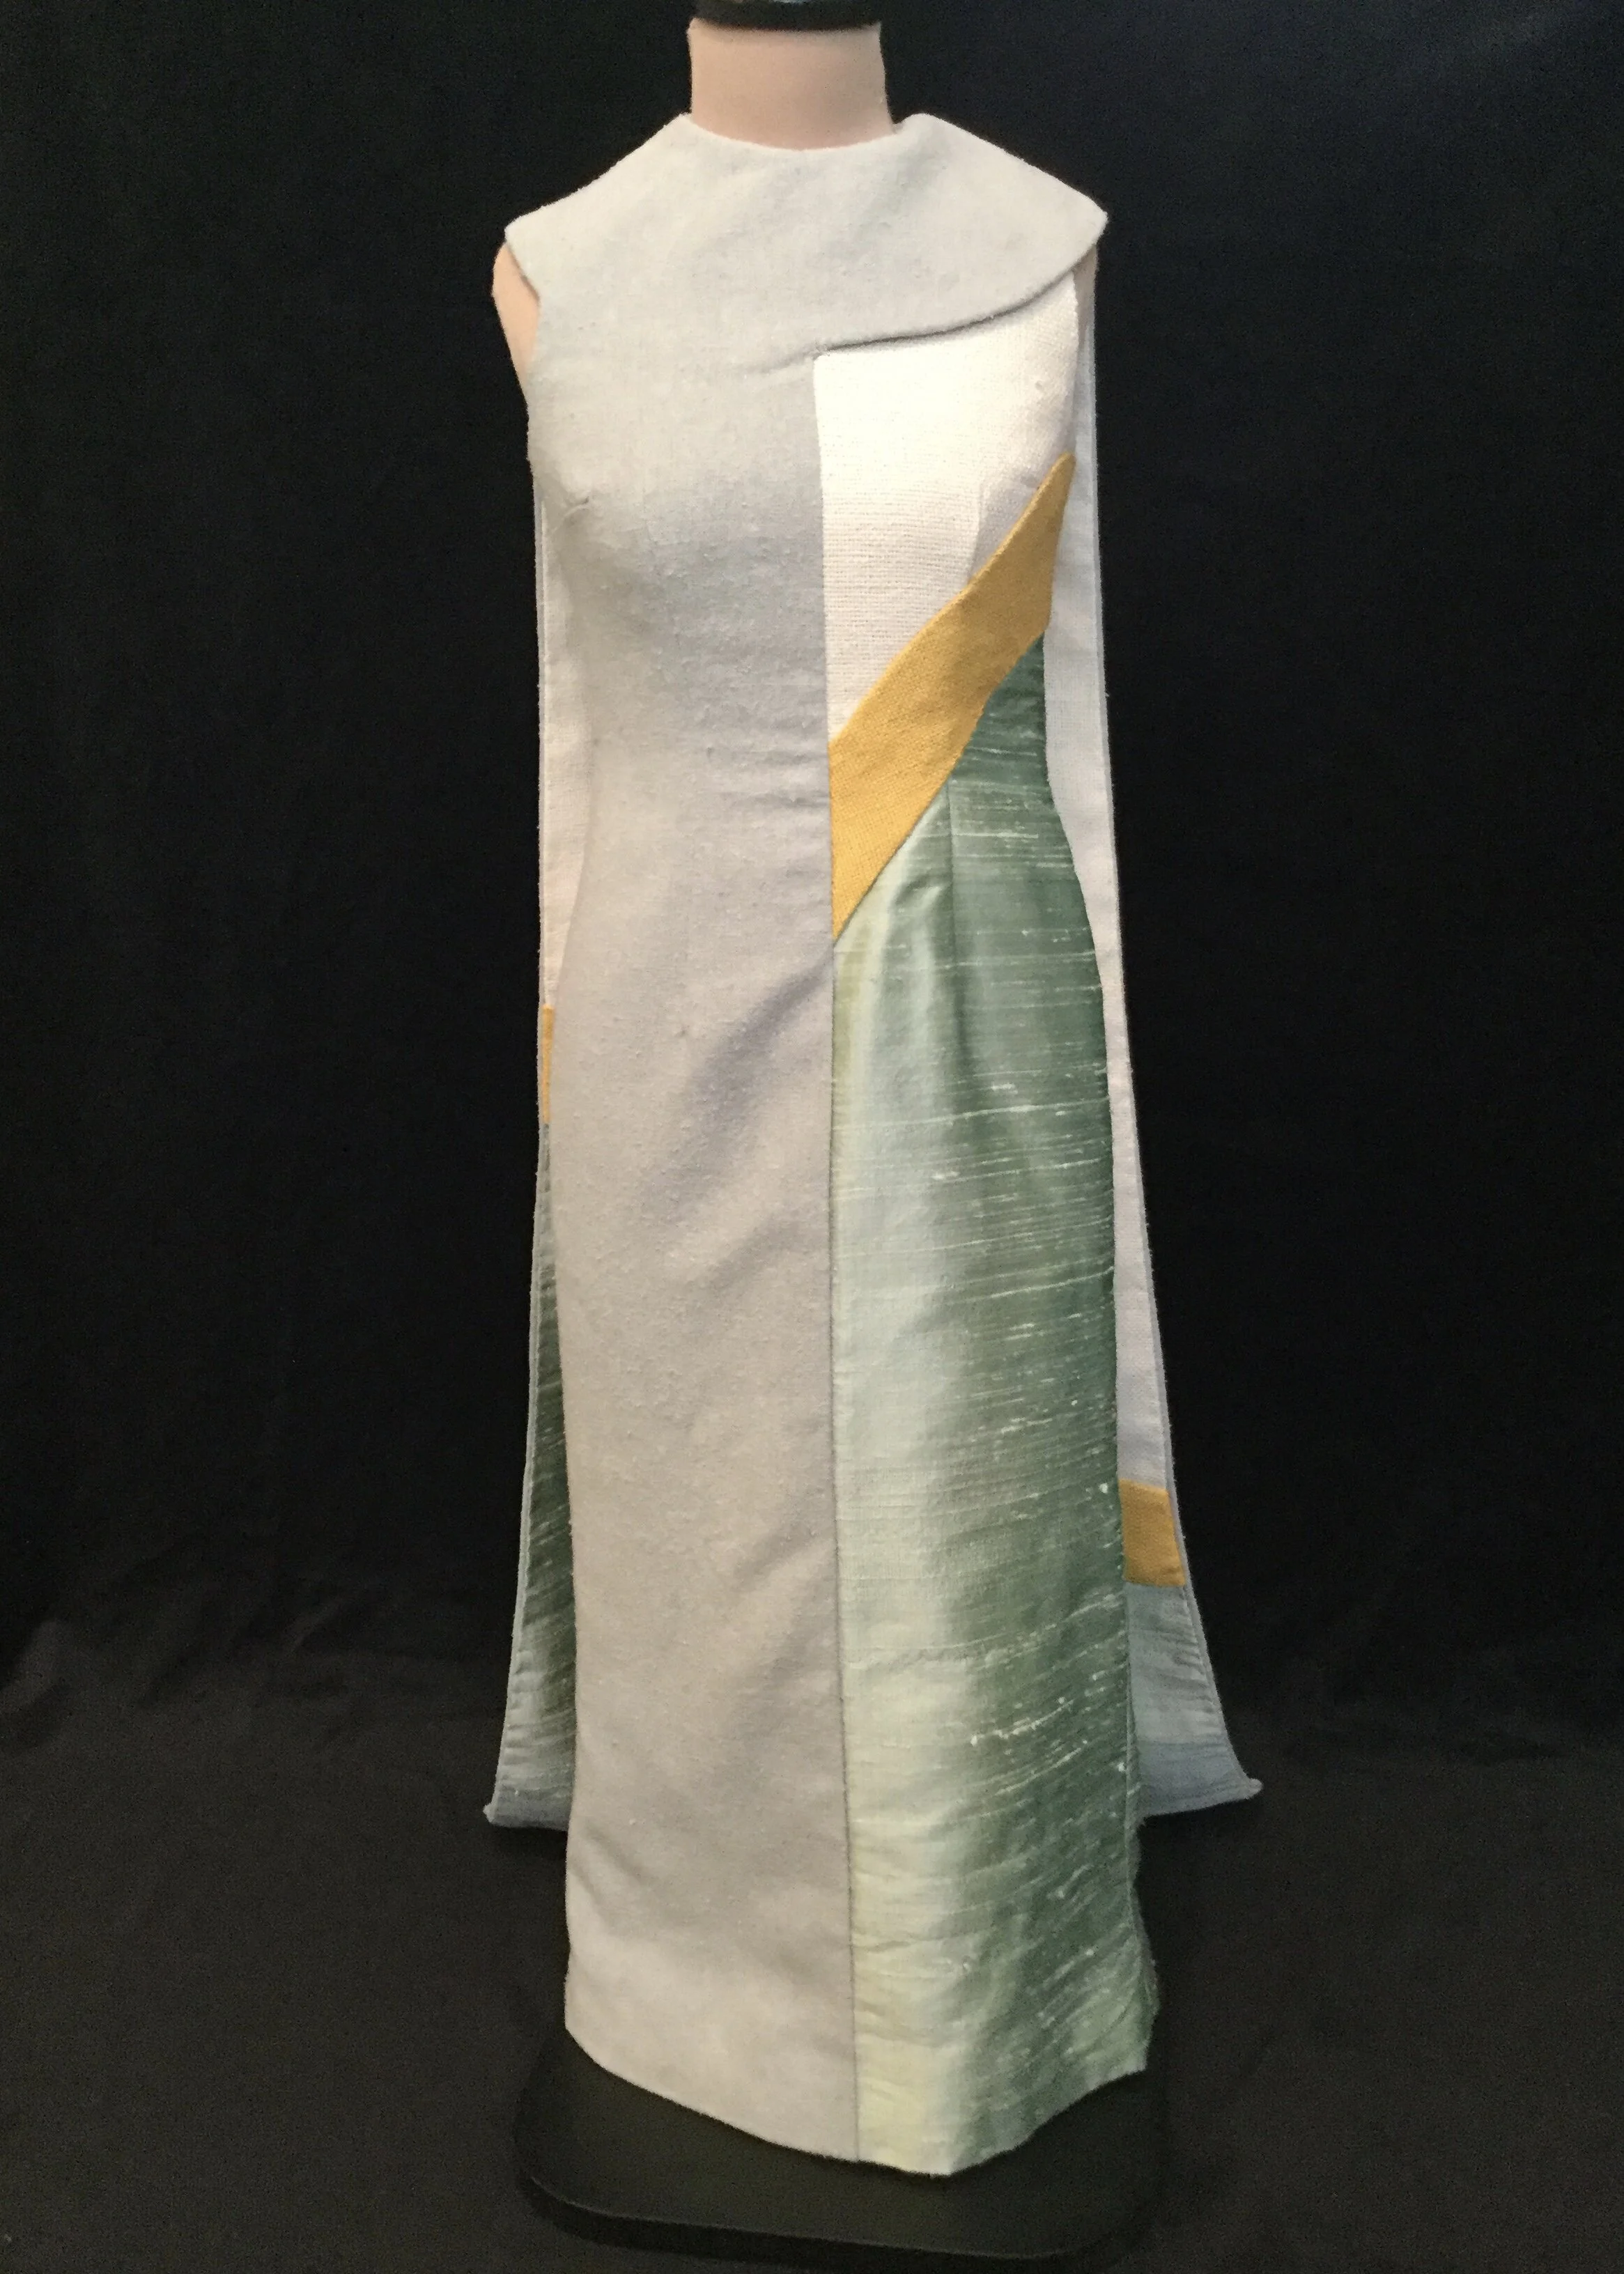
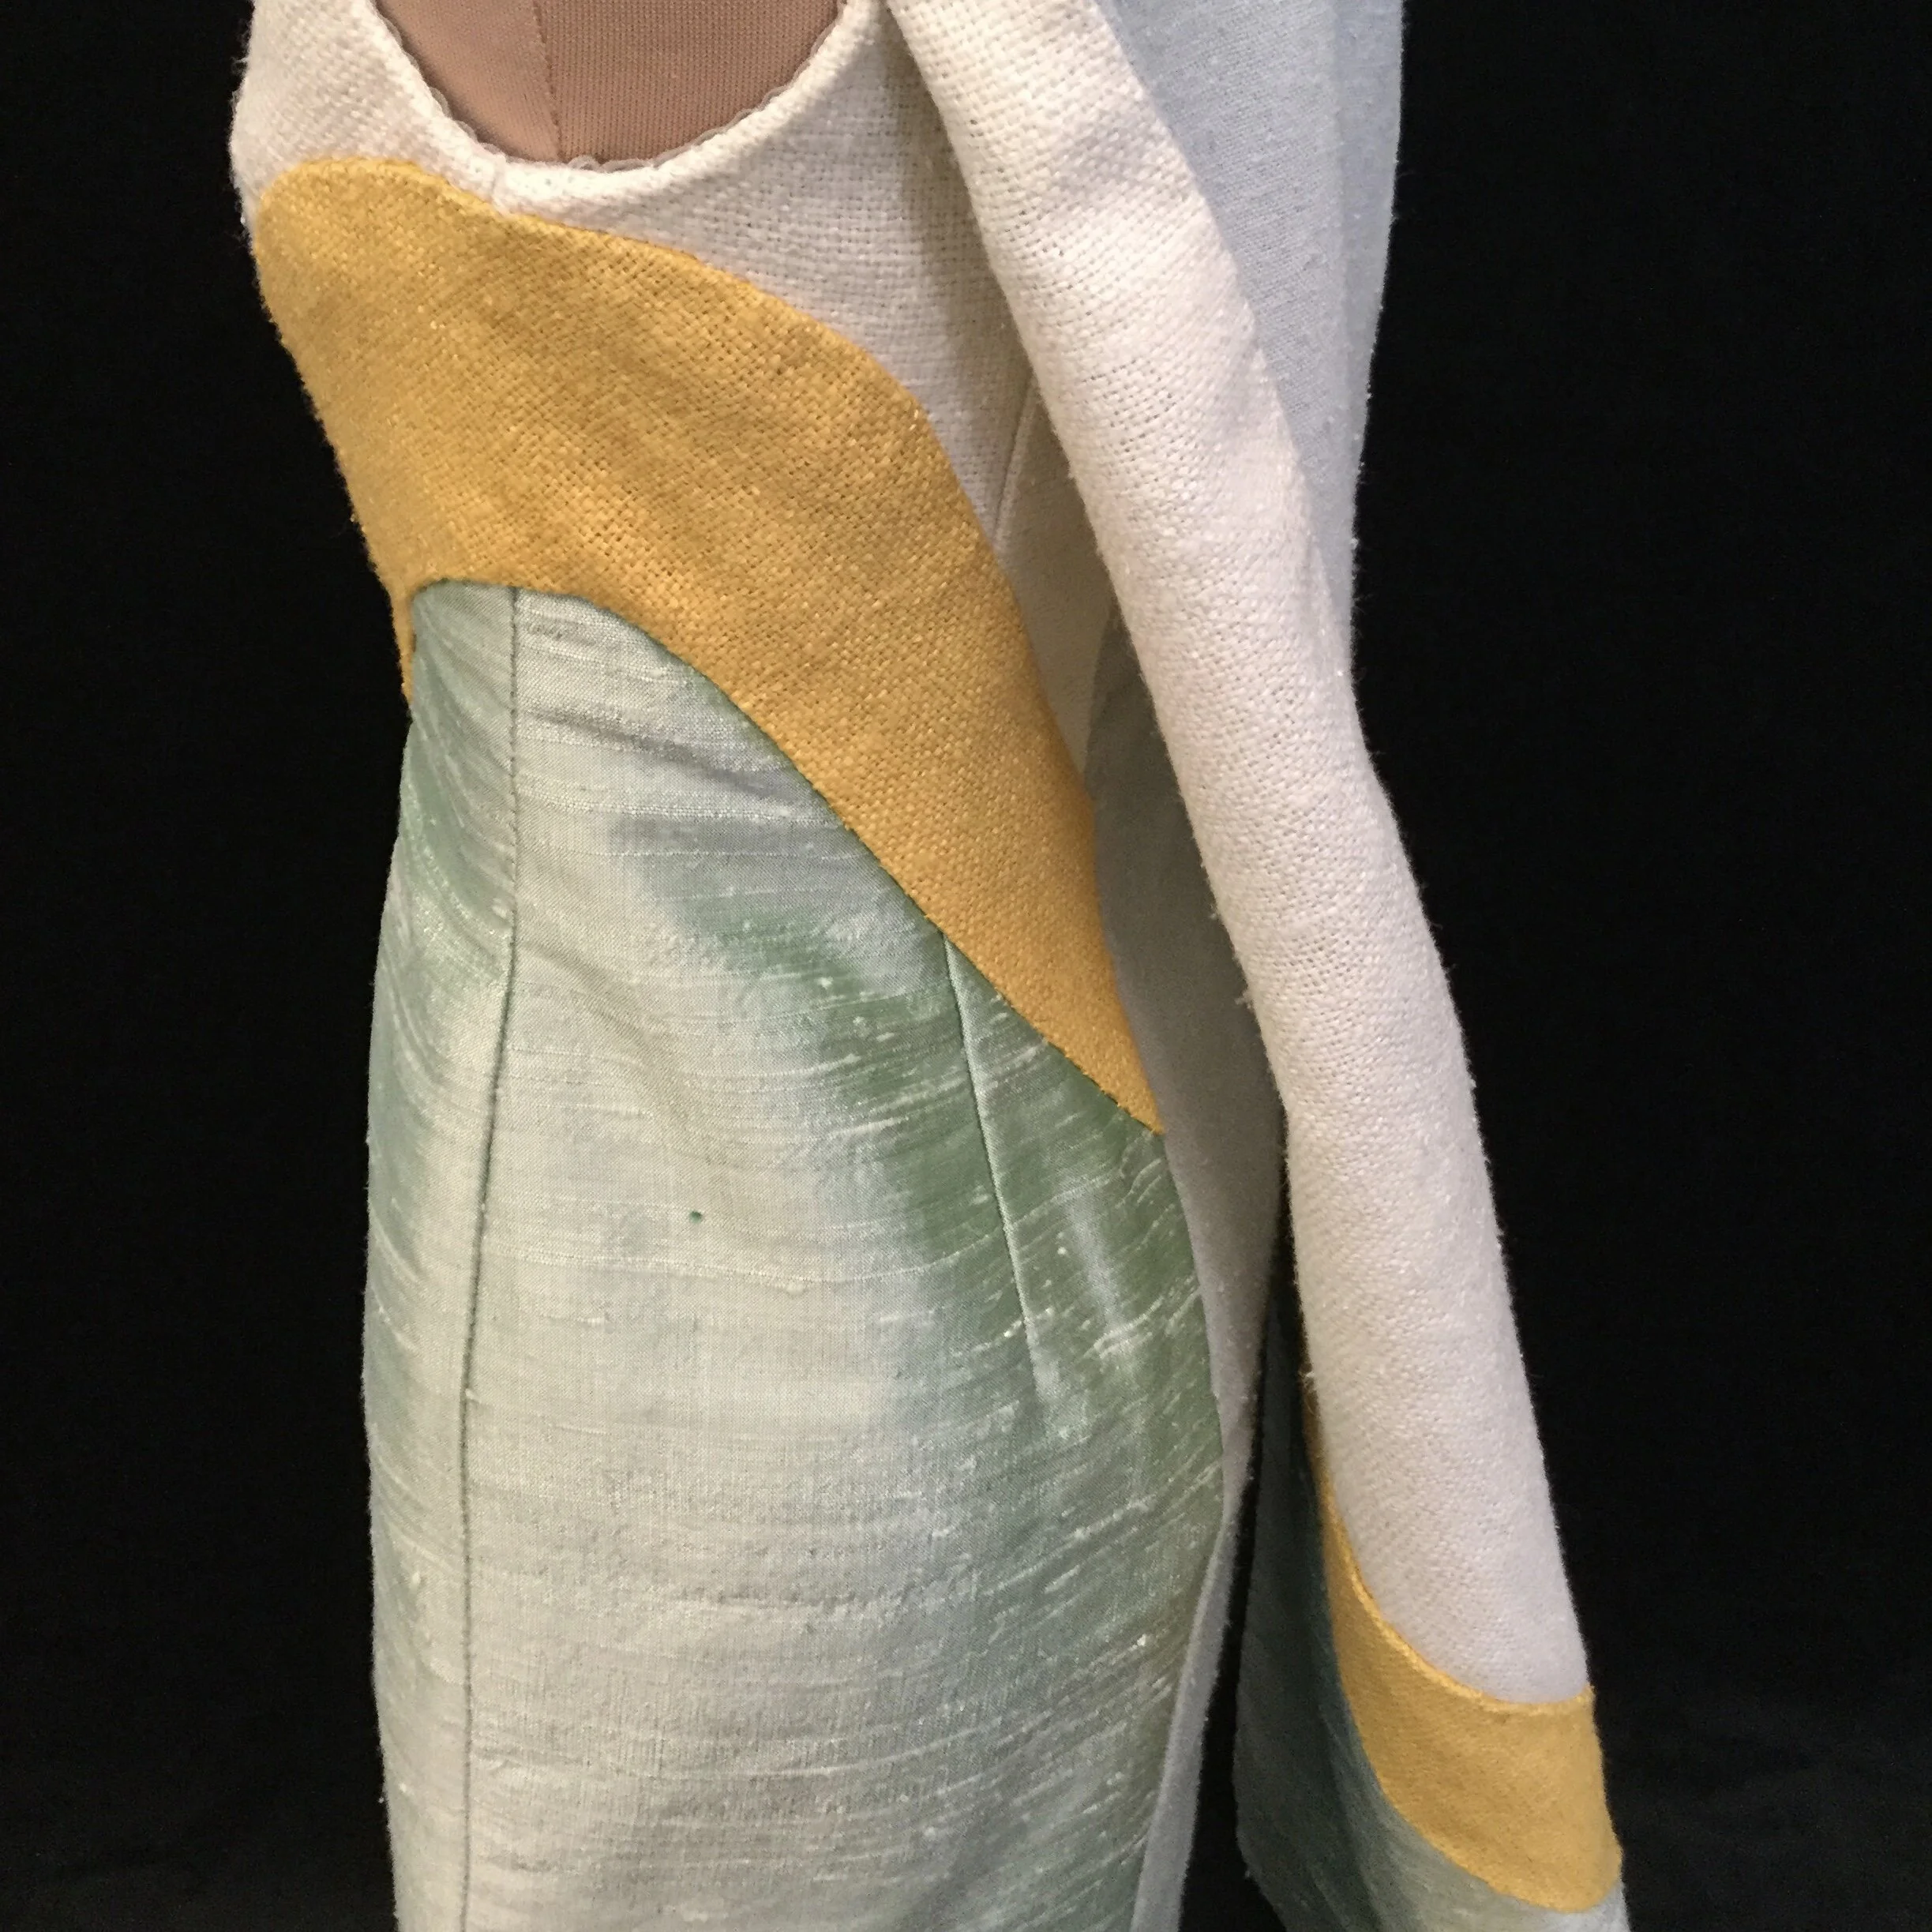
So, once I changed the plan, things started to come together much more quickly. Luckily, I still had a piece of the habotai which was big enough to recut the whole front as well as enough of the white matka for the top of the bodice. For the join between the matka and the mint dupioni, I followed more or less the same curve as I had planned for the frame of the window. After flat mounting the white and the green to the habotai, I closed the darts and stitched the side seam.
Suddenly, I had half a dress; it was a little shocking after spending so much time on the stained glass version and thinking it would still be a long time before I could really see how it was going to look.
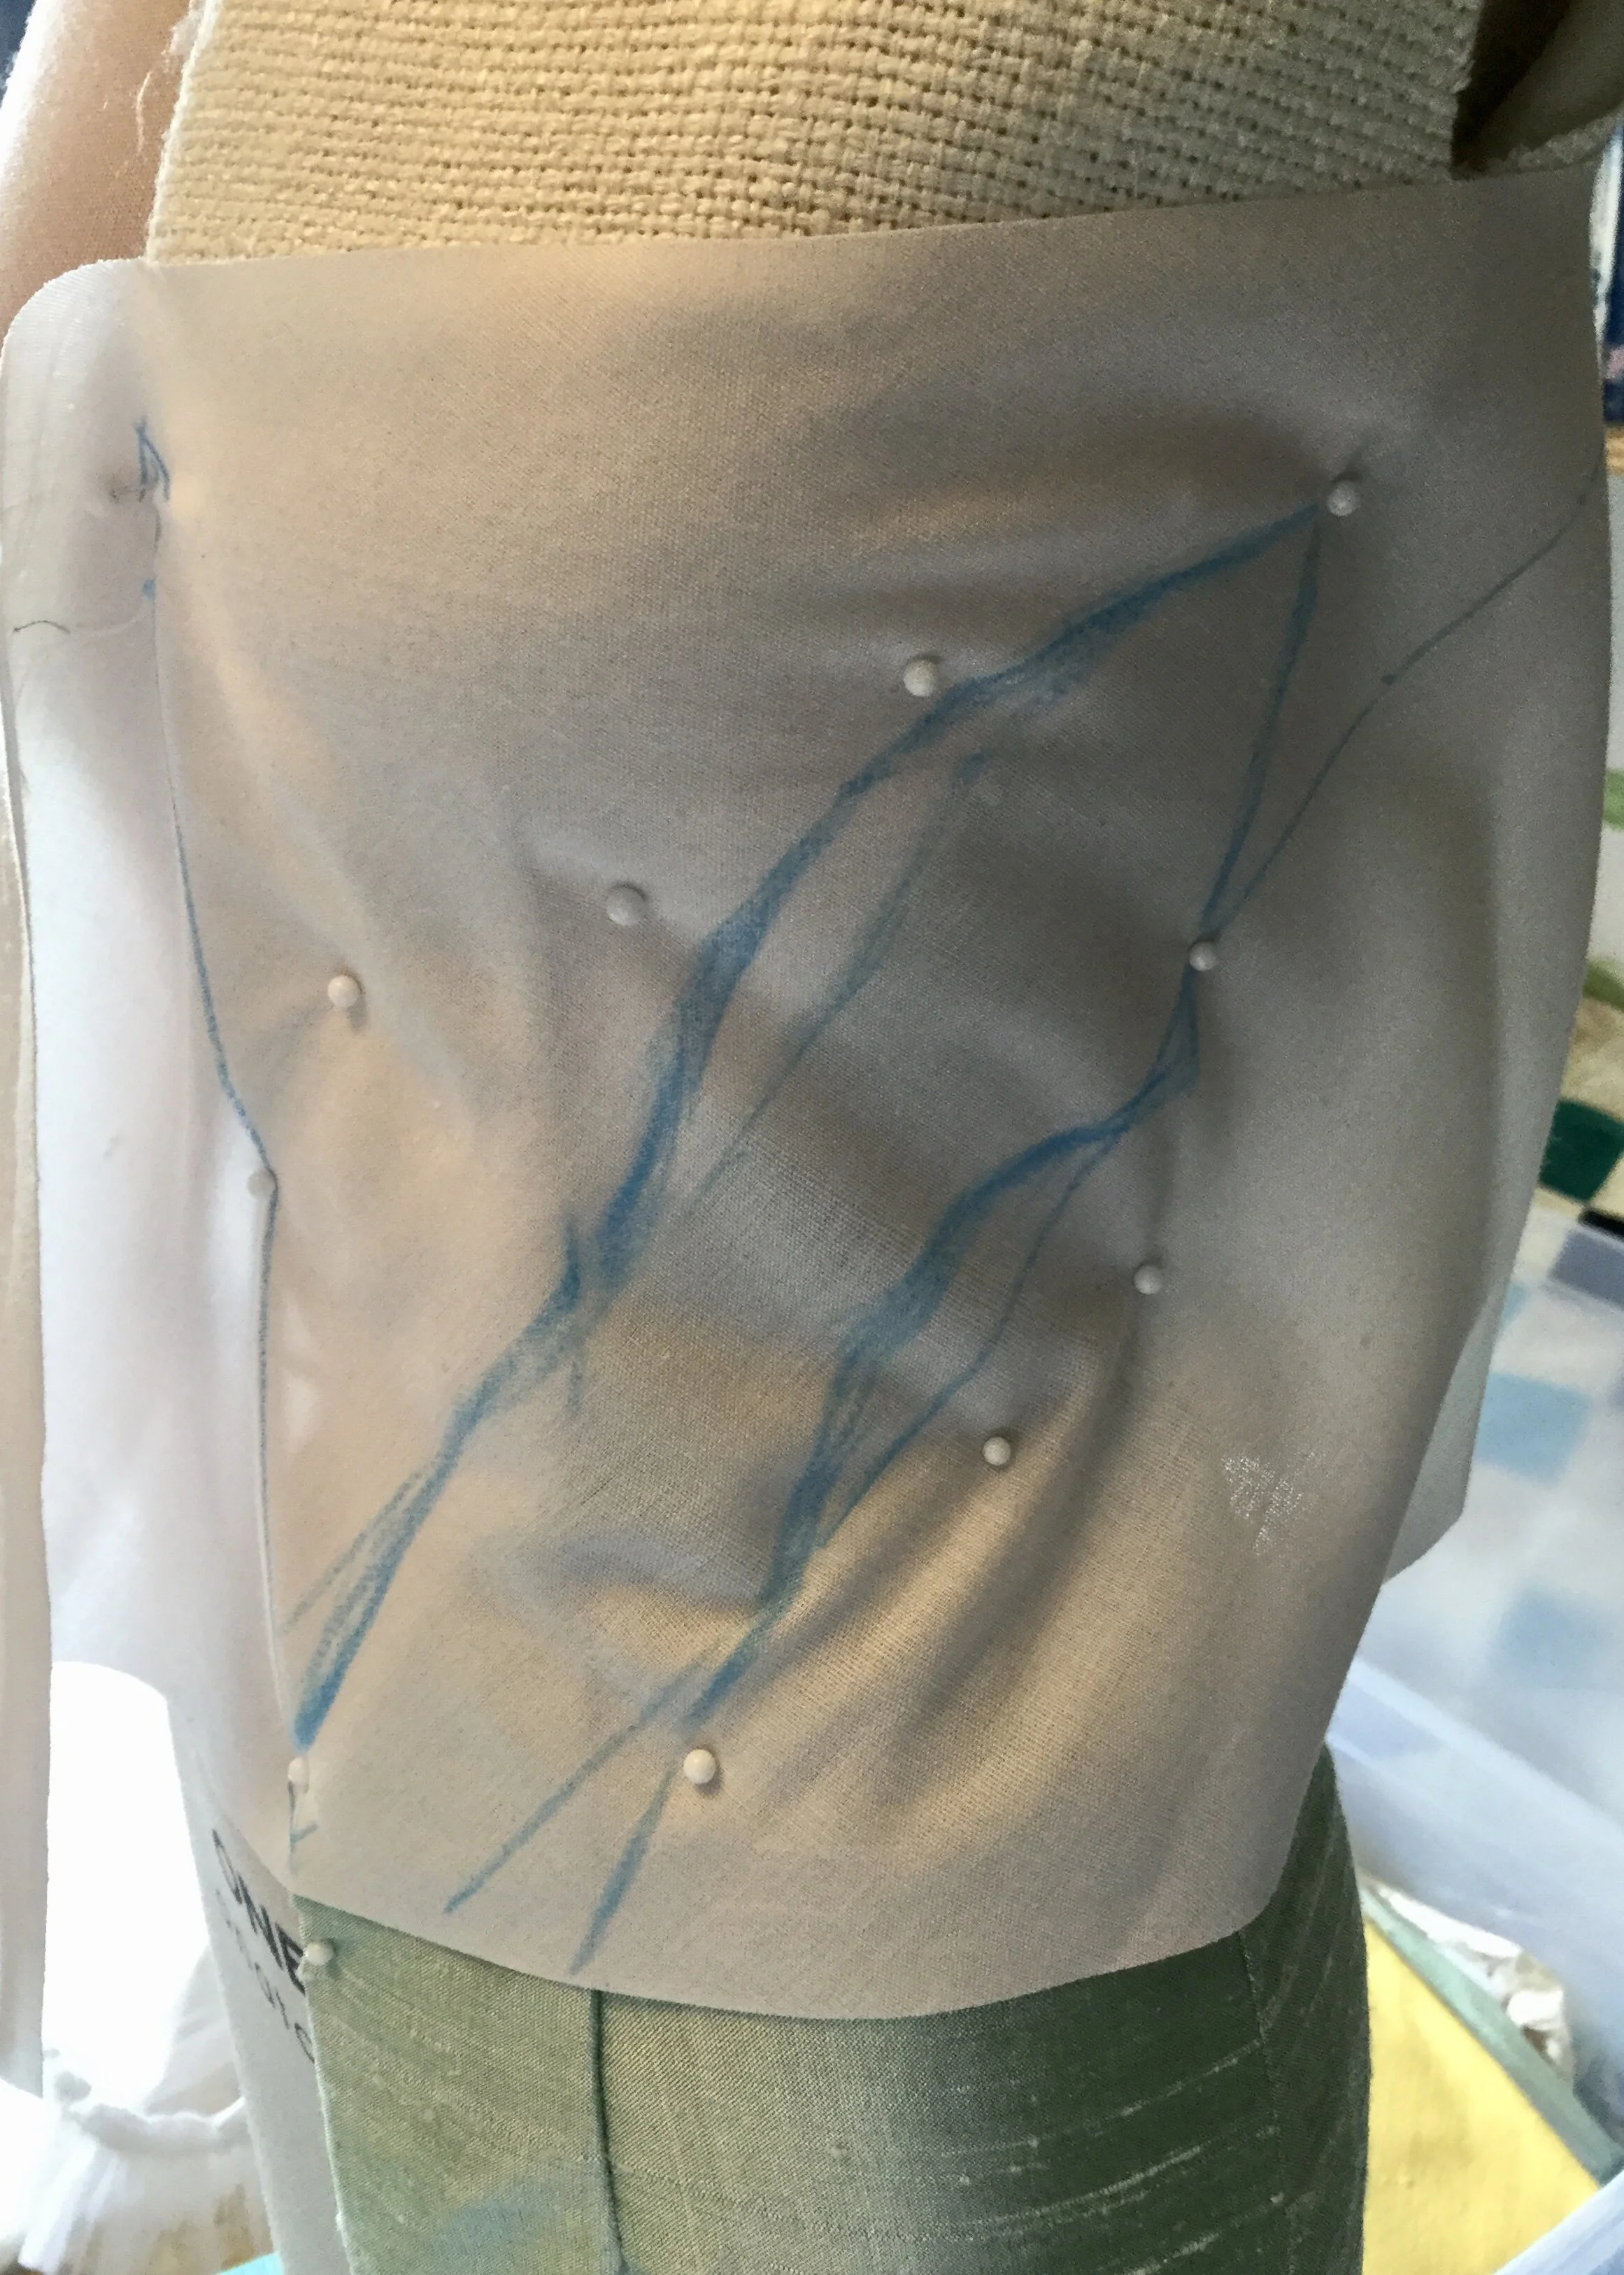
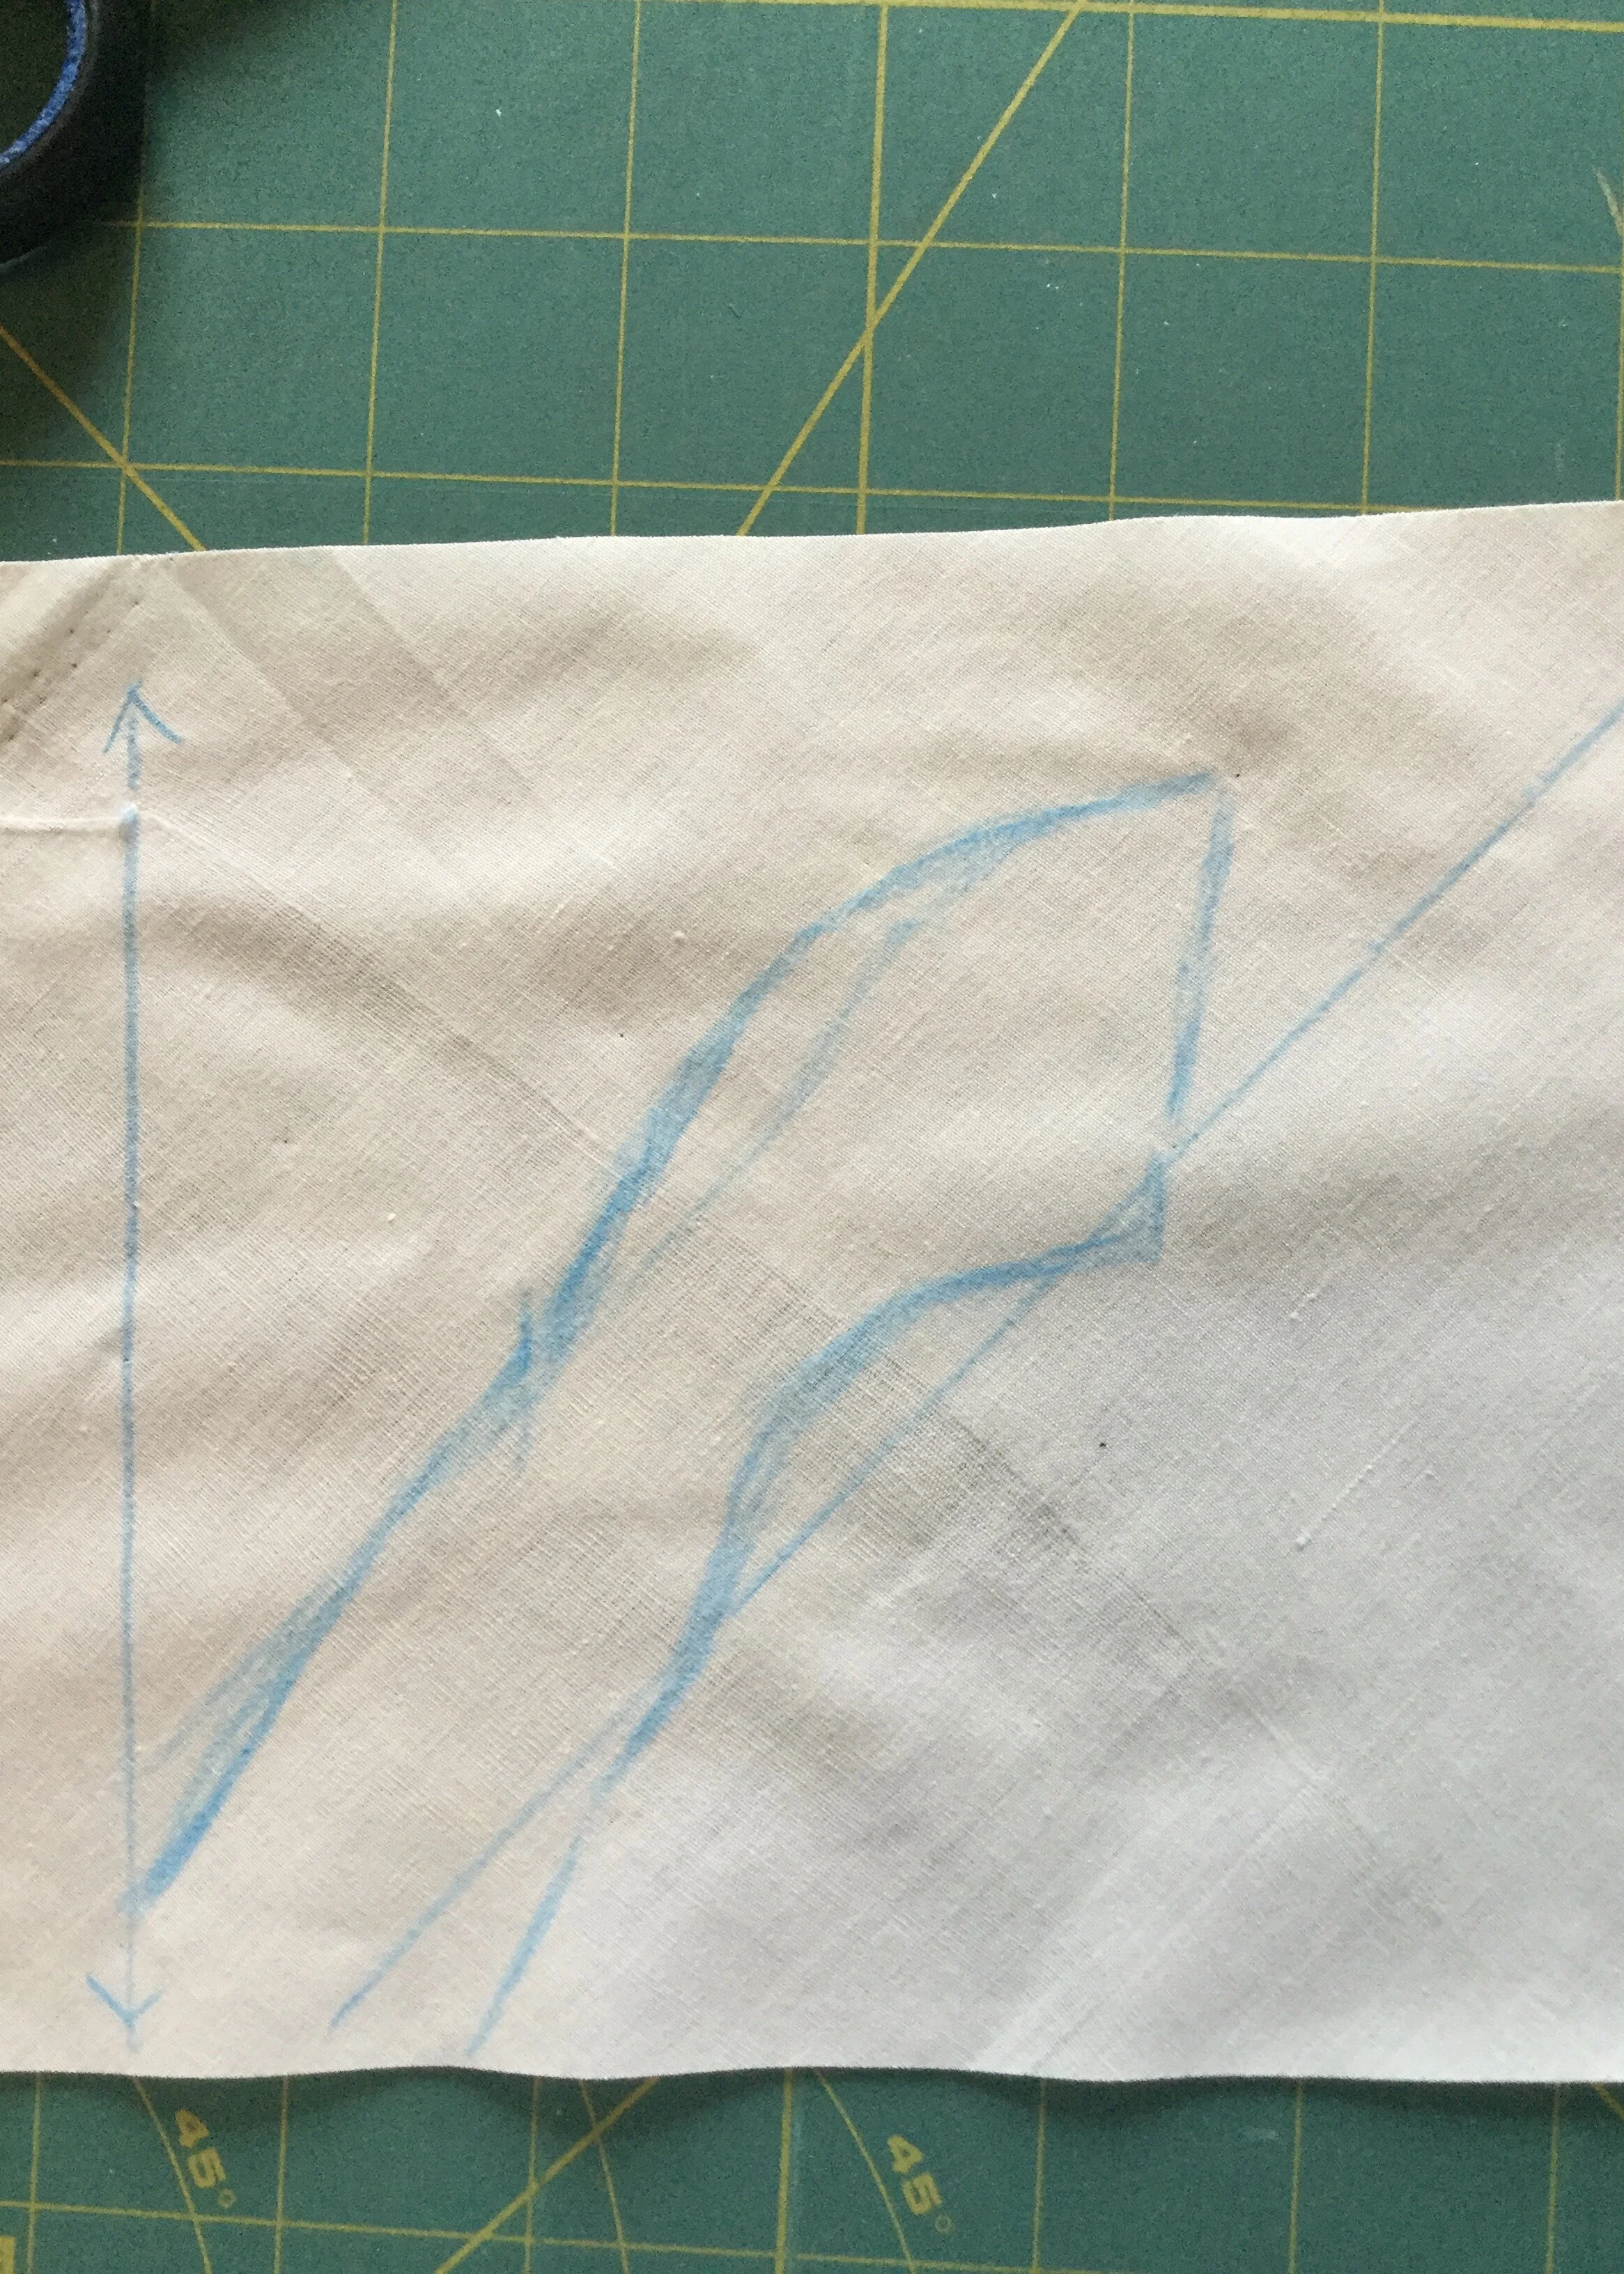
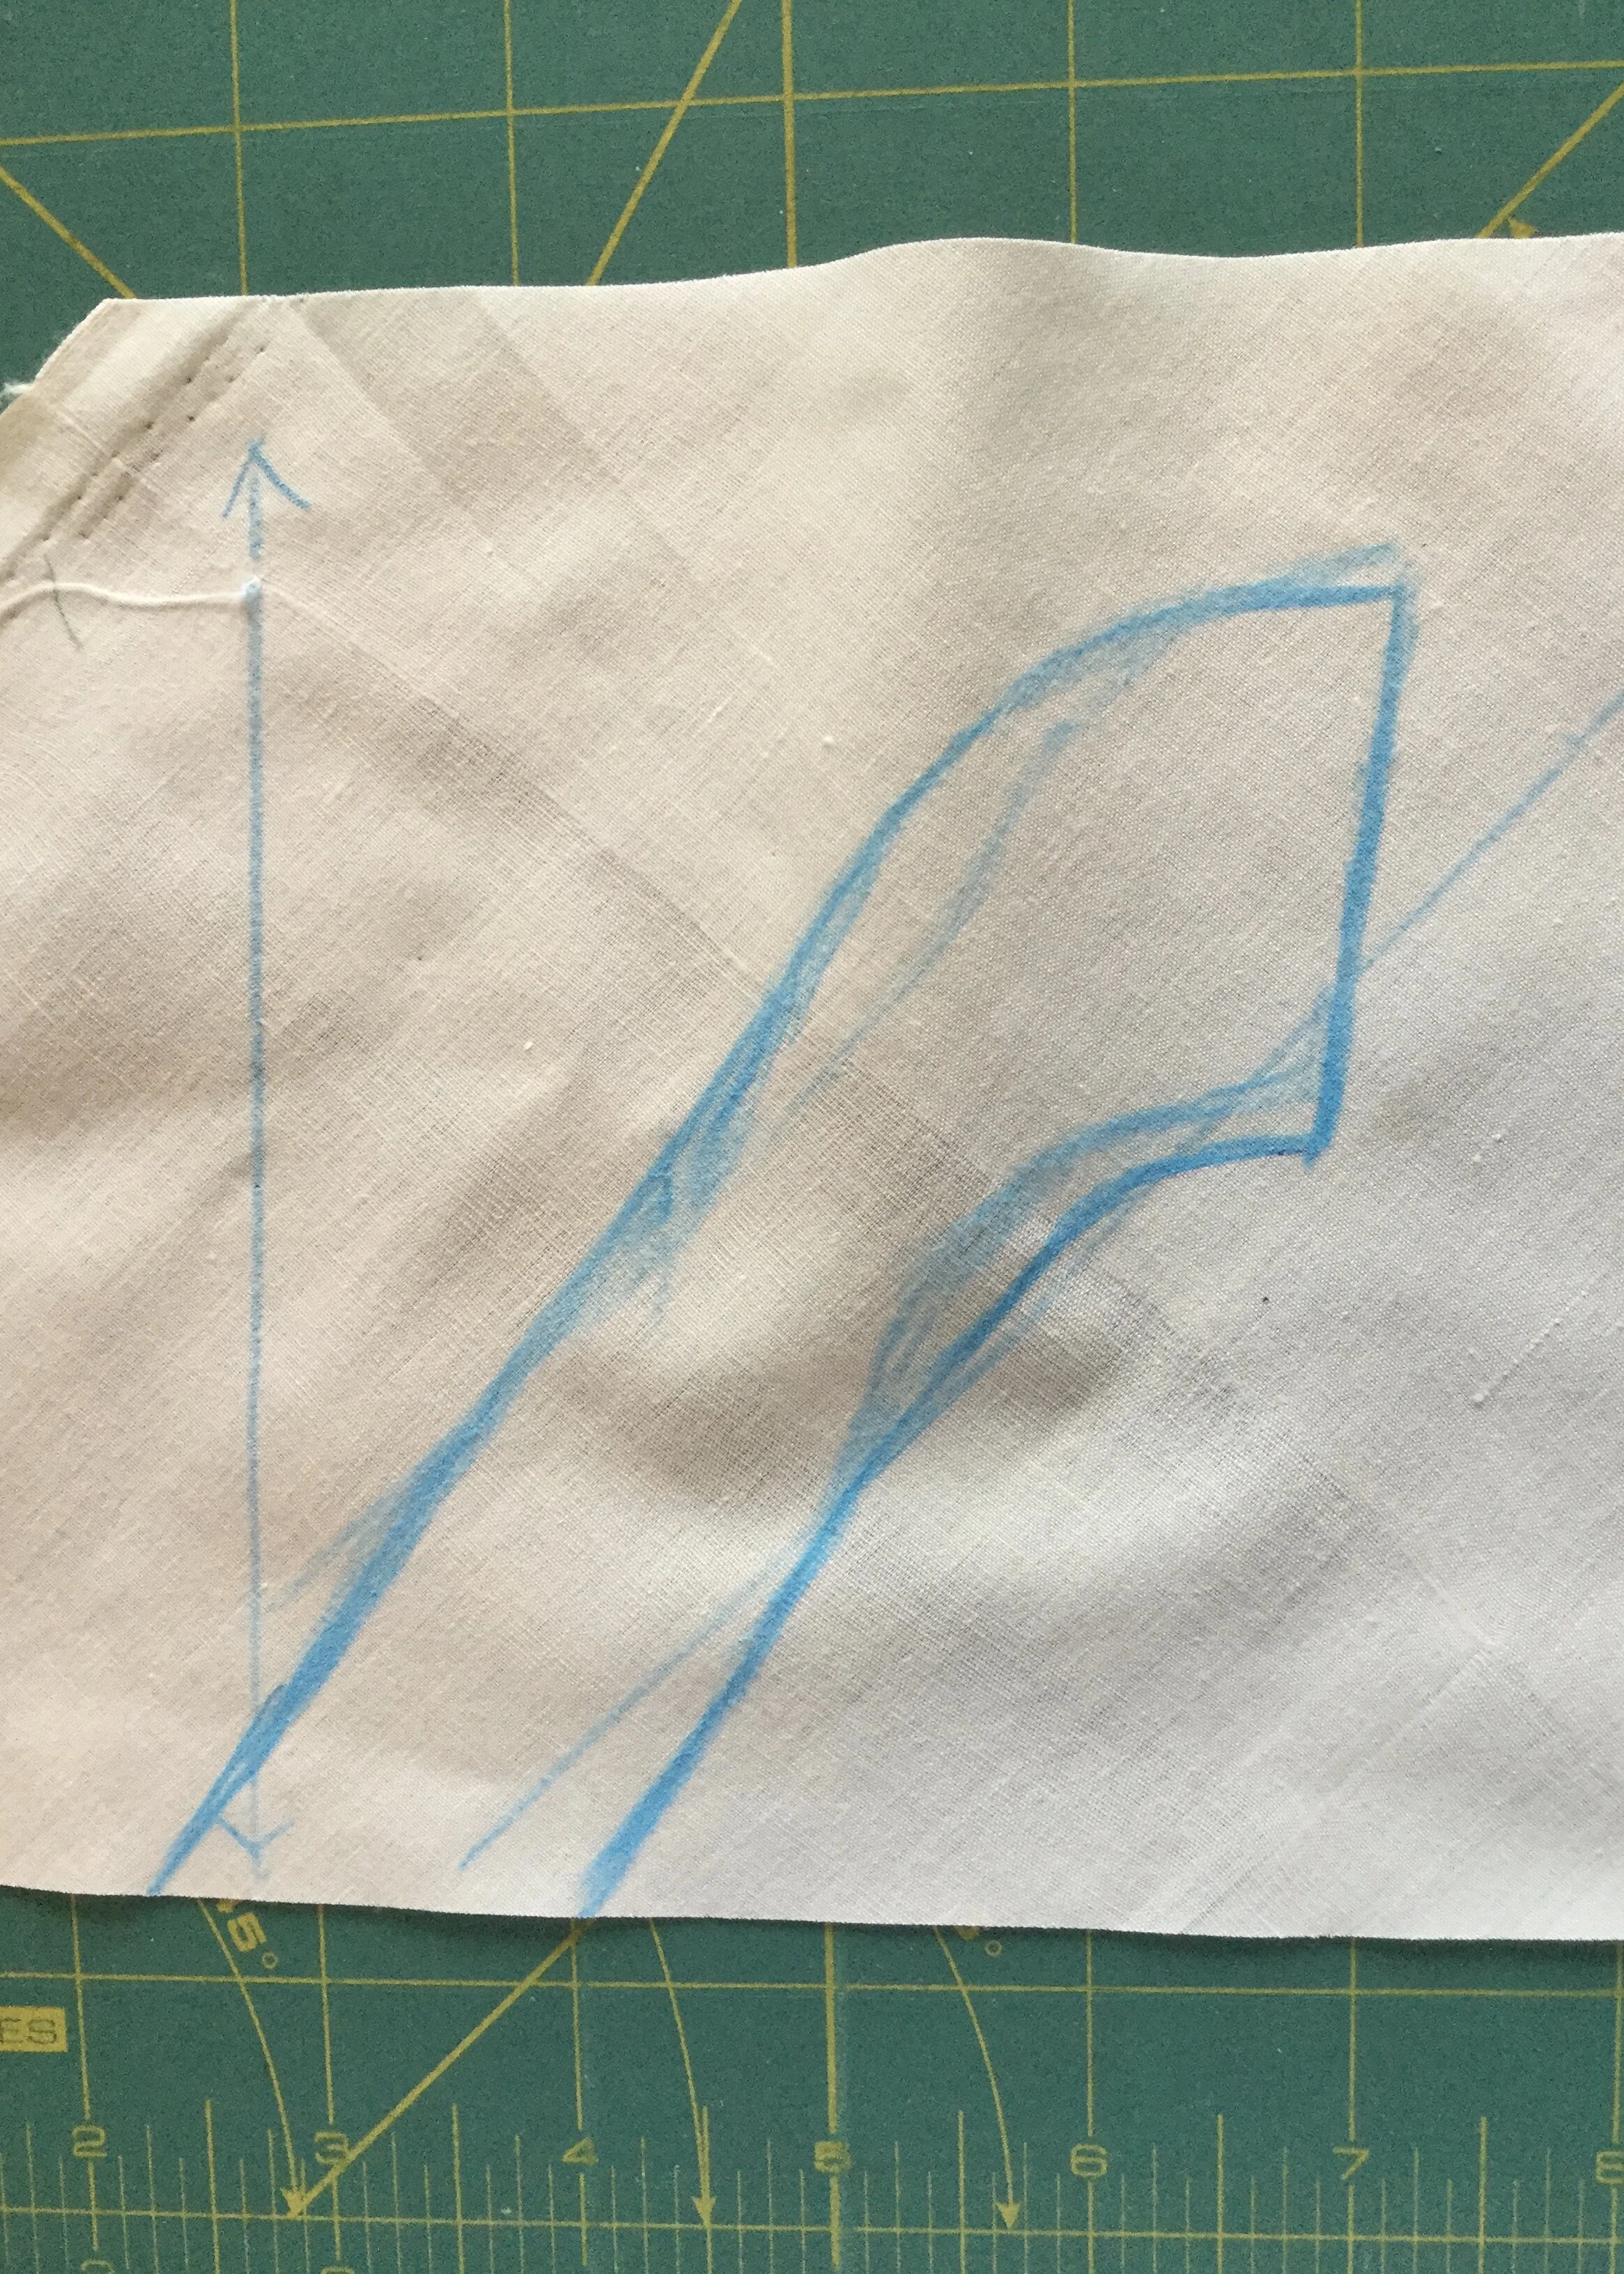
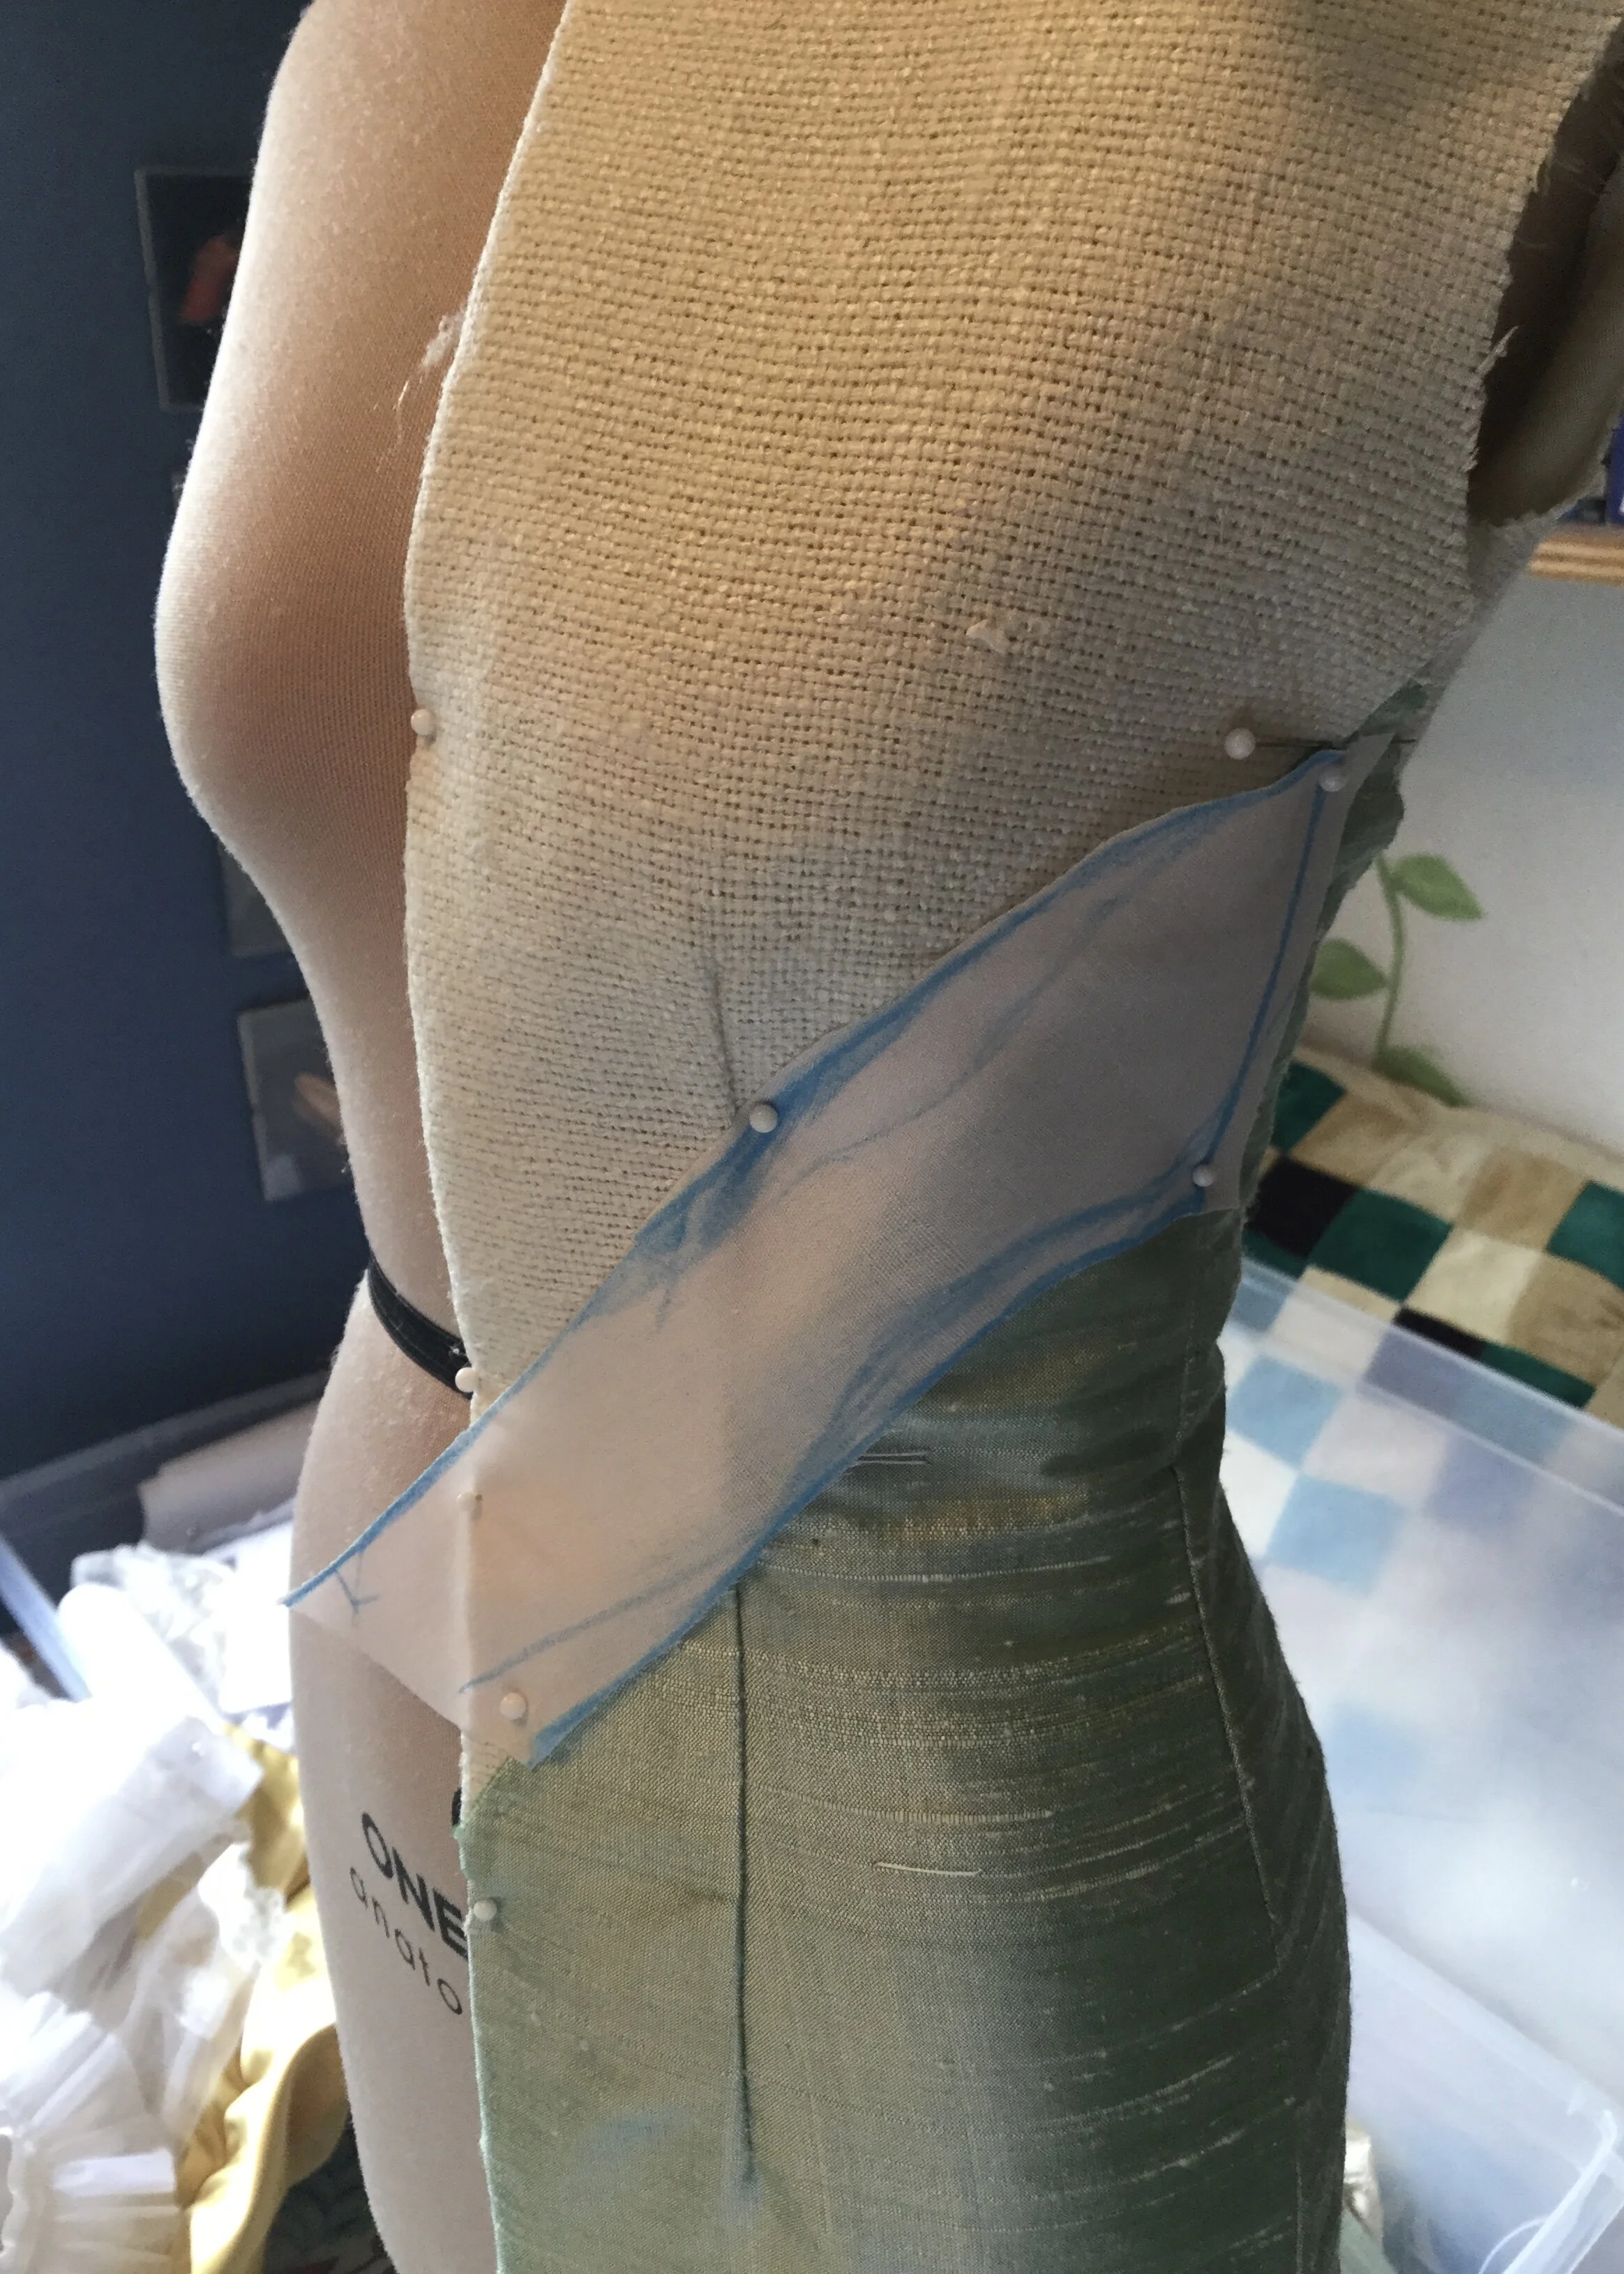
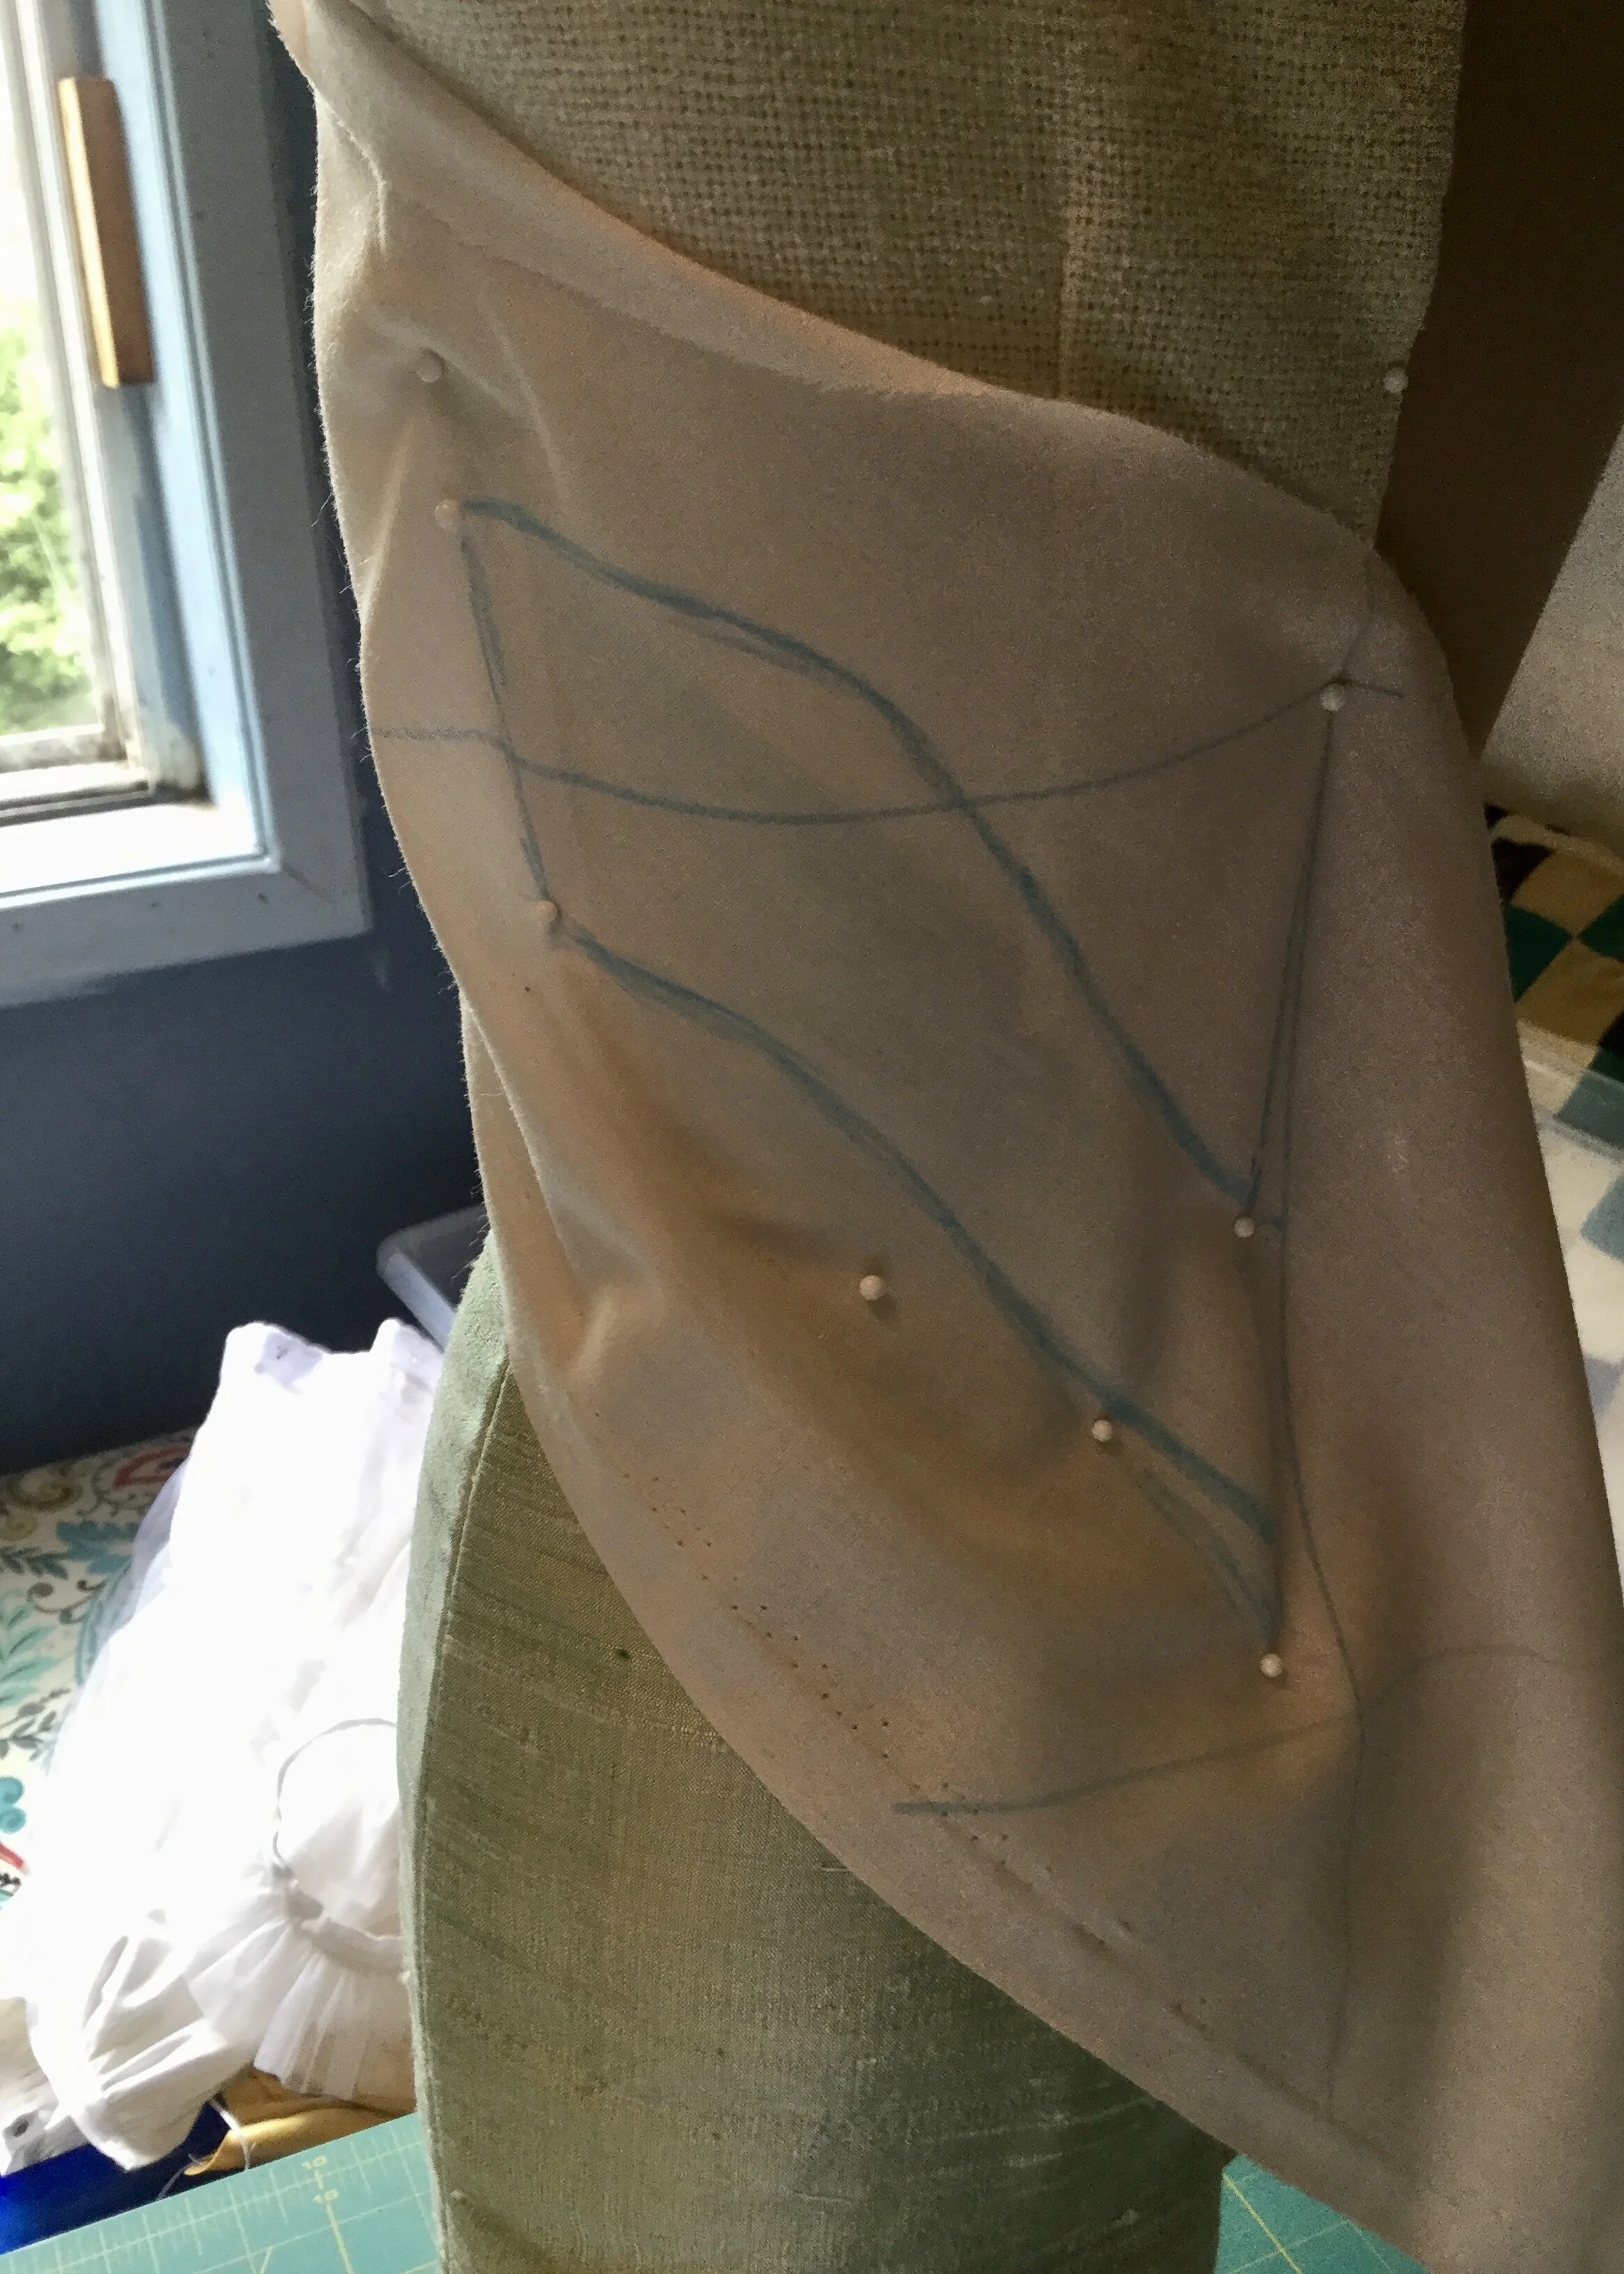
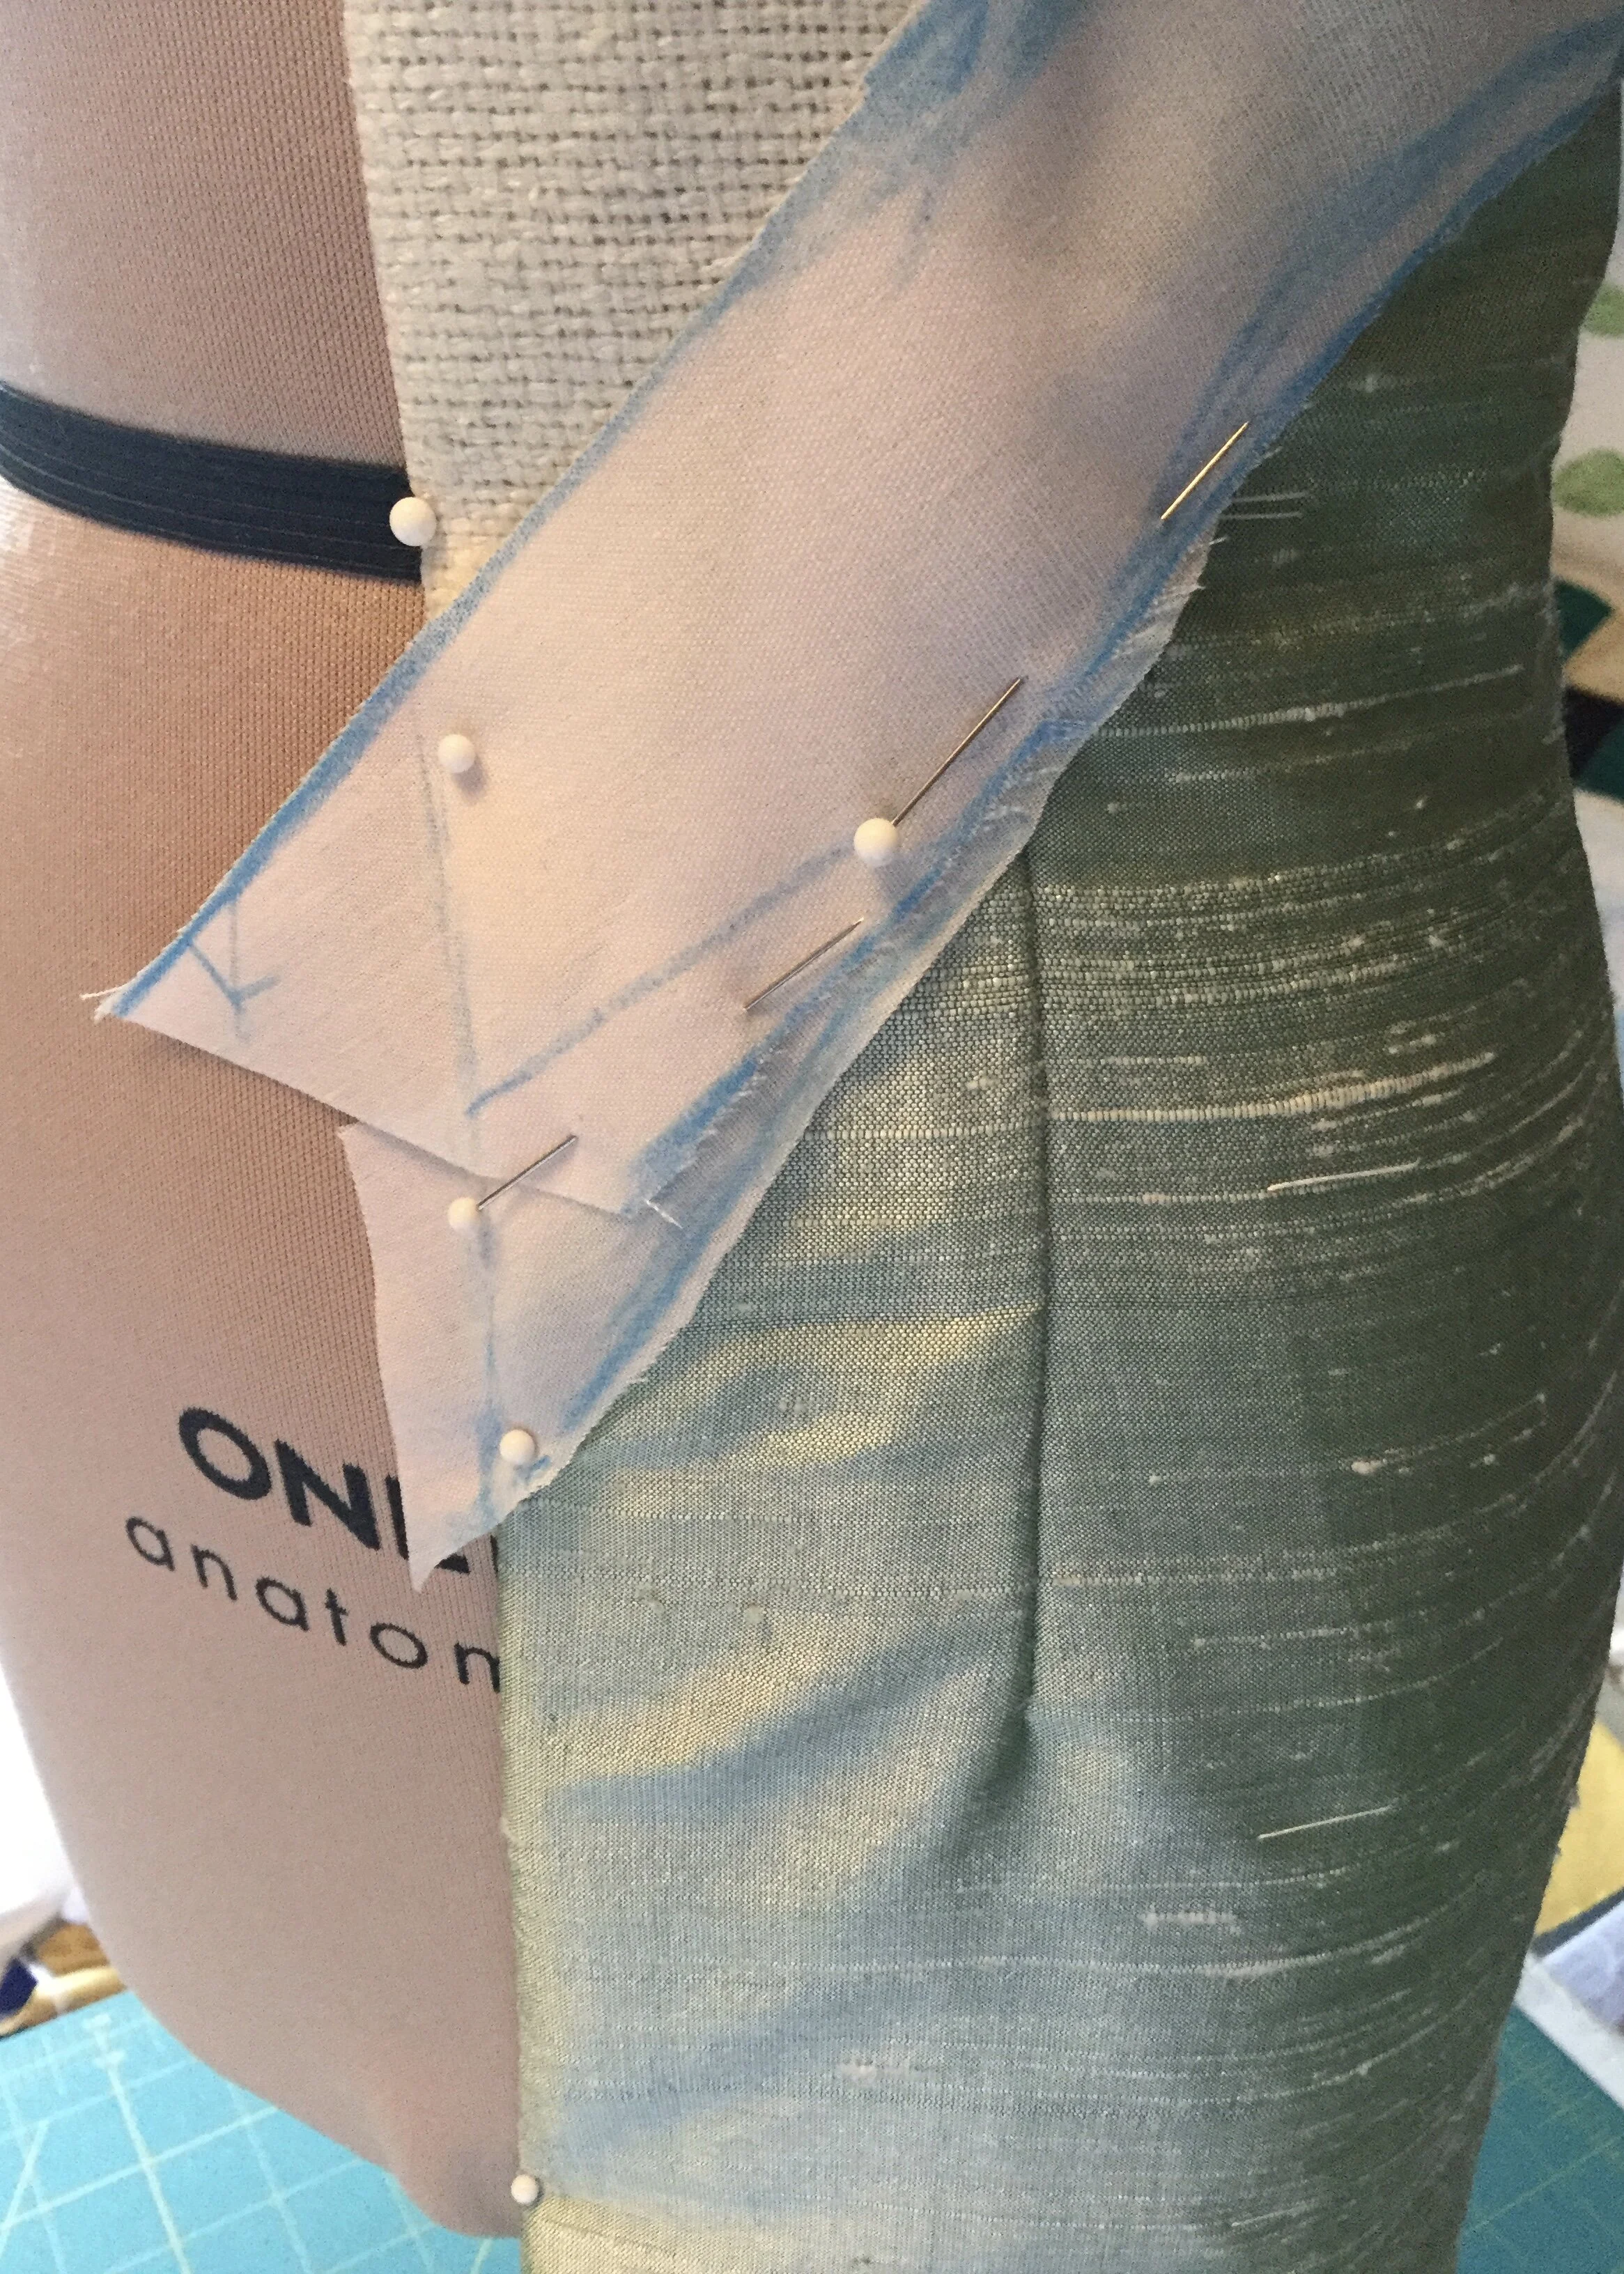
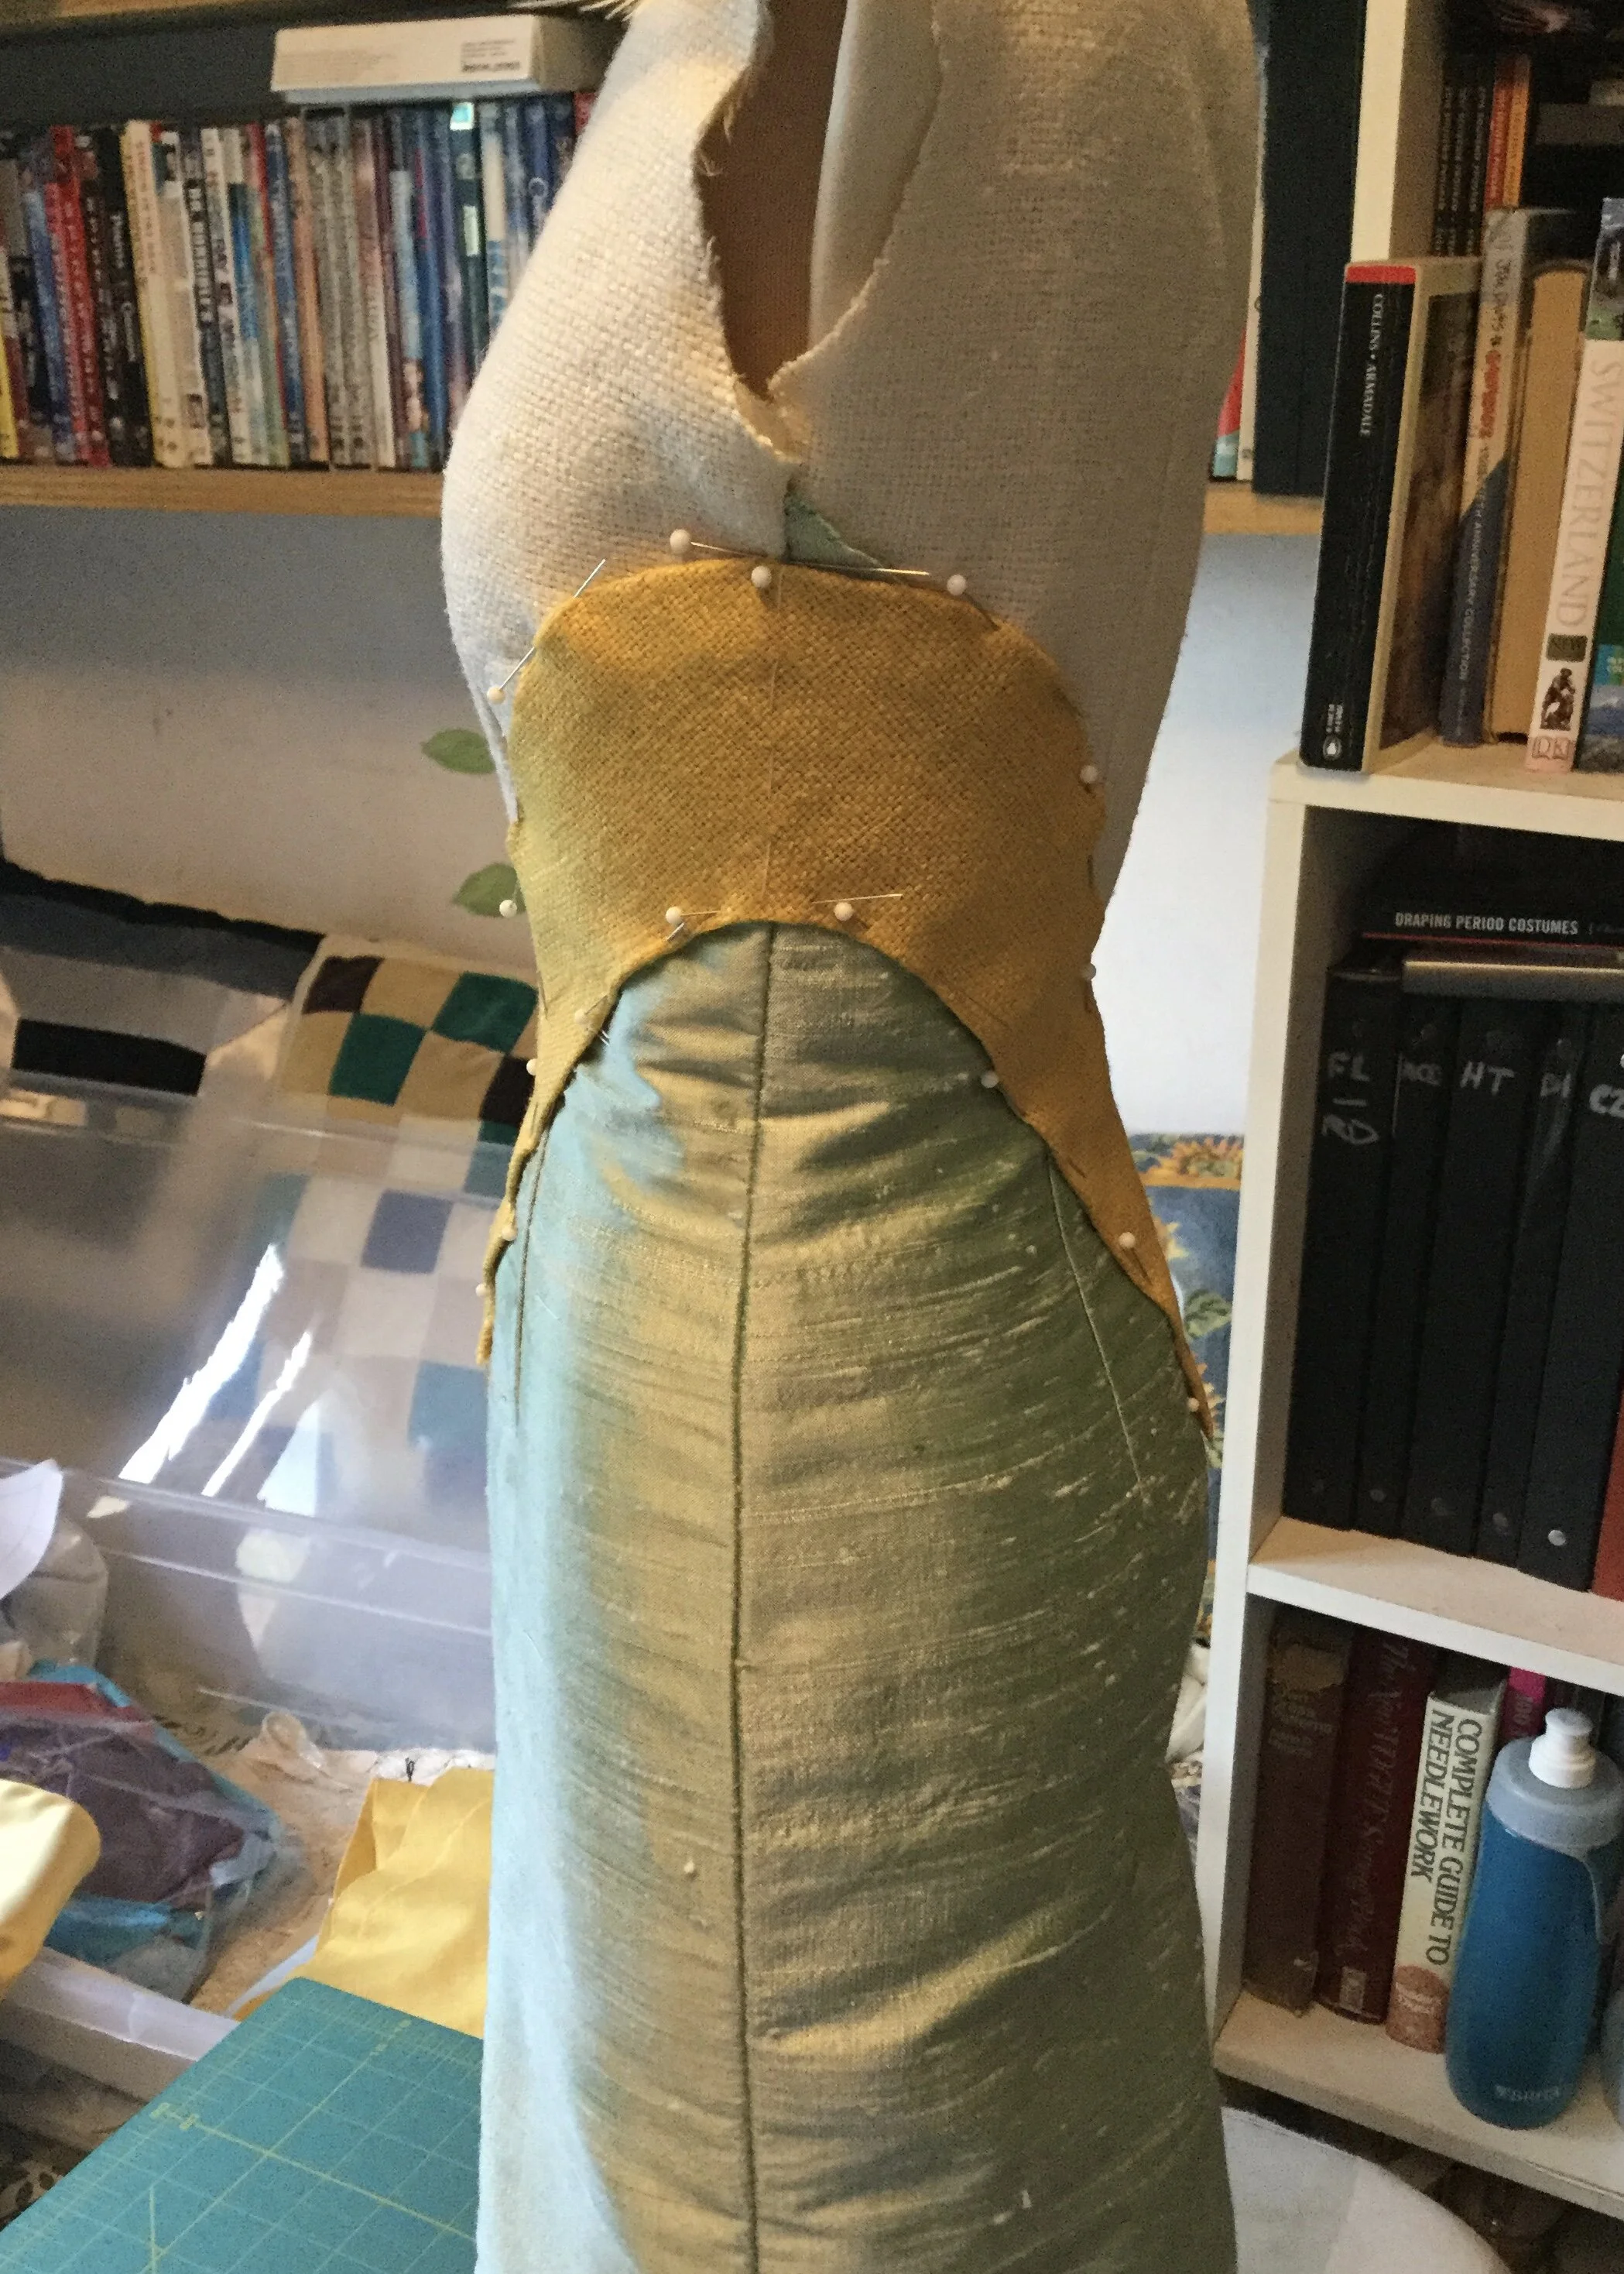
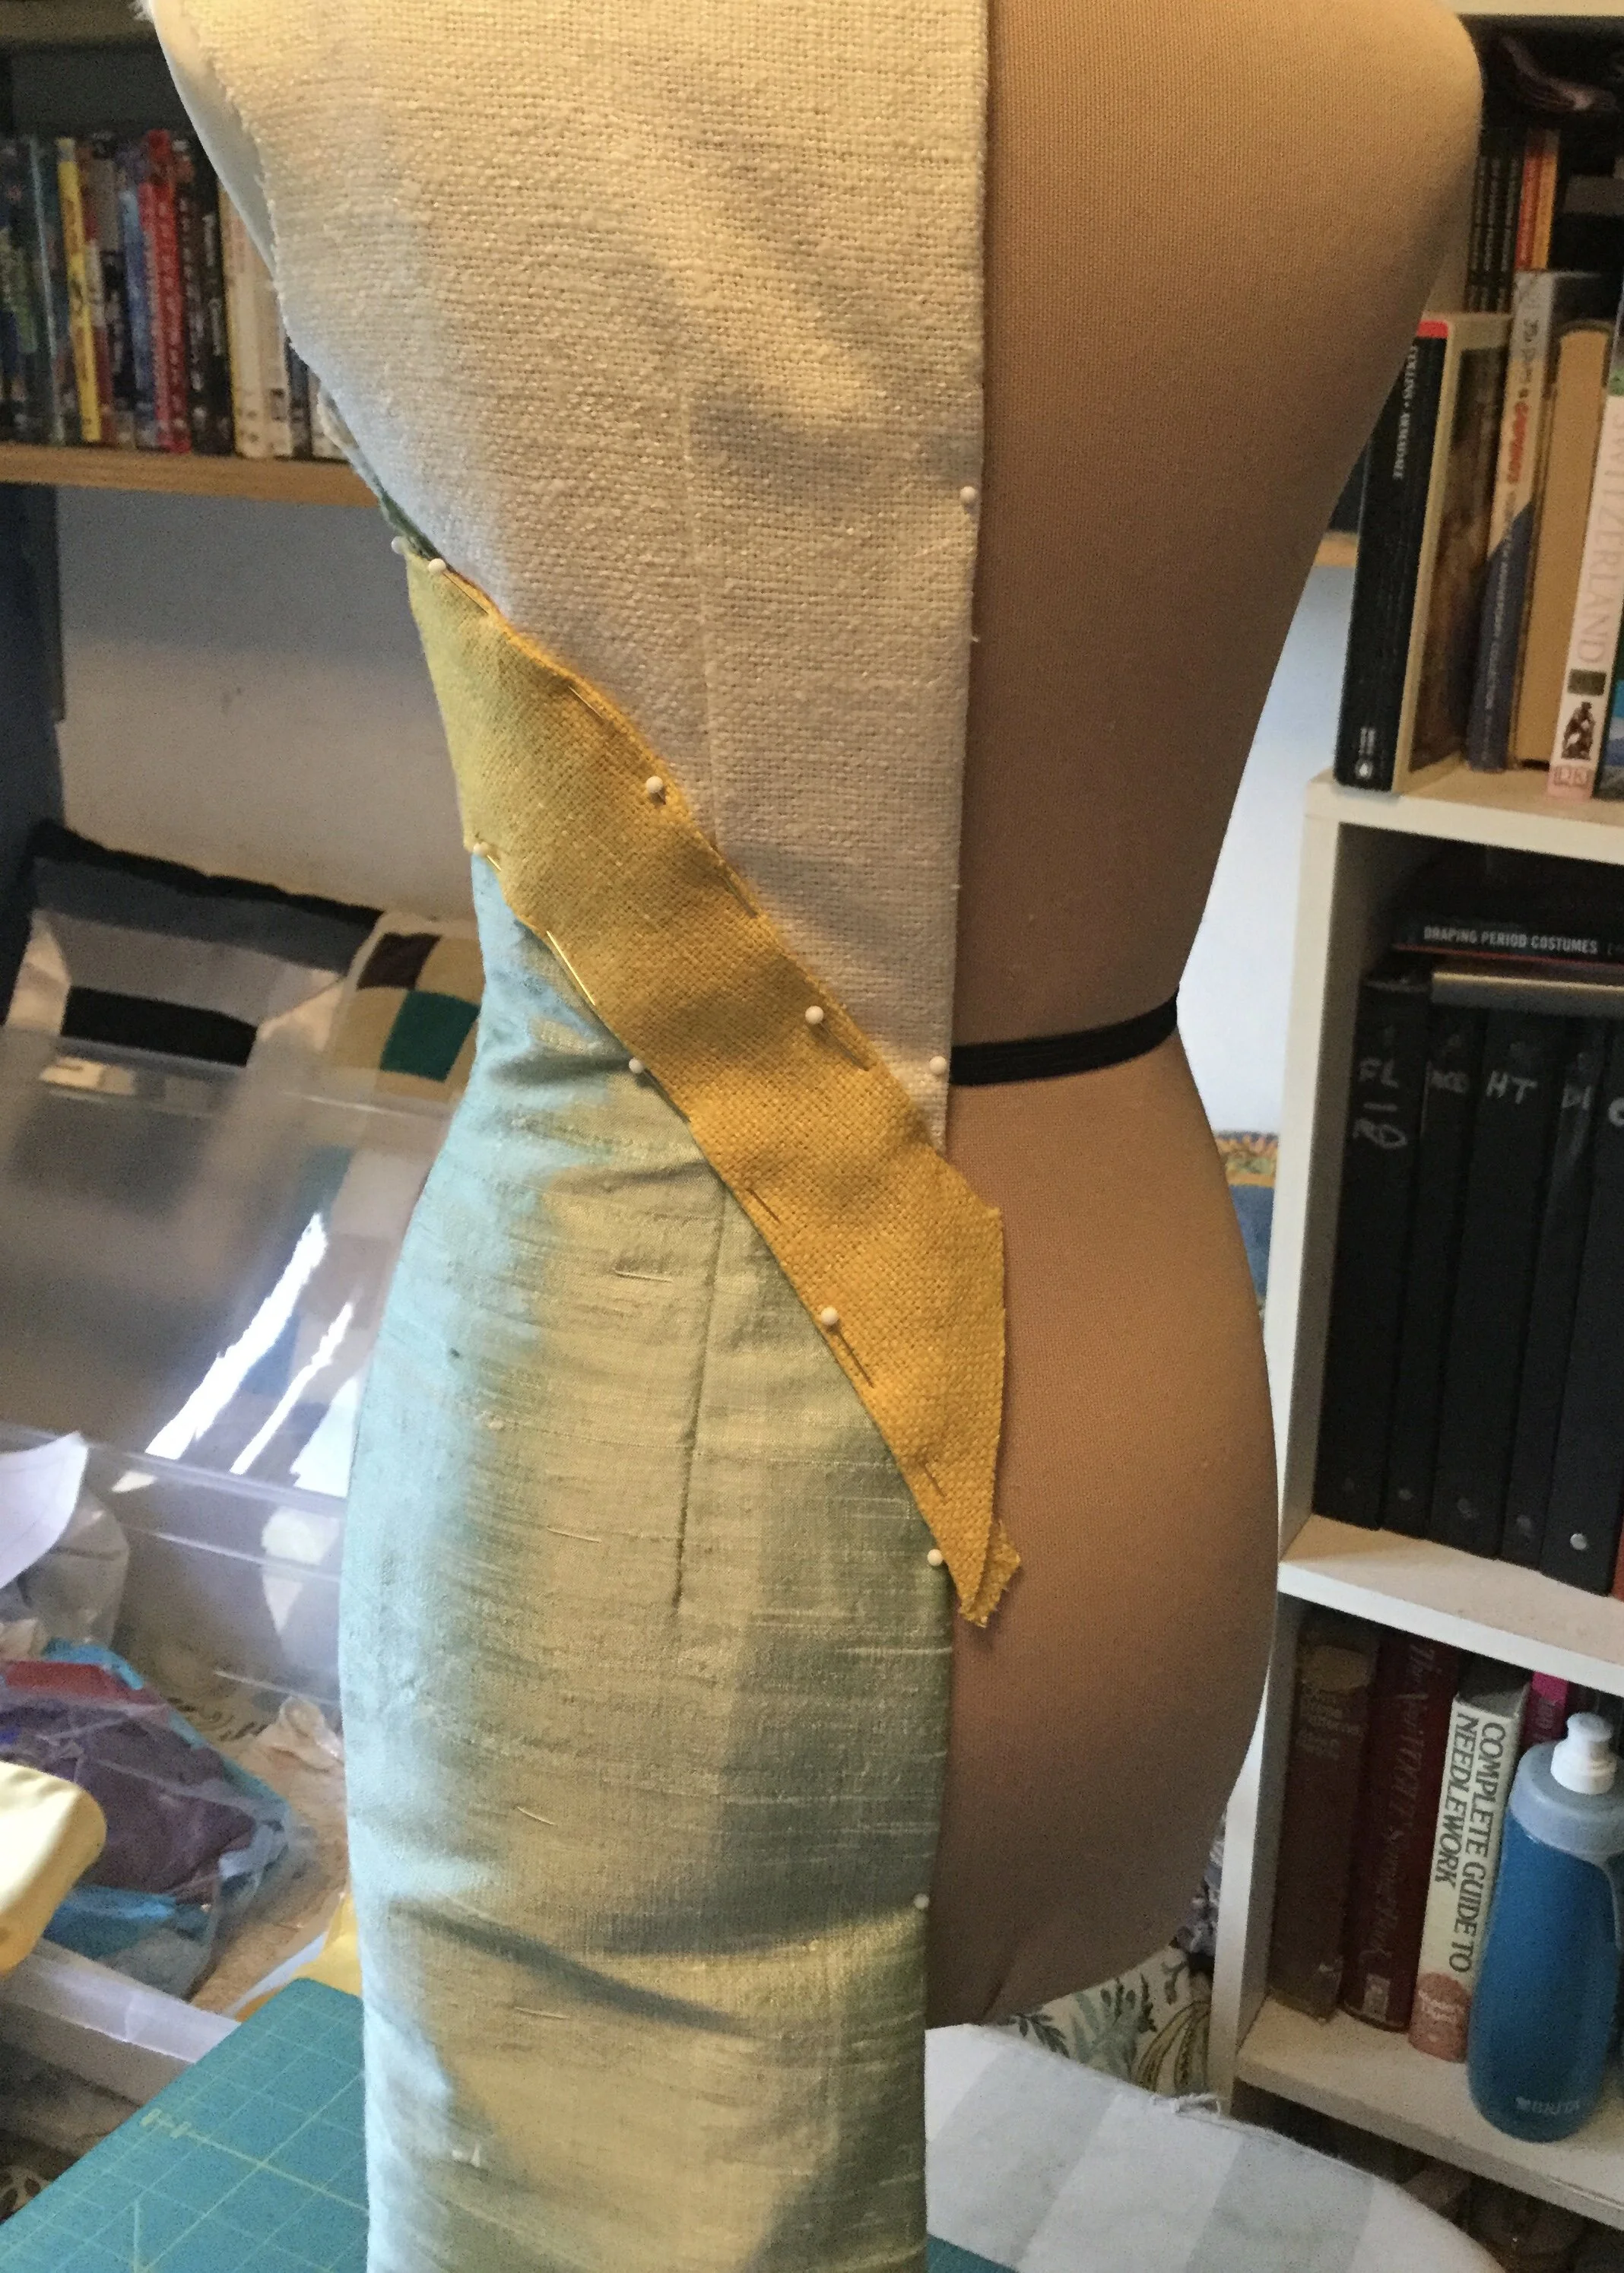
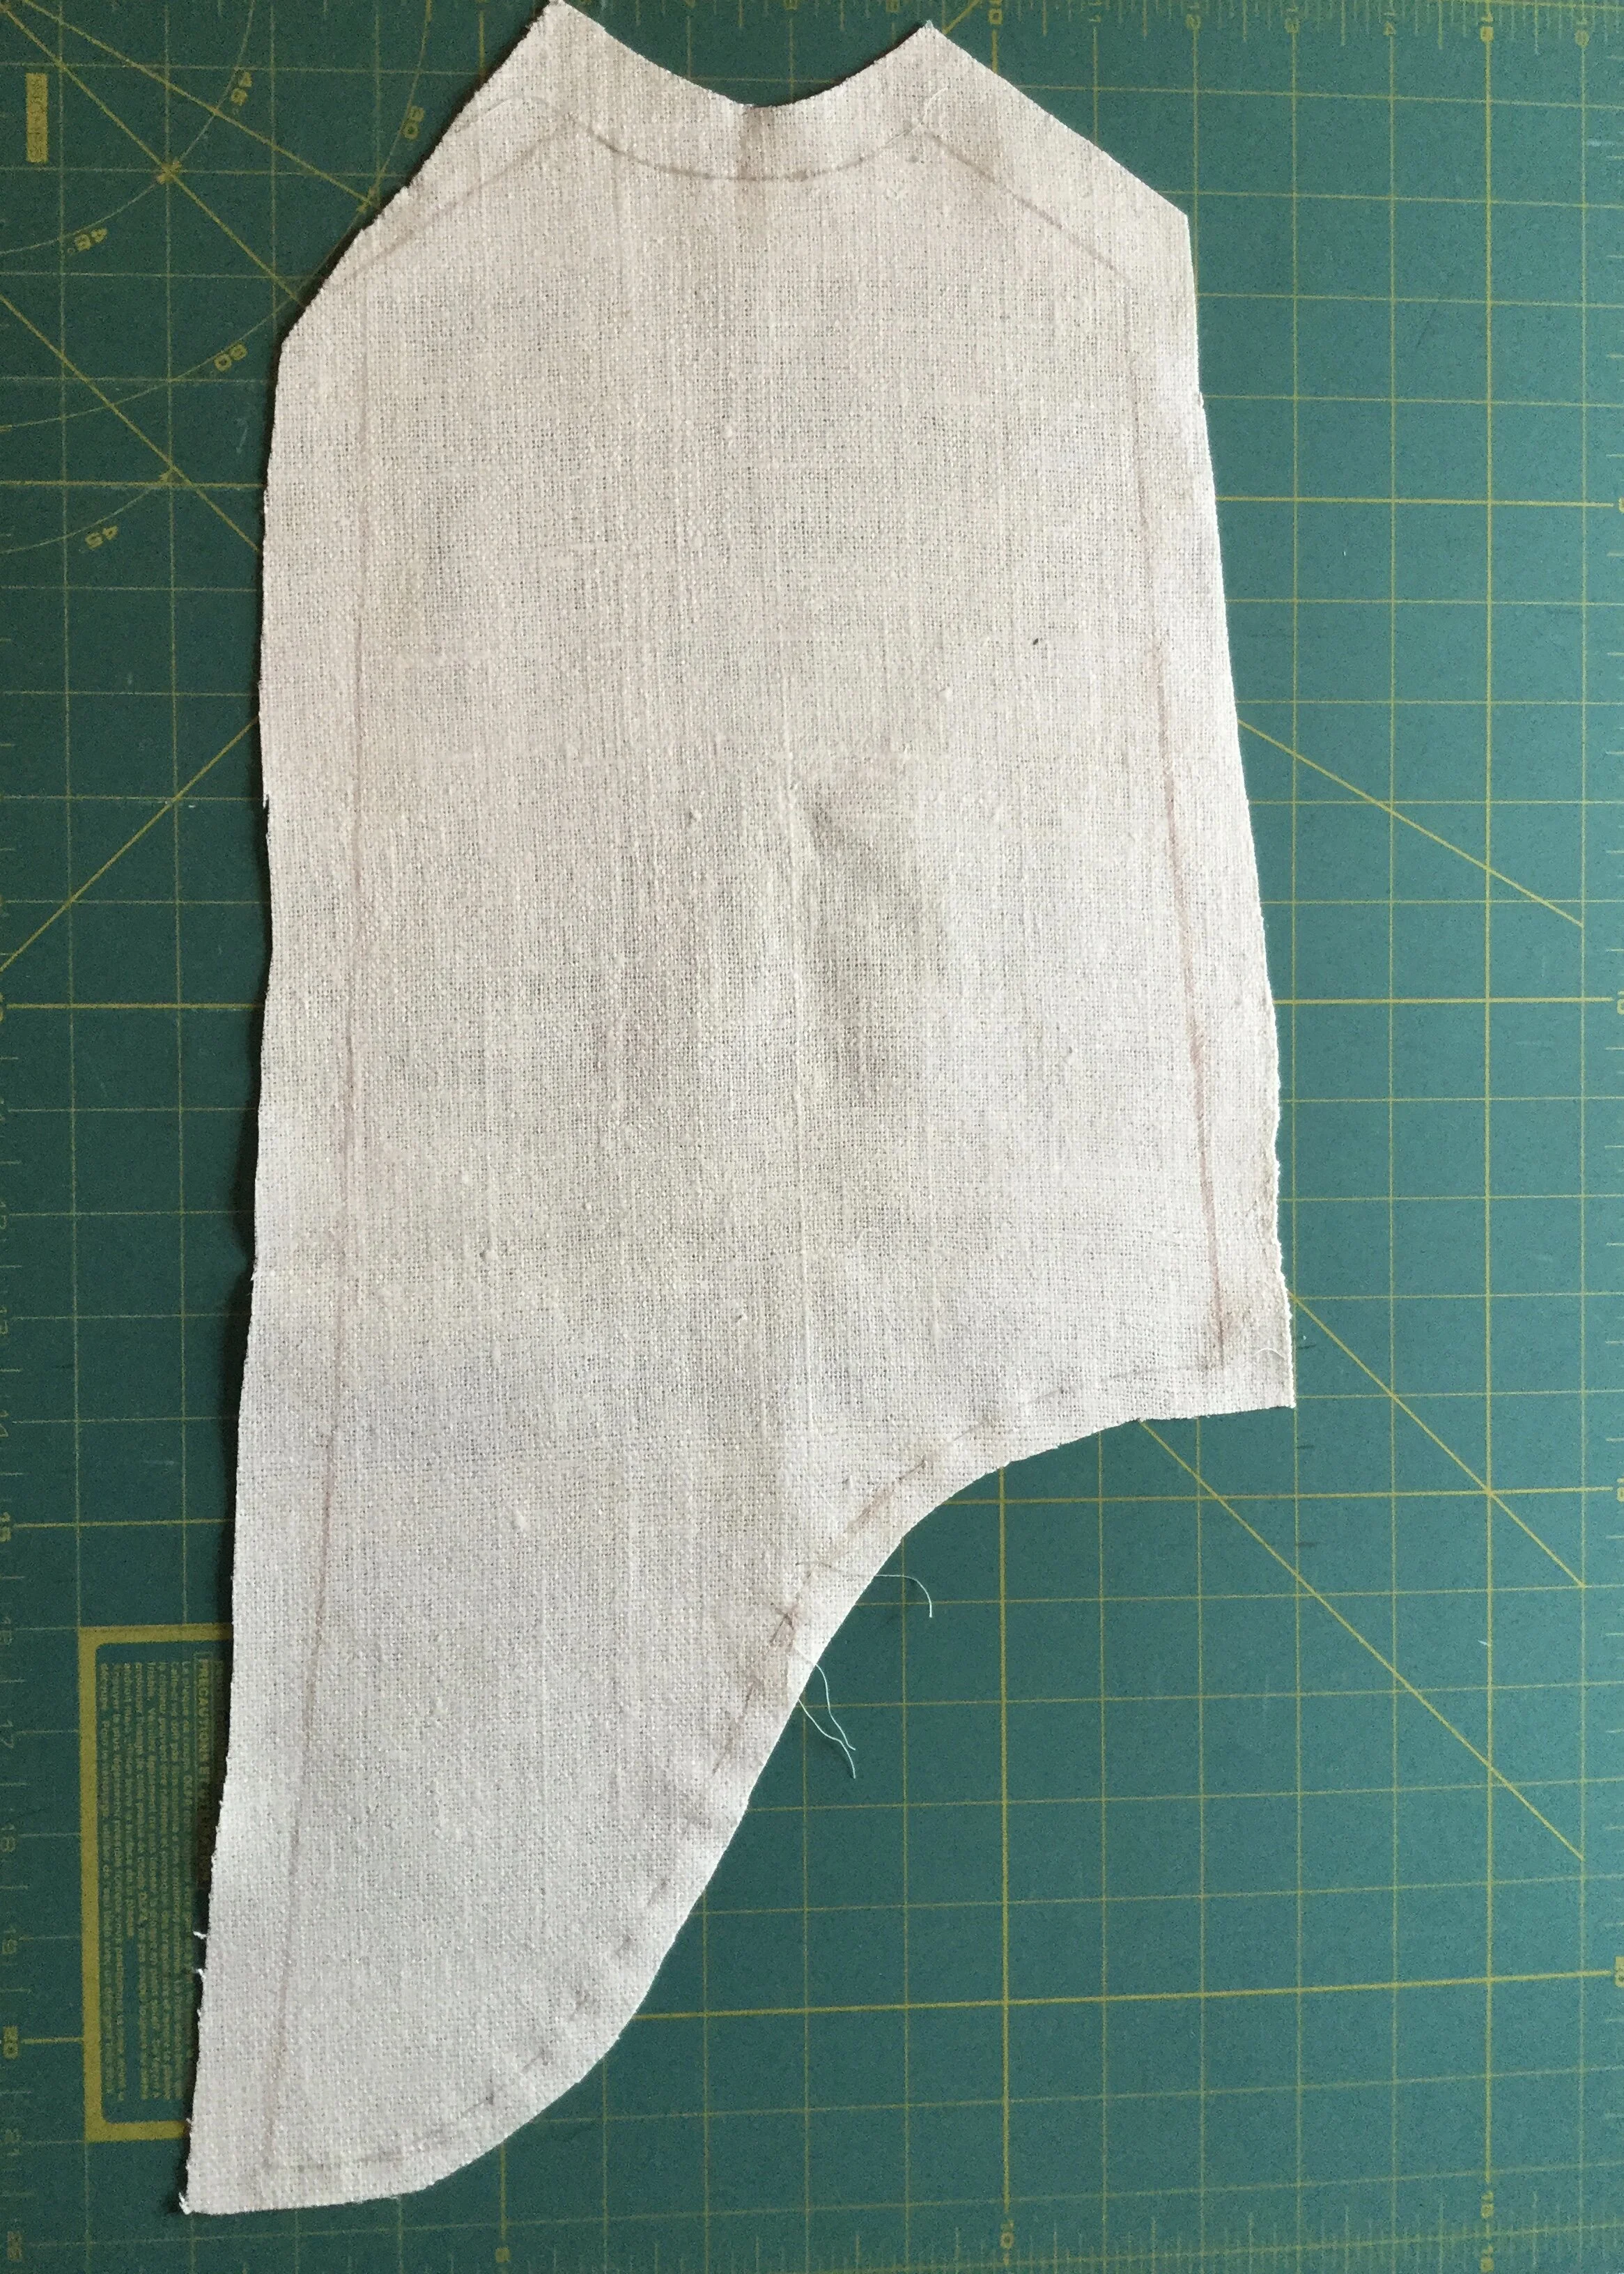
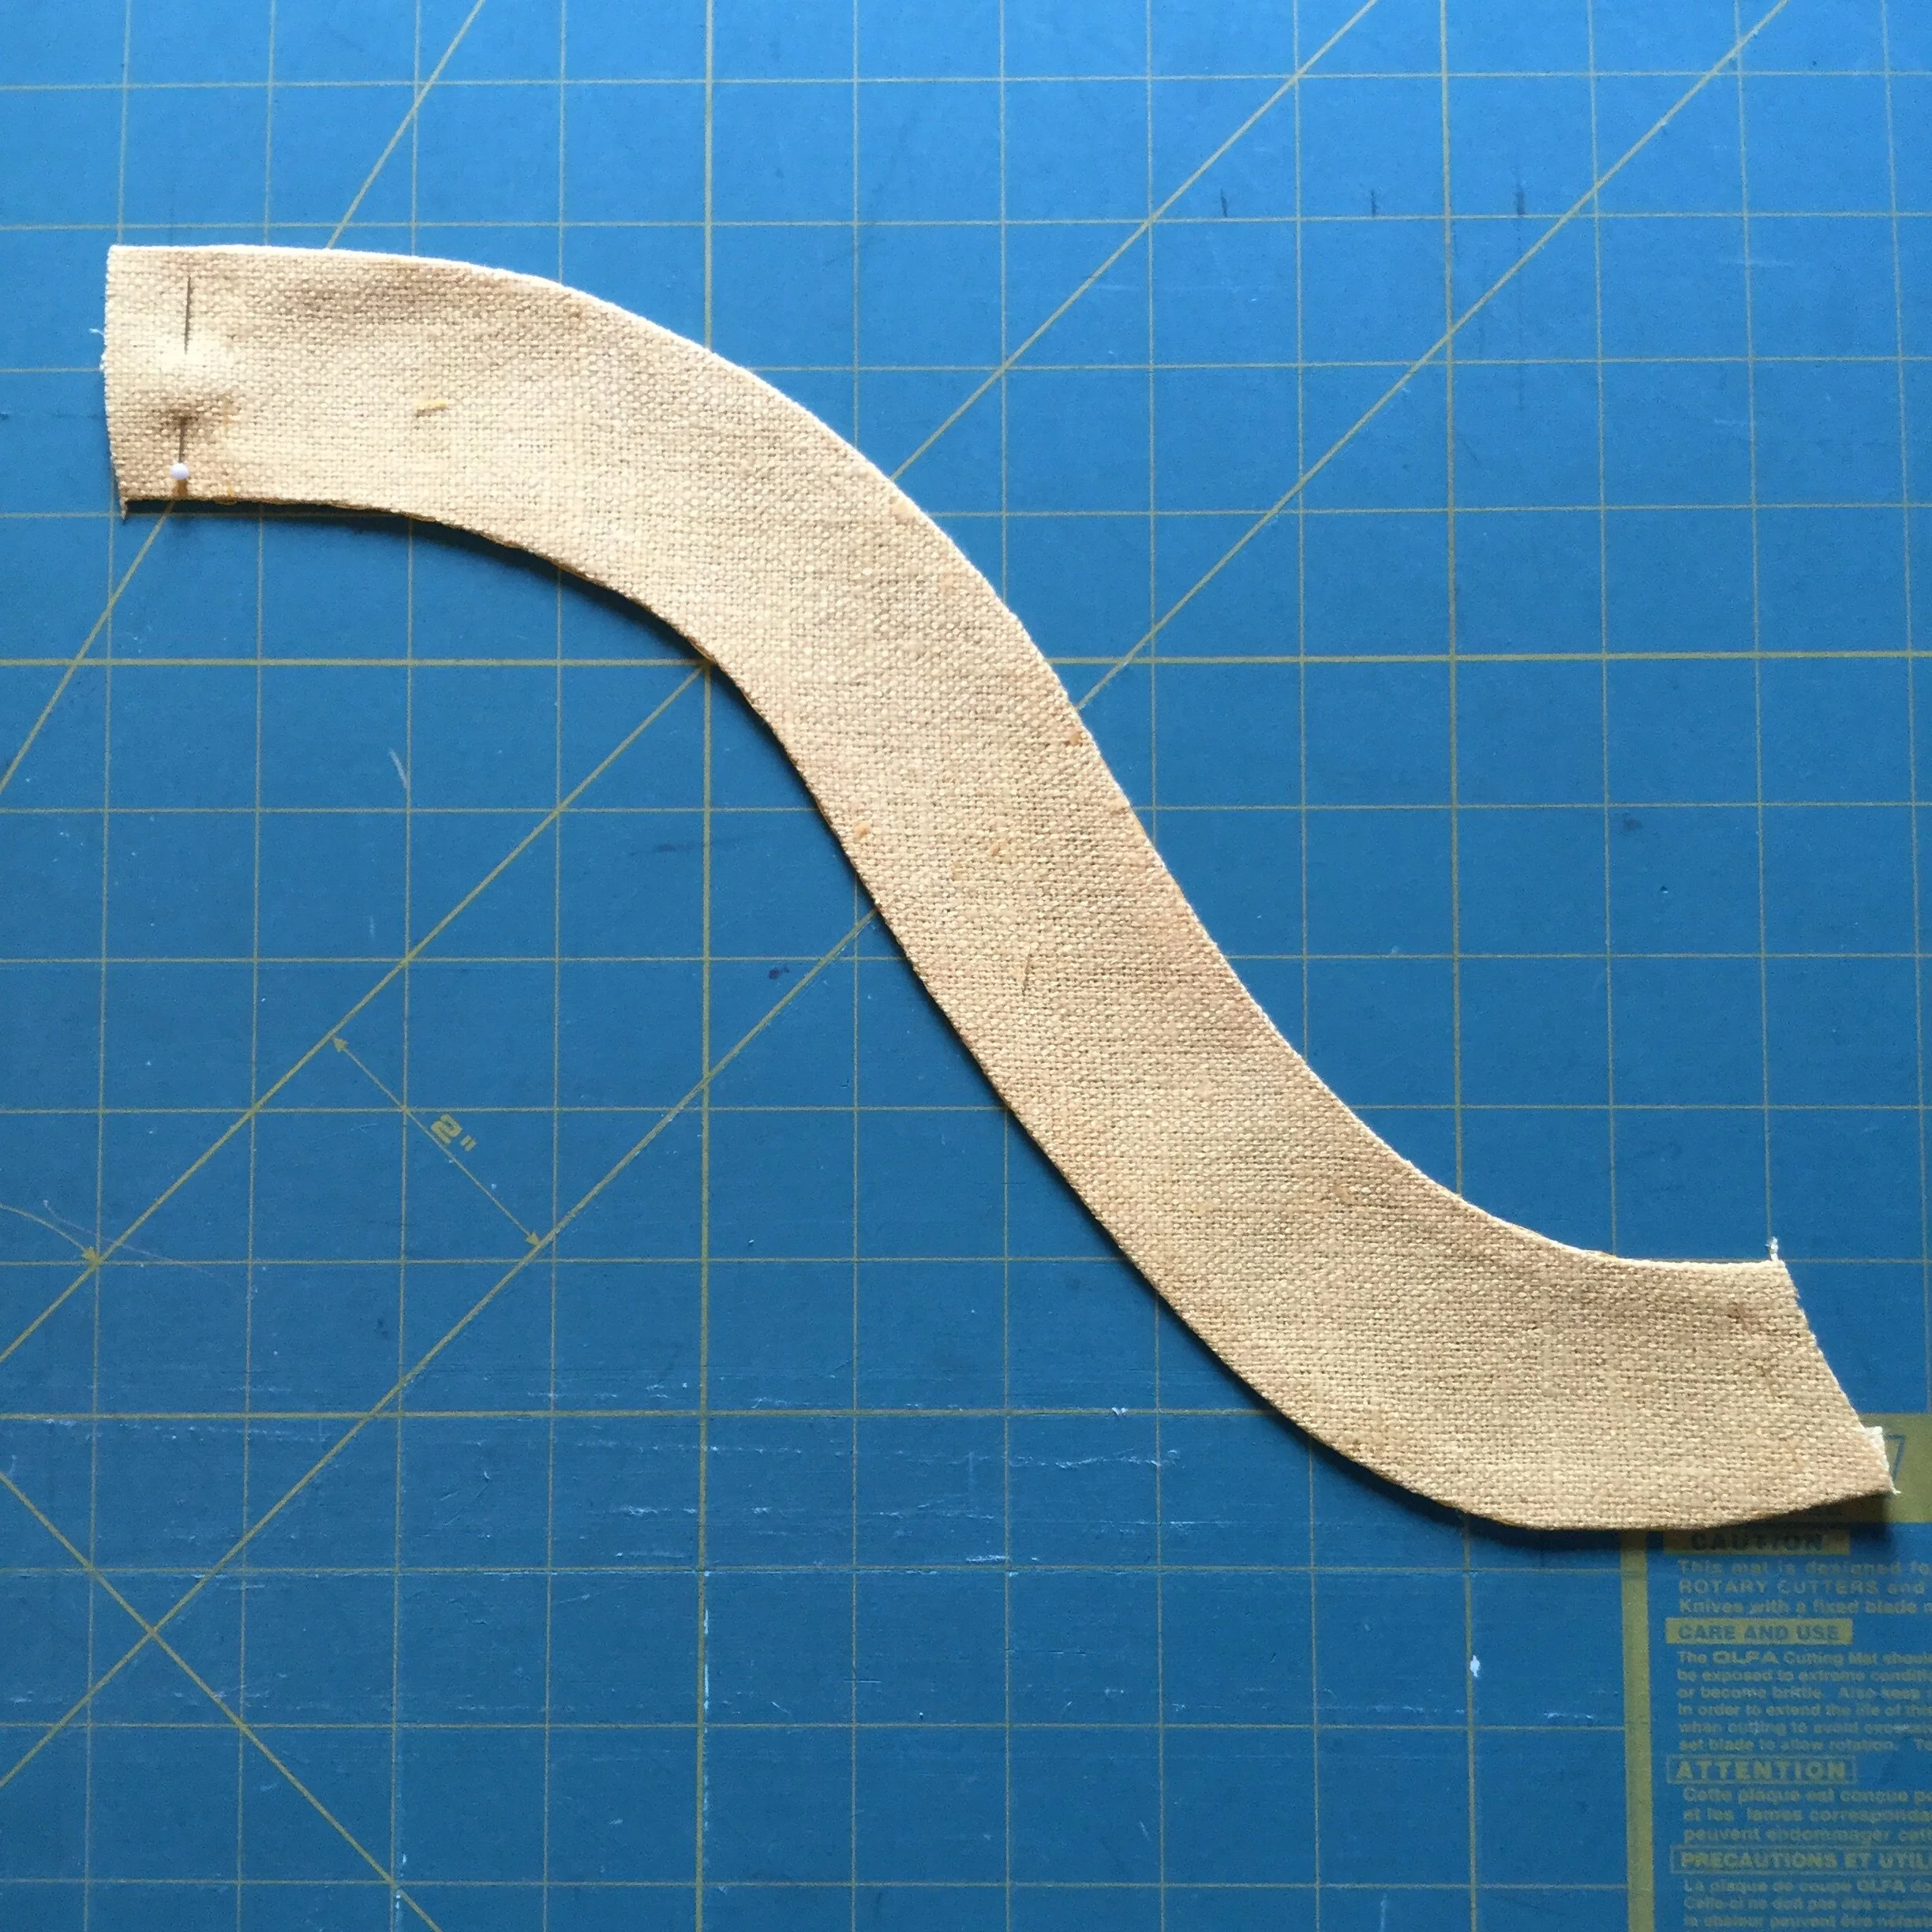
For the yellow stripe, I cut some wide bias strips of broadcloth and draped it. I pinned the piece to the mannequin, gradually smoothing it and drawing in the outline of the piece until I had a rough version of what I wanted. I then laid it flat and cleaned up my lines before cutting along them to get a clearer idea of how the stripe looked. I then repeated this process with the back.
After a few more tweaks to make sure the stripe intersected the front and back seams at the same angle I was able to trace off the paper pattern and cut it in the yellow matka. I decided that it would be best to join the two halves of the stripe into one pattern and place the side seam across the bias when I cut.
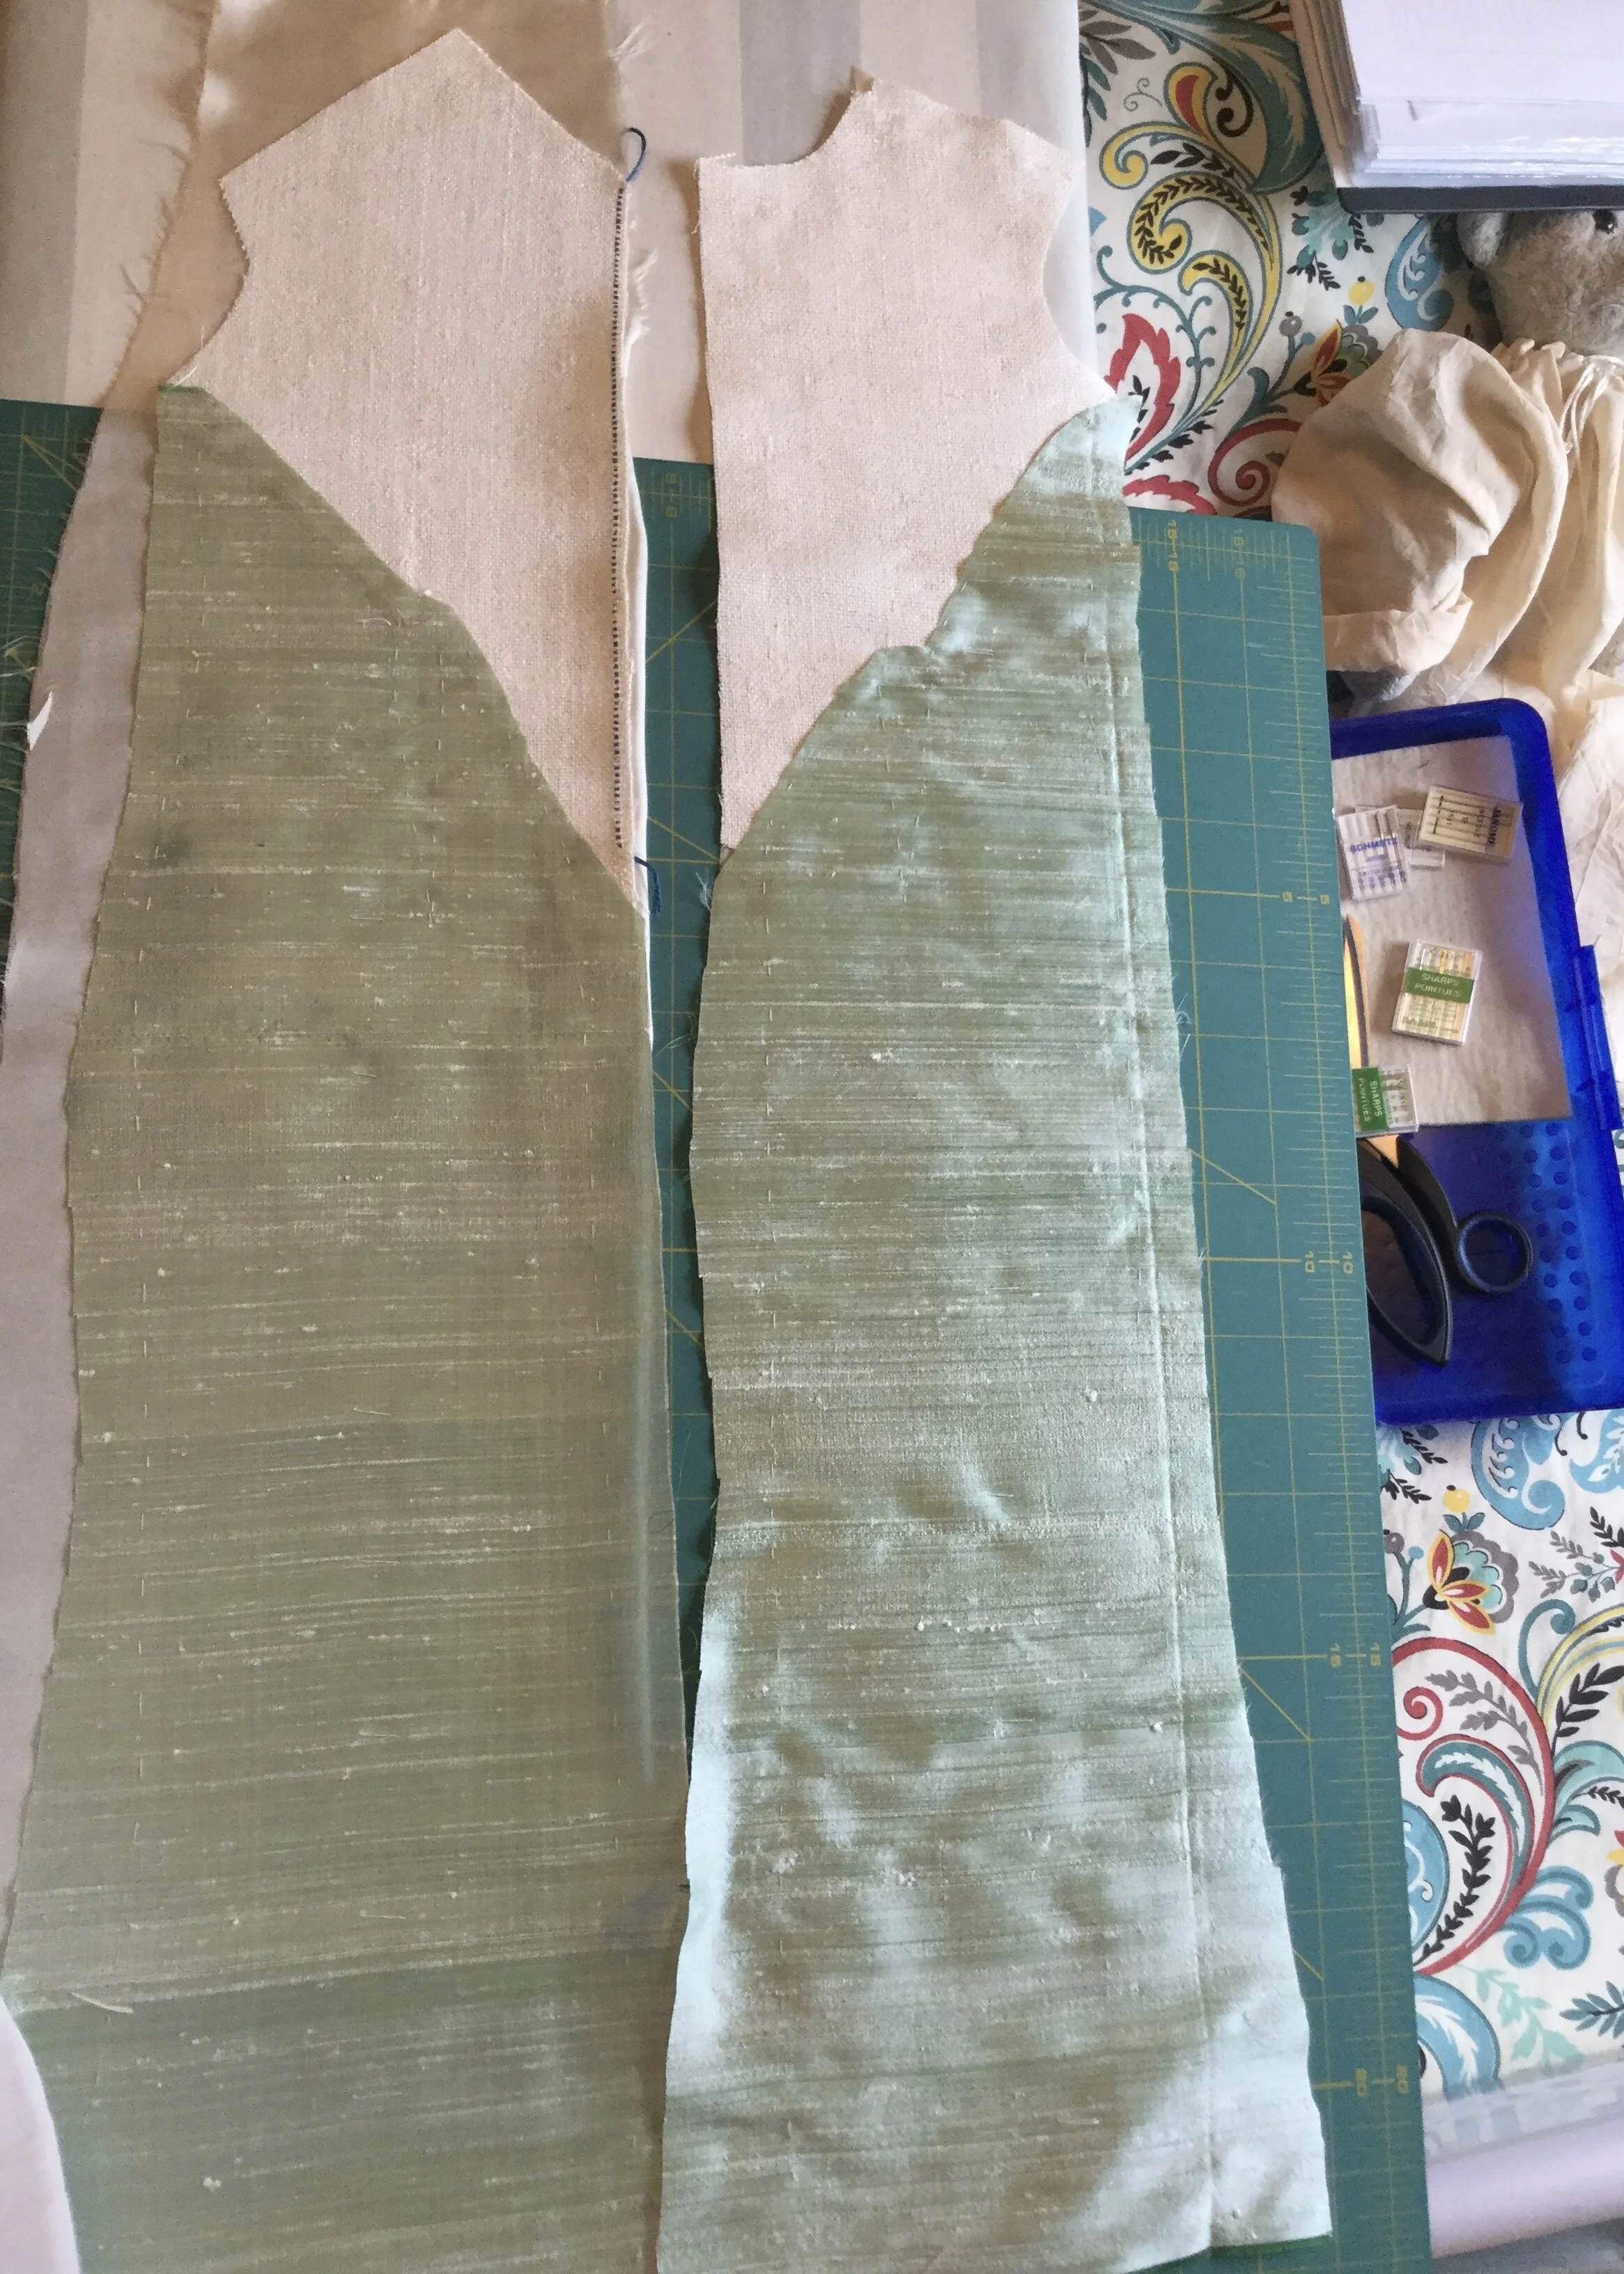
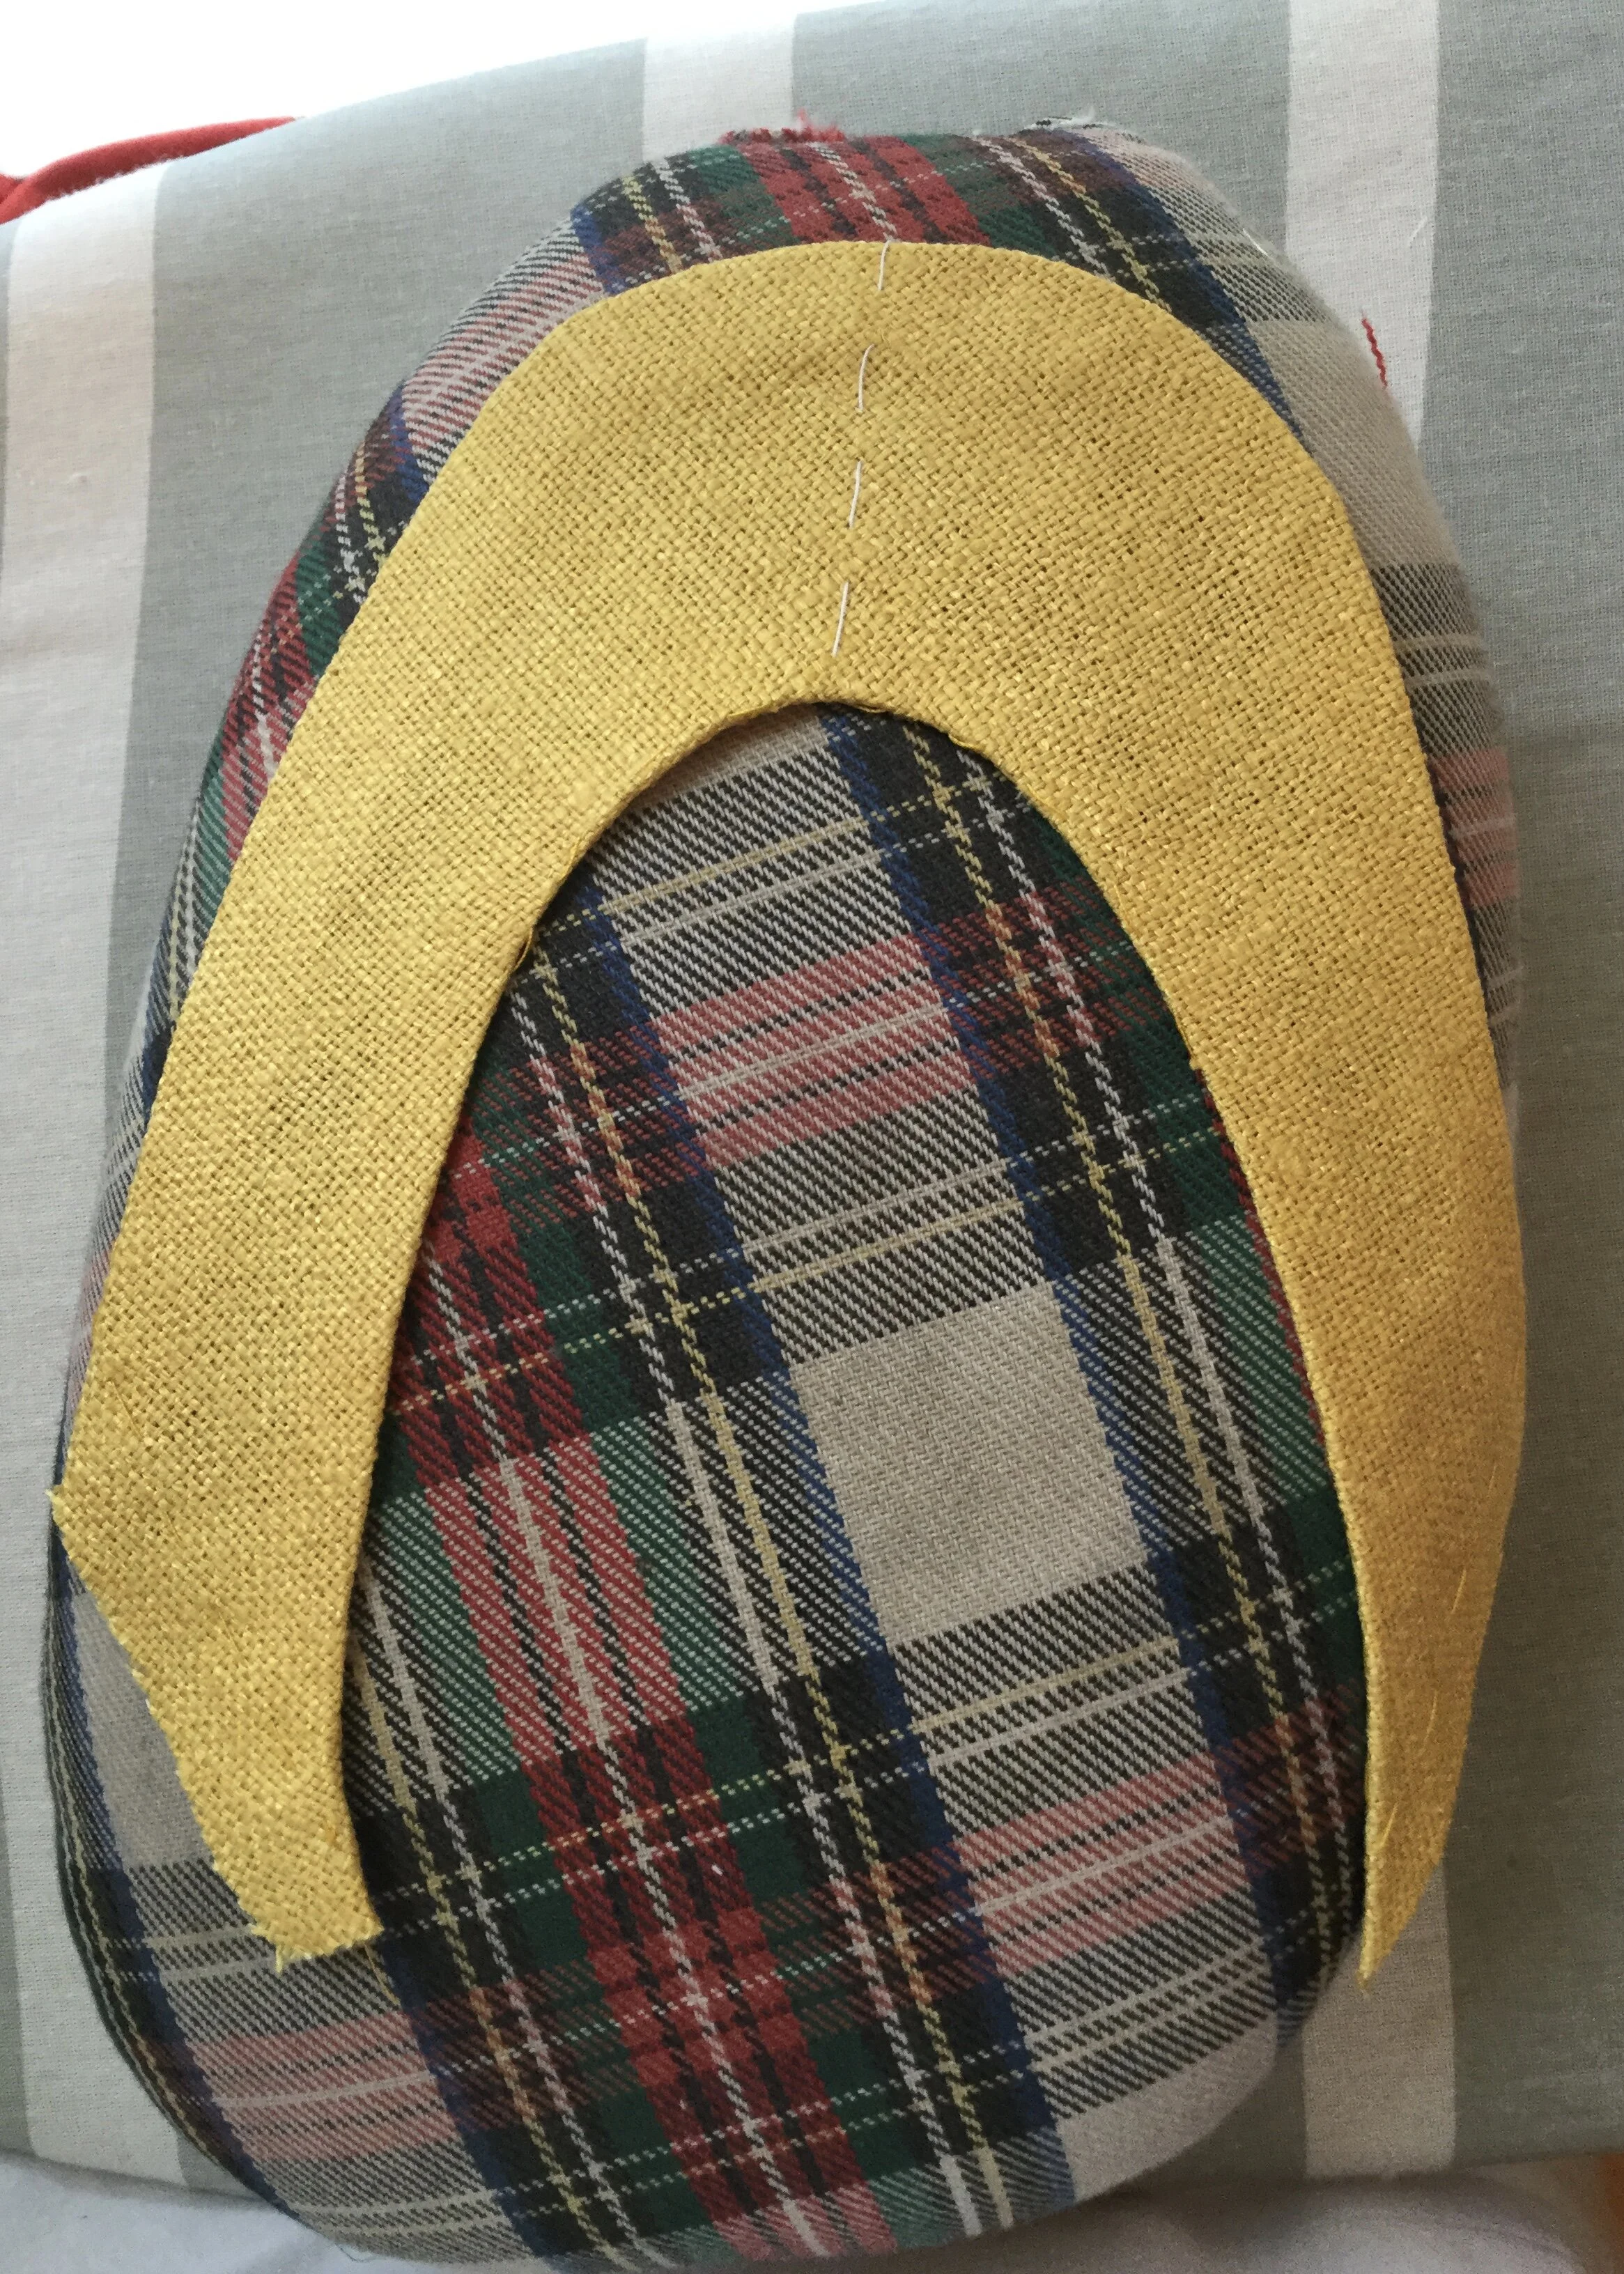
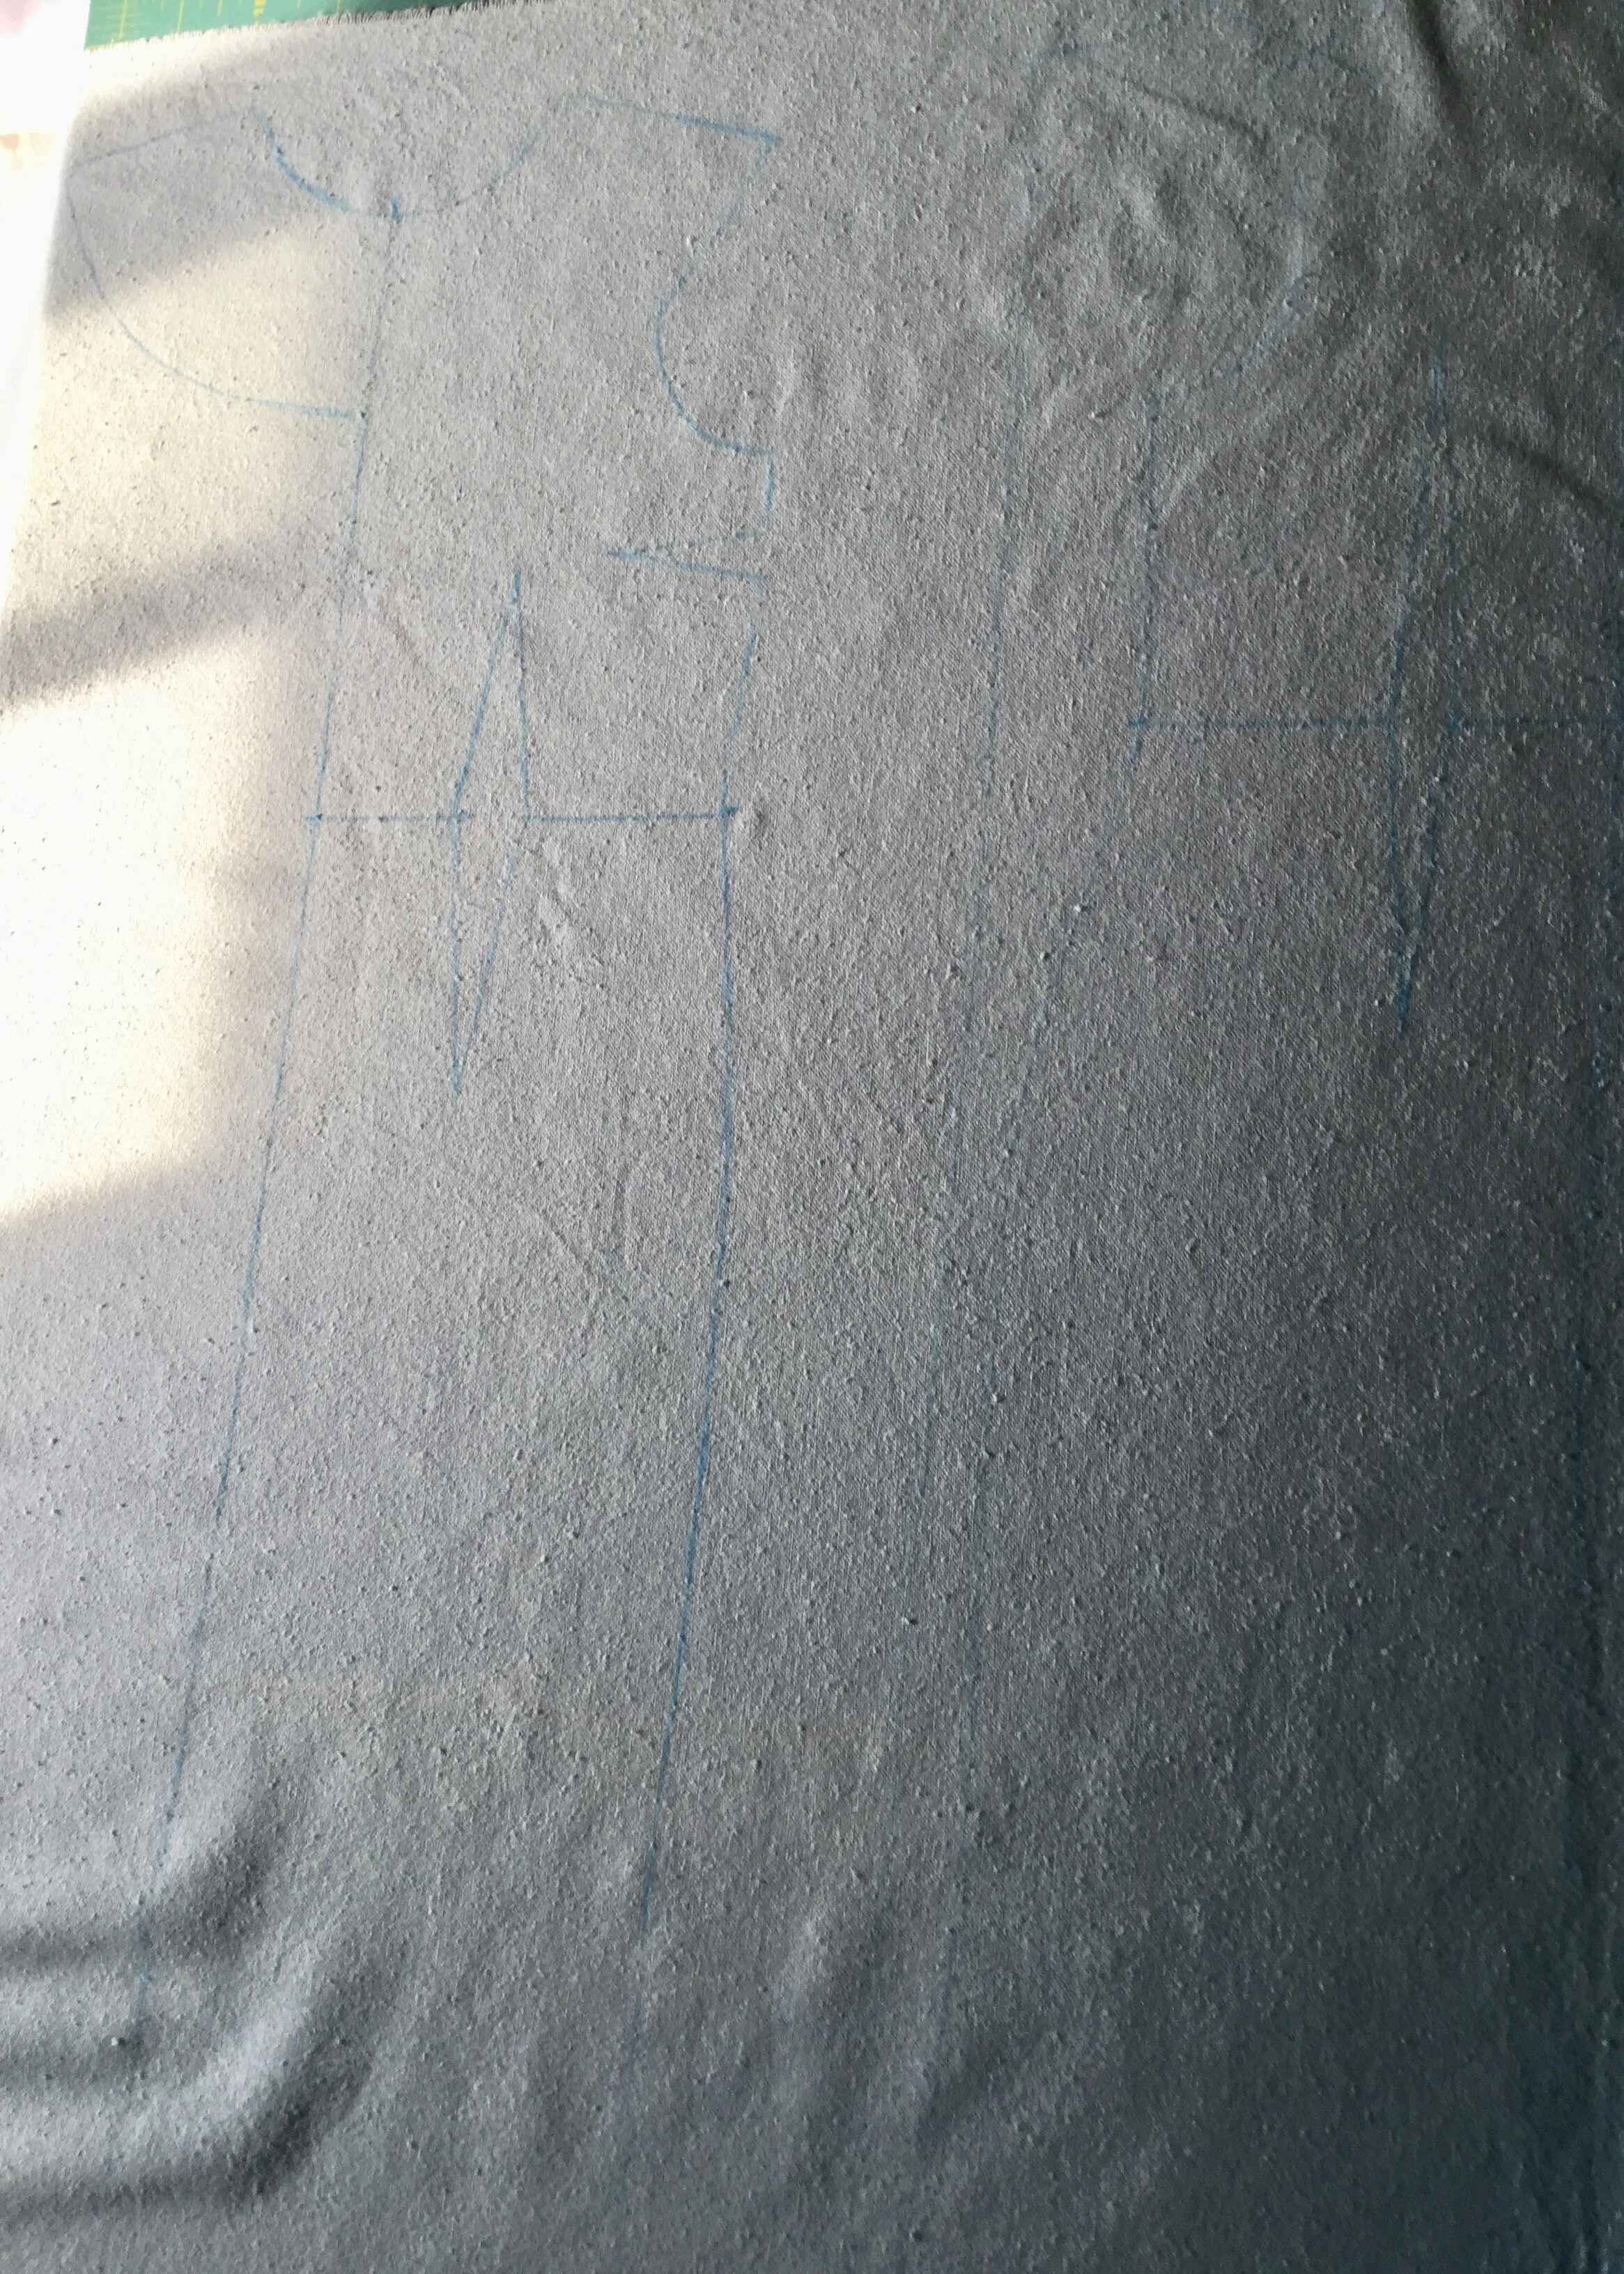
Cutting the bean fabric!
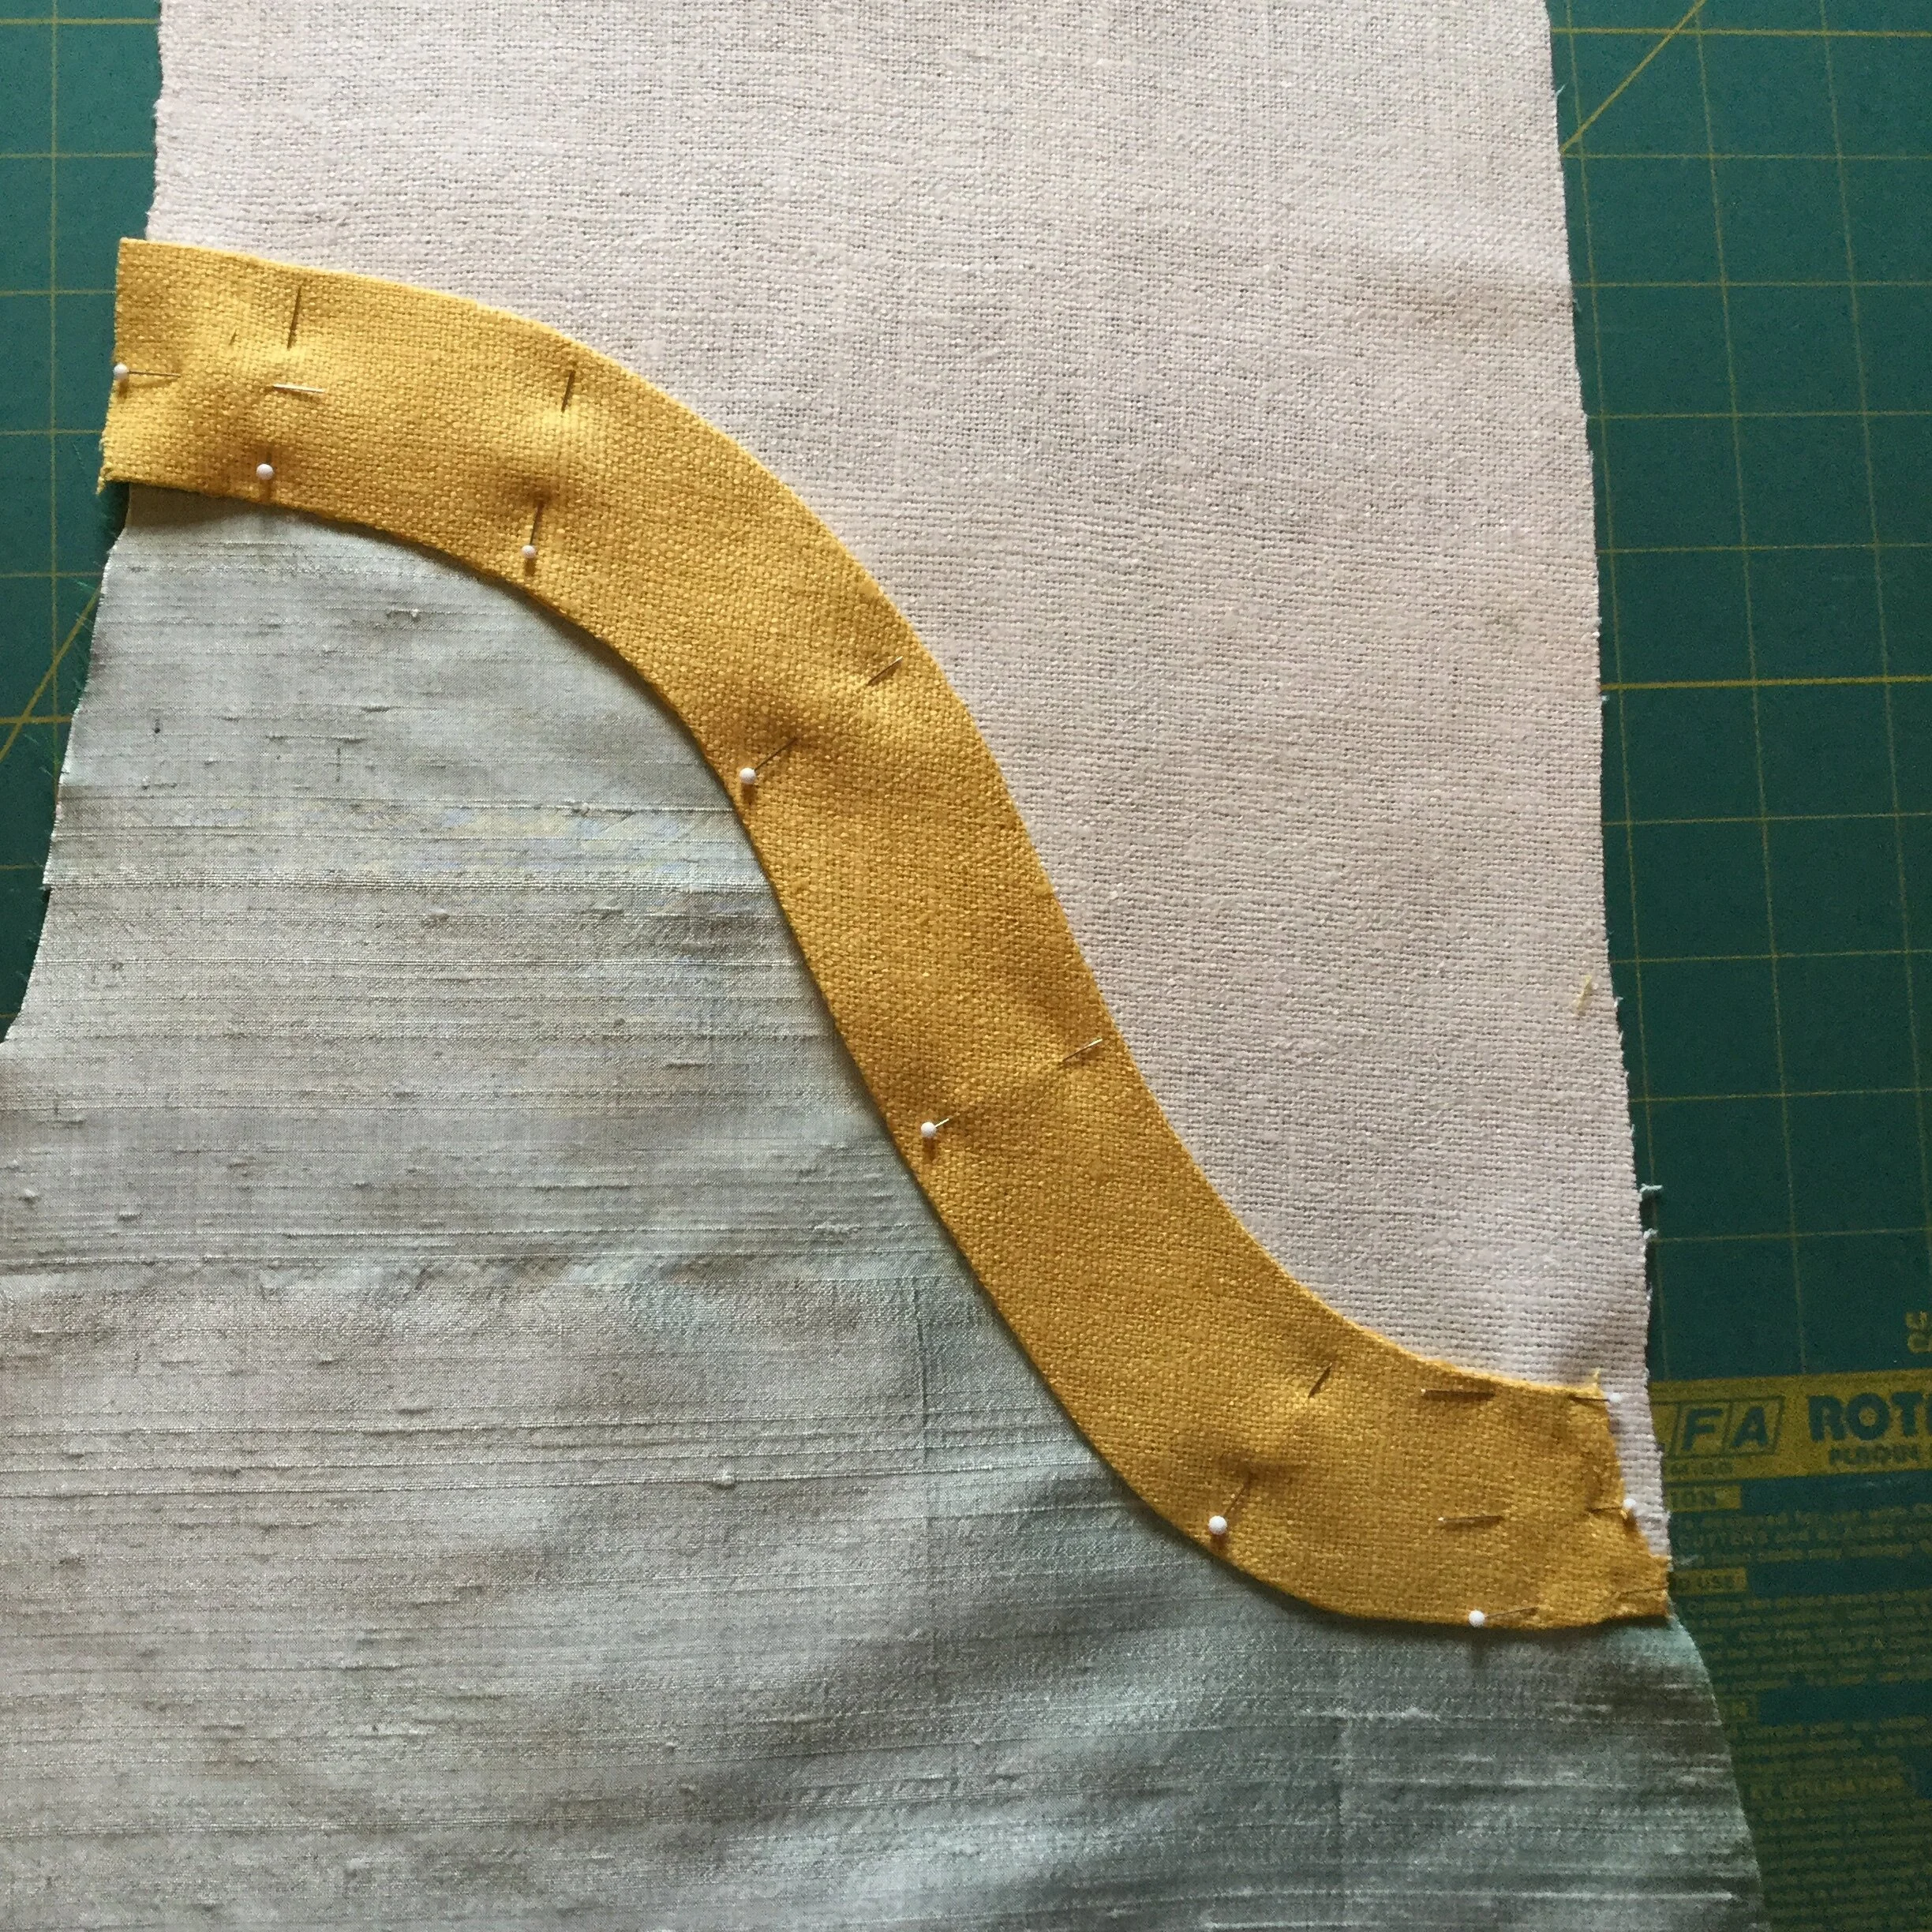
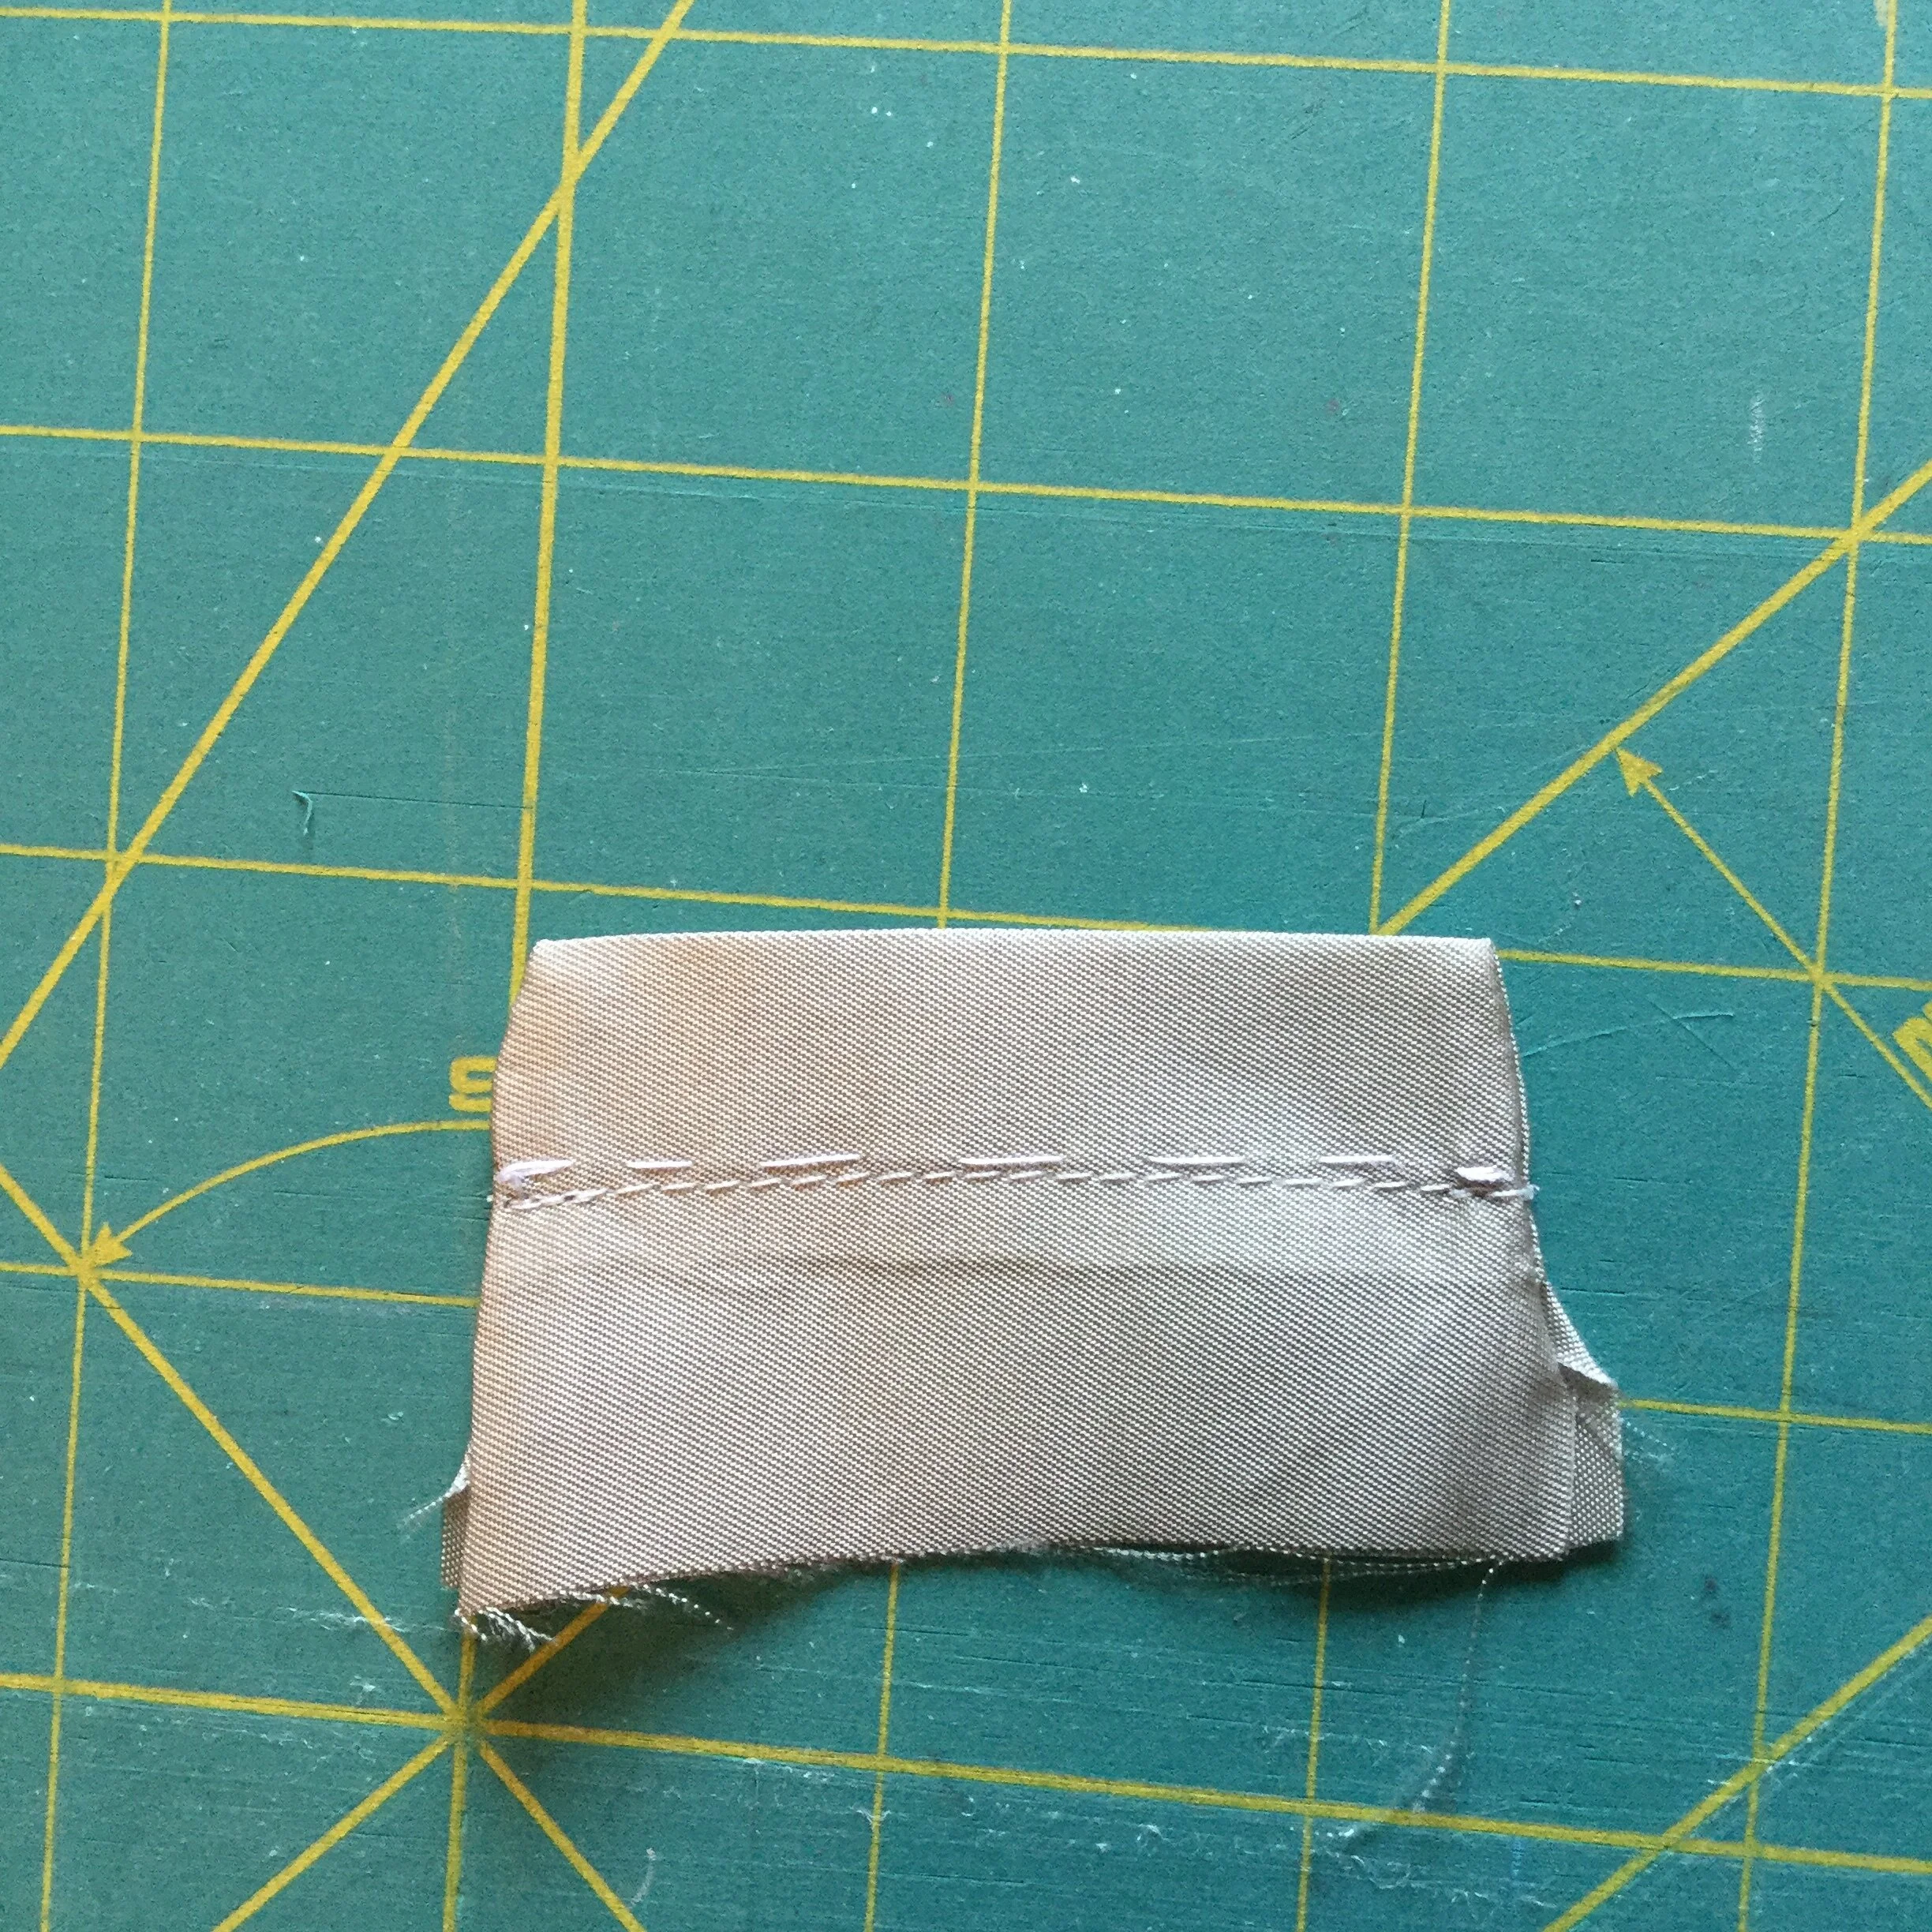
To make the stripe I ran a line of basting a long the seam line and pressed in the edges. At this point I also shaped the piece a little over my ham to encourage it to wrap smoothly around the body of my mannequin. I pinned it carefully and stitched it down with a small pick stitch along the edge, however I left the section between the waist darts on the top edge open. One of the big challenges of this dress was sorting out when to close certain seams or finish edges. The top of the curve came very close to the armhole, which at this point I was still unsure exactly how or when would be finished, so I decided to leave a section which I could still move out of the way if necessary. With the left side of the dress assembled I could at last start into the right side.
Finally, it was the bean fabric's time to shine!
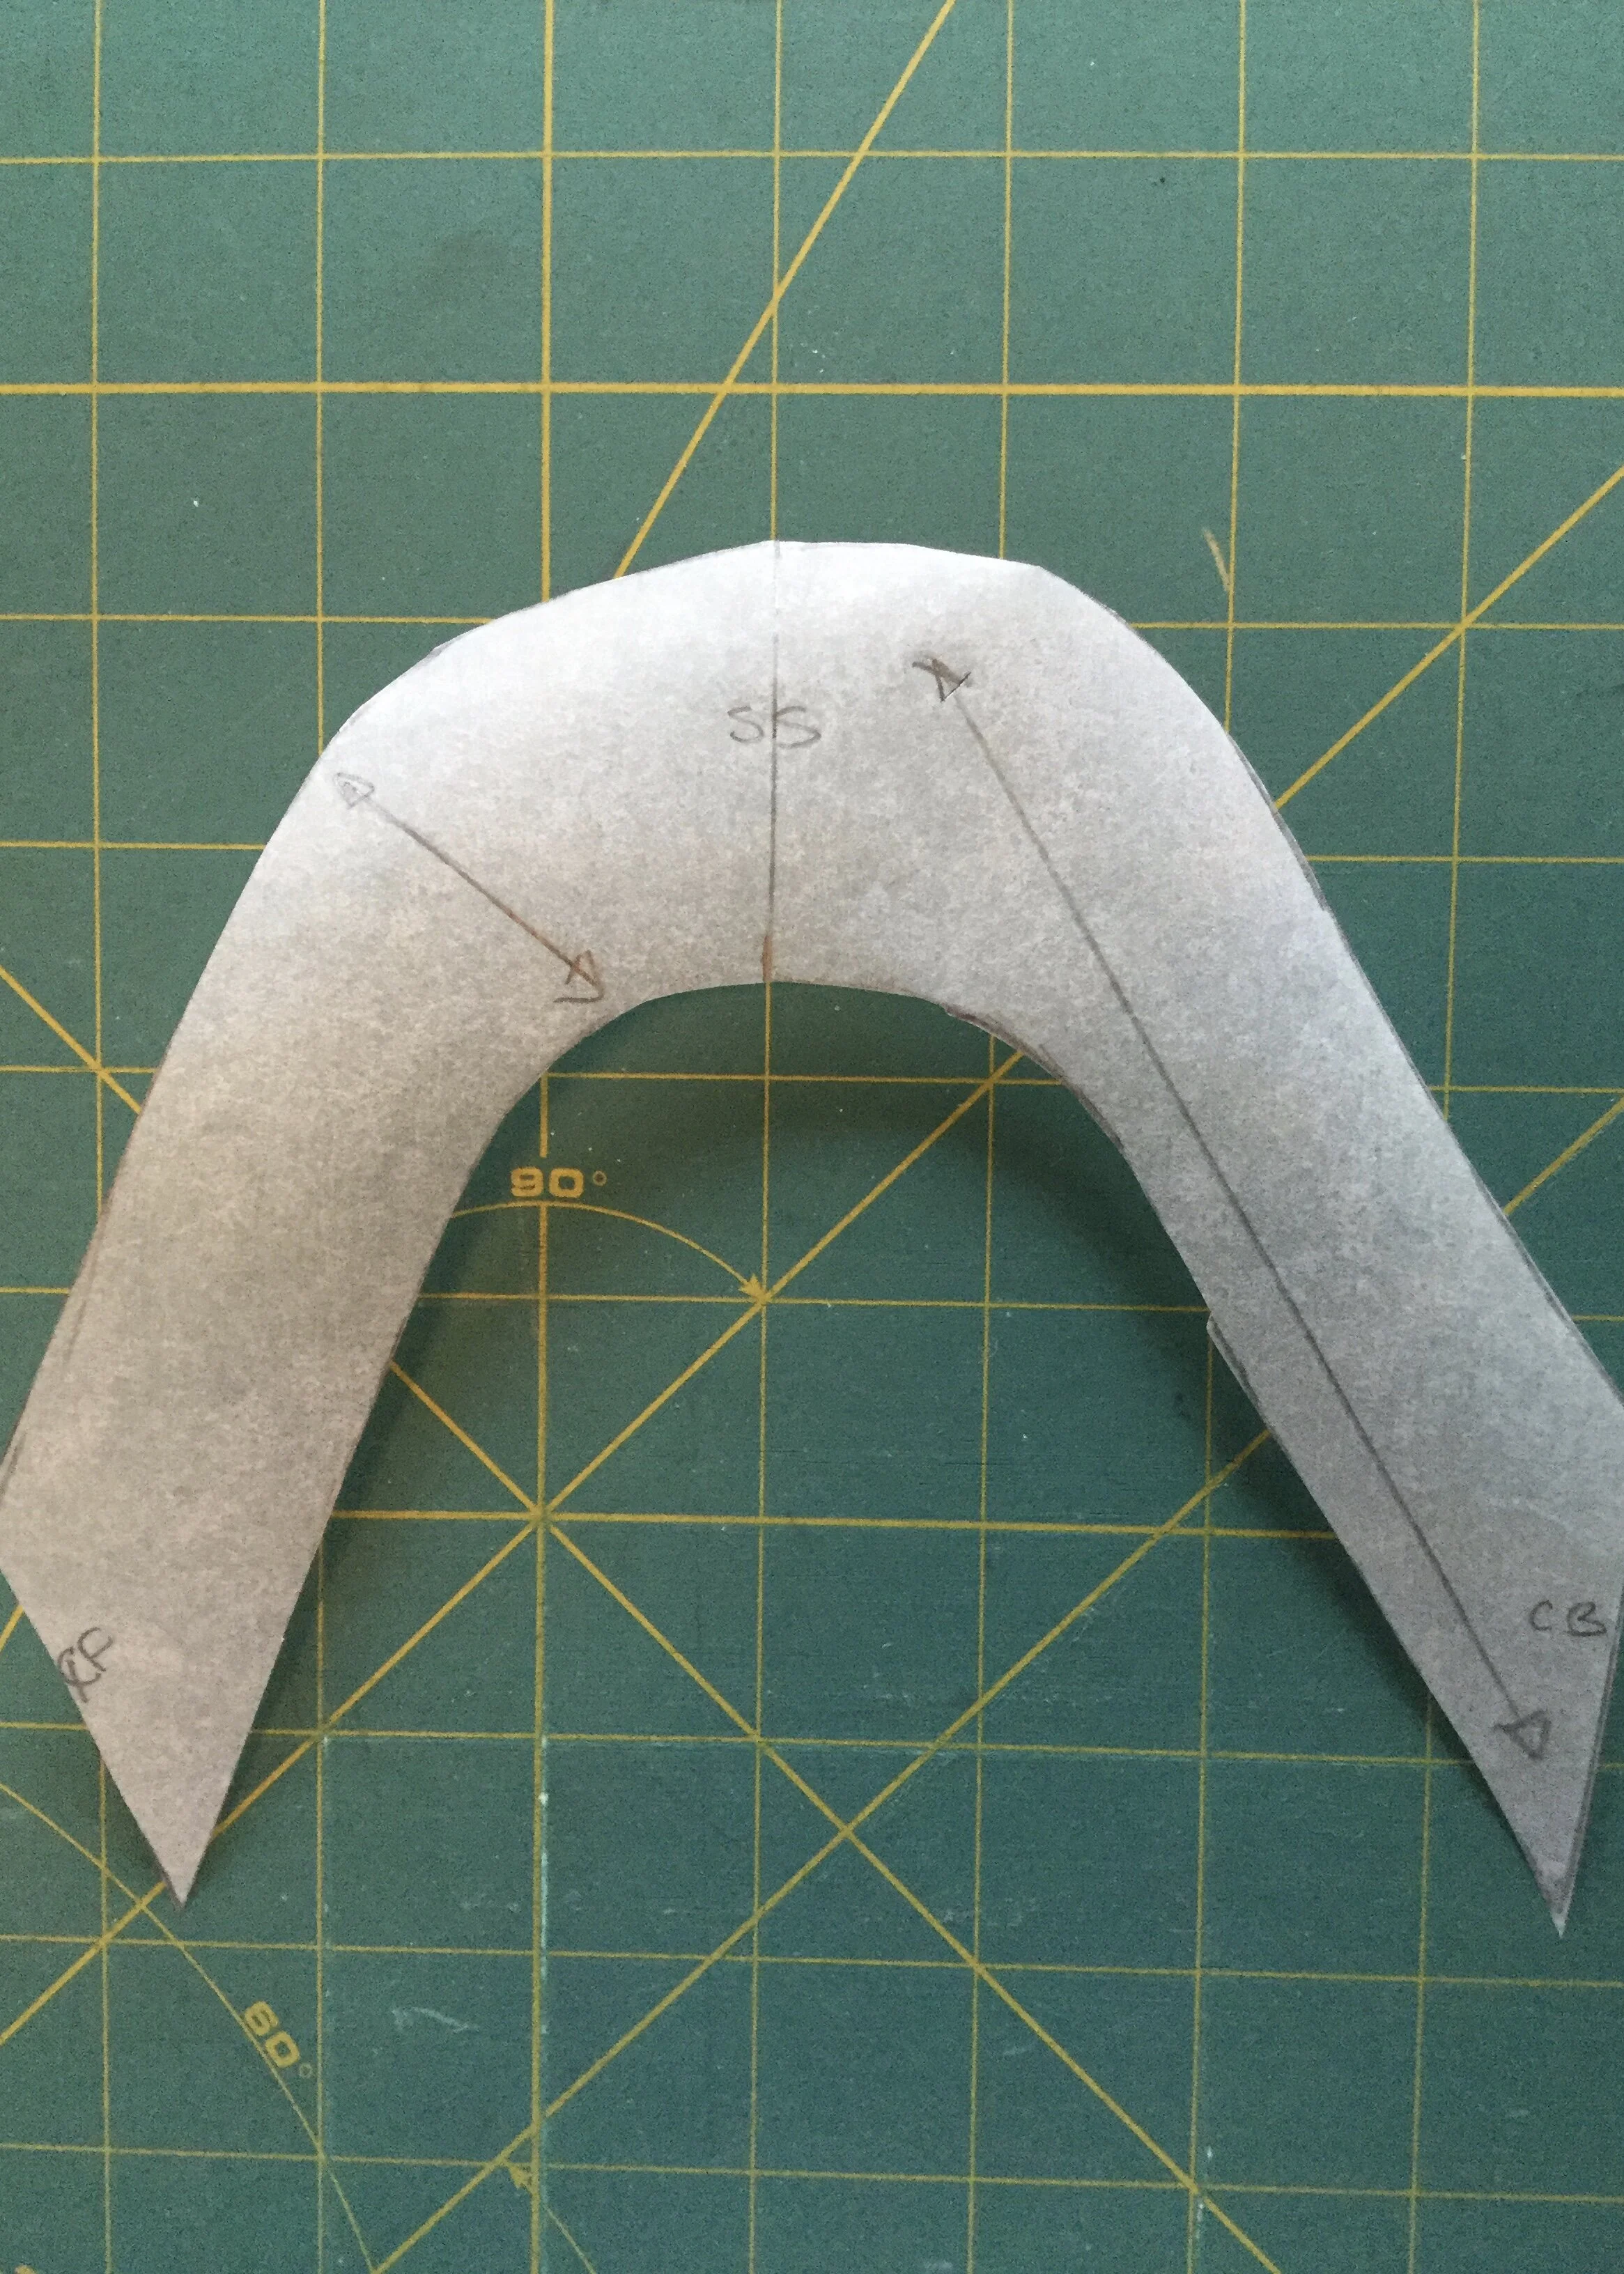
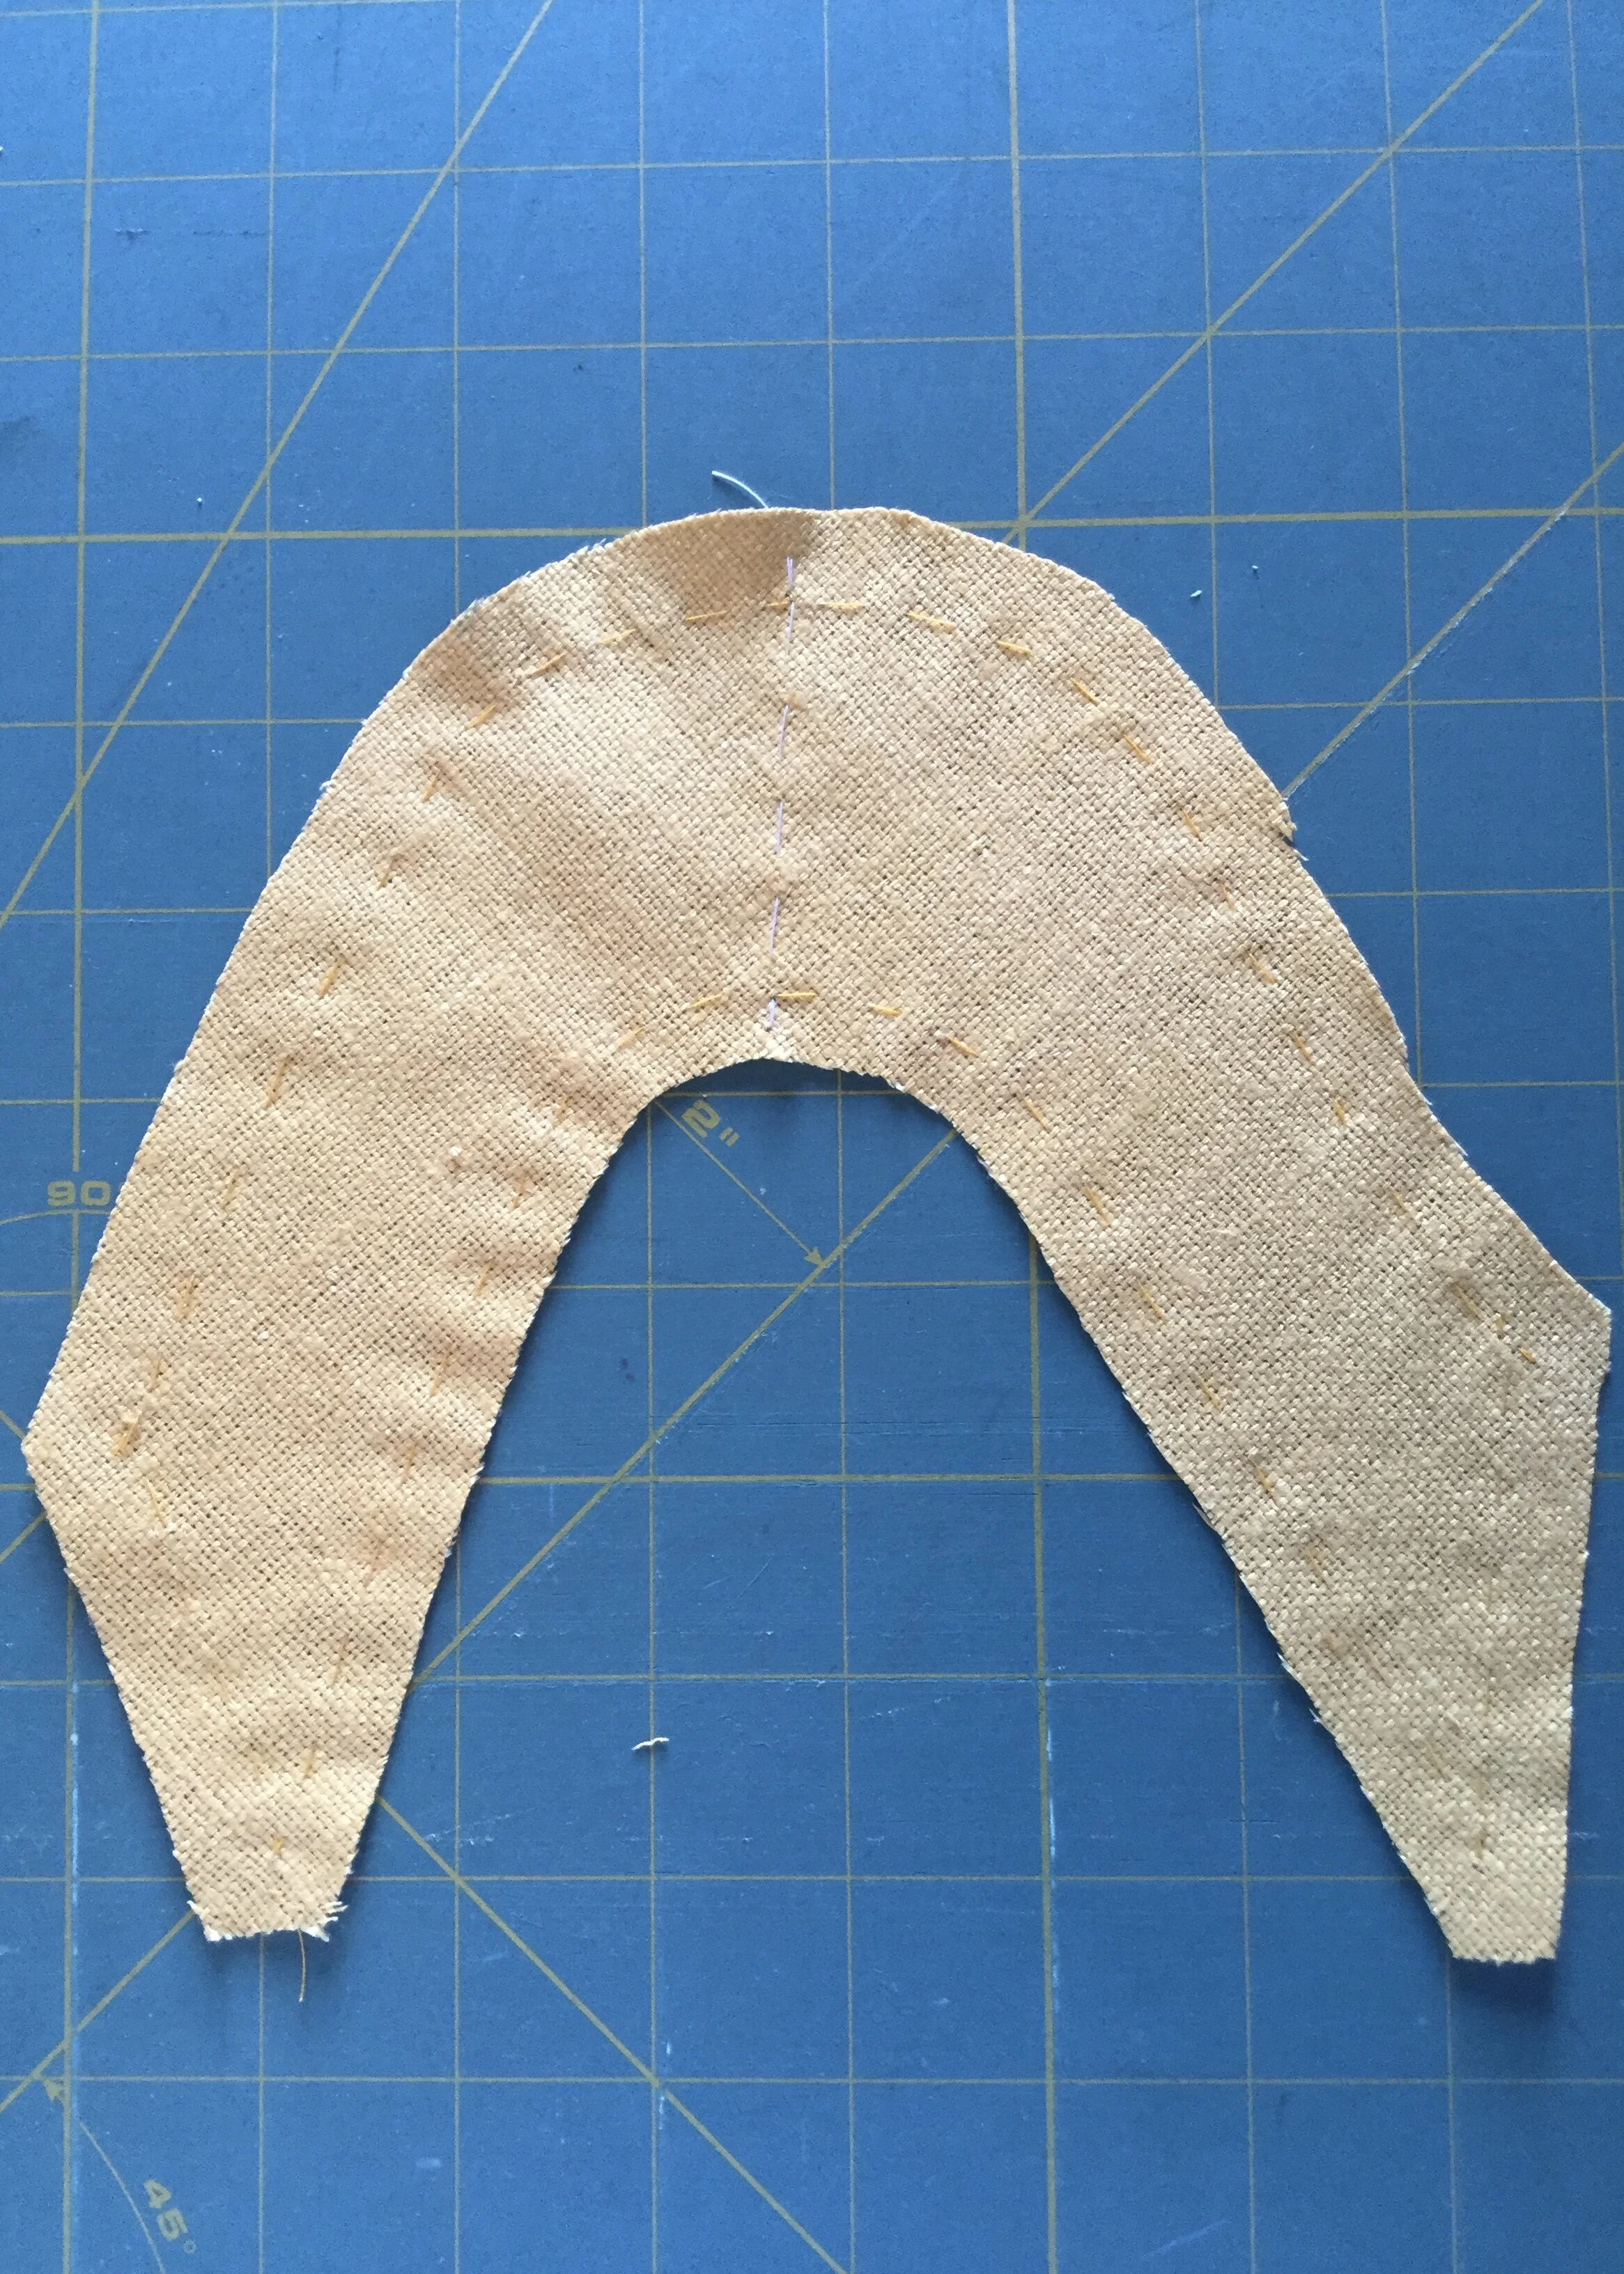
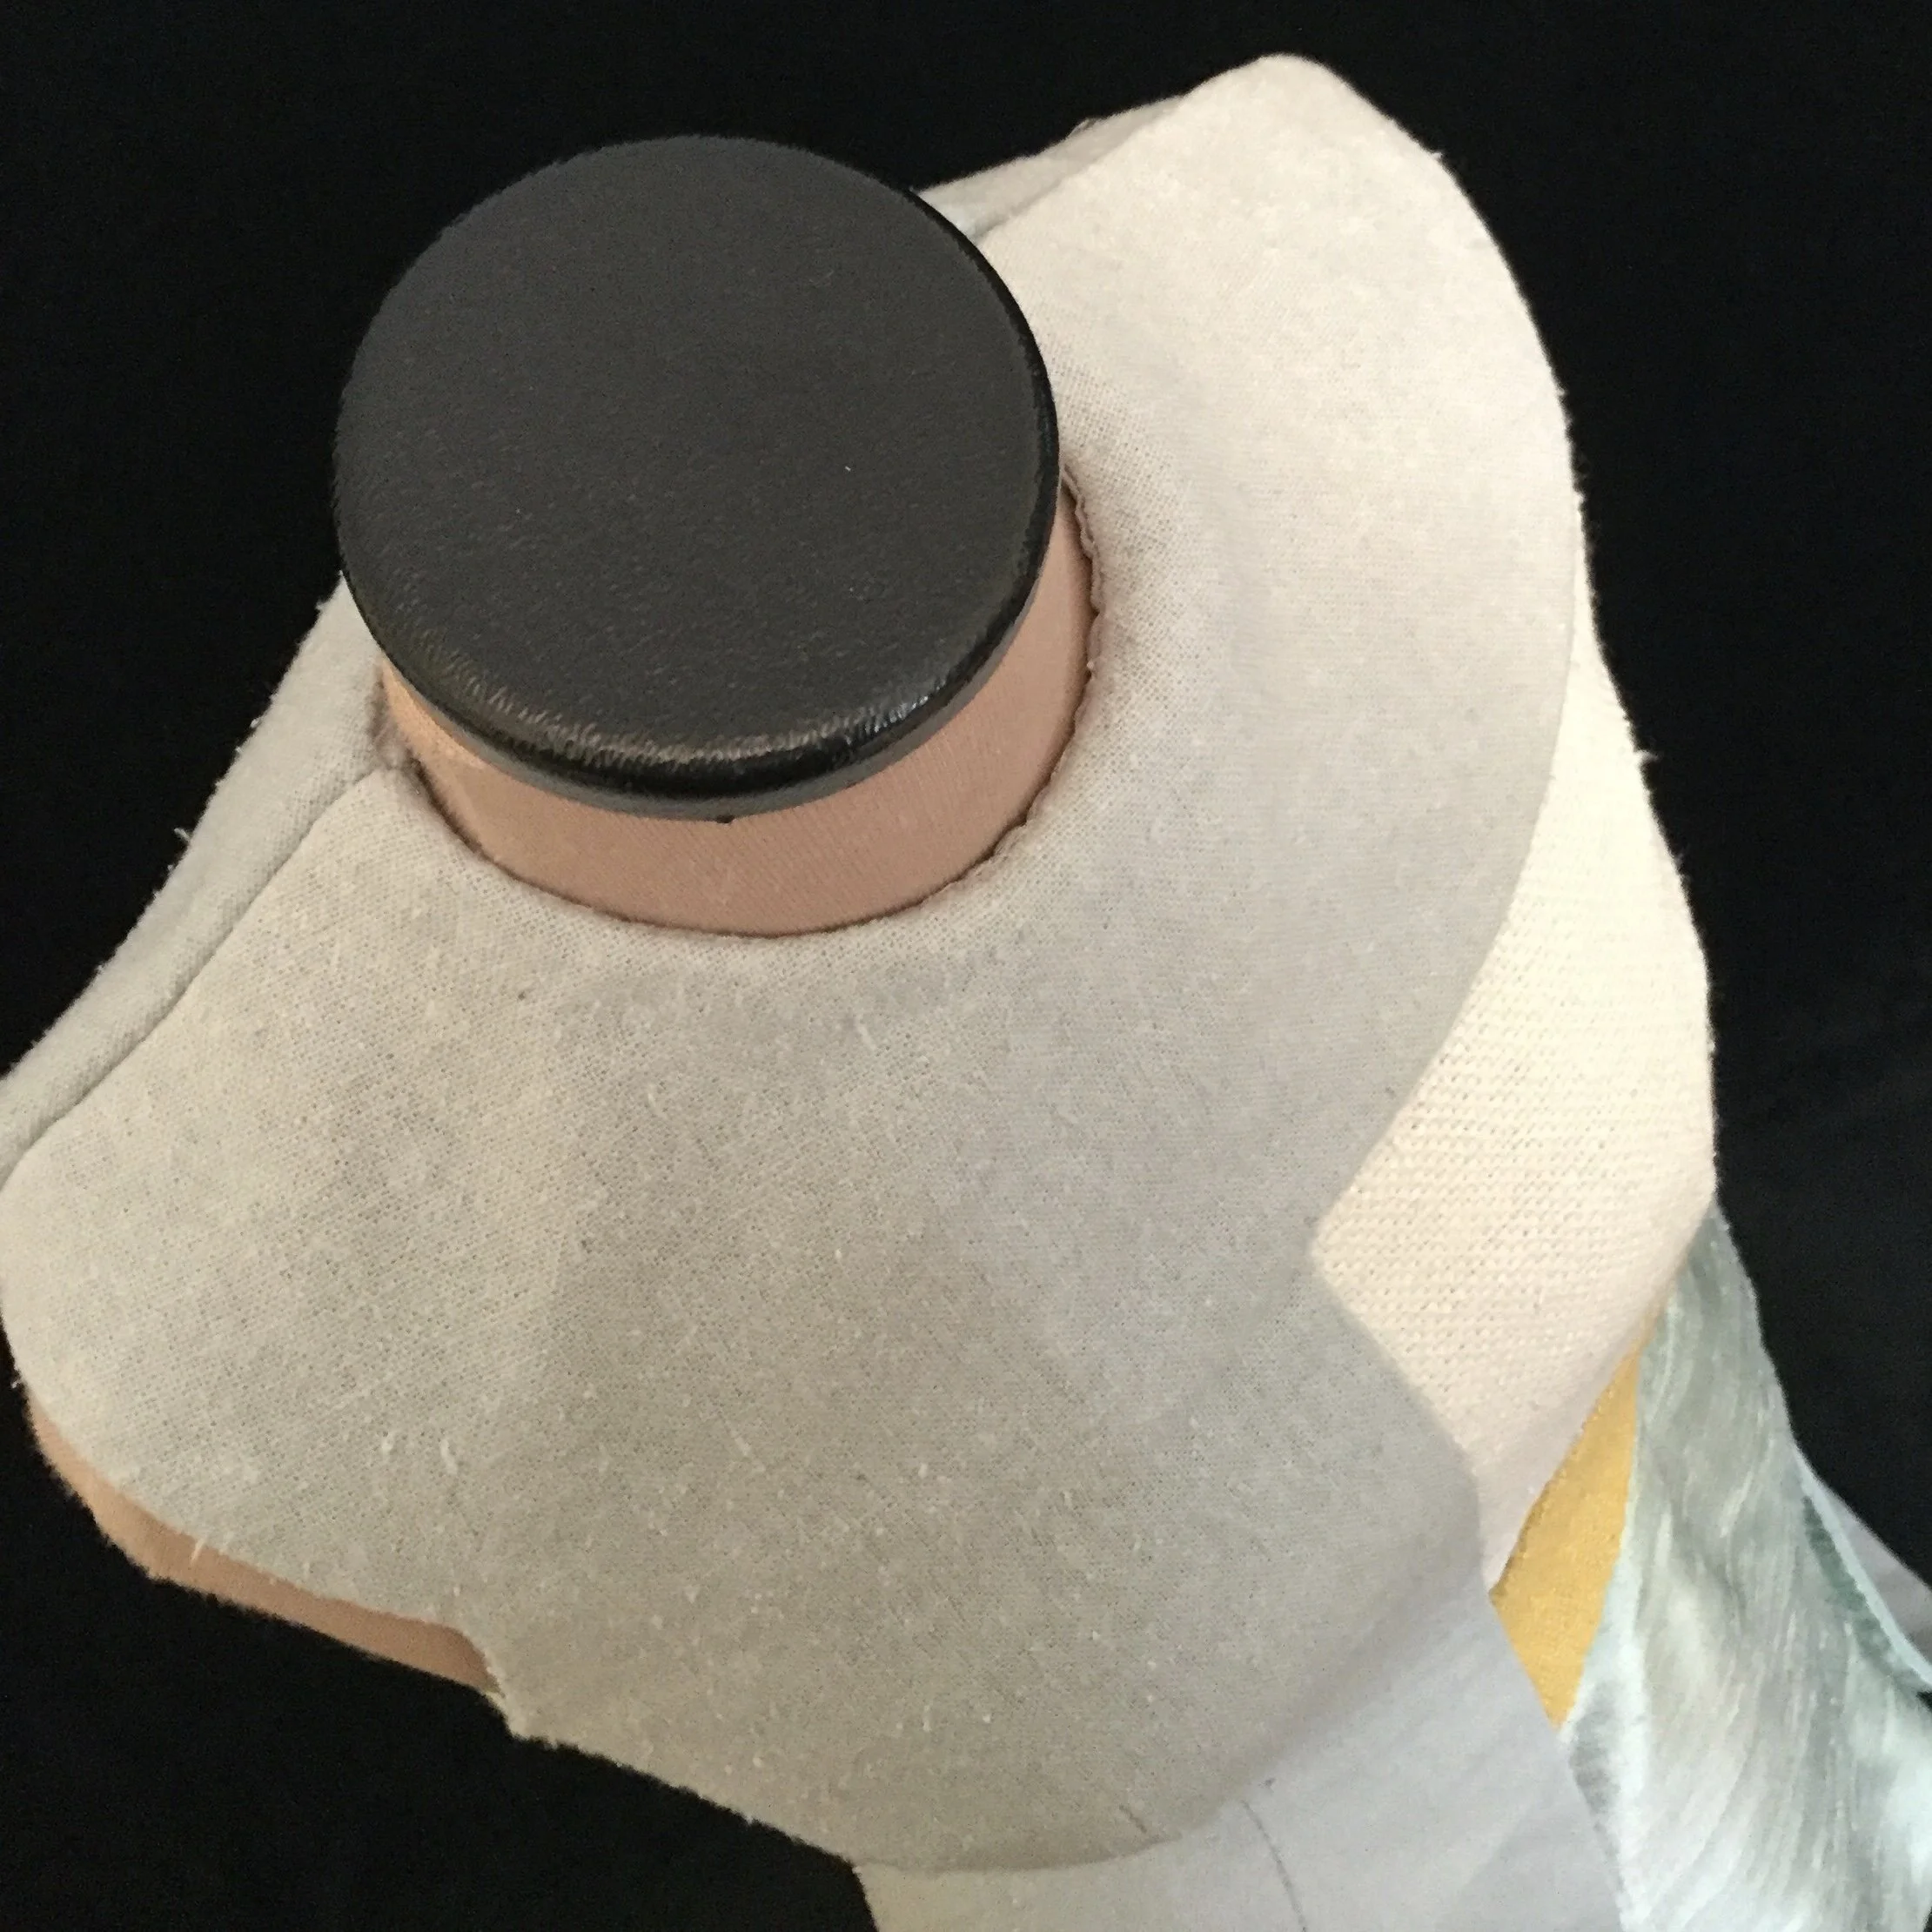
The first part of the right side to be tackled was the collar. I wanted the parts which extended over the left side and the right armhole to have some structure so that the curve would be clearly visible but I wanted it to still flow into the rest of the front as seamlessly as possible.
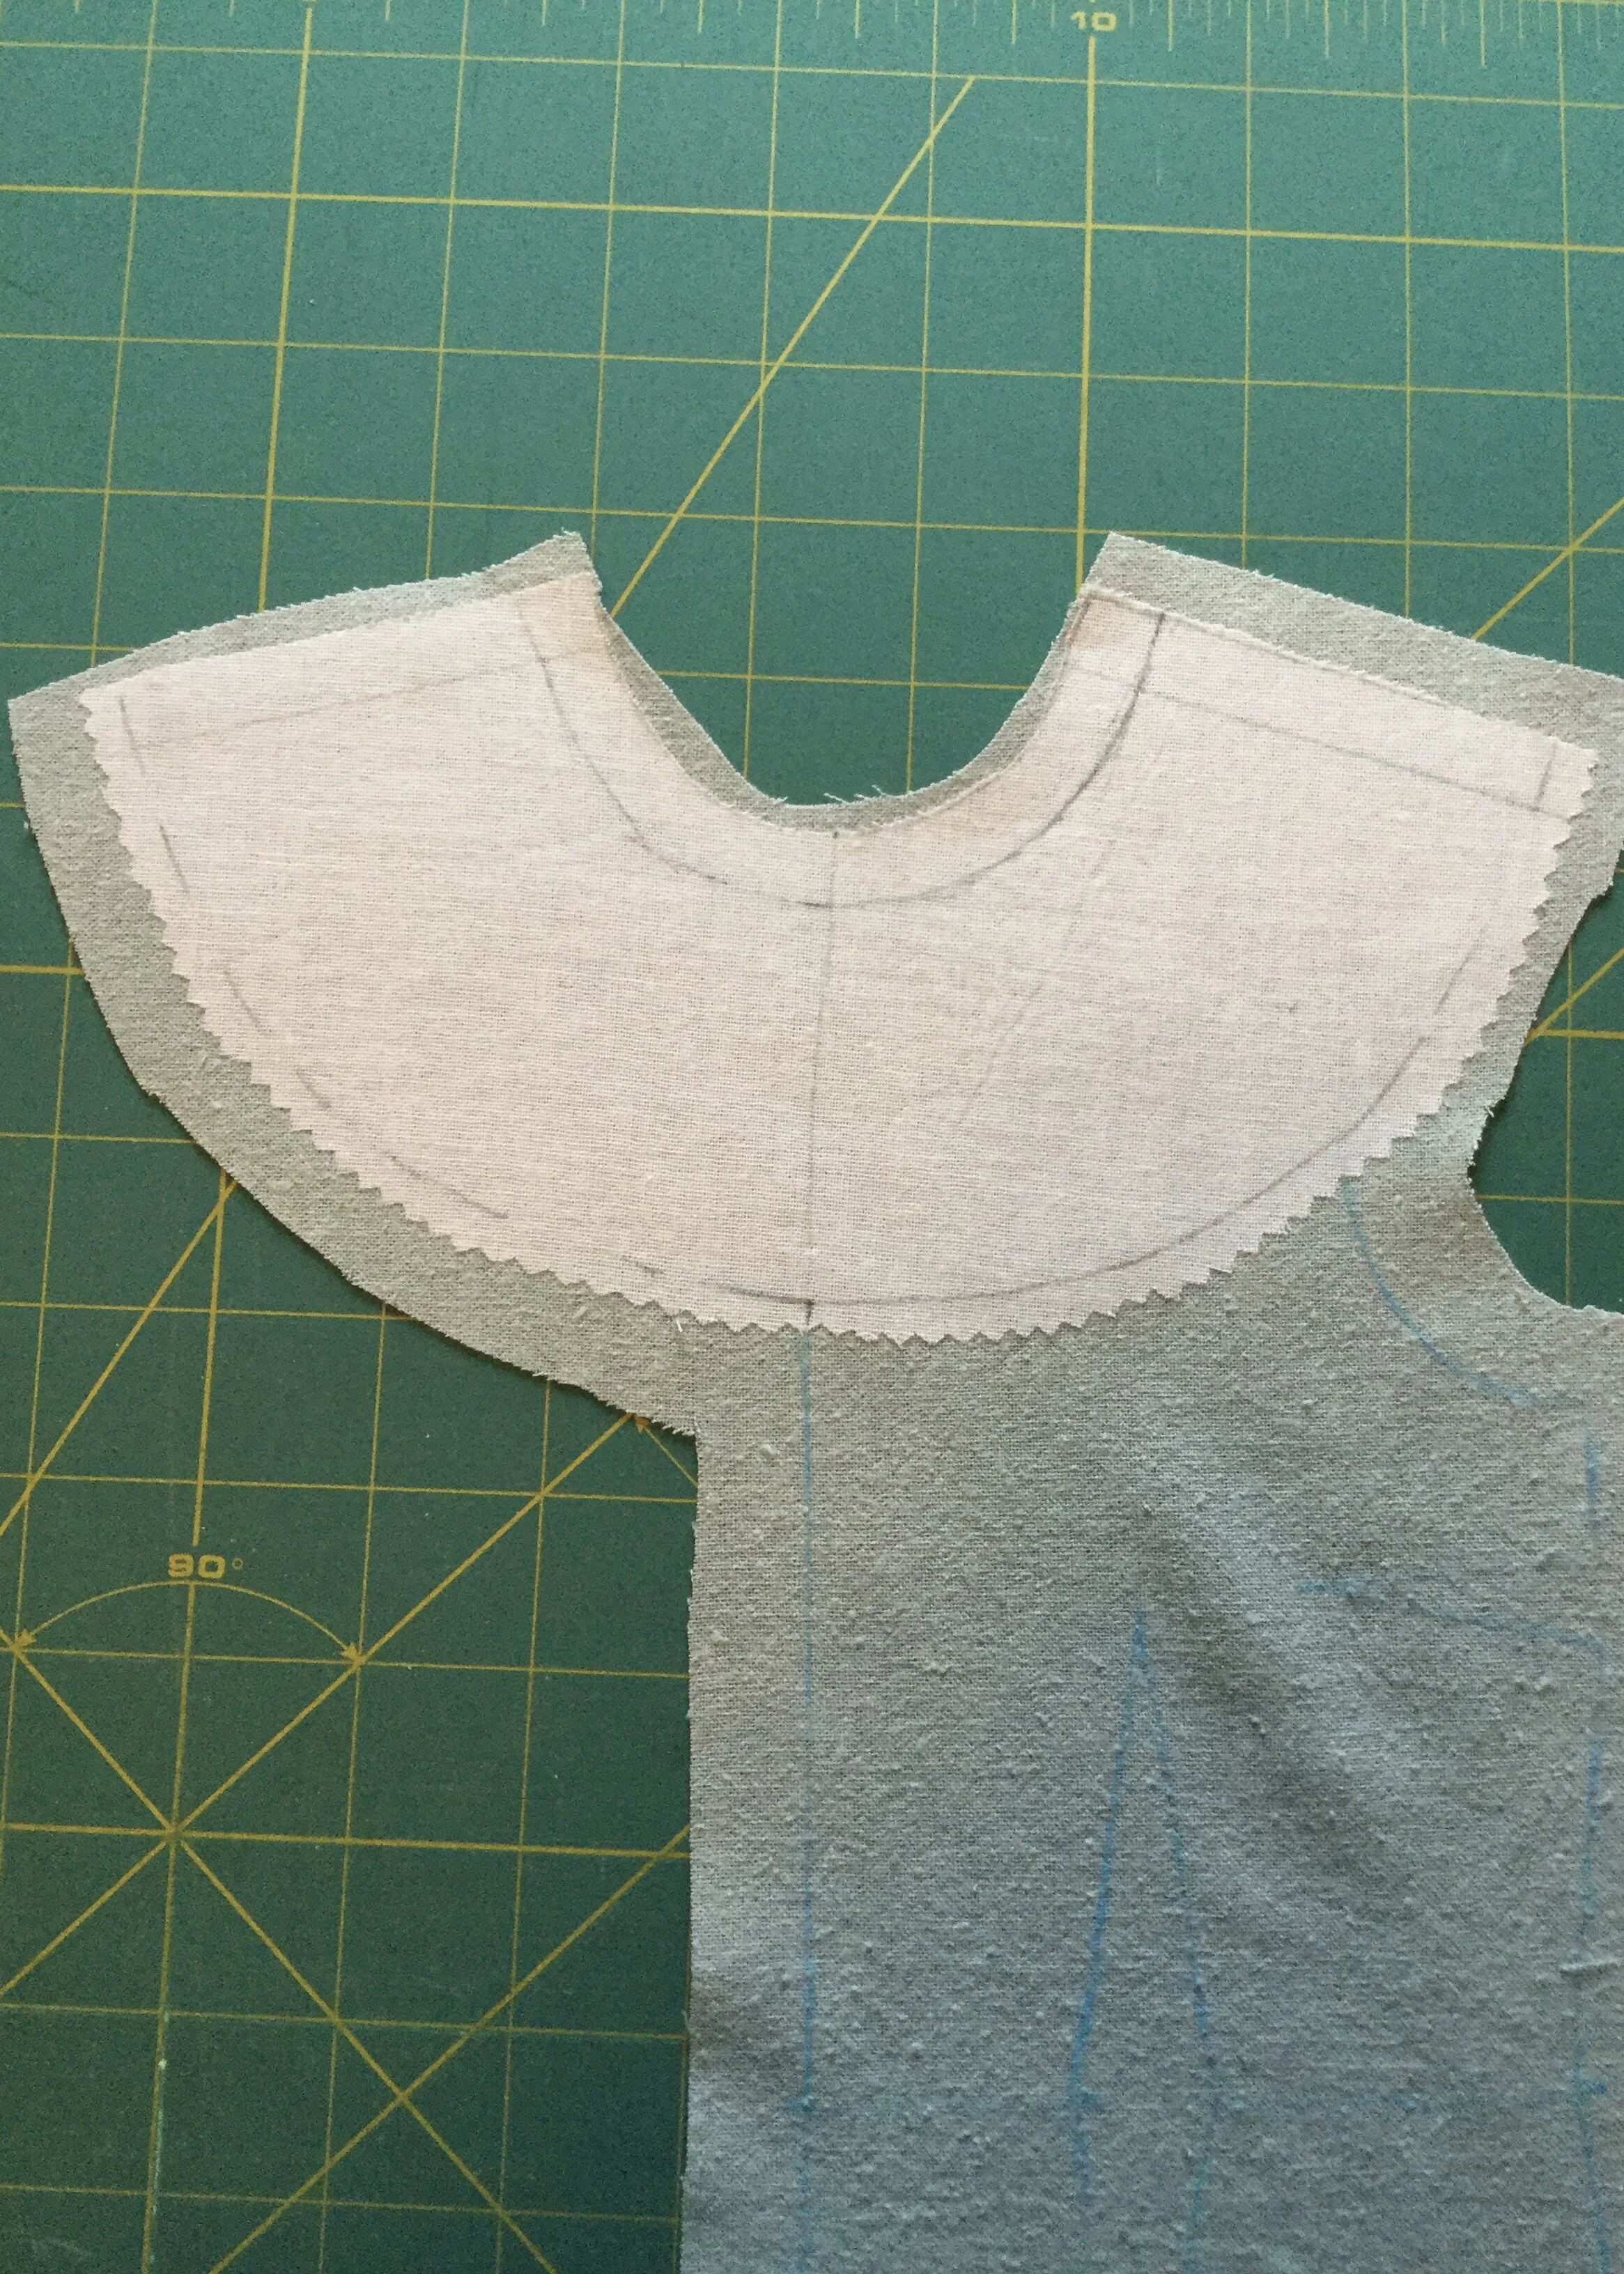
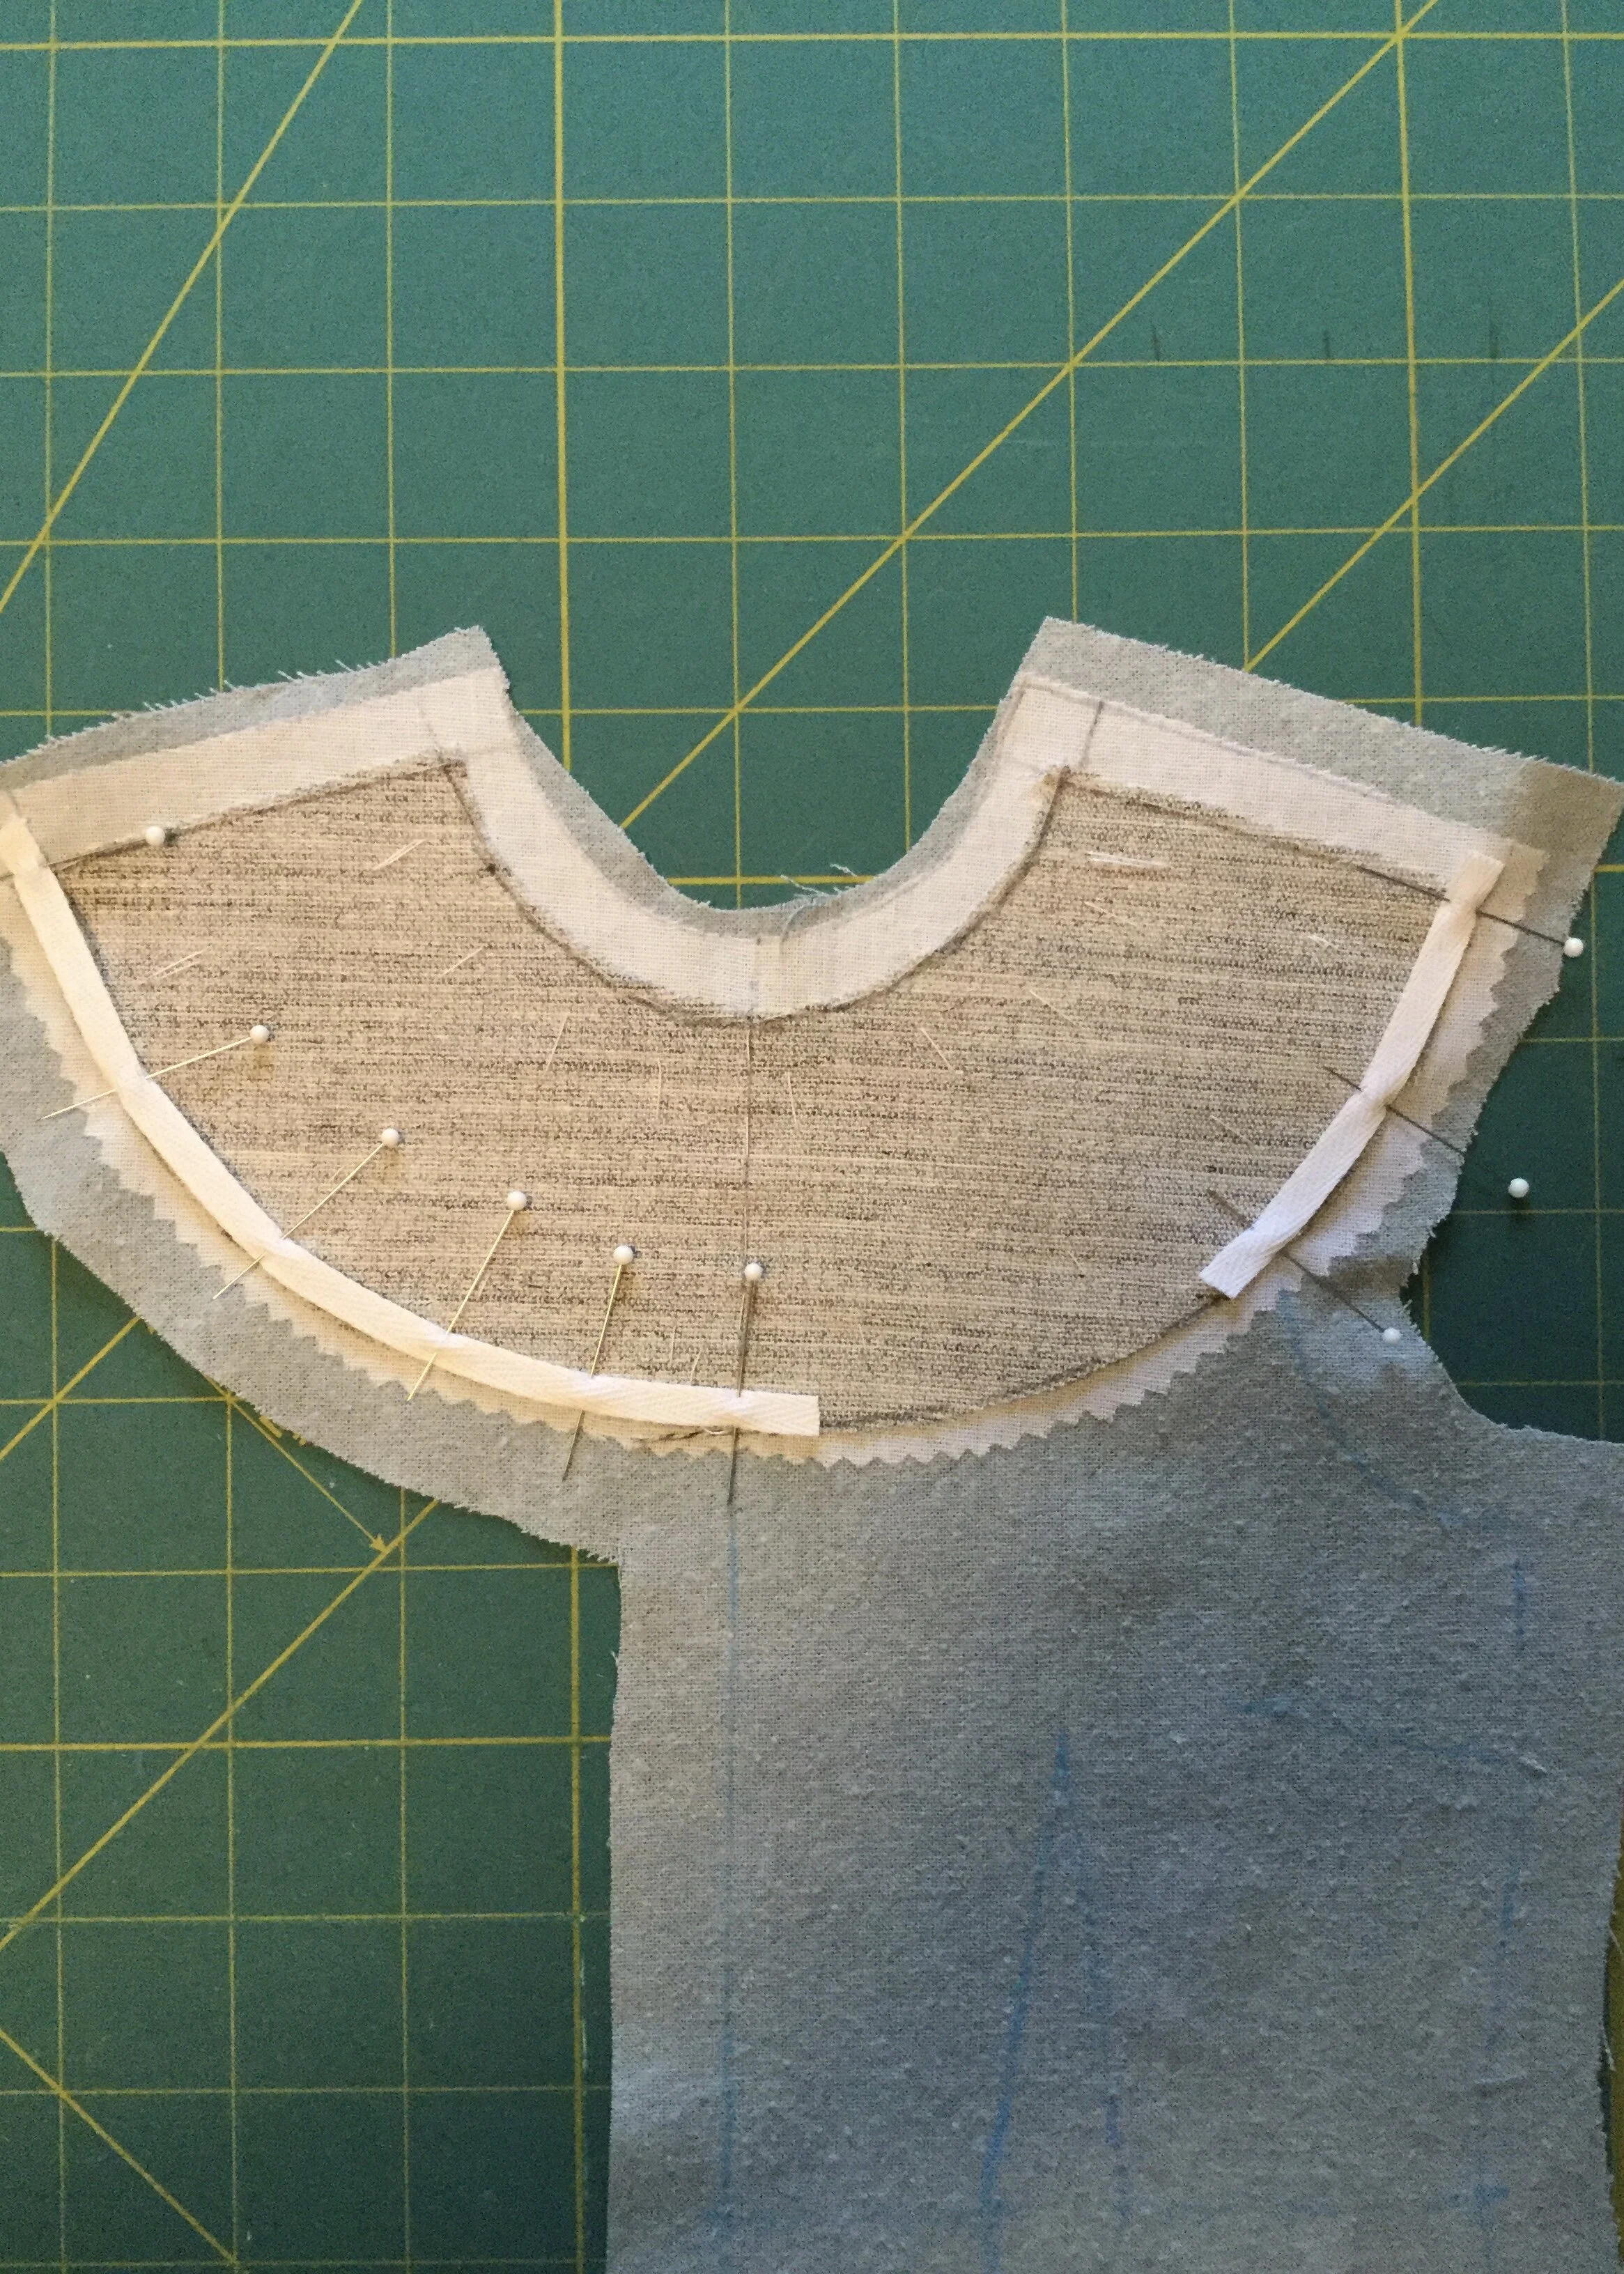
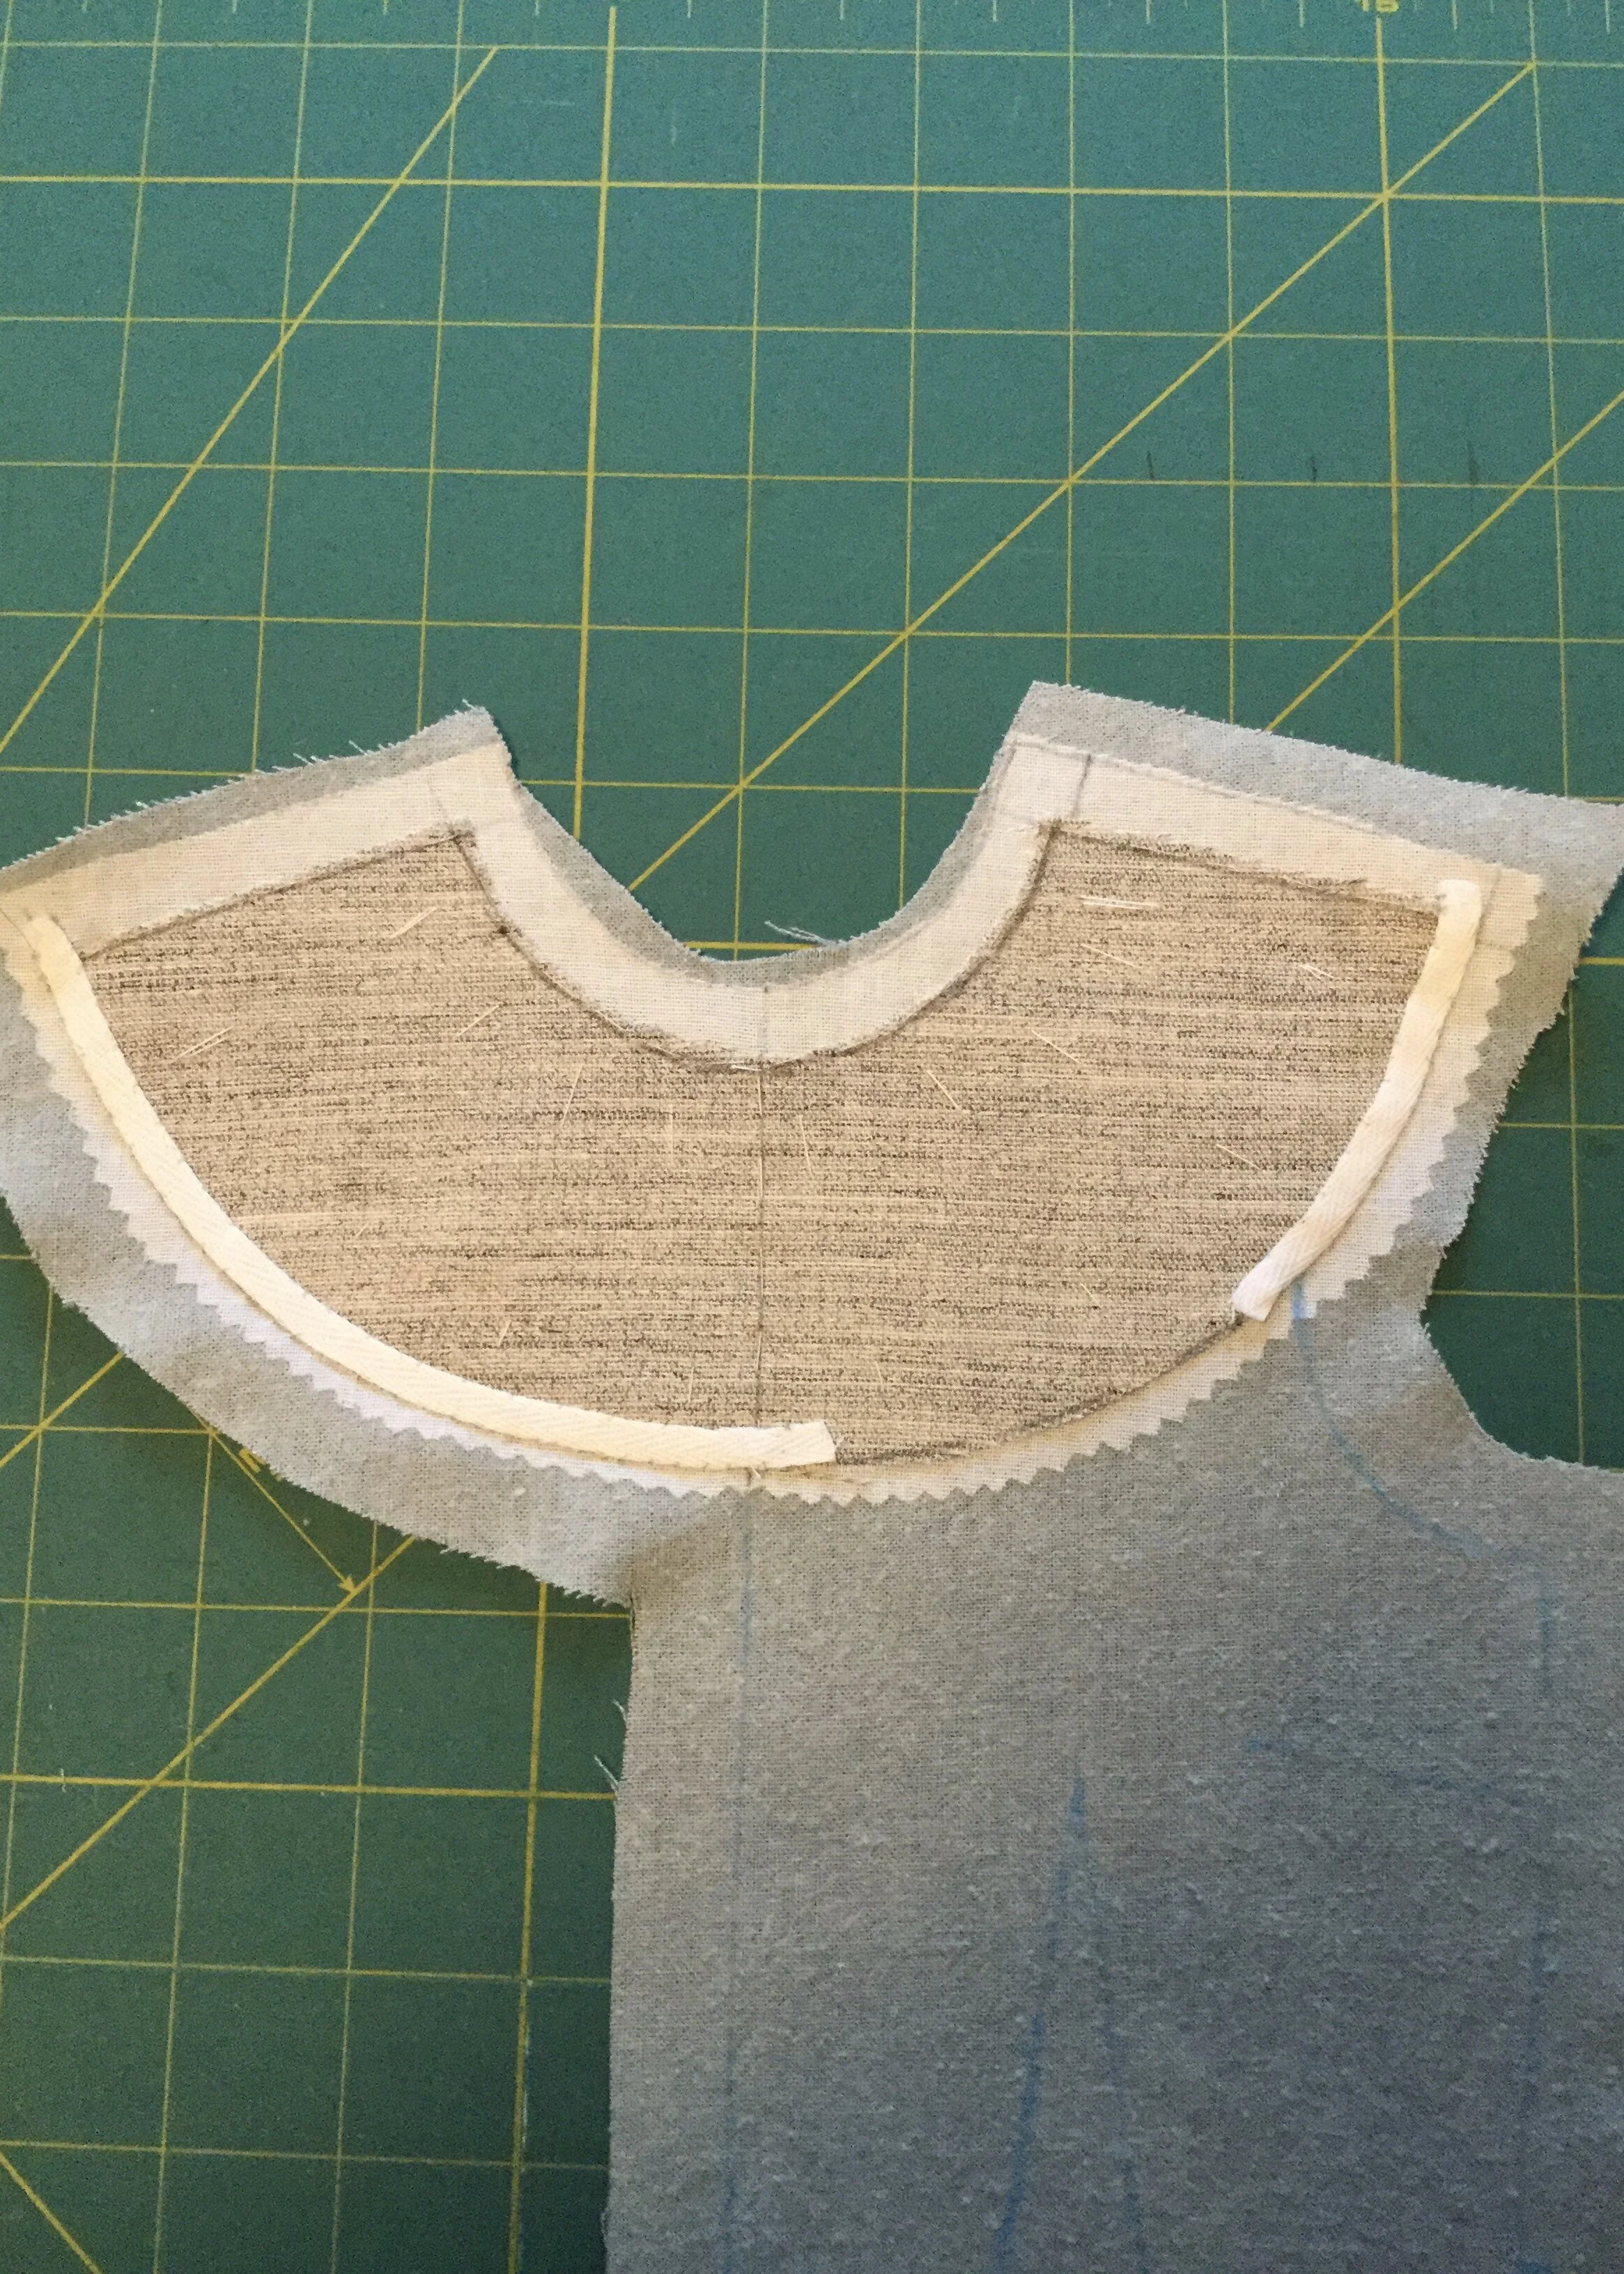
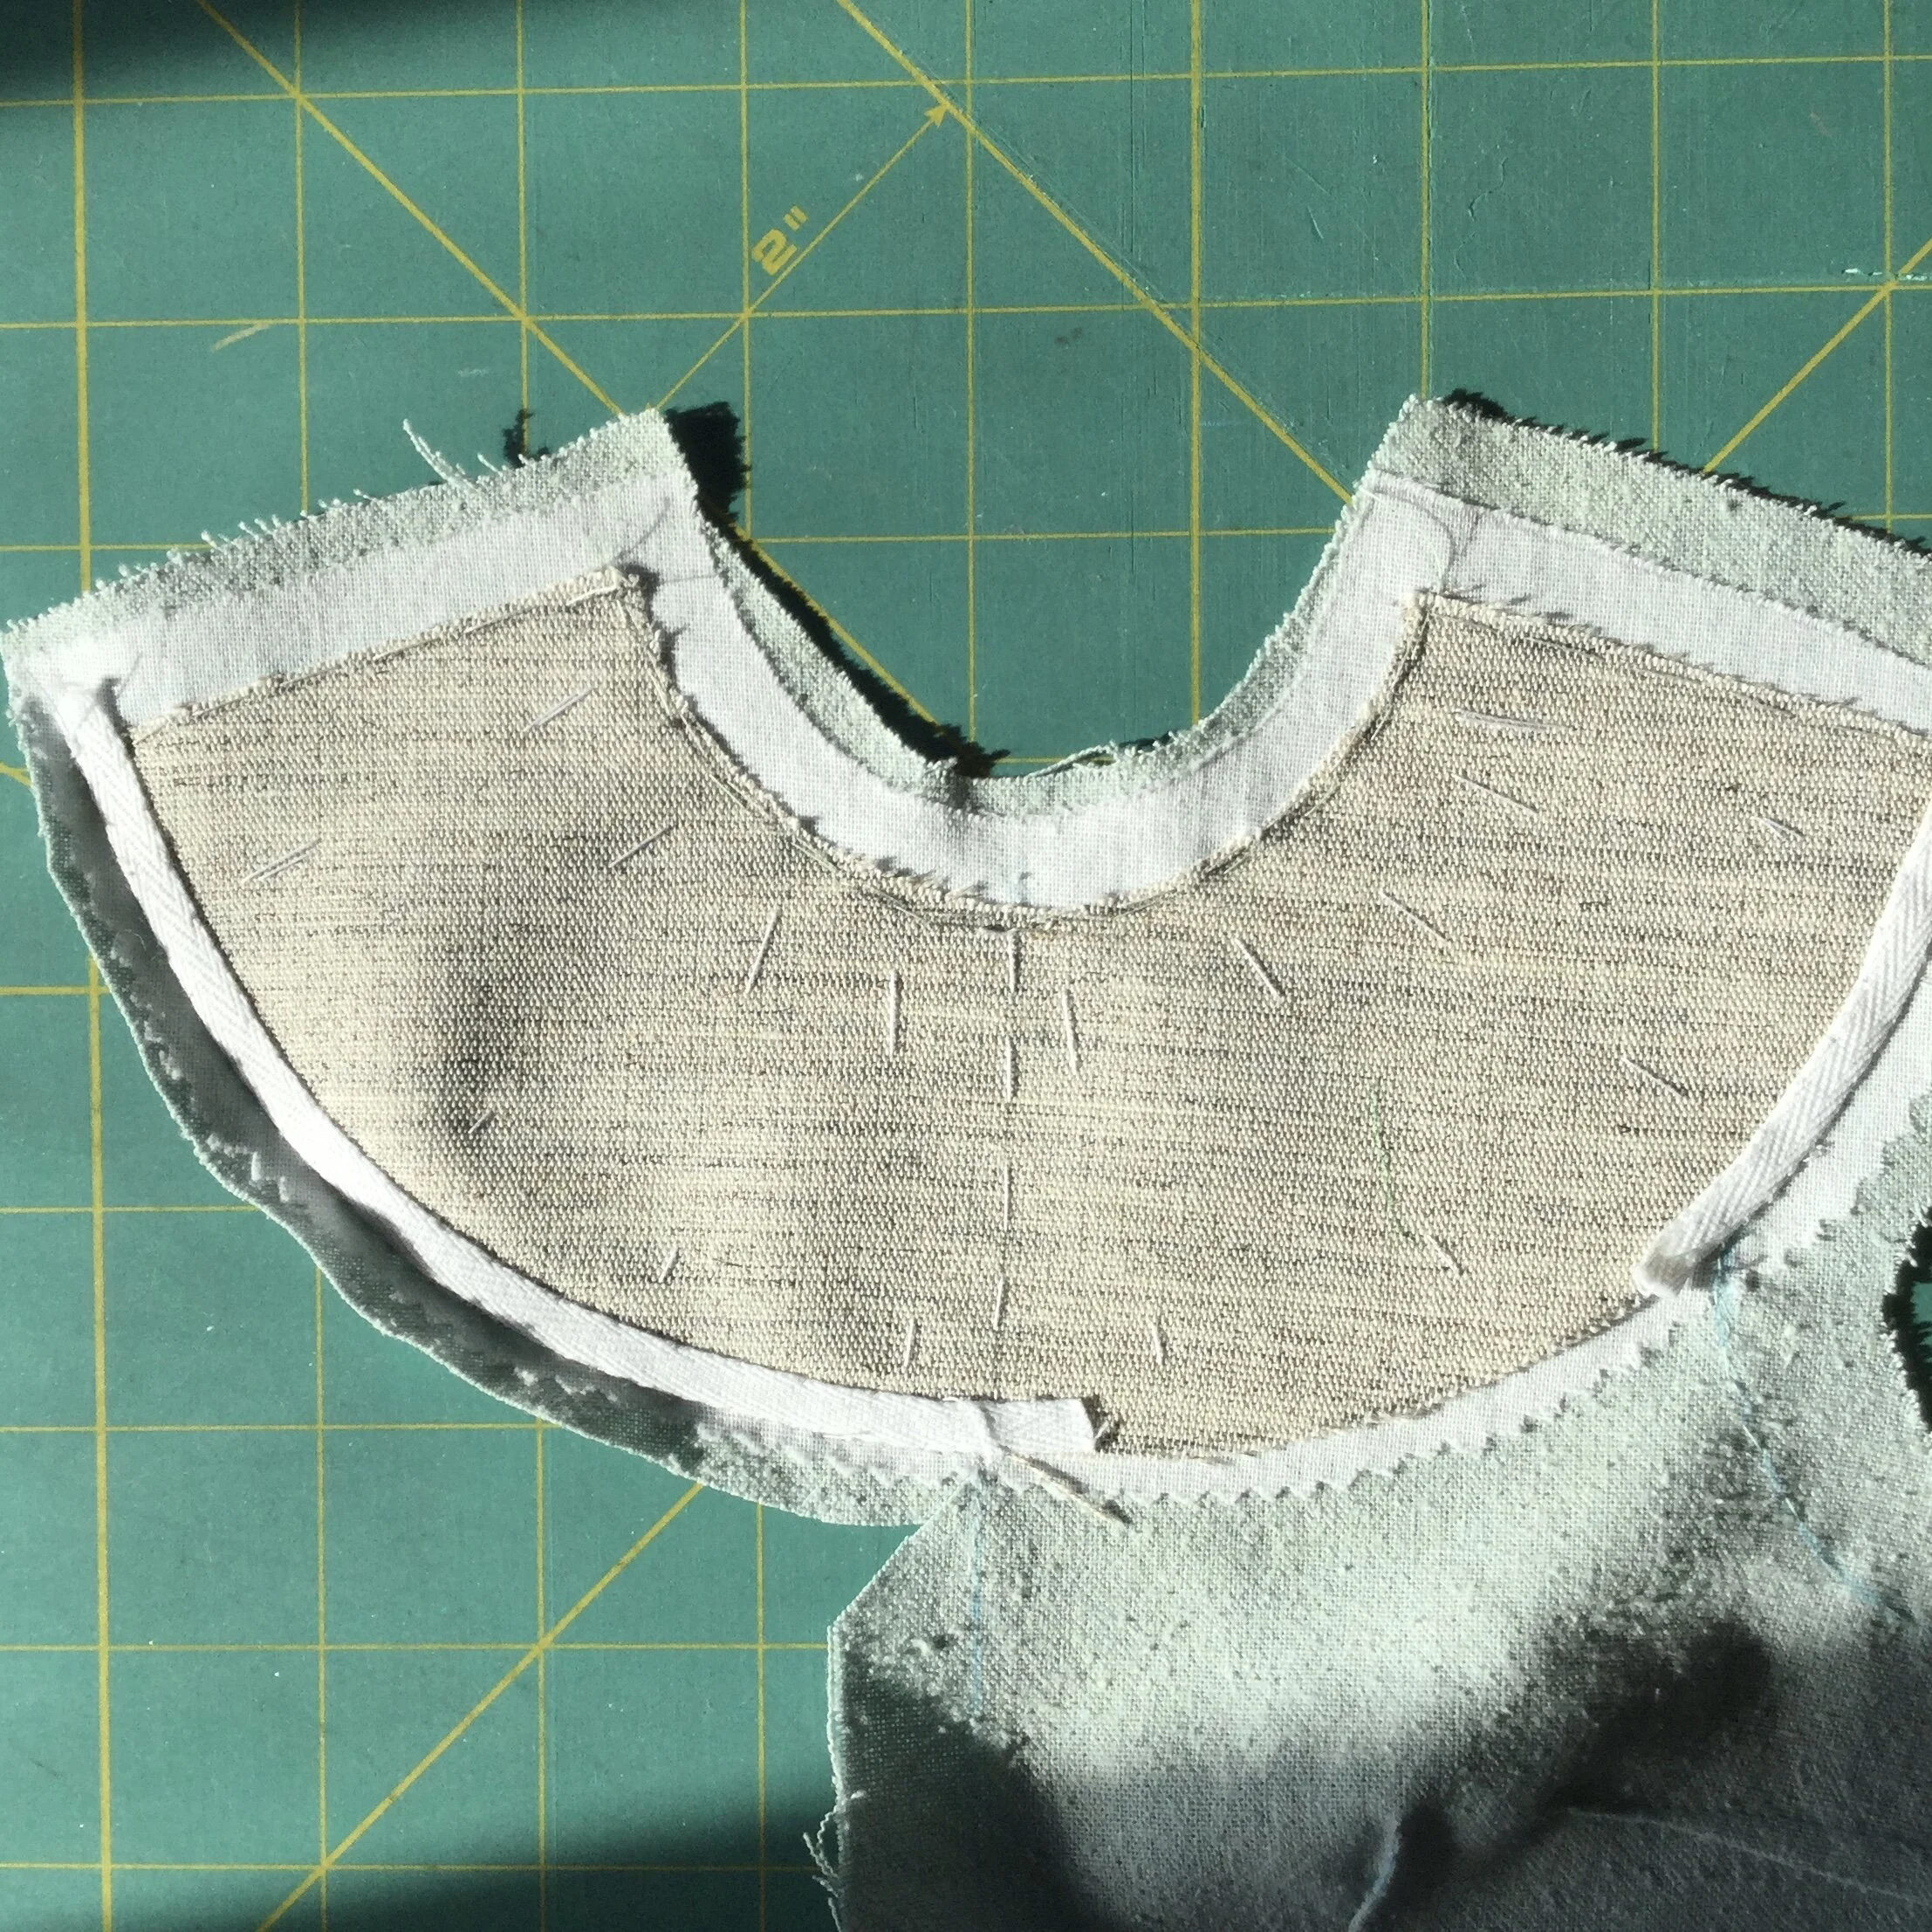
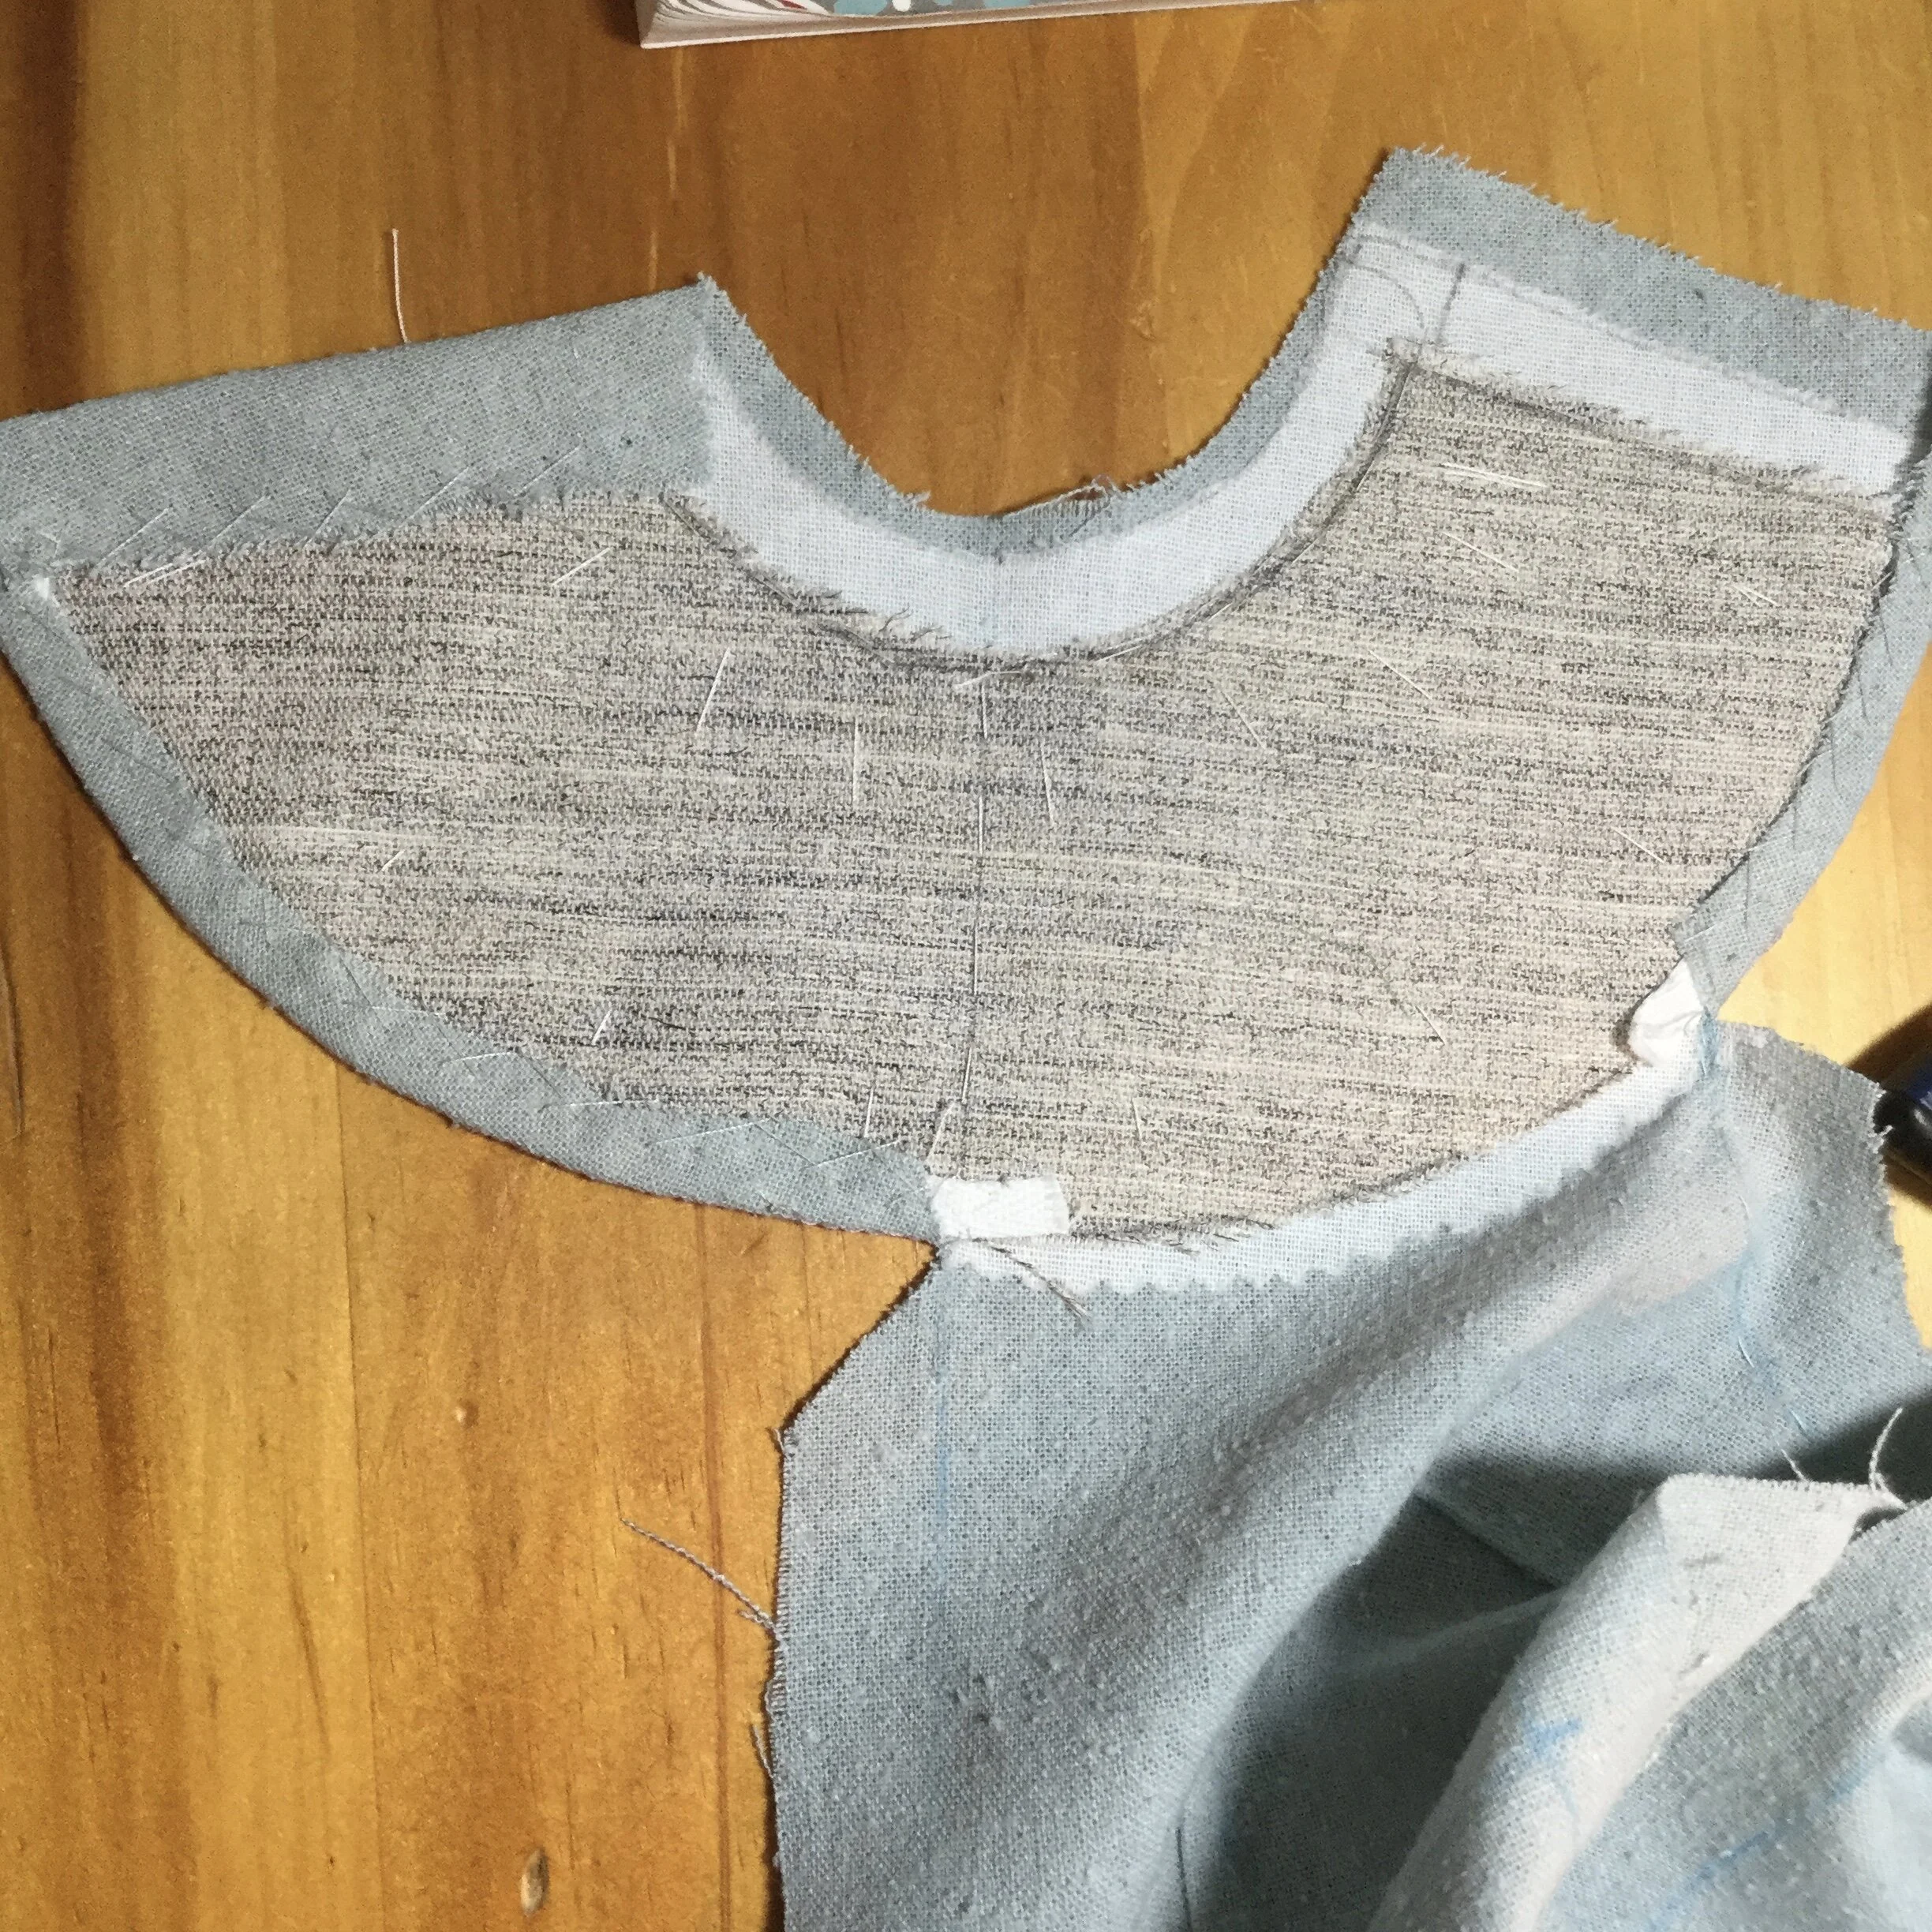
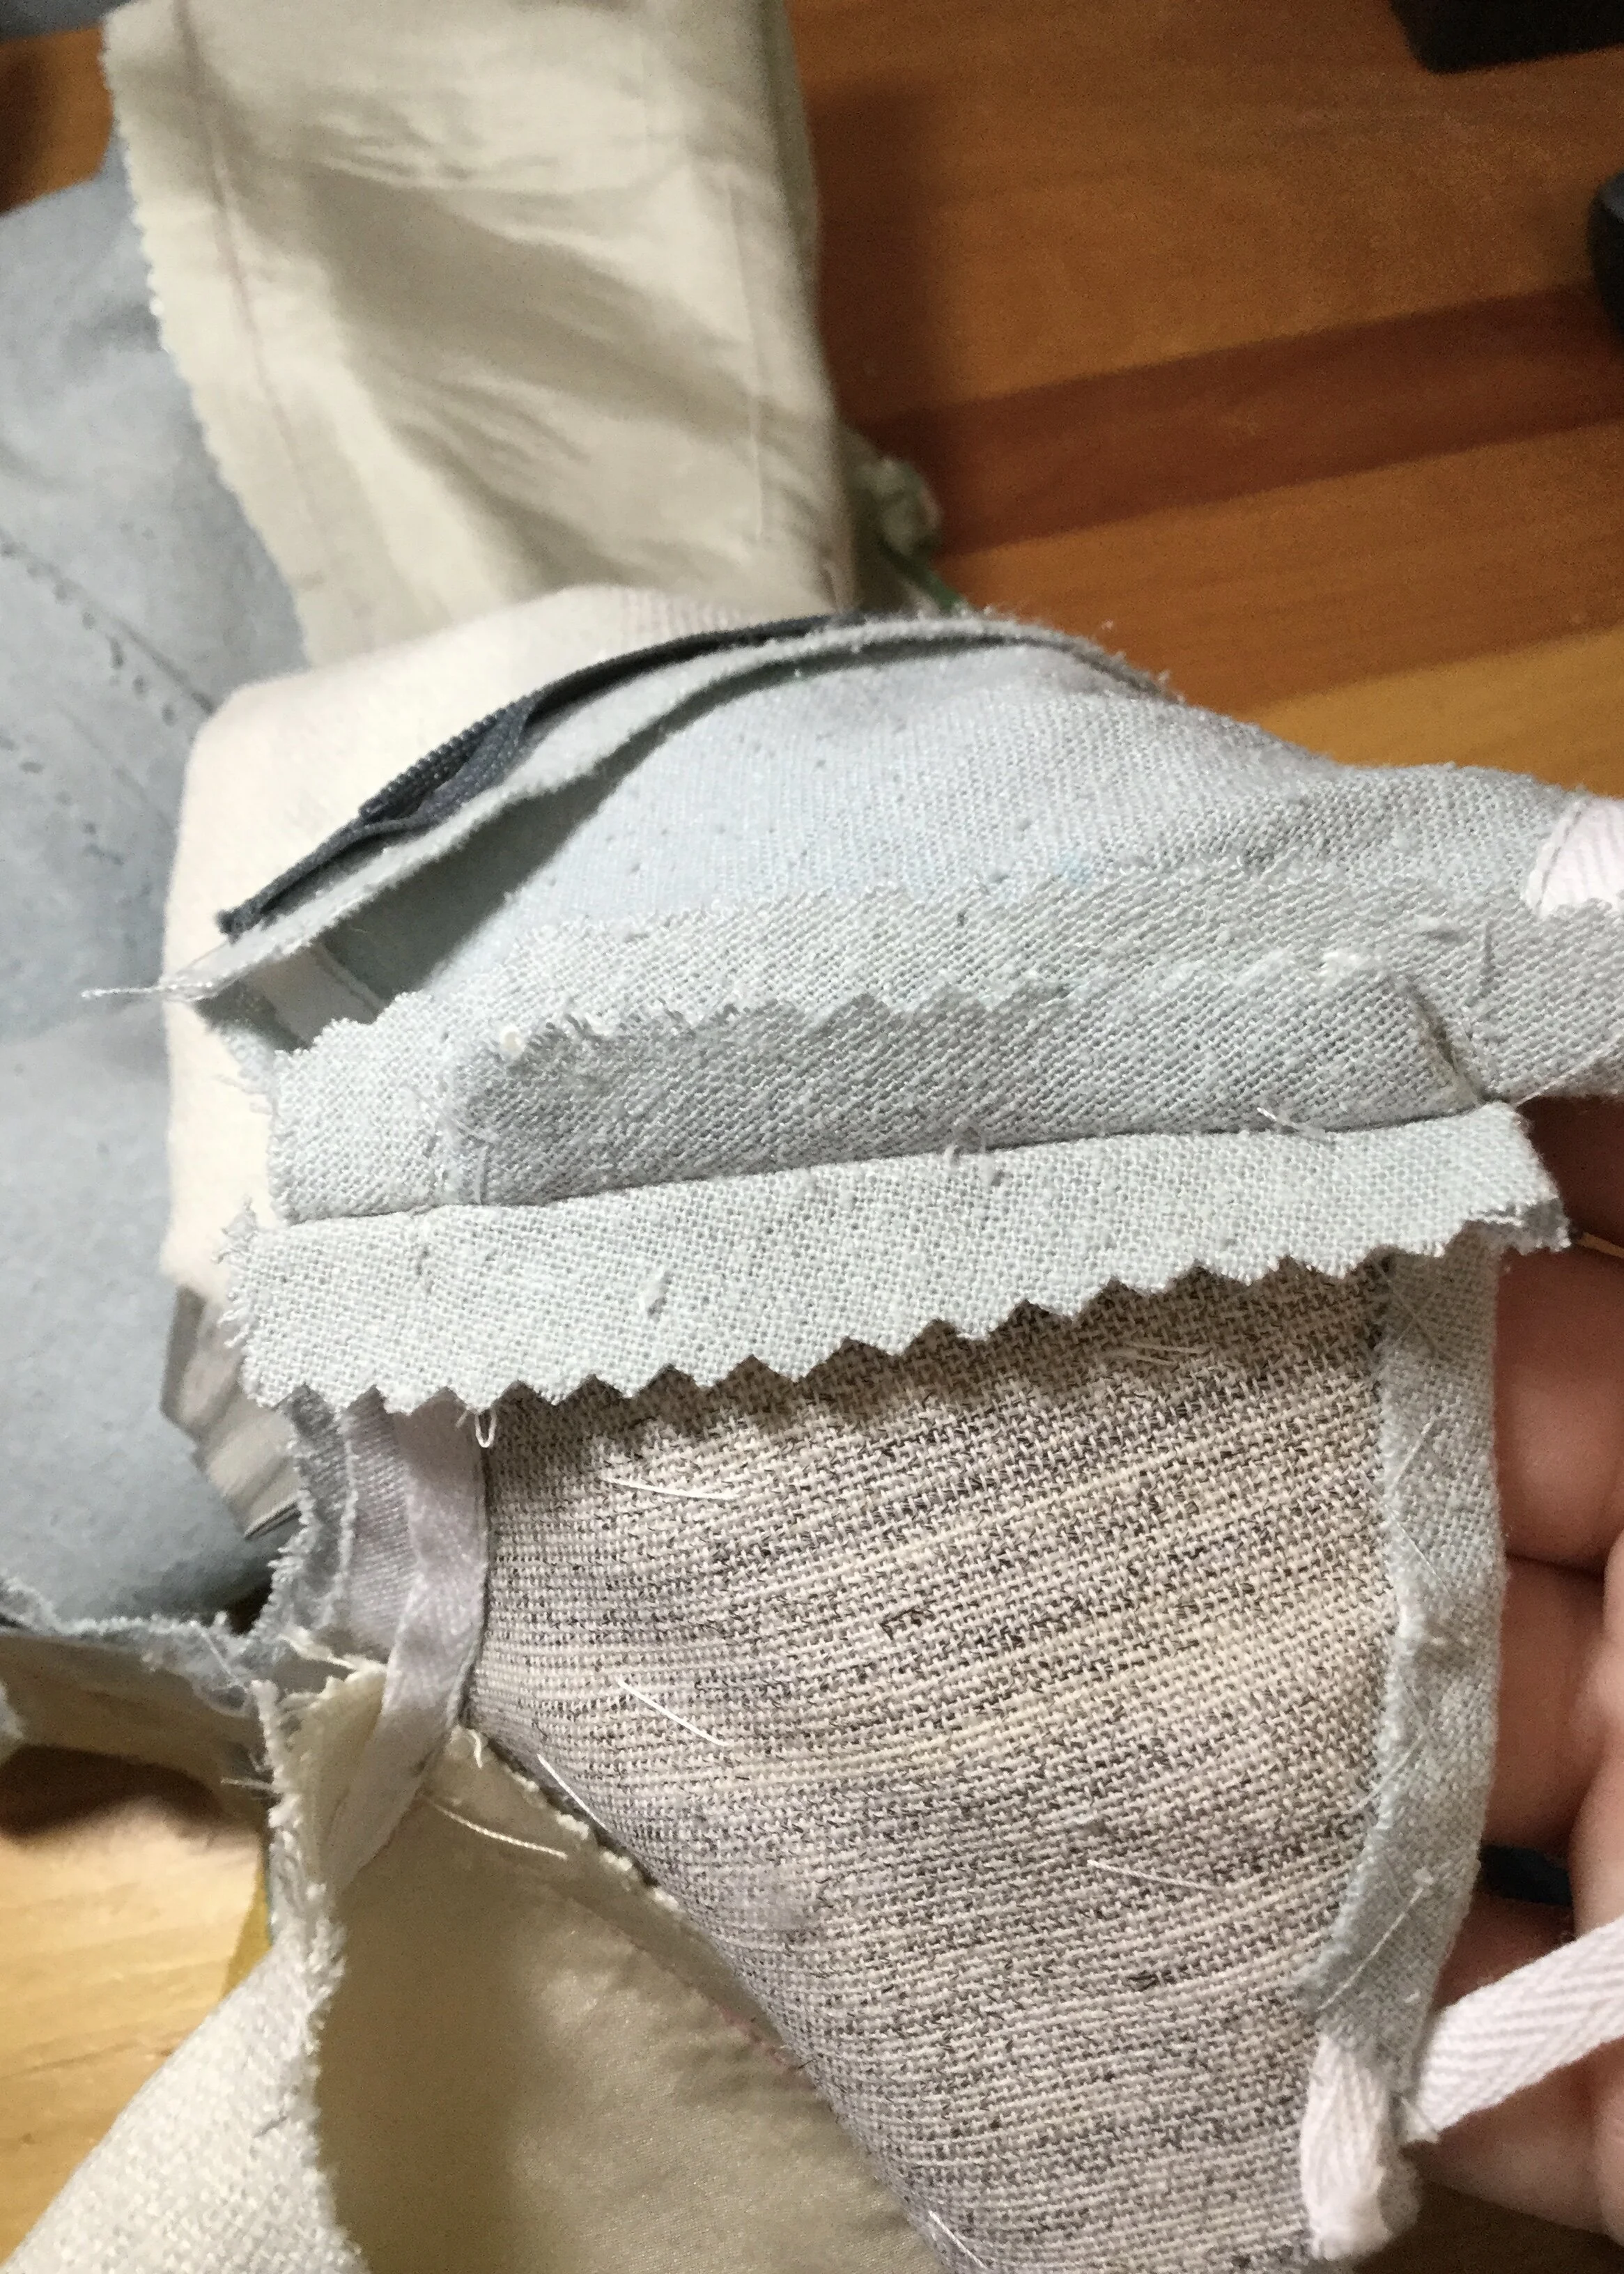
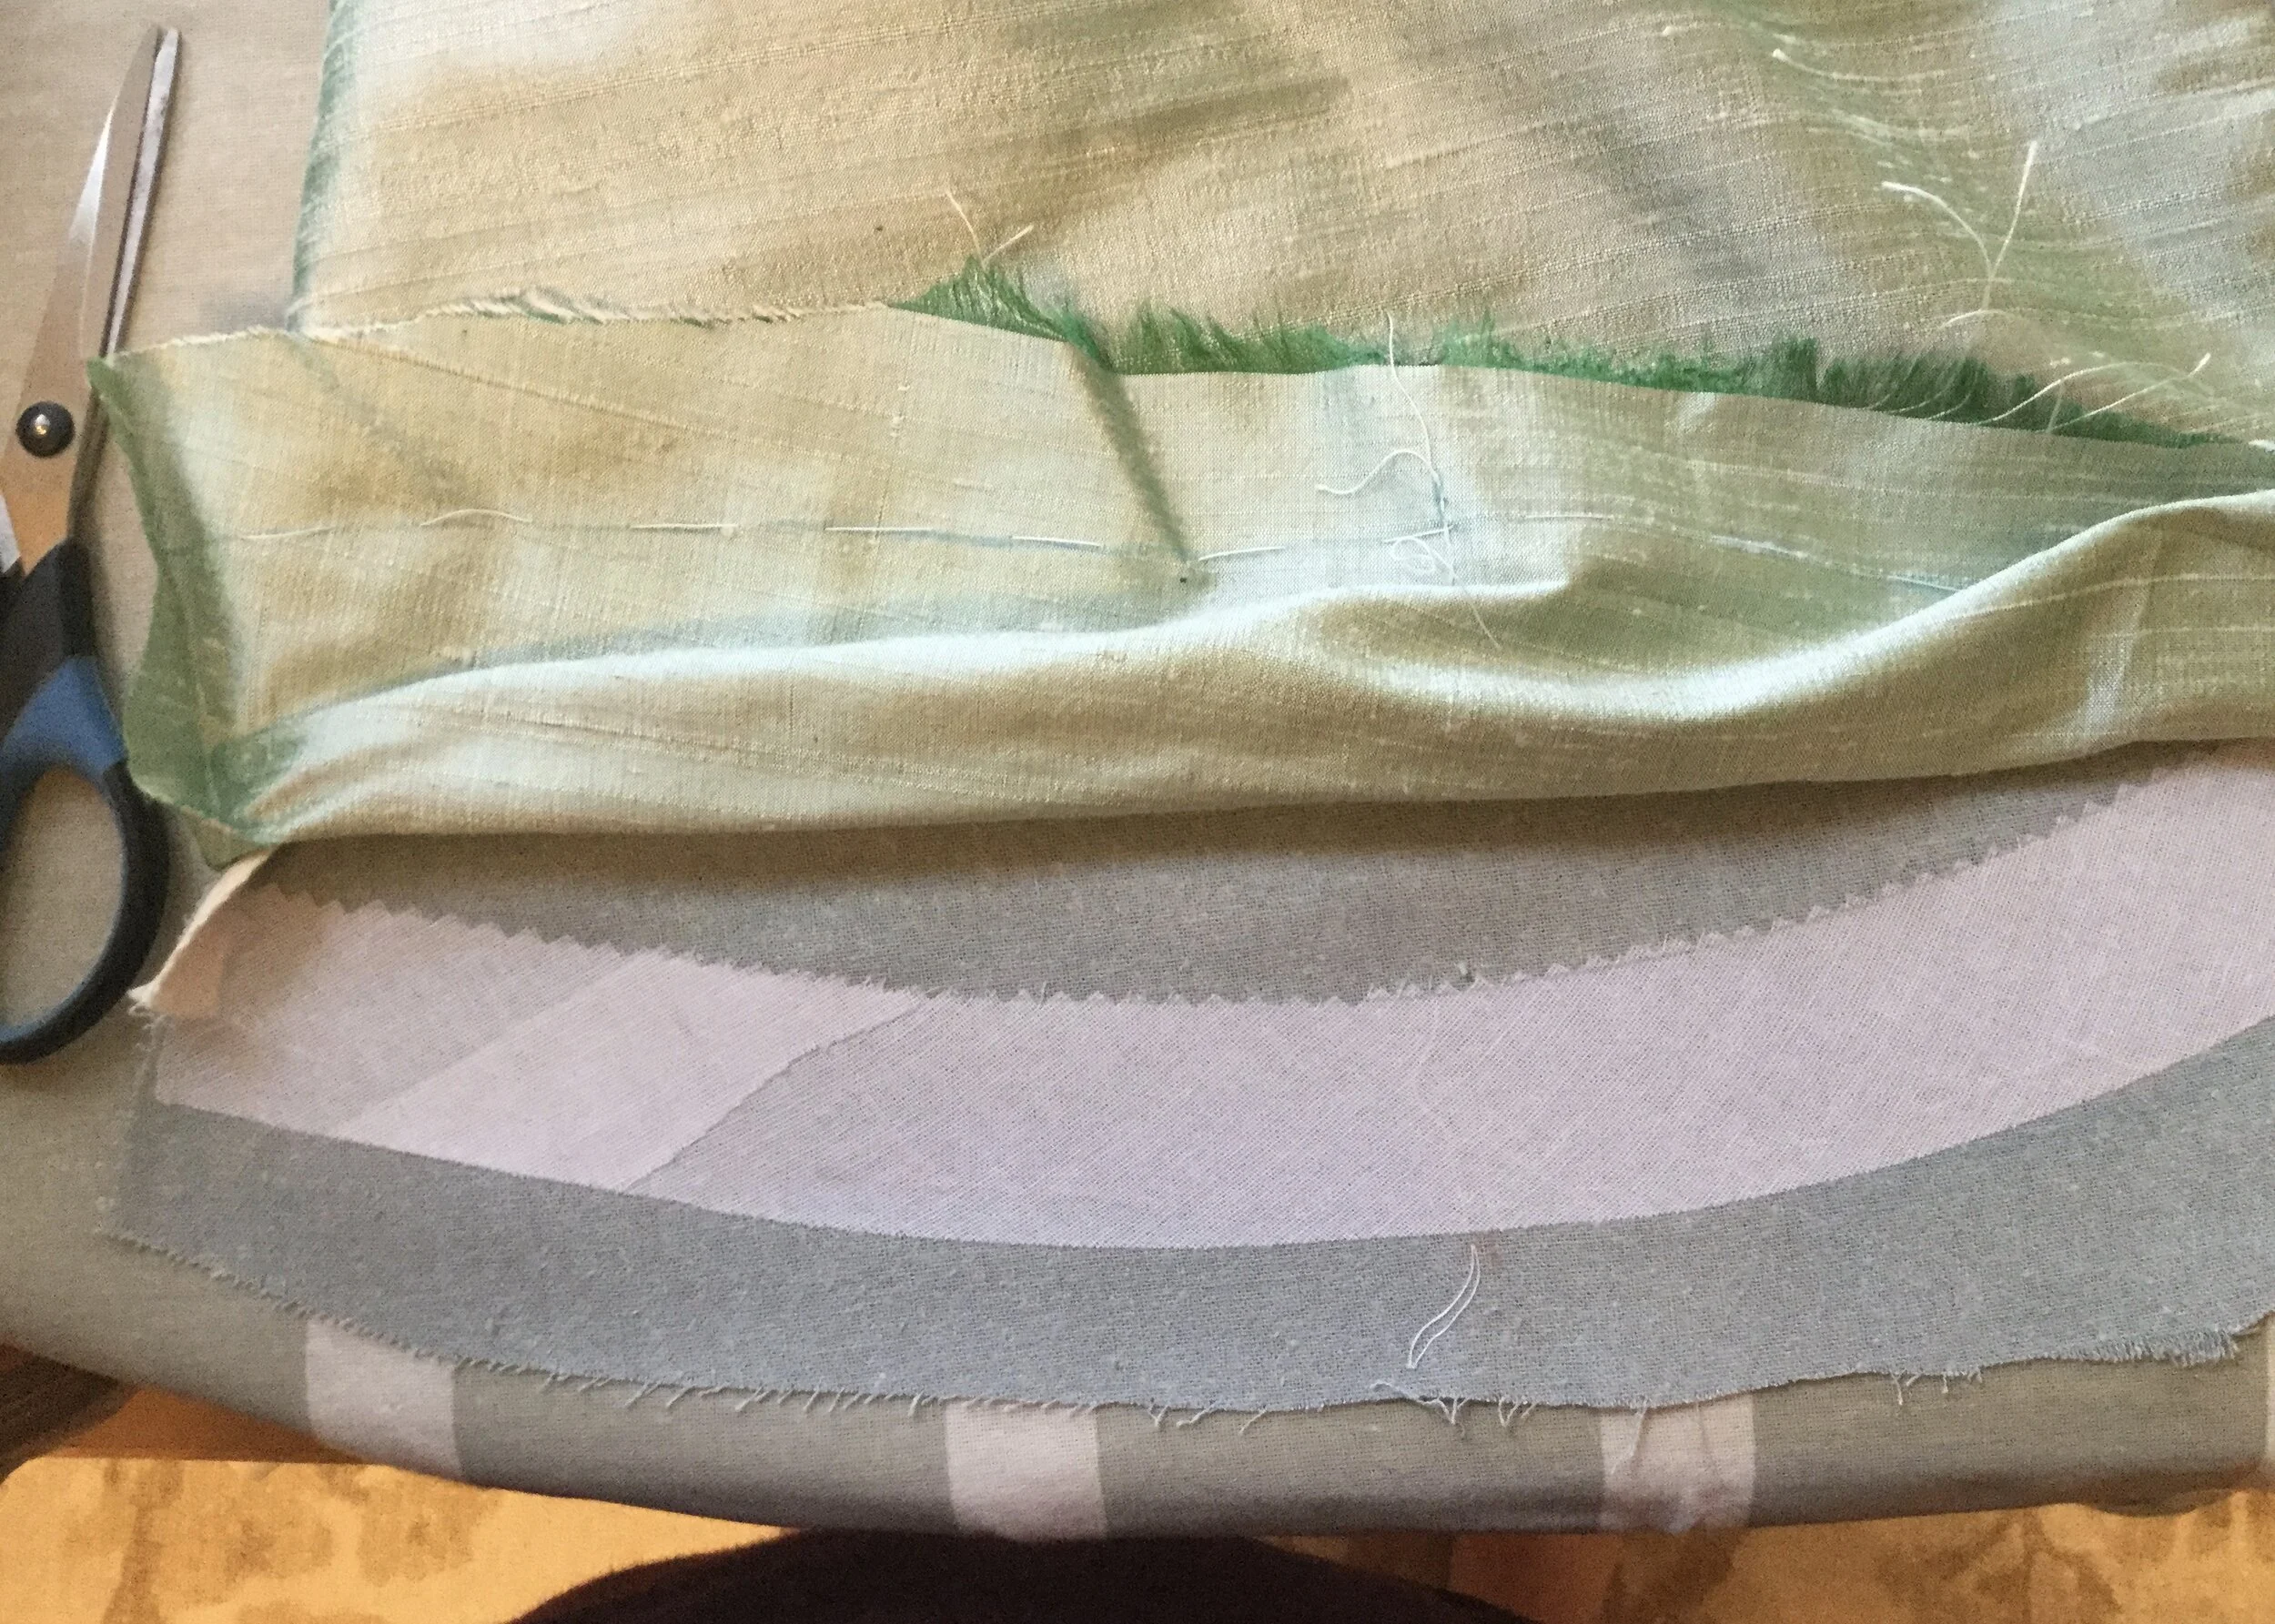
My first step was to apply a layer of fusible interfacing. This helped the surface layer of silk remain smooth as well as gave me more to stitch into when I applied the remaining layers. I also pinked the outer edge of the interfacing so that the transition from the interfaced area to the single layer of silk wouldn't be a blunt line.
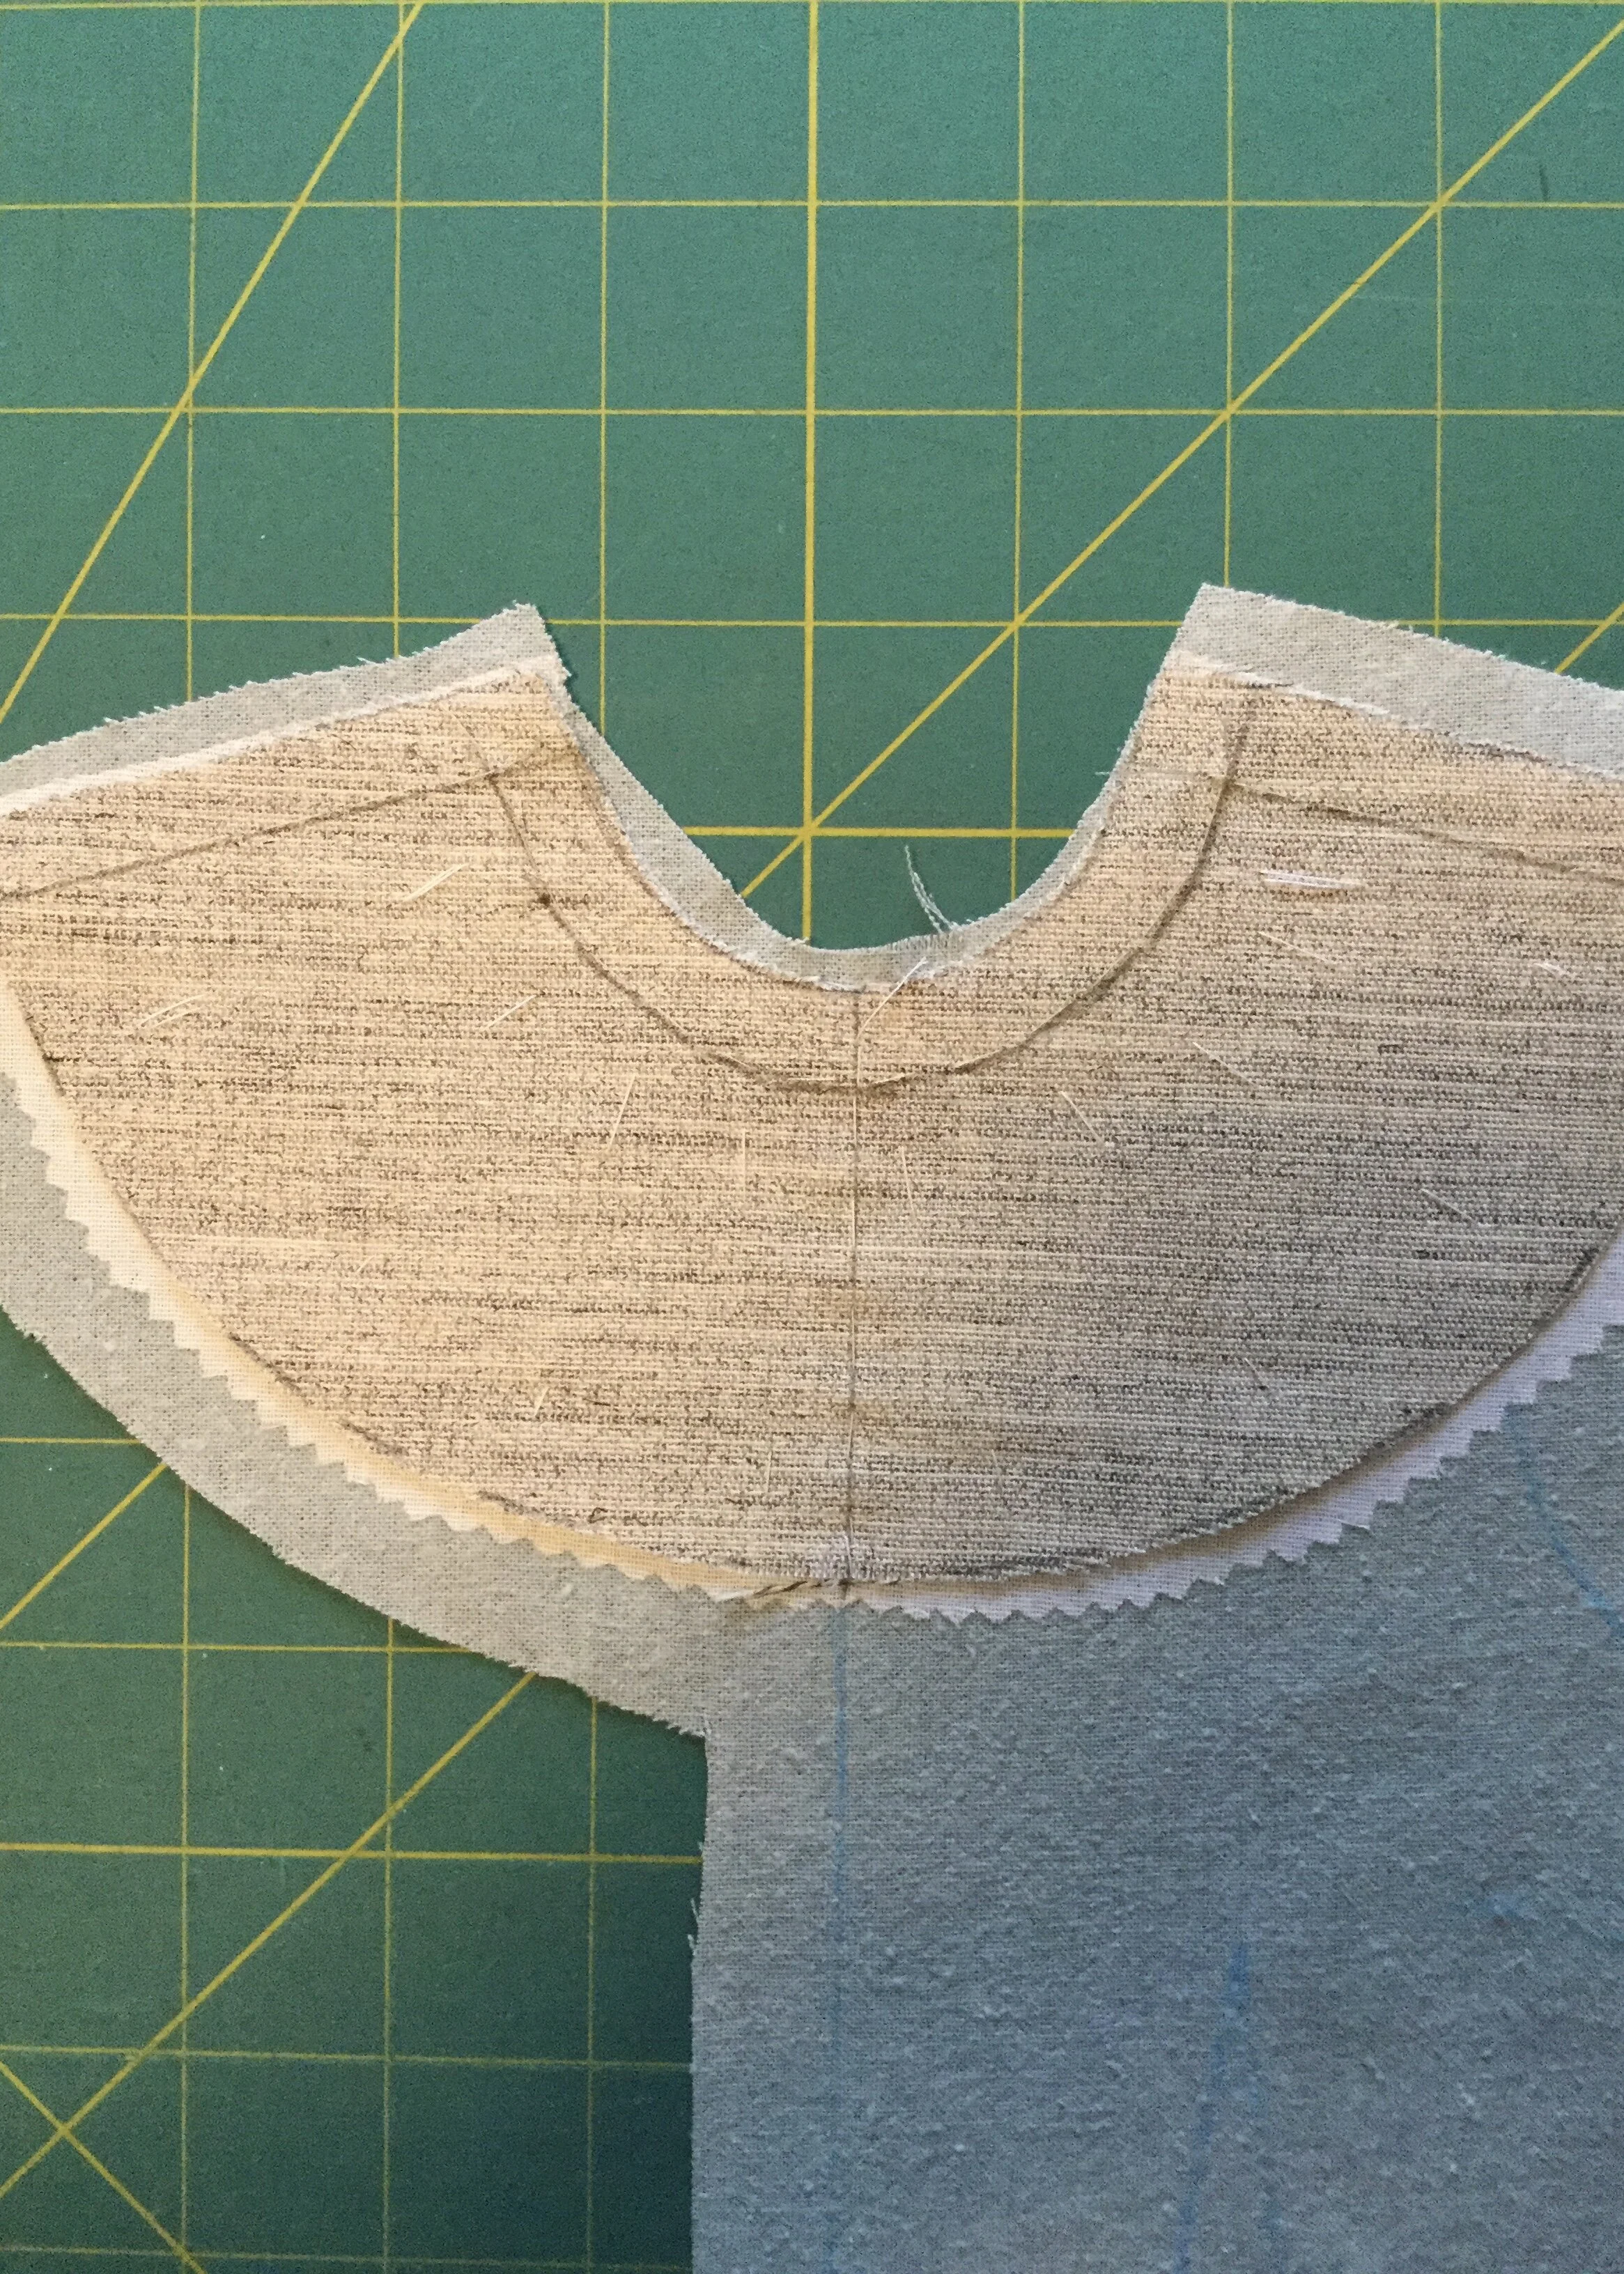
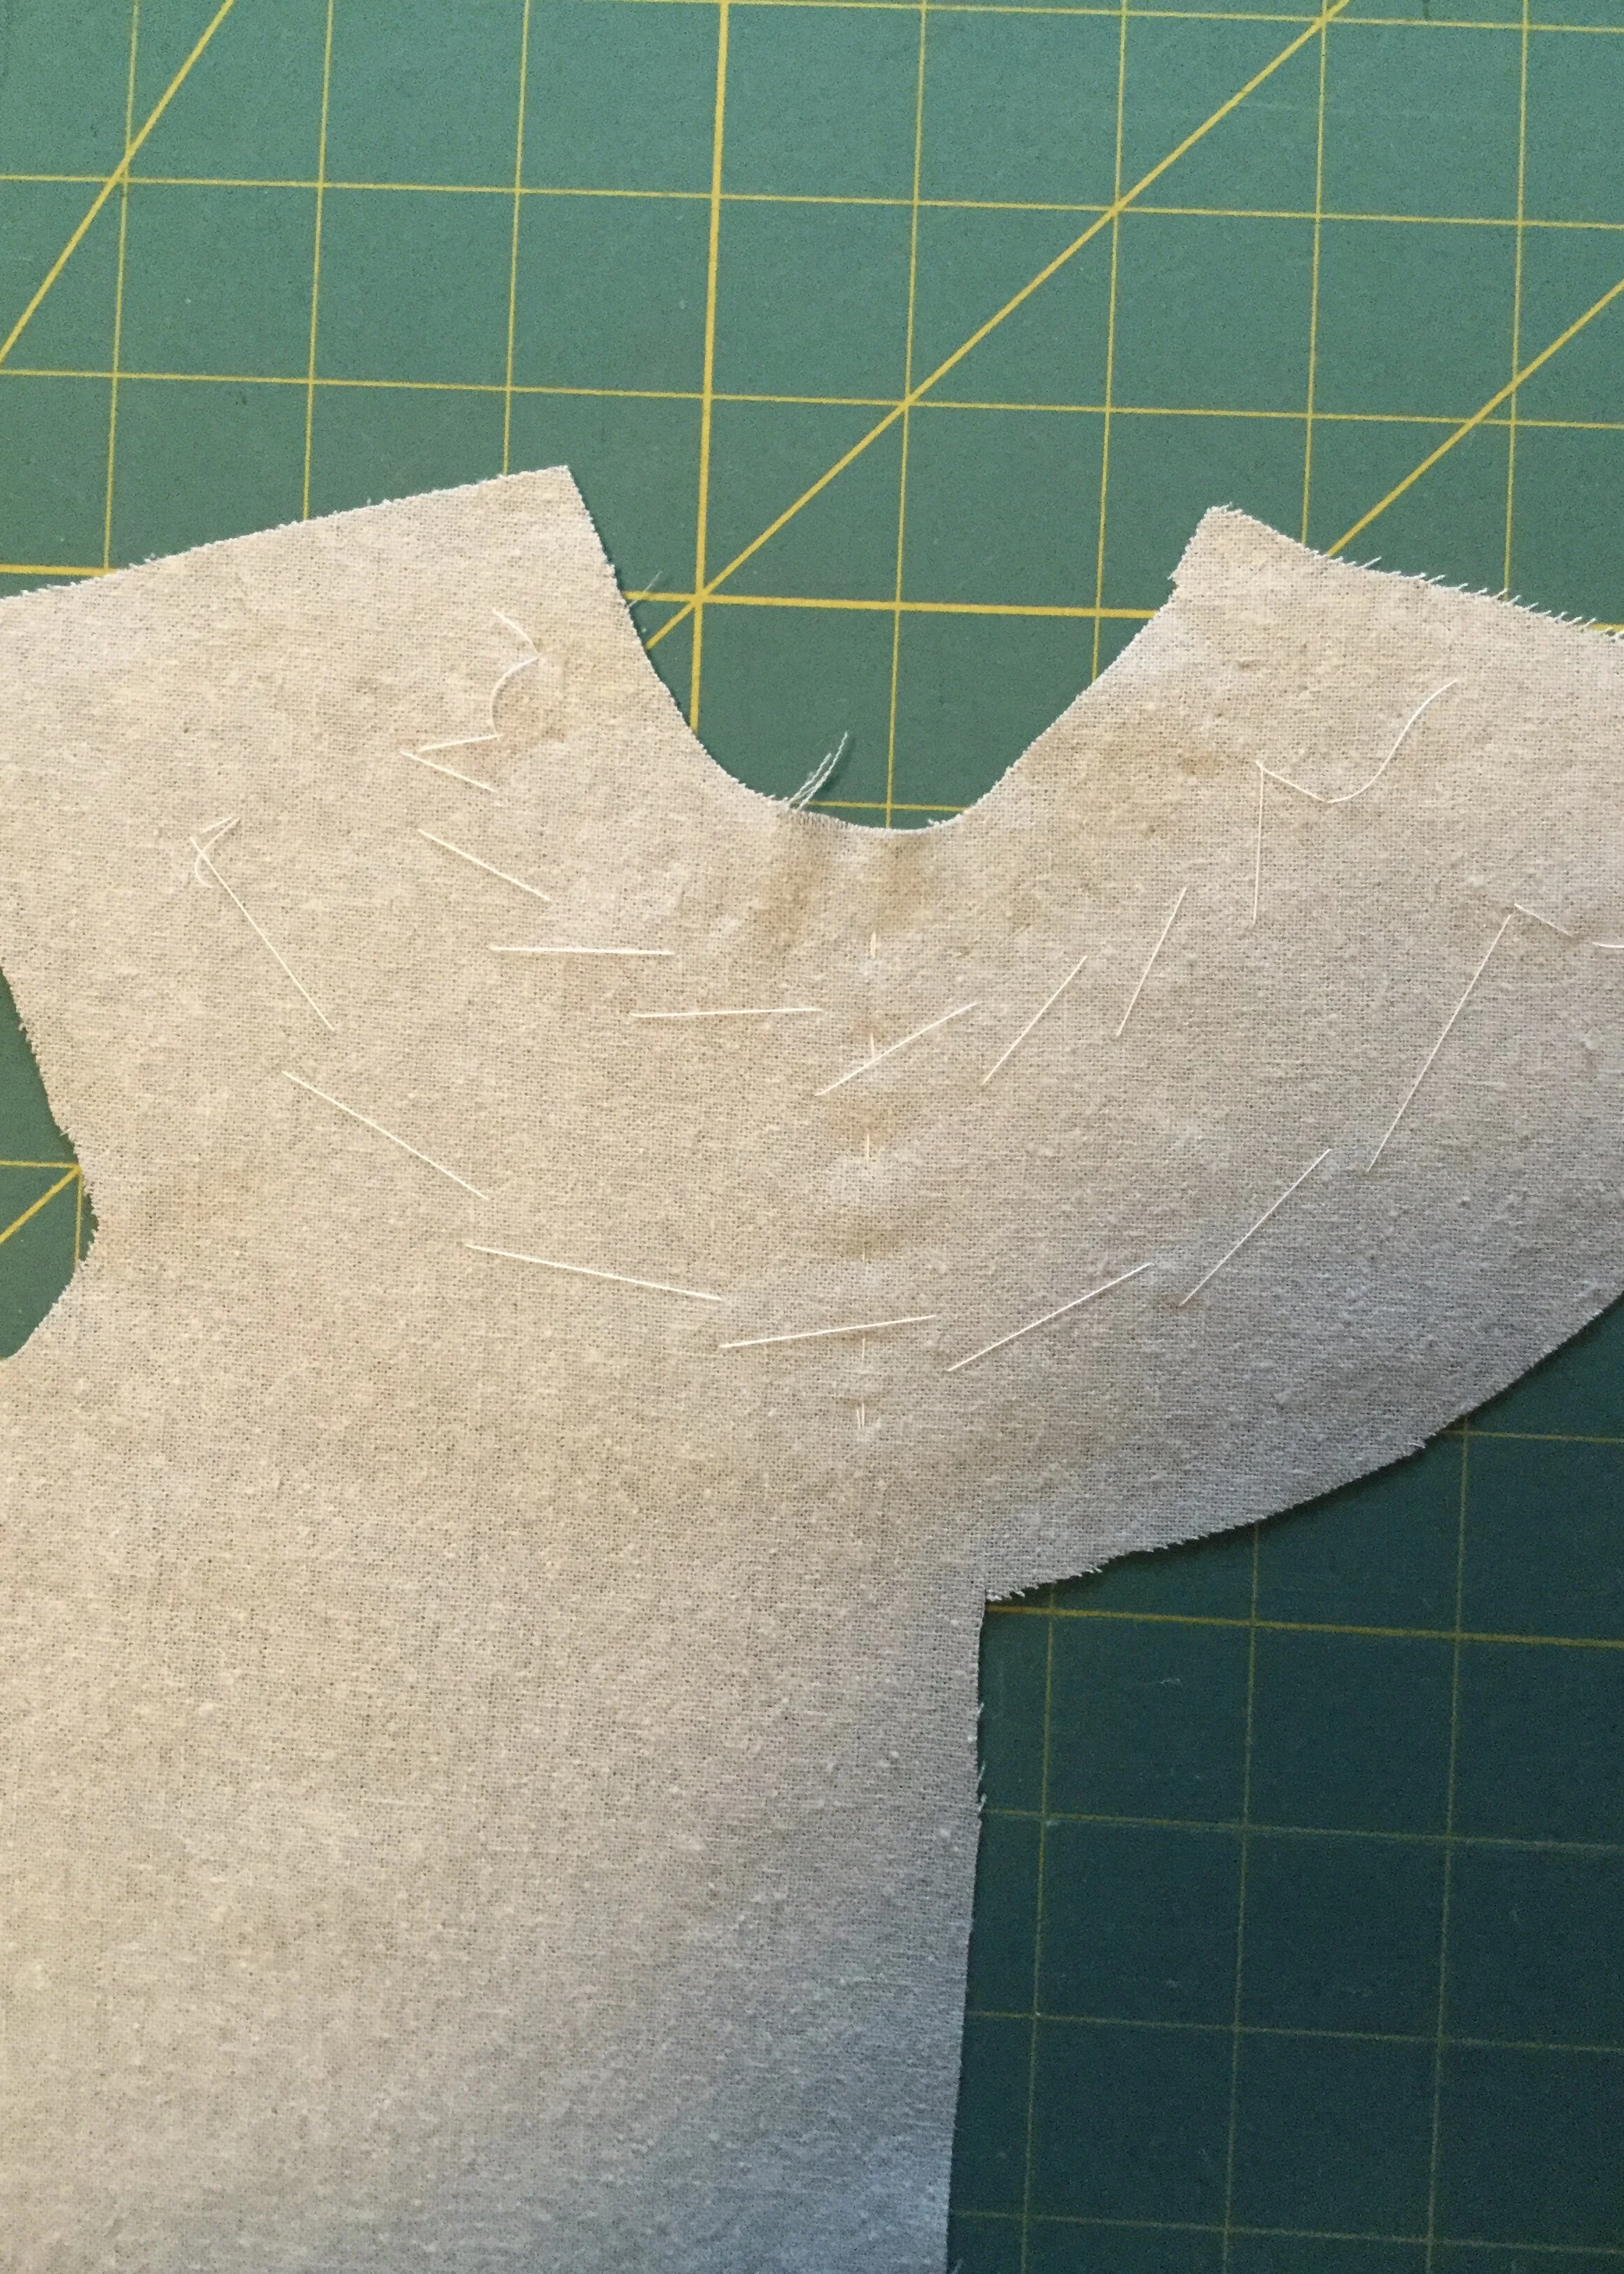
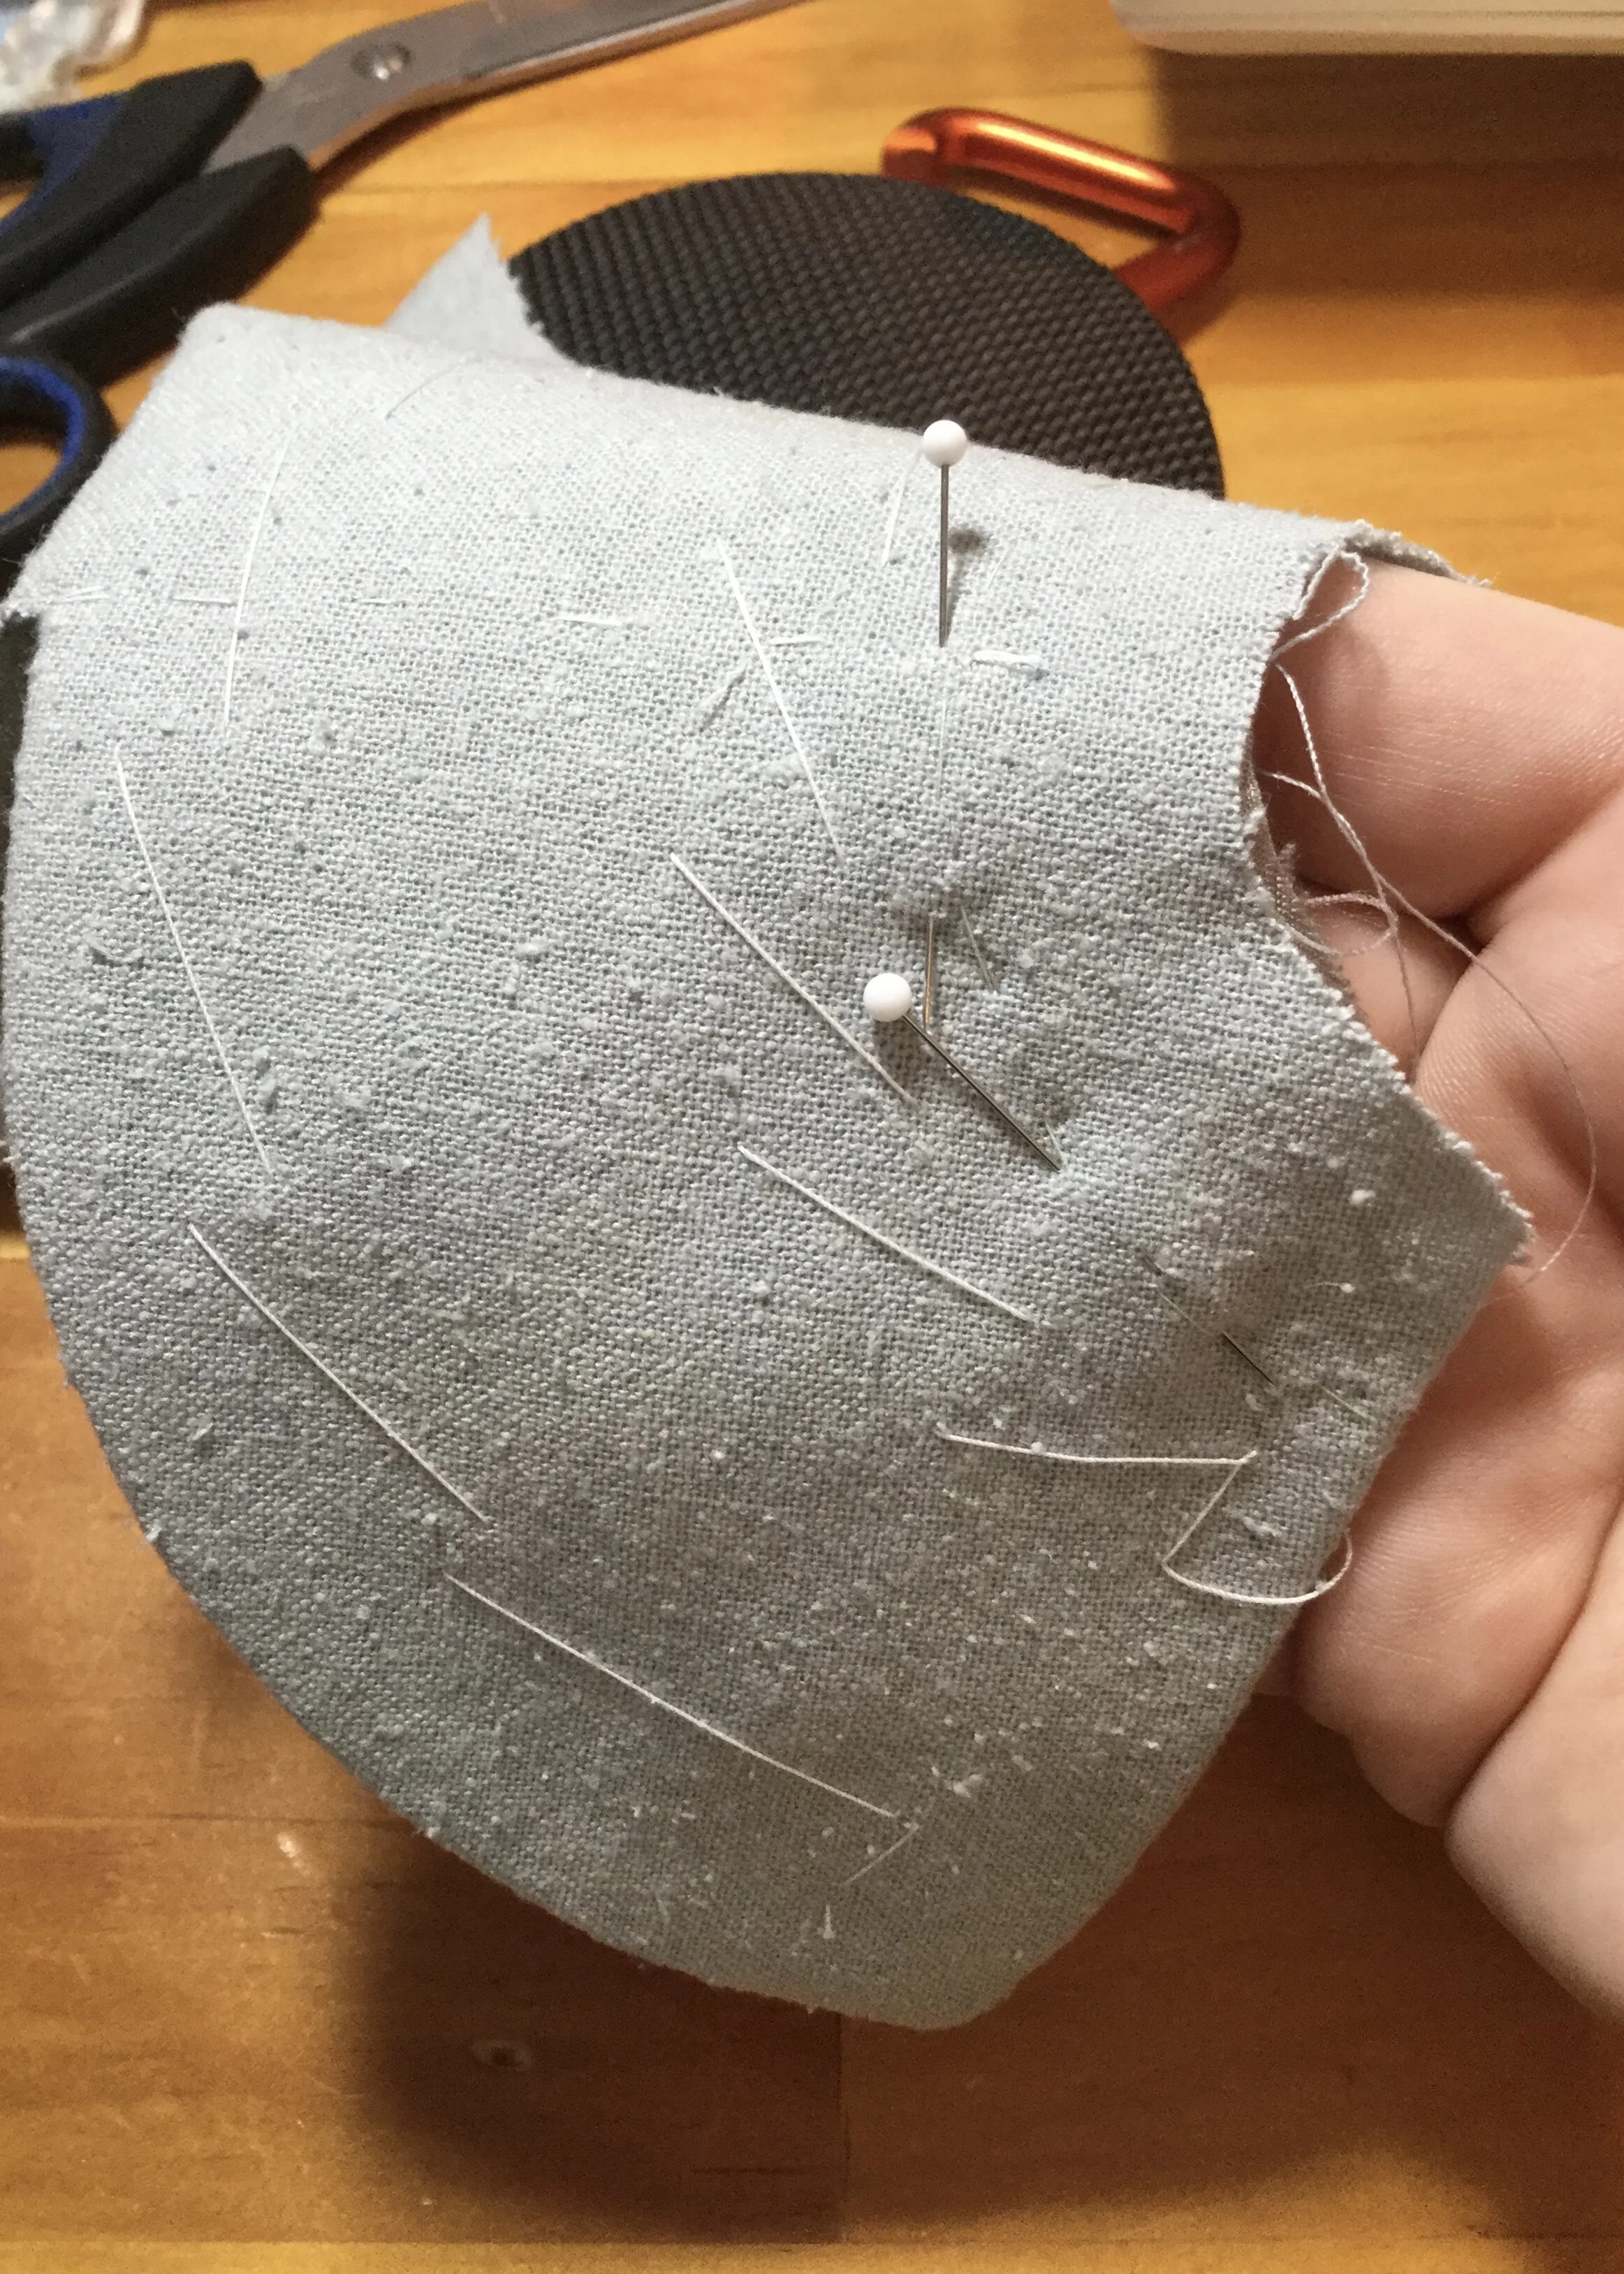
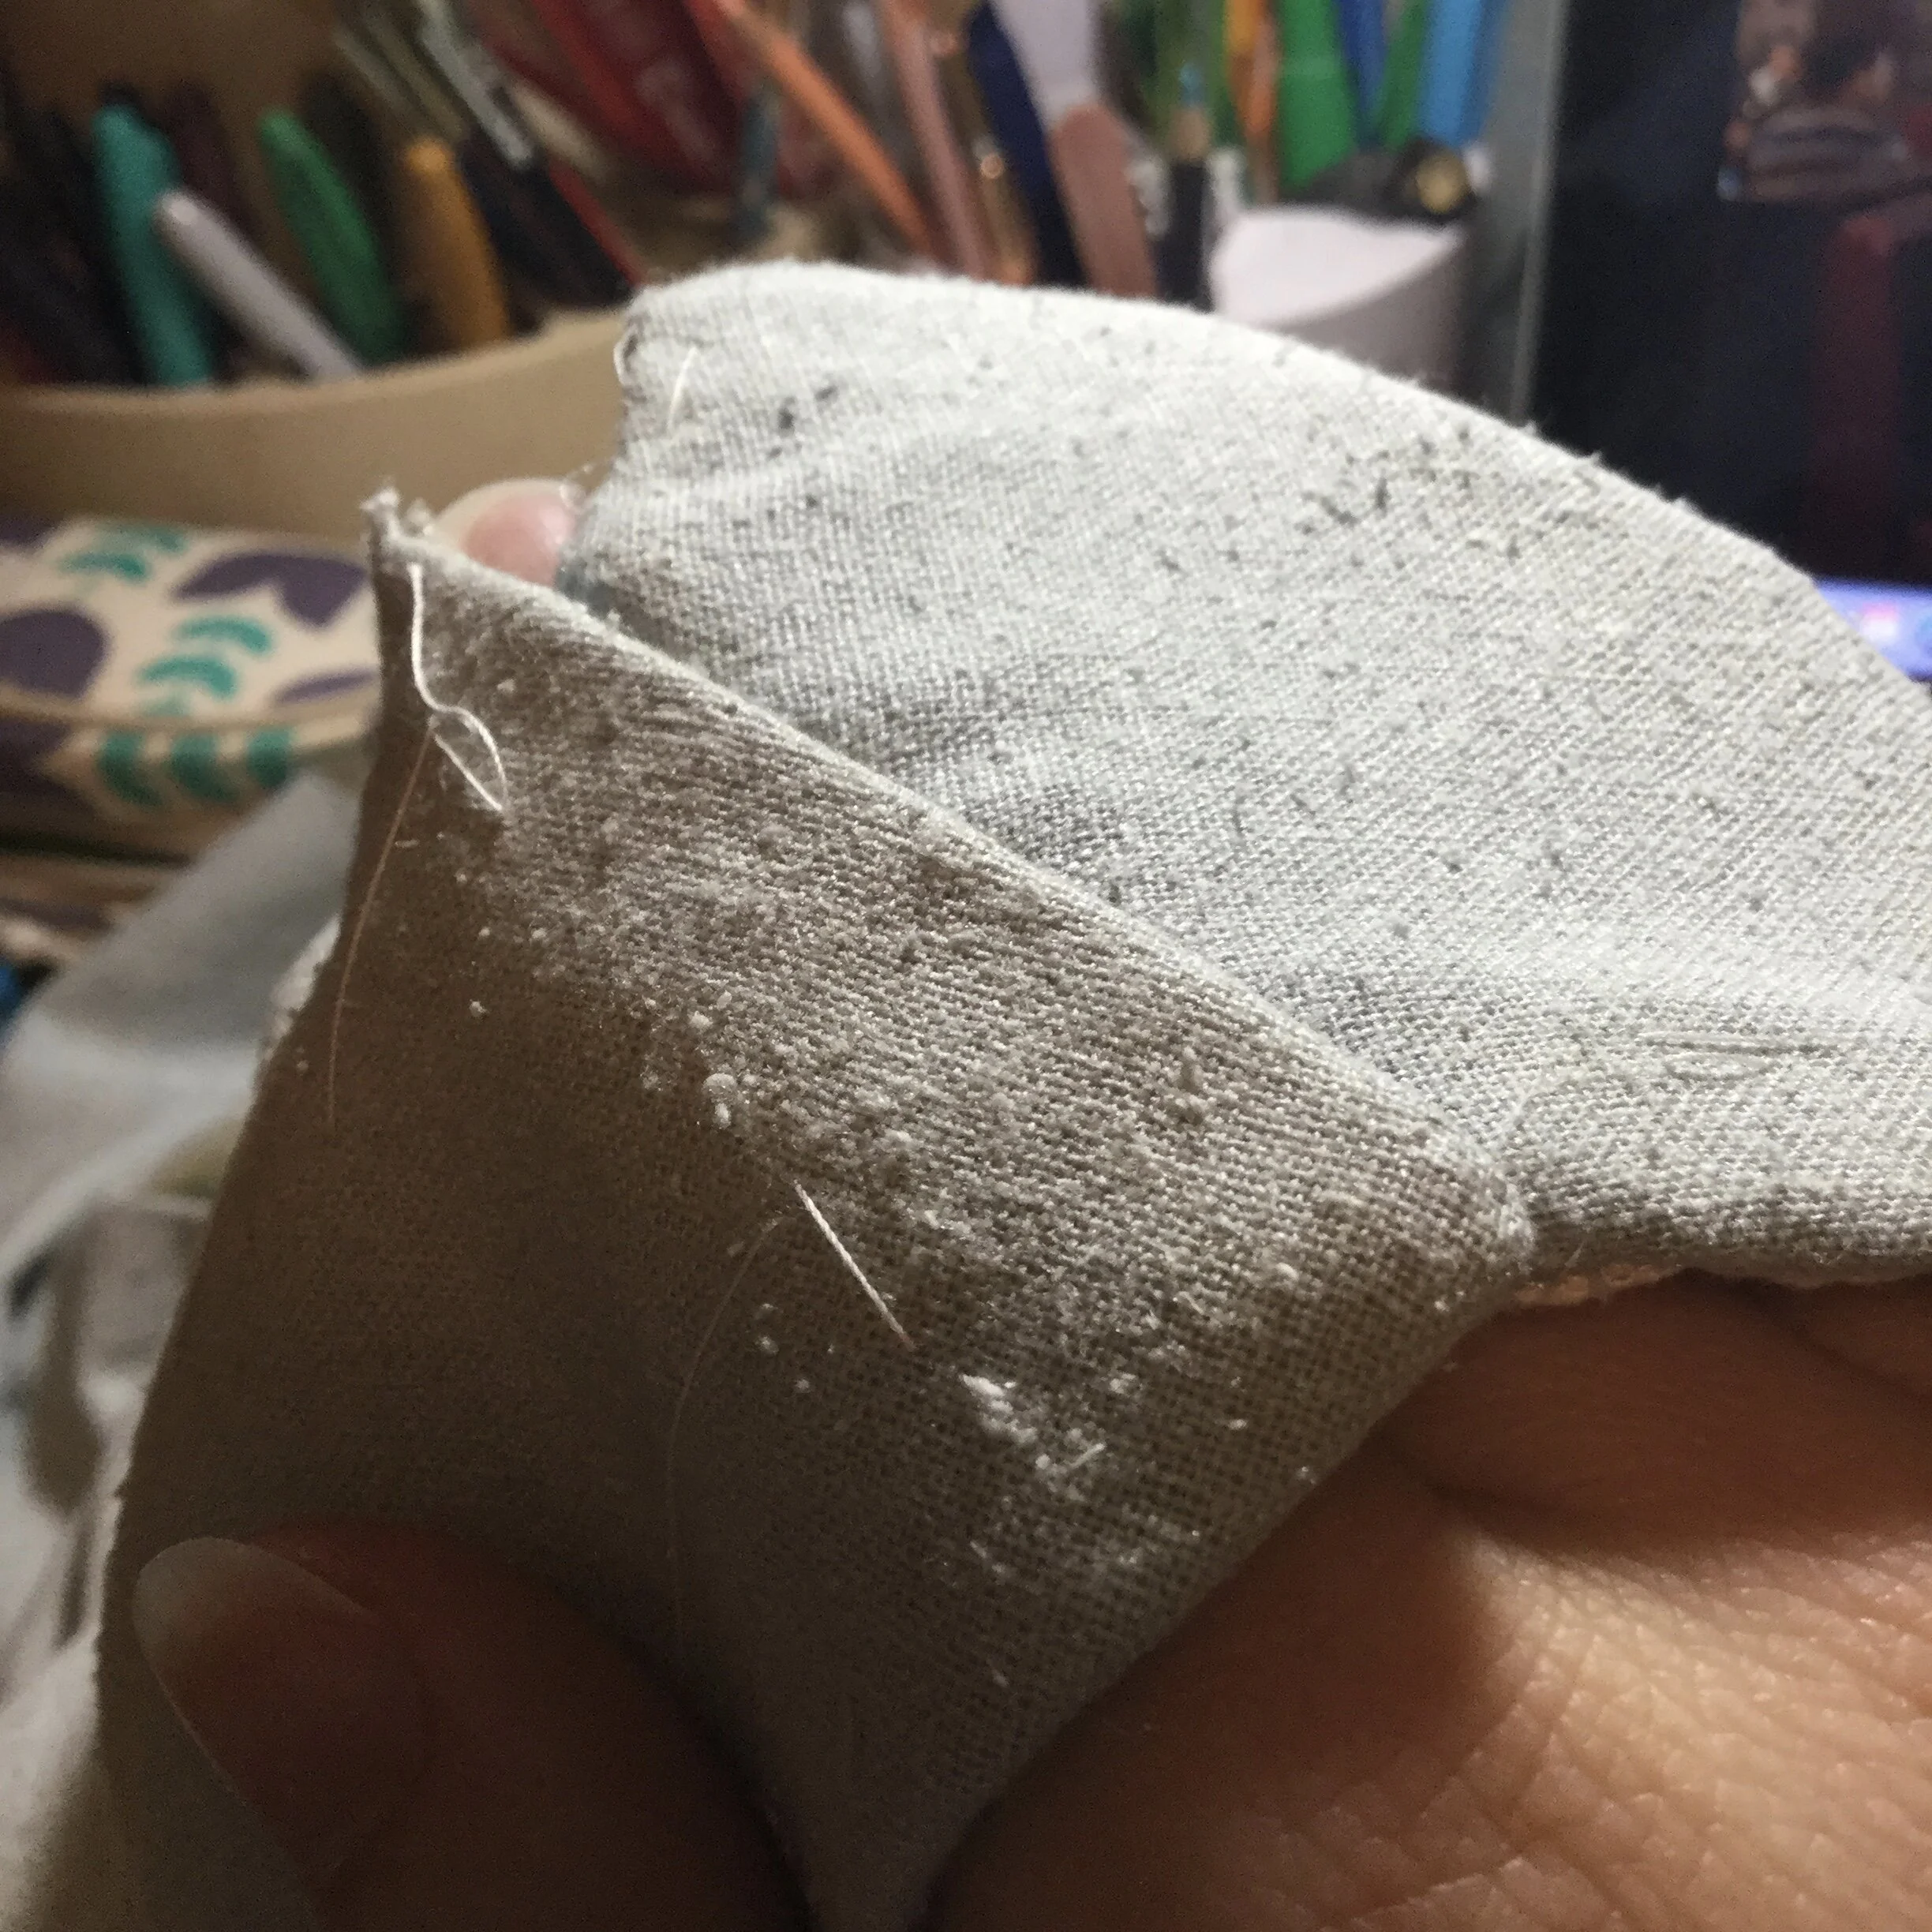
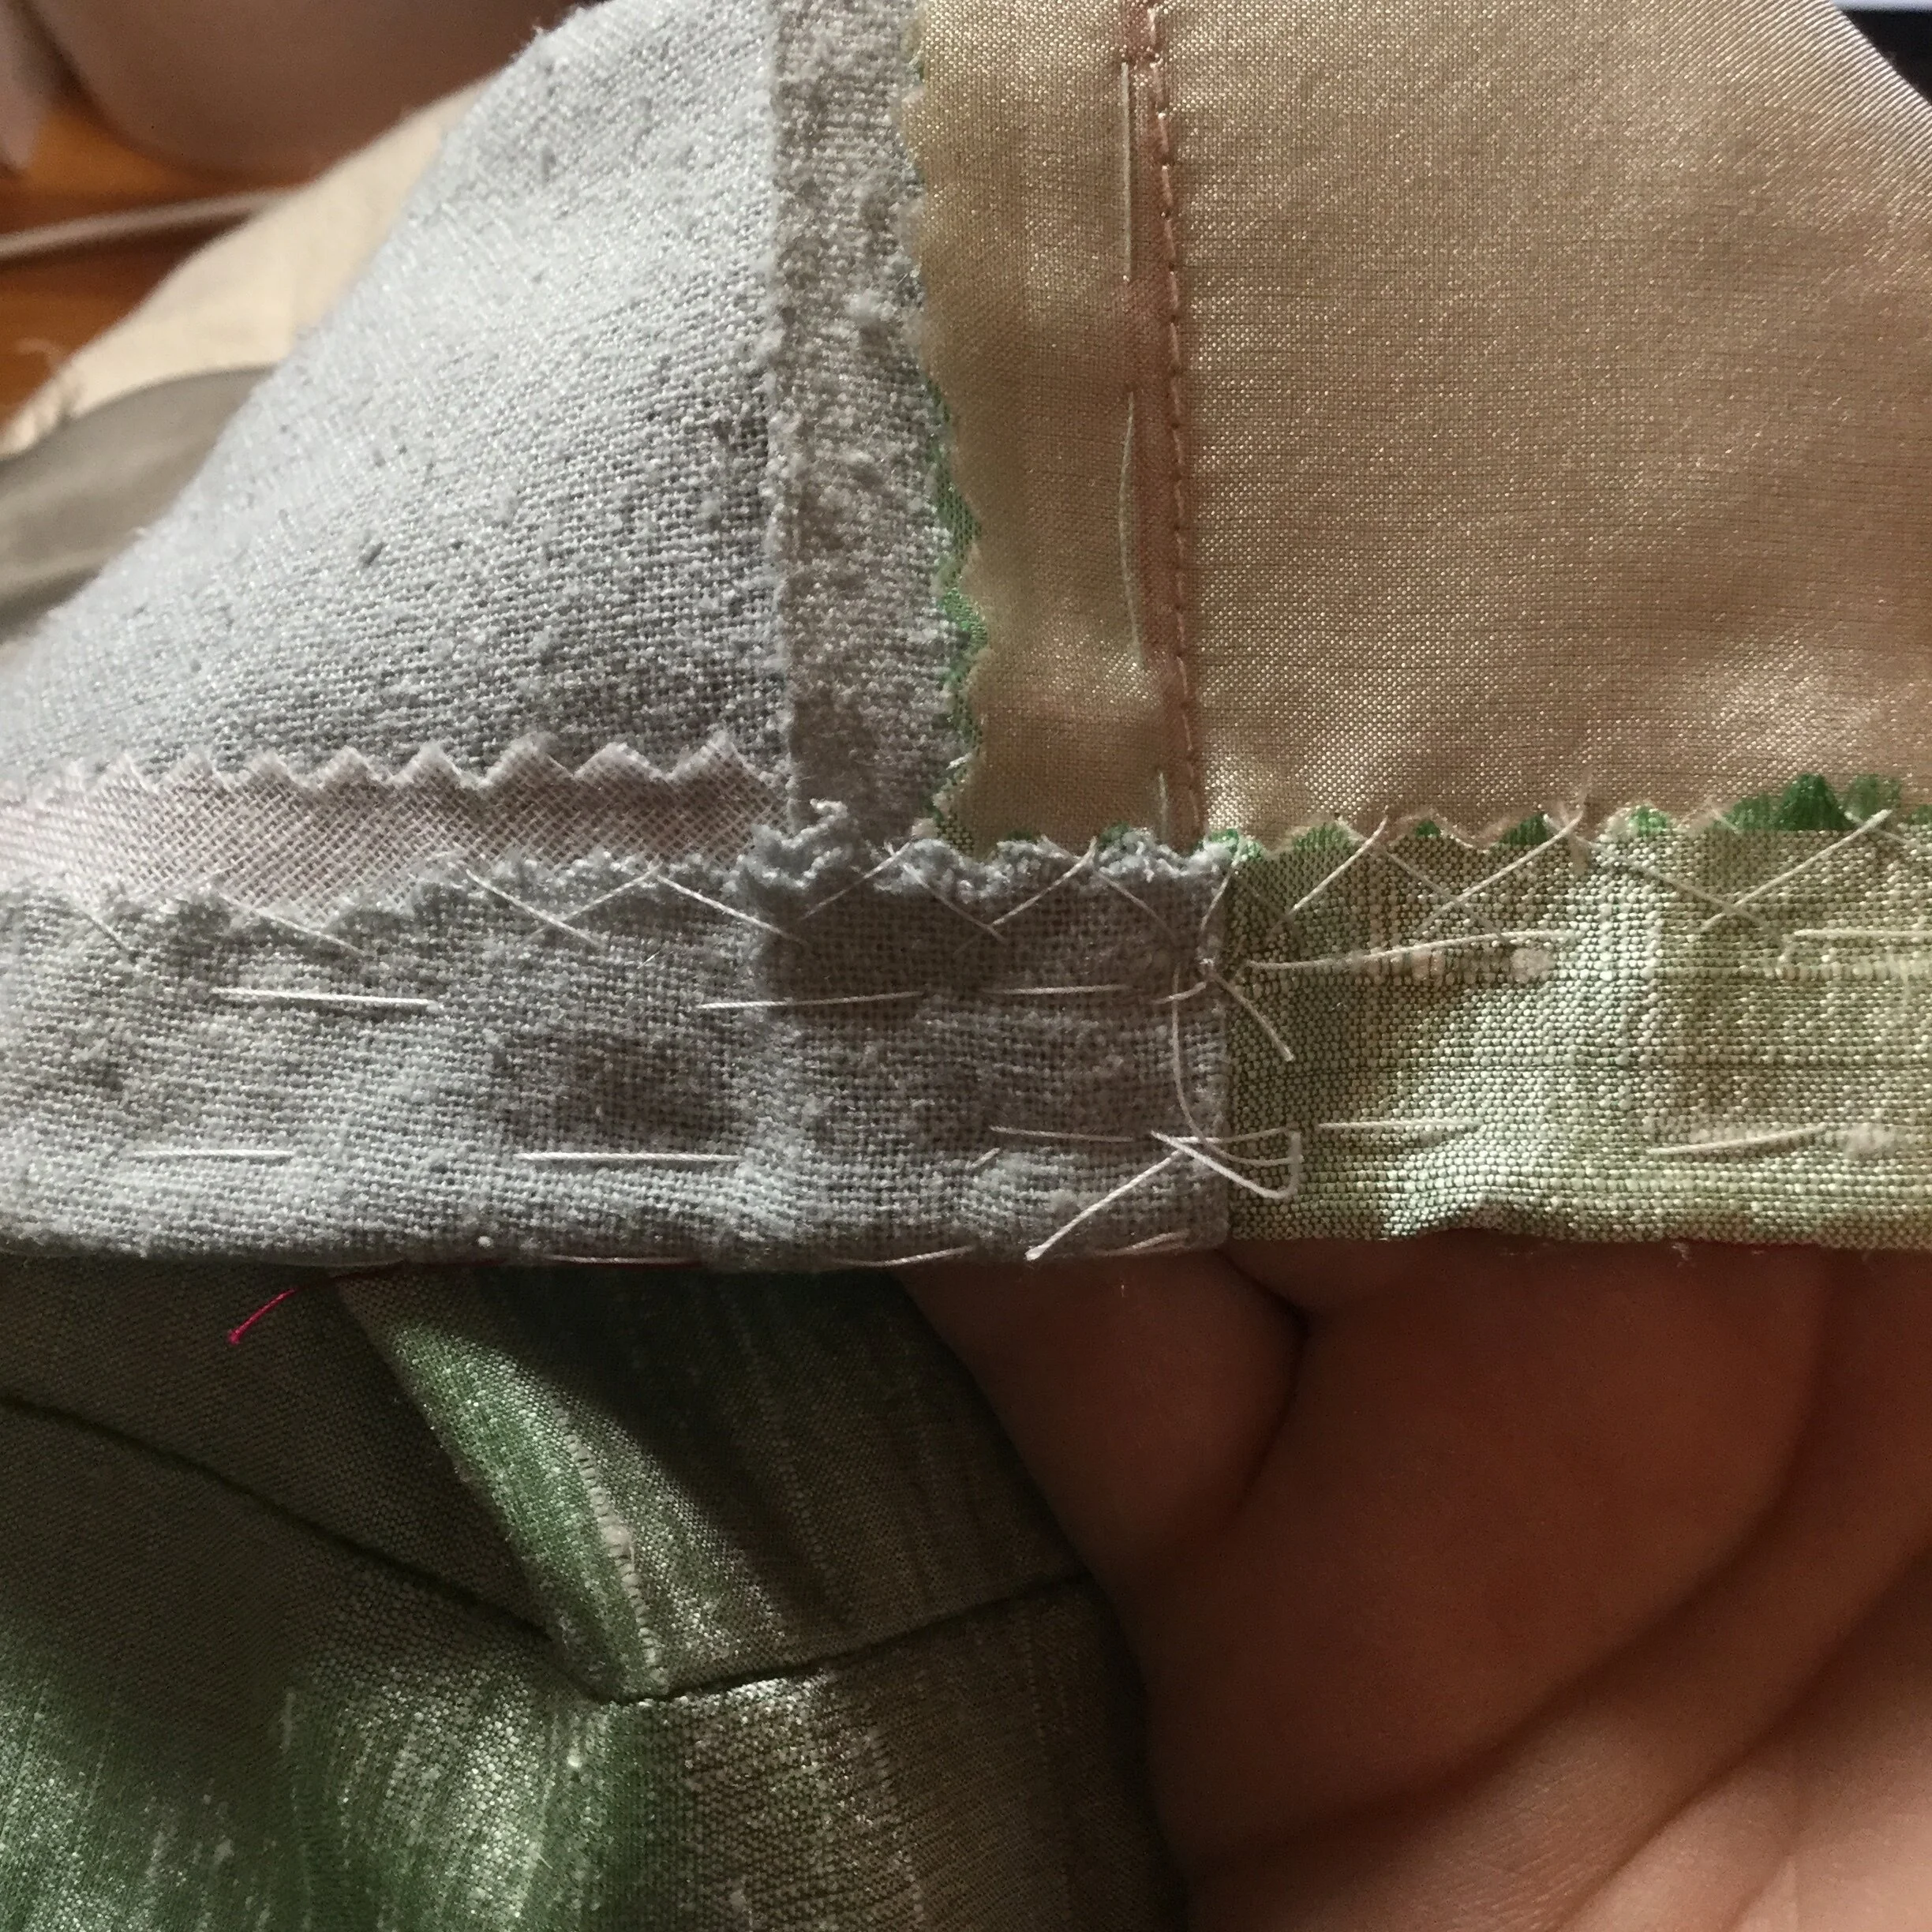
The second step was to add a layer of hair canvas interfacing. This is a type of sew-in interfacing which is used a lot in tailoring; it gives garments a nice body without being overly stiff. I secured it in place with a diagonal baste through the body of the collar and with a pick stitch along the neck and shoulder lines. I cut it on the seam line along the bottom edge of the collar and would eventually trim away most of the seam allowance on the shoulders and neckline.
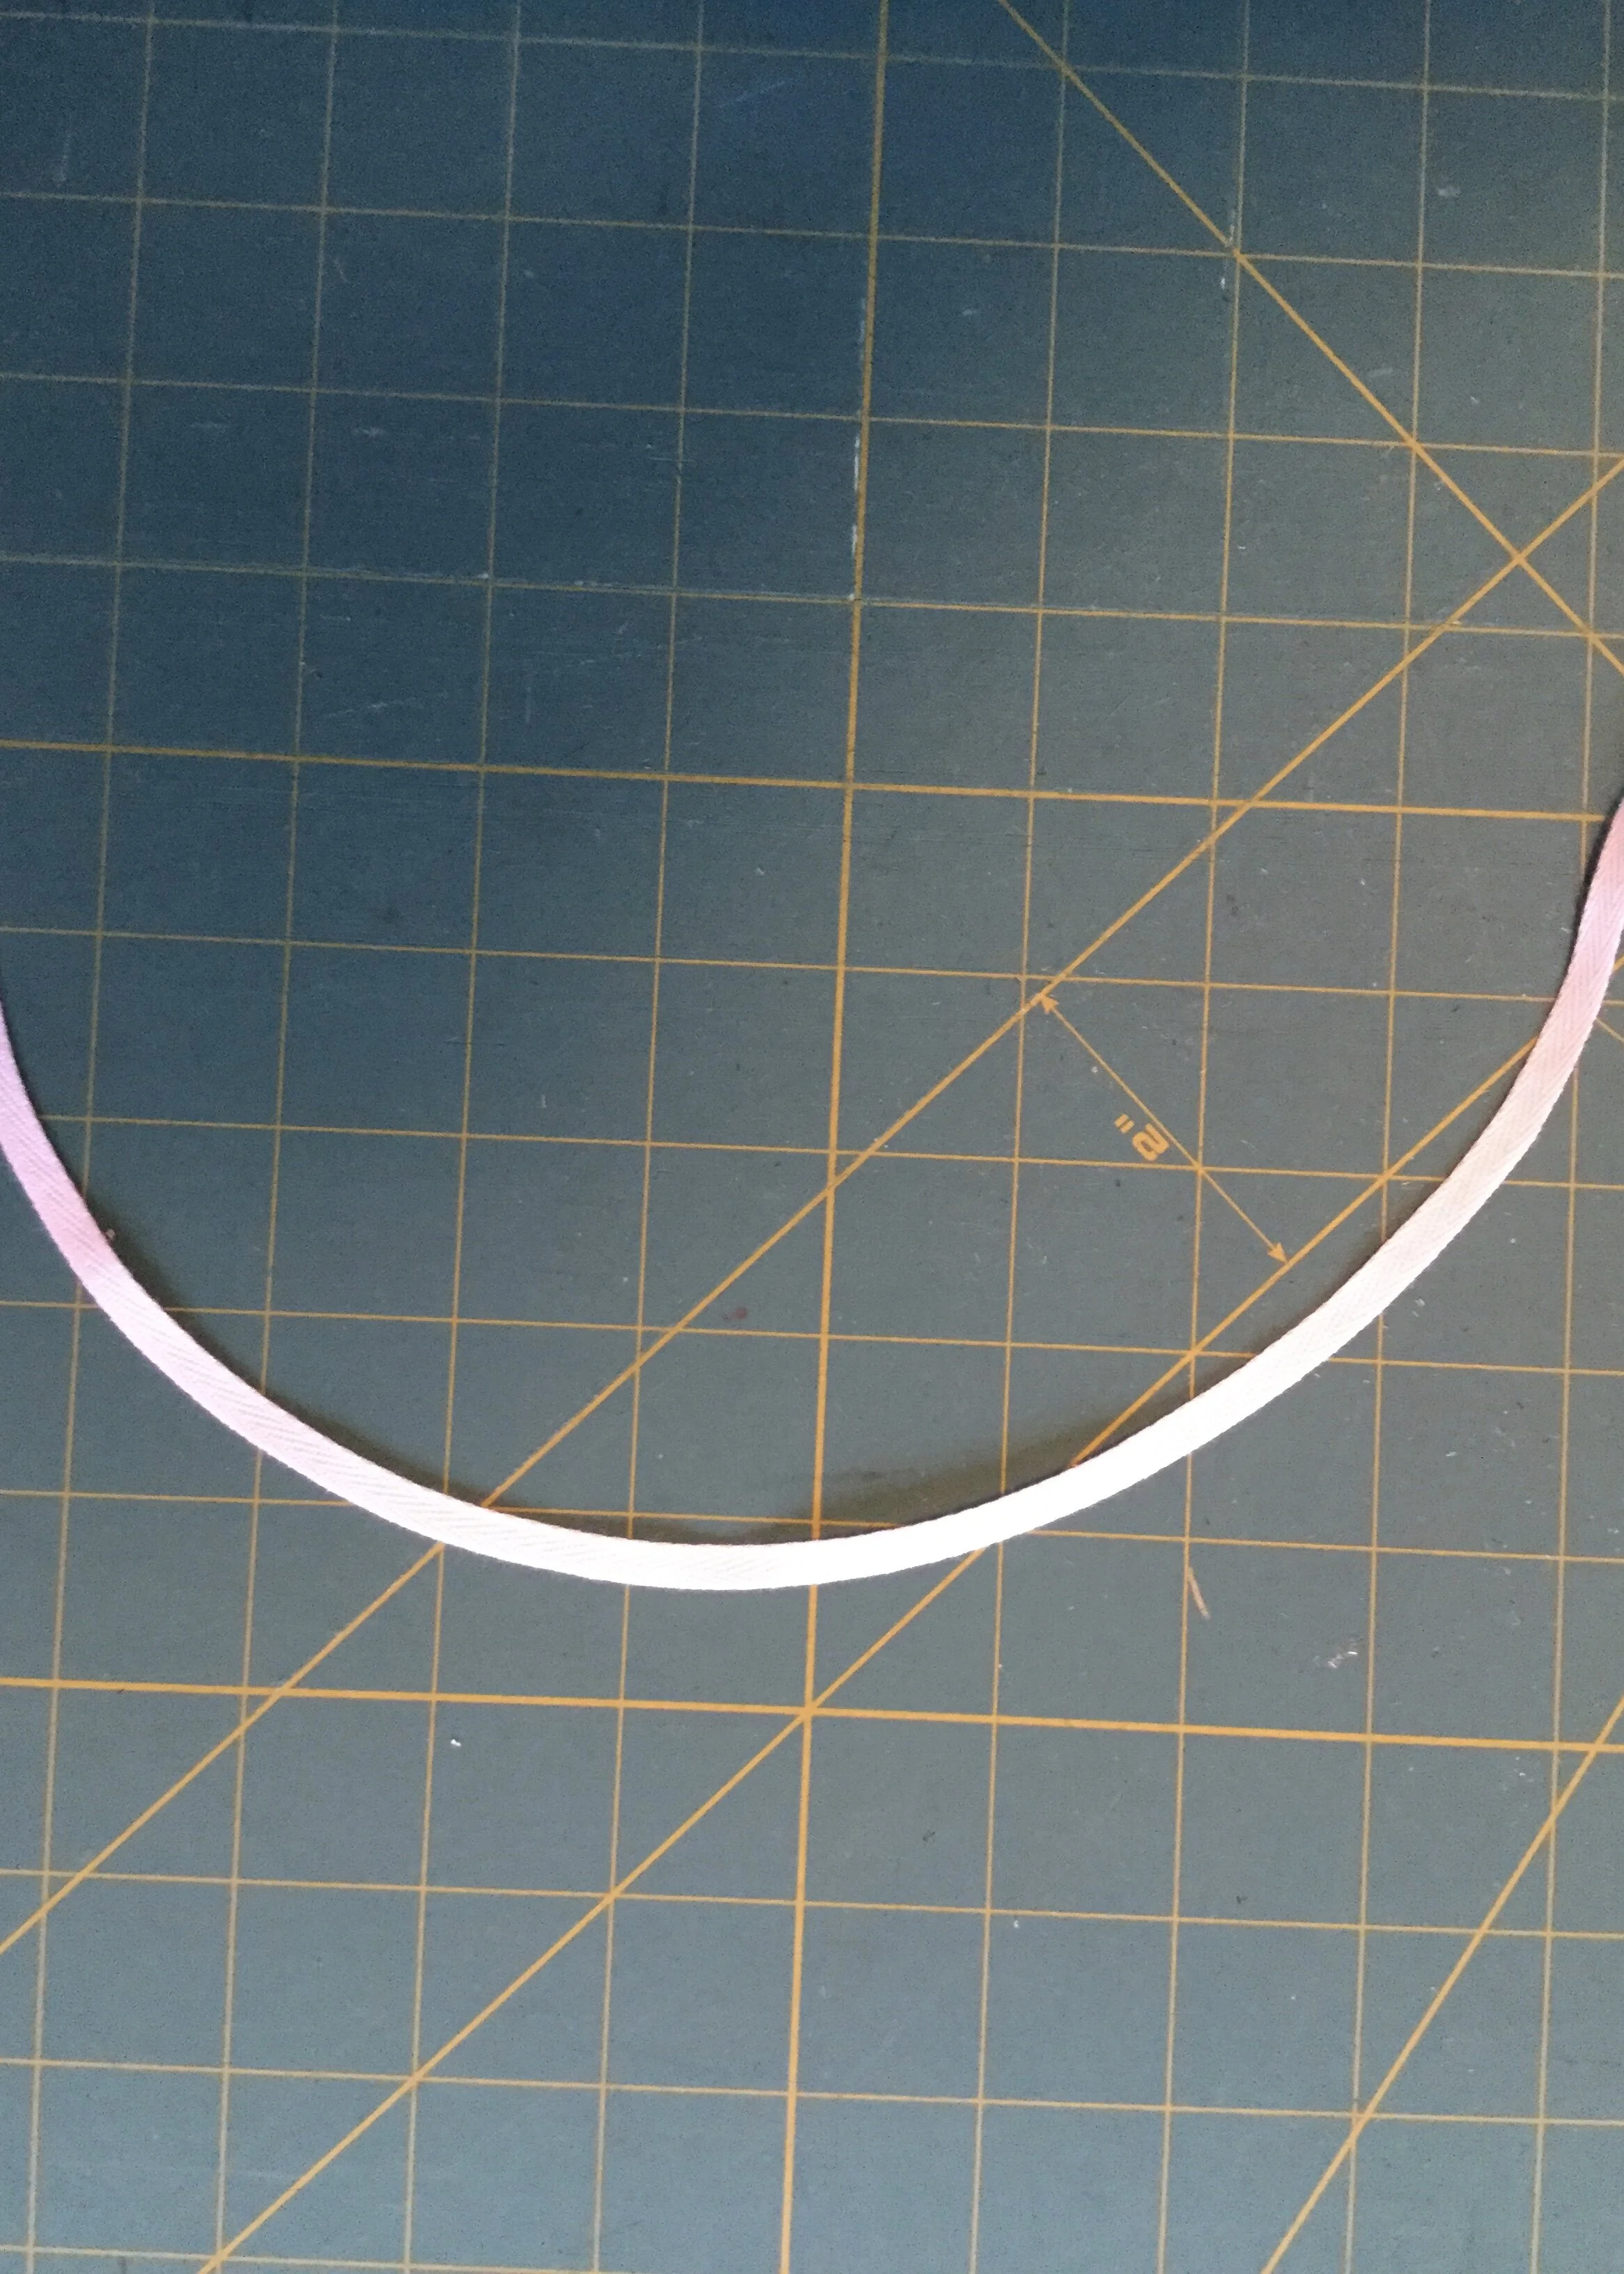
The third step was to apply twill tape along the outer edge. First, I used my iron to shape the twill tape into a curve, then I pinned it along the collar edge on the left side and the right armhole, making sure to shorten the tape a tiny bit so that the collar would curve smoothly around the body and over the shoulder when it was sitting in place on the finished dress. I then hand stitched the tape to the fusible interfacing and silk along the seam line and to the hair canvas on the inside edge.
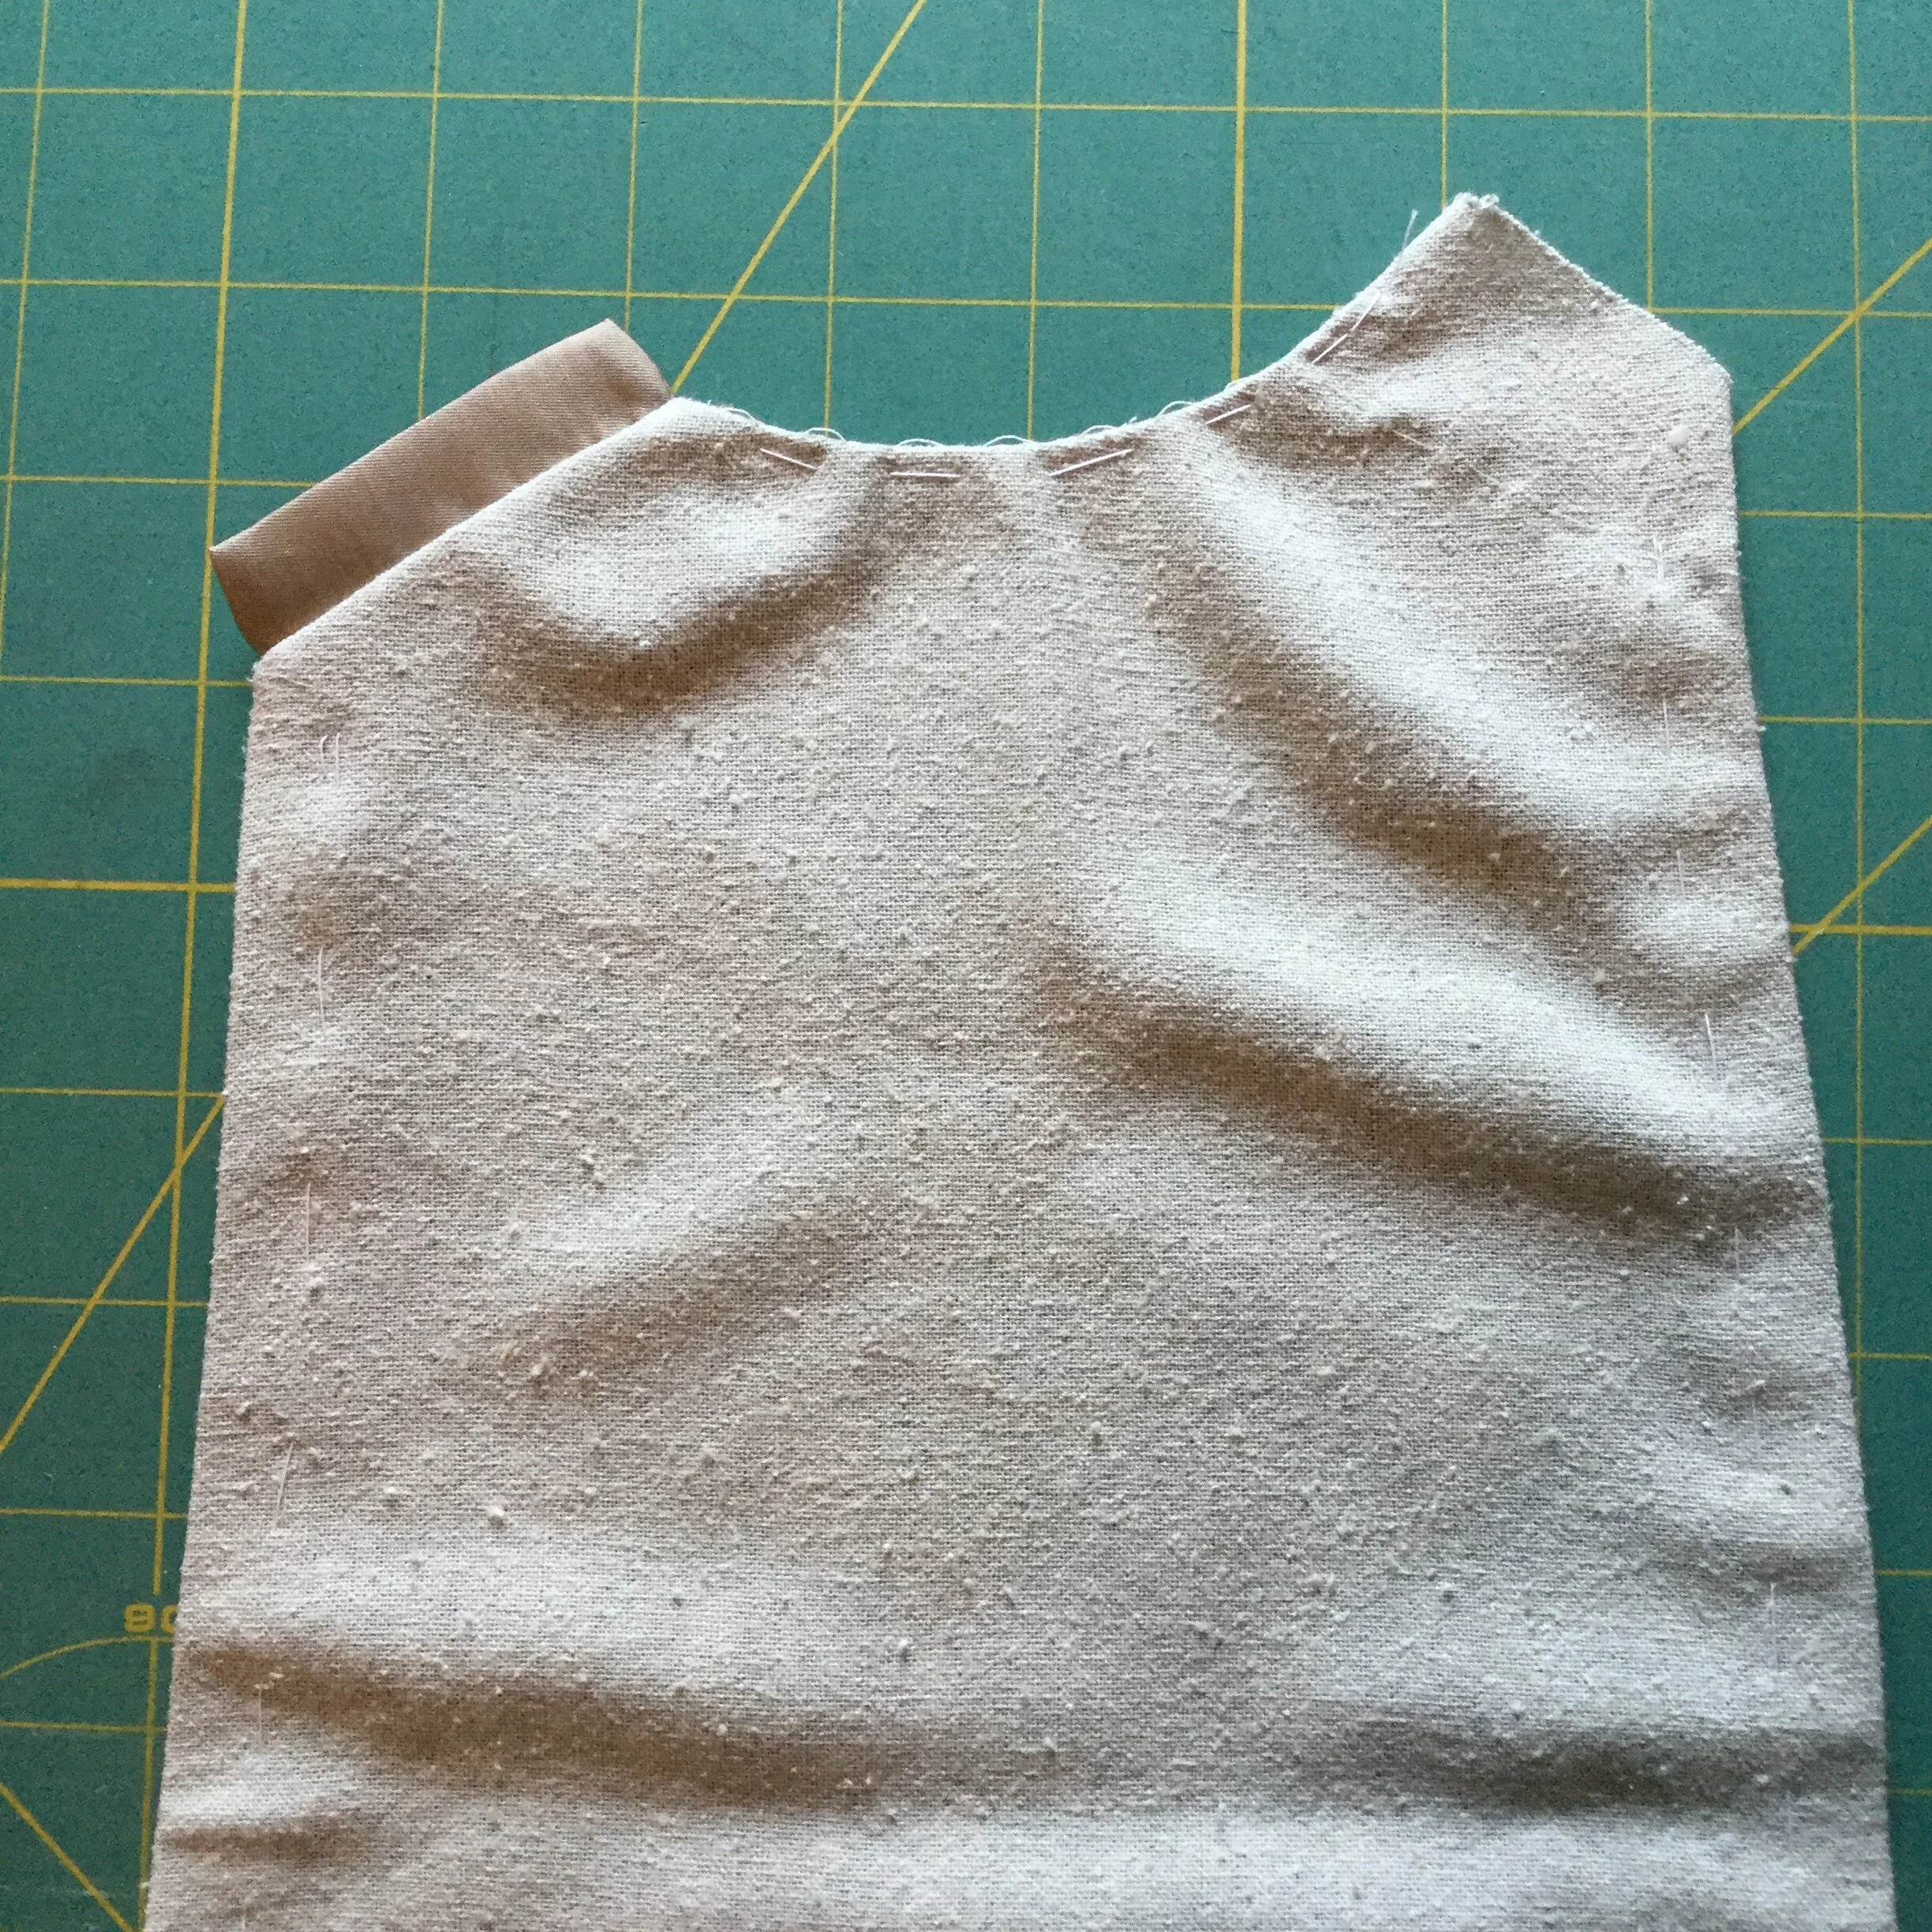
I chose to tape the collar in two pieces rather than continue all the way along the collar edge, this was in another effort to prevent a visible line on the right side of the dress. After stay stitching the corners at the centre front and in the right armhole, I left the collar at this point for the time being as I when I clipped into those areas they would be vulnerable stretching and fraying. I was holding off on finishing the edges of the collar until I had some more elements of the dress put together and I could properly visualize how the whole top of the dress would work.
Centre back clipping and pressing (first zipper).
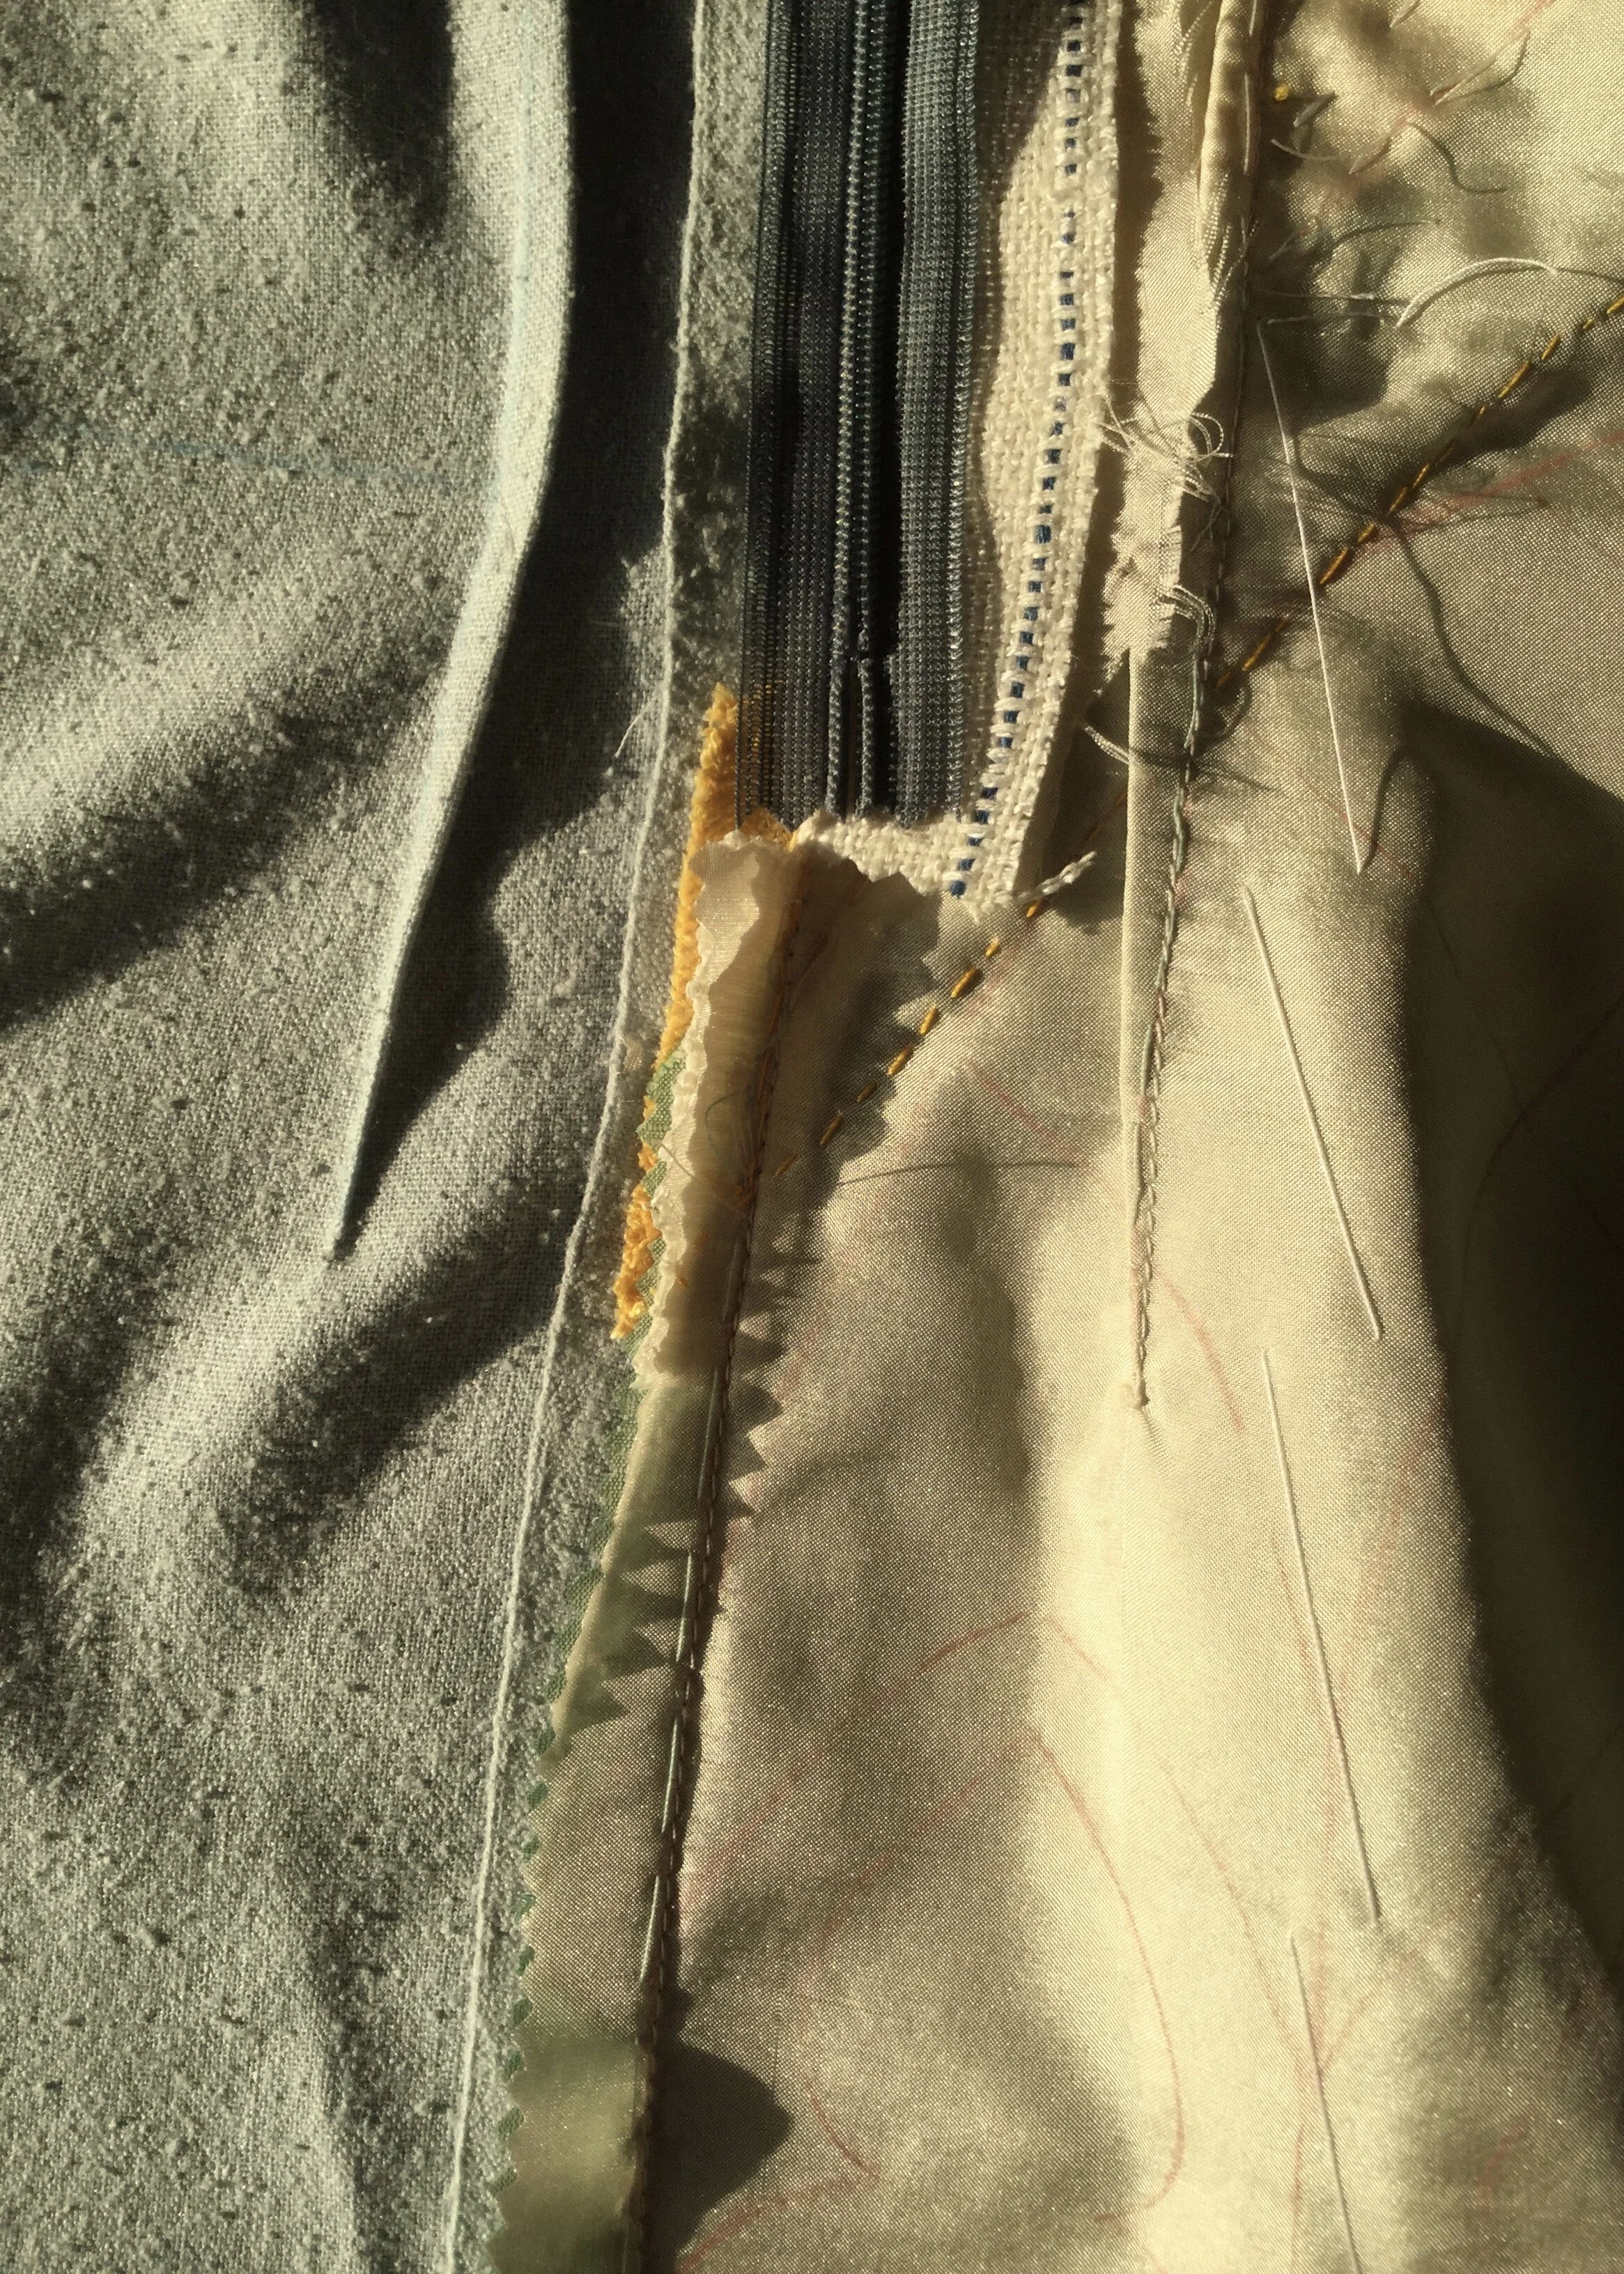
With the collar prepped, I started to sew the two halves of the dress together. After closing the darts on the right side, I inserted the invisible zipper and stitched the rest of the centre back seam so I could sort out my seam allowances (I pressed all the seam allowances to the bean silk side of the dress to create a small lip along the centre front and centre back.)
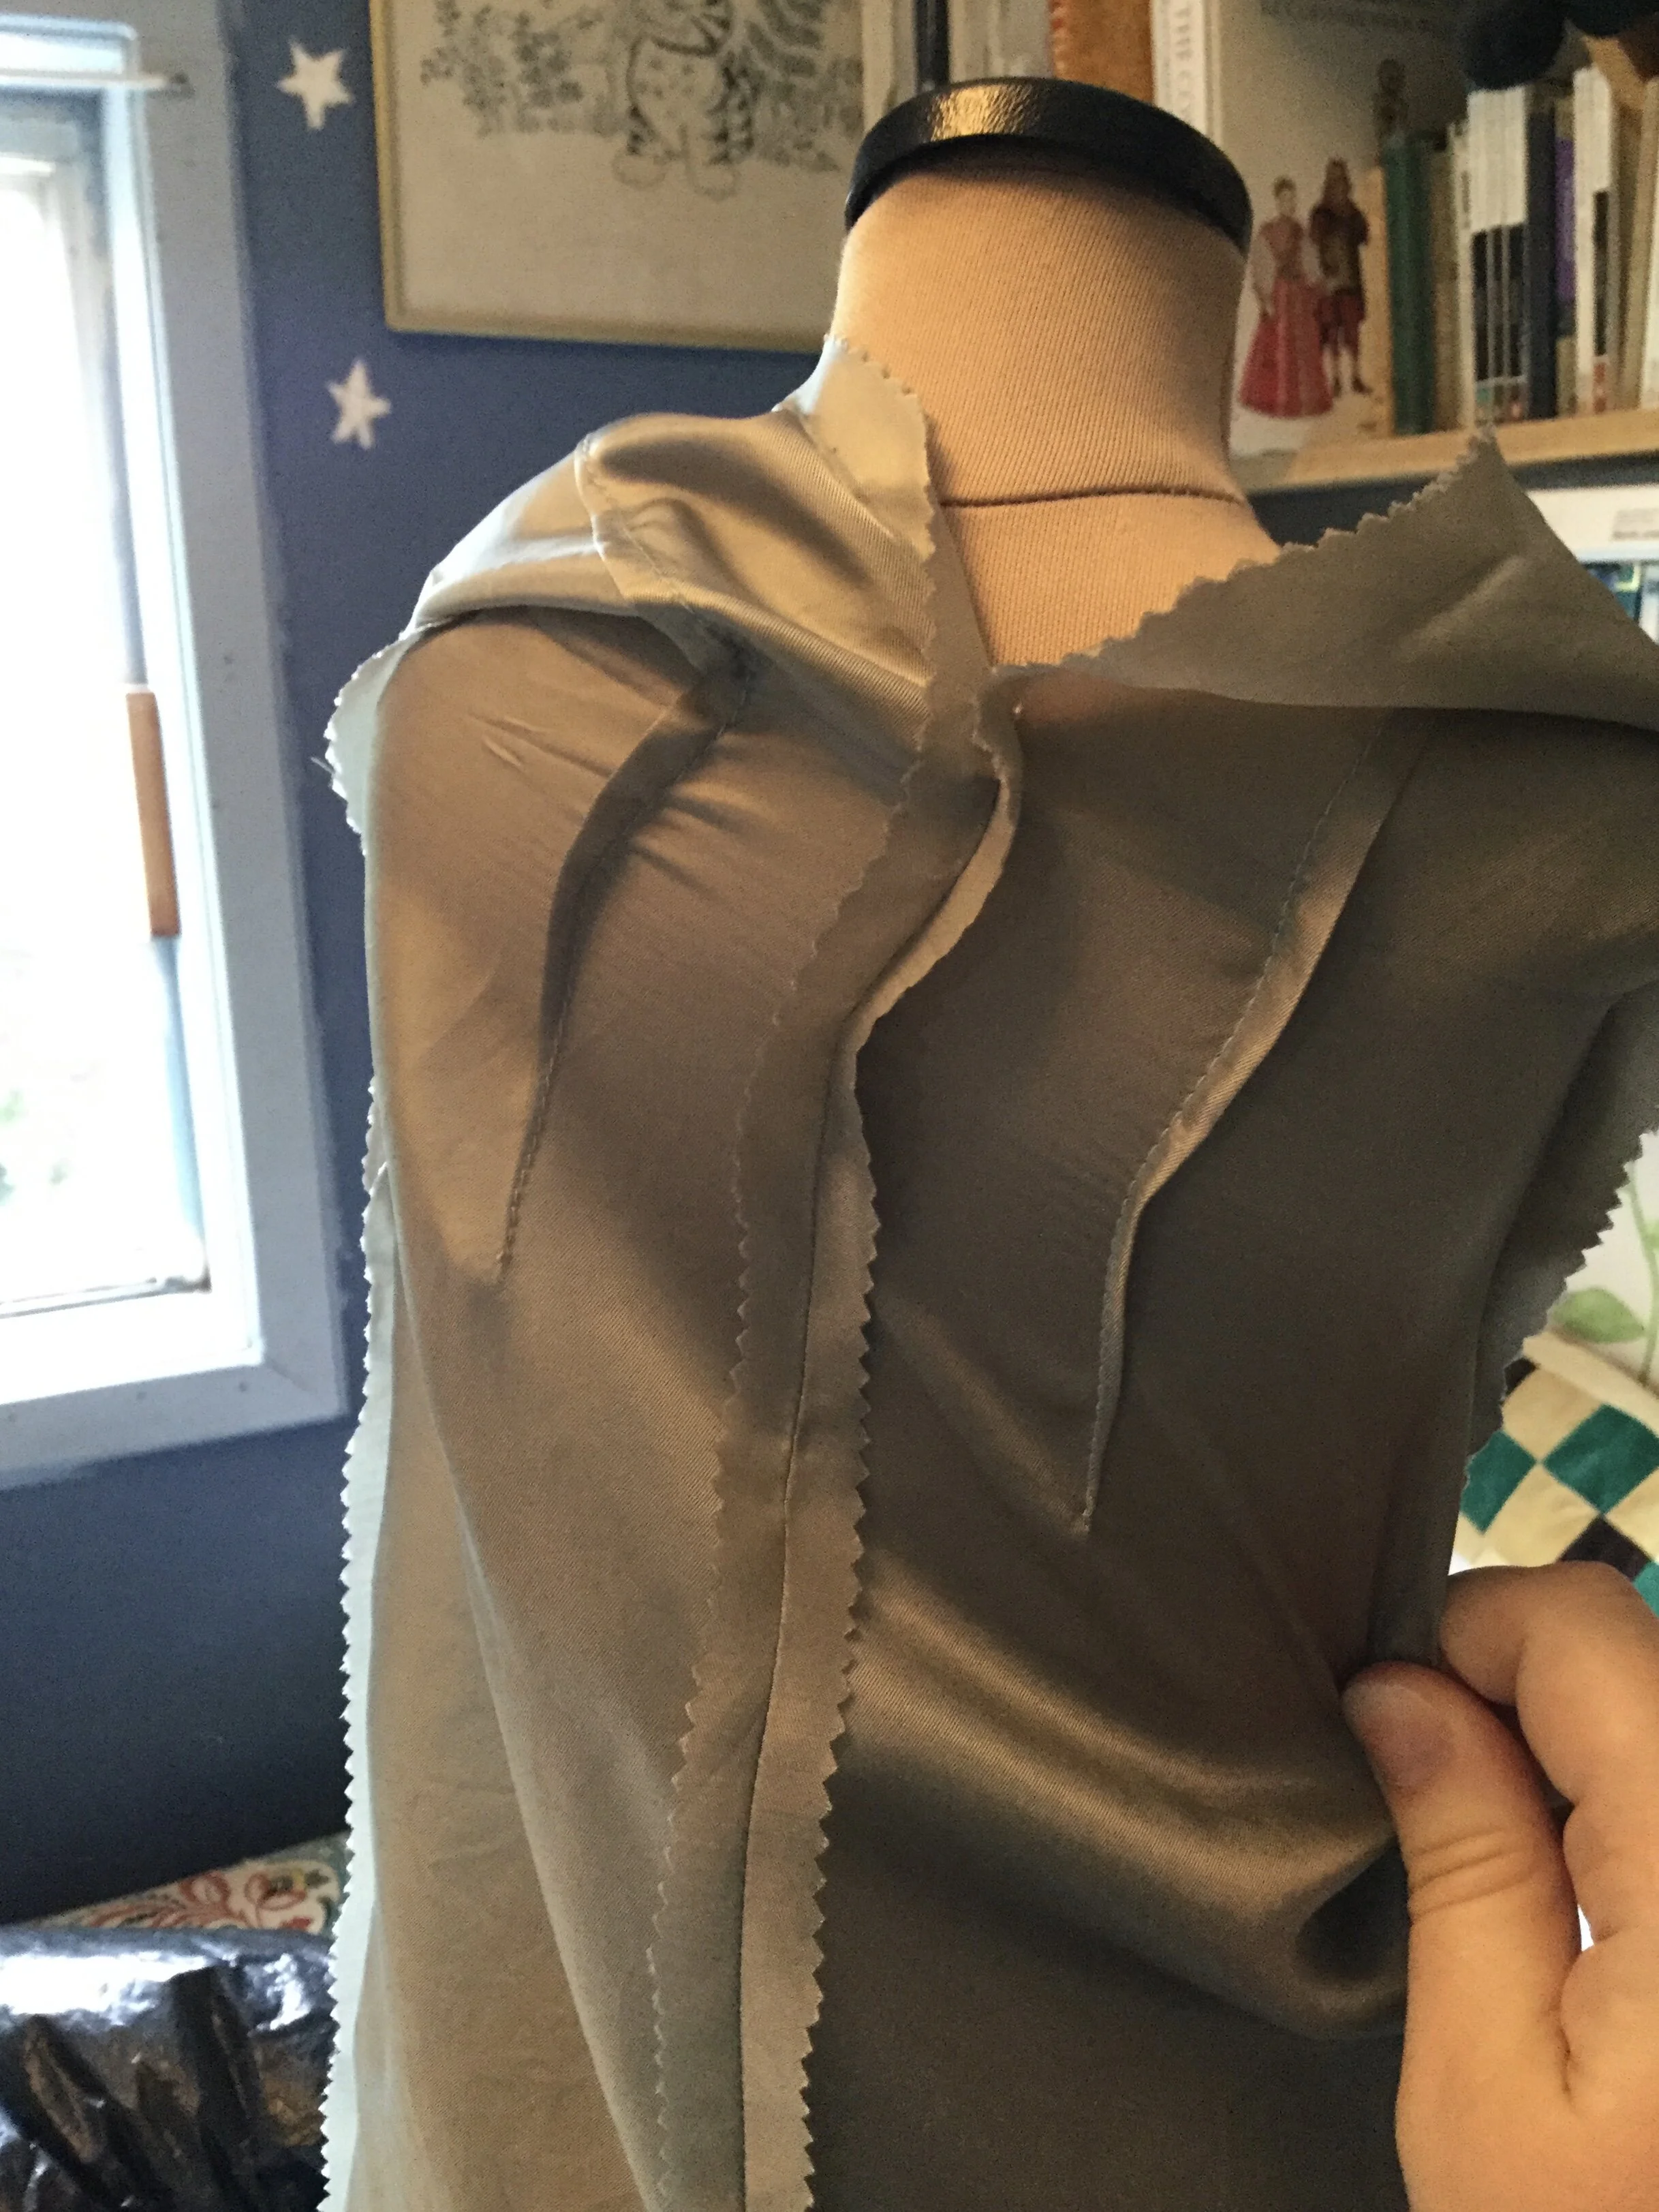
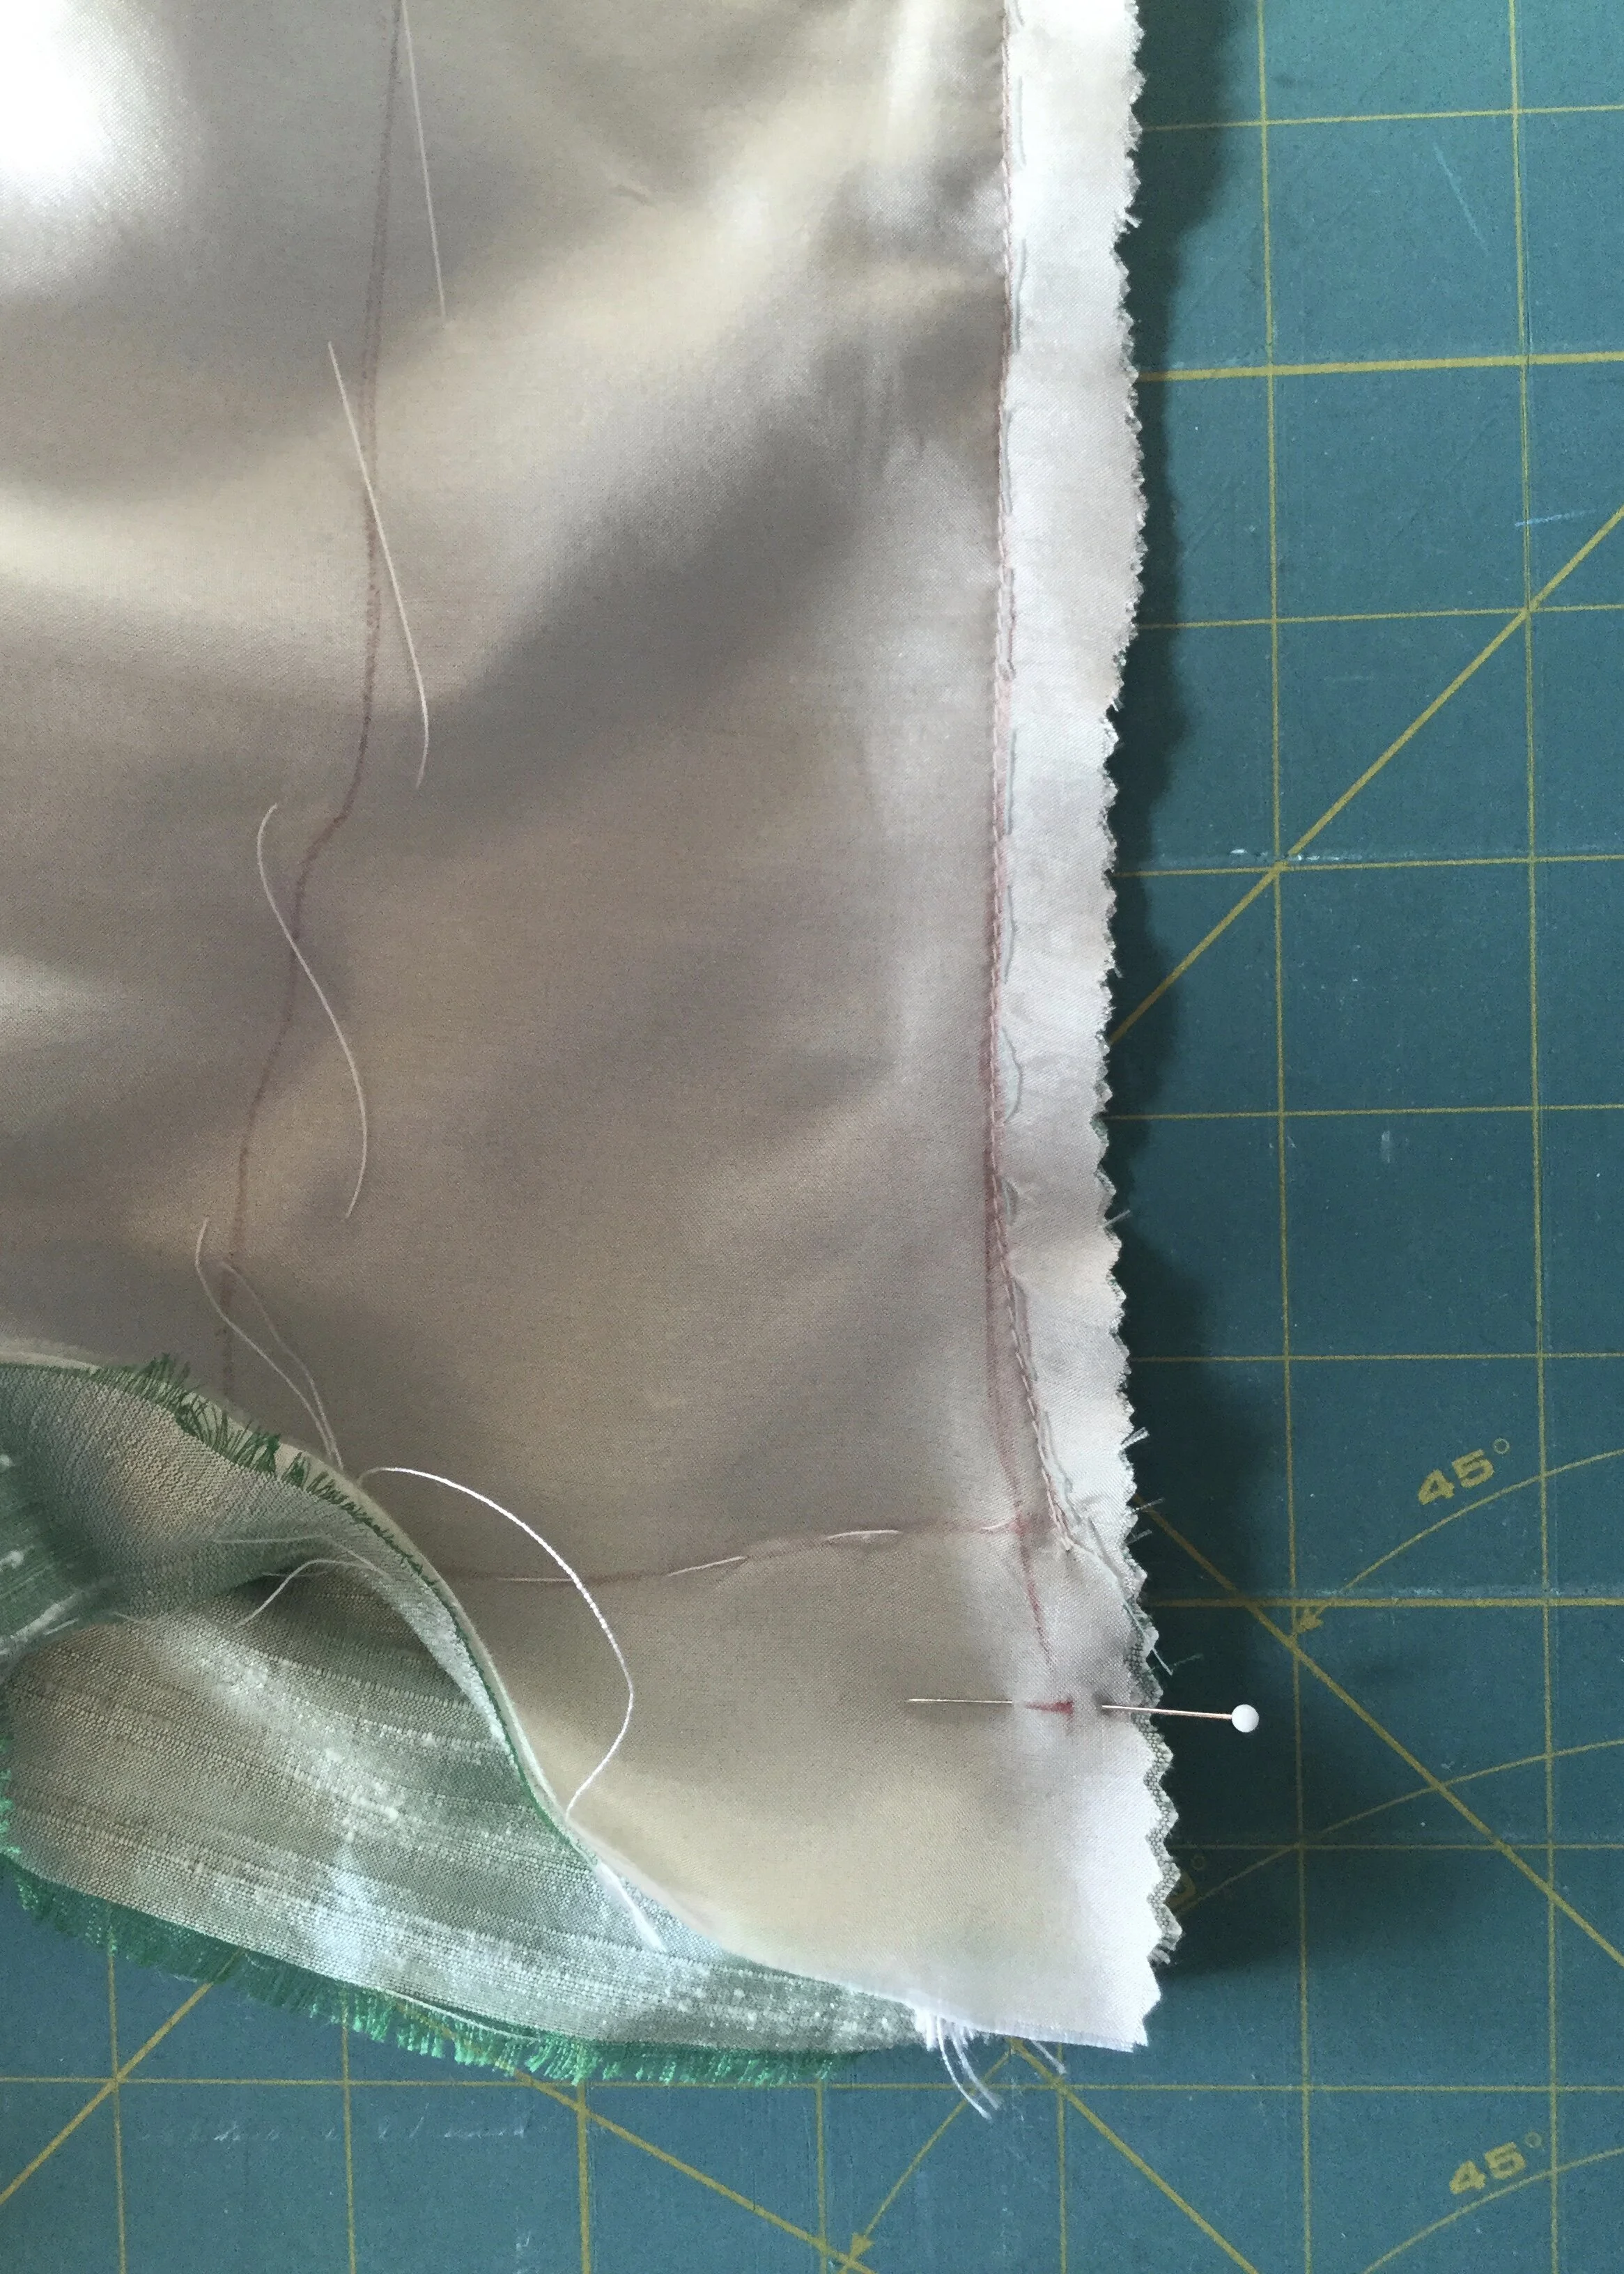
At this point, I cut and started to assemble the lining. The dress was no where near ready for it, but as I kept sorting out when to stitch certain seams as I went, there was a minute or two where I thought I would need to assemble the lining along with the dress. Eventually I realized that I actually could make the lining as a whole separate piece and drop it in much later, but at least I had it made and ready to go far in advance.
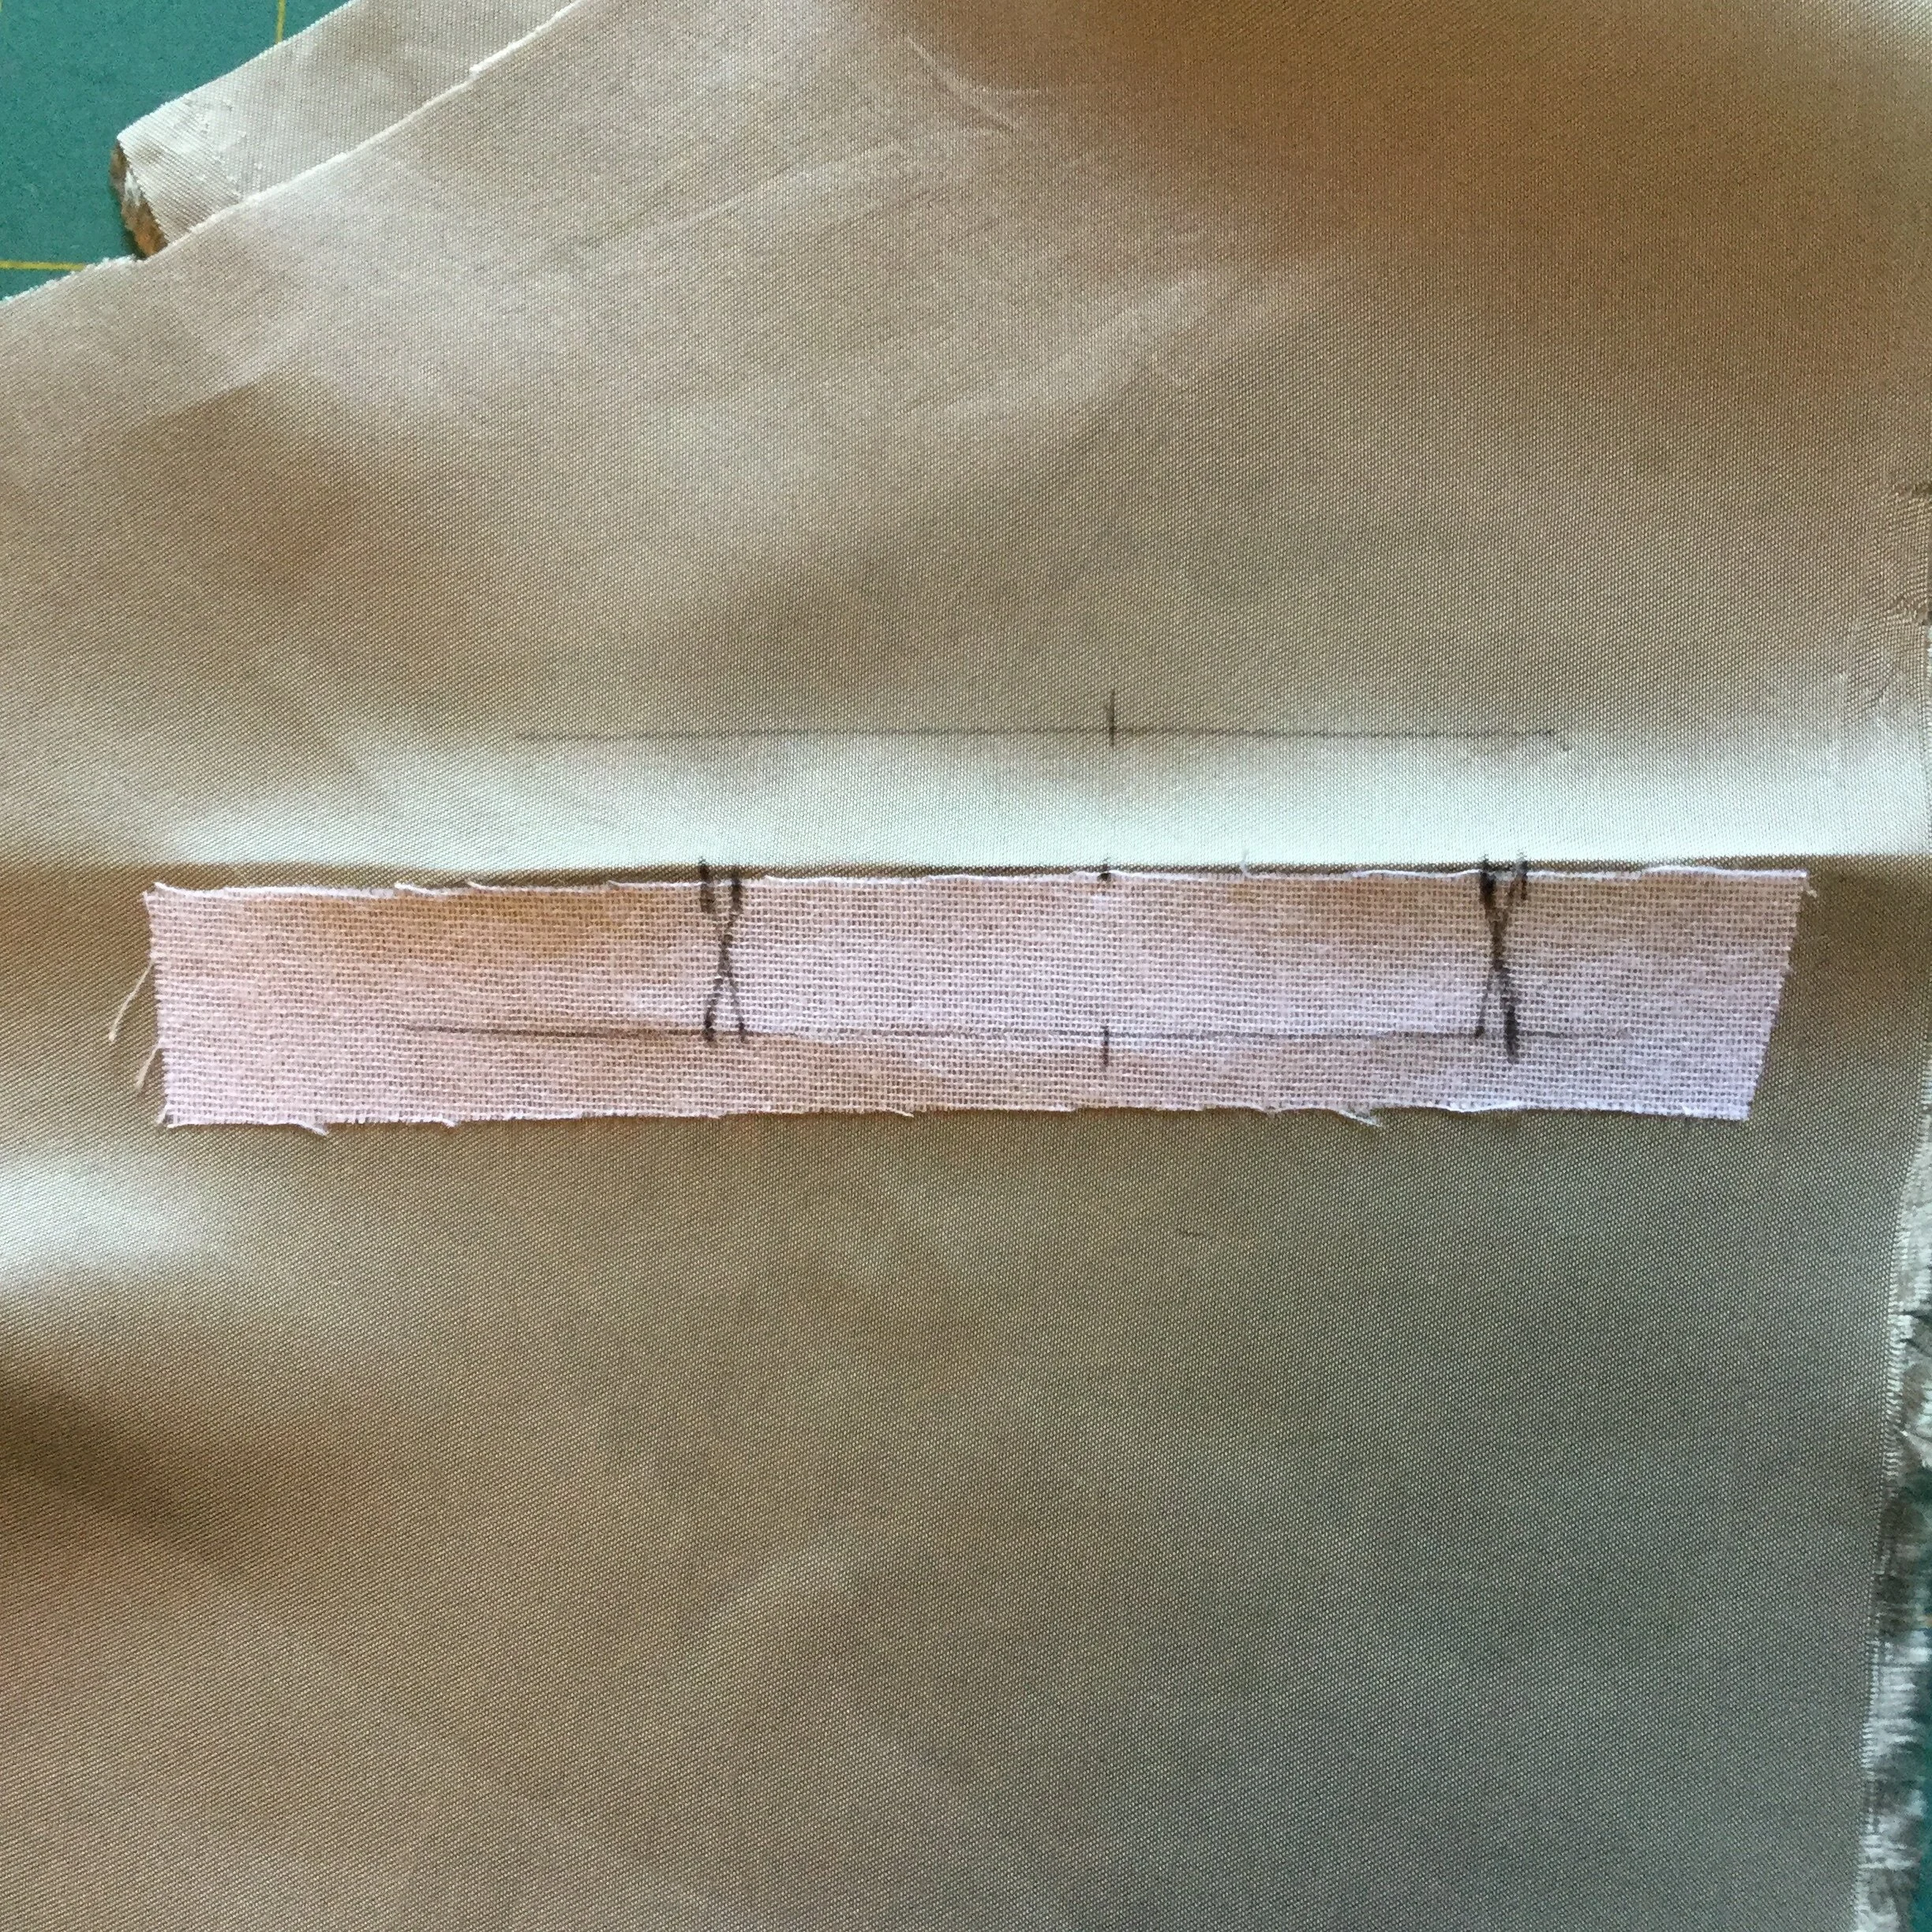
The advantage of having the lining ready was that it allowed me to discover that my zipper opening was not going to be long enough. There were only two lengths of invisible zippers available at my local fabric store, one for skirts and one for dresses, and it seemed wasteful and expensive to buy the longer zipper if I was going to end up cutting a lot of it off.
I already knew that openings have to be longer than I think on this mannequin, but apparently we're having an episode of lessons I just can't learn. Oh well.
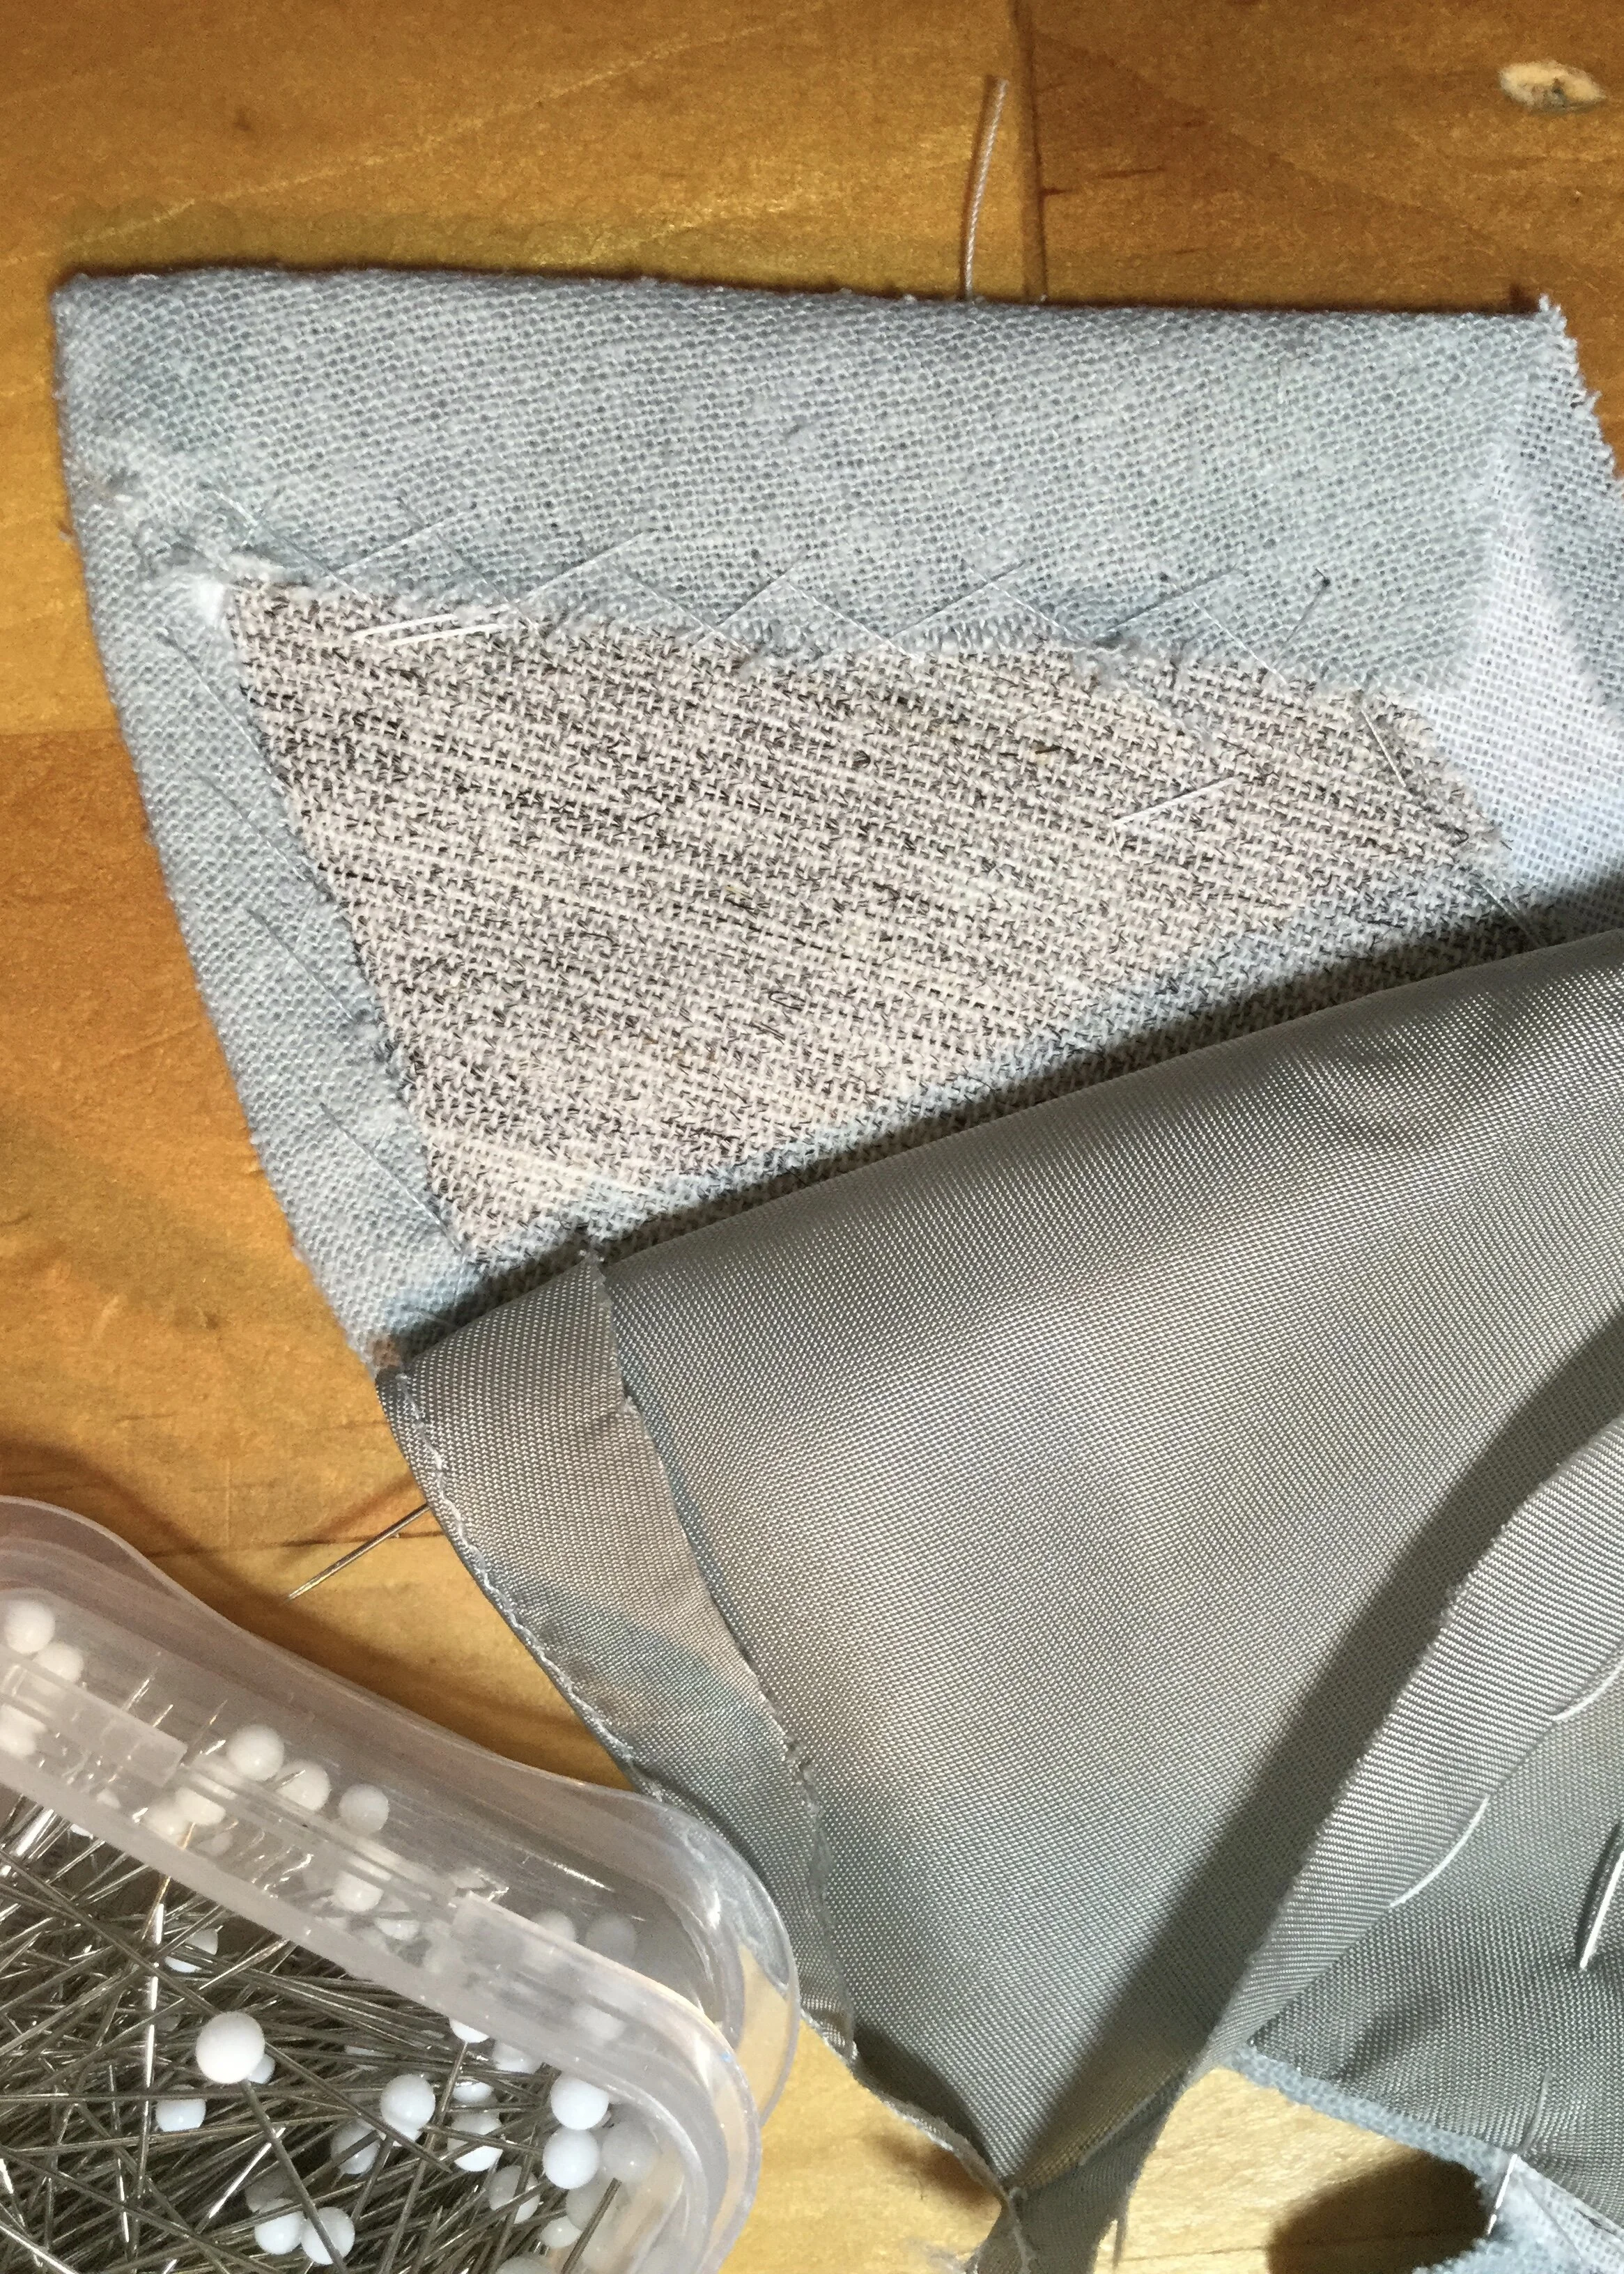
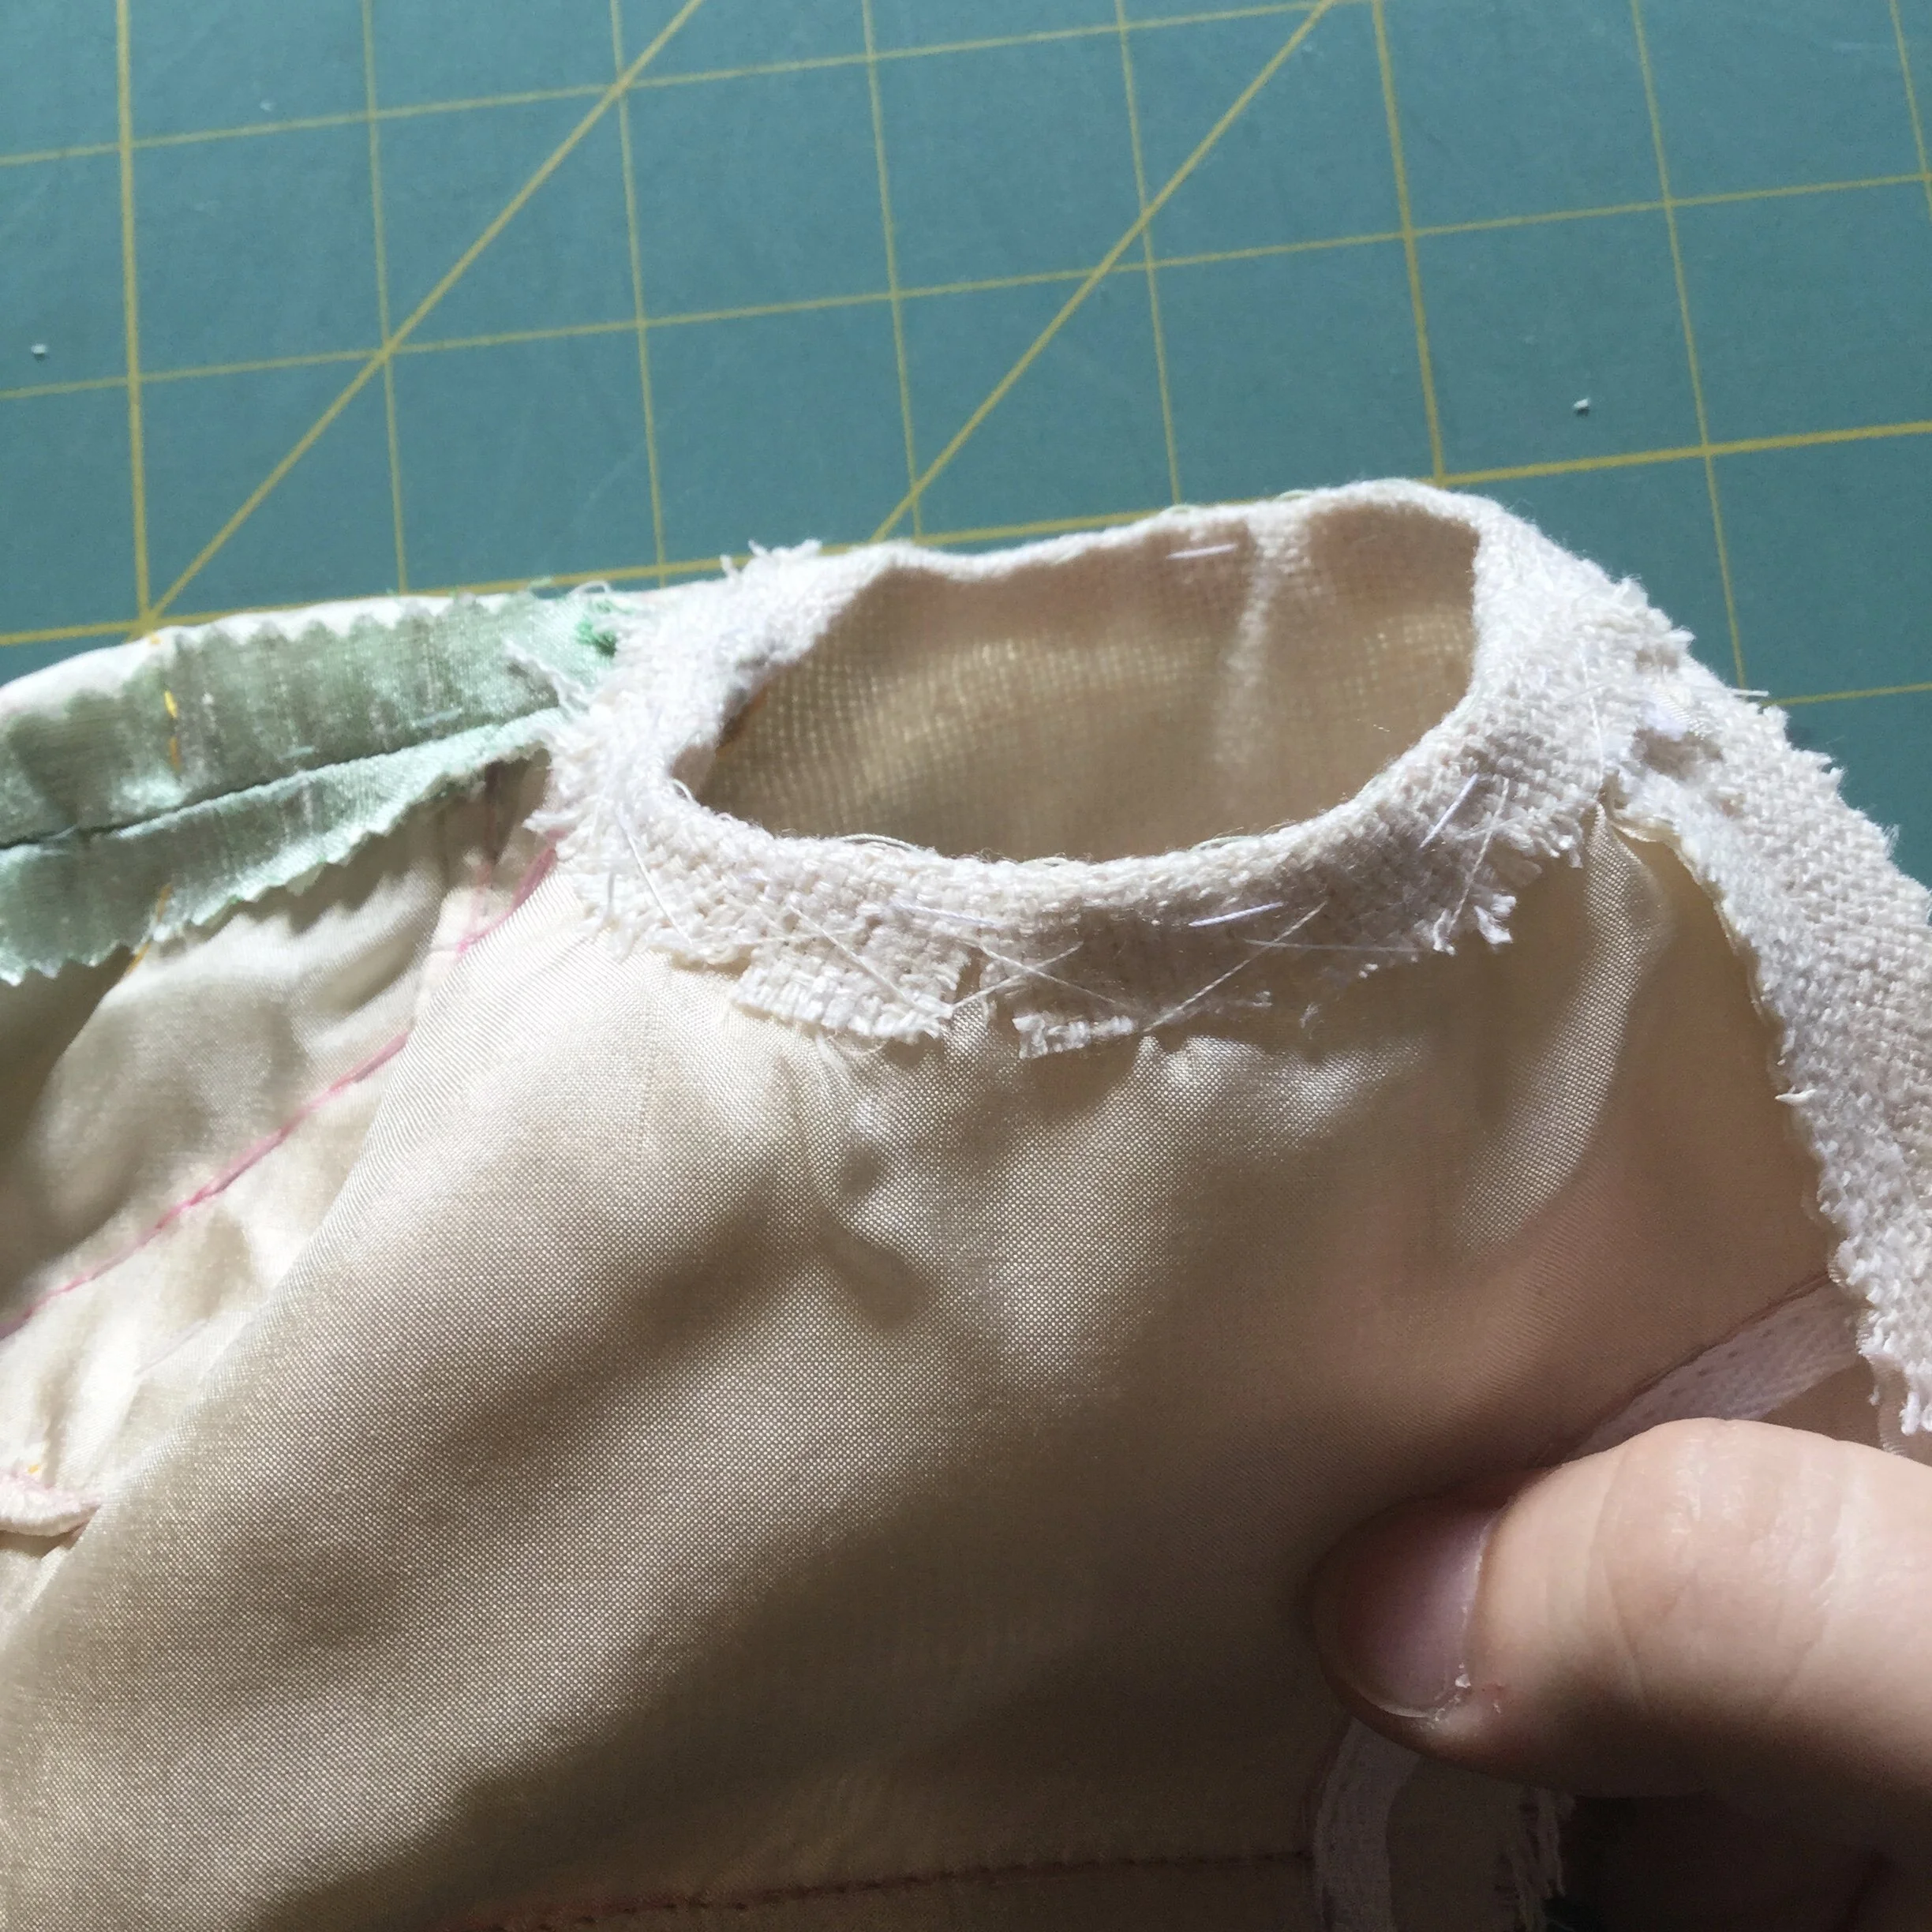
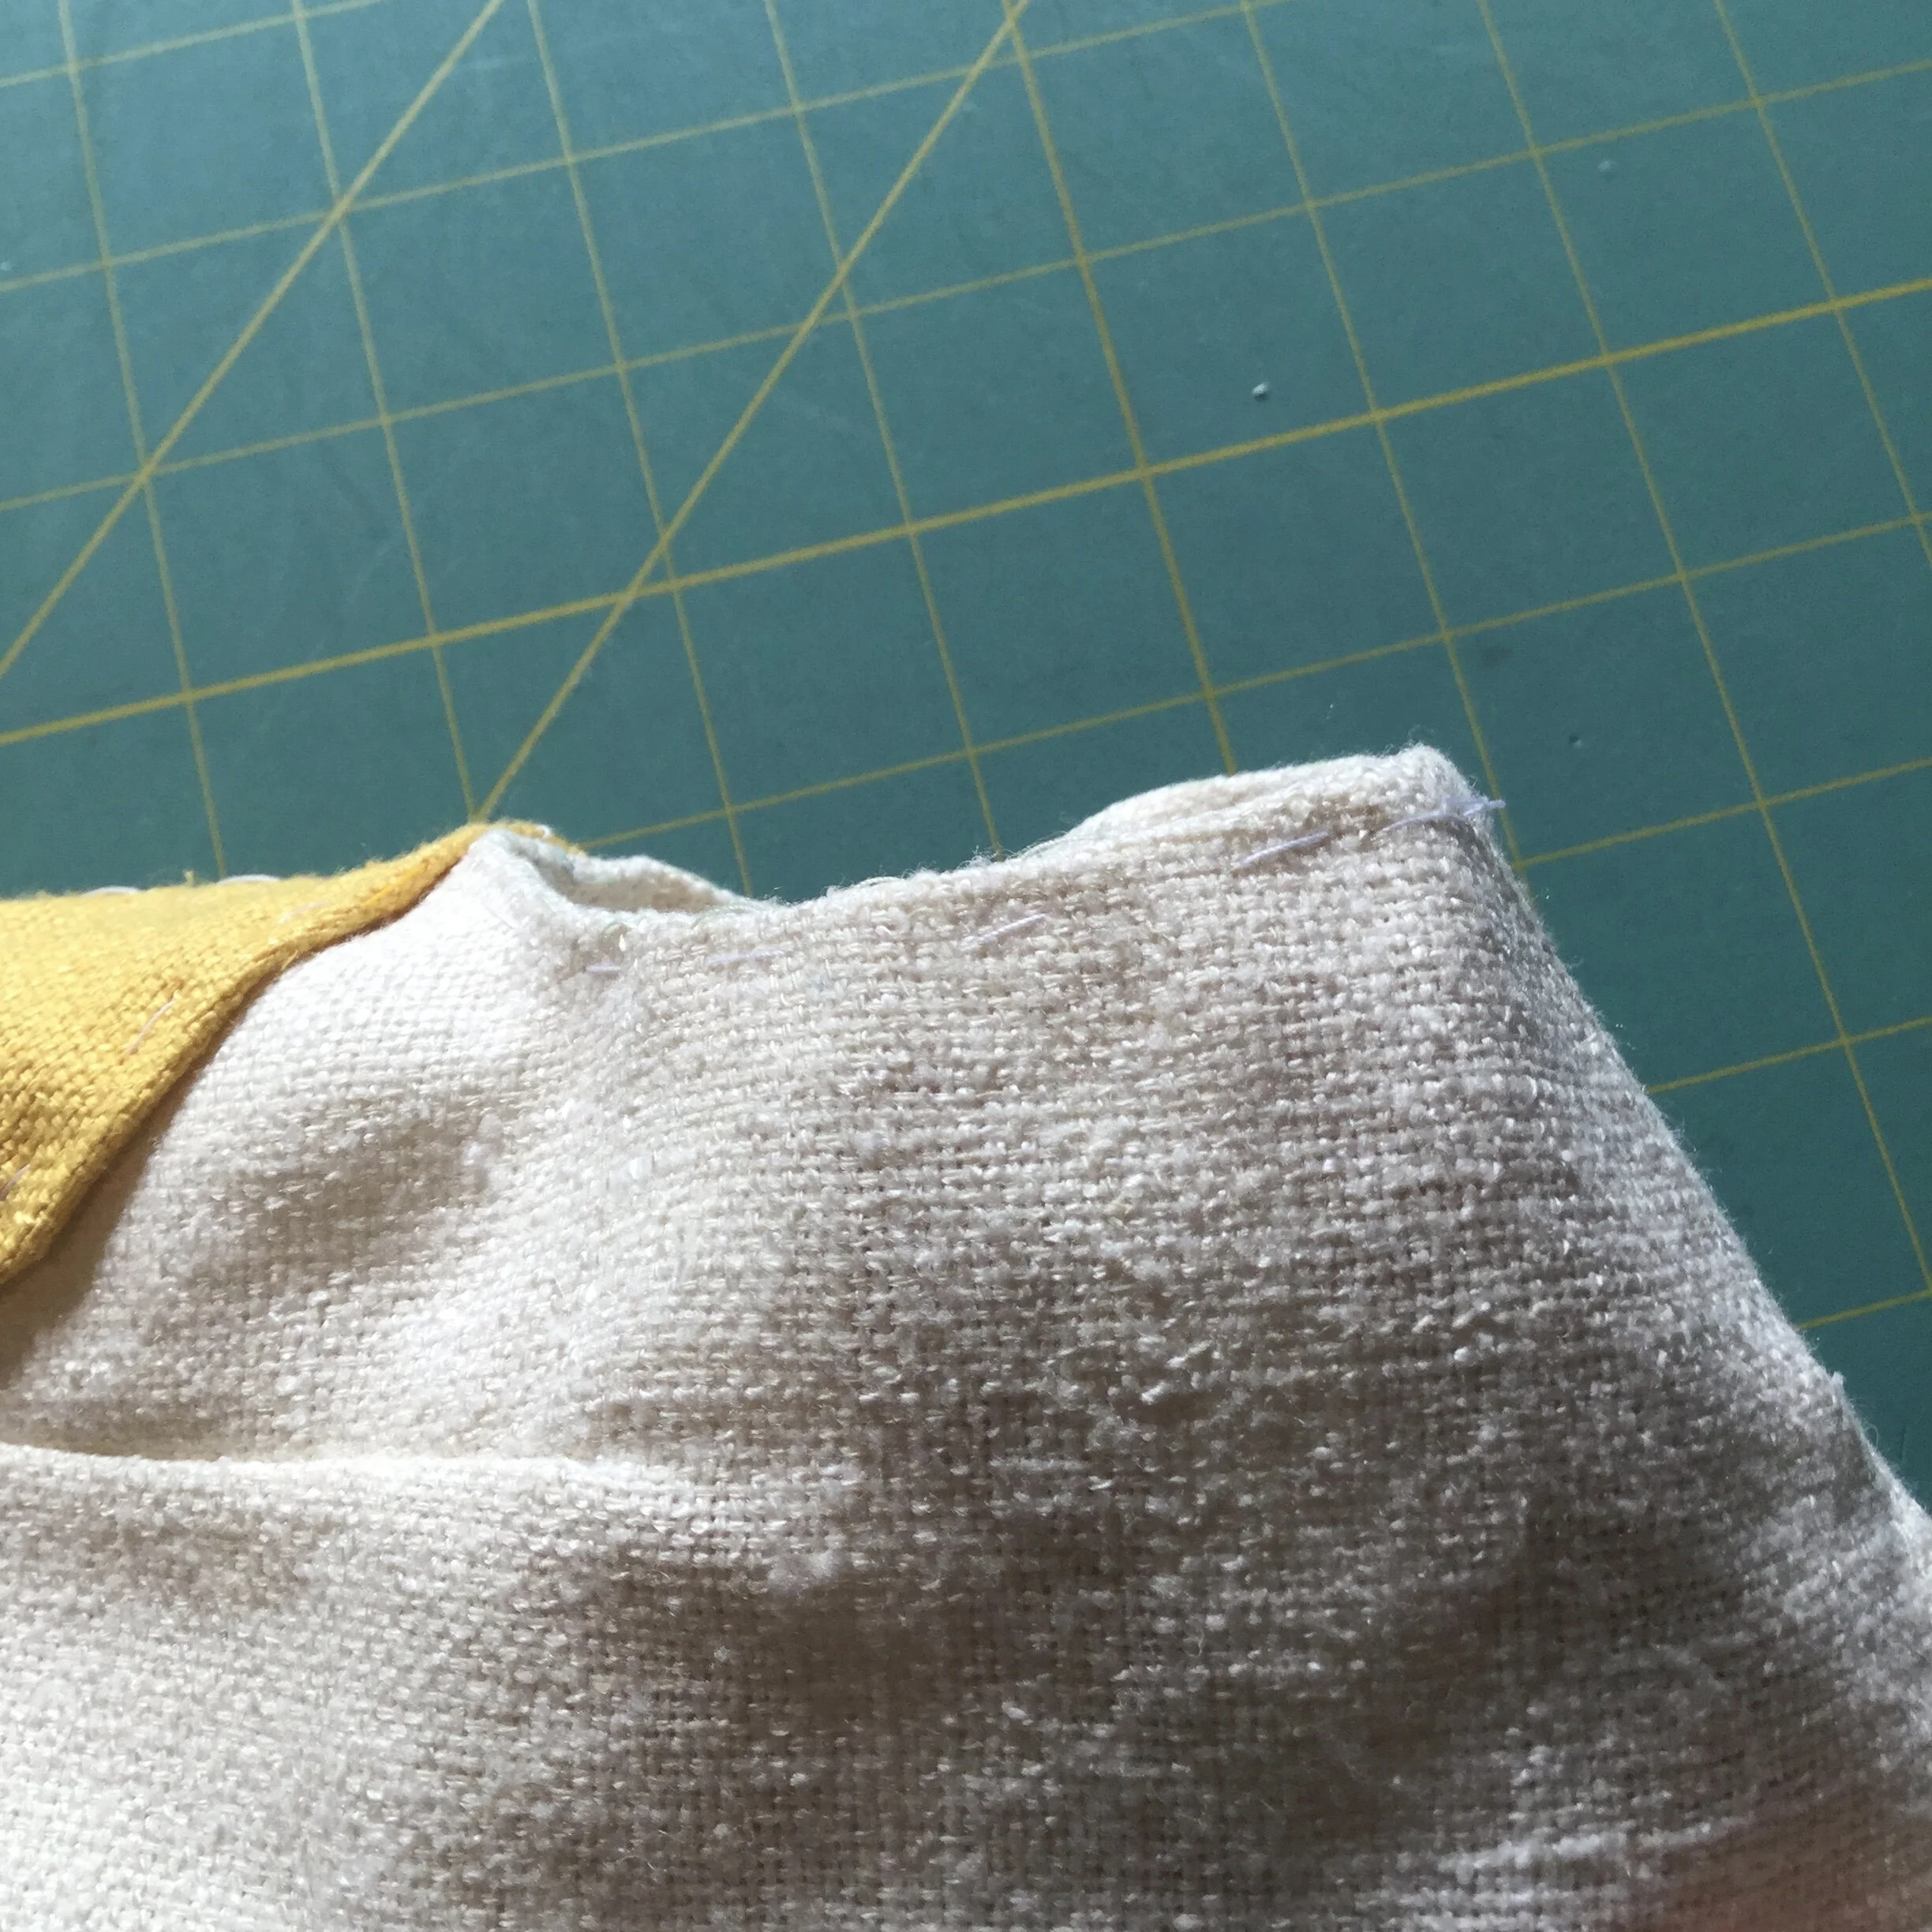
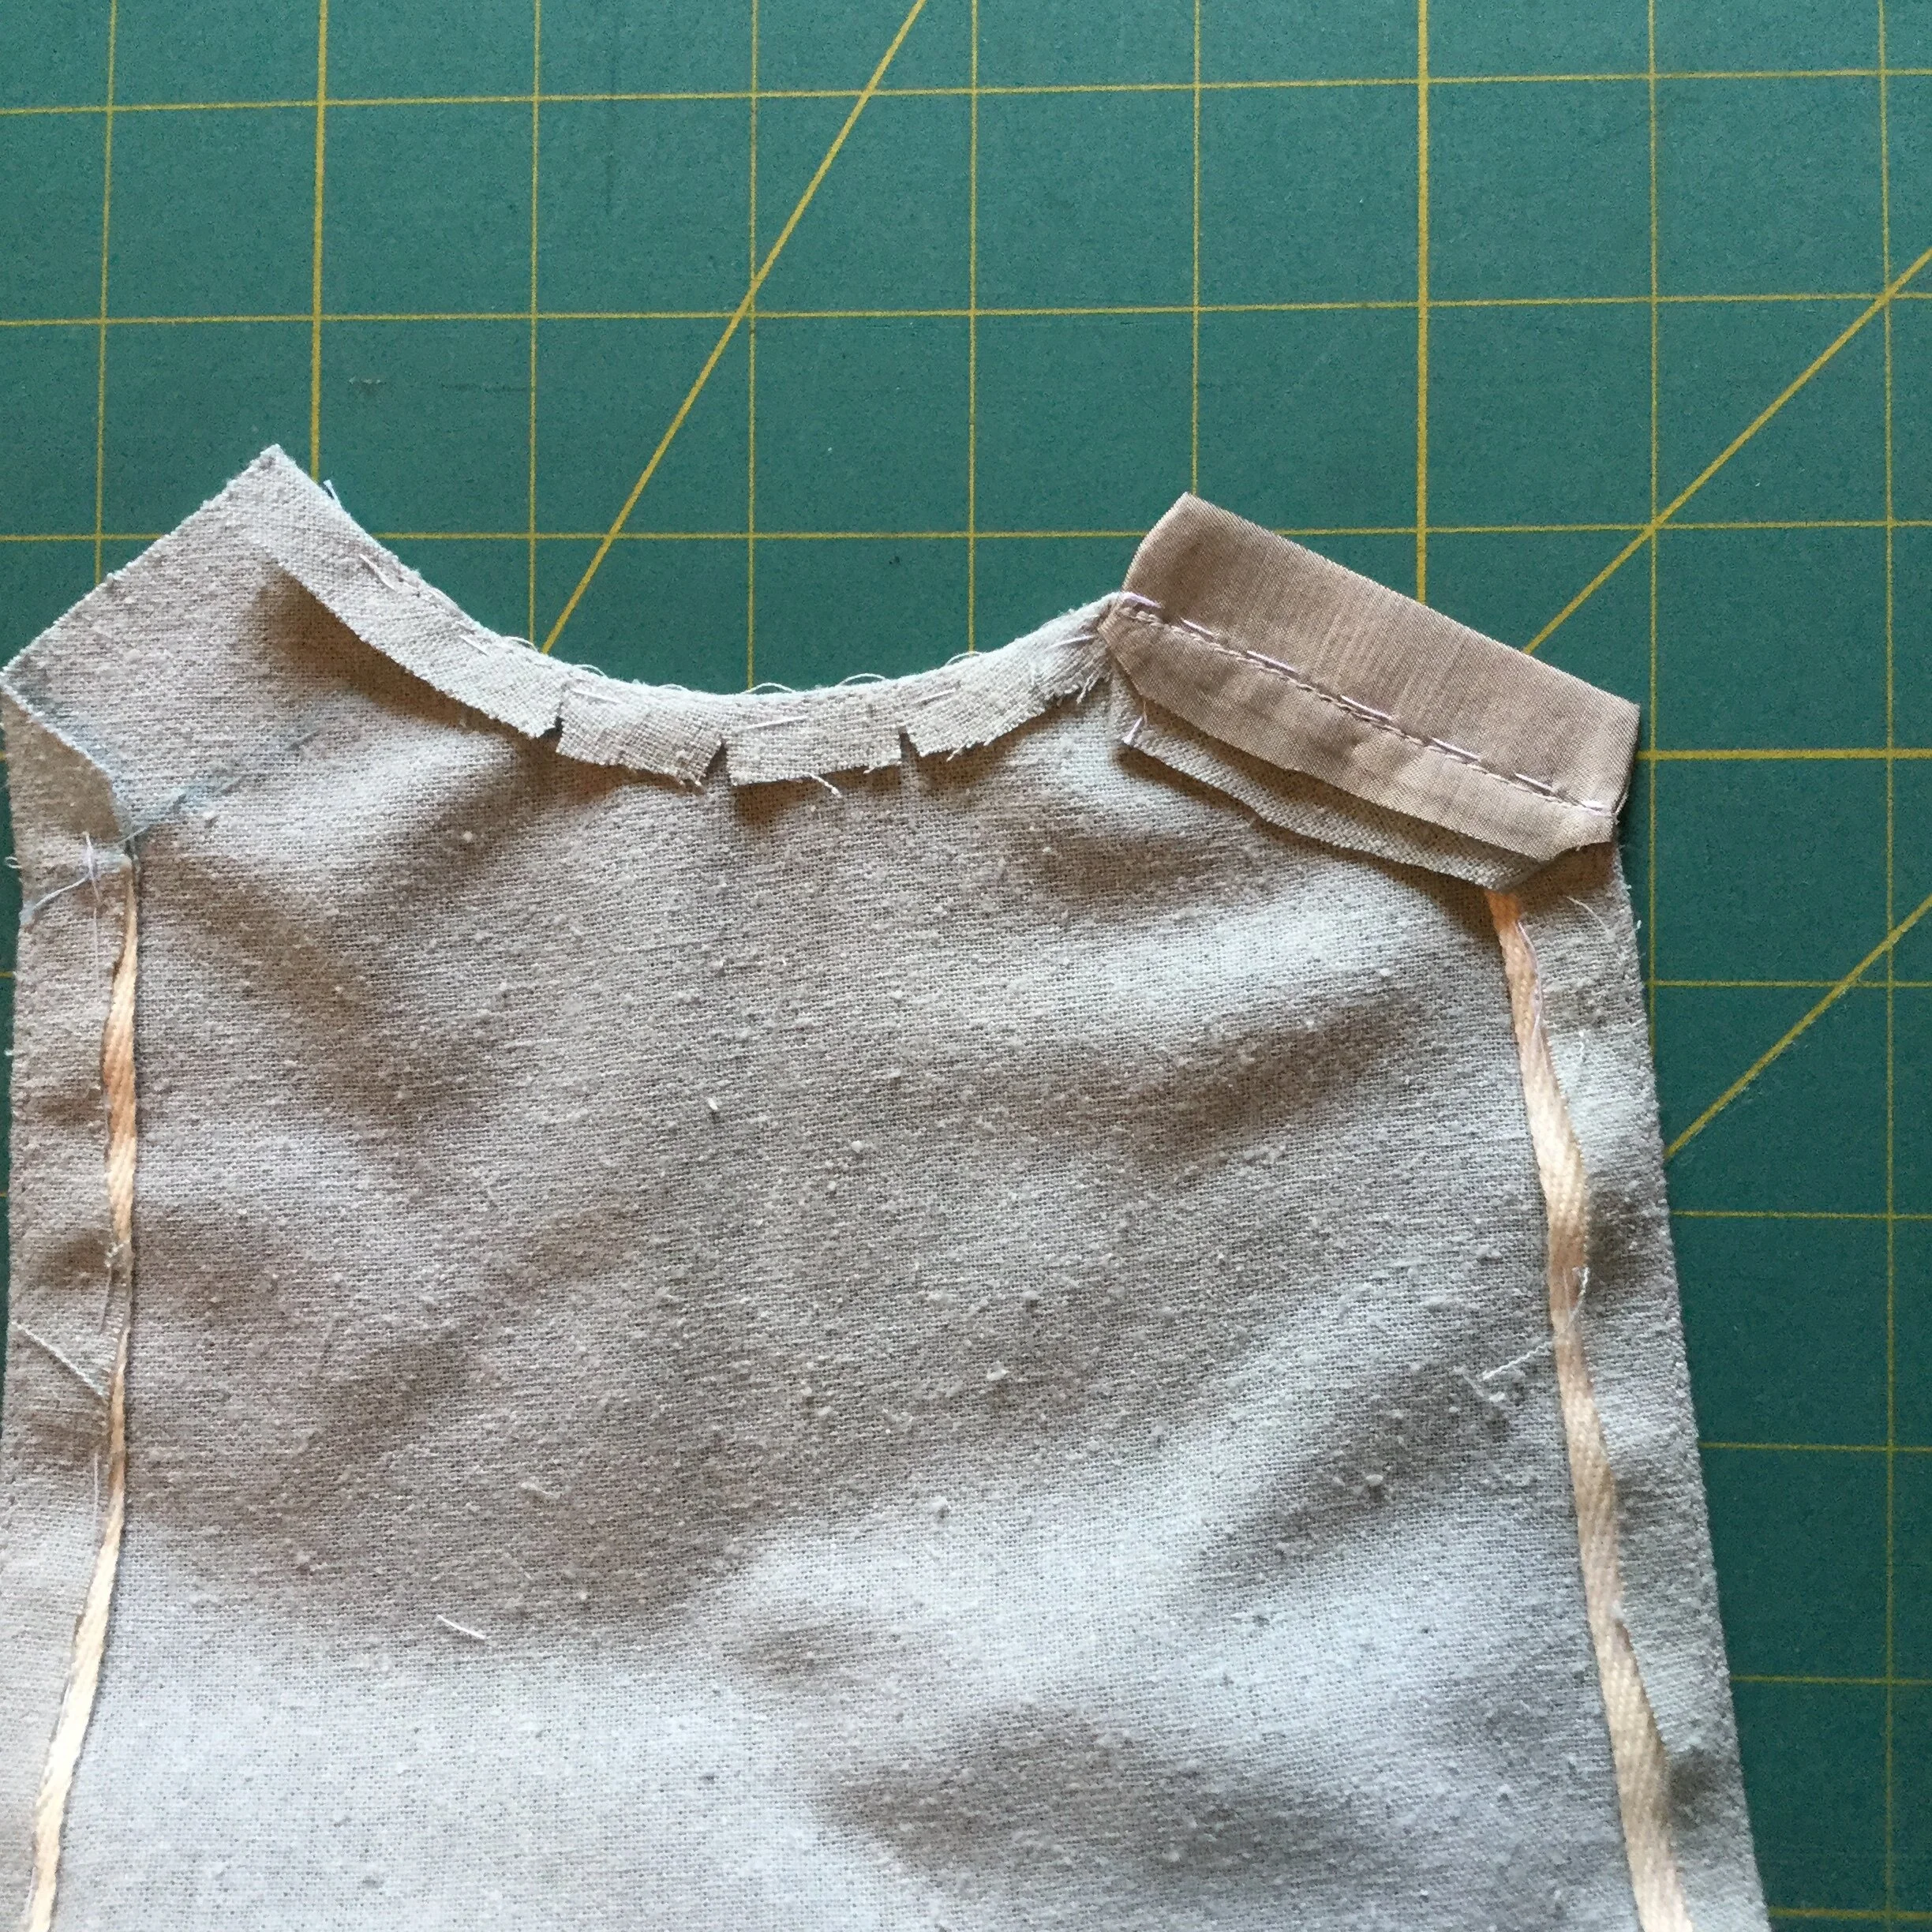
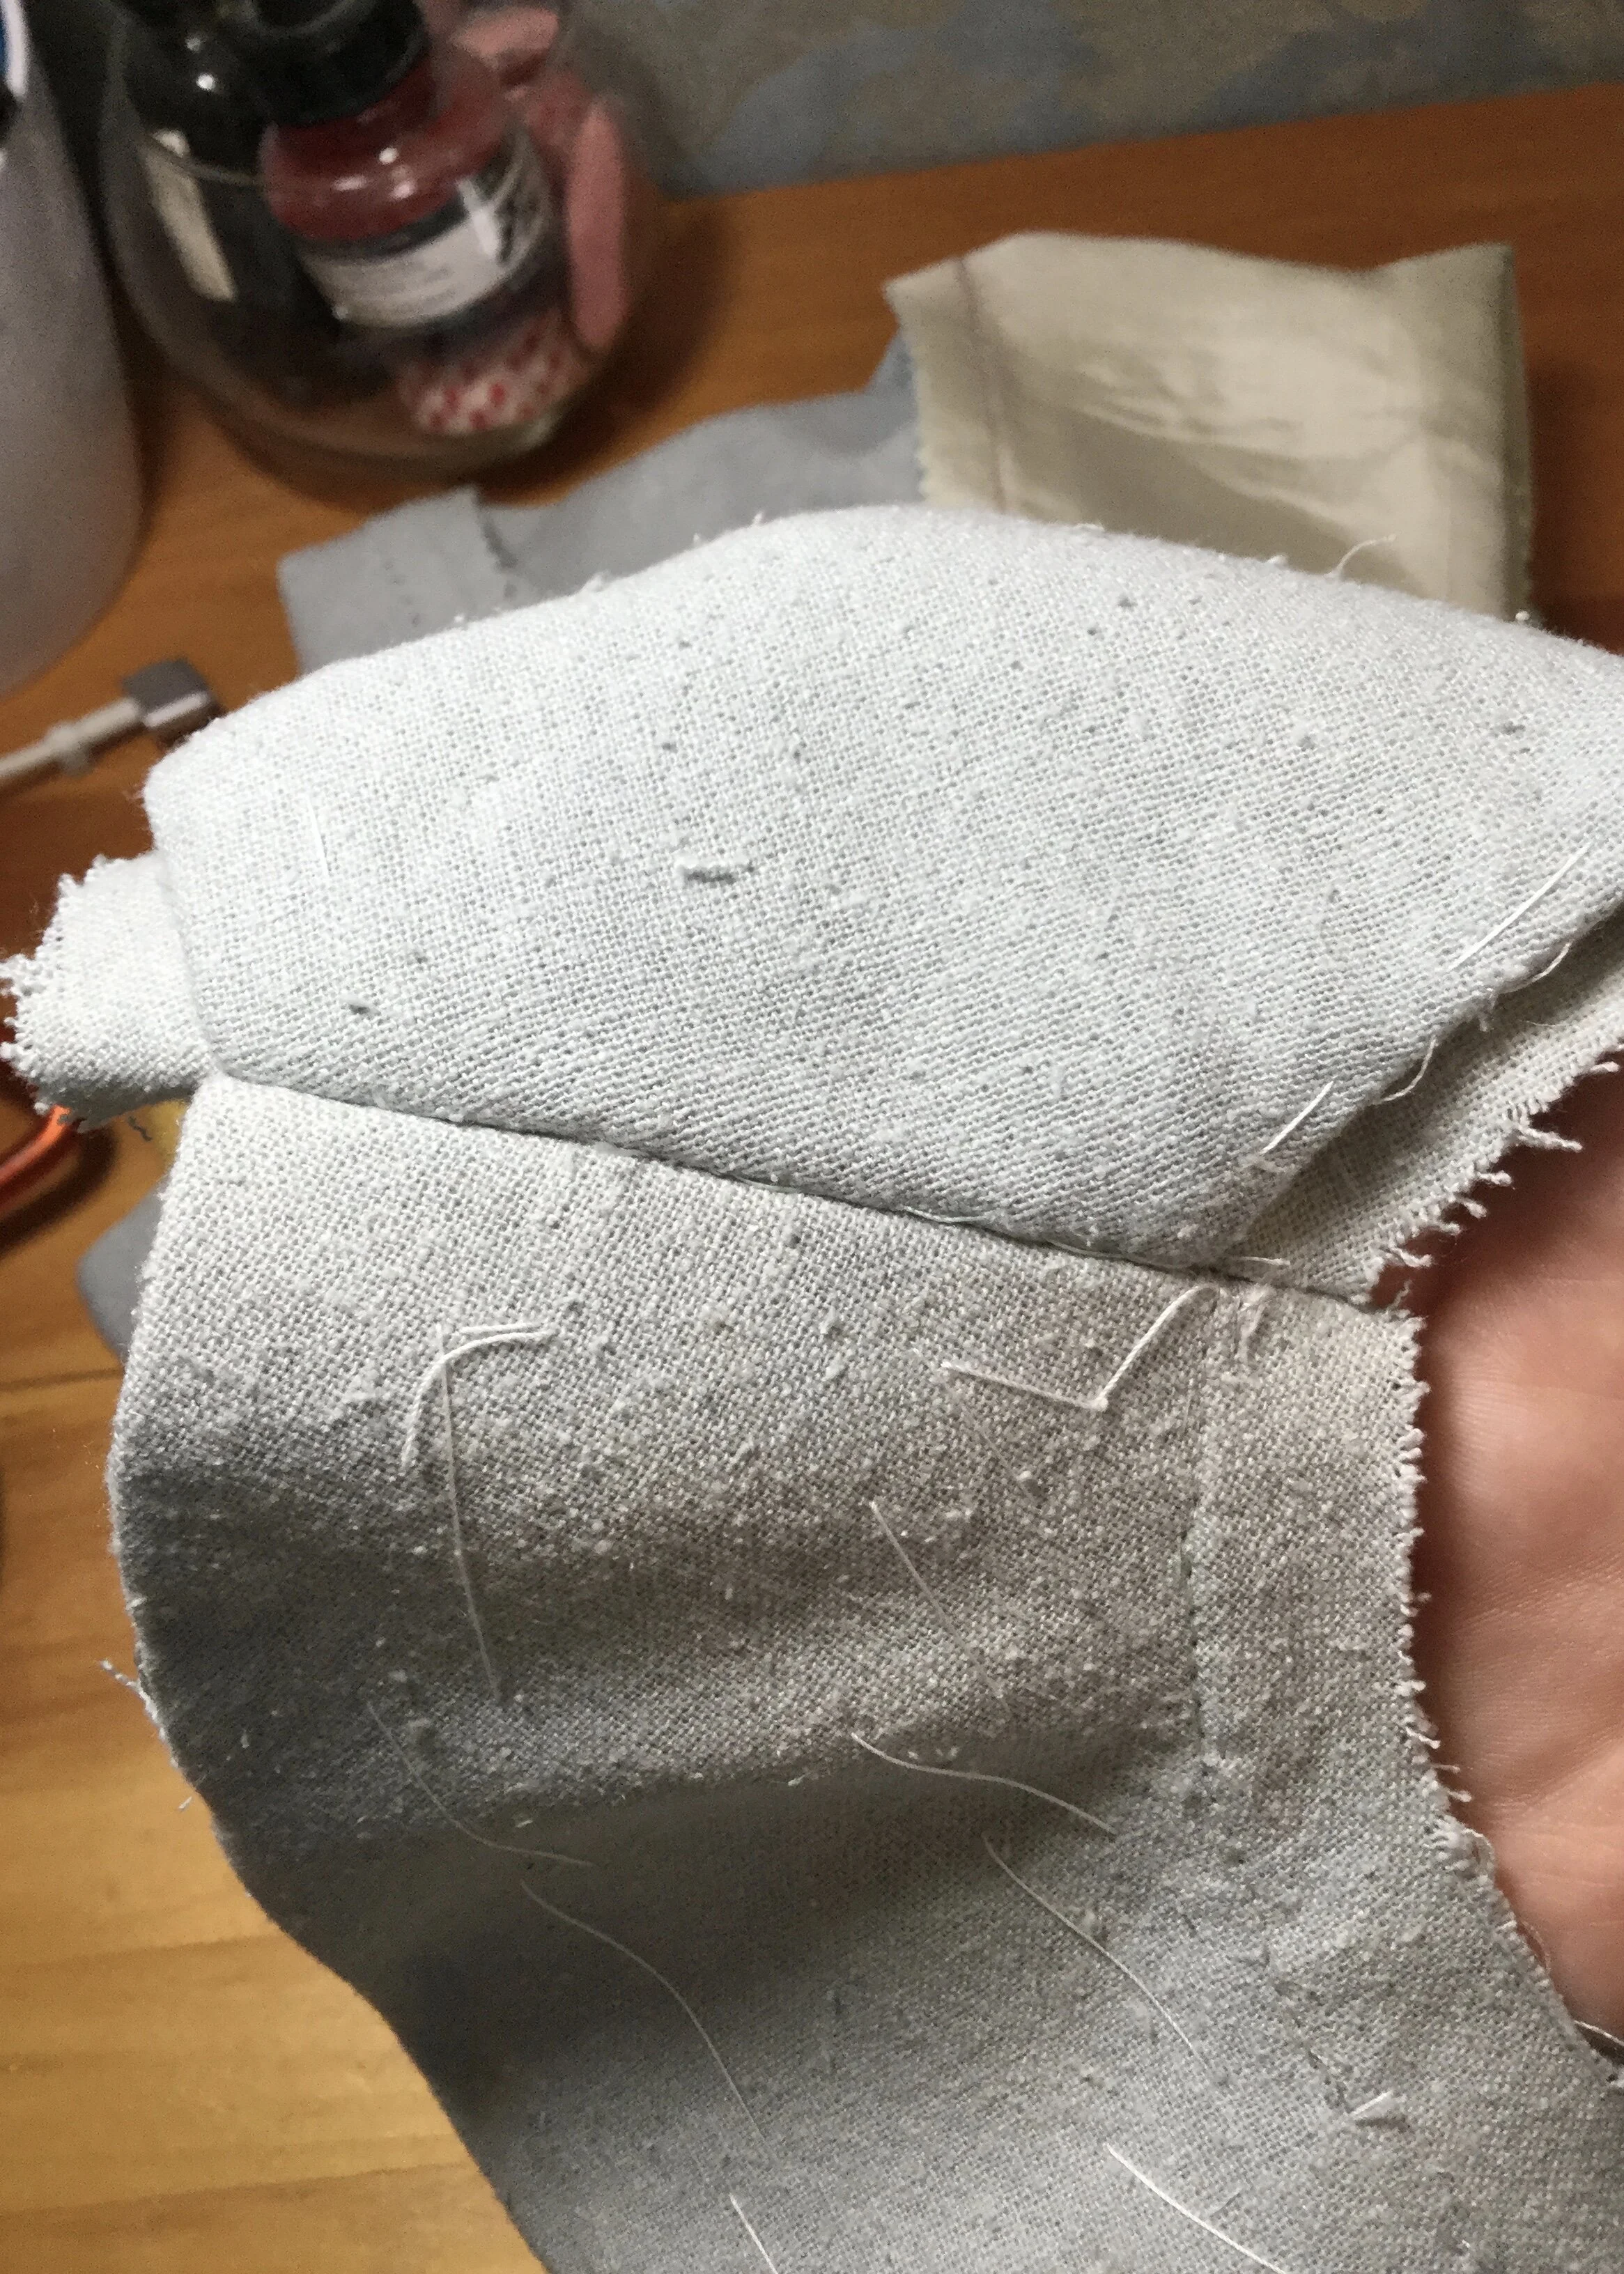
The one bit of the lining that I was ready to proceed with was the collar. I cut a piece to go from the left shoulder to centre front and stay stitched along the neckline, shoulder and outer edge. This stitching could be used to ease the lining in if necessary and also provided a firm line on which to press in the seam allowances. Before applying the lining, I clipped into the seam allowance of the silk at the centre front, trimmed the seam allowance down a little, pressed it into place and stitched it down with a catch stitch. I also did this for the left shoulder and the right armhole.
To apply the lining, I lined it up along the centre front and basted it into place. I then pick stitched and under stitched the lining along the shoulder and outer edge. I let the lining flow up into the neckline as it wanted and stitched it with a small running stitch from the right side of the collar. With the collar lining in, I now had a complete centre front seam line which I could stitch to the left front.
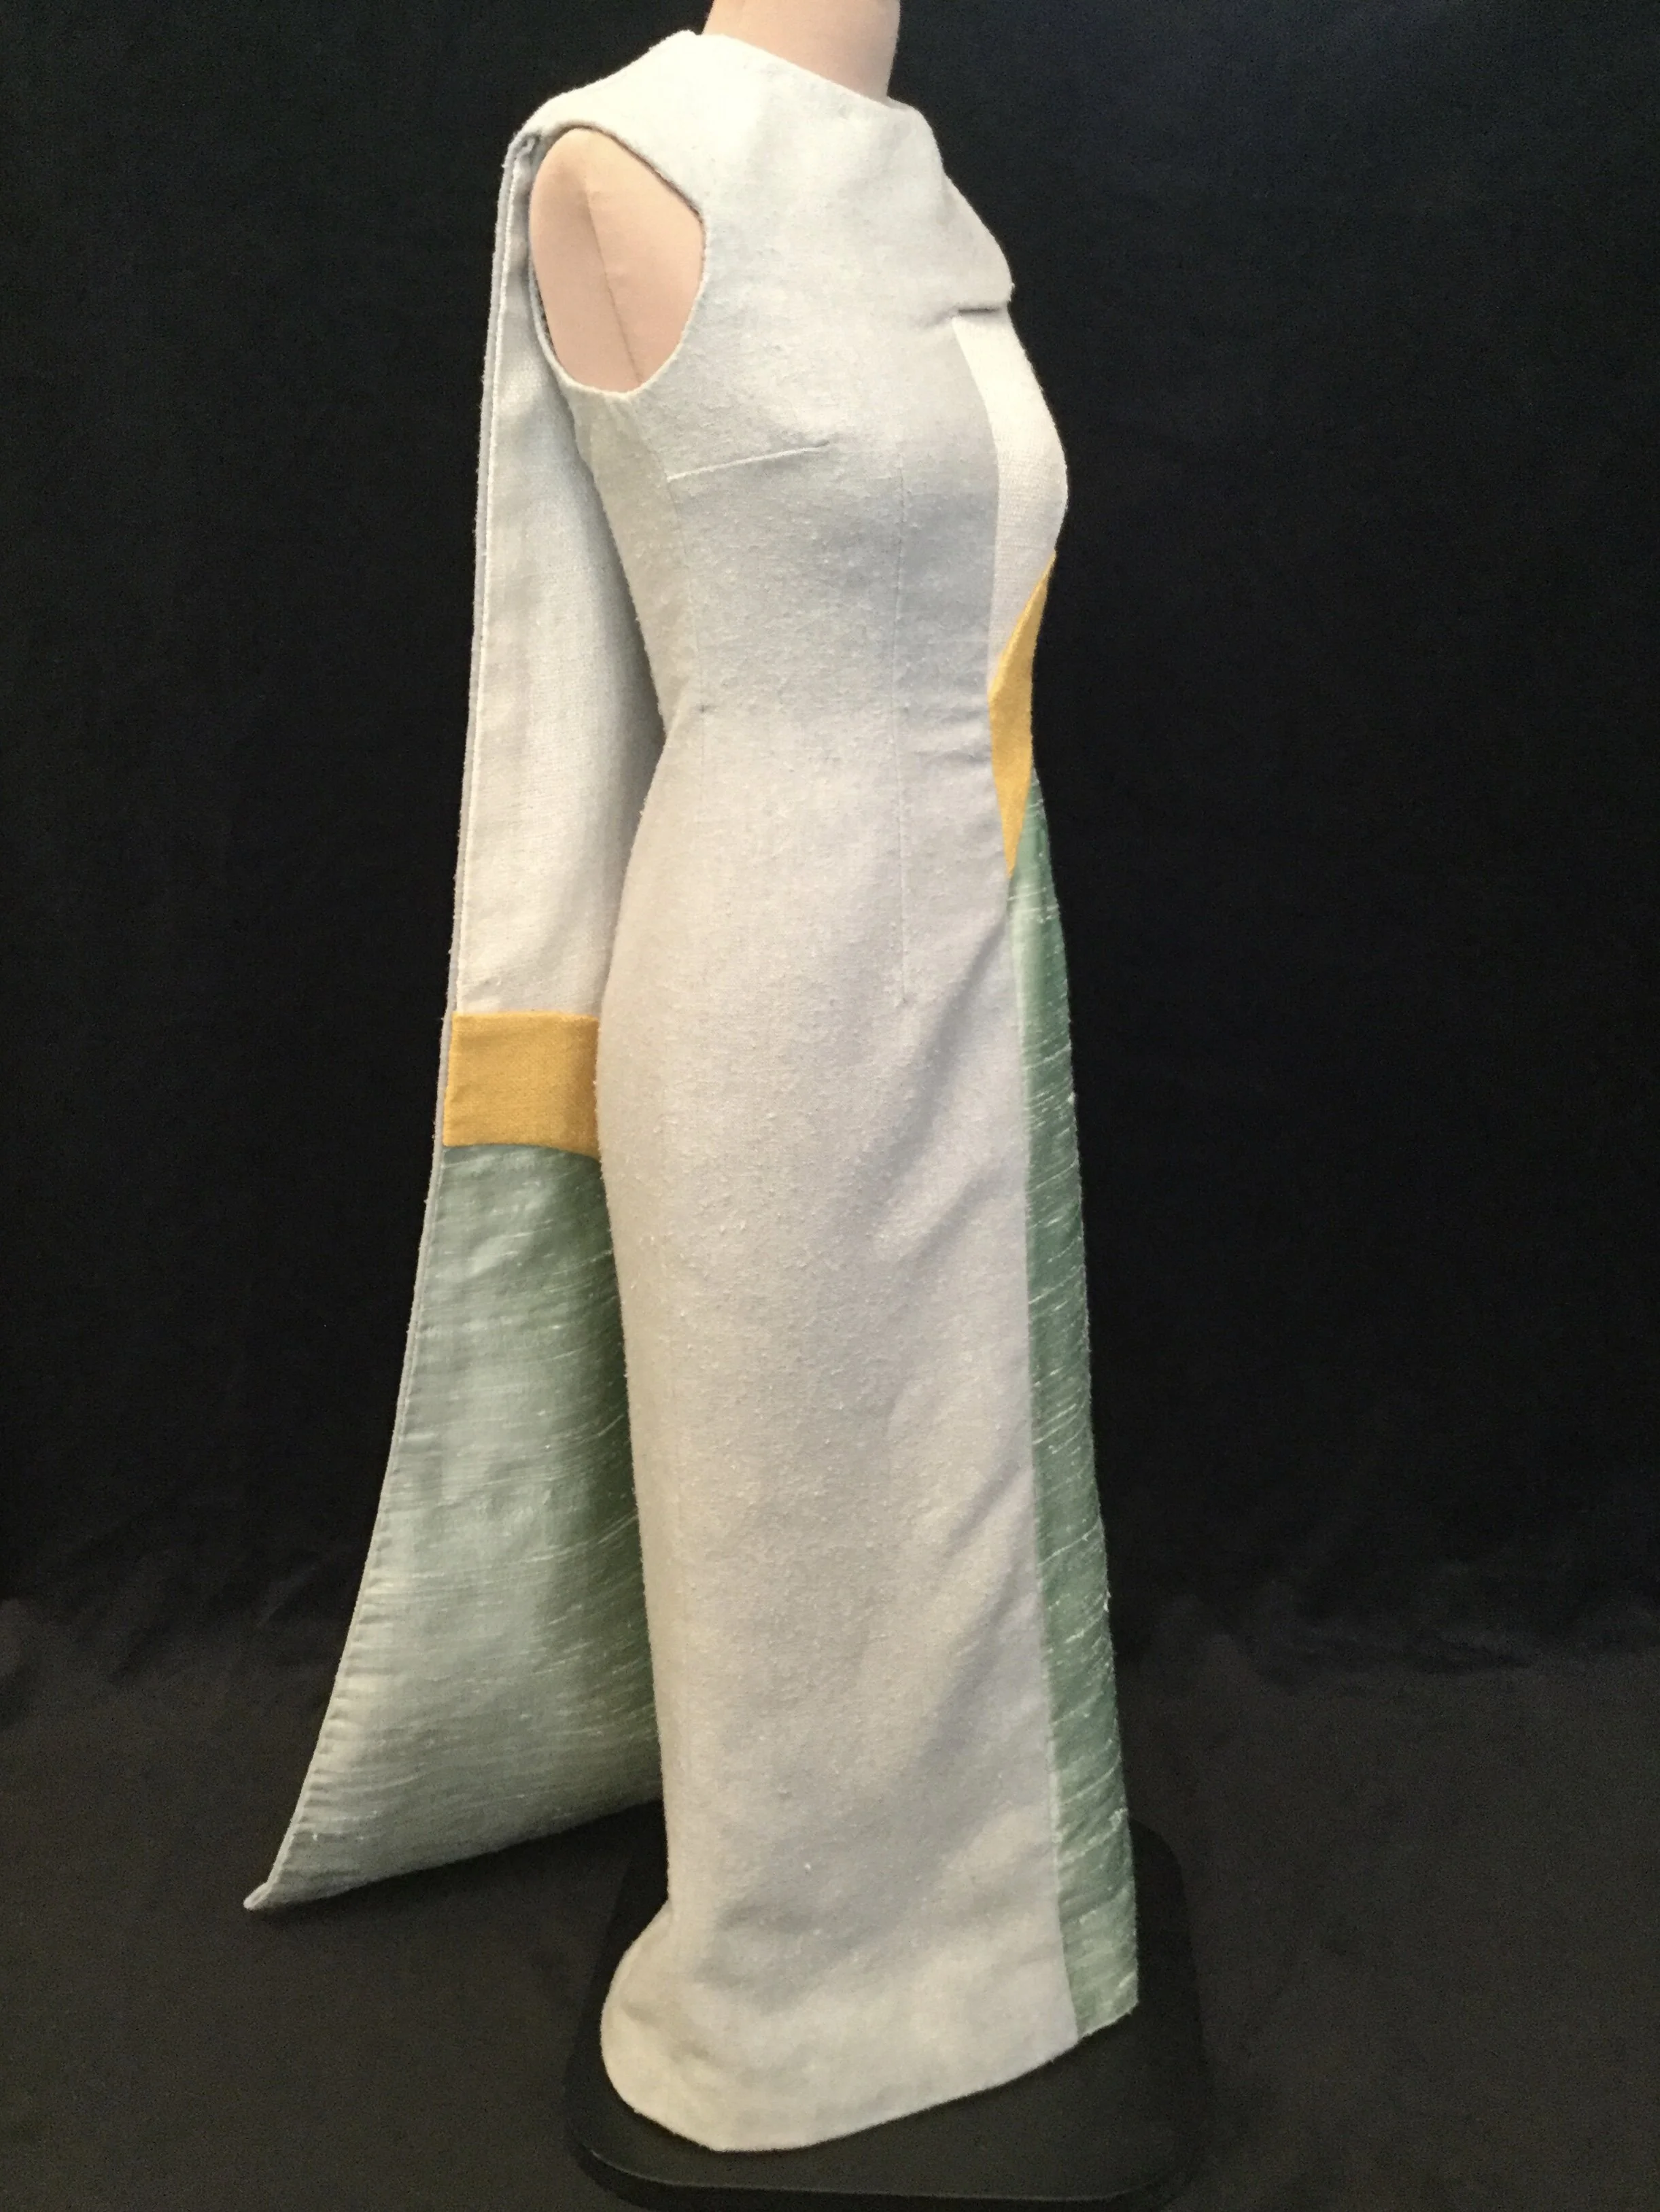
After putting in the new zipper and completing the centre front seam, I was able to close the right side seam. Behold: a dress!
Lookin’ like a thing!
At this point I decided I could also close the left shoulder of the dress as I had settled on putting the closure for the cape on that side and would not need to sew the cape into the shoulder seam. I applied twill tape in the seam allowance of the armhole and stitched the shoulder seam. I then finished the armhole by clipping and turning the seam allowance and stitching it down with a catch stitch. (At this point I was also able to finish the section of the yellow stripe that I had only basted closed.) I left the right shoulder open as I would sew the cape in with it.
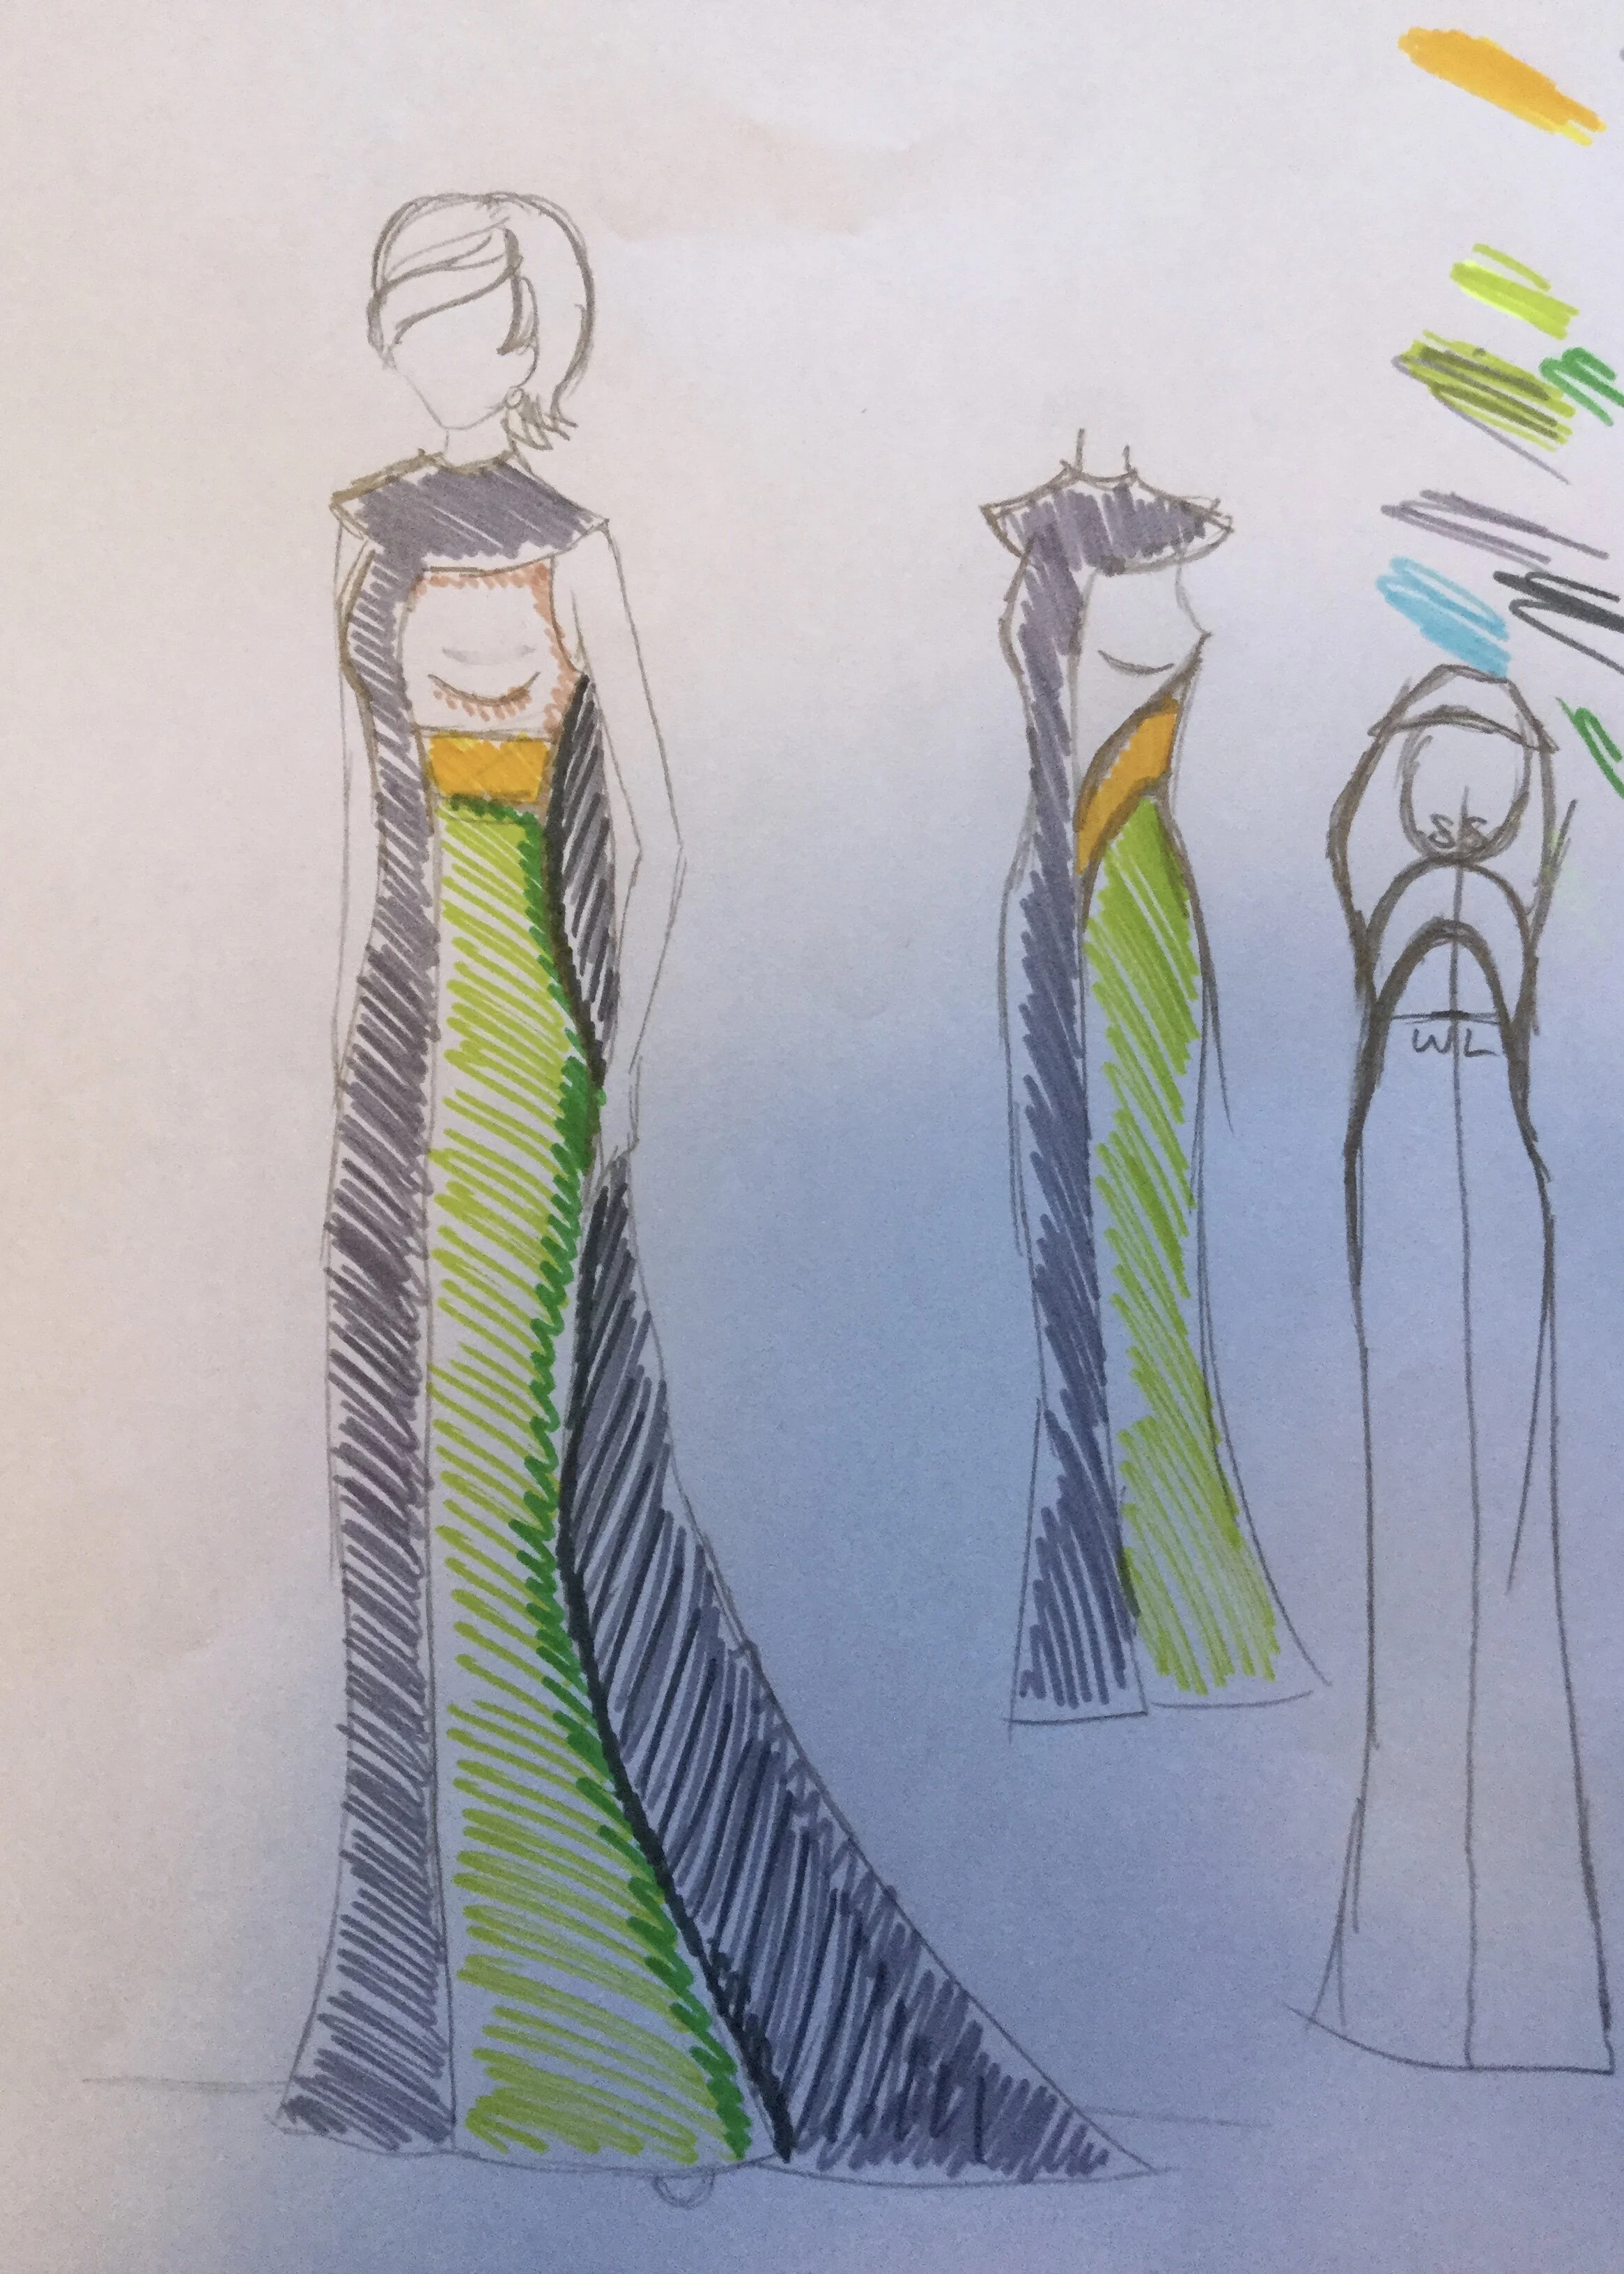
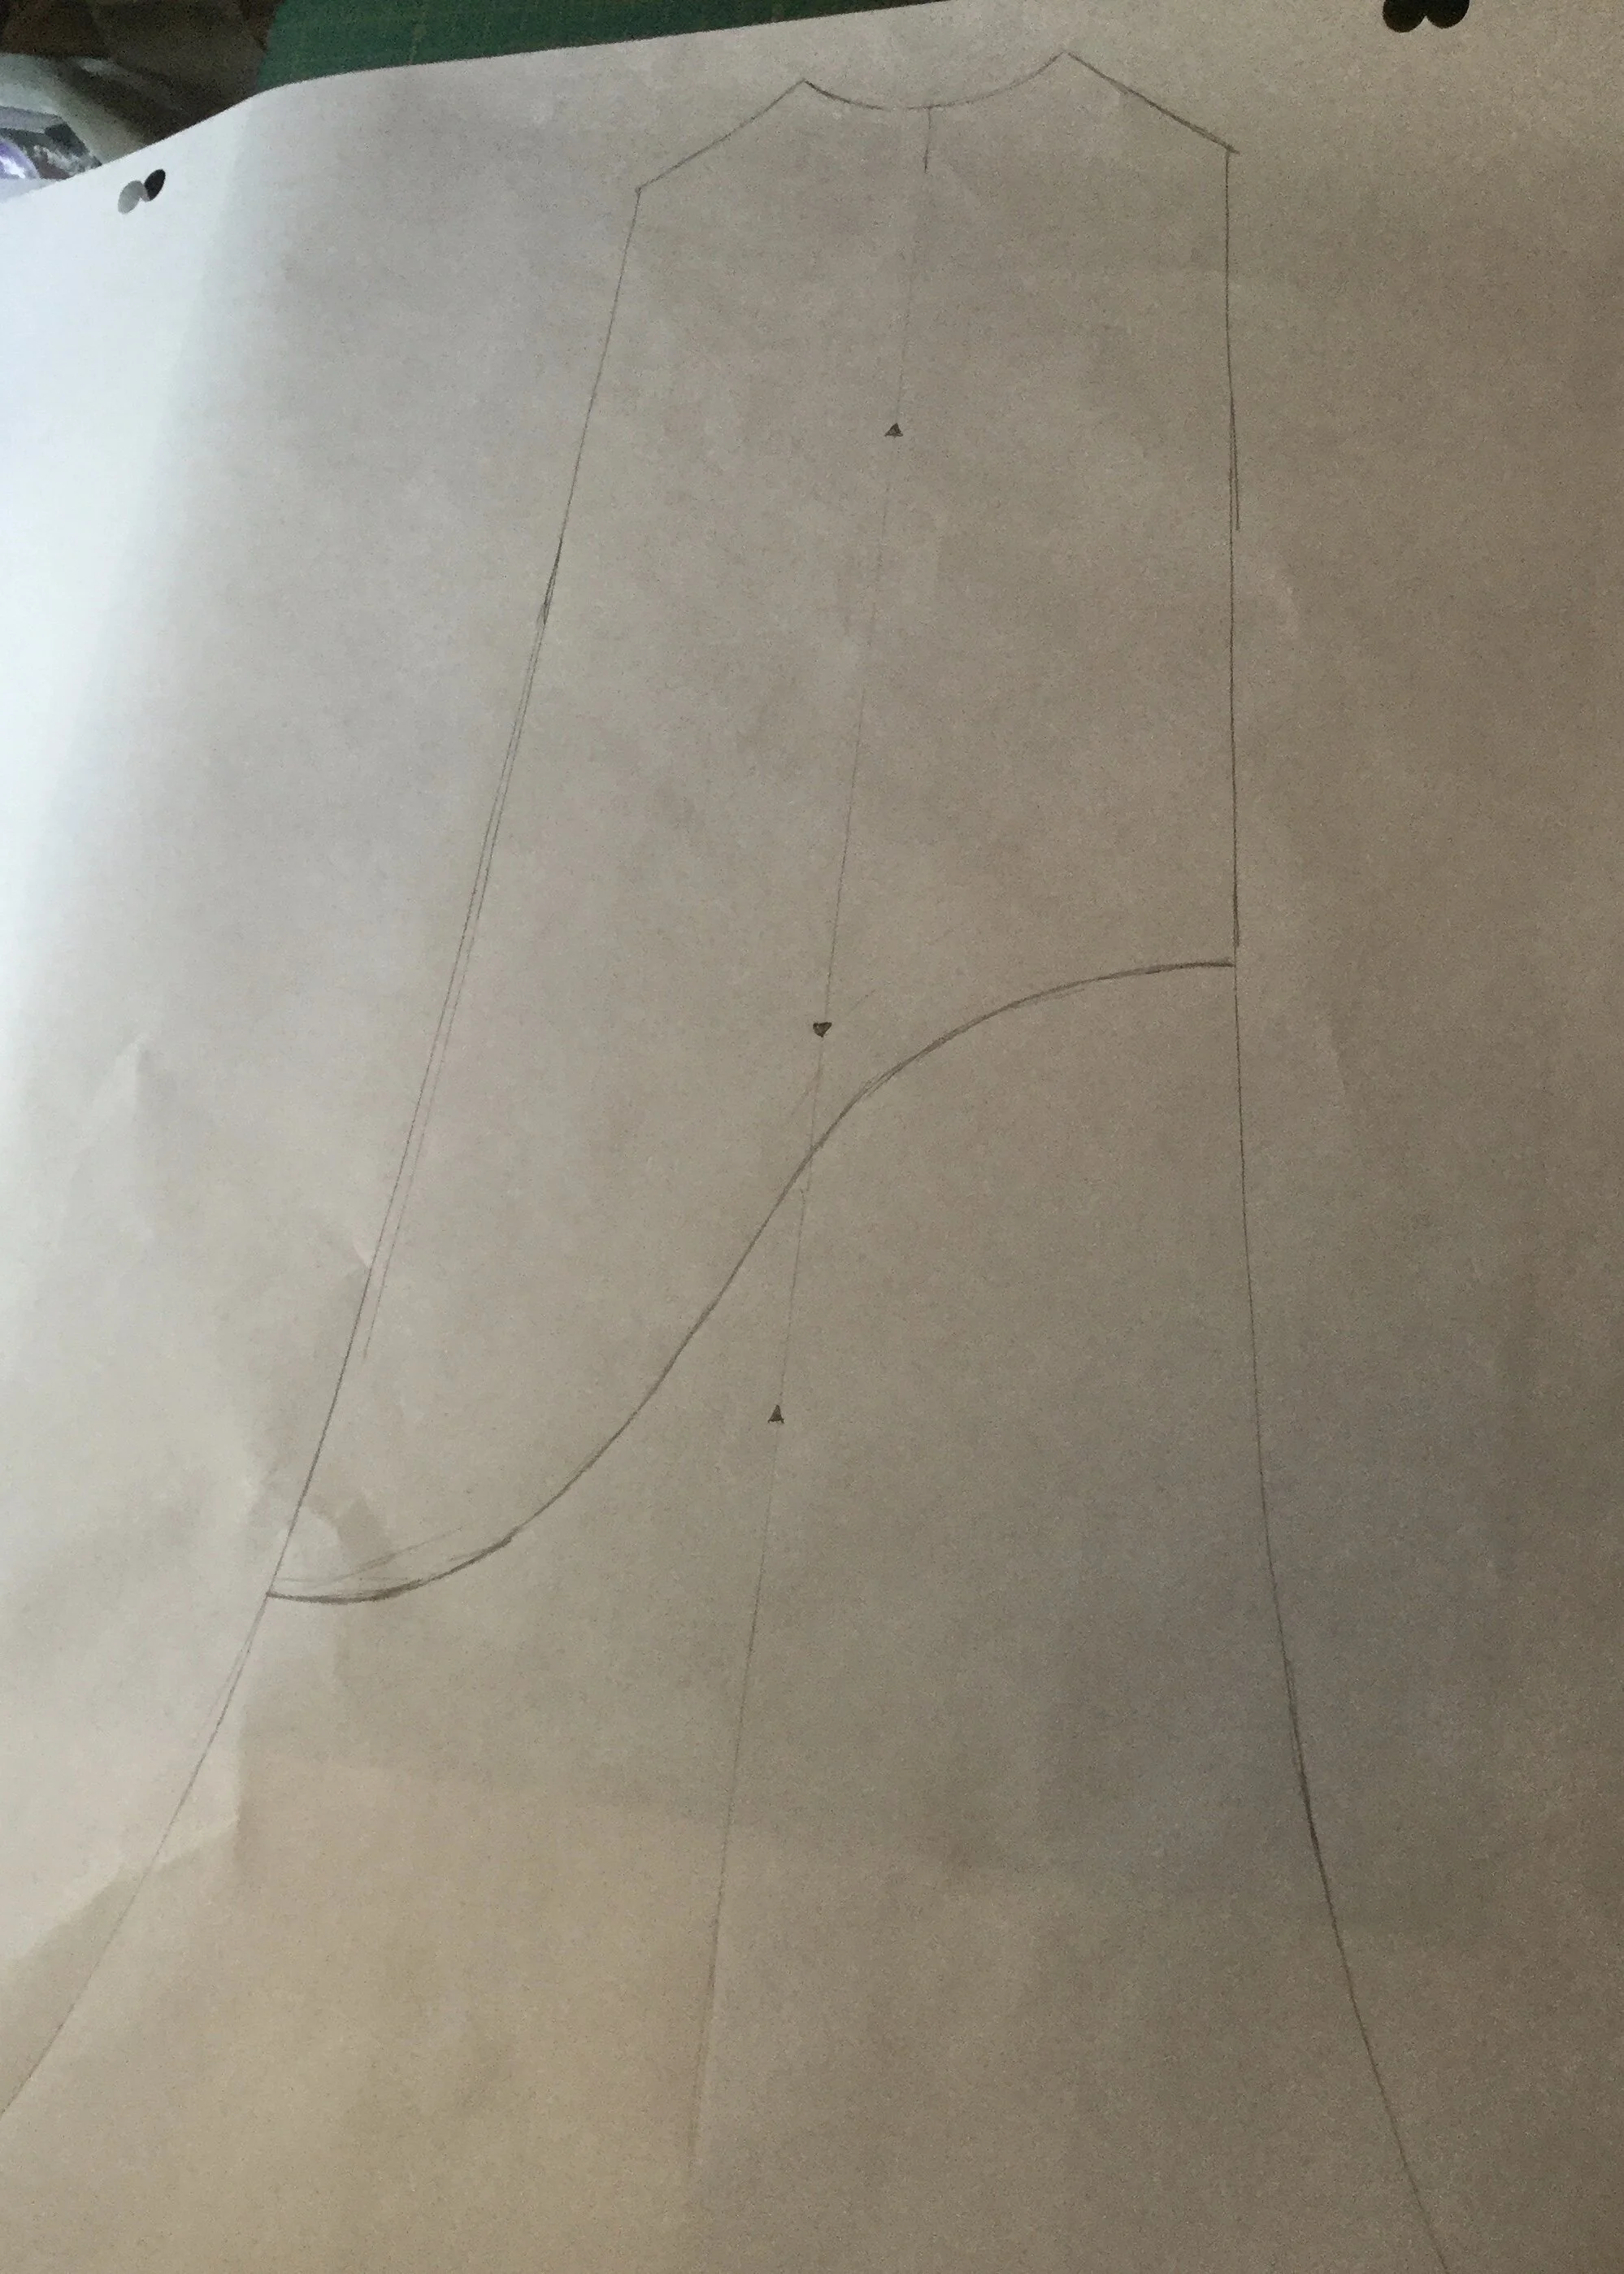
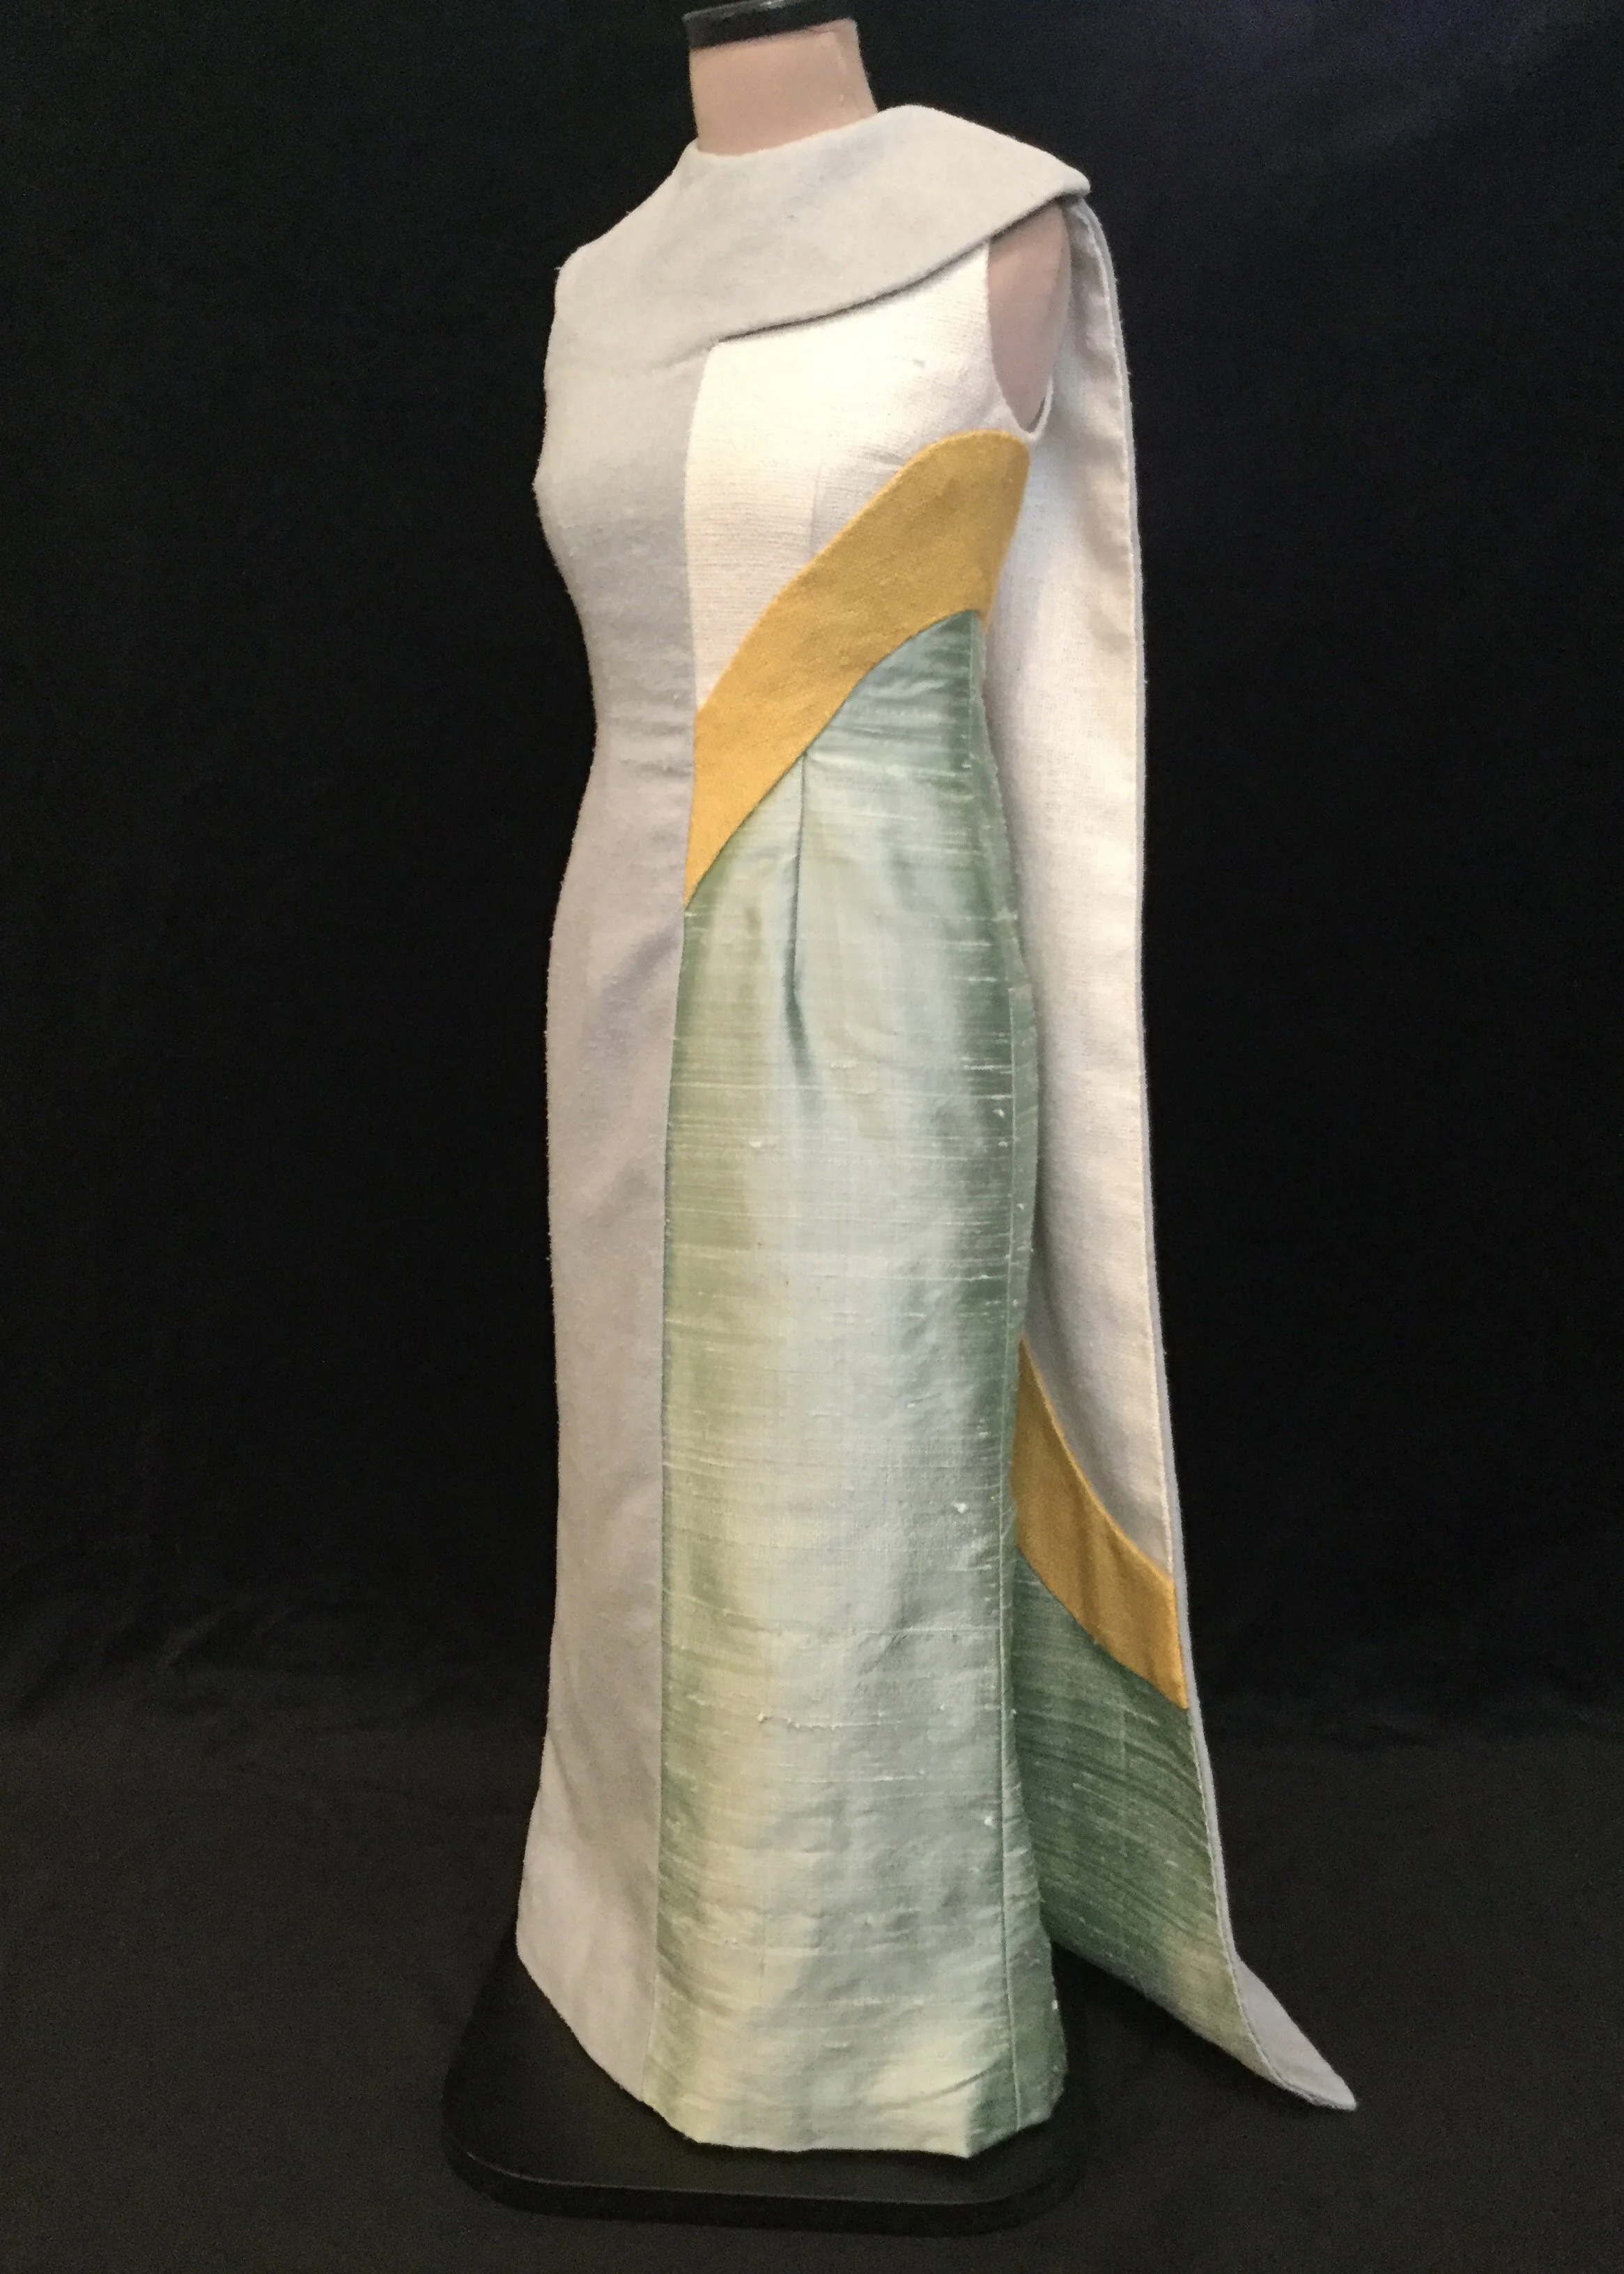
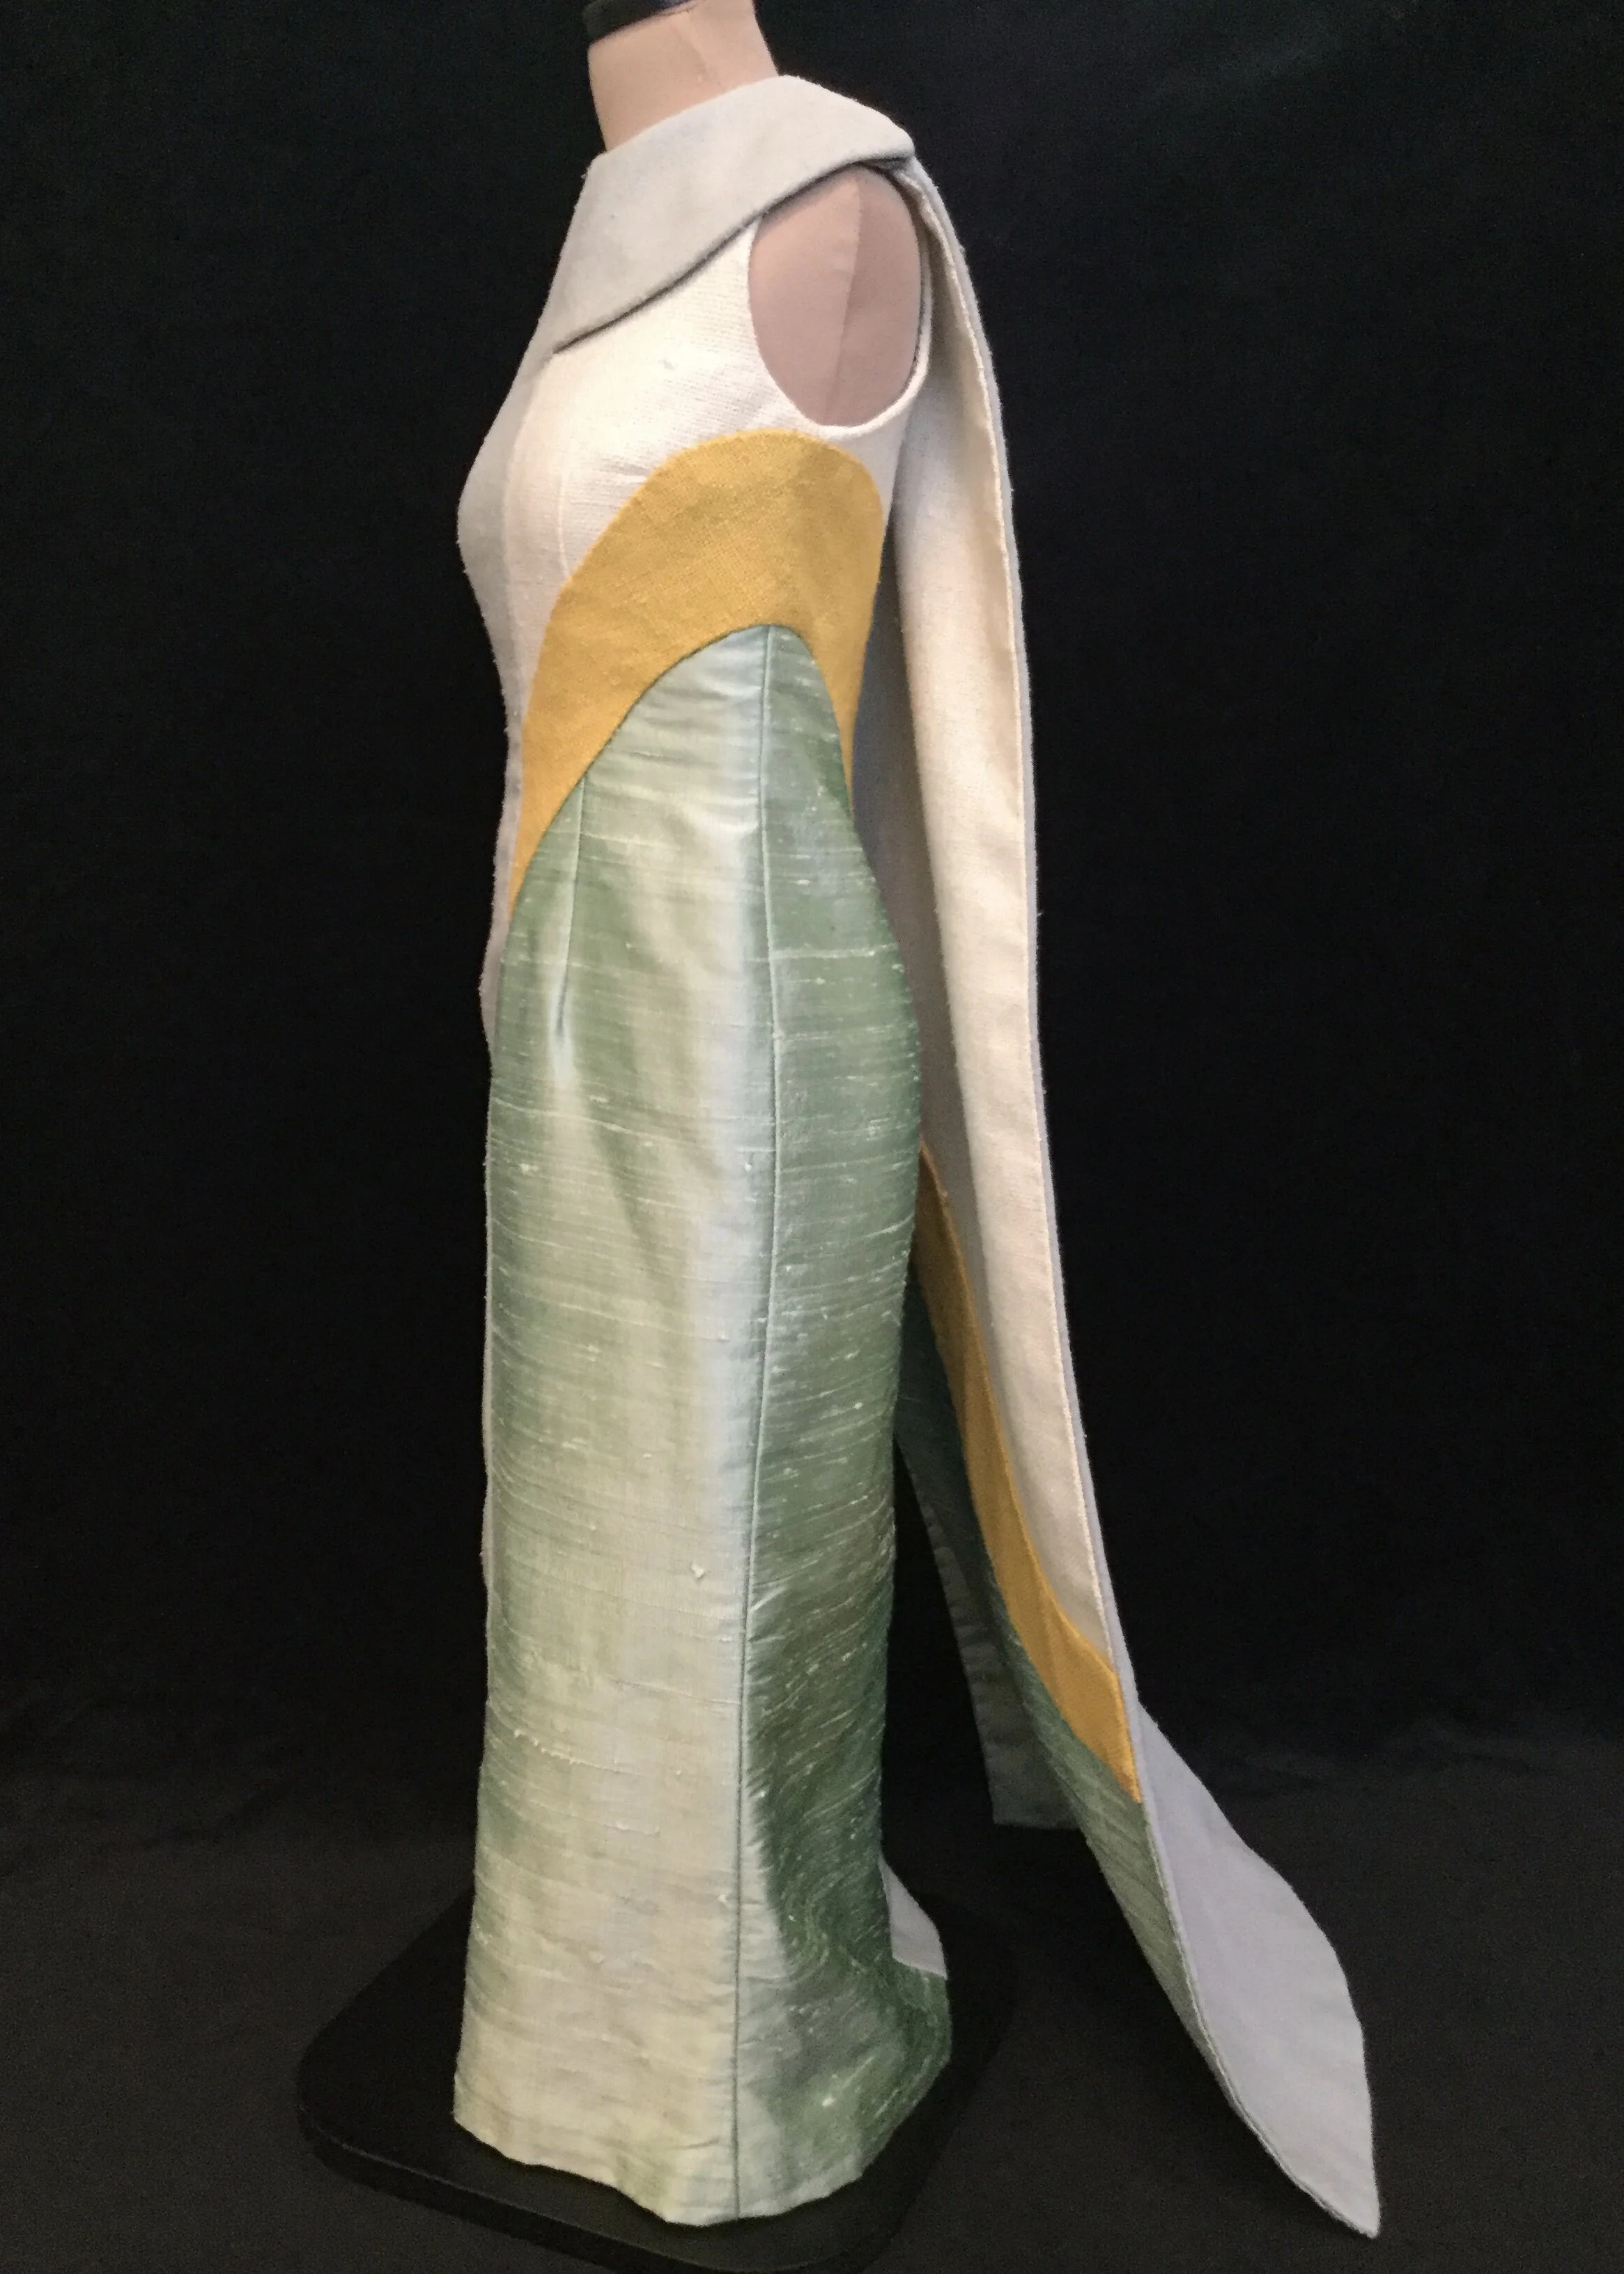
The next question to address was how I would tie in my new design and colour scheme with the cape. I settled on making a lining from the same fabrics as the left side of the dress, bisecting the white and green with a wide yellow stripe in an S curve which would compliment the shape of the line on the body of the dress.
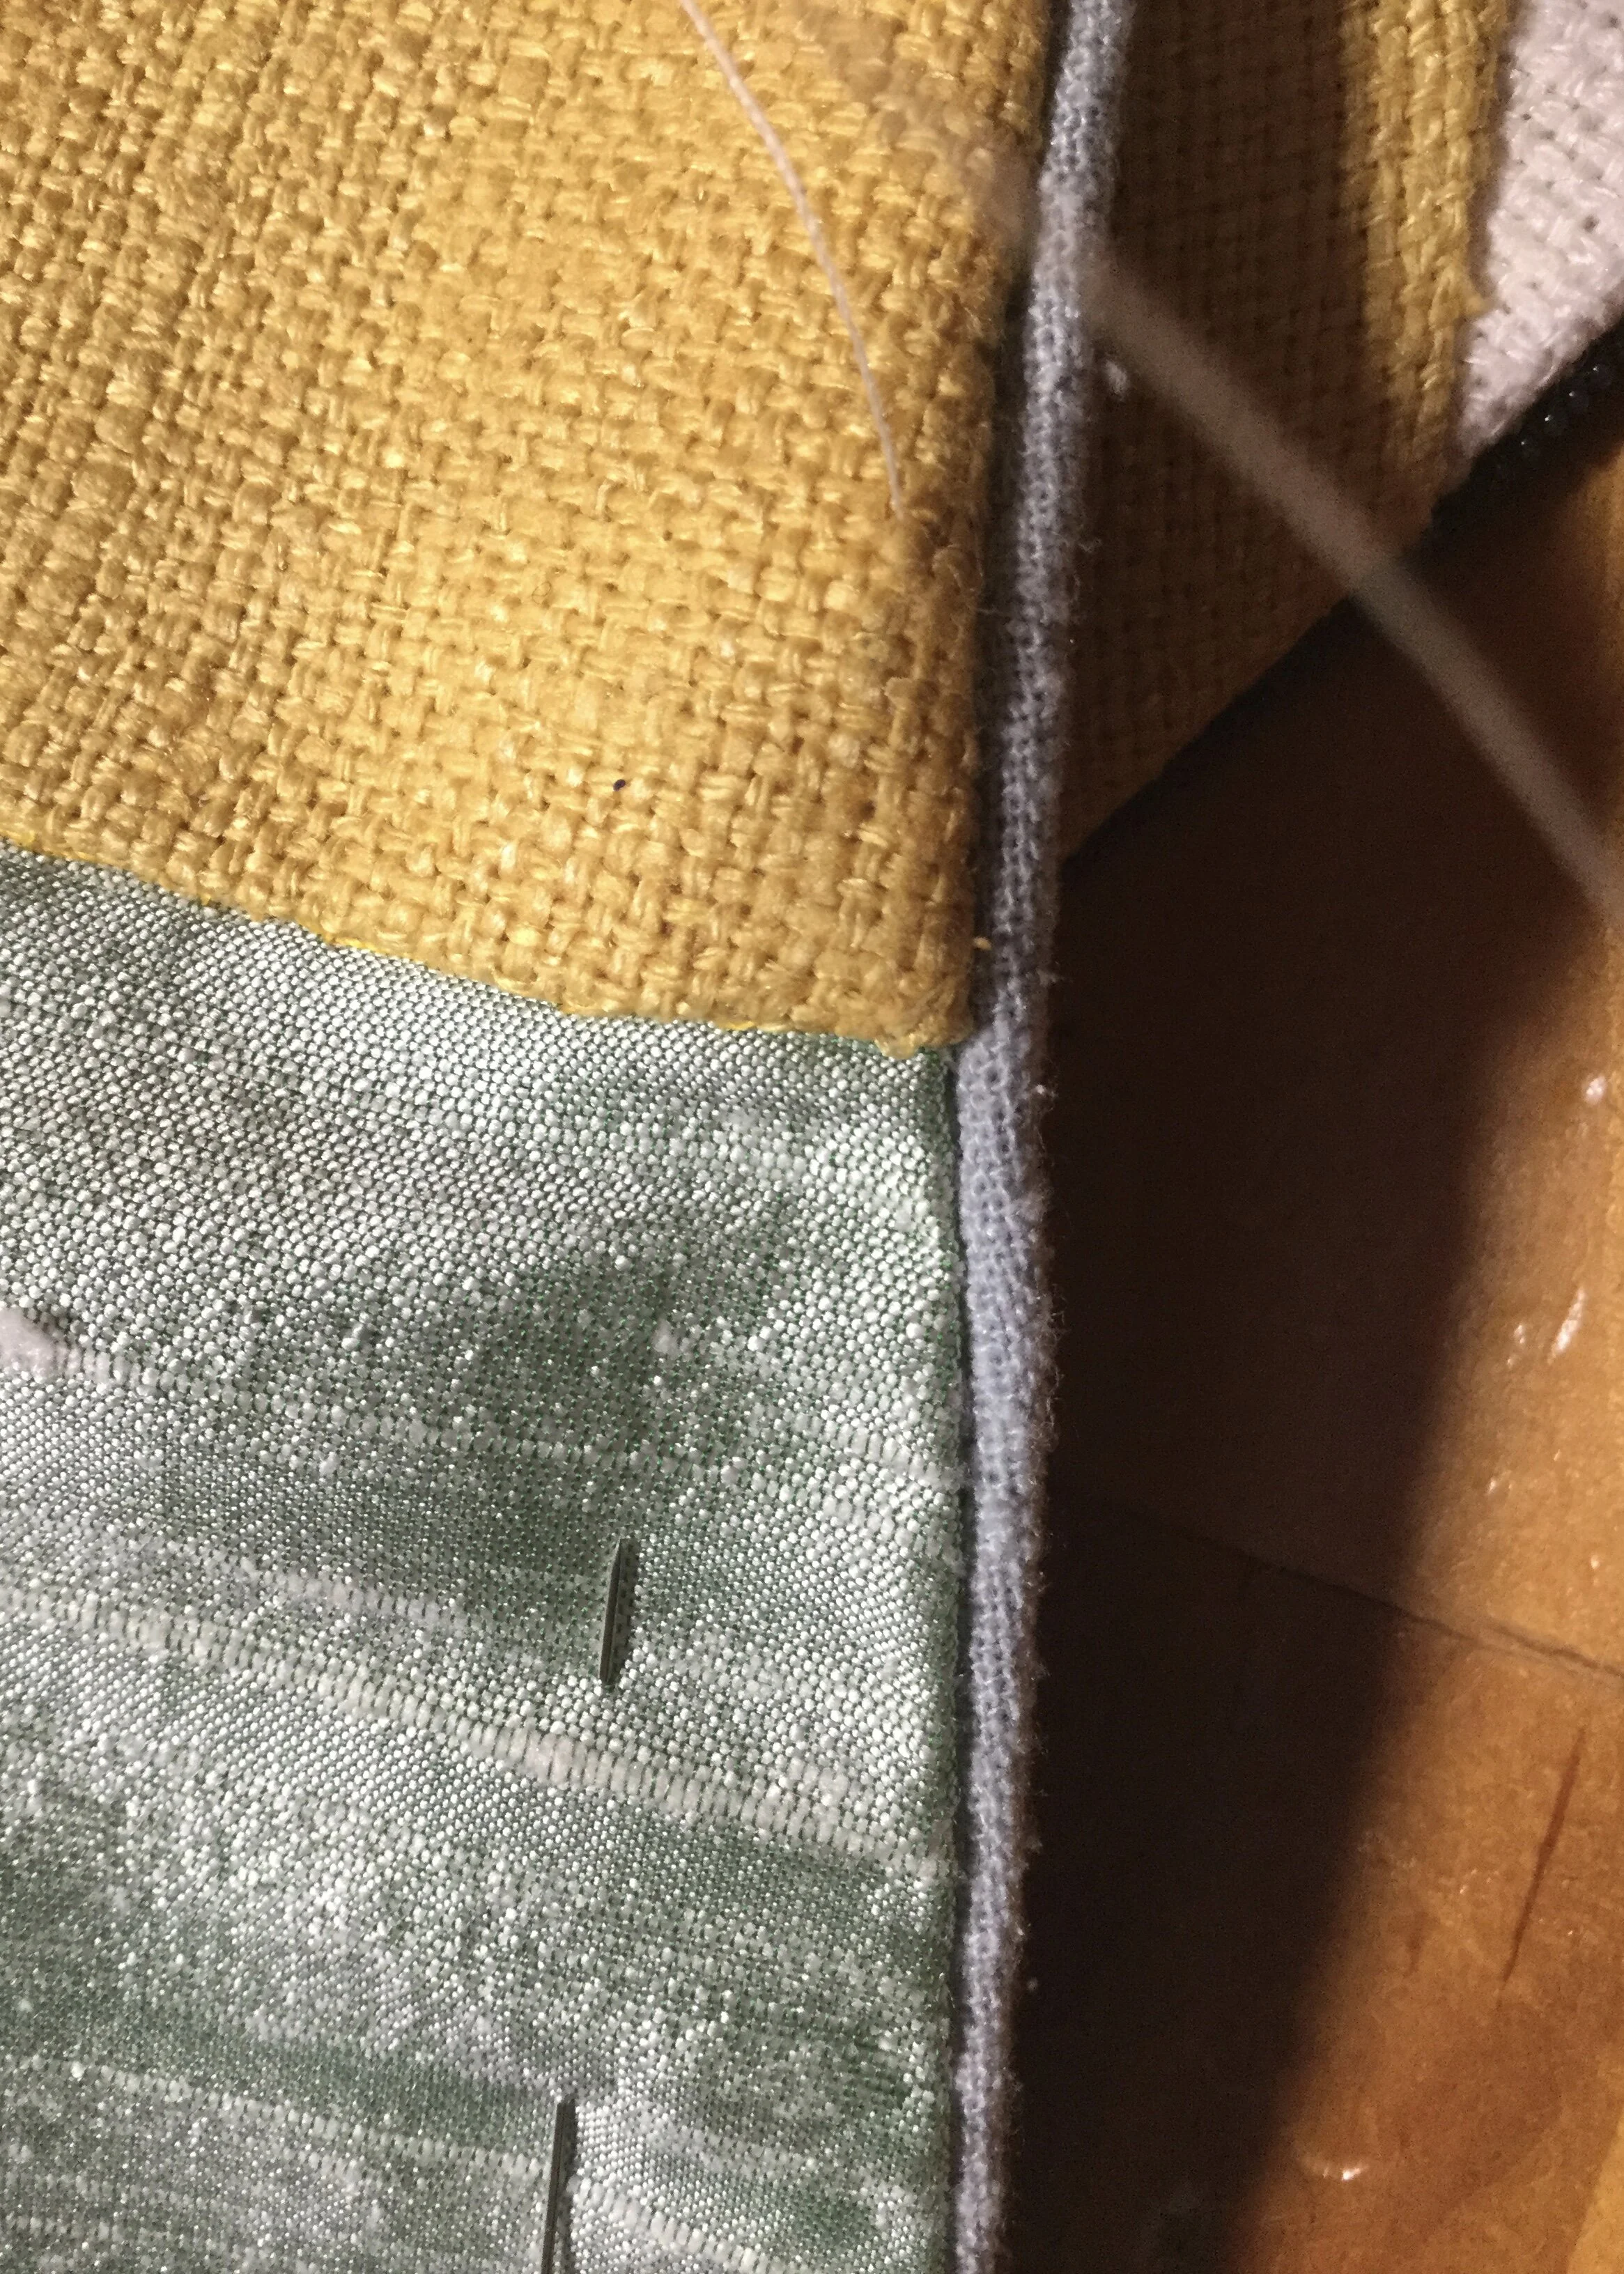
Rather than mounting the two main fabrics onto a base, I overlapped them, lining them up and stitching them together along the design line. I then applied the yellow stripe over top in the same way as the dress.
Taping the cape.
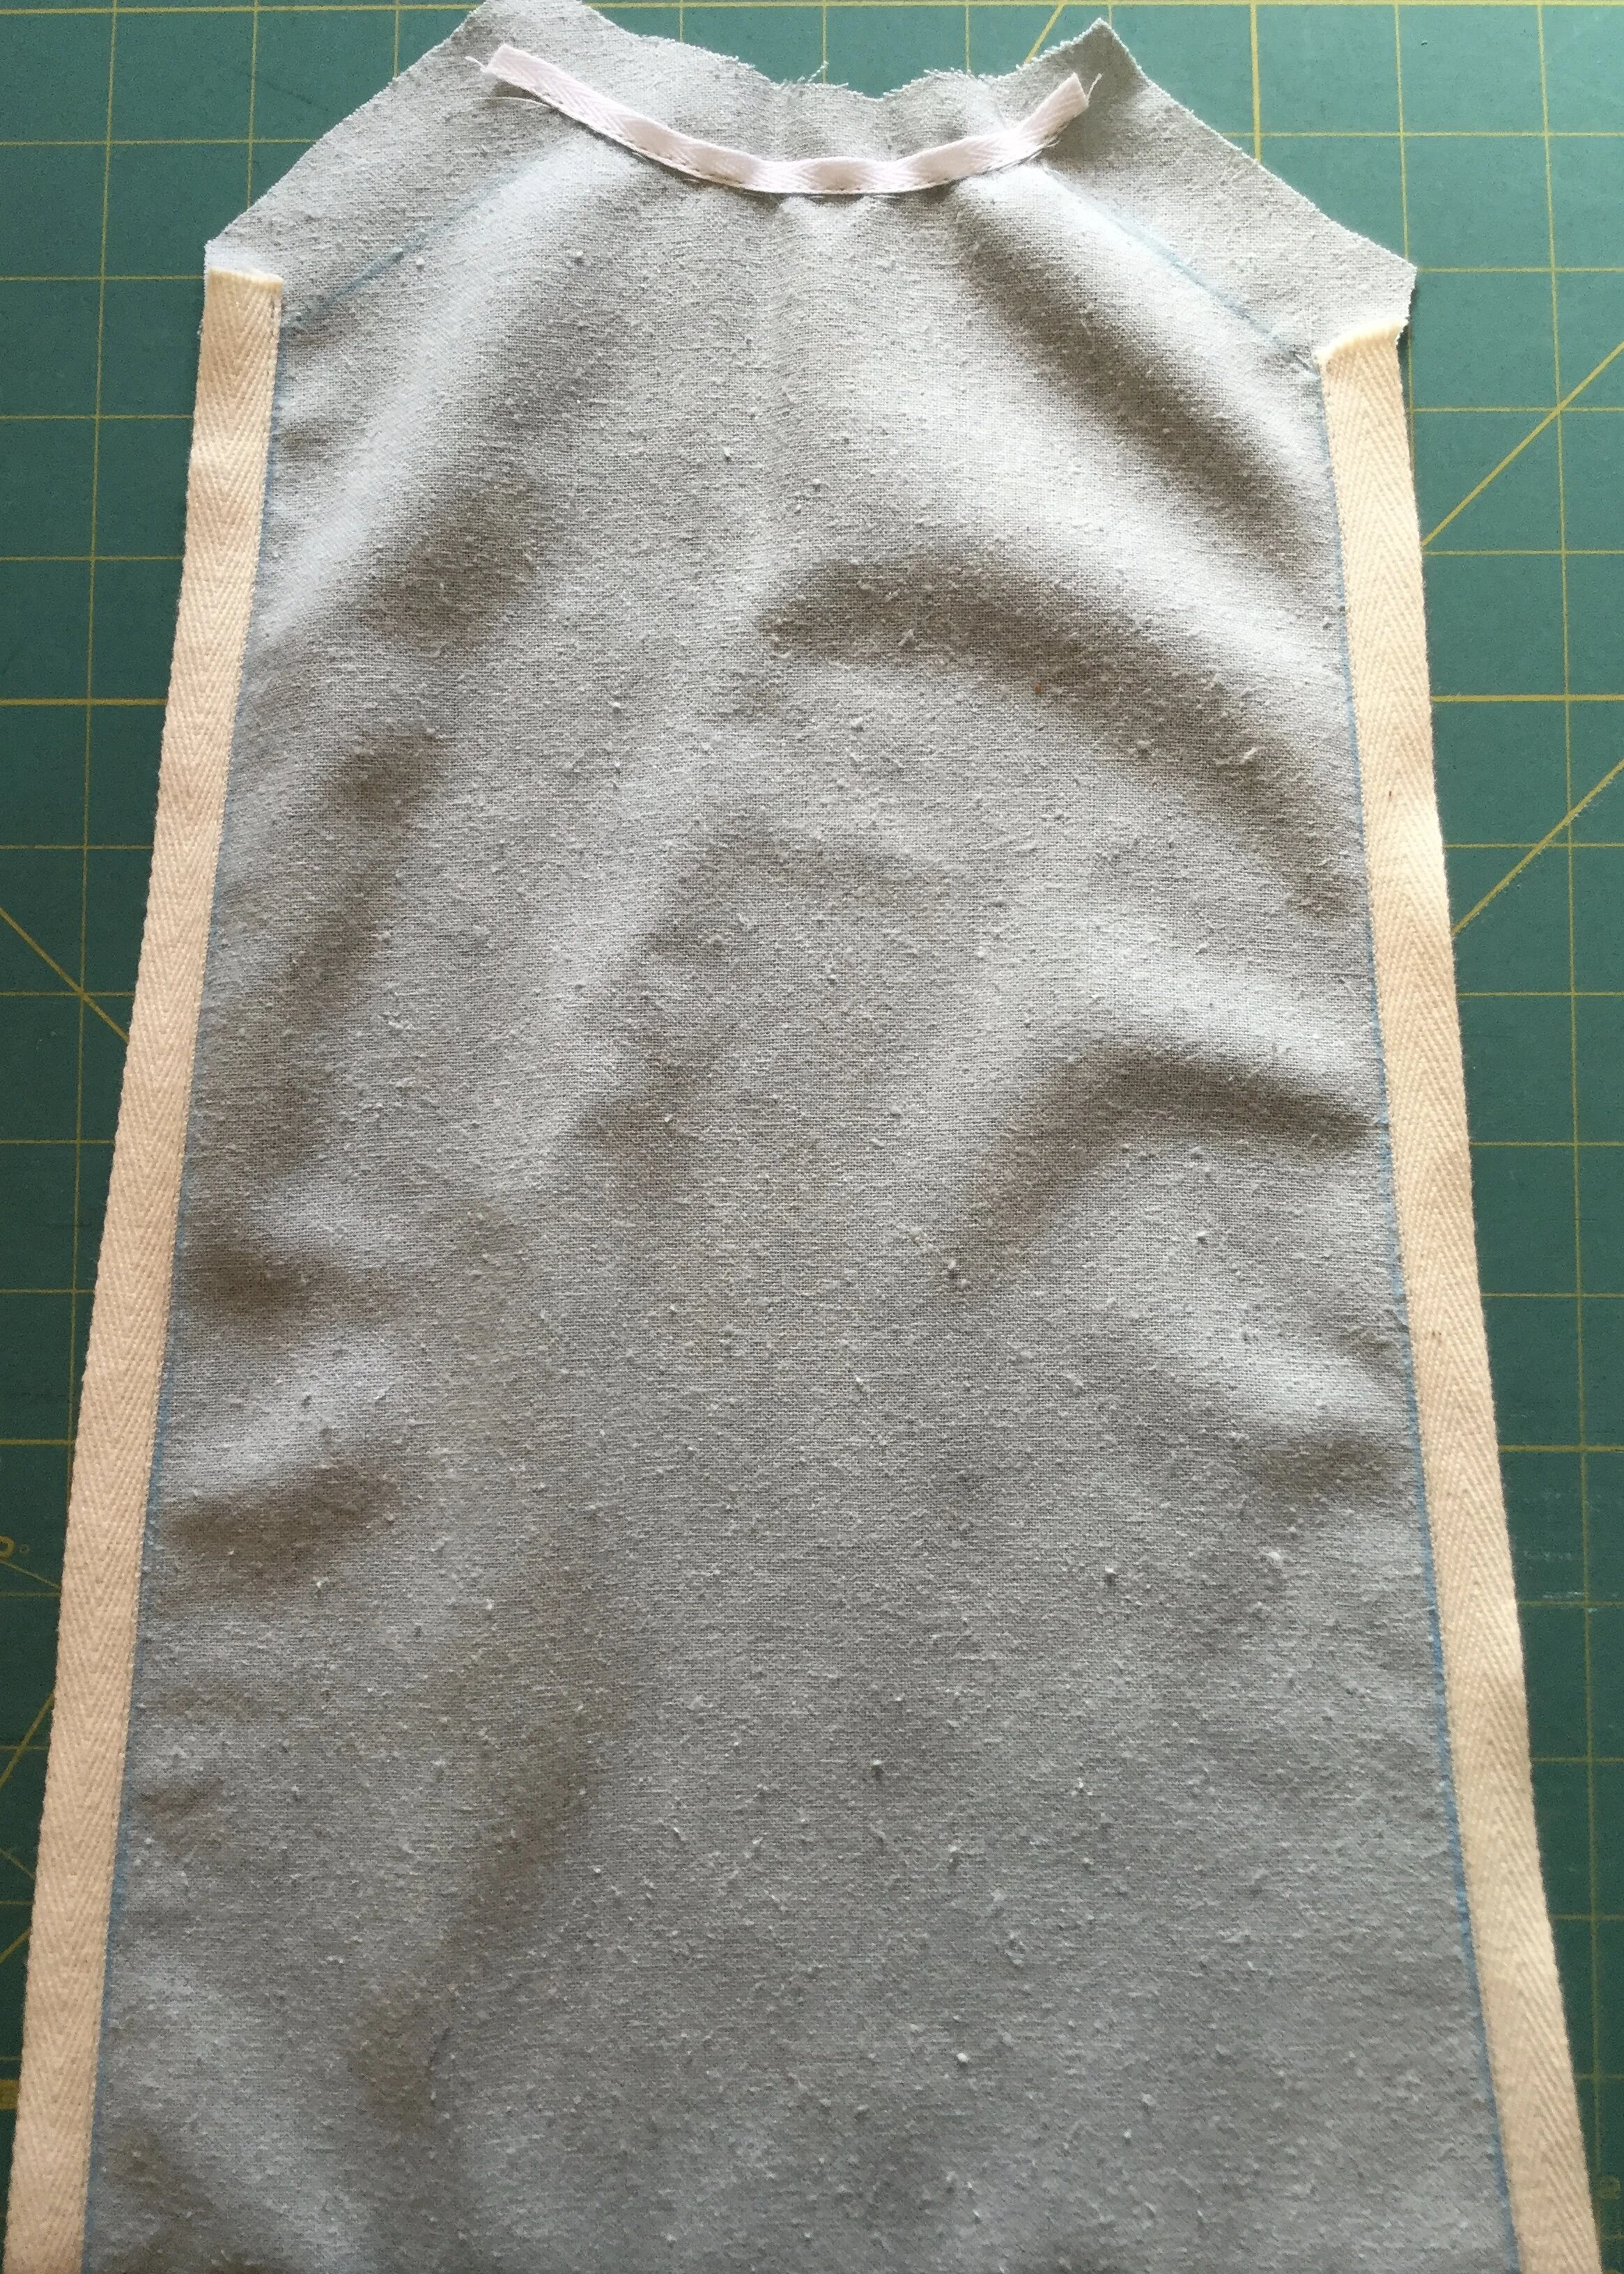
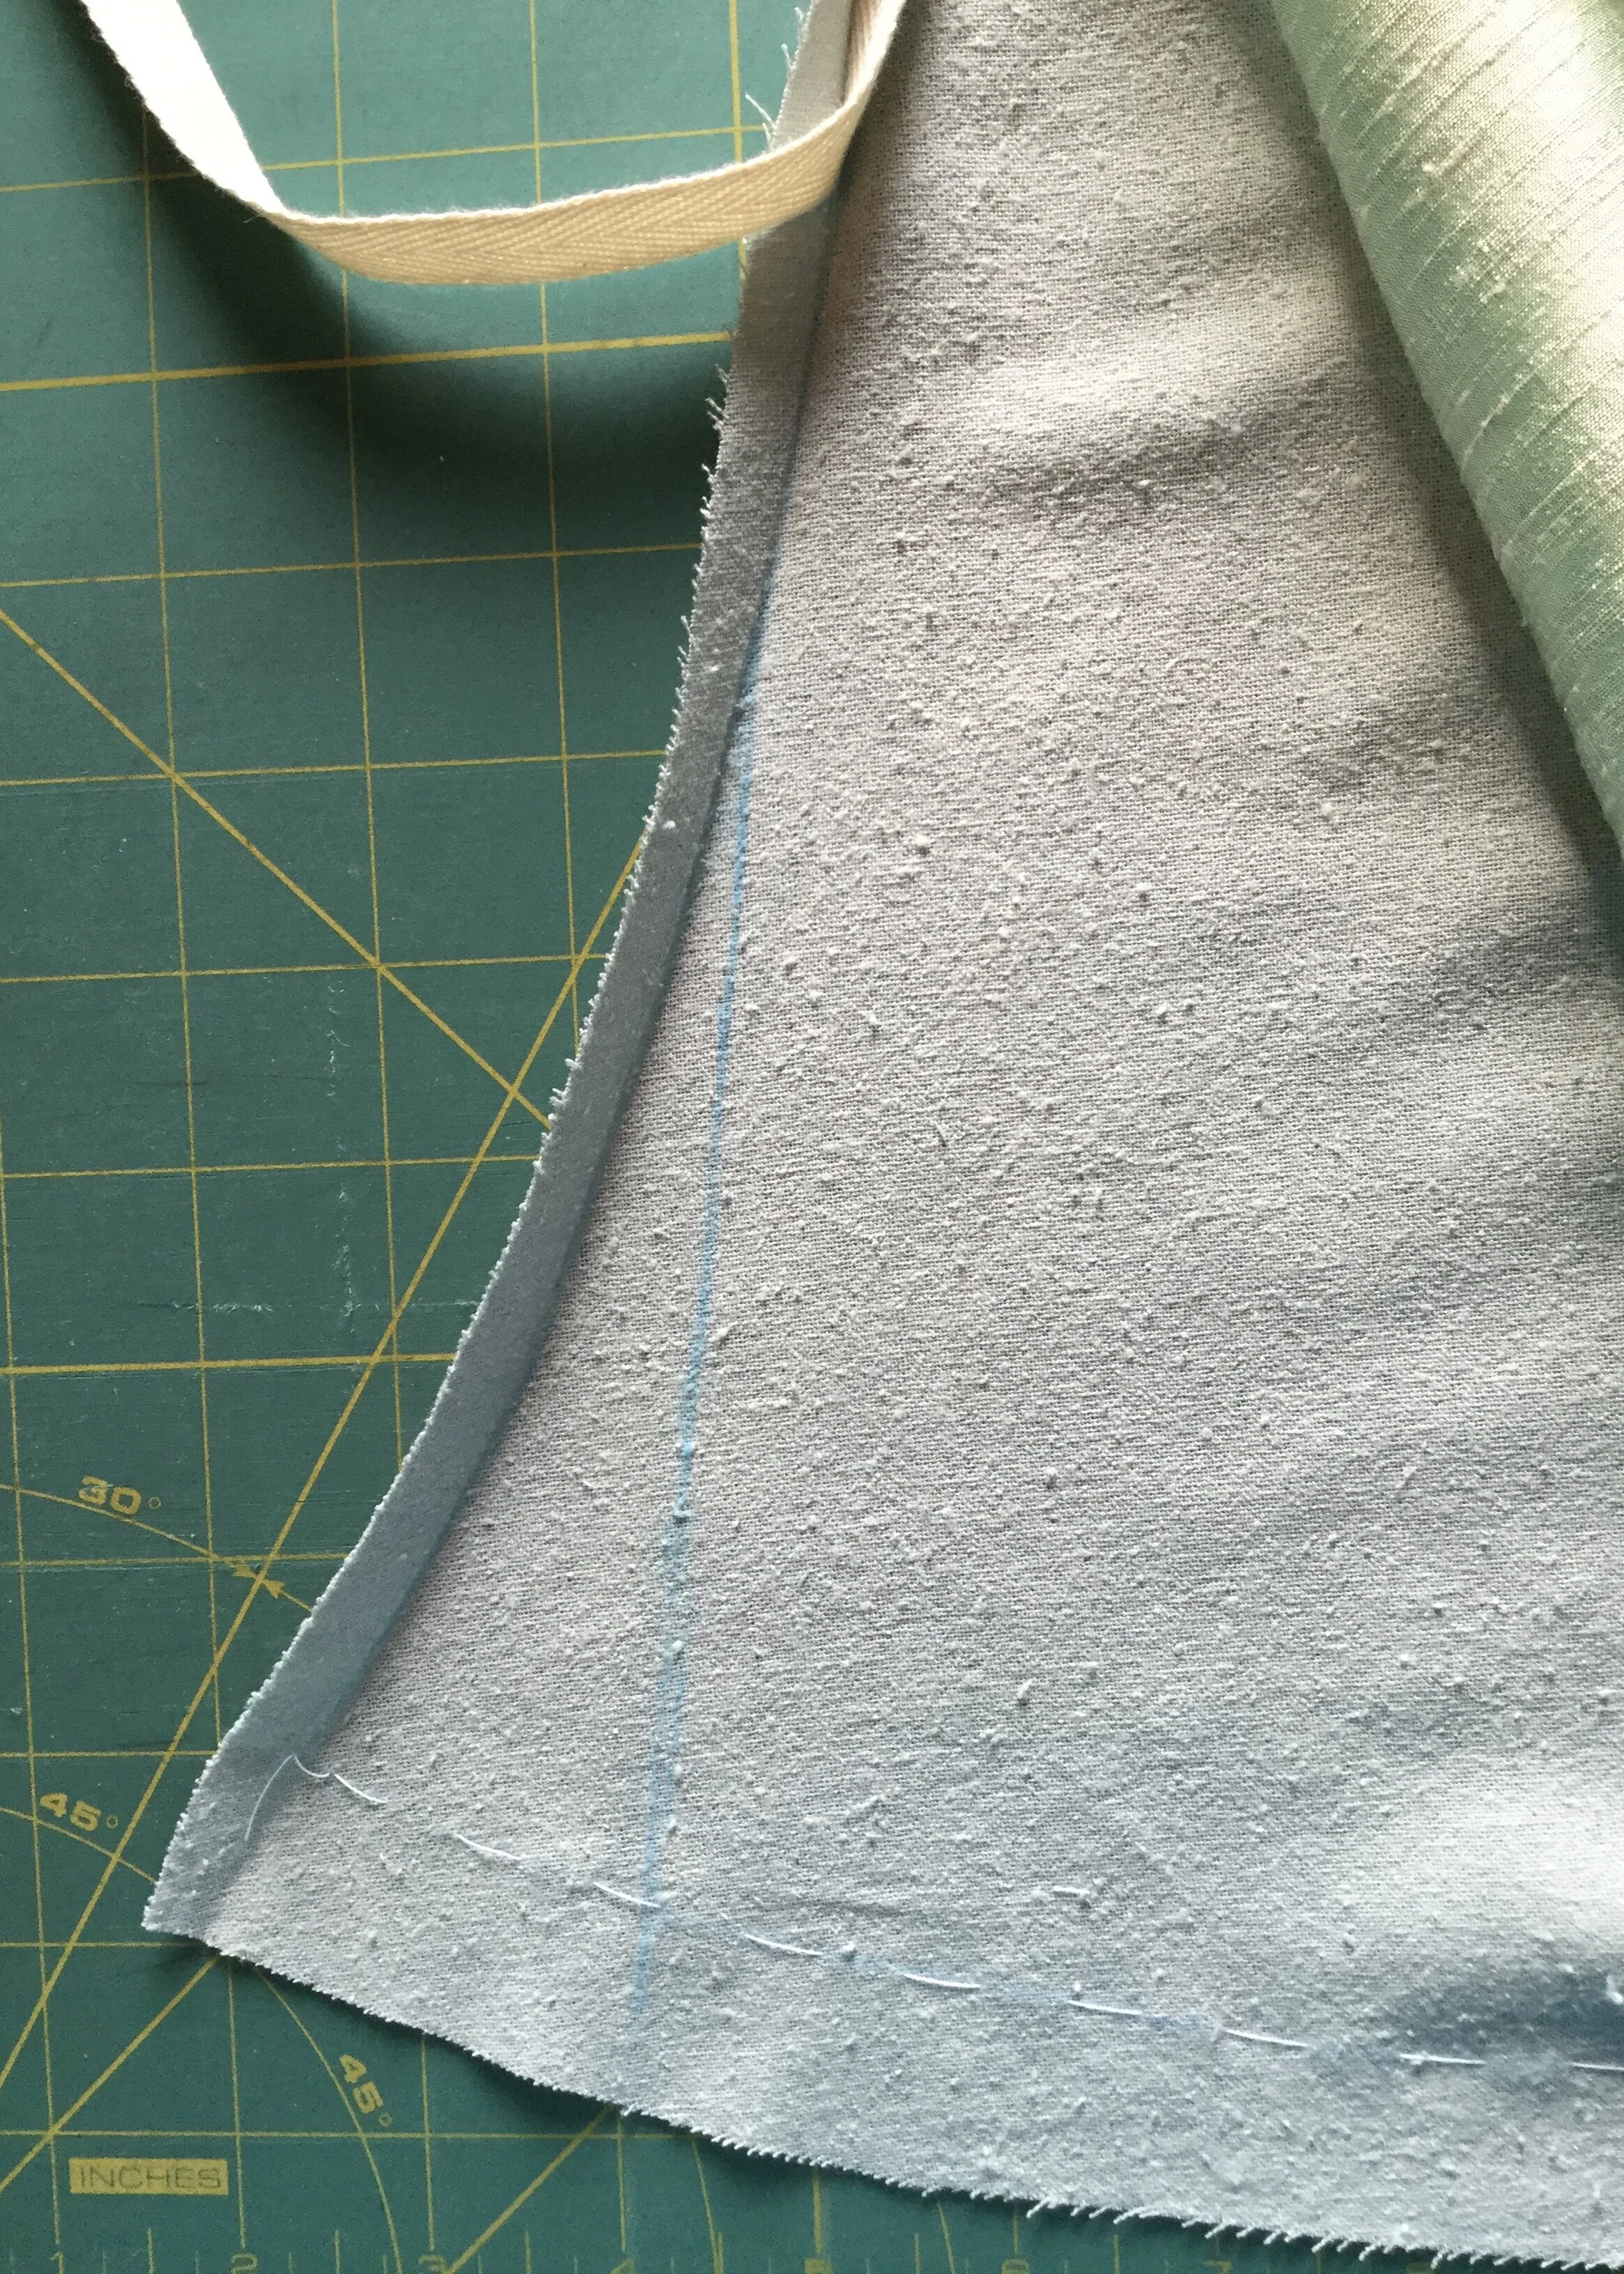
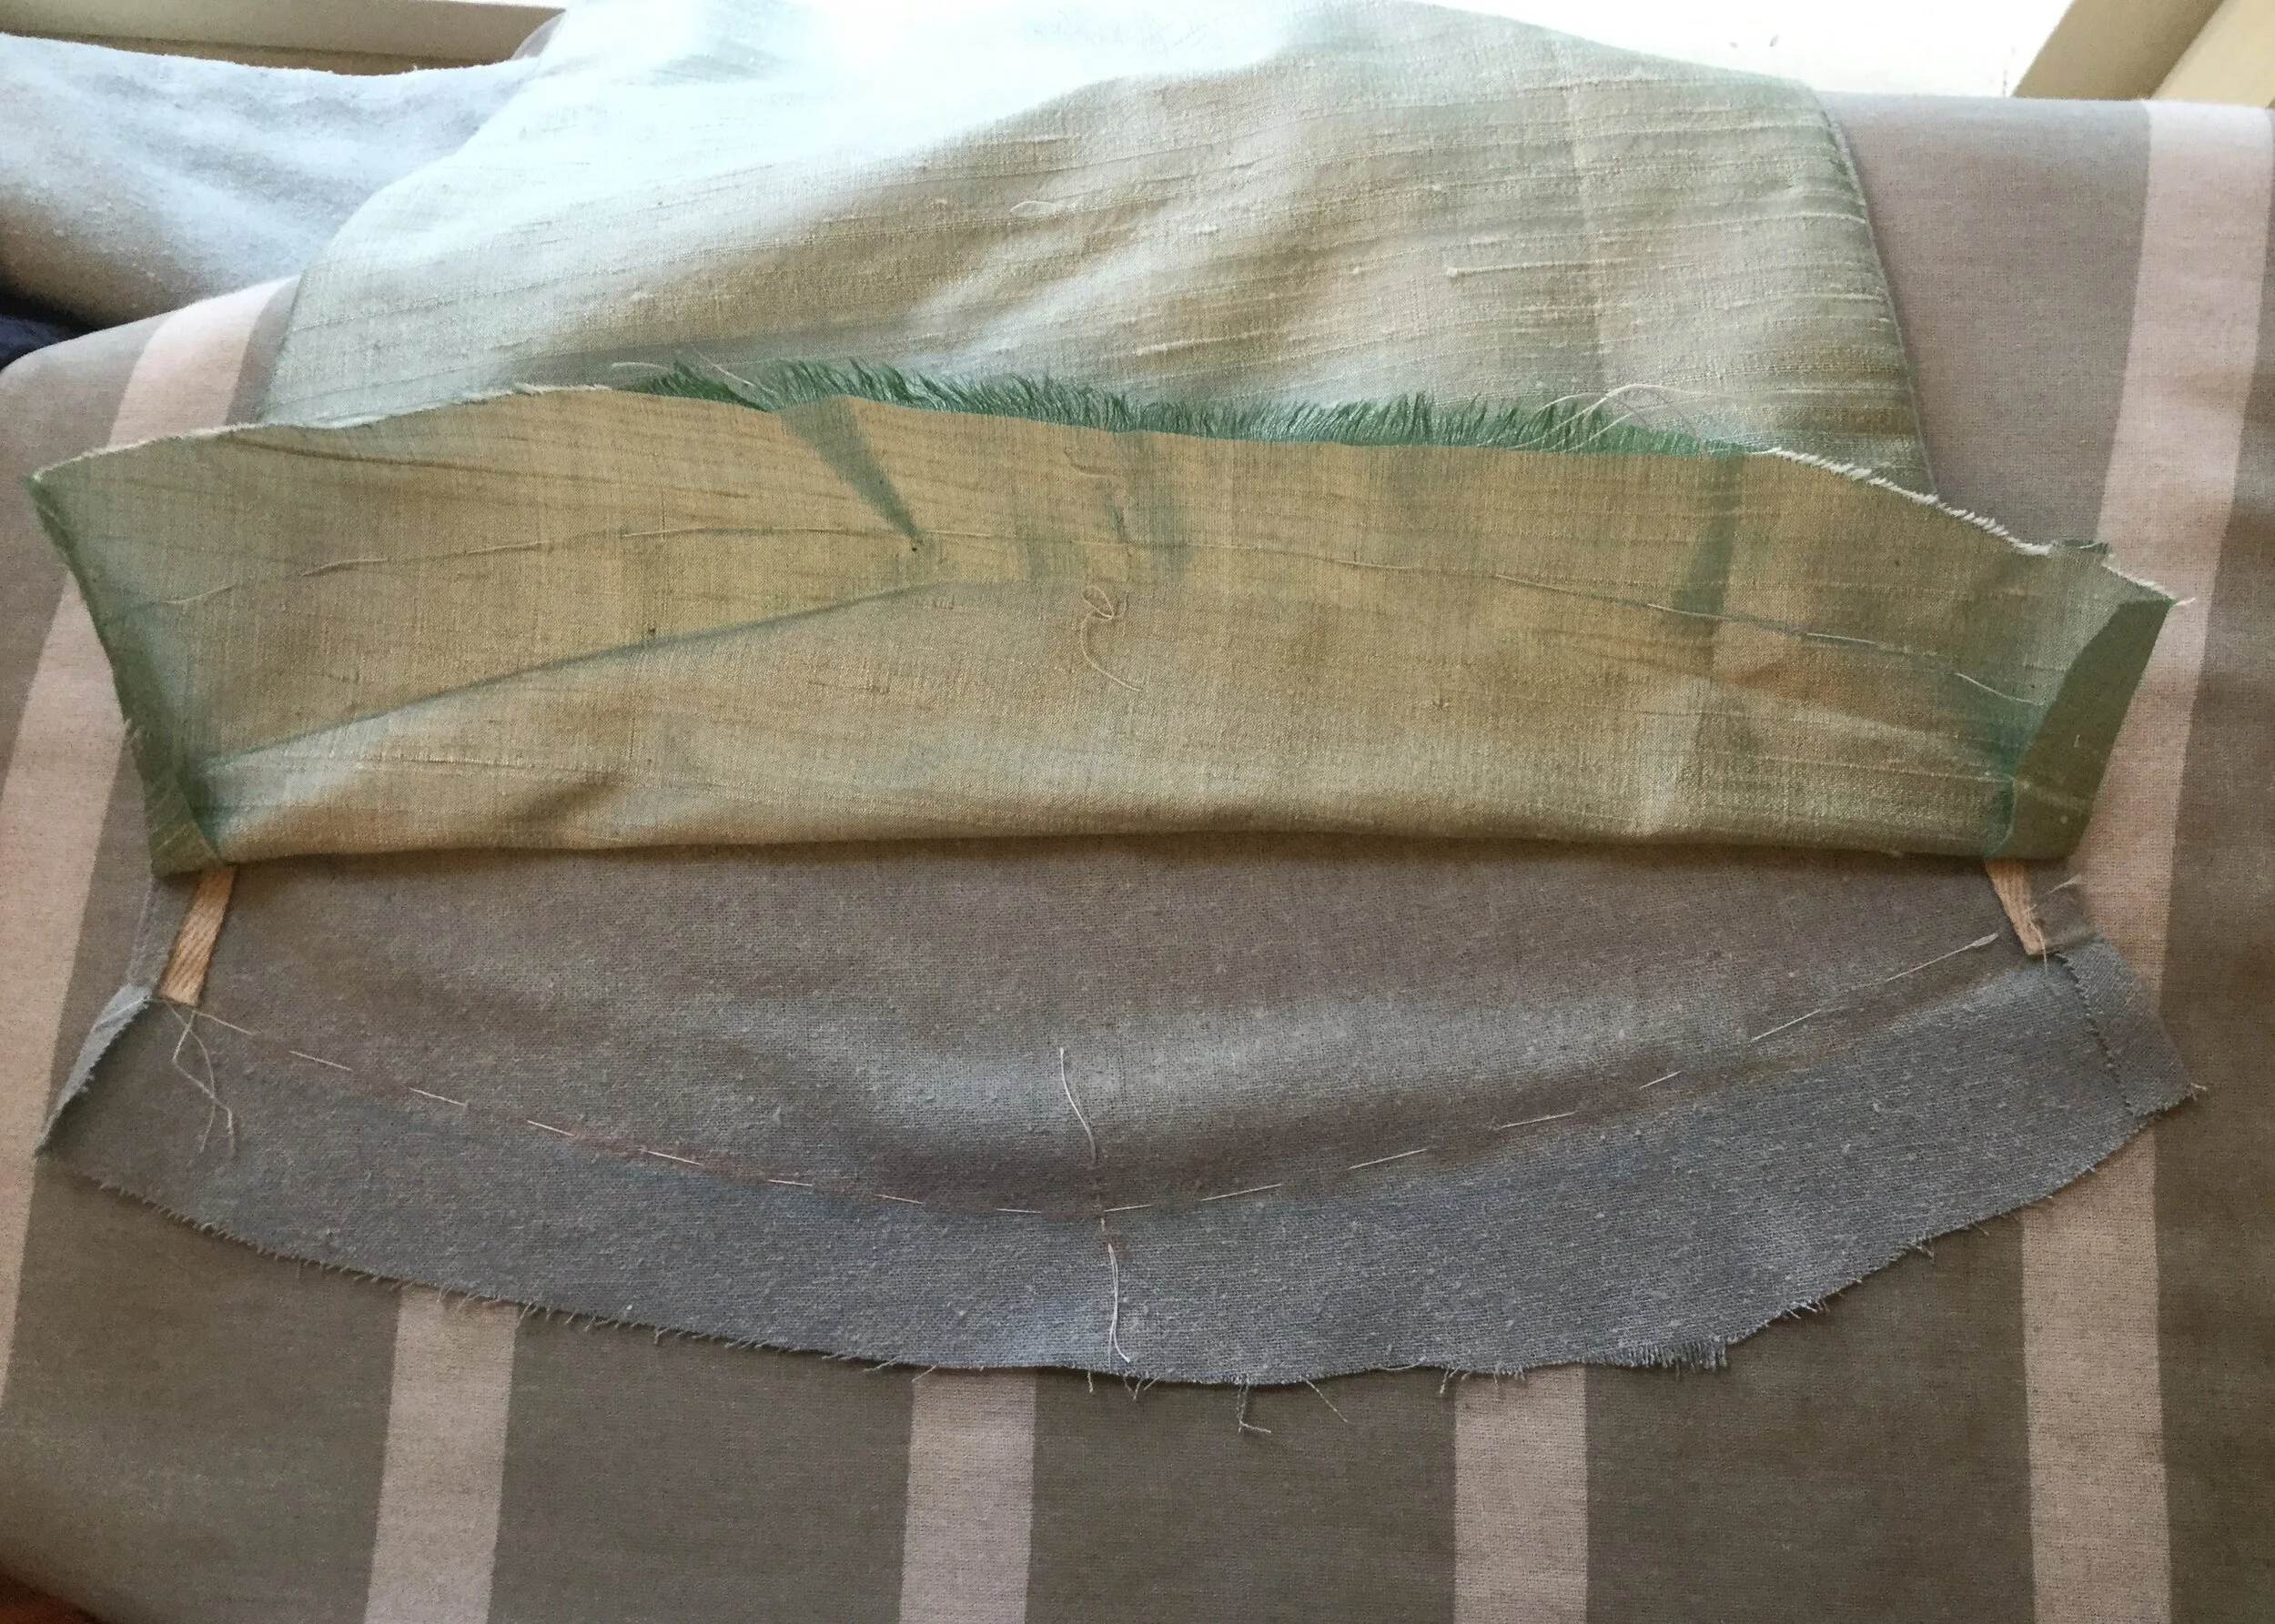
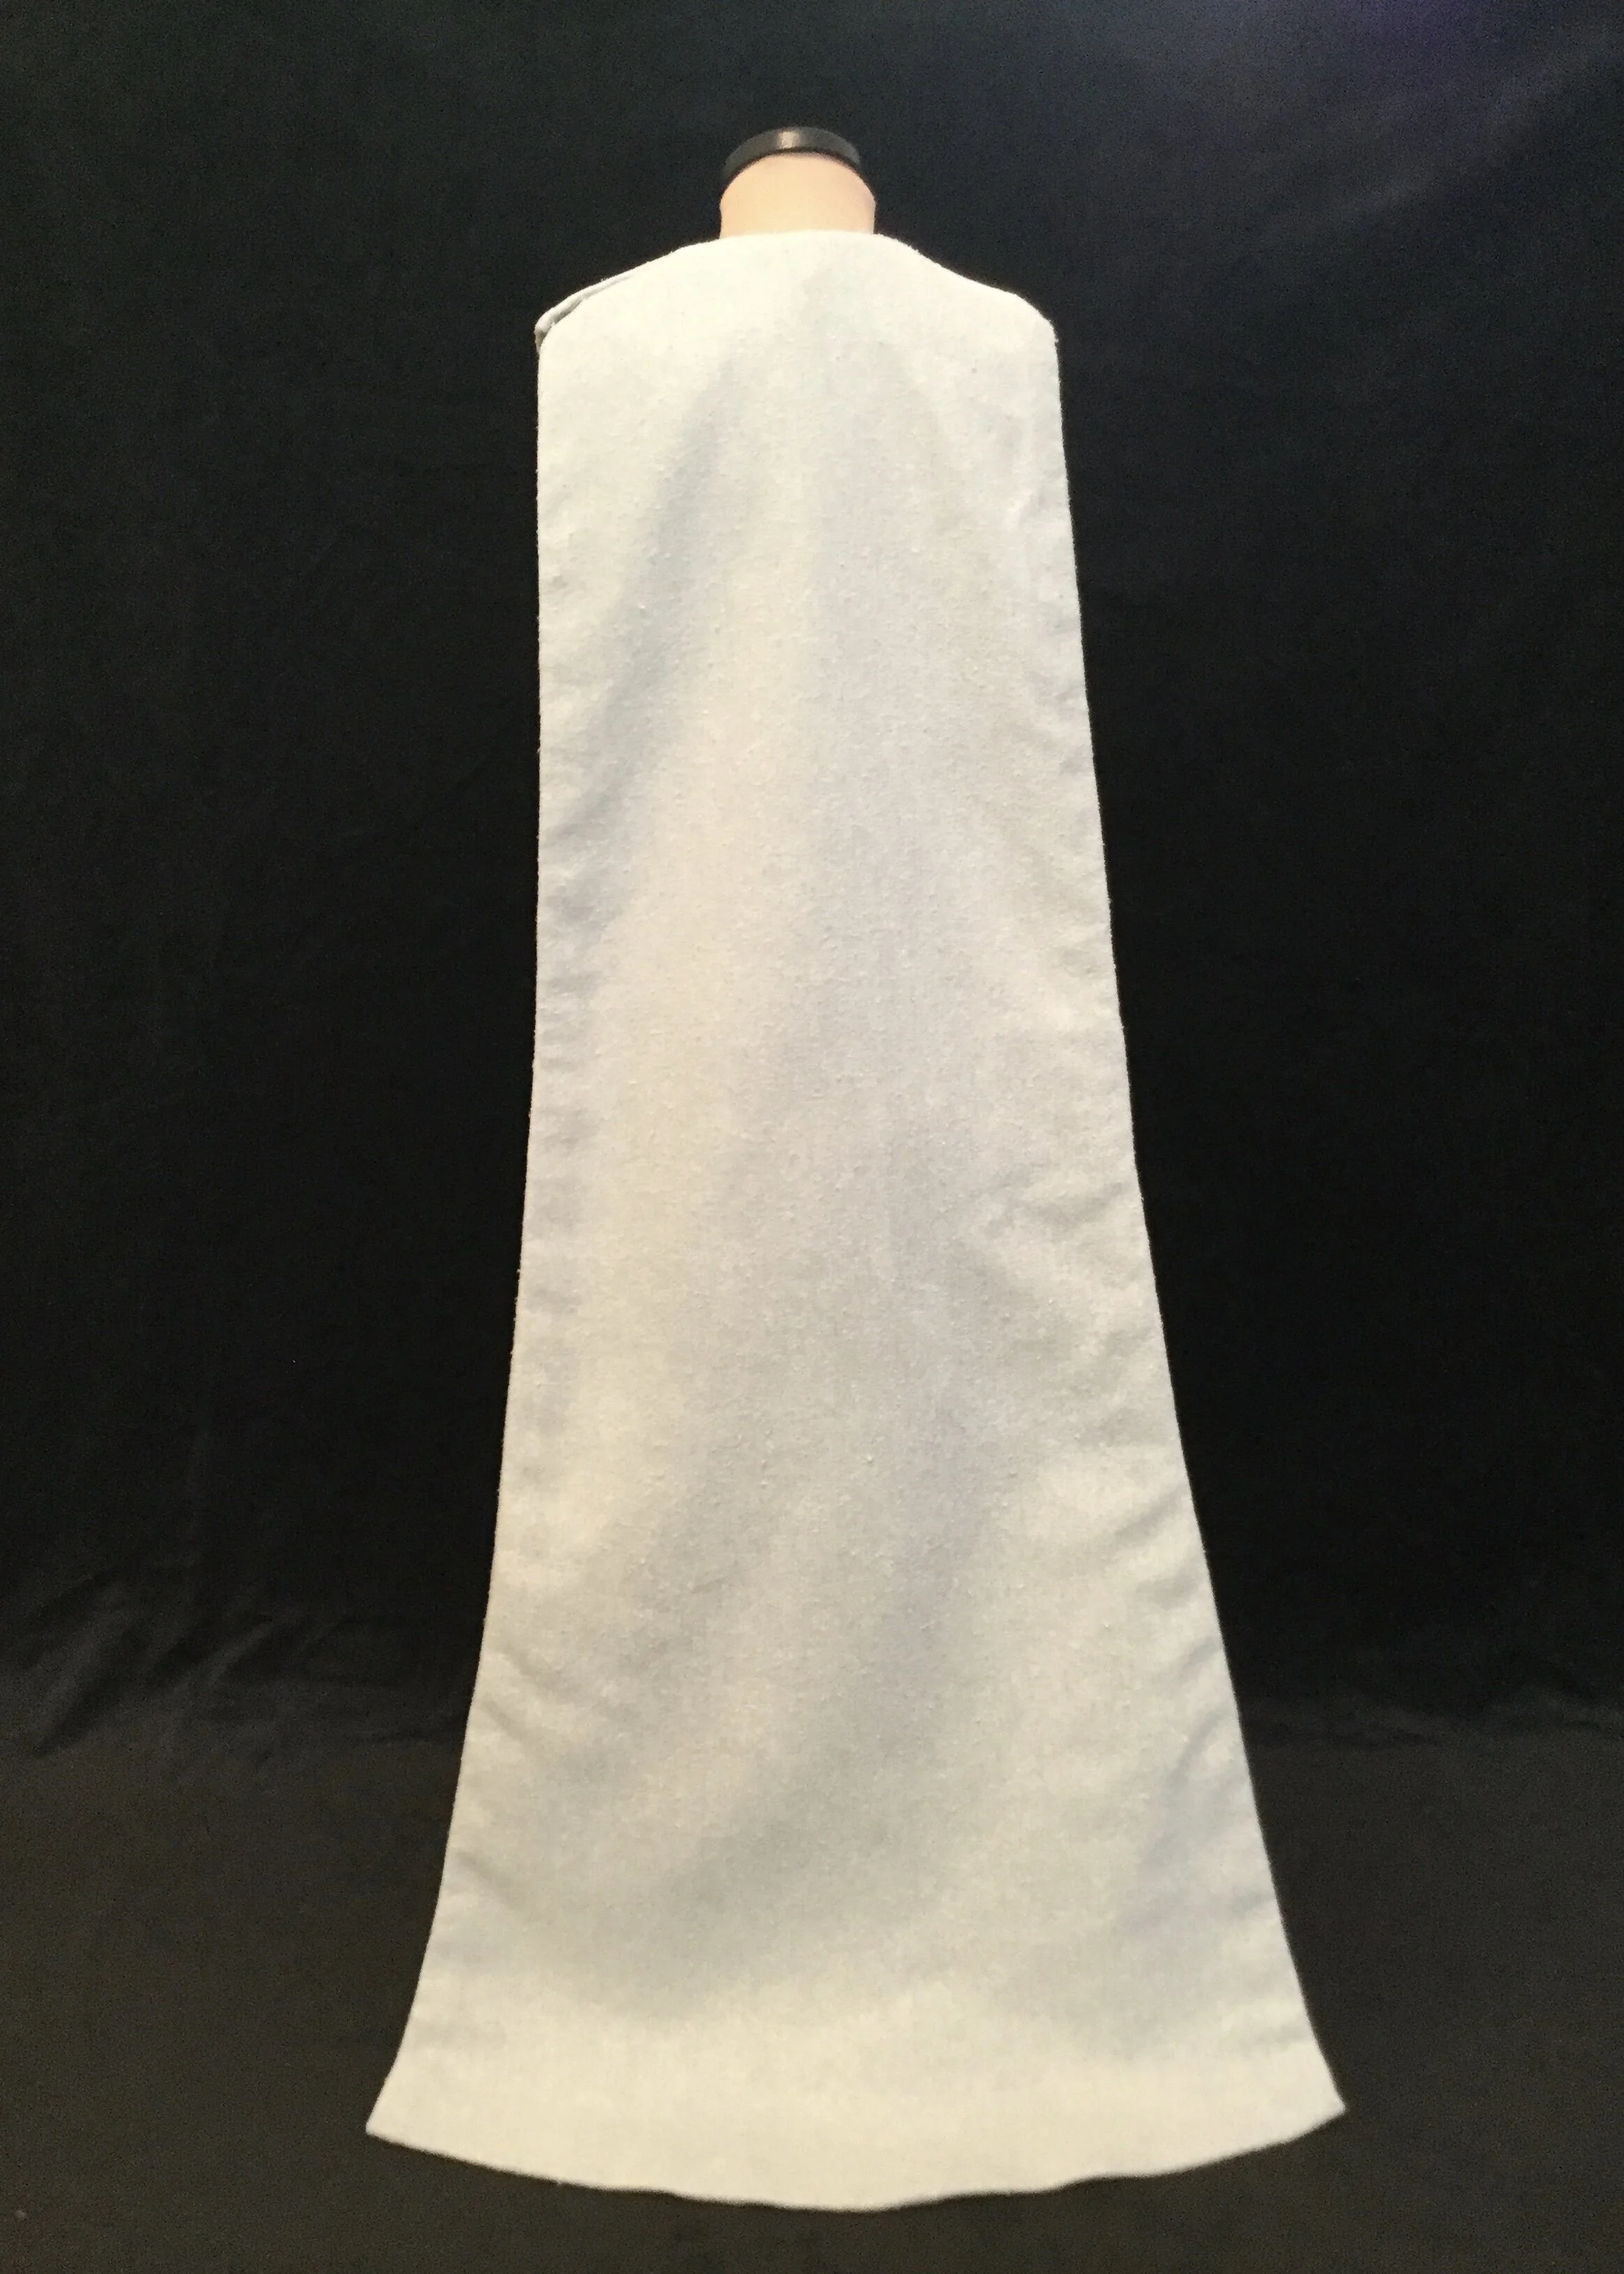
For the outer layer of the cape, I of course used my bean fabric again. To give it stability and keep the edges crisp, I applied twill tape to the seam allowance along the sides before pressing them in and basting them into place. I then taped the neckline to encourage it to curve and keep it from gaping later when it was hanging in place. Finally, I taped the left shoulder, where the closure was going to be, to keep it stable and provide a bit of bulk which would hopefully match the front collar and make the closure less visible. I then made a small extension out of the lining and applied it to the left shoulder.
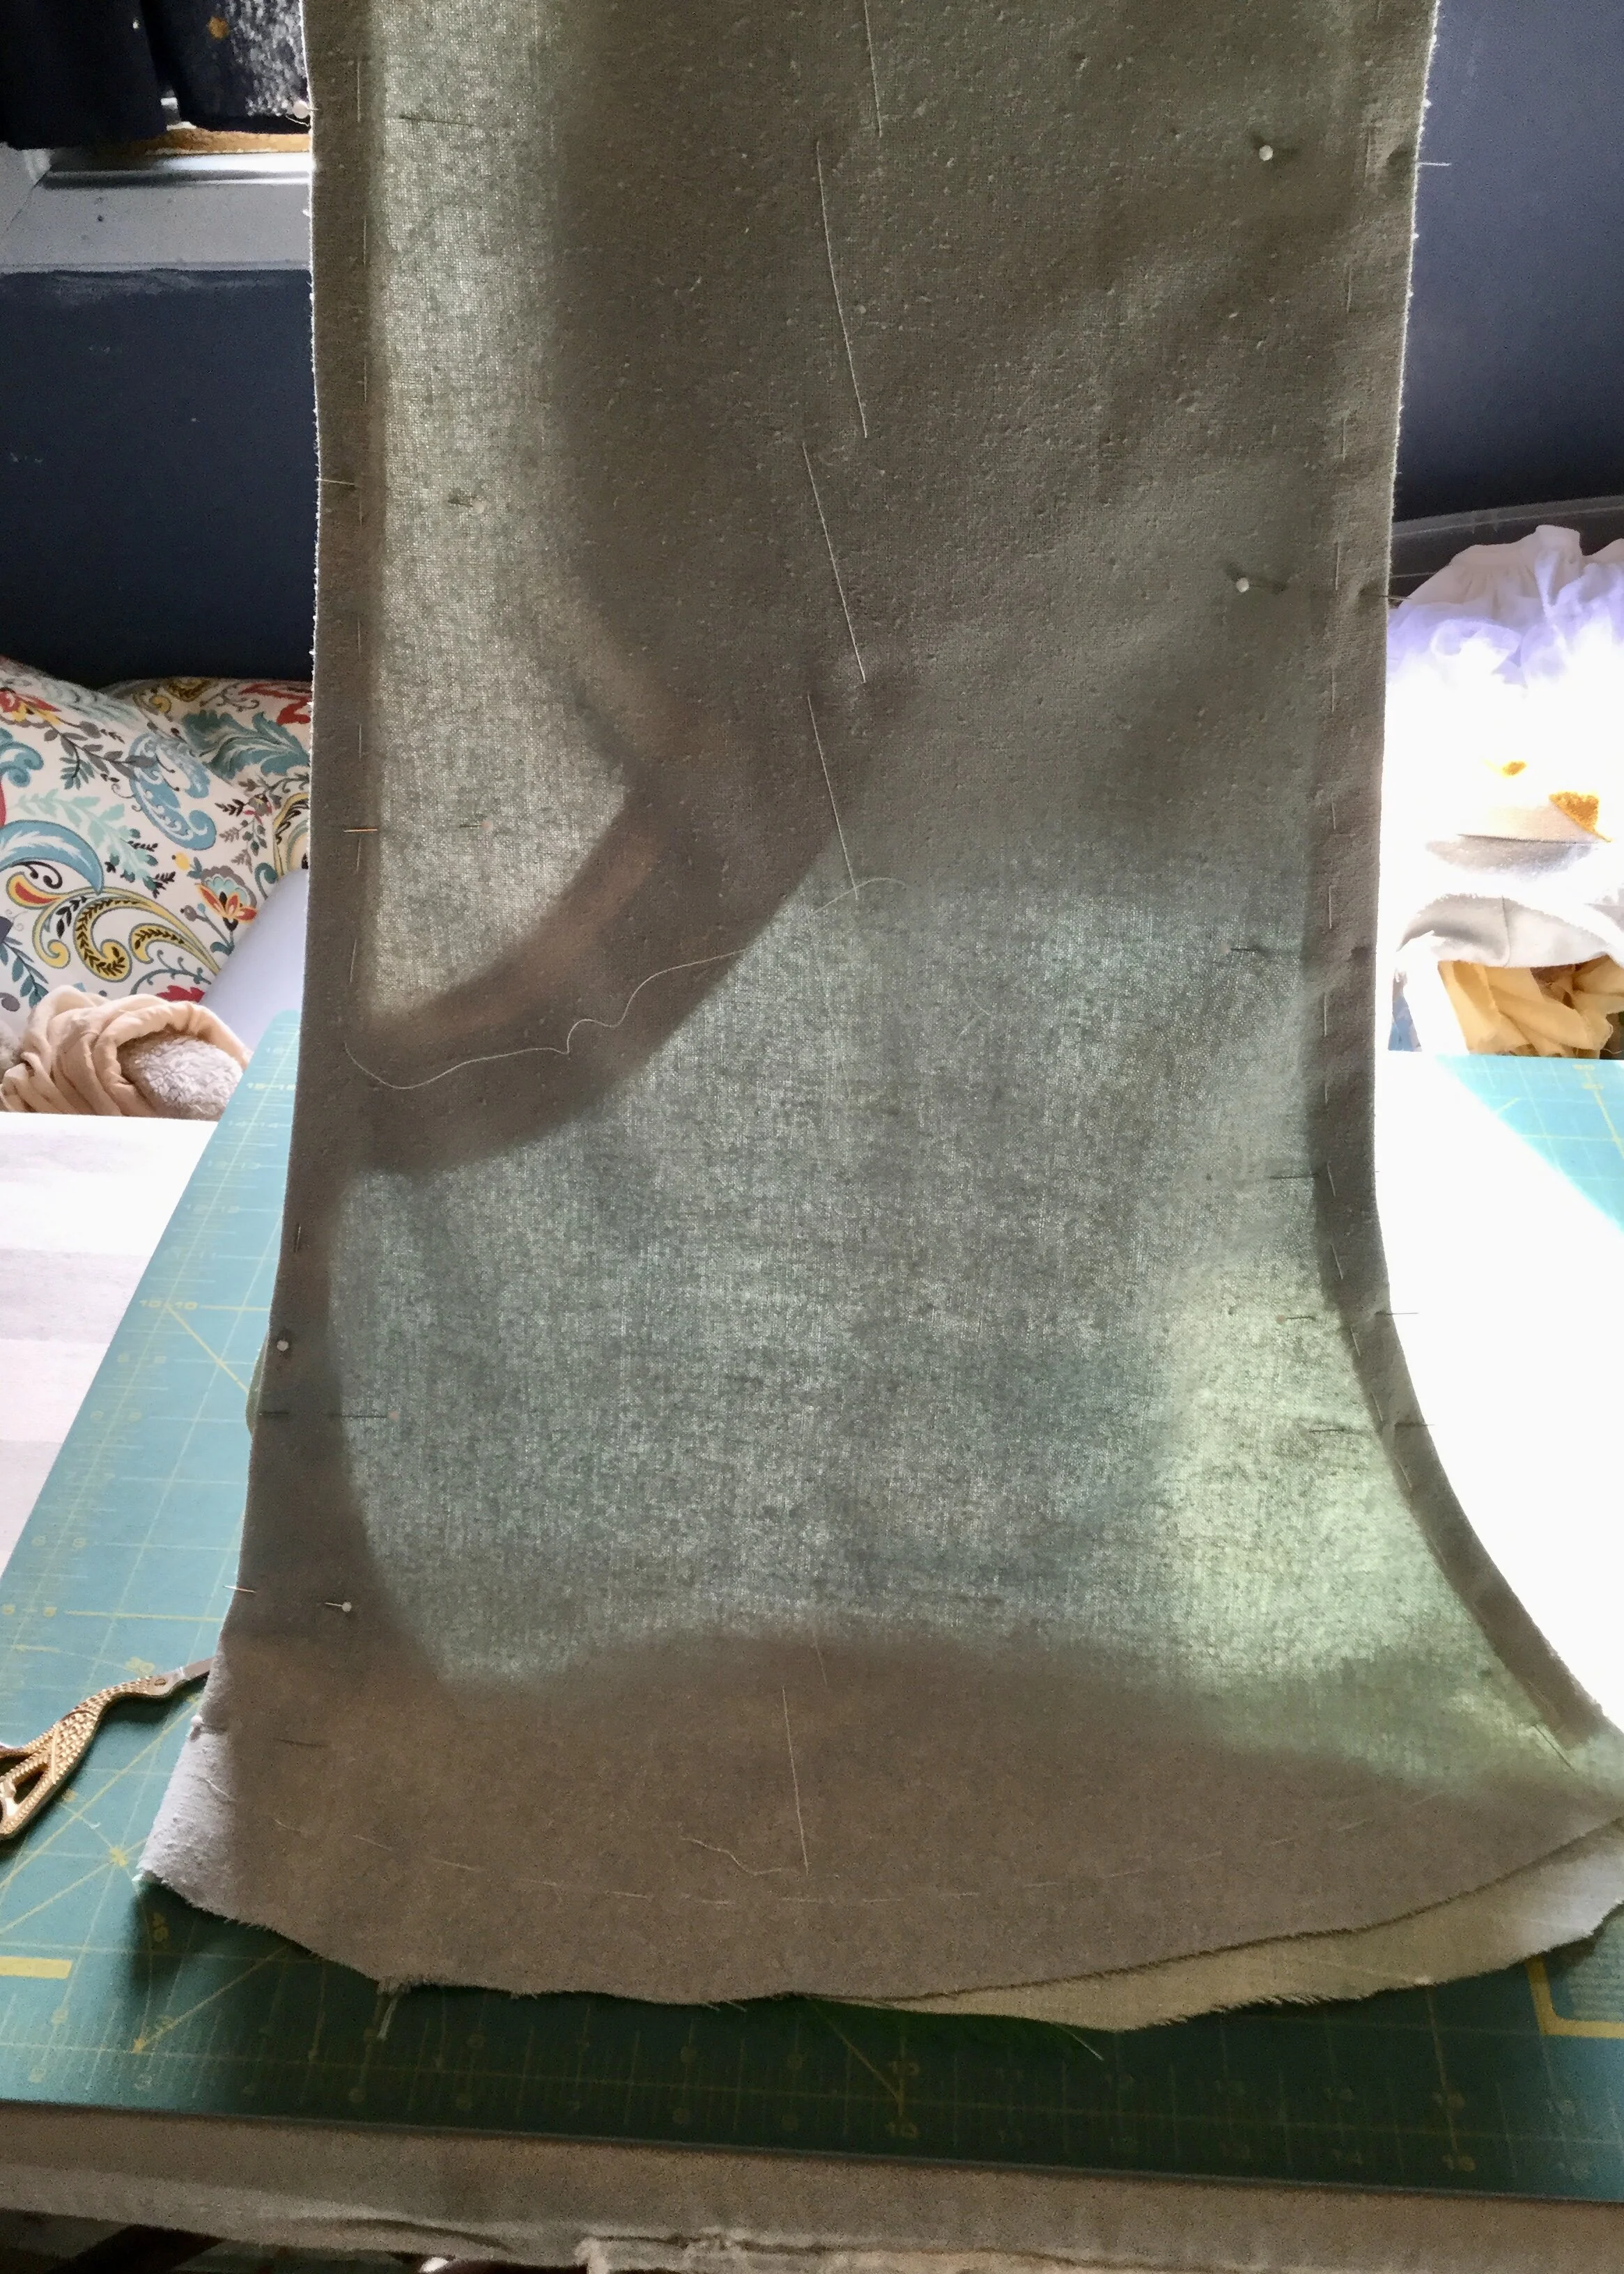
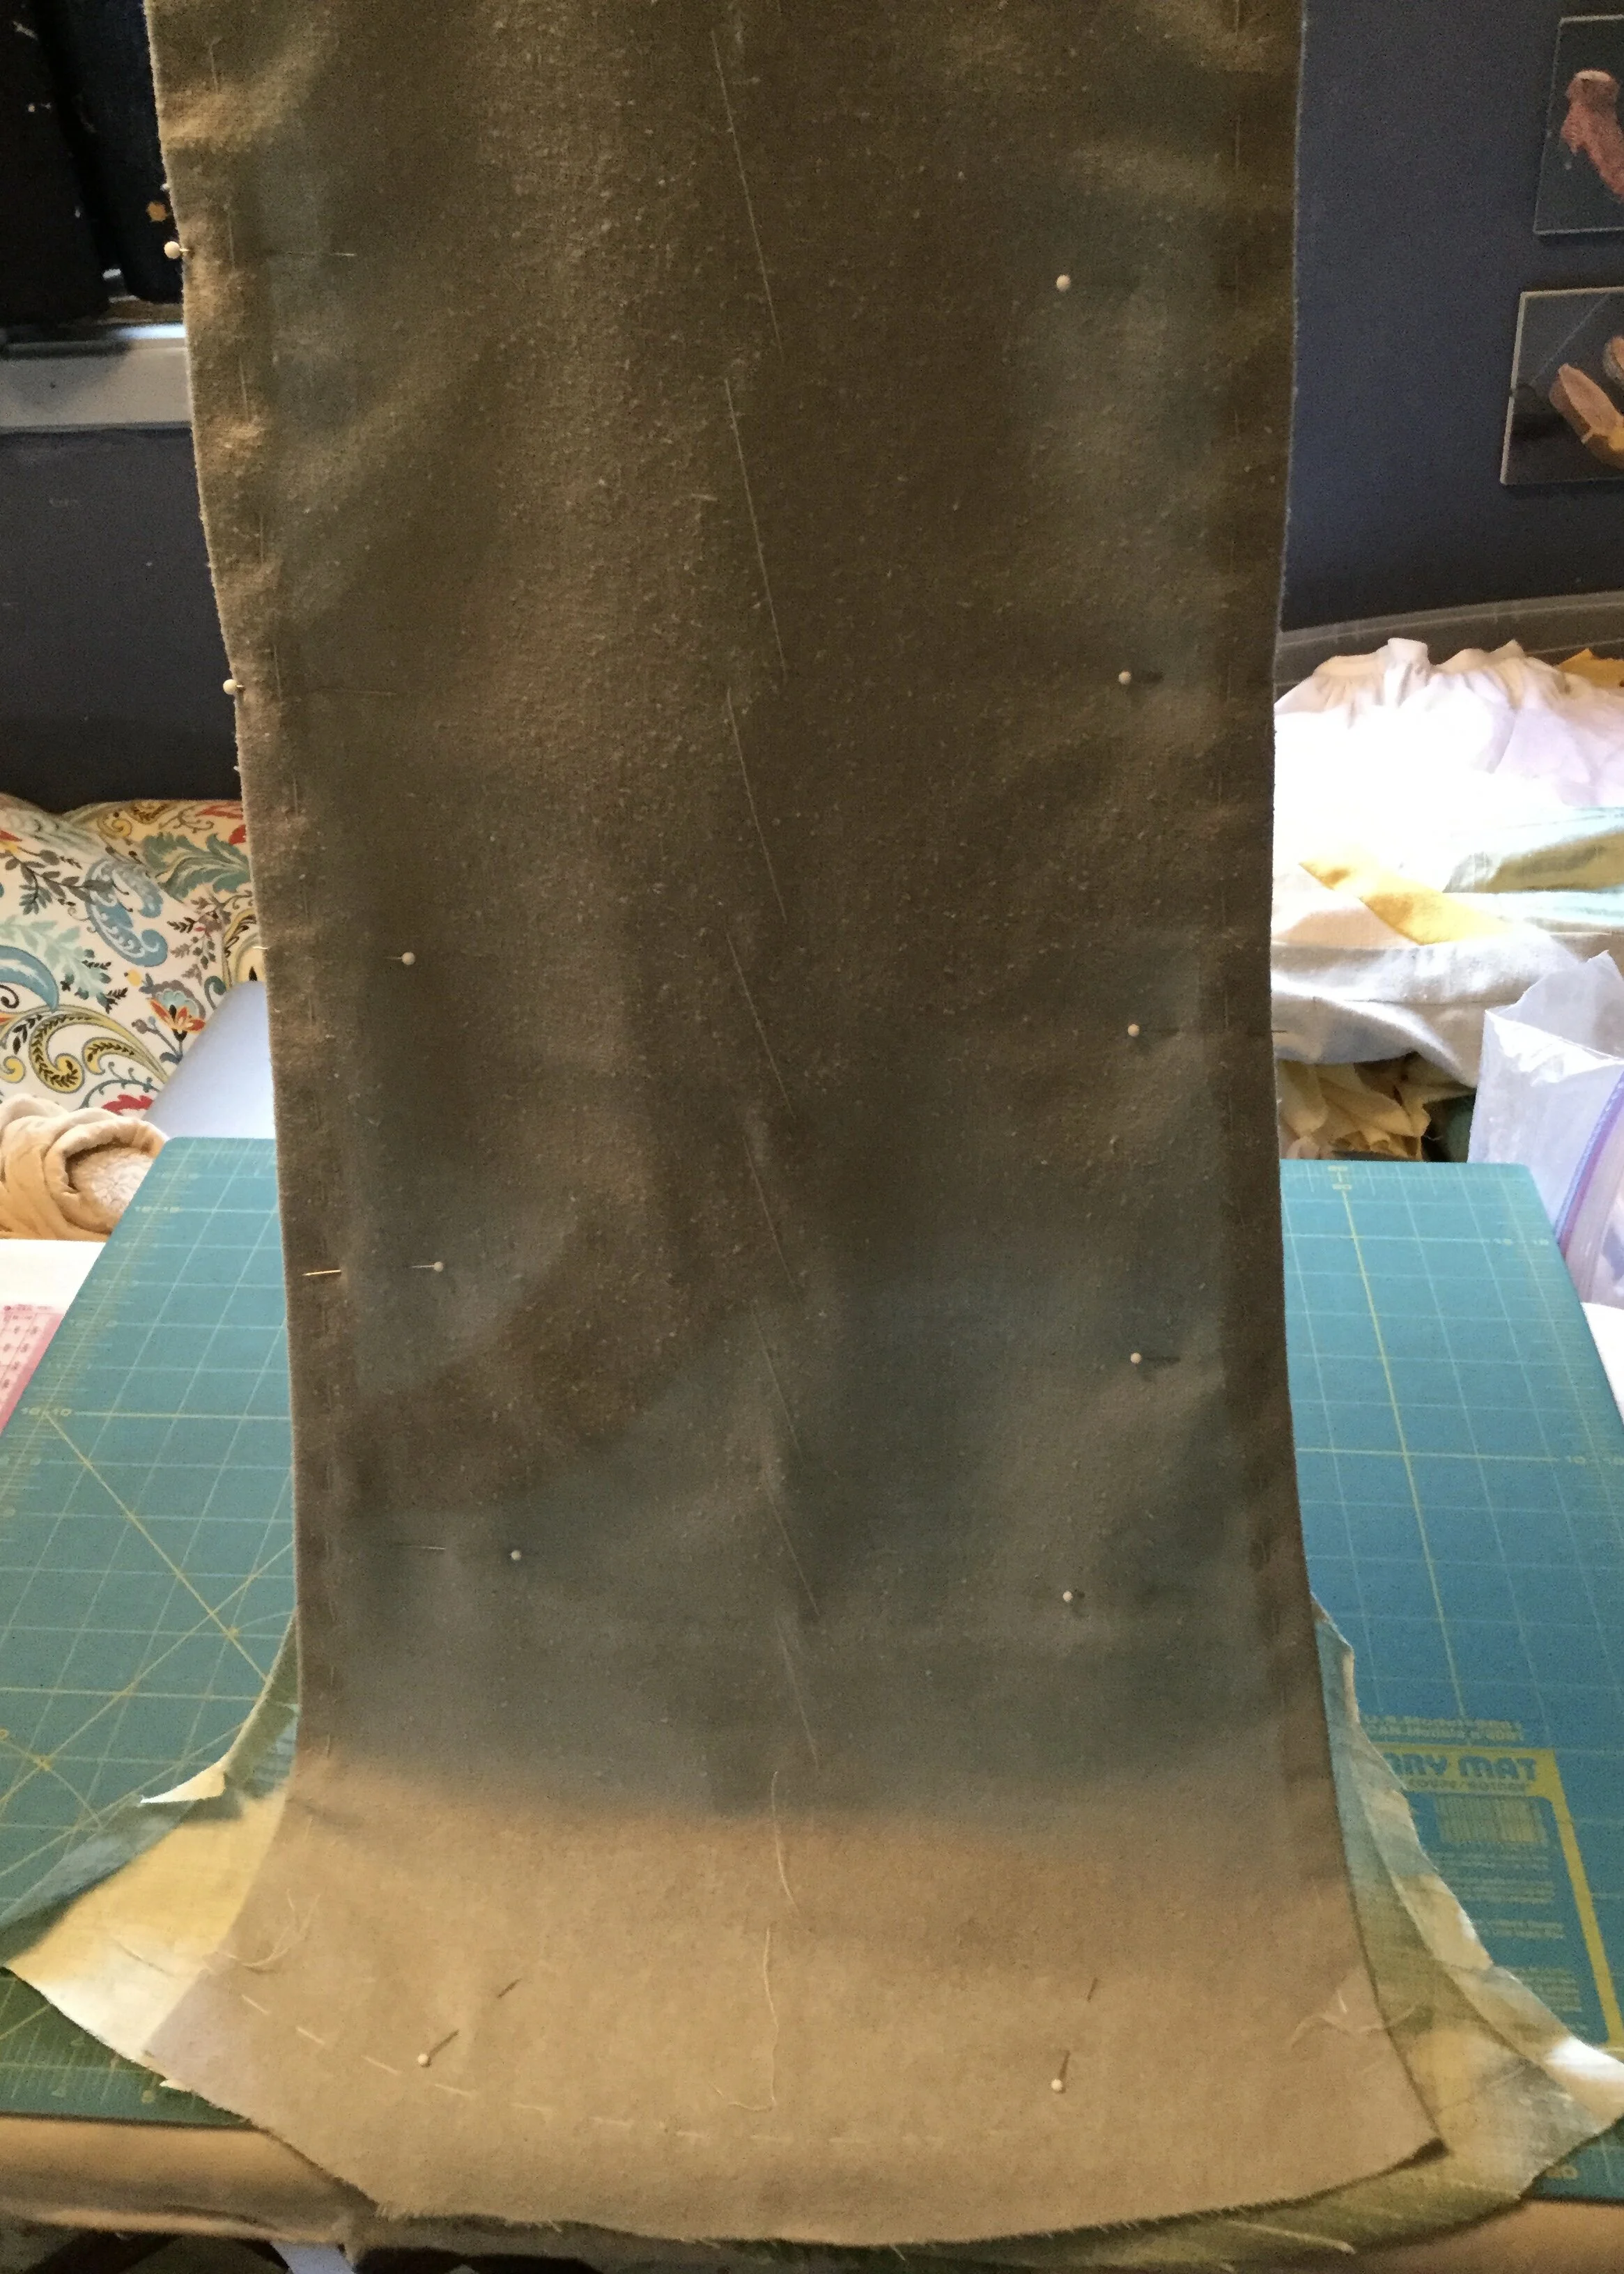
With the outer layer prepped, I pressed in the seam allowances of the lining and began applying it to the cape. After lining up the two layers along the neck and shoulders I began moving down and pinning along the sides and towards the hem. At this point I discovered that for some reason, the lining was not wide enough to sufficiently meet the bean fabric as it got closer to the hem. My solution was to just take off the twill tape a little ways up the sides and straighten out the line a bit.
Frankly, I think it looks better like this and I'm not sure what I was thinking with the curvy, flared look. I must have thought it looked good on the mock up.
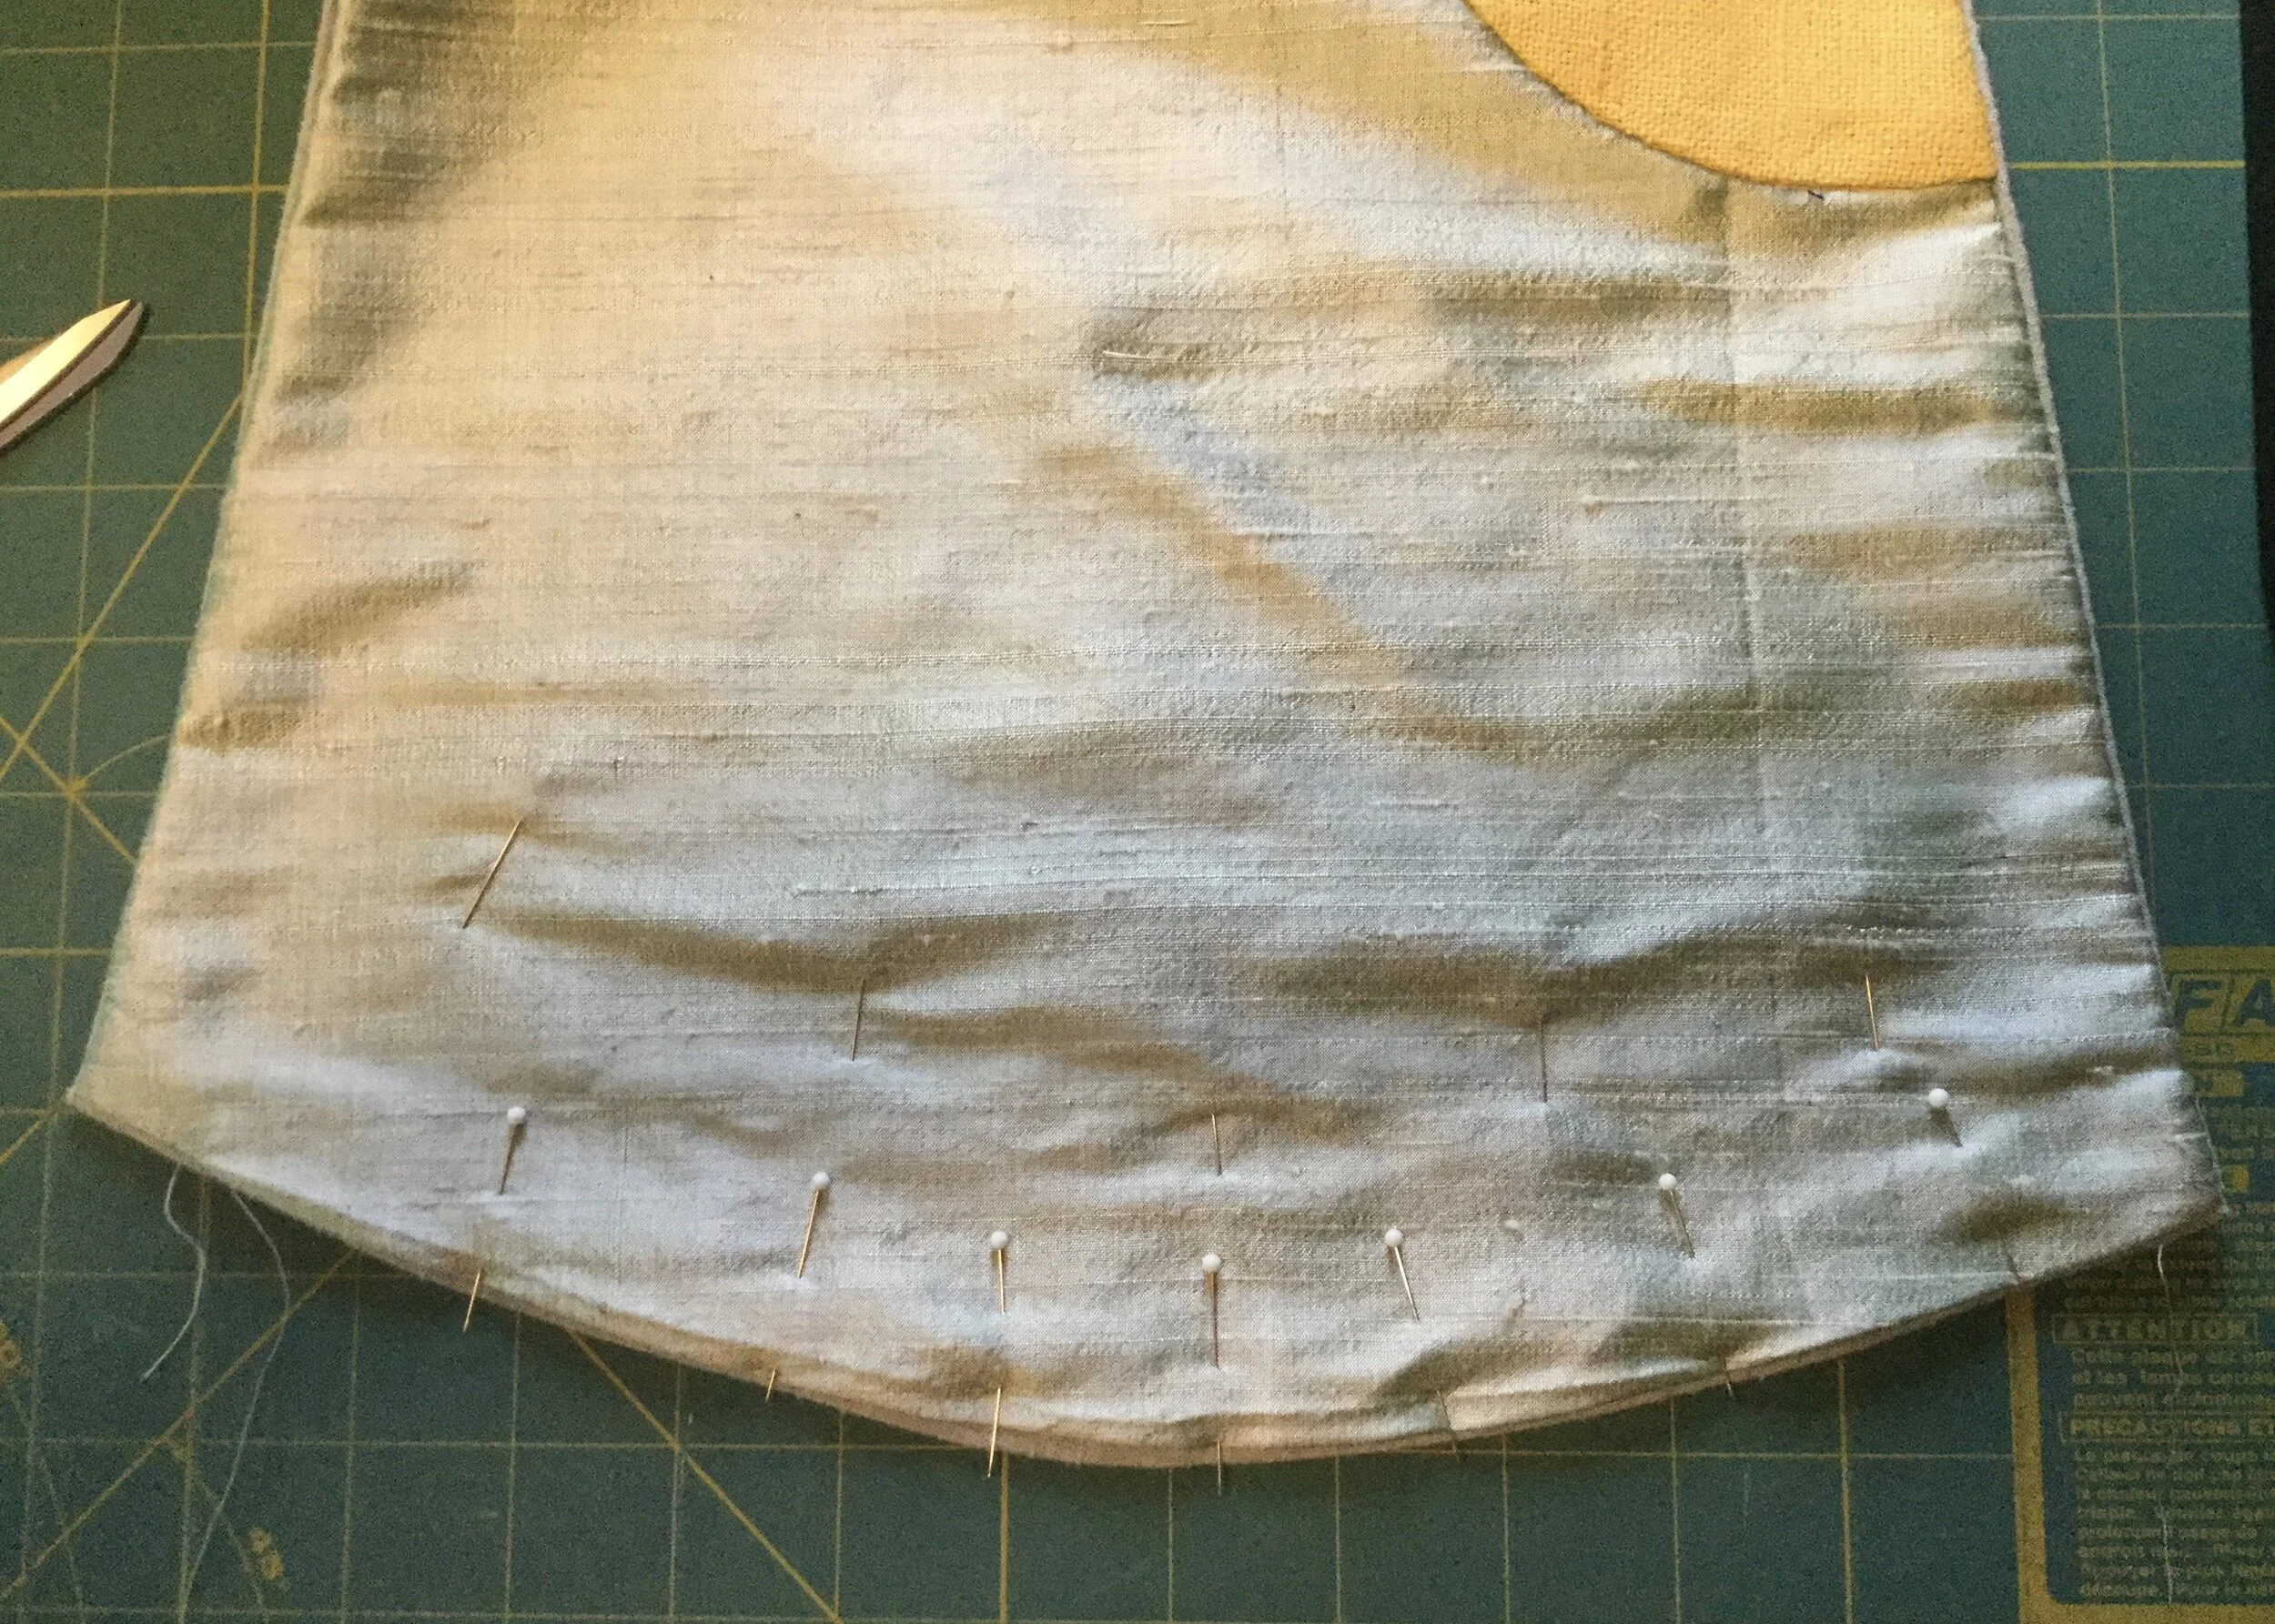
Now that the sides looked better and the lining could actually cover them, I stitched the lining along the sides by hand and basted the hem up into place. Somewhere along the line, I drew the hem line a little lopsided, but for the time being it was fine.
With the cape mostly finished, I could finally close the right shoulder seam, inserting the shoulder of the cape between the front and back. Before stitching this seam, I had applied twill tape to the remainder of the right armhole and with the seam stitched I clipped and pressed the armhole seam allowance to the inside of the dress and basted it into place.
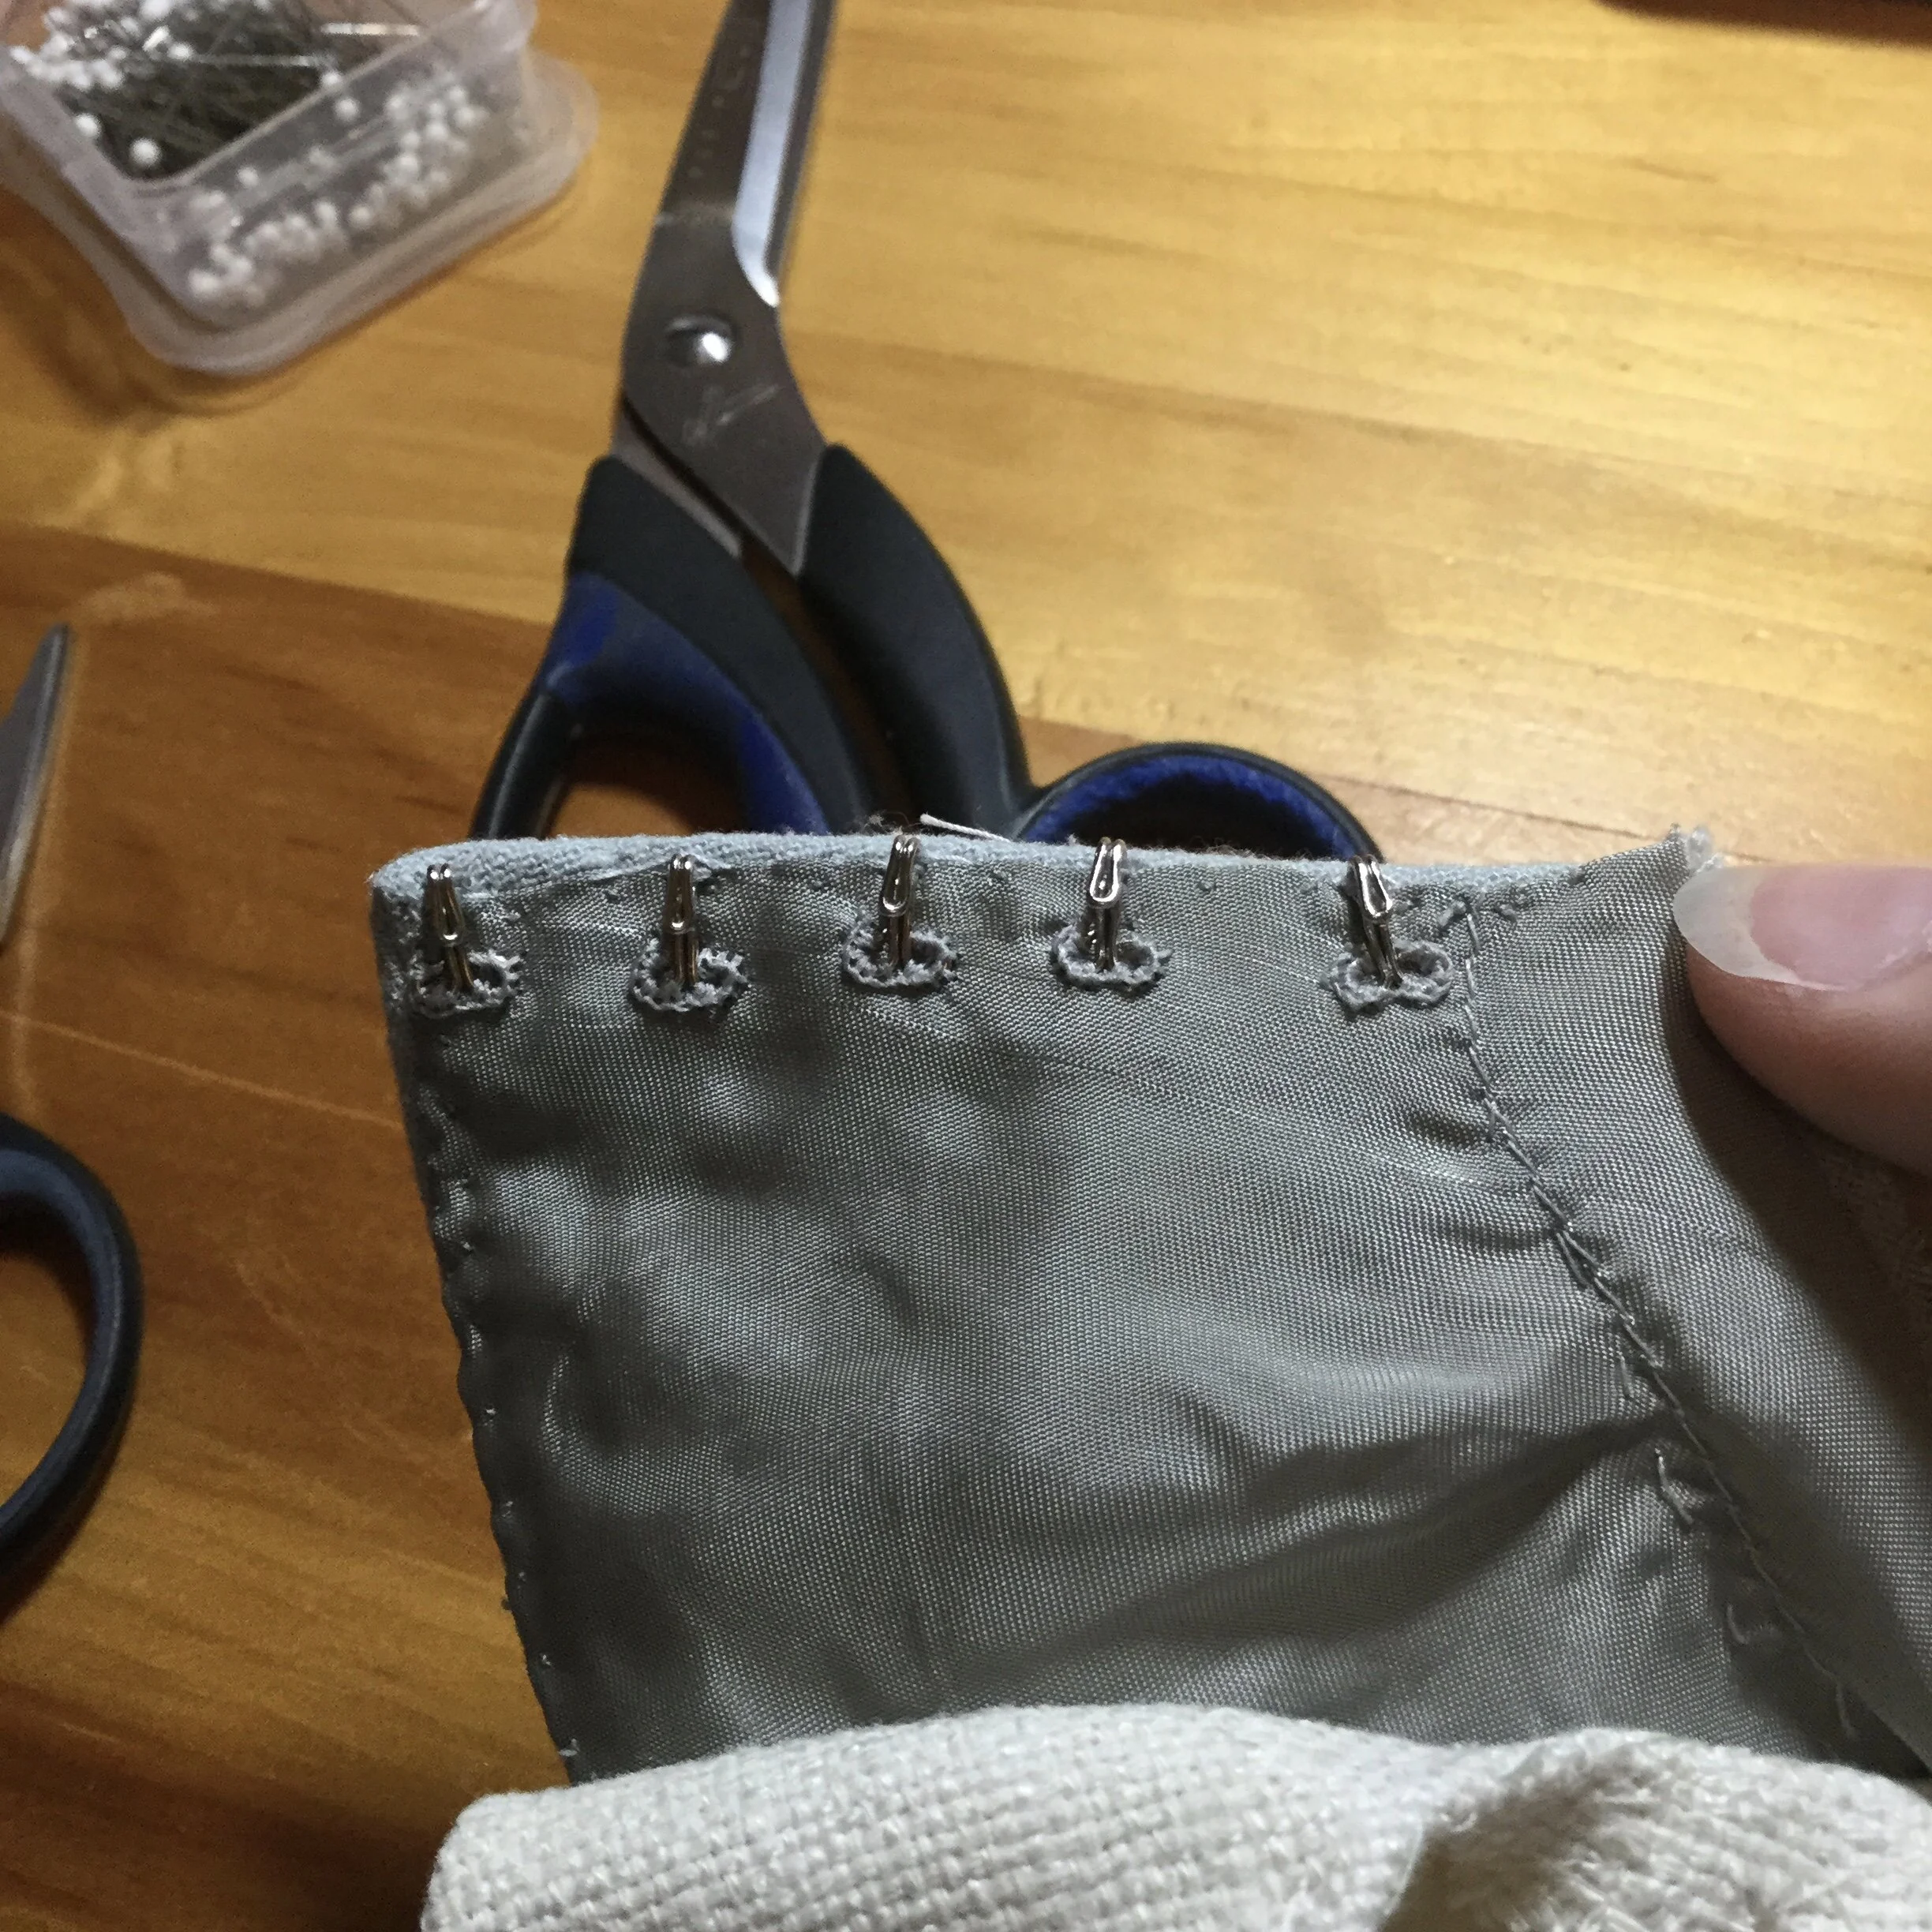
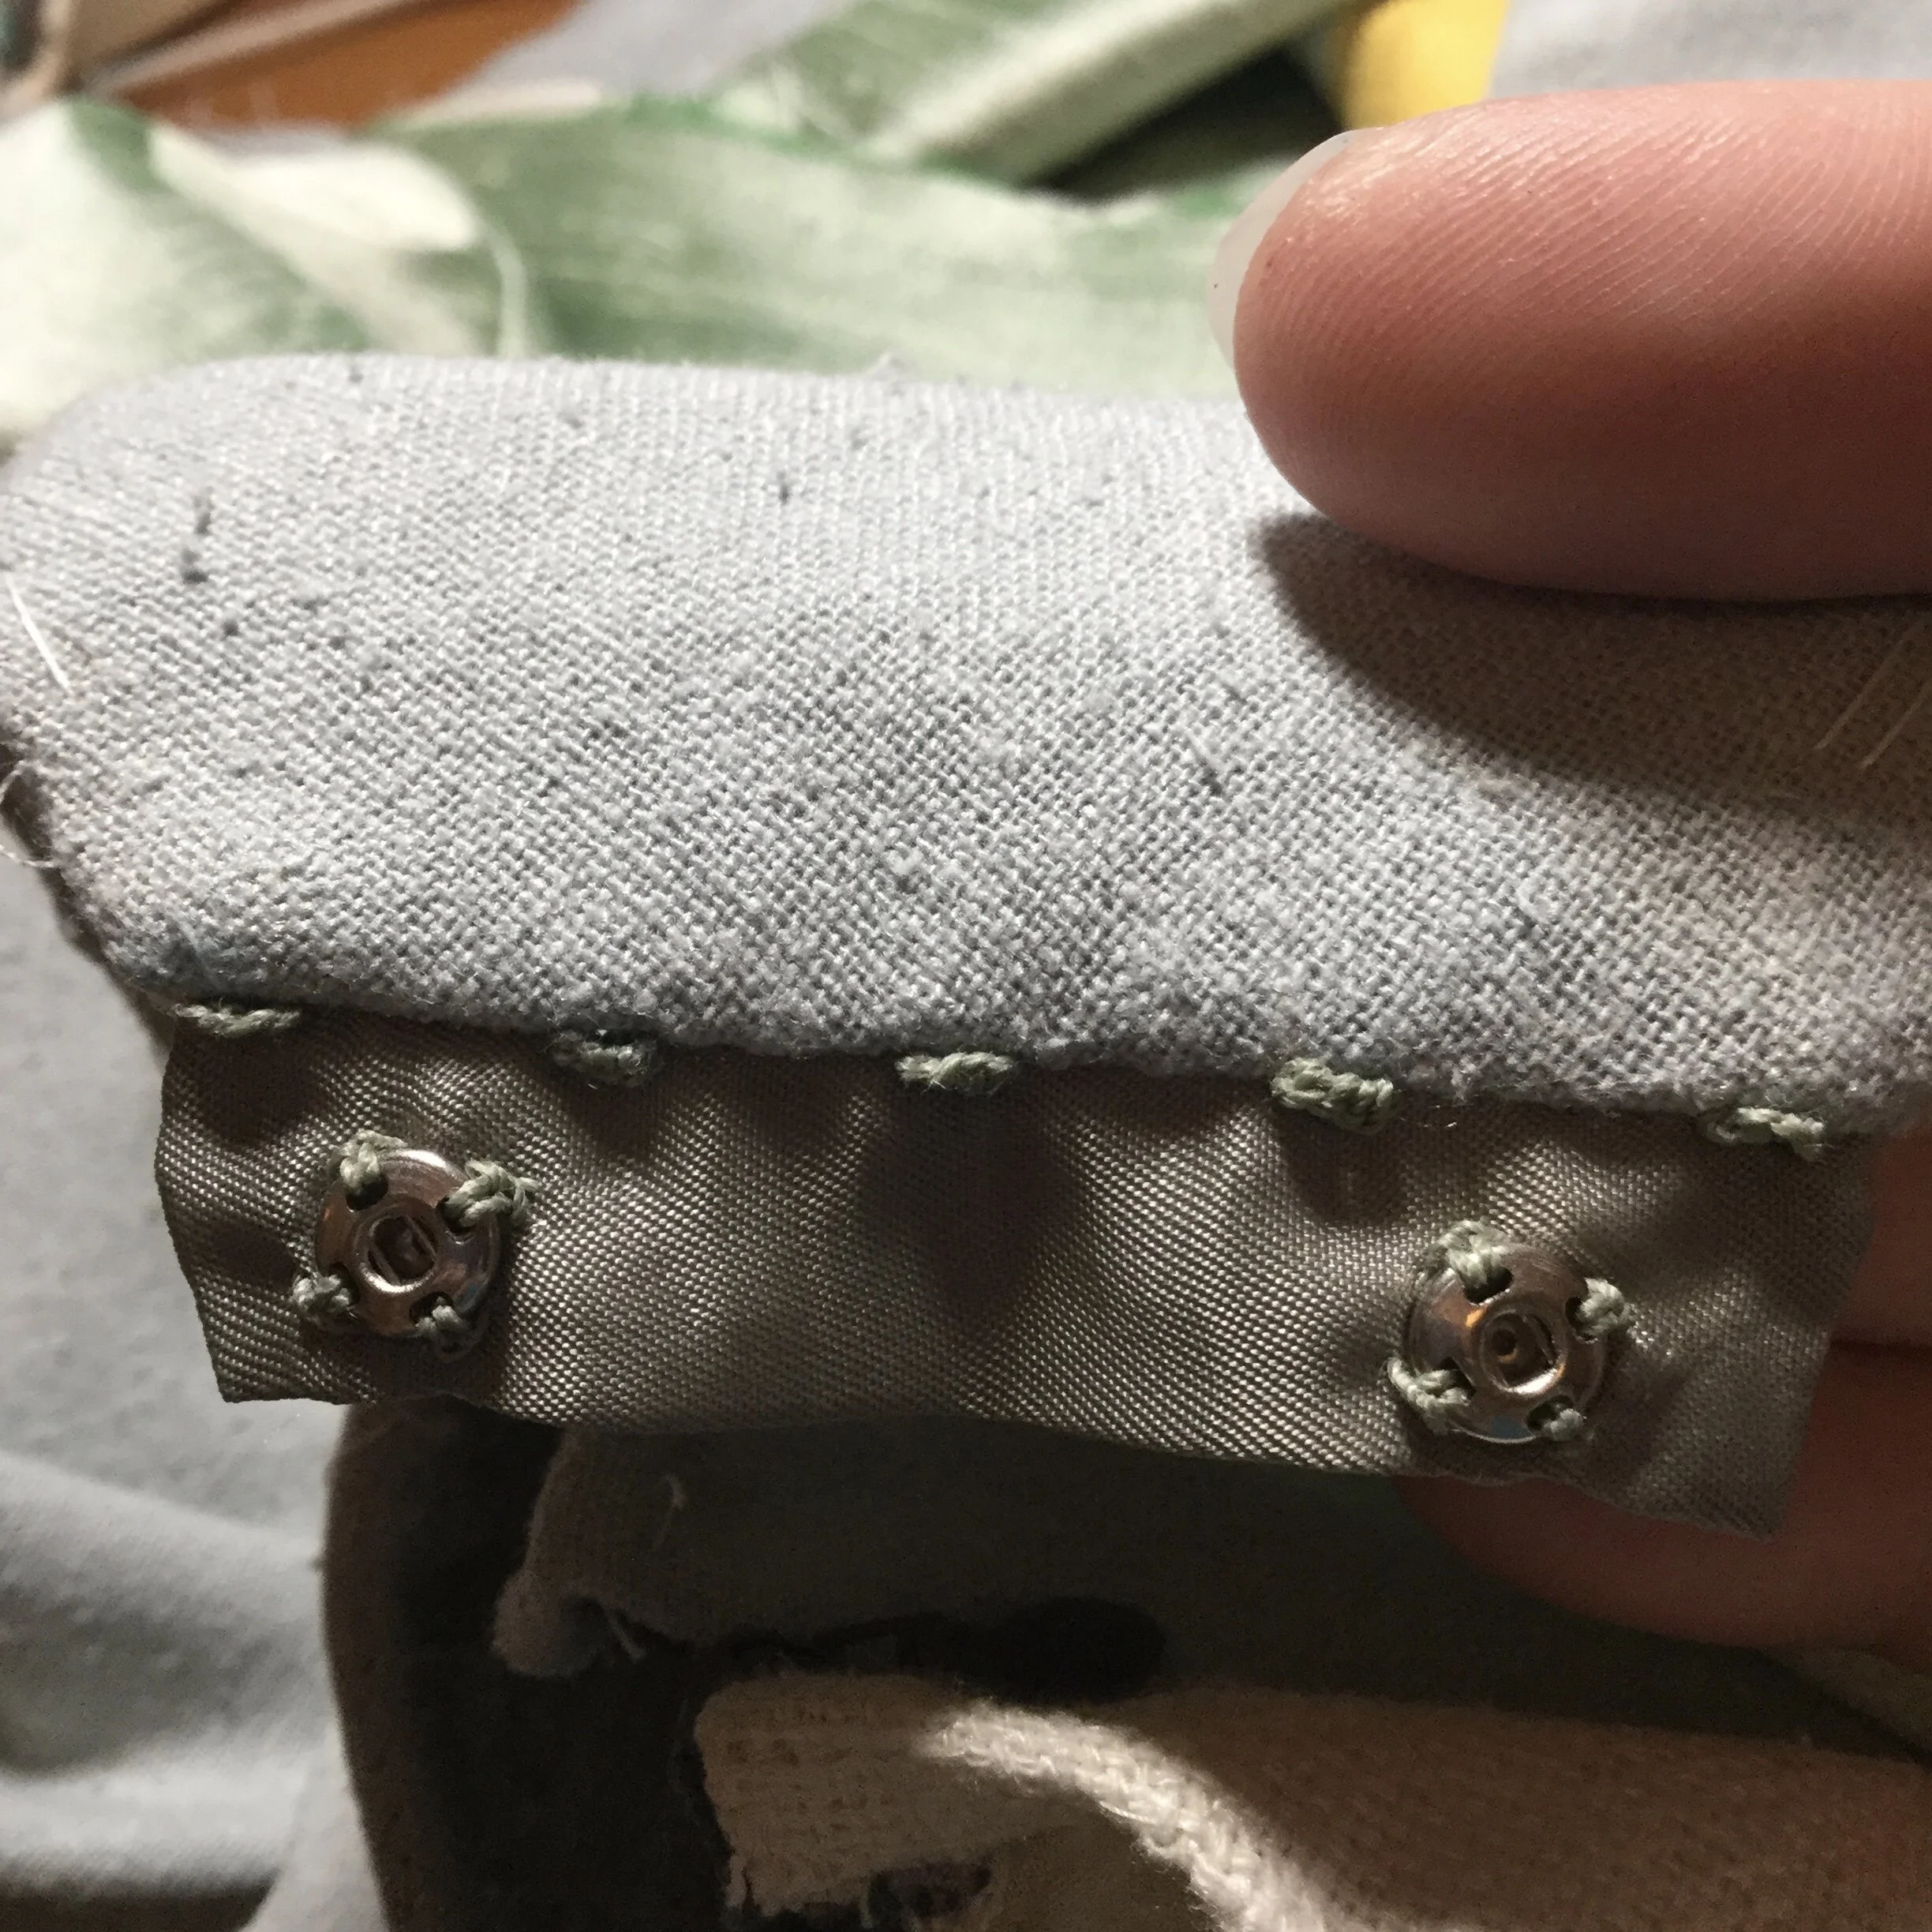
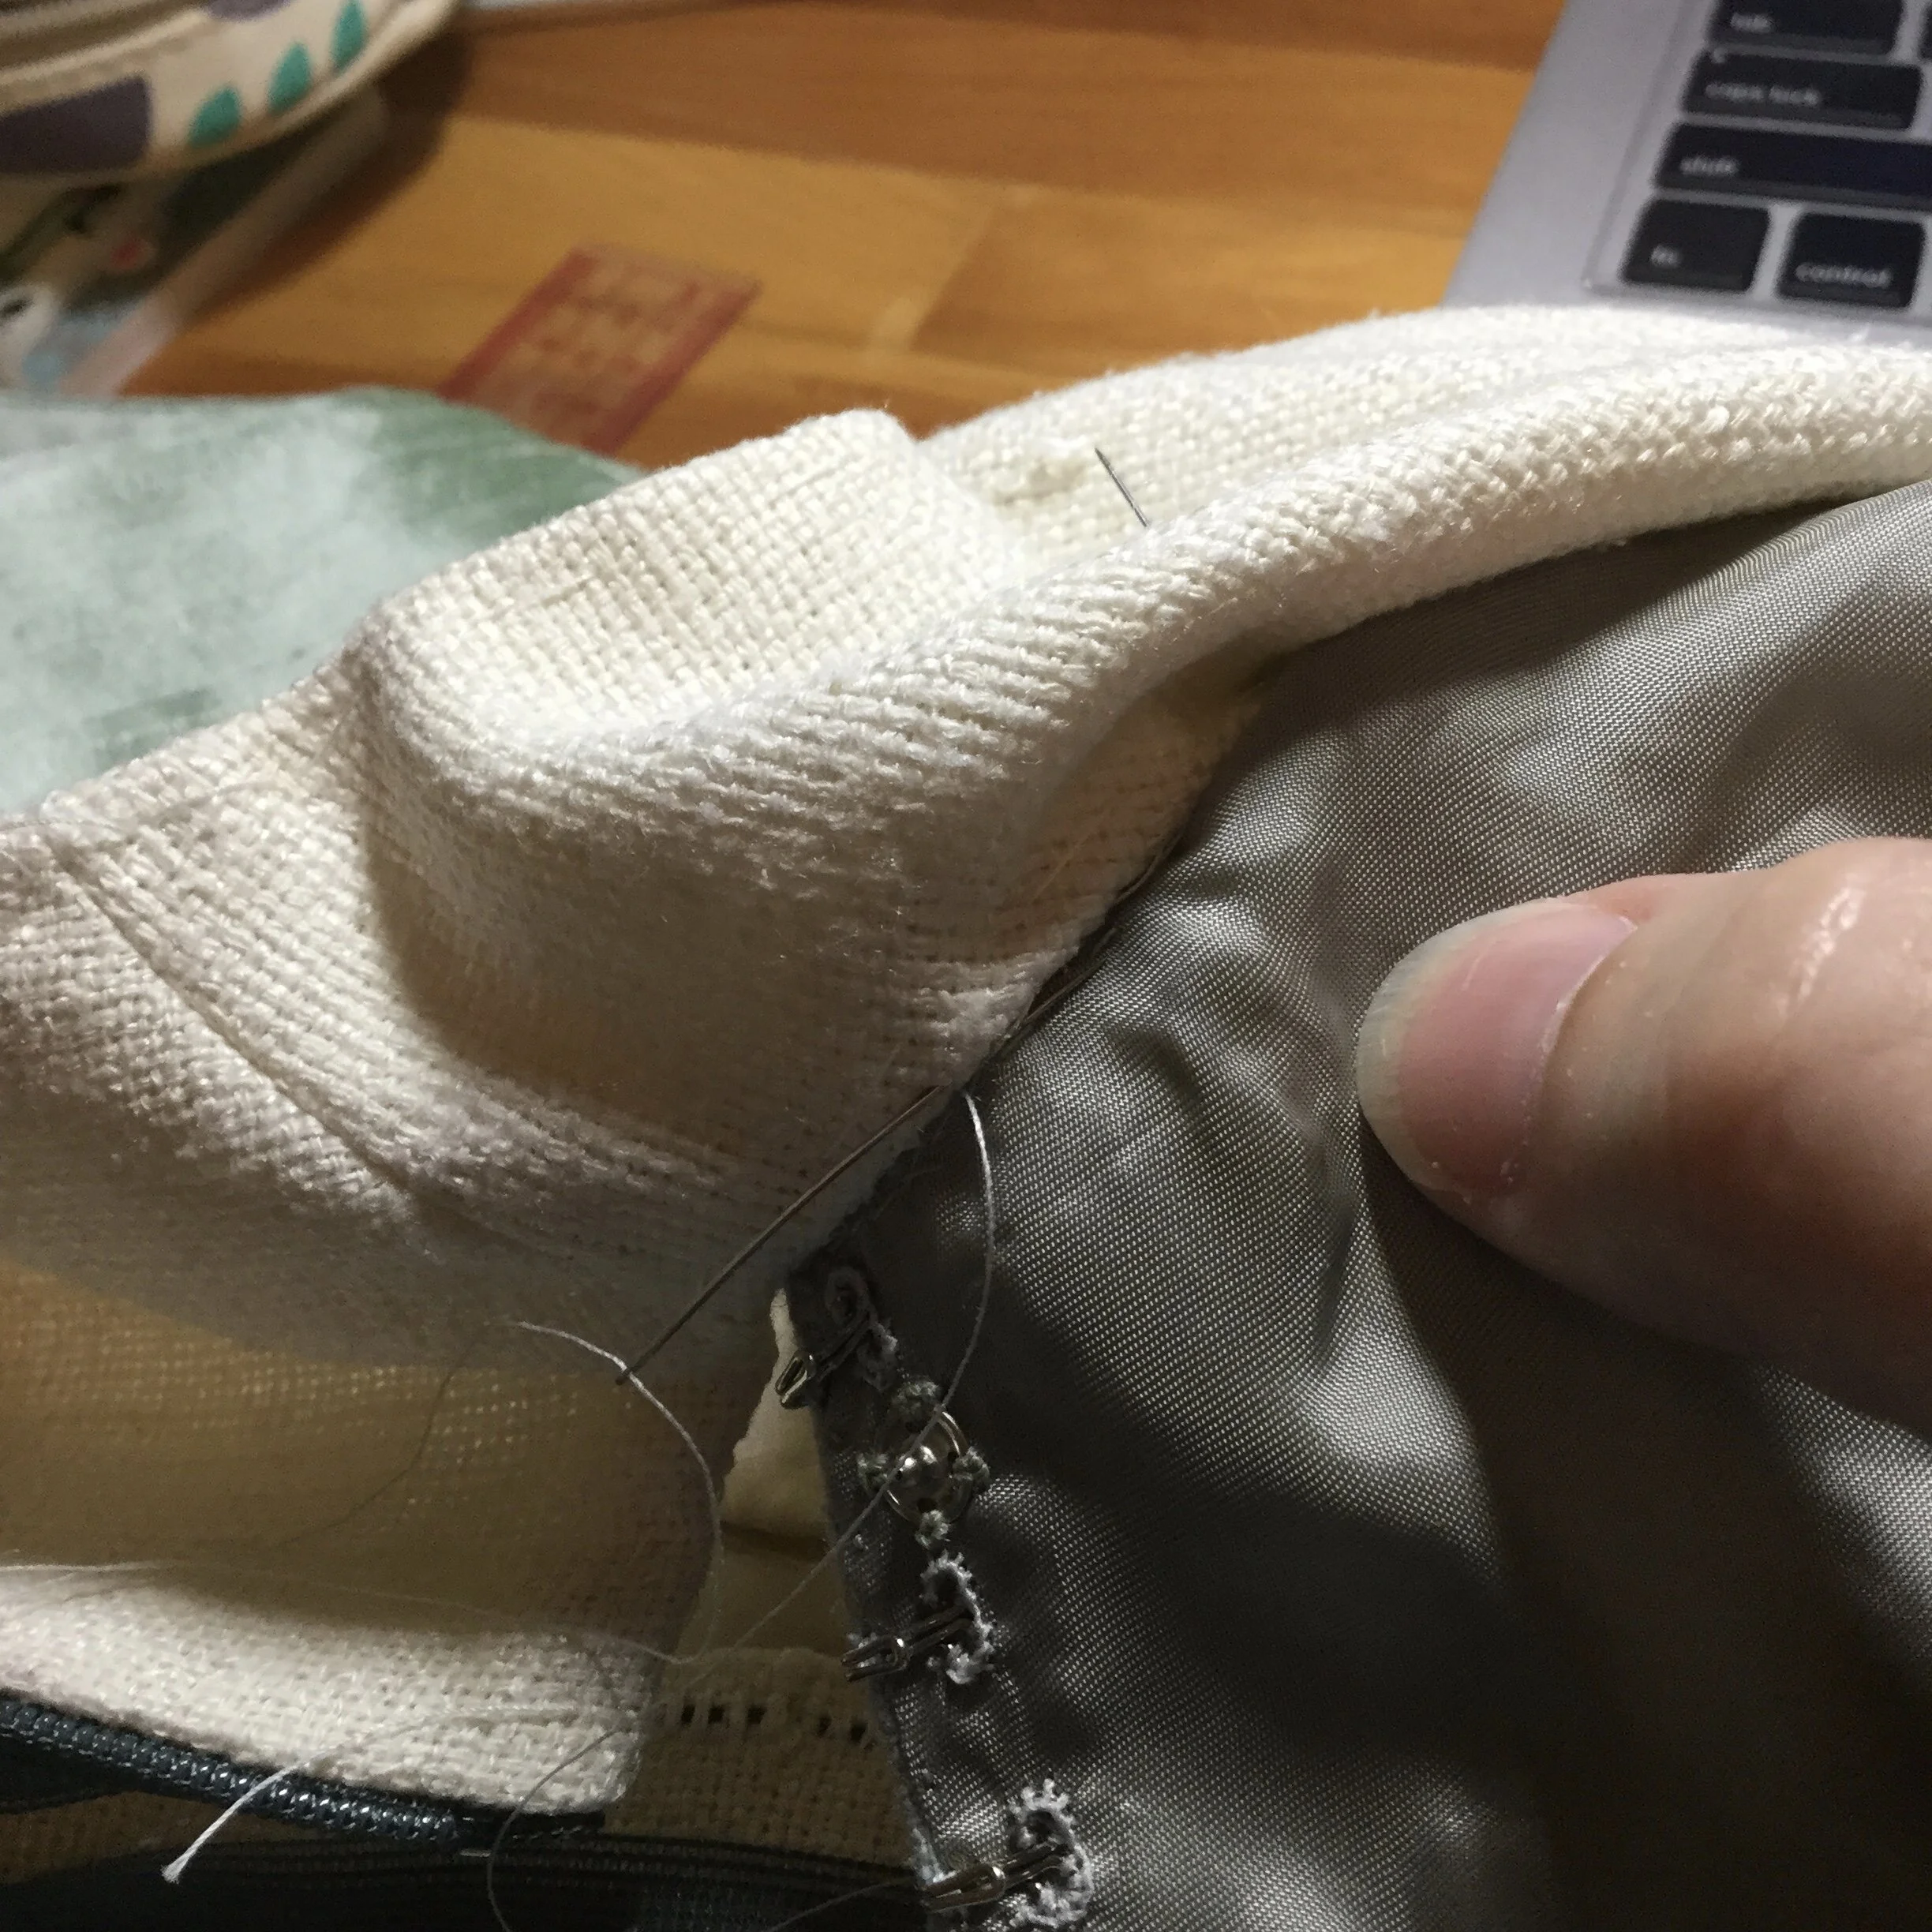
At this point, I finished the neckline which proved a bit tricky as it had to be done in stages. First was to turn and catch stitch the entire left side and then the entire right side, leaving the collar free from the centre front to the left shoulder. Before stitching the collar down, I applied the hooks, thread loops and snaps which would serve as the closure for the cape. With that finished, I turned in the neckline seam allowance of the collar and stitched it down. I also slip stitched the collar to the front neckline on the underside.
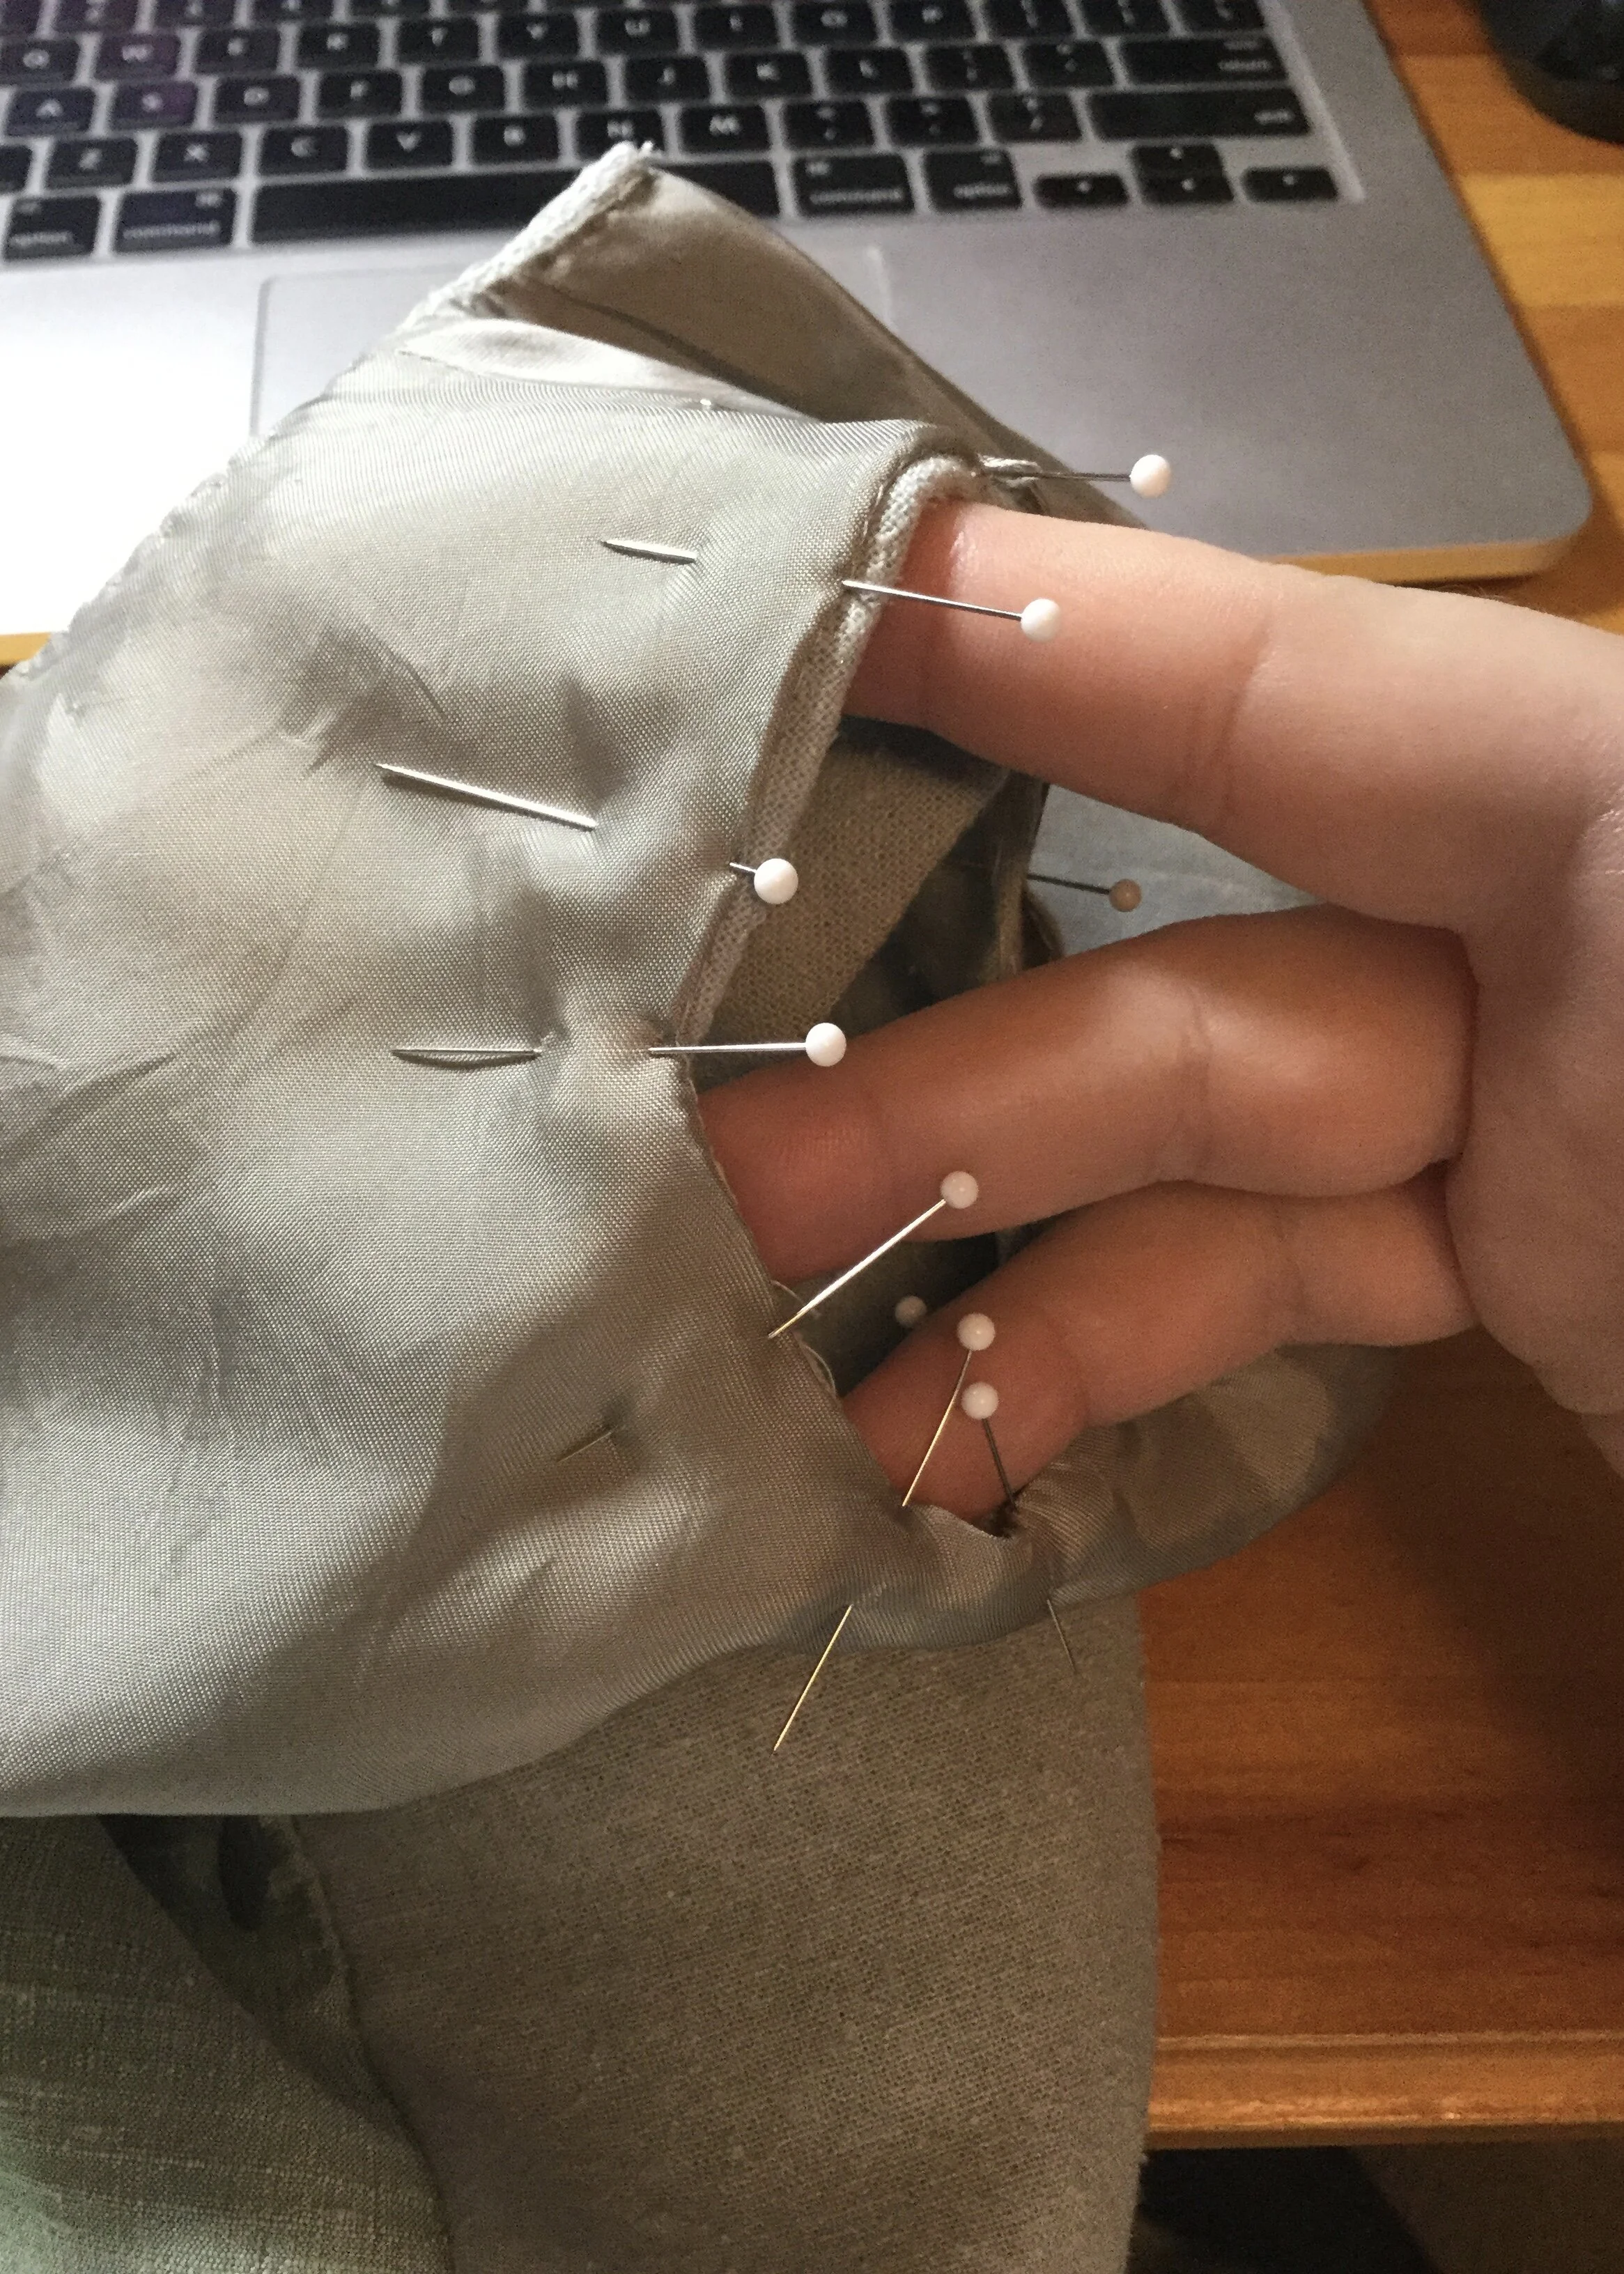
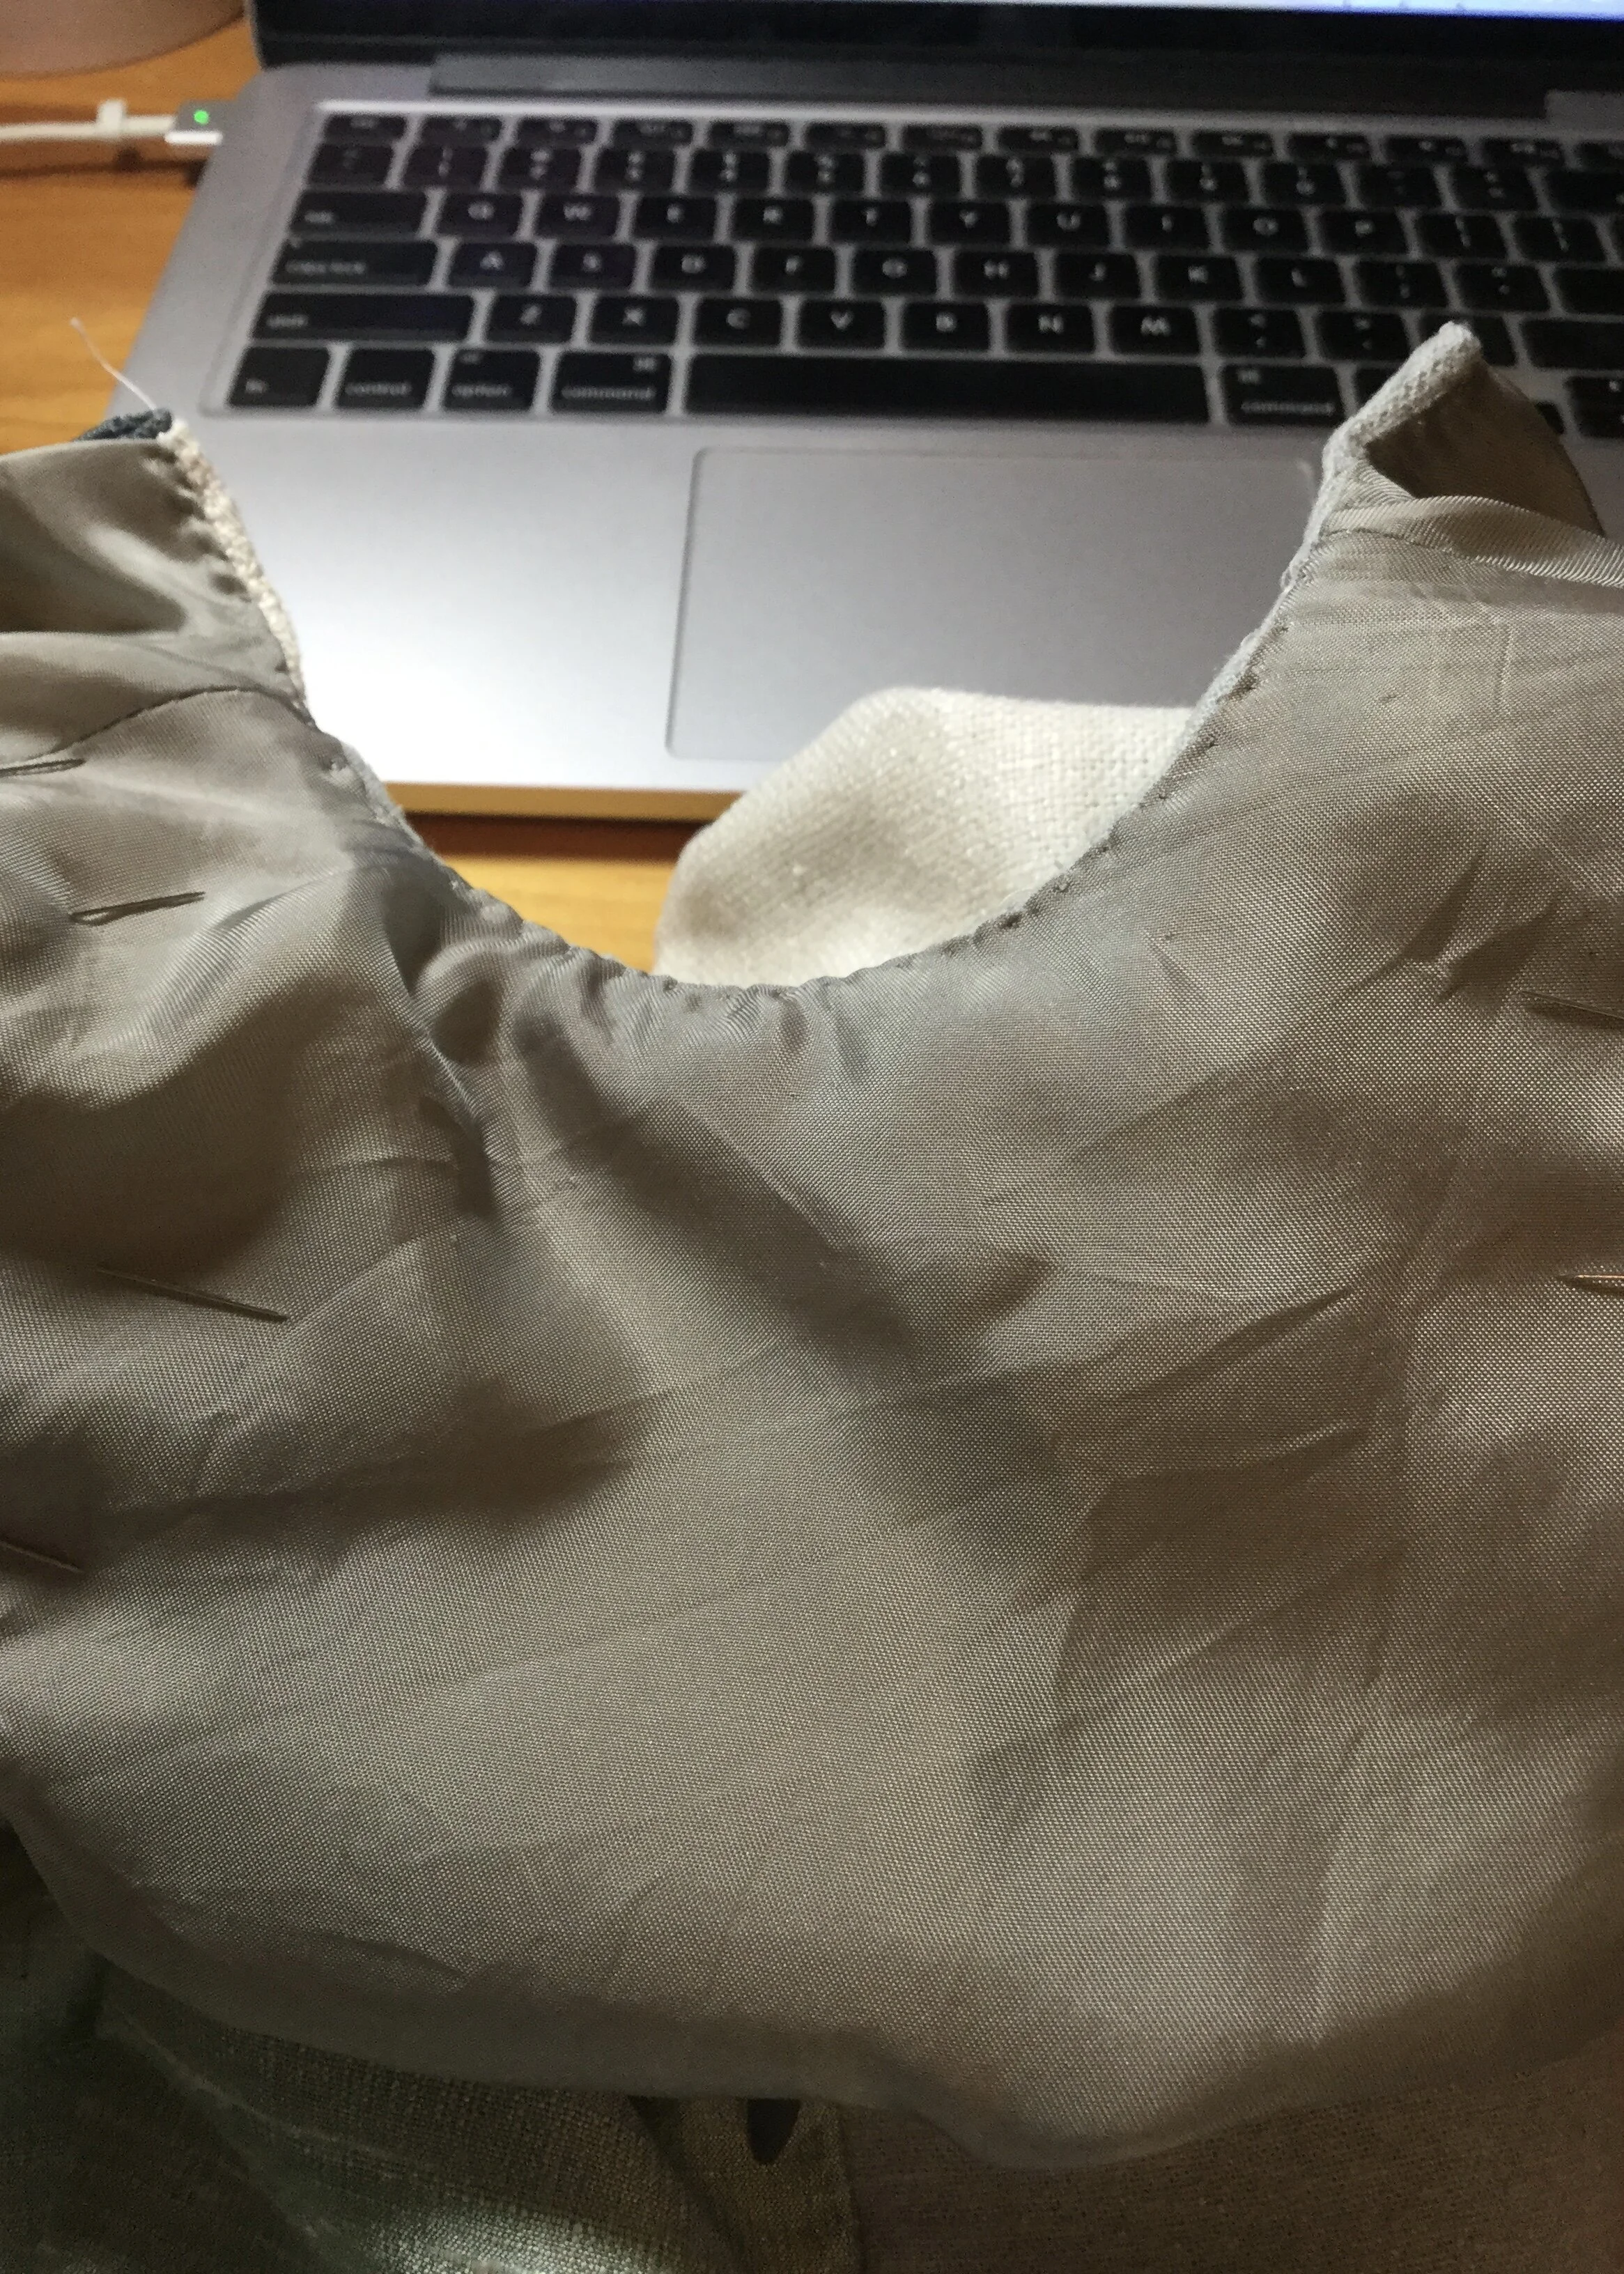
The next step was to drop in the lining I had made so long ago. I prepped the lining by pressing in the seam allowances along the neckline and both armholes before pinning it into place and stitching it in by hand. As with the lining on the collar, I slip stitched it closed and followed that with an understitch just inside the edge.
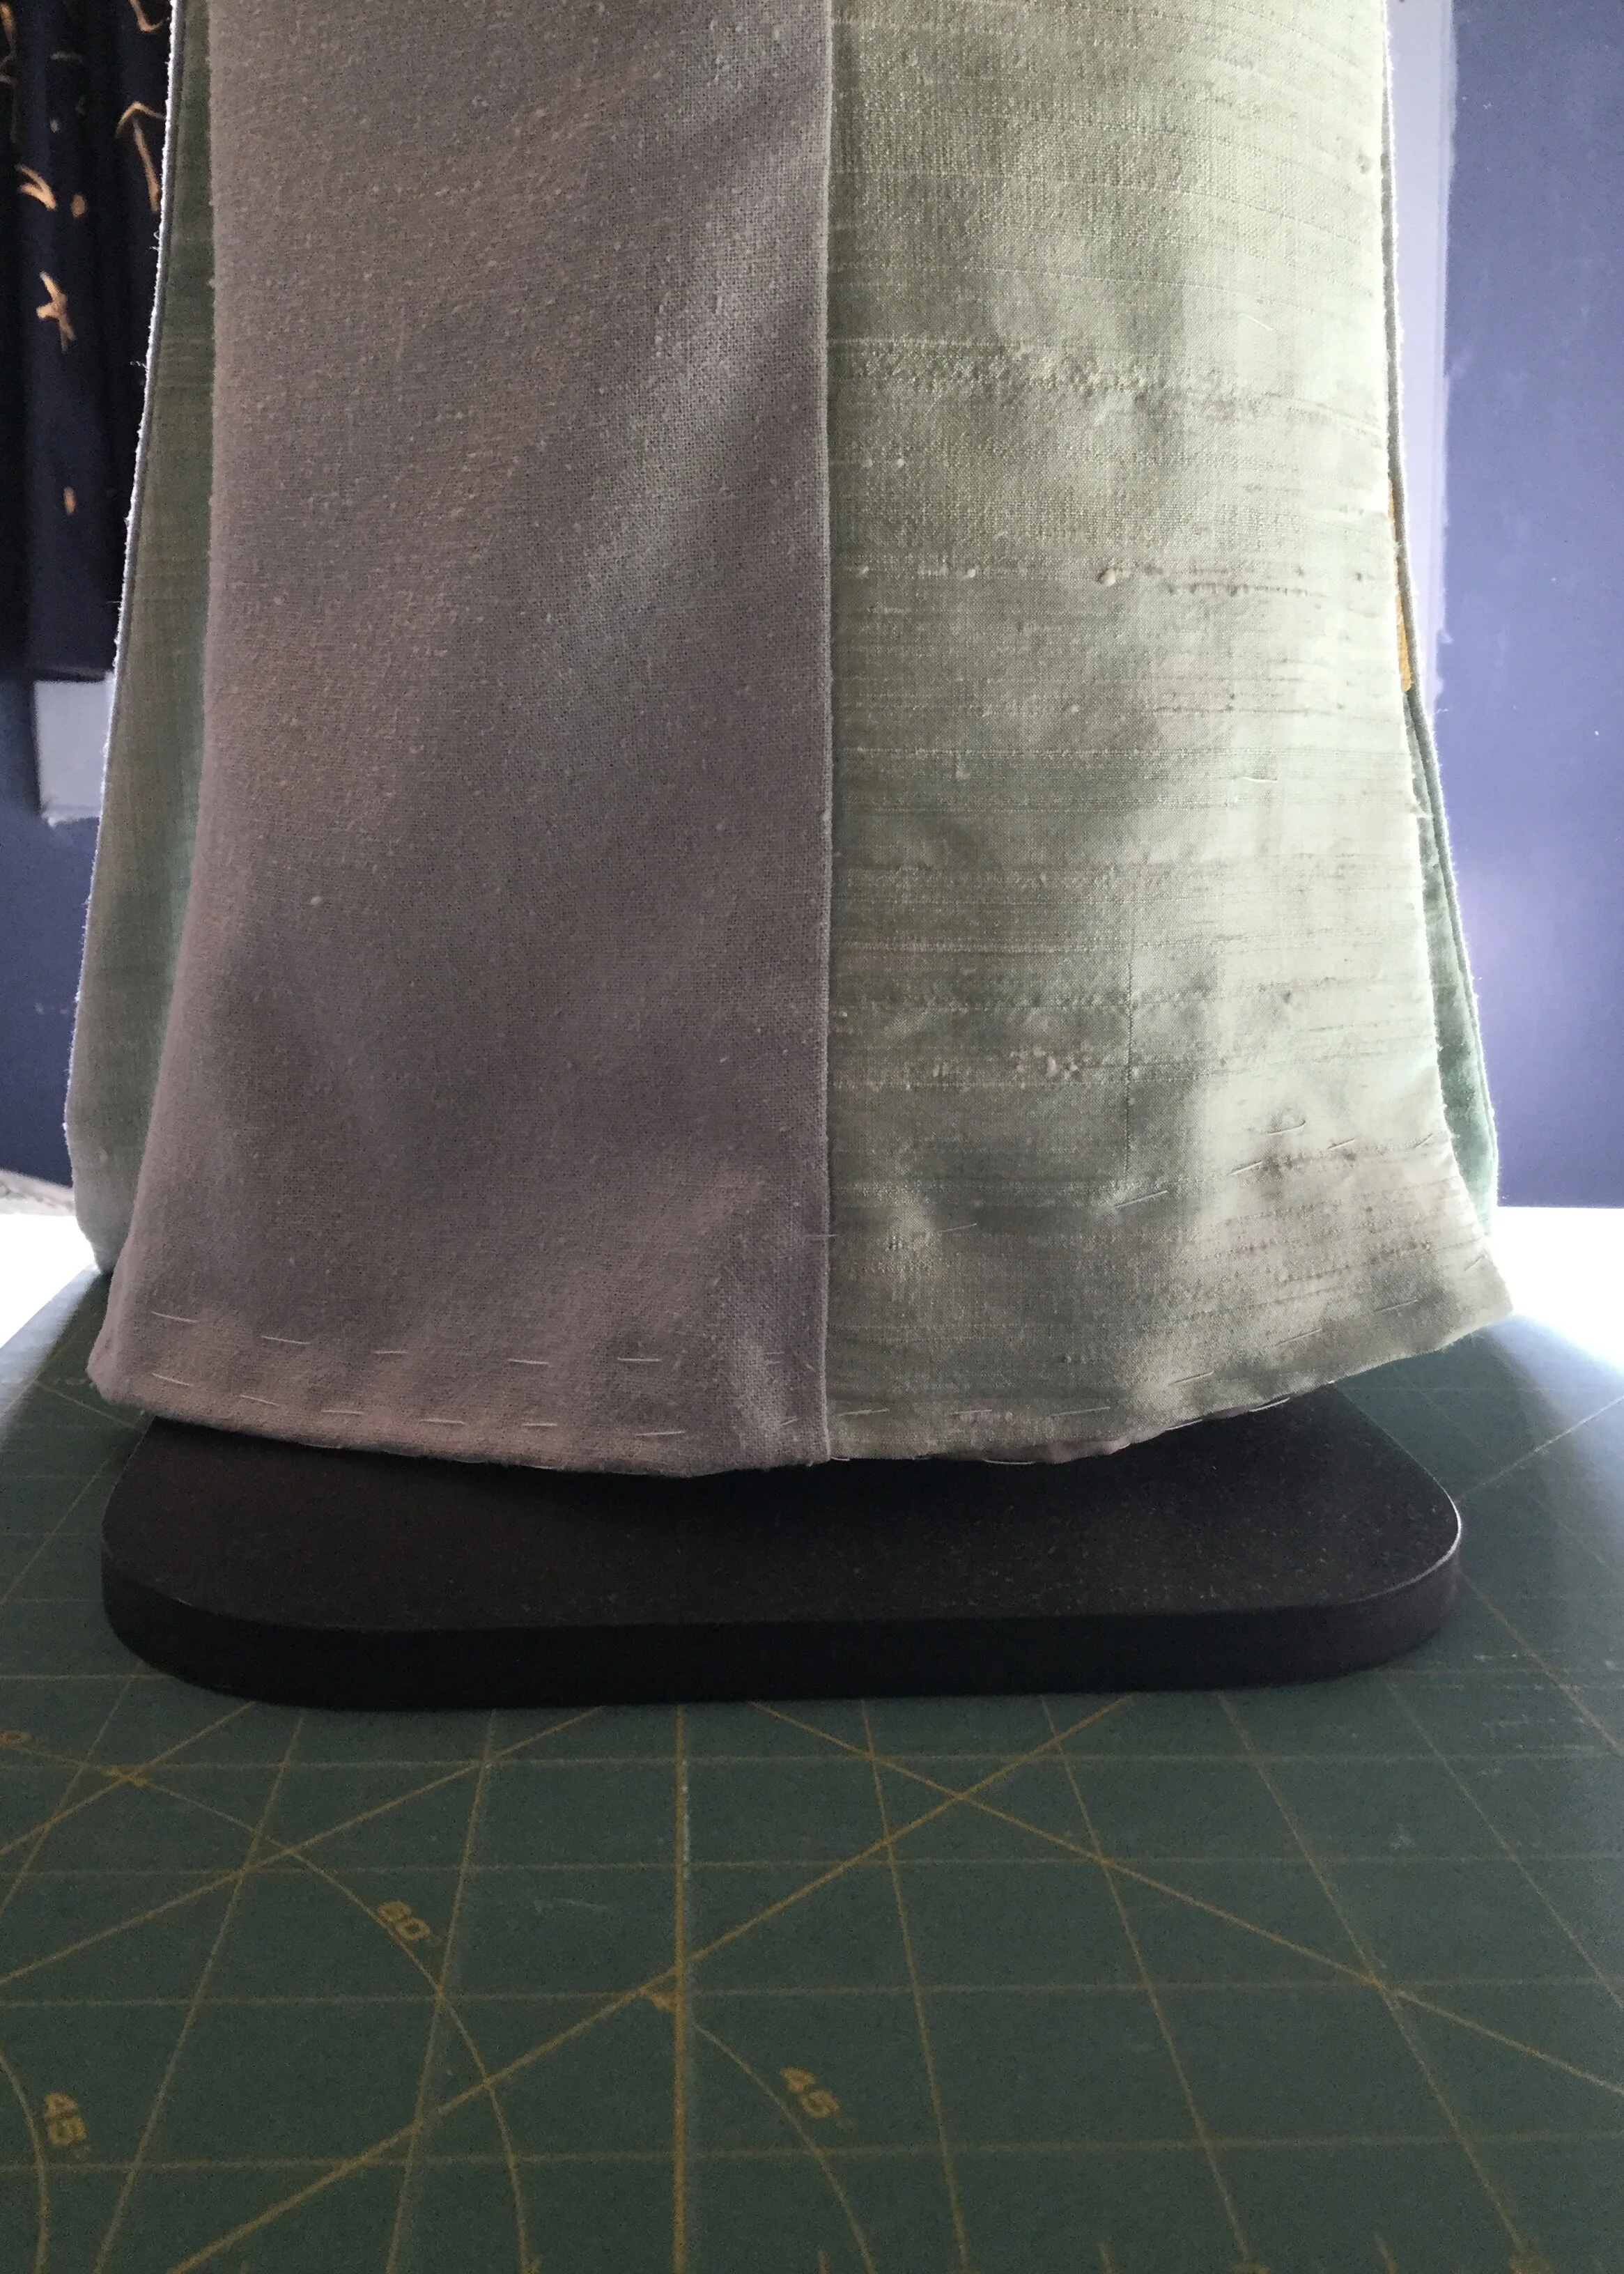
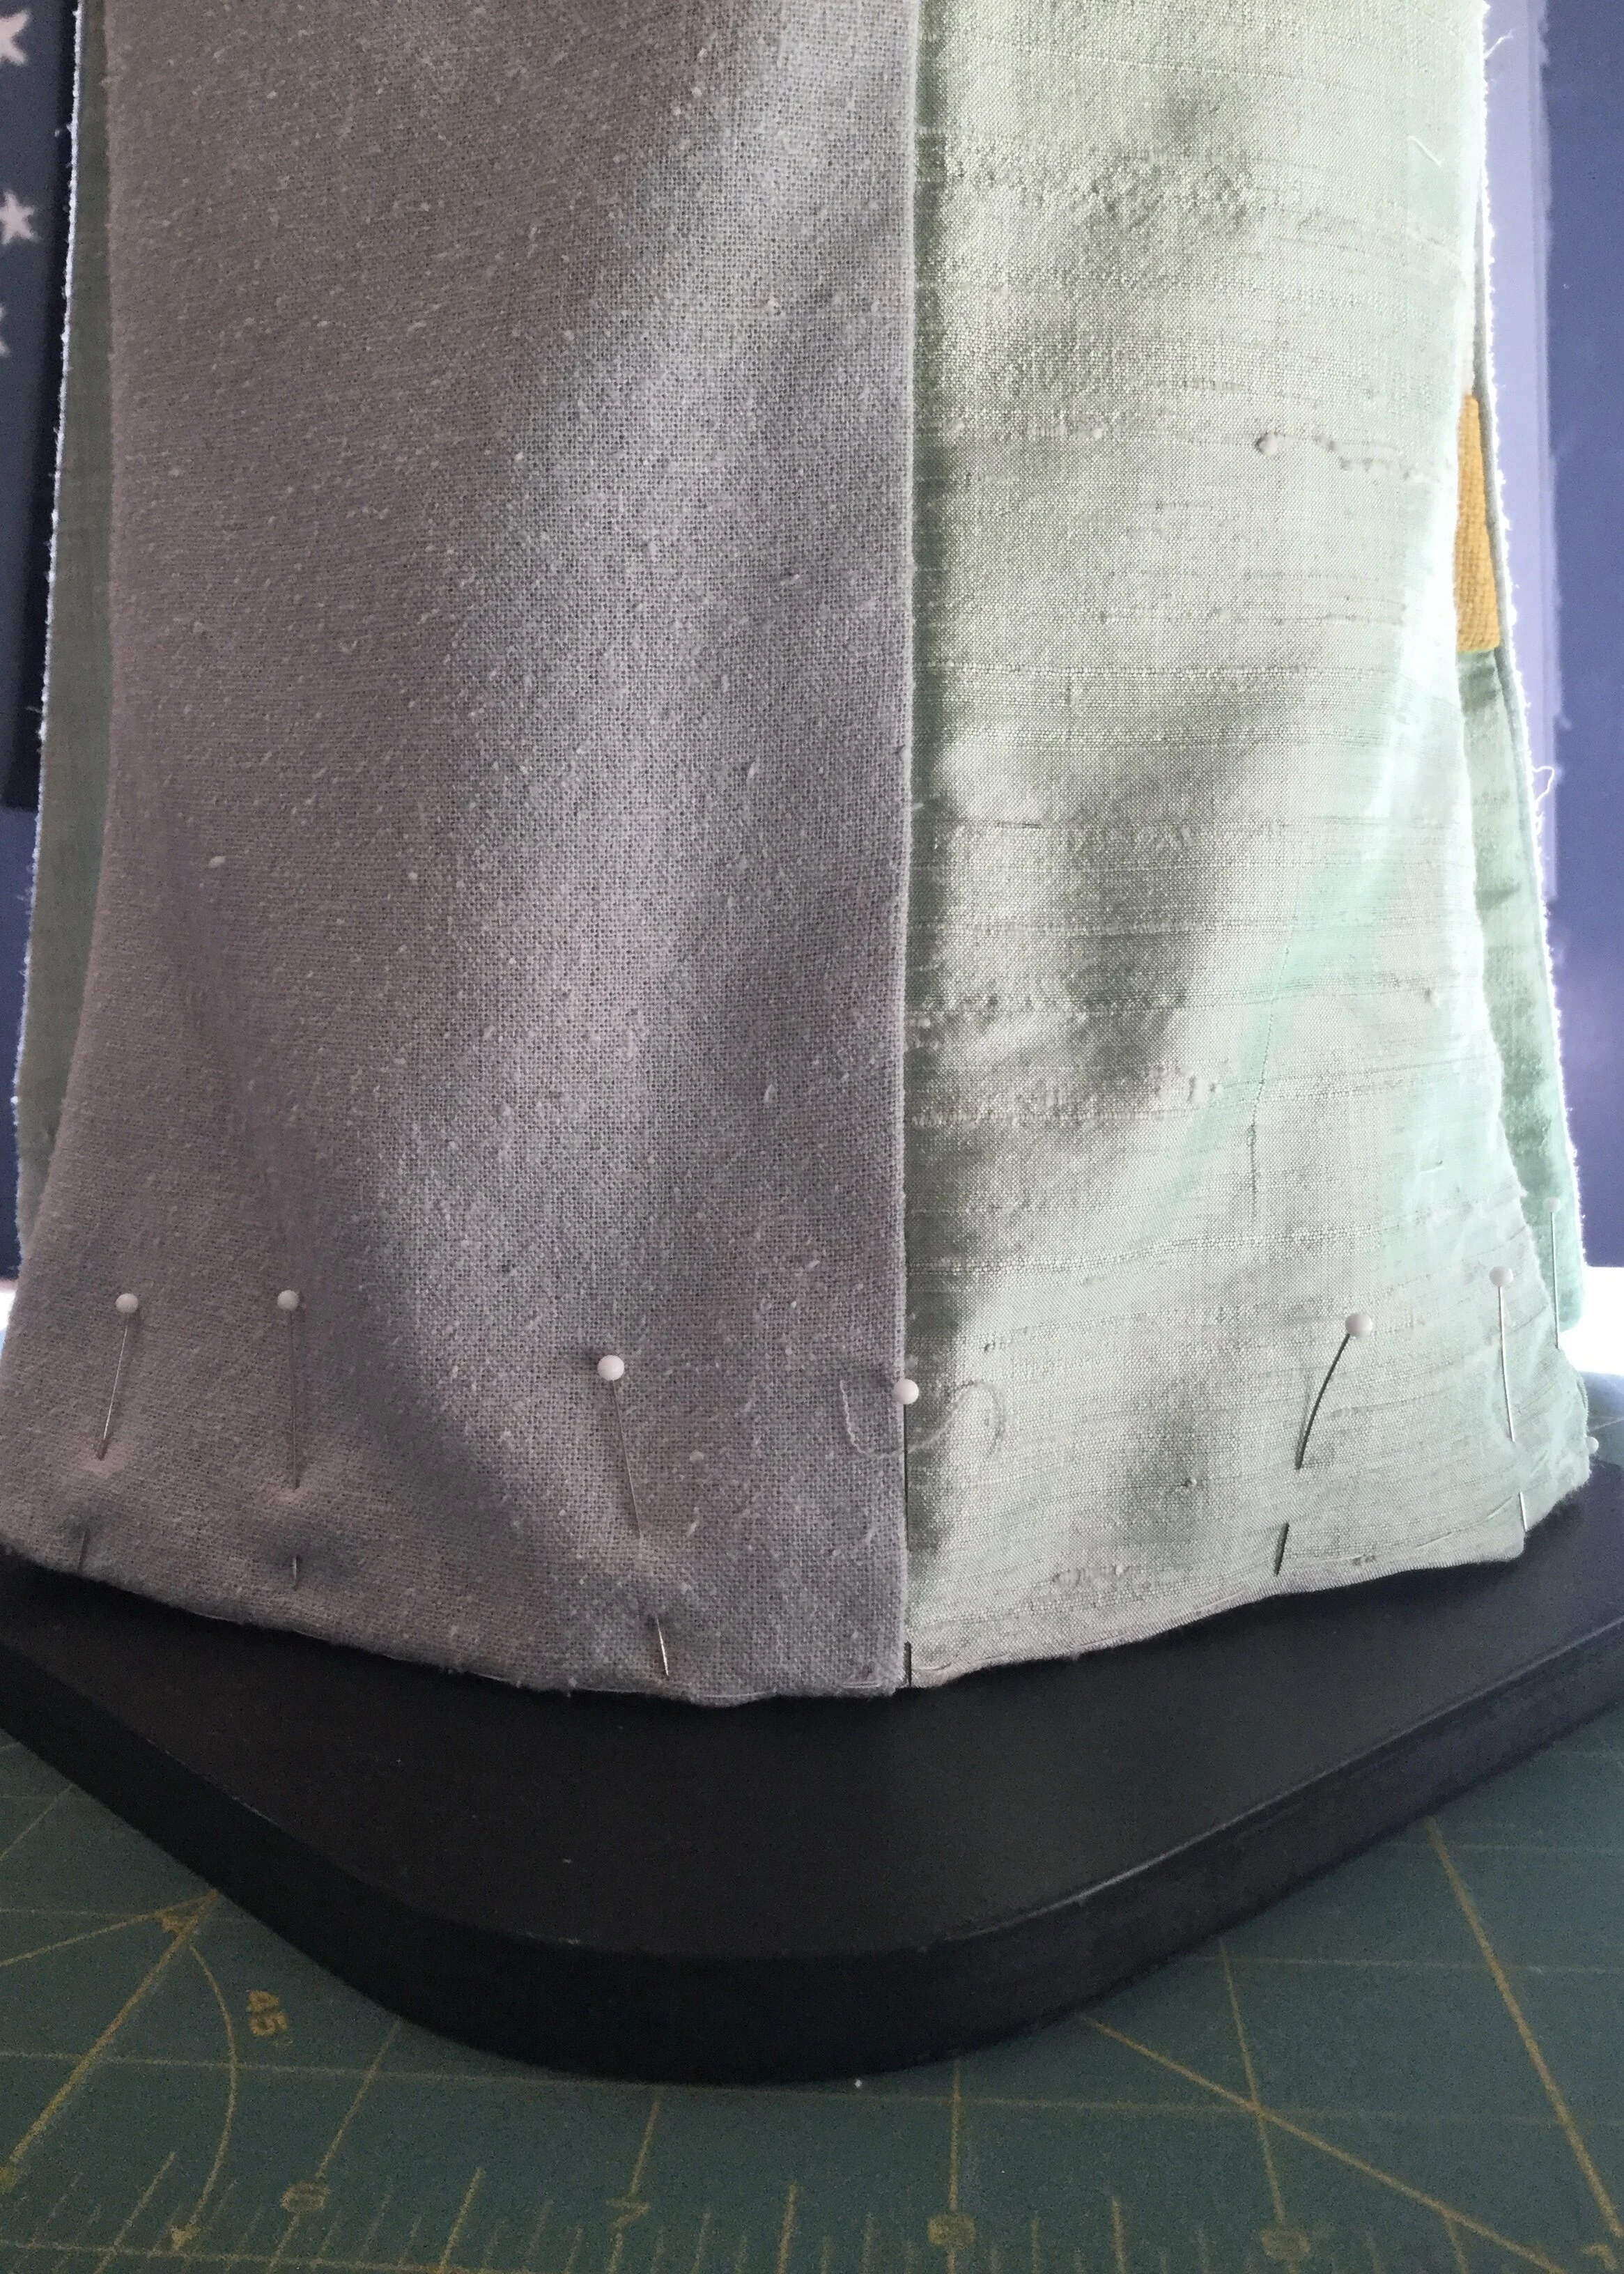
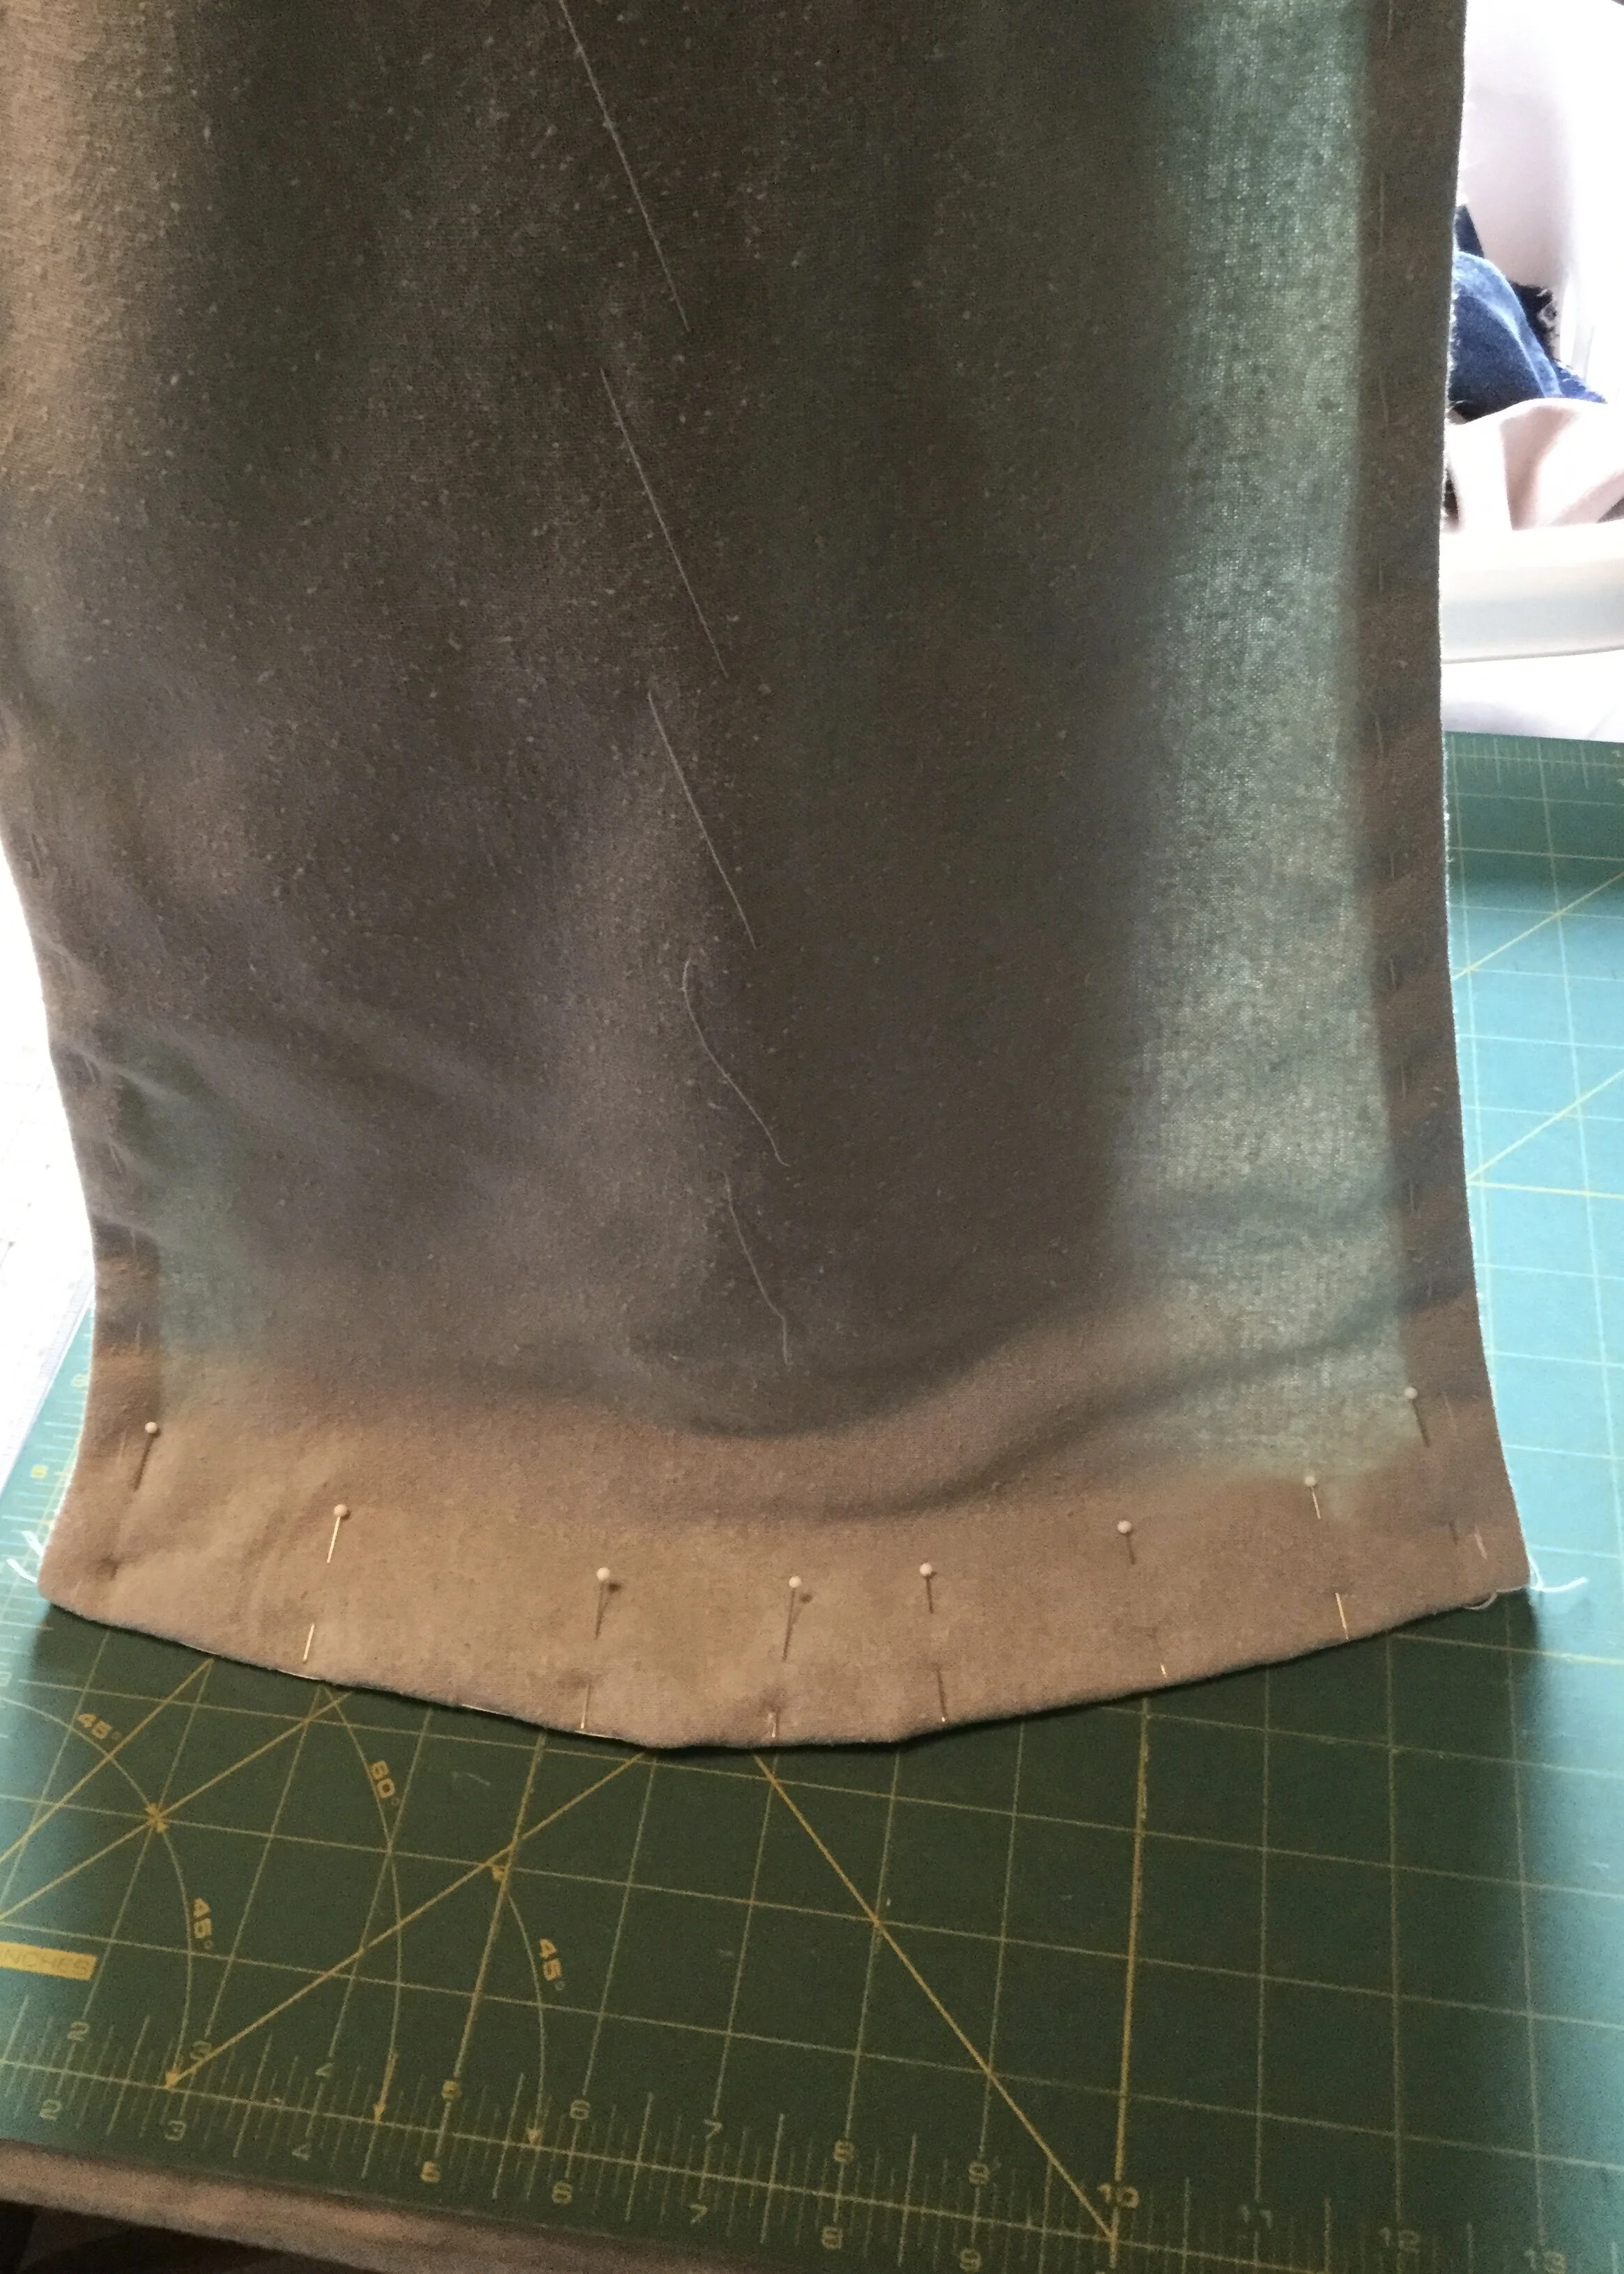
The final tasks were to hem the dress and cape. I basted the hem up to see how it looked and made a few small adjustments, mainly correcting the rather large difference in length between the two sides, before stitching it in place.
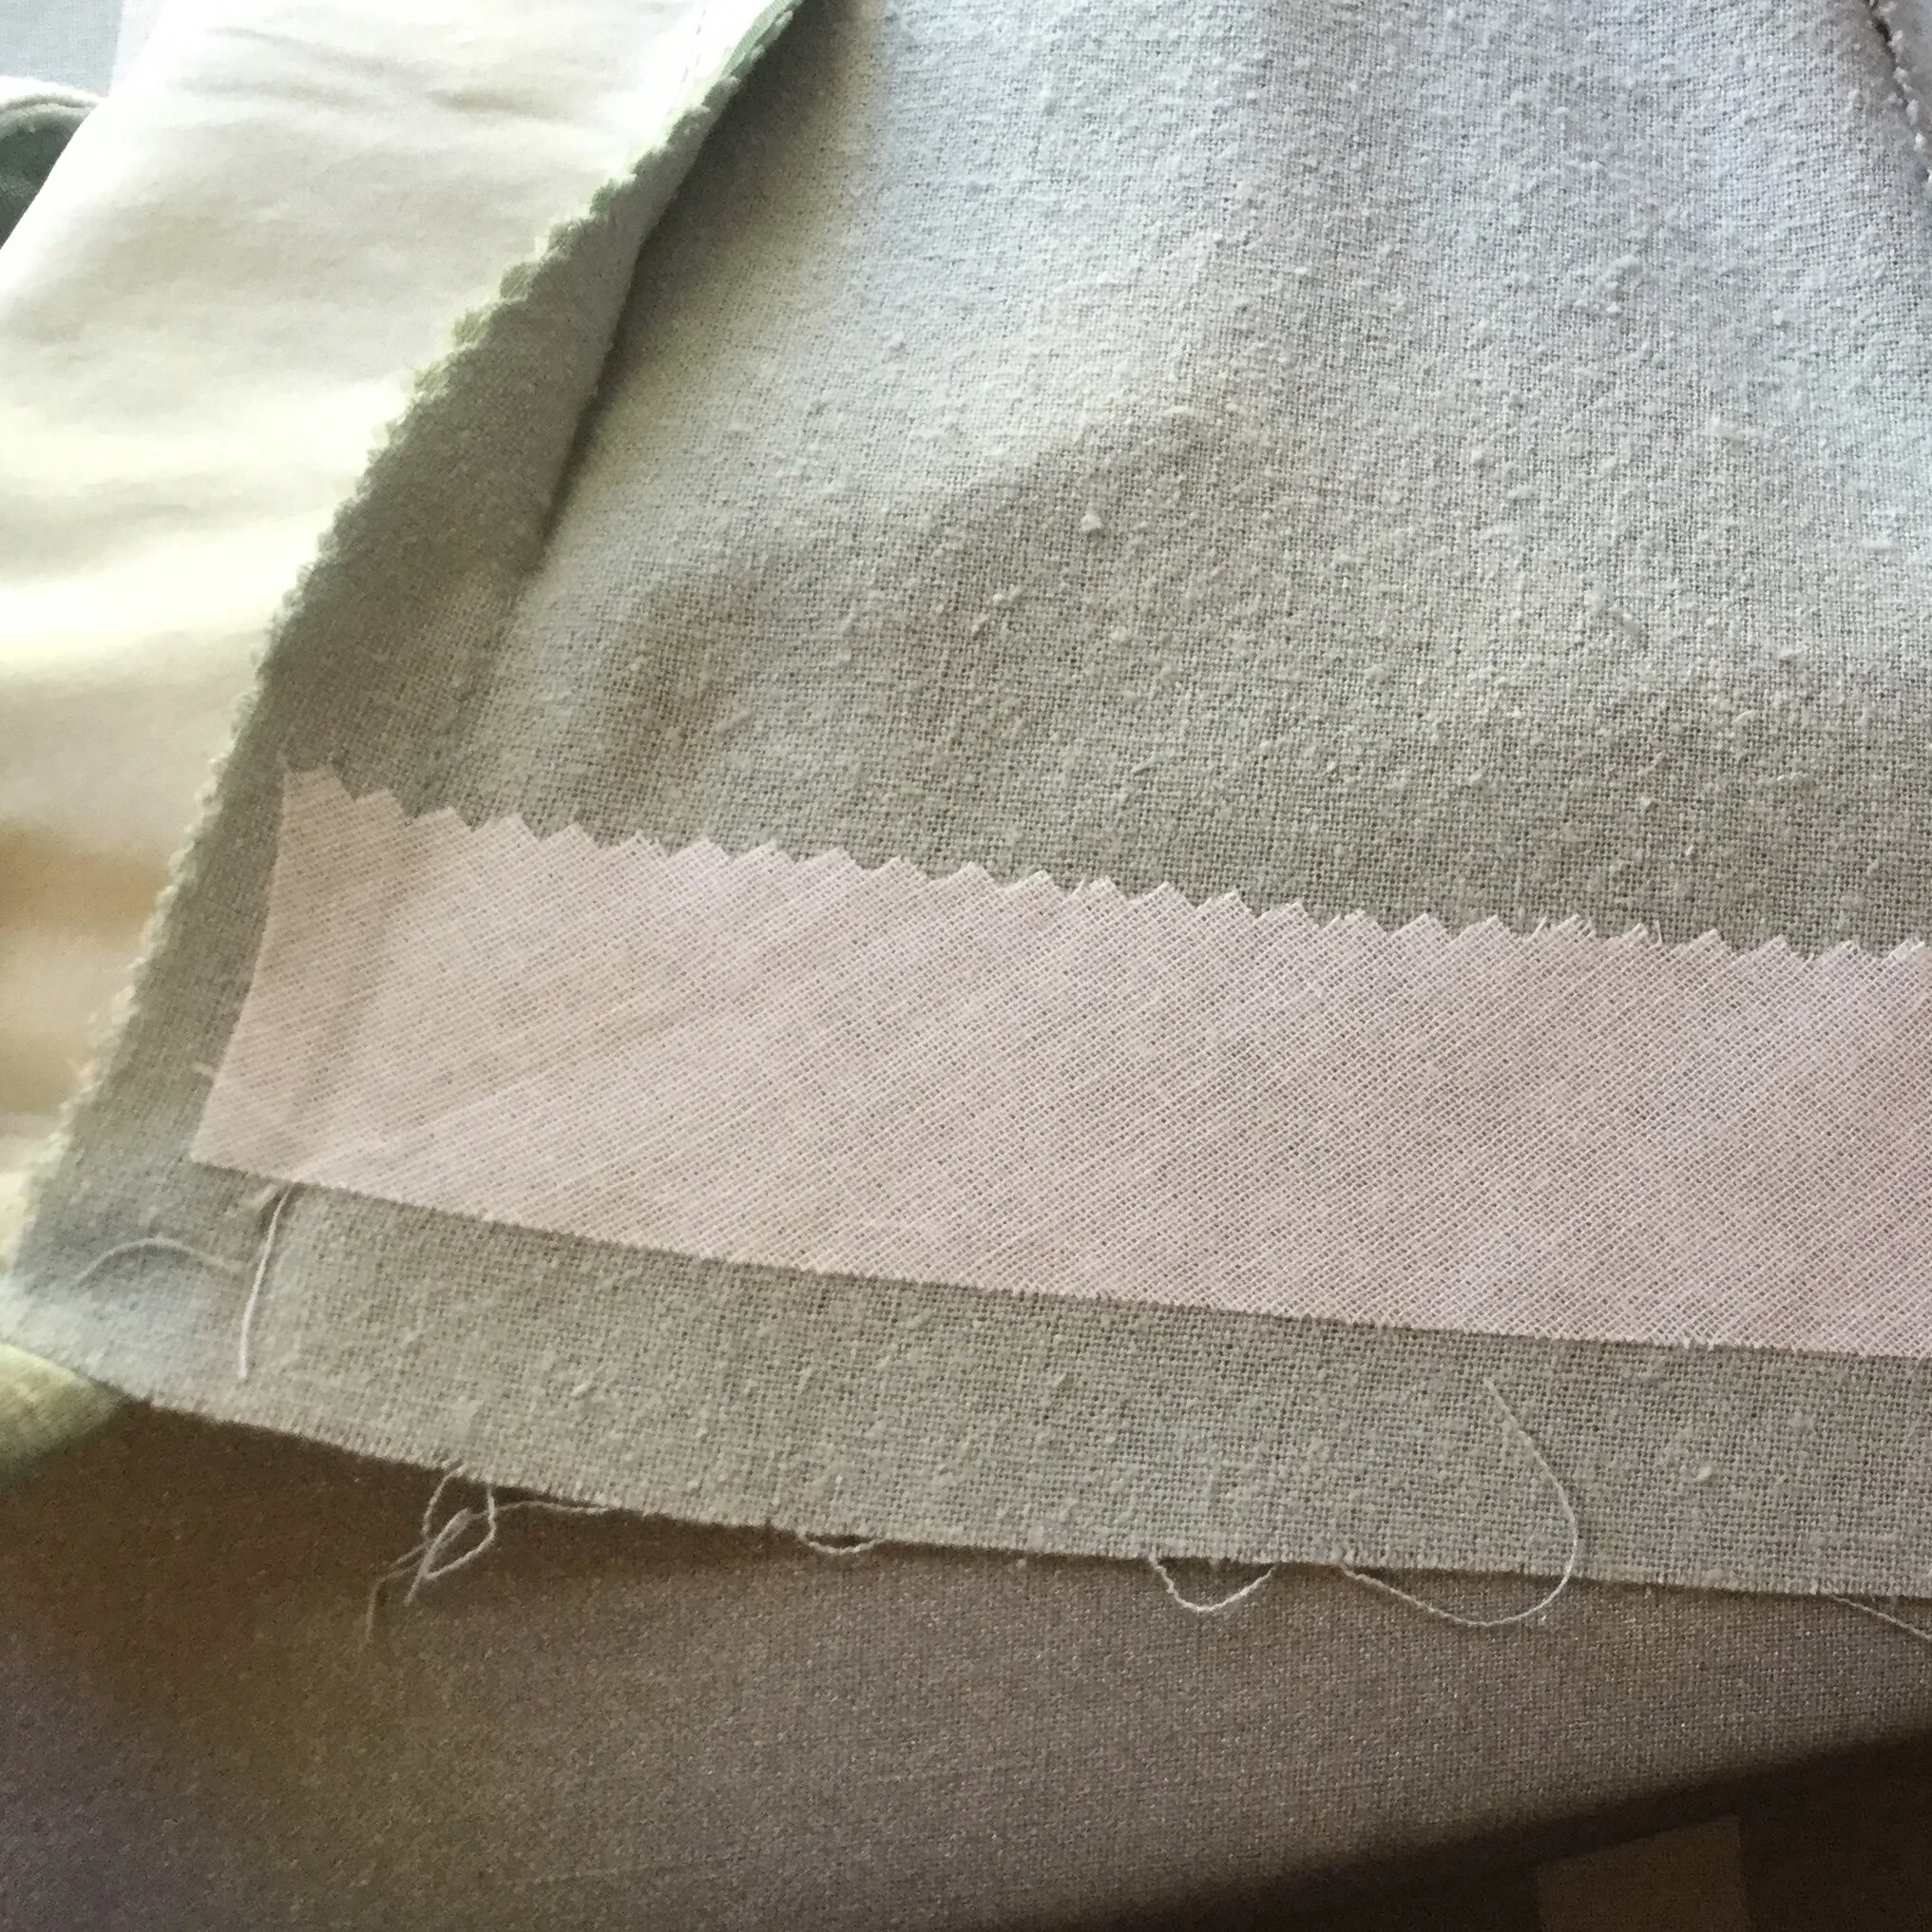
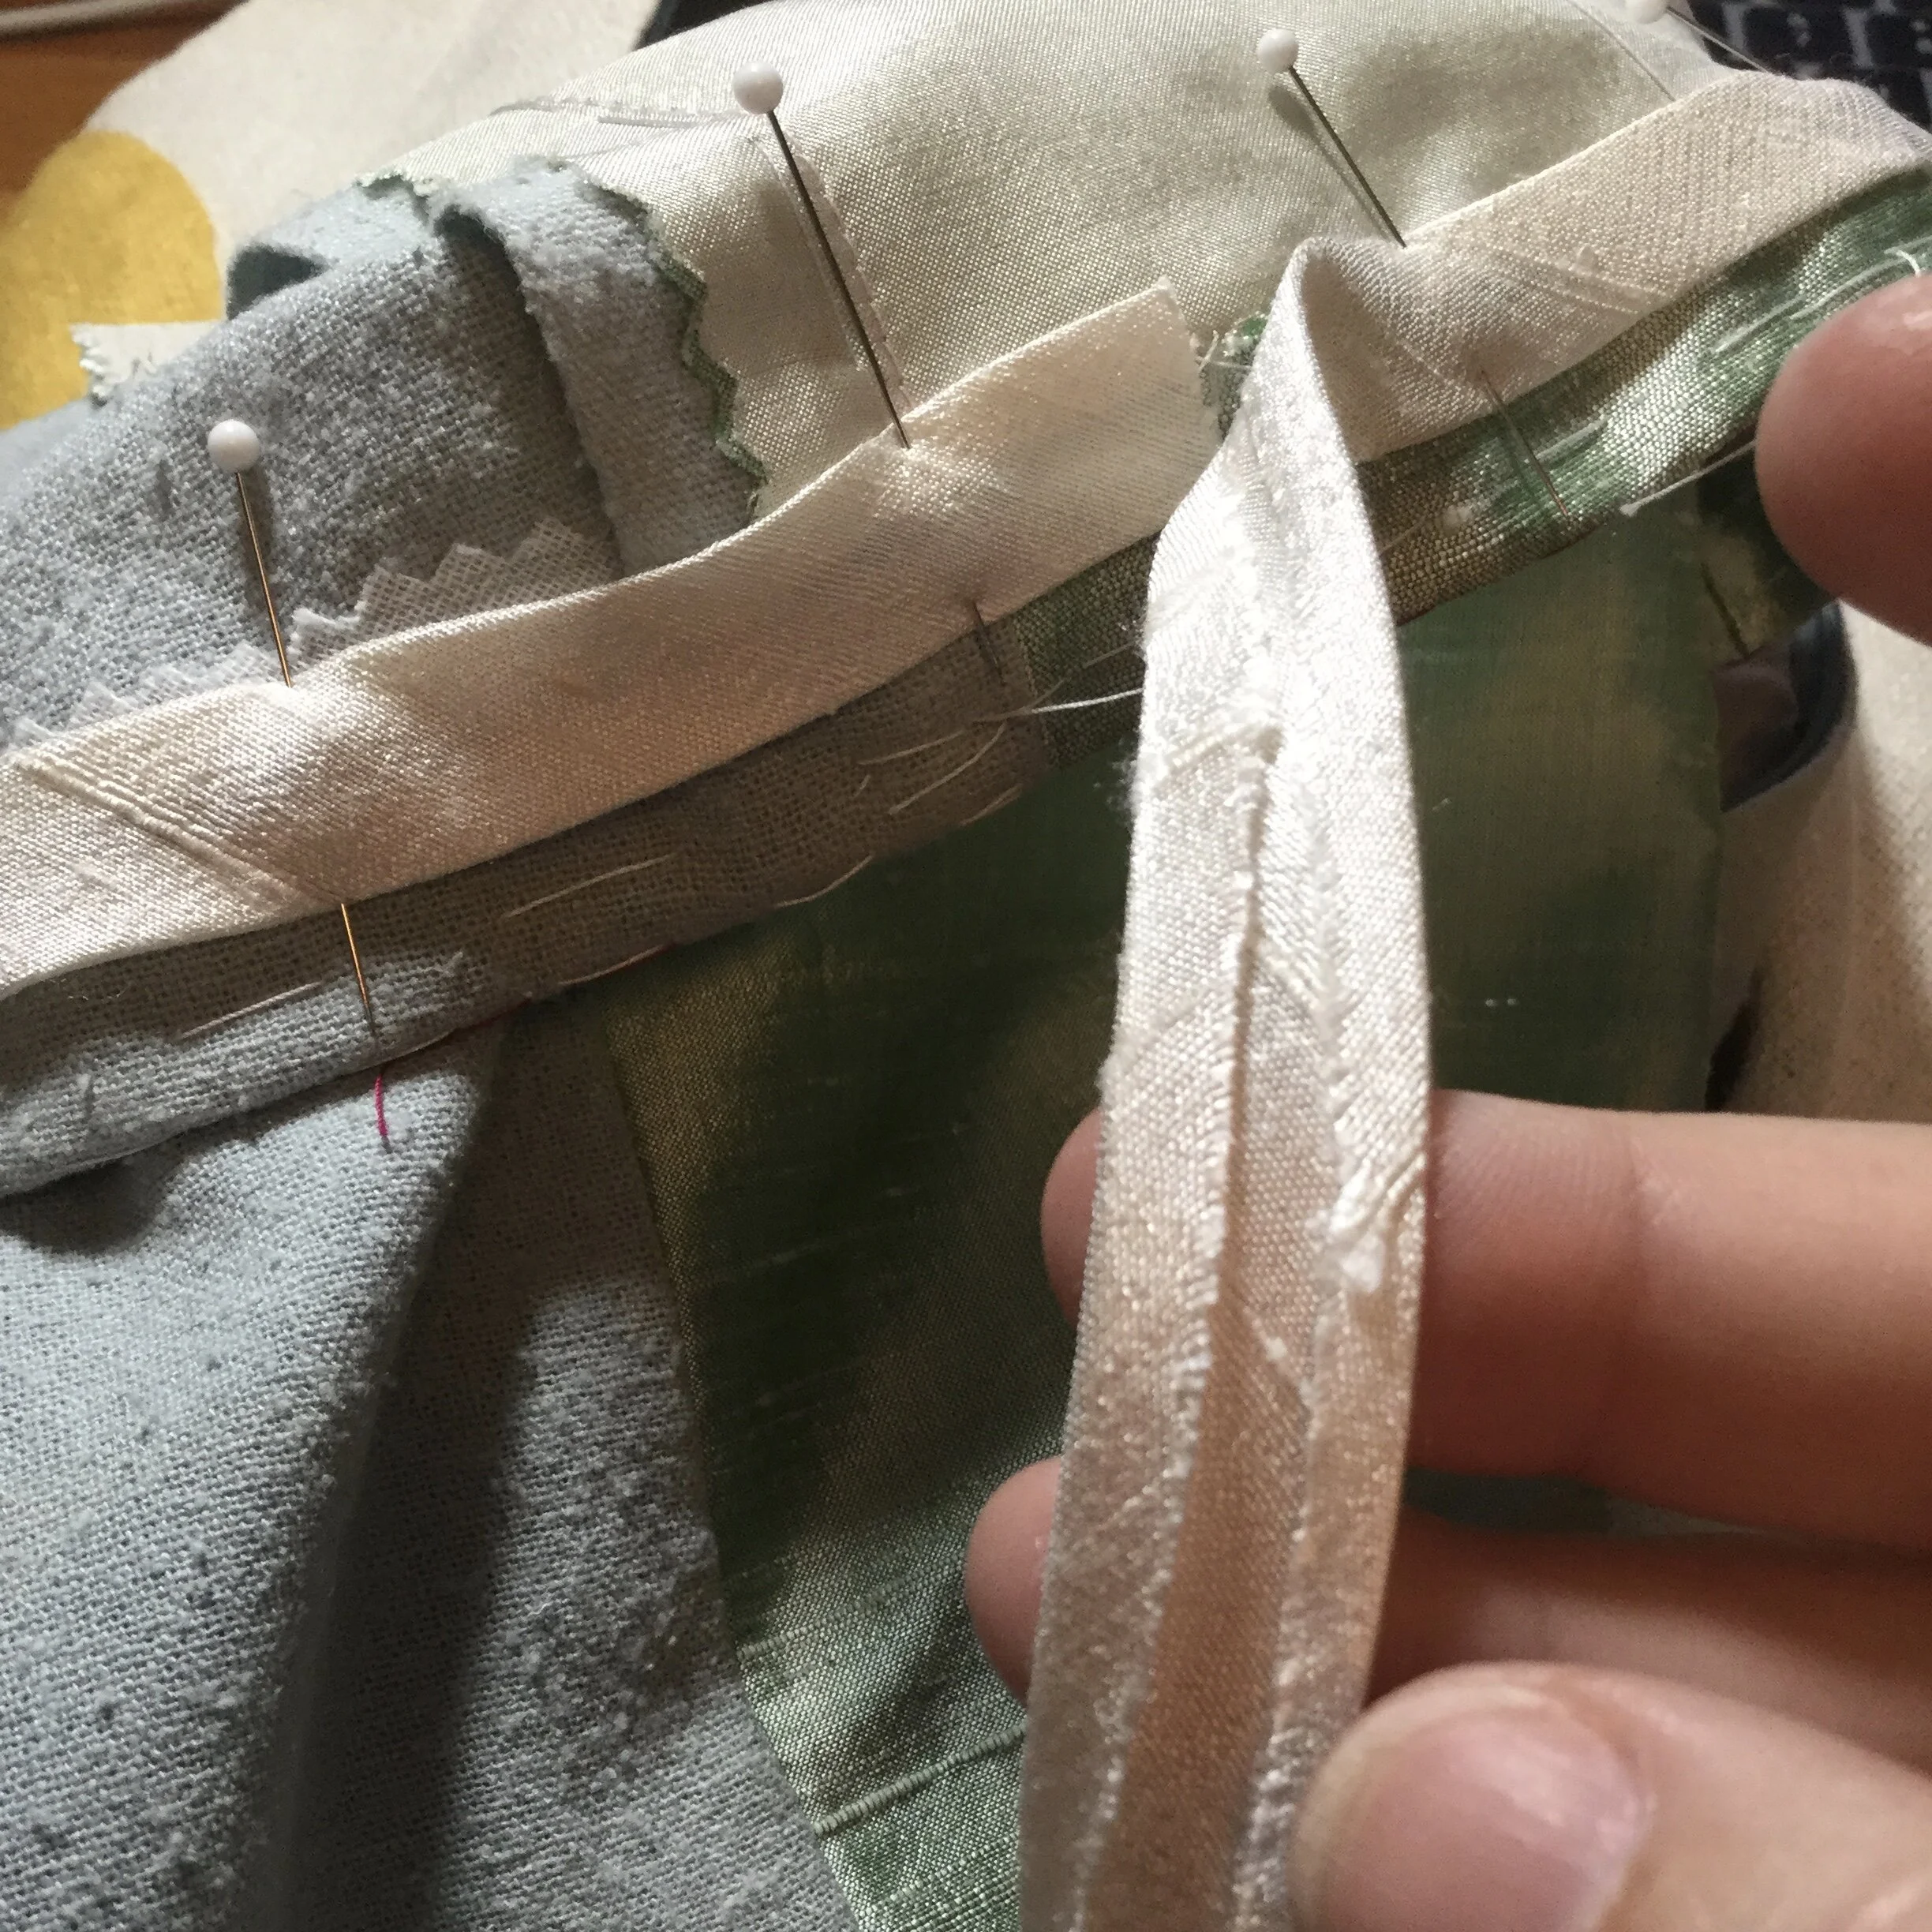
On the bean side I added a bias strip of fusible interfacing along the hem line, partly to give it a bit more weight and make the line more crisp and partly to provide something a little more substantial to stitch into so that my stitches would not be visible on the right side. After stitching the hem, I covered the pinked edge of the fabric with a strip of silk bias tape. I hadn’t originally planned to, but at the last minute I thought the pinking alone looked a bit too rough.
With the hem of the dress finished, I moved on to the cape. I adjusted the hem line as one side was definitely shorter, then finished the bean layer in the same way as the dress hem. I then brought the lining down, checked that it was hanging smoothly and closed it with a slip stitch. I also finally under stitched the sides to really ensure that the lining would not roll outwards.
At last she was done! Let the banners wave! Let the trumpets cry out triumphant! It has been at least fifteen years since I drew the original sketch and now here she is; she’s a real dress!
Massive setback over the stained glass business aside, I’m really happy with this one. I still like the stained glass idea and I’d like to apply it to something in the future, hopefully with better results. I did learn a lot from working on all that appliqué and I have a few ideas for how to make my next venture more successful so, for my own sanity if nothing else, I’m going to declare it not a complete waste of time.
Olivia took 117.25 hours in total. I spent 18.25 hours on drafting, drawing the window design and transferring it to the pattern. I spent 10.5 hours cutting and preparing the left side and doing samples of the appliqué. I spent 47.75 hours on appliquéing the front of the left side (can you hear me quietly weeping?). The final build from the redesign to finish took 40.75 hours.
Oliva took an effing long time.
