1880 Dress Part One
The reverse corset?
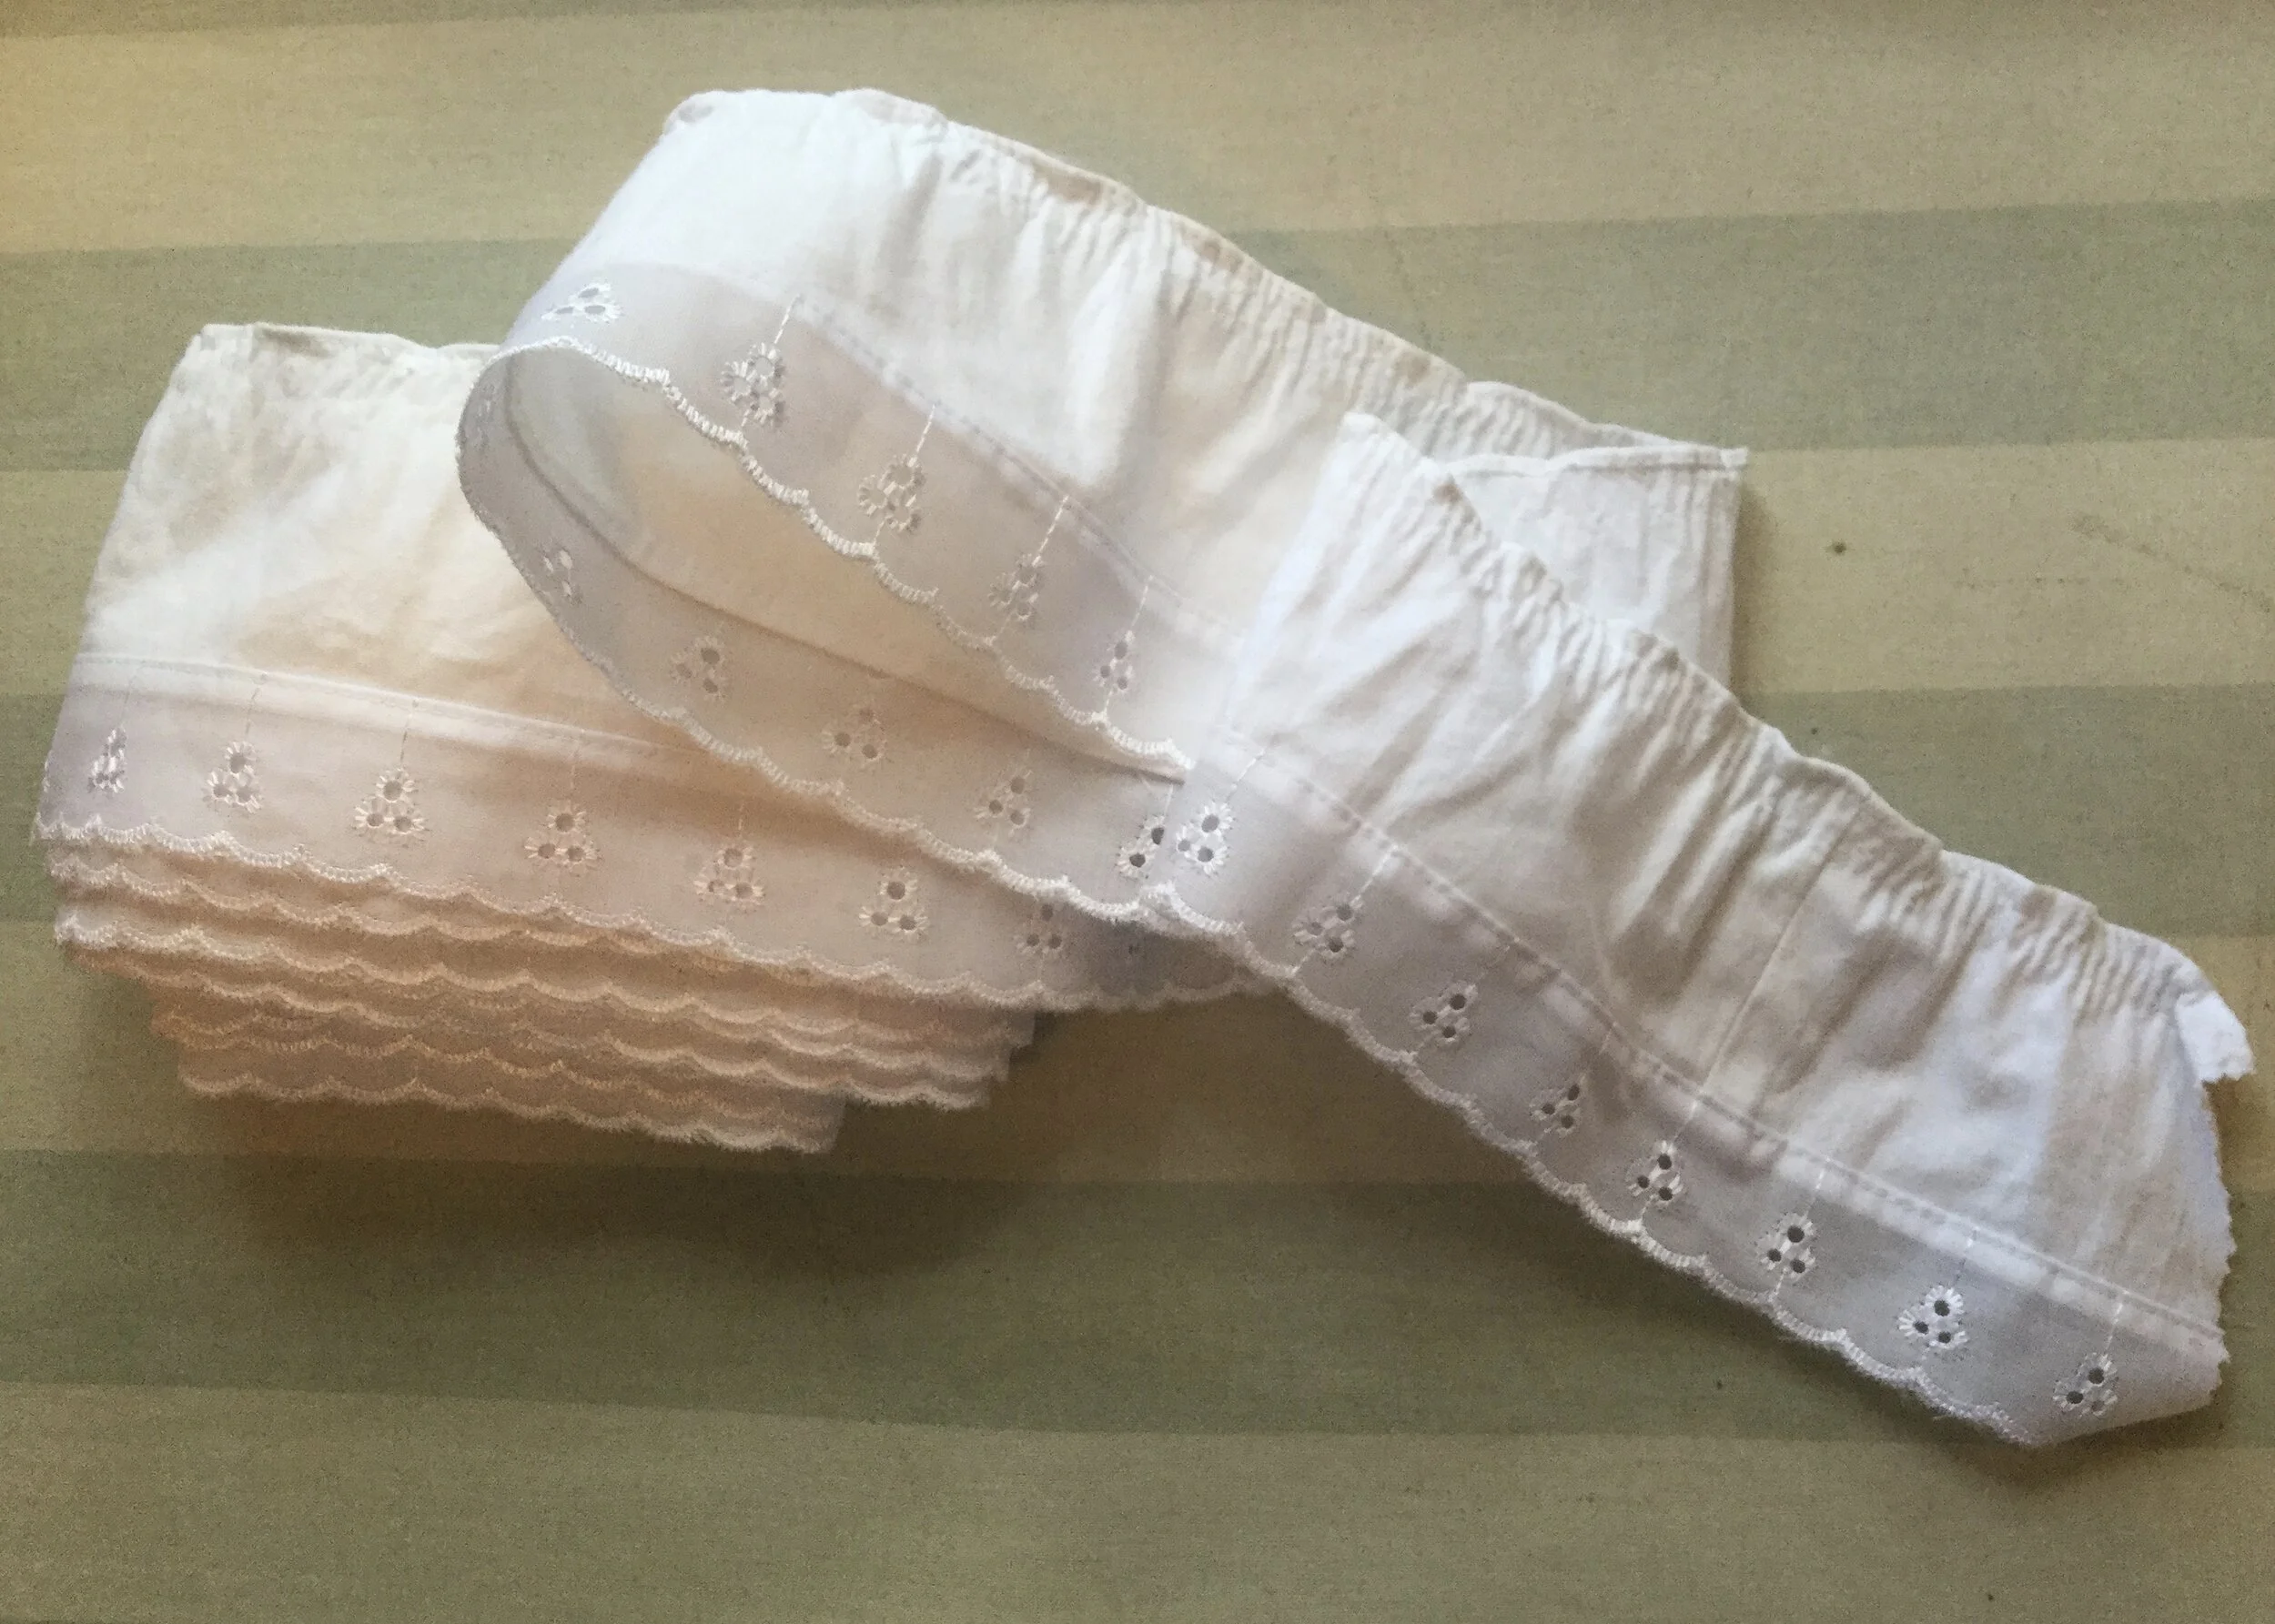
I'm embarking on a pretty big project with several components: an historical build. This will be somewhat like the process of the Titanic dress, my final project at Dalhousie. The plan is to build an entire outfit from underpinnings to the outer gown, including corset, petticoat and other necessary garments. When I decided to start this blog, I was interested in doing some historical builds, but the real impetus of this particular endeavour was the Belle petticoat. After having to de-floof it I was left with several meters of lace edged flounce, ready to be applied to some new project. Well, this is that project.
One way or another, I will use this ruffle!
Yes. I'm doing this entire project to use some ruffles I had lying around.
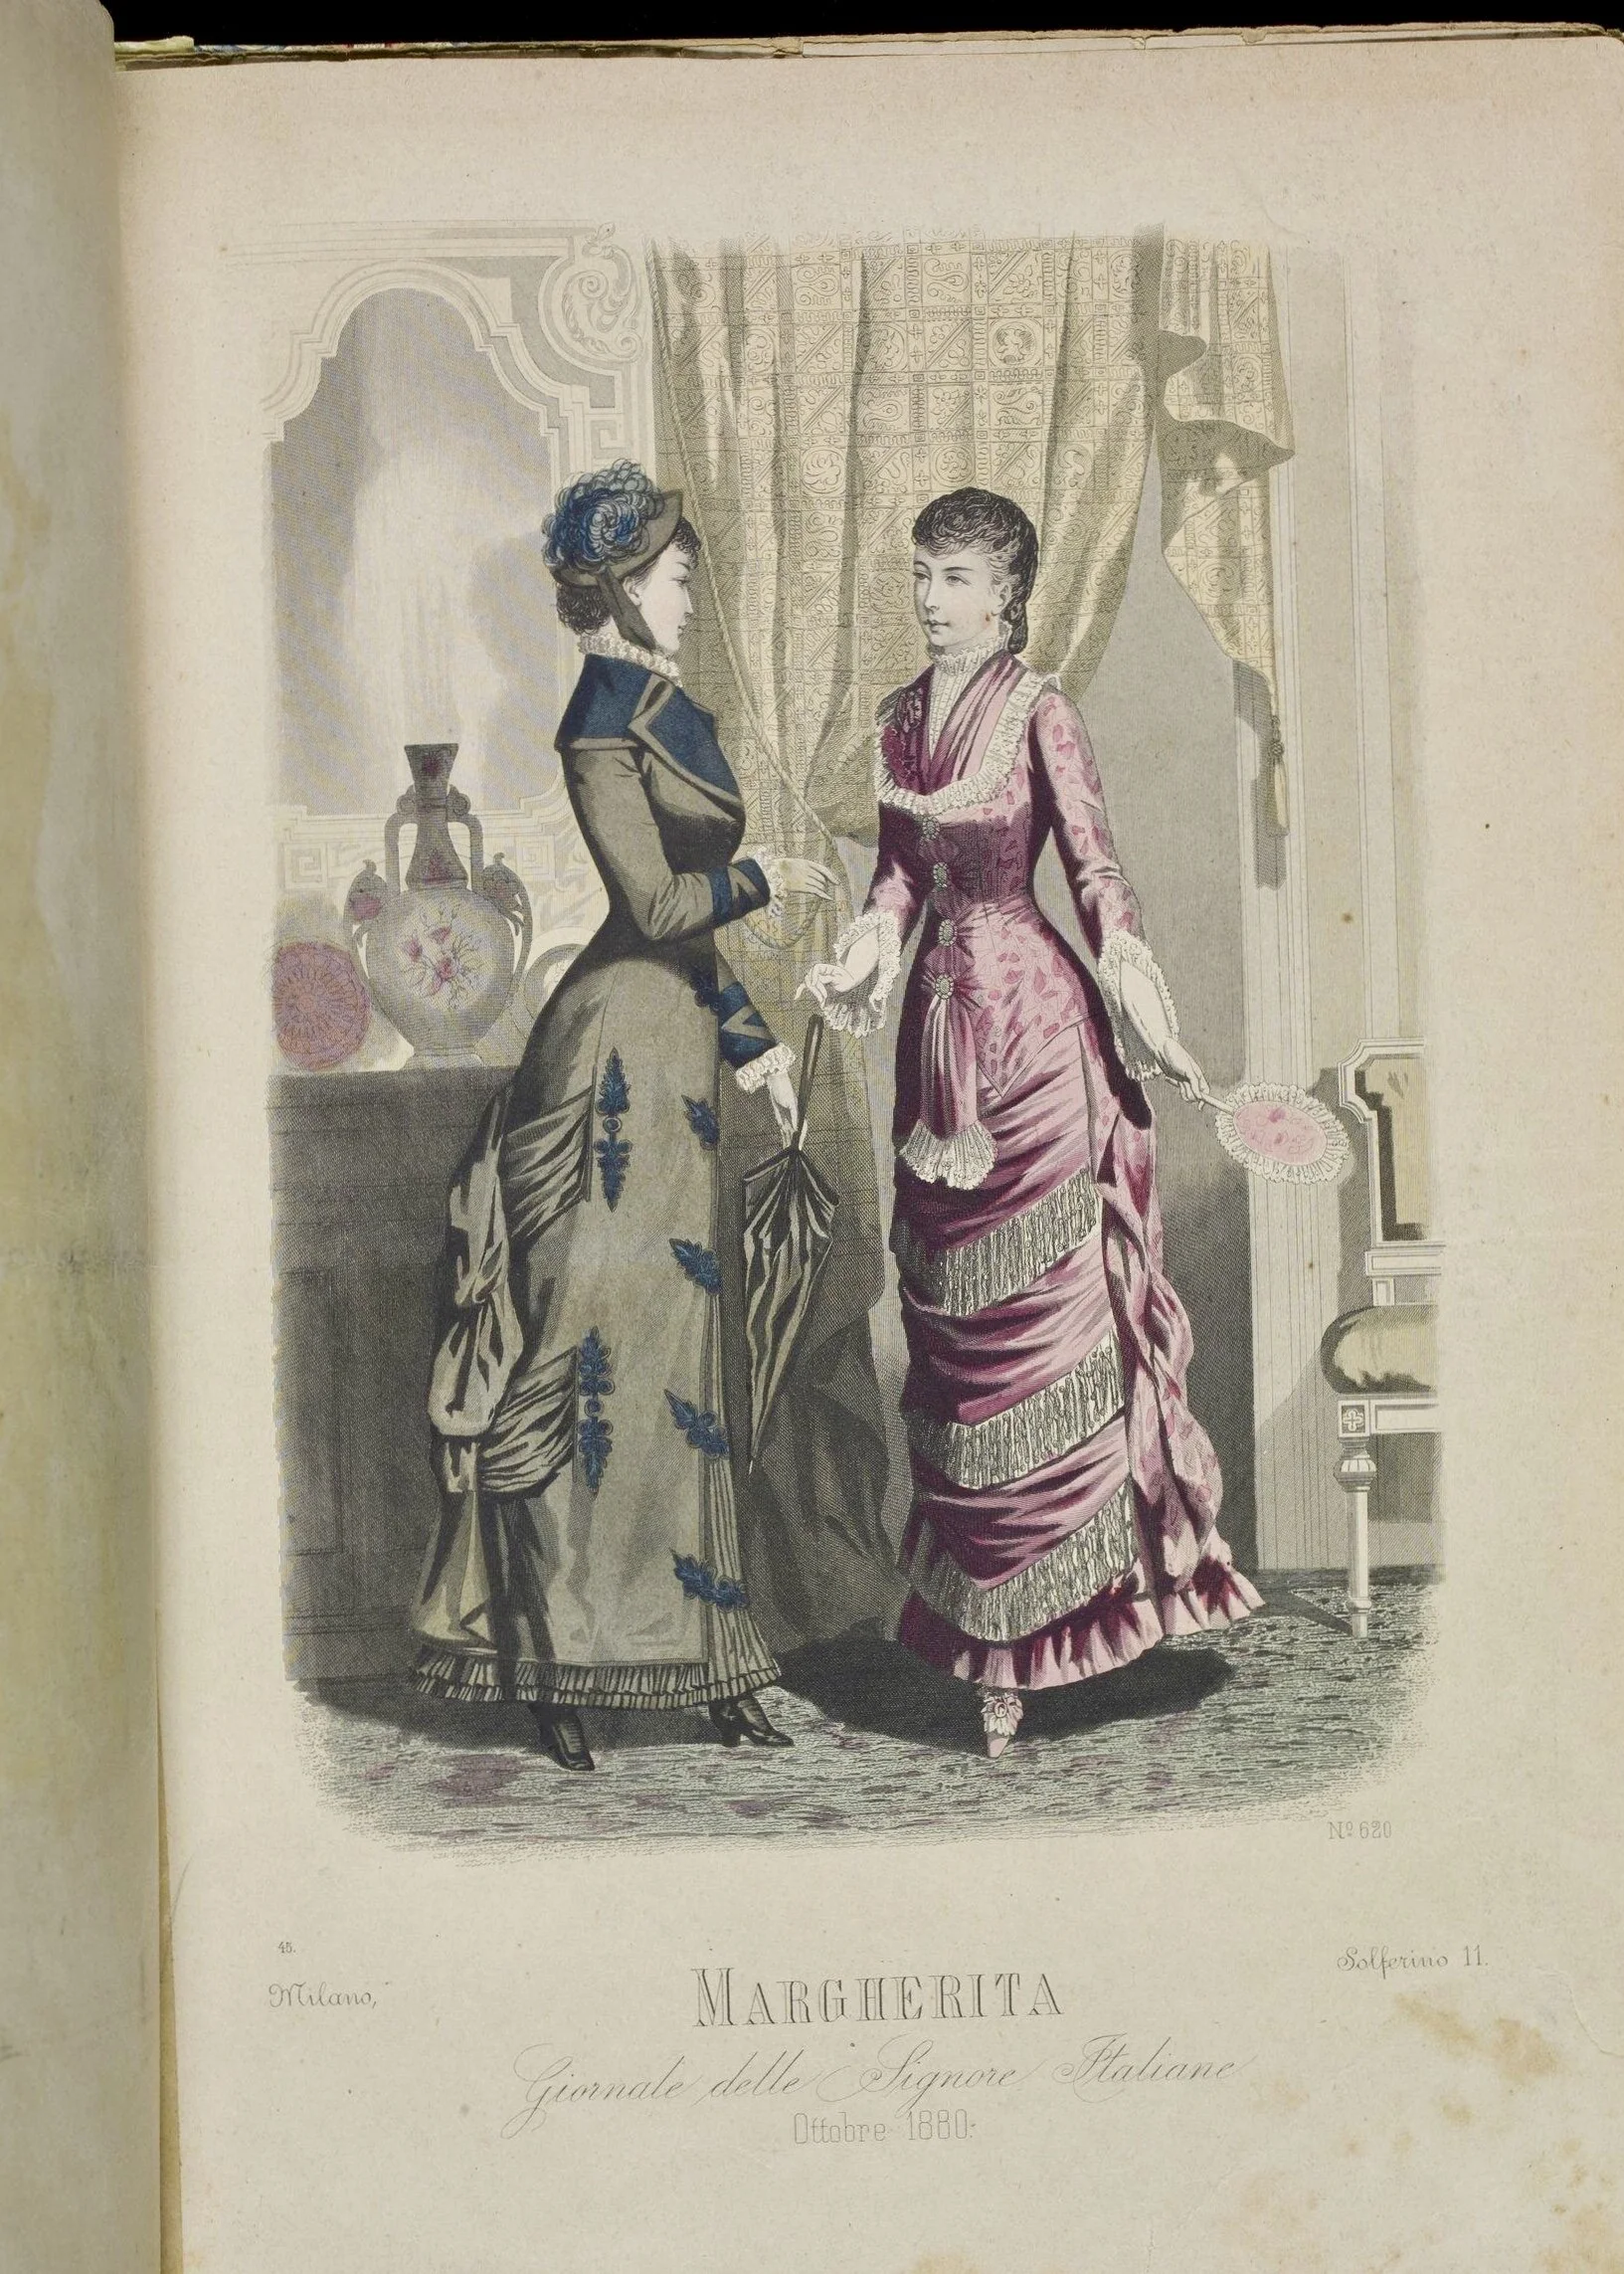
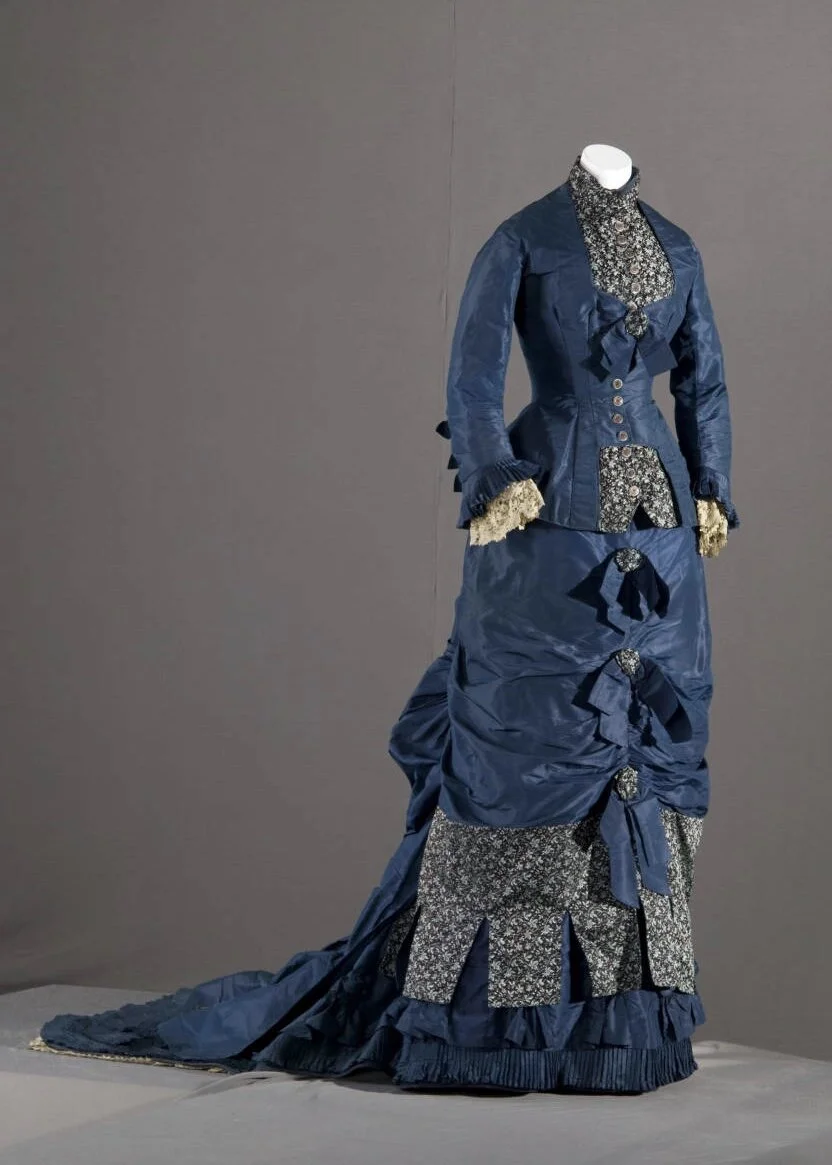
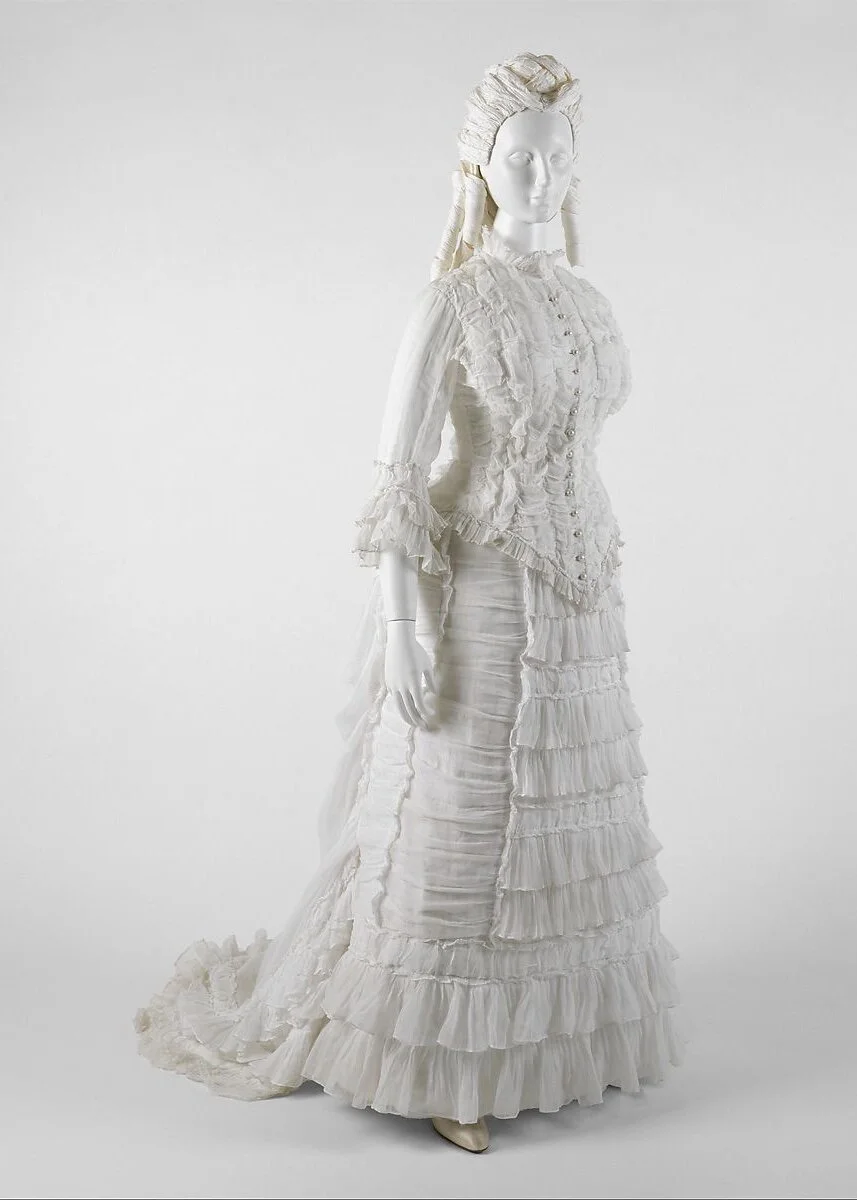
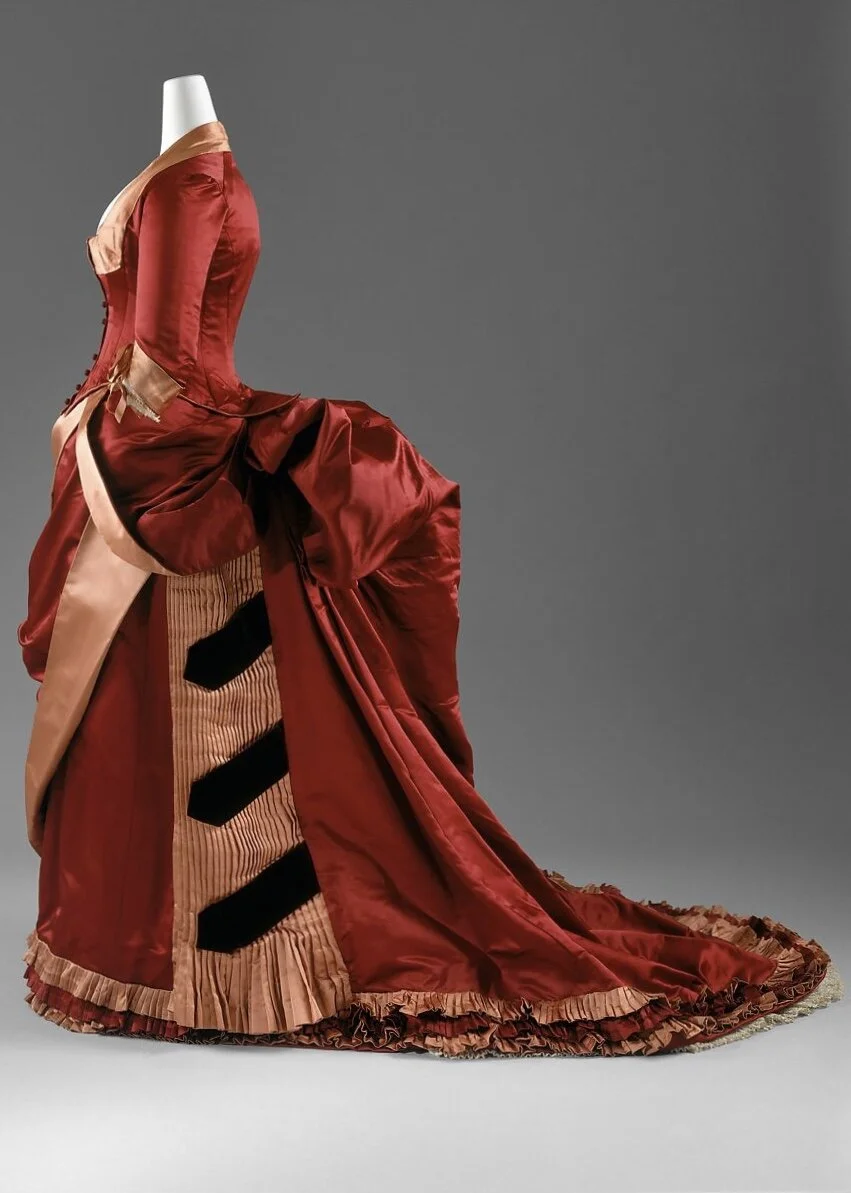
Anyway, the point in history which I have settled on is the early 1880s. I've been inspired specifically by a few pieces I have found which seem to exist somewhere between the long, narrow silhouette of the late 1870s and the most extreme, almost shelf like bustles of the mid to late 1880s. As I was looking through my various books and whatever google had to offer that seemed legitimate, I noticed a few pieces which still had a cuirasse bodice which was very fitted and came quite far down over the hips, but the skirt looked very slightly A-line and the bustle appeared to have moved back up to the bum again, but was still a bit sloped and not yet protruding at a 90° angle from the back.
Fashion Plate. 1880. Victoria and Albert Museum, https://collections.vam.ac.uk/item/O106135/fashion-plate-unknown/
Dress. 1879. Chicago History Museum, https://collections.carli.illinois.edu/digital/collection/chm_museum/id/542/rec/295
Dress. ca. 1880. Metropolitan Museum of Art Costume Institute, https://www.metmuseum.org/art/collection/search/82460?searchField=All&sortBy=Relevance&deptids=8&ft=1880+dress&offset=0&rpp=20&pos=3
Mme. Grapanache. Dinner Dress. 1884-86. Metropolitan Museum of Art Costume Institute, https://www.metmuseum.org/art/collection/search/82880
It's not really a distinct style but rather the transition from one very particular style to another. Of course, fashion is a fluid thing and it's not as though a switch flipped one day and everyone suddenly started dressing differently so there are not very many examples of what I'm describing. Also, when I consider the different purposes for clothes (daytime, evening, walking etc.) and how that affects their shape I honestly sometimes wonder if I'm imagining things, but as I said, the style I'm aiming for is something in between which has elements of both where it came from and where it was going.
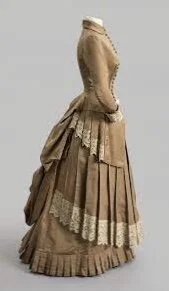
Price, Milton S. Fawn Colored Day Dress. 1882-83. Albany Institute of History & Art, https://www.albanyinstitute.org/details/items/fawn-colored-day-dress.html
Price, Milton S. Fawn Colored Day Dress. 1882-83. Albany Institute of History & Art, https://www.albanyinstitute.org/details/items/fawn-colored-day-dress.html
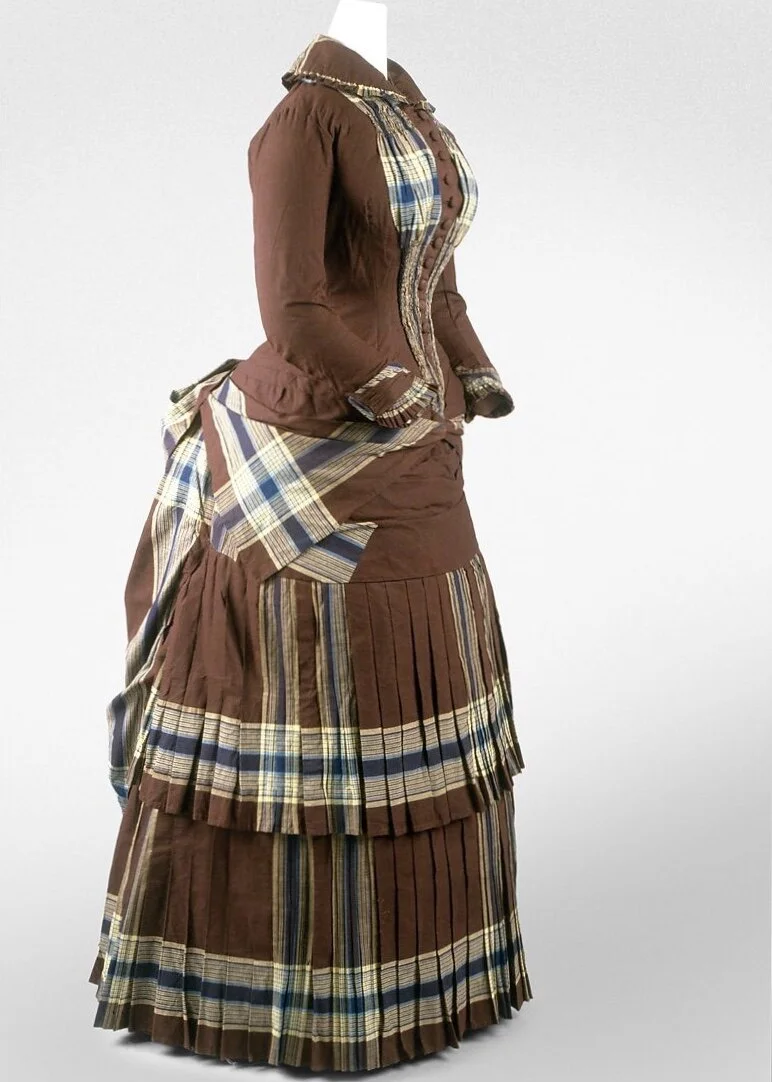
Dress. 1882. Metropolitan Museum of Art Costume Institute, https://www.metmuseum.org/art/collection/search/95534?searchField=All&sortBy=Relevance&deptids=8&ft=1880+dress&offset=60&rpp=20&pos=68
So, where to begin? Well, for my Titanic dress it was the chemise and knickers (acutually, it was choosing someone from the list of passengers to research and pretend to be but that's not really what I'm here for so I'm gonna skip that step.) However, that is not where this gown is starting. My first step is actually to add padding to my Judy to give her a shape closer to that of the 1880s. She is made of foam and can be squished a bit, and of course I will be making her a little corset, but she's not quite soft enough to shape easily (I'm pretty sure cinching her in with a corset would be at least a two person job) and I worry that if I left the corset on long enough the foam might not spring back anymore and my Judy would be permanently altered. So reverse corset it is!
(I'm not sure that reverse corset is really what I'm doing here, perhaps pointless corset would be more accurate.)
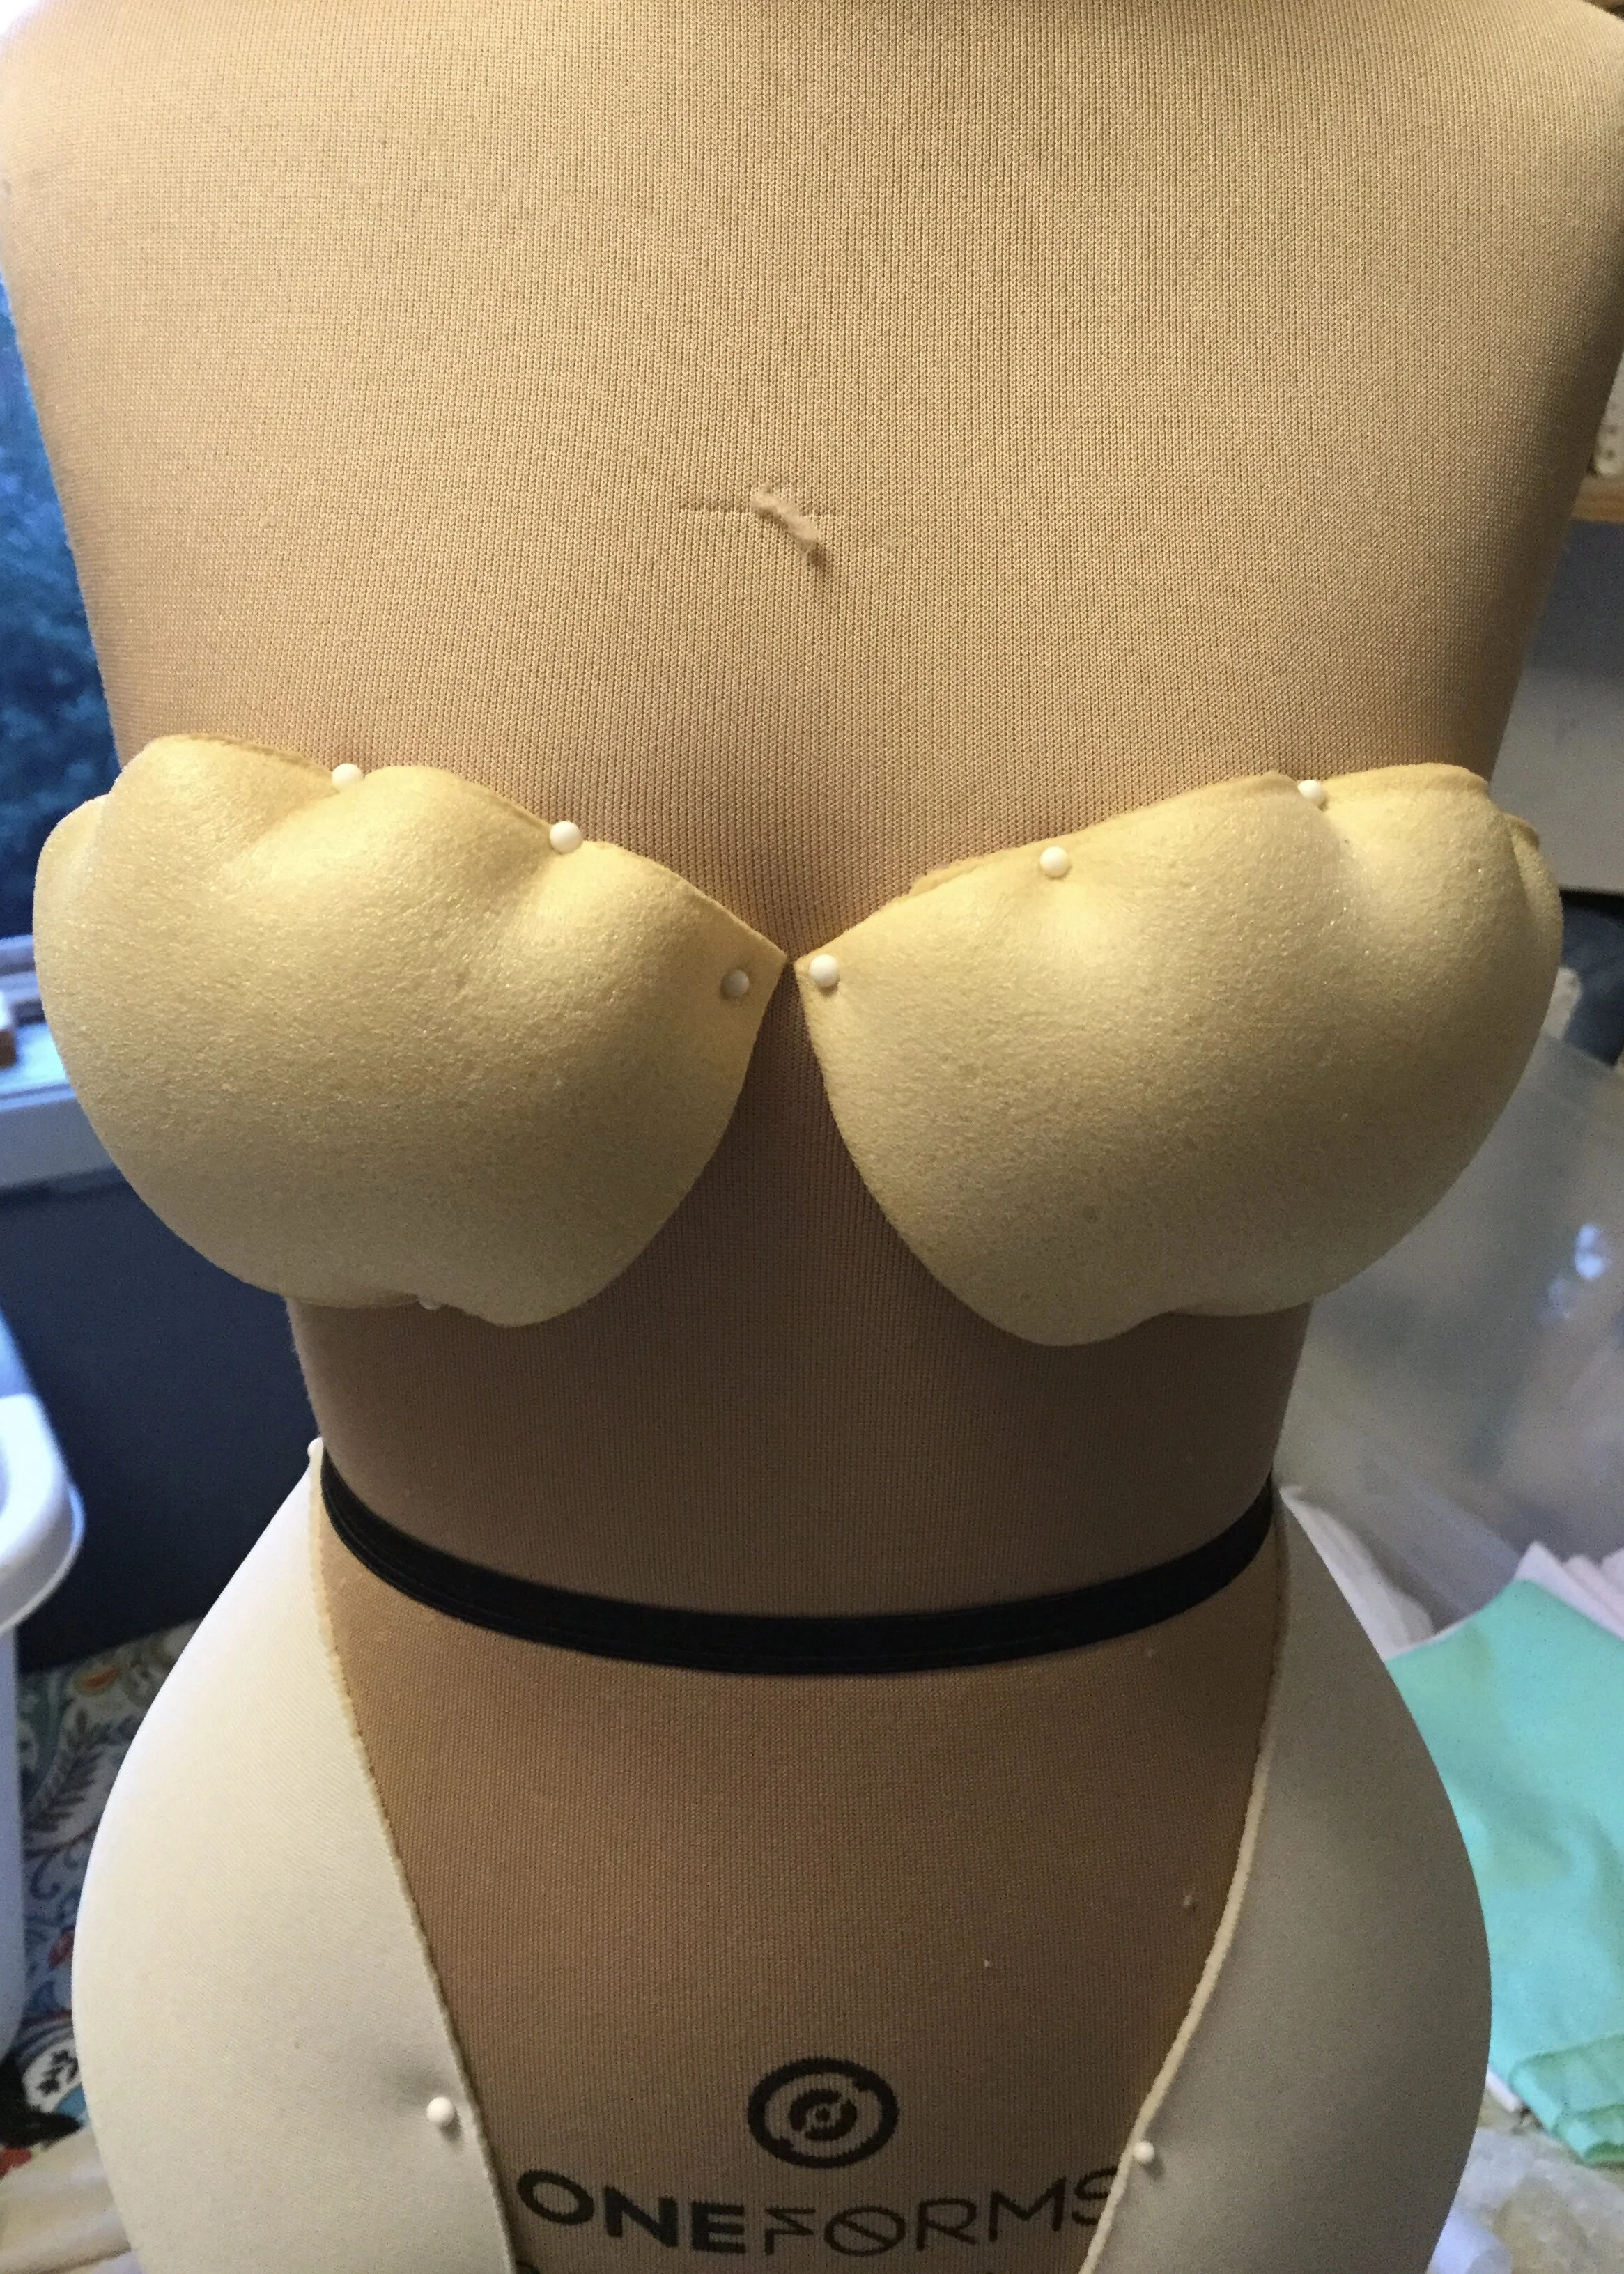
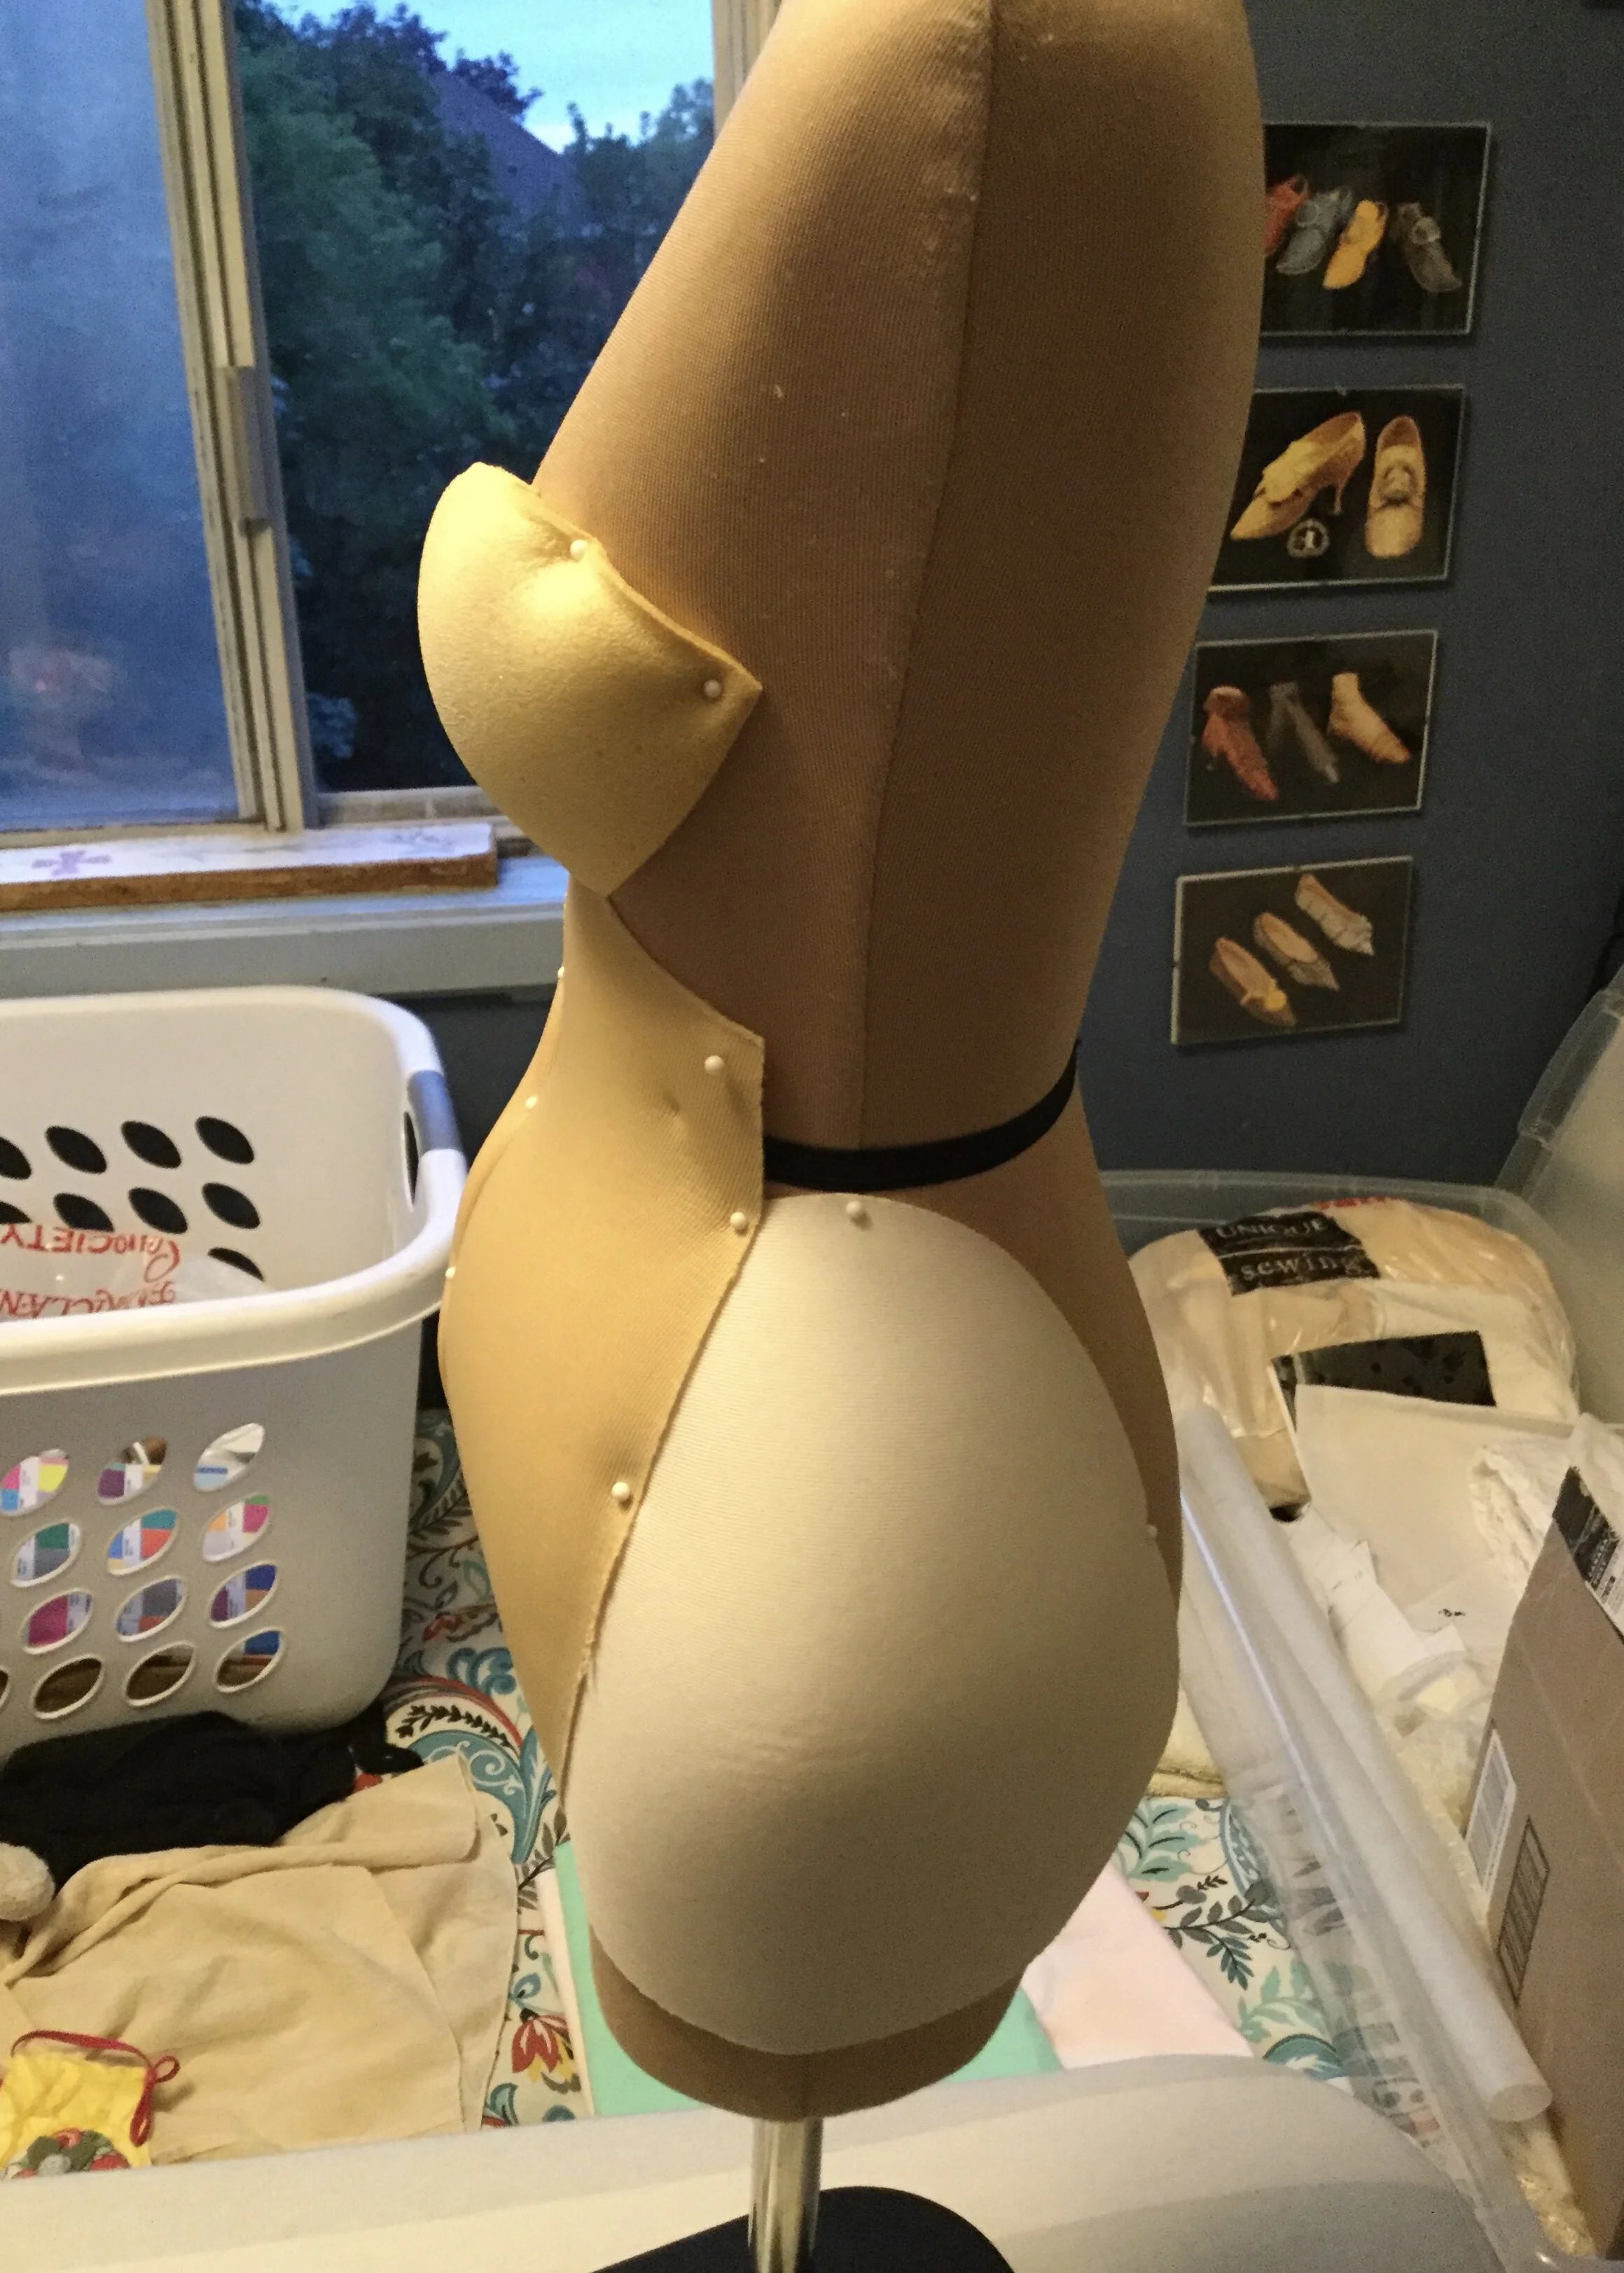
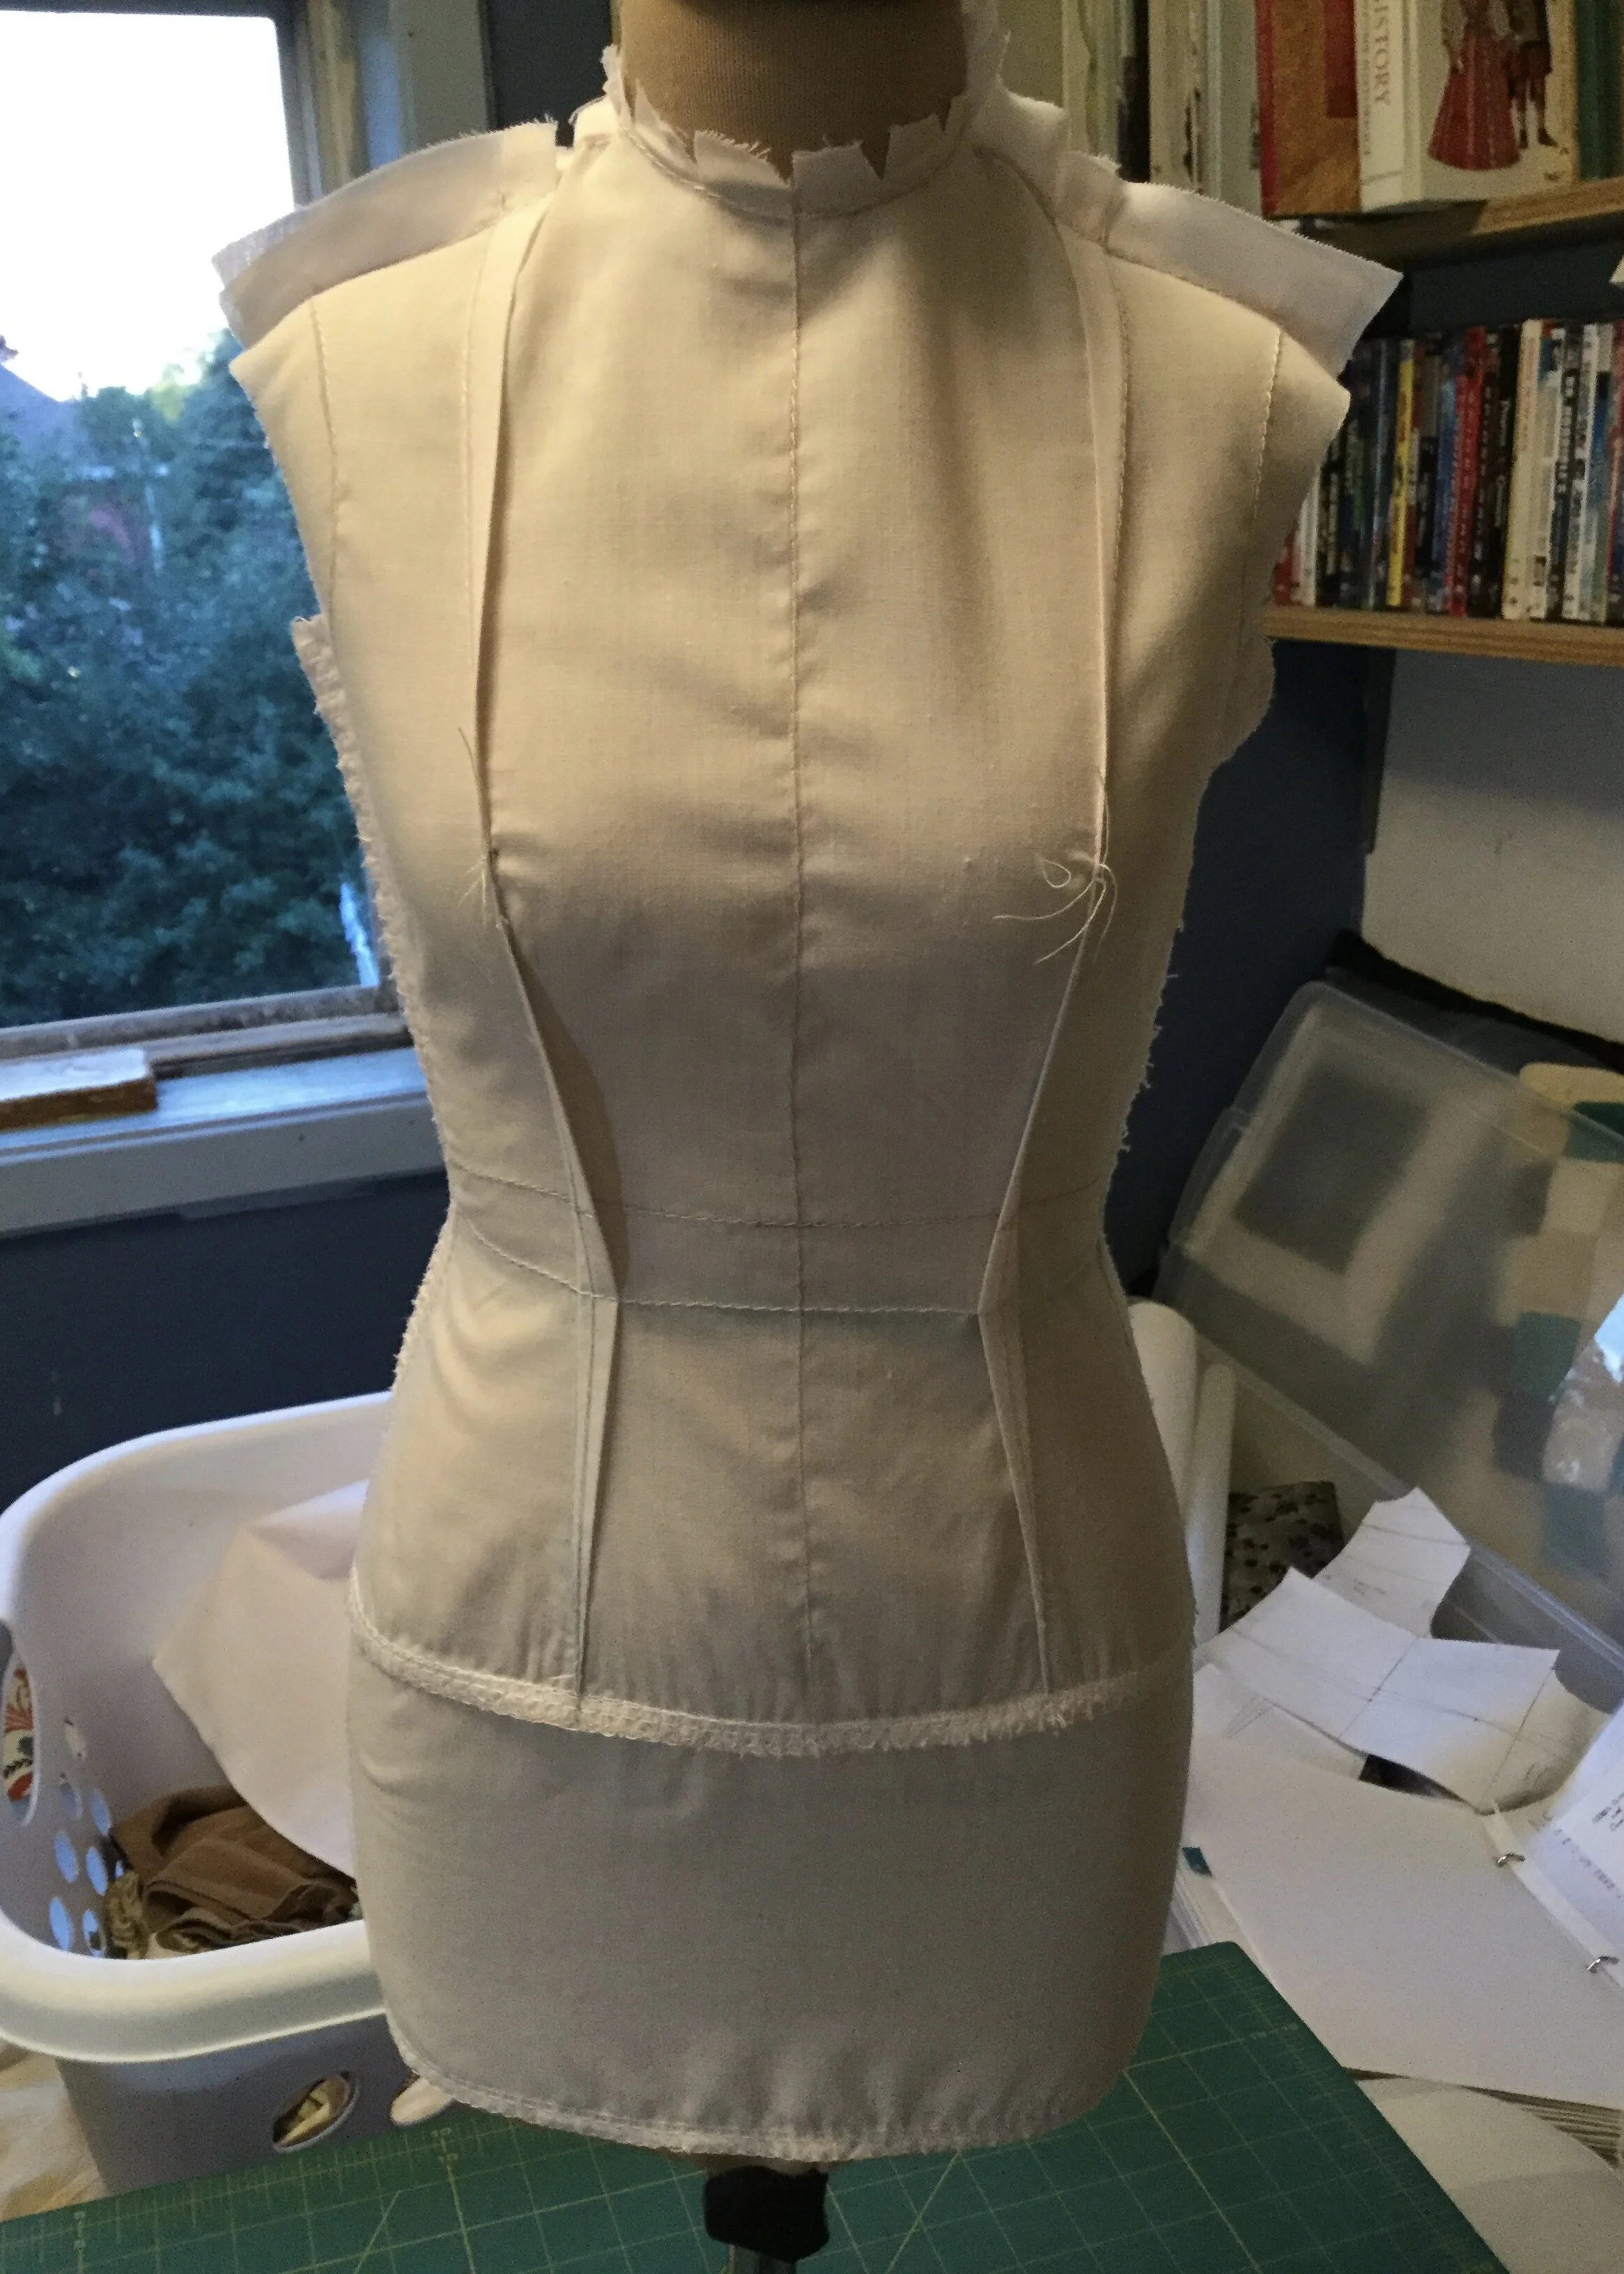
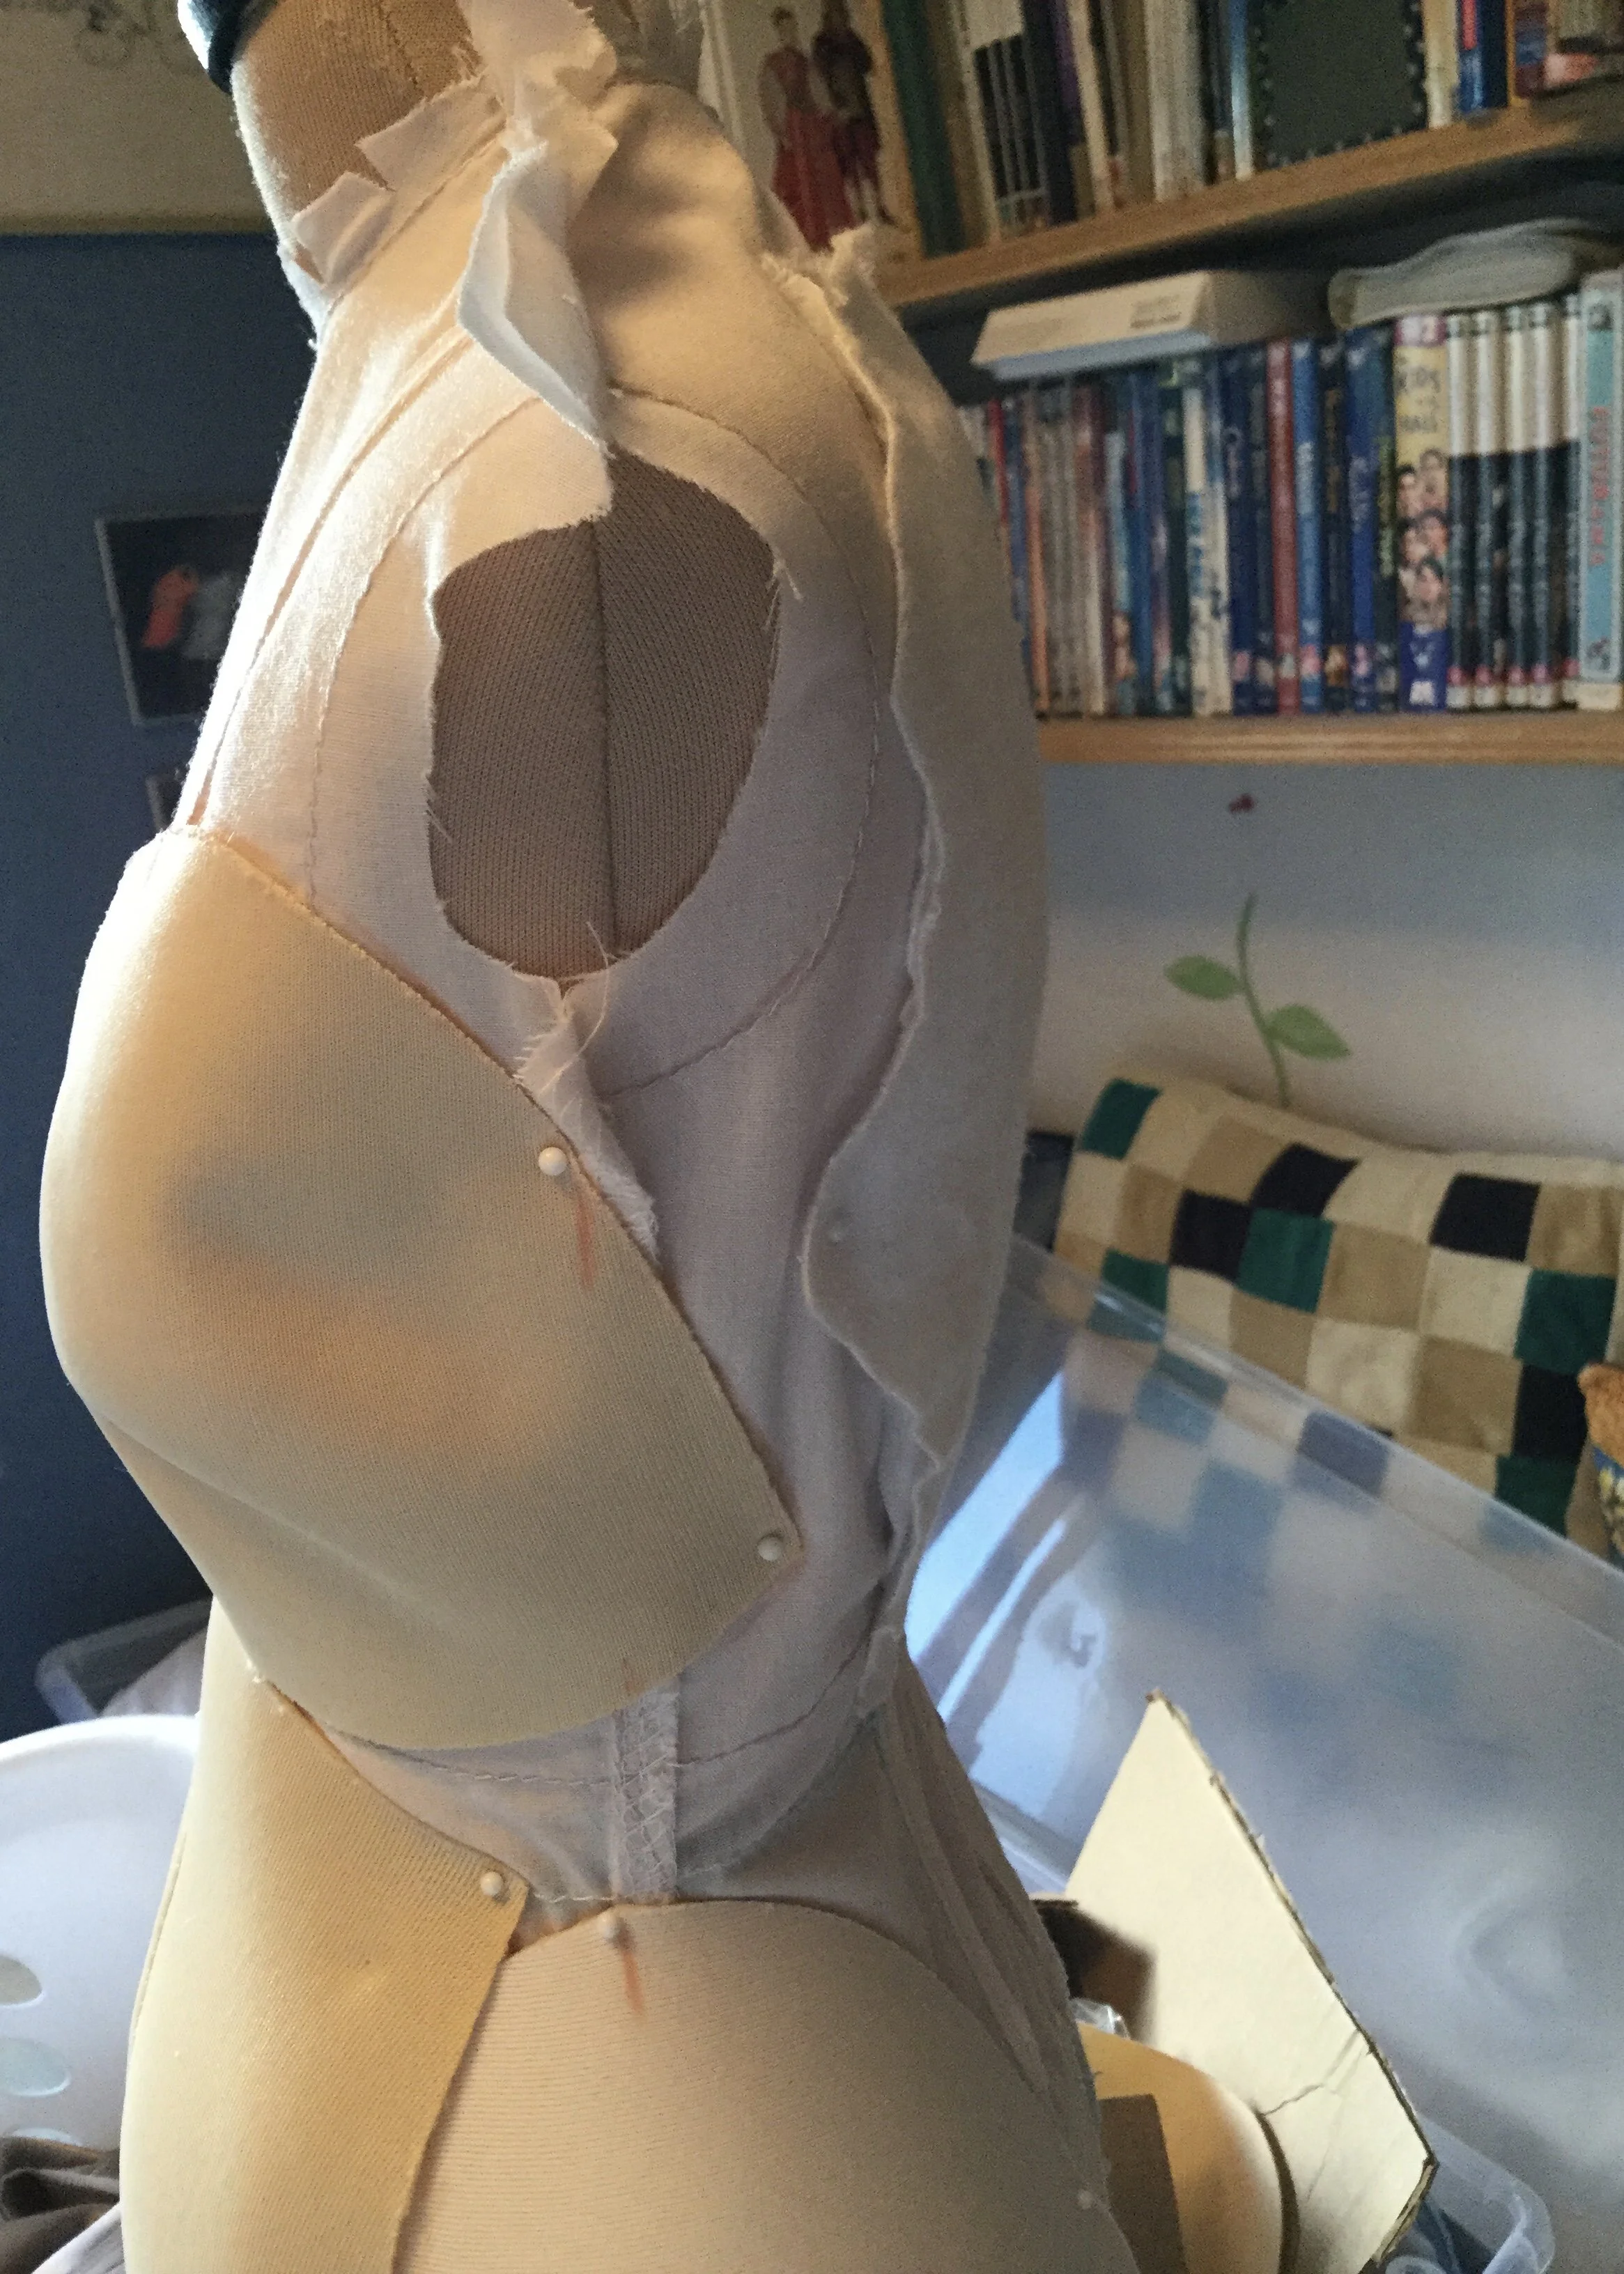
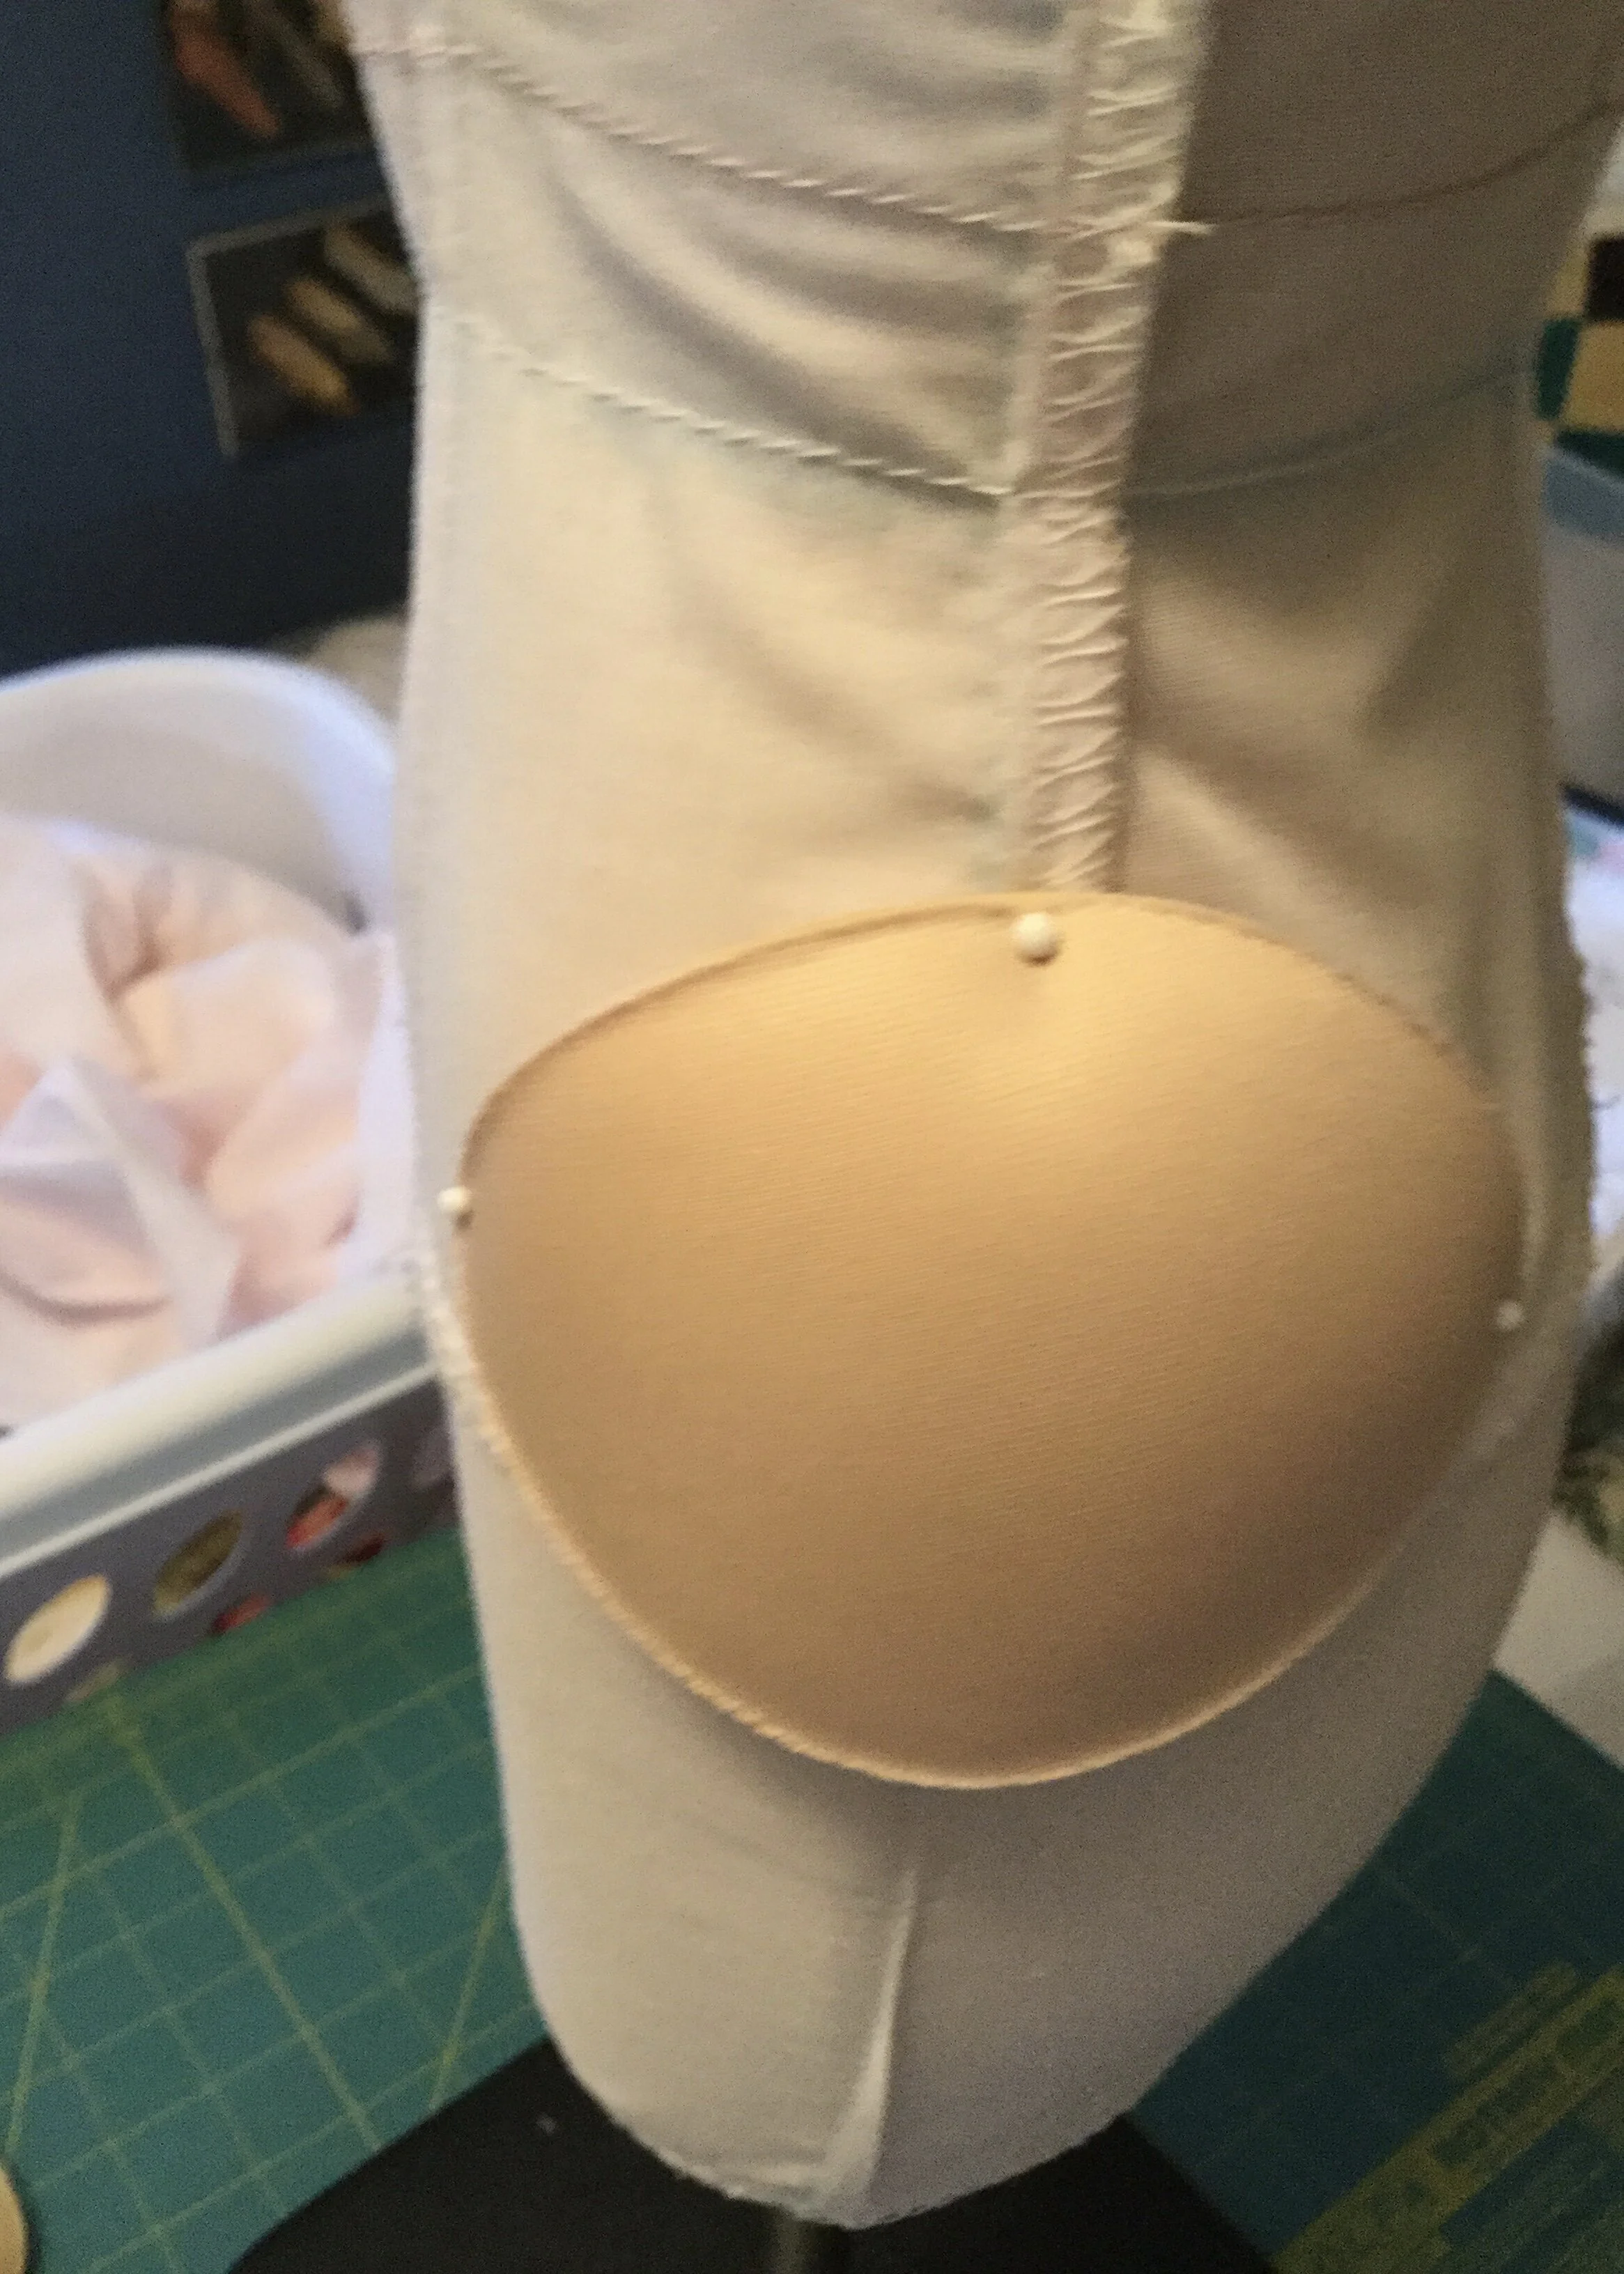
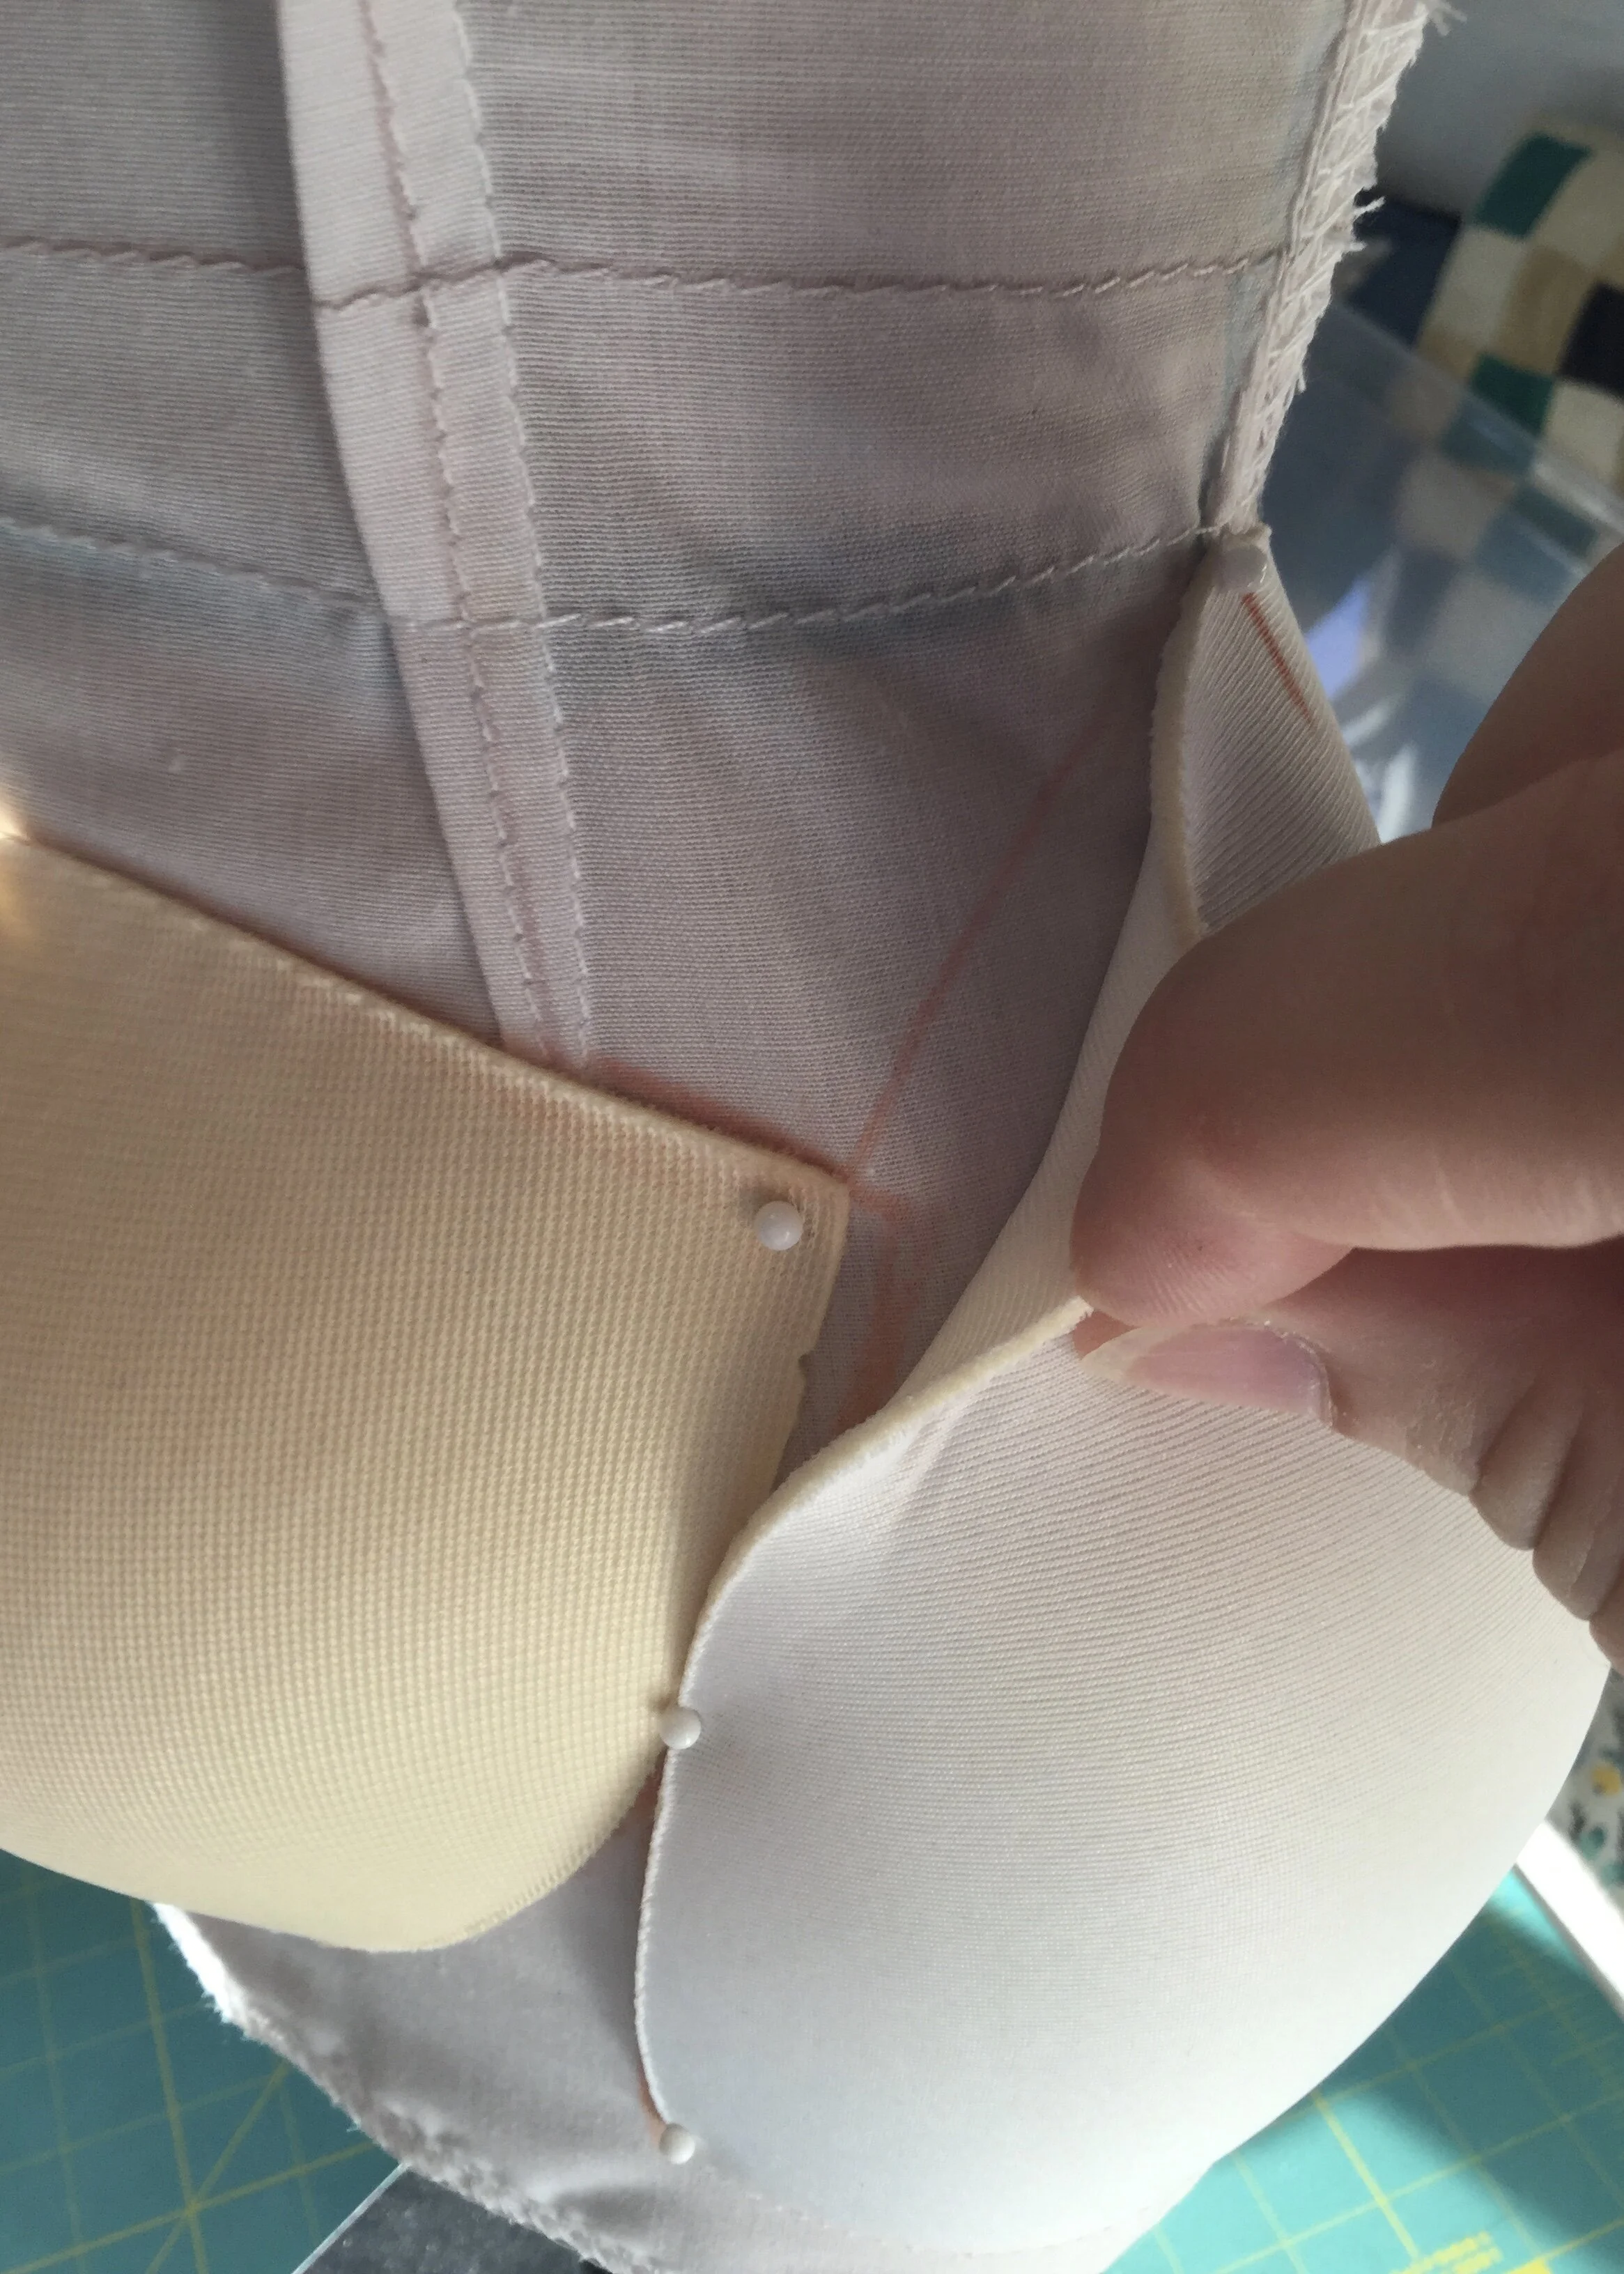
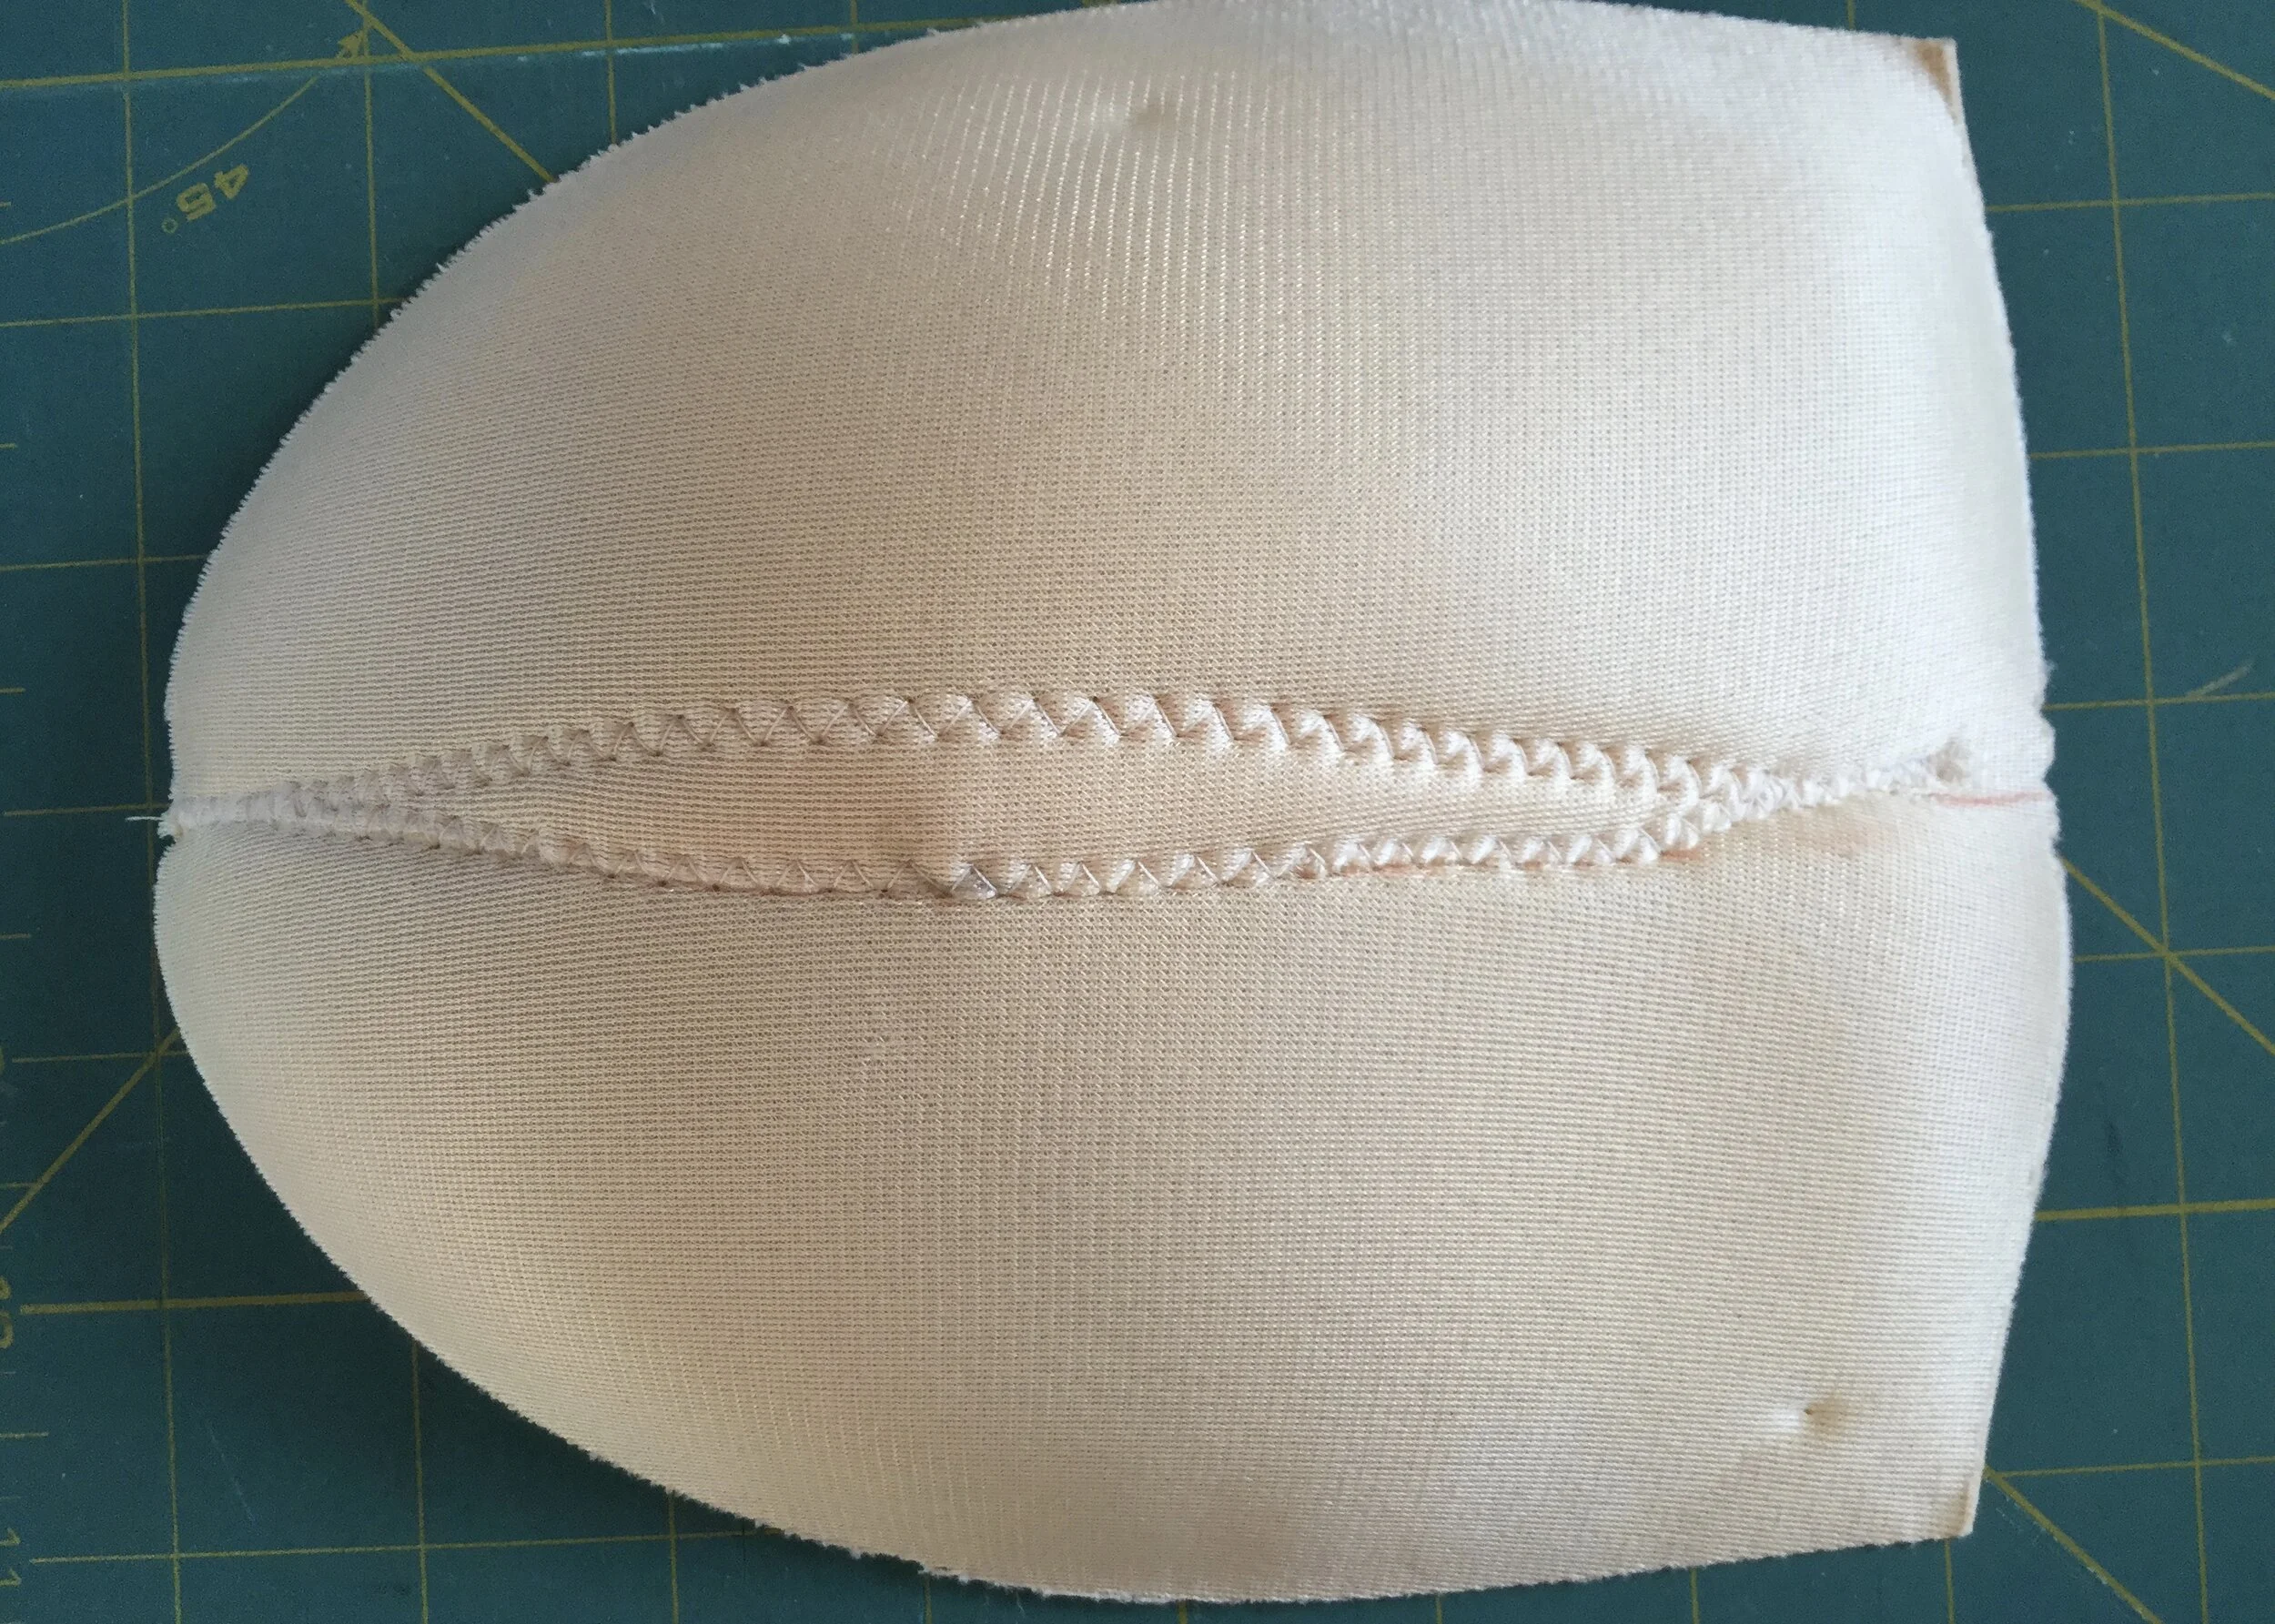
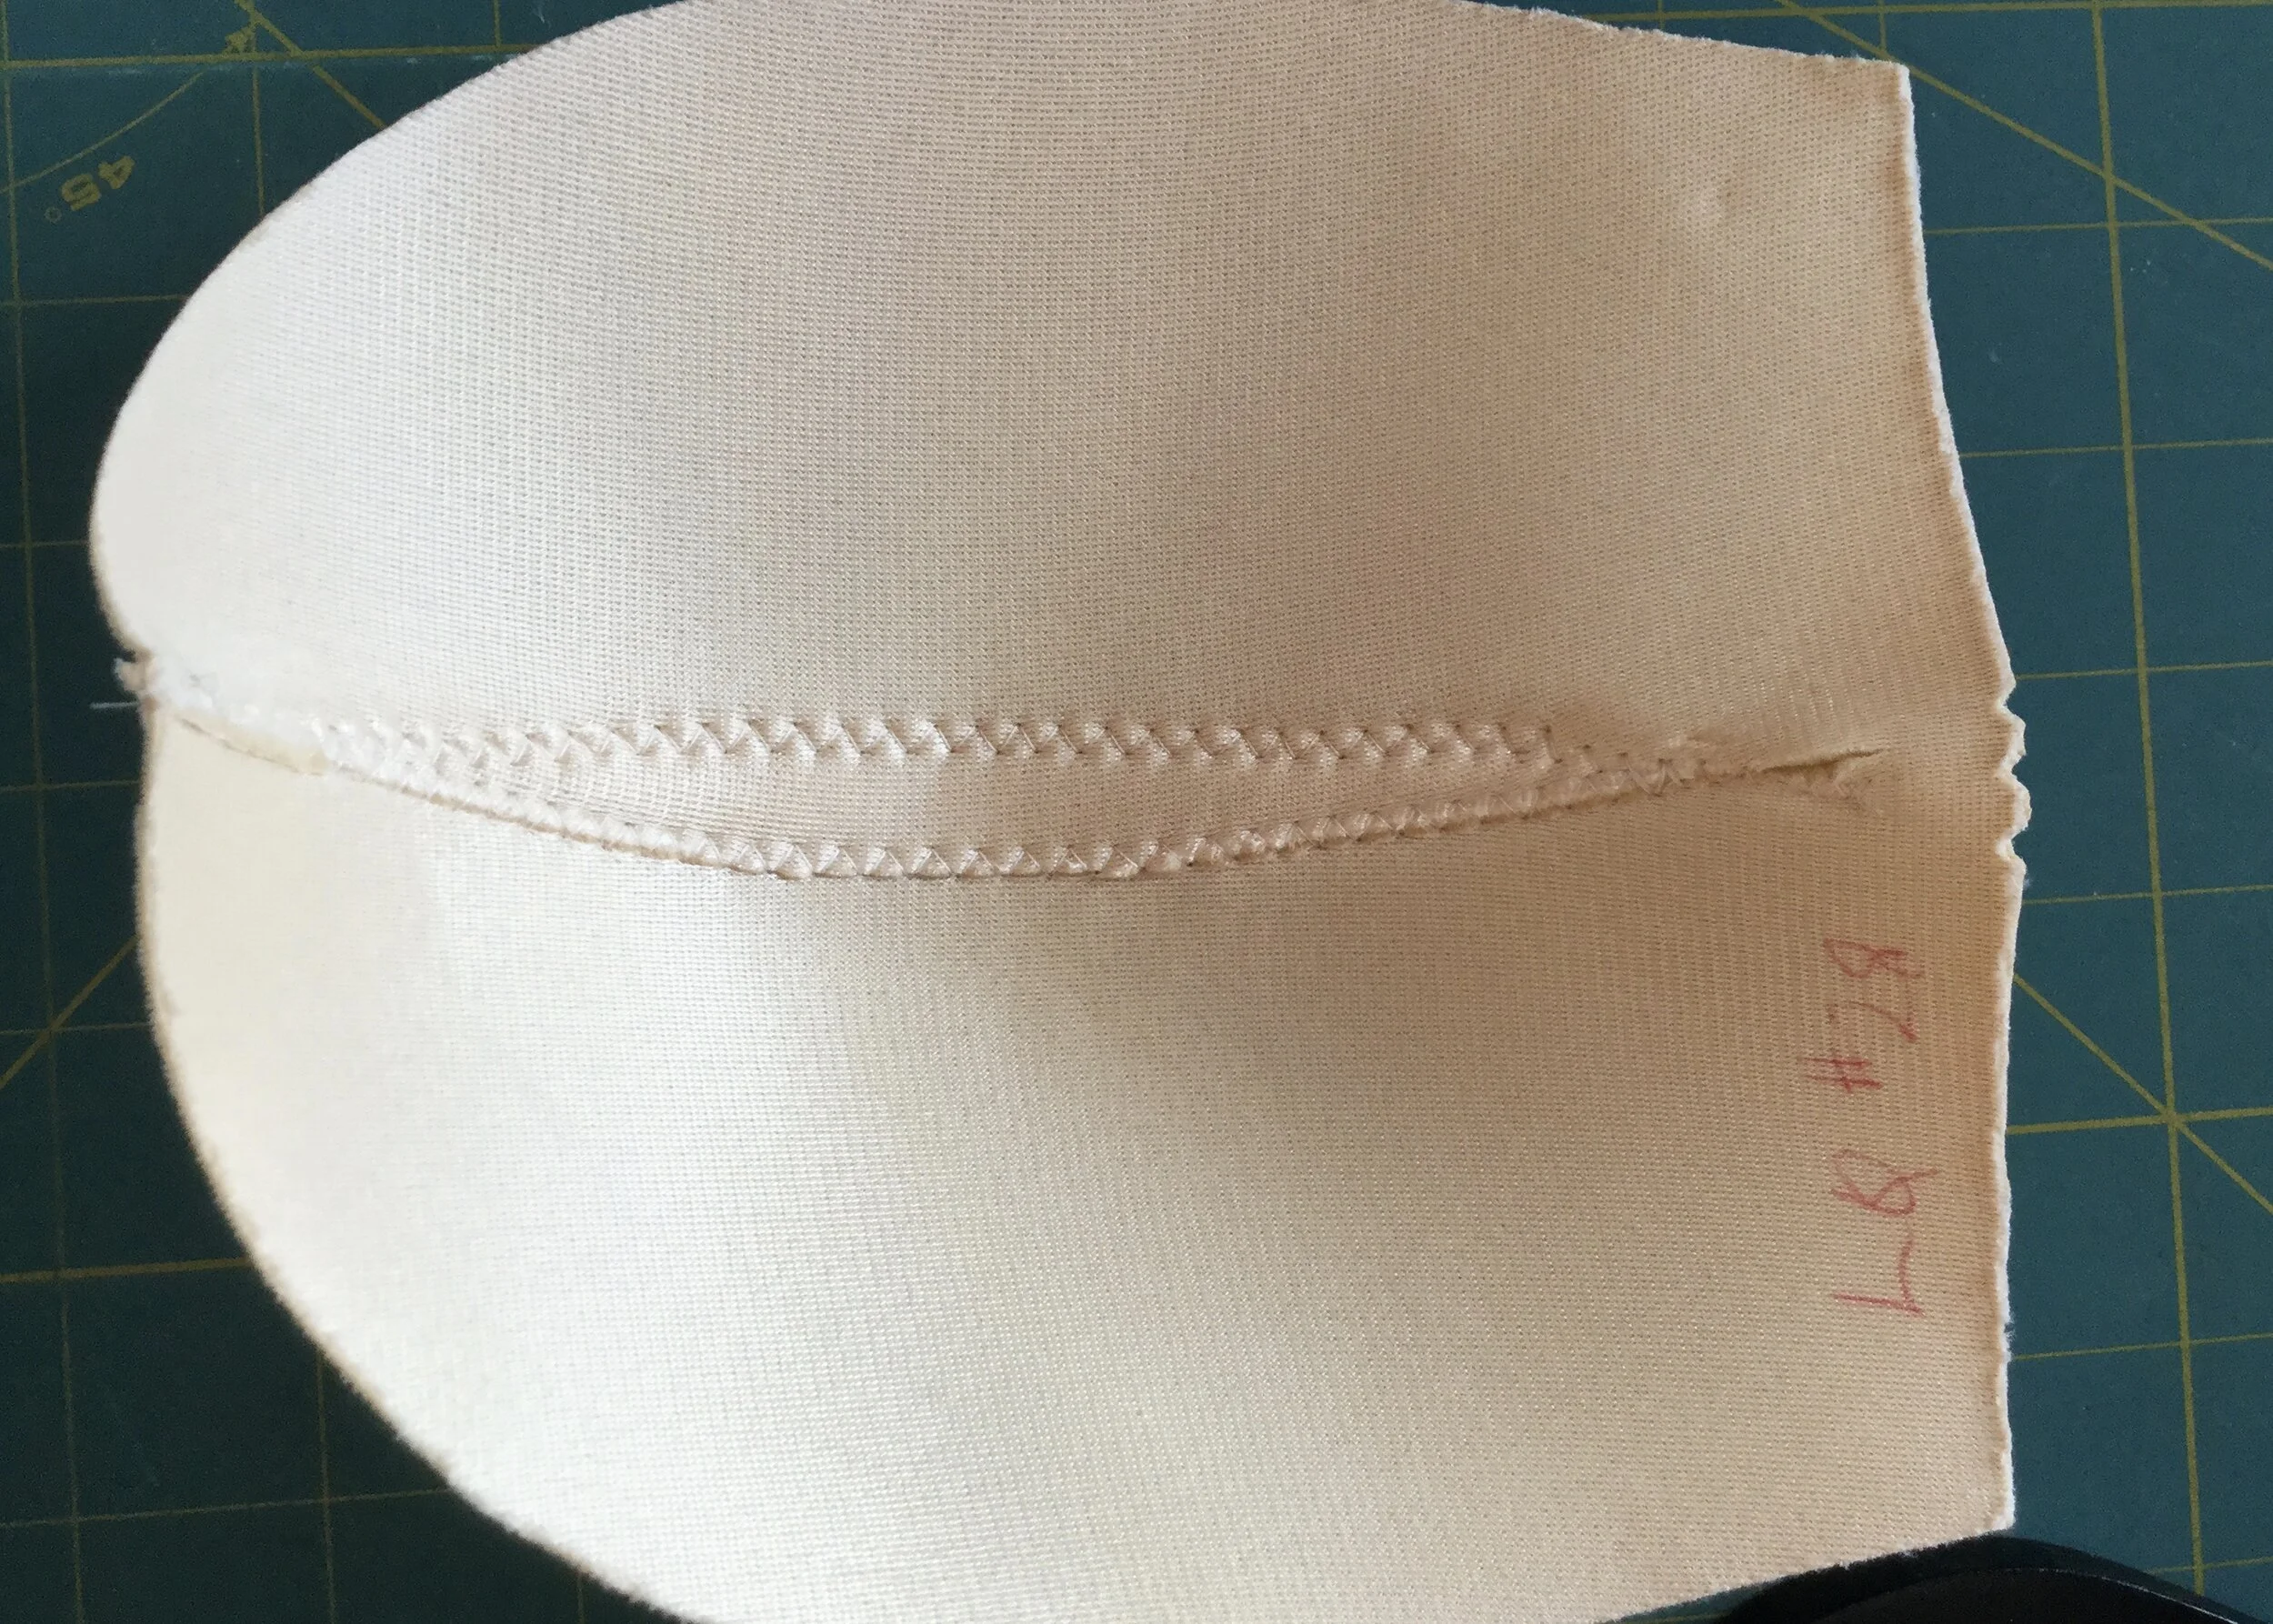
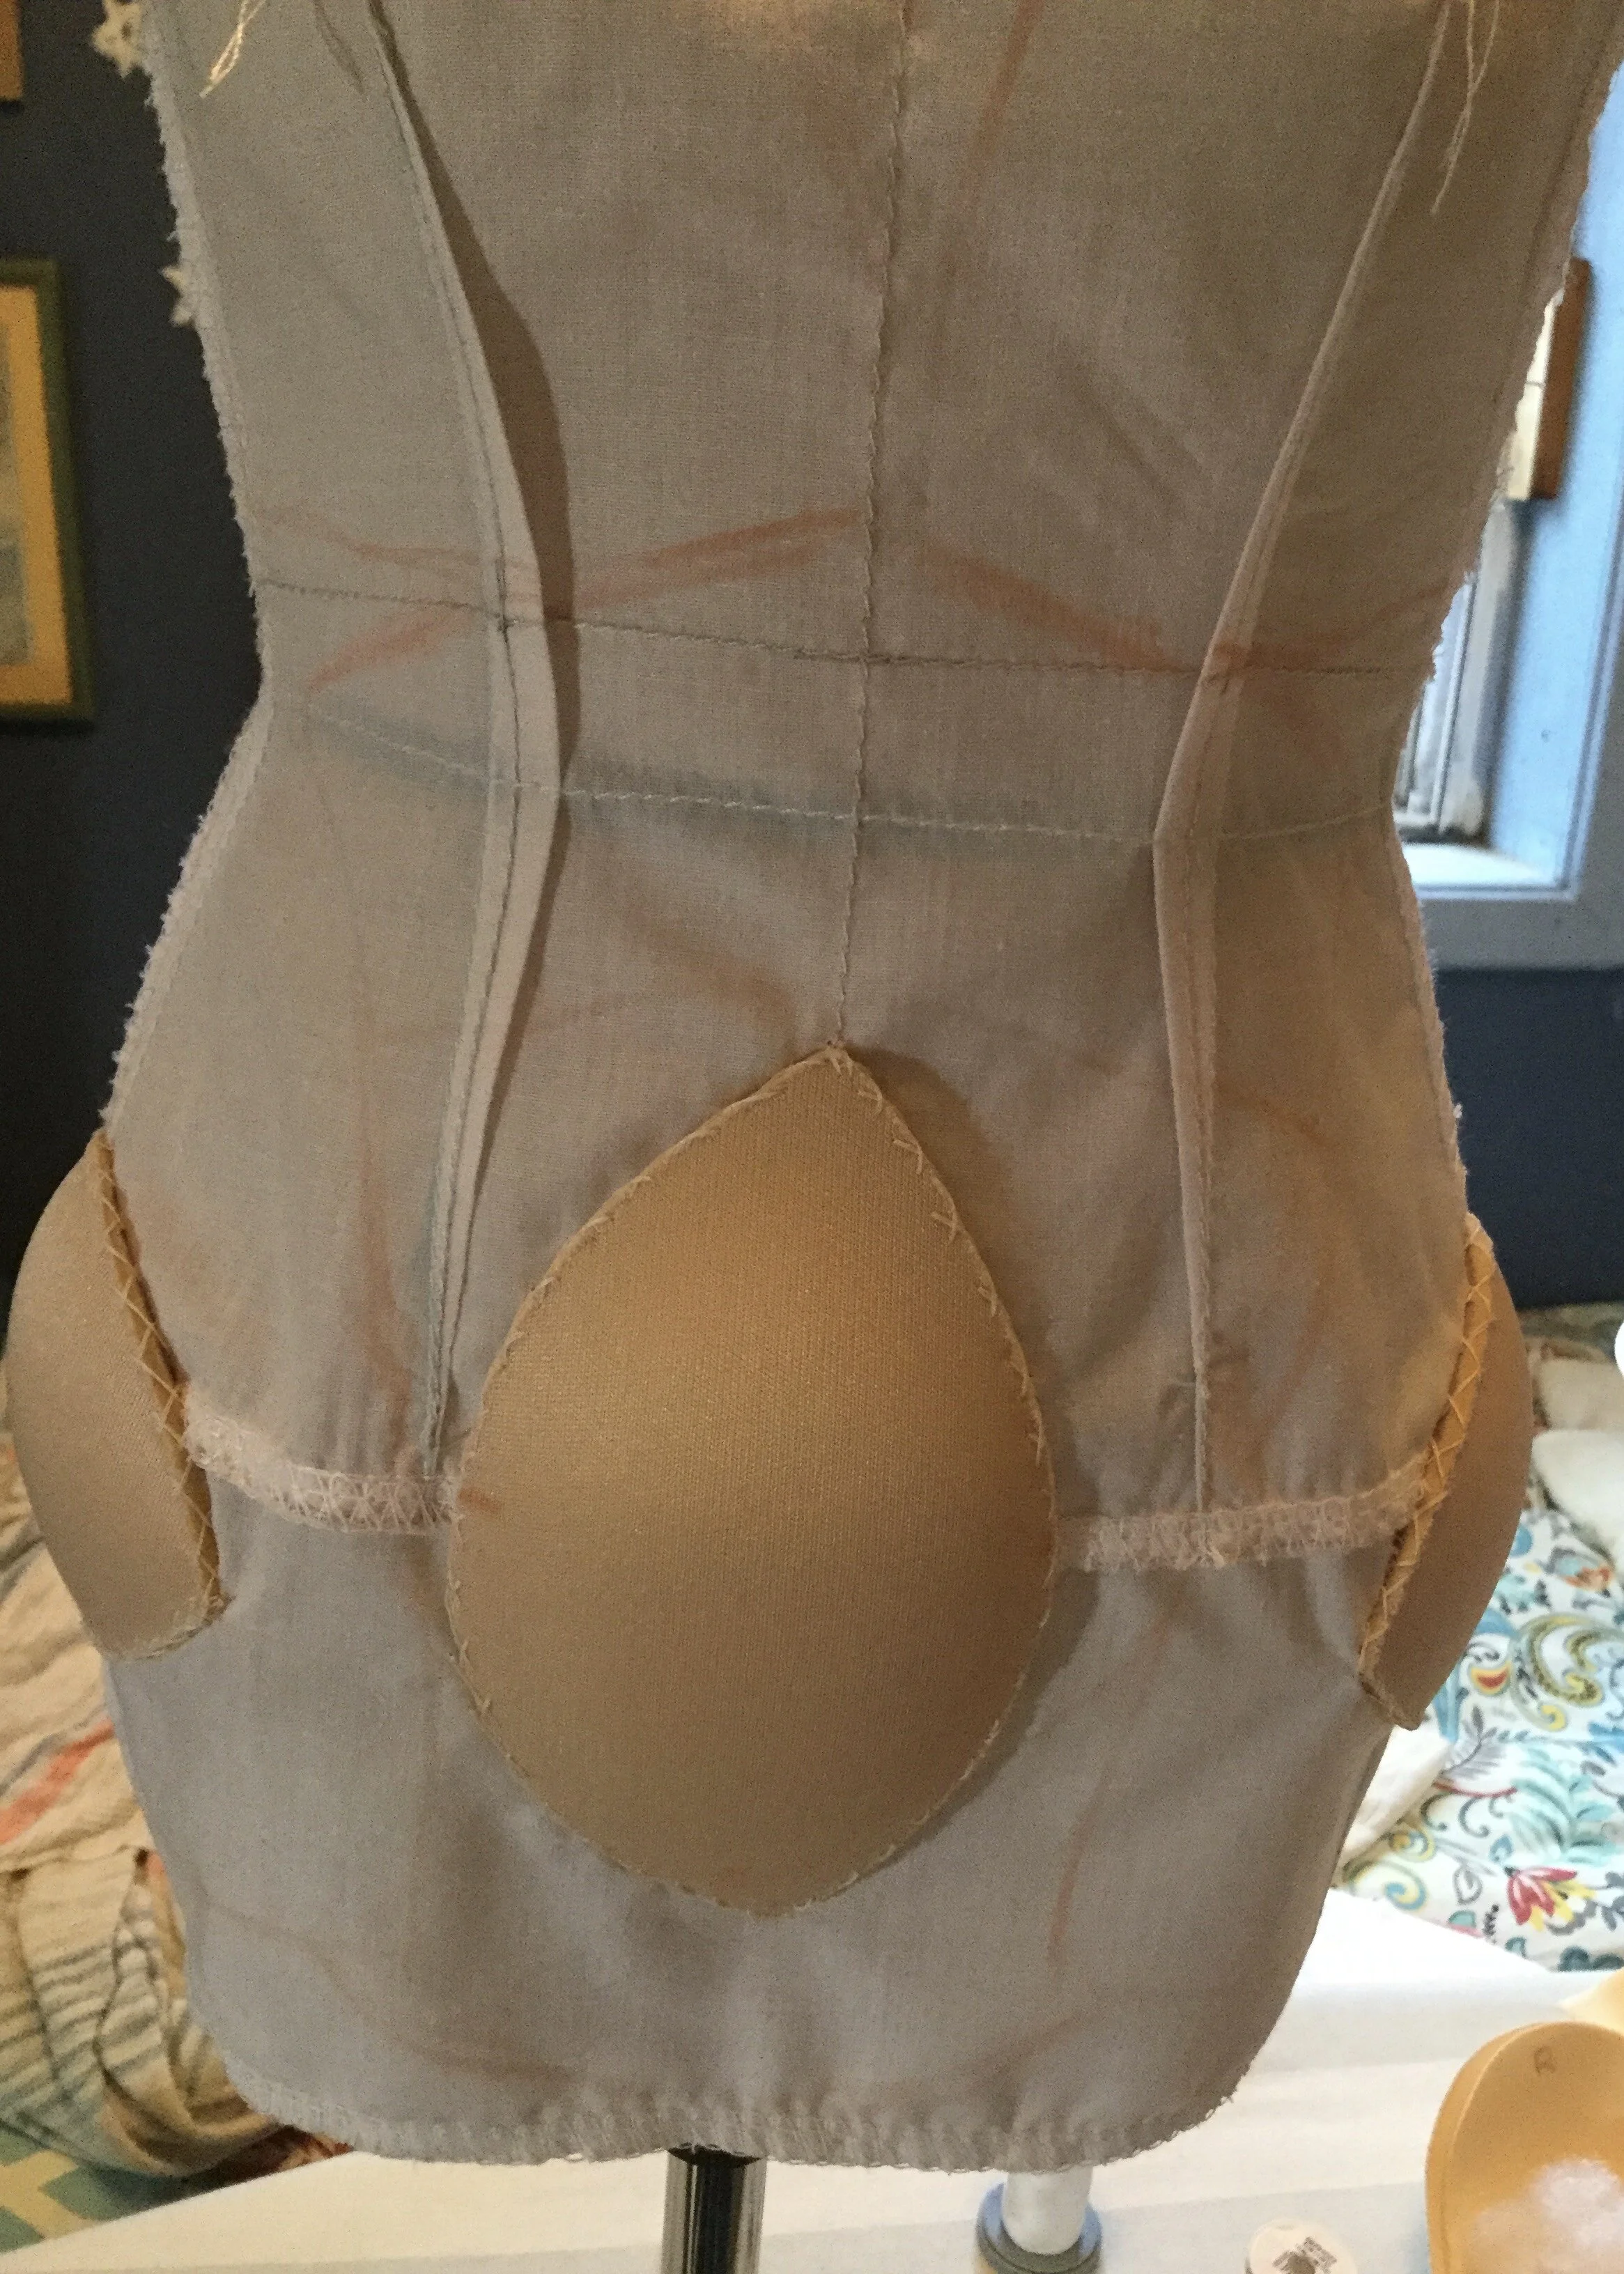
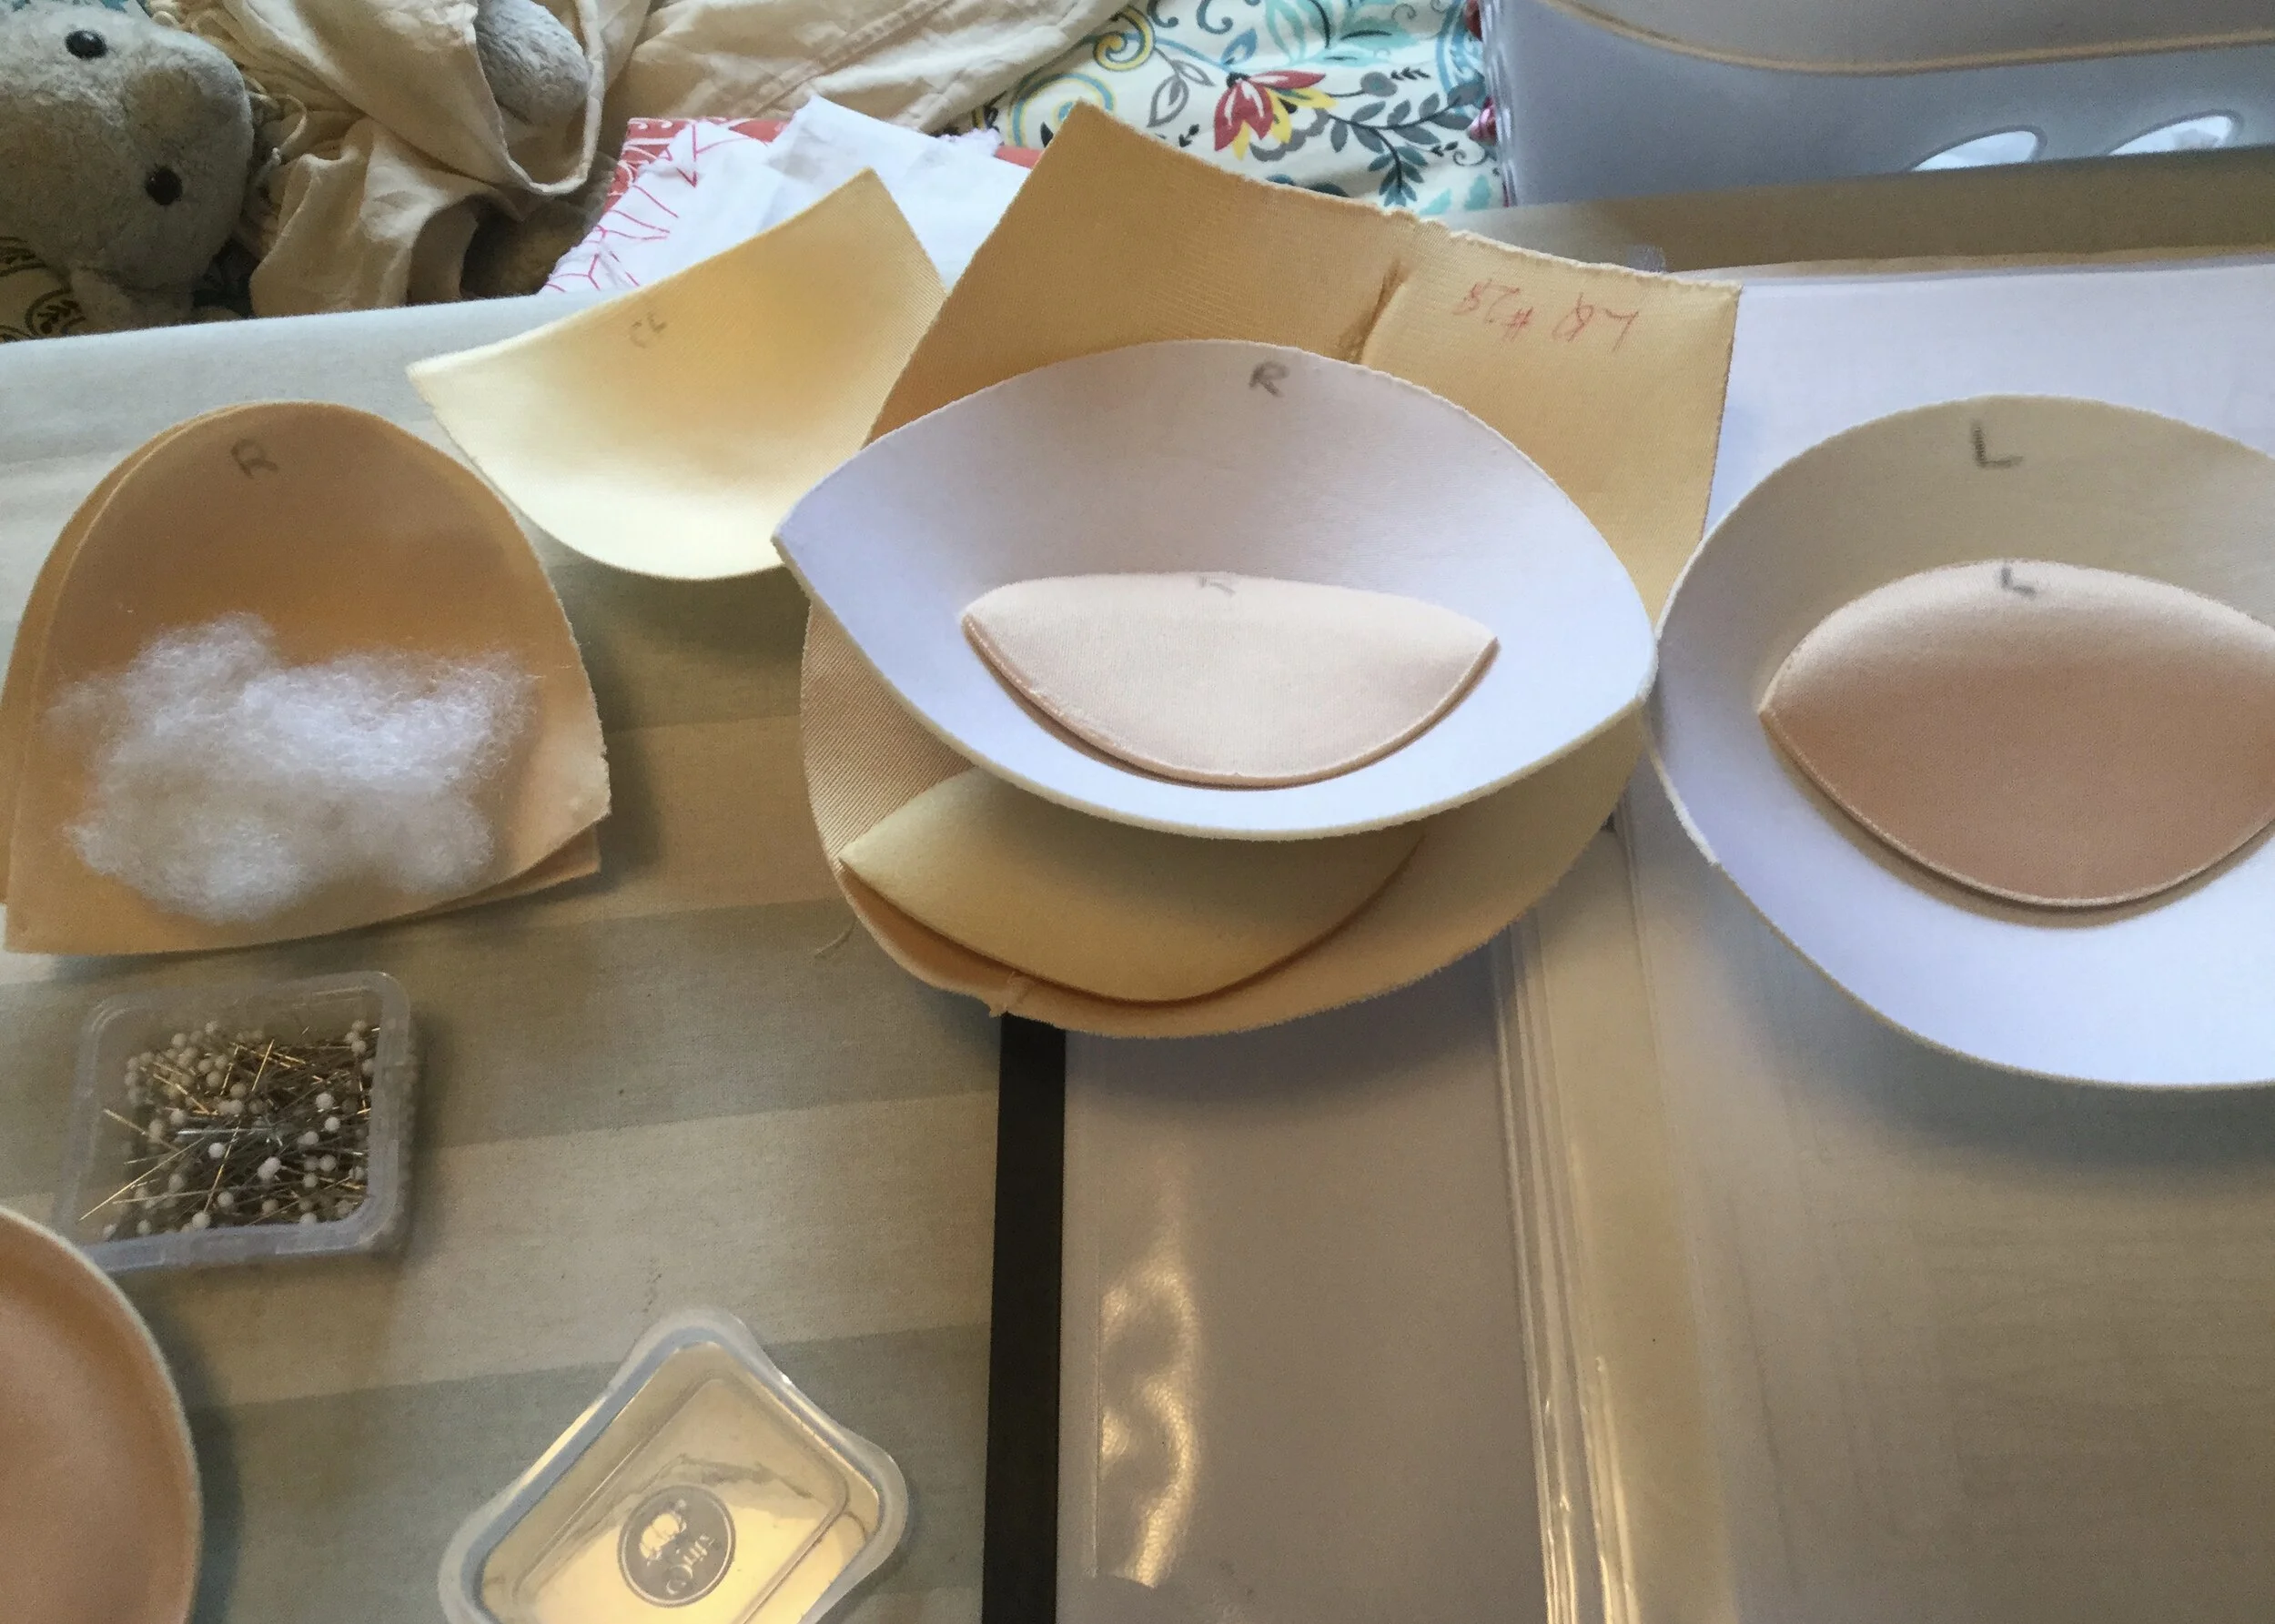
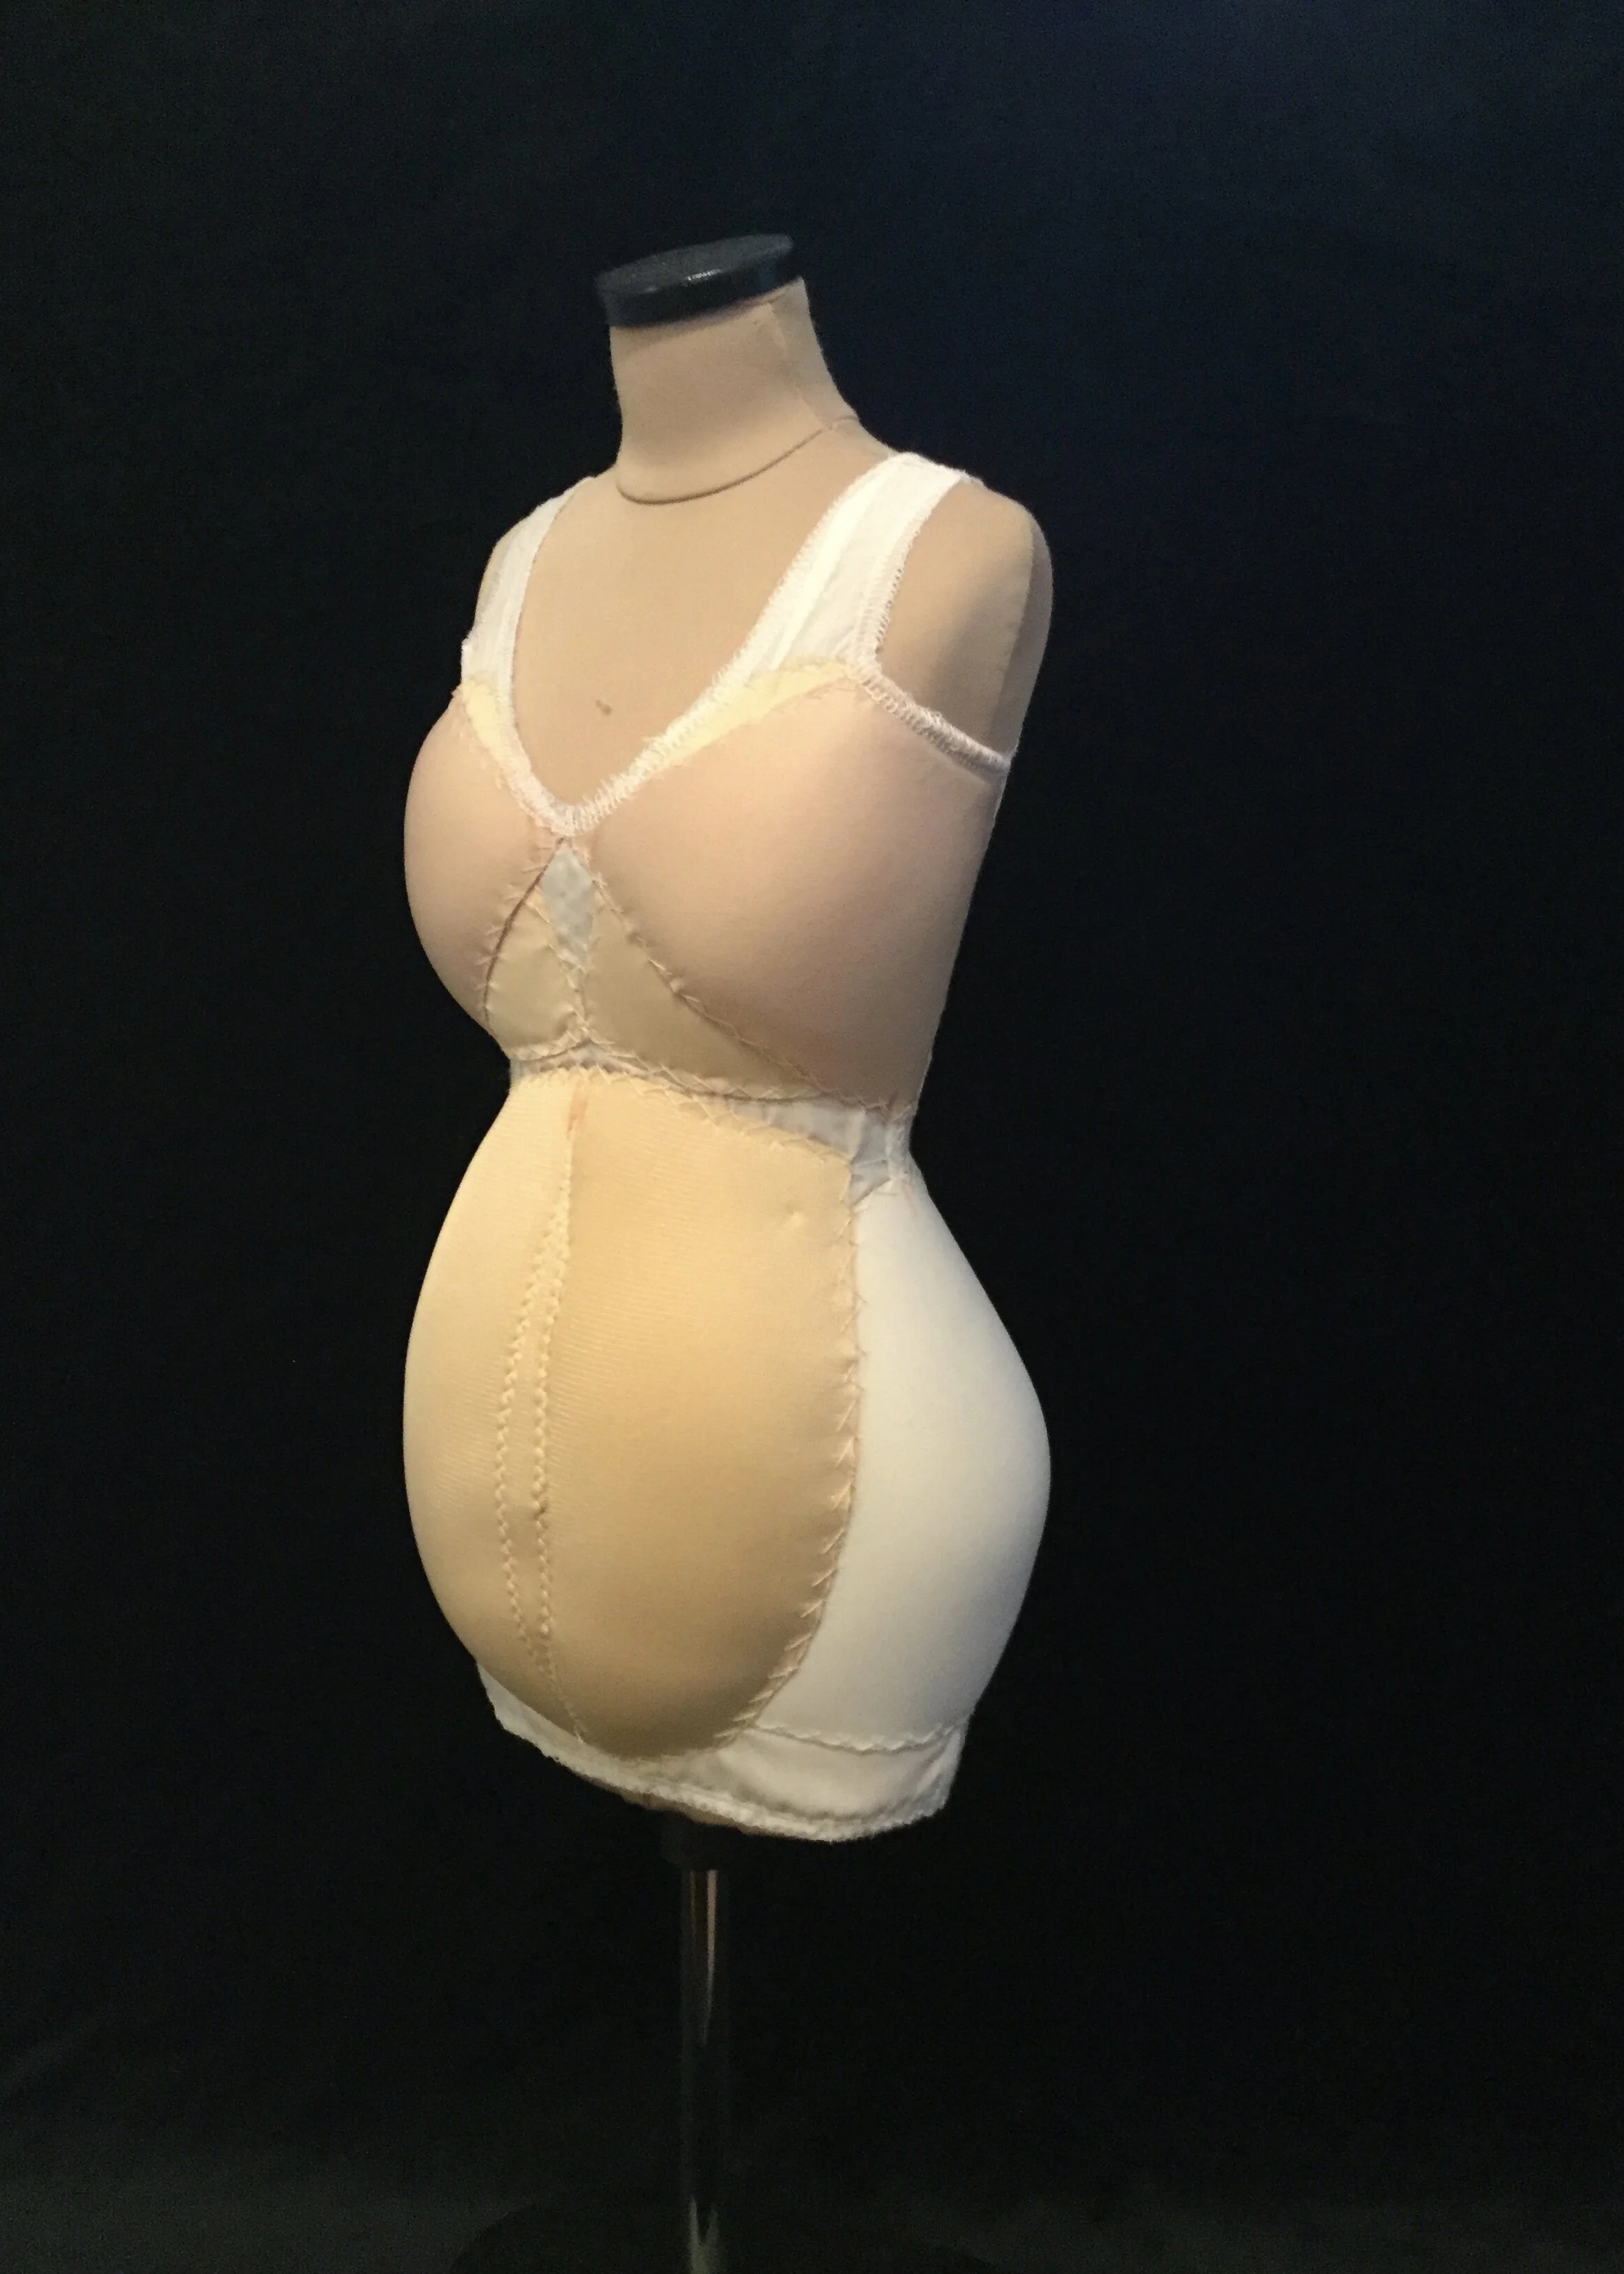
To make the padding, I used a bunch of bra cups and cookies (push up bra inserts). I'm not sure exactly where the idea came from, but I happened to have a pile of them in my stash and they turned out to be perfect for the task. The way the one set of cups fit perfectly over her hips was downright serendipitous!
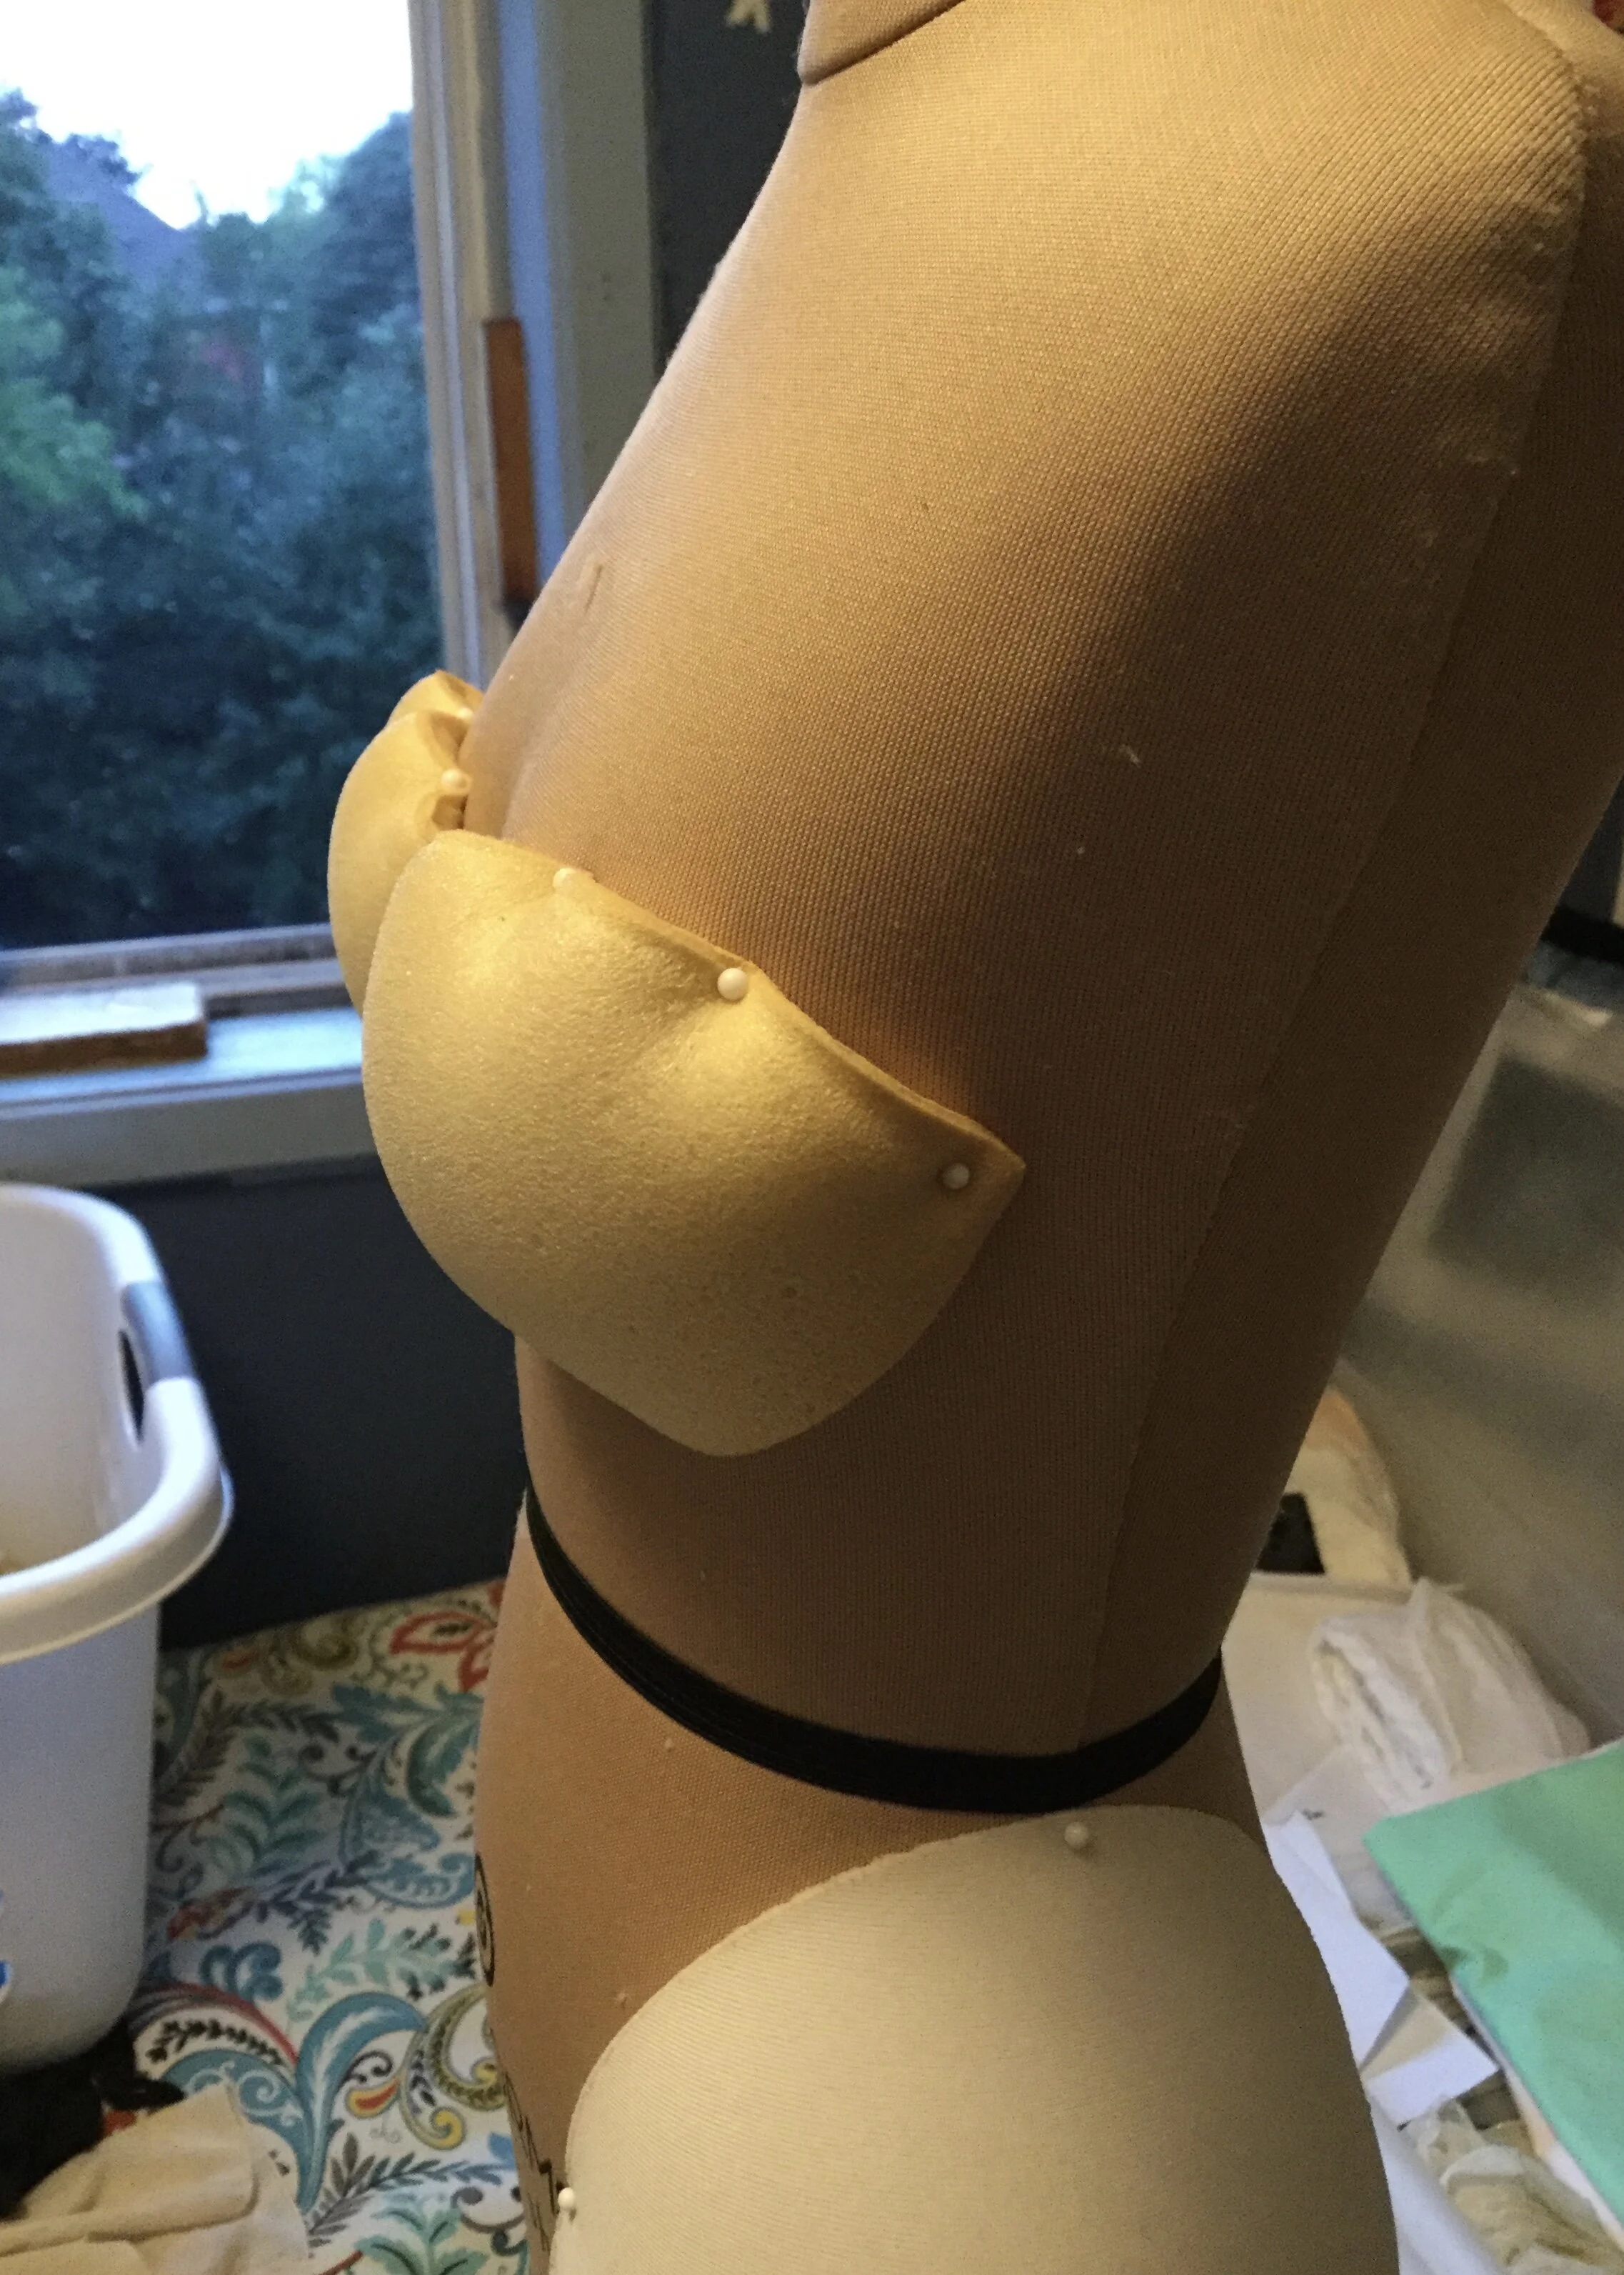
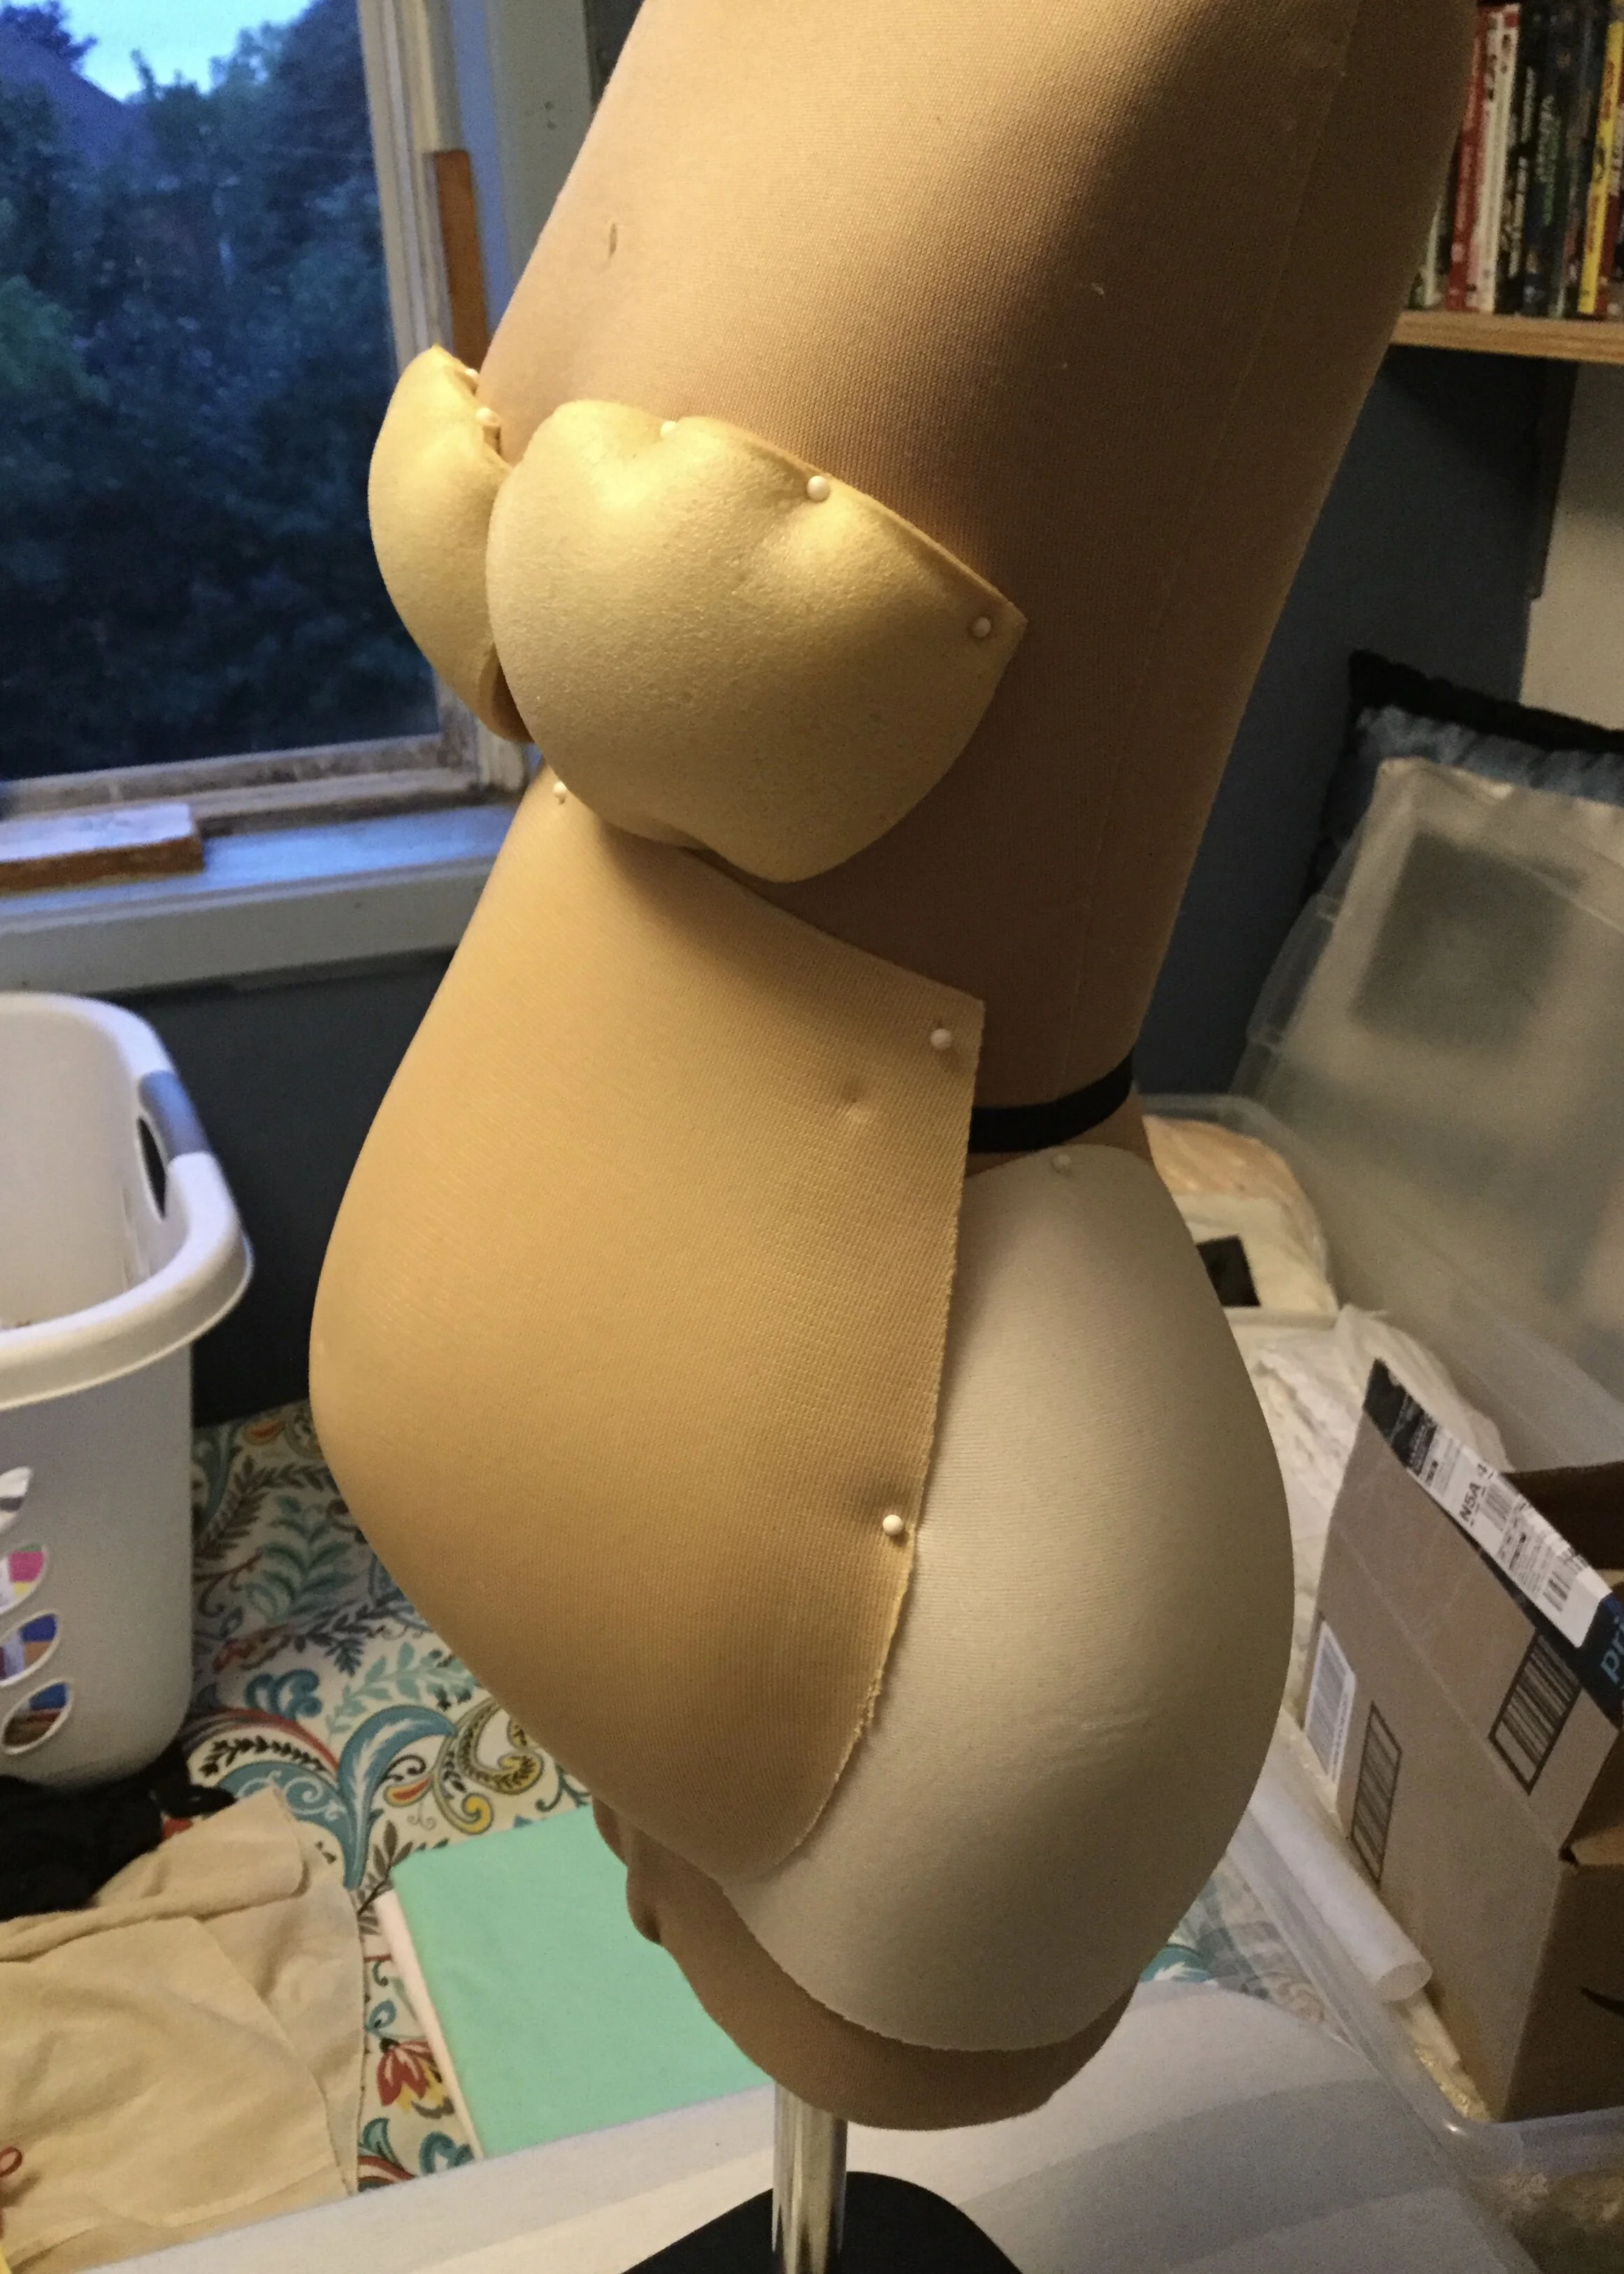
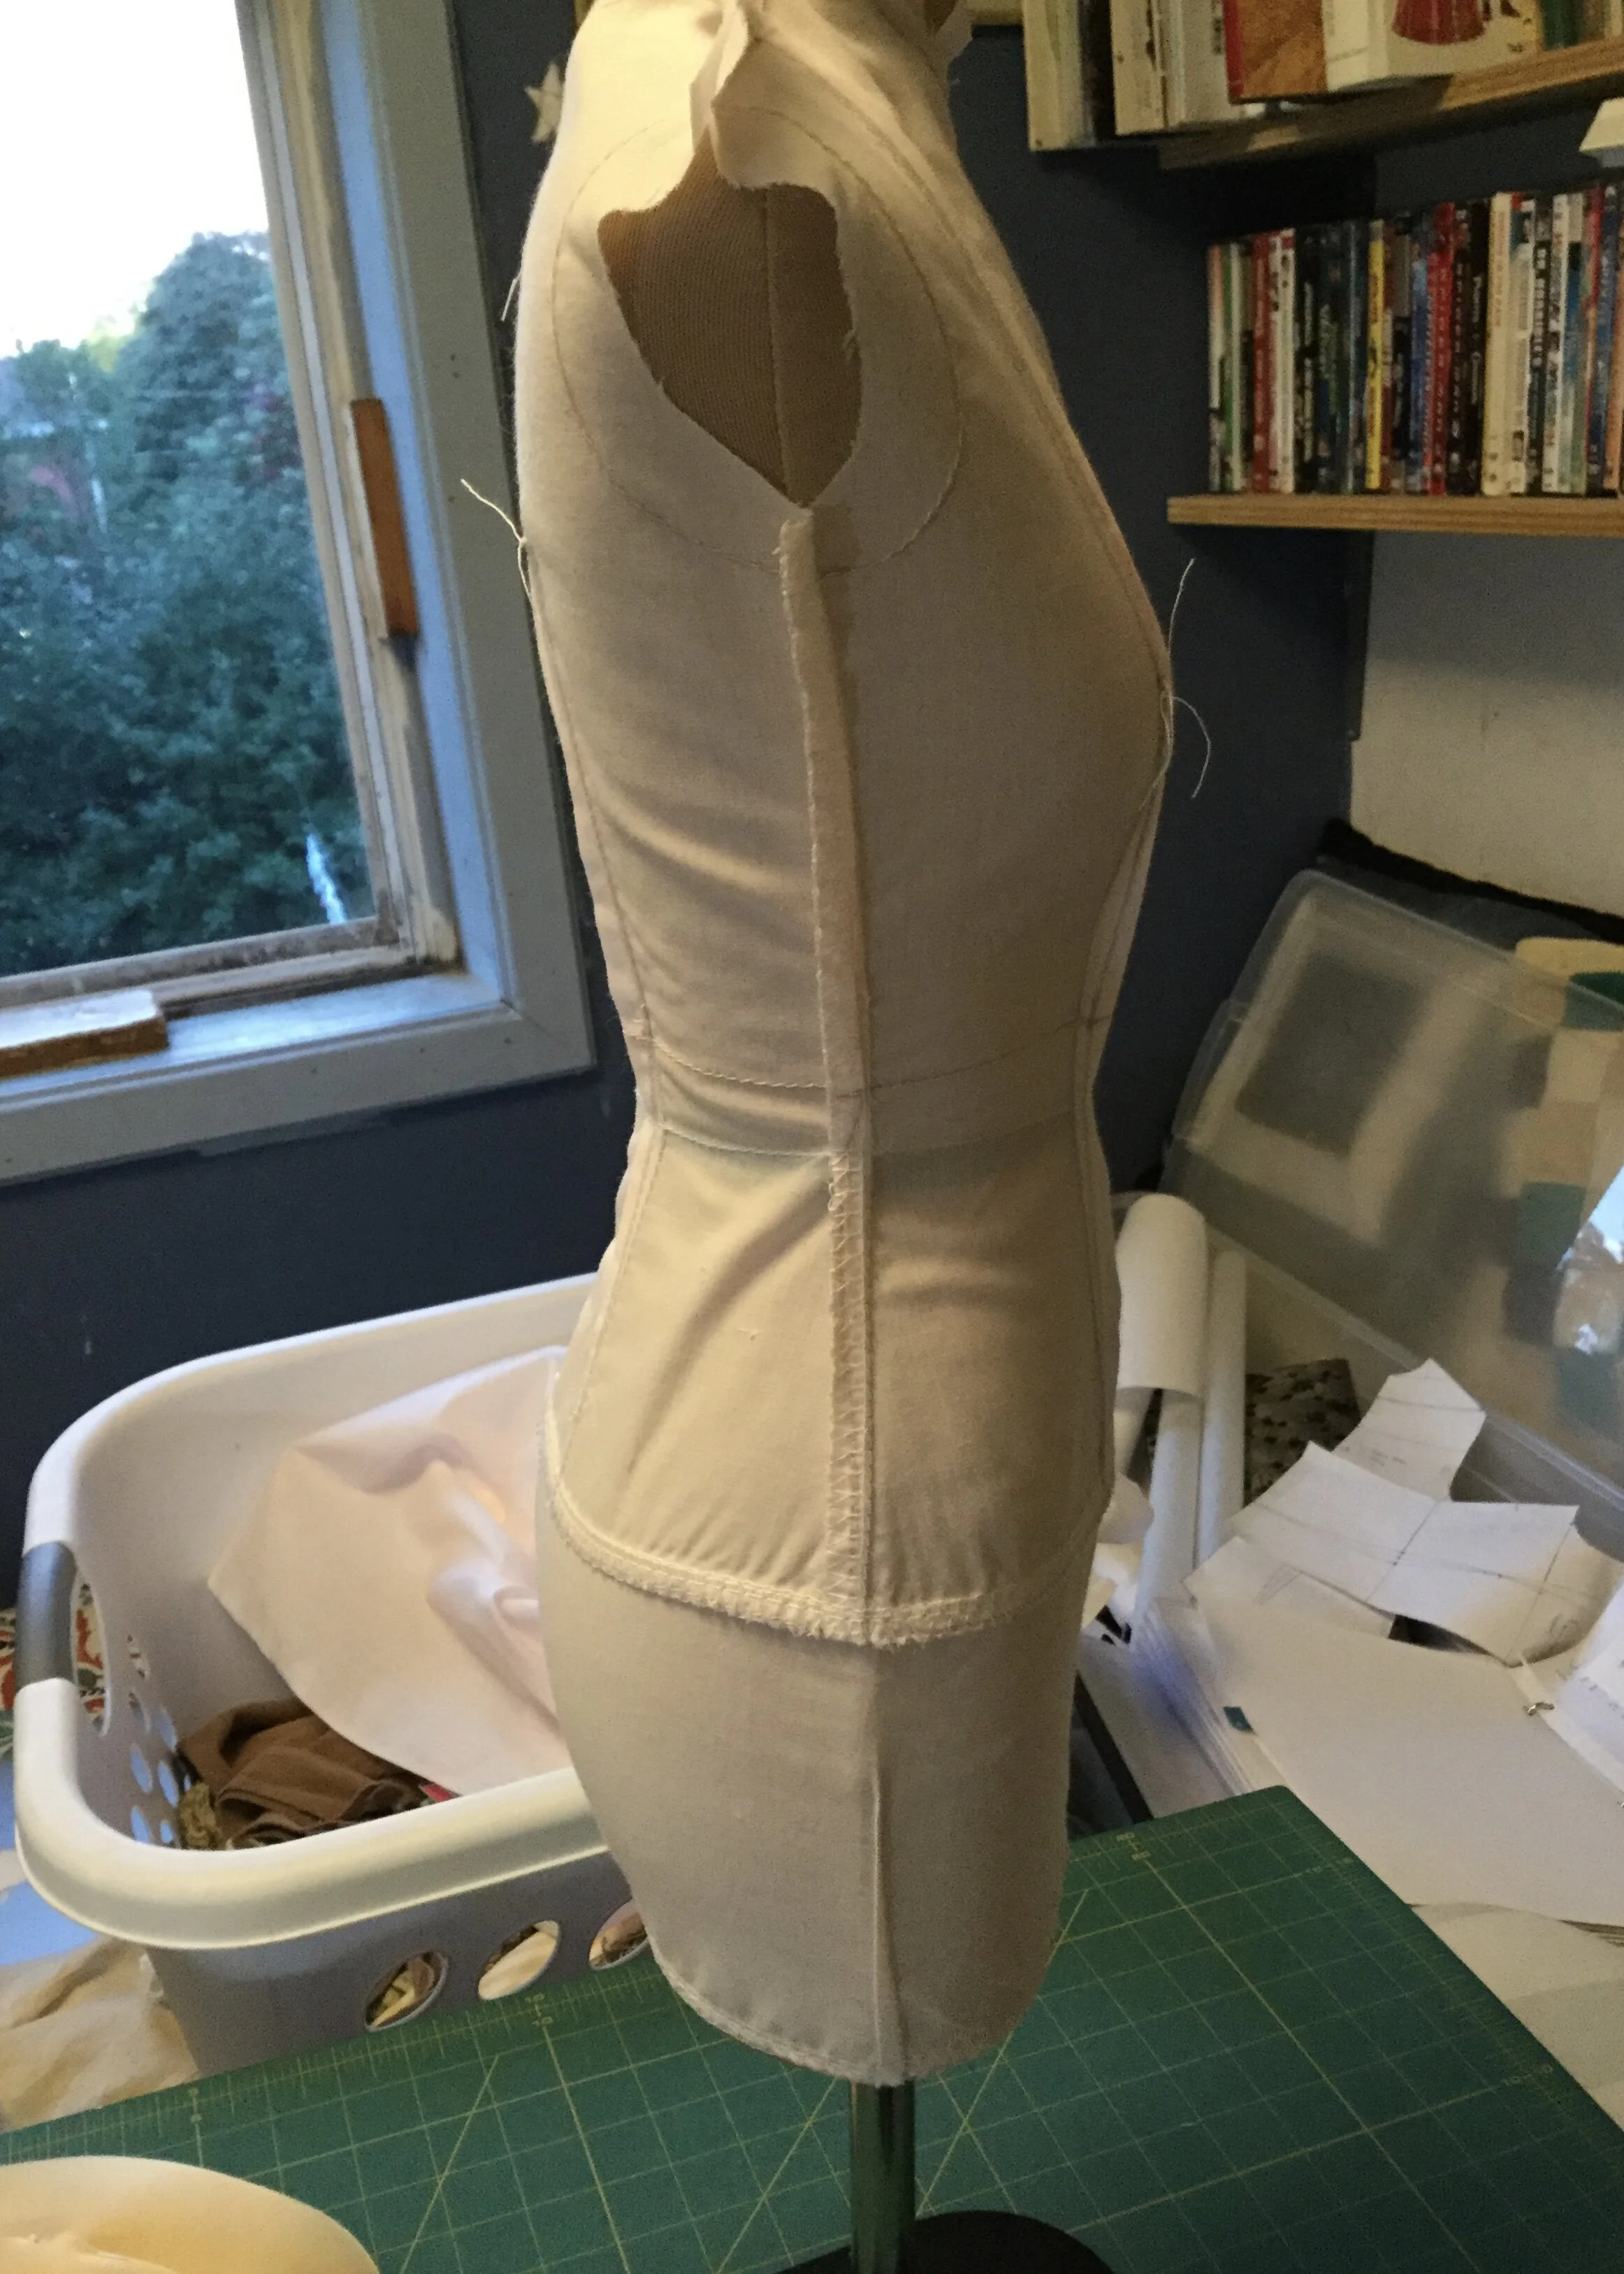
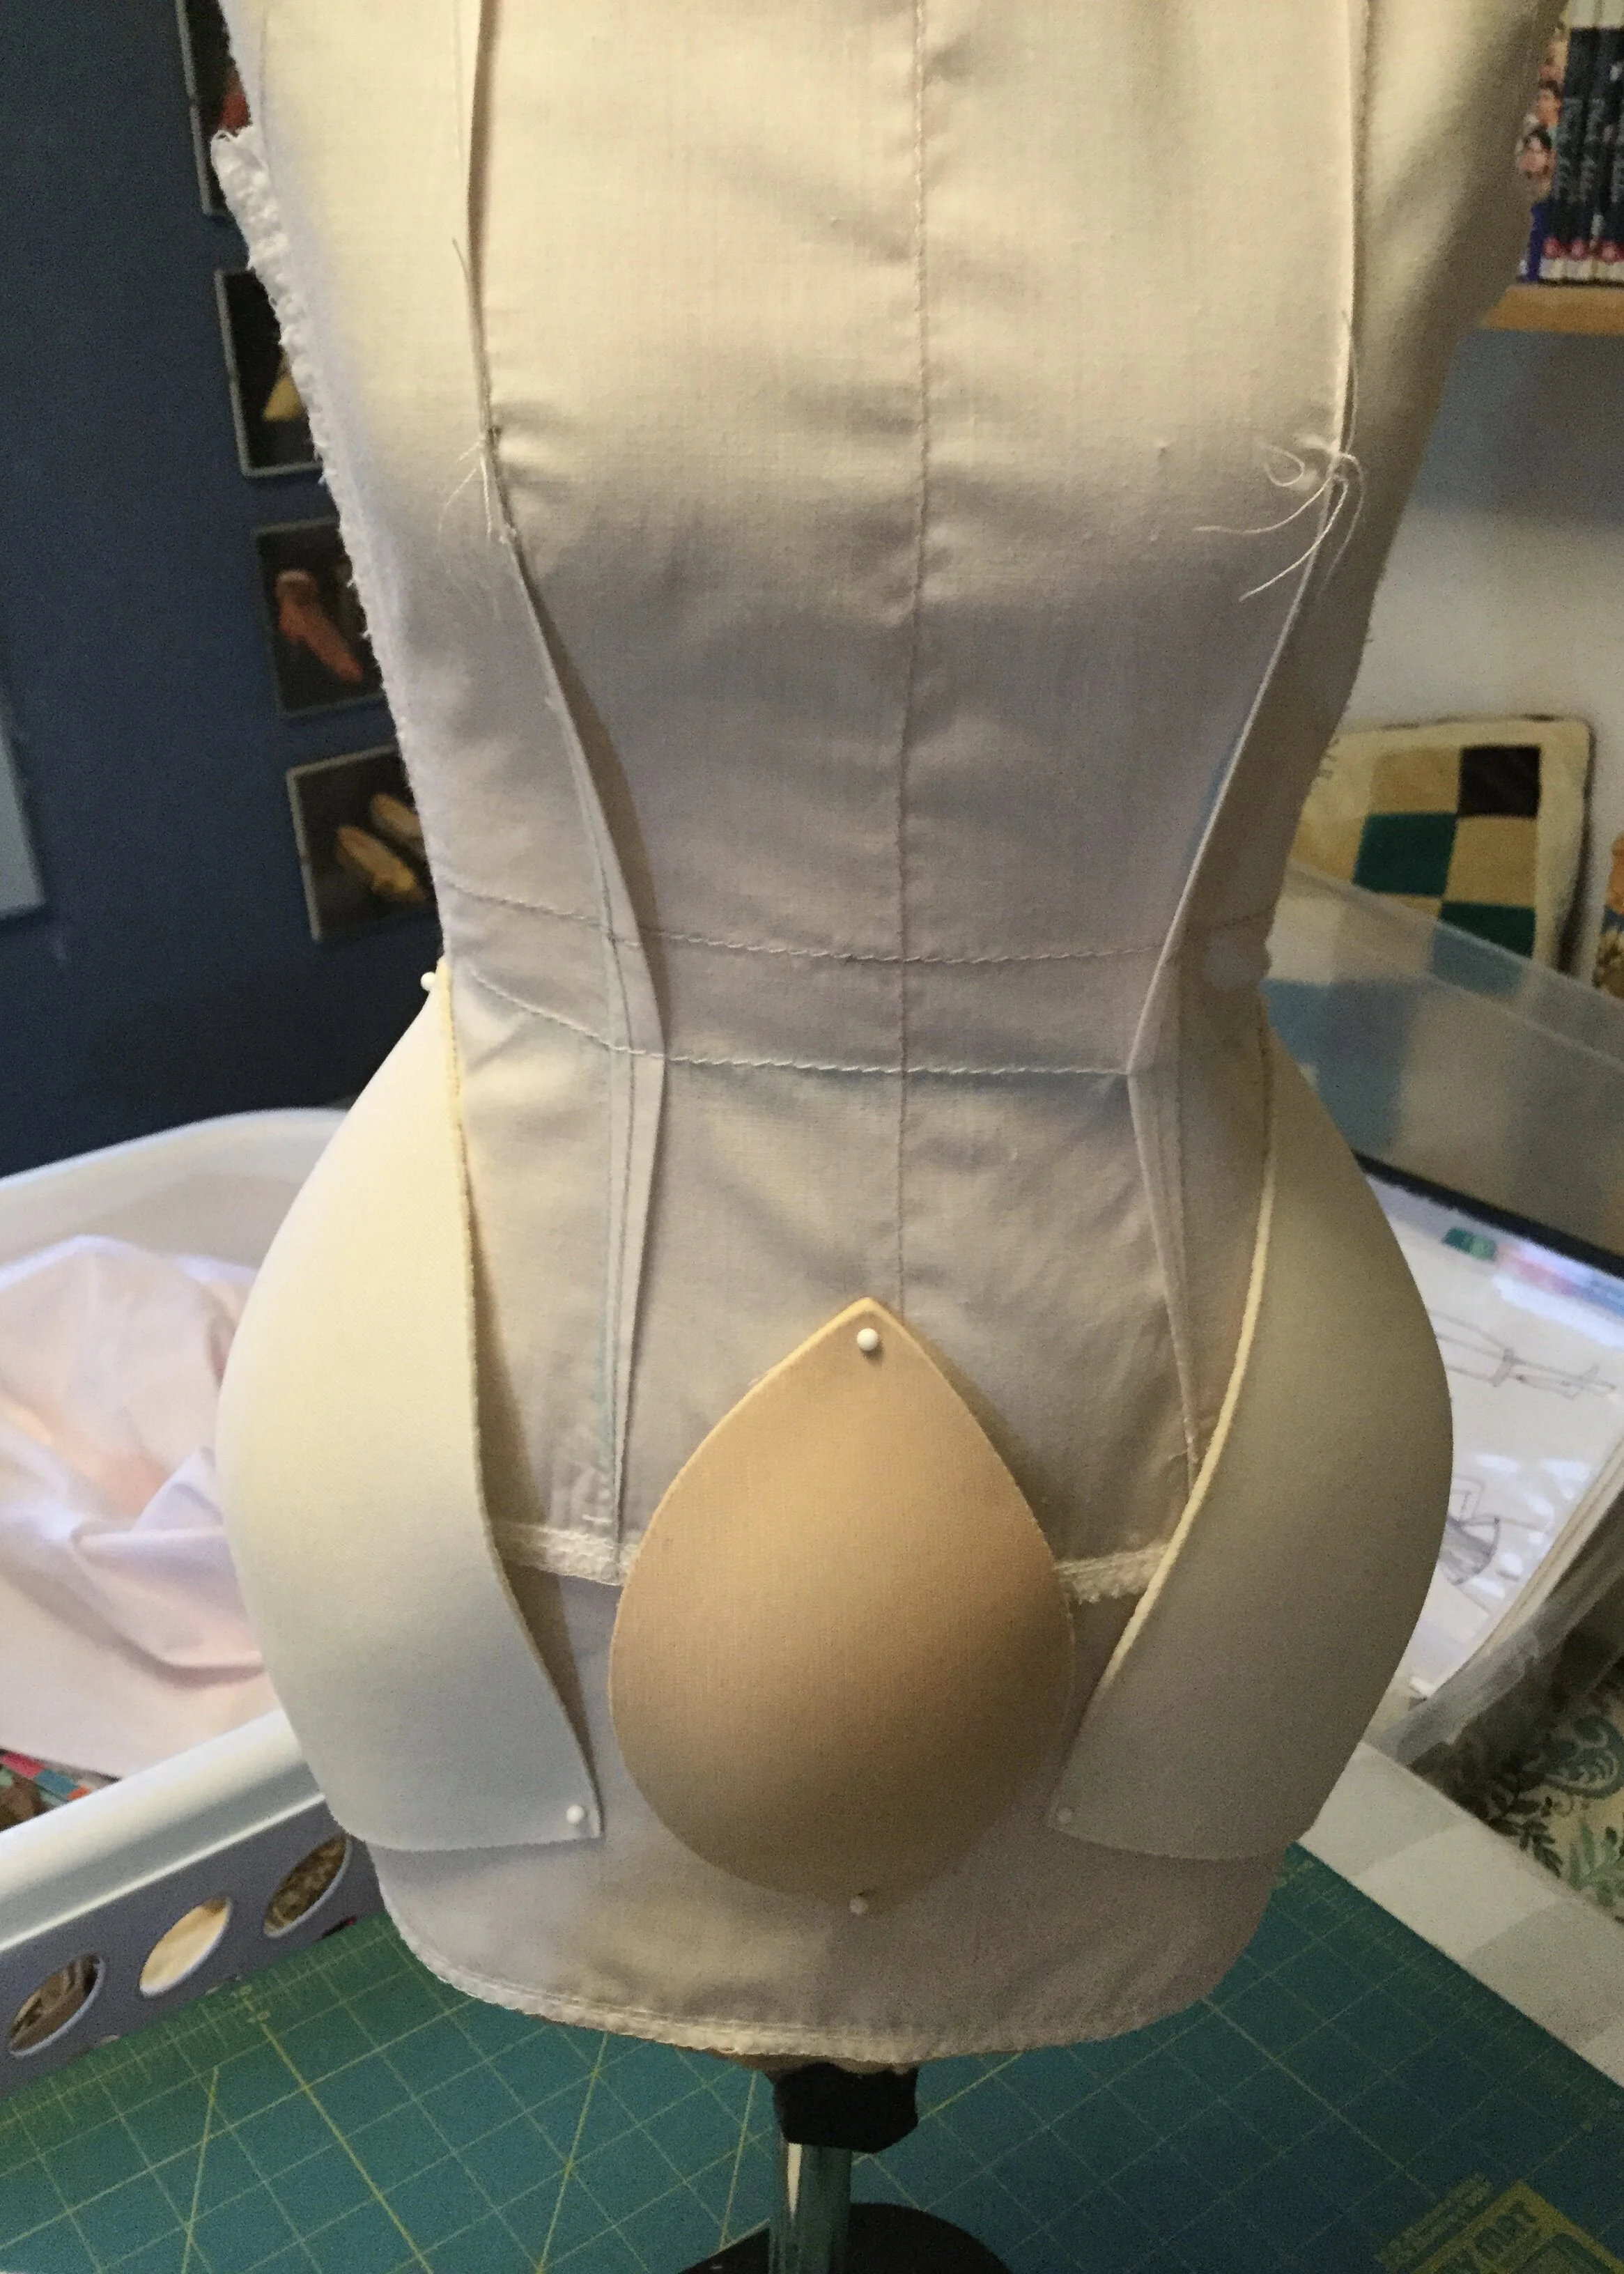
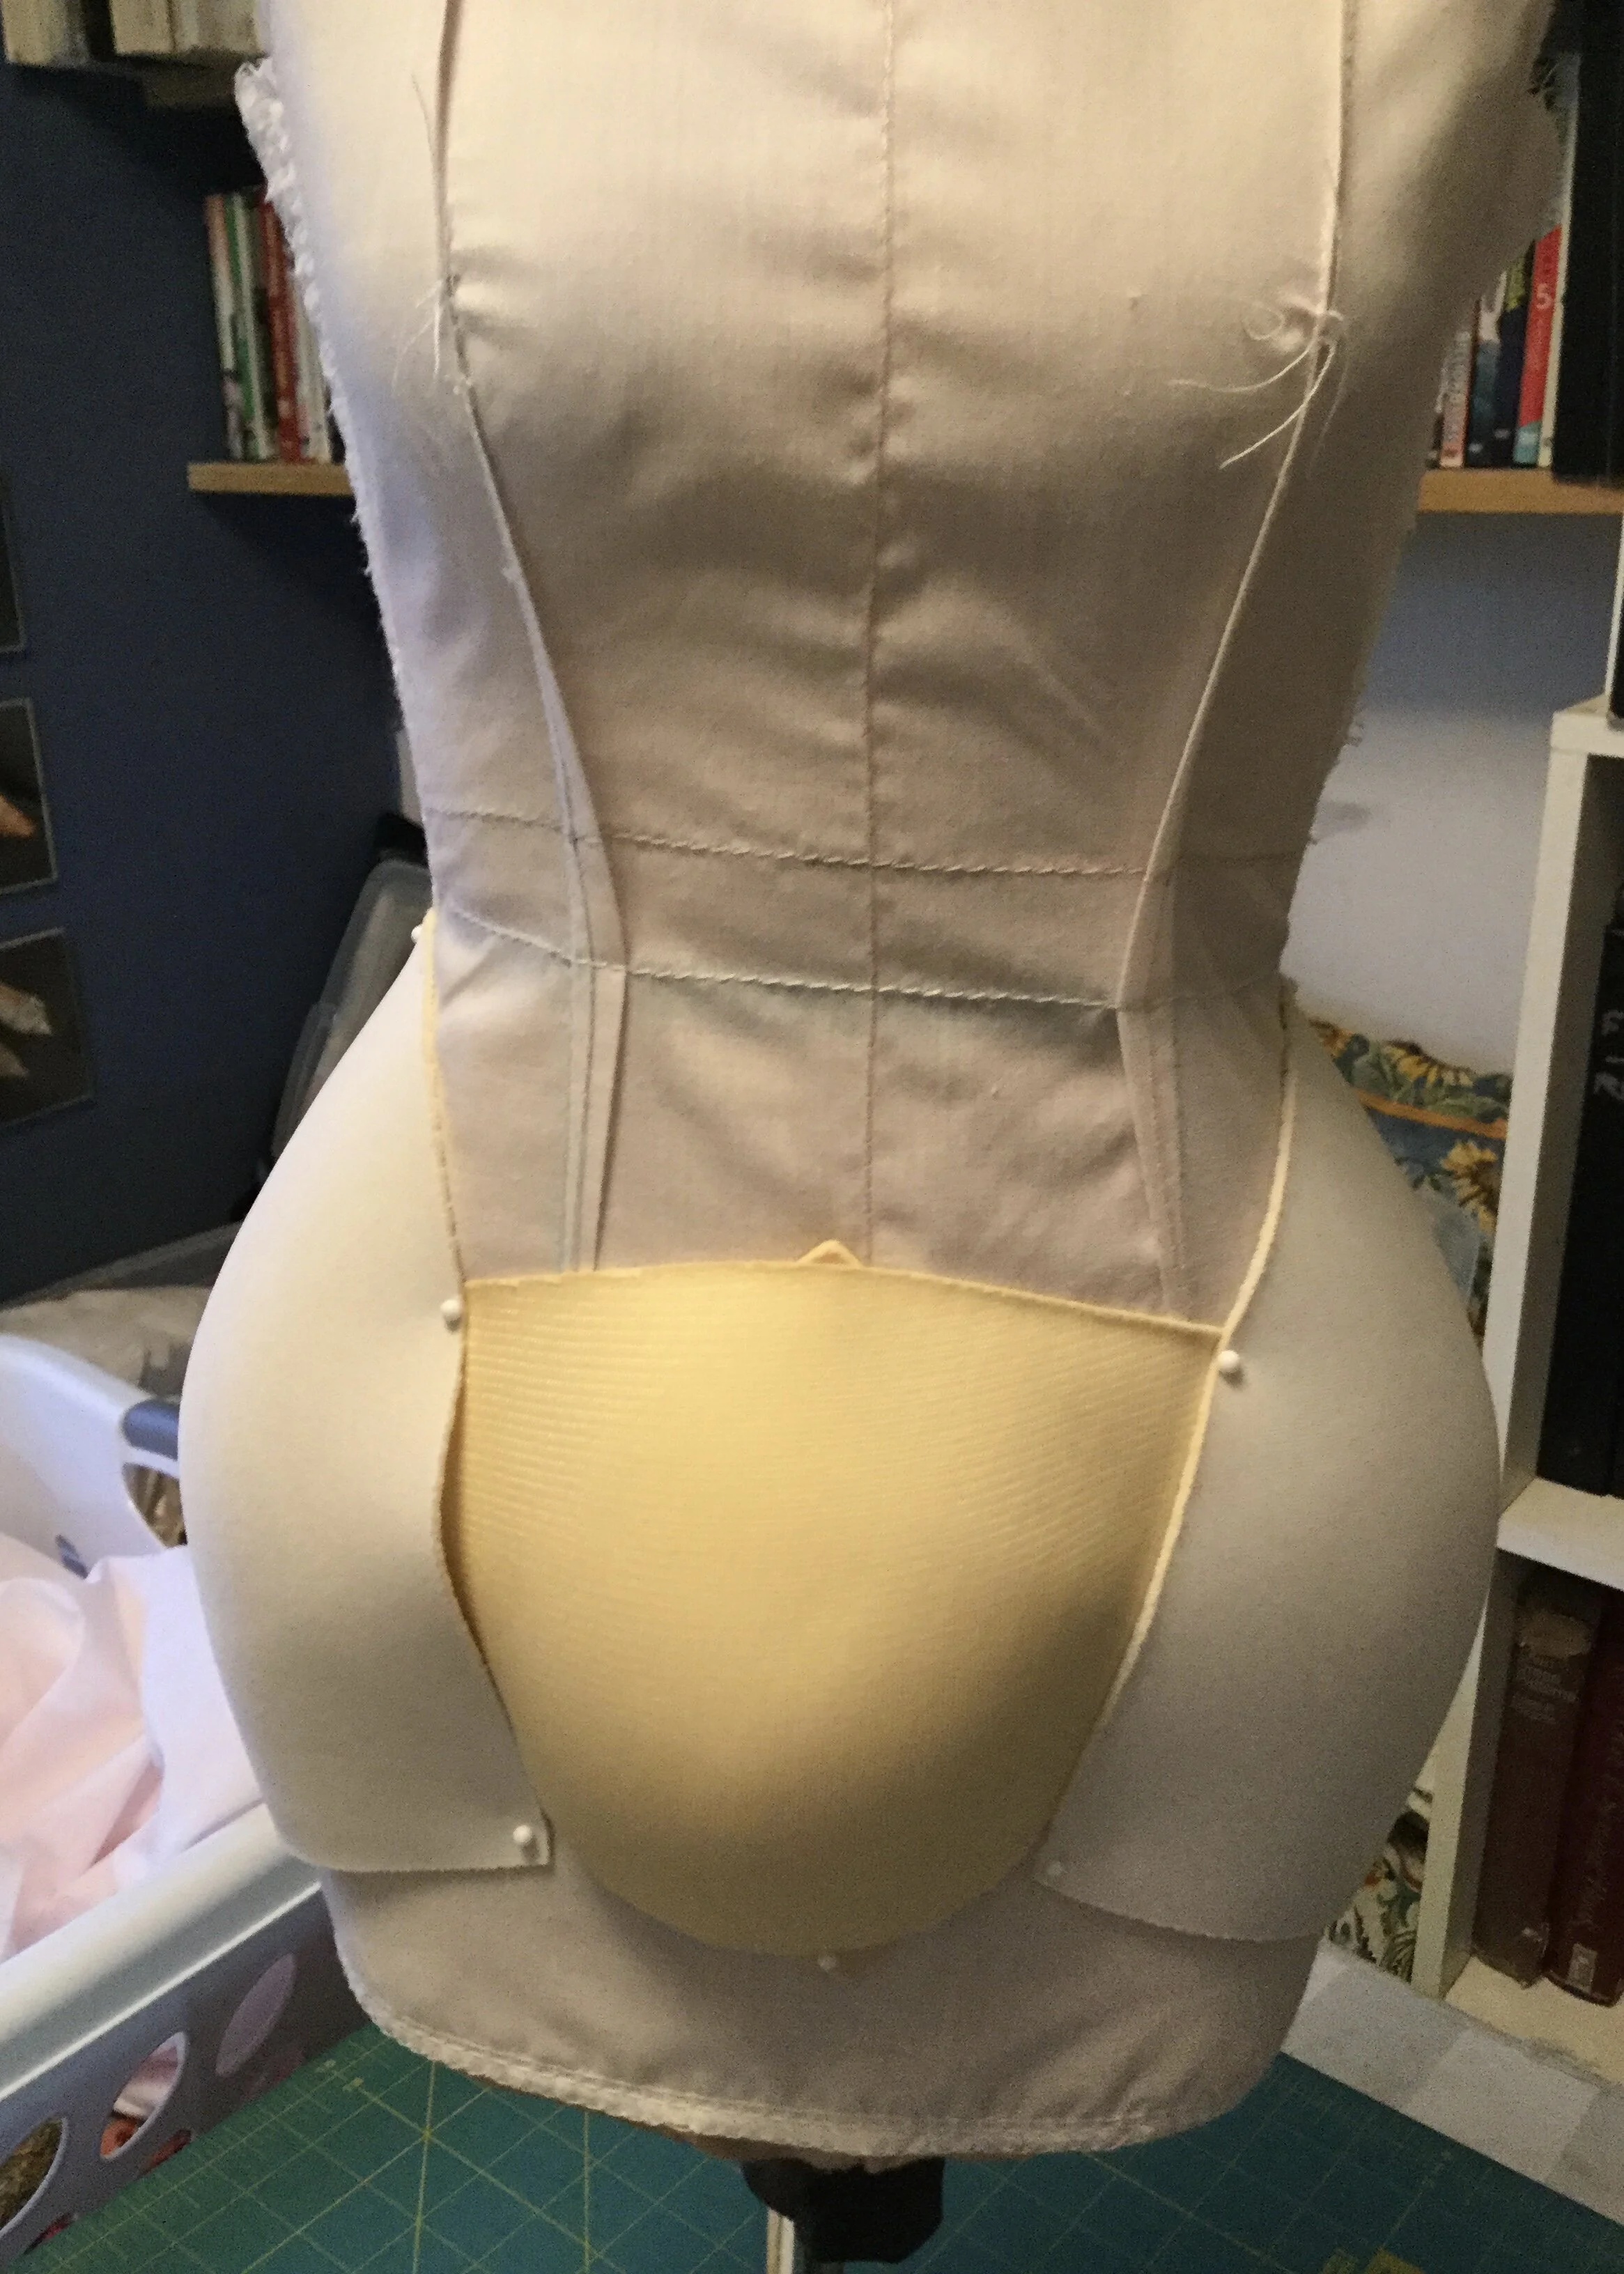
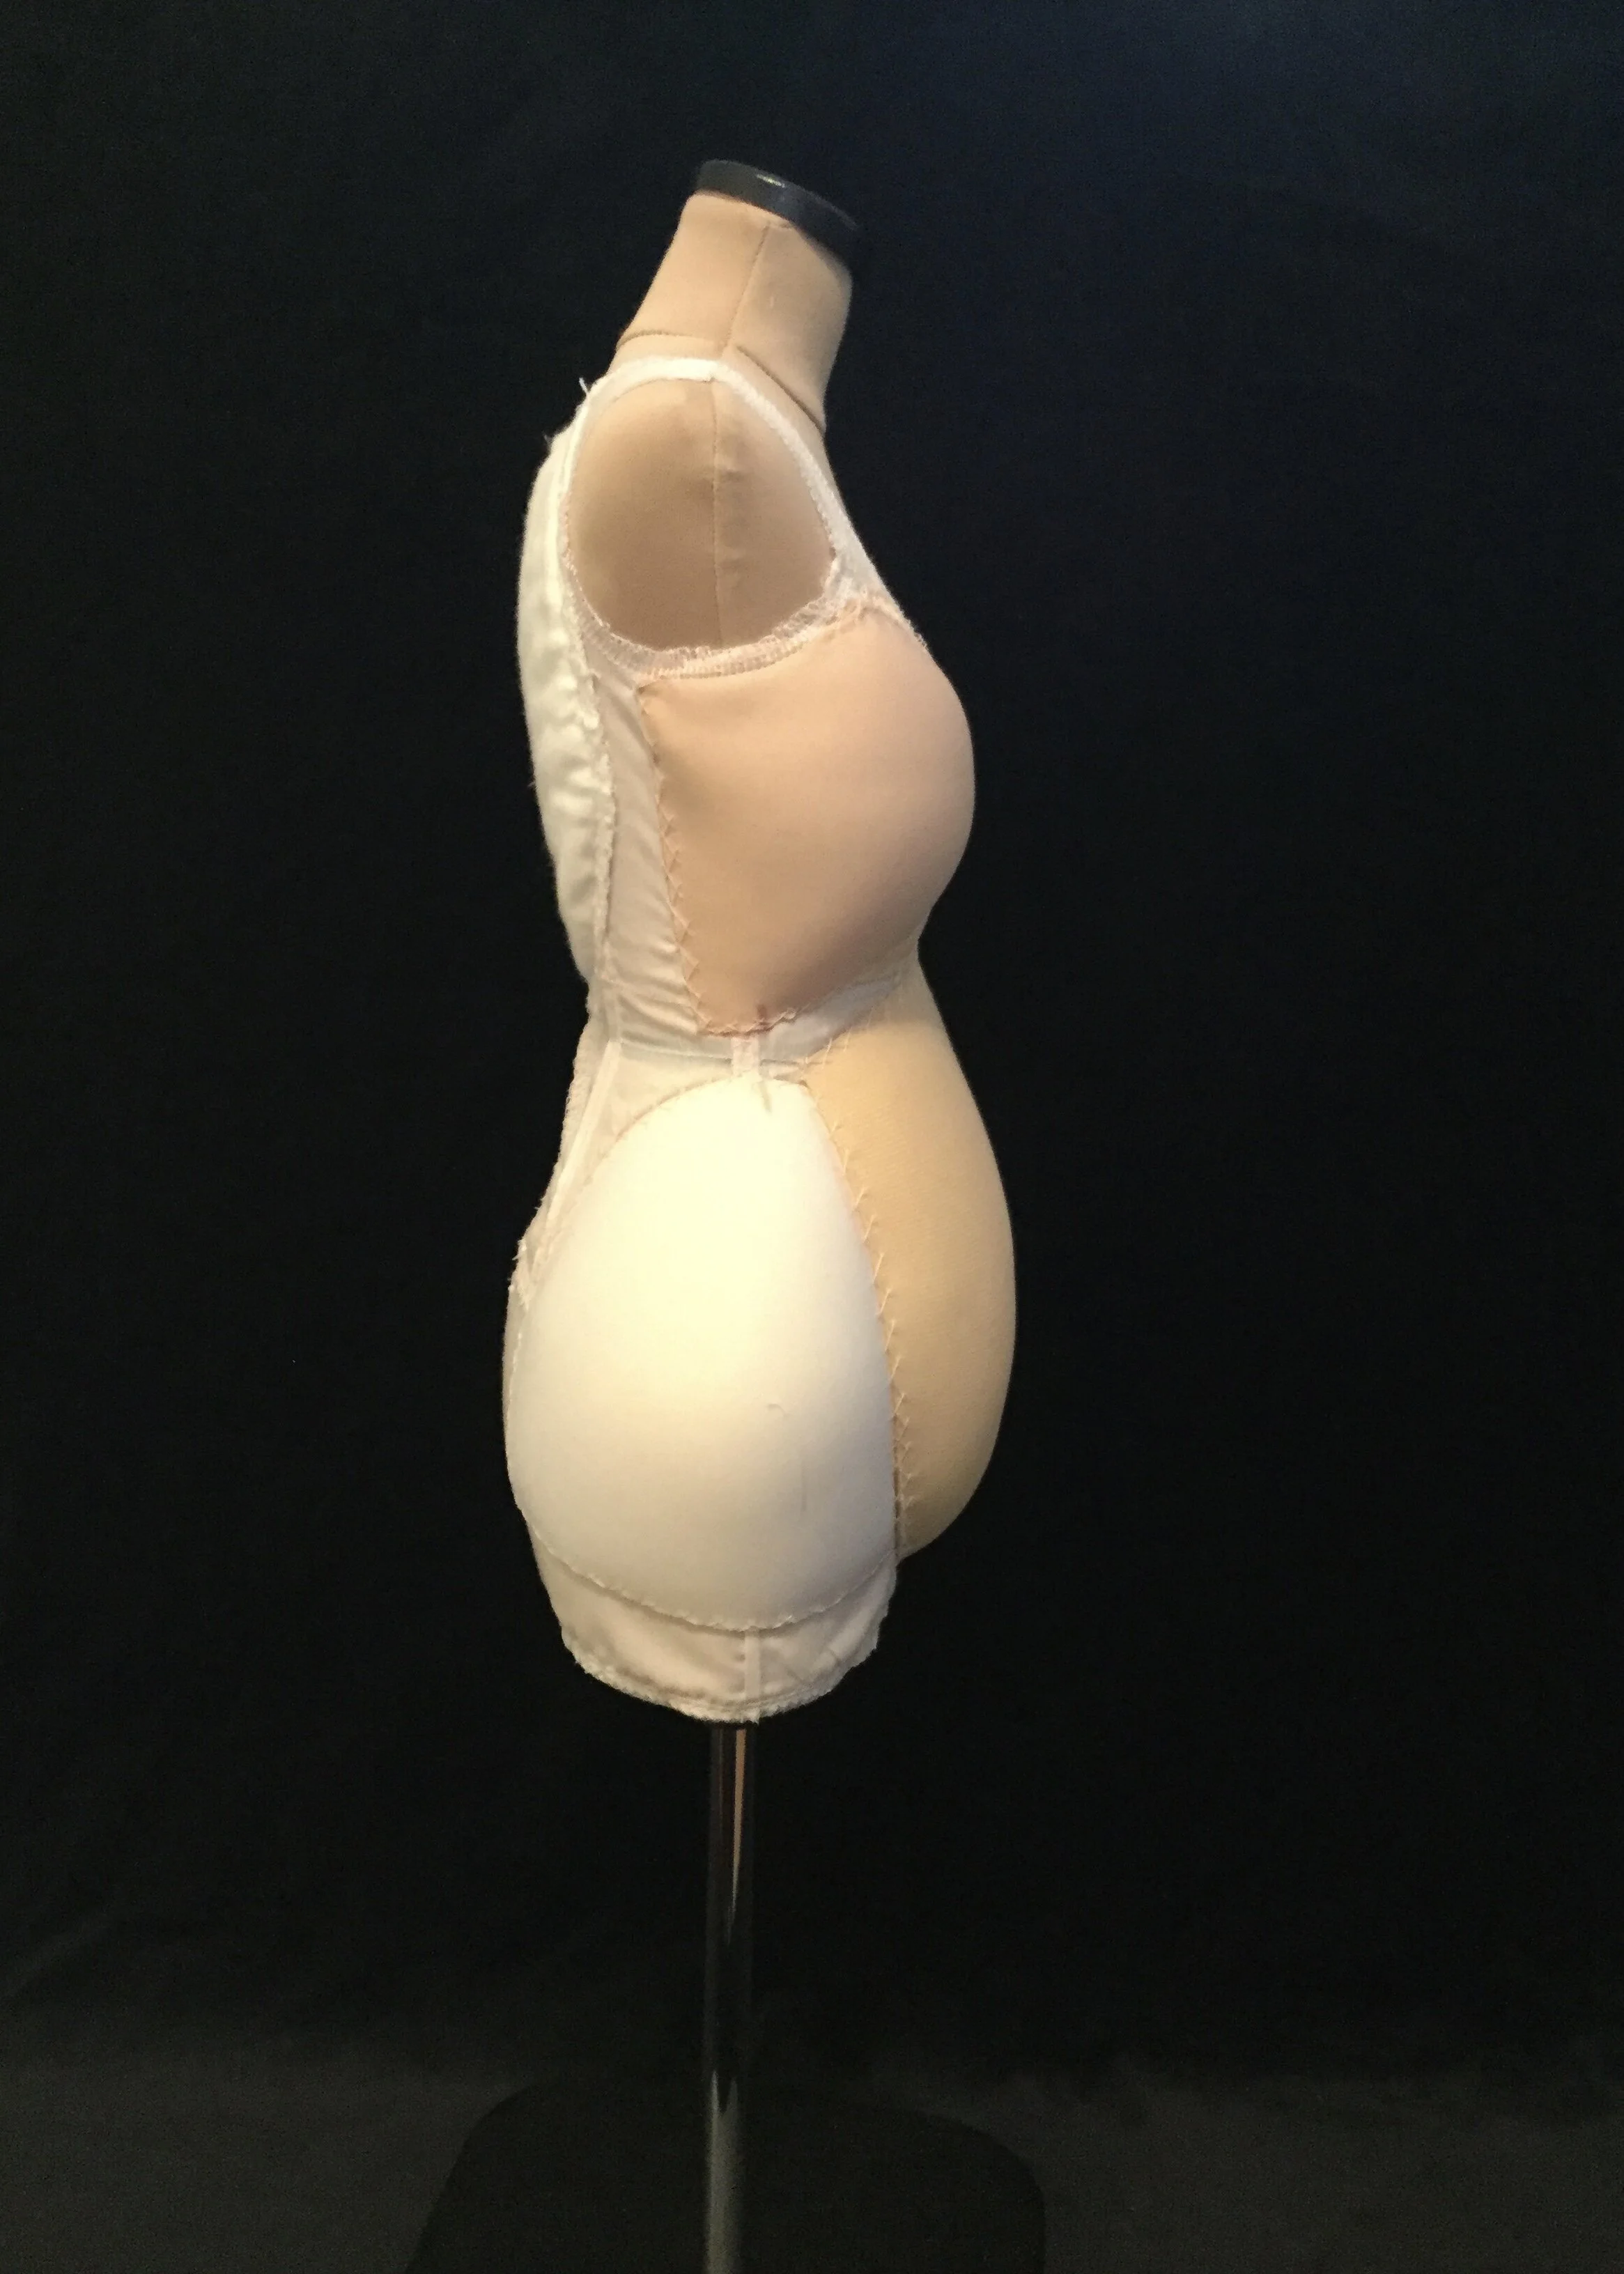
I started by experimenting with placement and layering pieces to build up the shape. I used larger cups over the hips and belly and smaller cups over the bust. The goal for the bust was to make it a bit bigger to give a more pronounced hourglass shape. I started with some foam cookies and covered them with a set of small, foam cups with a little bit of stuffing thrown in to pad out the sides a bit. Ultimately, I decided that the foam cookie was a bit too much and opted instead to use just the cups and stuff them with fibre fill. The large cup I used to make her belly was also a bit too full so I ended up taking out a tuck down the centre; I was aiming to still have a fairly slim waist with an outward curve lower down, closer to the hips. I built up the fullest part of this curve with a cookie and another small foam cup.
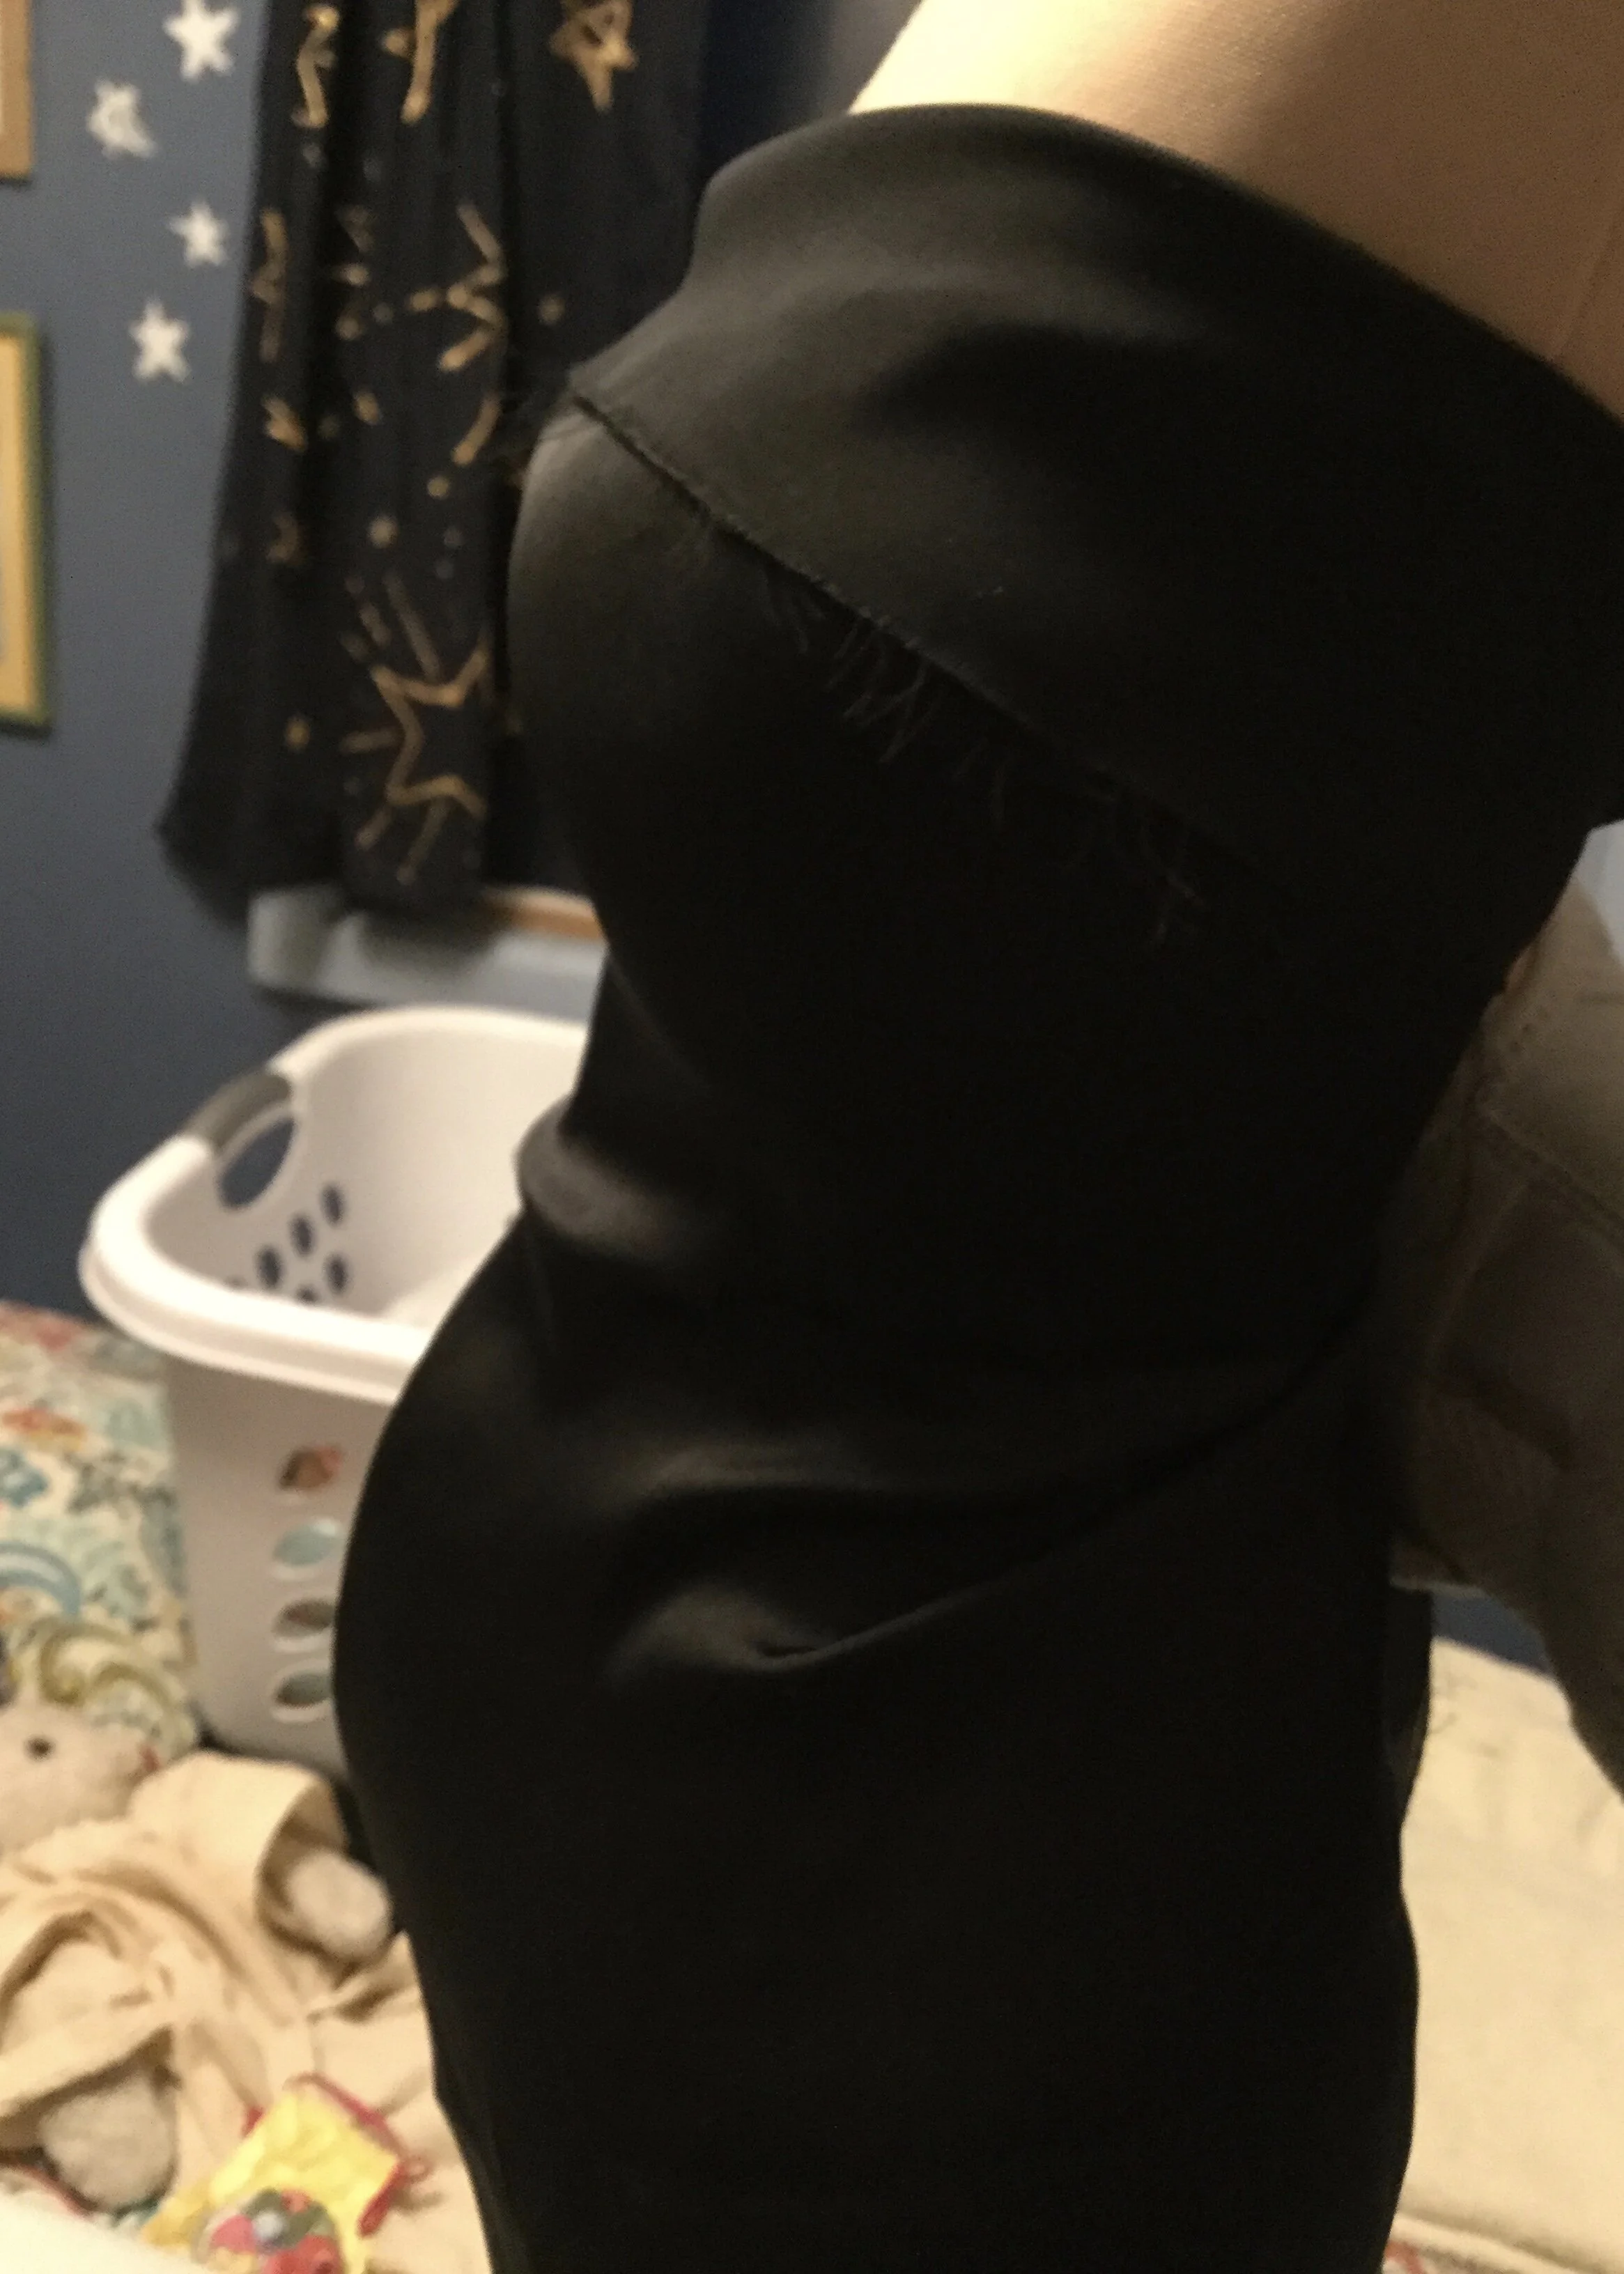
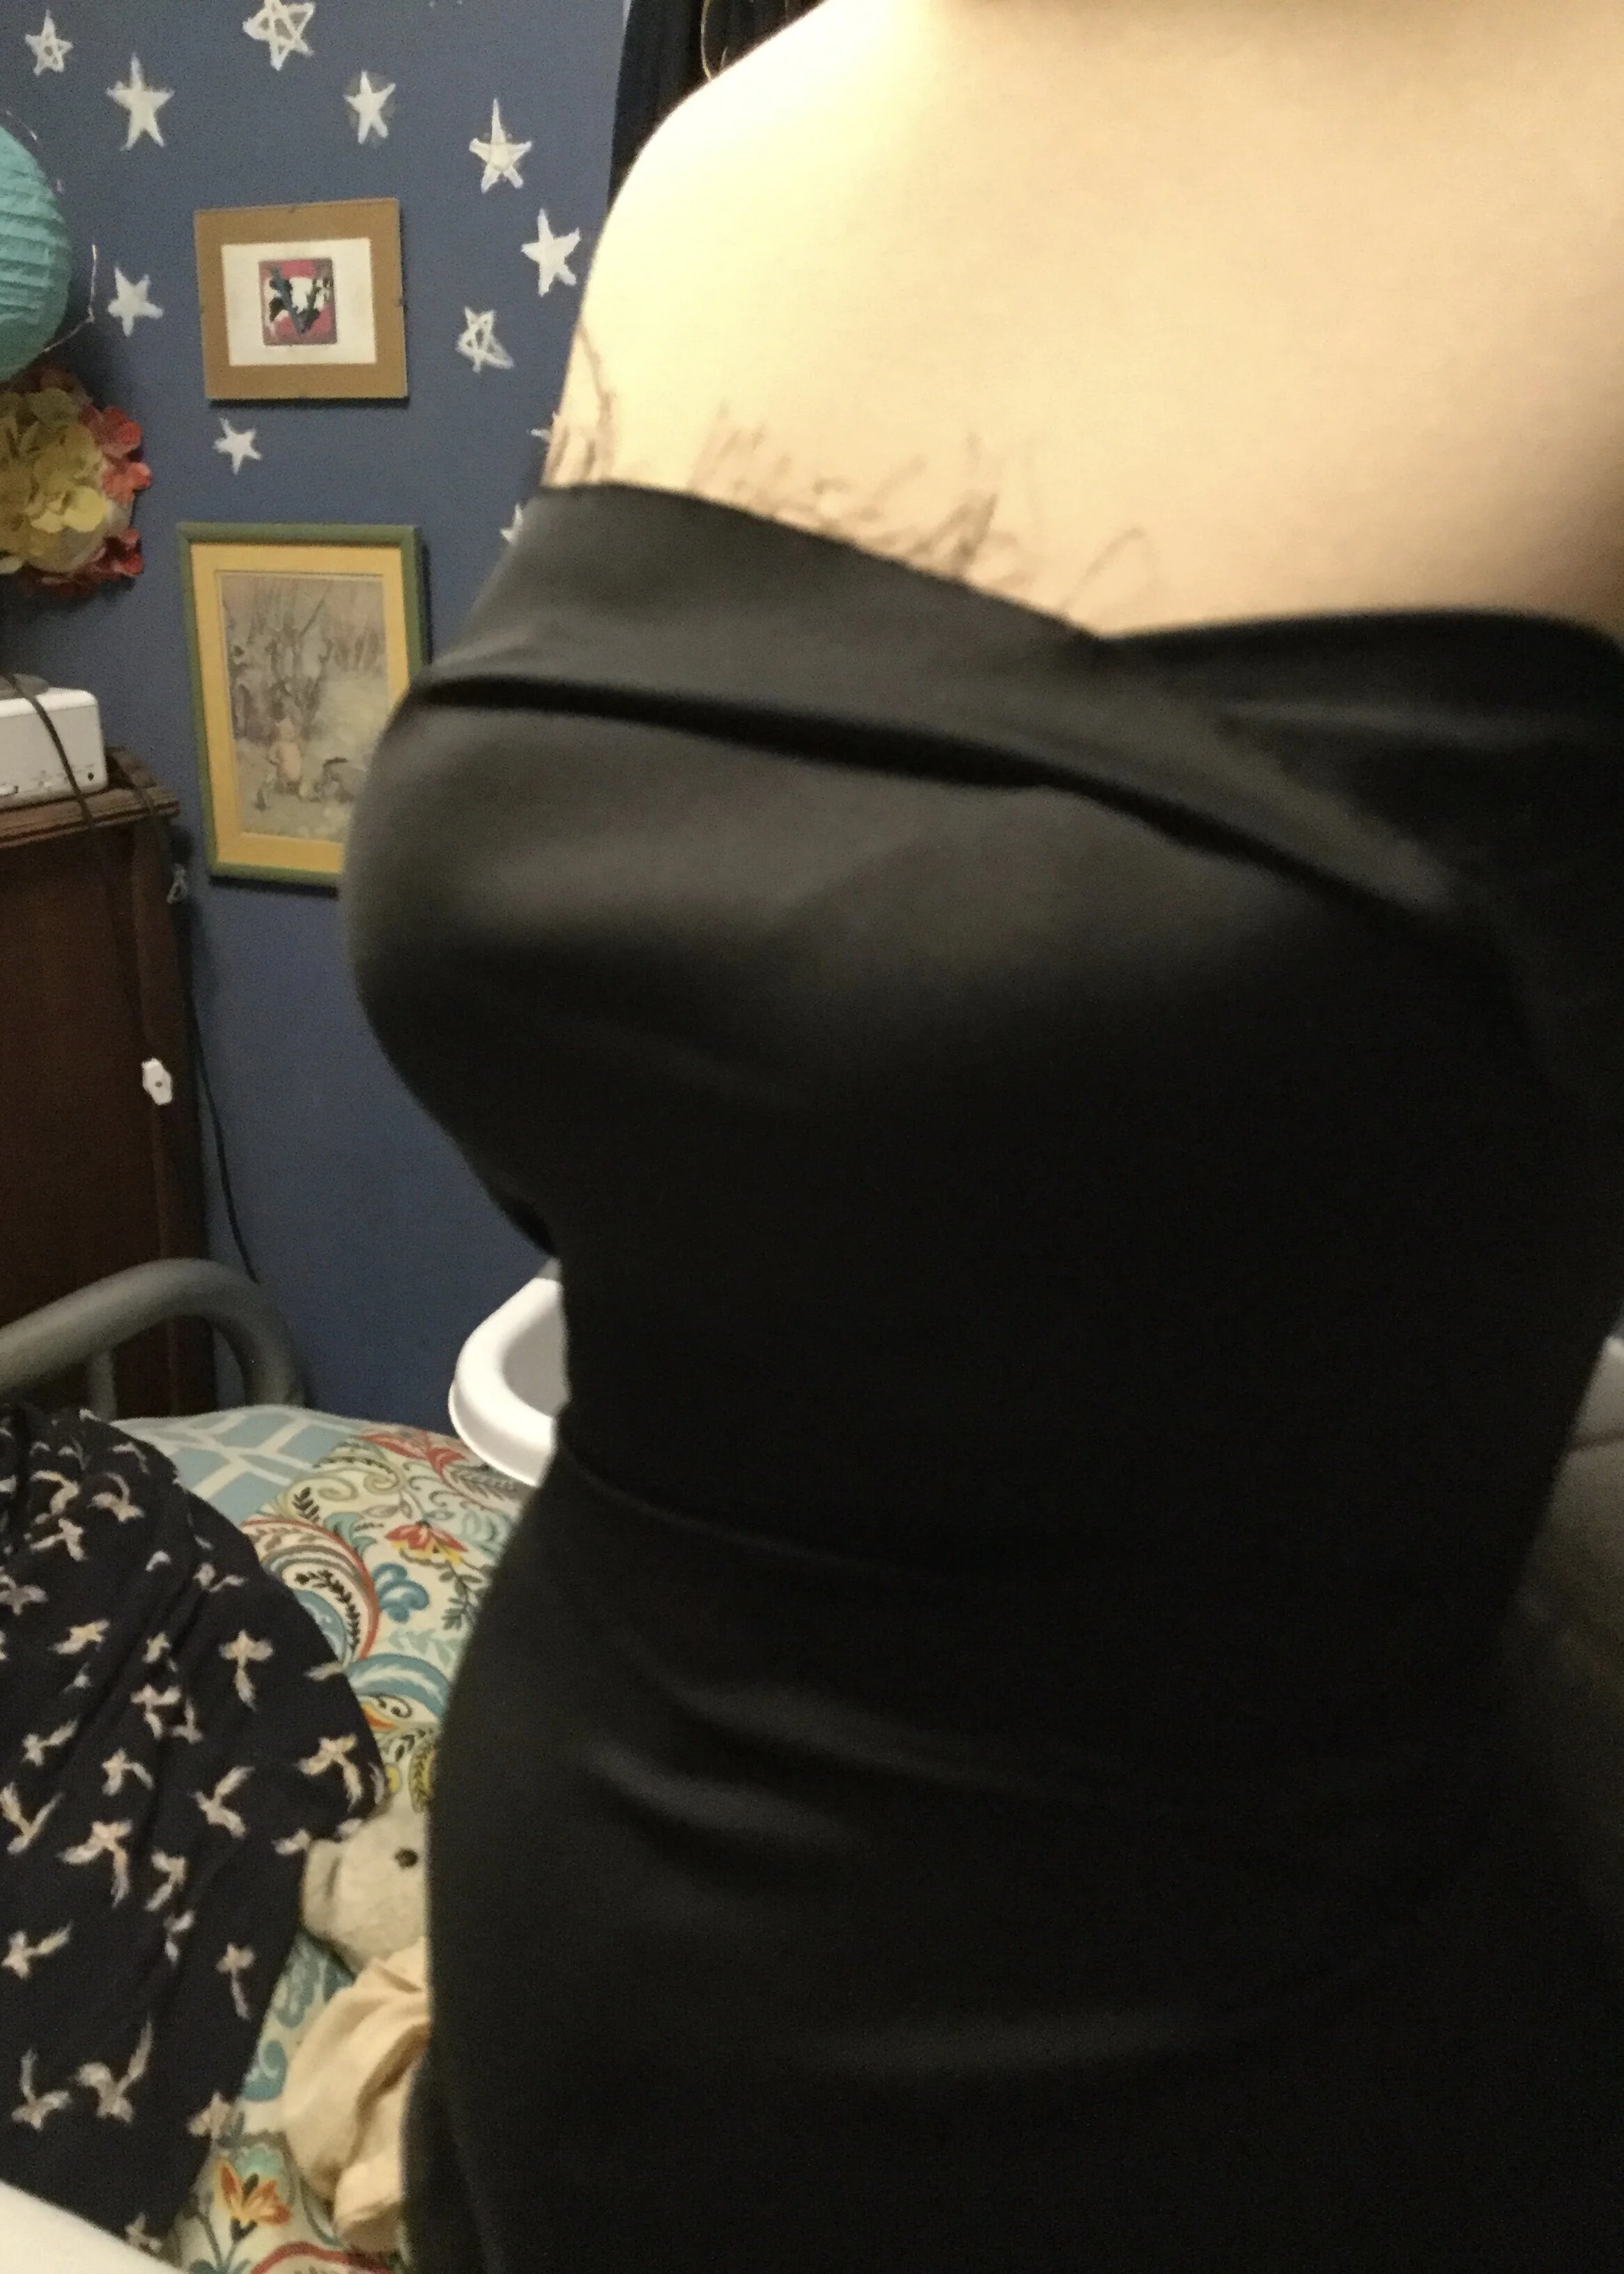
I tried wrapping her in a piece of black fabric I had laying around in order to get a bit of a sneak peek at the finished shape, but it didn't really provide much insight so I found myself having to just trust that I was more or less on the right track.
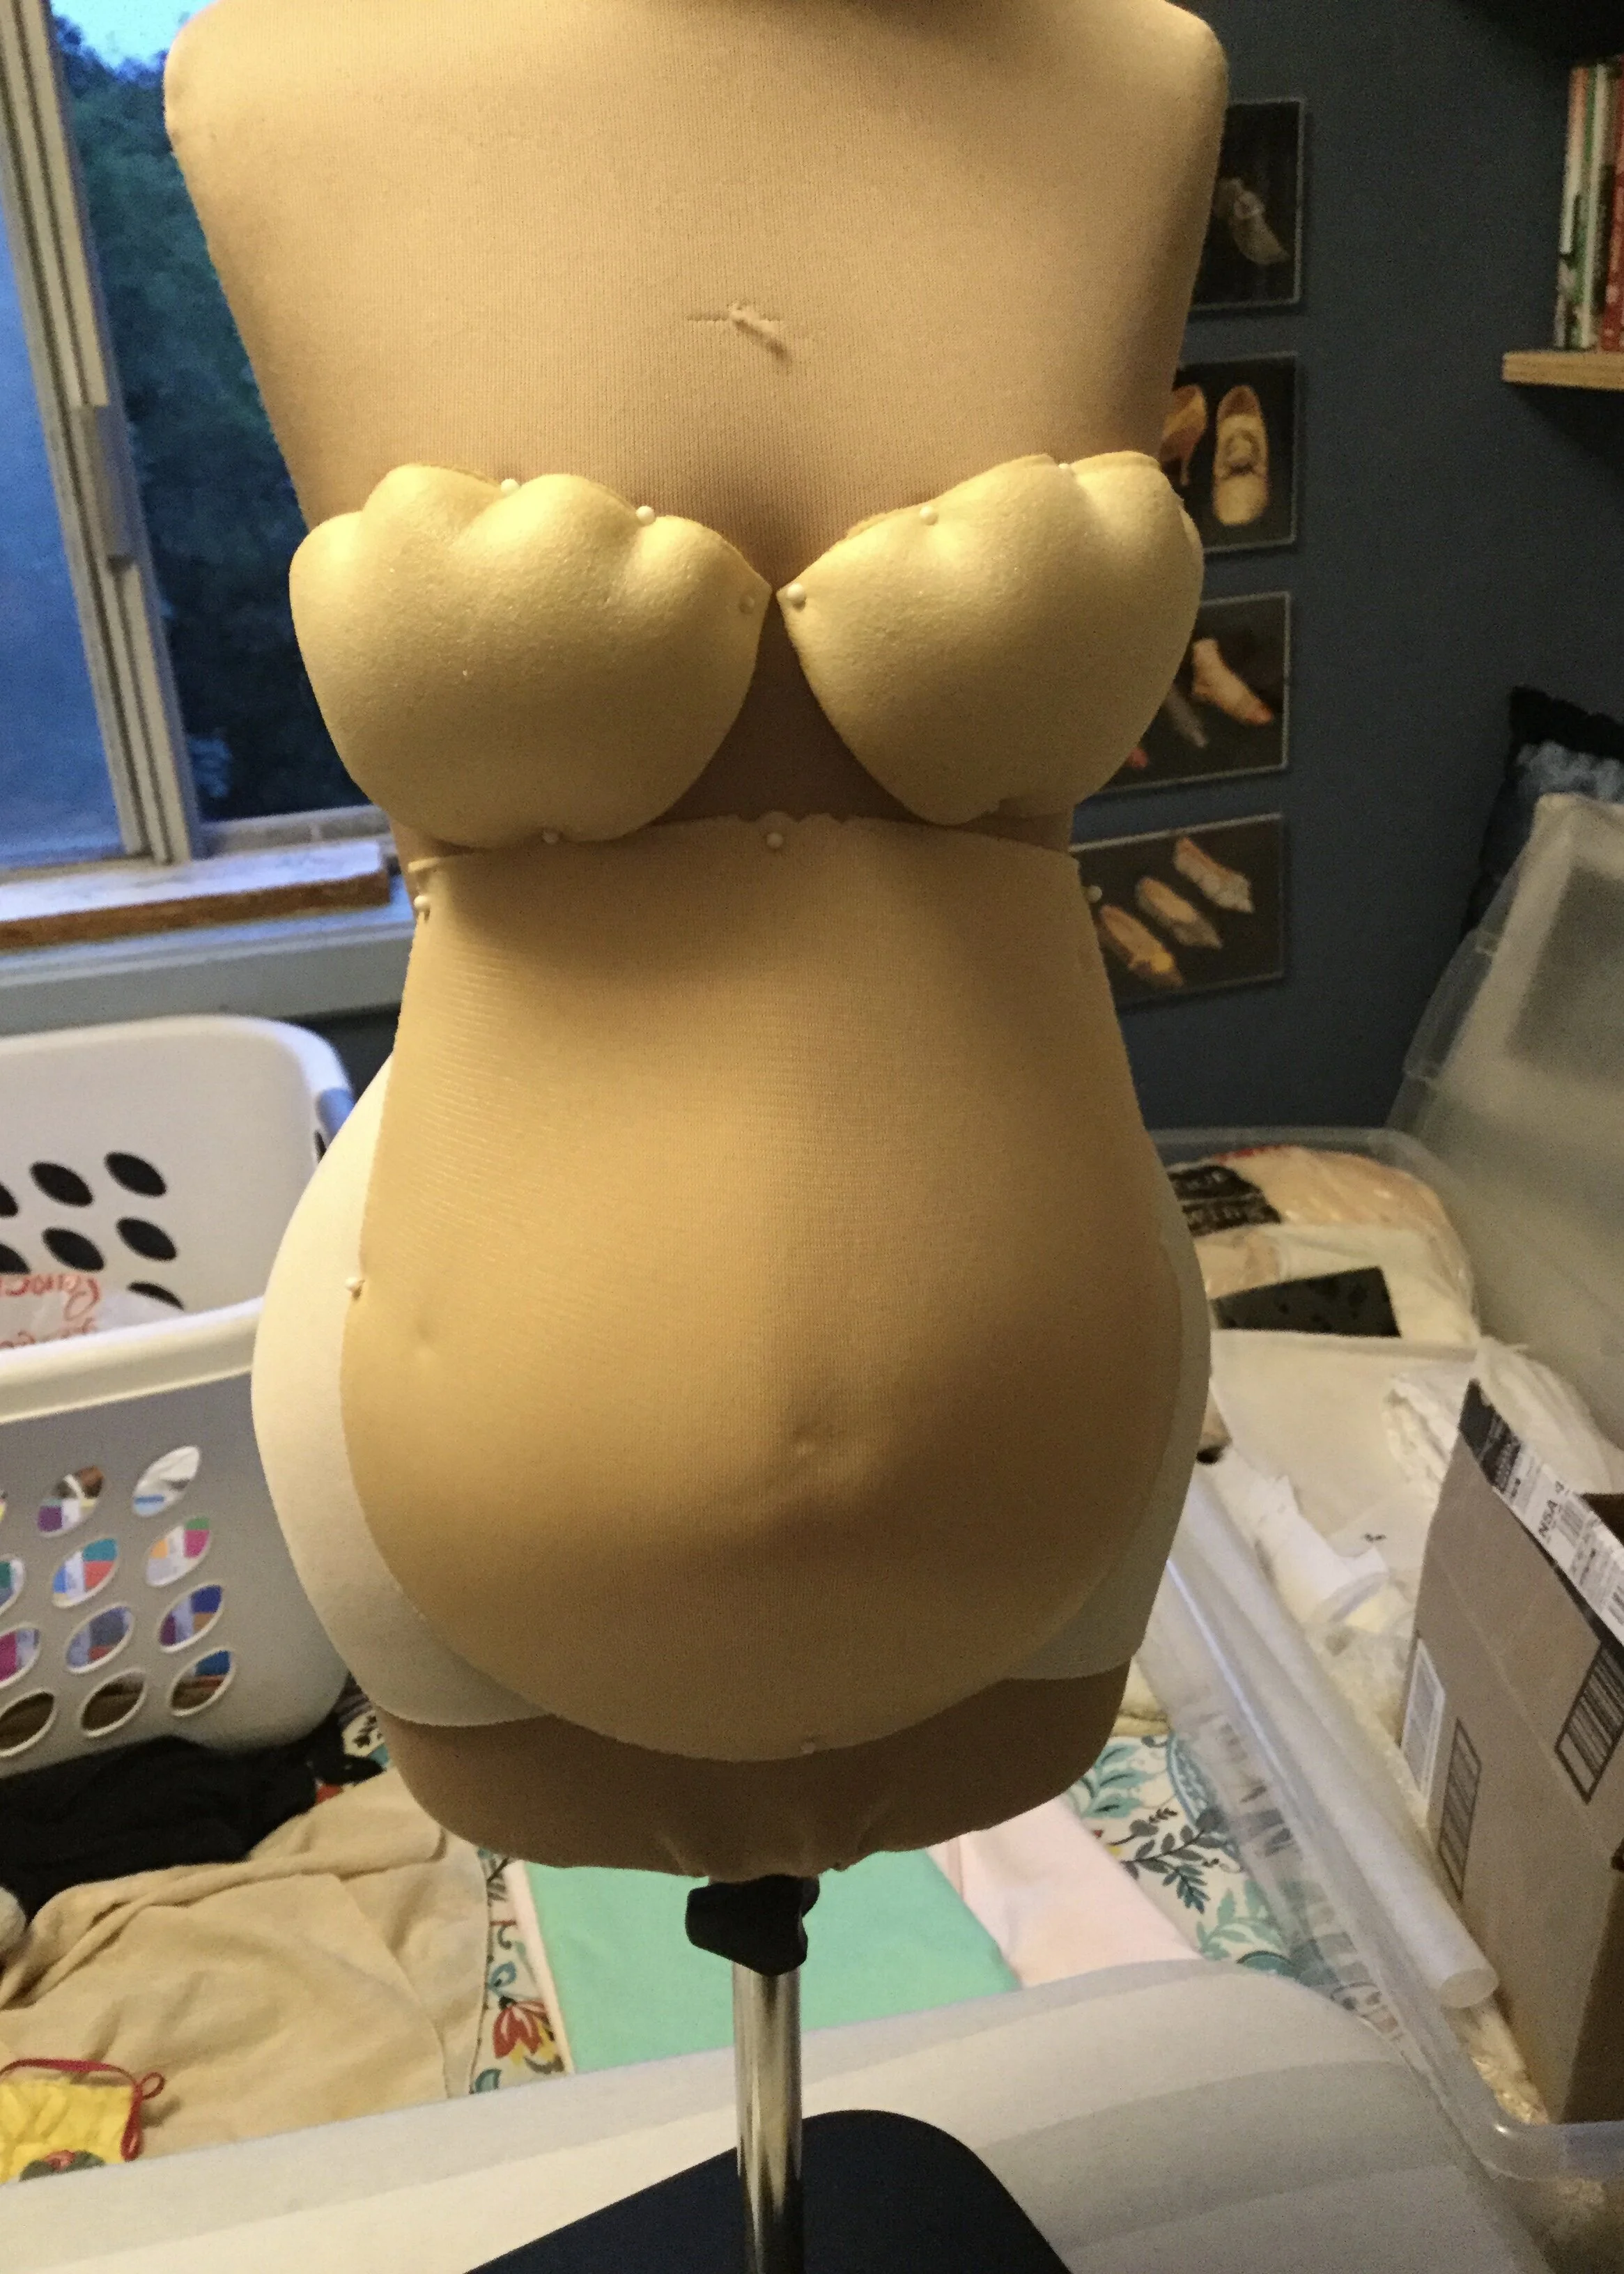
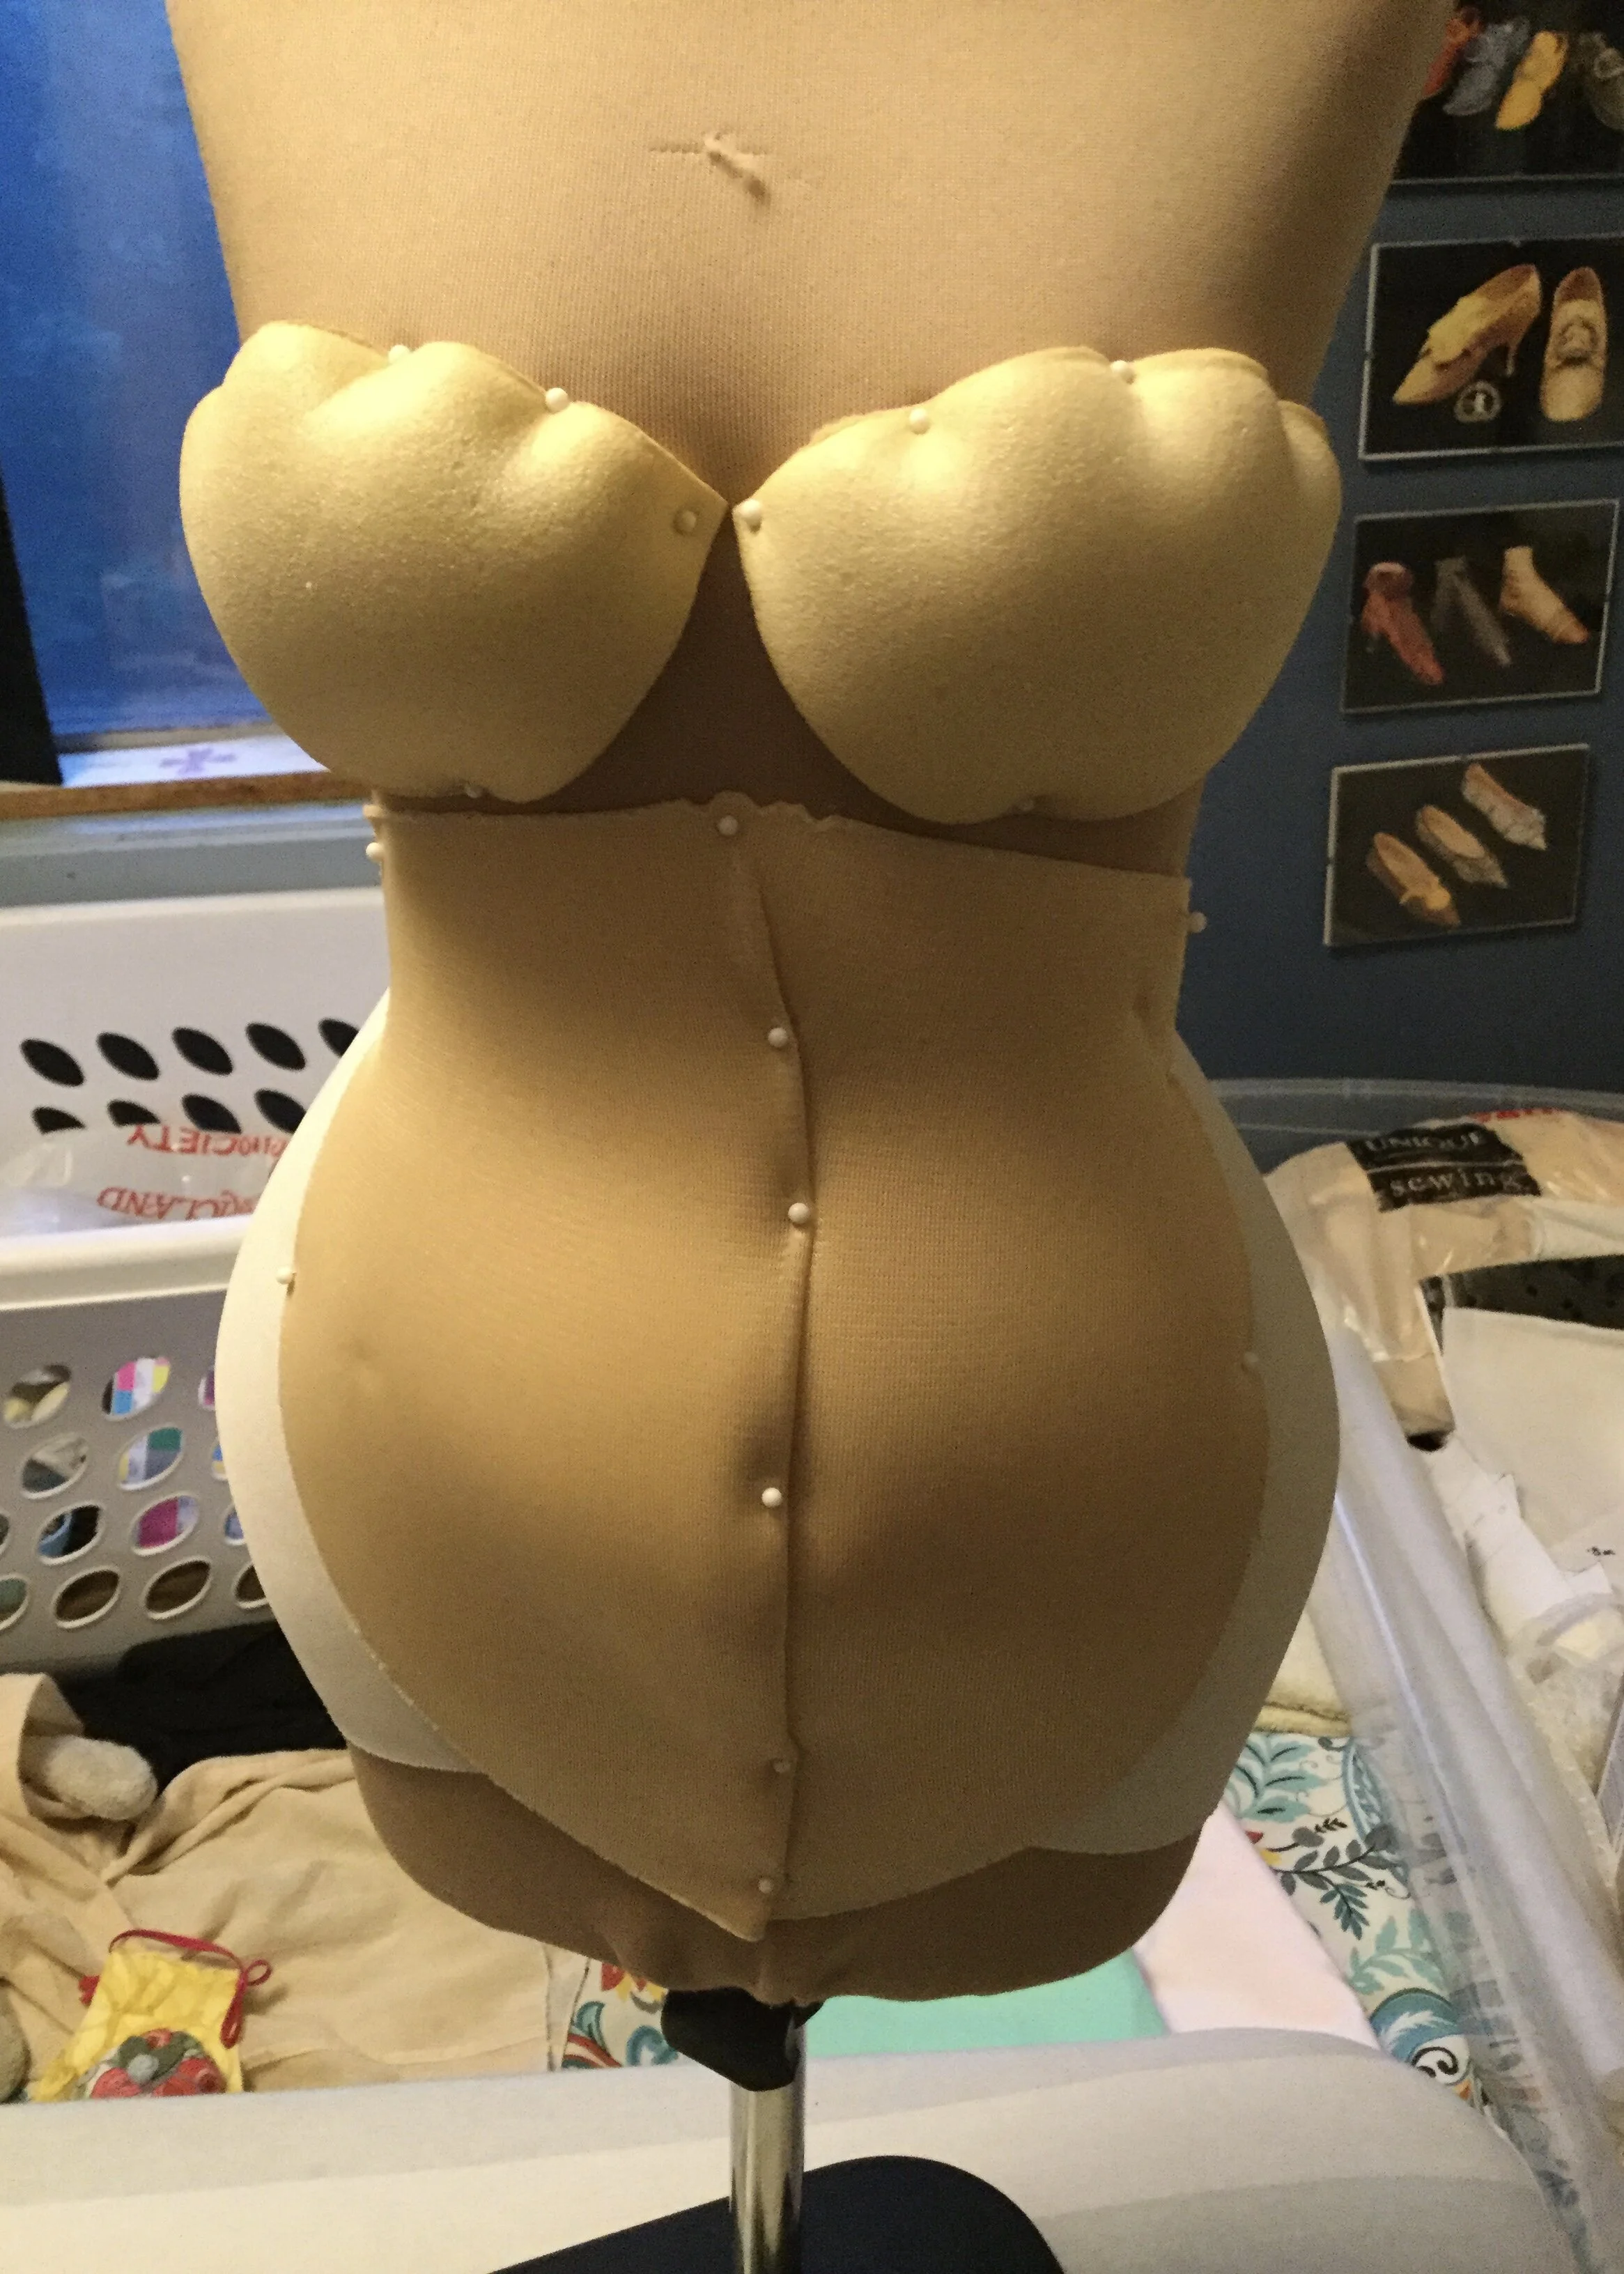
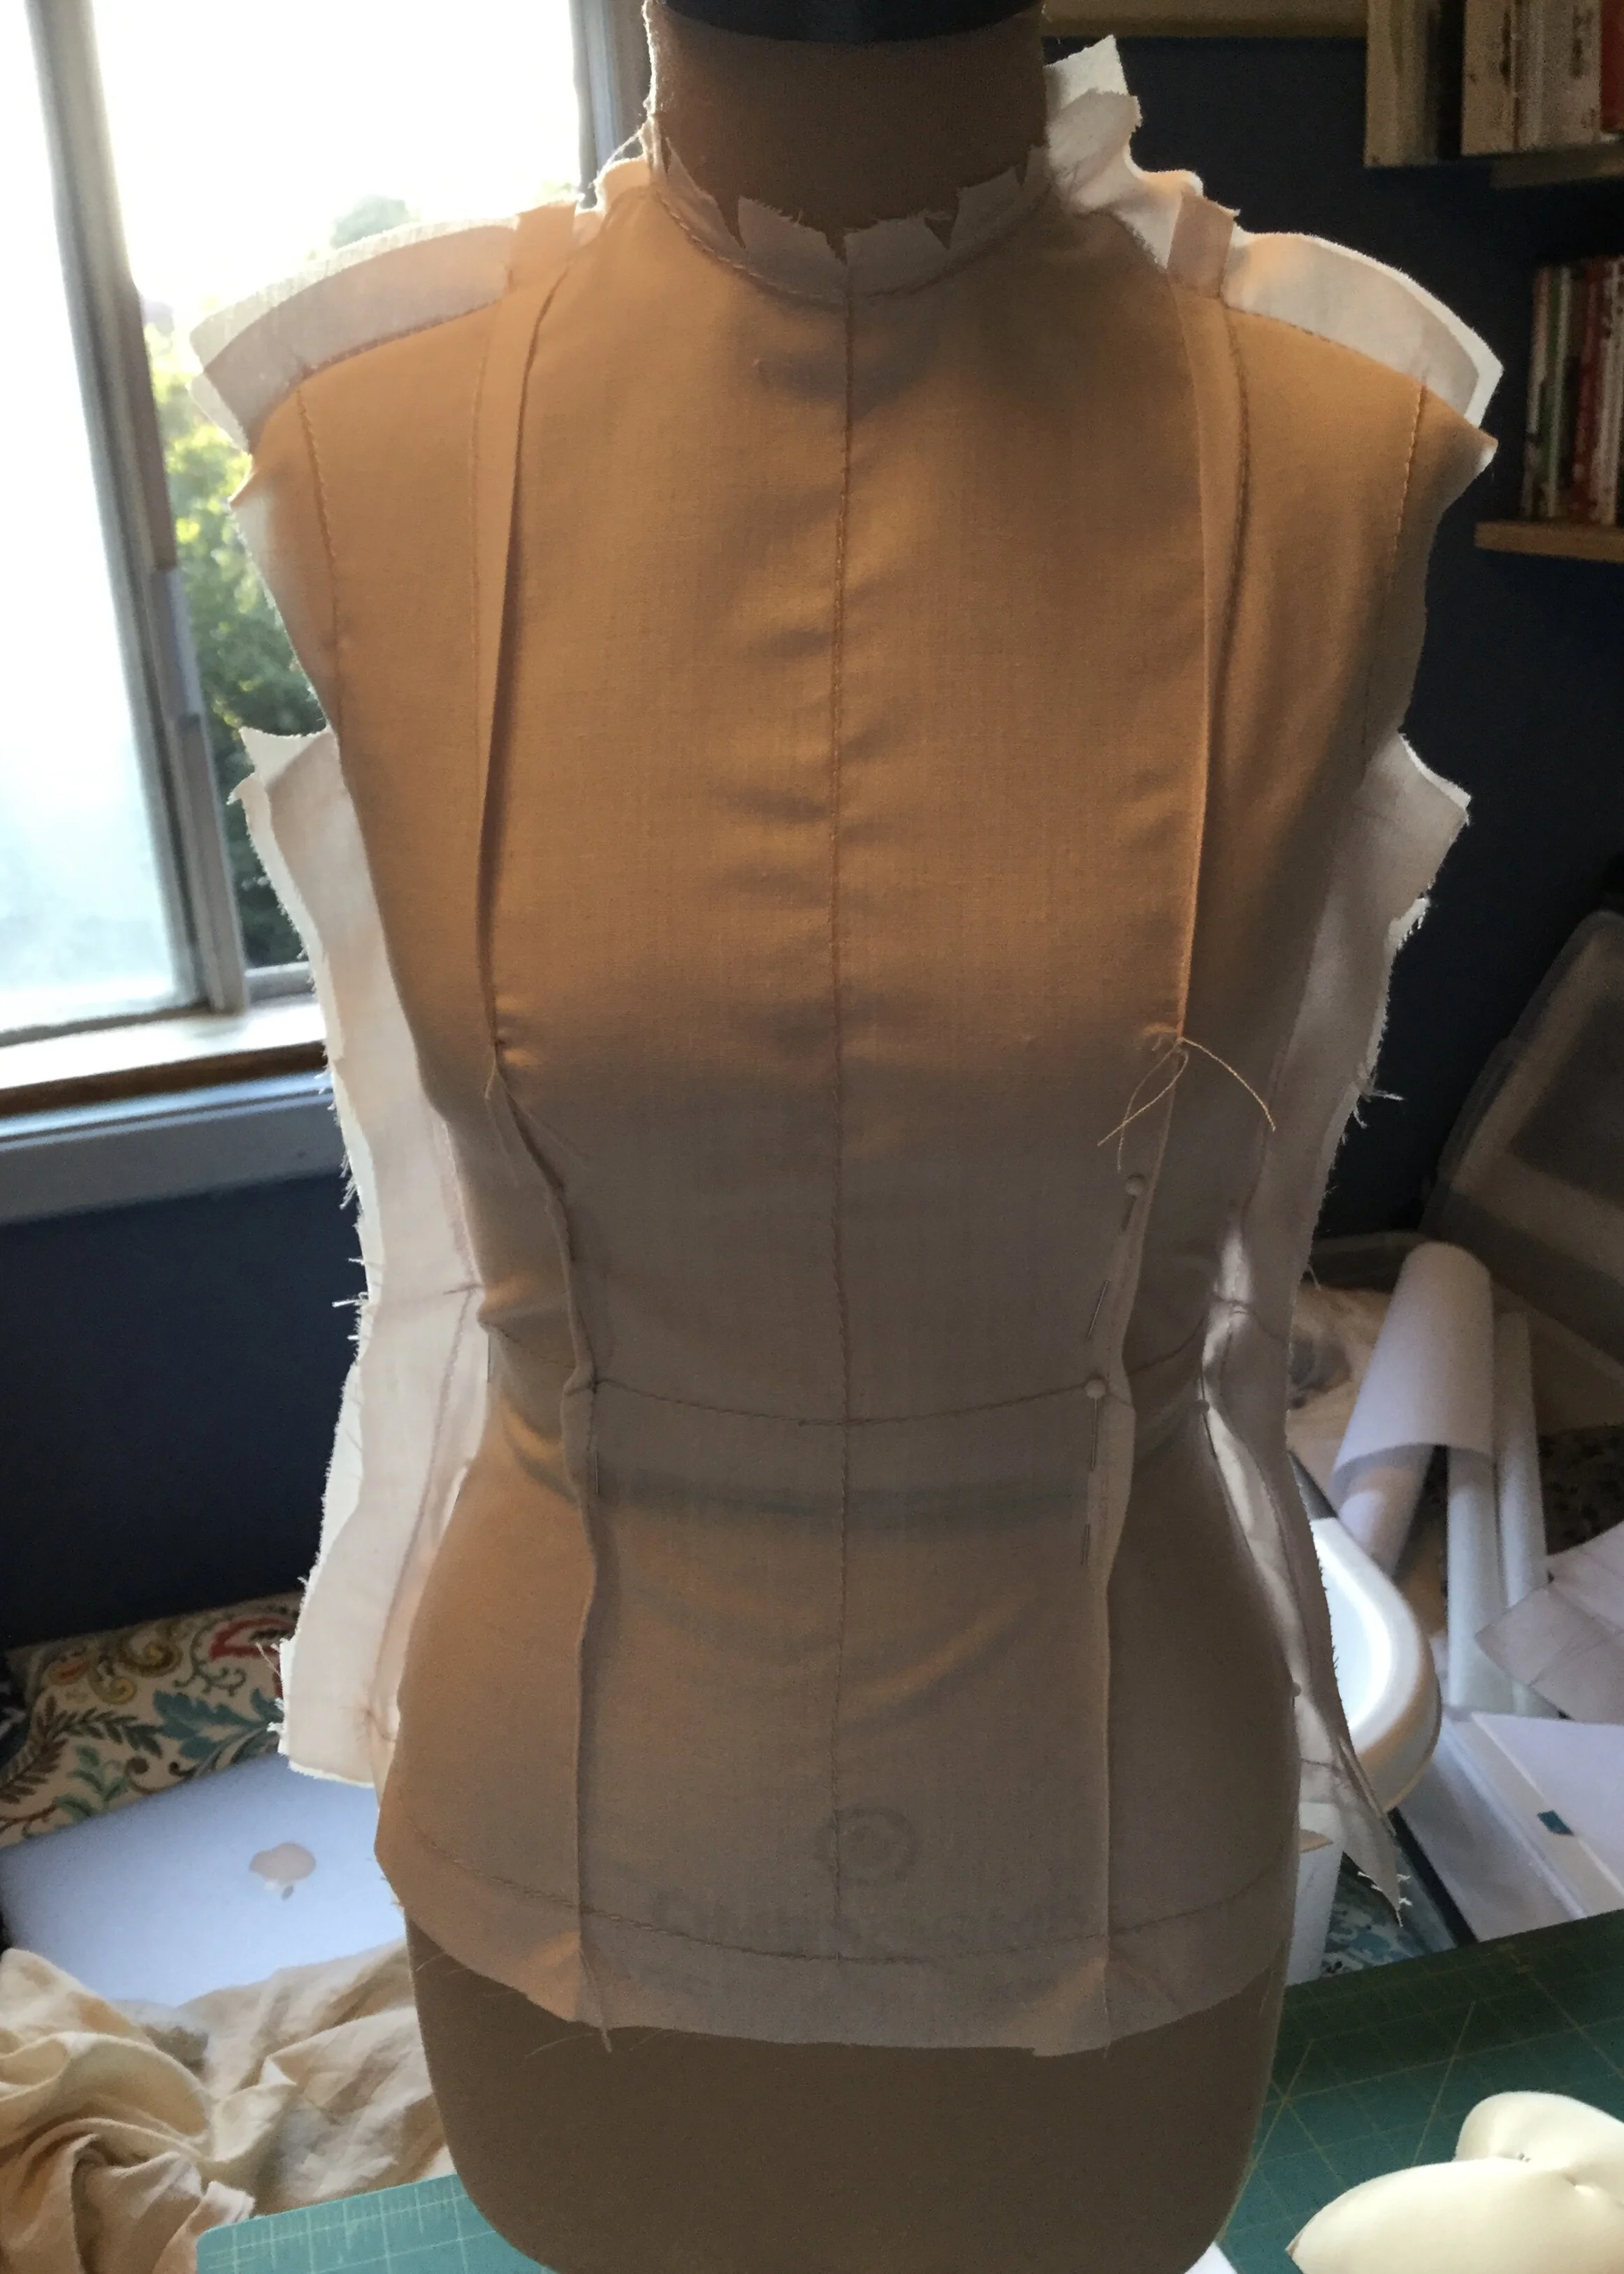
With a few ideas ready, I removed all the cups and made up a basic block which I then altered to fit very snugly to my Judy. After adding a panel along the bottom edge so that it covered her whole body (oops, brain fart there) I pinned all my various cups and cookies back on.
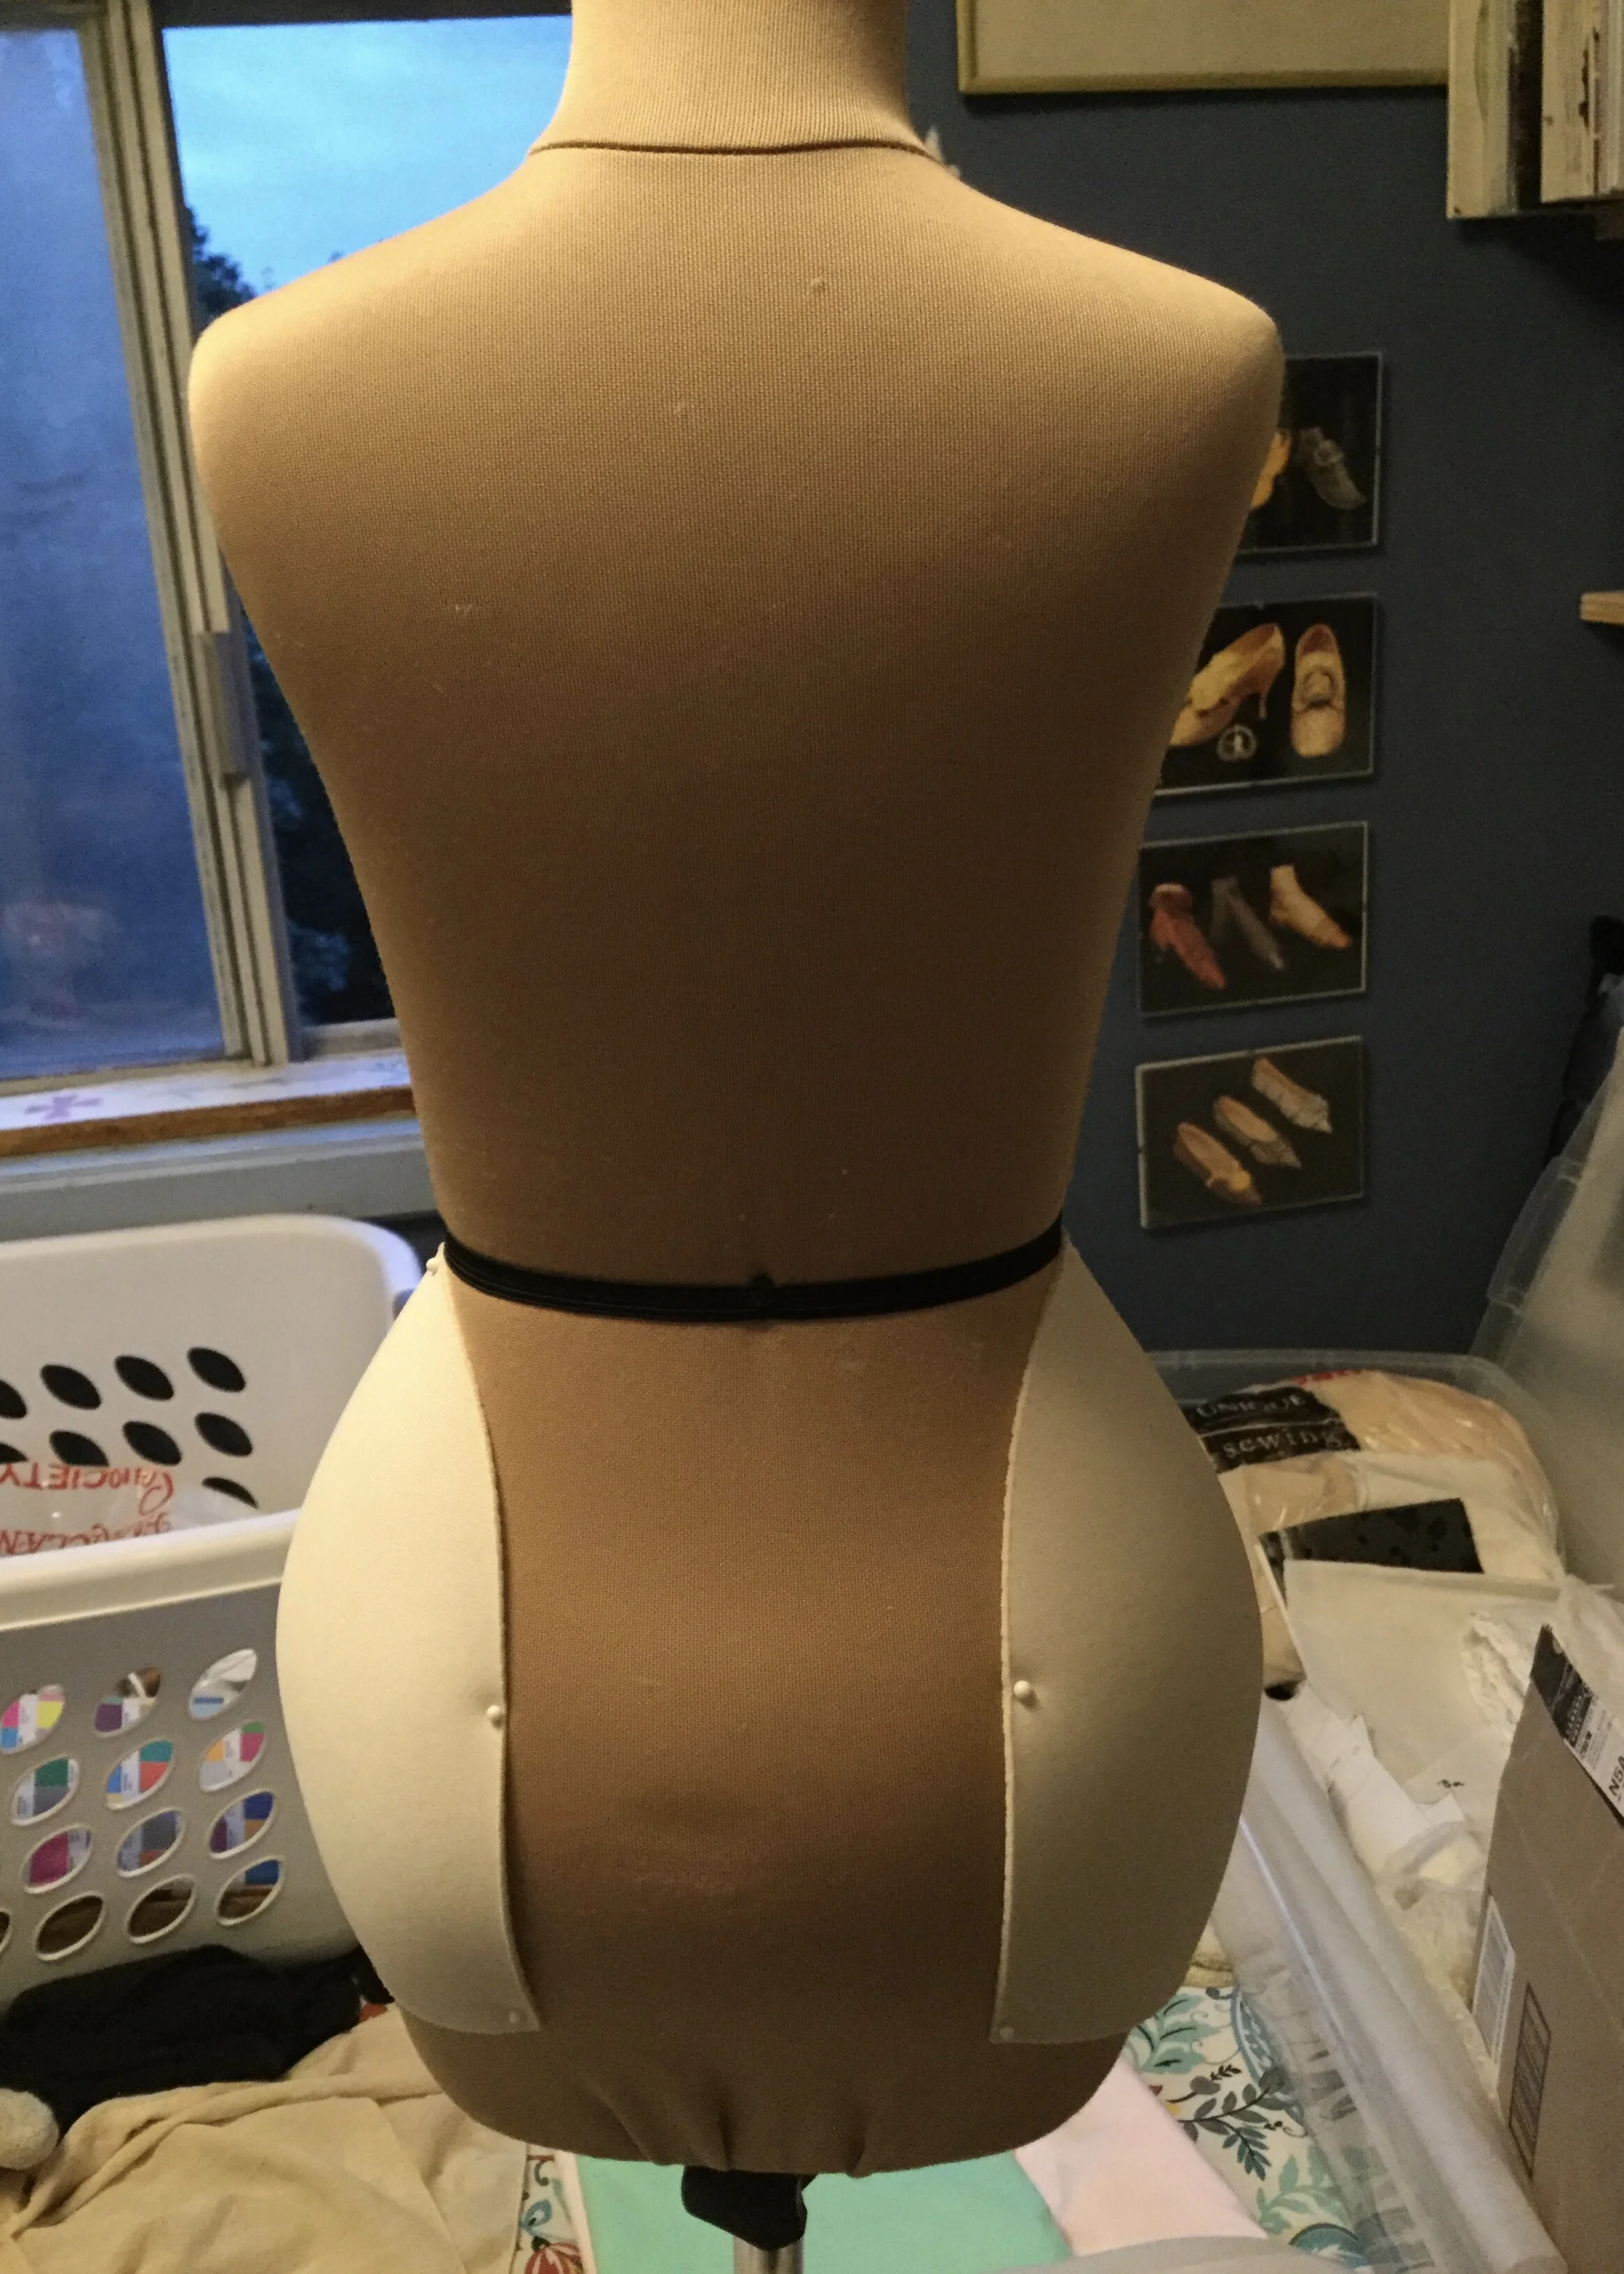
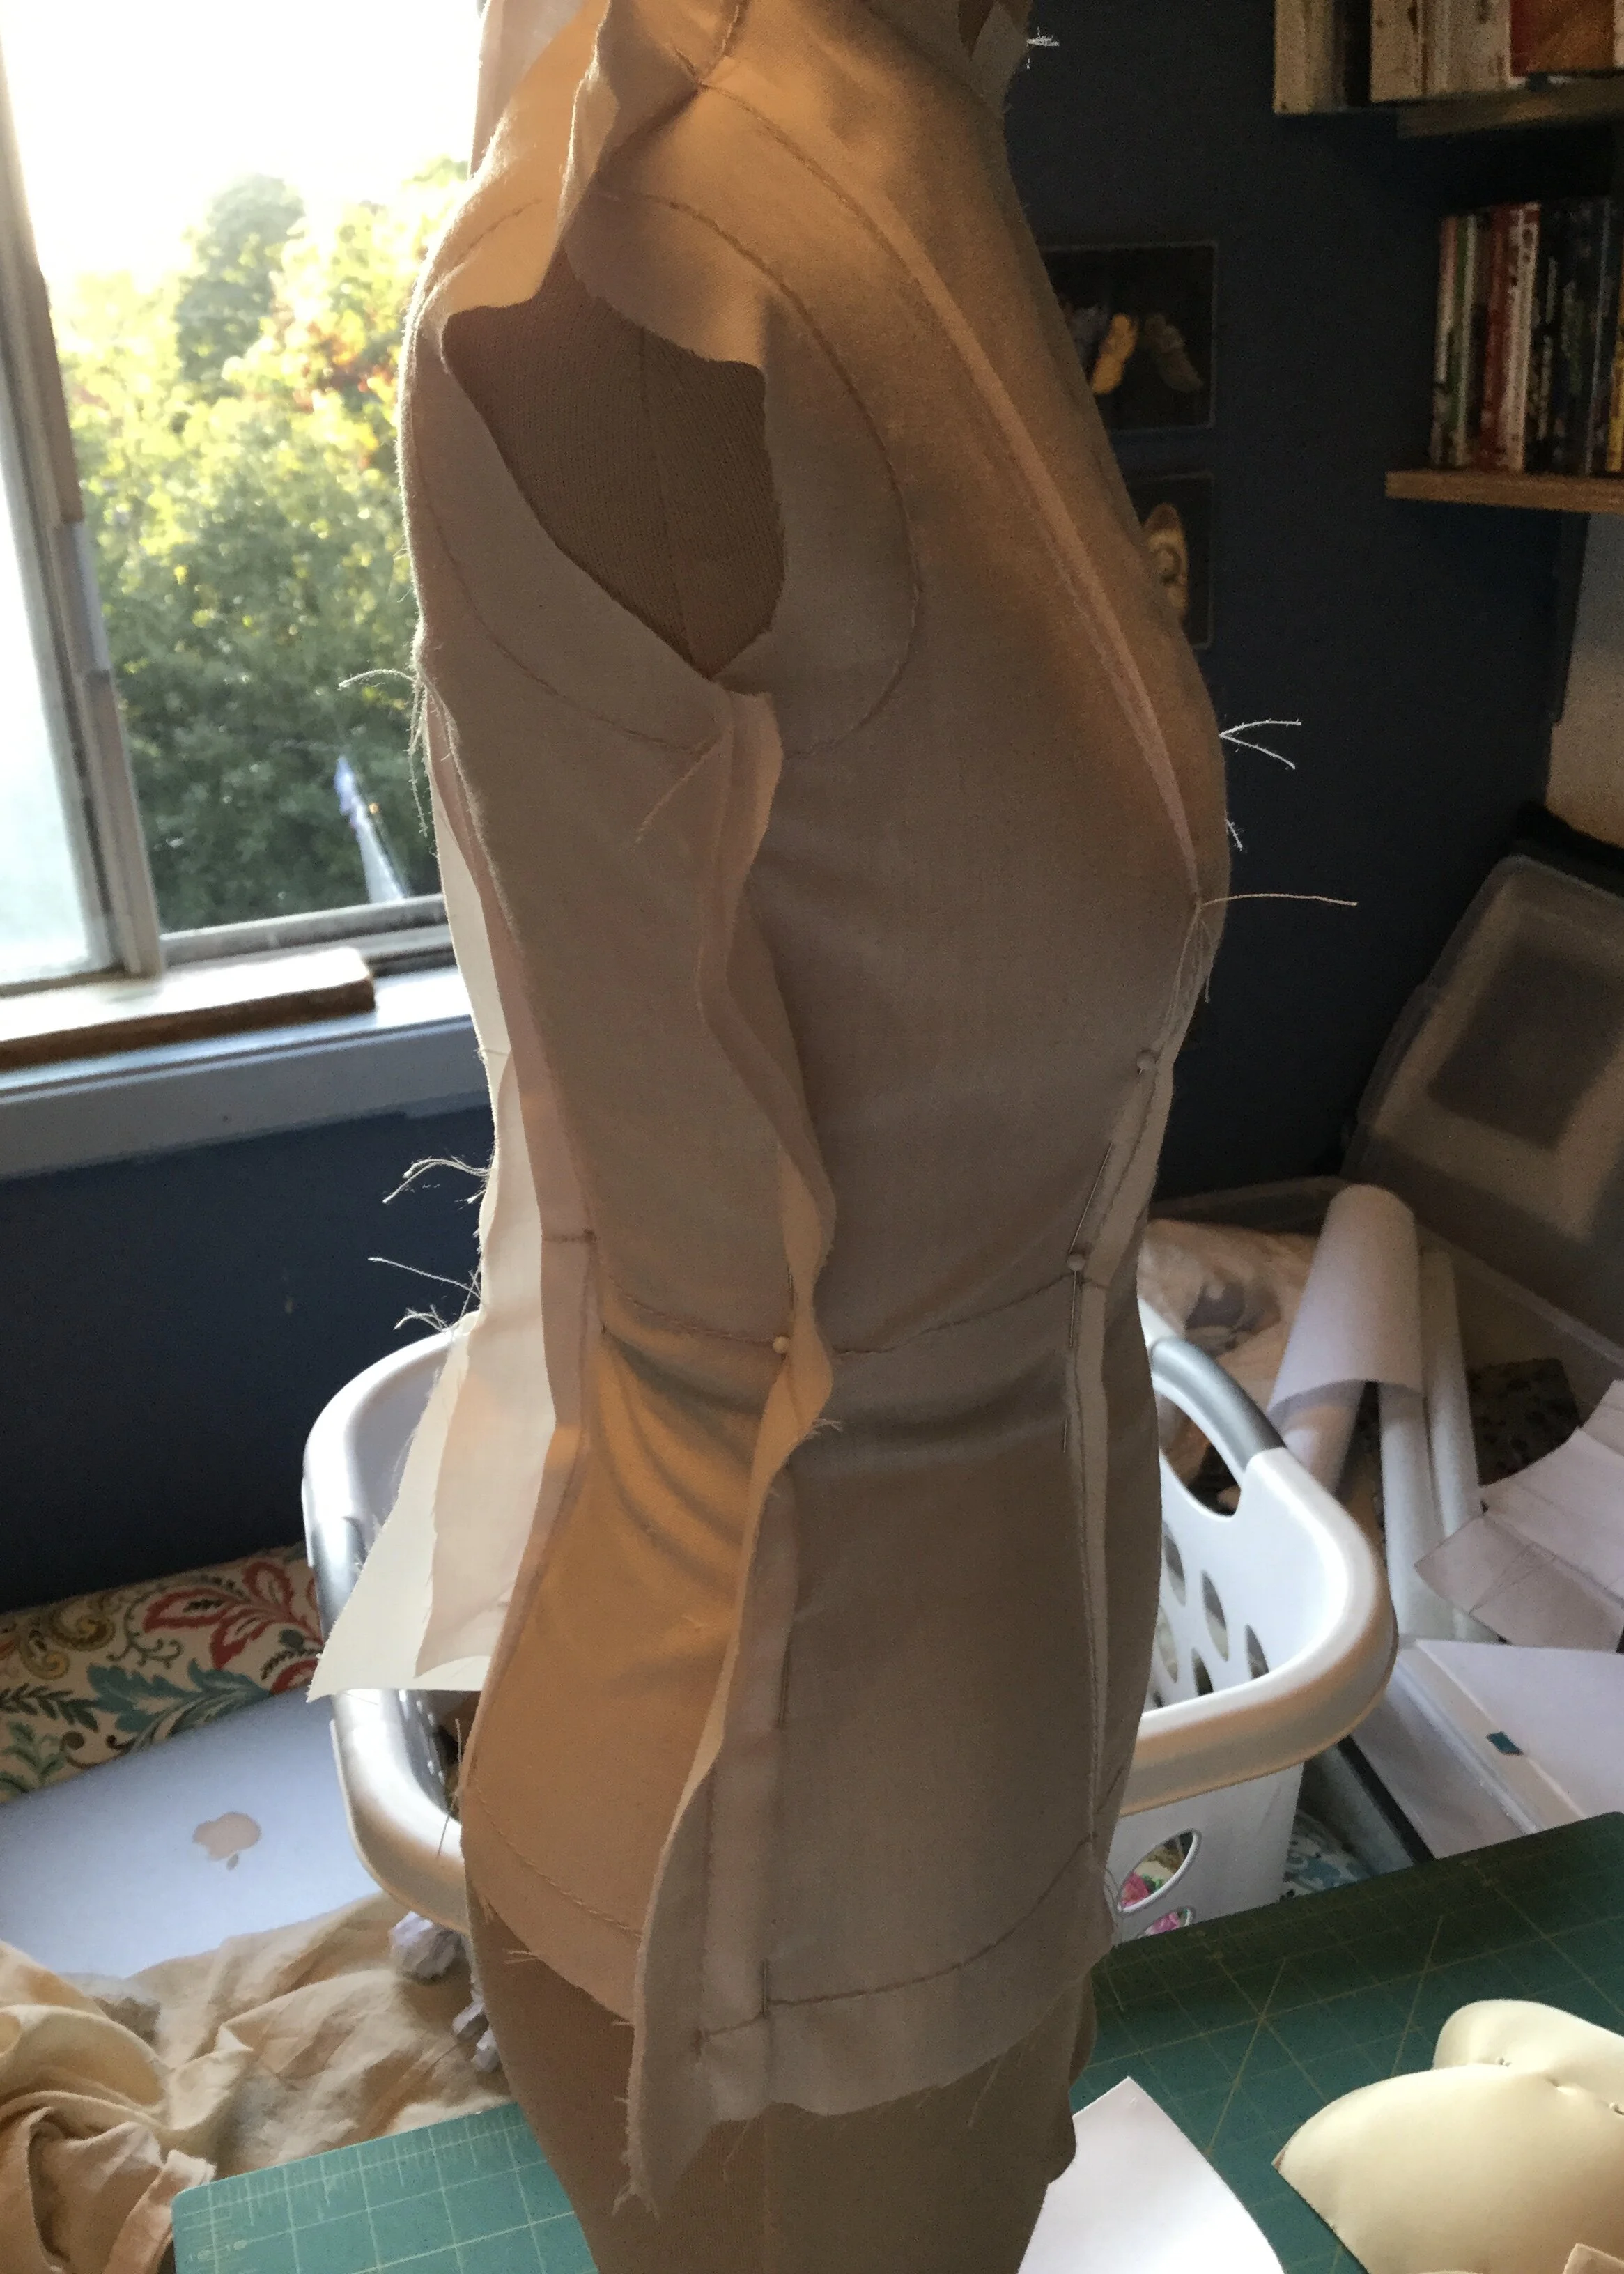
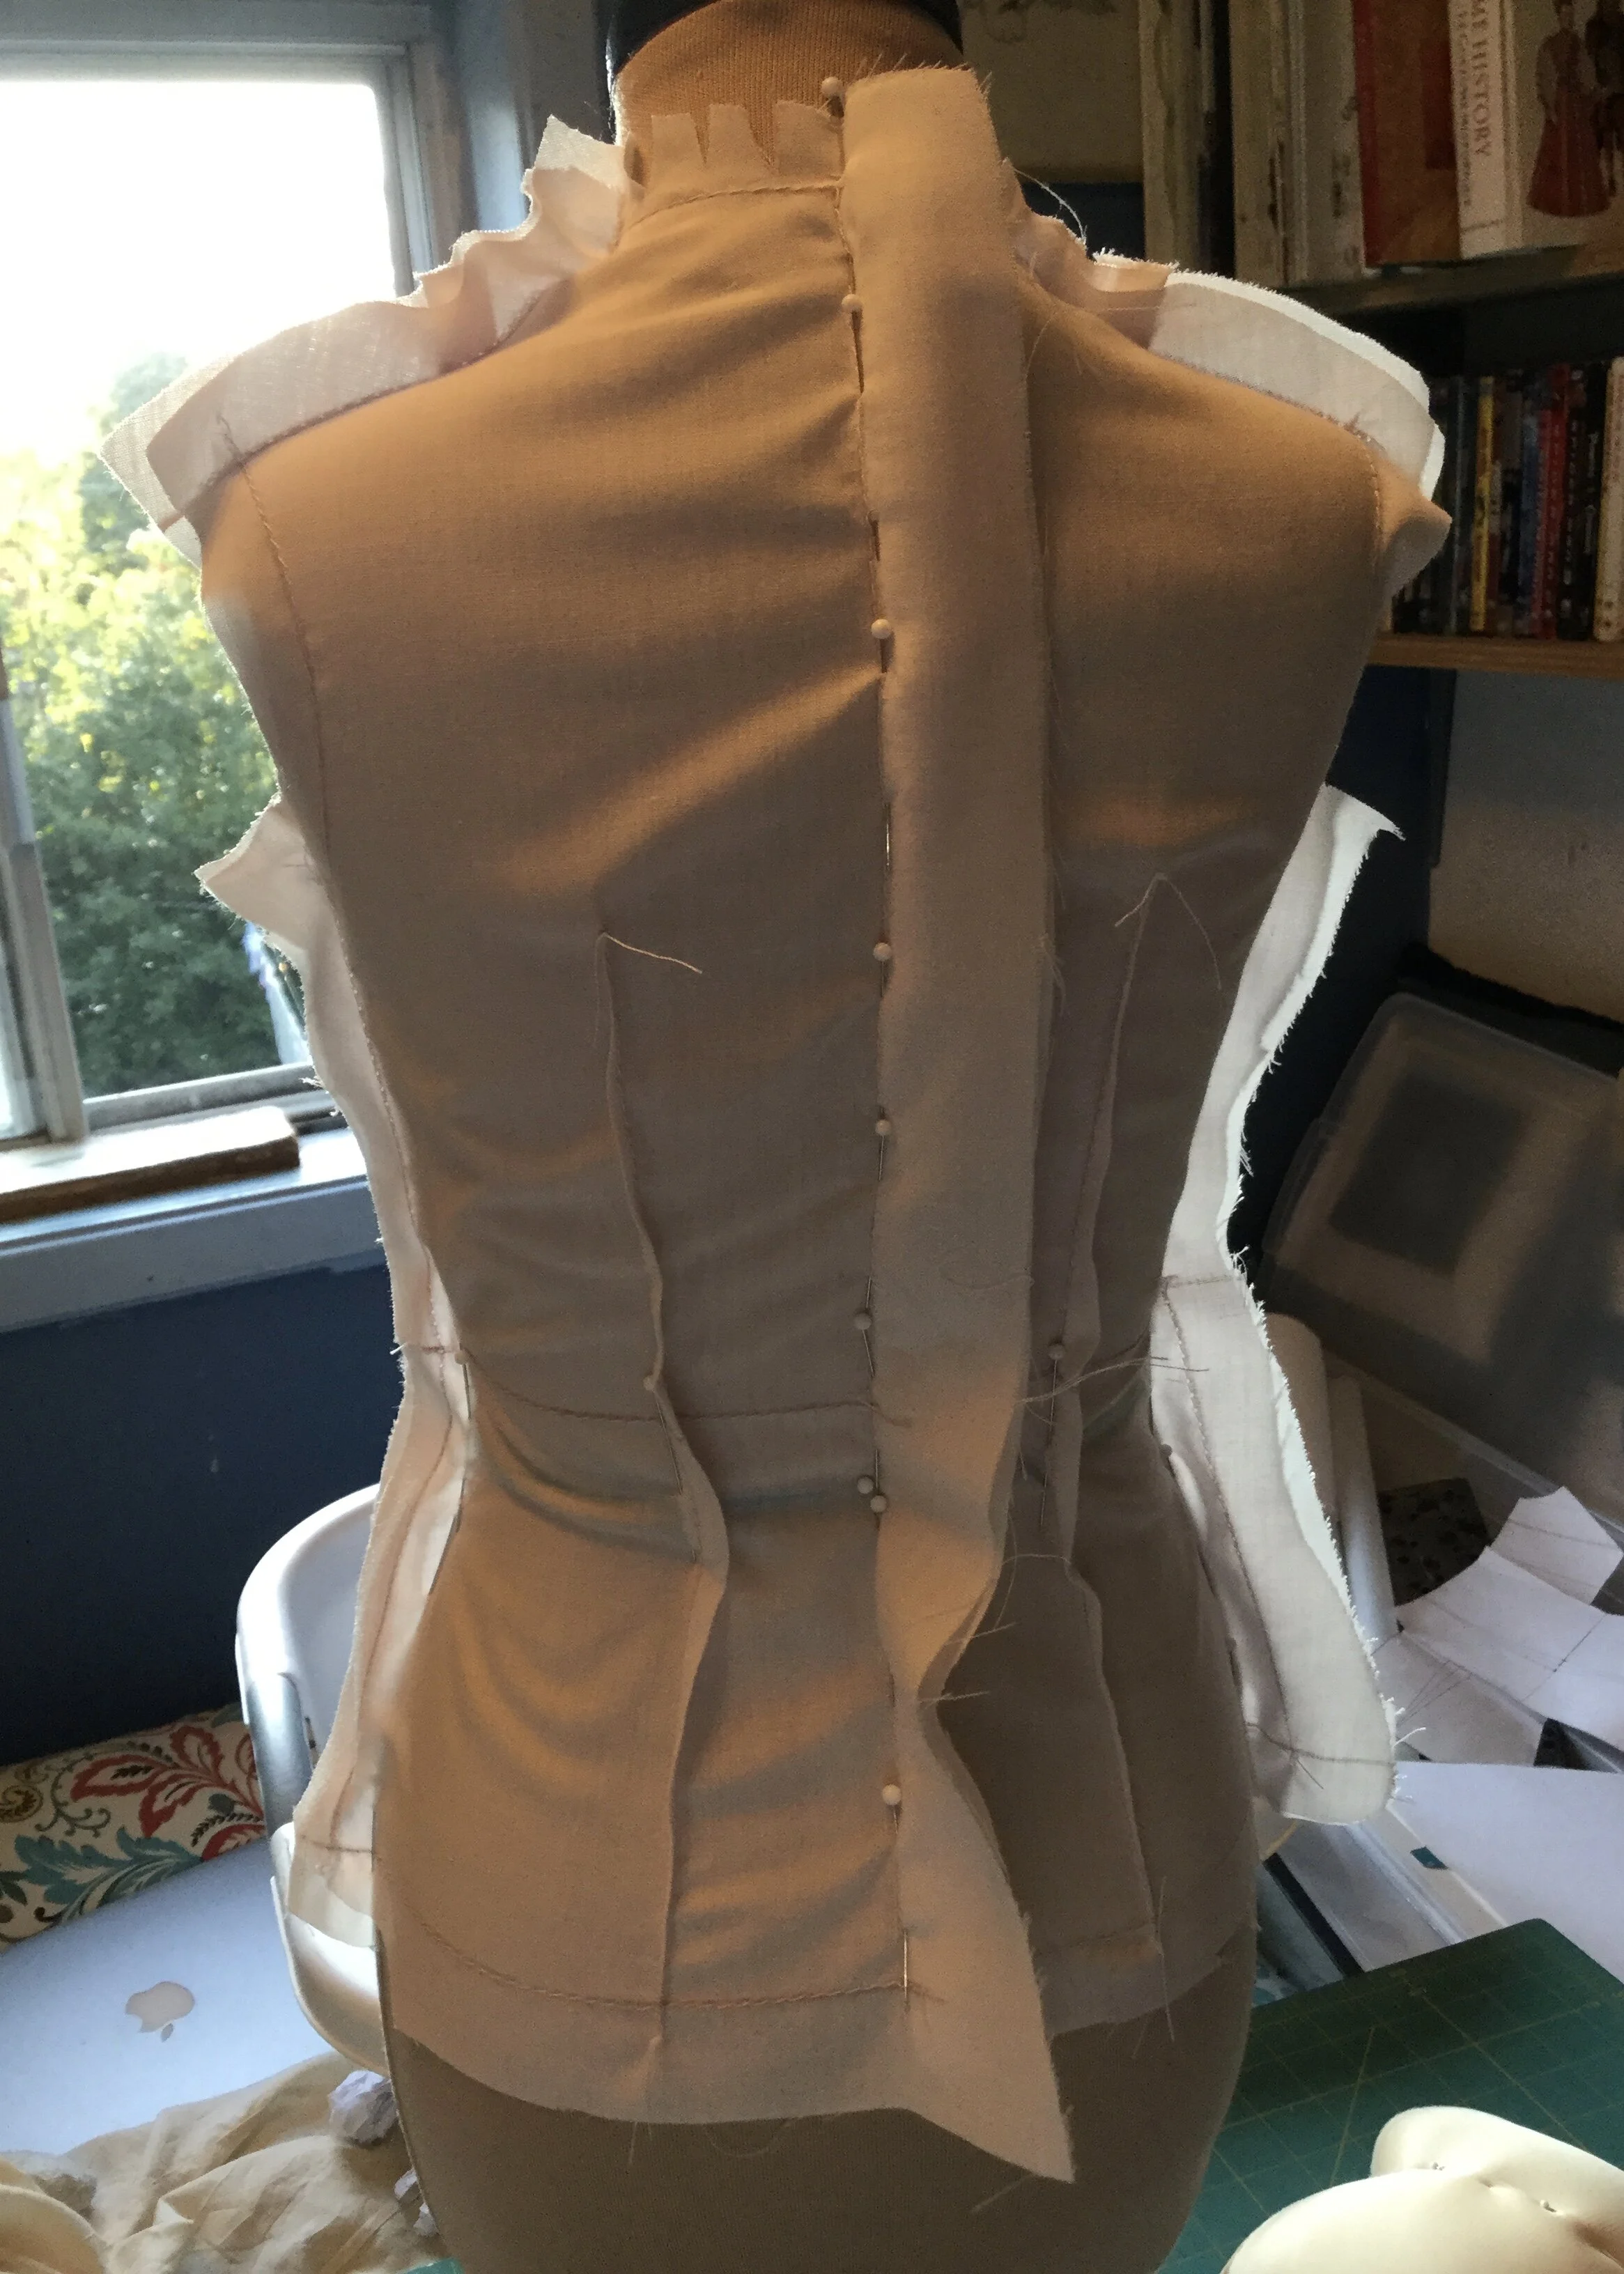
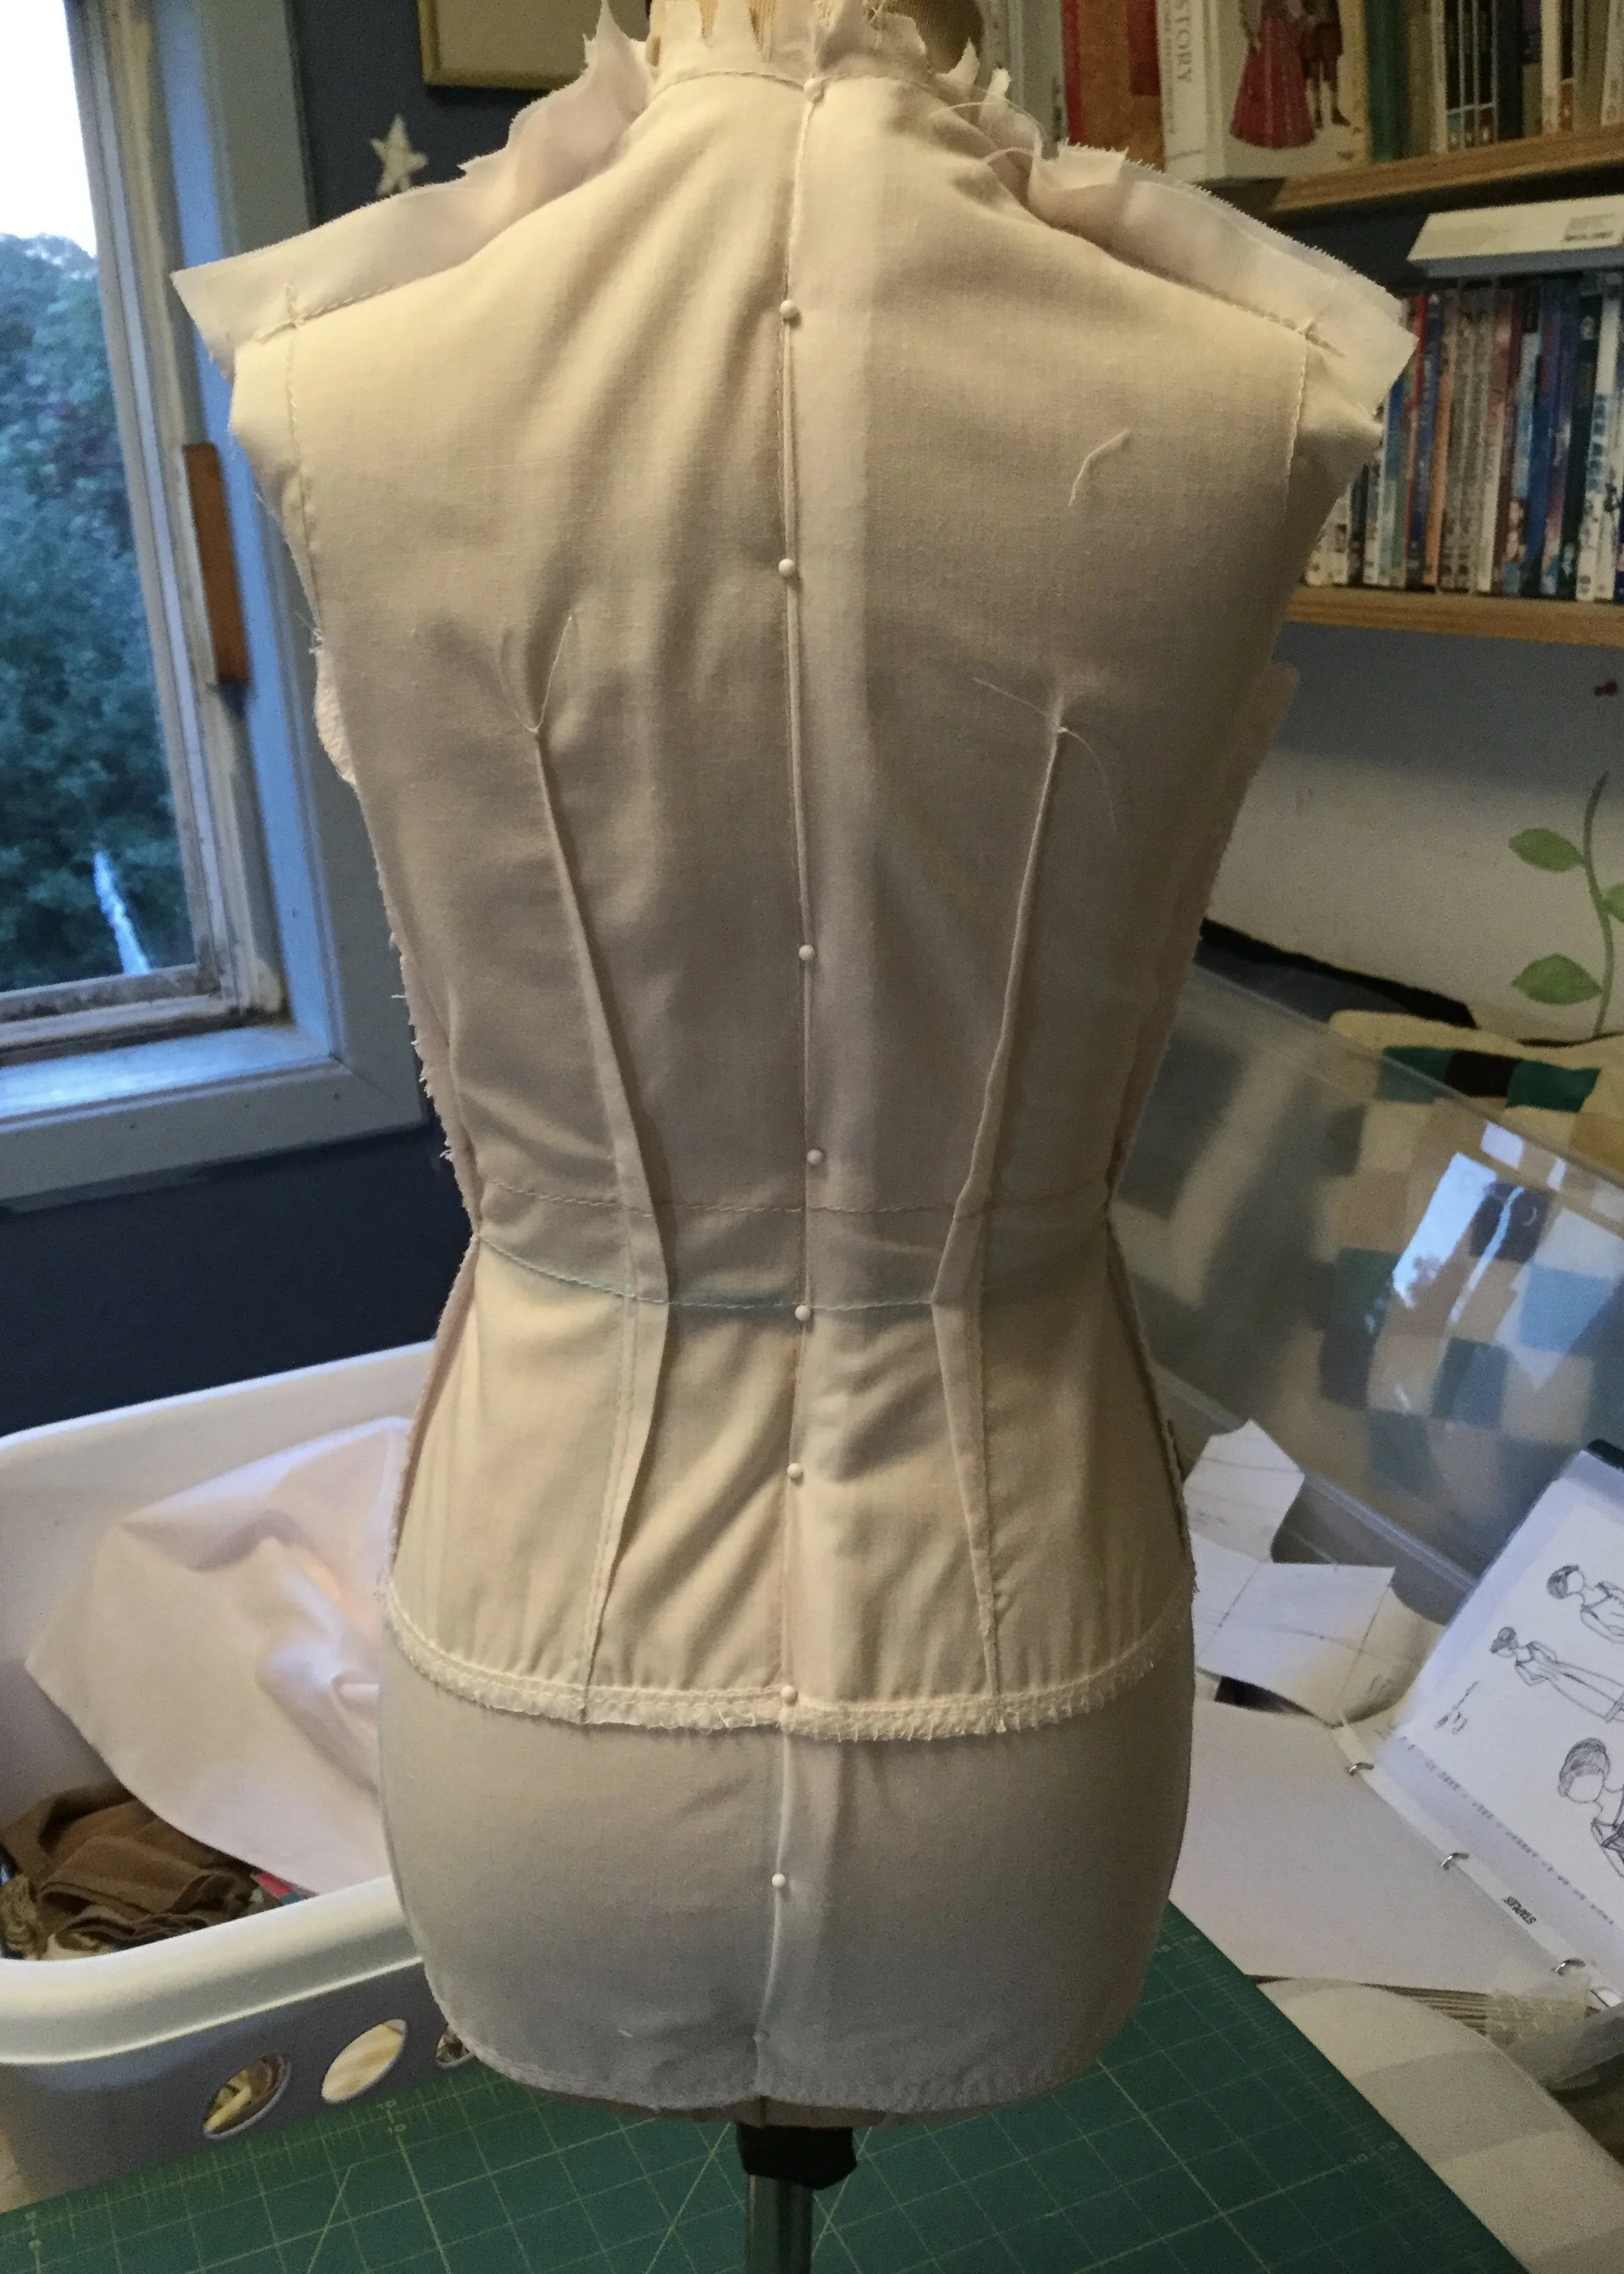
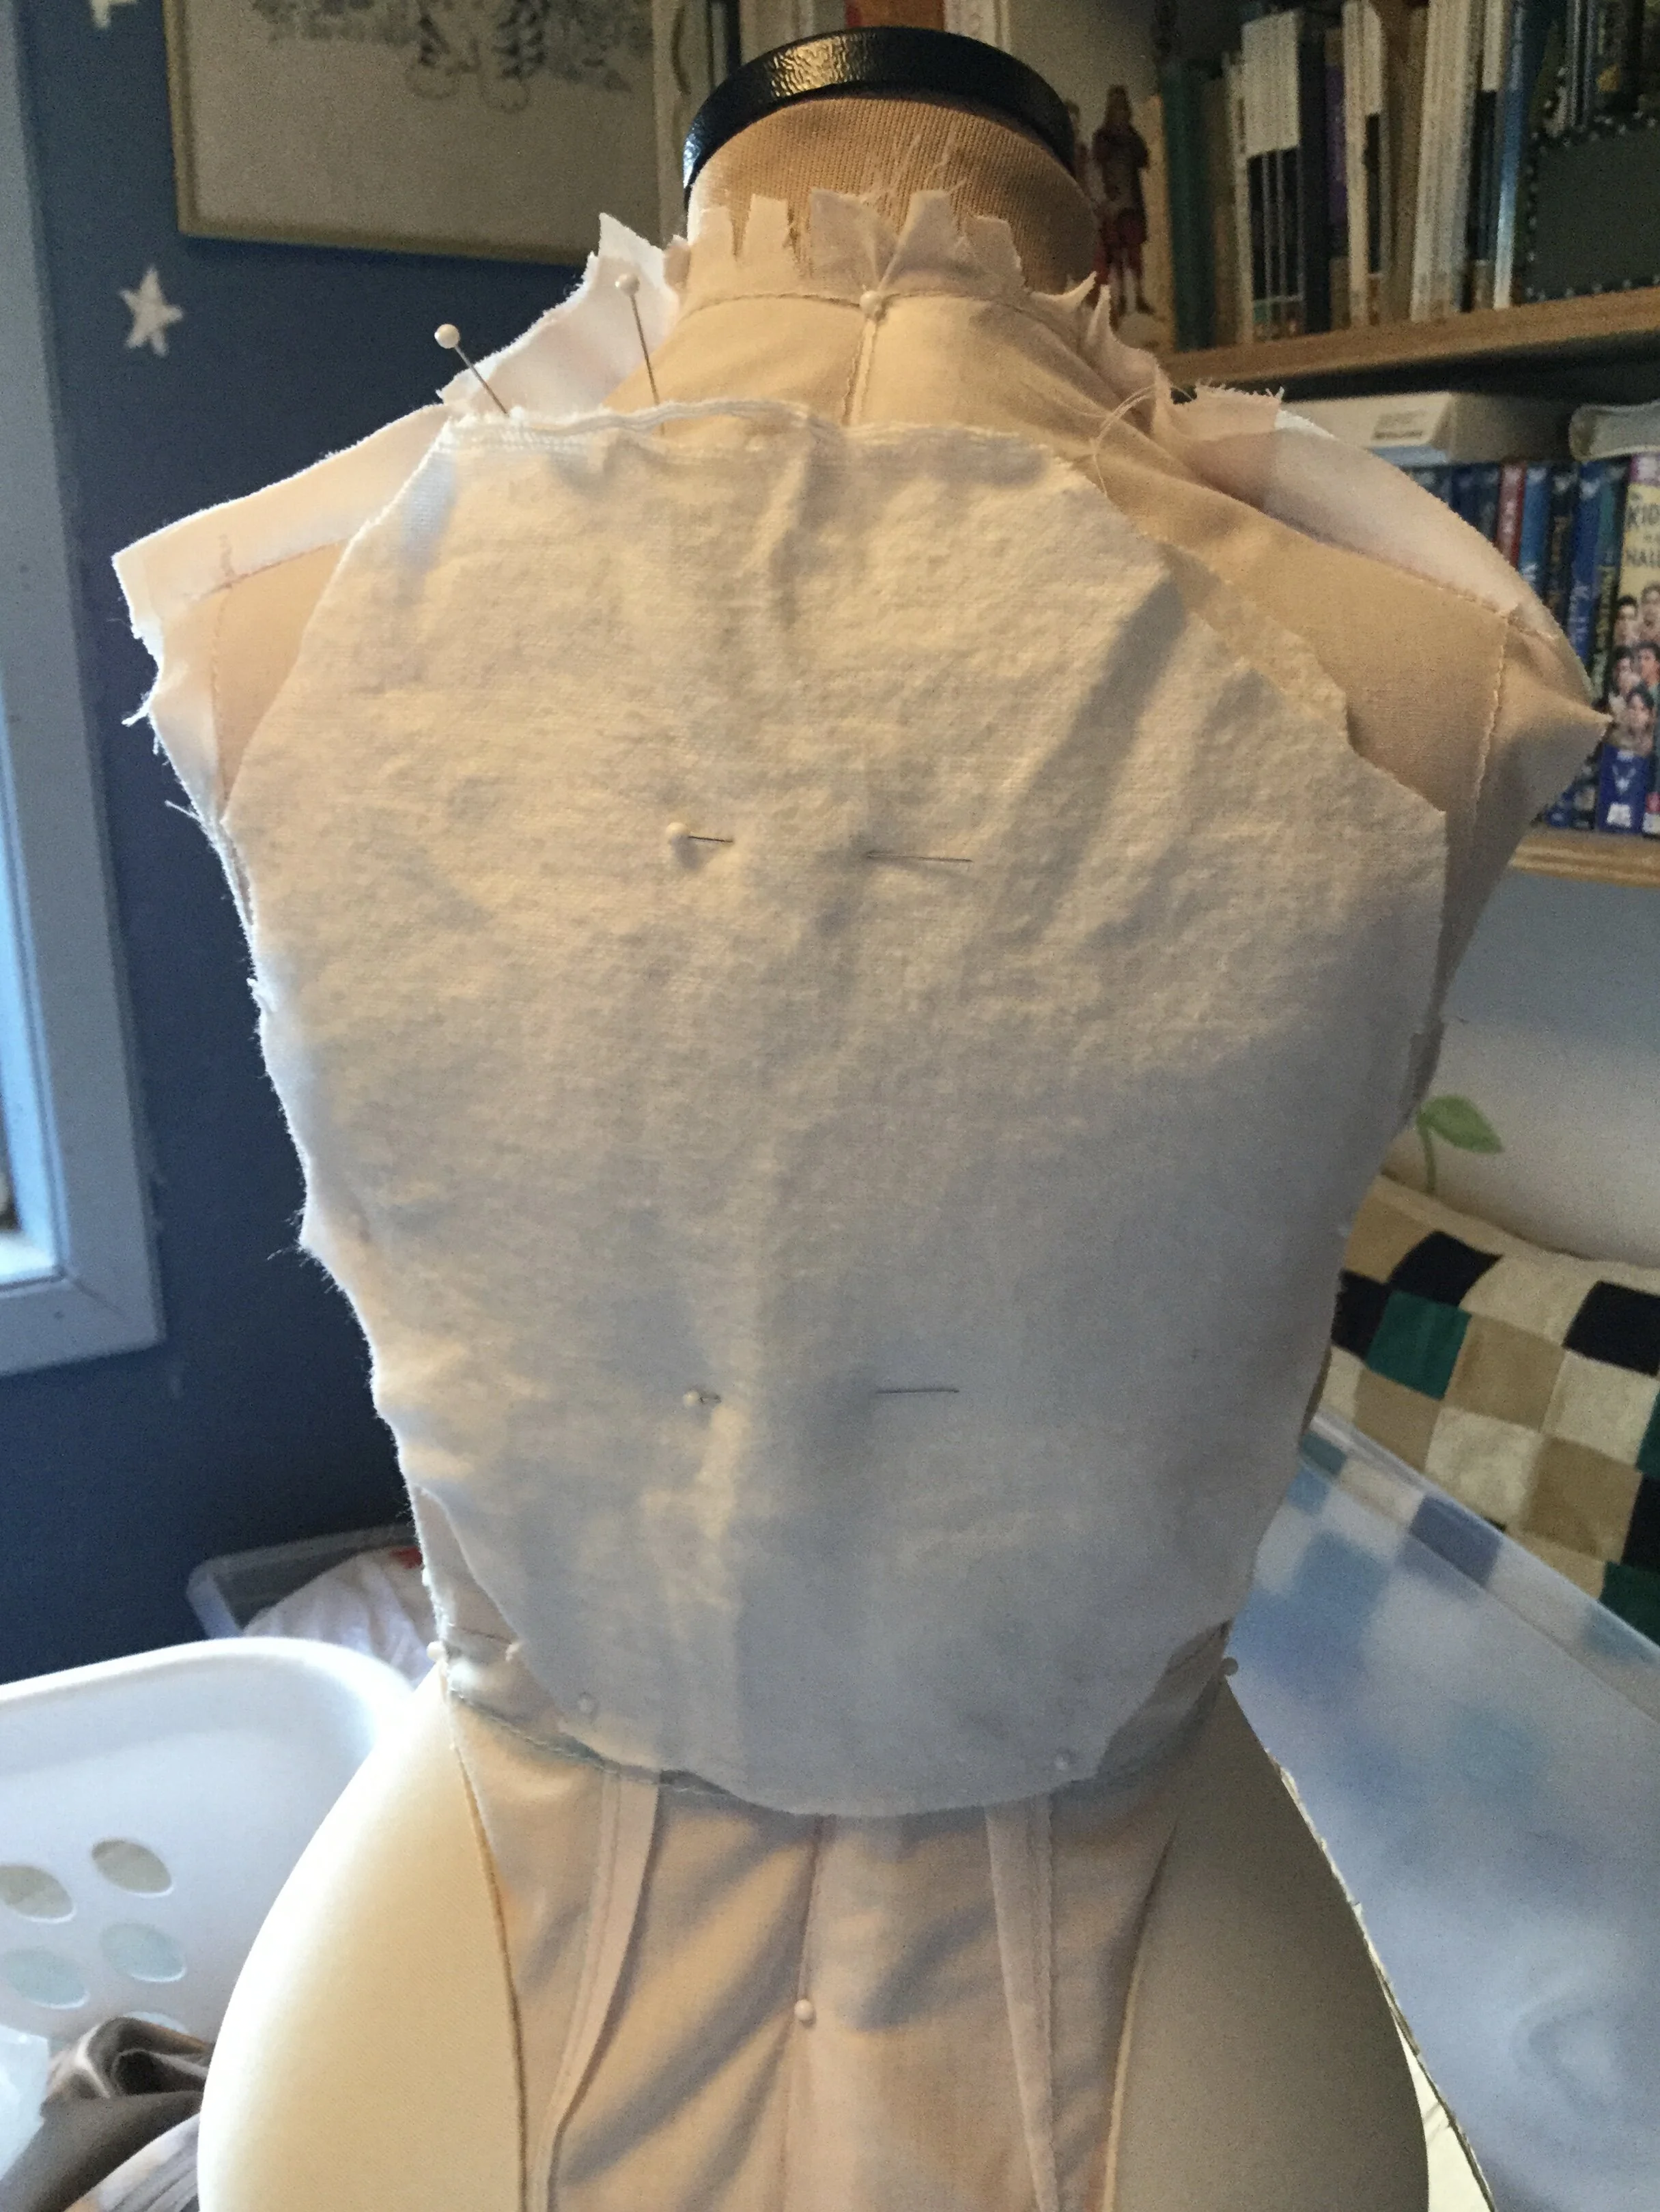
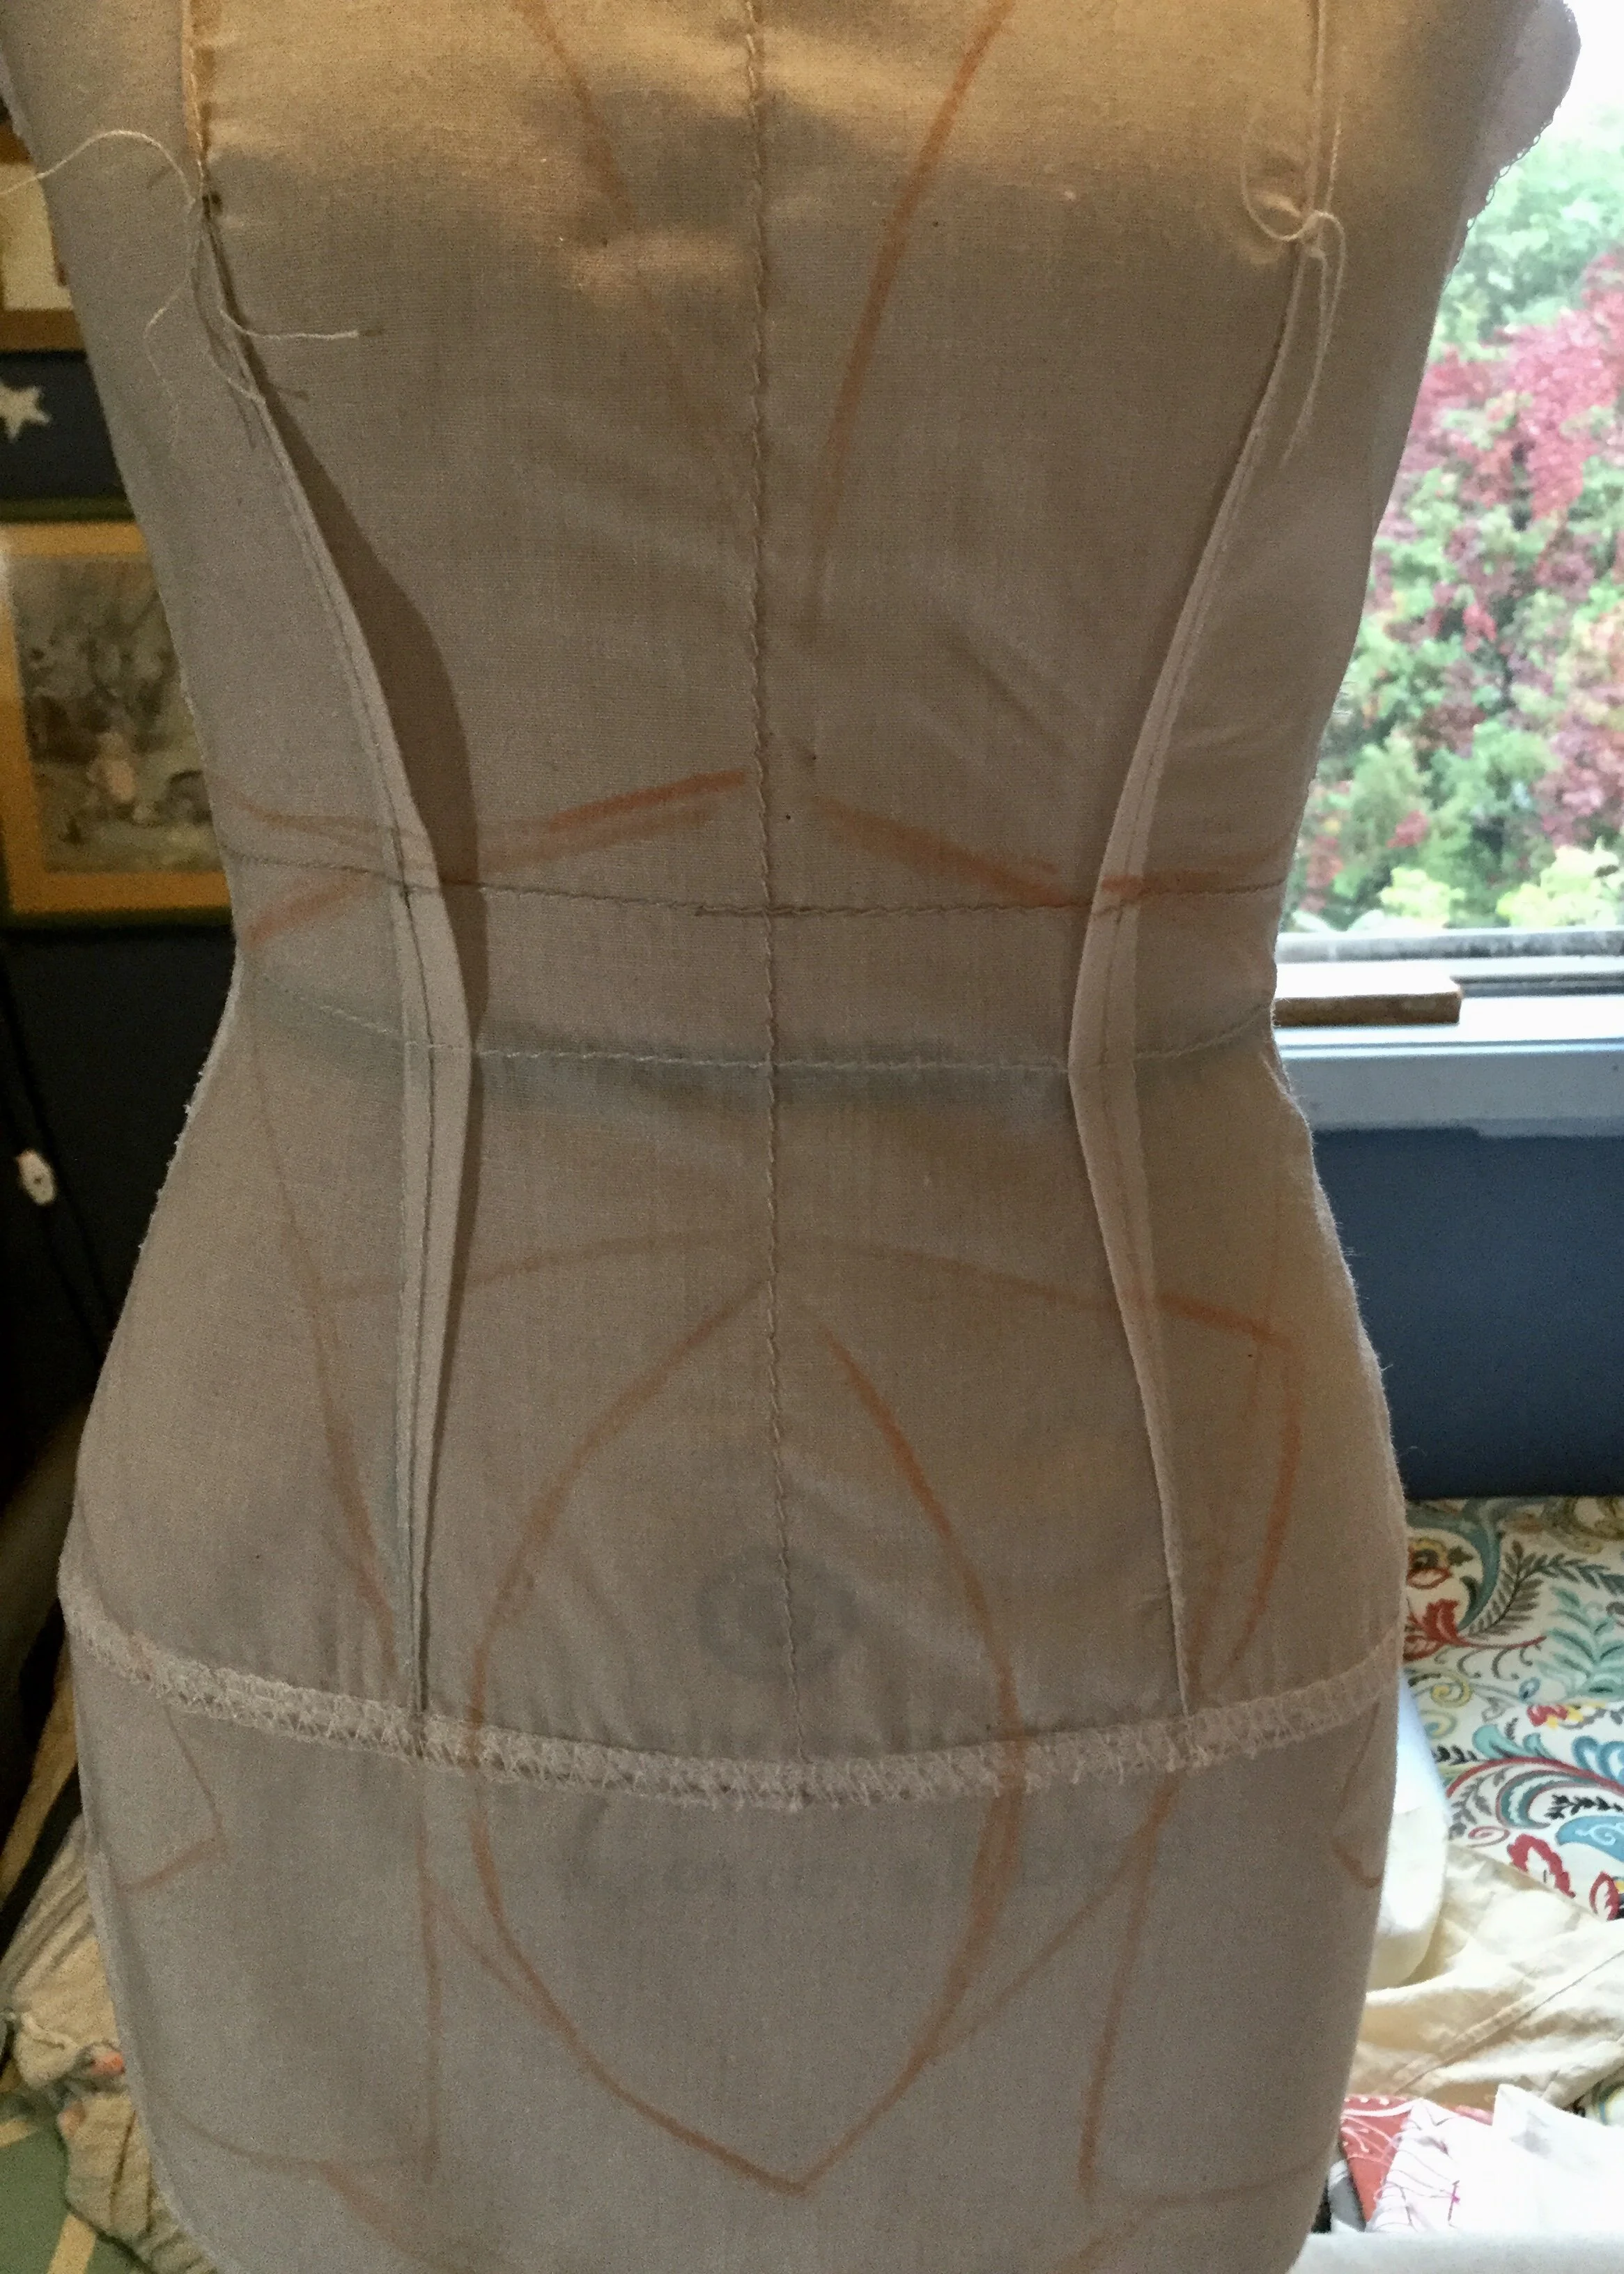
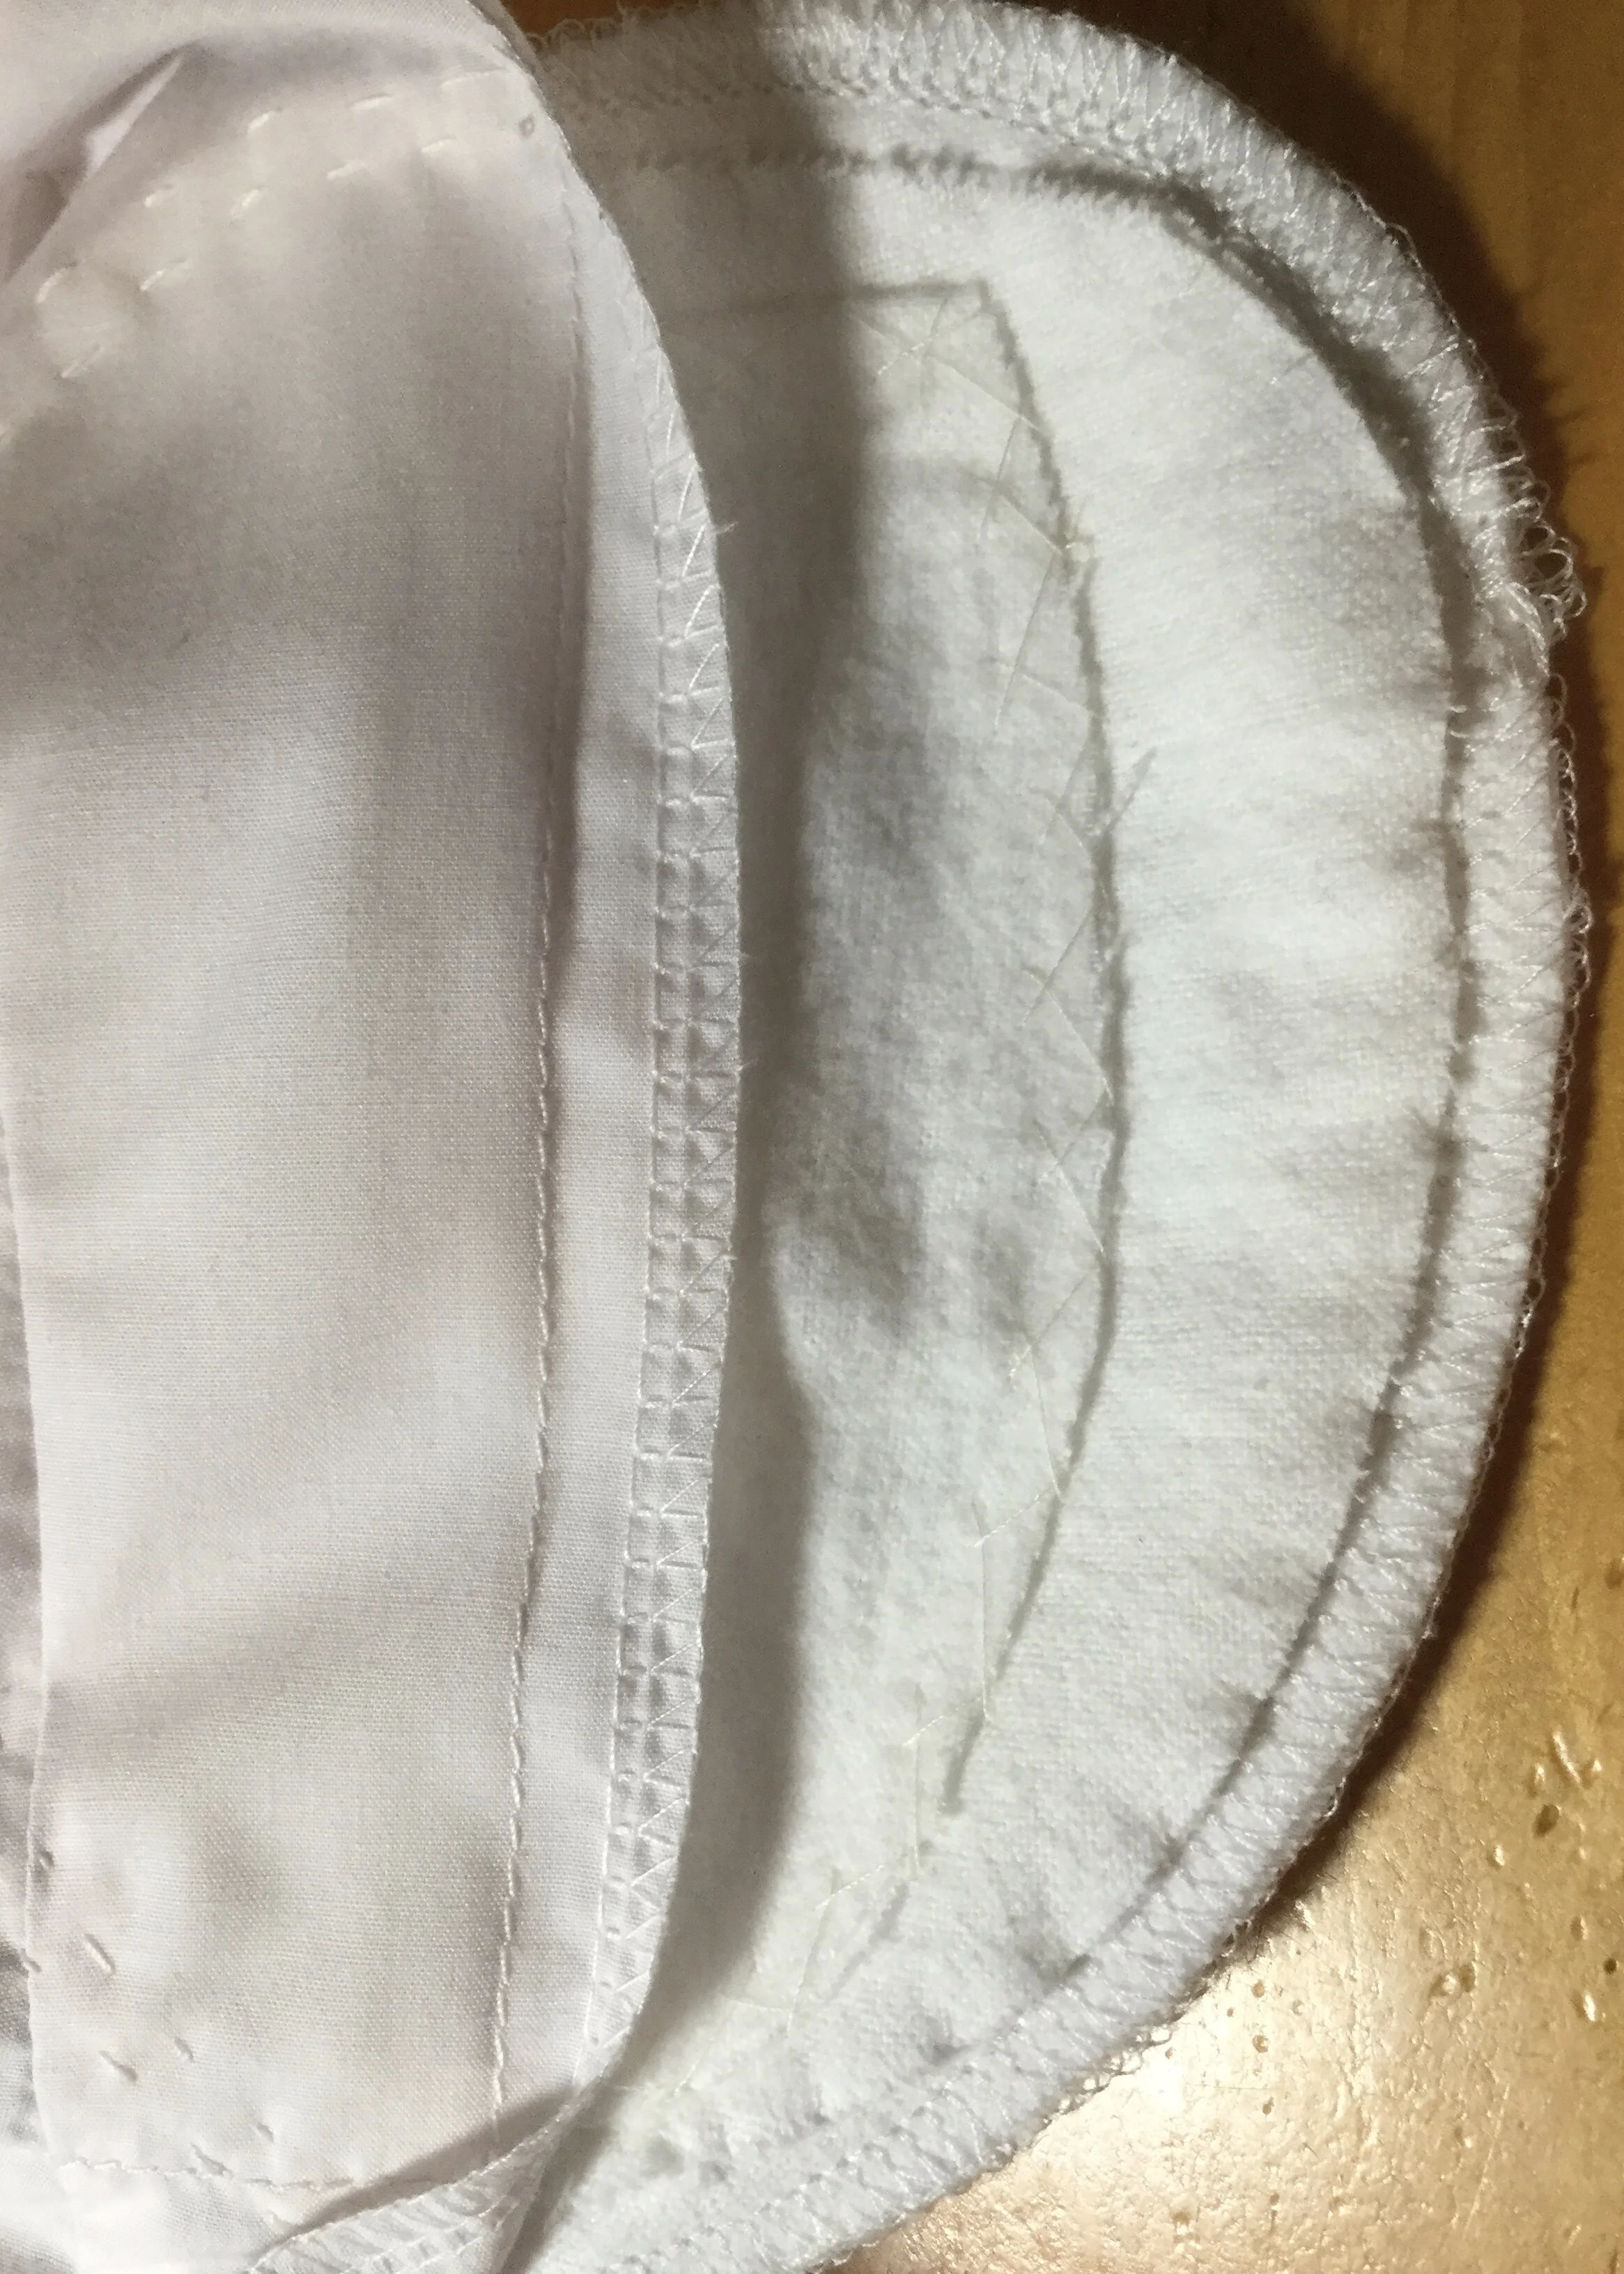
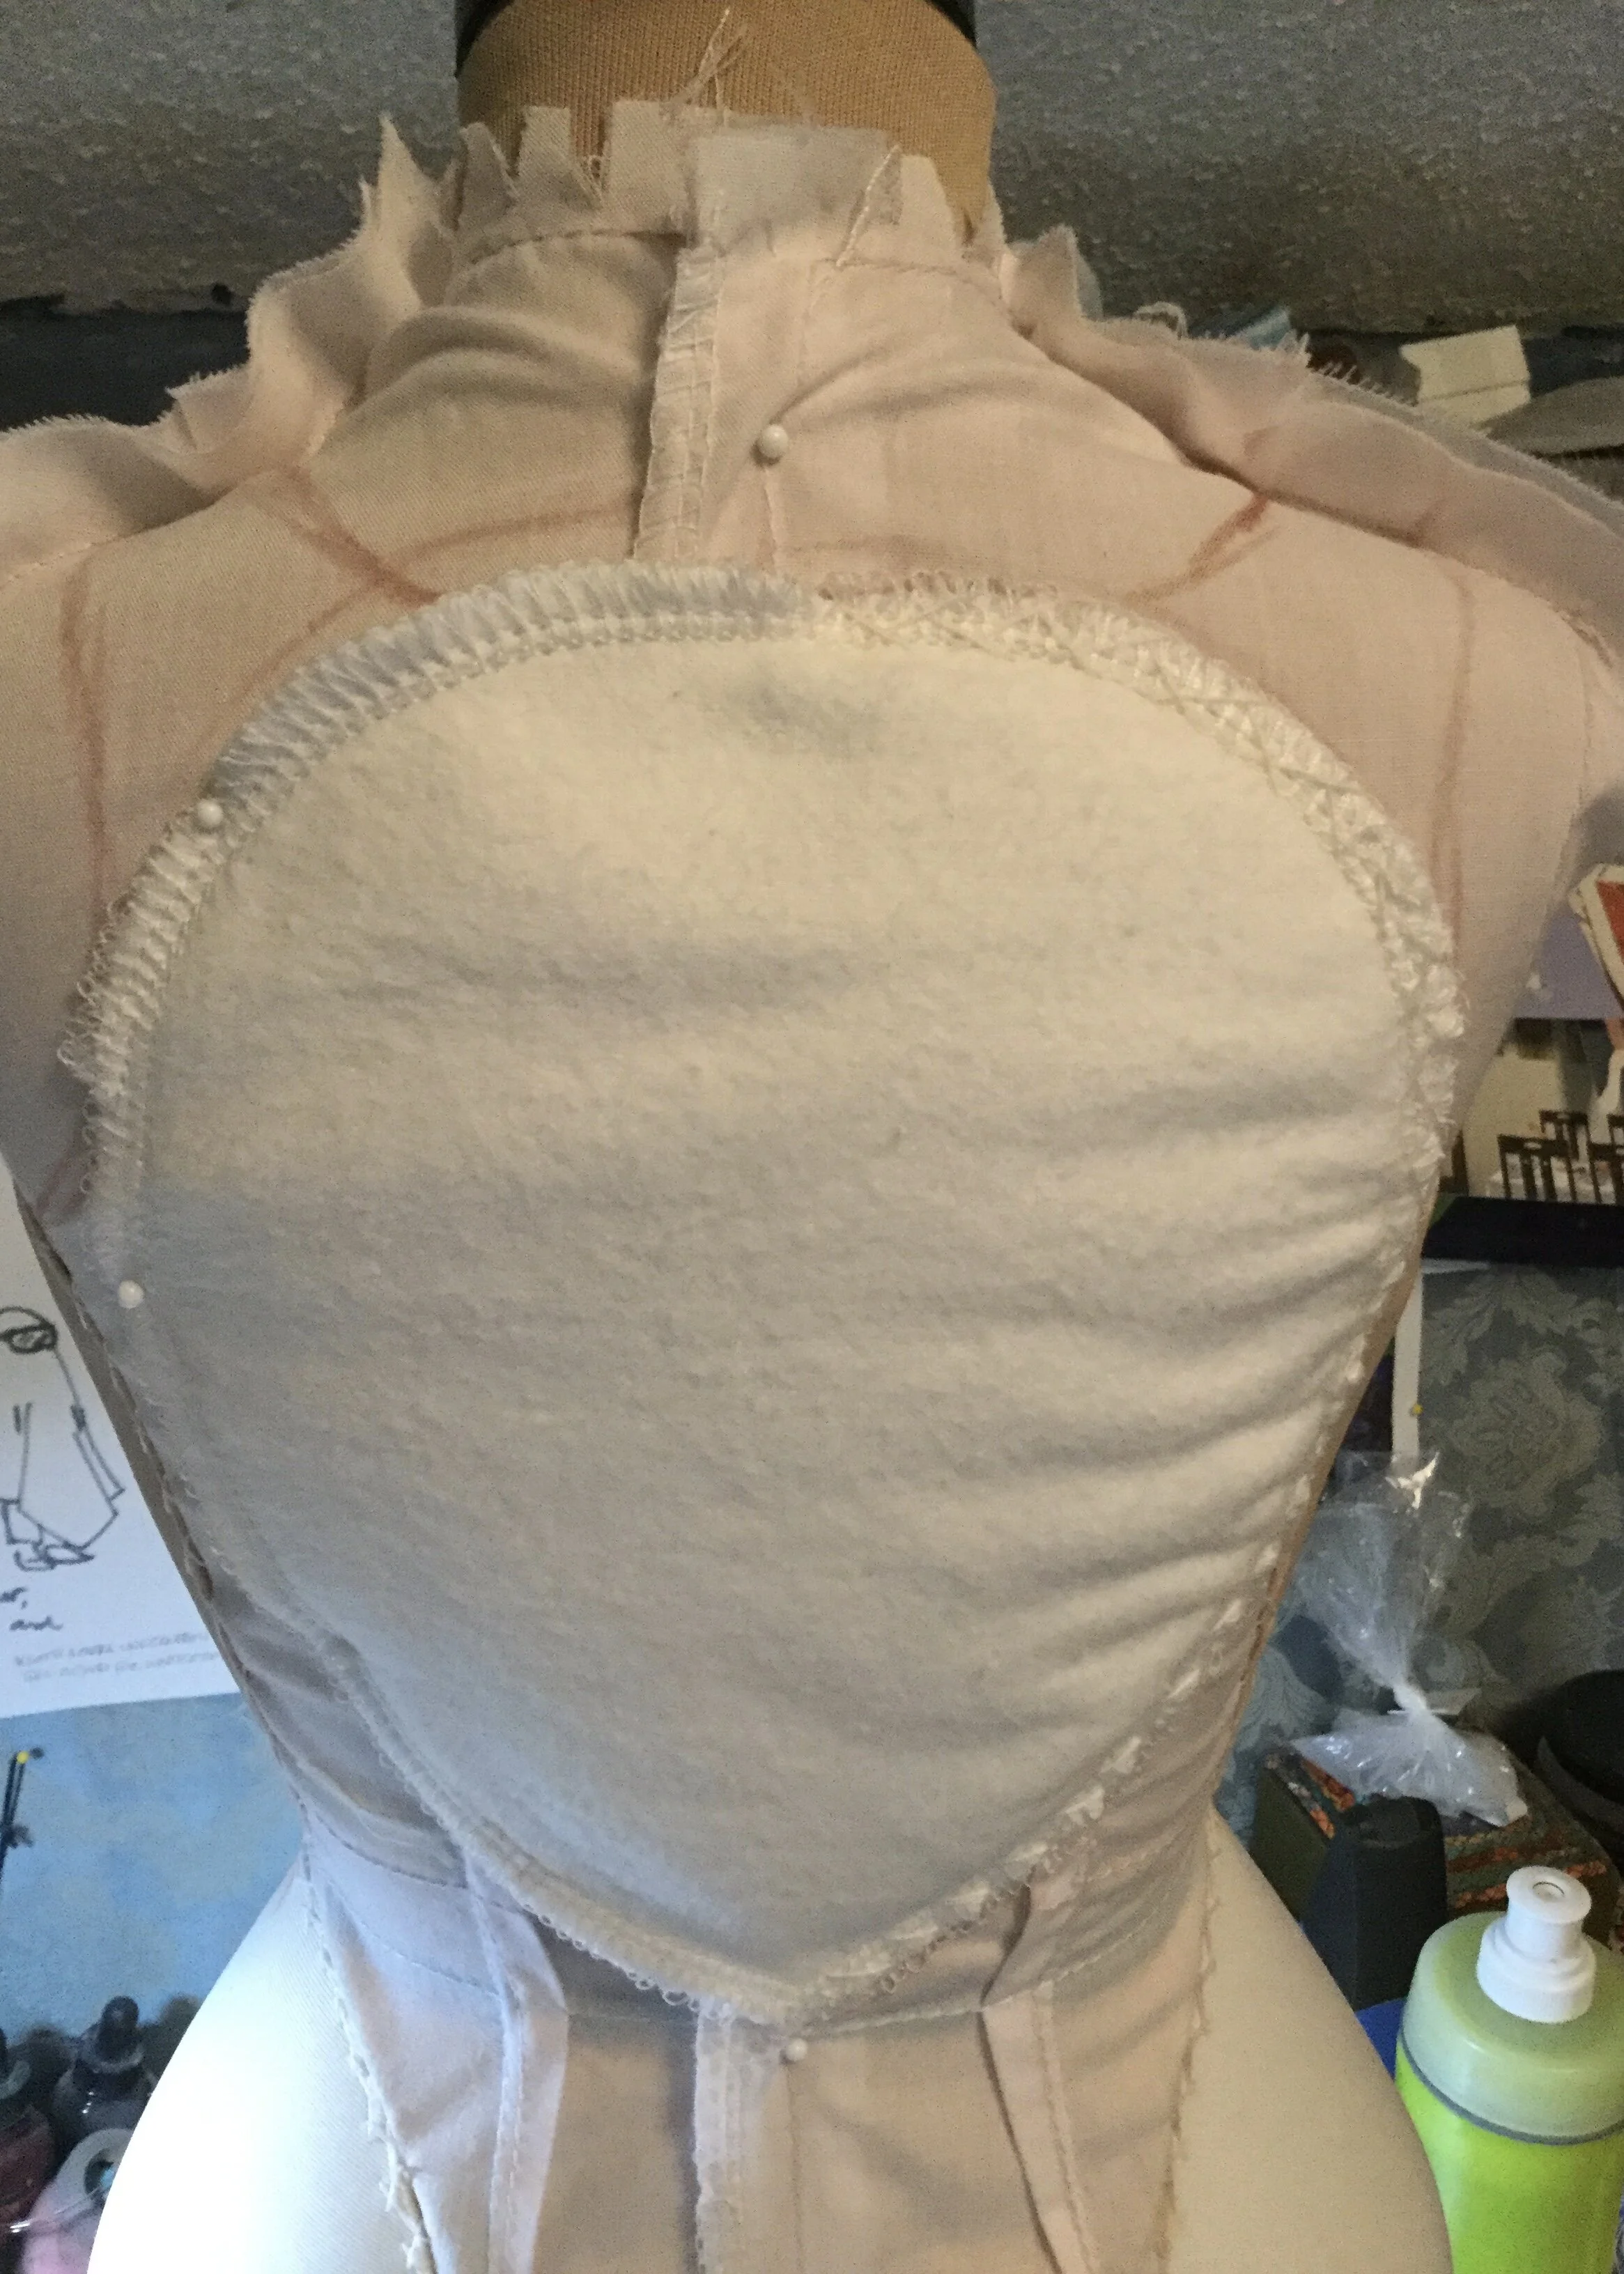
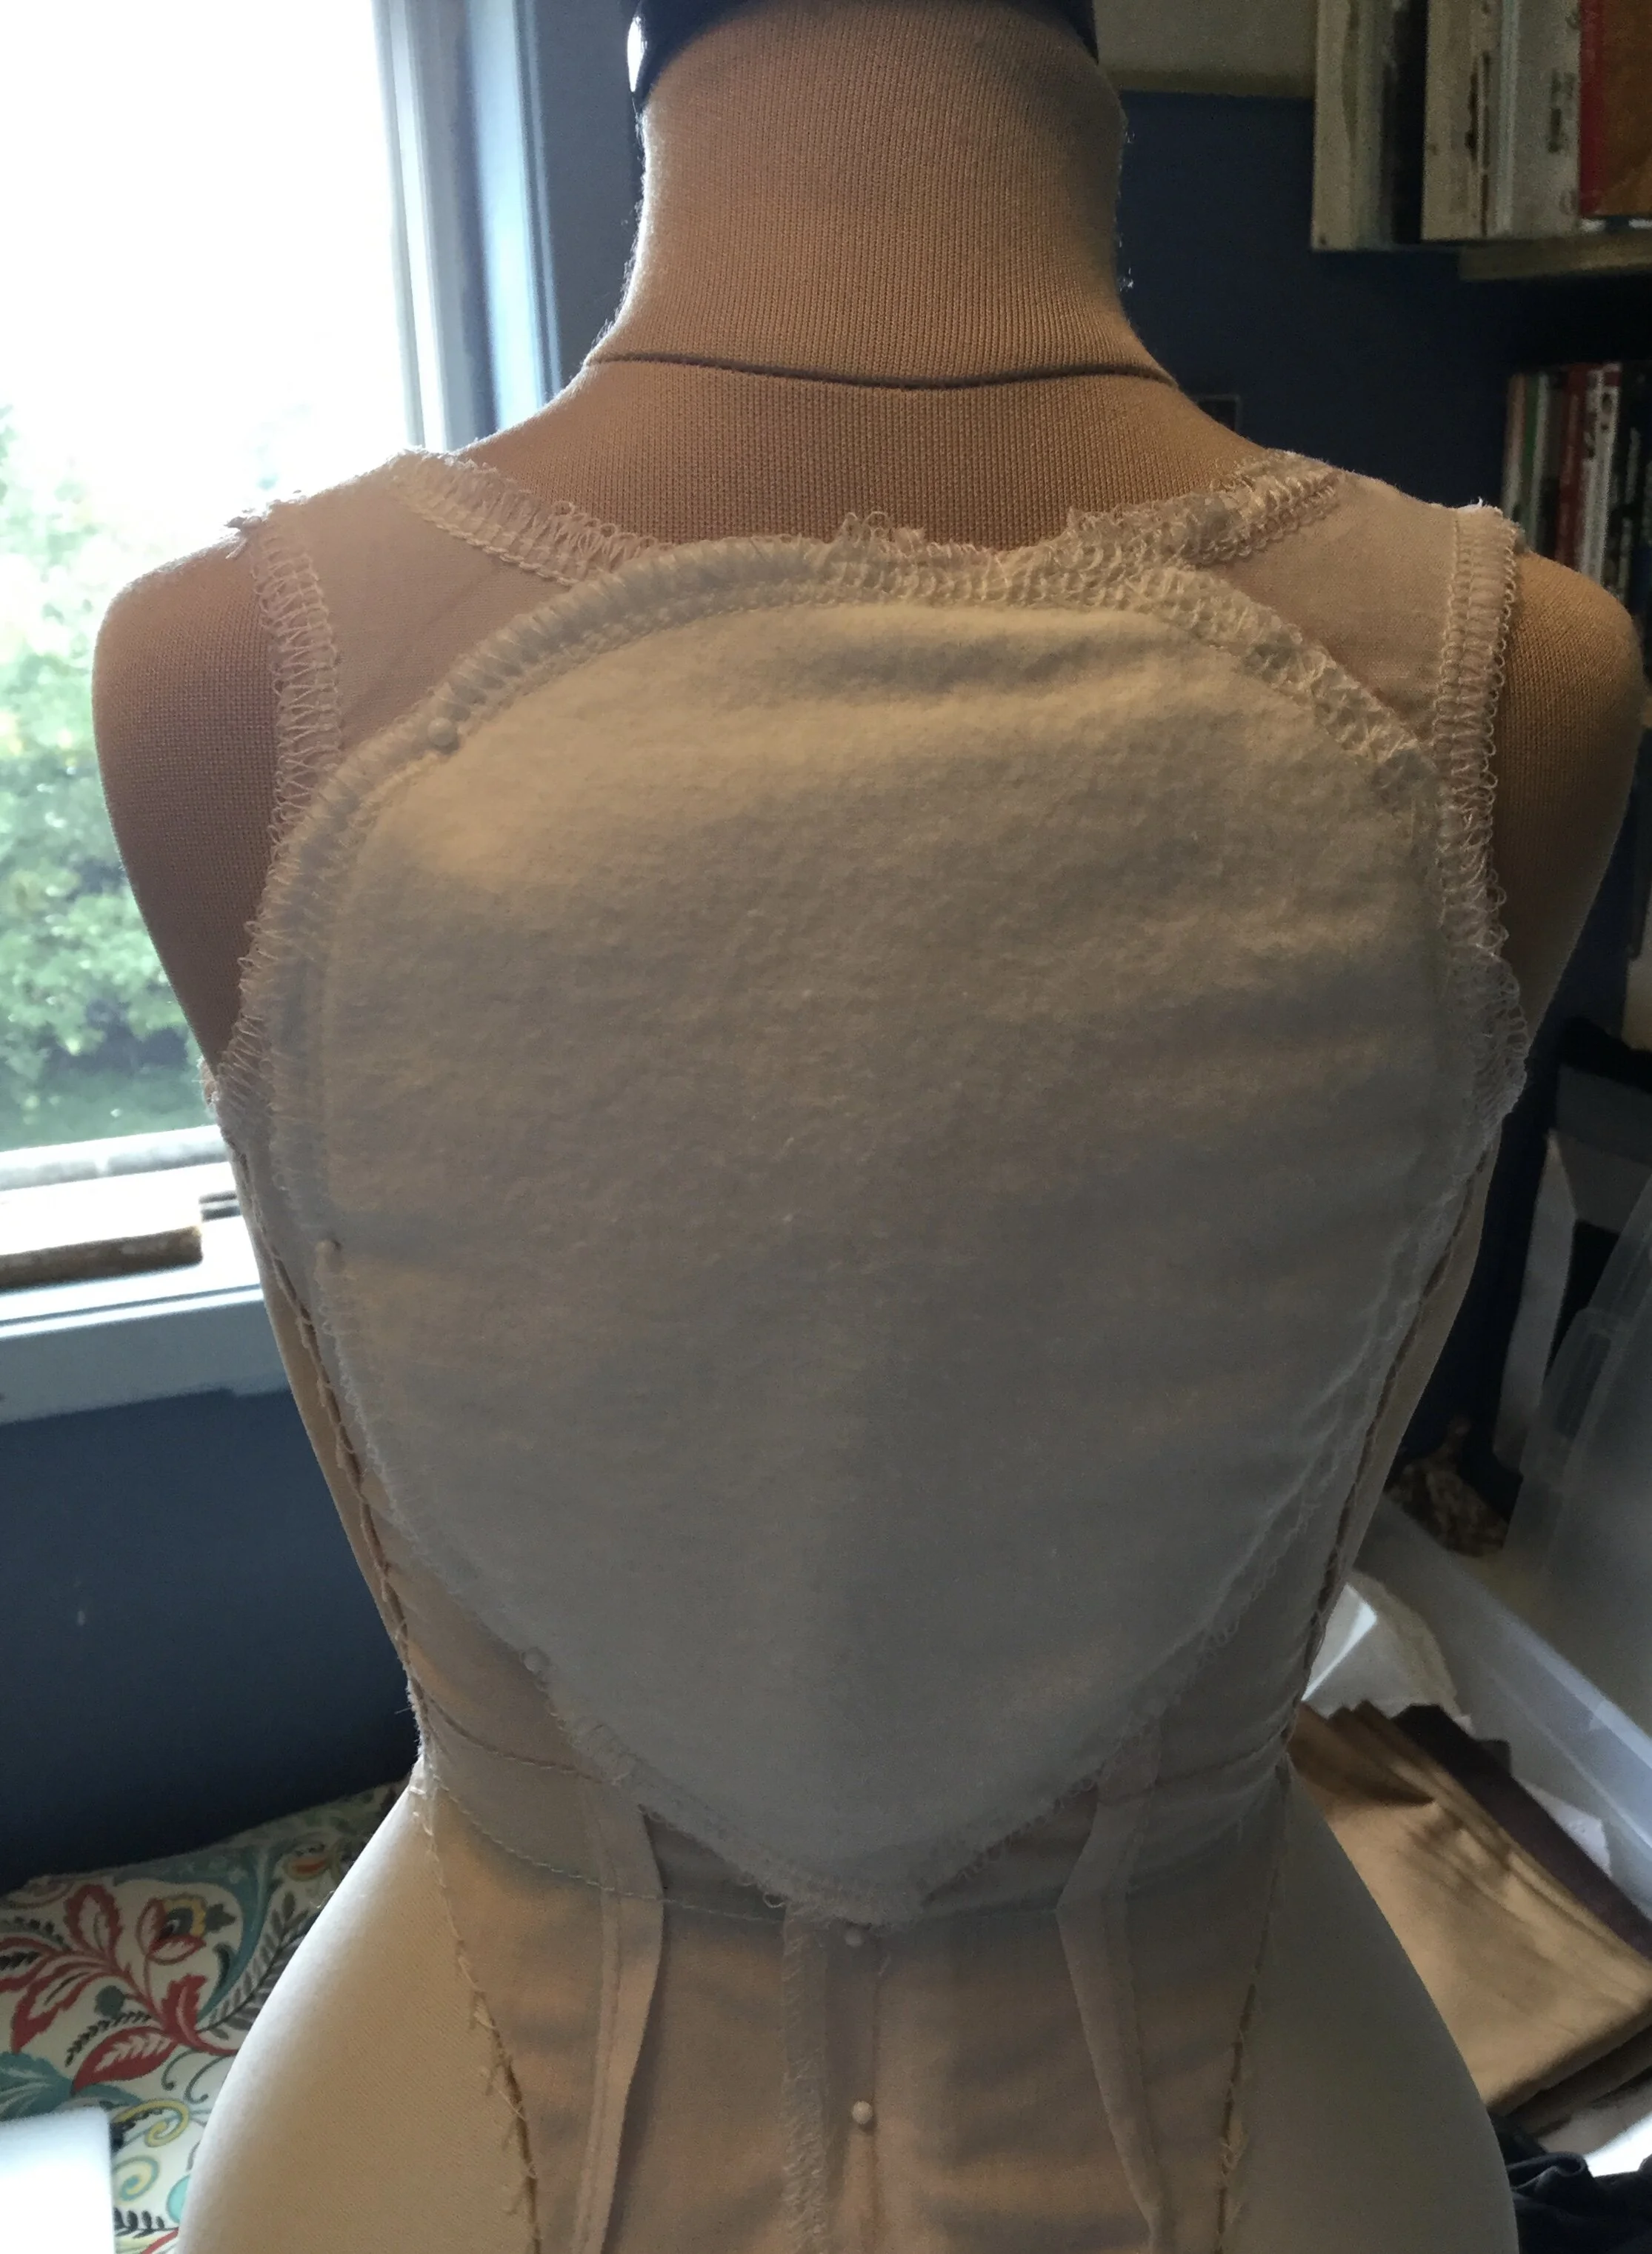
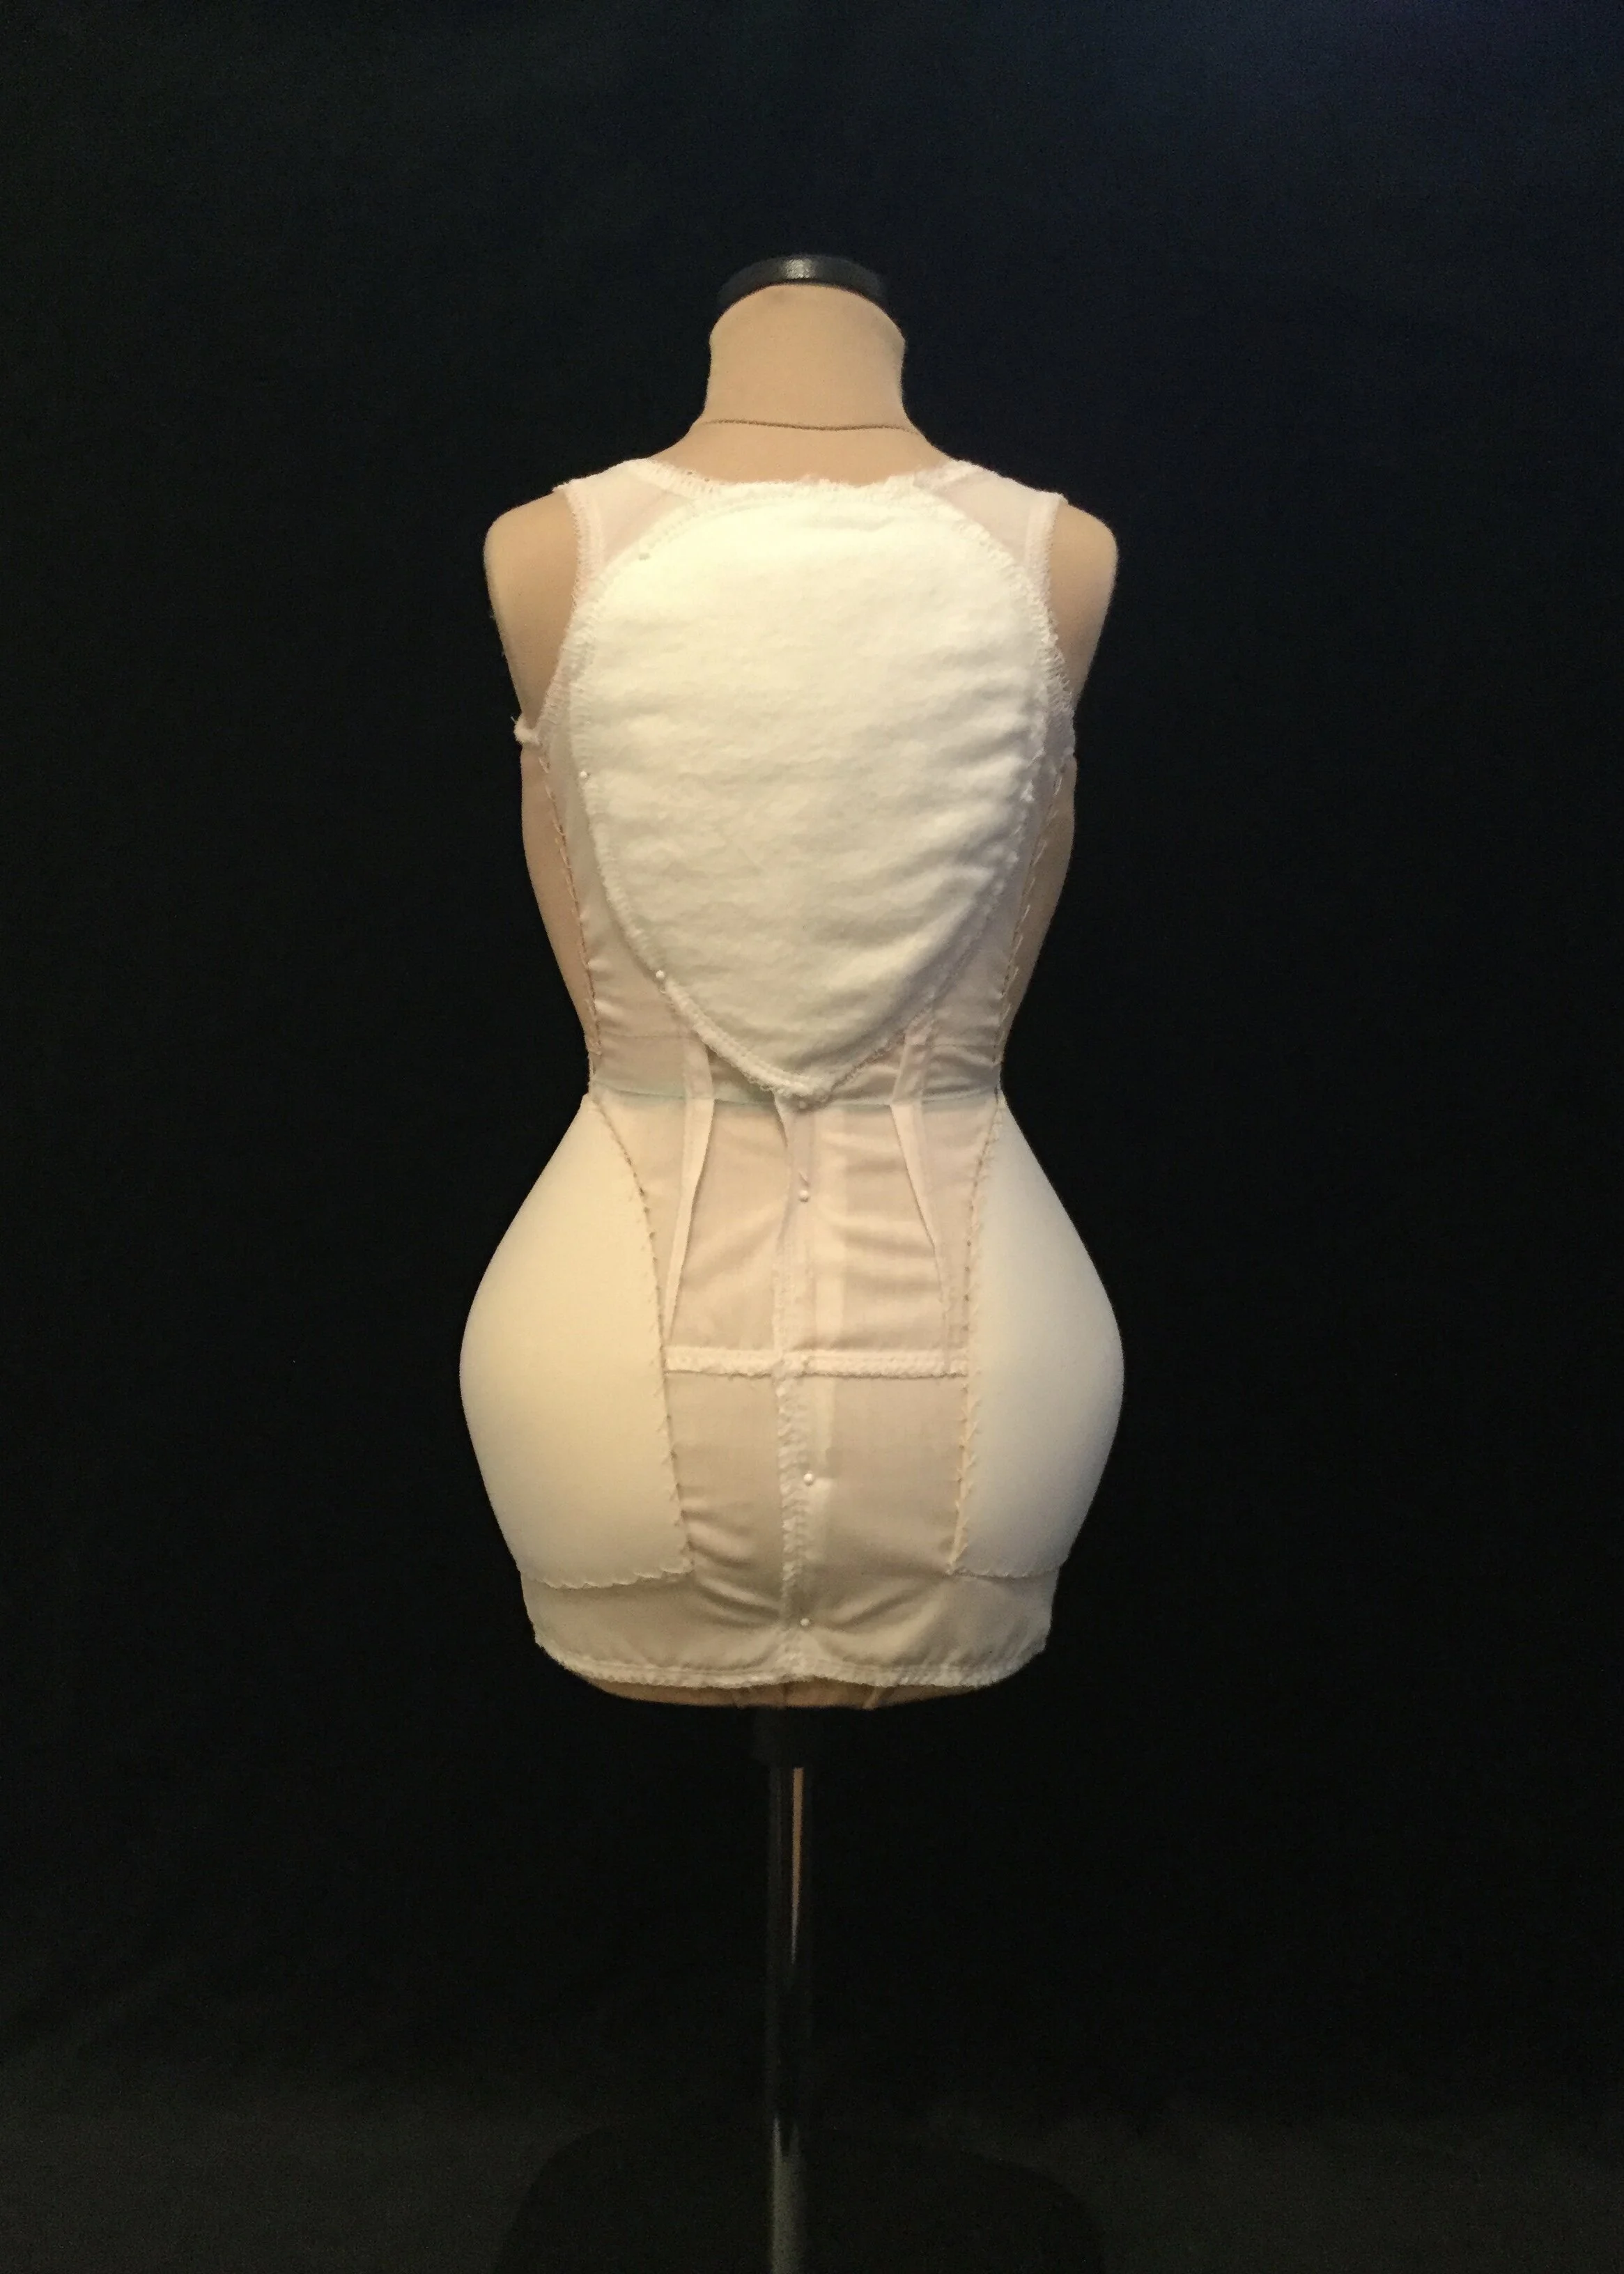
At this point I also decided to add a bit of padding to her back, just to give it a bit of a curve. For this I used layers of flannel of increasing sizes. It’s a very subtle effect, but it does still contribute to the overall soft and curvy shape I’m going for.
I made a few more adjustments and contemplated adding a few pieces on her bust then used a pencil crayon to trace around the various pieces. I also added some ticks on the padding pieces to mark seam lines and centre front. I also made a handy list of the pieces in the order in which I had to sew them on.
*patting self on back*
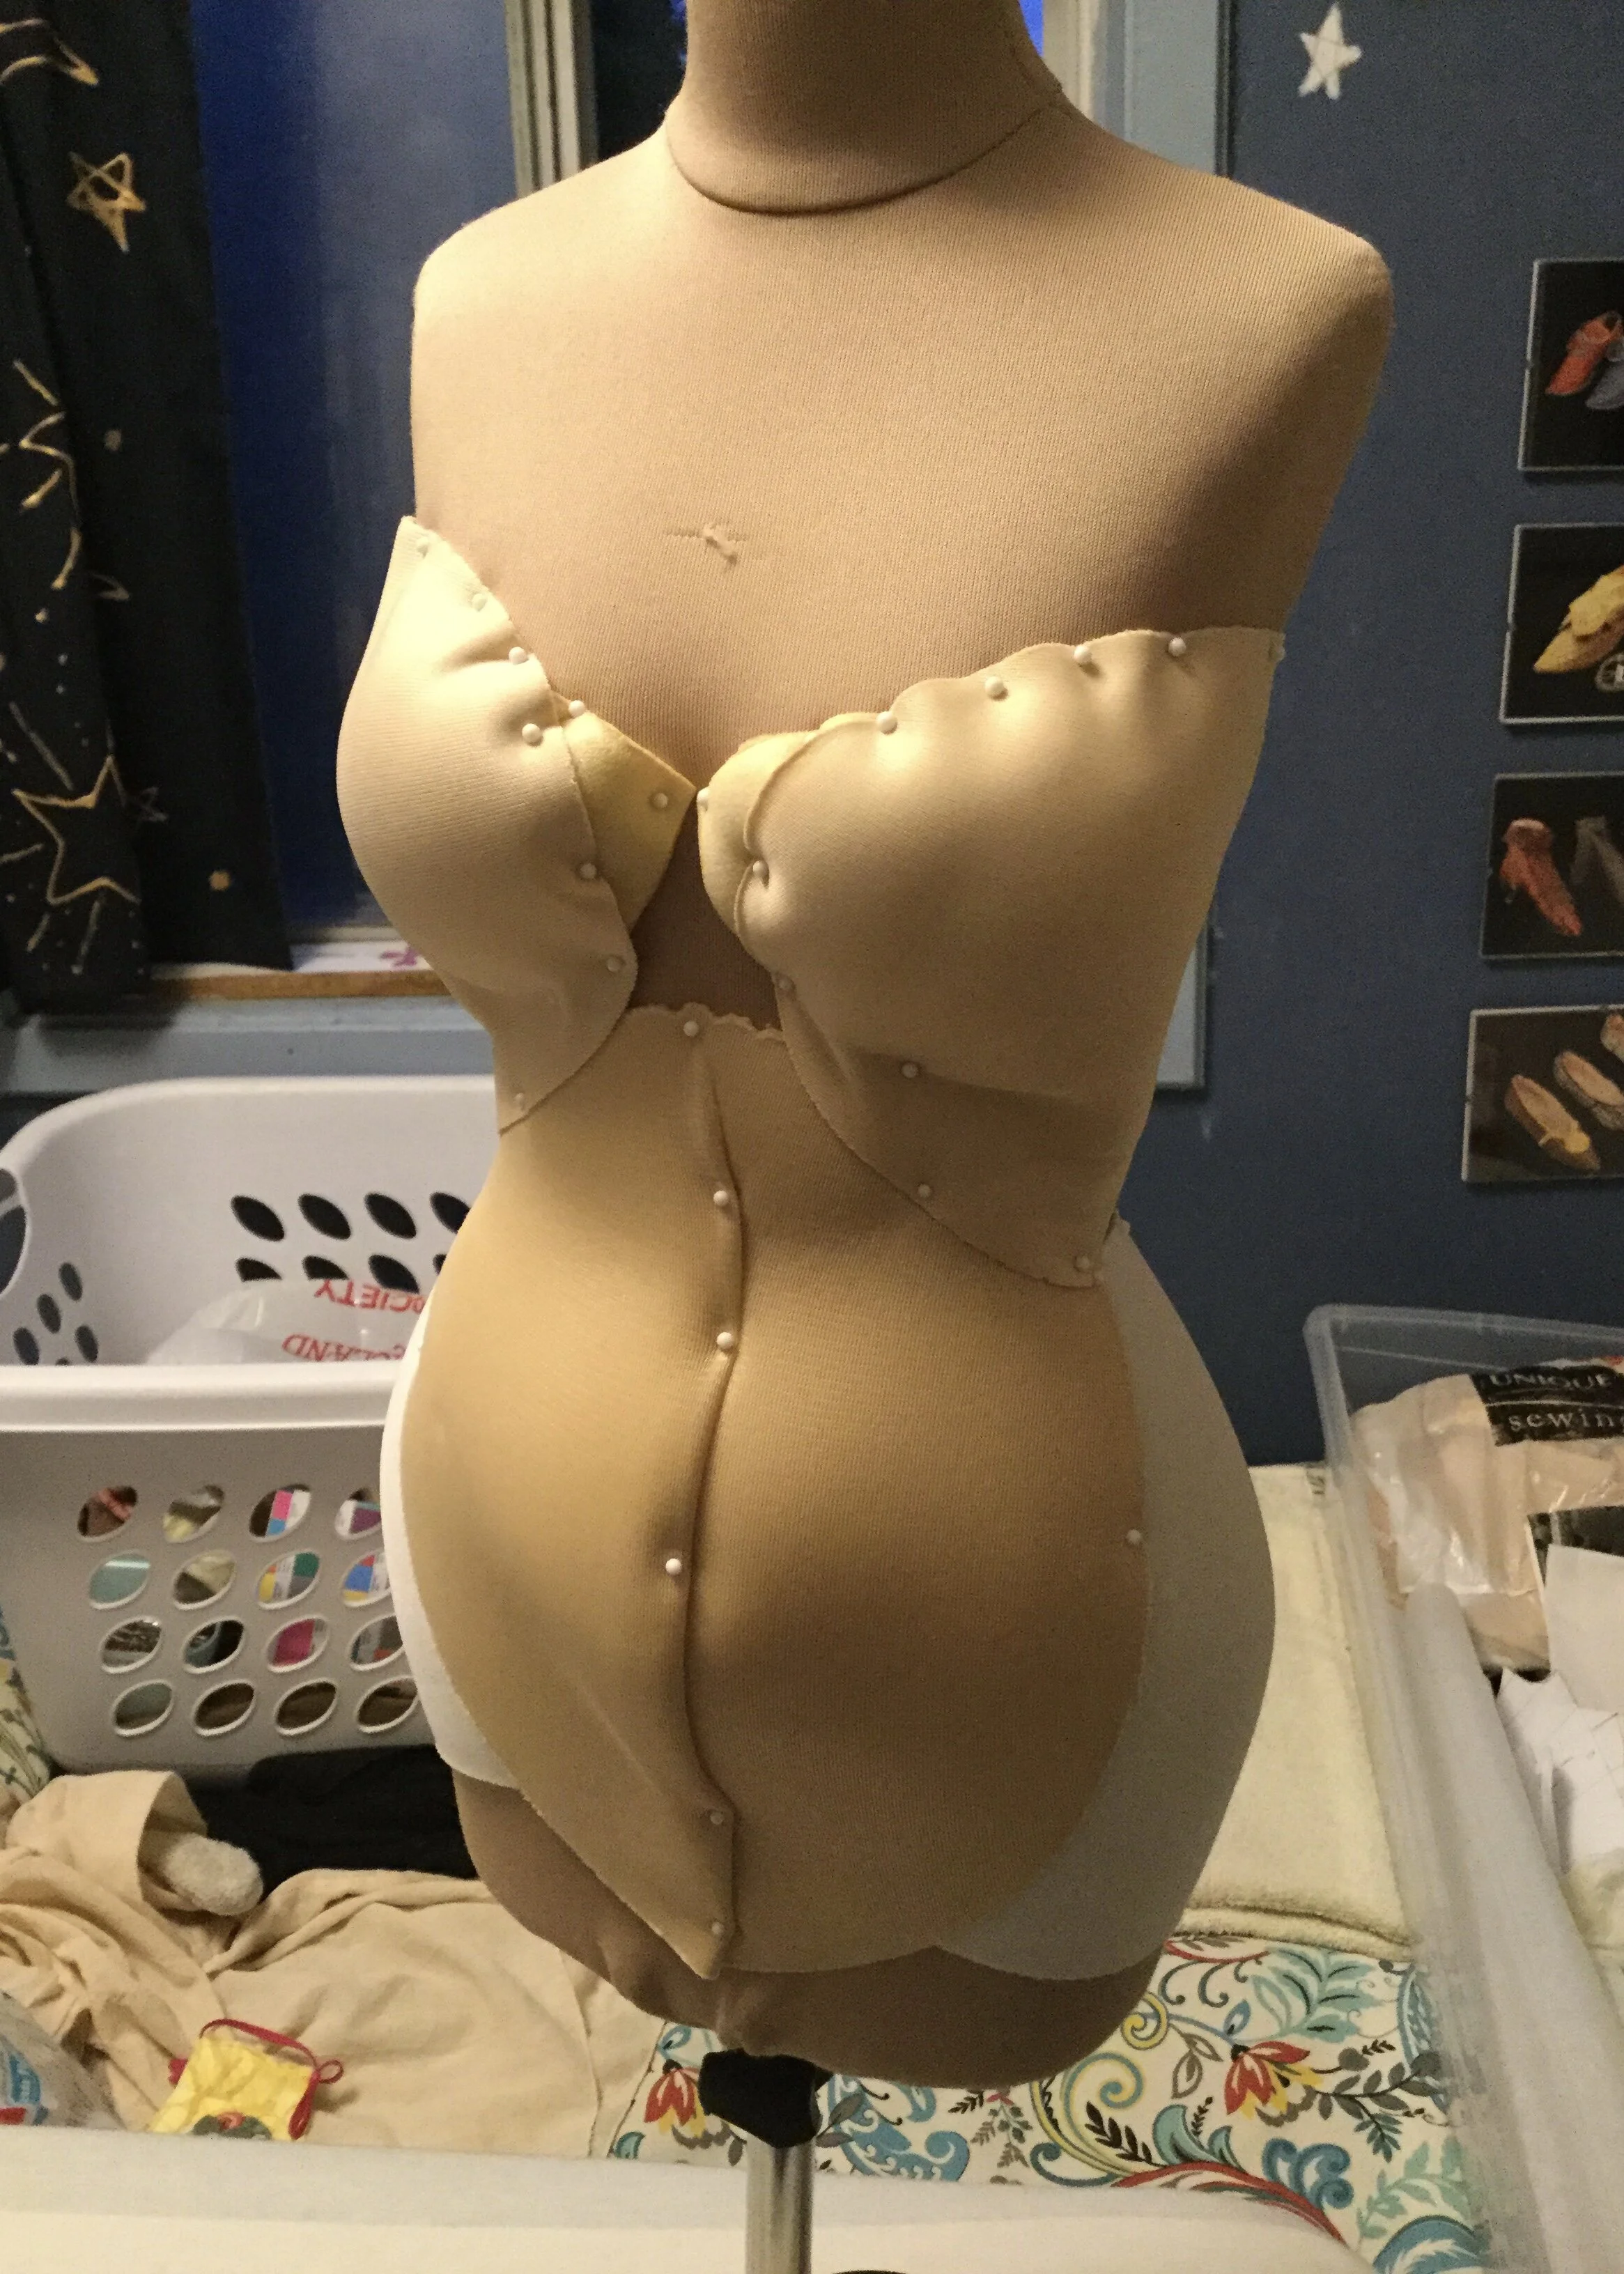
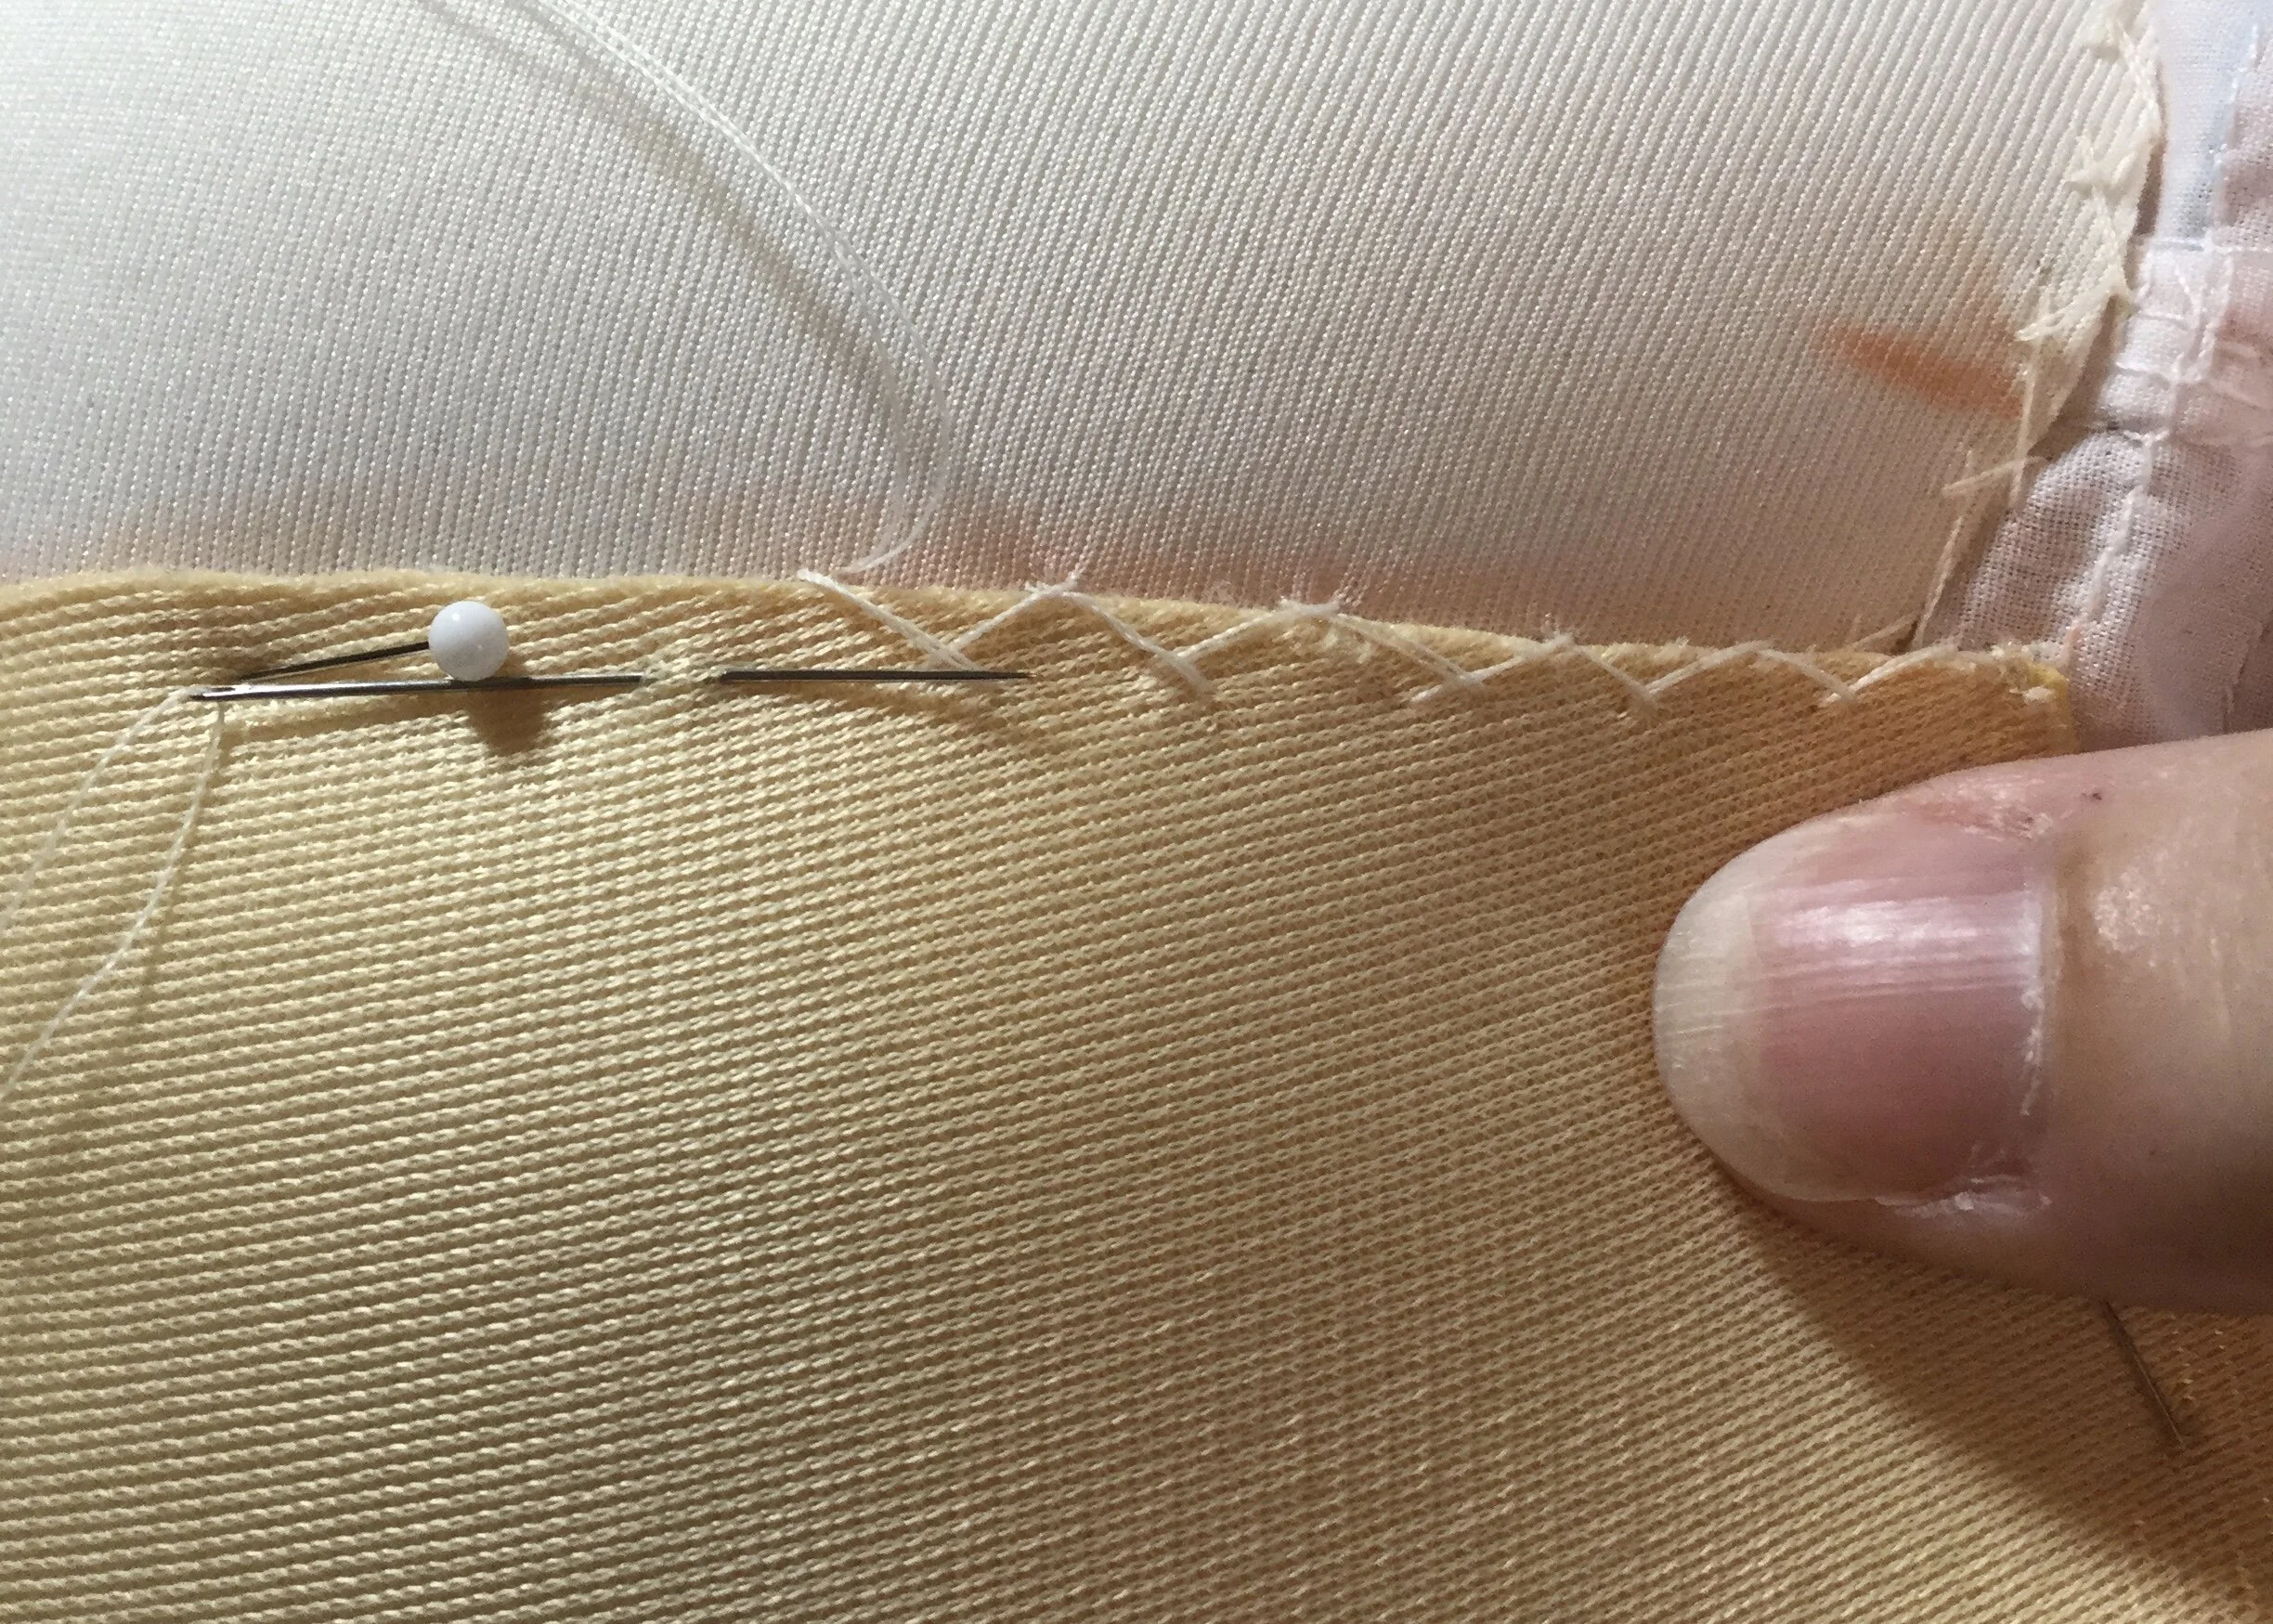
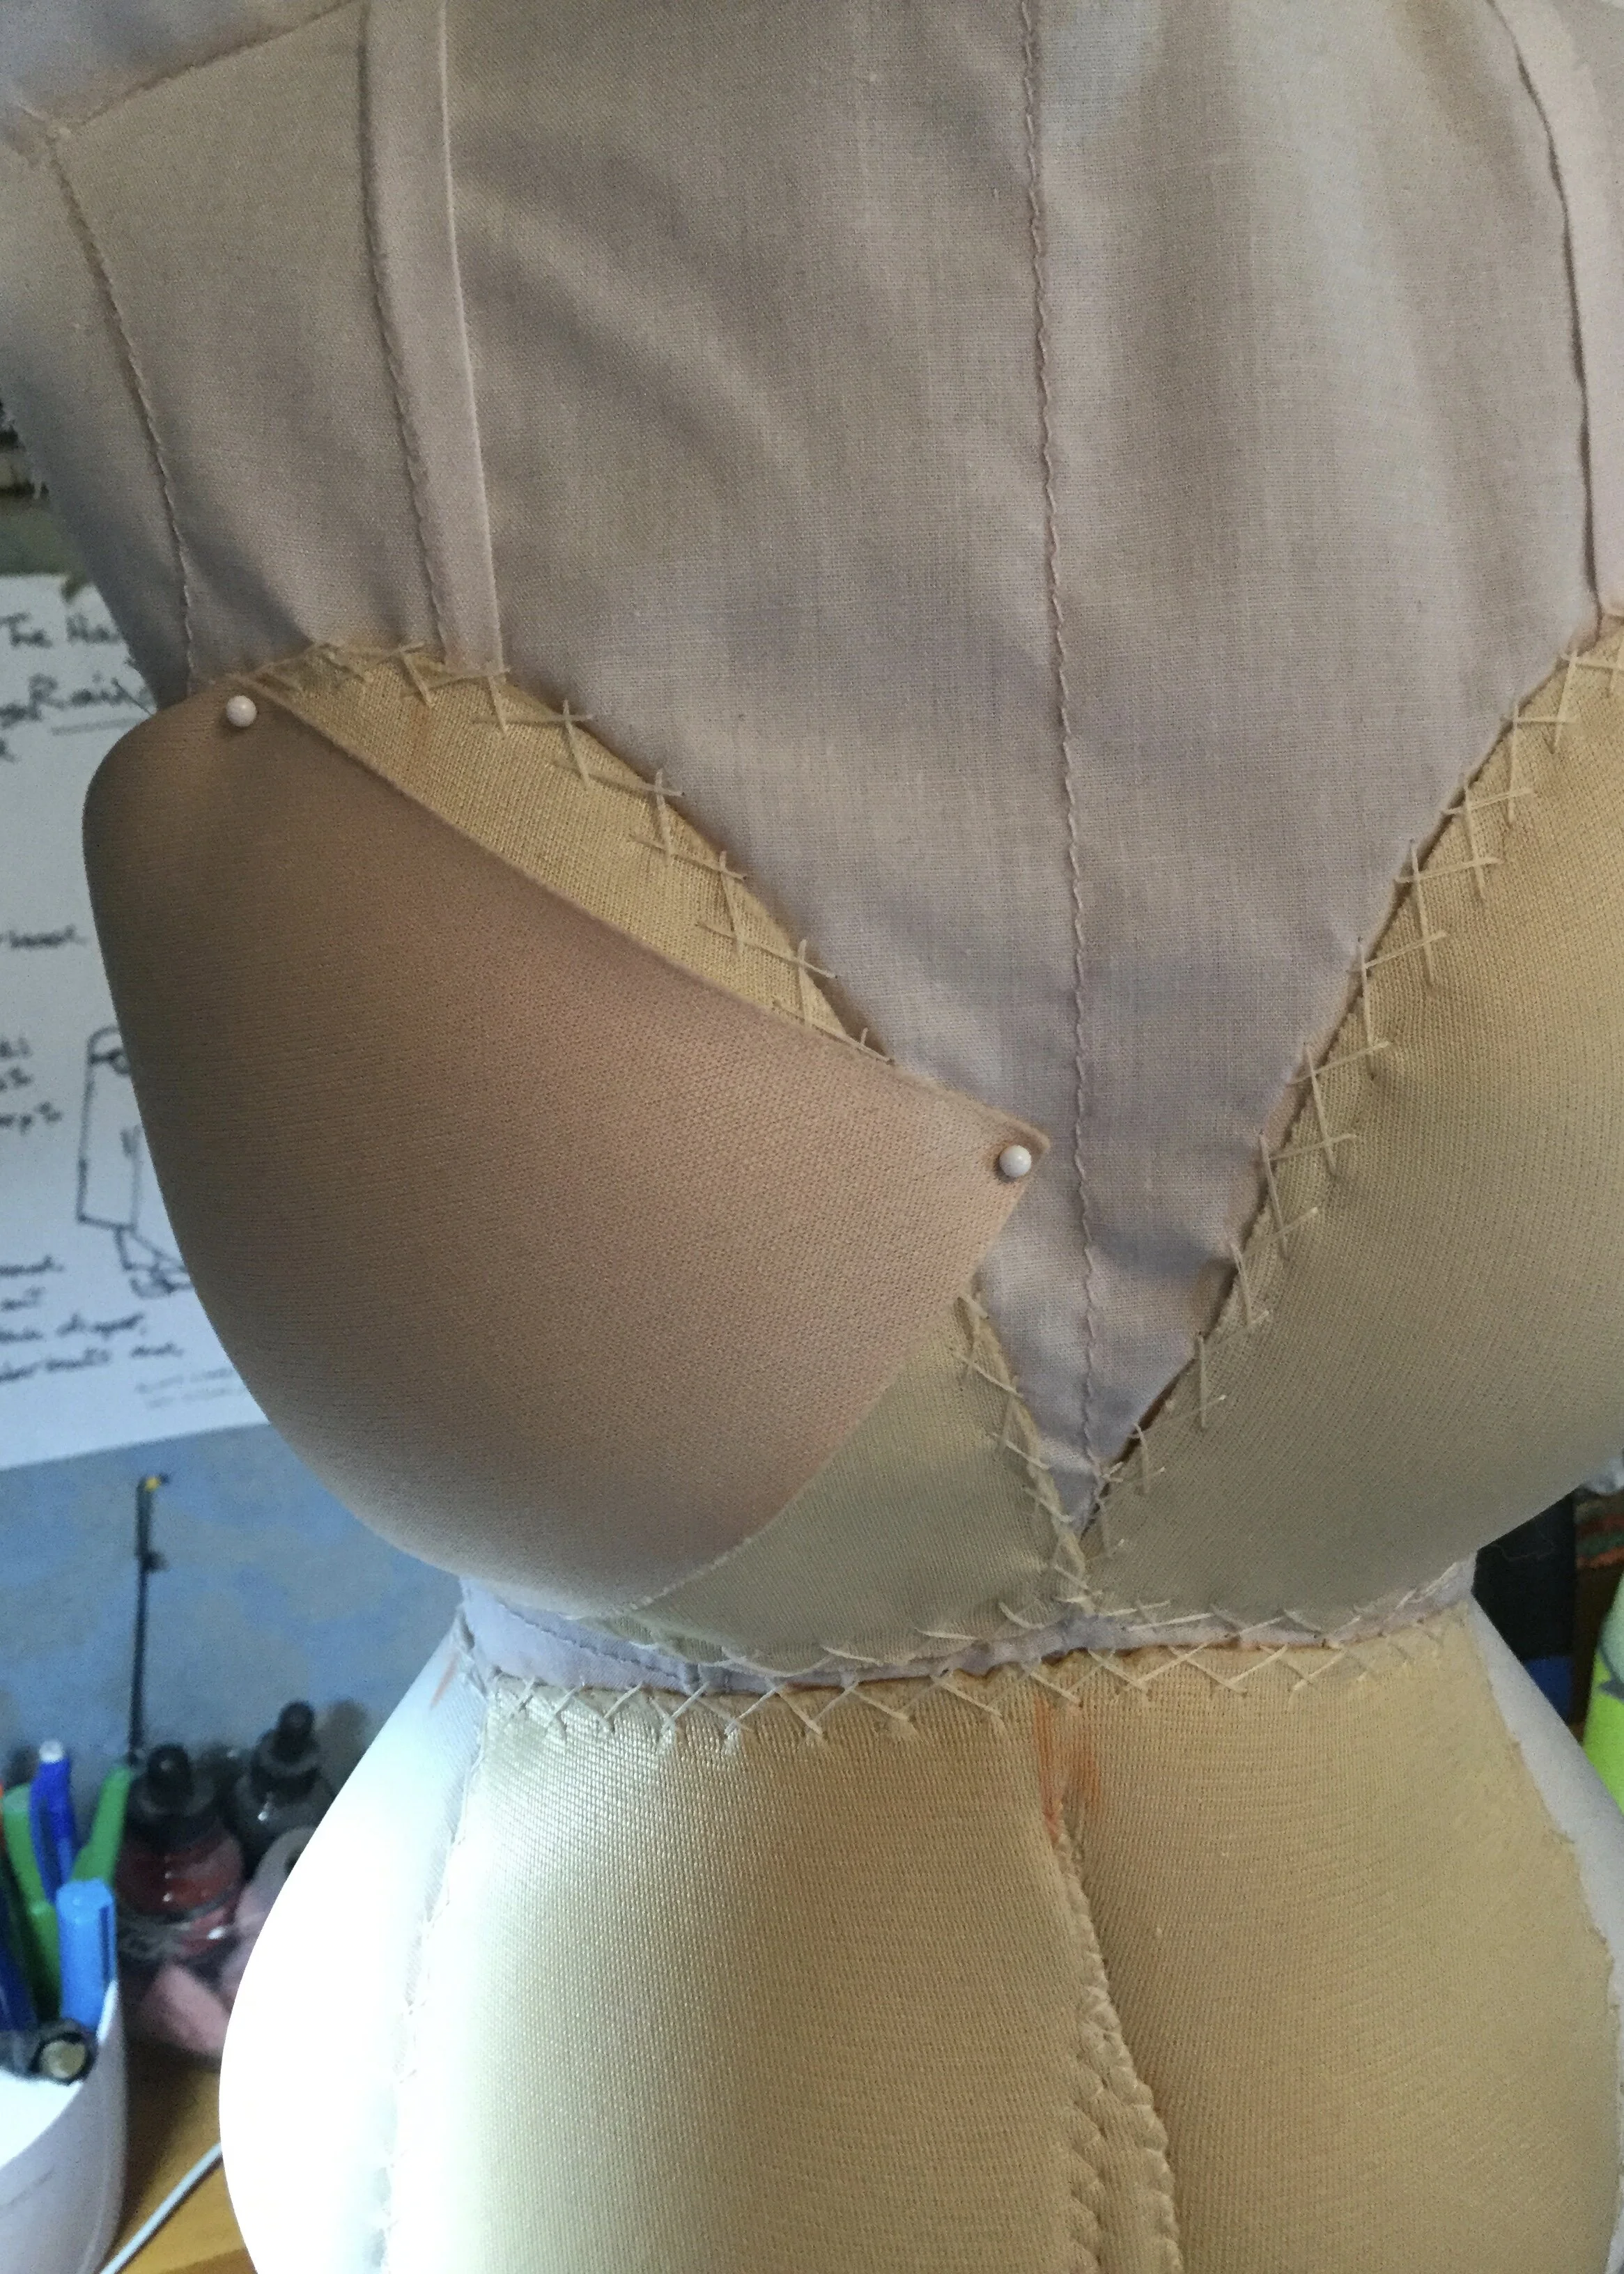
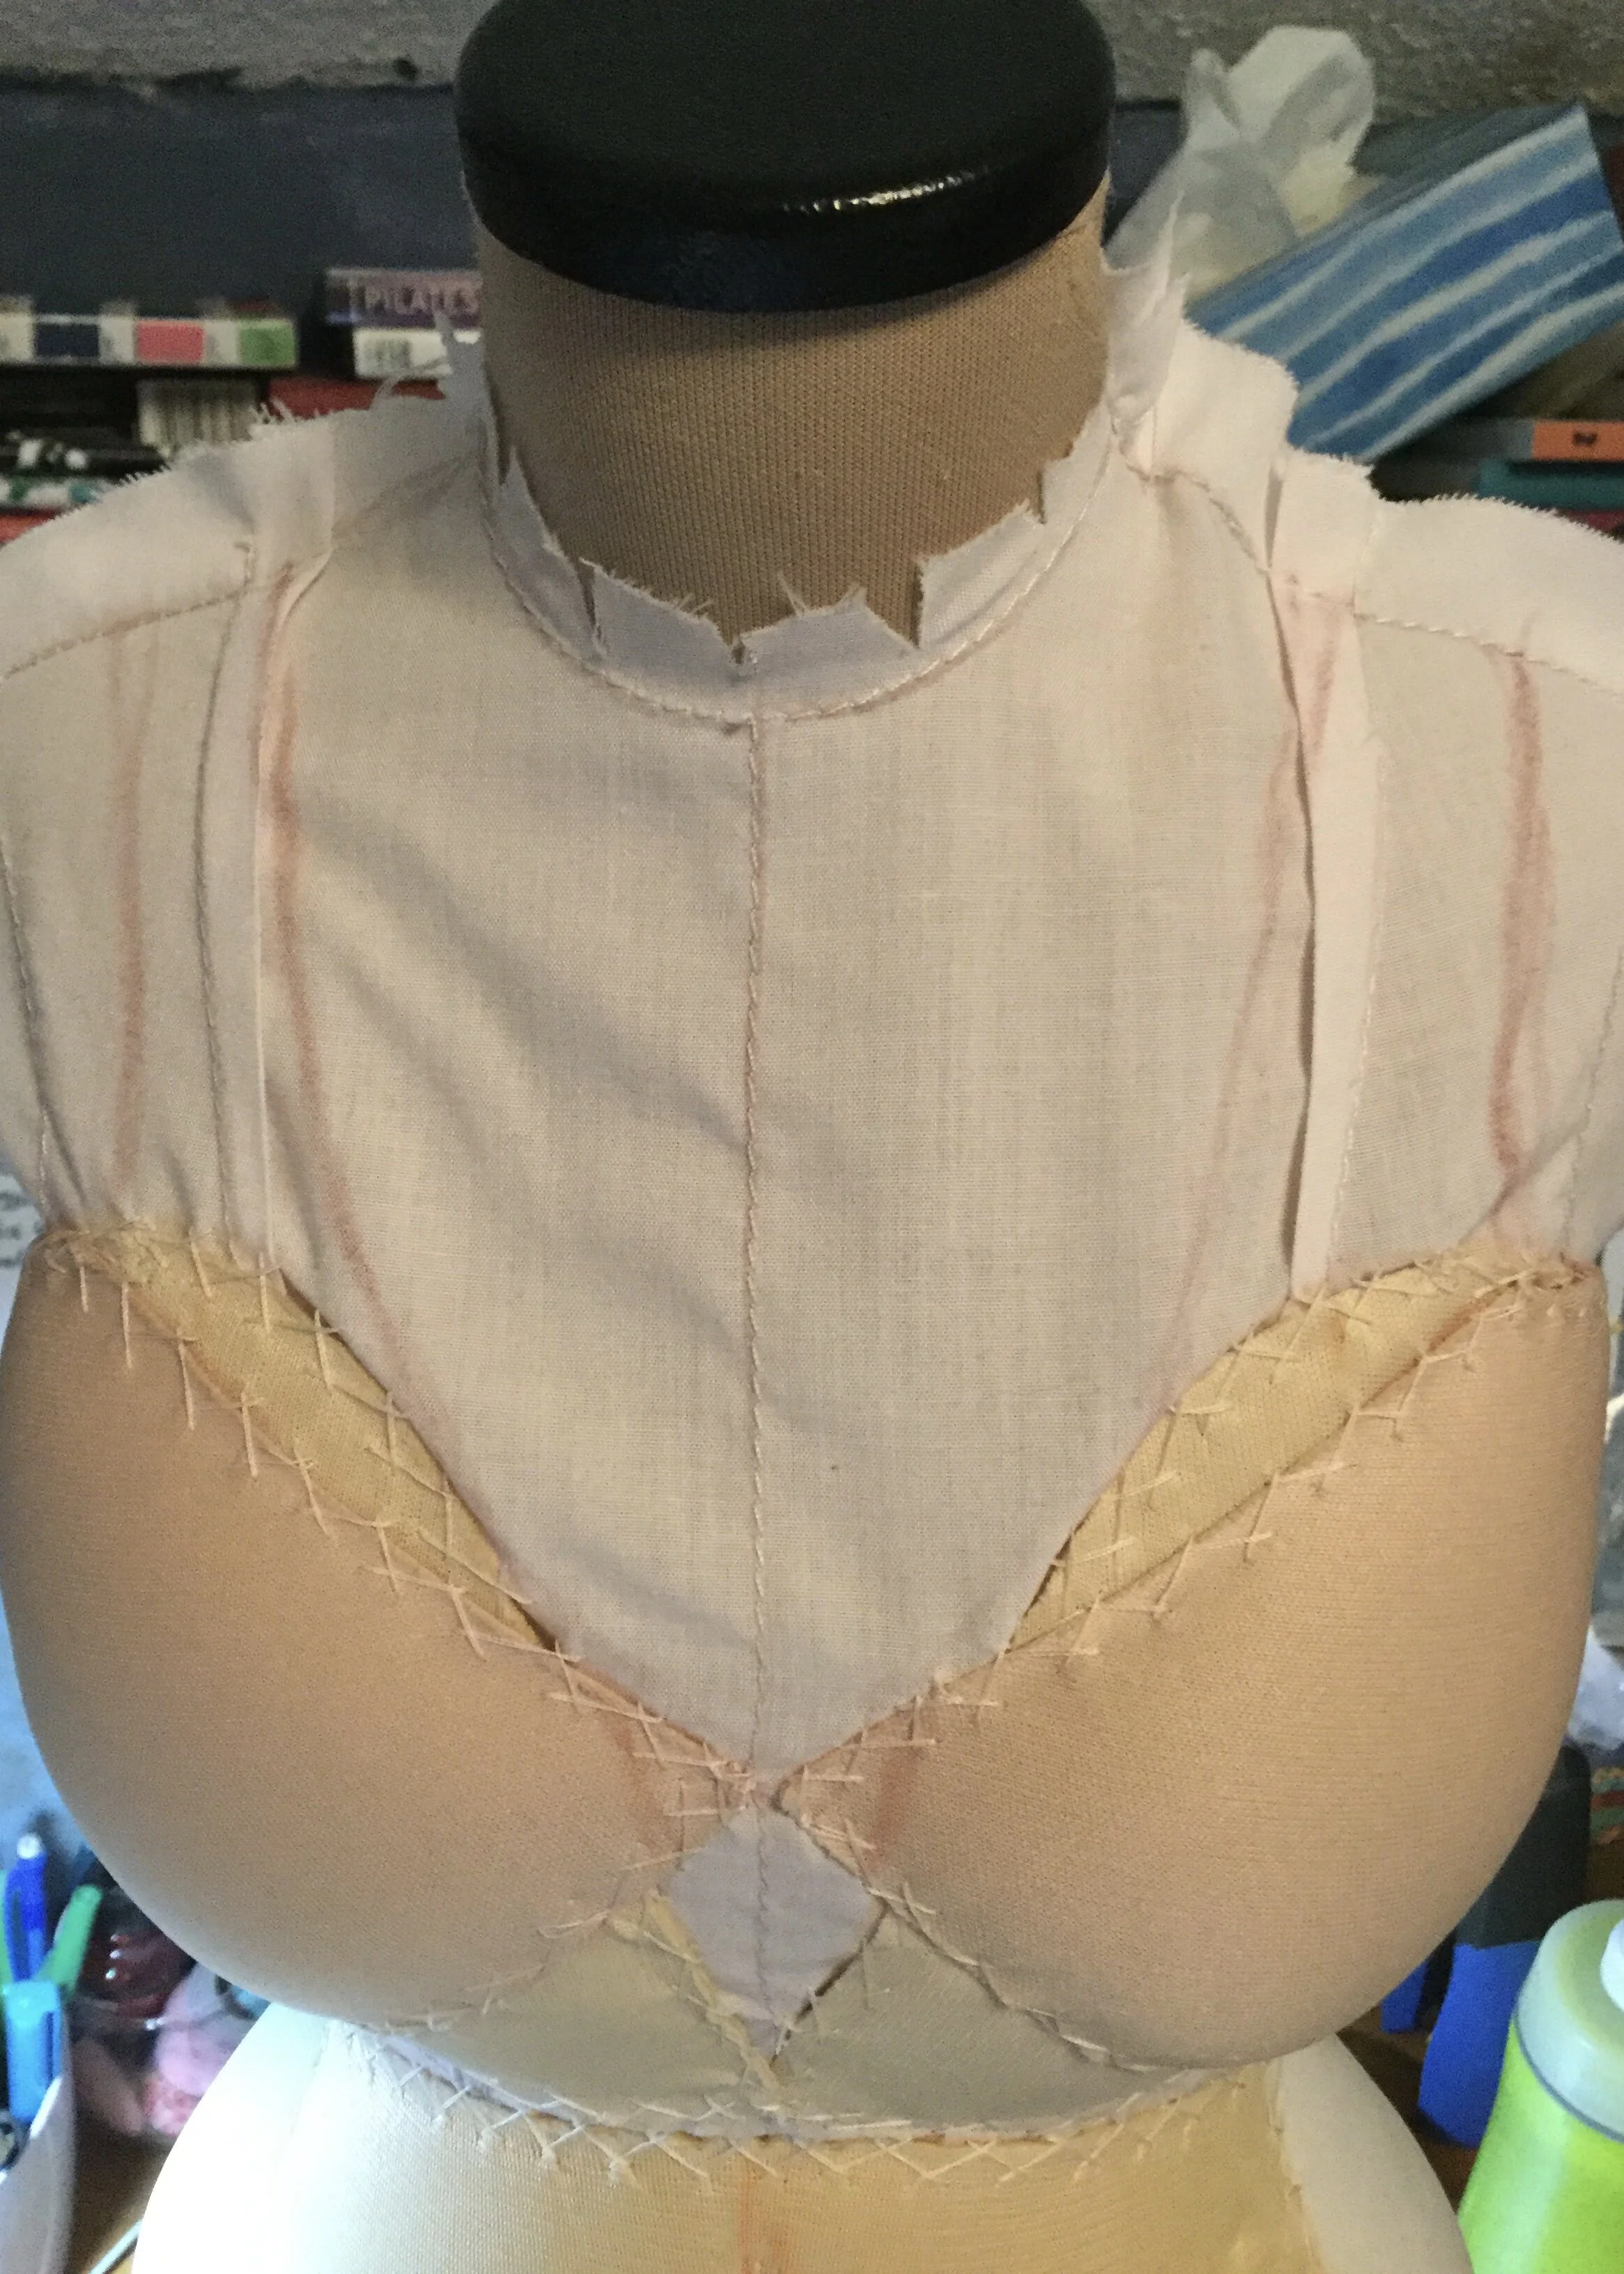
I stitched the padding on by hand using a catch stitch, starting with the smallest pieces on the hips and the centre front belly, and following the pencil lines I had drawn while the padding was on the Judy. It was a surprisingly fiddly job to do as the padding was not always as soft and easy to hold as I had thought it would be, but eventually I had it all stitched on.
After a last minute addition of another layer to the bust, I trimmed and finished the flannel piece and stitched it to one side of the back. I then drew a new neckline and armholes; my plan is for this piece to not be visible from under any of the other pieces.
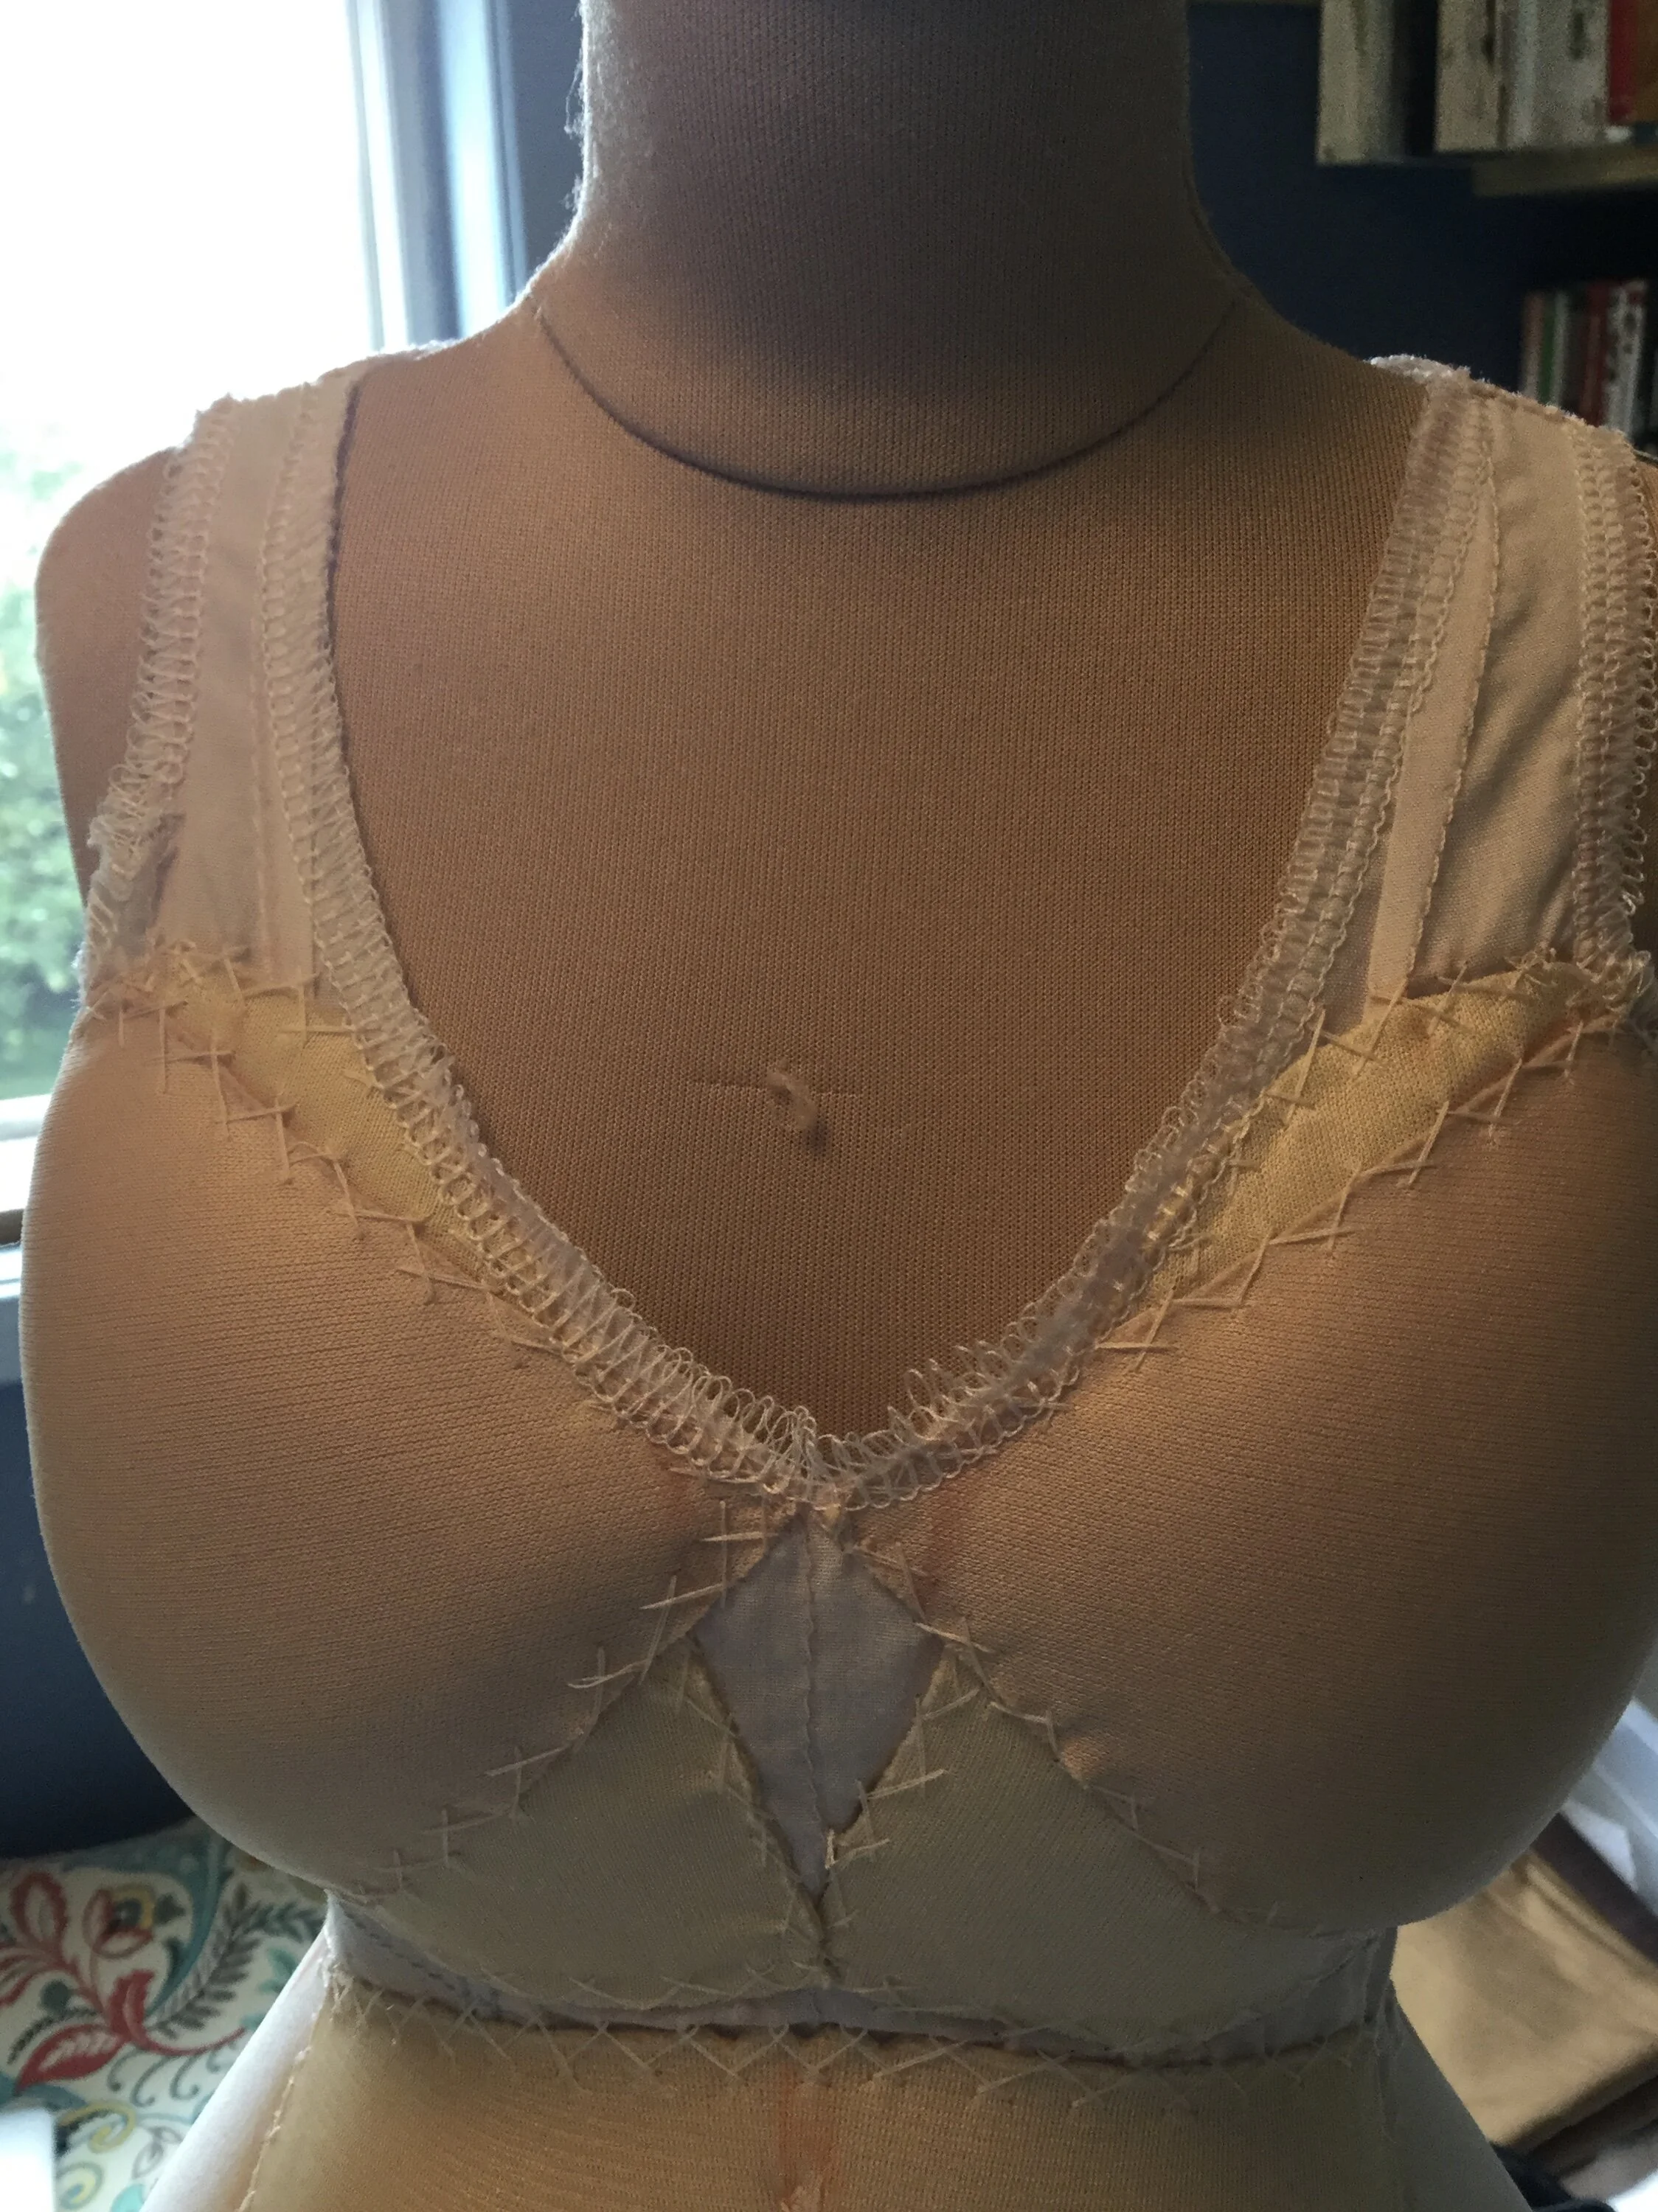
Since the padding was already not the most beauteous and finished item, I opted to just serge on the new lines, which did involve opening up the shoulder seams. I have now learned that armholes for my Judy are too bitty to get into with my serger.
The finished padding is a bit like the world's weirdest mini dress and she kind of looks about six months pregnant, but I am pleased with the final shape. Another benefit of the padding is that this layer is soft enough to be shaped a bit so I can make the corset fairly snug and even use it to cinch her in a bit. Perhaps it won’t be pointless after all!
I don’t have a name for this project yet. Usually I don’t name them until I’ve been working on them for a while and have gotten to know them a bit (yeah, I know, that’s weird) but I don’t even know yet what the finished dress will look like, though I have selected a few fabrics from the stash, so it’ll be a while until she has a name. For now she’s the 1880 dress.
The 1880 padding took 10.75 hours.
