Olivia Part One
A long time coming.
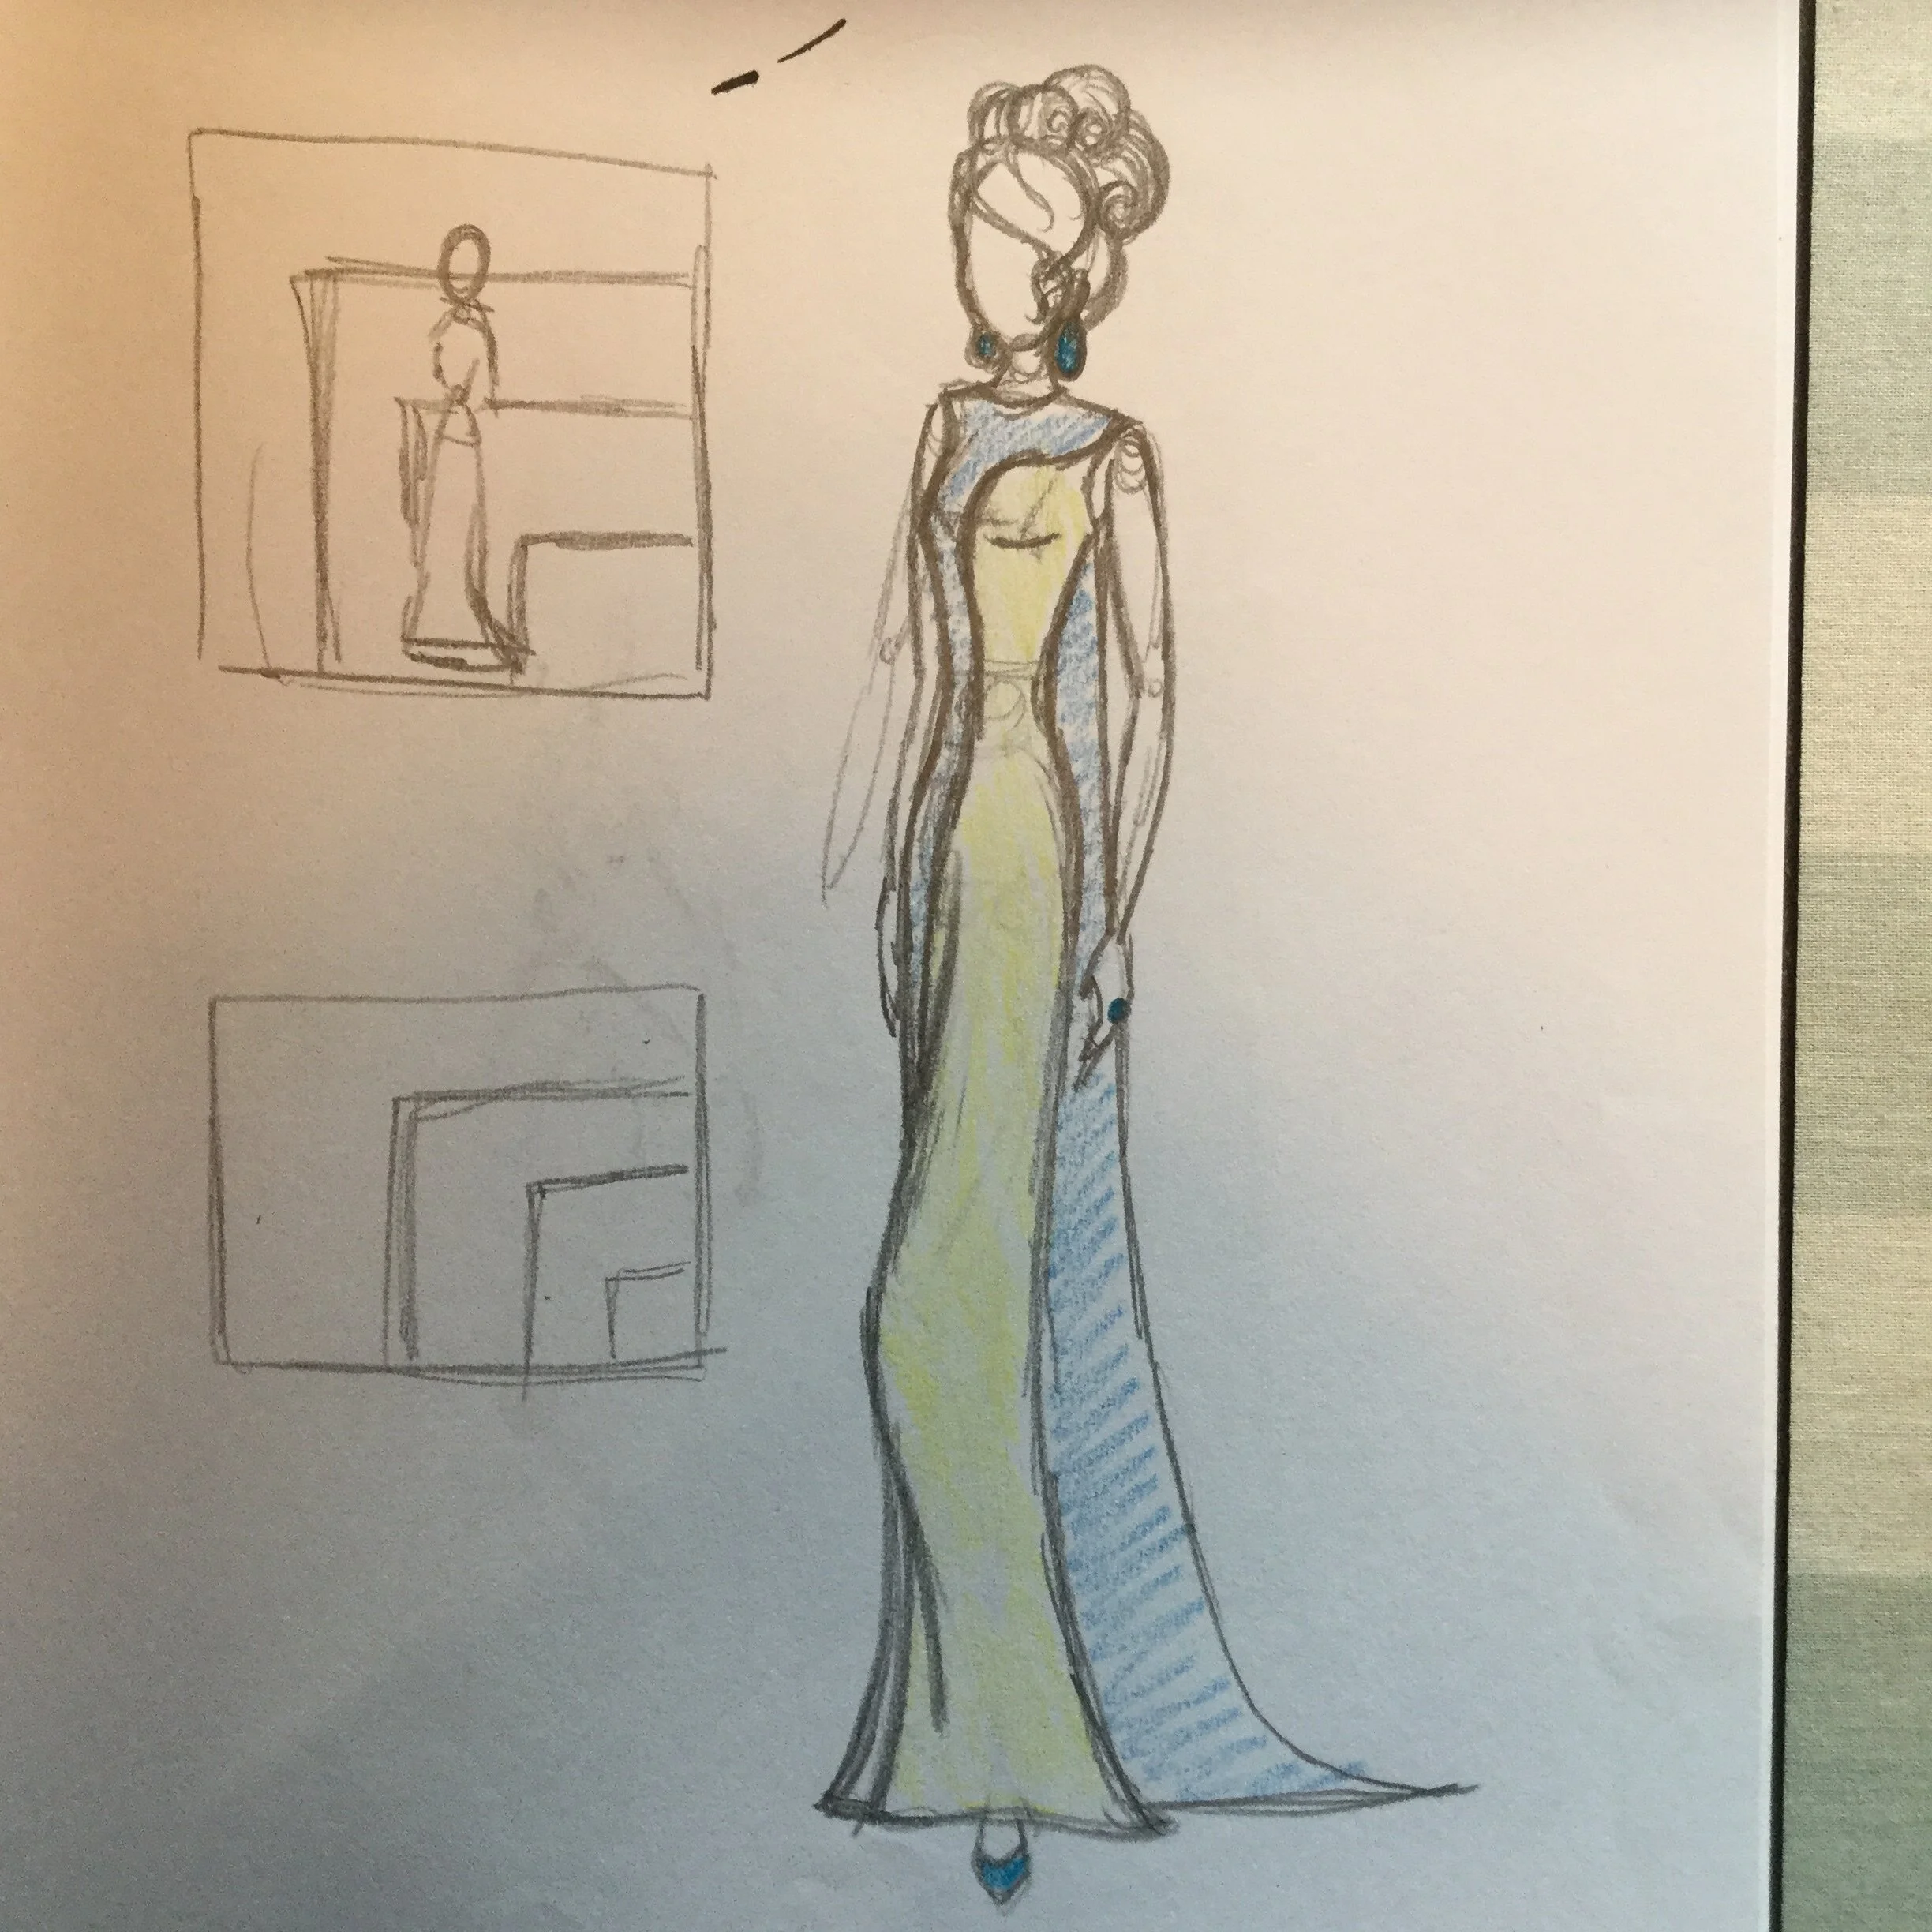
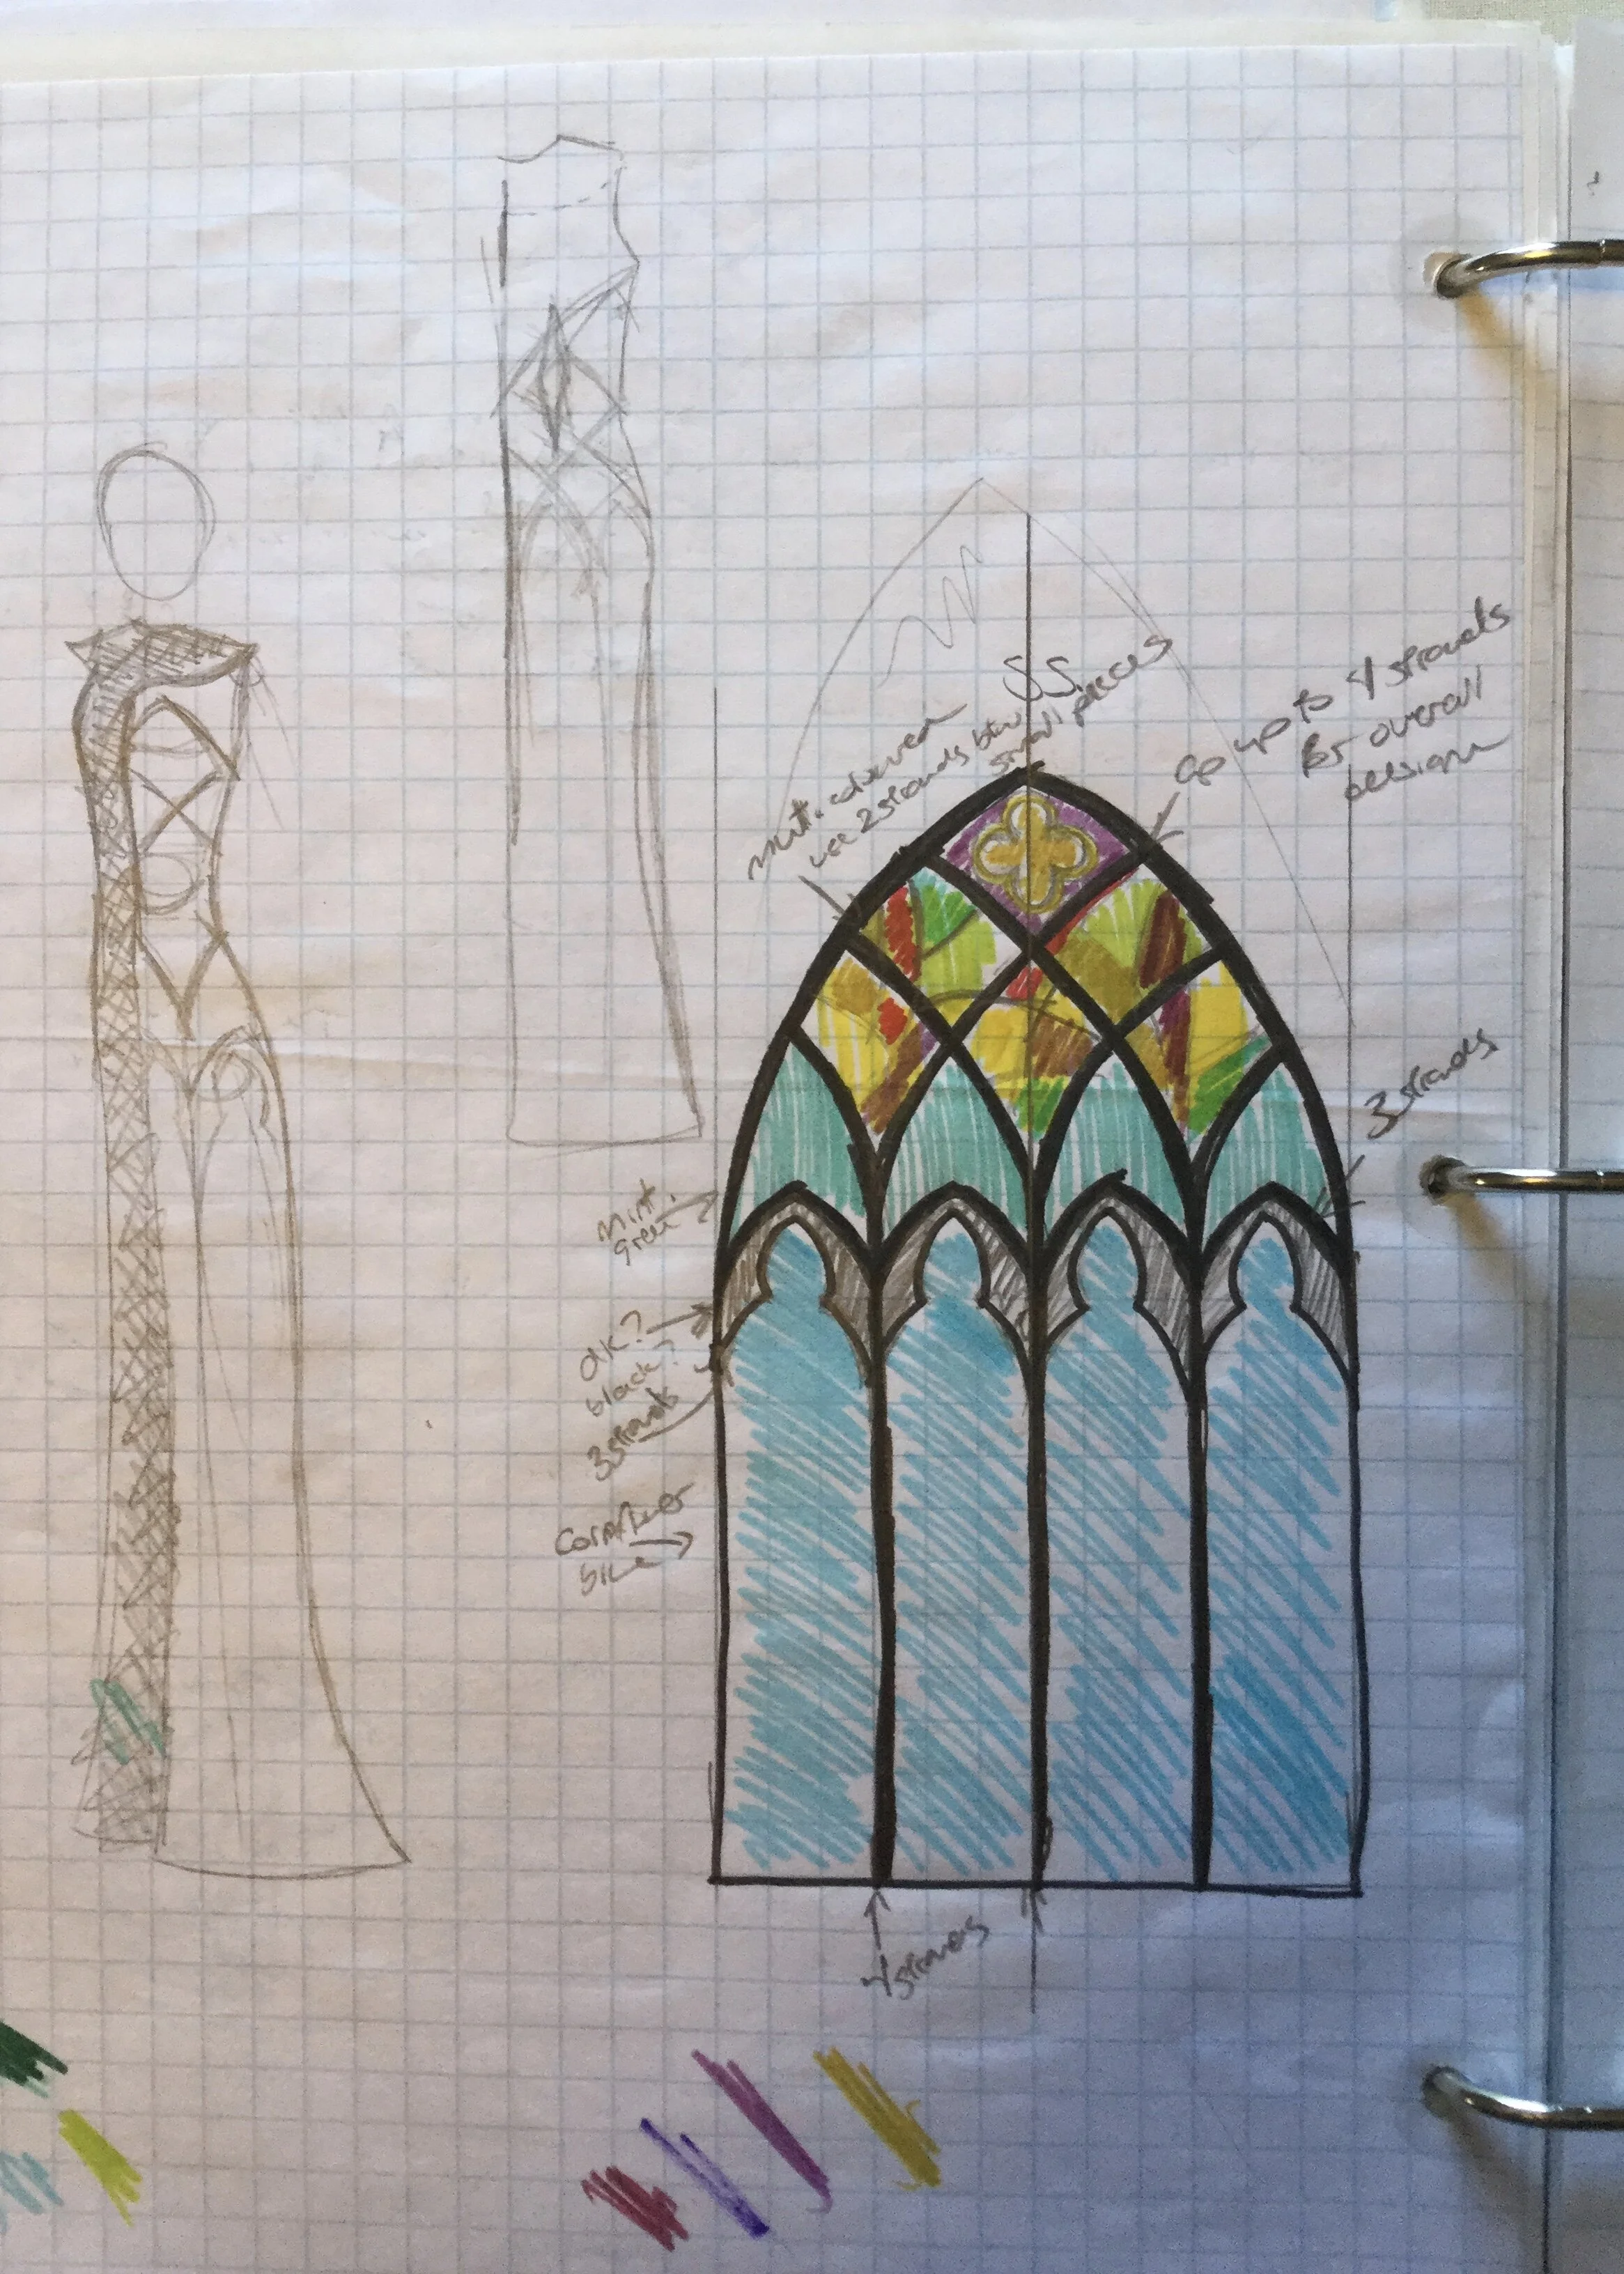
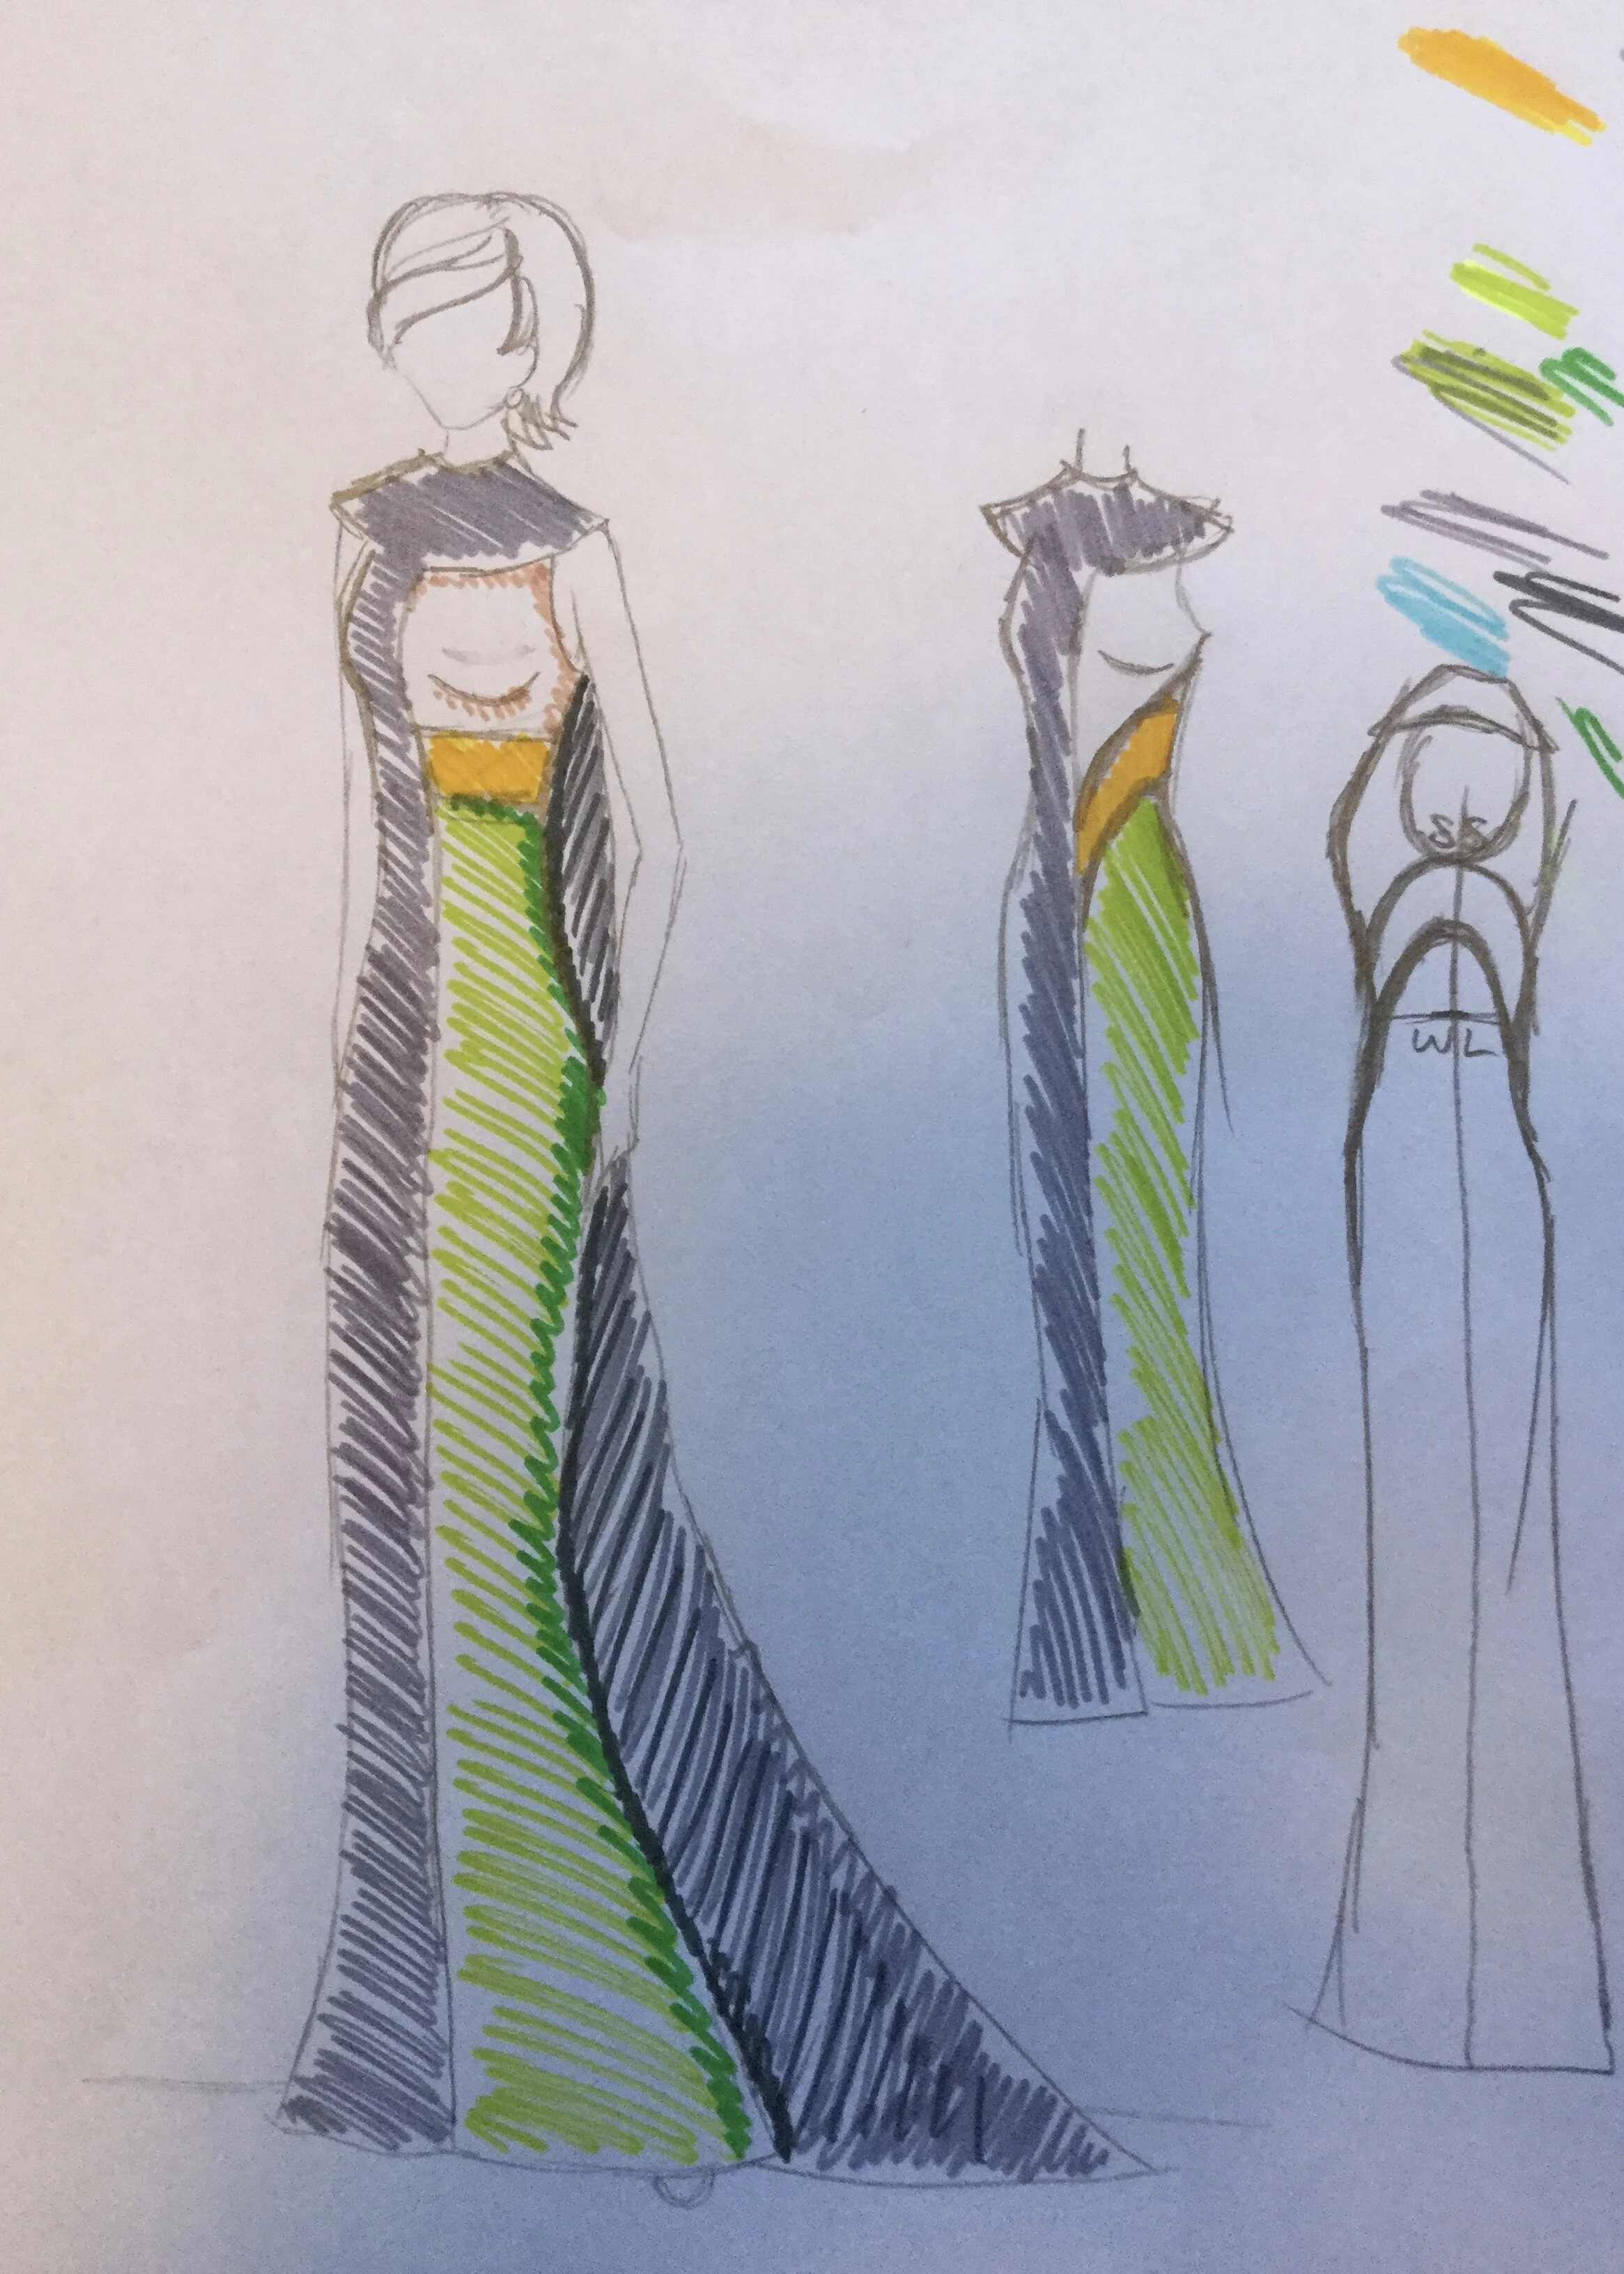
I drew this dress for the first time in high school, which is more years ago now than I really care to think about. I'm not entirely sure where the idea came from other than being generally enamoured with fashion from the 1960's. I liked the simplicity of the overall shape combined with the bolder elements of the colour blocking and the full length cape. I've come back to it a few times since I drew that first sketch and when I started on this venture she was among the first ideas to go onto my list.
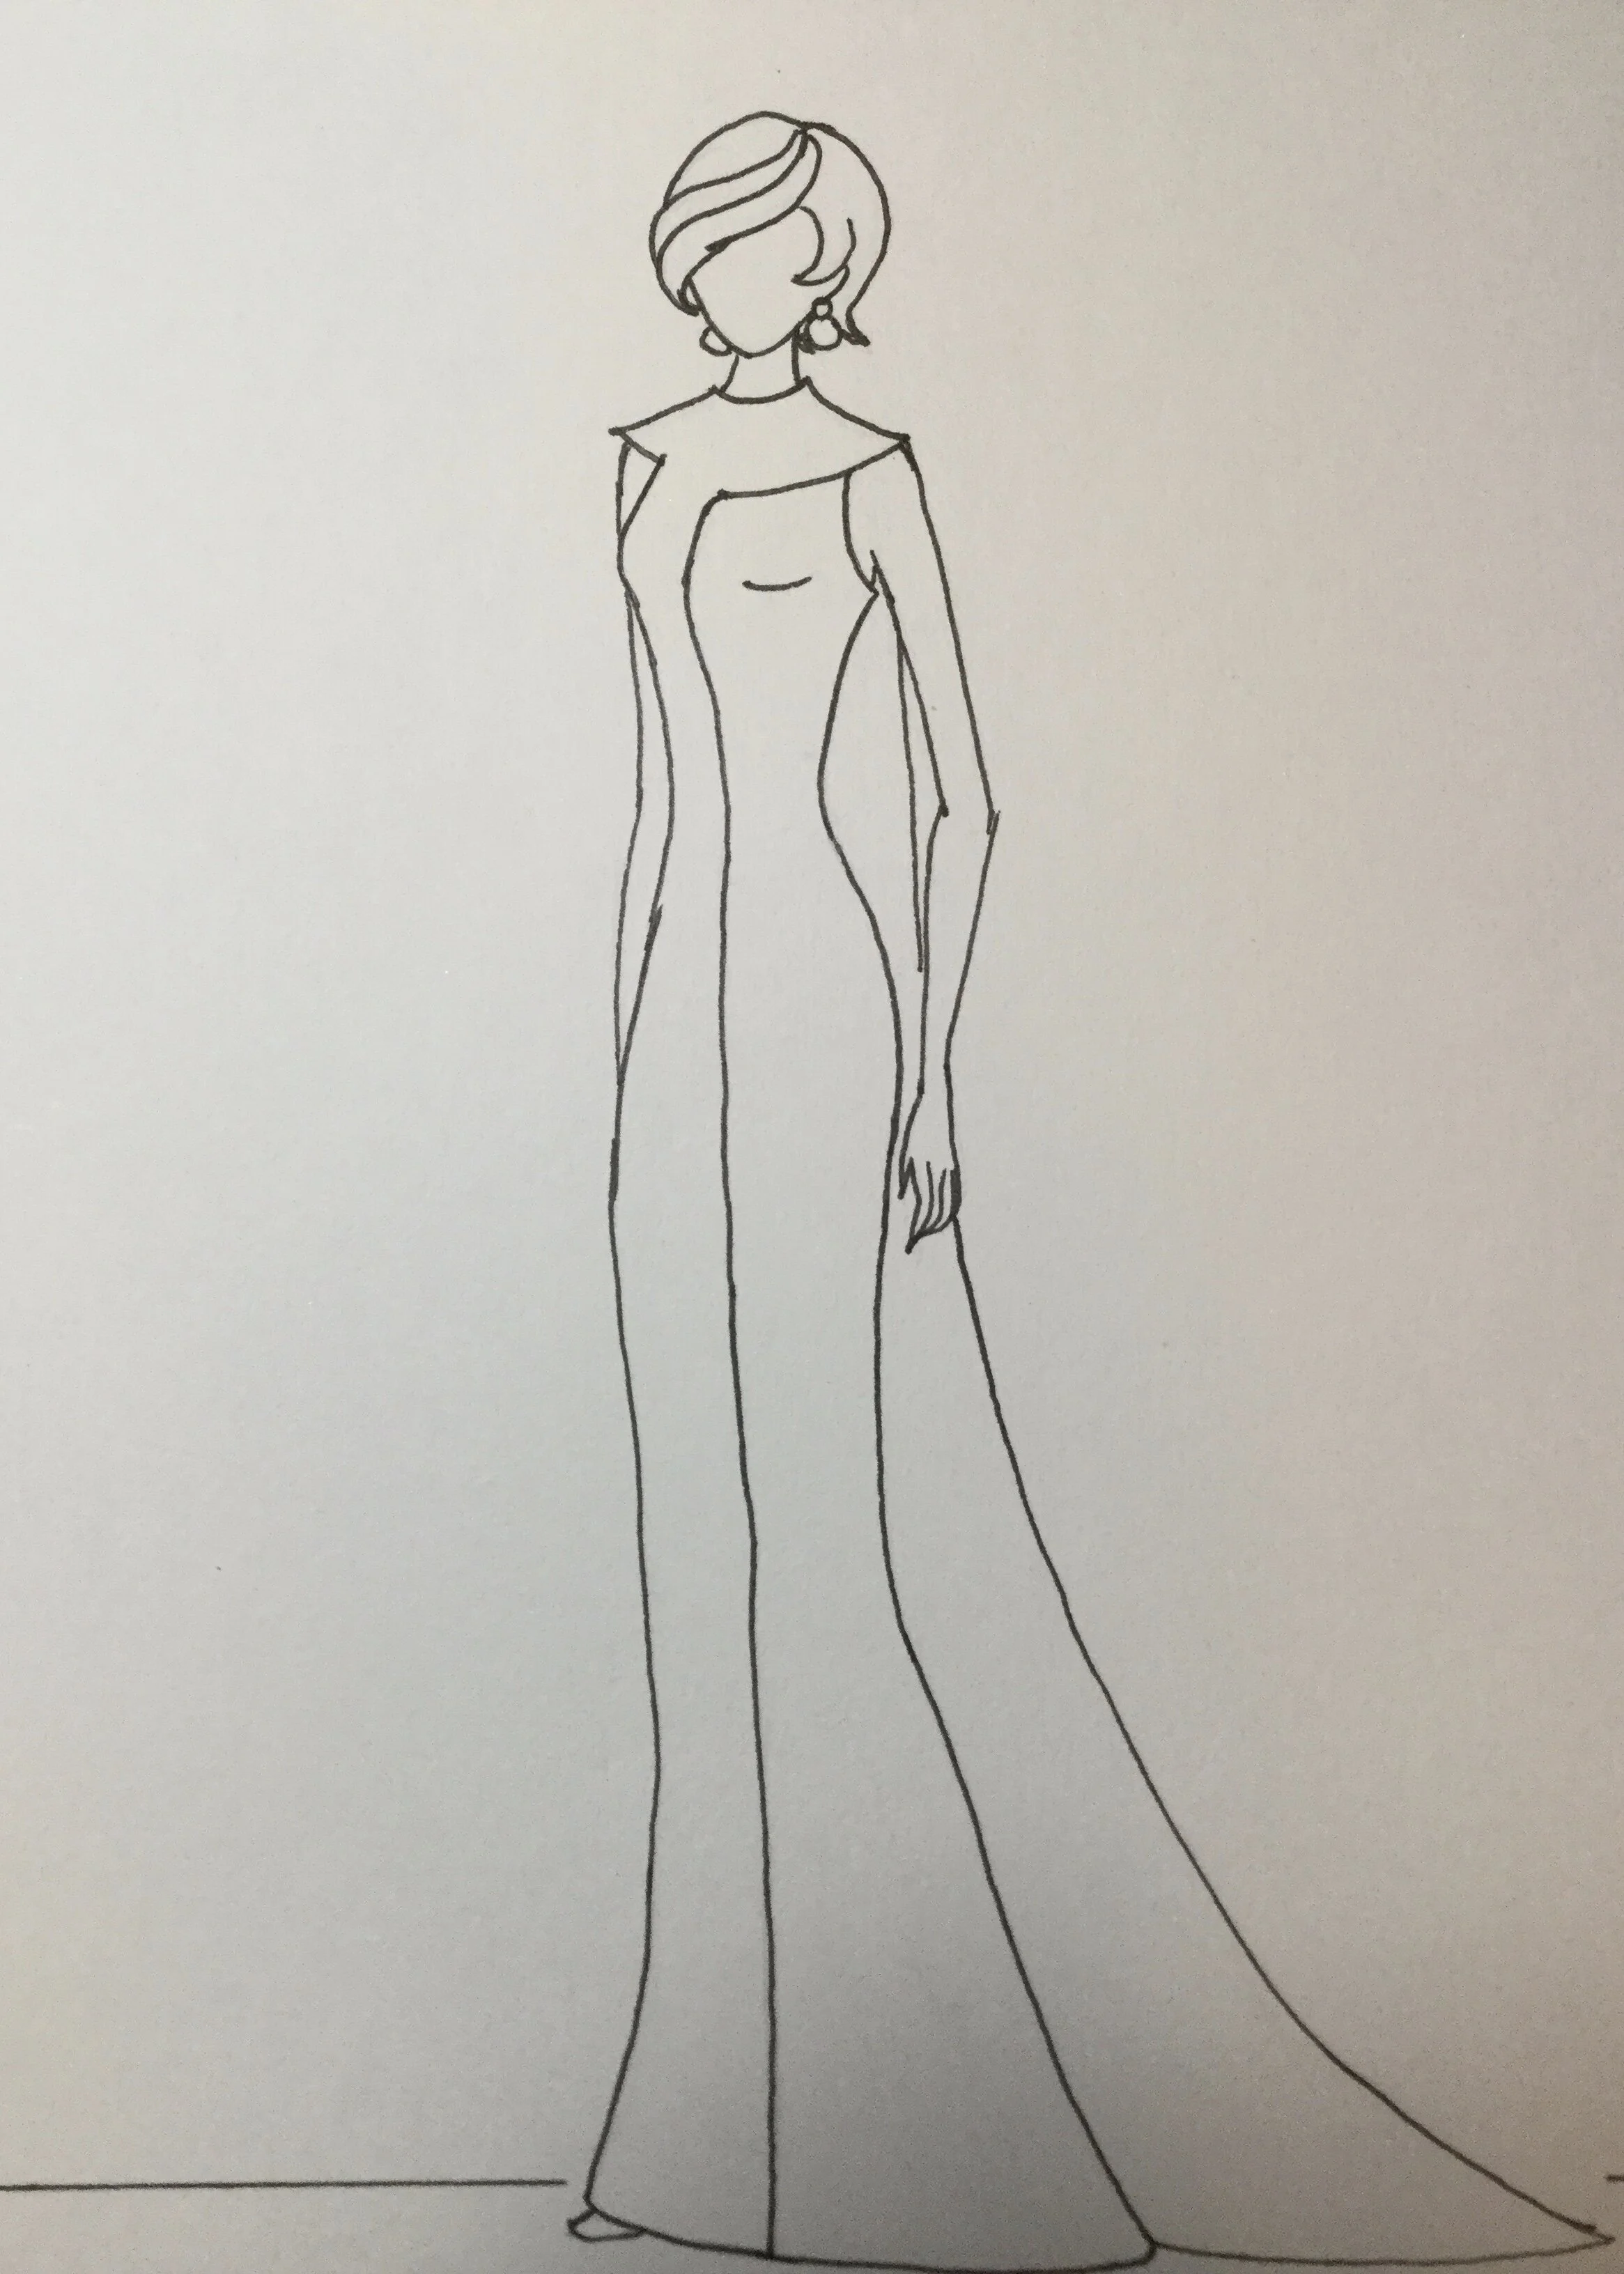
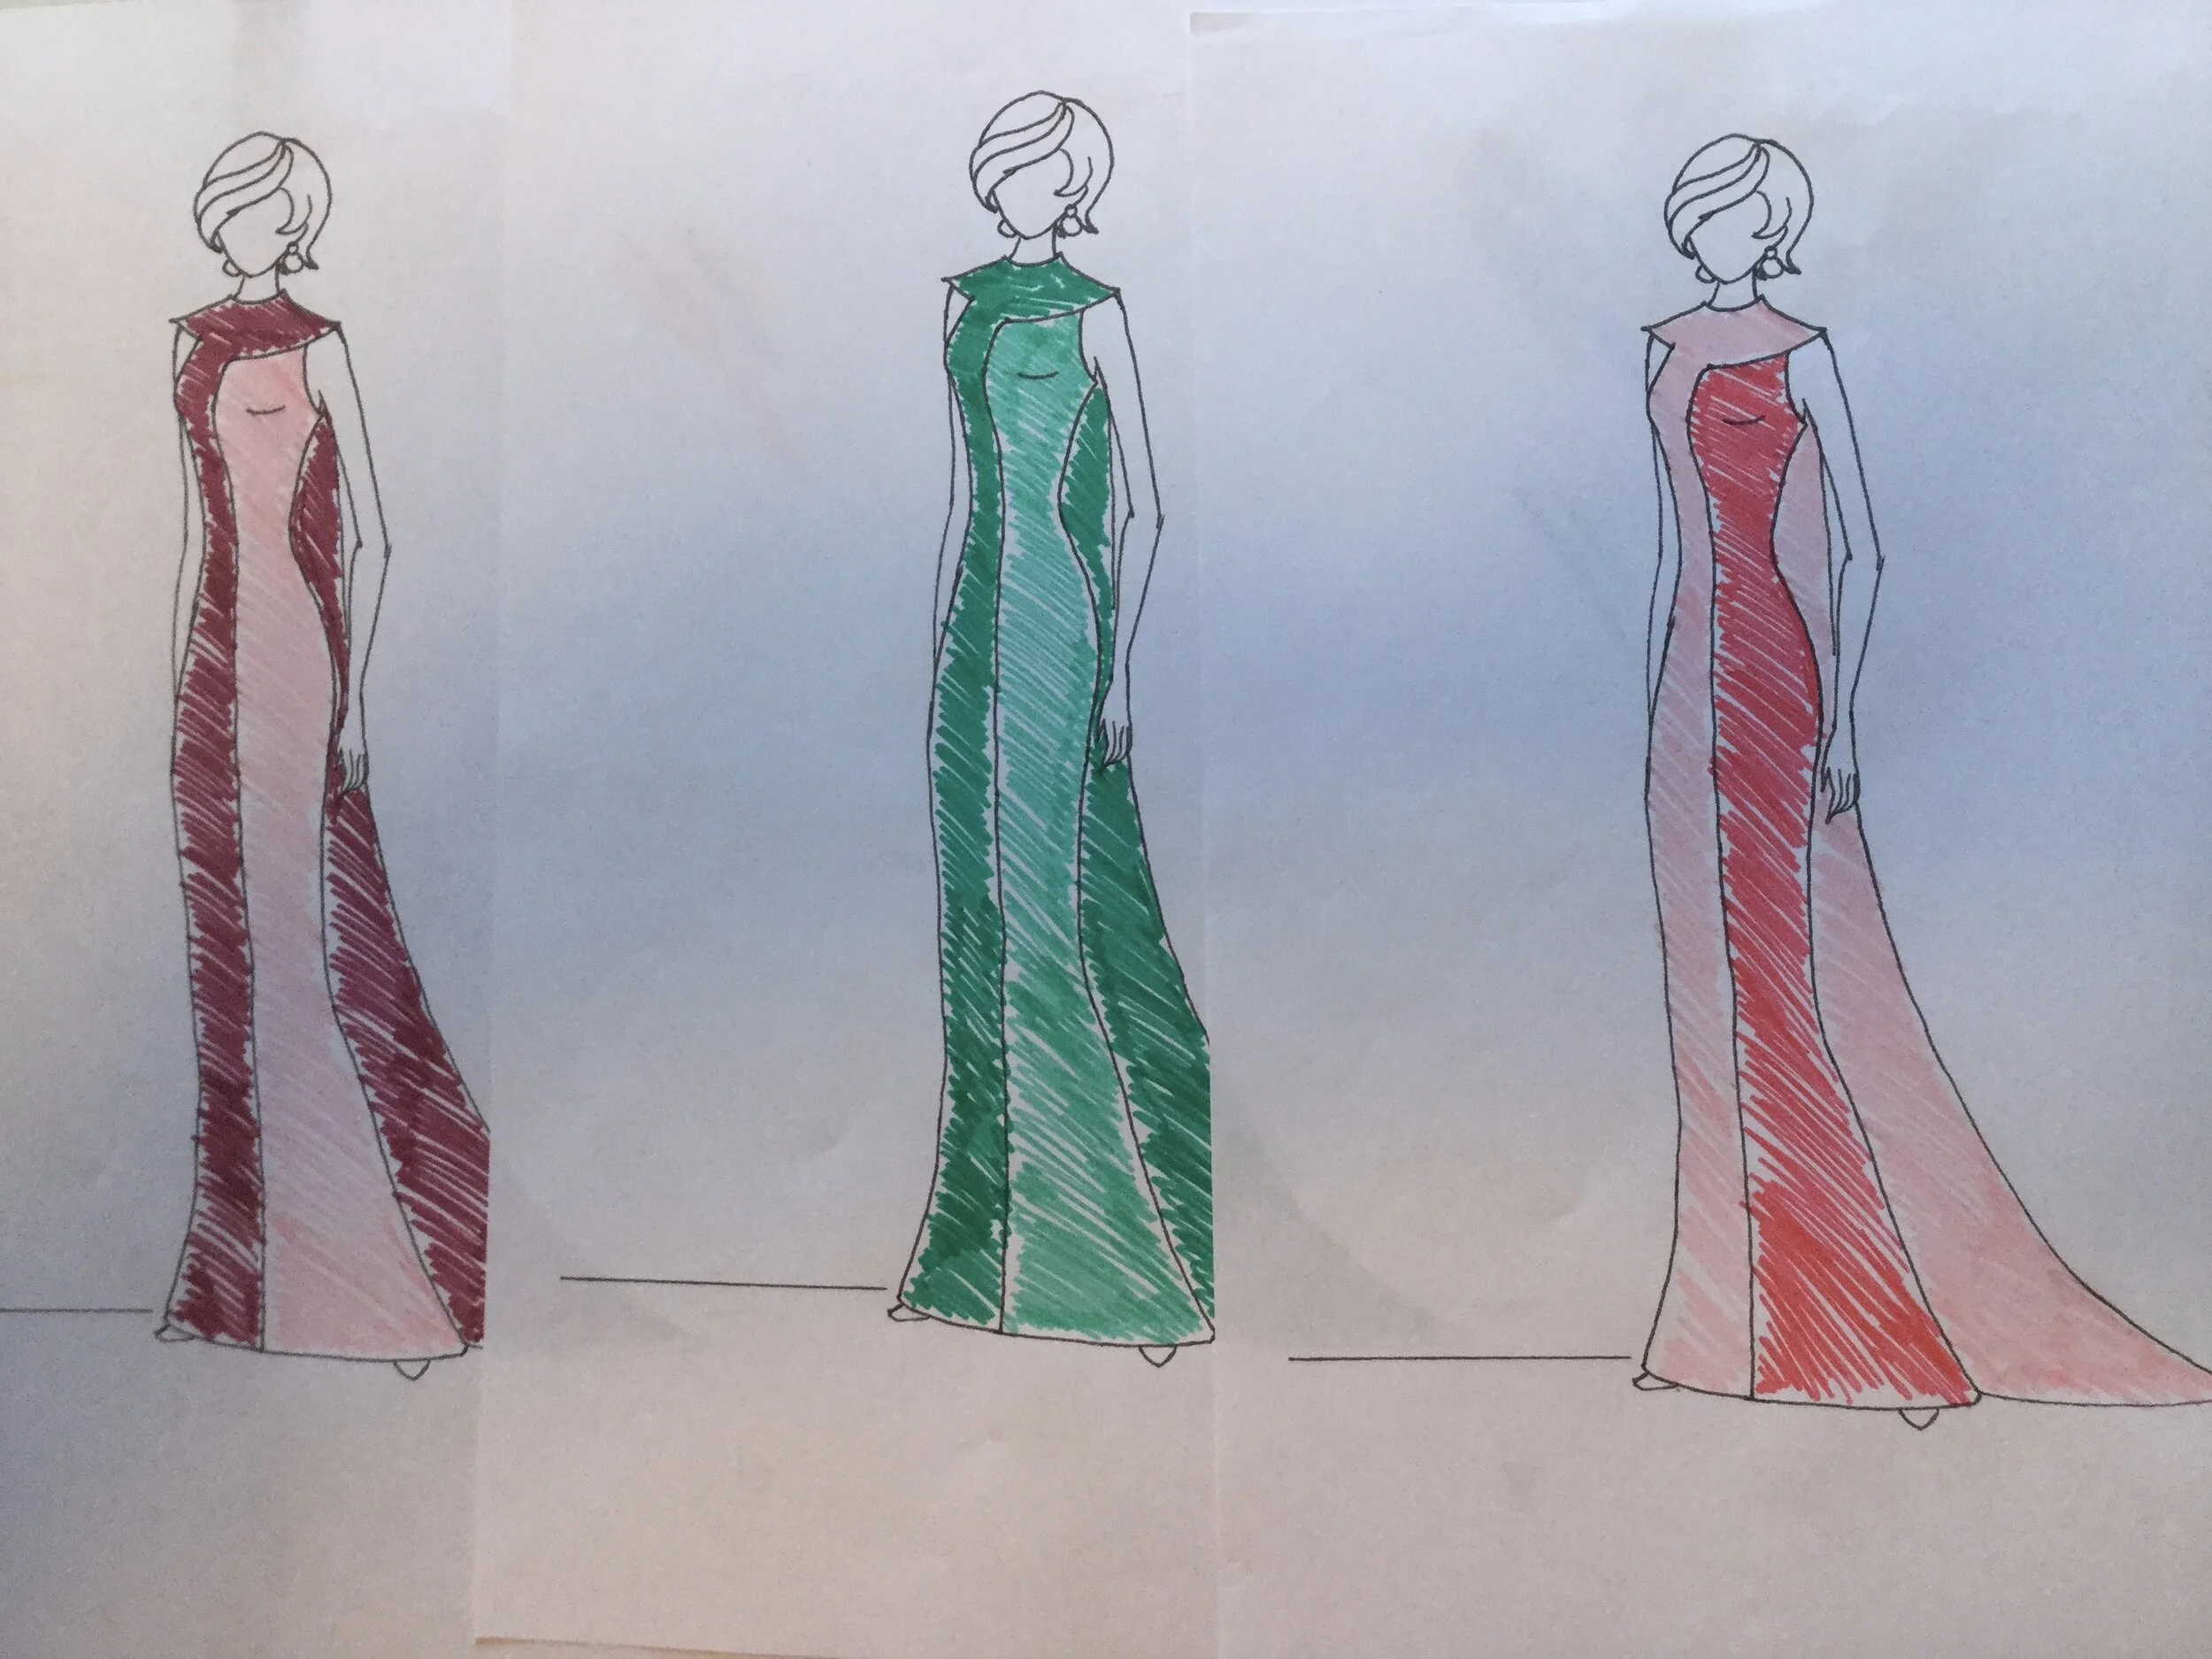
I redrew the sketch to have a new, clean version of it that I could use for colour inspiration, but honestly not much has changed, not even the angle from which I drew it. As the first sketch shows, I initially imagined this dress in blue and cream, but I wanted to be open to something different, in no small part because I am at the mercy of what fabric I can find. My initial attempts to reimagine the colour scheme didn't yield much, but I would later be hit with some inspiration. Tragic inspiration of doom, but inspiration nonetheless.
Exploring different colour options, none of which were particularly inspiring.
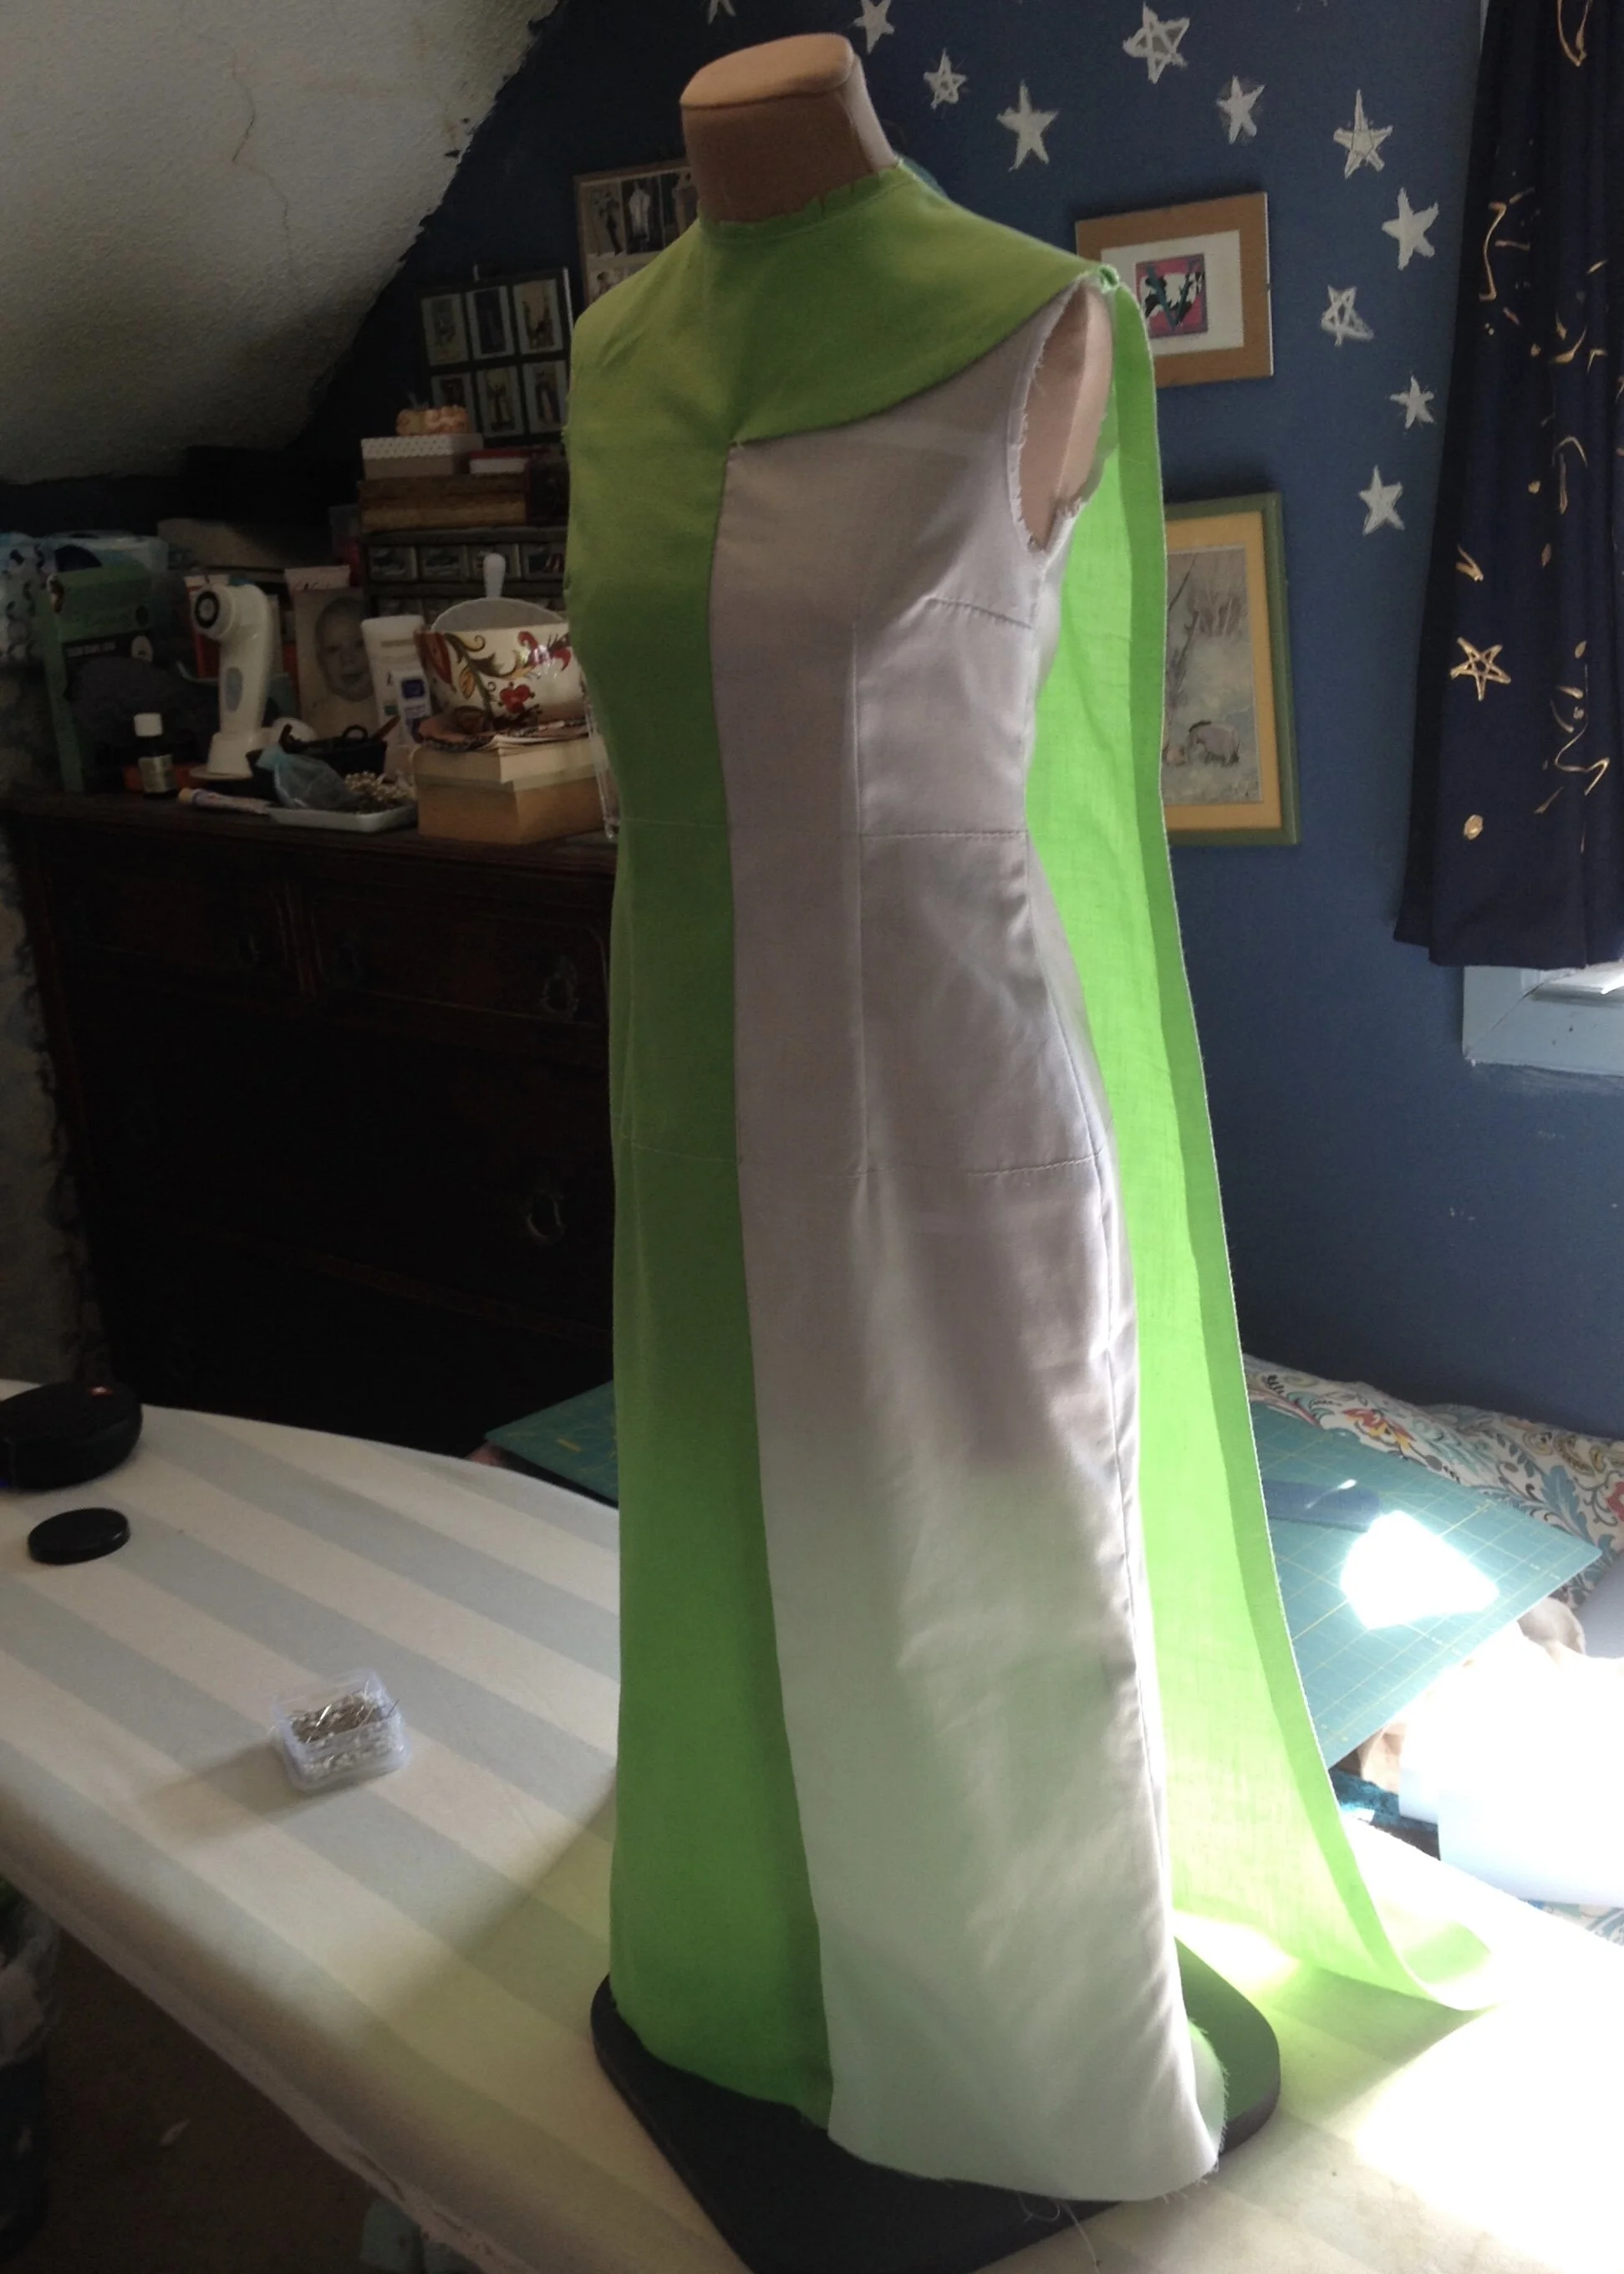
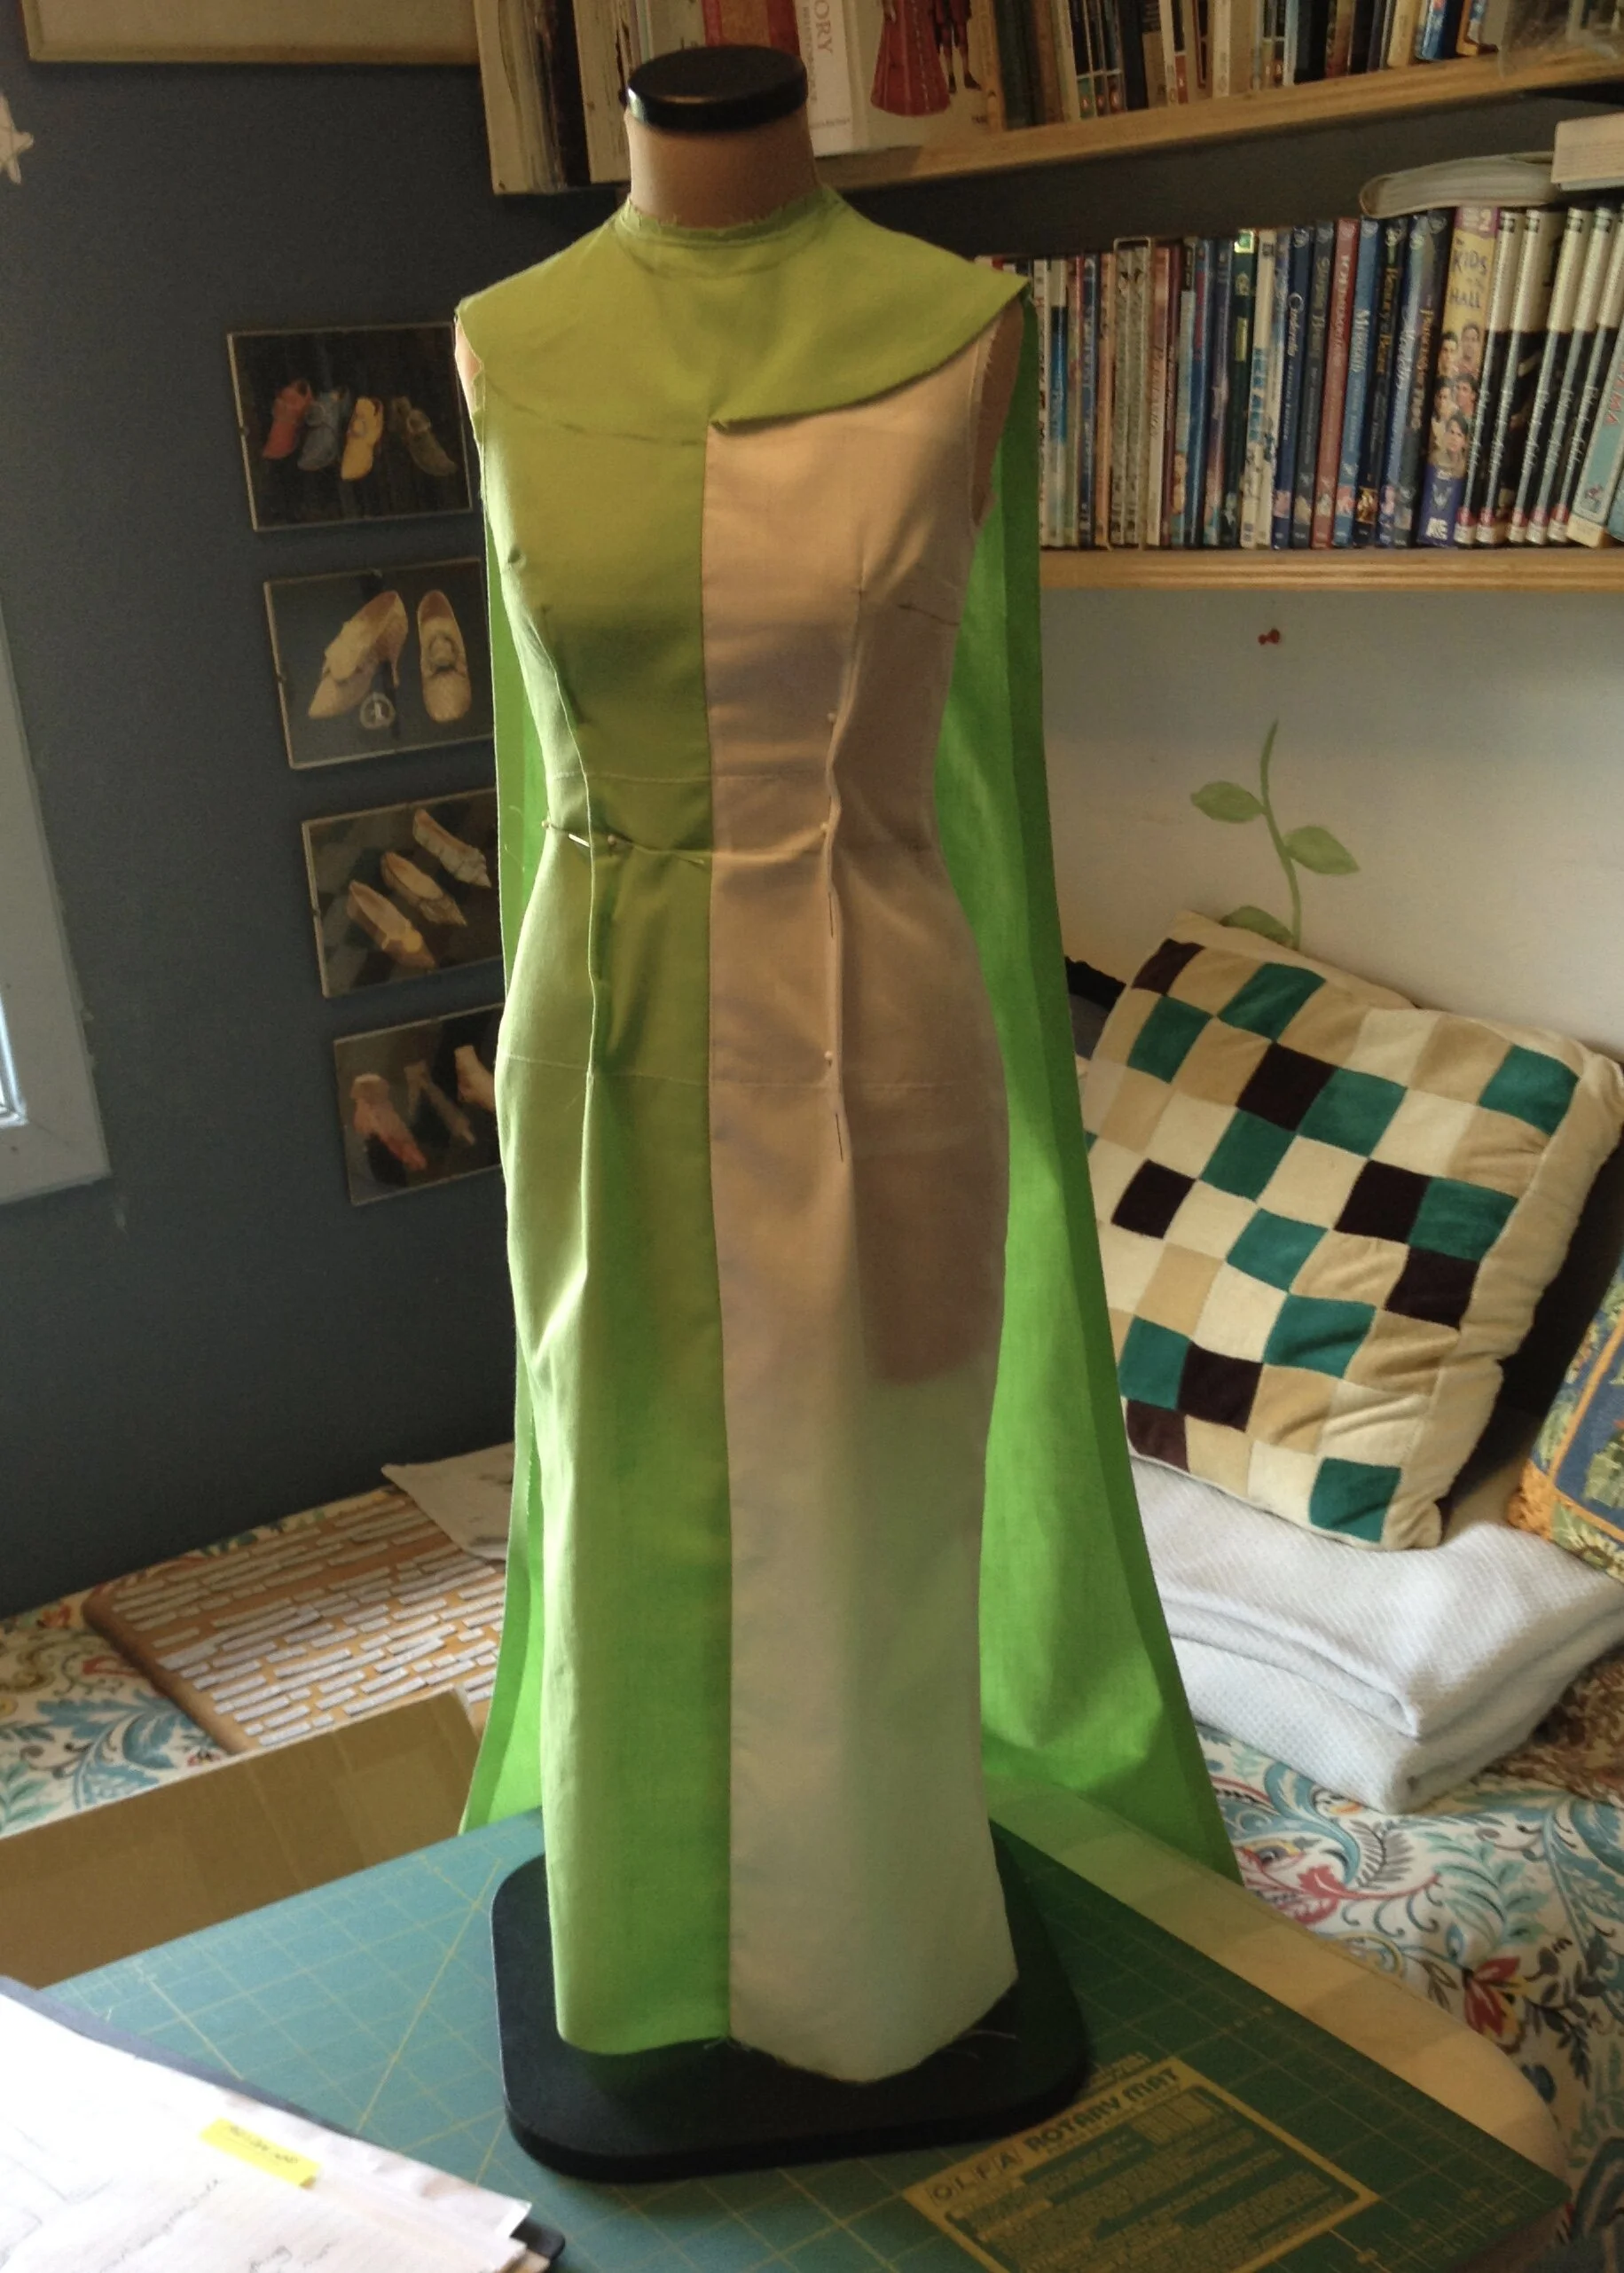
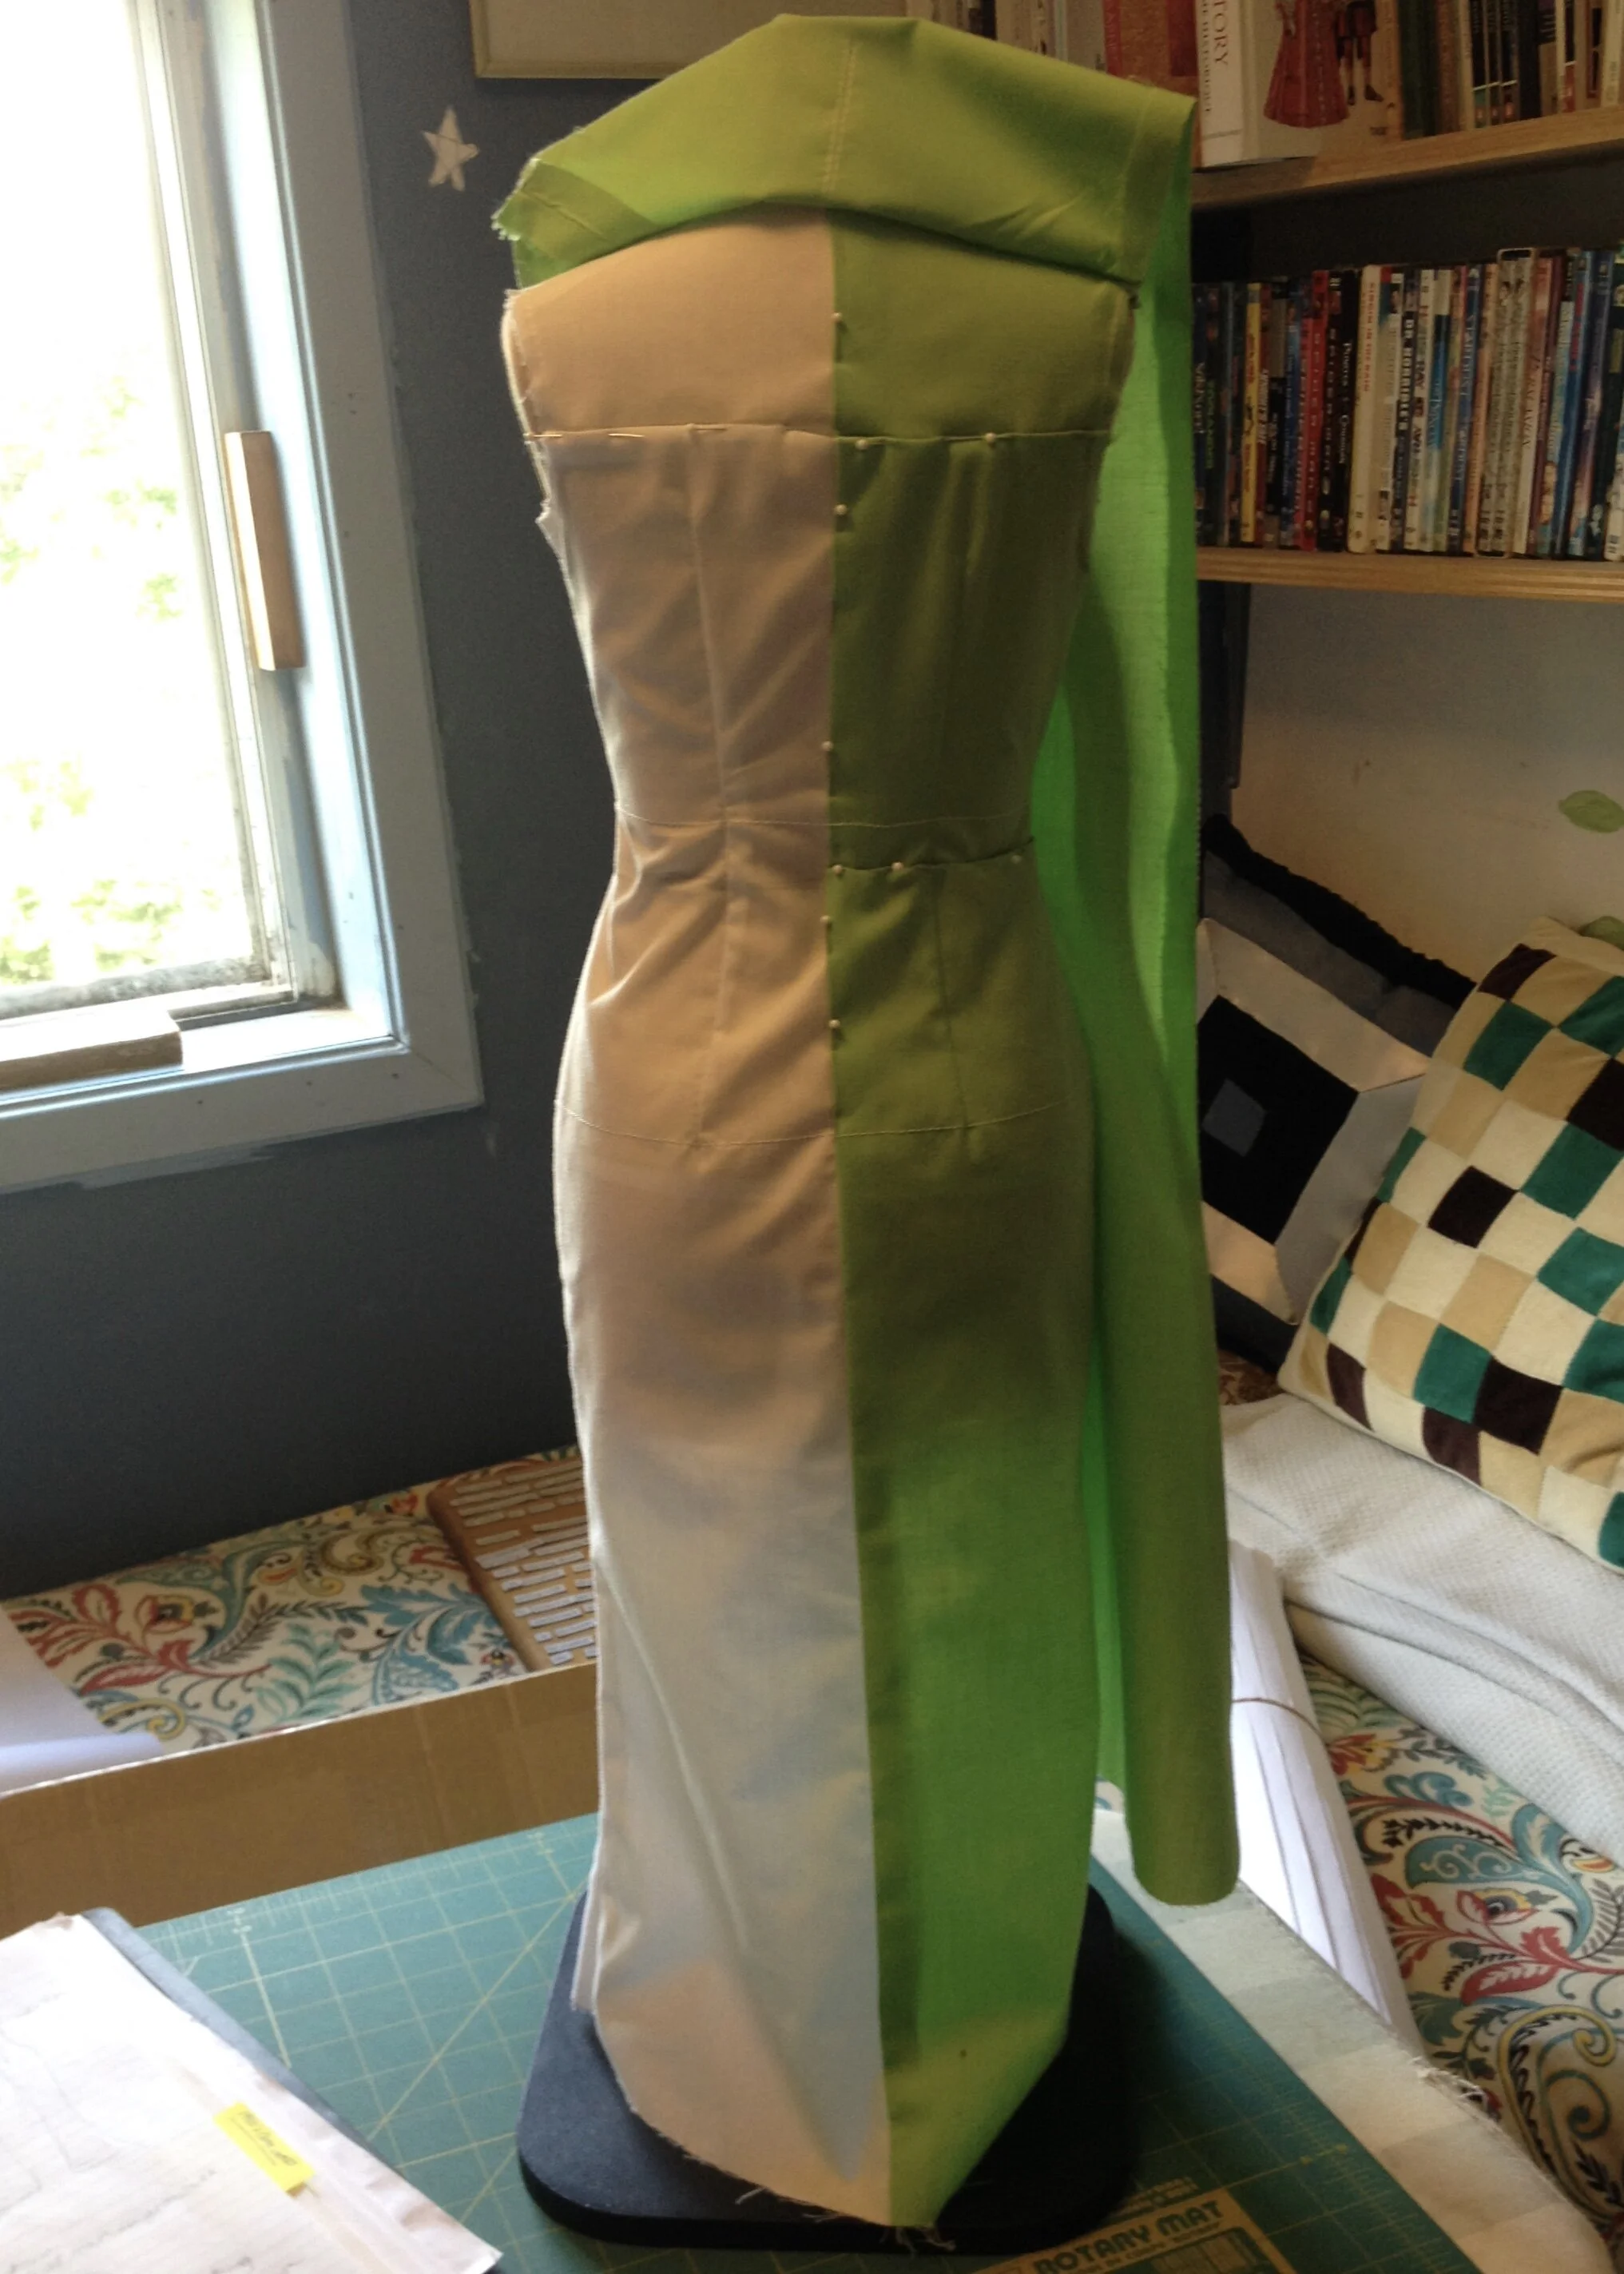
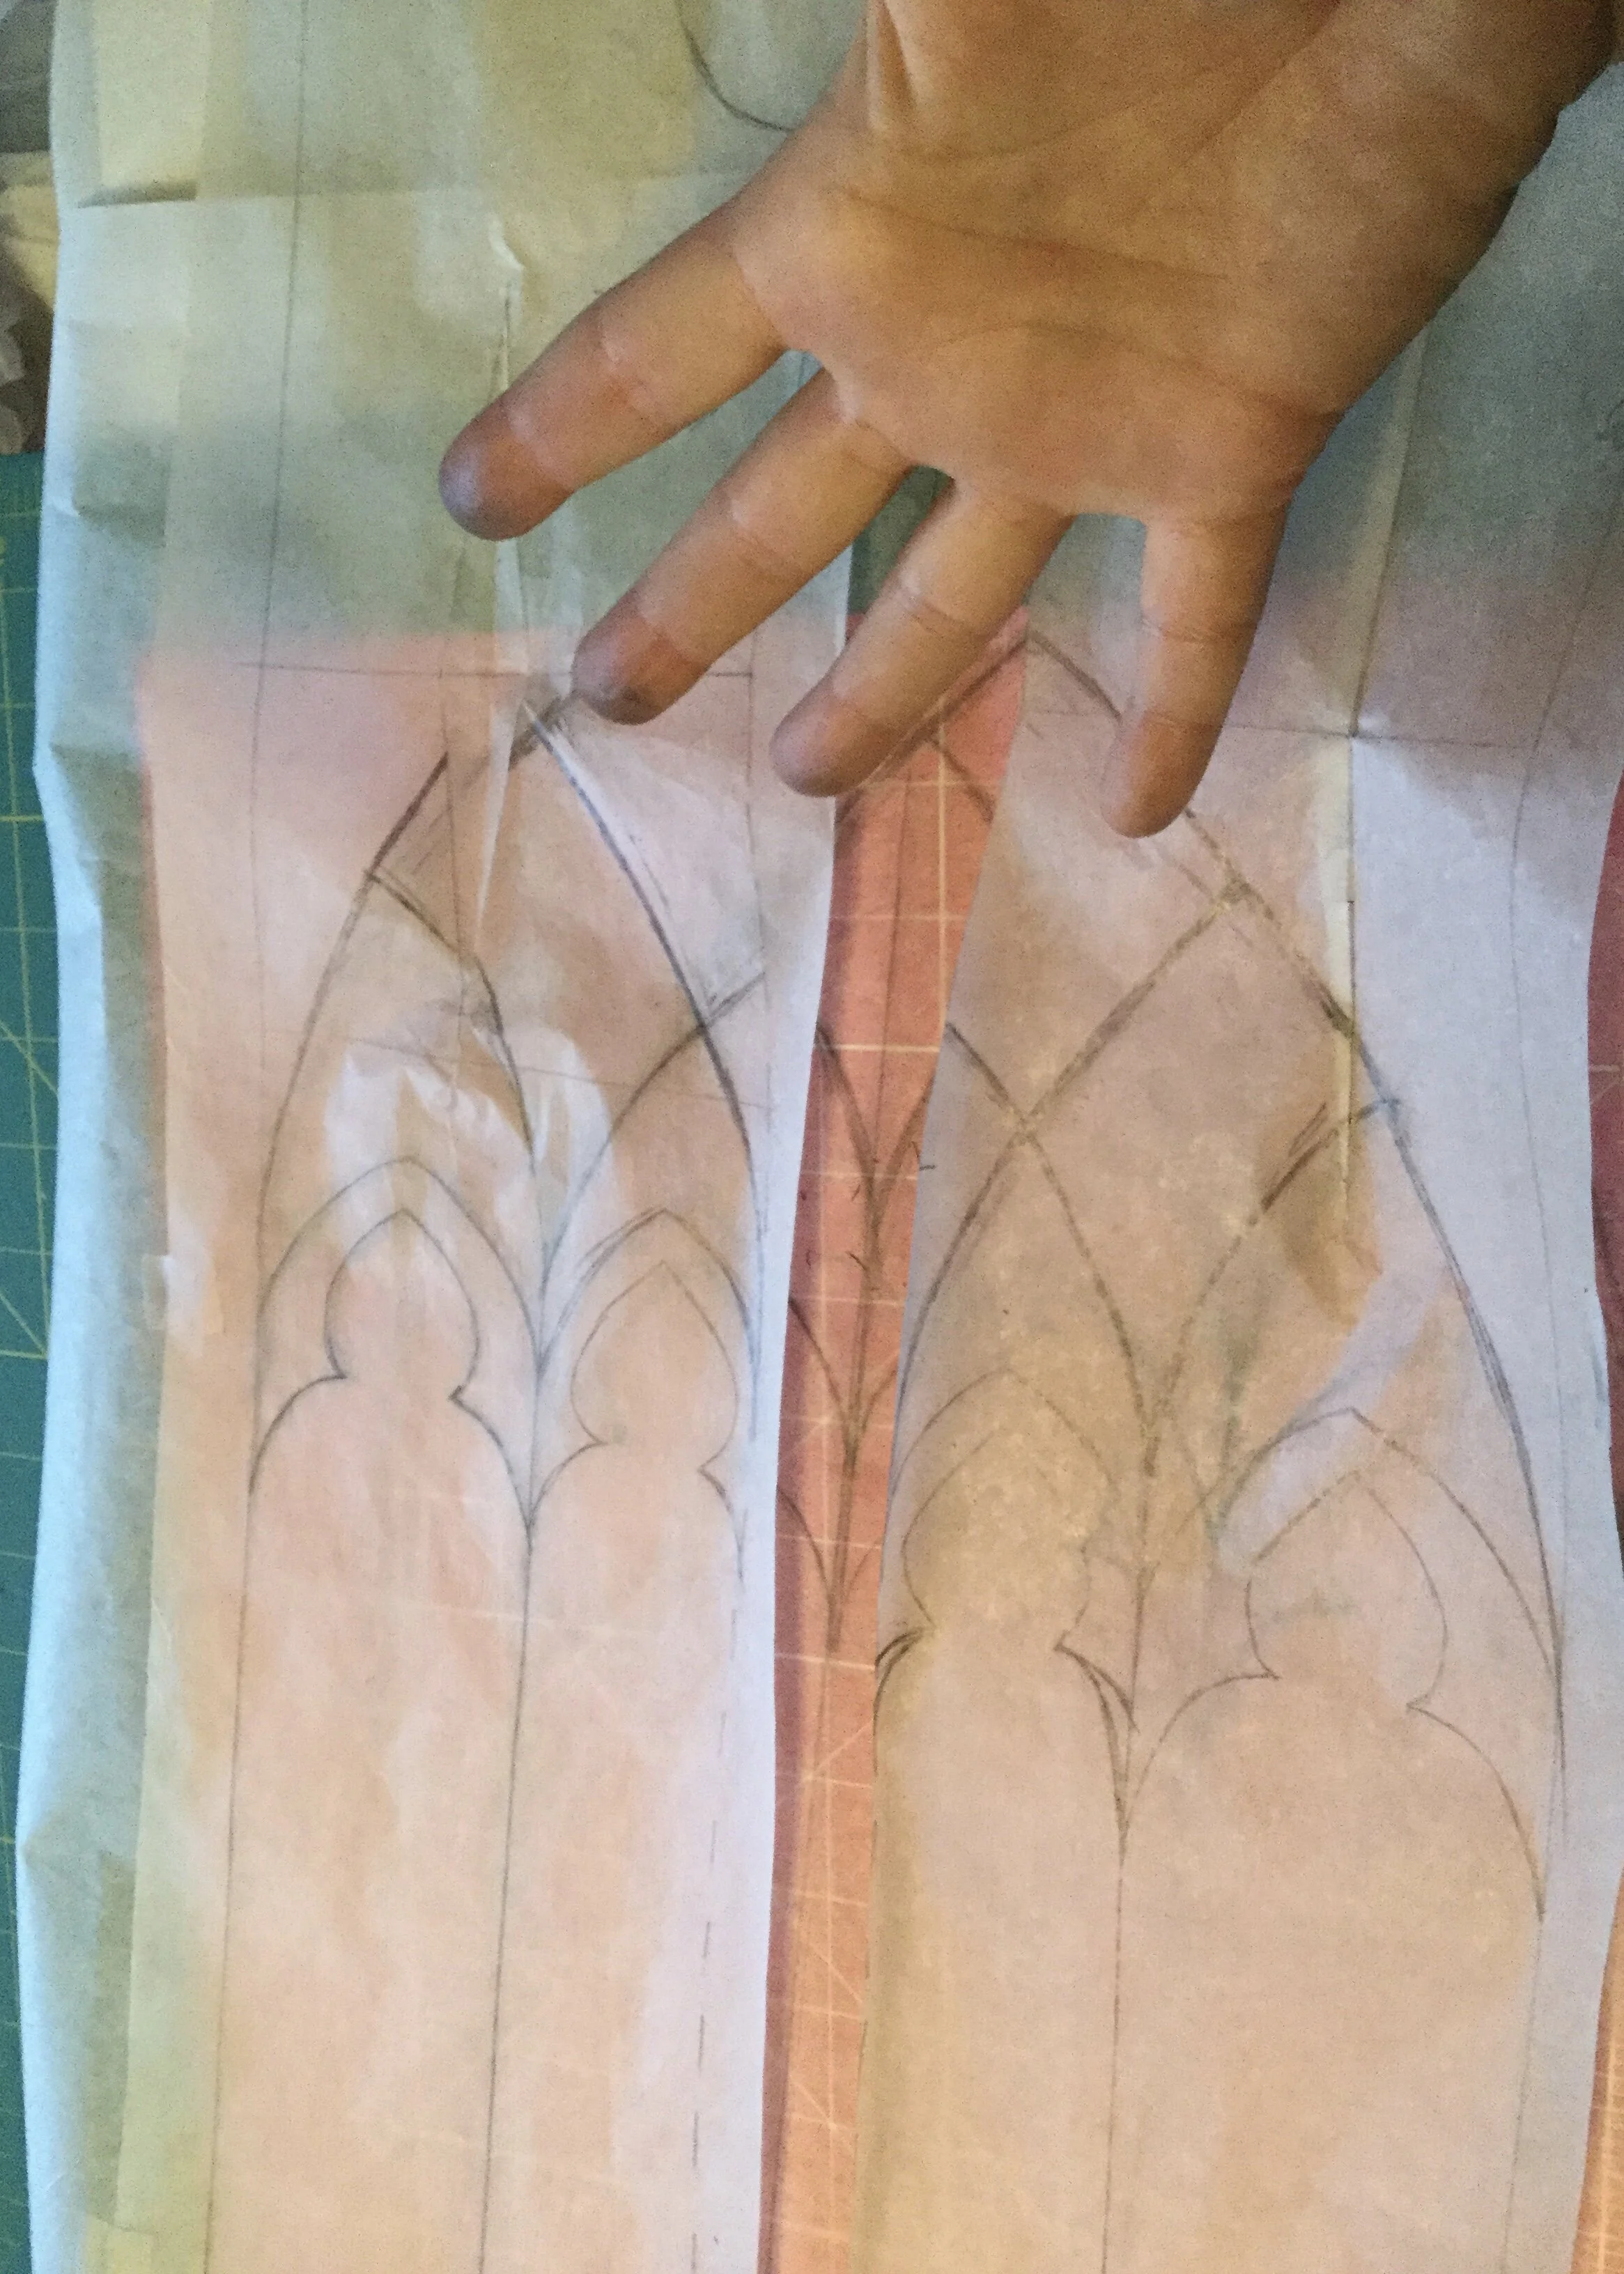
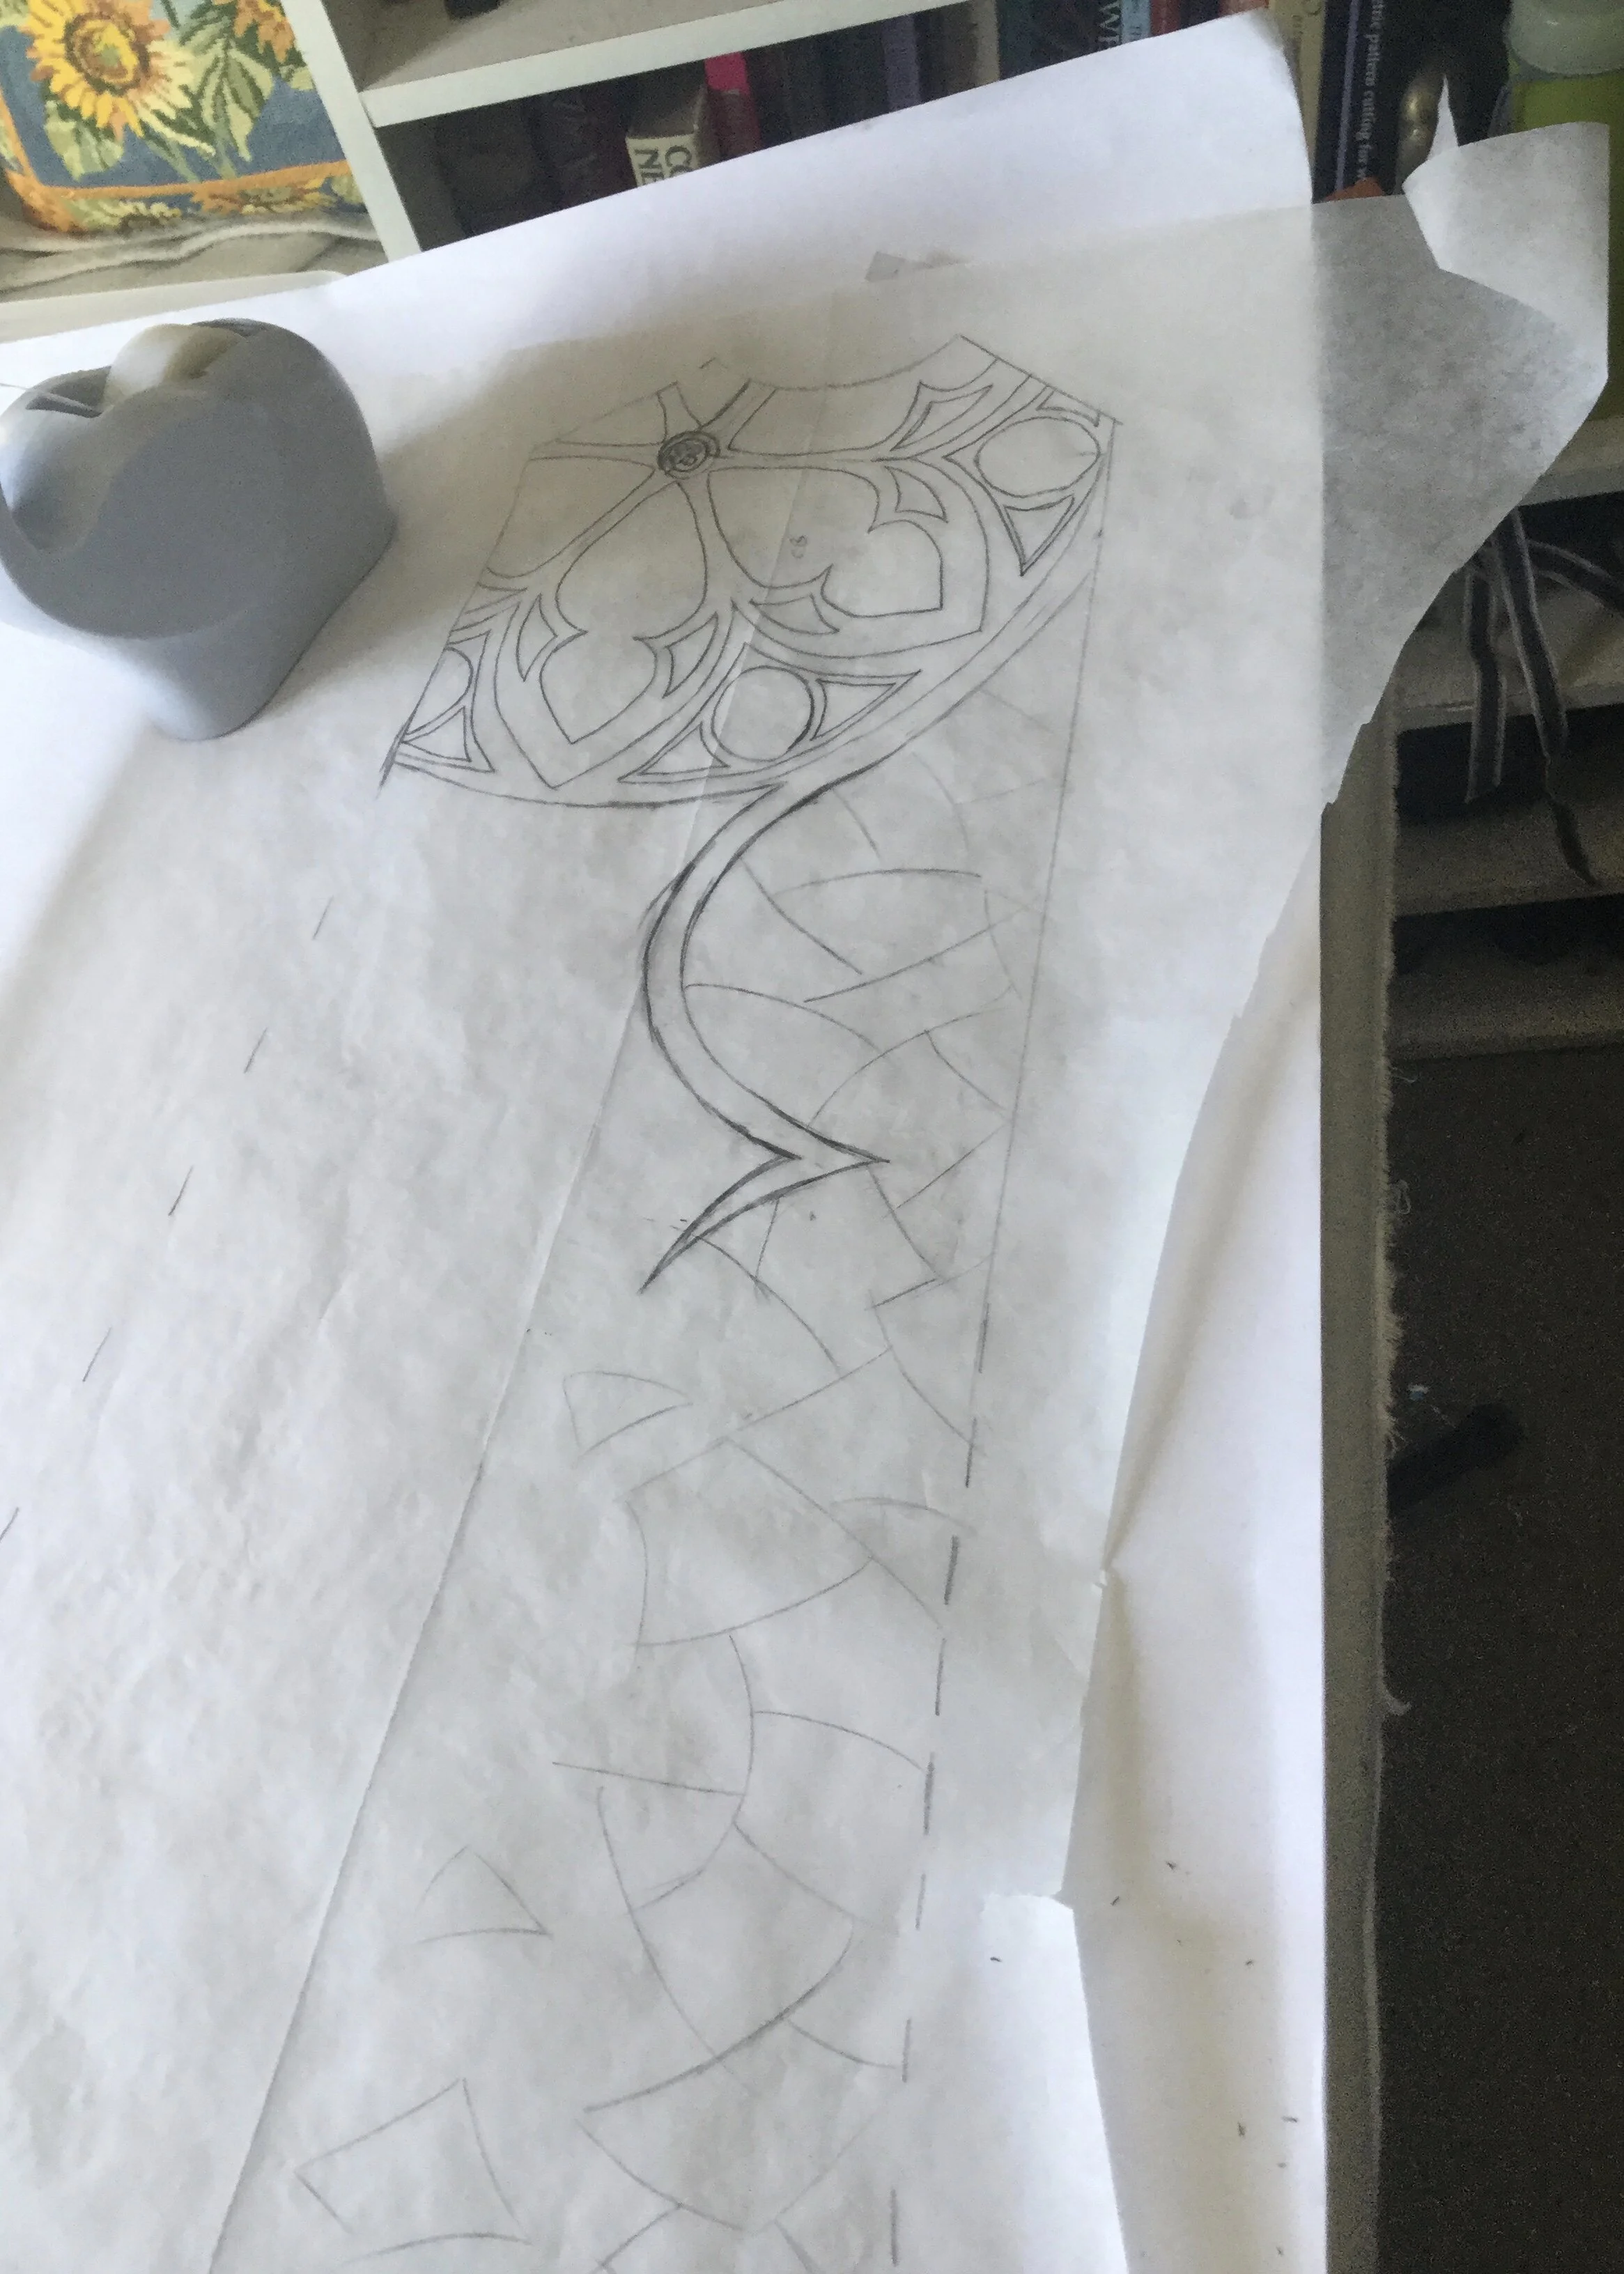
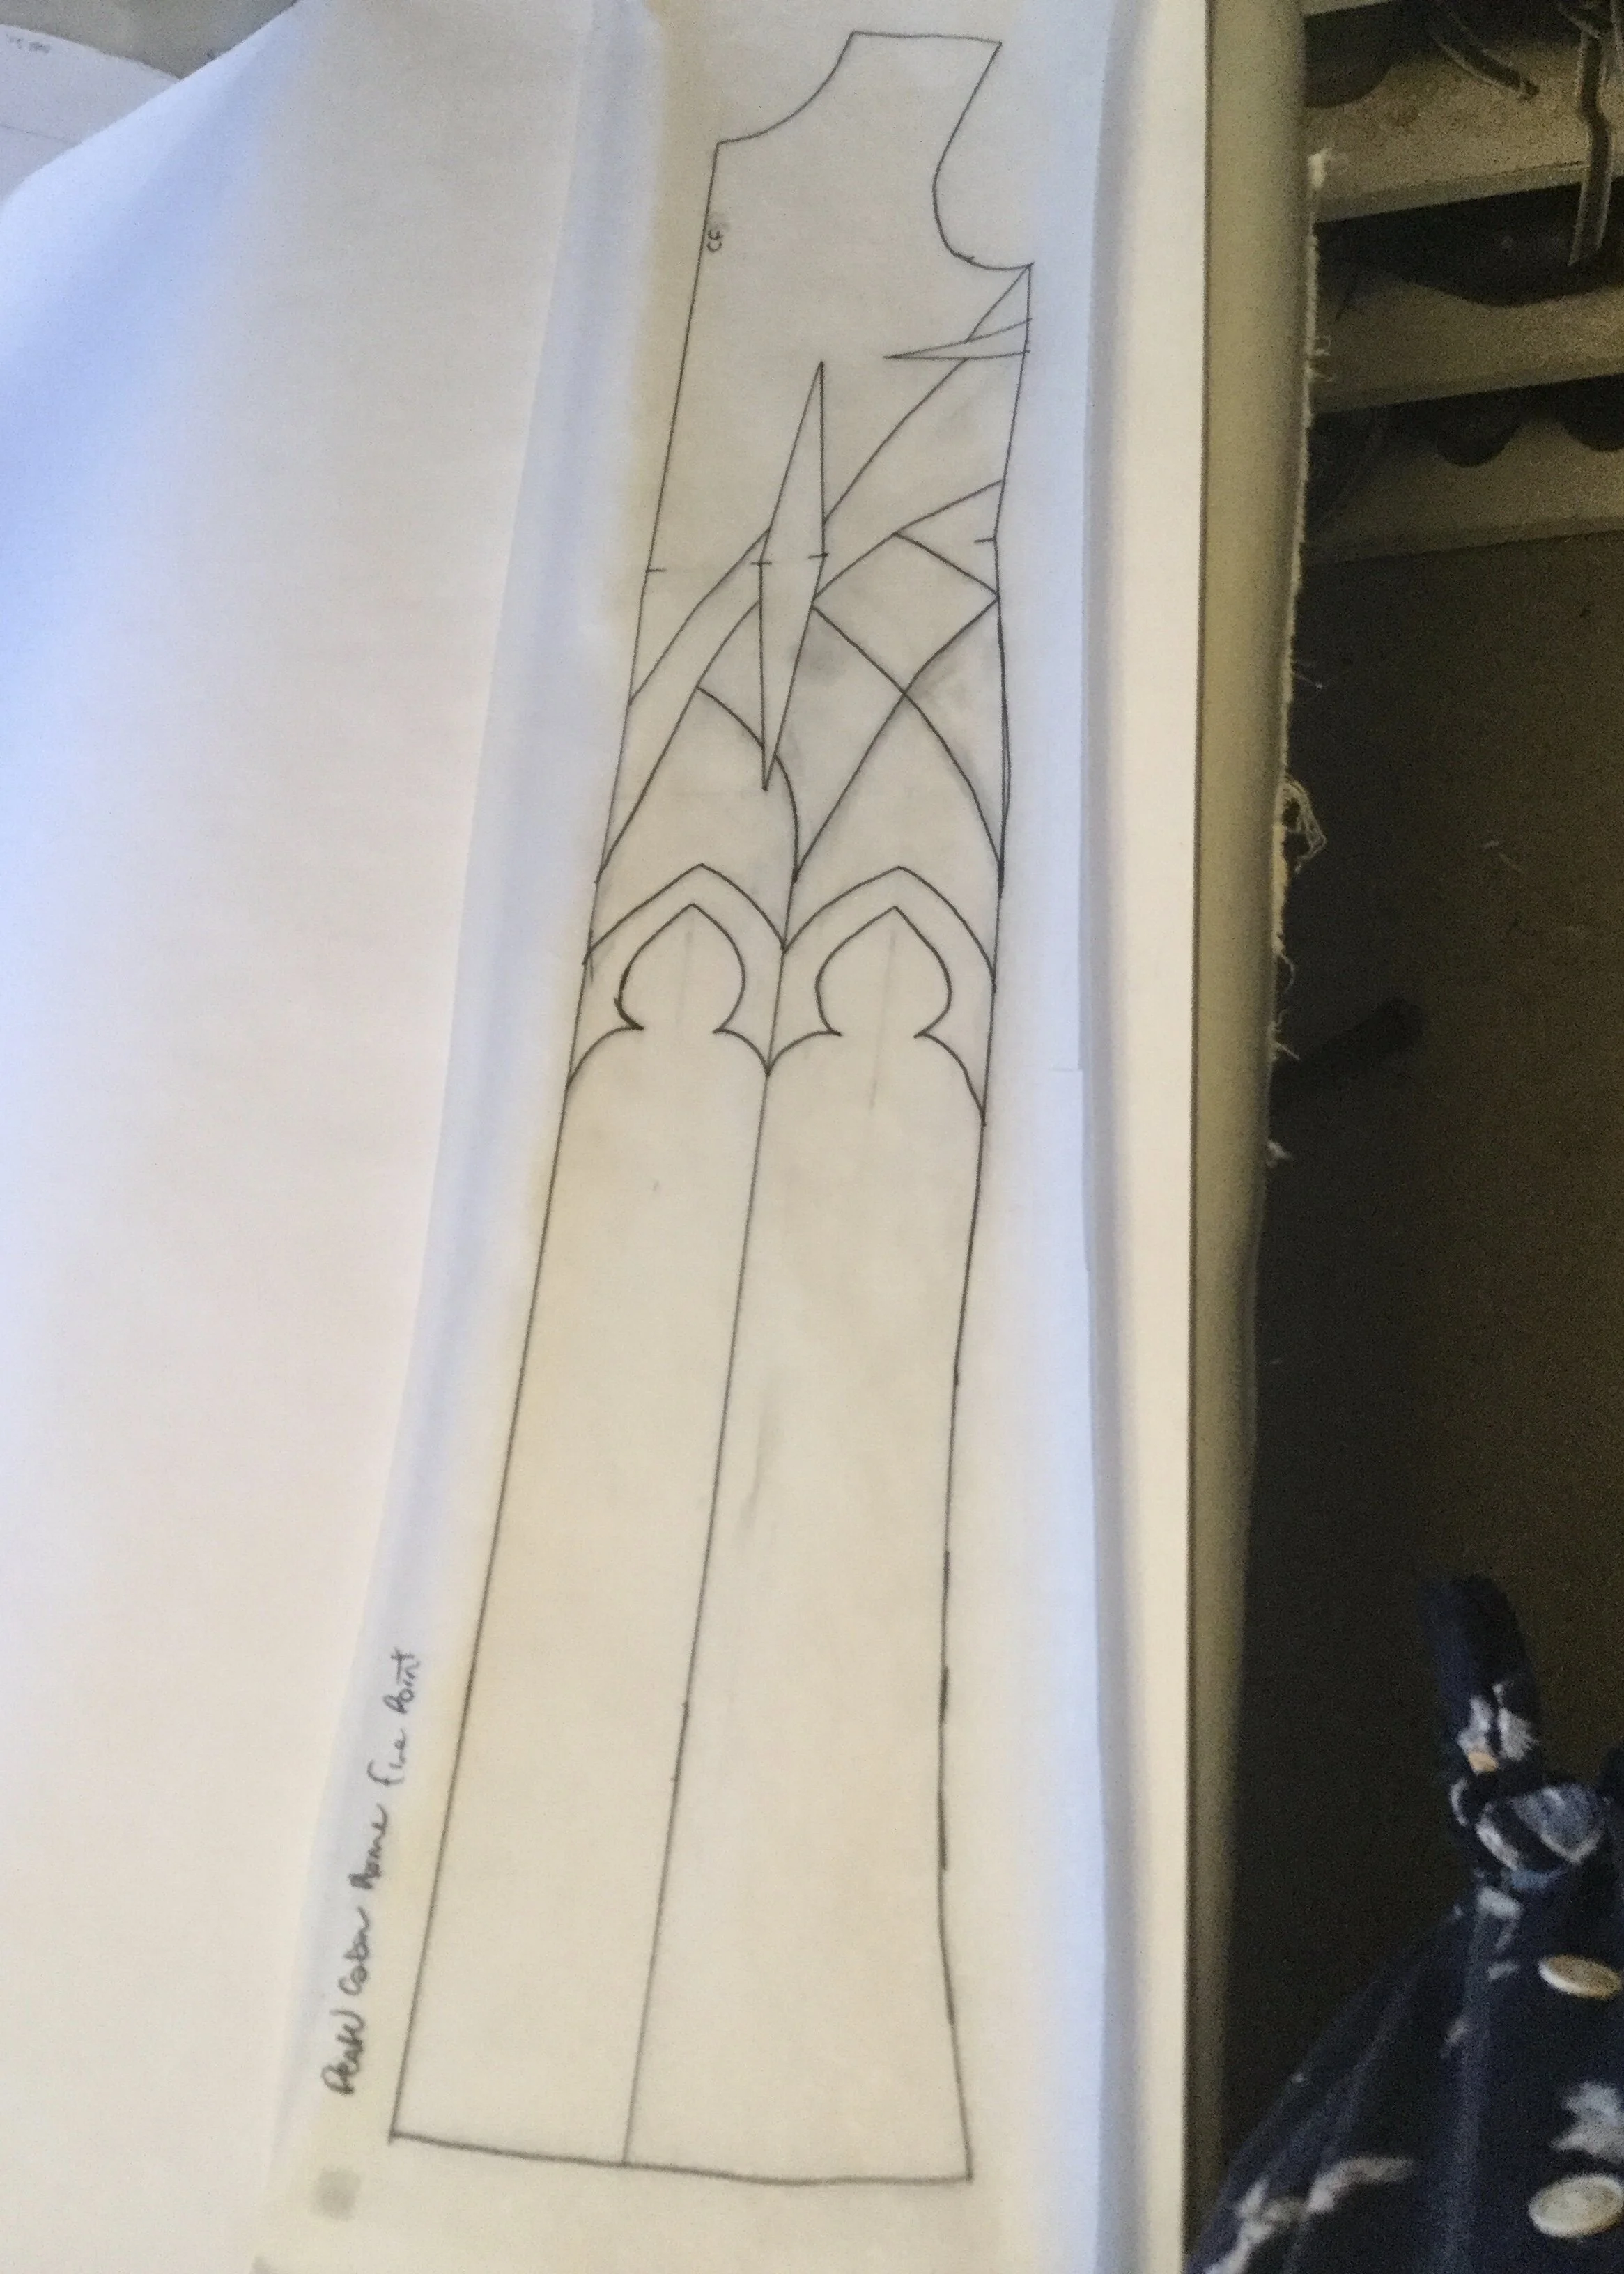
The process of finally making this dress began over a year ago. I drafted the pattern and made the mock up at the same time as a few other designs. The pattern is pretty simple and I ended up only making one mock up as all the alterations it needed were fairly straightforward. Within a short period of time I had a final pattern with a clean version traced off and ready to go. Of course, instead of moving forward with it, I opted to keep fighting with a half panelled half ruff skirt.
In fairness, I was still on the lookout for the right fabric; I had picked up some fabric on spec which I thought would look nice, but I wasn't convinced as it would only cover the blue half of the design and I didn't have a clear idea of what the cream part would be. Ultimately, I was actually a little daunted by the large, unbroken blocks of colour; as much as I liked it on the page, when it came to making it in real life it felt a bit too simple and like it would be a wasted opportunity if I didn't do something cool with all that open space and push the idea further.
I was a fool.
One day, the magic idea came to me: stained glass! If I appliqued pieces of fabric to a base and couched lines of a heavier thread along the edges in black, it would look like a stained glass window. The dress was kind of 60's but in the simplicity of the shape, the long cape and the particoloured design it could have a slight medieval vibe as well. I could make the left side look like a stained glass window and the right could look a bit like the stone walls around it. That would look so cool!
Famous last words.
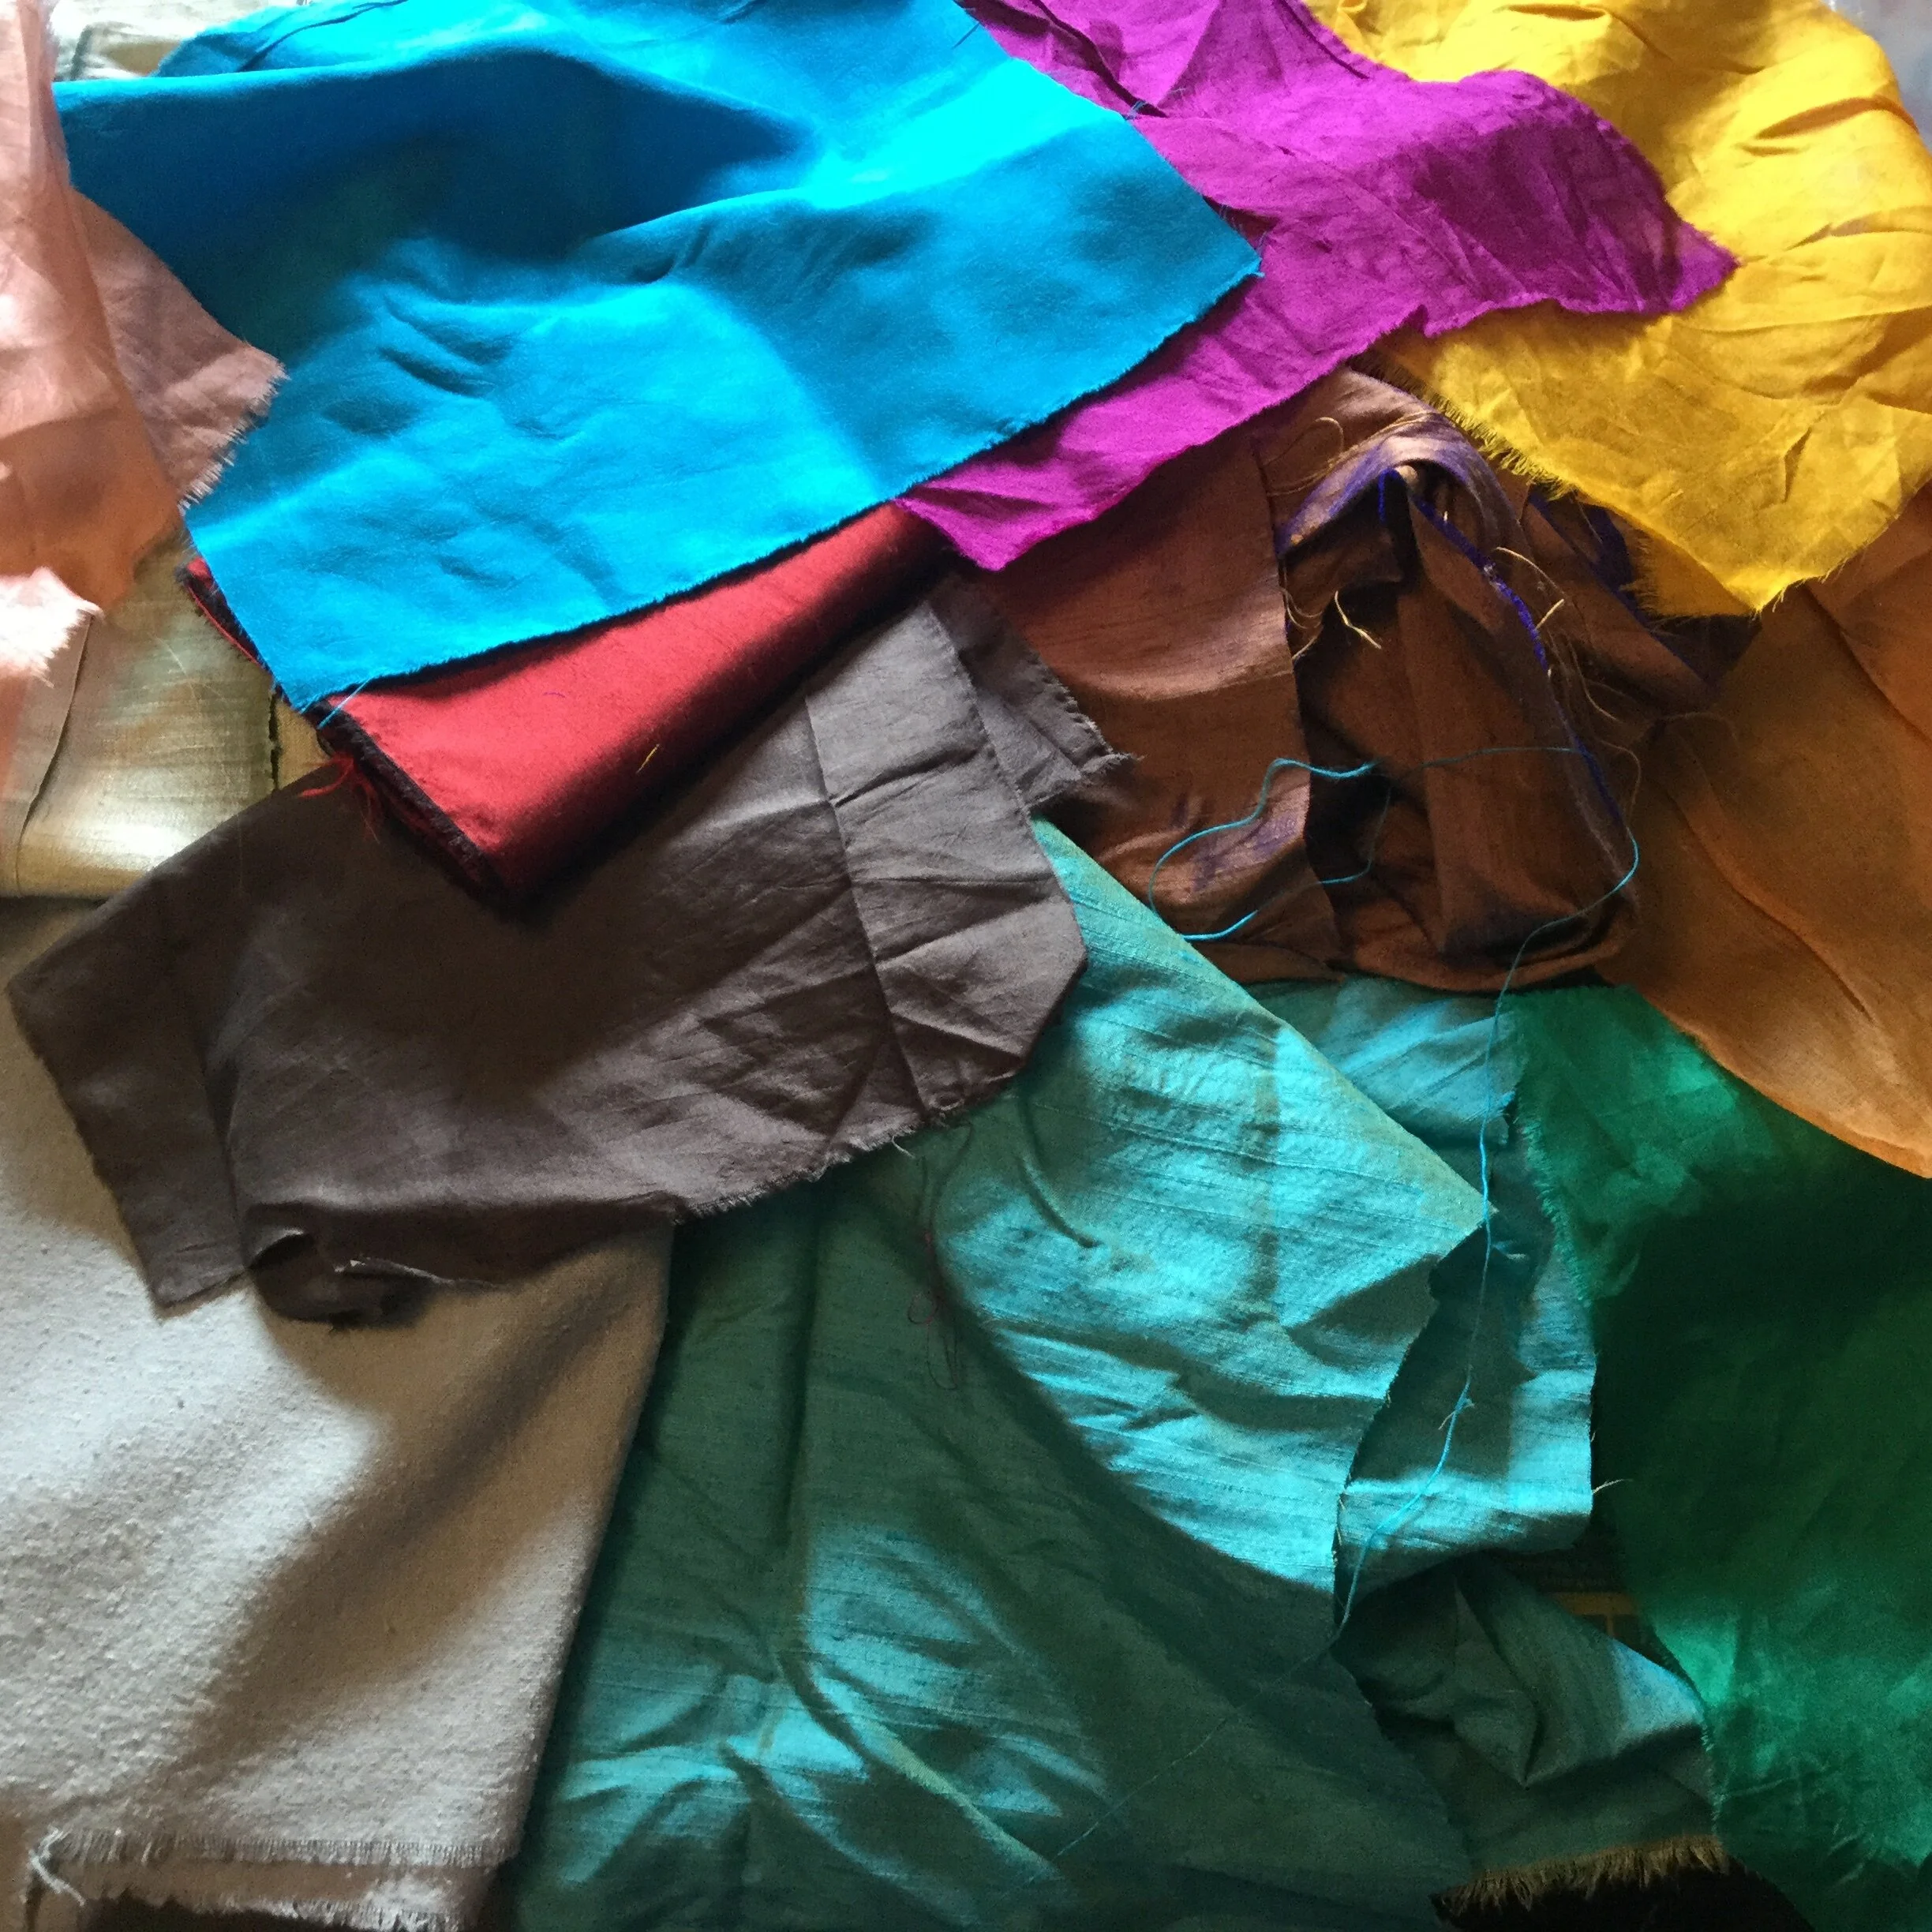
Colours of a pleasing array.
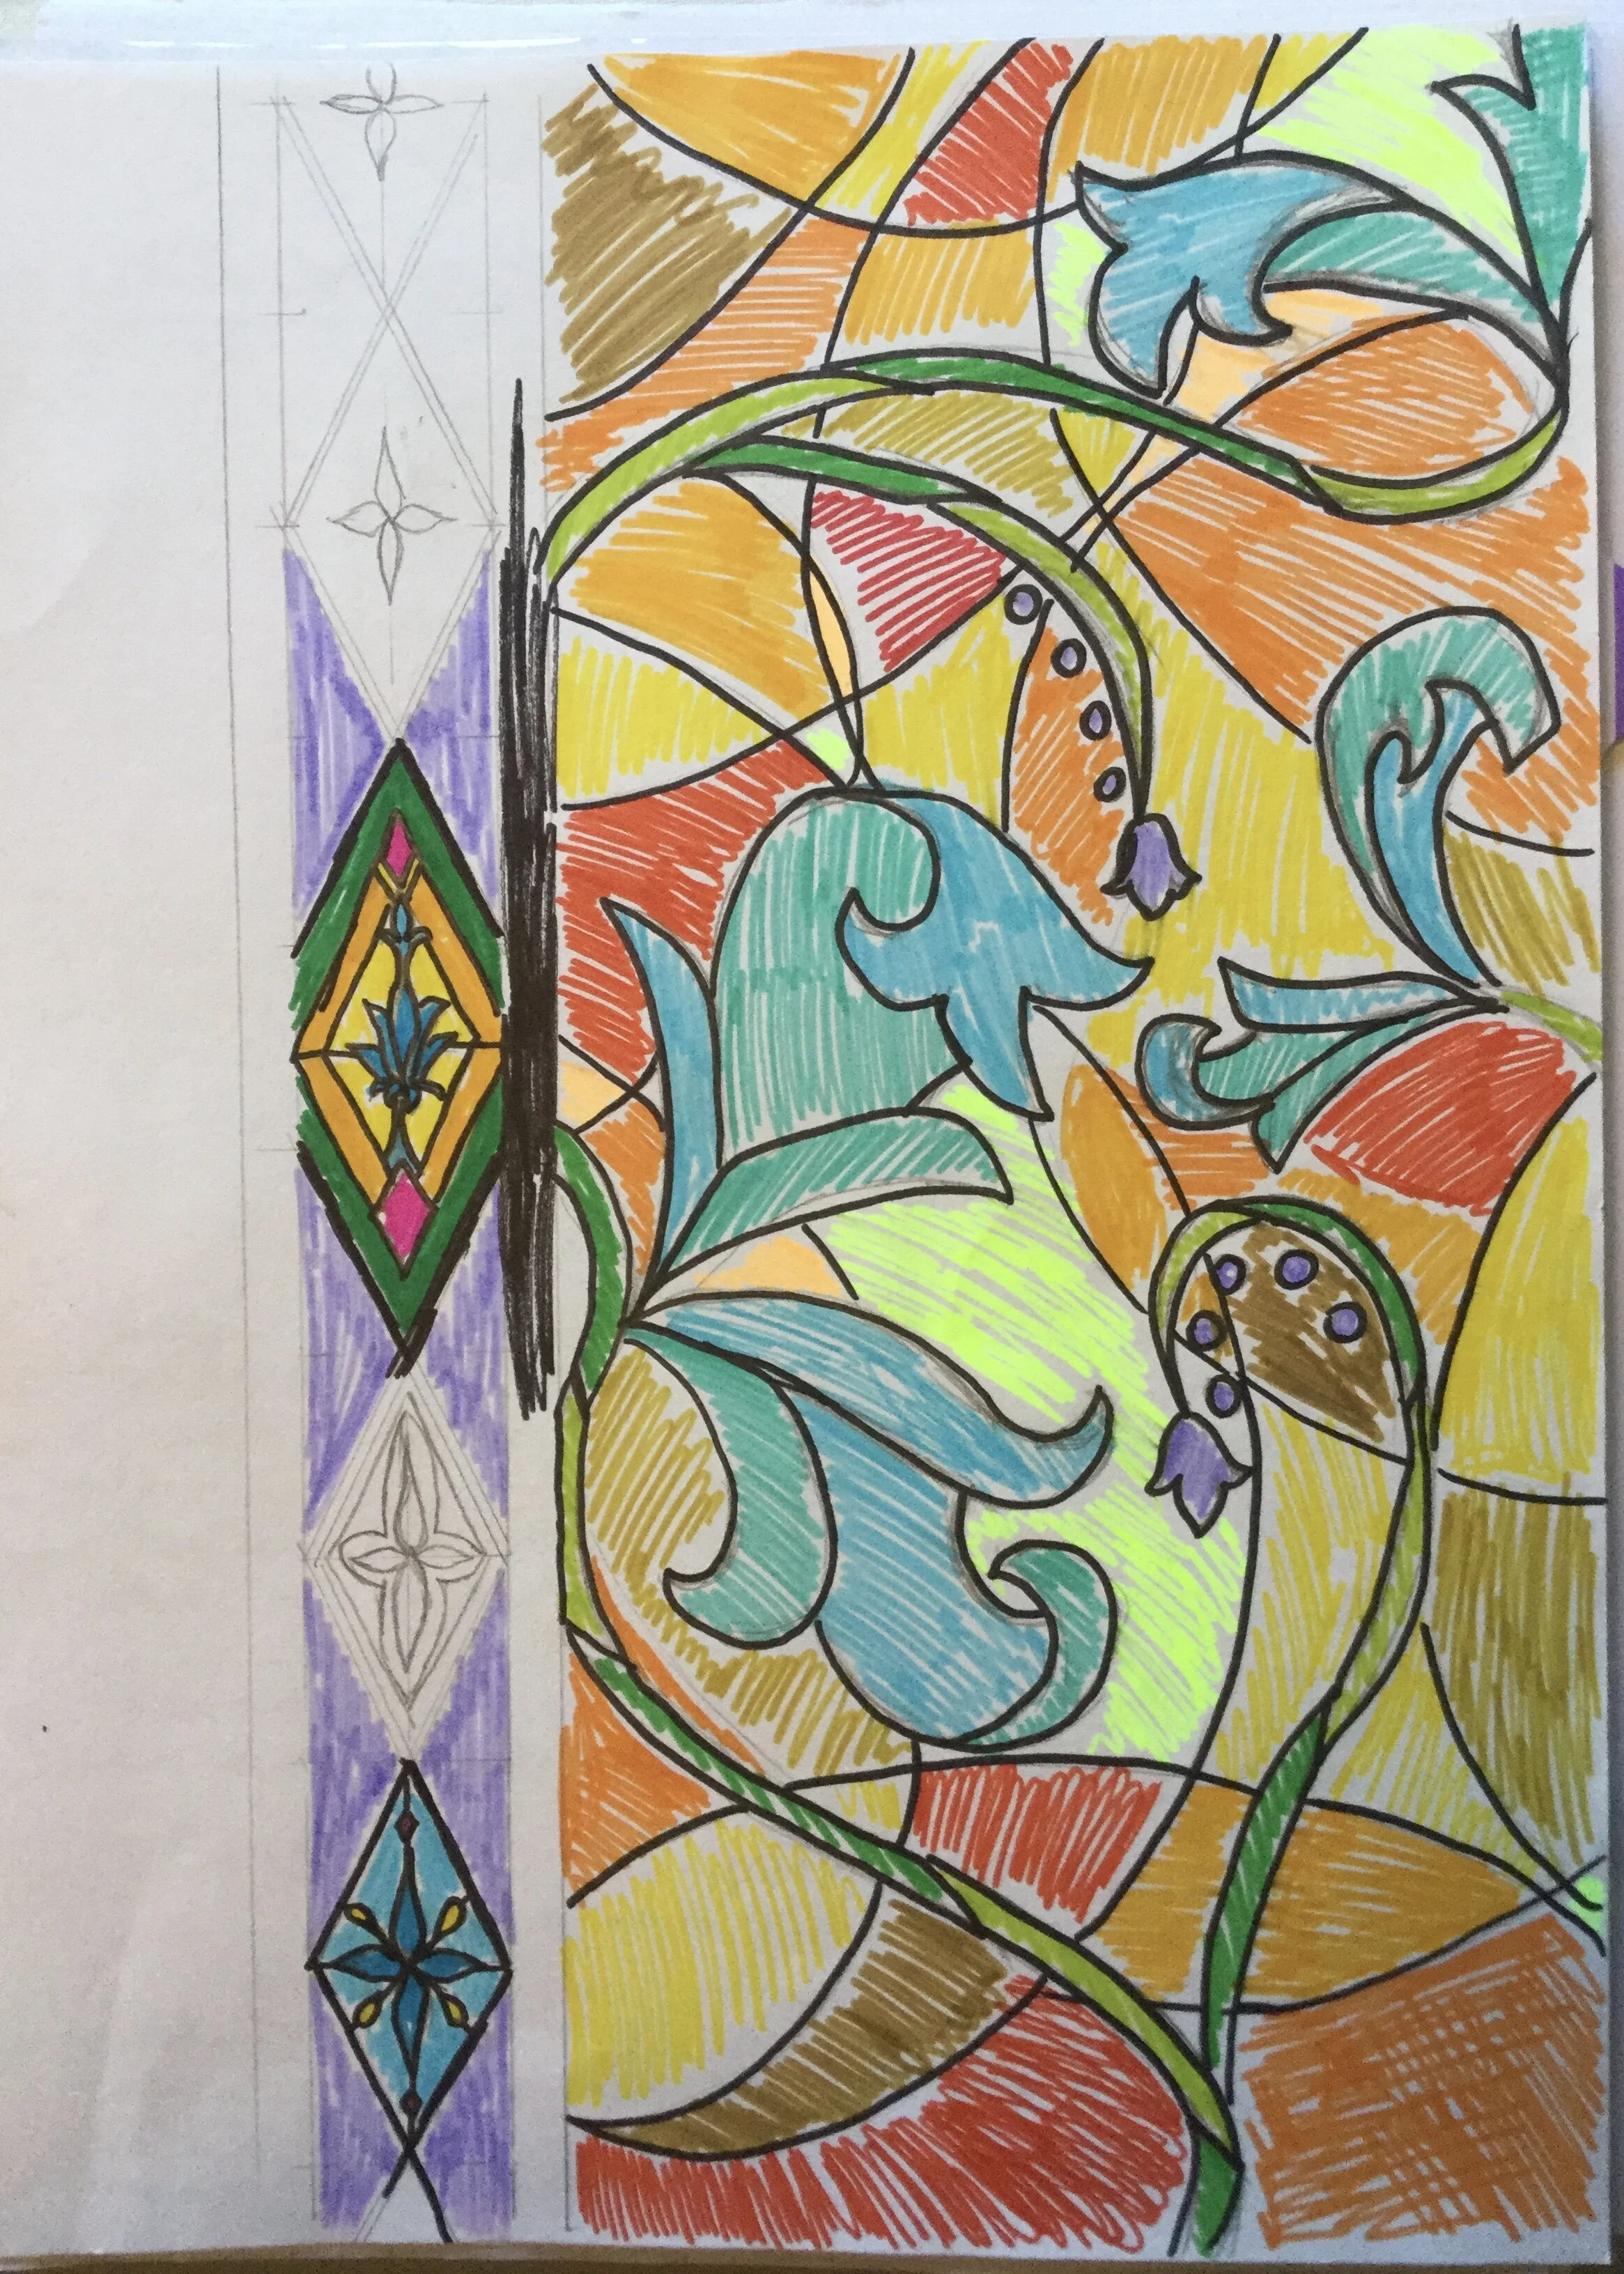
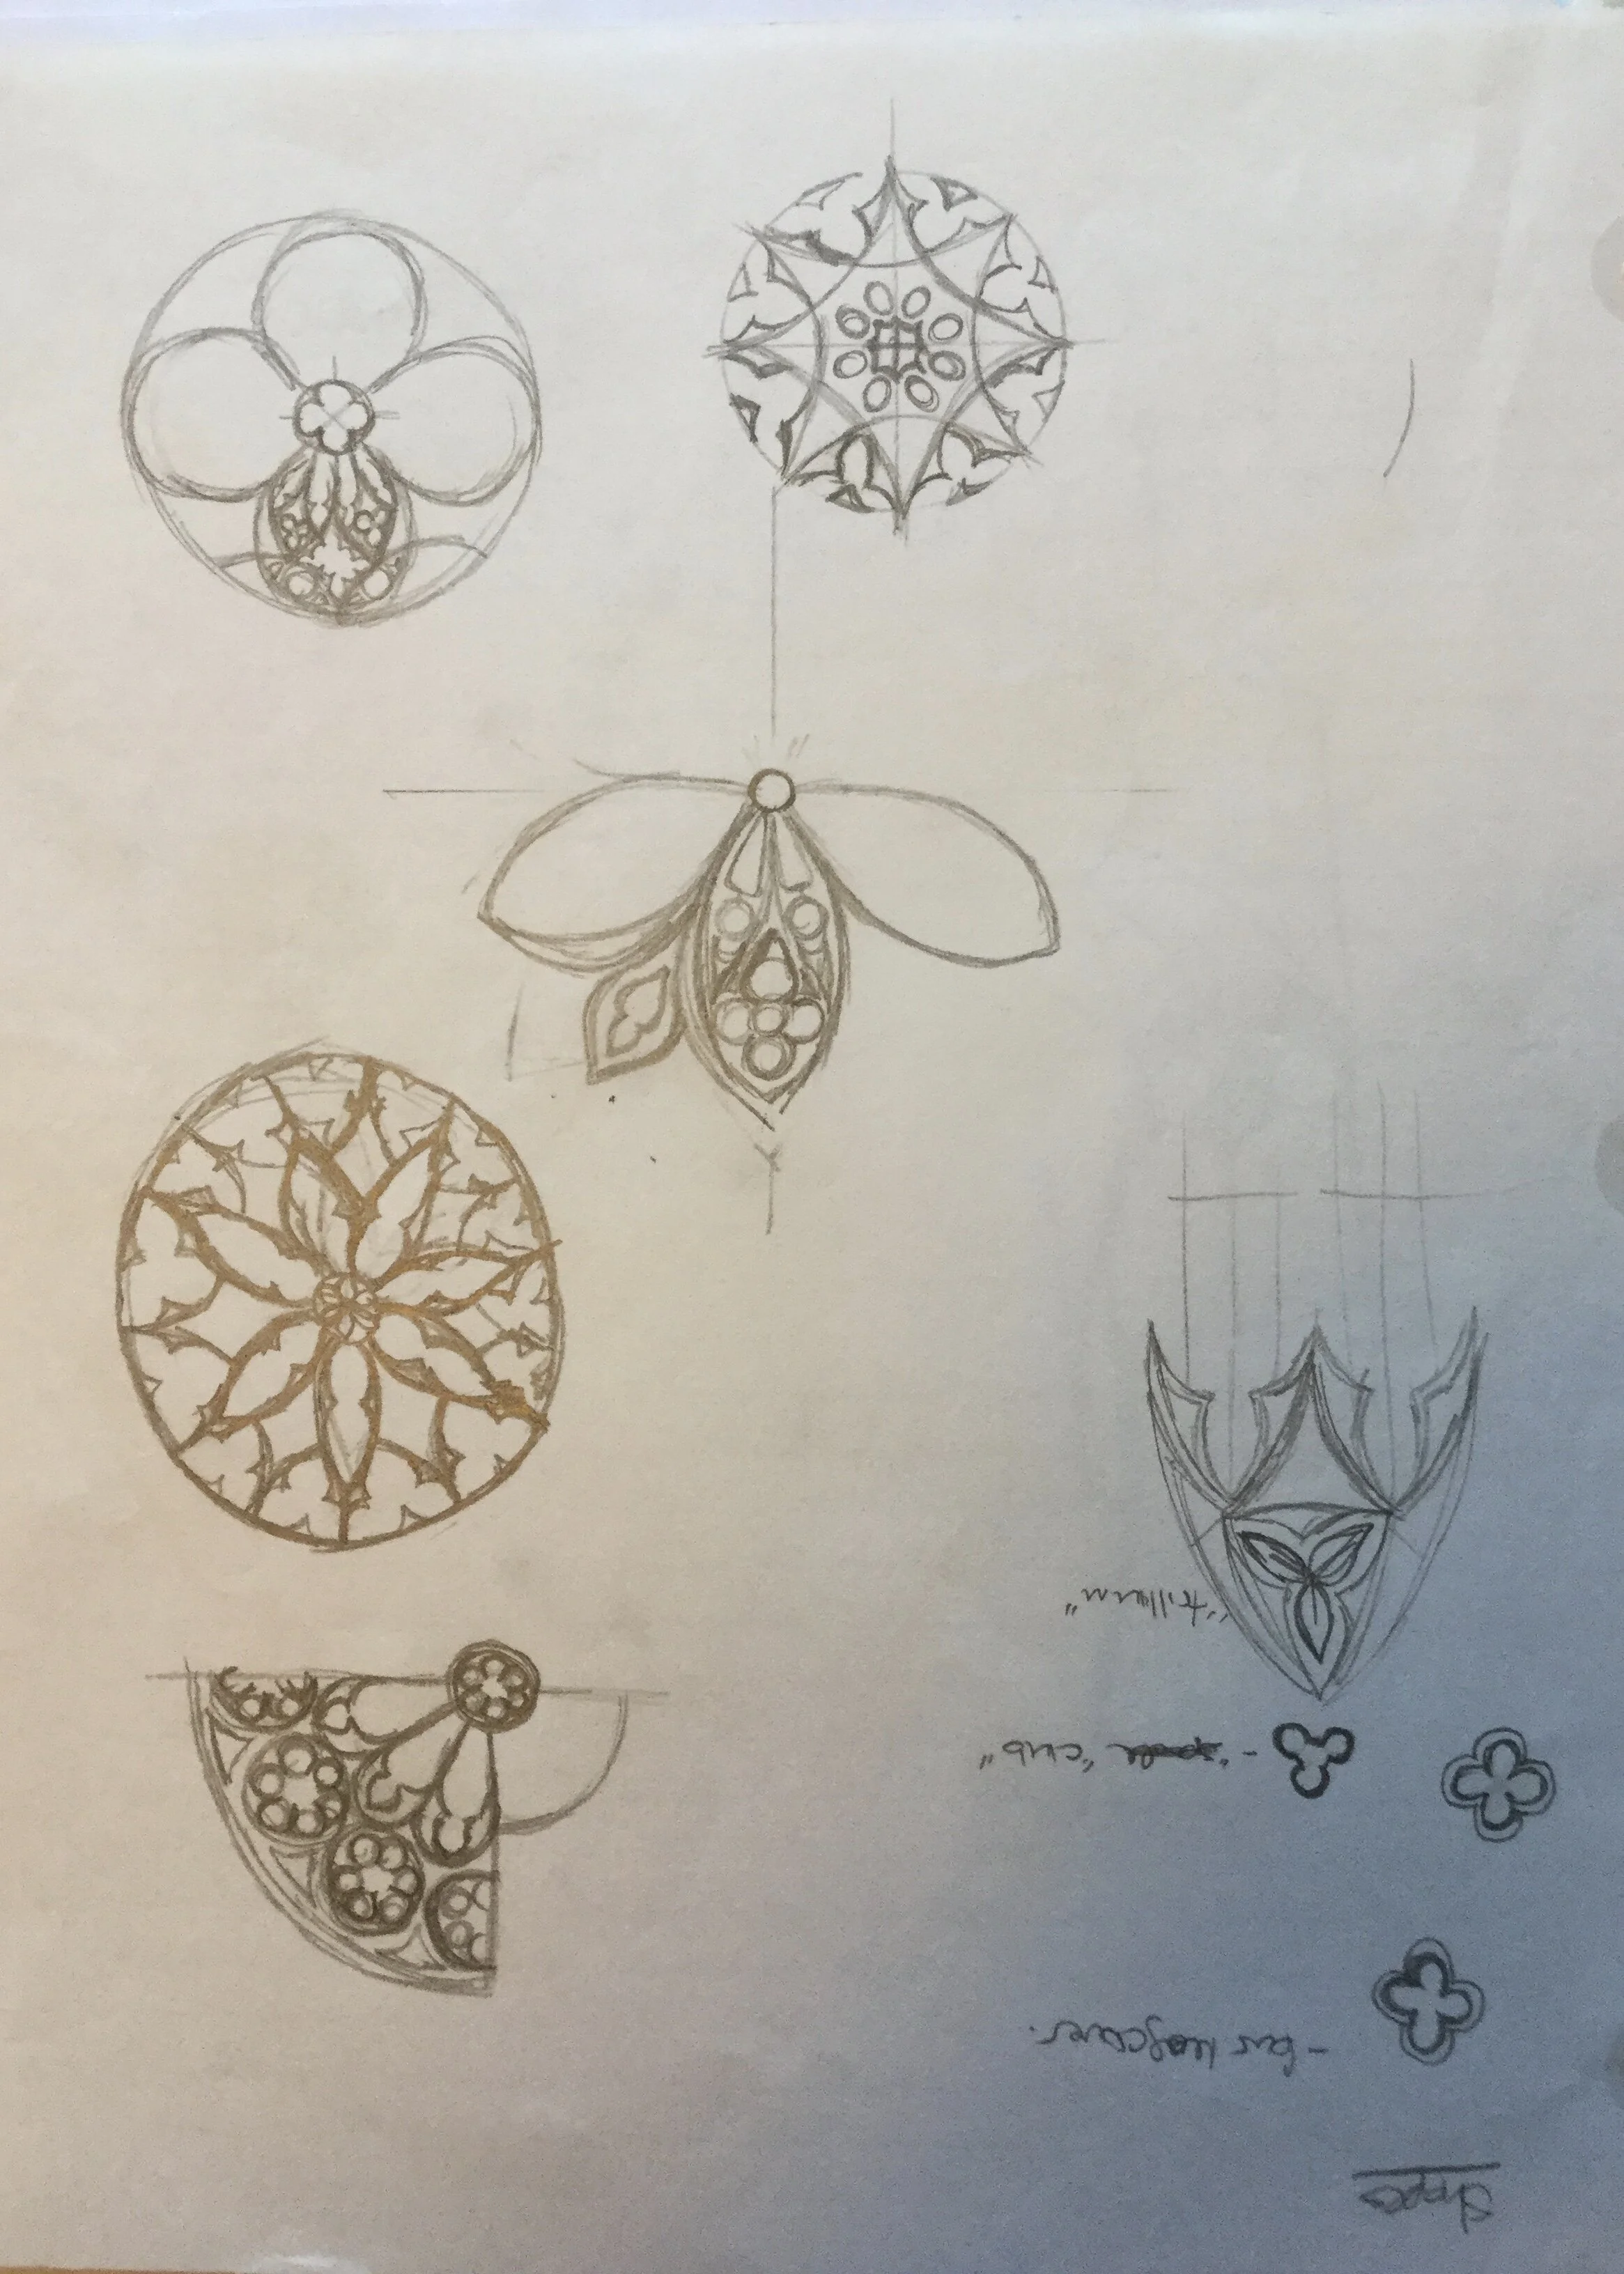
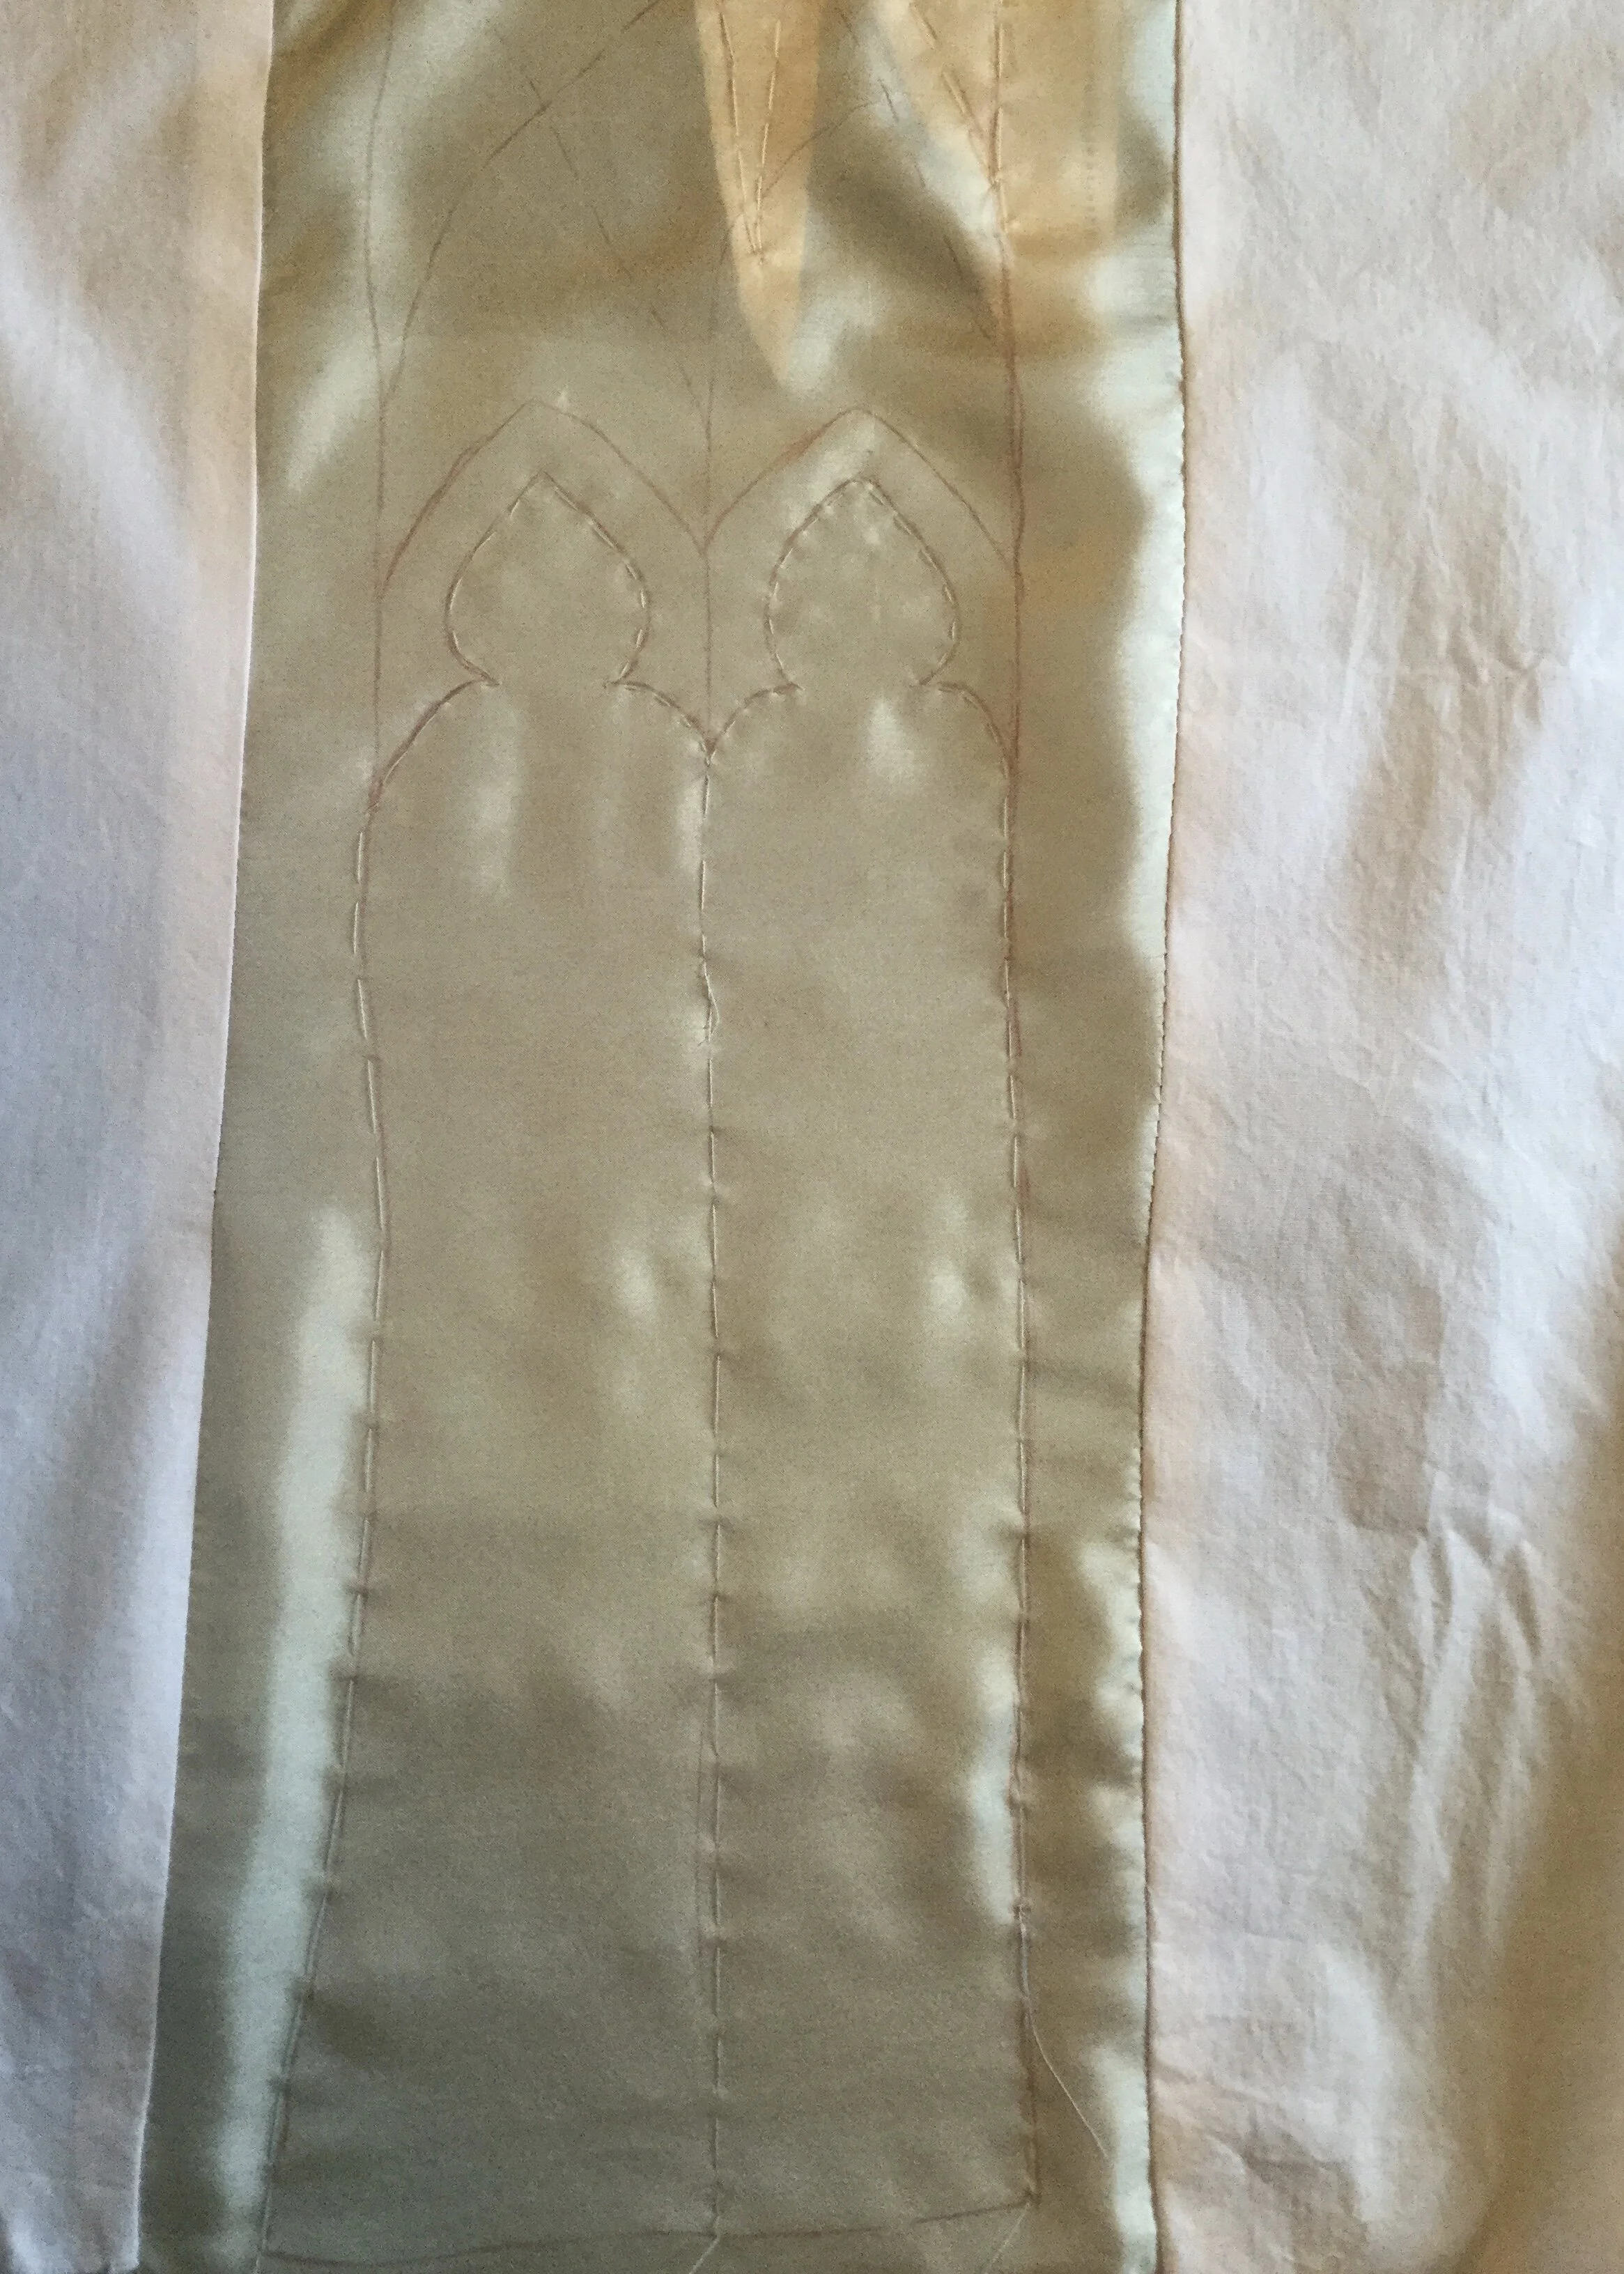
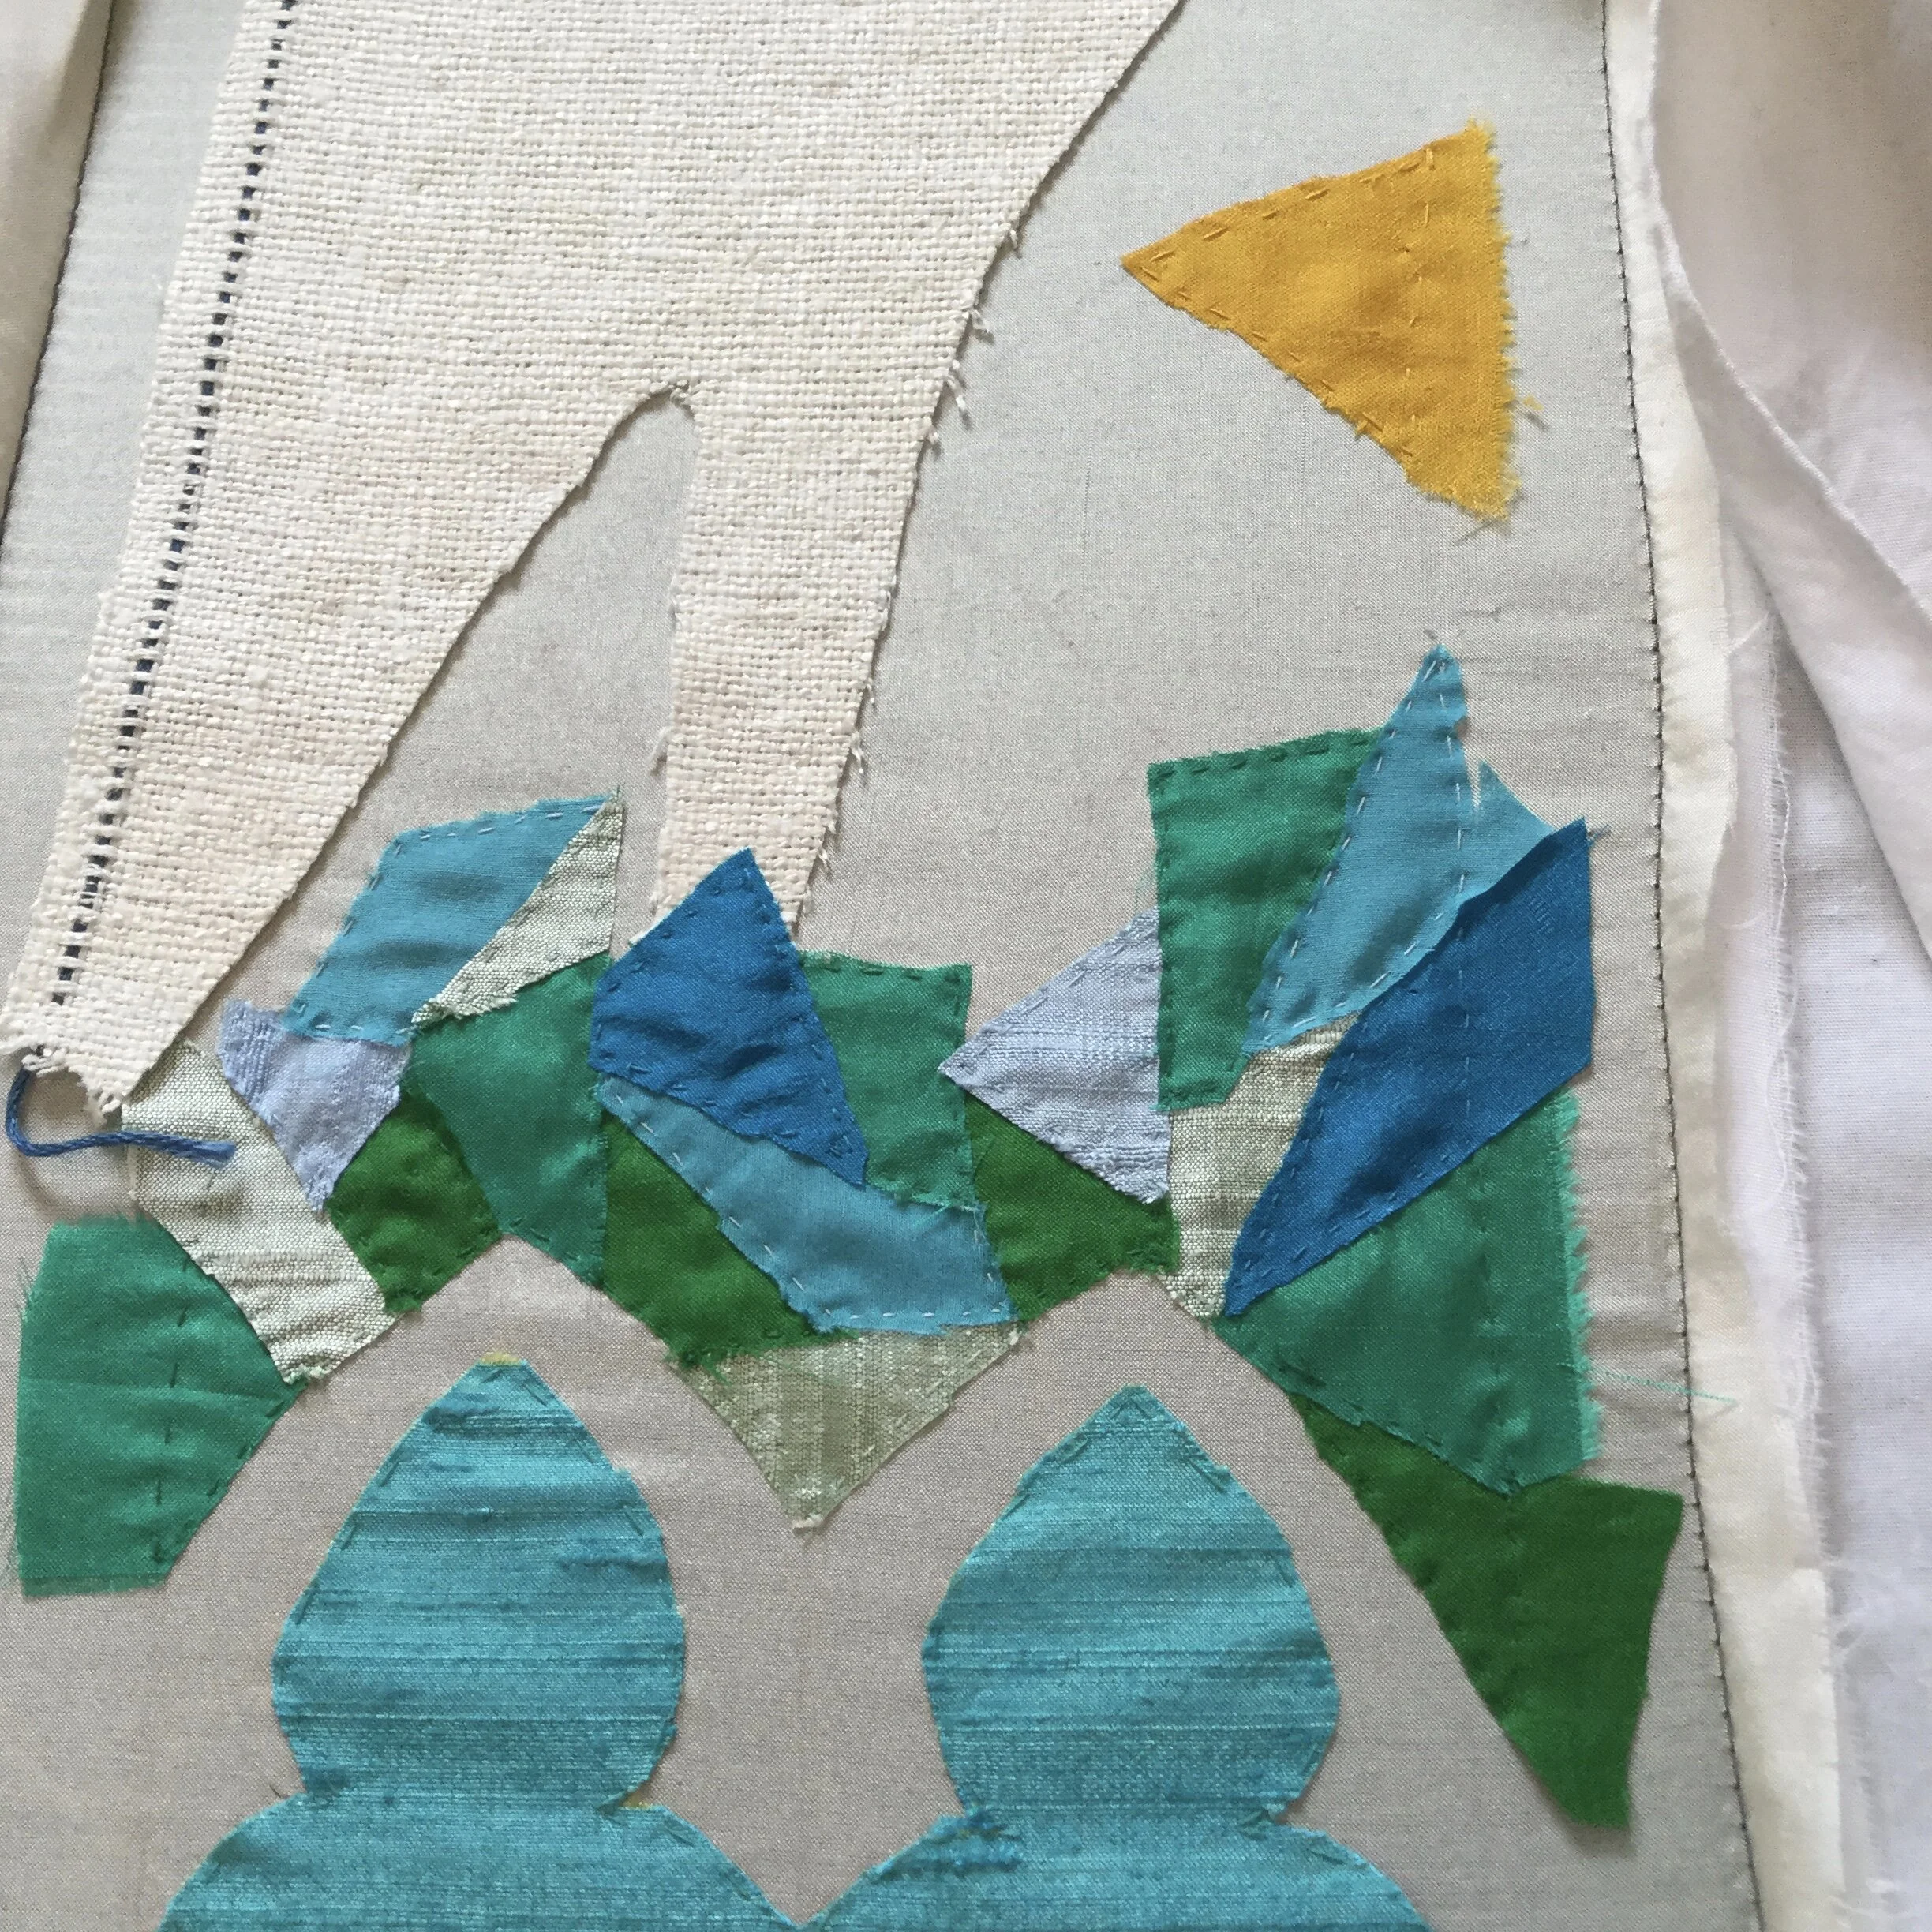
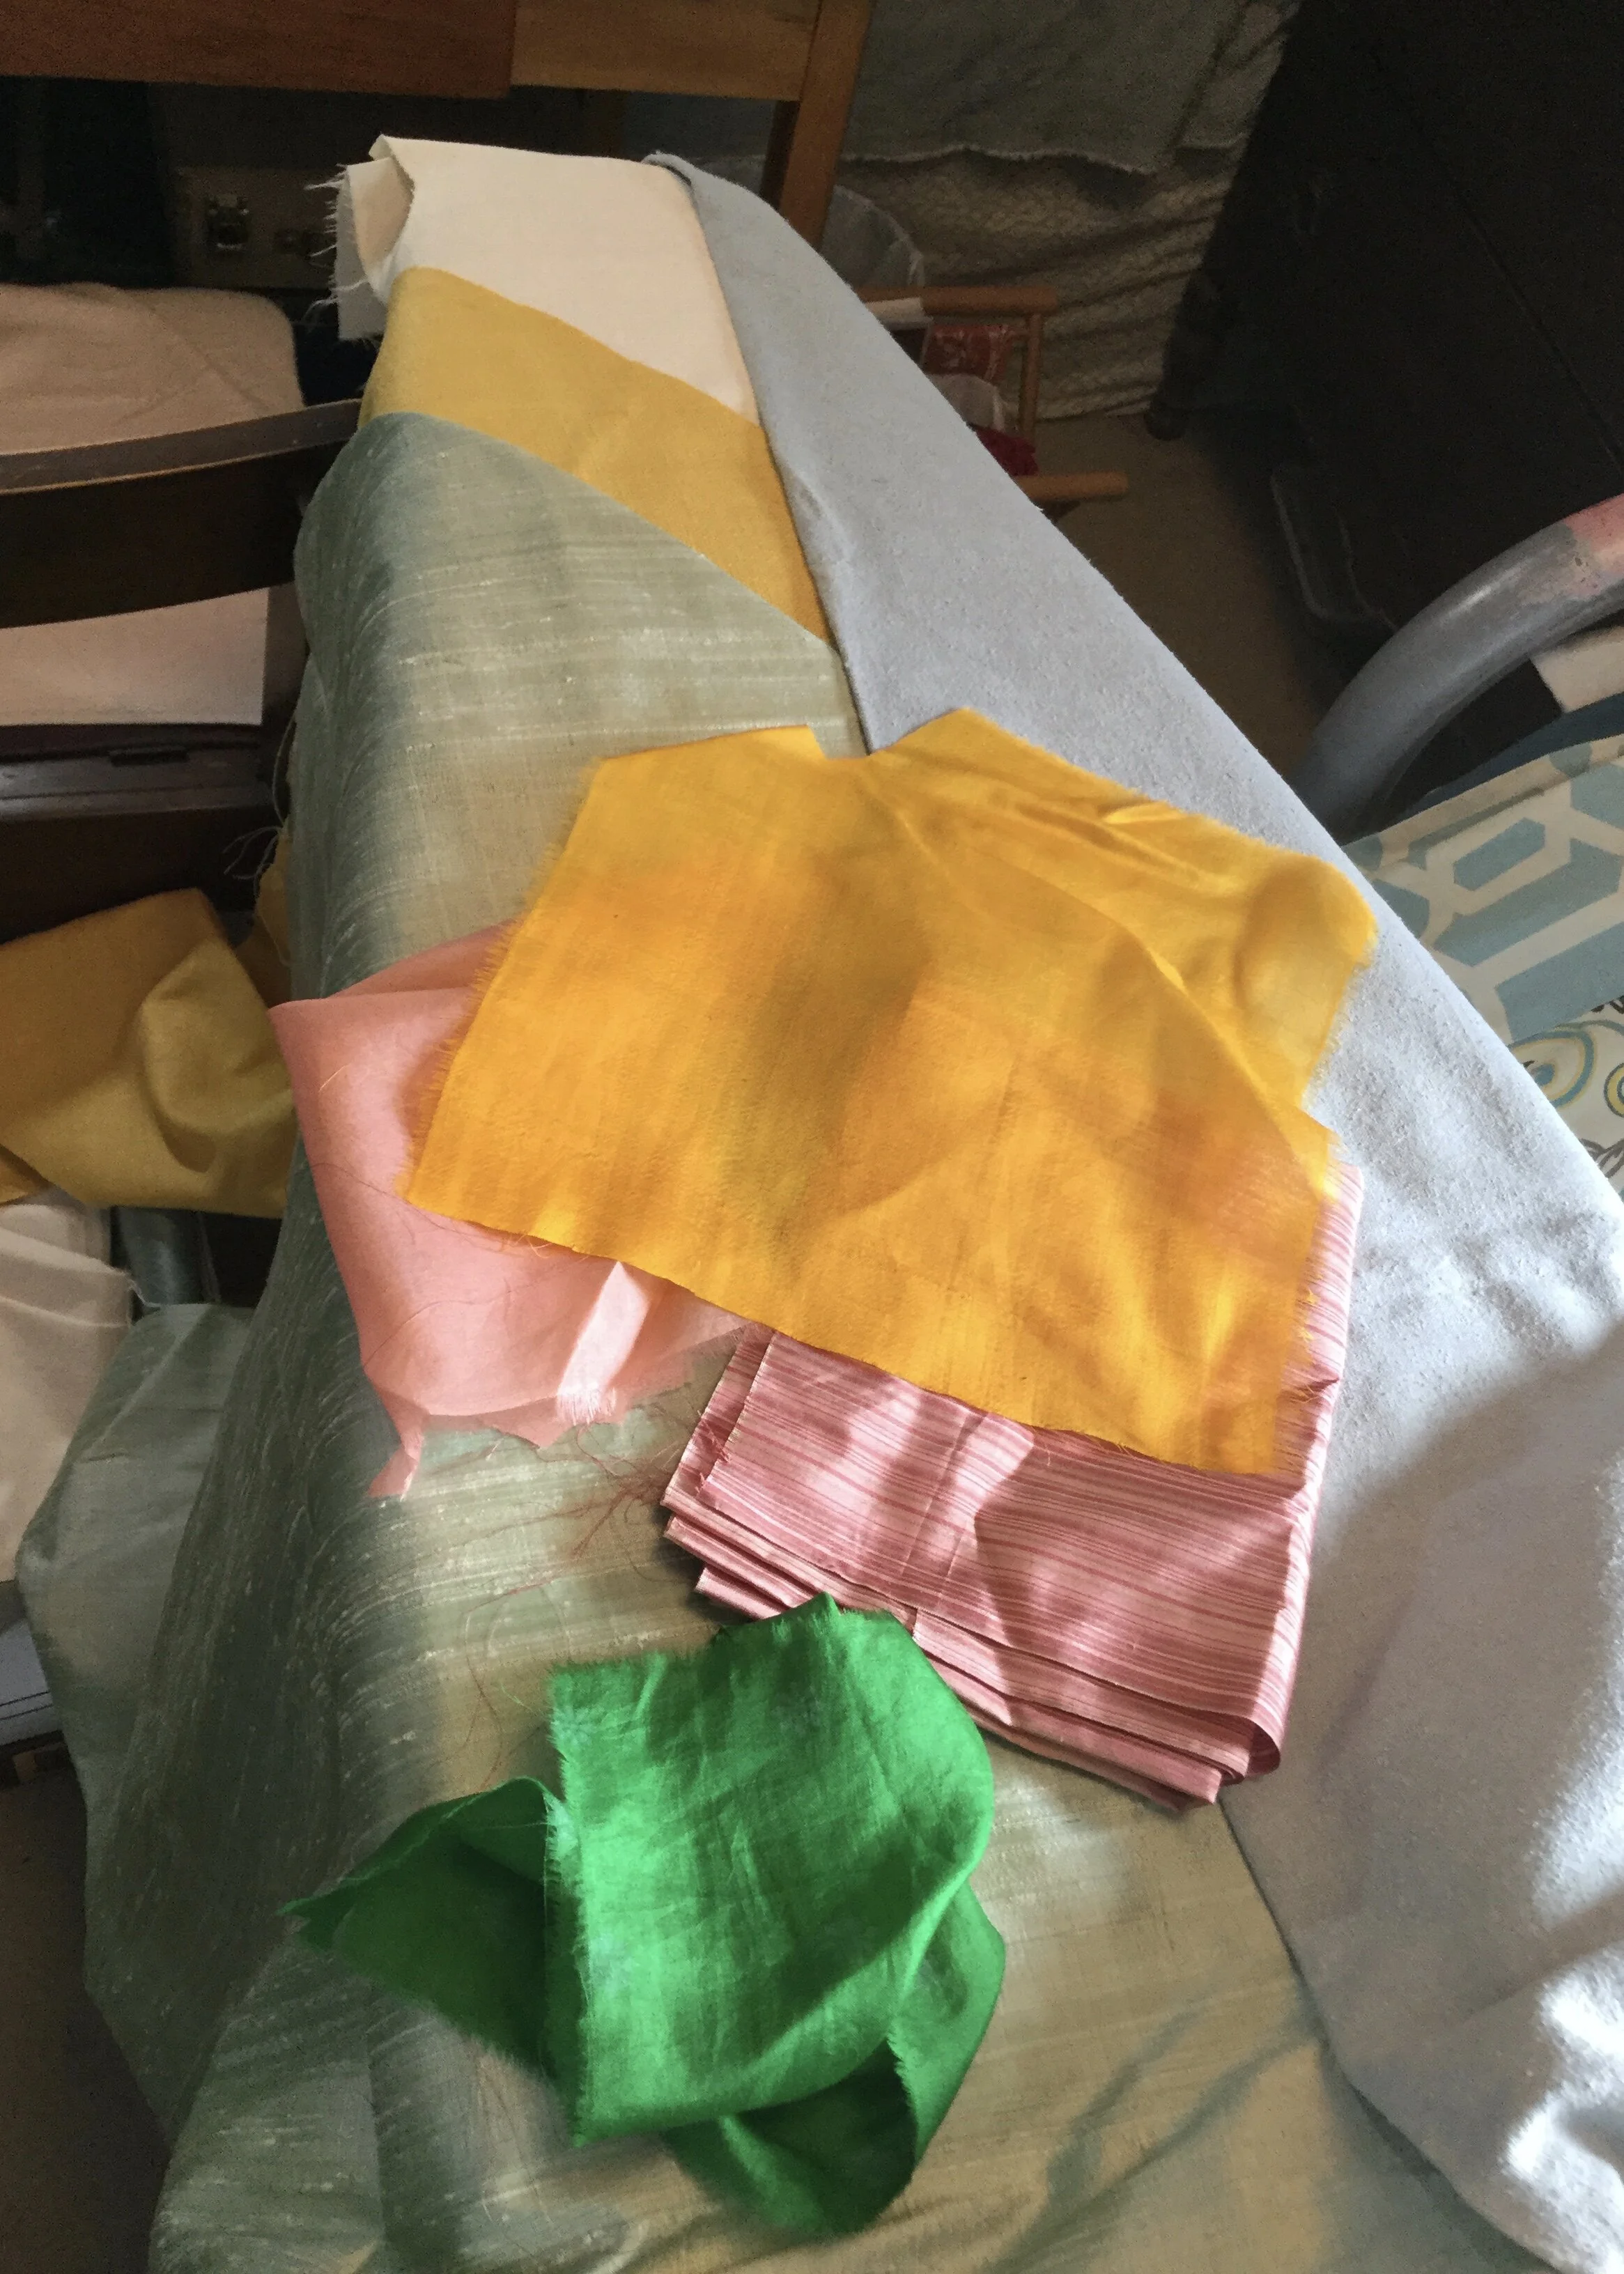
So, the first step of my brilliant new idea was to come up with a design for the stained glass side. I explored various ideas and eventually settled on a basic cathedral window shape. It would divide easily between the front and back halves of the dress and there was a good combination of curved and vertical lines to both compliment the shape of the body and accentuate the long lines of the overall design. For the actual “glass” pieces, I decided to use little pieces of silk as they would have a lustre which might look a bit like light coming through a window. Between my stash and a random bag of scraps of sari fabric I got on eBay I cobbled together a pleasing array of colours.
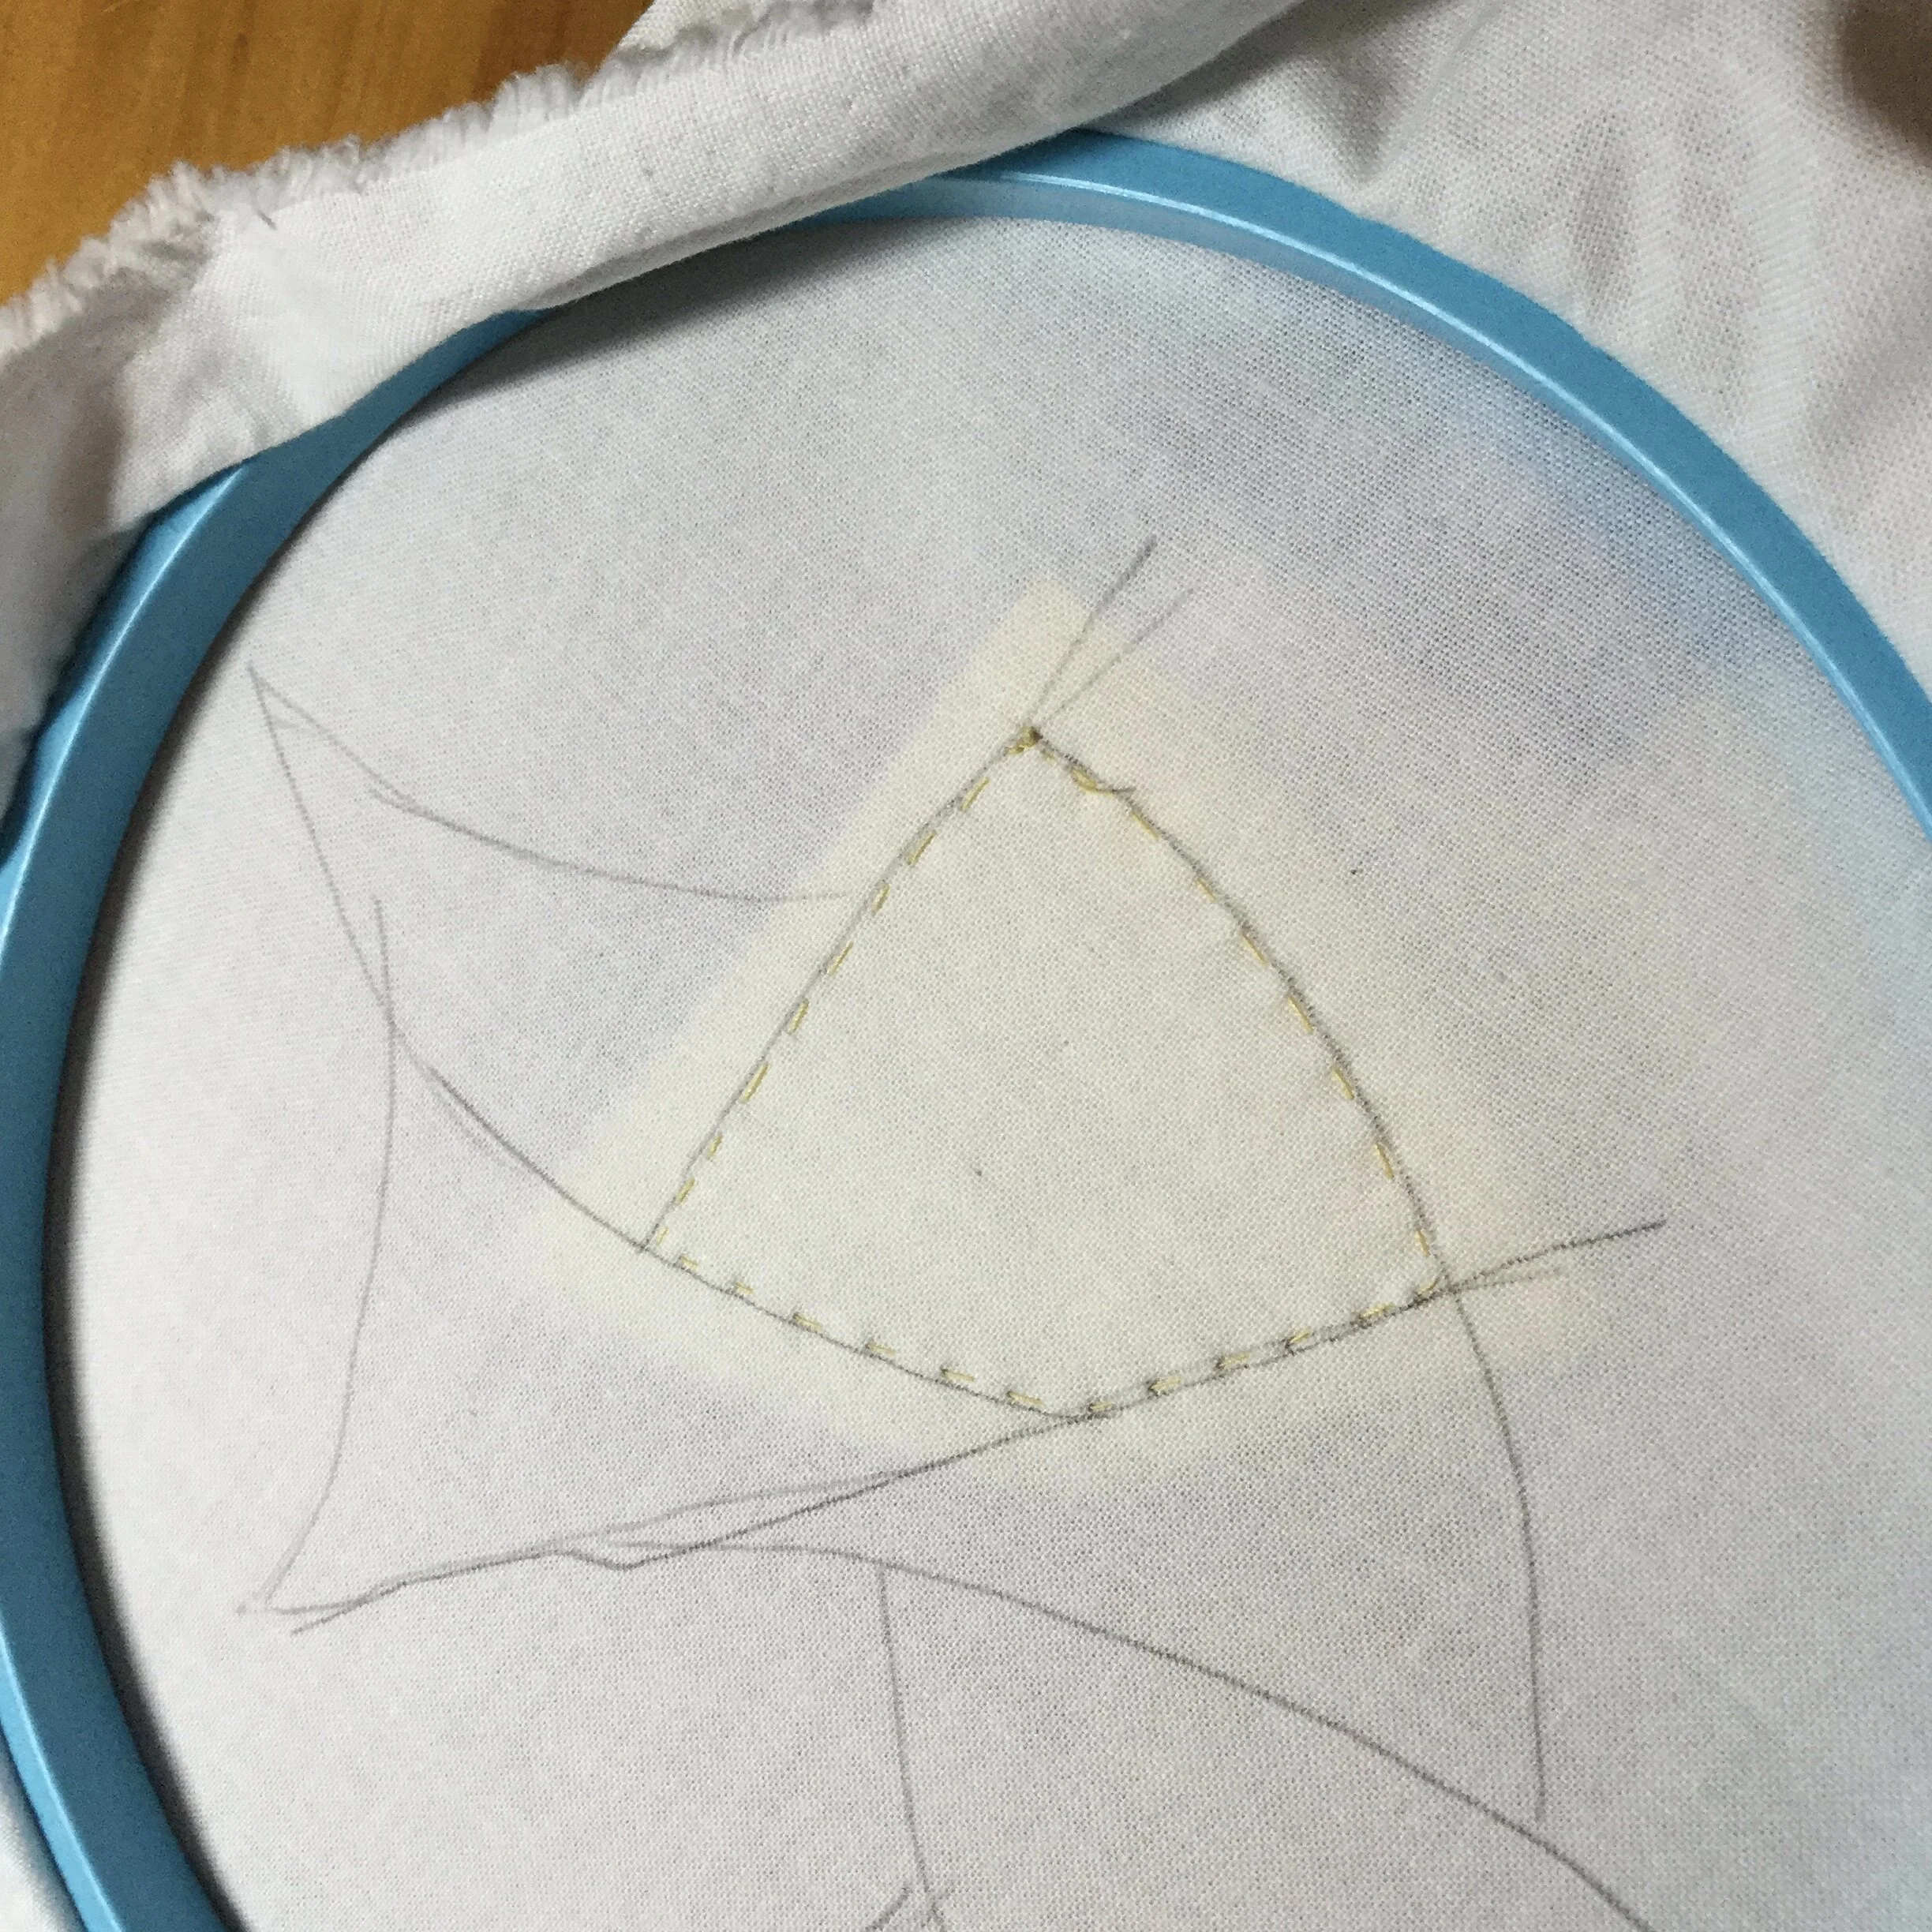
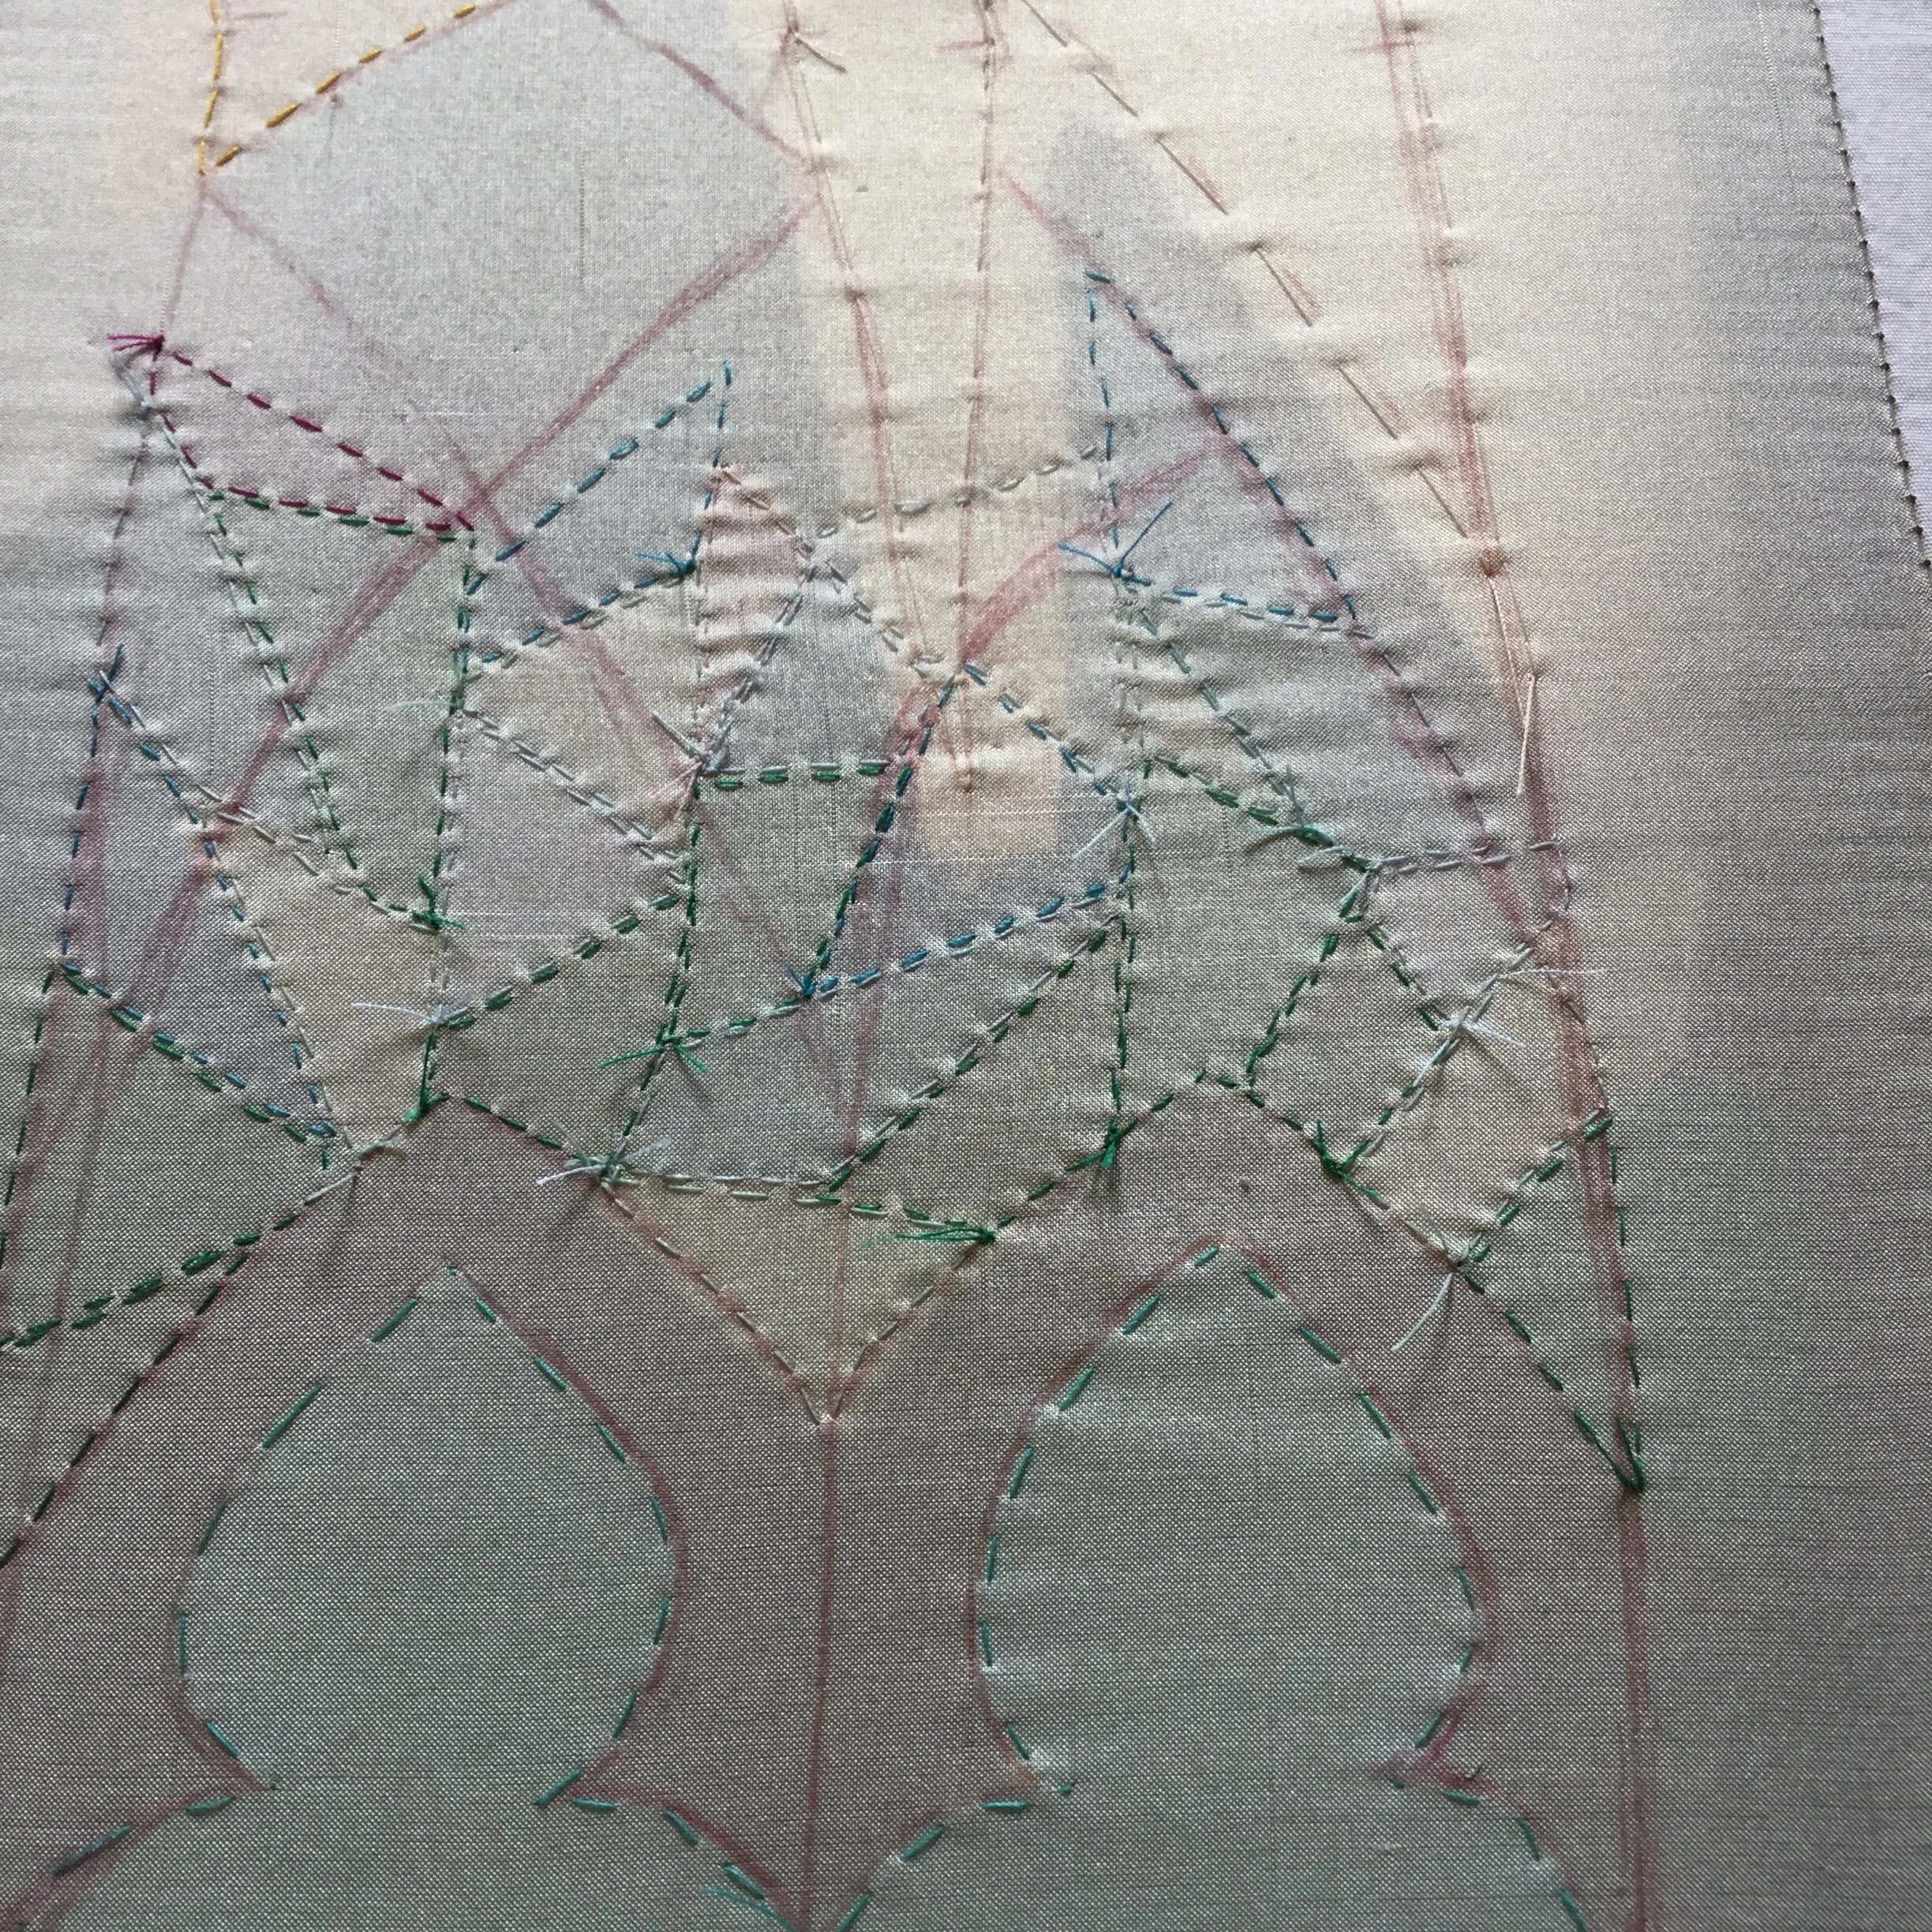
Next up, was to make a few samples to figure out how I would do the appliqué, get a bit of practice and make sure it did in fact look as cool as I imagined. I started with some cottons I had lying around. I drew some random shapes on the wrong side of the base and stitched the appliqué pieces to it with a small running stitch before trimming away the excess. Next I pinned a few strands of perle cotton to the surface and began stitching them down with a satin couch stitch. The first line looked a bit rough, and you can see the exact moment I realized it looked better if I worked towards myself rather than away, but overall the idea seemed to be working.
Silk applique sample.
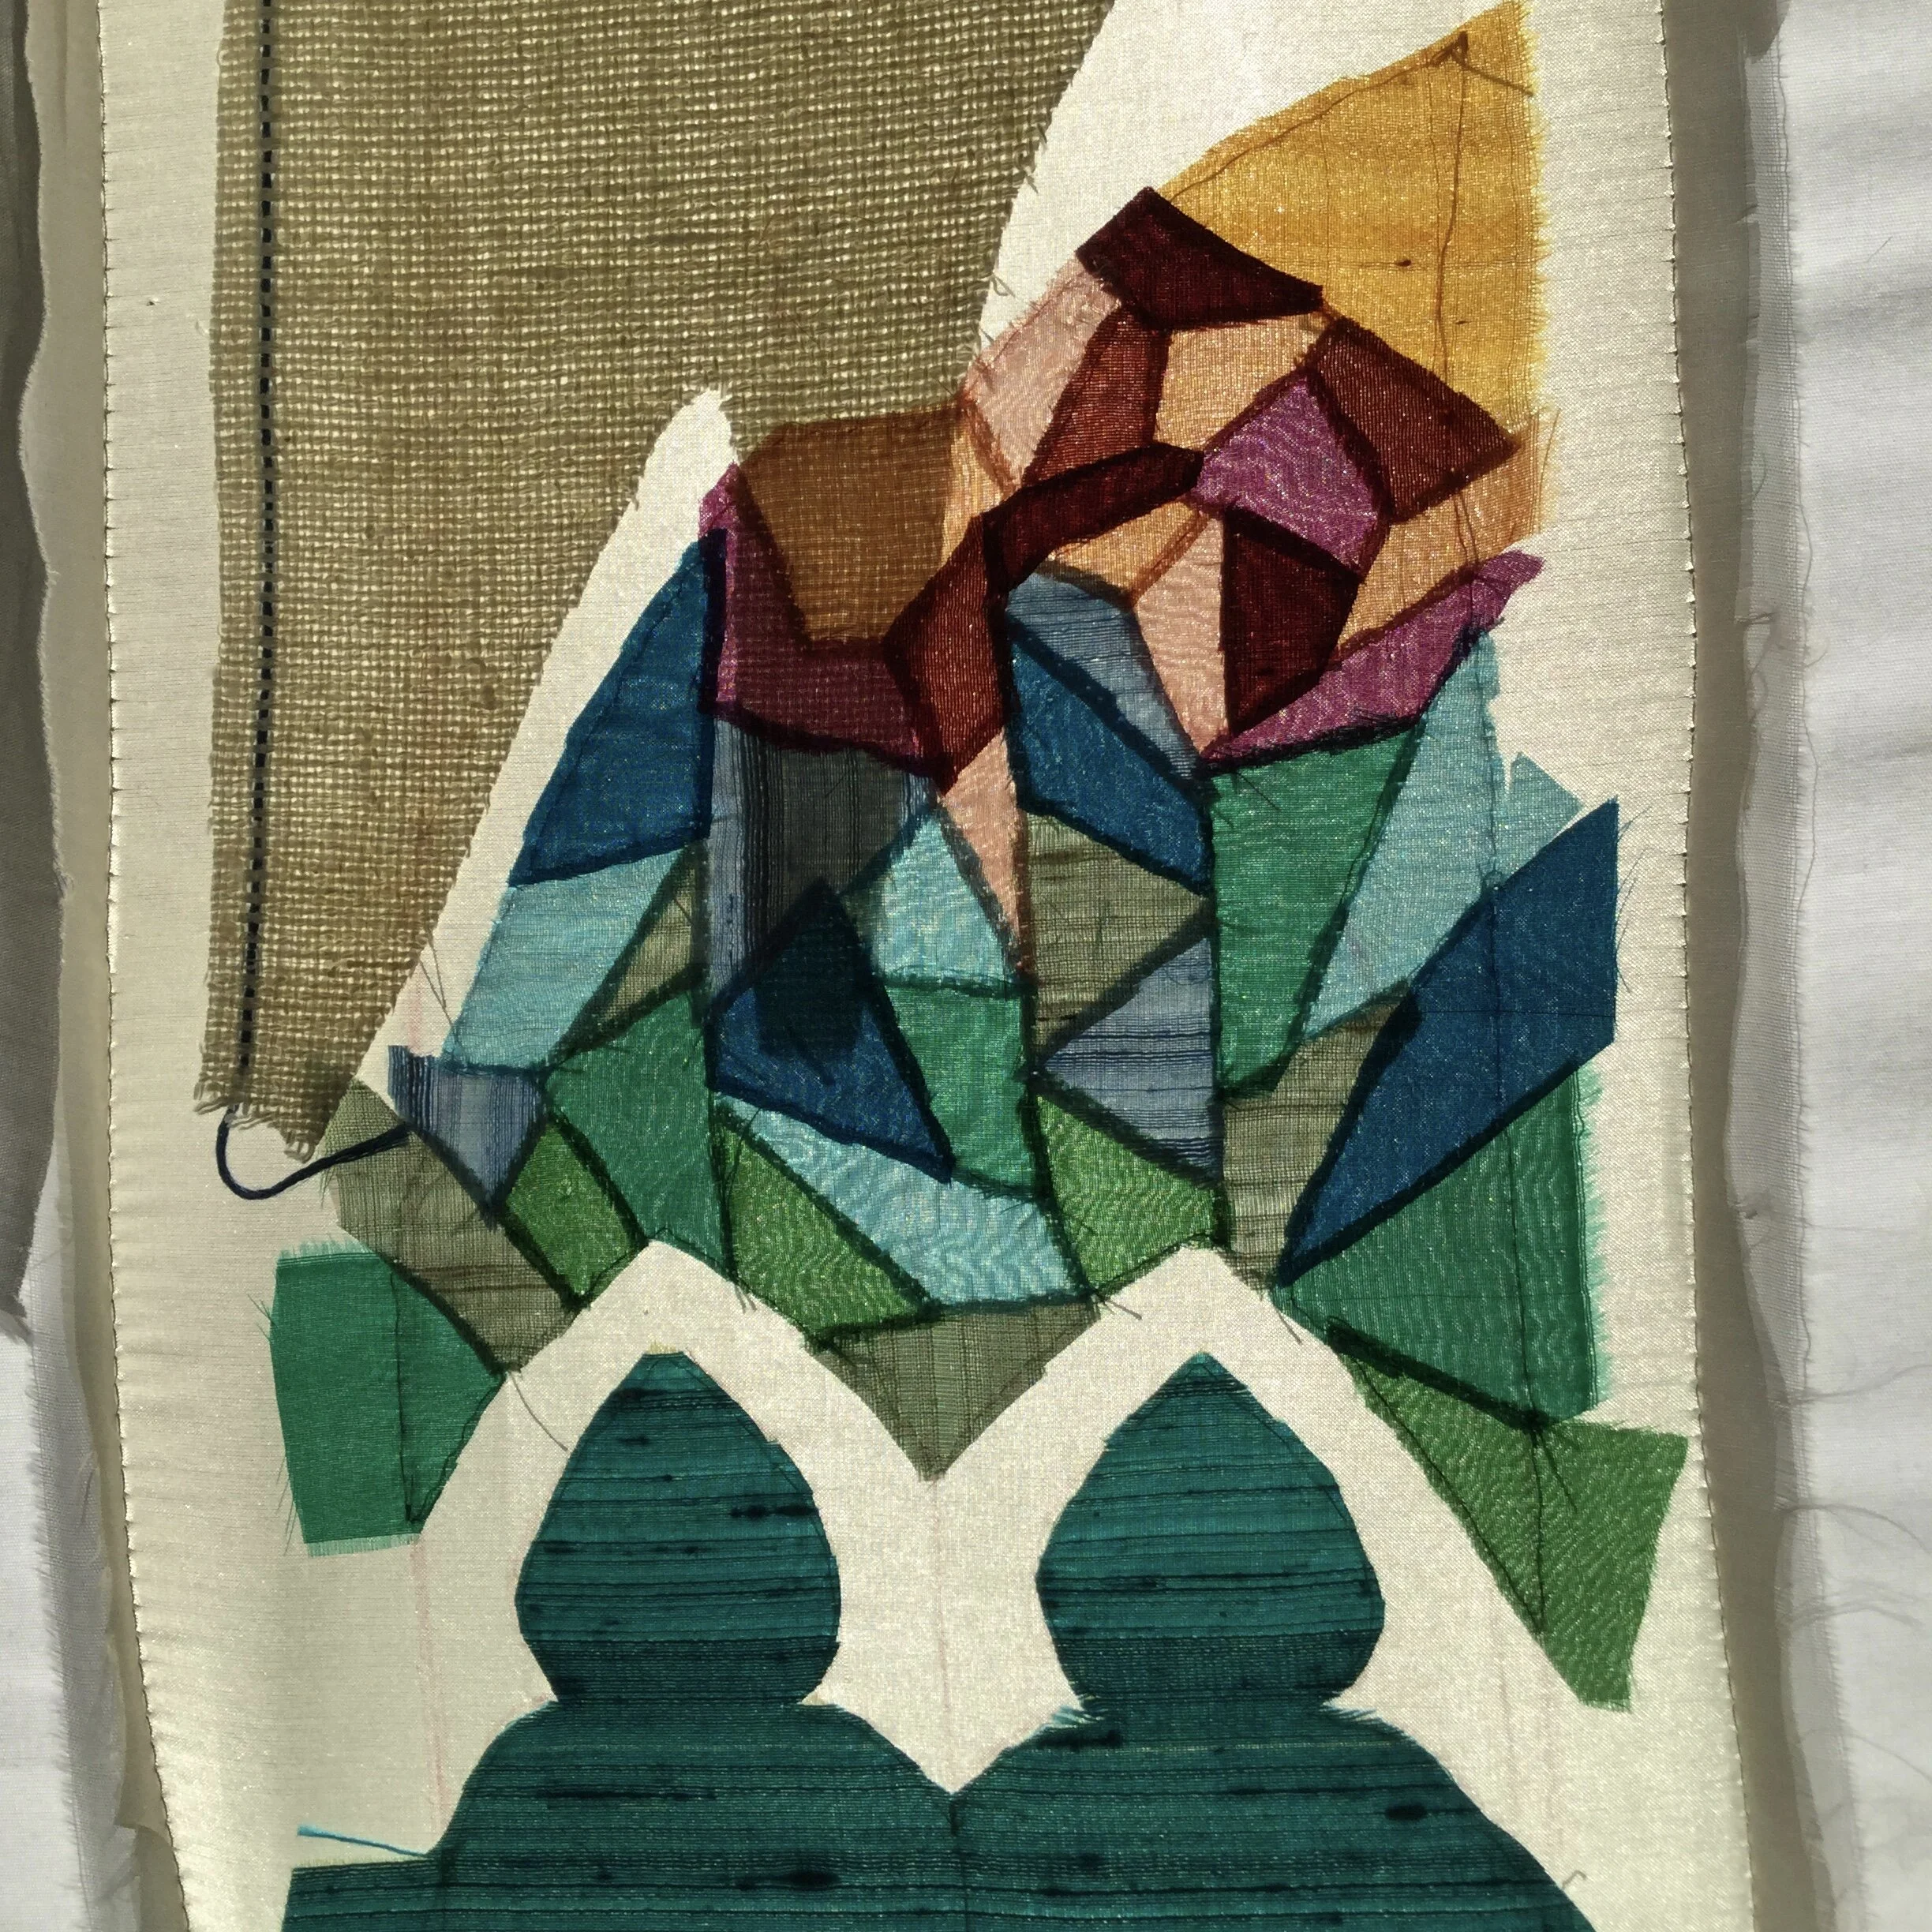
Before getting into the final fabrics, I decided to do another sample using some of the silks I would eventually be using. Some of the edges looked a bit rough but ultimately it was still looking pretty good and a bit like stained glass. I went forward with transferring the widow design to the pattern pieces, then doing it again when I realized there was better way to centre the design on the pattern. I also started exploring ways I could bring the stained glass idea onto the cape as well and maybe incorporate some more transparent bits which would really look like a window.
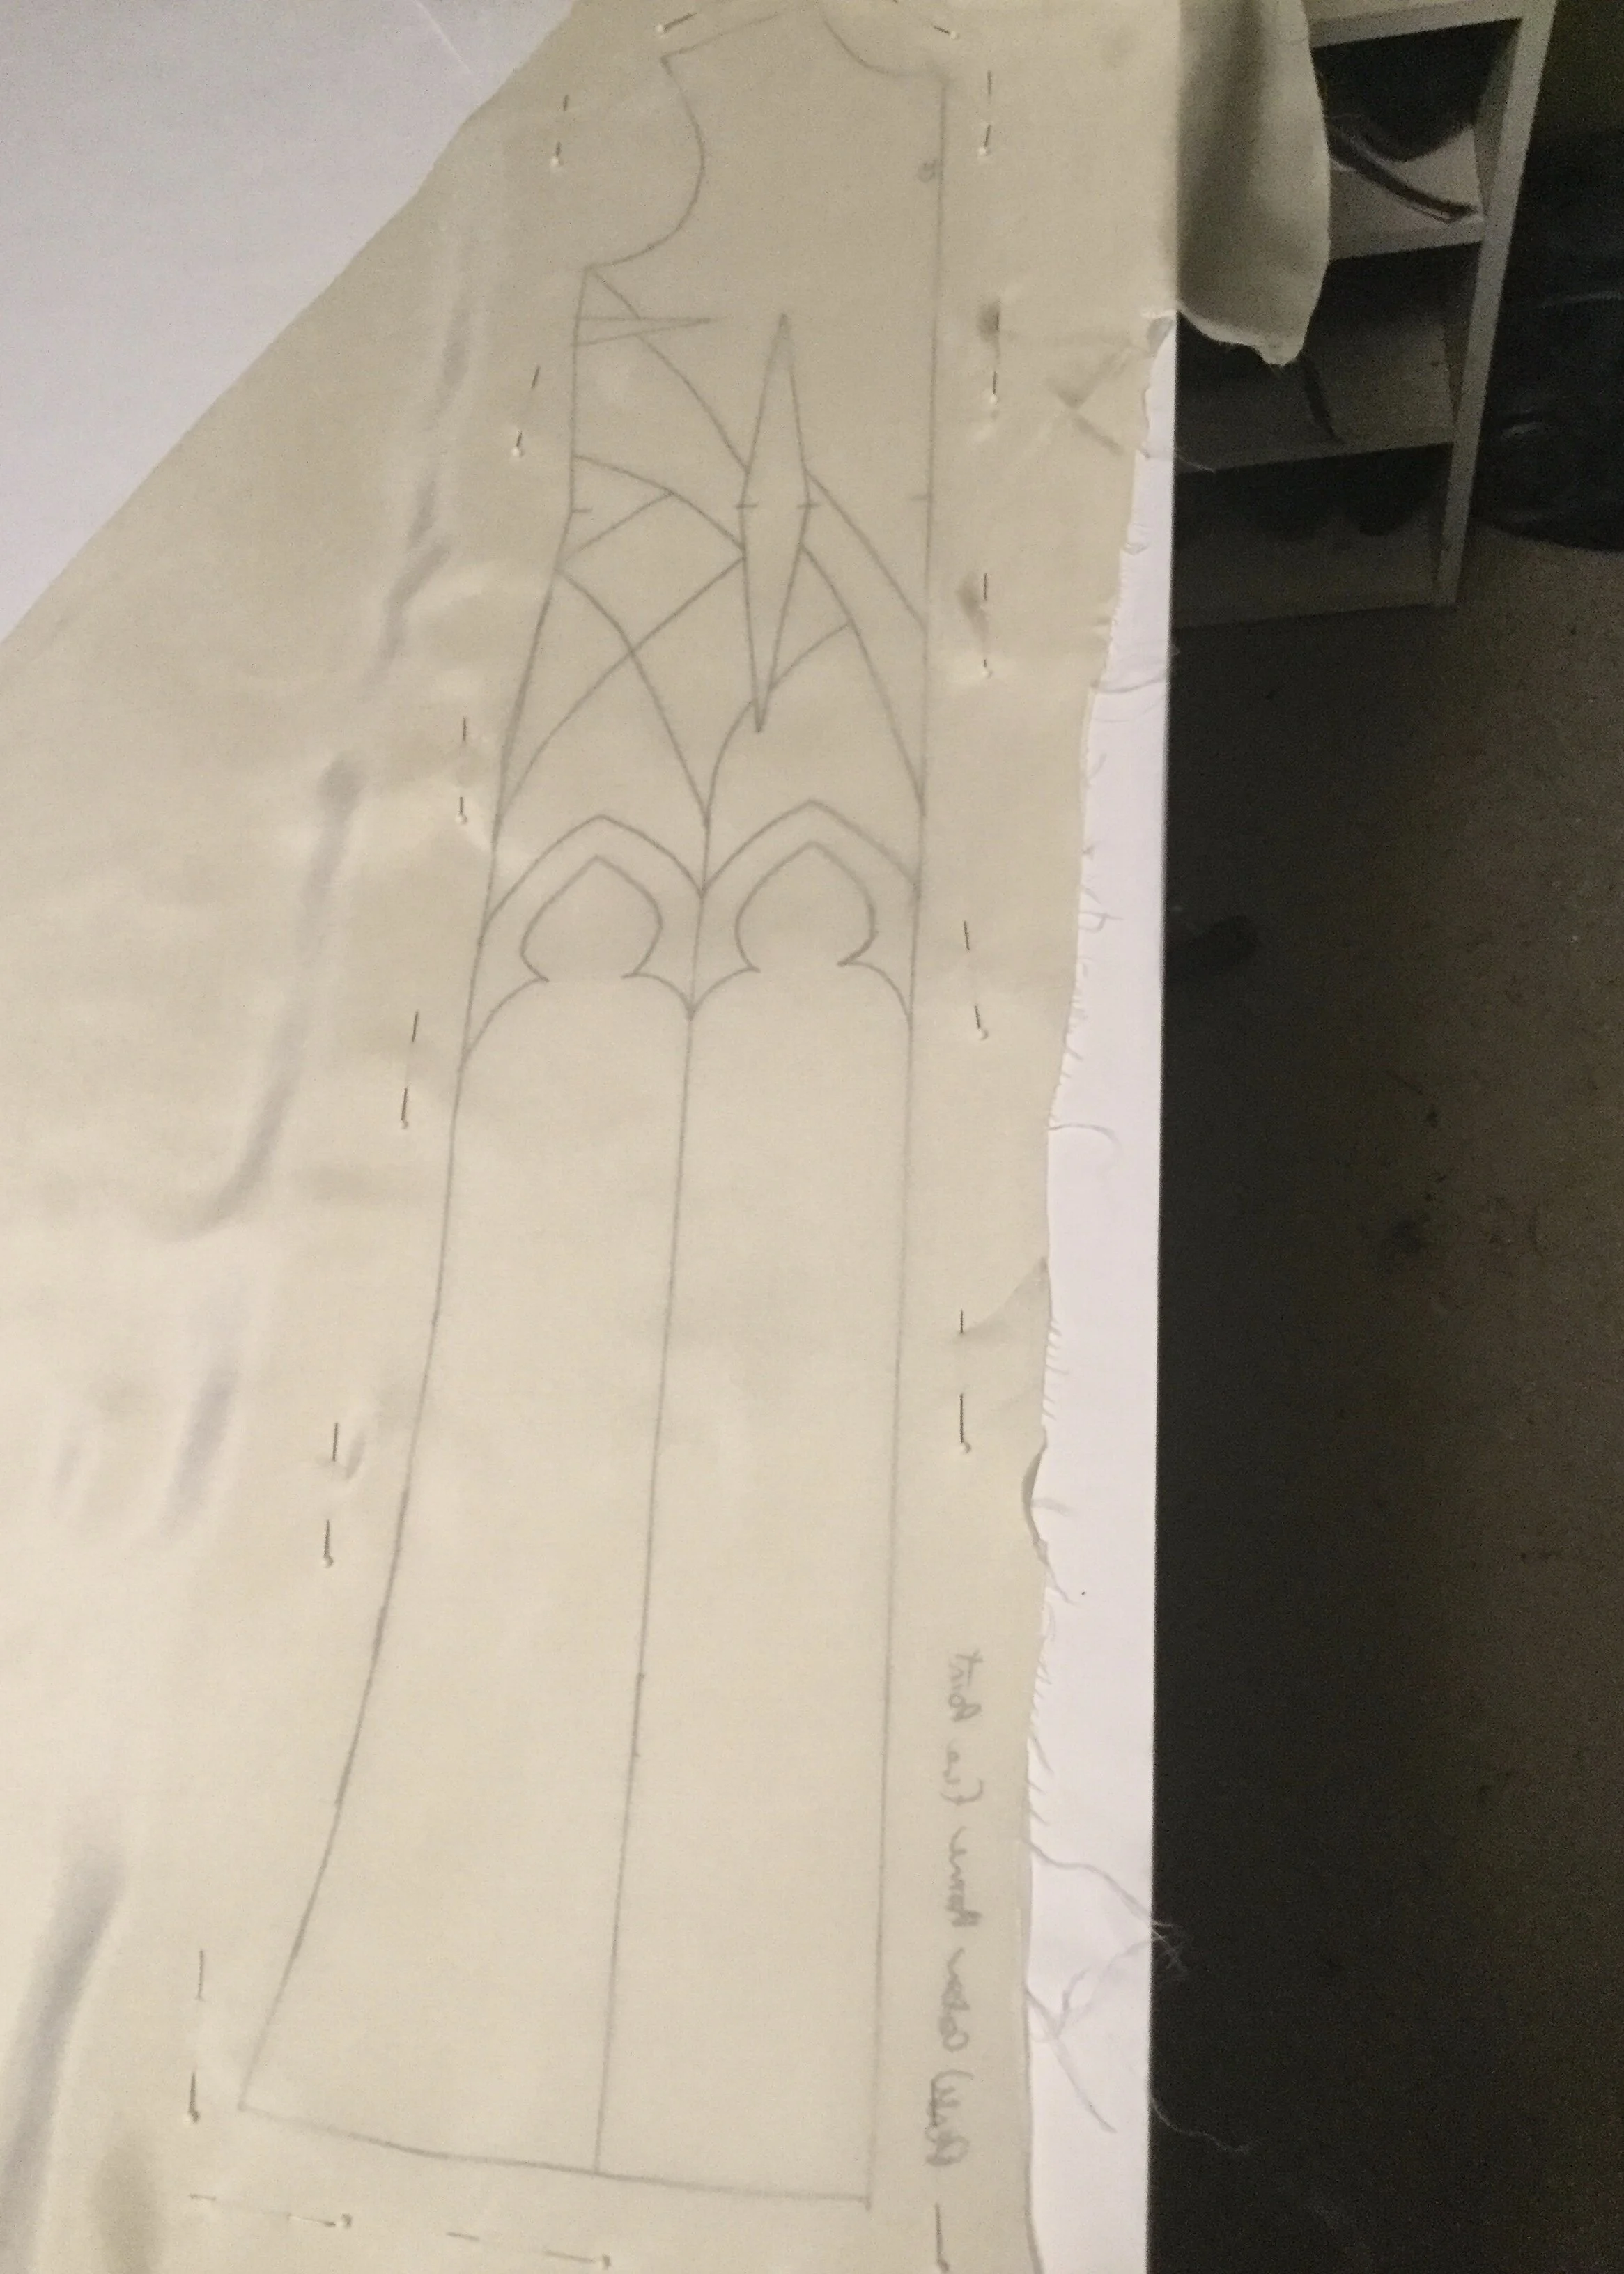
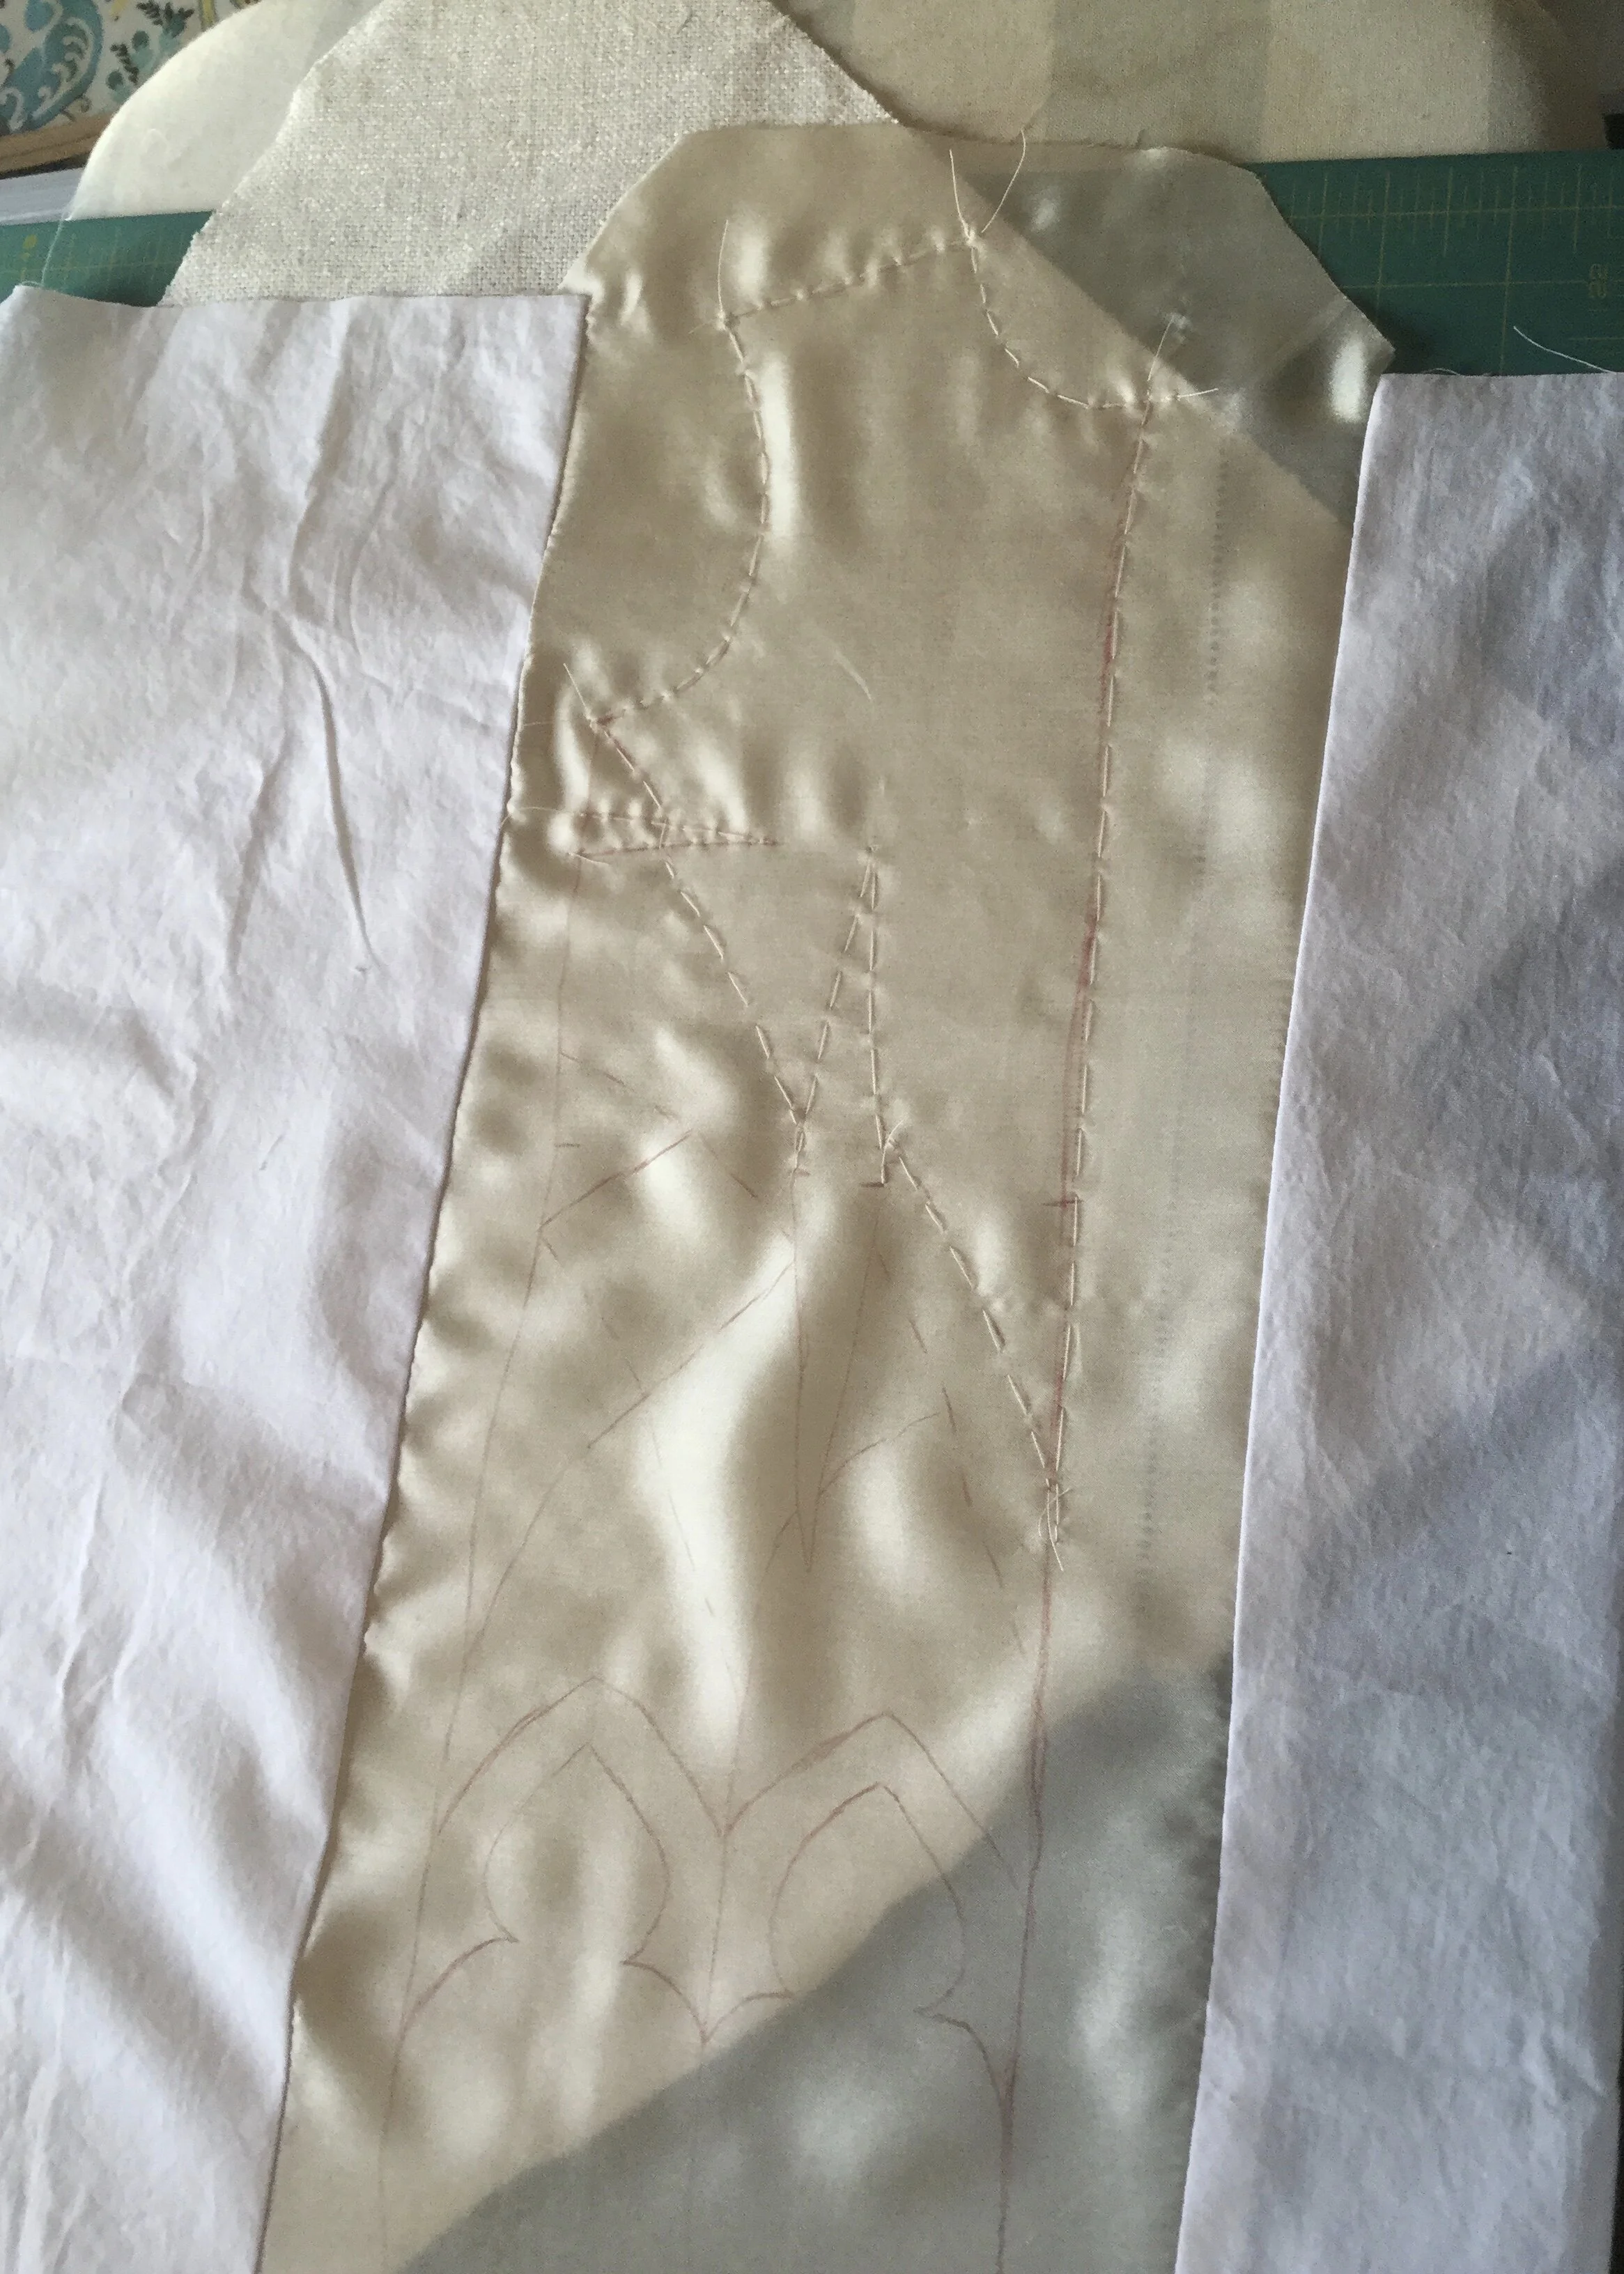
For the base, I used some habotai silk I had left over from my final project in school (see the Titanic dress in my portfolio) as it was a light colour which would not show through any of the lighter colours I was using for the appliqué and a light weight which would prevent the finished product from being too heavy and bulky. I carefully pinned it to the final pattern and traced off the stitching lines and the window design onto the silk. I also stitched strips of plain cotton to the sides so that there wouldn't be any loose edges when I mounted it onto a hoop to start the appliquéing.
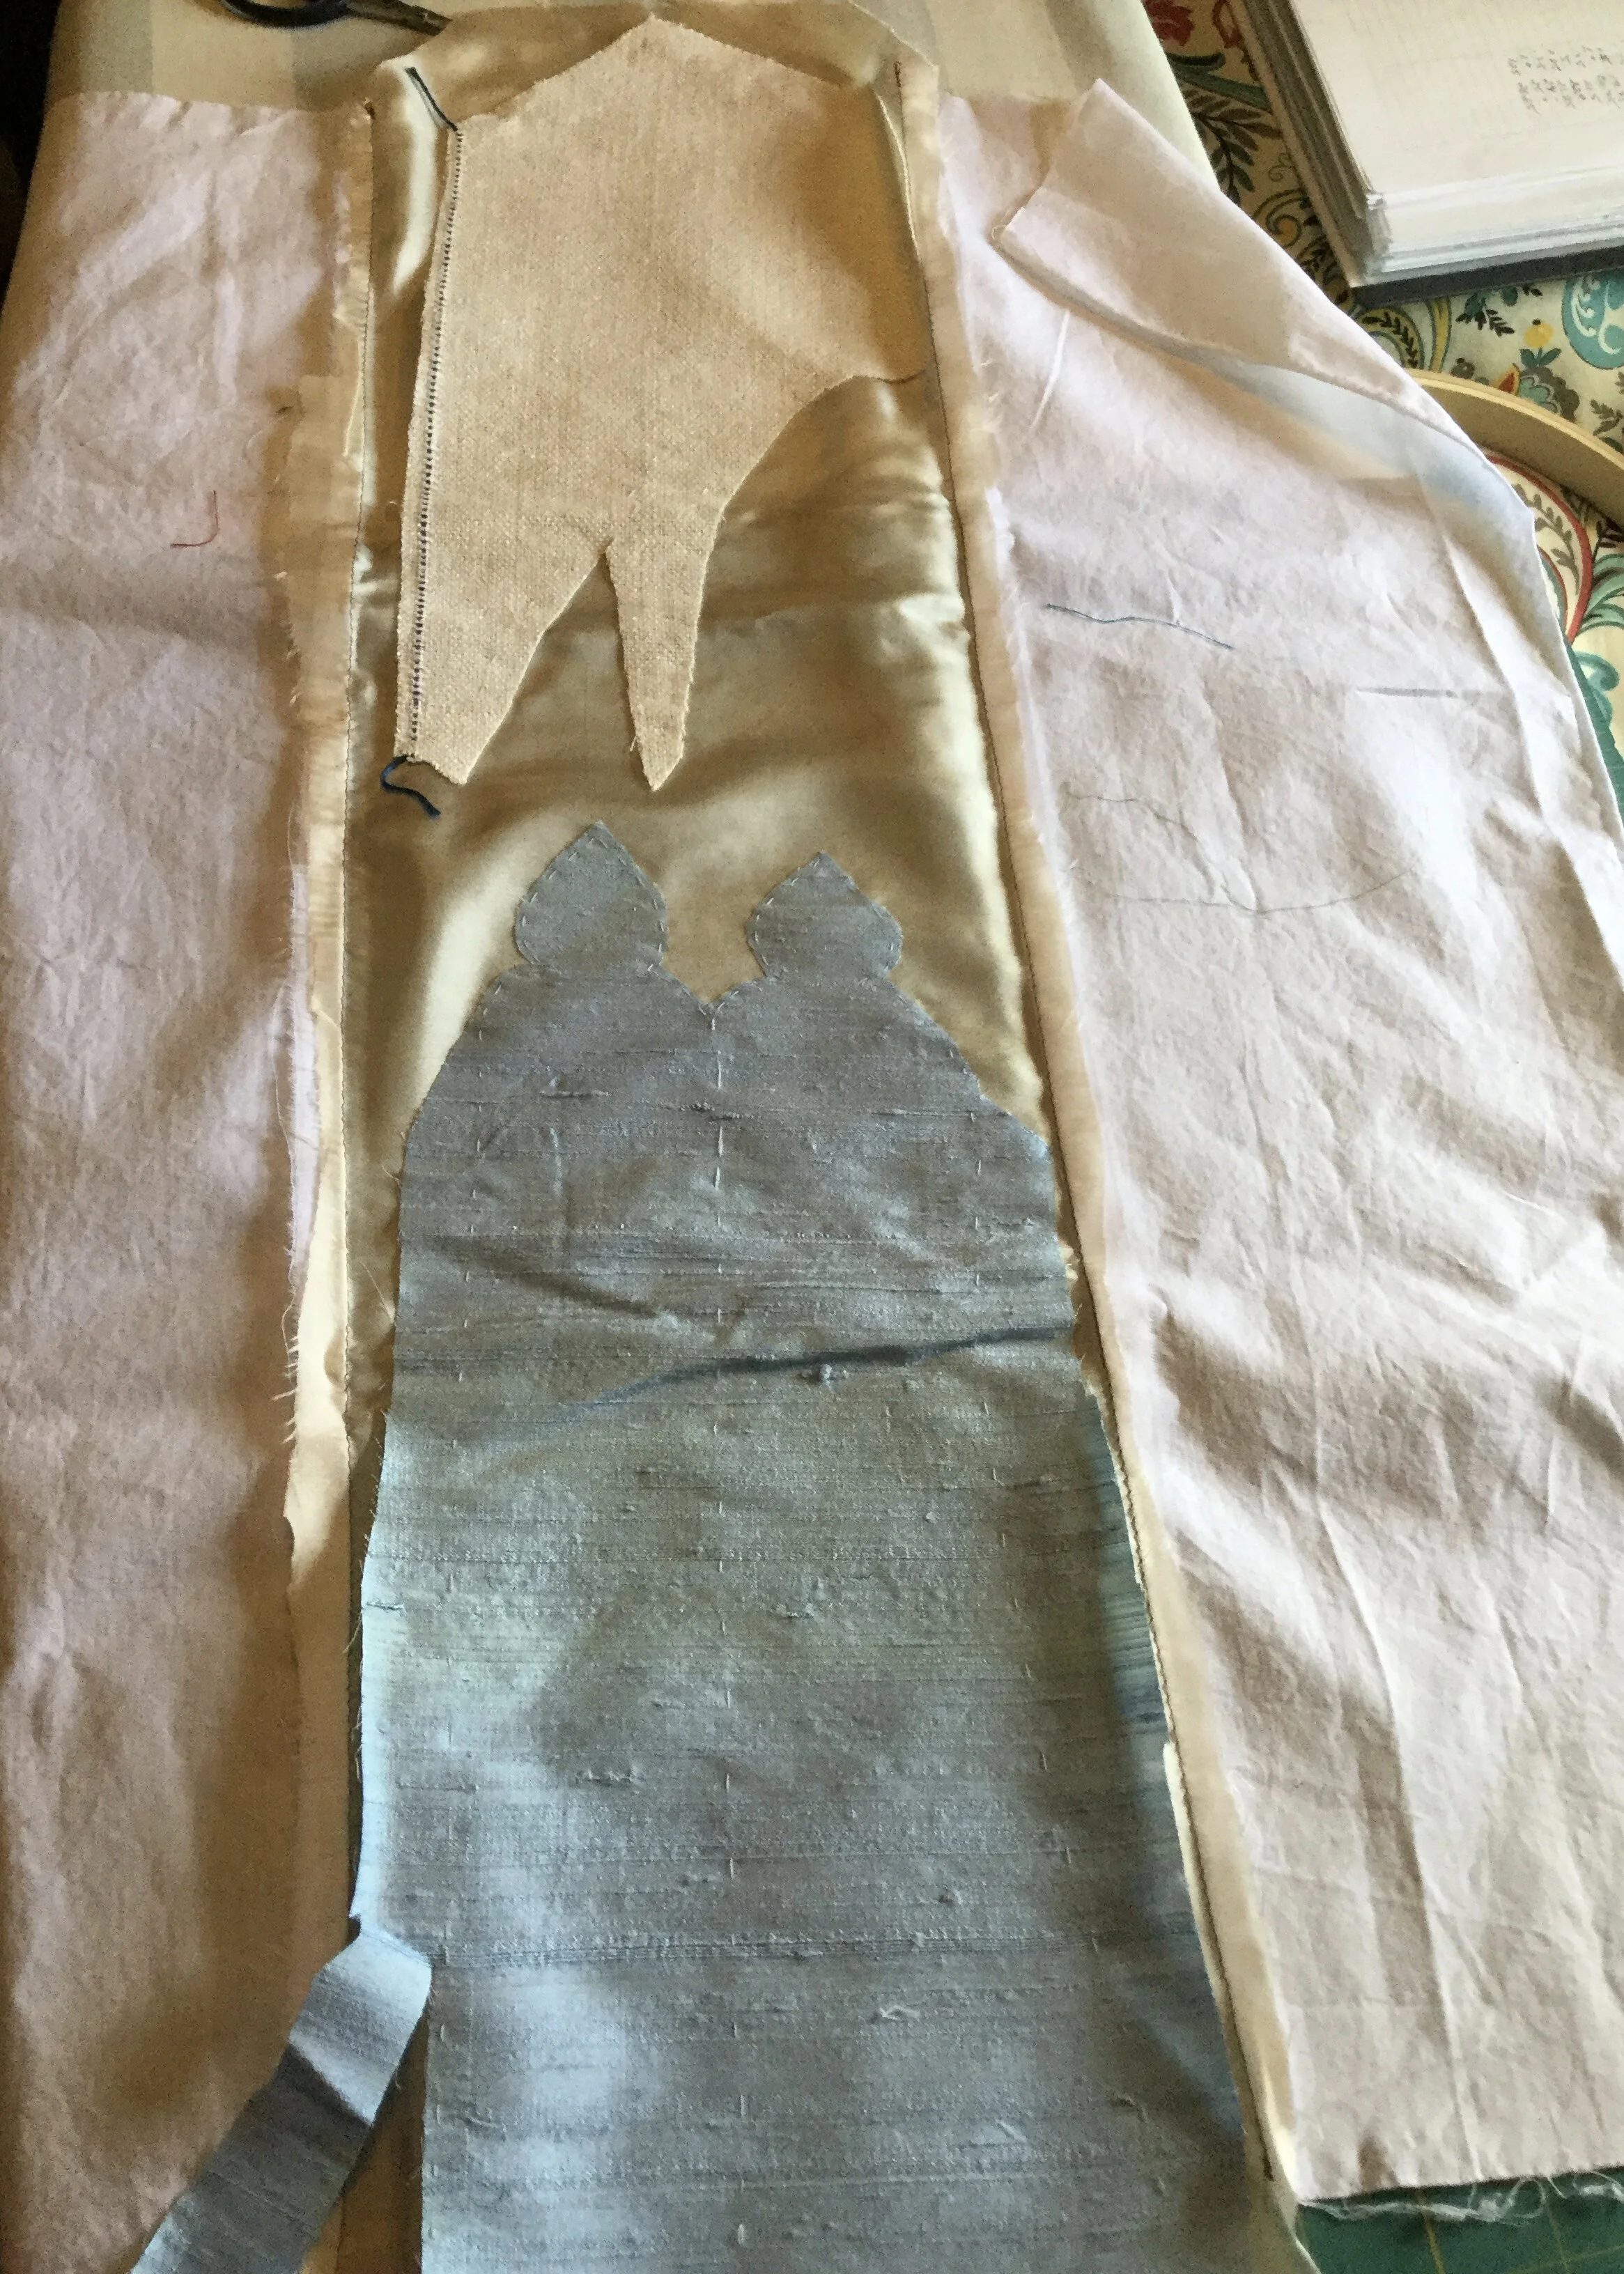
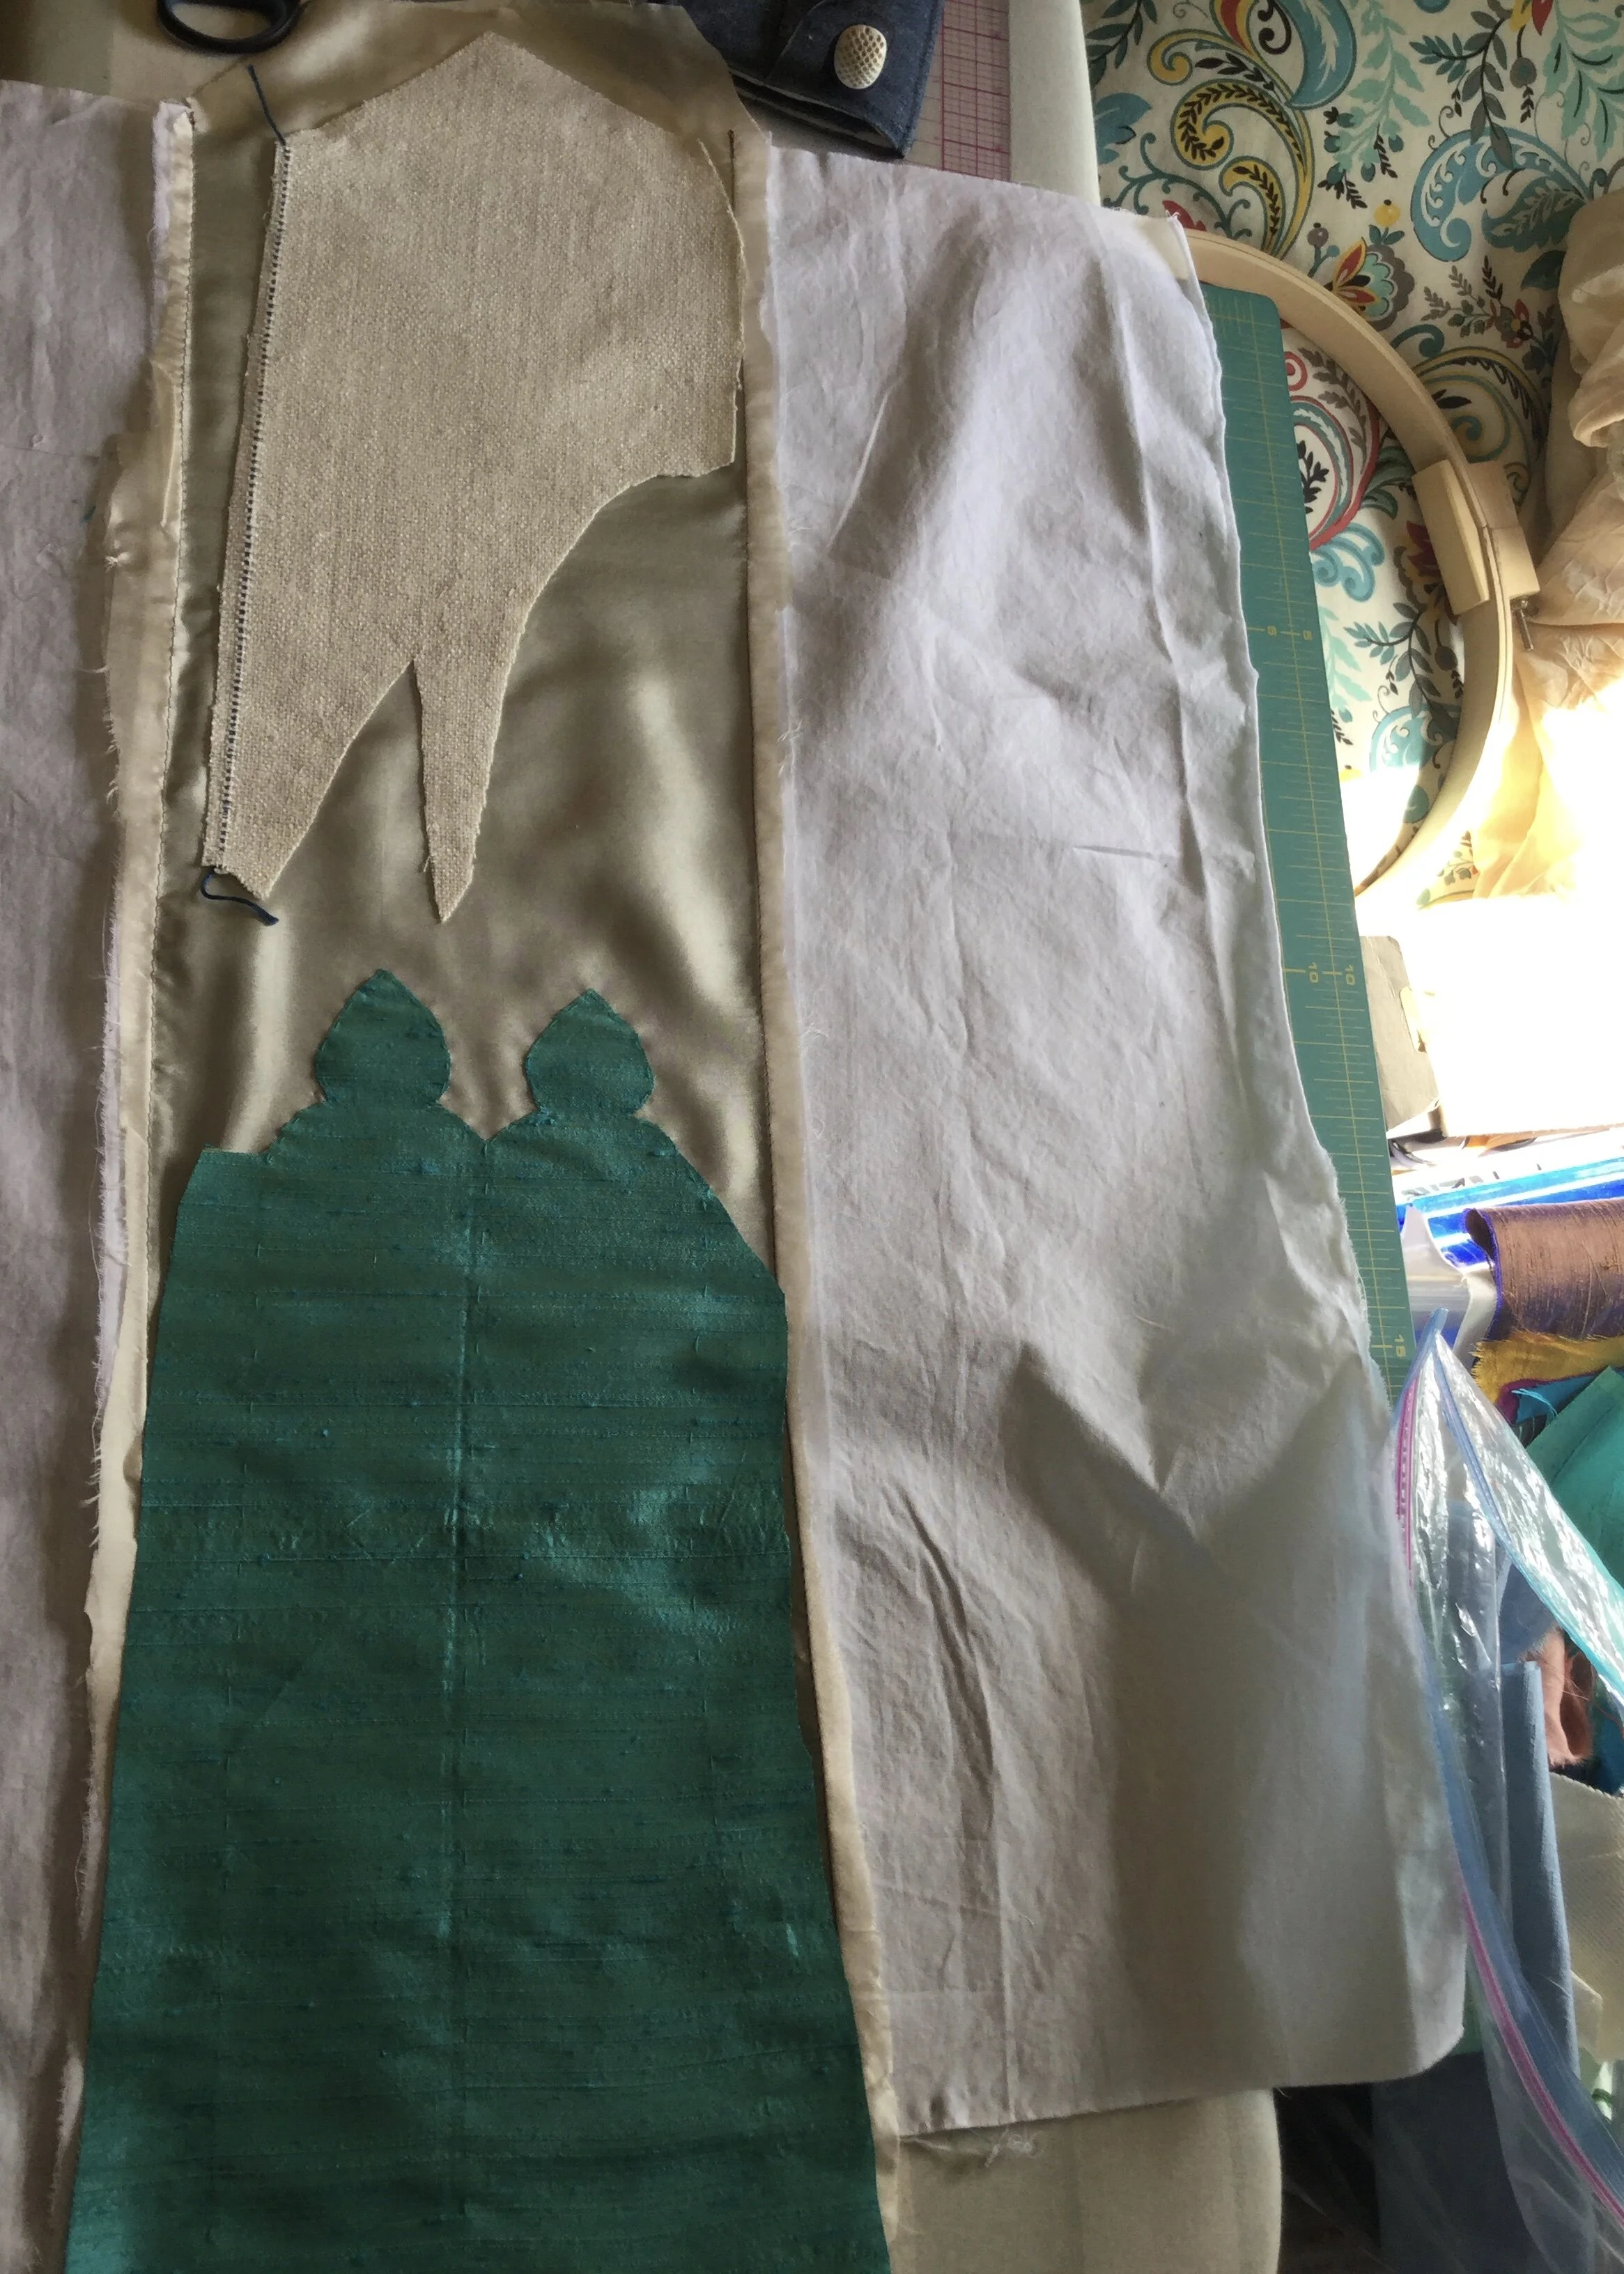
Before I put it into the hoop, I flat mounted the white silk matka to the top of the bodice and the blue dupioni which would be the lower sections of the window to the skirt. Then I changed my mind and swapped out the light blue for a darker turquoise colour.
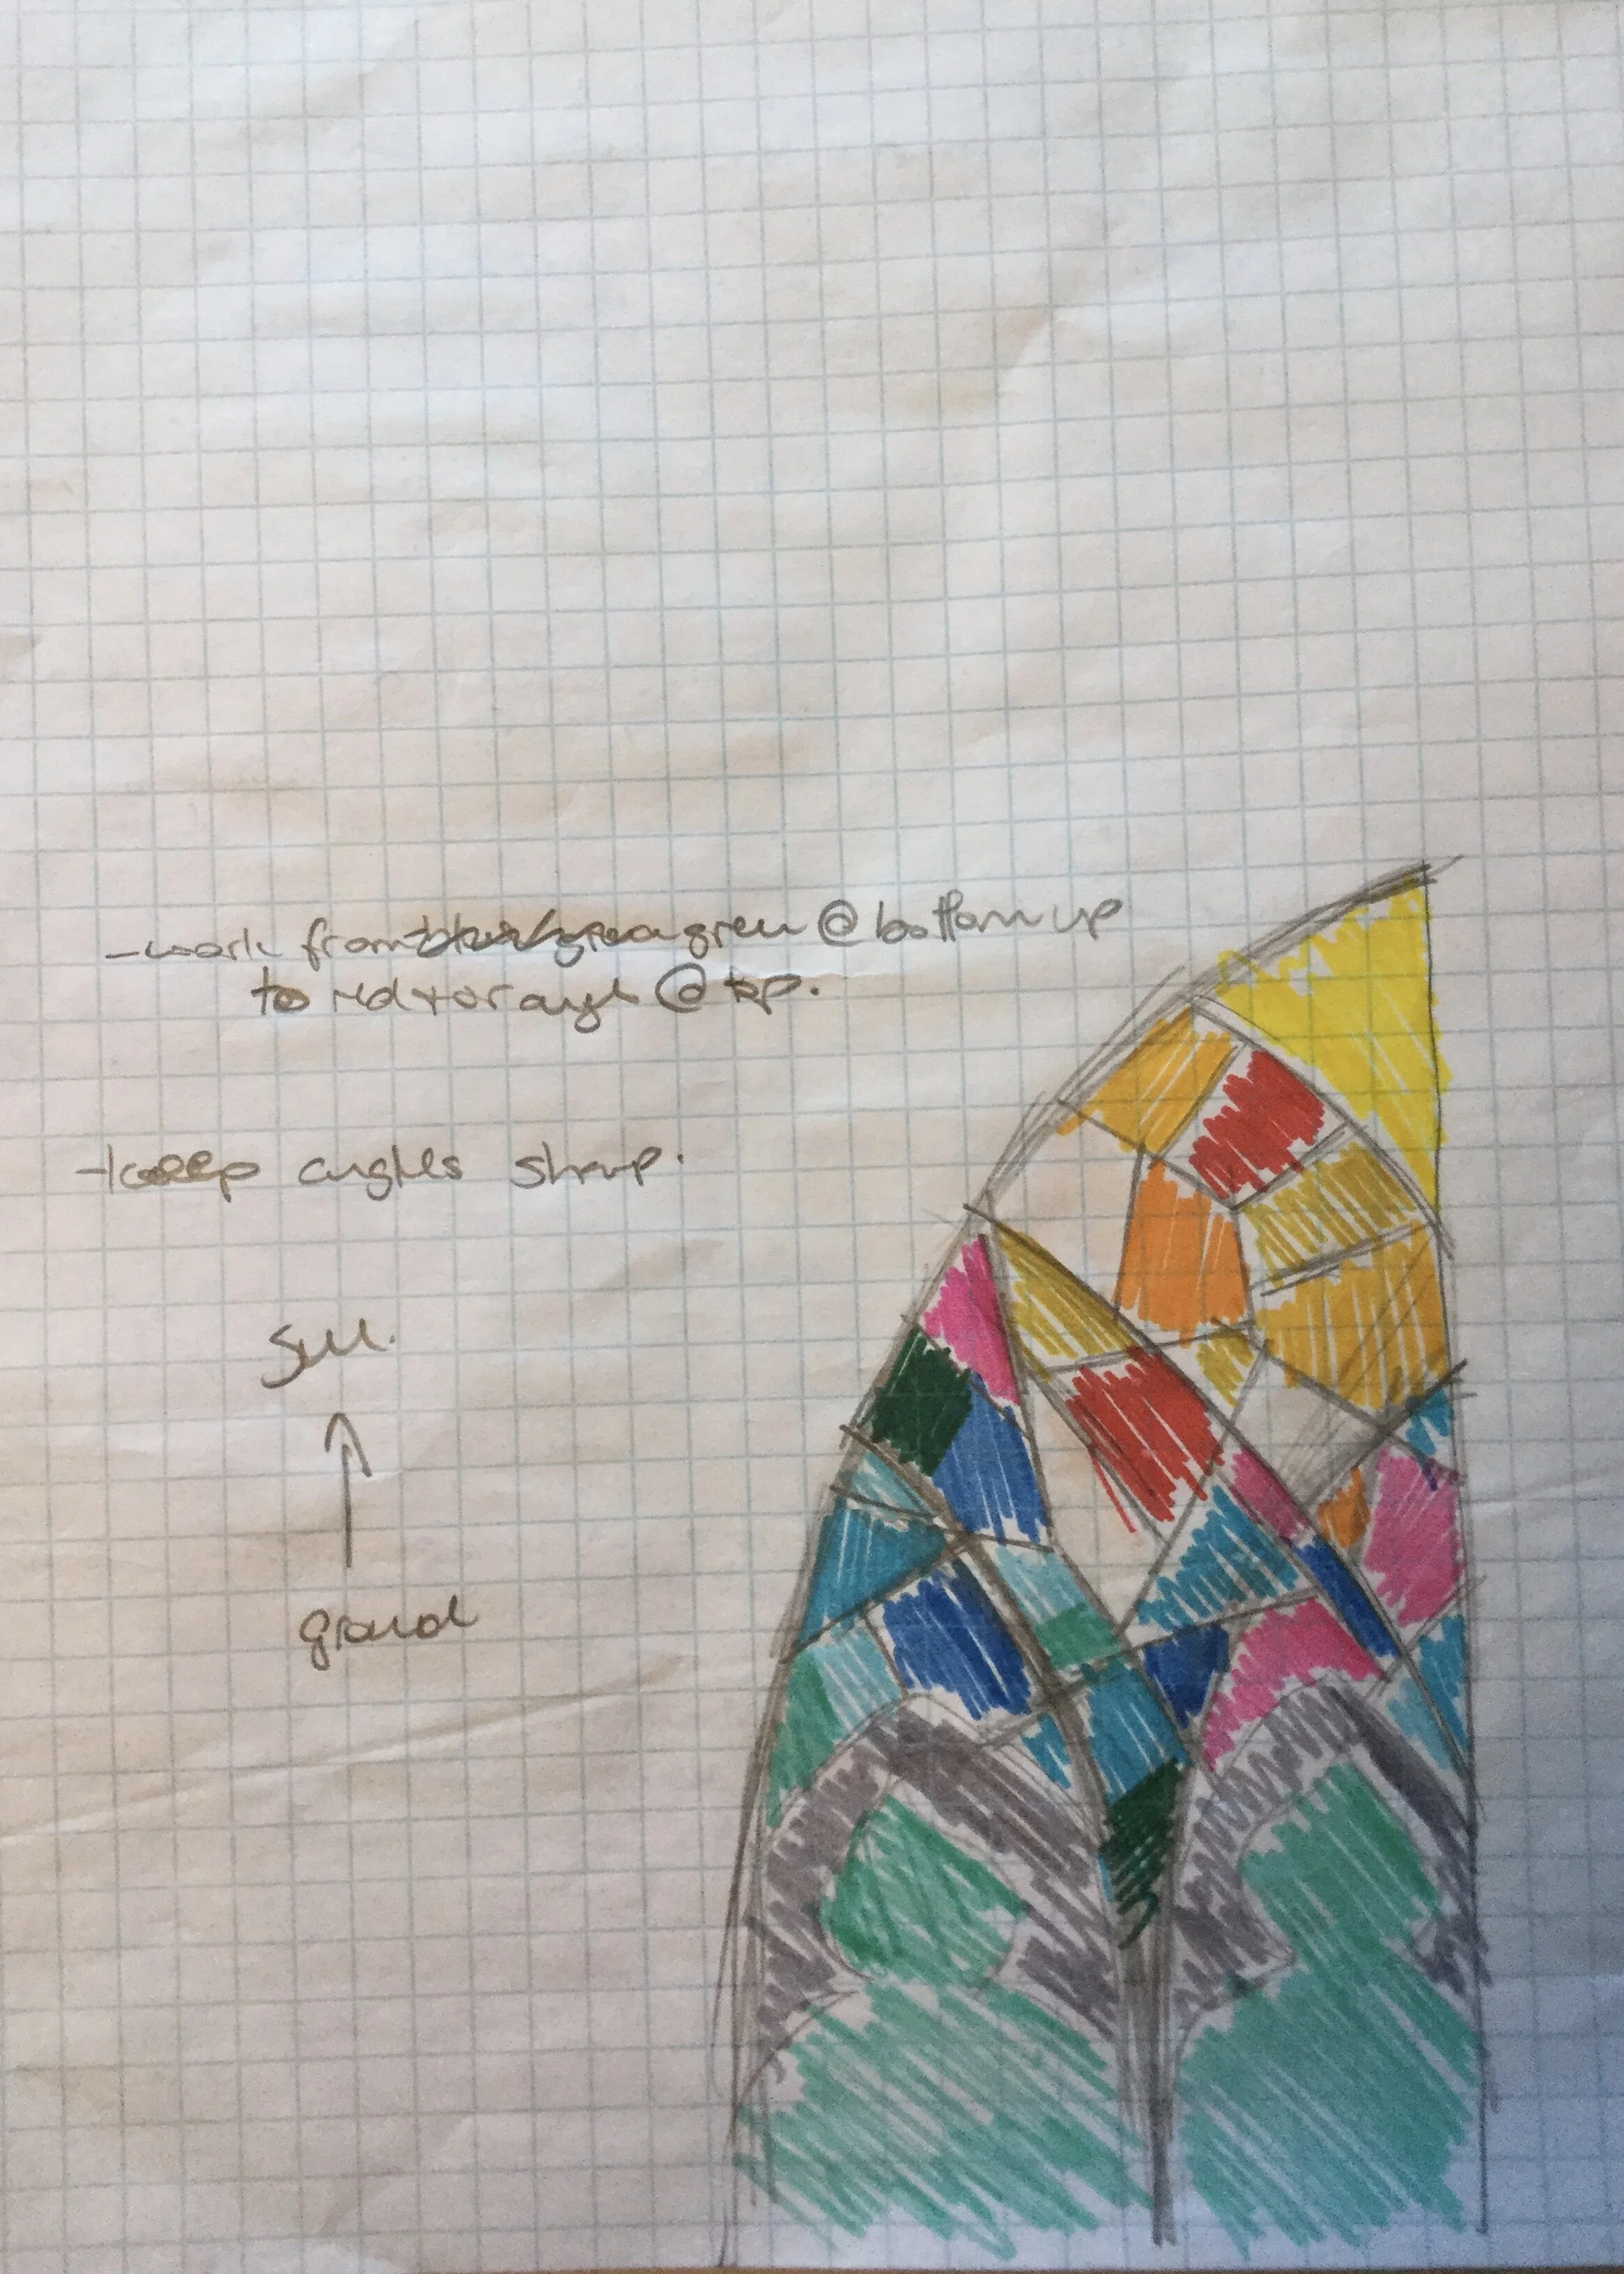
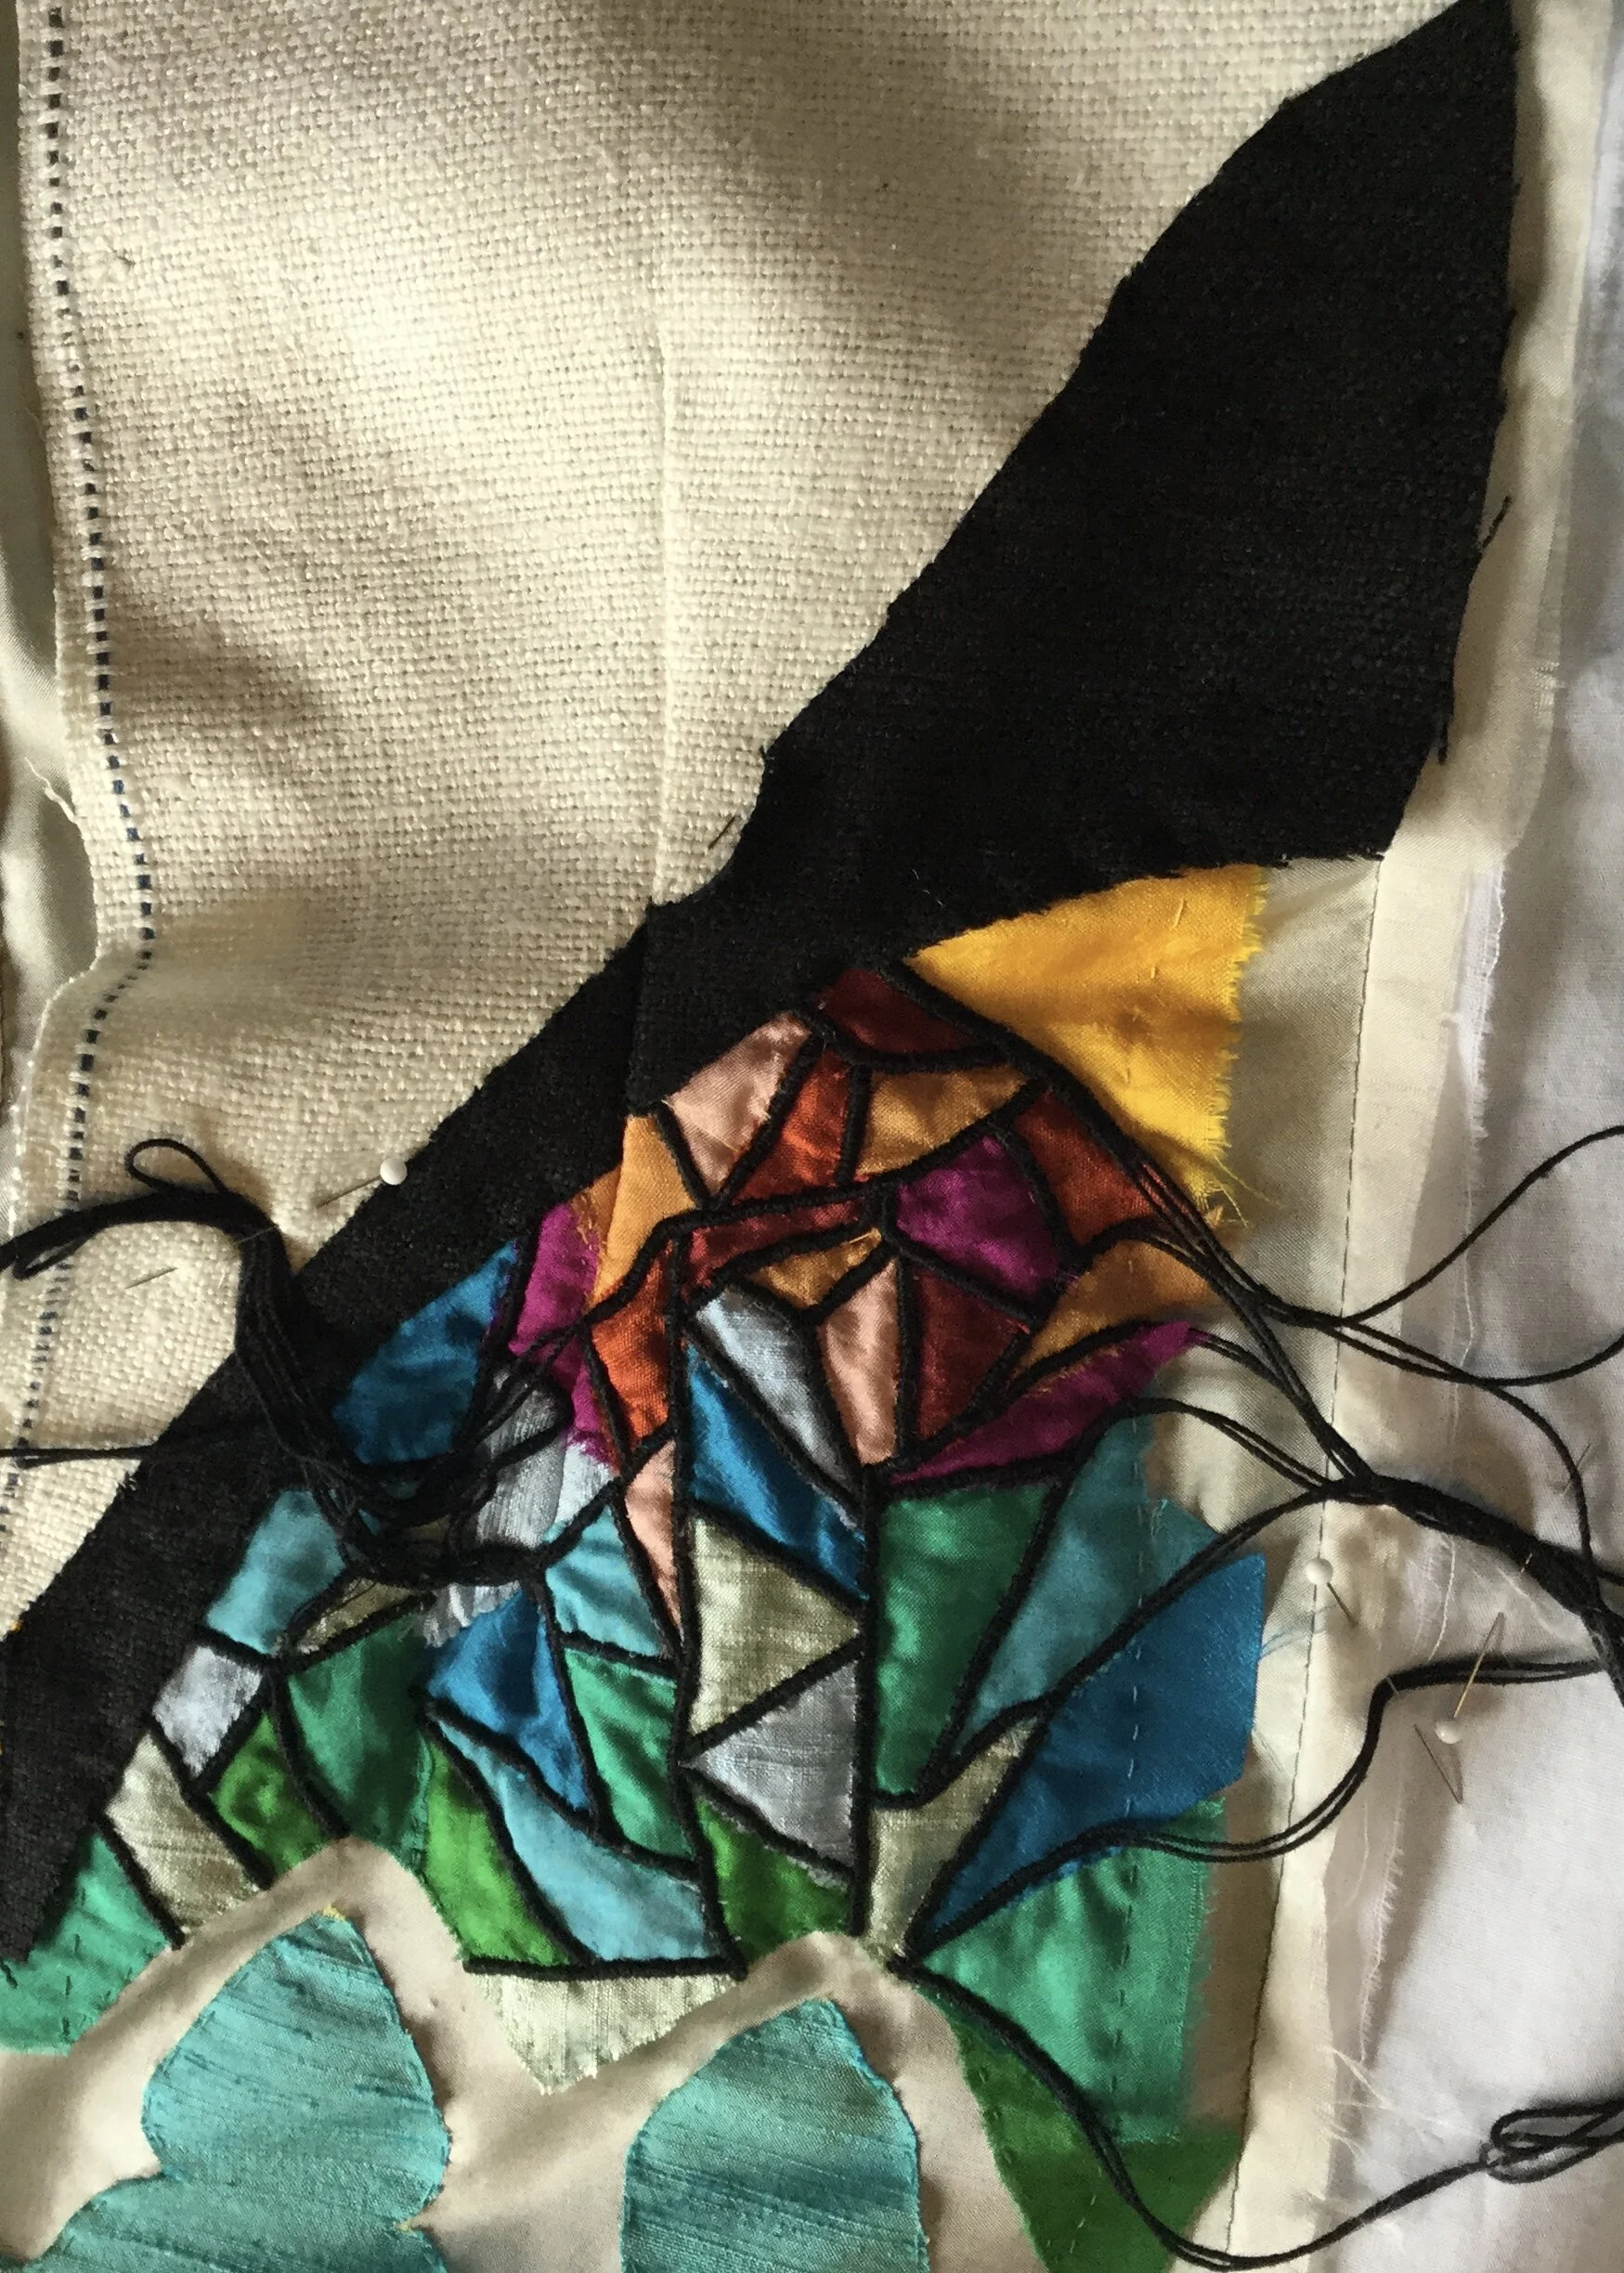
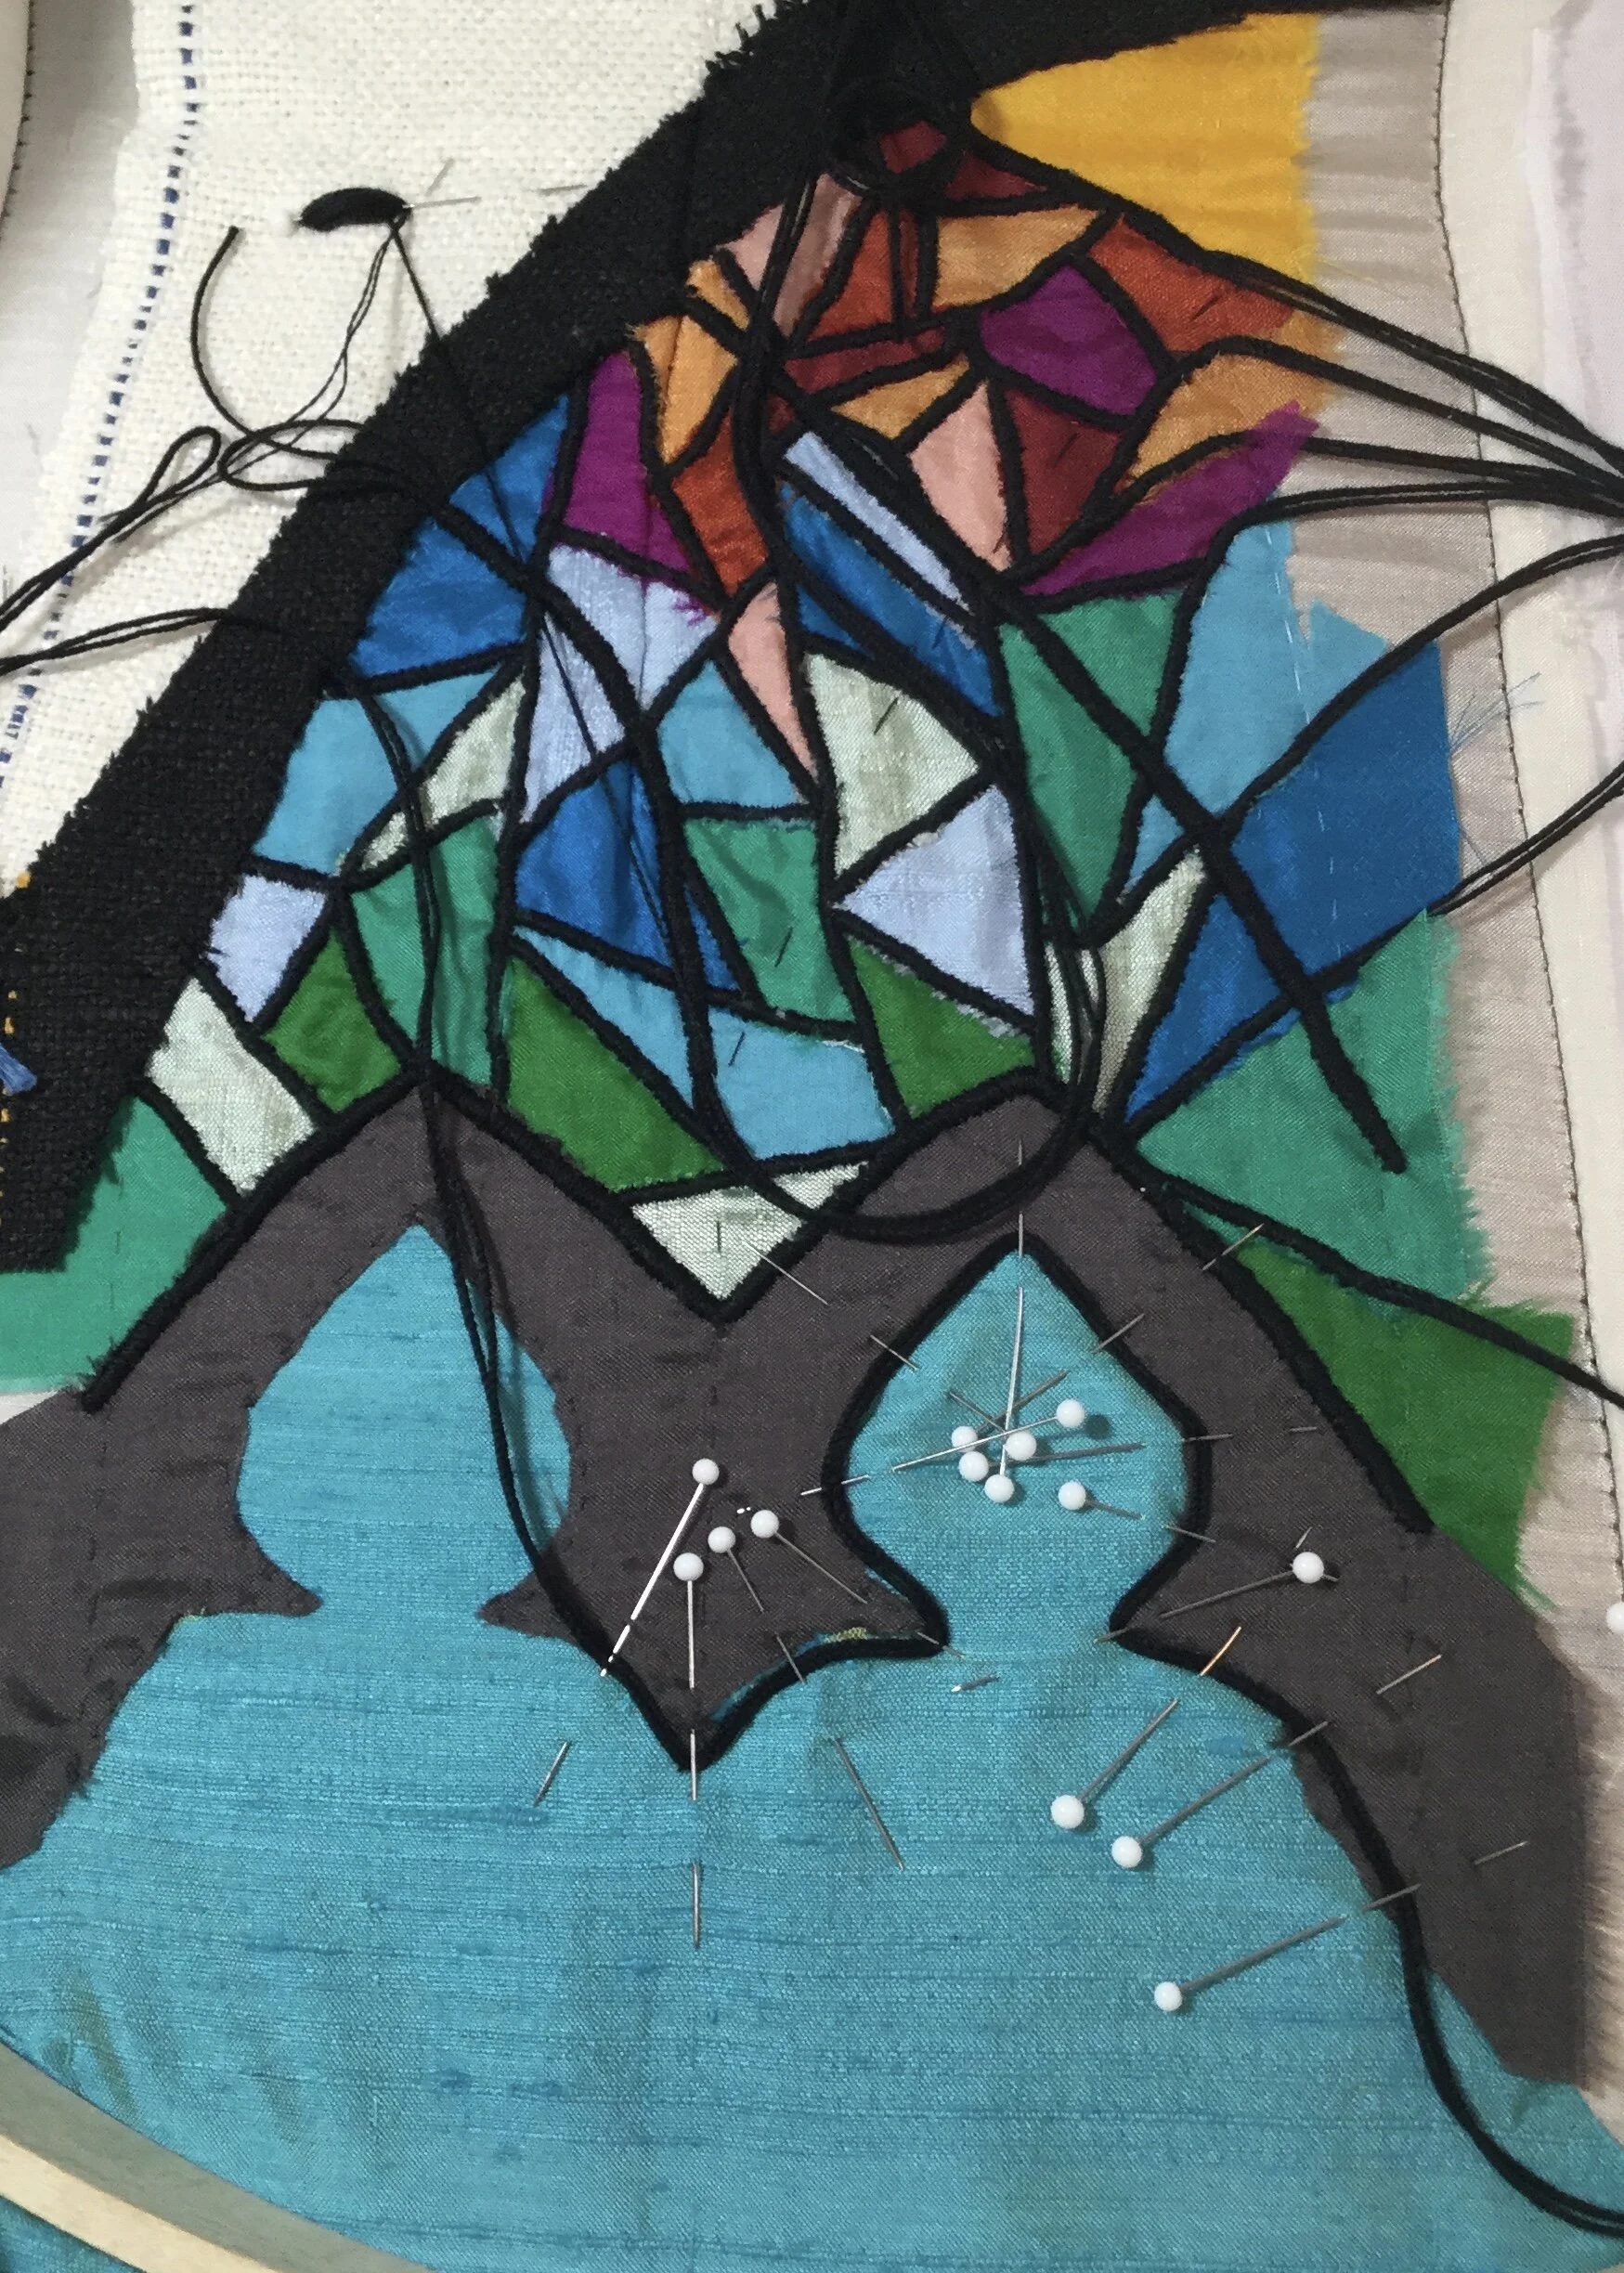
Finally, I had it up in the hoop and was ready to begin to appliqué. I began at the top of the window, applying random colours in completely random shapes, then changed my mind, took all the pieces off and began again from the bottom with more of a plan. I was aiming to loosely work from green at the bottom through blue and purple up to red and the yellow diamond a the top, sort of going from earth to sky and sun.
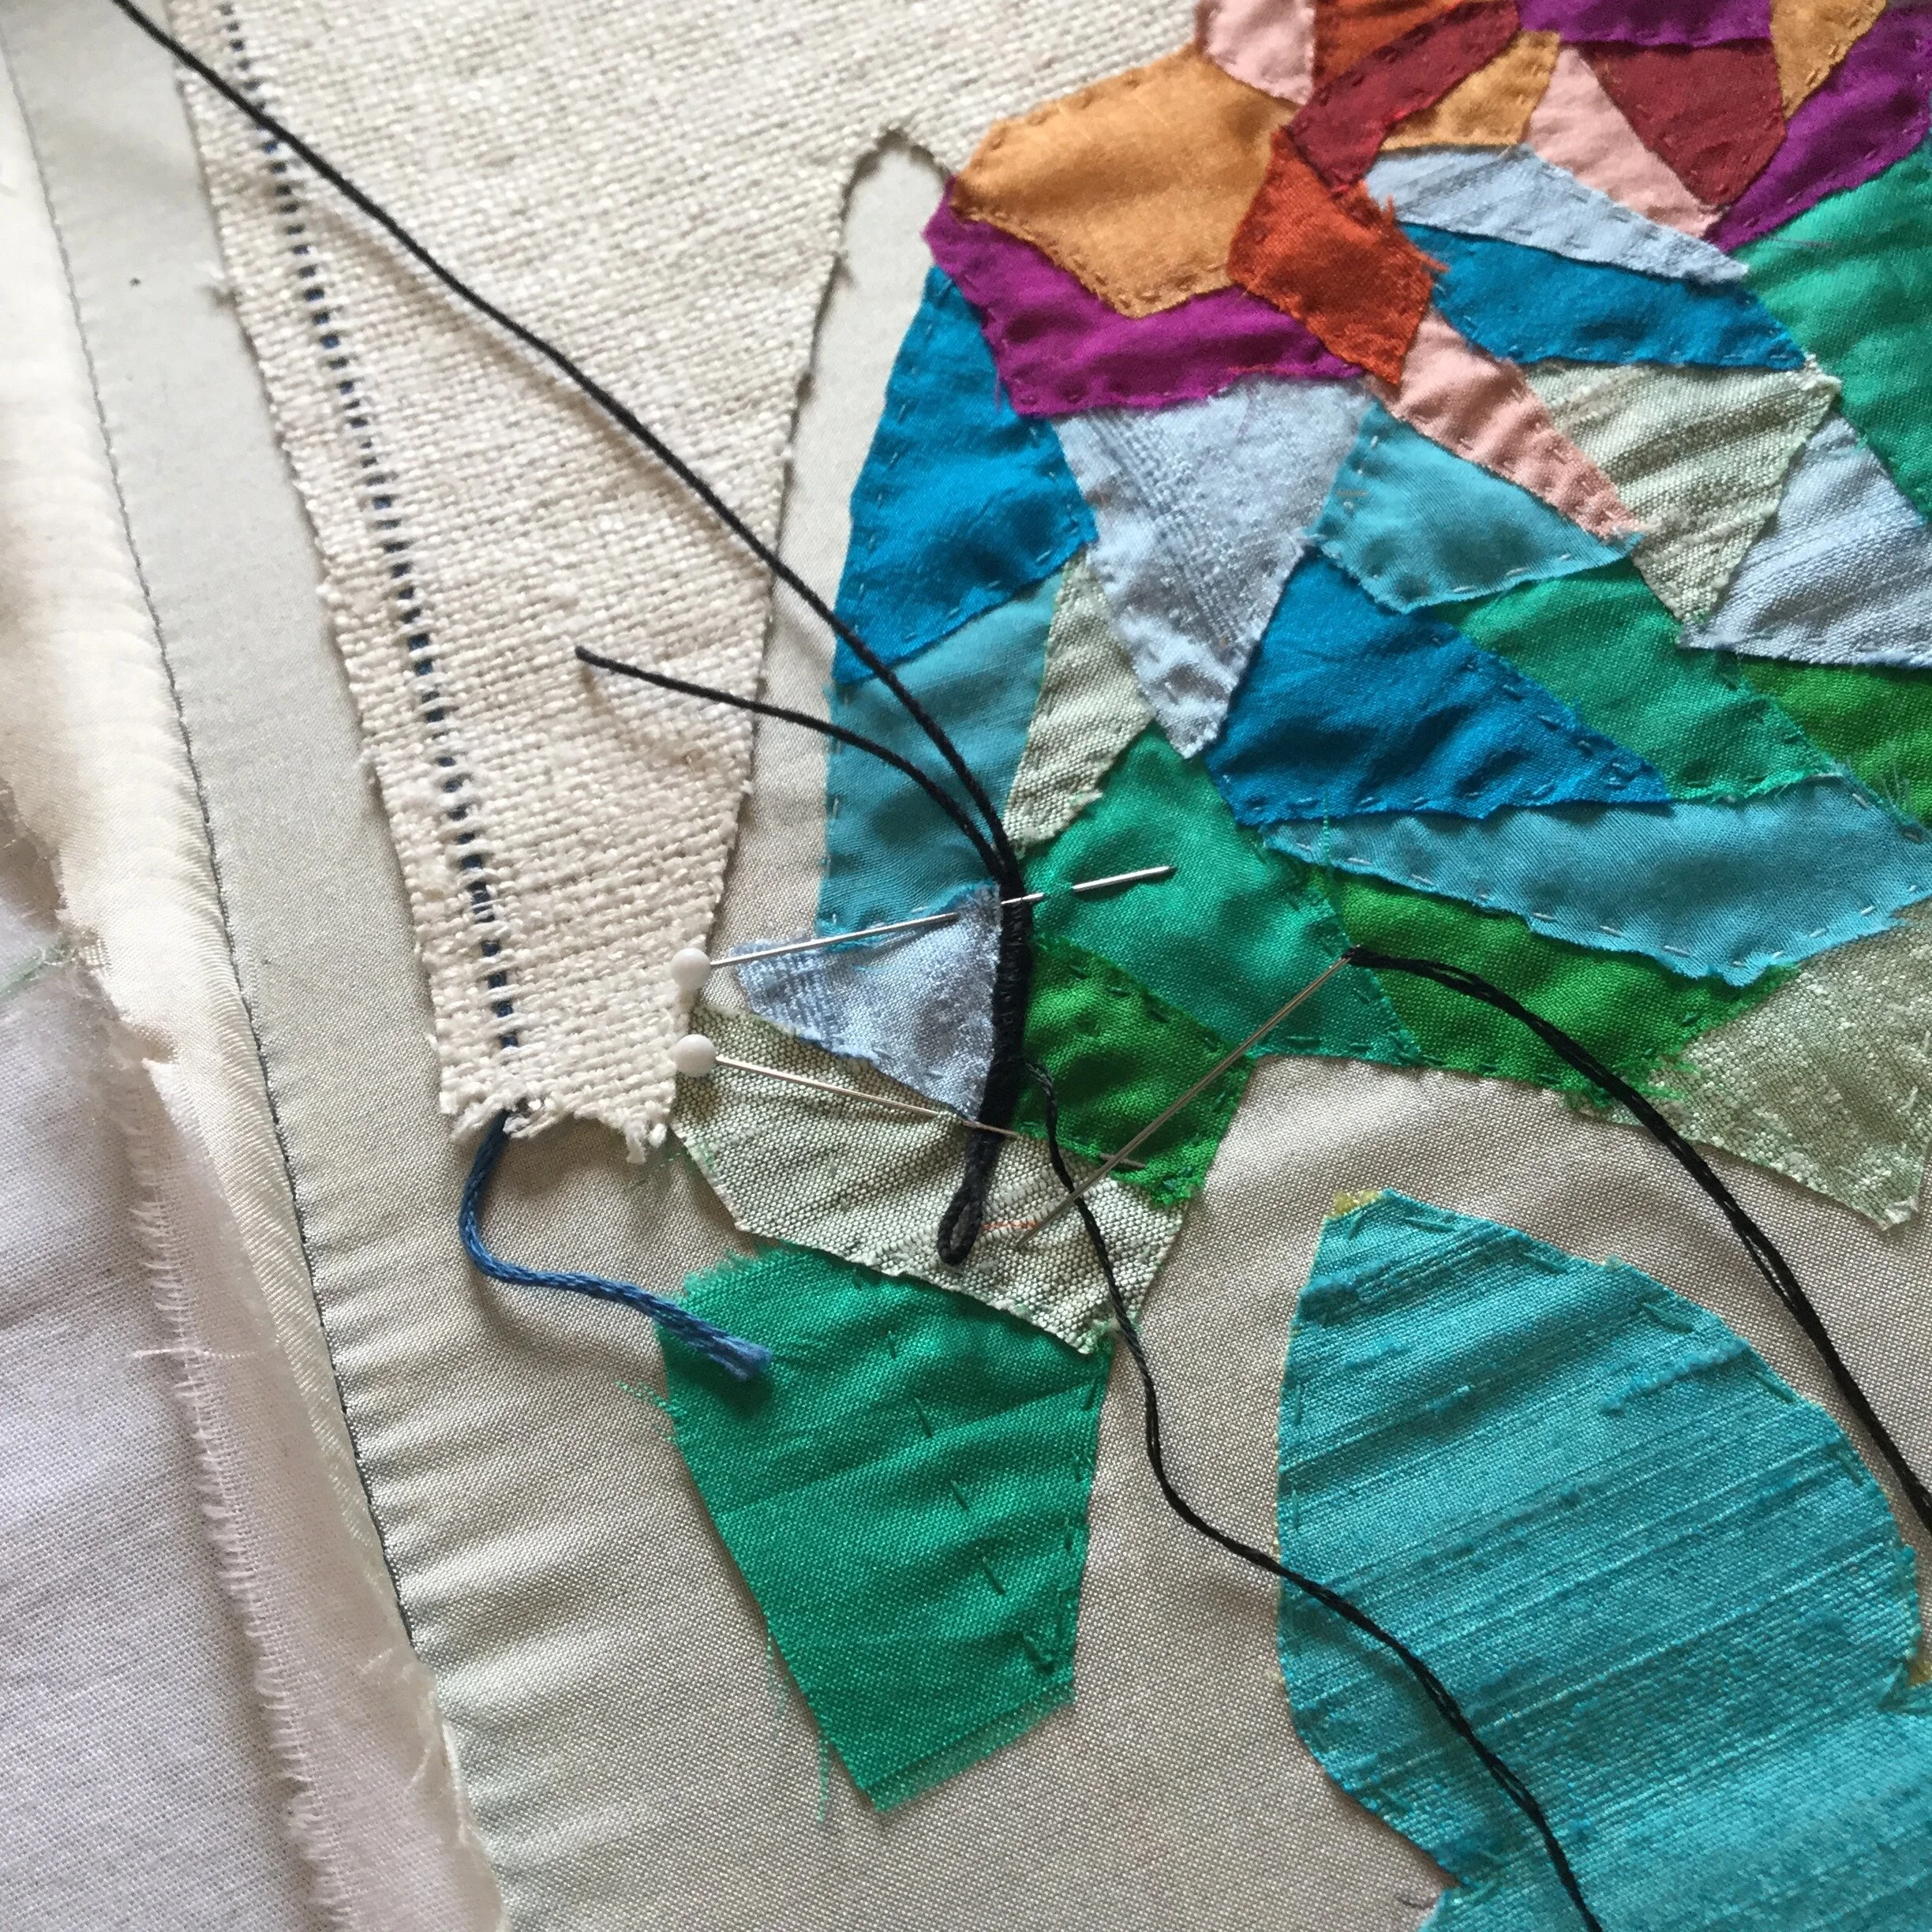
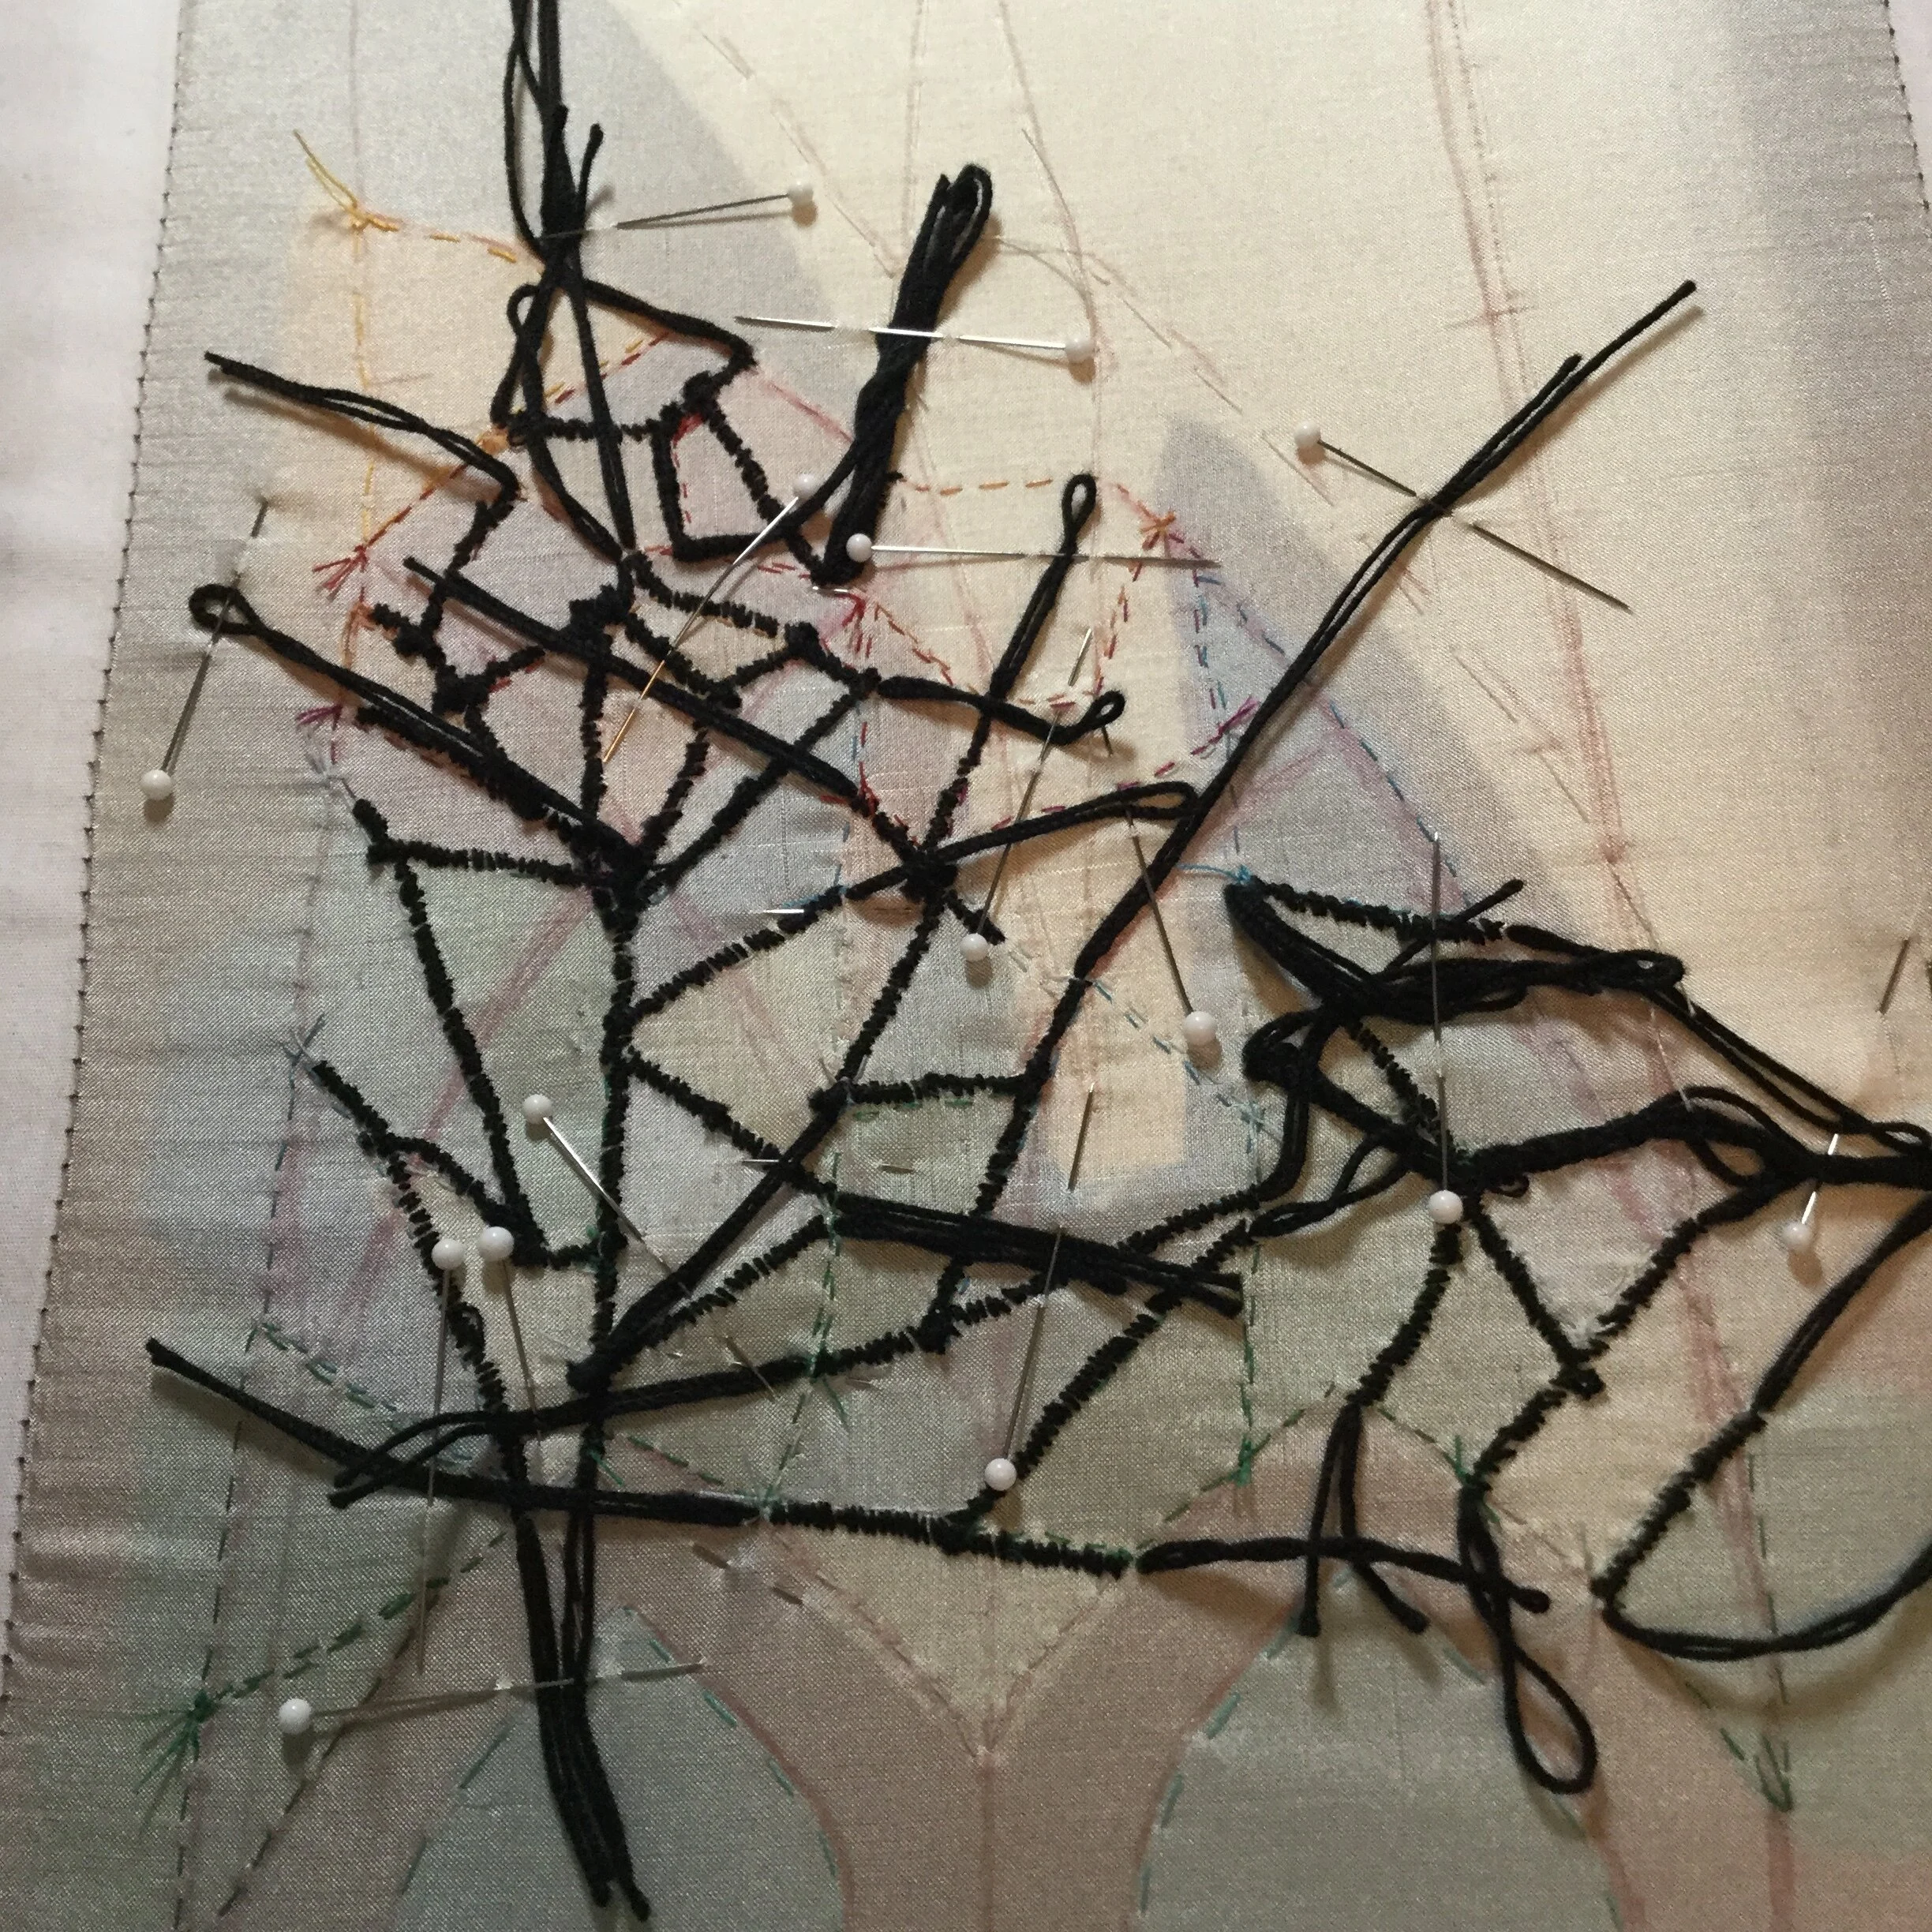
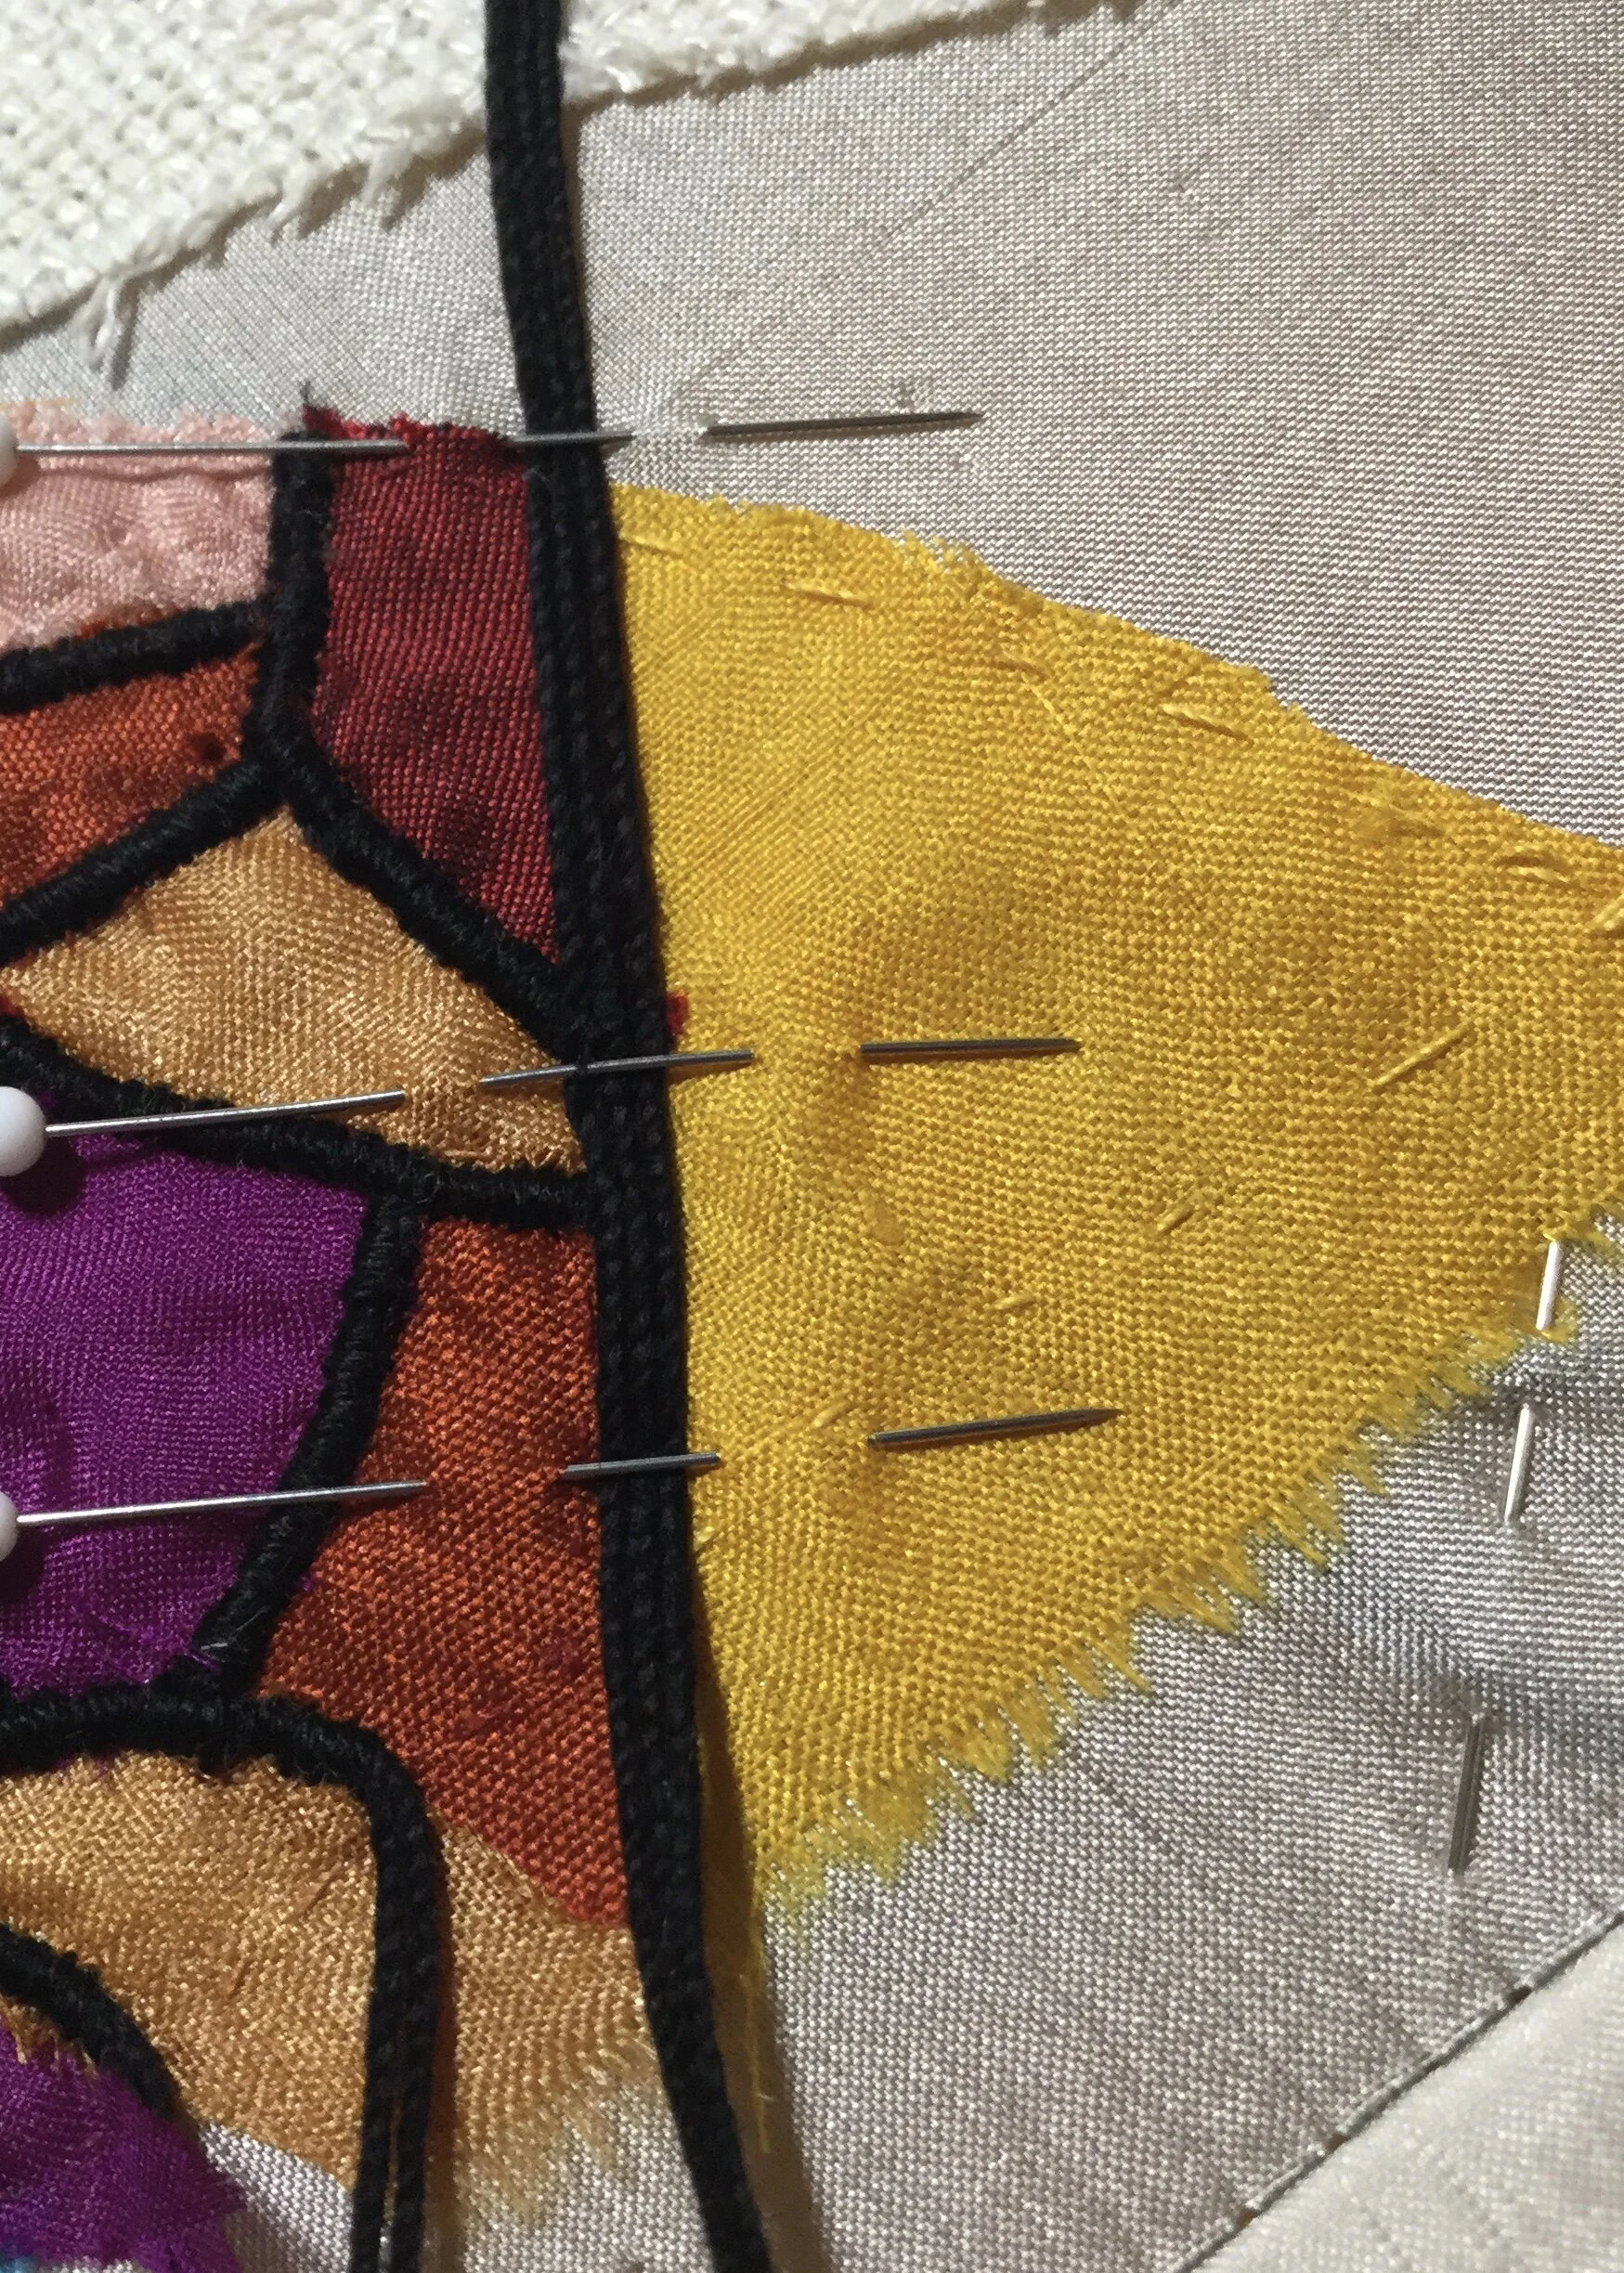
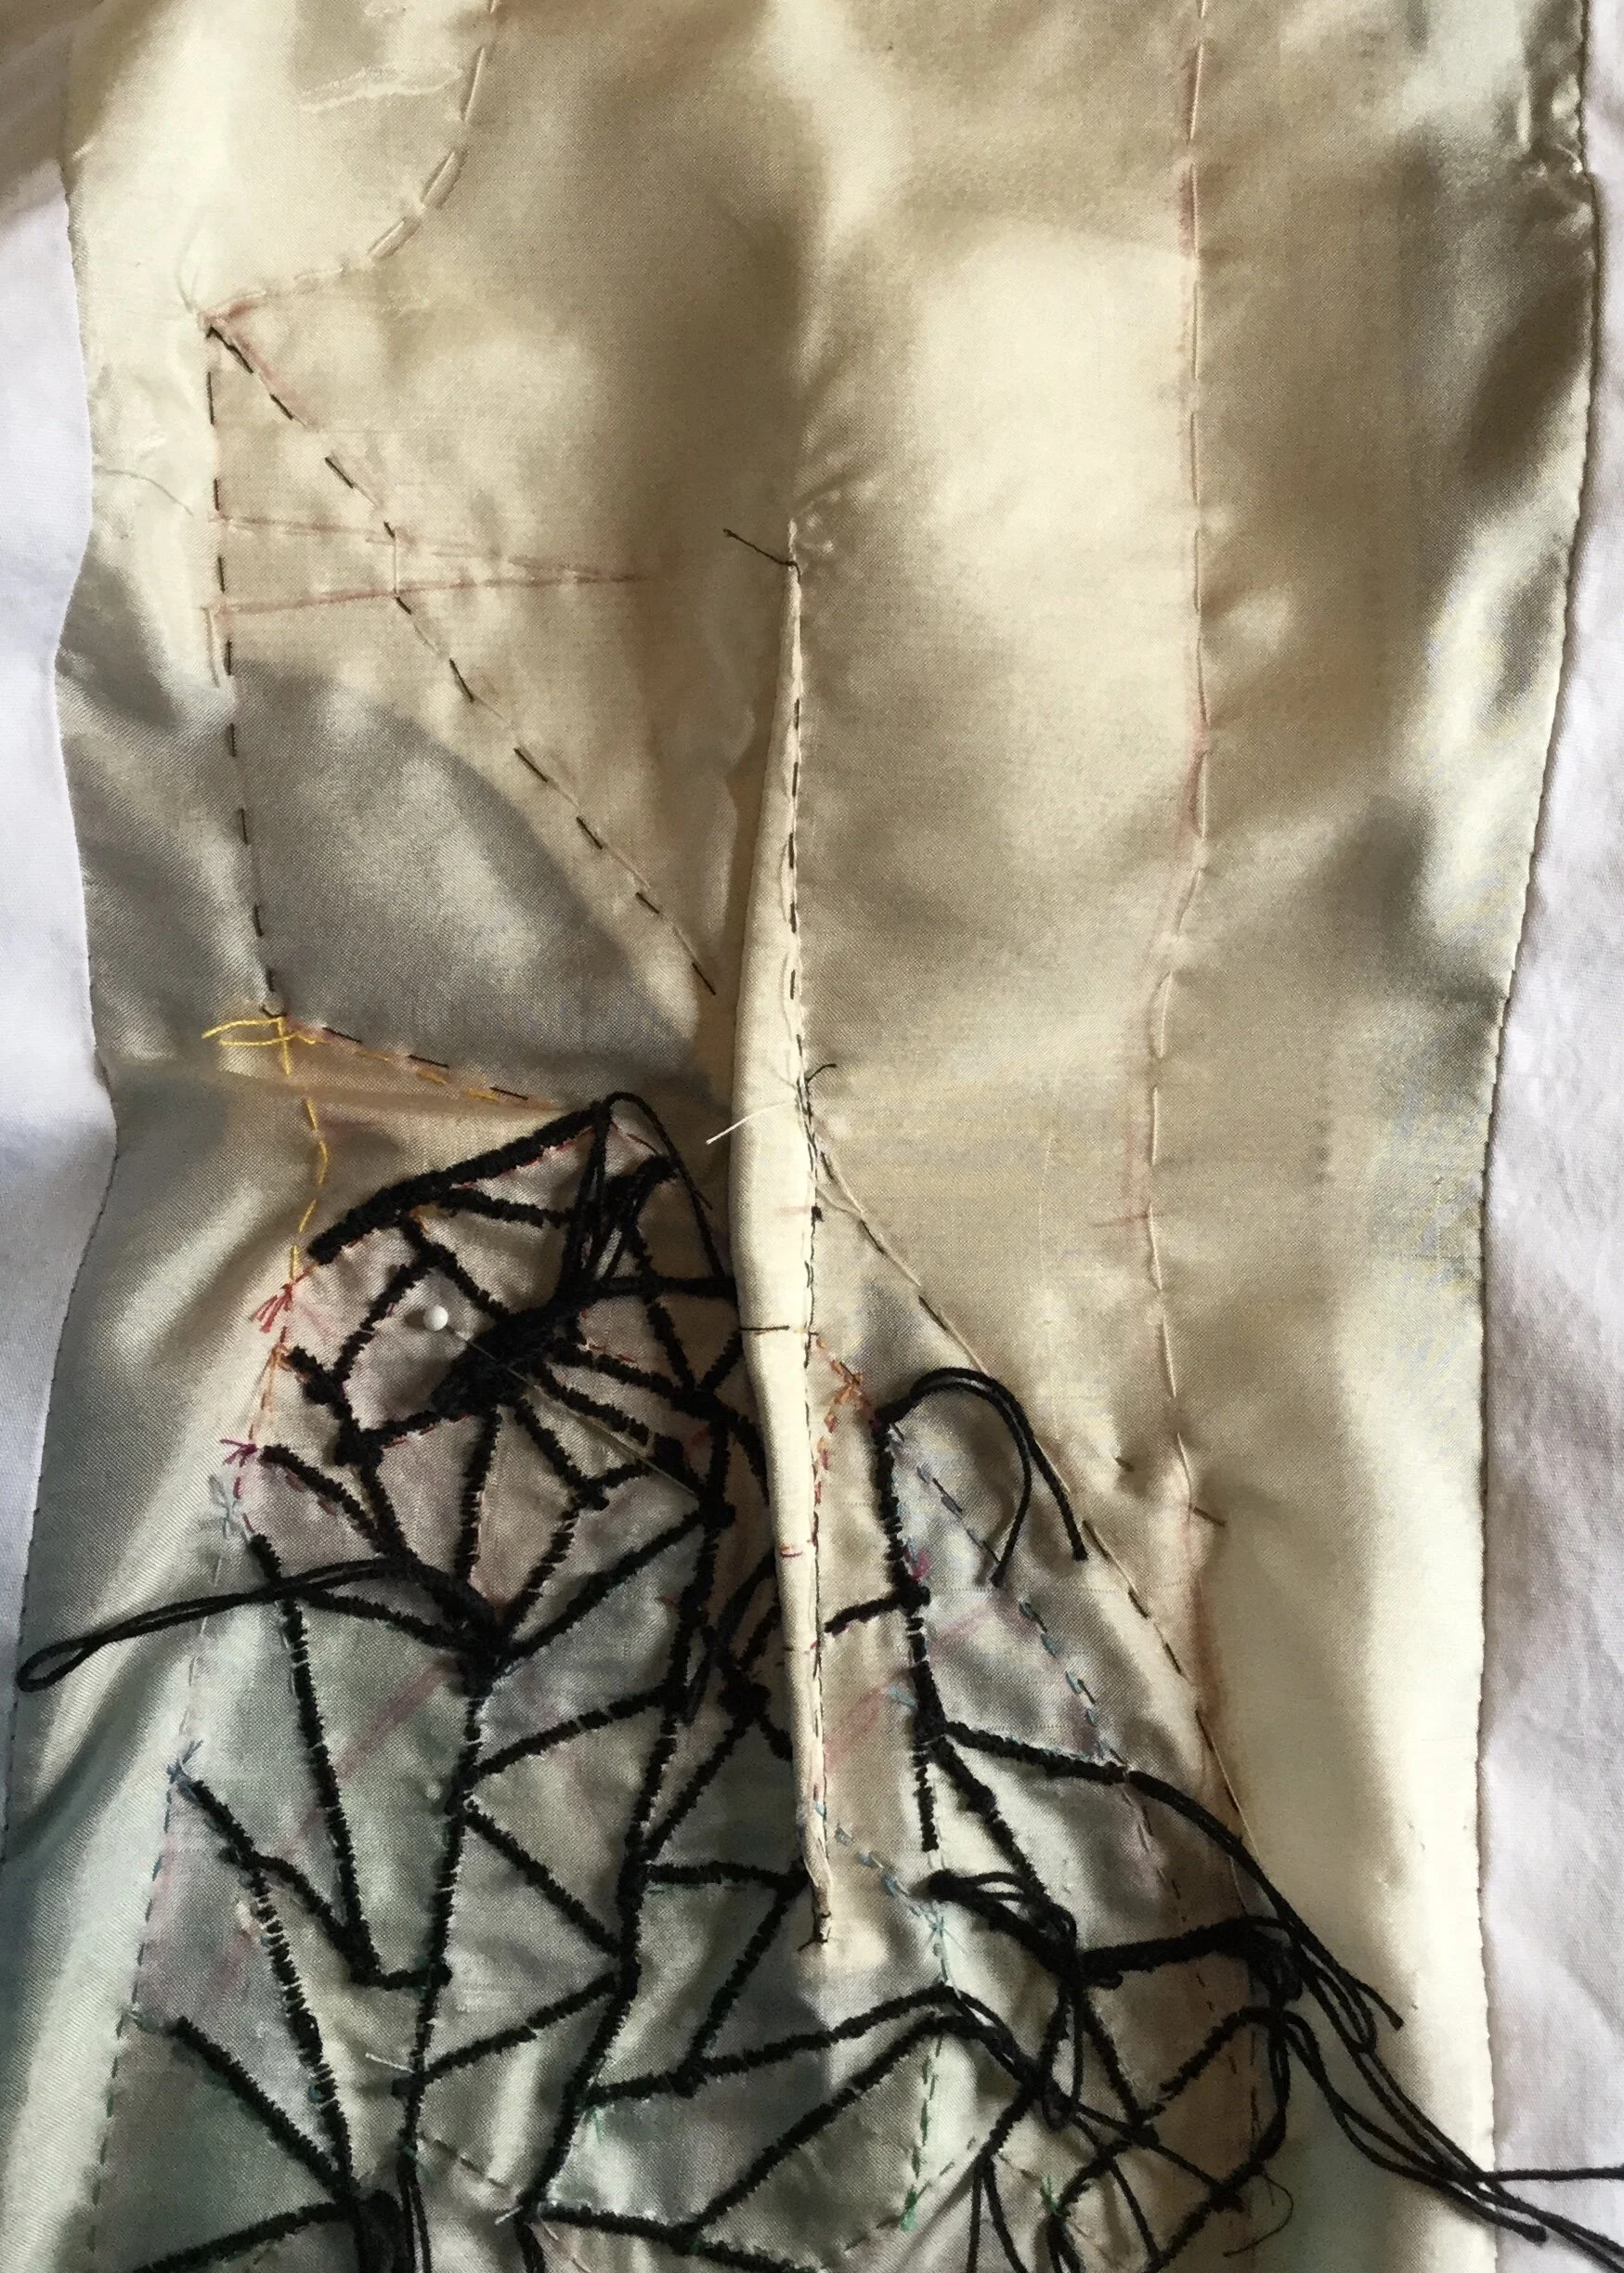
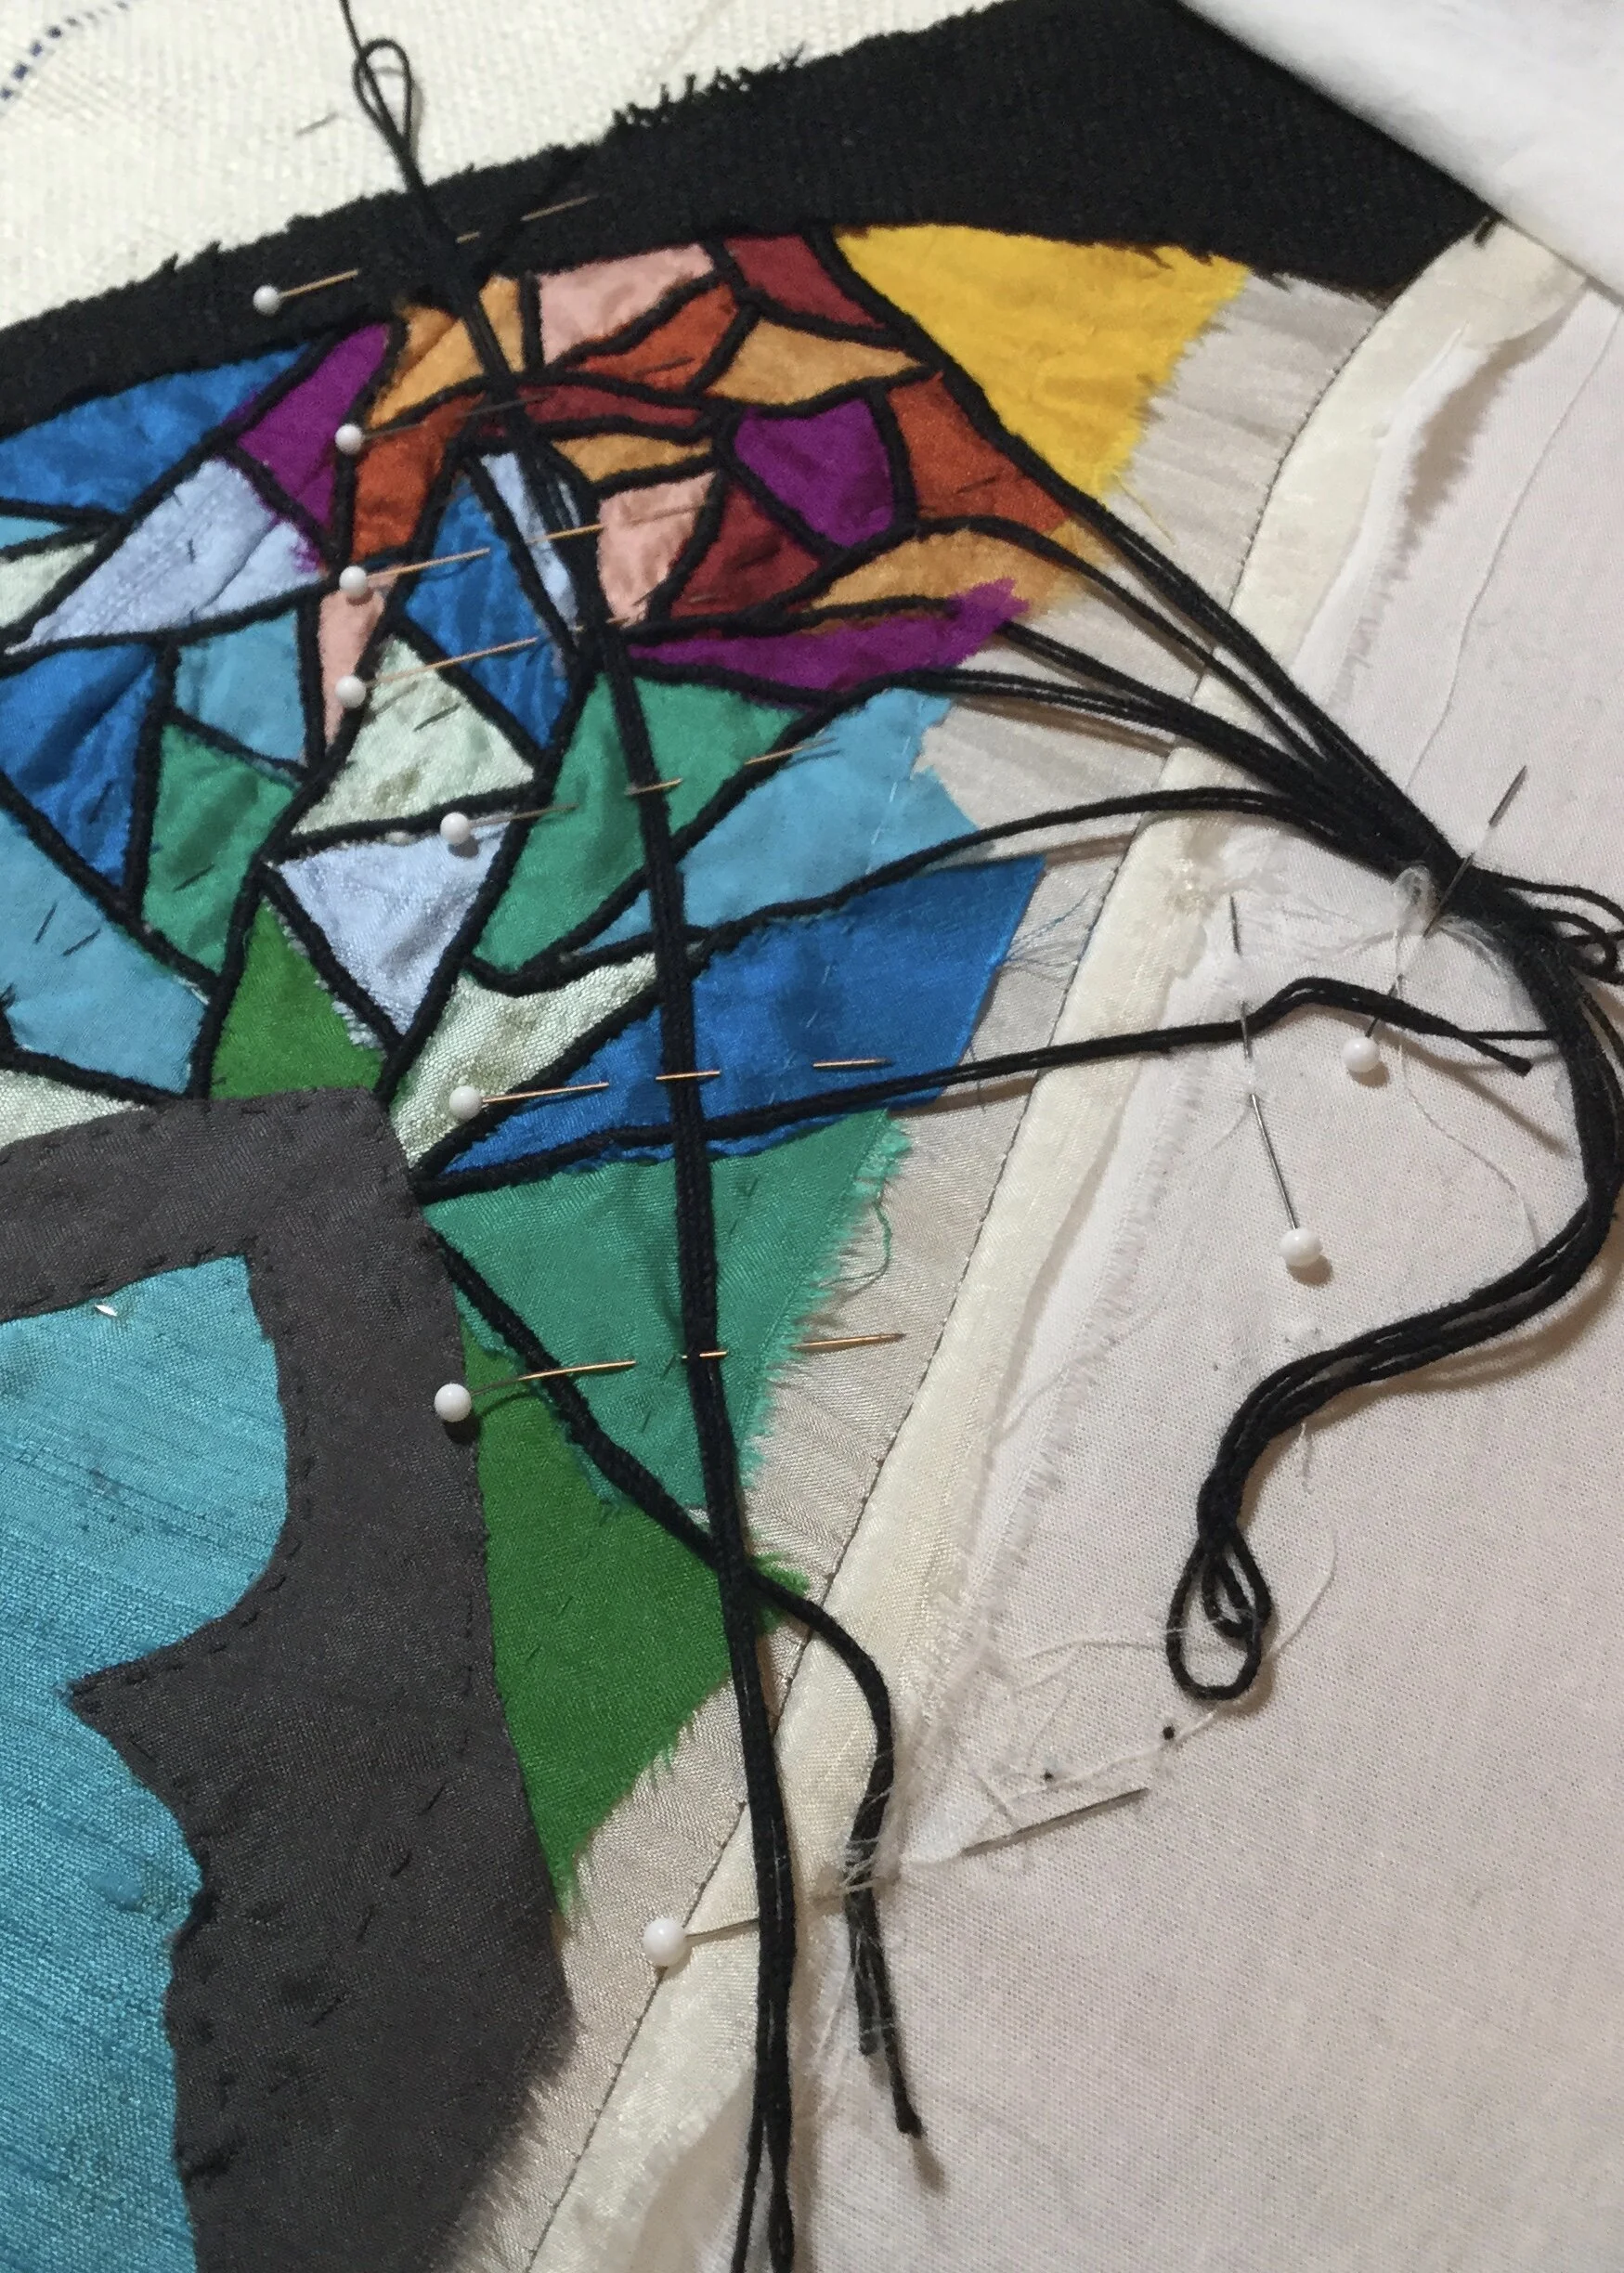
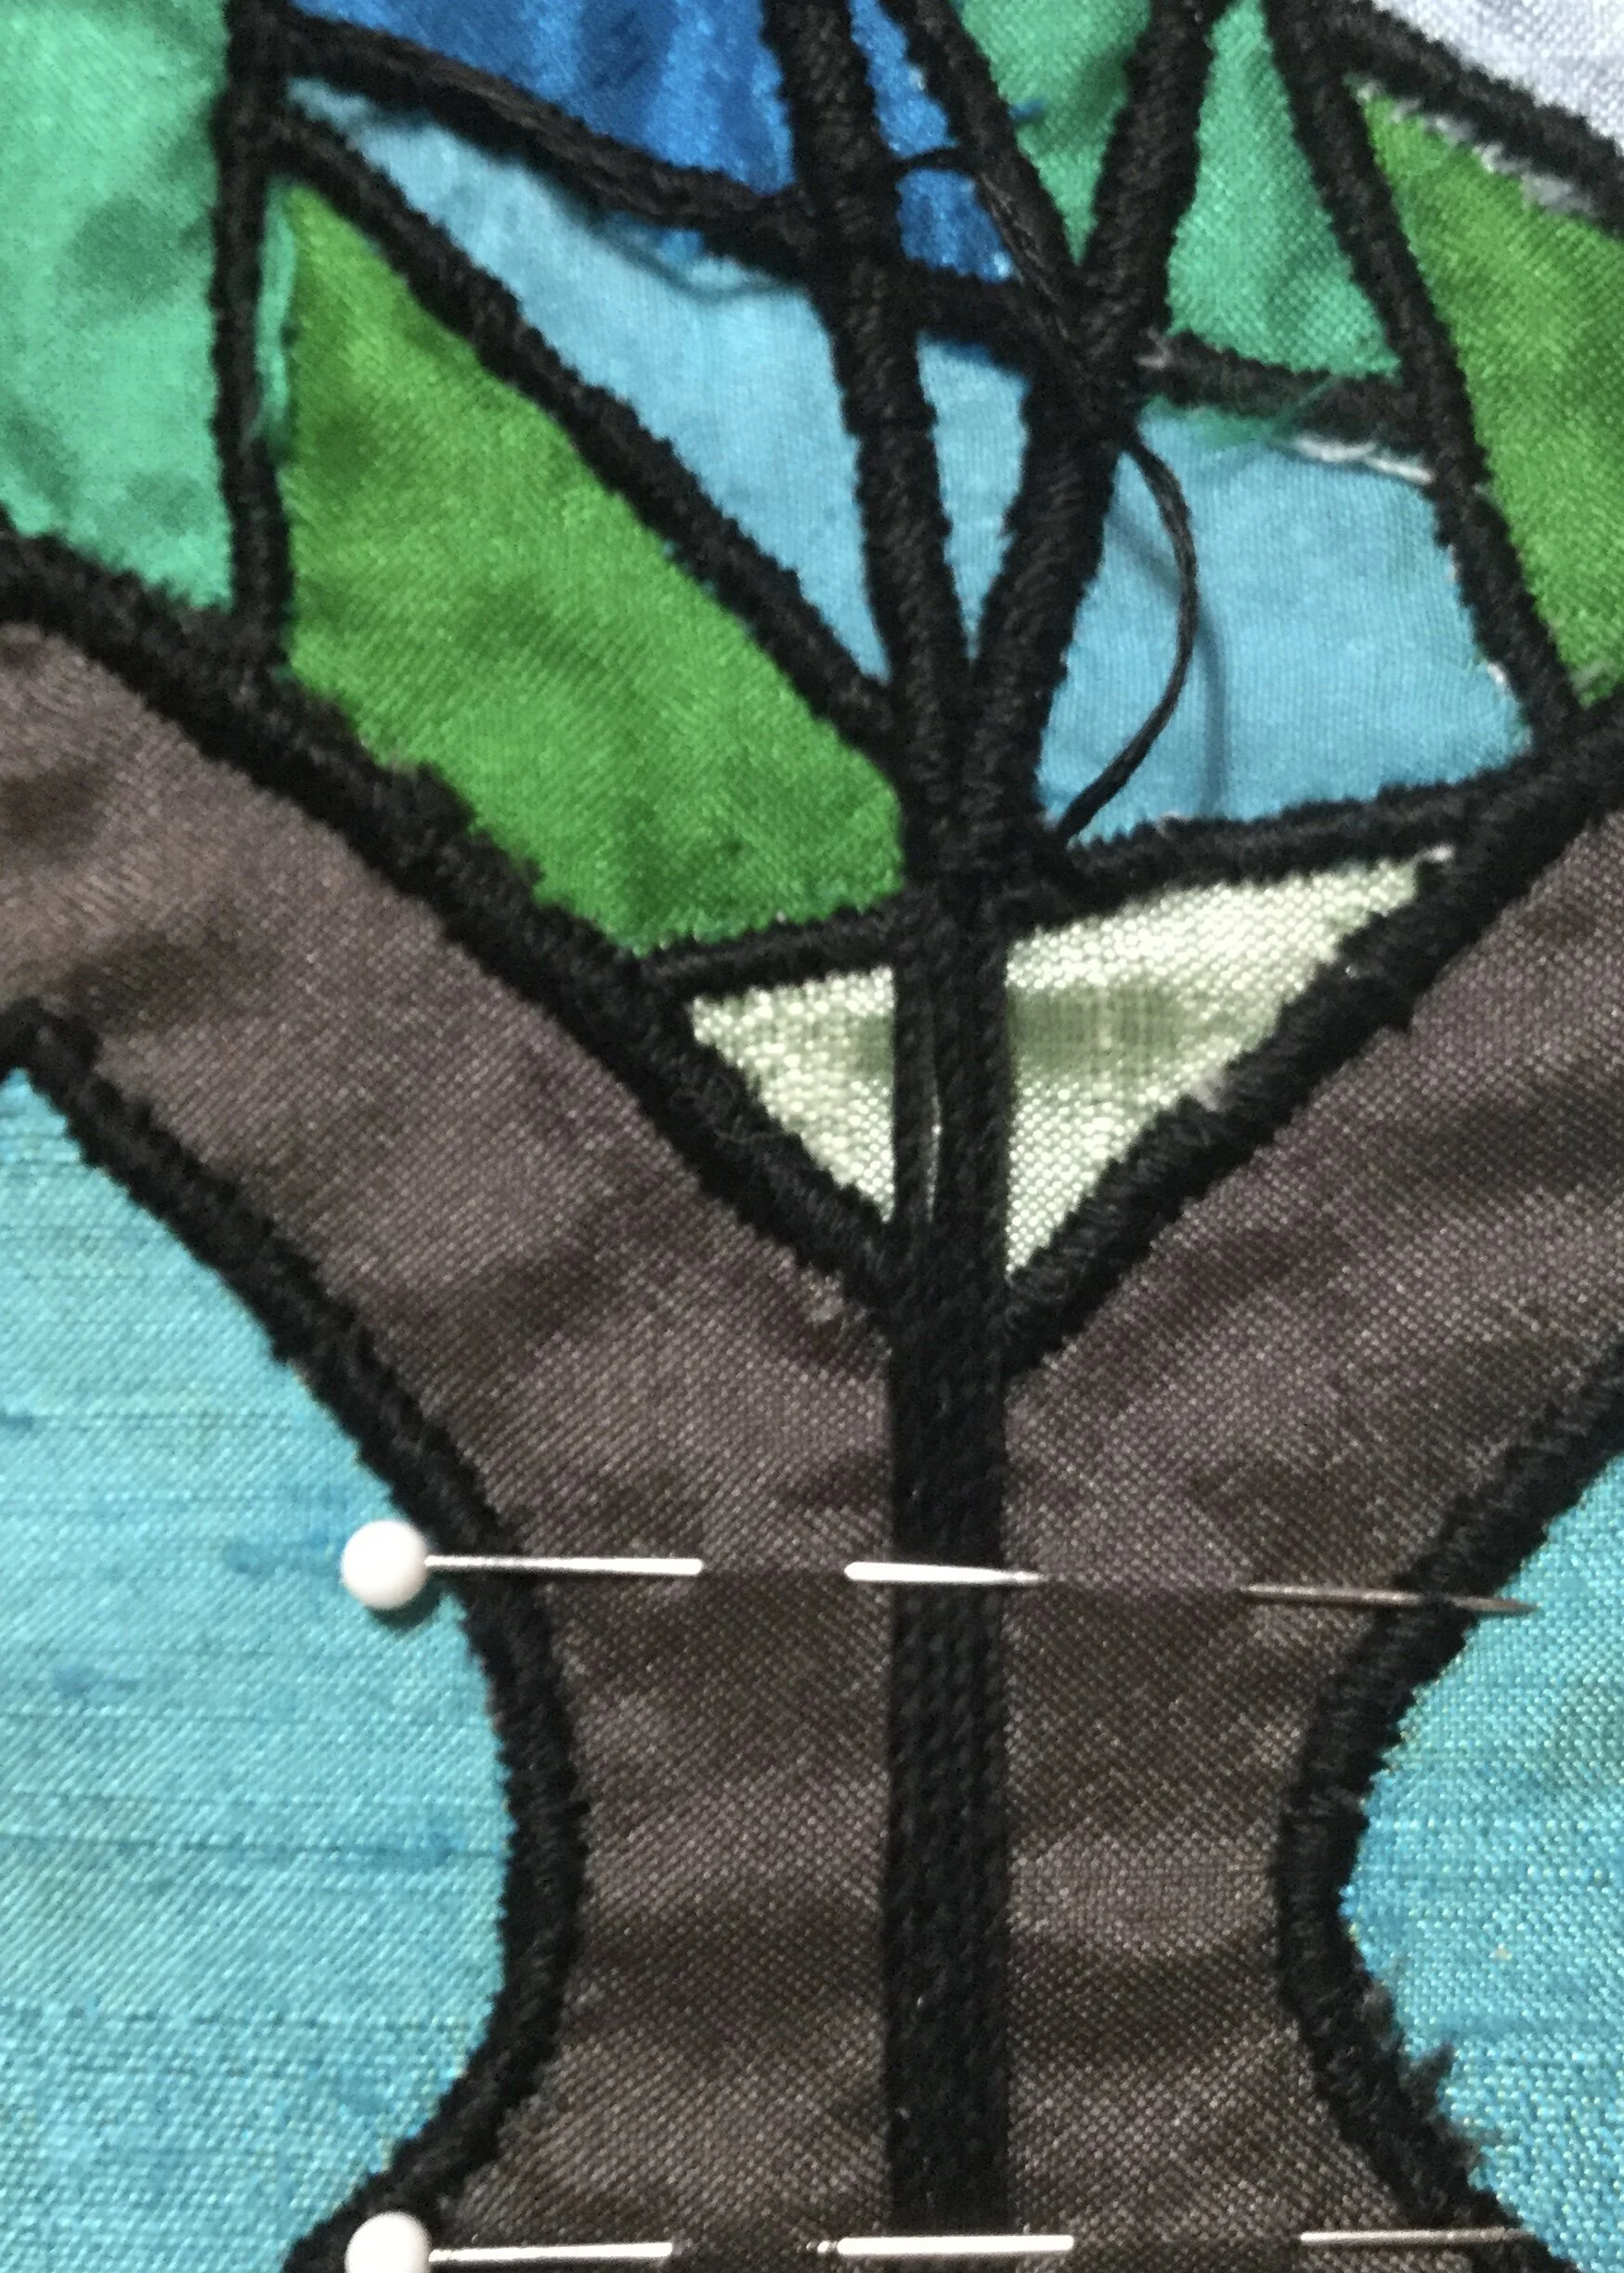
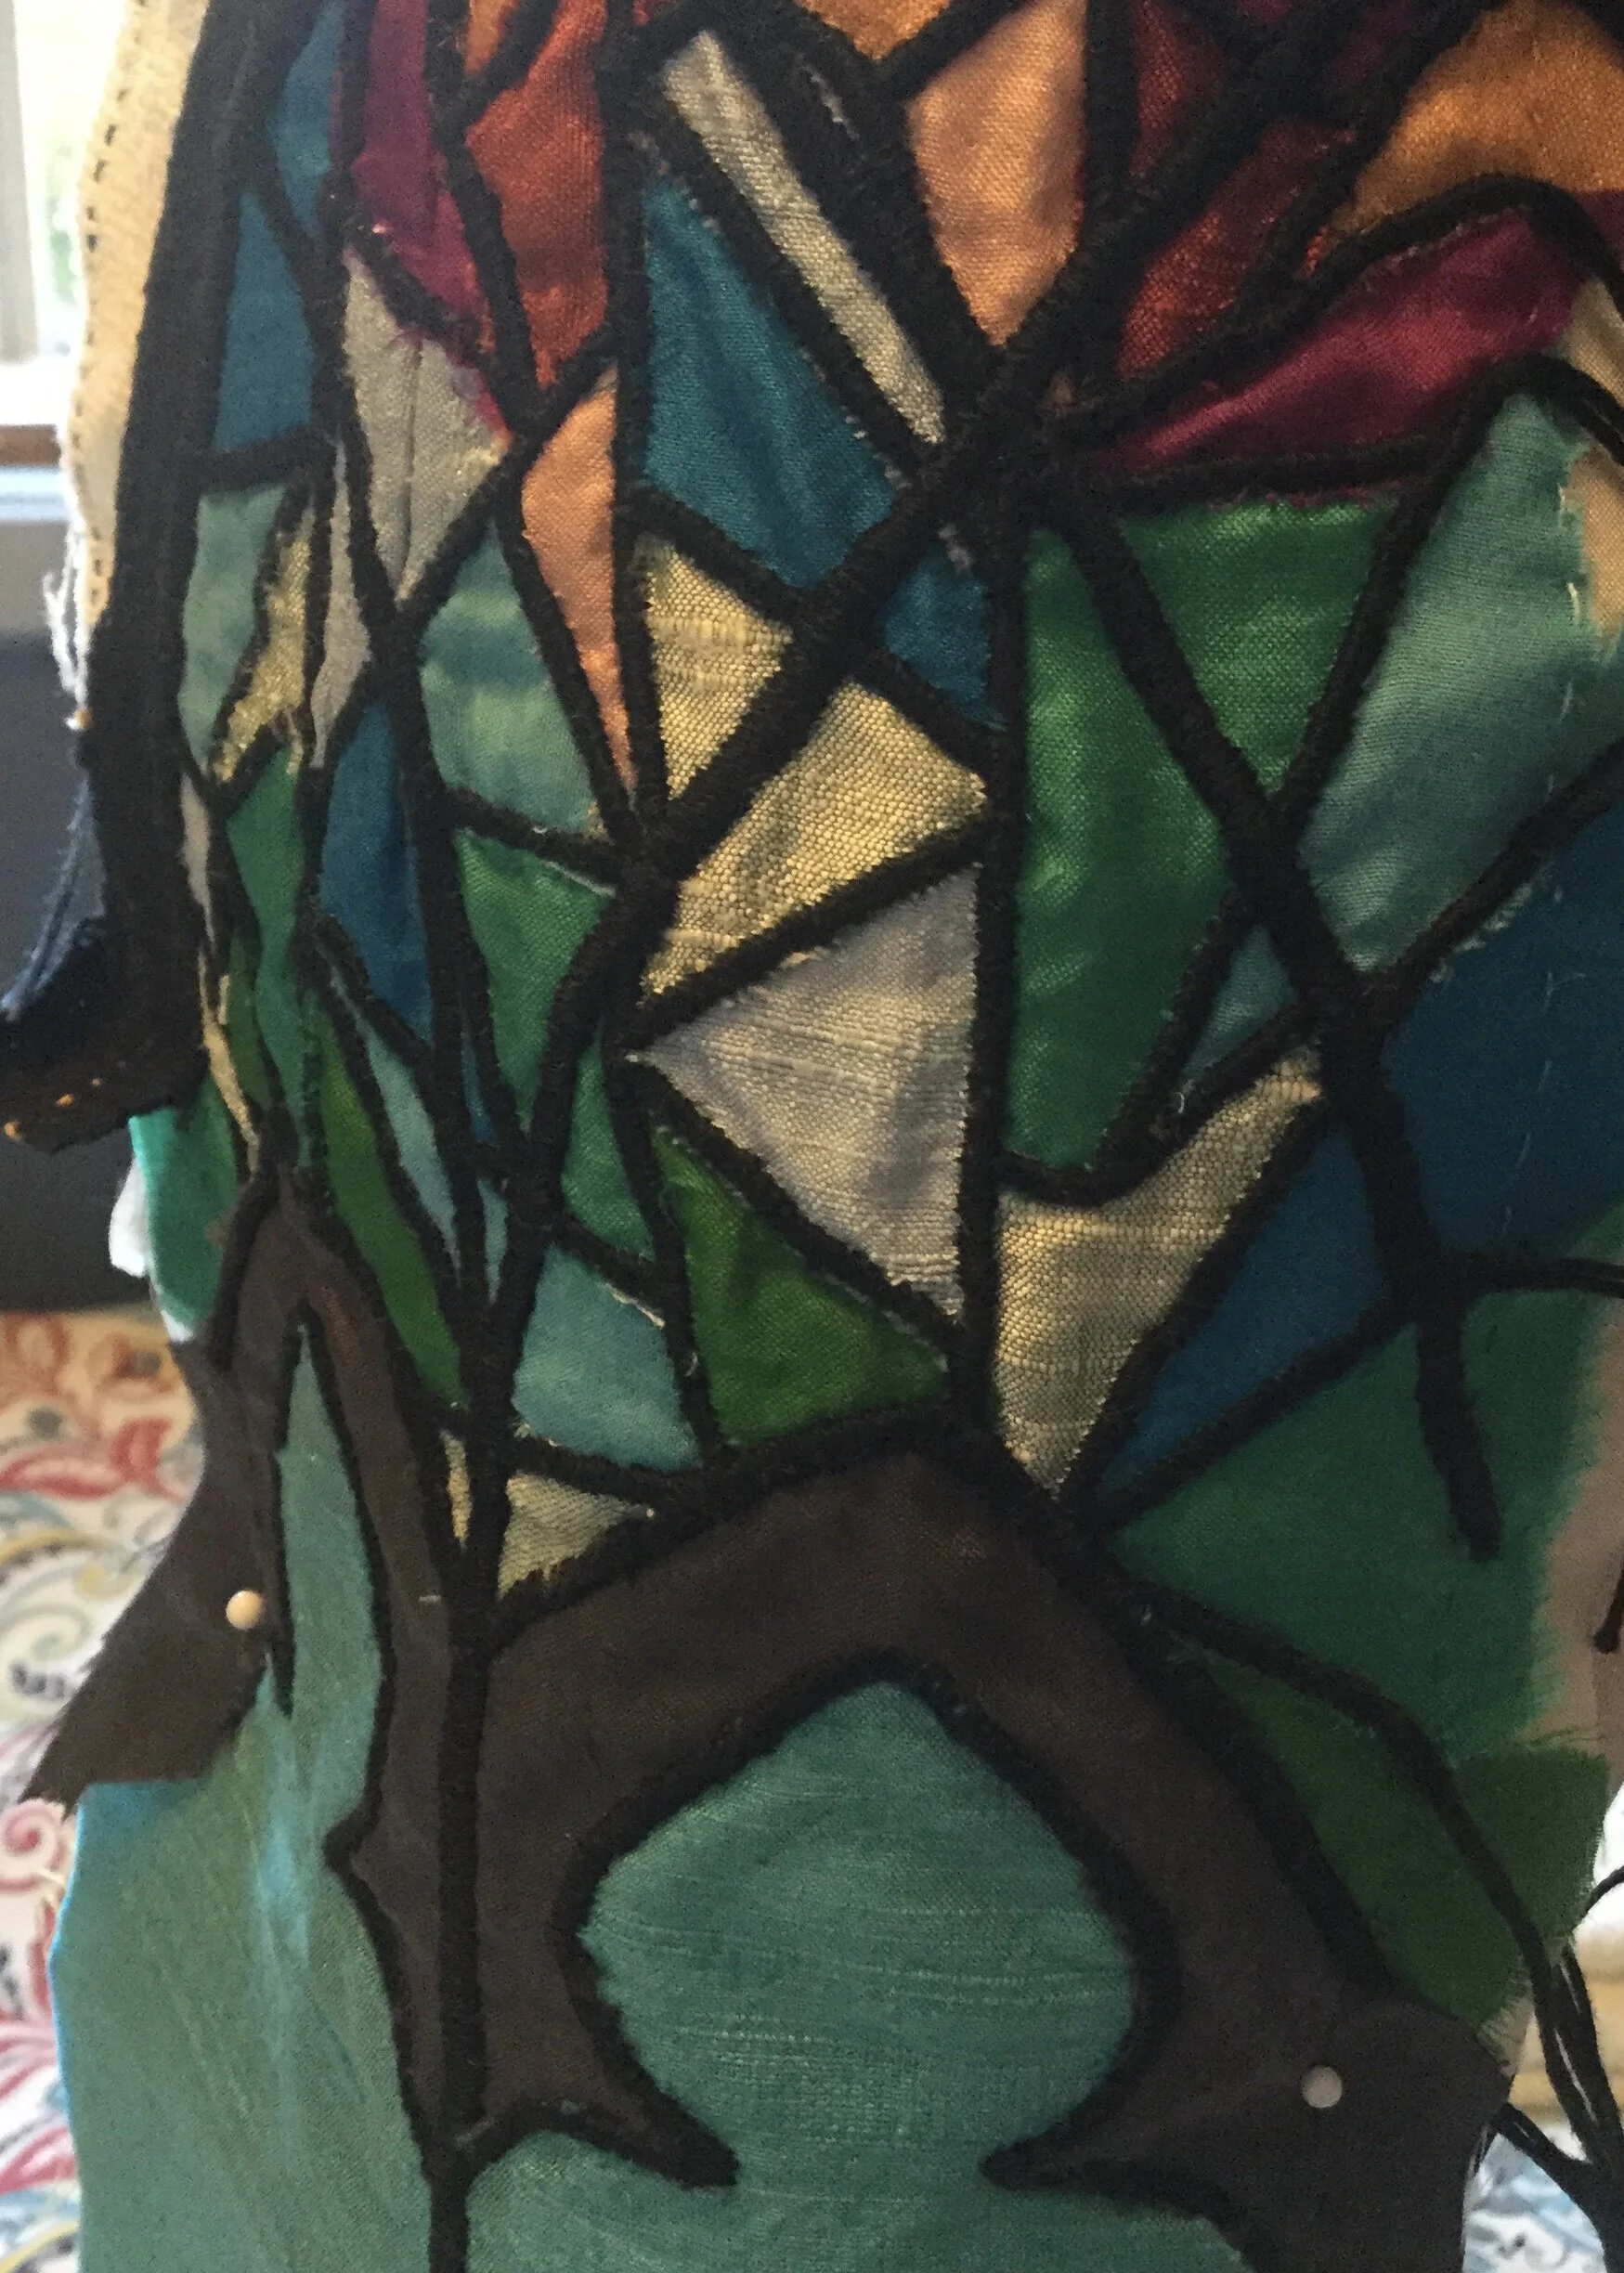
After applying all these little bits of silk, I began to apply strands of crochet thread (having made the switch from perle cotton when I remembered I had nearly a full spool of it lying around, and it was even black too!) To apply the crochet thread, I would lay a few strands along the cut edges I wanted to cover and pin it to base in a few places, making sure I had a decent tail at each end. I would then couch it down with a satin stitch, basically covering the crochet thread completely. Once it was completely couched, I would use my thread puller to pull the tails to the wrong side of the fabric where they would get pinned into place to be either out of the way or in place to be stitched over by the next line. The process was slowed by considerations of when to do each line so that tails would be secured either by an intersecting line or a seam.
The whole process was further complicated by the darts and the different widths of lines I wanted to use. For the lines between the small pieces, I only used two strands of crochet thread, but for the larger design lines of the window I used three and sometimes four strands. Throughout, I was also continuously reevaluating my plan for when to add certain elements and when to close the darts, which I then had to navigate.
Meanwhile, I was still looking for something for the right half of the dress. While perusing the websites of various fabric stores, I happened upon the idea of silk noil and immediately became very attached to it. The texture would be perfect as it would look a bit rough like stone, but it would still be fancy and suitable for a gown. The problem however, is that silk tends to be a bit pricey. Noil isn't the most bank breaking, but it's not like it's five bucks a metre. *sigh* I kept looking for a good dupe but no fabric presented itself which could beat the idea I had in my head.
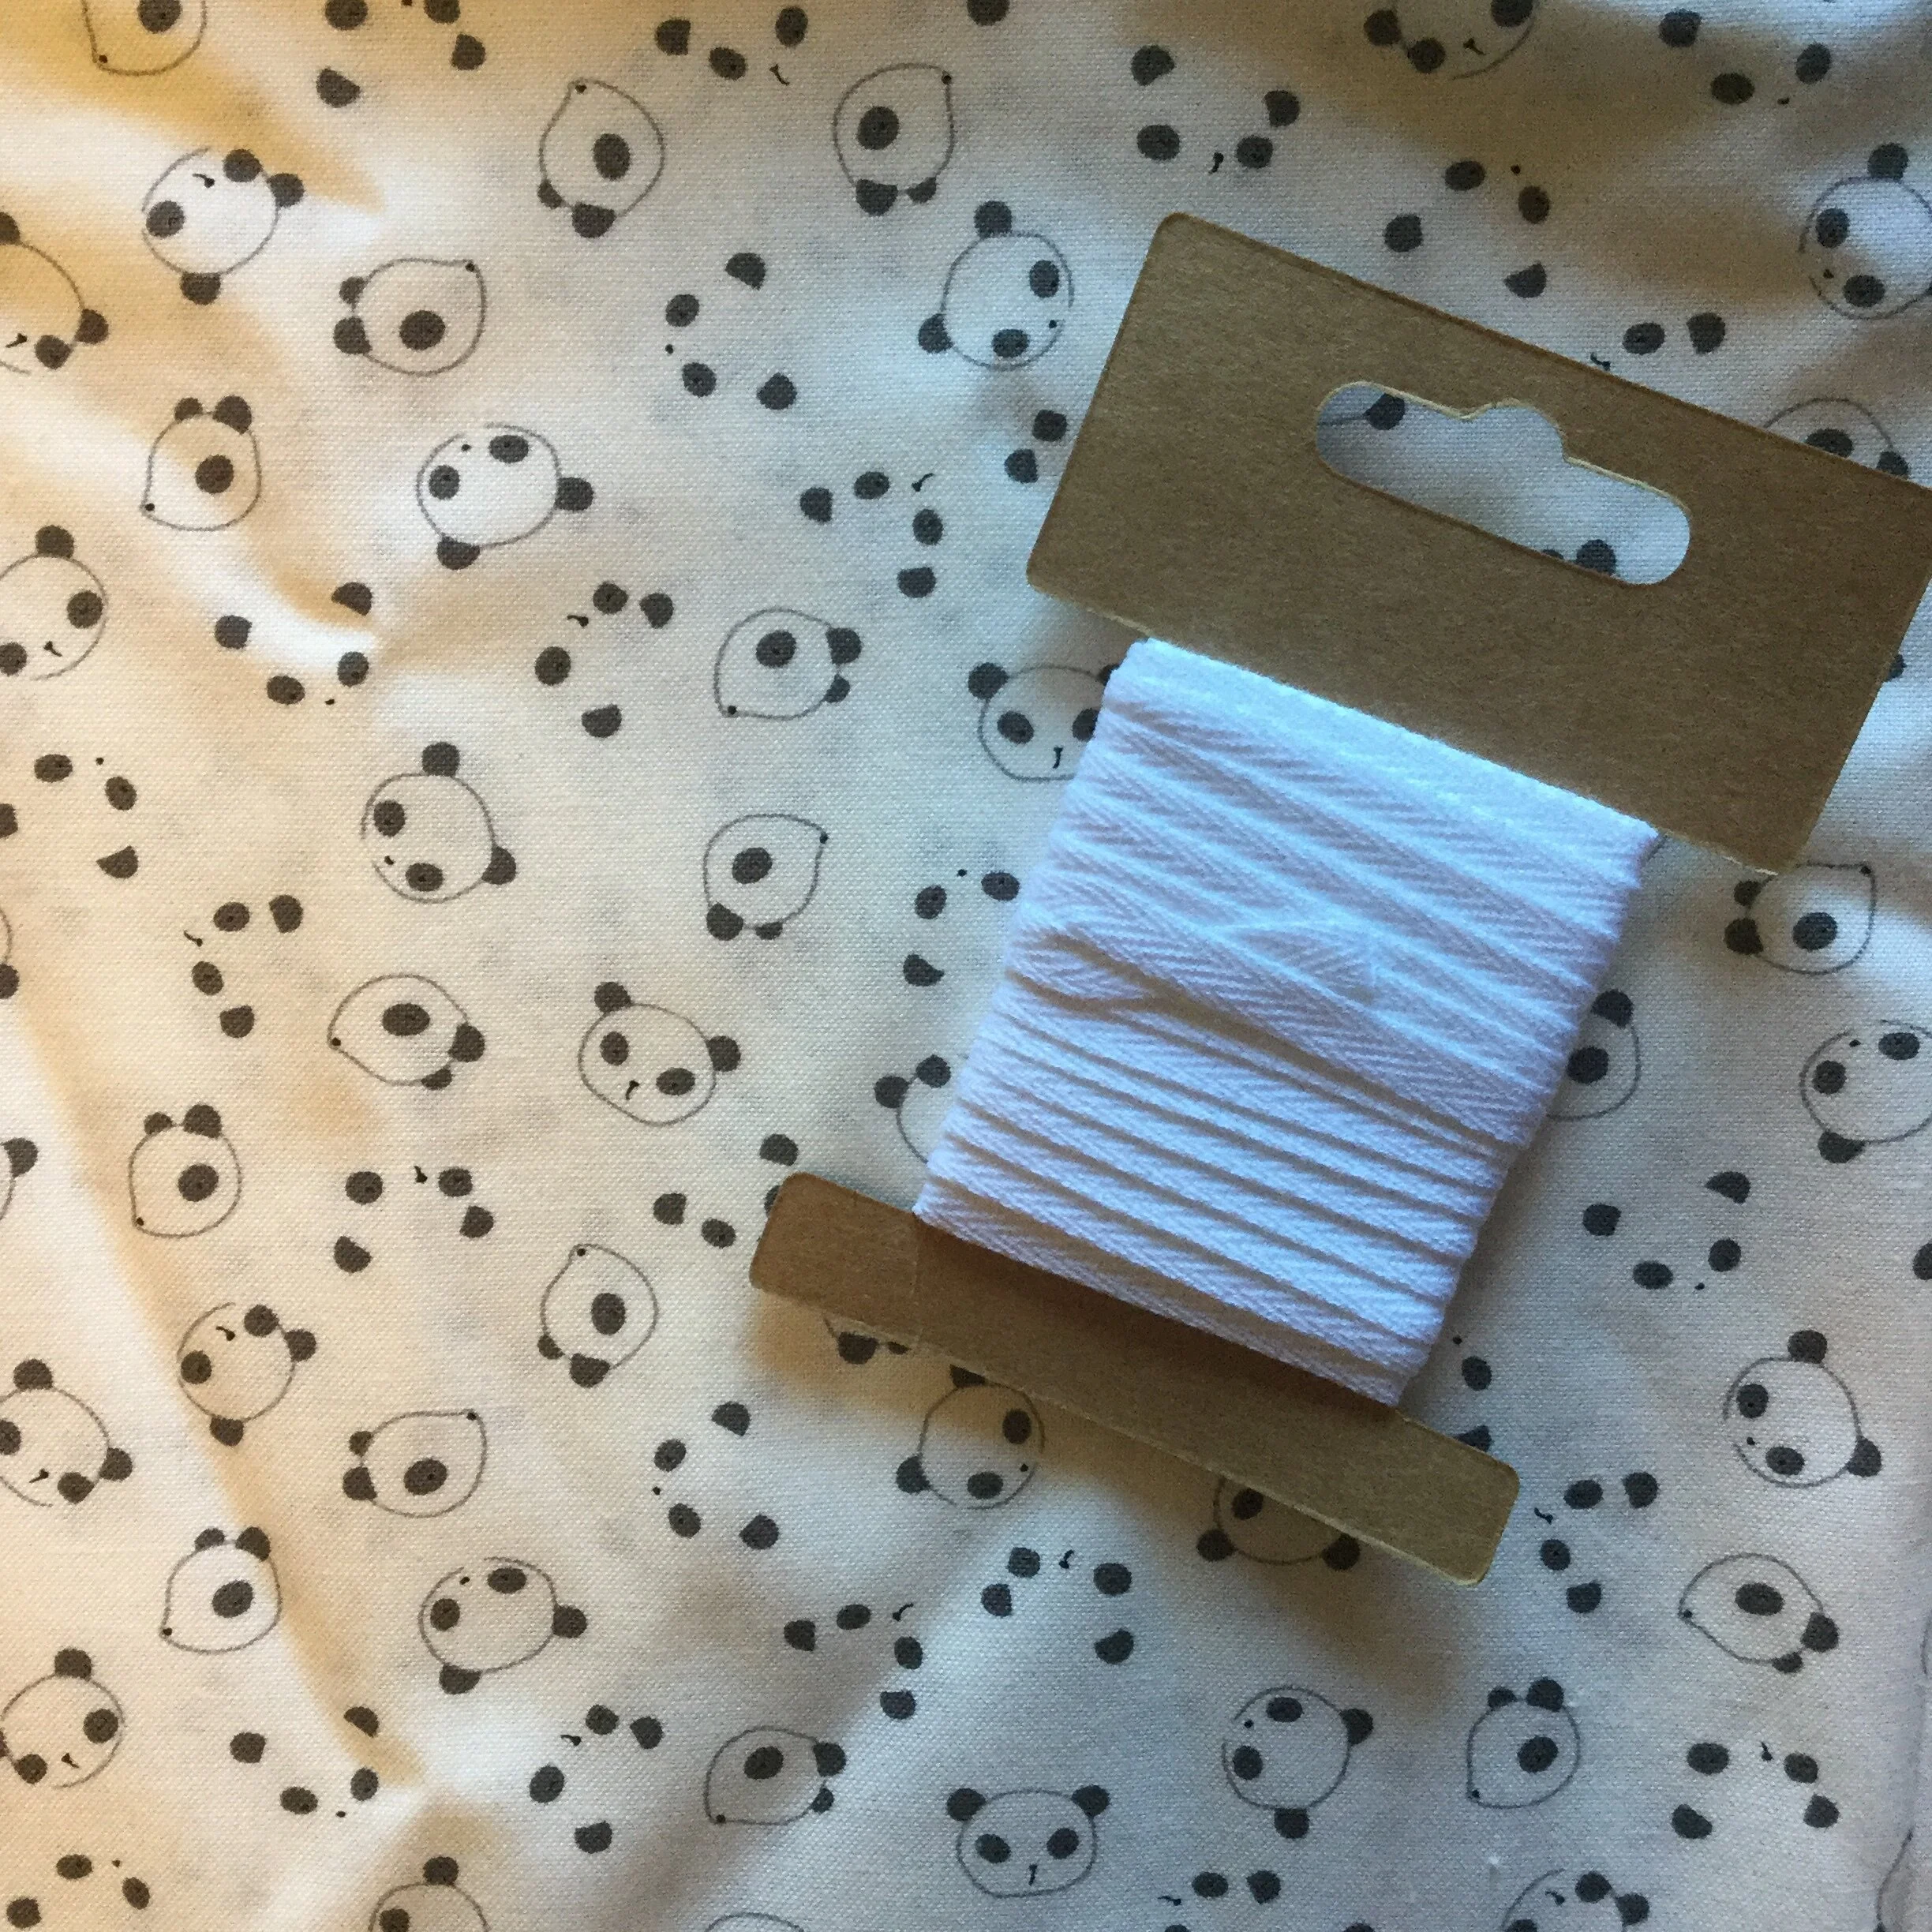
Then one day, on another search for and through various websites I found a place in Toronto which was selling natural coloured silk noil for a price I could wrap my head around. Huzzah! After a bit of research about what kinds of natural dyes might give me the colour I was looking for, I decided to go for it and bought a metre. I also bought some cotton twill tape and adorable panda fabric. Double huzzah!
Cotton 1/4” twill tape and adorable panda fabric. Equally exciting!
To dye the silk I used black beans. When I find myself wanting to dye a piece of fabric, I like to use natural dyes as they are usually things I can pick up at a grocery or bulk food store and tend to be a bit cheaper than commercial dyes. Anything I choose to dye with is also going to be safe to use in my kitchen with pots which have be to used for food in the future.
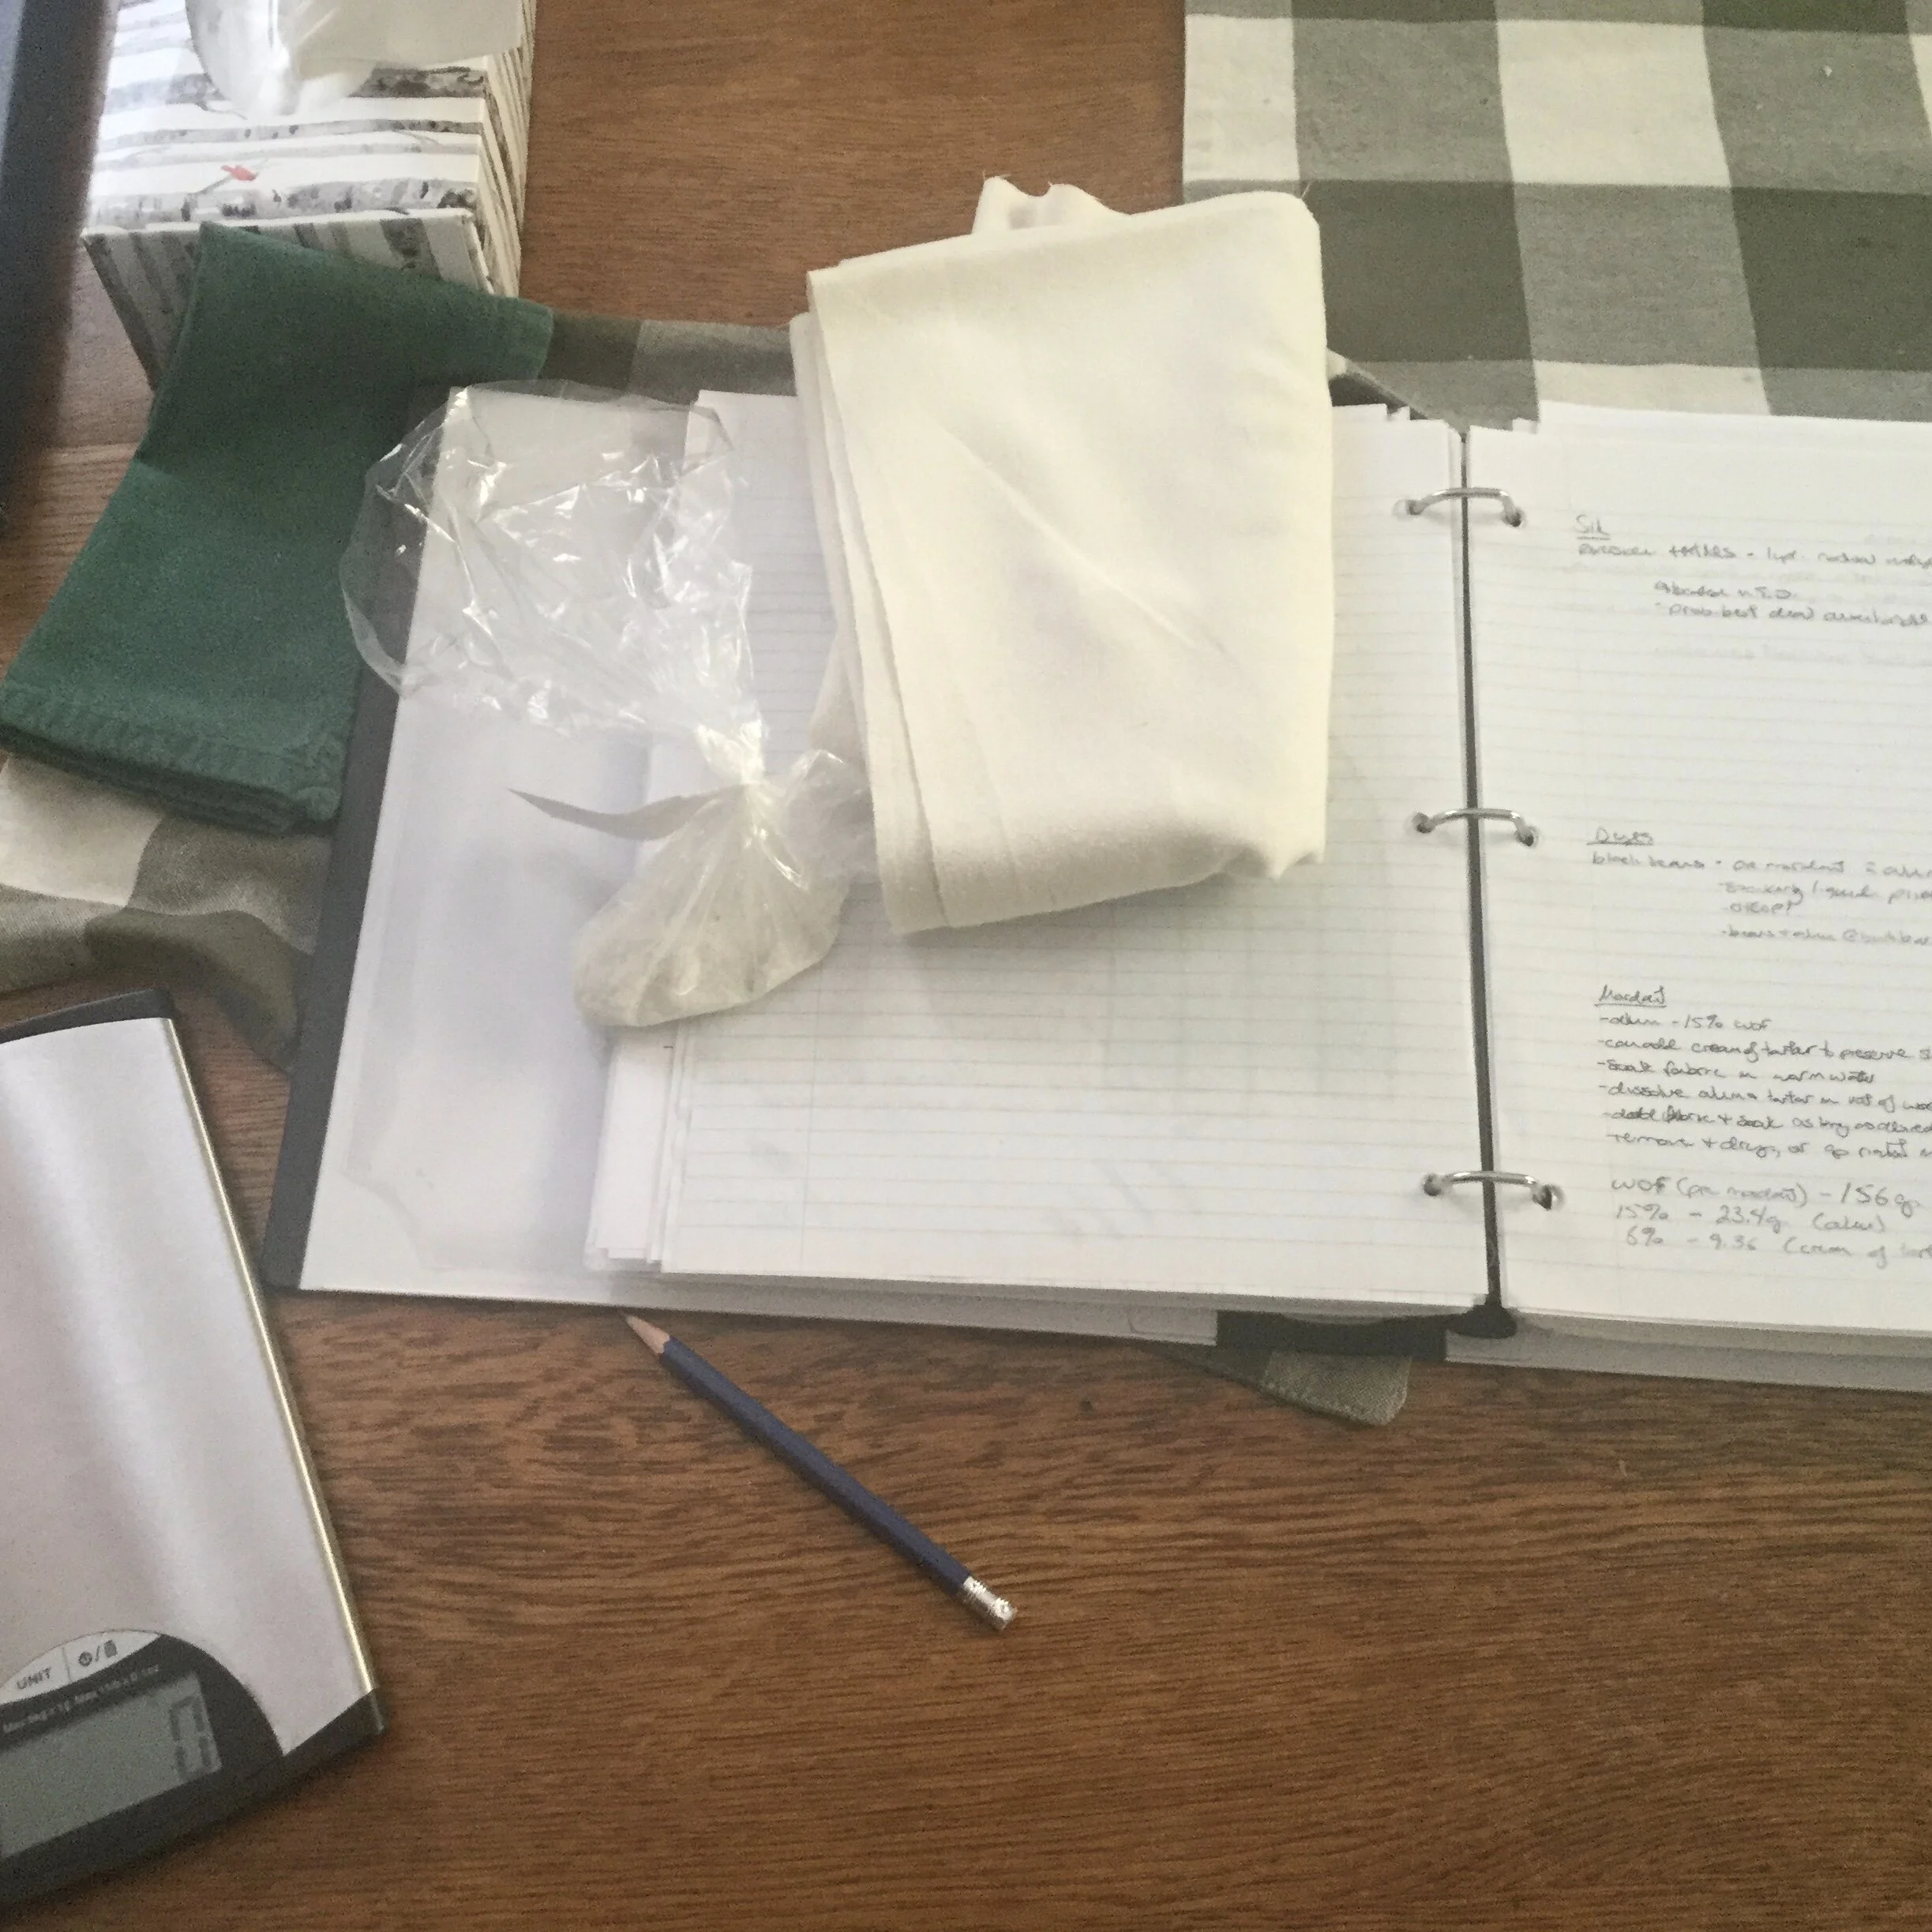
Before dyeing the fabric, I decided to pre-mordant it with alum (rather than adding my mordant into the dye bath). I weighed my fabric and calculated the amount of alum I would need before dissolving it in several litres of distilled water; we have hard water here in Stratford and I didn't want to risk minerals in the water affecting the final colour so I used distilled water for each step. If the final colour was to be affected by anything, it would be my own incompetence and nothing else!
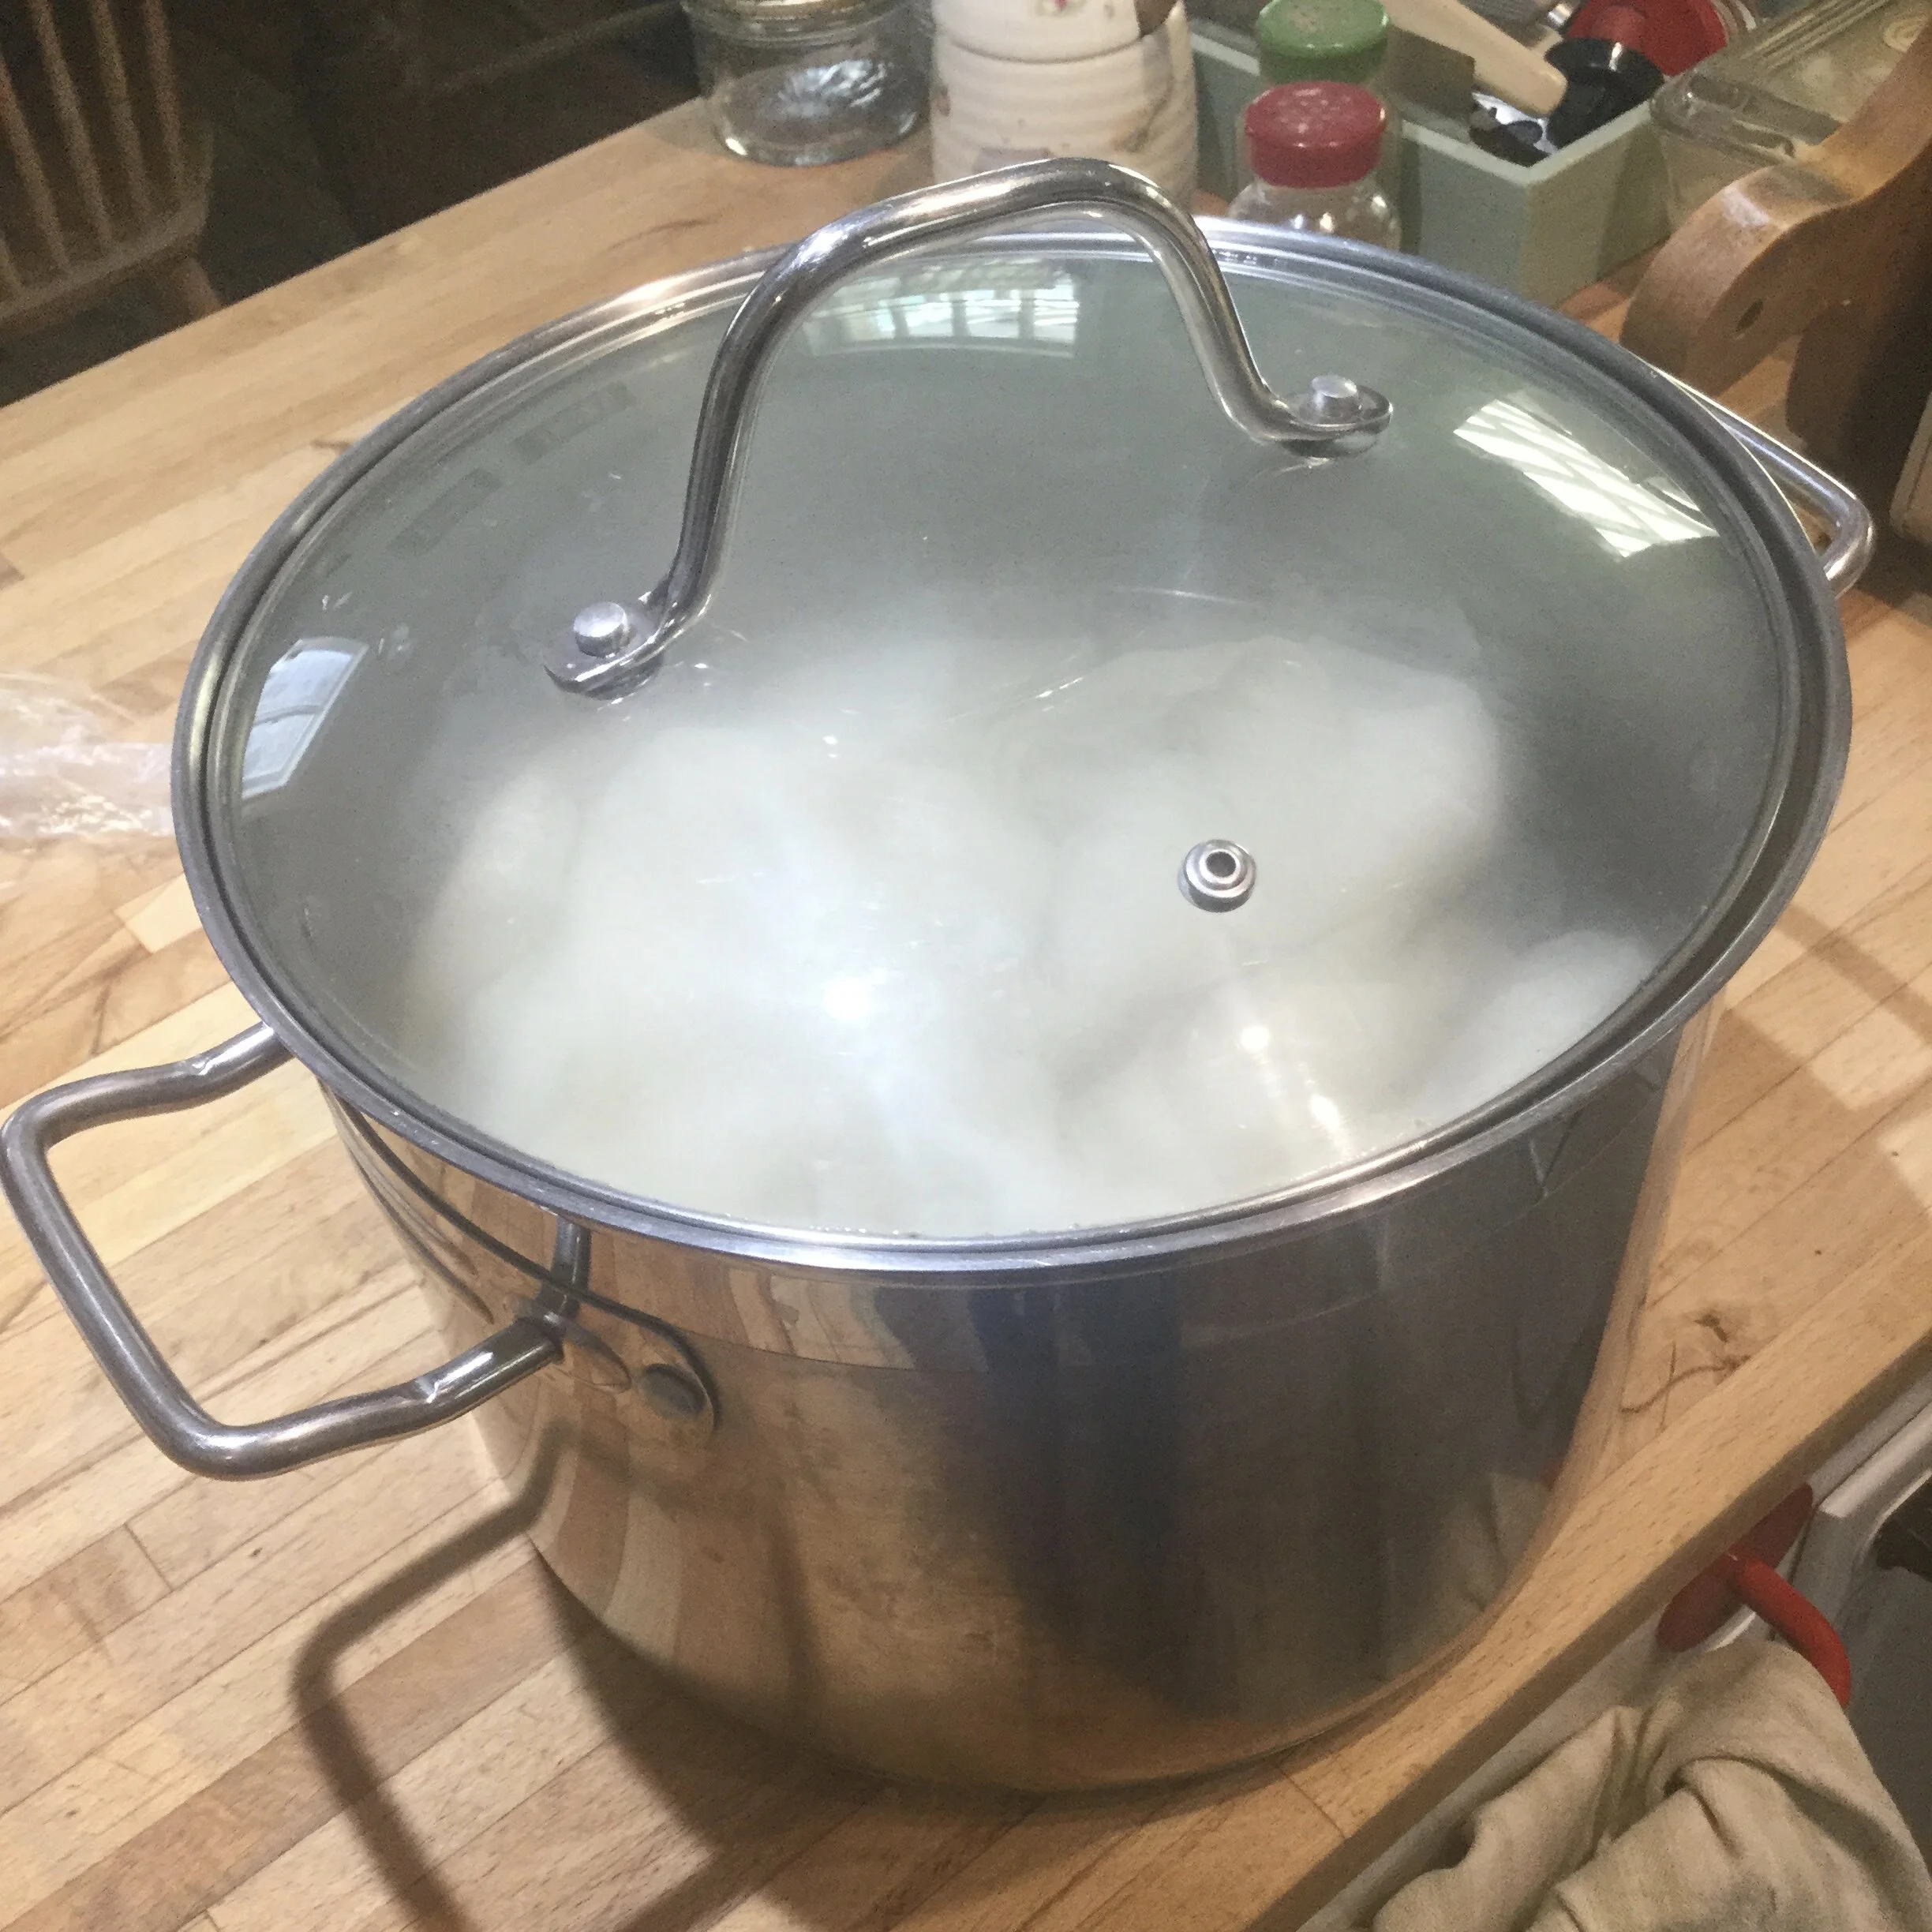
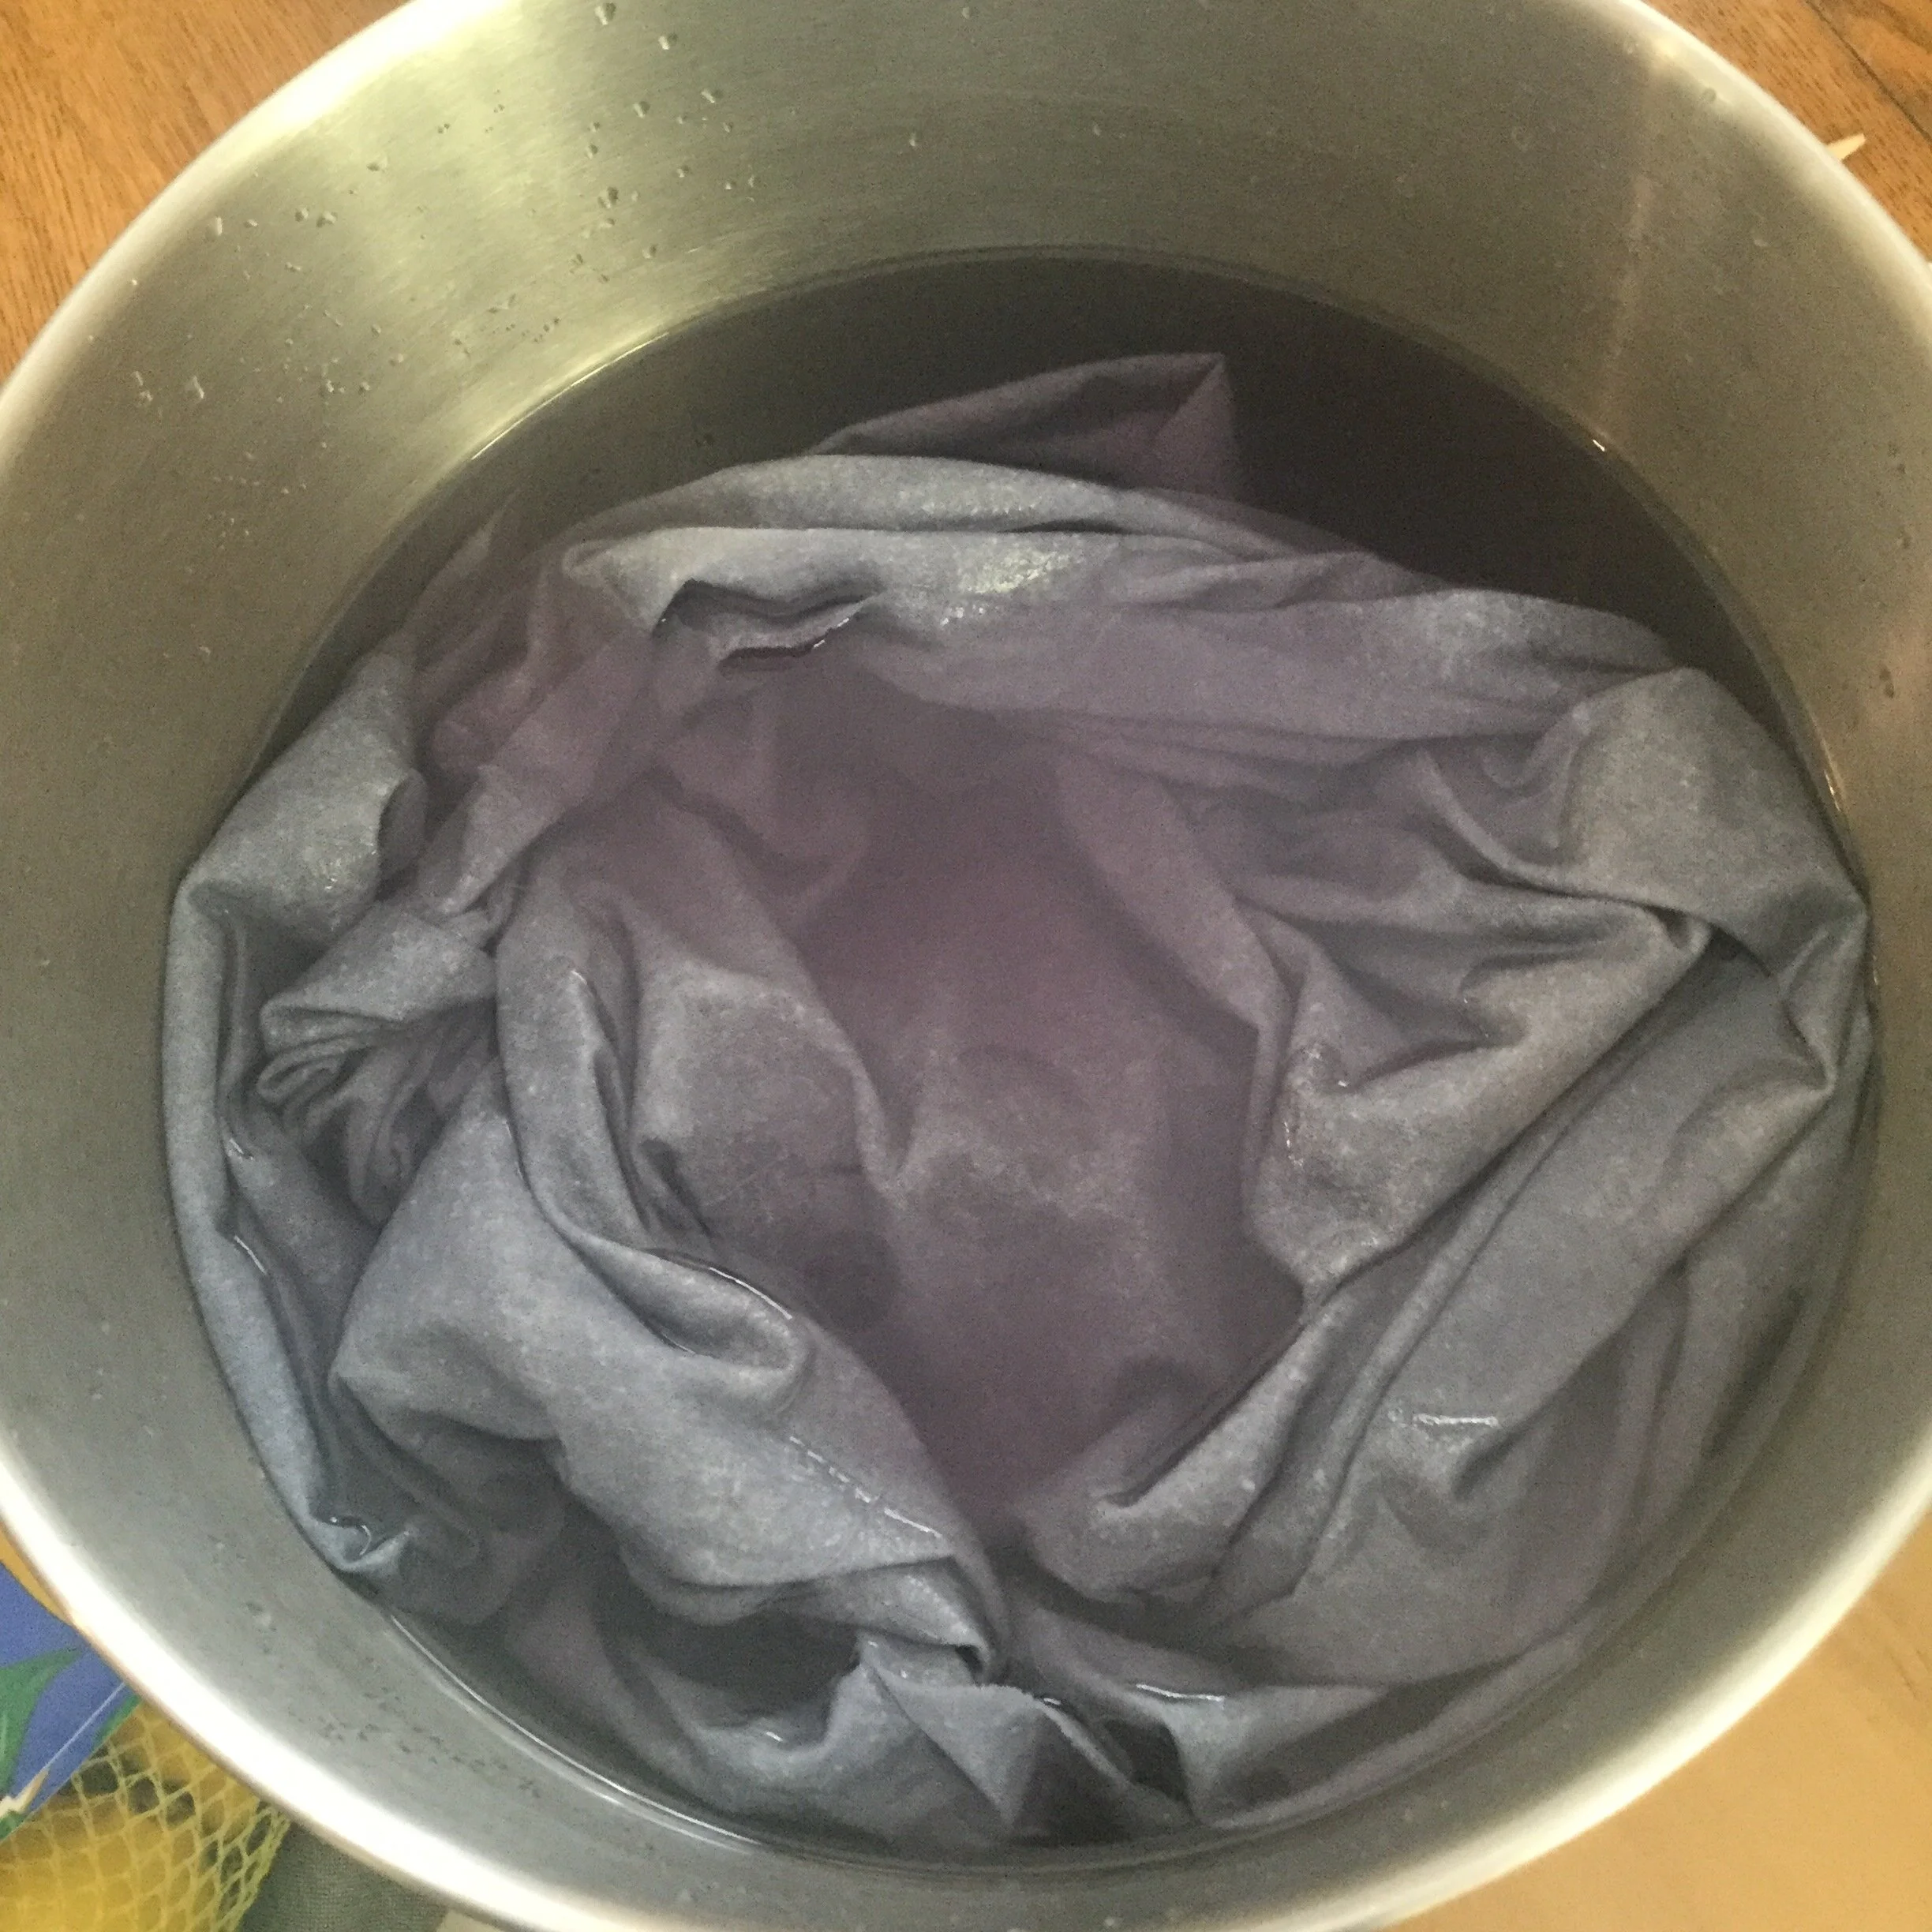
While the fabric was in the alum bath, I also got the beans soaking. Once both had soaked for about a day, I dried and pressed the fabric and strained the beans, making sure to save the water they had been soaking in which was now a dark purpley black colour. This was what I would use for my dye.
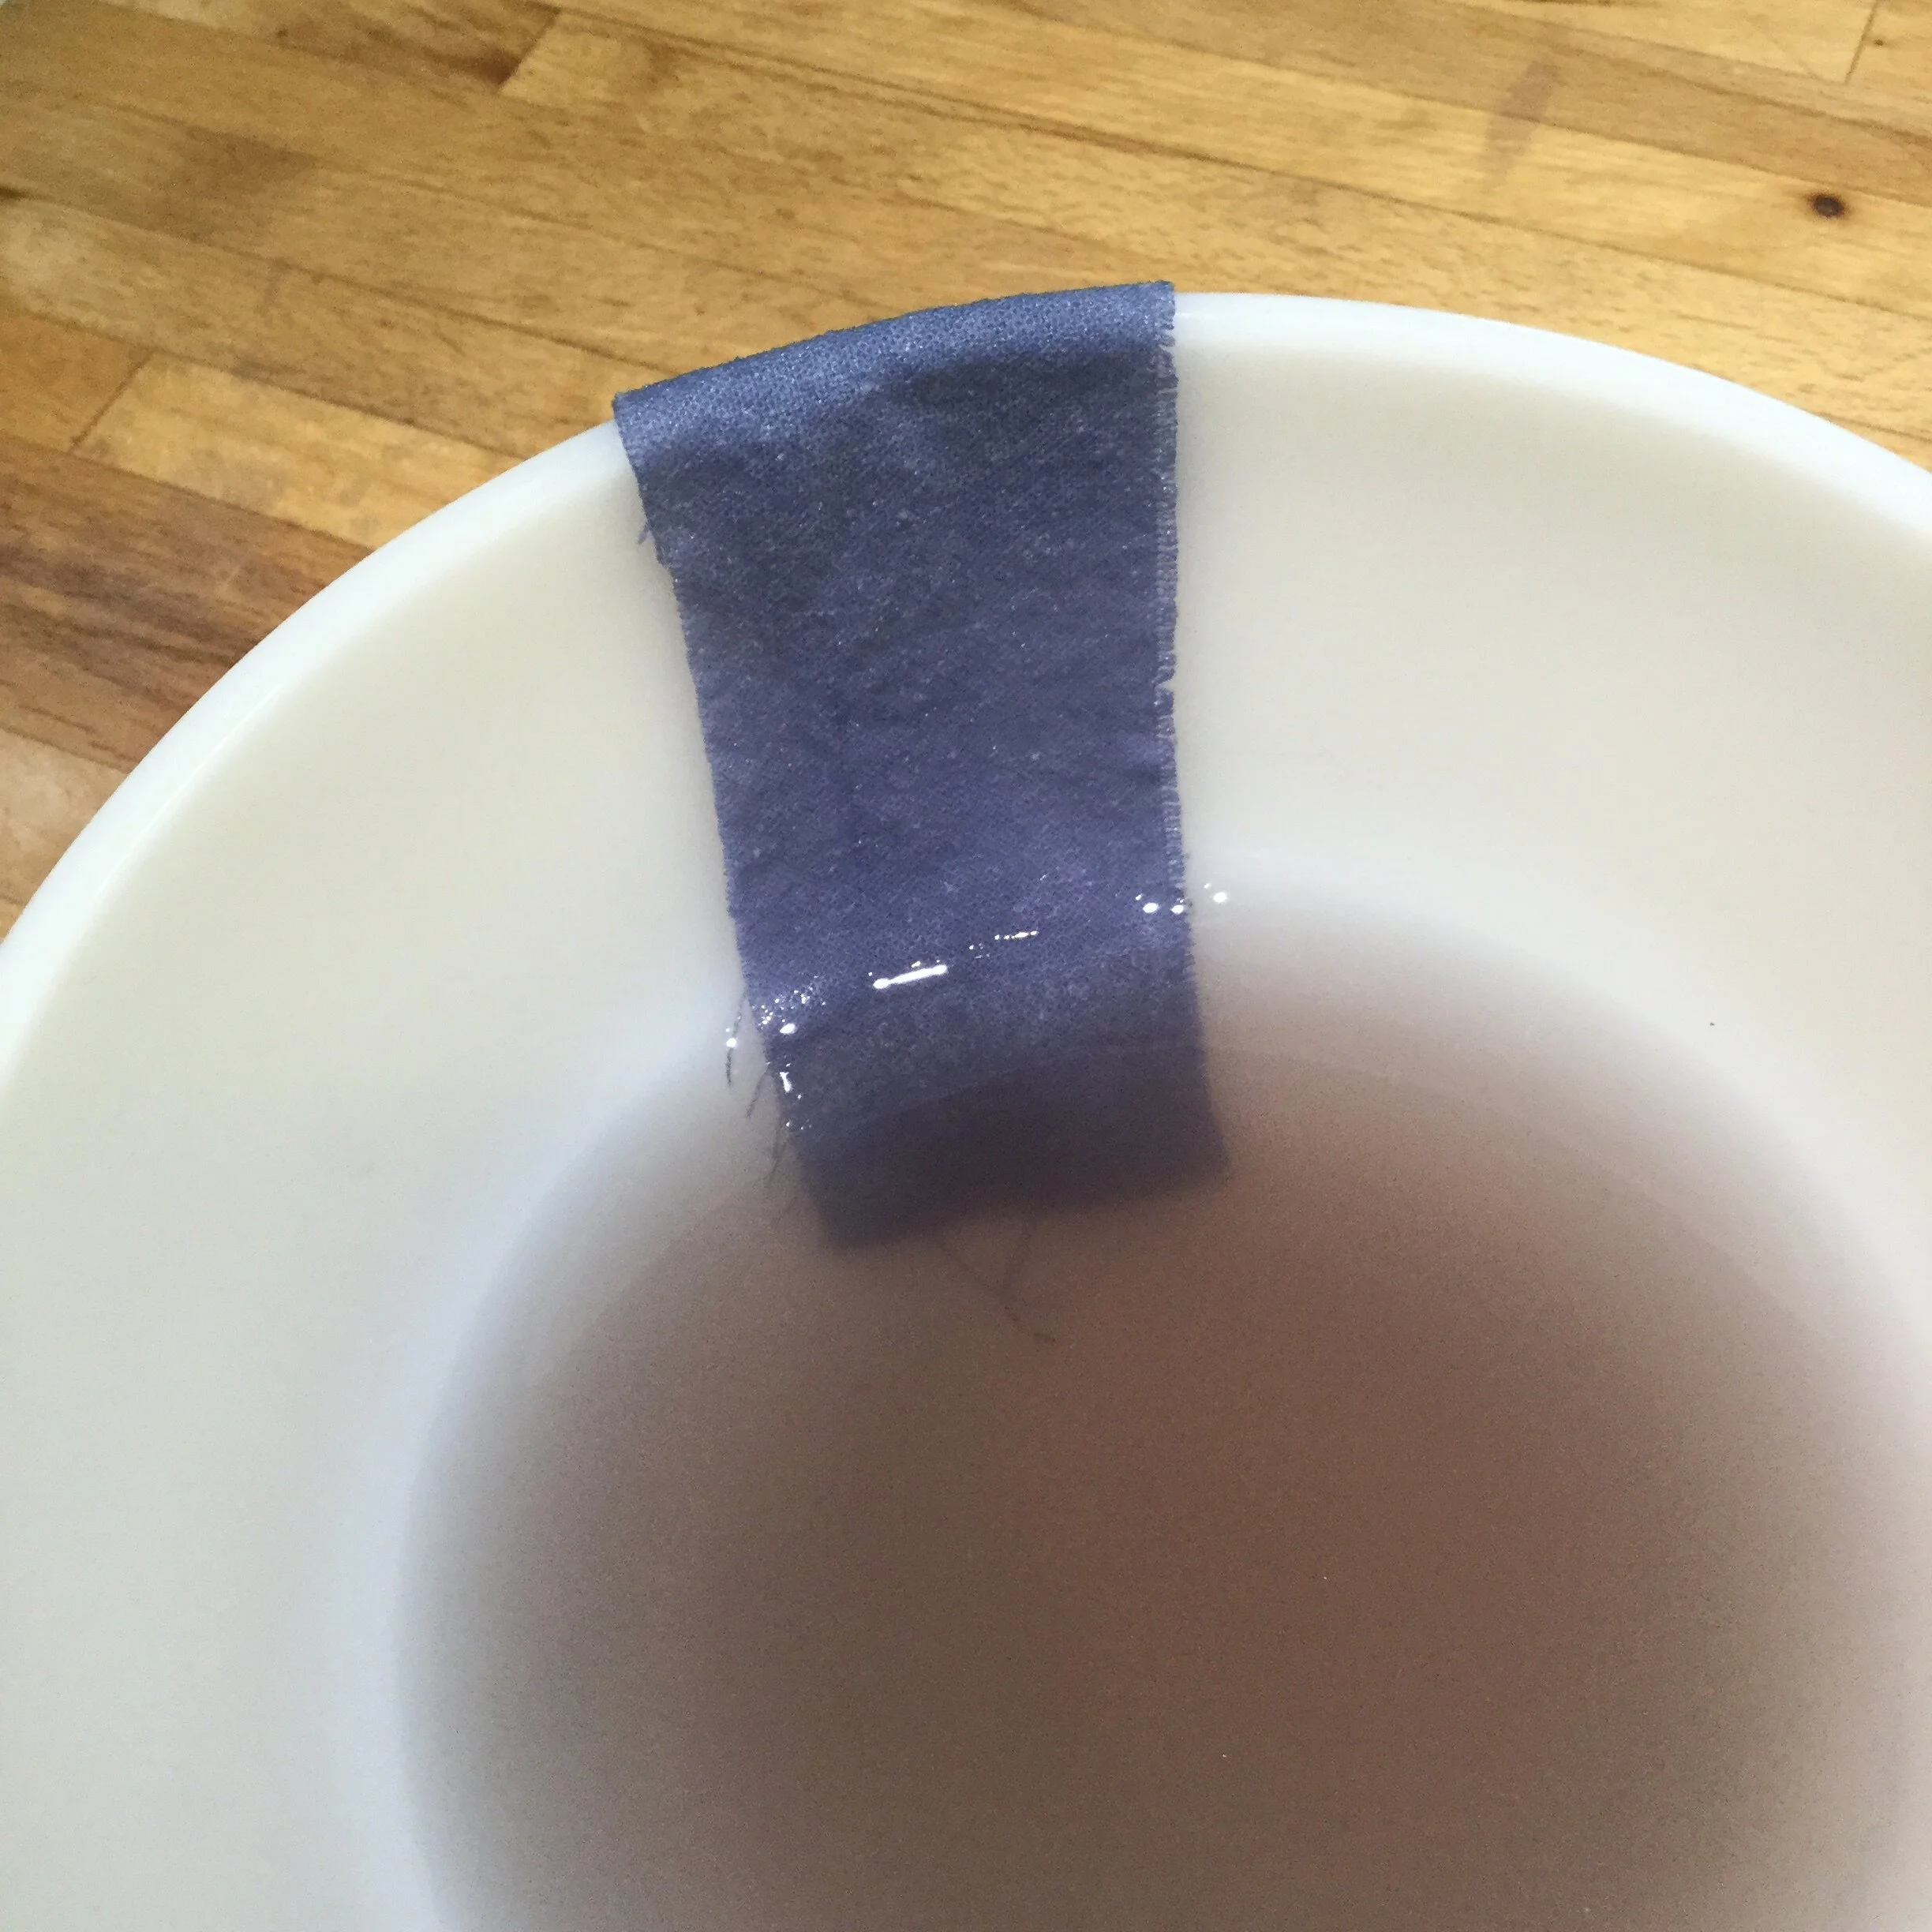
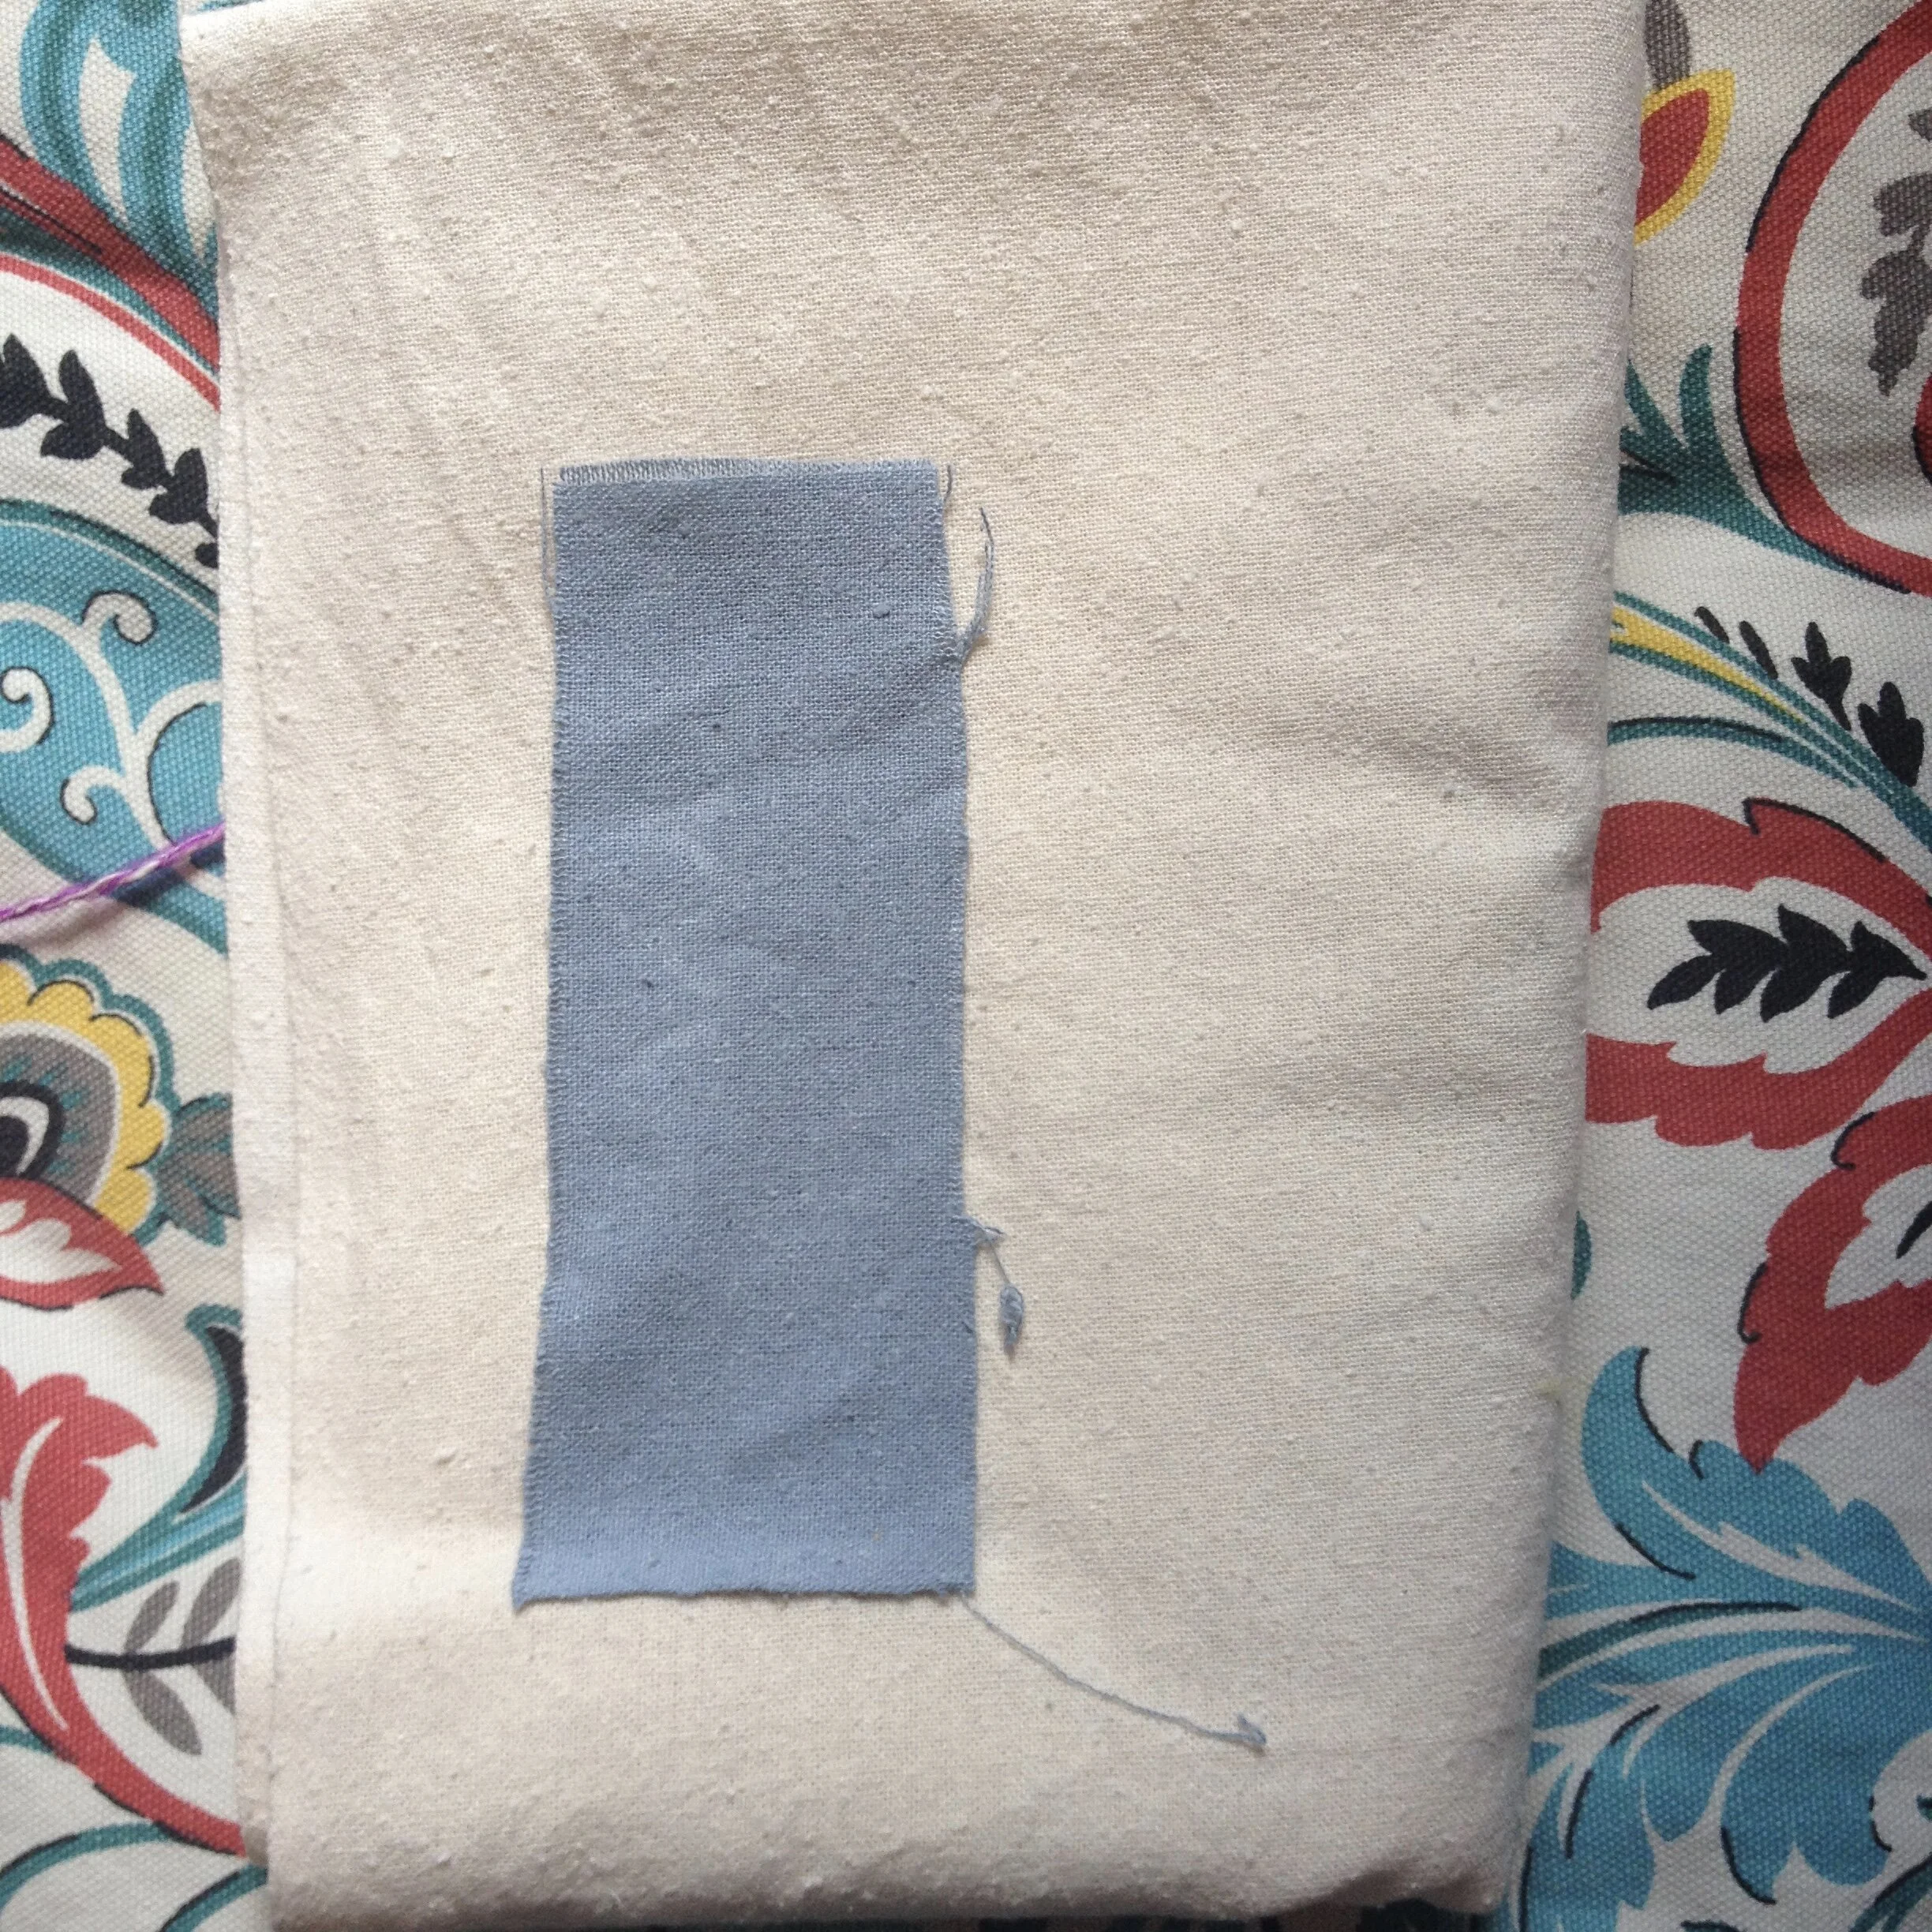
Before just dunking the fabric into my bean water, I did a small sample and was very pleased with the results as it ended up a really beautiful slate blue.
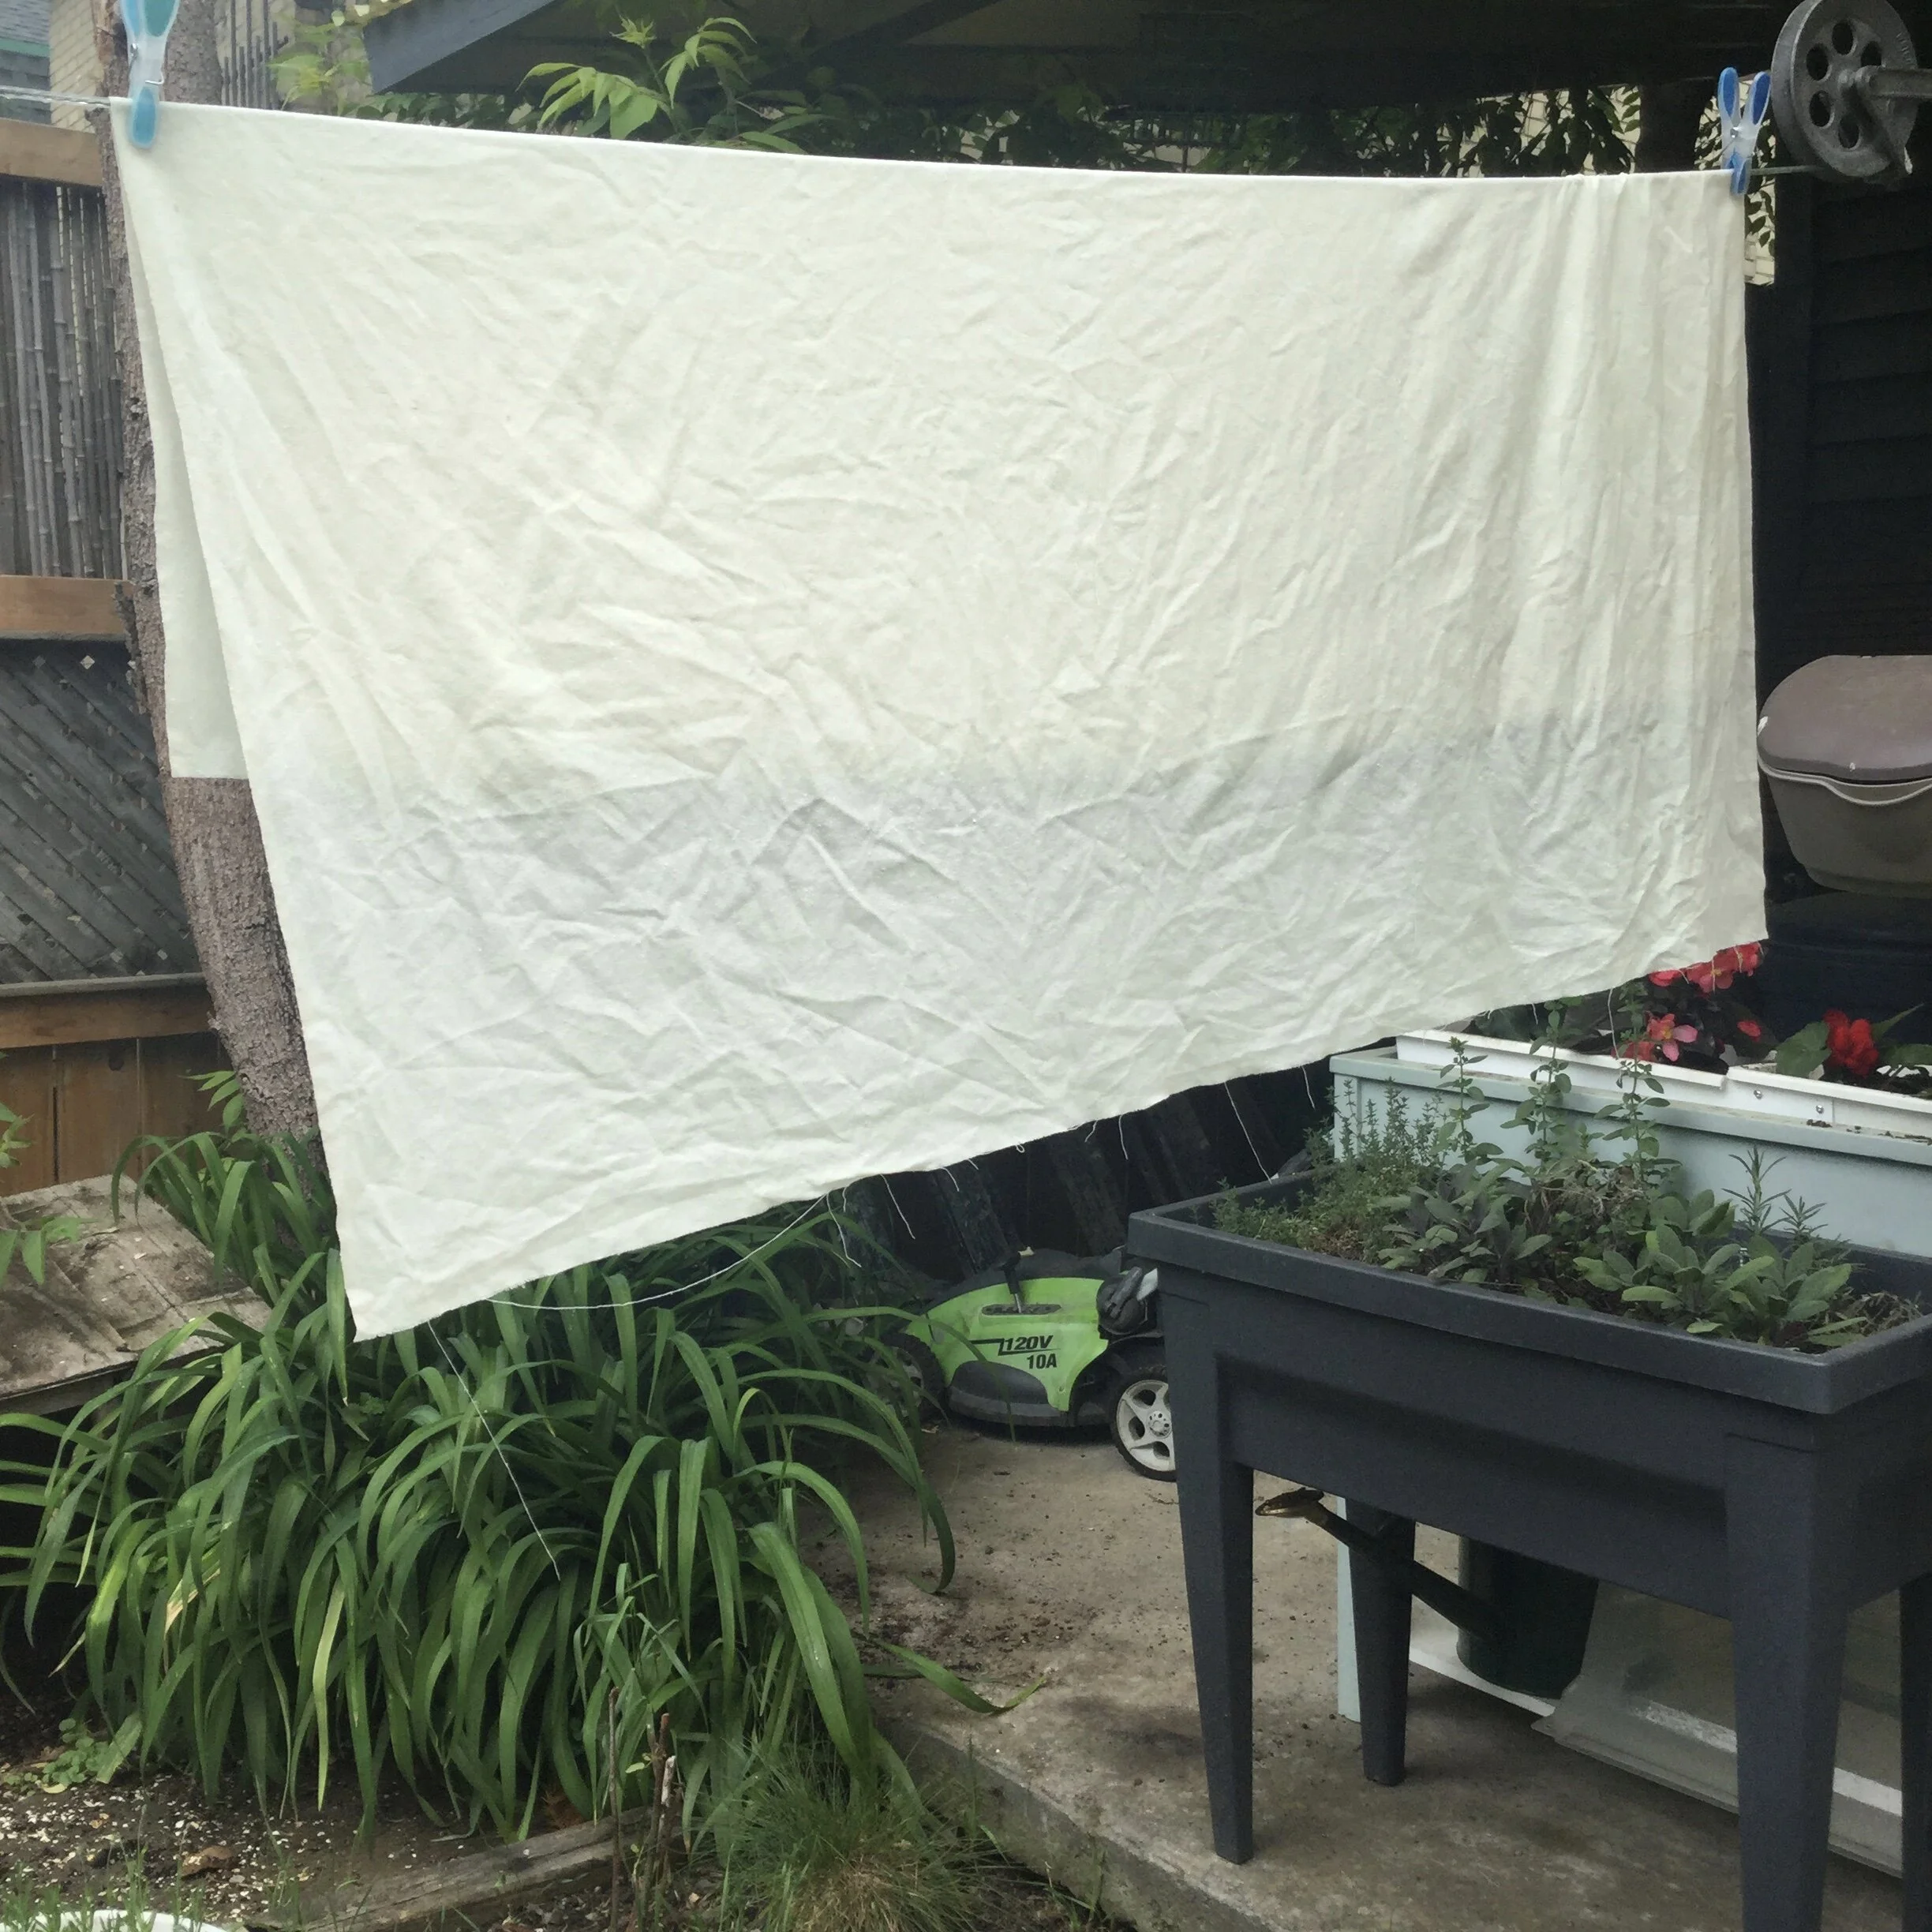
With this encouraging result I moved forward and dyed the rest of my precious silk noil.
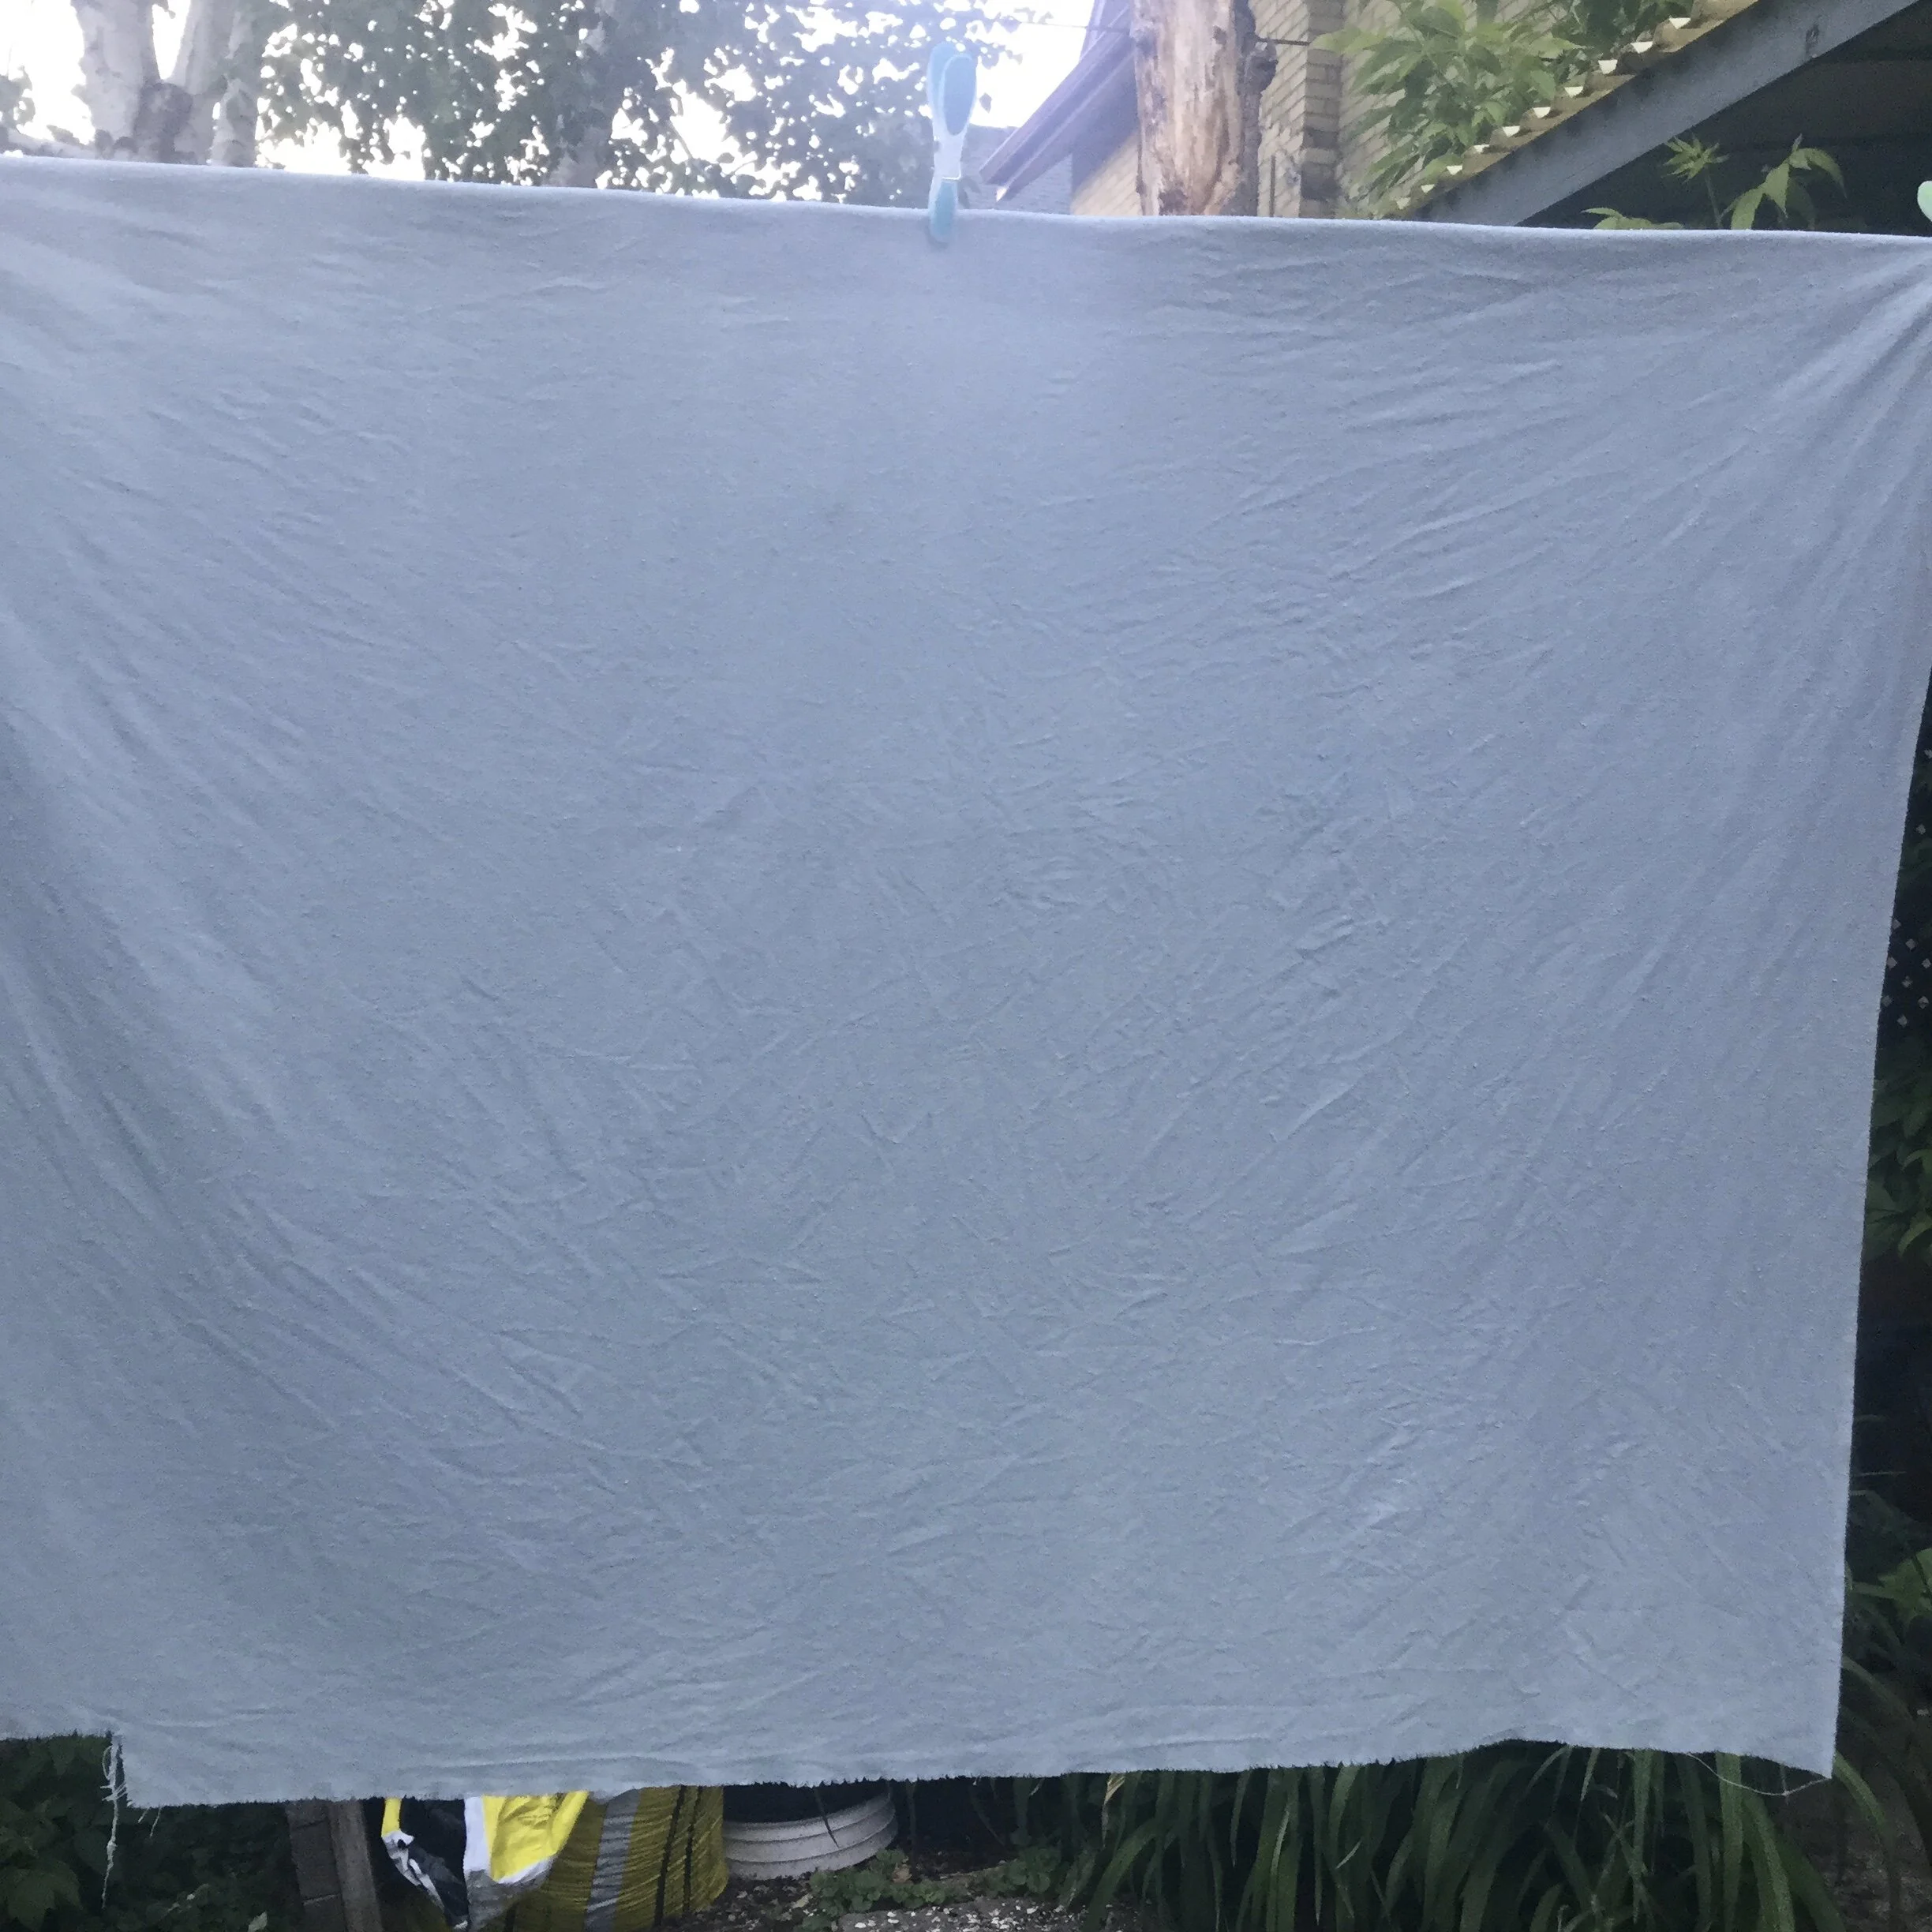
In the end, the bean water was less concentrated in the large bath than the sample one so the final colour didn't turn out quite as dark as my sample but I was still happy with it. I'm not a particularly skilled dyer and I don't dye things if I'm not ready to be flexible and use it however it turns out. If I am set on a very particular colour I don't dye the fabric myself.
Now, back to all the appliquéing fun.
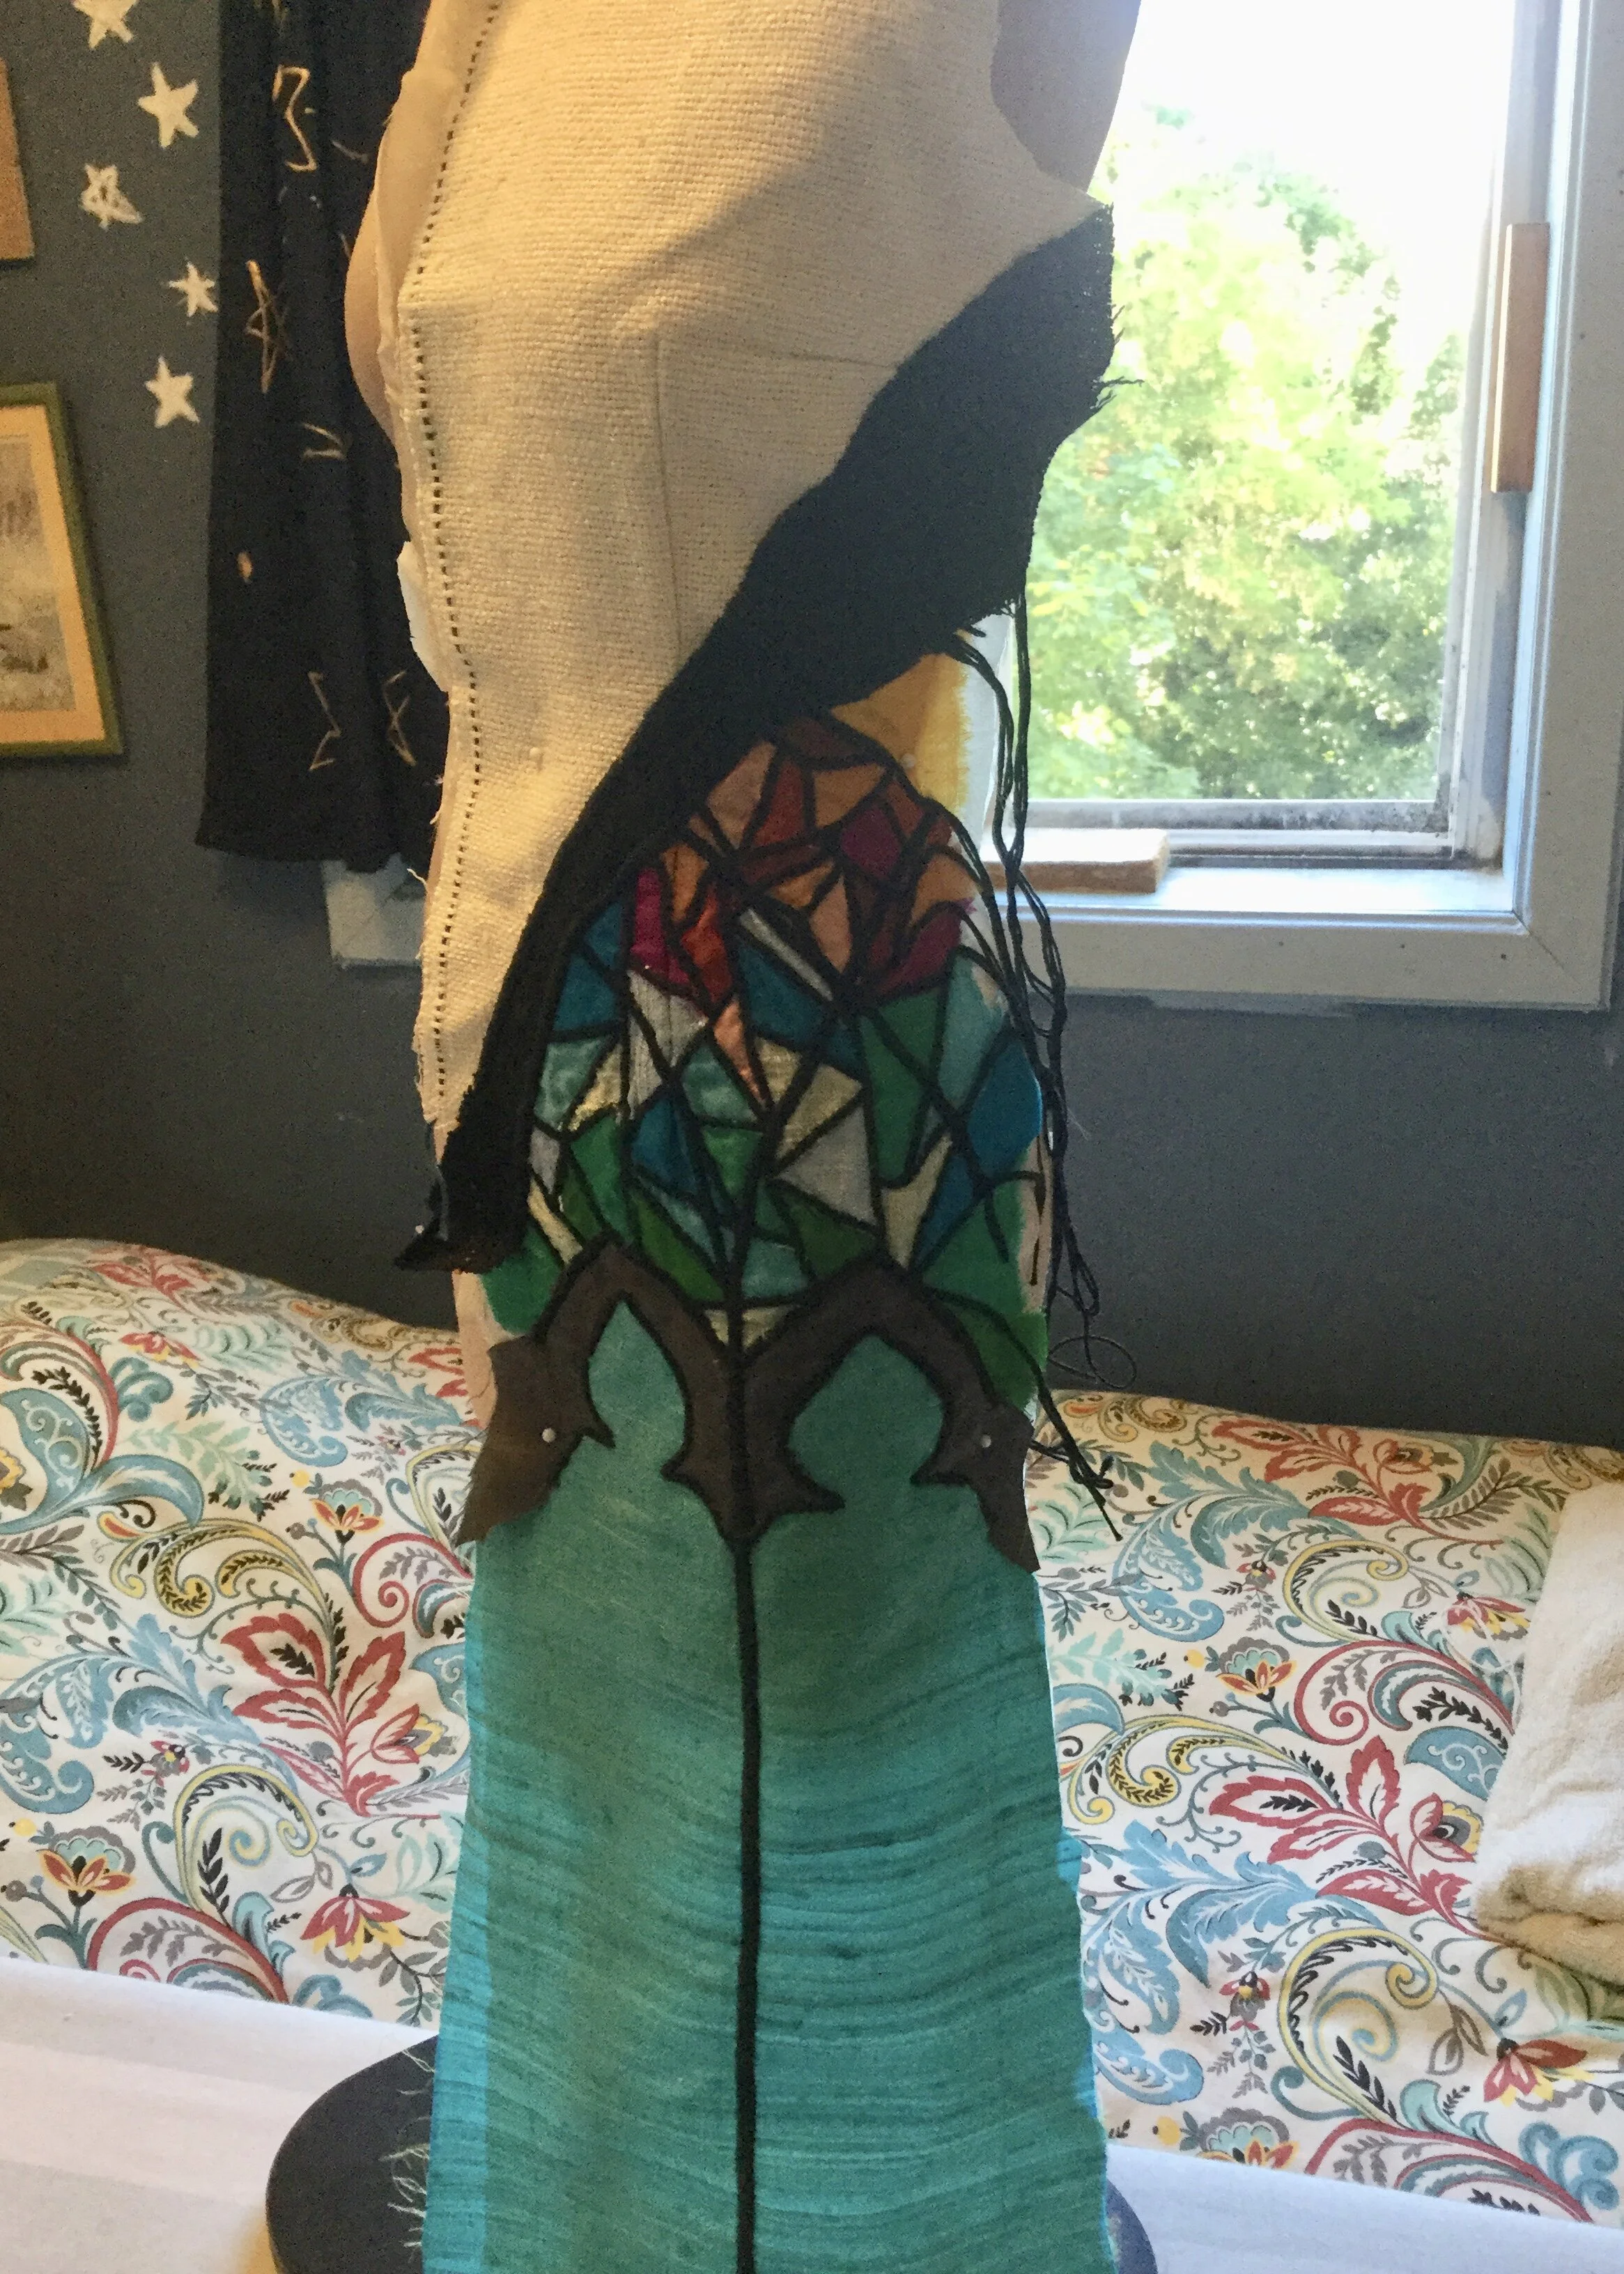
Eventually, after many many hours, I had finished the front of the dress. With excitement, I took it out of the hoop for the last time and went to trim away the few stray threads and bits of excess which had been hard to get to while the piece was stretched out on a hoop. With dread, I realized I would have to accept a truth I had been trying not to think about for the last few days: this wasn't really working.
Overall it looked okay but from any distance the difference between the thick and thin lines was not as visible as I would have liked and if you got closer, it looked a bit too rough in some places. It had taken soooooo long and it didn't look good enough to go forward with the other piece.
What crisis? No crisis here. Everything’s fine.
In a bit of a panic, I started pulling out fabrics which might look nice with the bean silk and considered other ideas. I decided to return to the original notion of the dress being inspired by the looks of the 1960's and started searching colour block designs of the time. After about an hour of furious googling and trying to envision how different fabrics would look together, I settled on a new plan where I would still be able to use the back I had already started. I didn't immediately abandon the possibility of a stained glass element as I still think it's a cool idea, but quickly decided that it wouldn't work with the new direction I was going in.
The new, much simpler plan.
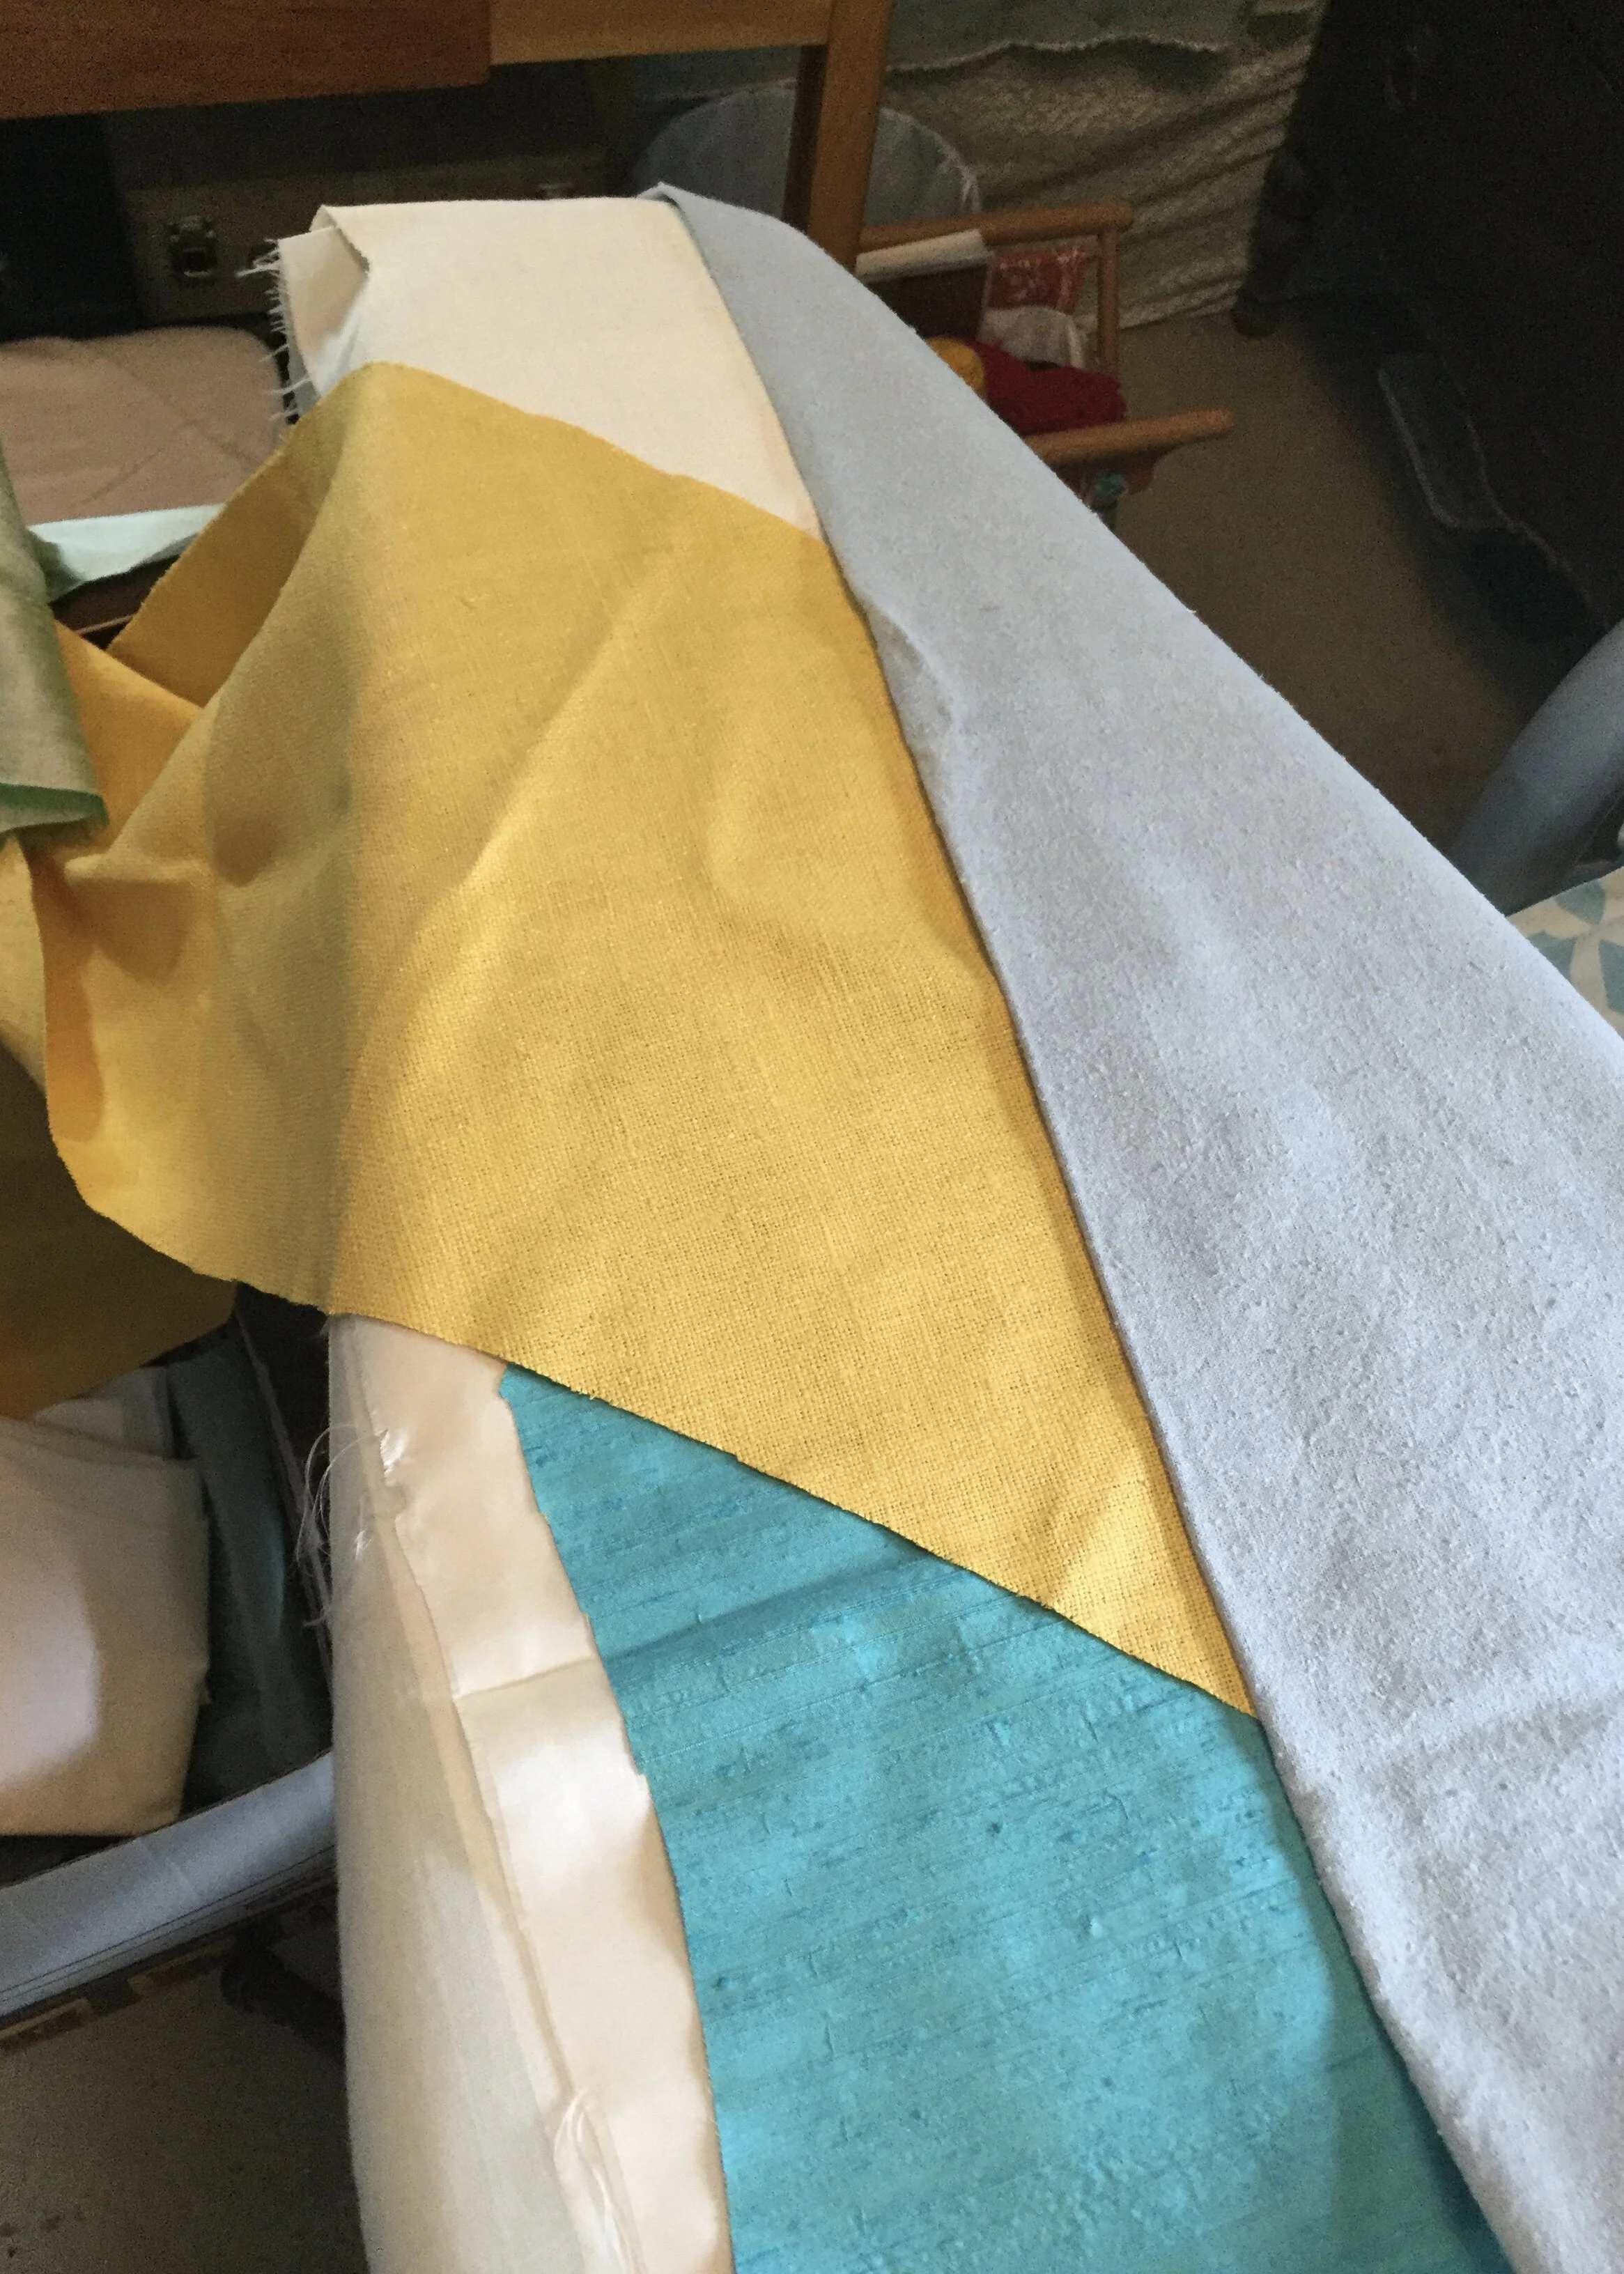
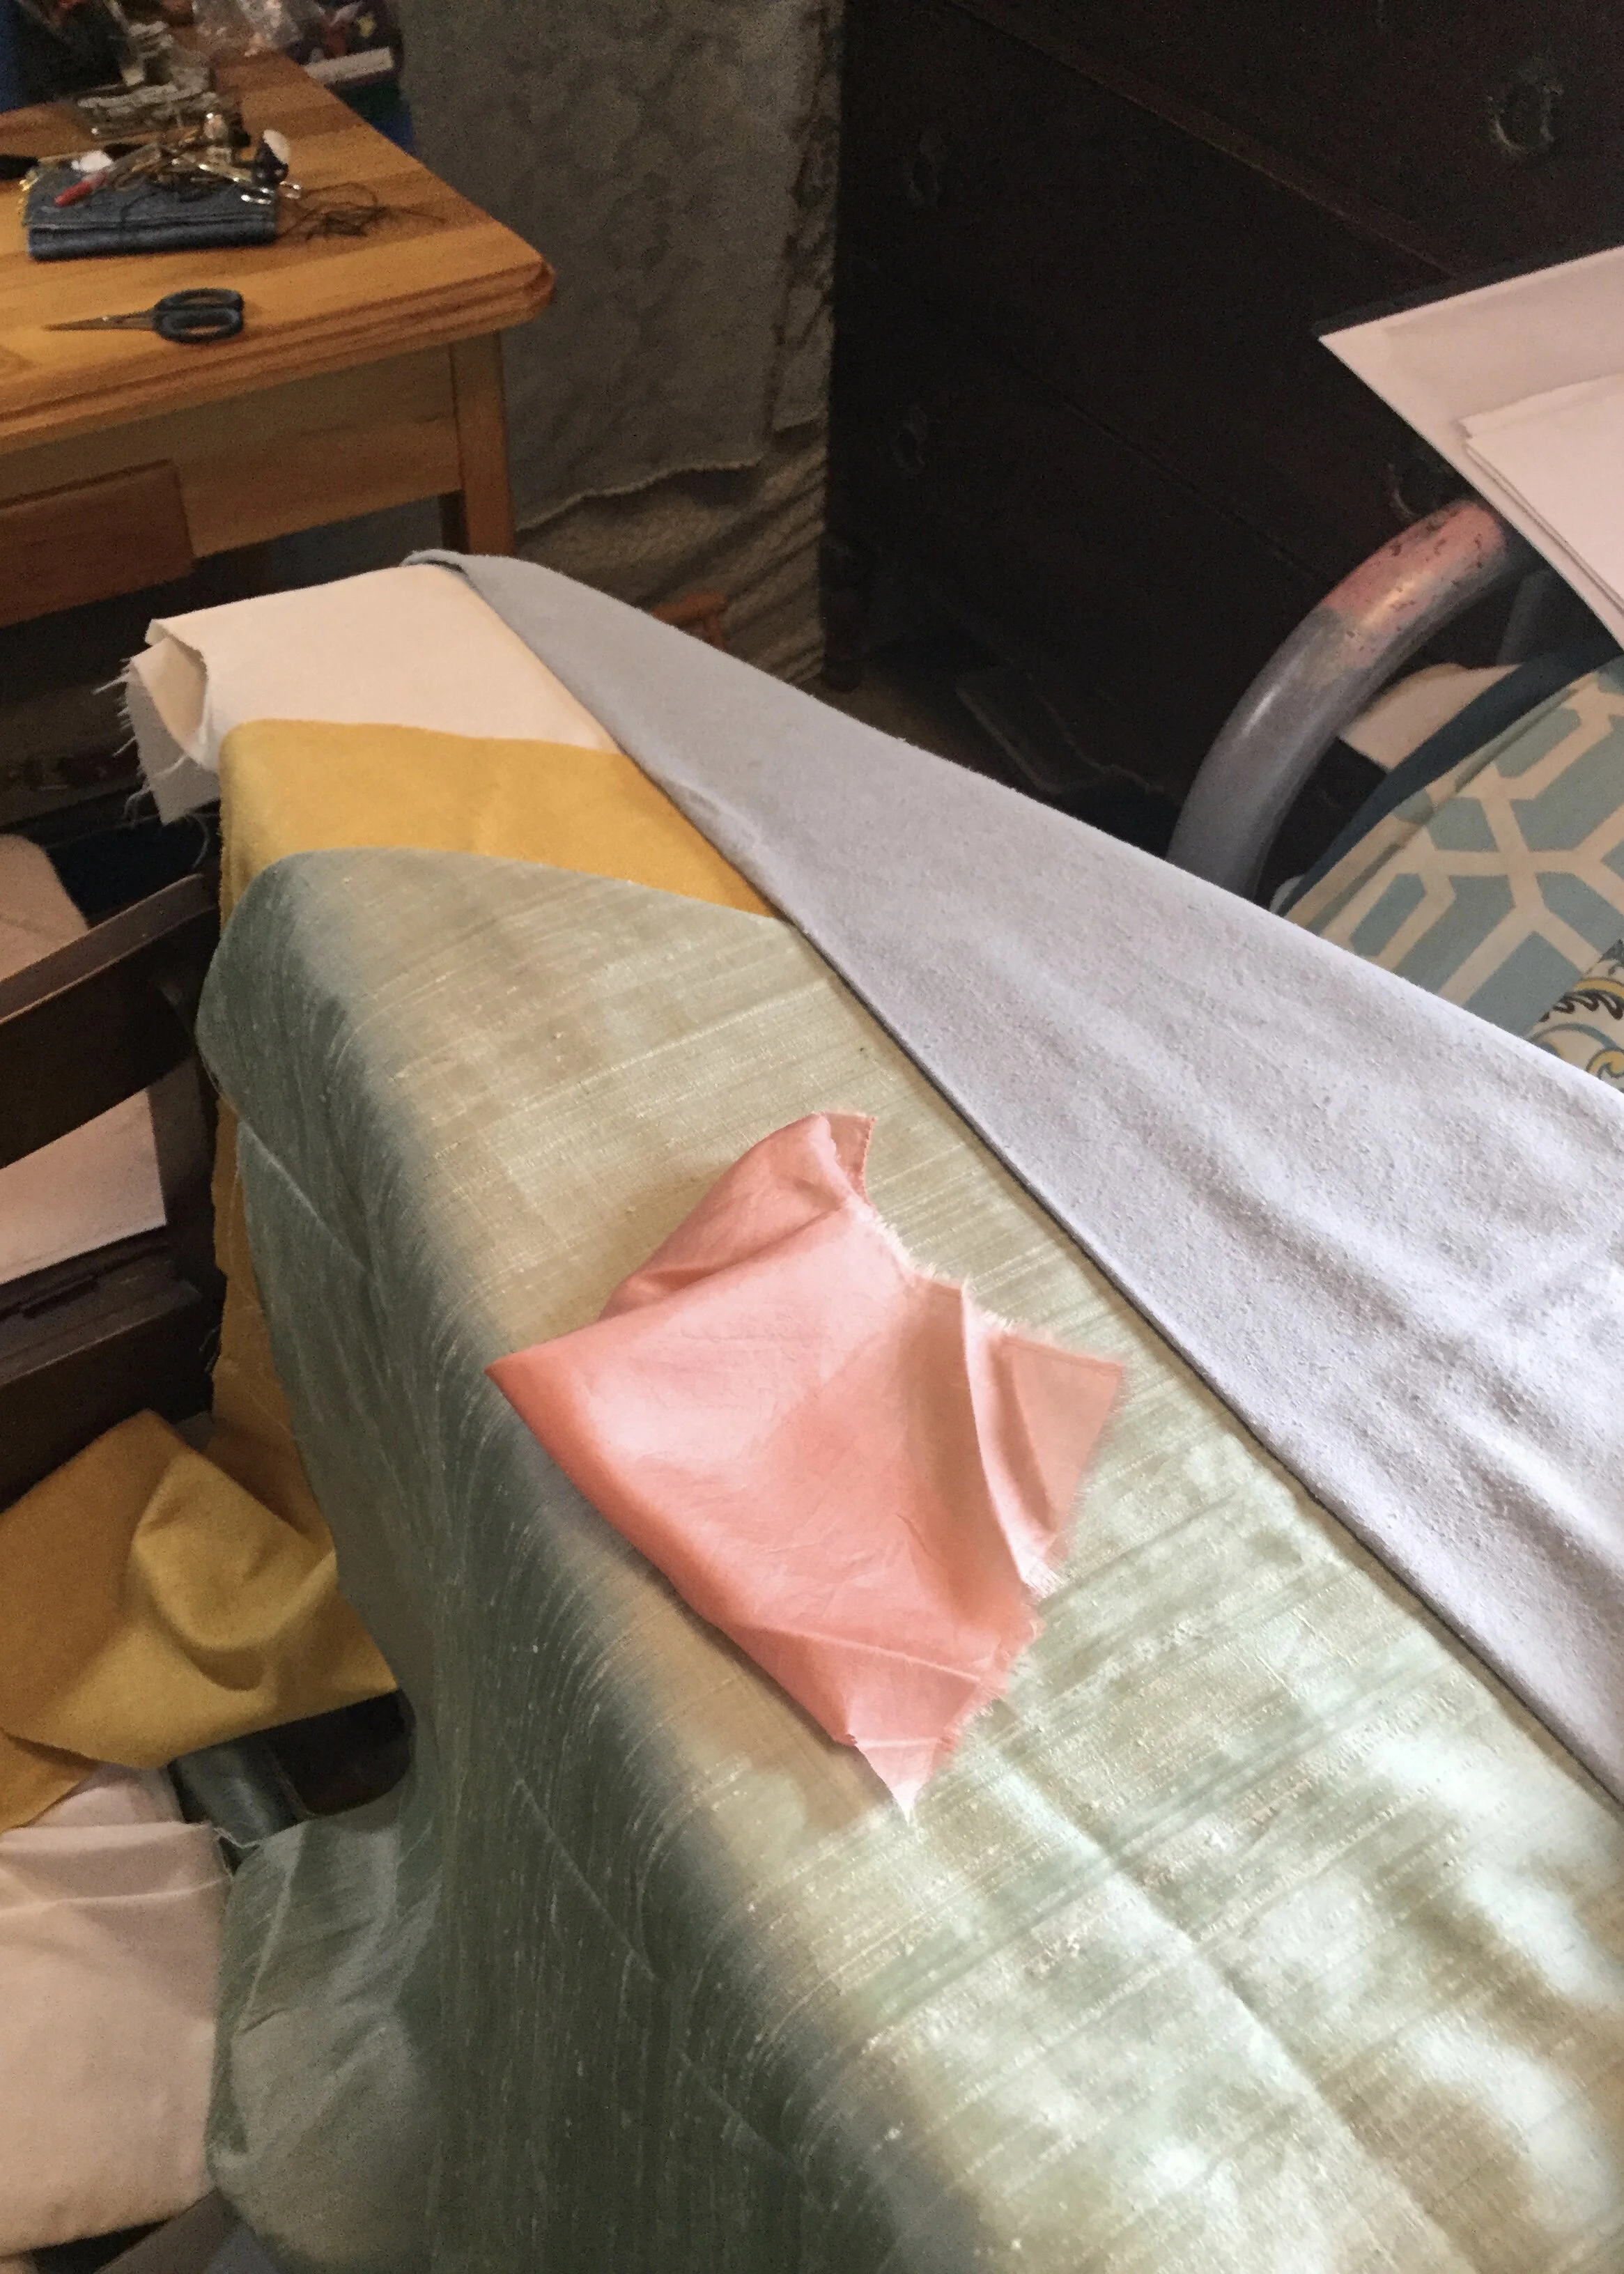
The new plan was to keep the white for the upper bodice, add a mint green dupioni silk for the lower bodice and skirt and cover the join between the two with a yellow stripe of the same silk as the white. I initially thought just a strait yellow line would be fine, then changed my mind to make it curved. It can be an homage to what that side of the dress might have been.
Okayyyyyy. Let's start over and maybe one of these days I'll have a dress.
