Belle Part Two
A tale of three mockups.
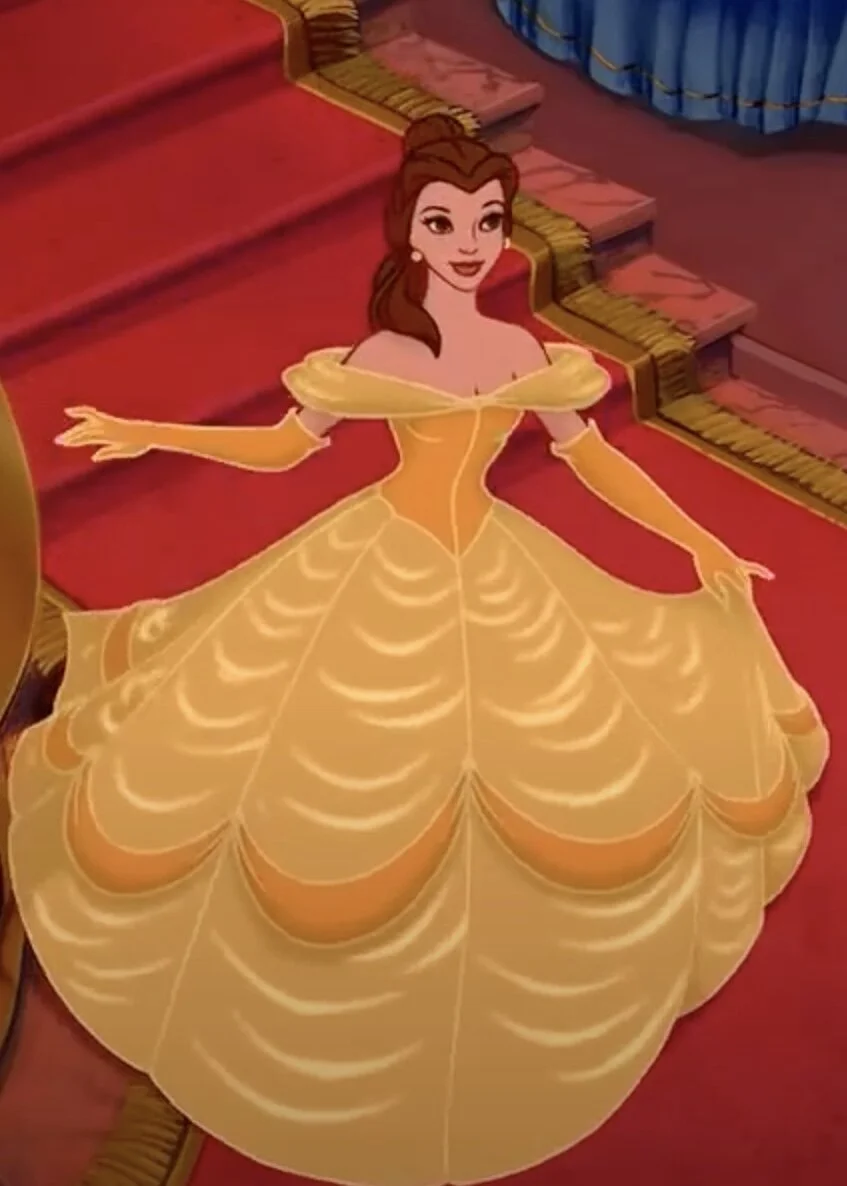
When developing the pattern for the skirt I ran into the same challenge that most people who have made this dress have faced. On the surface it appears to be a very simple skirt made up of panels (I'm assuming eight, but from some angles it seems like it could be ten) which are ruched a bit along the seams. So far, I am probably on the same track as just about everyone else who has made a Belle dress ever. The challenge is that it’s actually a surprisingly tricky look to achieve and the question of whether the swags that go around the skirt represent the hem of an overskirt or are simply a piece which has been applied has never been definitively decided. There doesn't really seem to be a clear answer, it could be either one.
Source: Beauty and the Beast ©Disney
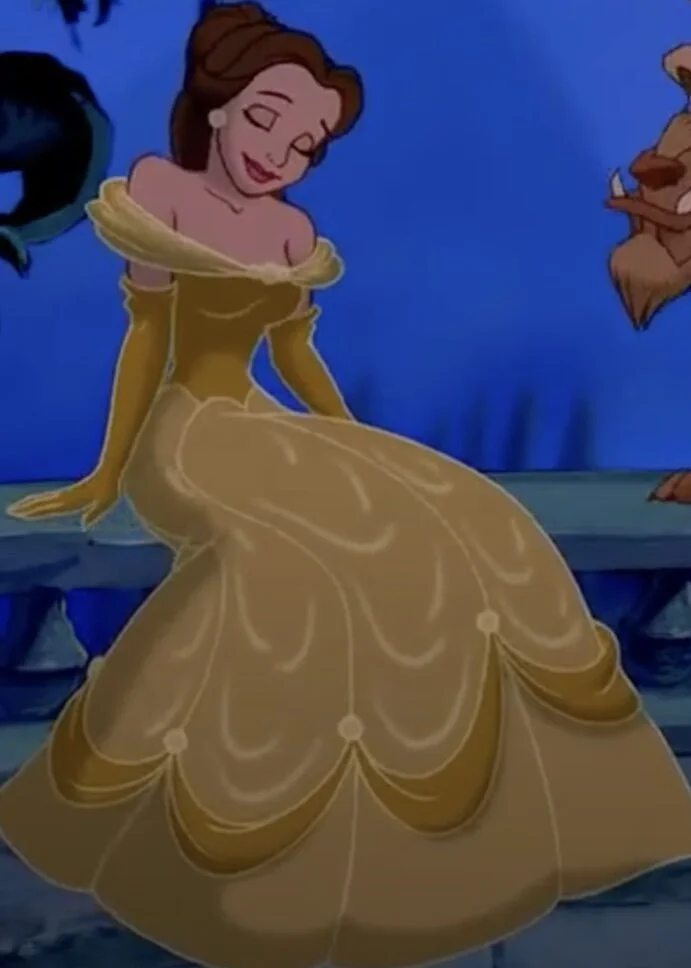
In looking closely at images from the film, I decided that I would take the applied piece route. I arrived at this decision because the highlights from the ruching of the skirt appear to continue below the swags which in turn have dimension and shading which make them look to me more like something that has been applied on top of a complete skirt. Basically, my reasoning comes down to: it just looks like that to me. I also think that if the skirt is only the one layer it will be more likely to move as it does in the movie; I fear a separate overskirt would not move as one with the main body of the skirt in the way that I want it to.
Source: Beauty and the Beast ©Disney
Of course, here we see that someone didn’t get the memo about how far down the ruching went. Didn’t they anticipate die hard fans who grew up to be sewers being really confused 30 years later?
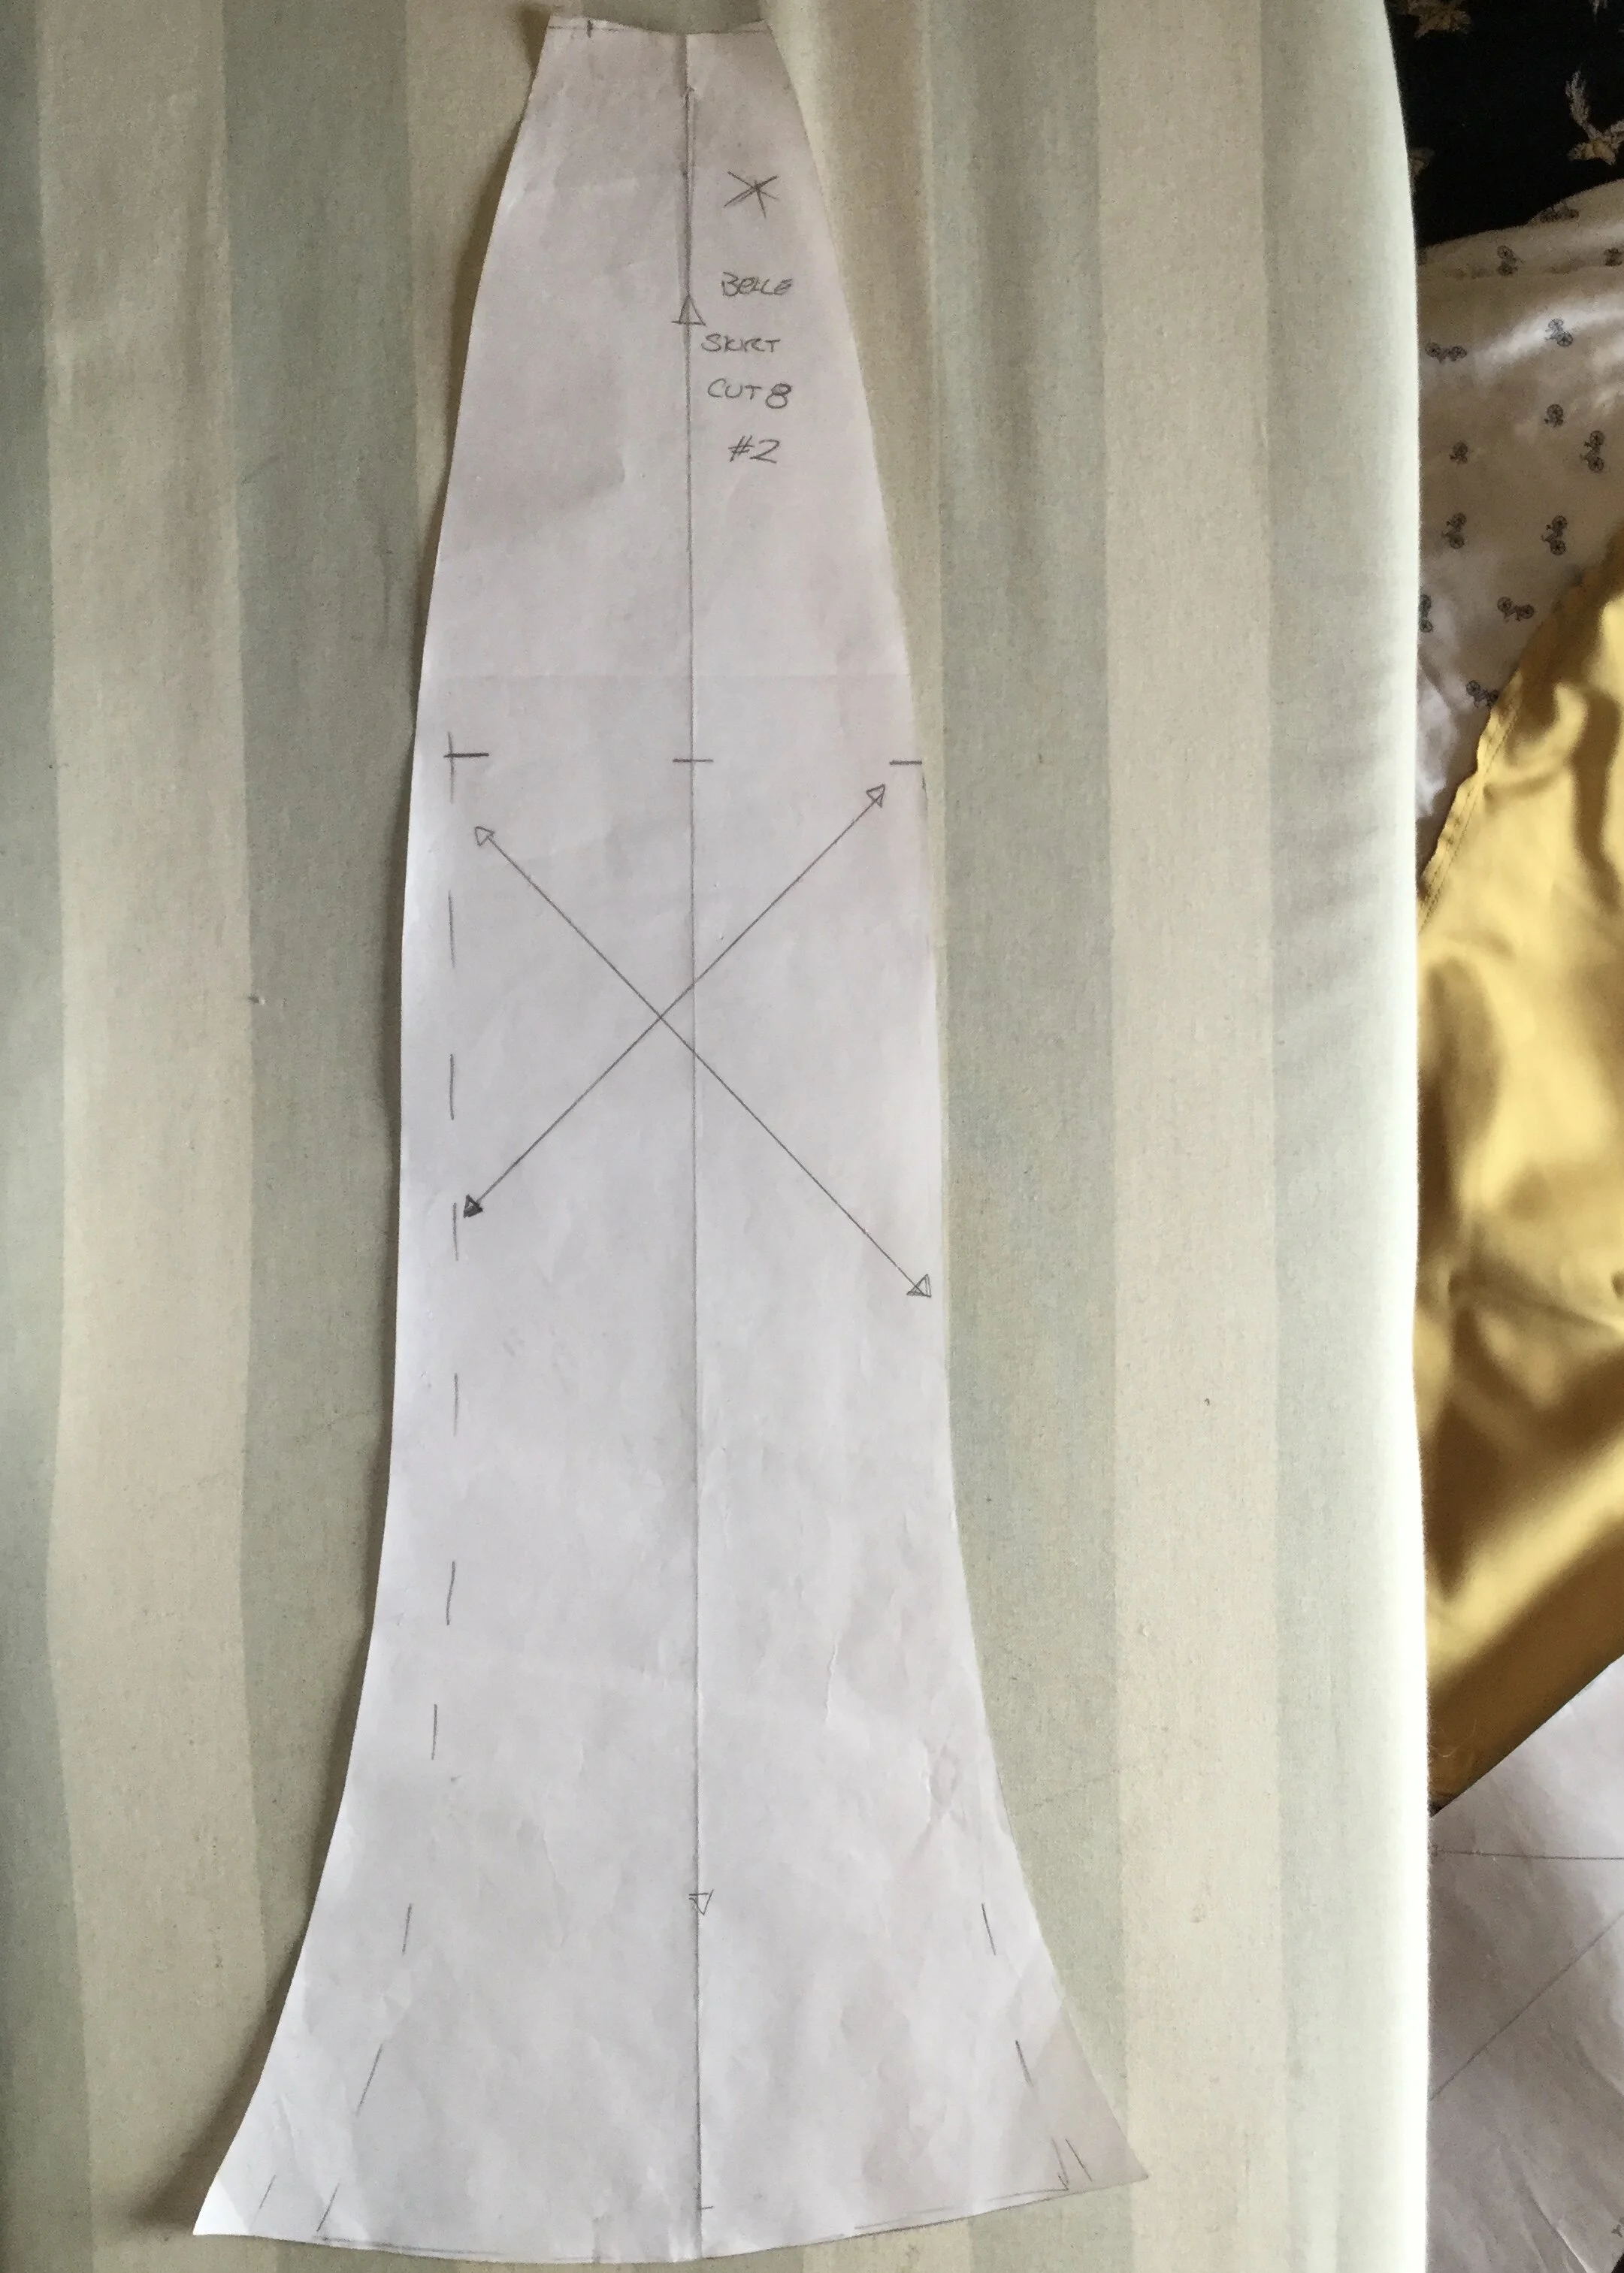
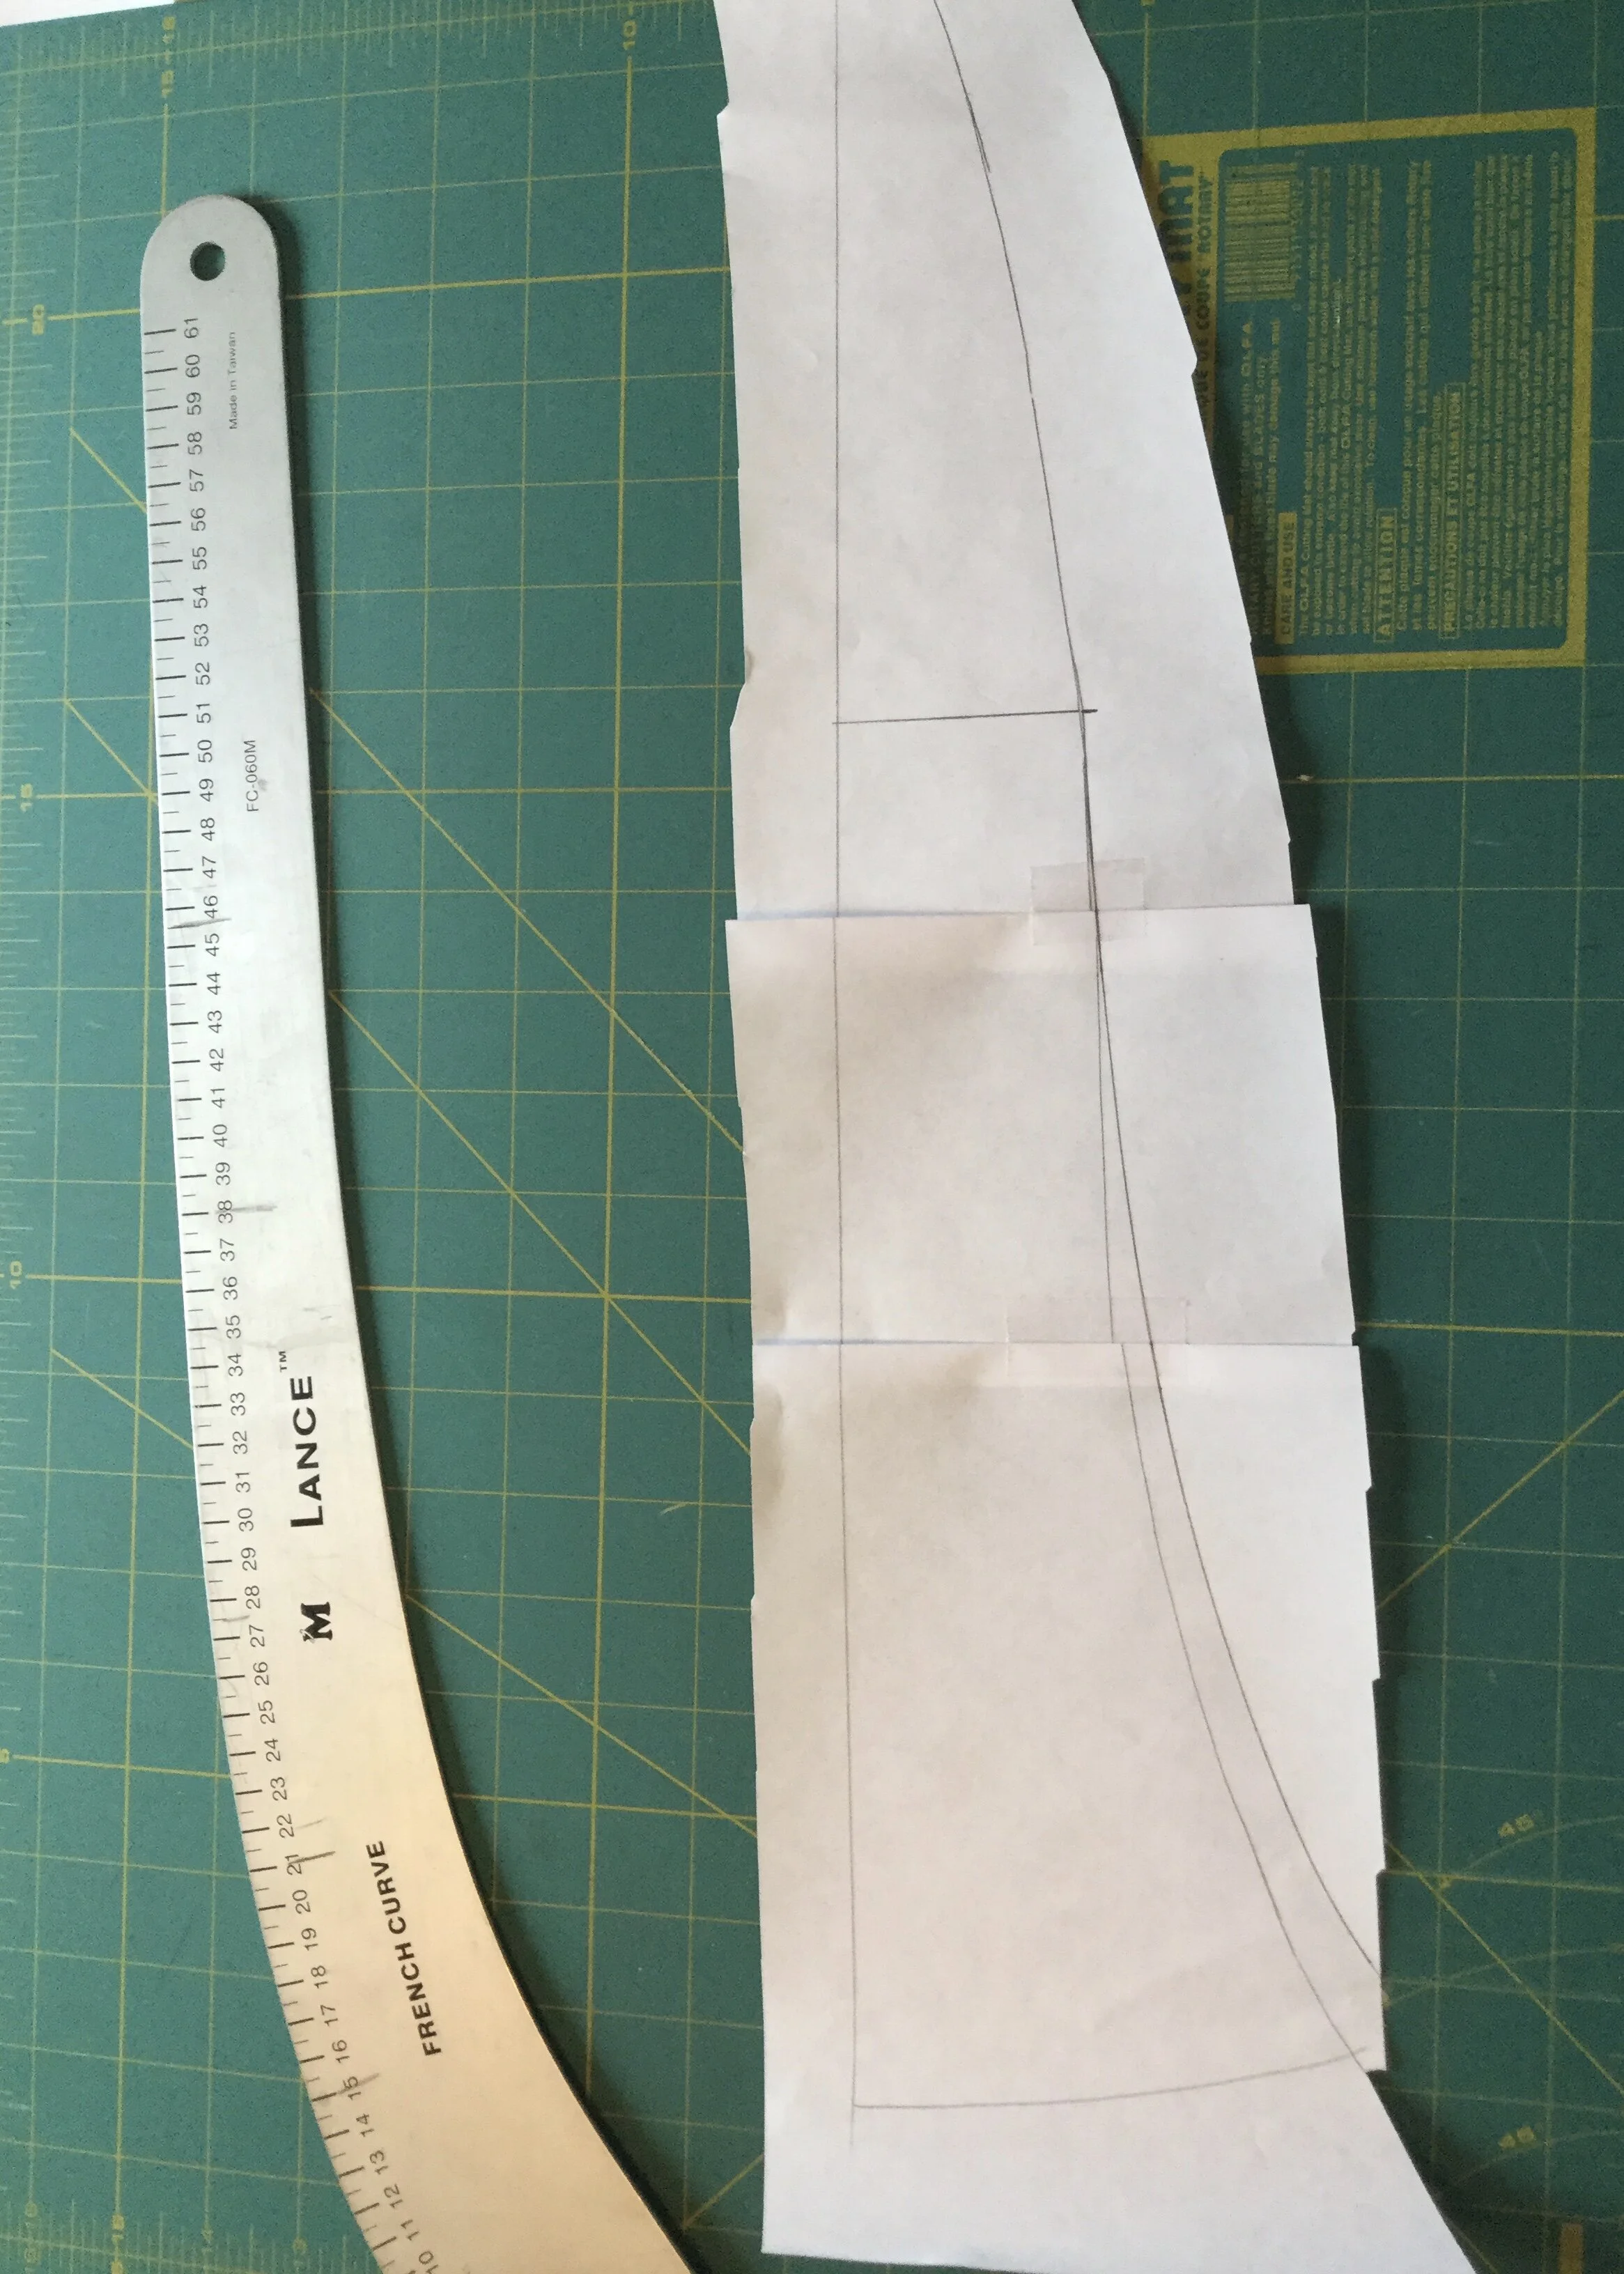
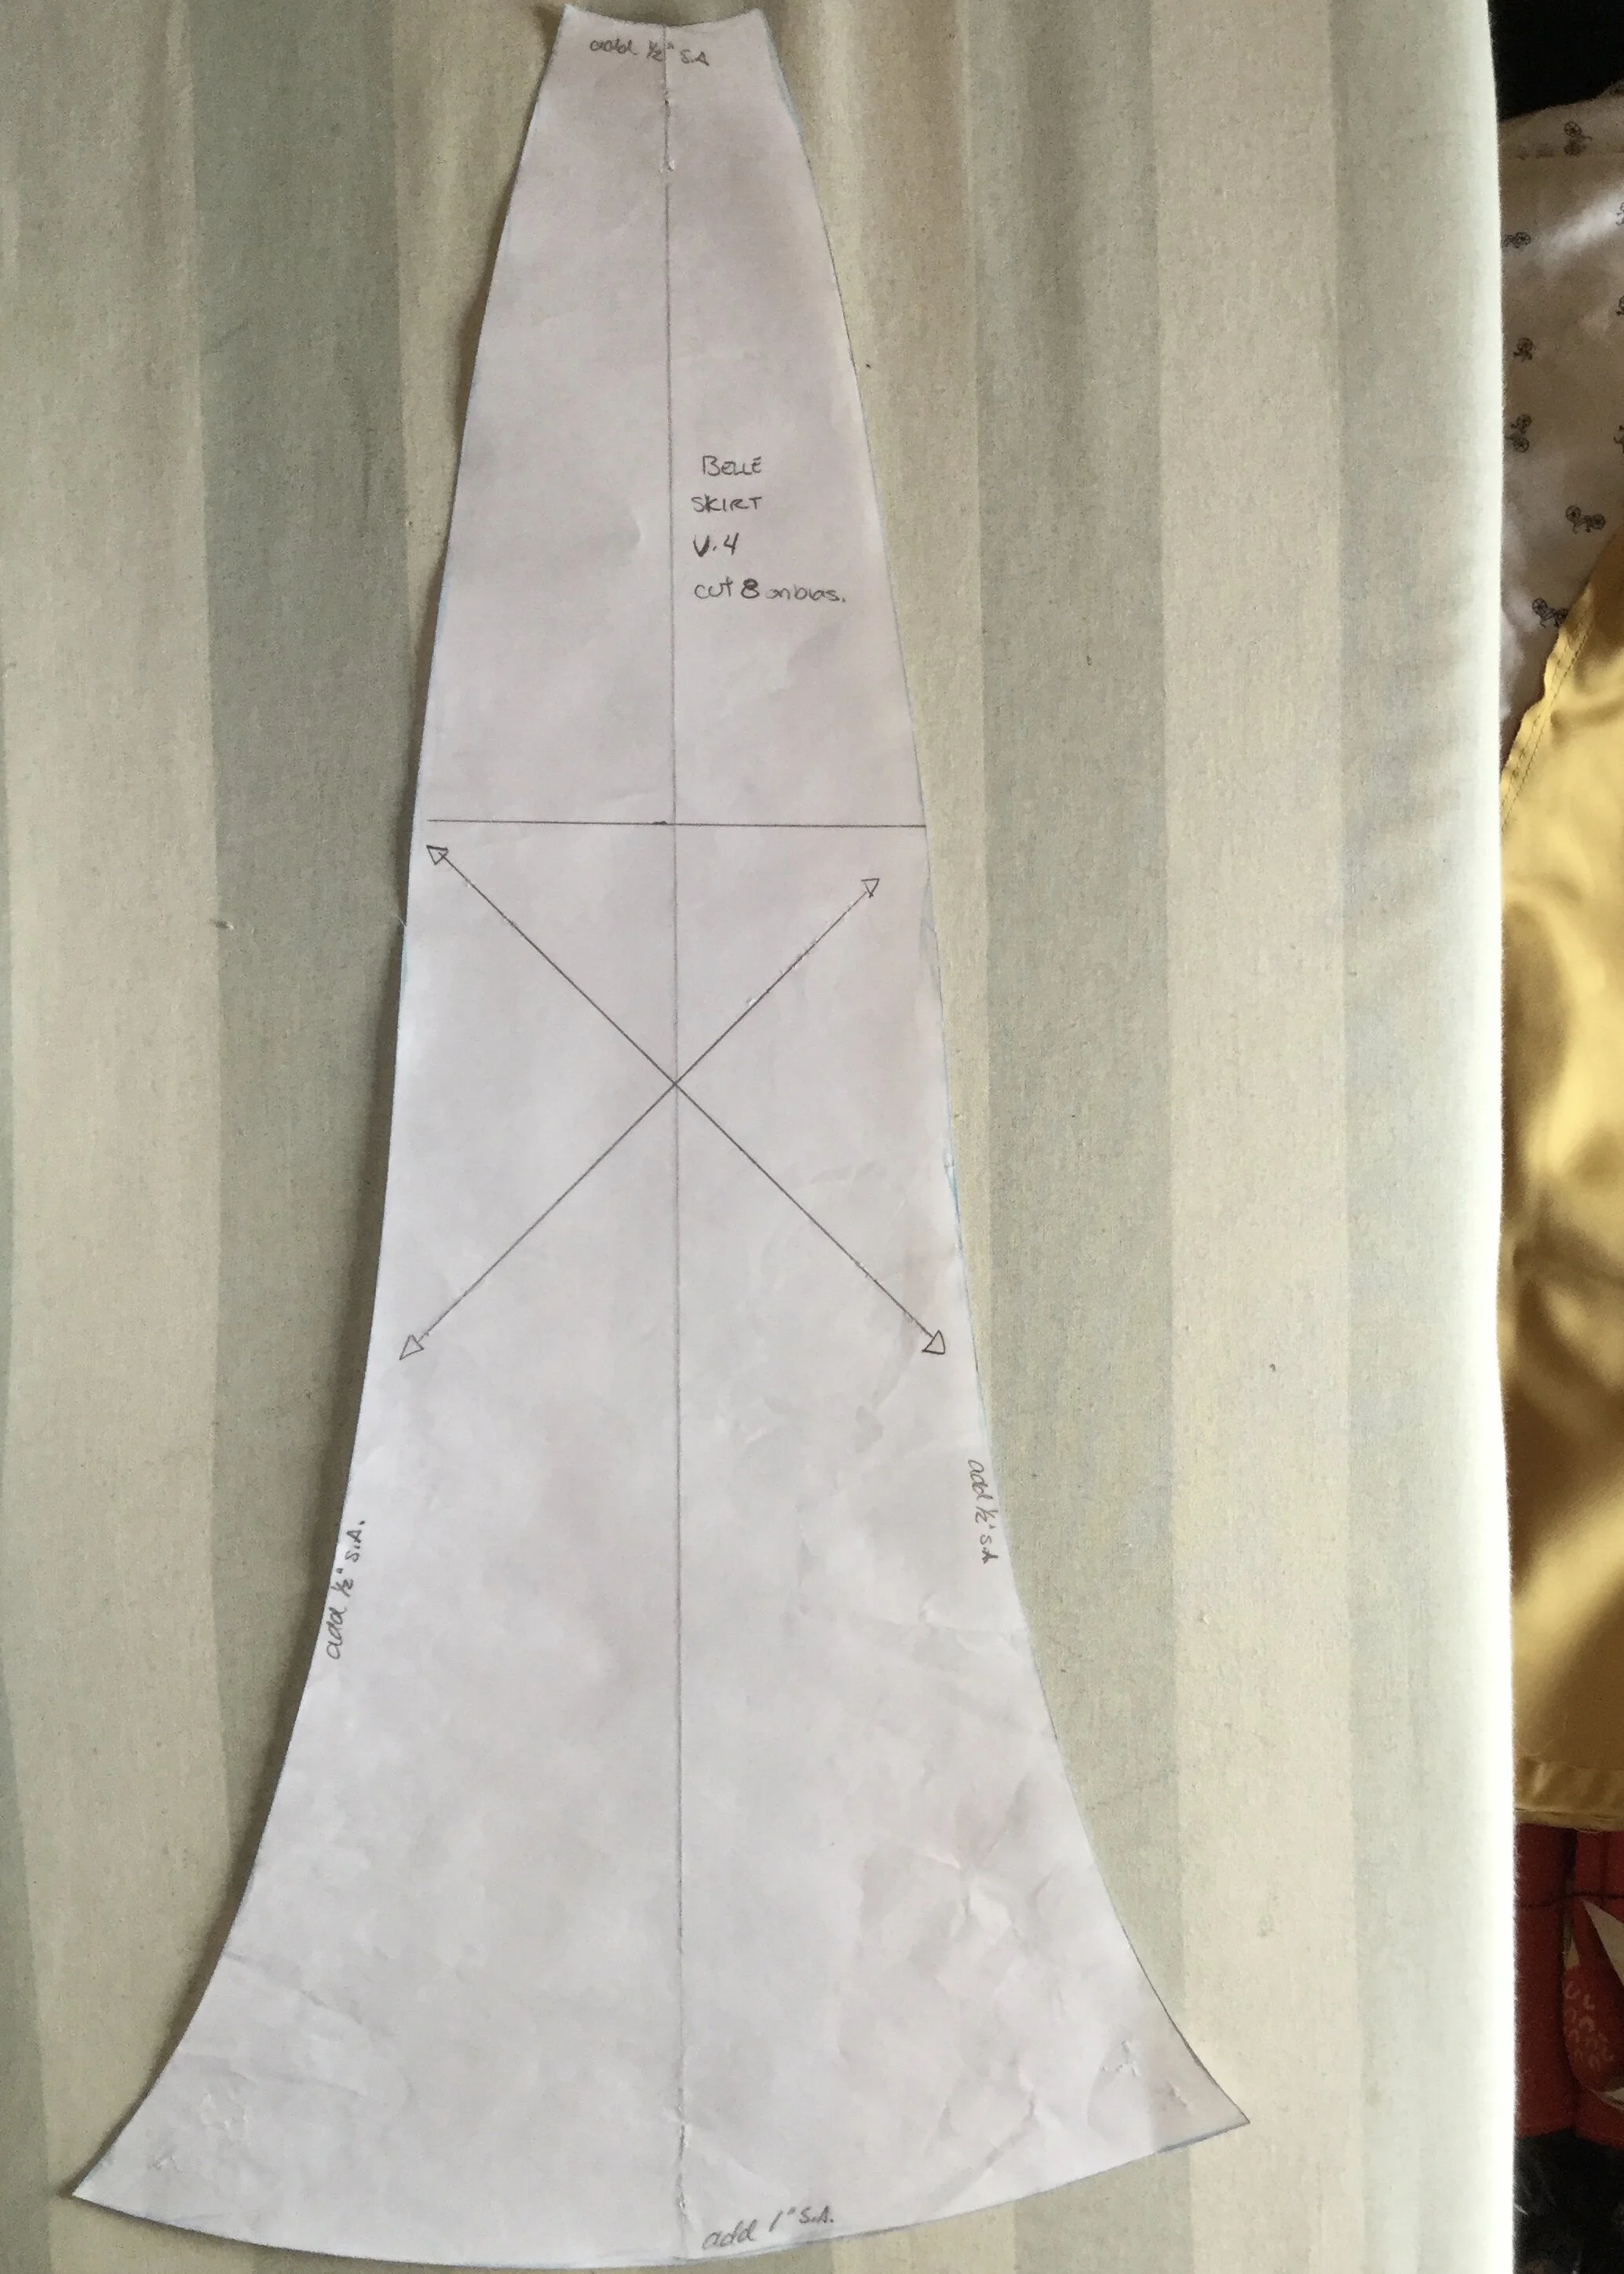
When it came to drafting the skirt pattern, the theory behind it is very similar to the petticoat; flared panels similar to skirts from the 1930s, just longer, fuller and more of them. The skirt panels extend from the waist to the hem in one piece and have been lengthened significantly through the middle of the piece to allow for the ruching. The panels also curve outward above the flare to give the skirt the necessary fullness. This also puts a little excess fabric between the rows of gathering so that it can drape more.
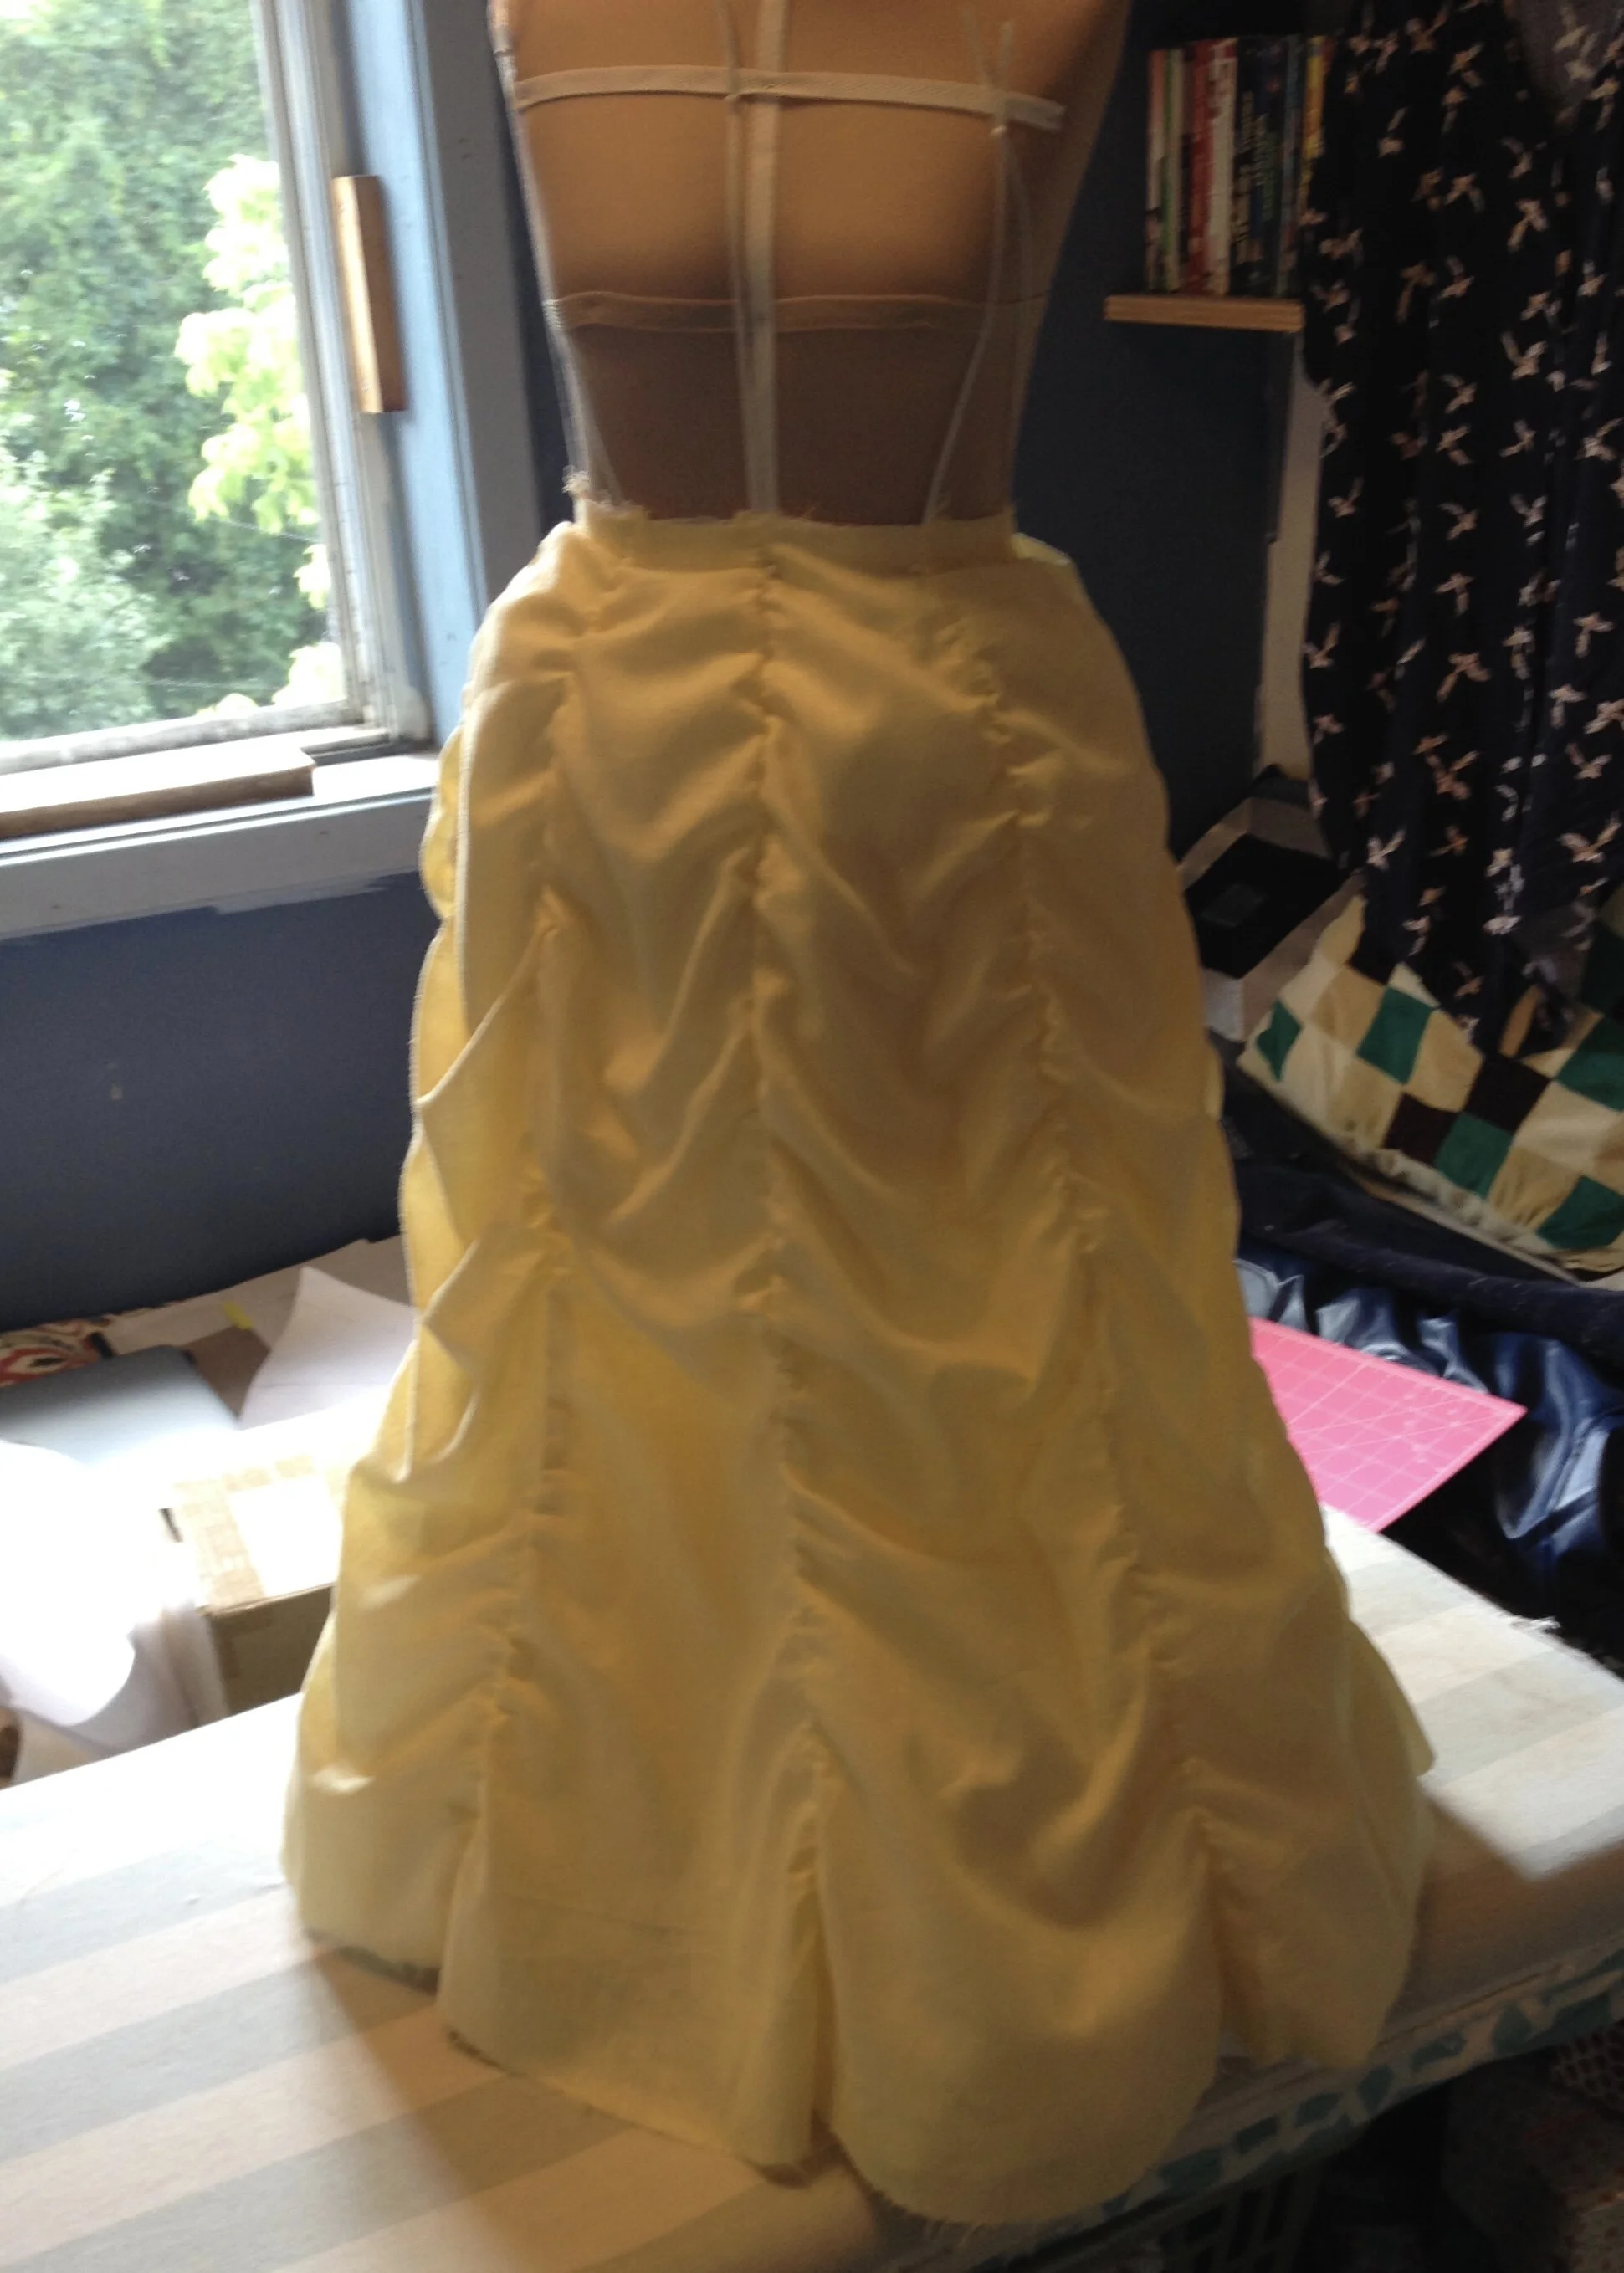
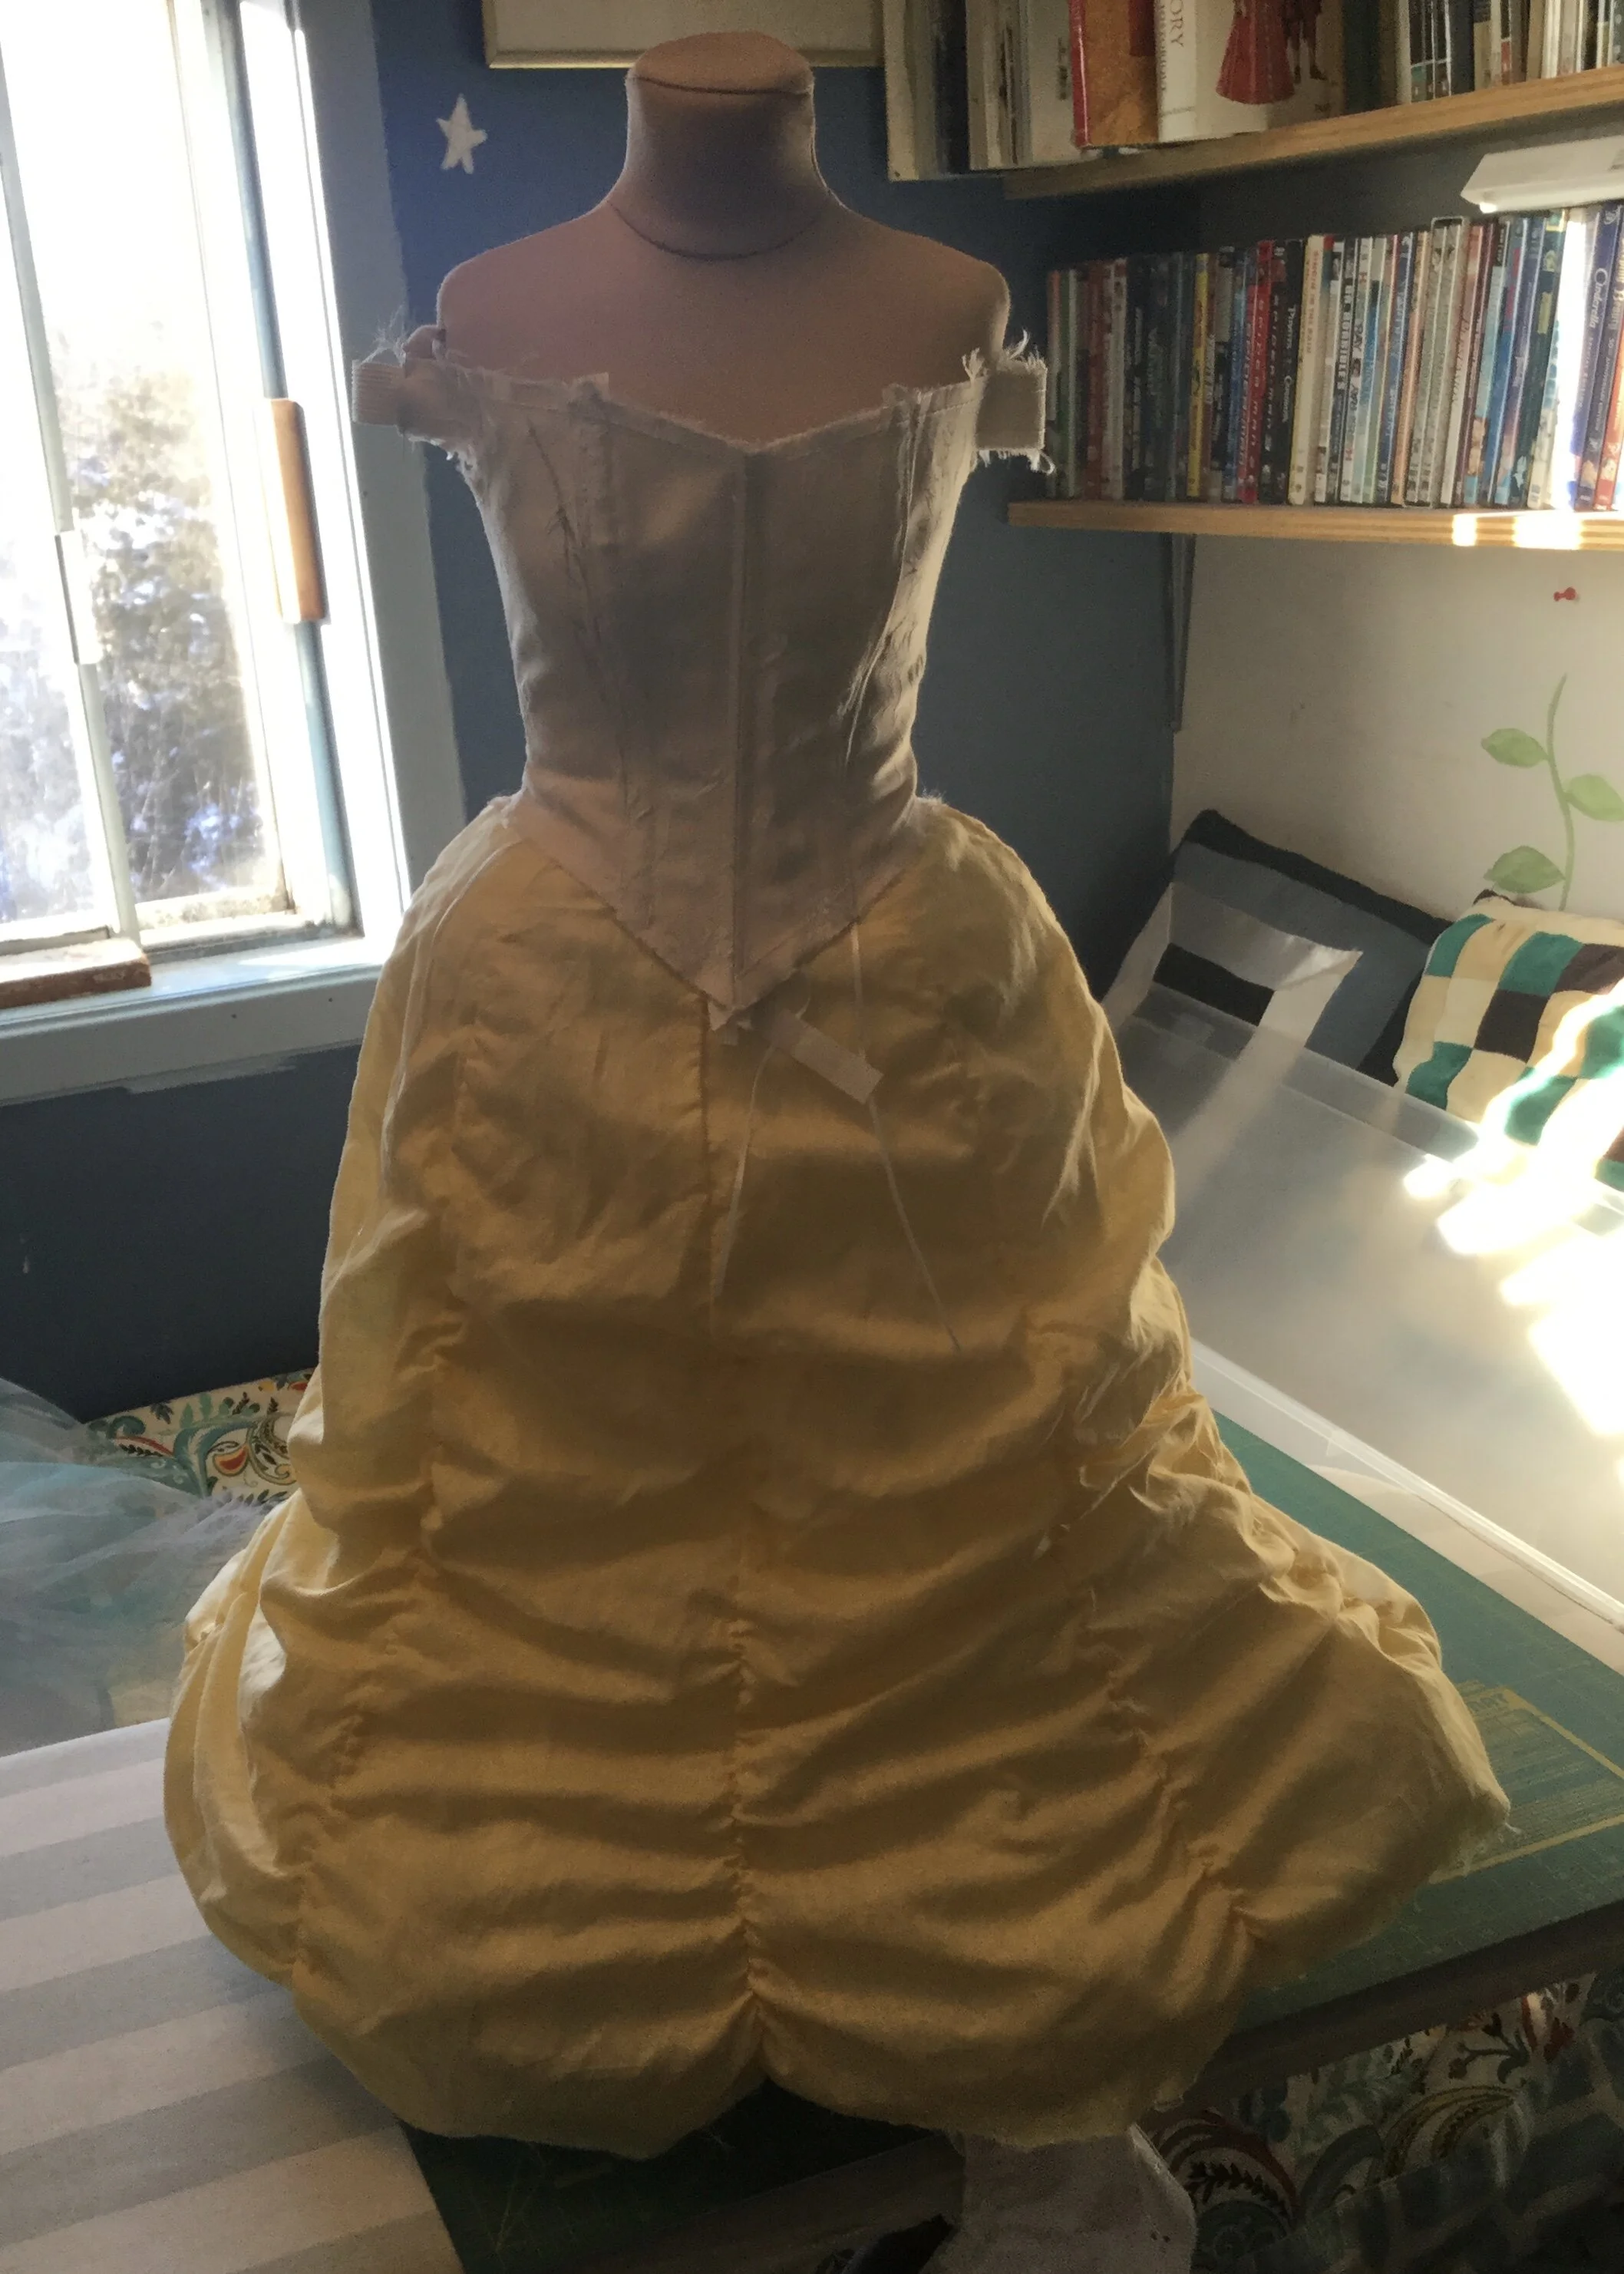
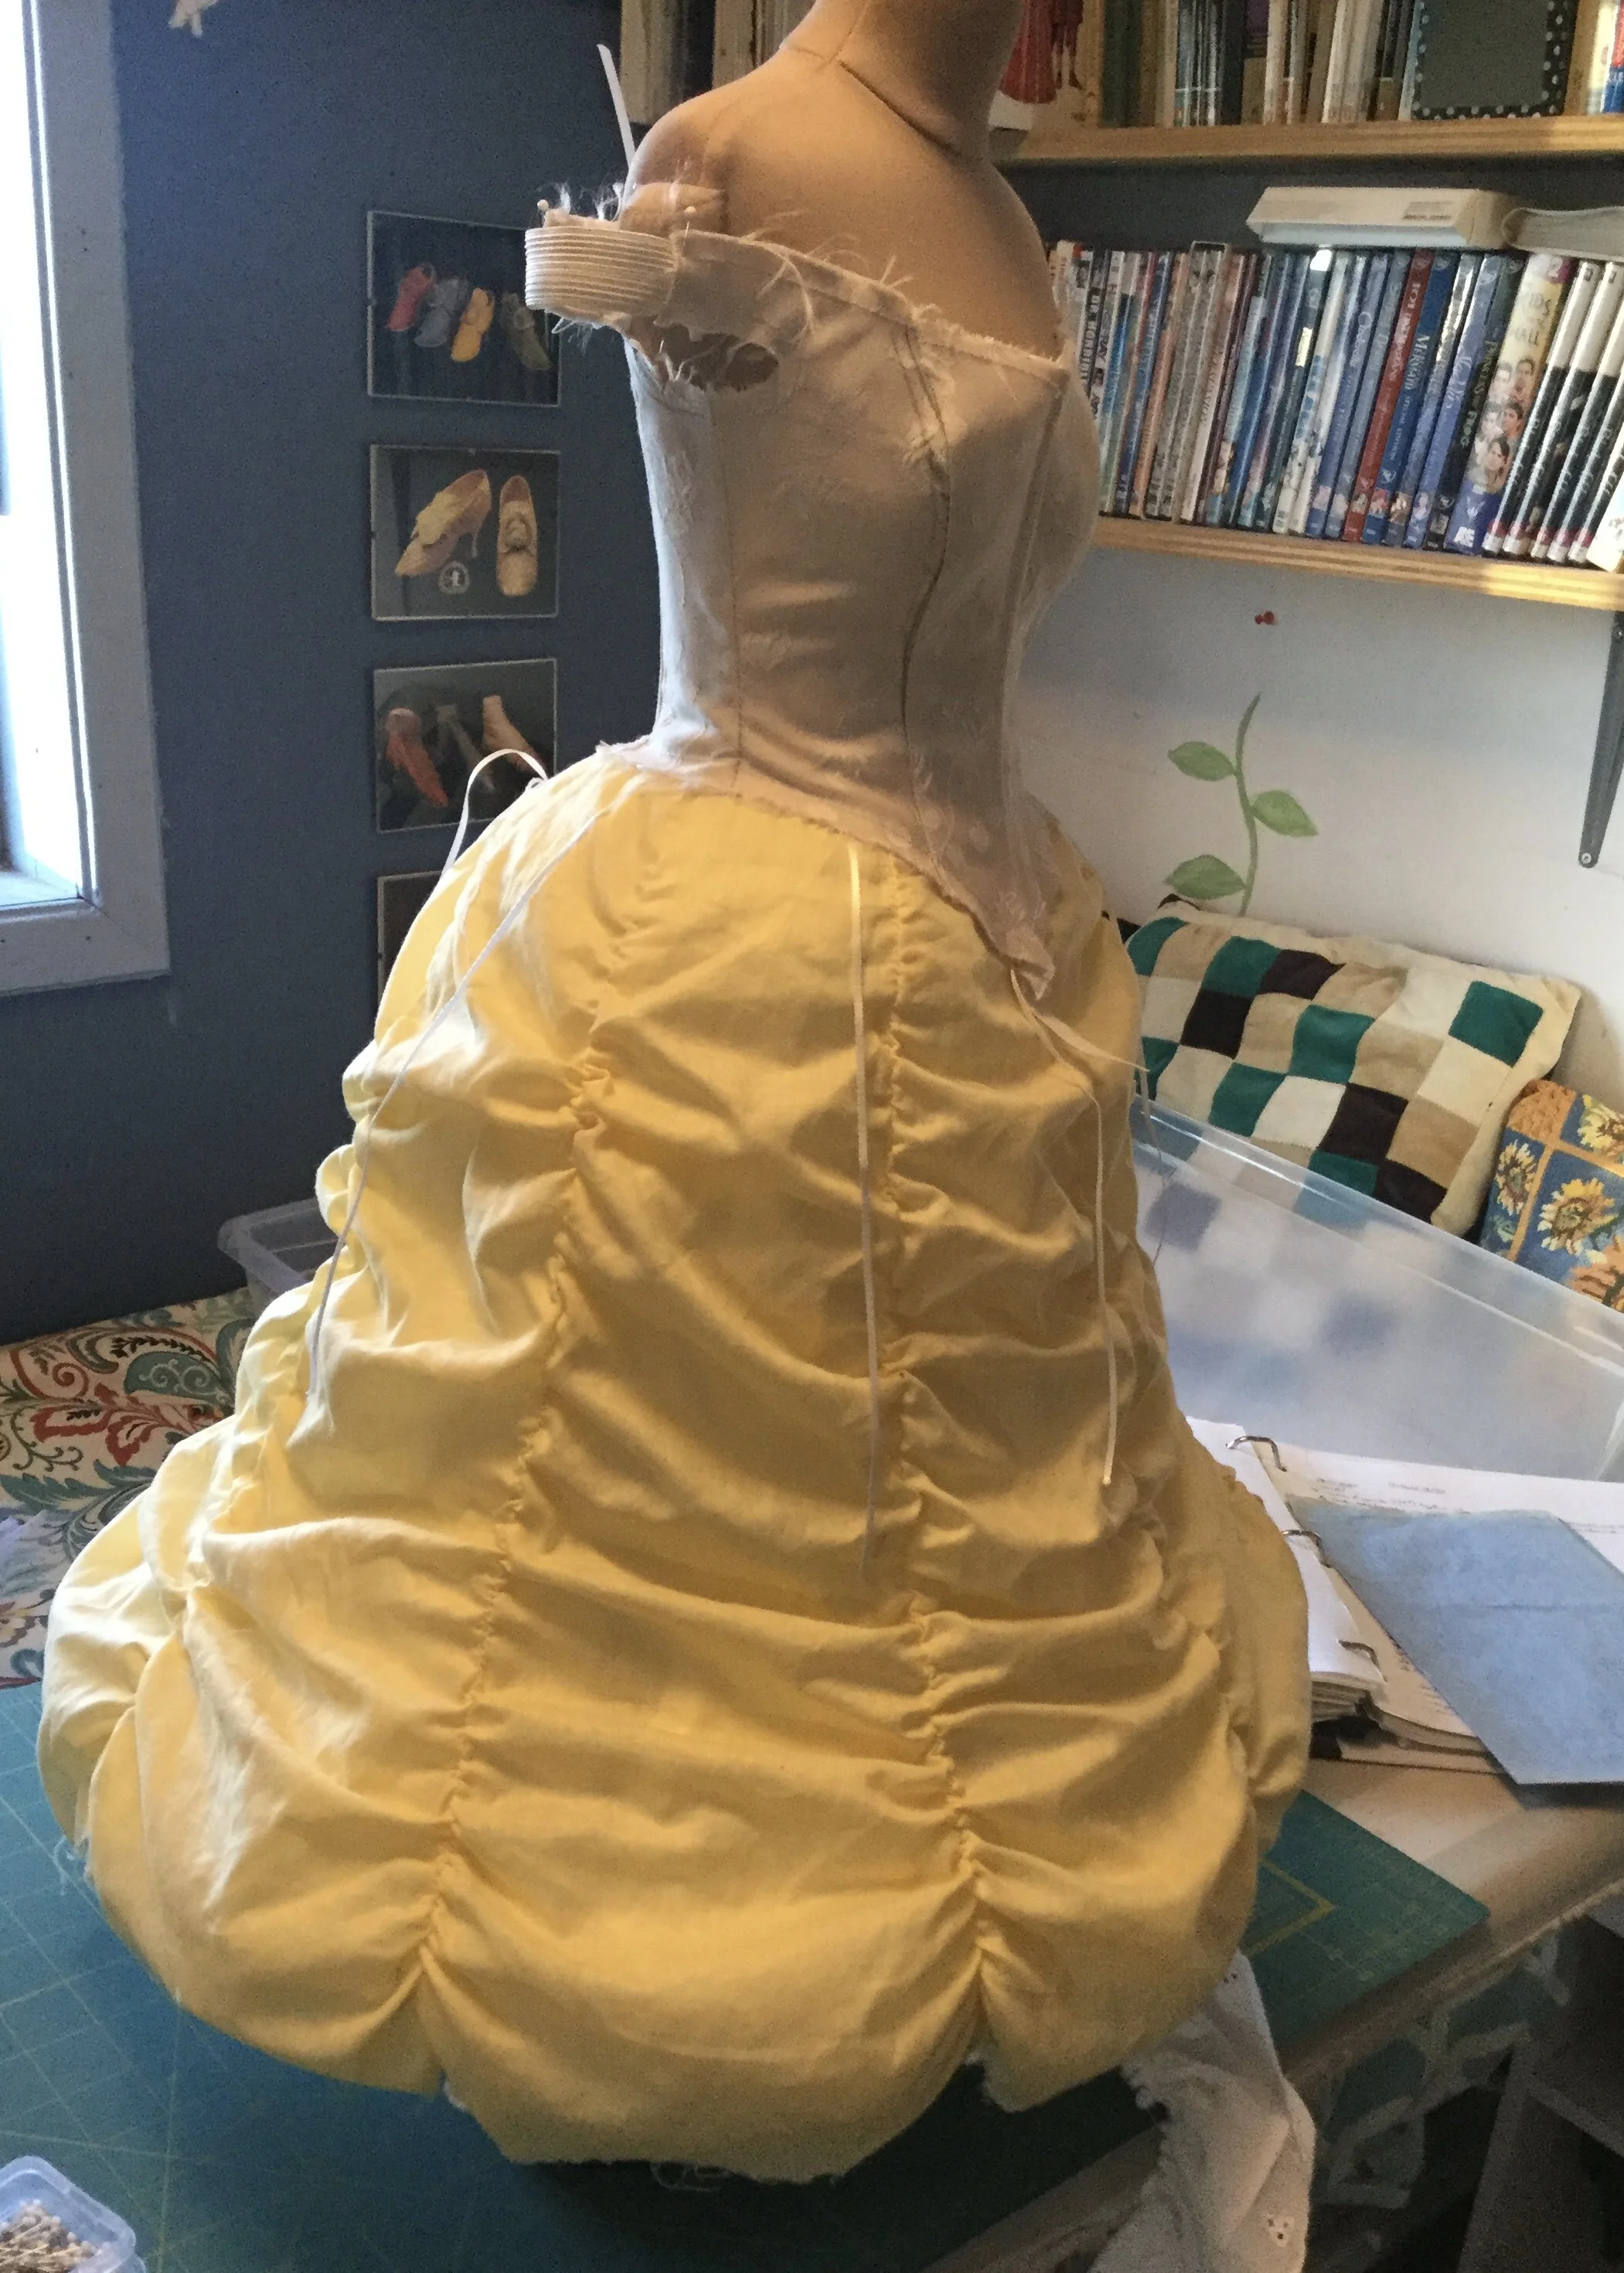
For the first mock up, I used some cotton voile I had bought for the petticoat mock up. Part of my plan to get the skirt to move how I want it to is to use very light, soft fabric that will compress with the force of a spin so I didn't want to make the mock up out of something too stiff (like broadcloth) which wouldn't tell me if my pattern was working. It was also on the sale rack and there was some yellow which seemed like a sign.
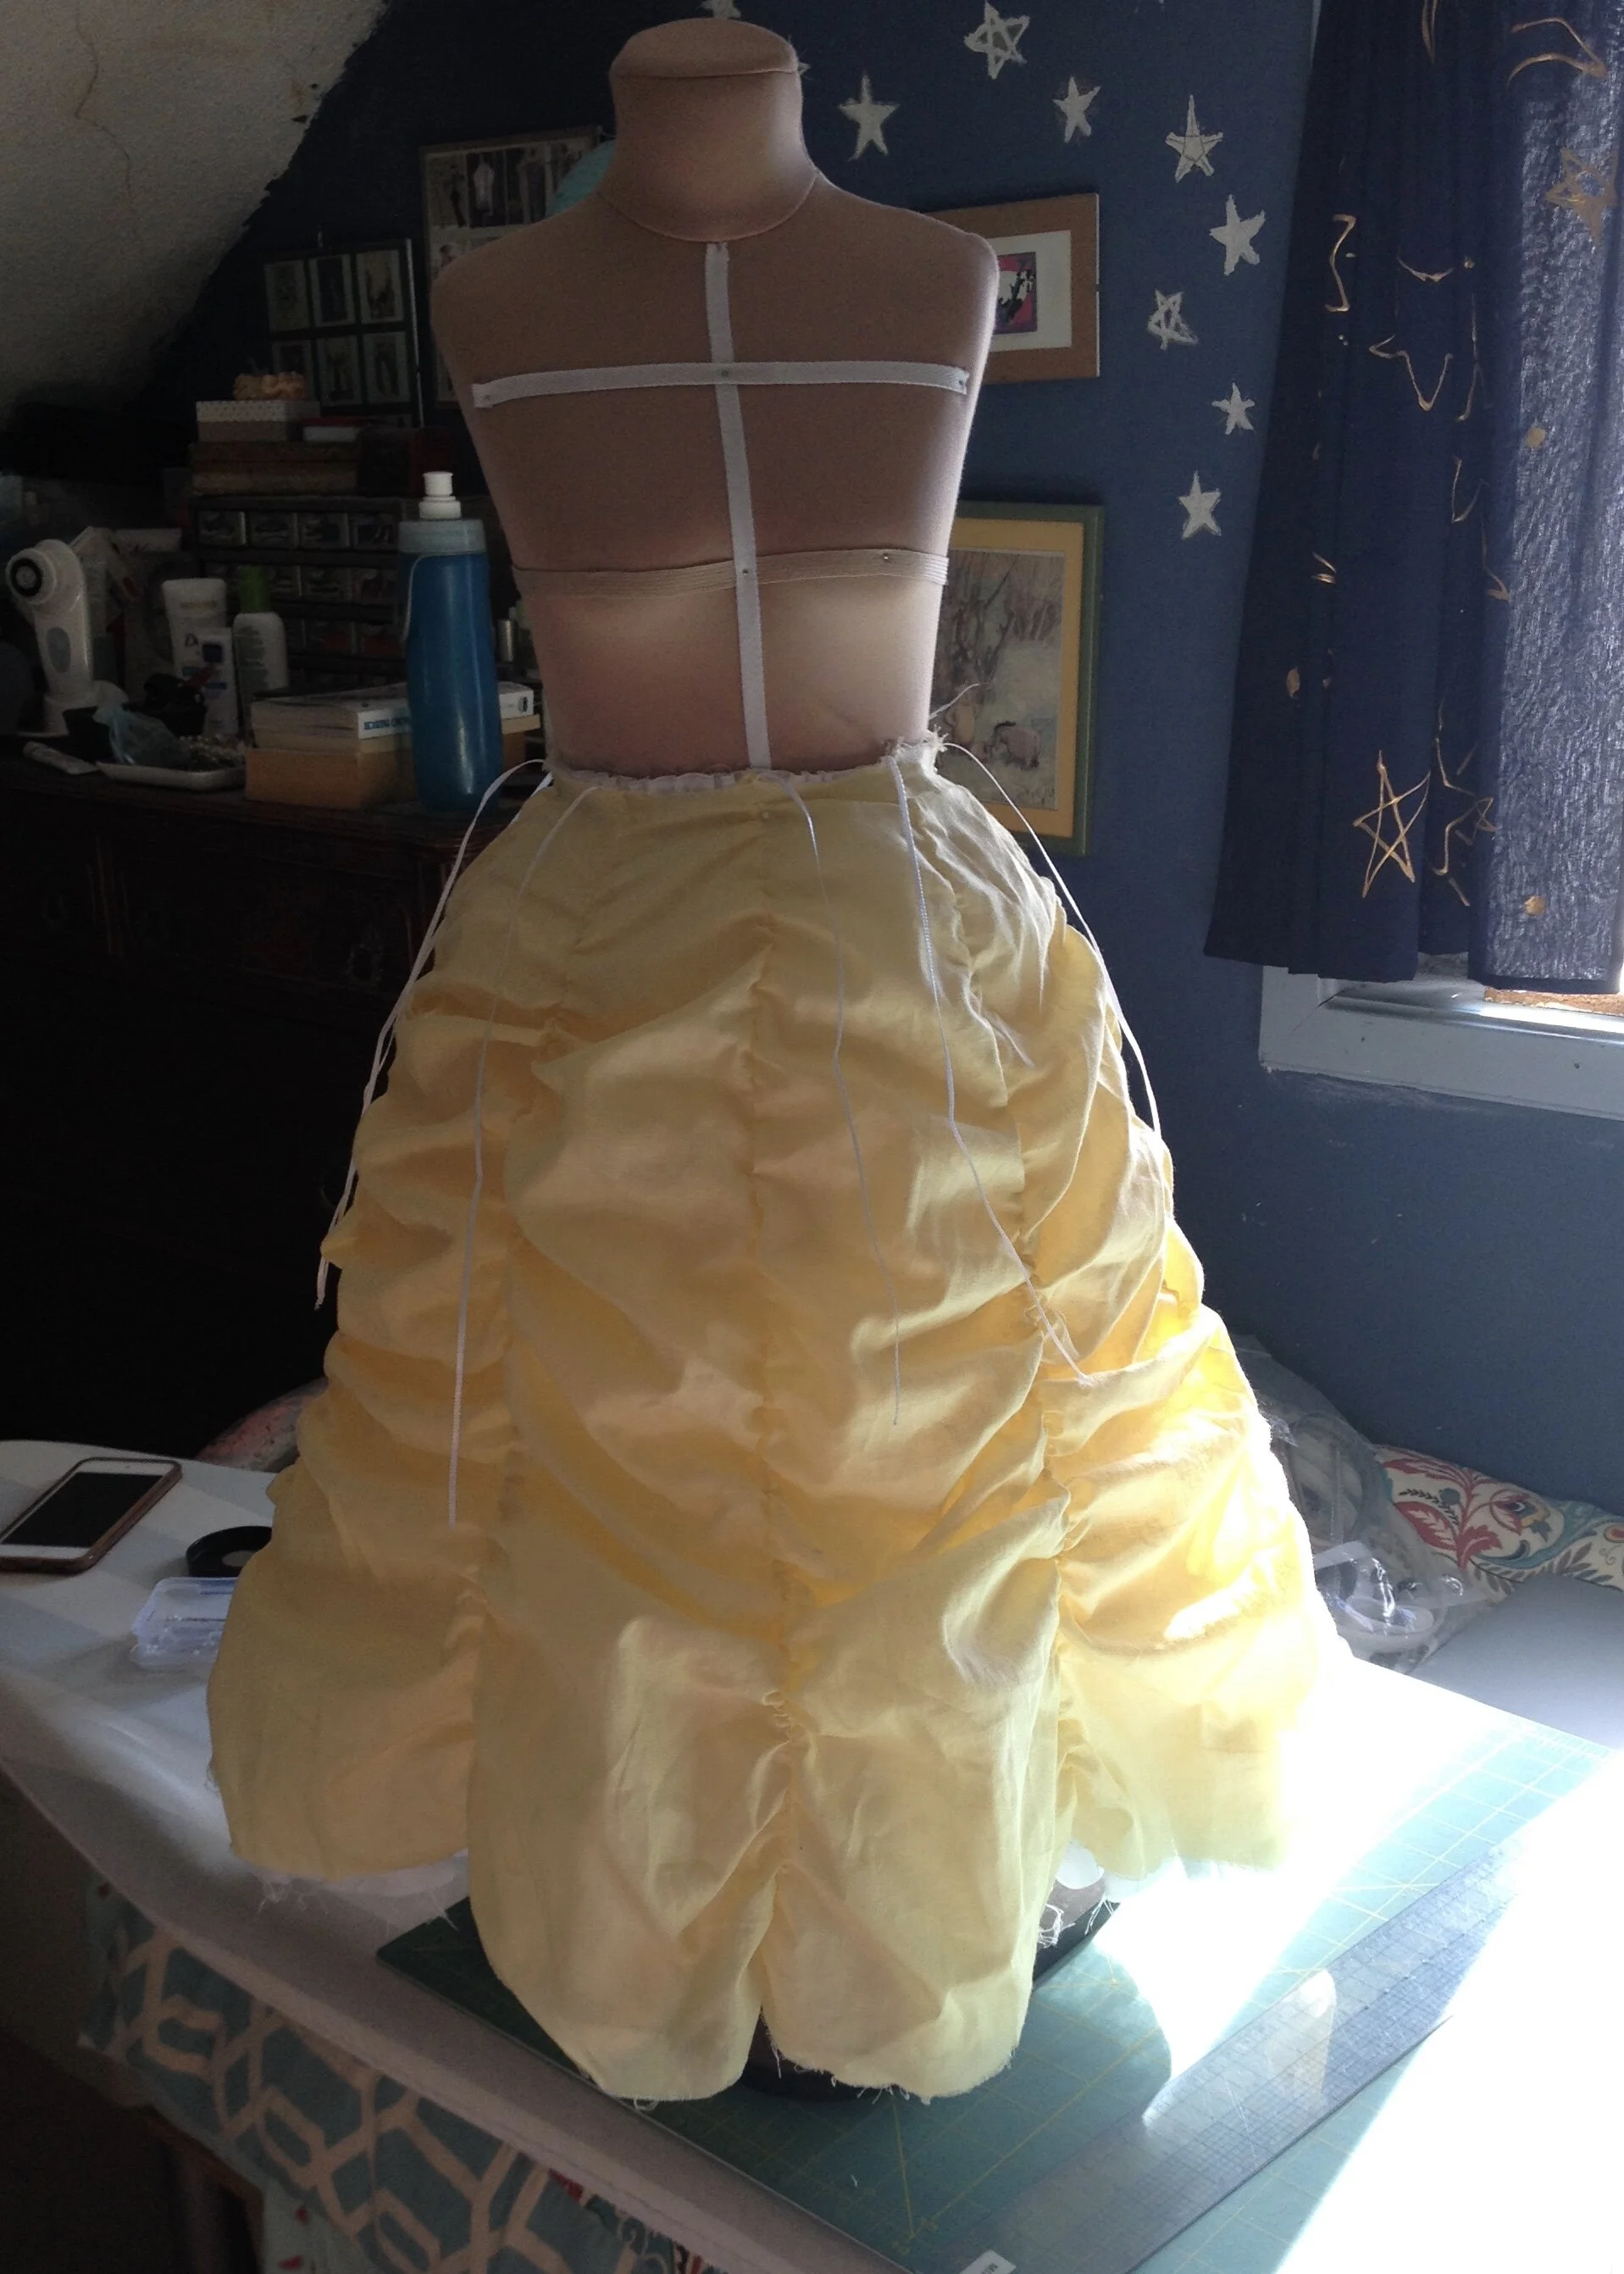
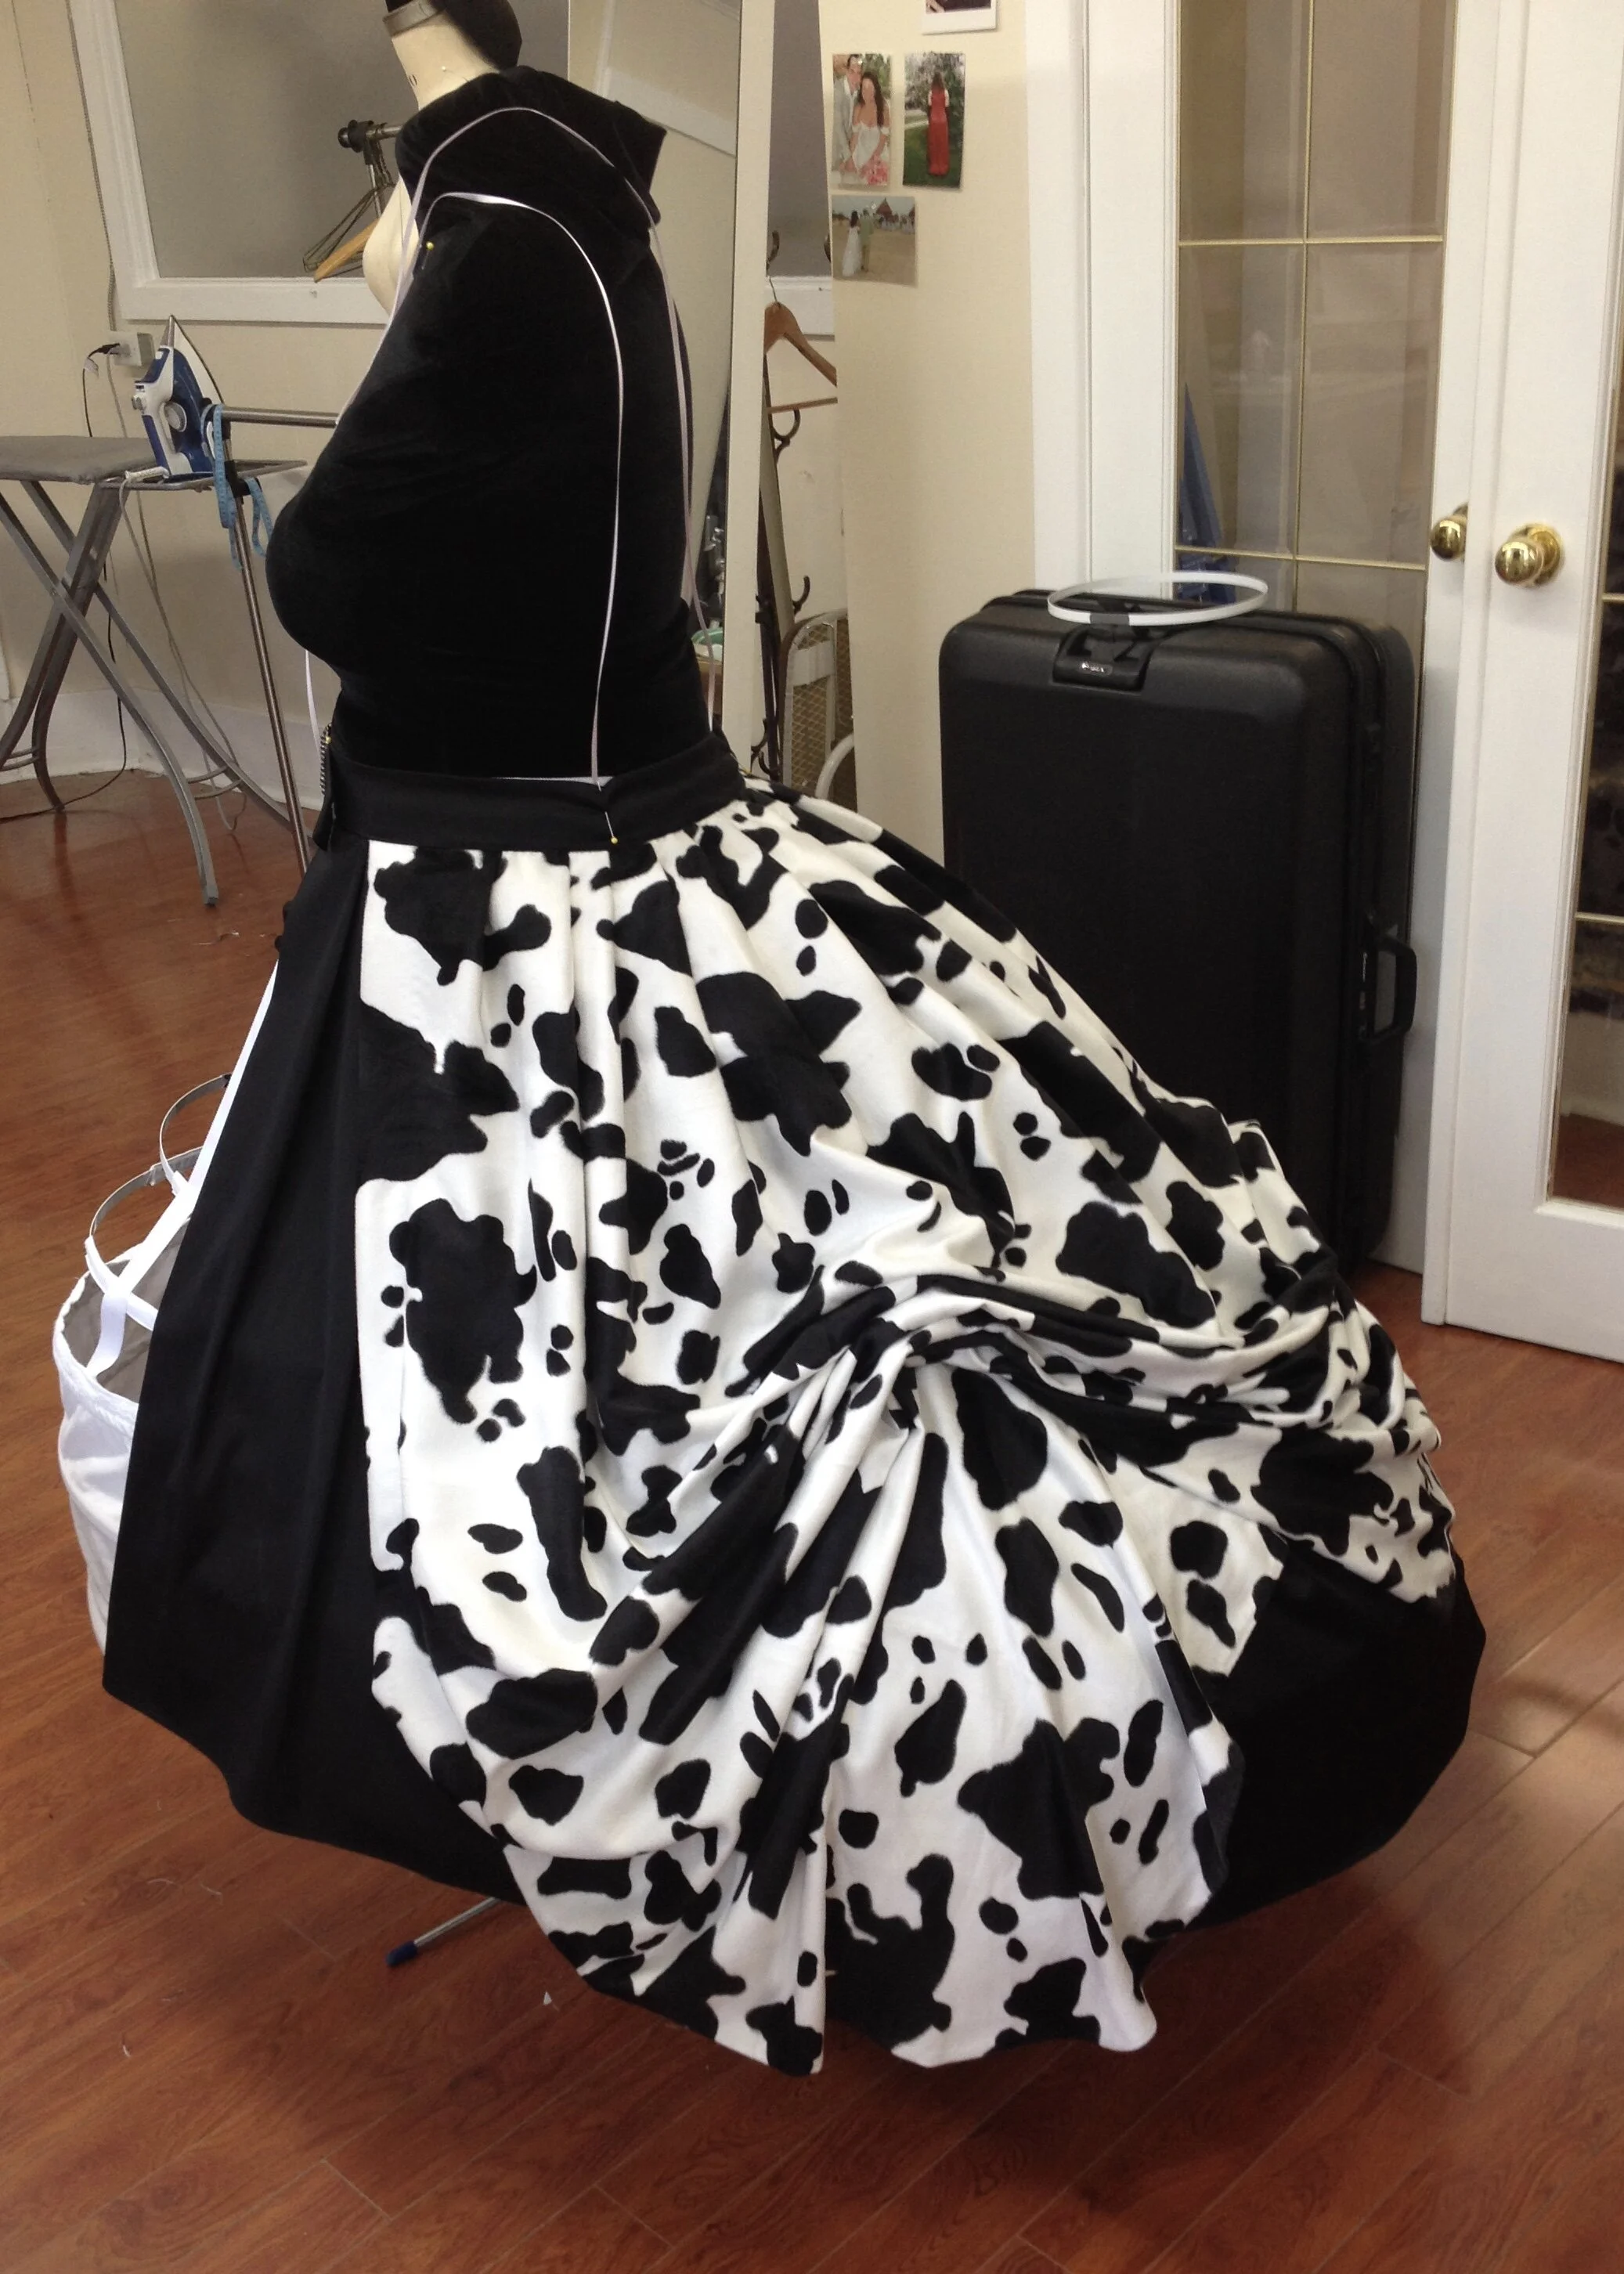
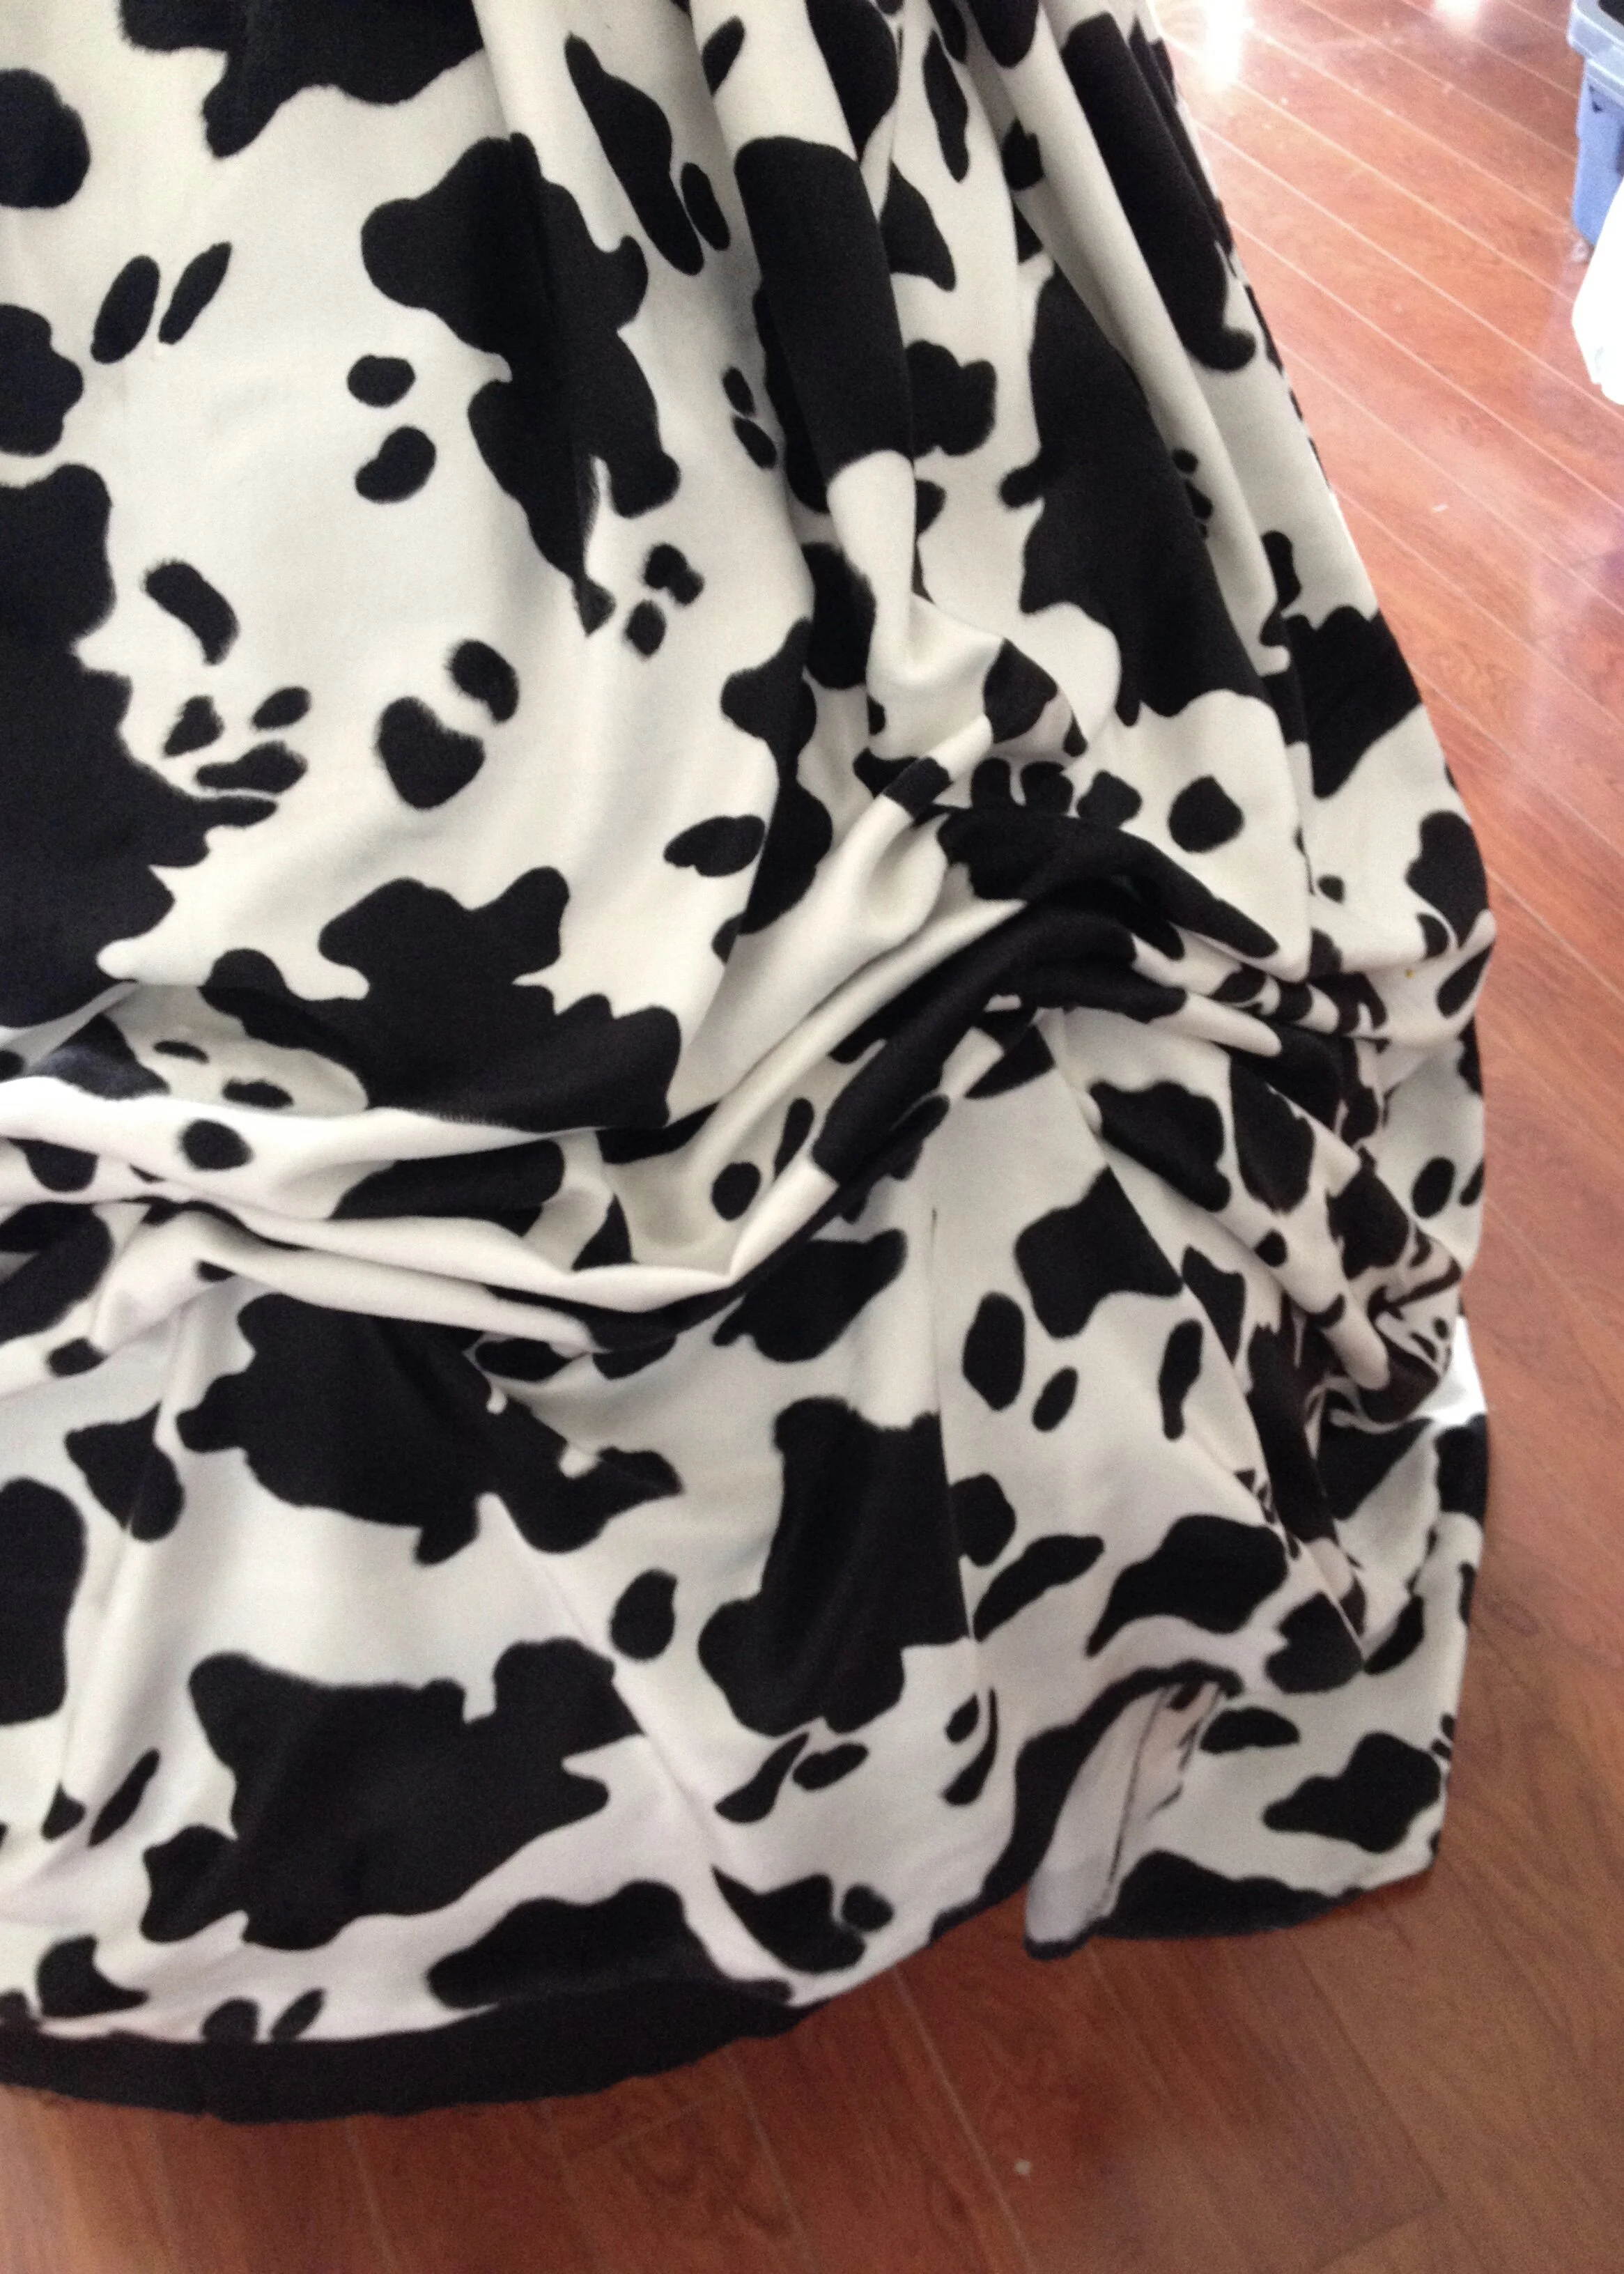
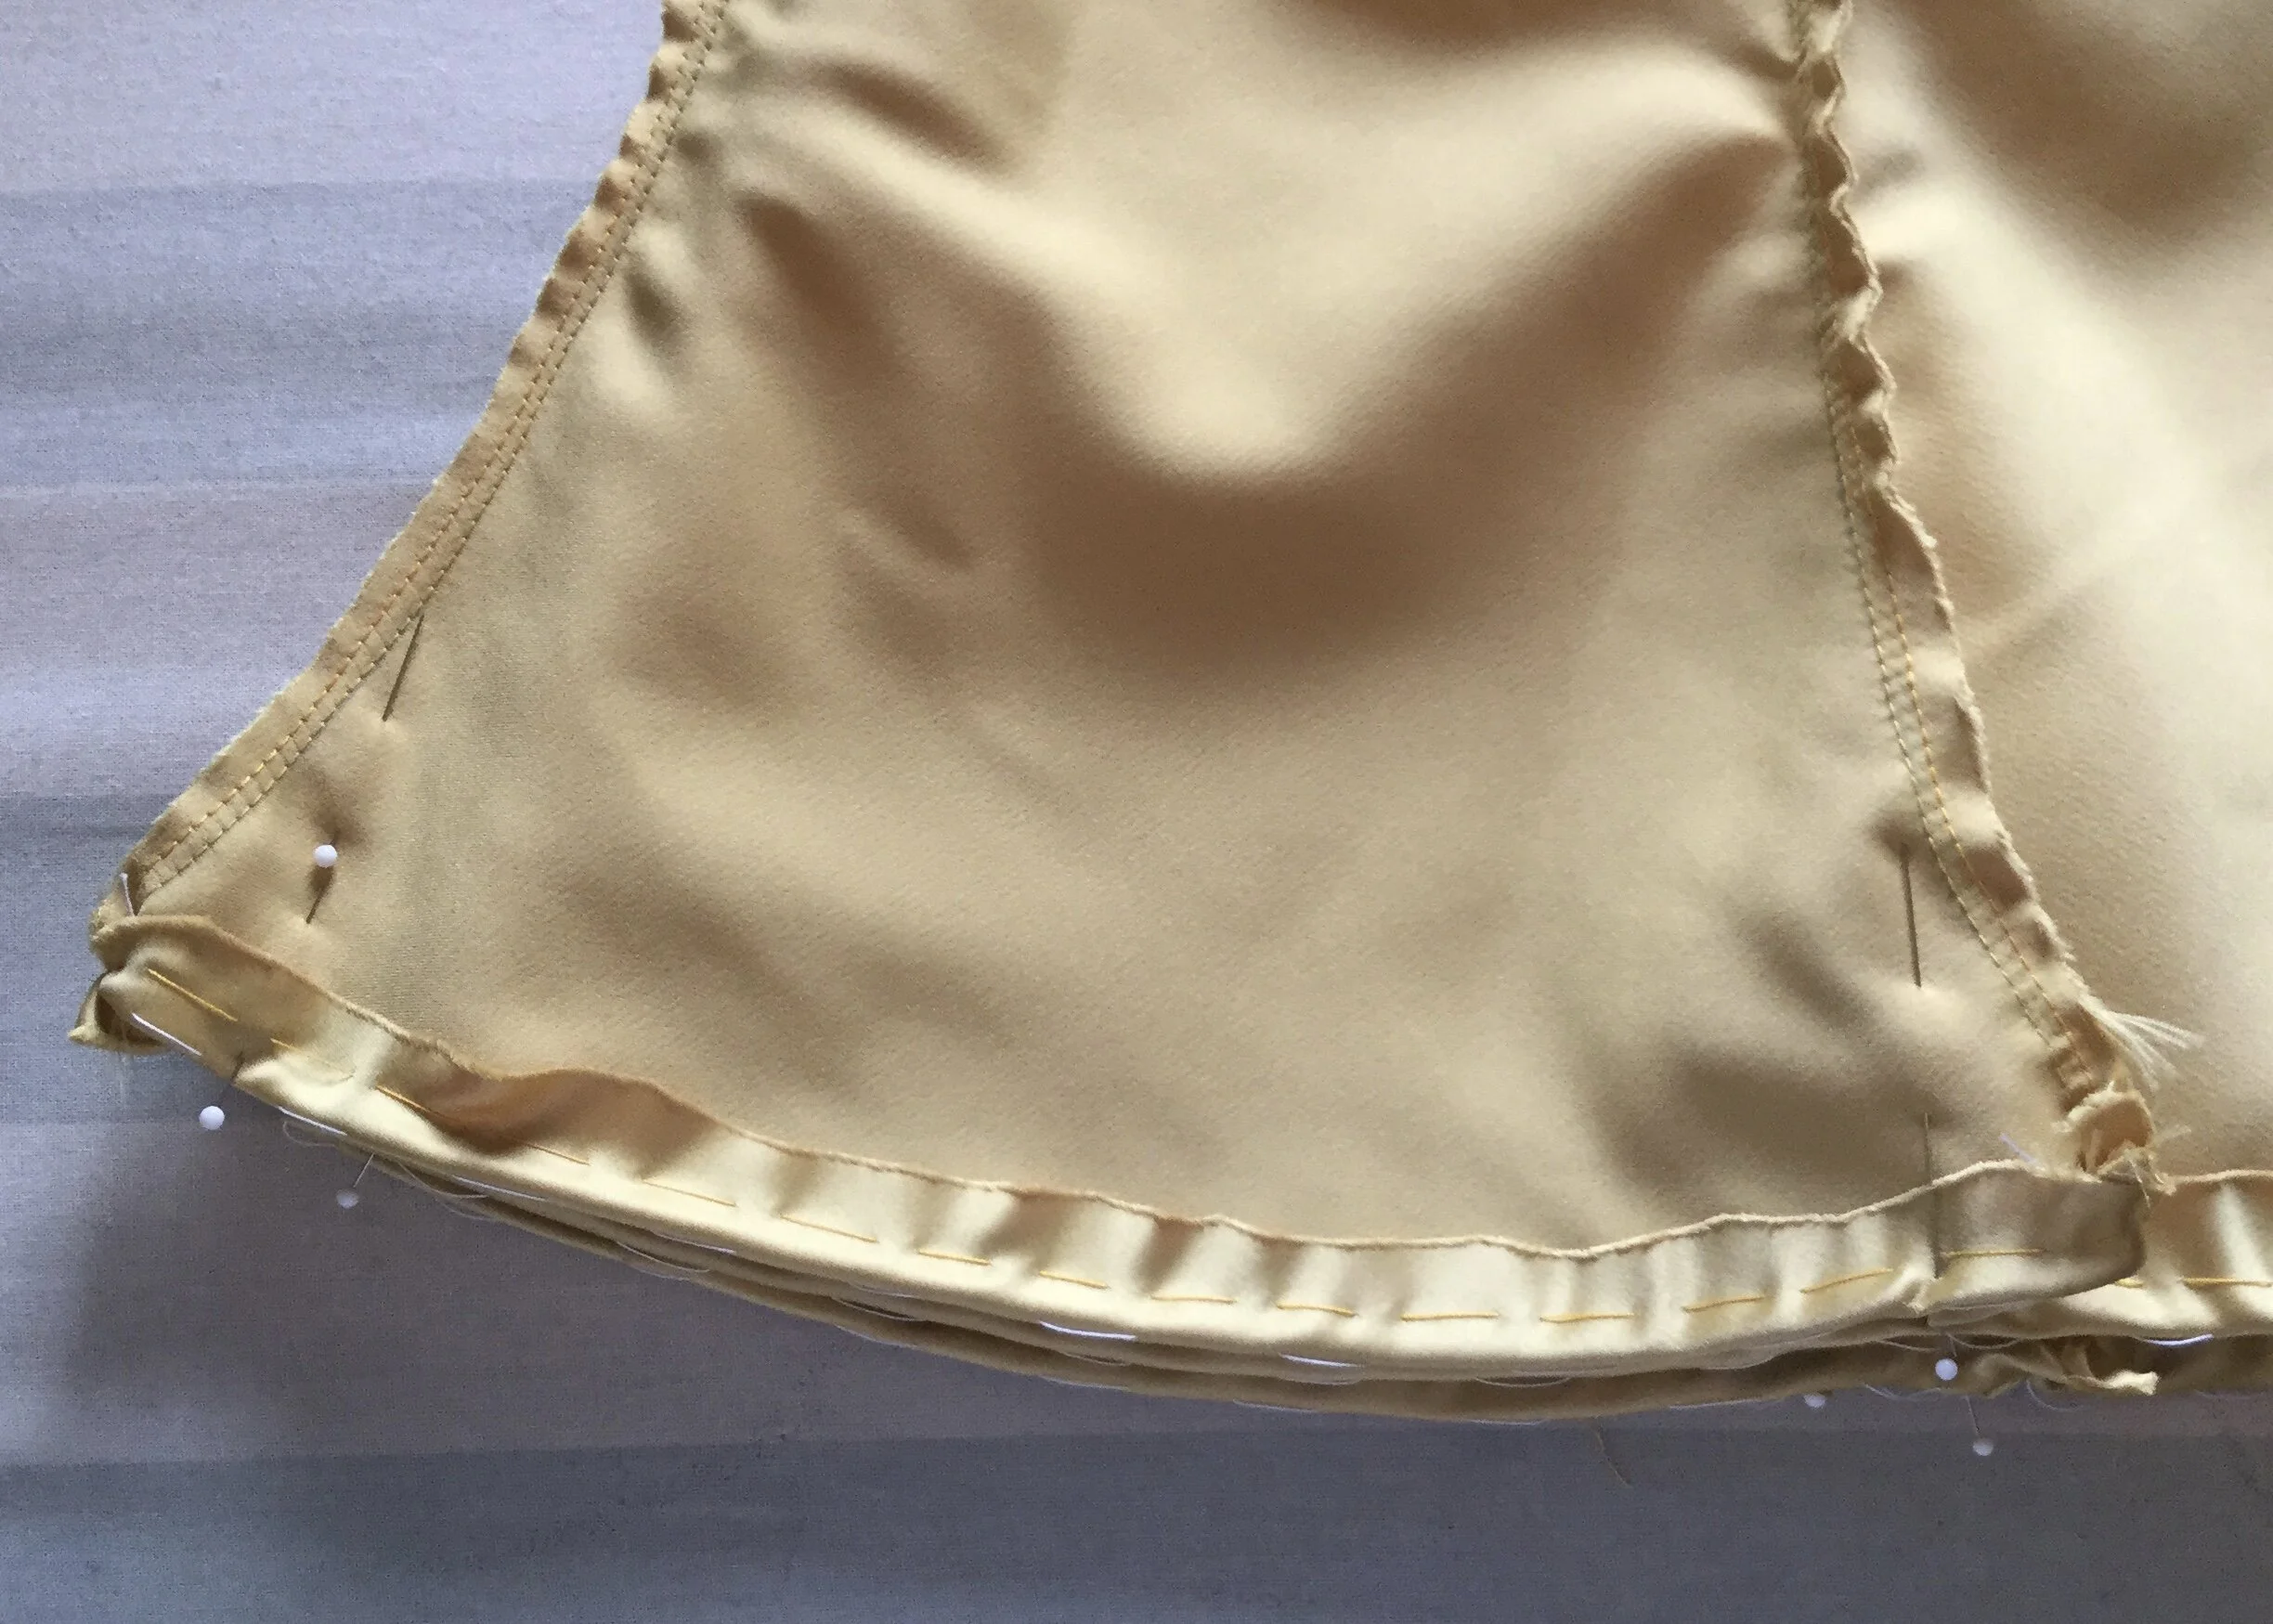
In order to achieve the ruching I ran a second line of stitching in the seam allowances to create a casing for a ribbon which I used to gather the seam. This method evolved from a costume I made for a friend a few years ago. She was looking for a way to showcase an elliptical crinoline and use up some stuff she had in her stash. We ended up making some overskirts, one of a plain black cotton and another of a fuzzy cowprint which we then gathered up in a few places.
For the gathering, we ended up using ring tape for roman blinds, because it was just that kind of project, and upon looking at the finished piece I thought the gathers looked a bit like Belle's dress. Looking back, I'm not entirely sure why I thought that, but I did and decided that creating little thread rings along the seams through which to thread a ribbon would be a great way to get the look I wanted. Again, I'm not sure why I was so convinced this would be a brilliant plan; Belle's dress does not look like a roman blind. Luckily I came to my senses.
When the roman blind plan didn't work, I decided that I still liked the idea of using a sort of drawstring instead of gathering stitches. It doesn't look all that different from gathering, but I think this plan will make adjusting the gathers a little easier as it will be tidier to work with a single ribbon on each seam rather than sets of gathering threads. The ribbon will also serve as something to which I can tack the gathers to keep them from moving around and sliding downward as well as something solid to take the weight of the swags (not that they're likely to weigh that much).
Ribbon casing along seam lines.
Bias sample.
The first mock up basically worked. It looked a bit rough, but together with the petticoat it was working and moving how I wanted it to. The whole thing was overall a bit too long, but that could be solved by shortening the petticoat and gathering the skirt a little more. The main change I decided to make after the first mock up was to cut the skirt on the bias. The gathering along the seams all looks a bit stiff and the fullness just sticks out at angles and doesn't hang smoothly. This is in part because the cotton voile, however light, doesn't drape like that but the other factor is that draping on the straight of grain doesn't like to curve the way bias will.
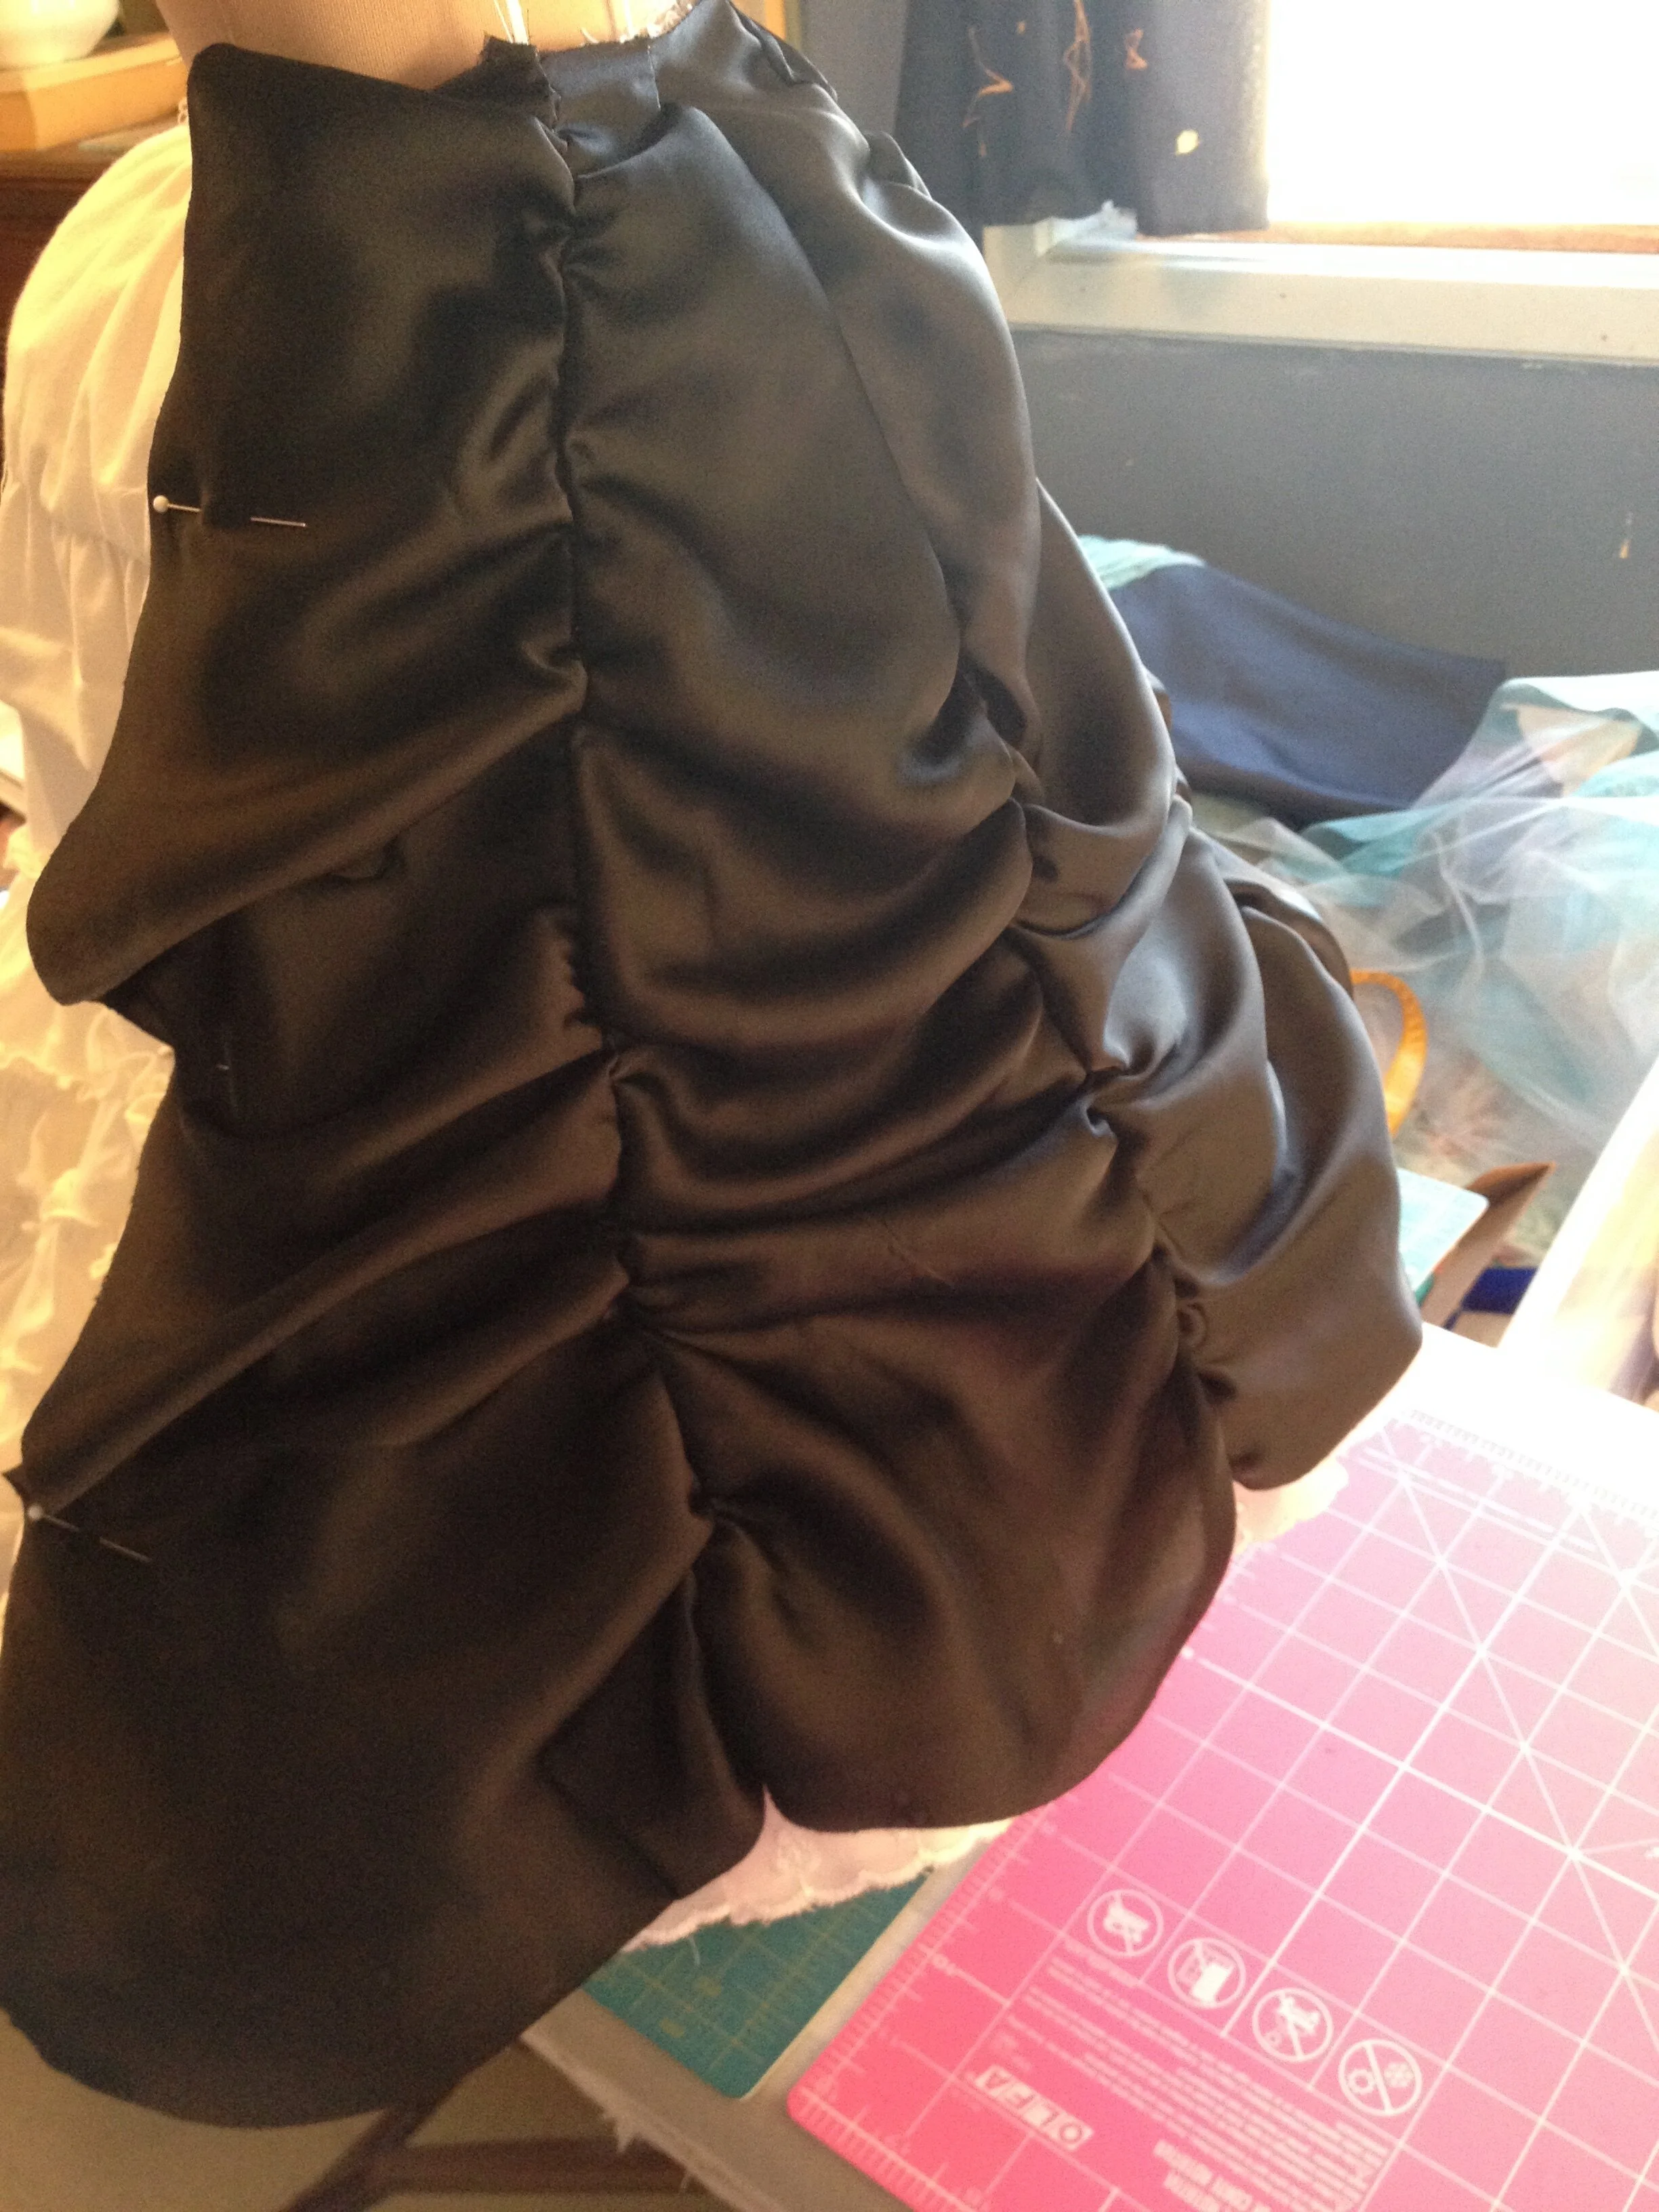
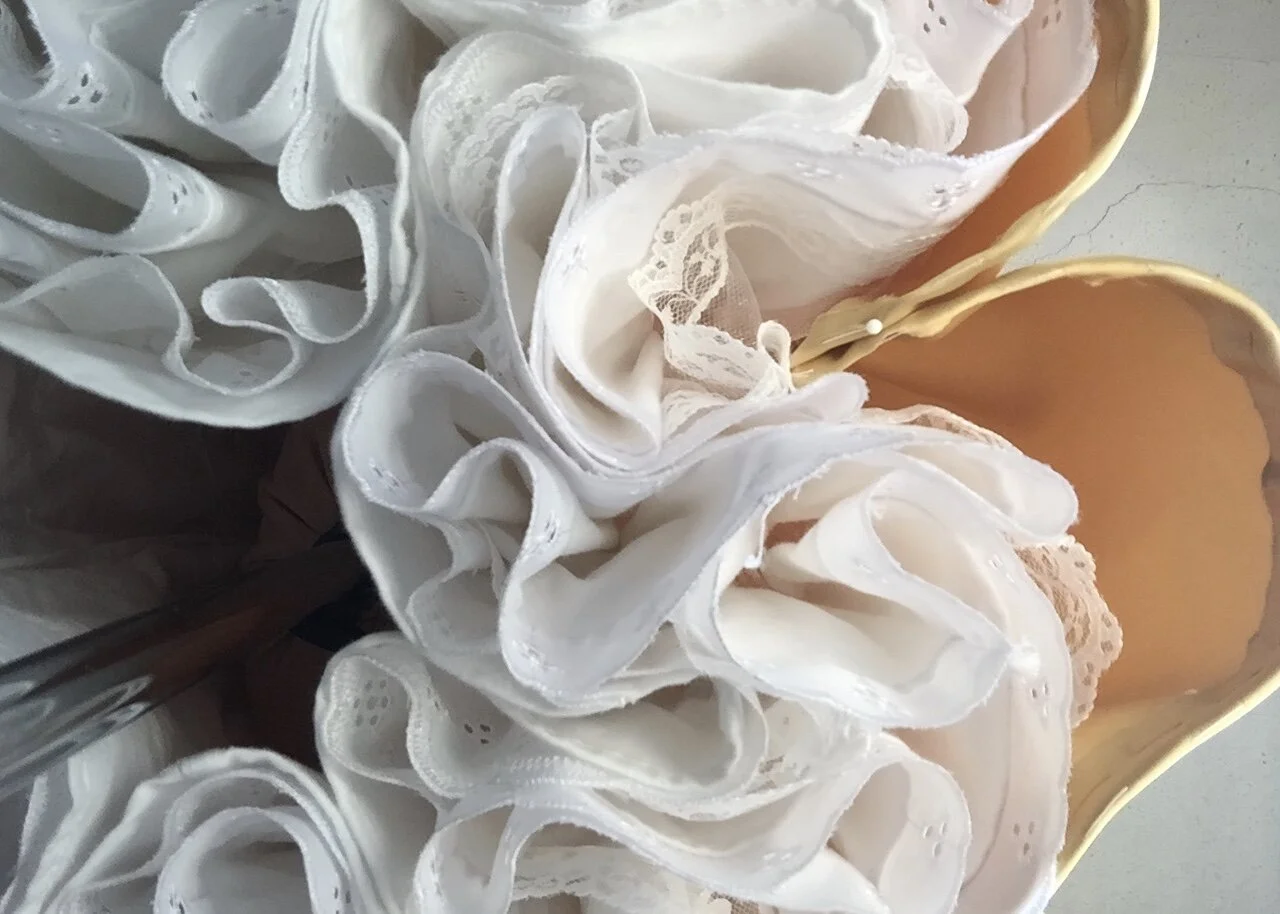
I quickly made up a sample with a few panels in some soft satin I had (I am lamenting that I can't find this fabric in the right colour as the weight would be perfect and it has the gentle lustre that I prefer in satins) which was enough to show the difference cutting on the bias would make. I decided that at least one more full mock up was needed. (This was also around the time that I was making the final petticoat and thinking that the shortest flounce might need to be altered.)
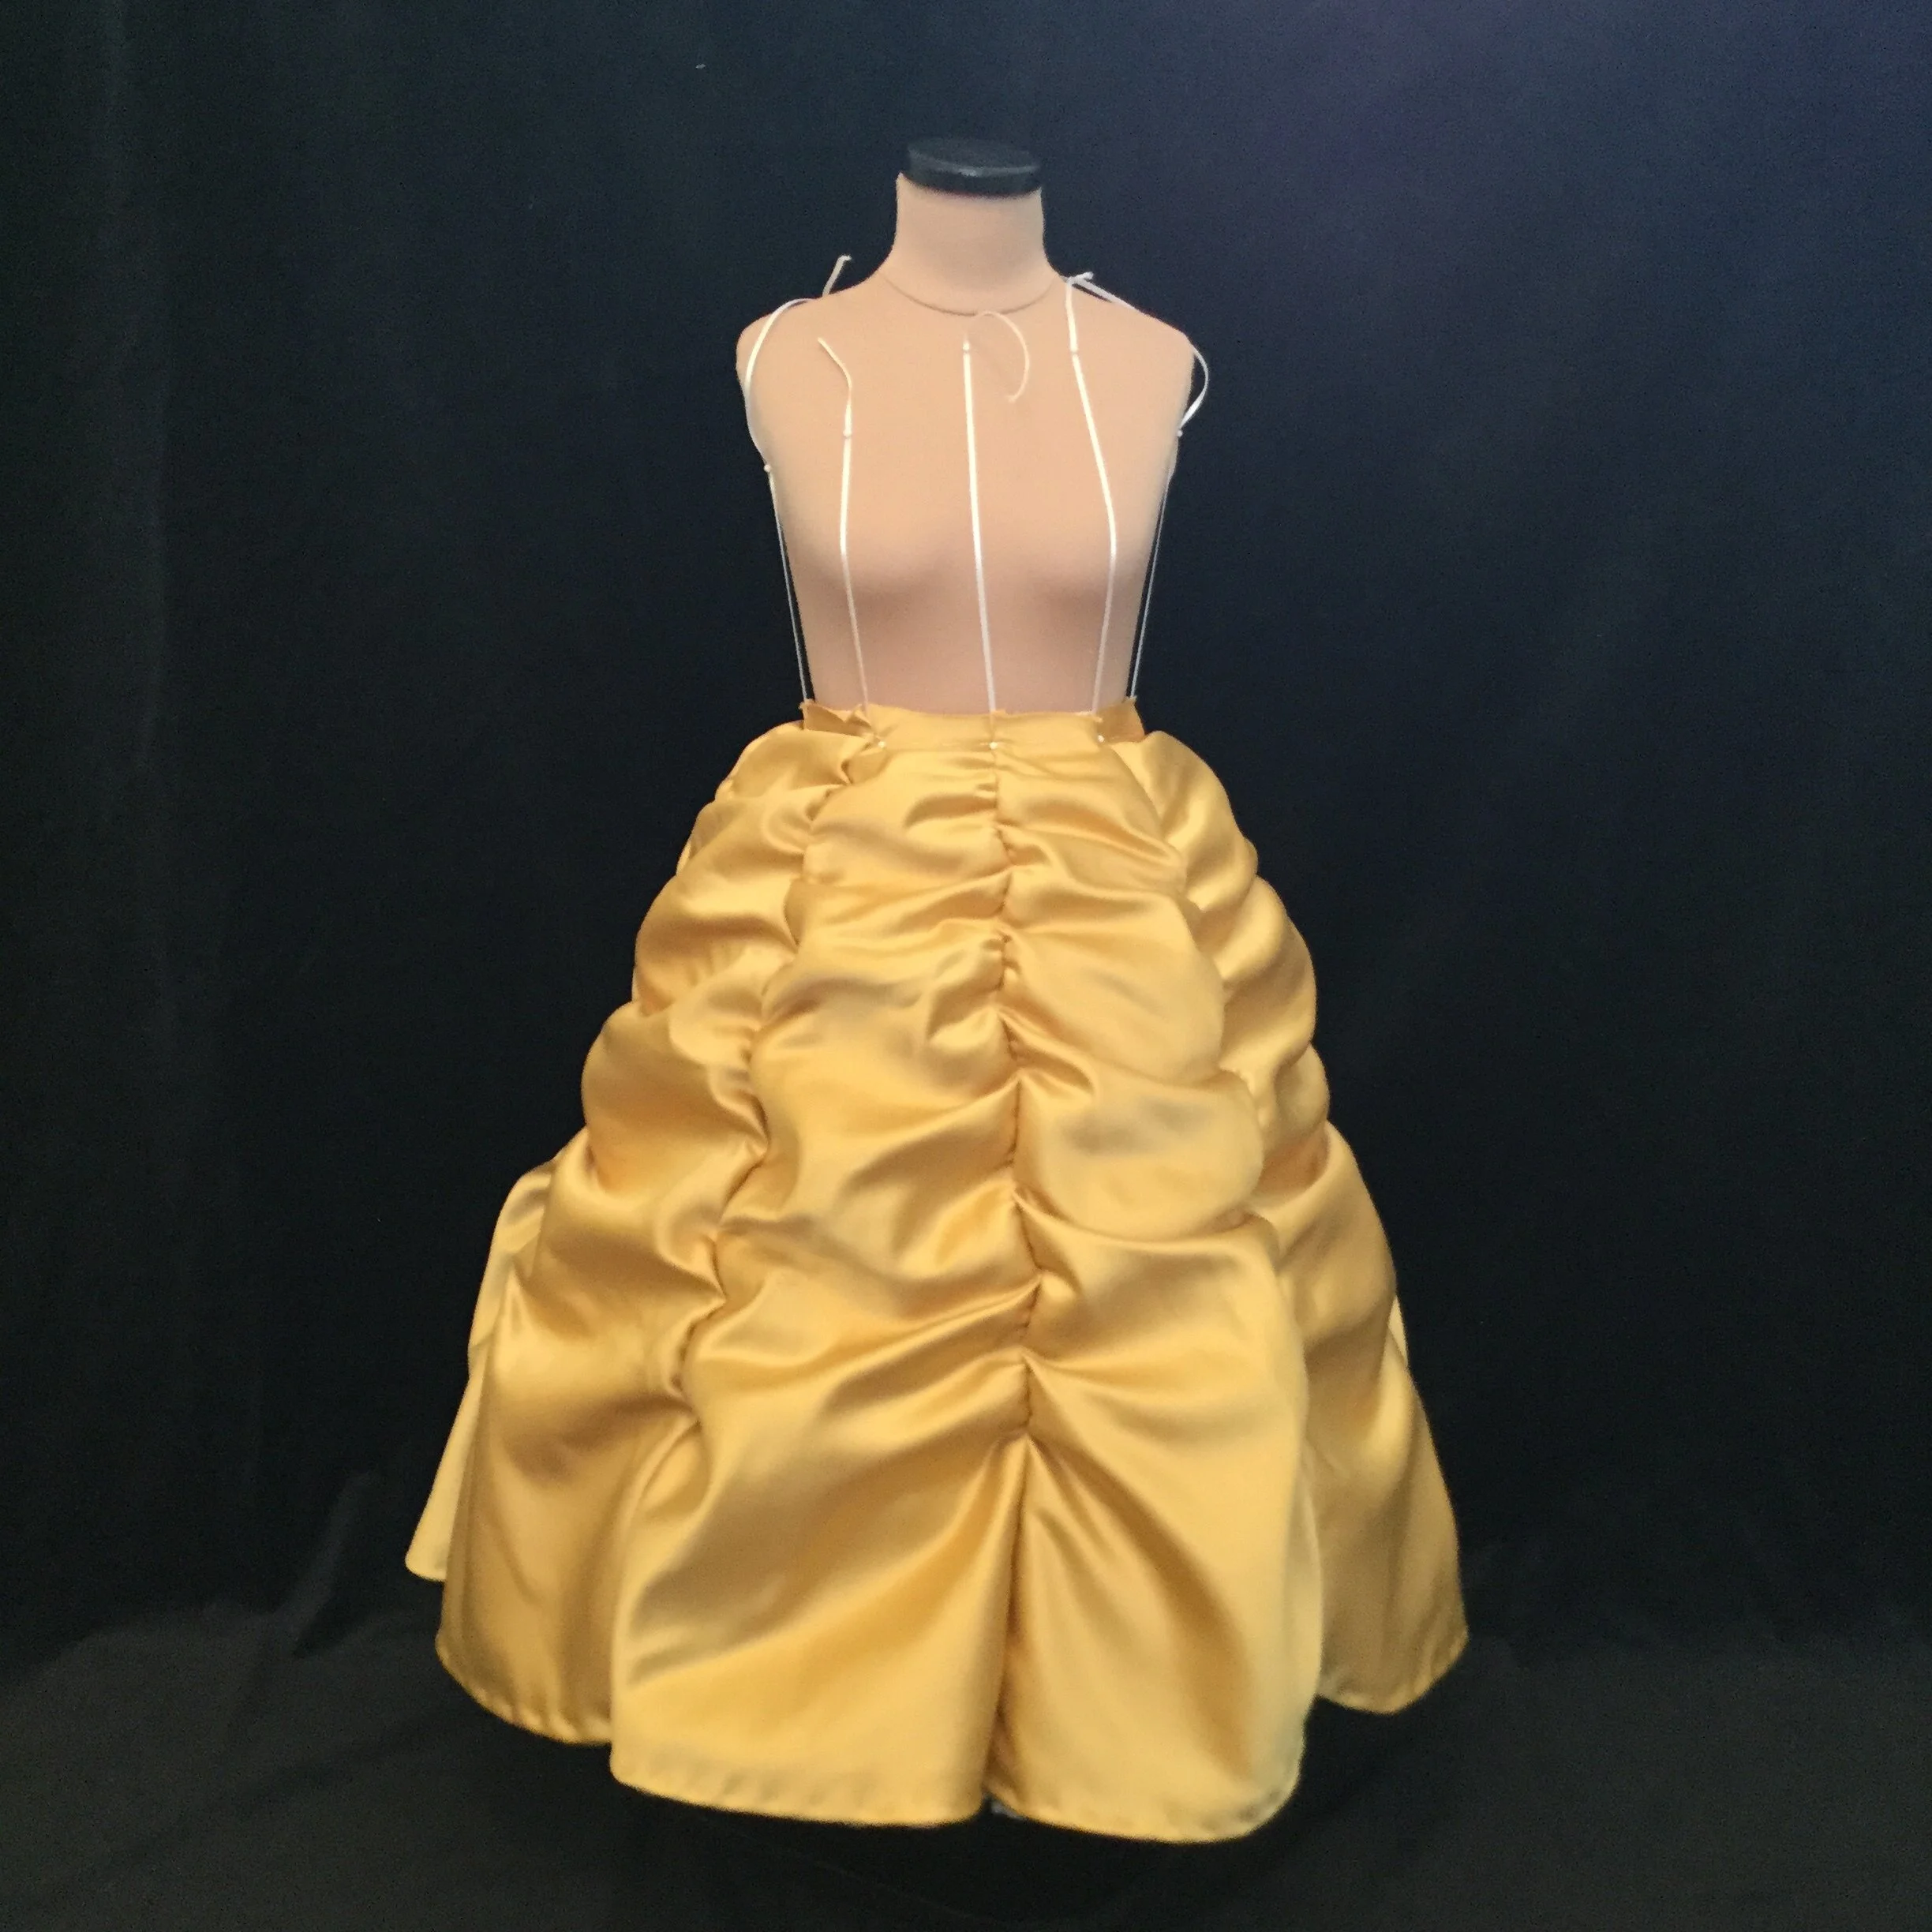
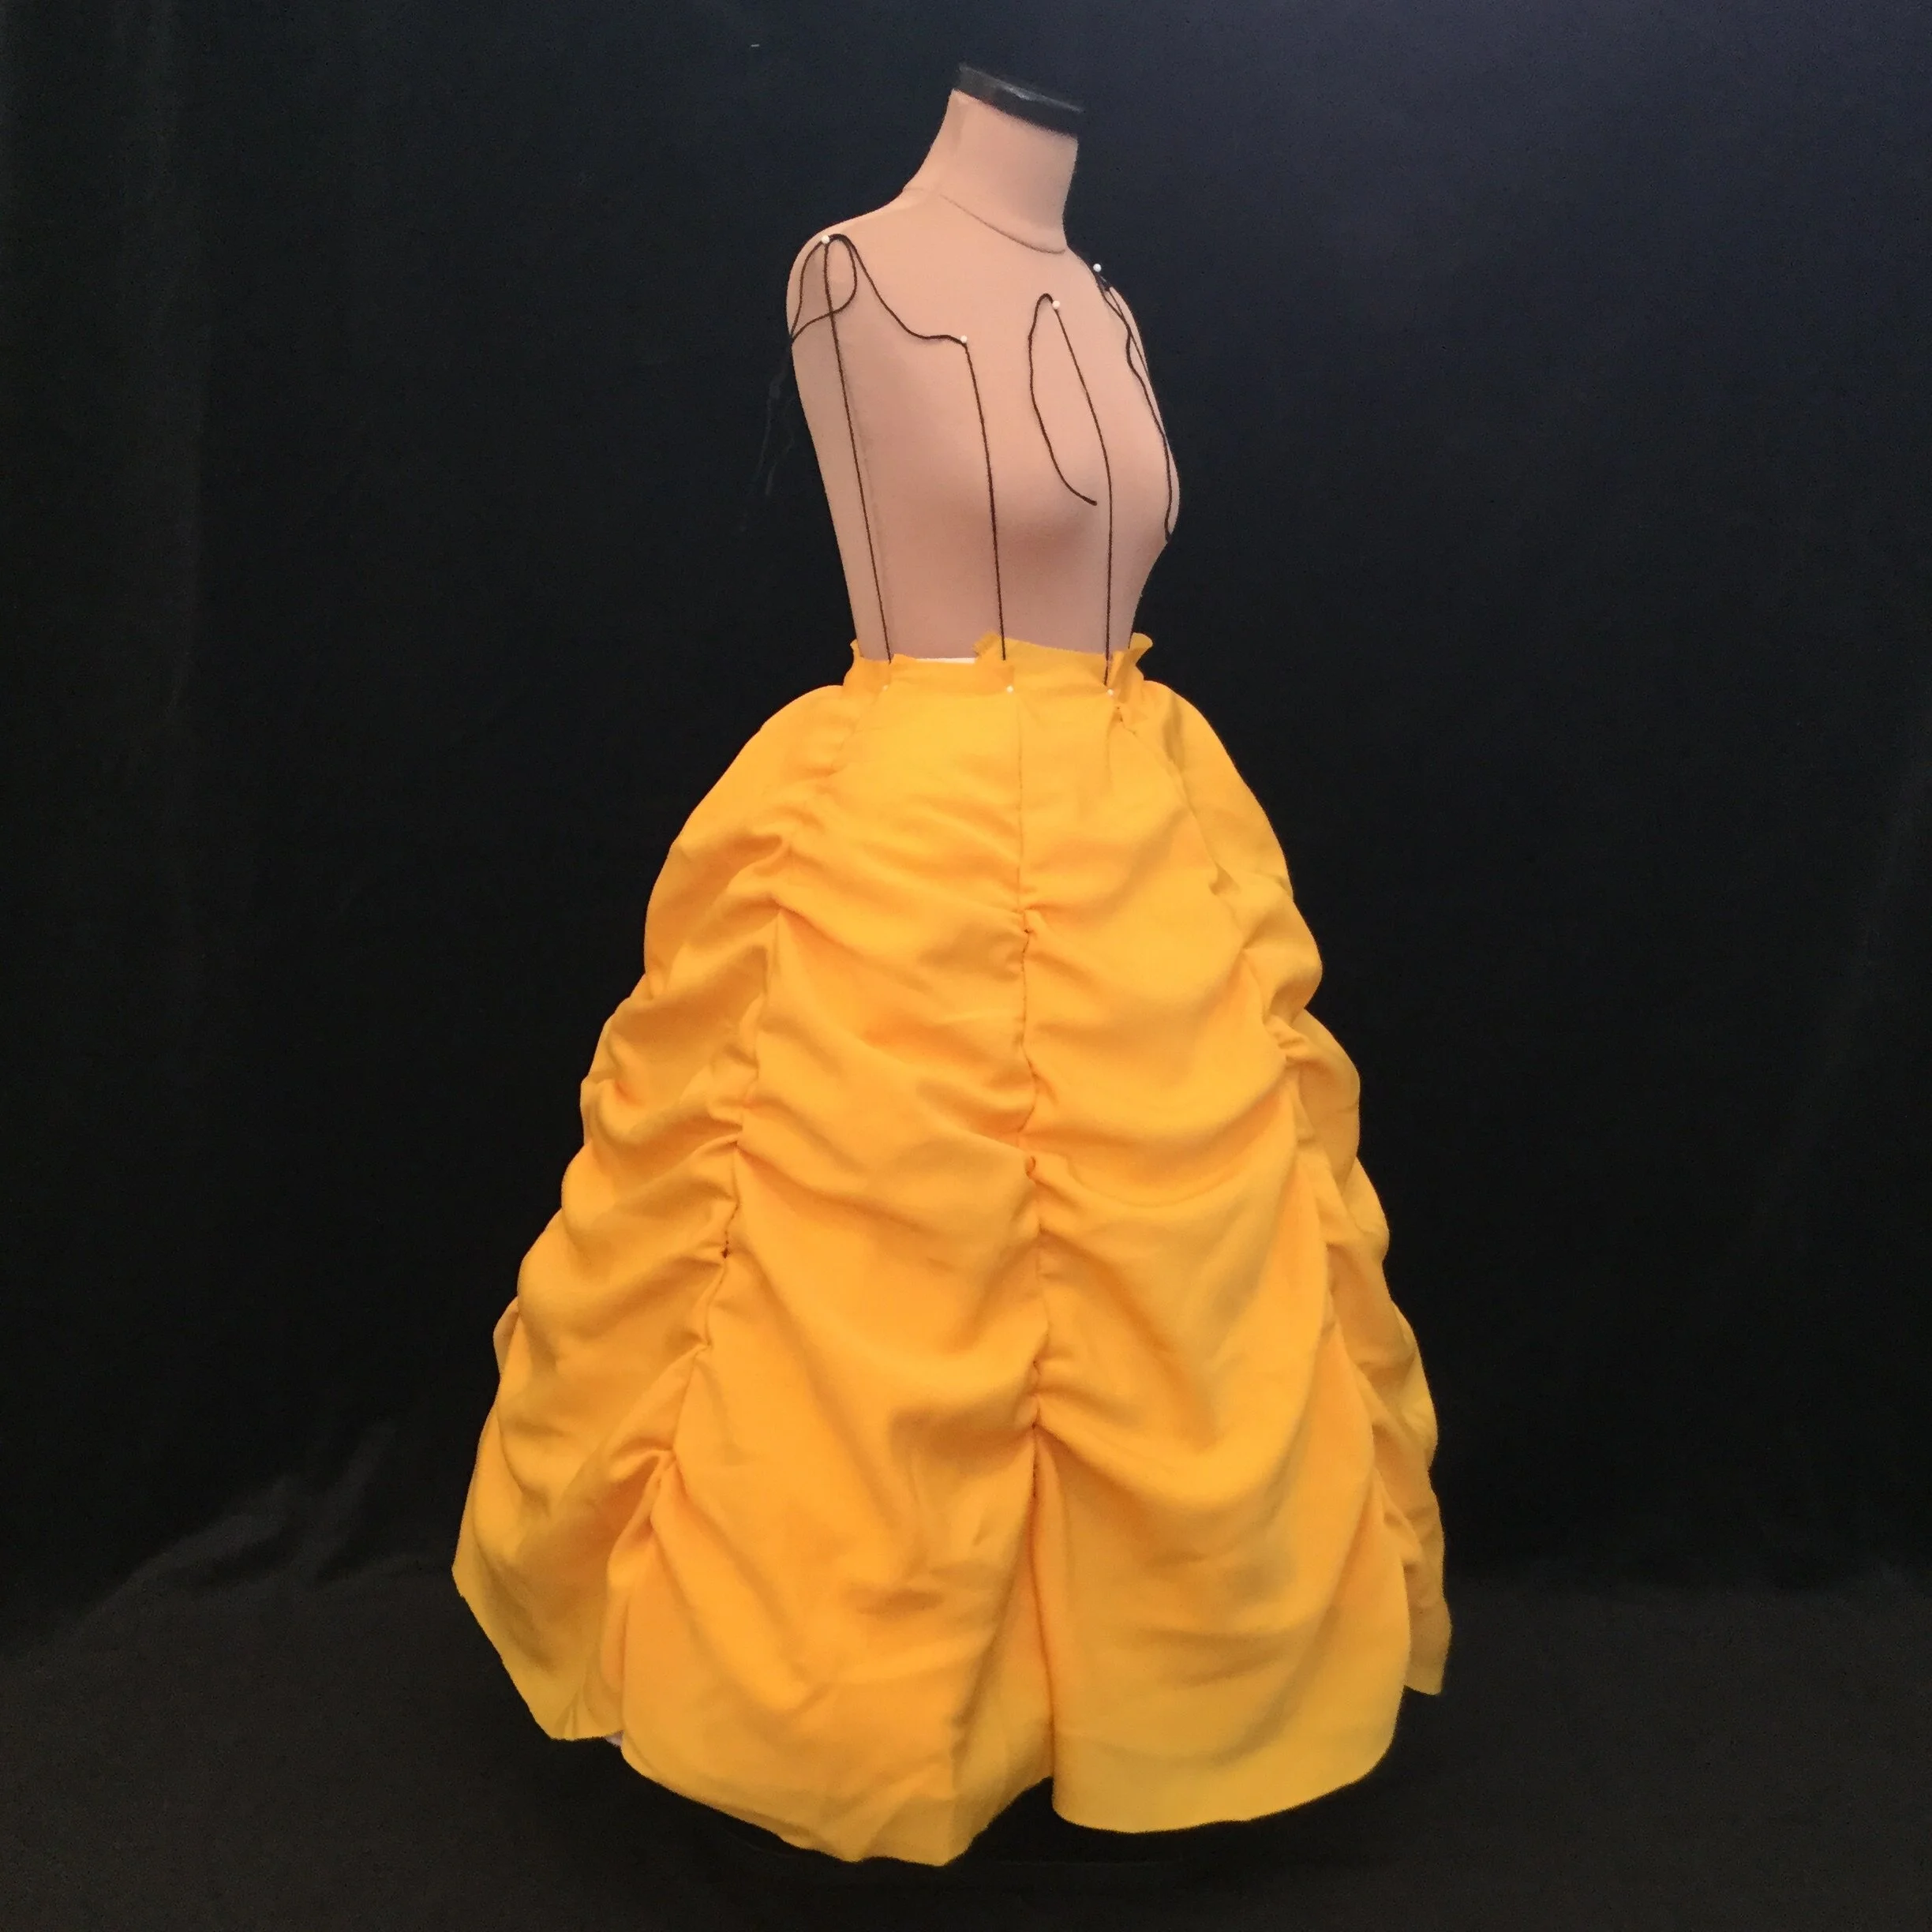
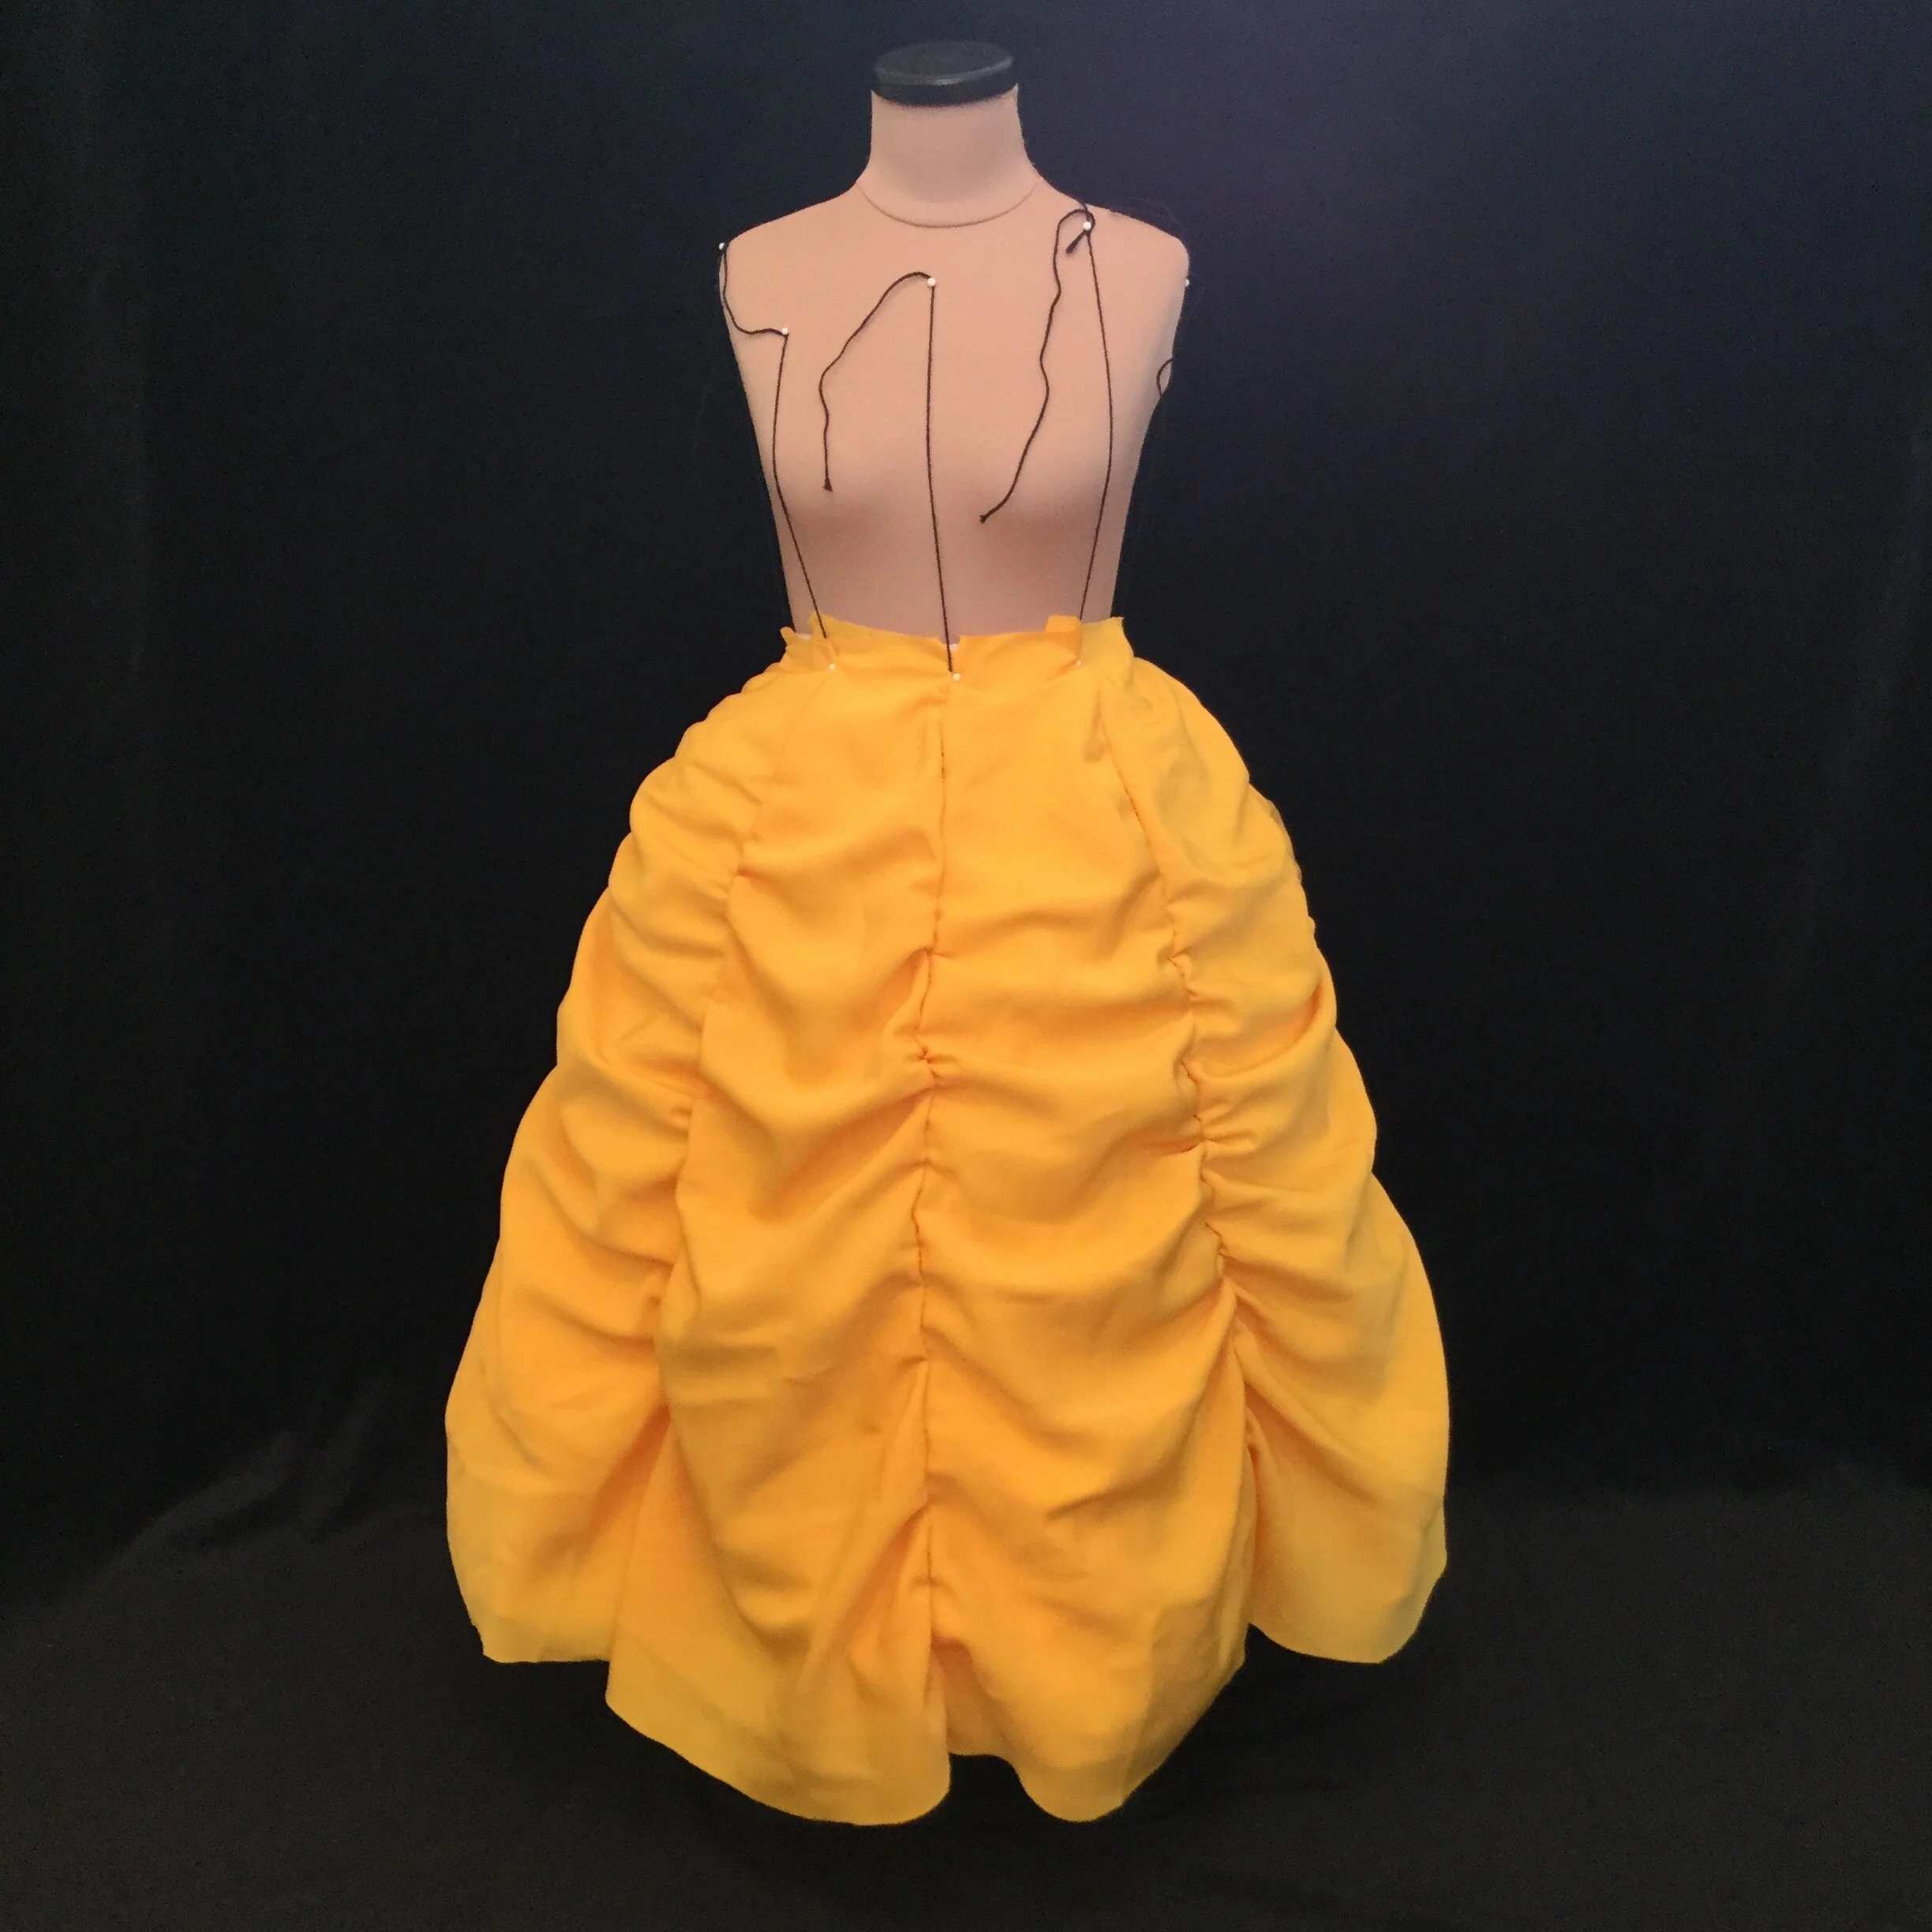
I ended up making two more full mock ups to test a few different fabric types. The second mock up was made from a satin I found in the home decoration section (the DEAL ZONE according to a bright green sticker on the bolt; have I mentioned before that I like a deal?) which didn’t seem too stiff or heavy at first glance. I even liked the colour enough to consider it for the final fabric. It's not quite the exact right gold, but it’s not completely wrong and looks pretty good in the final pictures. I put this mock up together and gave her a twirl and was really impressed with it. I really did think that I could use this fabric and I'd probably be pretty happy with the results.
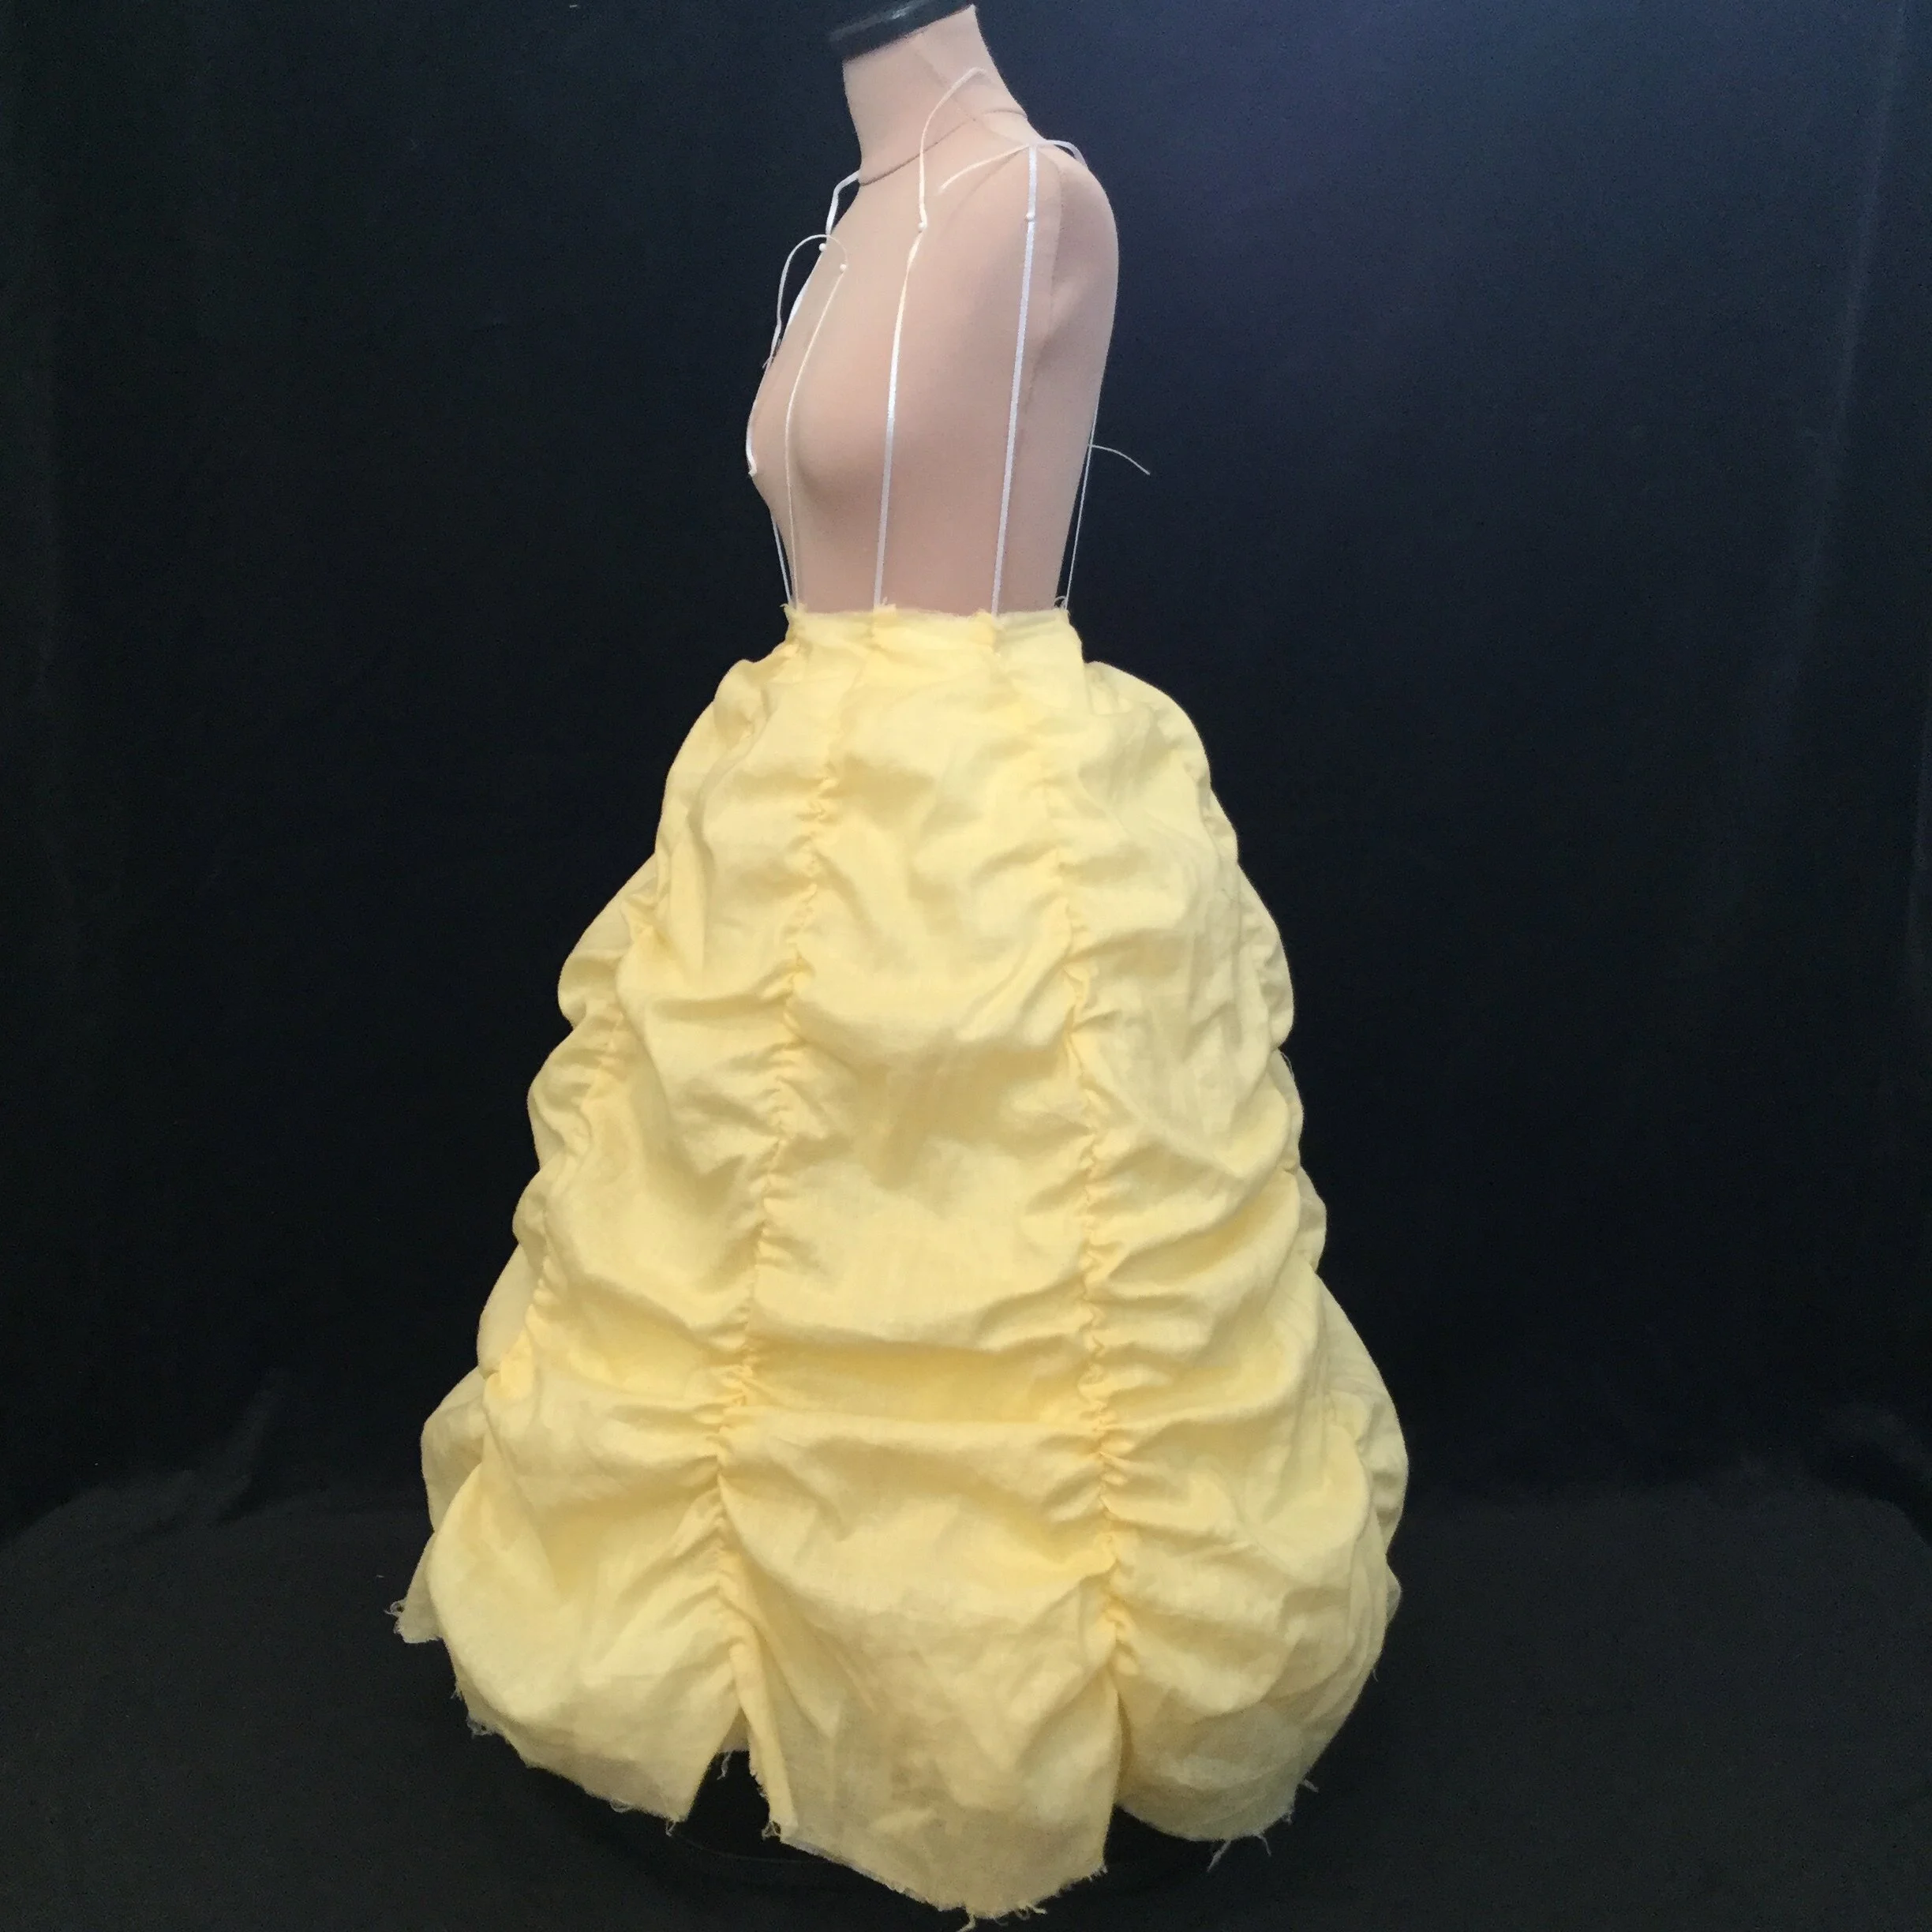
There was still the third mock up though. I had also bought some fabric that was a bit closer to the weight I had been thinking of all along. It's one of those fabrics that is actually quite thin, but still has some weight and drapes nicely. I decided to put it together mainly because I had already gone to the trouble of cutting it out and I might as well. In the process of assembling the mock up, this fabric did not get along with my machine and the magic needle that would make everyone happy was not discovered; the final piece looks a bit rough, even for a mock up. I finished sewing this skirt even more certain that I should just use the satin. Then I put her onto the Judy and gave her a spin and suddenly I had a small problem.
The third mock up moved the most like the gown in the movie and the fullness from the gathers fell beautifully; they didn’t stick out at all! (It even looks good despite my haphazard and uneven mock up gathering.)
Turns out my theory that a soft, thin fabric will twirl and compress how I want it to is correct.
Well crud. What to do now?
For the time being, I have my proof of concept and I'm fairly happy with the pattern. It needs a few small tweaks but its basically good to go. The next step is to find the right fabric which is a taller order than usual. I have to find something that is not only the right weight and looks suitable for the kind of dress it is, but it must be the right colour as well and it would be nice if it cost less than a small car. I've been on the lookout for the perfect fabric for a while now and have a few possibilities in mind and now that I've tested a few types of fabric I may just have to commit to something. In the meantime, maybe I'll test my plan for the closure and work on the shape of the swags.
The adventure continues.
