Cordelia Part Two
Gathering and stretch velvet.
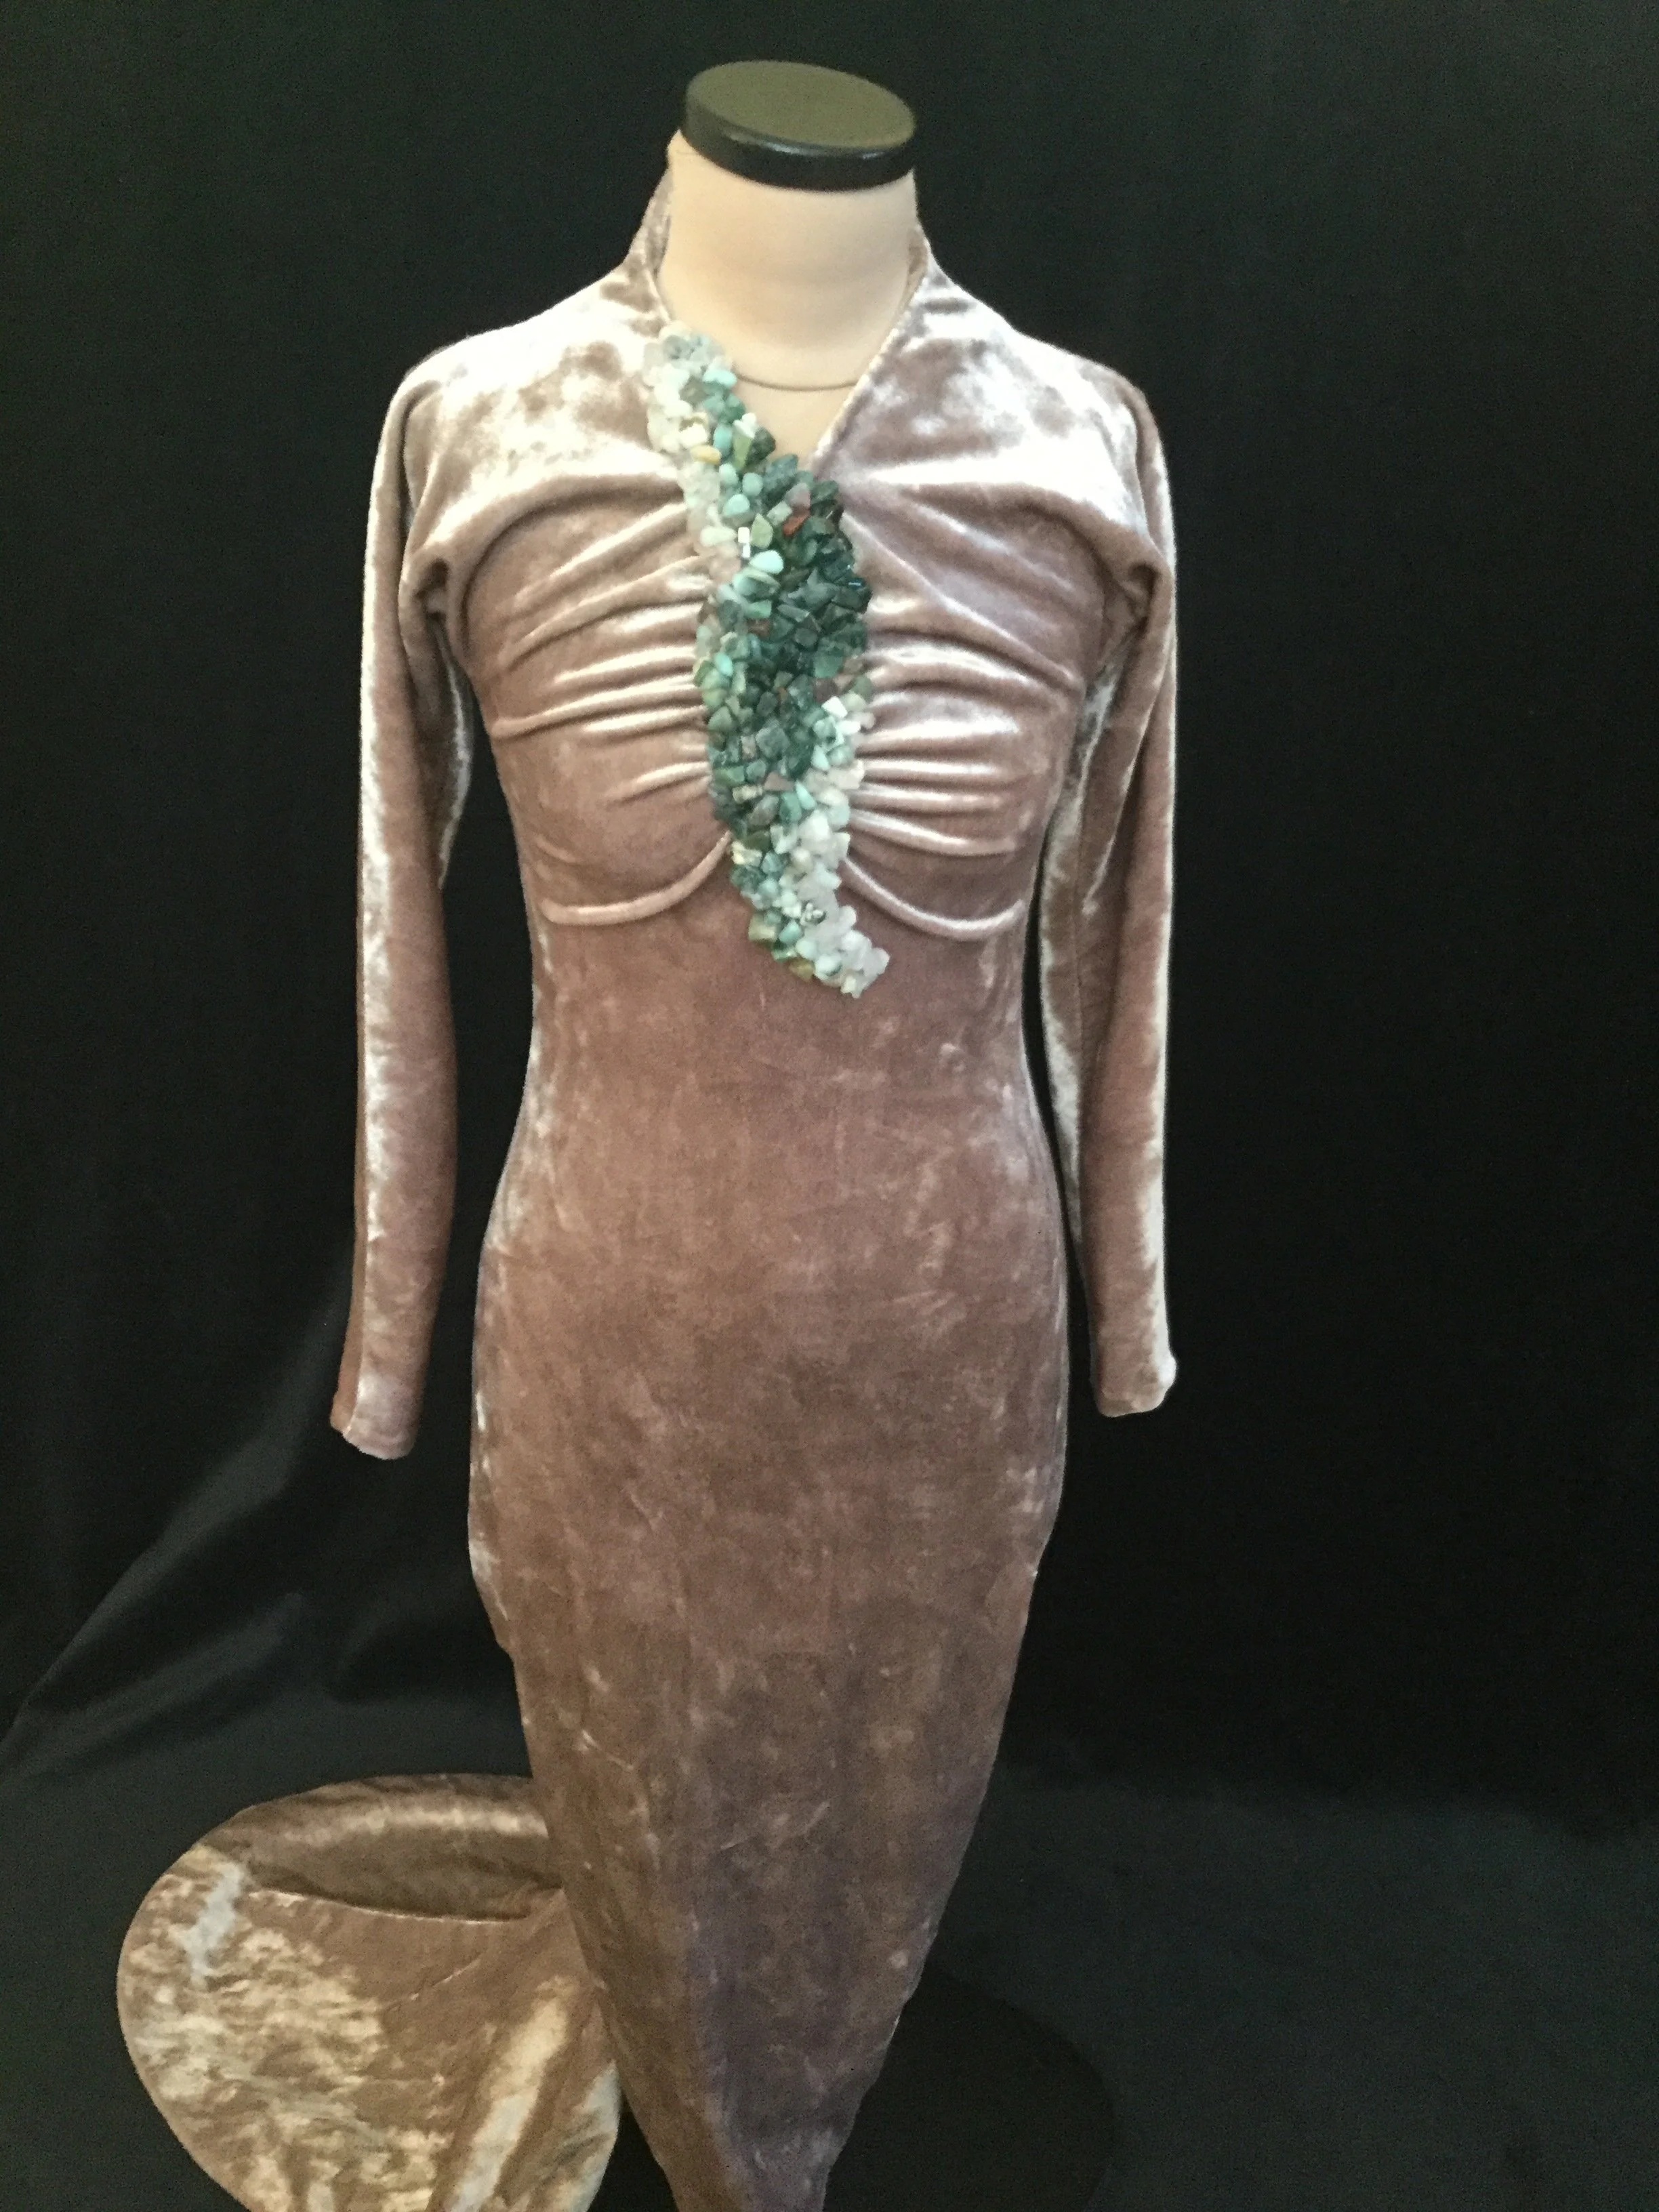
The dress itself is constructed fairly simply. It's not lined and I even limited seam finishing to pinking. Because it's so tight and the fabric is stretchy any lump or bump is visible from the right side so I was reluctant to have another layer of fabric or even something as bulky as serging on the inside.
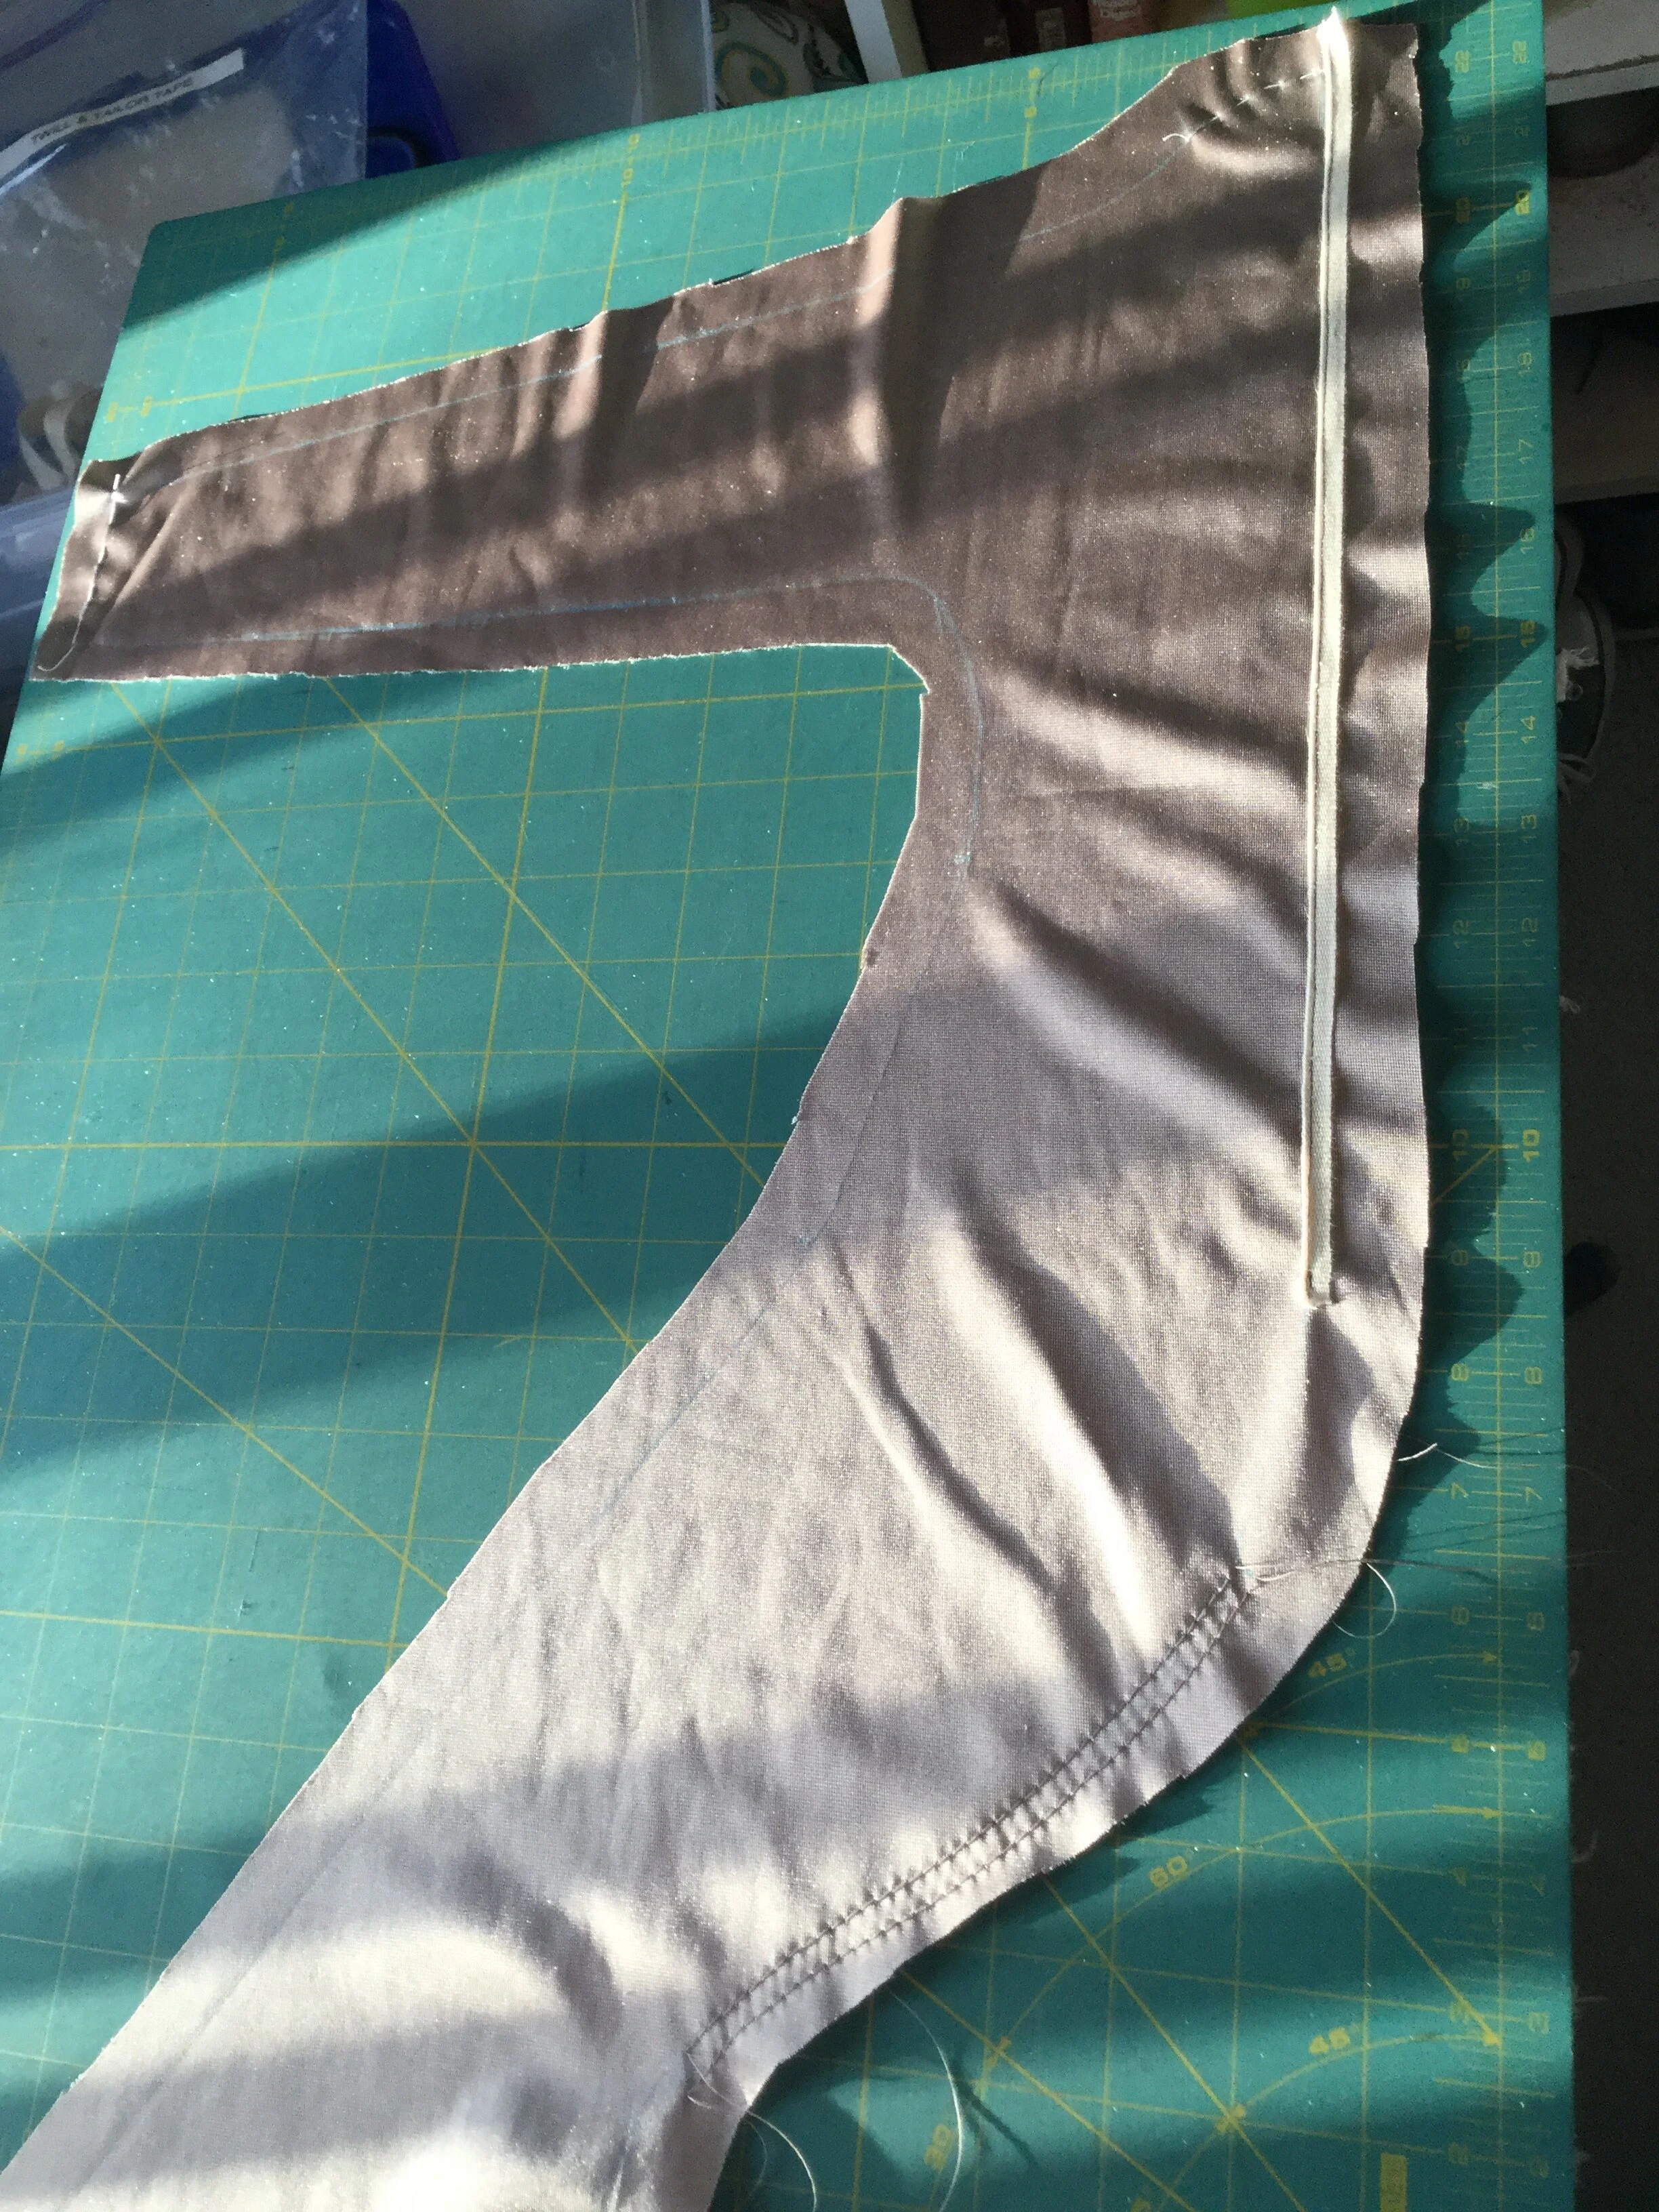
My first step was to insert the zipper, opting for my usual nemesis: the invisible zipper. To begin, I applied tailor tape to the centre back seam line to stabilize the area and keep it from stretching as I stitched in the zipper. Usually I would use a bit of interfacing for this, but because velvet is a bit trickier to press and you can't just put the iron down on it I opted for the tape instead. Before stitching in the zipper, I also ran the gathering stitches for the back gathering and basted the neck and cuff lines. With the zipper in, I stitched most of the back seam, leaving open the gathered area. I left this until I had sewn the back to the front and could draw up the gathers while it was on the mannequin to ensure that it wasn't gathered too much or too little and that the gathers were in the right place.
The only steps the front required before sewing it to the back were the usual basting lines along the neckline and hem, a bit of tape to stabilize the neckline and a temporary row of gathering stitches. Once the whole dress was in one piece, I could address the gathering. The back was pretty straightforward as I was just gathering it until it looked right and stitching the rest of the seam closed.
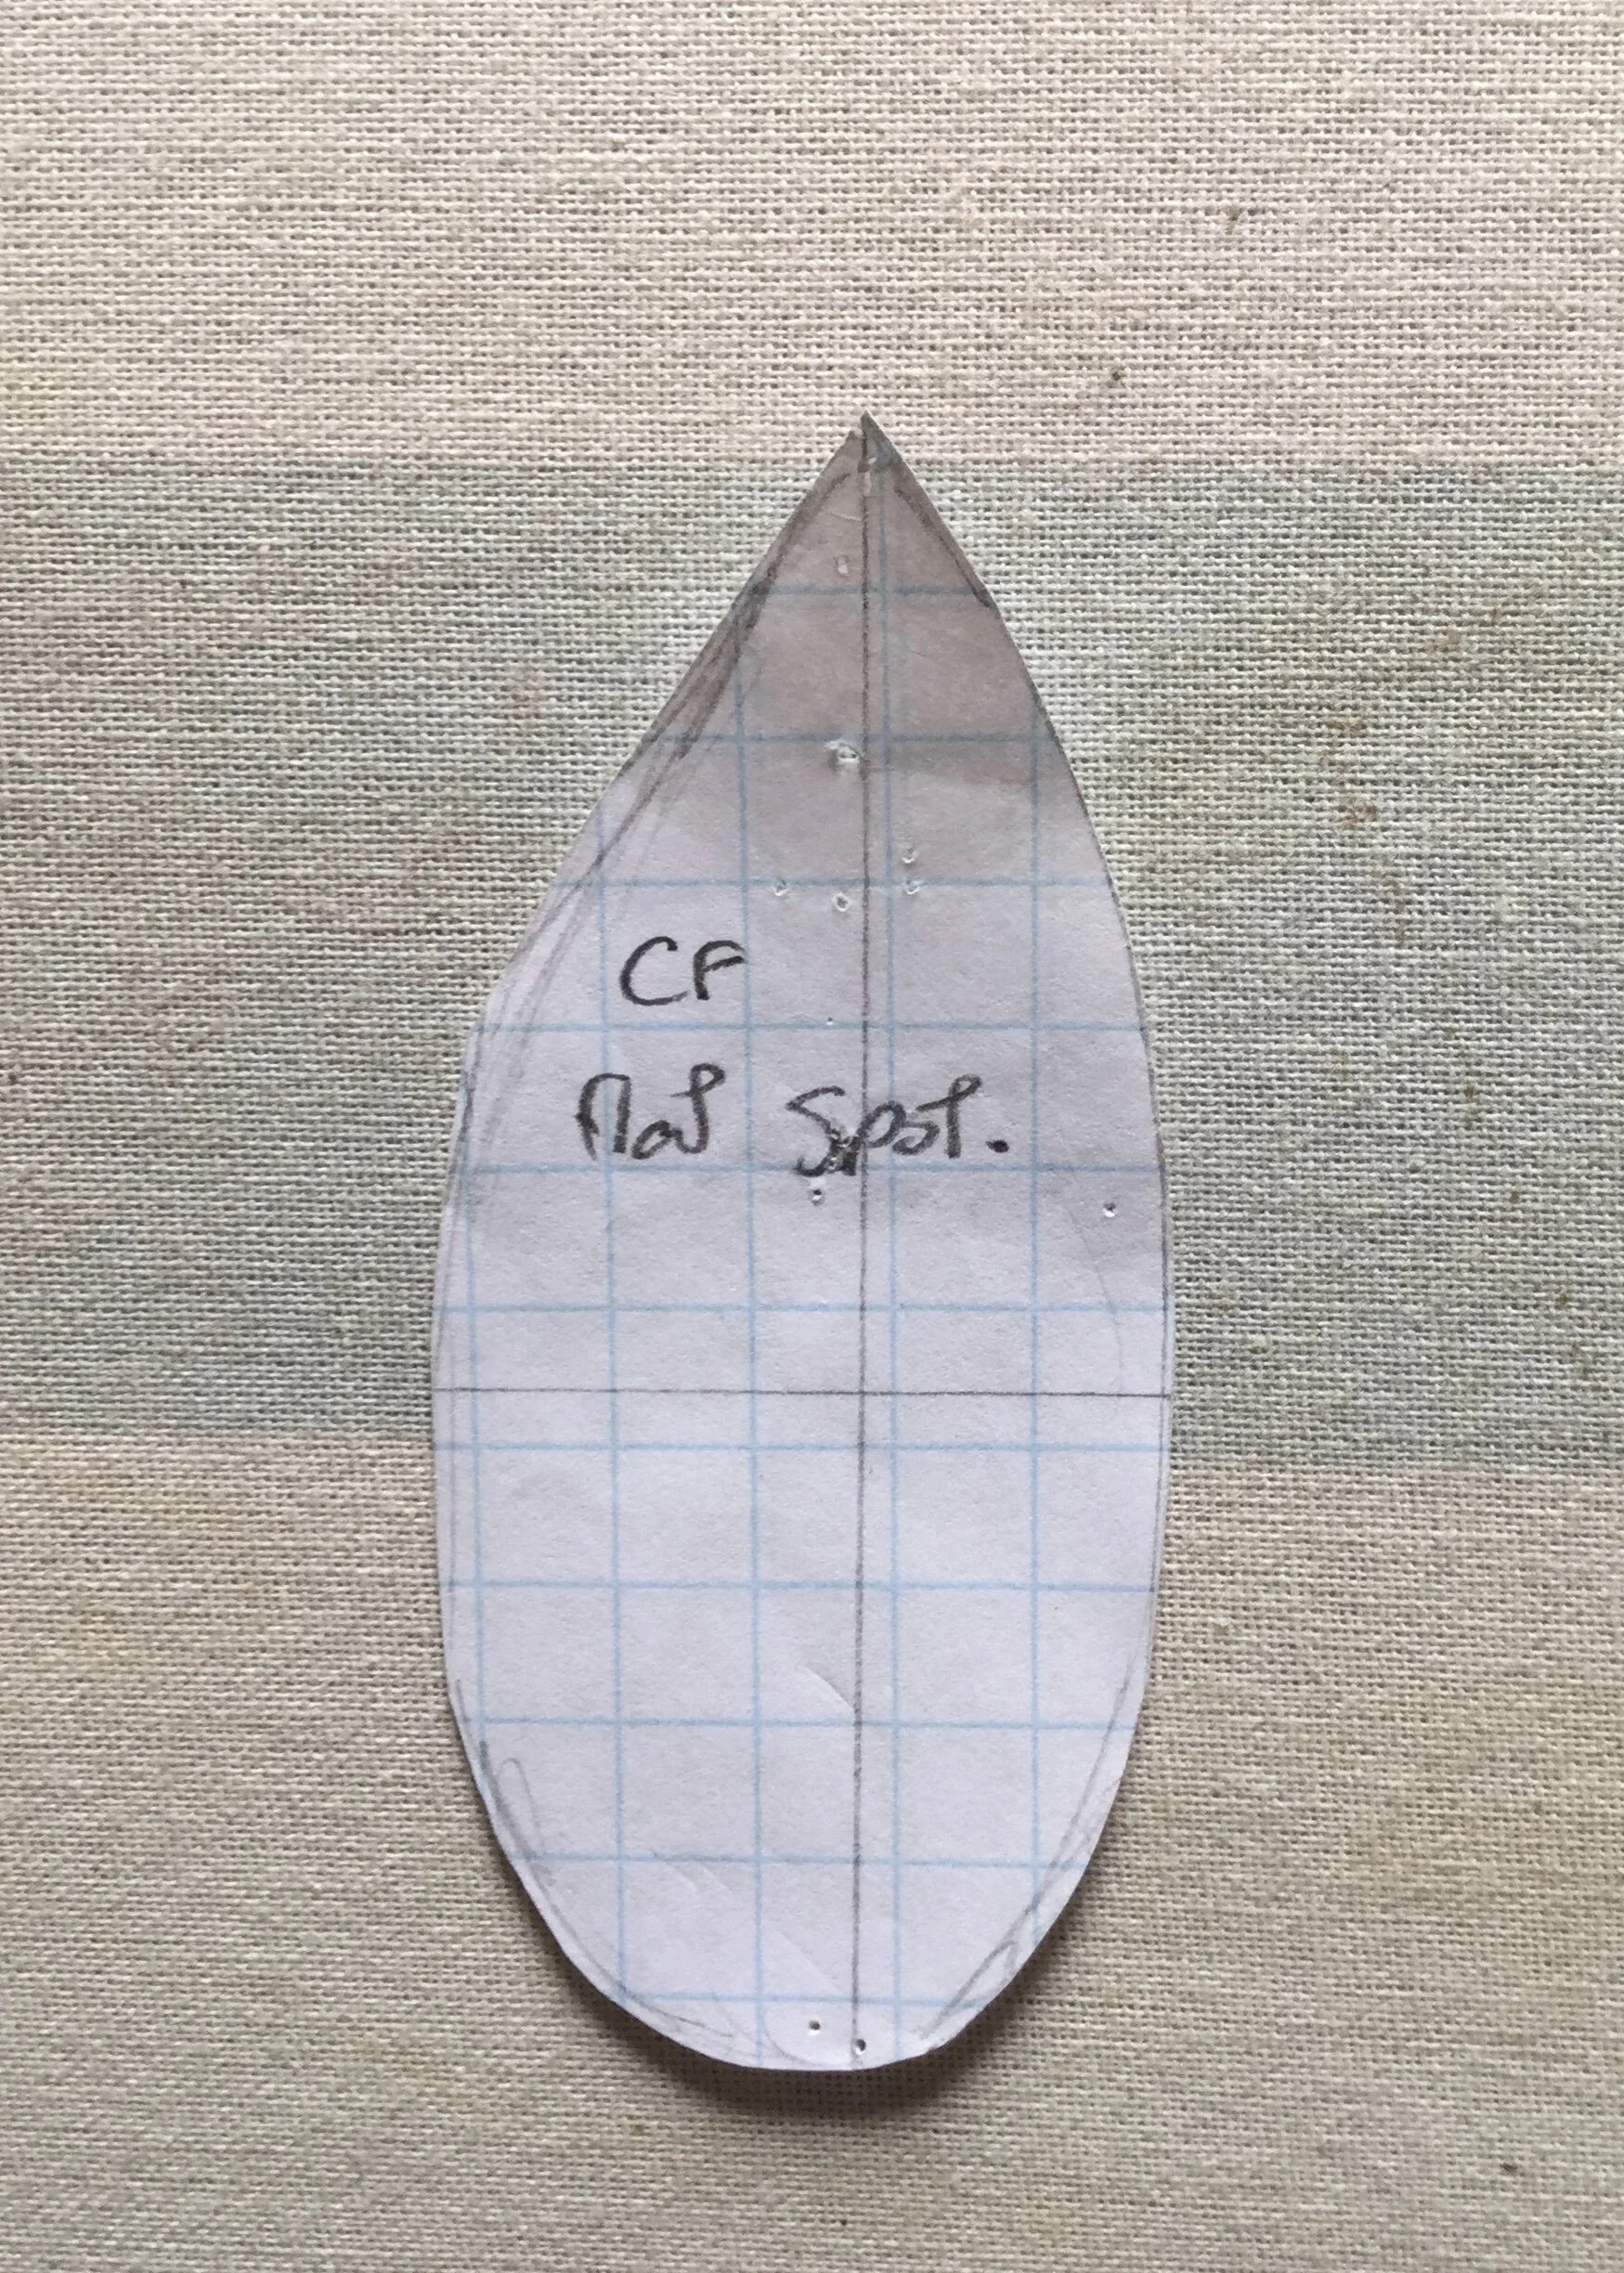
The front was a little more complicated. First I used the pattern from the front beaded piece to make a new pattern of just the part sitting directly over the gathering.
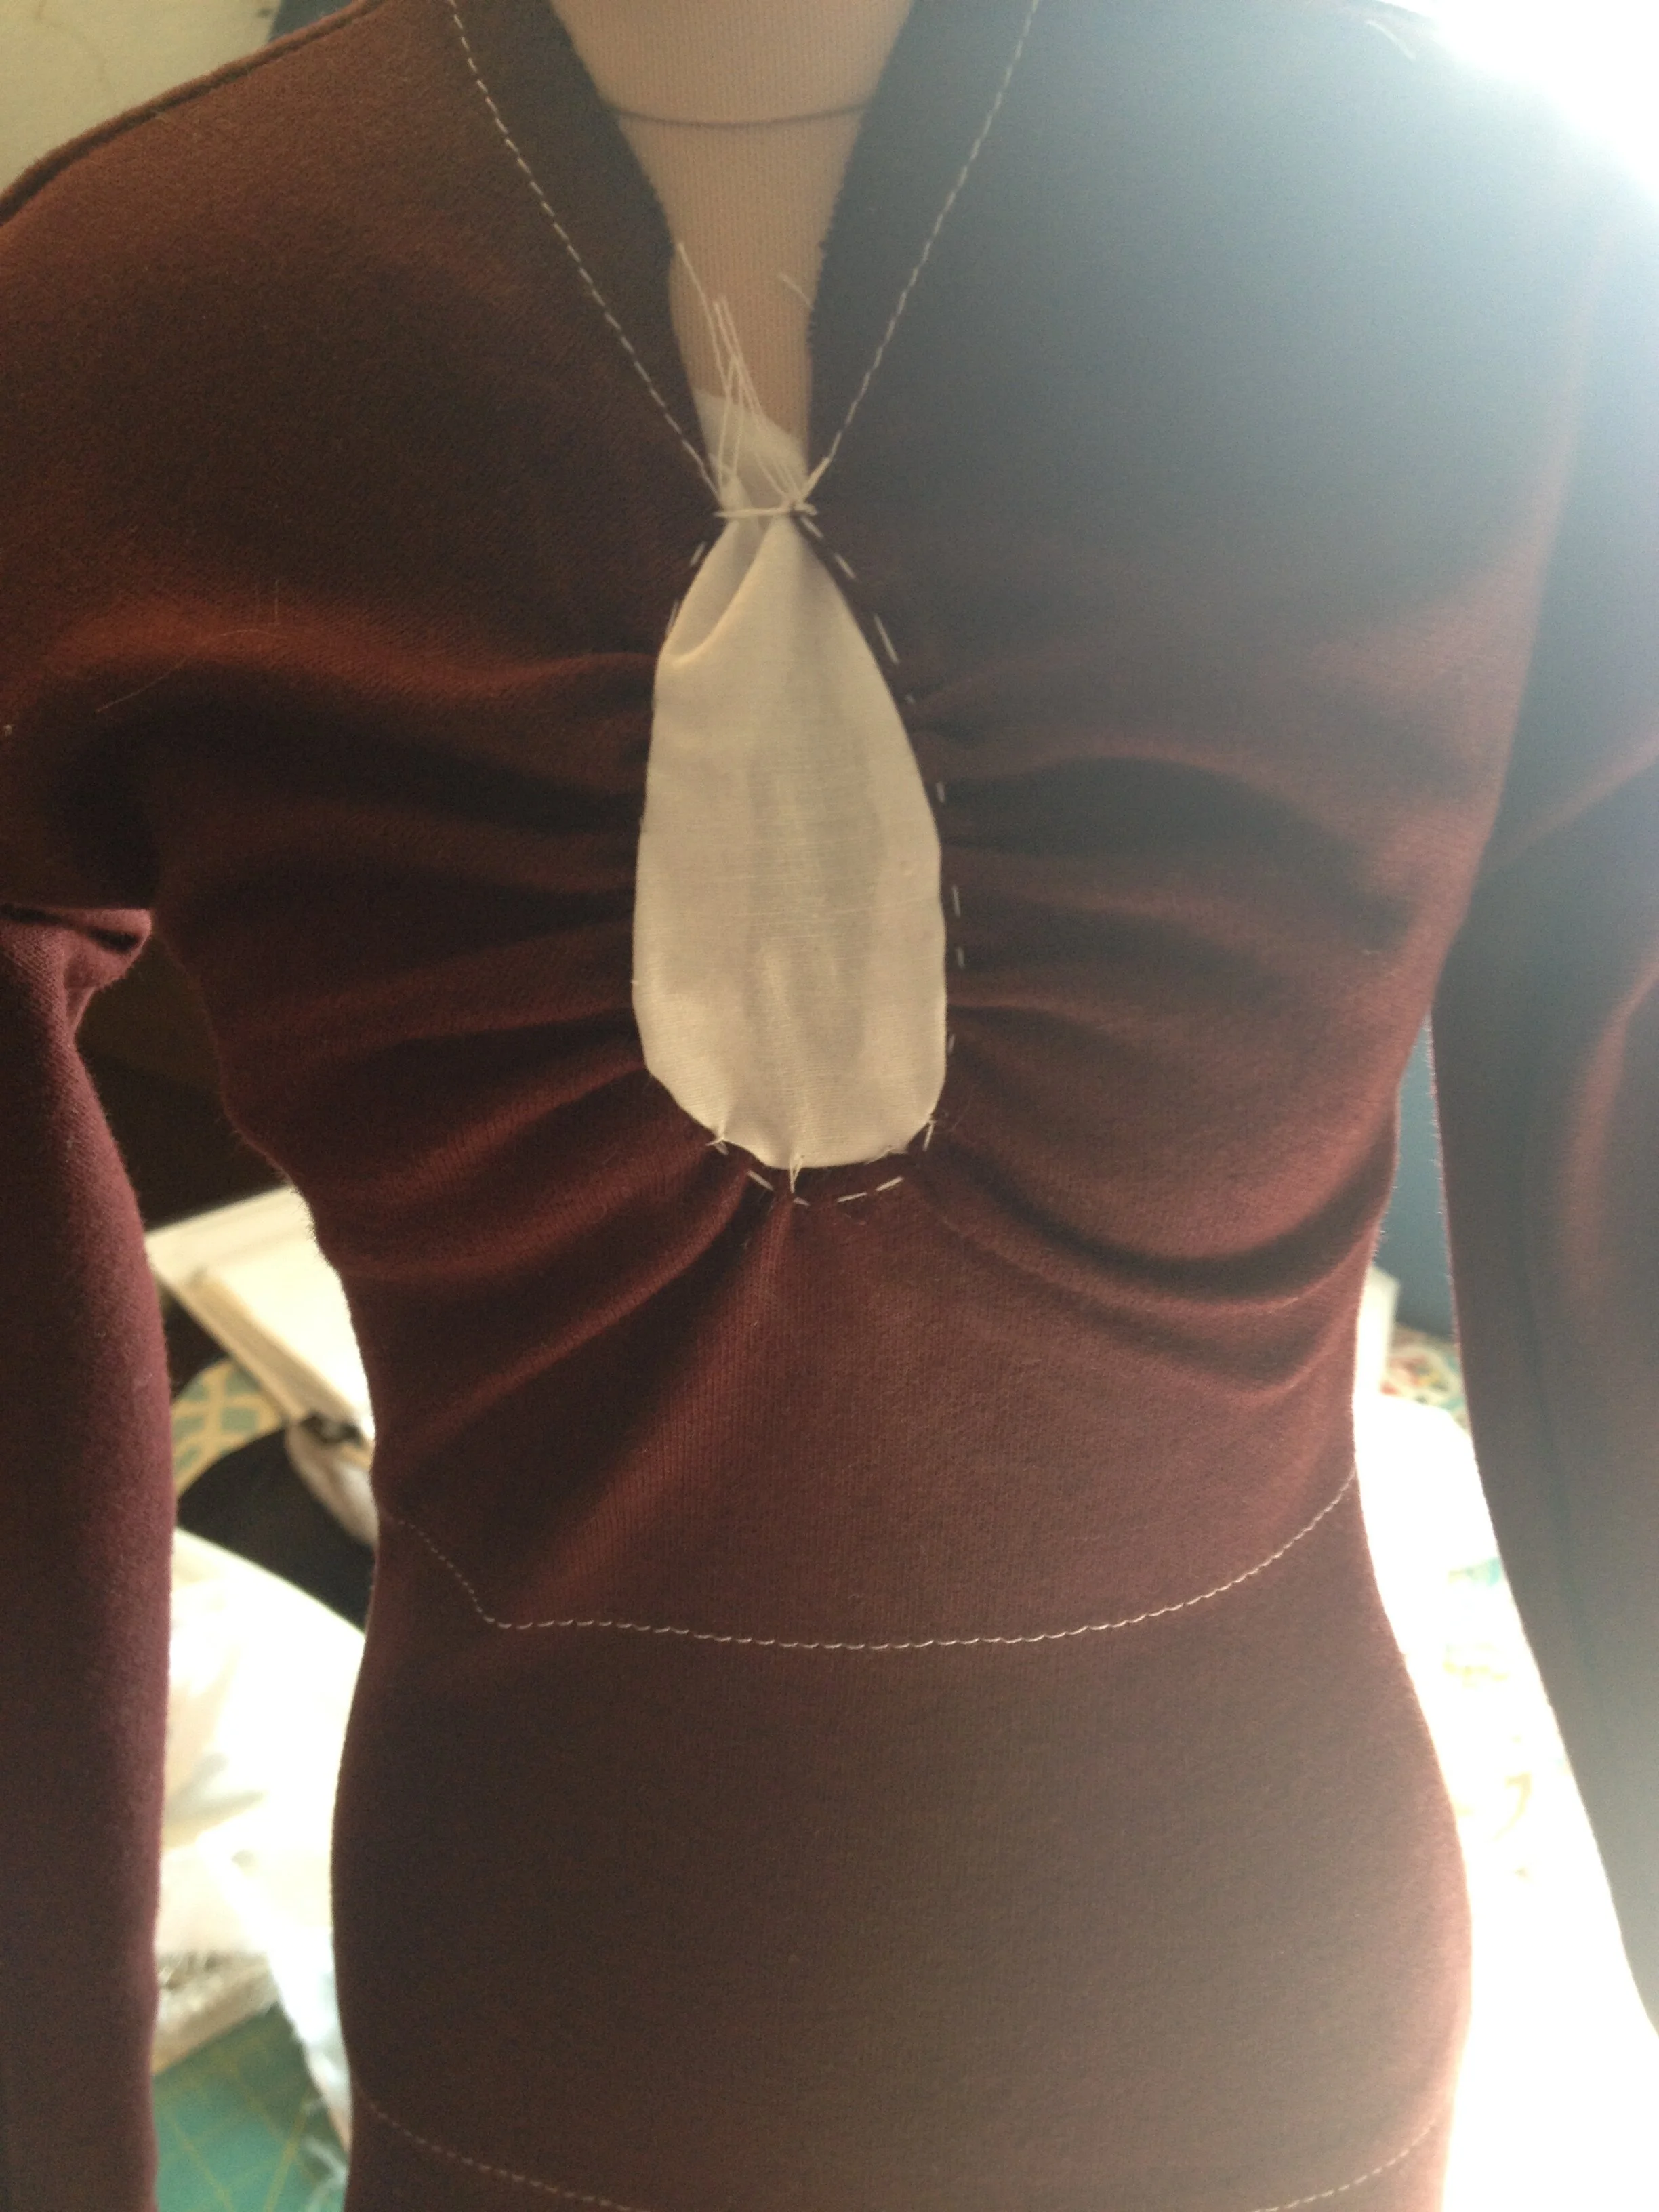
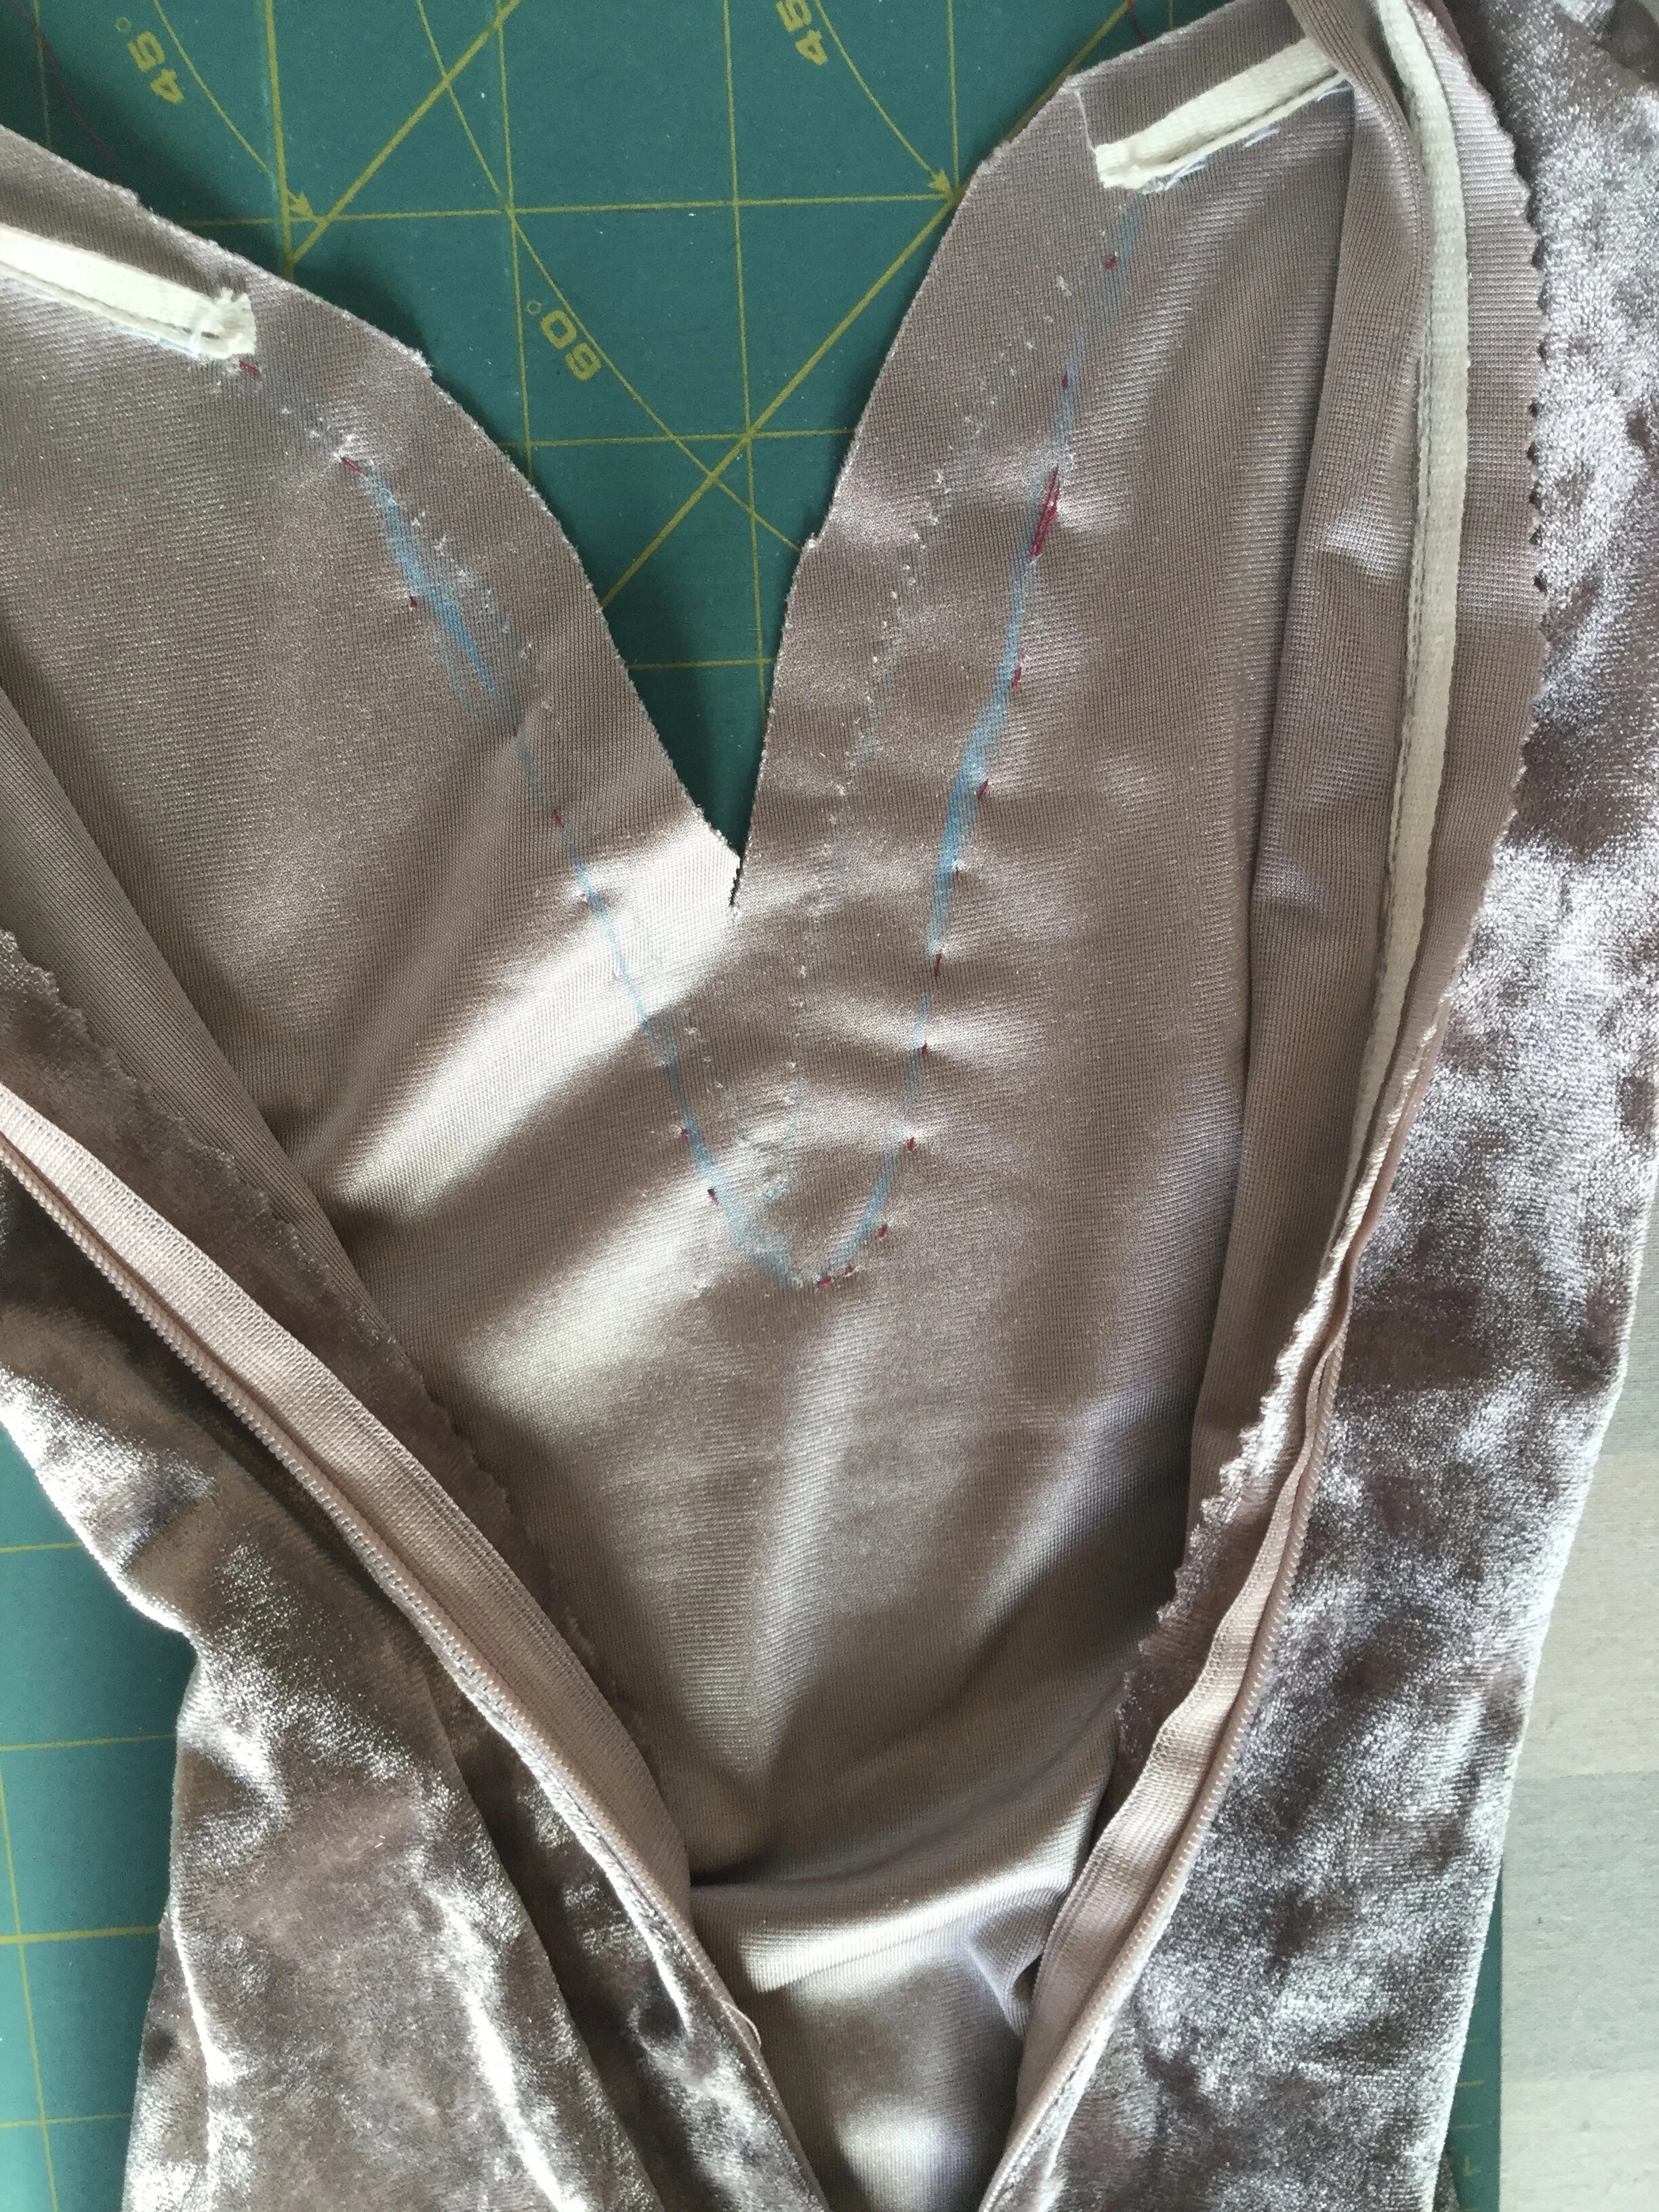
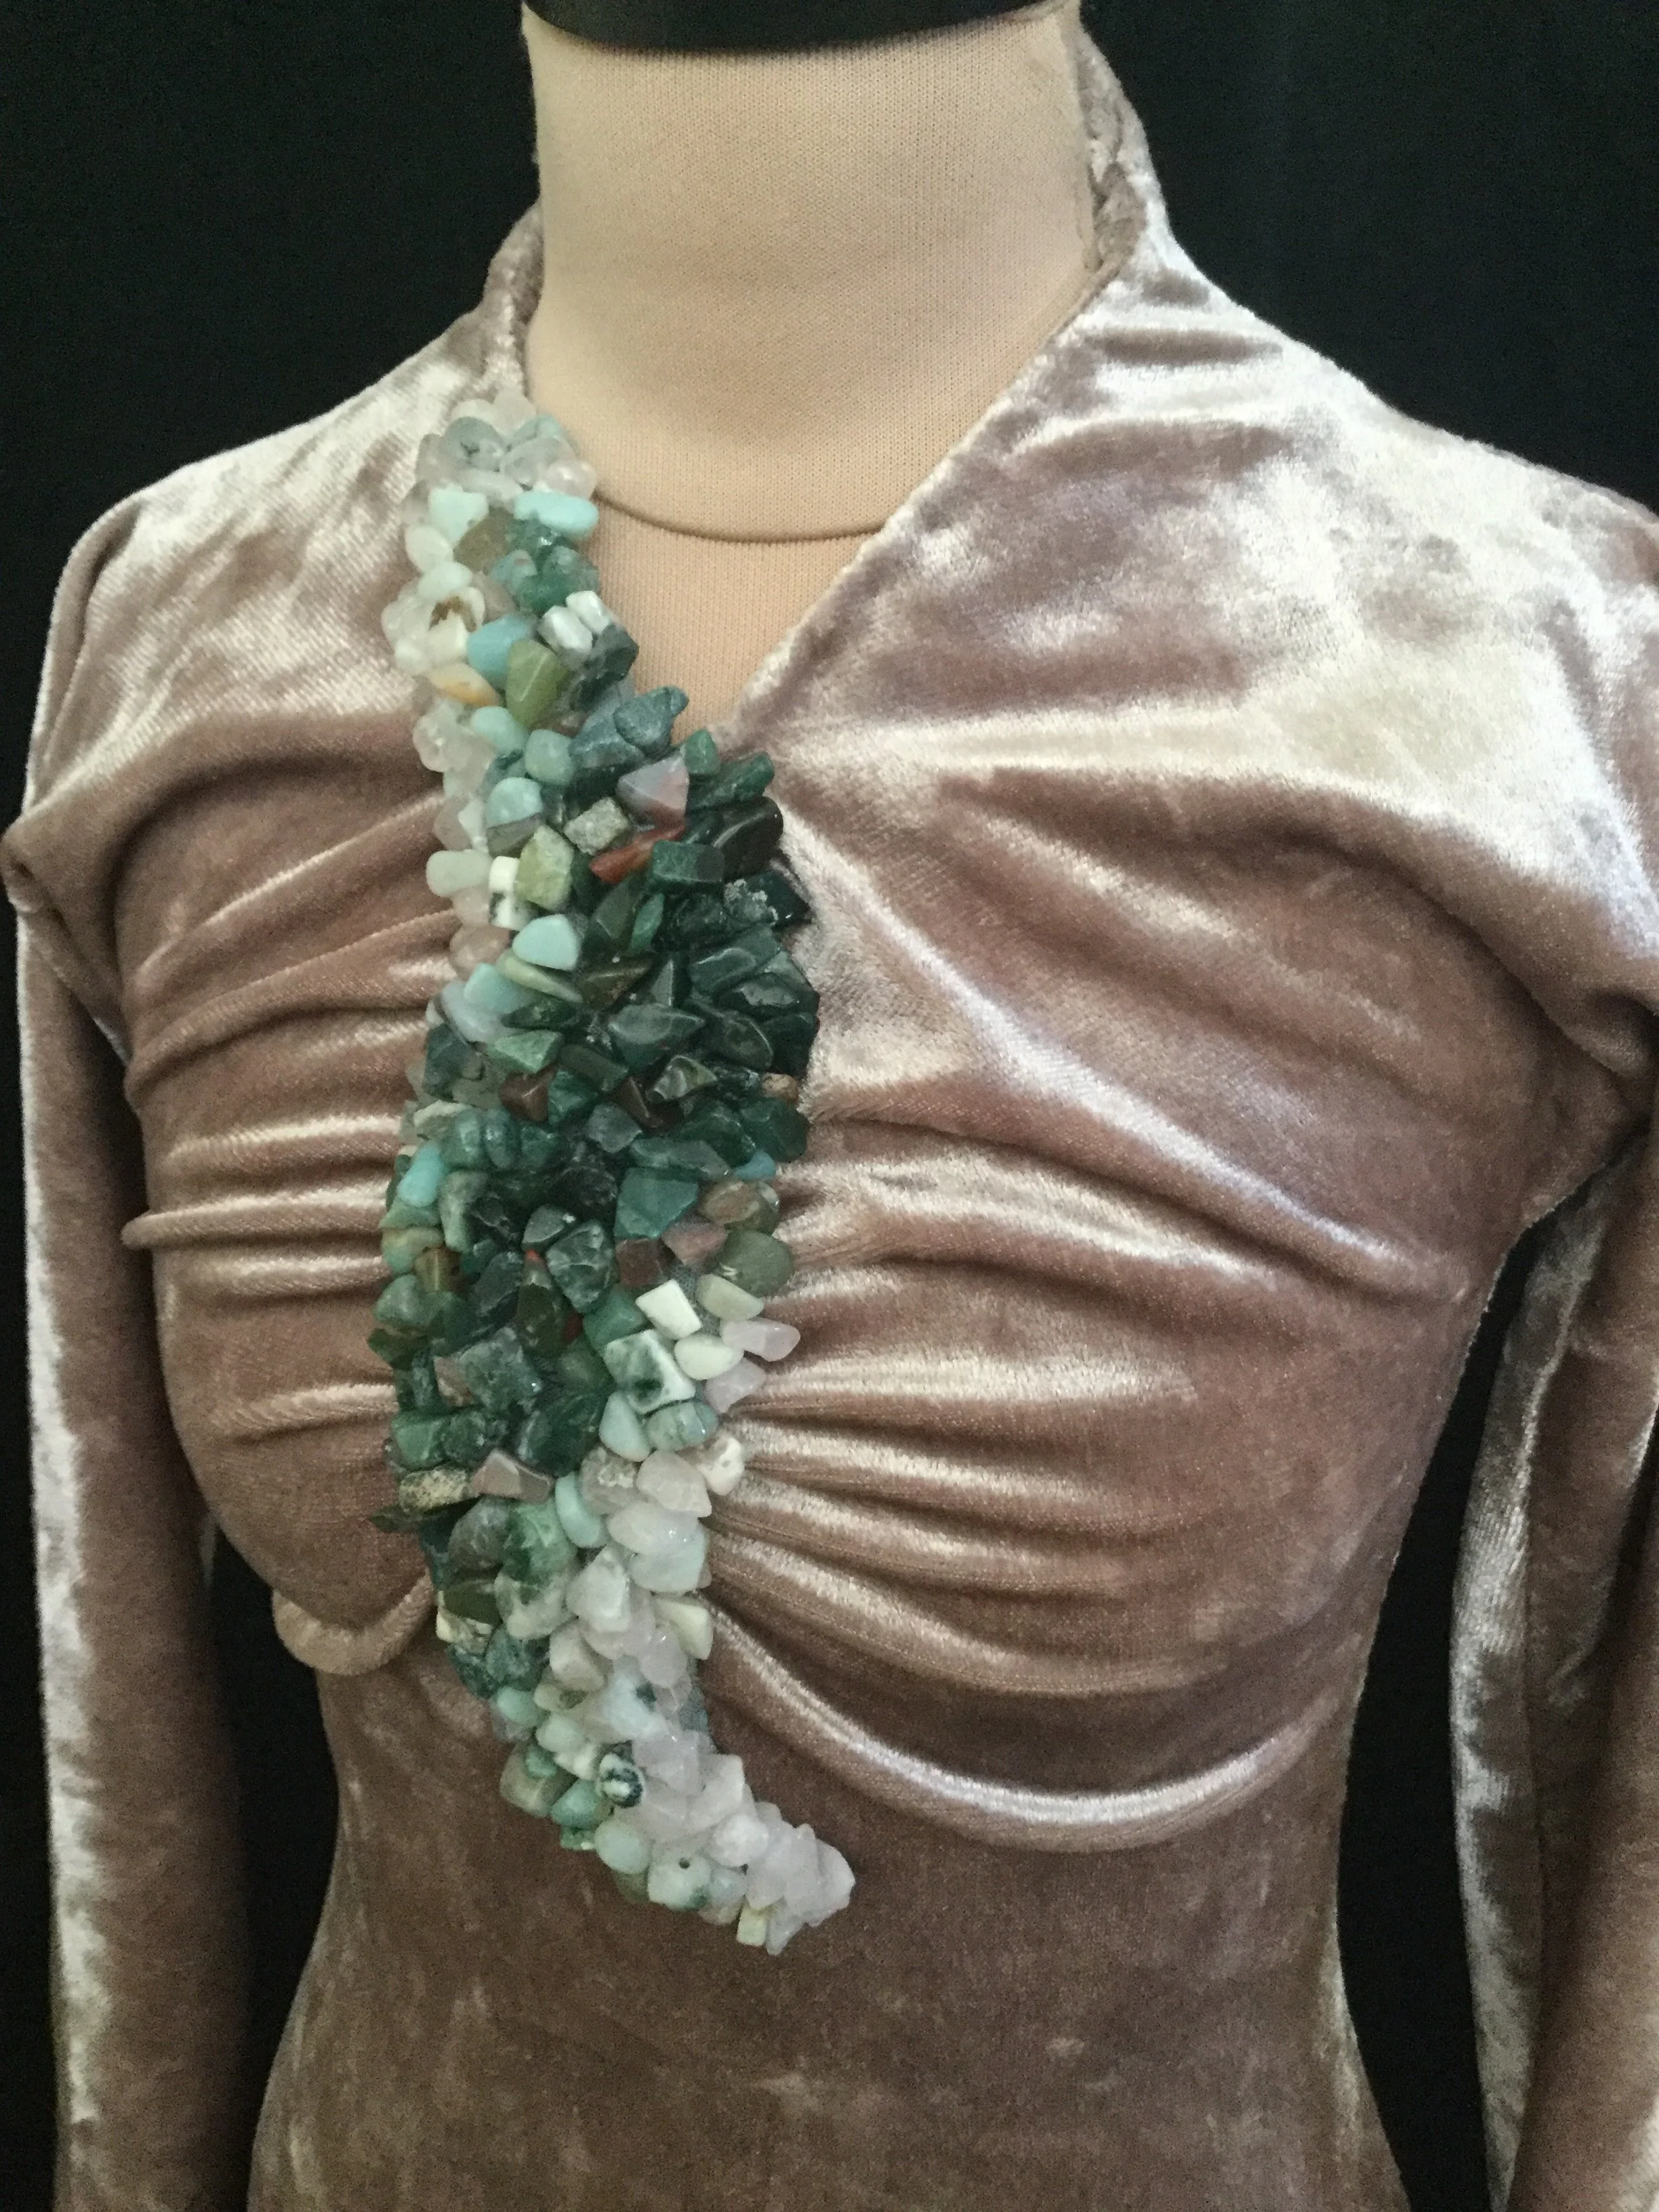
Next I gathered up my temporary stitches so that the front would sit where it was supposed to (possibly with the help of a pin or two...) and placed the new pattern piece over the gathering, making sure that the centre front line was sitting in the correct place (I know it looks like it might be a bit off, but the piece does sit a little further to the left in that spot). I then used a basting line to mark the outline of the pattern.
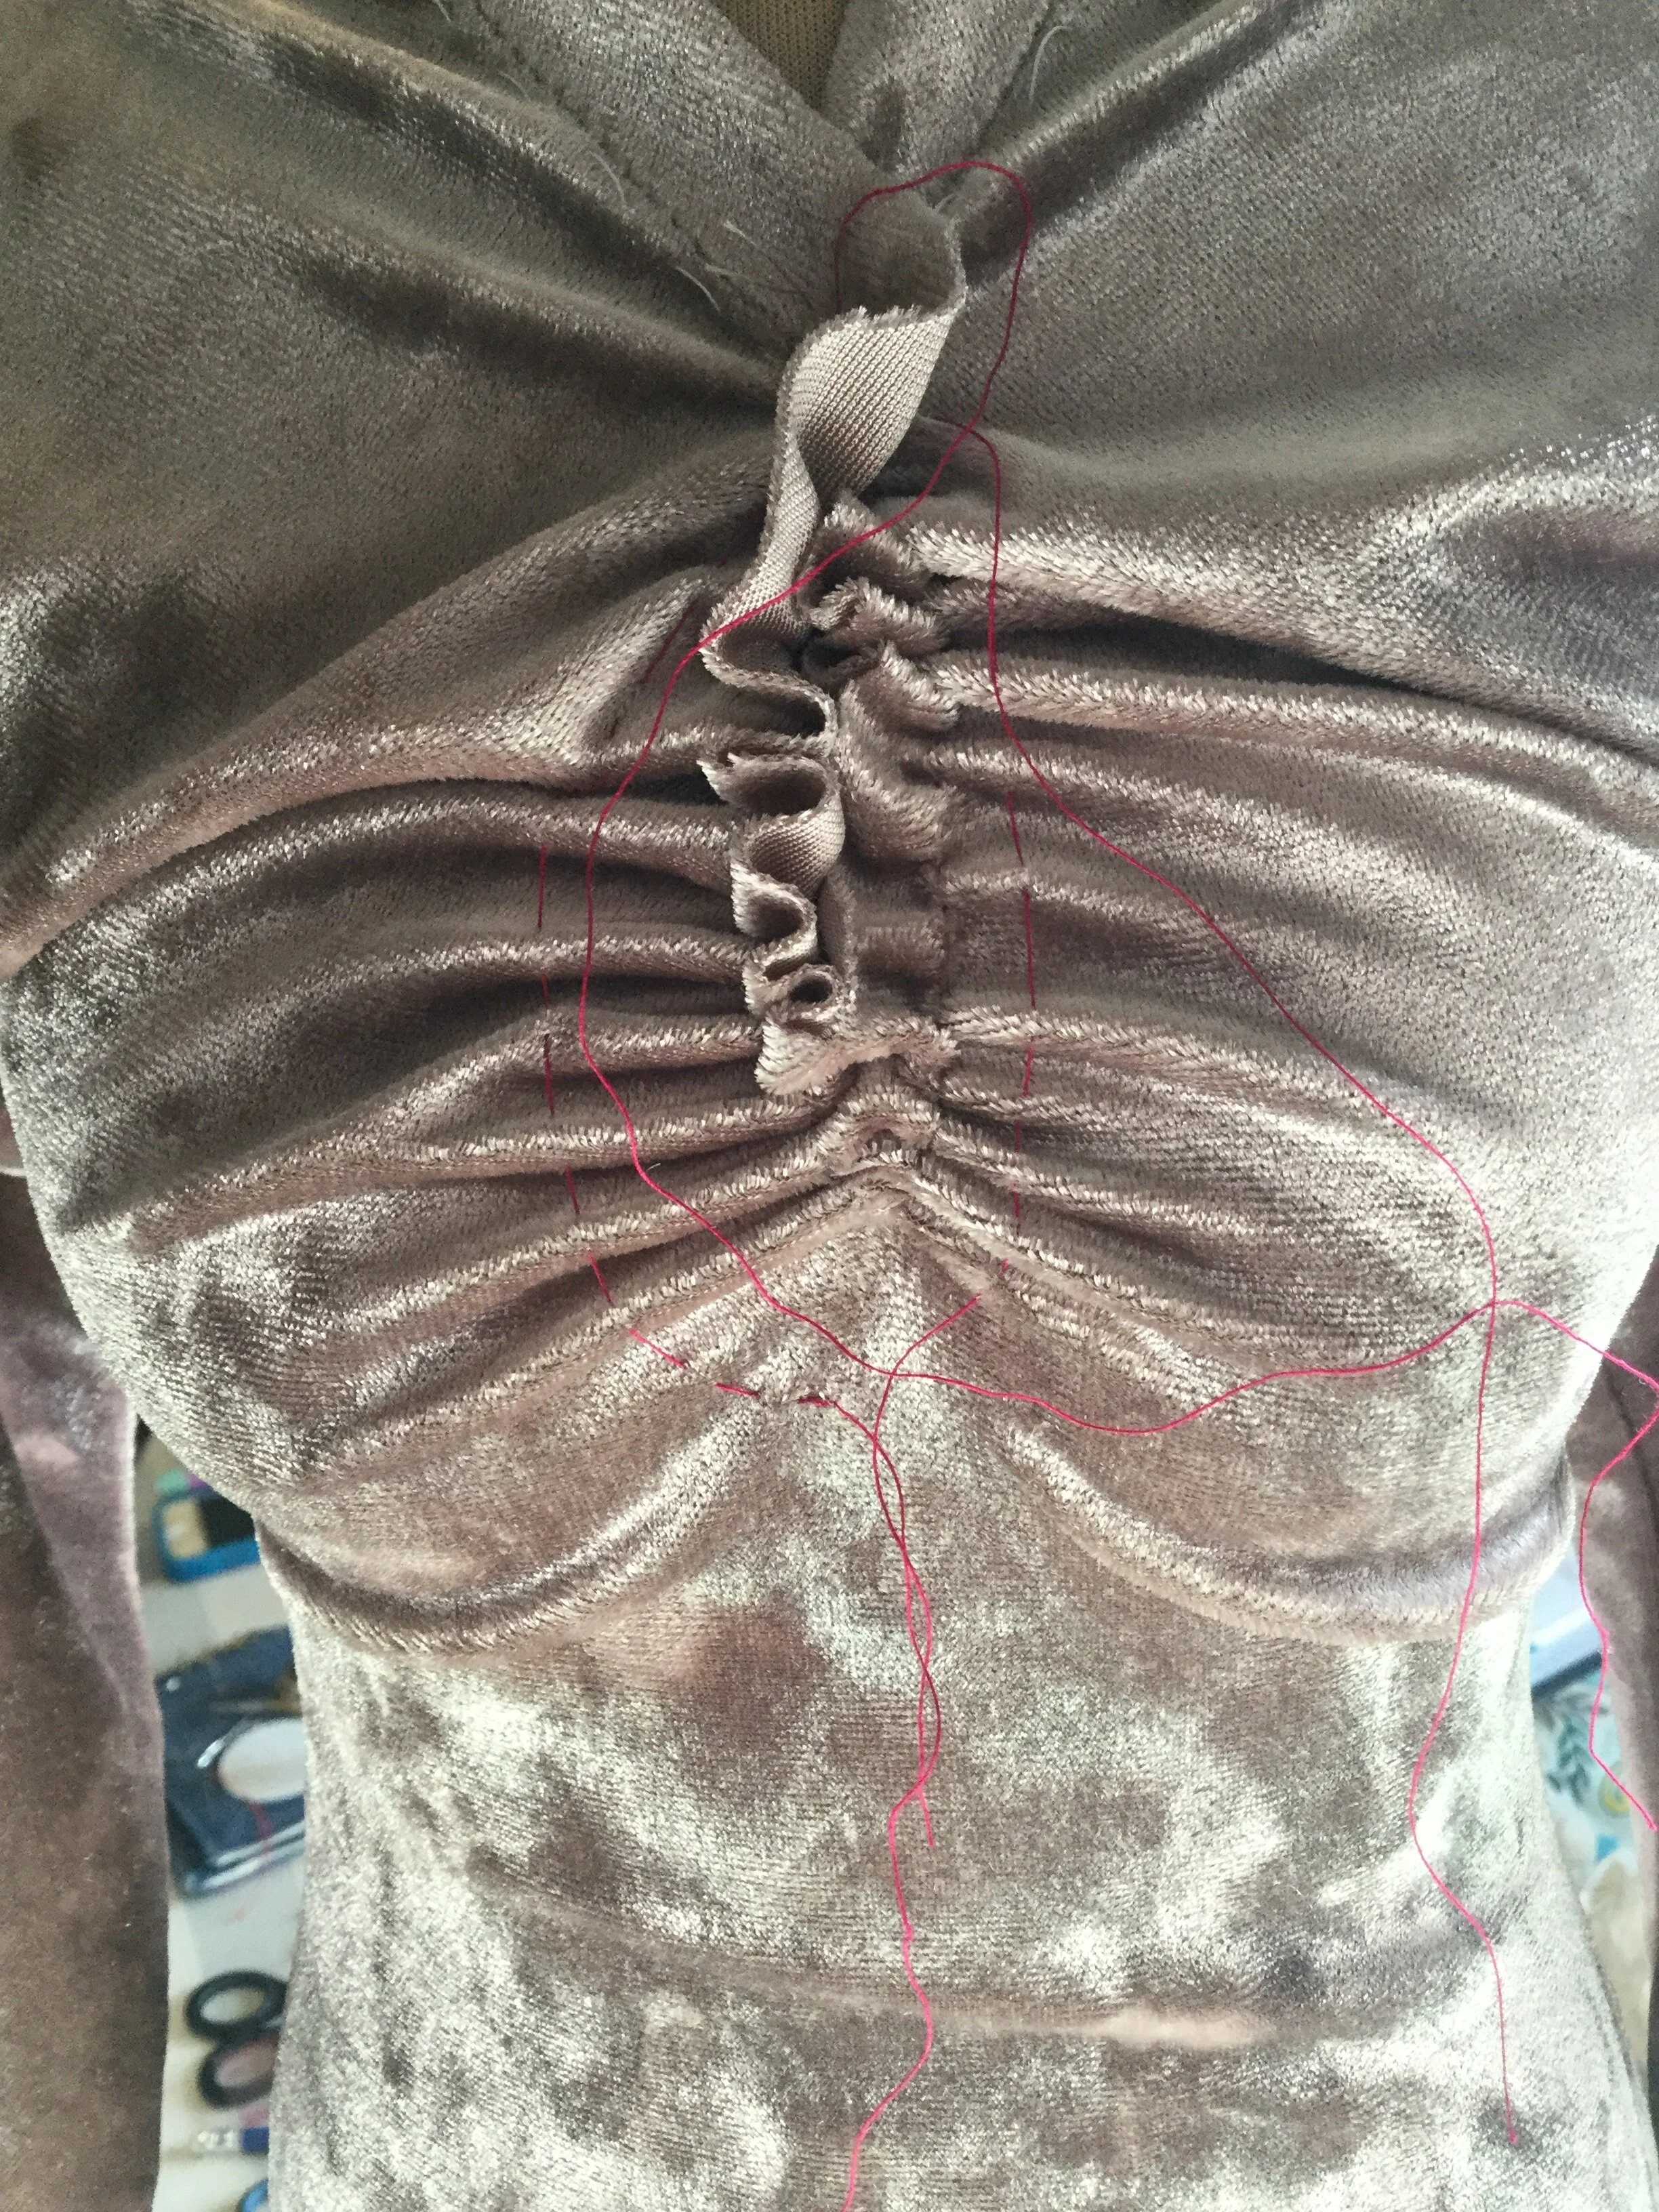
I left a fairly long tail on my basting threads so that when I took the dress off the mannequin and released the temporary gathering, the fabric would just slide along the basting thread. I used my basting threads as a guide to draw a new gathering line for the centre front, one which would ultimately not meet at the centre front and leave some space for a flat spot on which the beaded piece could rest. This would also mean that the fullest part of the gathers would be at the edge of the beading rather than mostly buried under it.
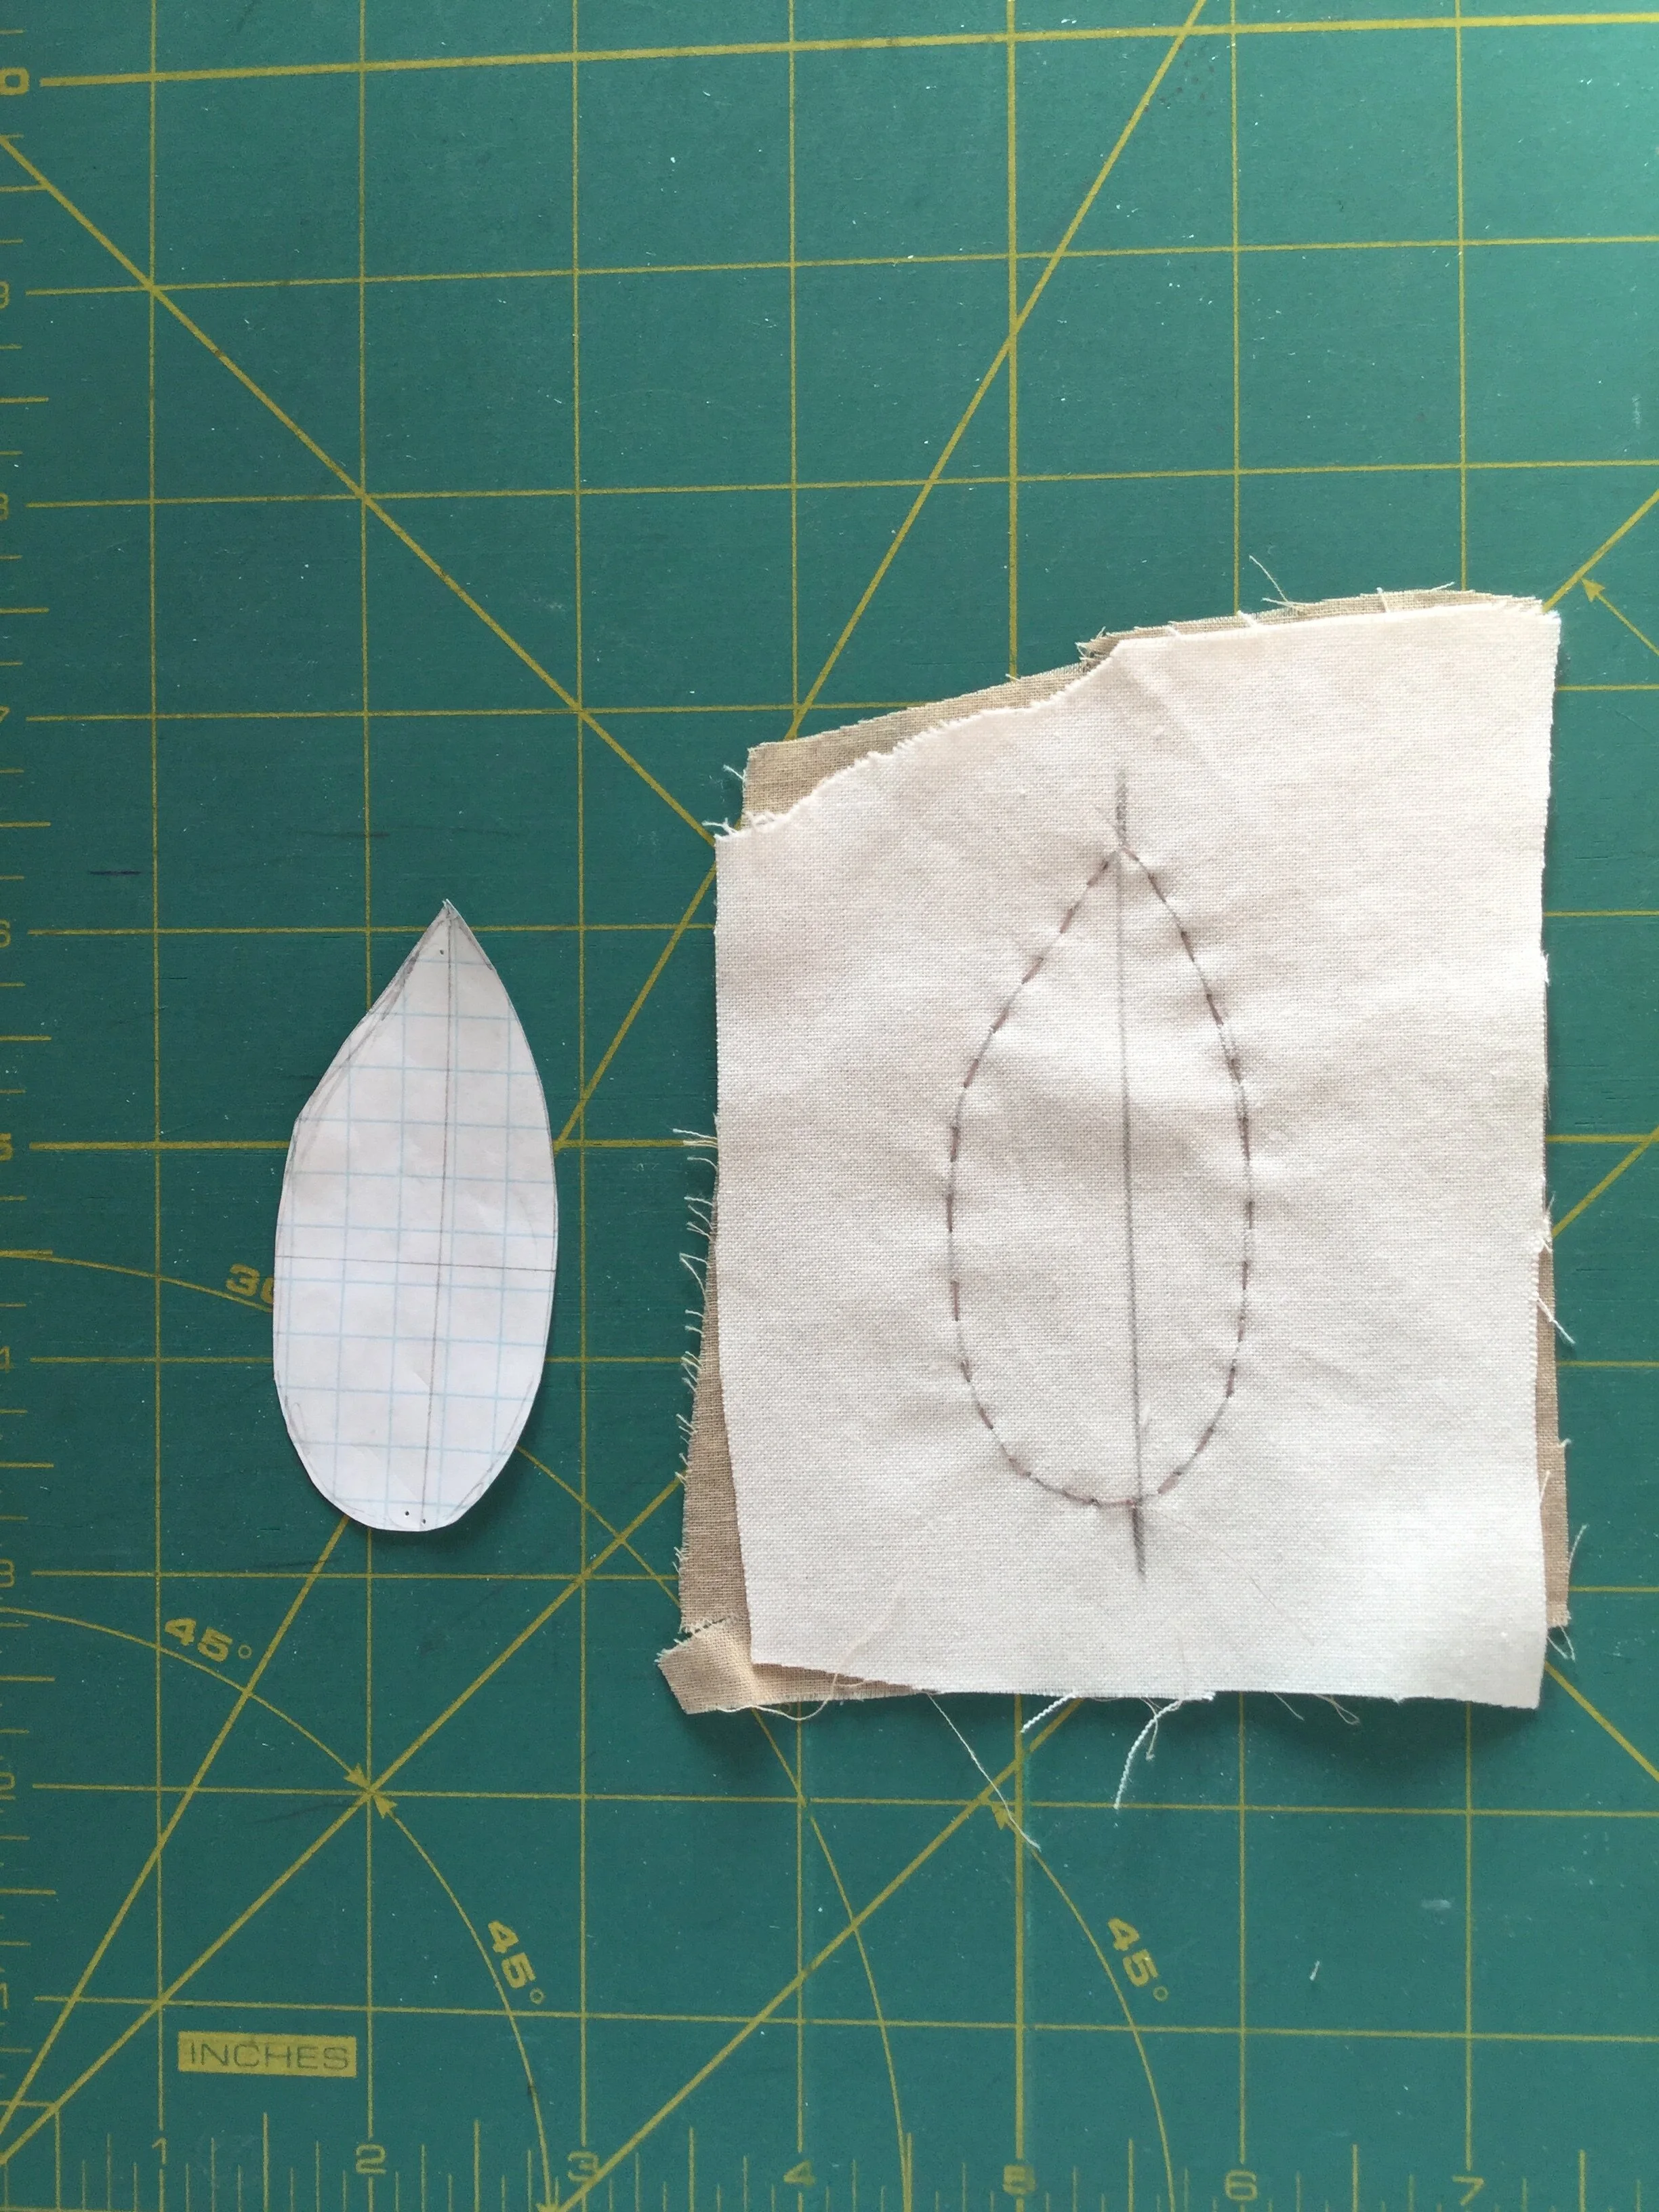
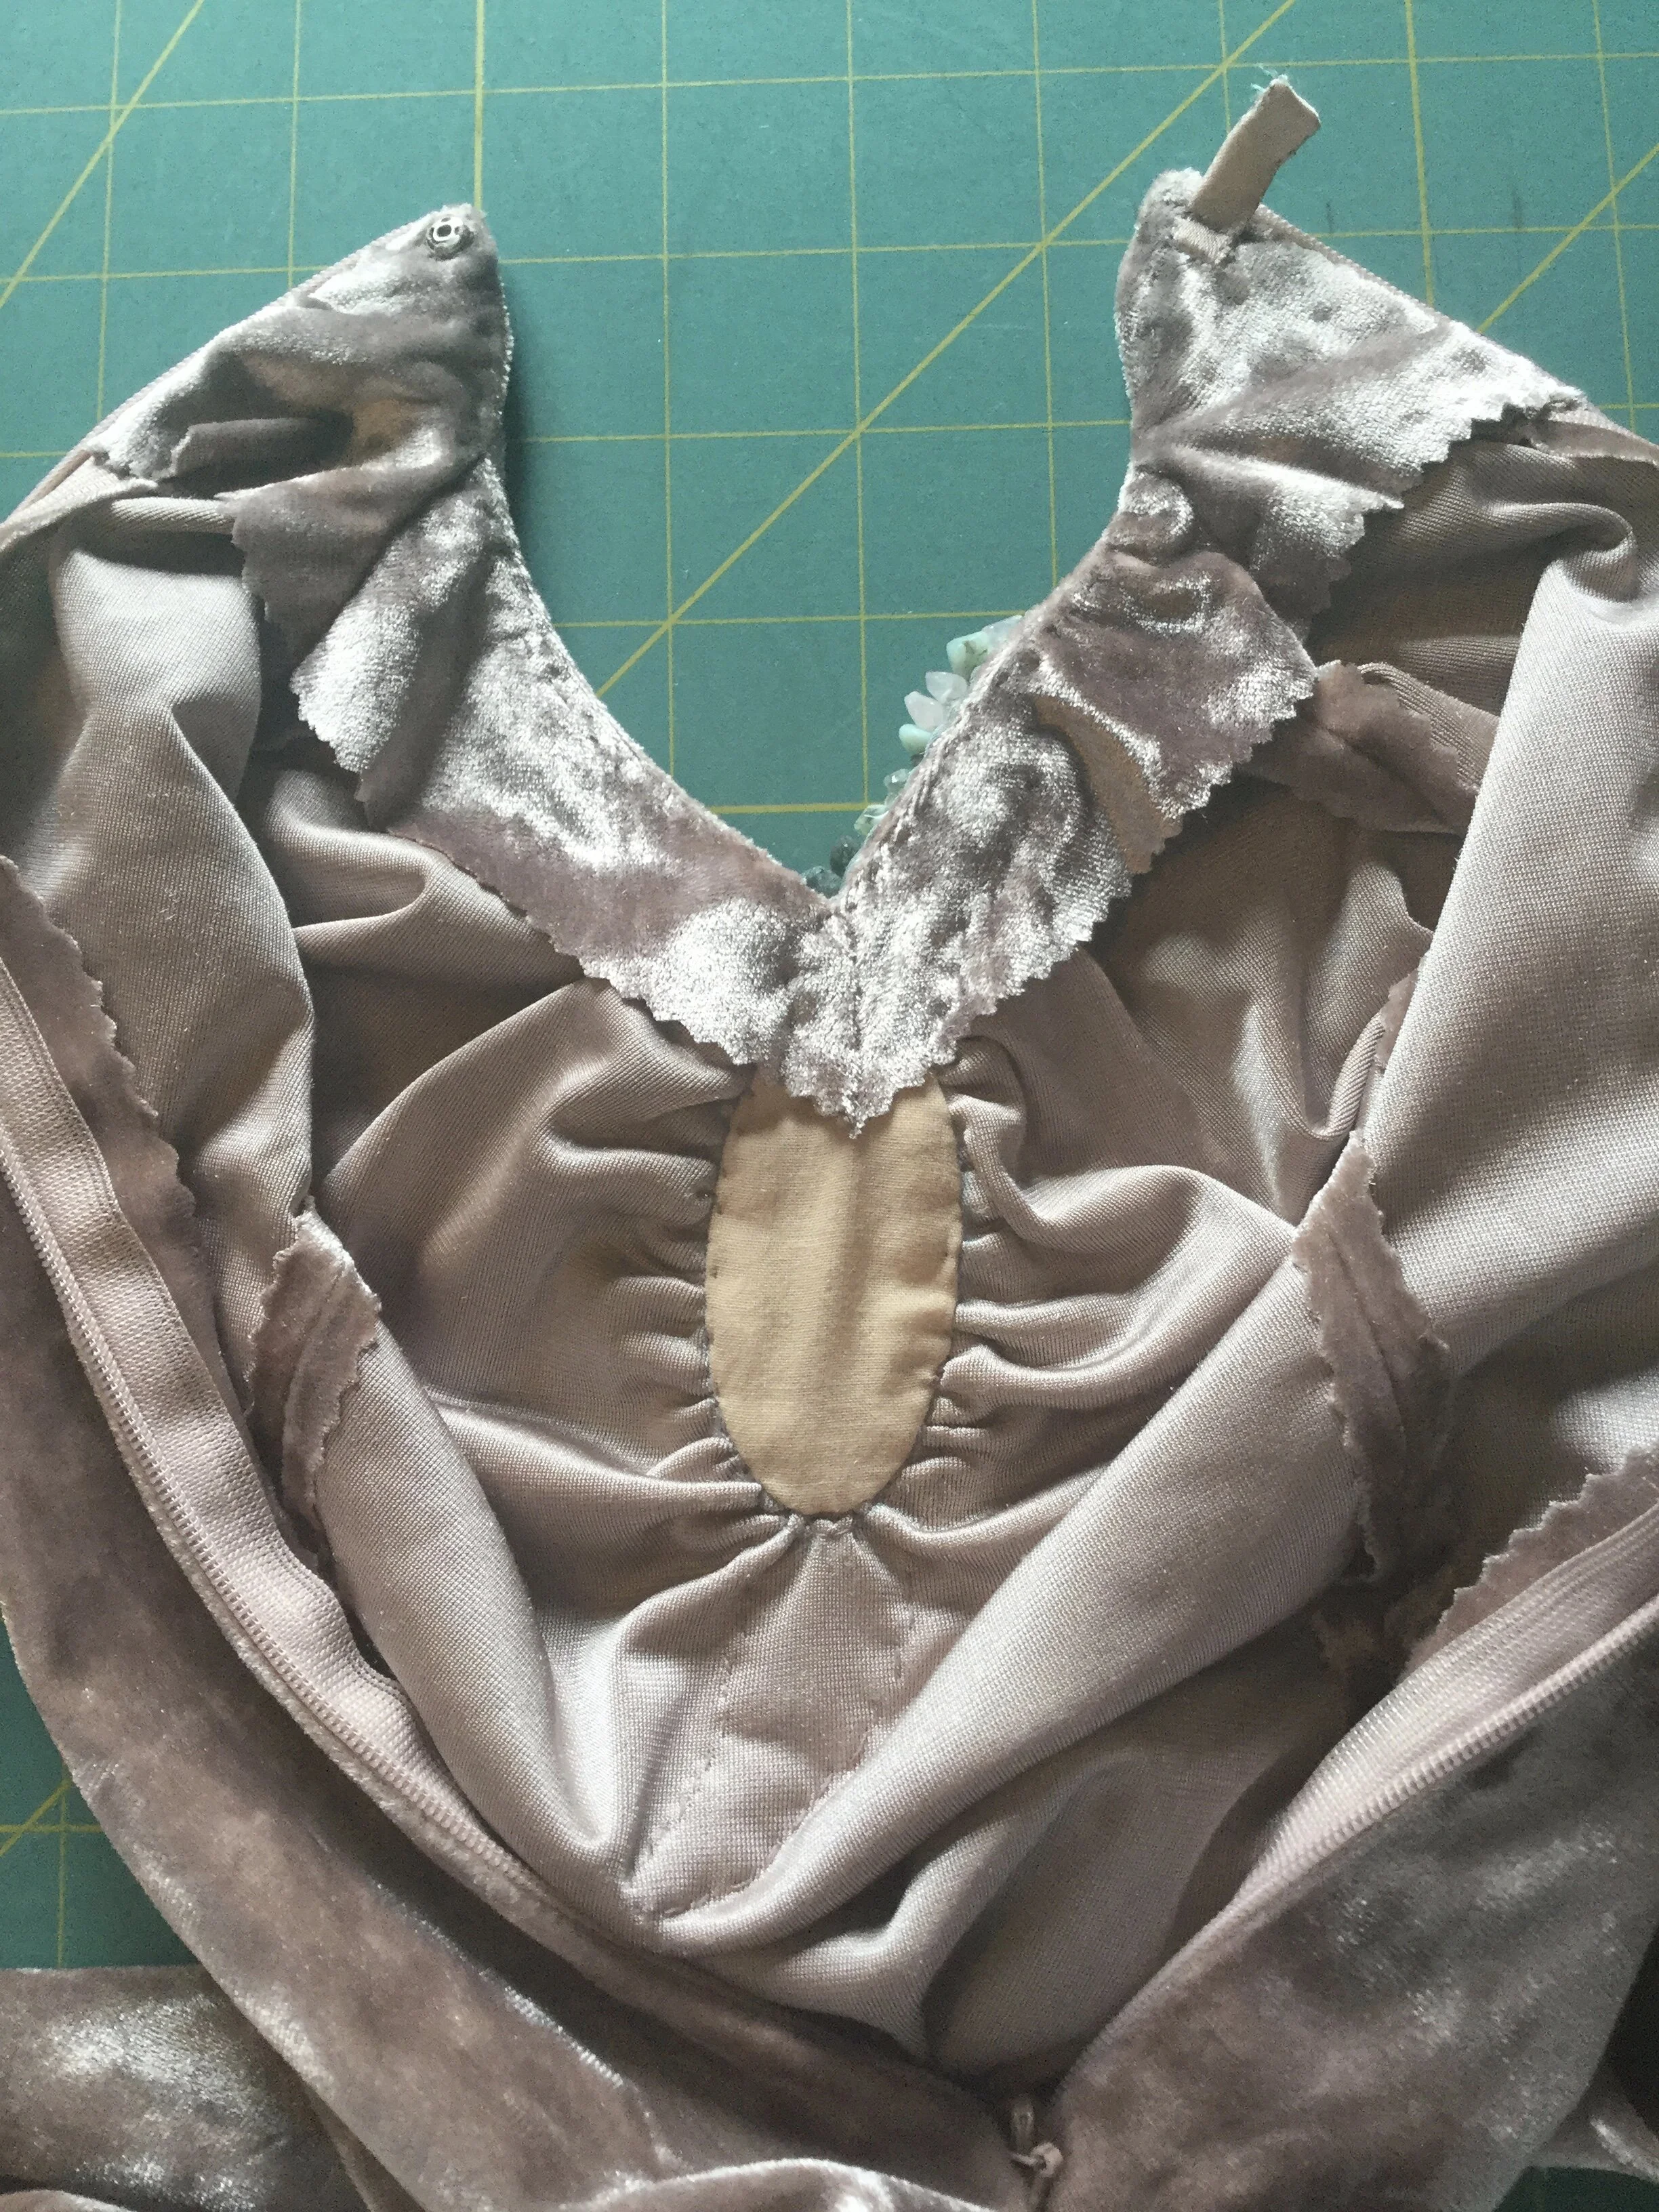
For the flat keyhole part, I used two layers of cotton: one layer of a plain white cotton which I thought would be sturdy but not too heavy and one of beige voile to blend a bit with the velvet as it would visible from the inside. I flat mounted the two layers together along the seam line and stitched the piece in by hand once I had run fresh gathering stitches along my new line and gathered up the front. After trimming away the excess seam allowance and giving the area a little bit of steam to encourage it to sit in the right place, I cross stitched the gathered seam allowance down to the cotton.
Before applying the beaded pieces I had to finish the collar, cuffs and hem which were both fairly simple. I finished the cuffs with a small double turn and pick stitched it closed. The hem was finished with a bias facing and a cross stitch.
The collar was a bit trickier. It's finished with a facing which in itself wasn't too complicated (though it proved fiddly), the tricky part was more the question of what to use for the facing. I was worried that using the velvet would end up being too bulky and the edge of the facing would create a visible line under the dress.
*Spoiler alert* I was worried for nothing.
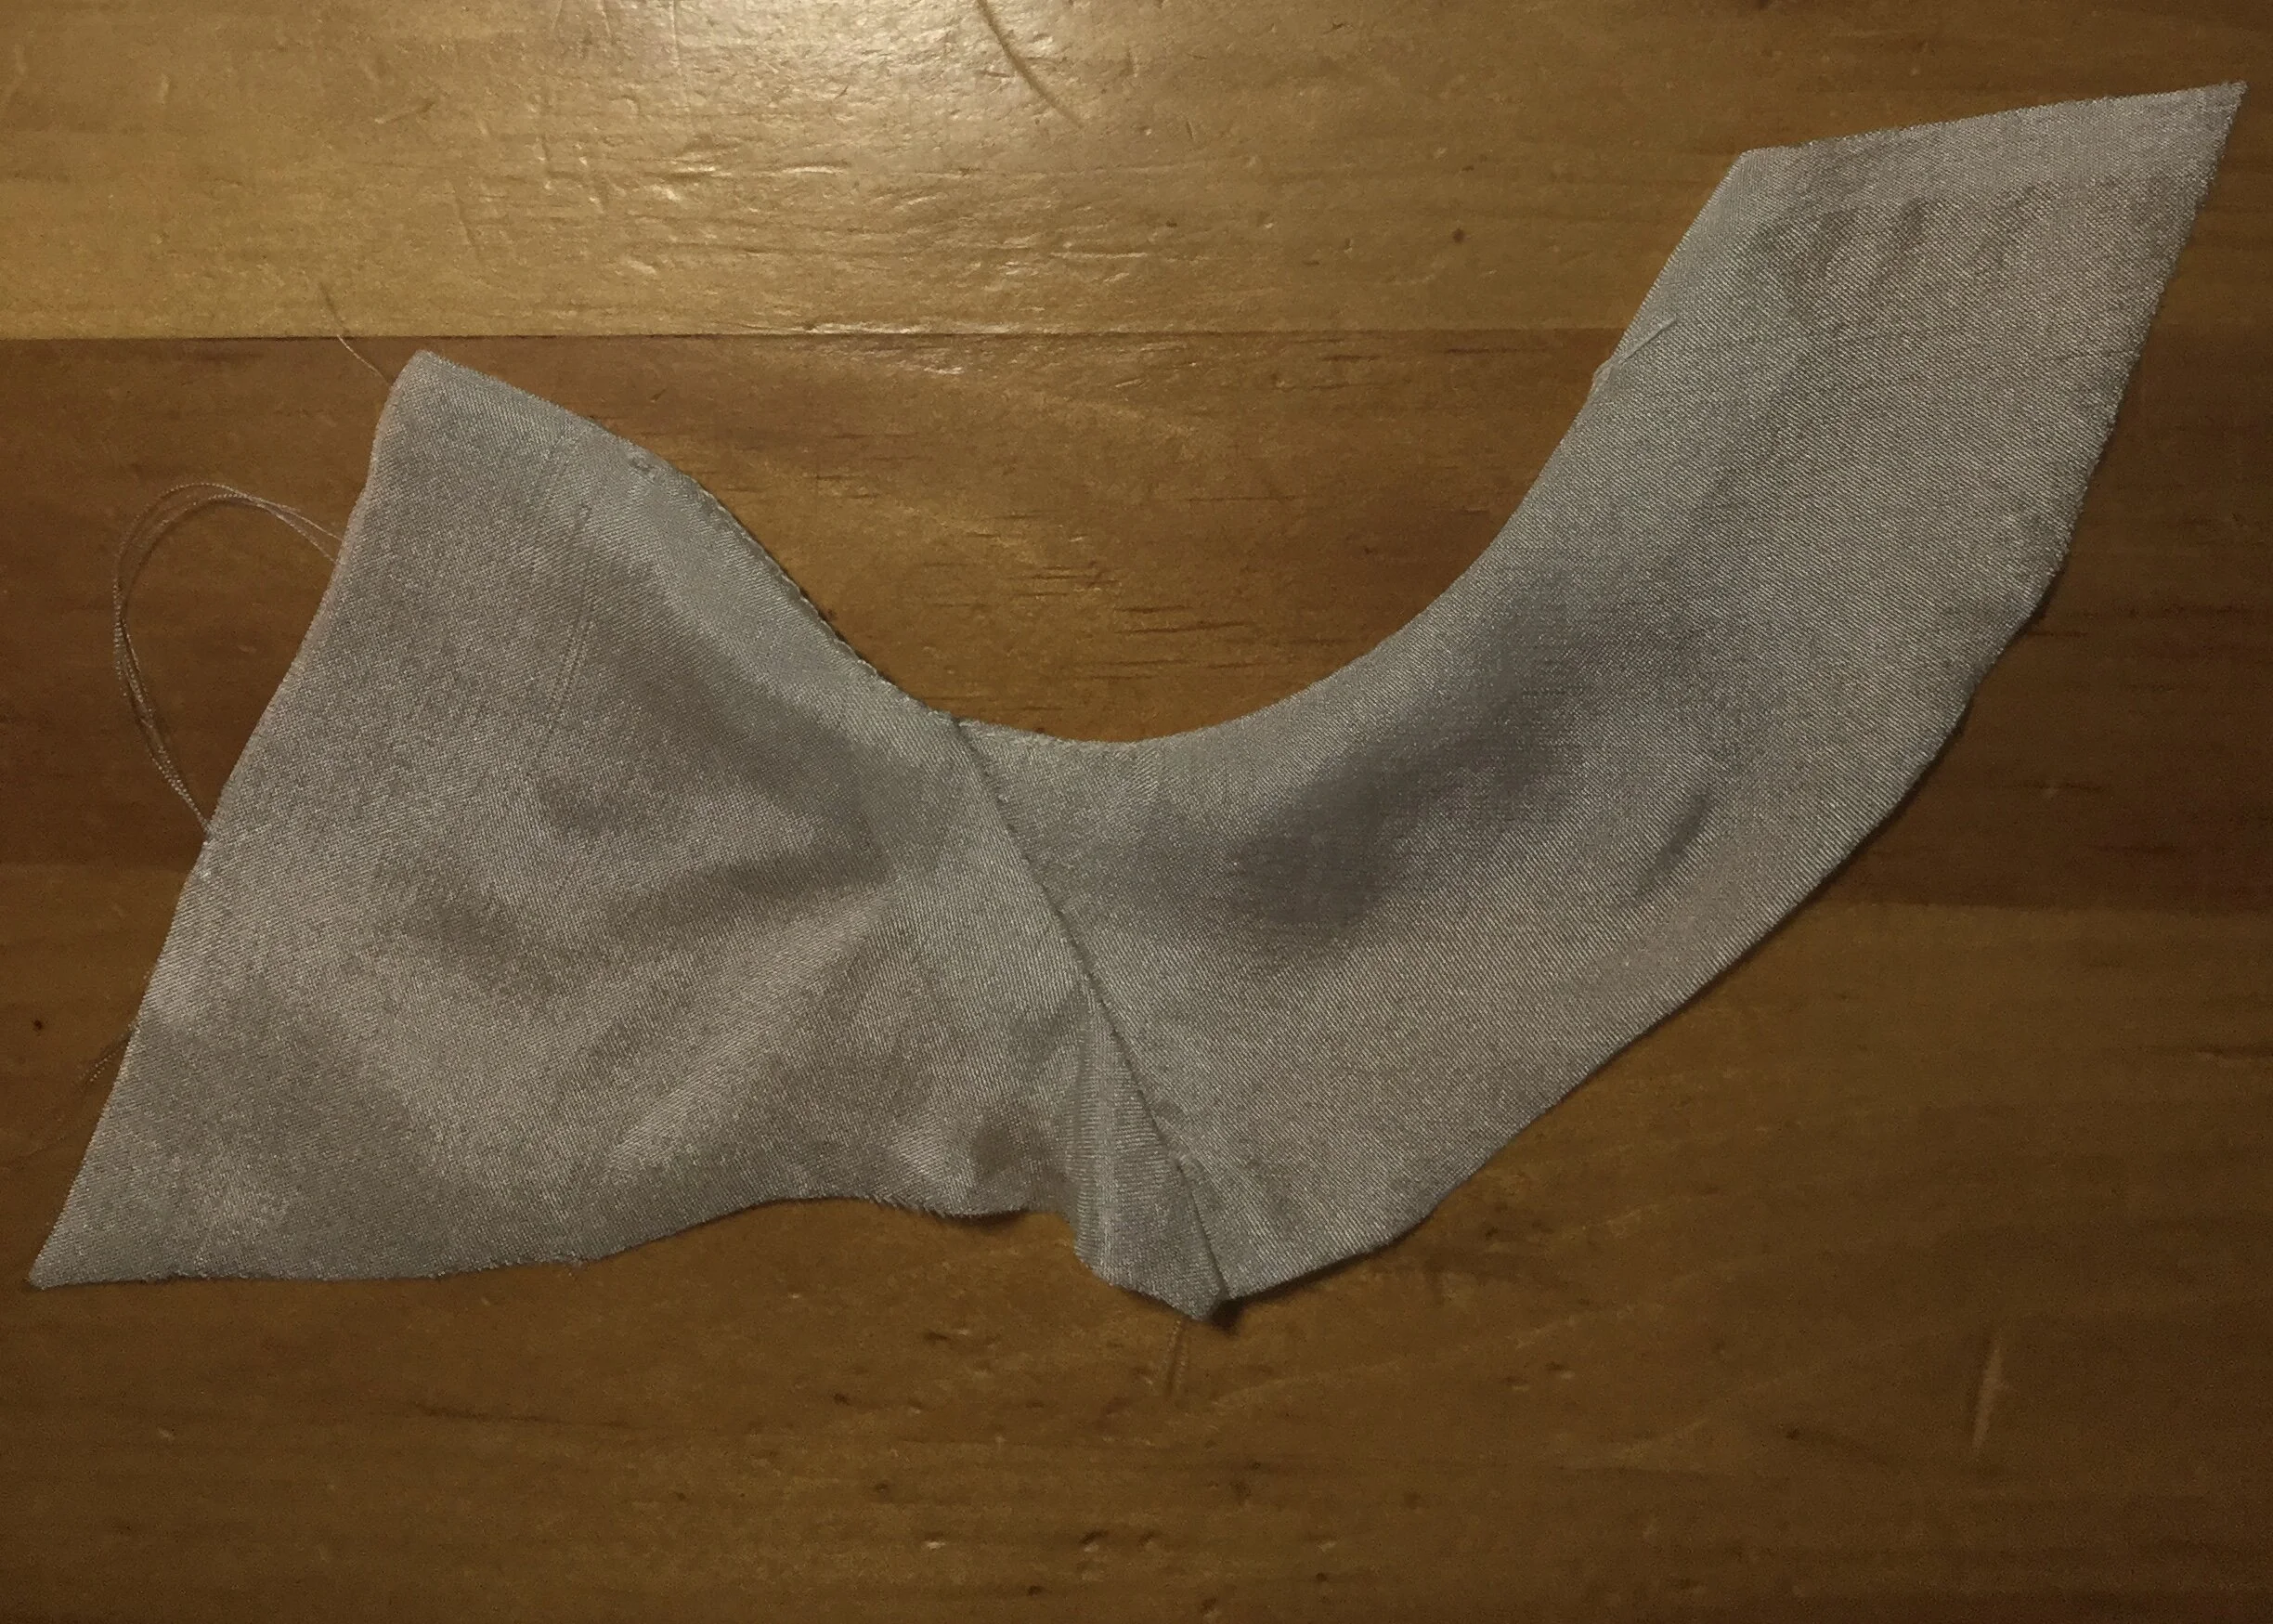
My first solution was to use some habotai silk I had in my stash; I thought it would be light and feel soft on the skin (imagining if this were full size). I cut the facing and stitched it together and then applied it to the neckline. Unfortunately, it didn't work as brilliantly as I'd hoped. The silk was a bit wodgy and tracing such a small and curvy pattern didn't go very well. I had also applied it by machine, having apparently not learnt my lesson from previous projects about the sewing machine and teeny little curves. I managed and it was looking okay until I got to the final straw: finishing the outer edge. The silk would have to be turned under or bound in some way as it would fray. I tried folding it under and pick stitching it down, but even with carefully keeping my stitches a bit loose, there was still the dreaded visible line; so dreaded that I didn't stop to take a photo of it before abandoning this folly and coming up with a new plan. It was at this time that I took a little break to do the hem and, upon doing a sample of facing the hem to see how bulky it would be, I realized that just using the velvet might be the best option.
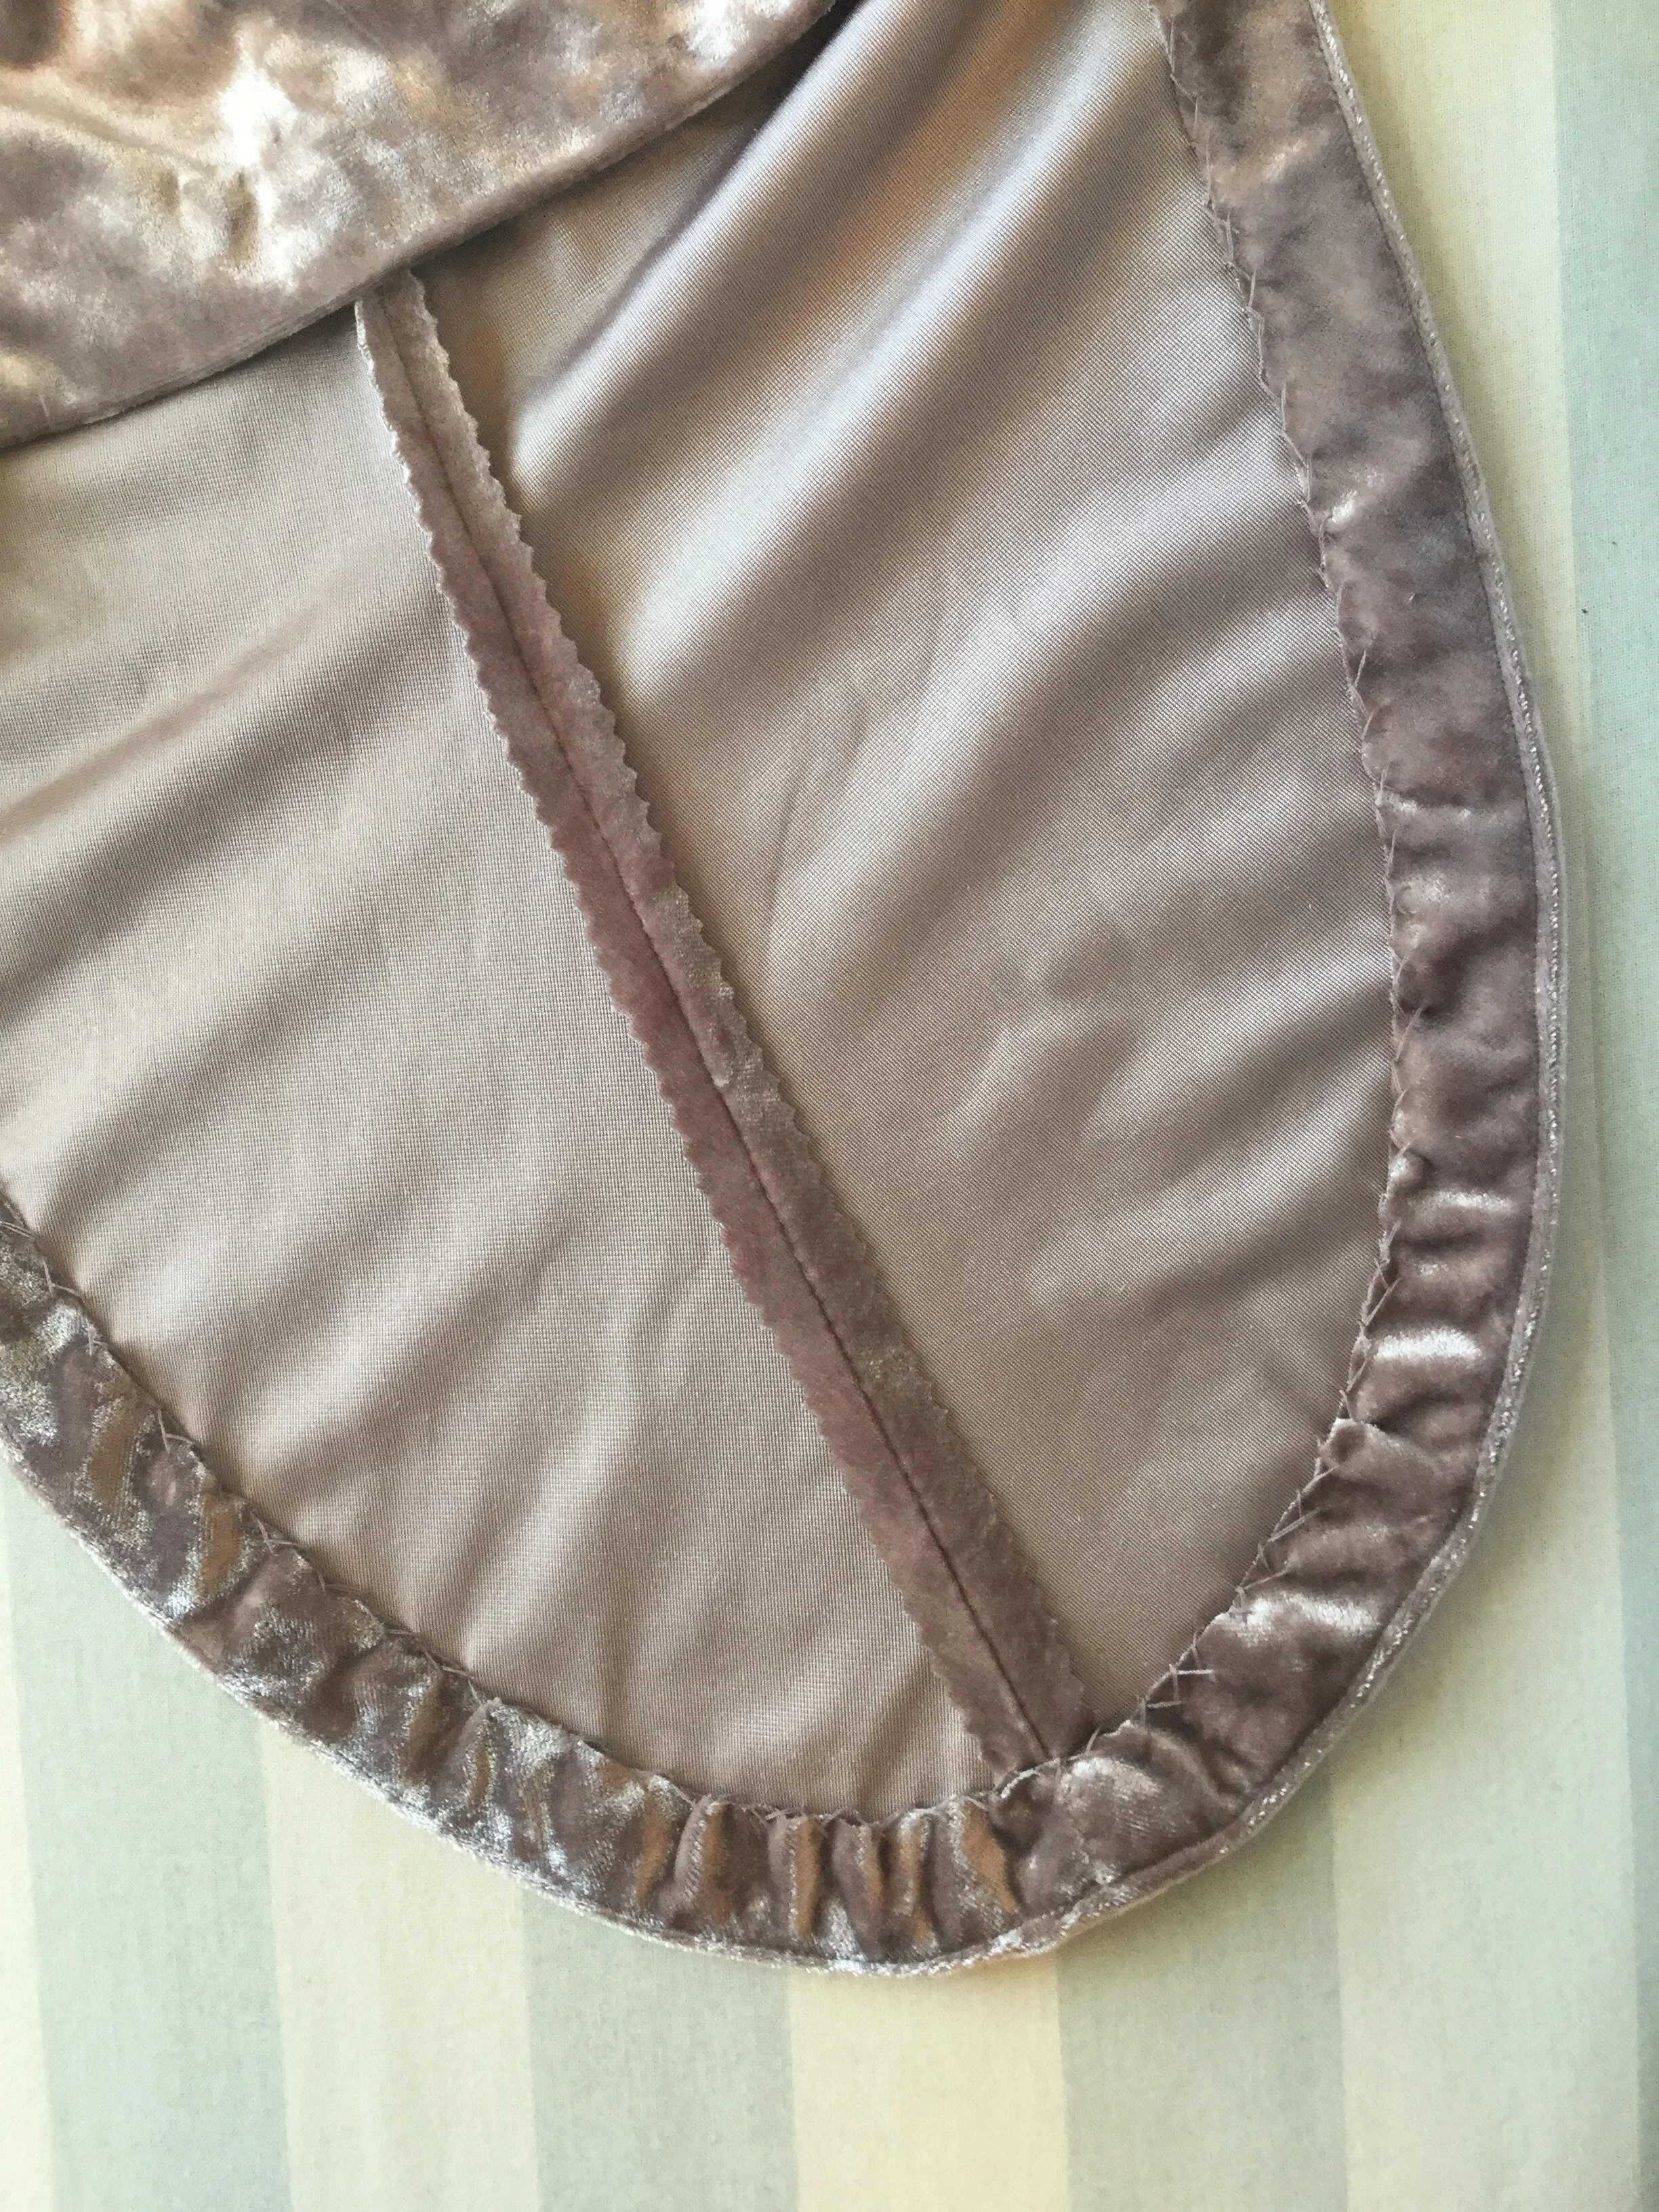
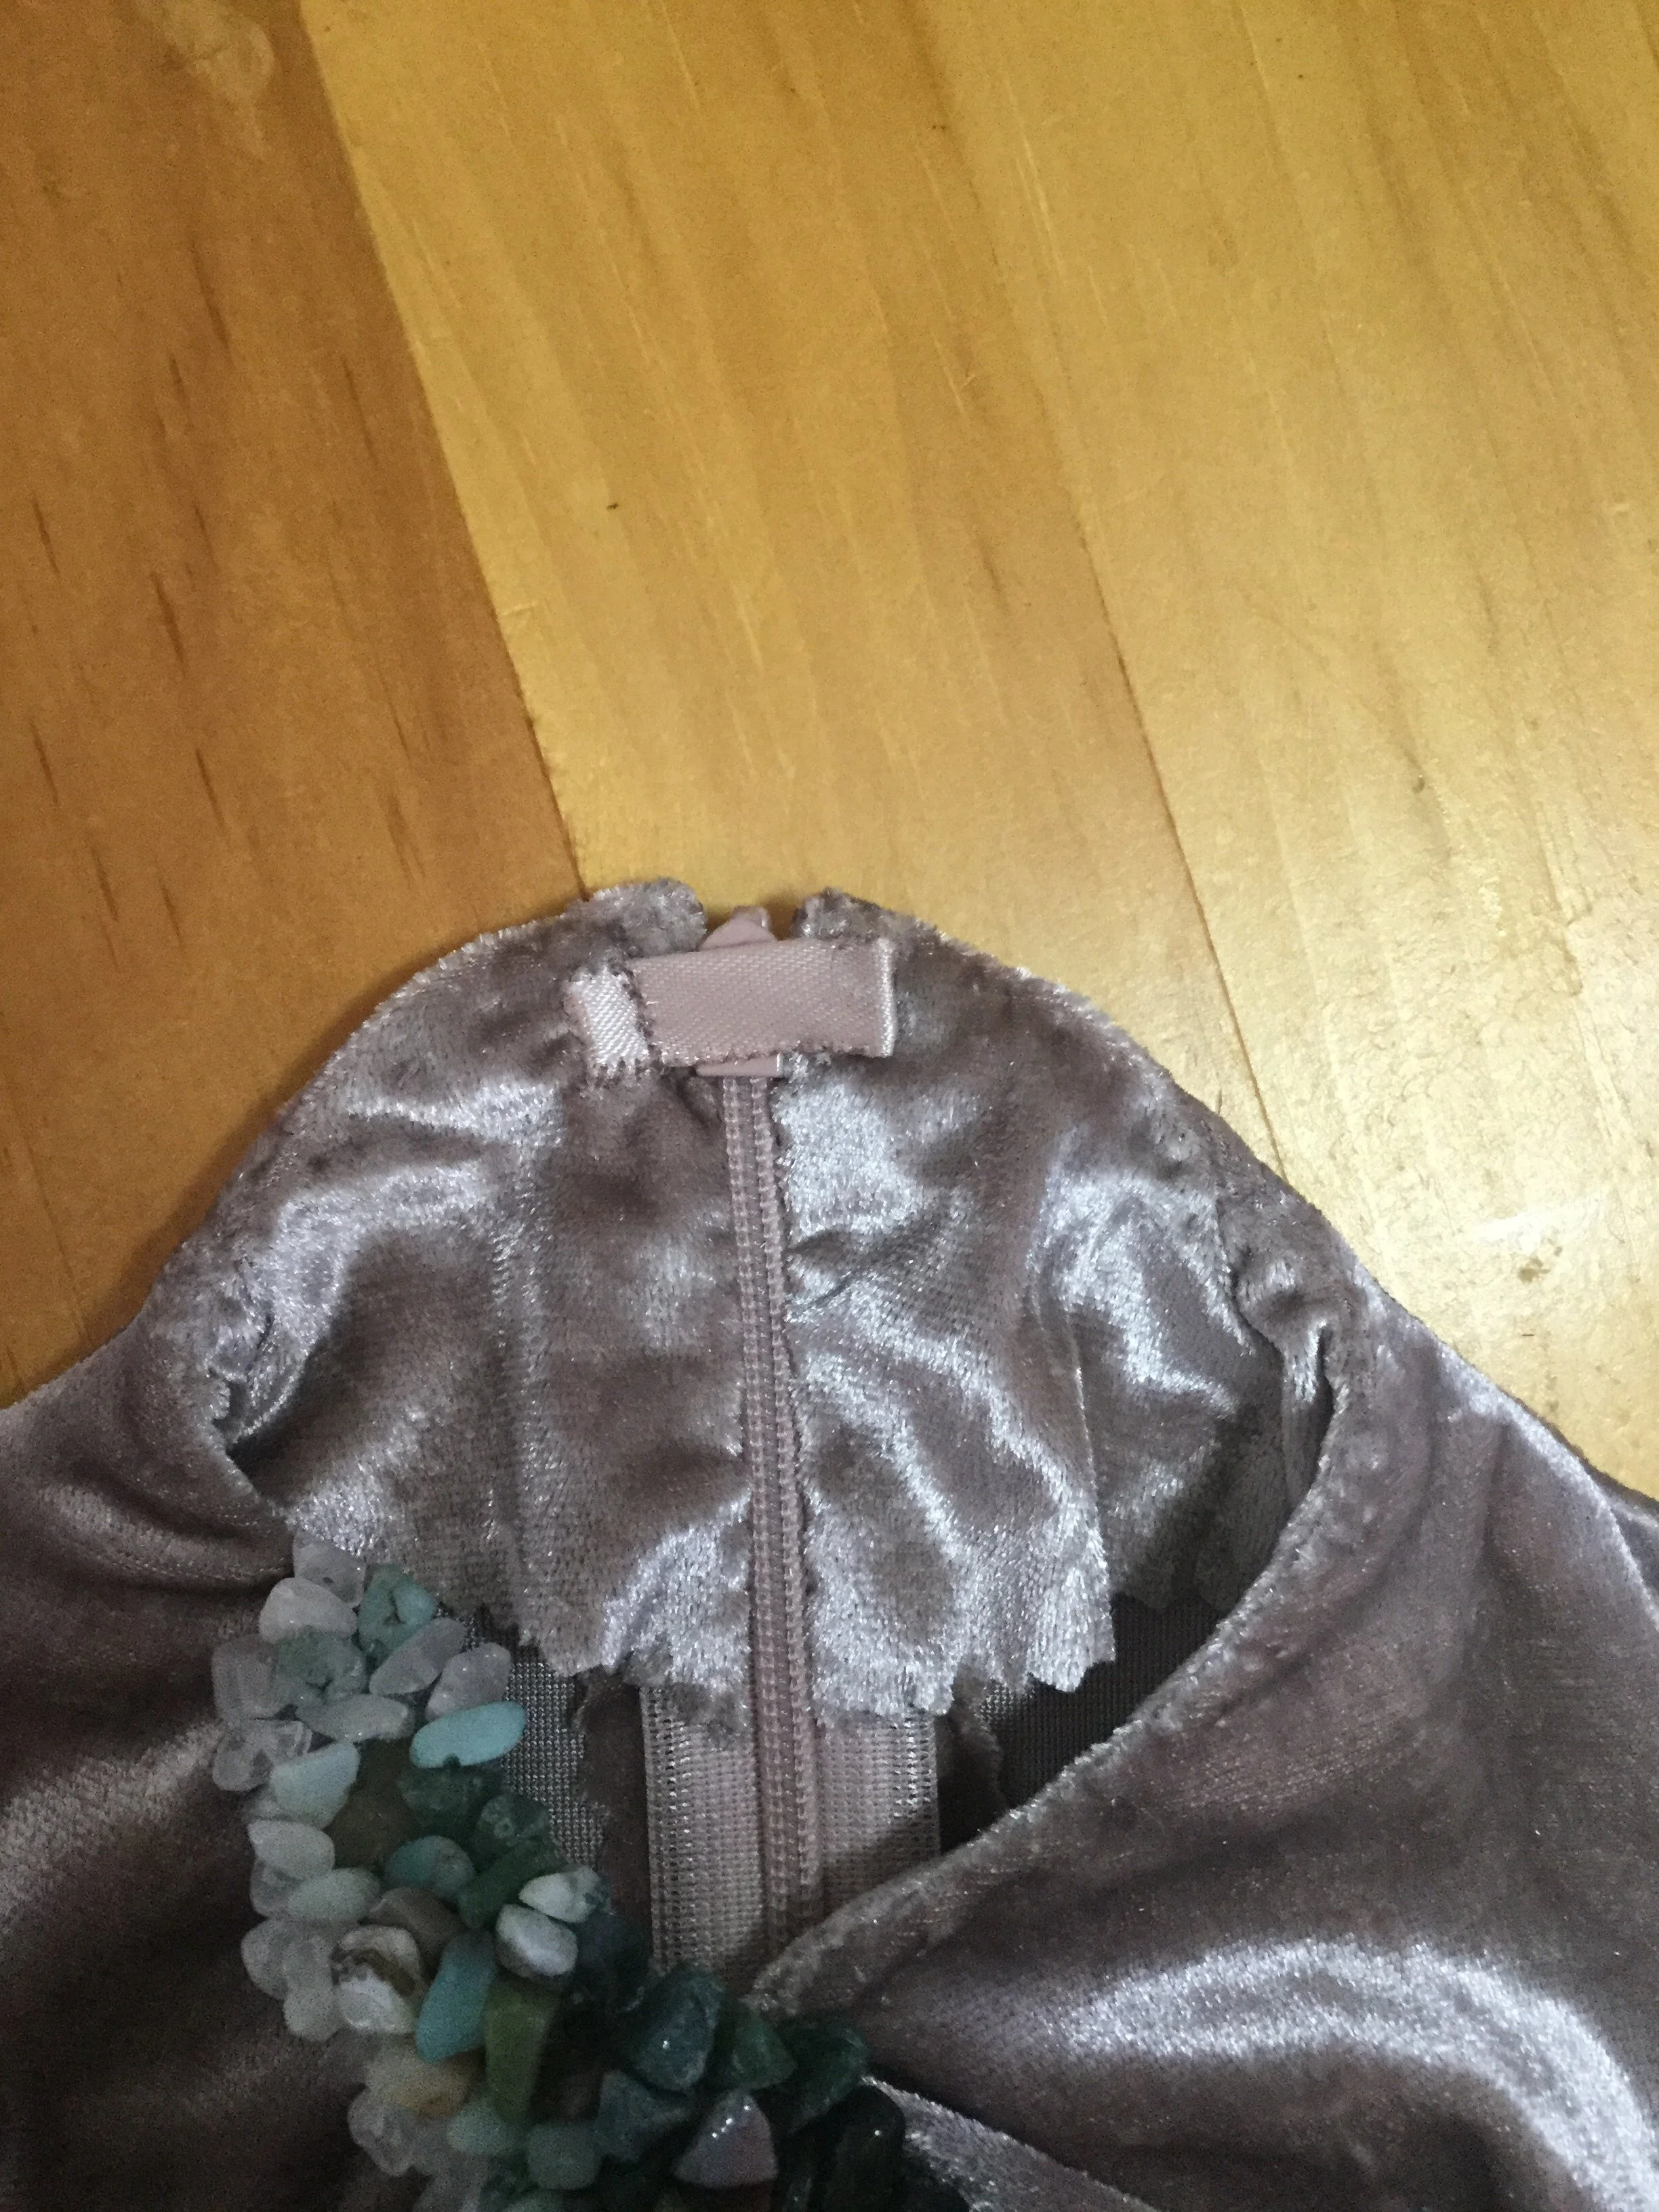
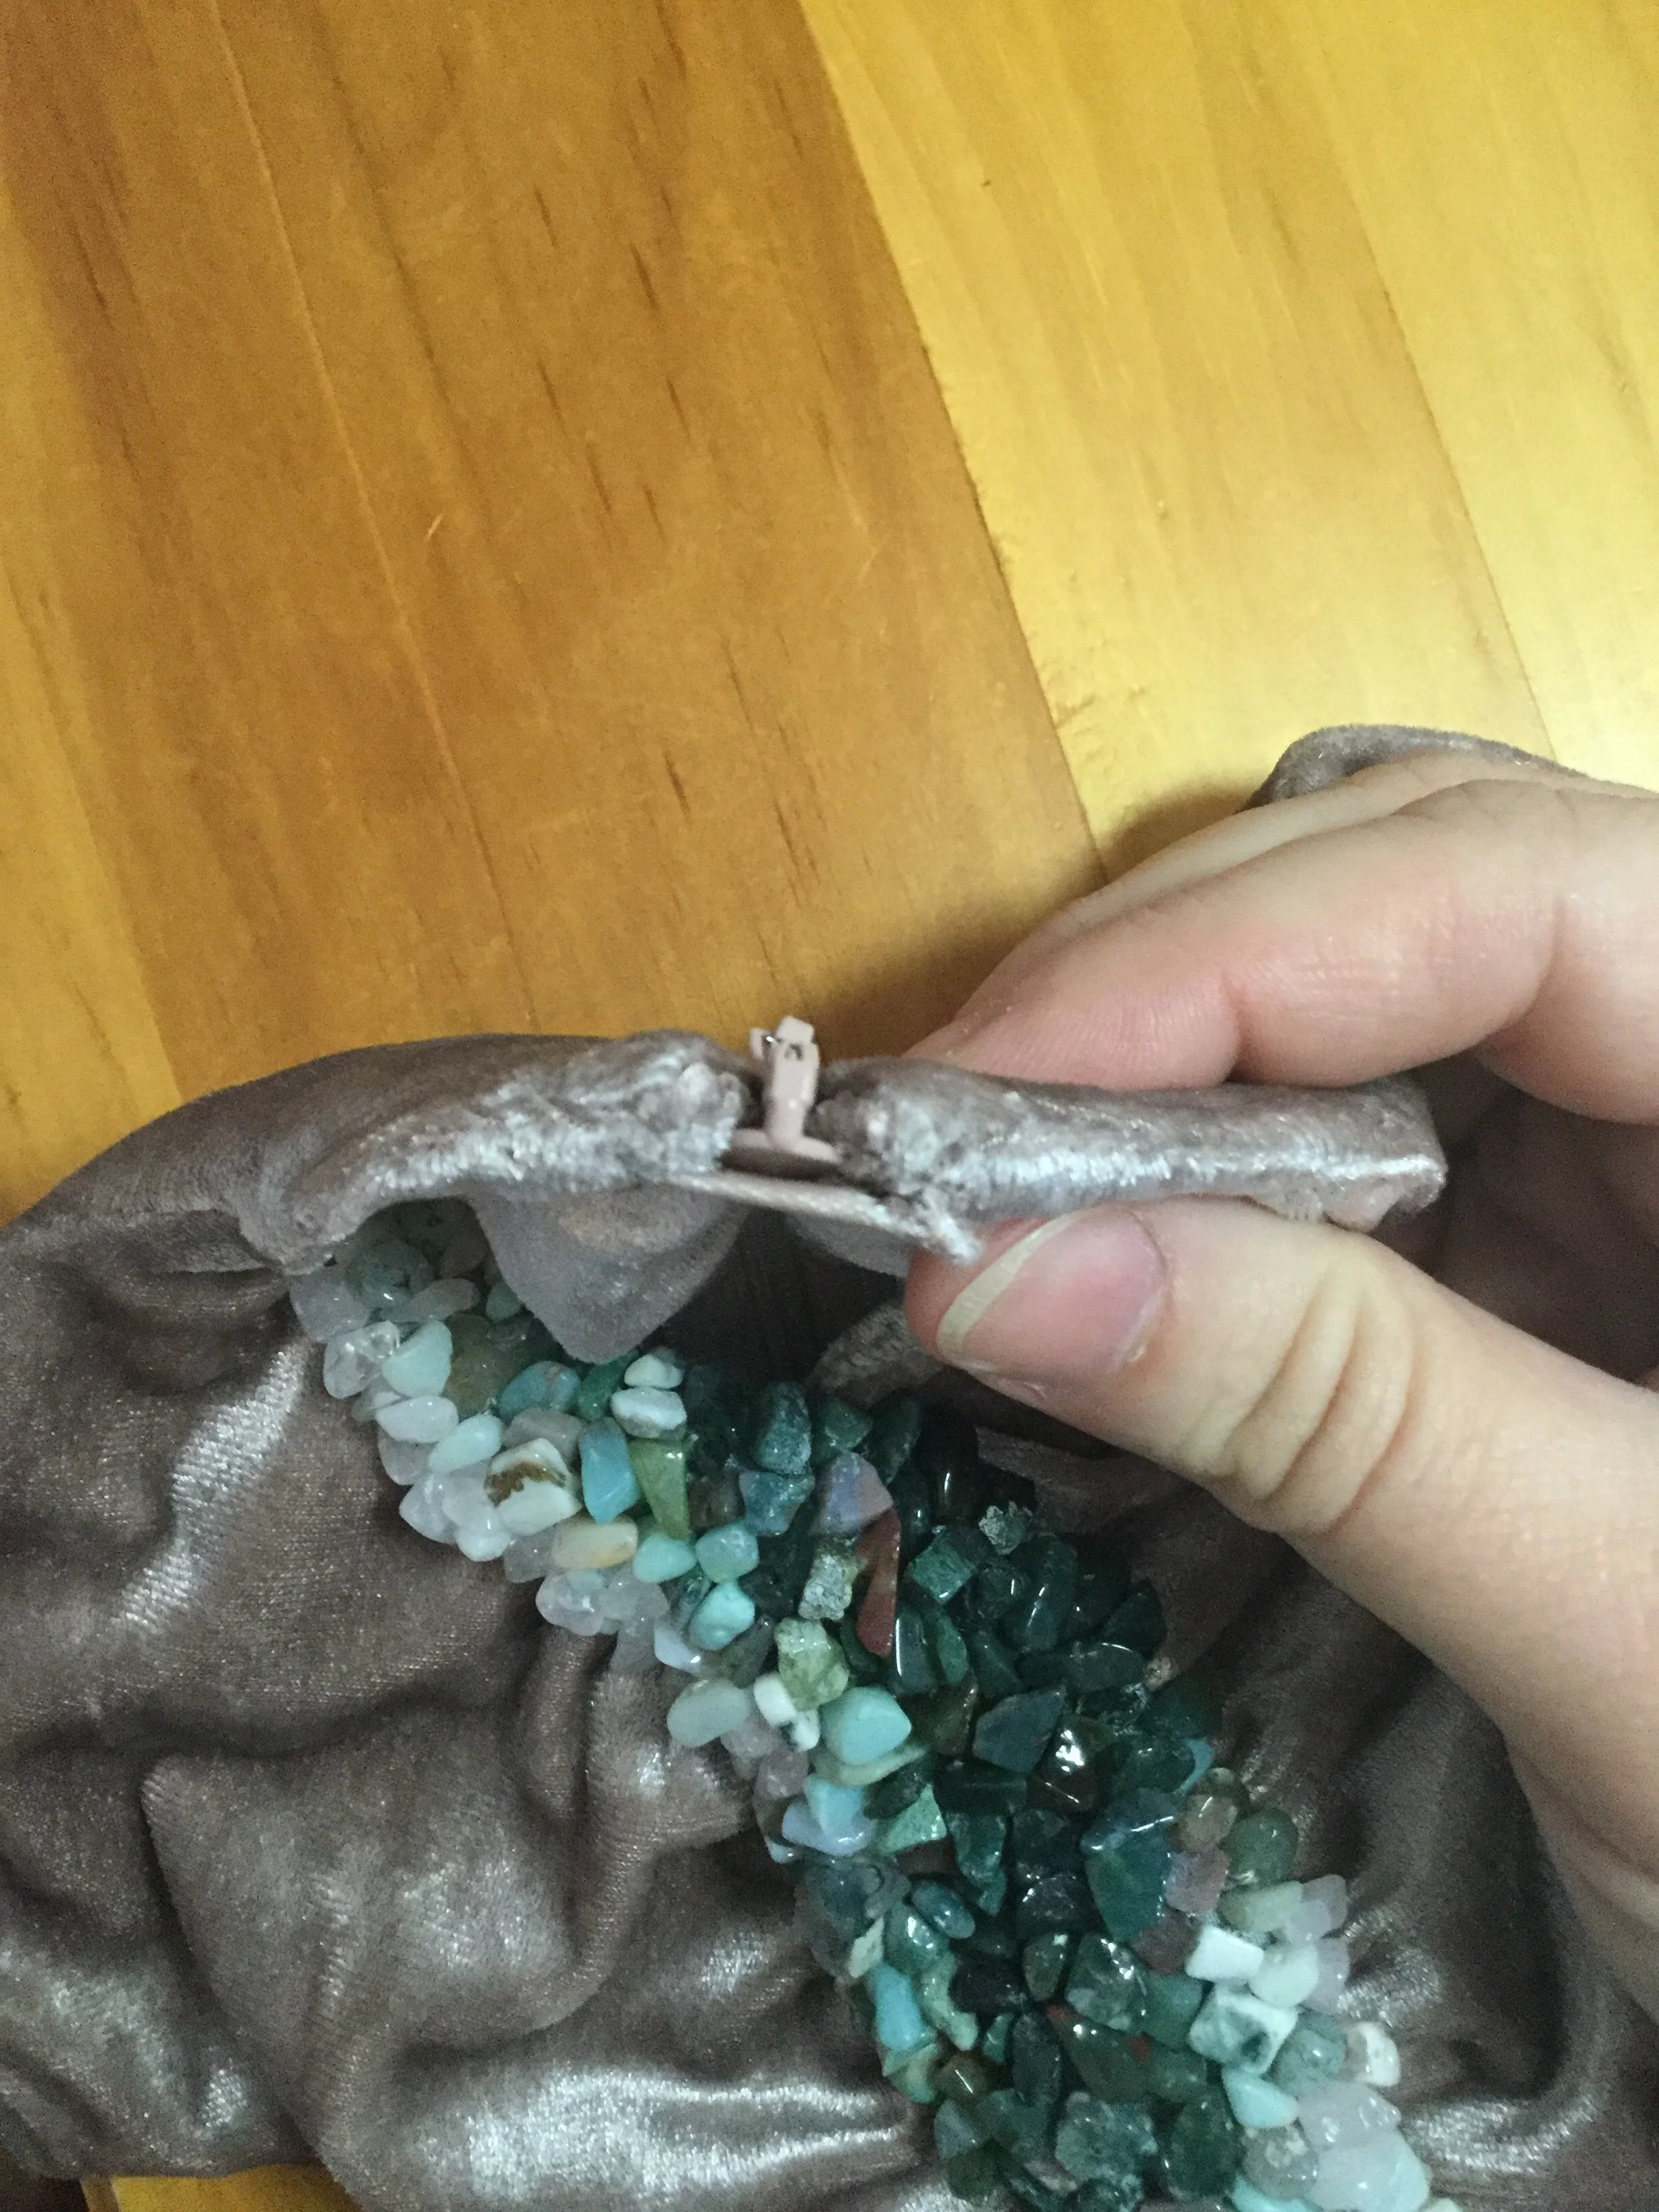
This time, I decided to forego the machine altogether and sew the entire facing by hand. This all went much better. The velvet was not as bulky and awkward as I had feared and the only spot where I faced a bit of trouble was right at the top of the zipper where the pull would sit when the zipper was closed. I countered this with a ribbon tab and a snap, made short enough to pull the collar back toward and around the neck. Using the velvet for the collar facing also provided the advantage of not really needing a proper finish along the outer edge; I pinked it like I had the seams of the dress. If I were to make this dress in full size, I would probably add a line of stitching next to the pinking for added security, but for my purposes here I wasn't going to worry too much.
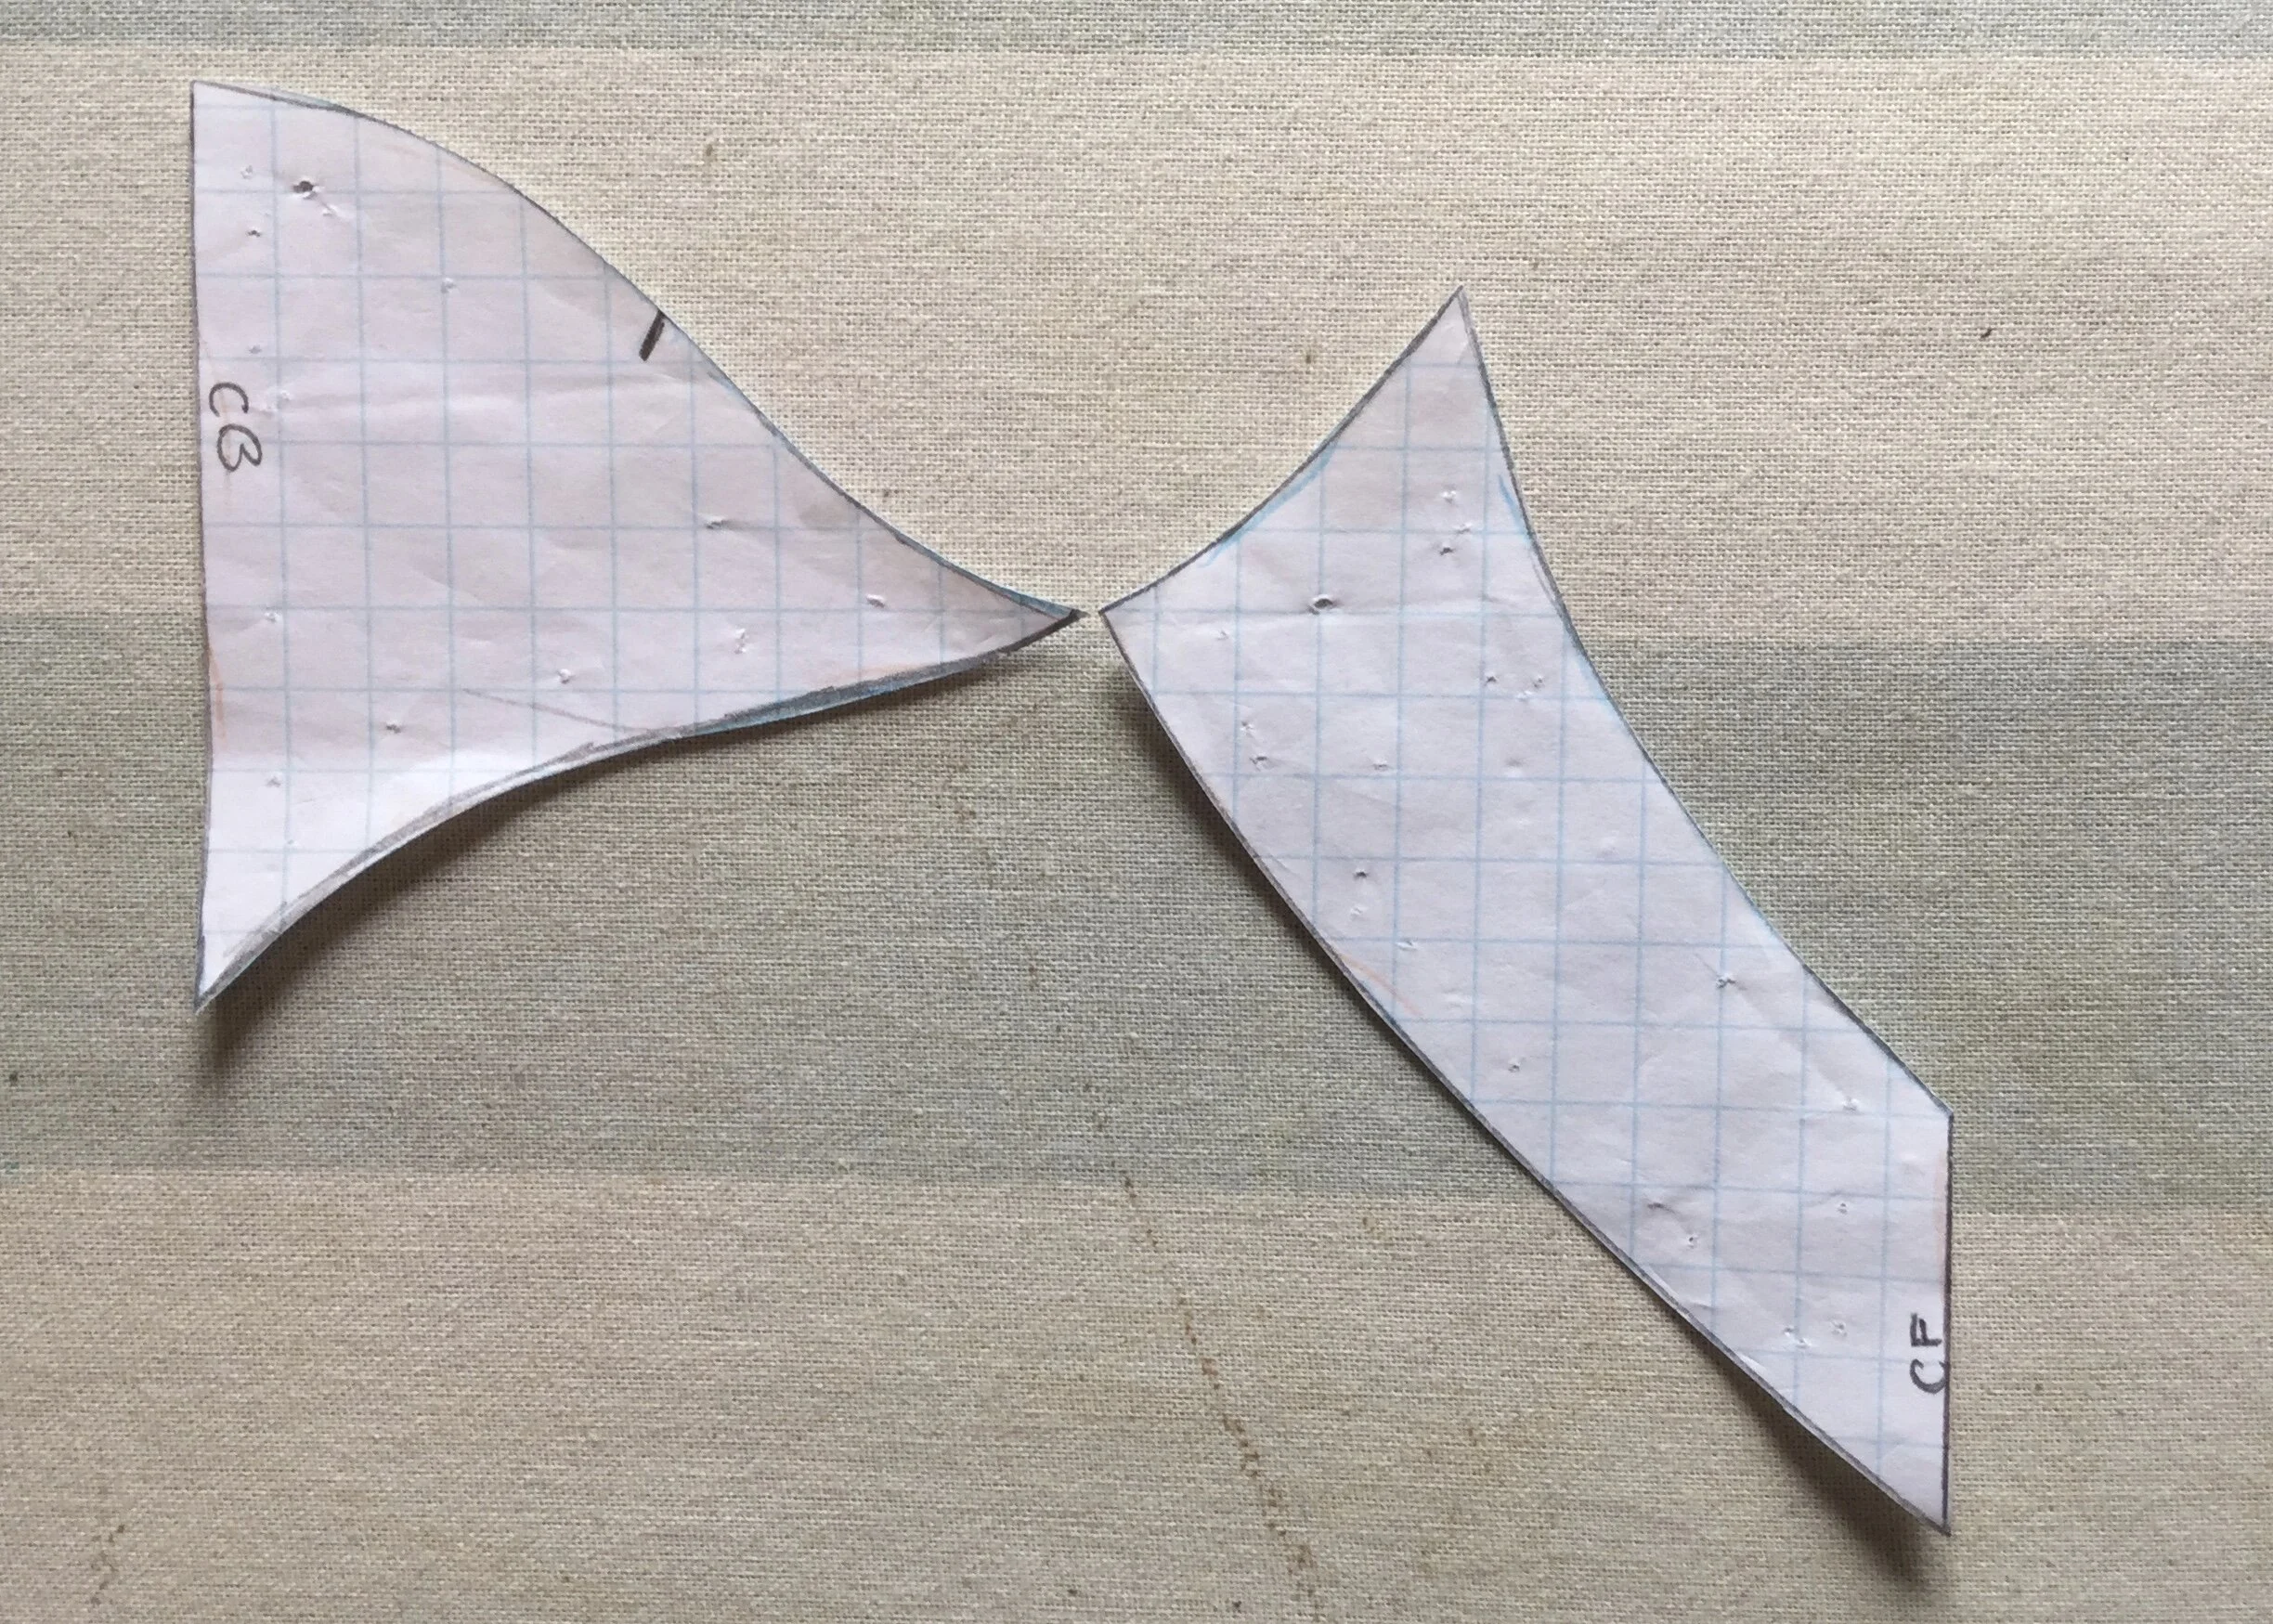
Finally, the dress was ready for the beaded pieces. To finish the beading I trimmed the coutil to the shape of the pattern and folded the lining around the edge and cross stitched it down. For the back piece I also cut a small piece of fosshape to add some stiffness and support given that the back piece would kind of be hanging off the back of the dress.
The beaded pieces are stitched on by hand with no real rhyme or reason other than to keep the stitches as invisible as possible and not pull gathers out of place. It felt a bit strange to stitch something as heavy as the beading to something that doesn't seem to have much structure, but between the insert on the front and twill at the back, the pieces seemed to be supported well enough.
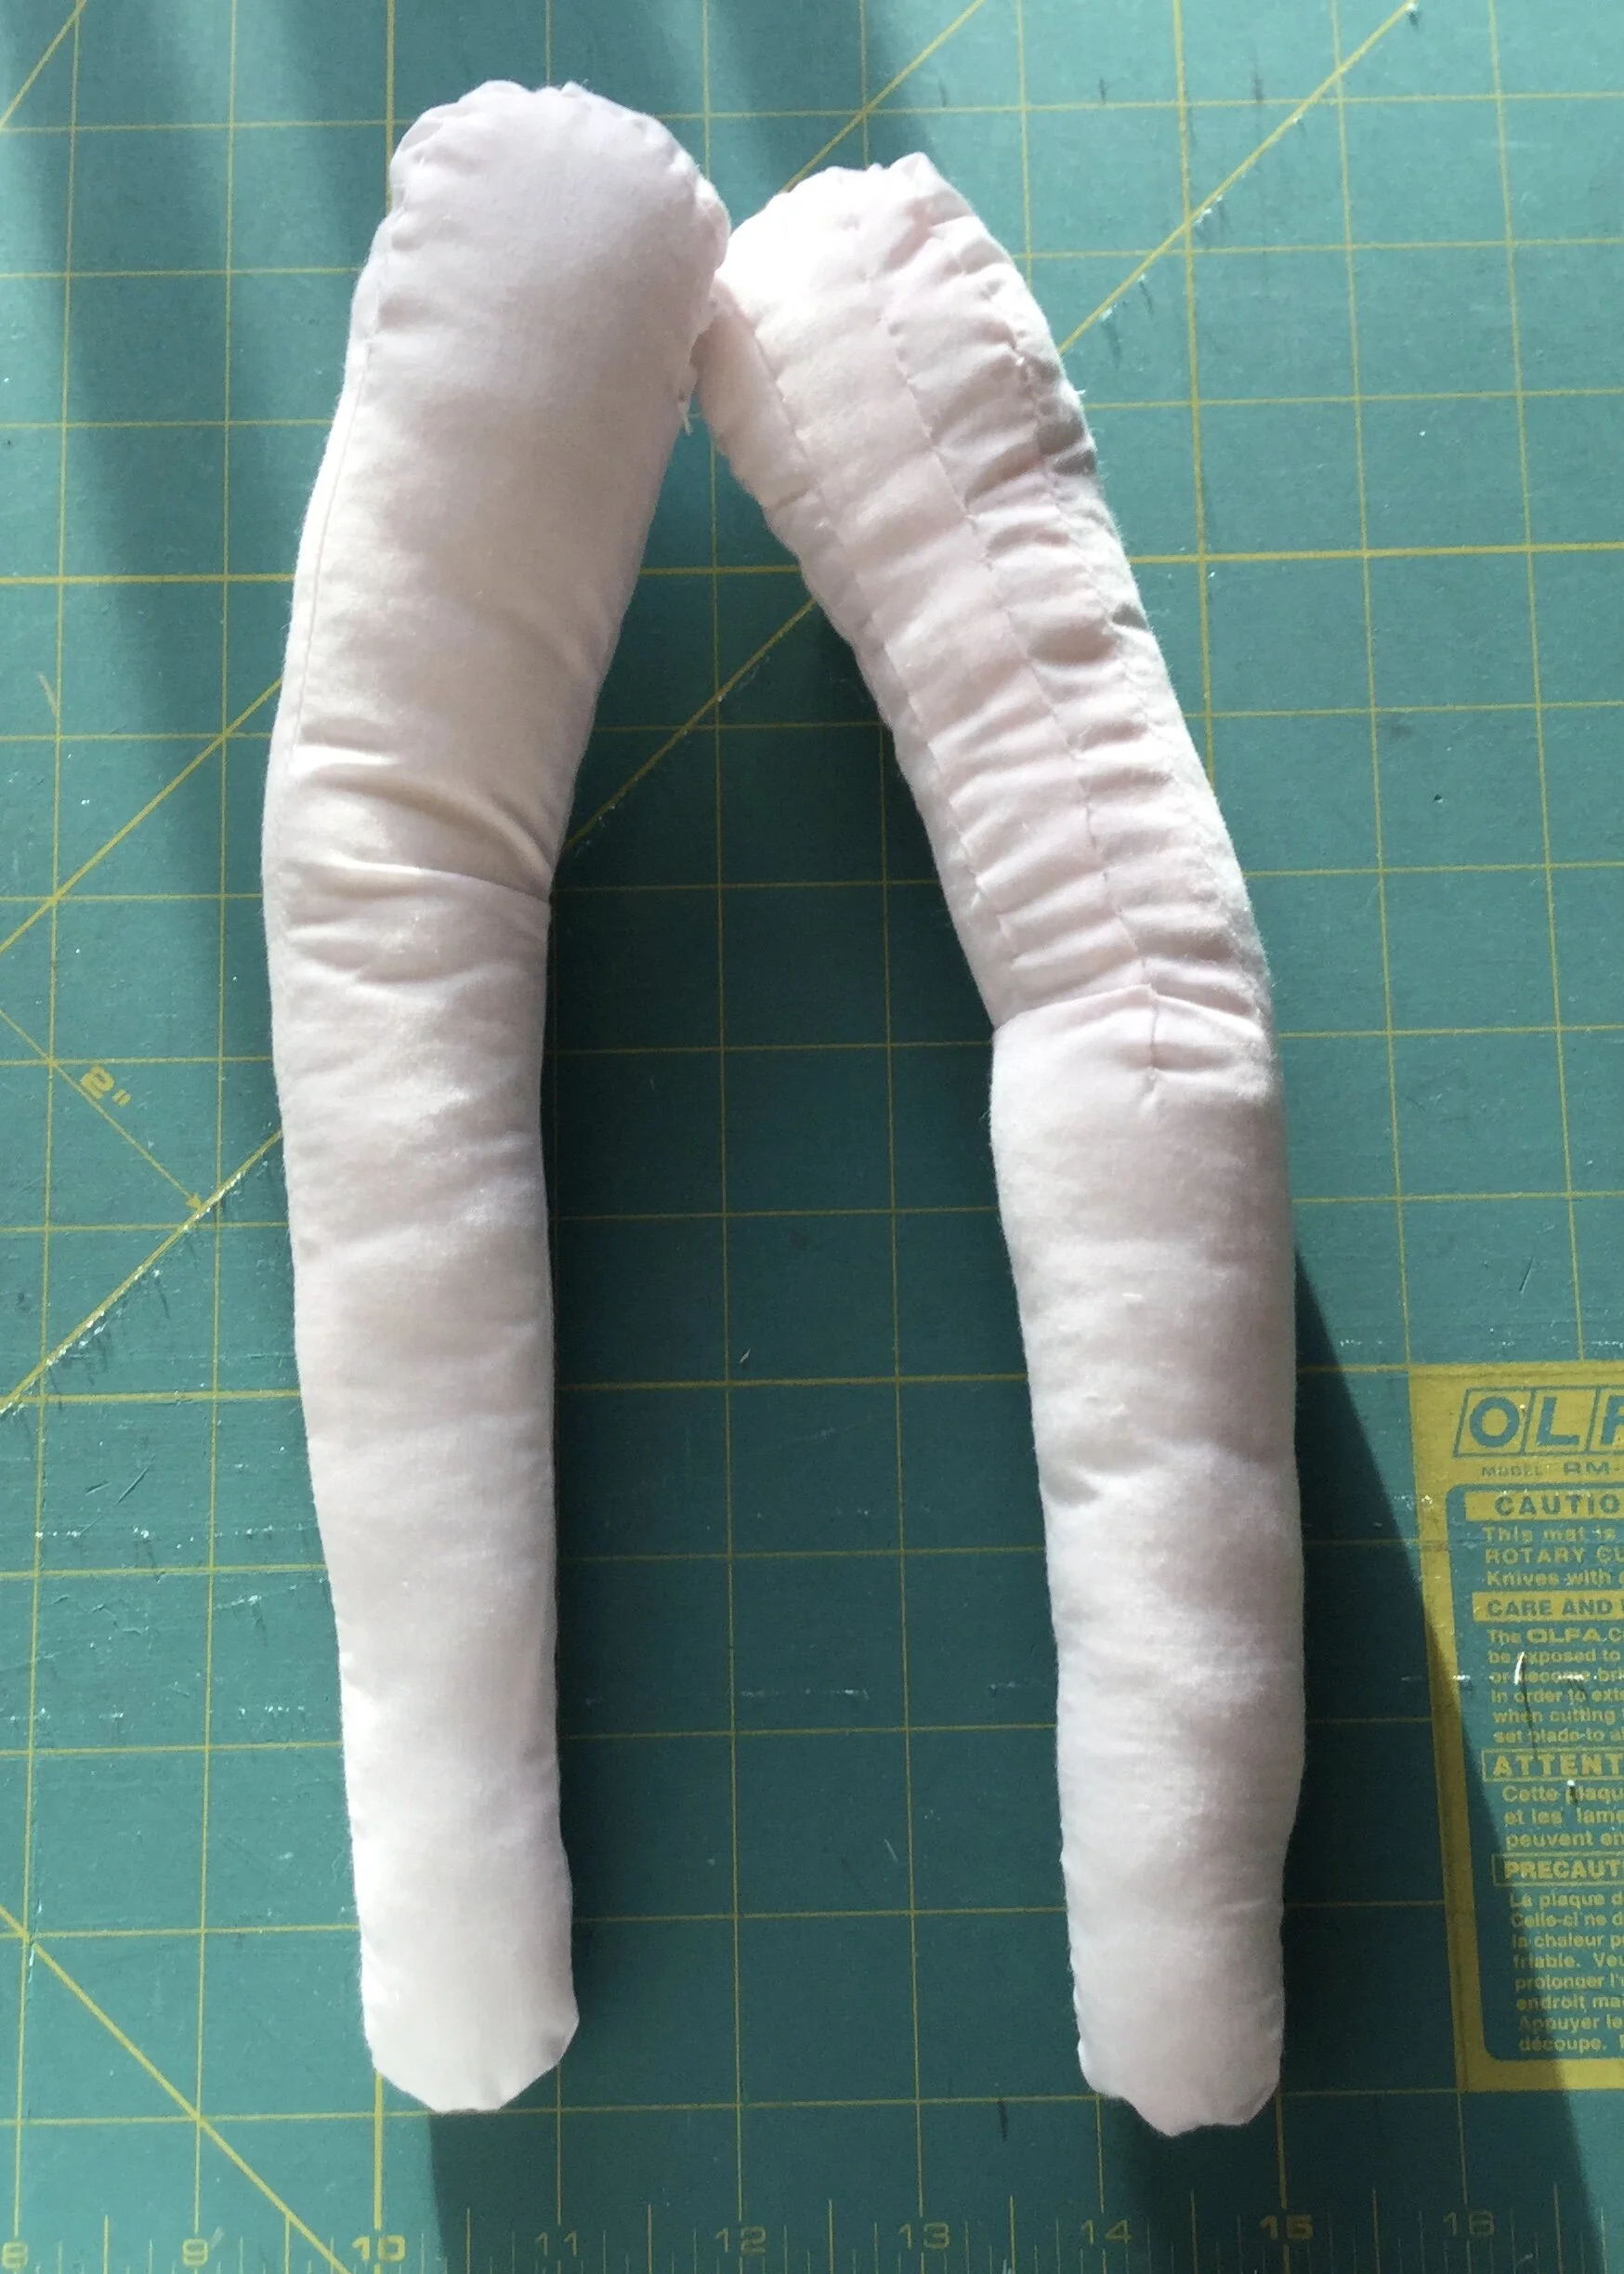
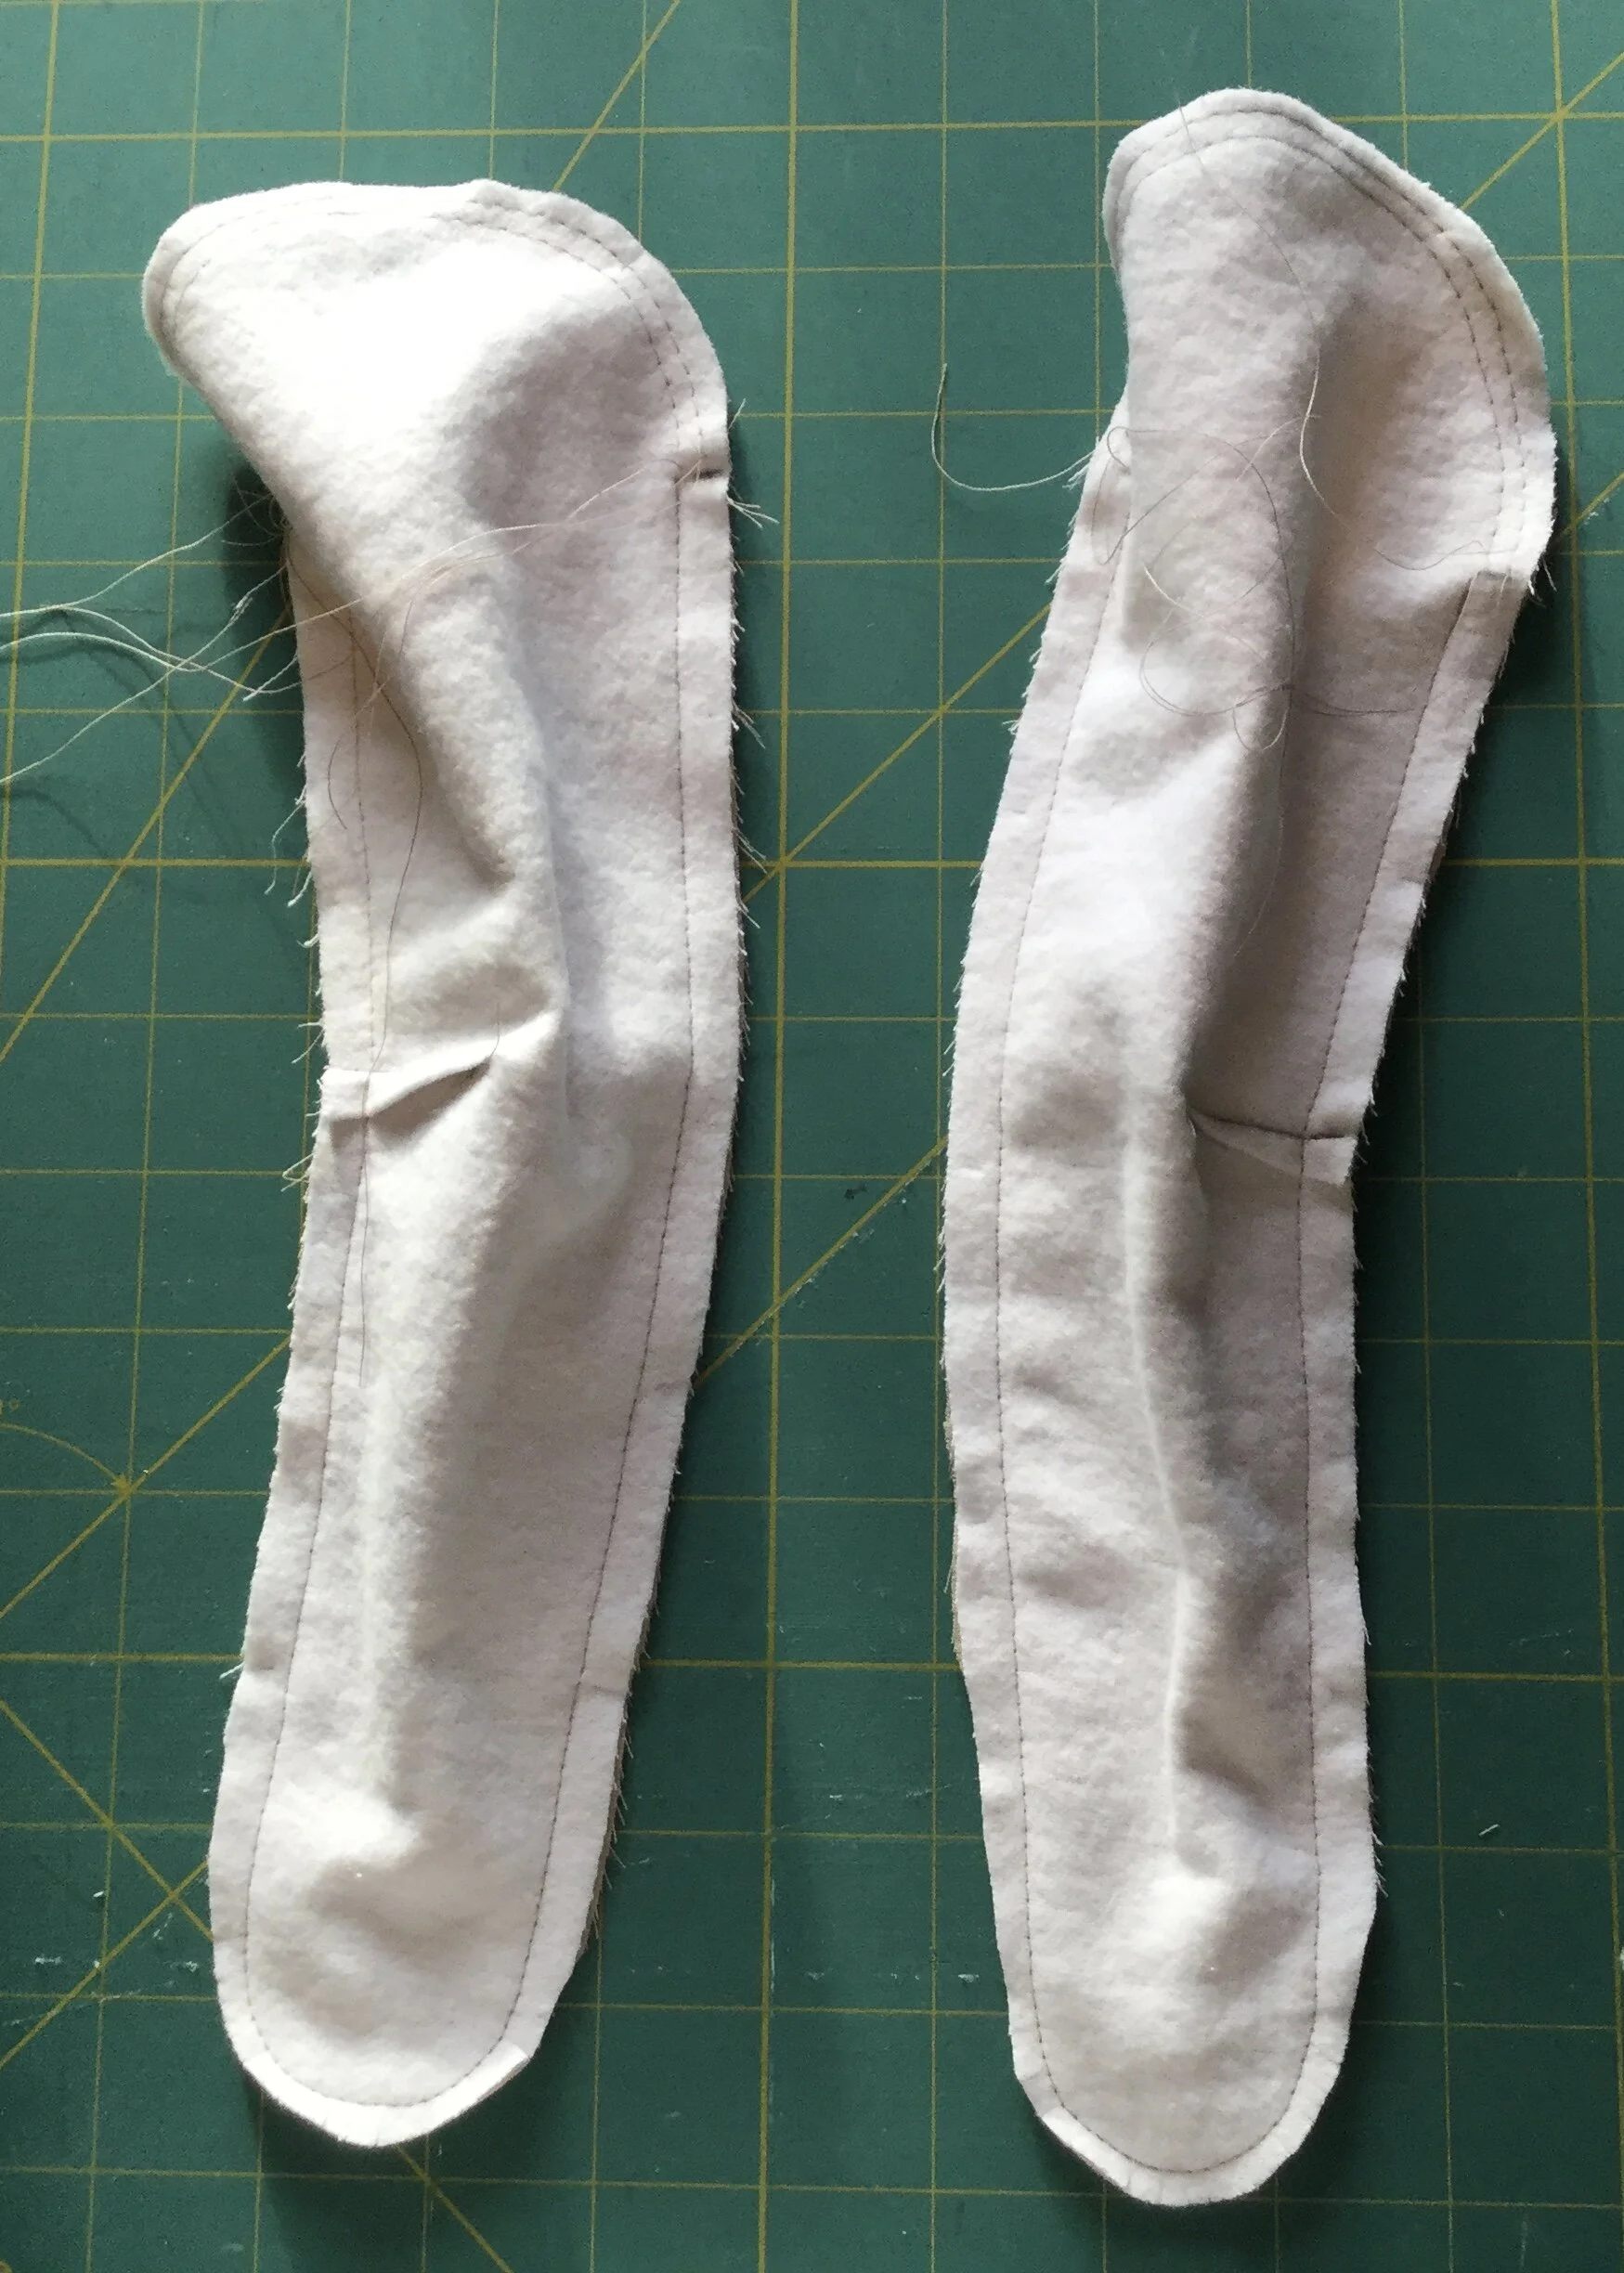
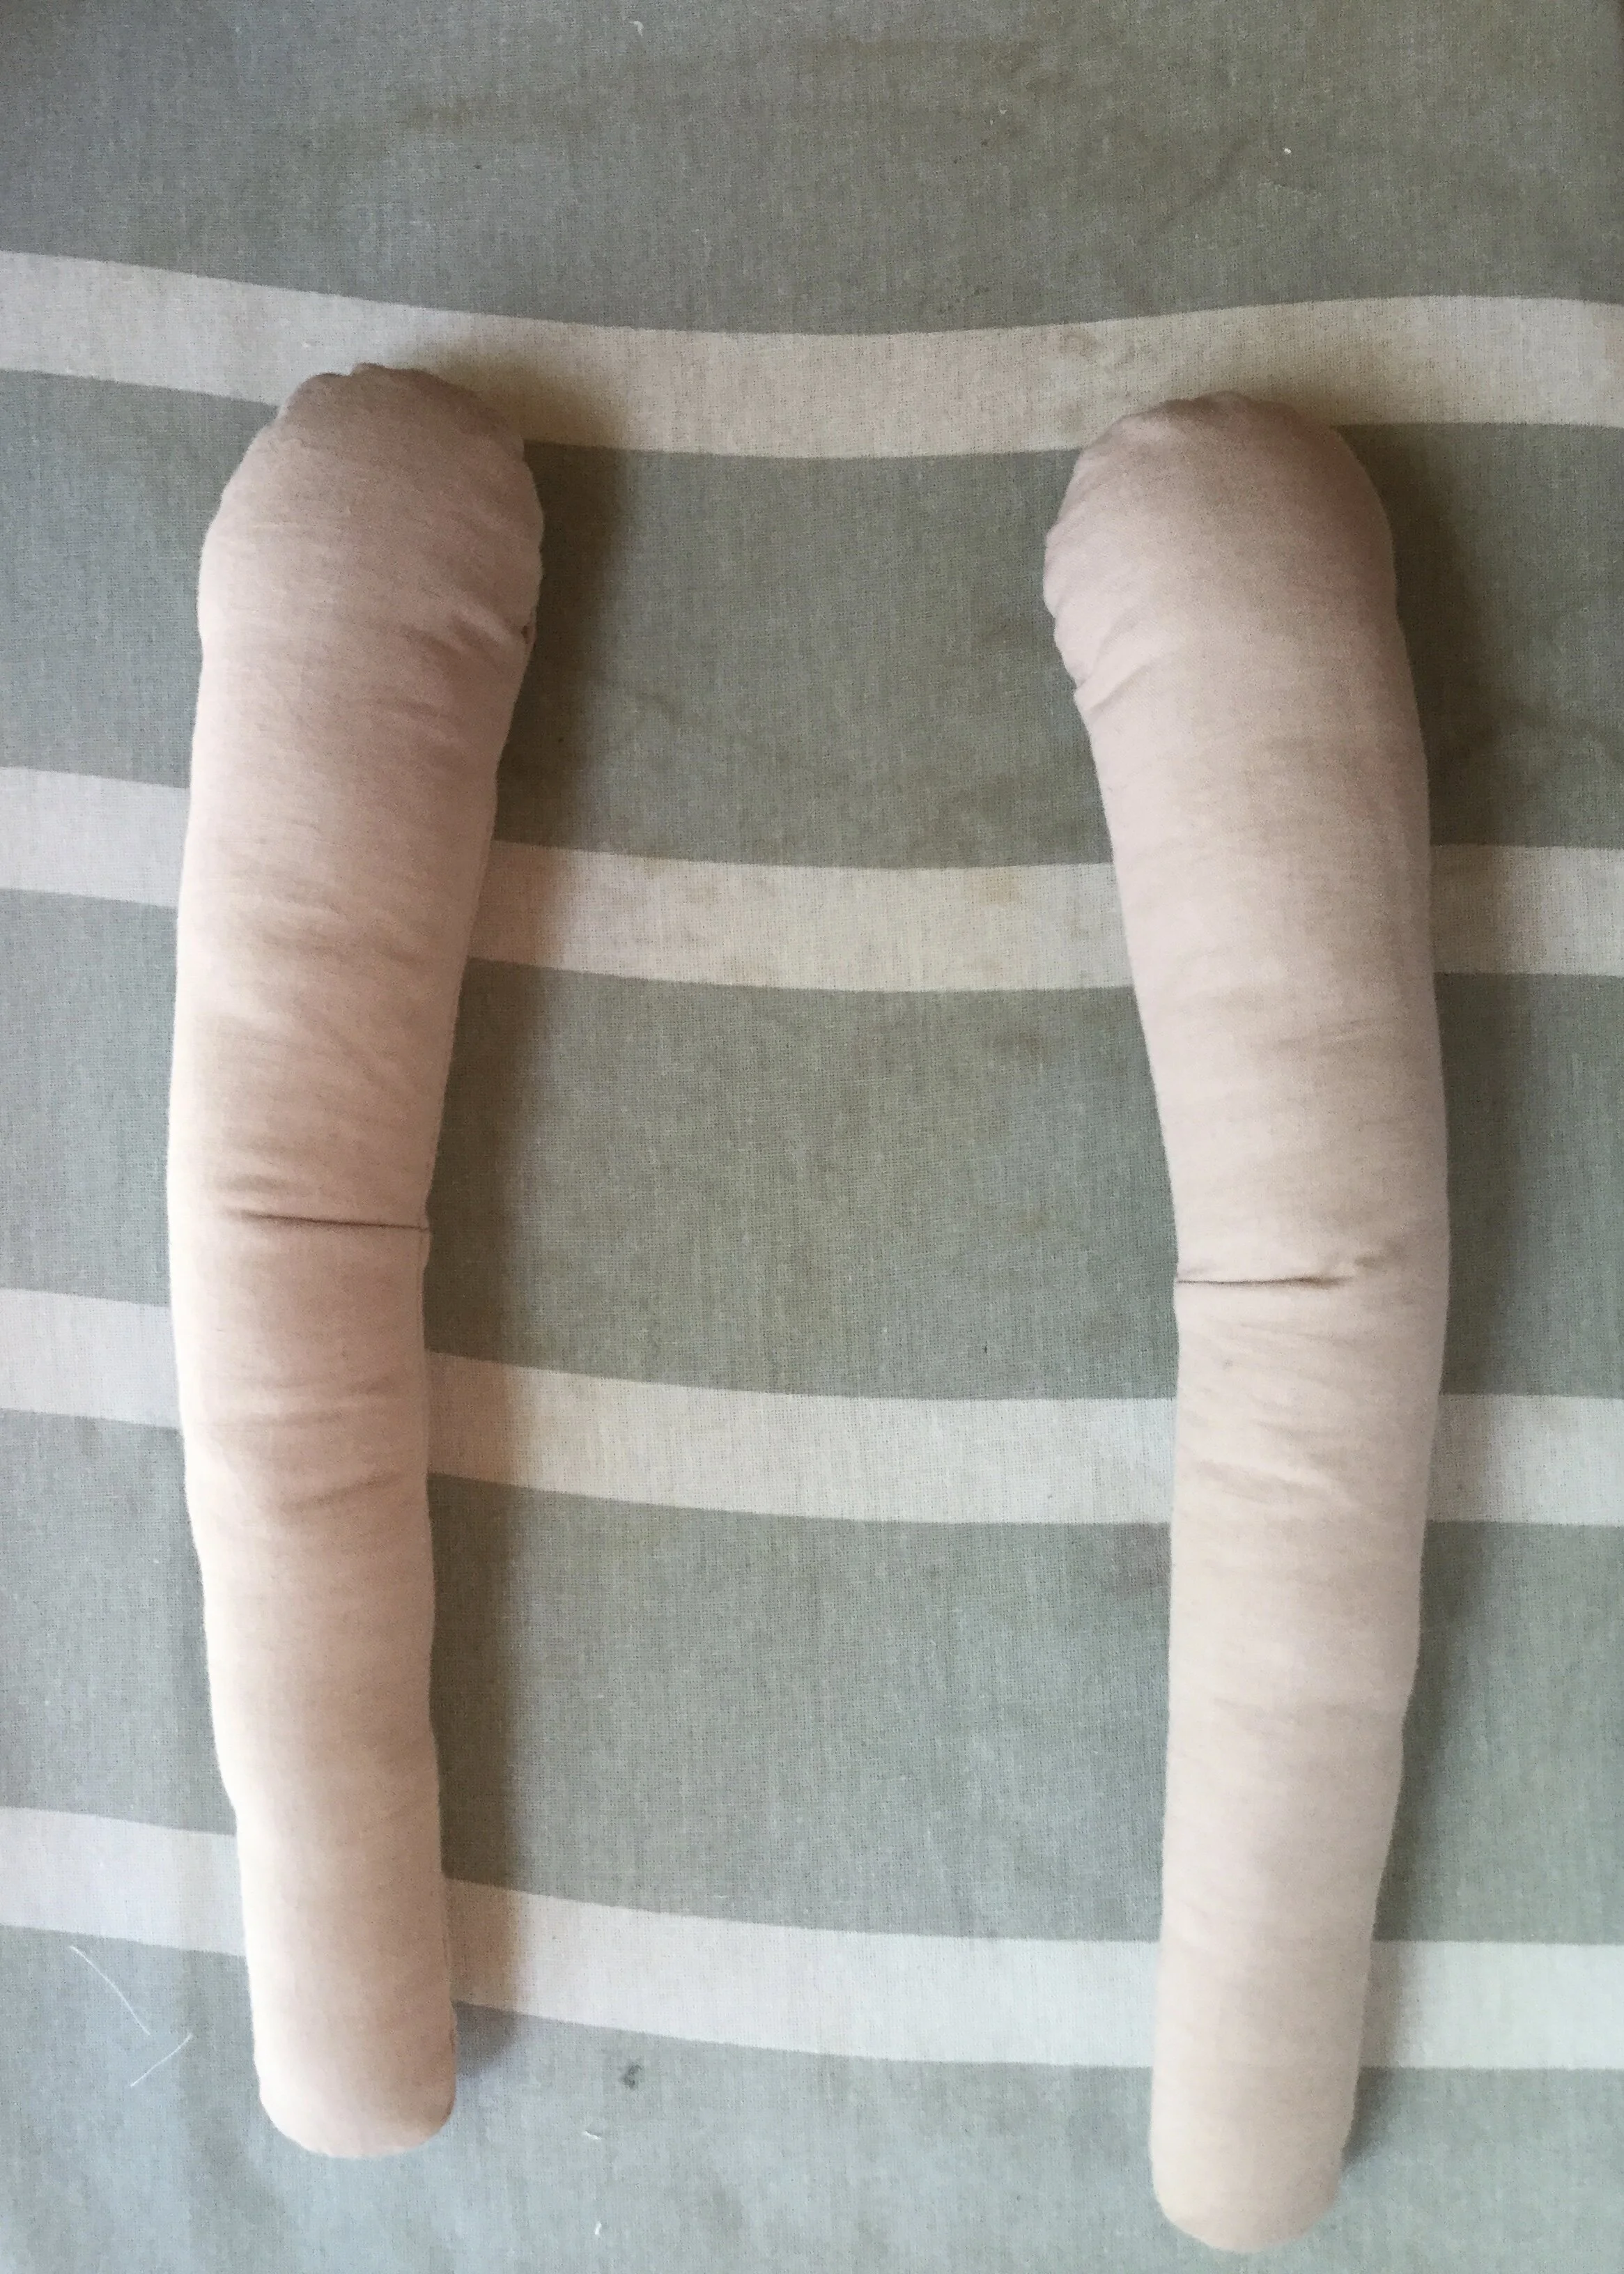
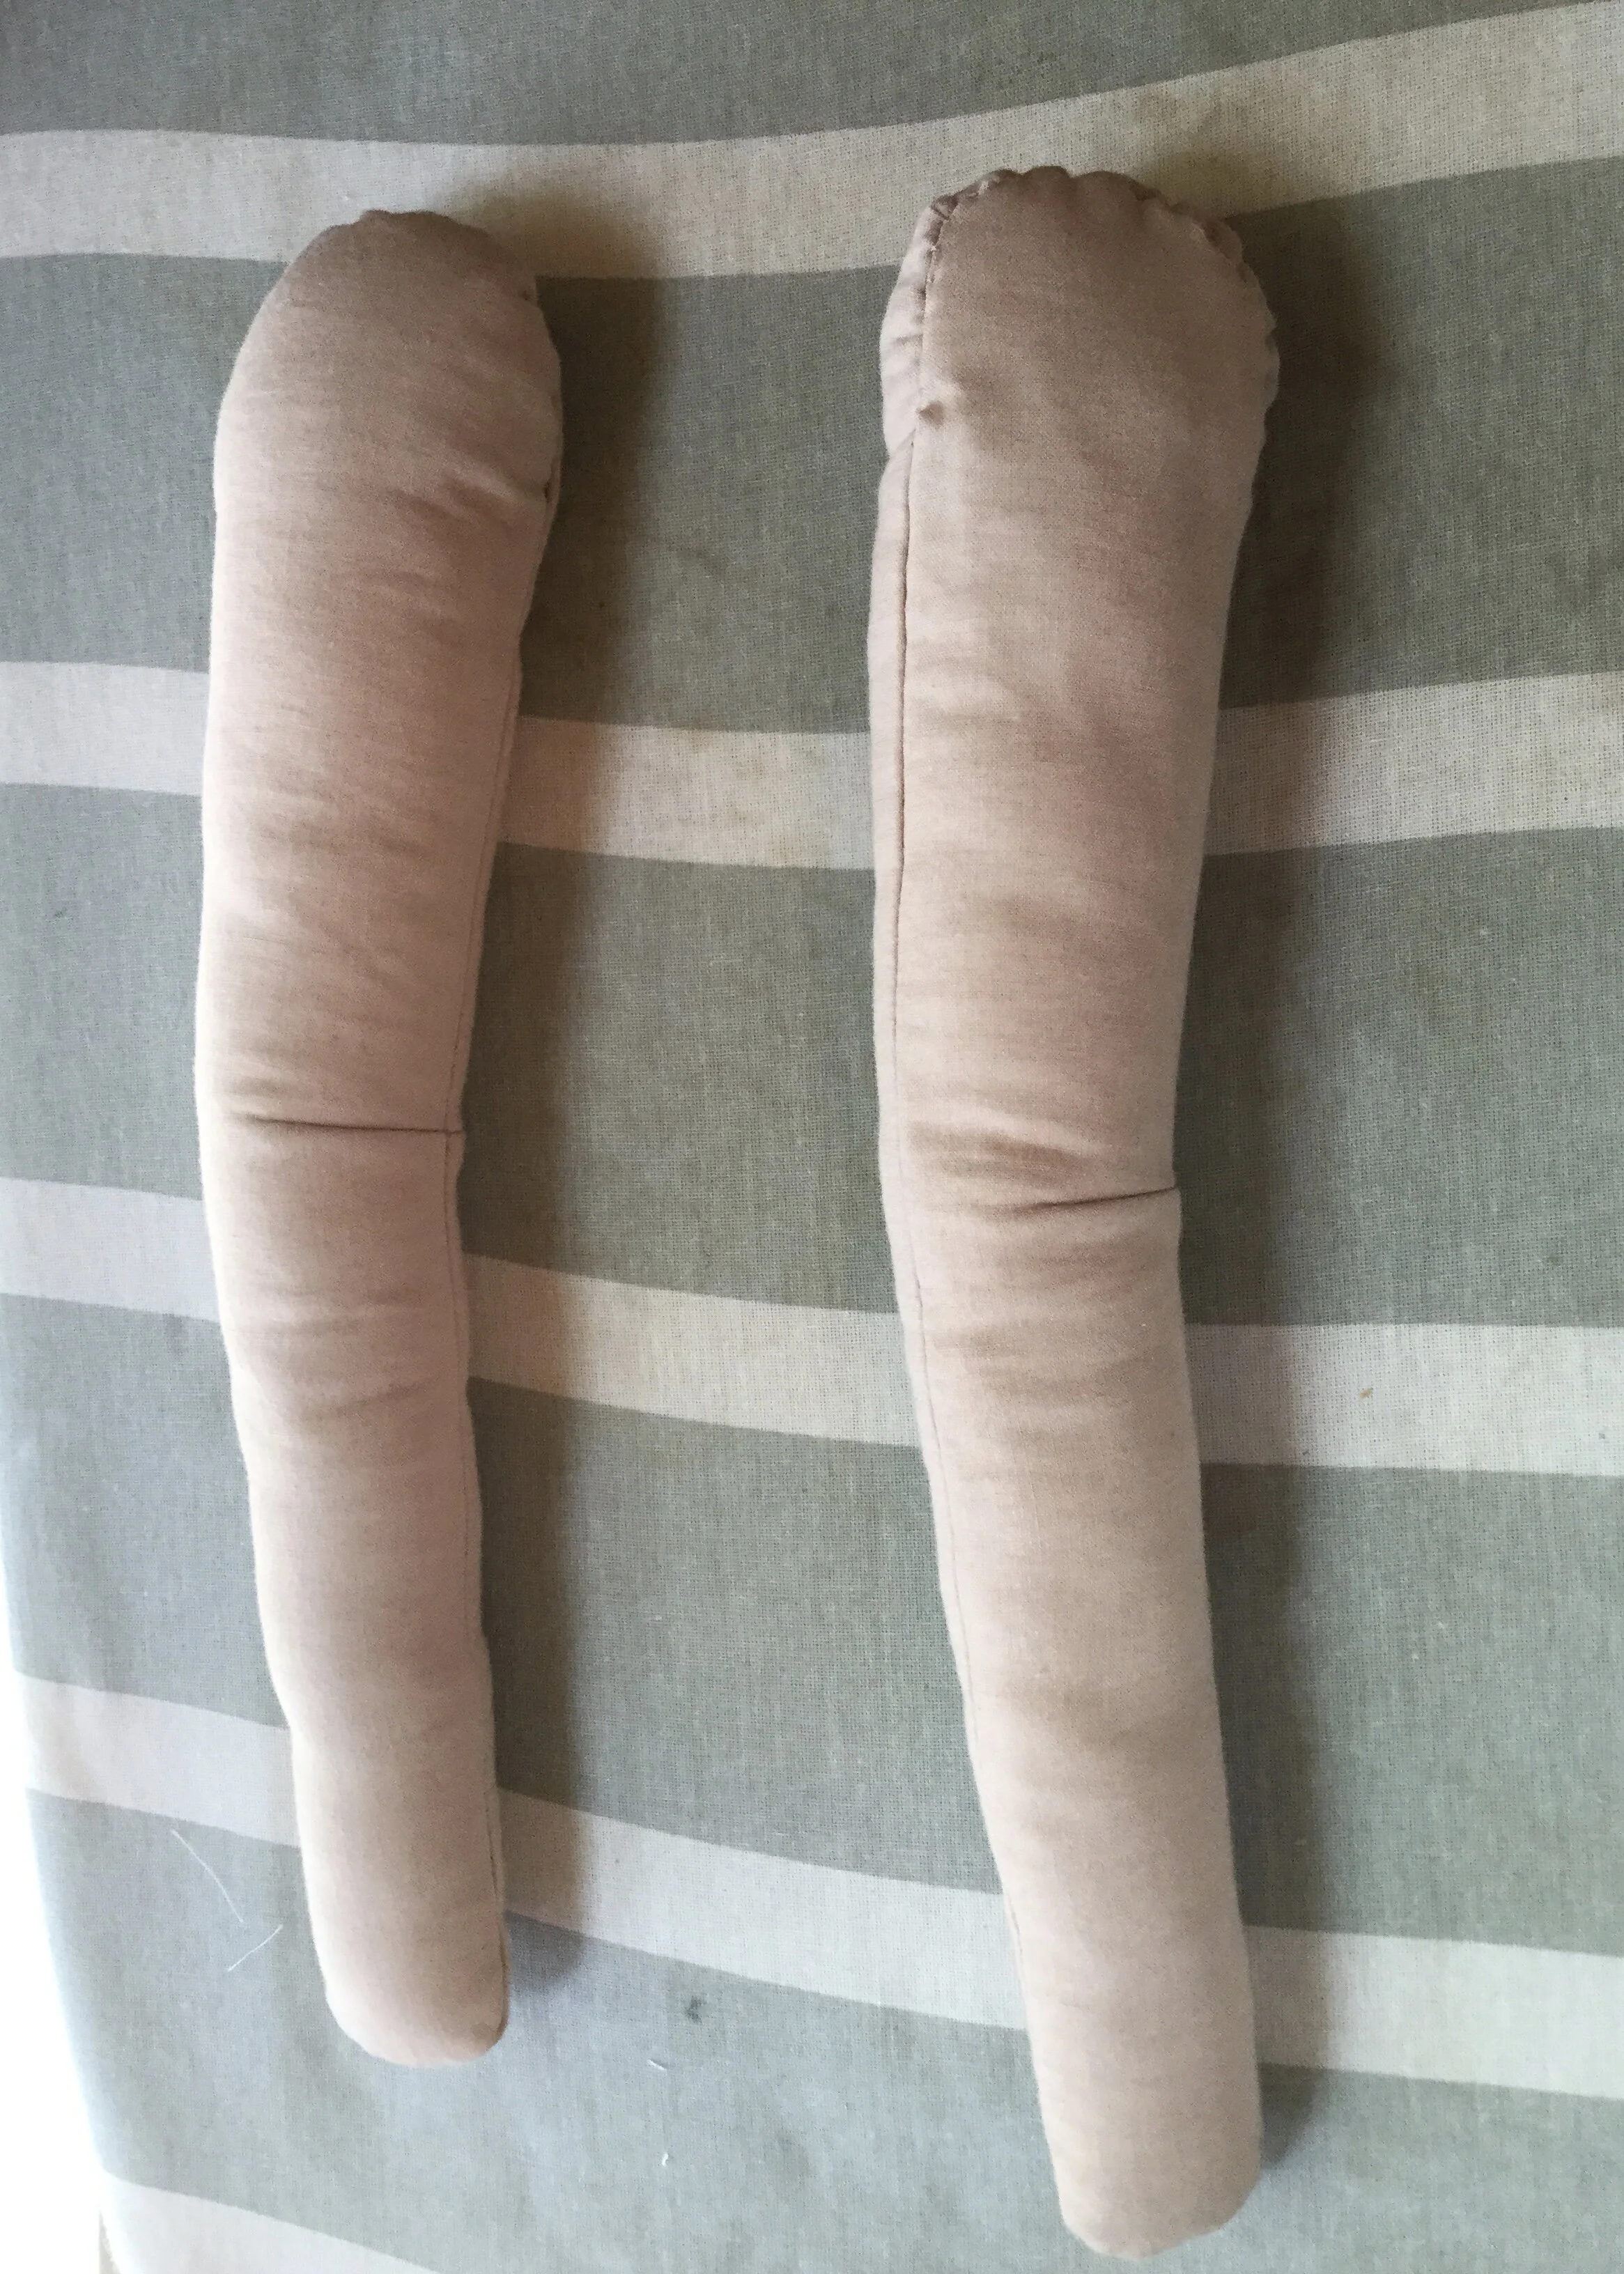
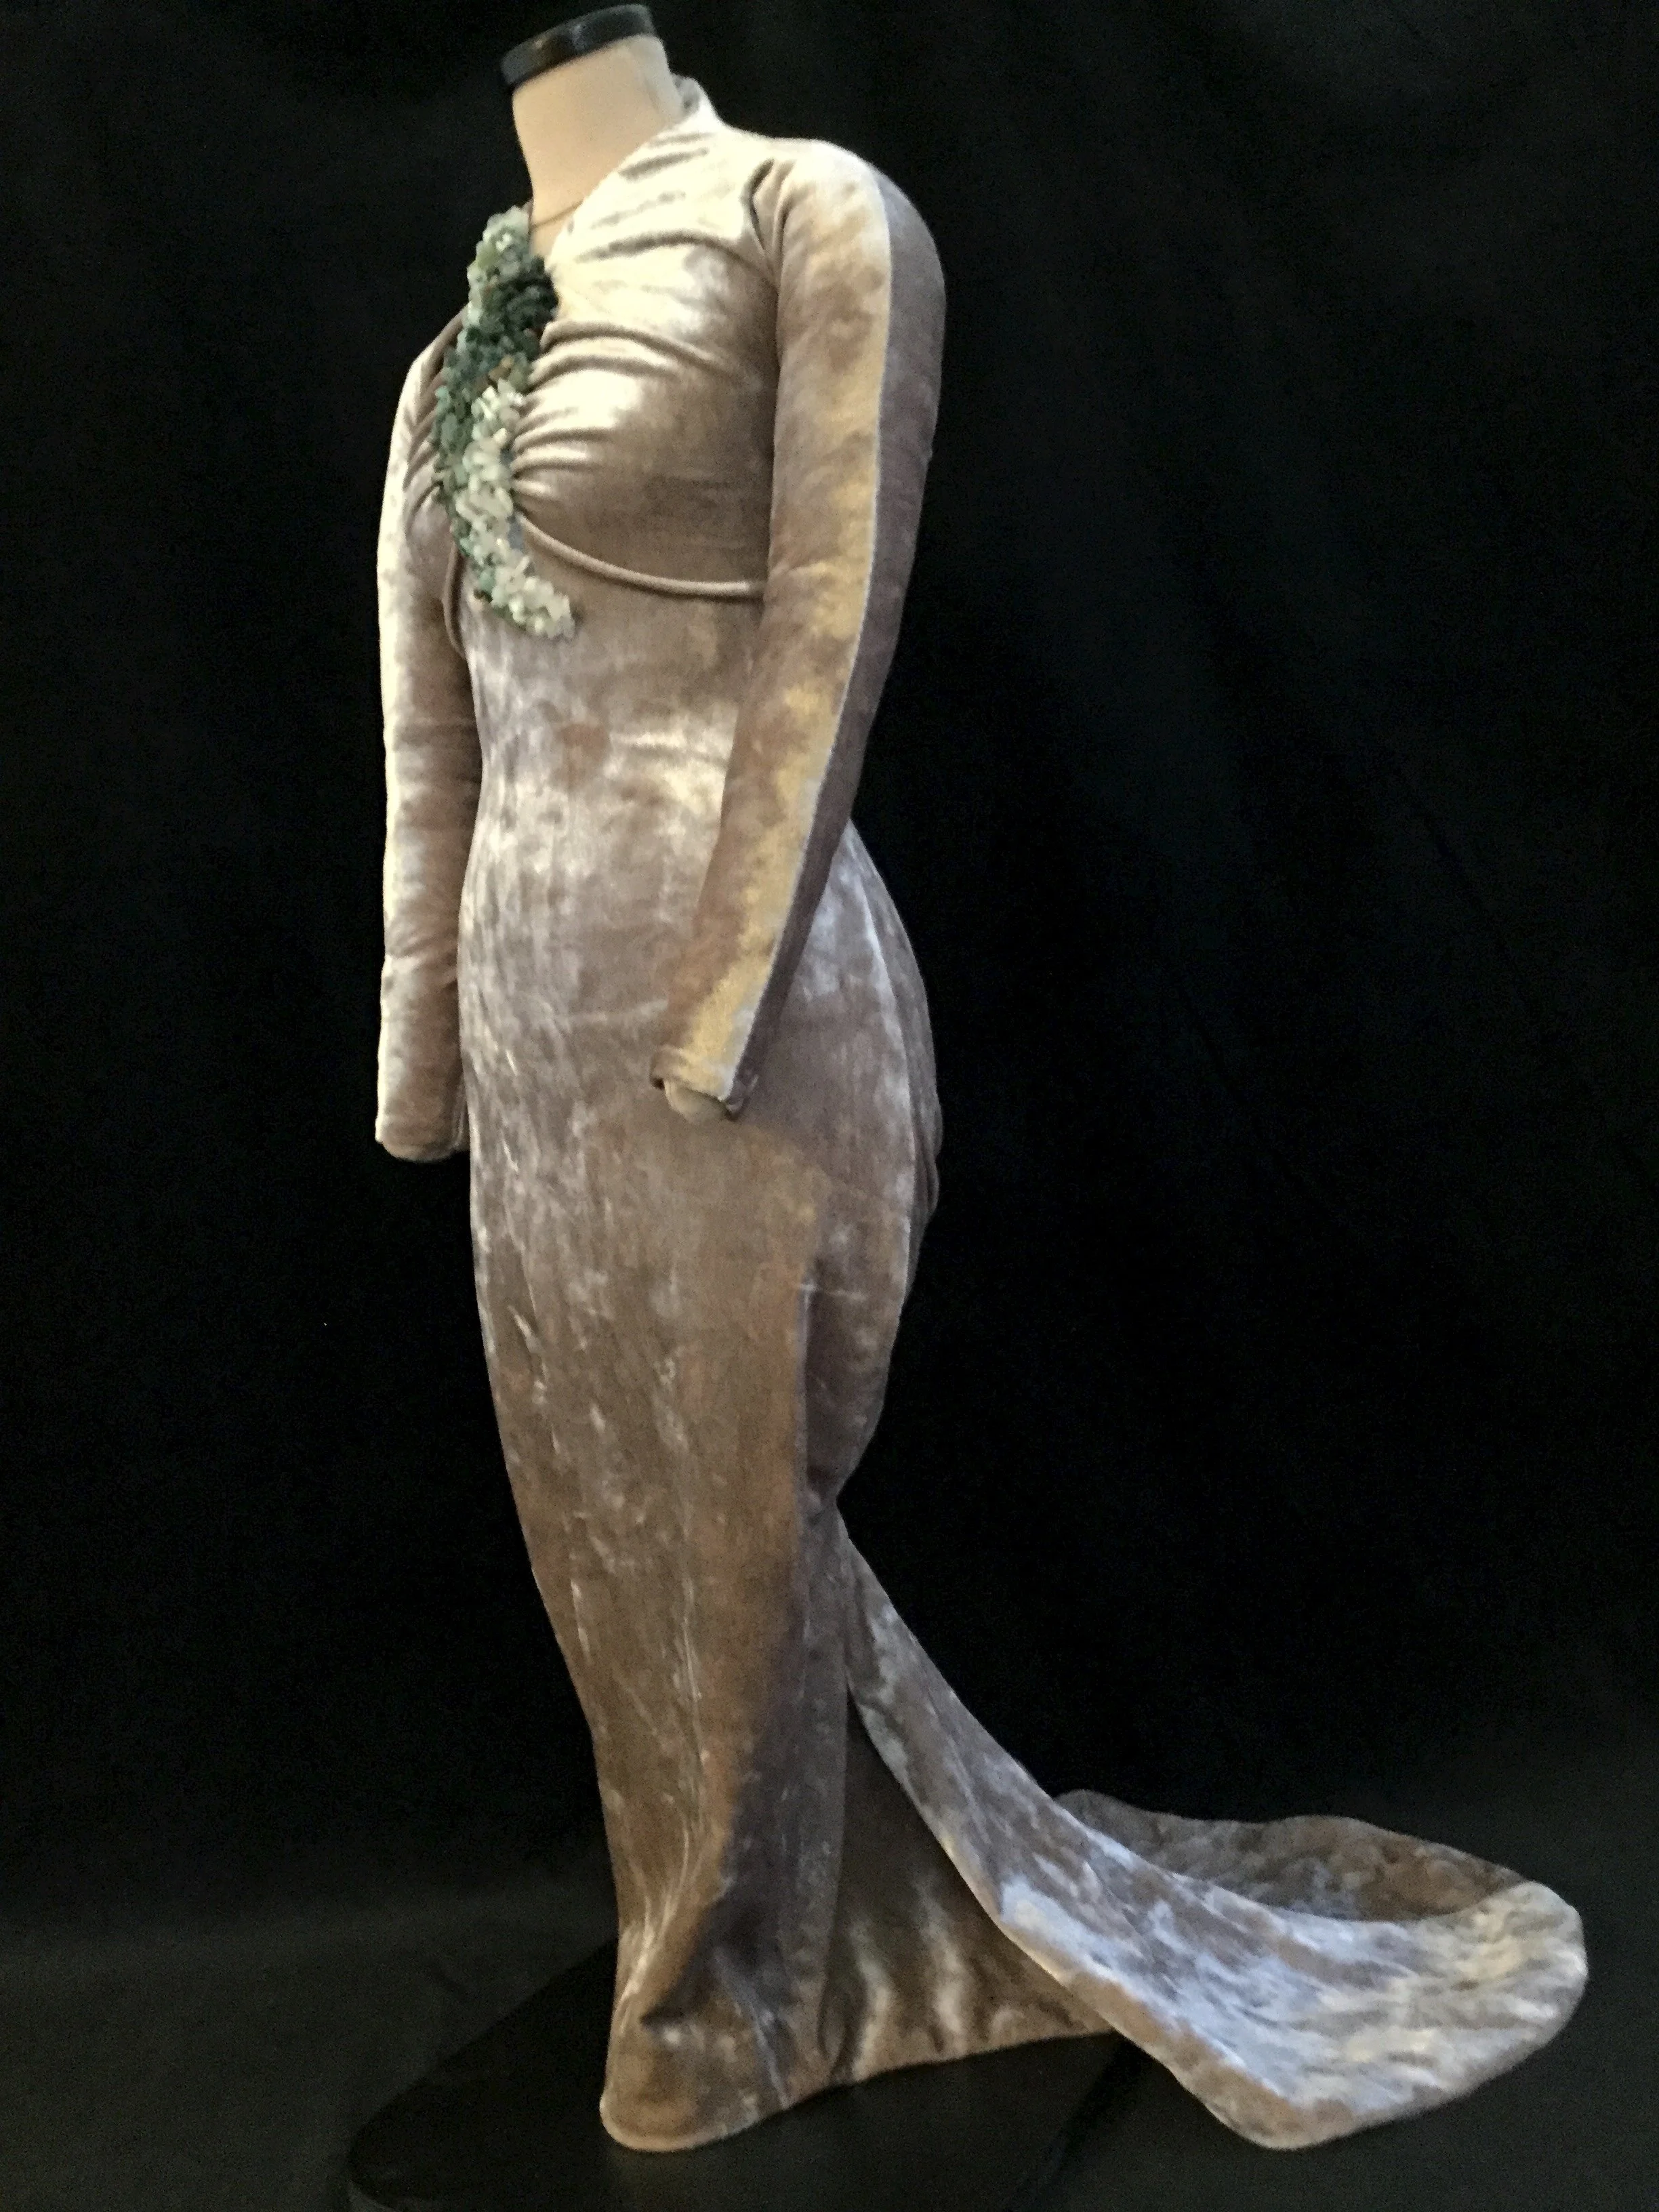
Cordelia was deceptively challenging. I anticipated some of it, but really the most challenging thing about her was how unstructured the final build was. It doesn't look like much when it's off the mannequin (looks a bit like a velvet bag to be frank) but once there's a body filling it out it kind of comes to life. I did make a little pair of arms to fill out the sleeves and they kind of worked, but the join between the arm and the body never looked quite right. However, they did necessitate a last minute alteration as the arms highlighted that I still had rather an excess of fabric in the underarm area.
It might be fun to make her again without the beading at the back and use a version with more gathering. The back of the second mock up did look kind of cool and there is a strange optical illusion that happens when I look at the back straight on where the curve of her bum disappears and the beading kind of replaces it. She ends up looking oddly proportioned and a bit stumpy. It's weird. I suppose if this were in full size and a real person was wearing it and walking around it might be clearer where the bum is but it might also be smart to move the beading up a wee bit. I was worried about having a bunch of gathering right on the bum, but there may be some leeway there.
Cordelia took 48.5 hours in total to complete. I spent 13.5 hours drafting, making mock ups and generally working out the pattern and 35 hours on the final build including the dress and the beaded pieces.
