Cordelia
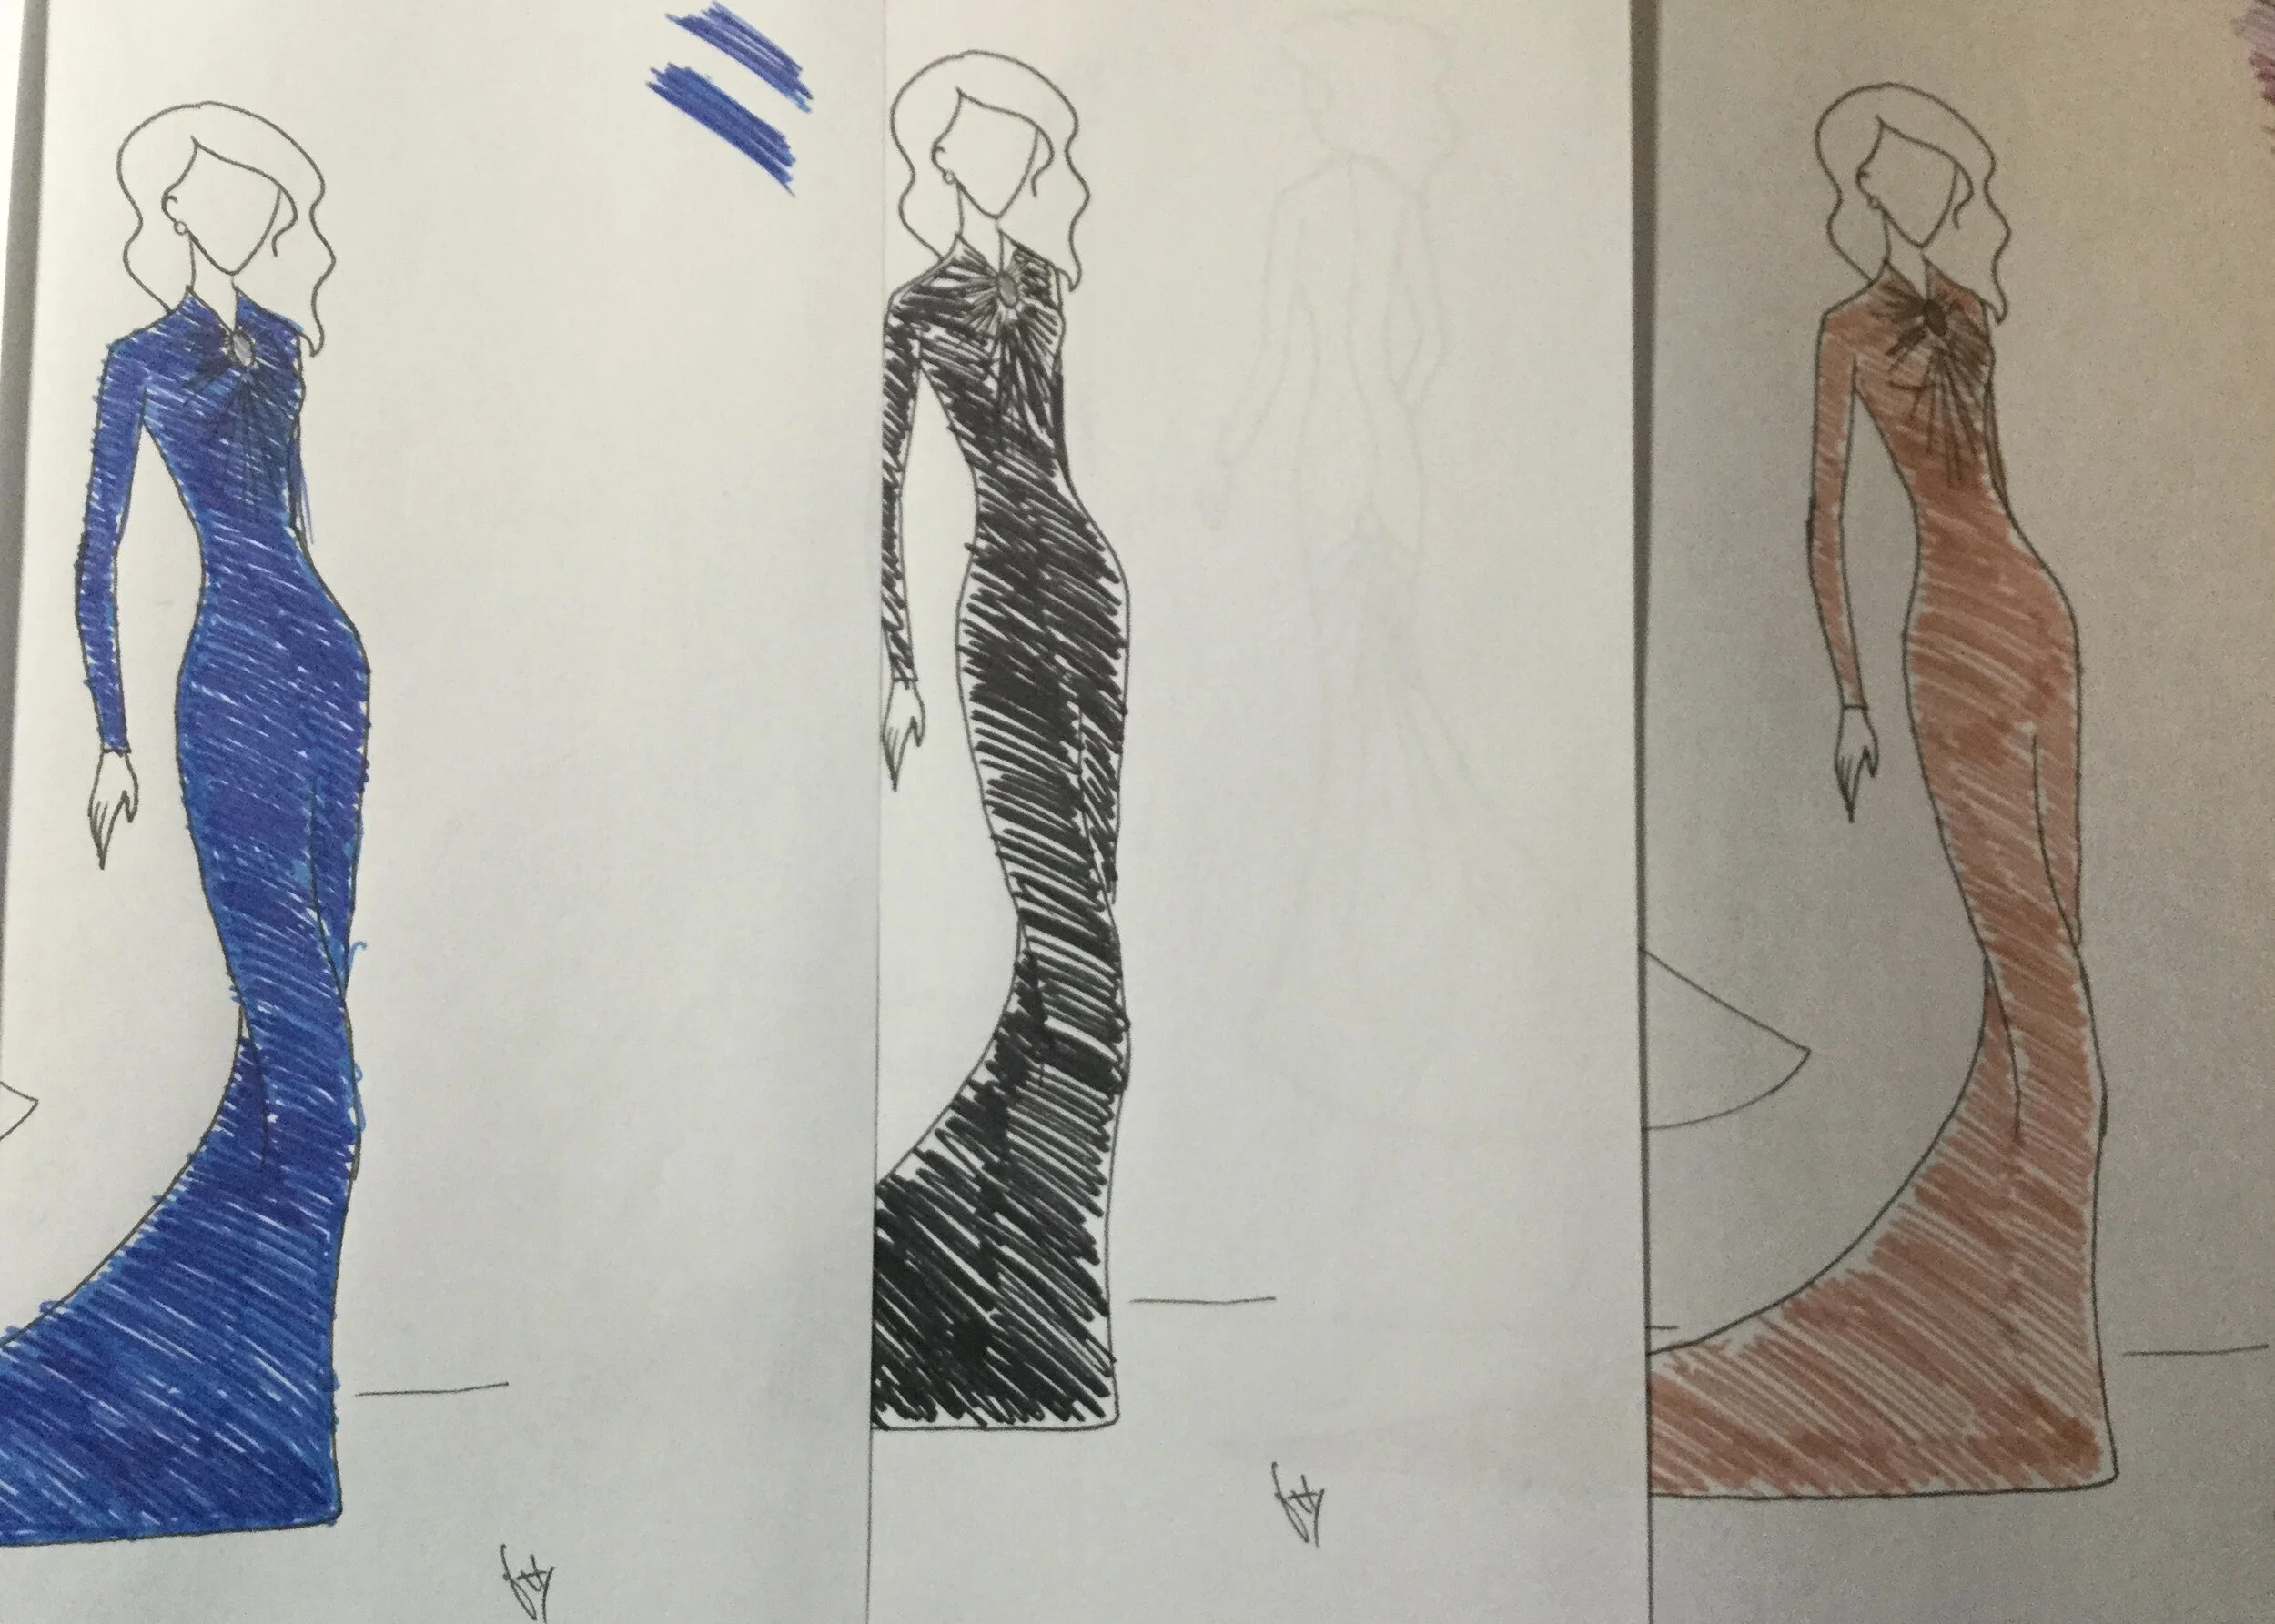
The dress for a stick figure.
I'm not sure where this idea came from. Perhaps it was the remnant of some drawing of a fantasy character from high school which was laying dormant in the furthest recesses of my brain. Perhaps I was musing on drafting challenges. Perhaps she sprang fully formed from my forehead like Athena from Zeus. Perhaps not.
At any rate, the idea came and I liked the simplicity and somewhat 1930s/1940s vibe. It doesn't perfectly represent either of these decades and yet somehow reminds me of both.
Is that dumb luck or genius?
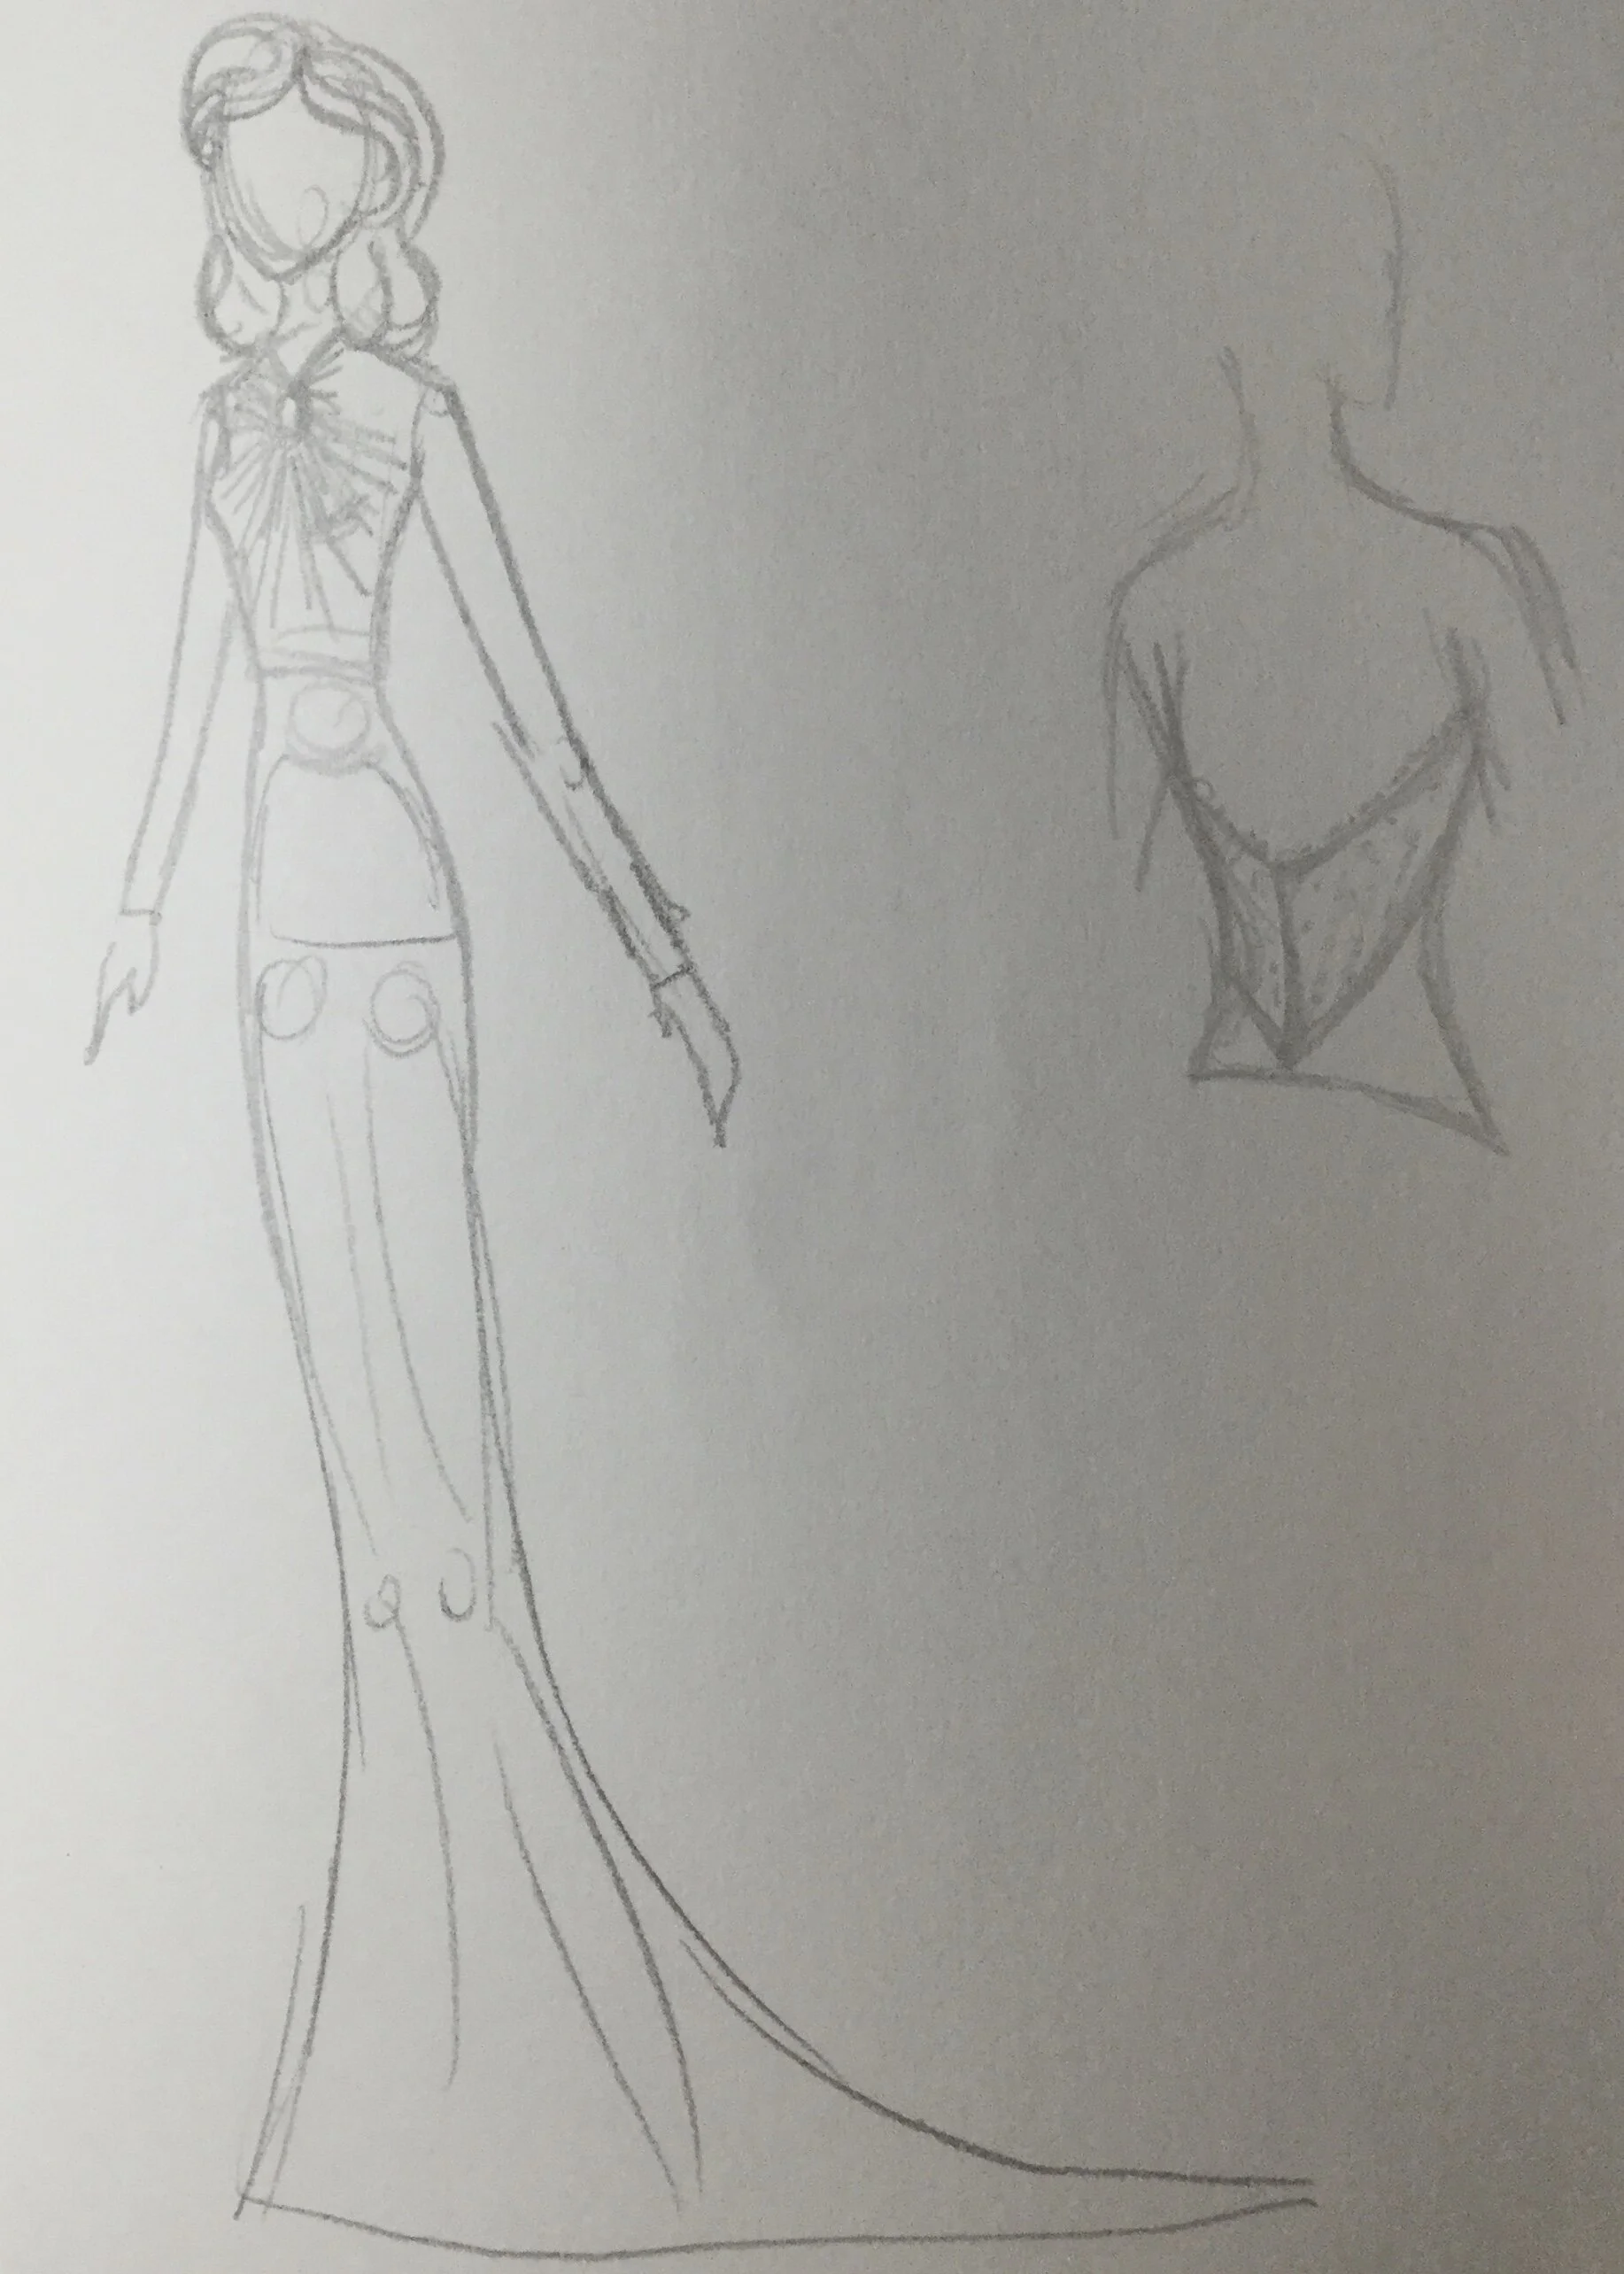
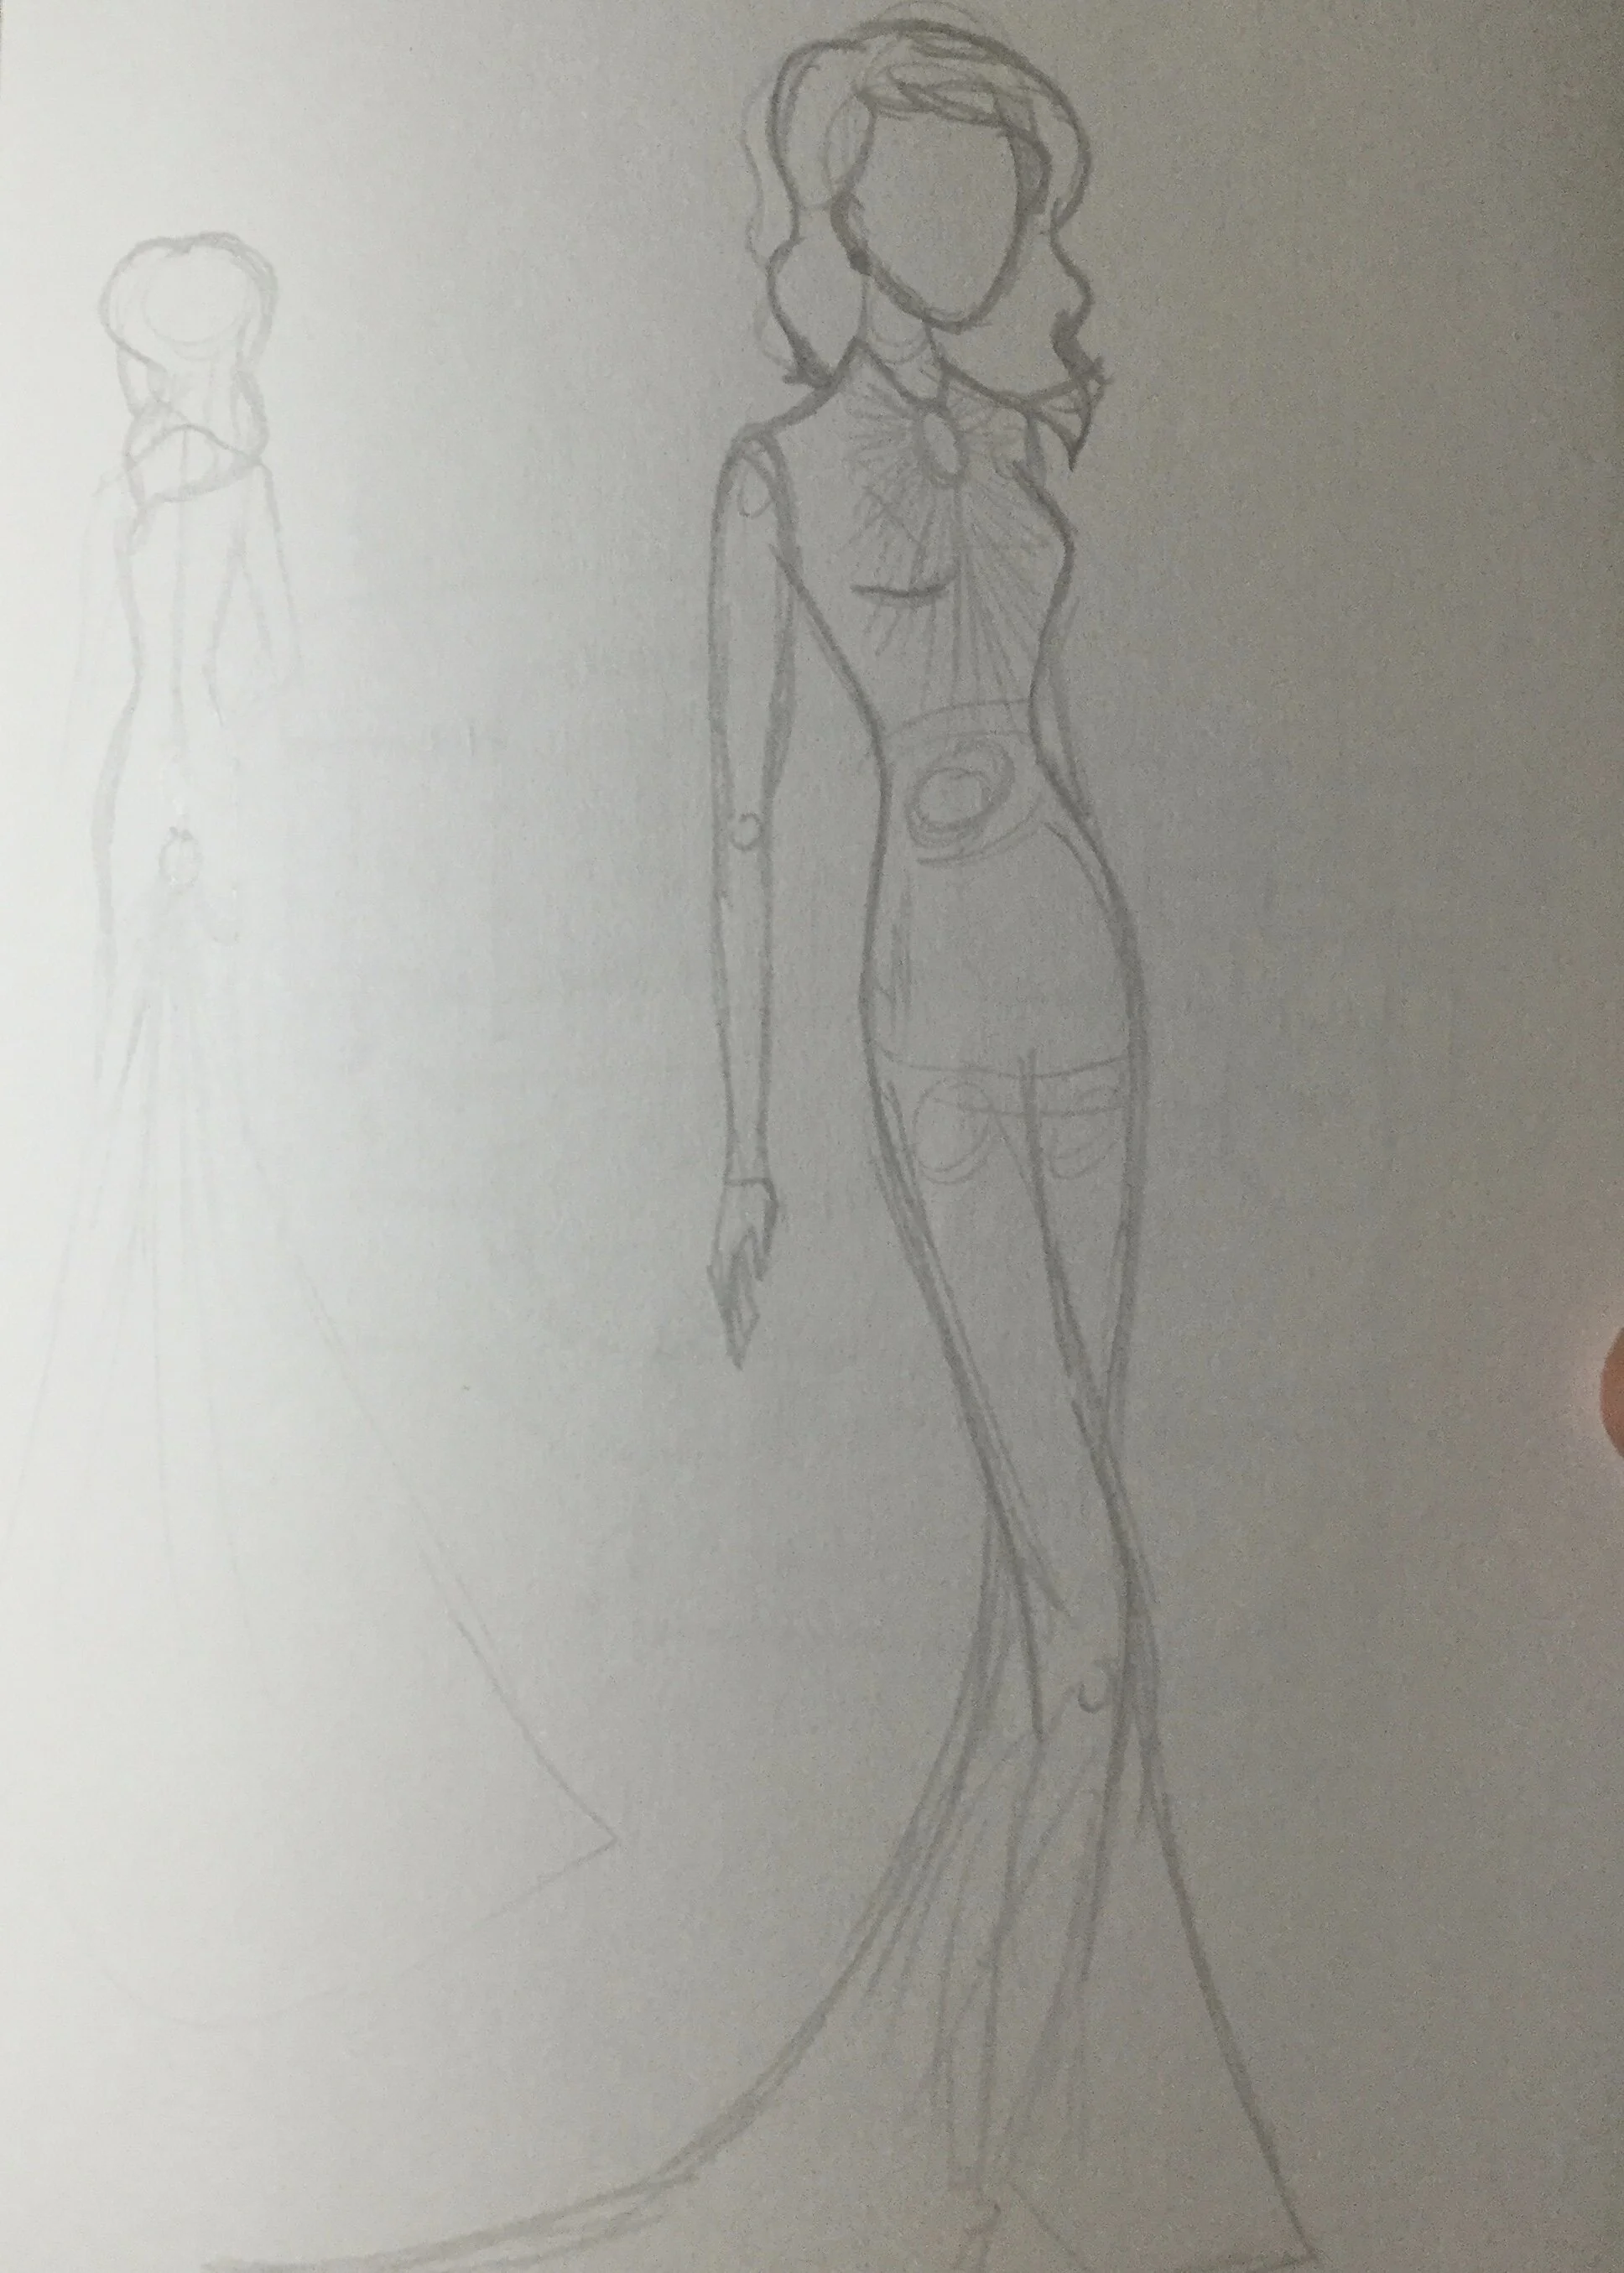
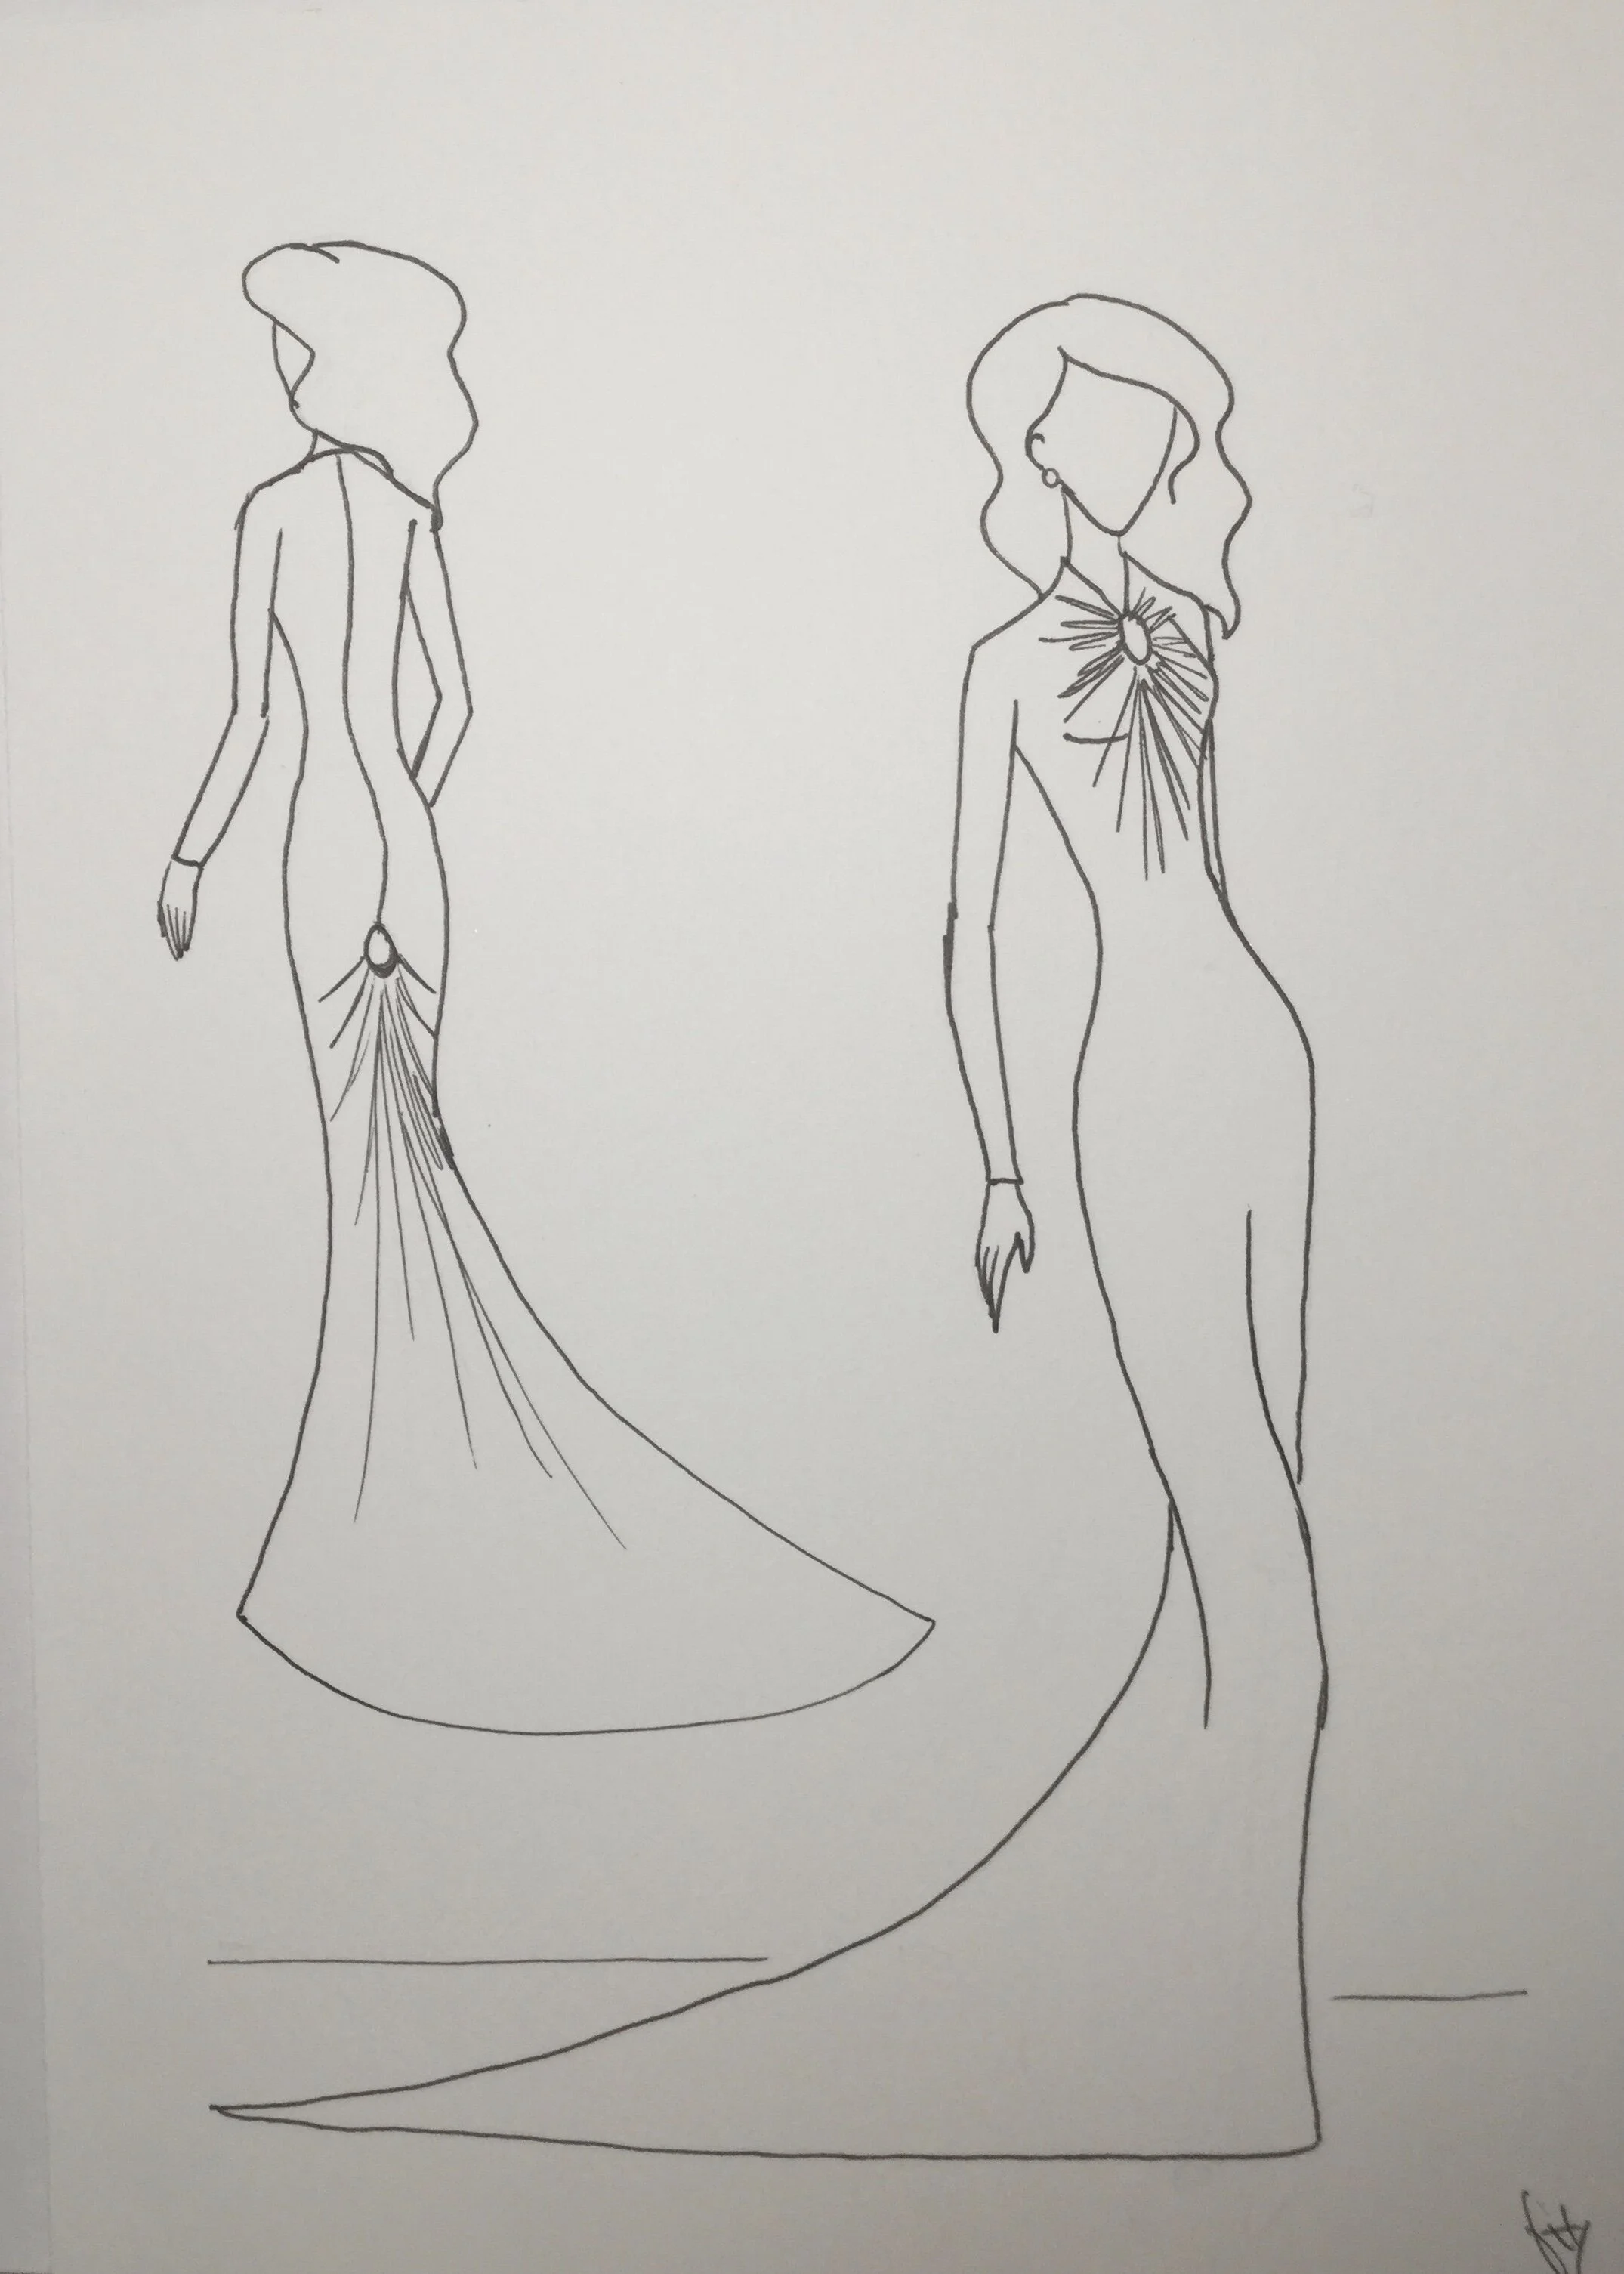
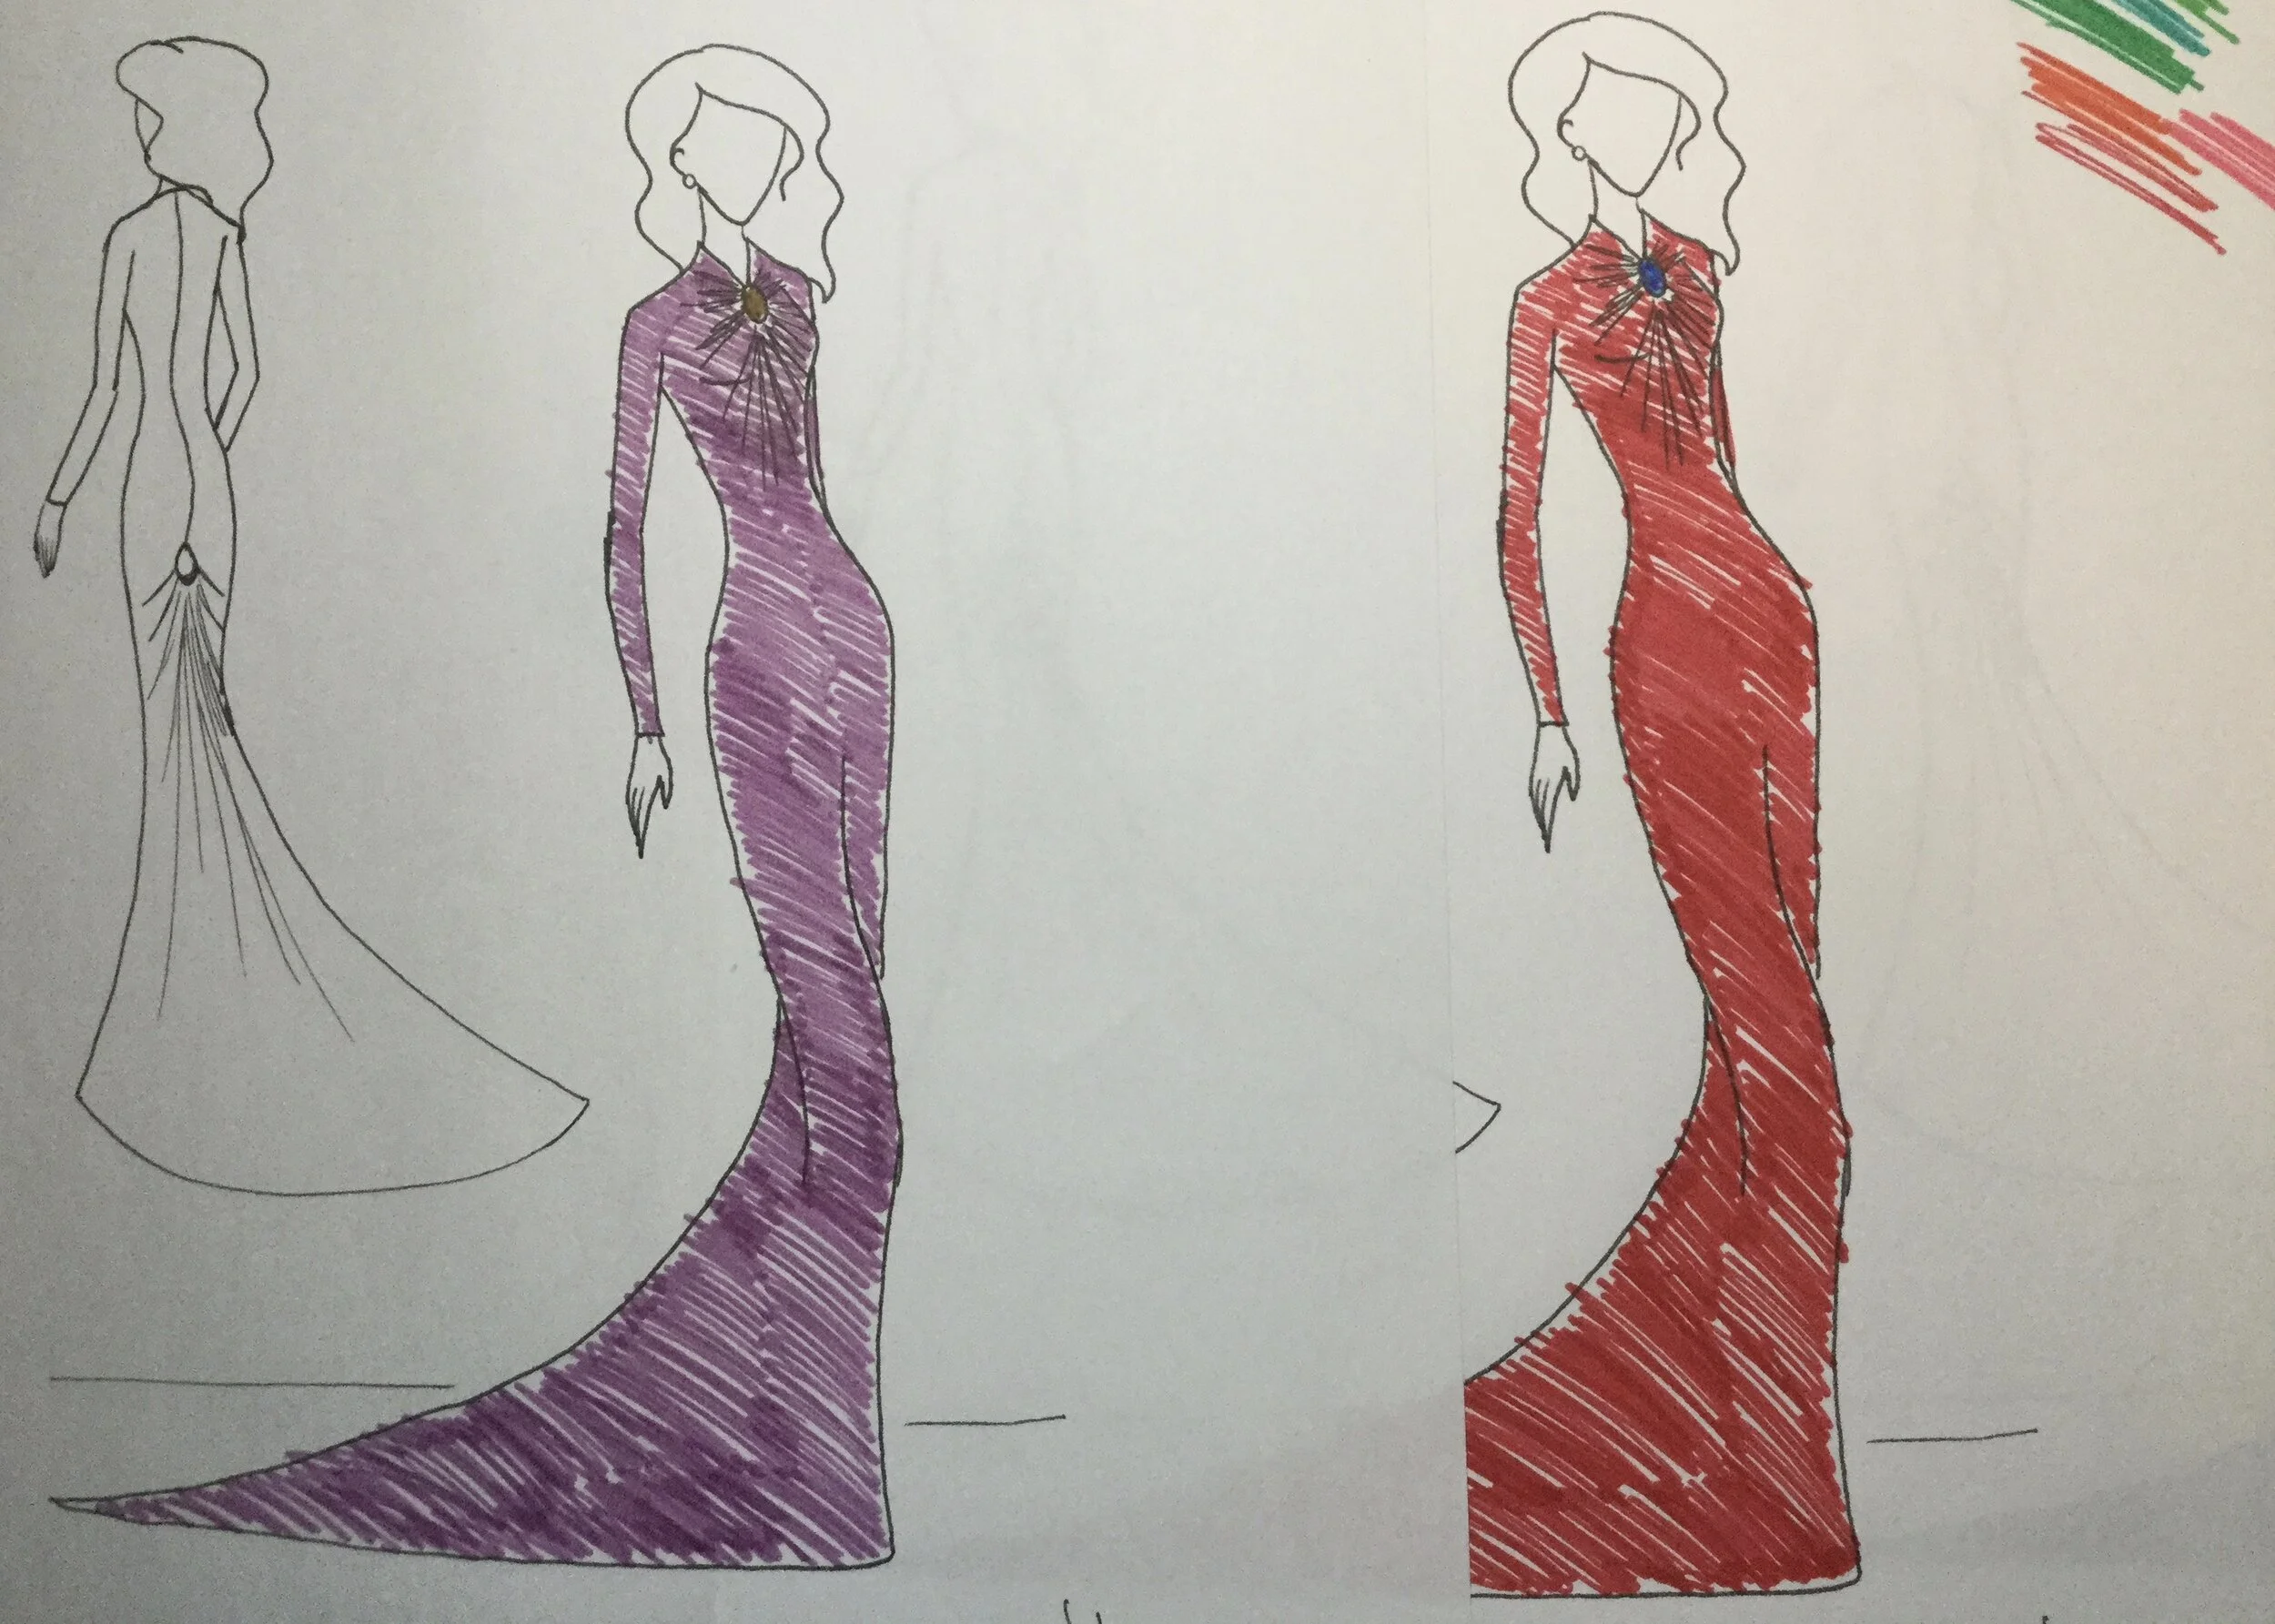
I hadn't planned on making her for a while yet, but when I hit on the idea of making the jewel look like an open geode I got excited and couldn't wait. After drawing the final sketch, I was a bit stuck on what sort of colour scheme to go with. I did my usual trick of trying to envision different colours but nothing was standing out as being the right choice.
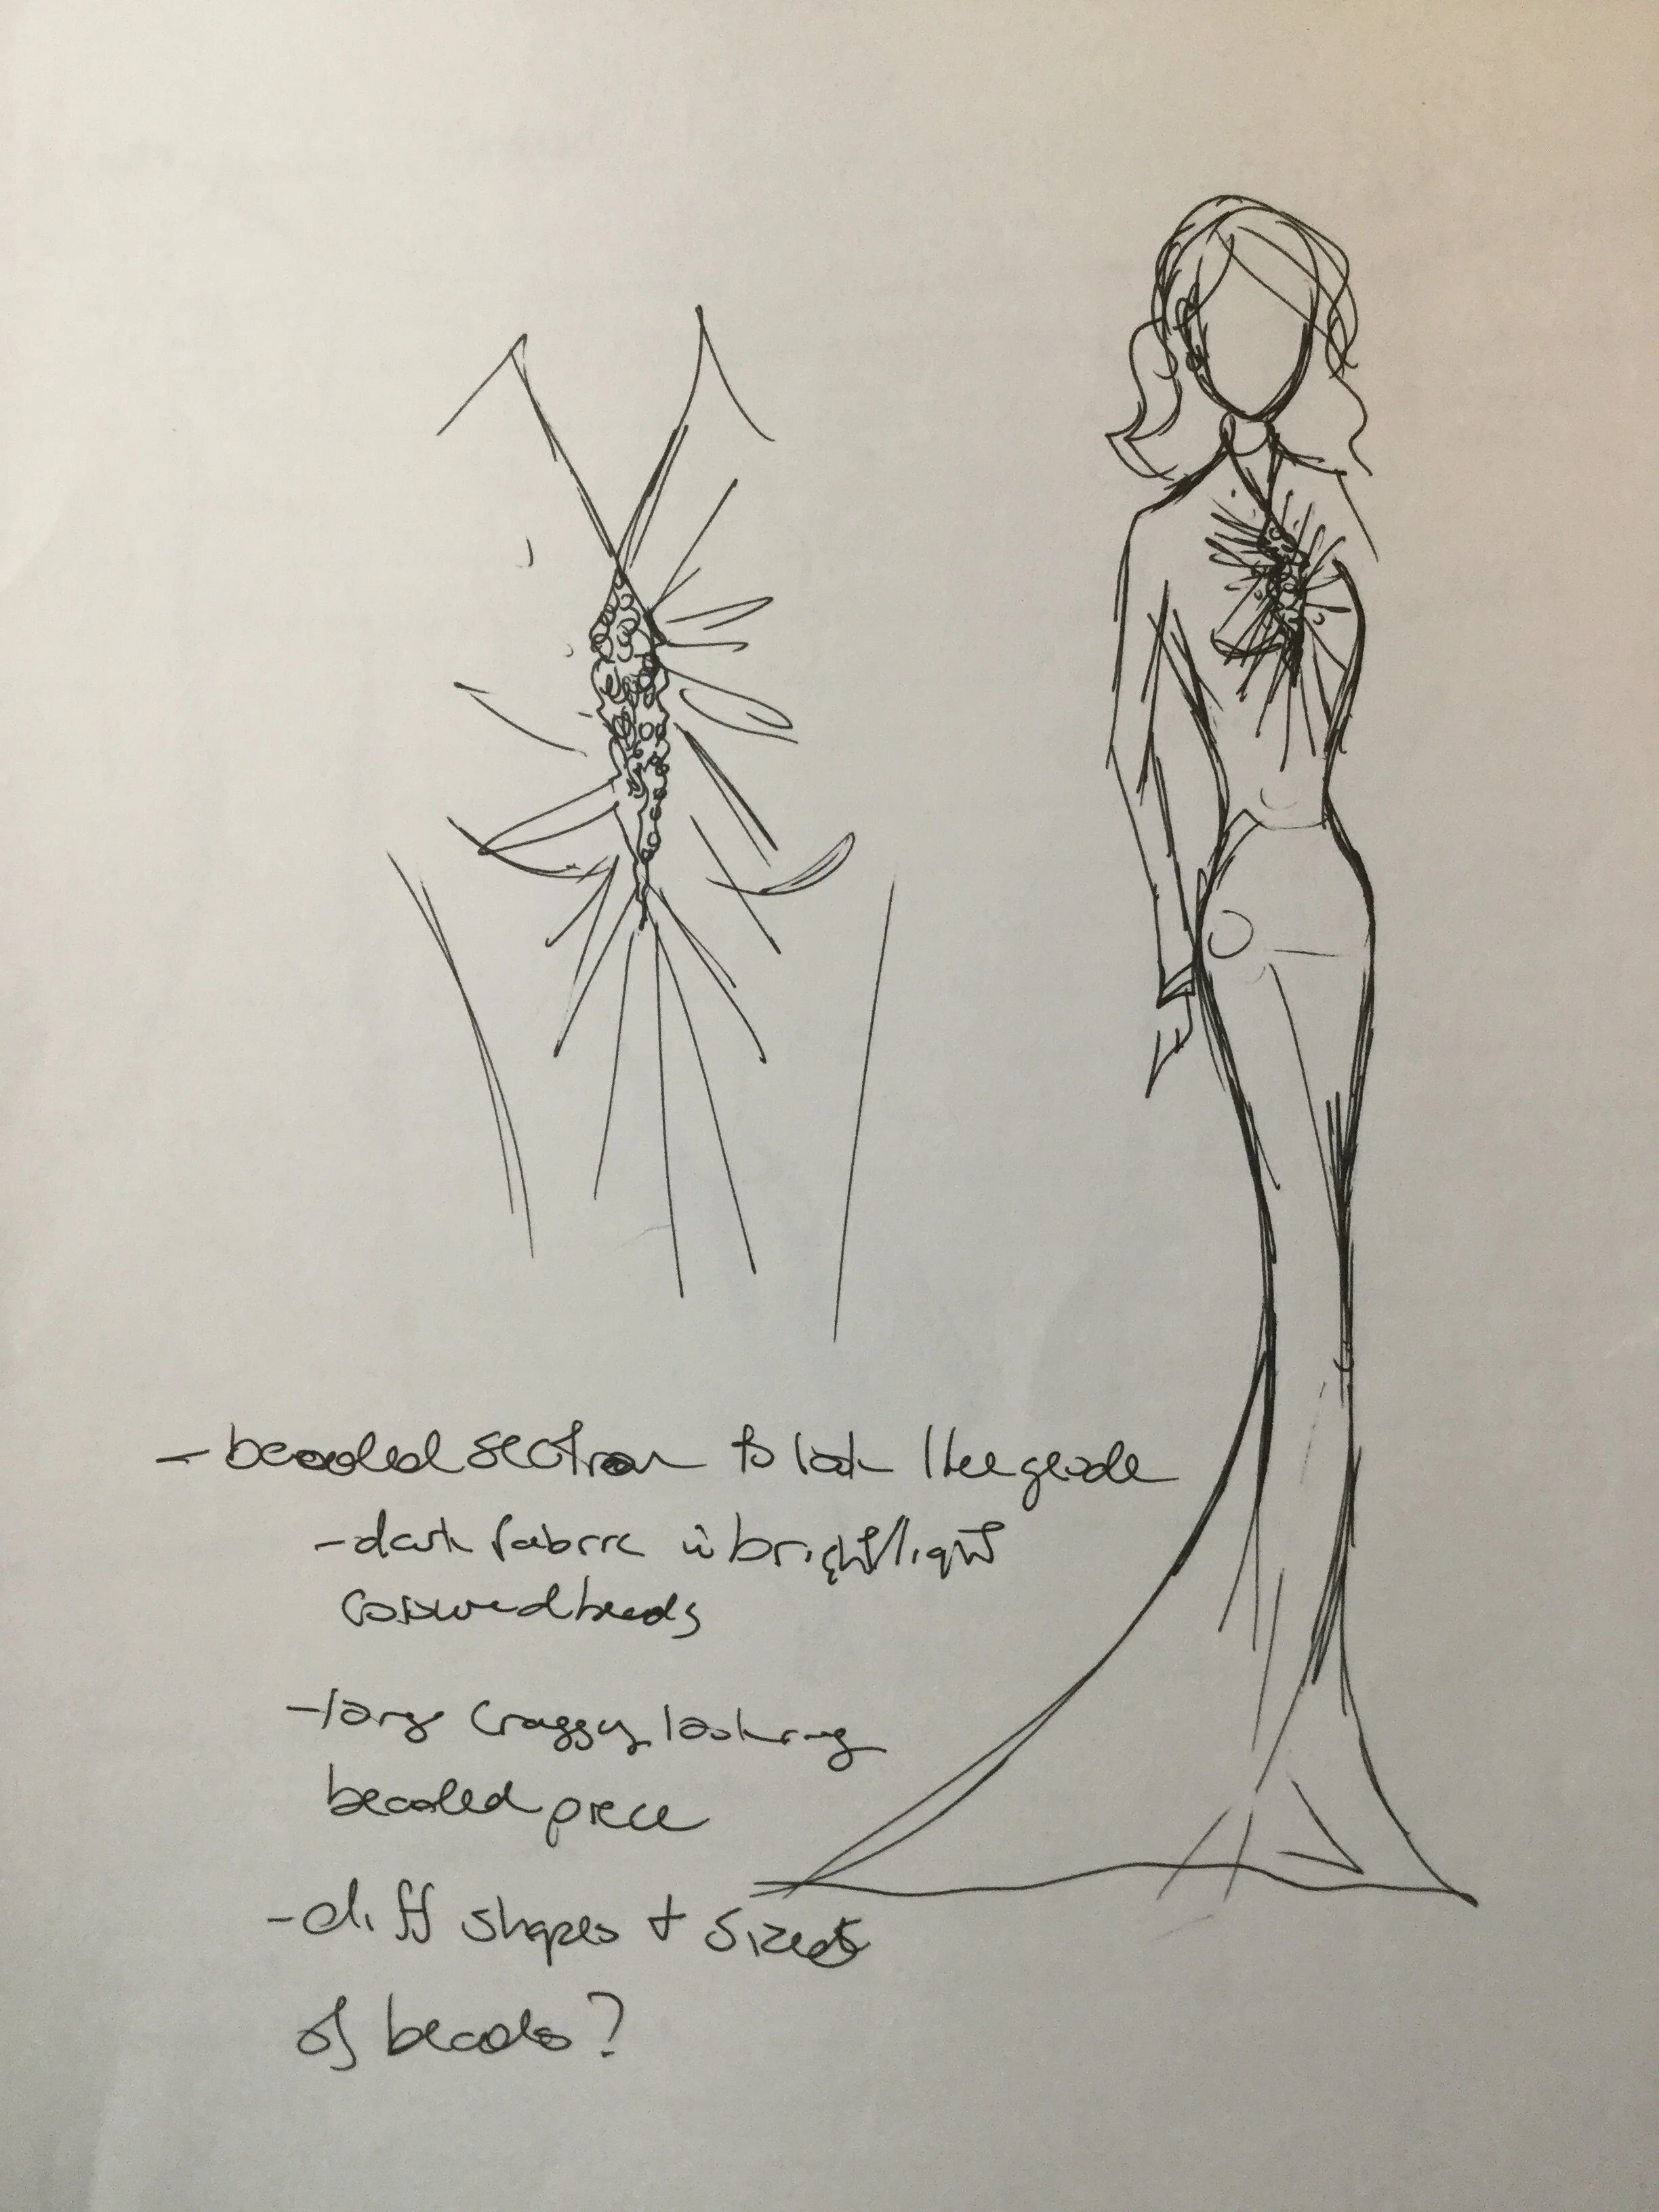
I can see now that it was at least in part because I didn't yet have a clear idea of what the jewels at the neck and centre back would be; on the drawing they were just represented by a little oval shape which did successfully communicate that there would be something there, but wasn't particularly inspiring. I don't remember exactly where the notion that it would be cool to make it look like a geode came from but when that idea came to me the plan for the whole dress was suddenly much clearer.
A hurried sketch of a new idea.
Suddenly I could picture exactly what kind of fabric I ought to use and while I was still unsure of the exact colour, the geode concept narrowed it down considerably.
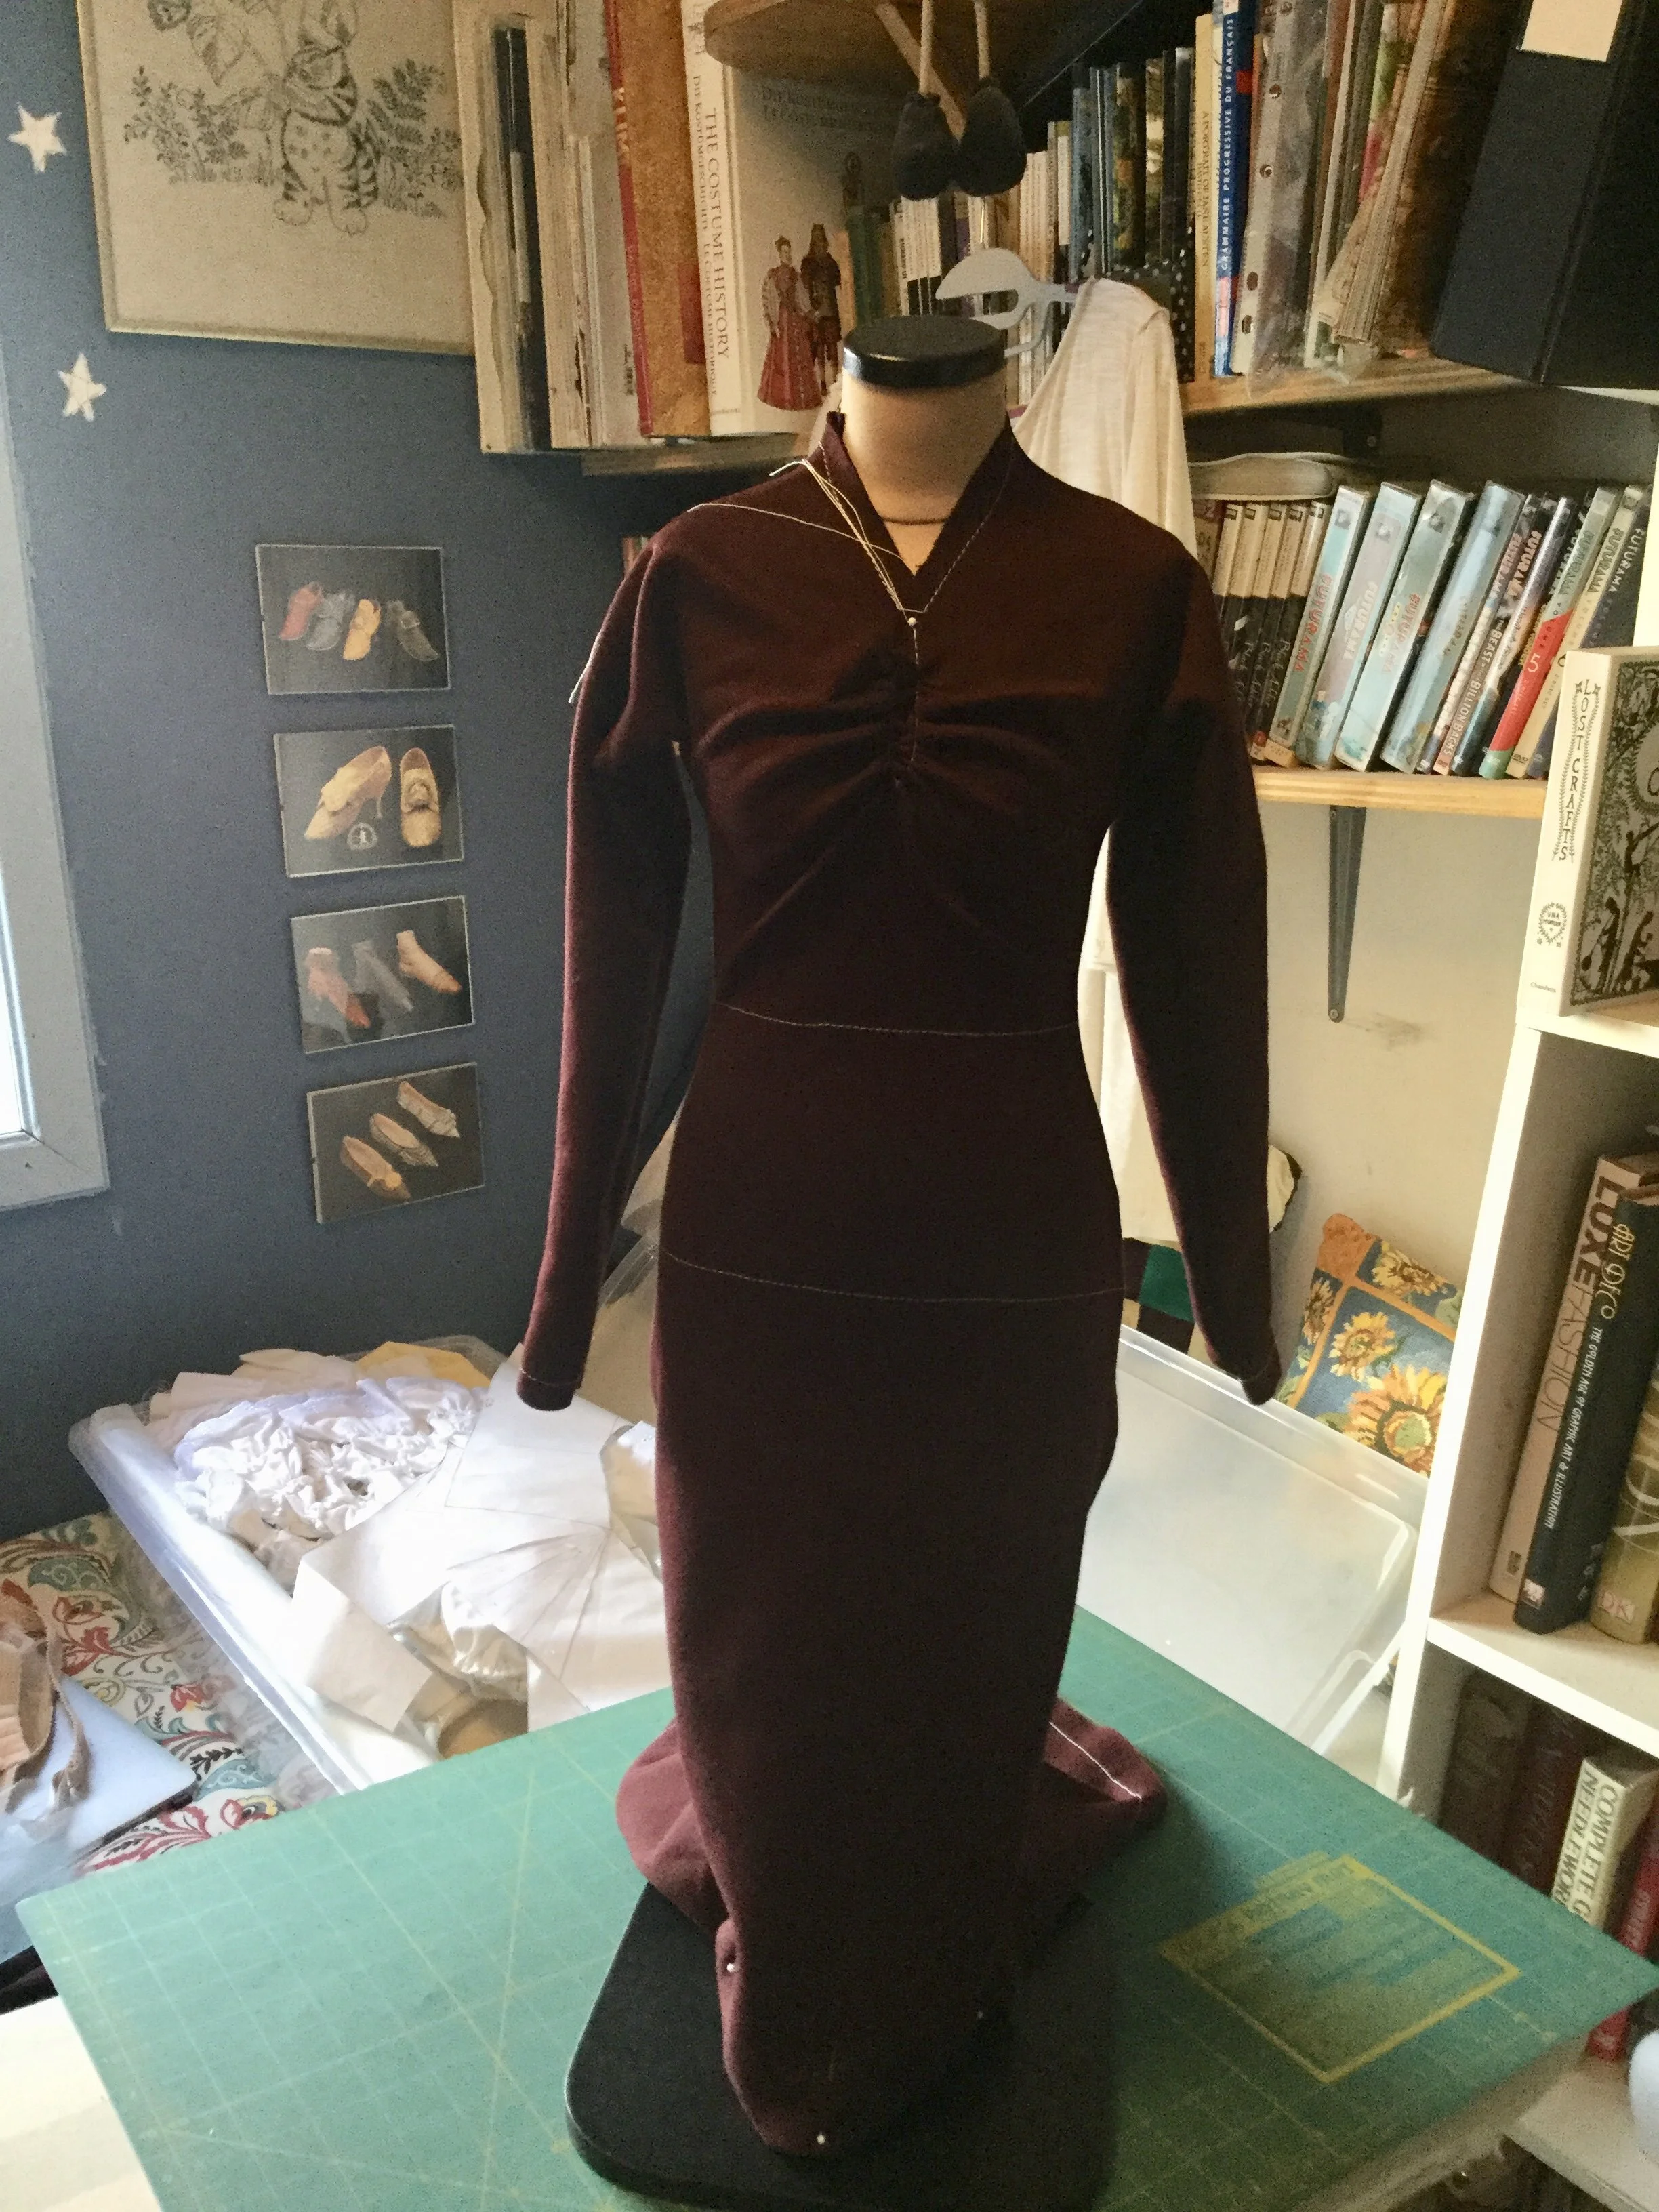
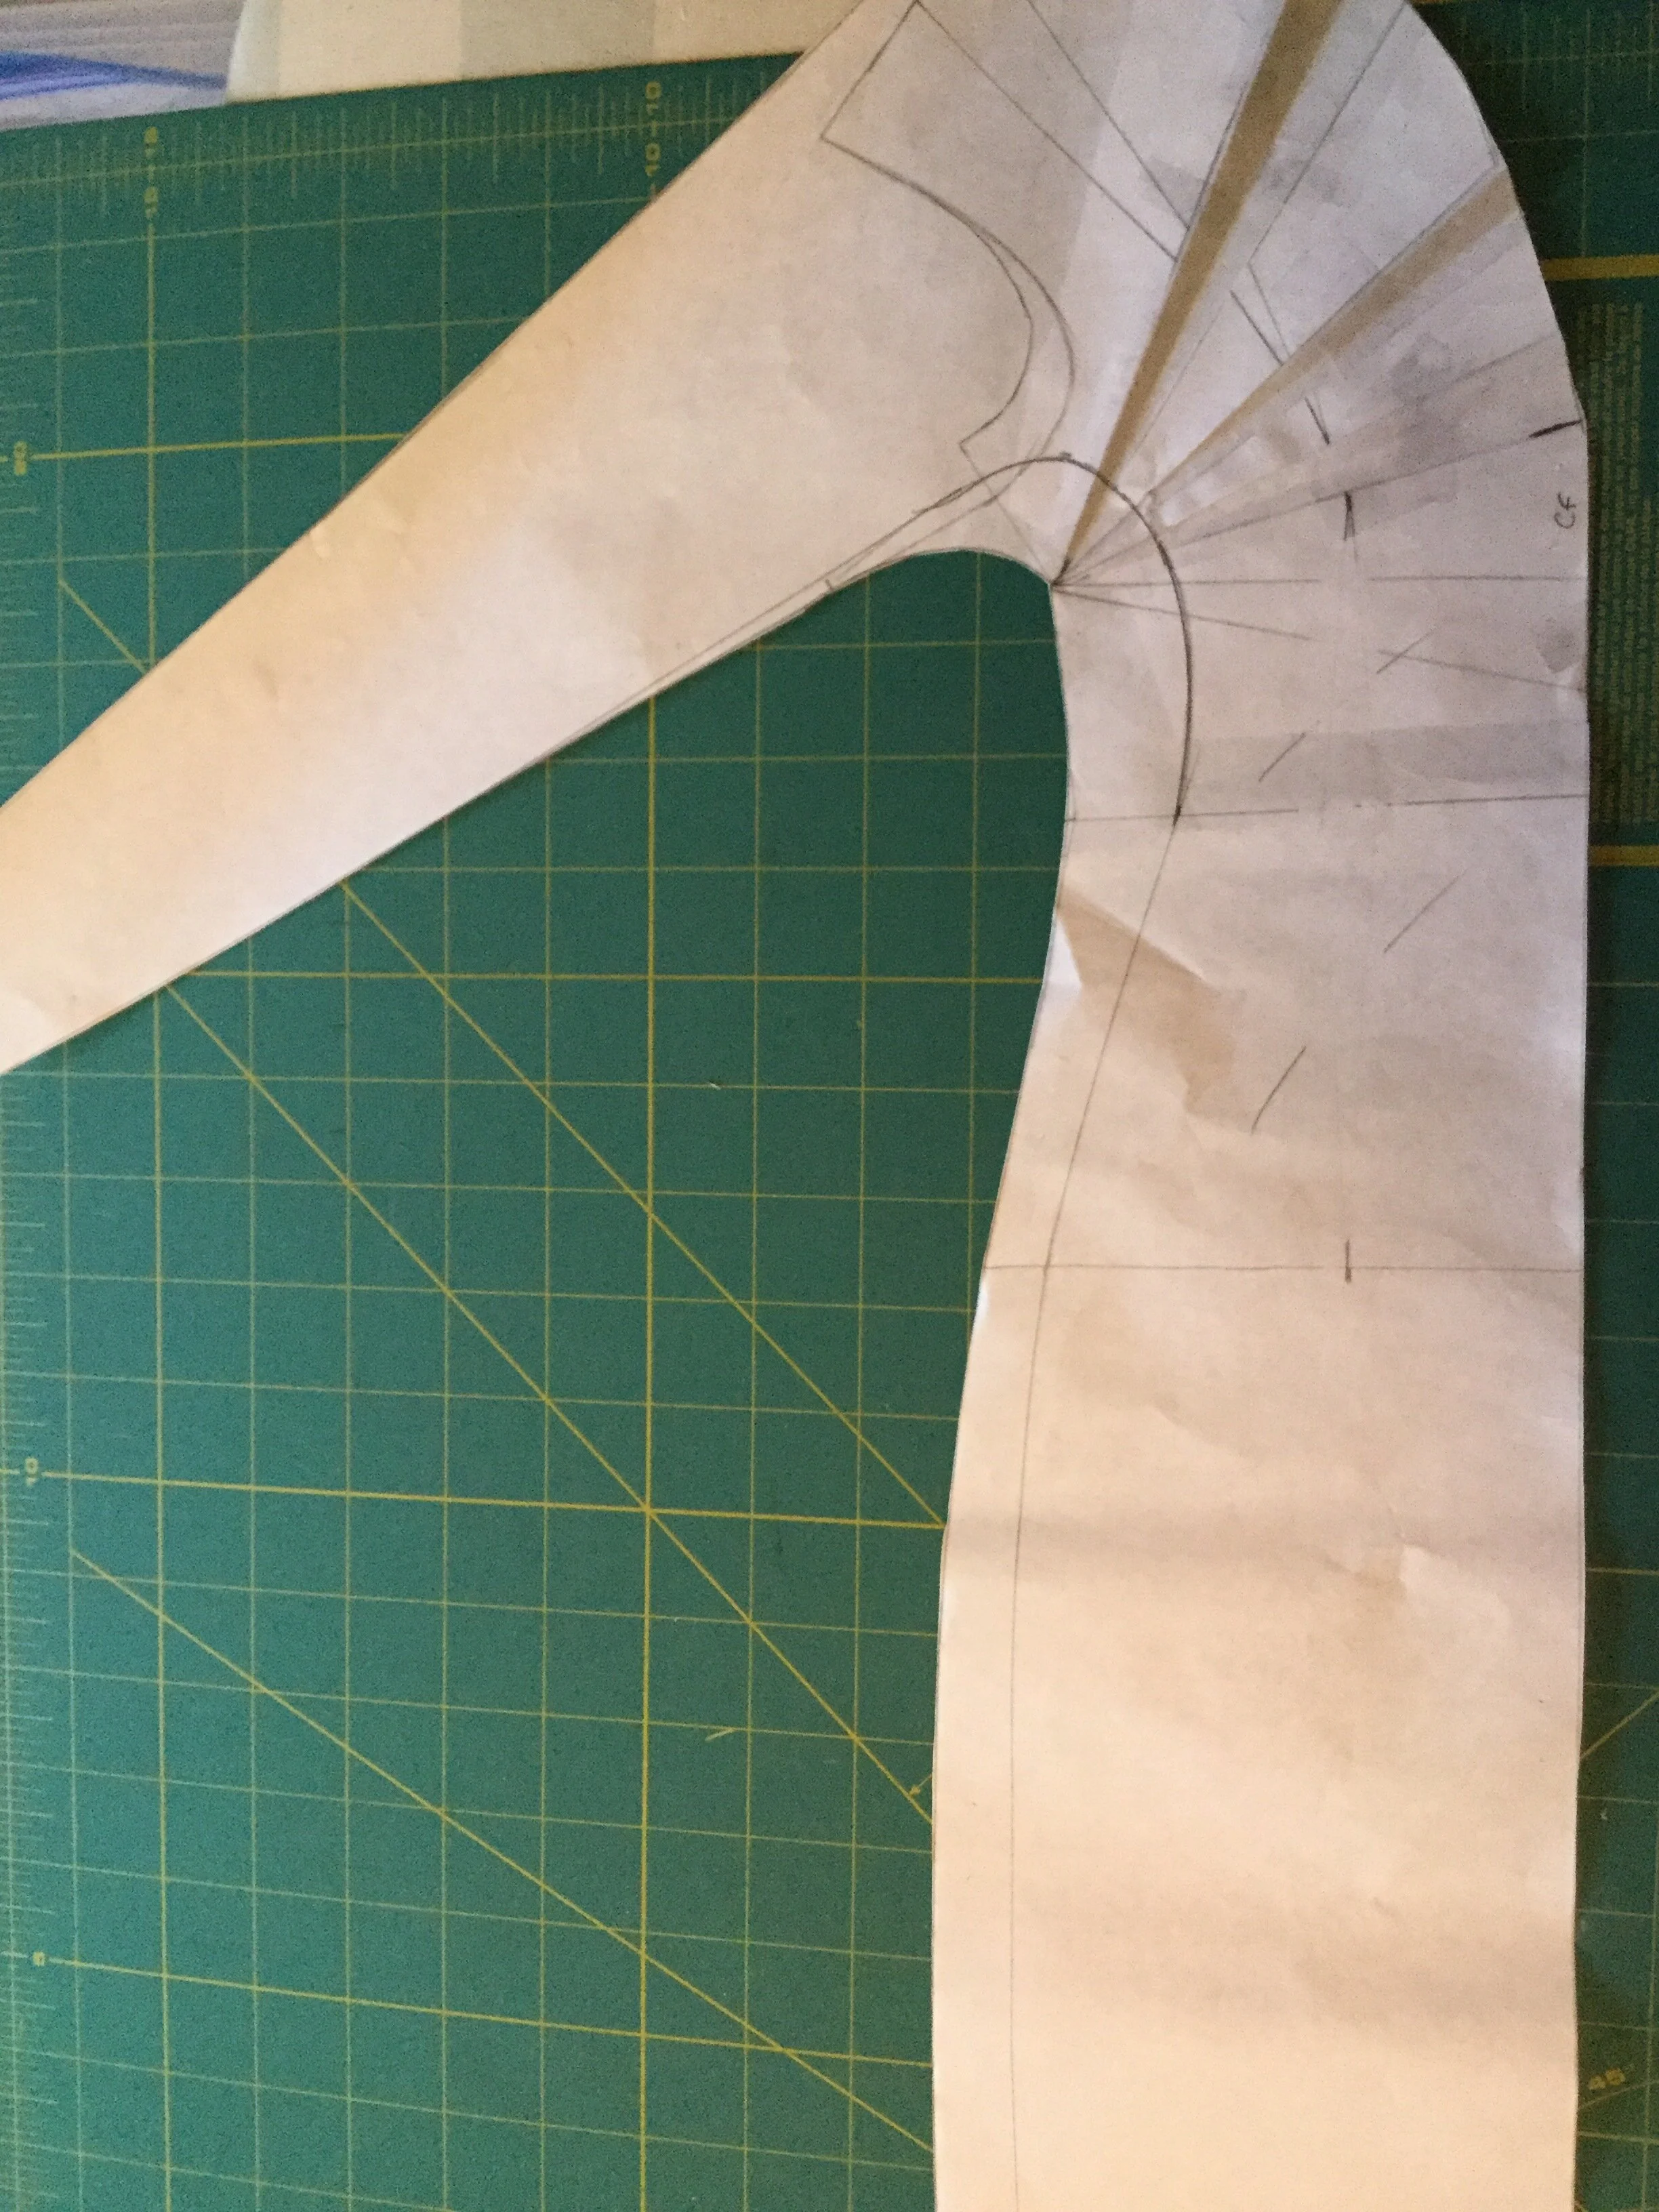
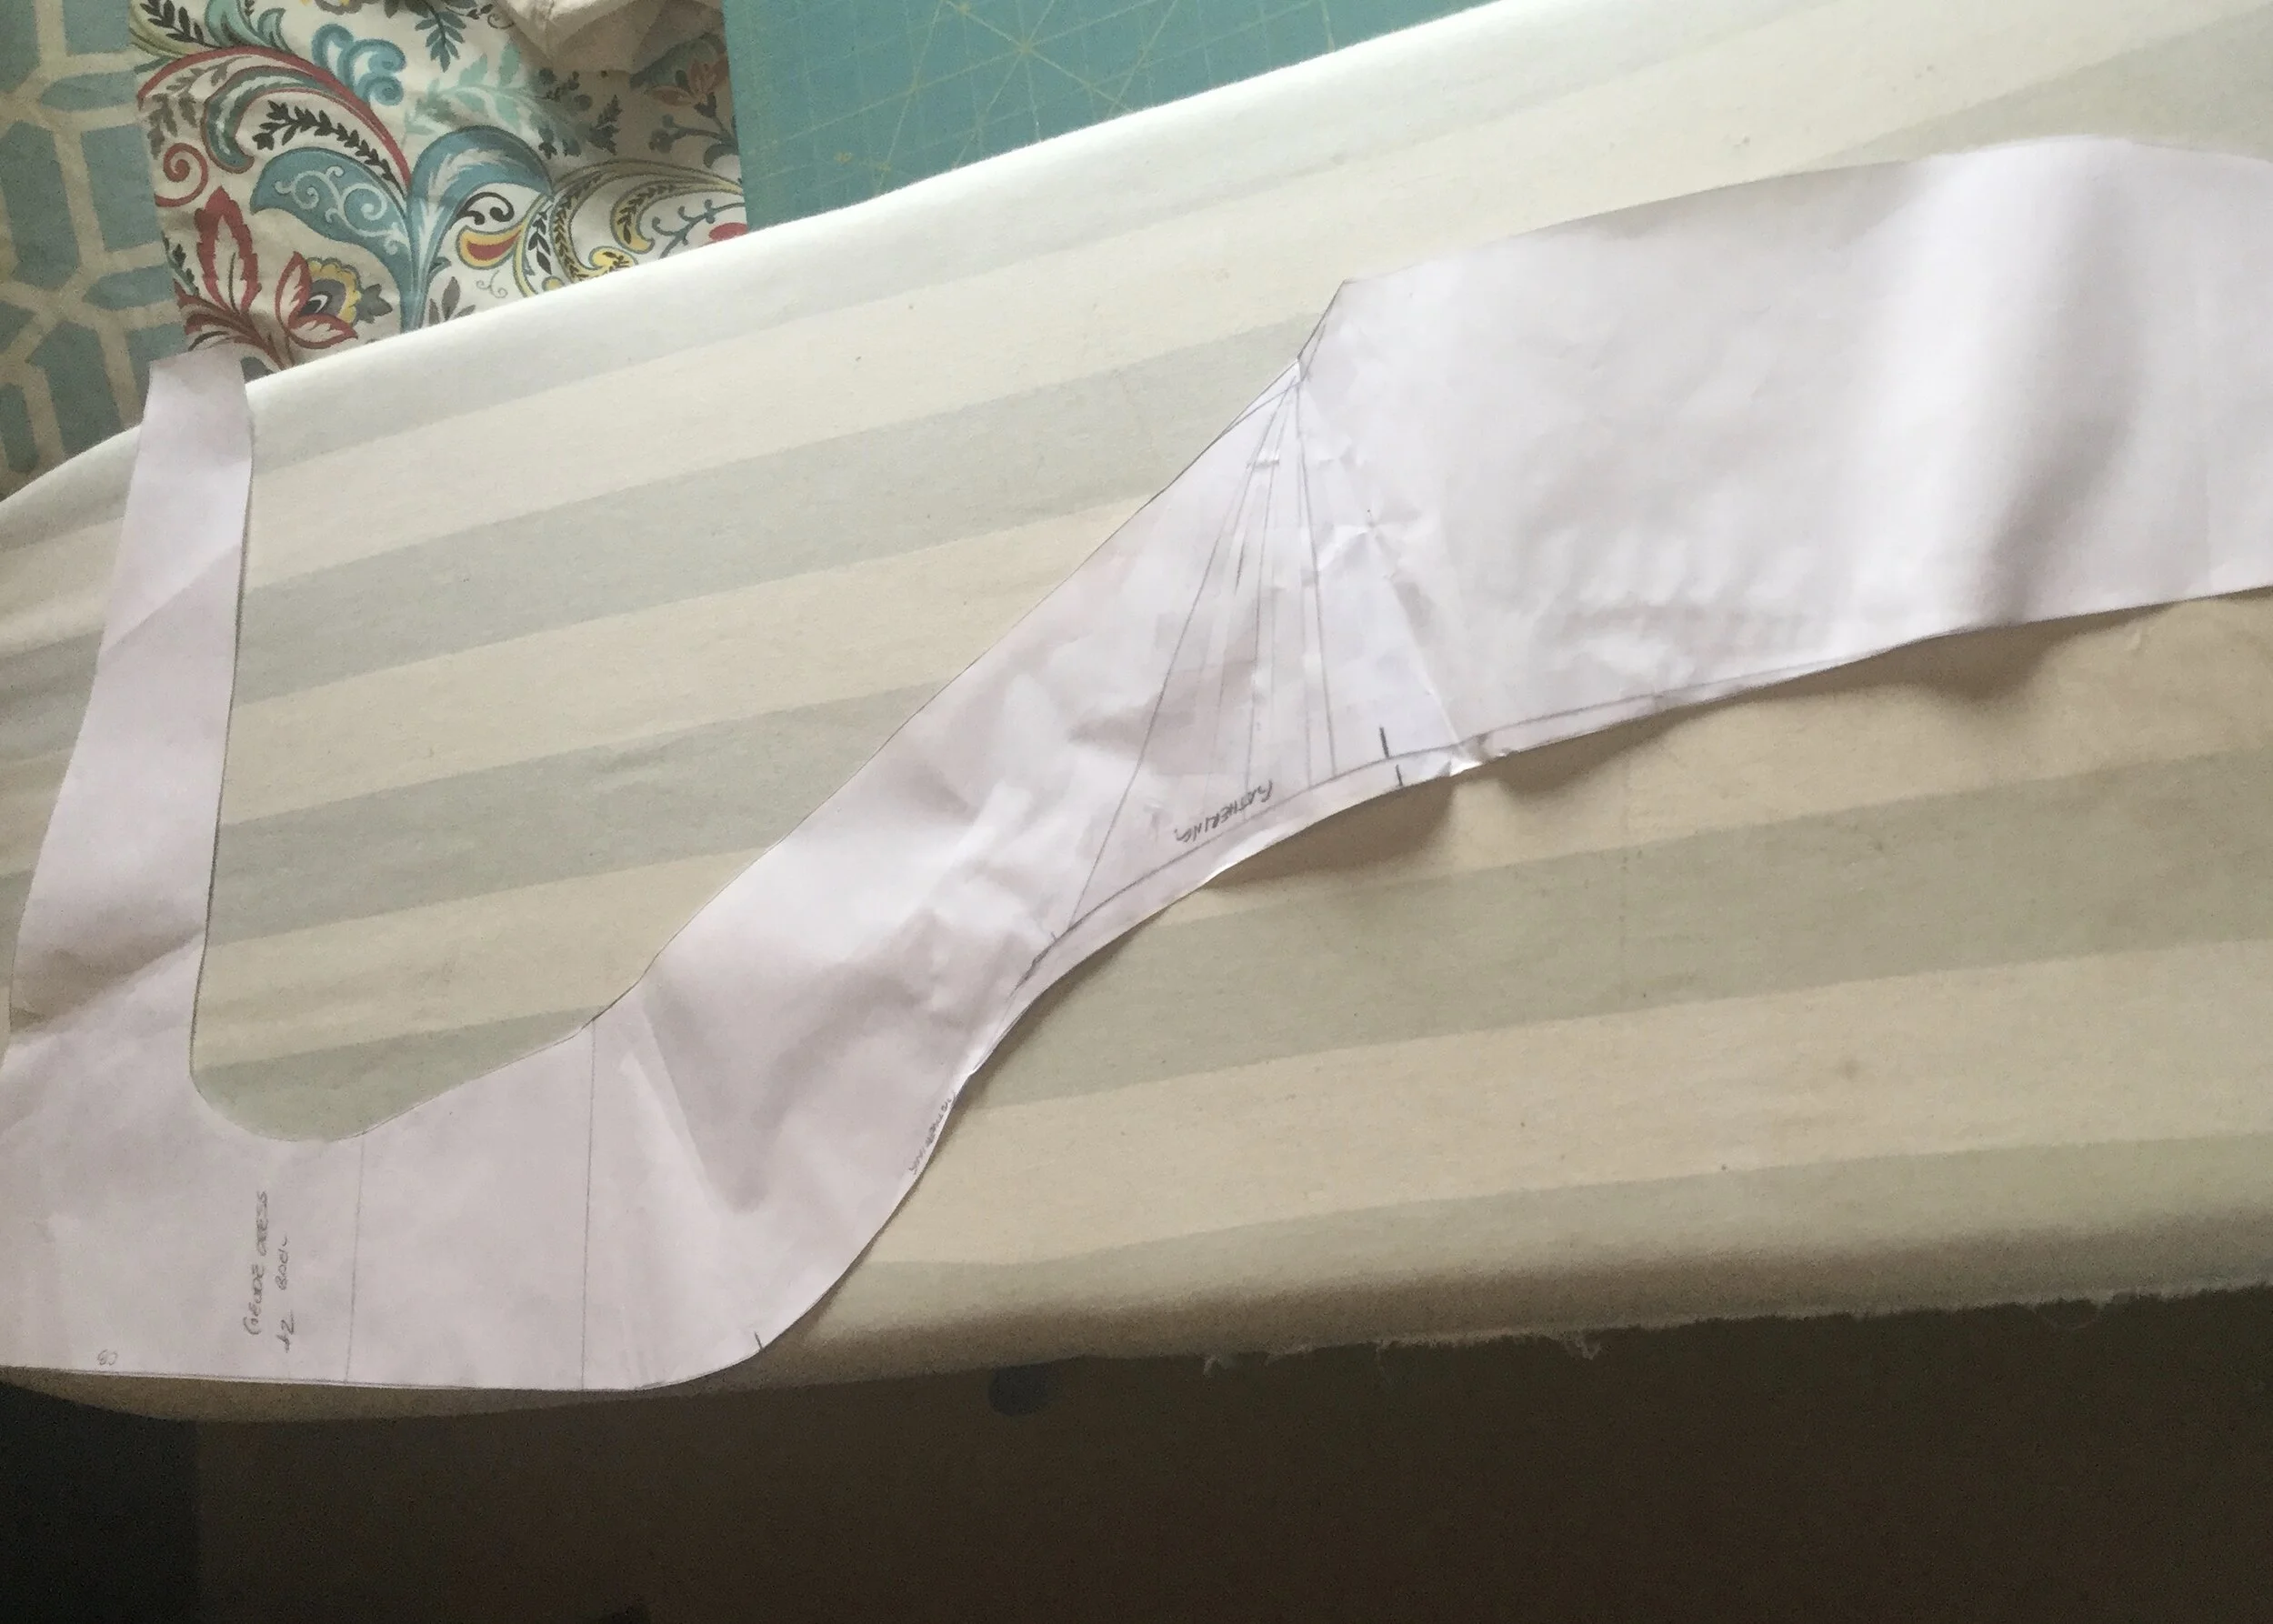
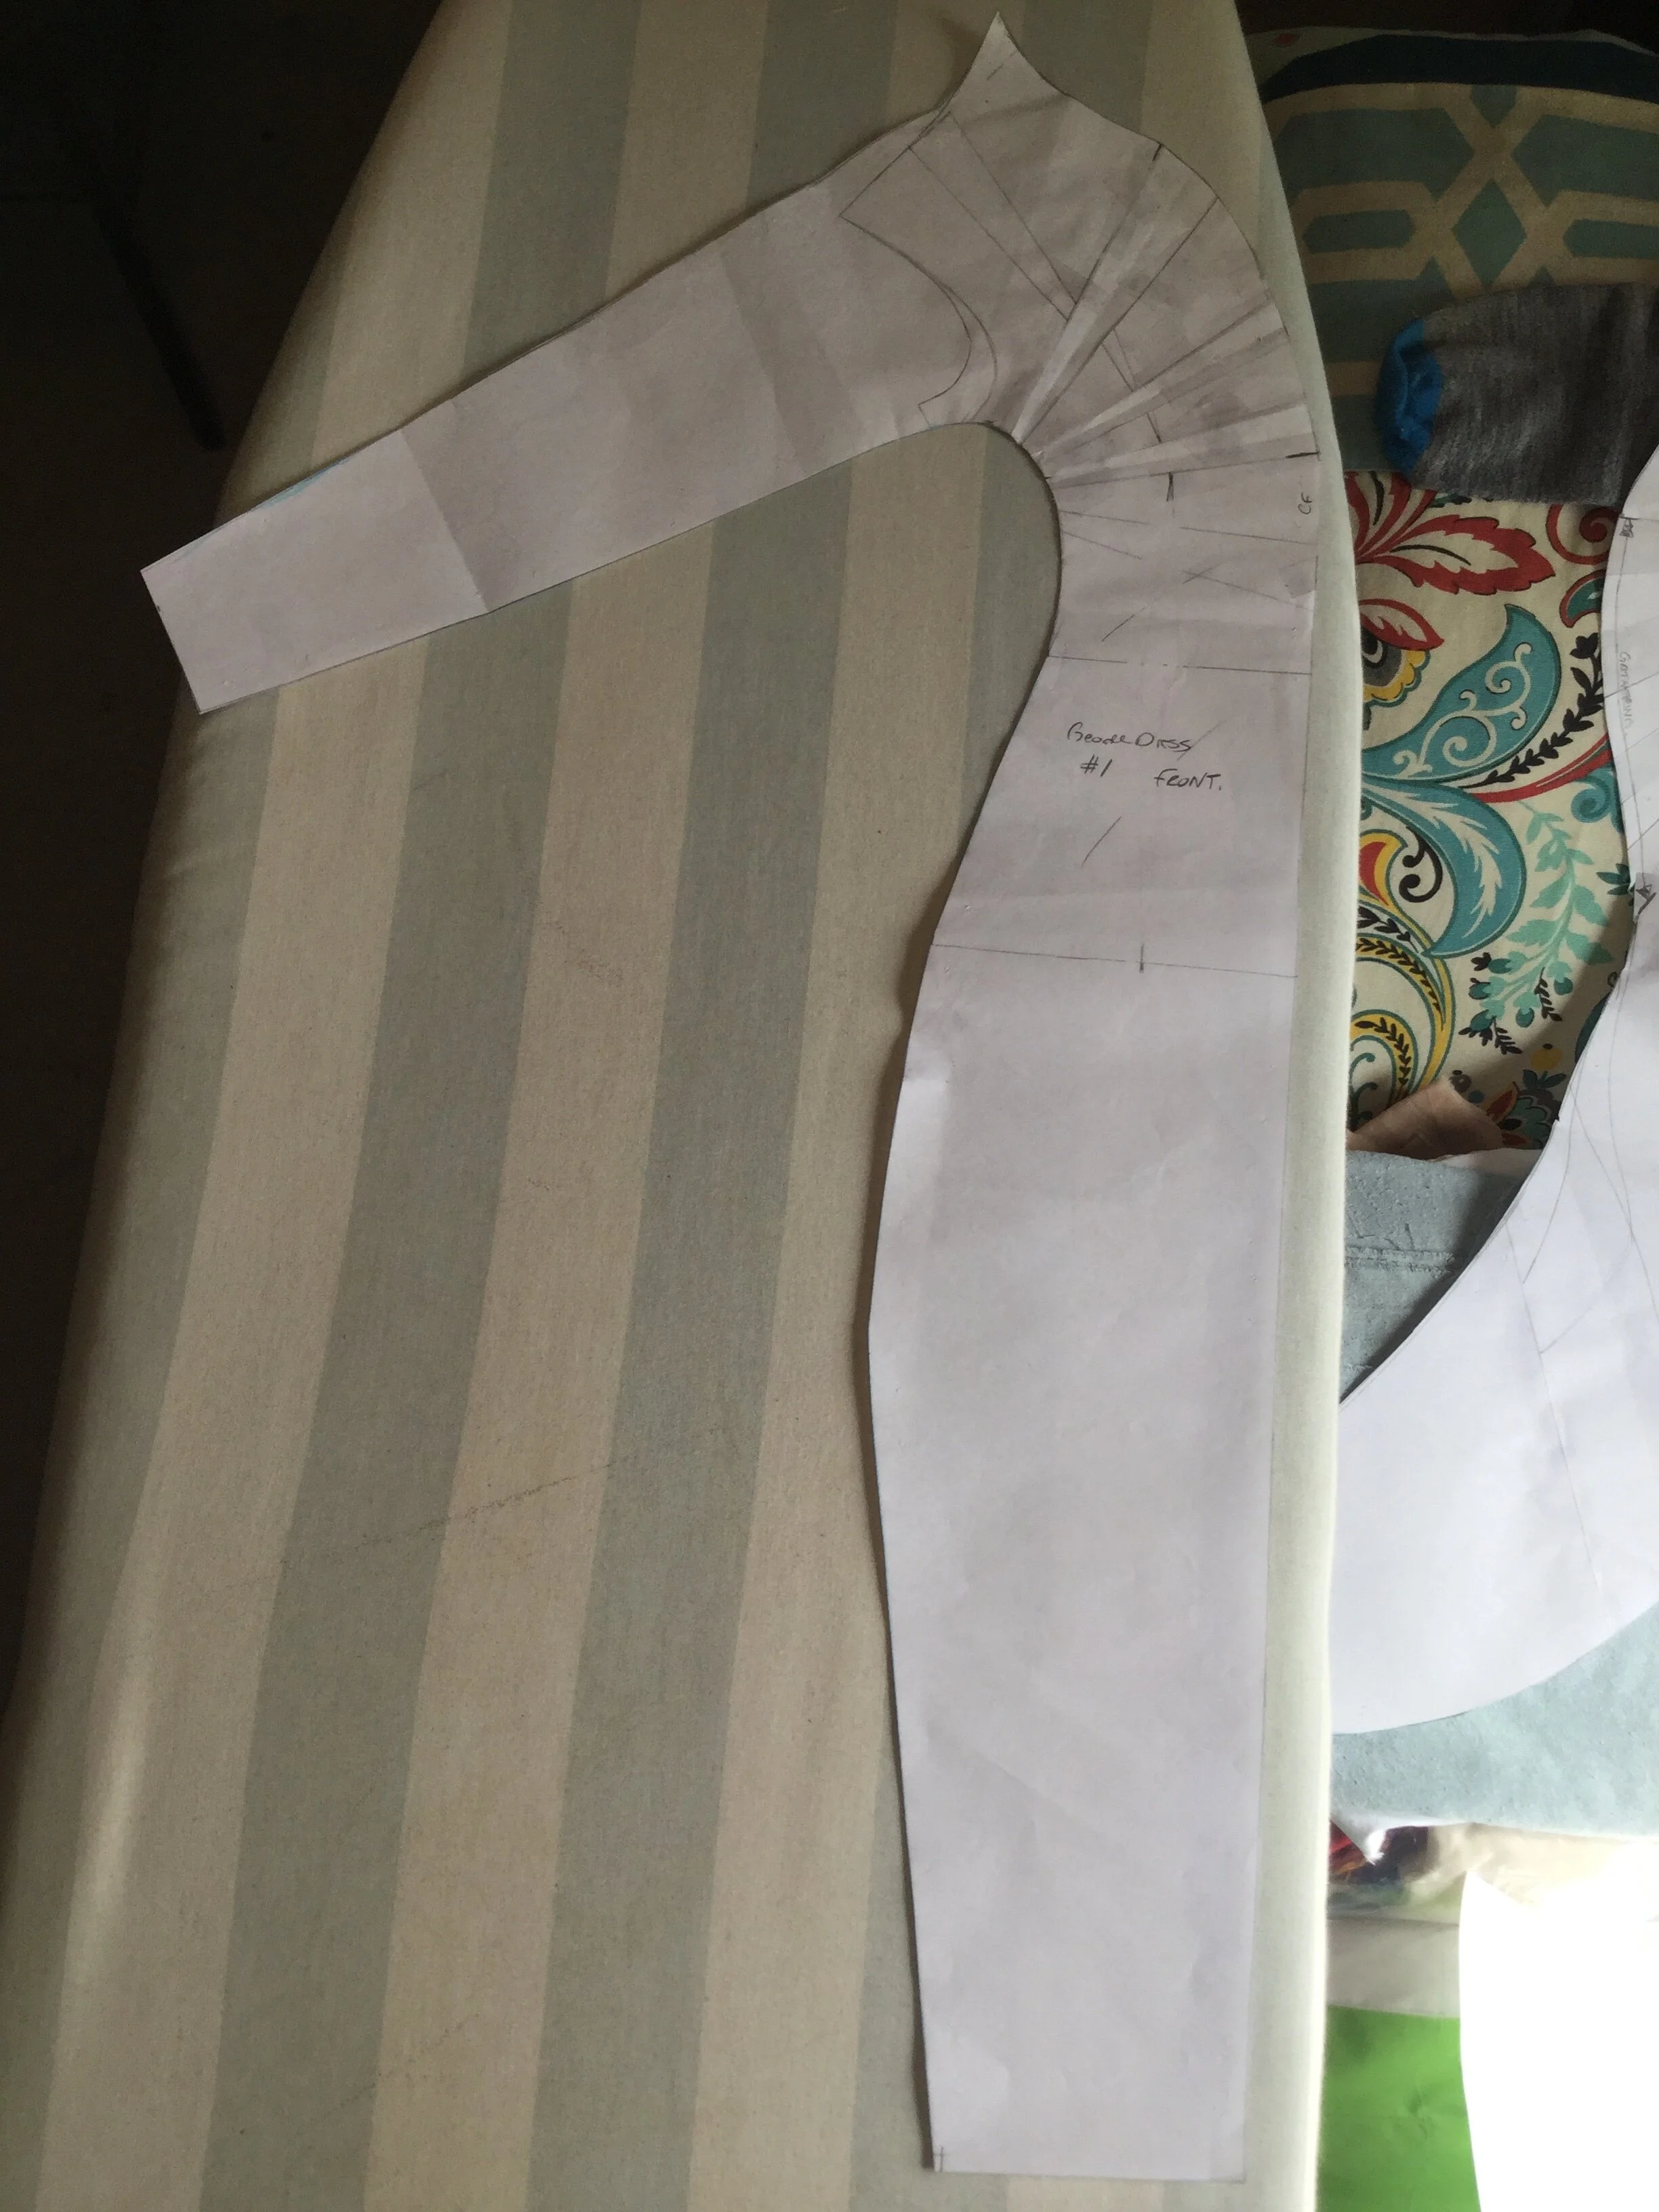
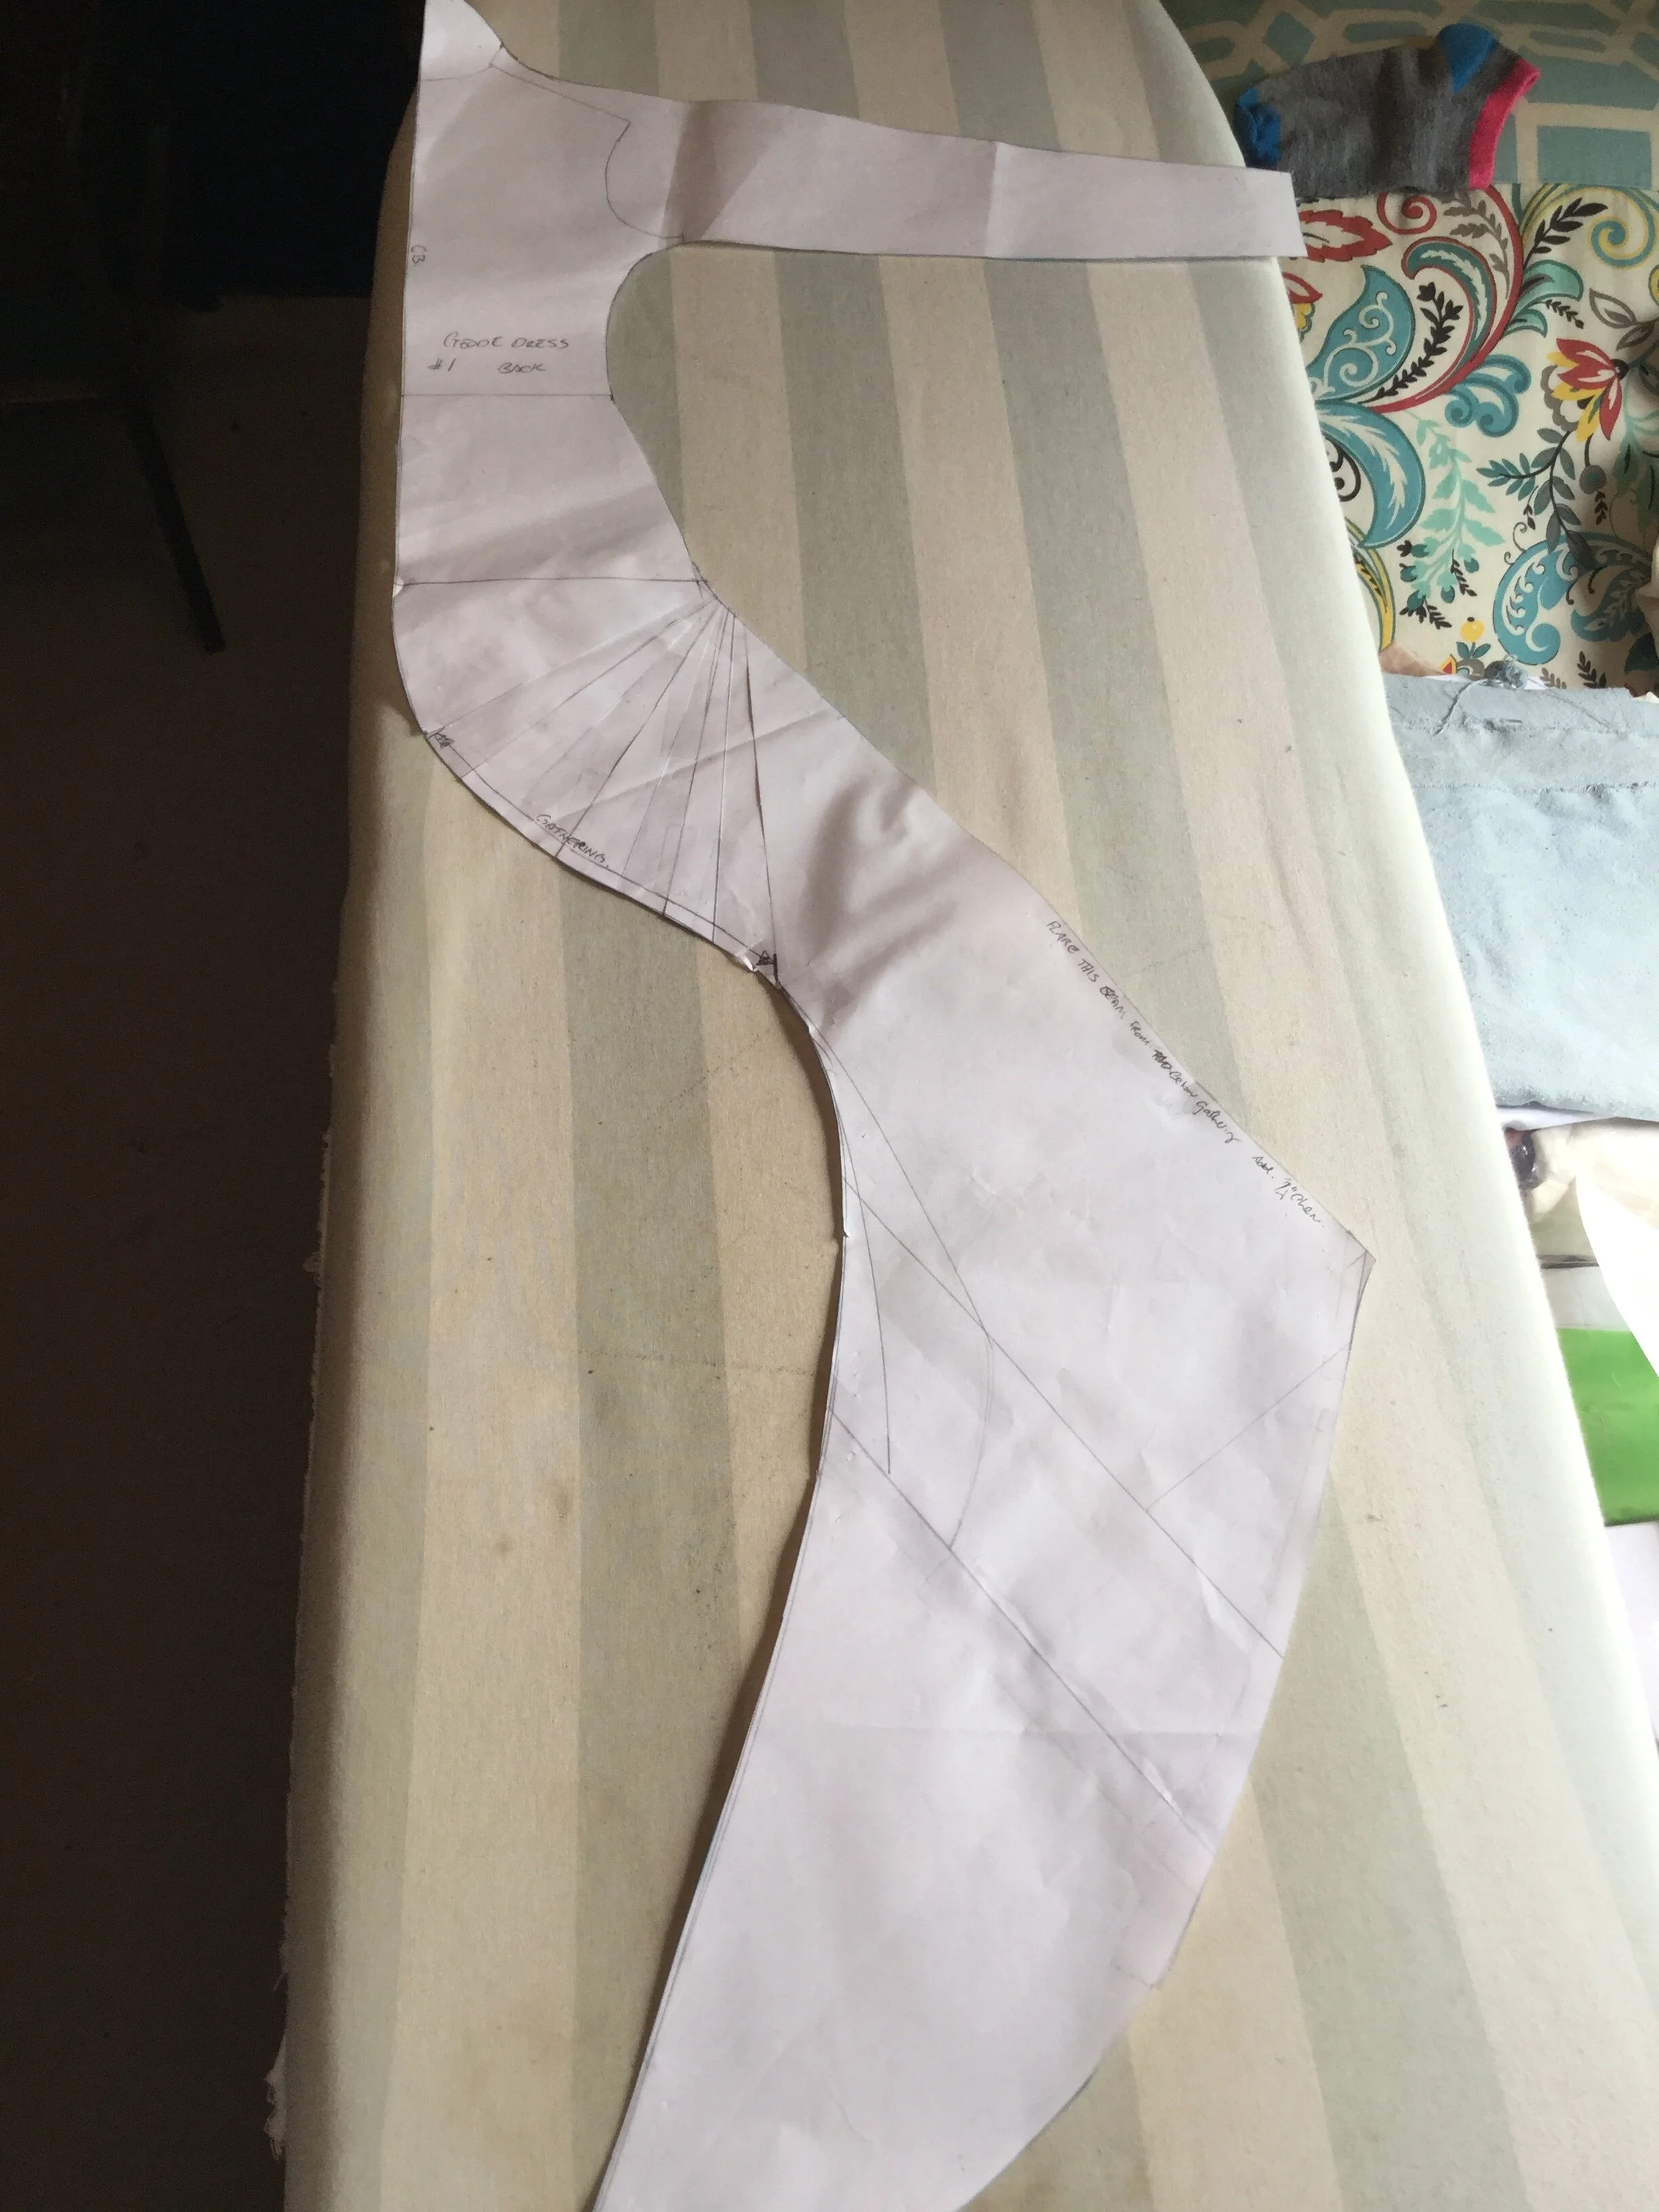
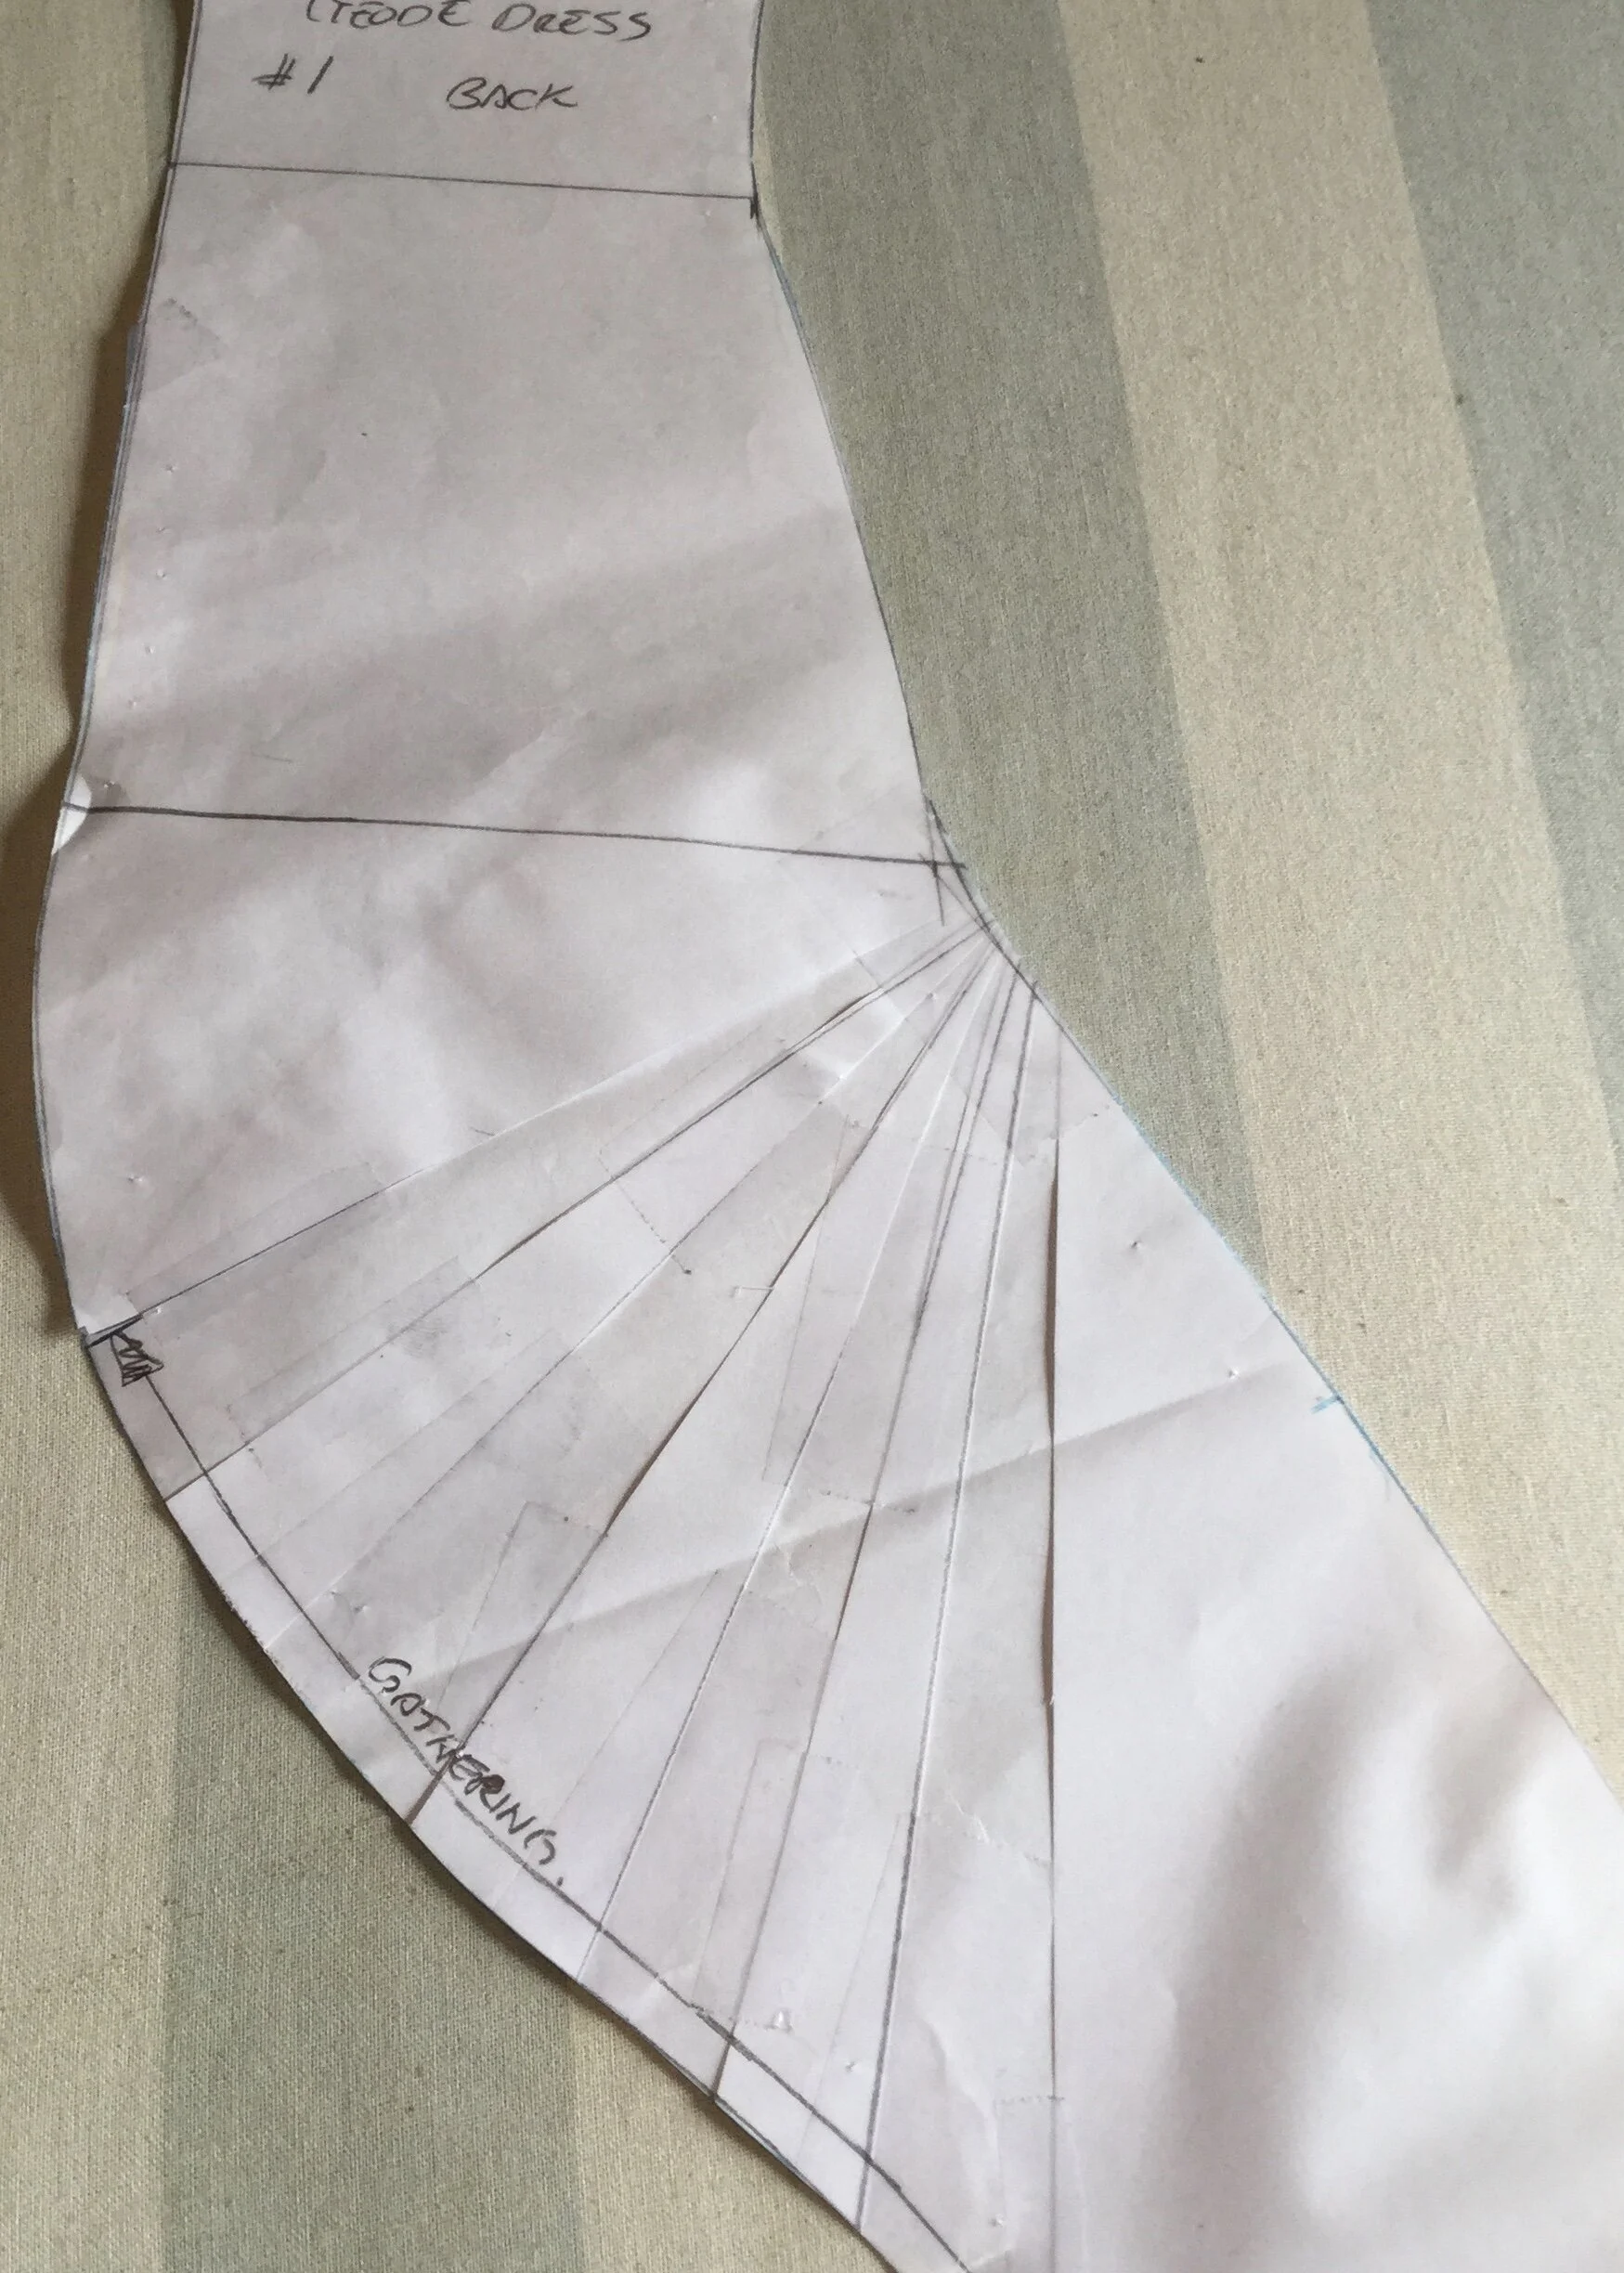
To start drafting the pattern, I basically just took a bash at it. I traced off my basic block and extended the pattern straight down to add a skirt and drew in a sleeve. To create the gathering on the front, I slashed and spread a section from the base of the neckline to a point about an inch above the waist. I was fairly confident that the front pattern would work but I was a bit uncertain about the back. I knew that I would have to slash and spread the pattern in much the same way as the front but exactly what shape I'd end up with and how it would hang was yet to be discovered.
As luck would have it, the first mock up actually looked pretty good. I had to take it in a little on the sides and shorten the sleeves, but overall I was quite happy. This would not do. I couldn't possibly have gotten it right on the first try. Never!
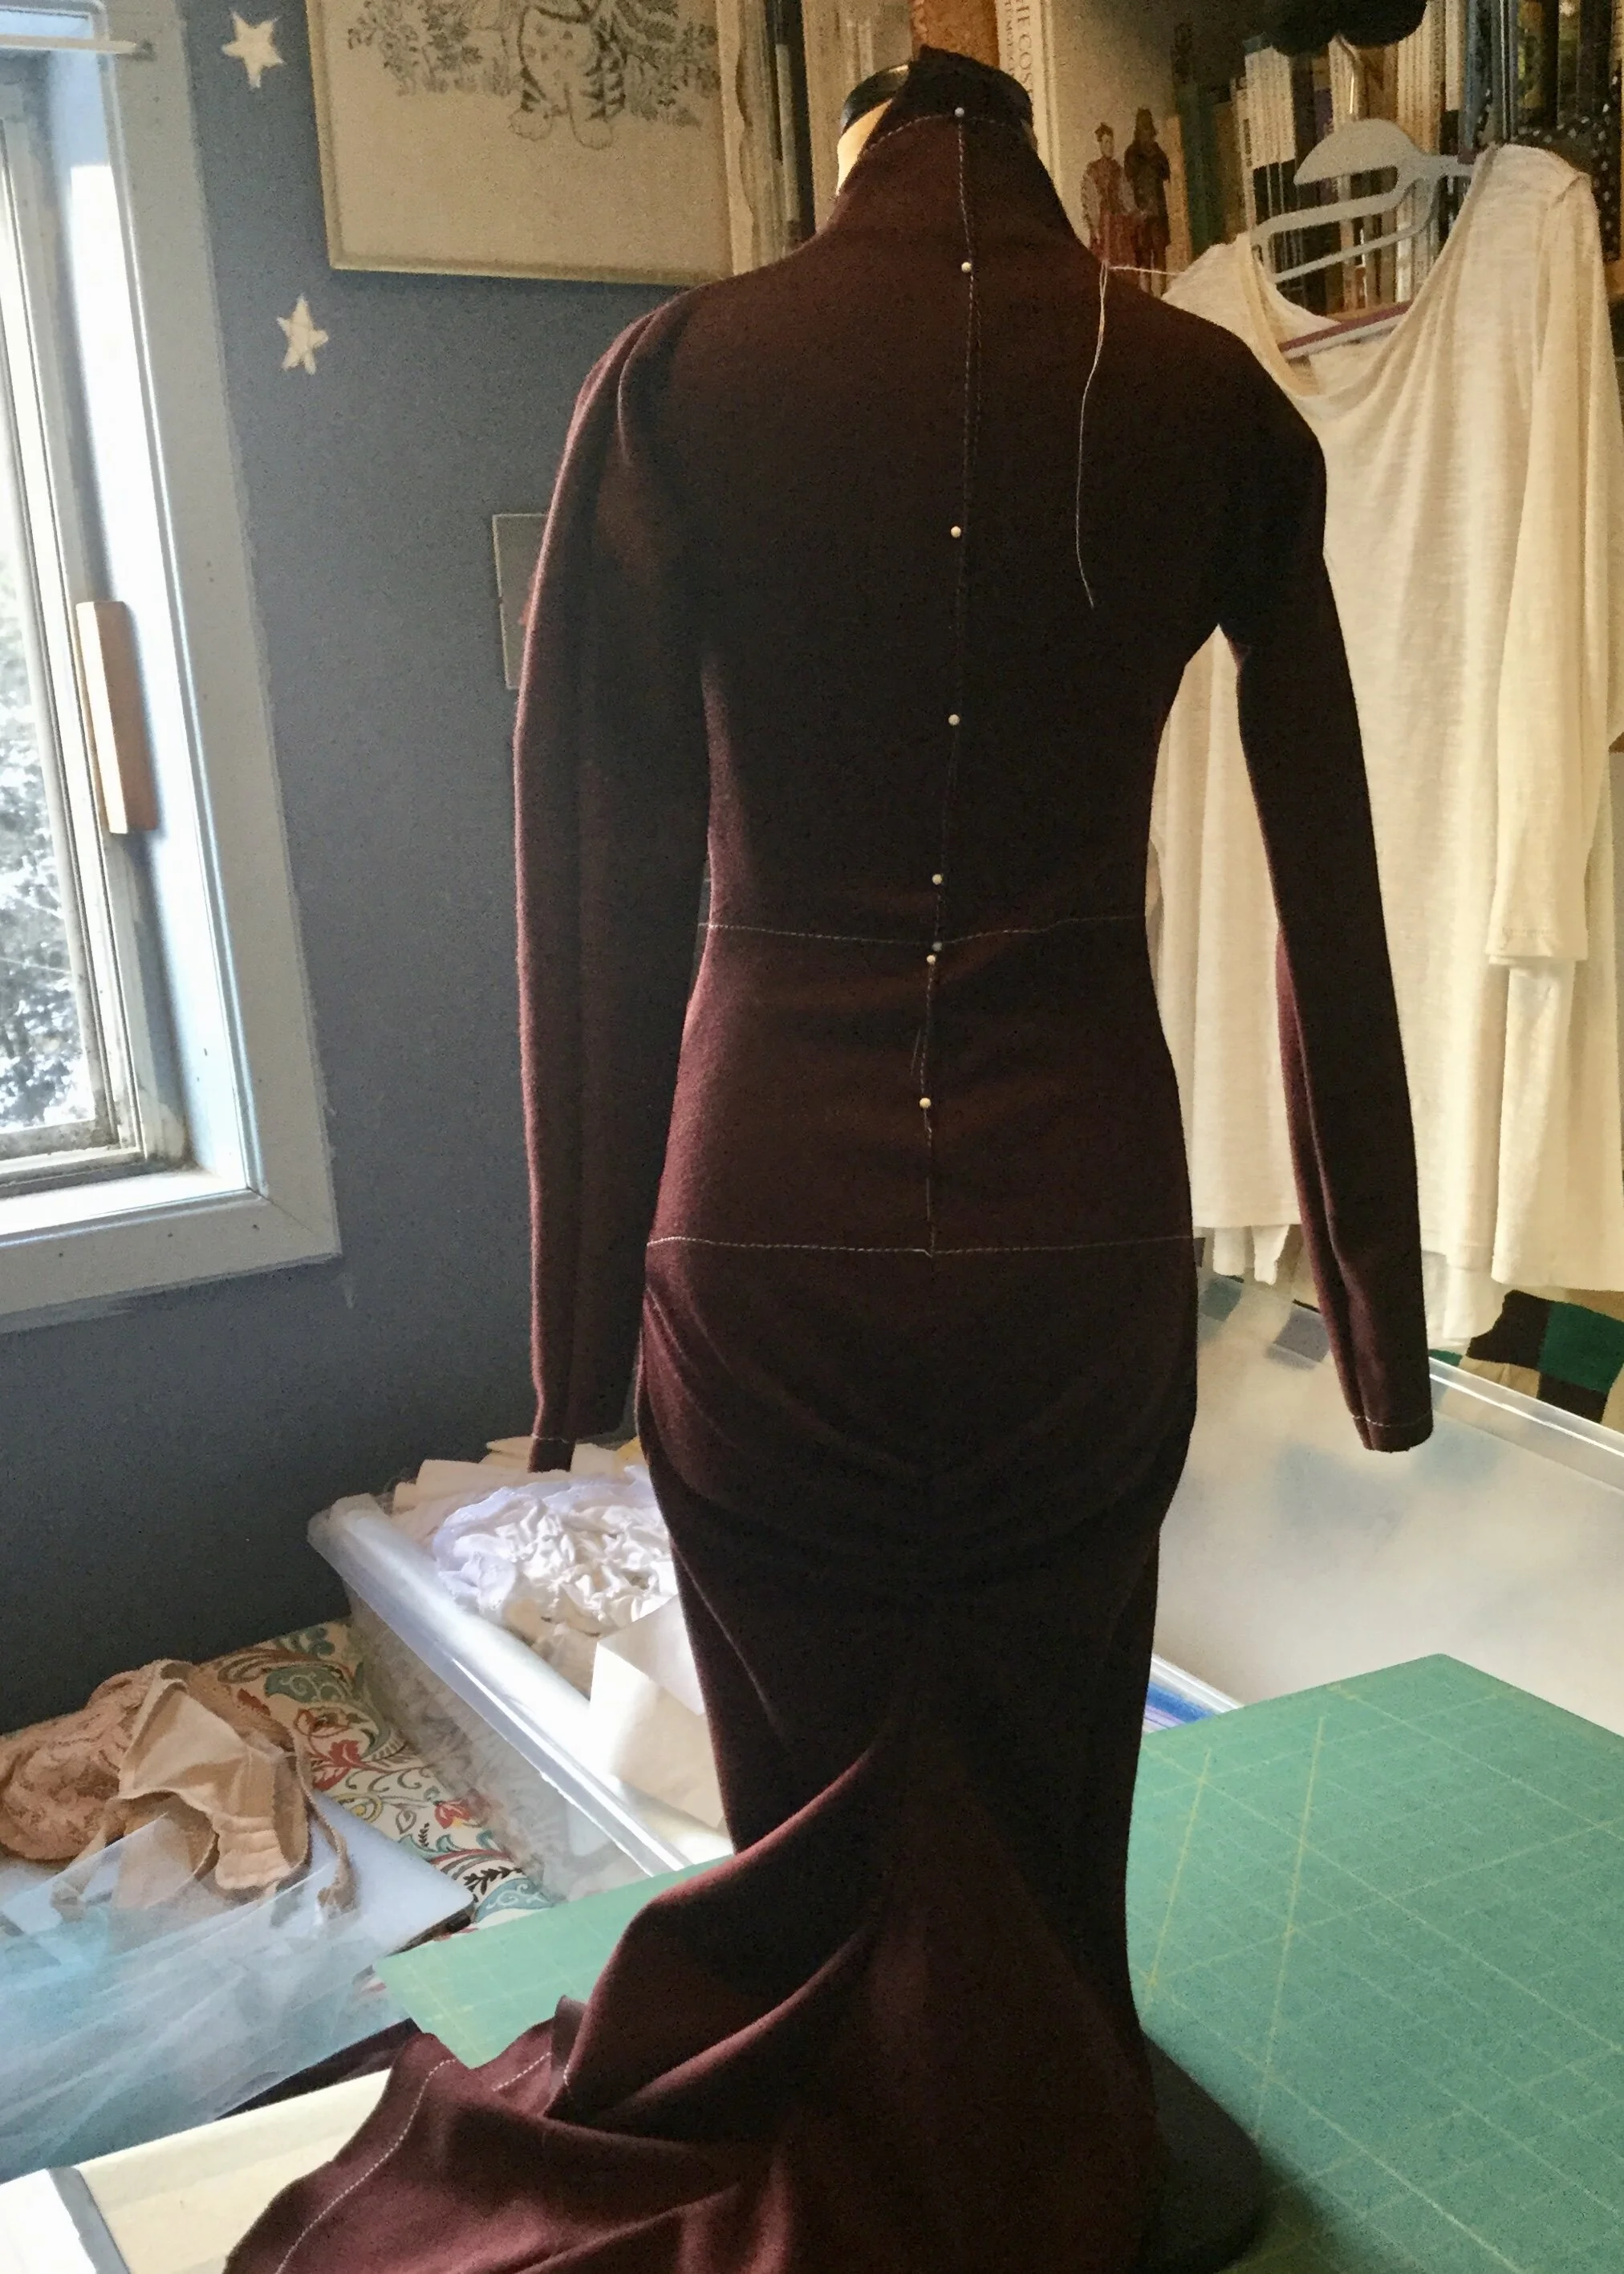
I did want to see if I could get a little more fullness into the gathering at the back. I thought it looked good on the first mock up, but could have more drapiness in the train as it didn't look quite like my drawing. Here's the thing though, as I look at my drawing now, I'm not sure the front and back views are really the same dress... I mean, they’re meant to be, but I don't think the train on the back view is doing the same thing as the train on the front view.
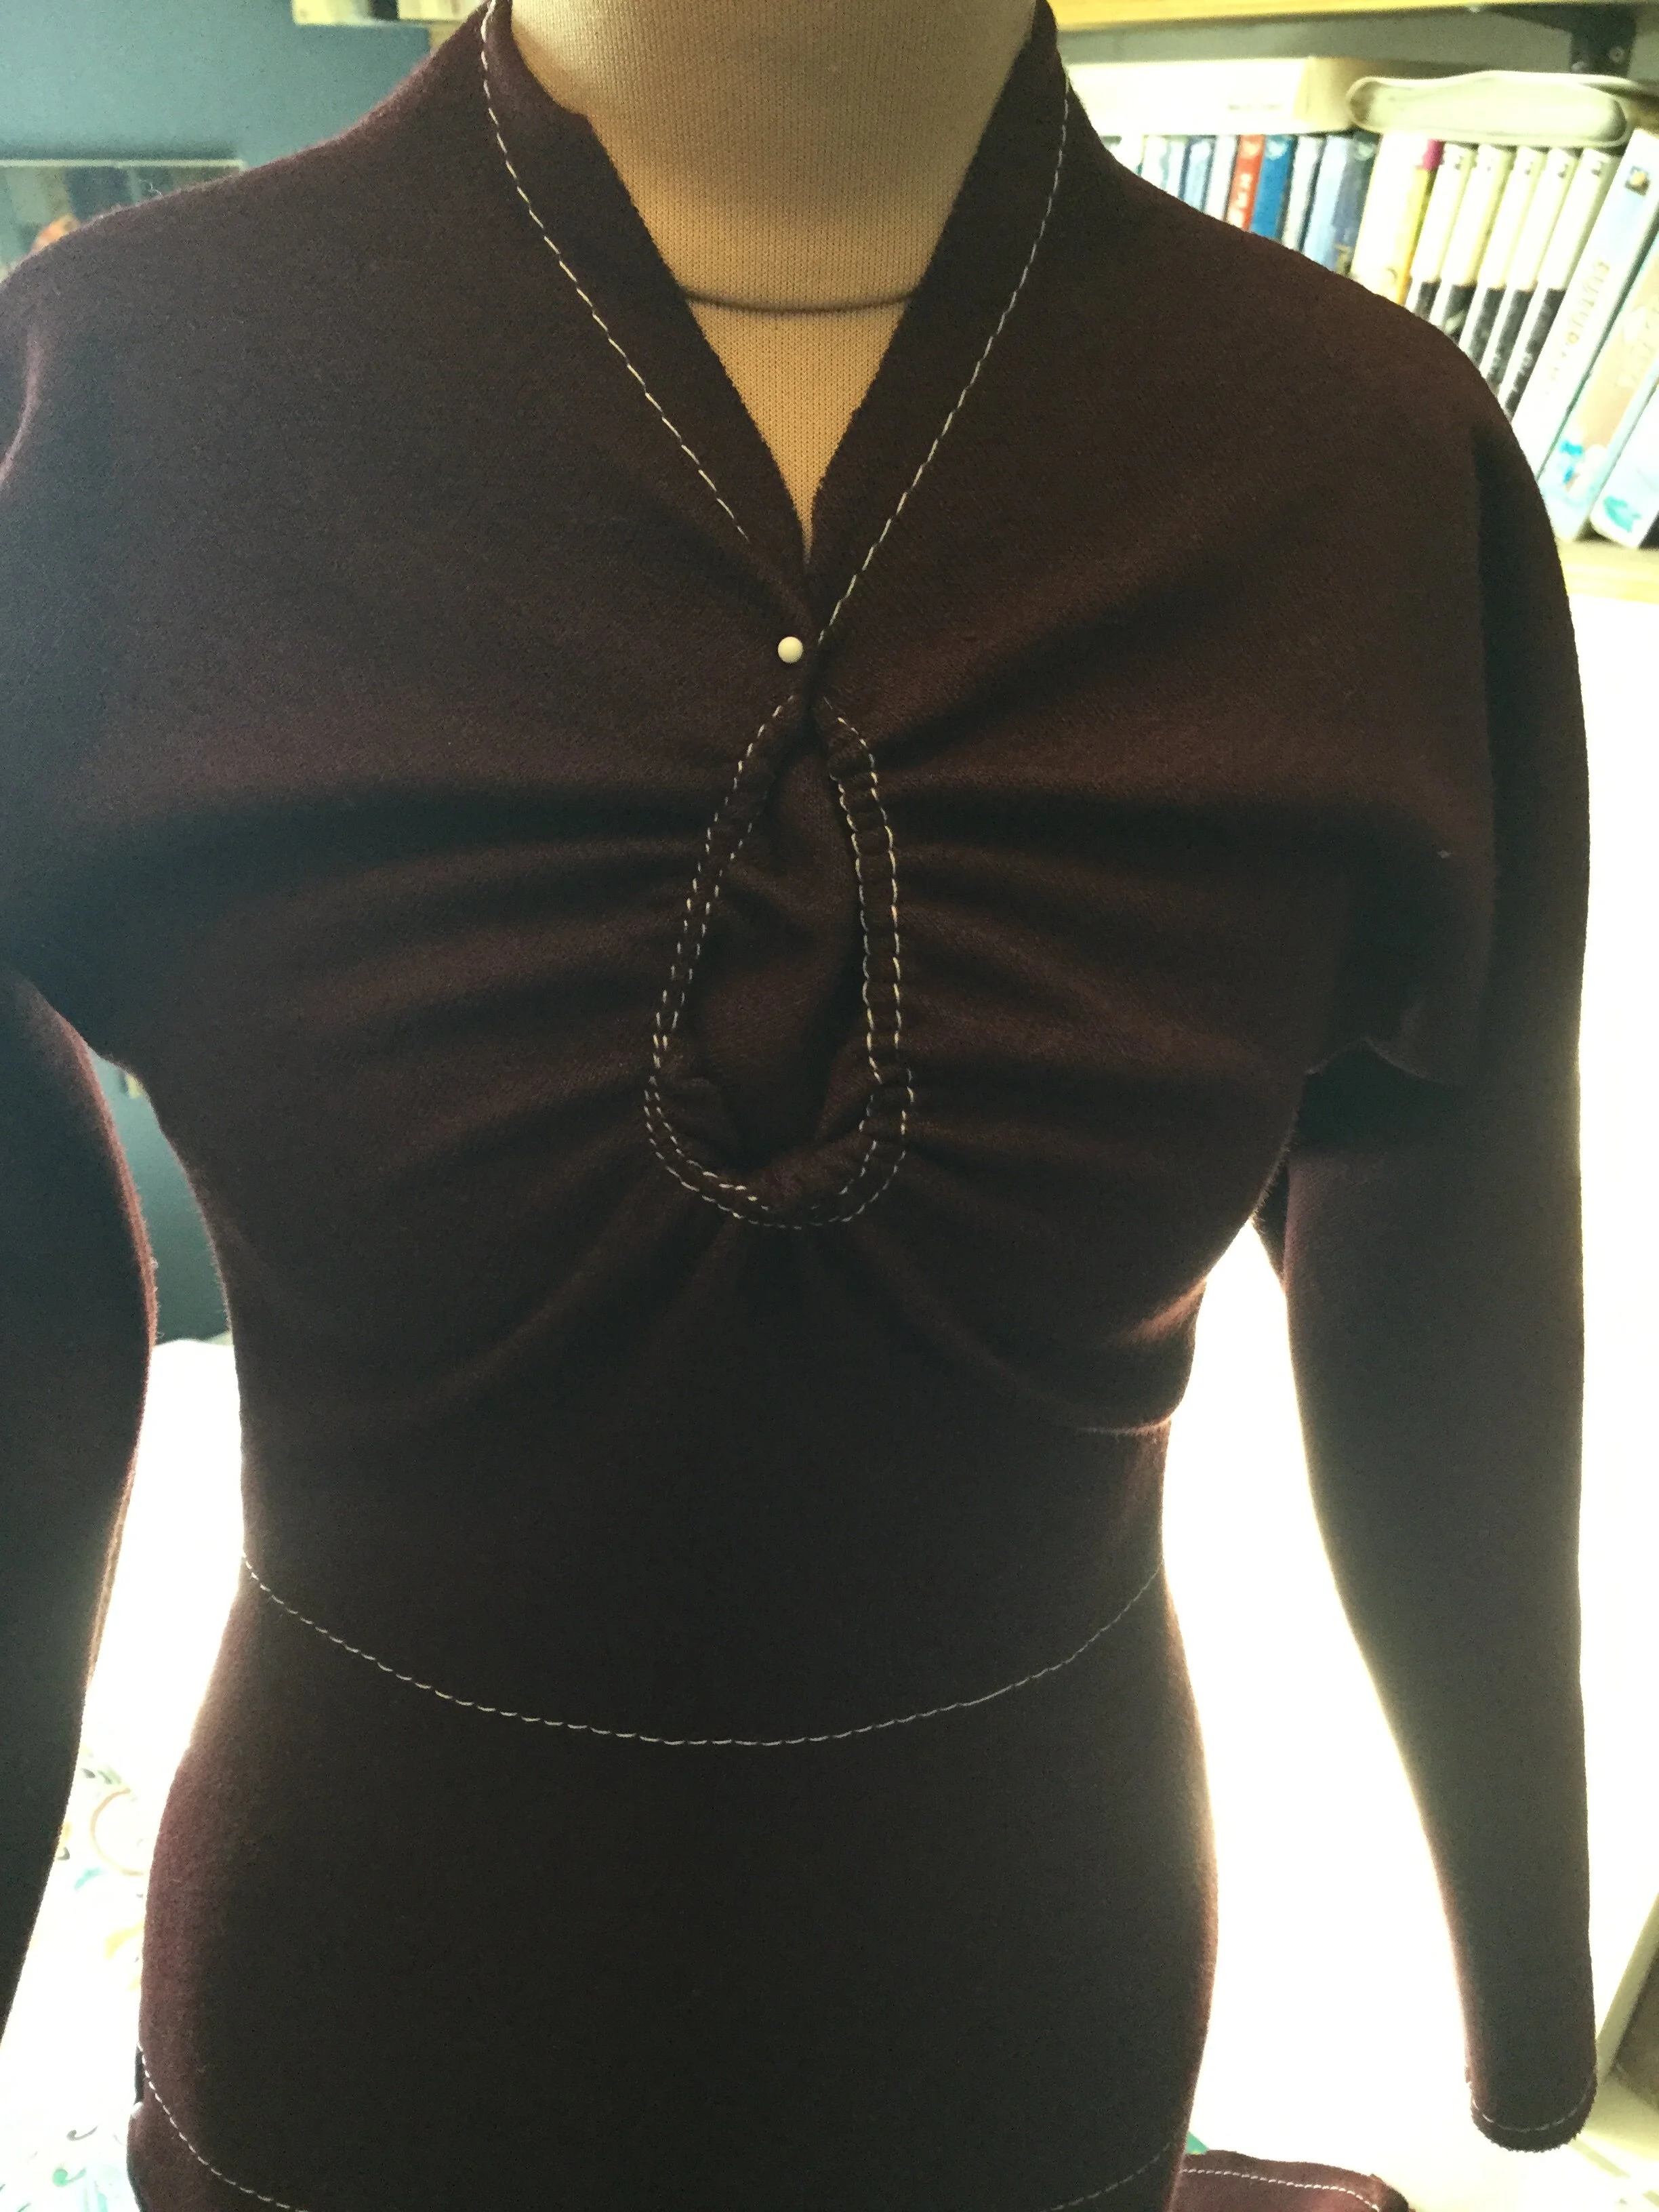
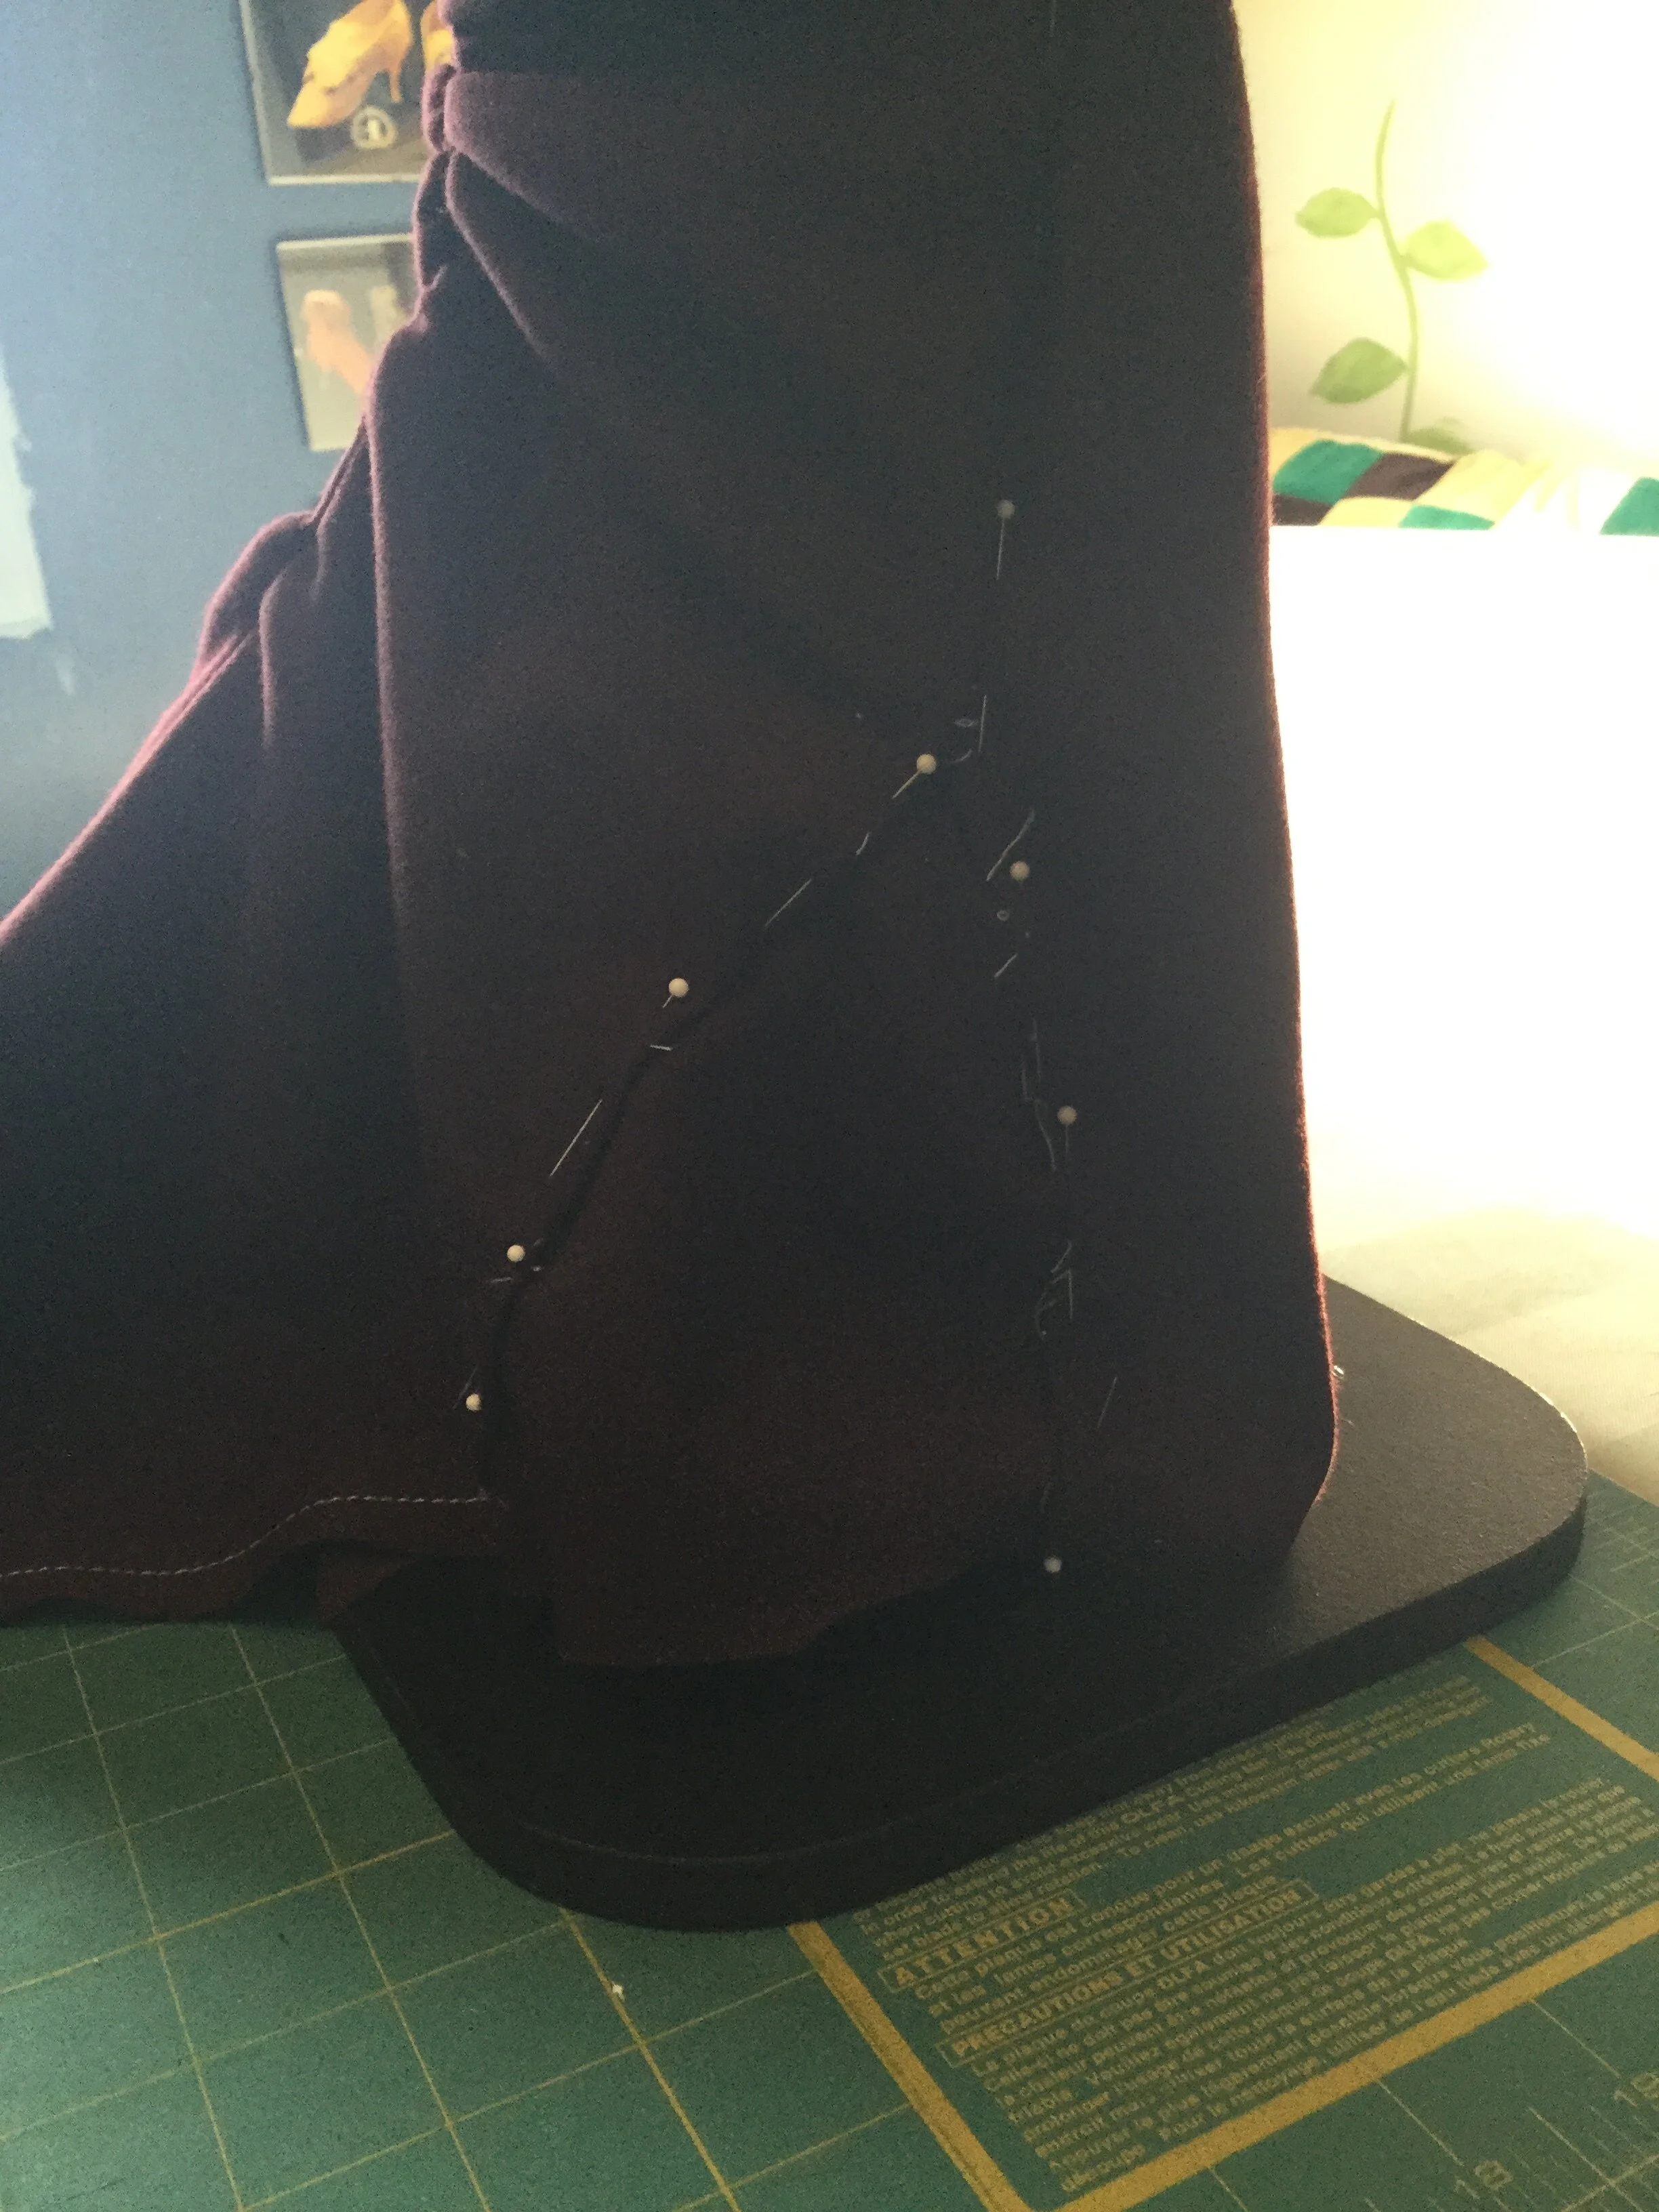
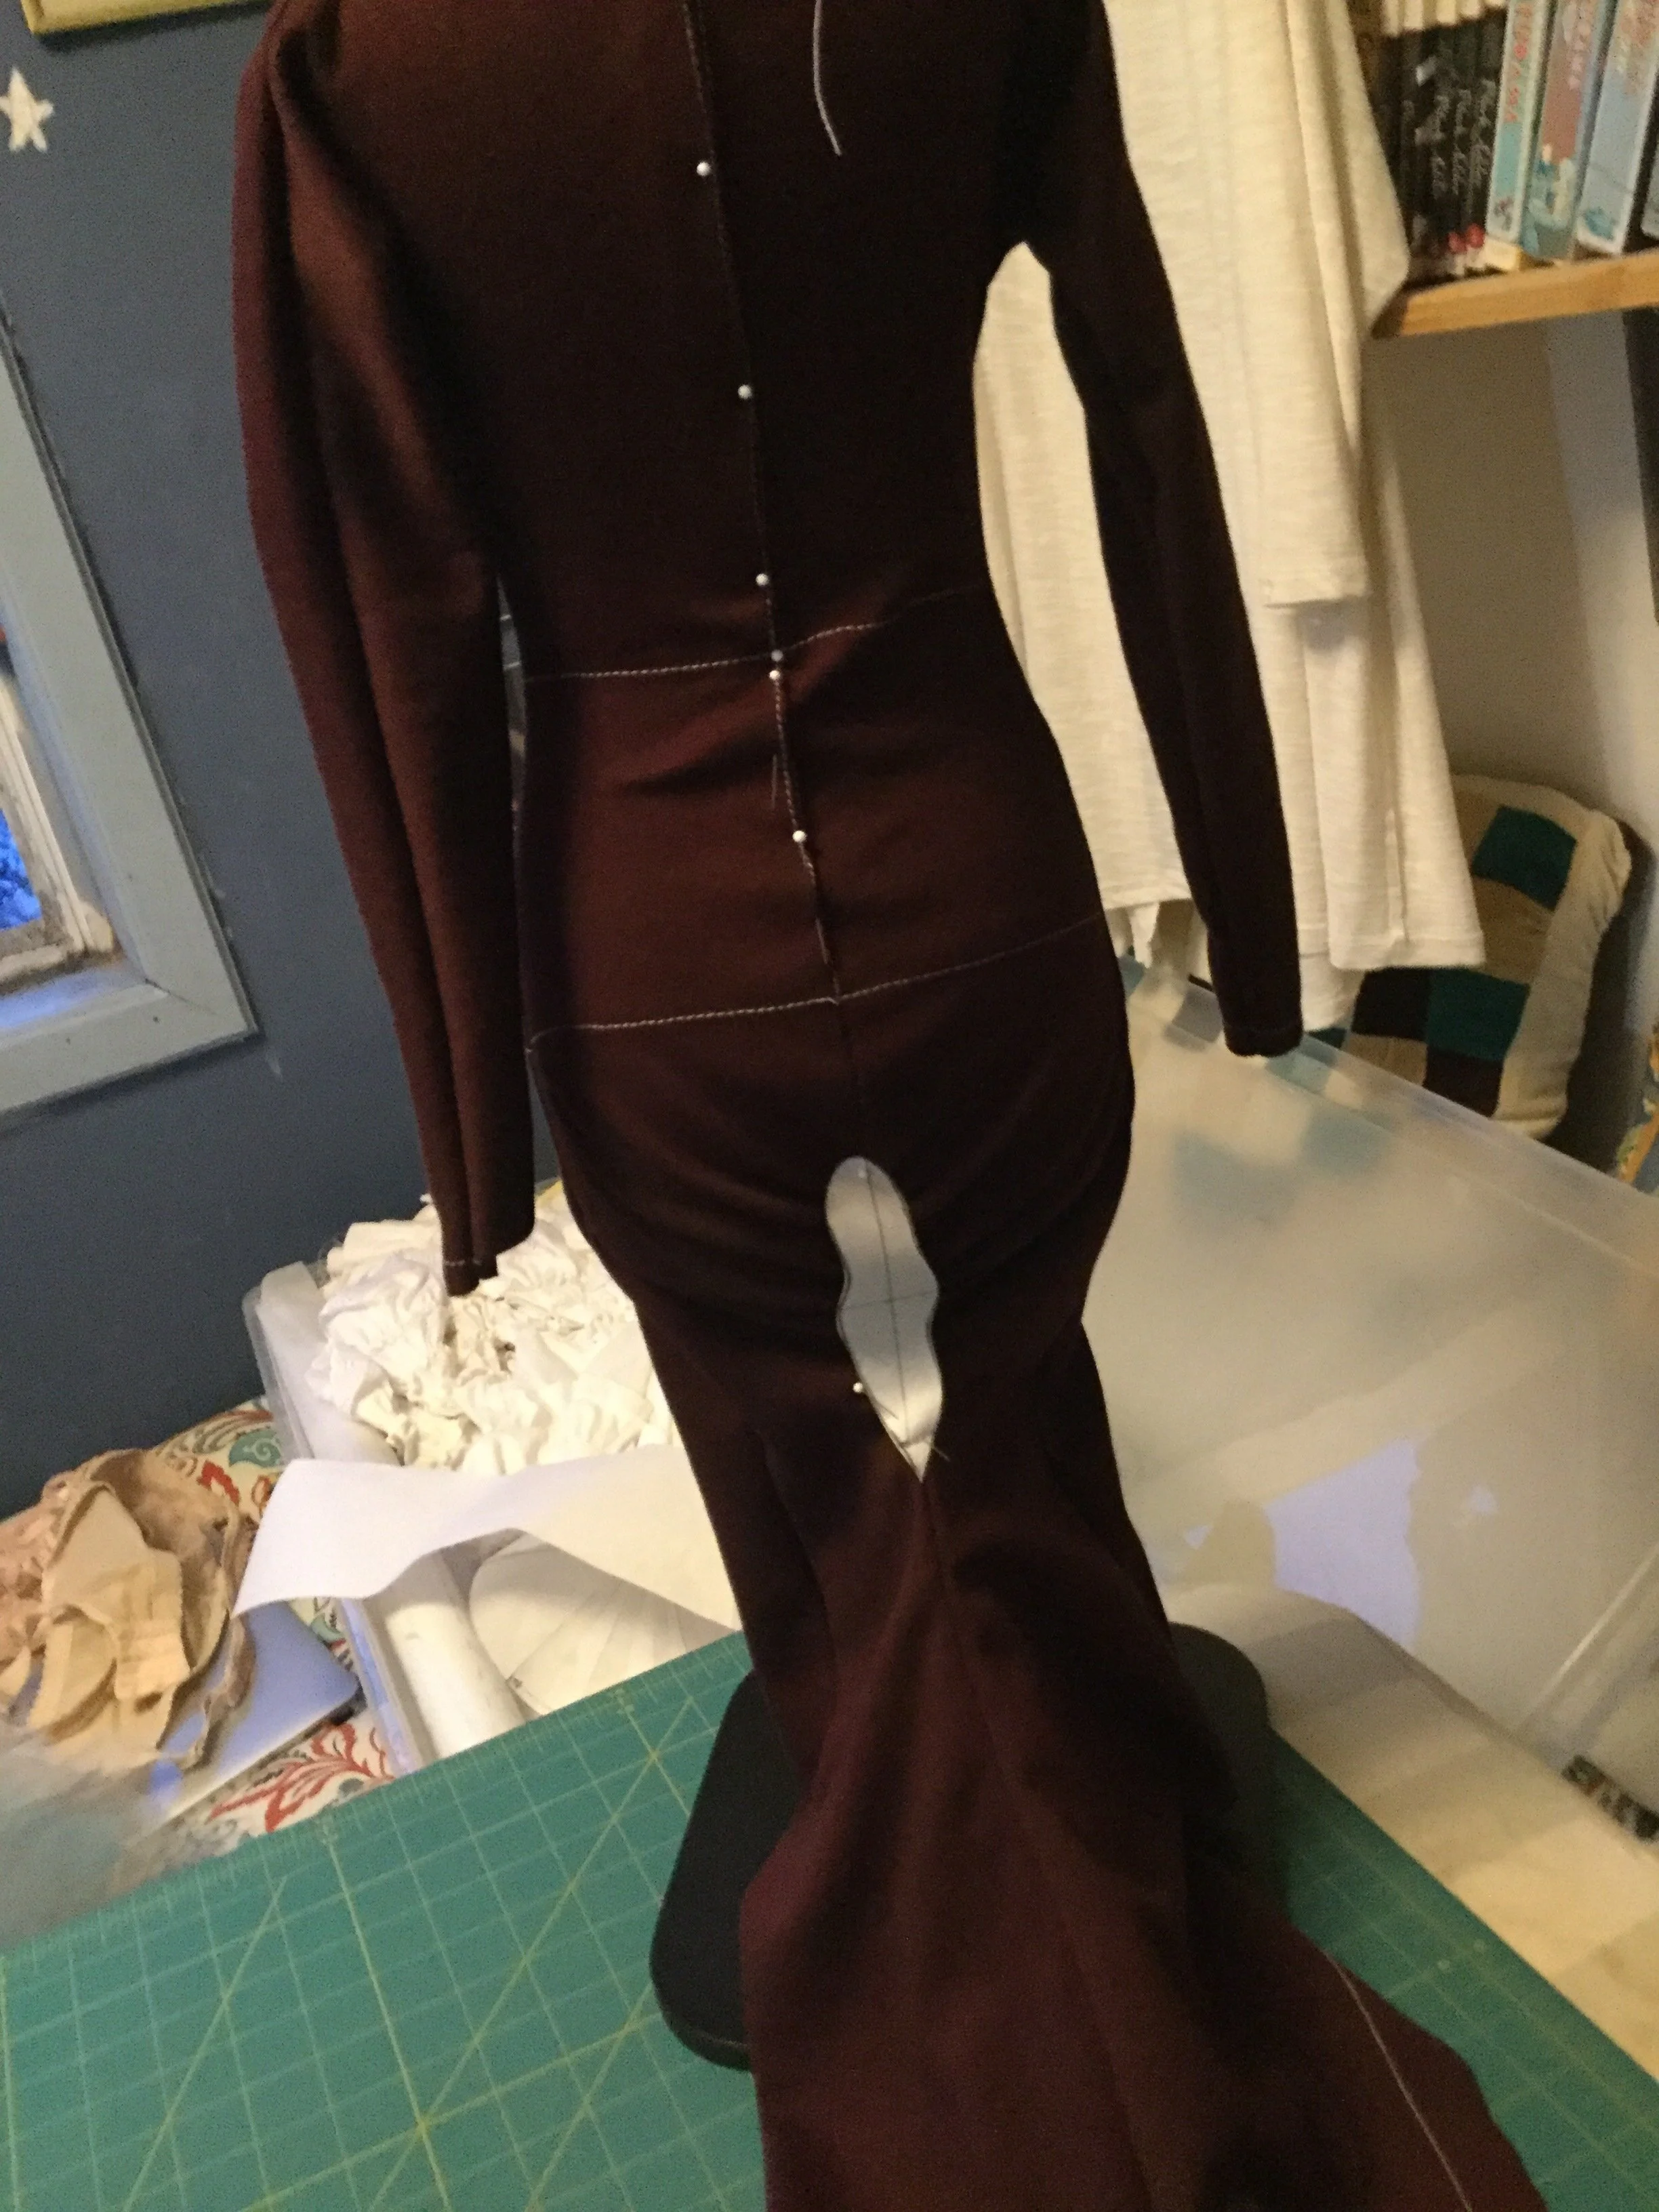
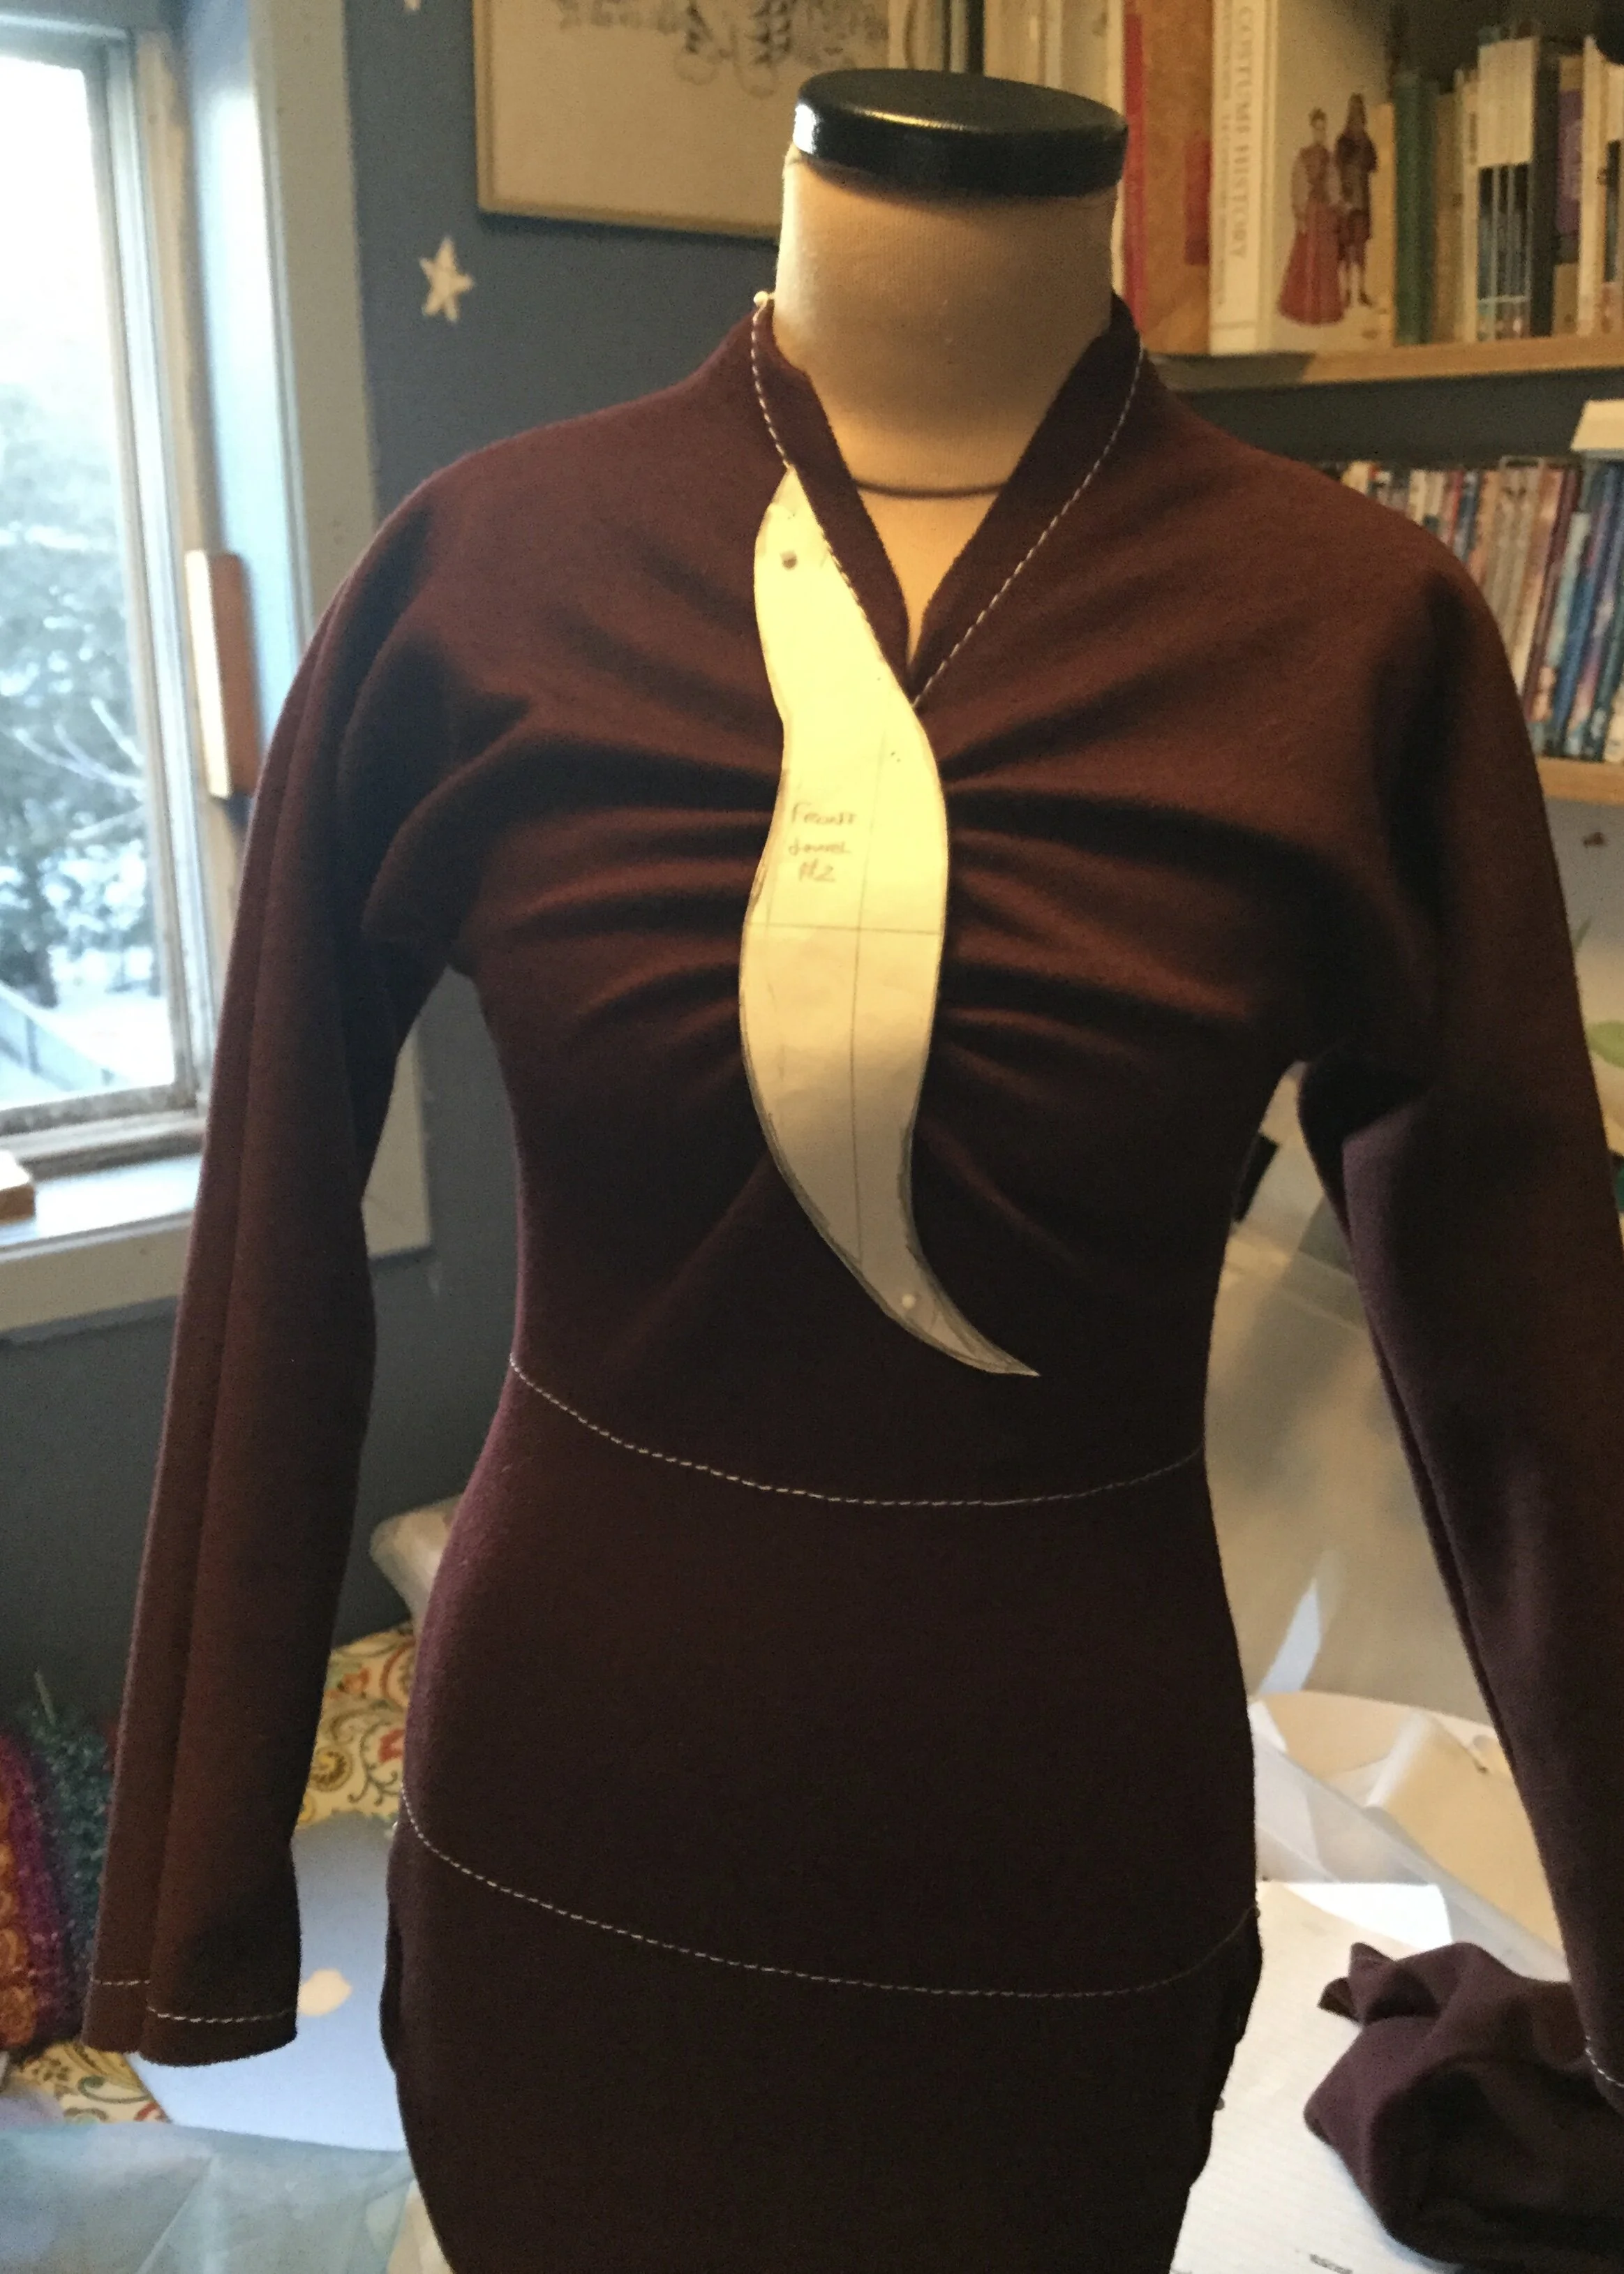
Anyway, I decided to cut a second mock up to try a few things. One was to add more gathering to the back and see what that would do. The second was to try shaping the gathering at the centre front to create a sort of keyhole opening into which I could stitch a flat piece to sit under the beaded section, thereby making it sit a little flatter and be a bit less bulky. This would also potentially give me something a little more sturdy to which to sew the beaded piece.
Attempting to shape the centre front. It’s not obvious from the picture, but it was giving me attitude.
I kind of figured it out but I was not entirely successful. I was using a knit fabric for the mock up as I knew that I would use a knit for the final dress but here's the thing about knits: they stretch. Even if my gathering lines were not technically on the true centre front, the fabric didn't offer up any resistance to being pulled to meet at the centre. So that was a bit of a waste of time. I did revisit the idea more successfully when I got to the final build, but decided that trying to incorporate it into the pattern might not work how I wanted it to.
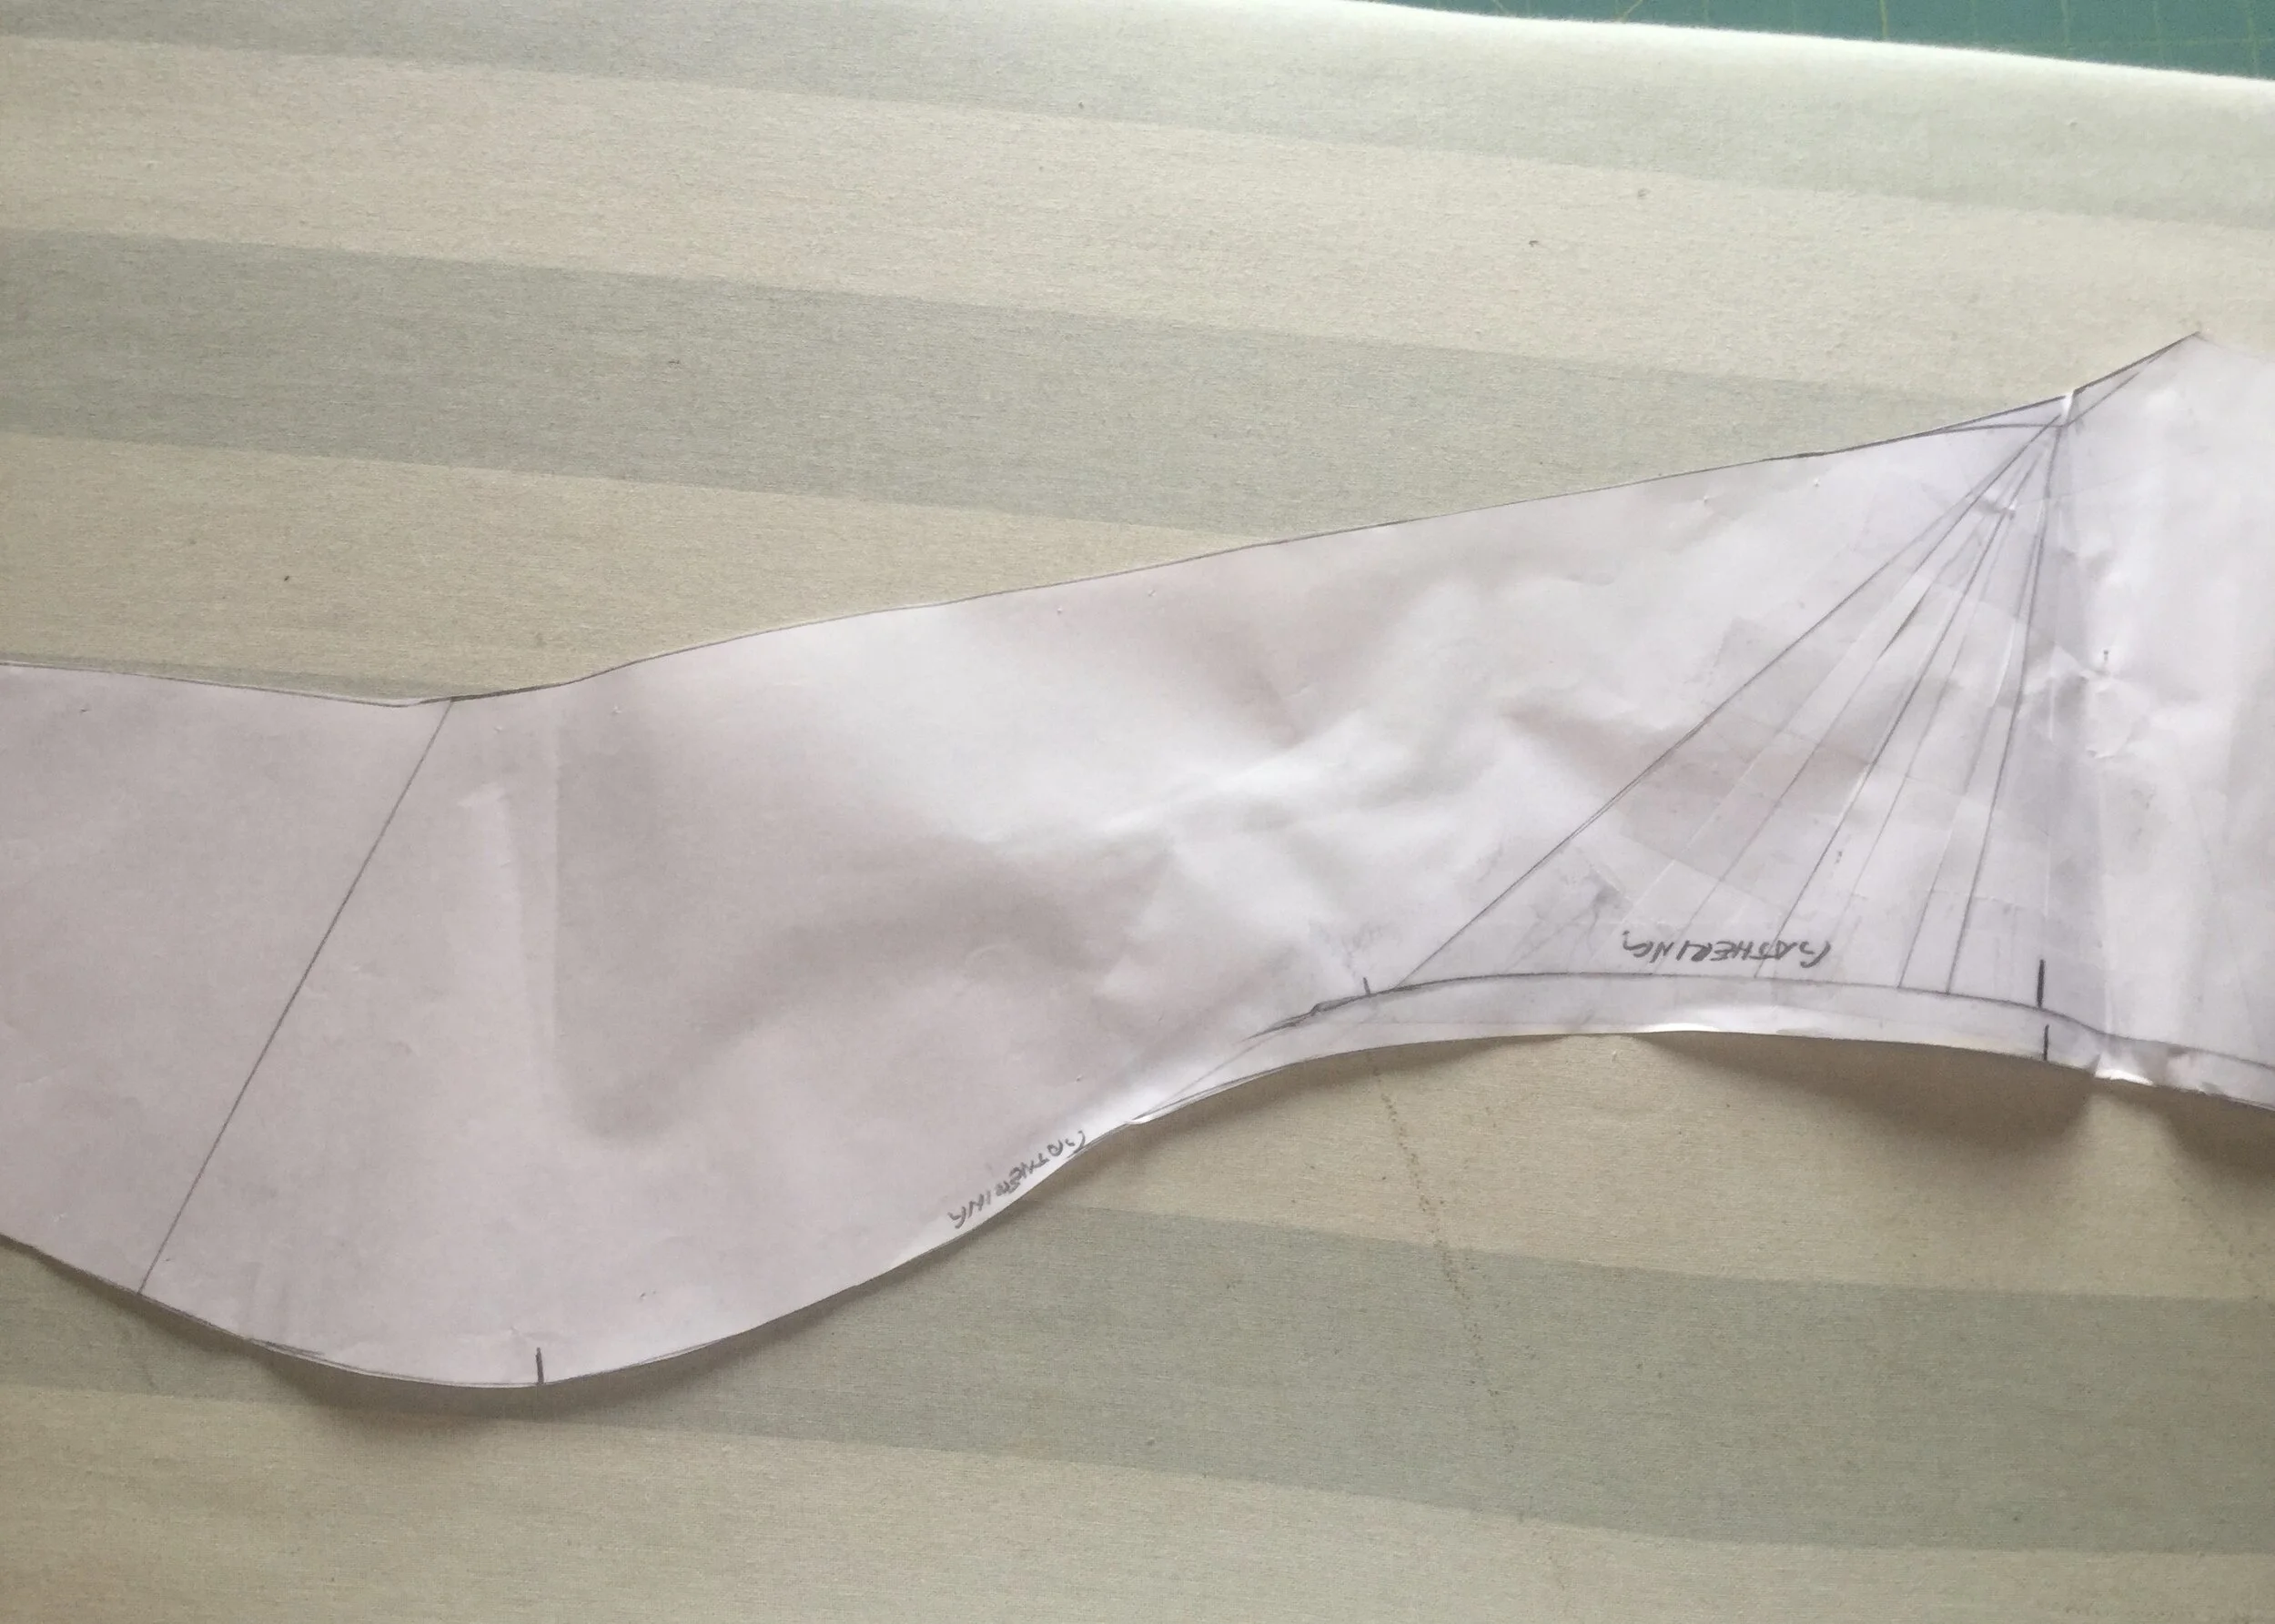
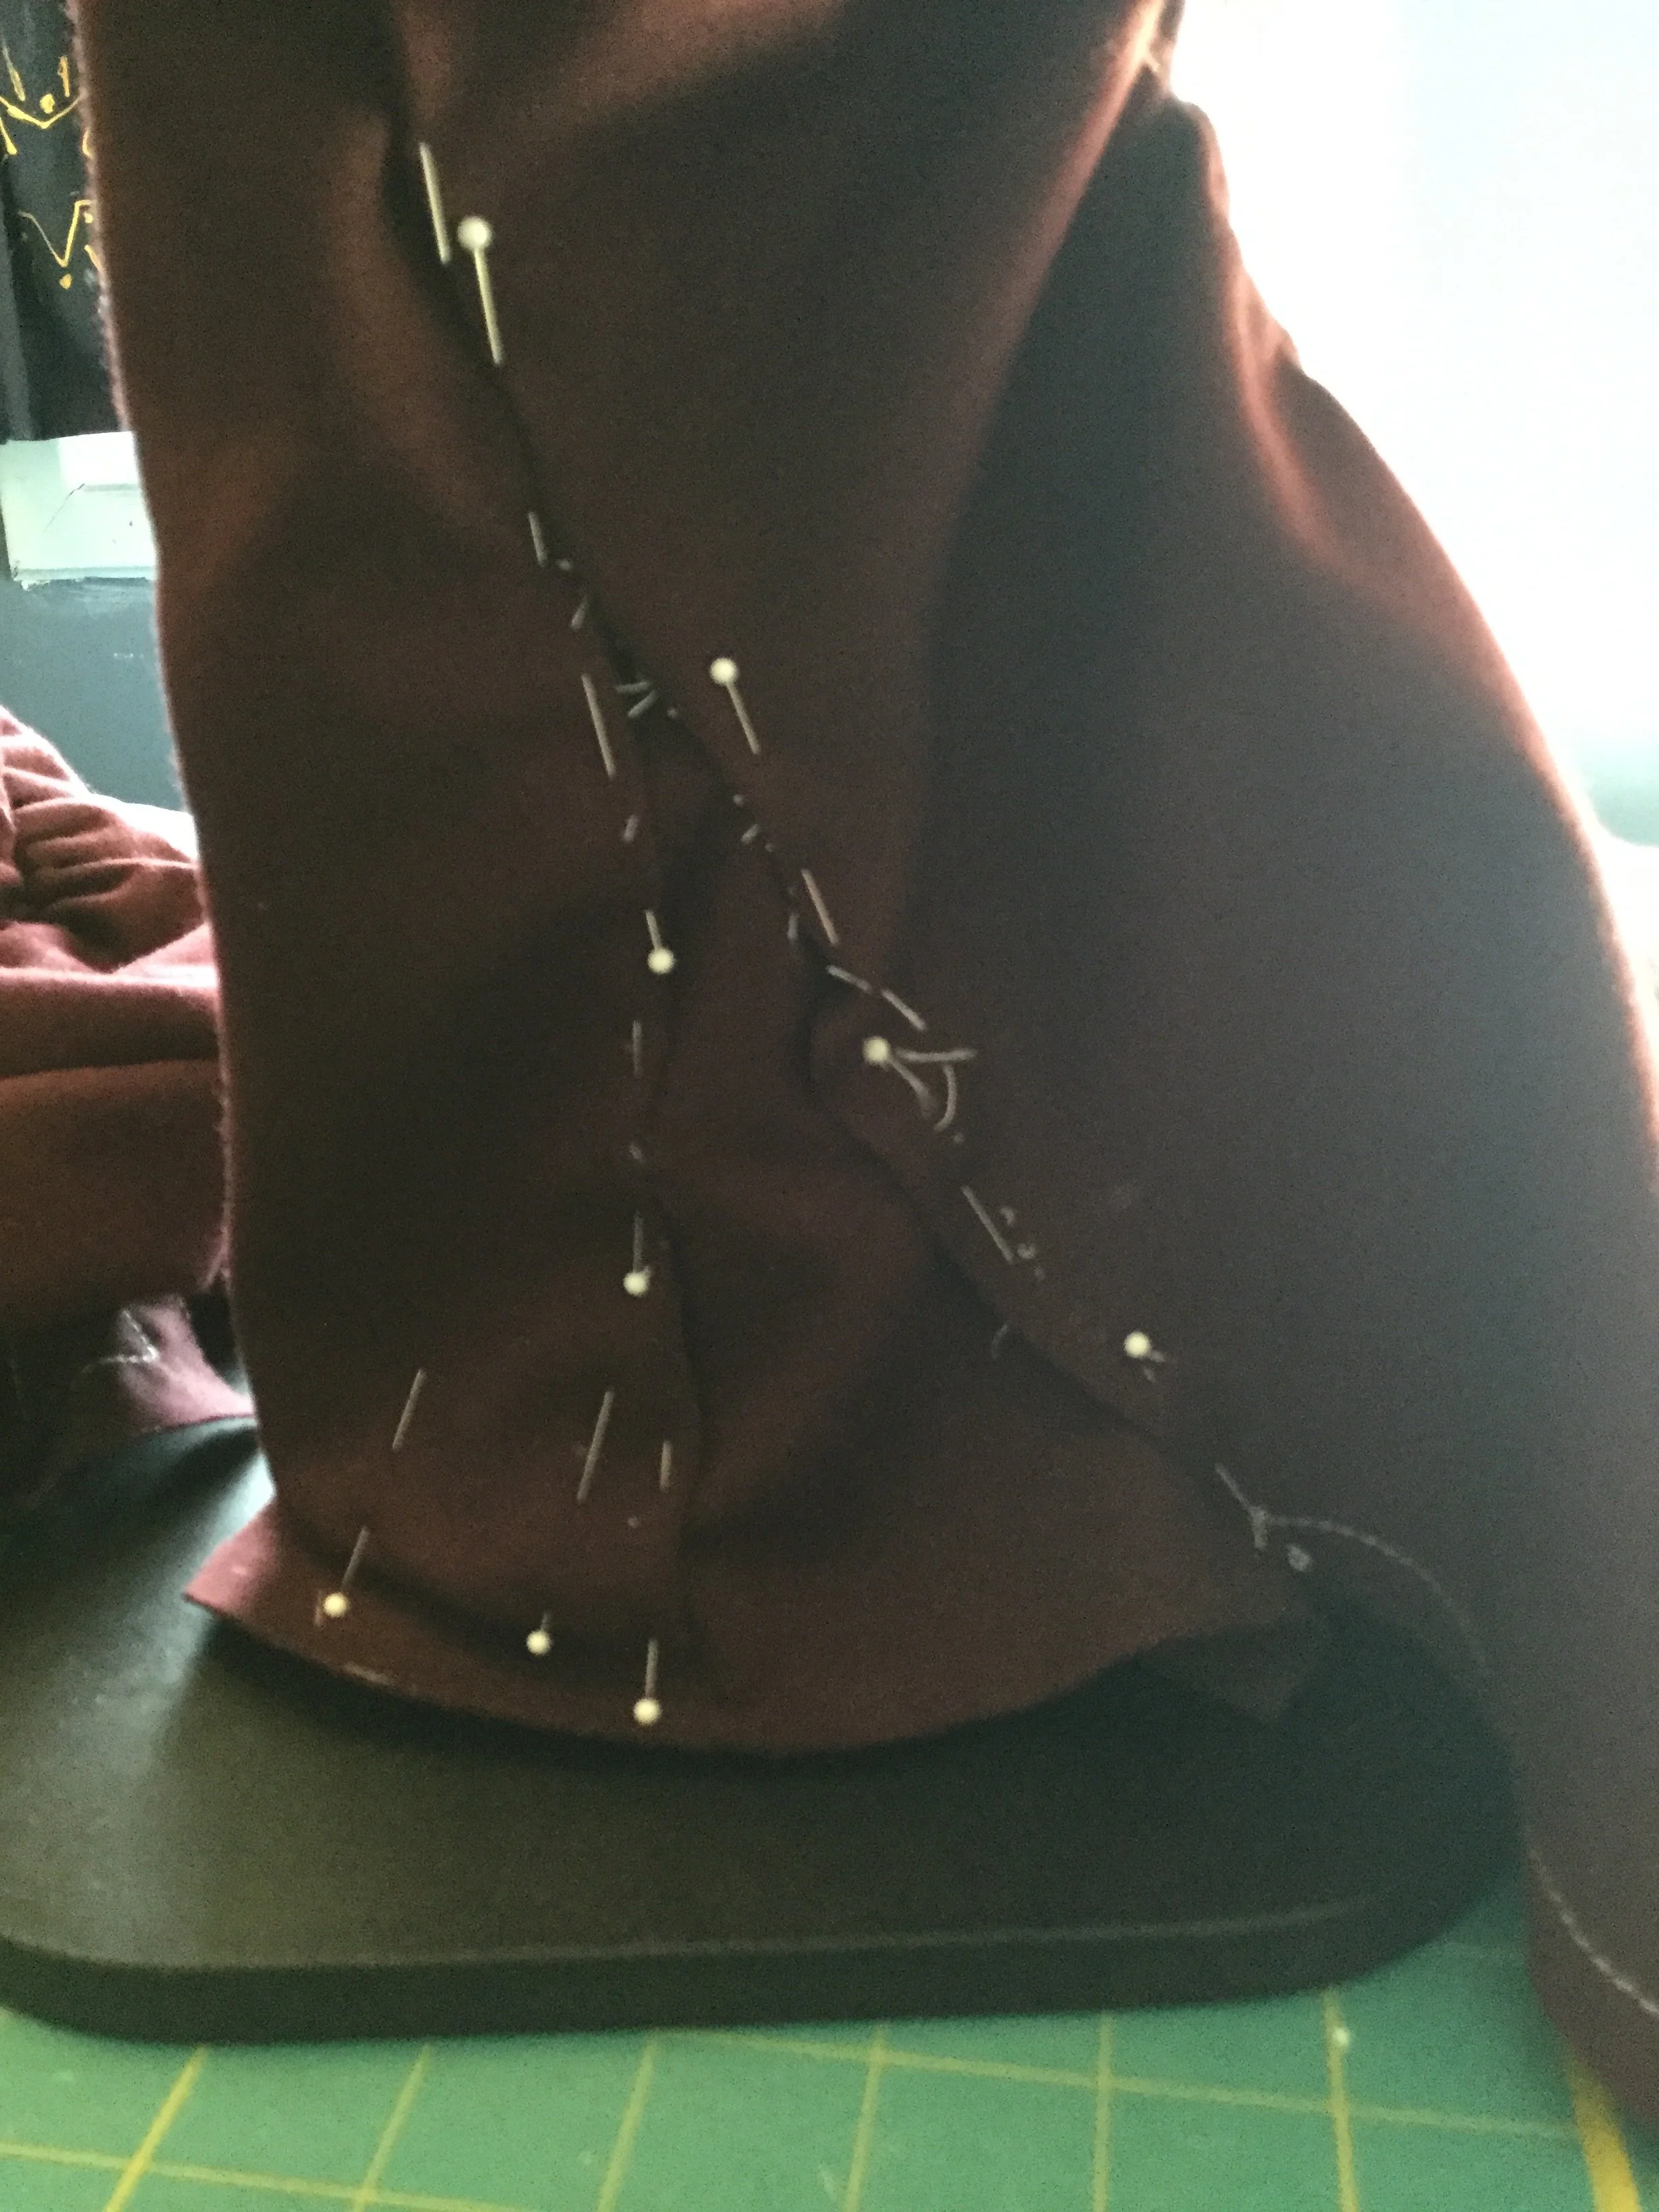
As for the back, I had basically just slashed and spread more of the centre back line to add more gathering and it looked kind of cool and did sort of produce the extra swags I was trying for. It hung a little strangely at first but once I opened up the side seams below the knee and added a bit of fullness back in it was starting to look a bit more like the drawing.
The only problem was that now the gathering took up a longer space on the seam and would not all be concentrated under the beading. When adding more gathering, I hadn't wanted to just spread the existing gathering open even further as that would only add more fullness to that spot rather than to the entire skirt back so I opened up a second area further down the skirt. If I hadn't been so attached to idea of two beaded pieces I might have decided to change the plan, but having focal points for both the front and back as well as something all the gathering was pointing towards was pleasing to my sense of what looks right. Ultimately, I did think the back of the second mock up looked kind of cool, but I was really set on adding the second beaded piece to the back. If I hadn’t liked the first mock up as much as I did, I might have let it sit for a little while to see if a new idea would present itself. Even as I write this now, I’m thinking of new ways to shape the pattern and make the train look even more like the drawing. Maybe I’ll have to revisit this design some day.
In the end, I decided that I did prefer the back of the first version of the pattern. I was glad to have made the second one as it answered some questions and had some influence on the shape, but the final pattern was pretty similar to the first.
While I had been working on the pattern, I was also on the hunt for the right fabric and gemstones for the final build. When I hit on the idea of the geode, I decided that a good fabric to pair with the beading would be a stretch crushed velvet. The idea was that the crushed velvet would represent the outer stone and look a bit textured but in fancy, luxe kind of way. As for the right colour, that was in the lap of the gods; once again, Fabricland kind of came through for me. While I was there looking for something else, I happened on a table full of exactly the kind of velvet I was looking for. Upon inspection of the various colours available, I settled on the taupe-y champagne-y colour. I liked that it wasn't as dark as black or grey would have been but was still neutral and would likely be easy to pair with an as yet undecided upon type of stone for the beading.
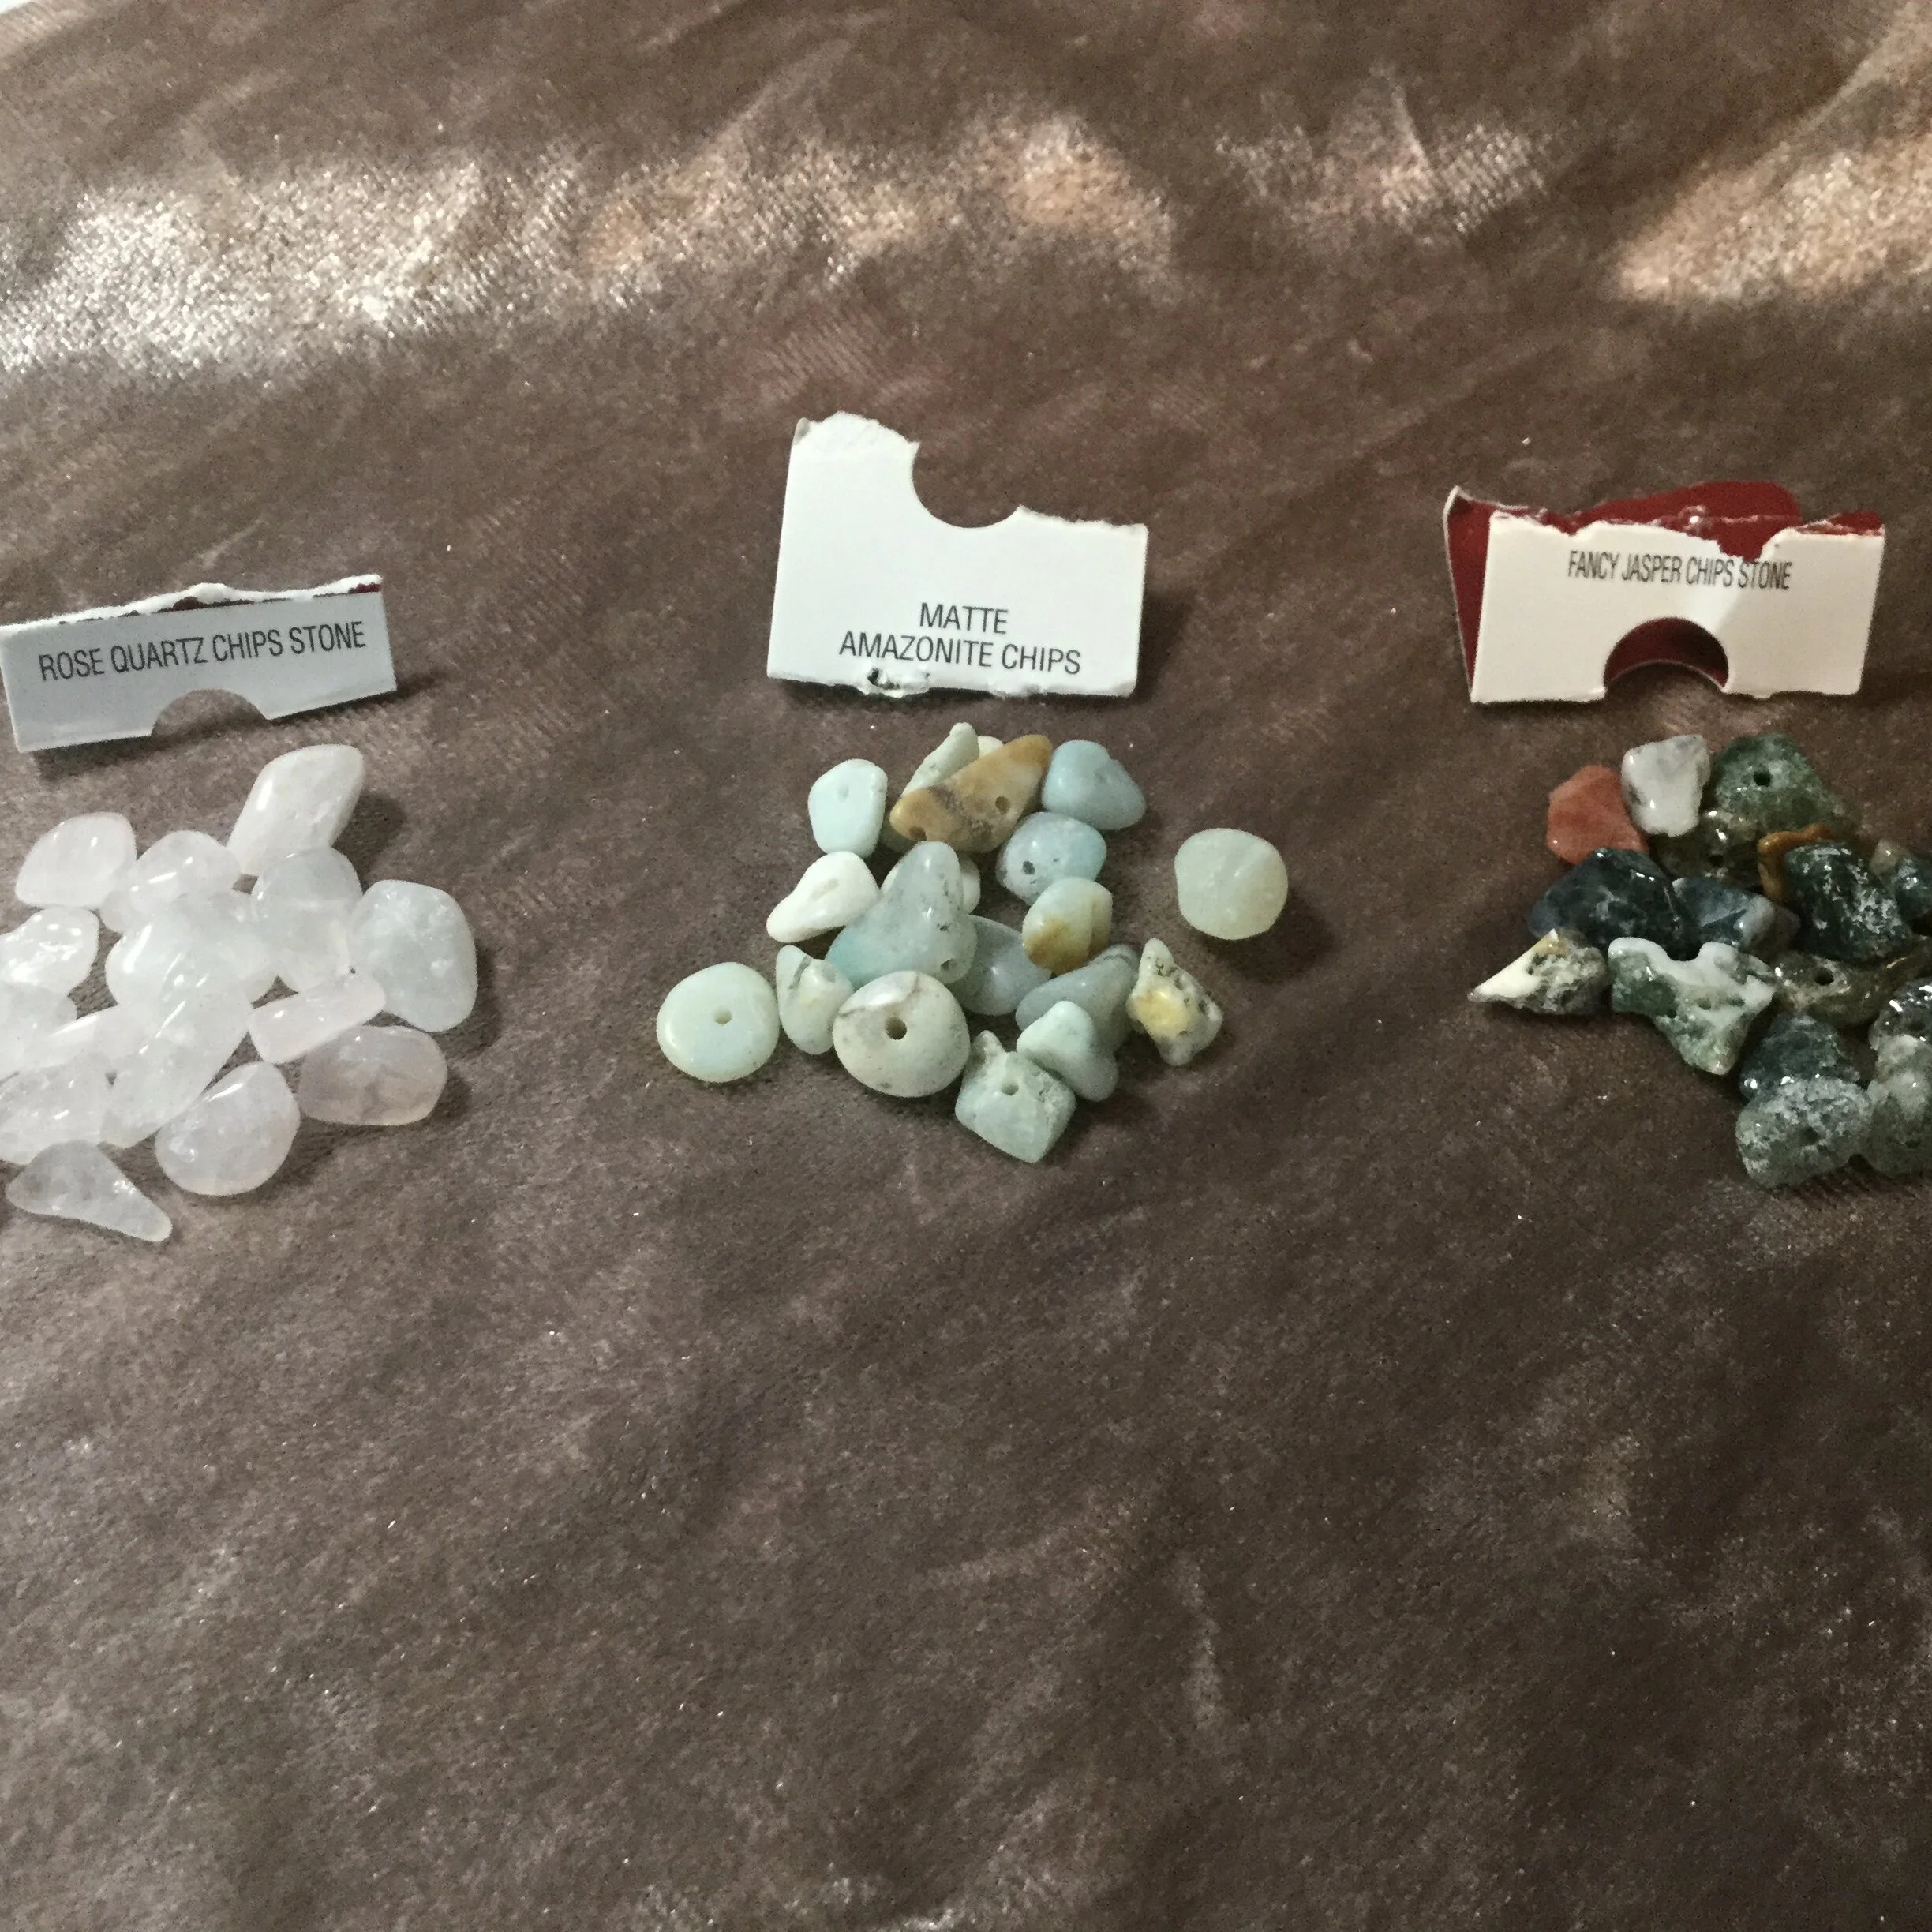
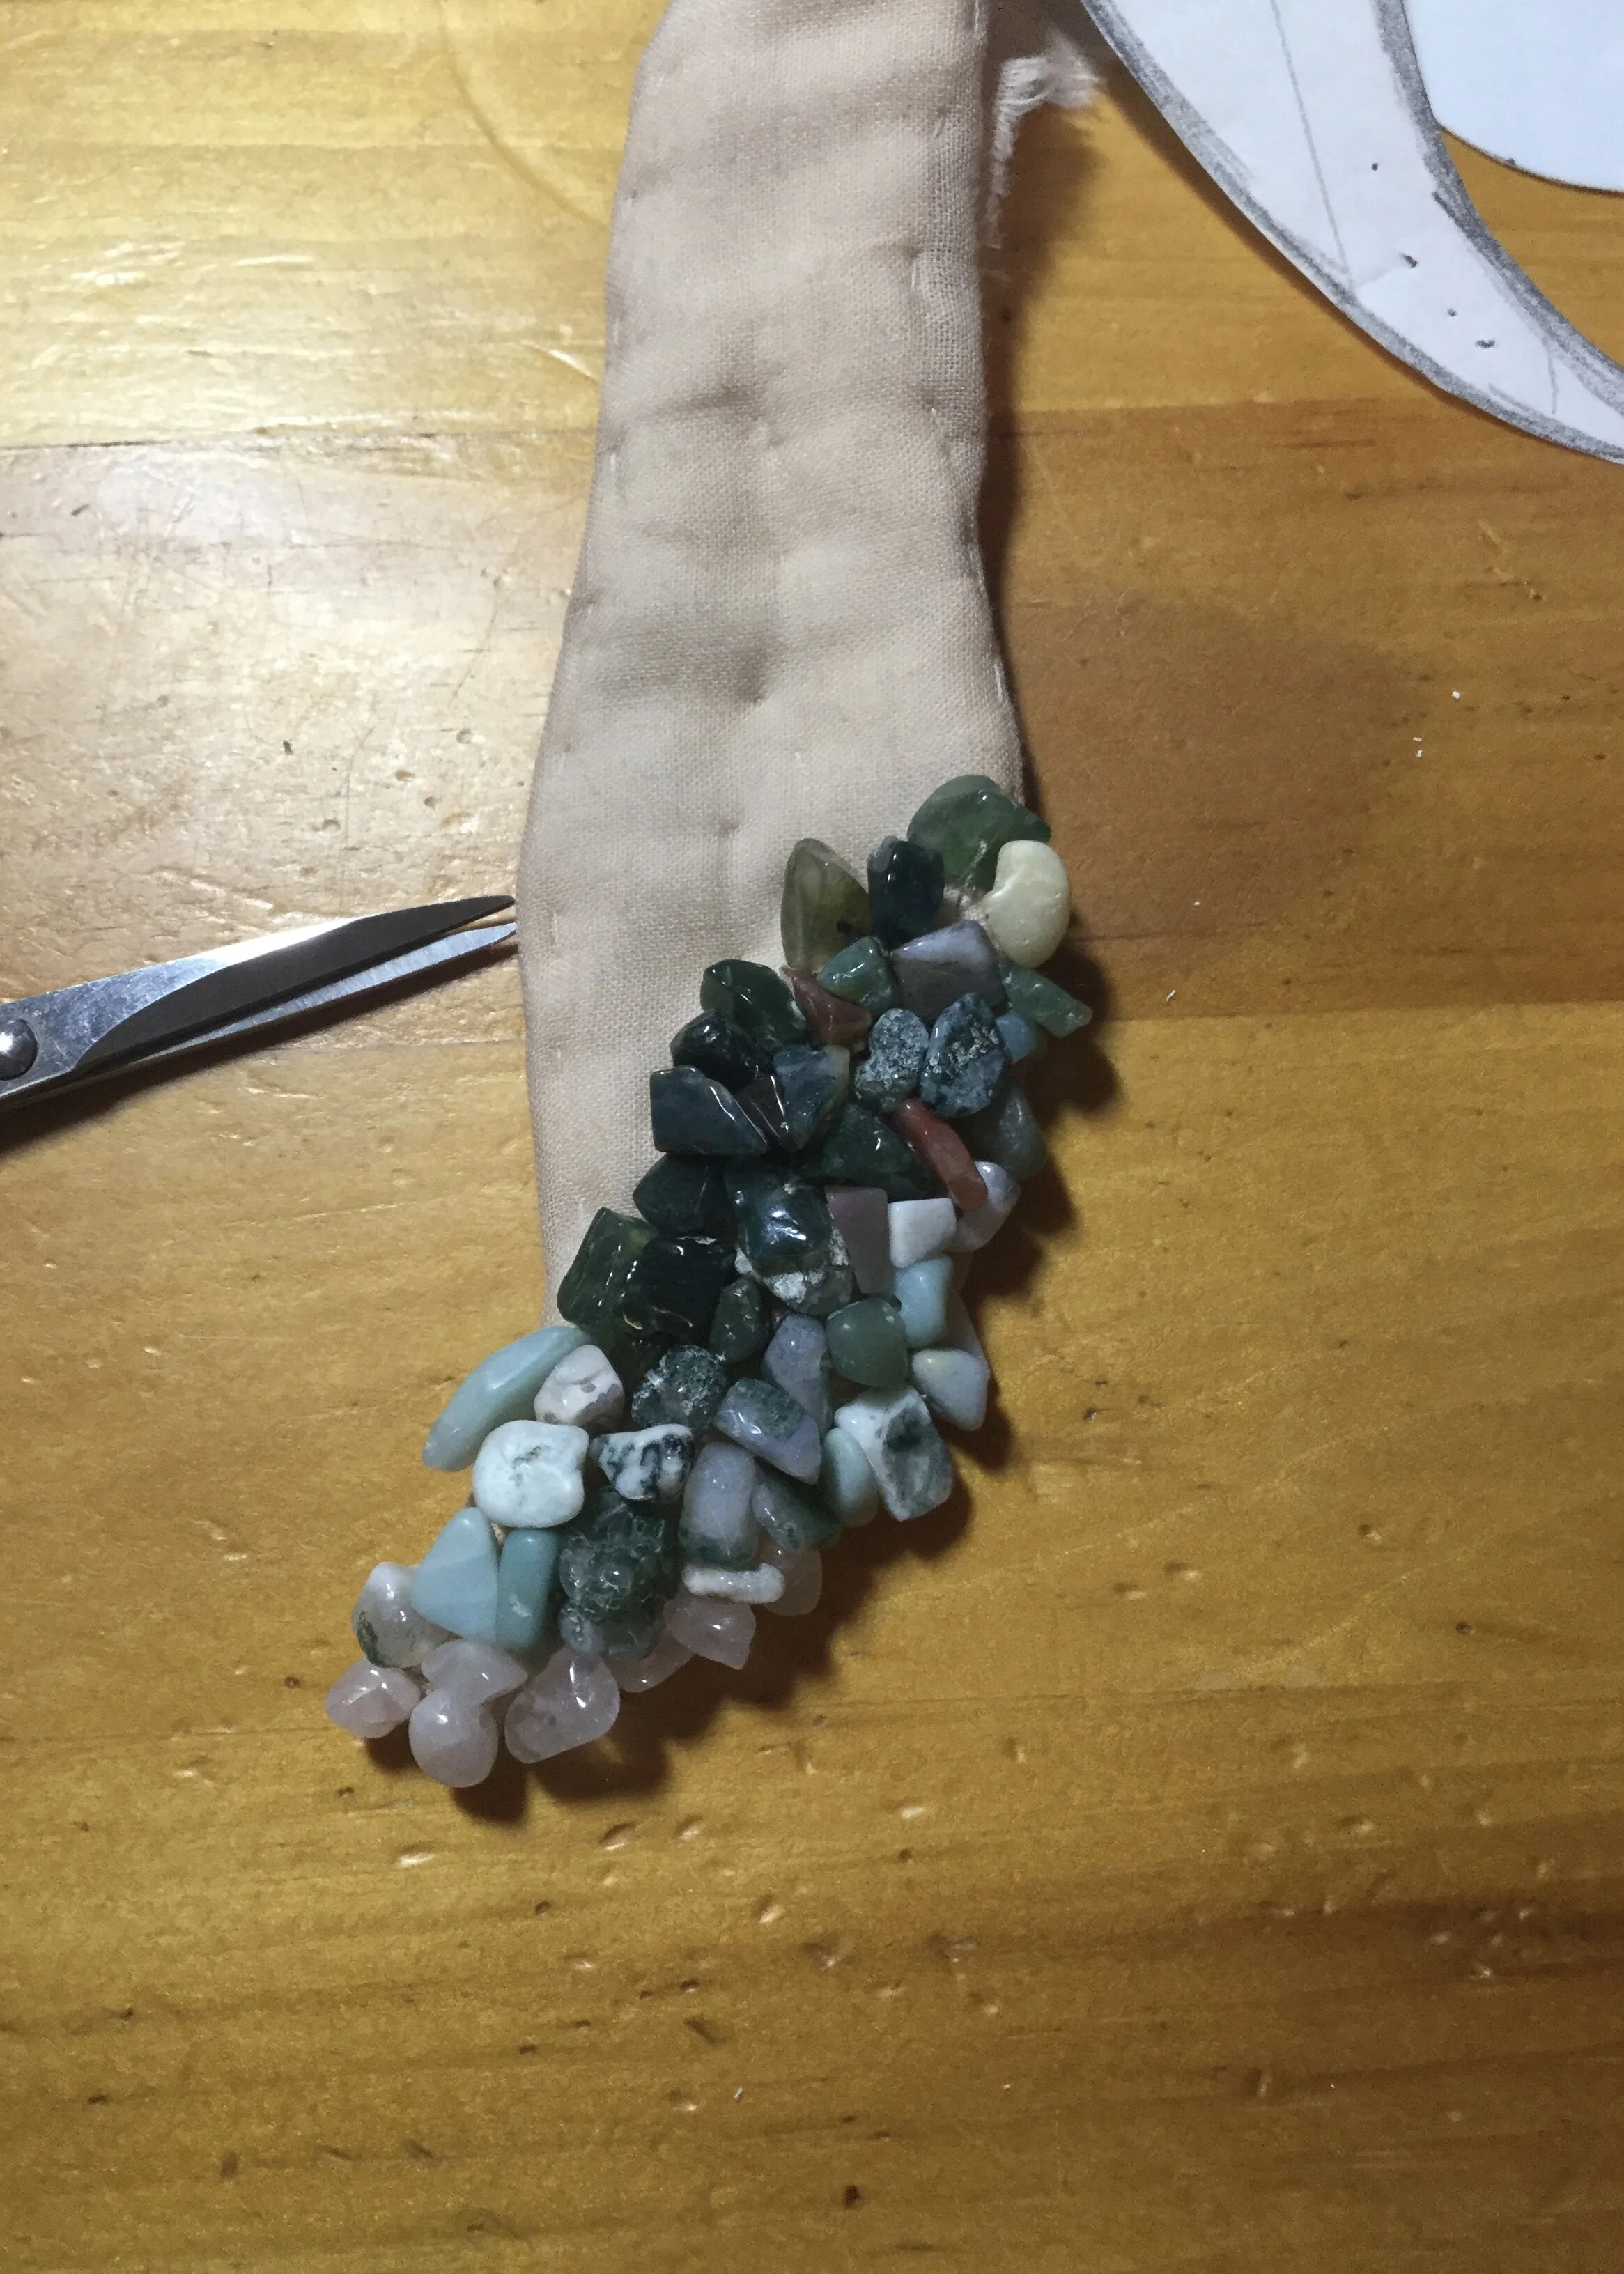
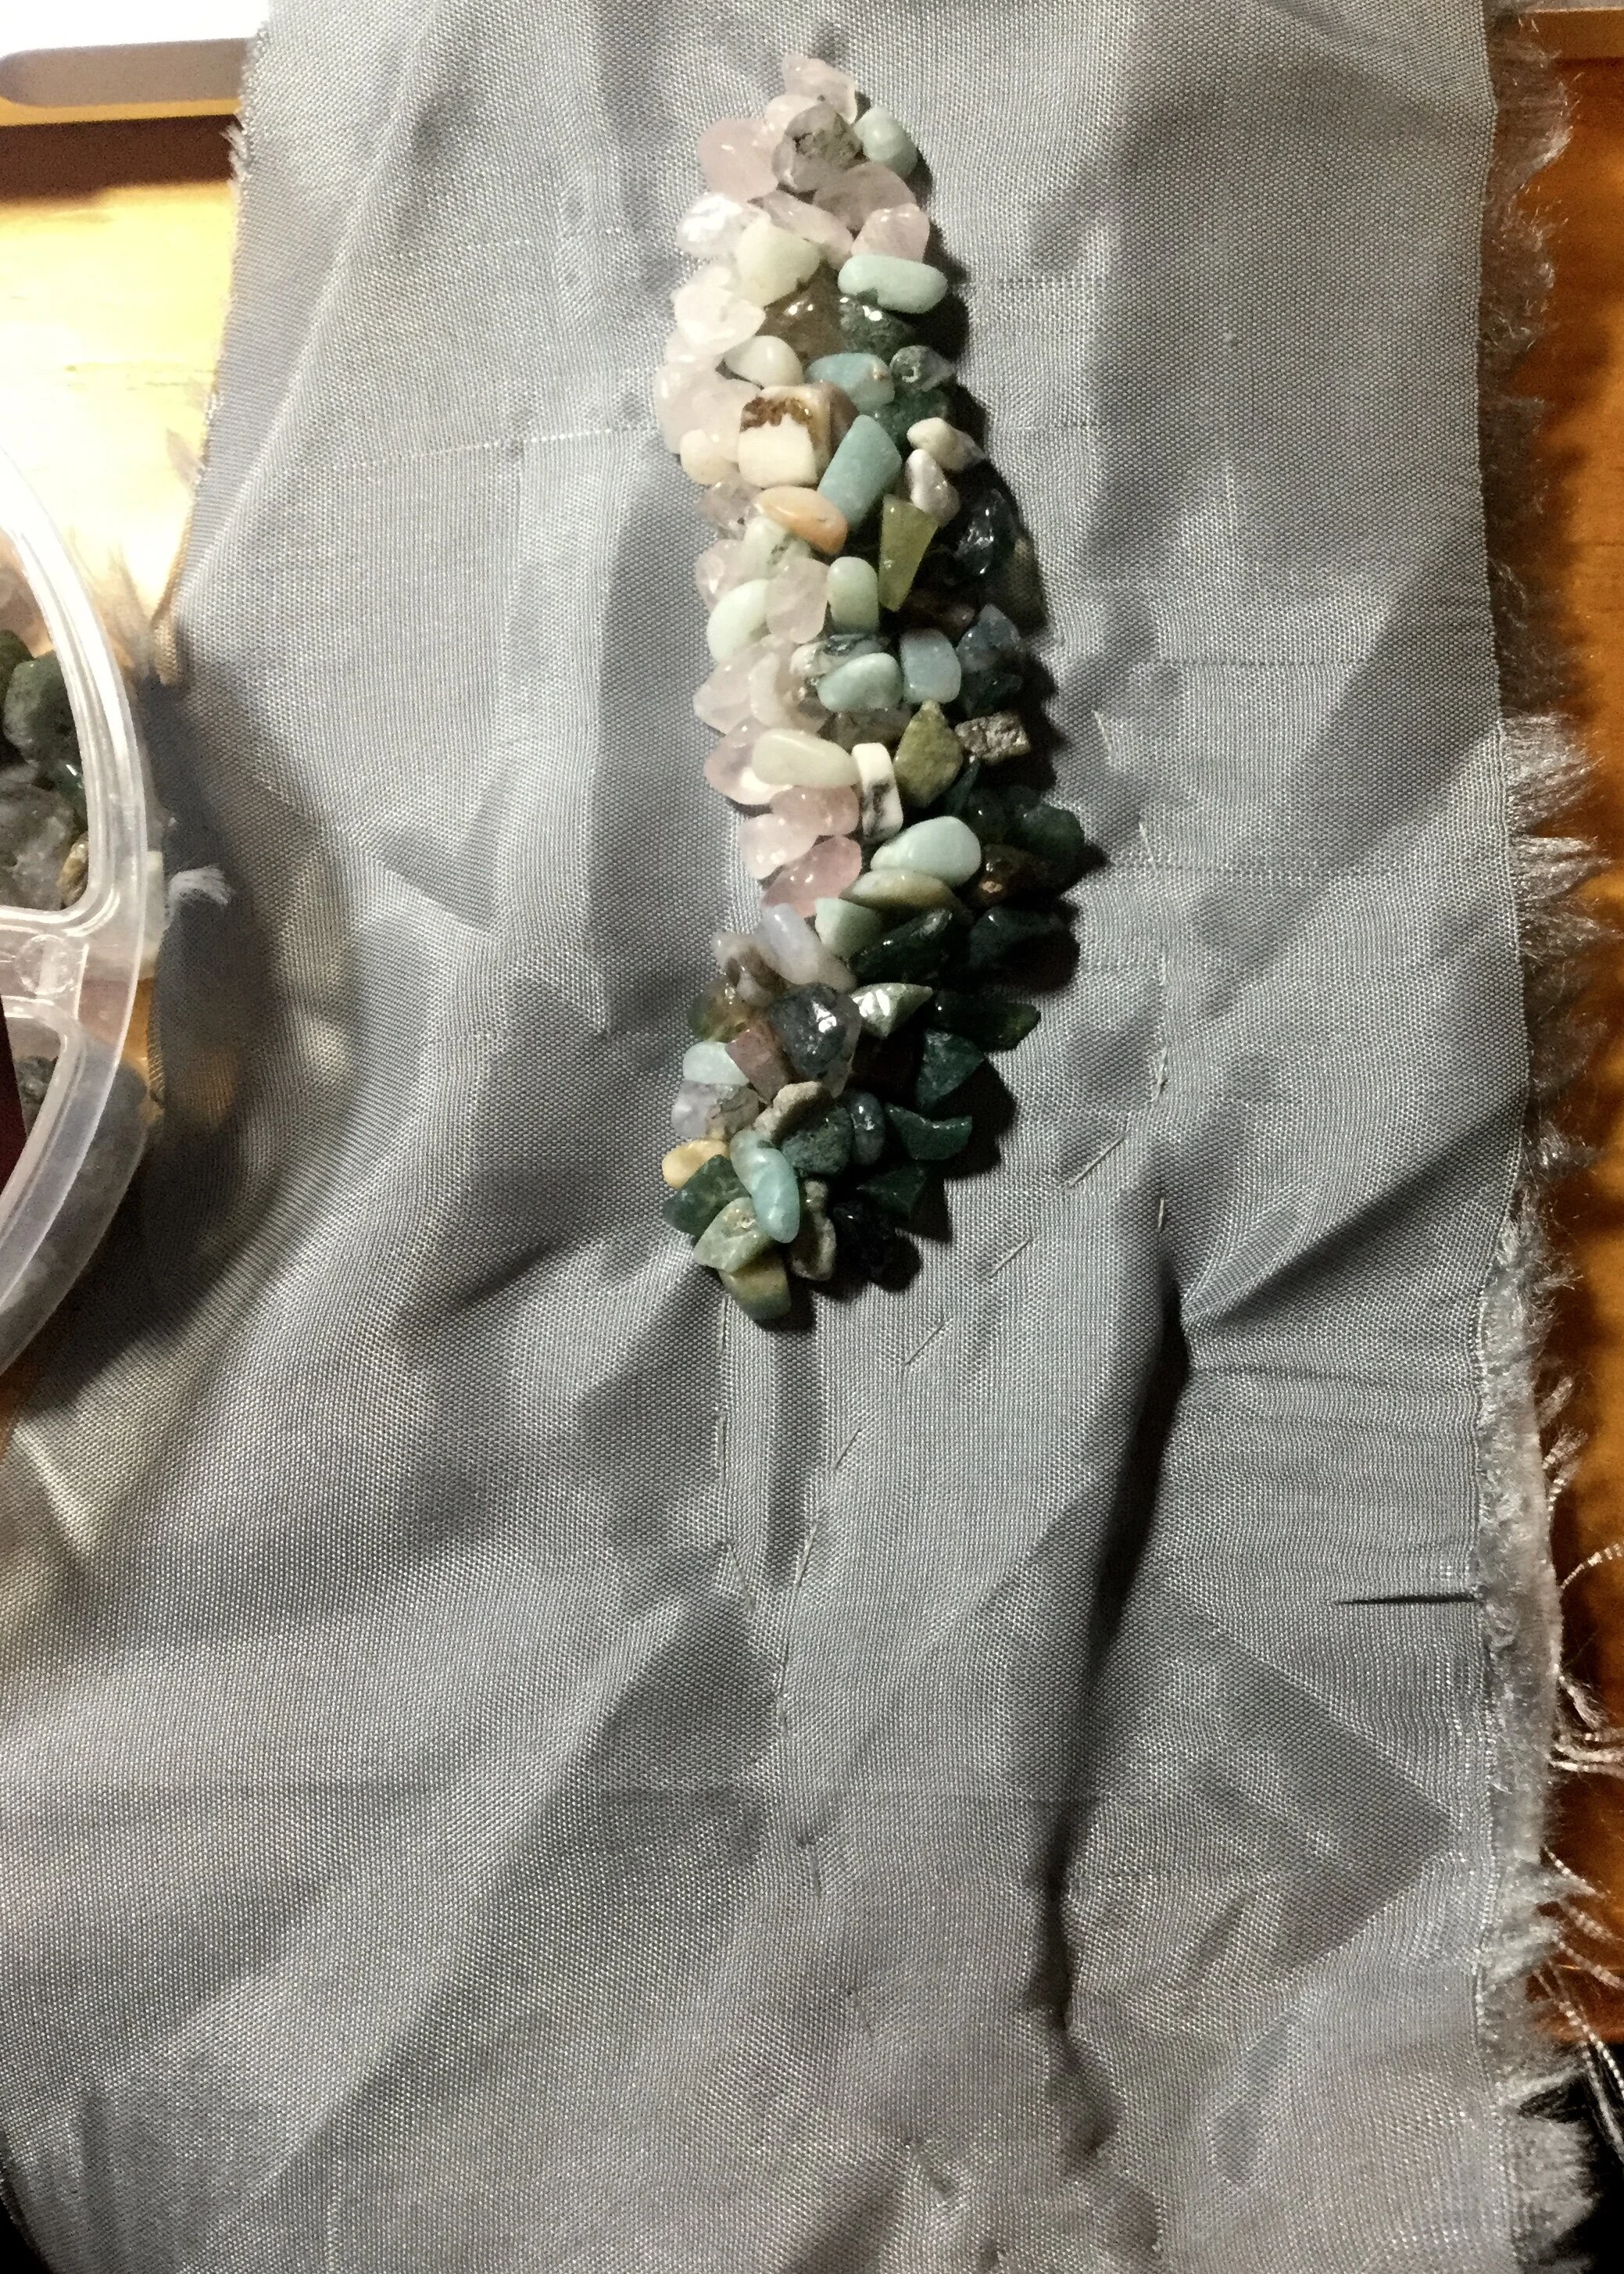
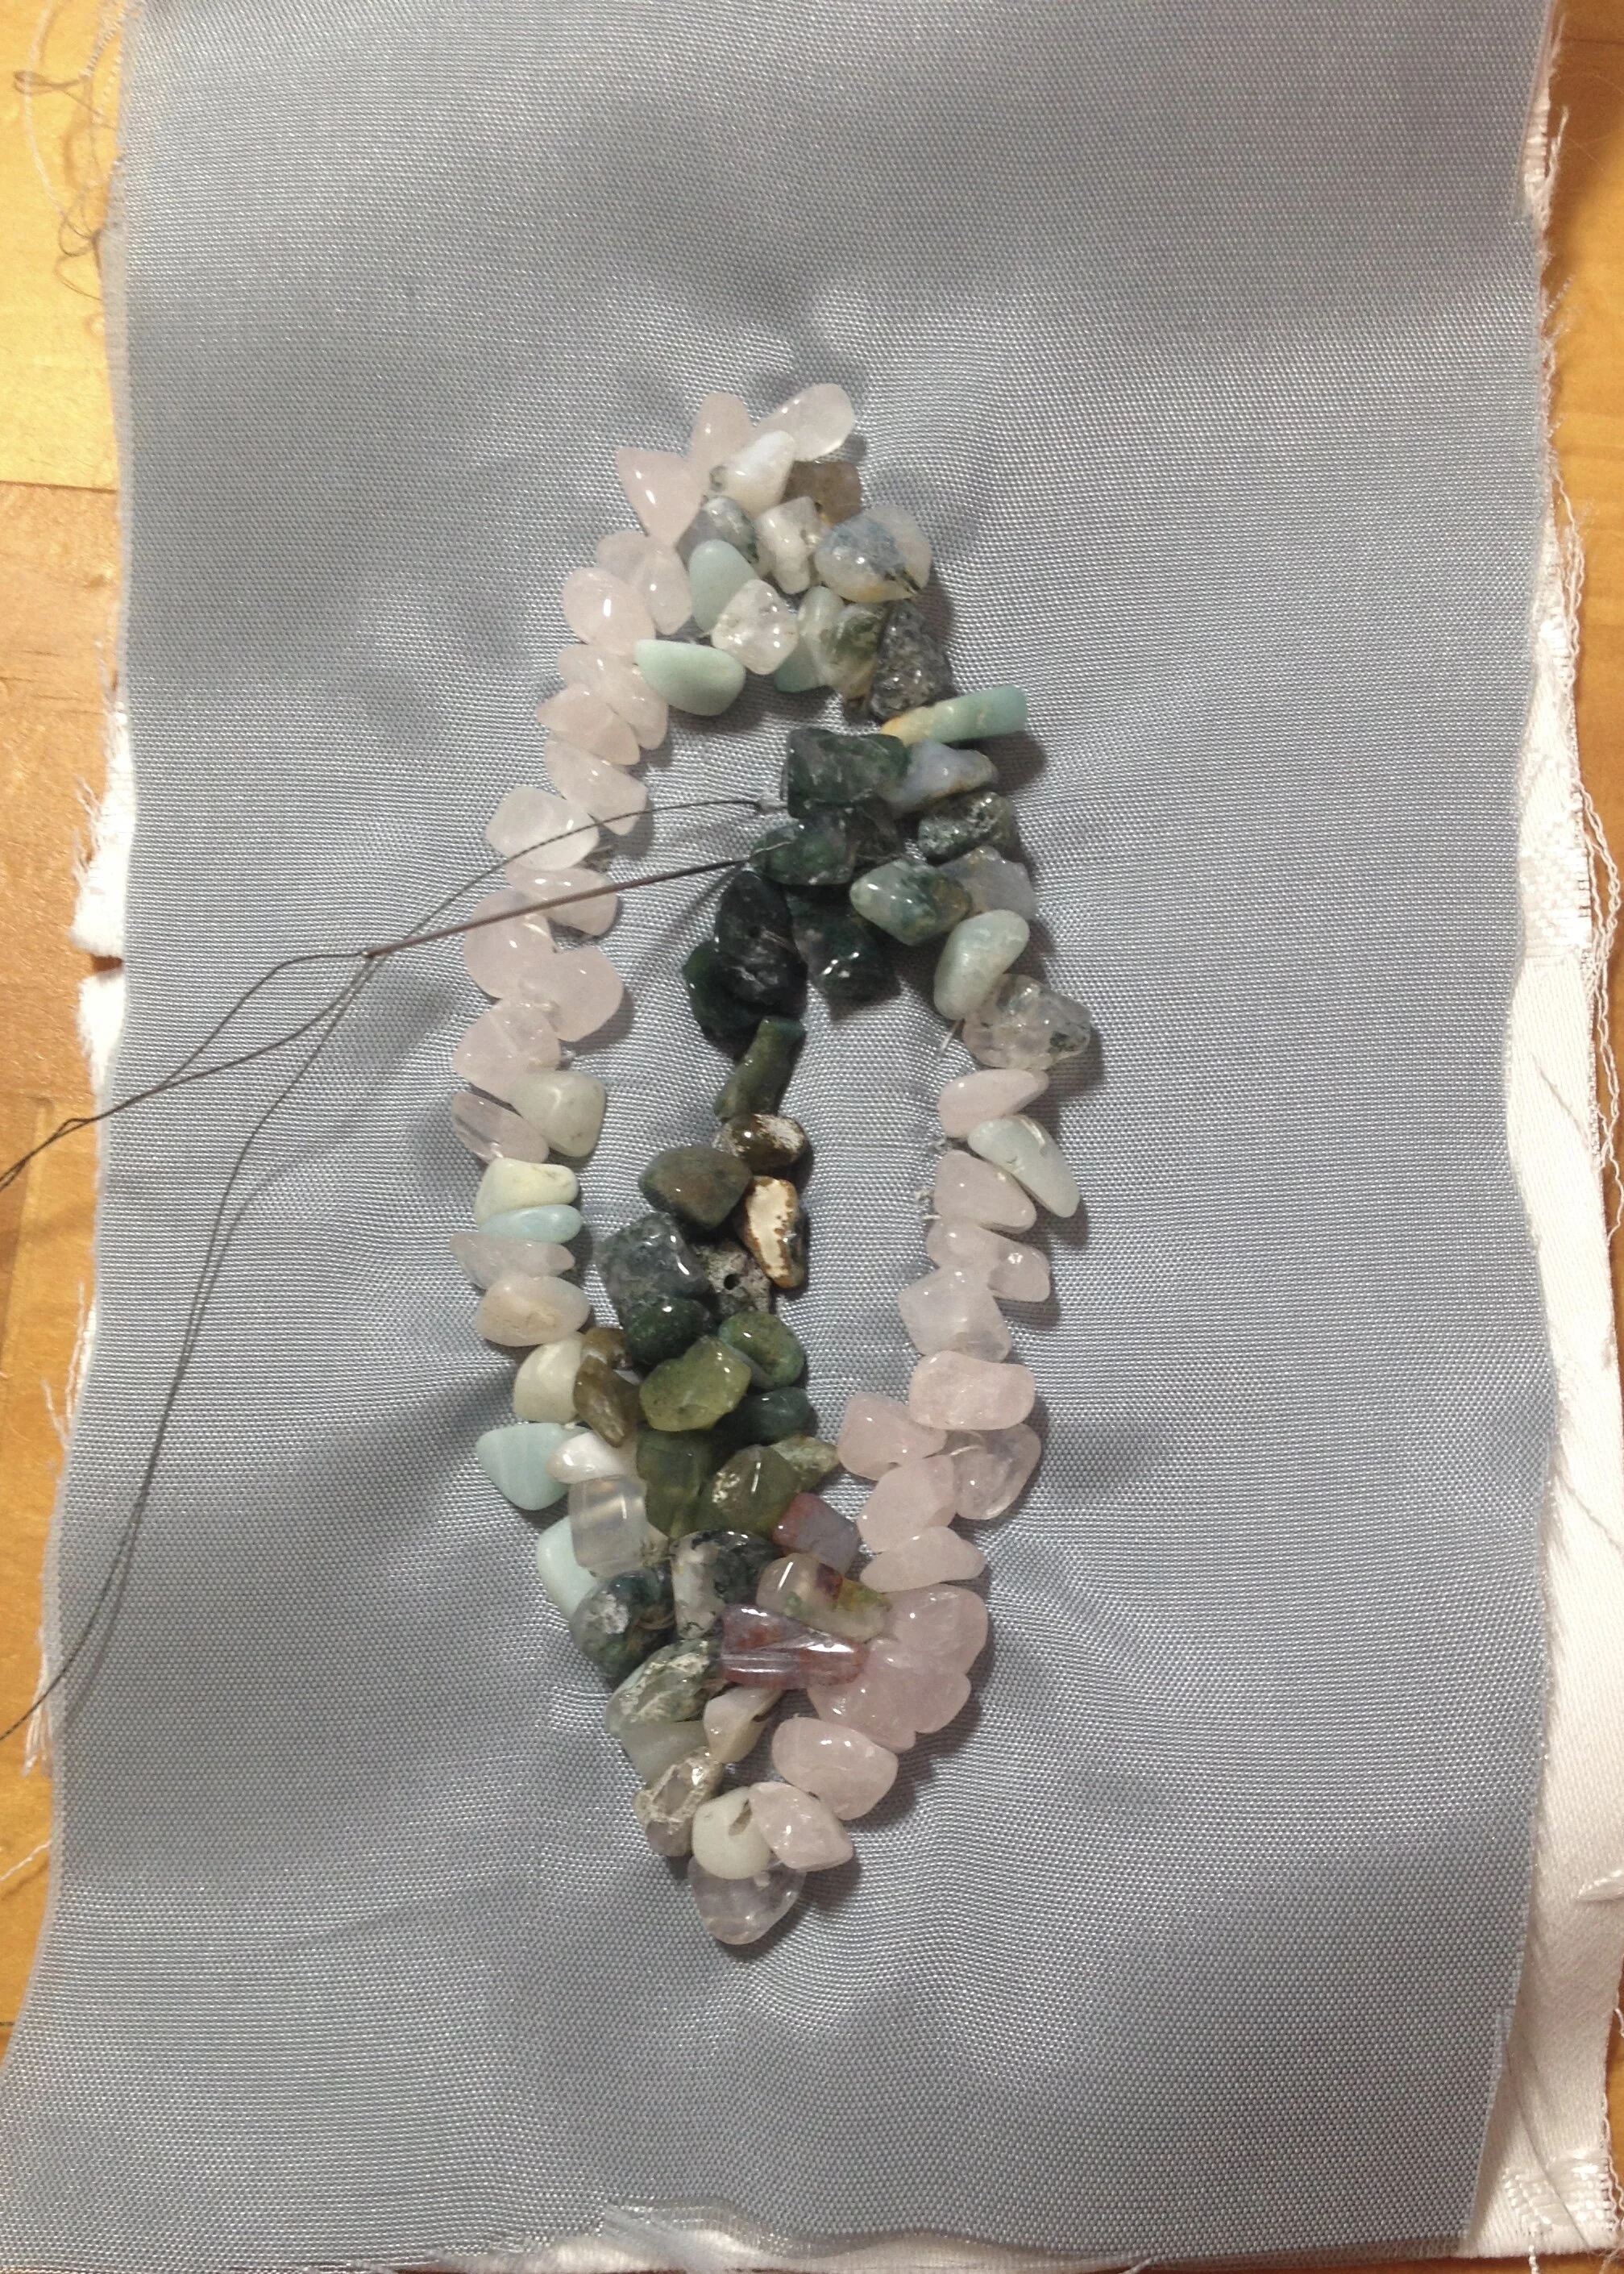
For said beading I ended up using three types of semiprecious stone chips: fancy jasper, matte amazonite and rose quartz. Realism schmealism. The process of choosing the stones was really just me and a fabric swatch in the bead aisle of my local Michaels. In the search for the right stone I didn't really have any preferences, I was mainly determined that I could not choose a colour that might resemble any skin colours and therefore give the beaded pieces the look of... female anatomy. Perhaps somewhere there is a designer who could incorporate a representation of genitalia into an evening gown in a classy way but that designer is not me.
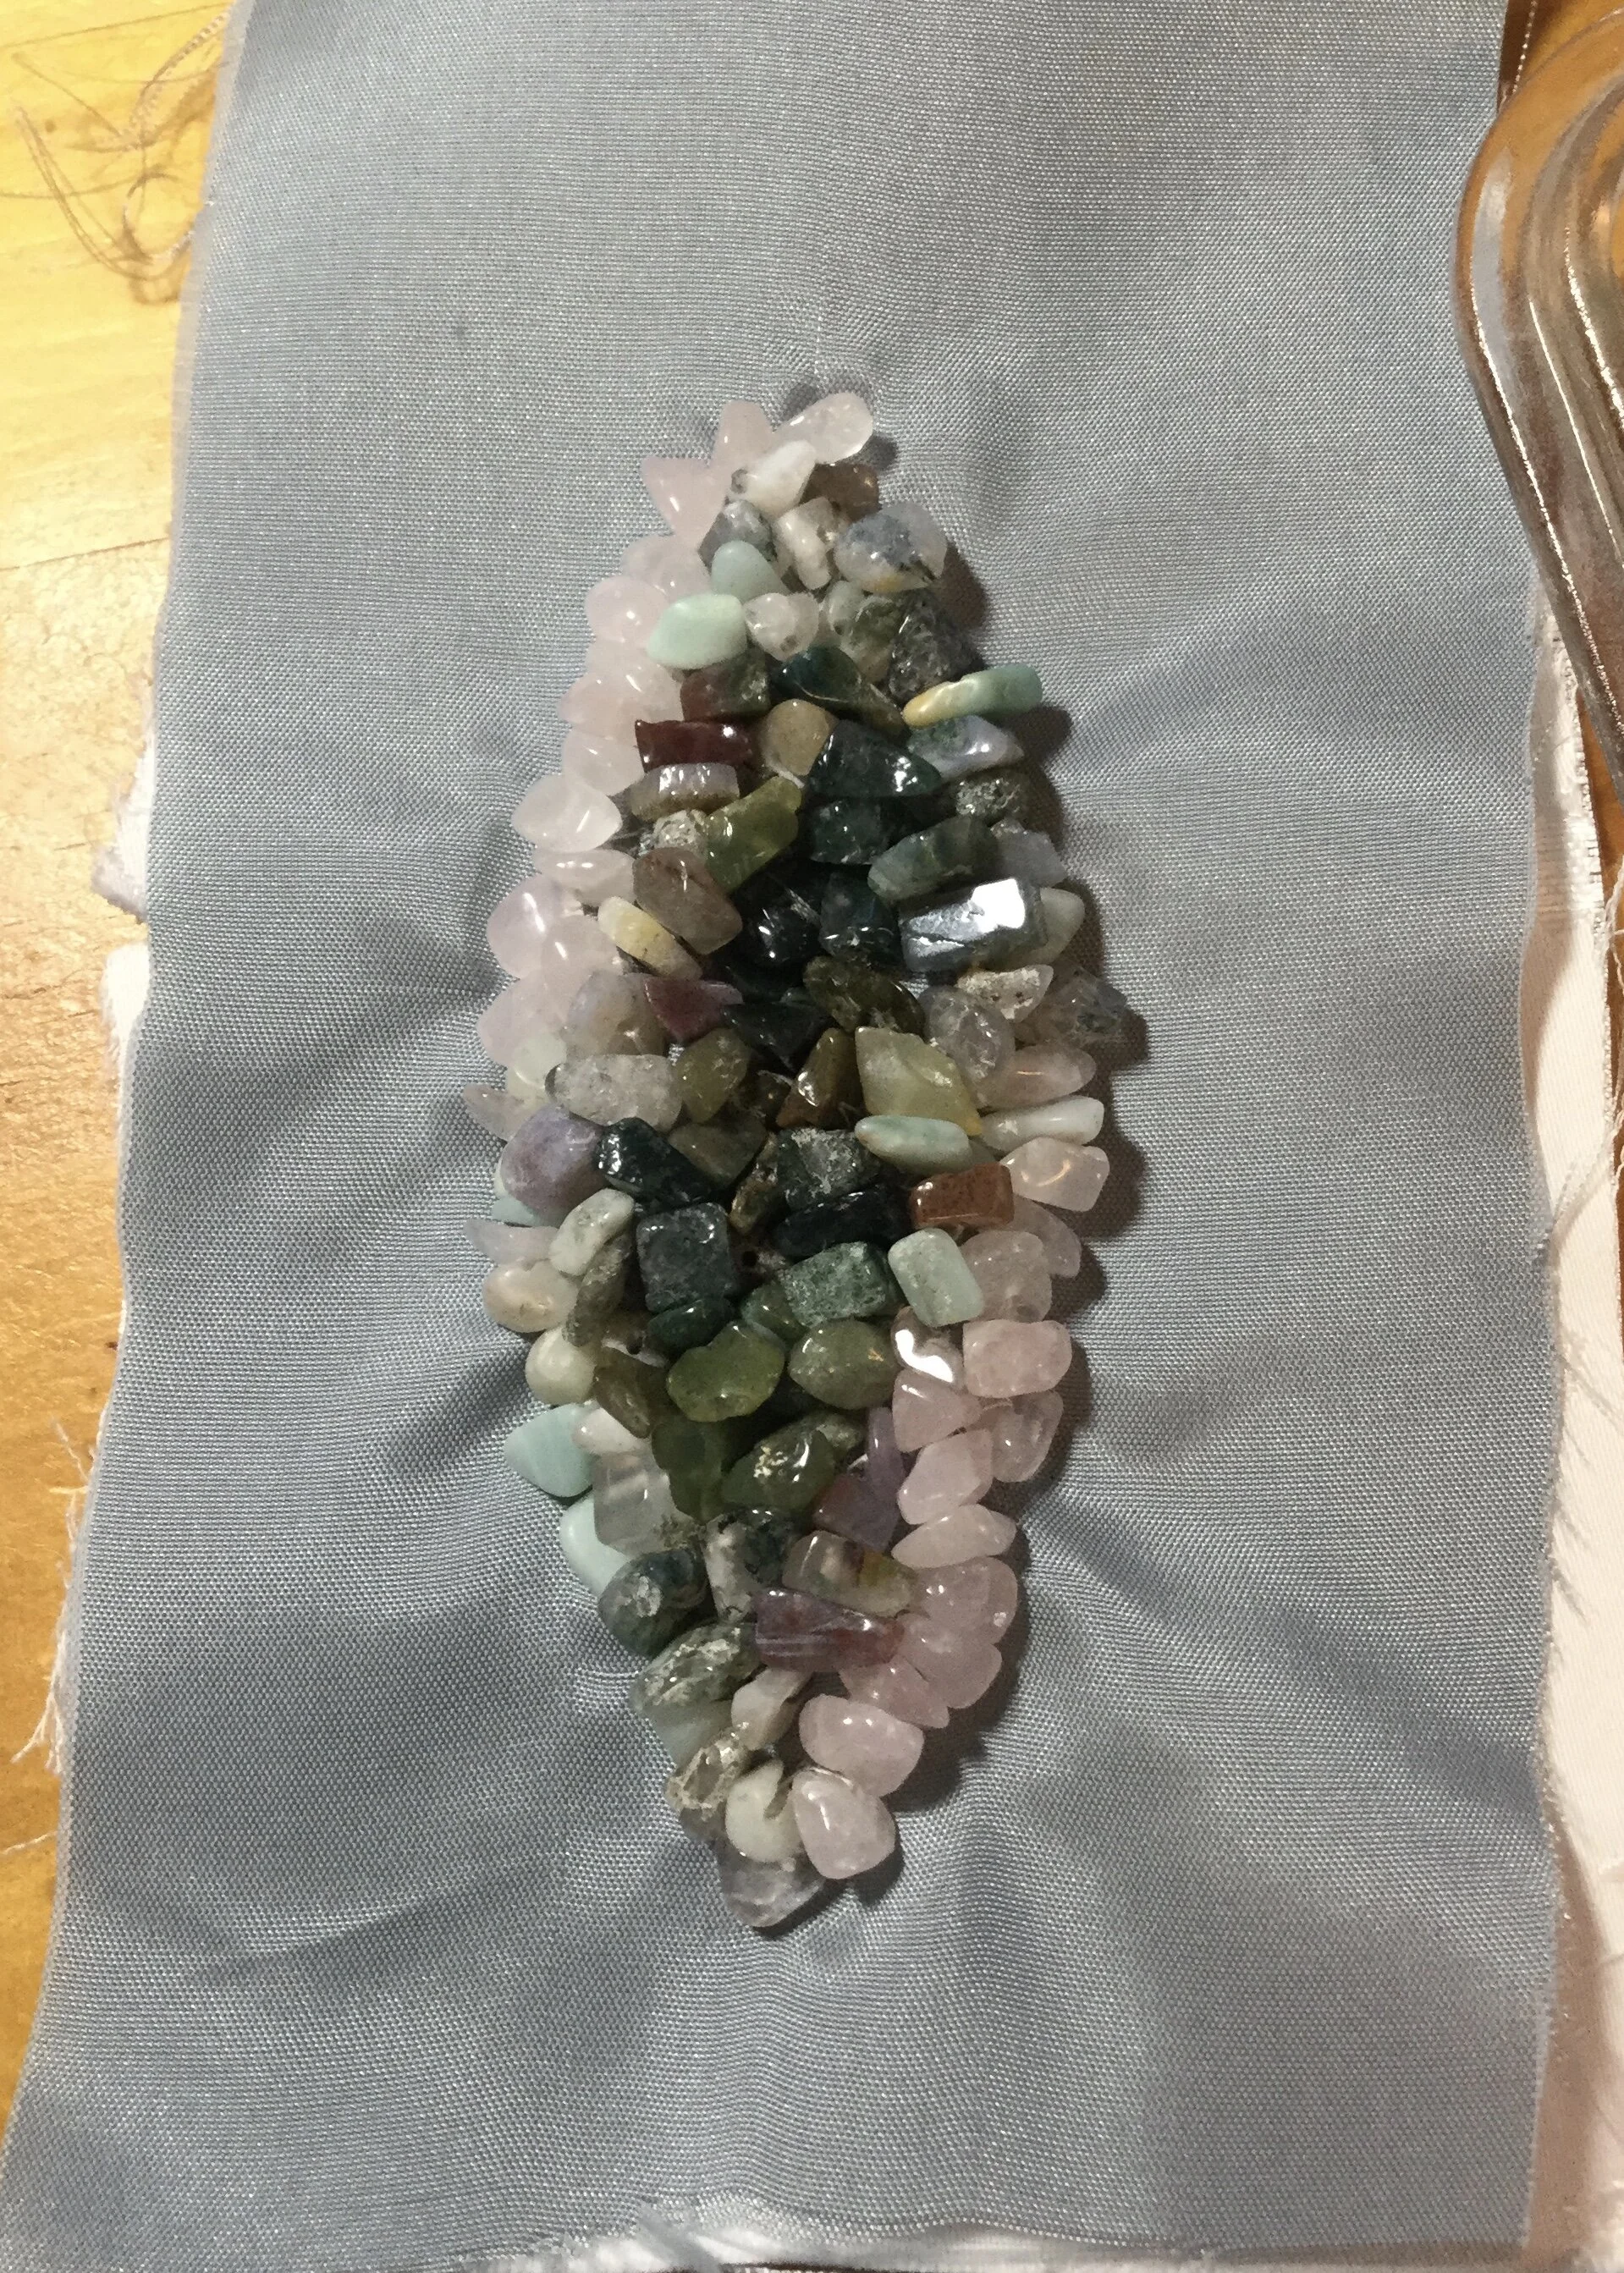
Final bead choices.
At first I was gravitating towards amethyst; it wasn't a particularly interesting combination to me, but it was pretty and came in a number of different sizes and colours which could have looked interesting with the geode idea. I was on the point of heading for the register when I took one last look at the various possibilities and suddenly noticed the fancy jasper. I settled on it almost immediately as it had some variety of colours and looked pretty and more interesting against the fabric colour than the amethyst. I added the amazonite and quartz to have some lighter colours to fade out a bit towards the edges and get a bit more of the geode look. Also, green is rarely mistaken for most parts of human anatomy.
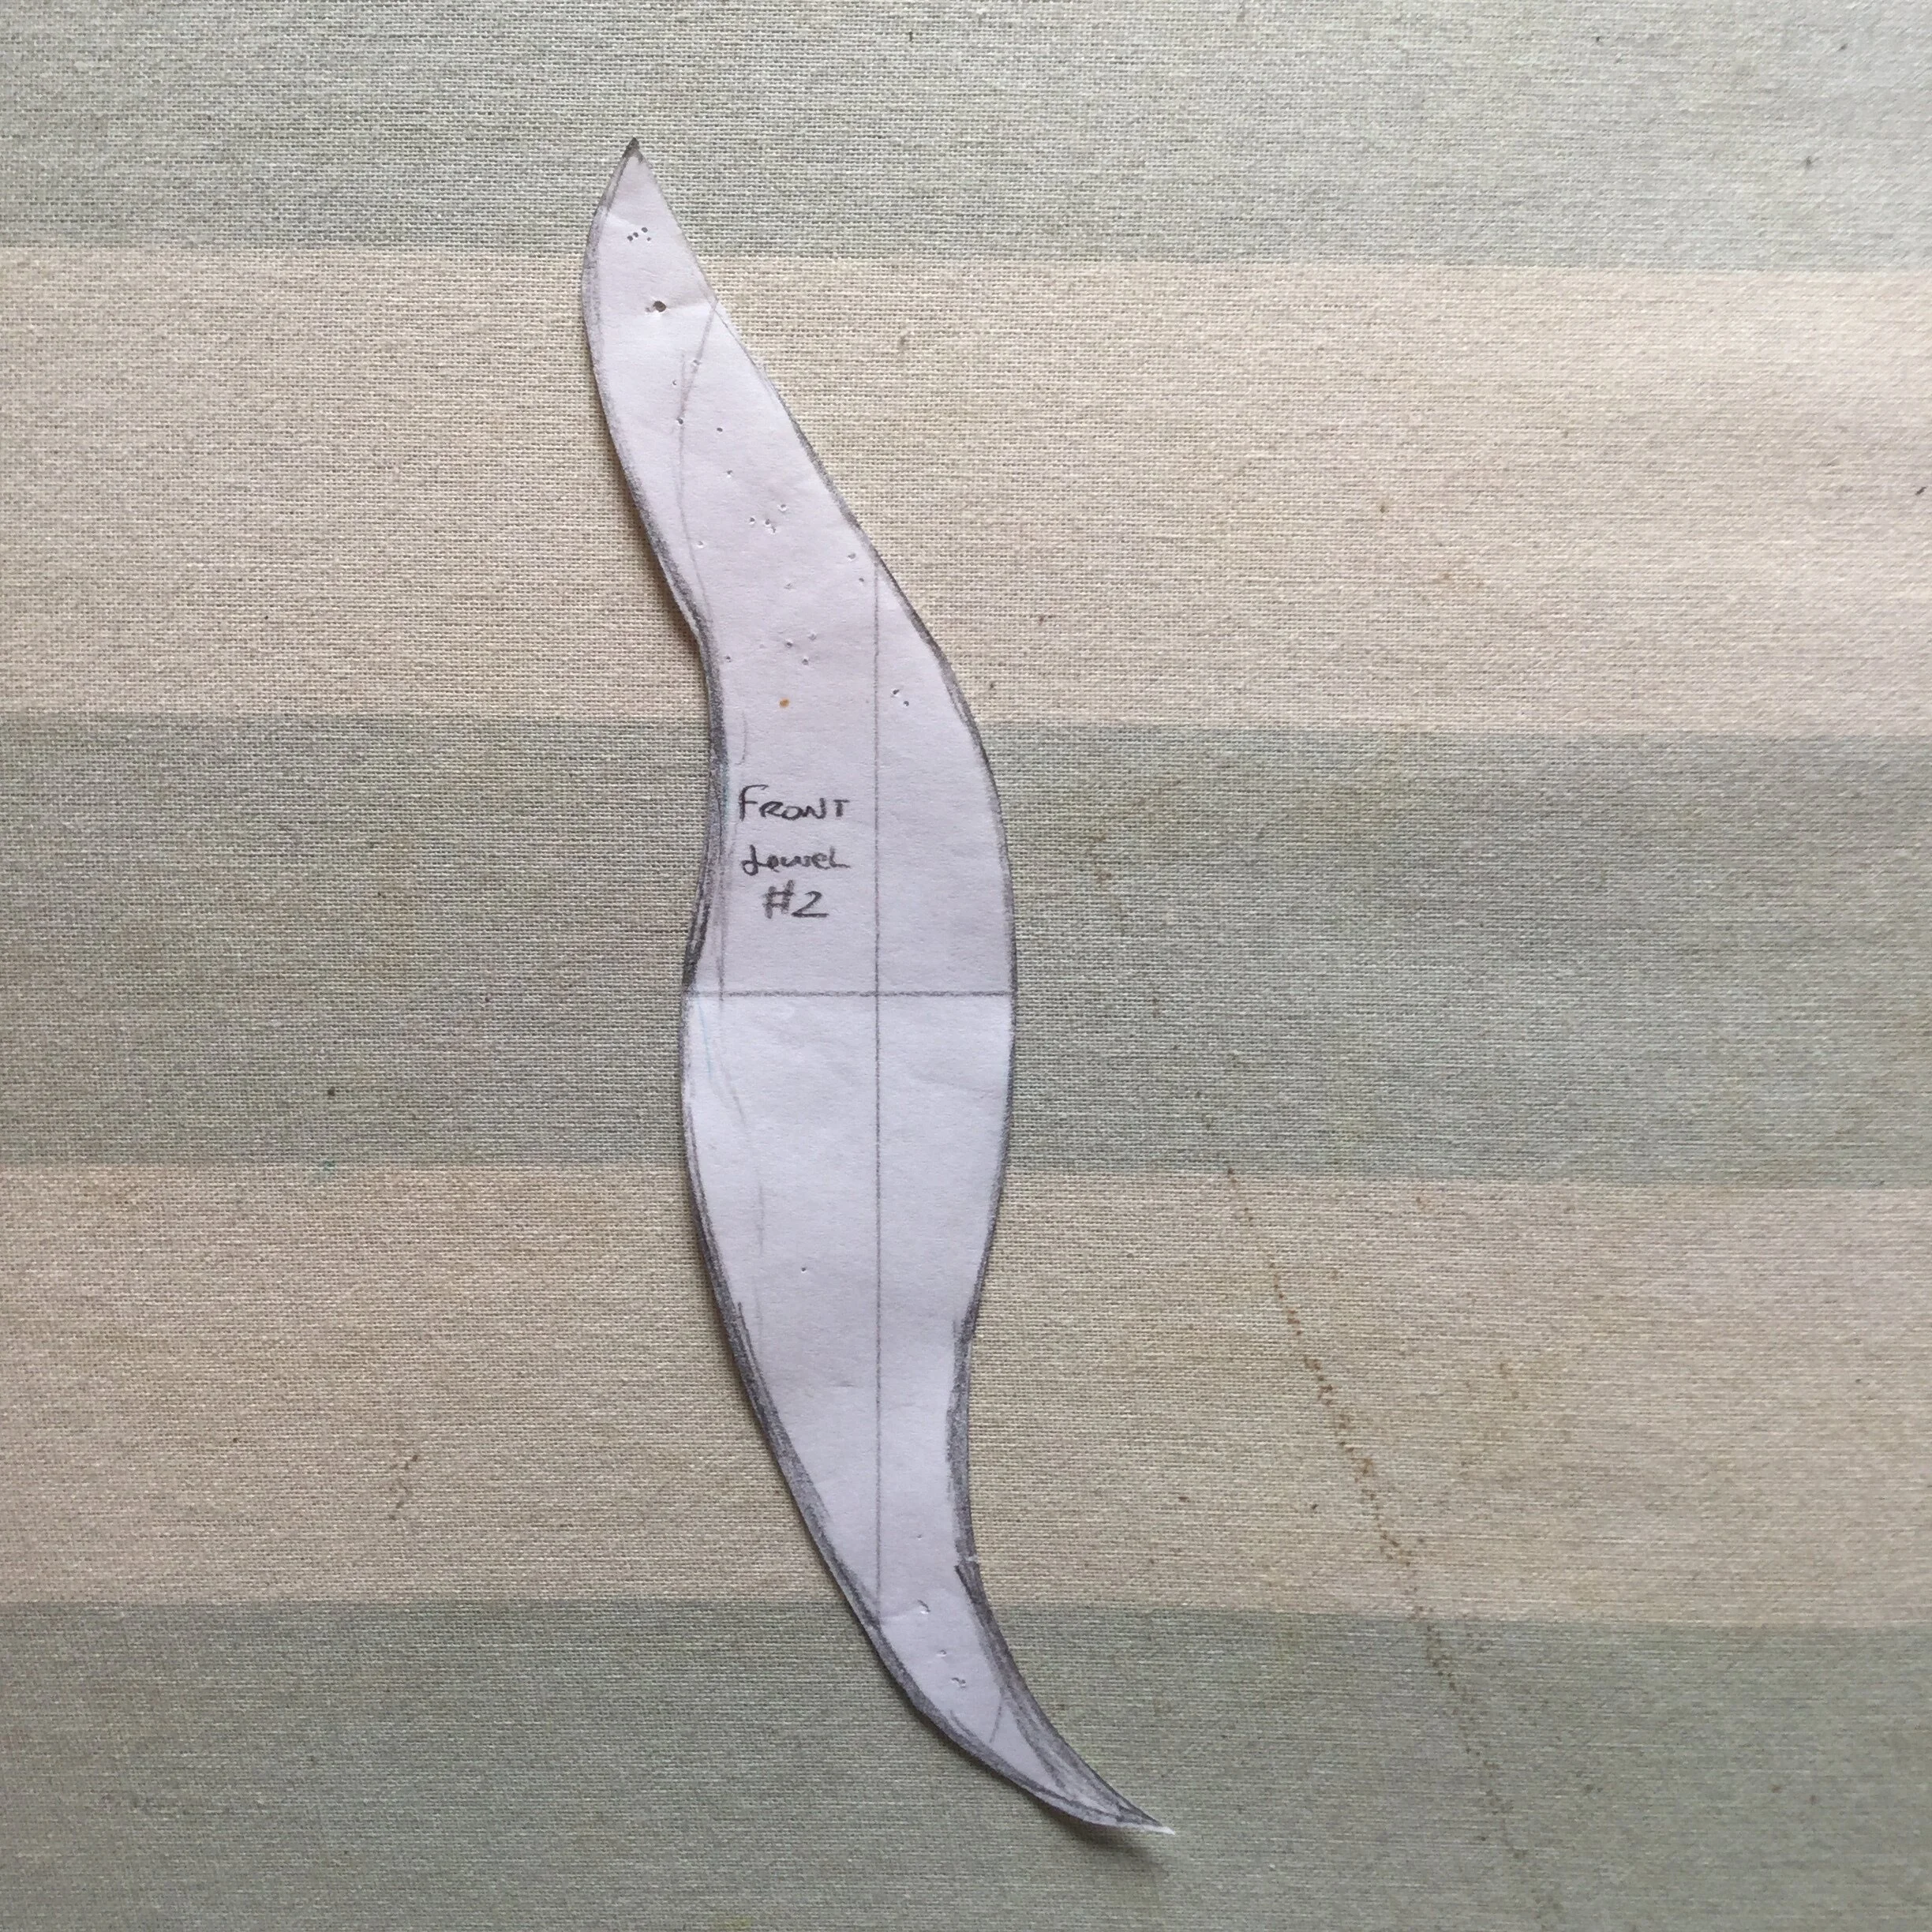
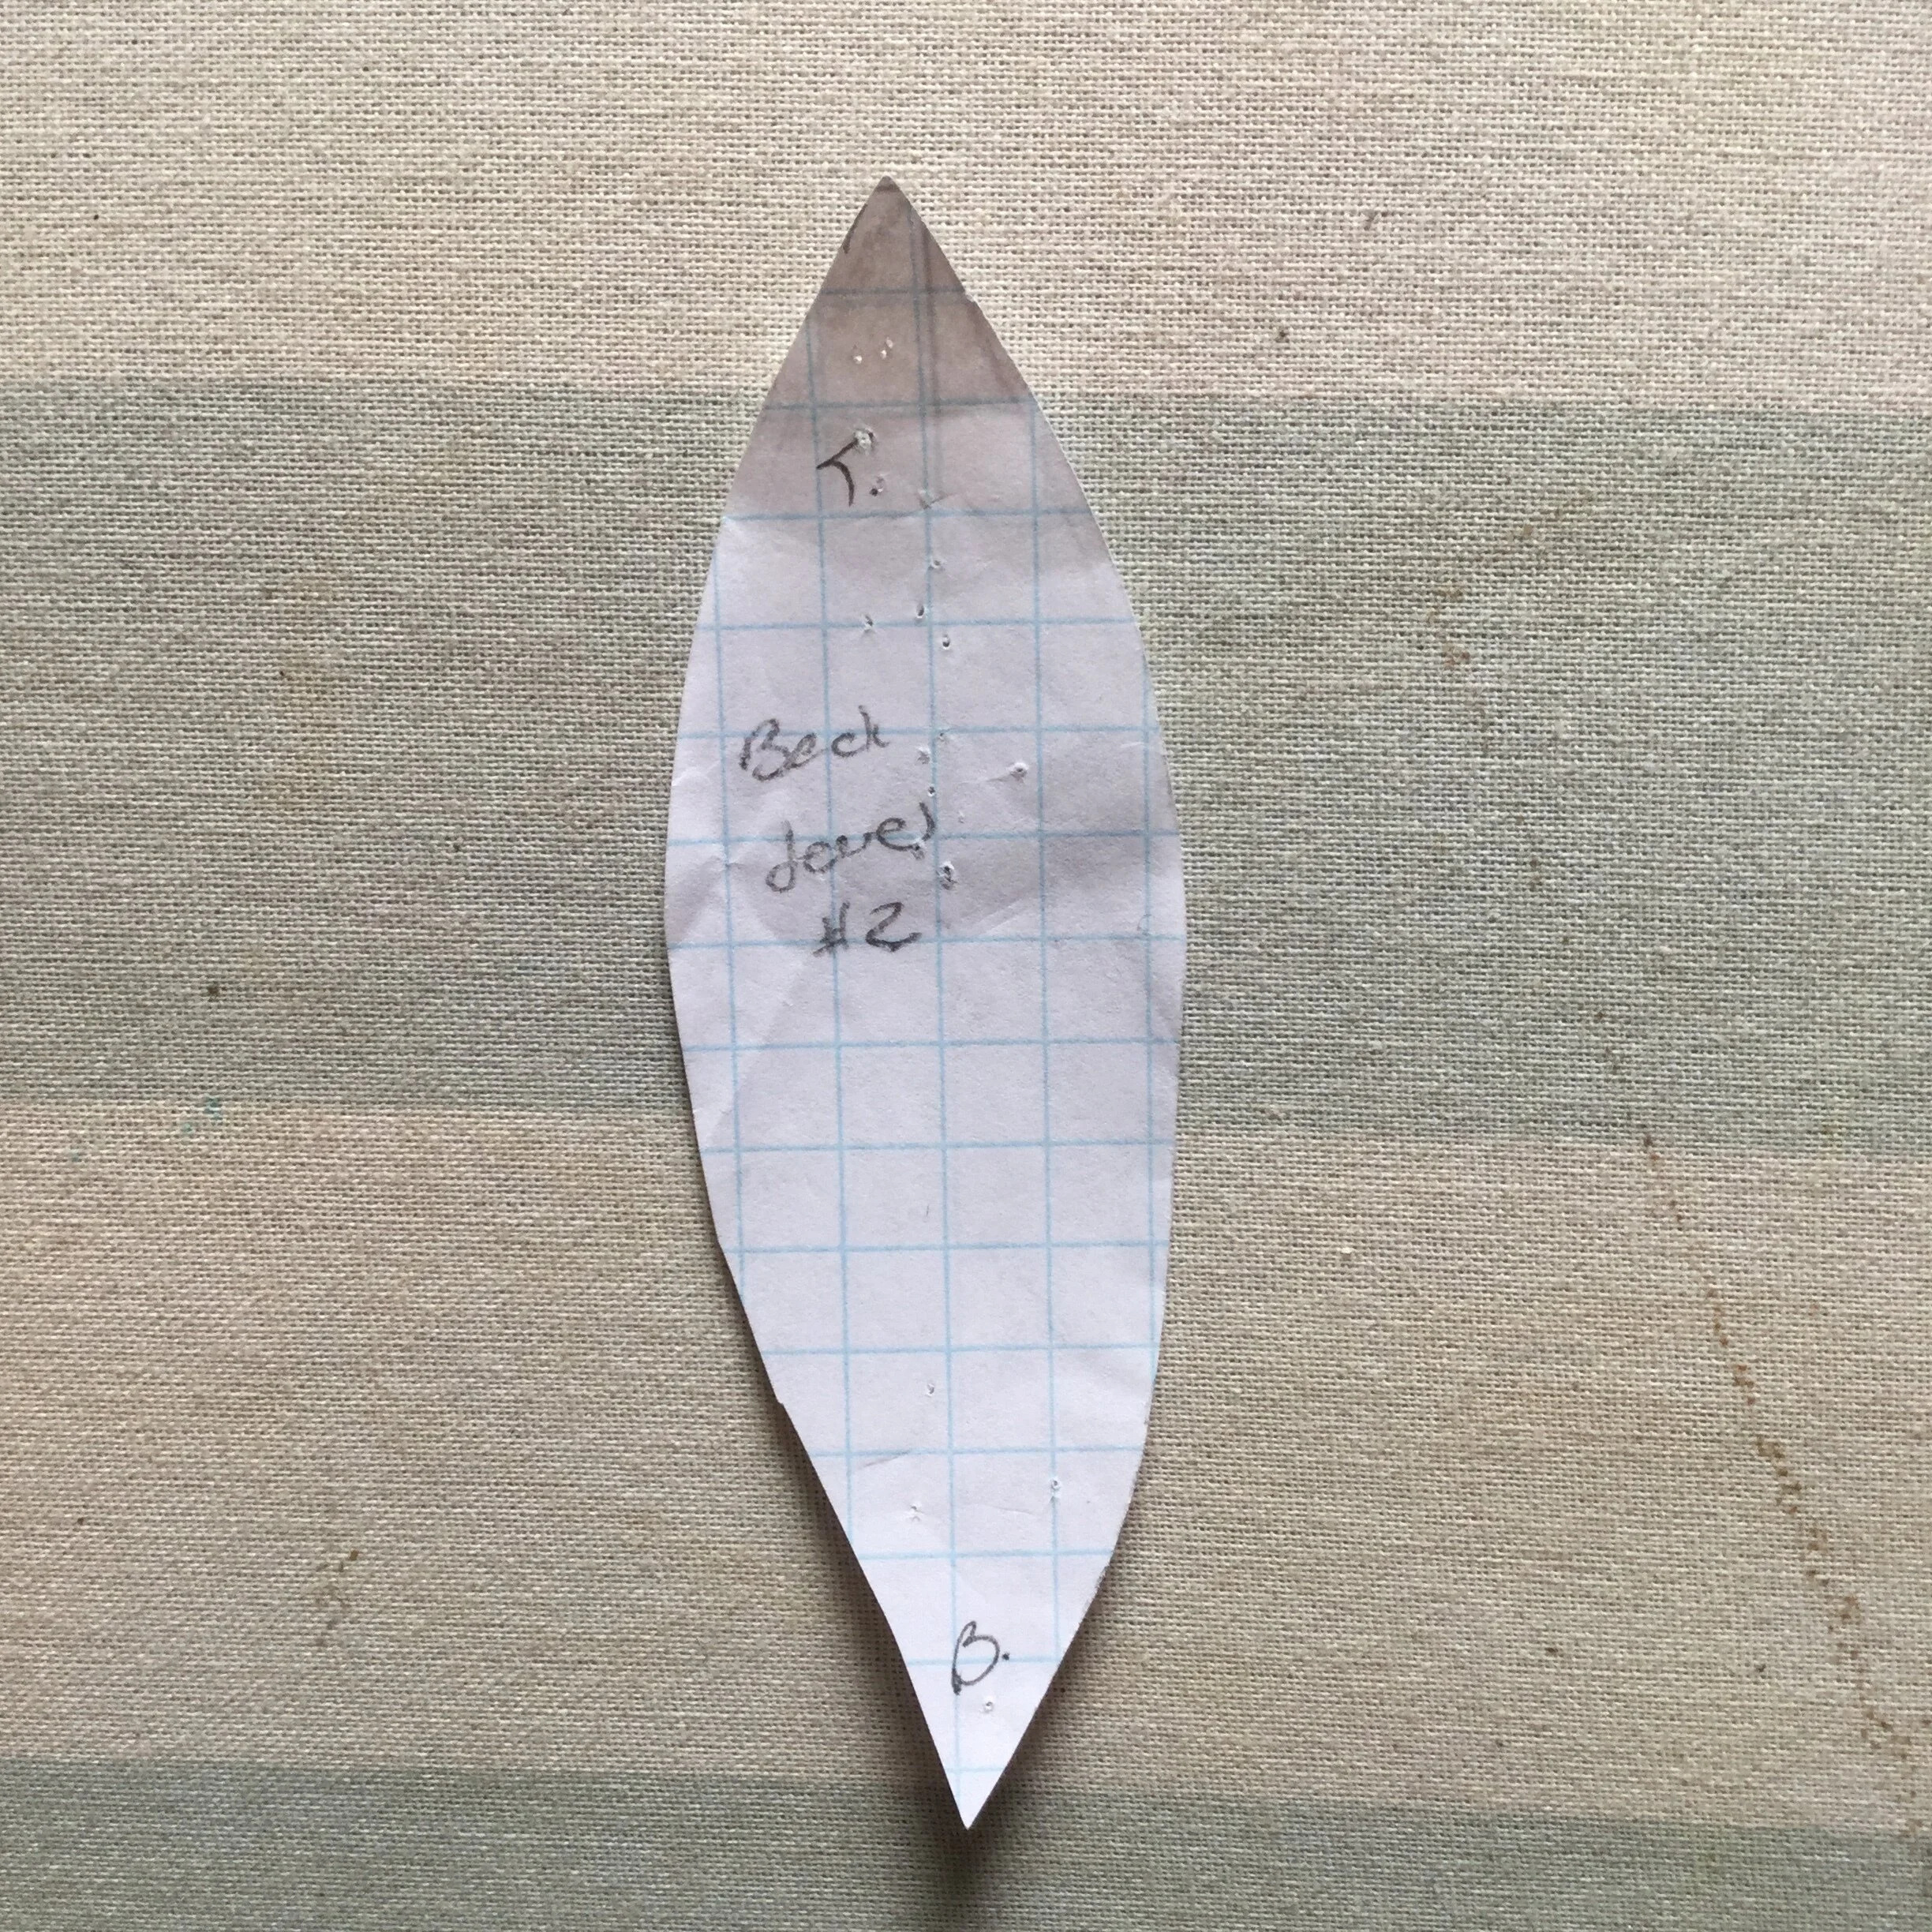
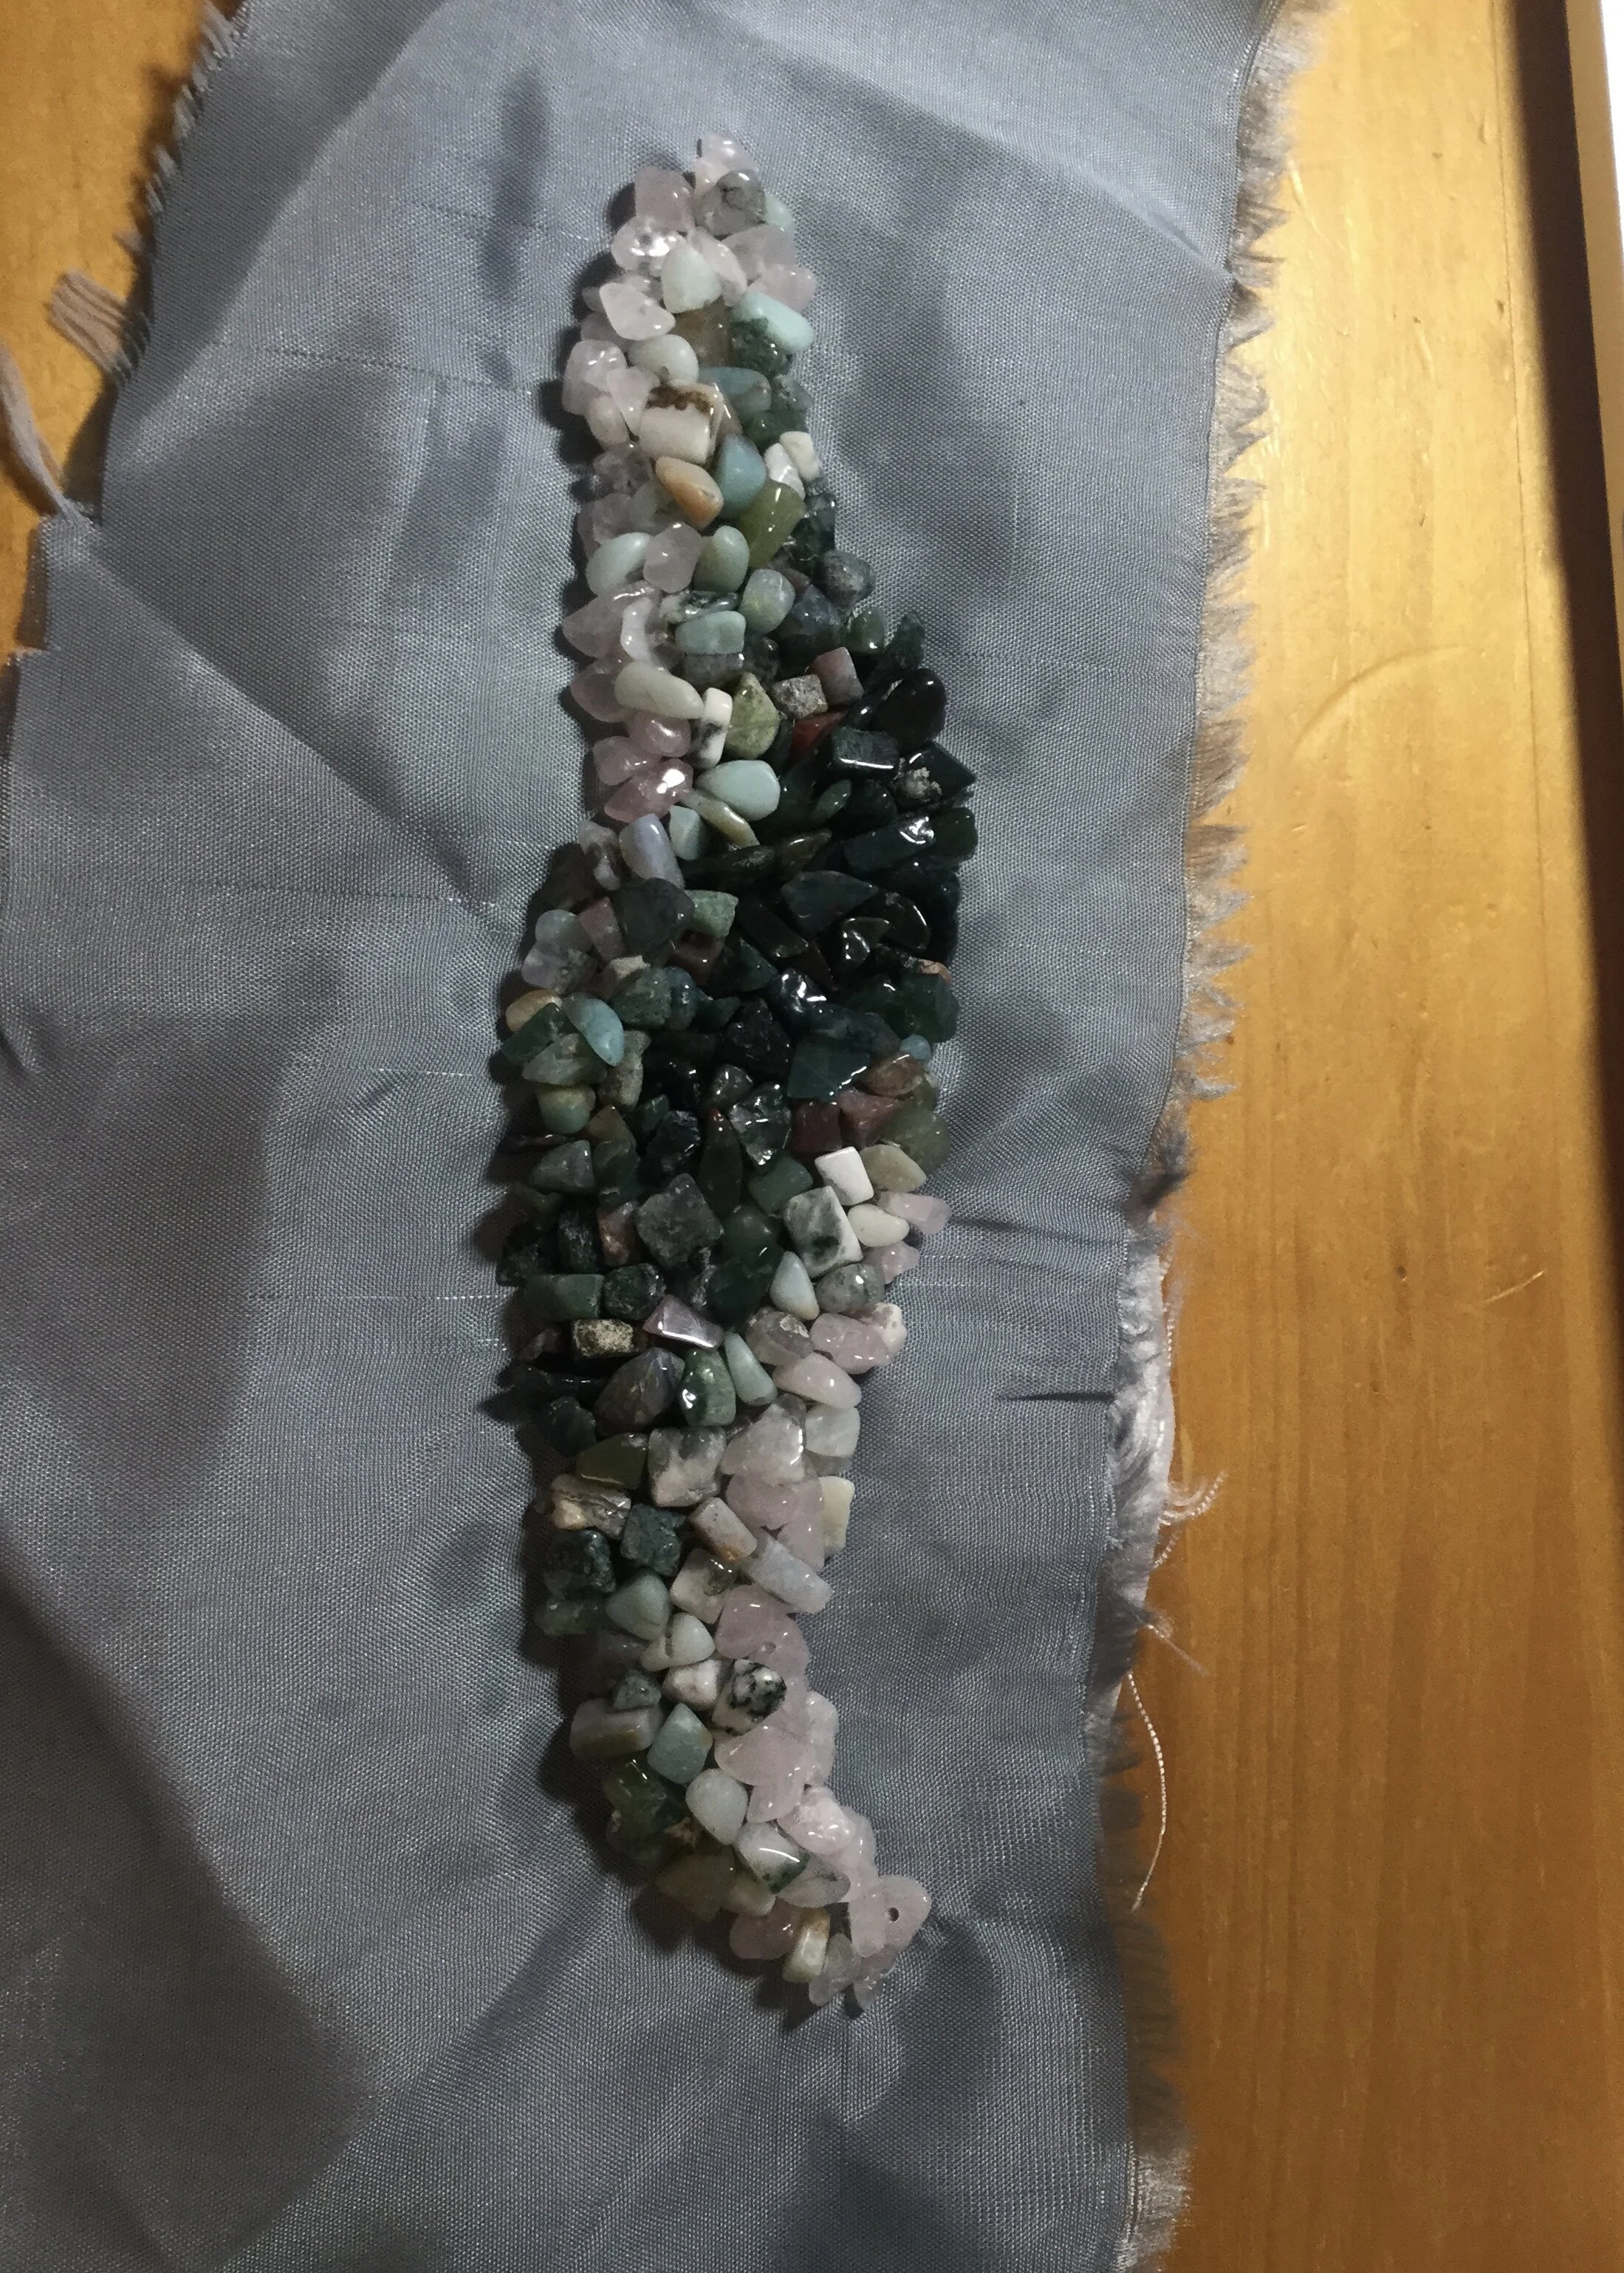
The other consideration for the beading was the shape of the pieces. Part of the appeal of the geode idea was that this element of the design would now be a more interesting shape than the plain oval from the drawing. In my continued efforts to avoid anatomical comparisons, I had drawn a long, twisty kind of shape which crept up the left side of the neckline a little and curved under the right breast for the front. For the back I explored a similar sort of curvy shape, but thought it risked the final product looking a bit like a sparkly poop. I didn’t care to invite that comparison either. I ultimately opted for a more regular shape, although when I applied the beads I did still make sure that the lightest colours along the edges didn't quite join together.
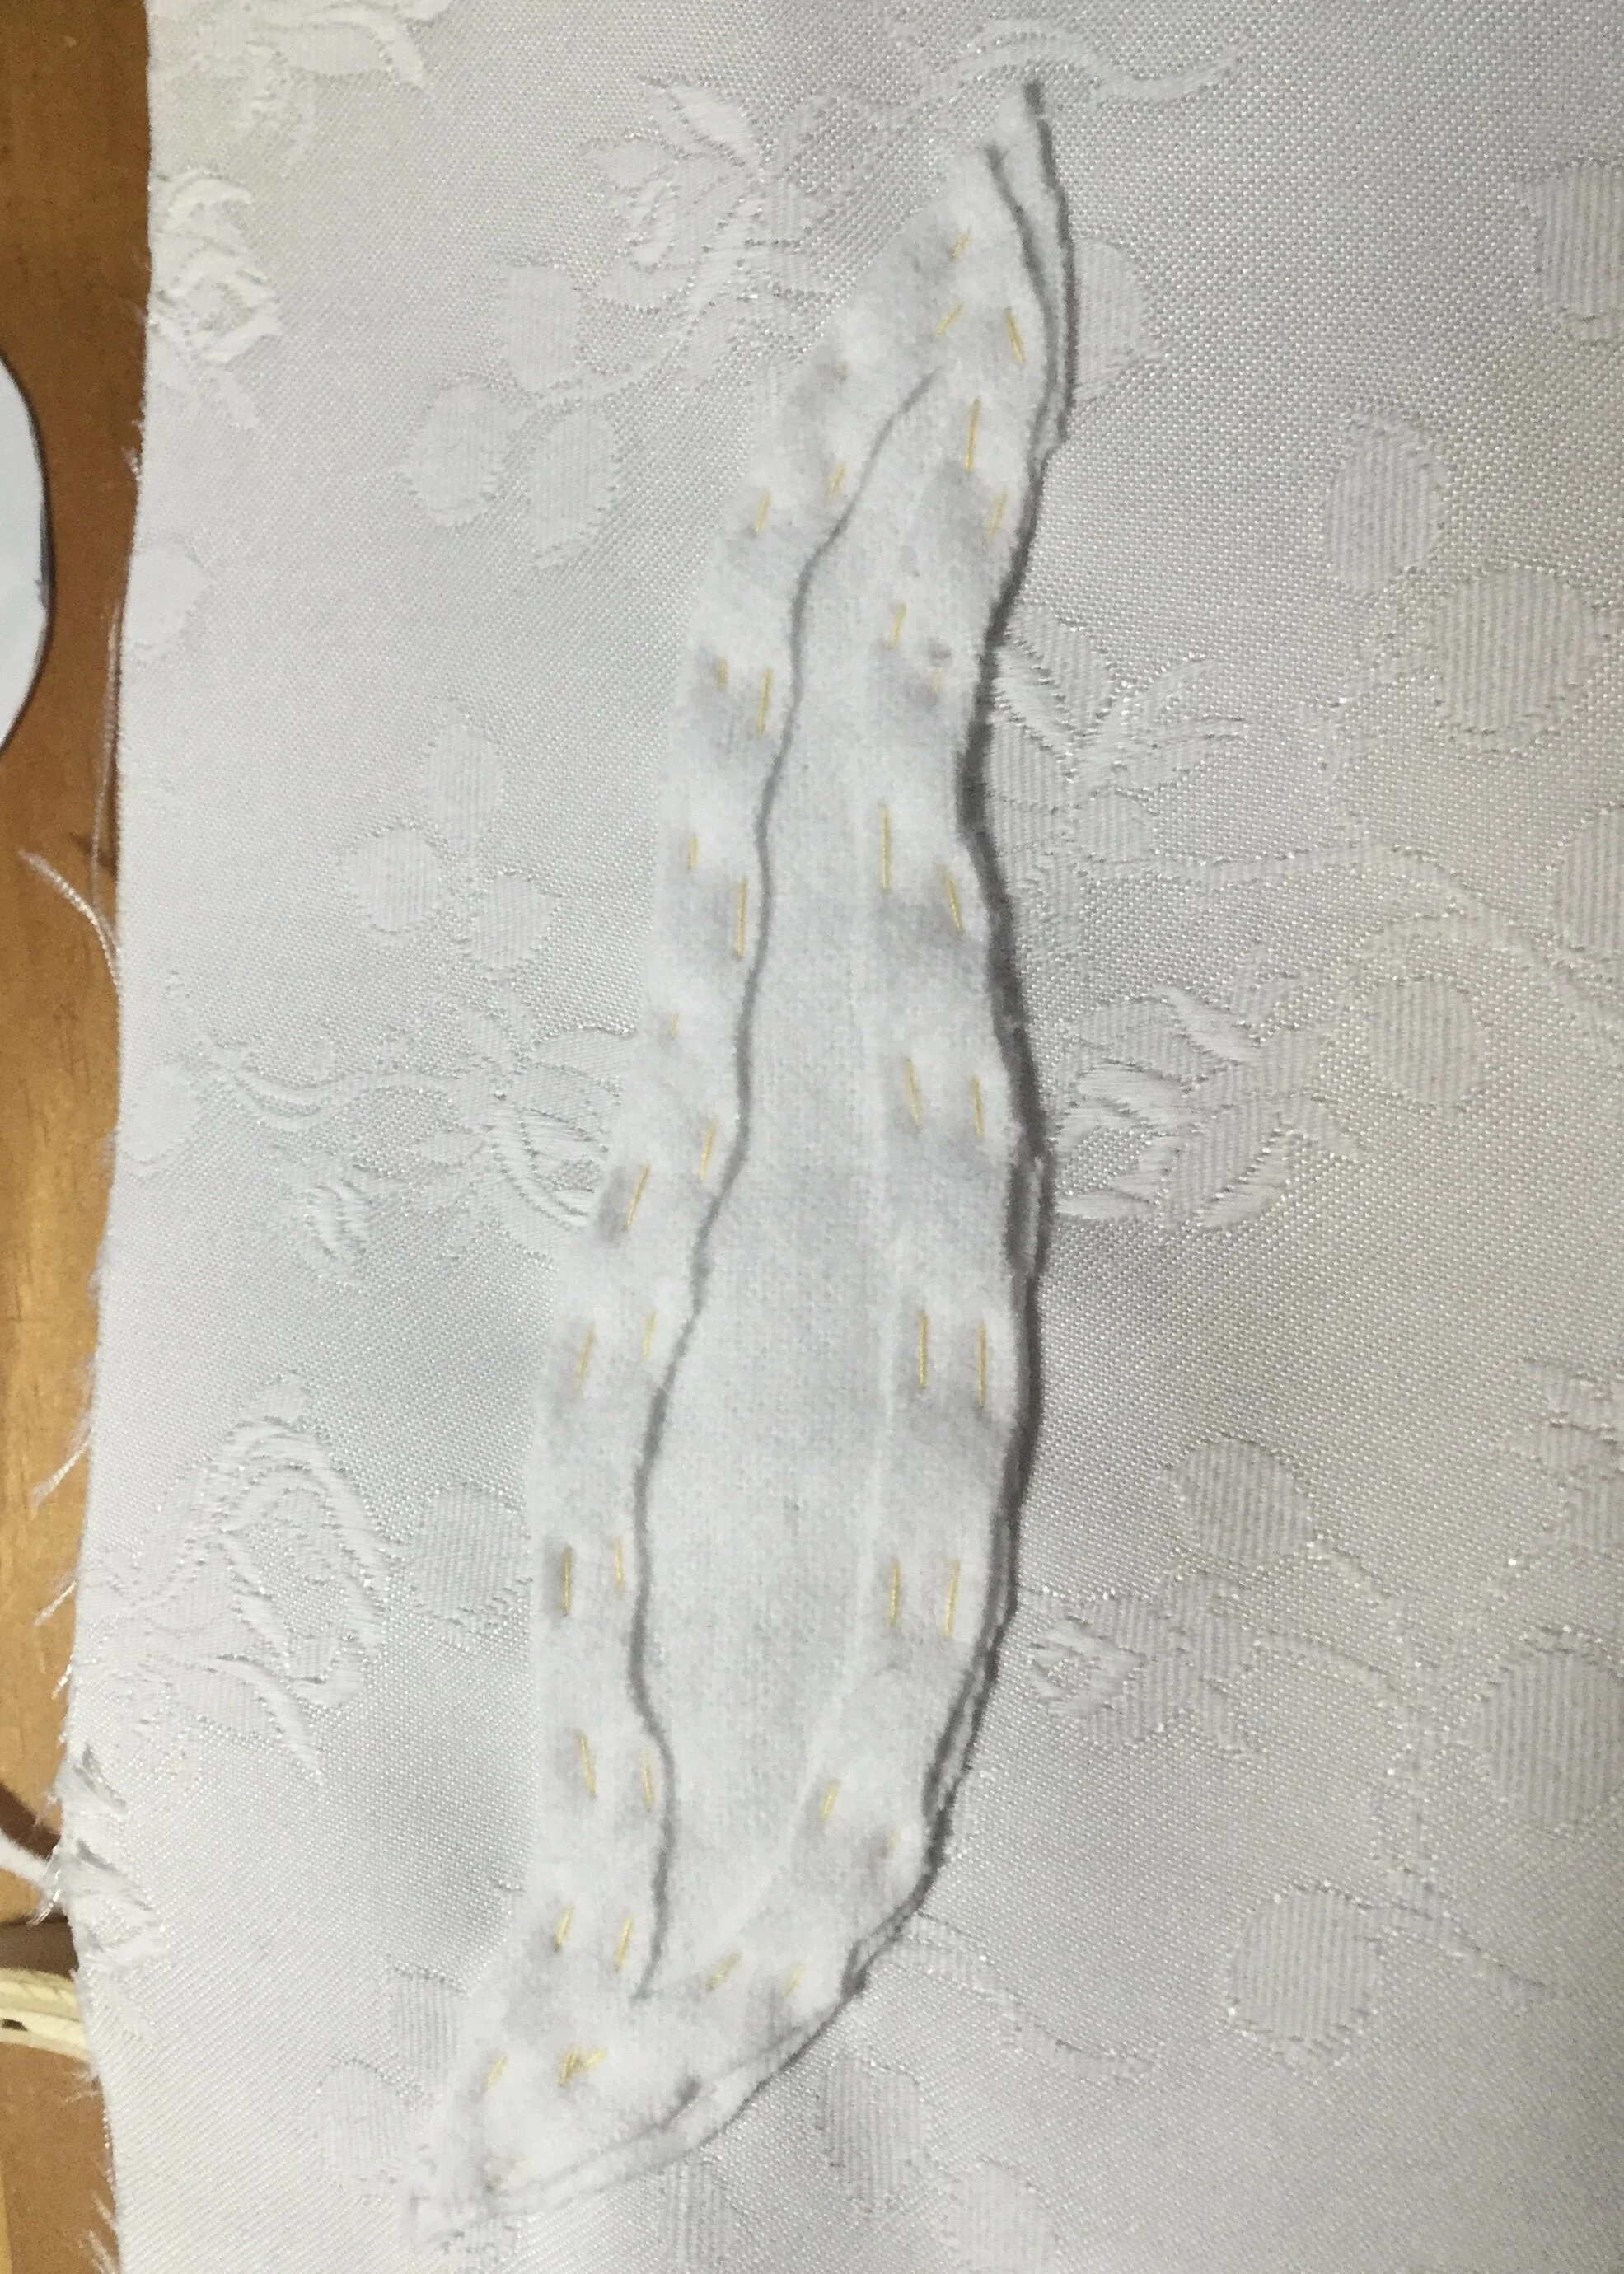
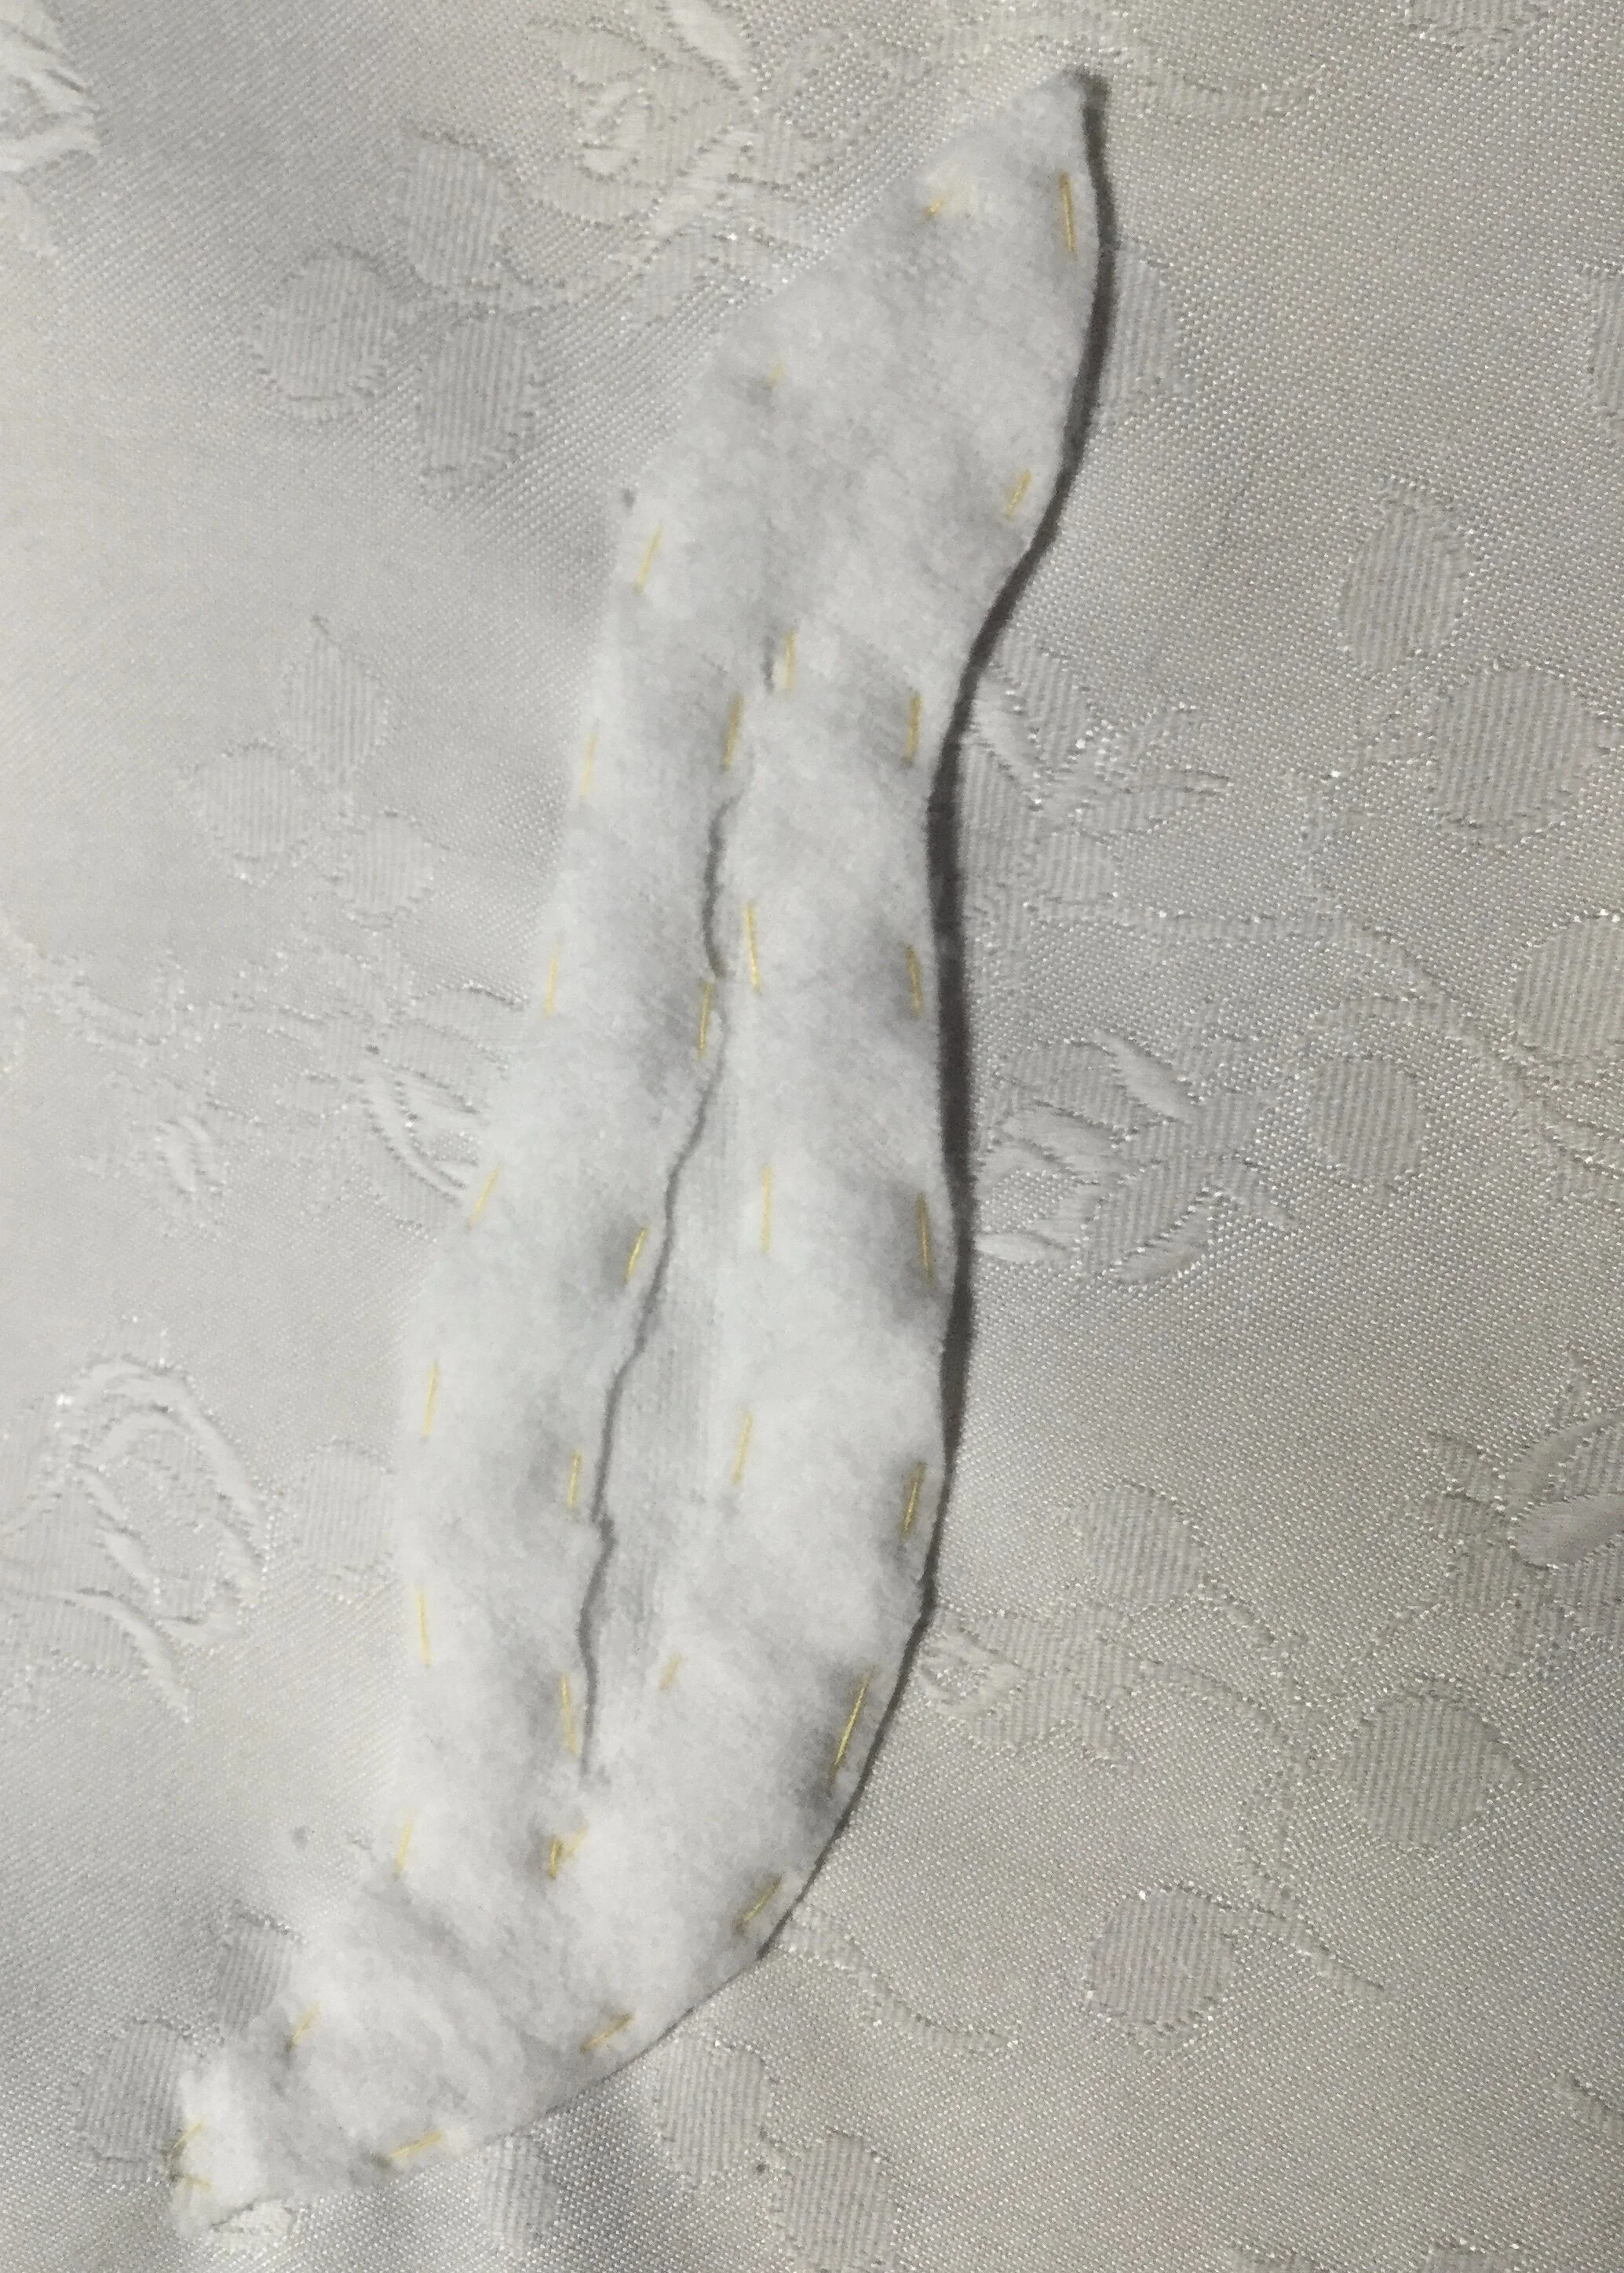
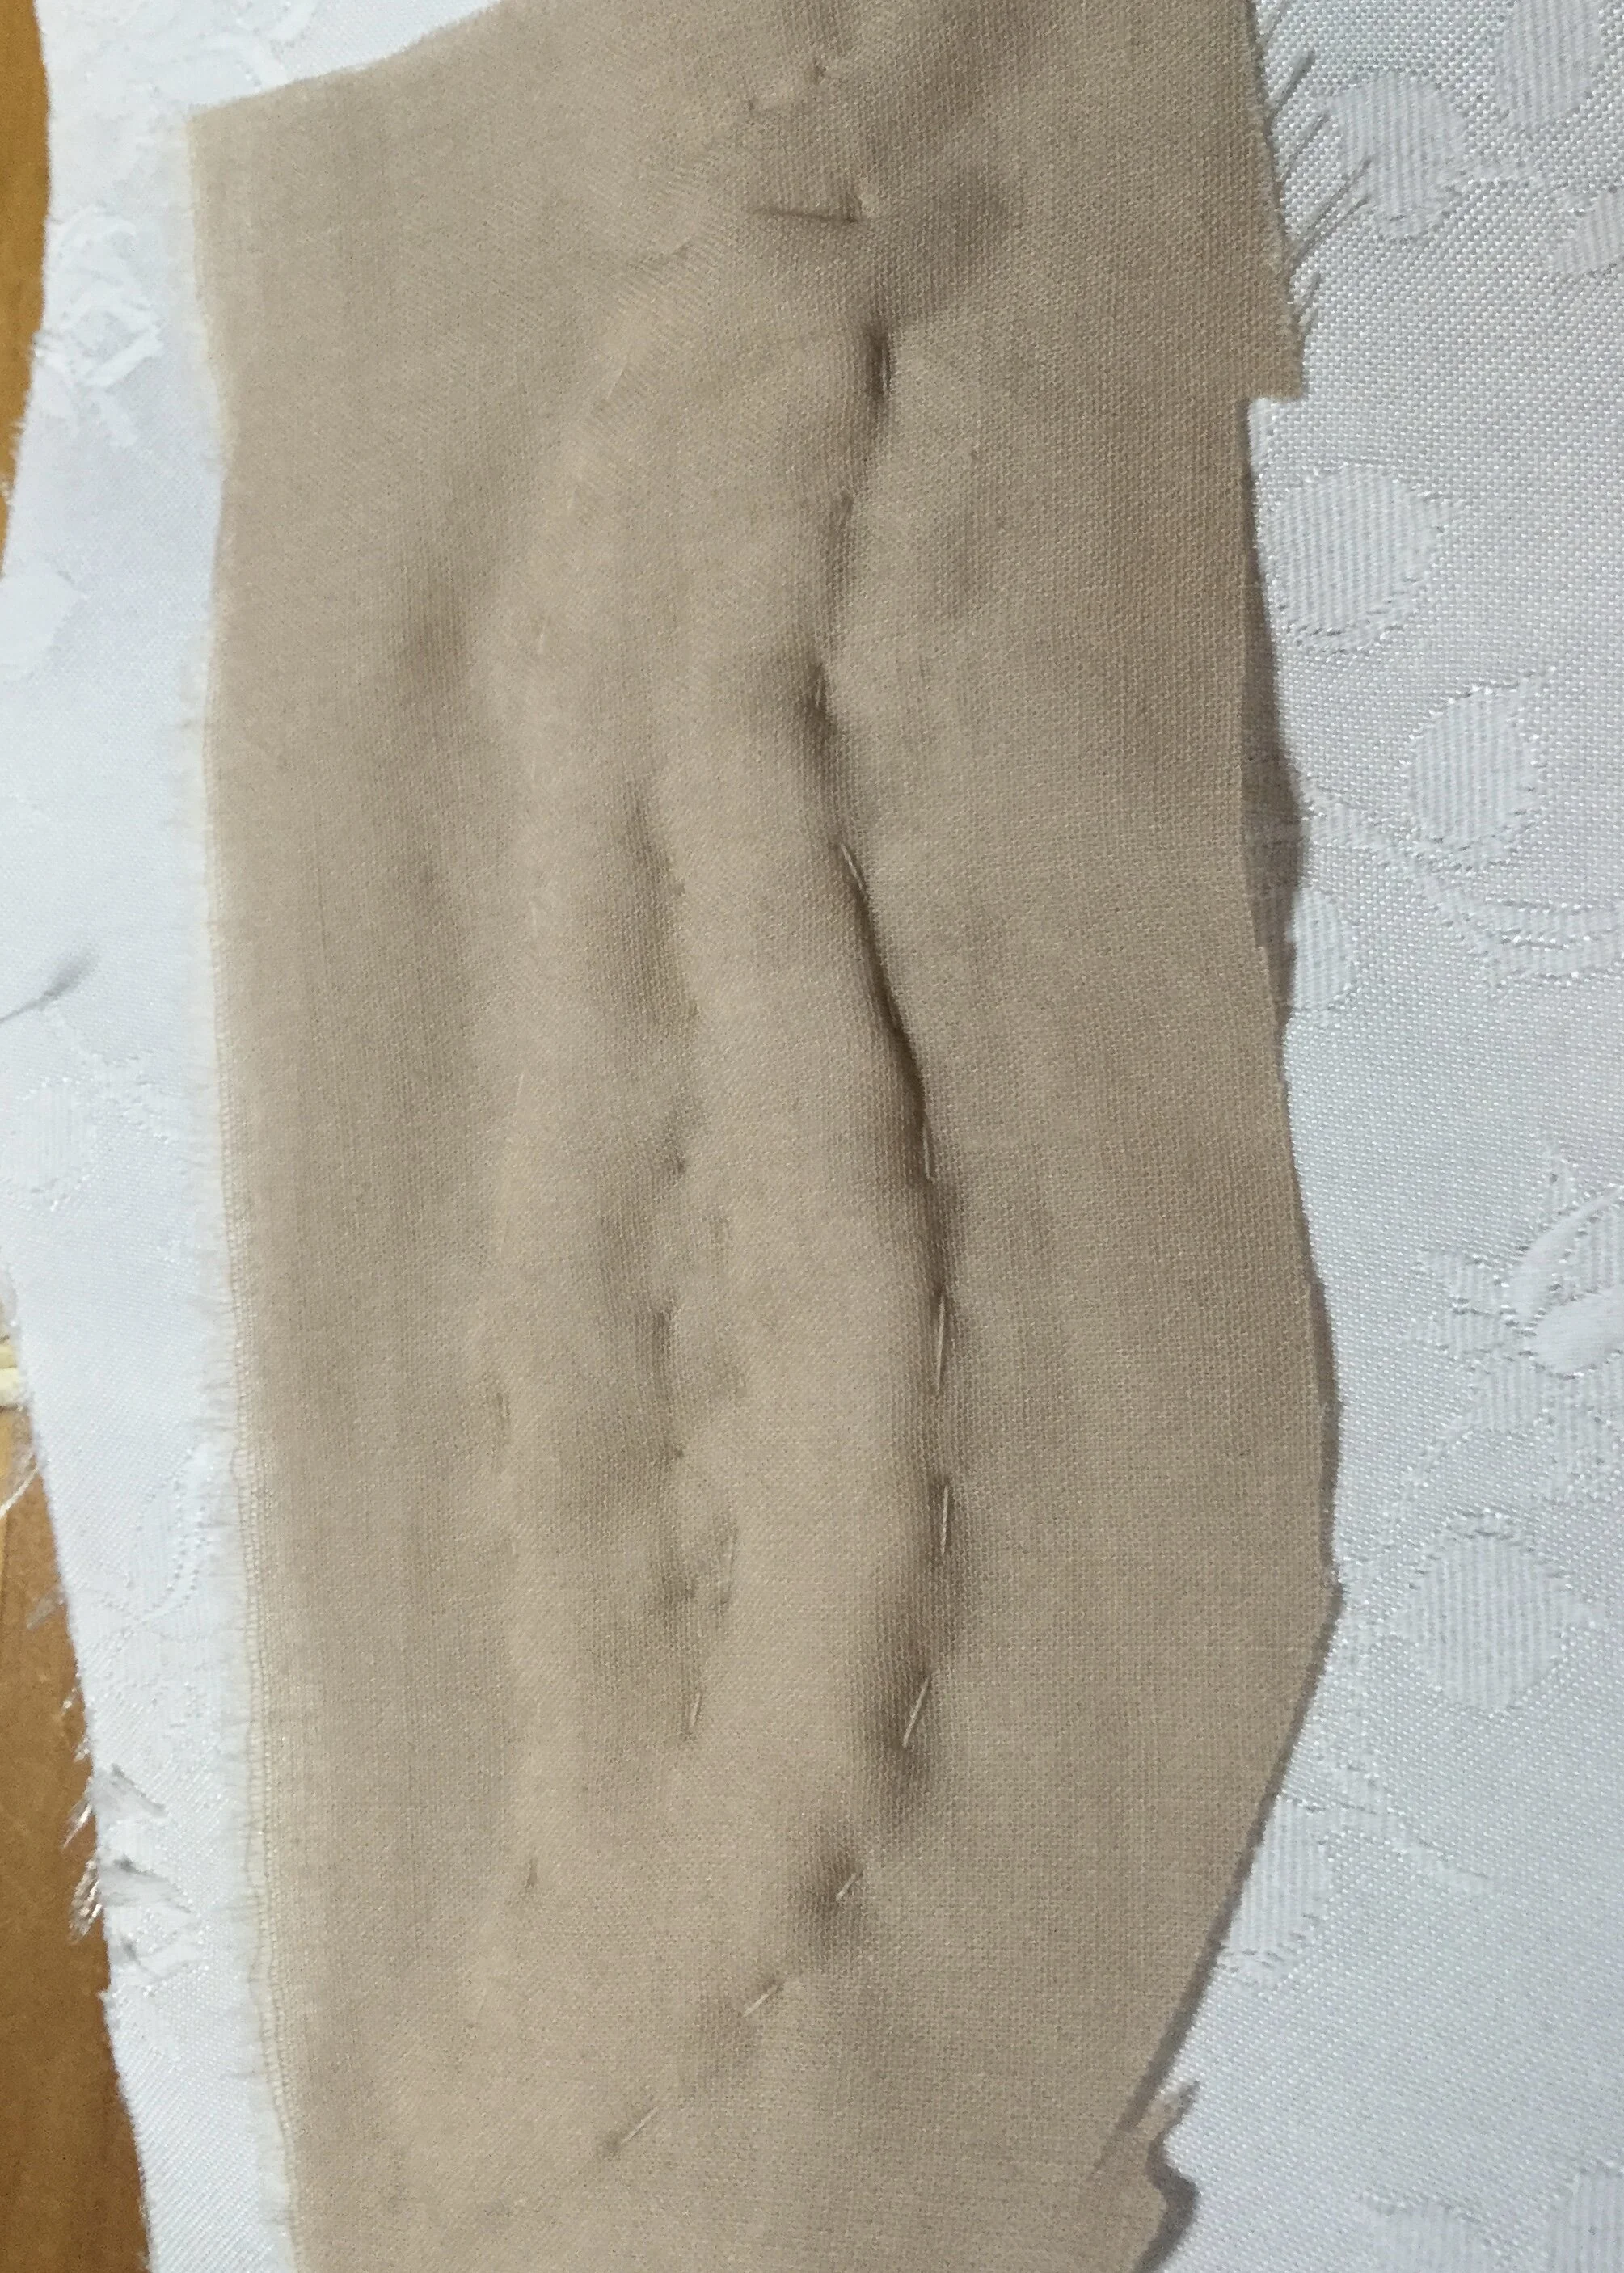
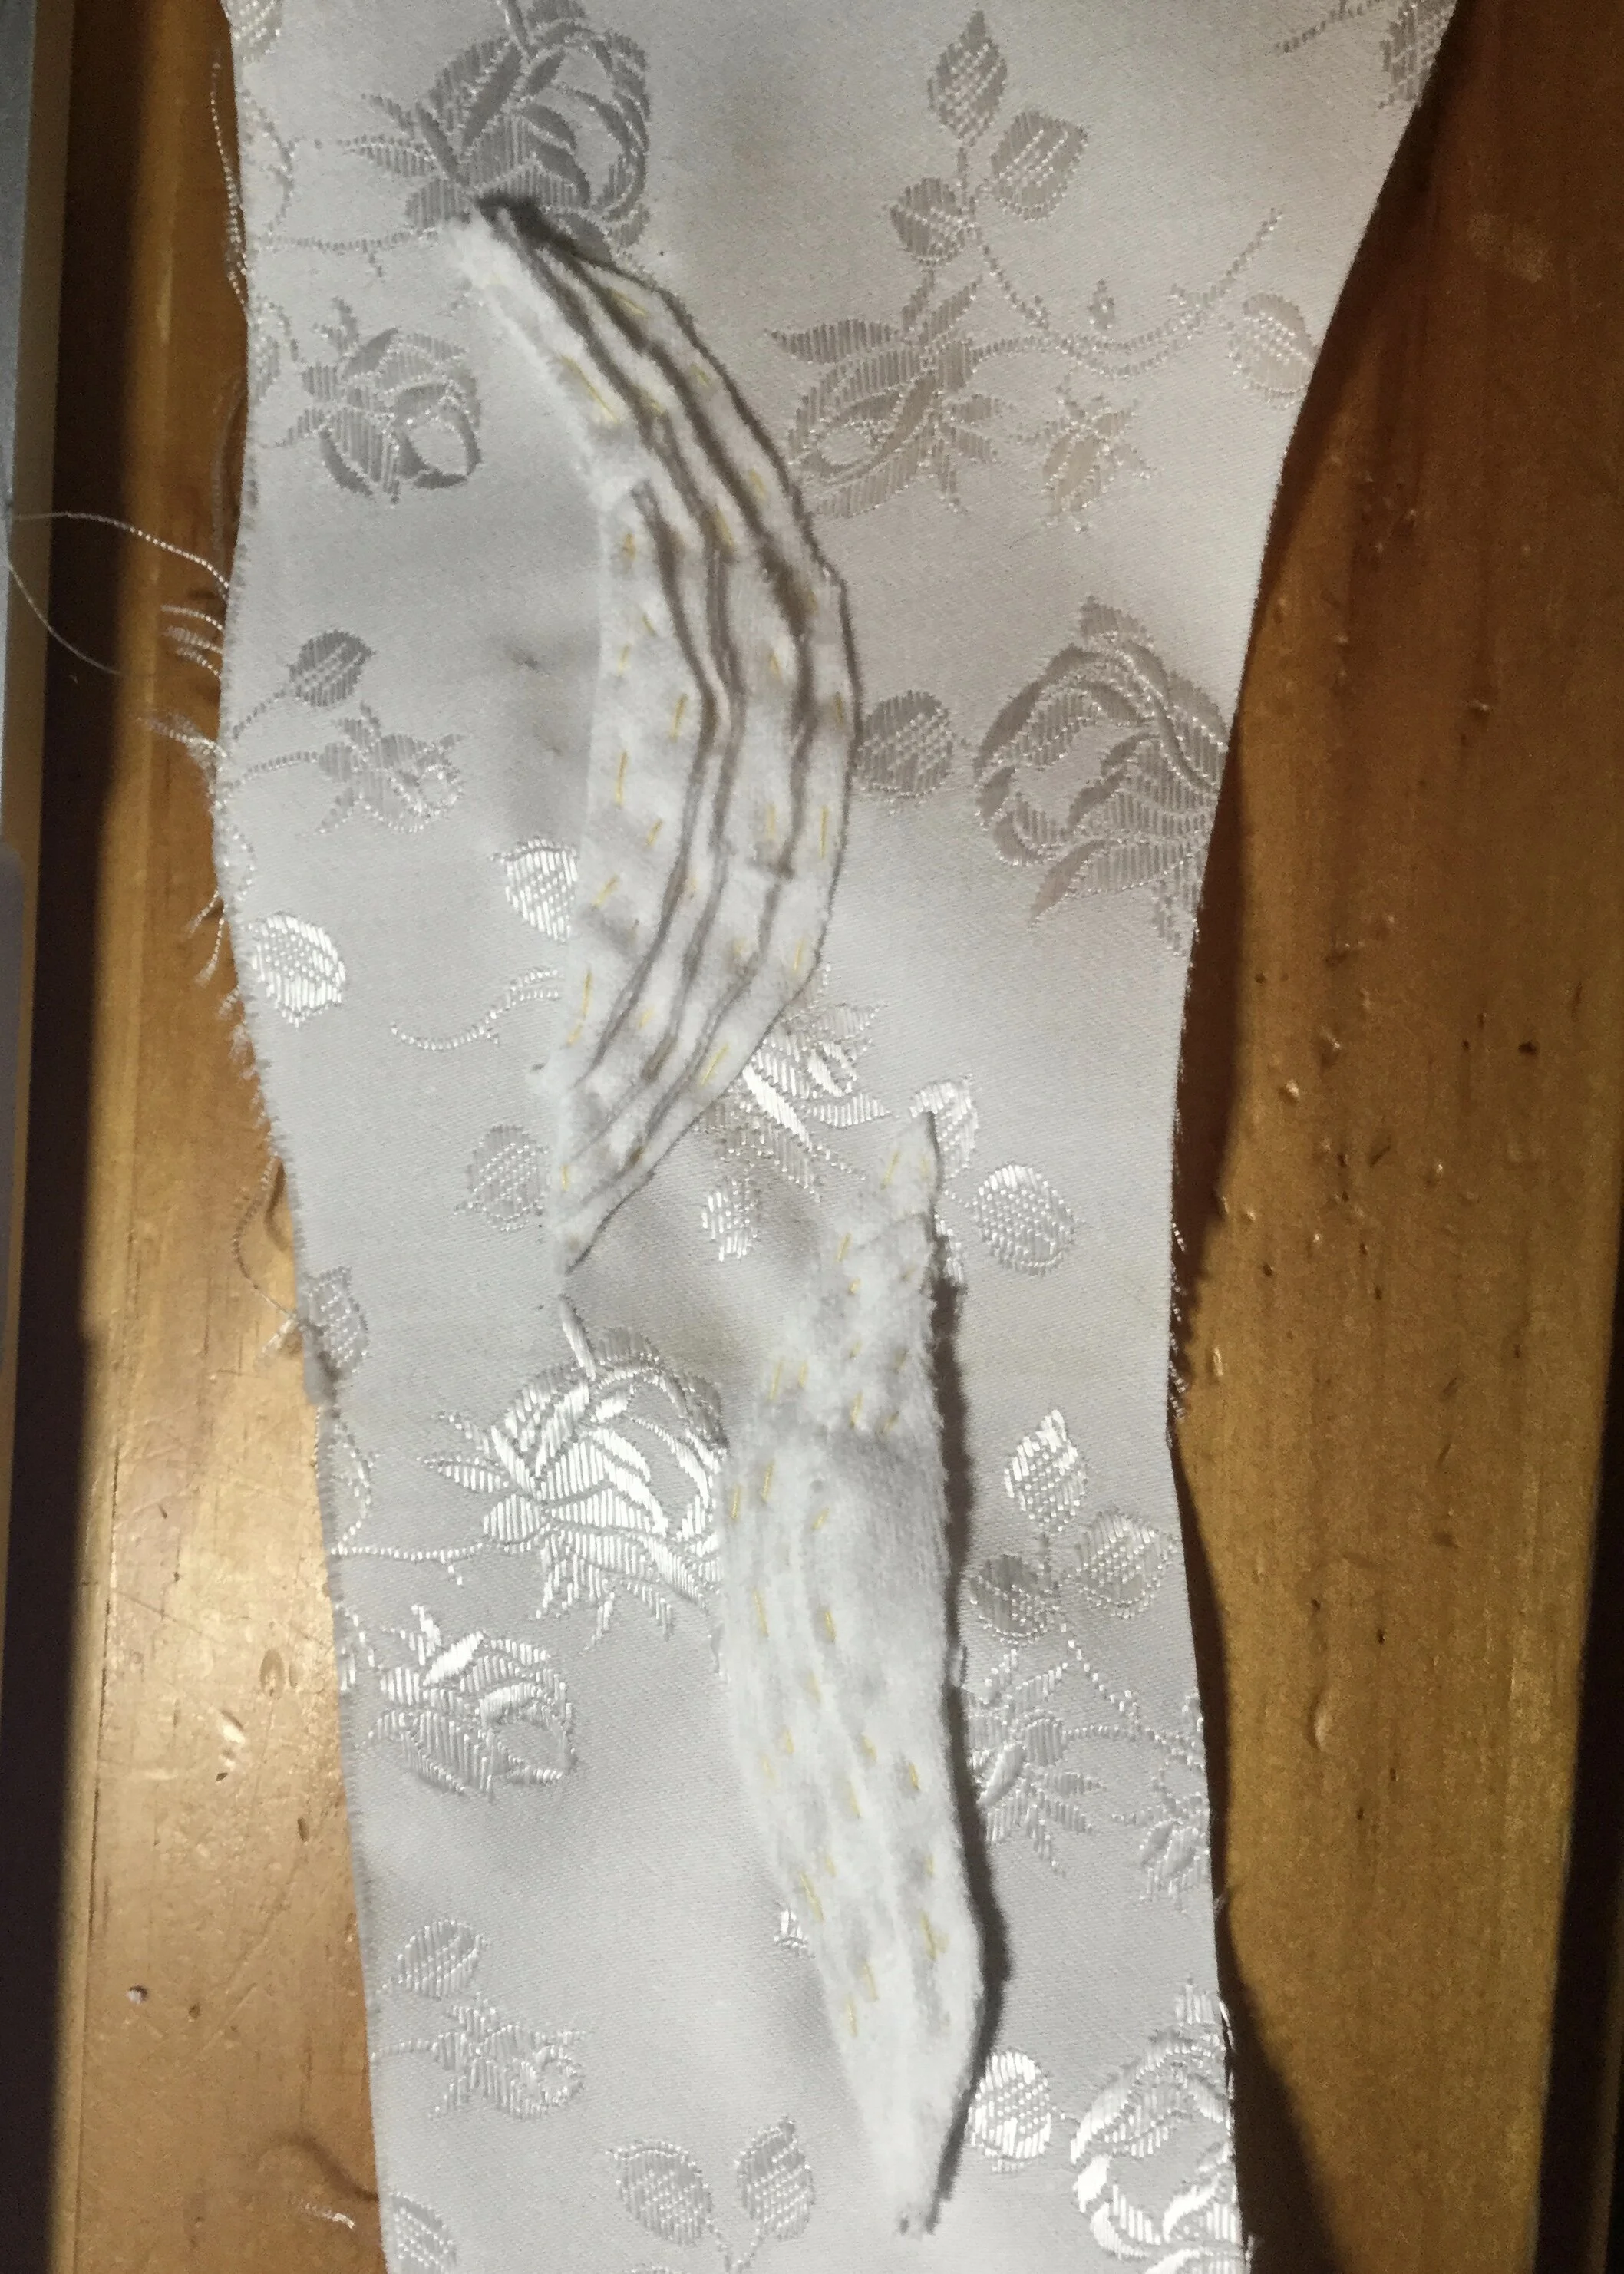
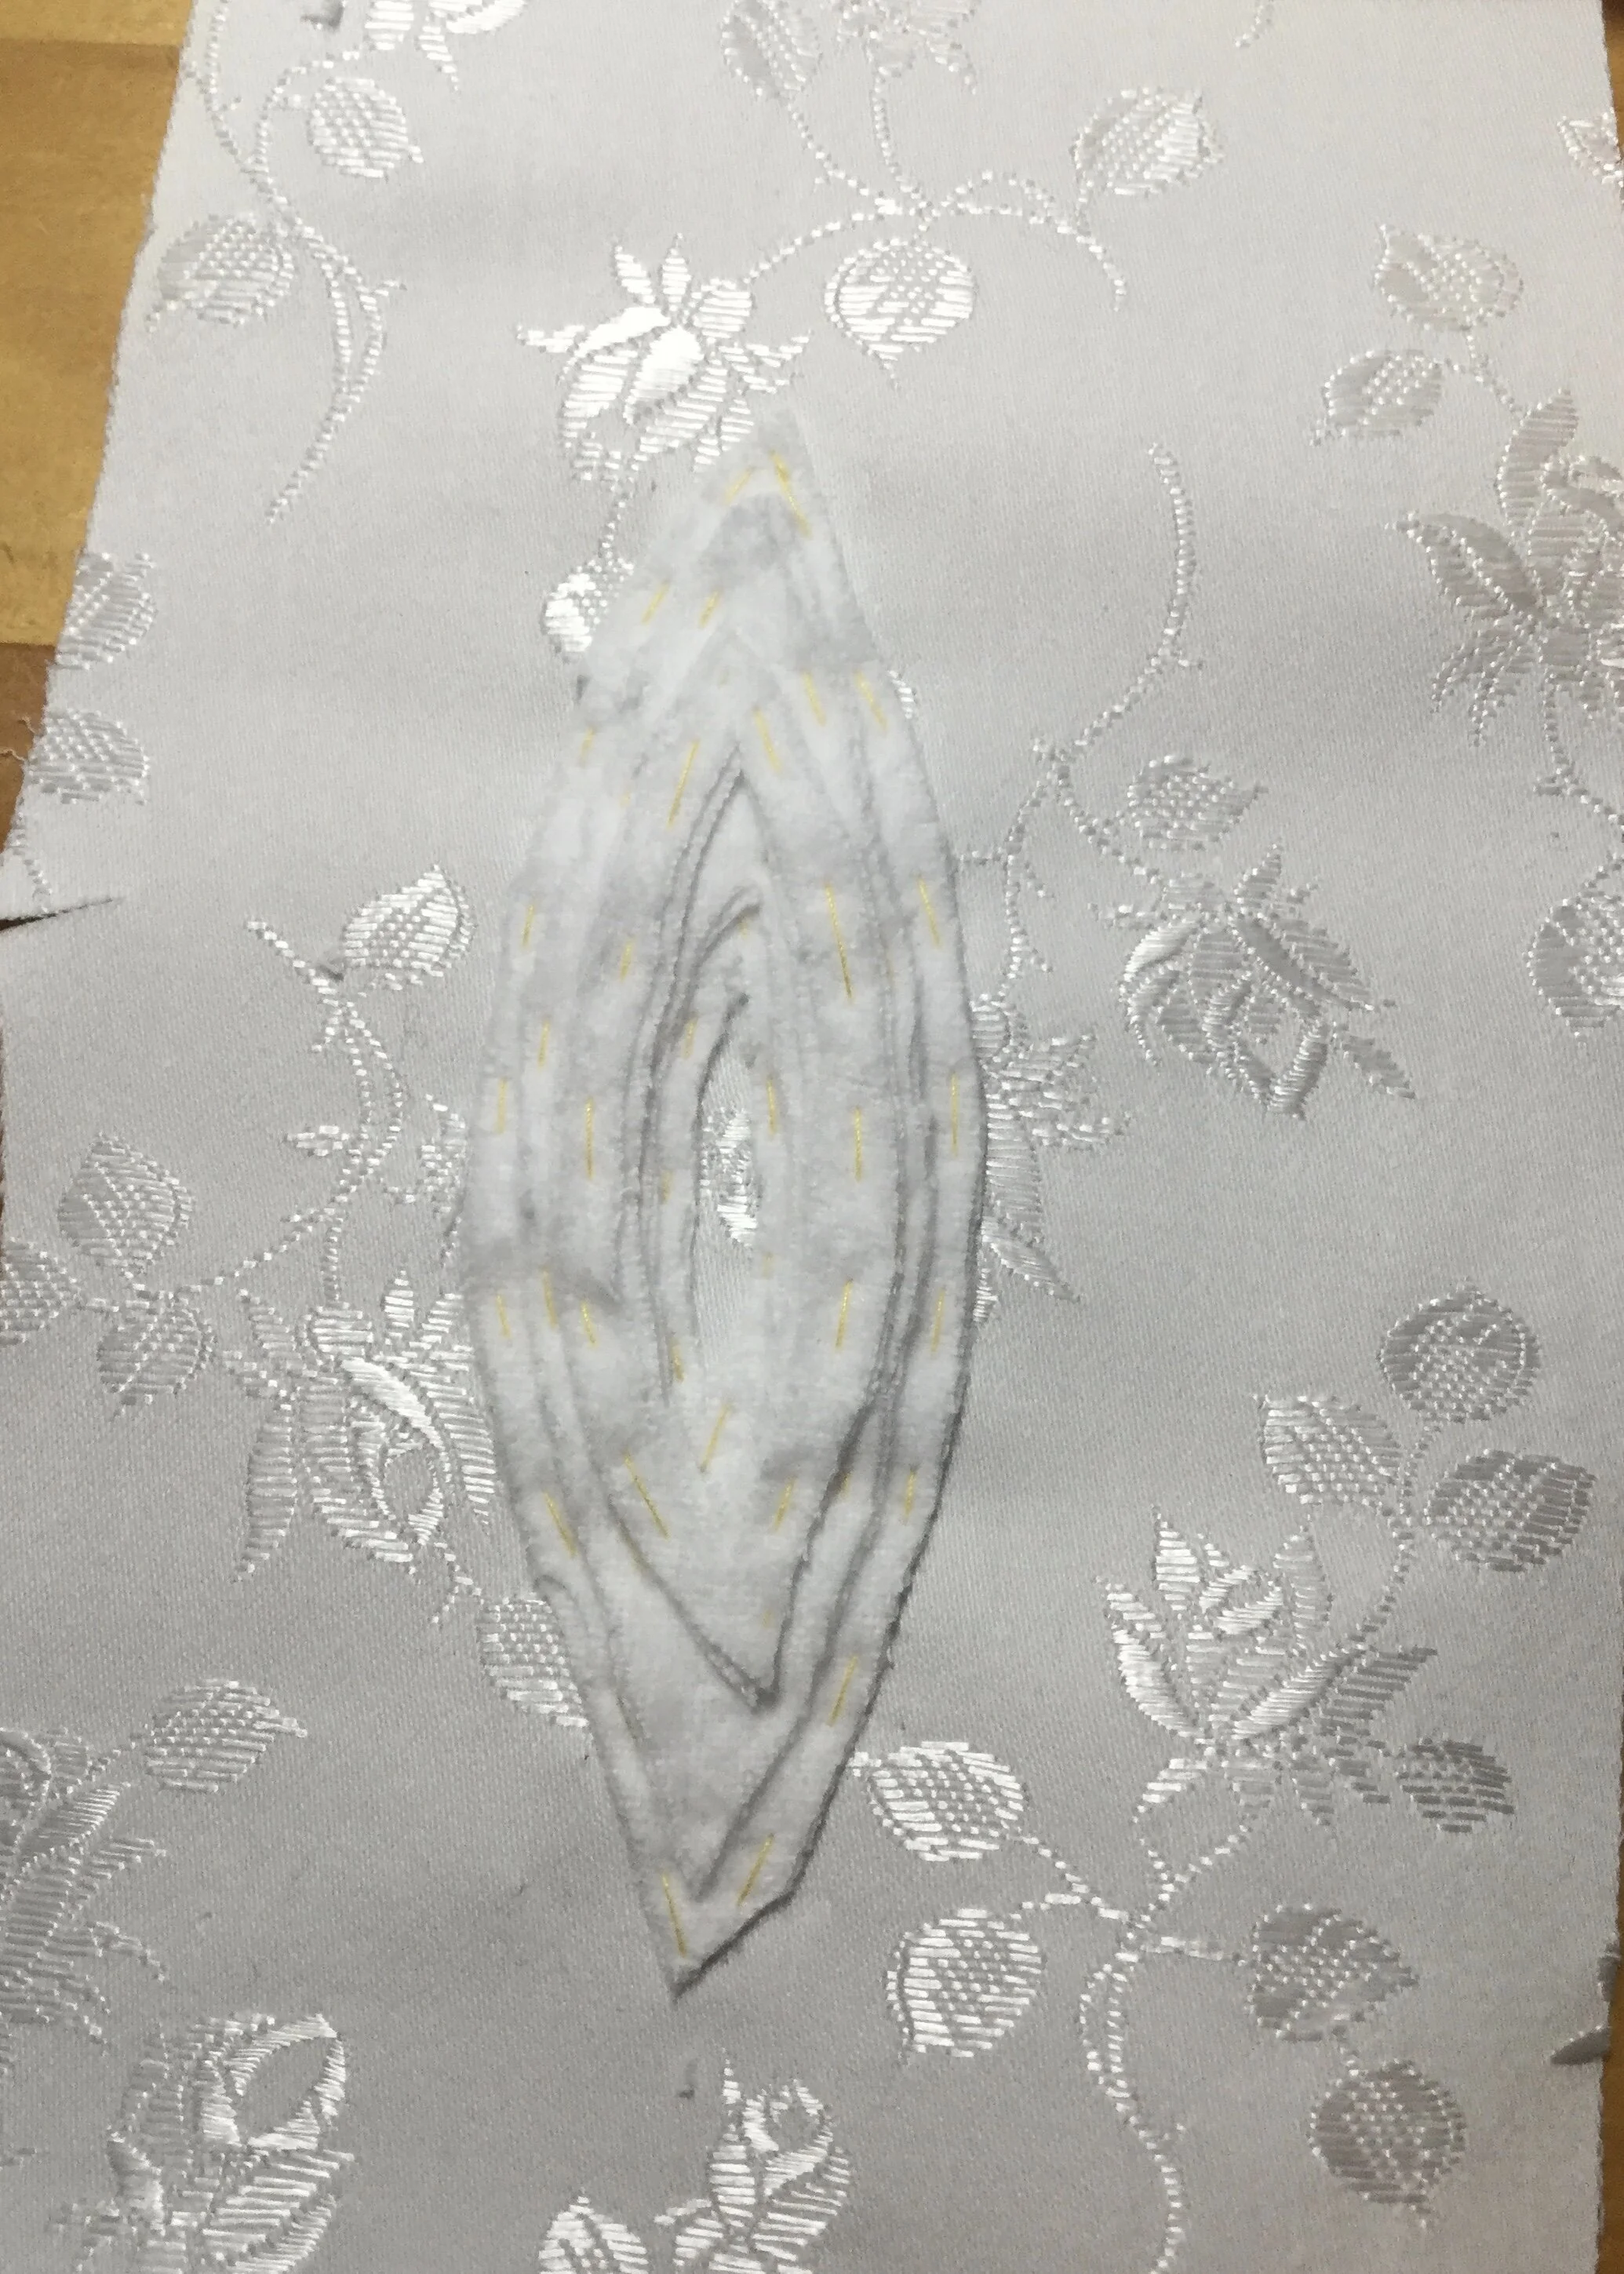
The two beaded pieces were the first part of the final build to be tackled. For a base, I chose my old friend coutil; it's sturdy and stable so it wouldn't come apart or become really distorted with the weight and stitching from the beading. I don’t know if that was really the best choice, perhaps someone who is a better beader than I would choose something else, but it seemed to work and had the advantage of being in my stash already. Before I got to beading, I wanted to try building up some different levels on the base to make the darkest parts recede even more. For my sample, I tried adding a few layers of flannel around the outer edge of the shape before covering it with some beige cotton.
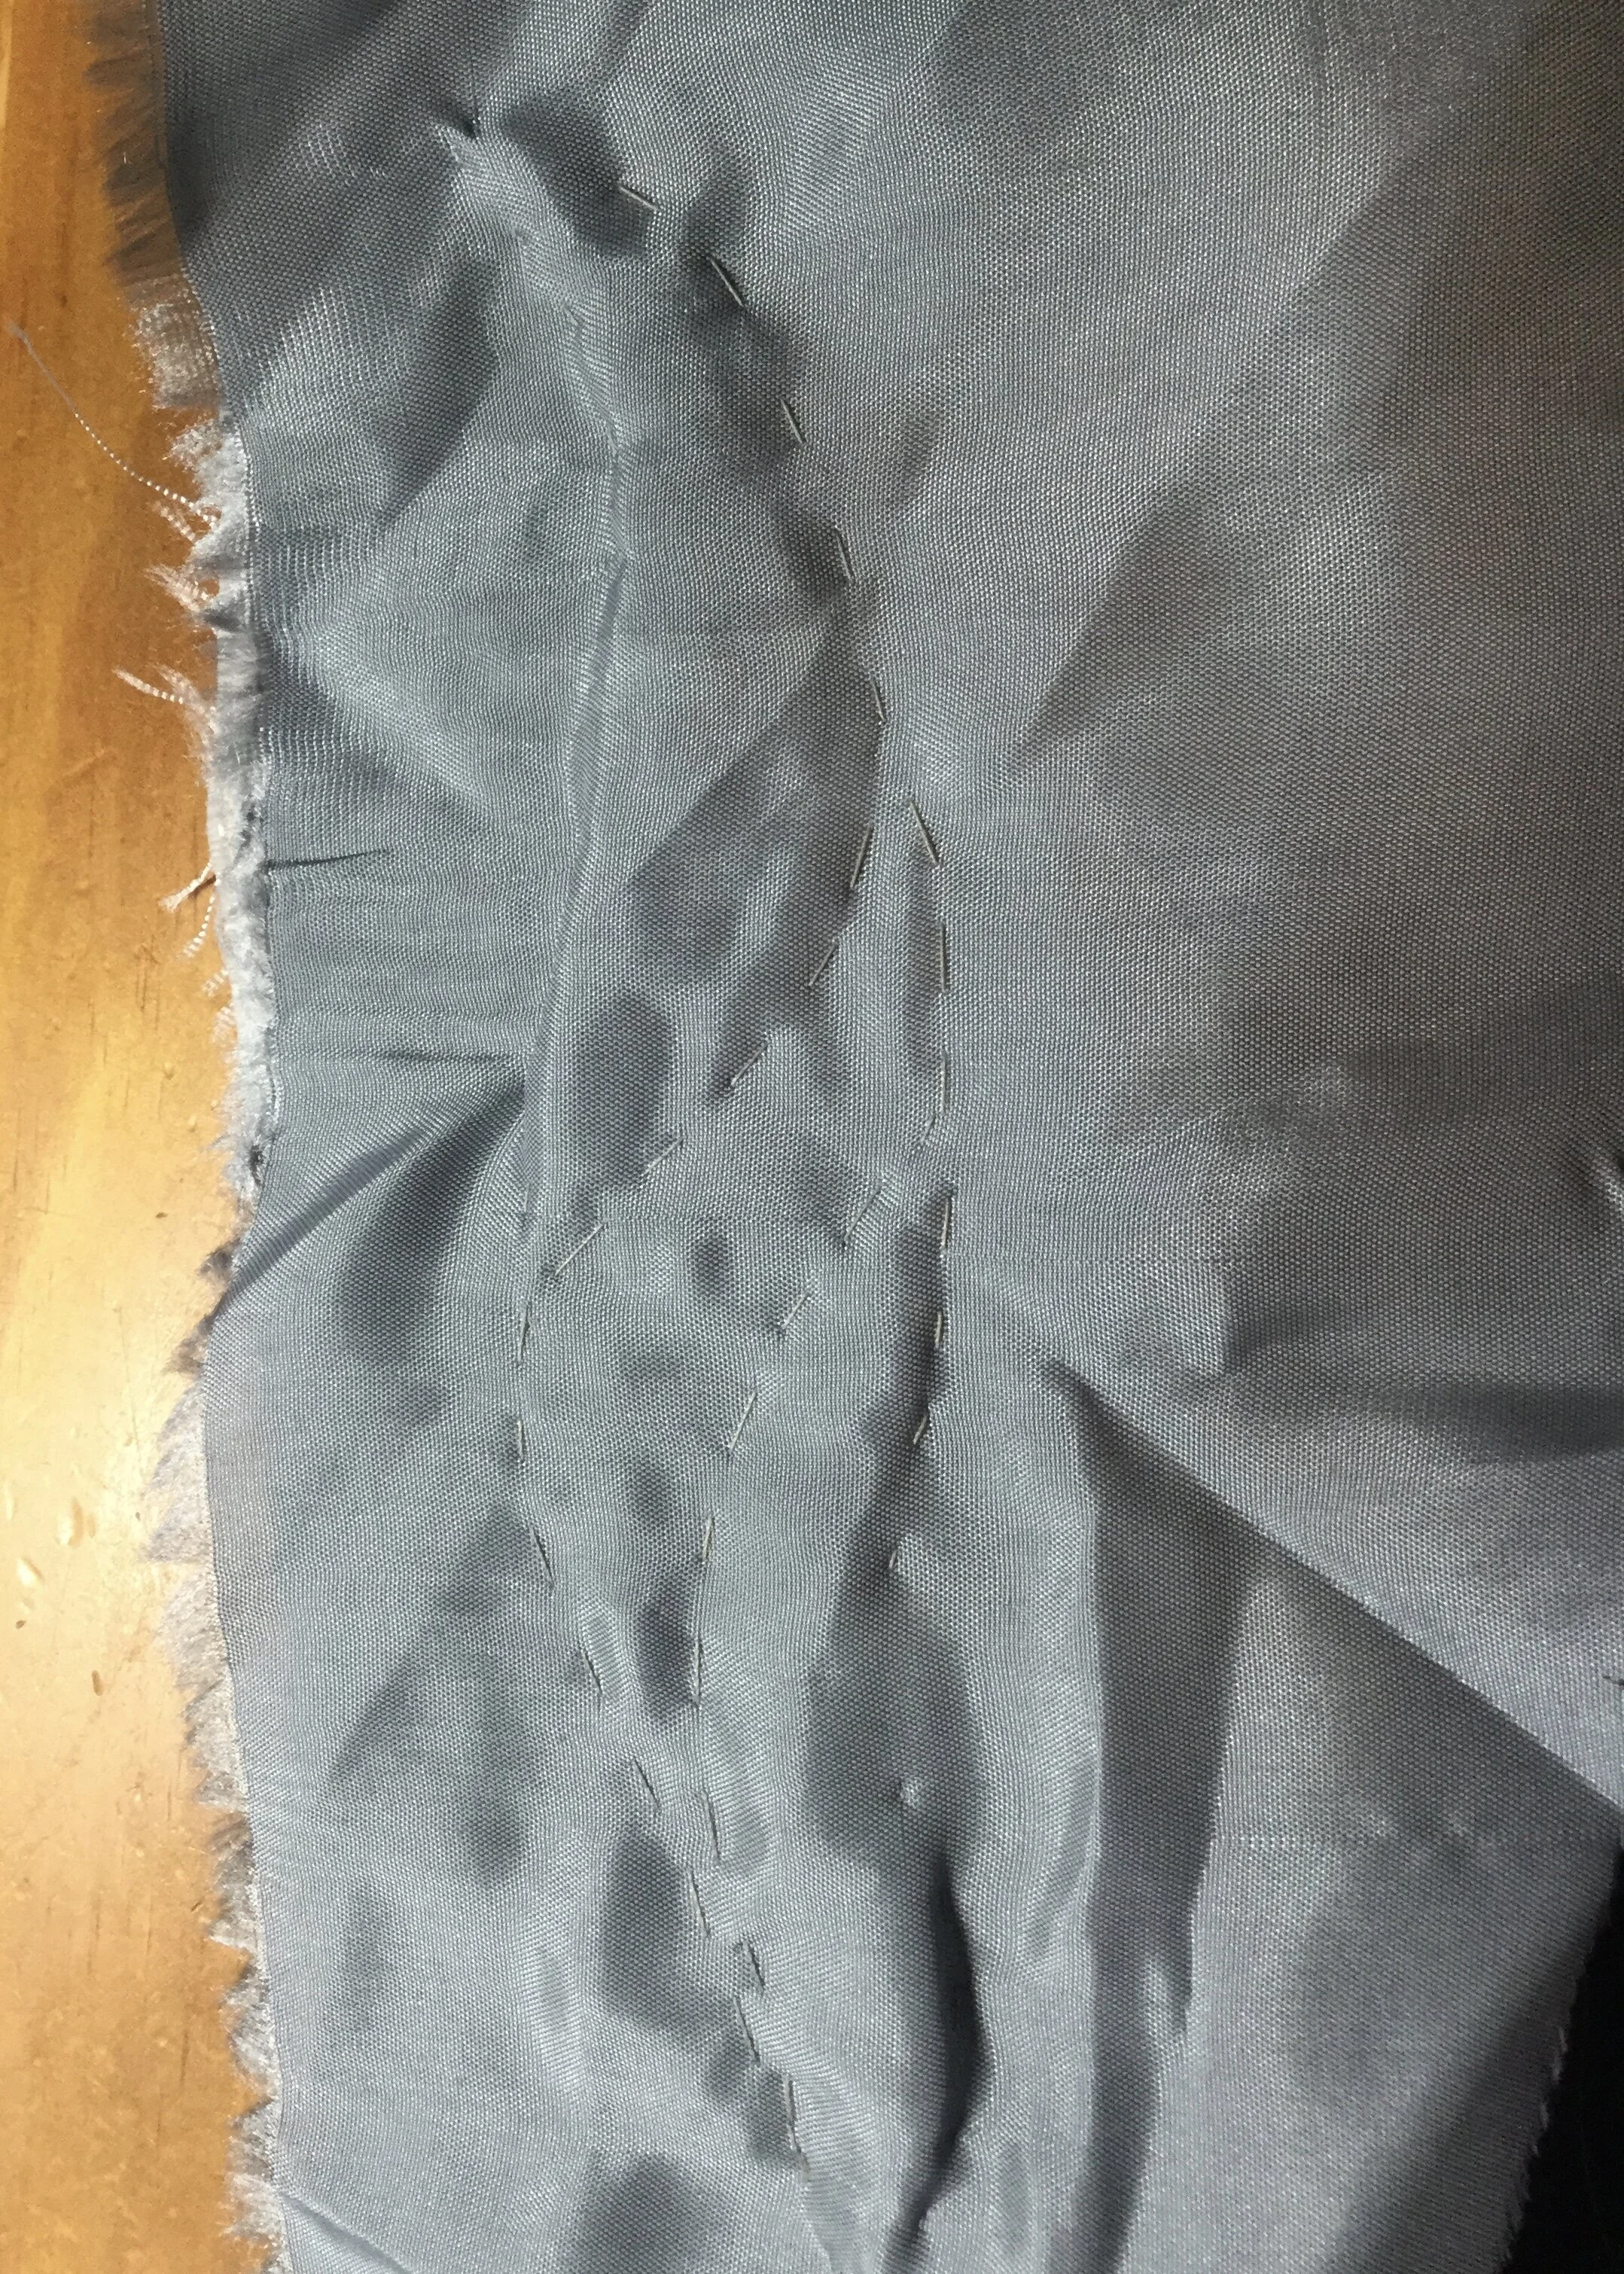
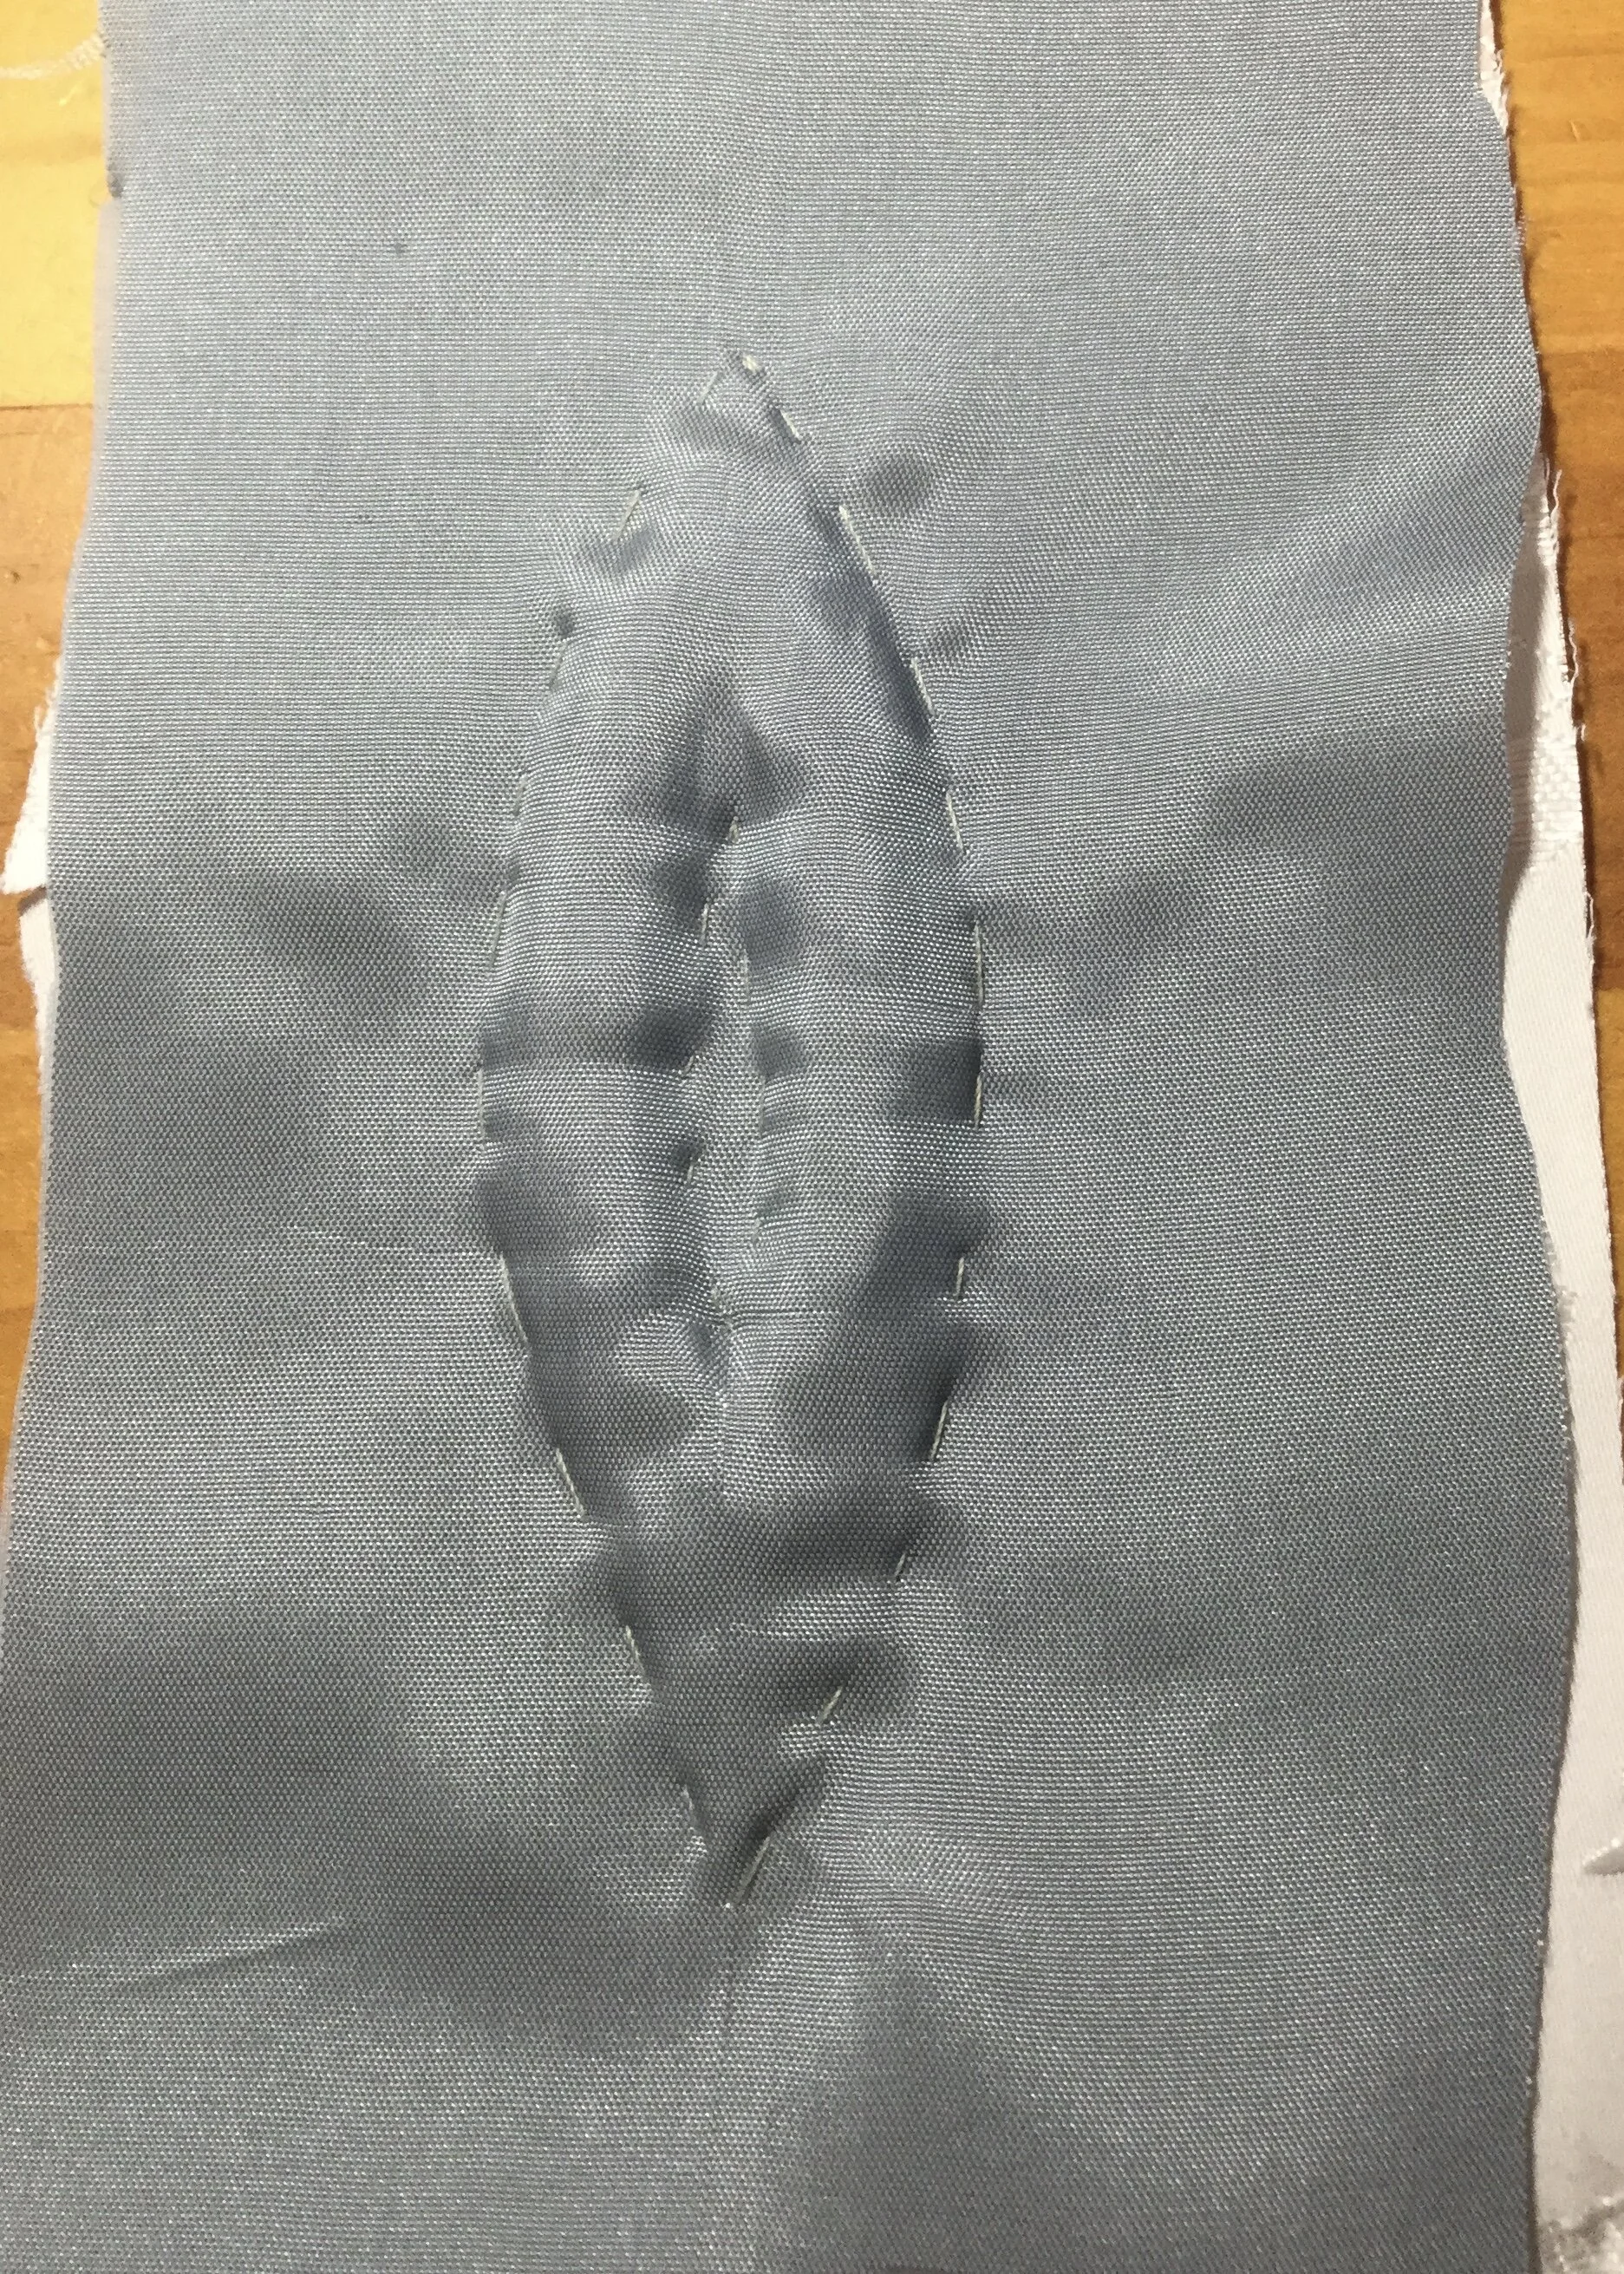
As I began applying some of the stone chips I quickly discovered that I had not built up the base nearly enough and that it might as well be completely flat for the all the dimension it was providing. For the second attempt, which began as another sample but became the final version when it started to look pretty good, I used the actual shape I had planned for the front piece and while I still used flannel to build up the edges, I used two layers at a time and kept the built up areas completely separate. I also switched from the beige cotton to some grey lining I had, deciding that it would be better to have a base that blended with the beads rather than the rest of the dress.
The actual process of beading wasn't that exciting. Just a lot of sorting out the shapes and colours I wanted for particular spots and changing thread colours to match the various beads. Once I had finished my beaded pieces, I was finally ready to cut and build the dress.
Bring on the stretch velvet!
