Juliet Part Two
Lather, rinse, repeat.
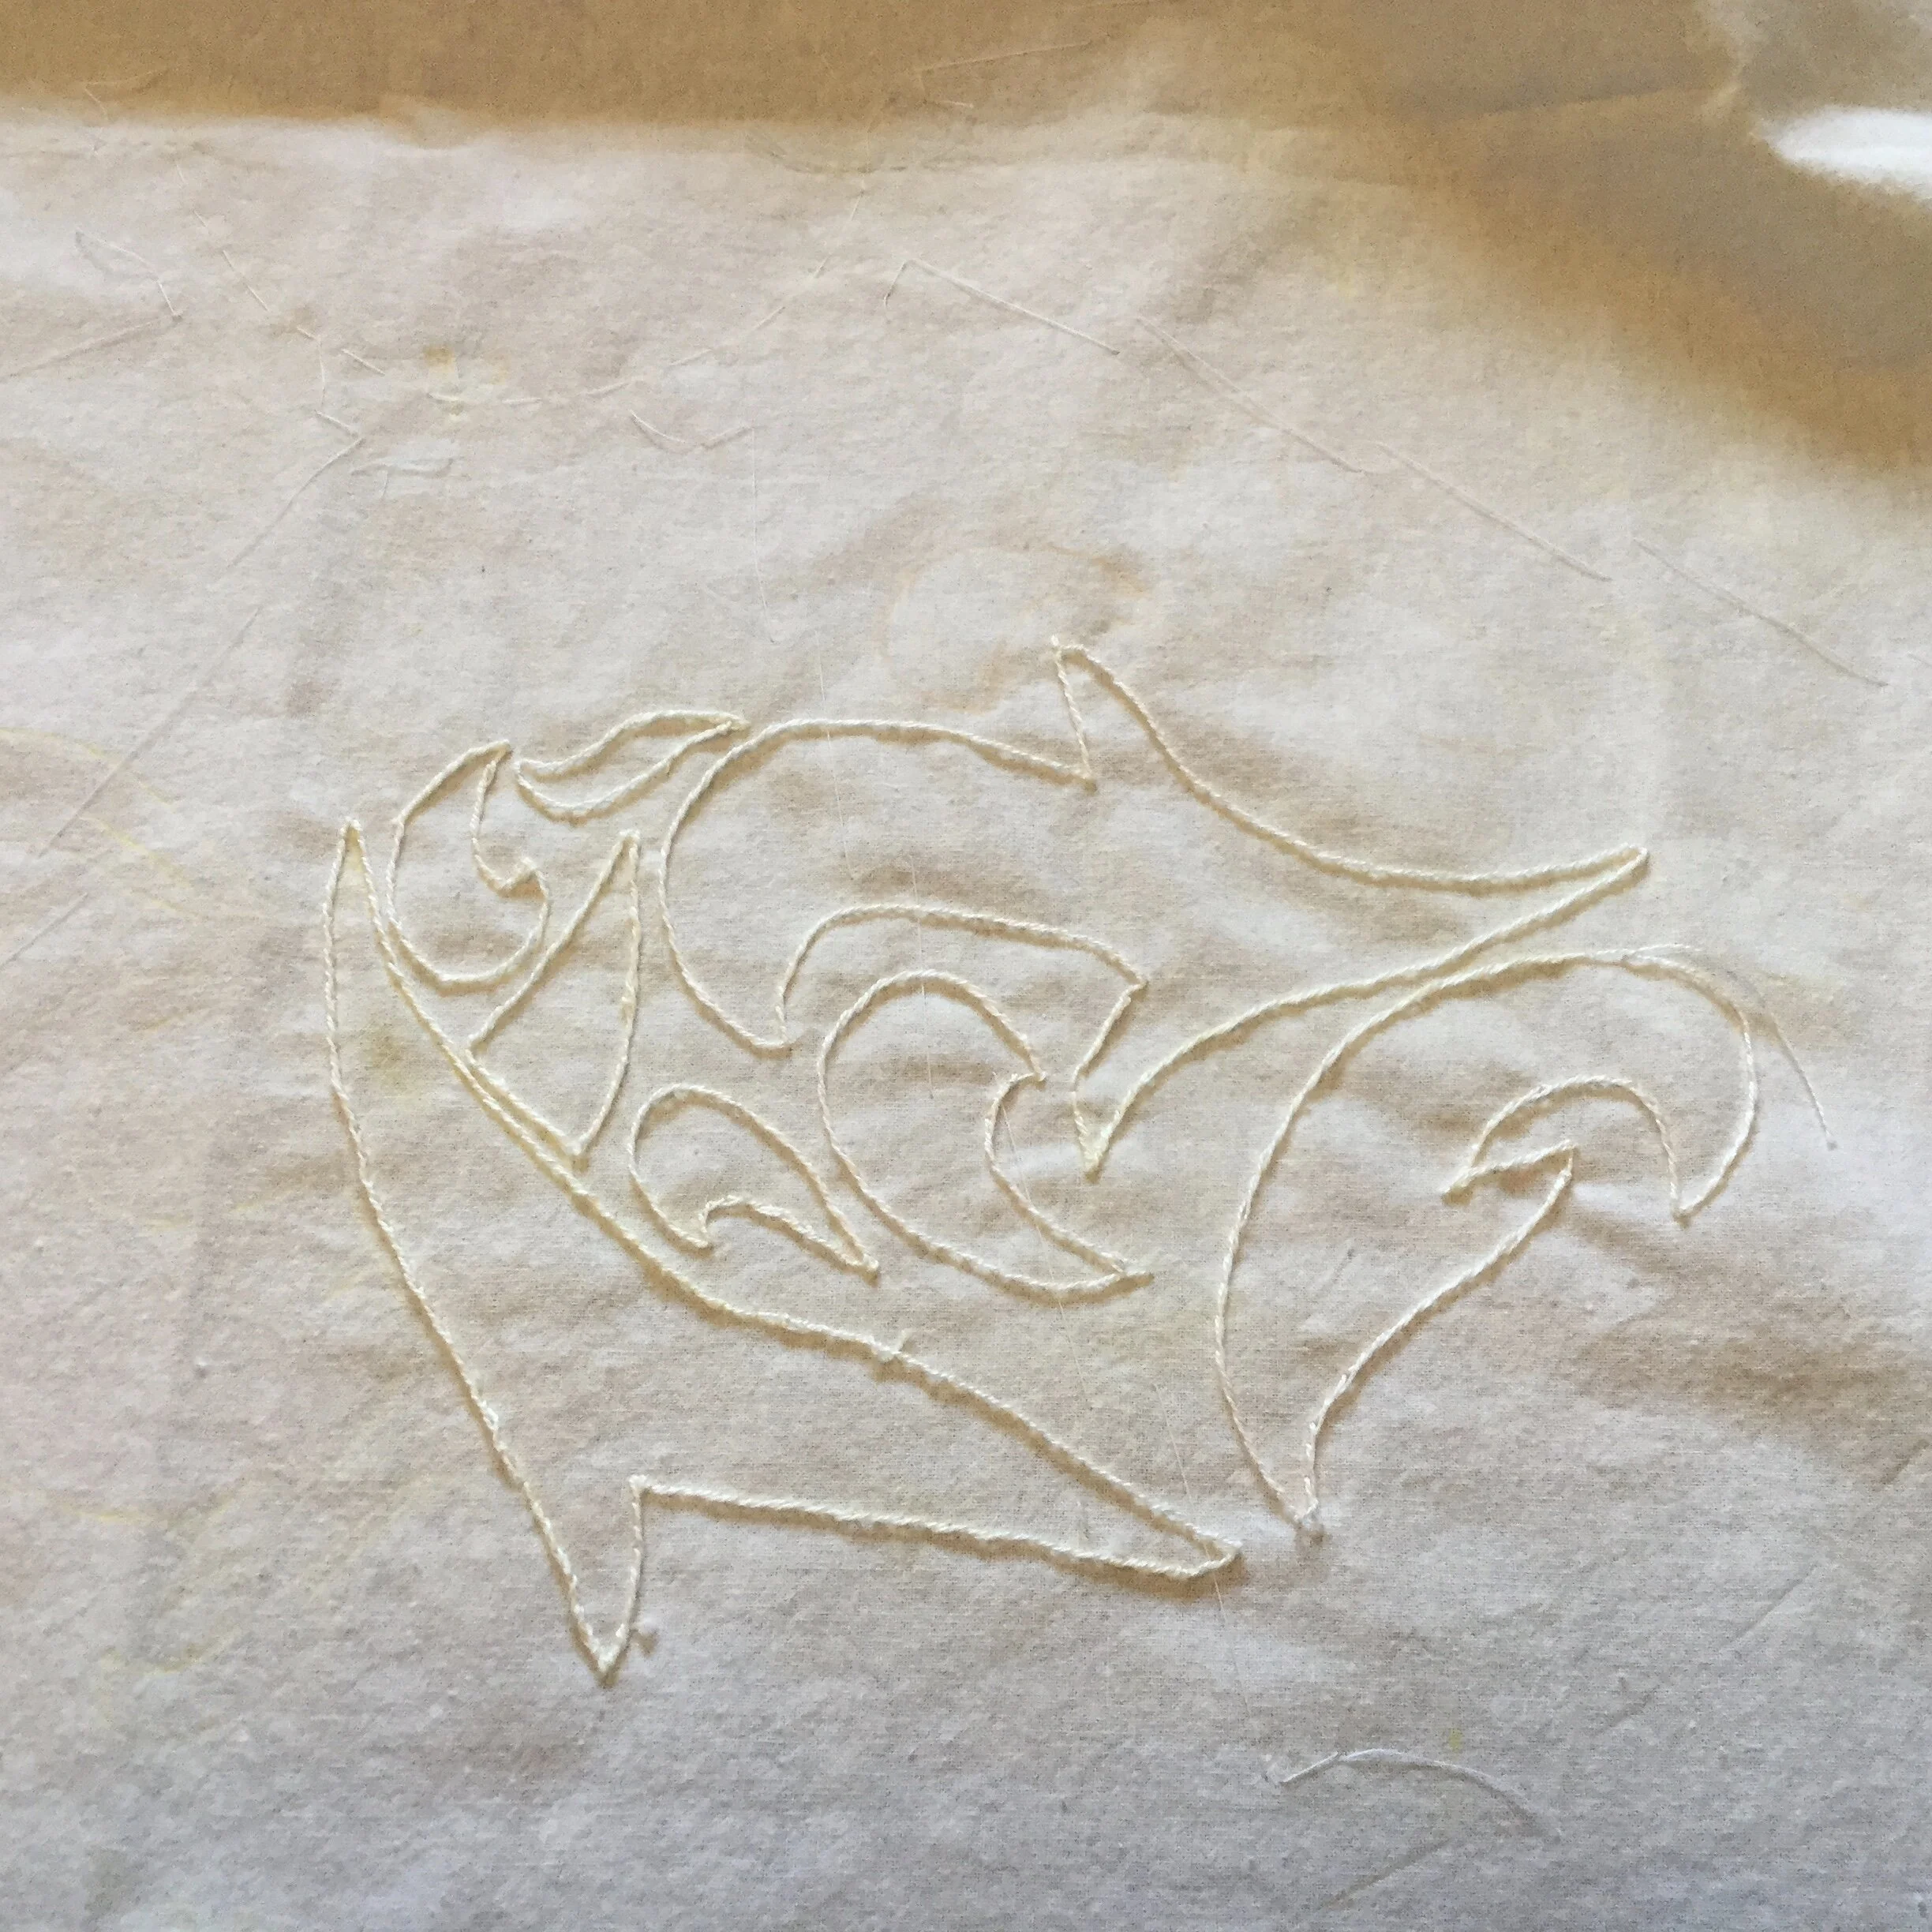
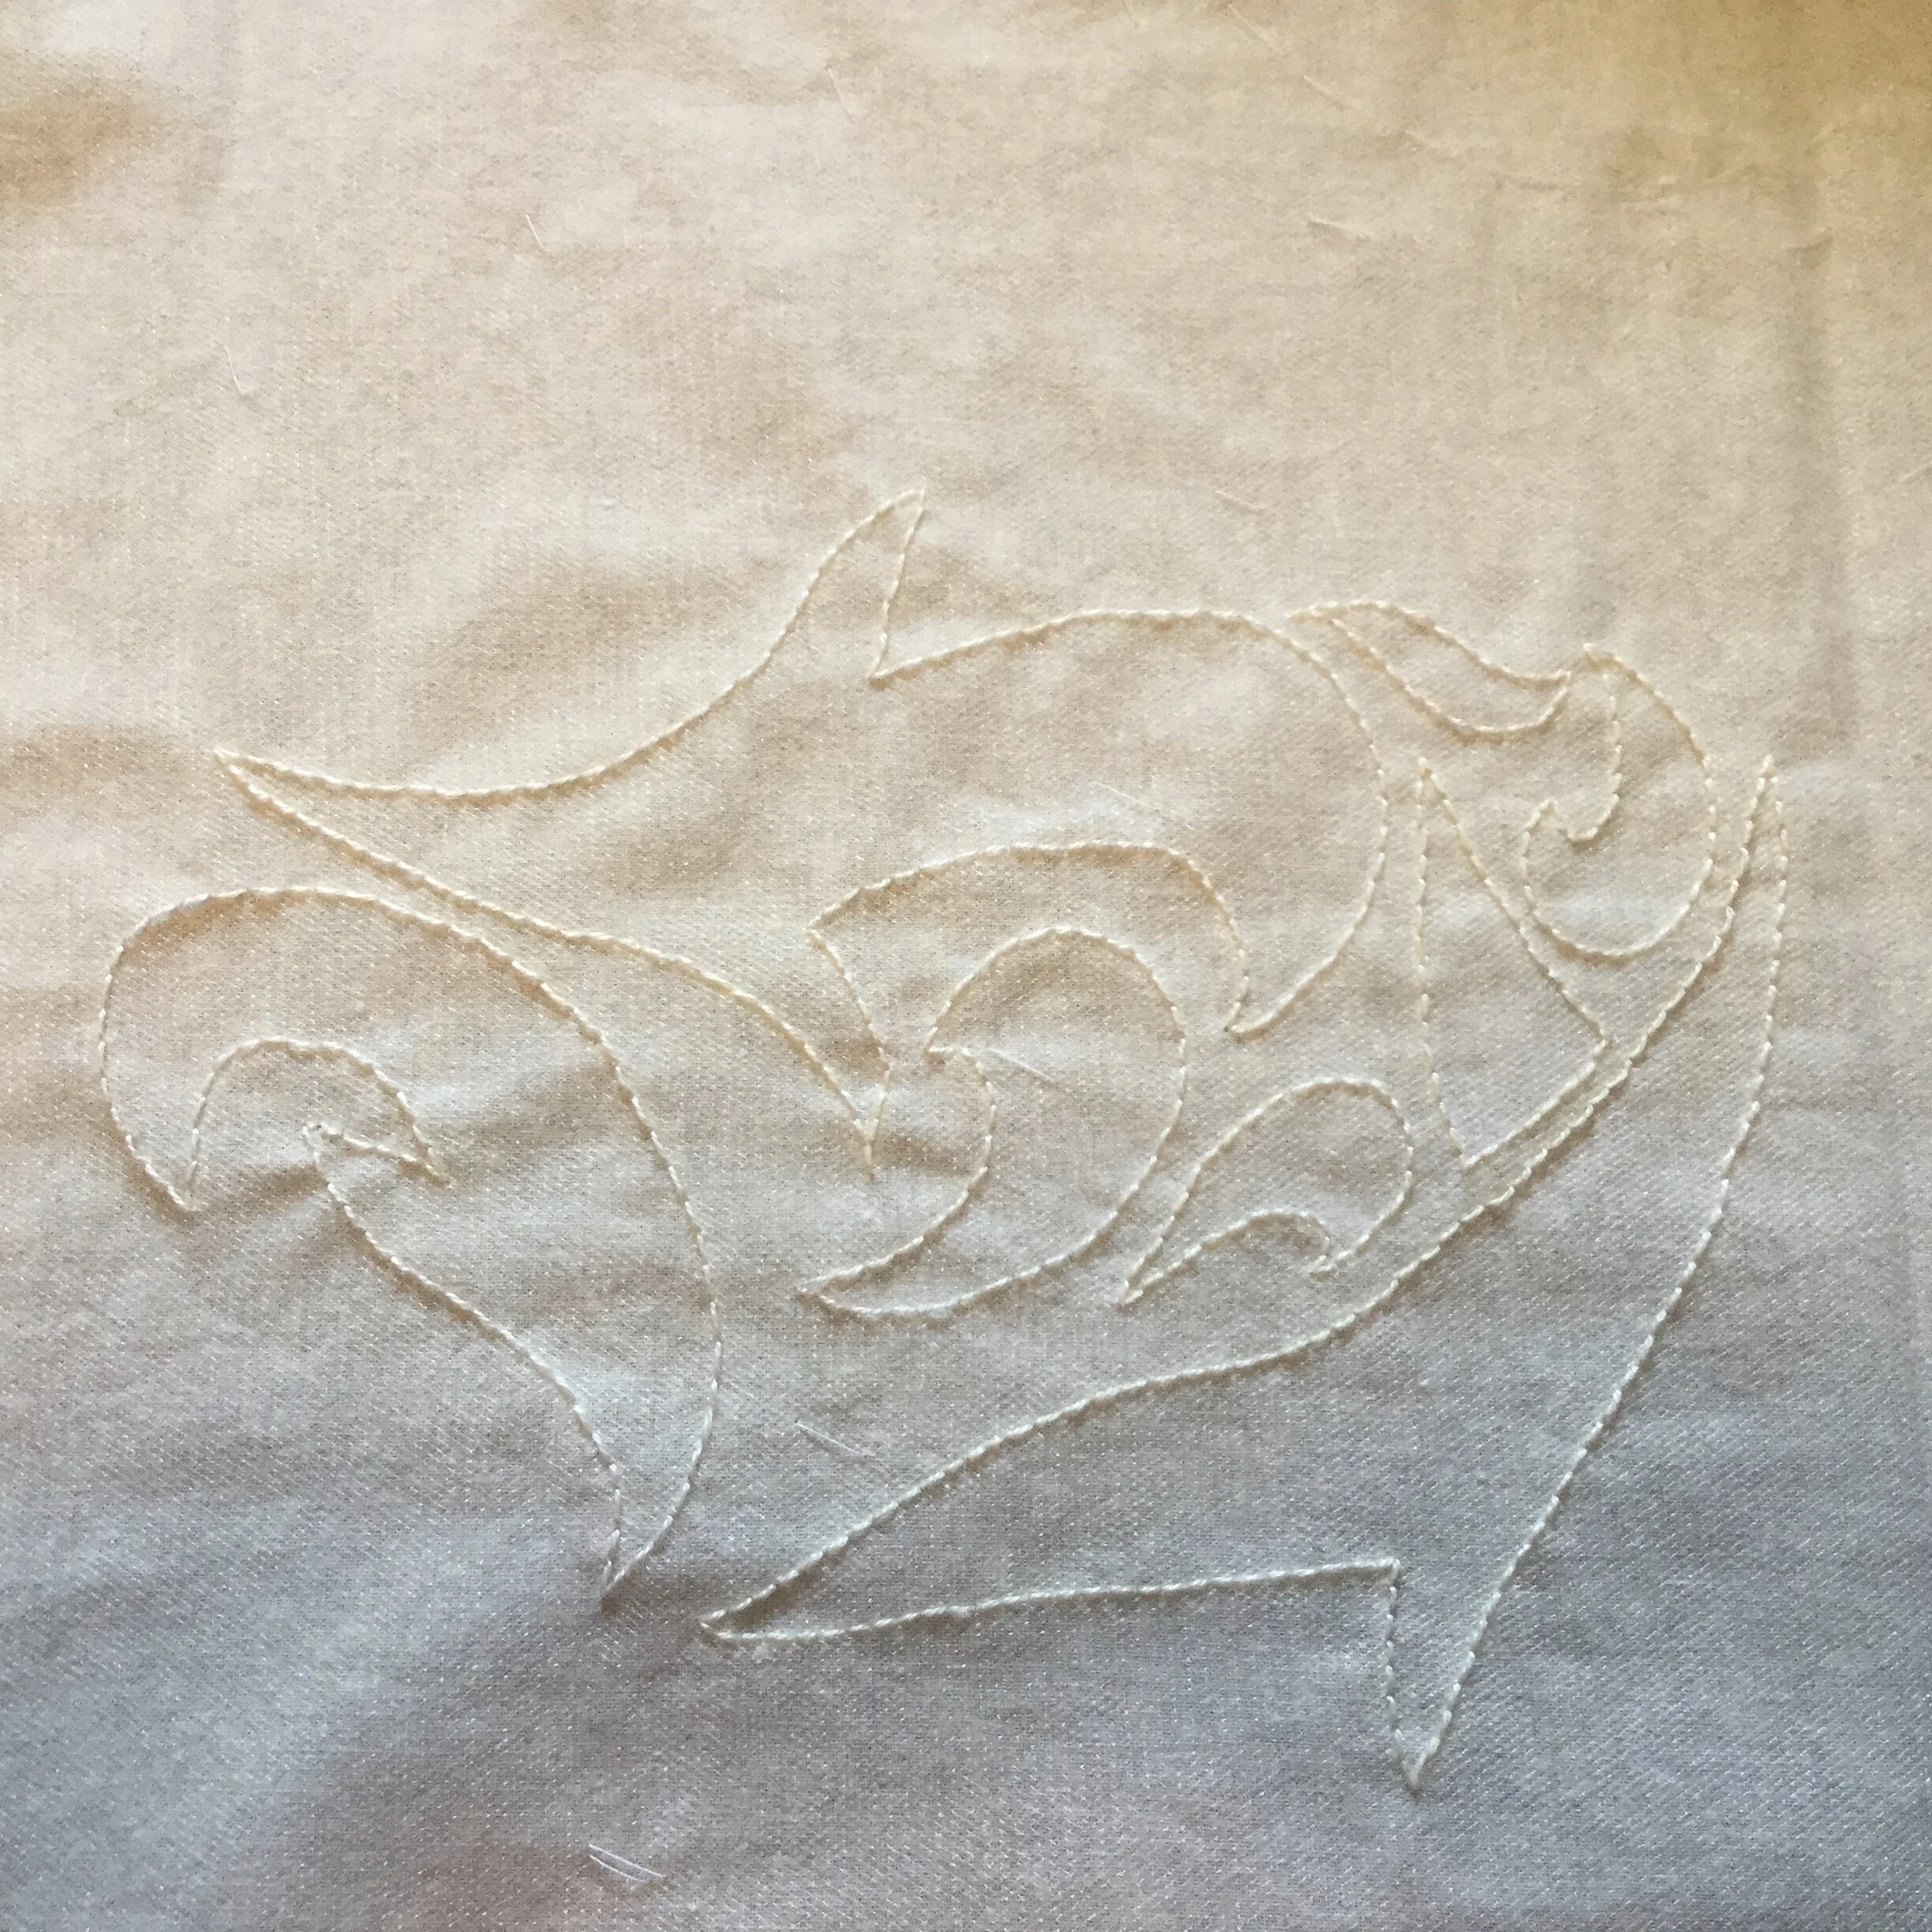
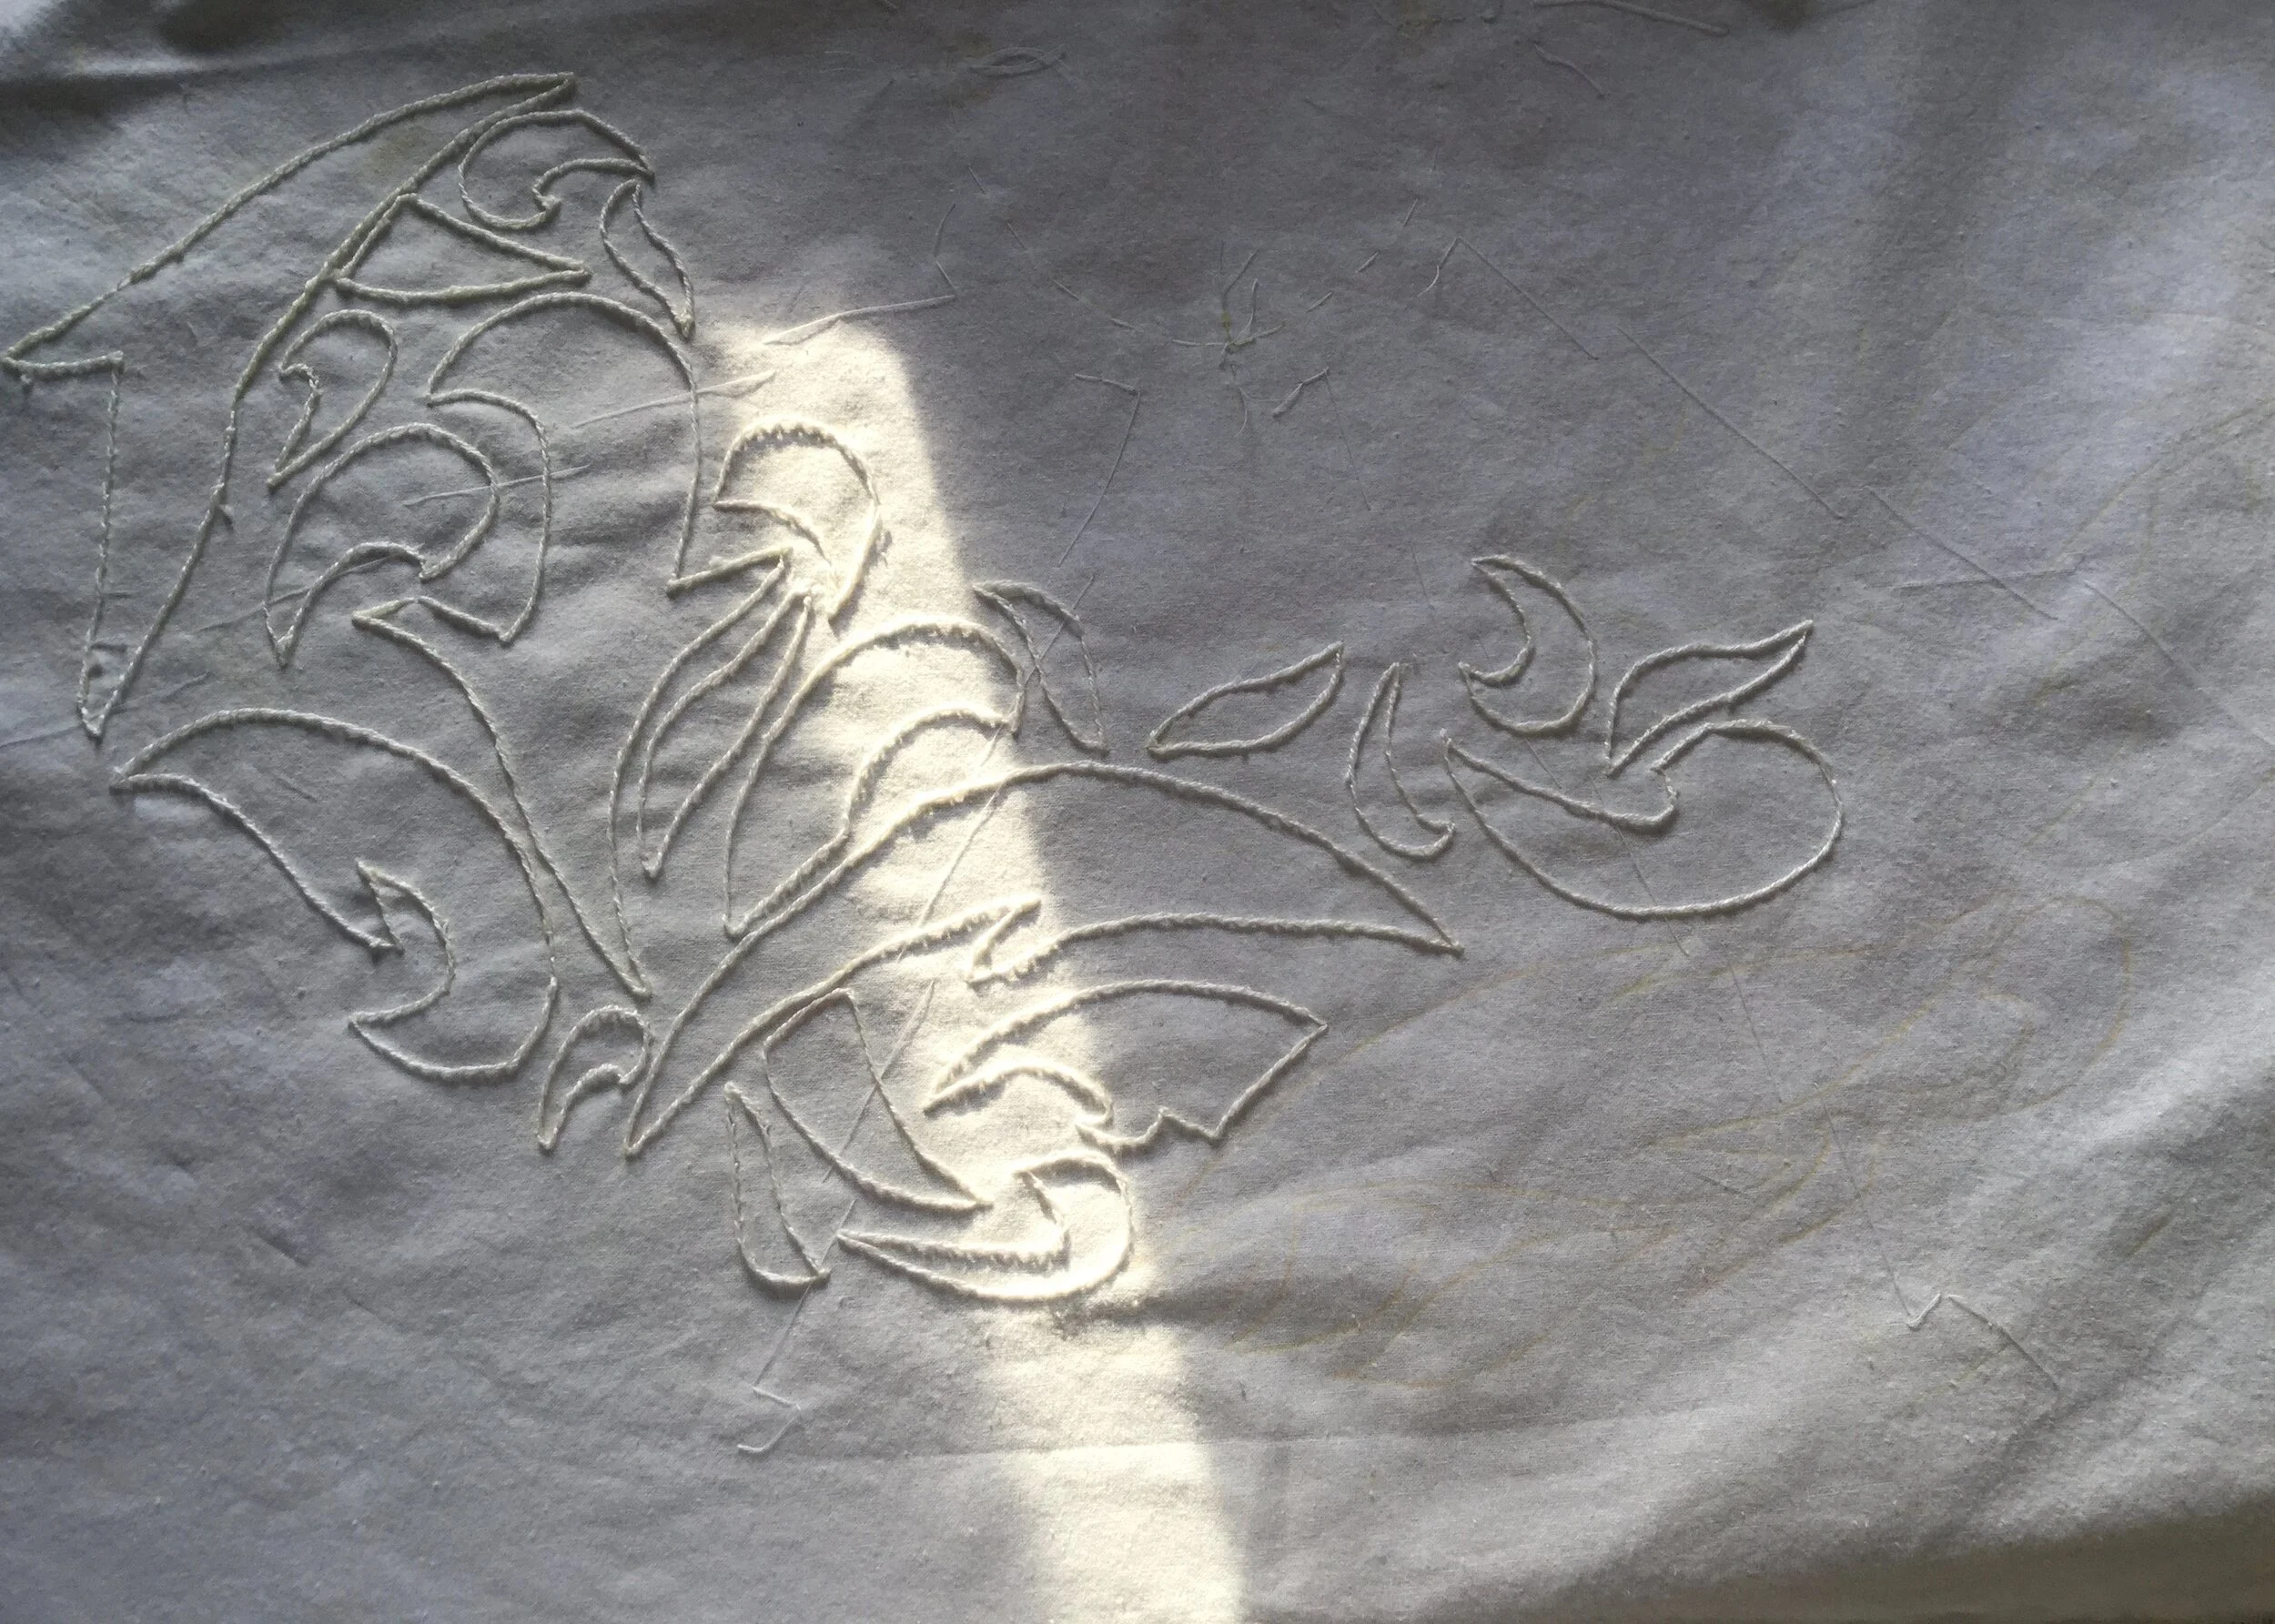
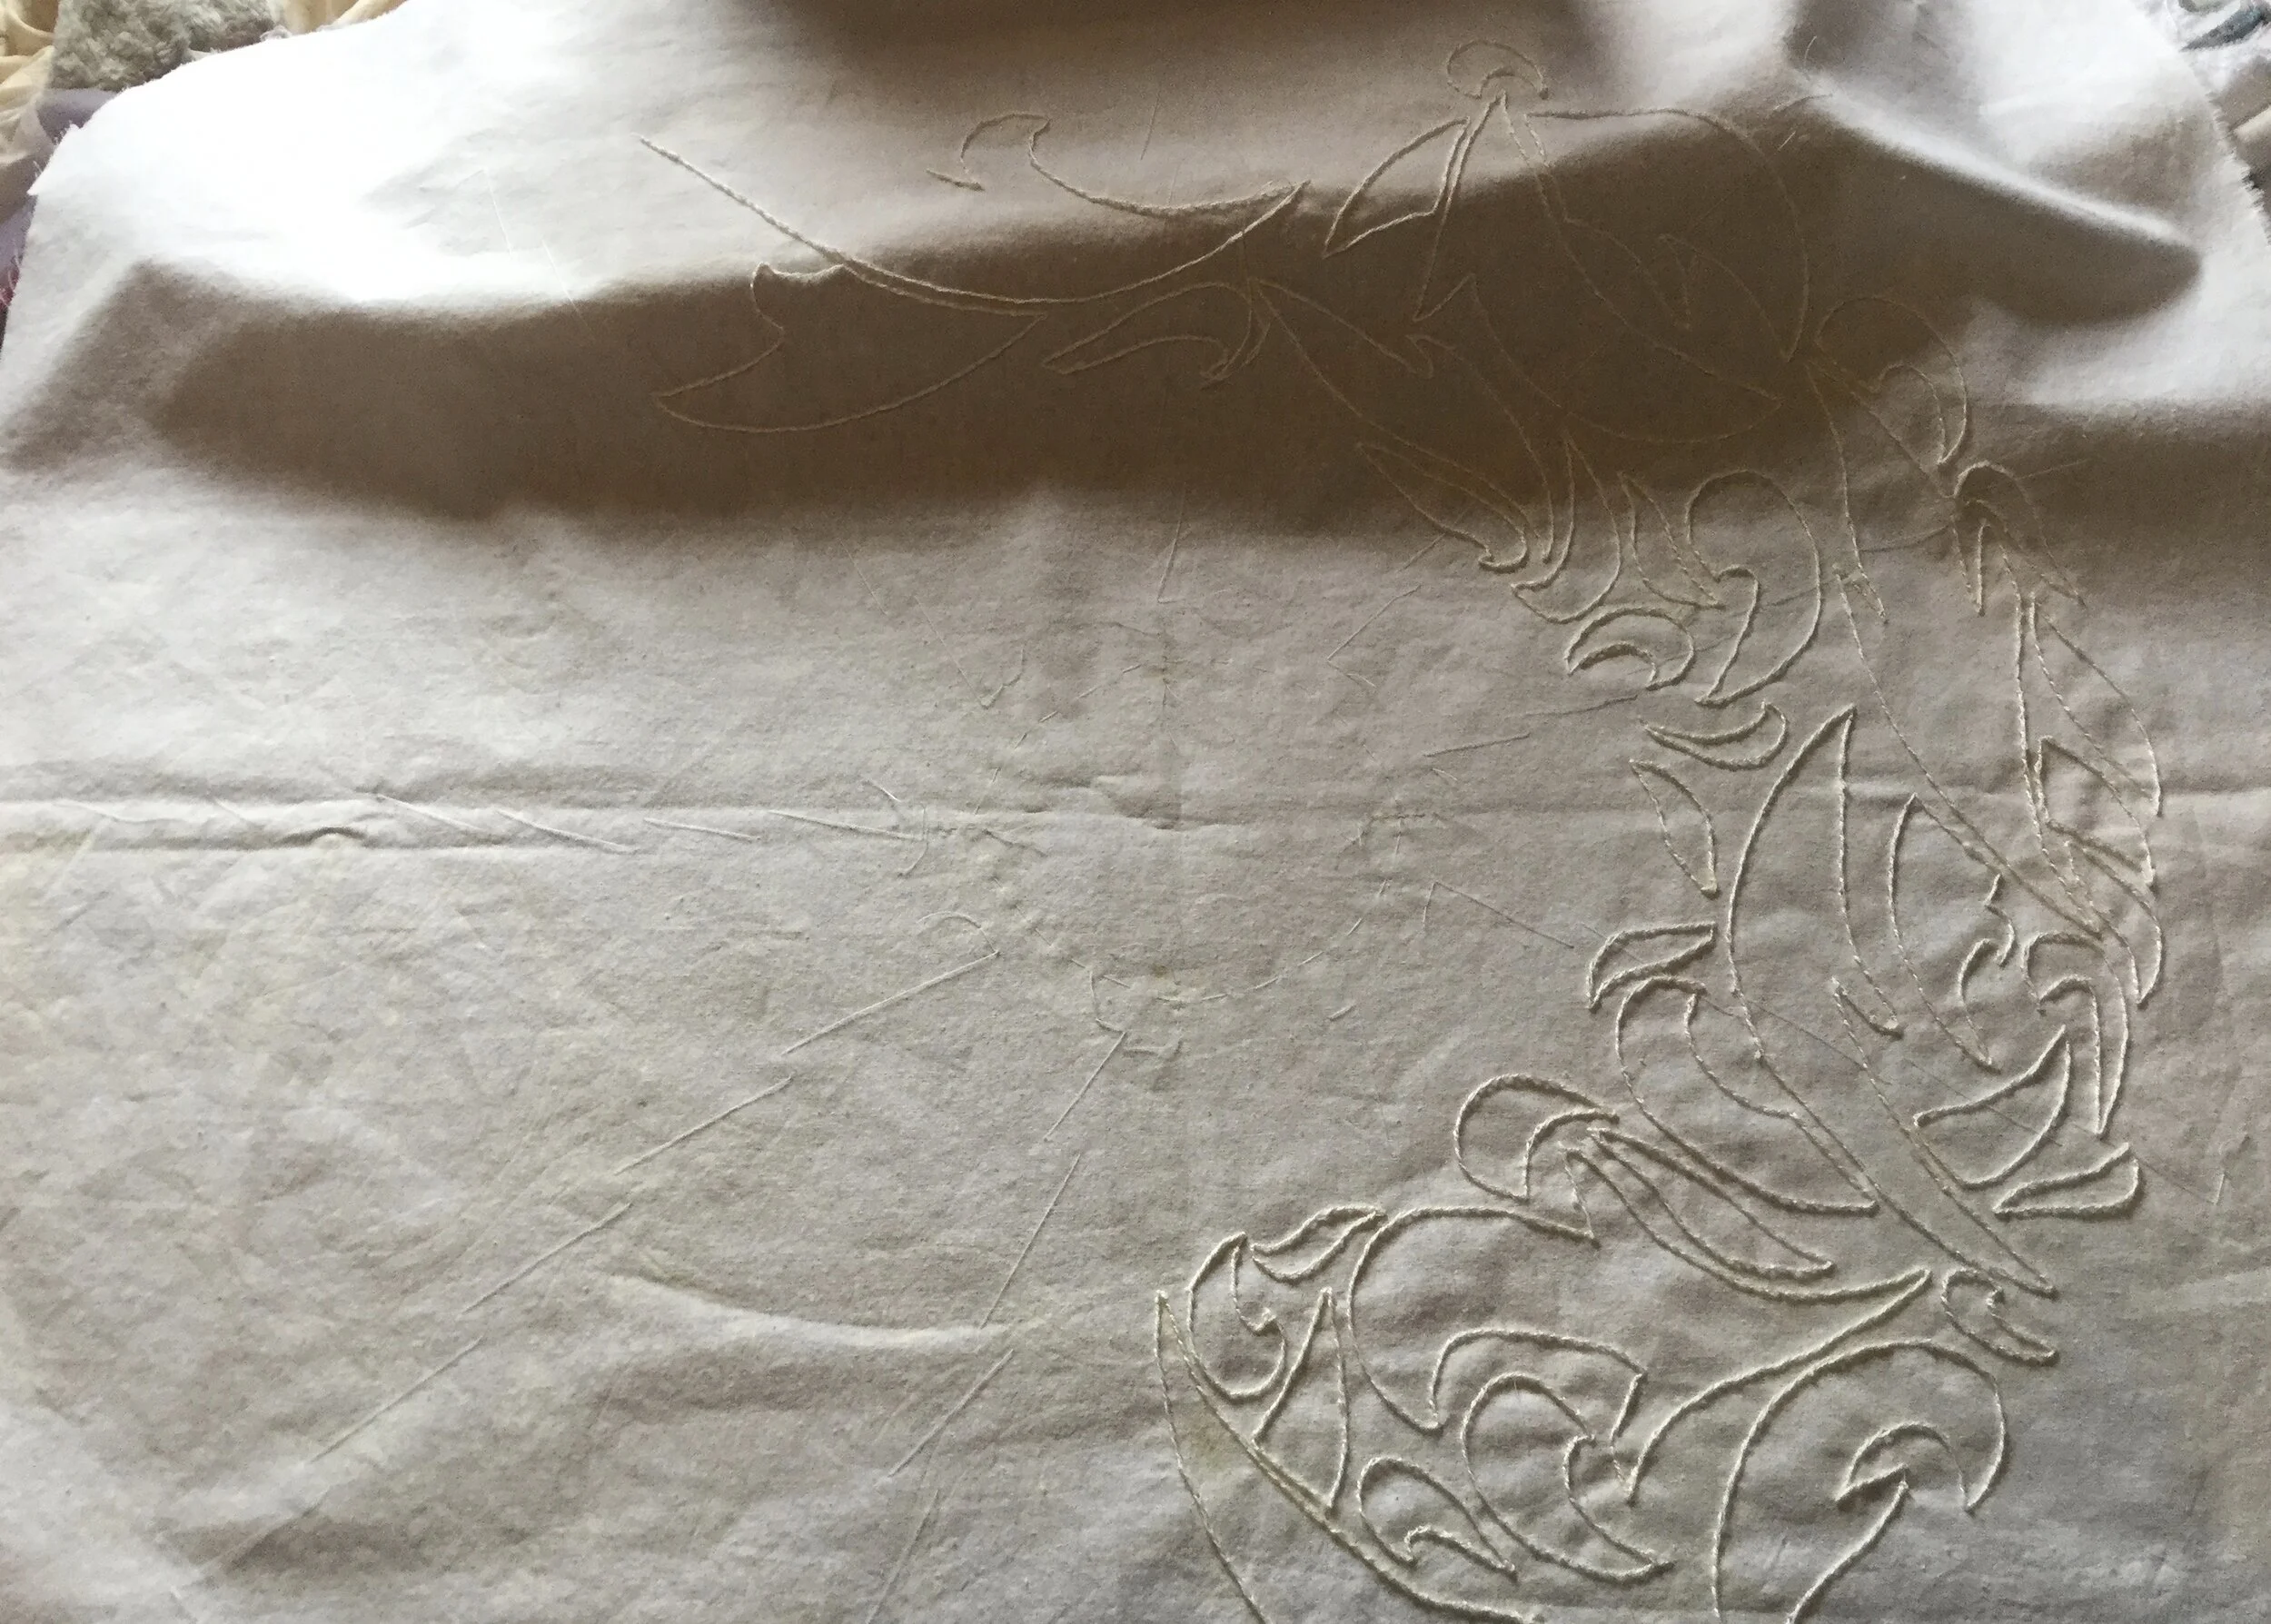
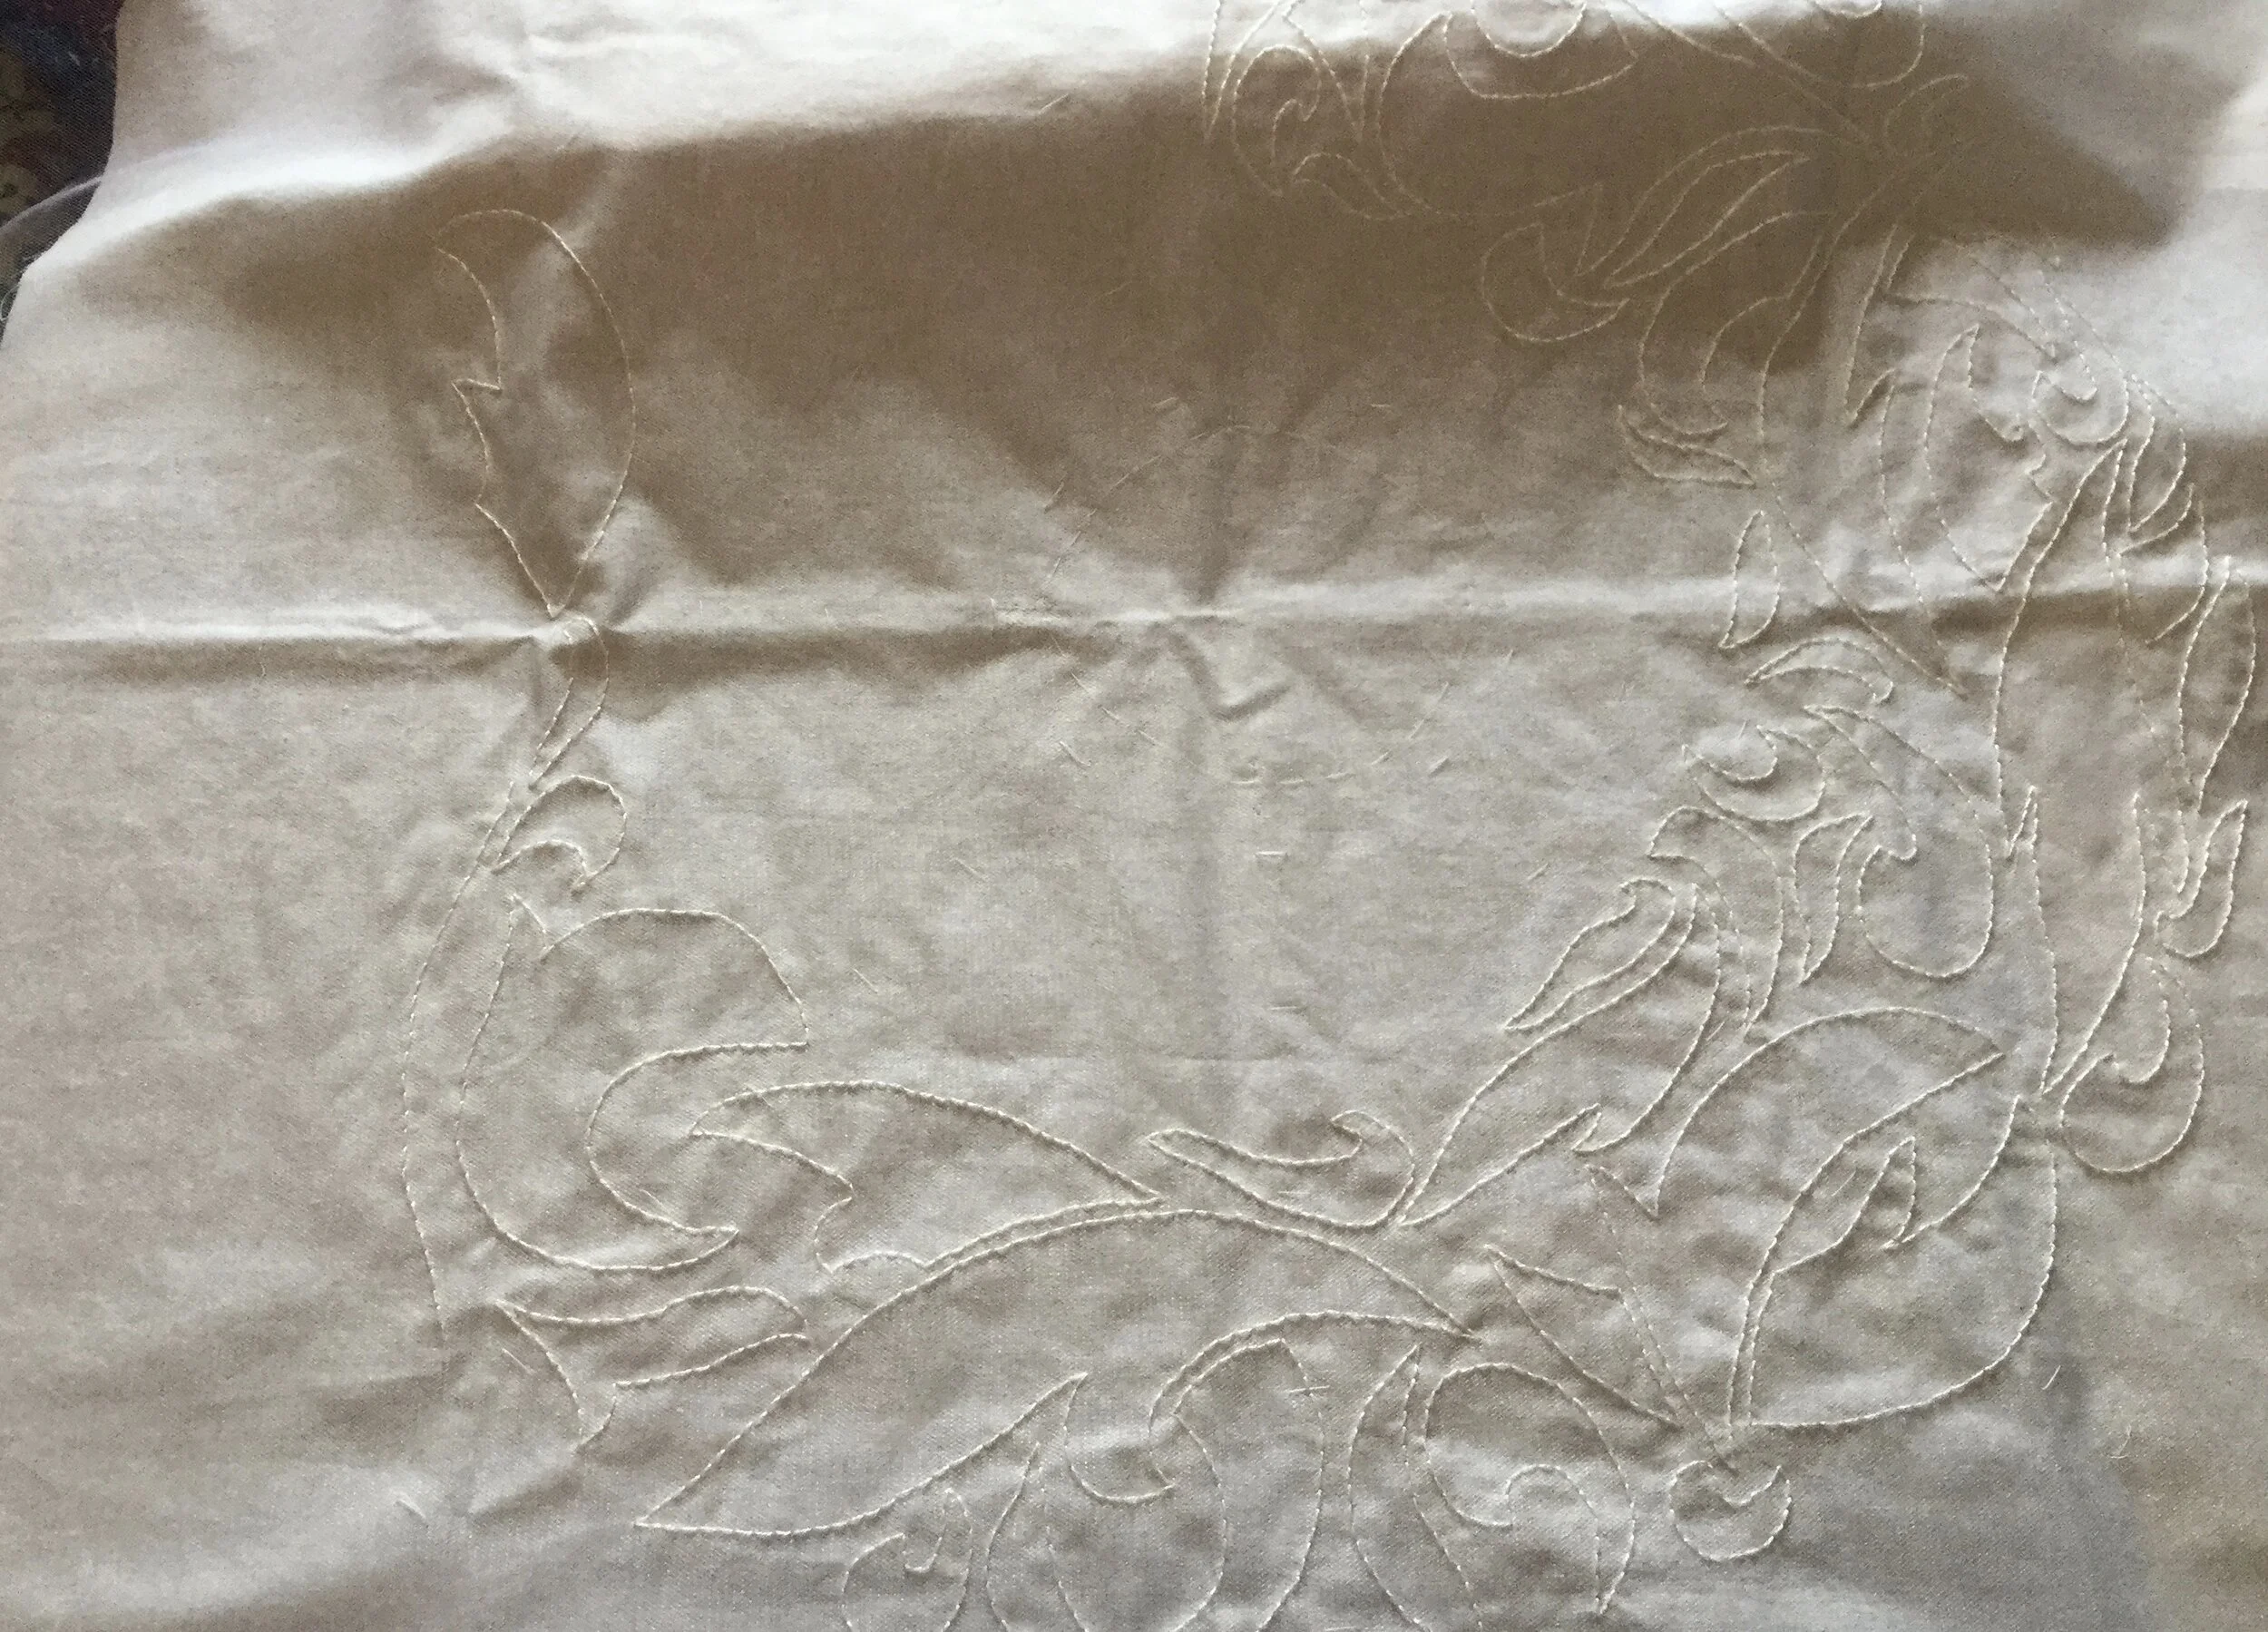
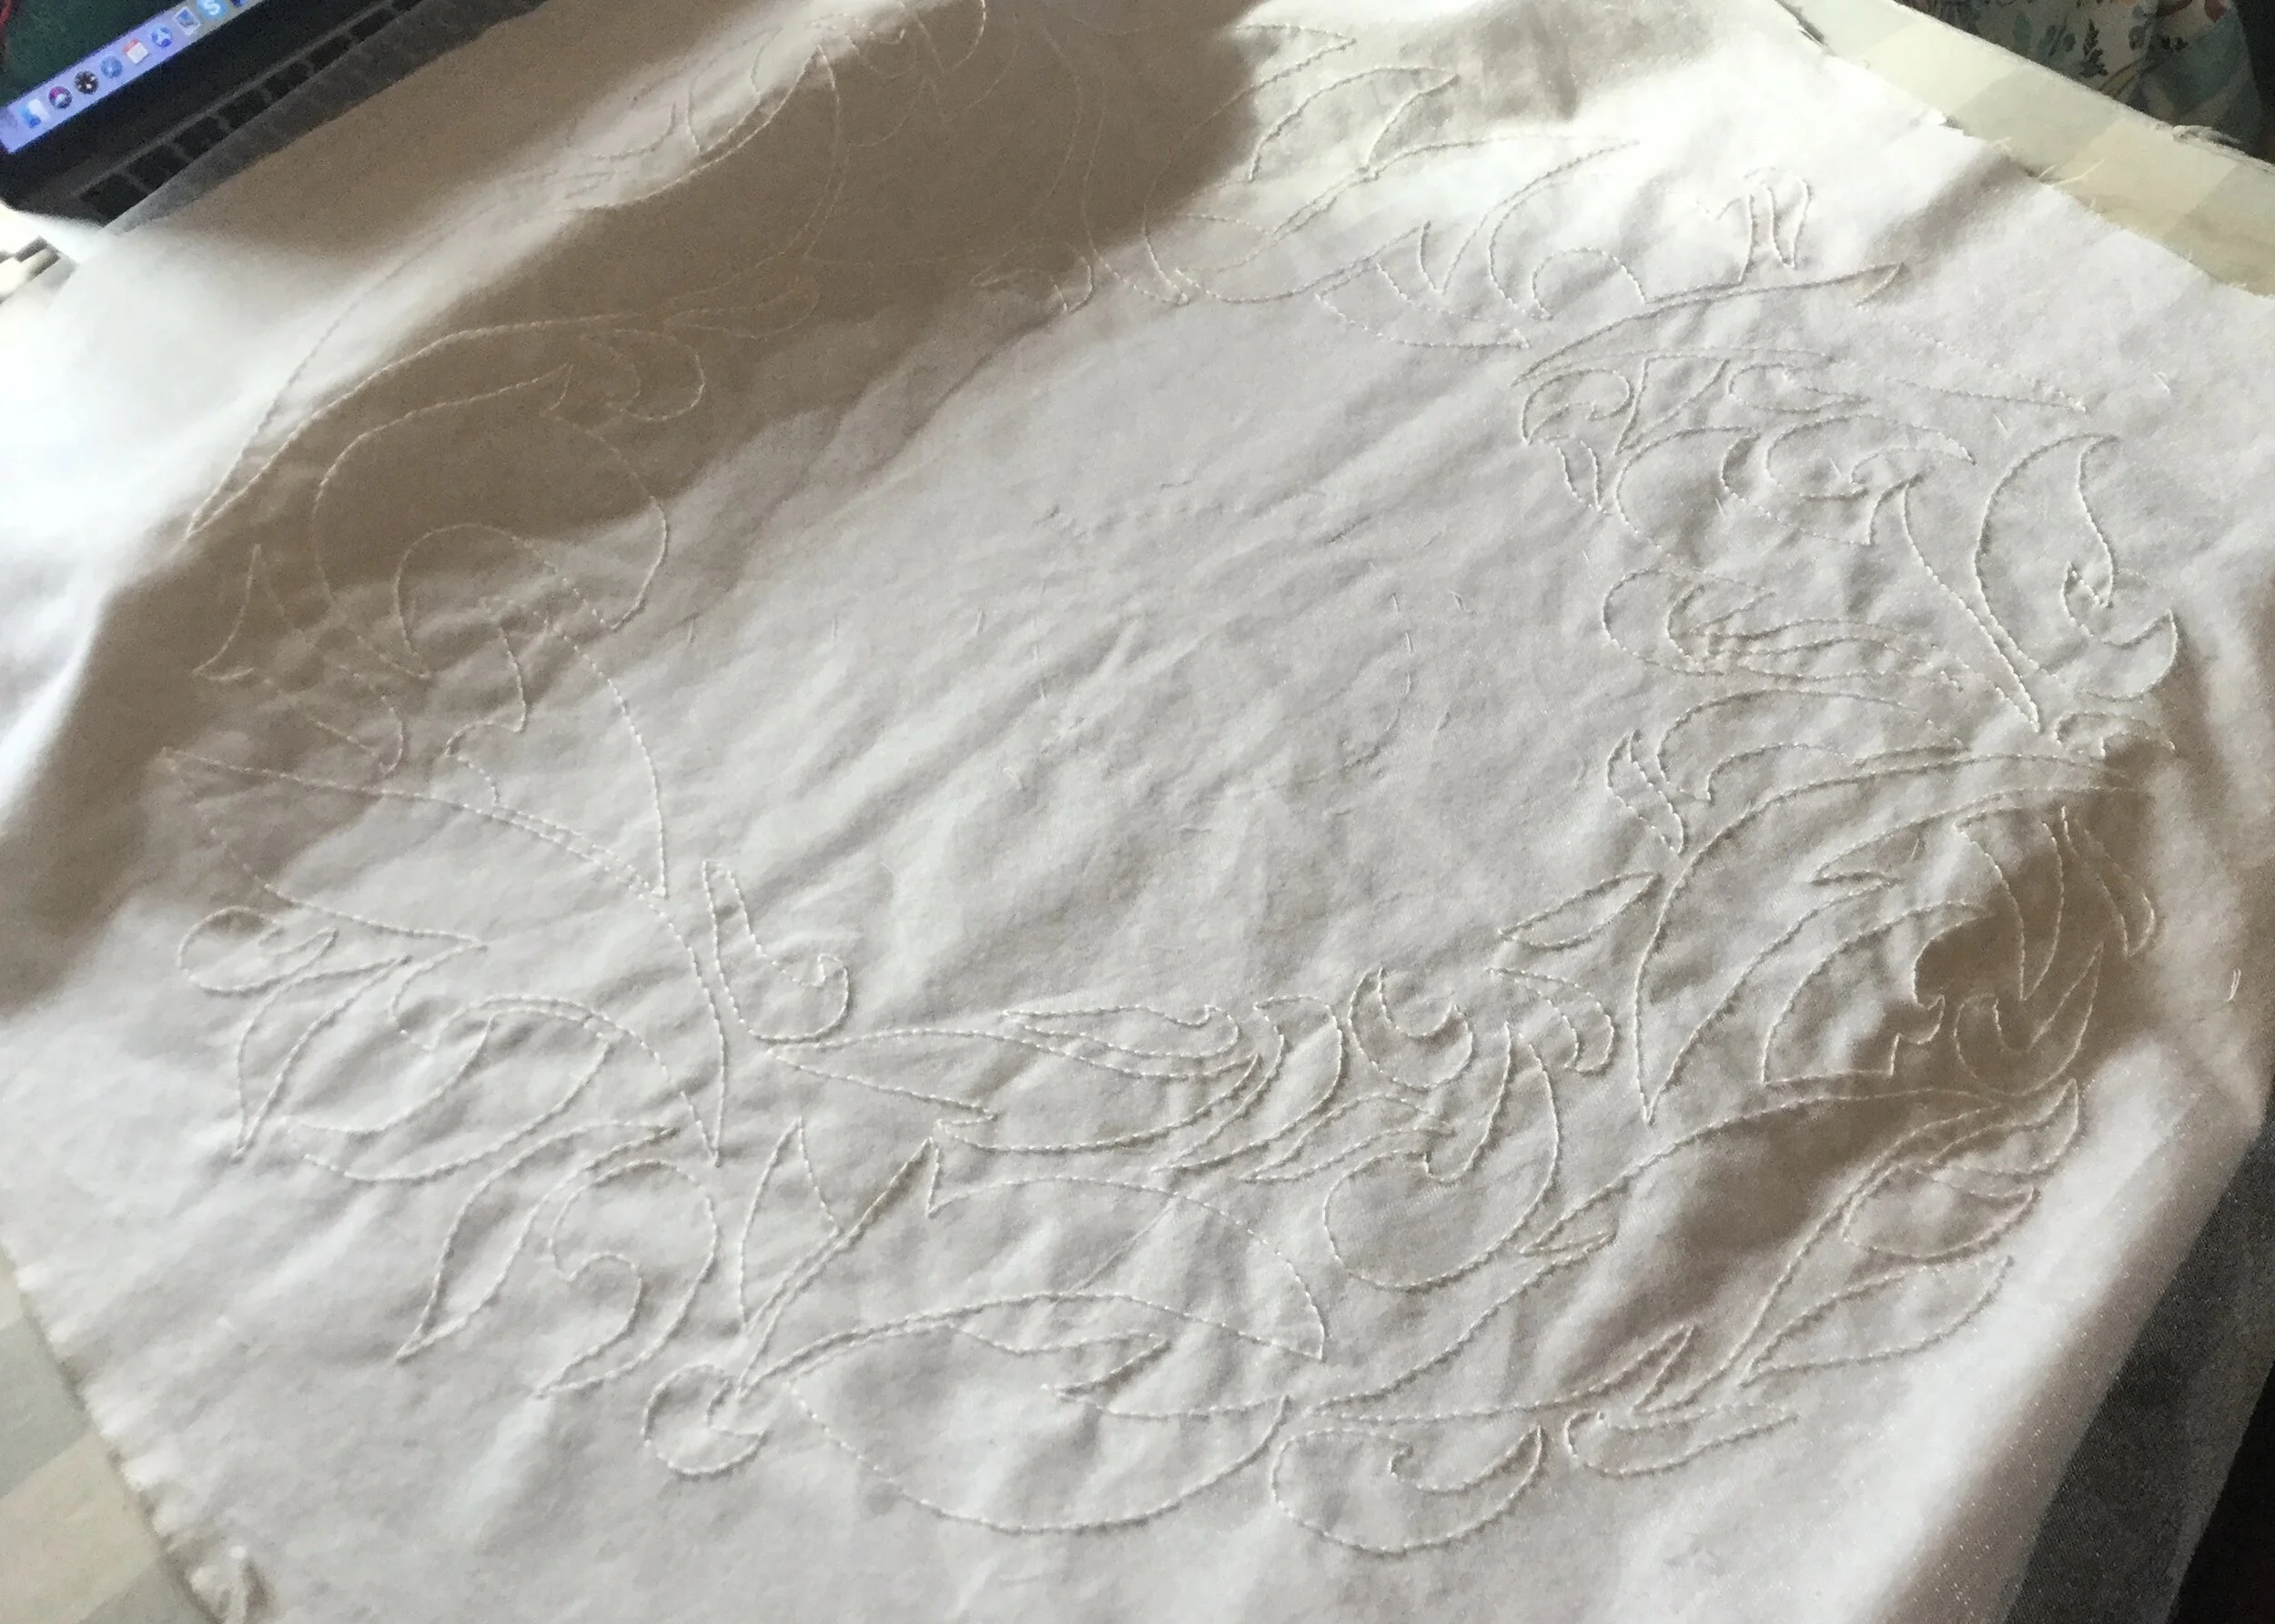
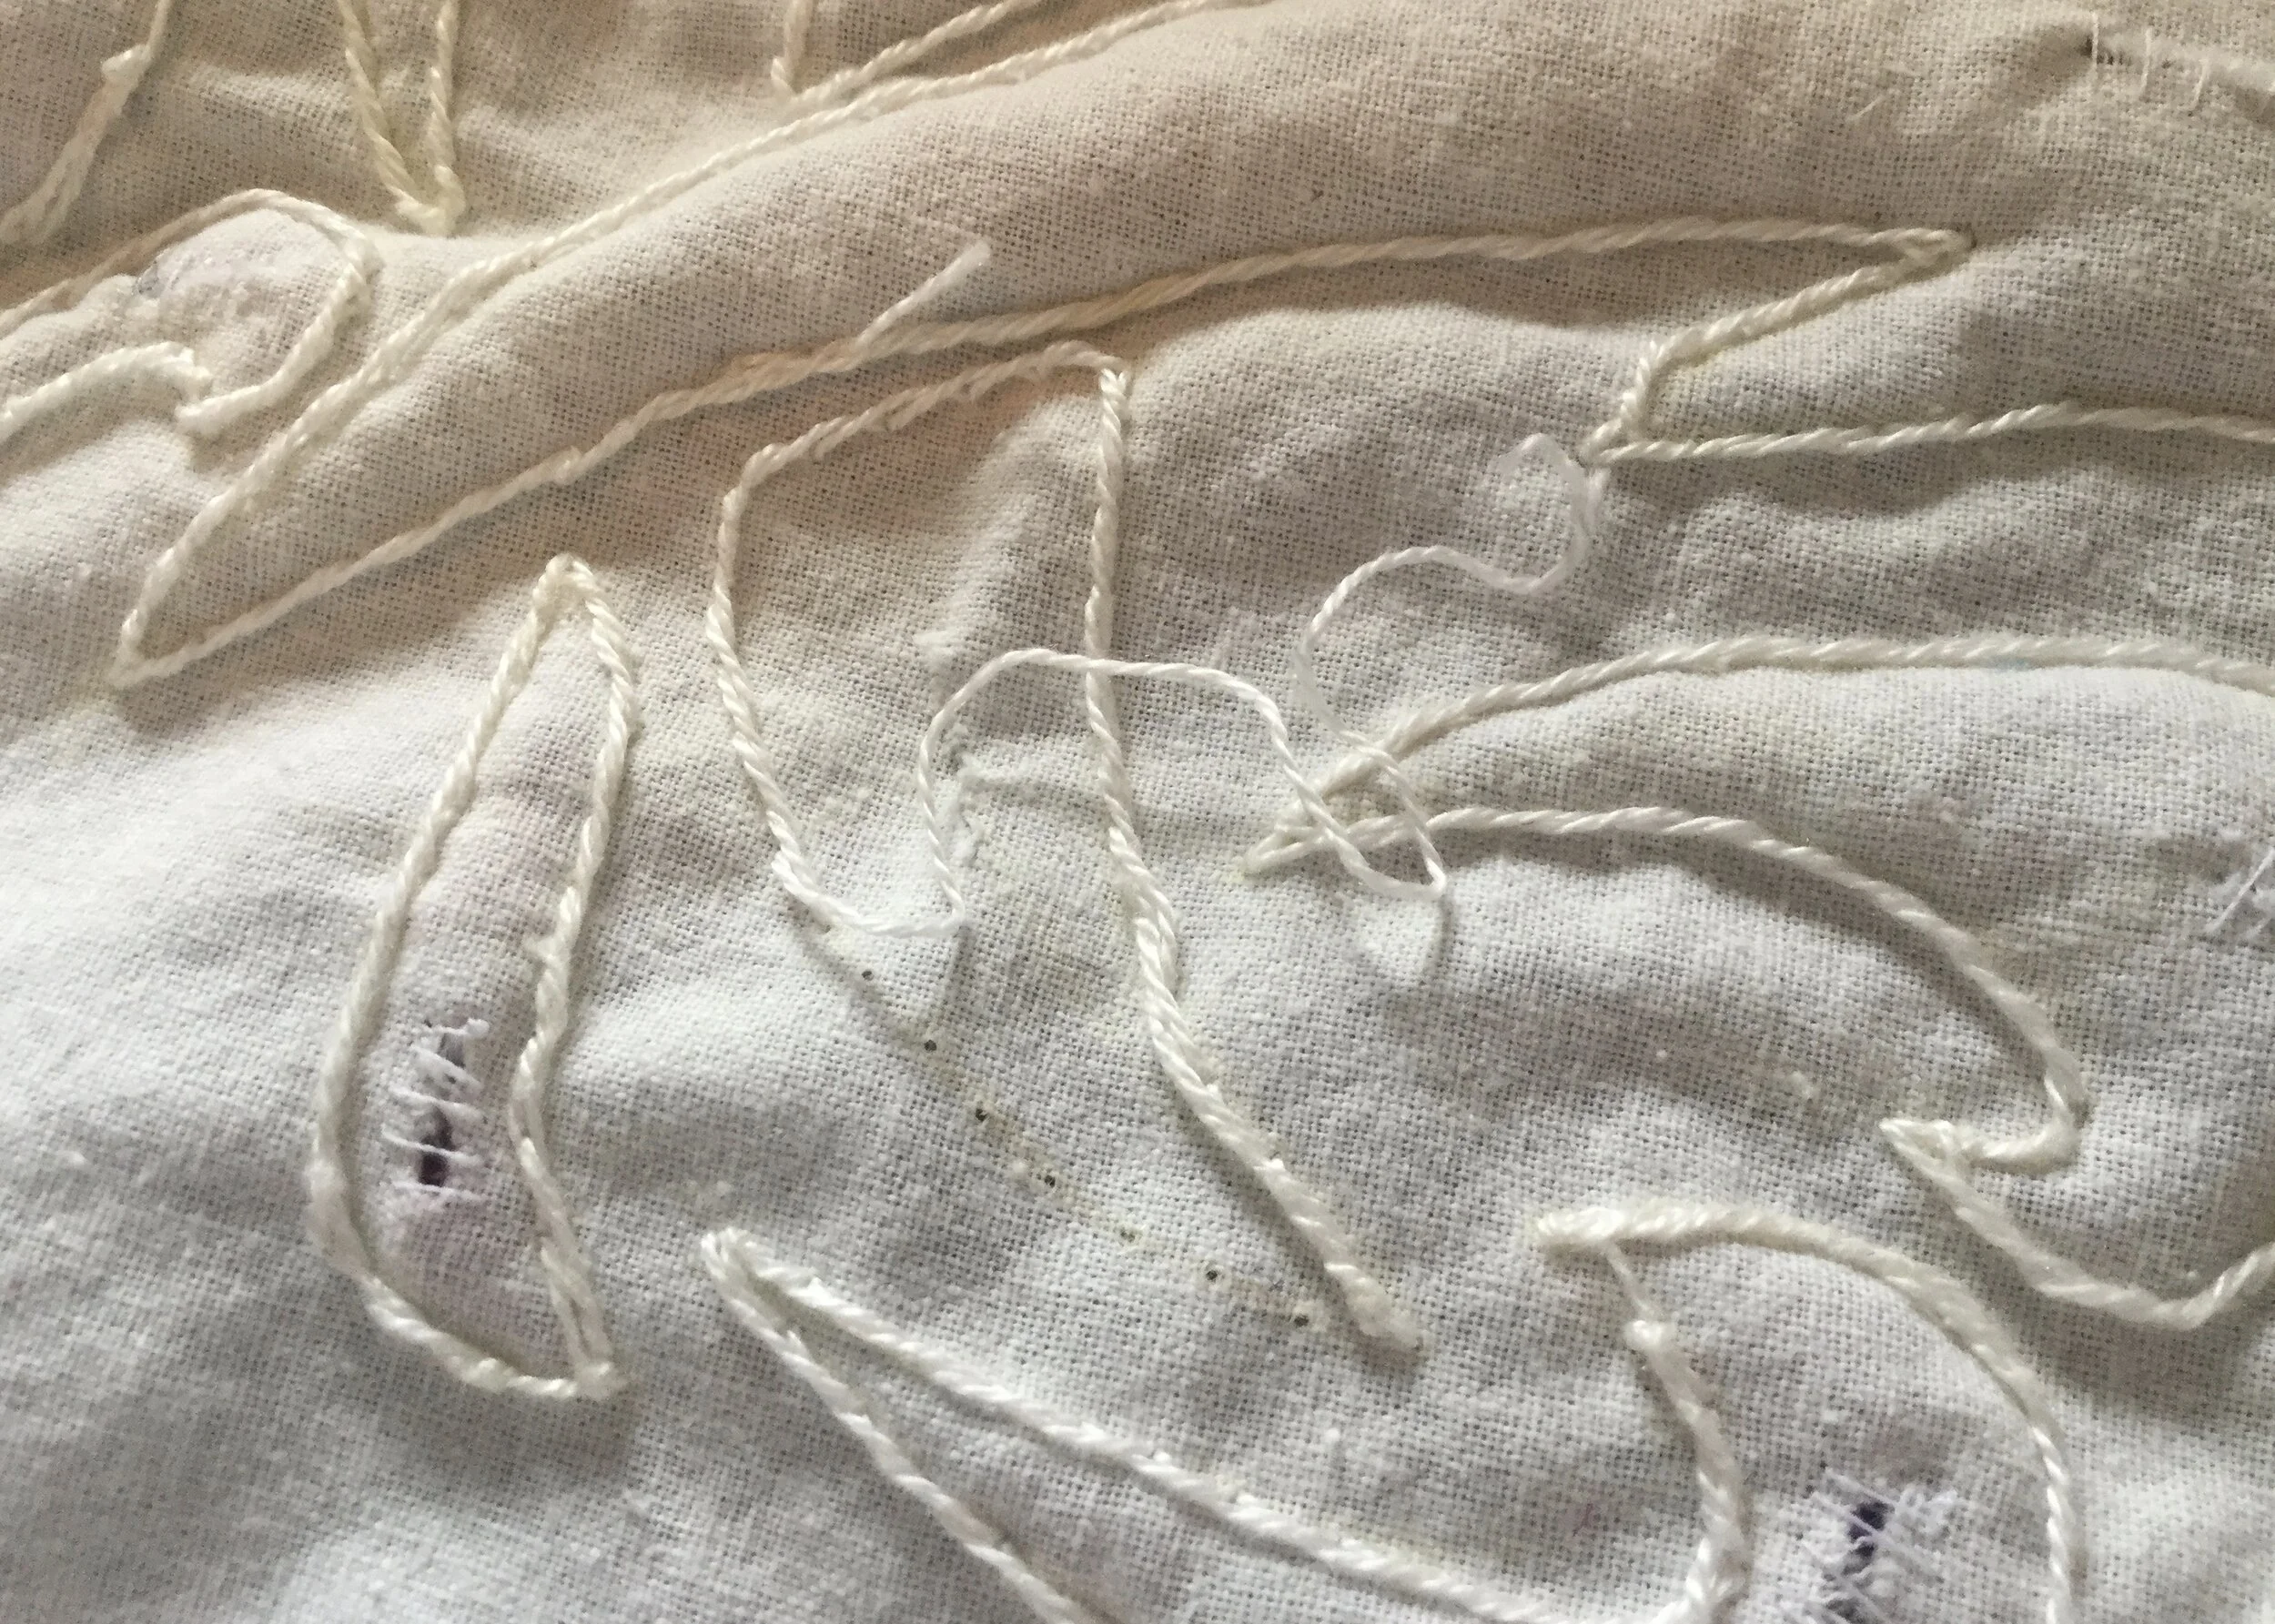
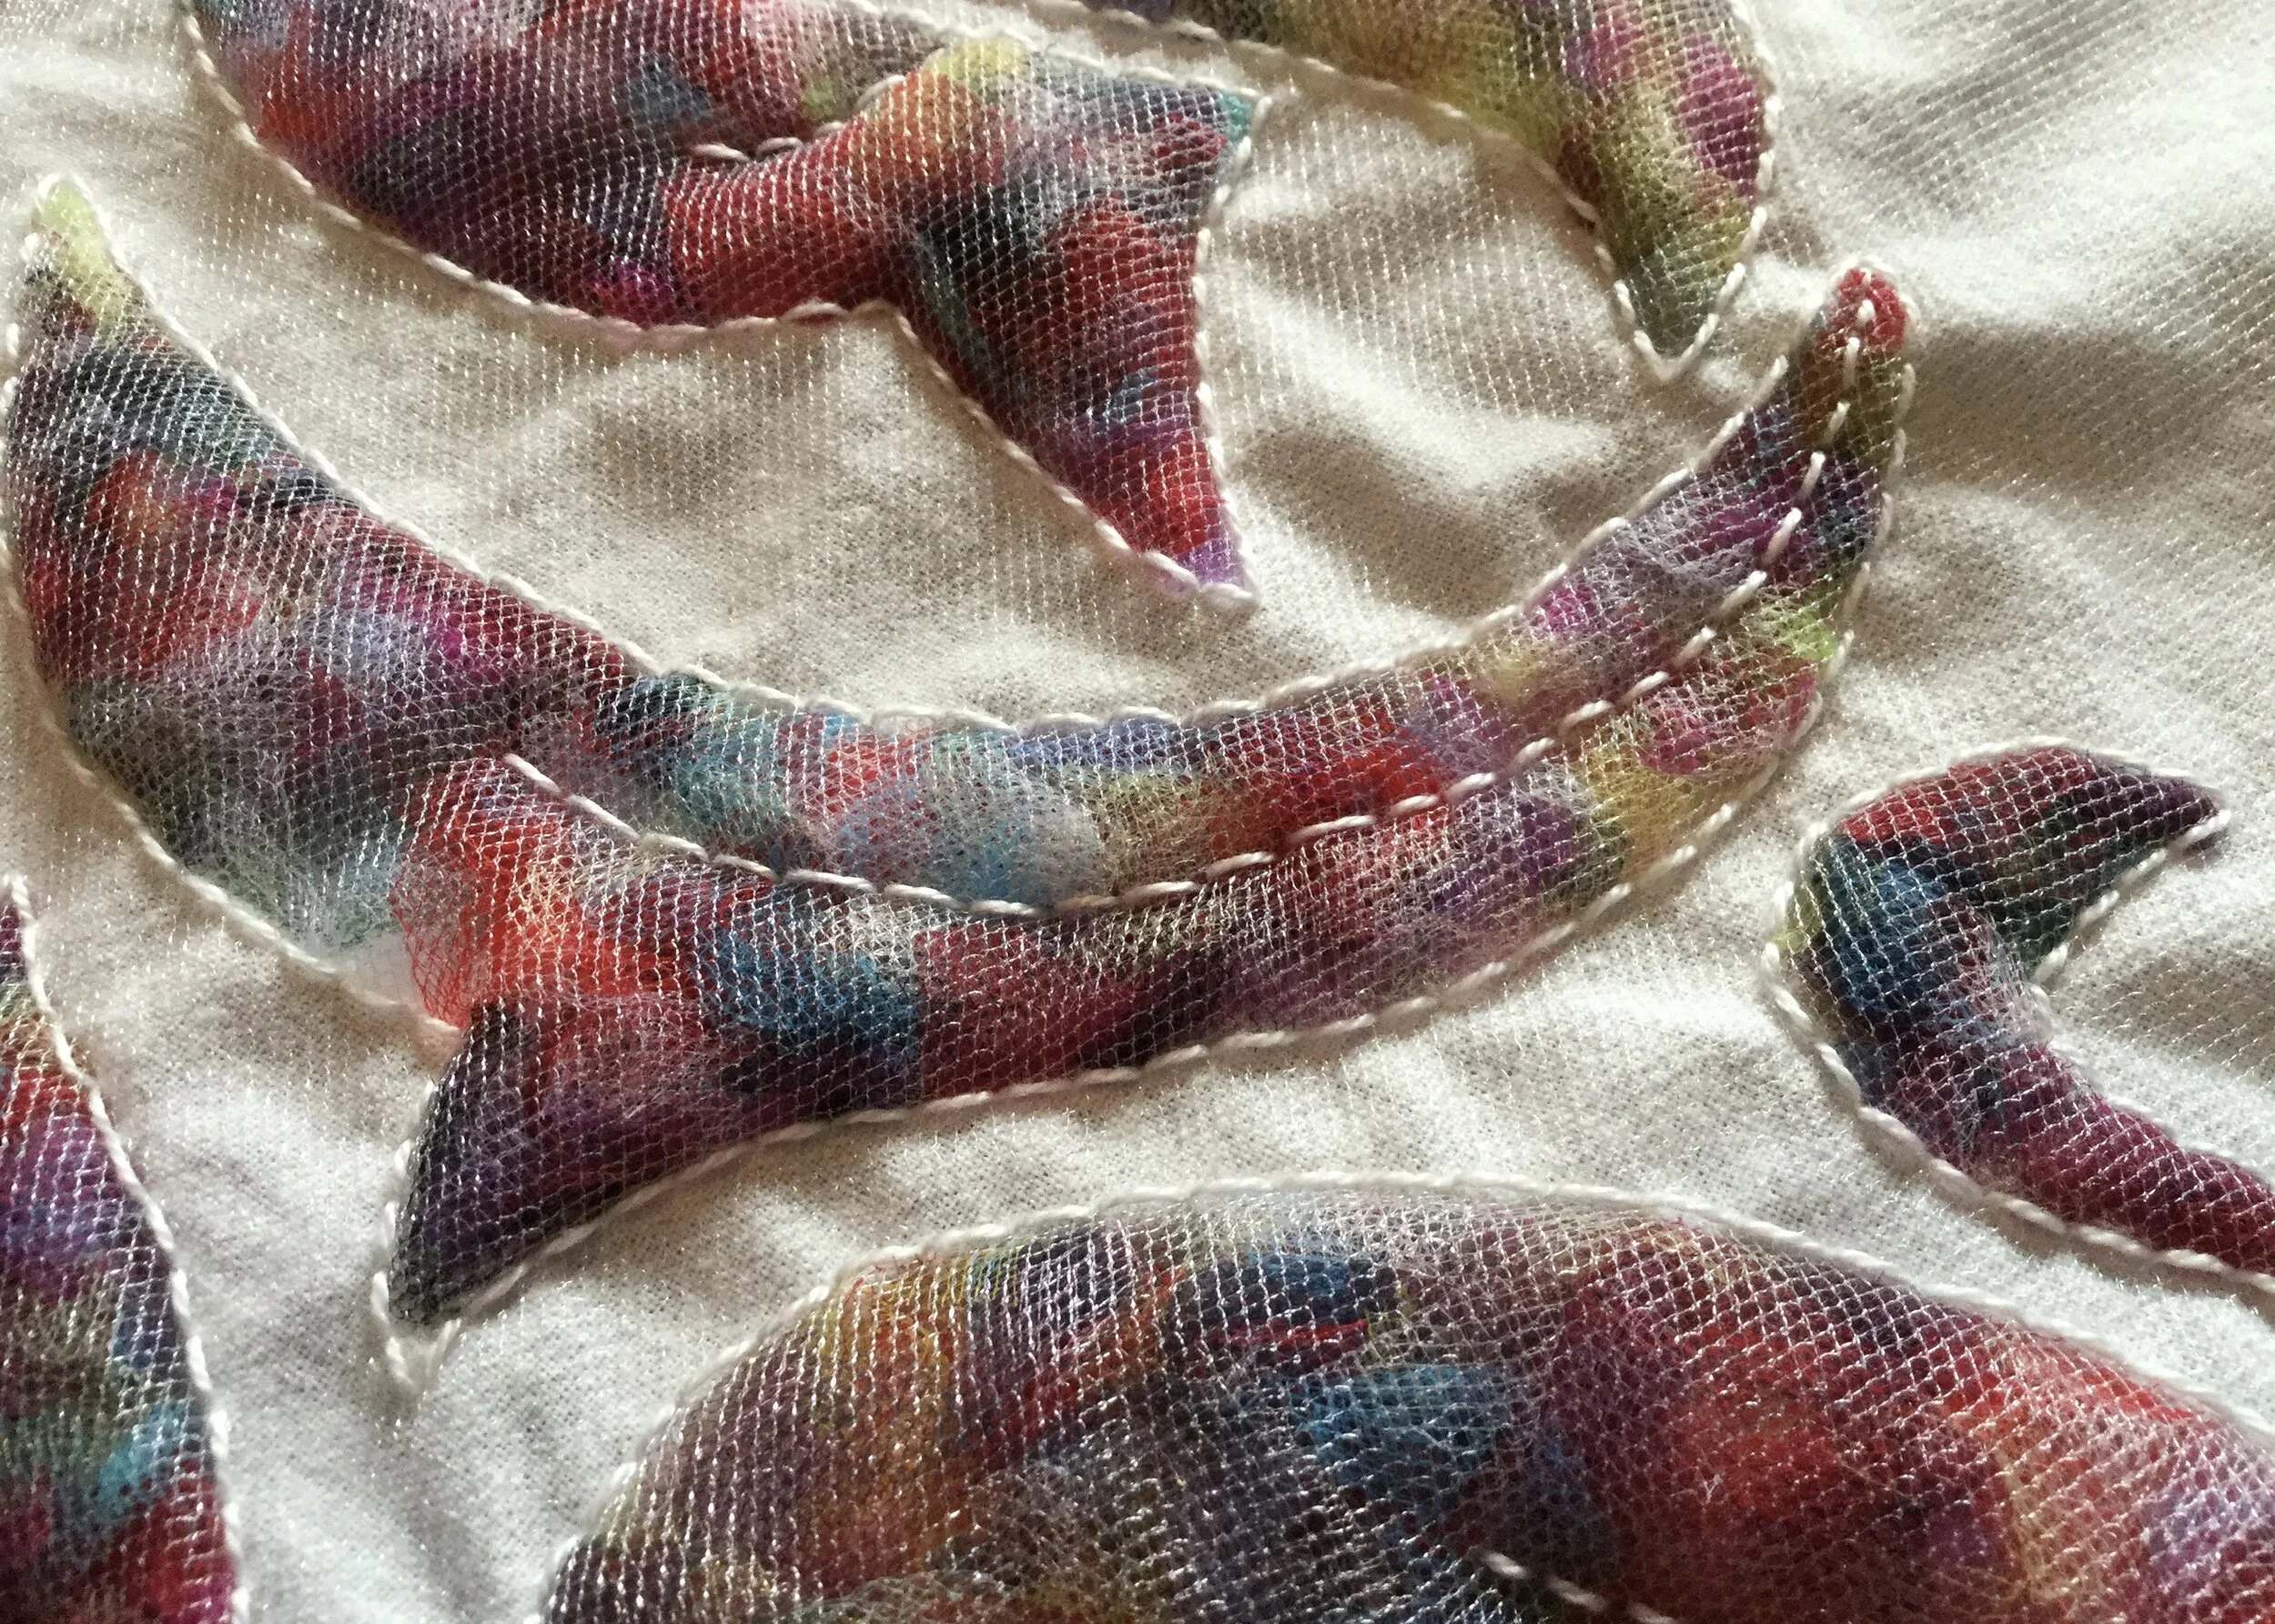
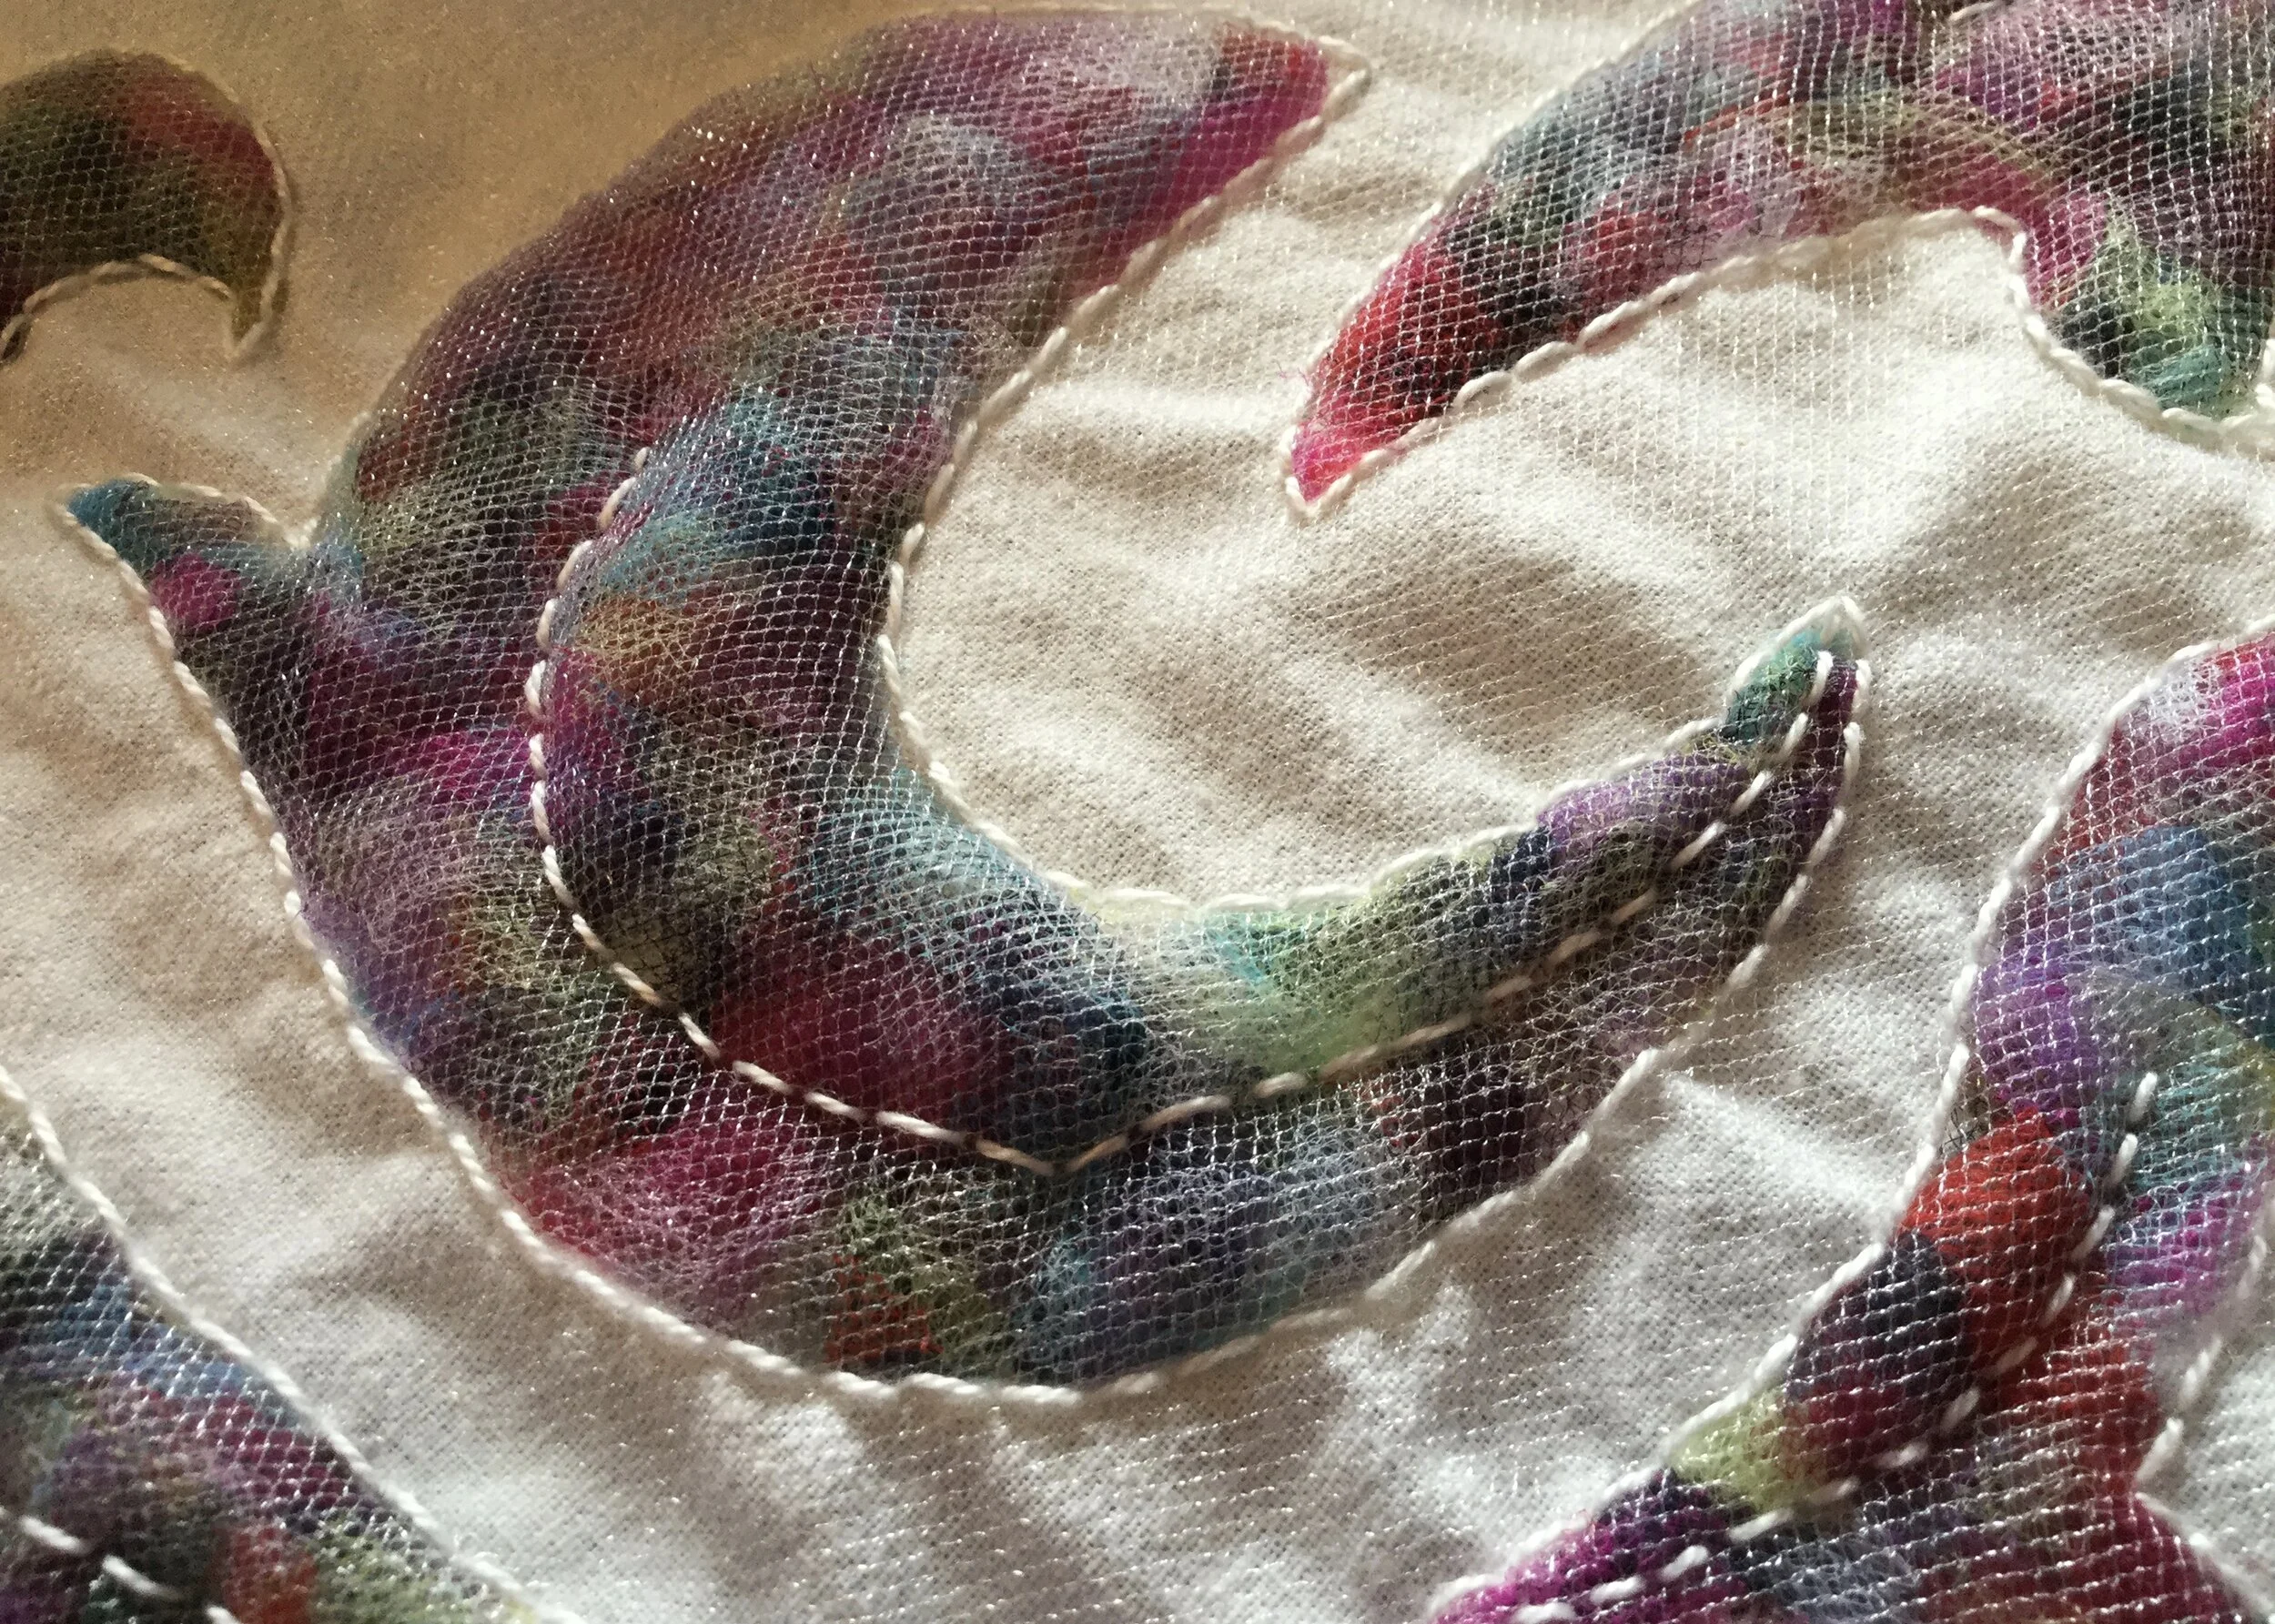
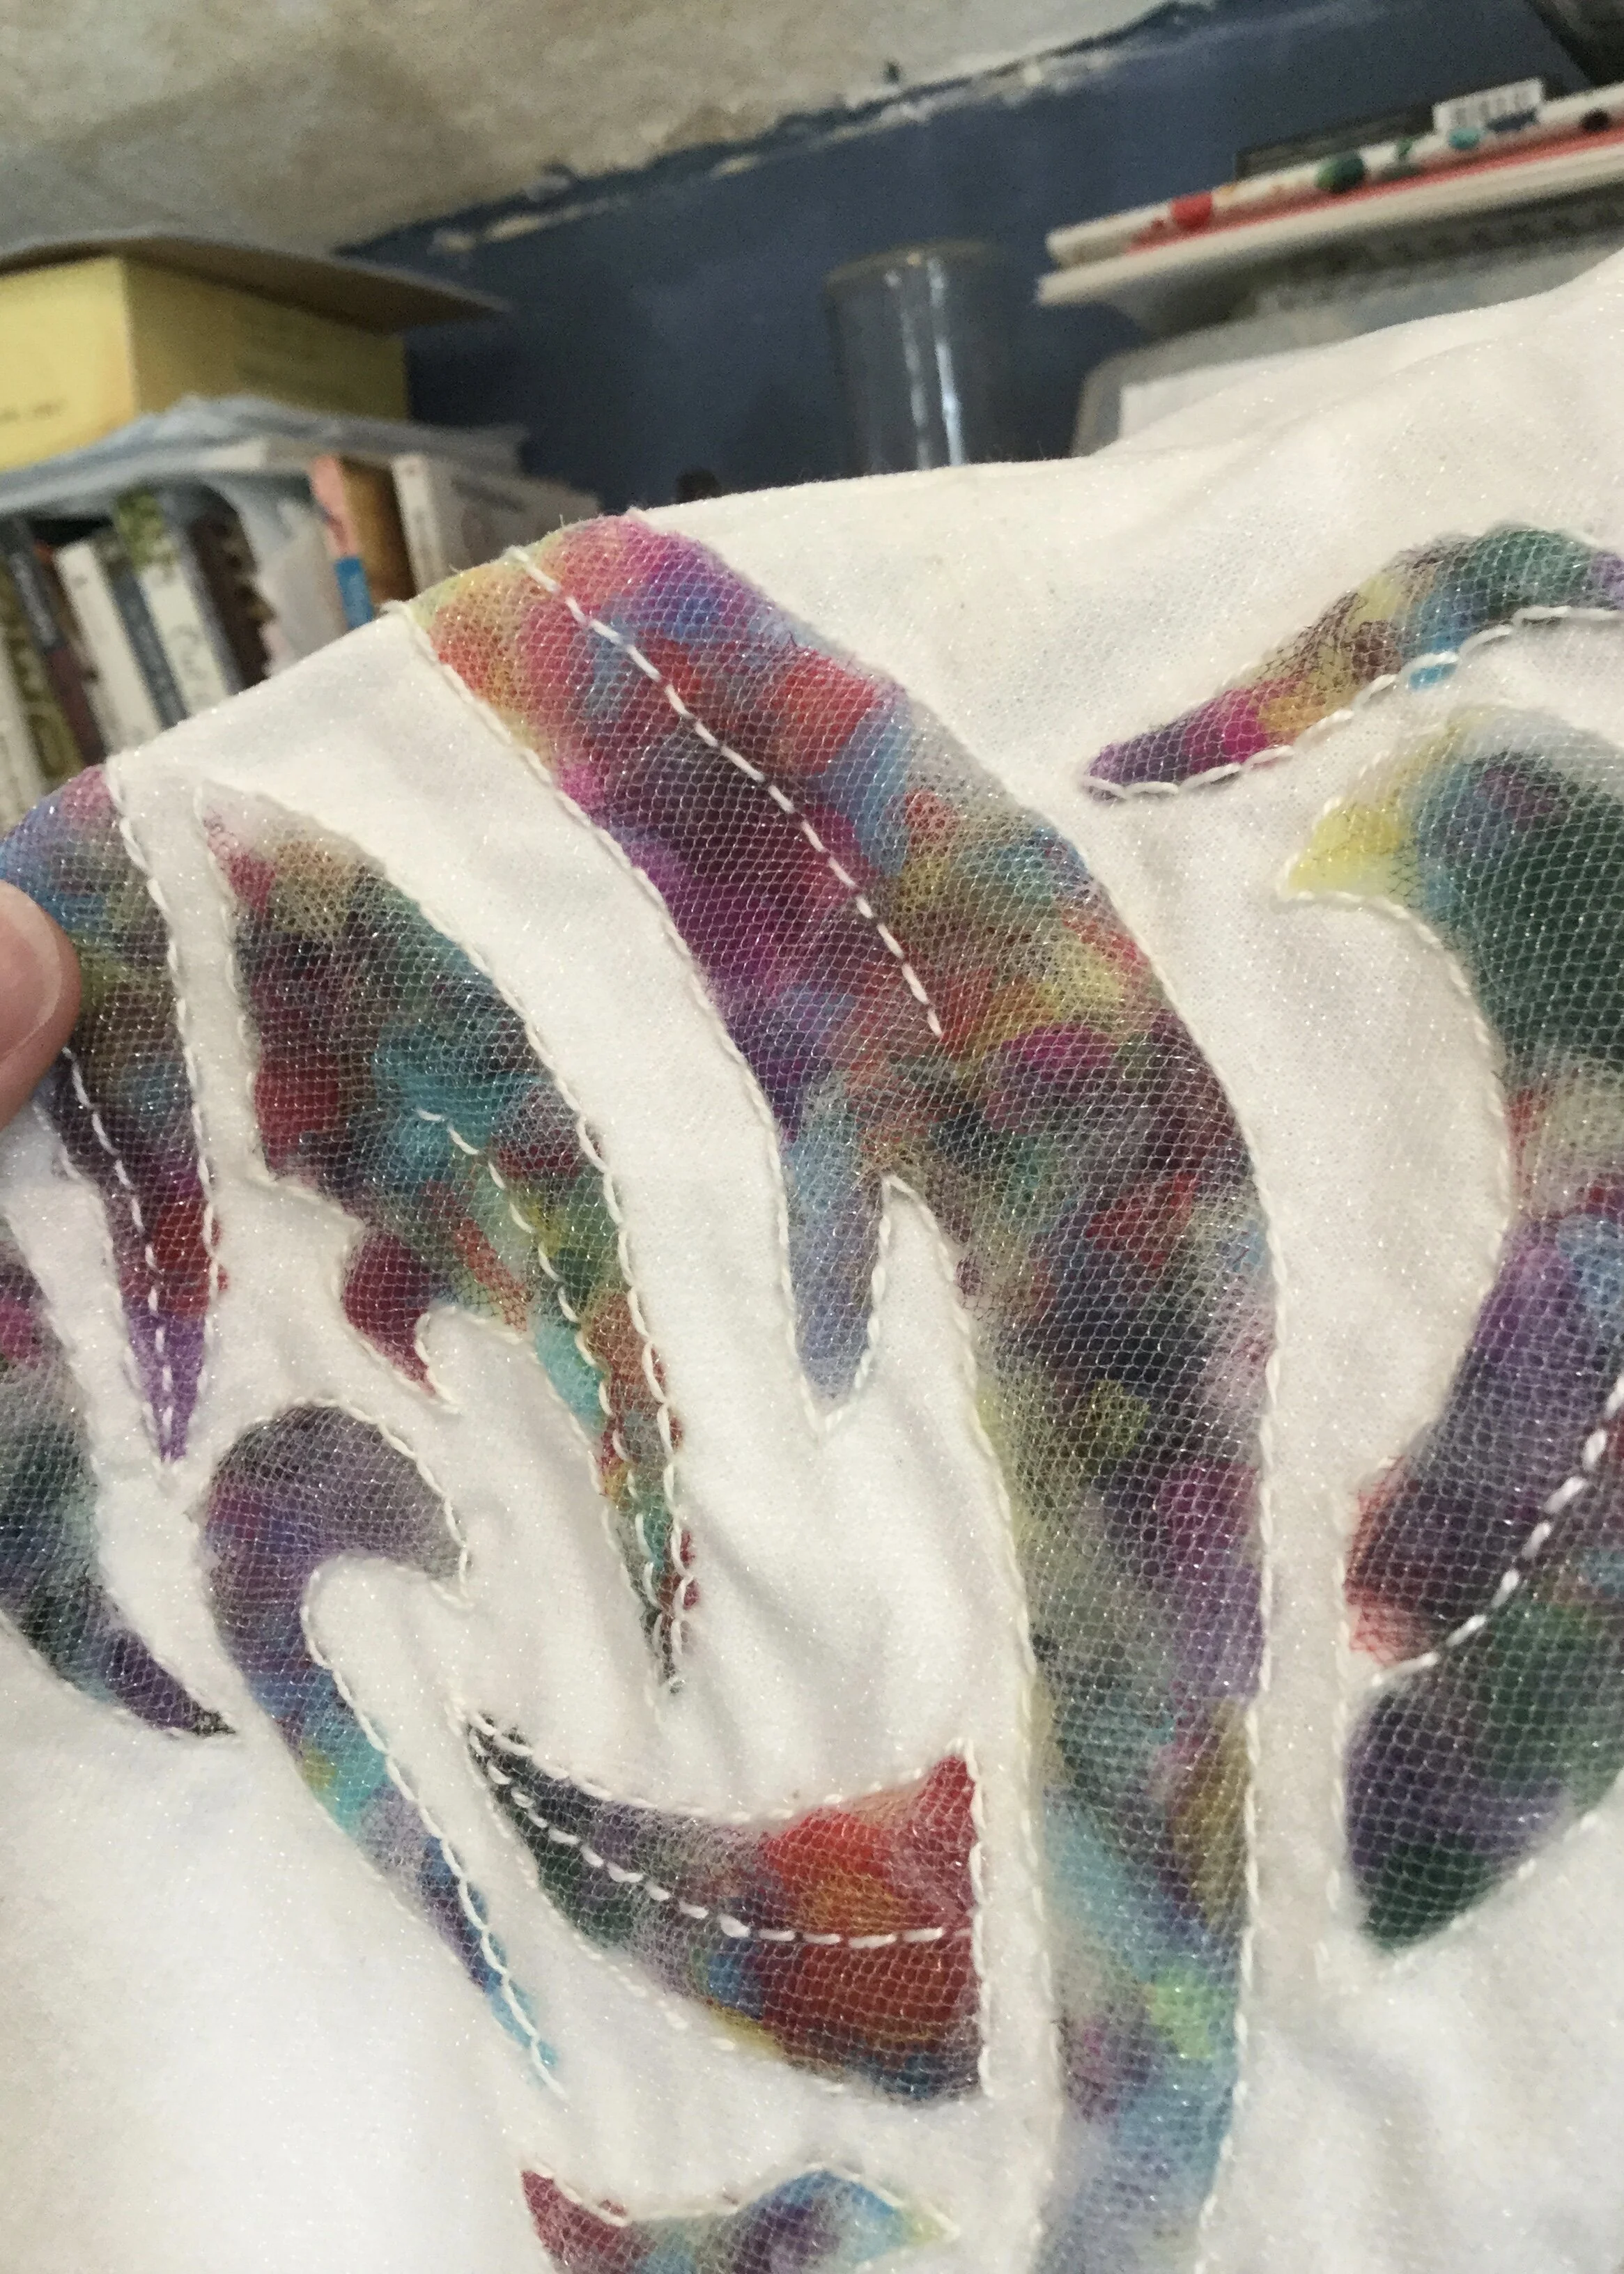
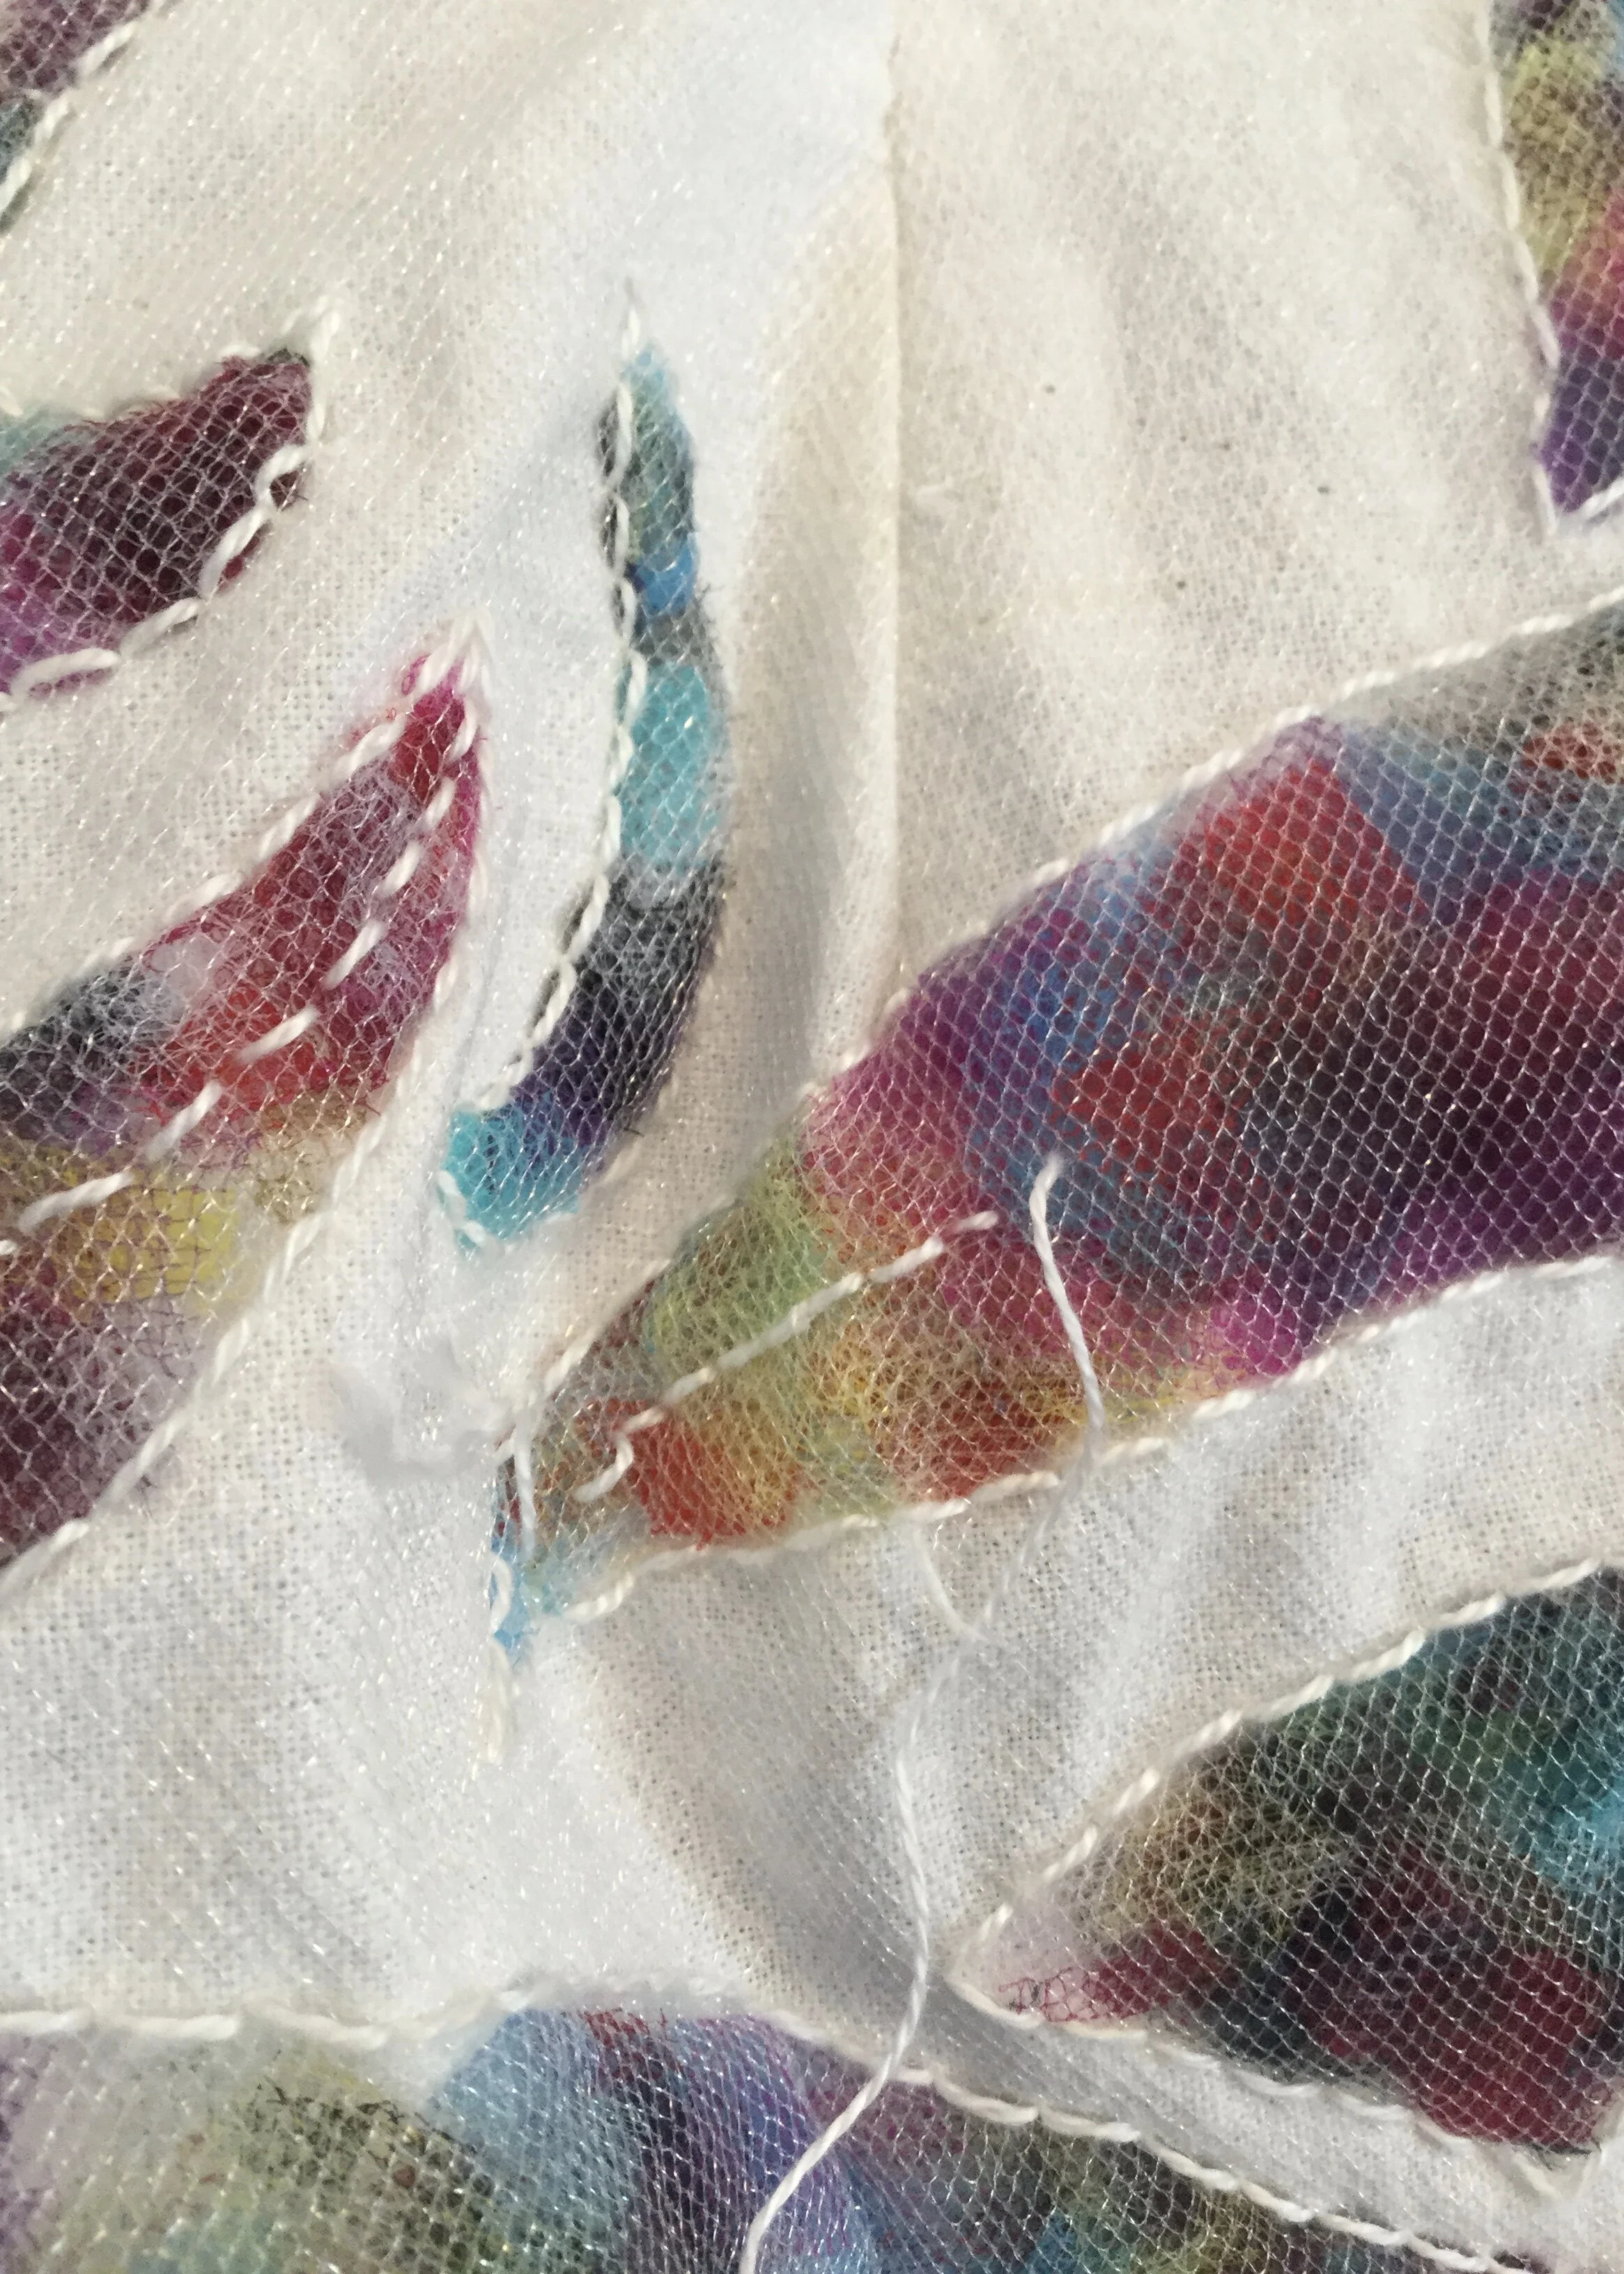
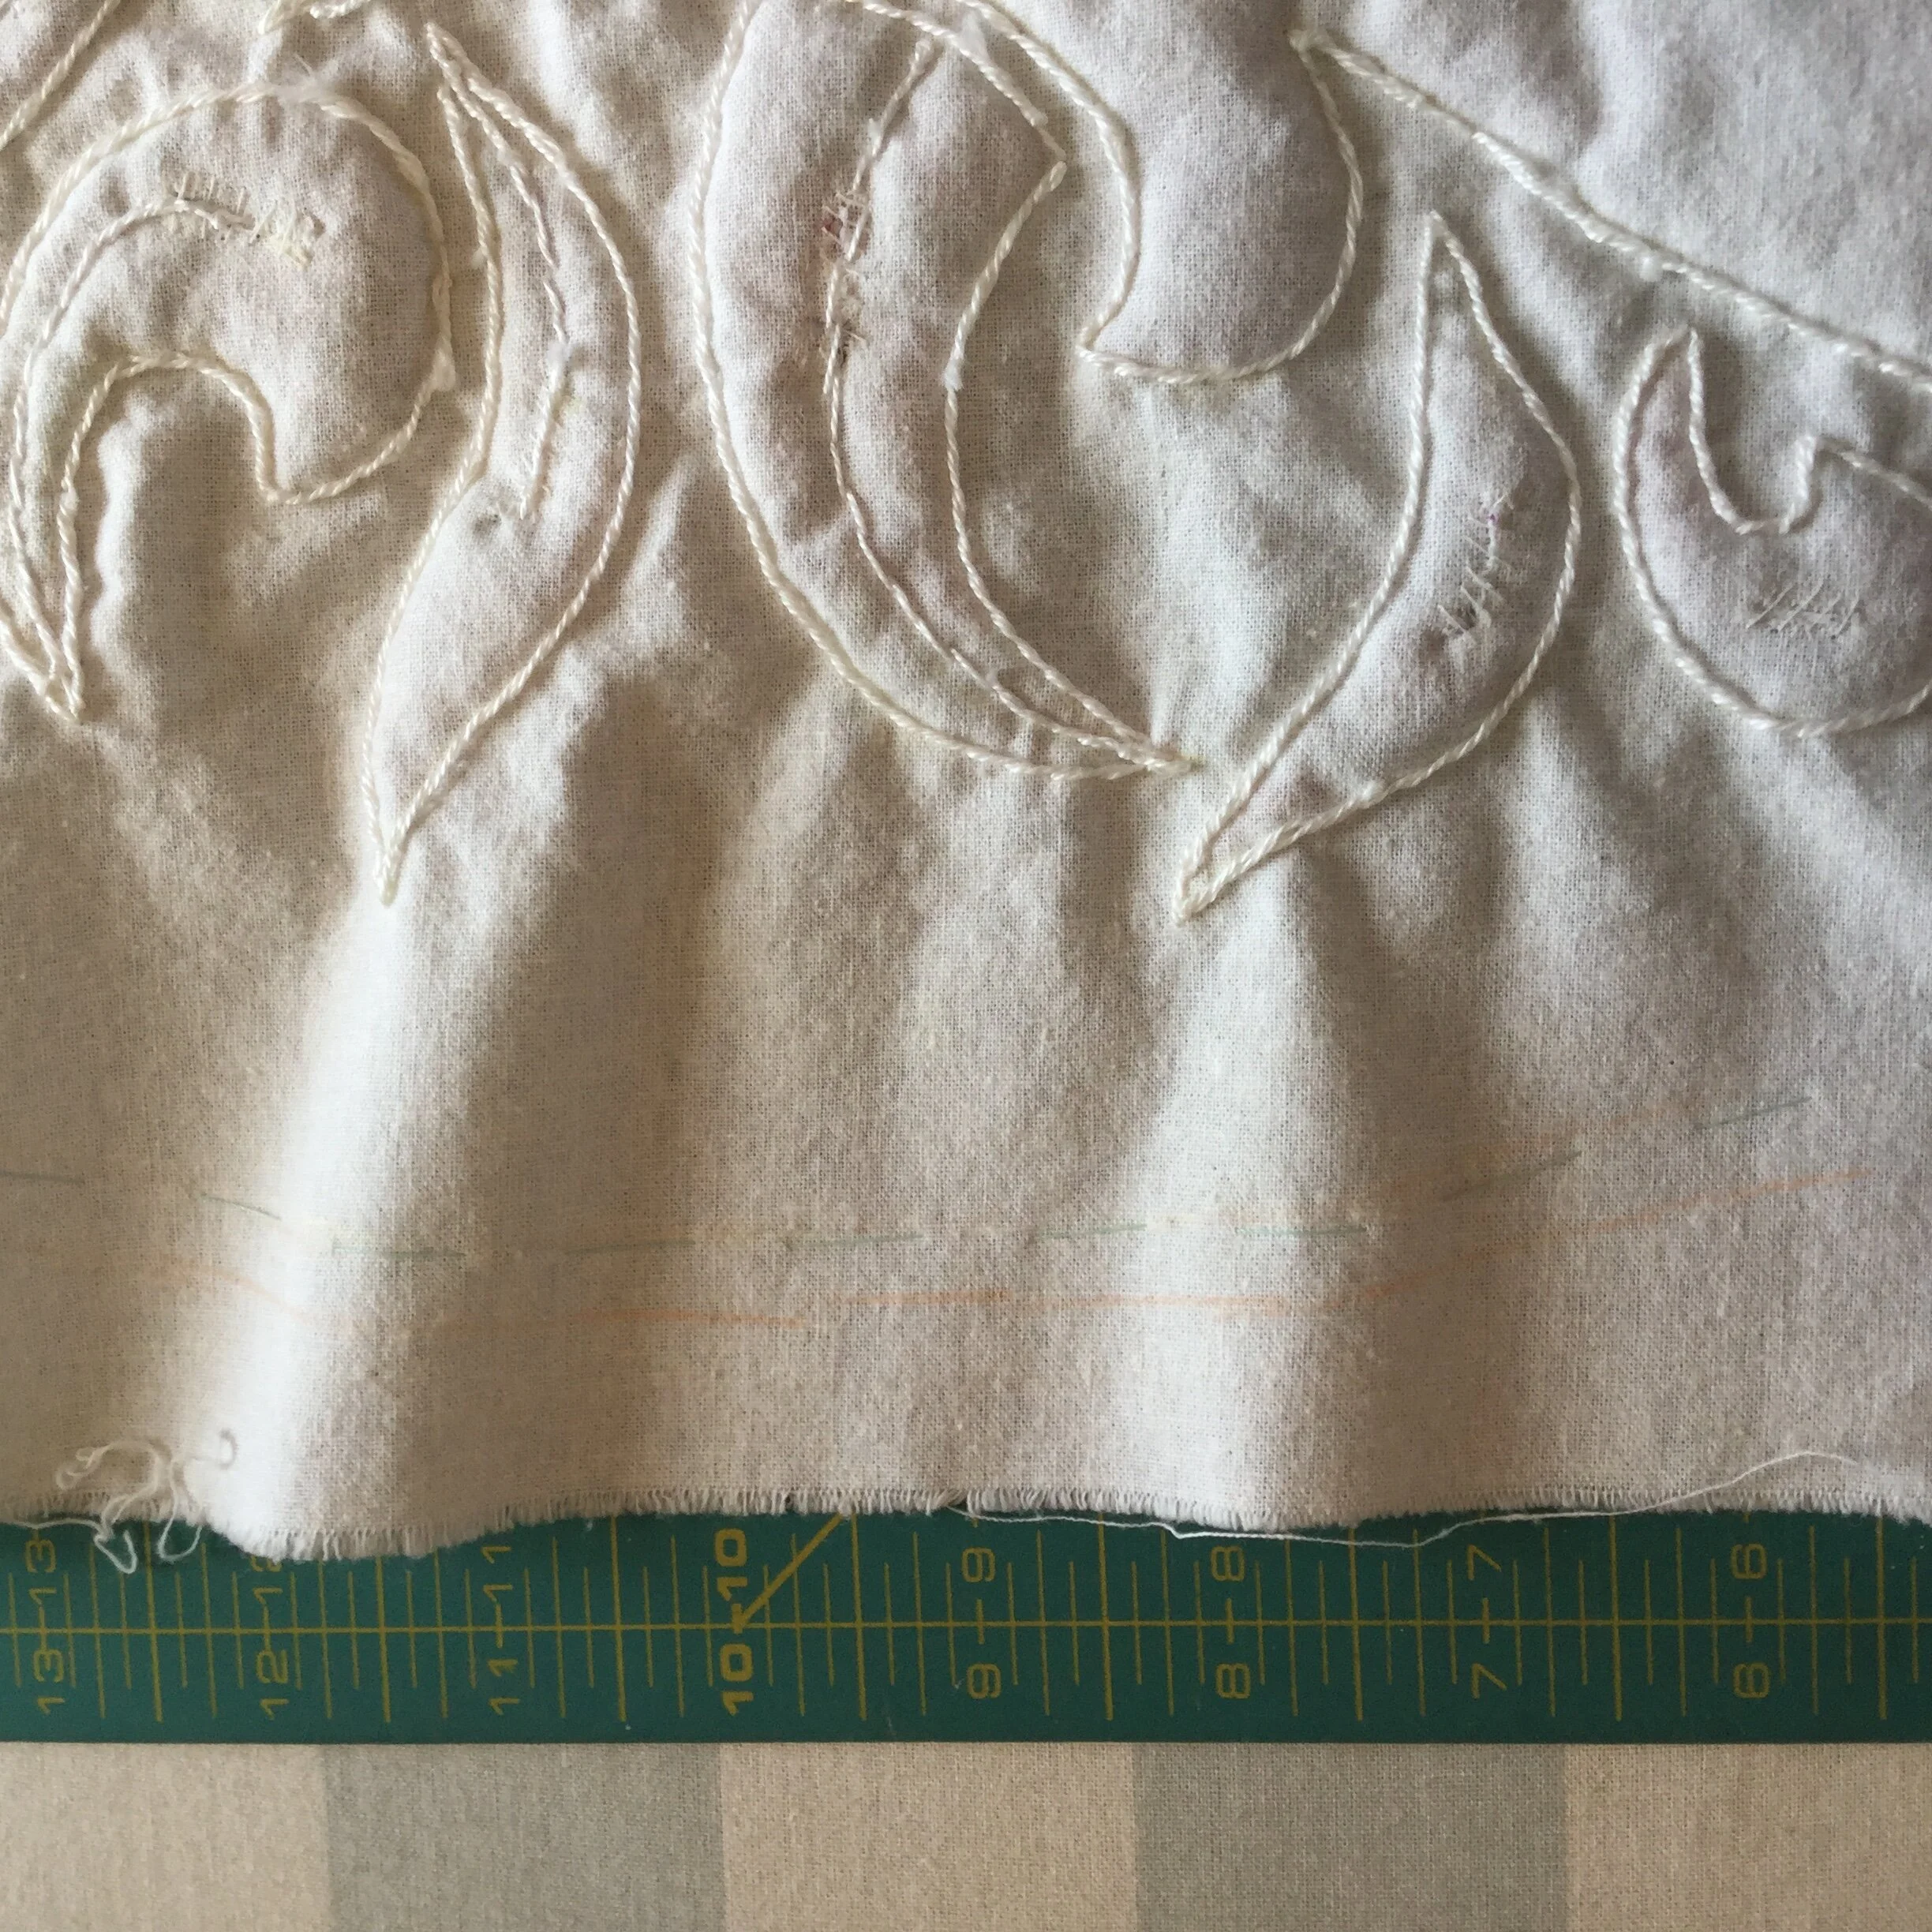
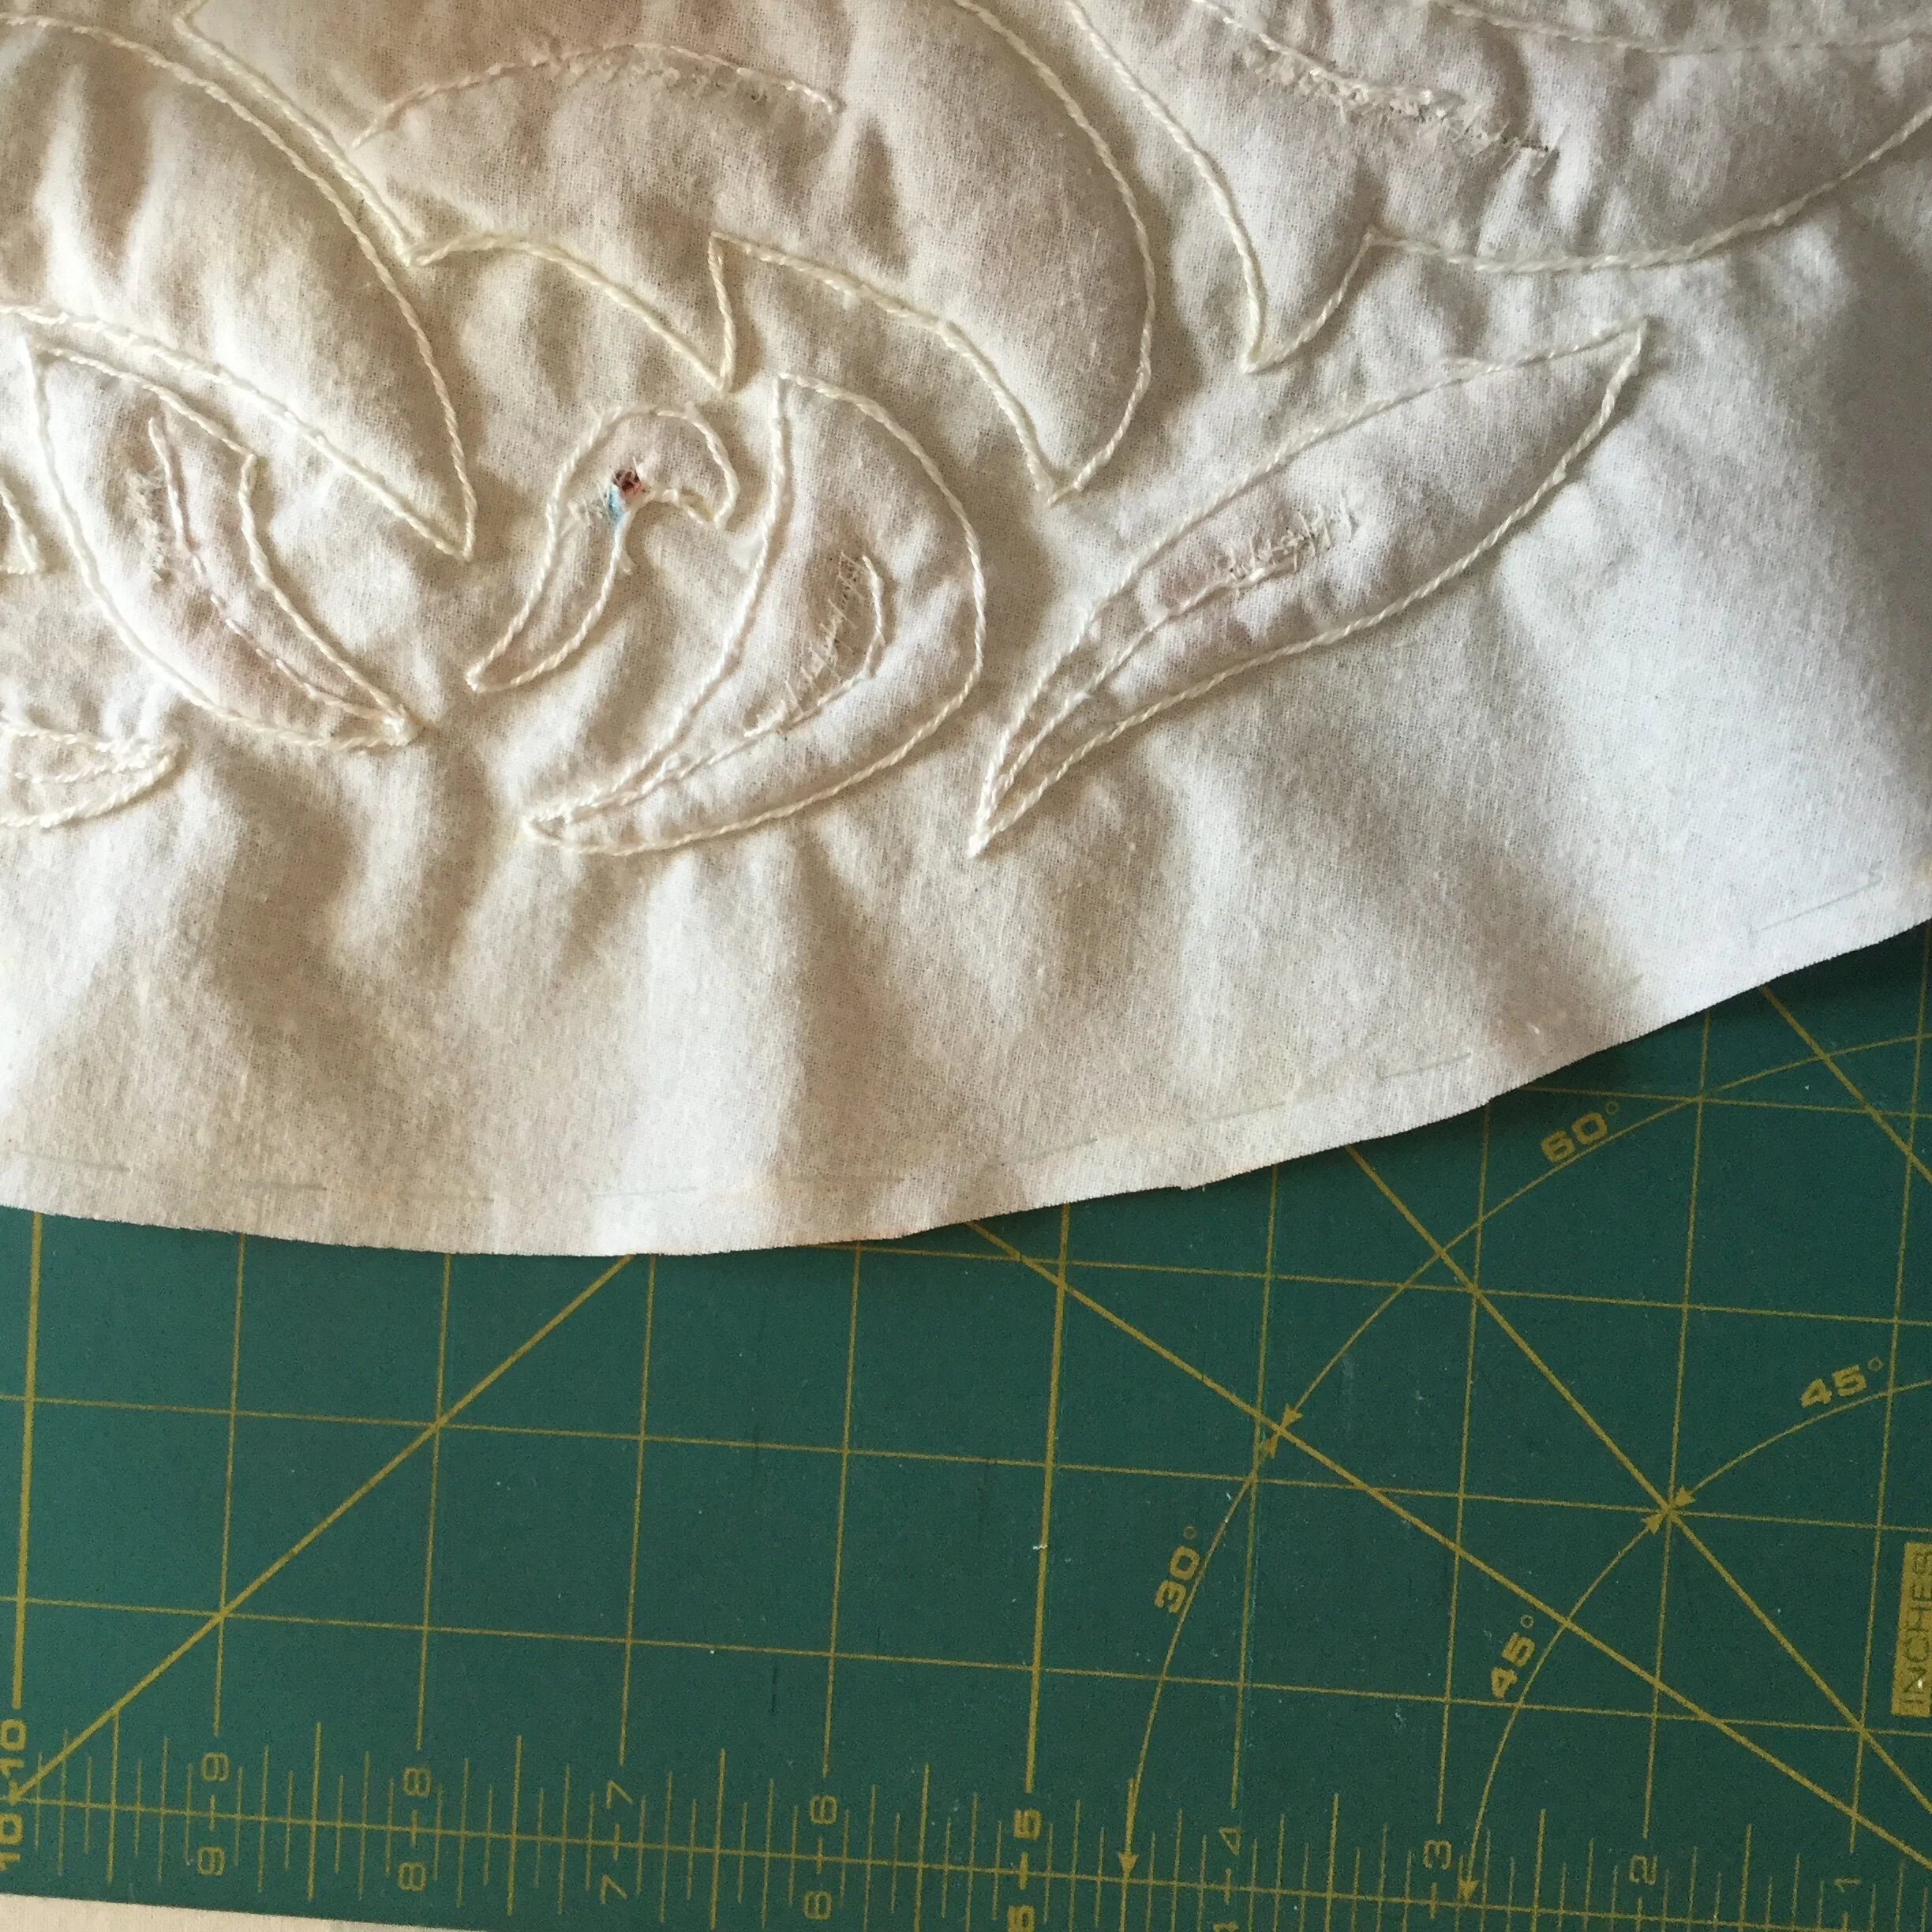
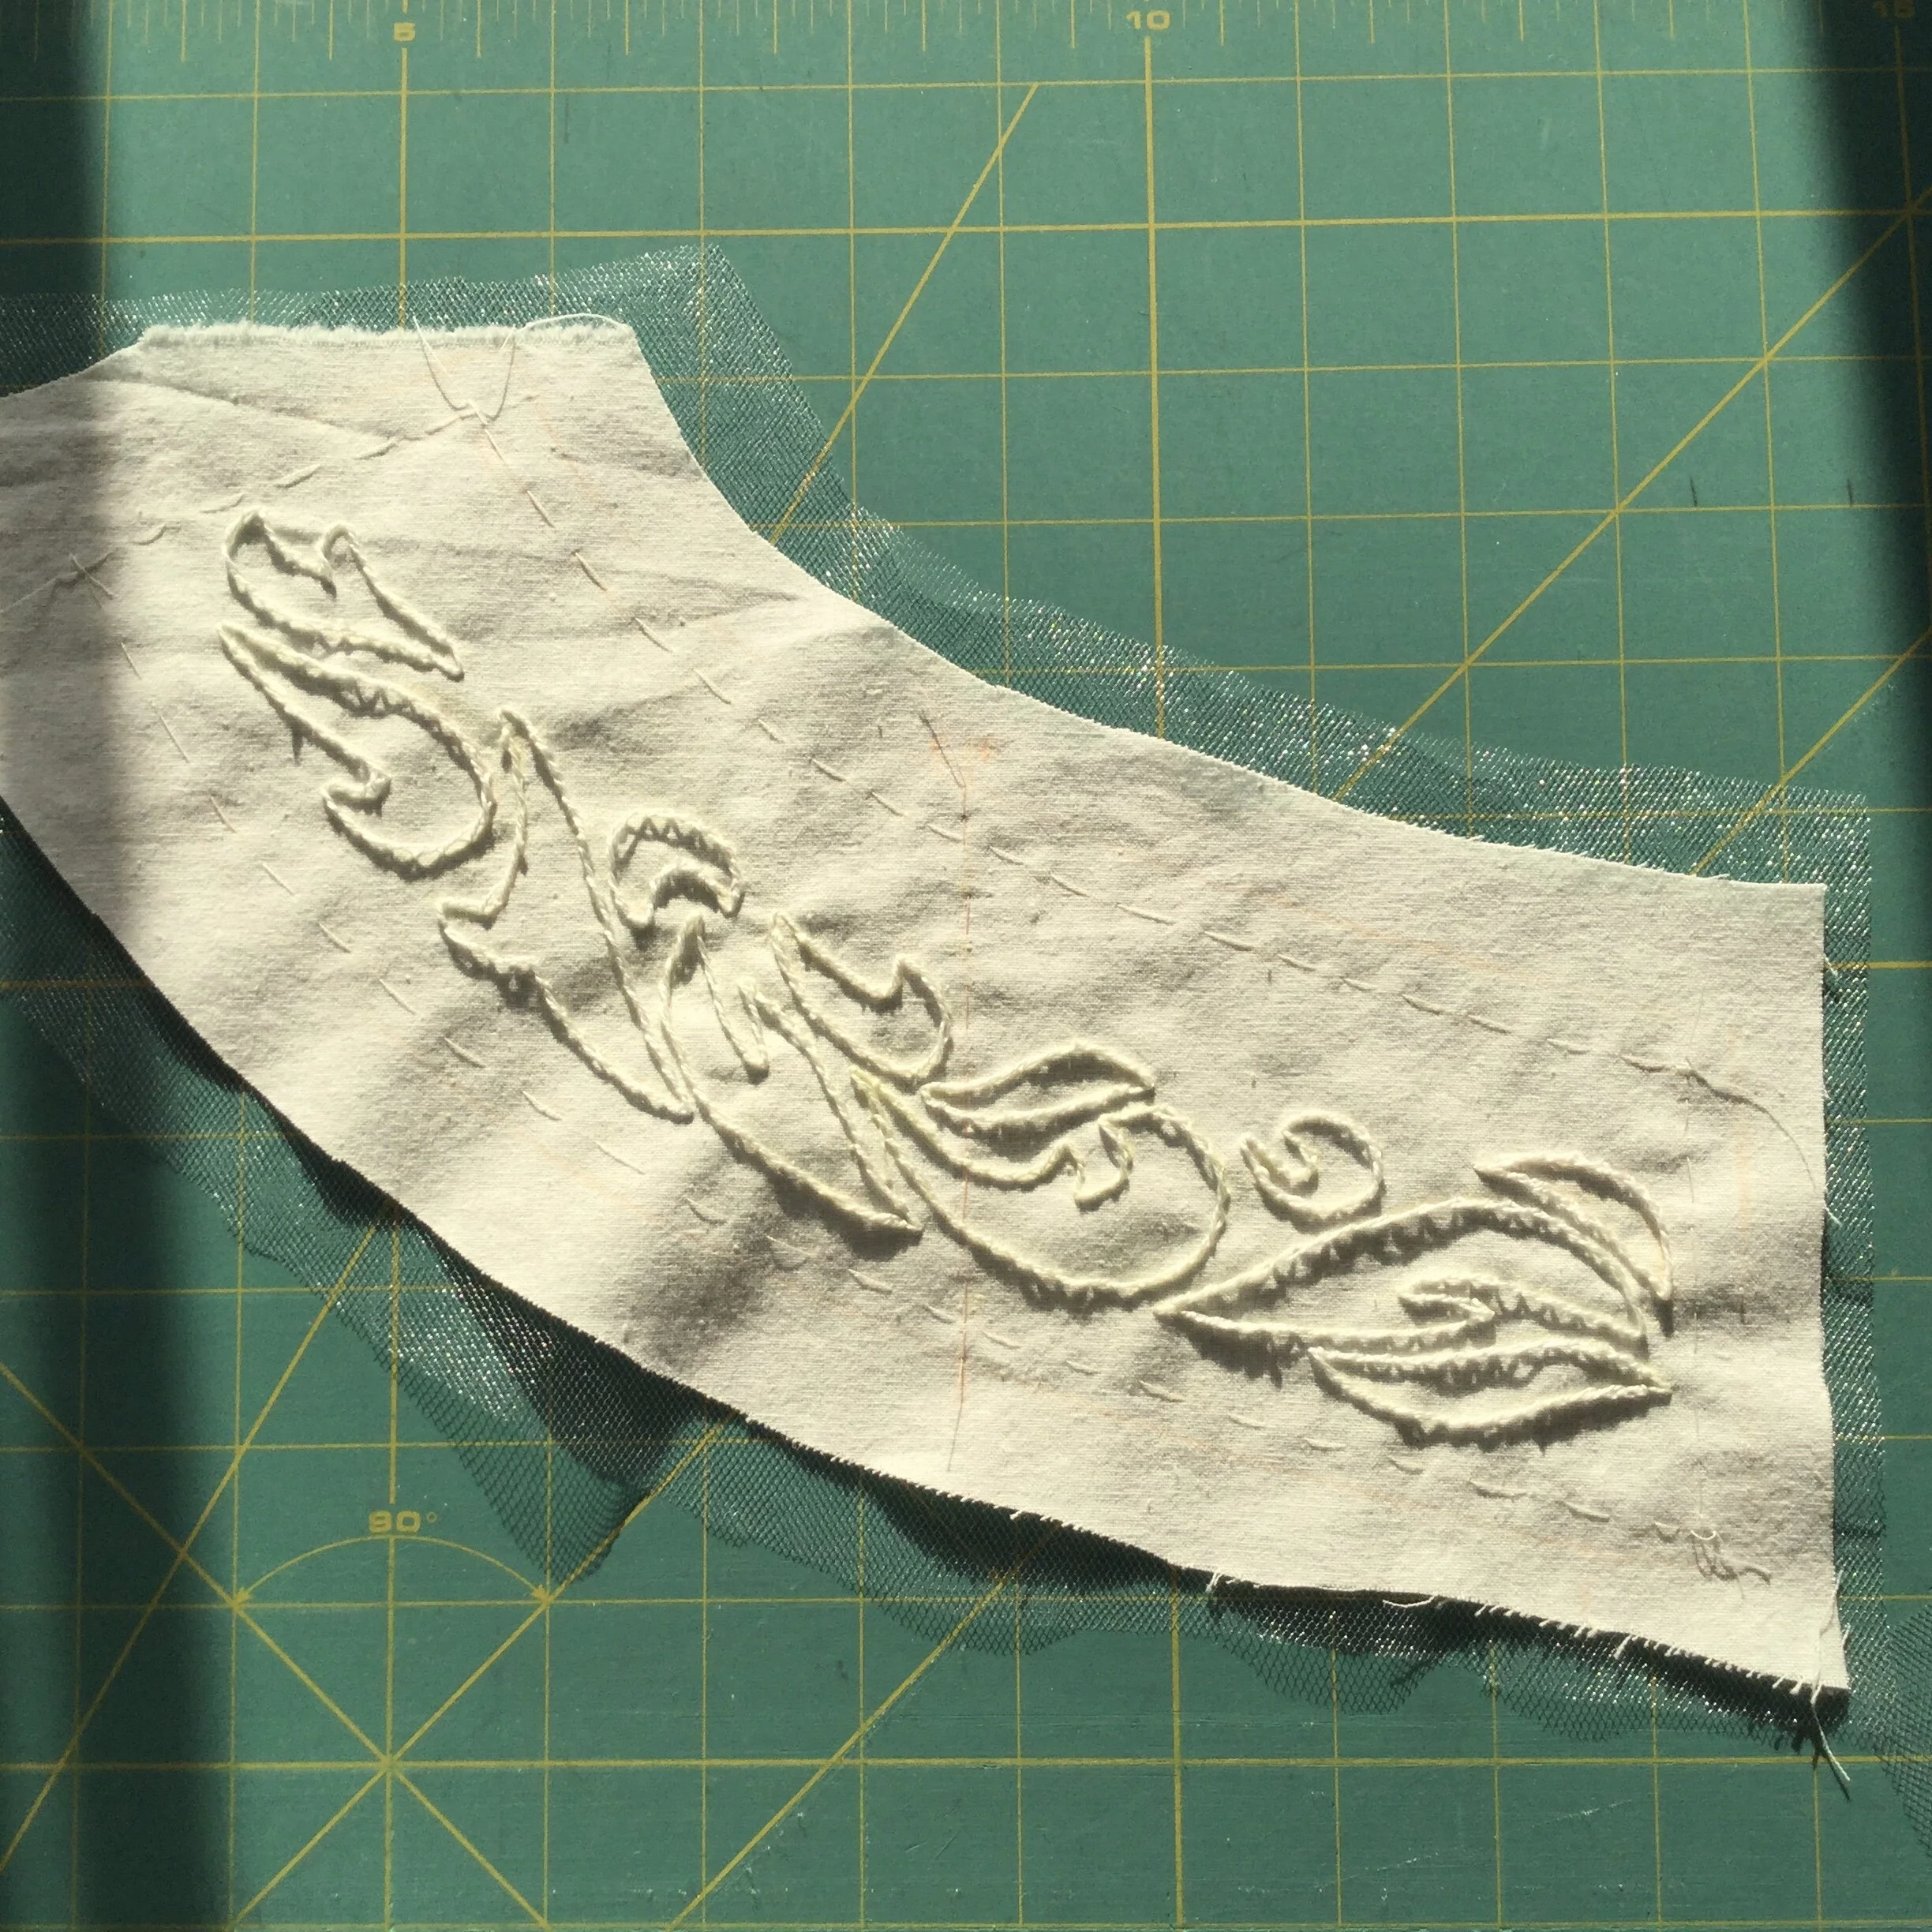
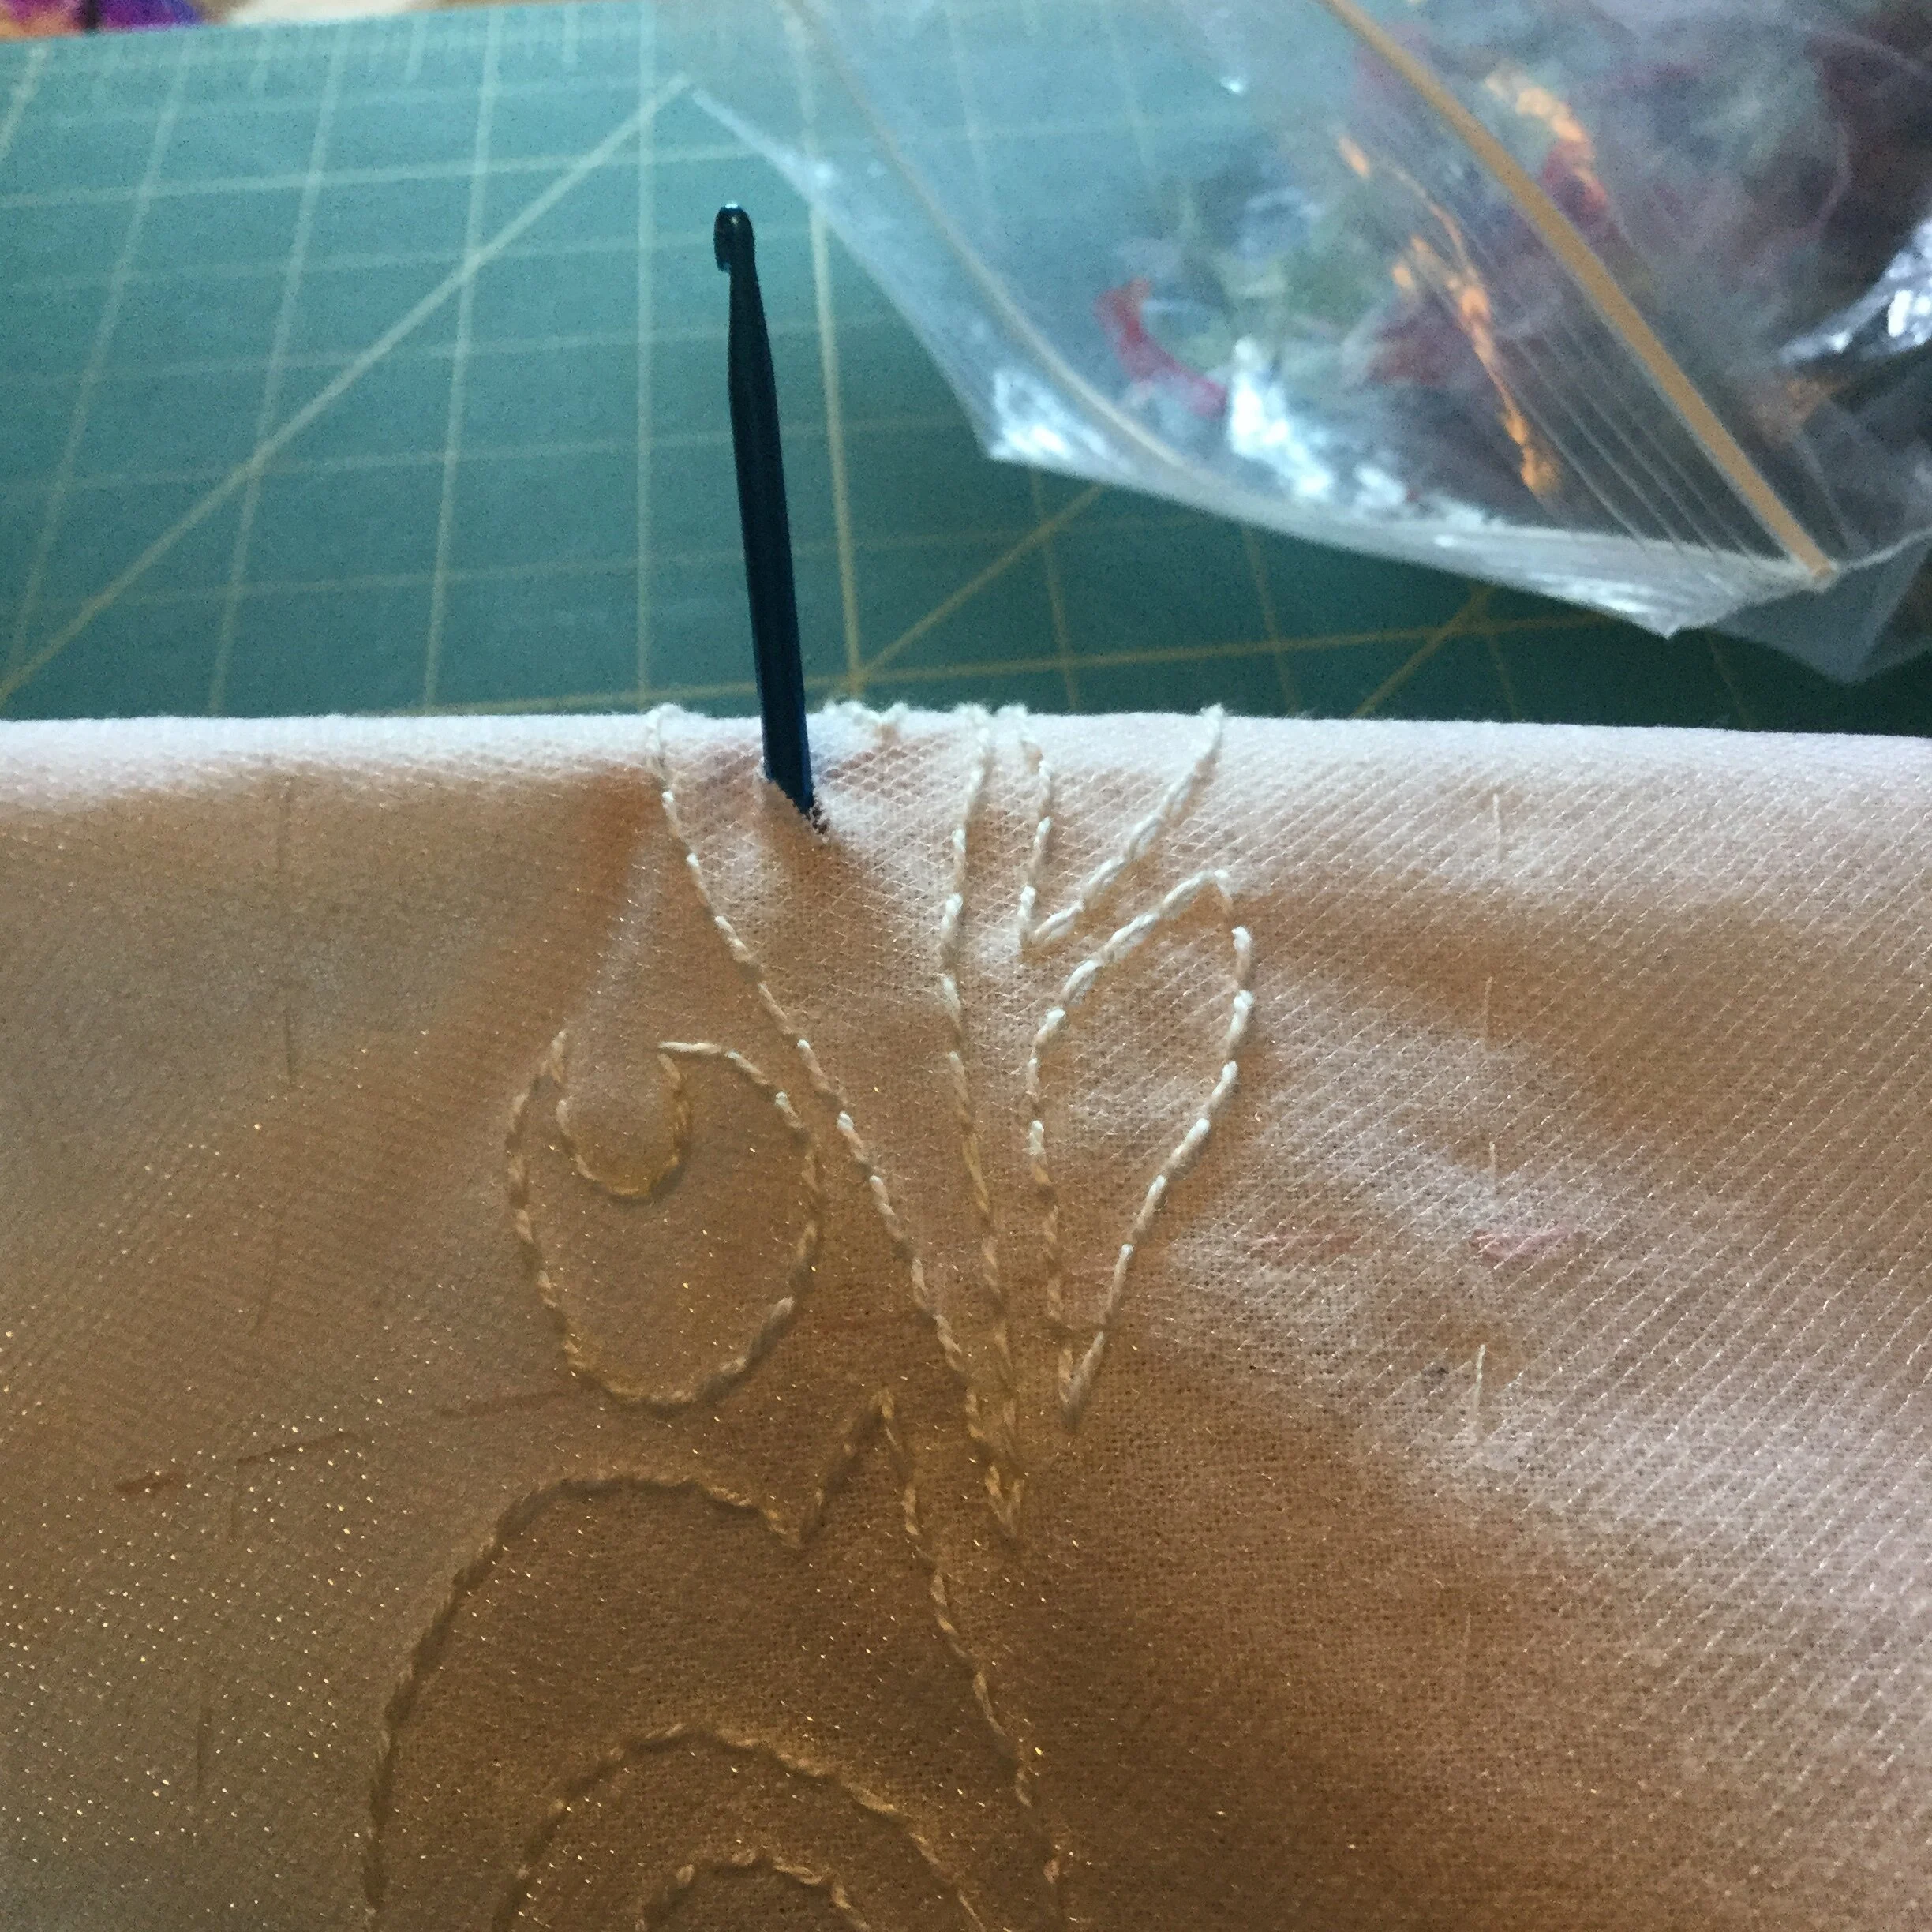
To stitch the quilting pattern, I opted to use no. 8 pearl cotton. On the sample, I had tried regular thread and embroidery floss, but I had, unsurprisingly, preferred the pearl cotton. It provides a nice, solid line that makes the stitching stand out and become part of the design.
For the actual stitch, I used a stem stitch. Typically, one would do this stitch from the right side of the fabric as the thick, smooth line it produces is generally what is desired; in this case, however, I was looking for a type of backstitch which would provide a clean, continuous line on the underside which would end up being the right side of the project. The stem stitch works really well for this as you stitch into the fabric the desired length of your stitch and come back up at the end of the previous stitch which makes it easy to control the length of the stitches and to make sure each stitch joins perfectly with the previous one.
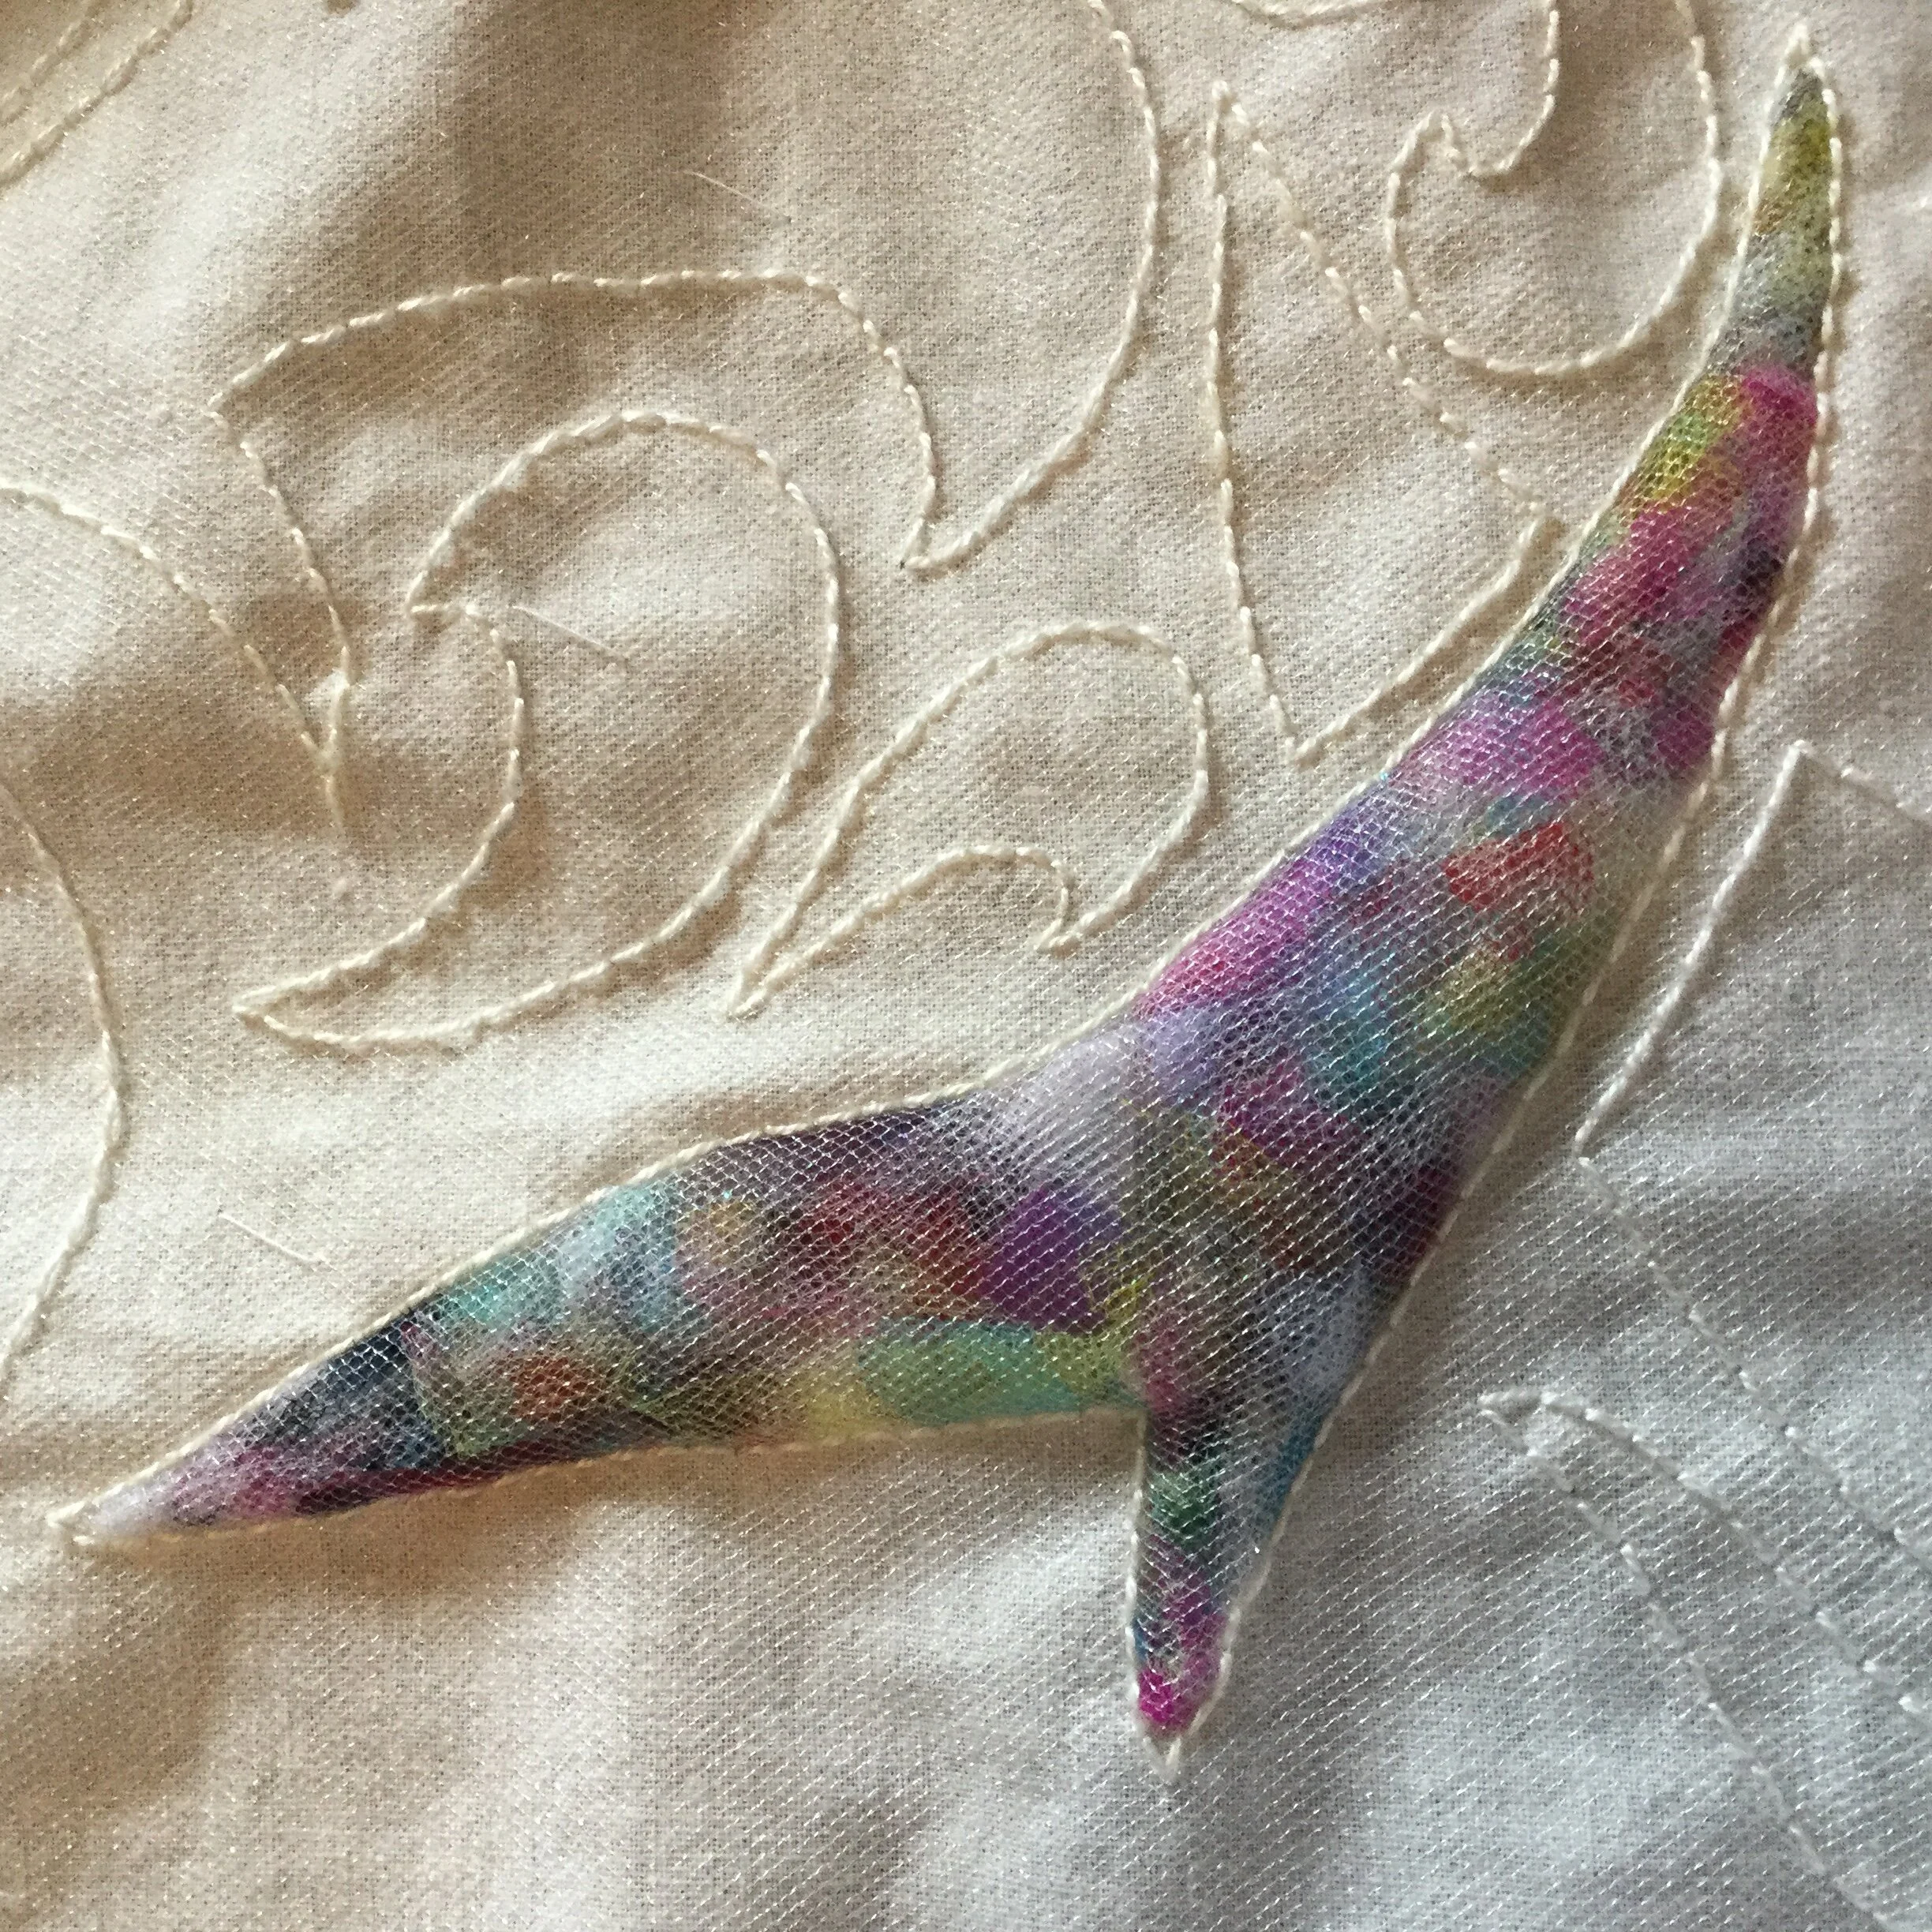
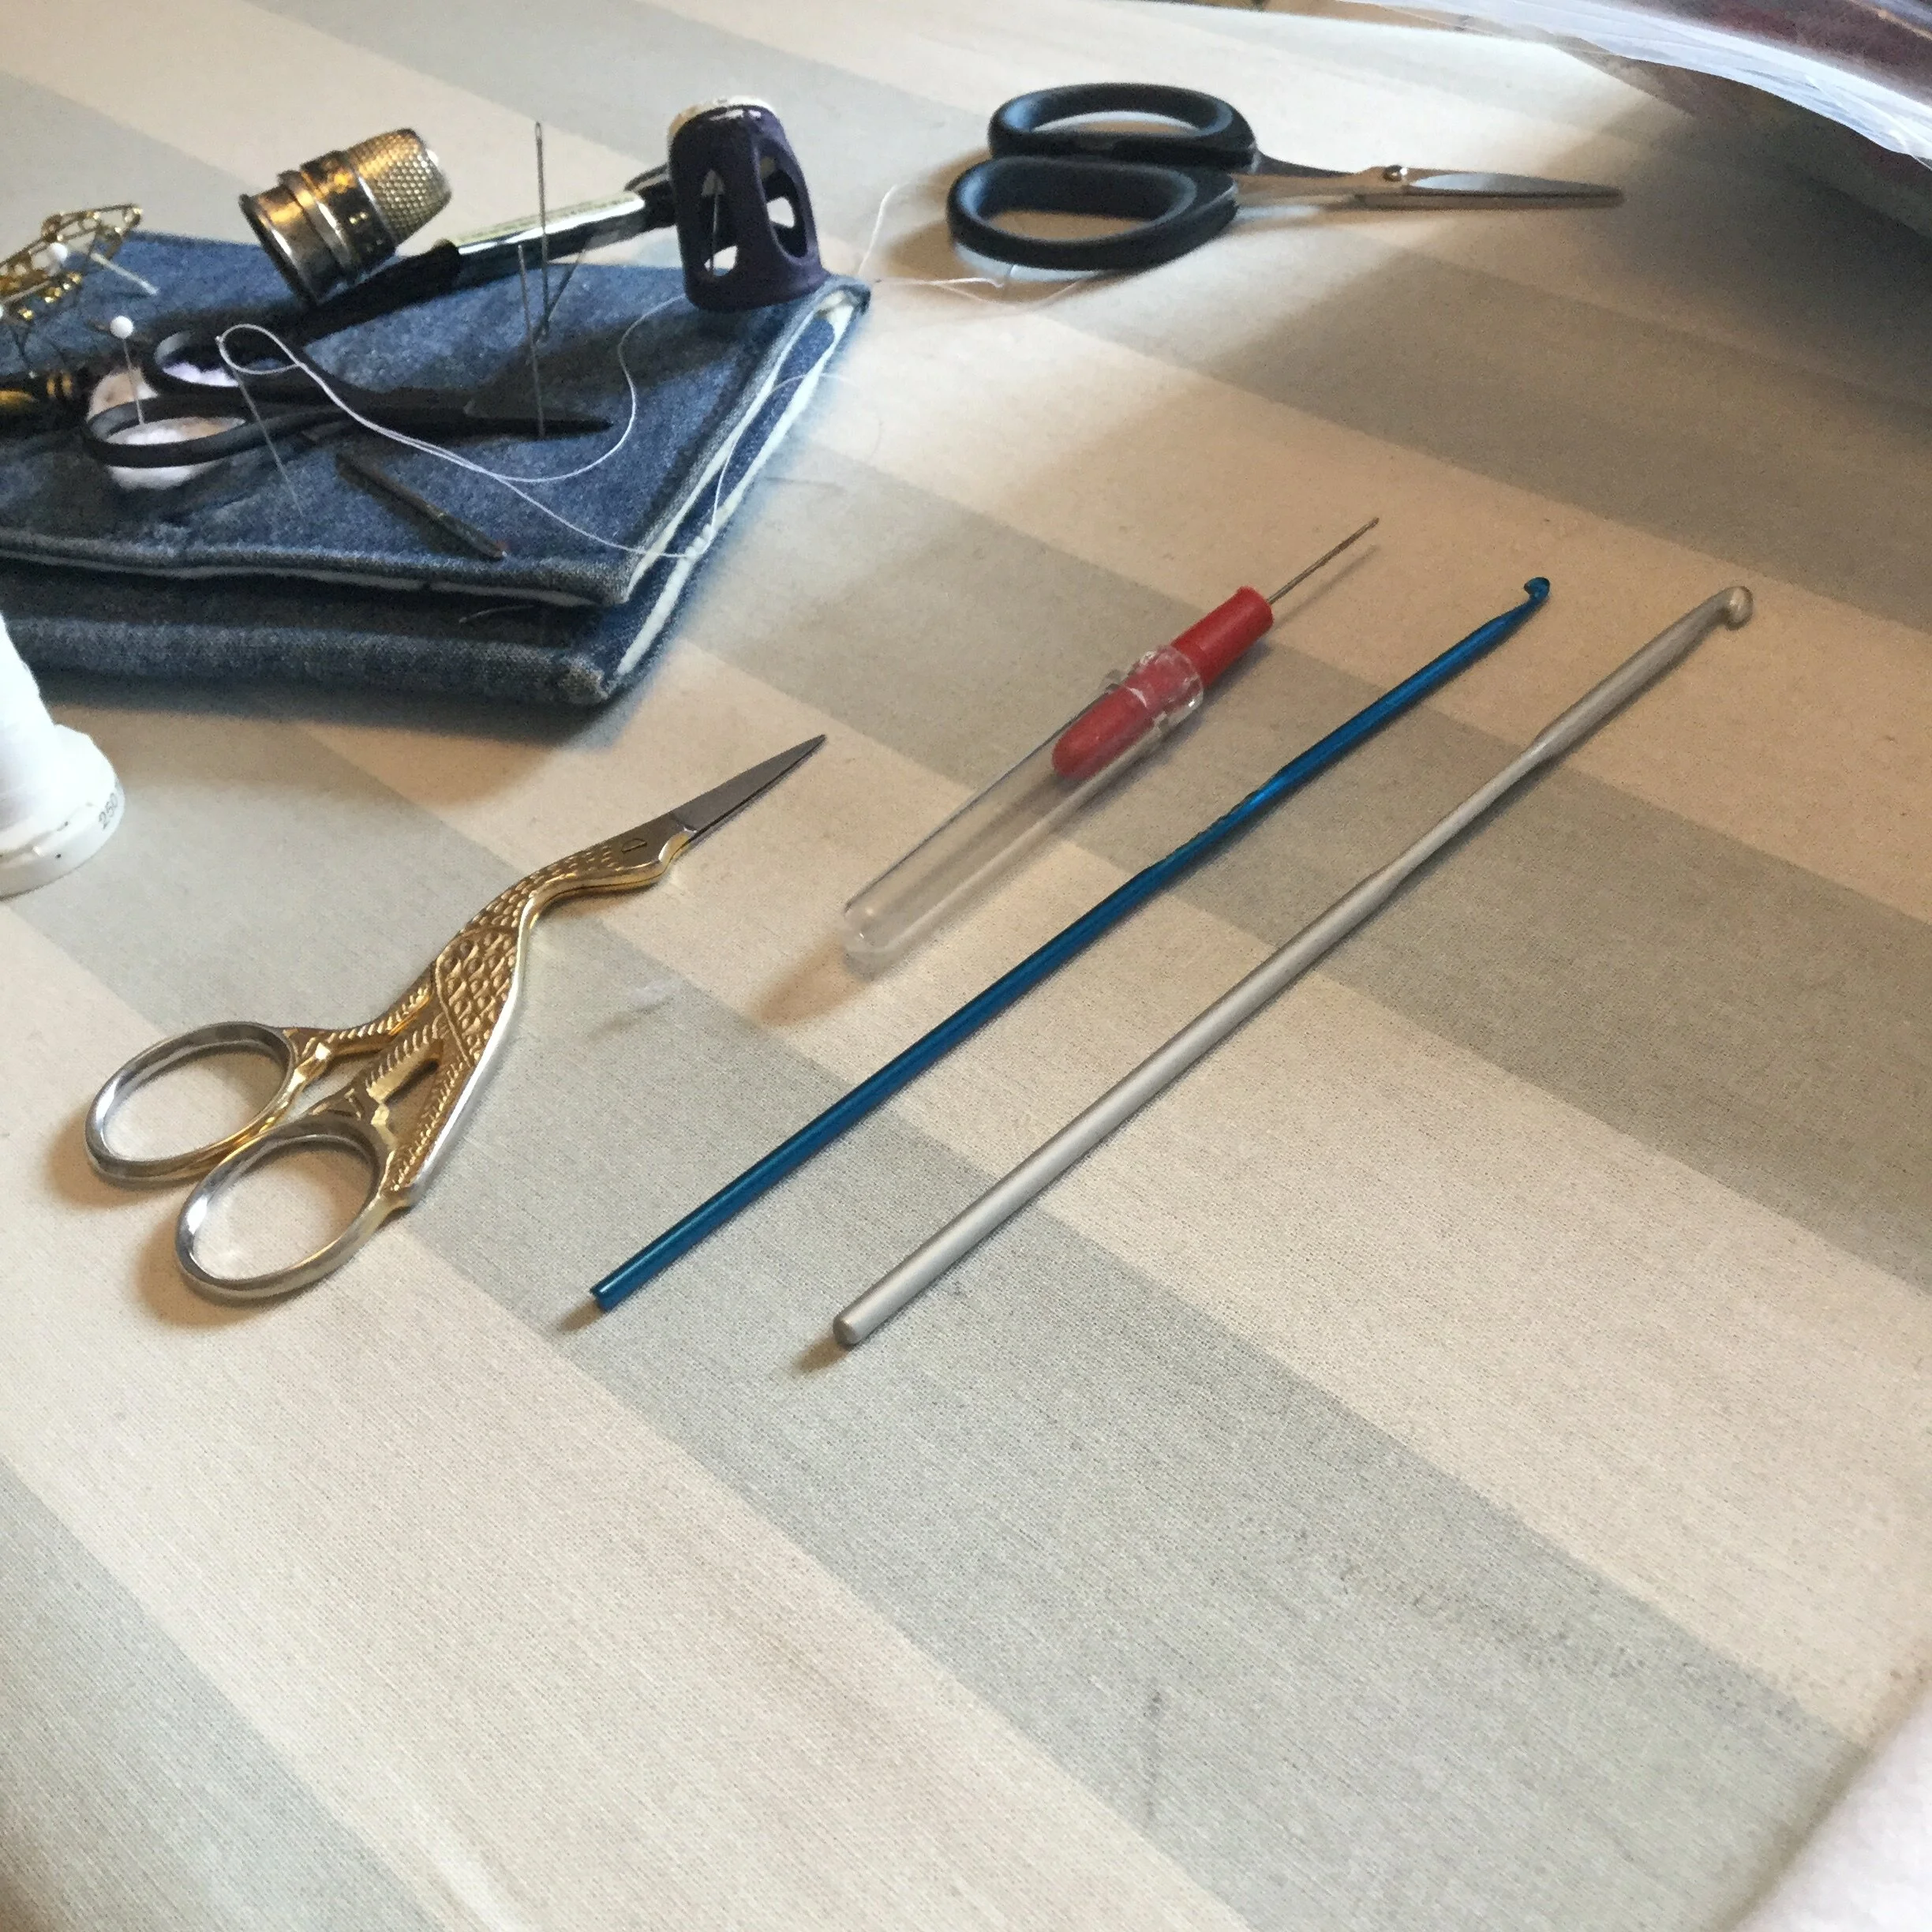
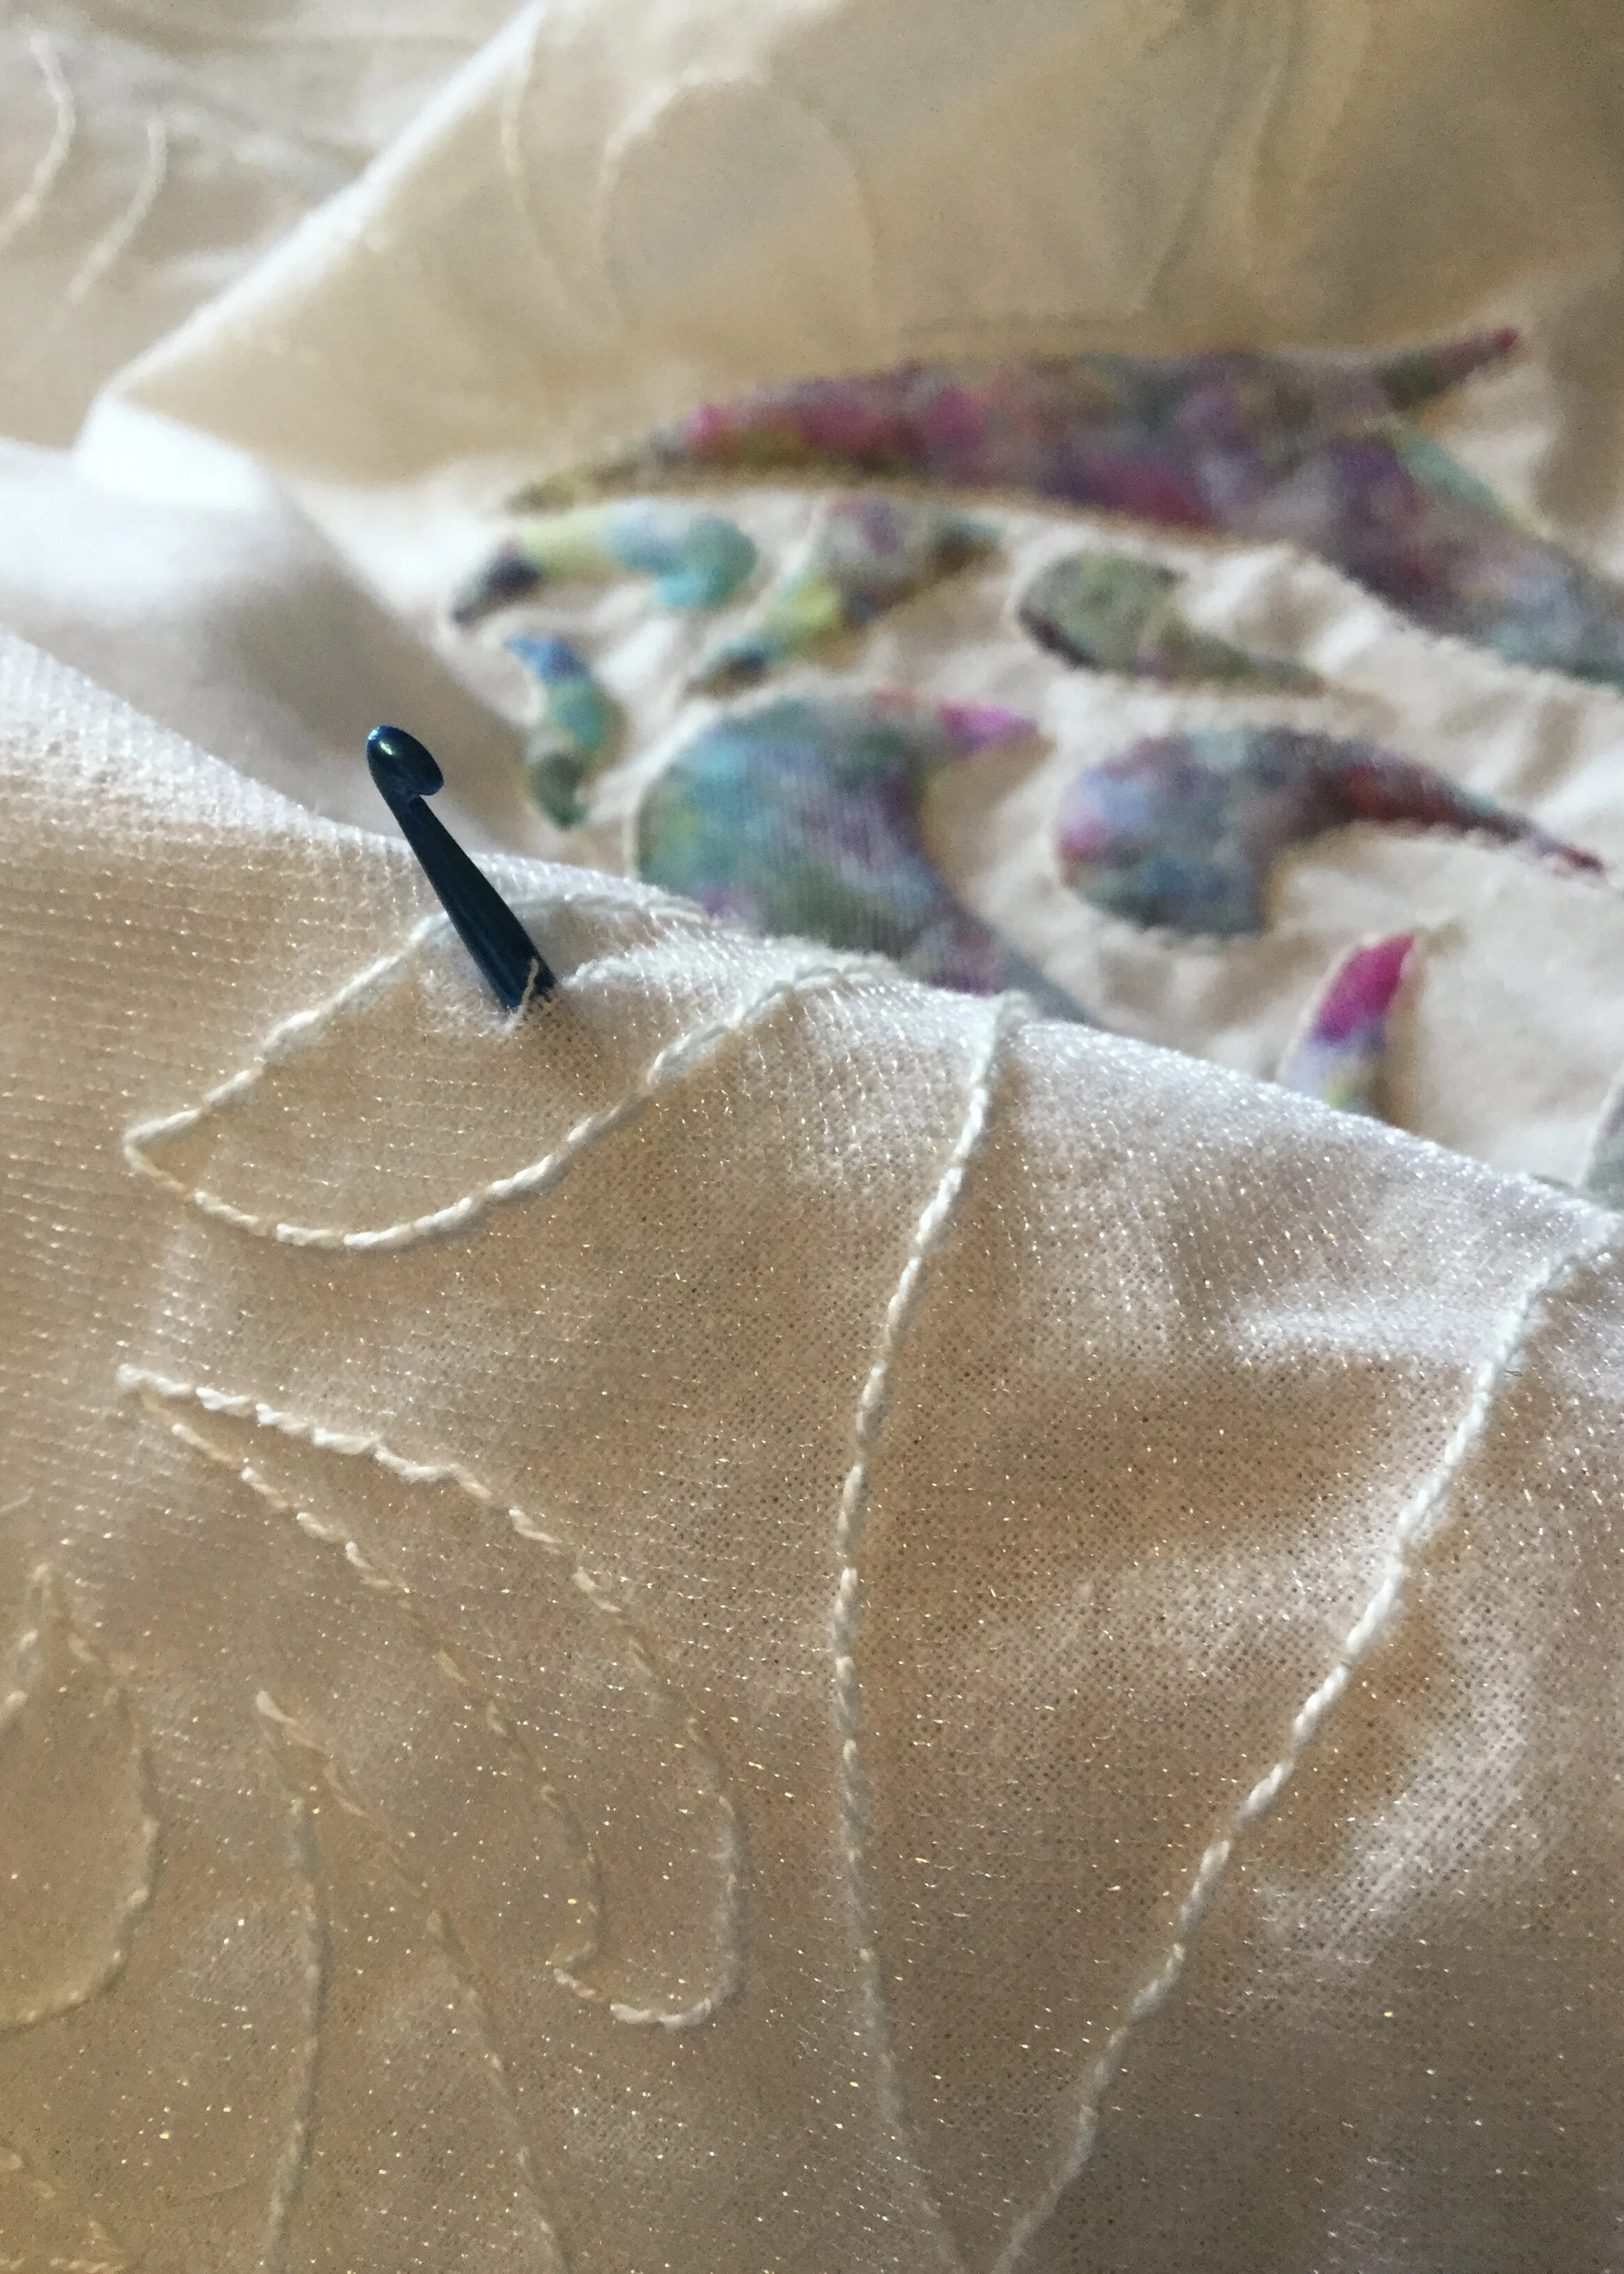
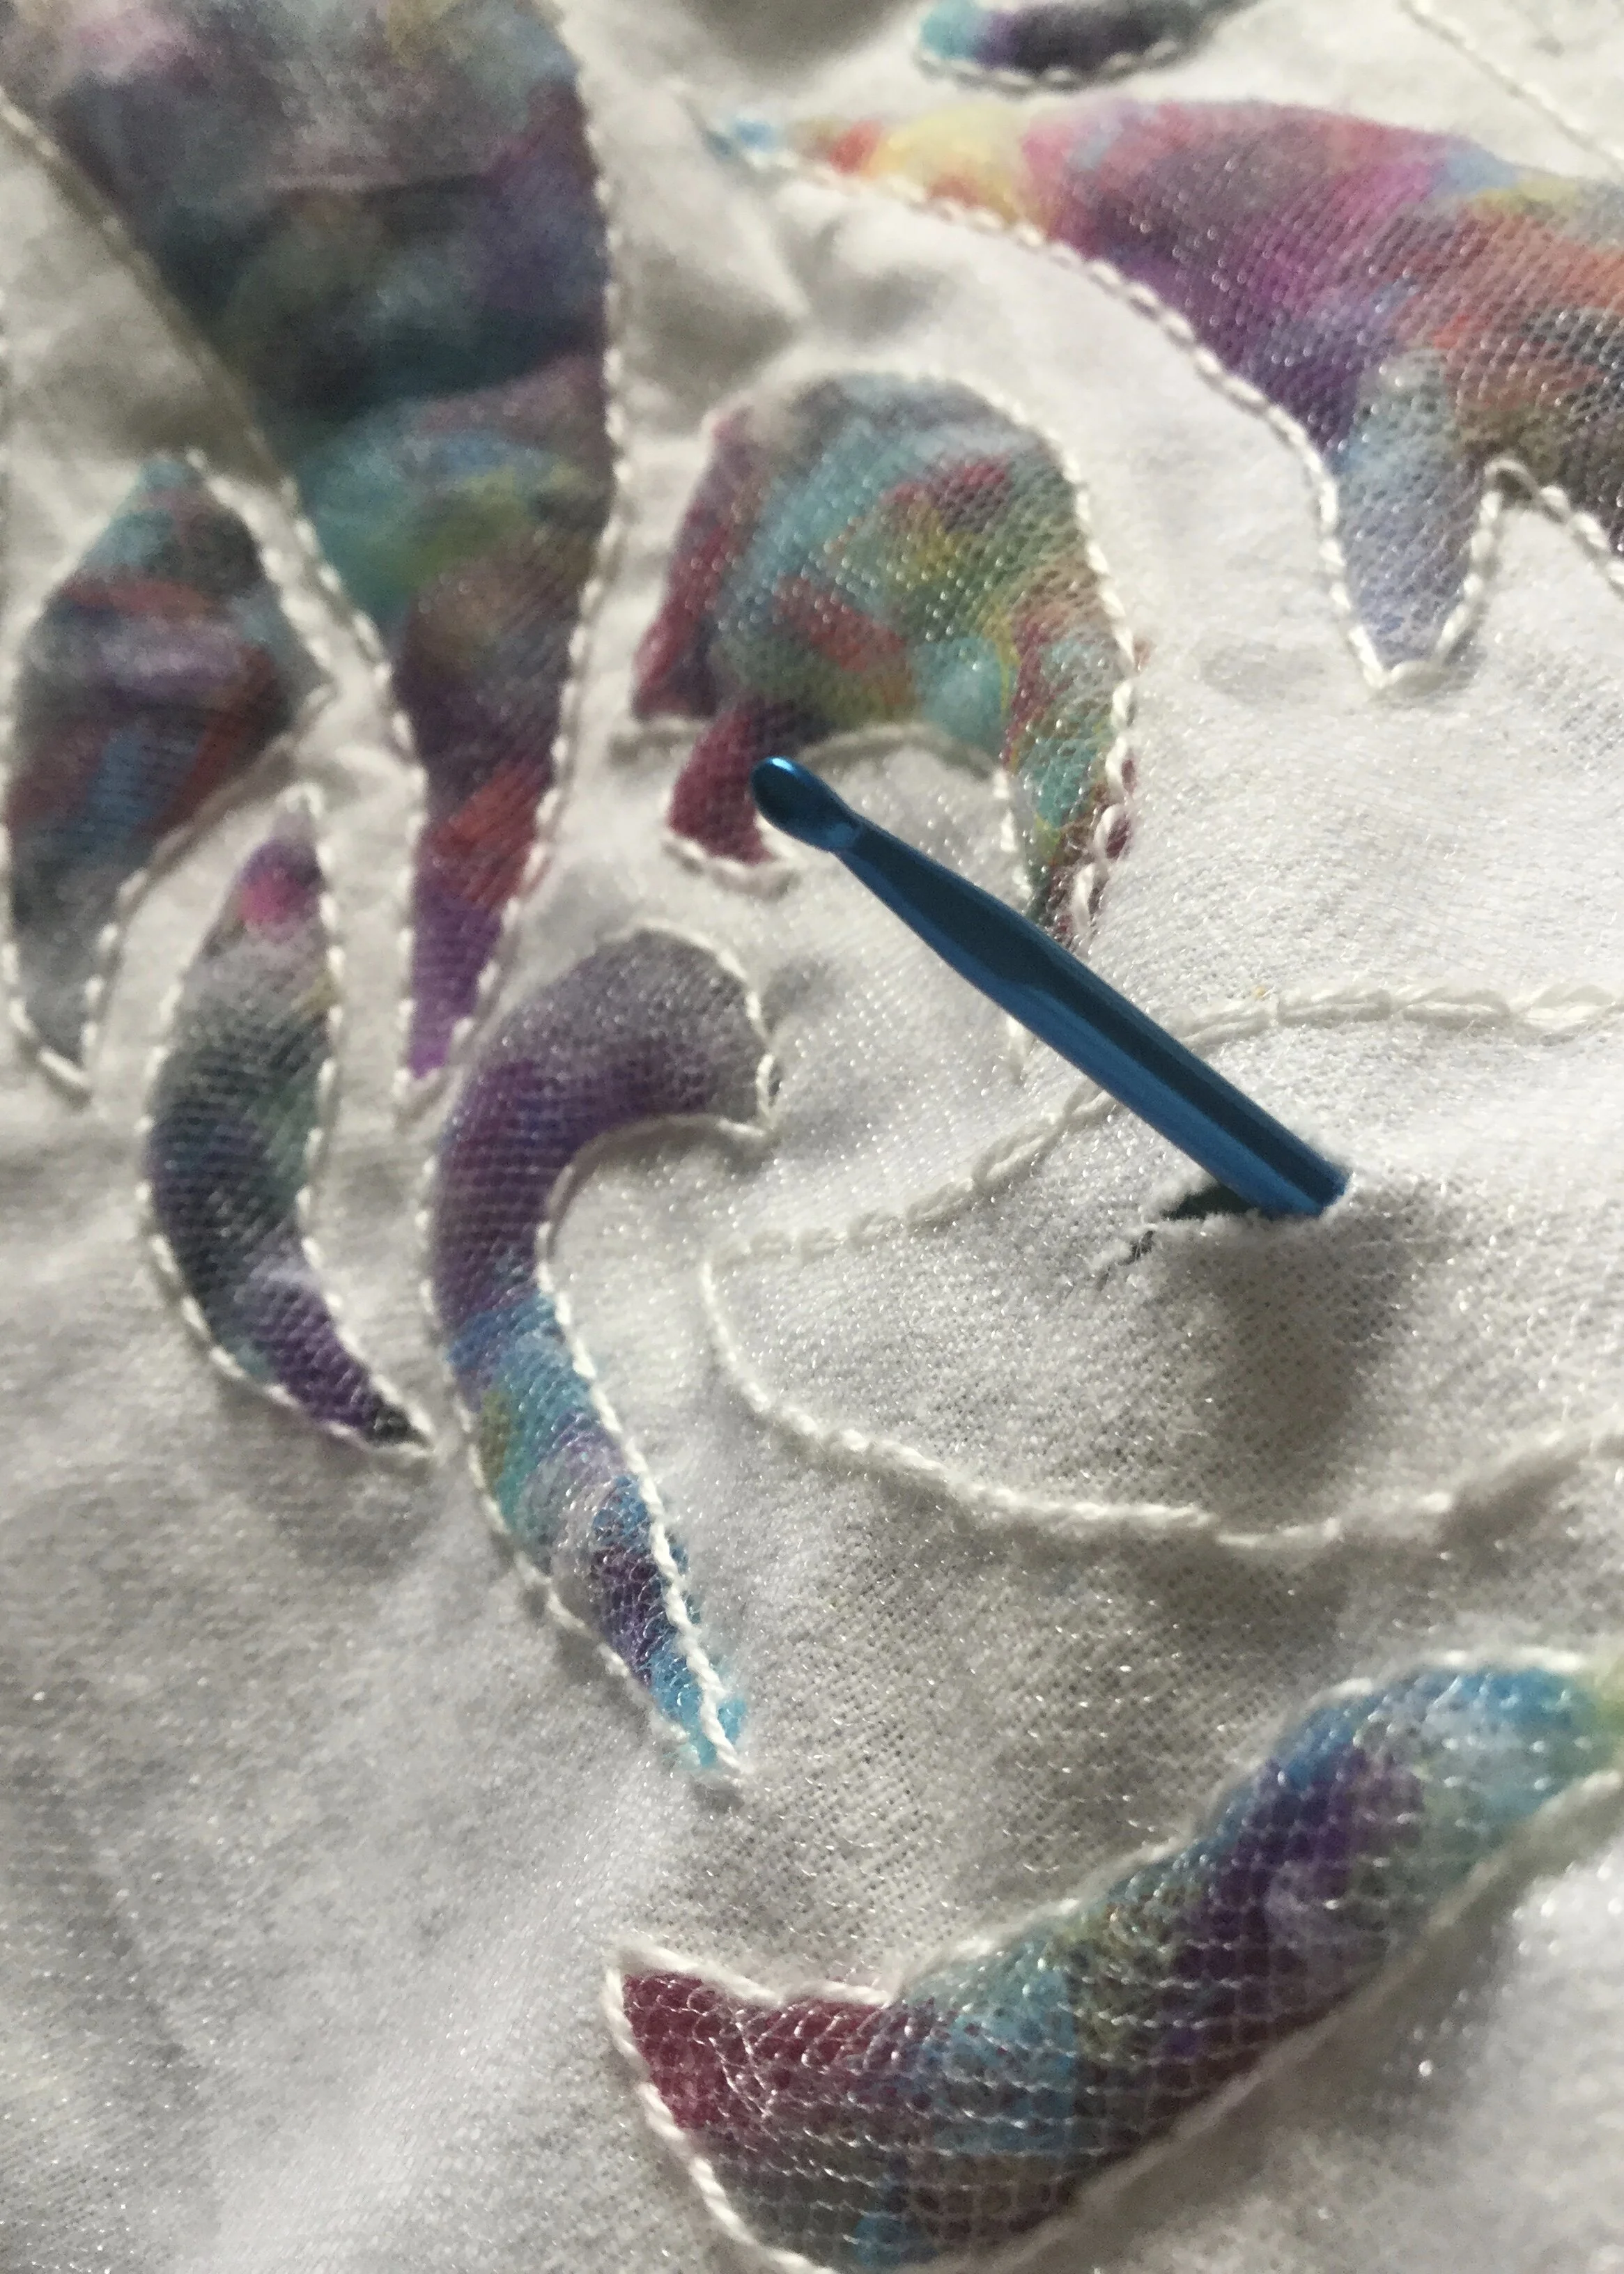
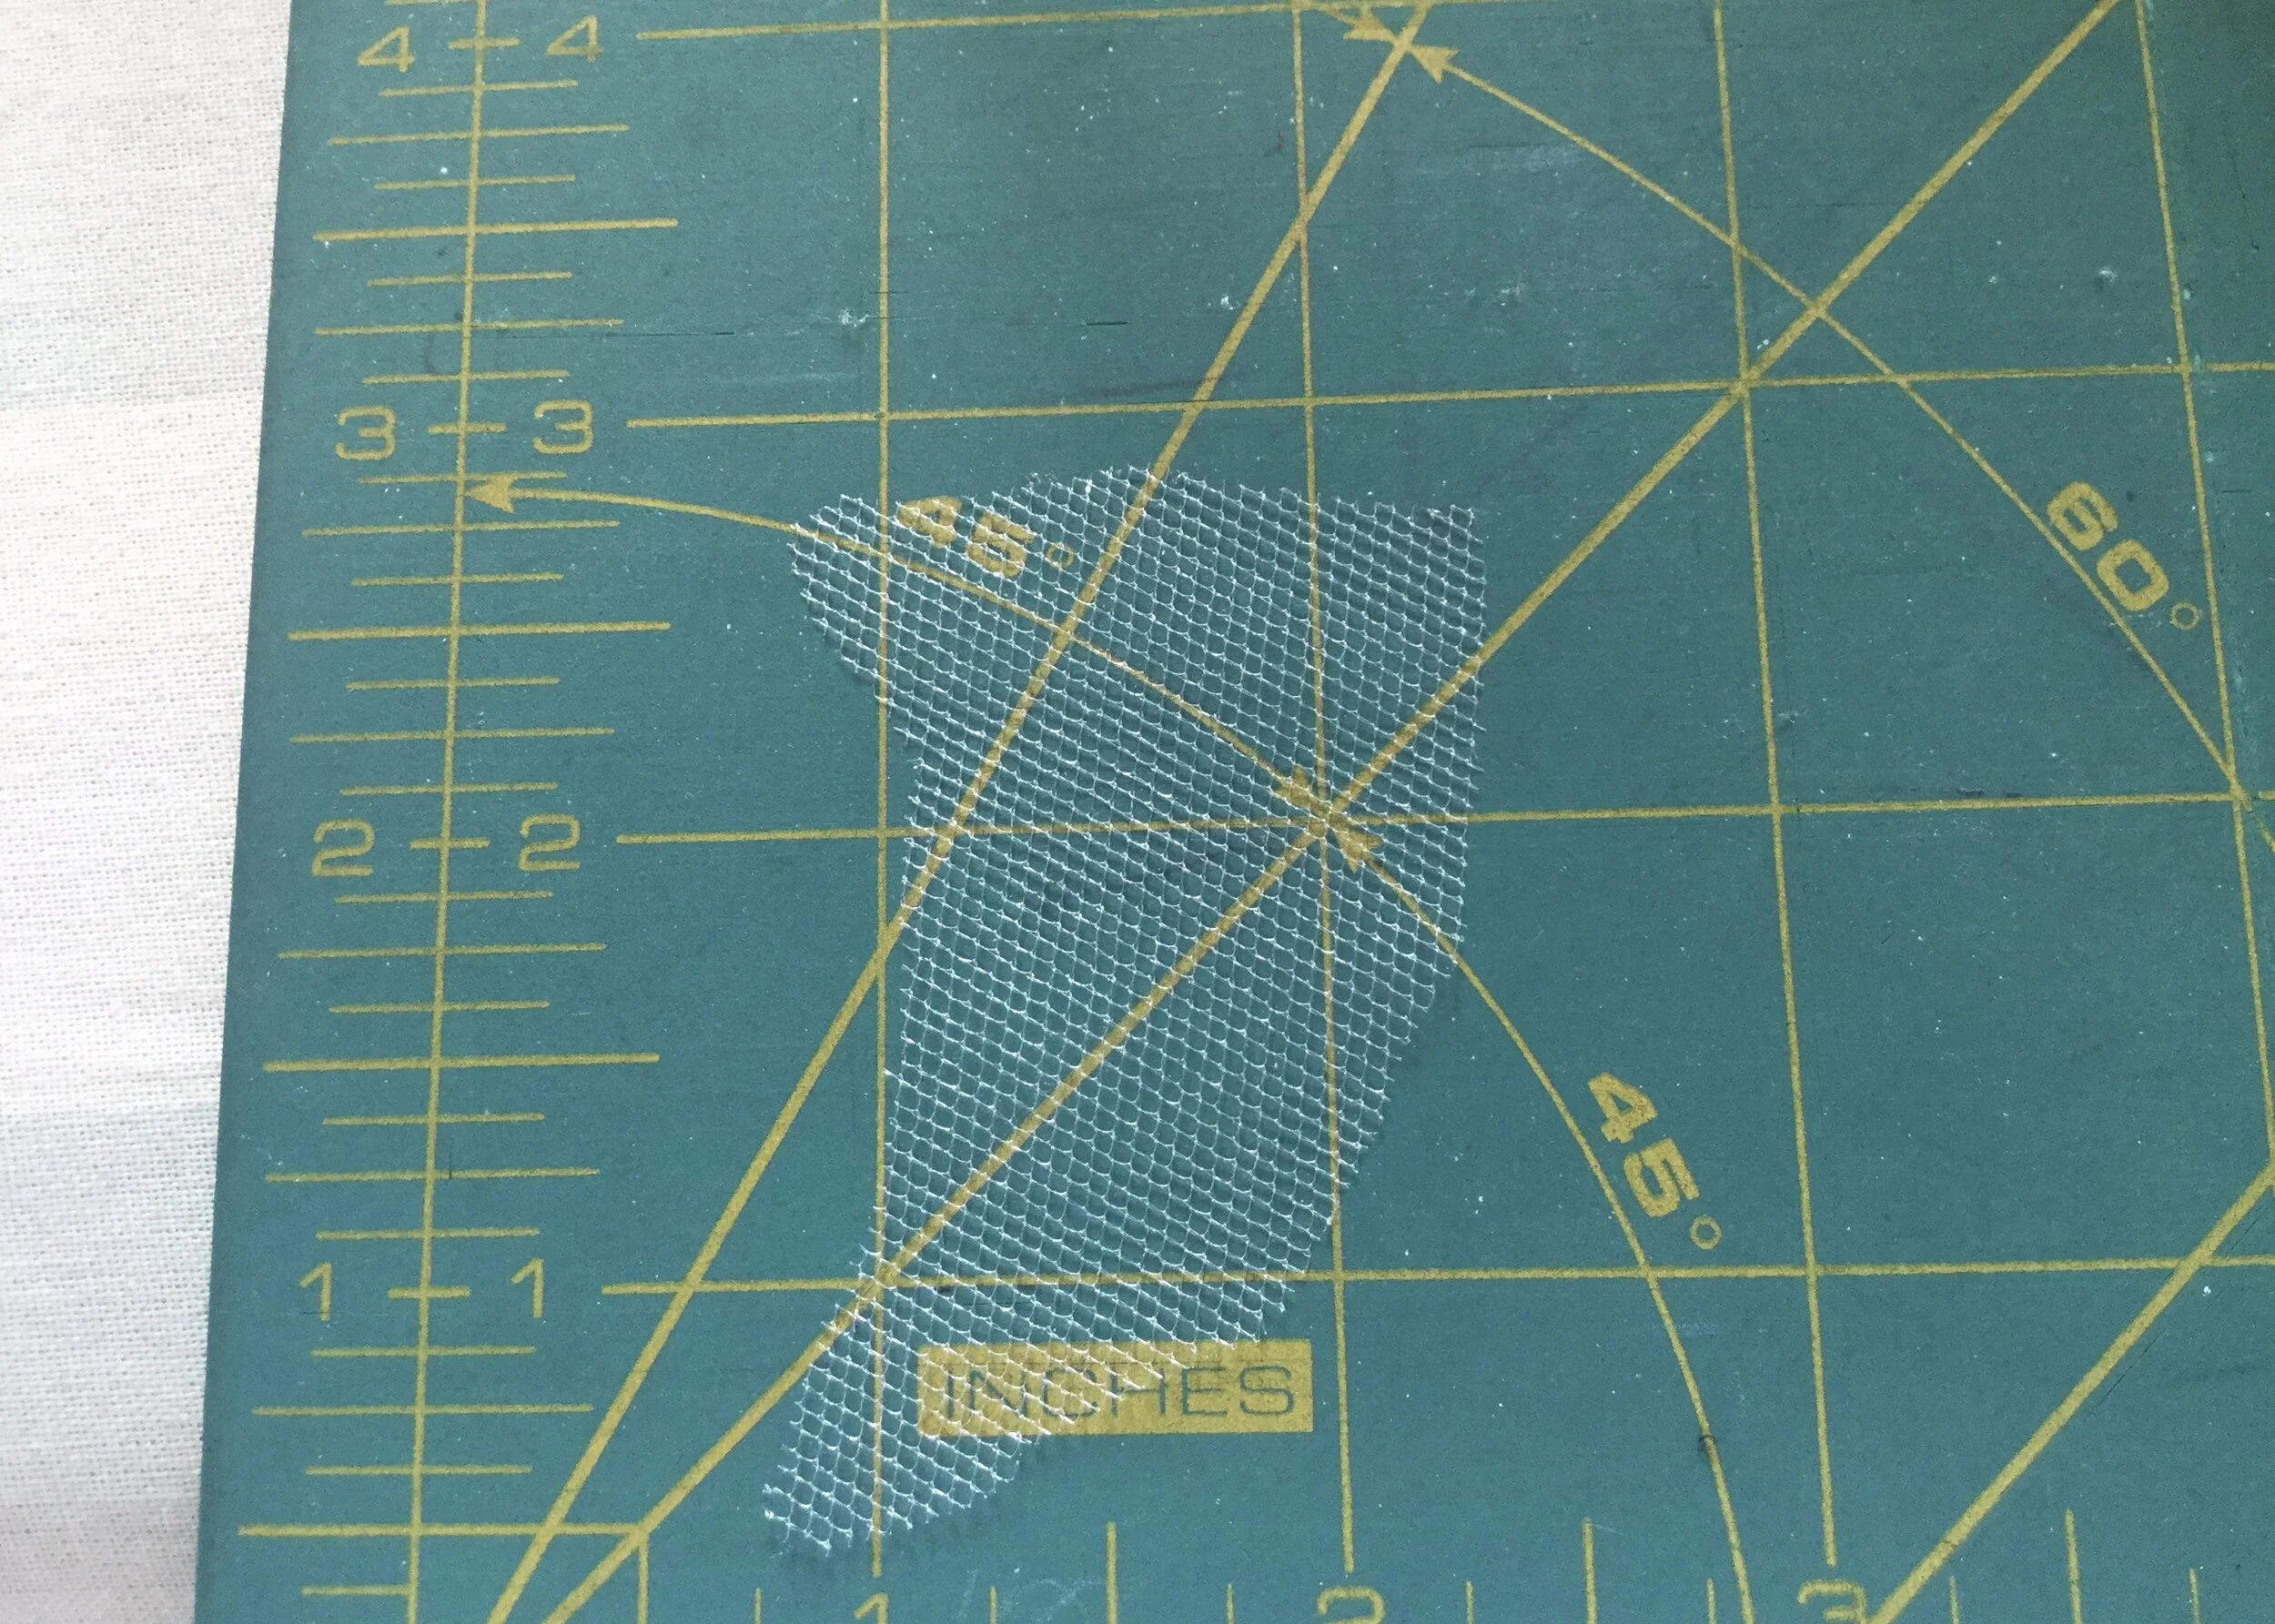
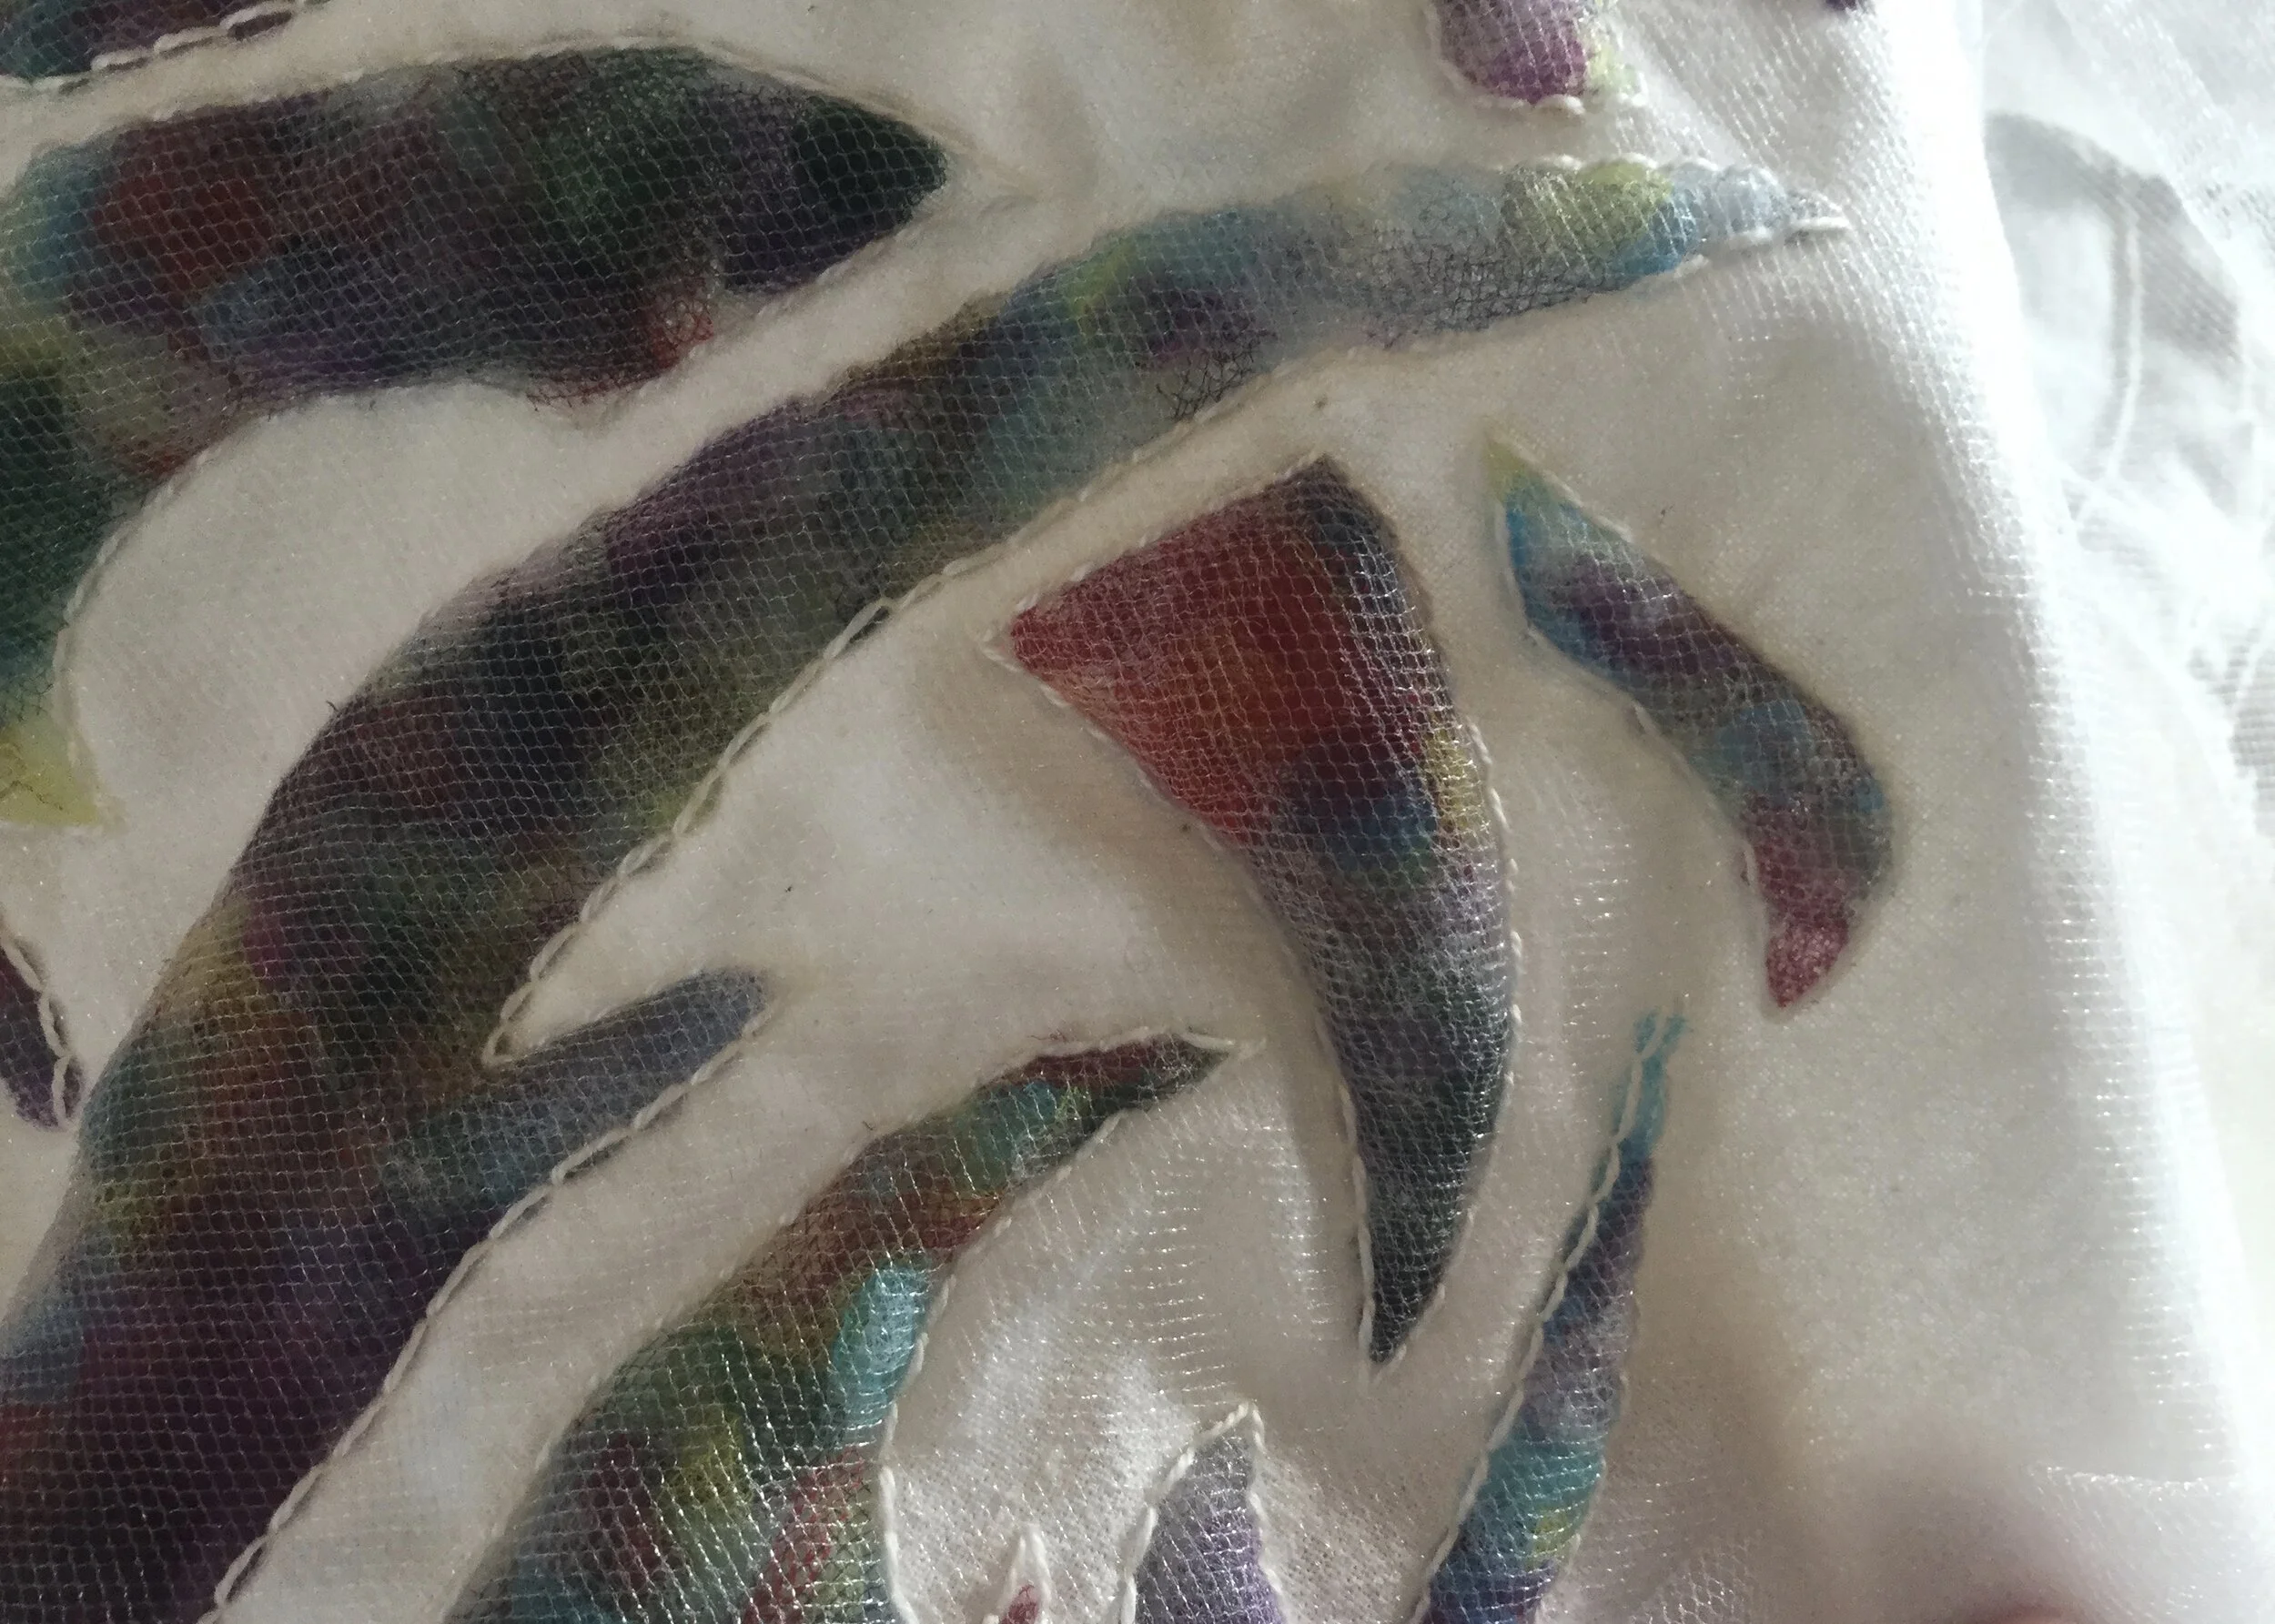
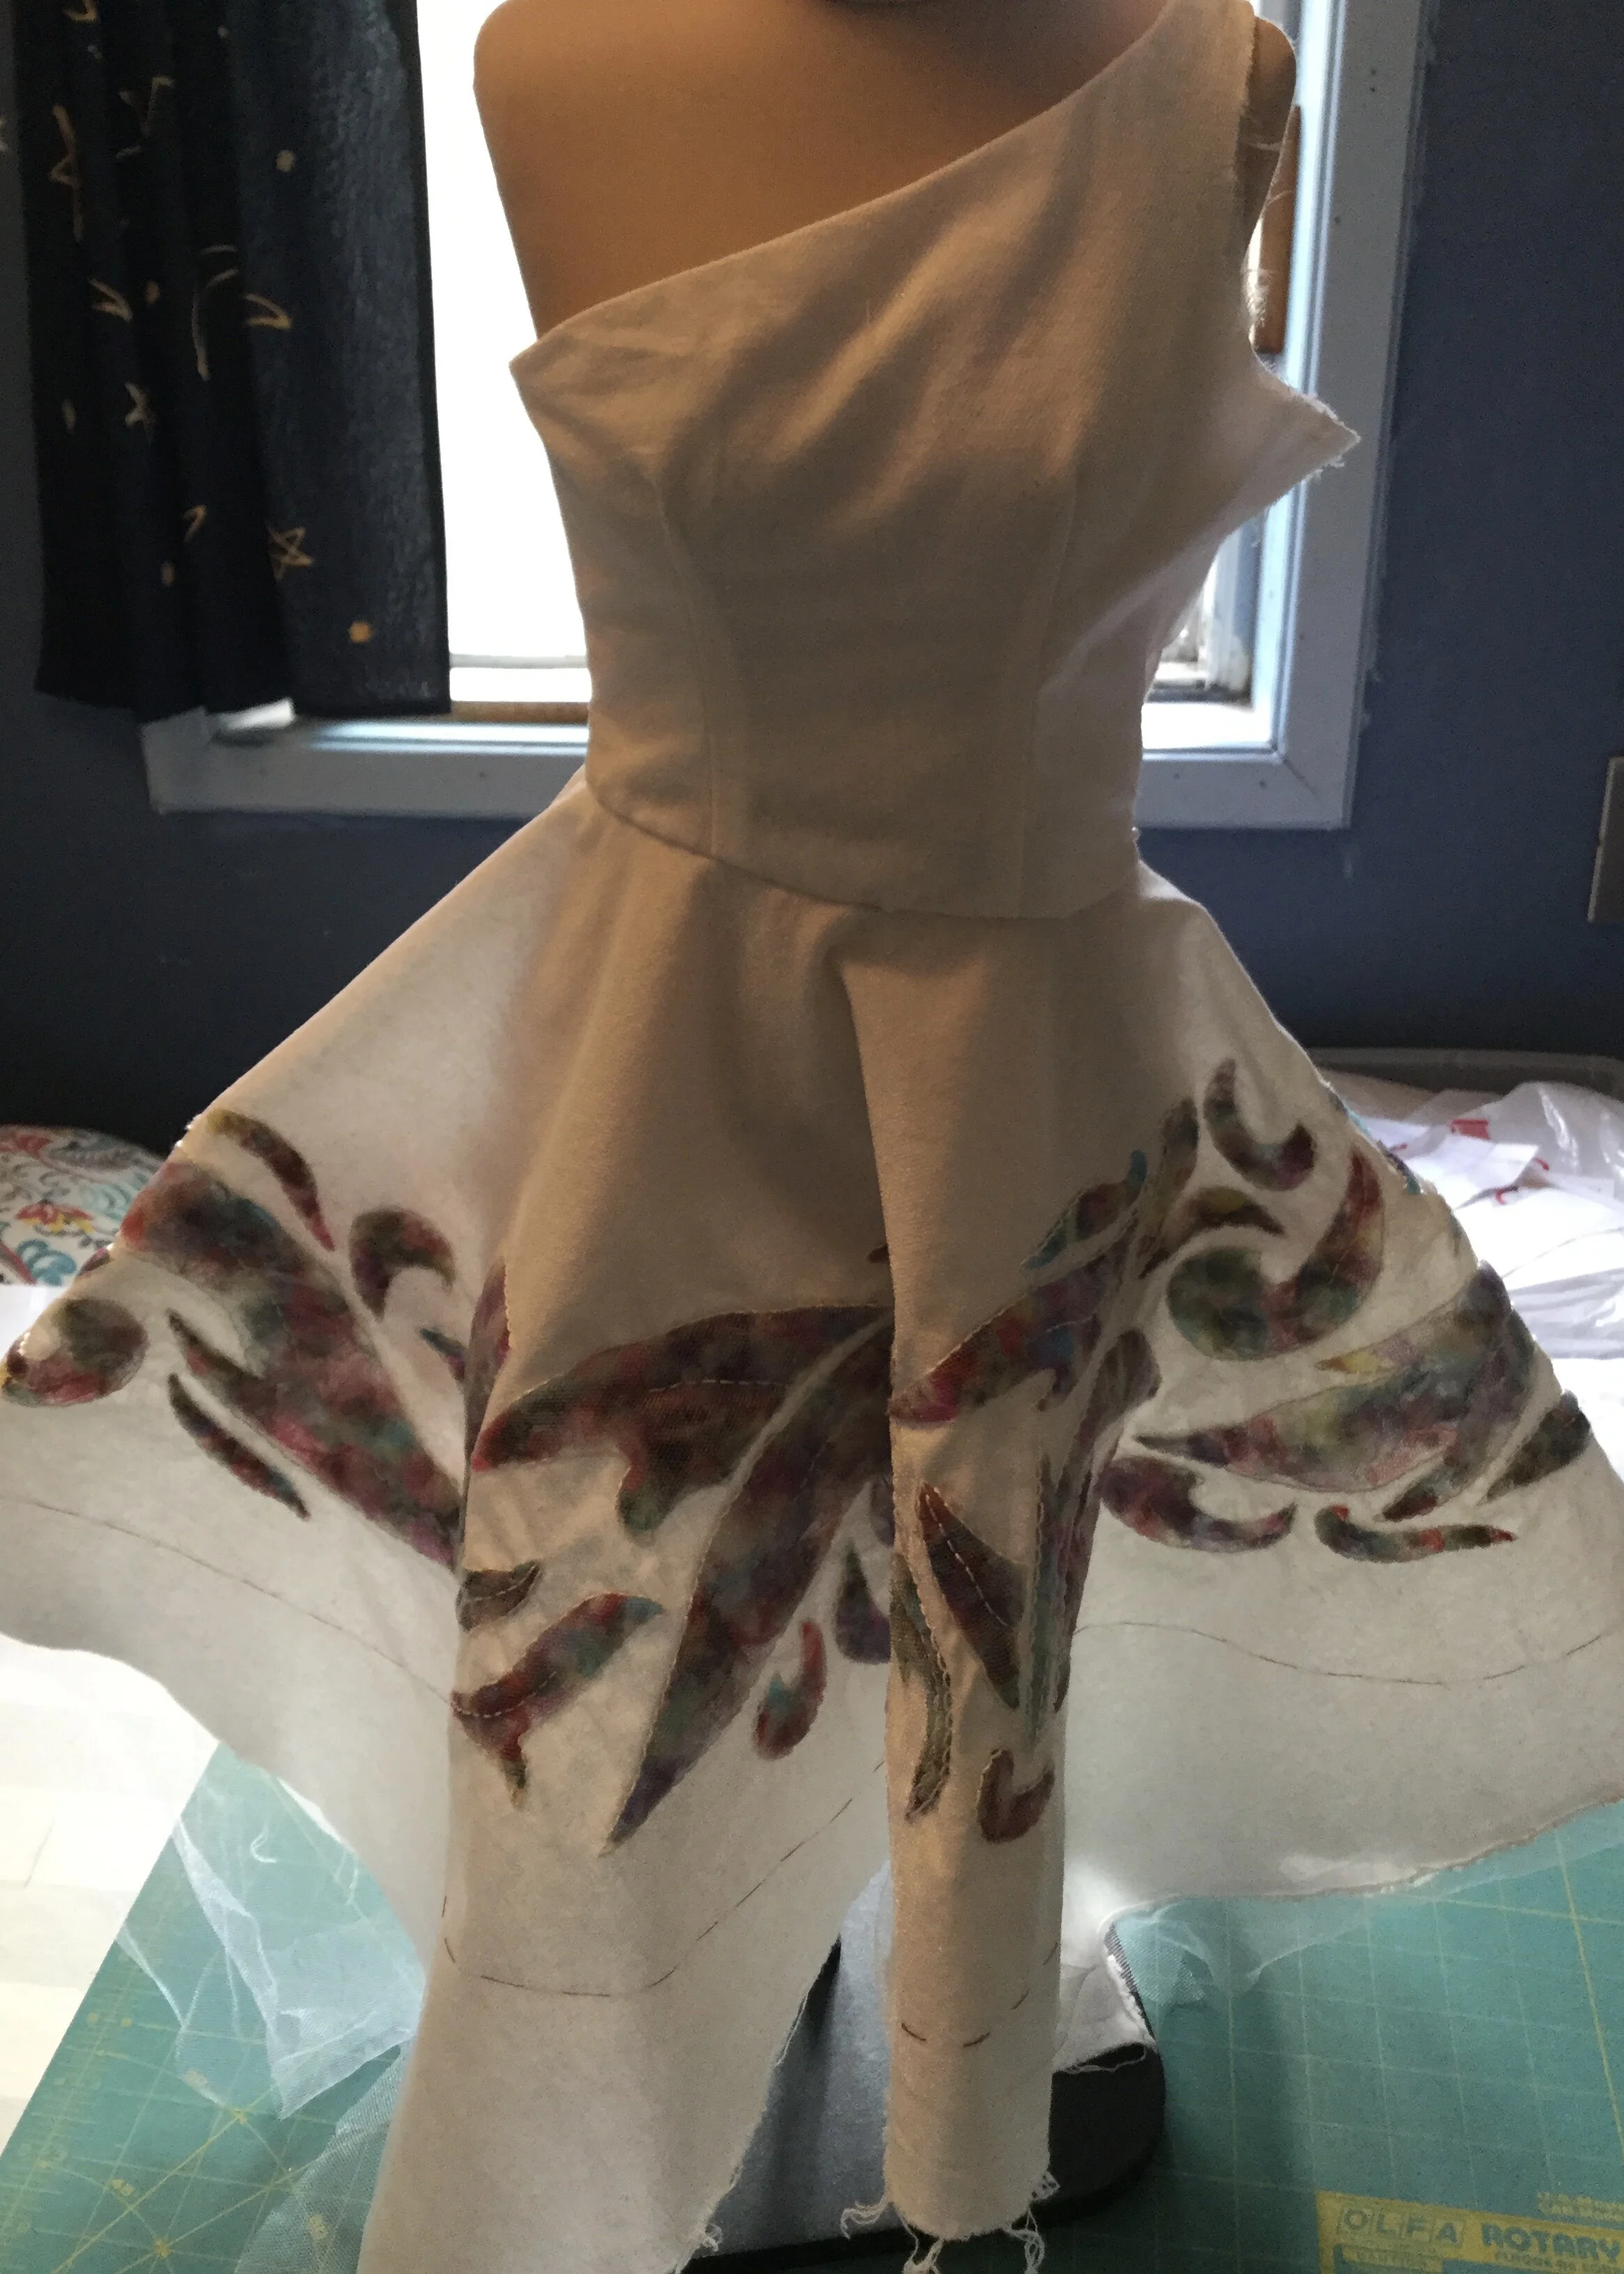
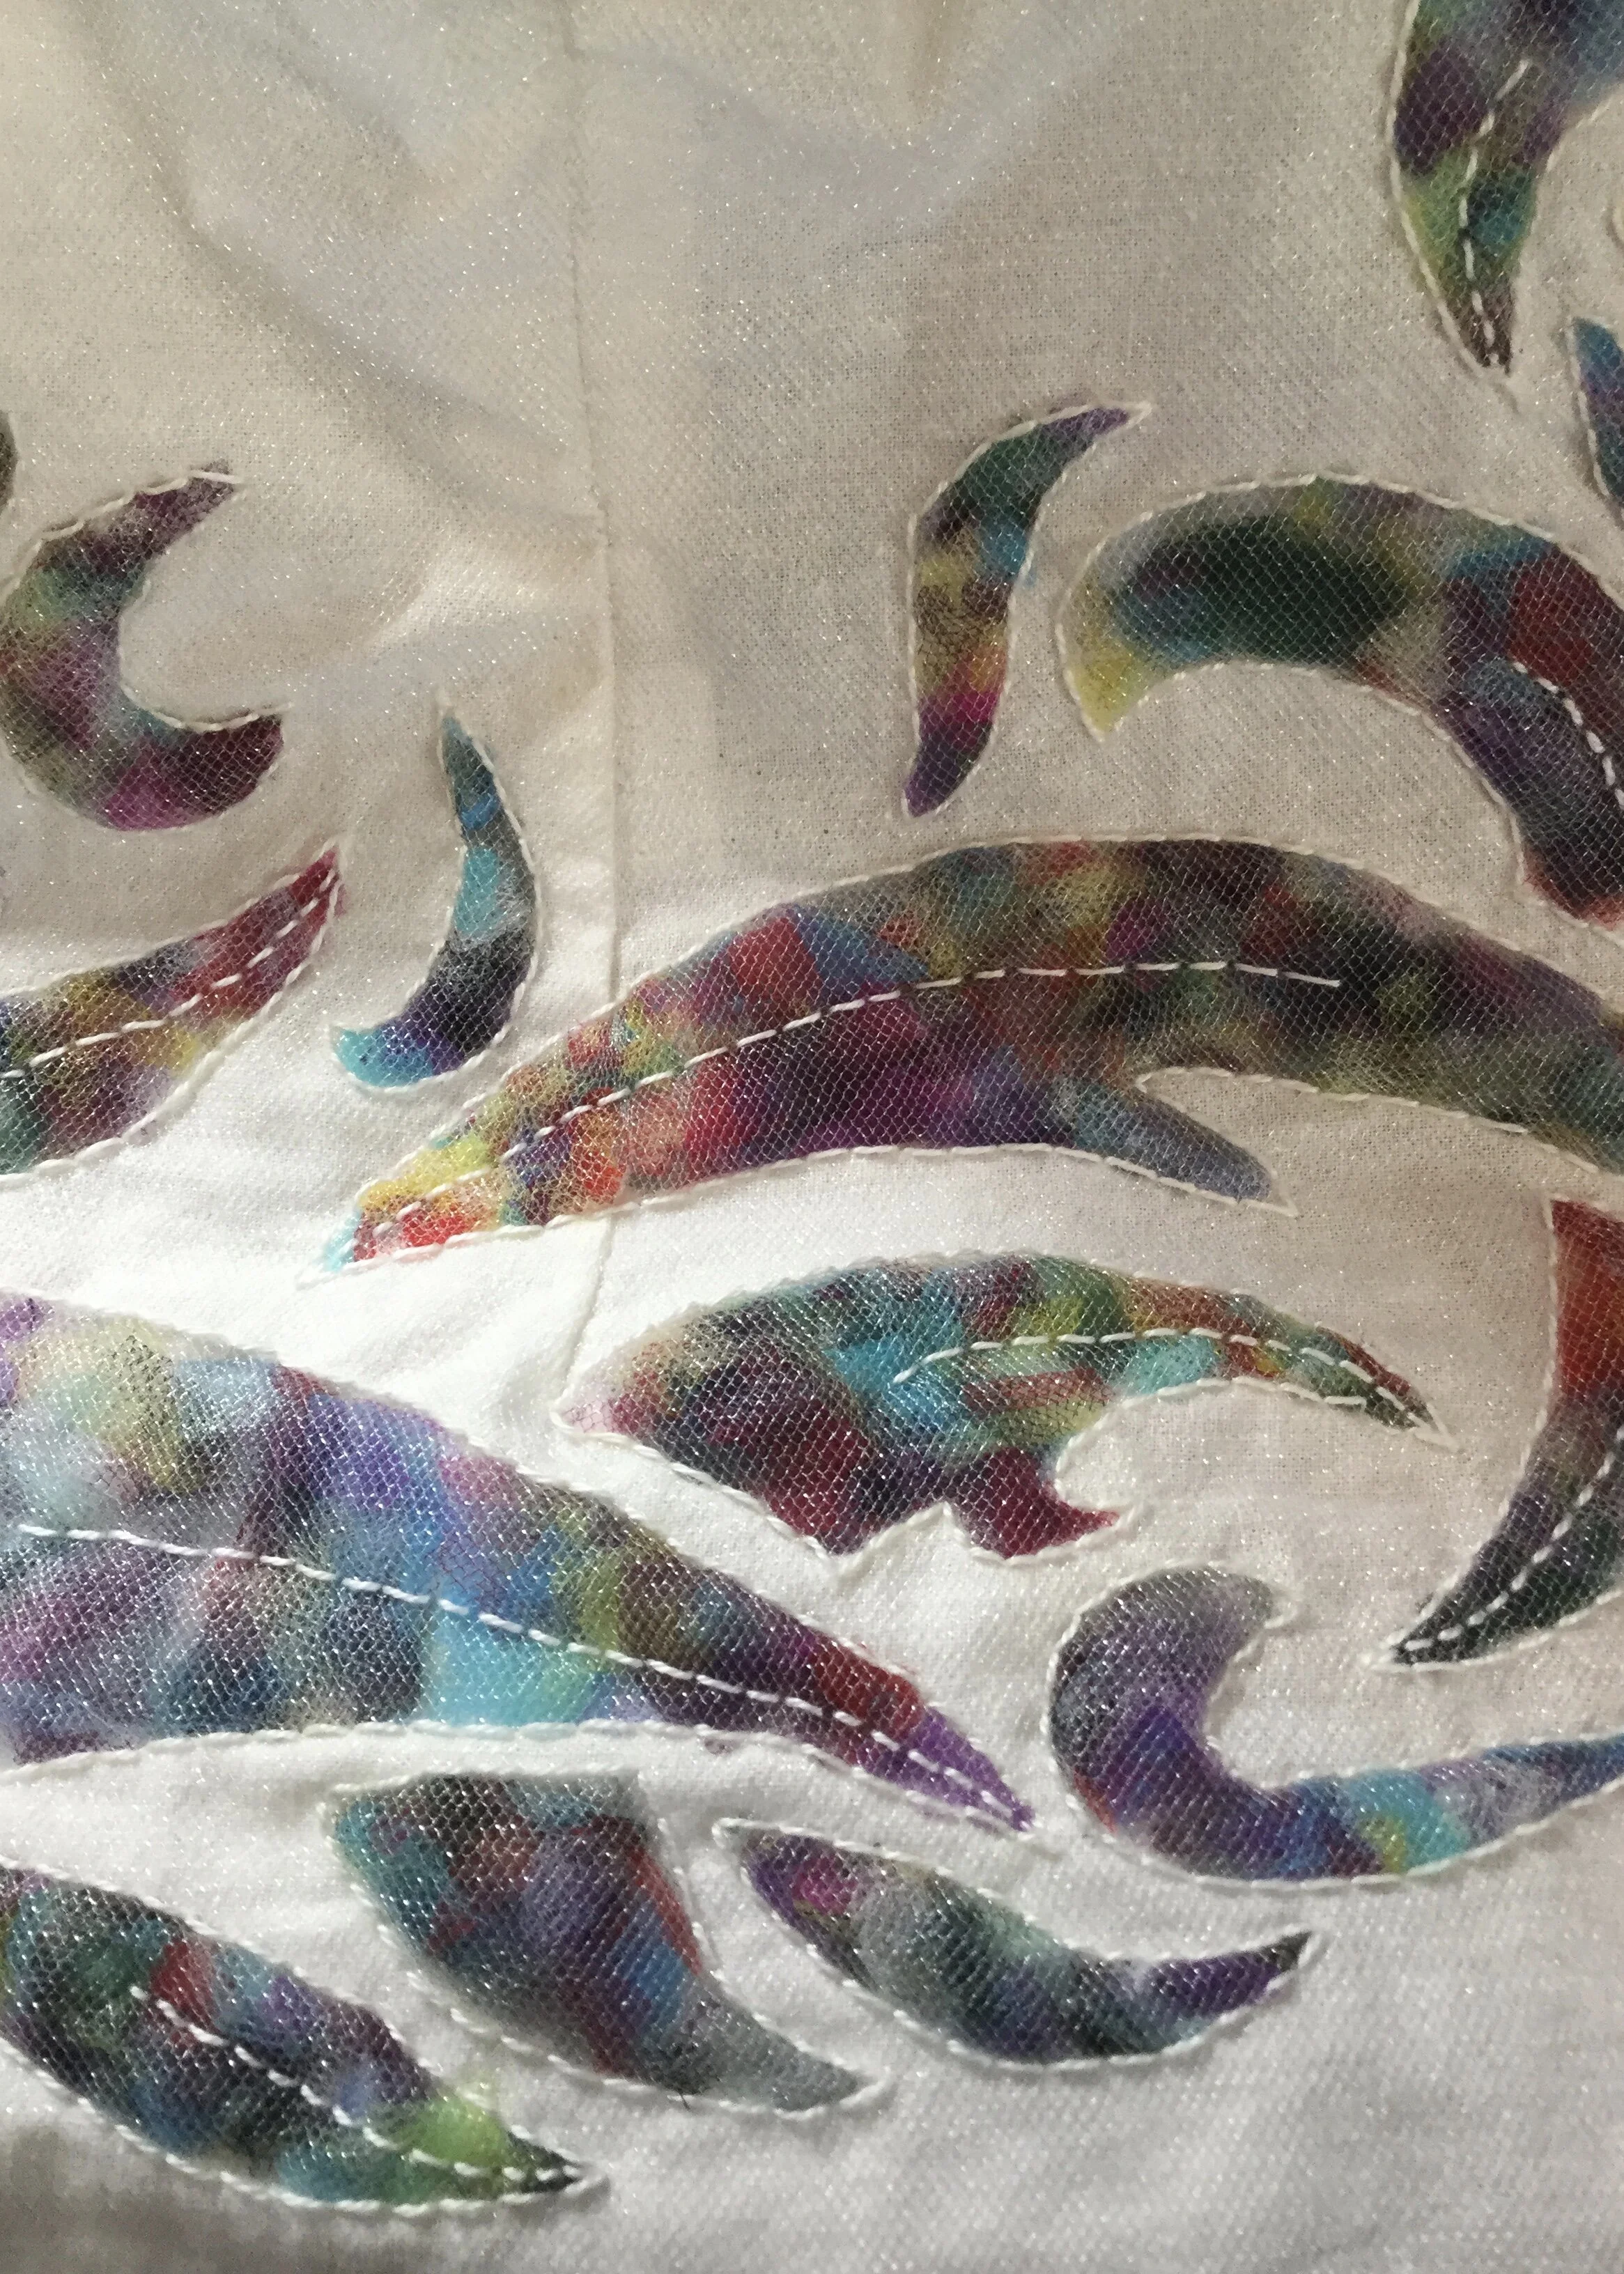
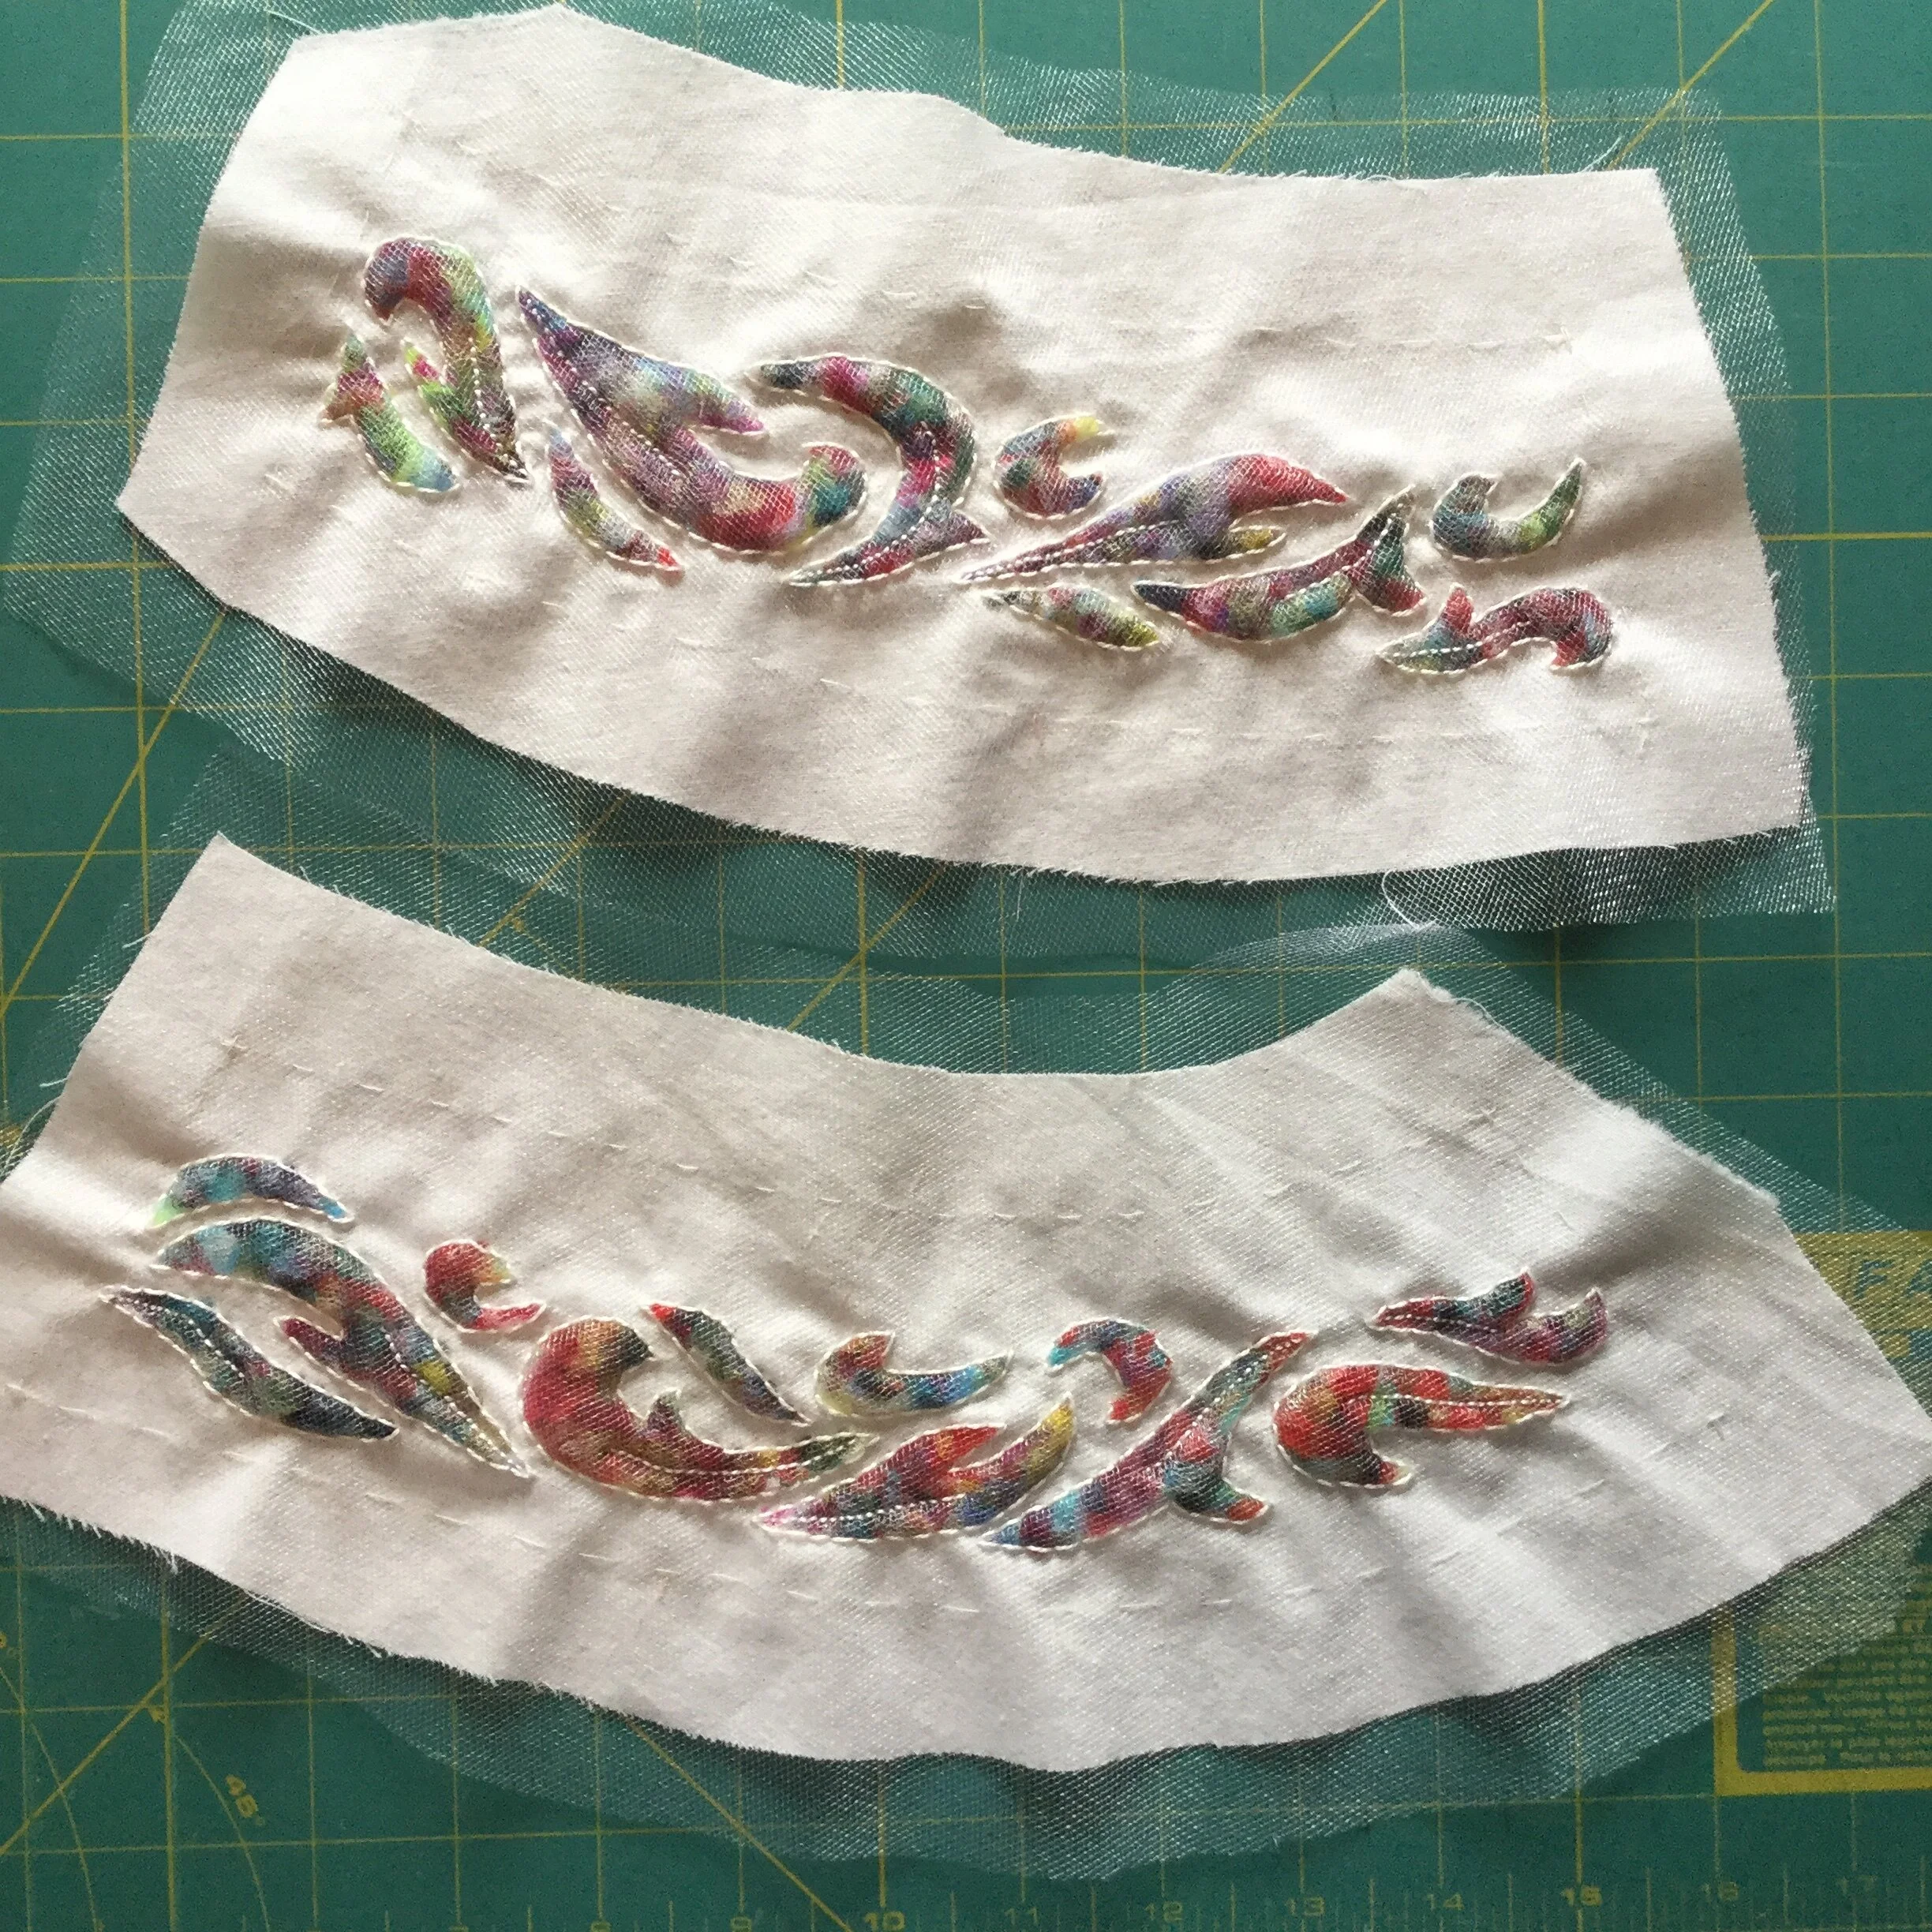
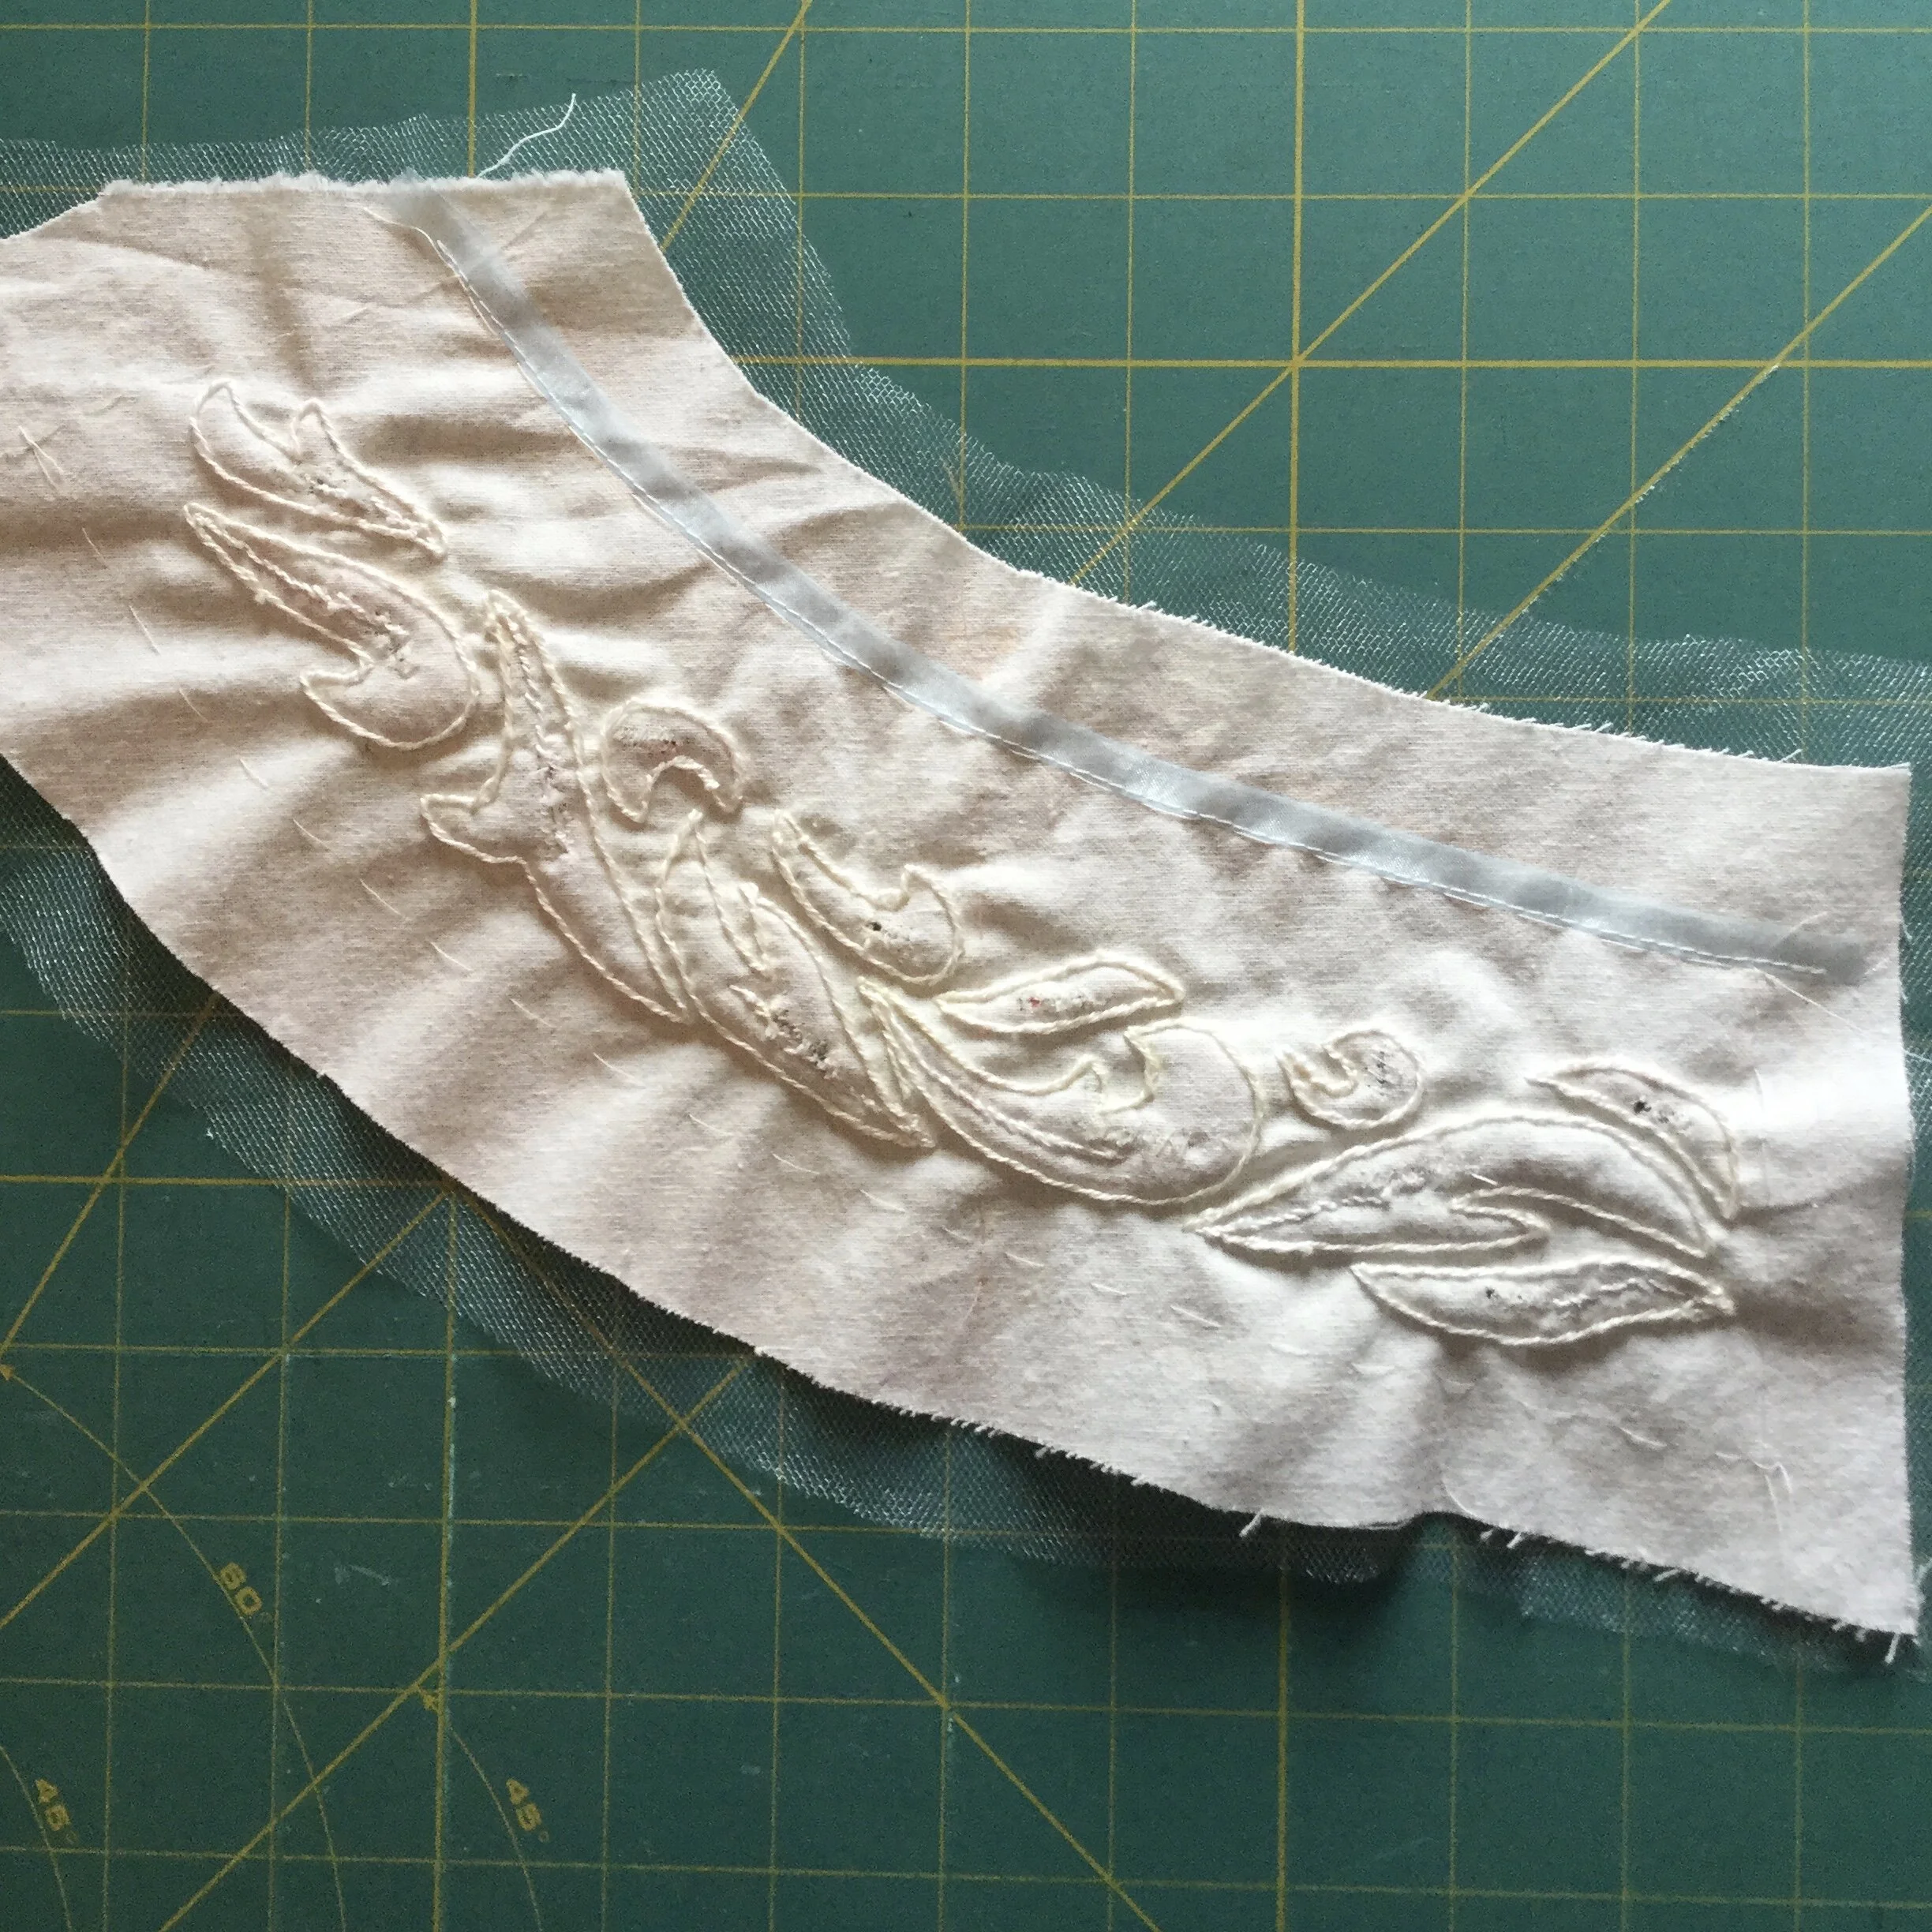
Once I had all my leafy/feathery shapes stitched I could begin the process of cutting open the little pockets and stuffing them. After a little bit of trial and error I settled on a process of separating the cotton and the tulle (learned how vigilant I had to be about that the hard way), snipping into the cotton with my needle nose snips, as they were the ones which could pierce the fabric, switching to my less pointy snips to open up the slit a little further, stuffing small wads of tulle scraps into the slit, using a crochet hook to push them in and around a little and finally coaxing pieces into the corners from the right side using my thread puller. Once I was happy with the density of the stuffing I closed the slit with a whip stitch.
If it's starting to sound to you as though one tedious and laborious project has begotten another...you'd be right!
As I said, I learned the hard way that I would have to be careful when cutting into the cotton. Of course, I knew this going in but I did start out in one of those “I know what I'm doing, I know how to be careful” mindsets and soon saw the folly of my ways. I suppose I should consider myself lucky that I only cut through the tulle twice throughout the whole skirt.
Noooooooooo!!!!!
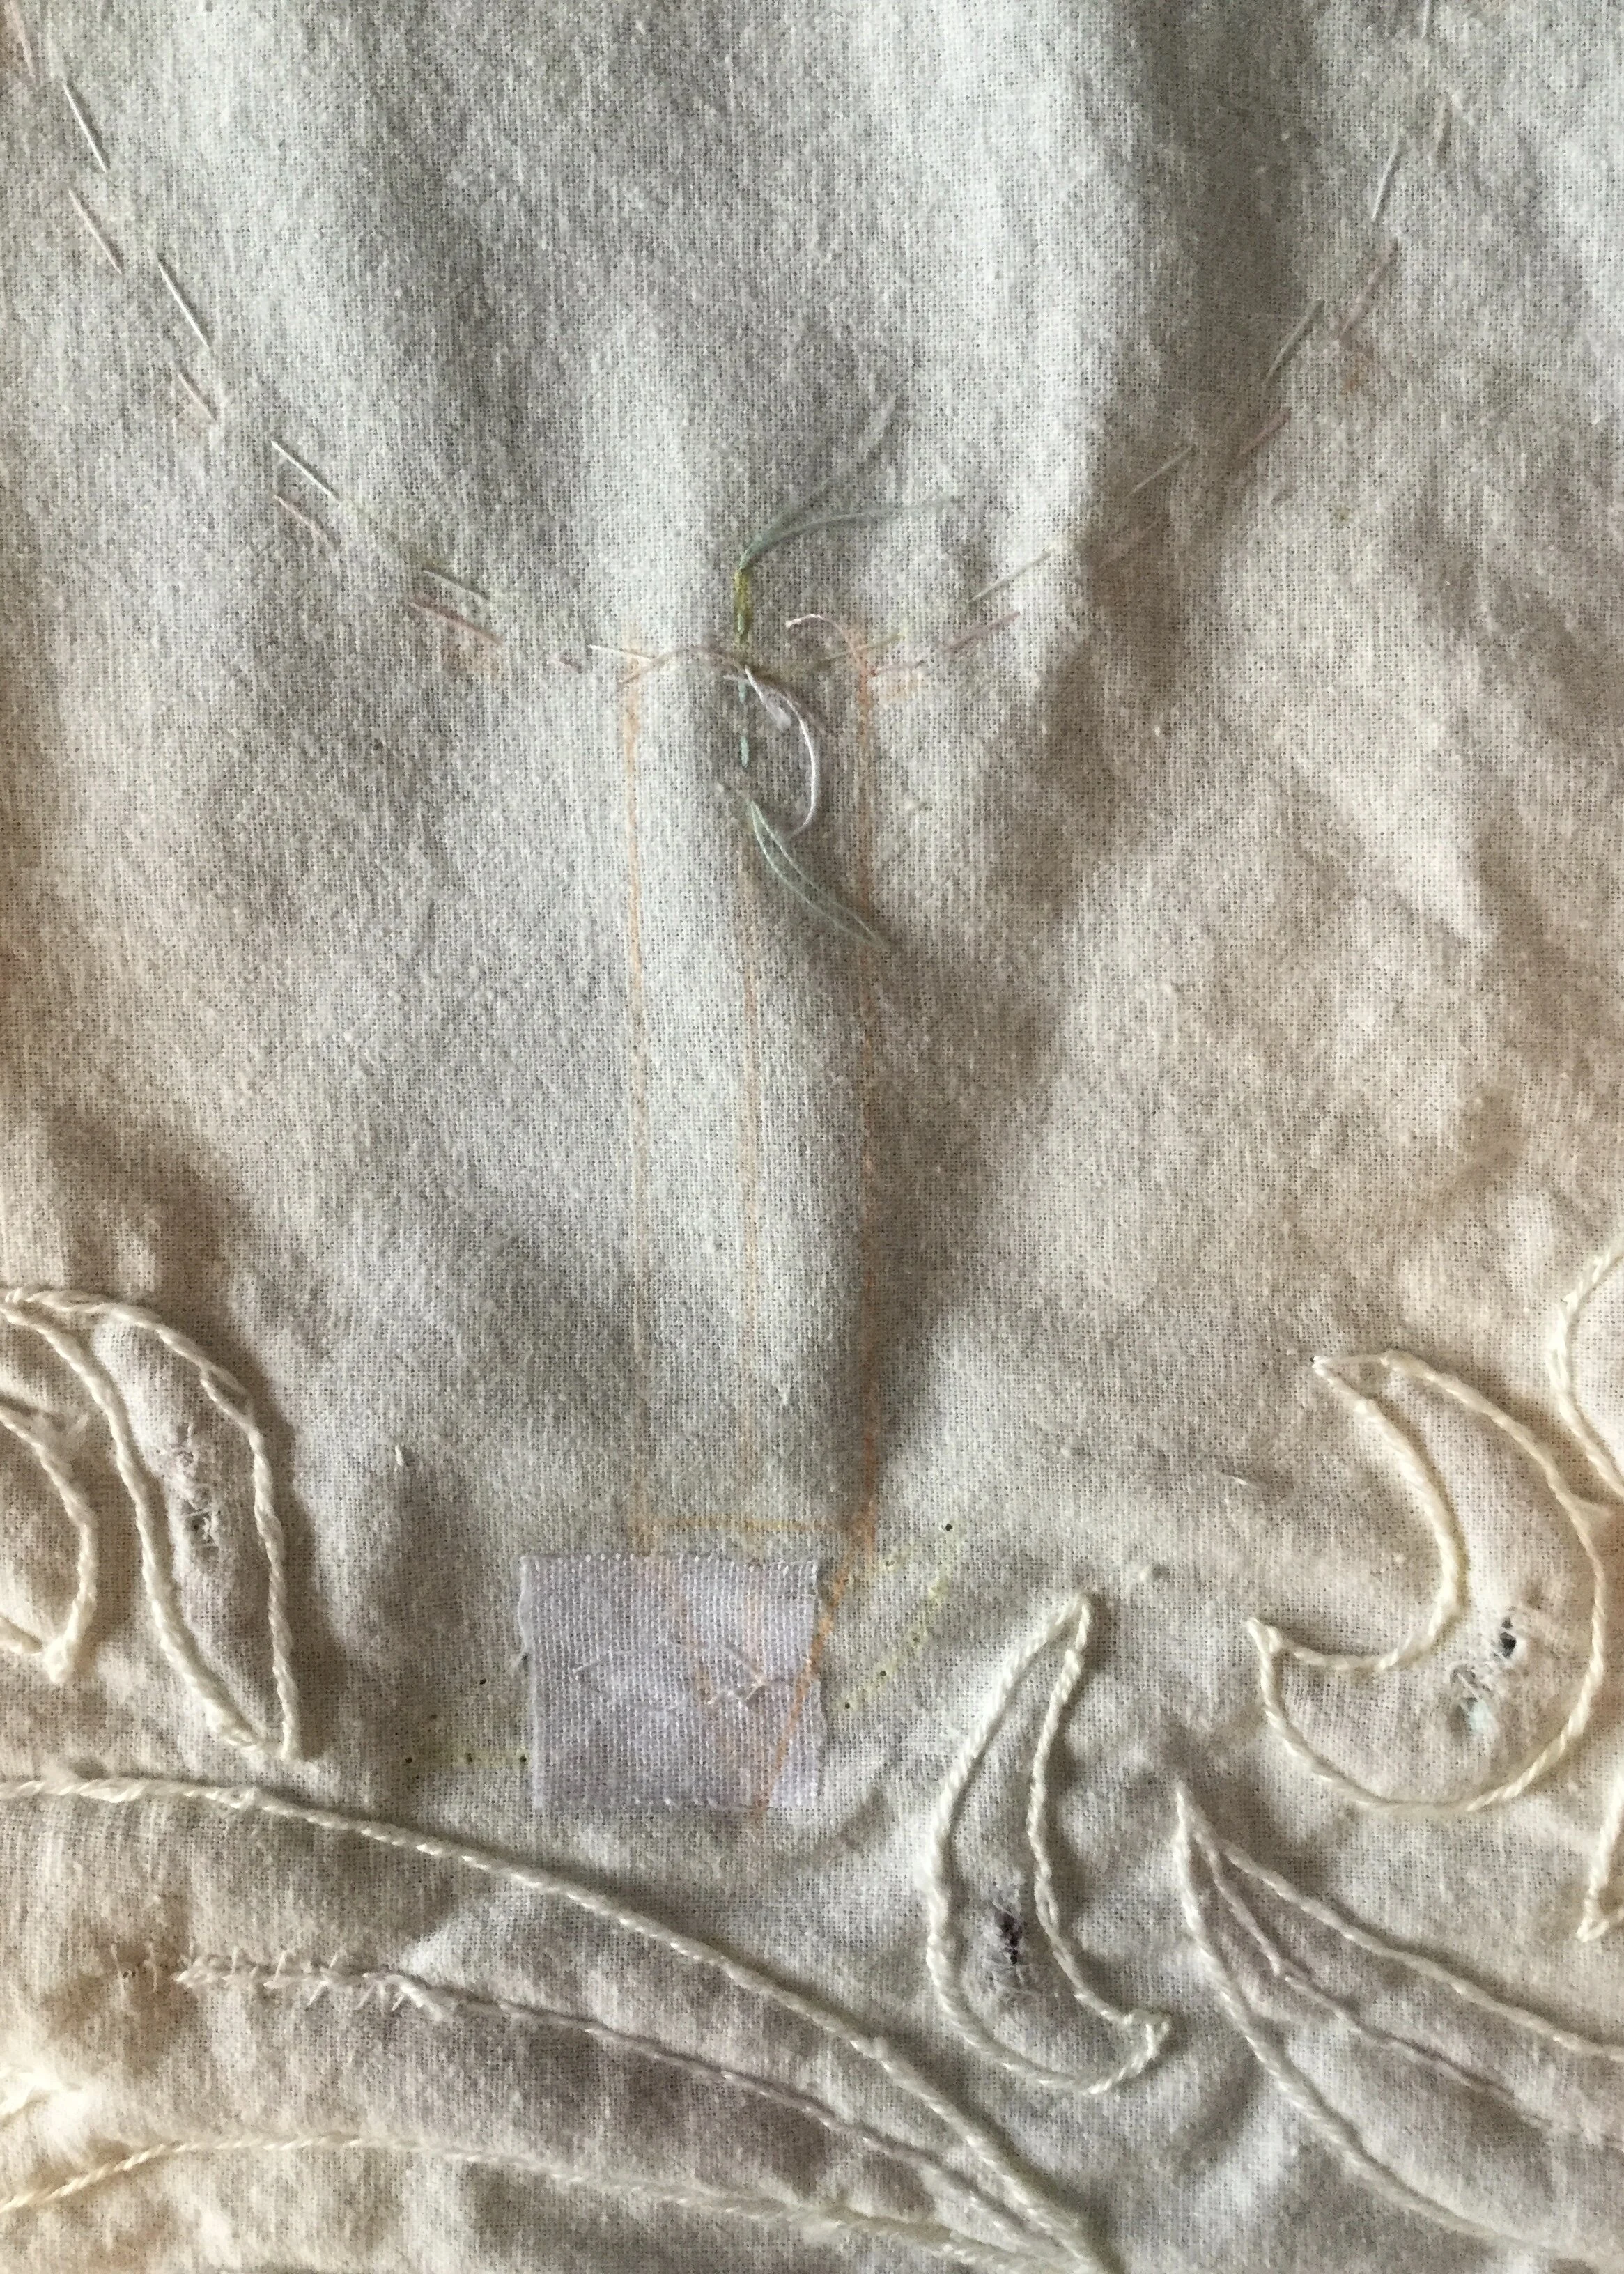
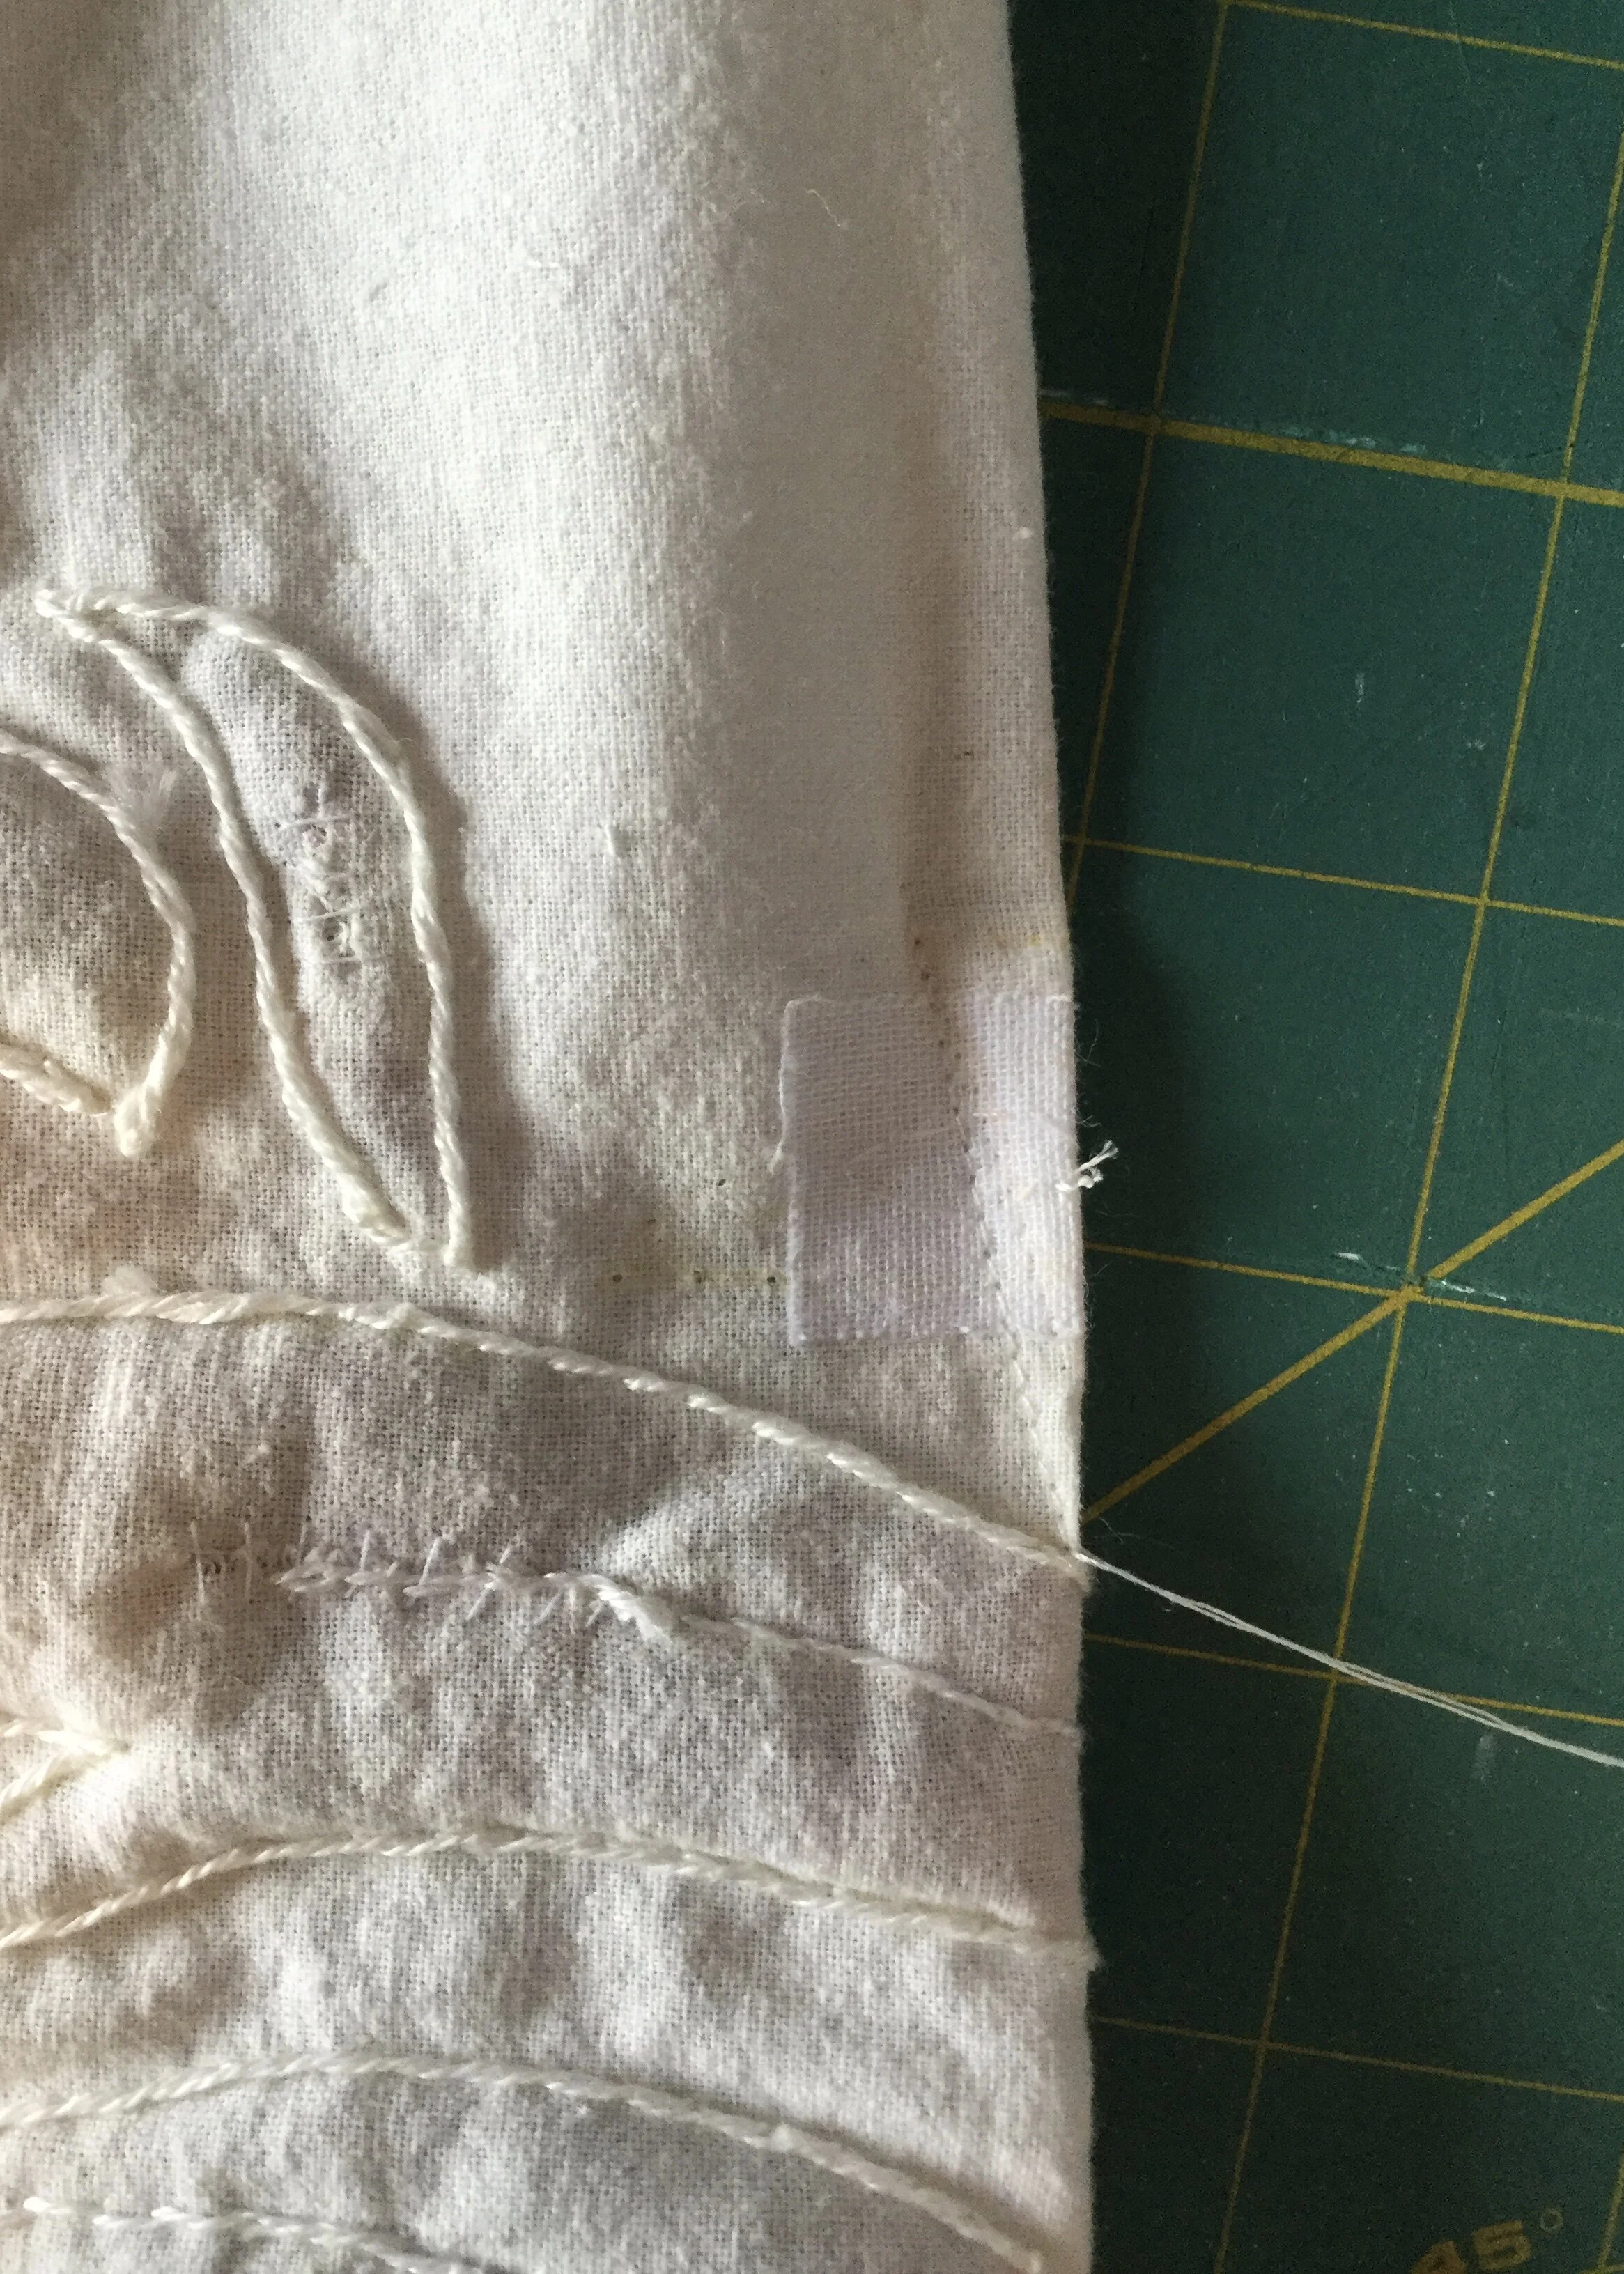
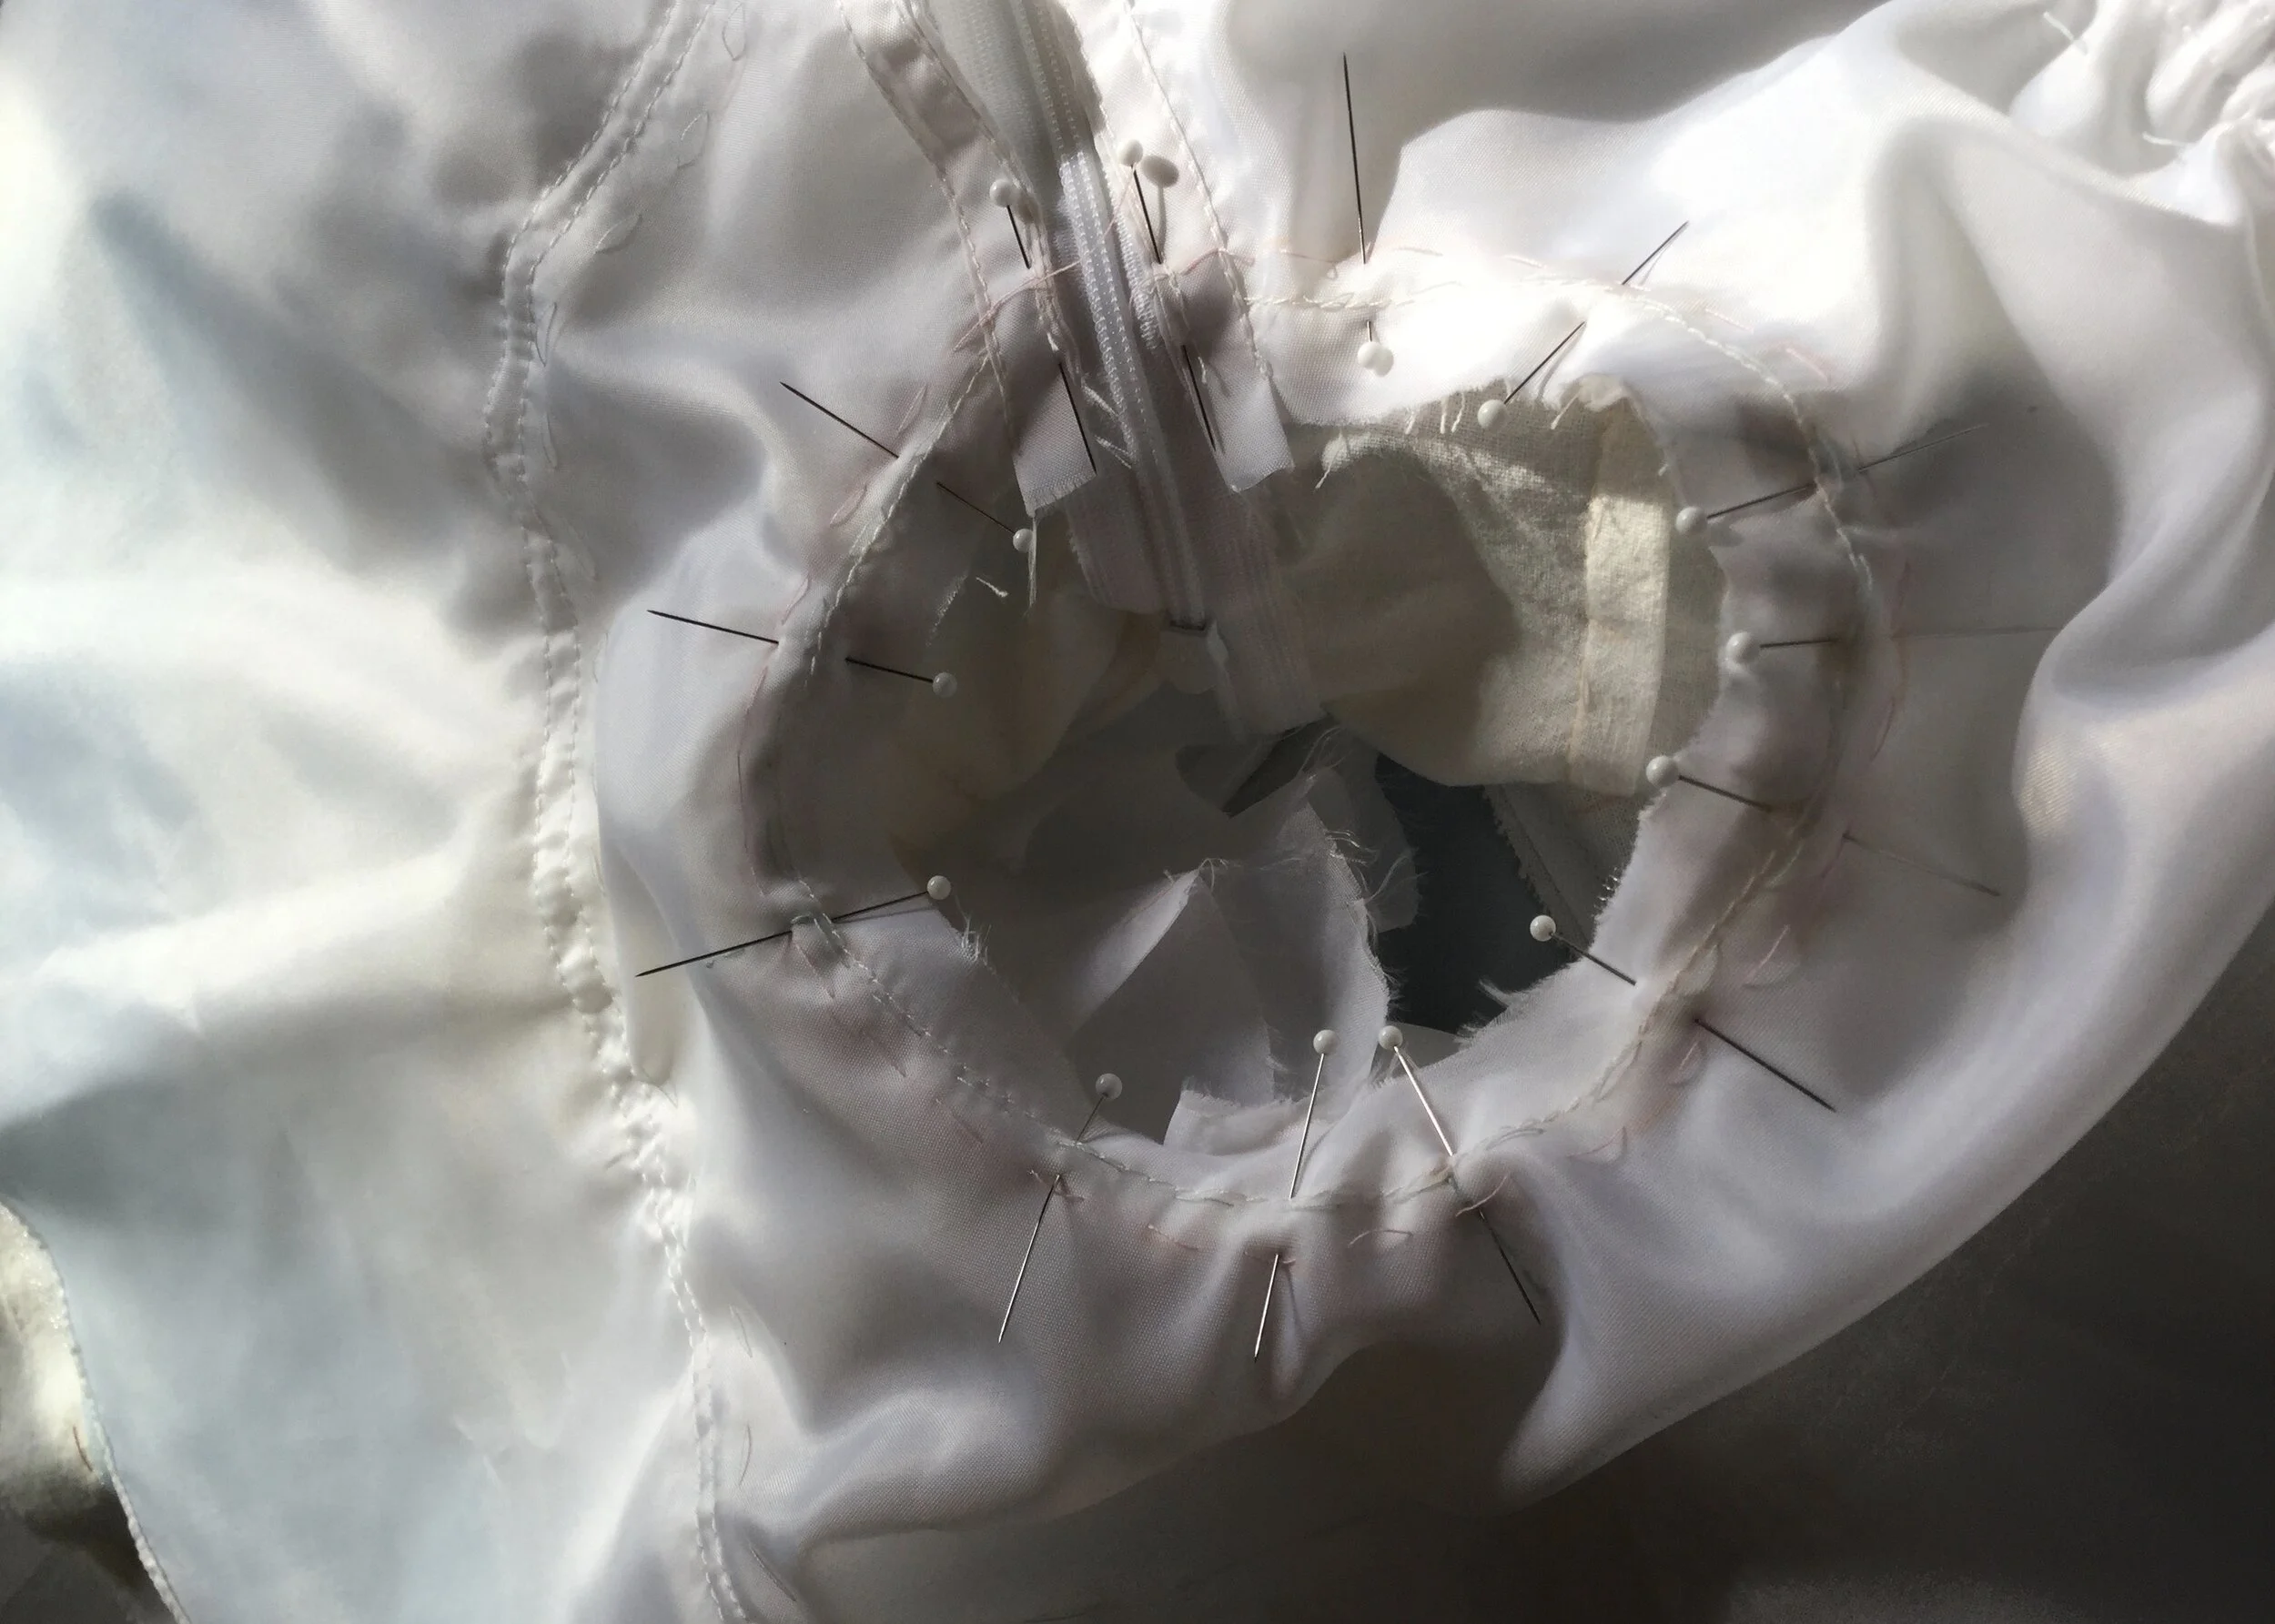
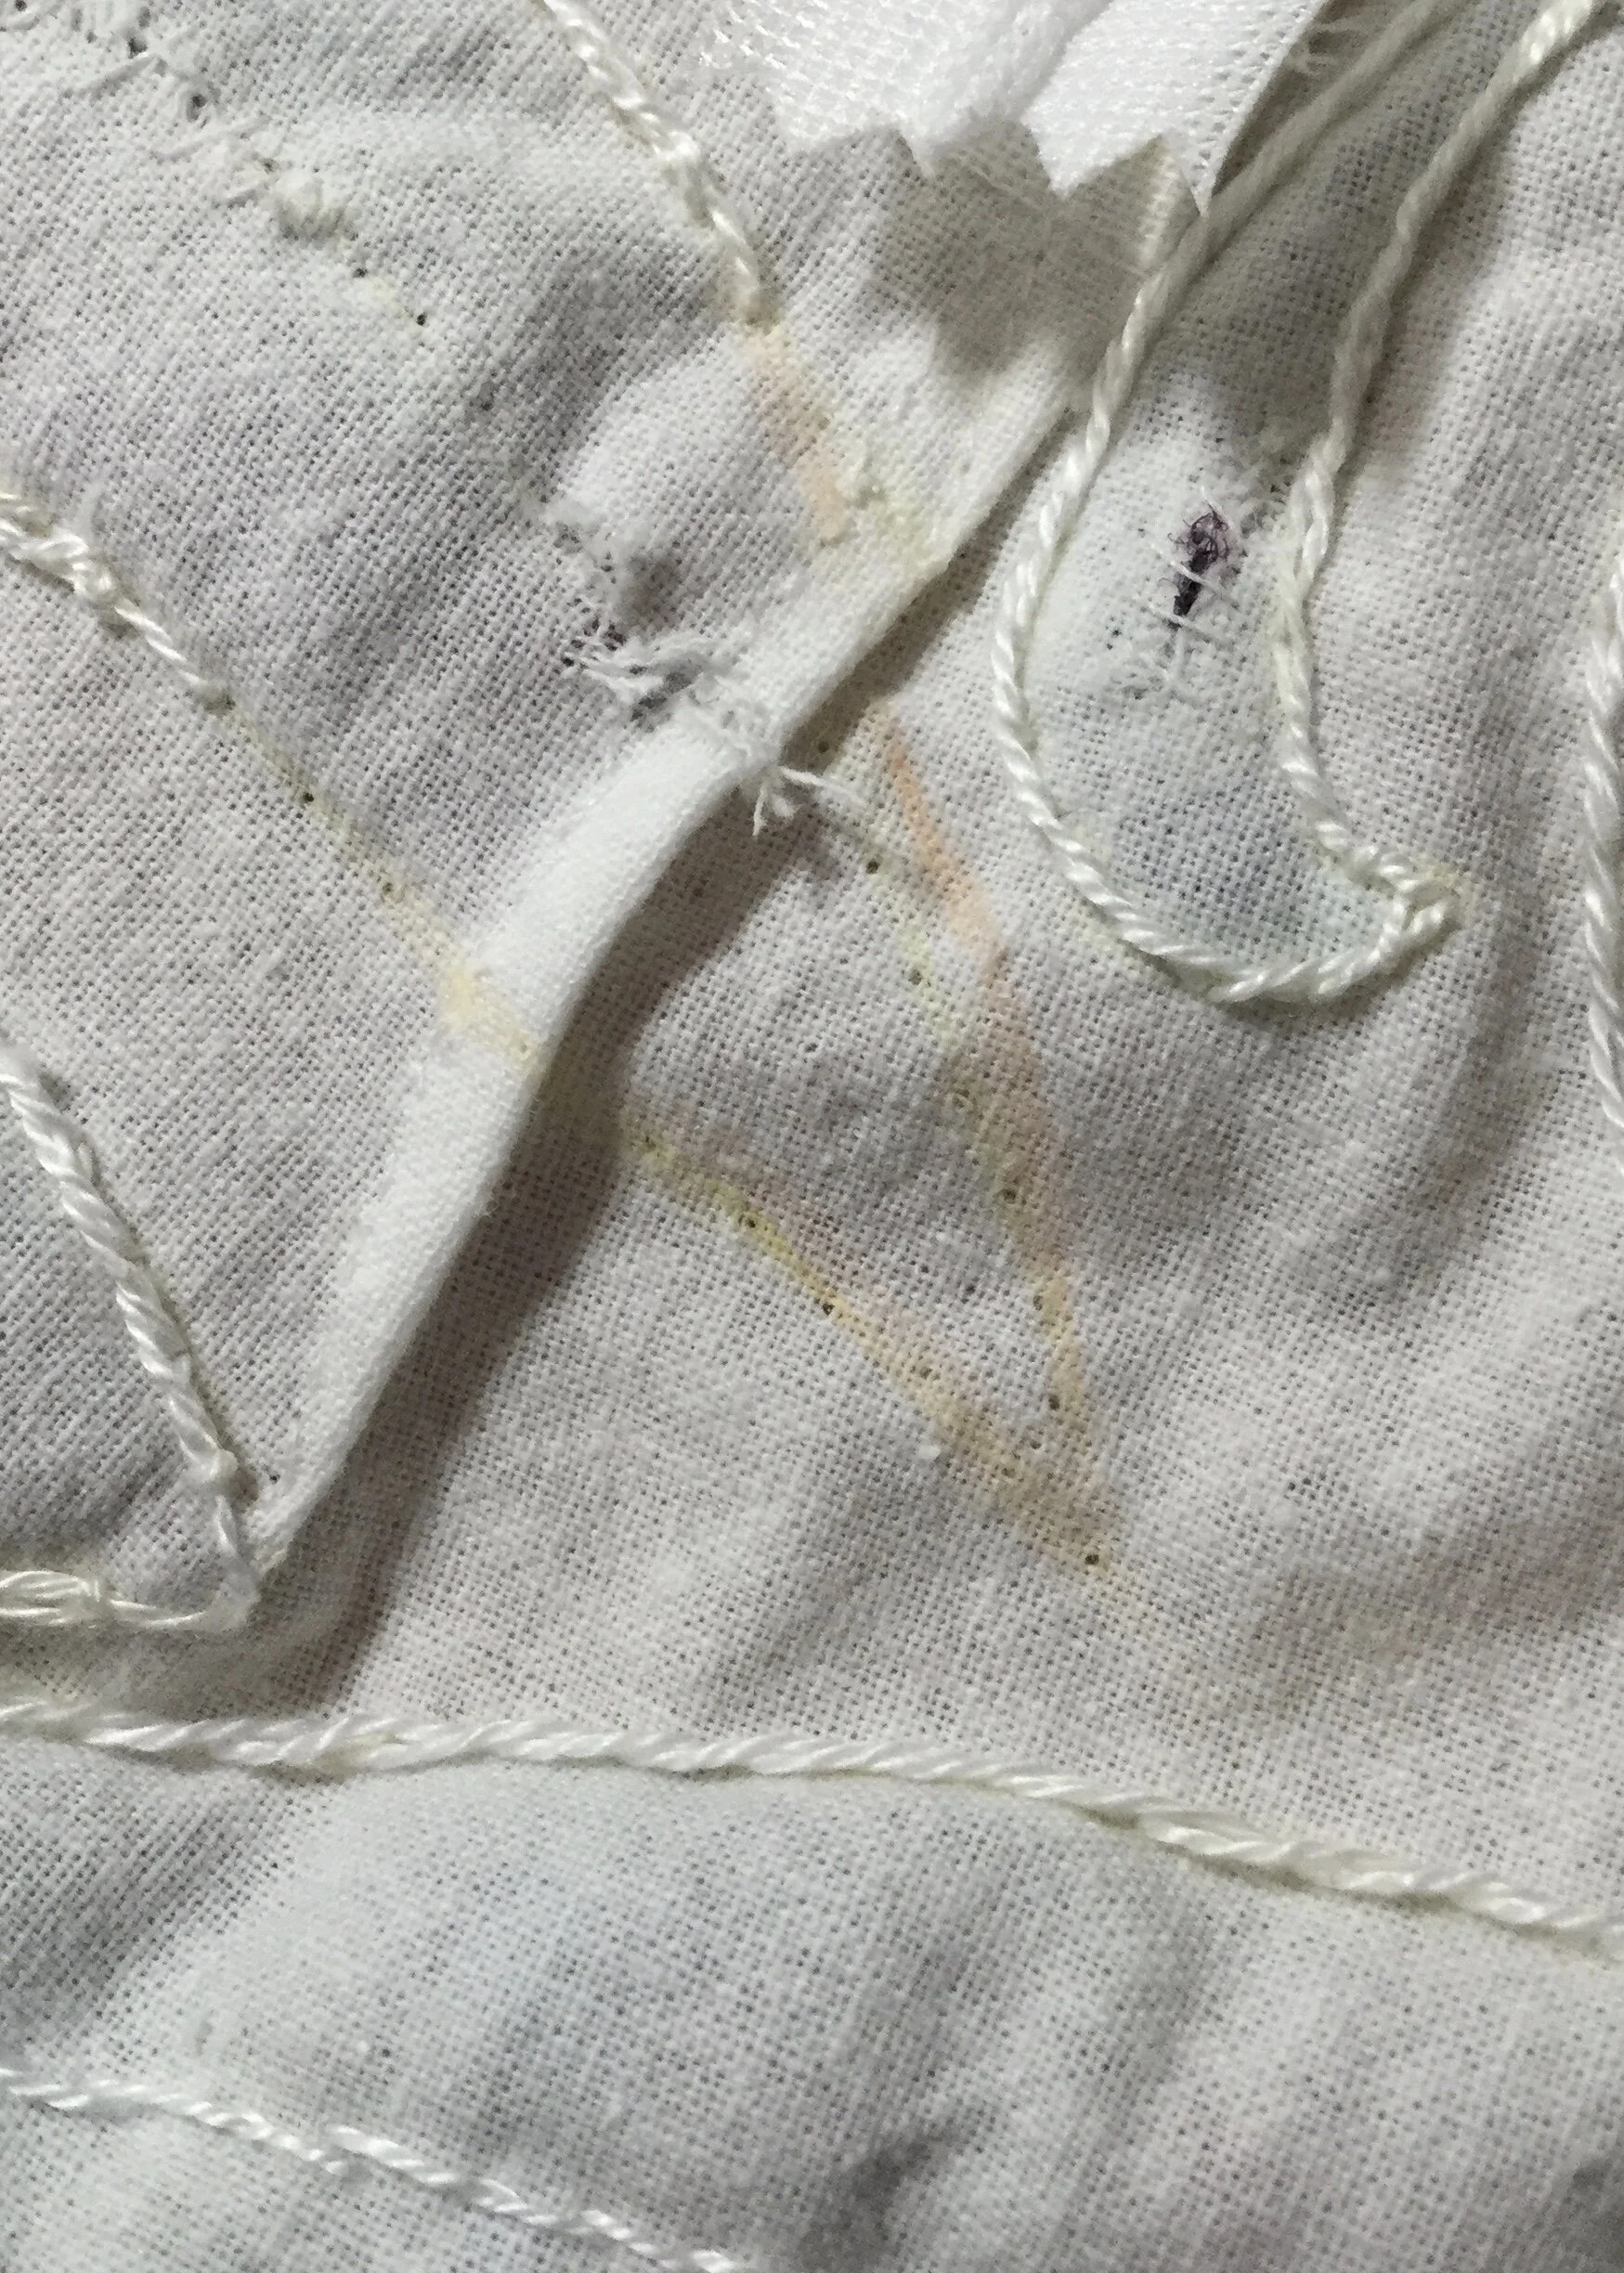
The first time I did it, I swore, cursed my luck and fervently wished for a time machine to take me back ten seconds so that I might be a bit more careful. I decided to leave it for the moment and continue on and take some time to figure out what I would do. As luck would have it, I happened to cut through on a shape that was sitting directly below the zipper. I decided that the best way to fix it would be to take out the quilting stitches, patch the hole with some interfacing and a few pick stitches to hold the tulle in place, and incorporate the area into the dart I was going to stitch to create the seam allowance I needed for the zipper. Easy peasy.
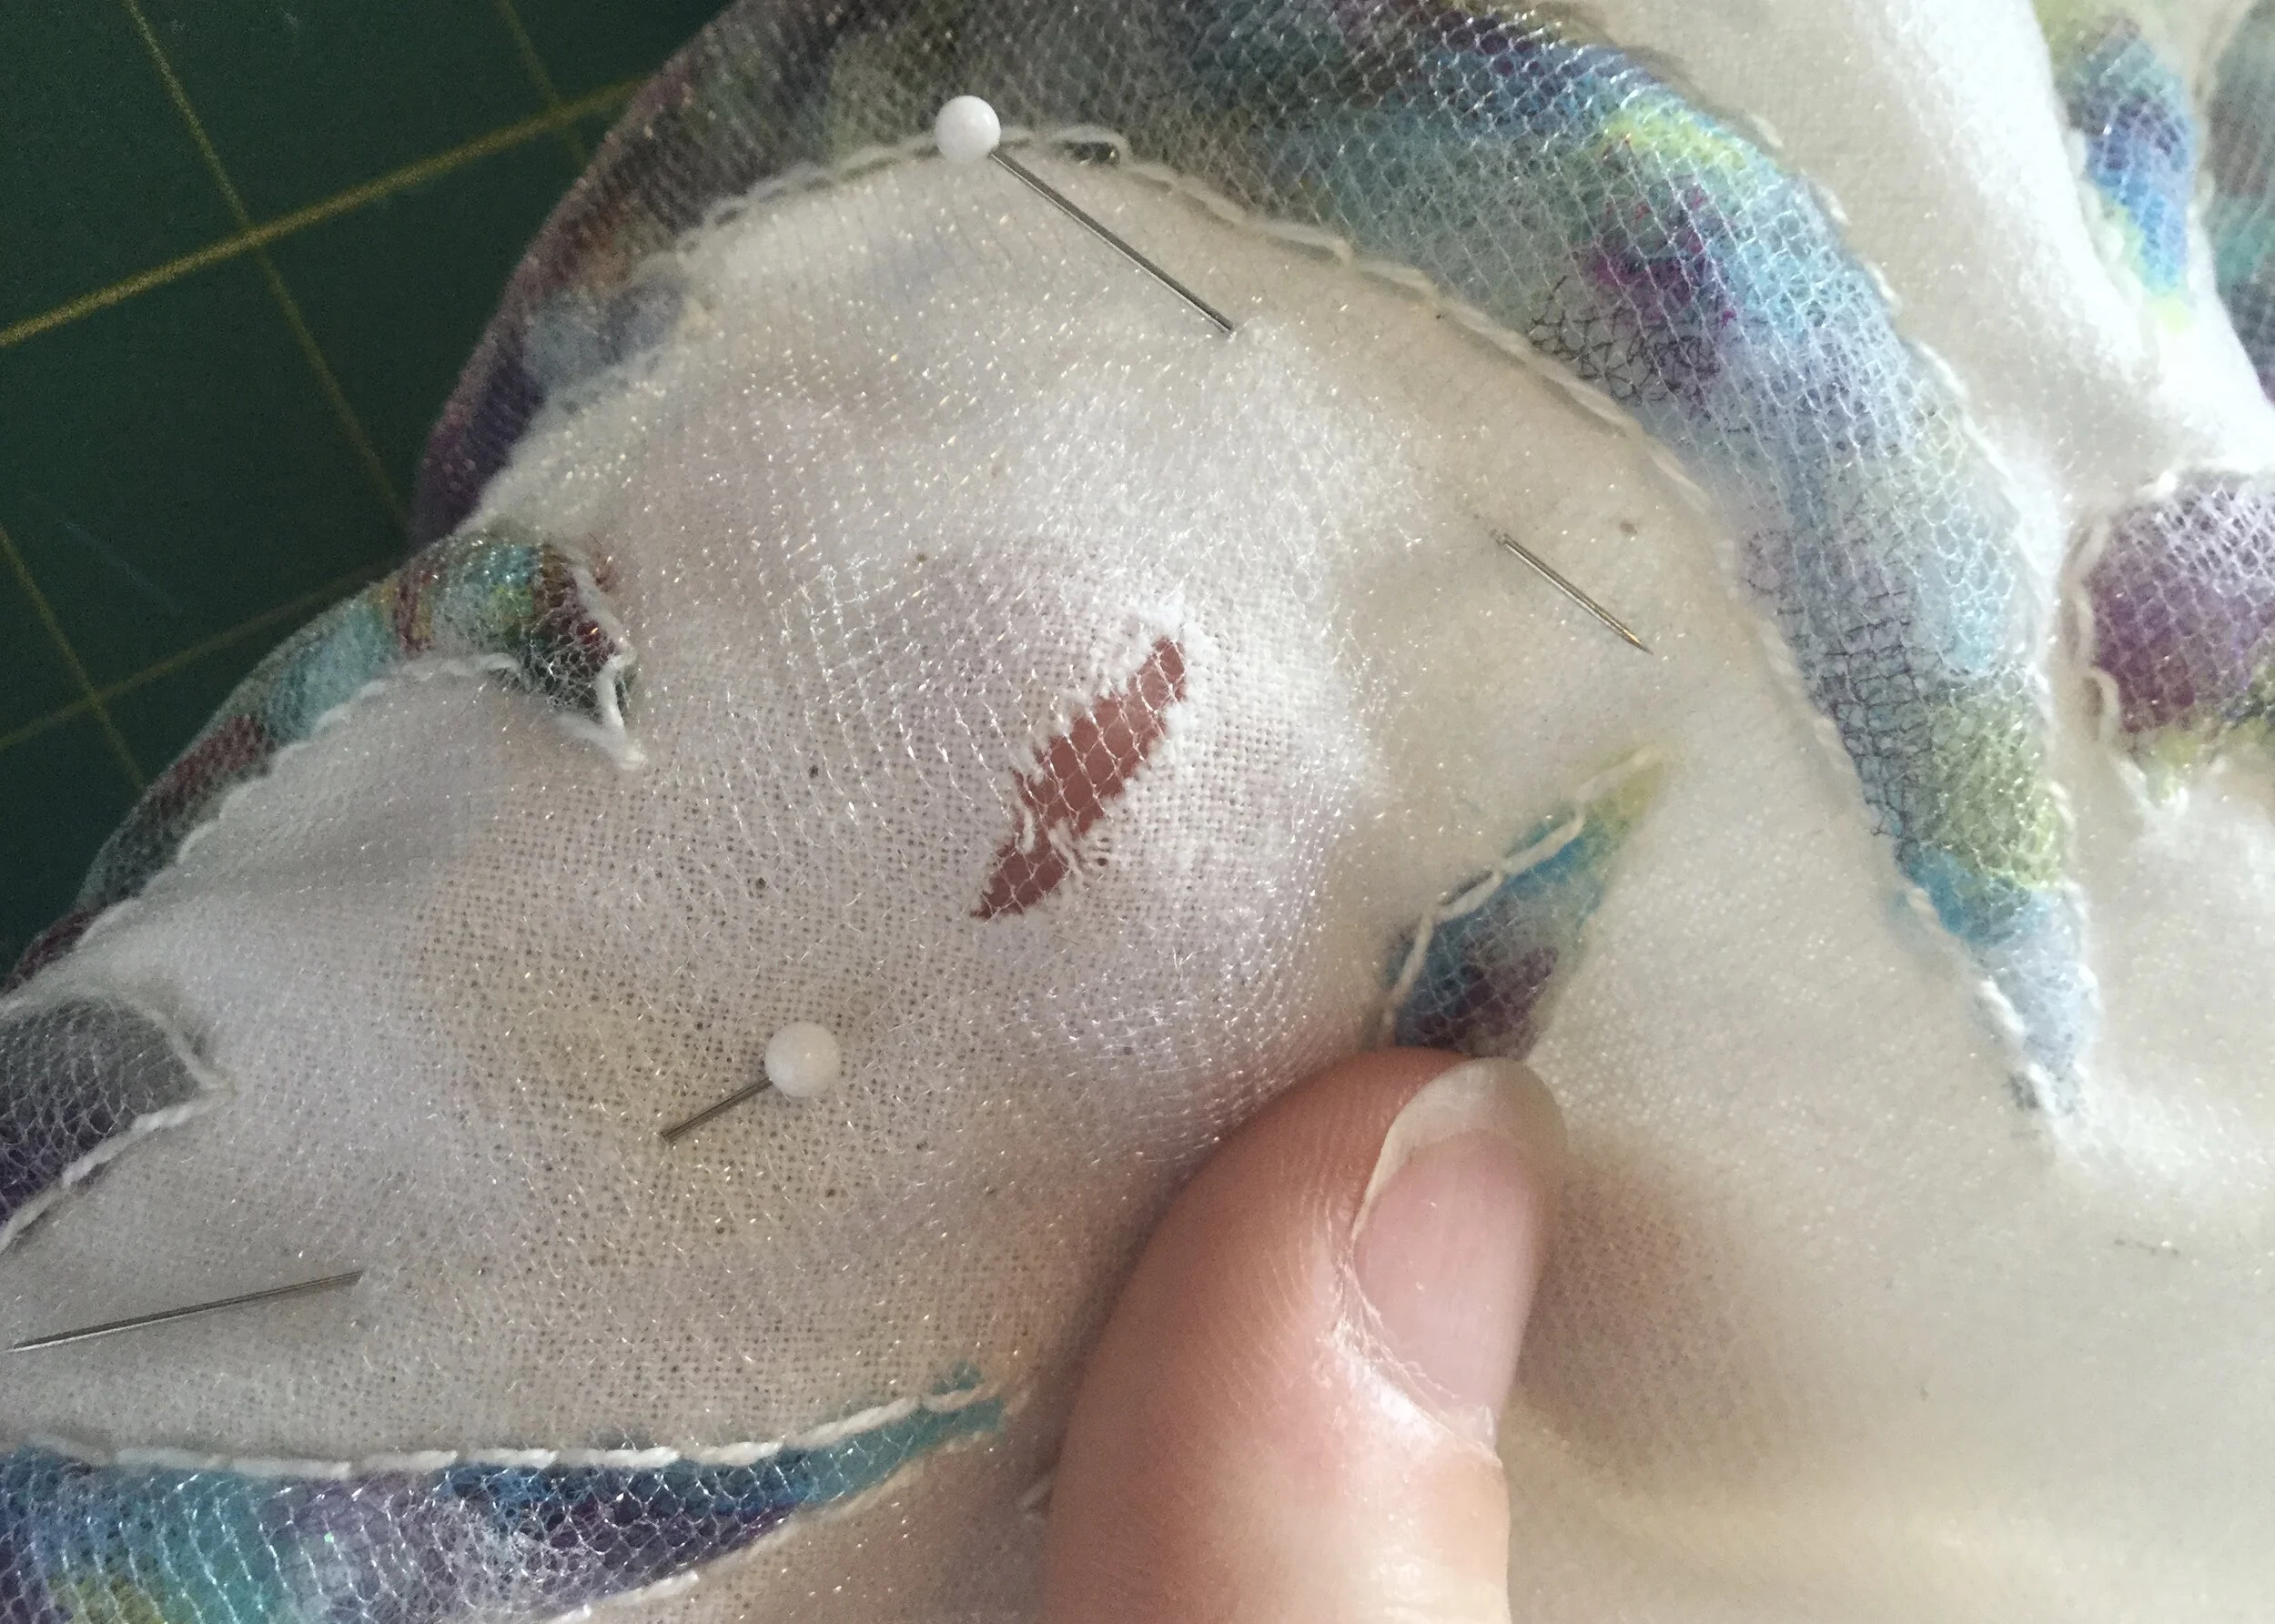
It was just as I had sorted all this out in my mind and was smugly patting myself on the back over how cleverly I was going to hide this stupid mistake that I did it again. This time it was out in the middle of the skirt and would need to be properly fixed. Ugh.
Noooooooooo!!!!!…..Agaaaain!!!!
Actually, I'm feeling pretty smug about this solution too as it's barely visible, even close up. I ended up taking out the quilting stitches, slipping a piece of tulle a little bigger than the whole pocket in between the tulle and the cotton, redoing the quilting, then stuffing the pocket and trimming away the original layer of tulle.
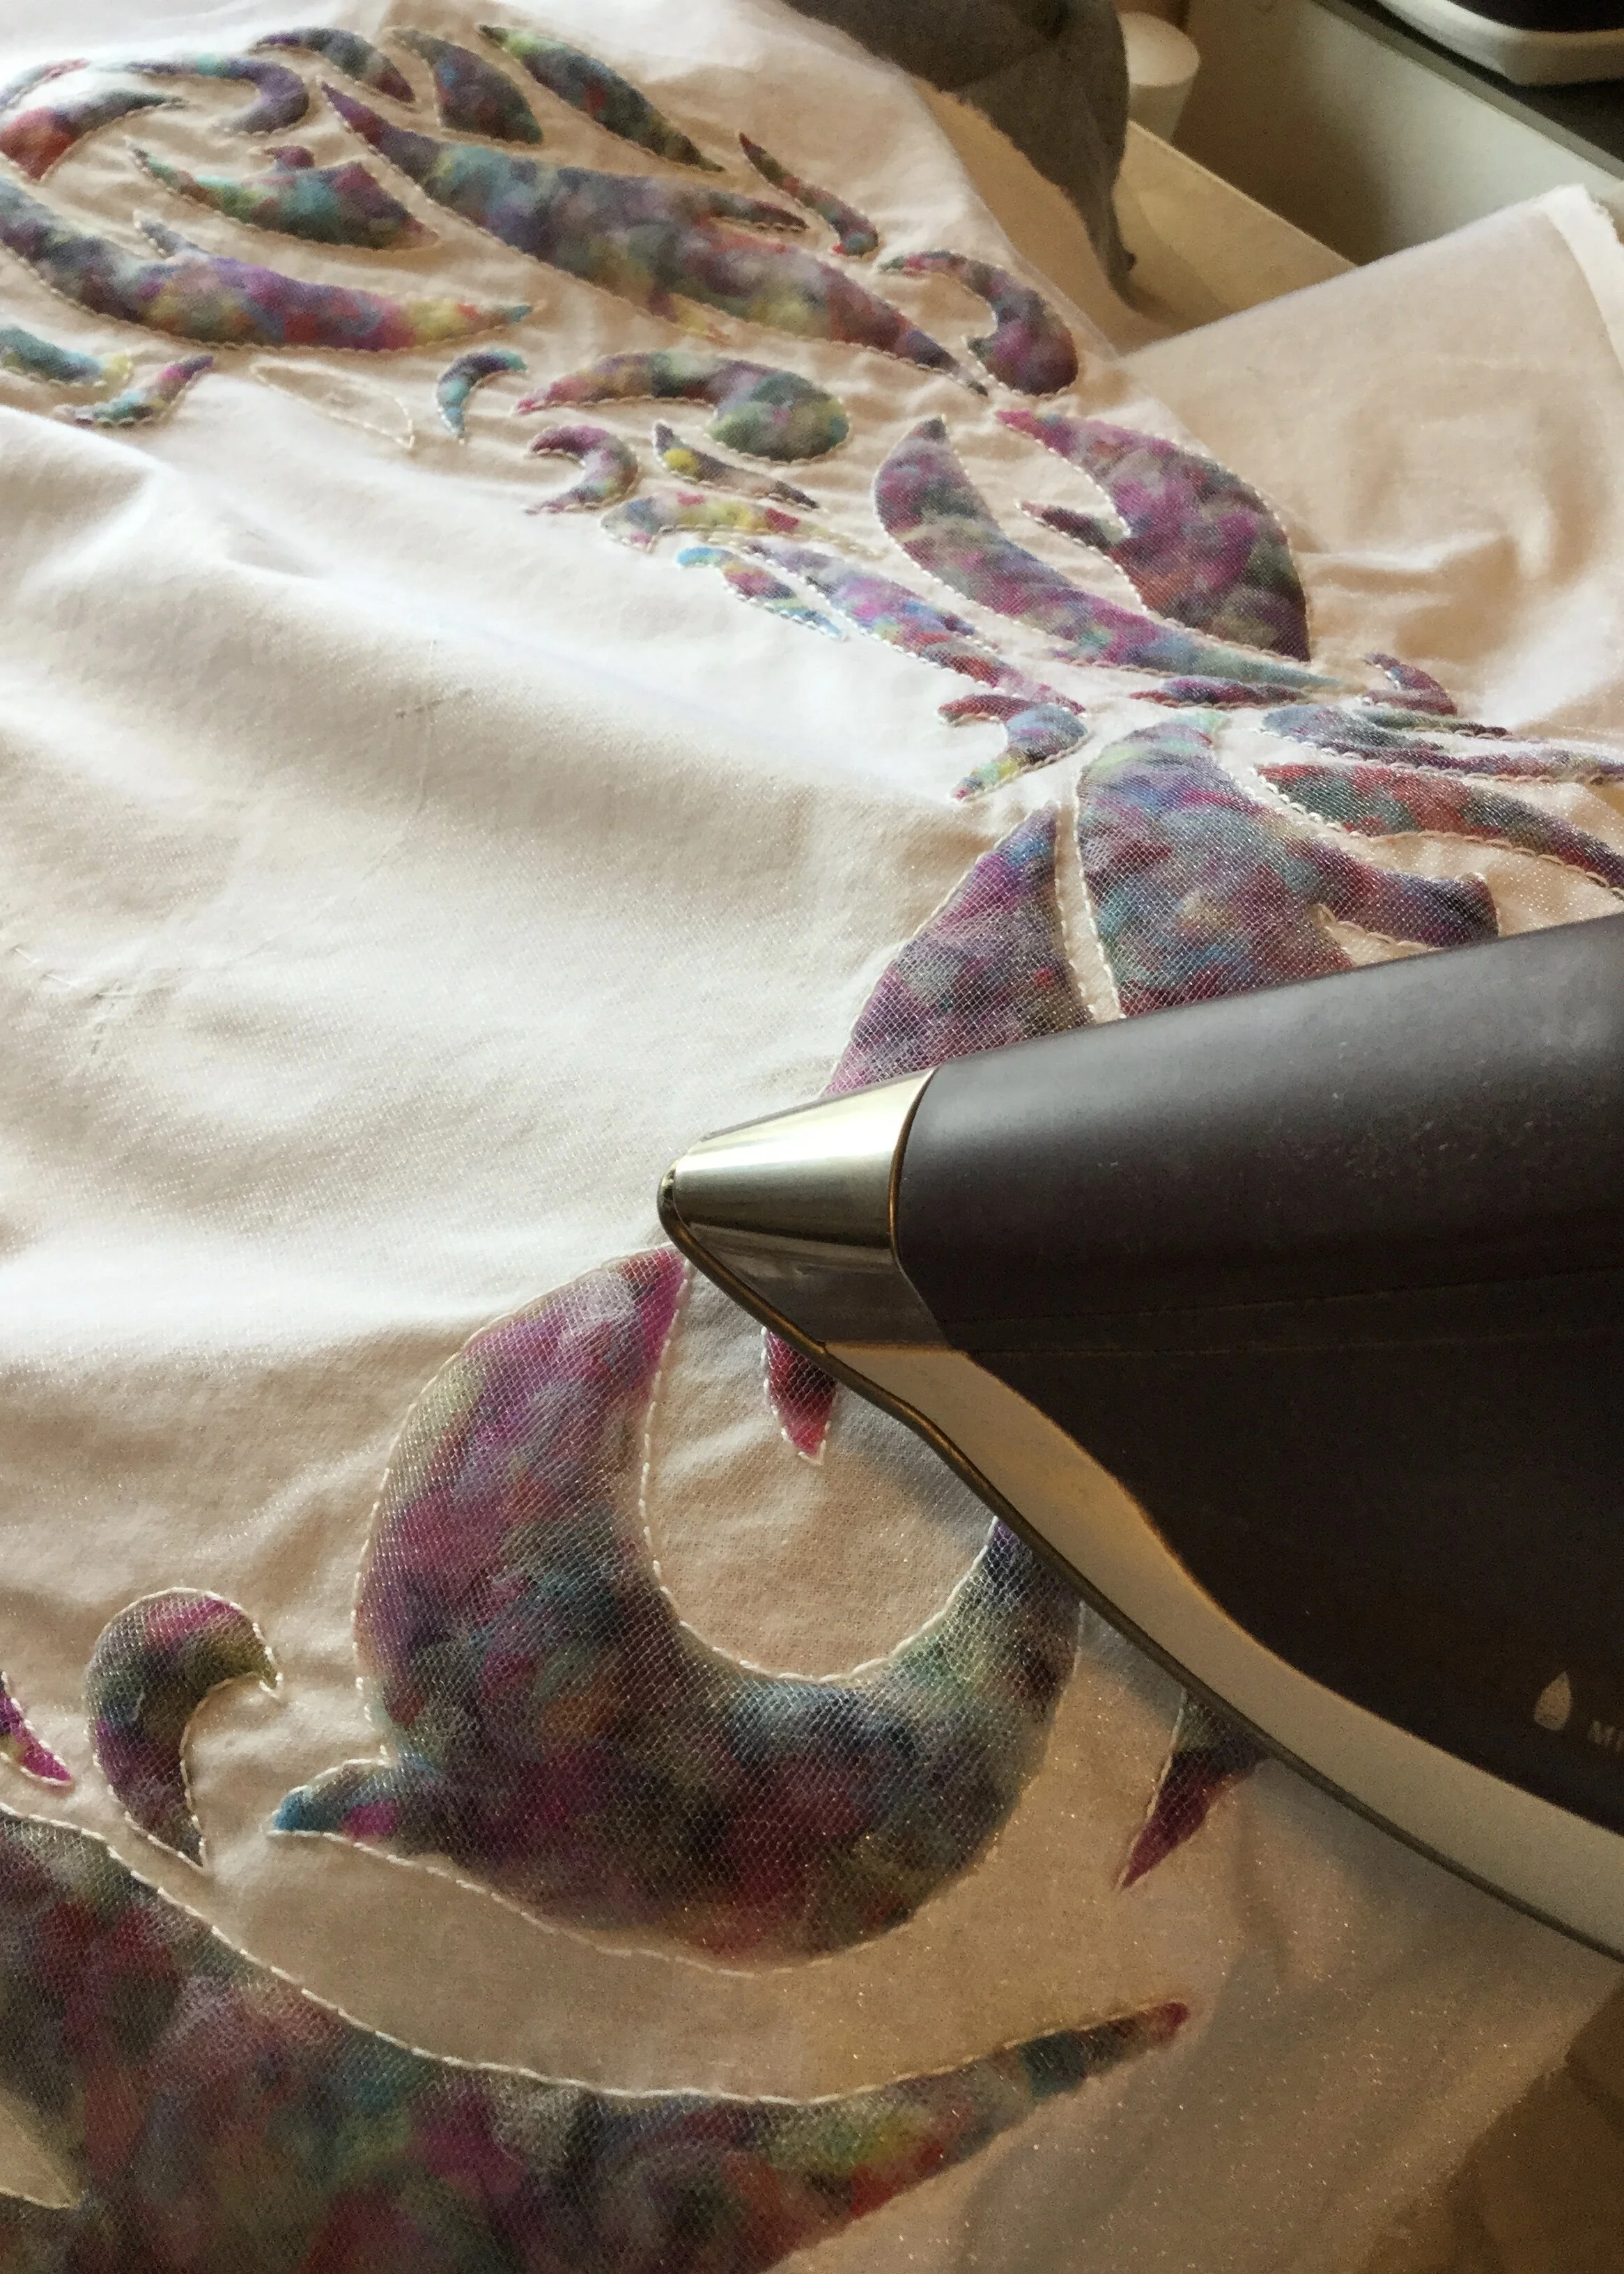
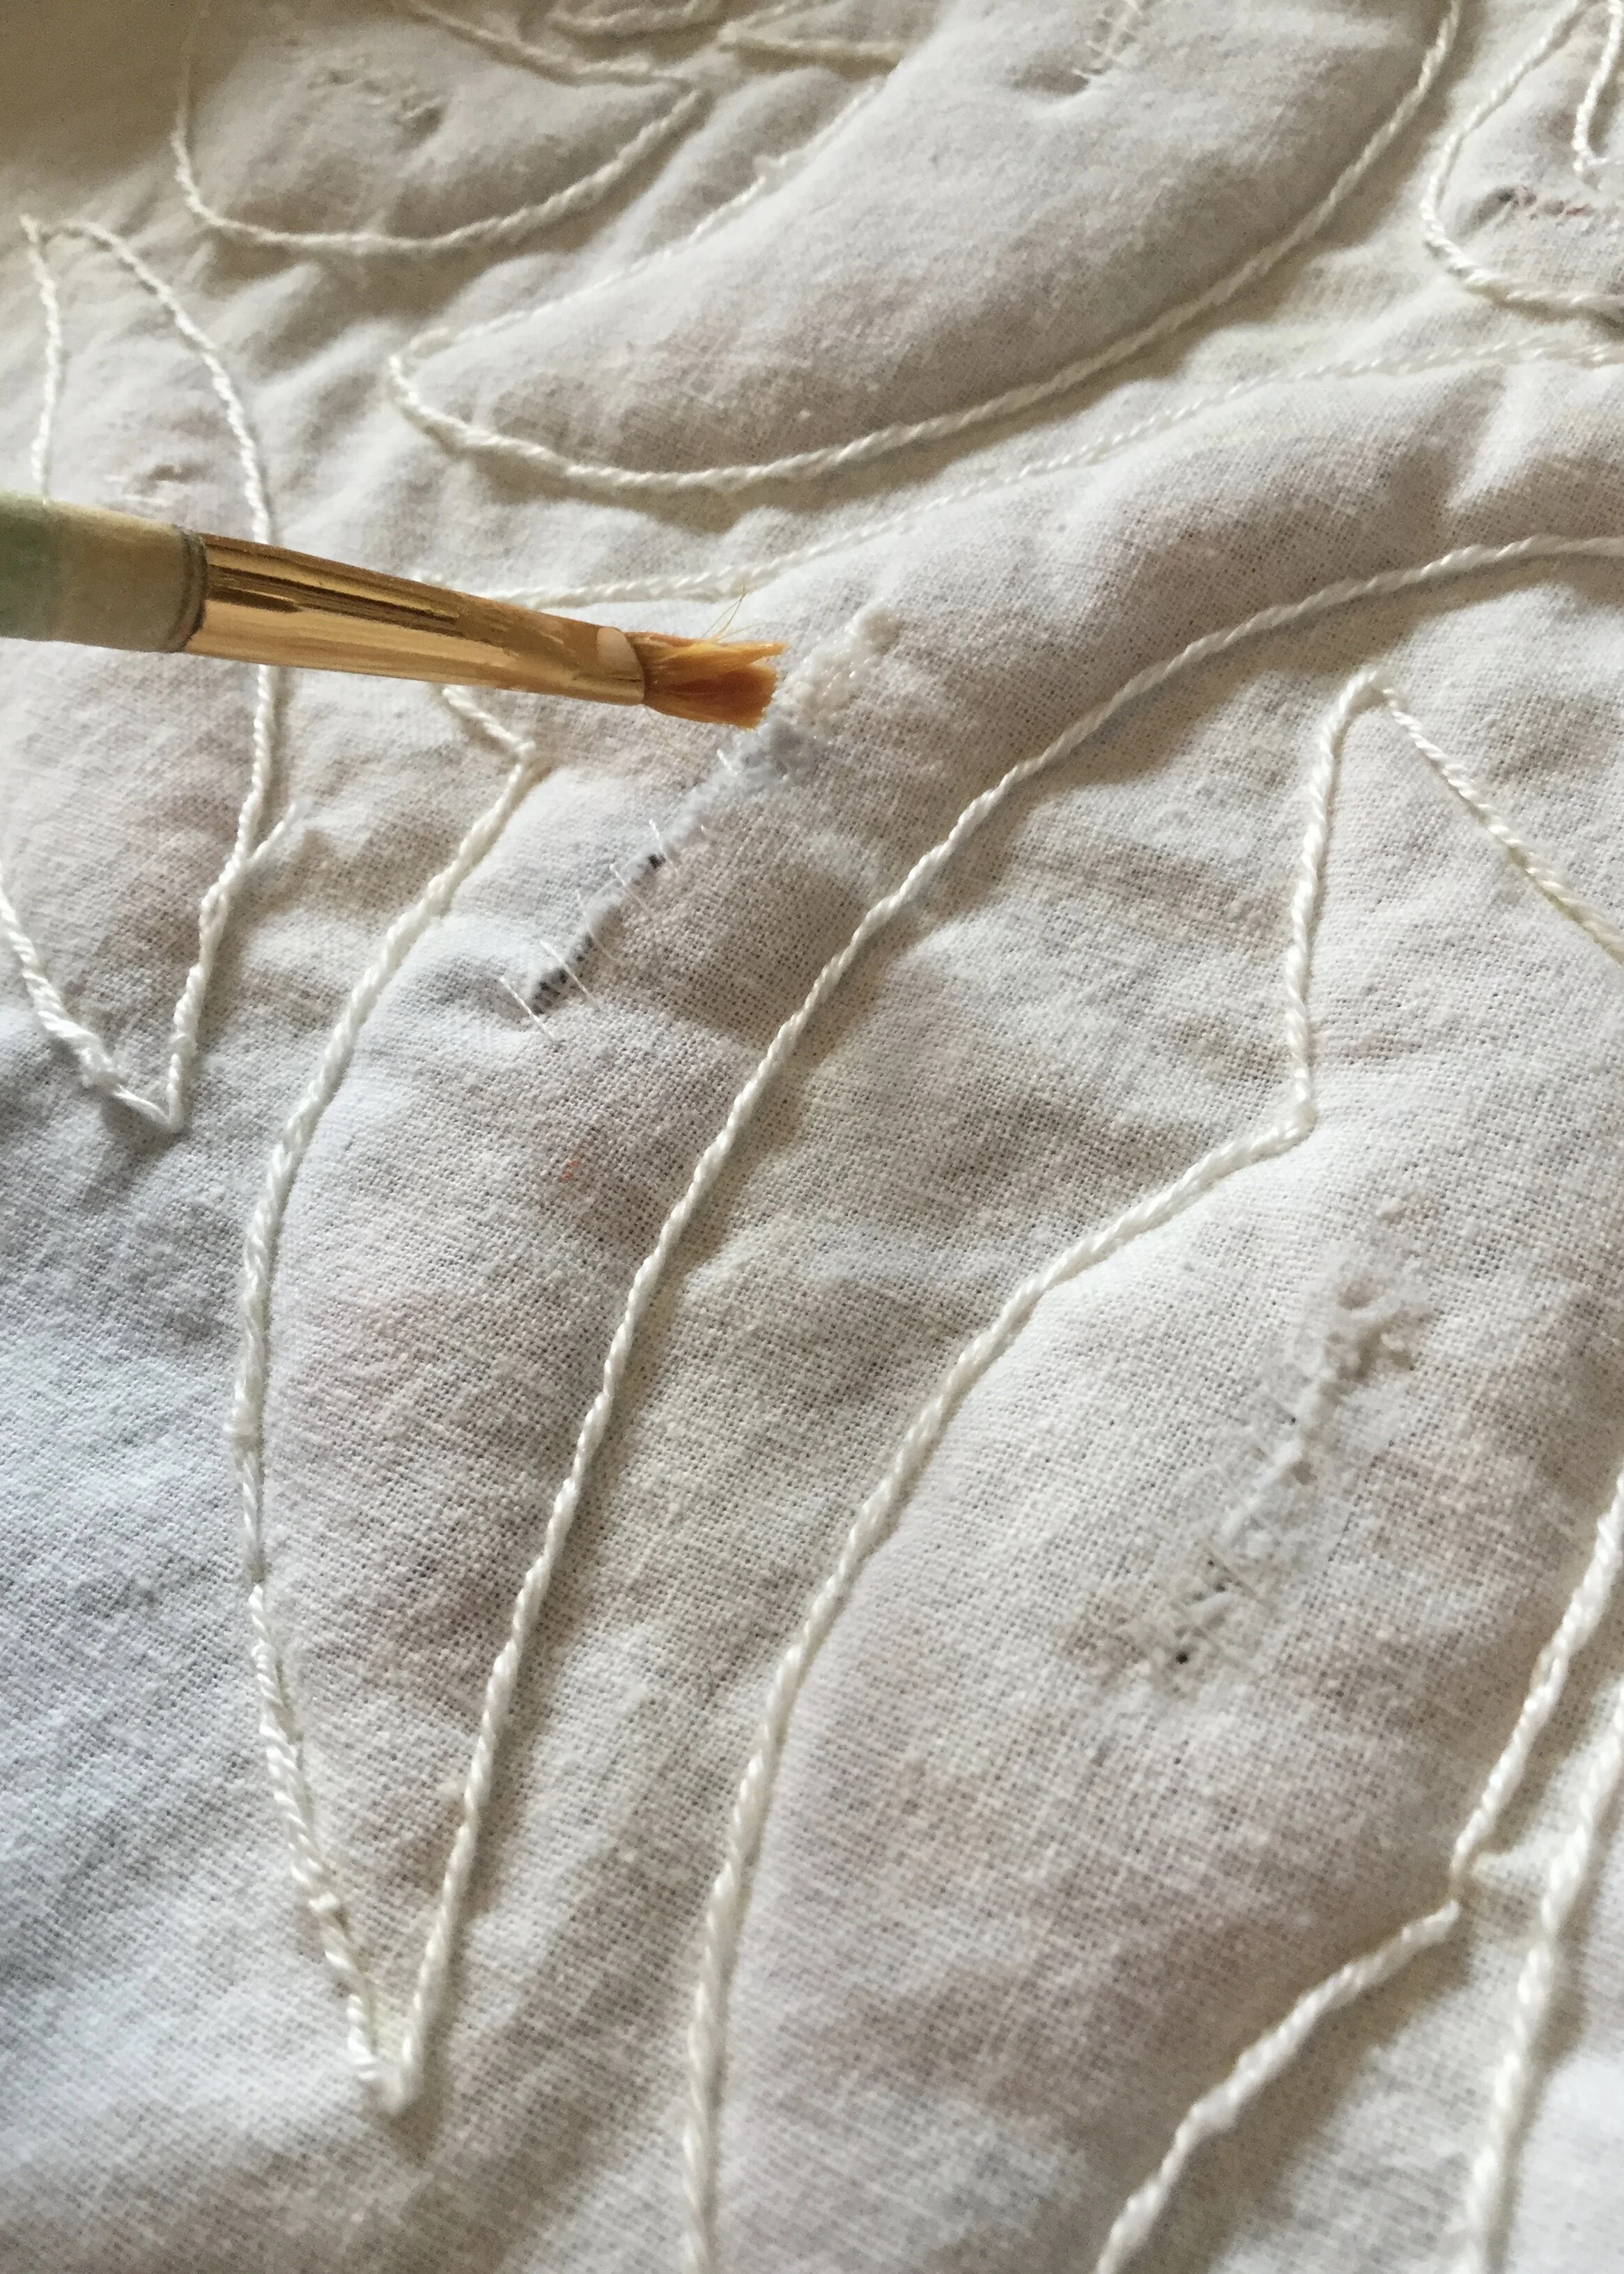
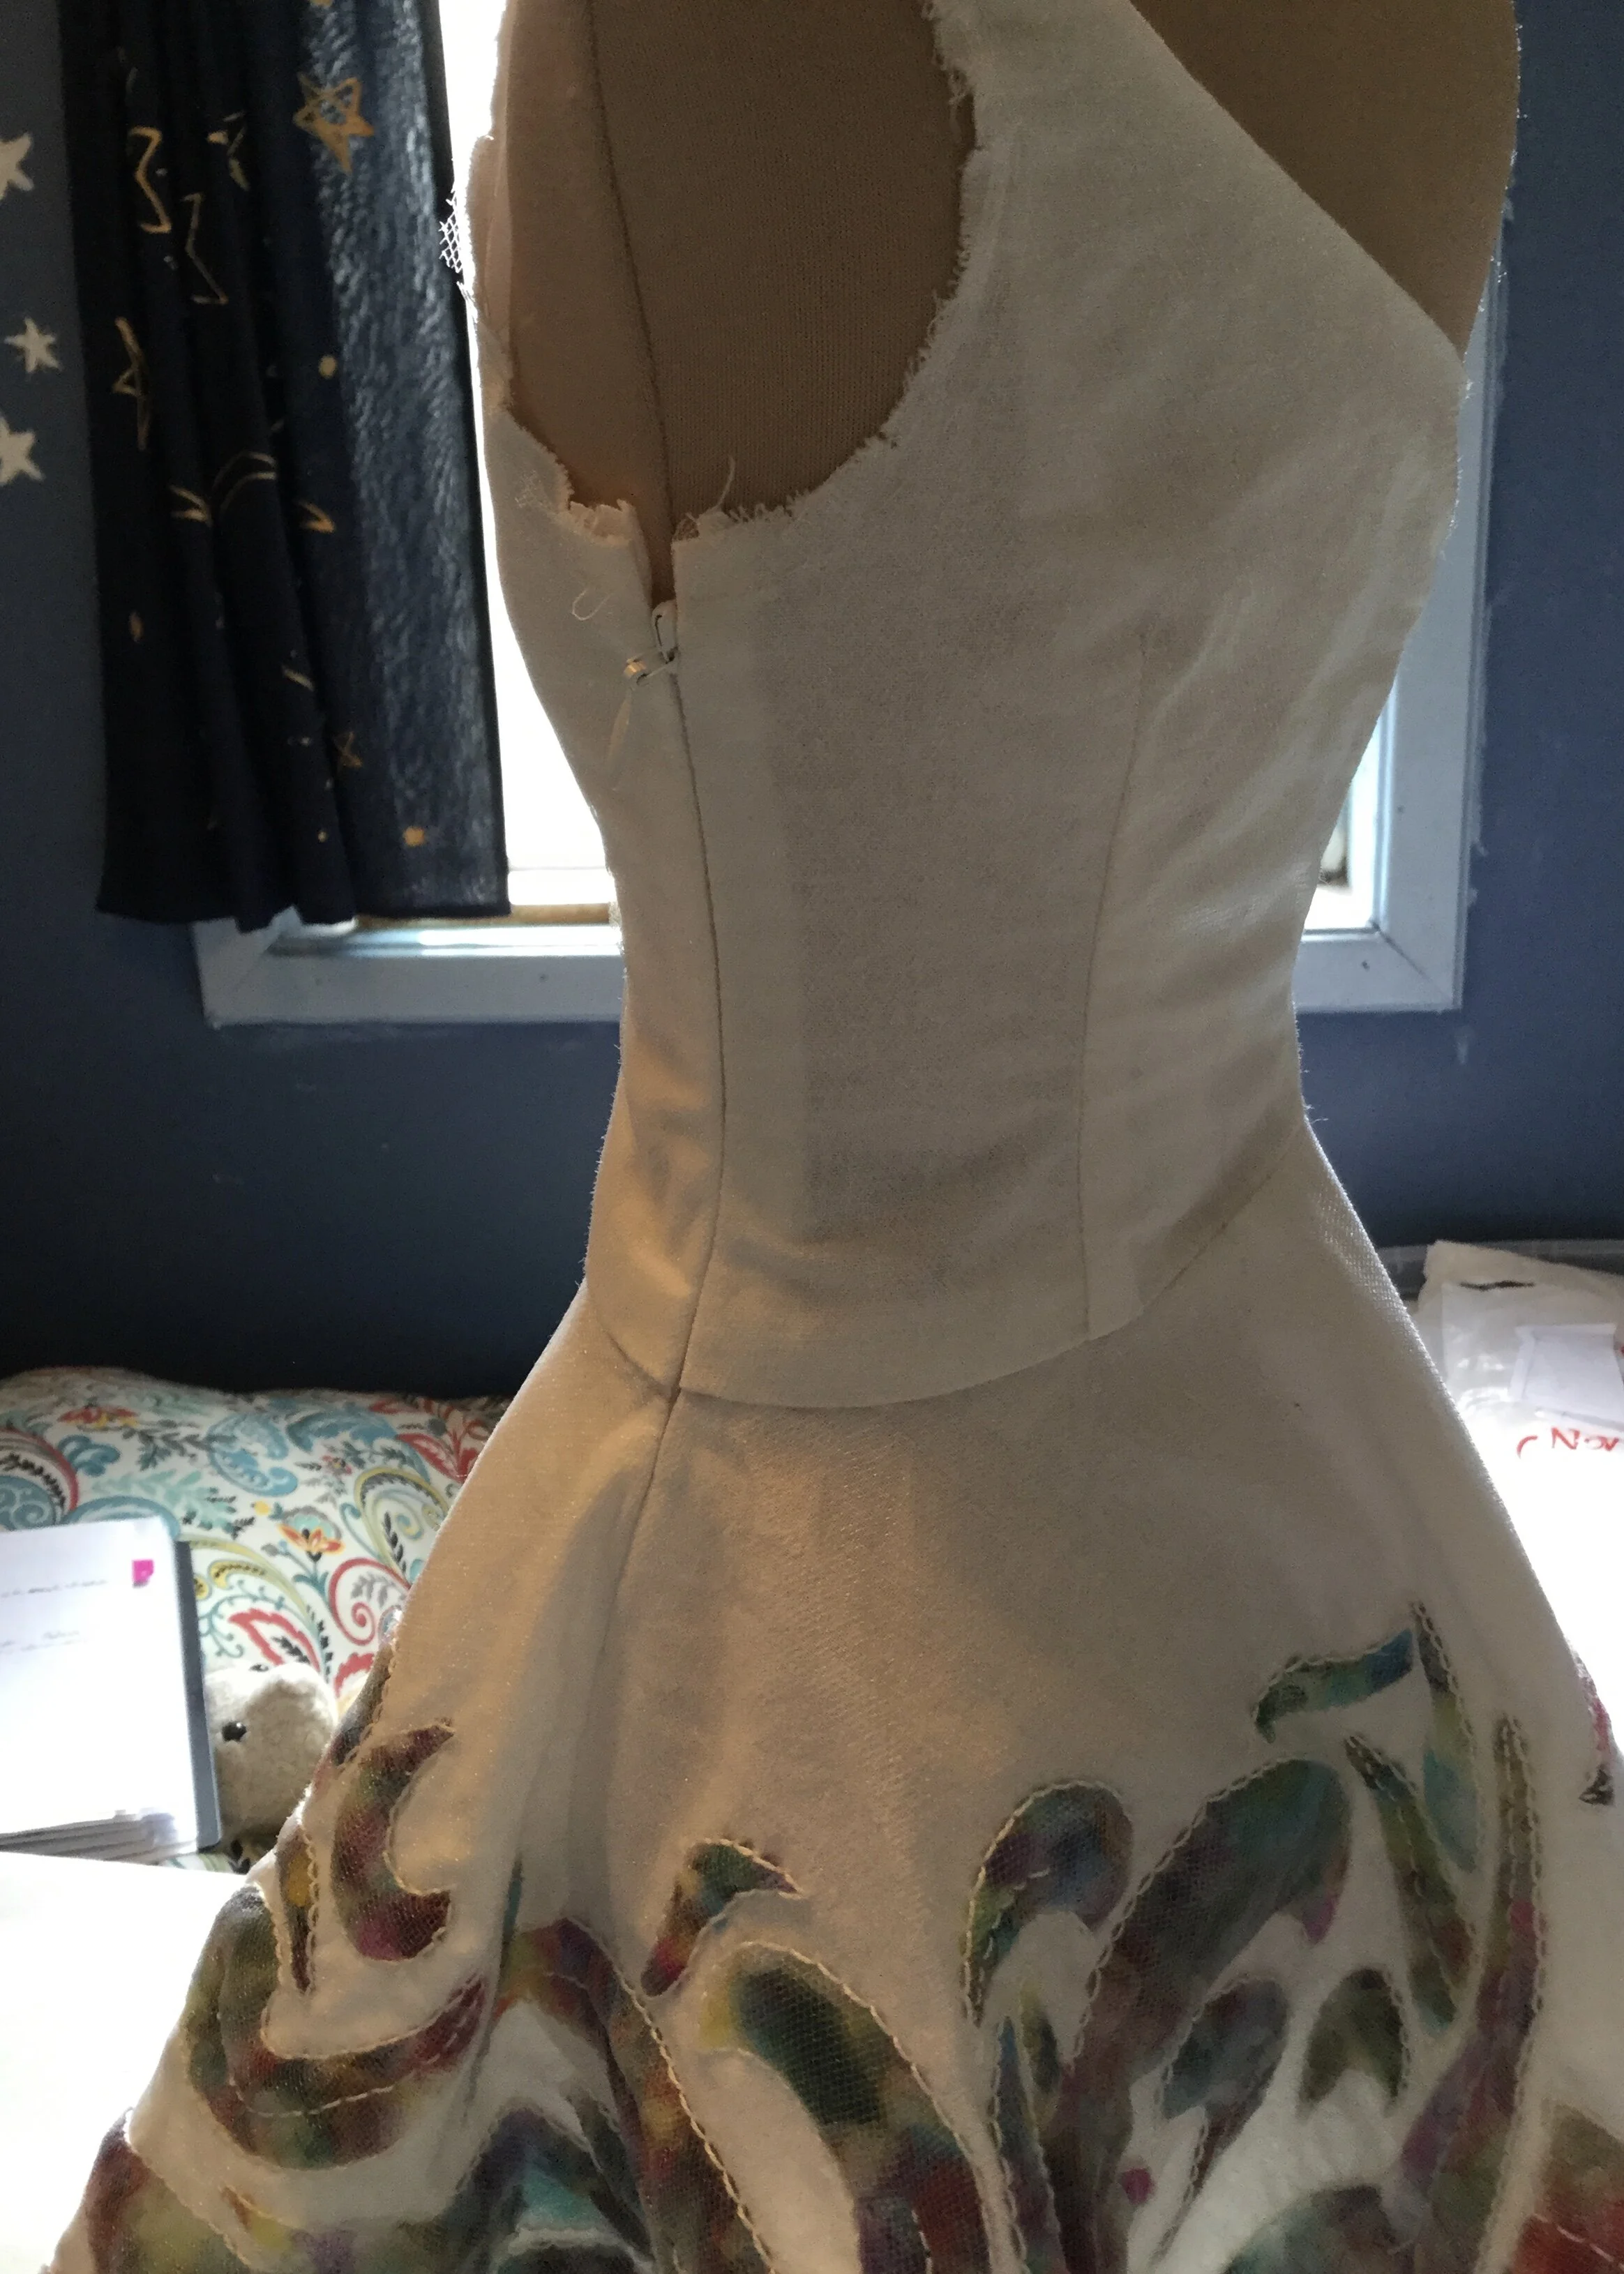
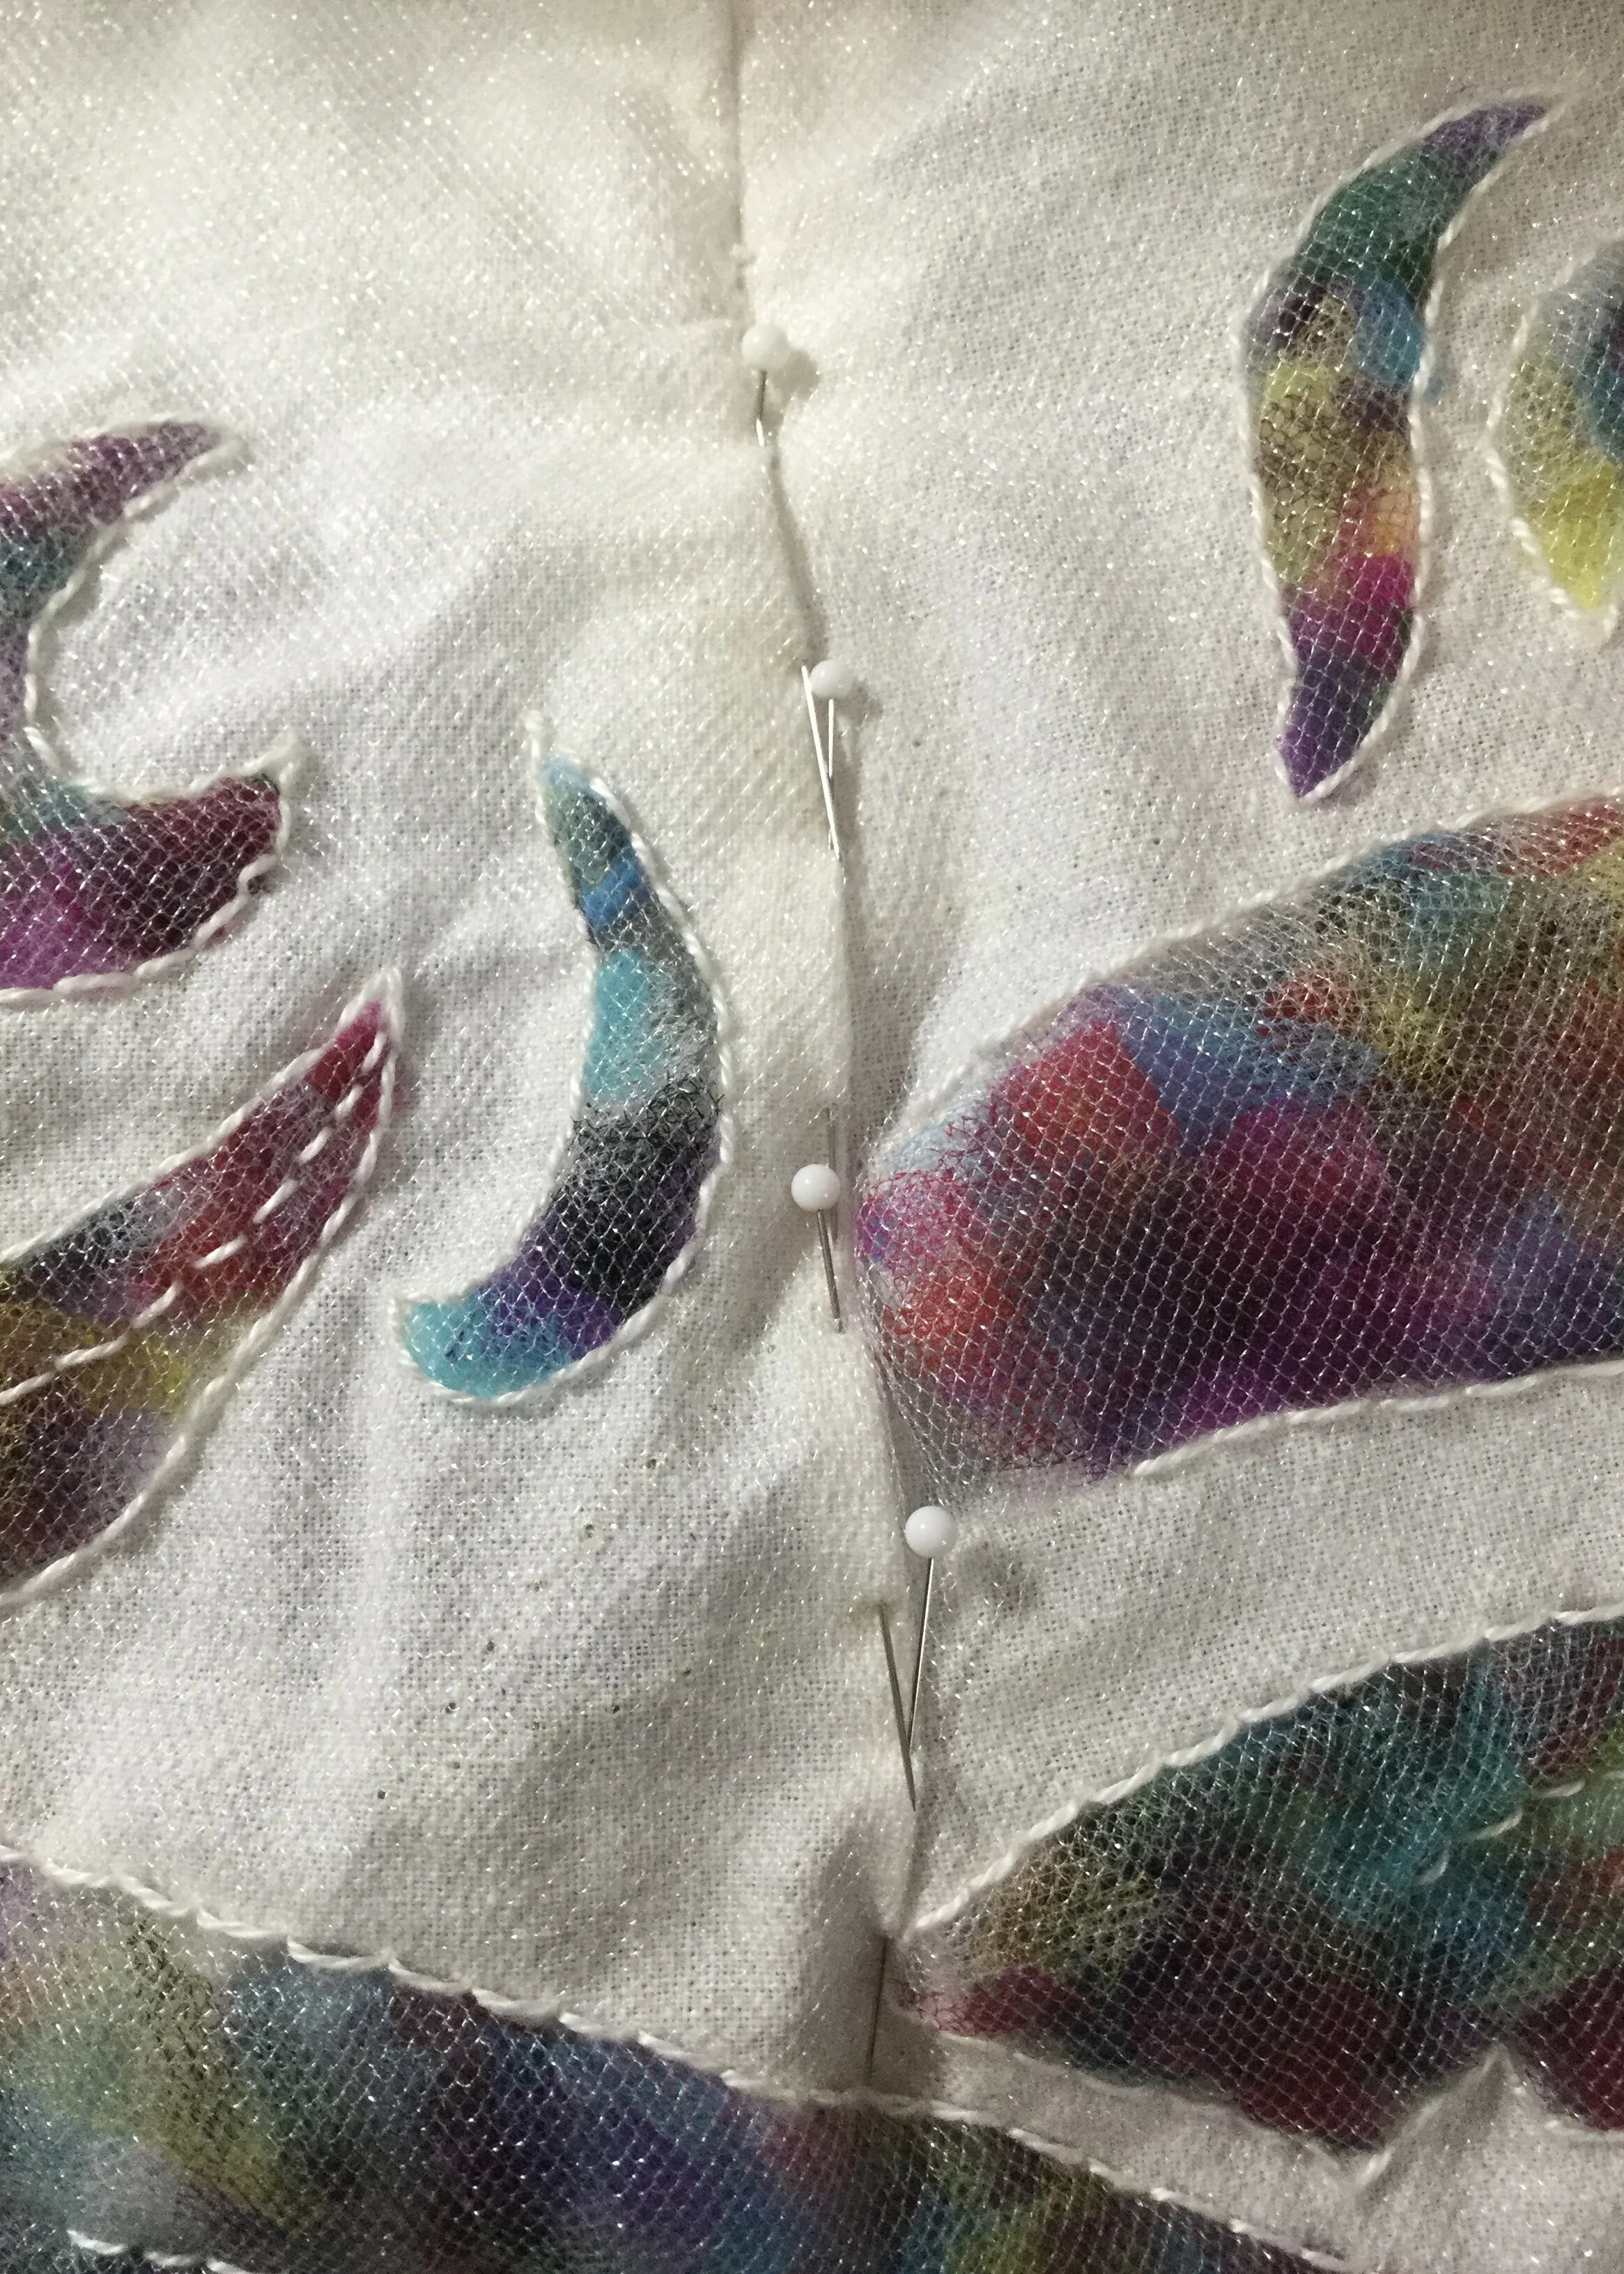
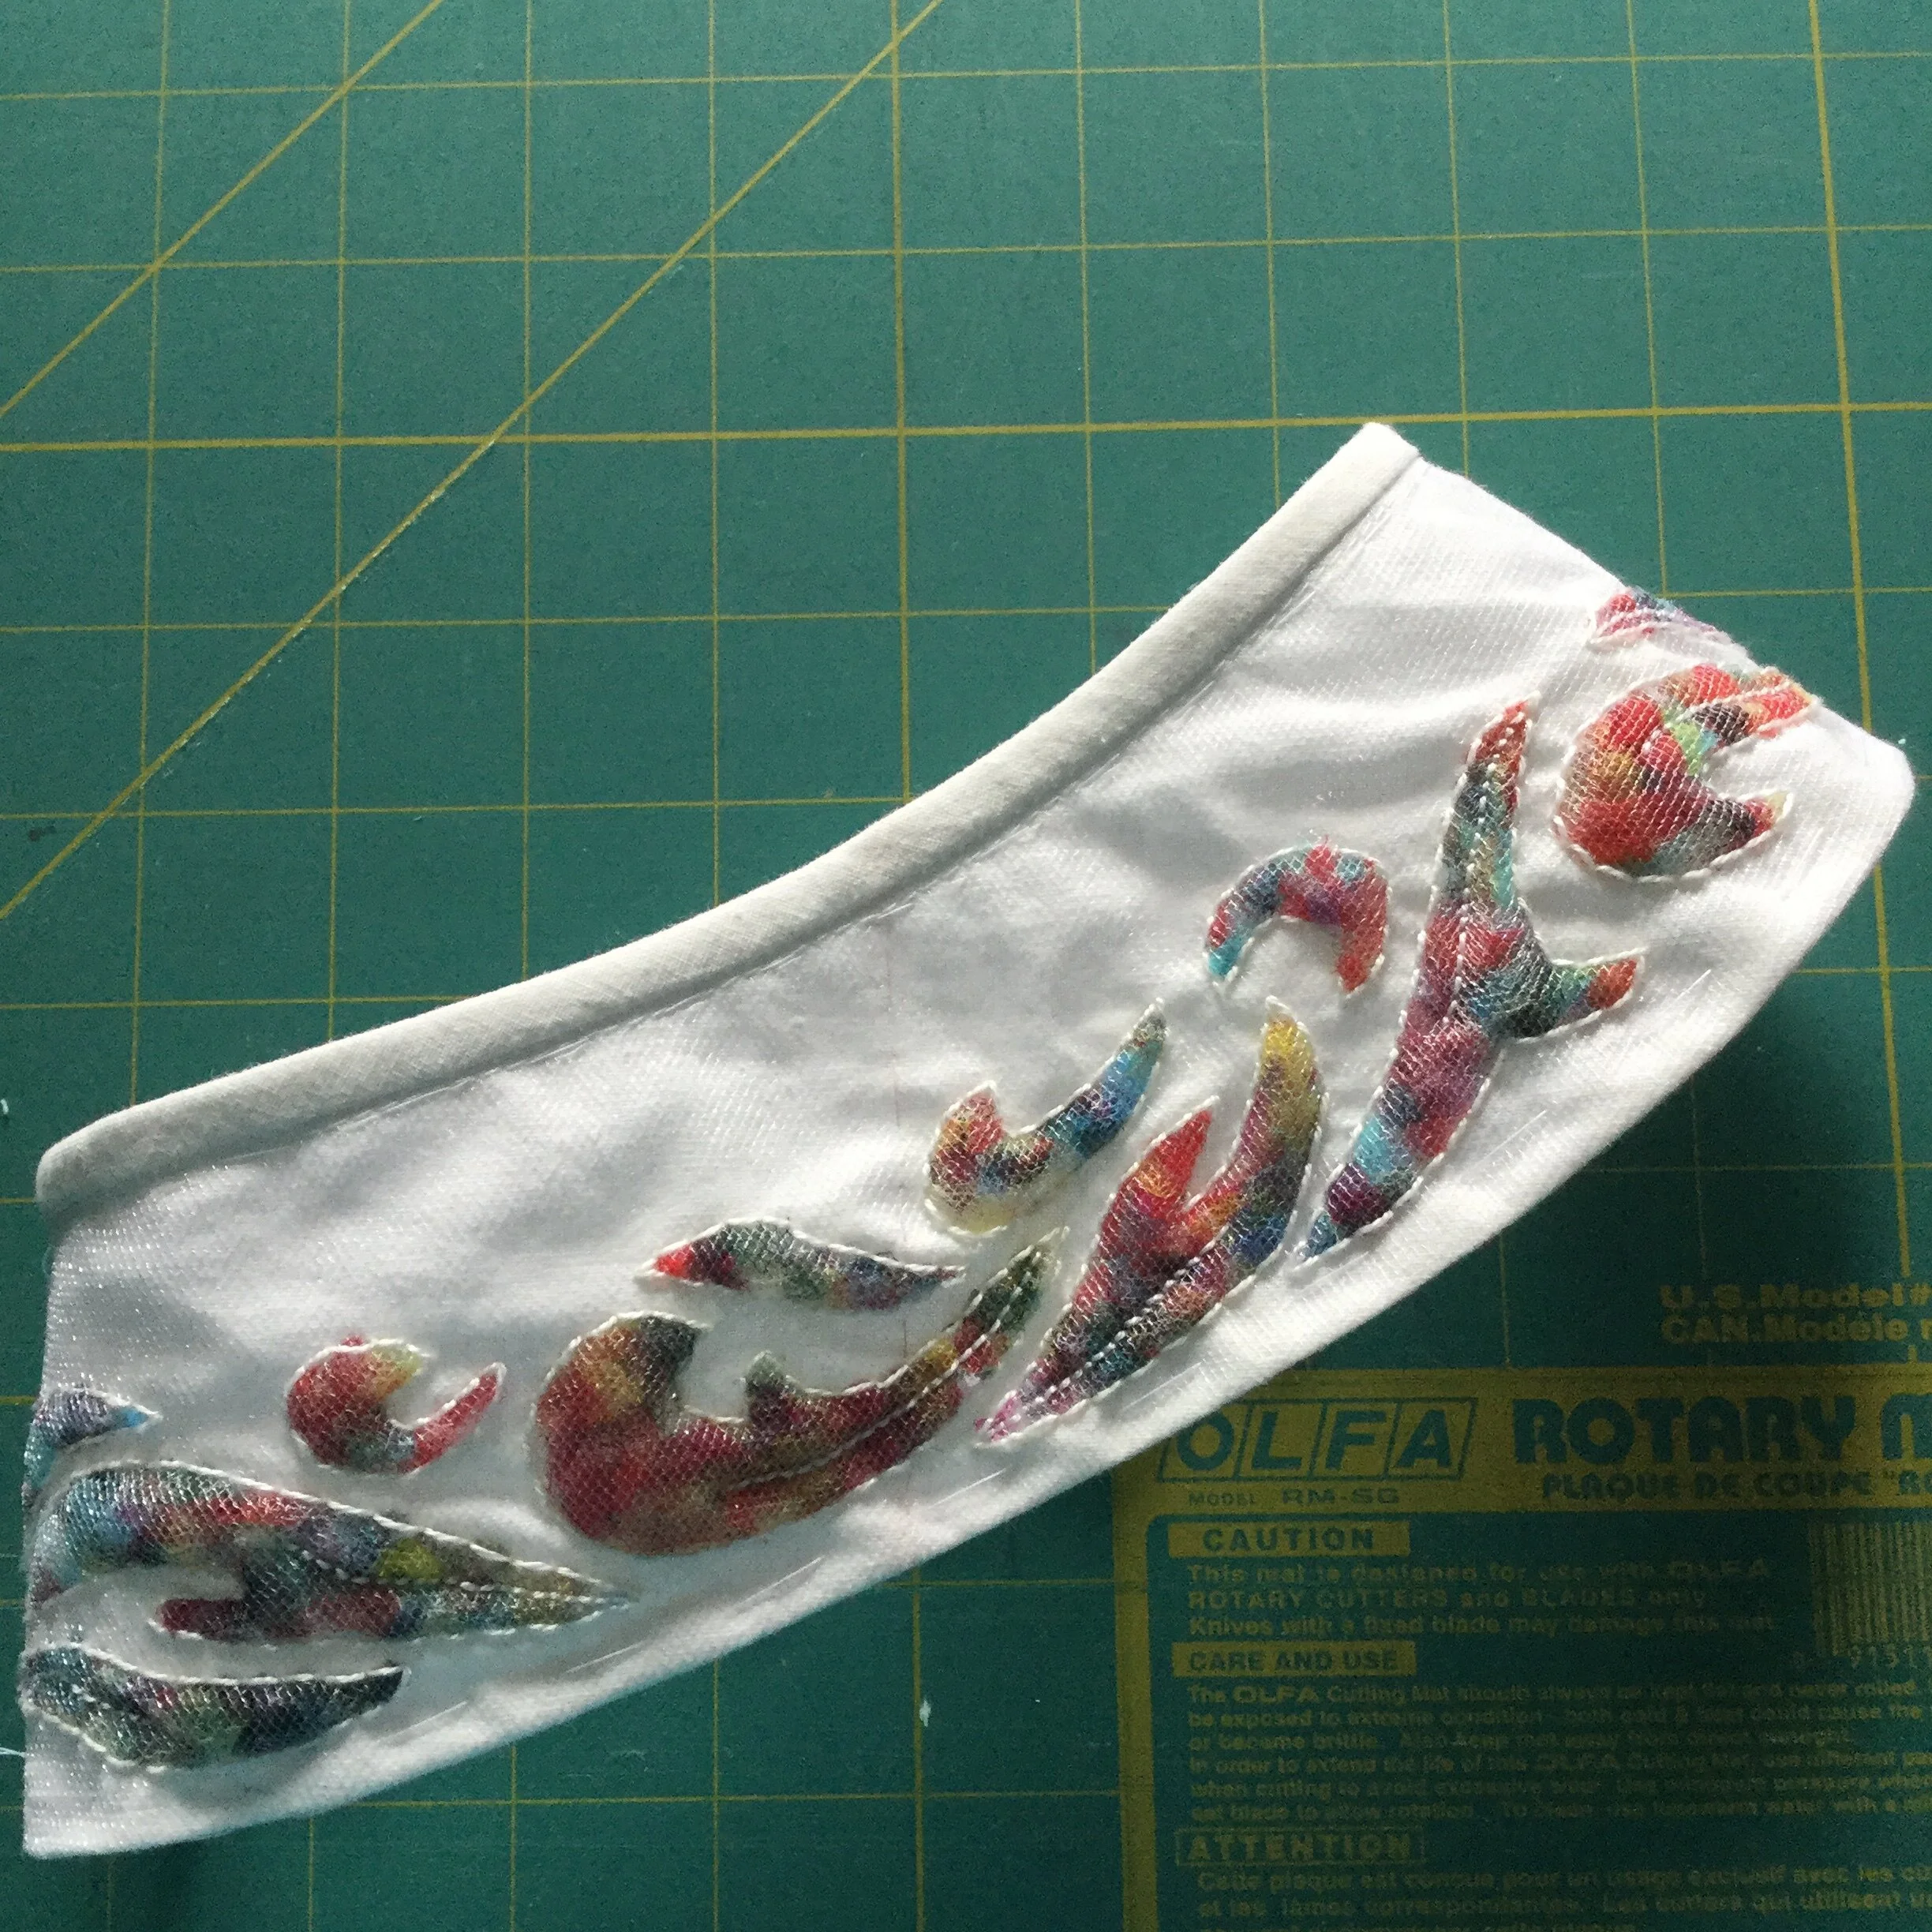
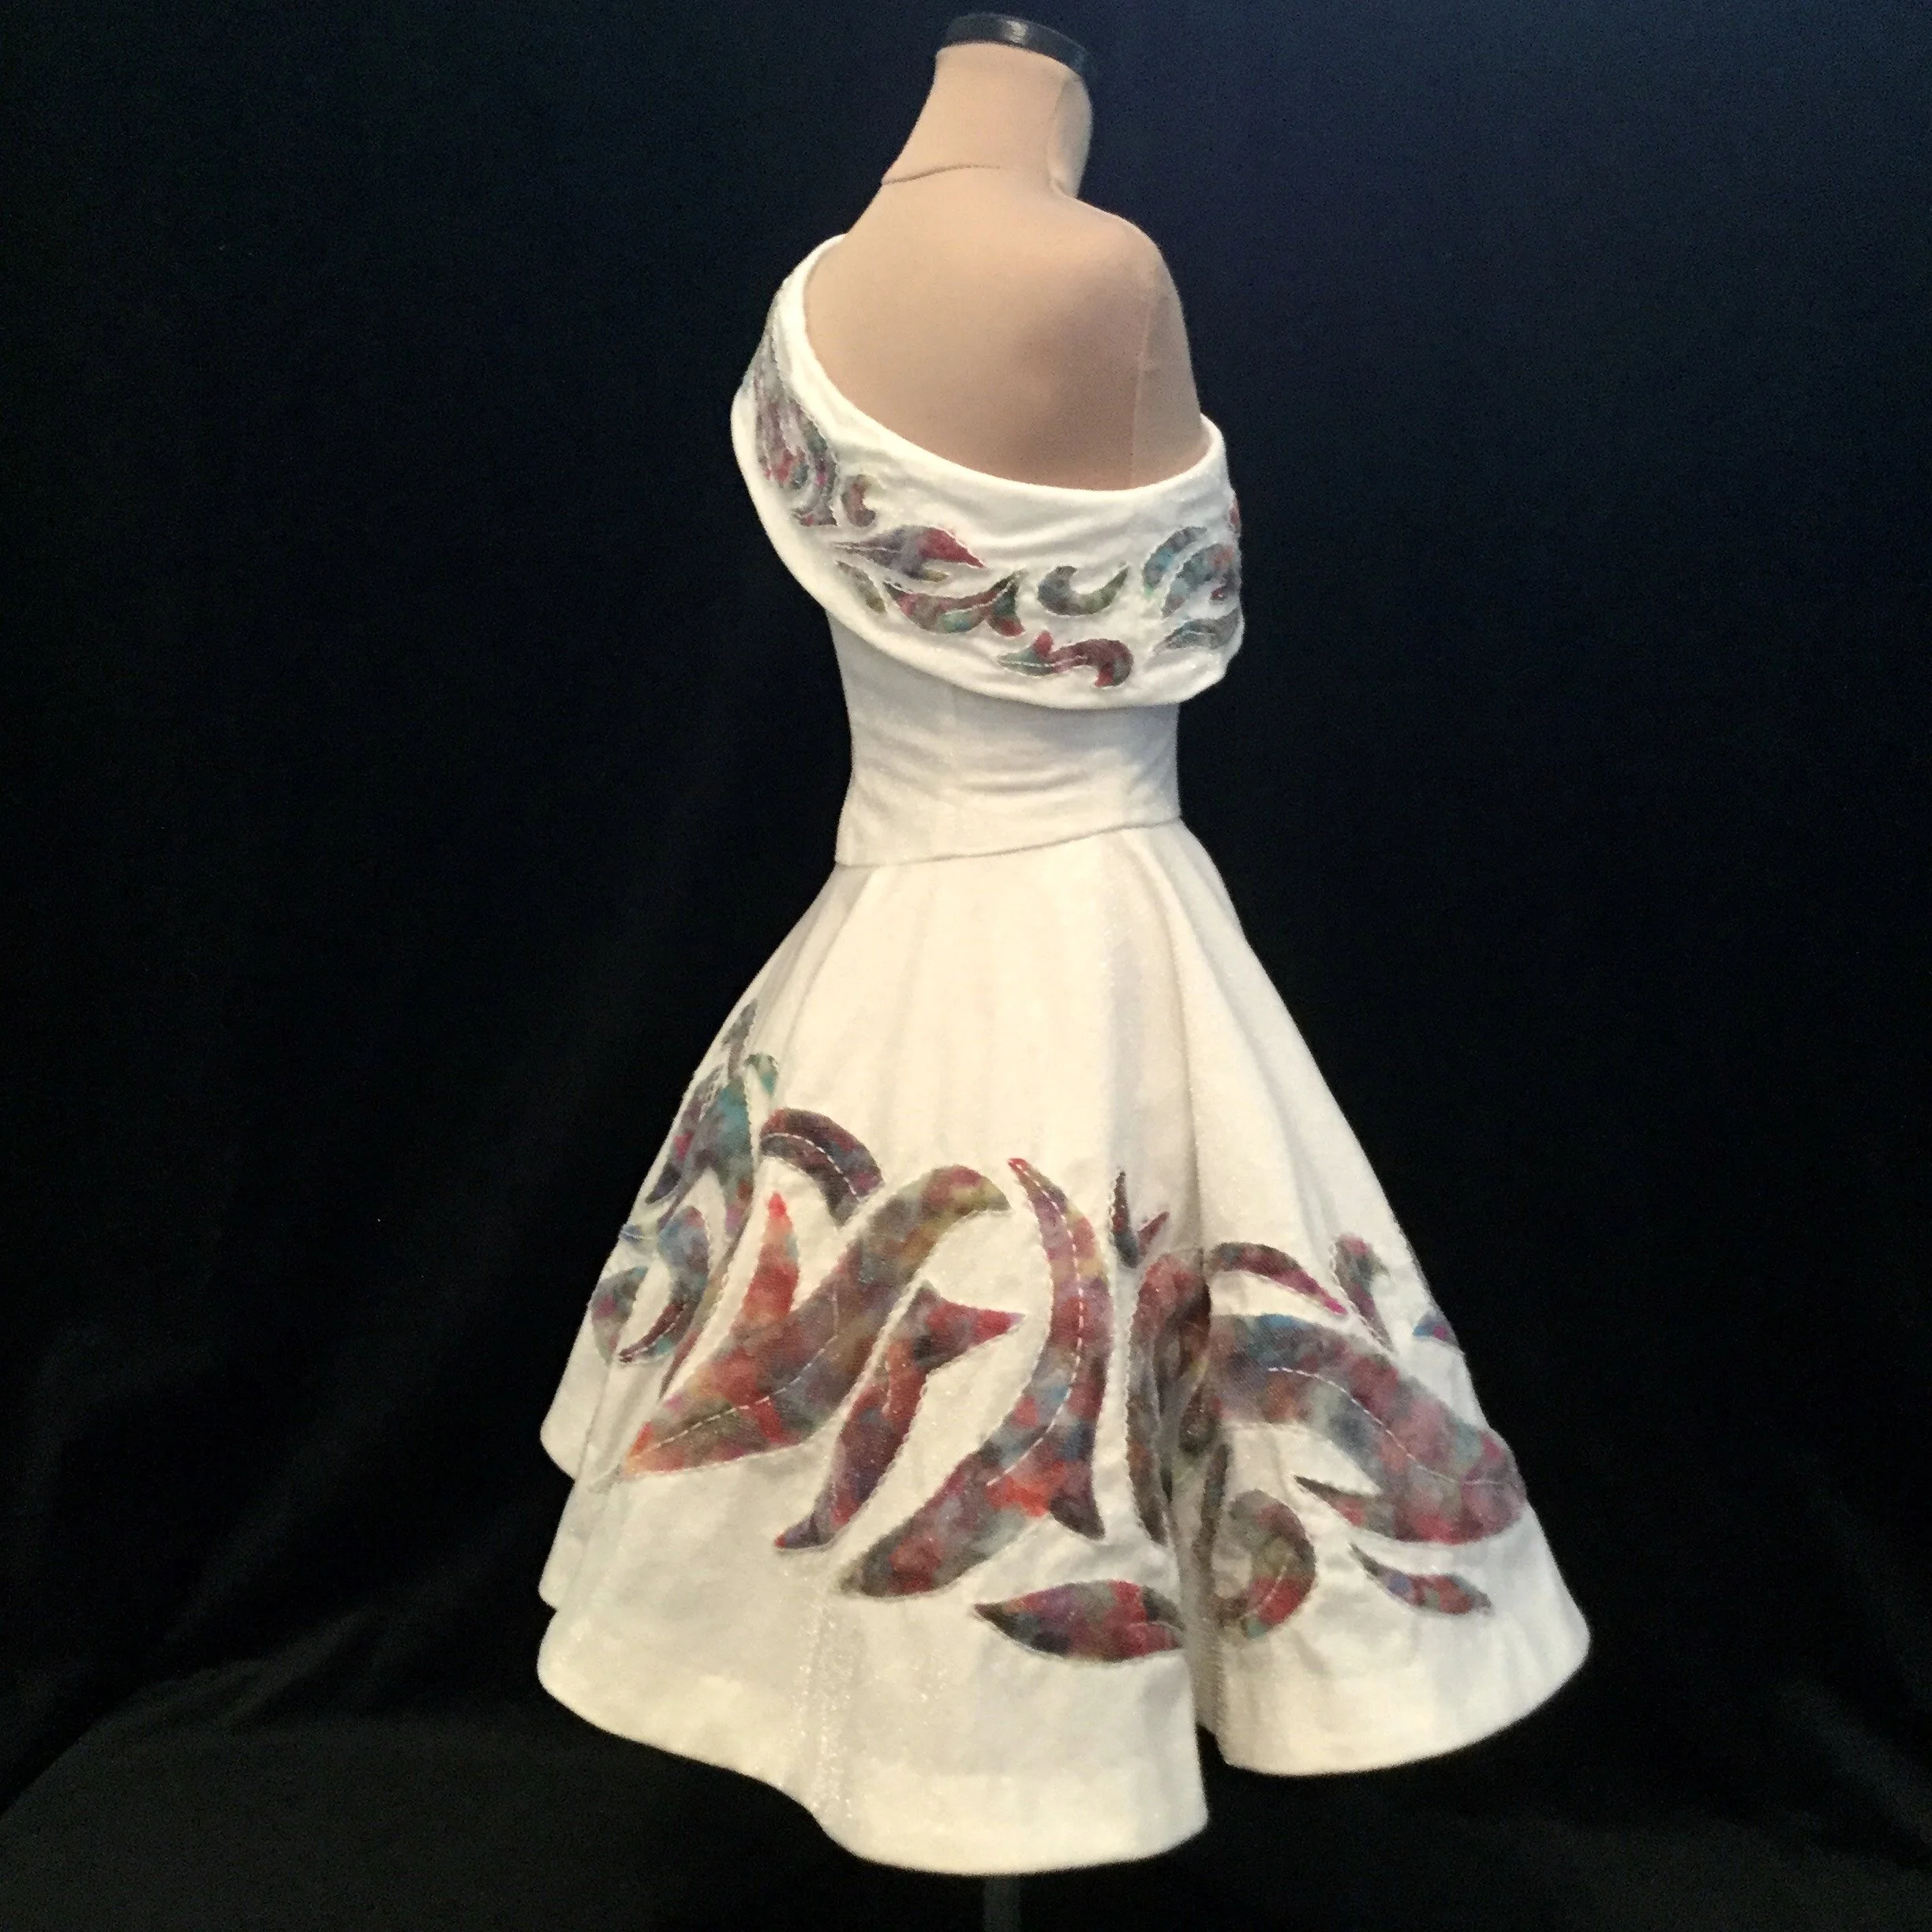
With those repairs taken care of, it was on to the last few touches. First was to give the whole thing a bit of a steam to soften it up and compress the stuffing a little bit, not to flatten it but to help set it in place and keep it from moving about and migrating out of the corners. The second task was to apply a bit of diluted glue to each of the cuts. I wasn't too worried about them fraying so much that things would come apart, particularly as the skirt was going to be lined, but it was just a little bit of extra insurance. The final step was to topstitch the “ribs” into the larger shapes. This was partly for the aesthetic of it, but it did also serve as an extra bit of quilting which would help hold the stuffing in place.
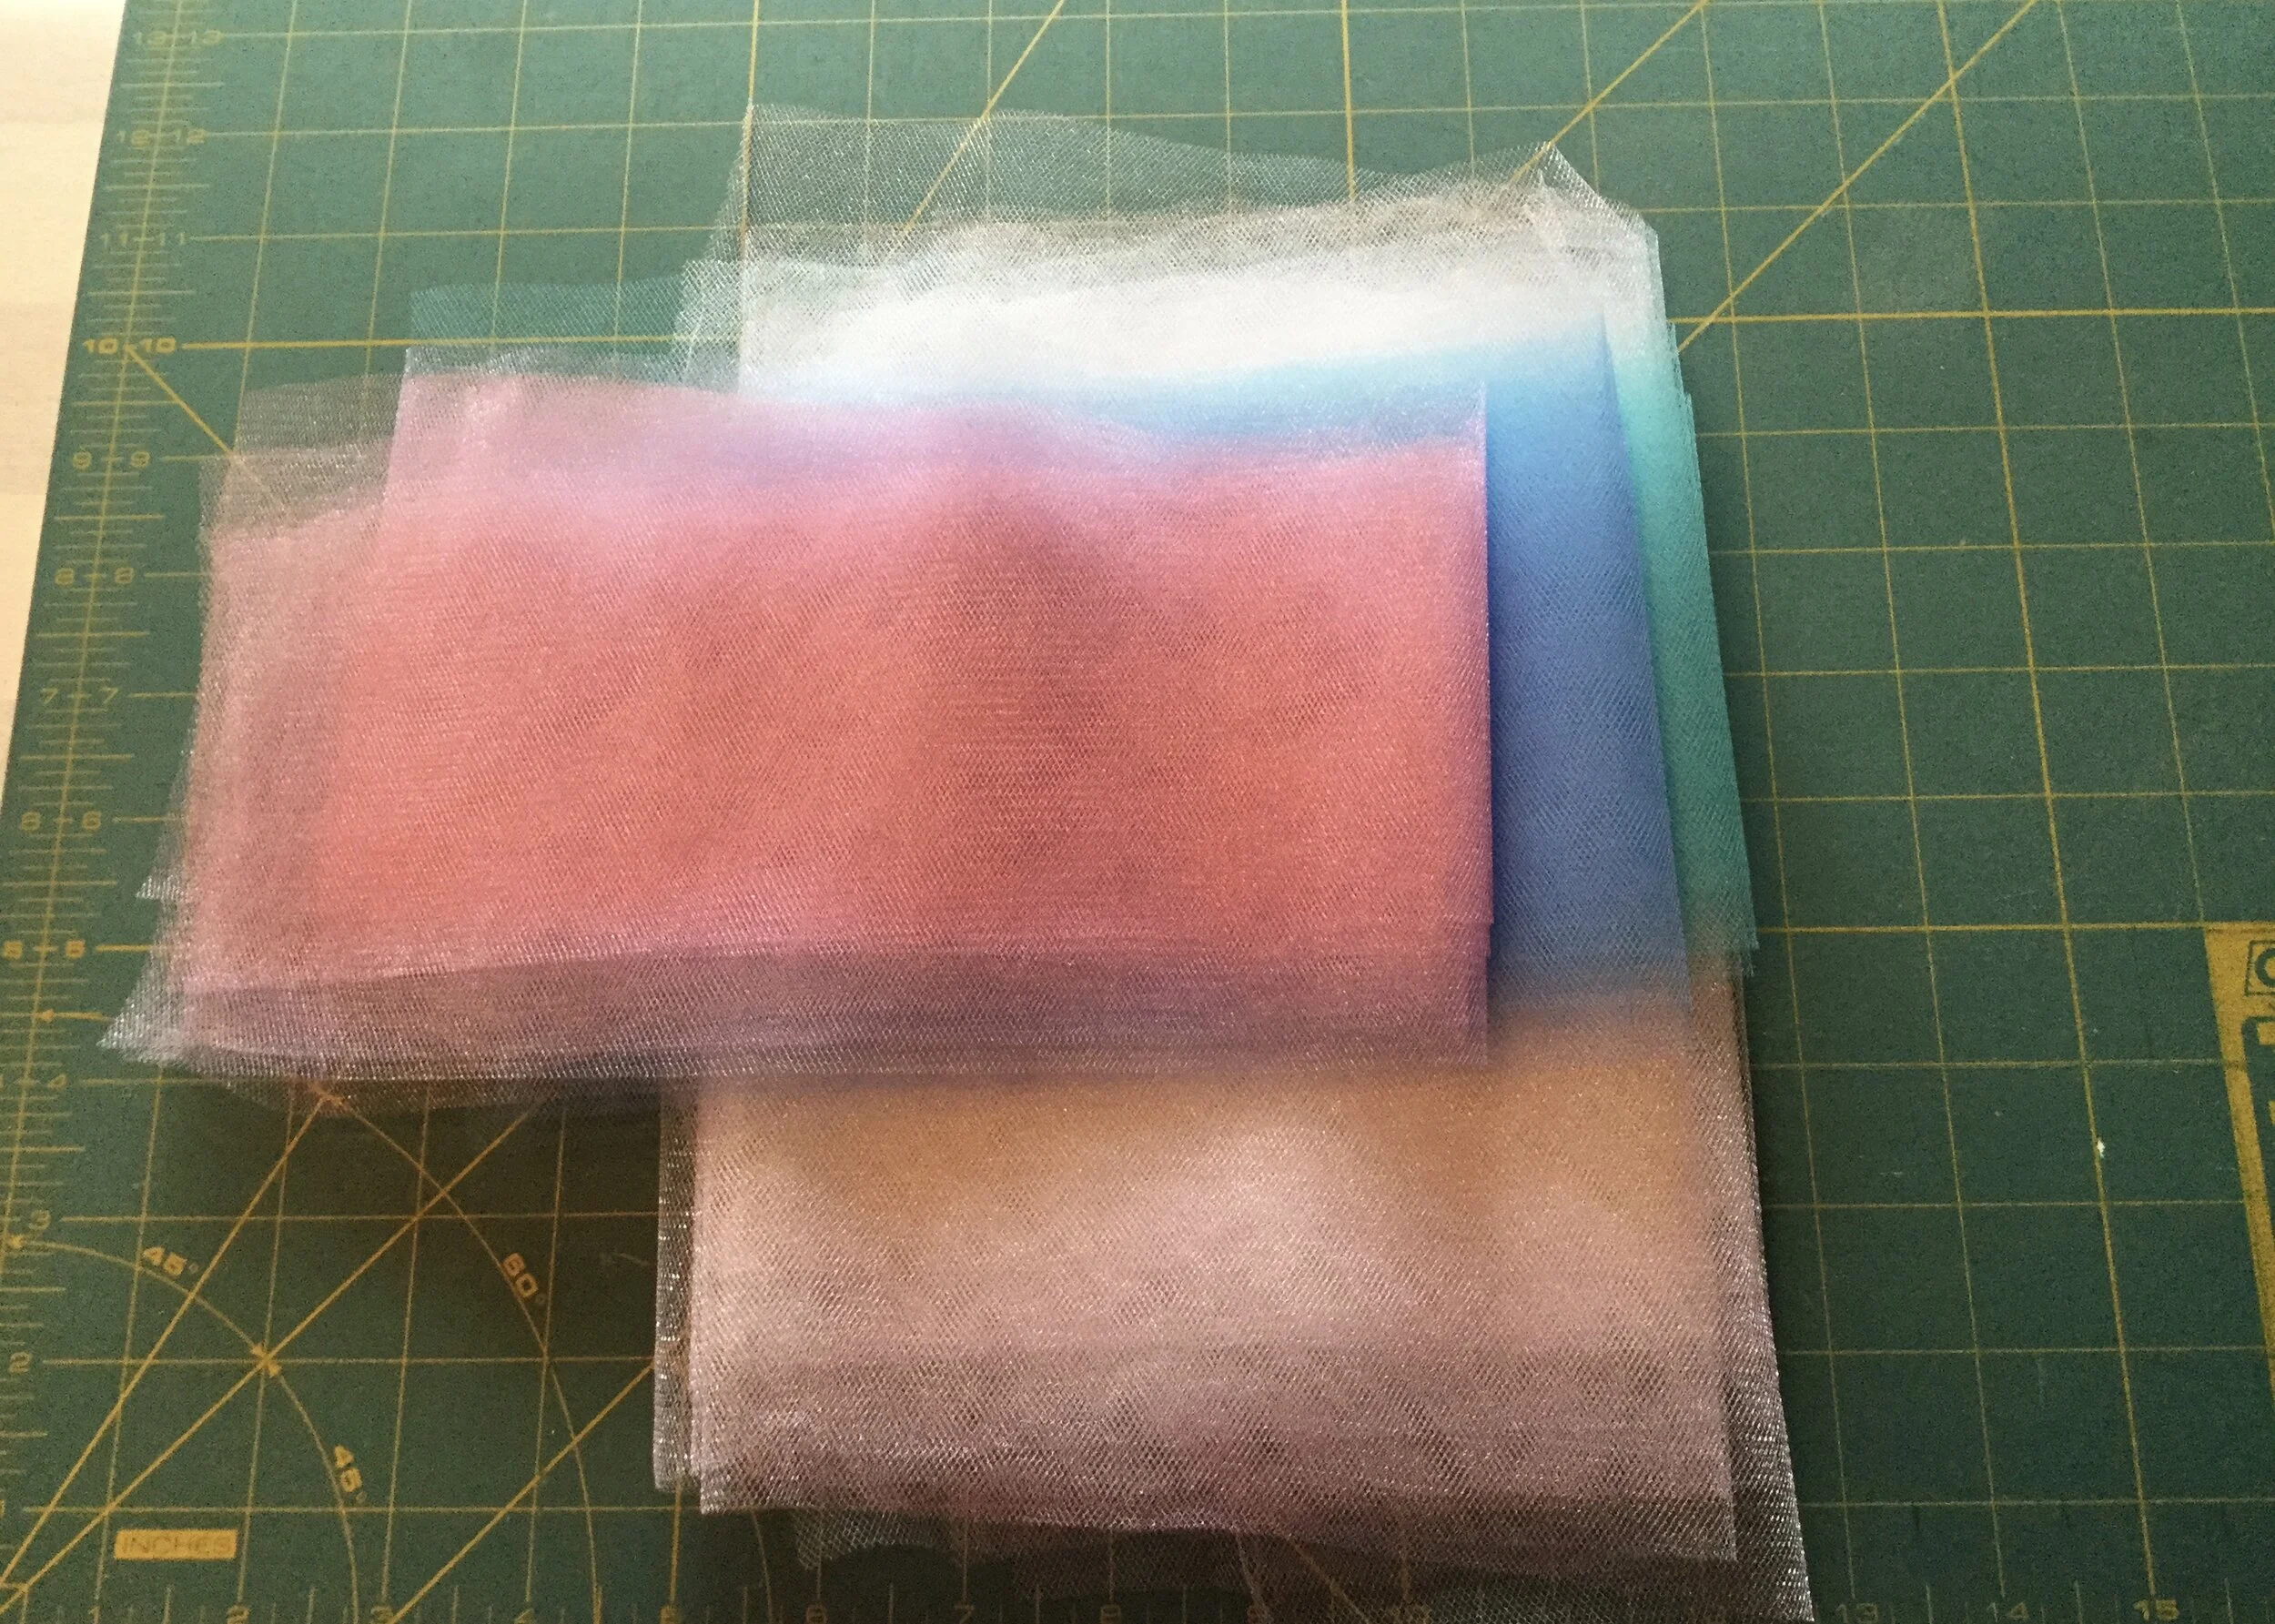
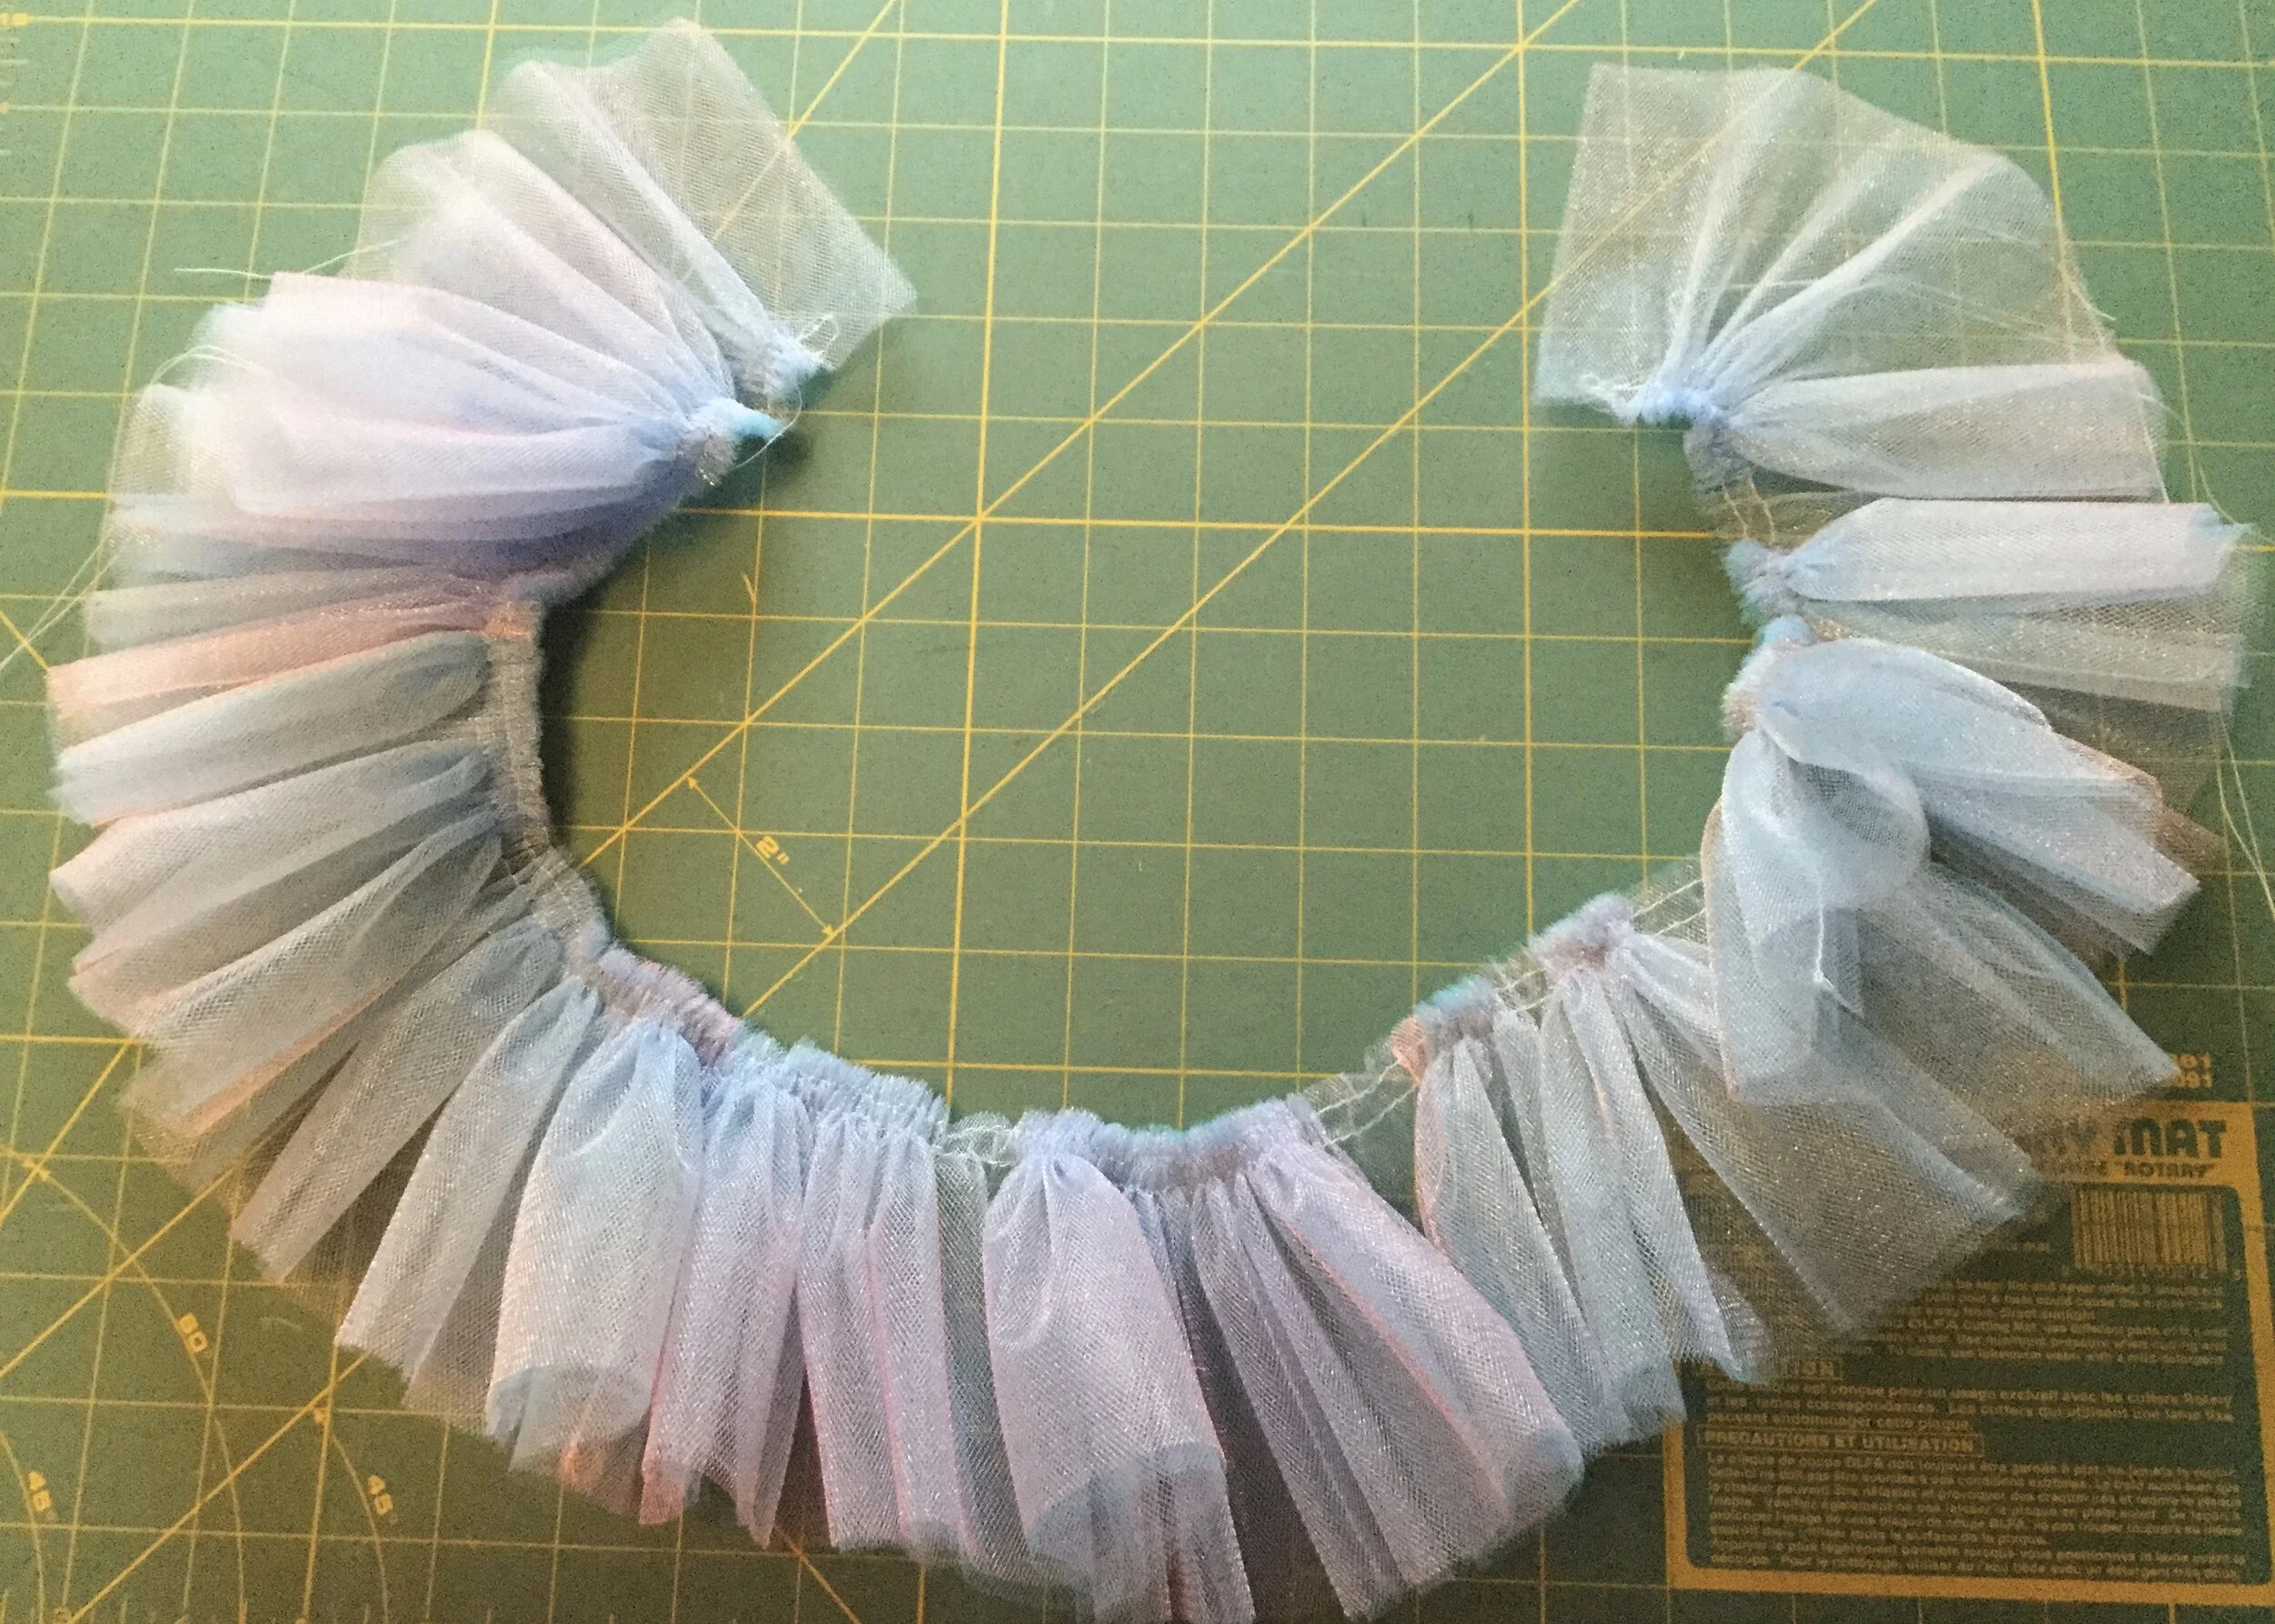
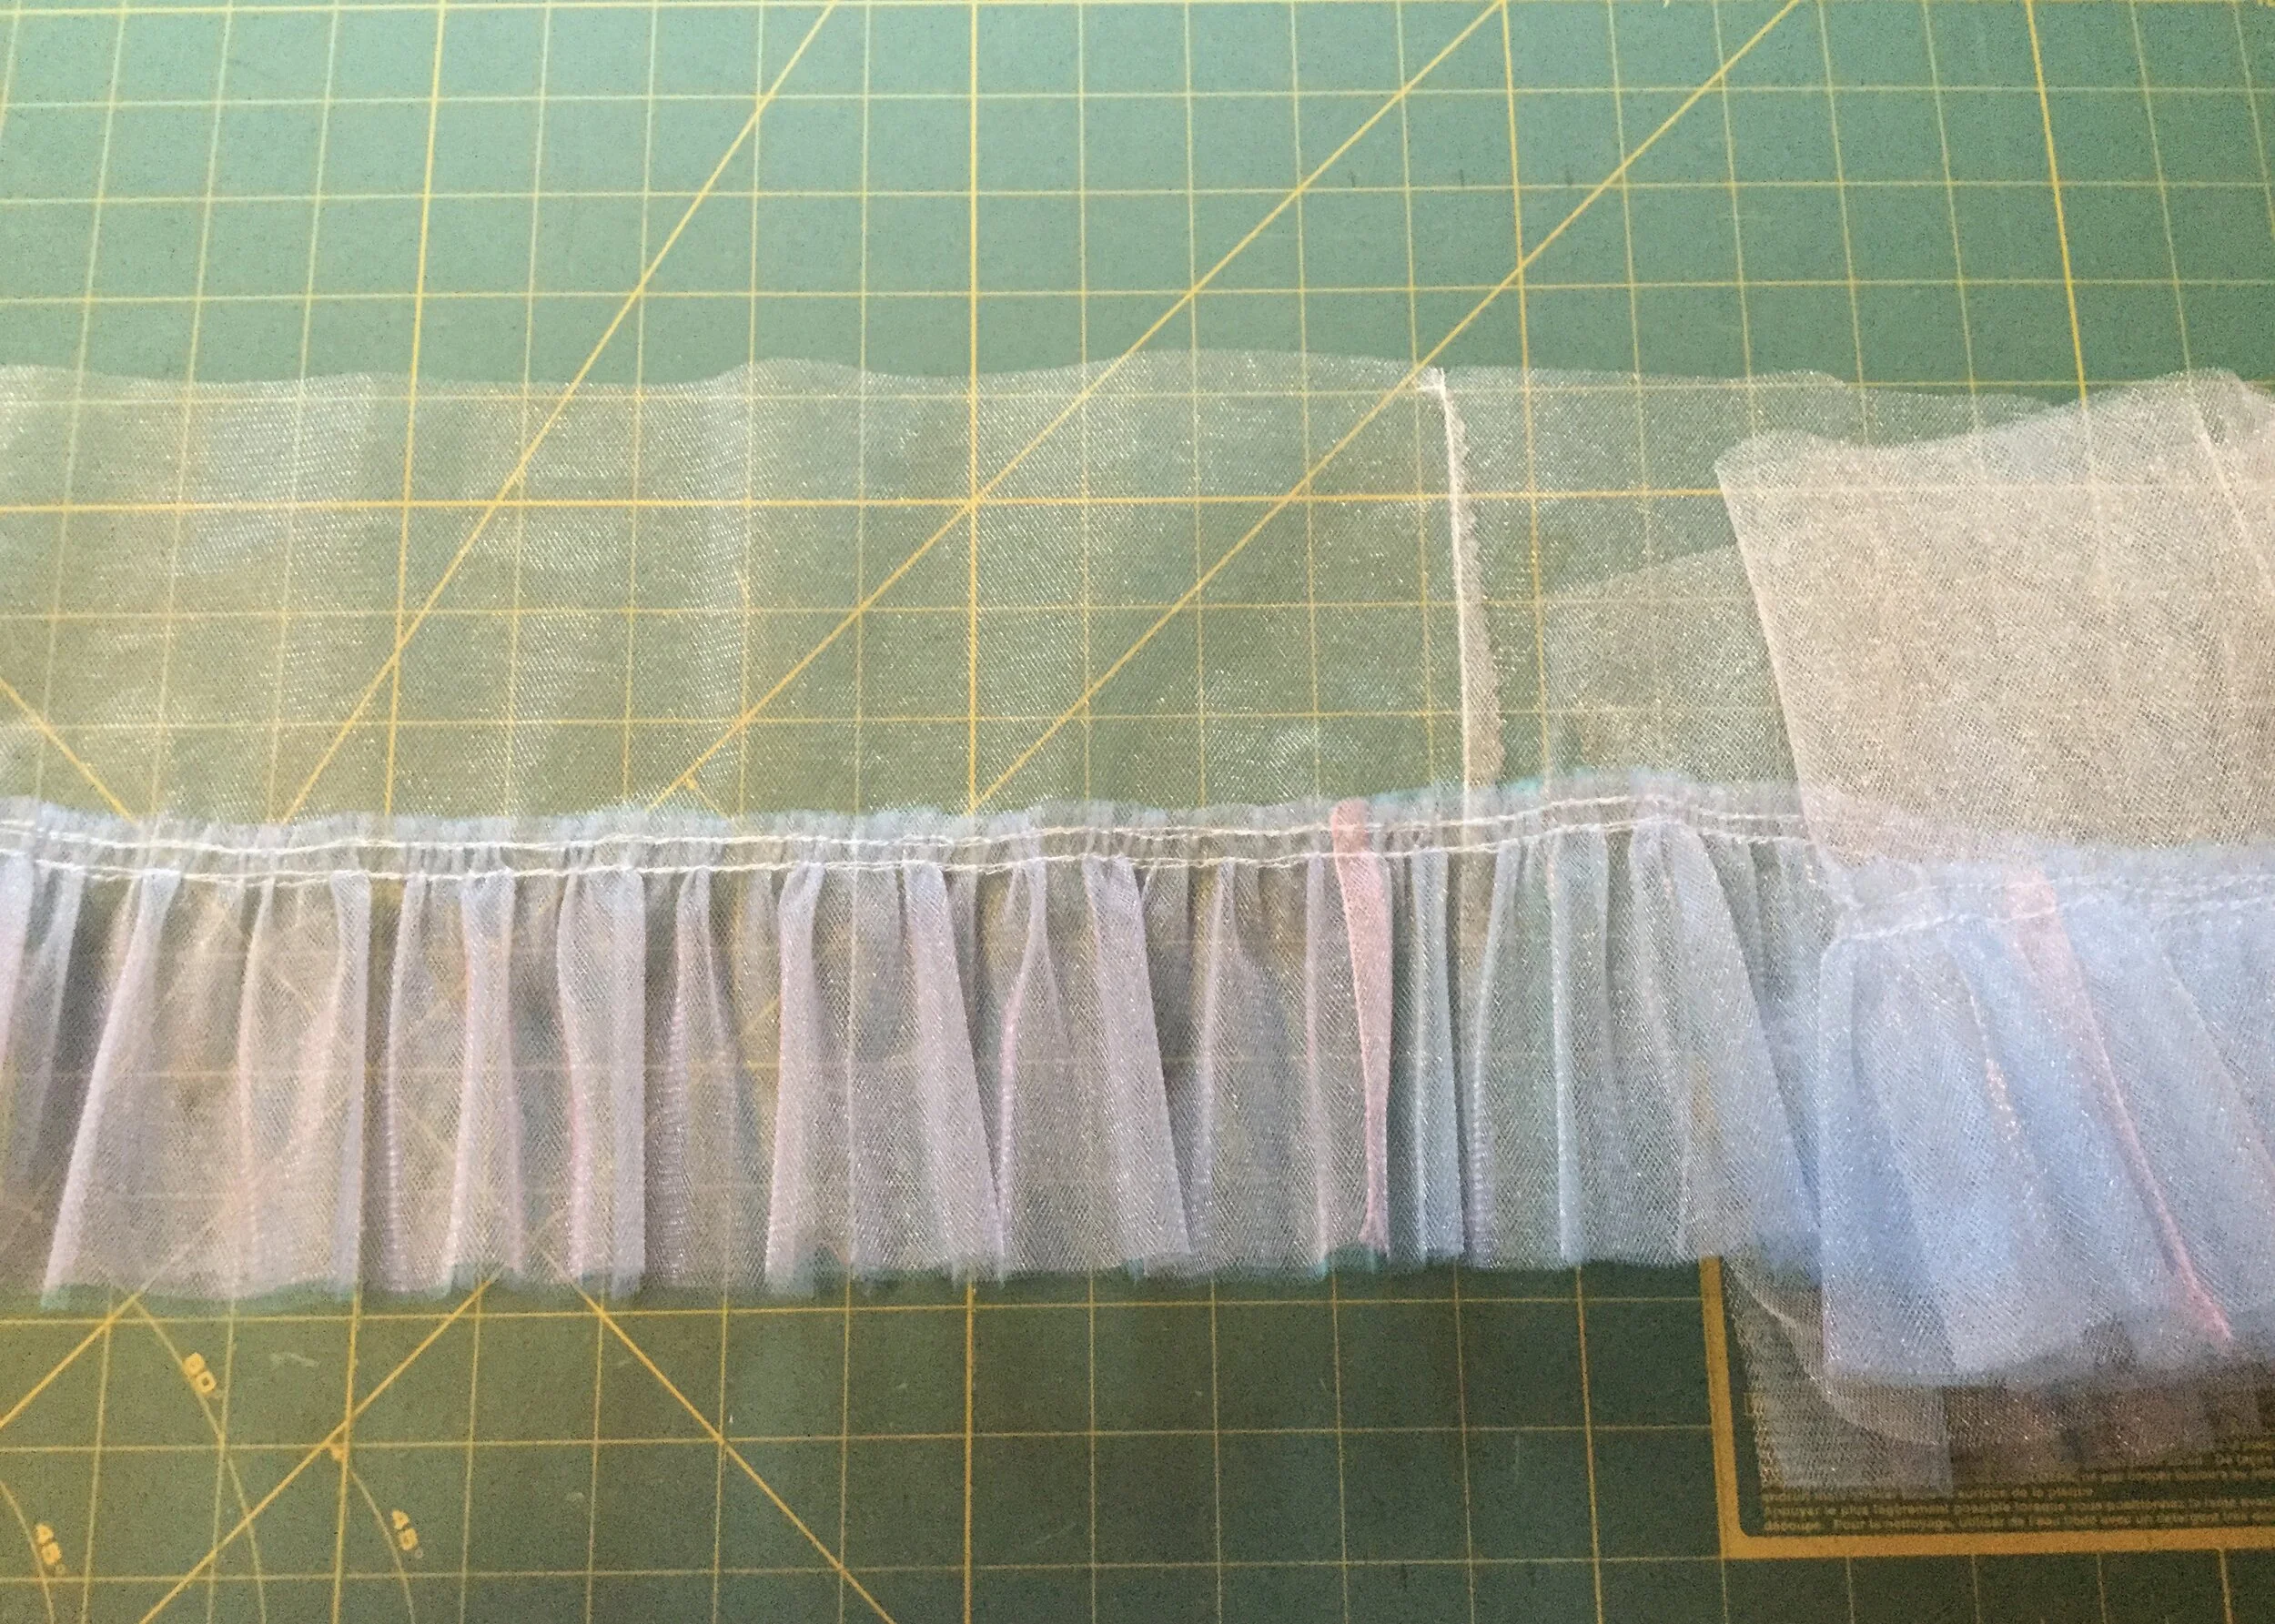
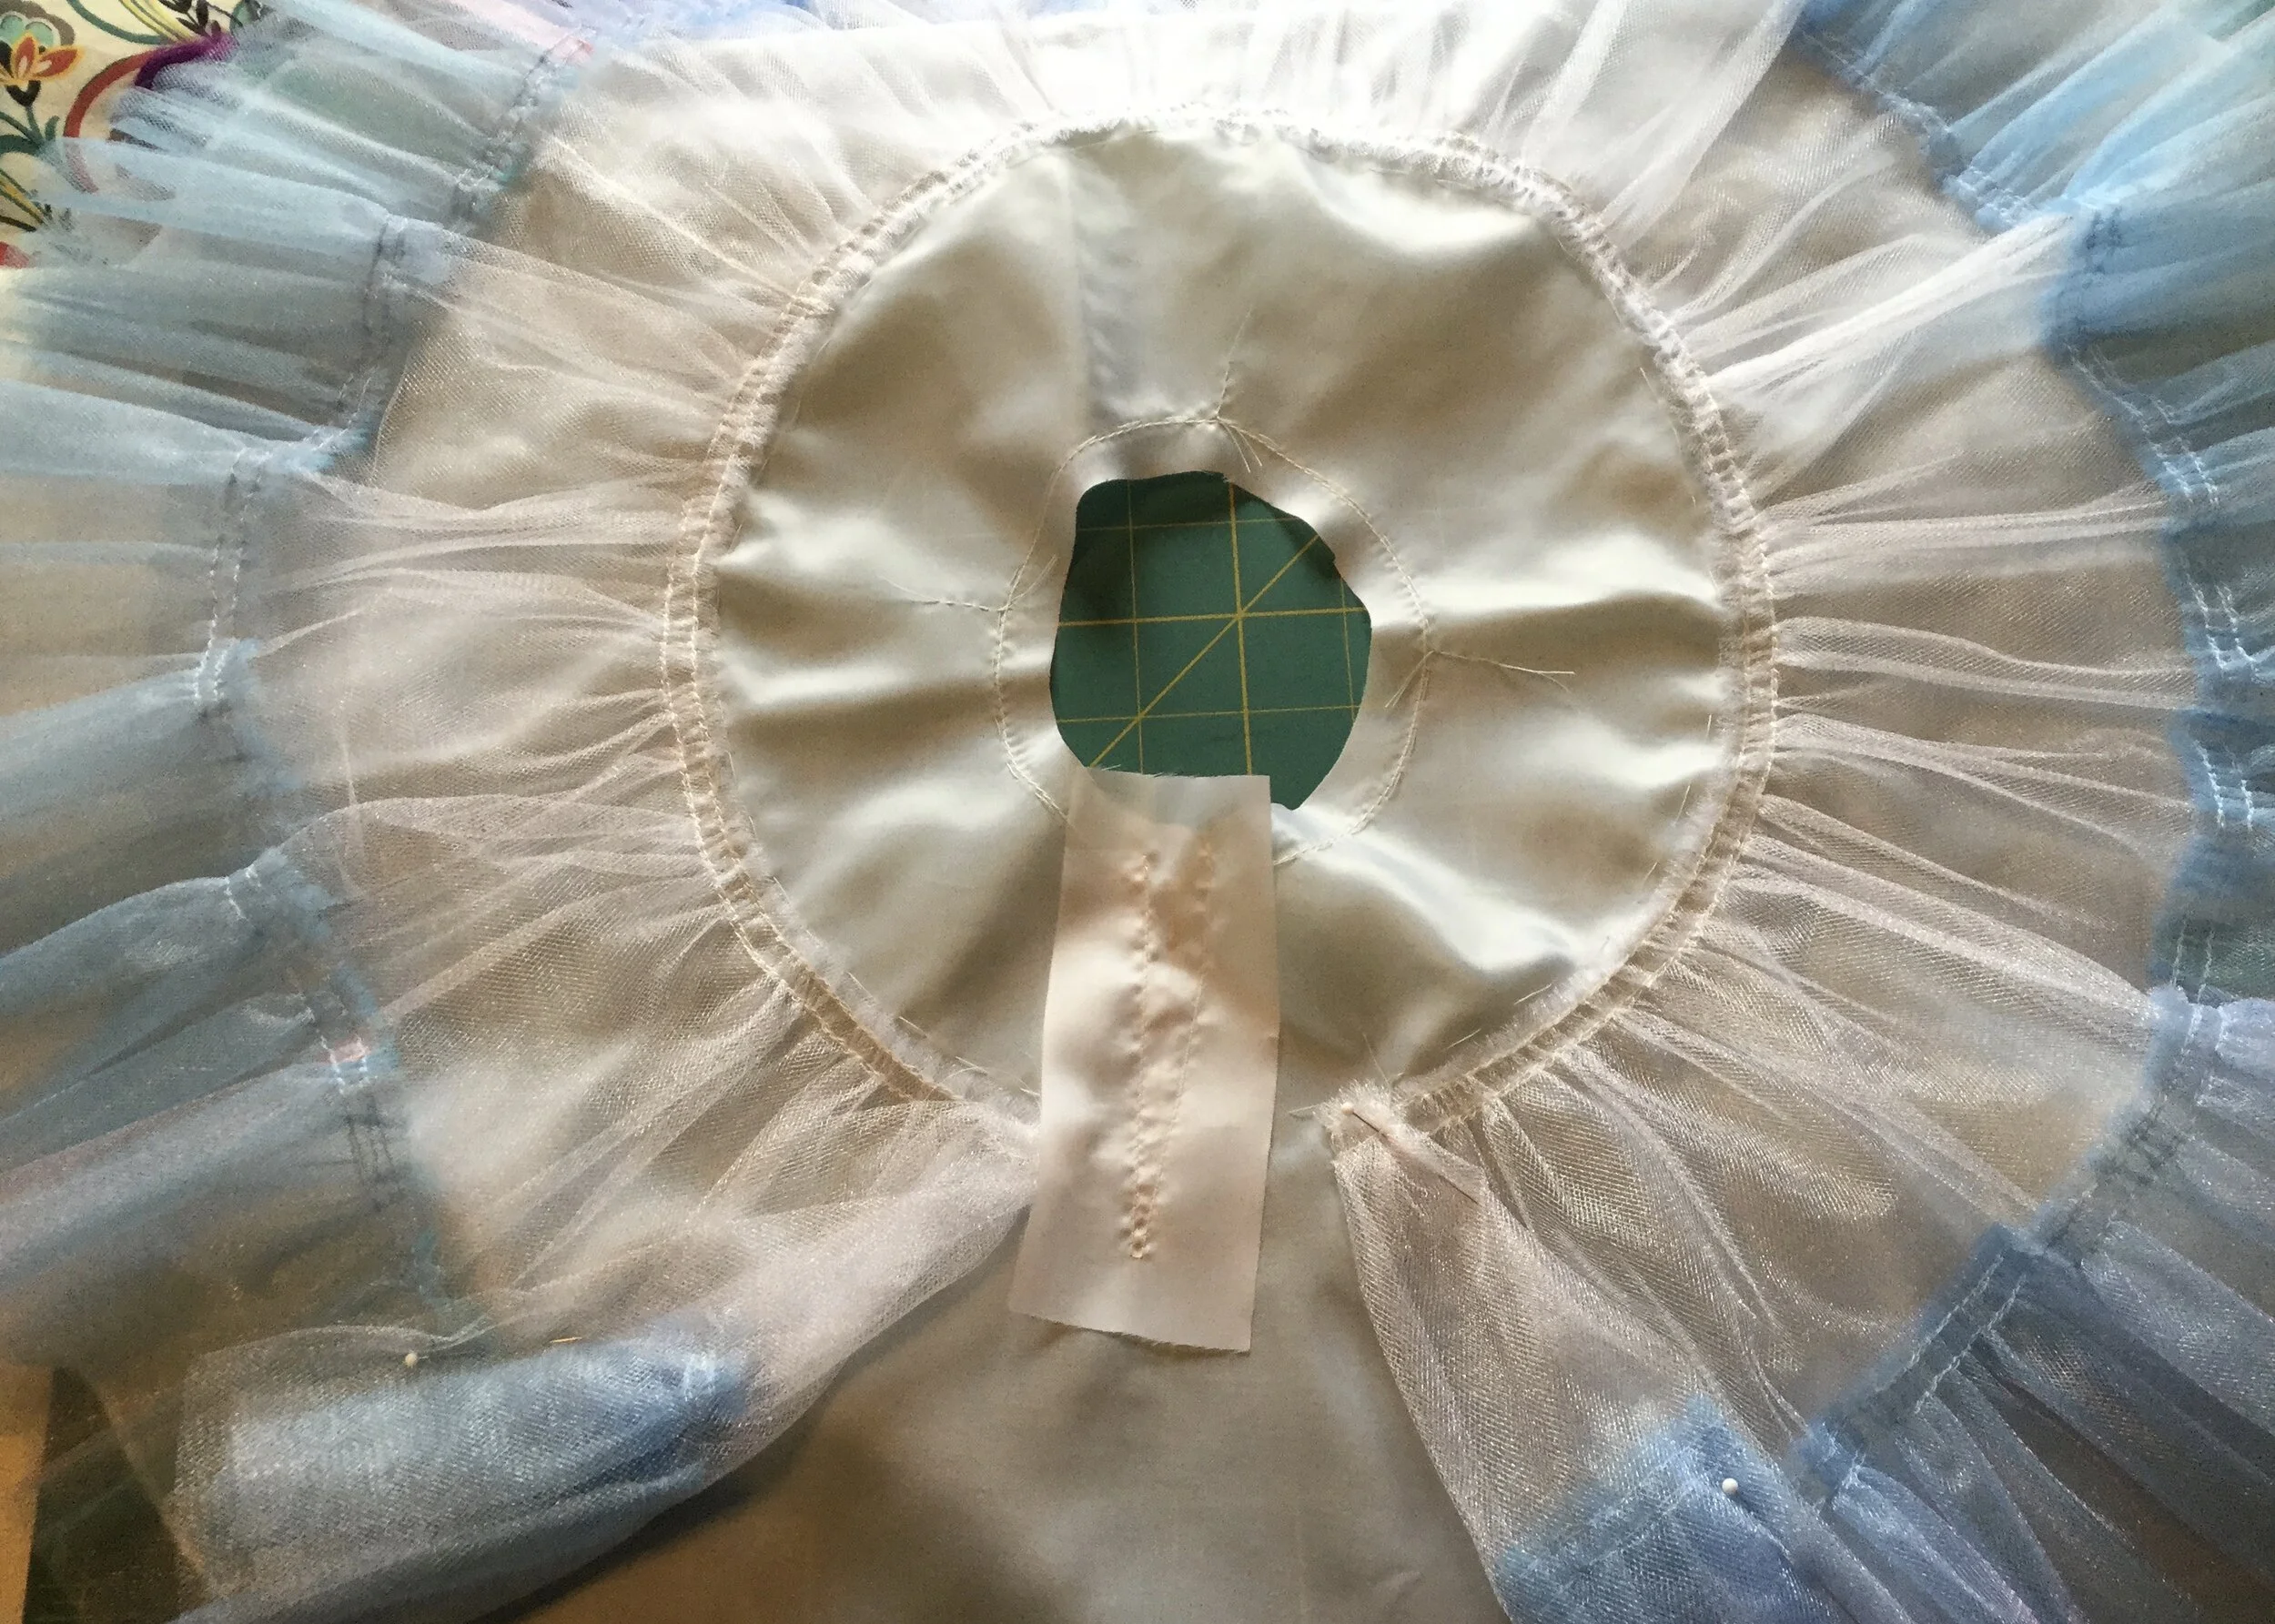
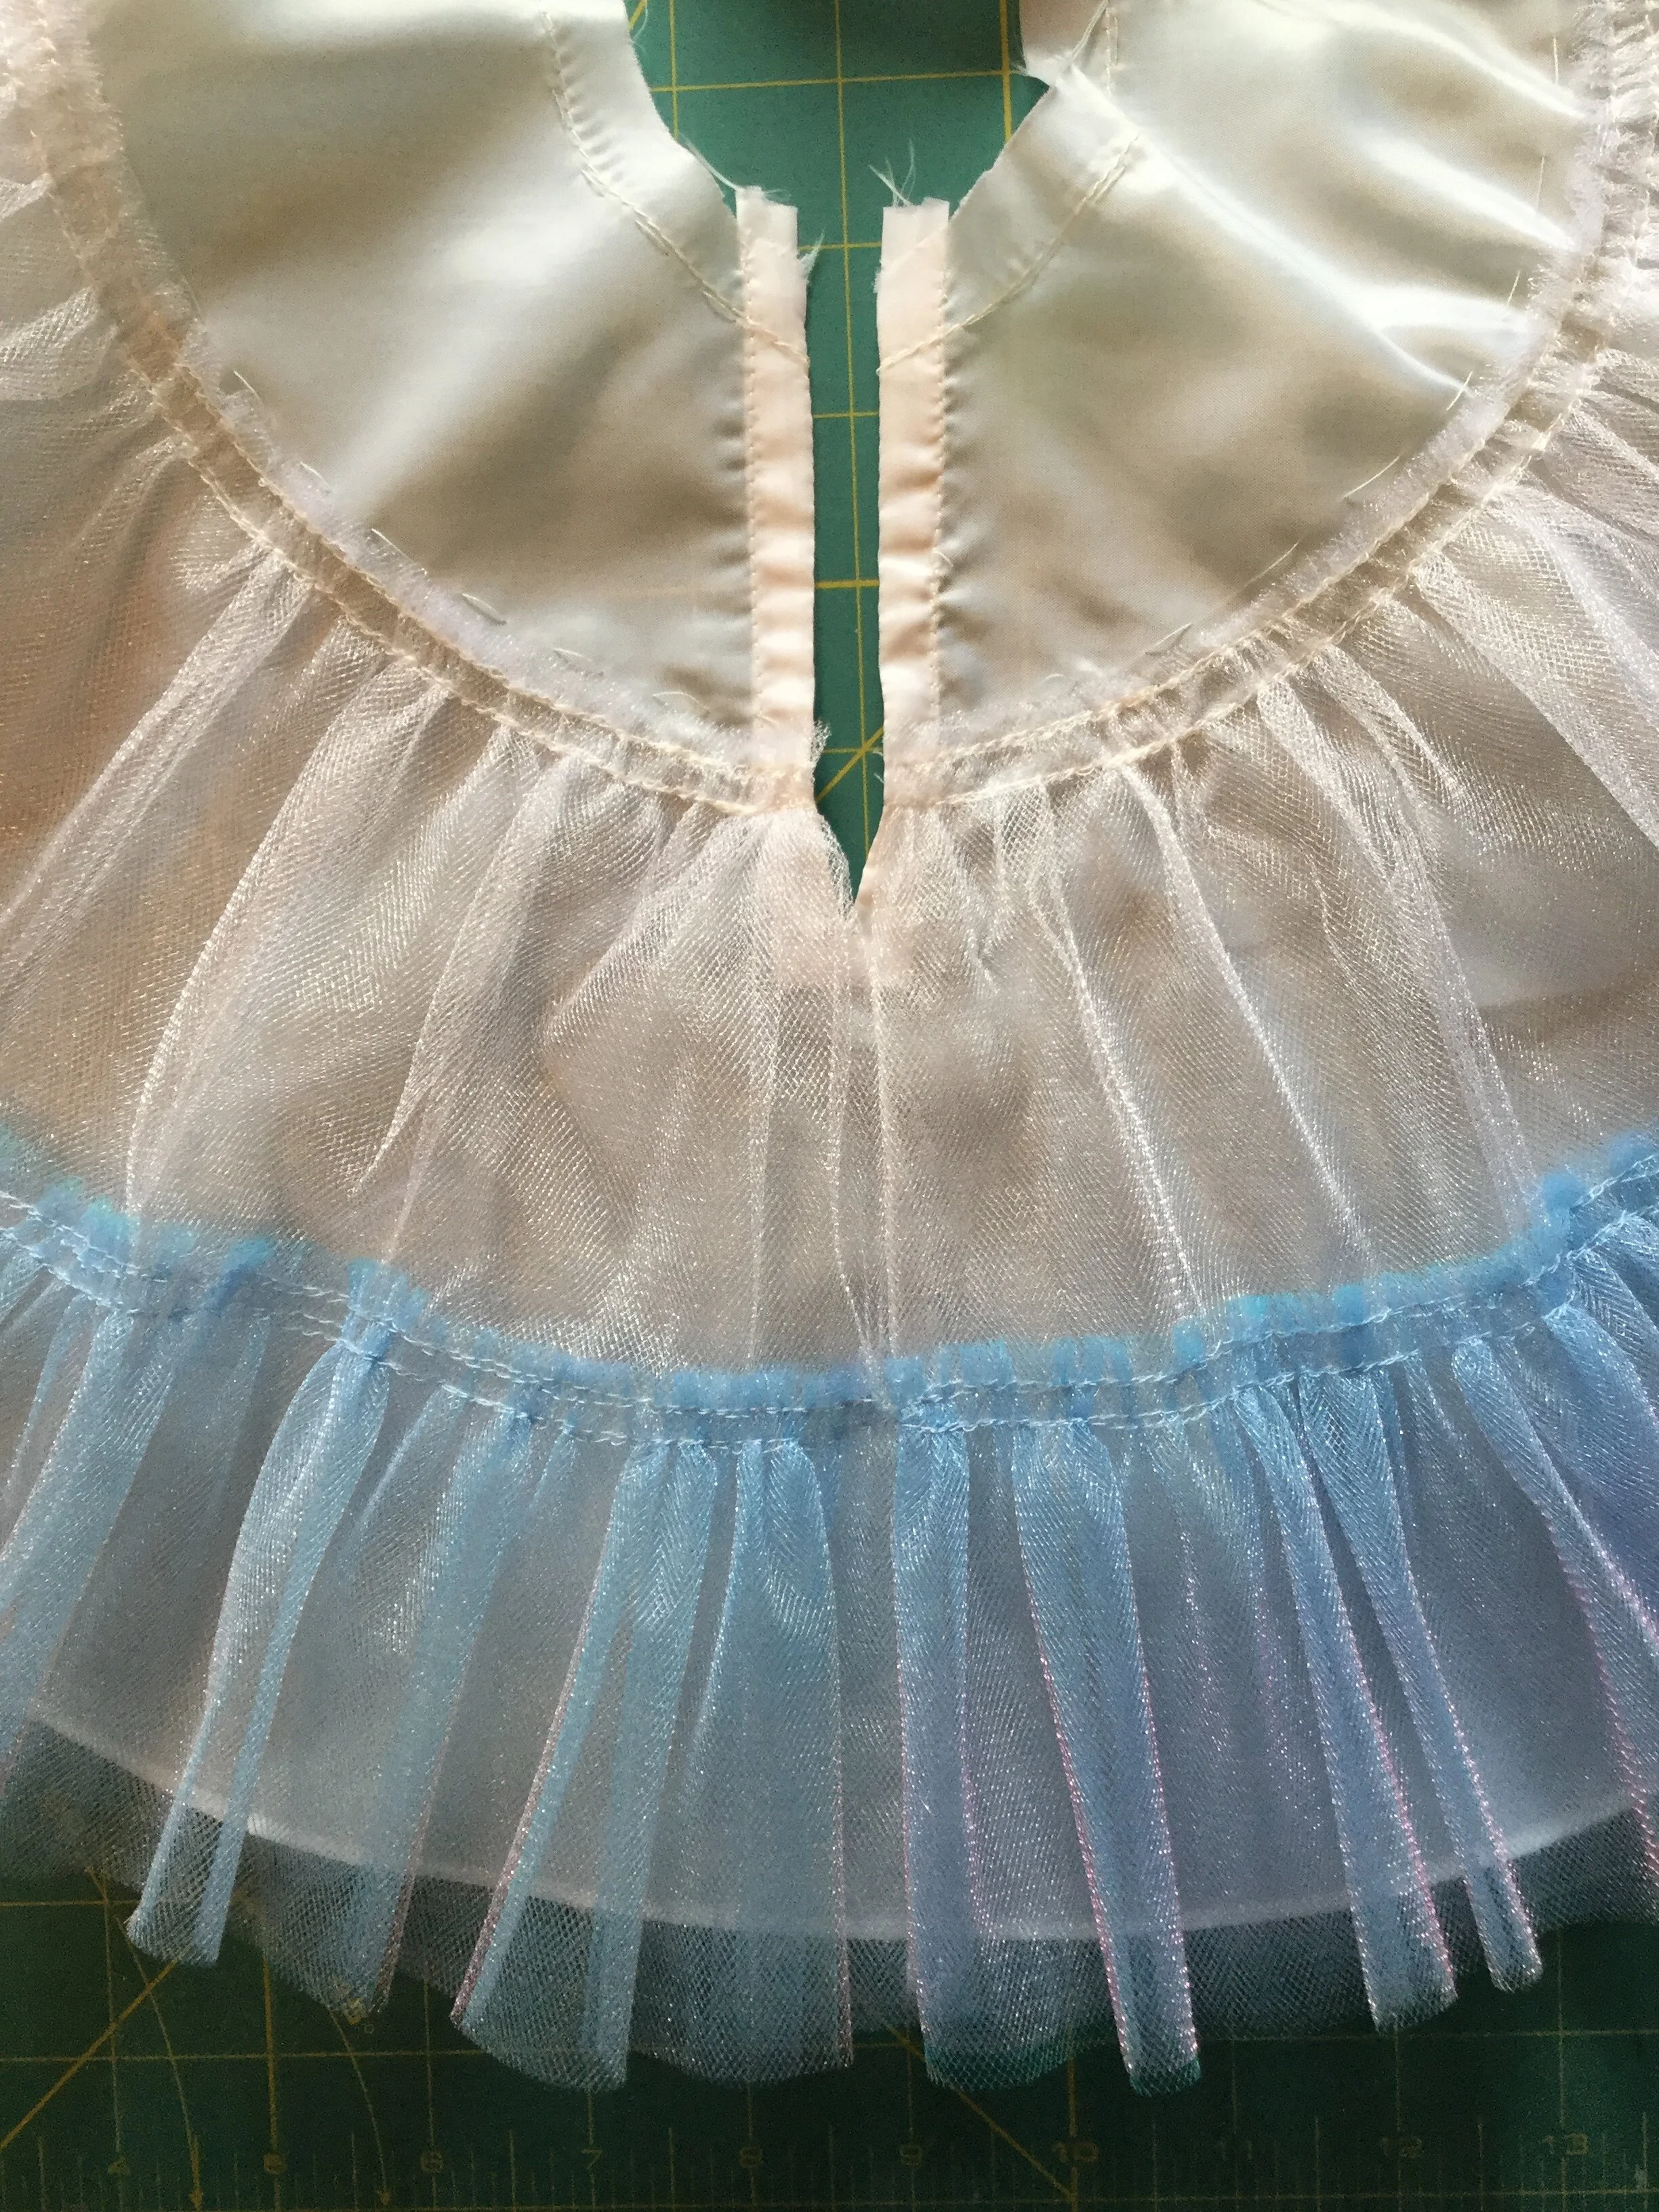
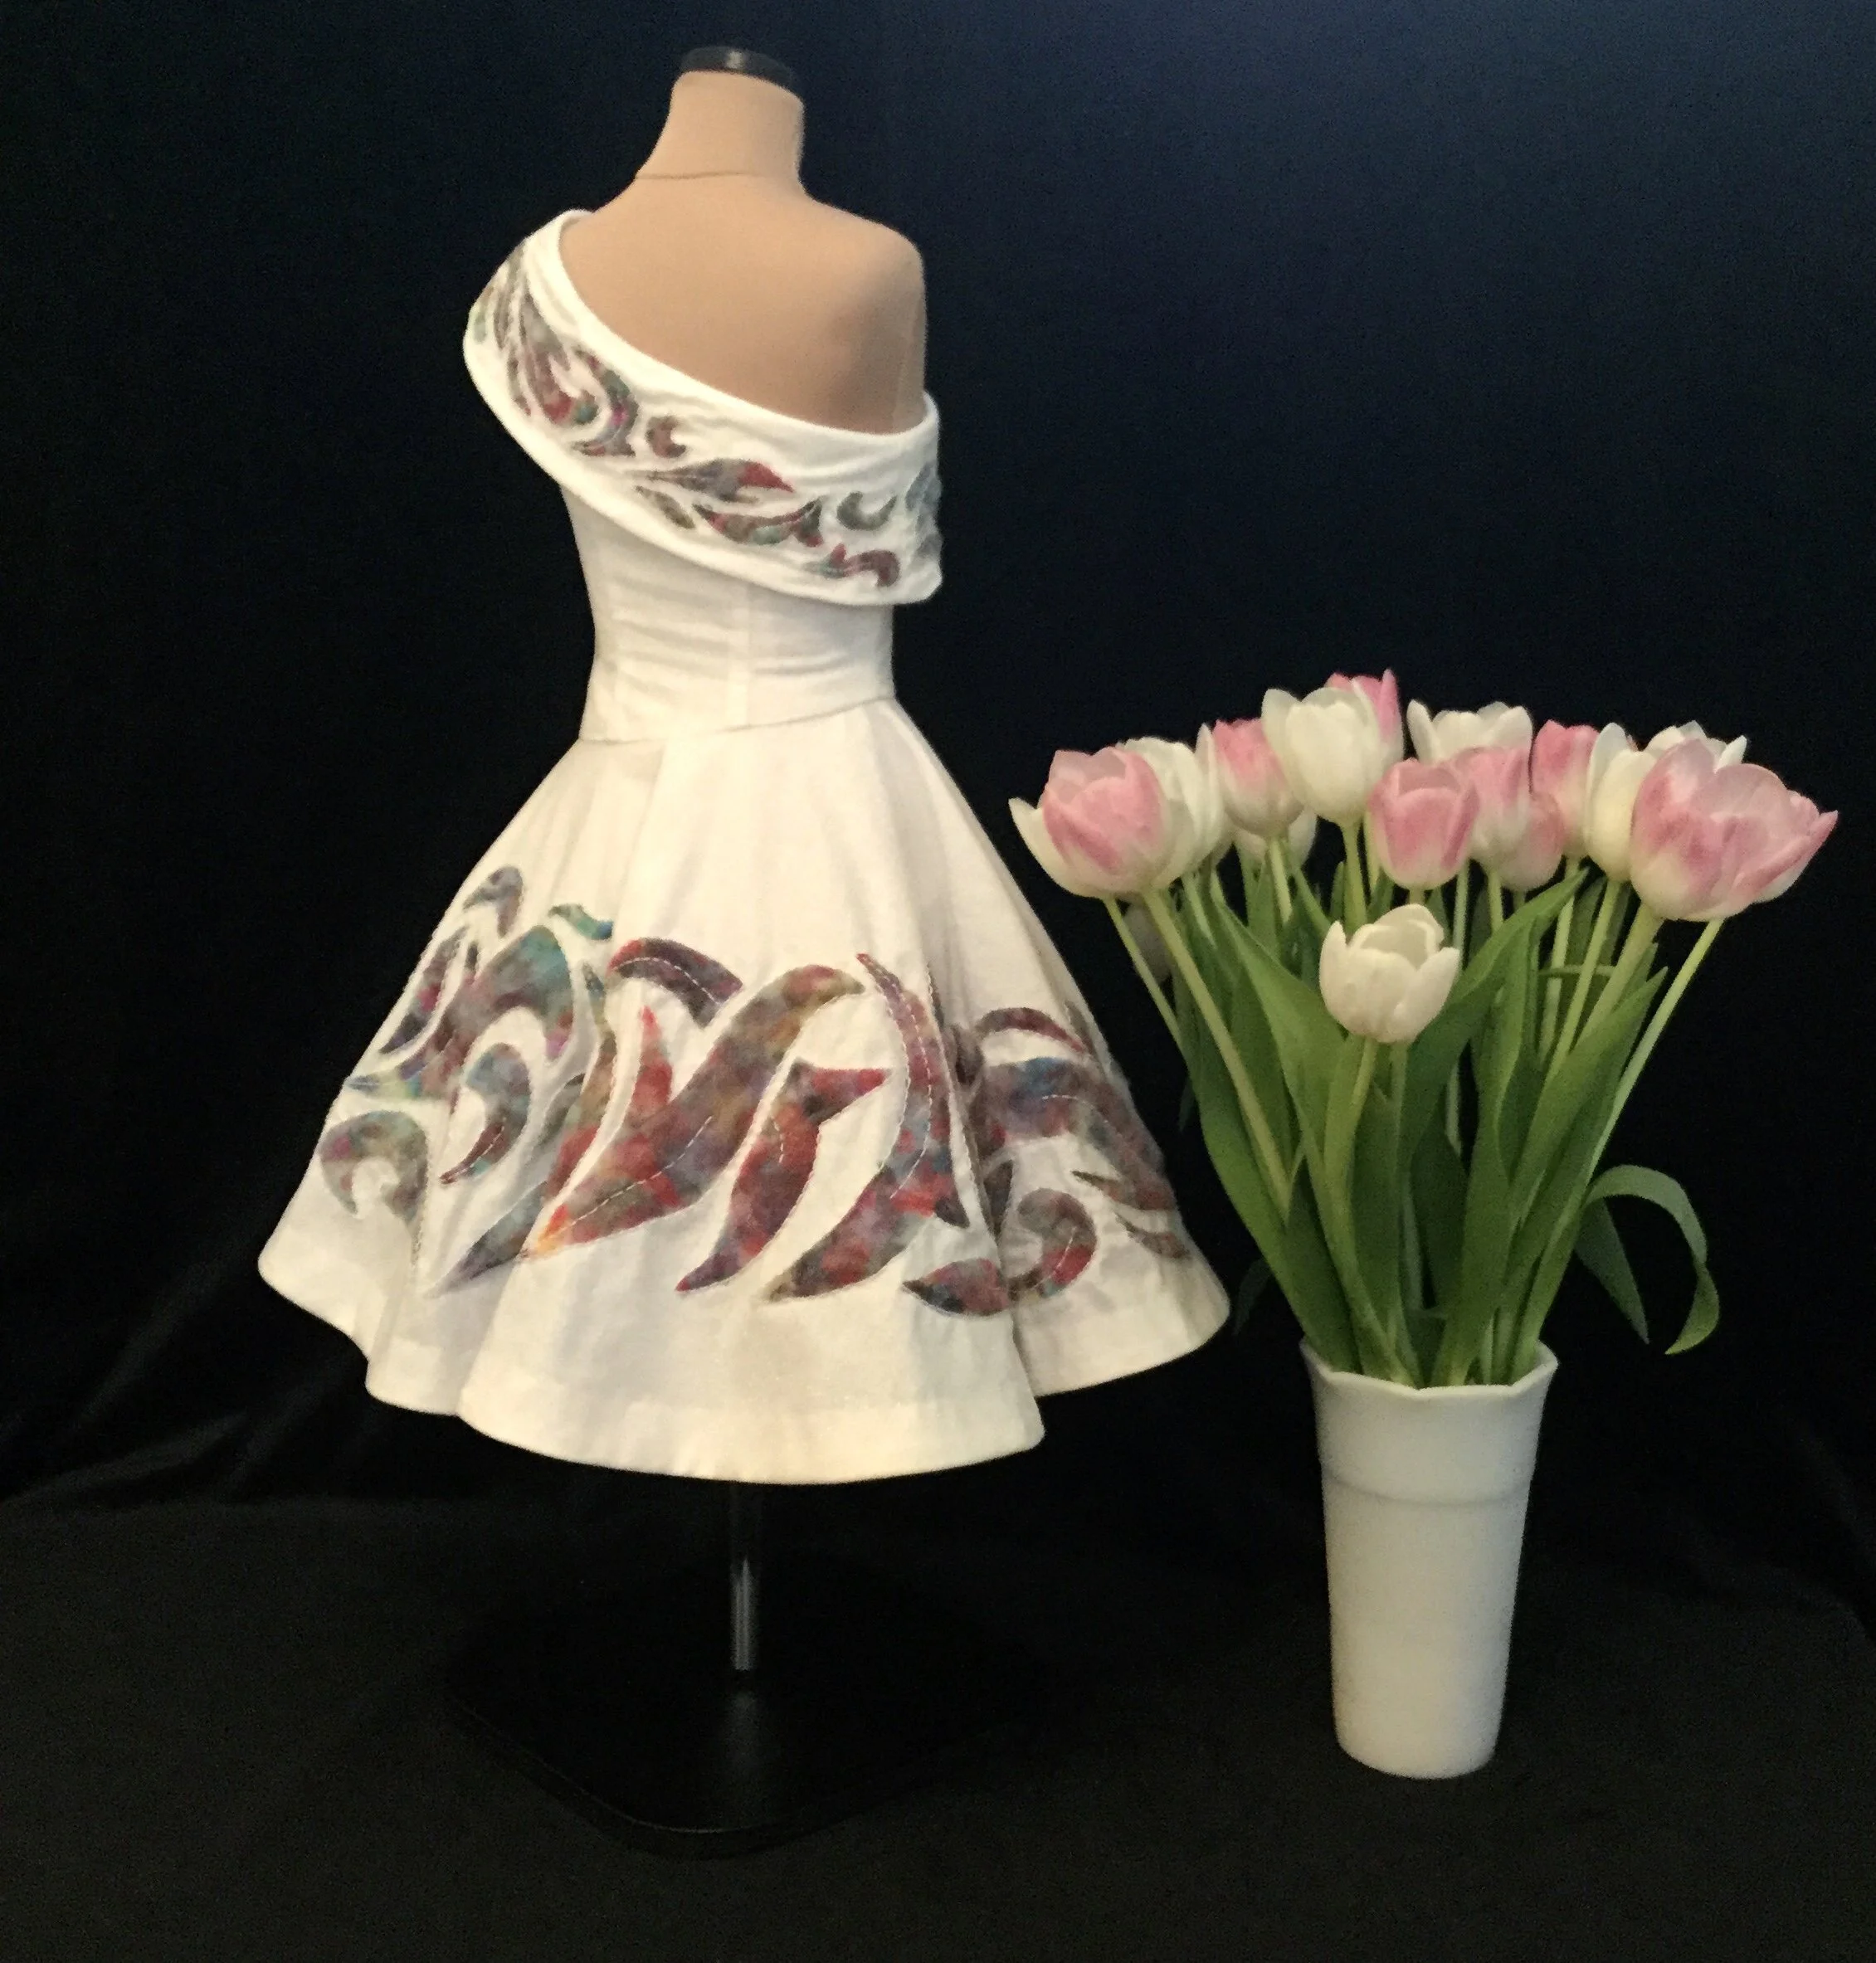
Under the skirt was a sort of mix between a petticoat and a lining. Basically, a lining with a flounce. Well, two flounces. Just cuz. The lining was cut from the same pattern as the skirt and shortened a little to ensure it would not be visible from under the dress. For the flounces, I used more tulle, because it seems I just can't enough of the stuff.
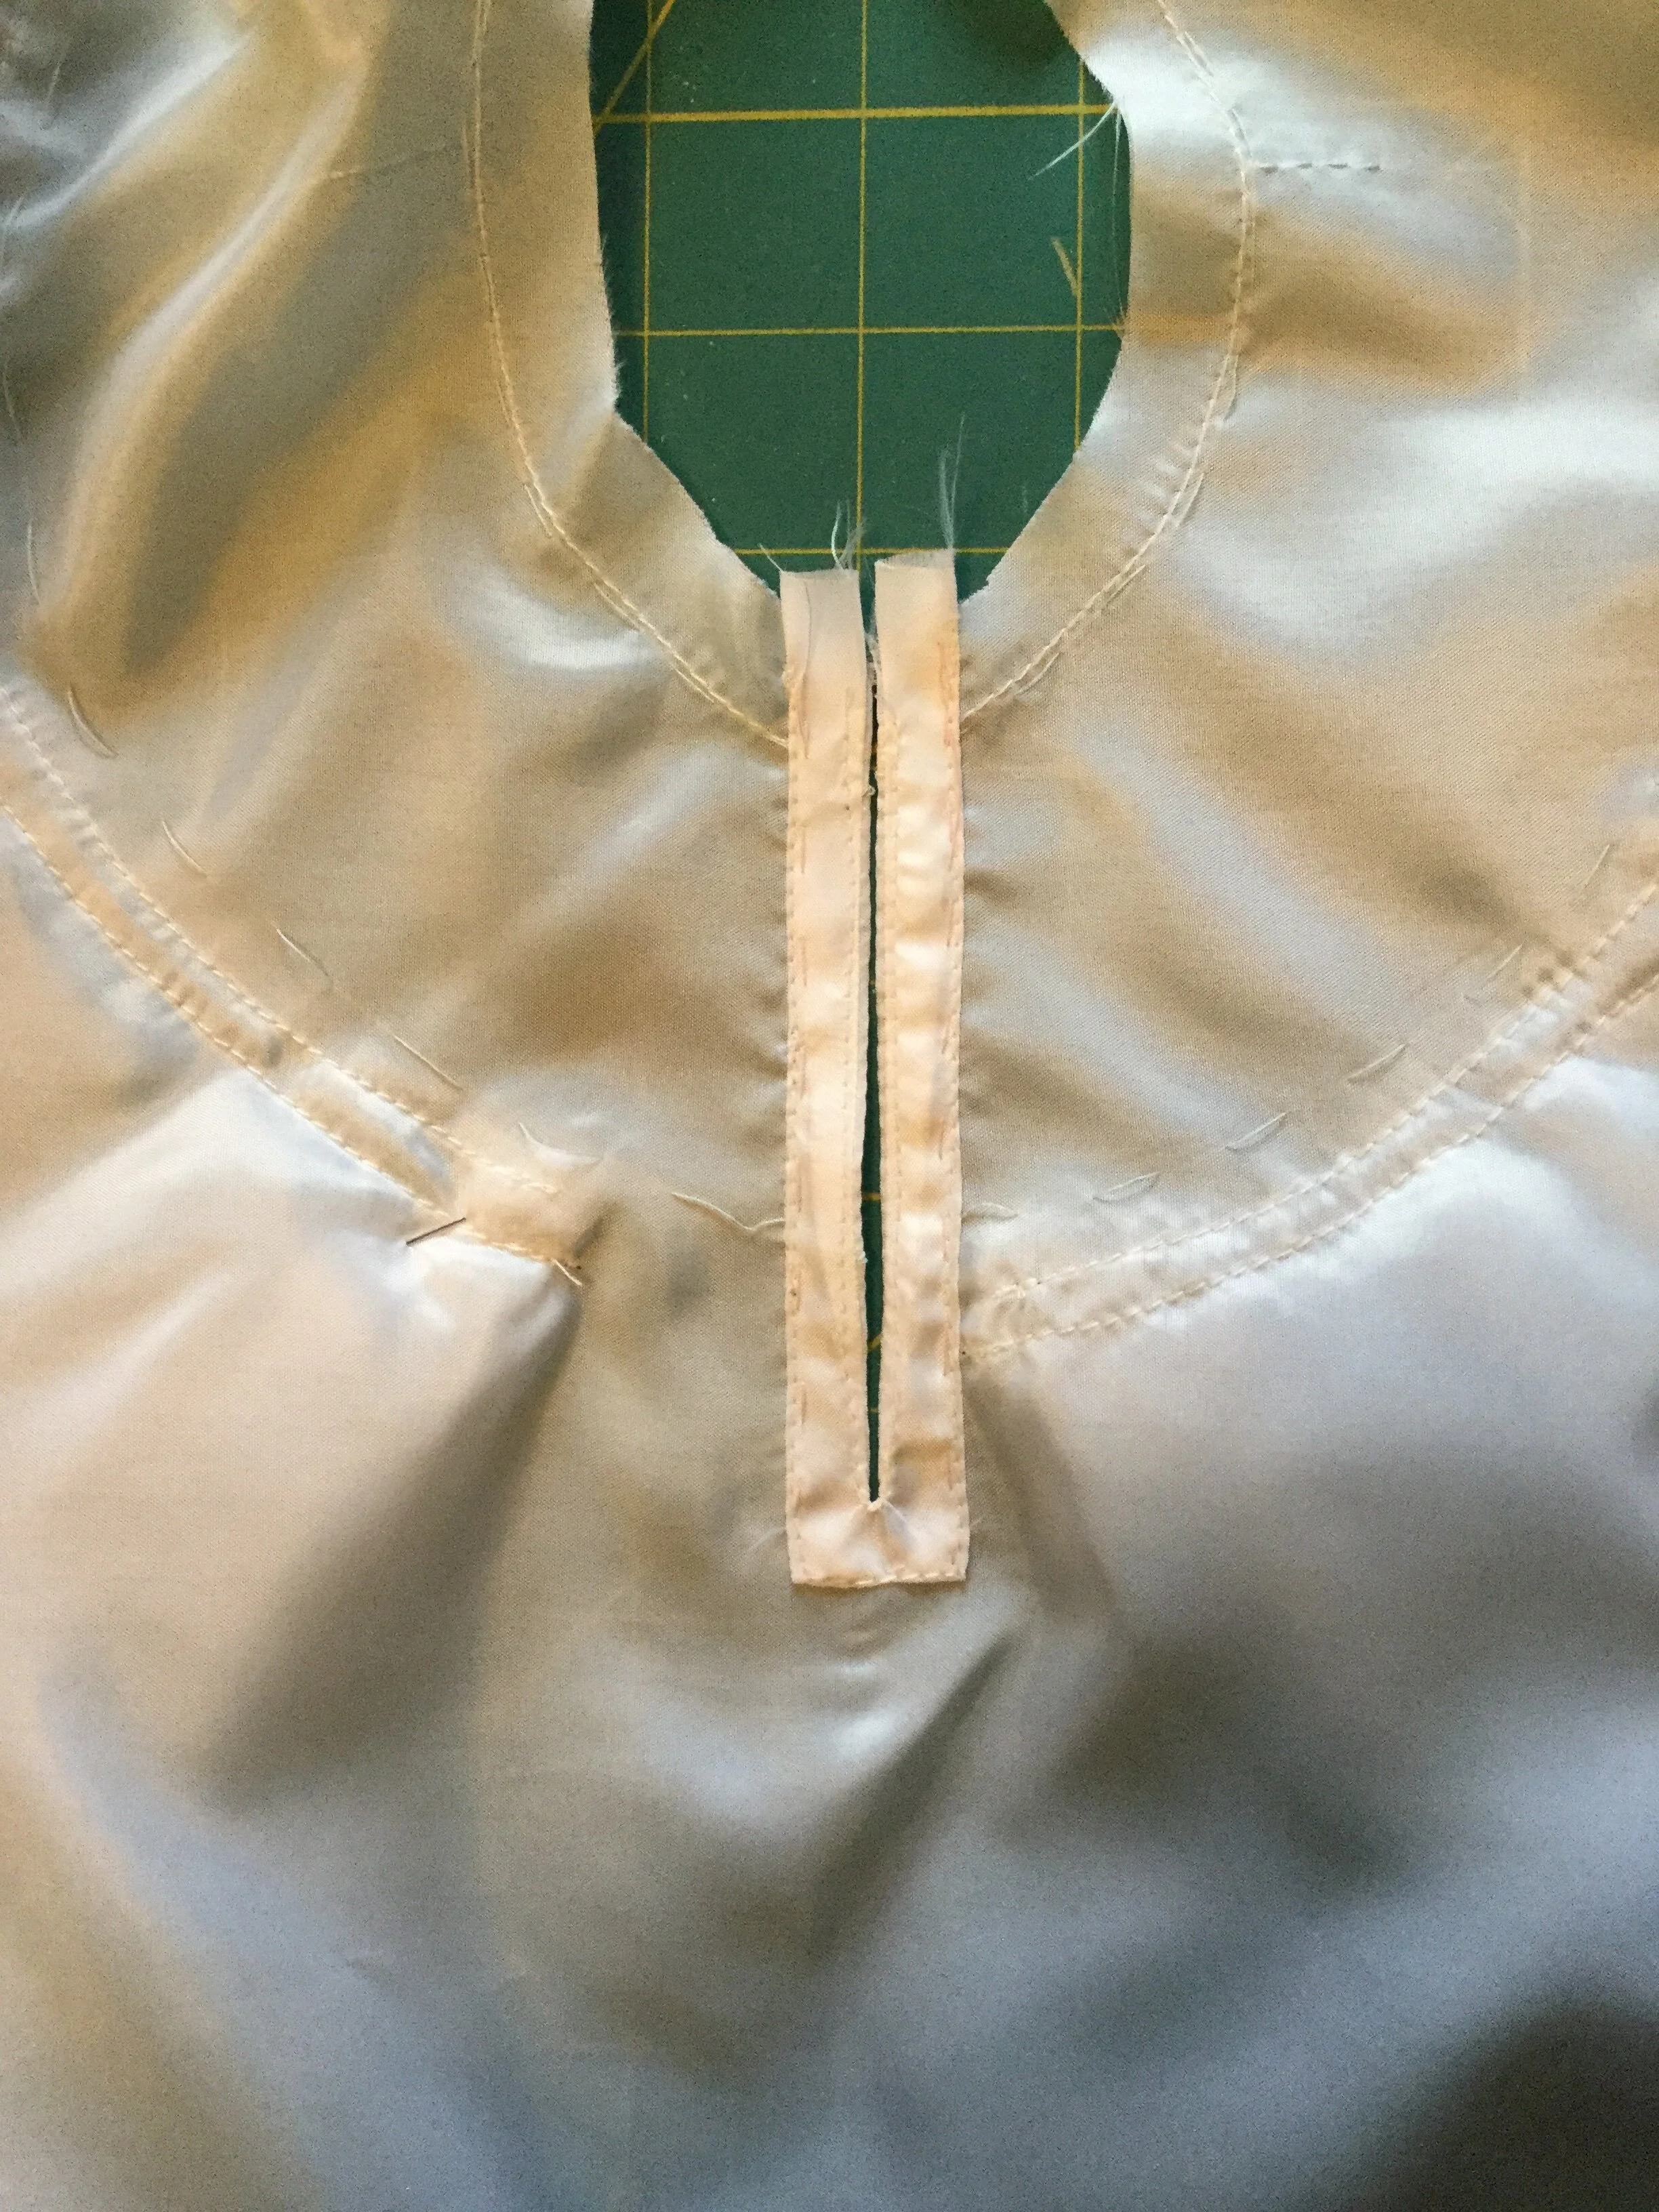
Actually, I just had lots of it lying around. I made one long flounce from the same white as the rest of the dress and a shorter one on top for which I combined some pink, blue and turquoise I had. I finished the hem of the skirt with a bridal hem, applied the shorter flounce to the longer one then applied both flounces to the skirt and created an opening on the zipper side with a faced placket.
At last, the skirt was finished. Well, ready to be finished. Once the bodice was done.
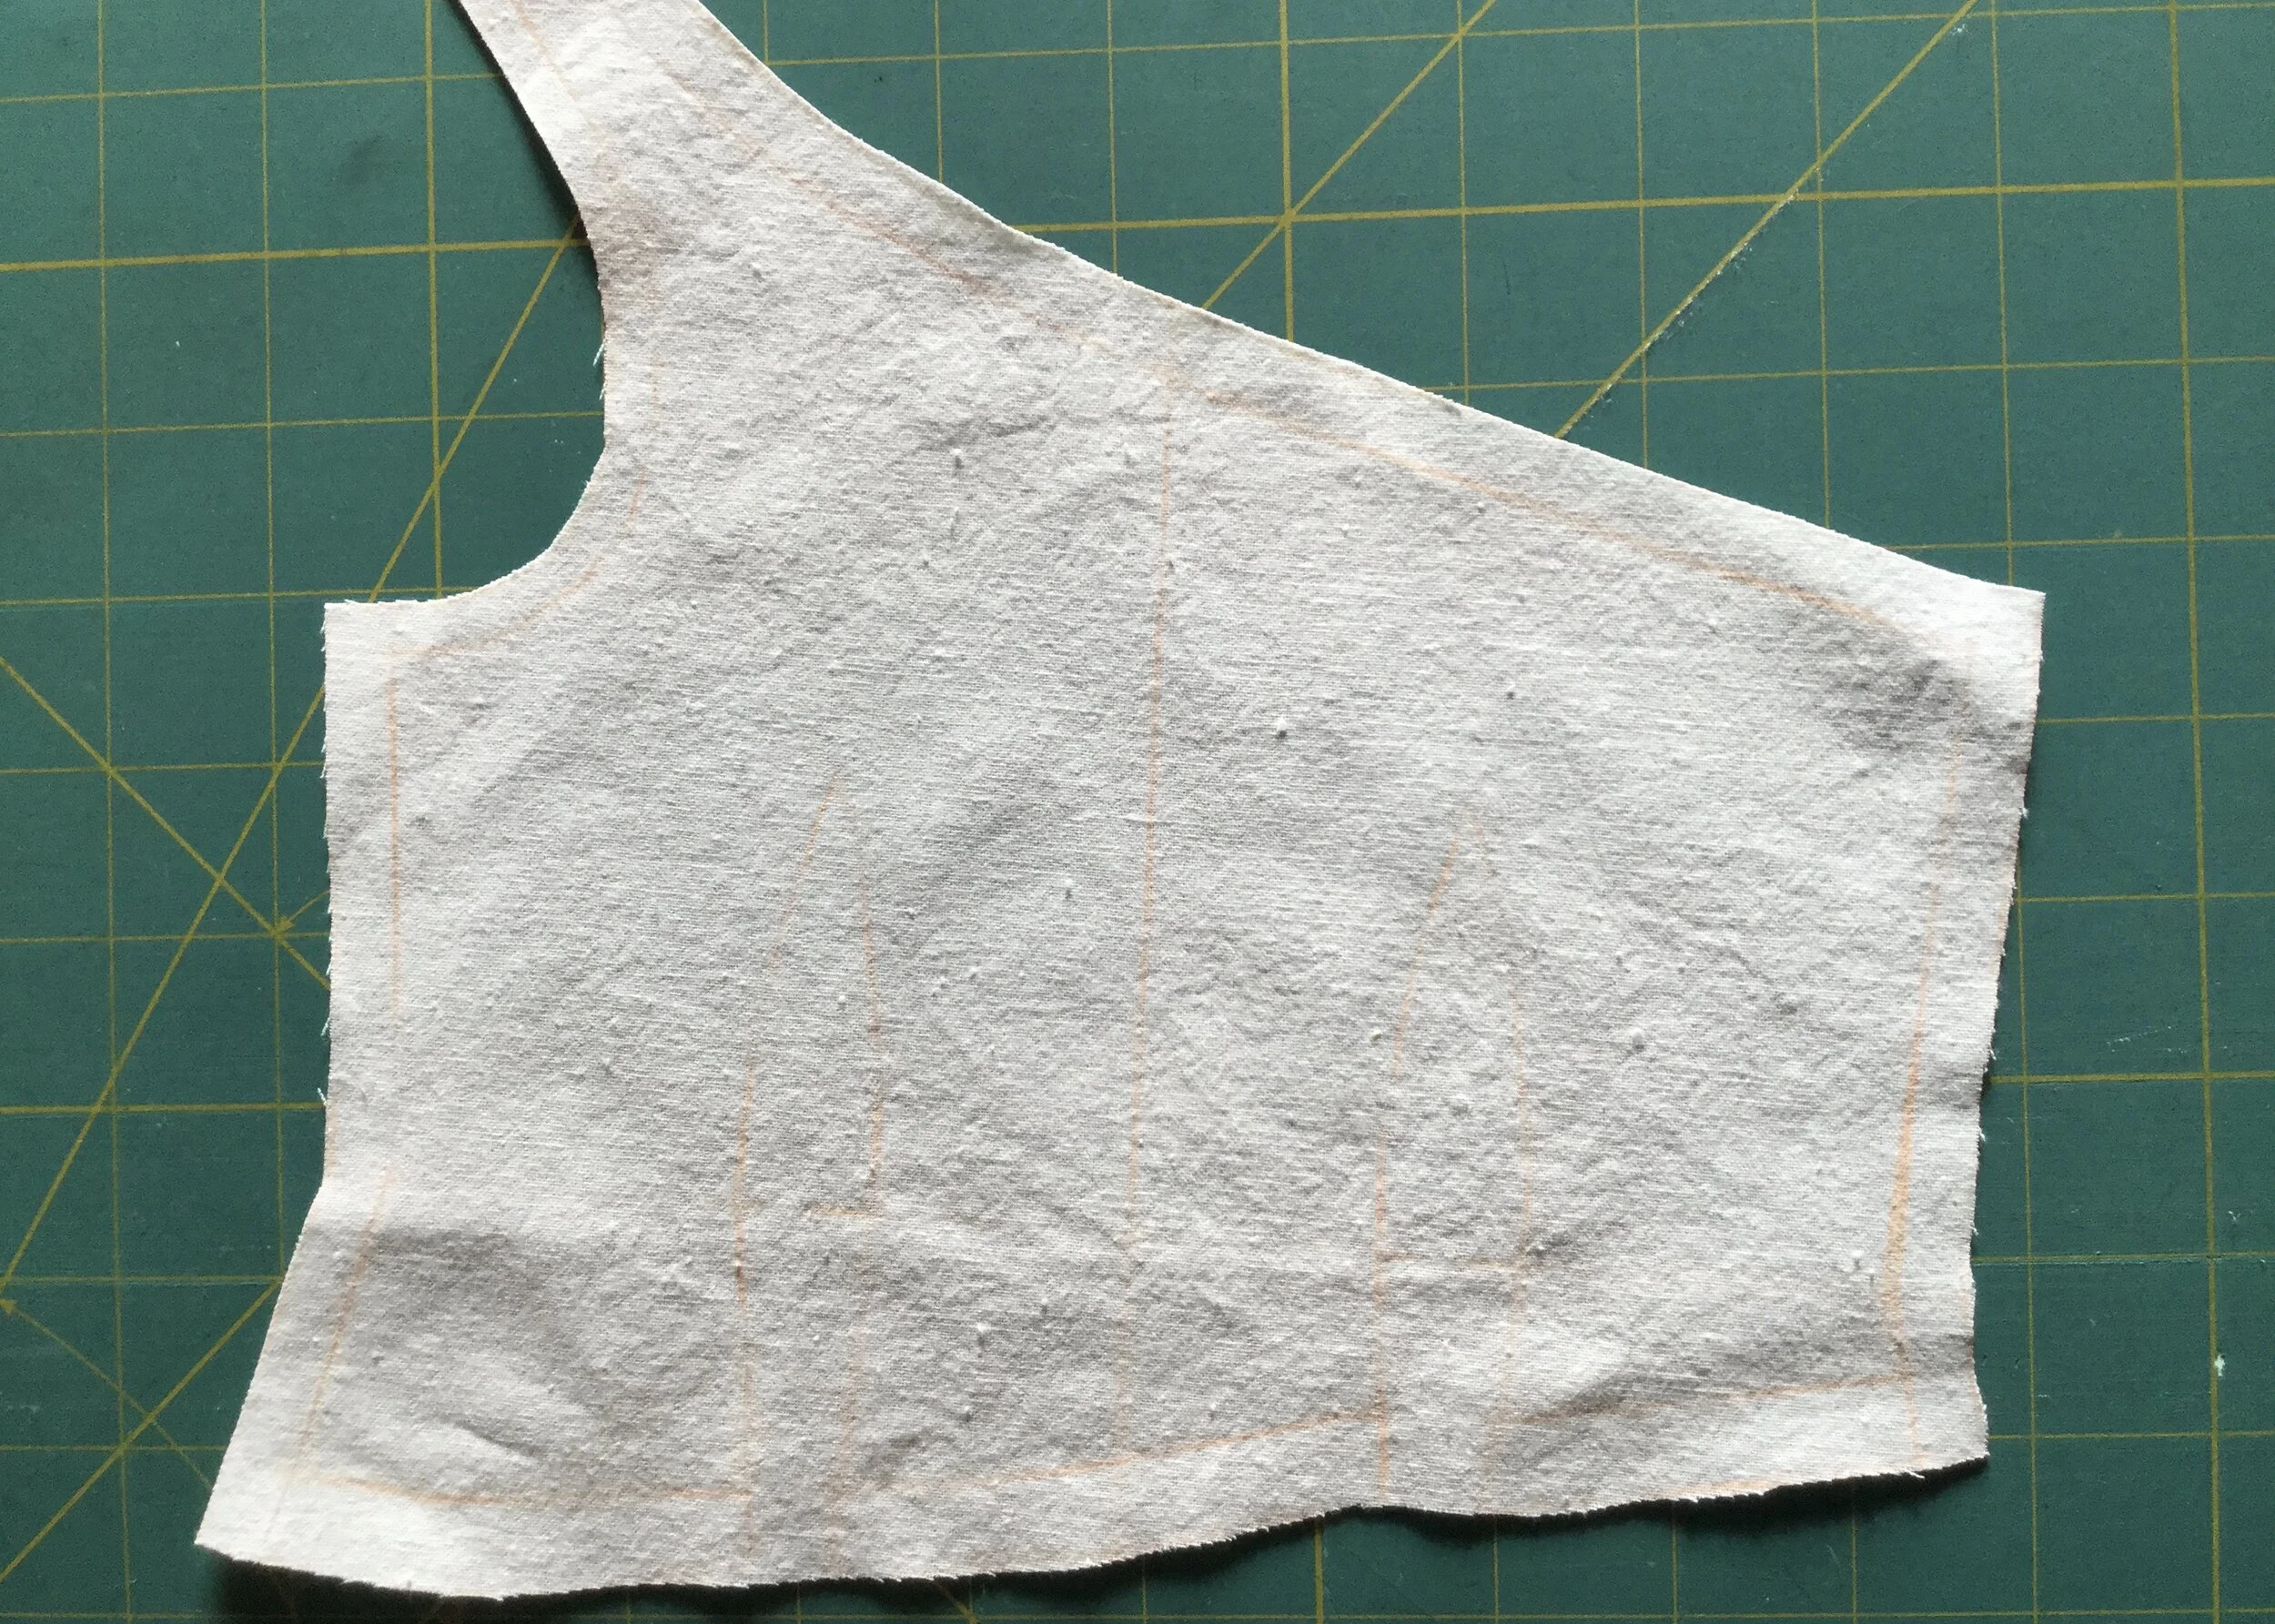
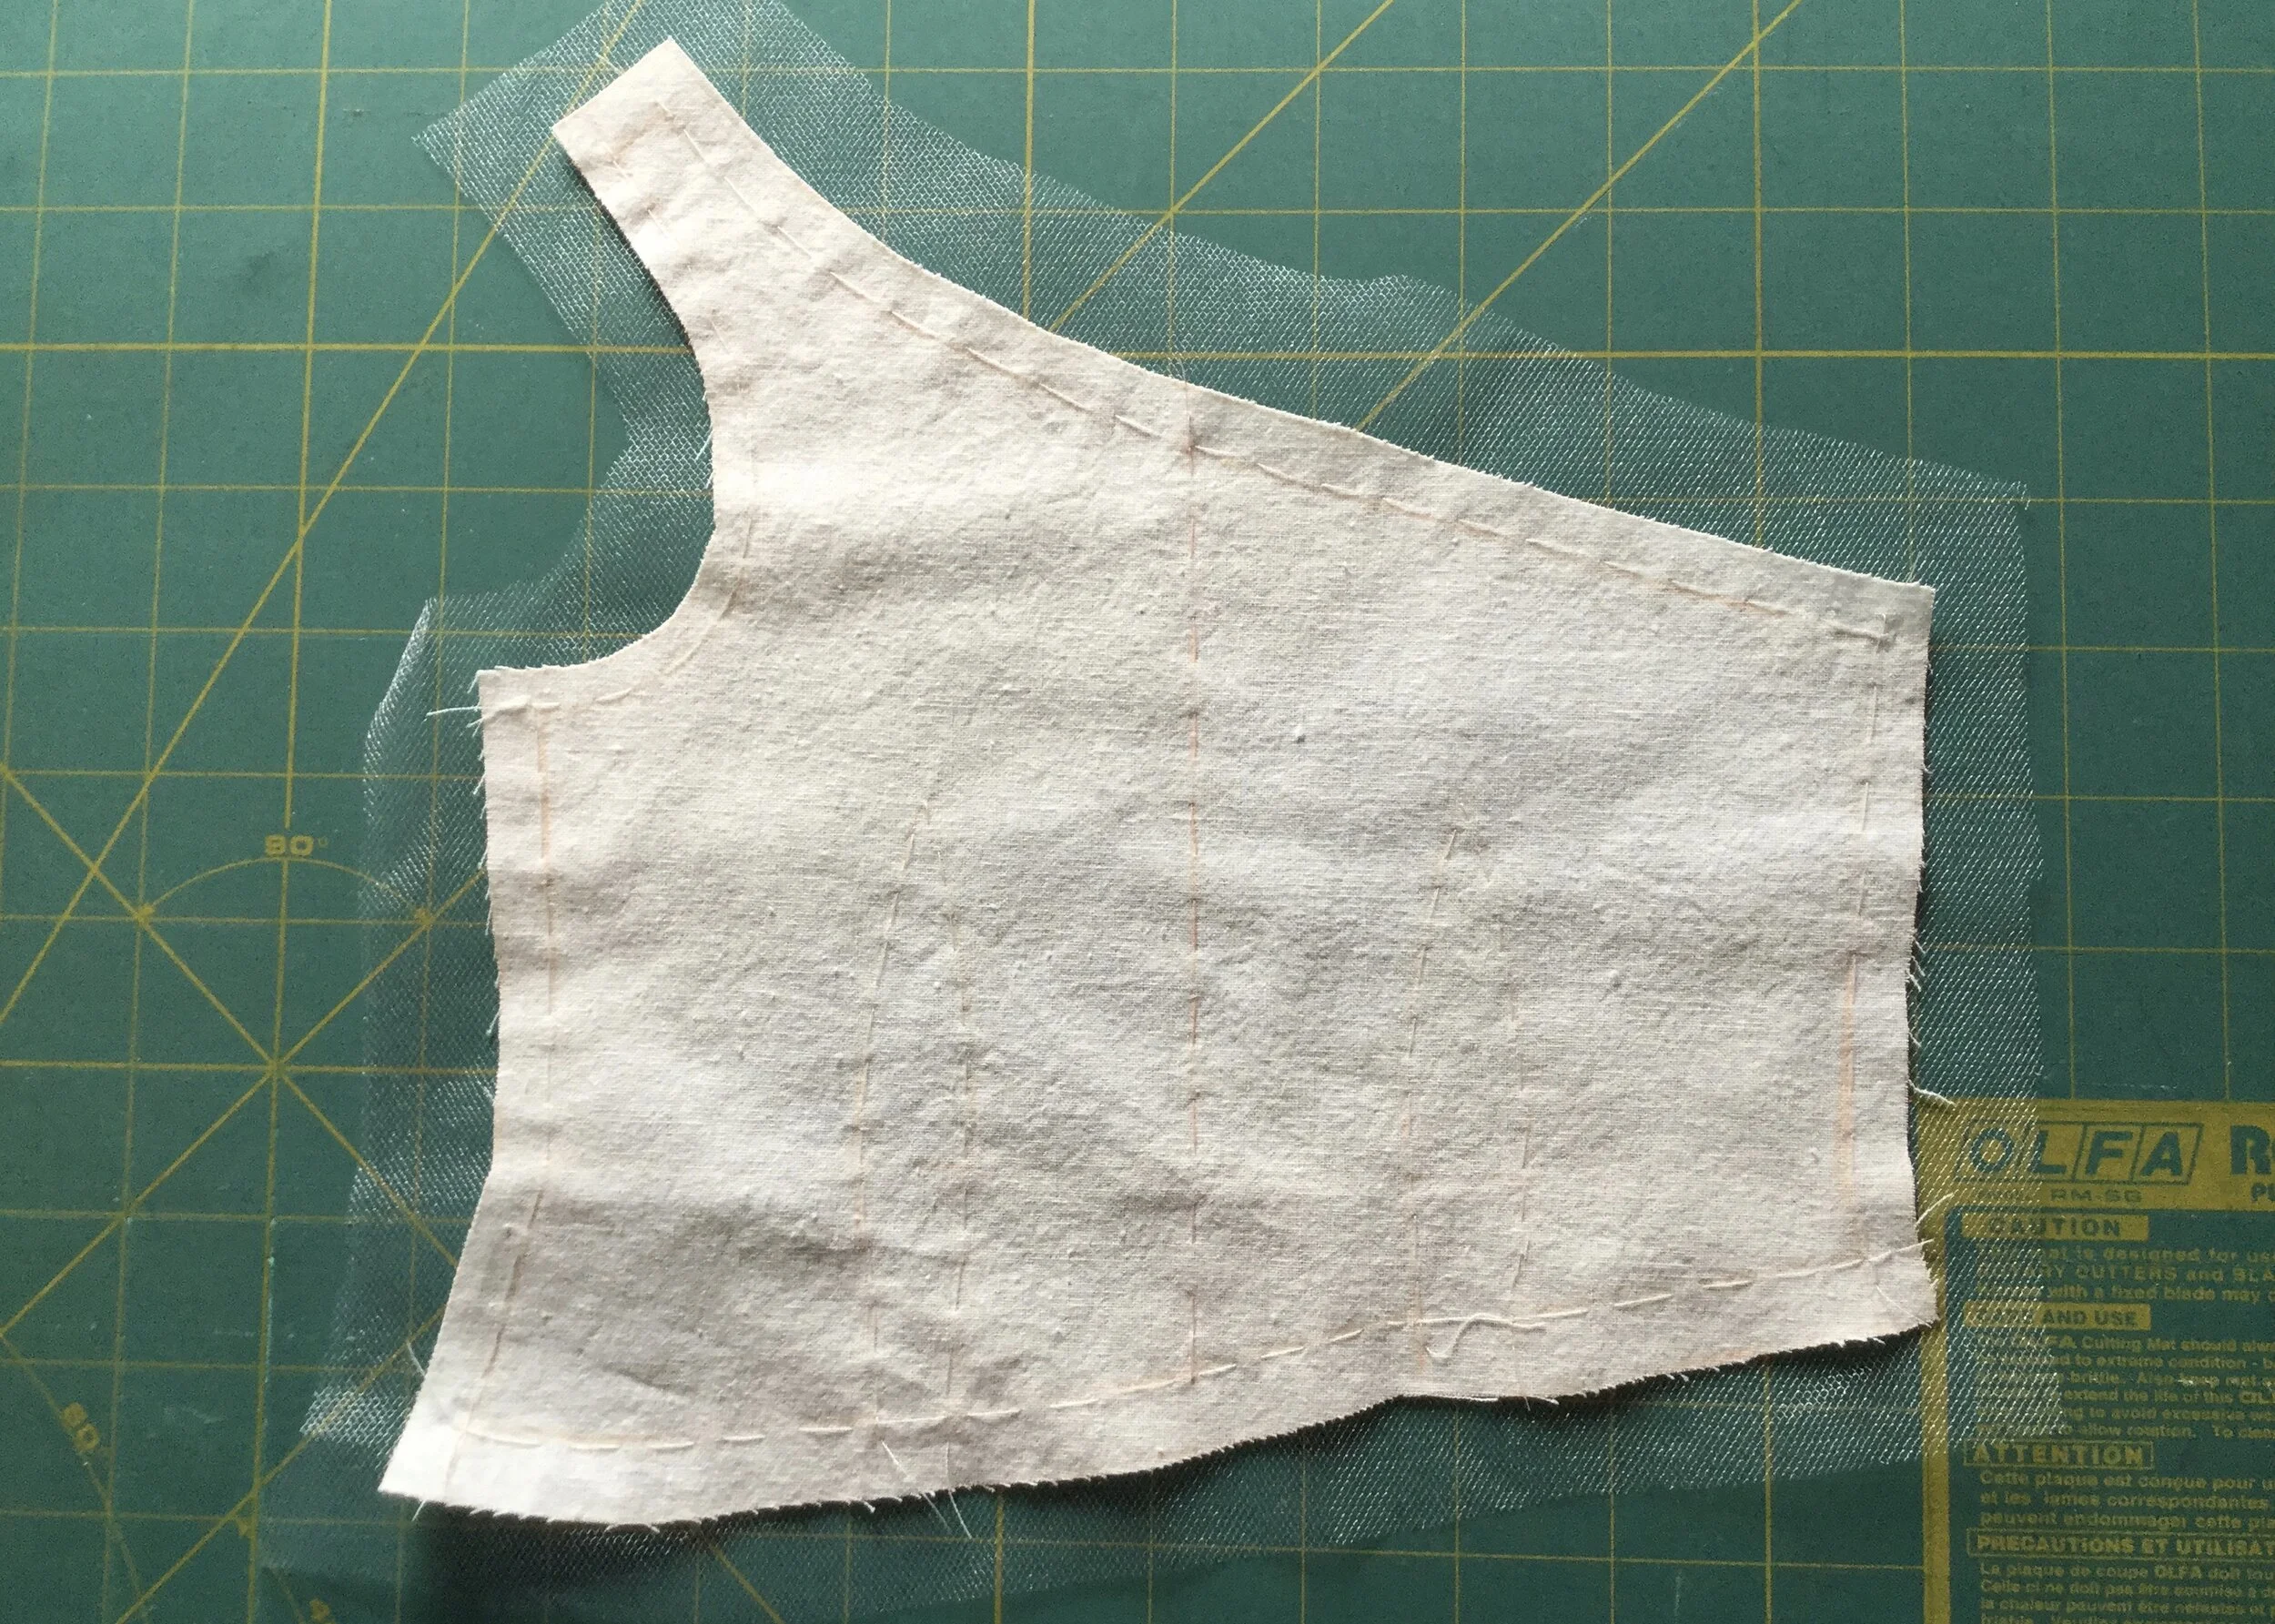
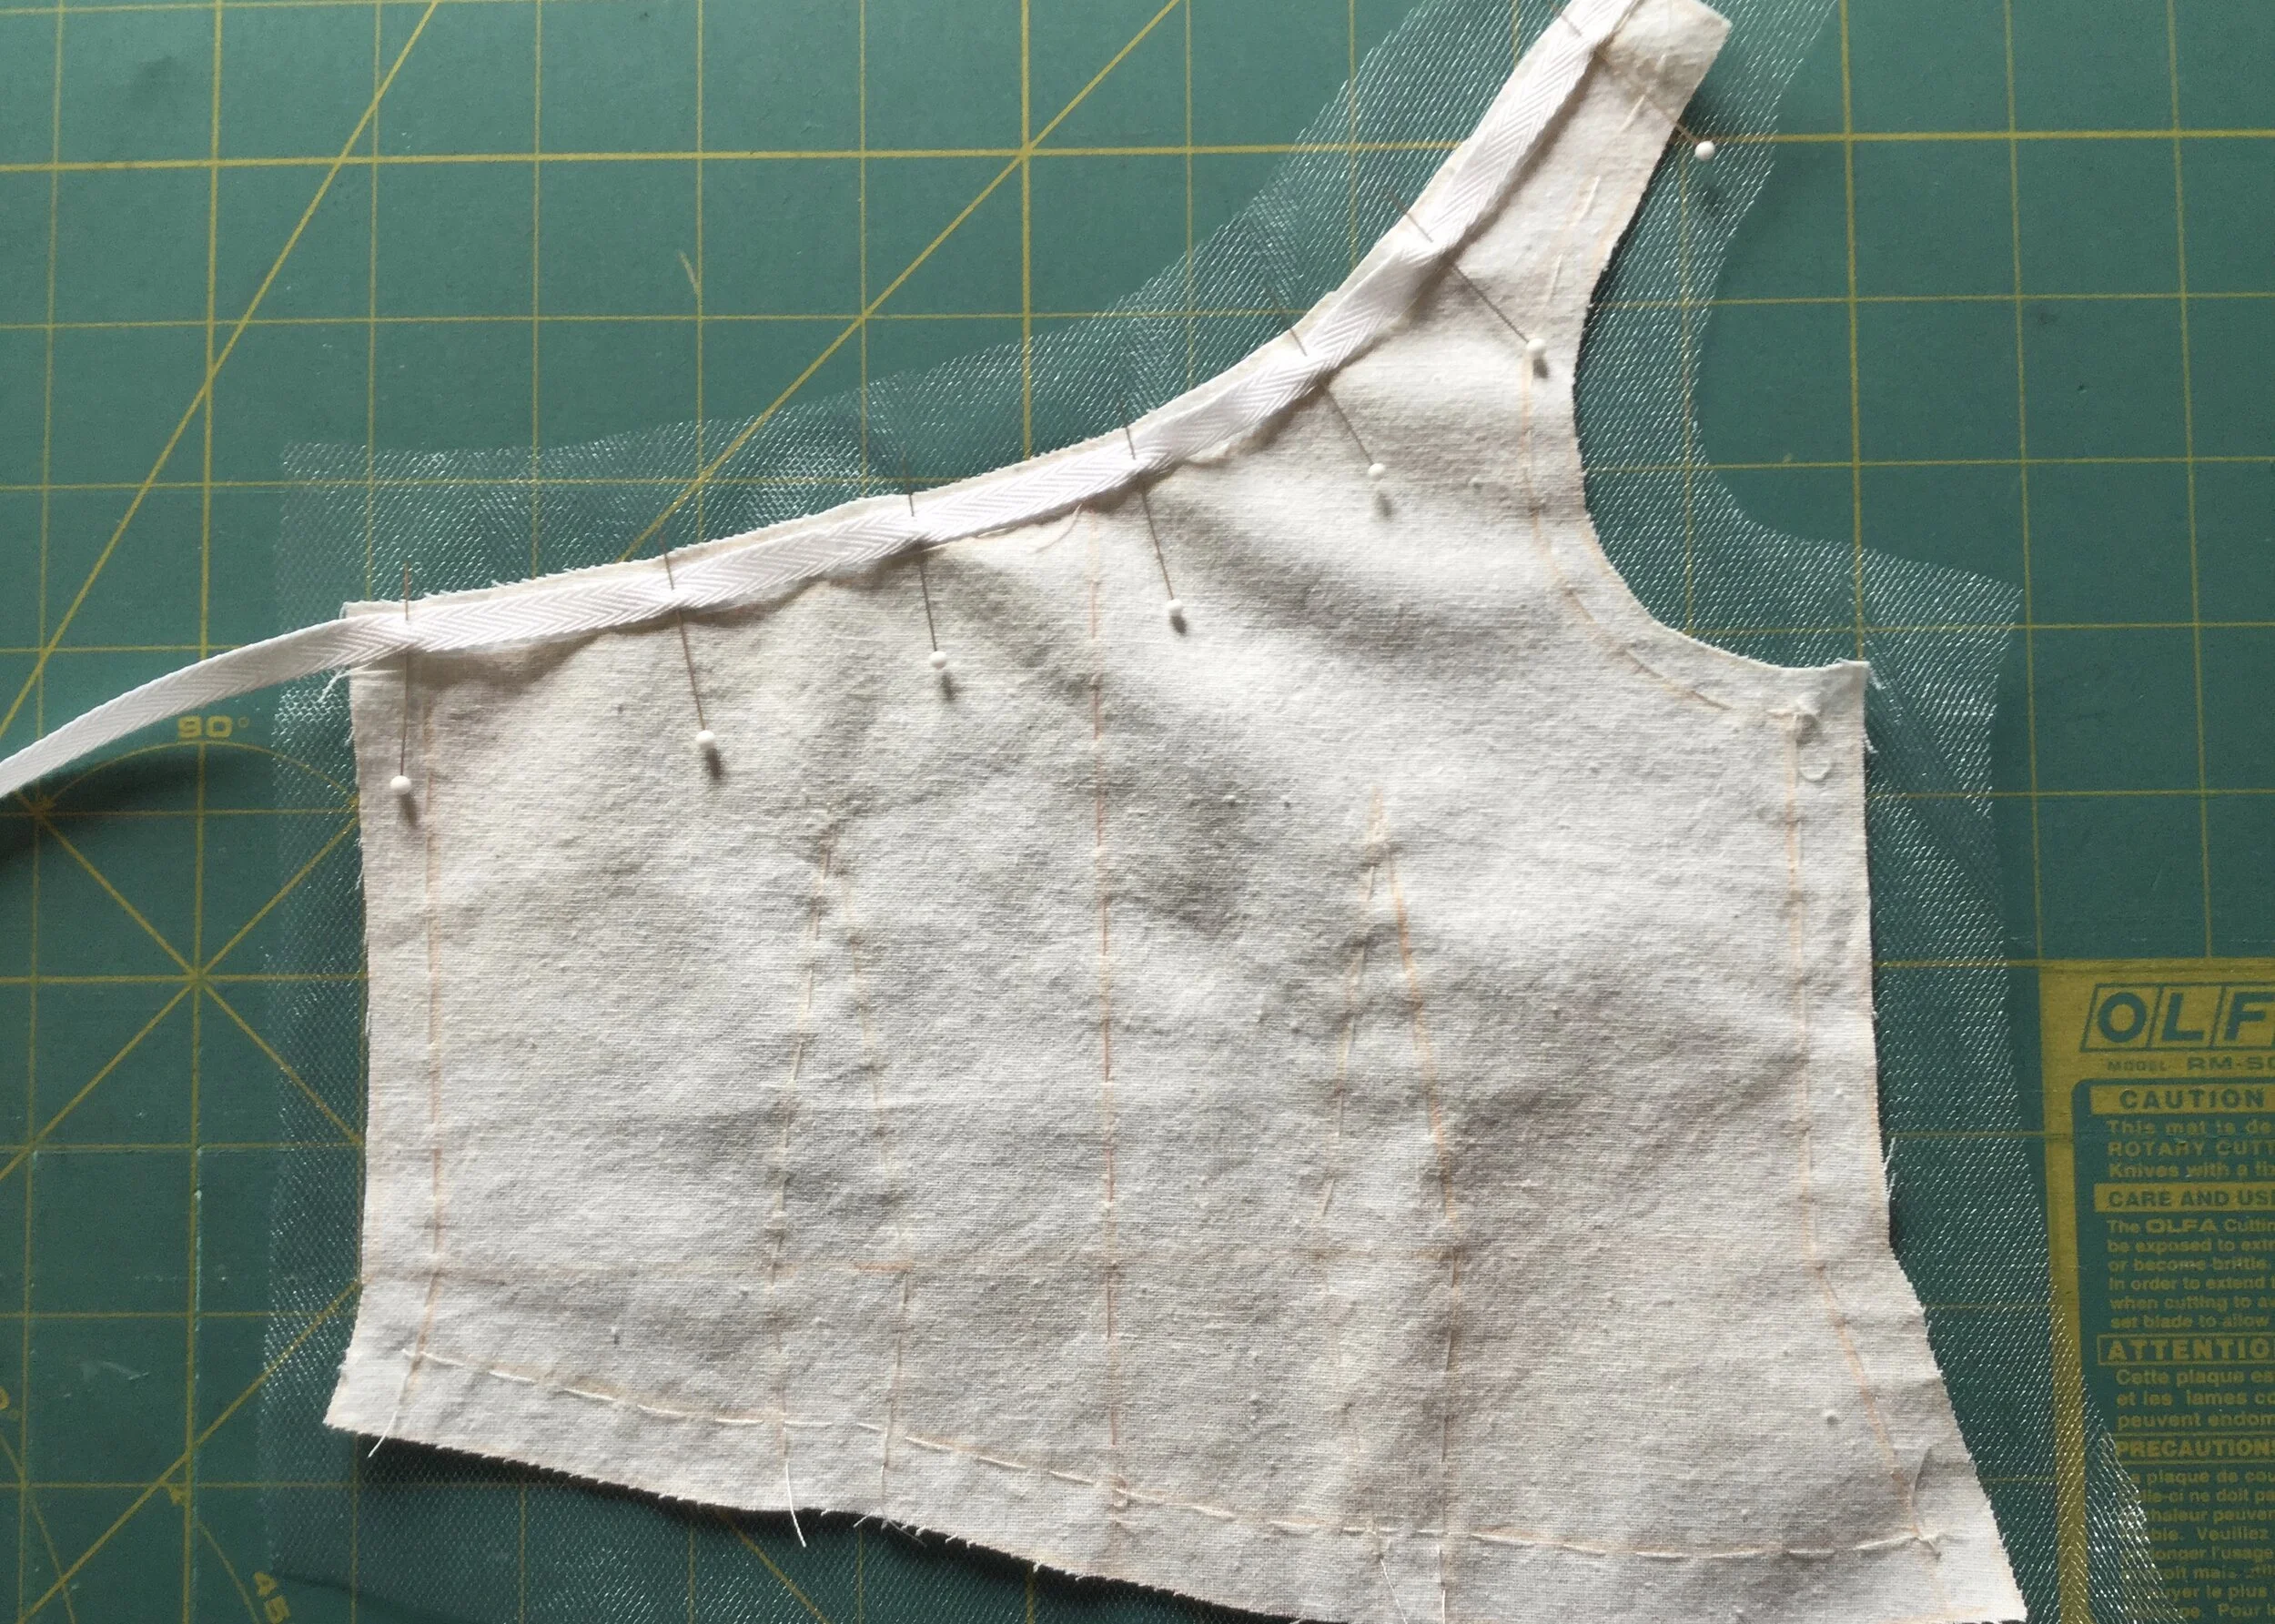
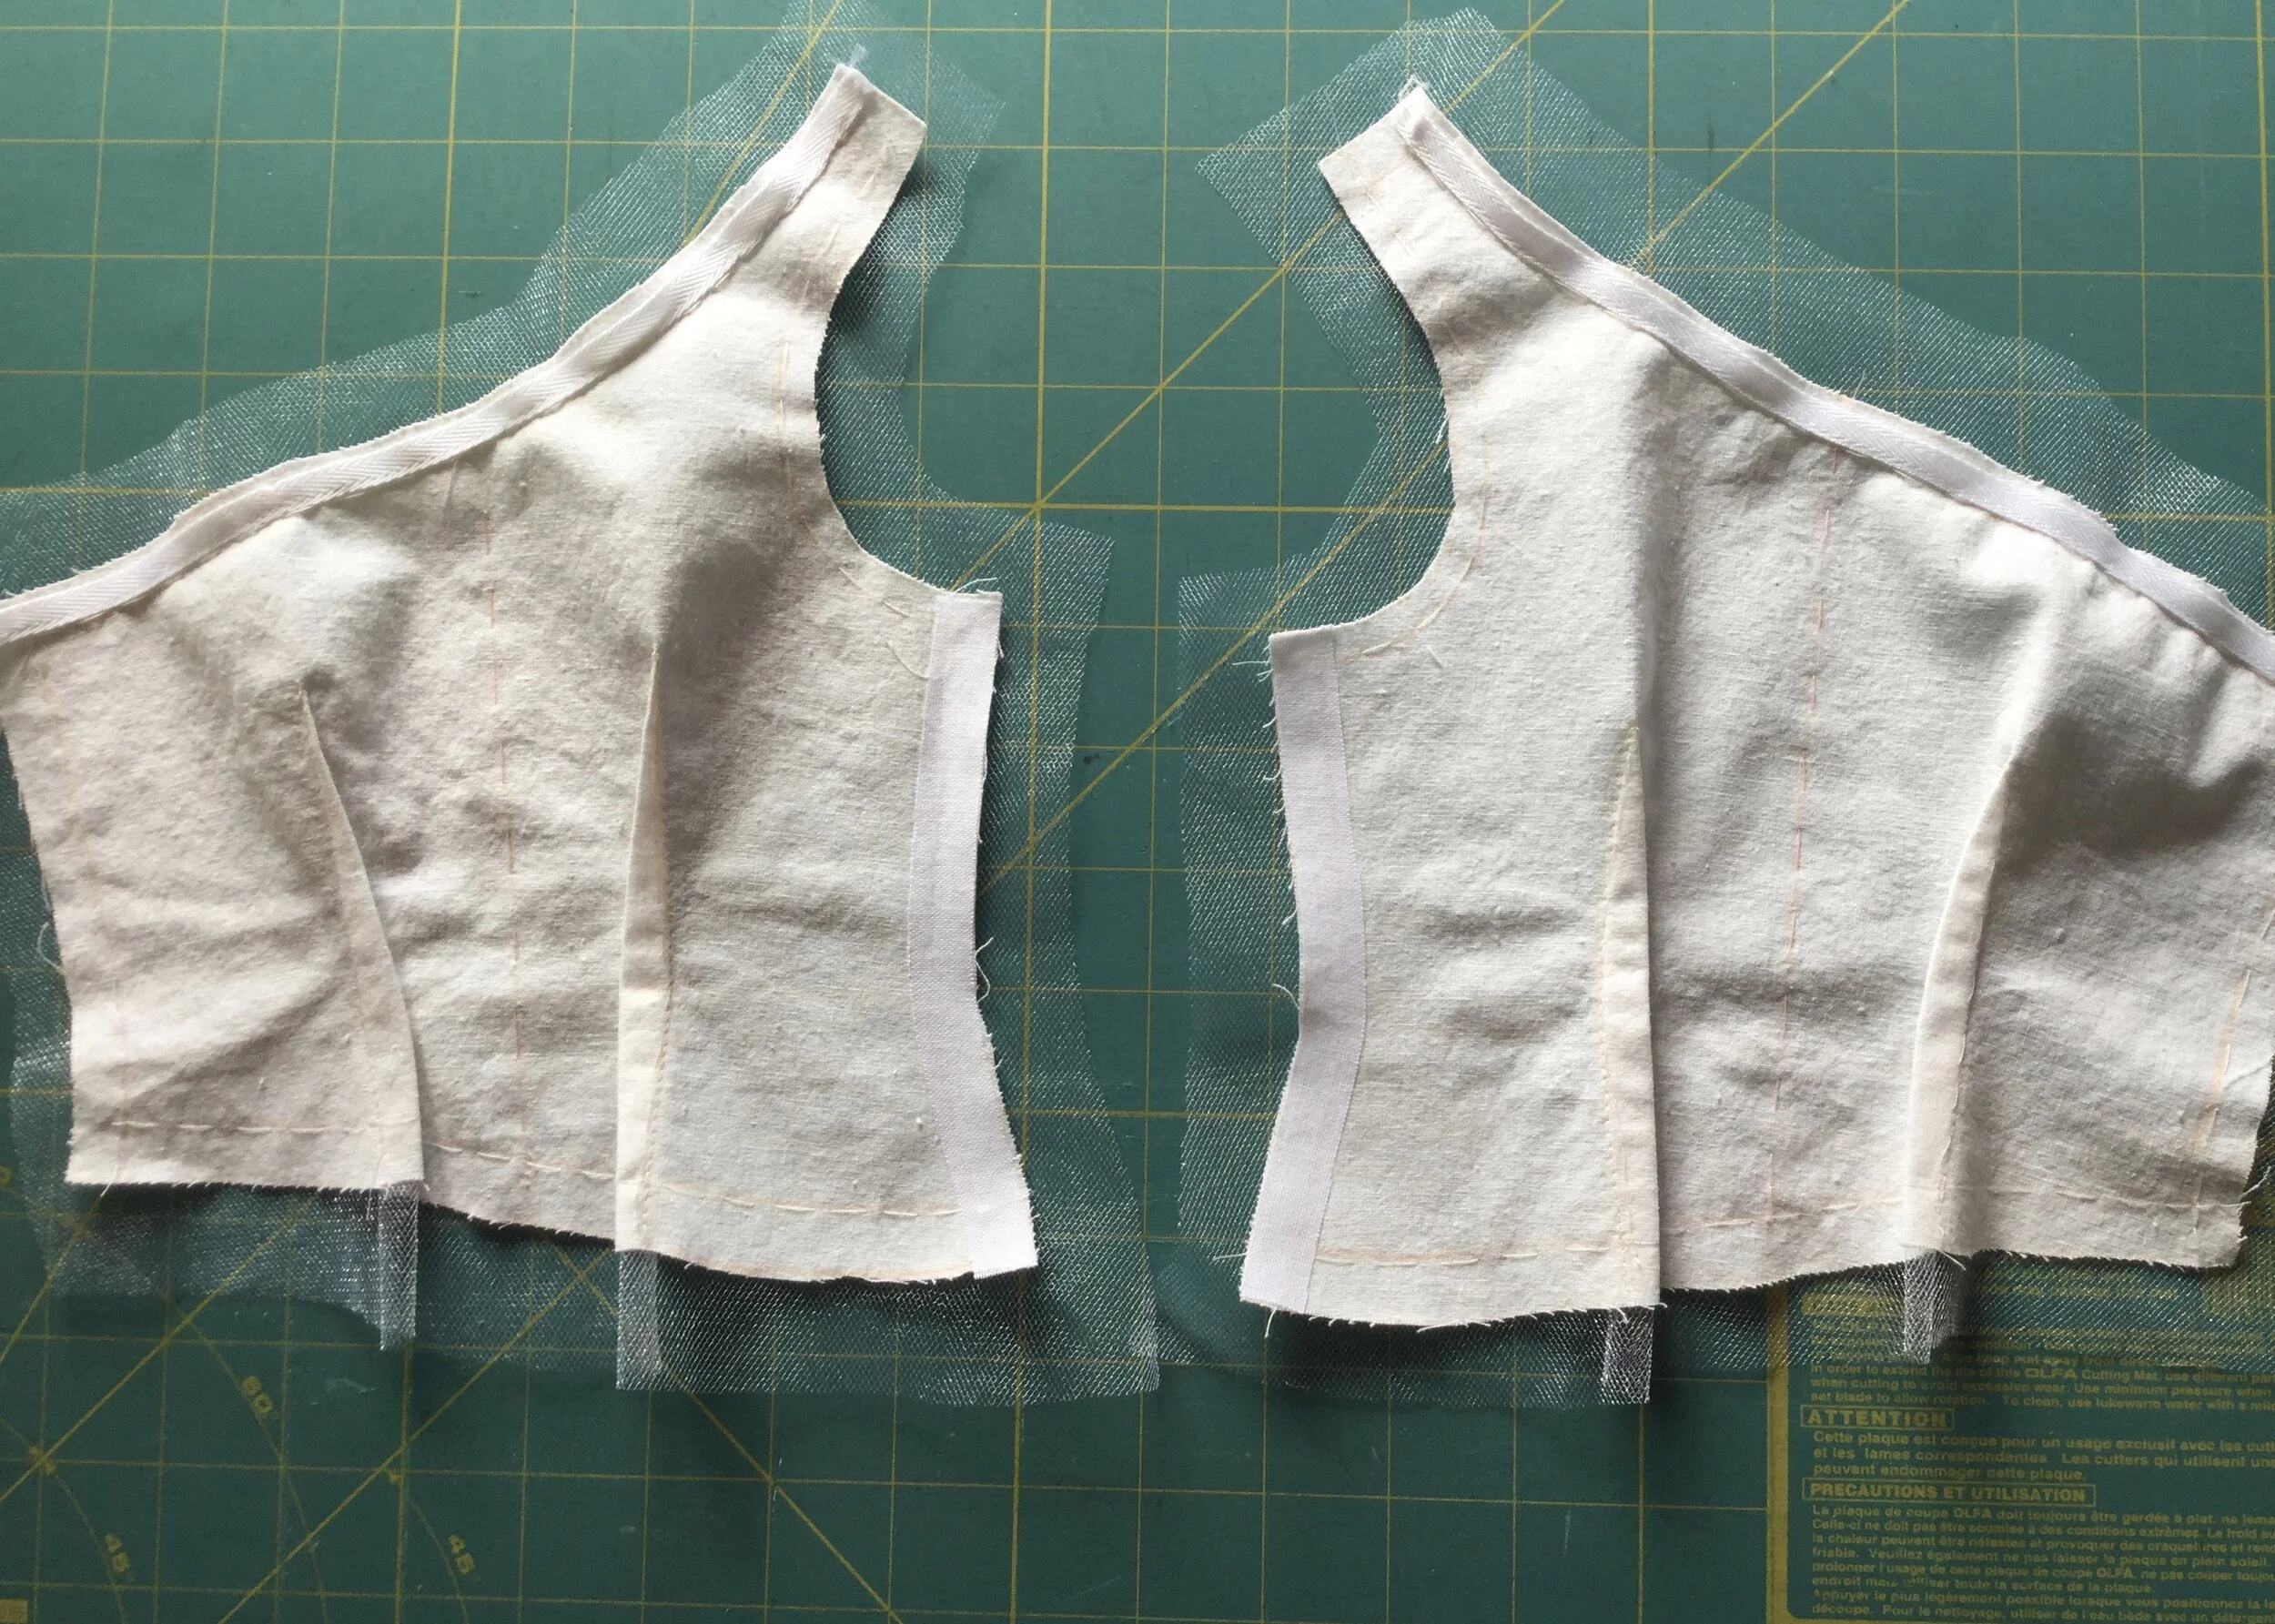
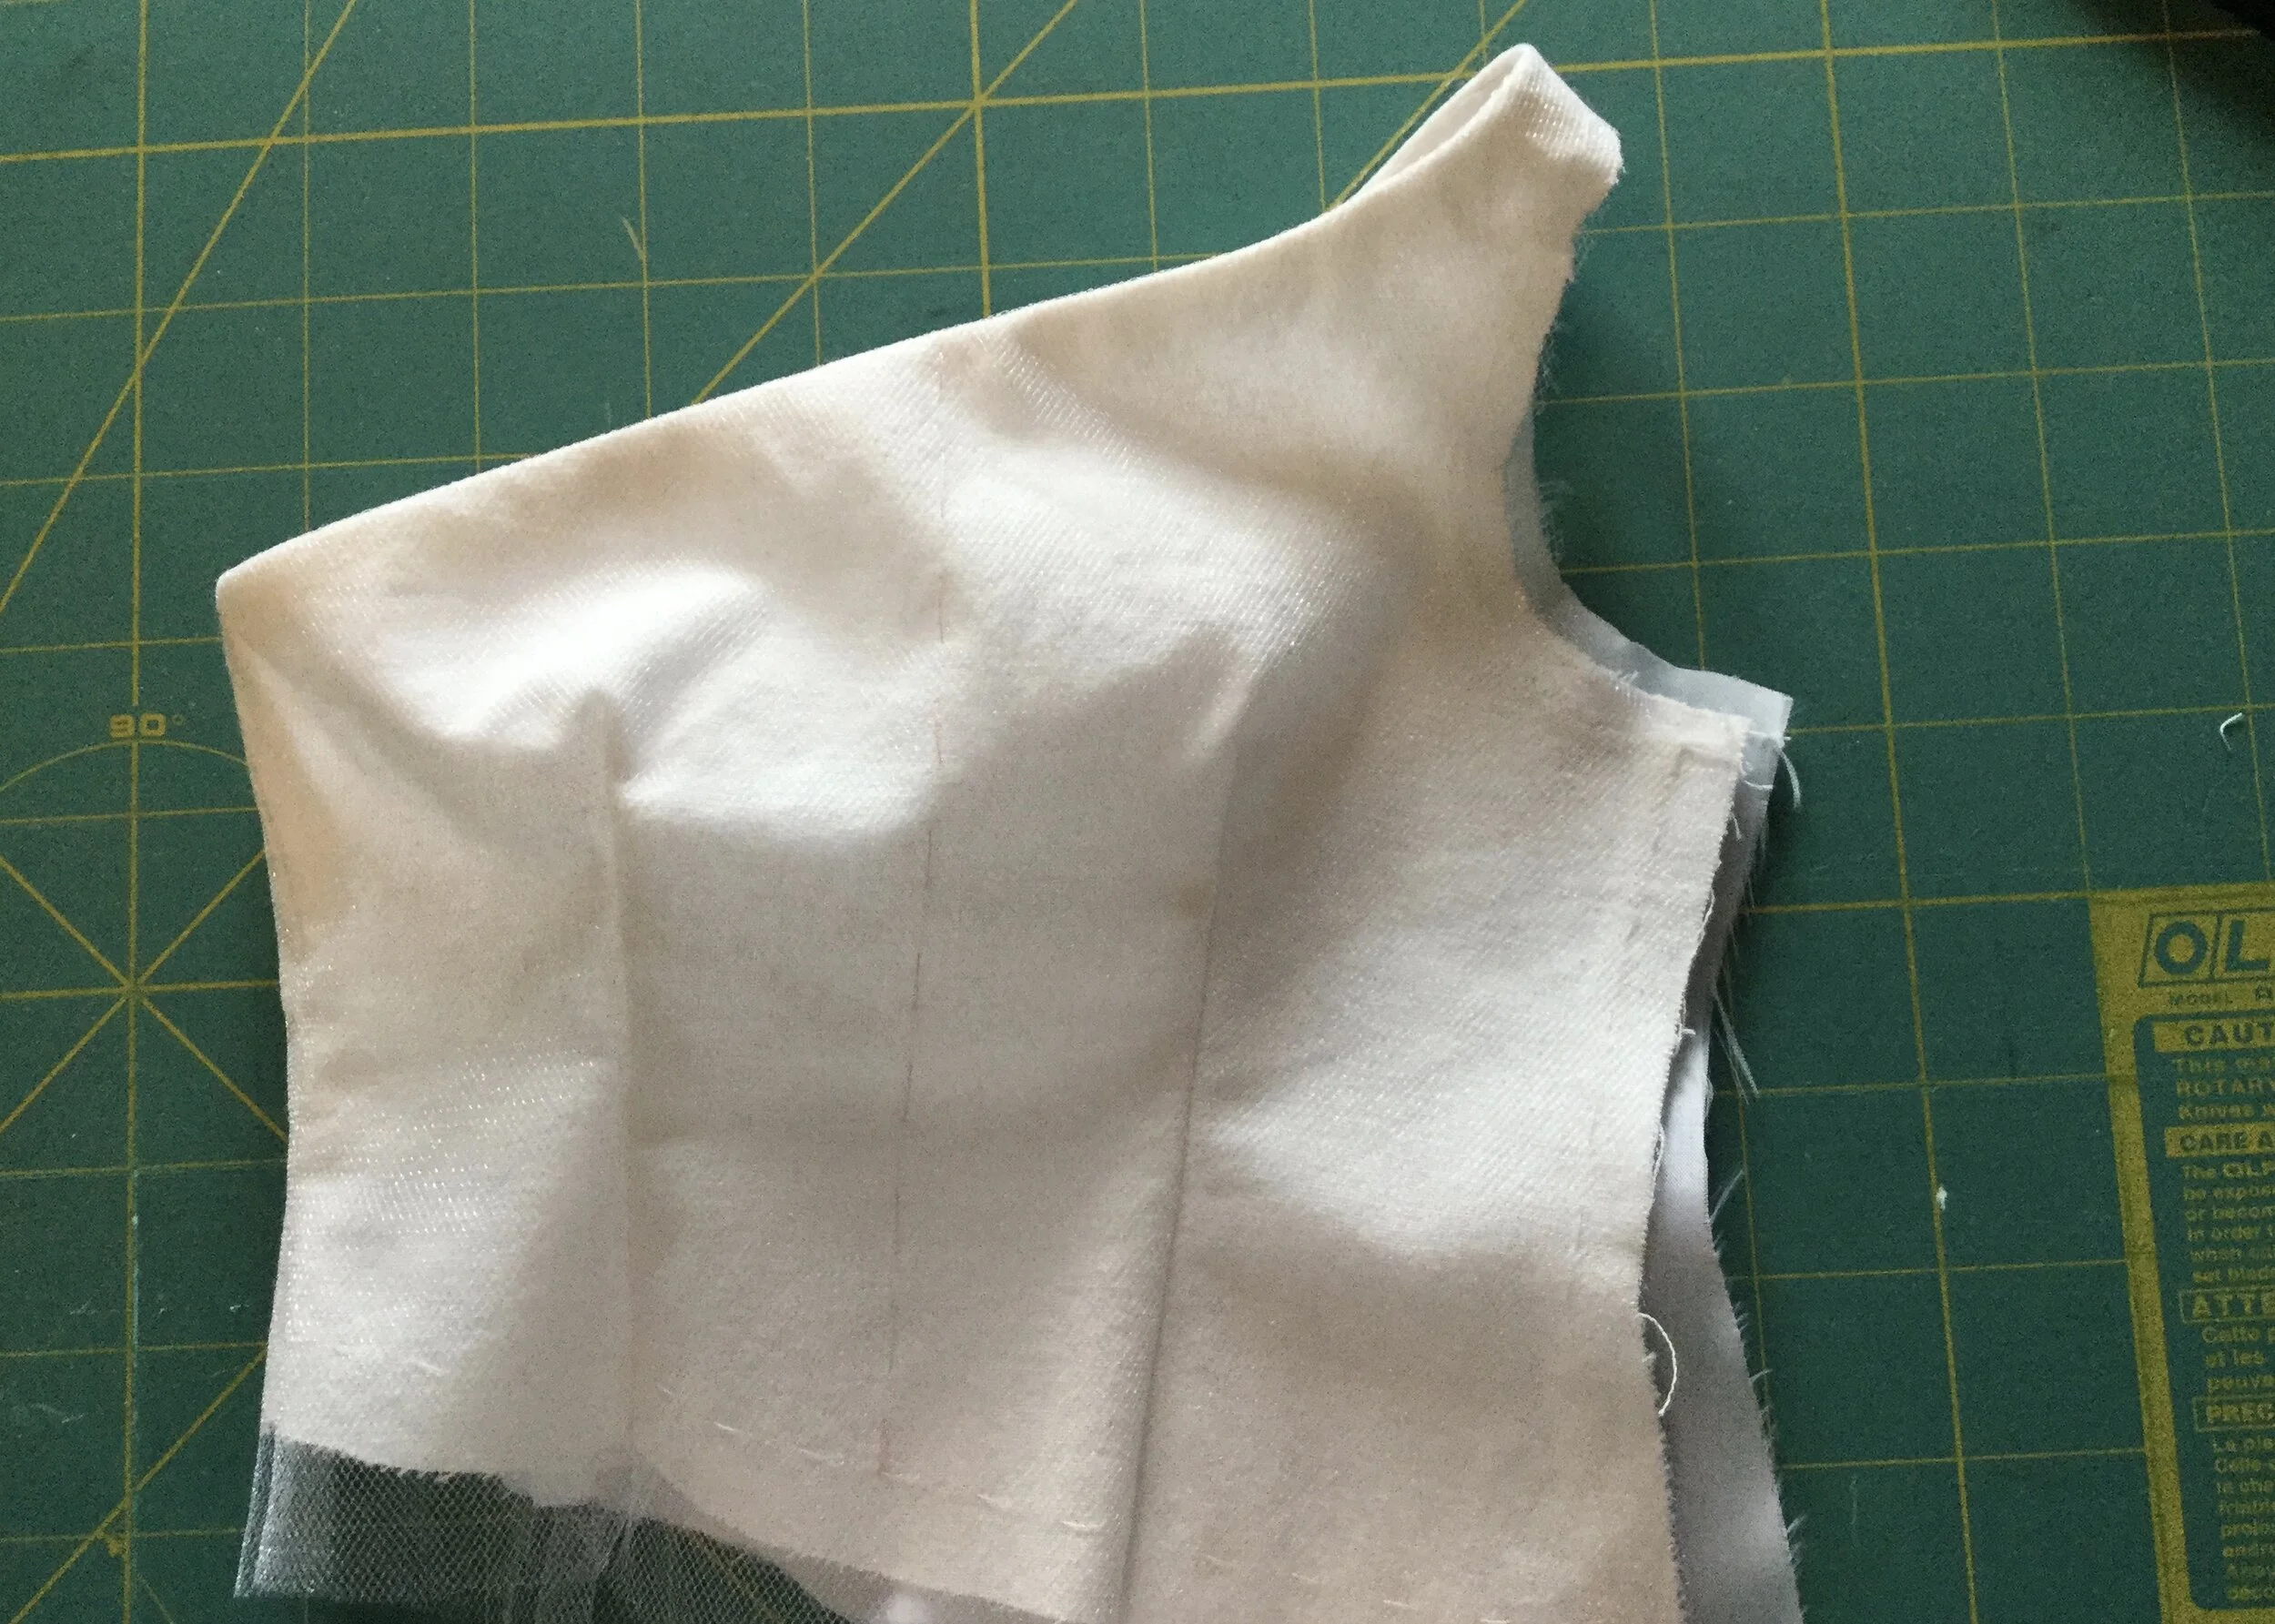
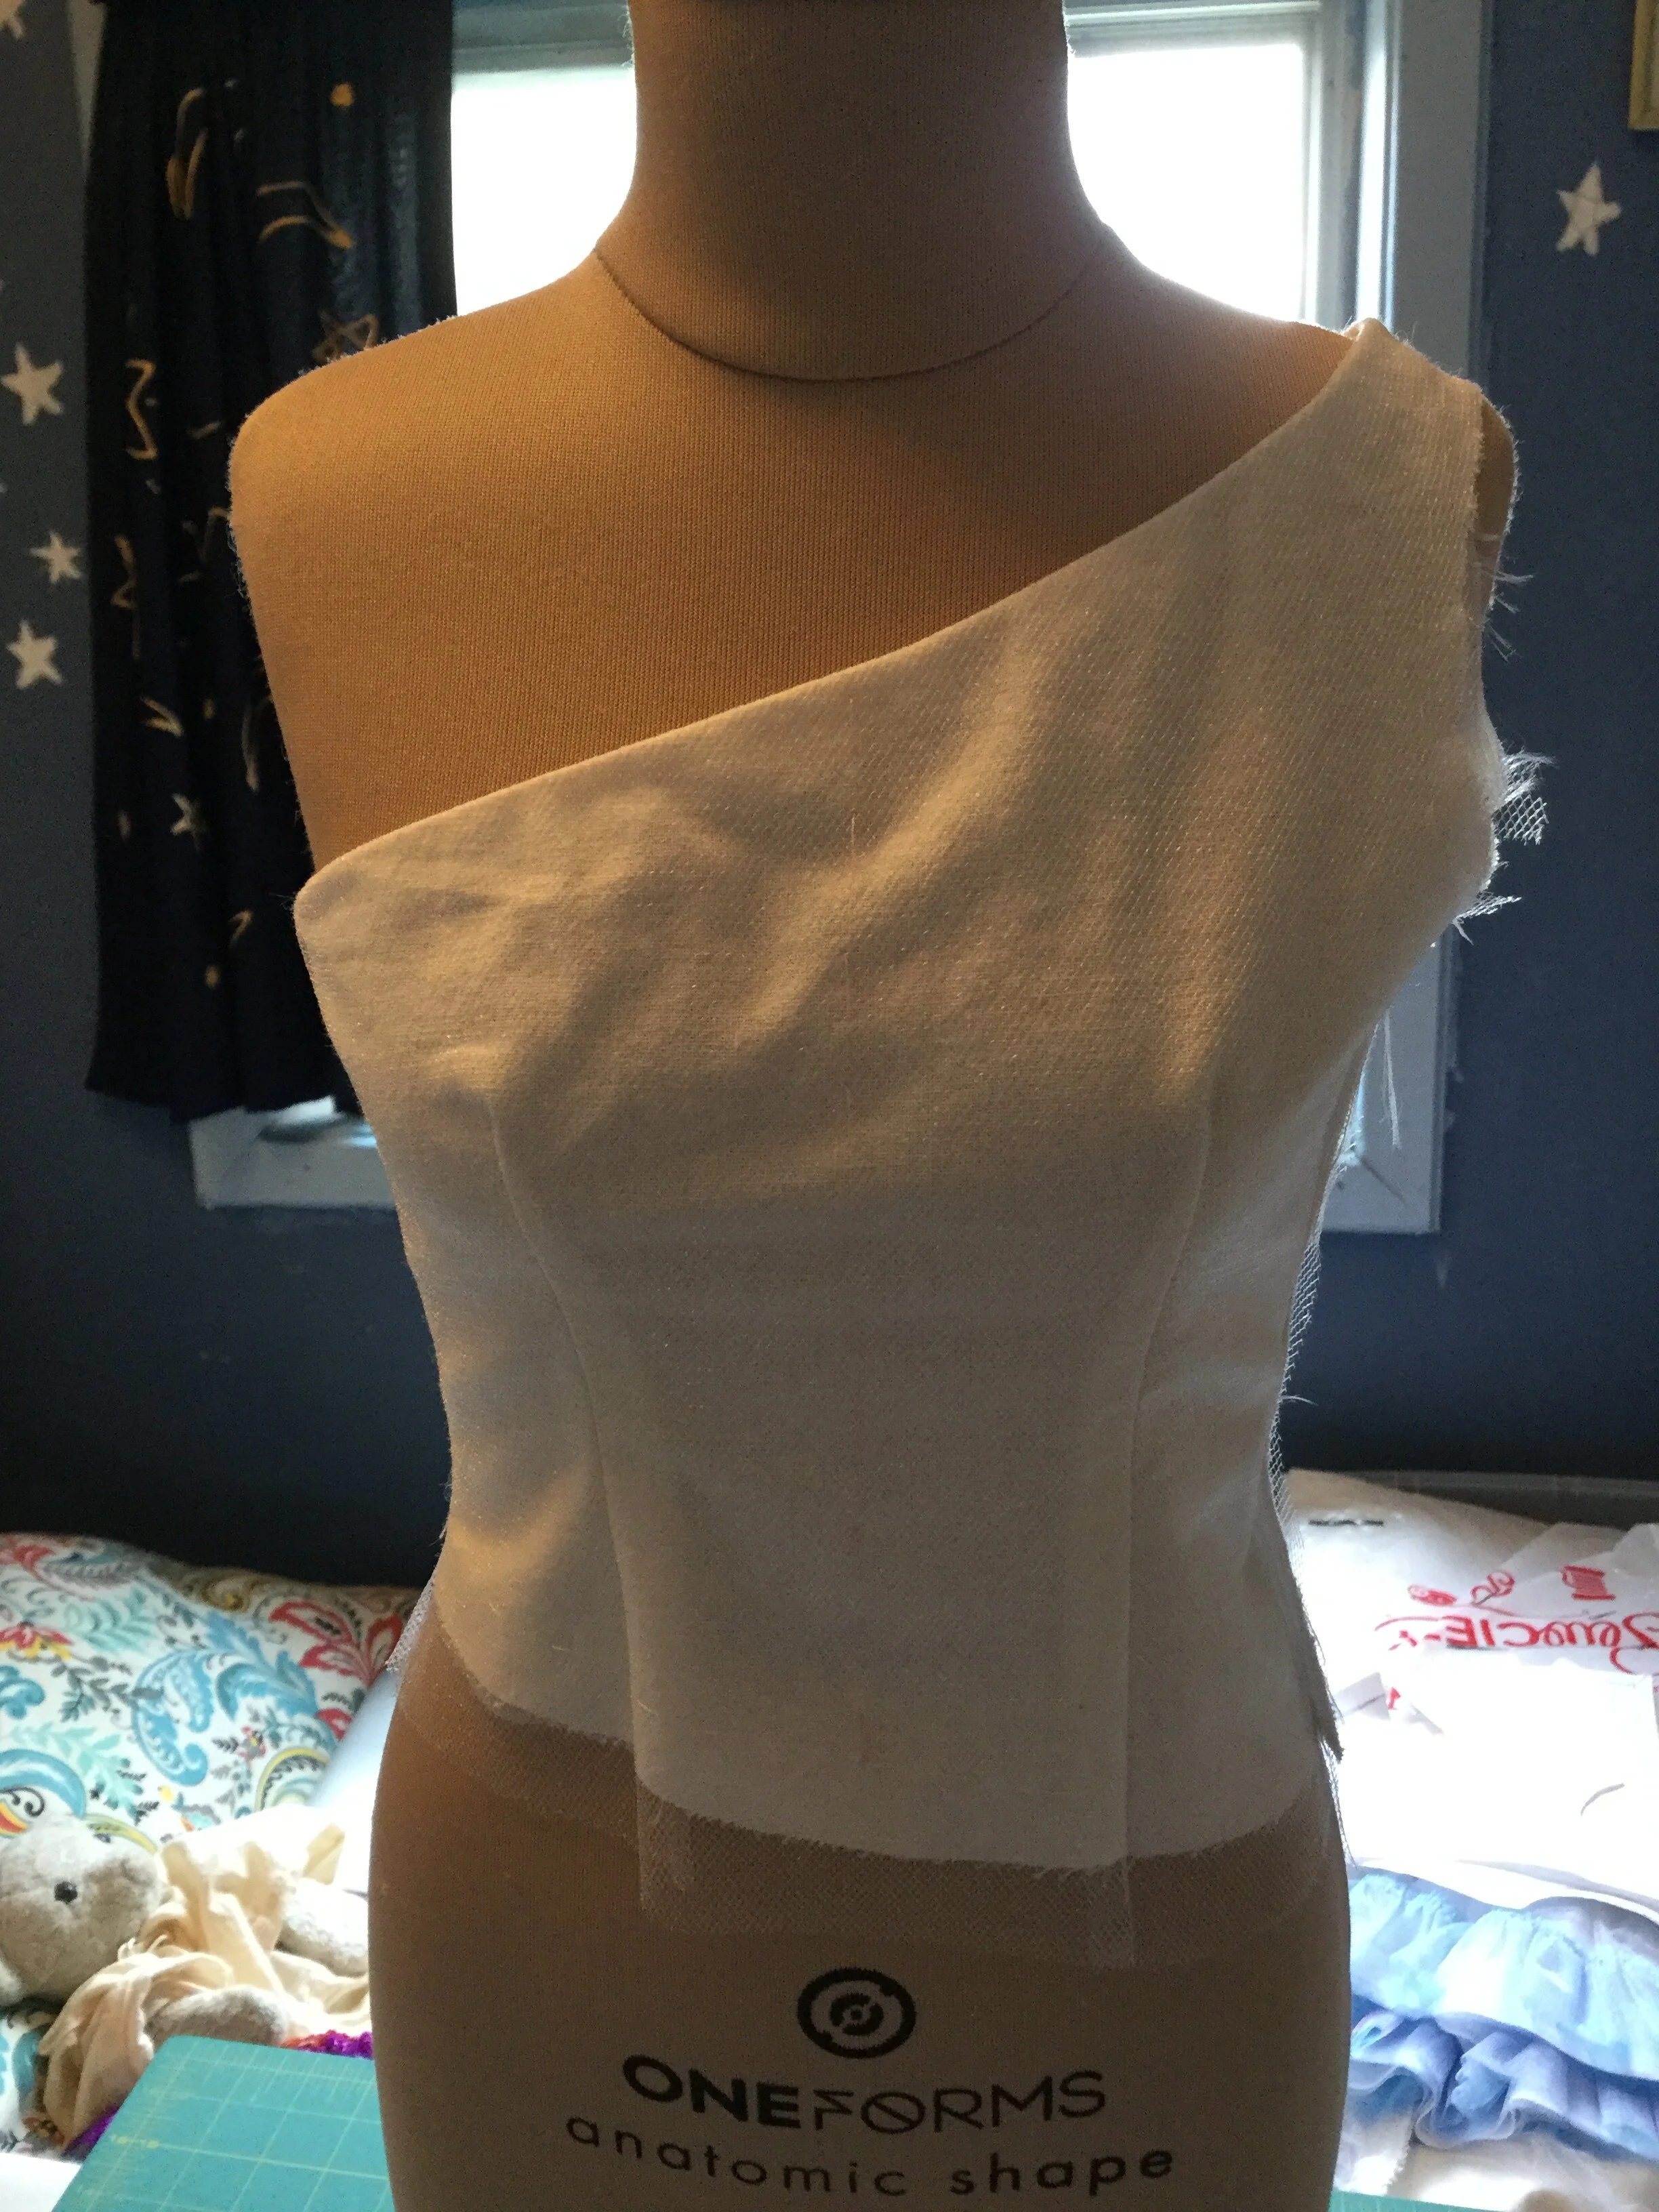
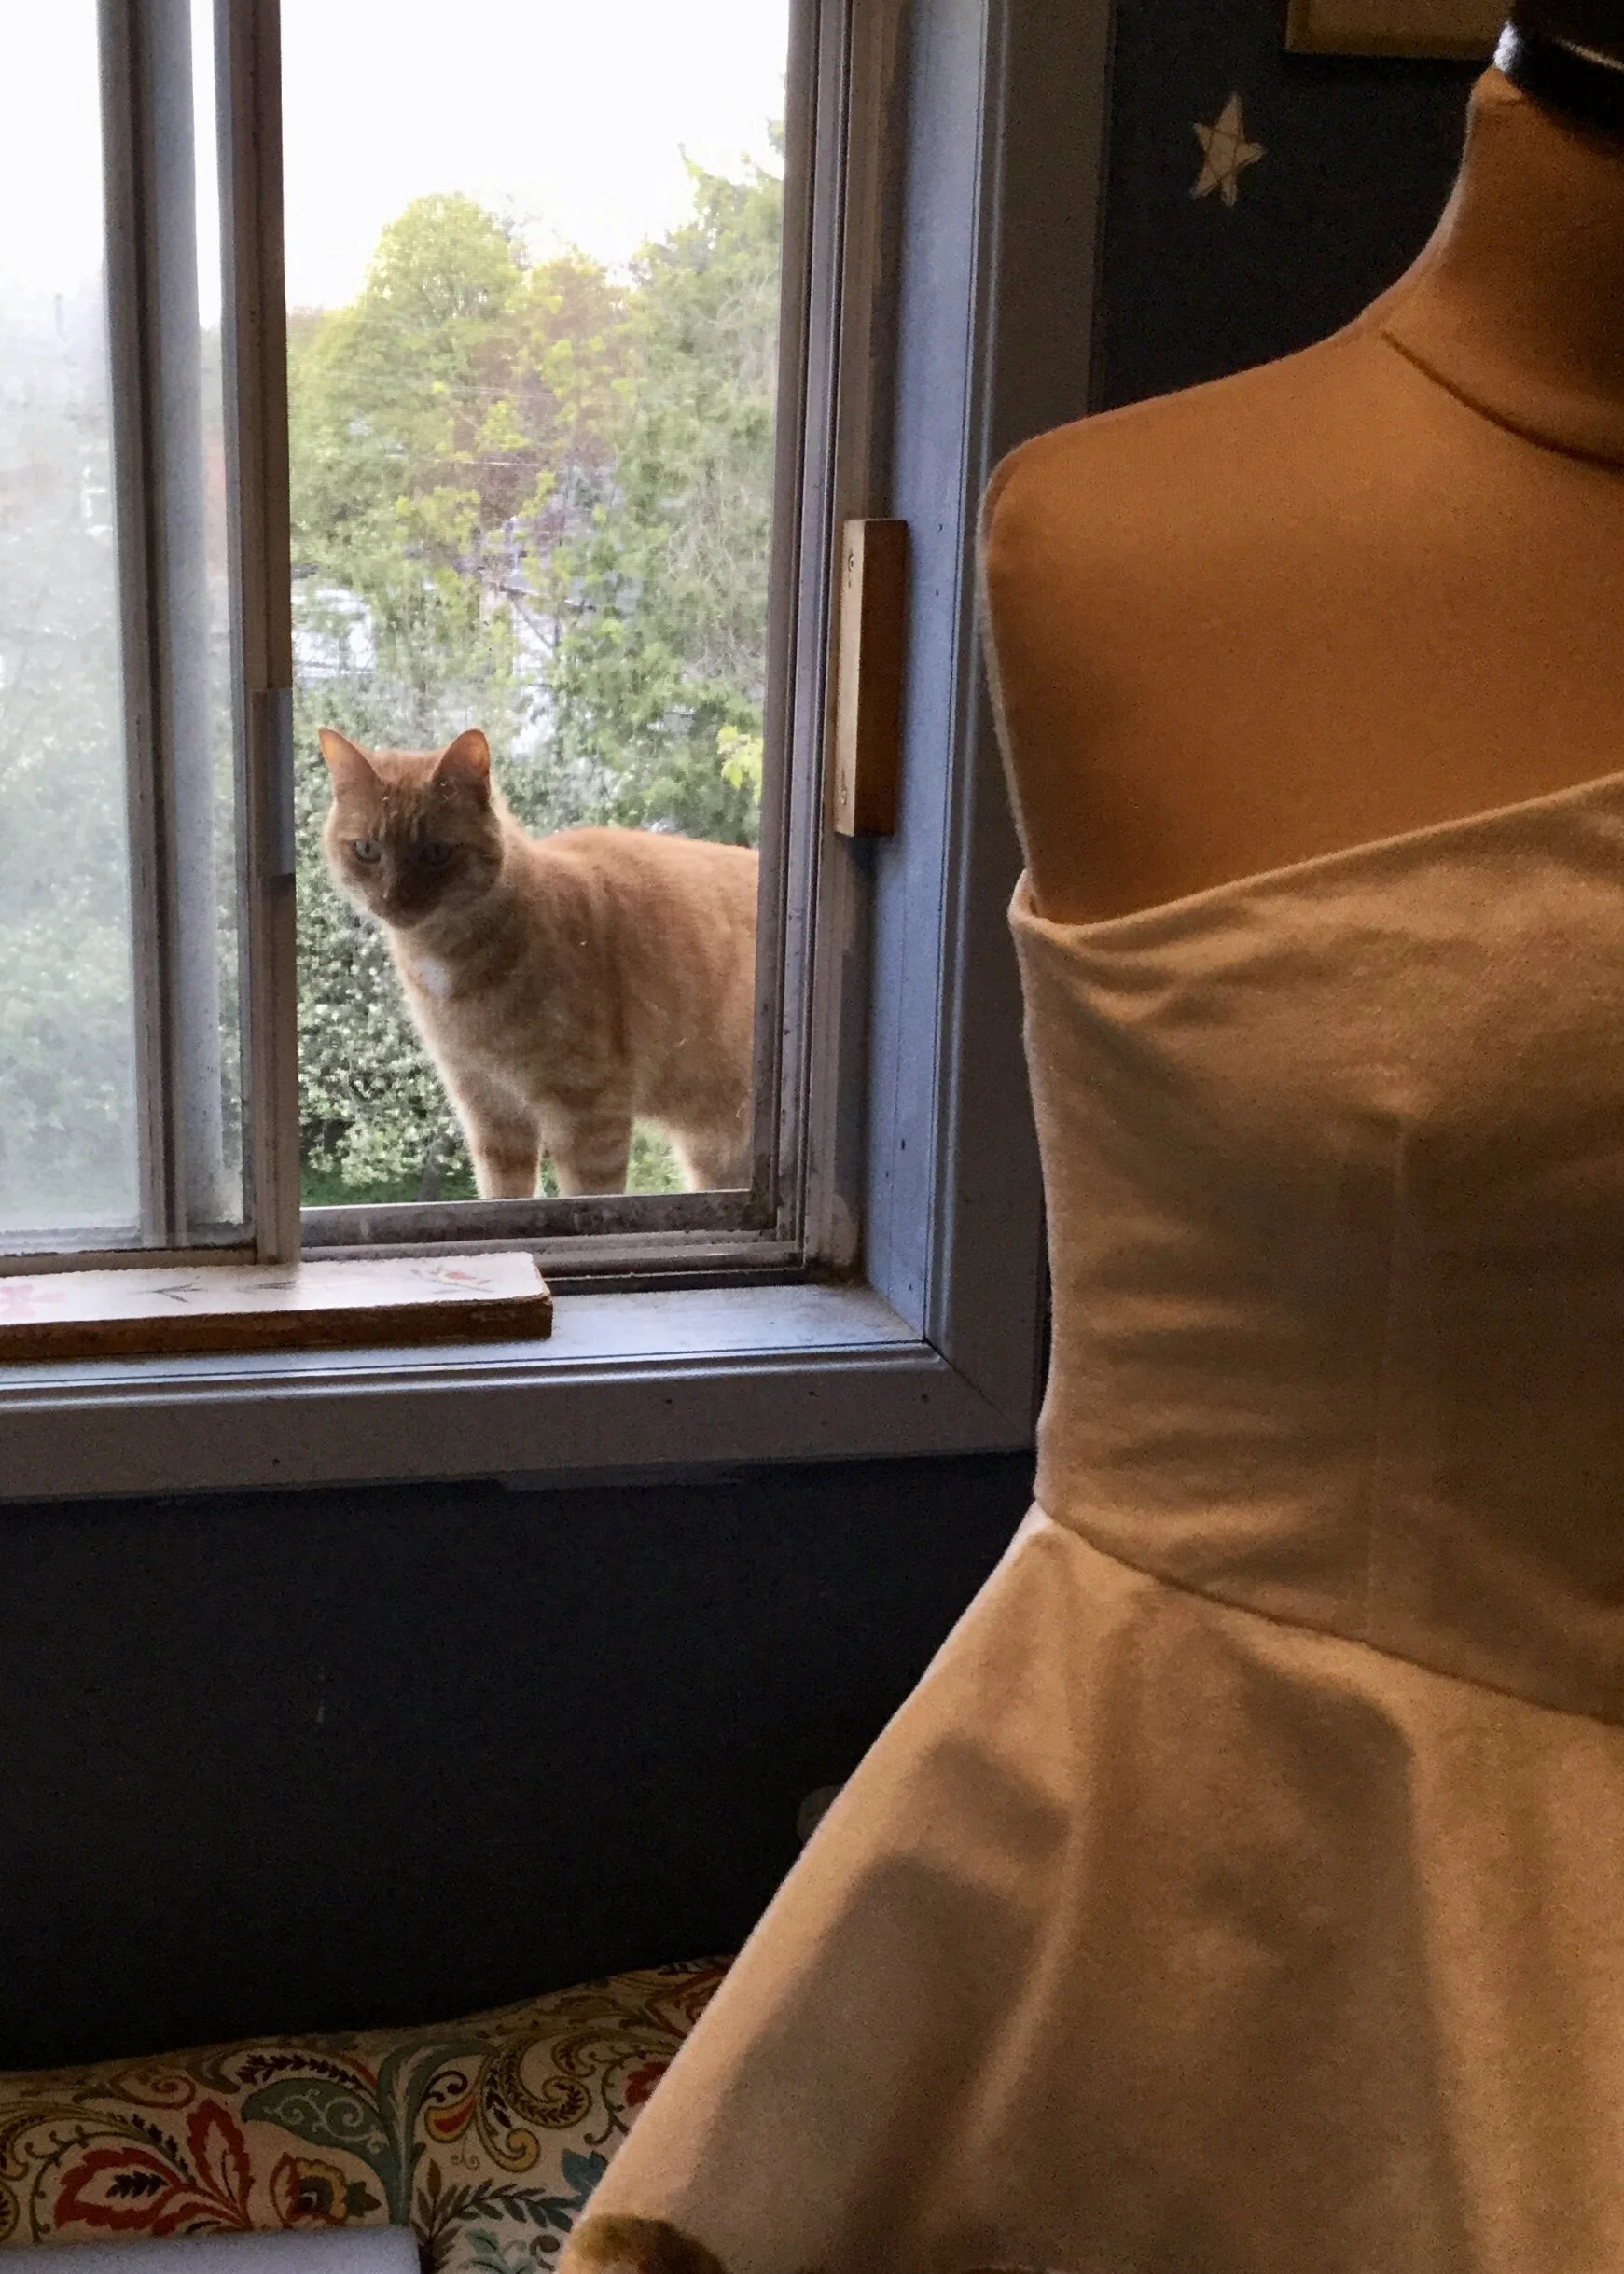
Putting together the bodice, much like drafting and fitting the bodice, was a fairly straightforward job. I cut pieces from the cotton and flat mounted them to the tulle, applied twill tape to the neckline to stabilize and shape it, closed the darts and stitched the front to the back along the side and shoulder seams.
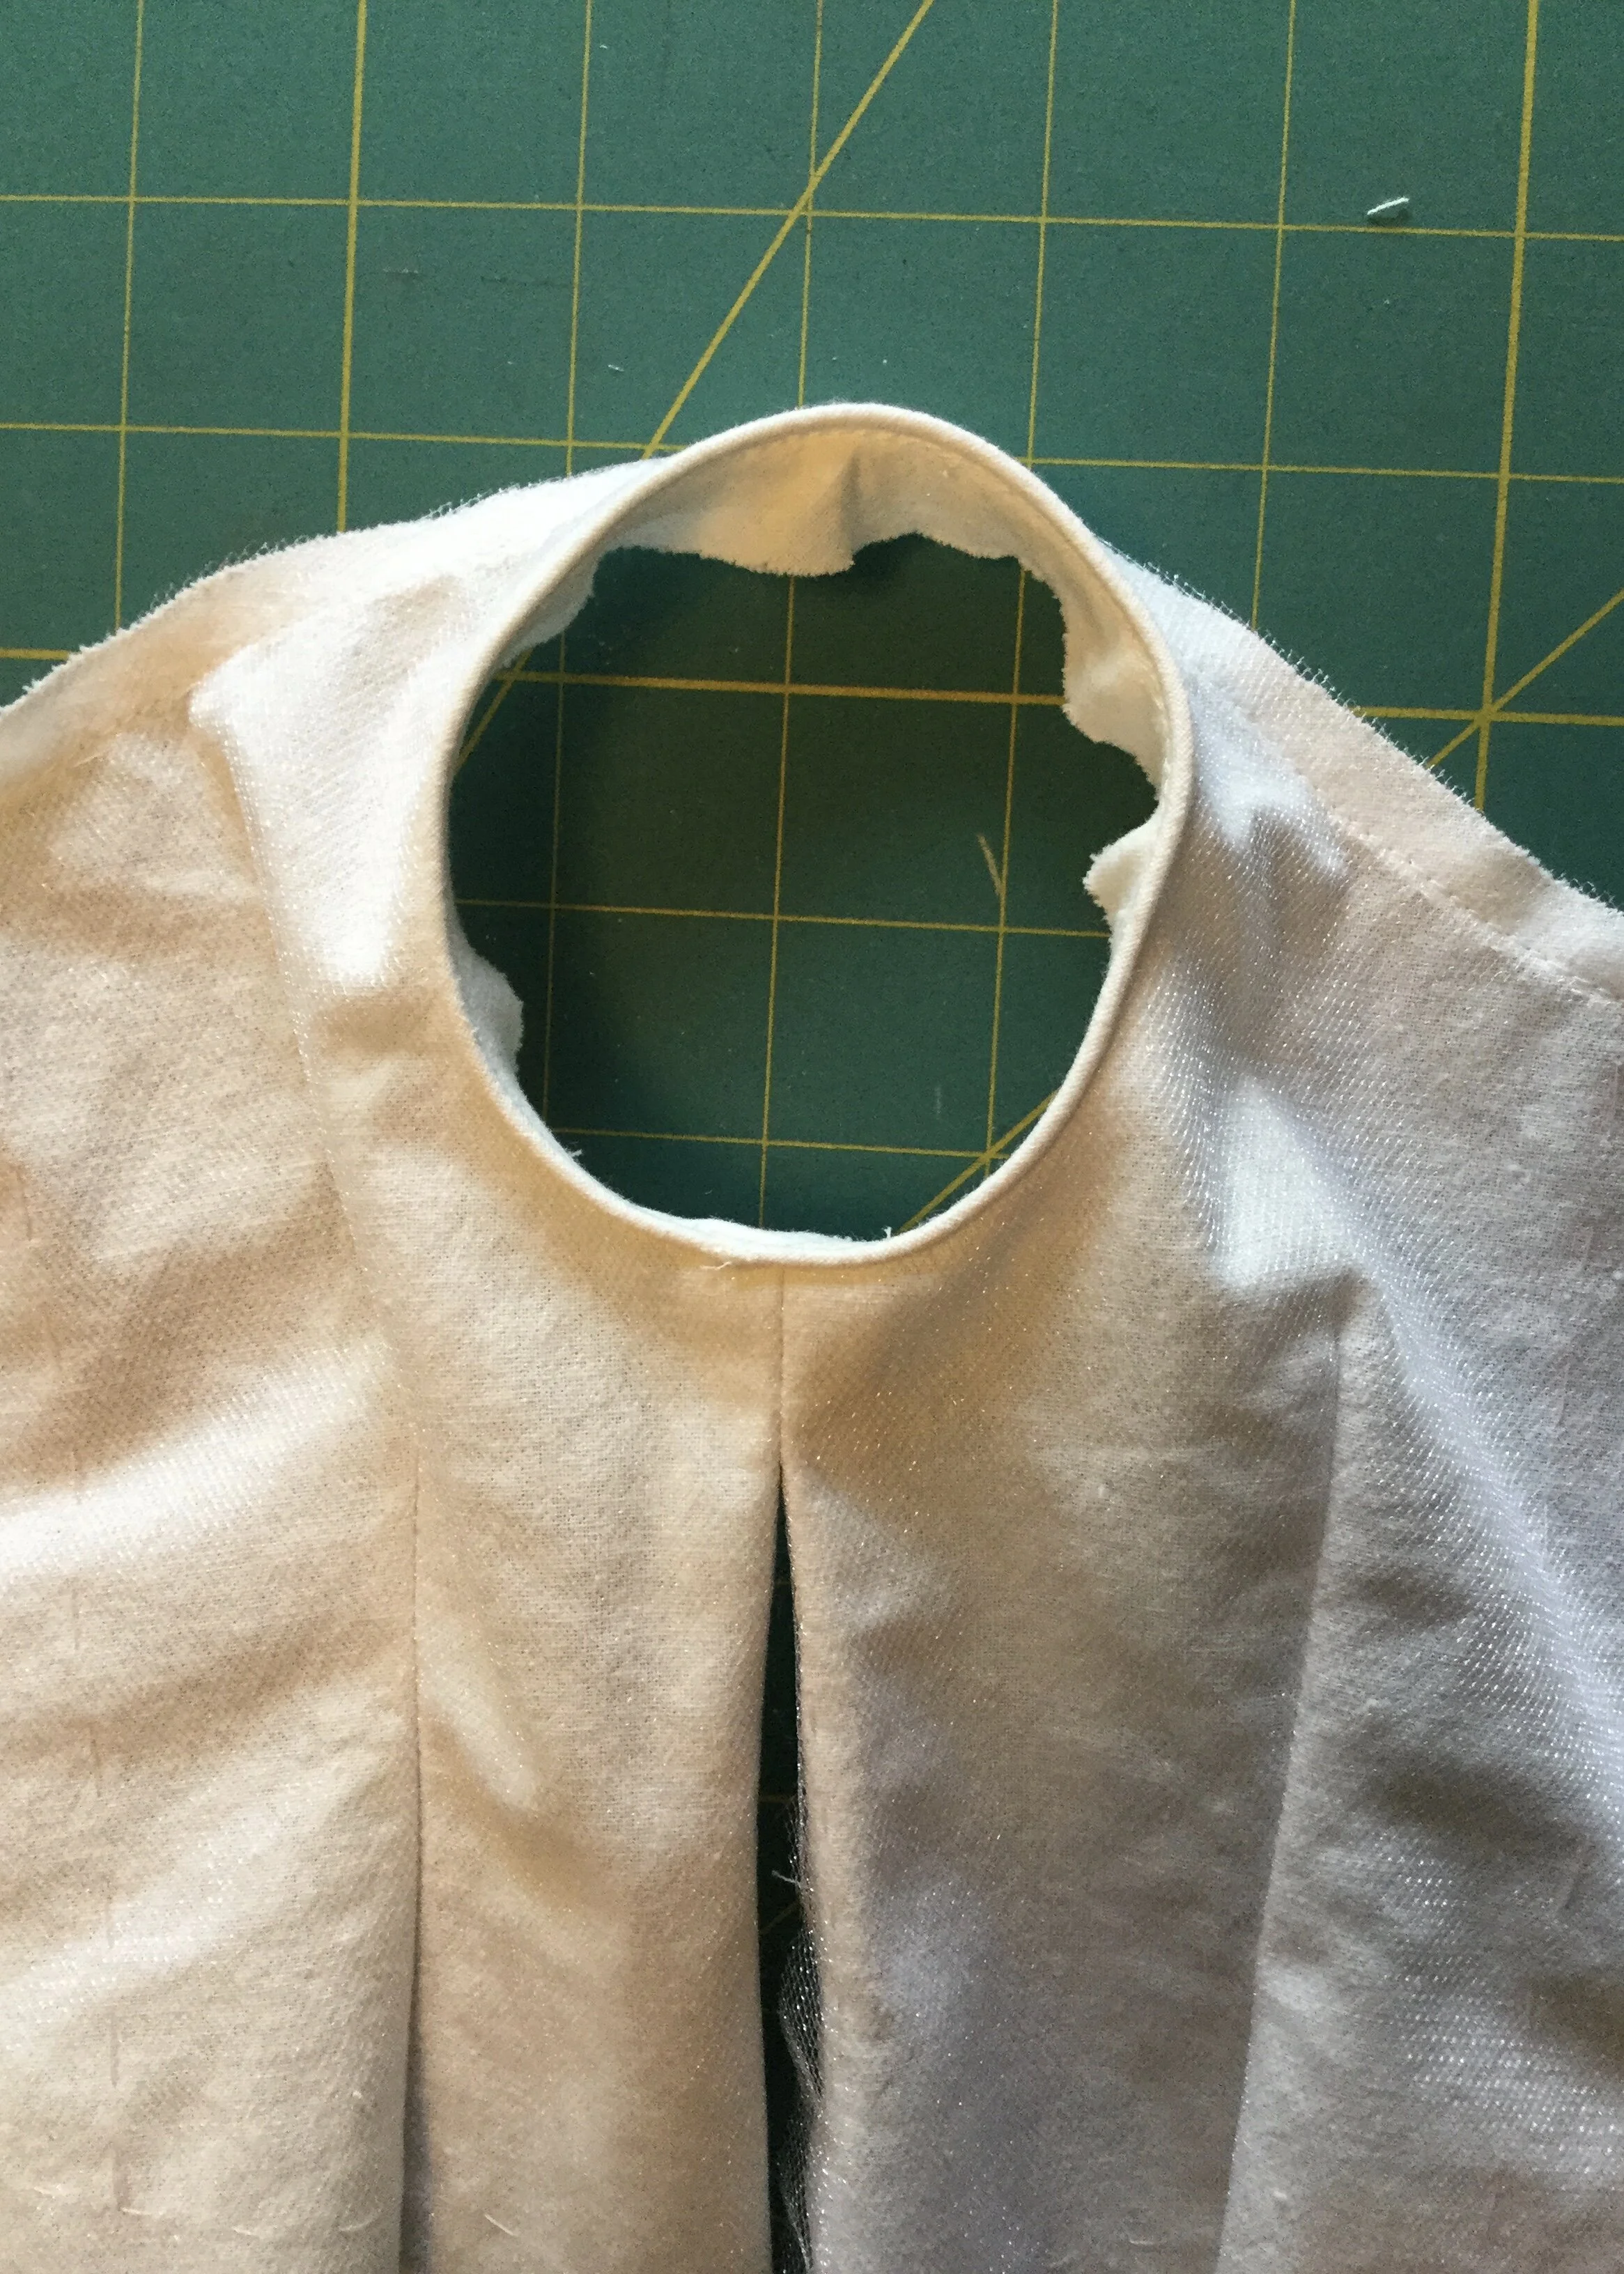
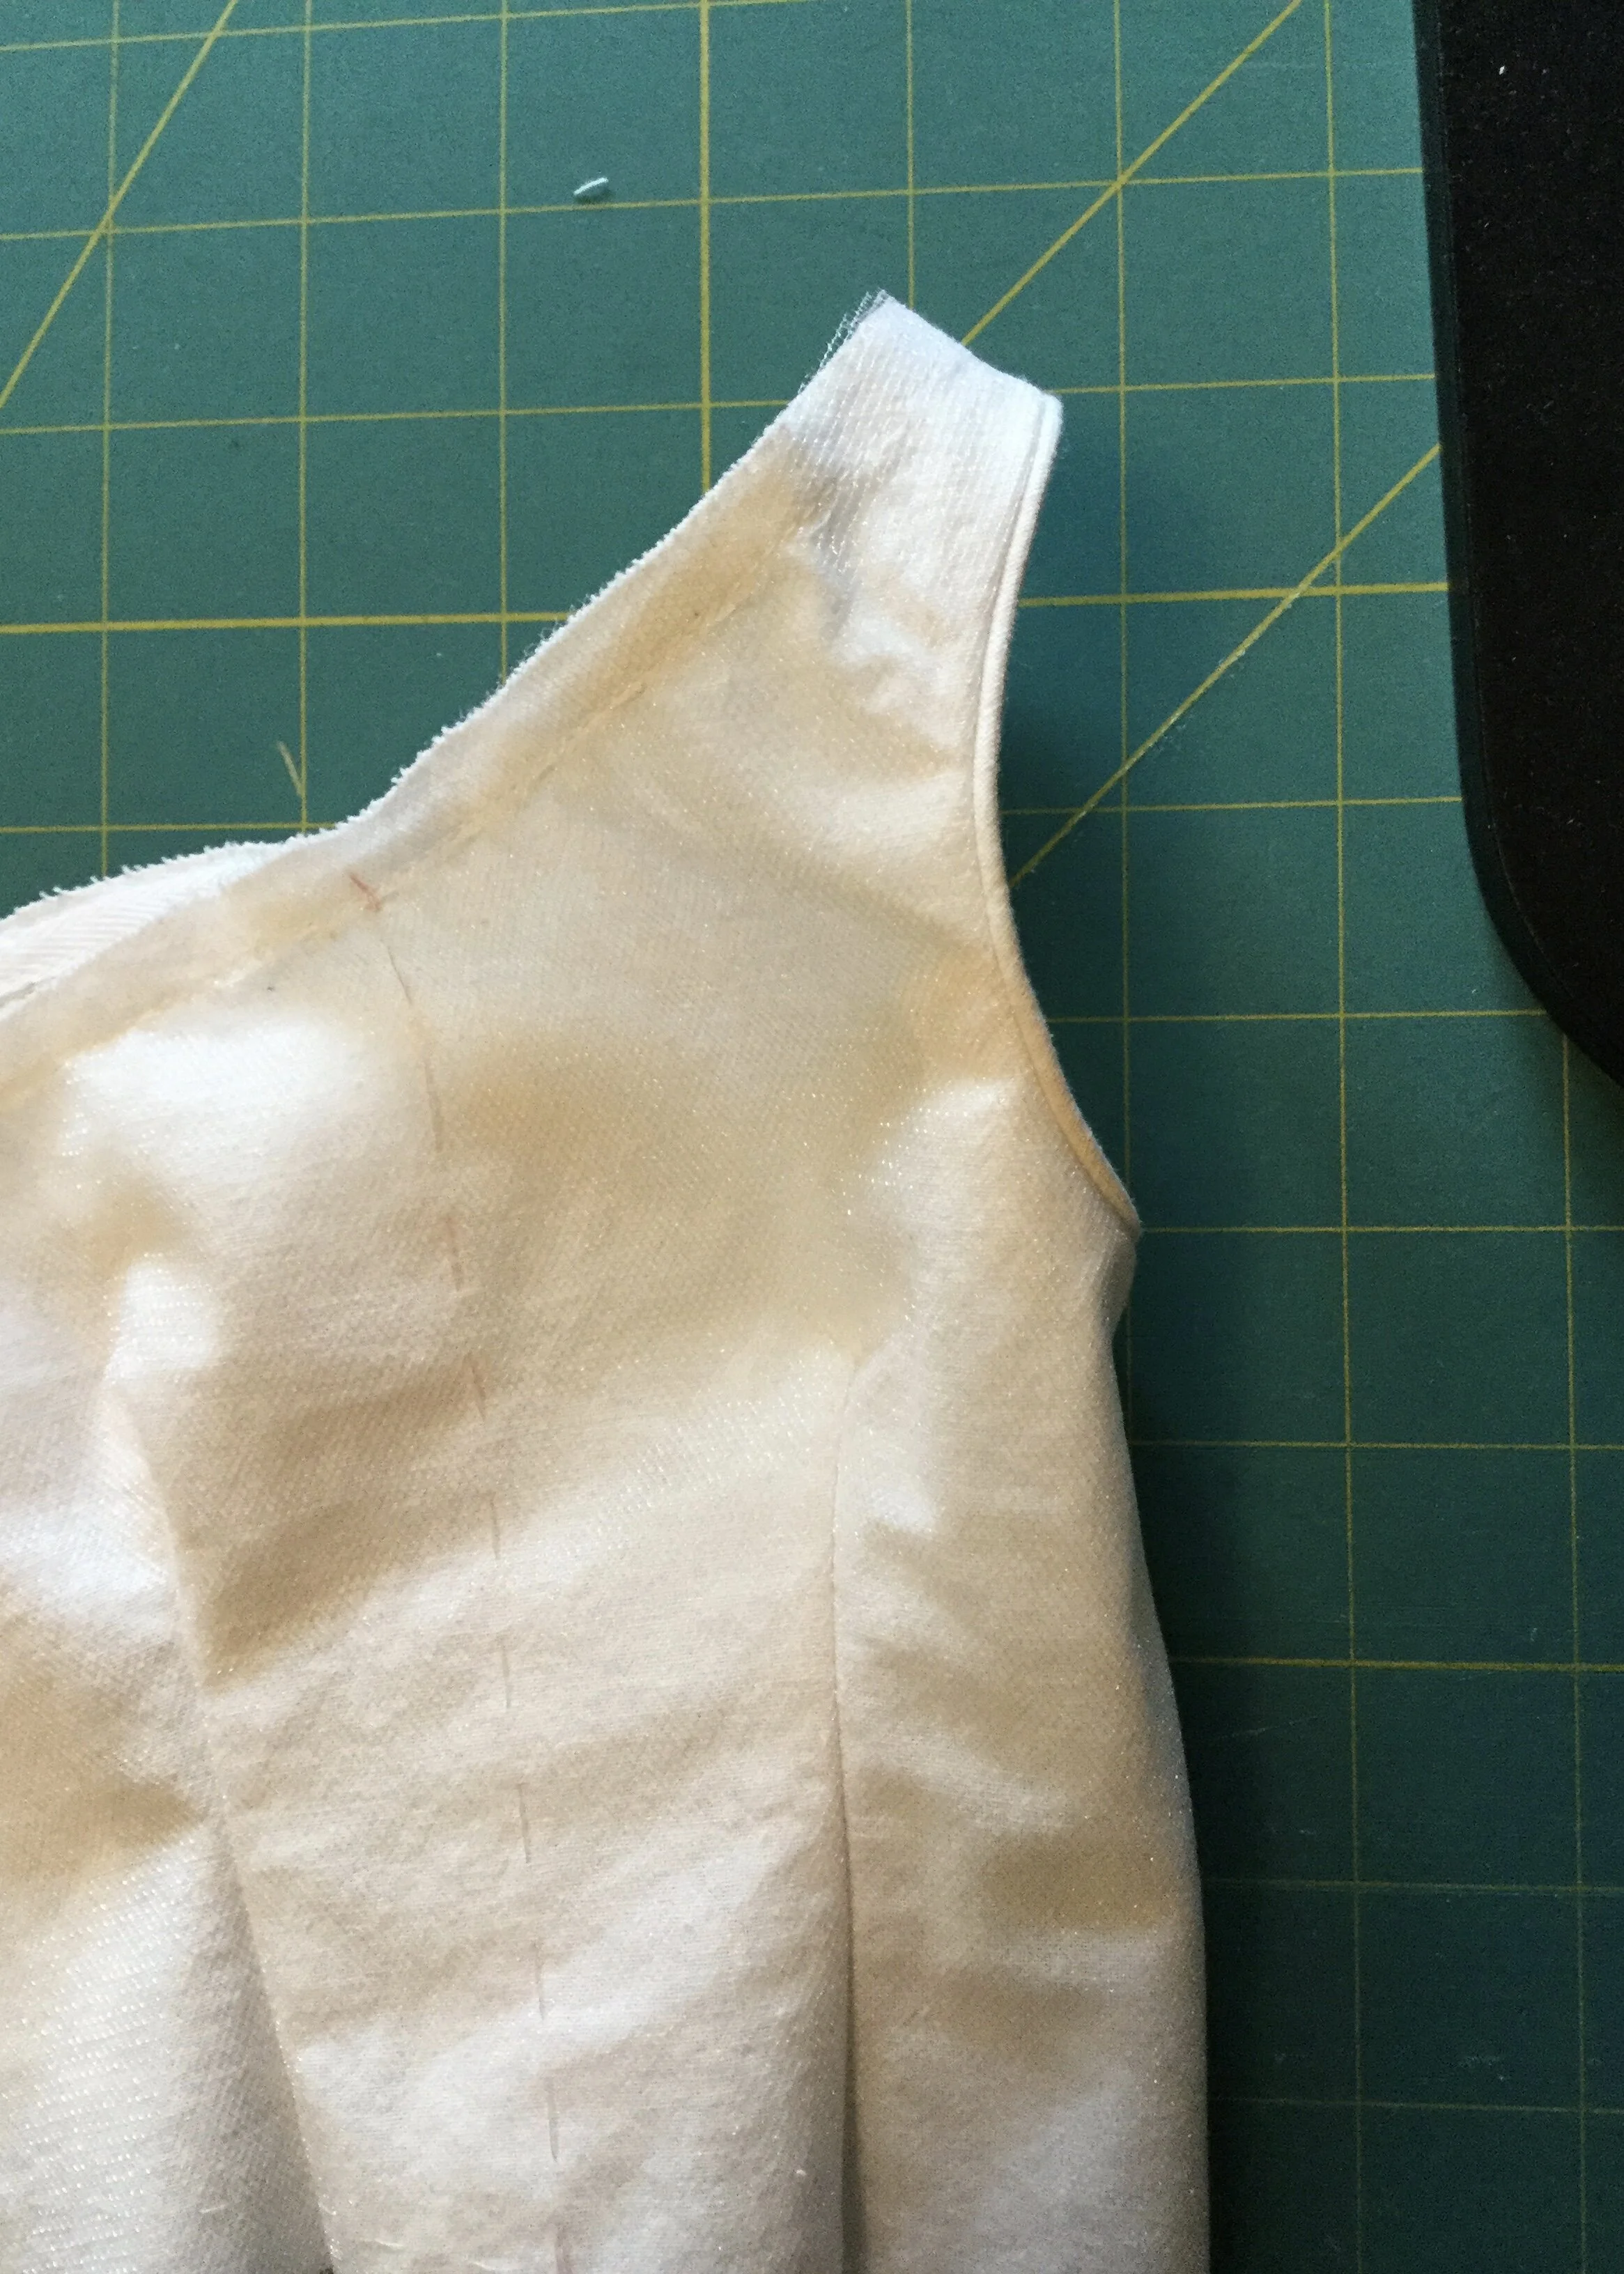
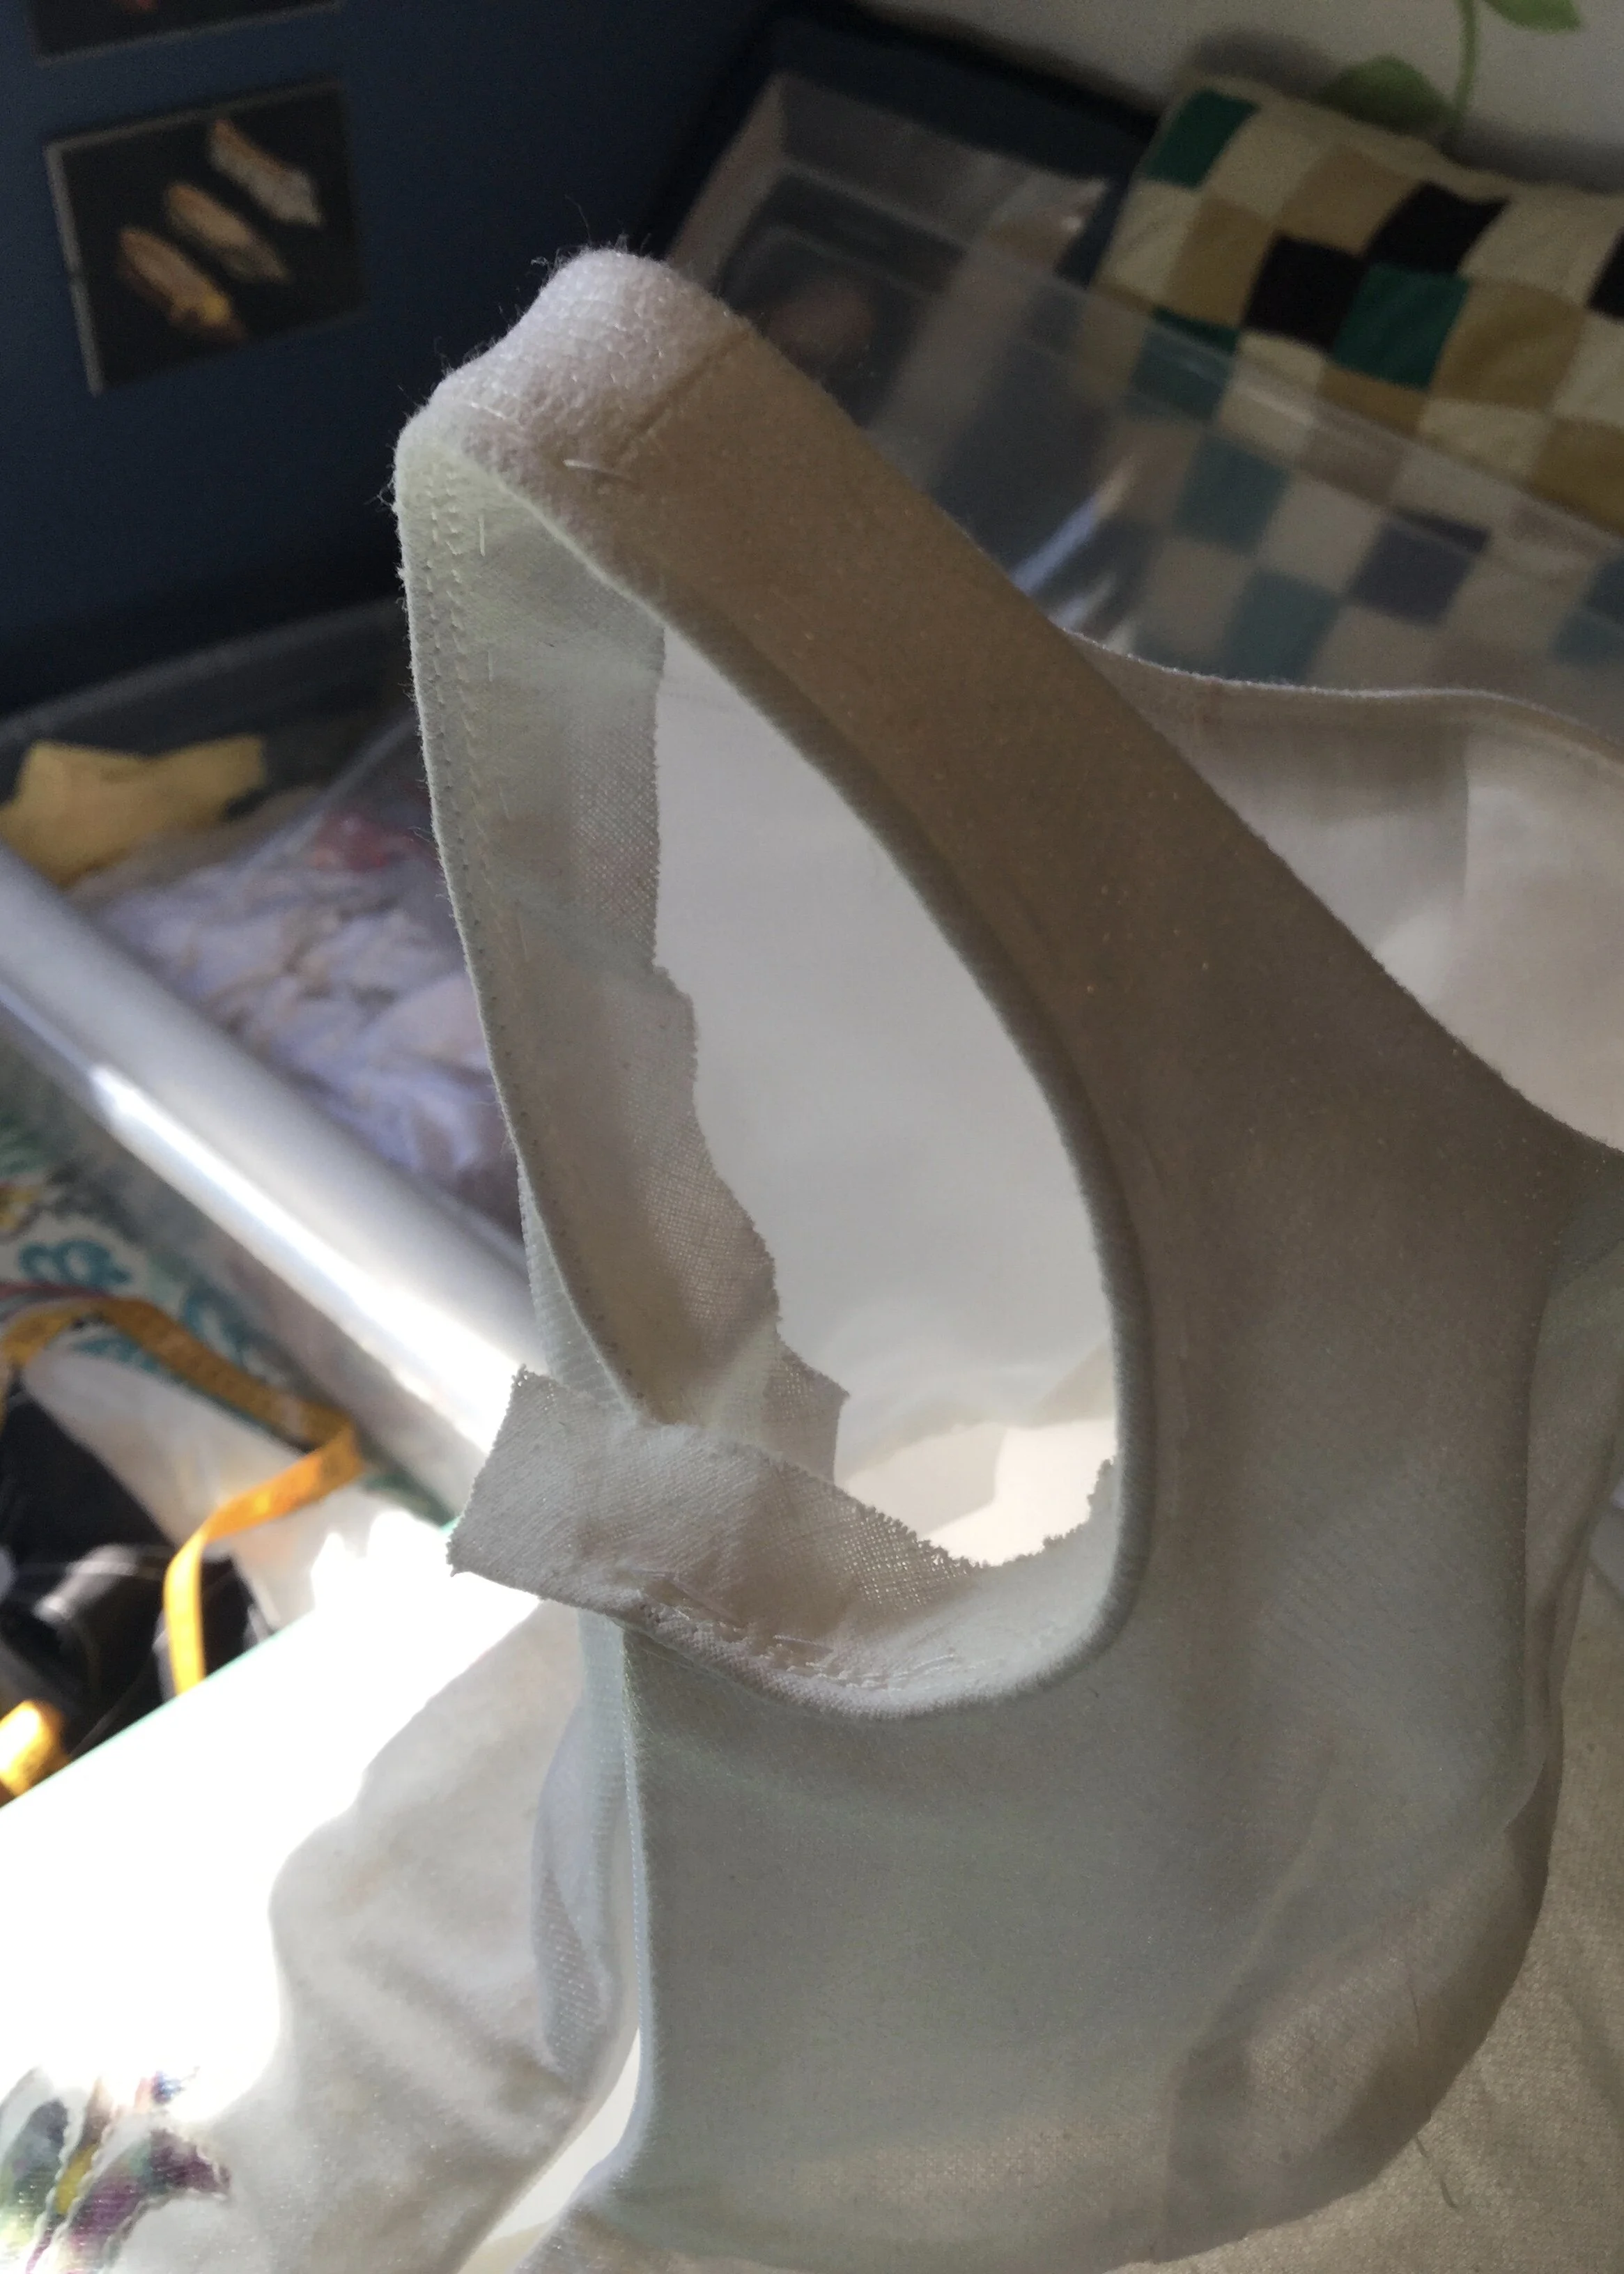
The only real hiccup came with the zipper opening. I had originally intended that the zipper would not go all the way up to the armhole. With this plan in mind, I had stitched the top inch or so of the side seam closed and finished the armhole with piping (fashioned from a small piece of round elastic I happened to have as another lockdown prevented me from going out to get proper cord). Sadly, I had underestimated how much room would be needed to get the dress onto the Judy. With the armhole closed, the bodice didn’t open far enough to get over her shoulders and I couldn't get it onto her. Crud.
Oh well, guess the zipper's going all the way up now.
Sometimes I come up against elements that don't scale down perfectly and this is one of them. If this were for a person, the armhole could likely be closed as people have joints and are able to move in ways that mannequins cannot. Who knew? We can tilt our shoulders to make ourselves narrower, wiggle our hips to shimmy into things and suck in our tummies to close zippers. My Judy can't do that so garment openings have to accommodate her.
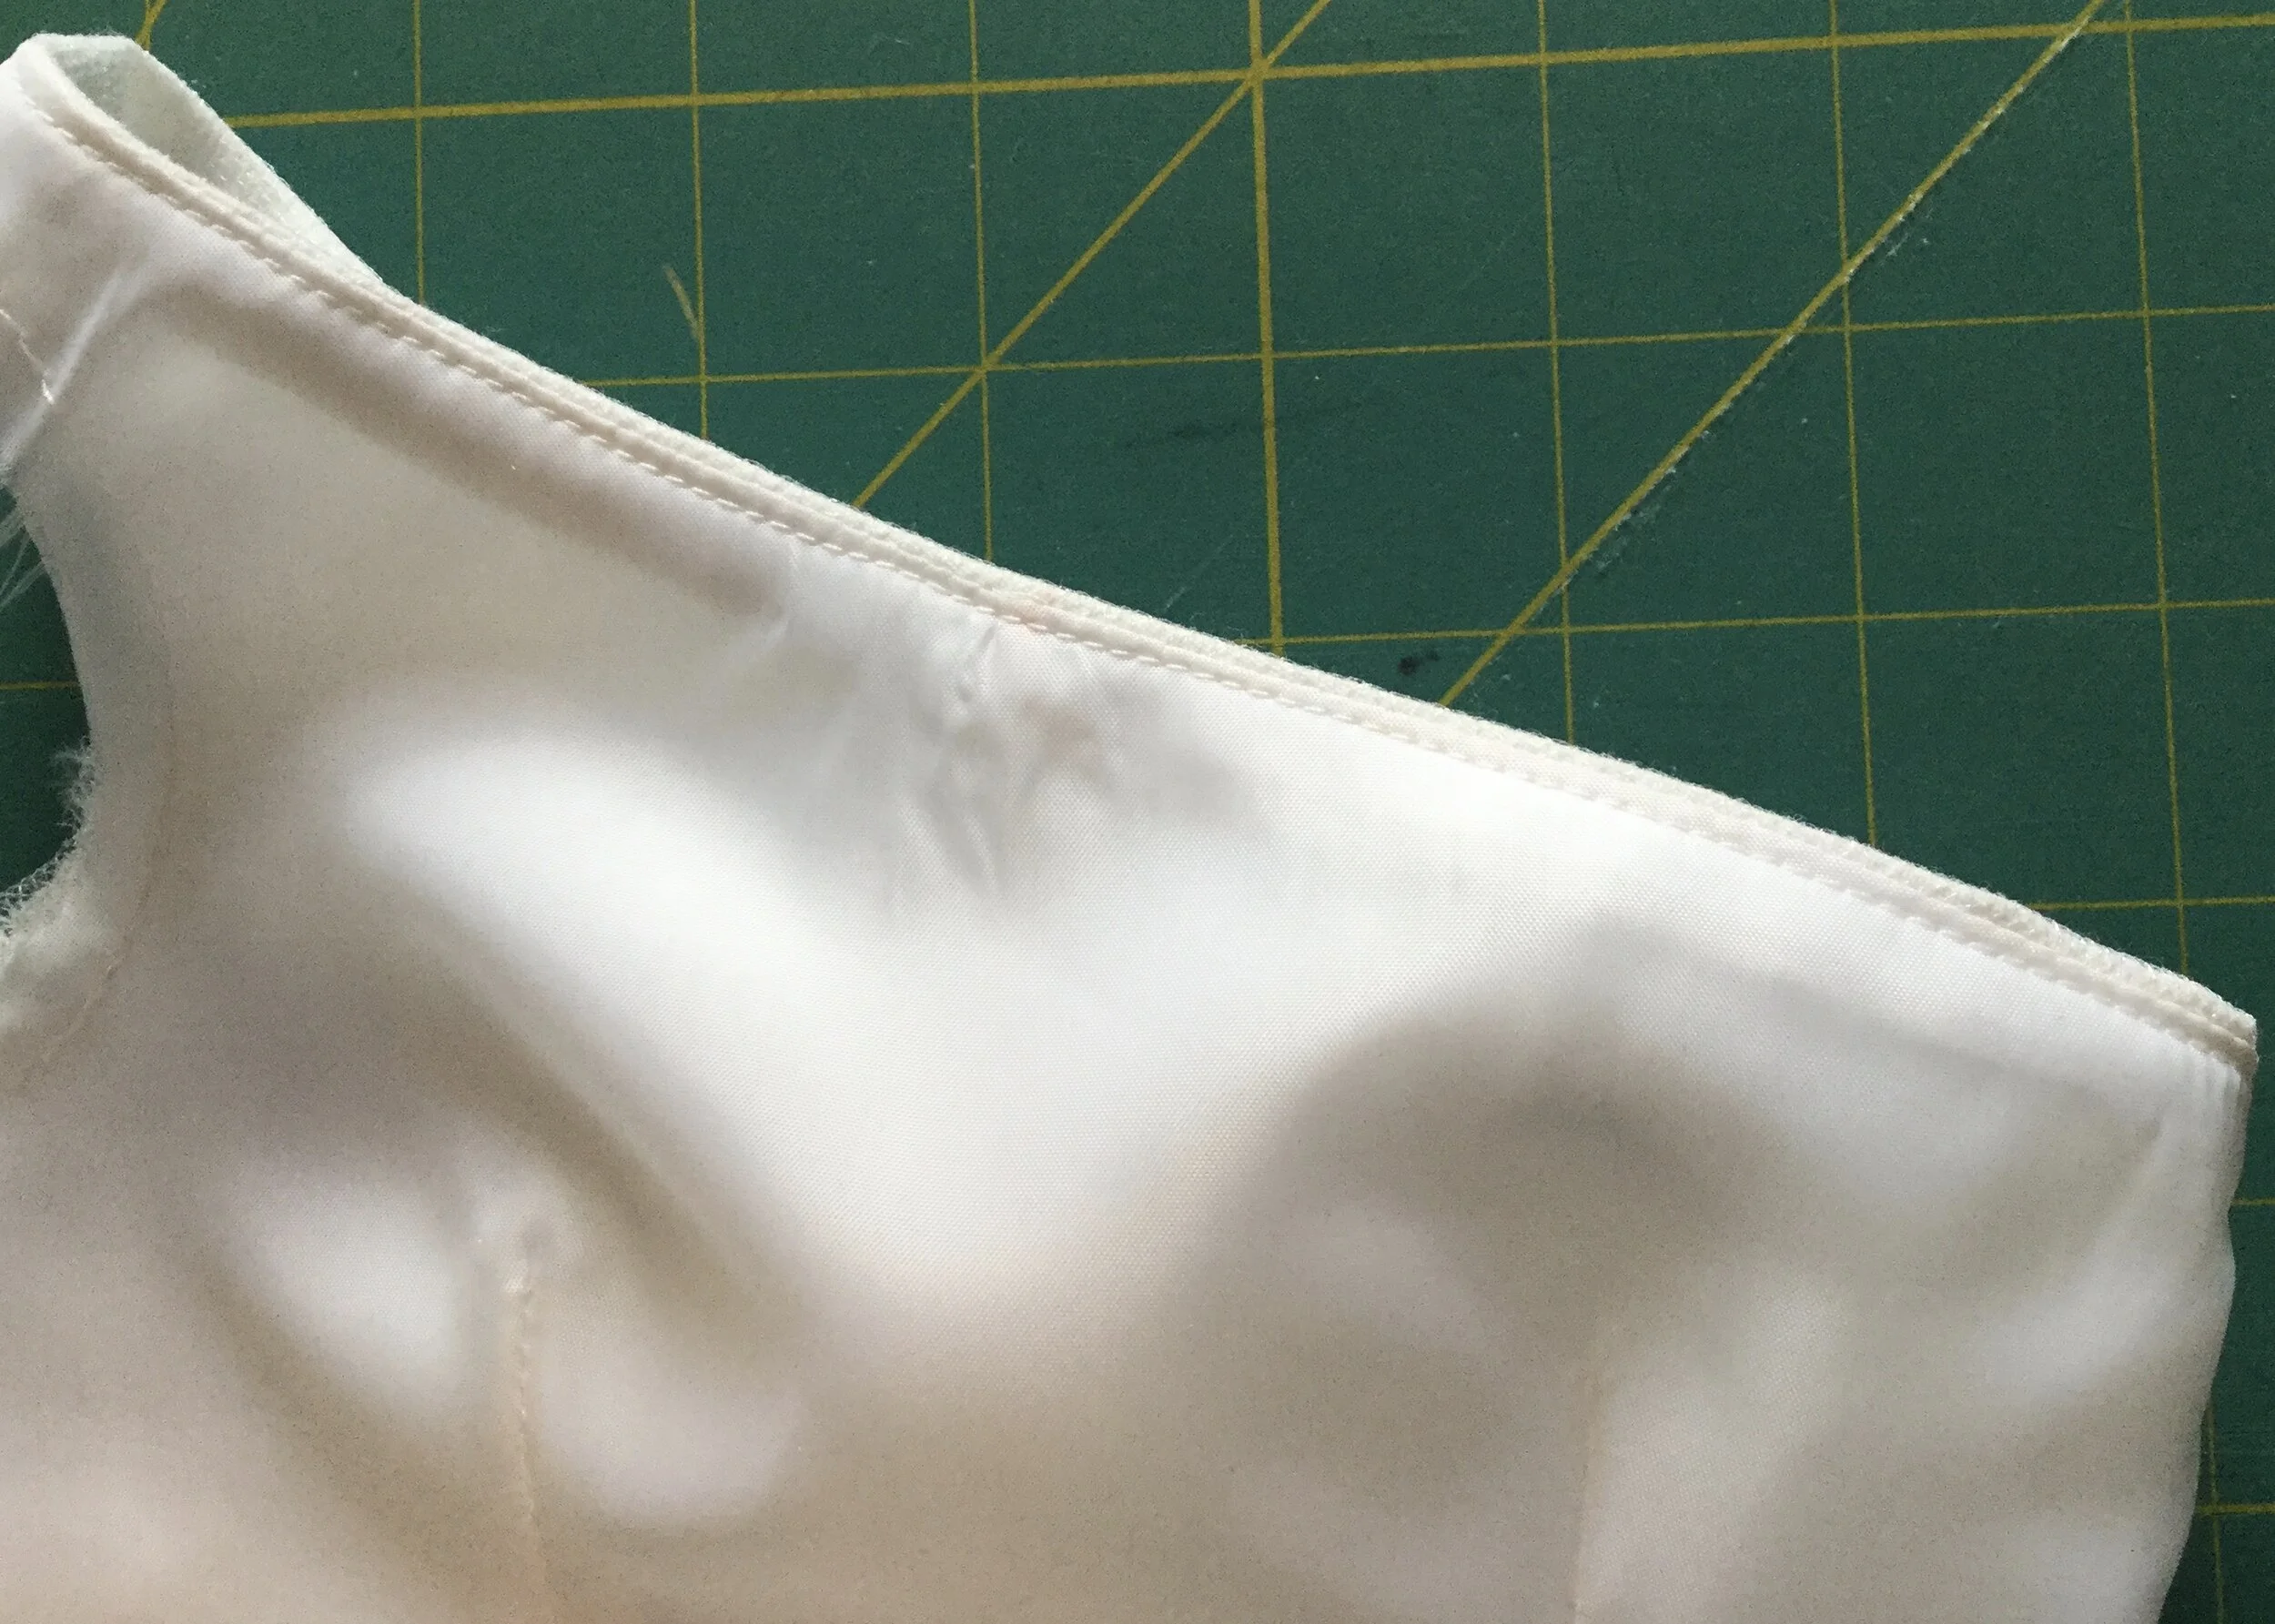
This changed things with the lining a little, which was fine as it would actually make finishing the narrowest part of the strap a little easier and it would probably look better for it. I took my piping off and applied the lining along the neckline and with that the bodice was ready to be attached to the skirt.
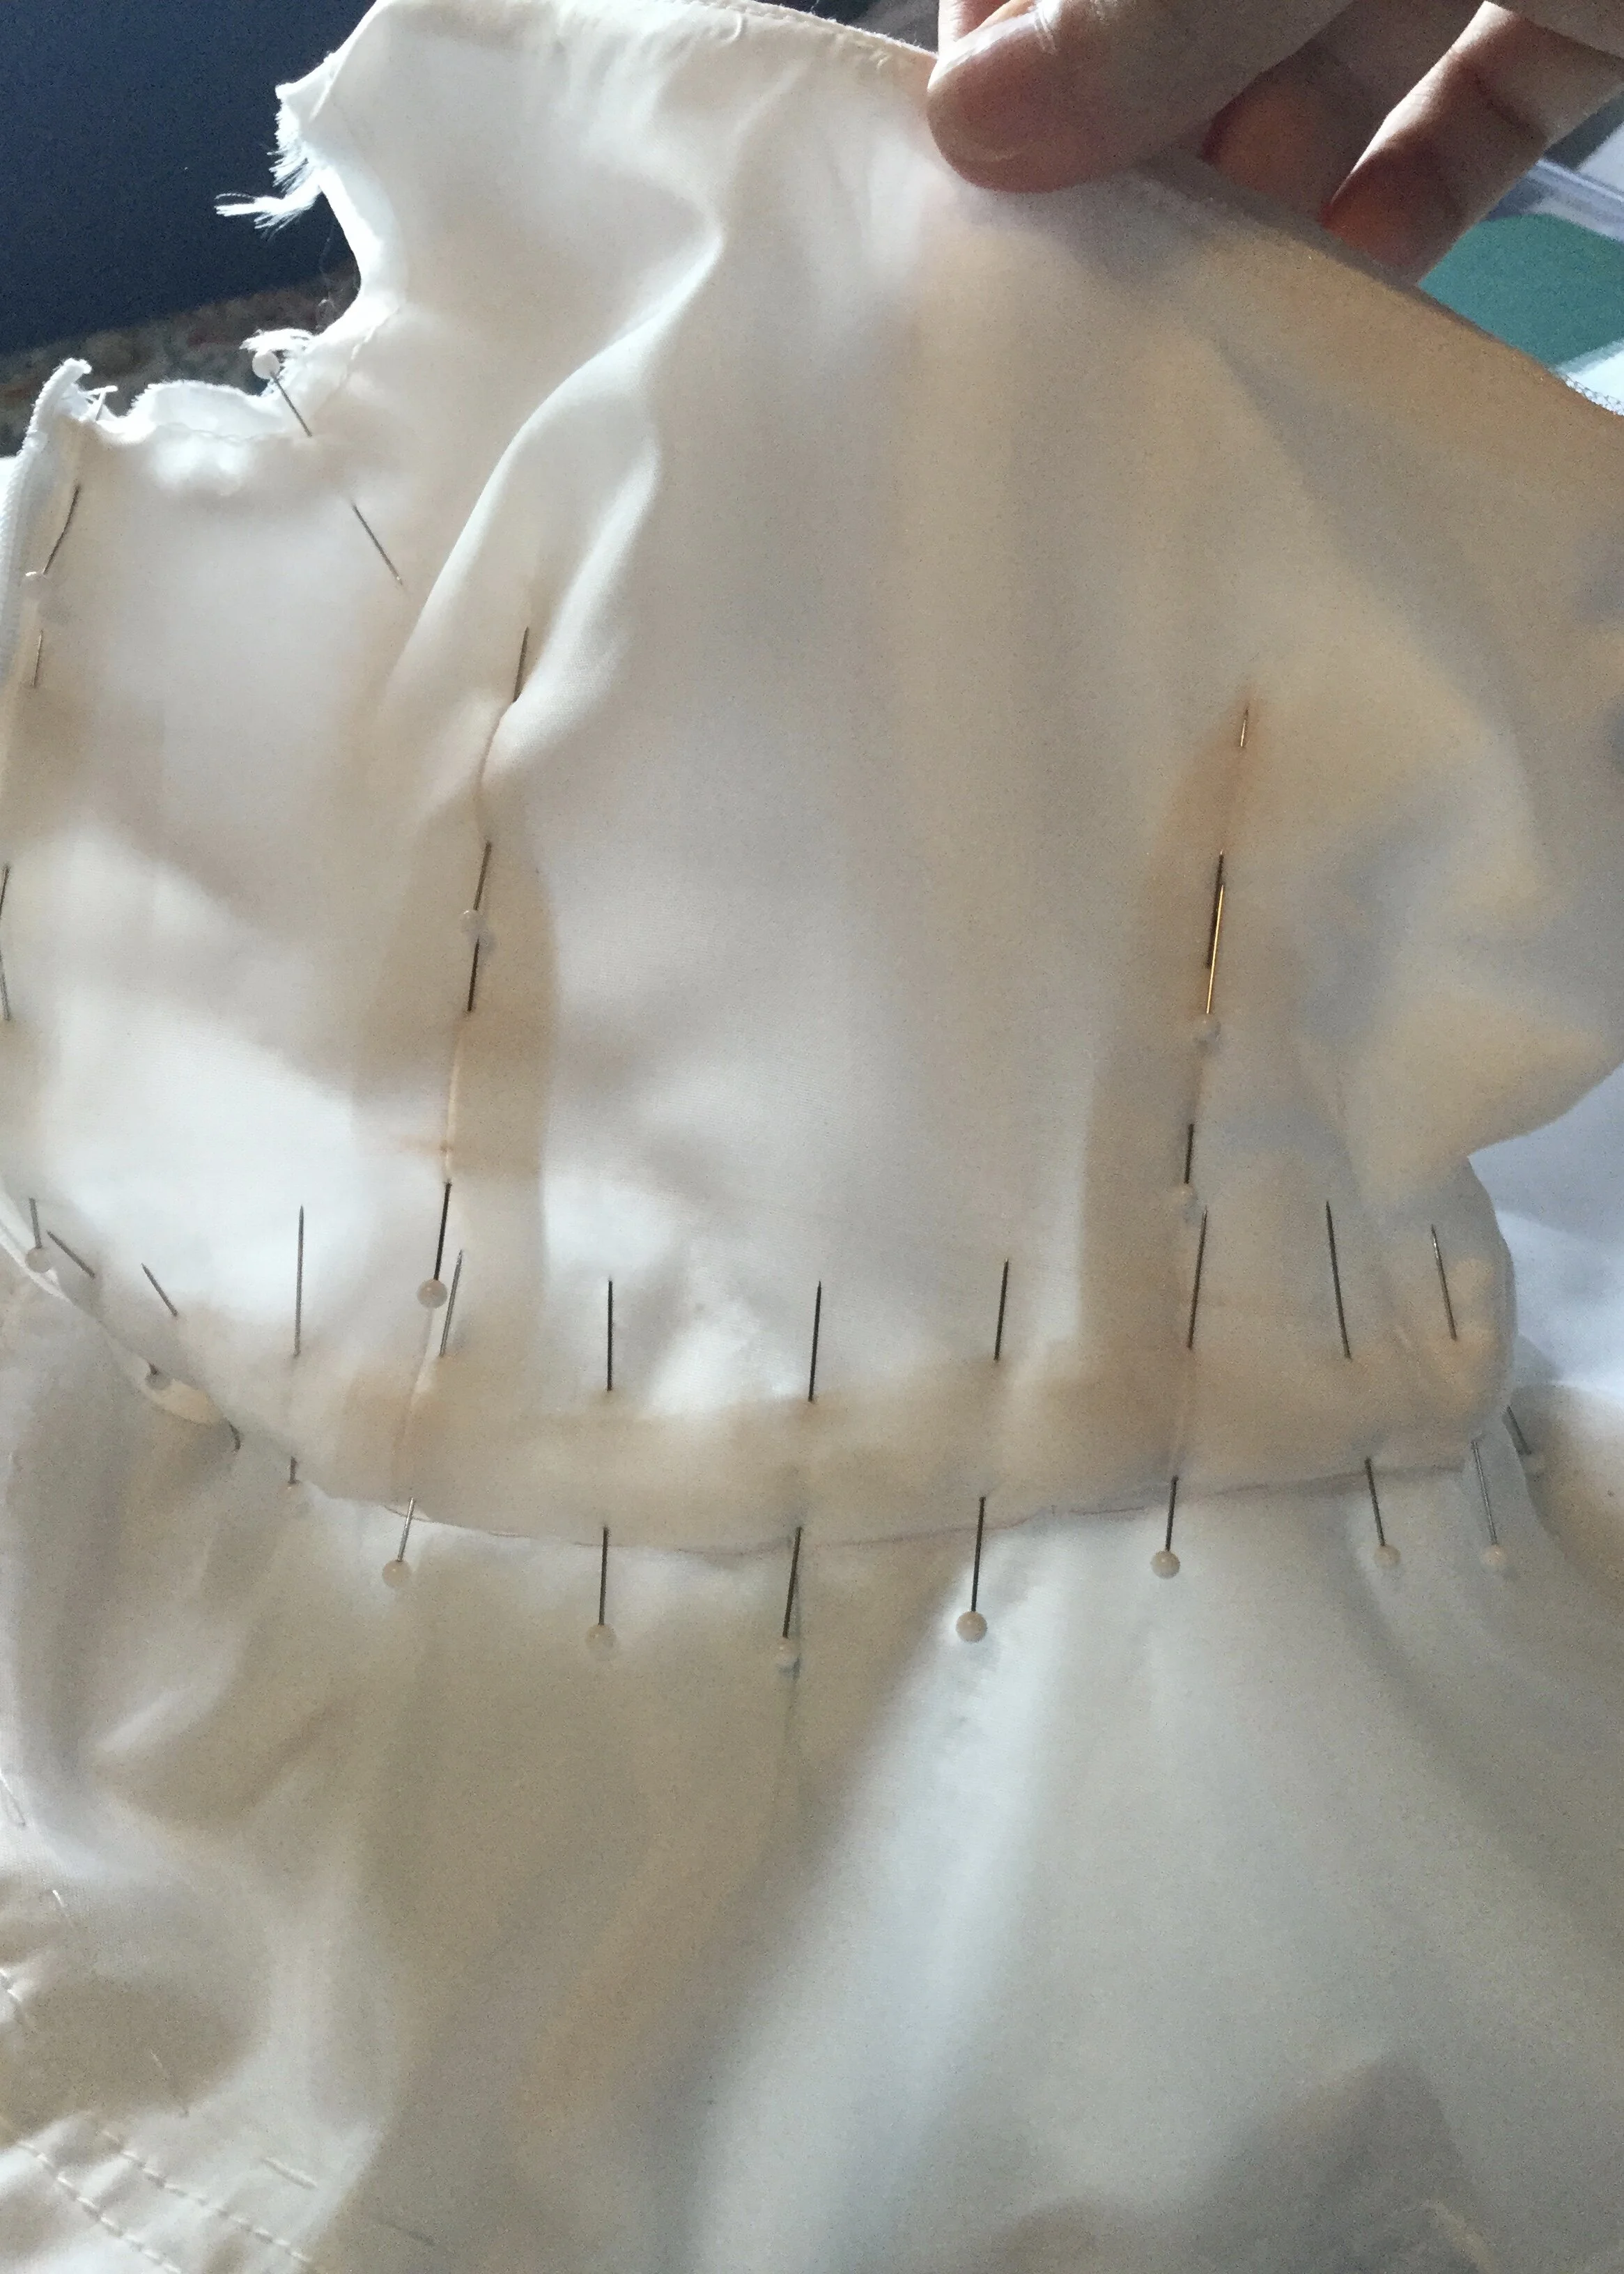
Before stitching the skirt to the bodice I had a few final steps to prepare the skirt. Firstly, it was at this point that I finally took out the quilting stitches and repaired the hole at the base of the opening. I also marked where the zipper would be and drew 3/8'' seam allowances with a dart at the base. After a small adjustment to the waistline to make it fit the bodice perfectly, I stitched the dart closed then cut open the waistline and down the centre of the zipper opening. With this done, I could stitch the skirt to the bodice and once the skirt was on the bodice I stitched the zipper into the side seam.
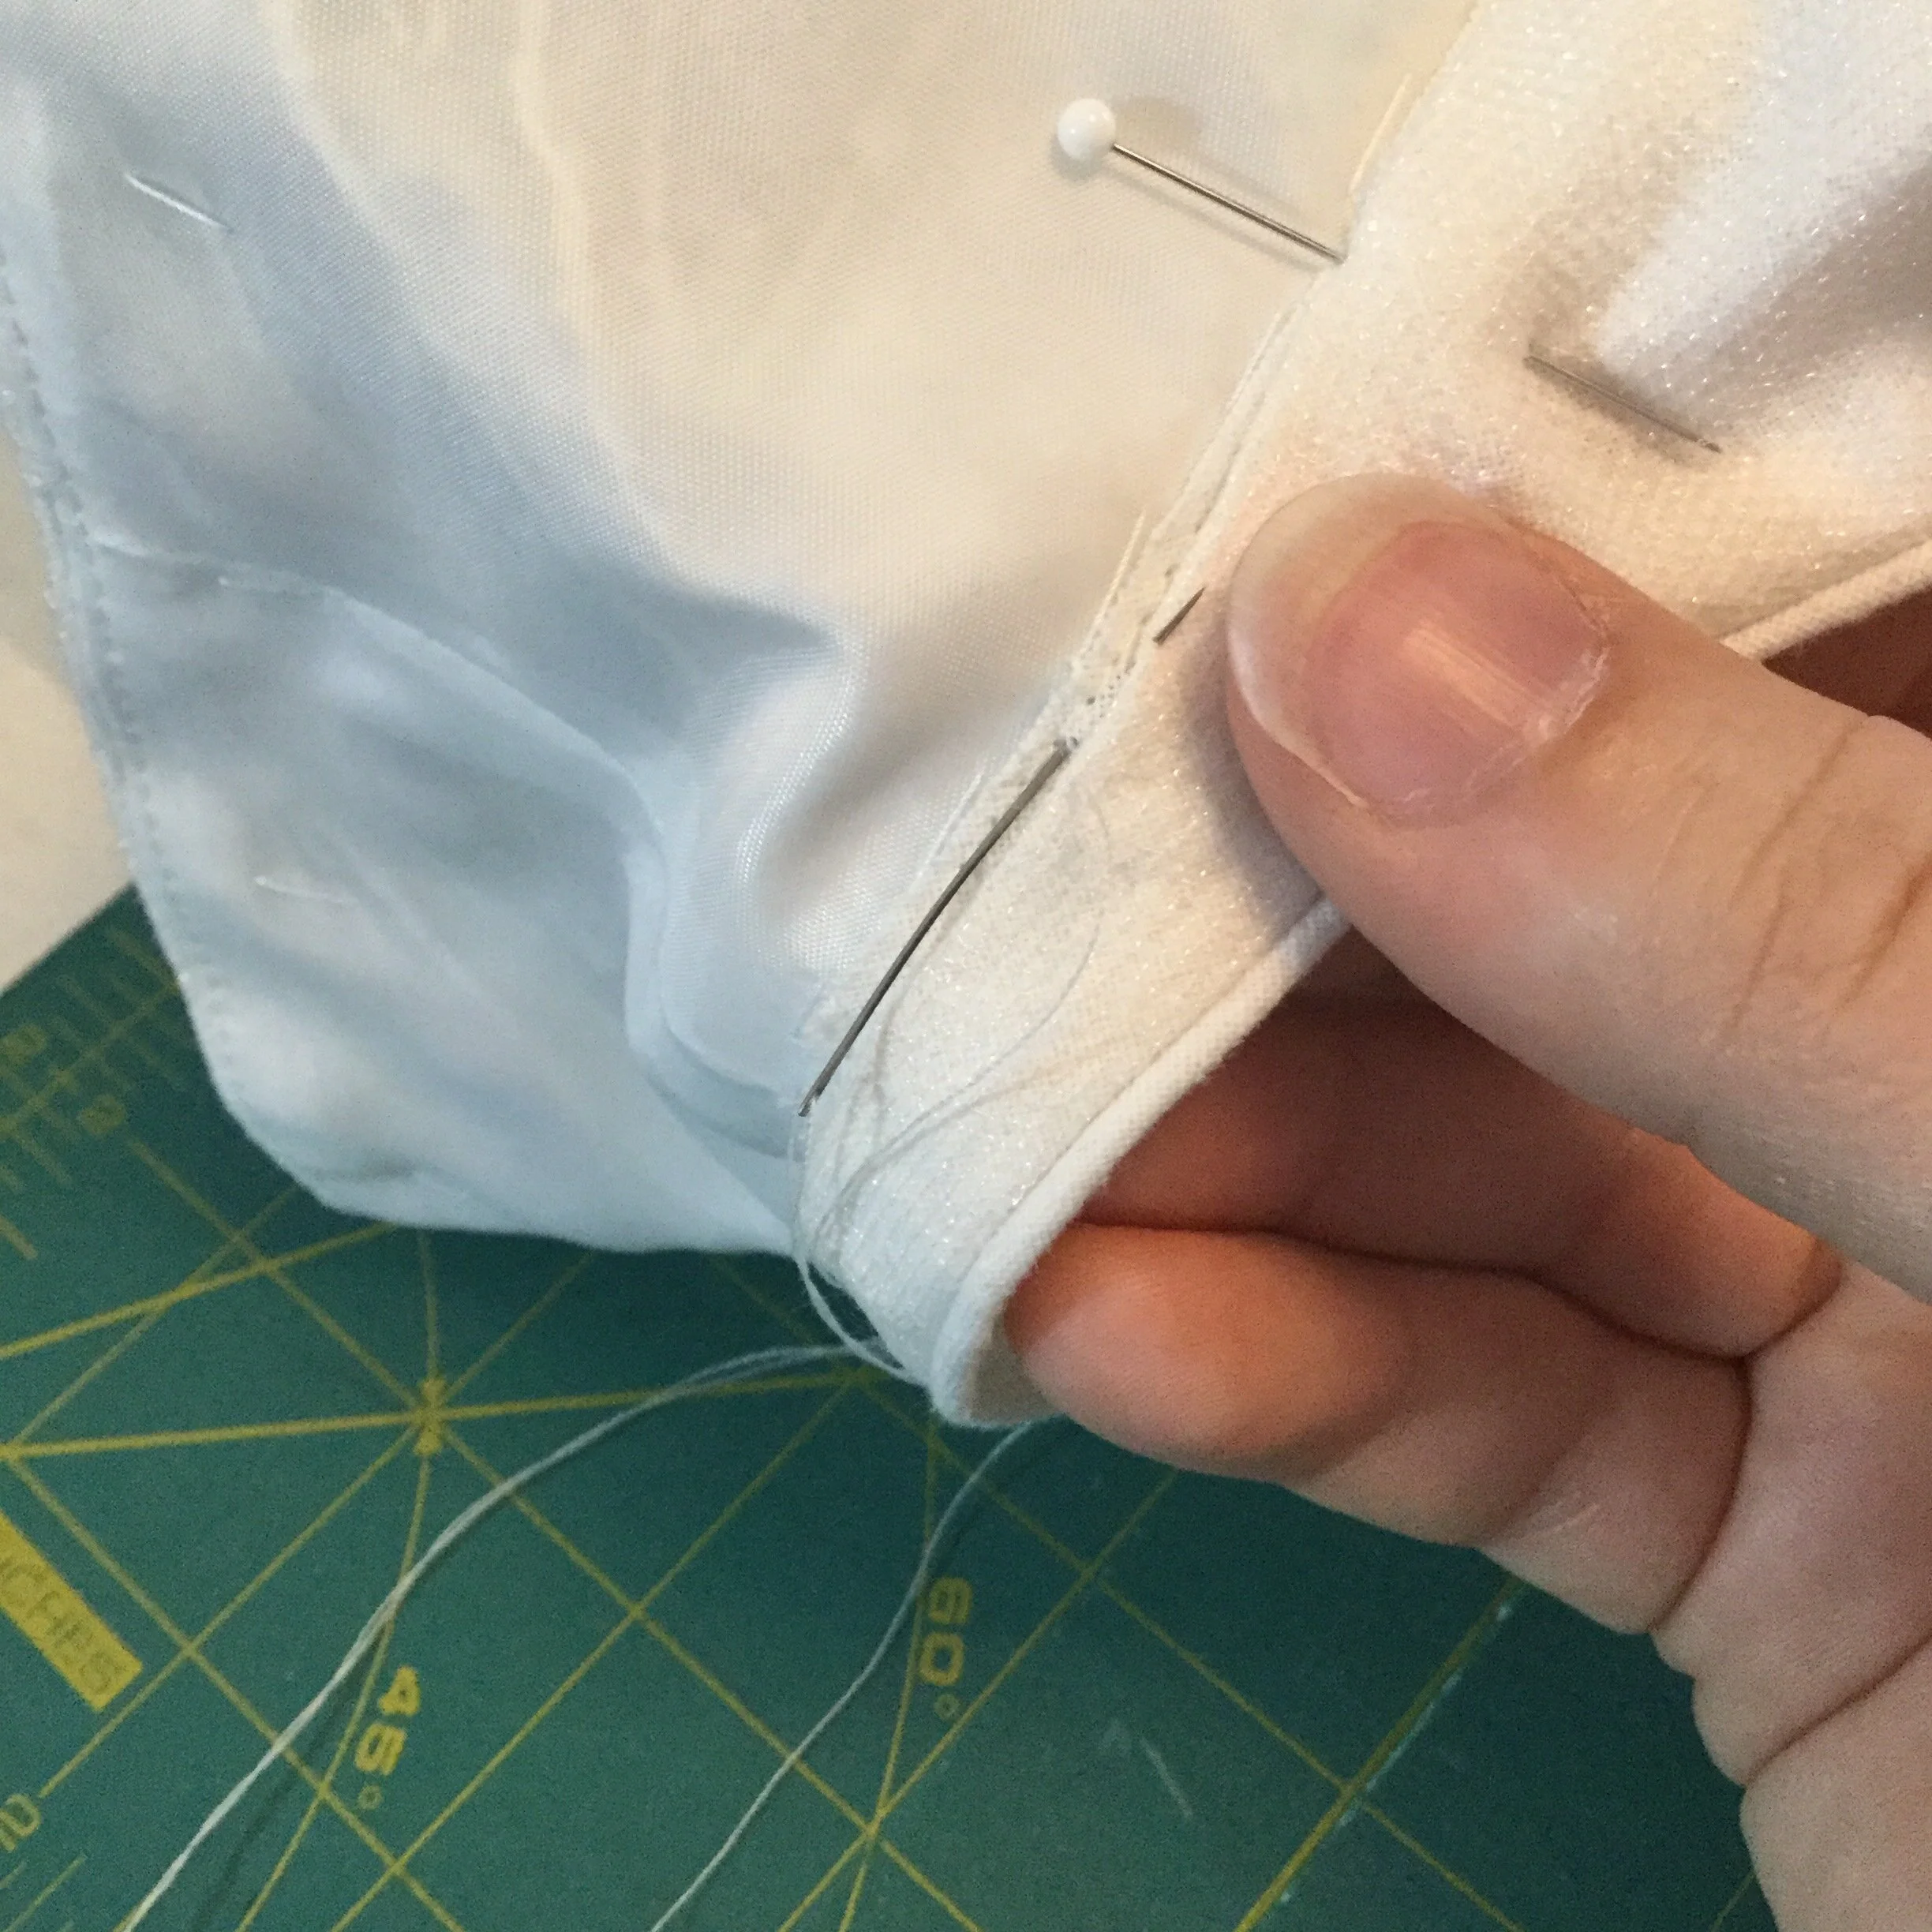
Next, I stitched the lining to the bodice. I opted to do this by hand as I was working in a small space made even smaller by the fact that with the zipper in, the waist seam allowance could no longer be laid completely flat.
With the skirt lining in, I pinned the bodice lining in place along the zipper and the waist seam, and hand stitched it down. I then reapplied my piping and finished the arm hole by turning under the edge of the piping’s seam allowance and stitching it down to the lining by hand.
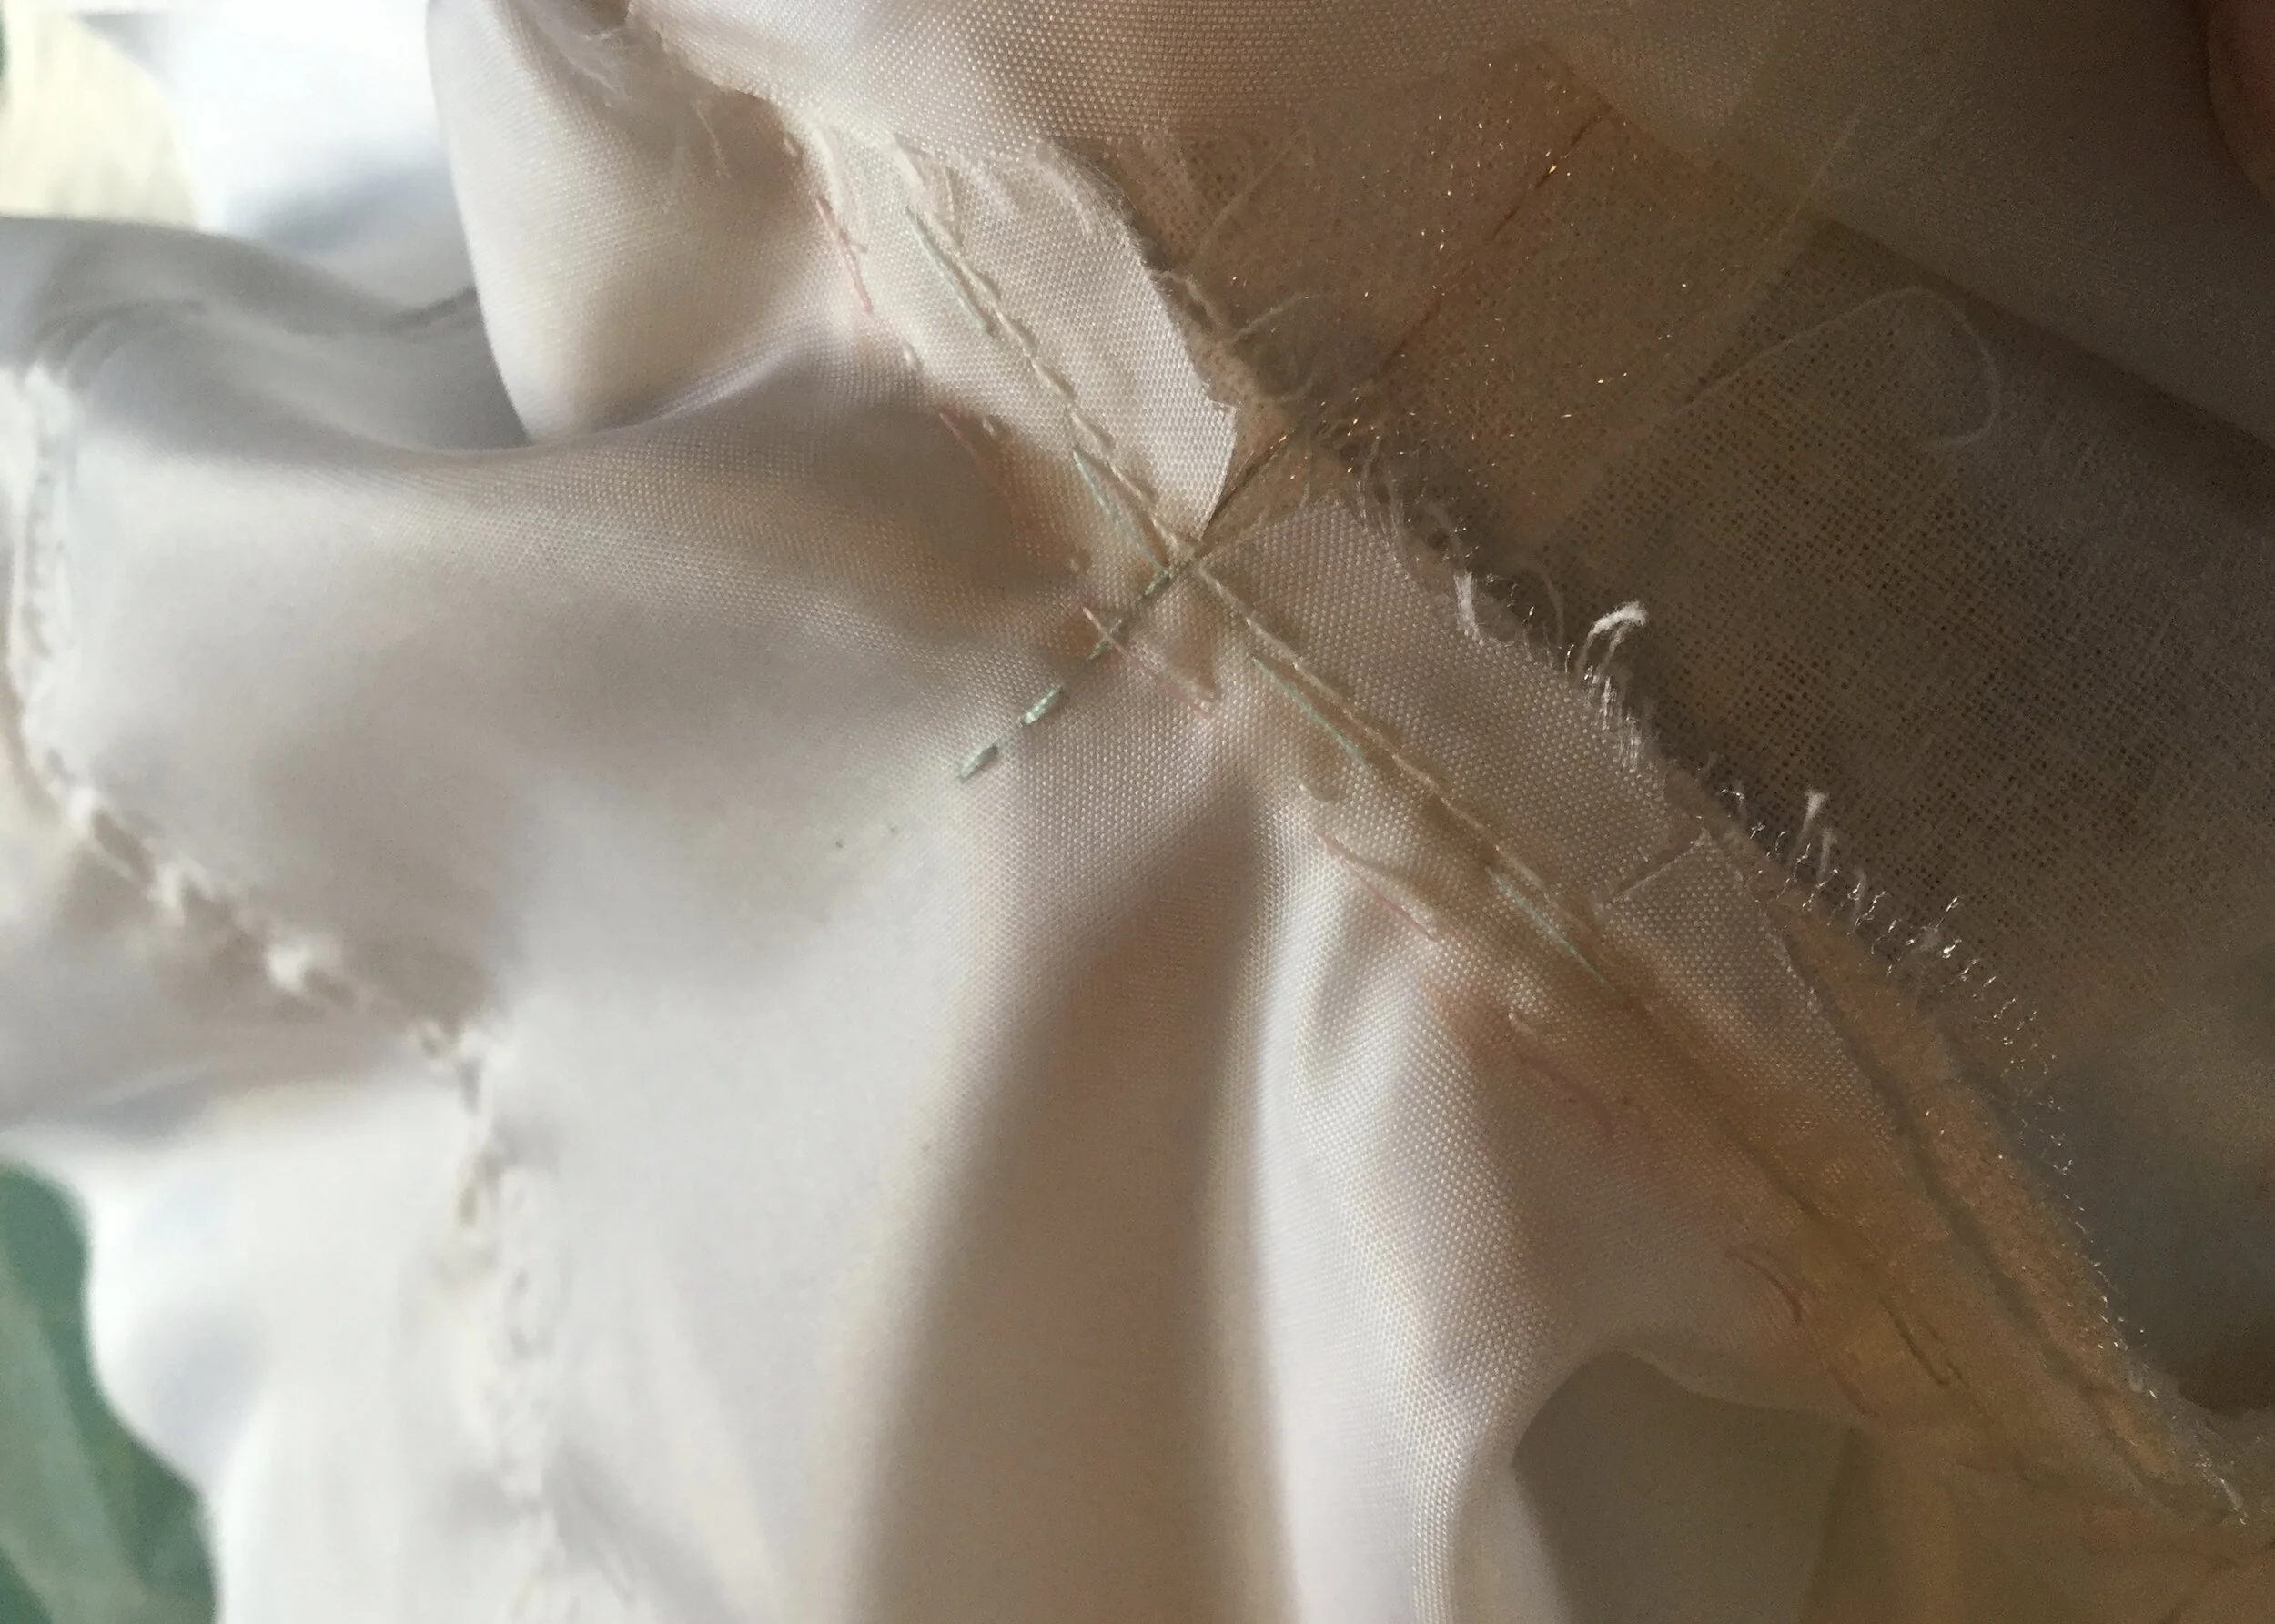
At this point I noticed that even with the extra space provided by fixing the hole I had cut, there still wasn't quite enough space to taper the dart properly and I had an unattractive bump at the base of the zipper. To fix this, I undid the quilting on one end of the next piece down and pinched out the excess to reshape and lengthen the dart. Once I was happy, or at least as happy as I could be under the circumstances, I hand stitched it in place, making sure not to stitch the tulle into the dart, and redid the end of the piece.
I'm not sure exactly how I would do this differently. The obvious solution would be to make the skirt in two pieces so that I would already have a seam allowance for the zipper. The problem is that I would want the tulle to be a solid piece as seam allowances would show on top of the coloured stuffing, but then there wouldn't be any allowance to catch in the zipper seam. I dunno. I may never know. This may also be another example of something not scaling down perfectly. Perhaps in full scale the space for the dart would be longer and the seam allowance would be proportionally narrower which might change how the whole thing sits. Either way, I'm not quite as smug about this fix, but I'm still kind of happy about figuring it out.
To finish the hem, I turned once again to my old favourite: the faced hem. I just like them. They have a nice weight and require very little seam allowance which is handy if you're using strips of tulle from your stash which were not the full width of the fabric. I pinned up the seam allowance along the existing hem line, made a few adjustments and marked the new line then cut it at a 1/4'' before applying a bias facing to the entire hem and hand stitching it in place.
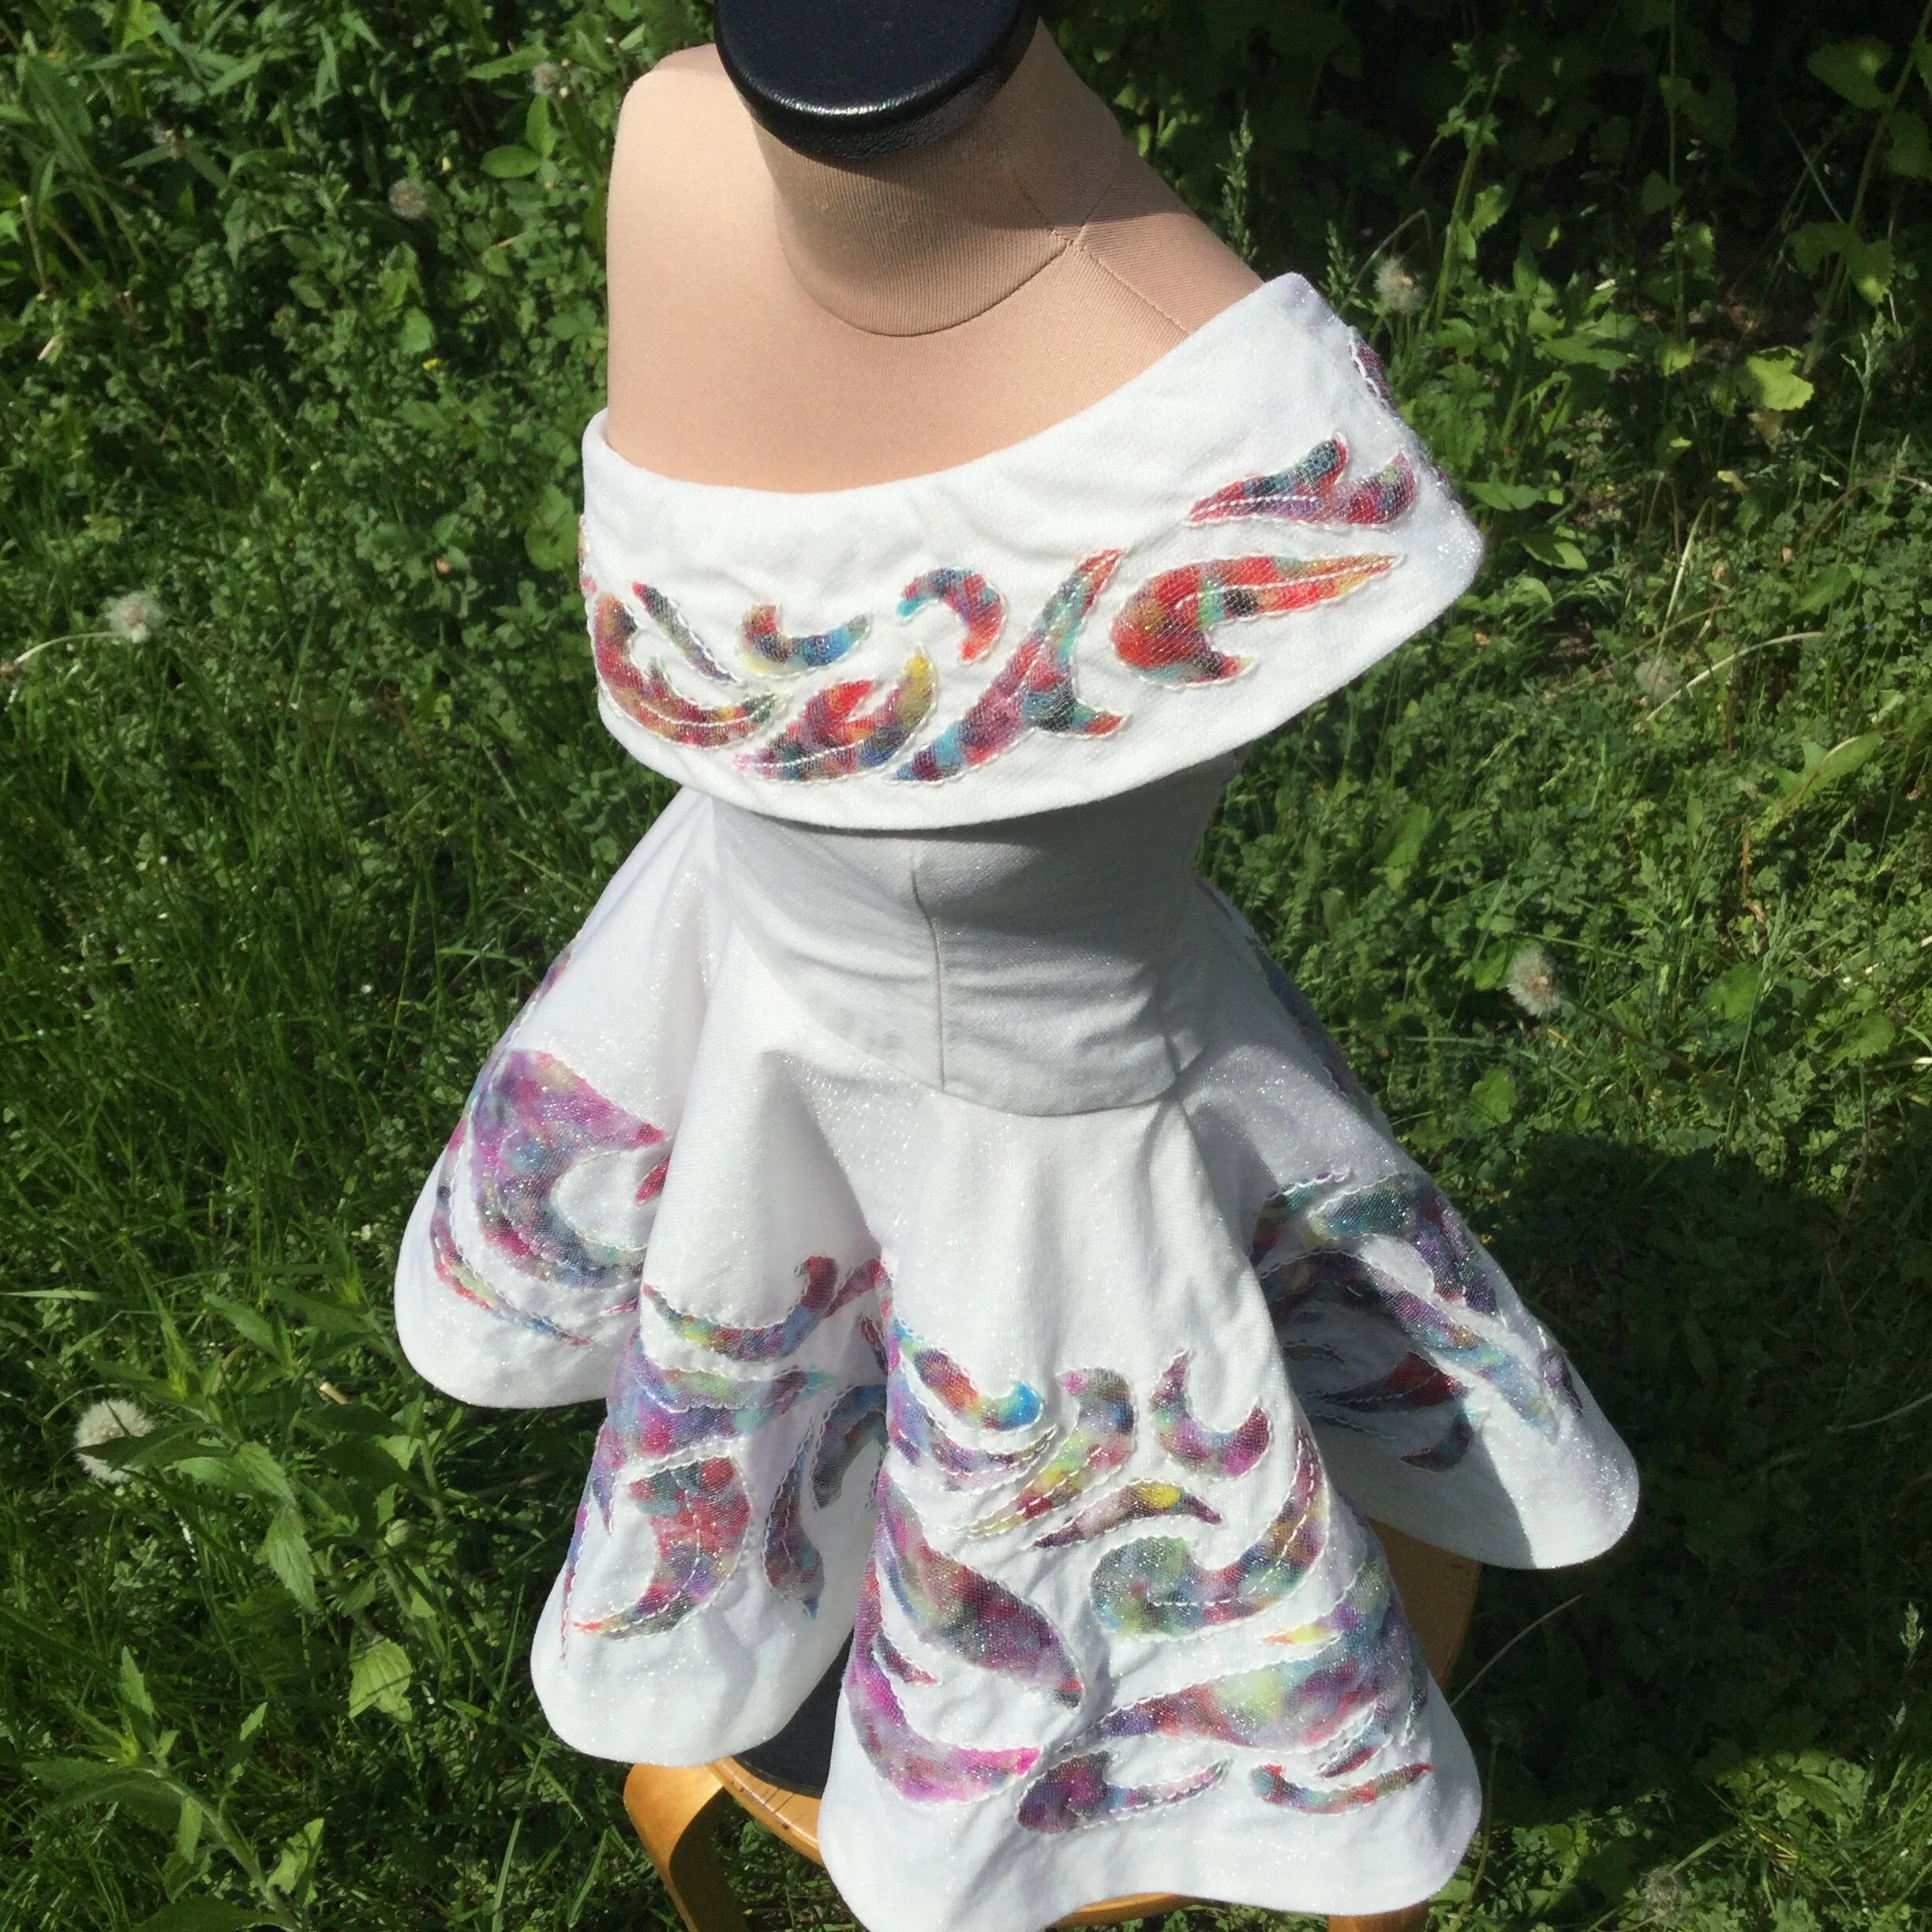
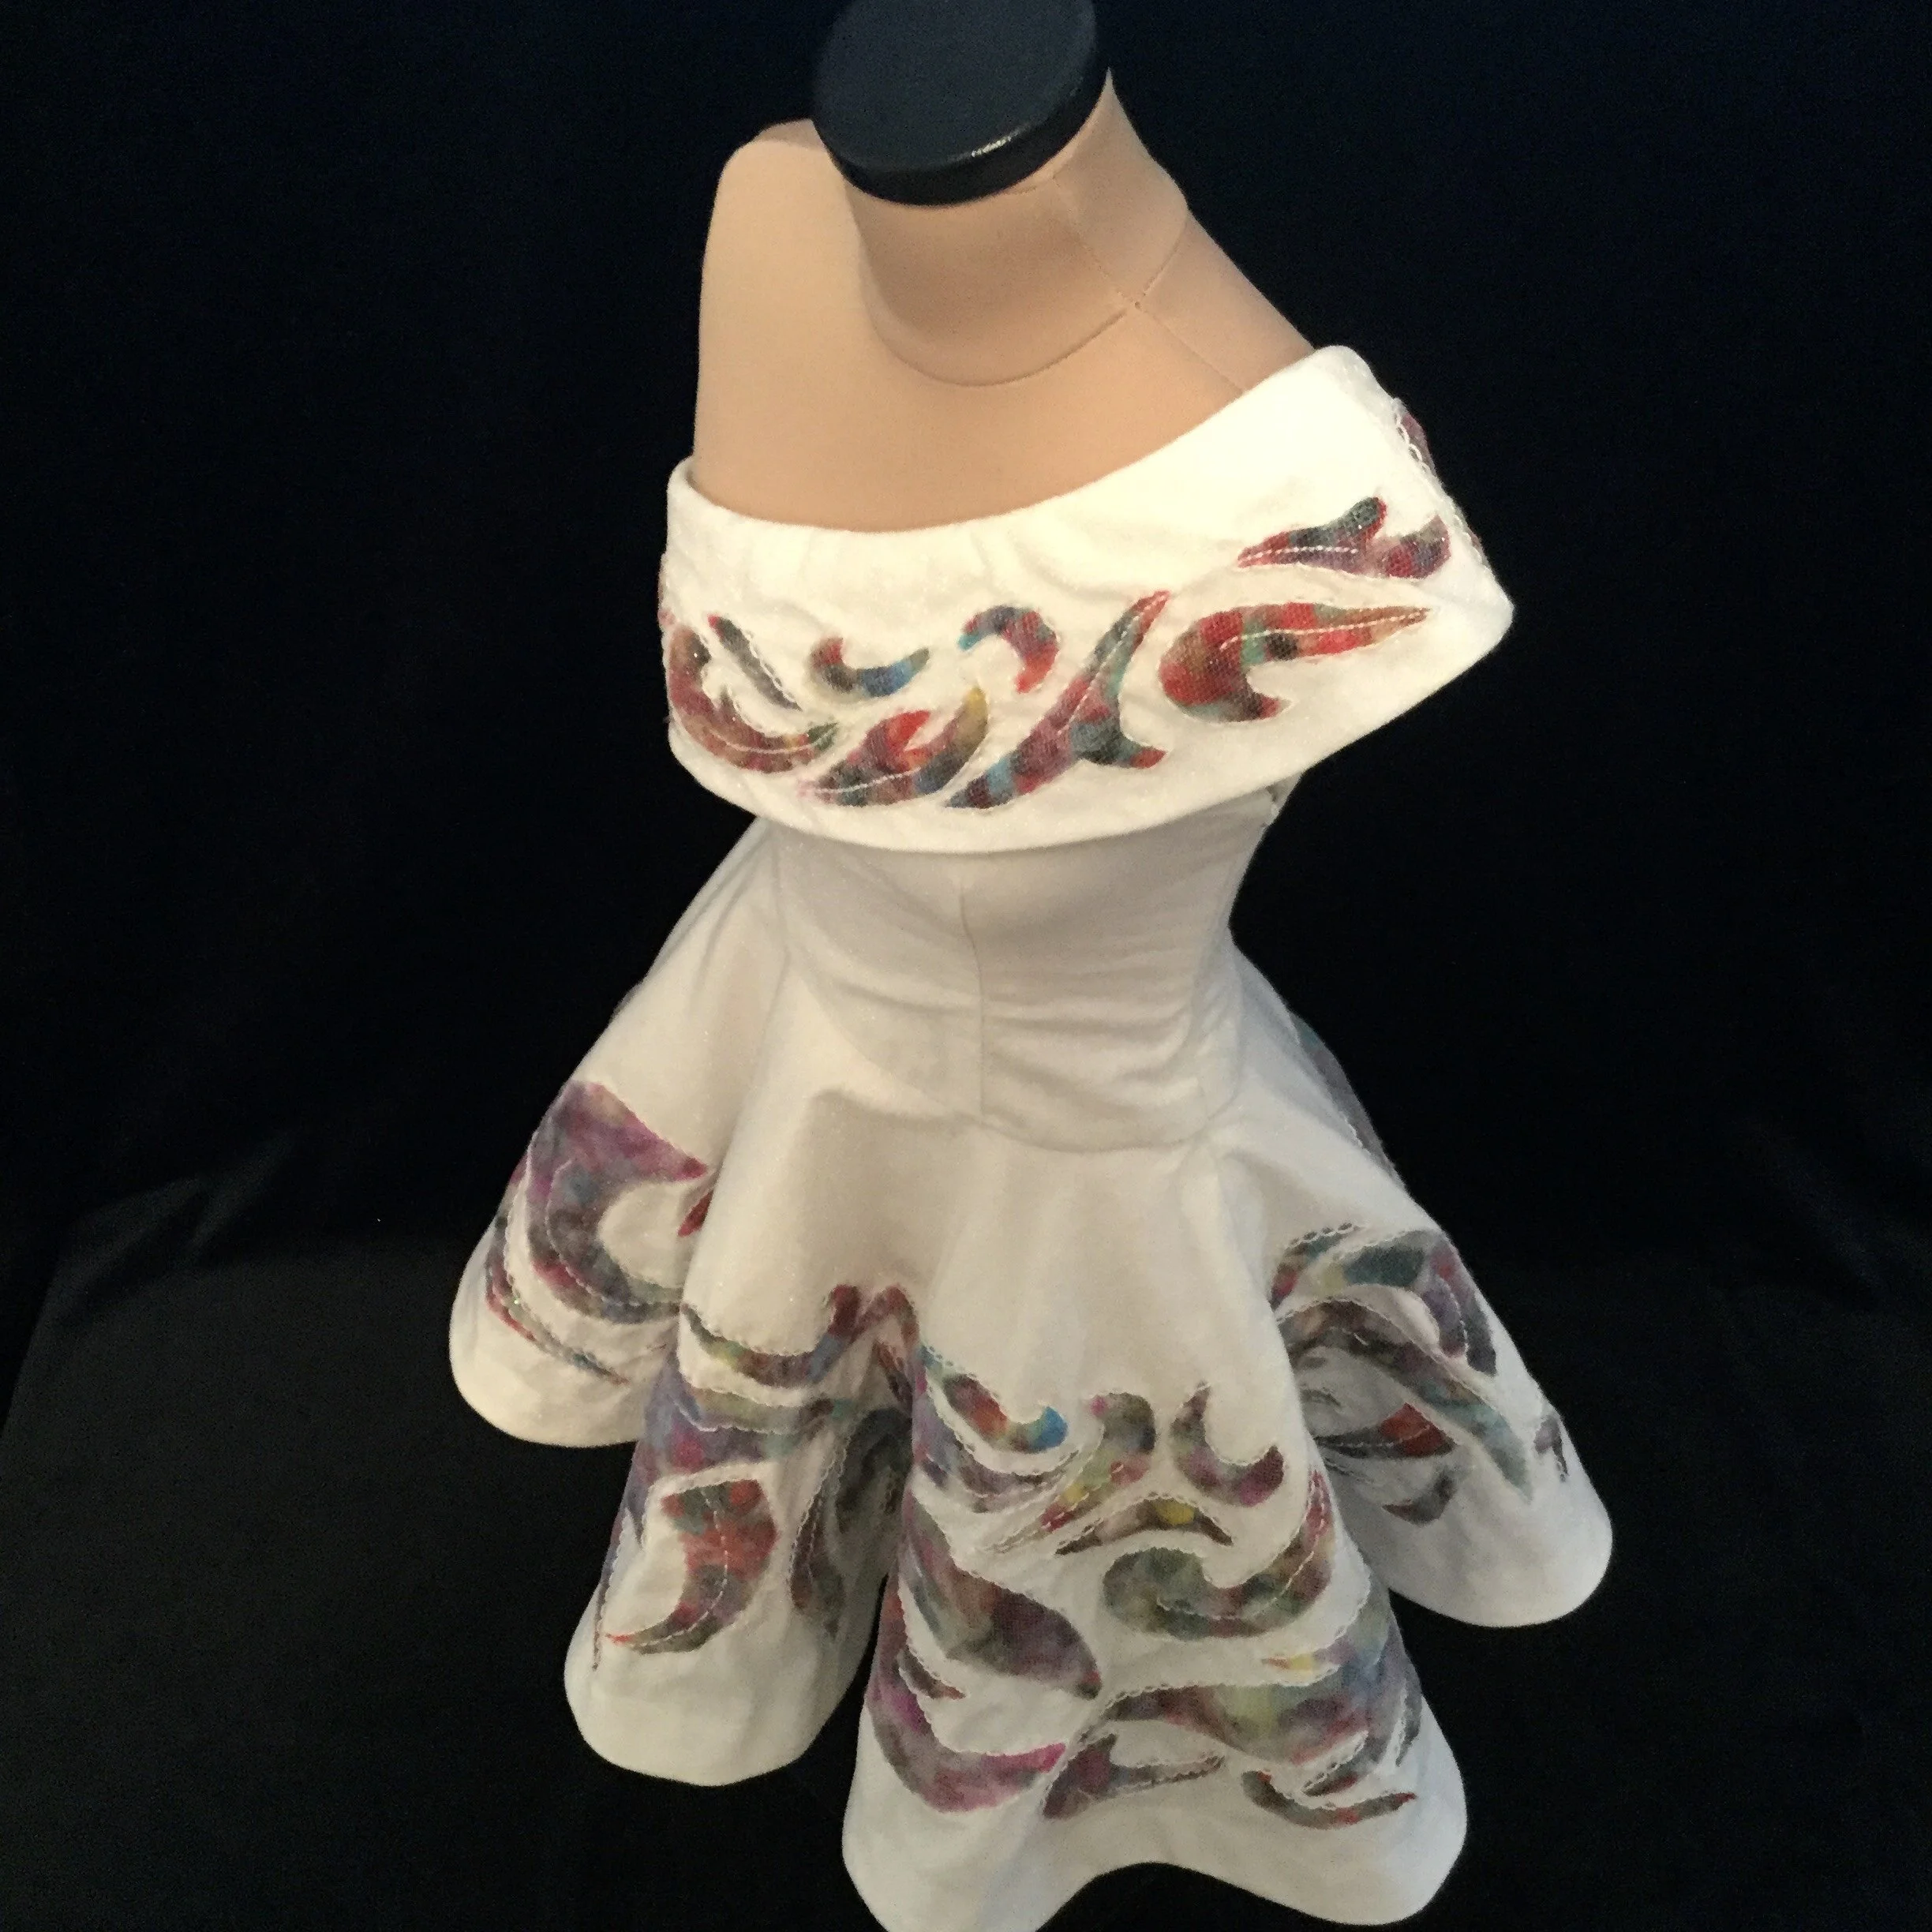
The final step was to make and attach the collar. I decided to make the bodice and collar separately for a few reasons. Firstly, it was easier to finish them accurately if I did them separately as there would be fewer layers interfering with each other. Secondly, it made the finish on the shoulder strap cleaner and even seem less bulky; because the strap was so slim, I was apprehensive of trying to fit another set of seam allowances into that space. This was also why it ultimately turned out to be better to add the piping around the armhole after the lining. Technically there are more layers of fabric than if I had sewn the collar into the neckline and put the piping on first, but because they aren’t all being forced into one space they have more room to lay flat and so seem to be less bulky.
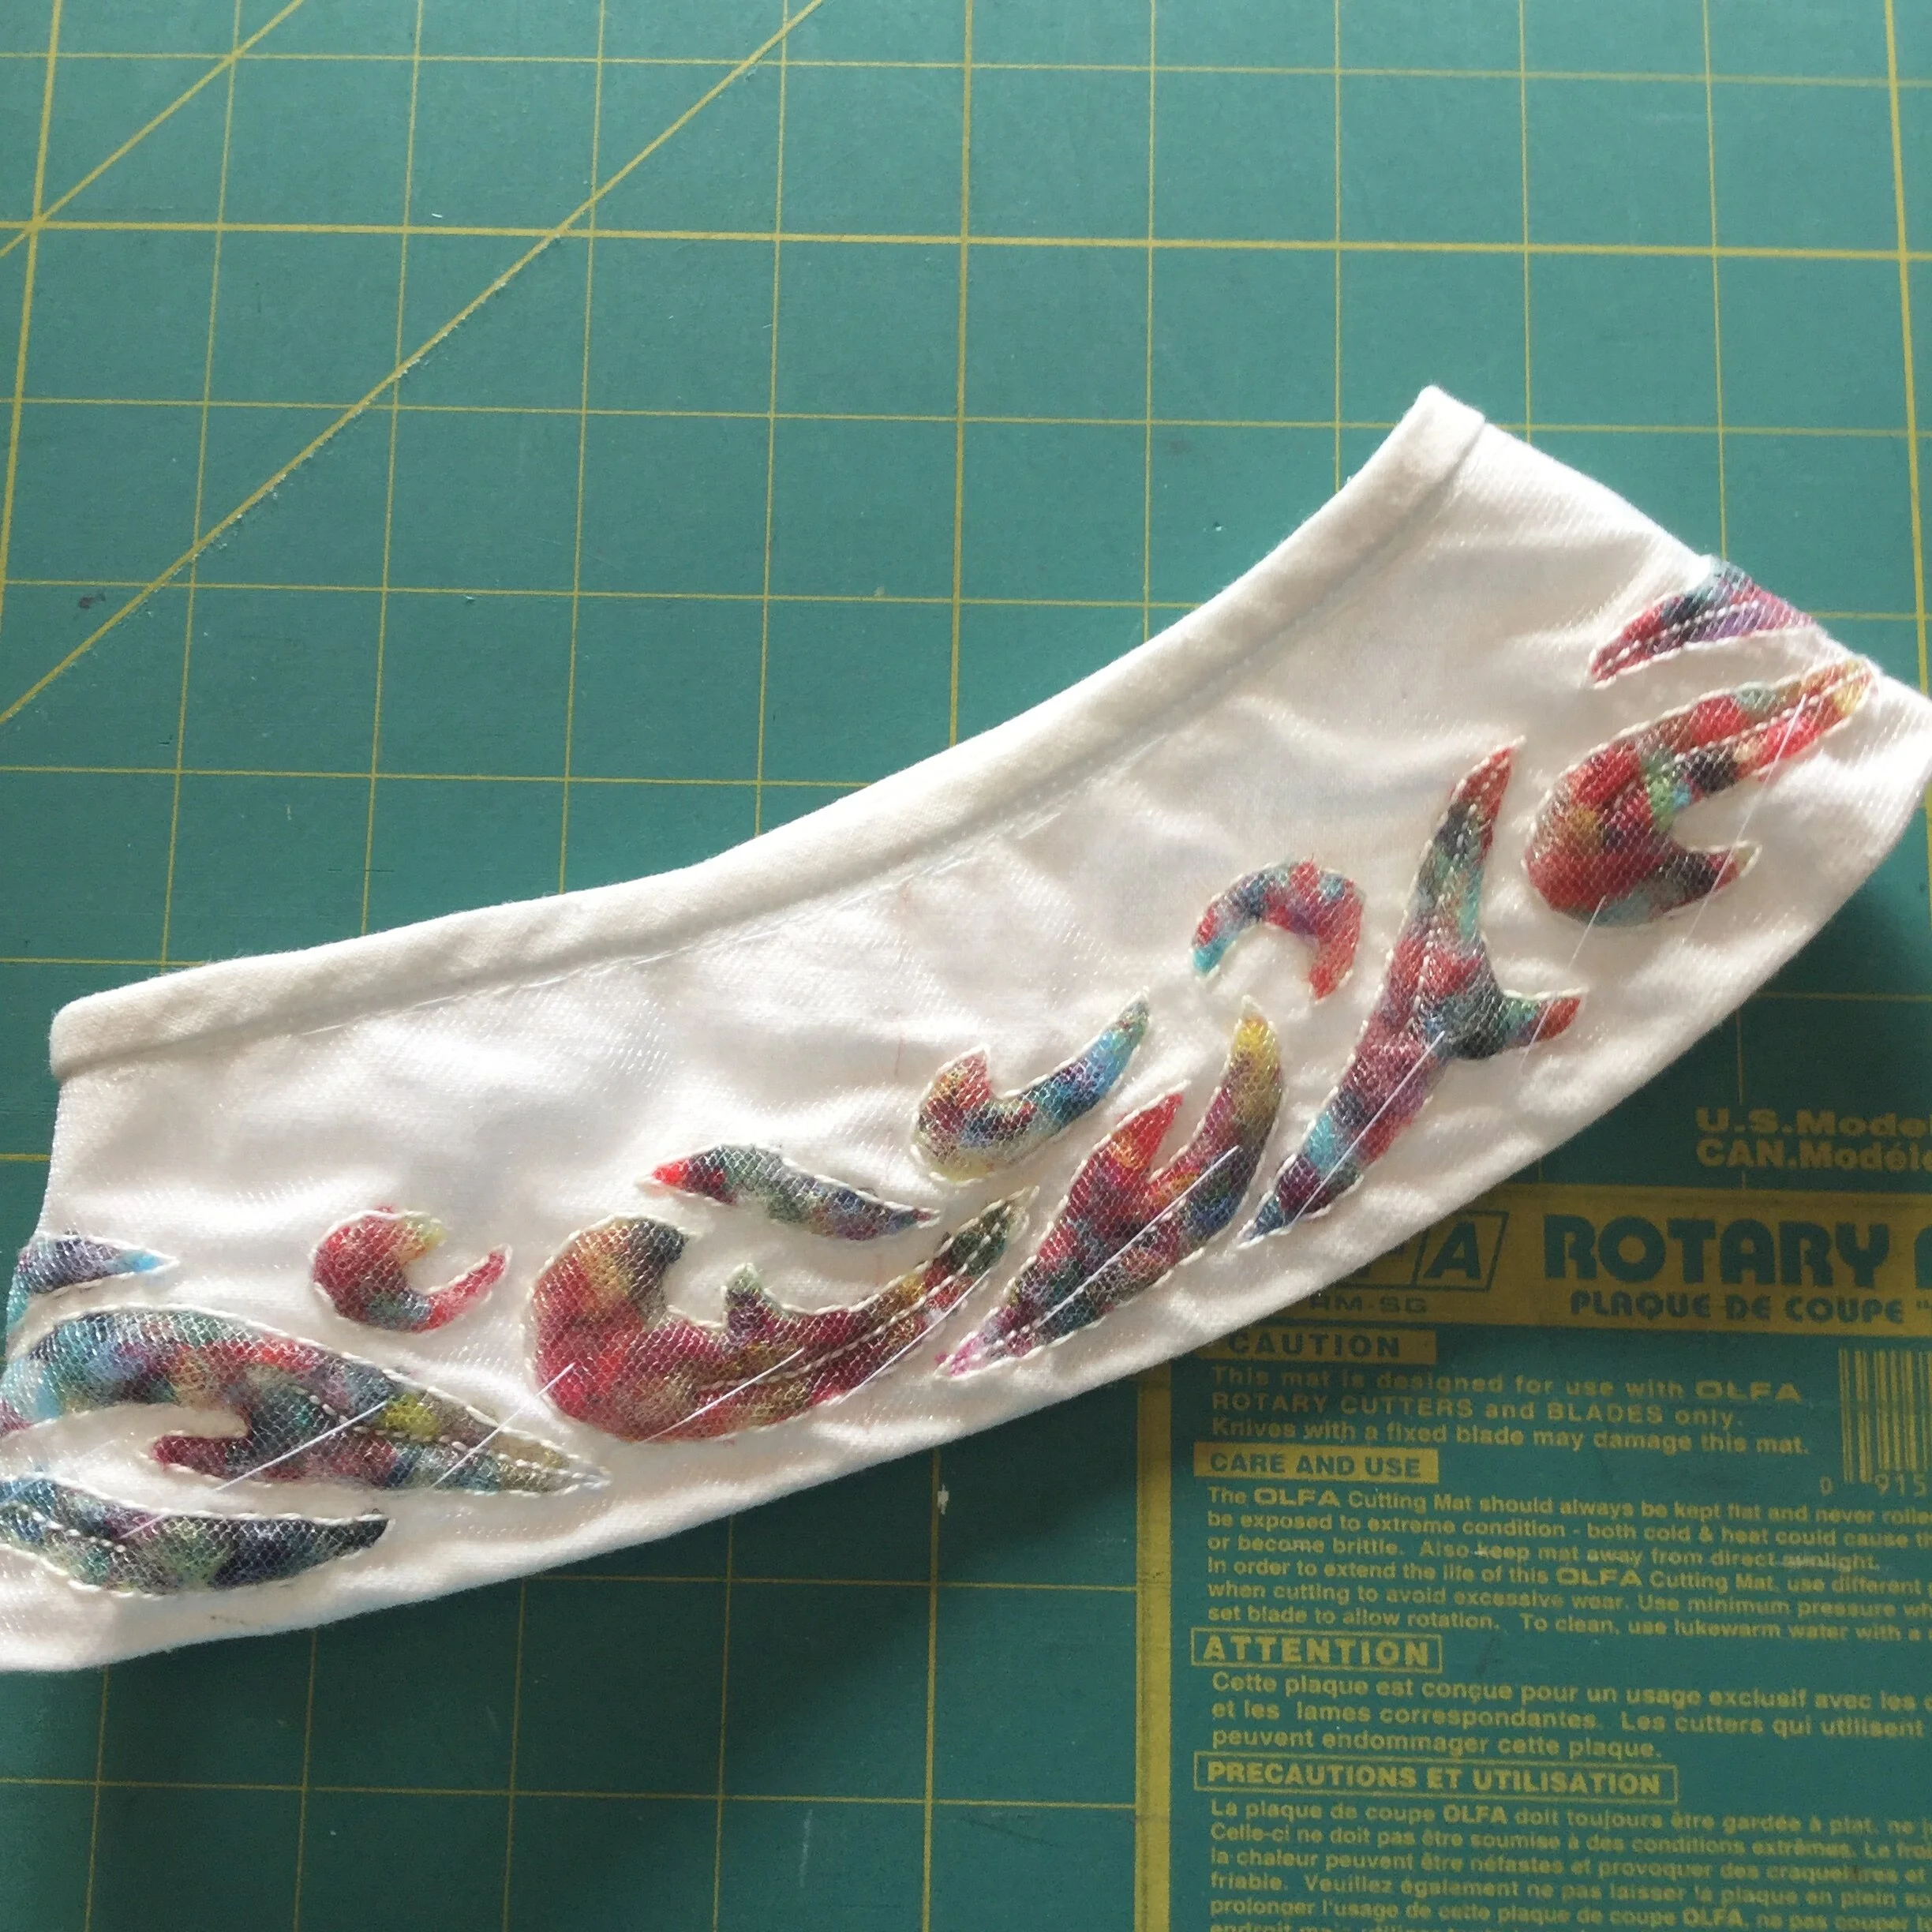
To start the collar, I quilted it in much the same way as the skirt, even repeating mistakes; I guess the universe thought I was getting cocky or something.
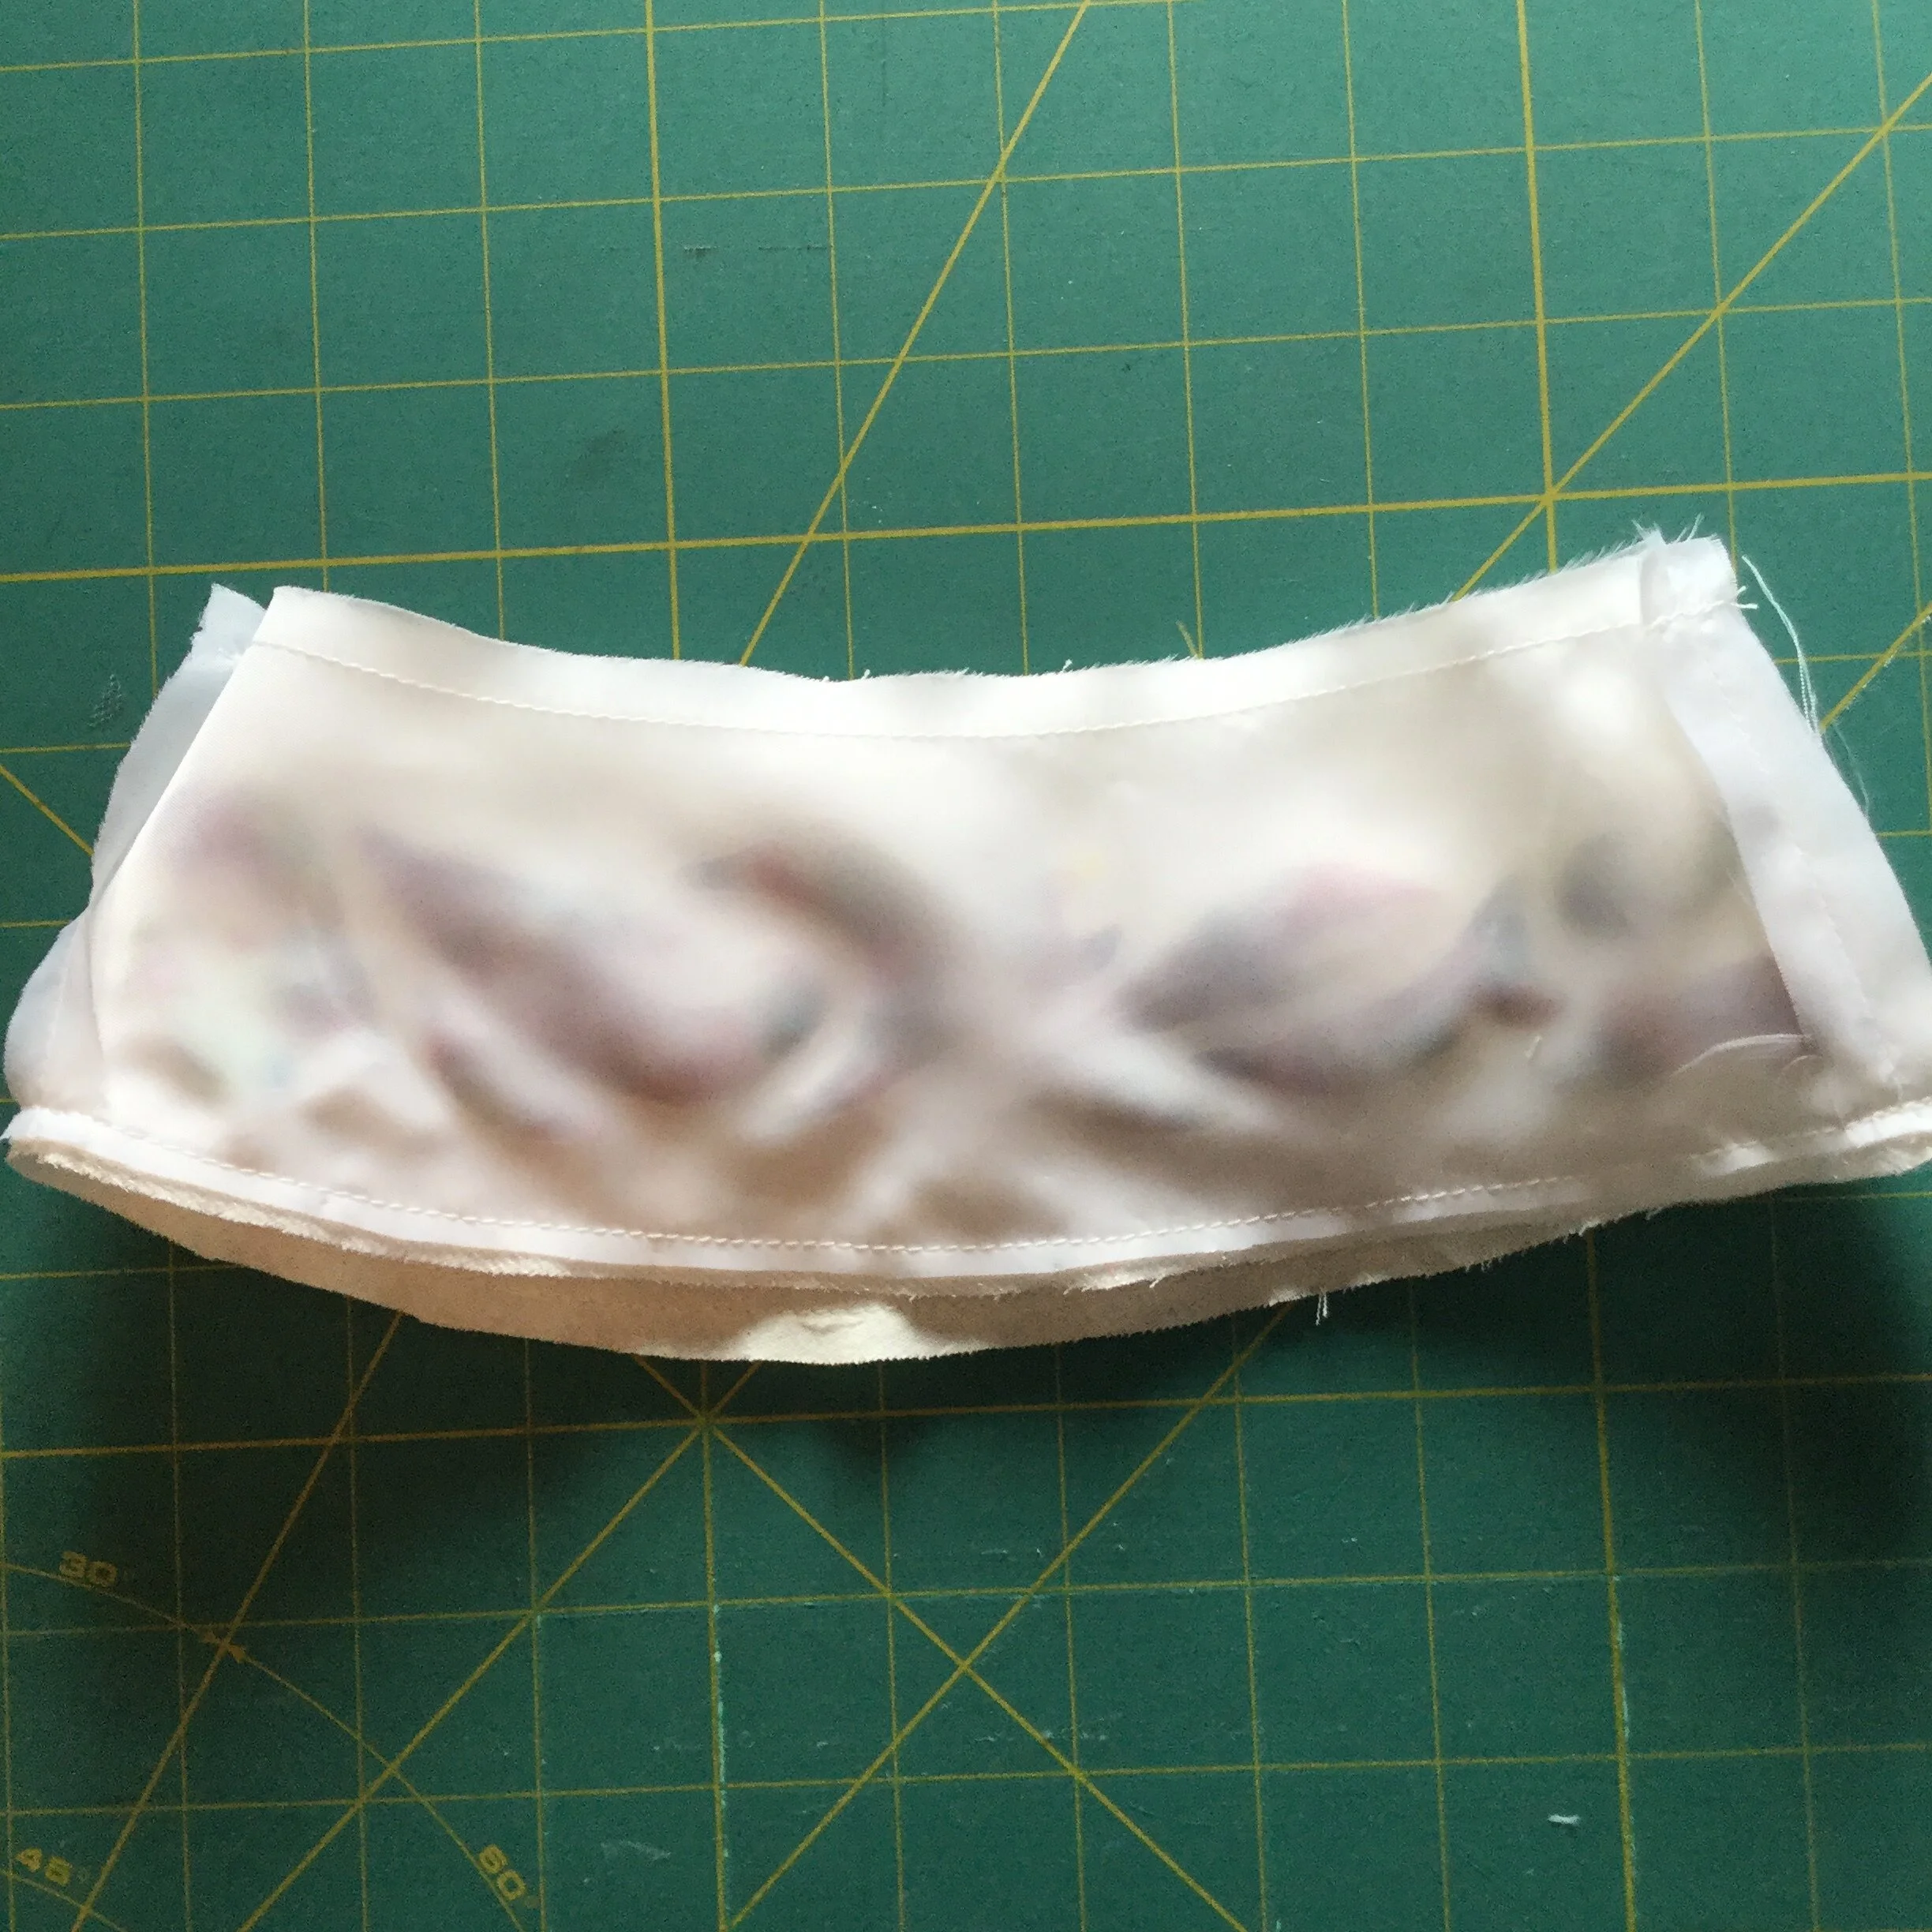
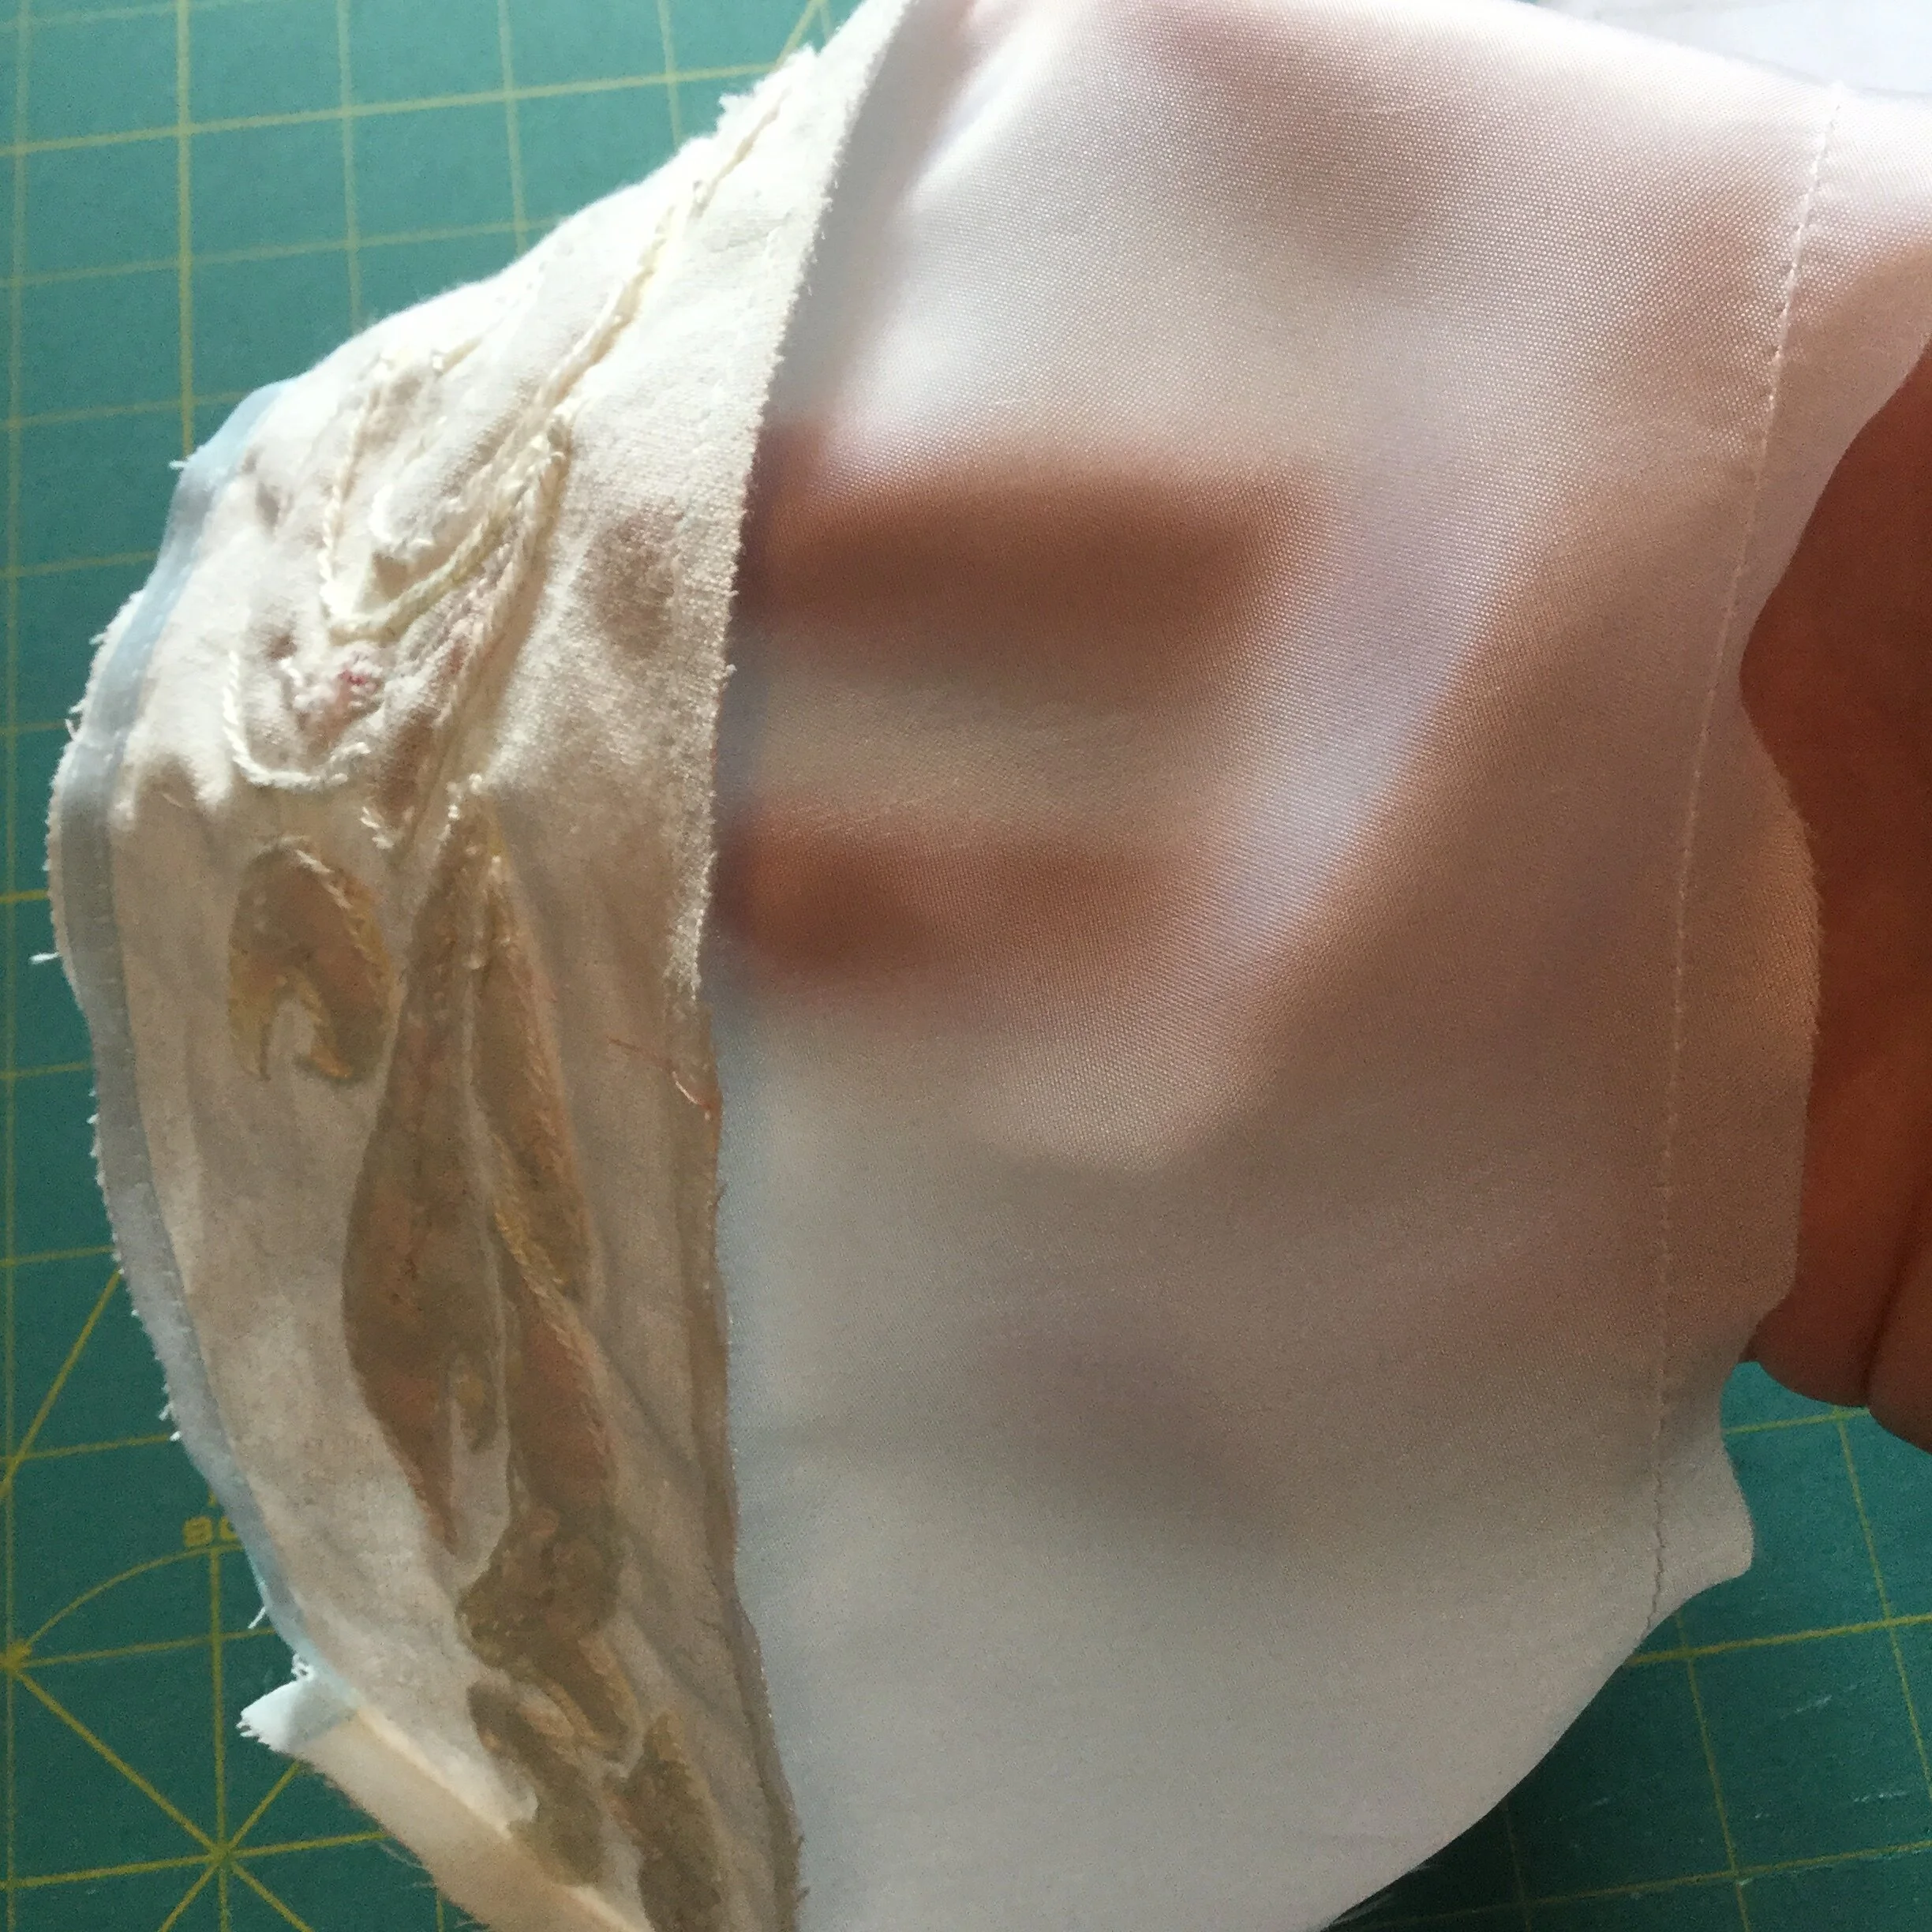
After finishing the individual pieces, I stitched them together along the side seams and did the same for the lining. I stitched the lining to the cotton along the bottom edge, understitched, pressed it up into place and basted through all the layers about a 1/4'' up from the edge. Before binding the top edge, I tried to ease the lining up a bit so as to help the collar lie flat rather than flipping out at the bottom, but discovered, upon pinning the collar to the dress, that I had not eased it enough and the collar was flipping out in the precisely the way I did not want it to.
*siiiiigh*
Off came the binding and once again the lining was eased up and basted in place before applying the binding once more. In order to reduce bulk, I decided not to fold the binding in on the inside of the collar. Instead, I left it flat and trimmed it down fairly close to the stitching holding the binding closed. The raw edge would be well hidden and protected by the stitching holding the collar onto the dress.
I pressed the seam allowance of the collar in place before pinning and stitching it to the neckline of the dress so that it would already be shaped and could just be slipped into place. To finish the collar, I used two rows of hand stitches to hold it onto the dress: one on the inside along the edge of the biding and one under the collar along the neckline of the bodice.
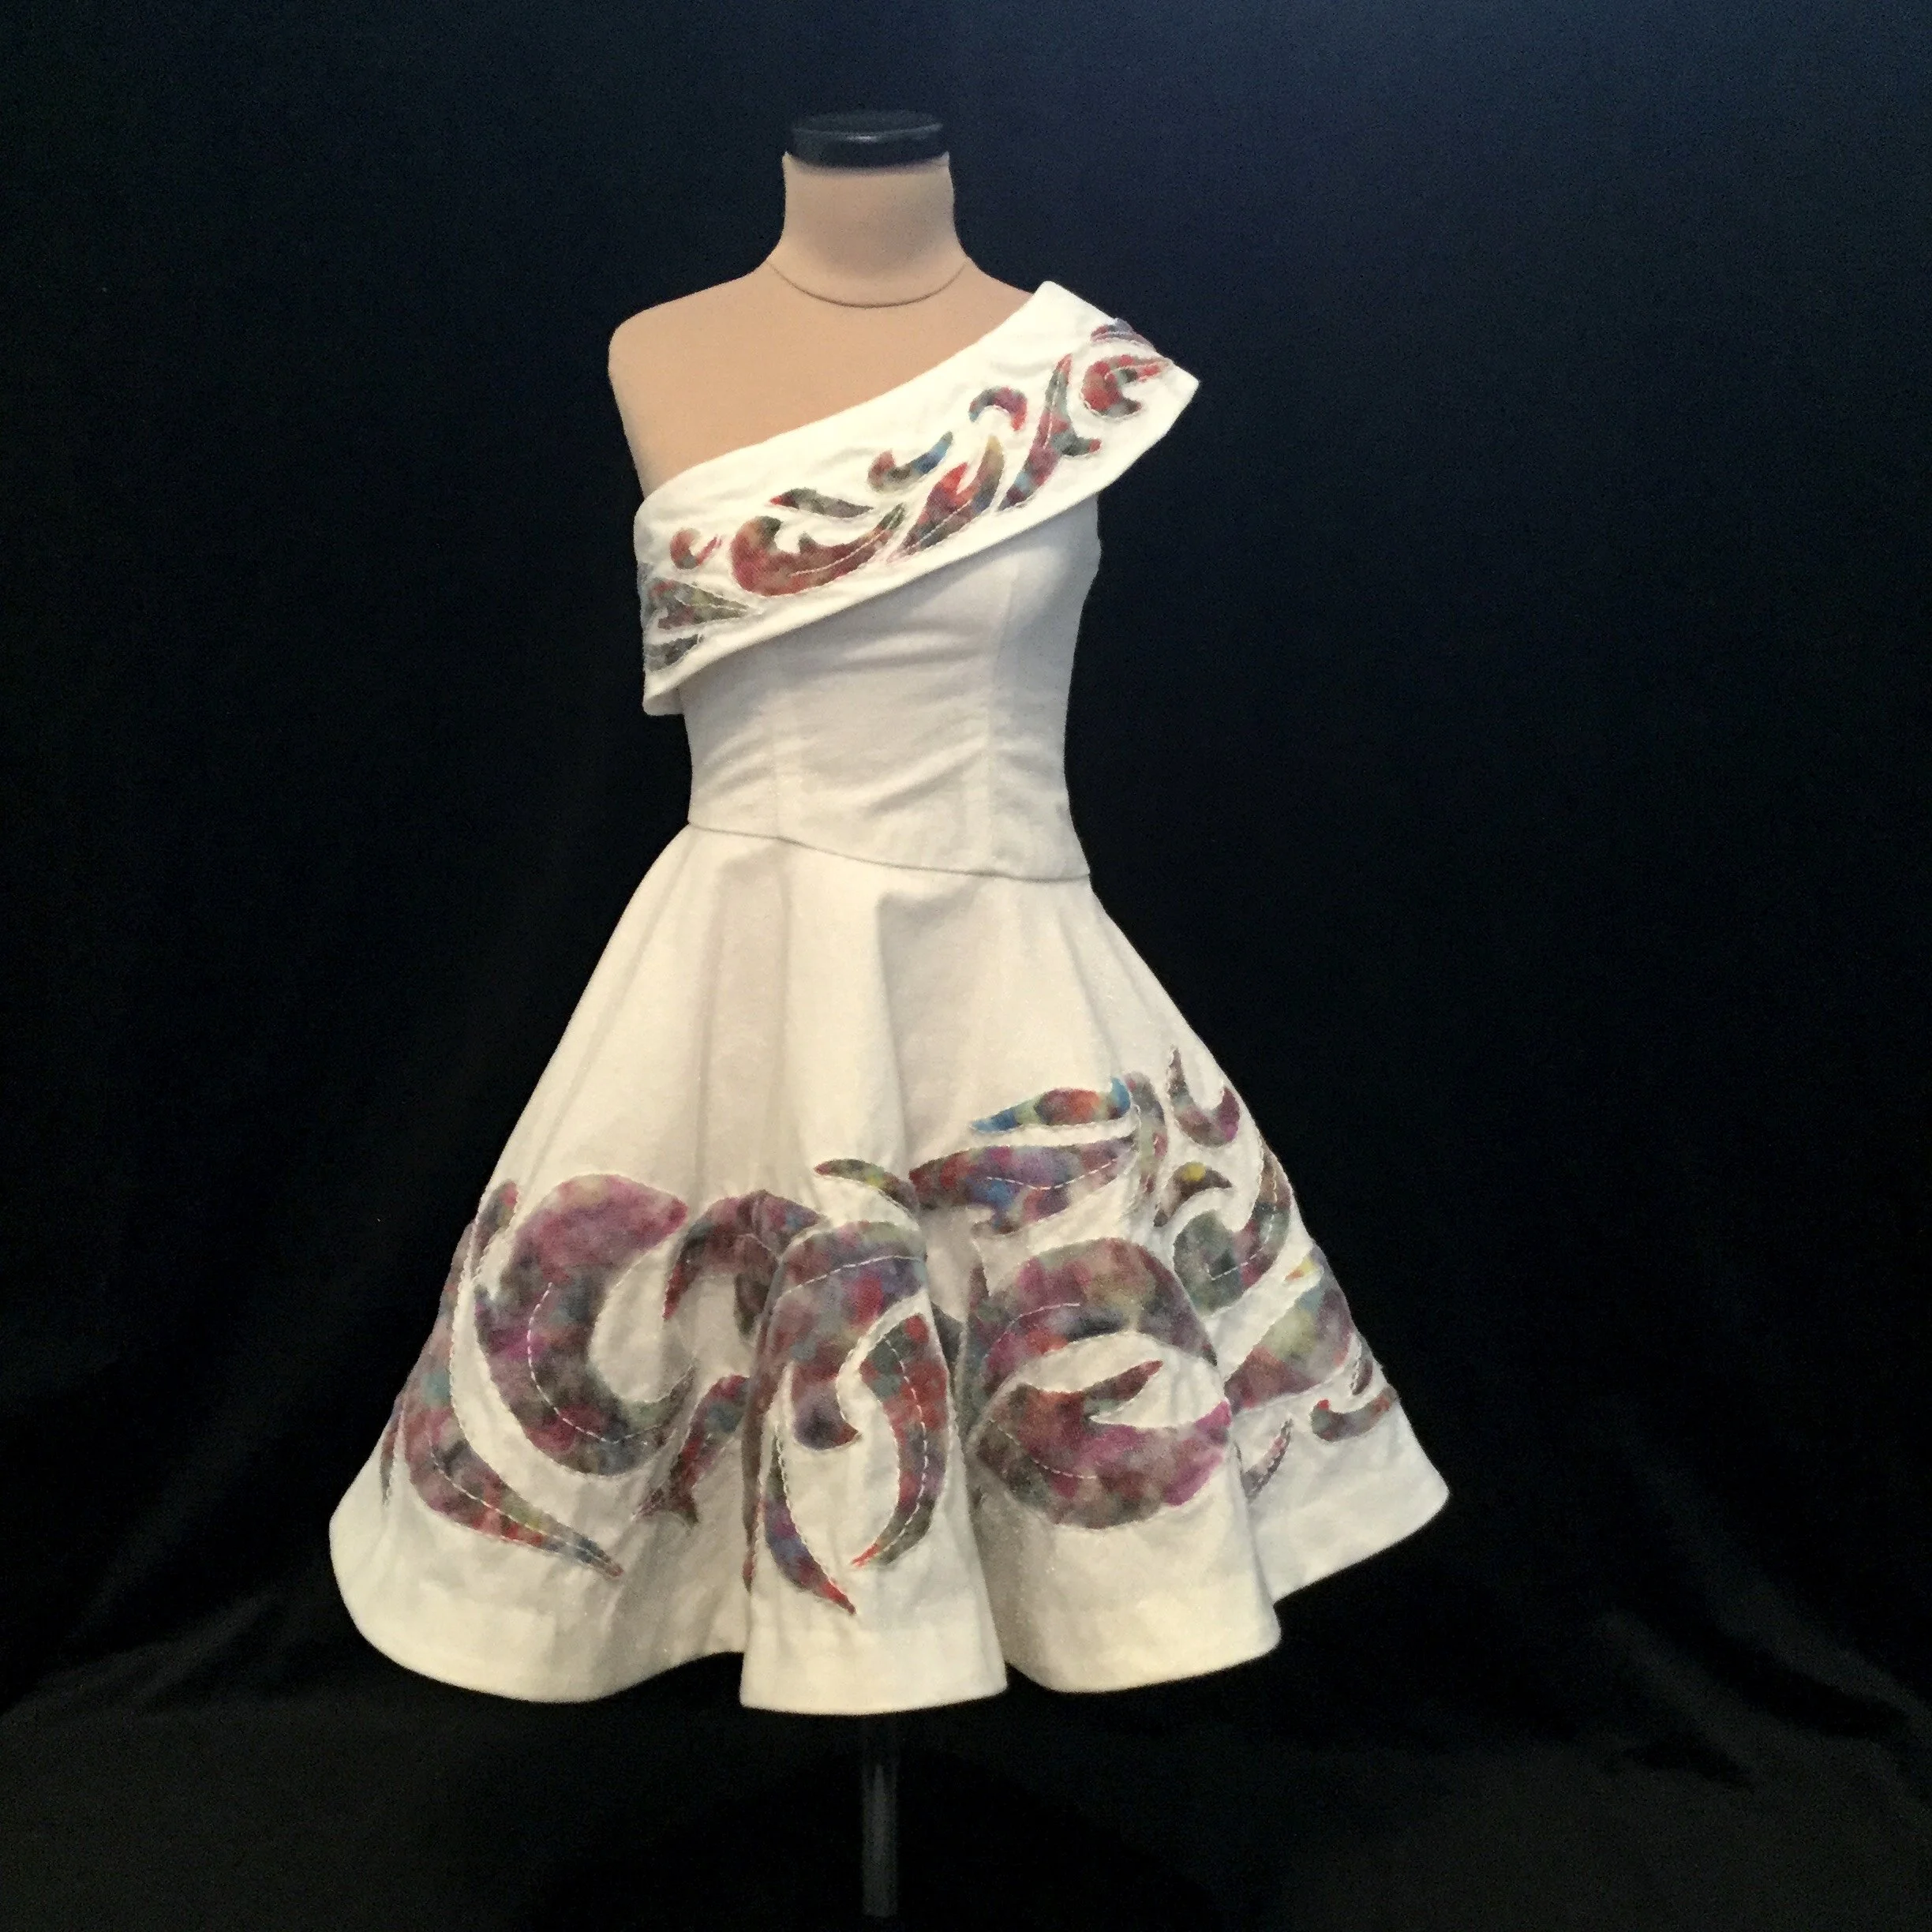
With that, Juliet was finished. For a glorious moment I basked in how pretty she was. Then I managed to irrevocably jam the zipper. But that's a tragic story full of cursing. Maybe some other time.
Juliet took a total of 87.25 hours. I spent 13.75 hours on drafting and fitting the pattern as well as preparing the quilting design. For the skirt, I spent 16.5 hours quilting, 10.75 hours stuffing and 5.25 hours on the ribs and other finishing. I spent 23.5 hours on the bodice, skirt lining and overall dress construction. For the collar I spent 3.25 hours quilting, 5 hours stuffing, 1.25 hours on the ribs and 8 hours on construction and finishing.
