Juliet Part One
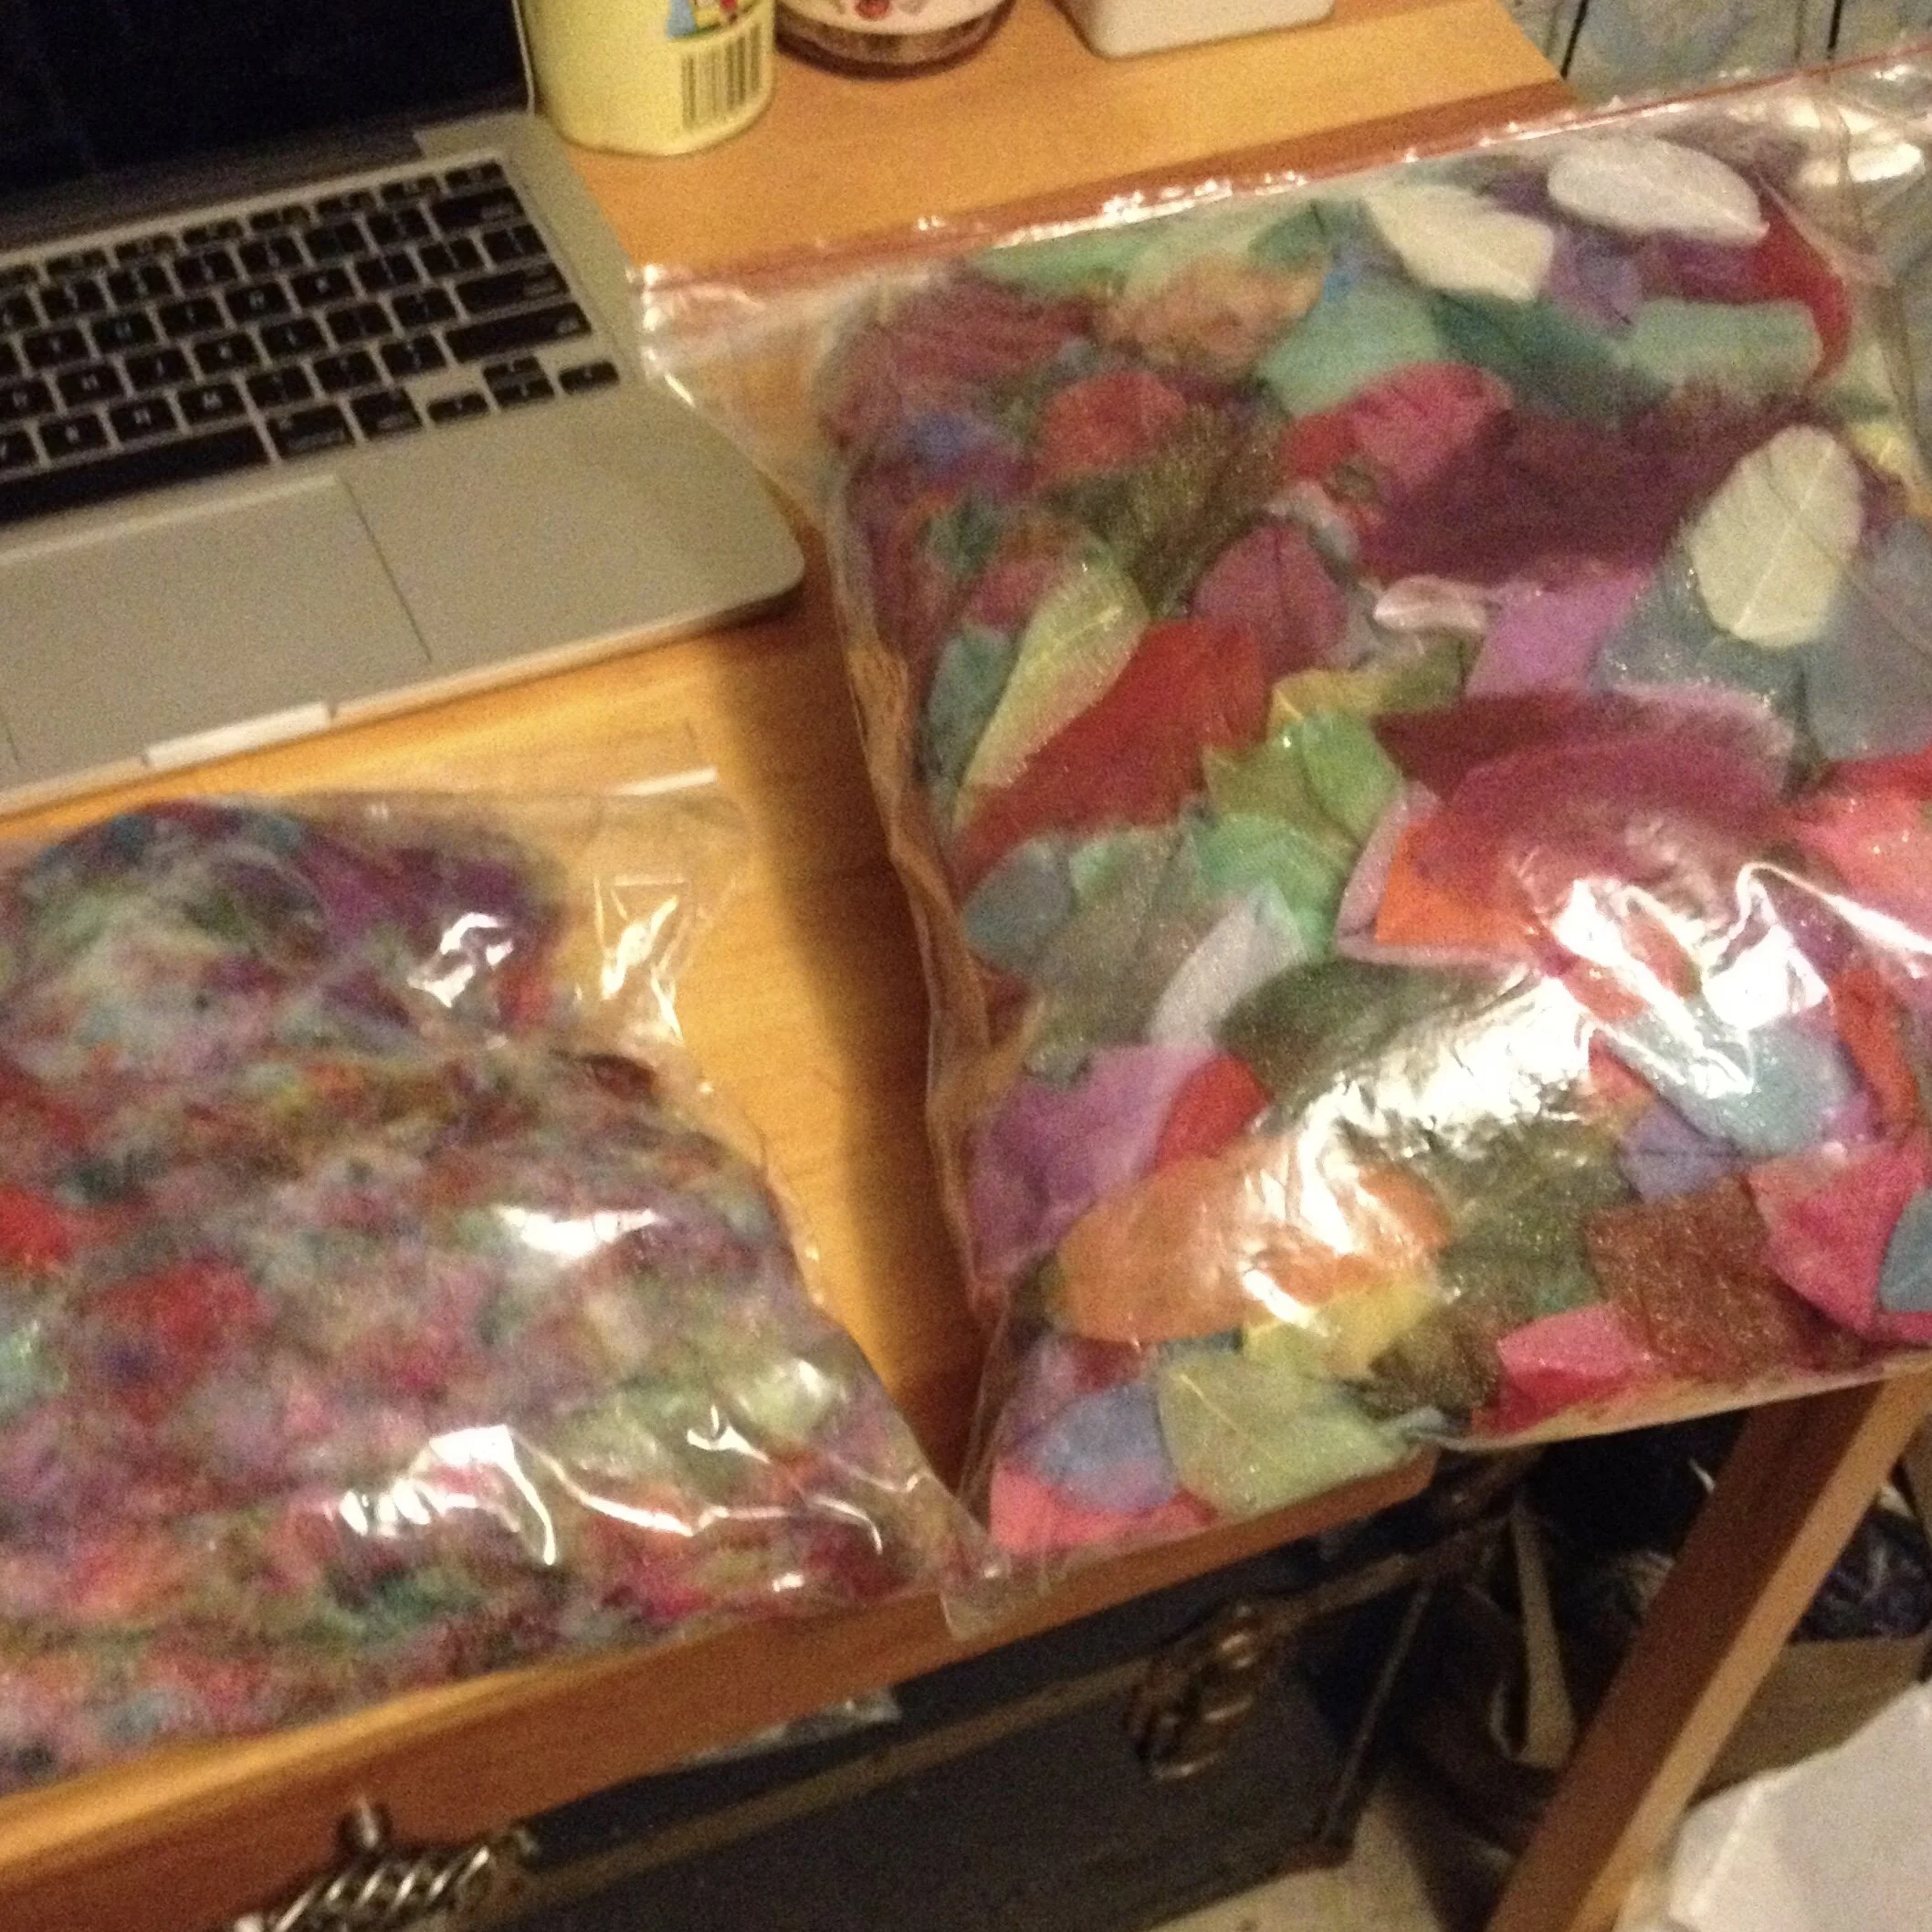
I was encouraged to keep the garbage!
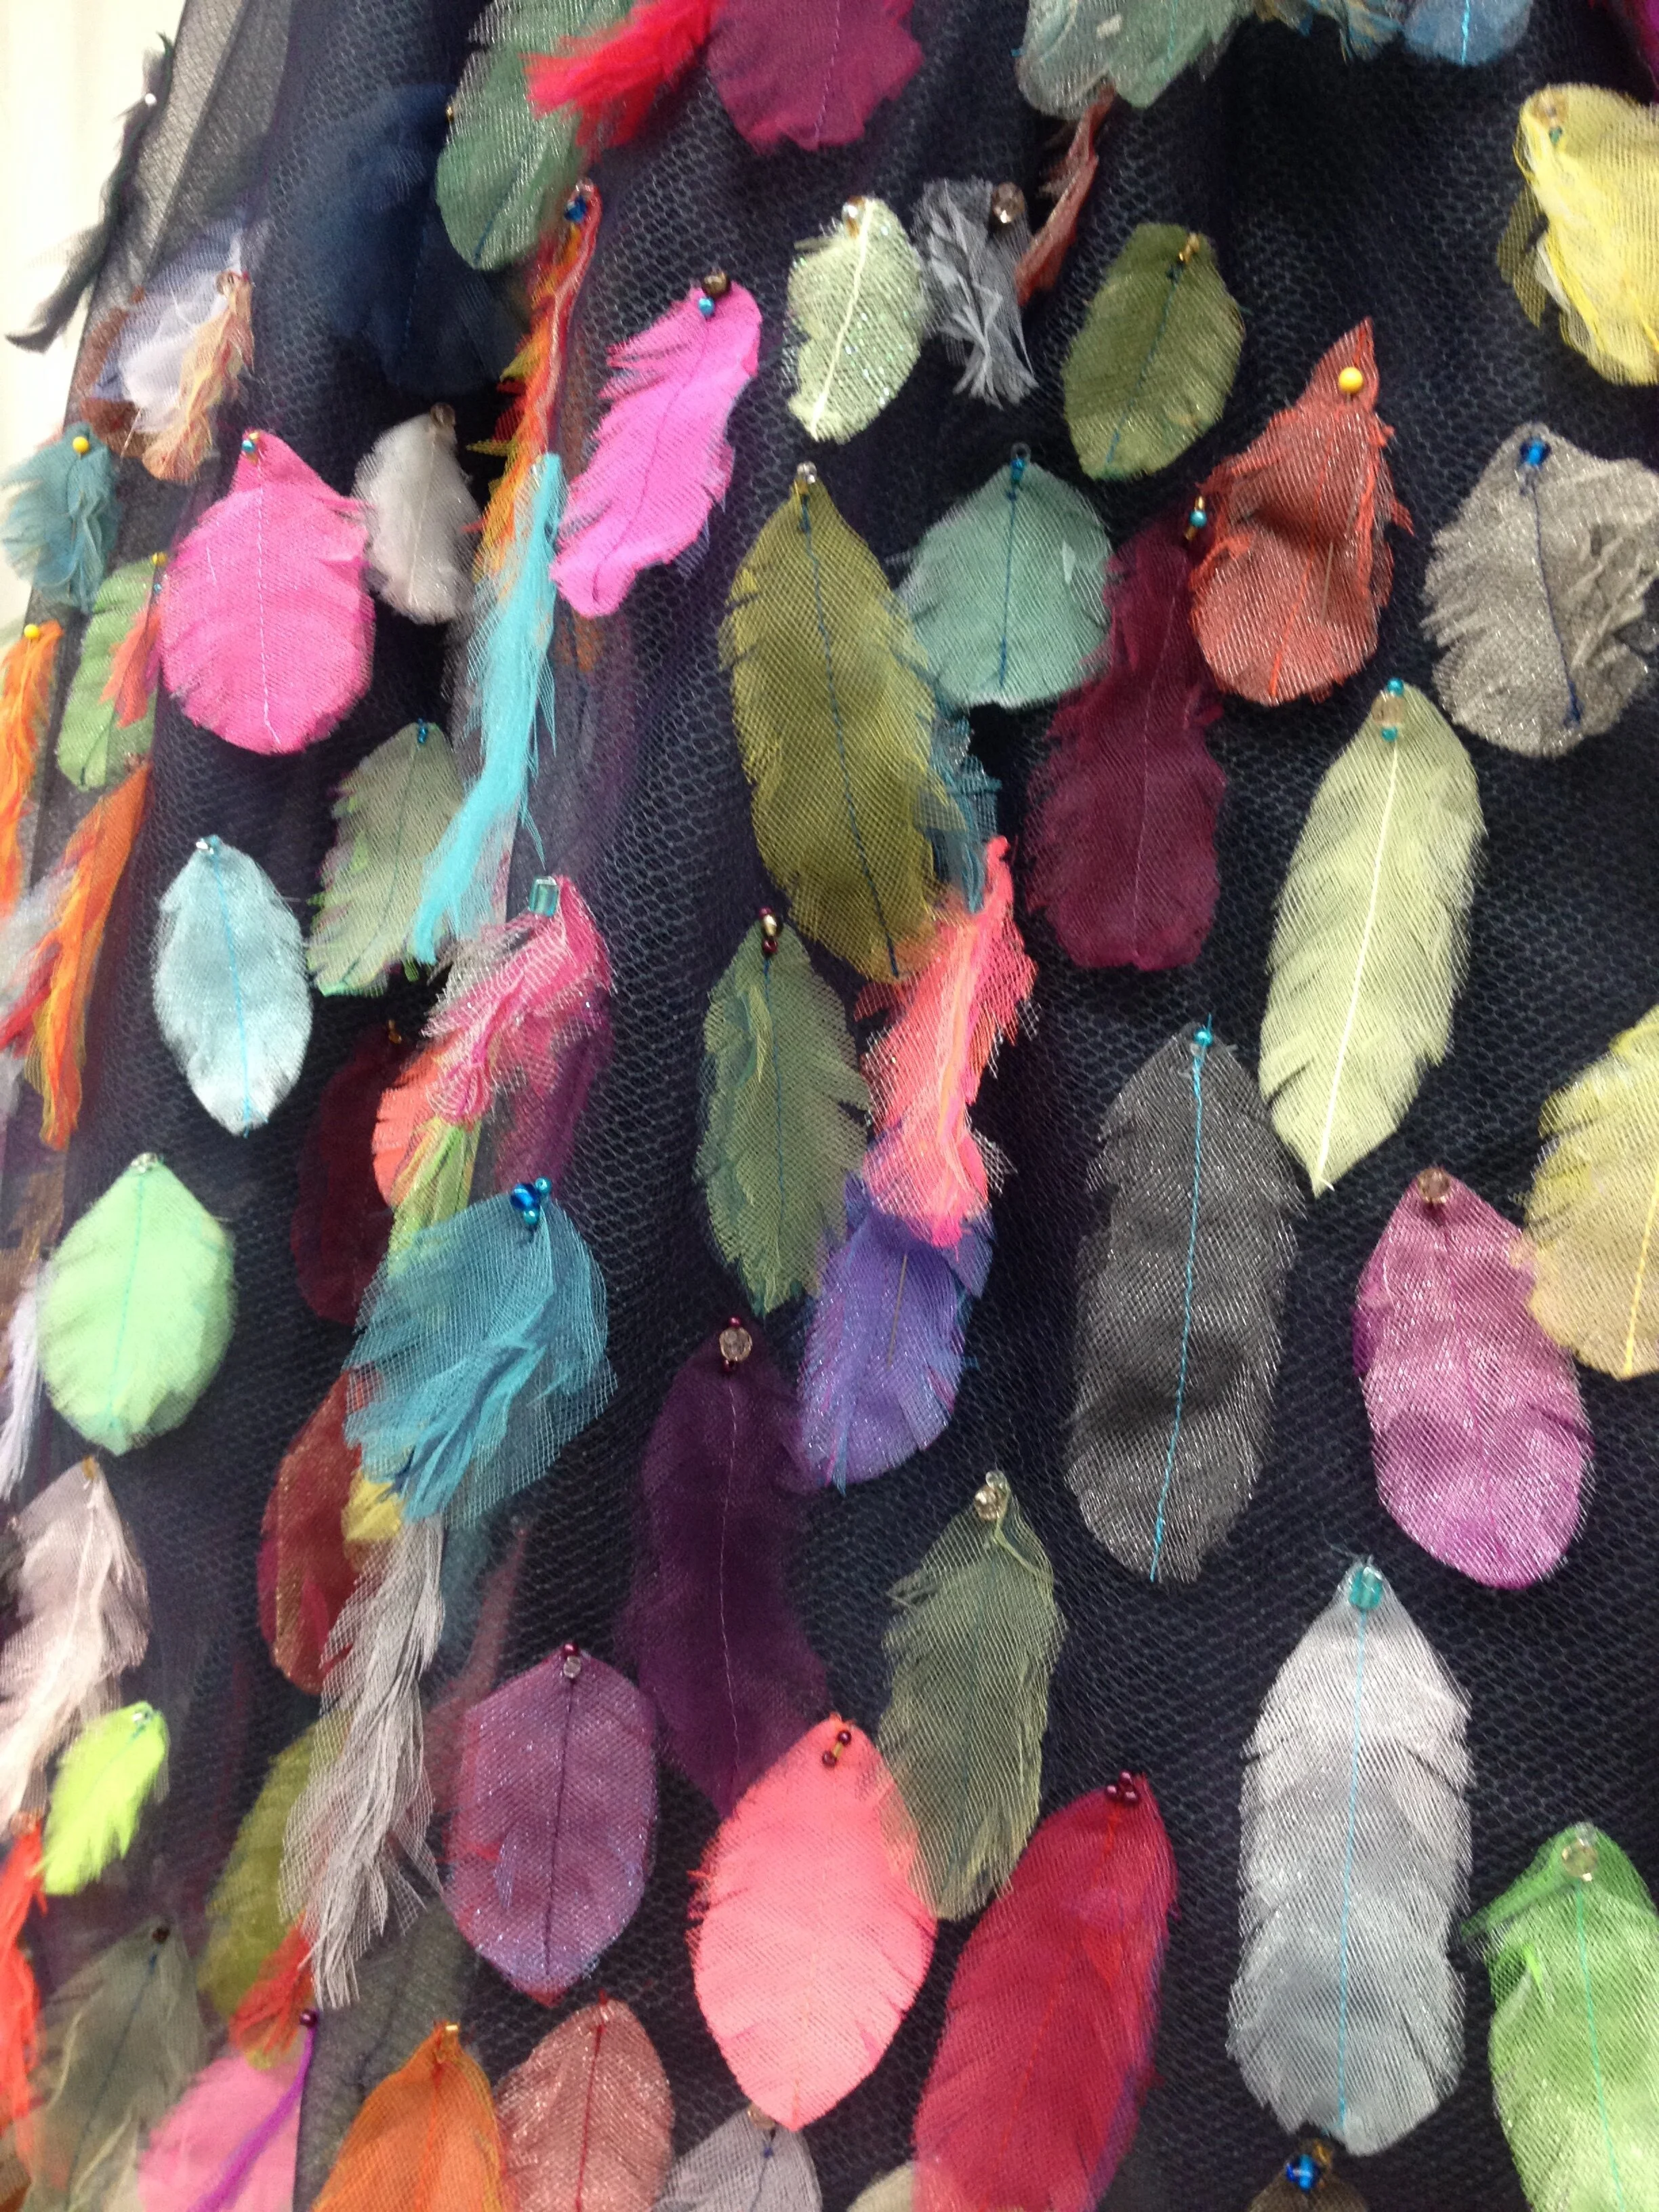
Close up of a small fraction of the feathers.
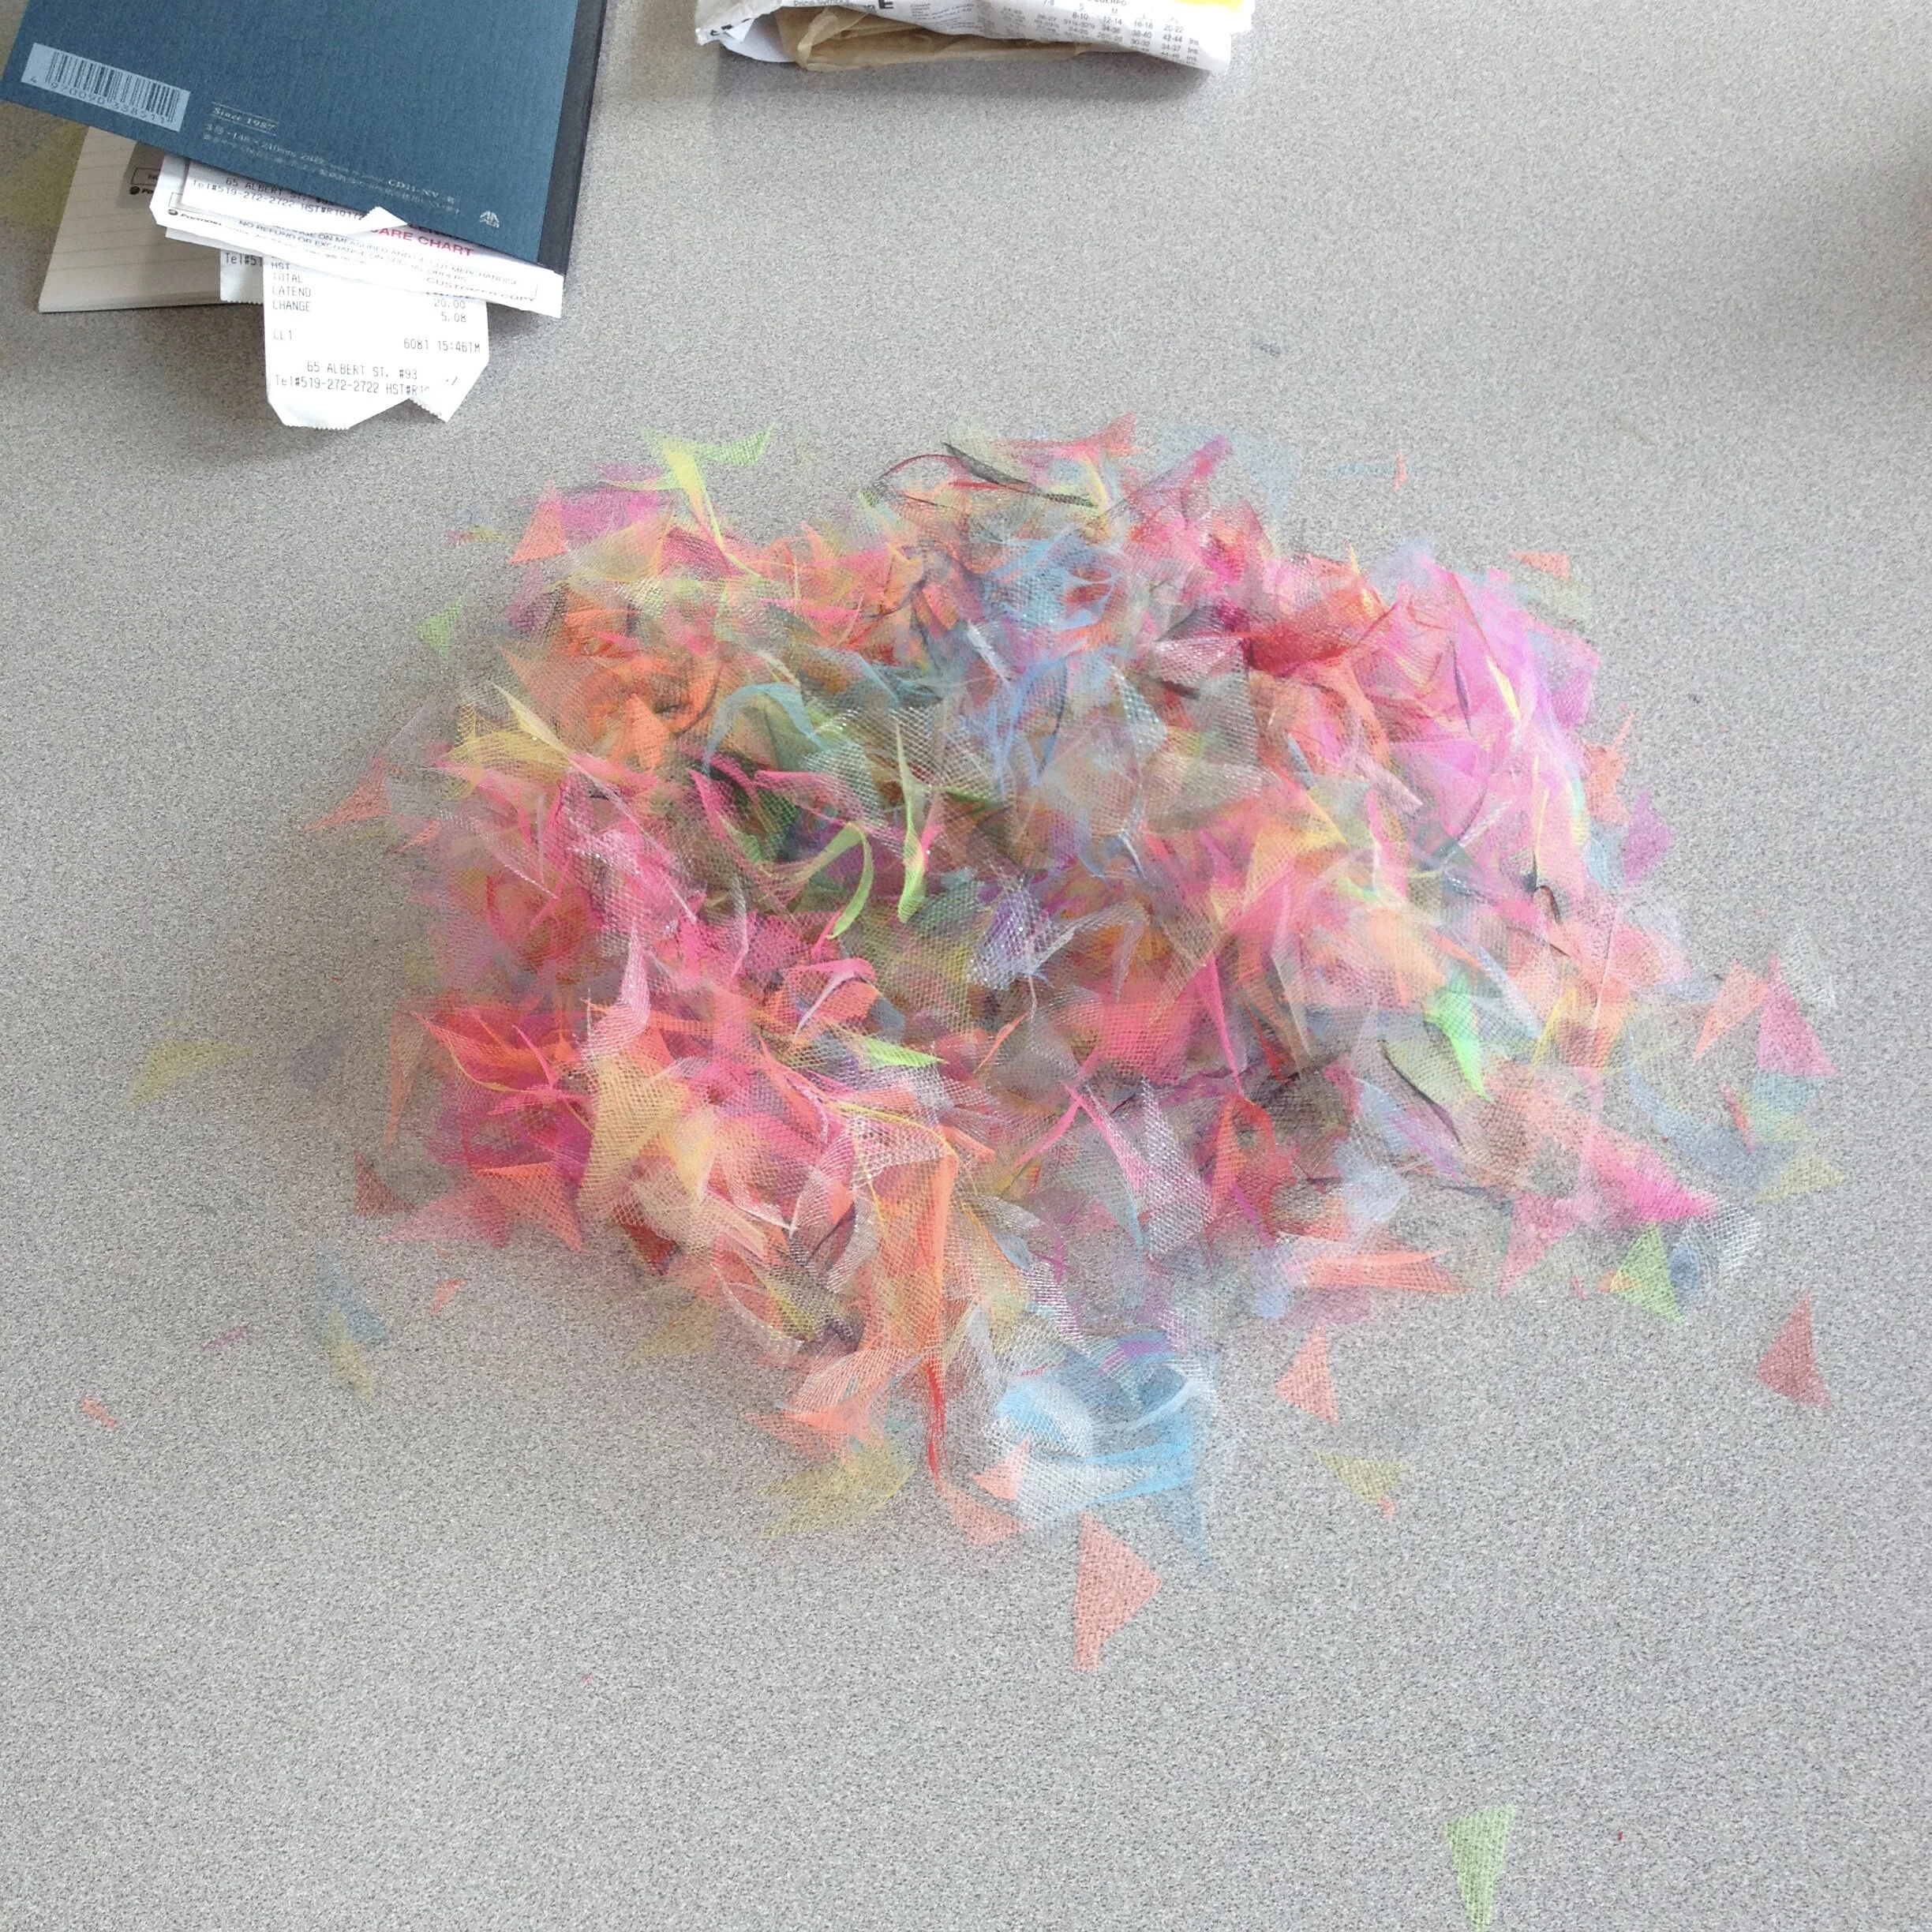
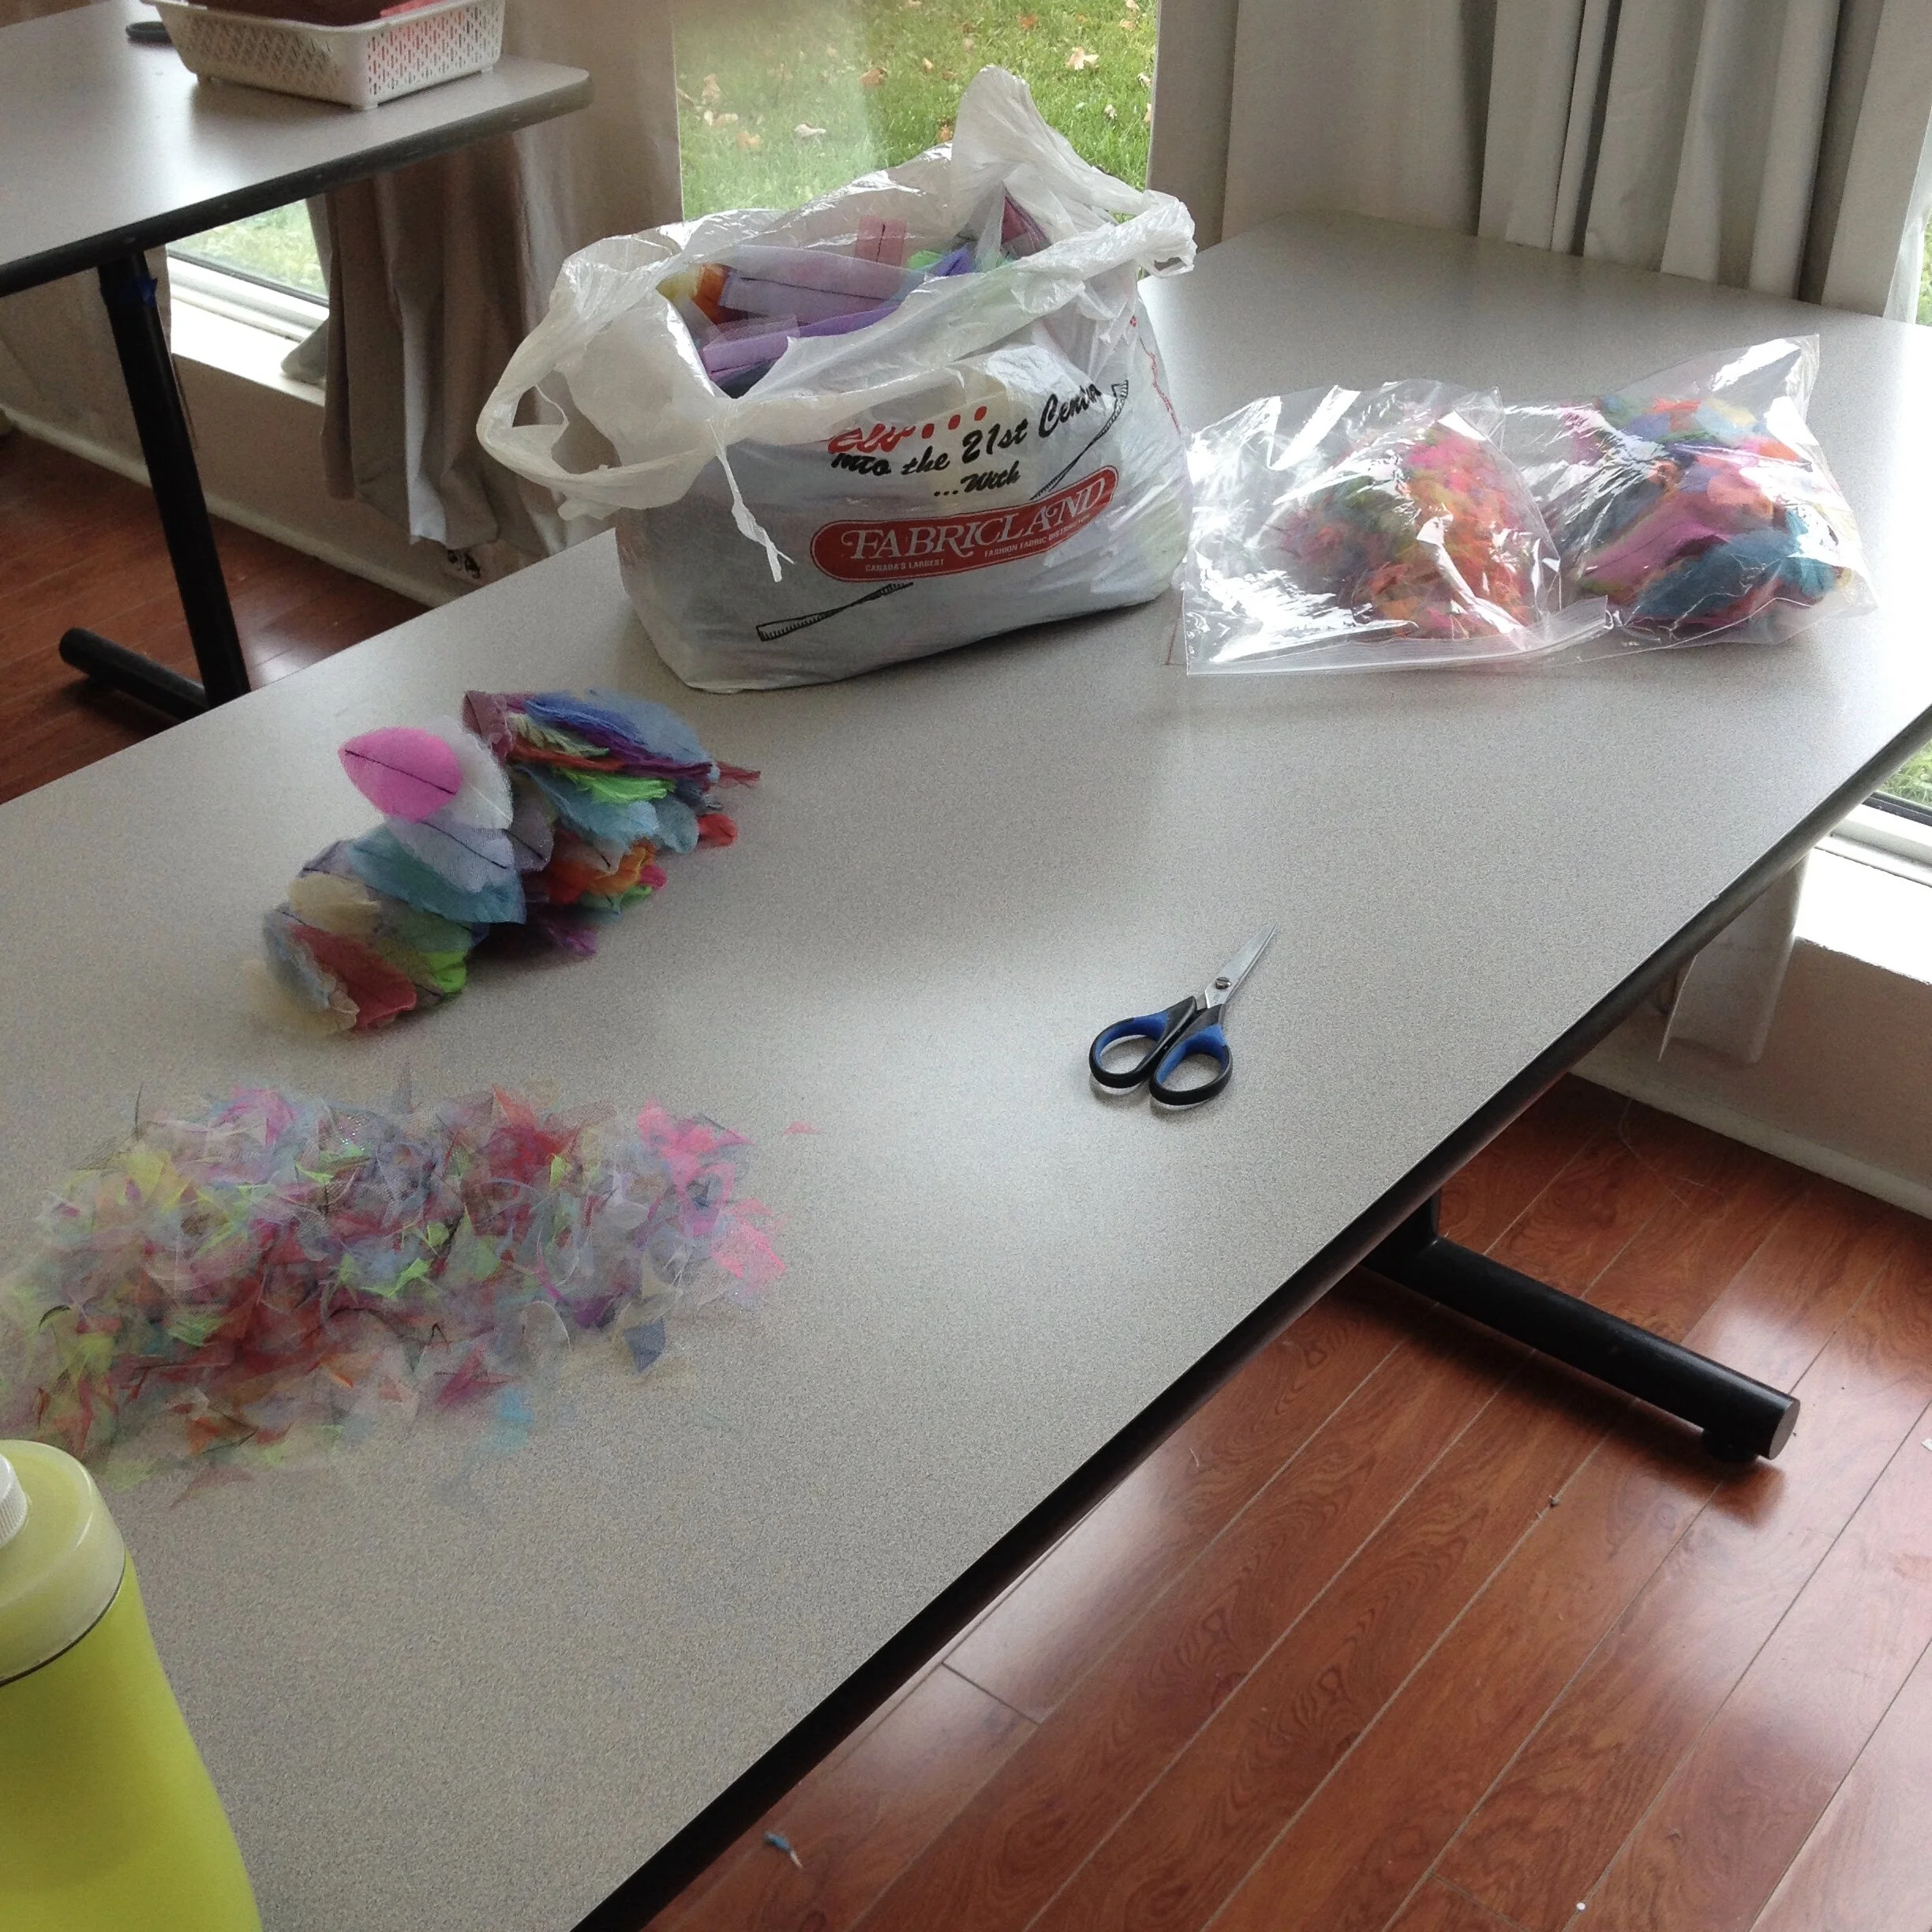
The start of this dress goes a ways back; she technically began at the tail end of 2016 when I was building a costume to wear at Costume Con which involved many feathers. Rather than buying feathers I had decided to make them out of tulle. My method was to layer up a few small squares or rectangles of various colours, fold them a few times and stitch down the middle then trim into a feather shape. It's a laborious and tedious process but the end result is kind of cool. A byproduct of this particular craft is a pile of tiny pieces of tulle in random shapes.
While I was snipping away and accumulating my little pile of scraps I kept thinking to myself that it actually kind of looked rather pretty. Because the pieces were so small, all the colours mingled together and the contrast of the really bright pieces with the darker colours had some interesting dimension and looked really cool. It seemed a shame to just throw it all out.
The fruits of my labours.
Most people would see a pile of fabric in pieces too small to do anything with and conclude that the most sensible option would be to dispose of it. Not I. I started to wonder if there was something I could do with these scraps. As I was thinking this, my friend Linda (whose studio I was borrowing to work on my costume) happened to see the scraps and commented that all the little pieces together looked kind of cool and it could be an interesting thing to use for some kind of craft. This was all the encouragement I needed. I was now filling two bags: one with feathers and one with scraps.
Cut to 2021: My bag of tulle scraps has remained untouched other than being moved to a different storage place on the occasion of a fabric and sewing supplies reorganization. I haven't made any progress on a plan to actually use the scraps, but I can't get rid of them. I'm in too deep now. I've kept them for too long to just throw them out now.
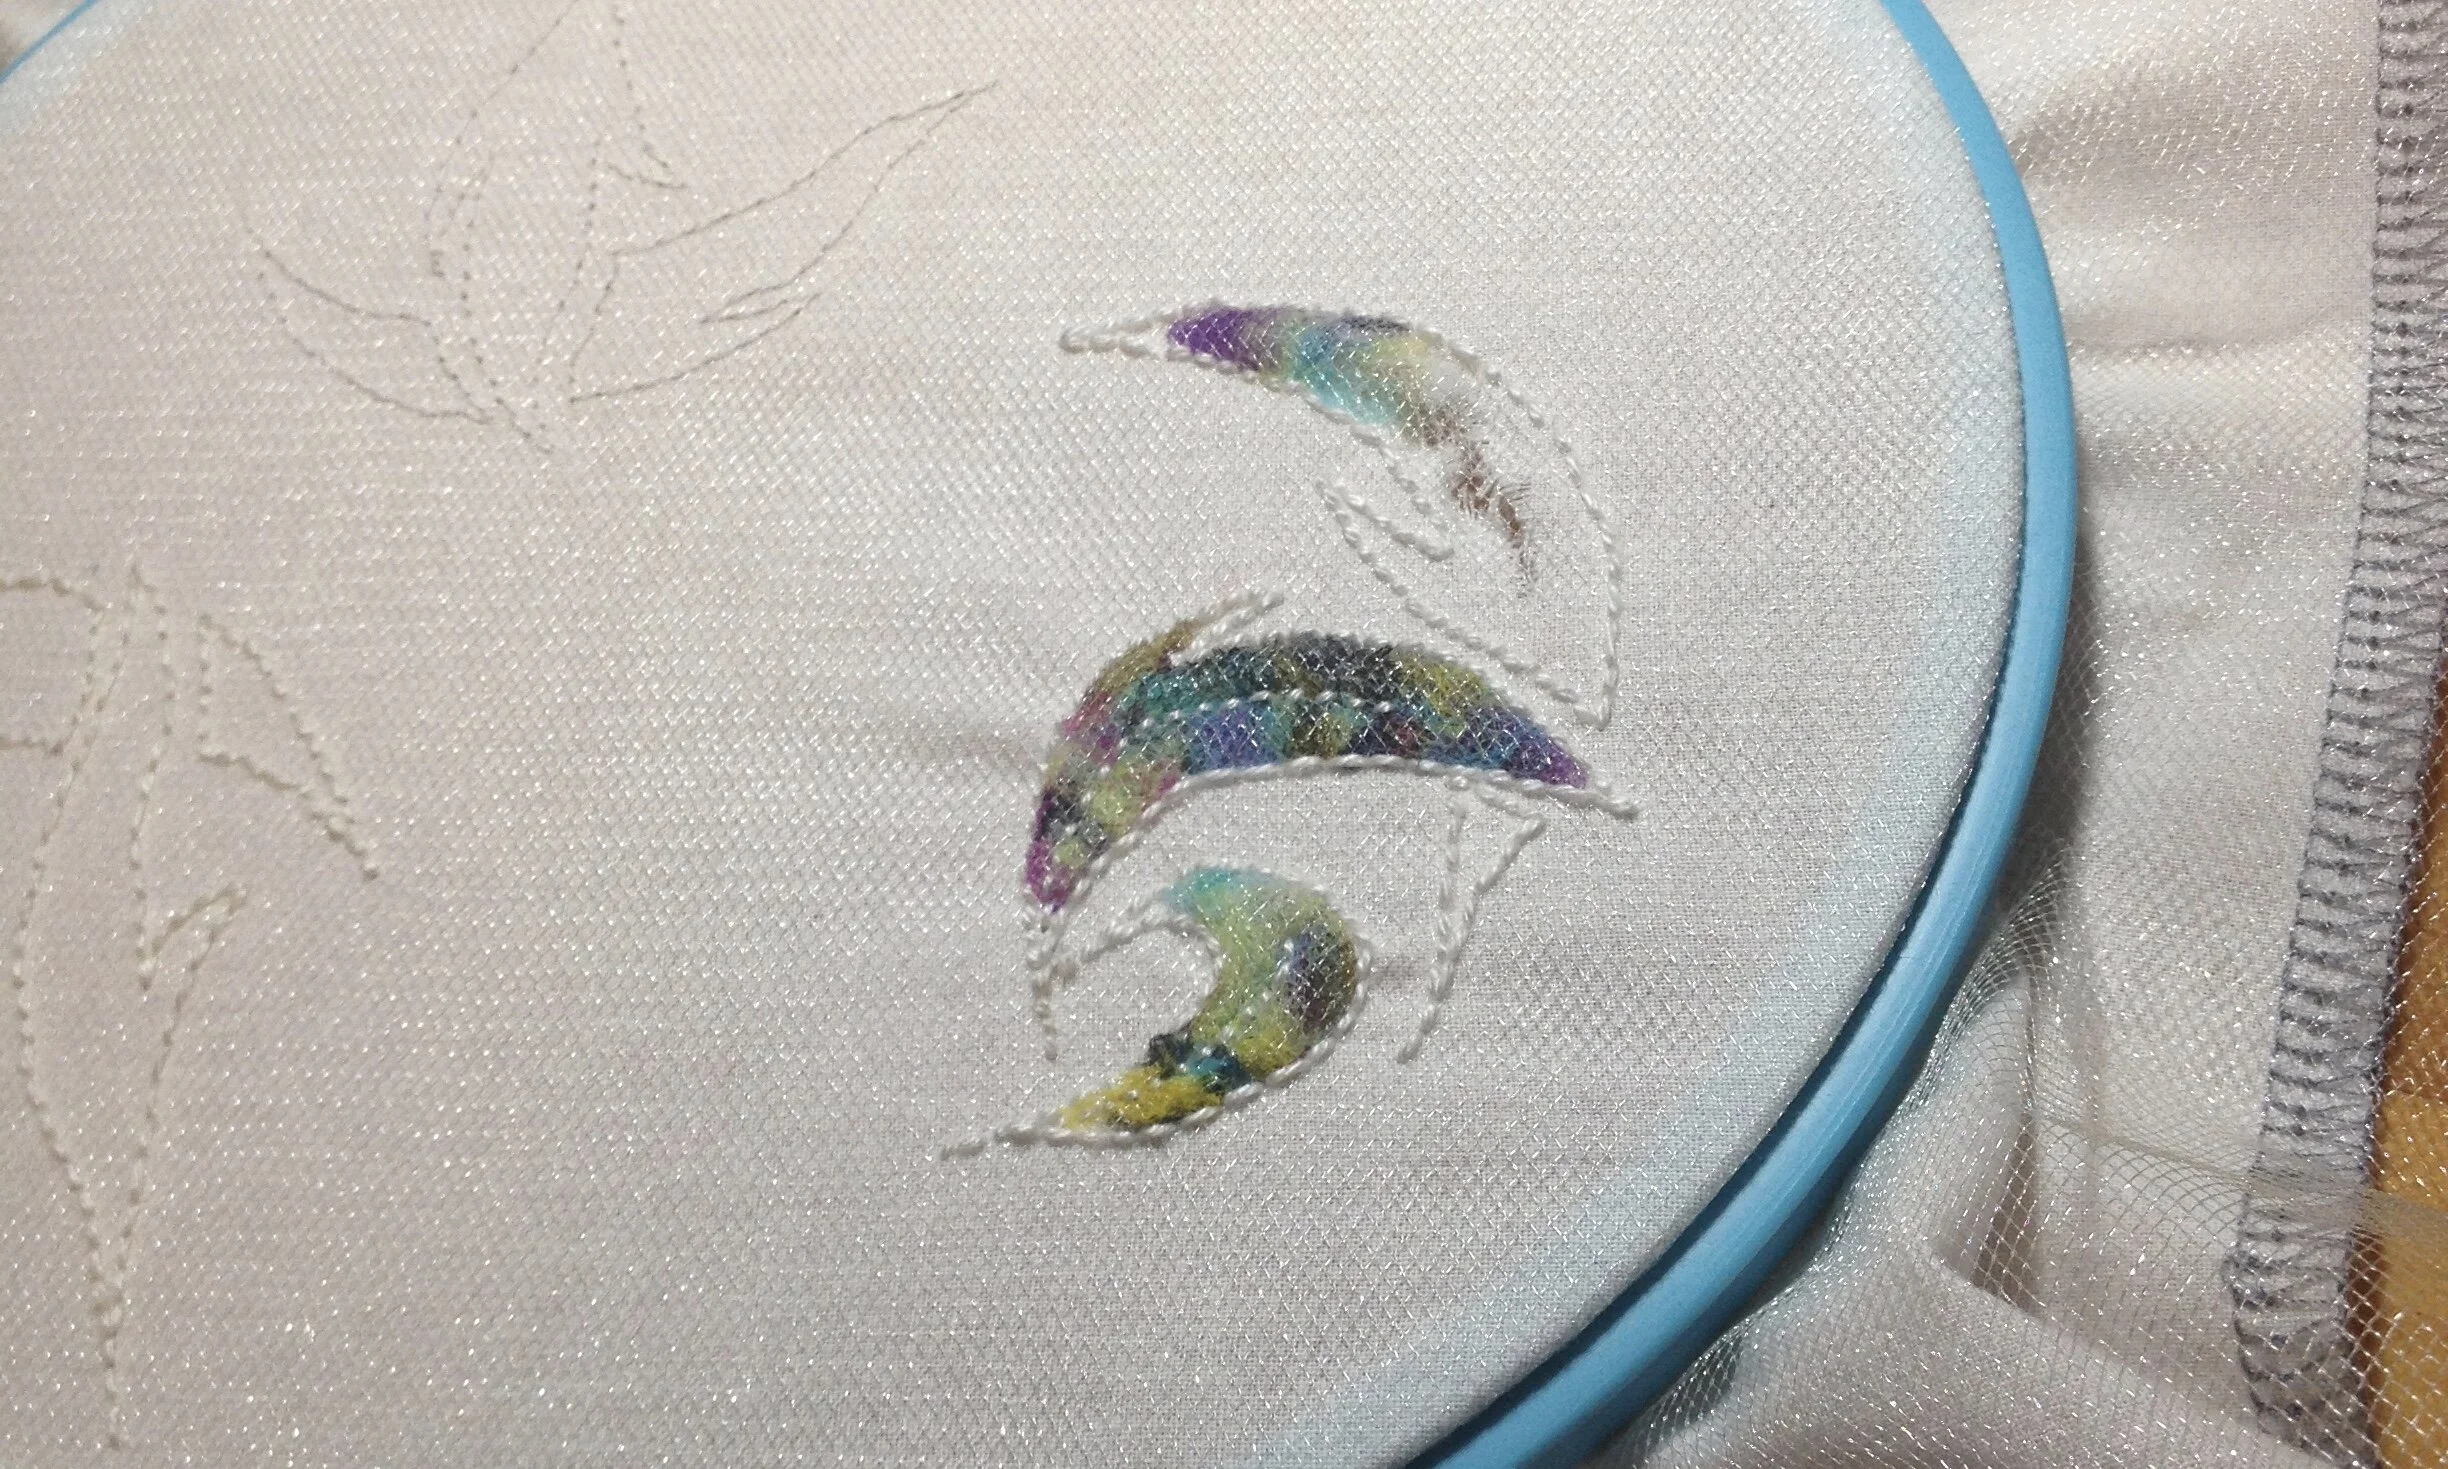
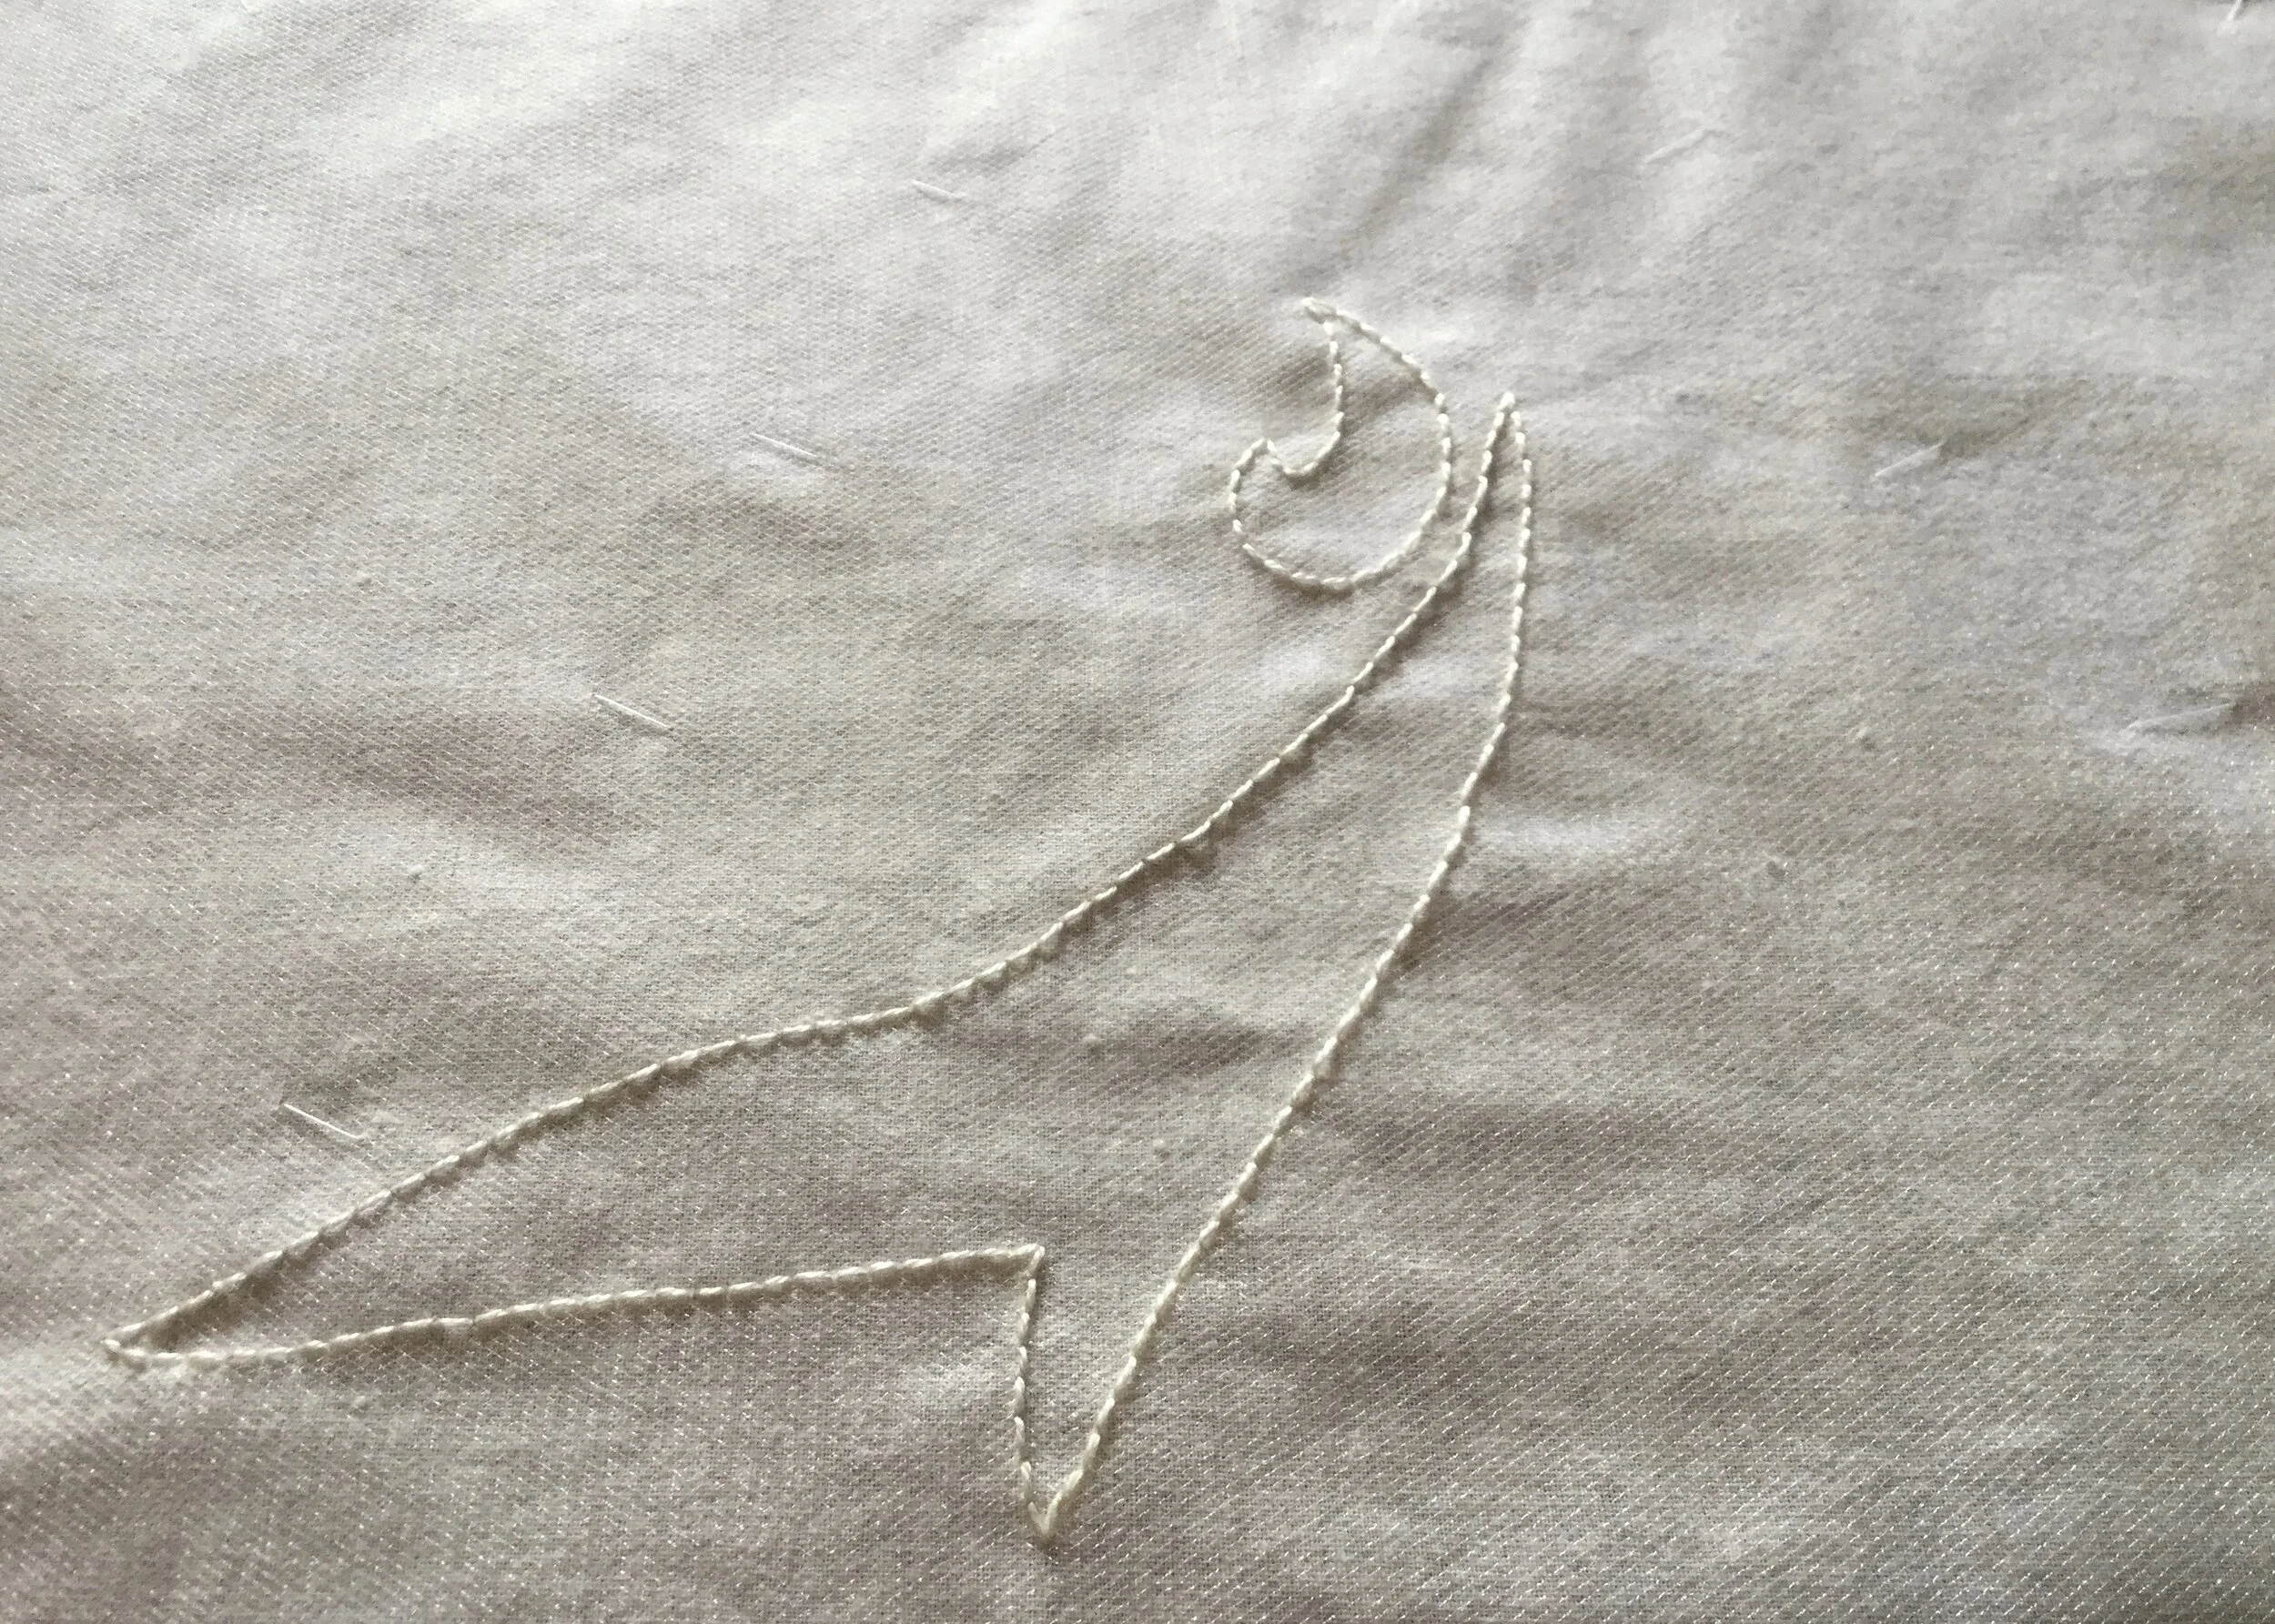
I decided to use the scraps as the stuffing in a design using trapunto quilting. Trapunto is a style of quilting where, rather than sandwiching batting between two layers before stitching a design, two layers of fabric are stitched together in a design and the pattern is stuffed through a slit in the back layer of fabric. It occurred to me that if one used a fairly sheer fabric, such as a chiffon or tulle, as the top layer the stuffing would be visible. I ended up using tulle because it is a little more sheer. I also had several large pieces lying around in my stash.
Sample to make sure it looks how I imagined it. Also for testing different possible threads for outline stitching.
In truth, I had had an idea of how to use the scraps back when I decided to keep them but hadn't settled on what manner of thing I would apply it to. I did think a skirt of some kind would look really nice, but no one was asking me to make such a skirt and I didn't really want it for myself. (There are a lot of things I want to make which I don't particularly want to wear.) Half-scale Judy to the rescue!
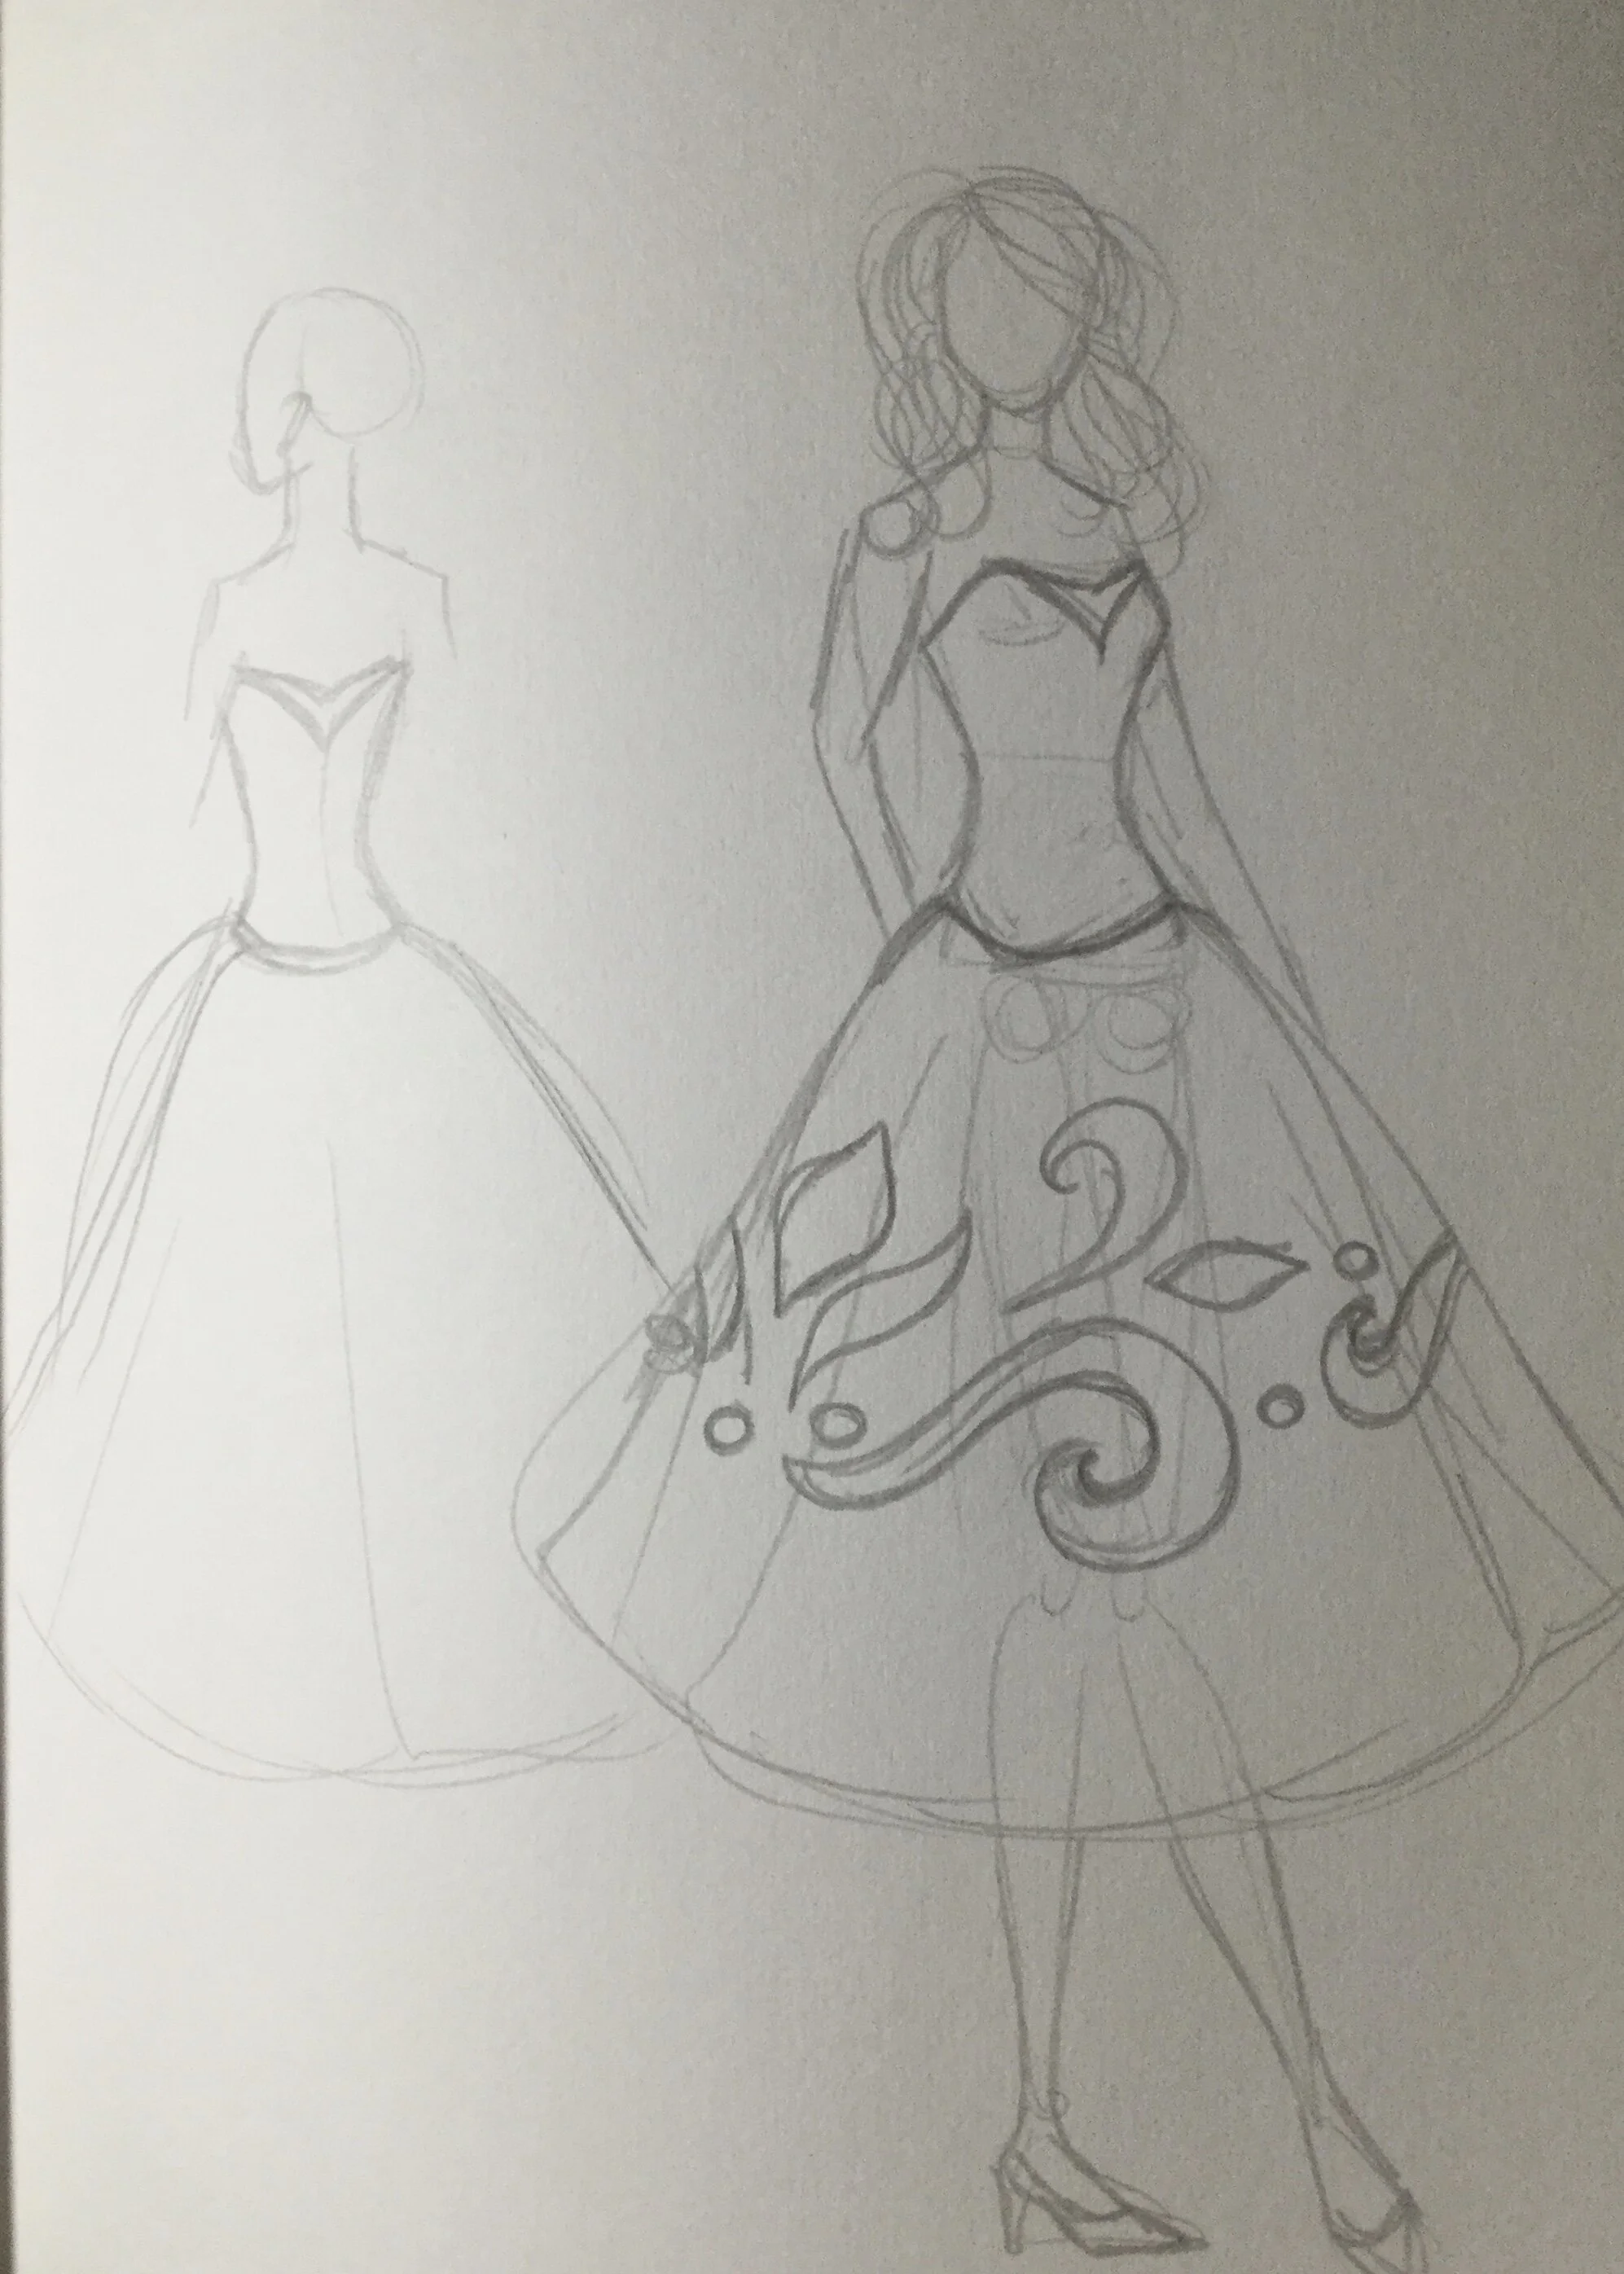
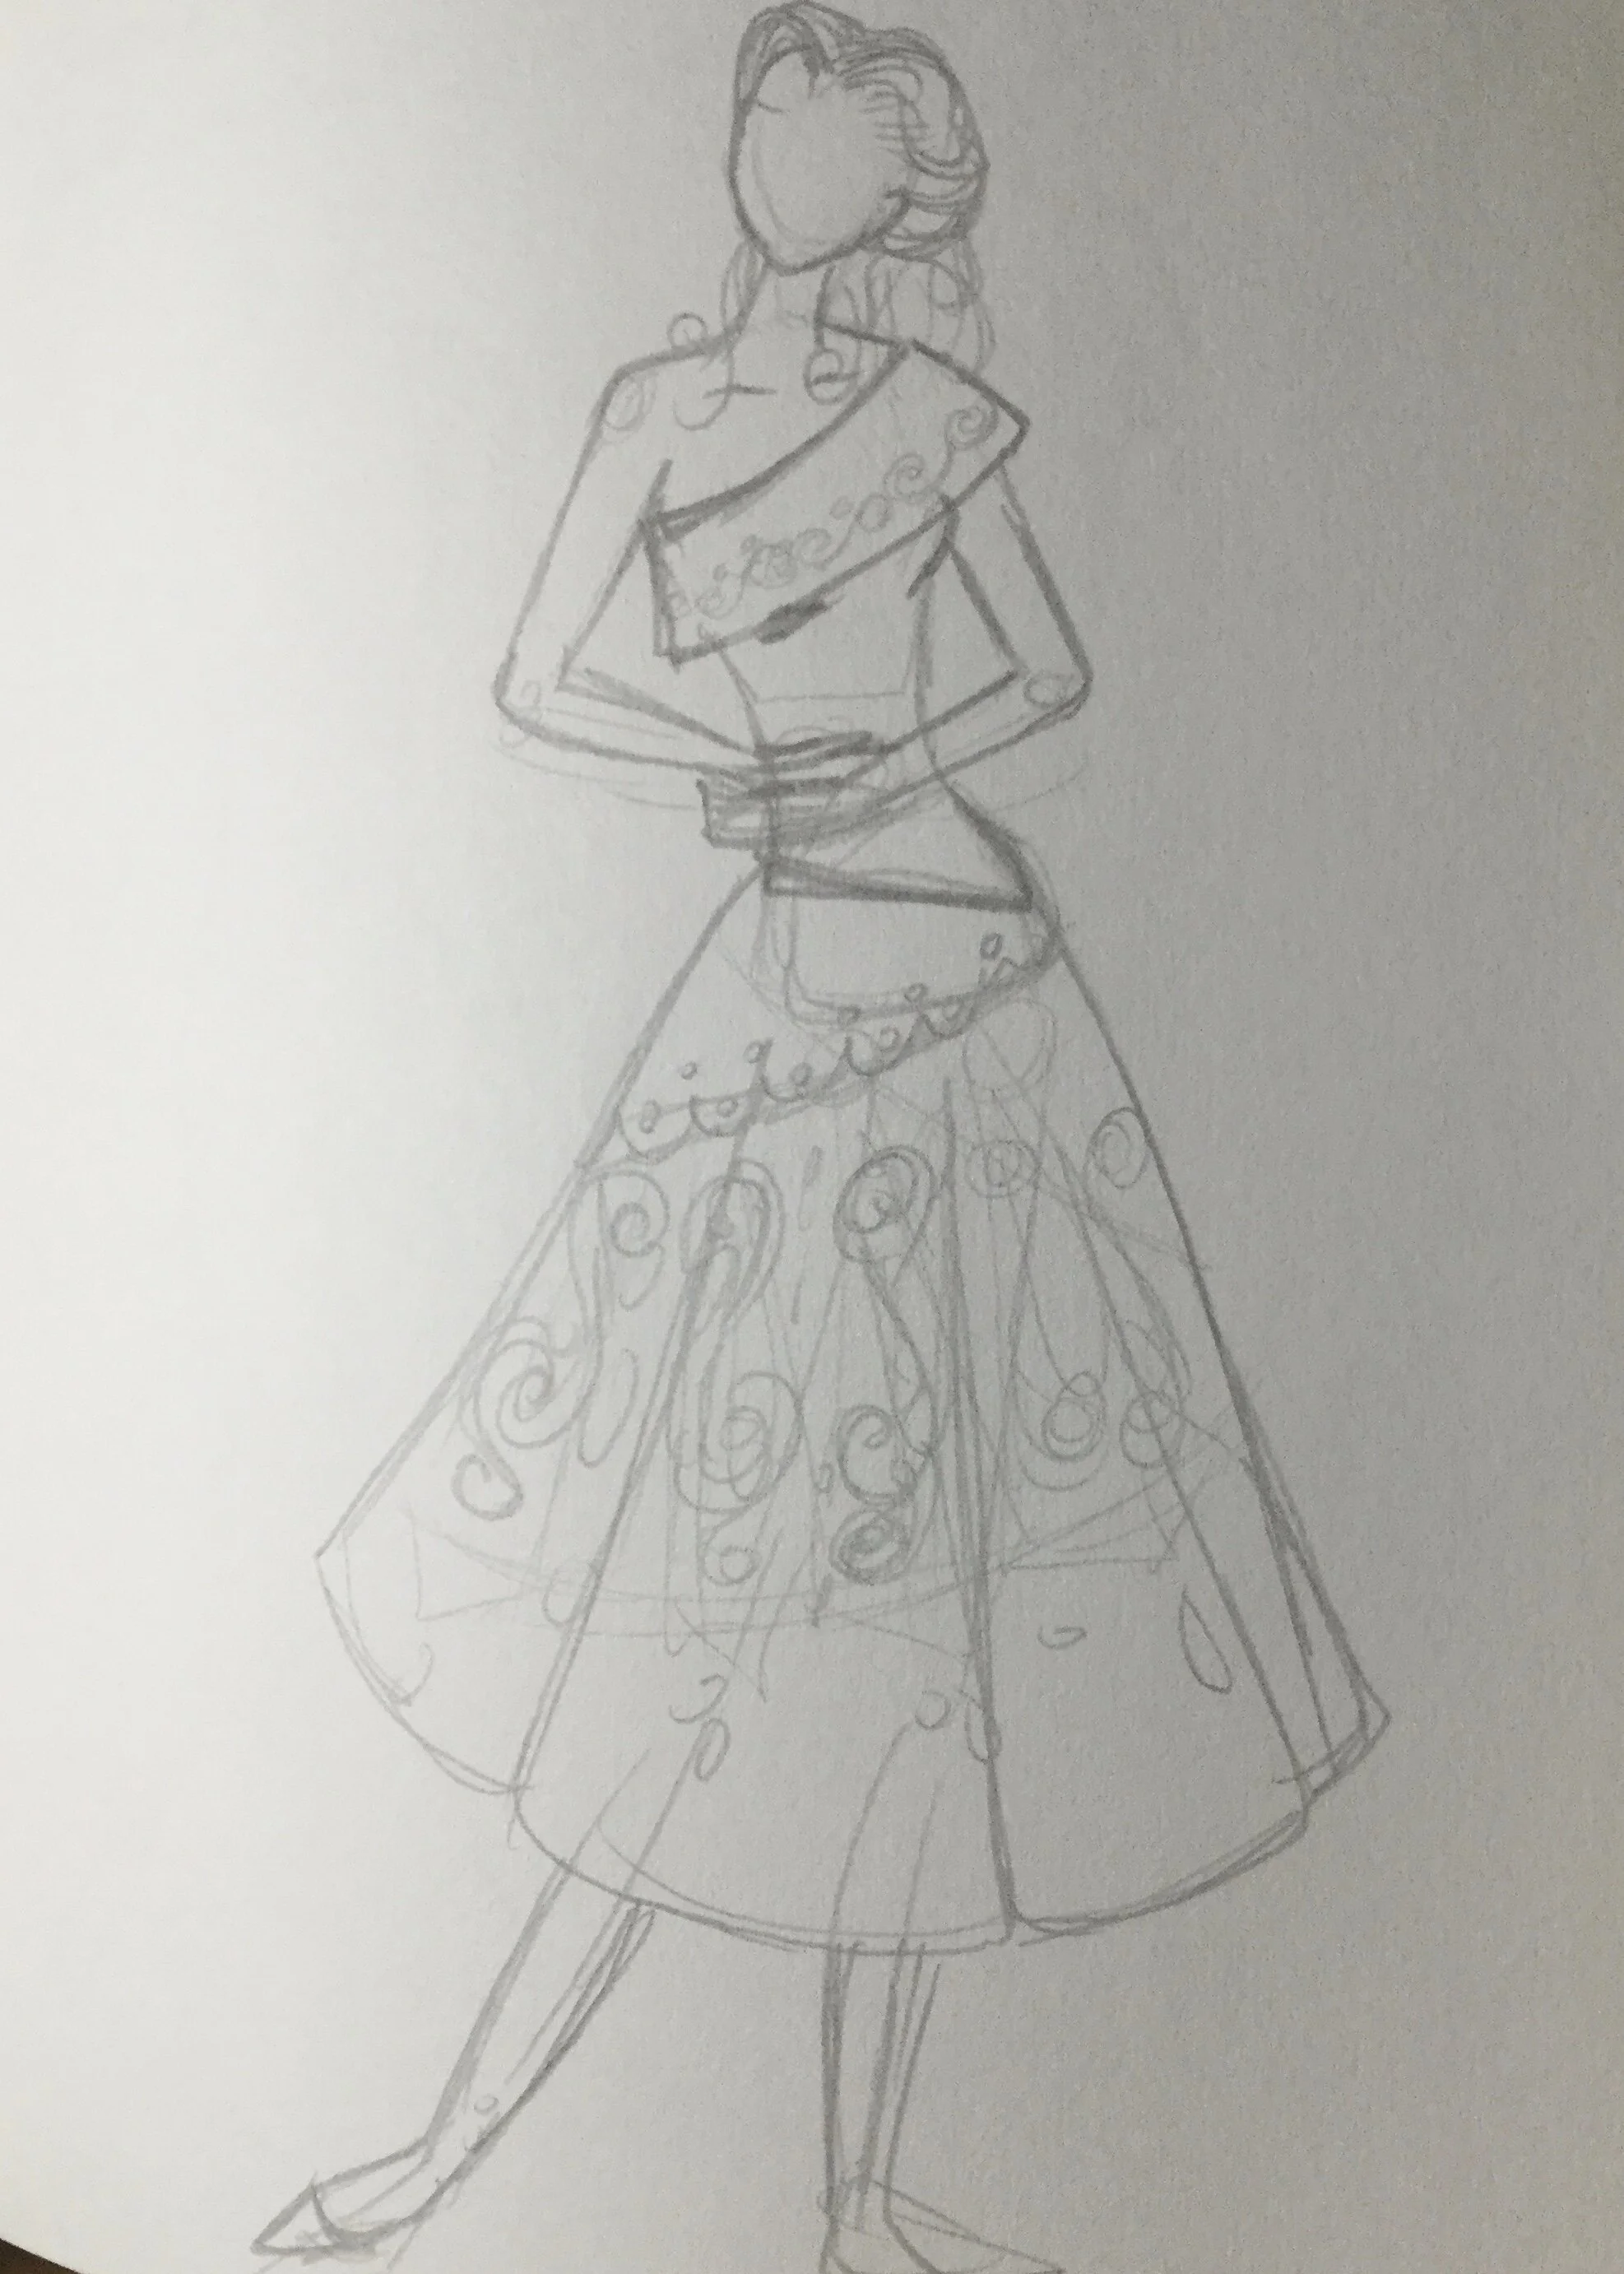
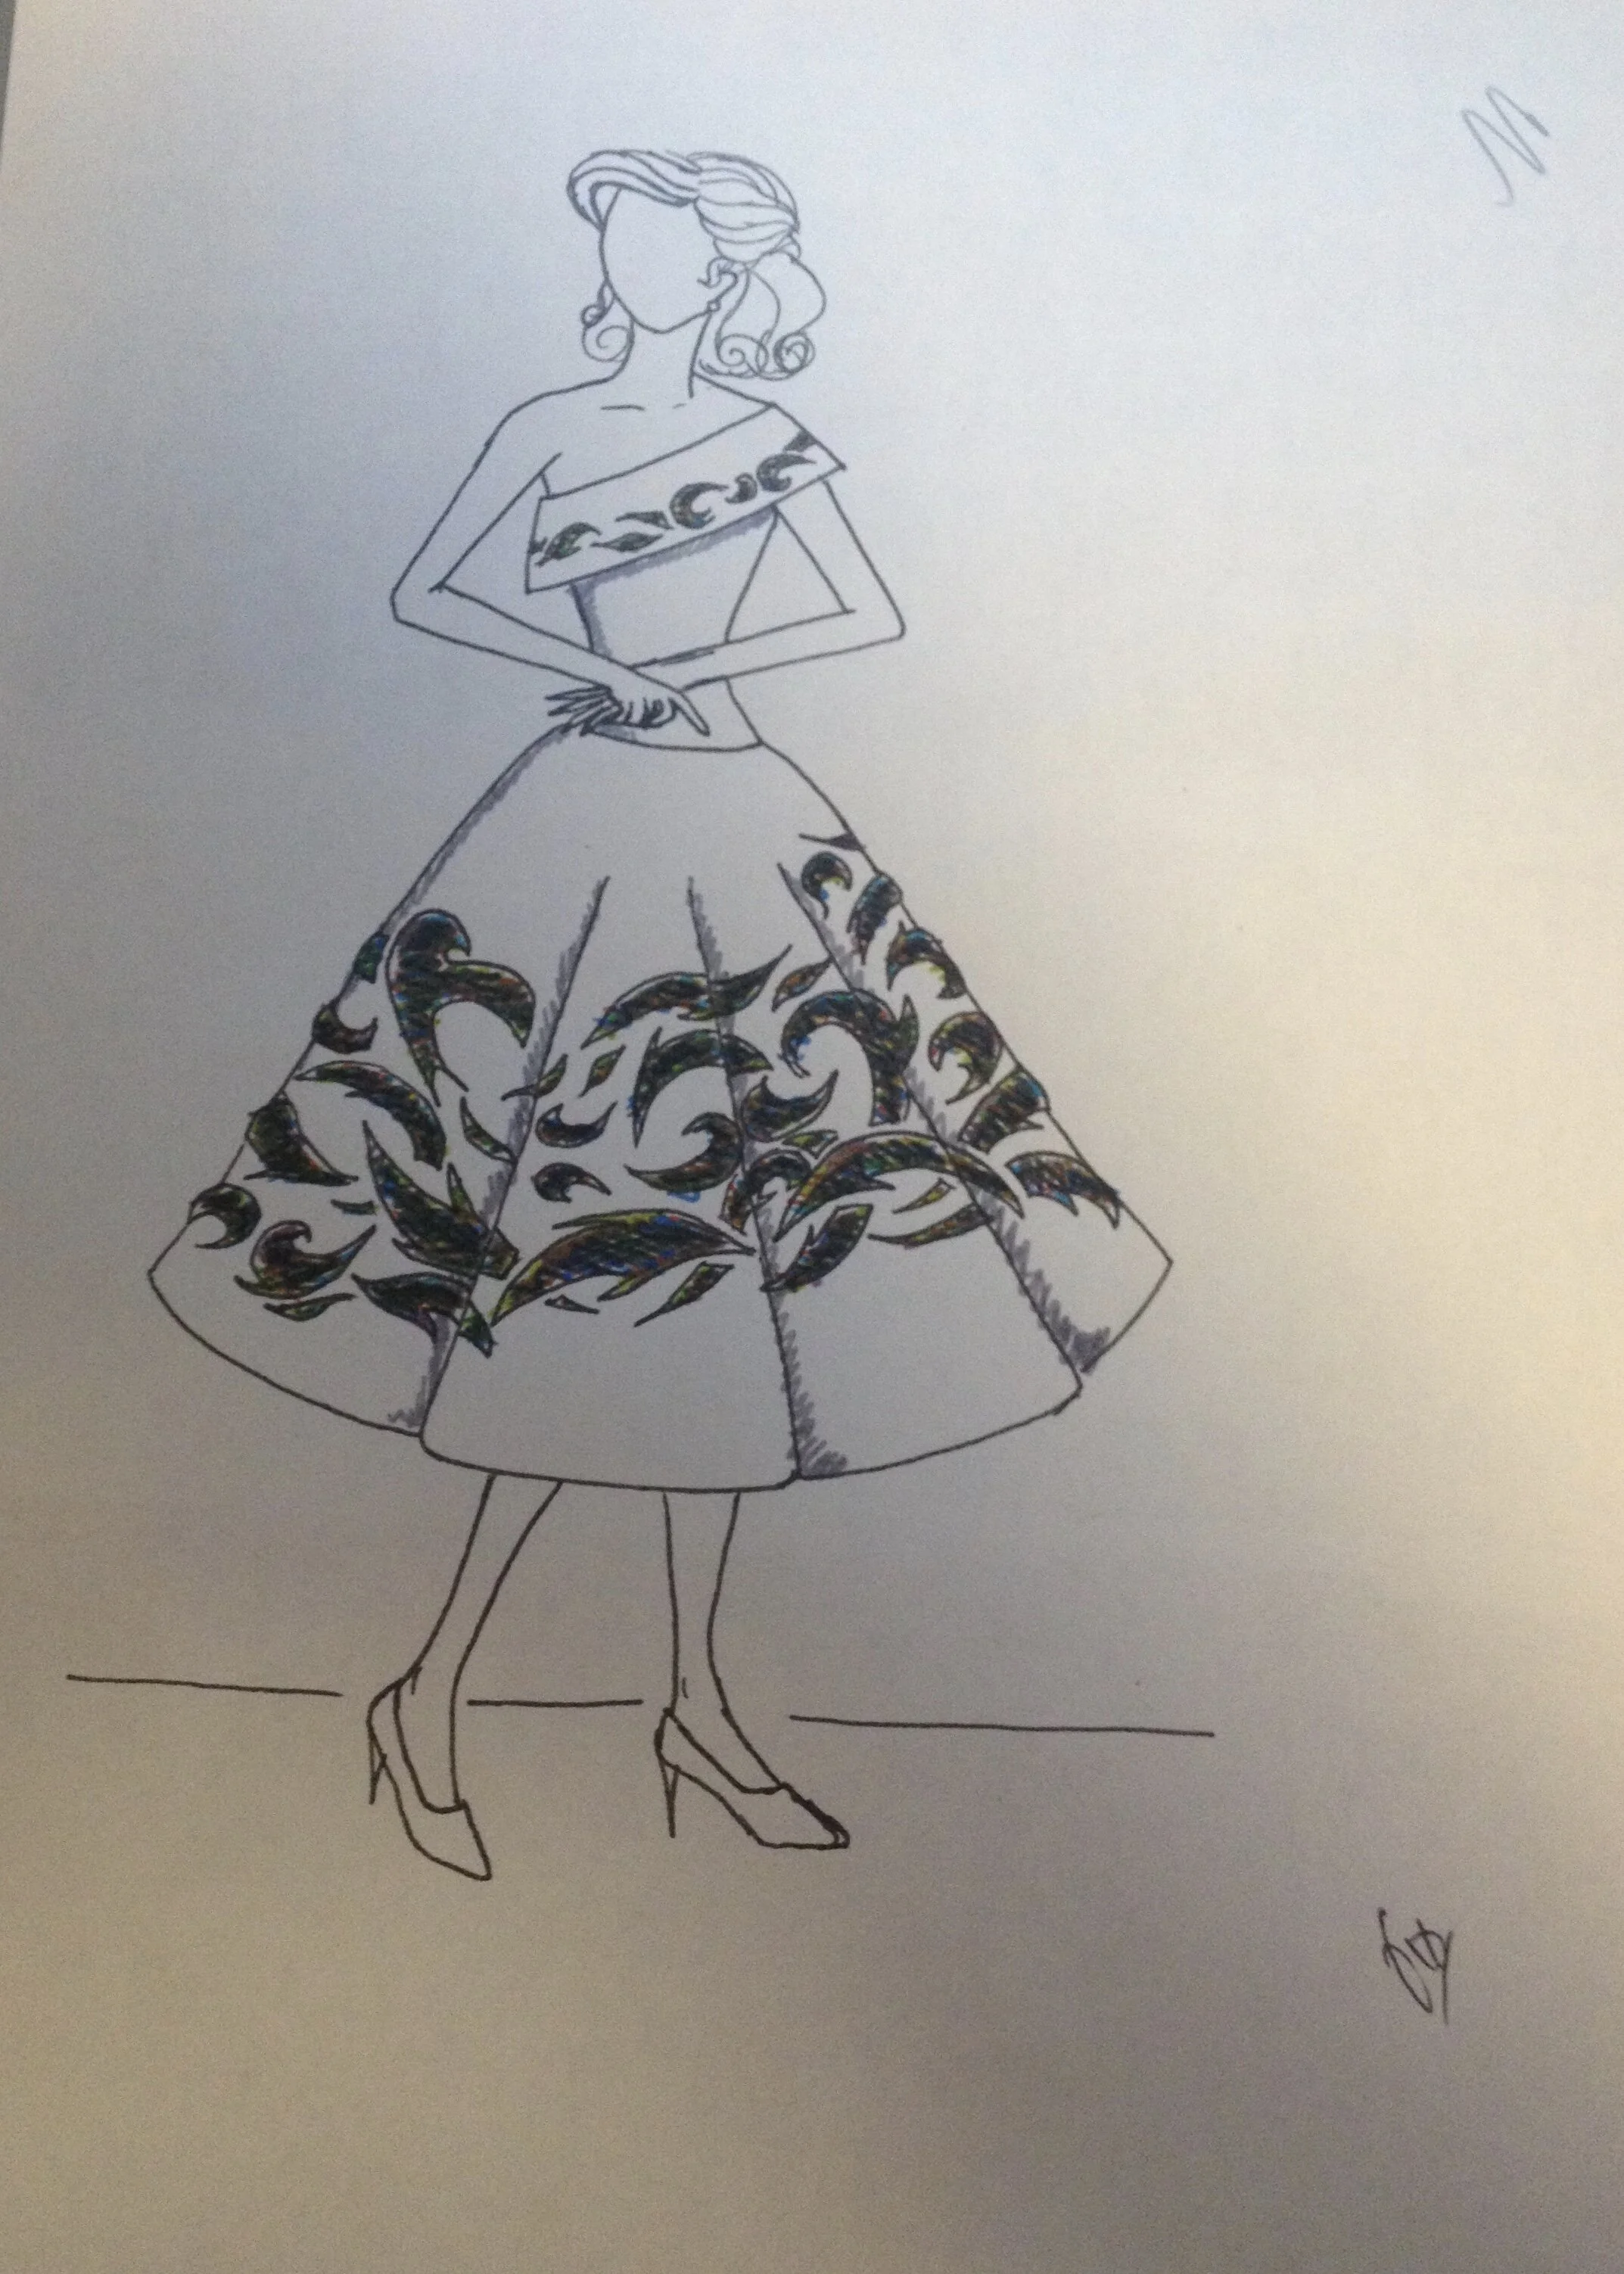
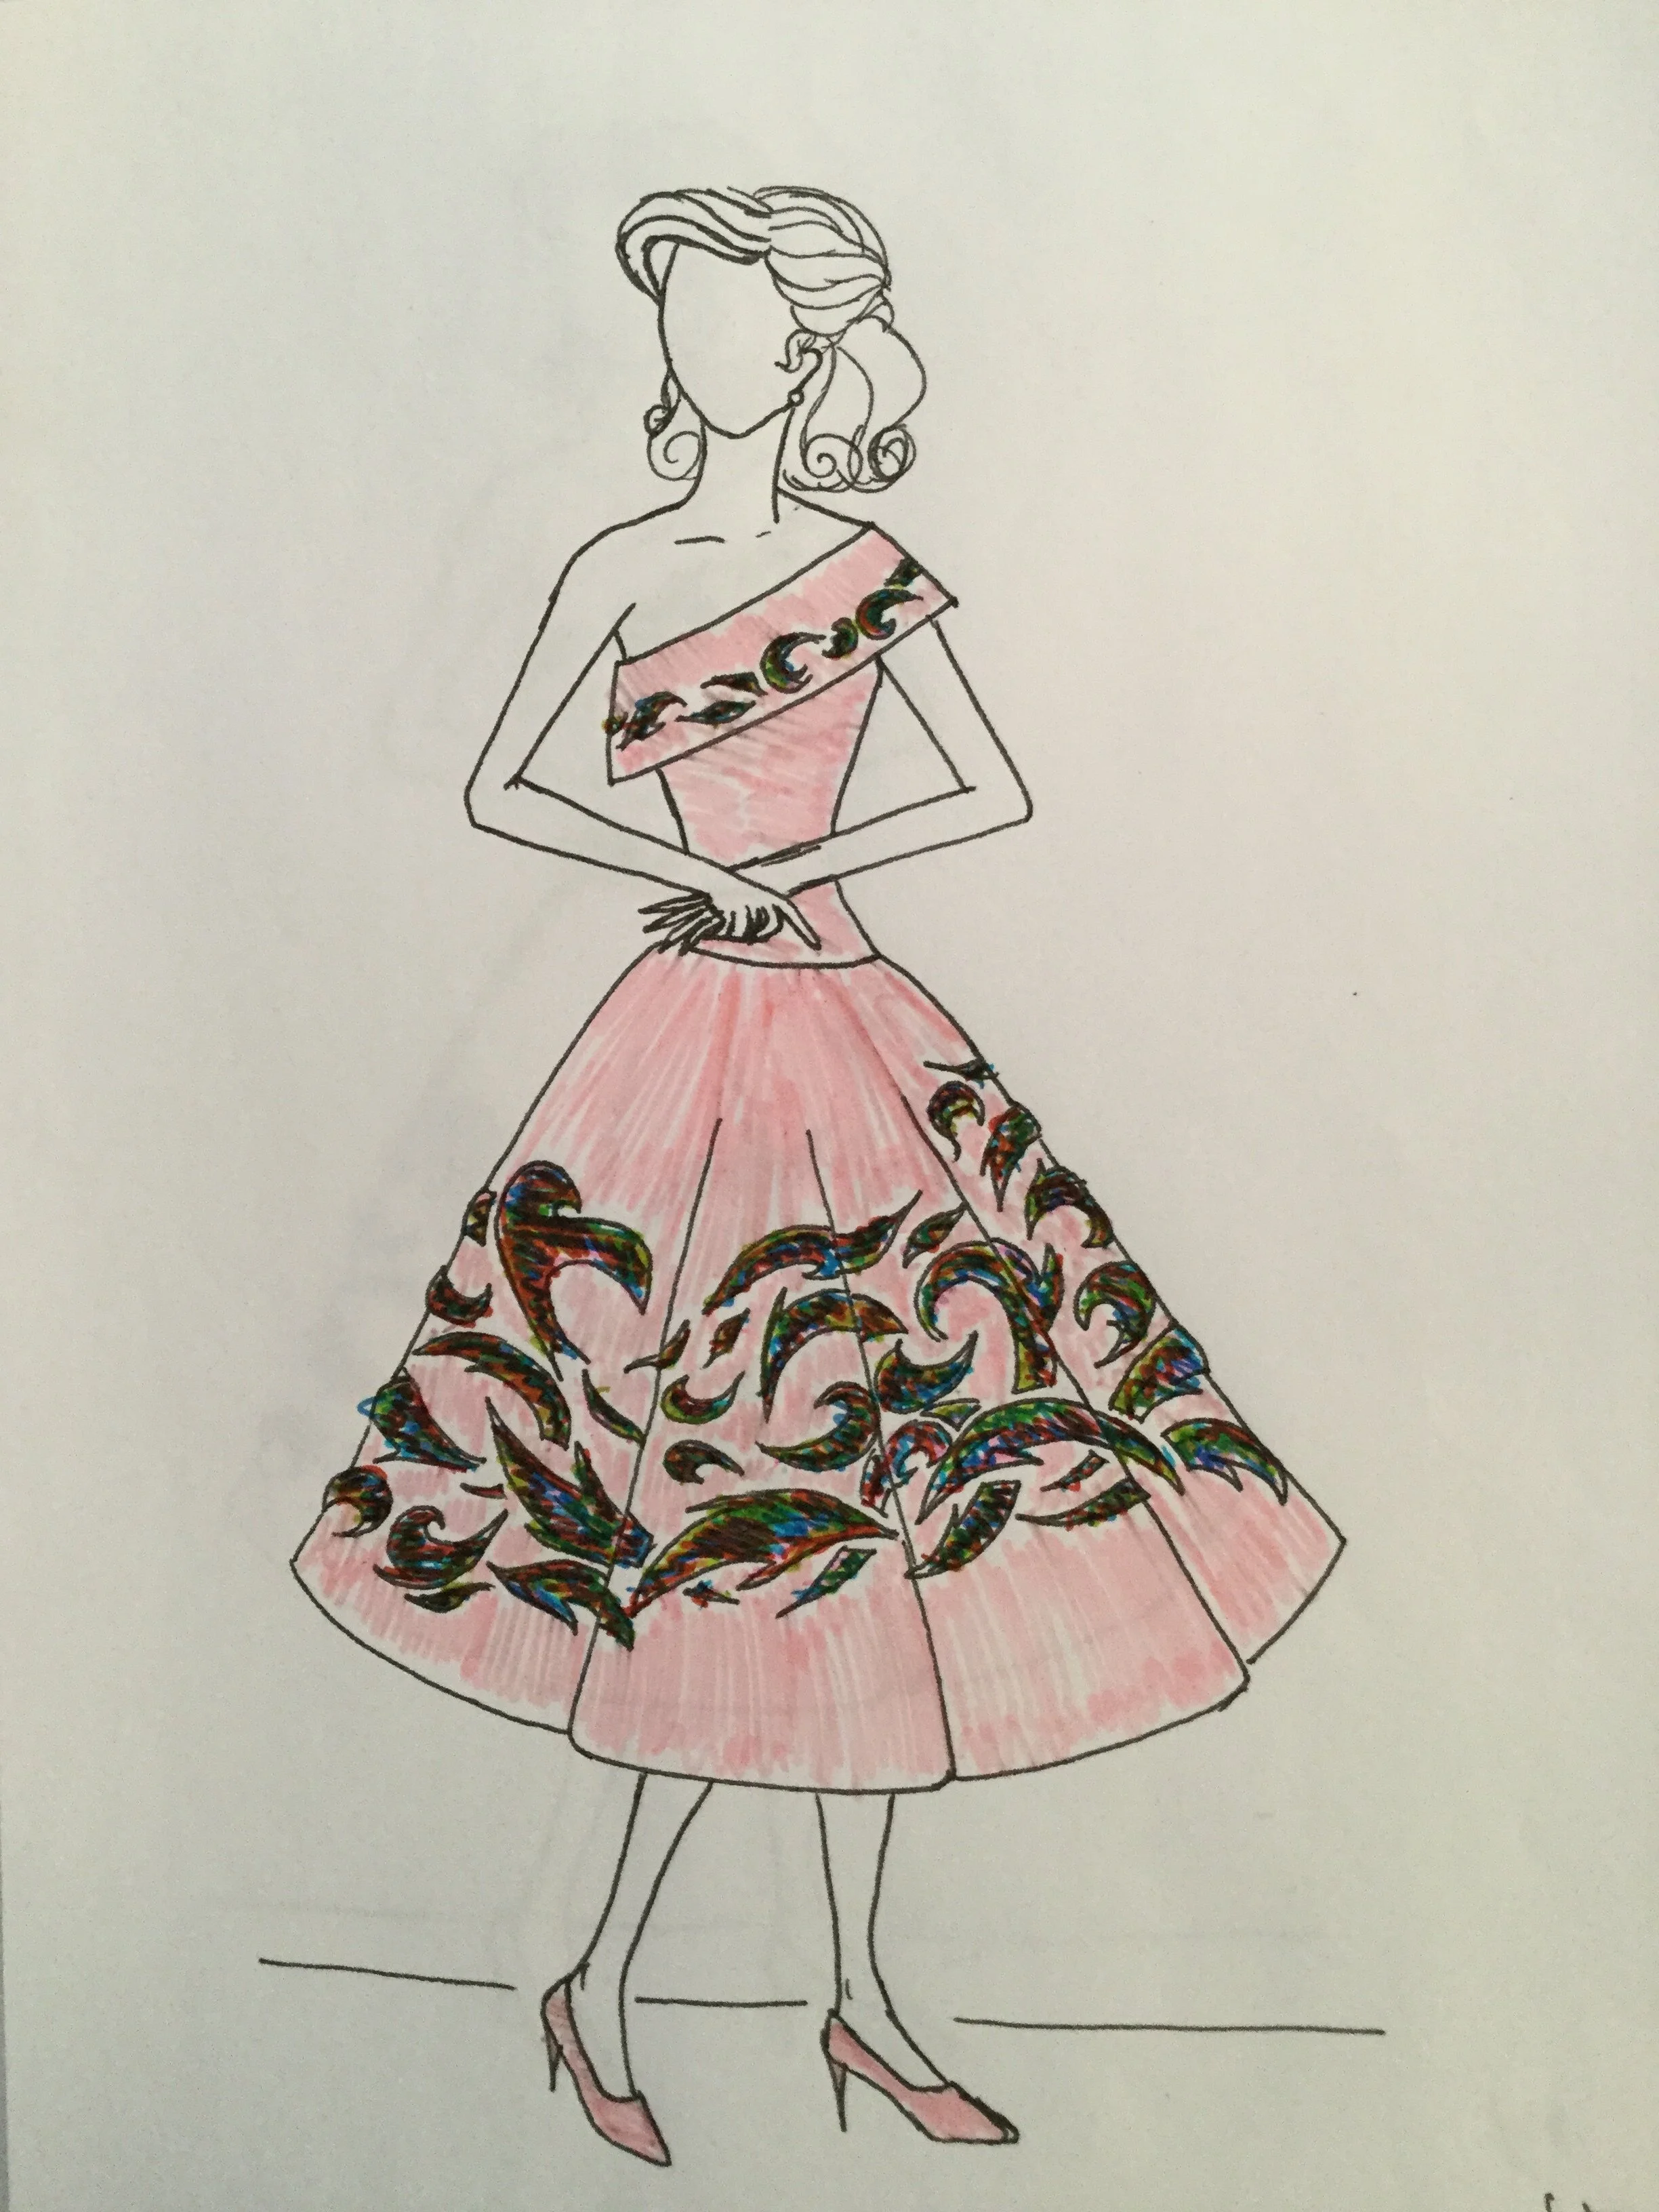
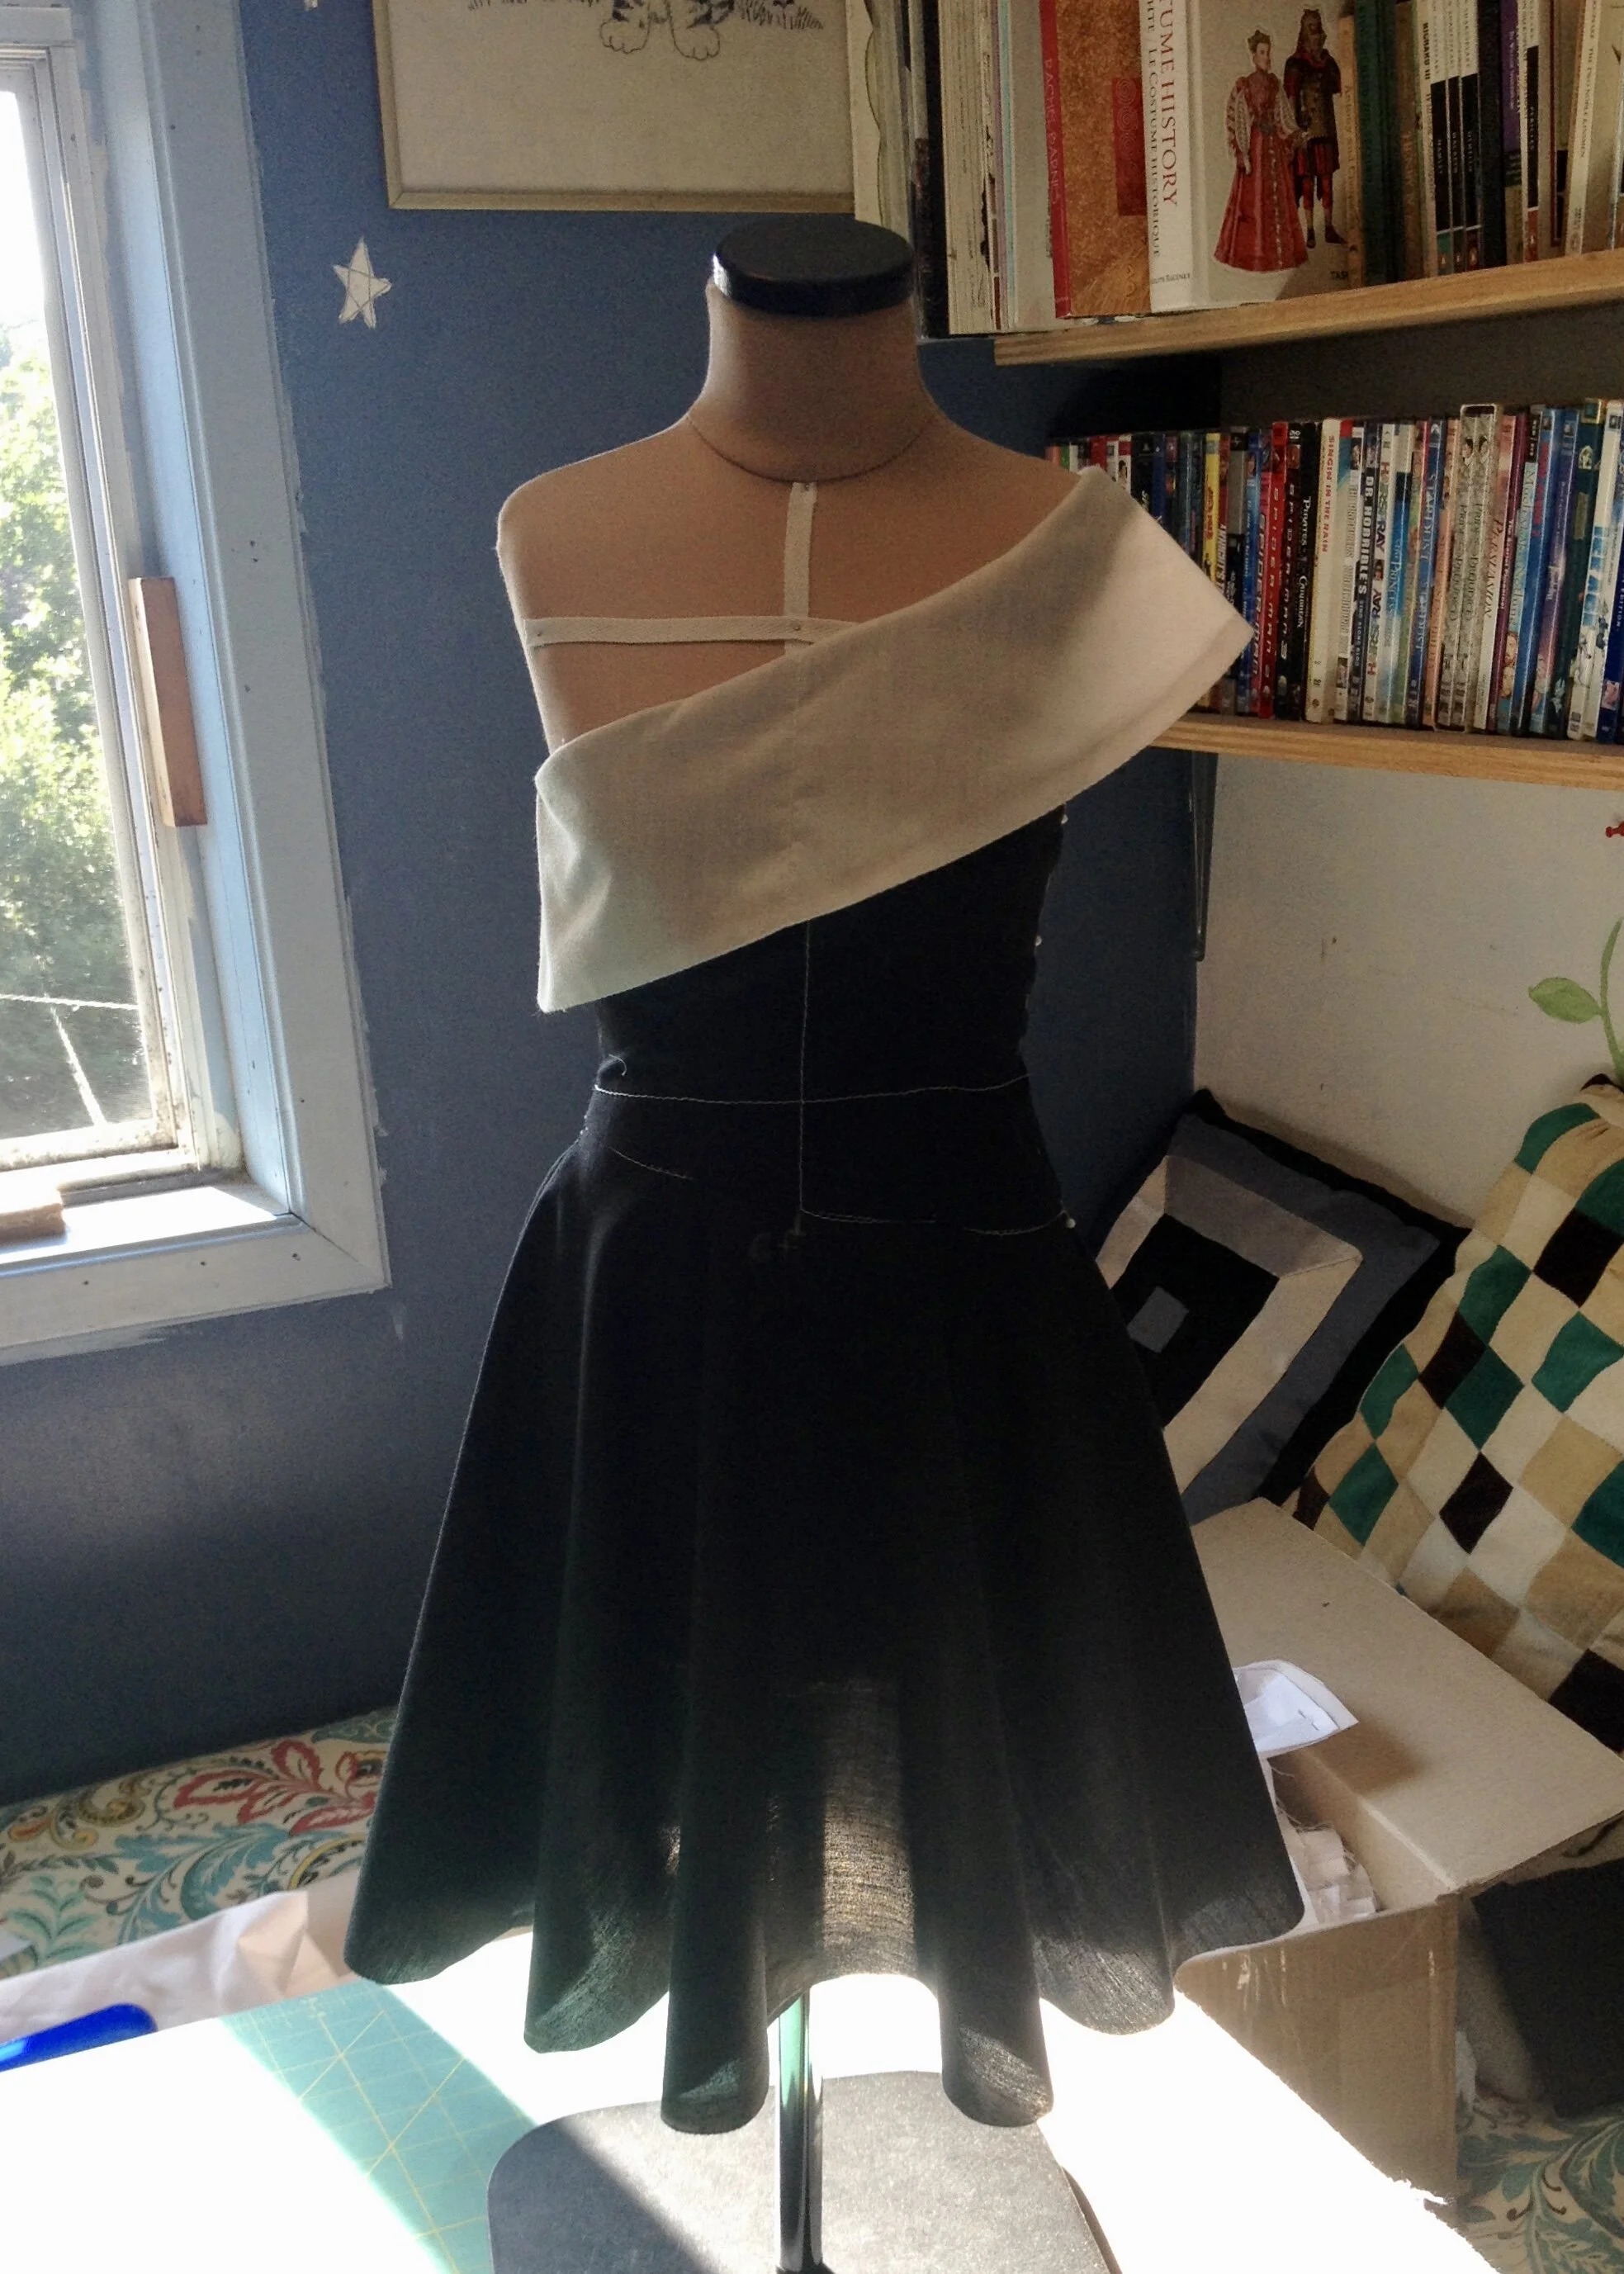
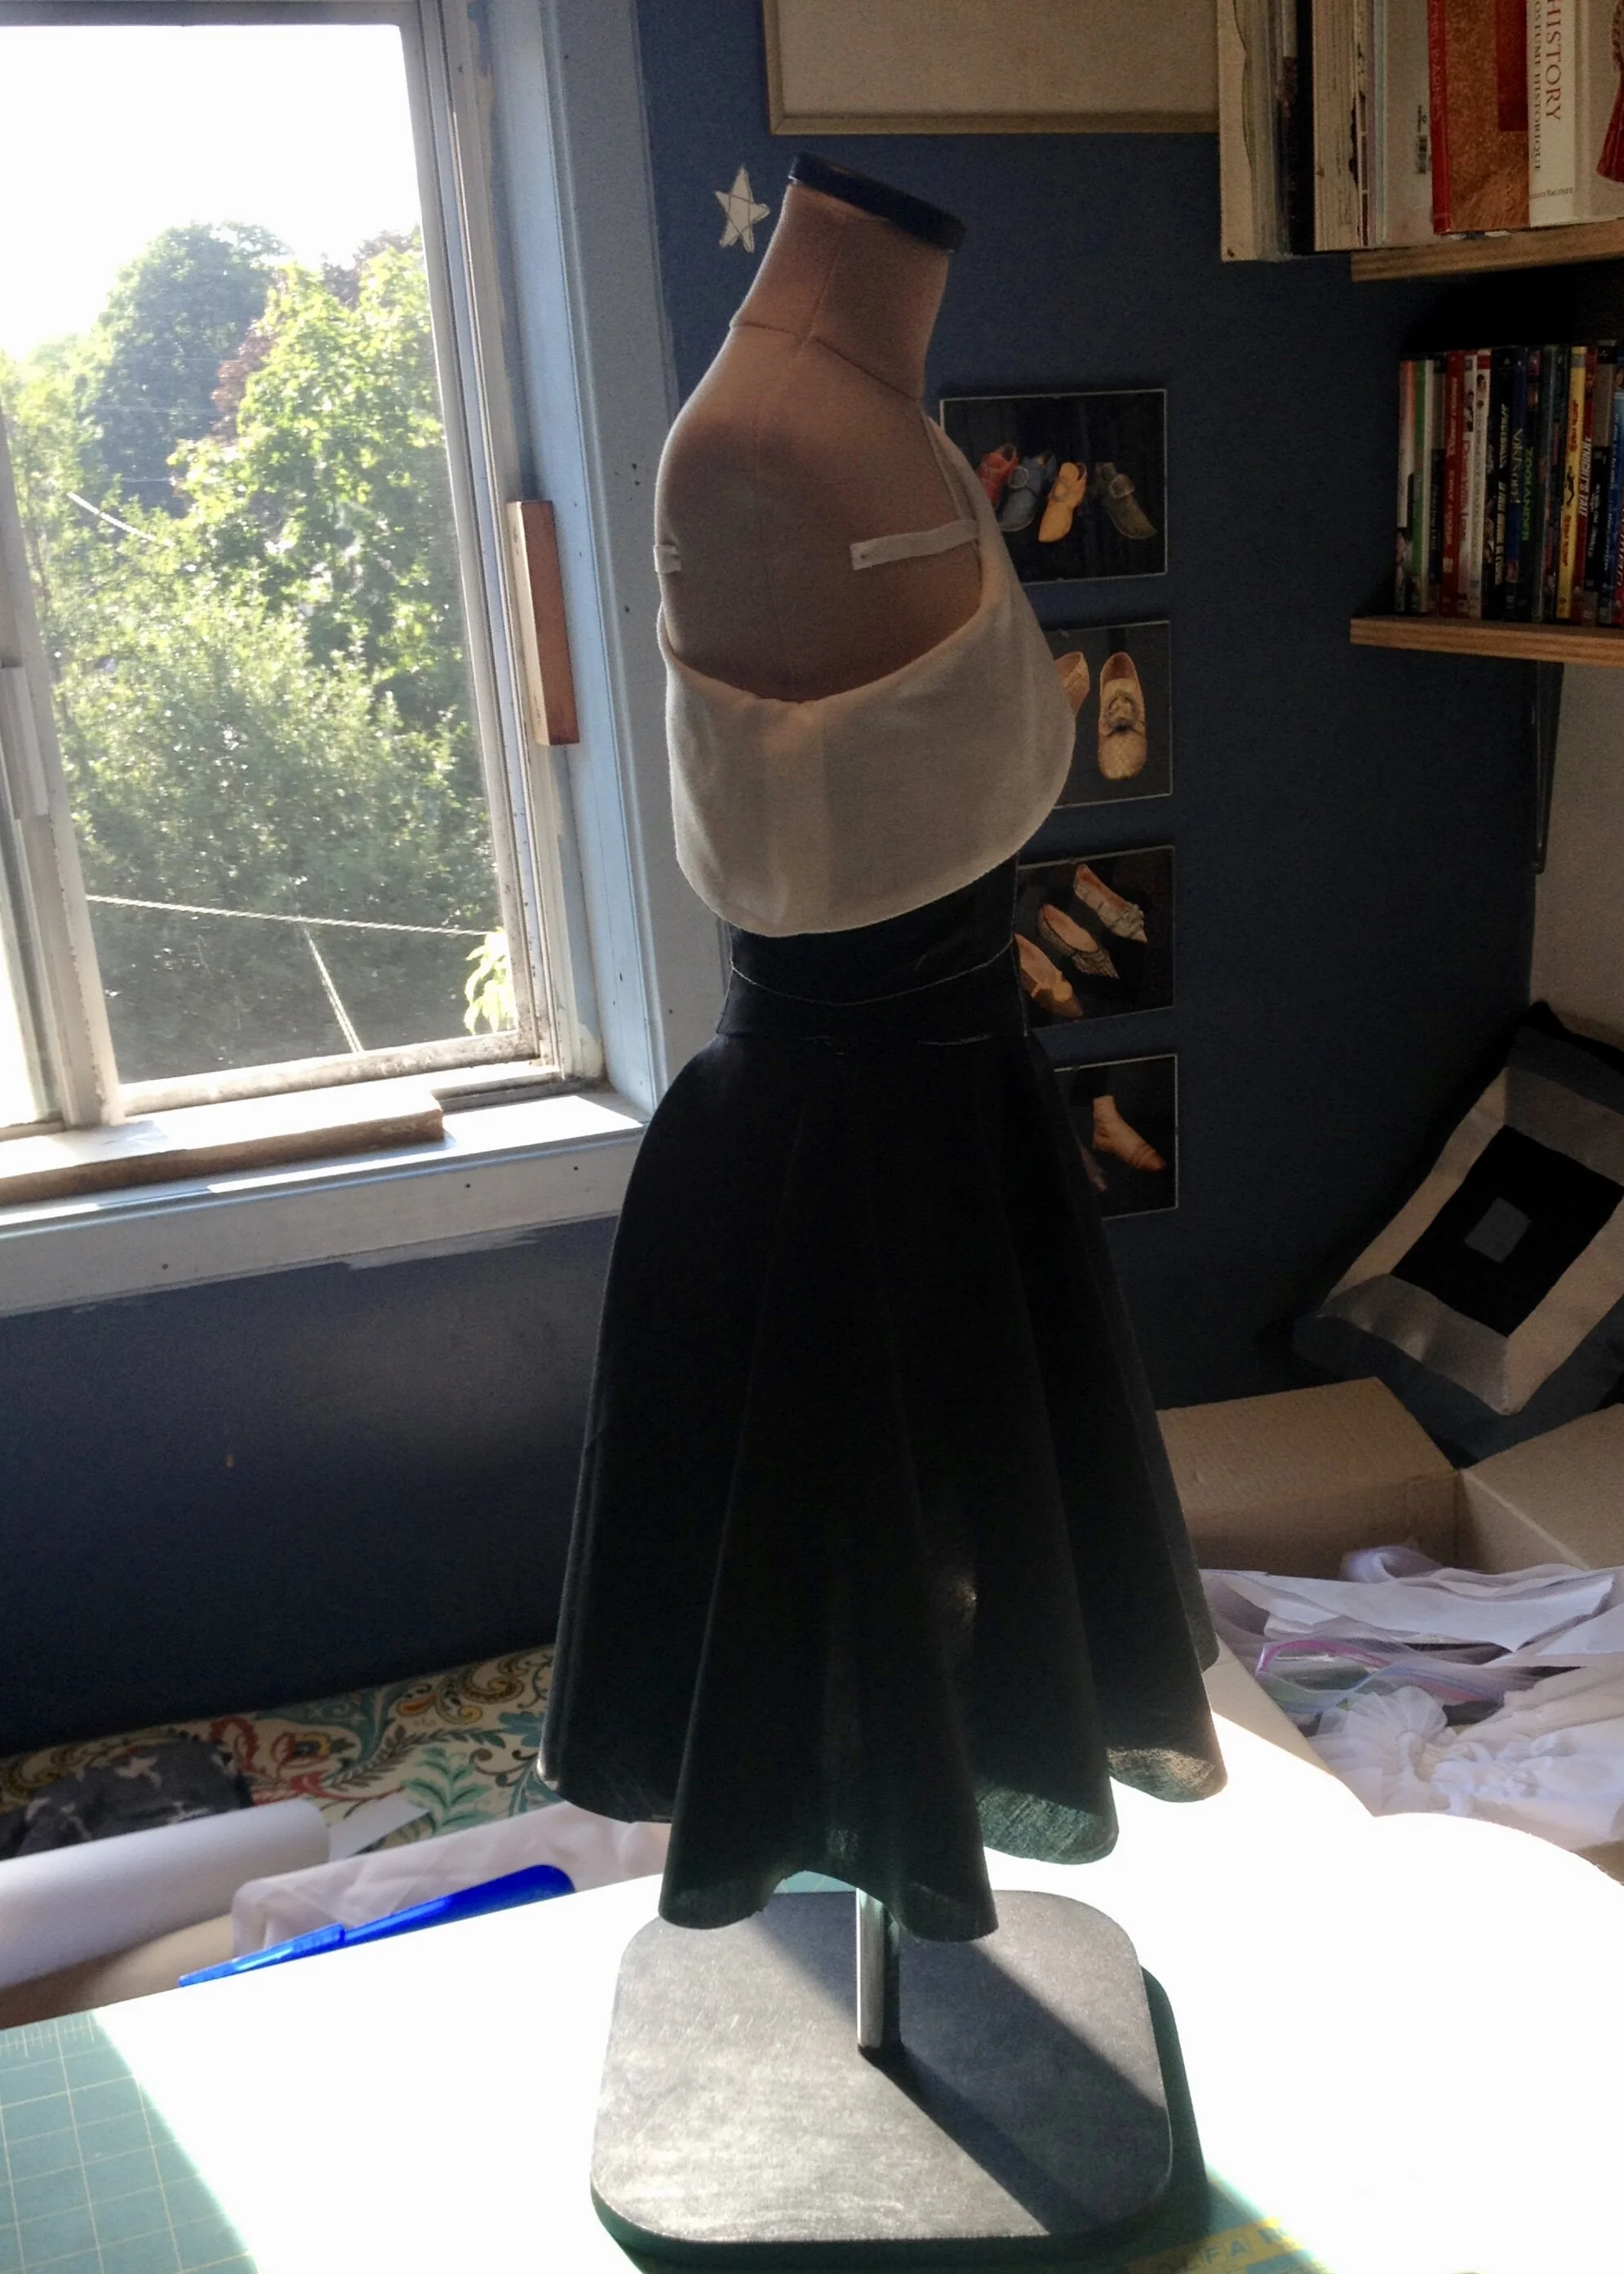
When it came to settling on a design, I decided on the full skirt pretty quickly as it would be a good showpiece for the quilting, but the bodice went through a few iterations. I came up with the one shouldered idea when I decided to have the design on the skirt be asymmetrical to mirror the waistline of the bodice. By adding the one shouldered collar detail, to which I could apply more quilting, there would be a kind of zig zag going down the body. The final result is subtle, but it is present.
I also settled quite quickly on using a white base rather than a colour. I considered possible colours and tried to envision what it might look like in pink or blue, but ultimately it was one of those times when I just knew what I wanted. Luckily white fabric isn't that hard to find. It still took a while to find the right kind of fabric, but I was never worried about finding just the right colour. This dress exists in a strange in between place where it is clearly not a “just throw it on and hang out” kind of garment, but nor is it an overly formal dress. I eventually decided that a nice cotton would be best, something that wasn’t too fine but perhaps a step or two above broadcloth. In the end, I happened across a white cotton slub which was hearty enough for the quilting and suitable for the type of dress.
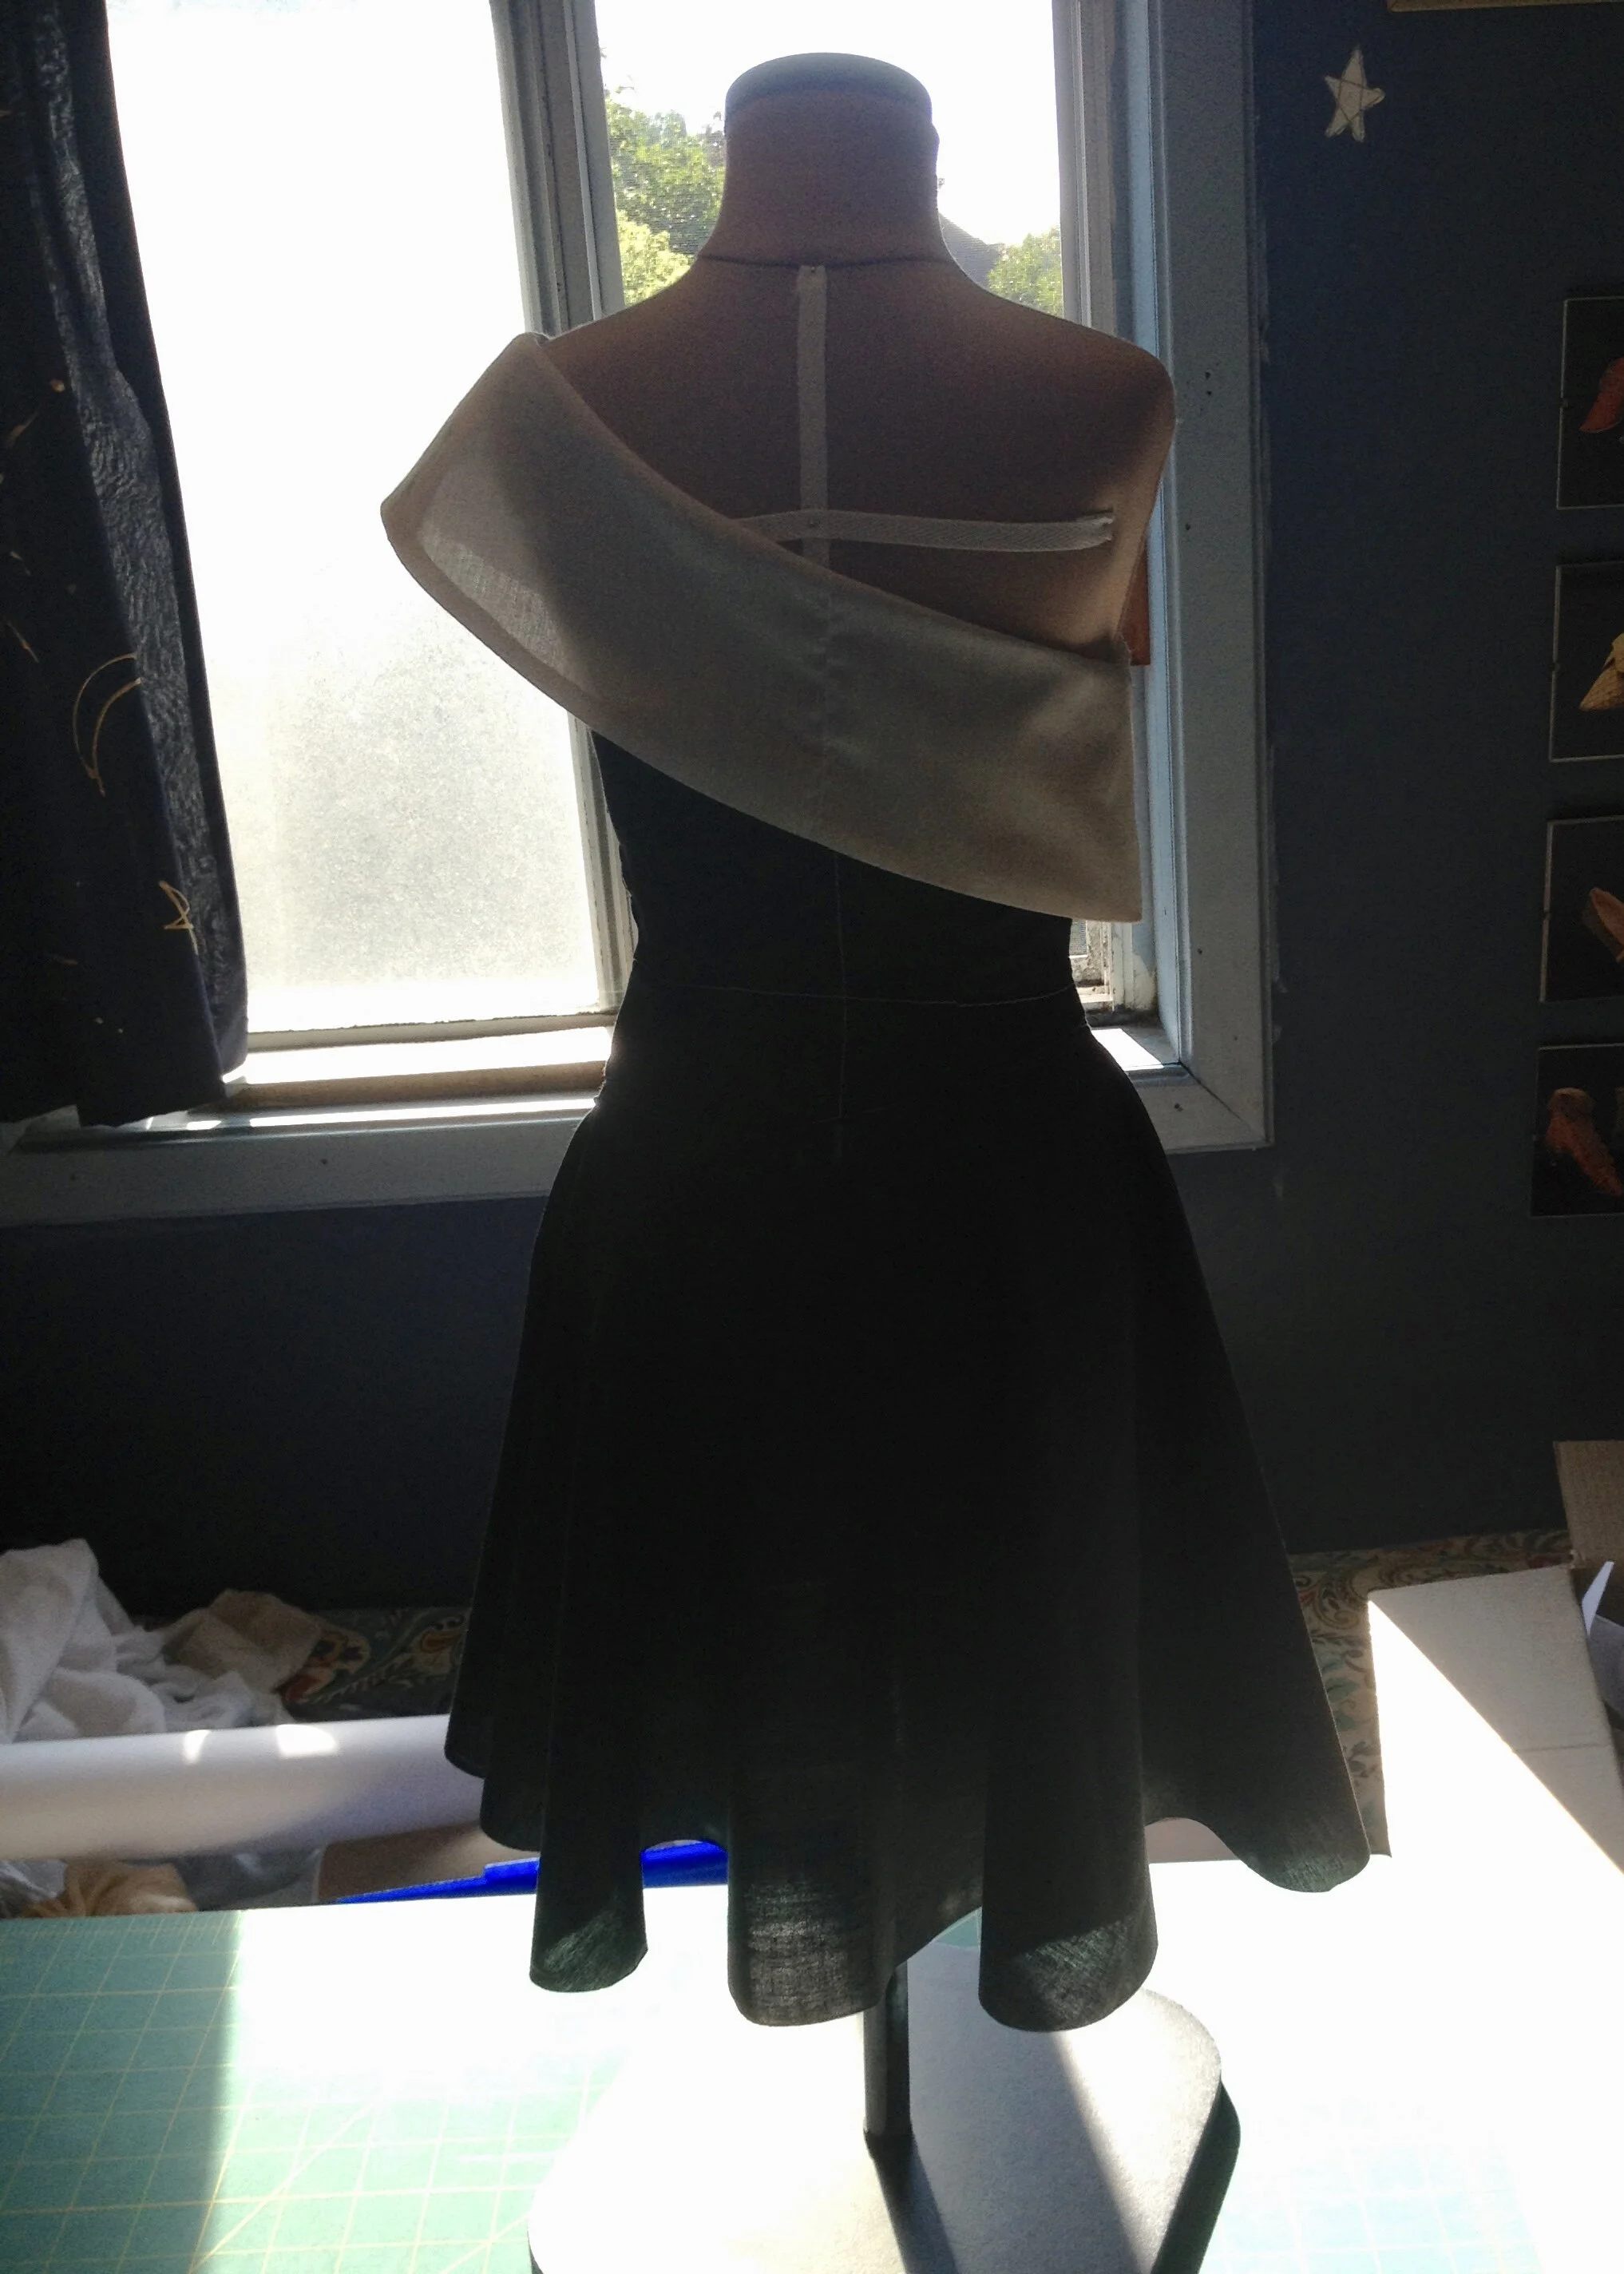
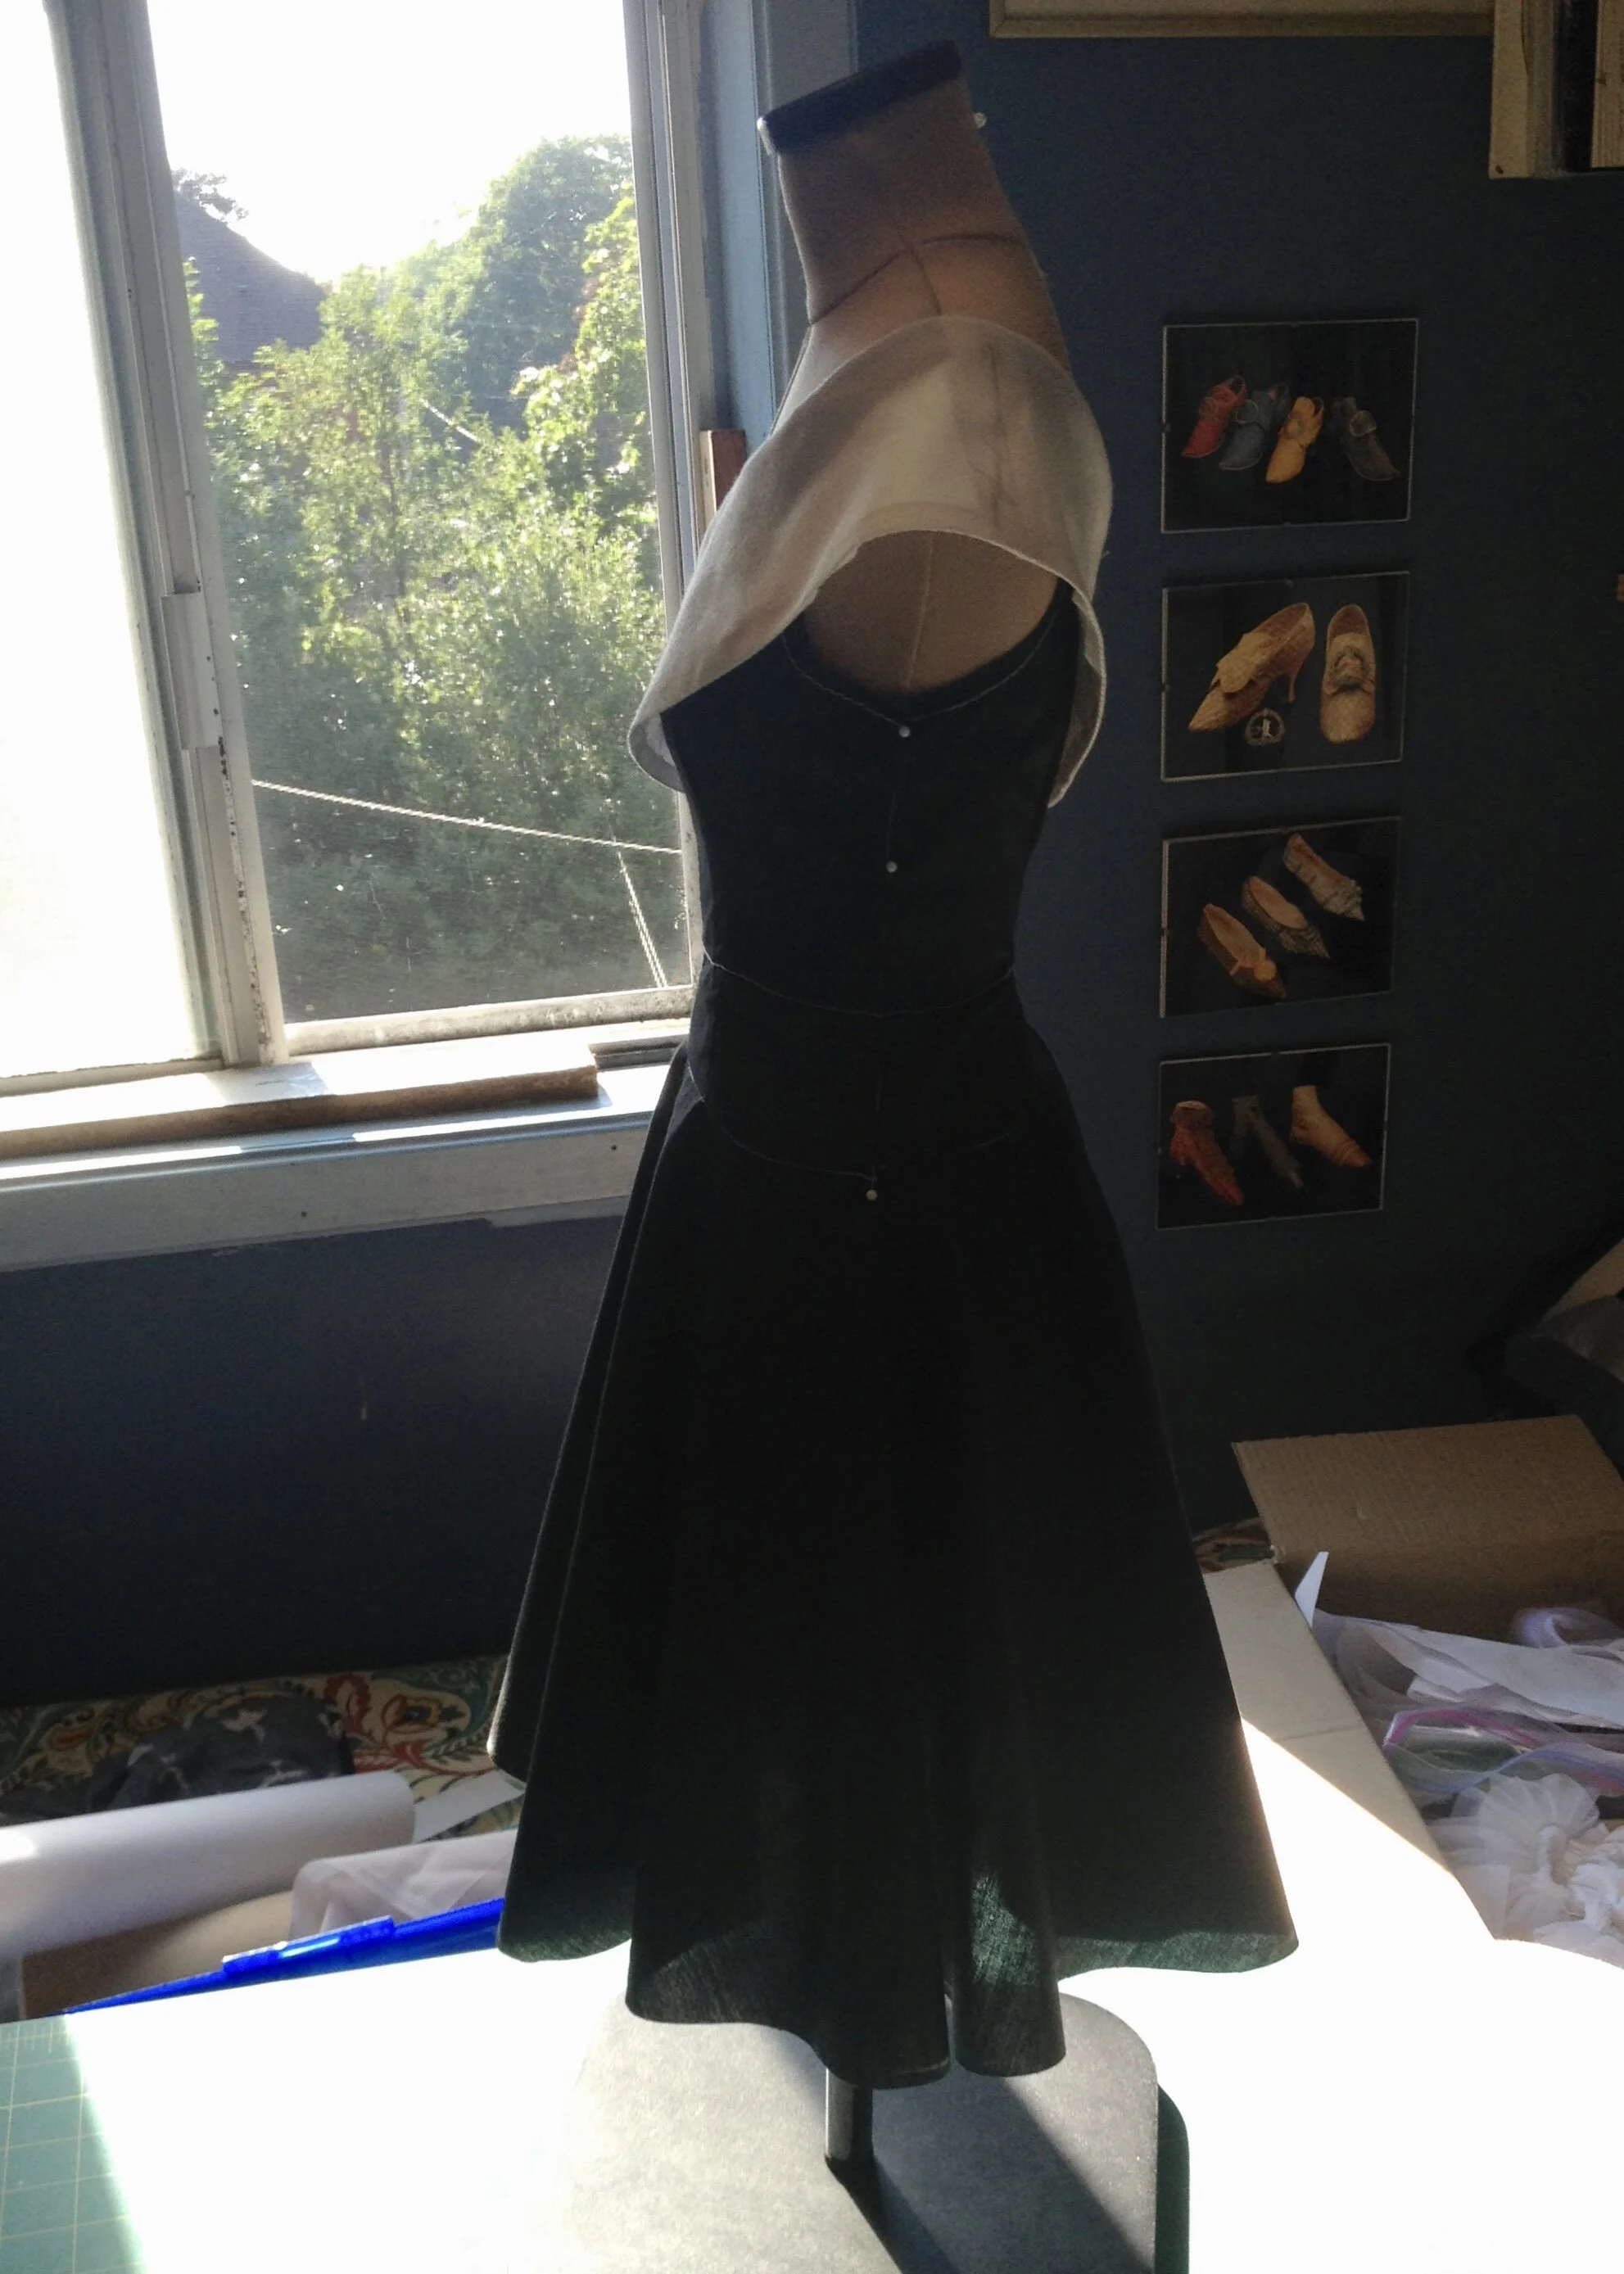
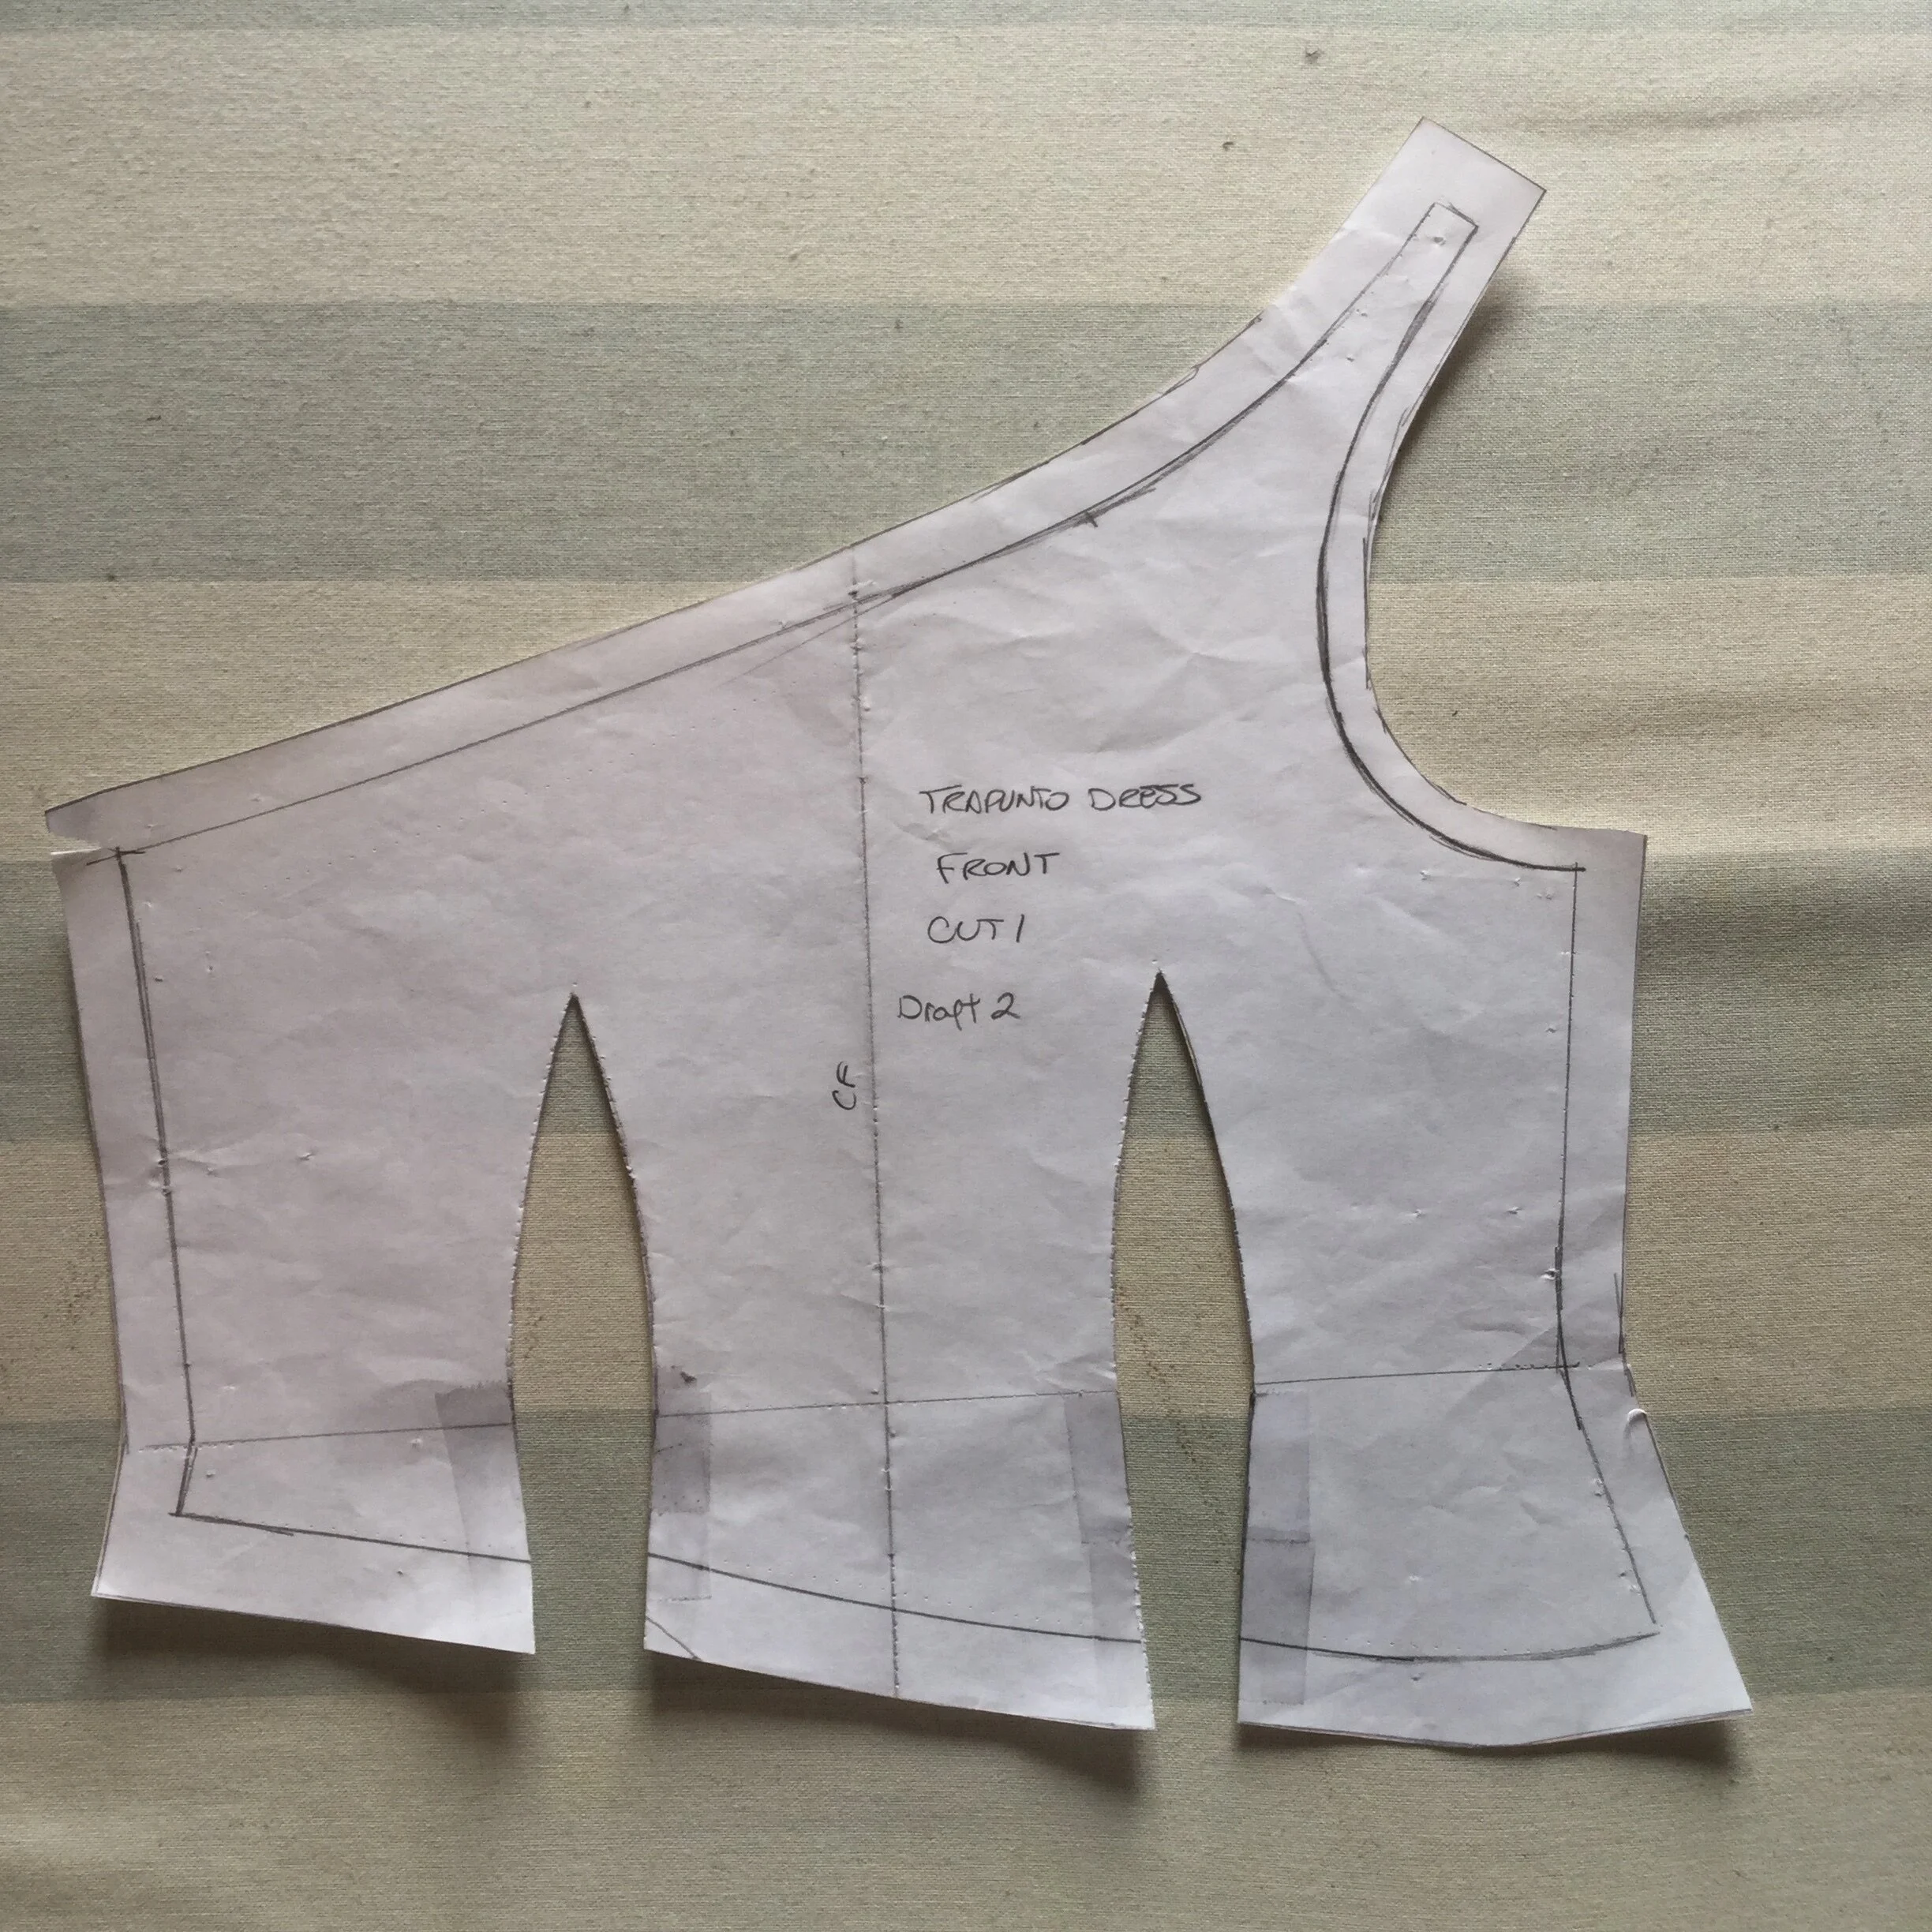
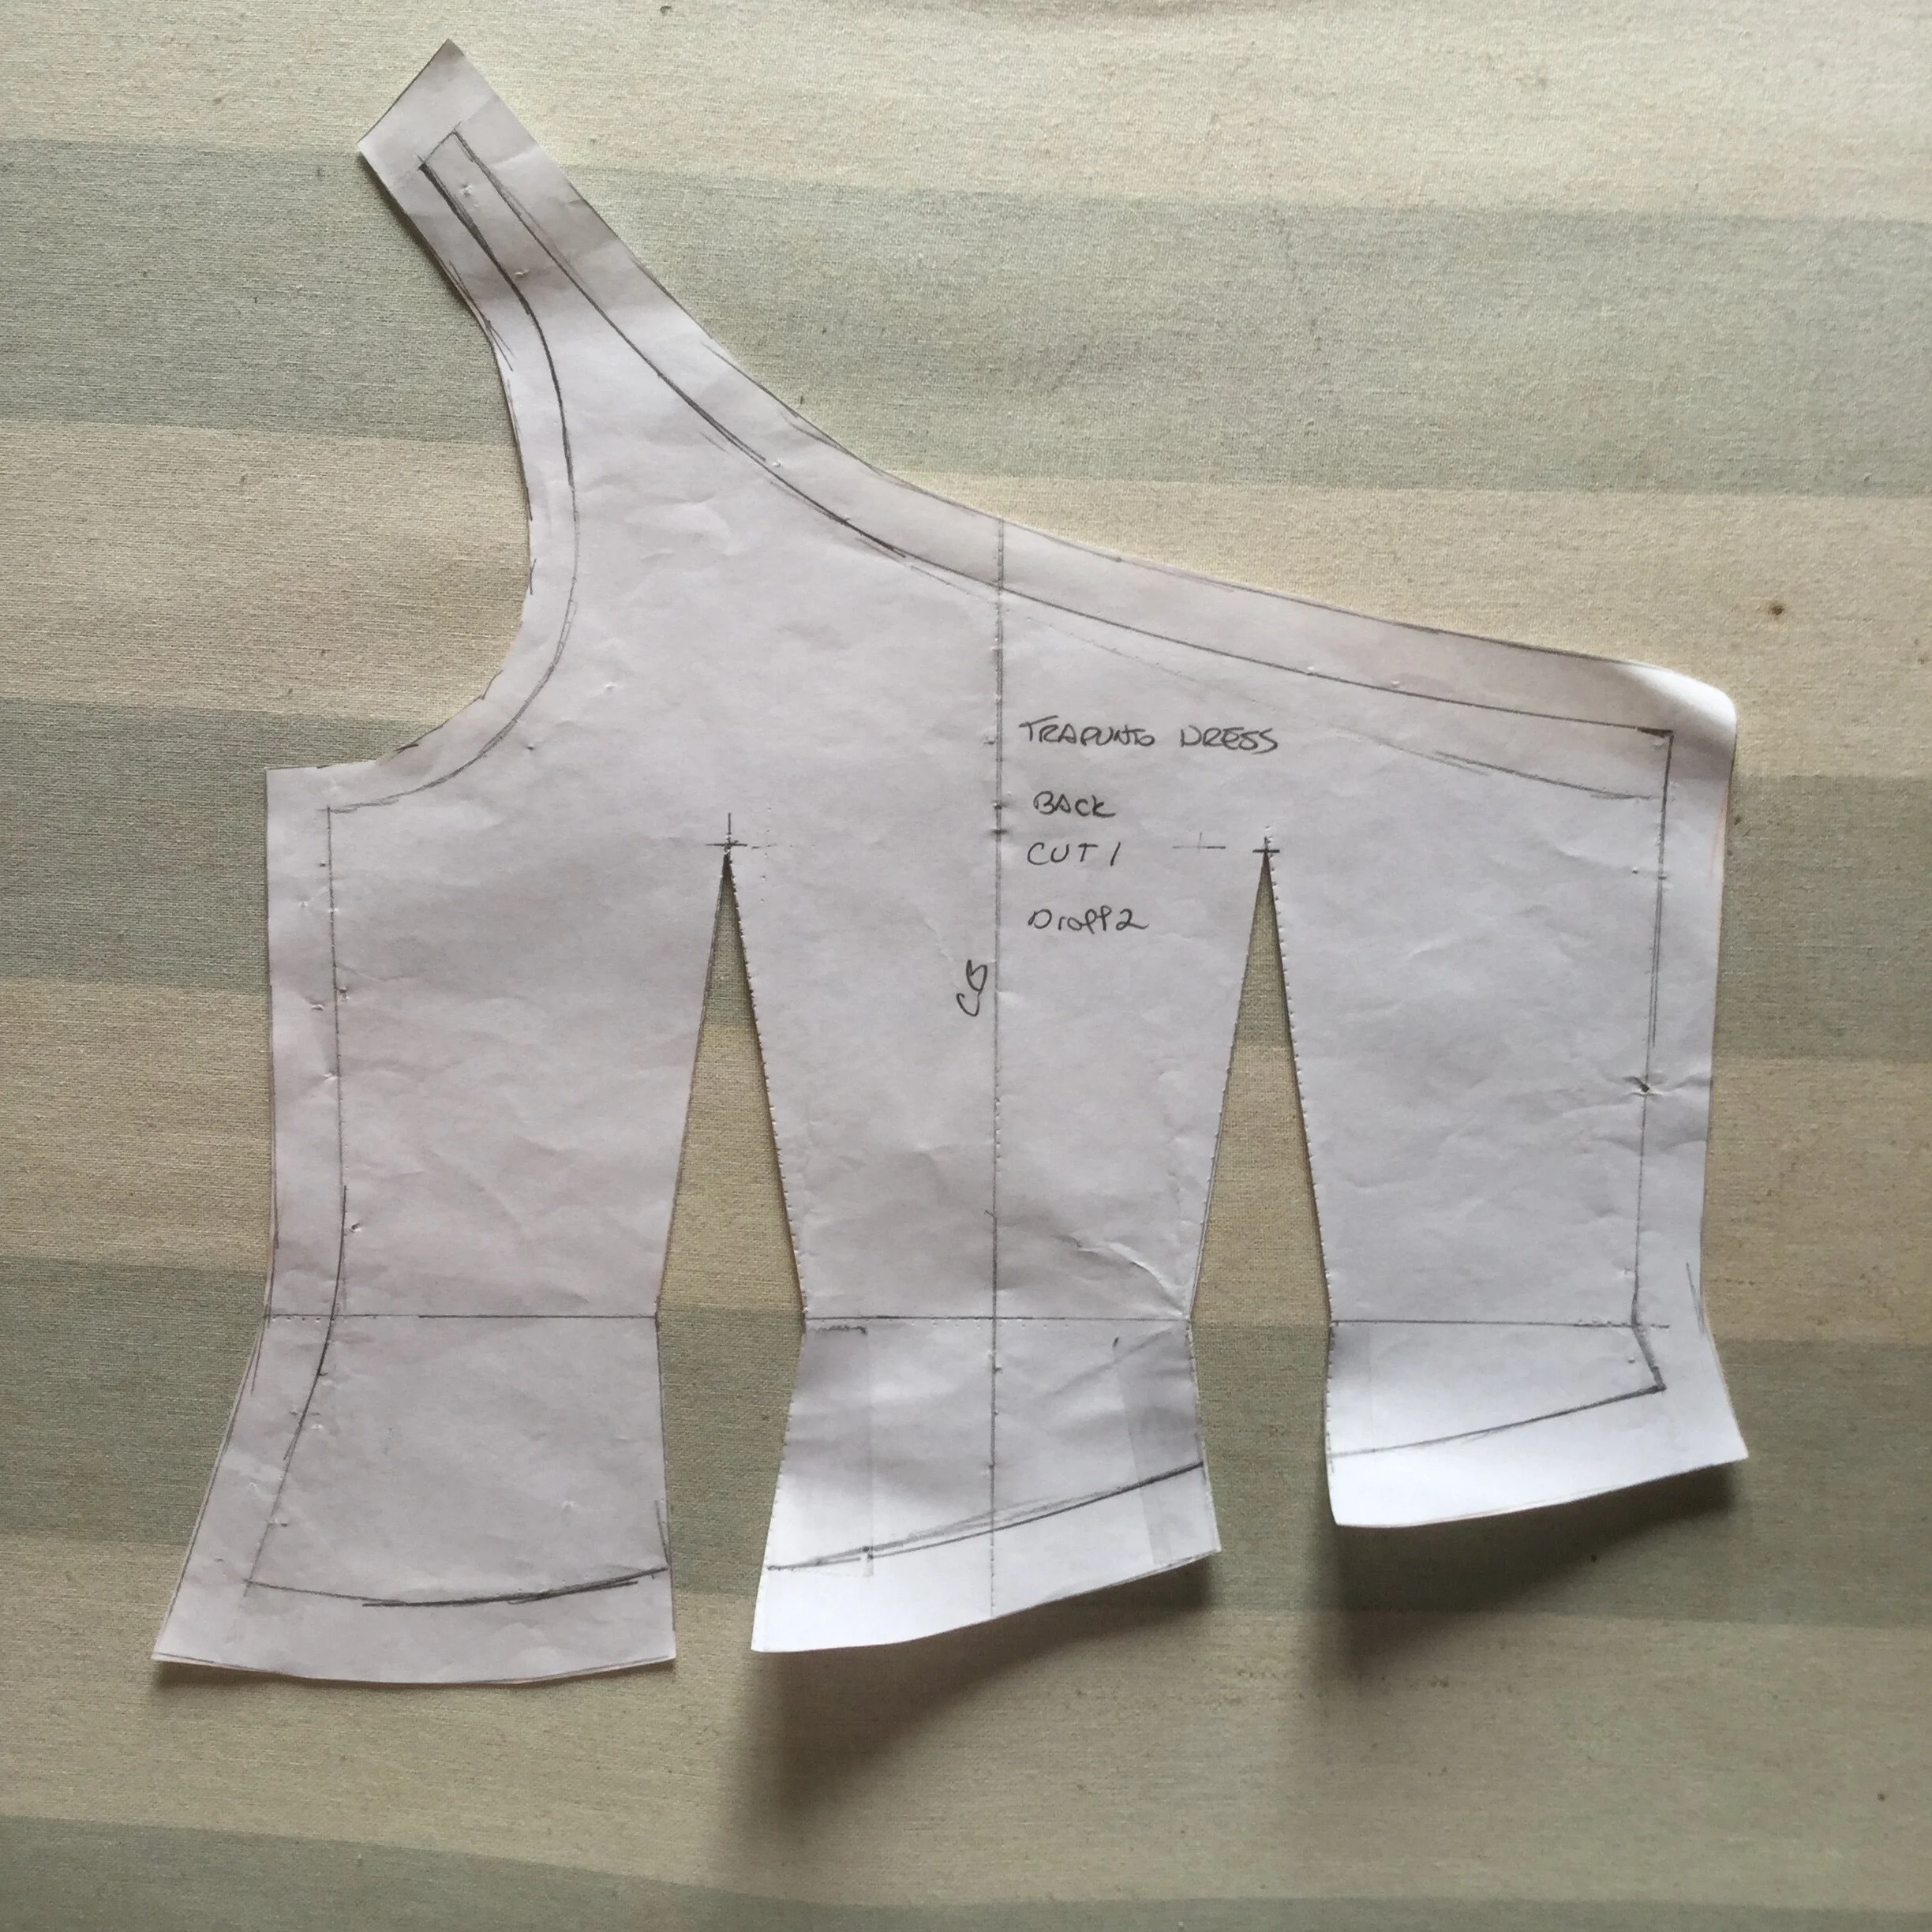
The pattern was also pretty straightforward. The basic shape and structure of the dress is pretty simple. The skirt is a circle with the centre slightly offset to accommodate the asymmetrical waistline and the bodice is shaped only with continuous darts on the front and back. The front darts are curved to conform more to the shape of the mannequin as I was going for a pretty close fit.
The really fiddly part was drawing the waistline of the bodice. This involved folding the darts closed and taping them shut, making sure to have them lined up properly at the natural waistline, then drawing in the dropped waistline. I didn't do myself any favours by deciding that my giant french curve would give me the nicest line.
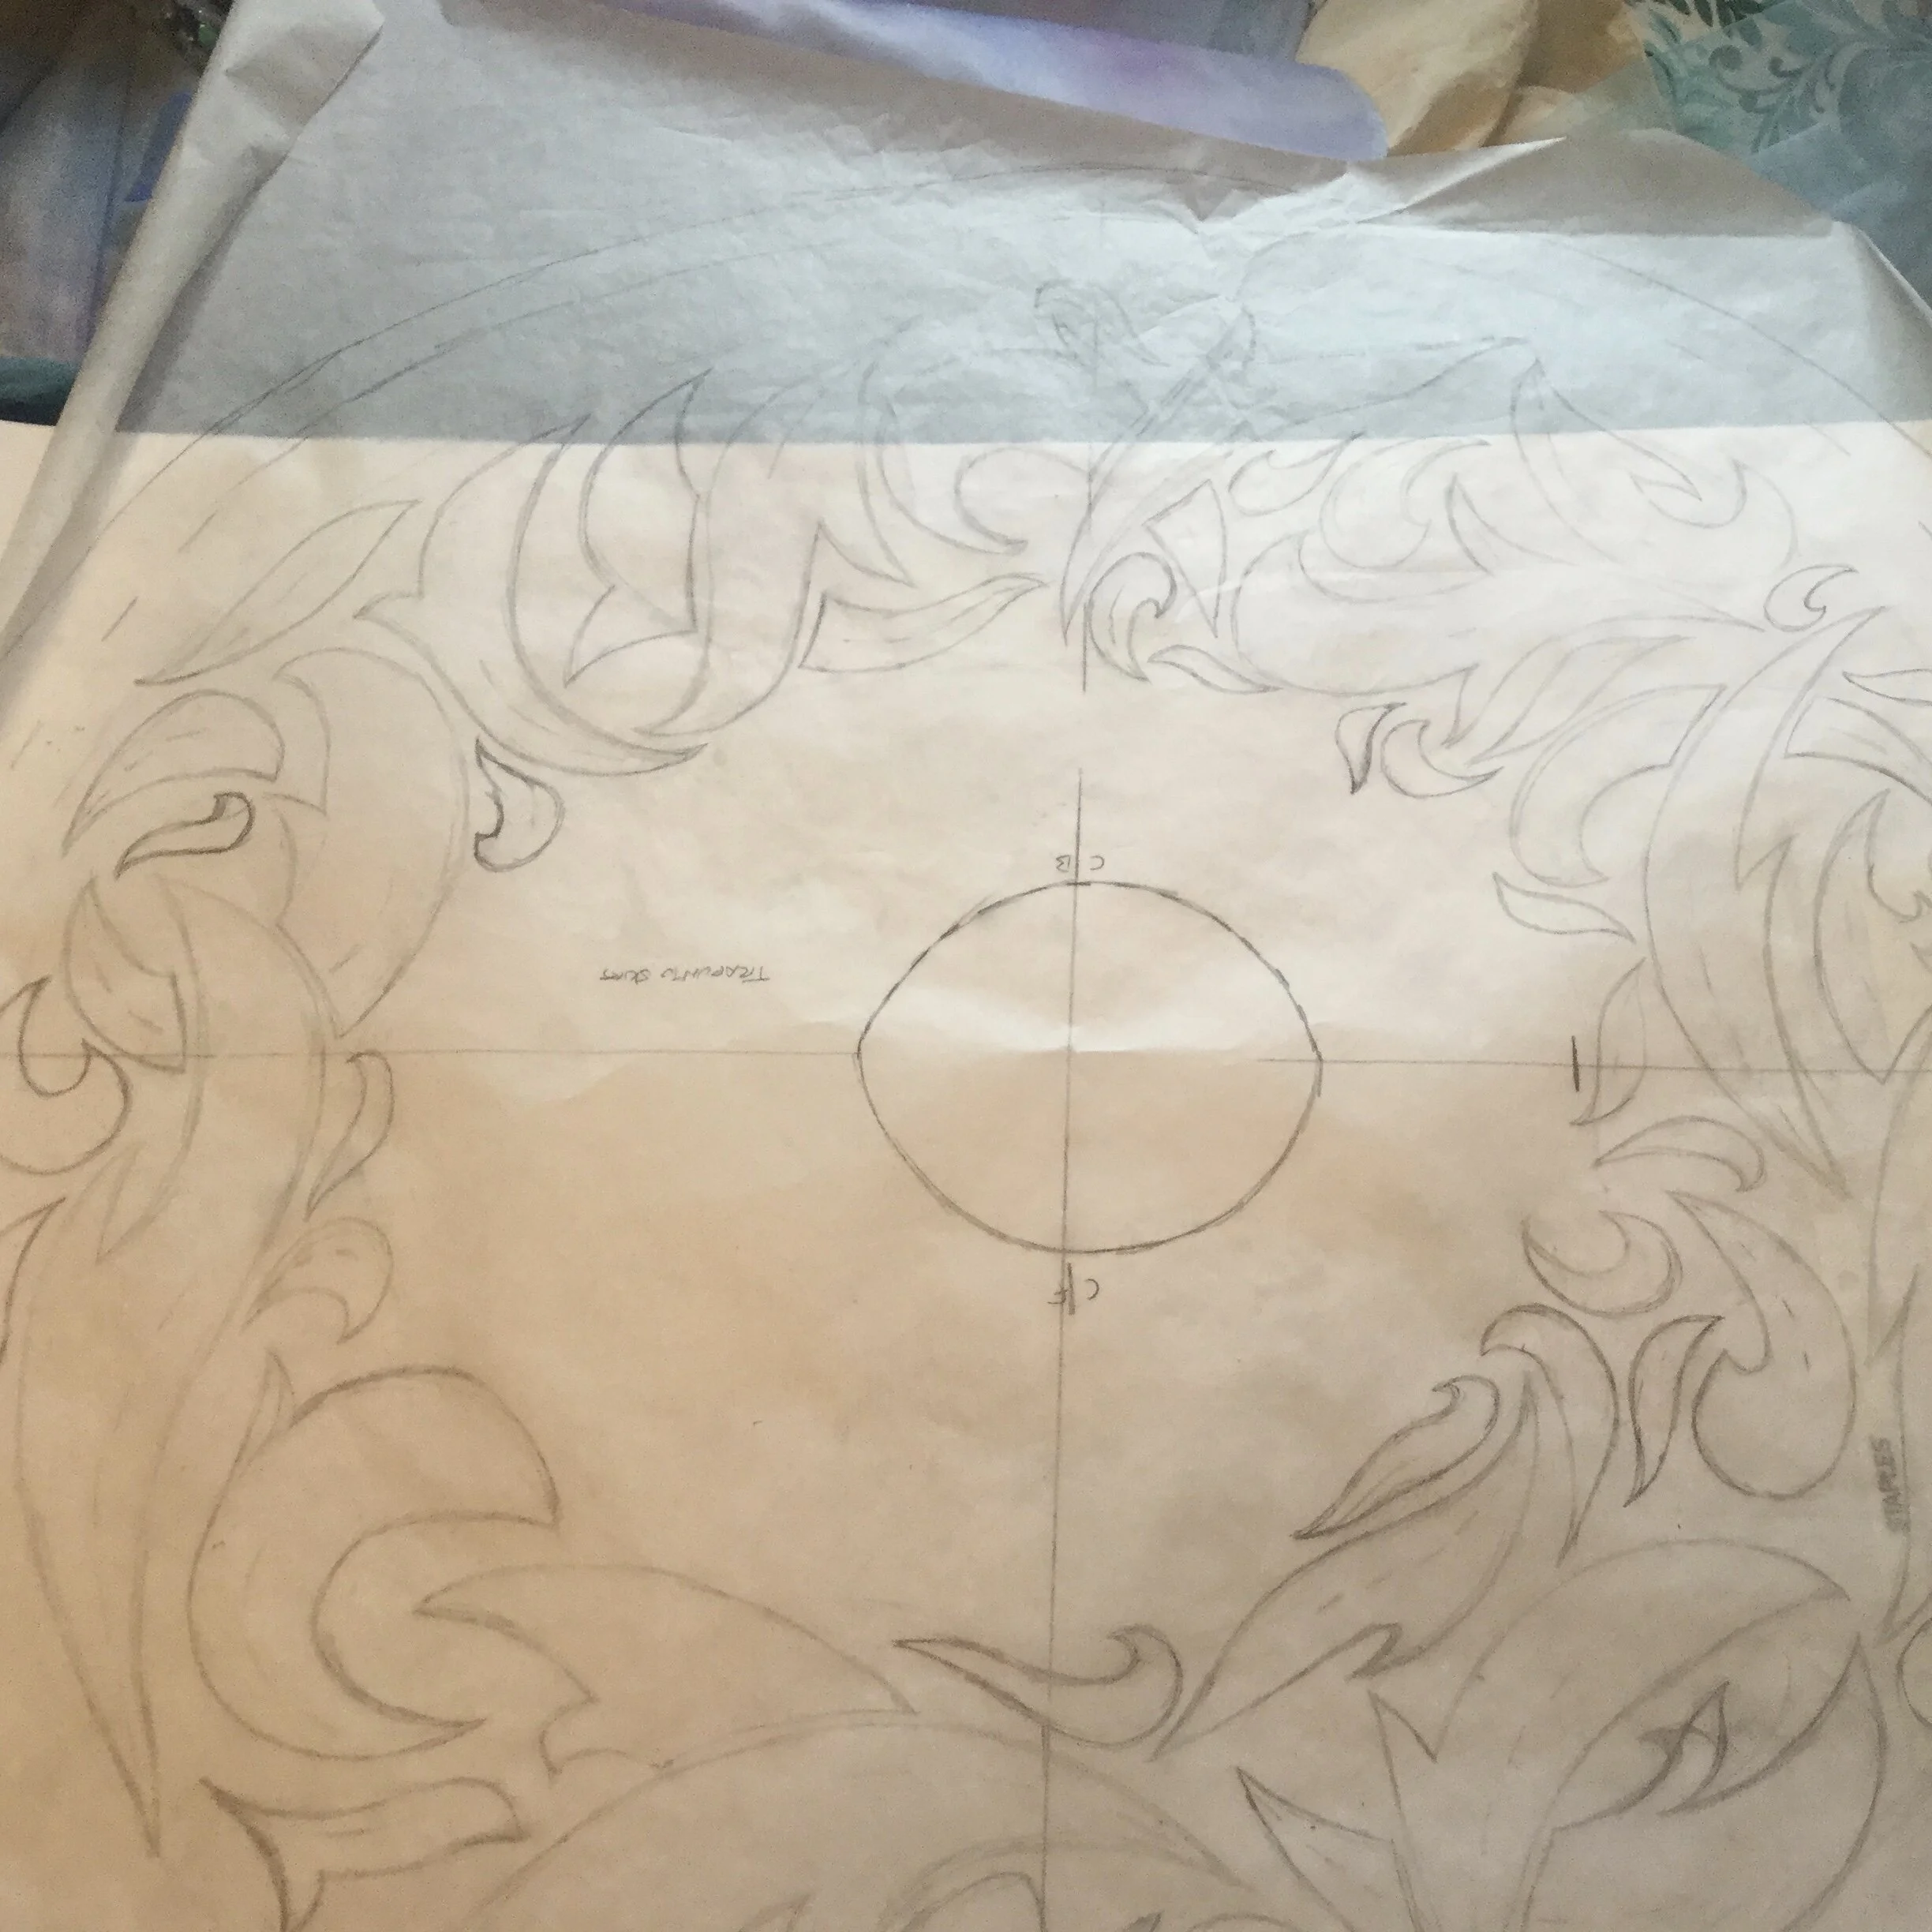
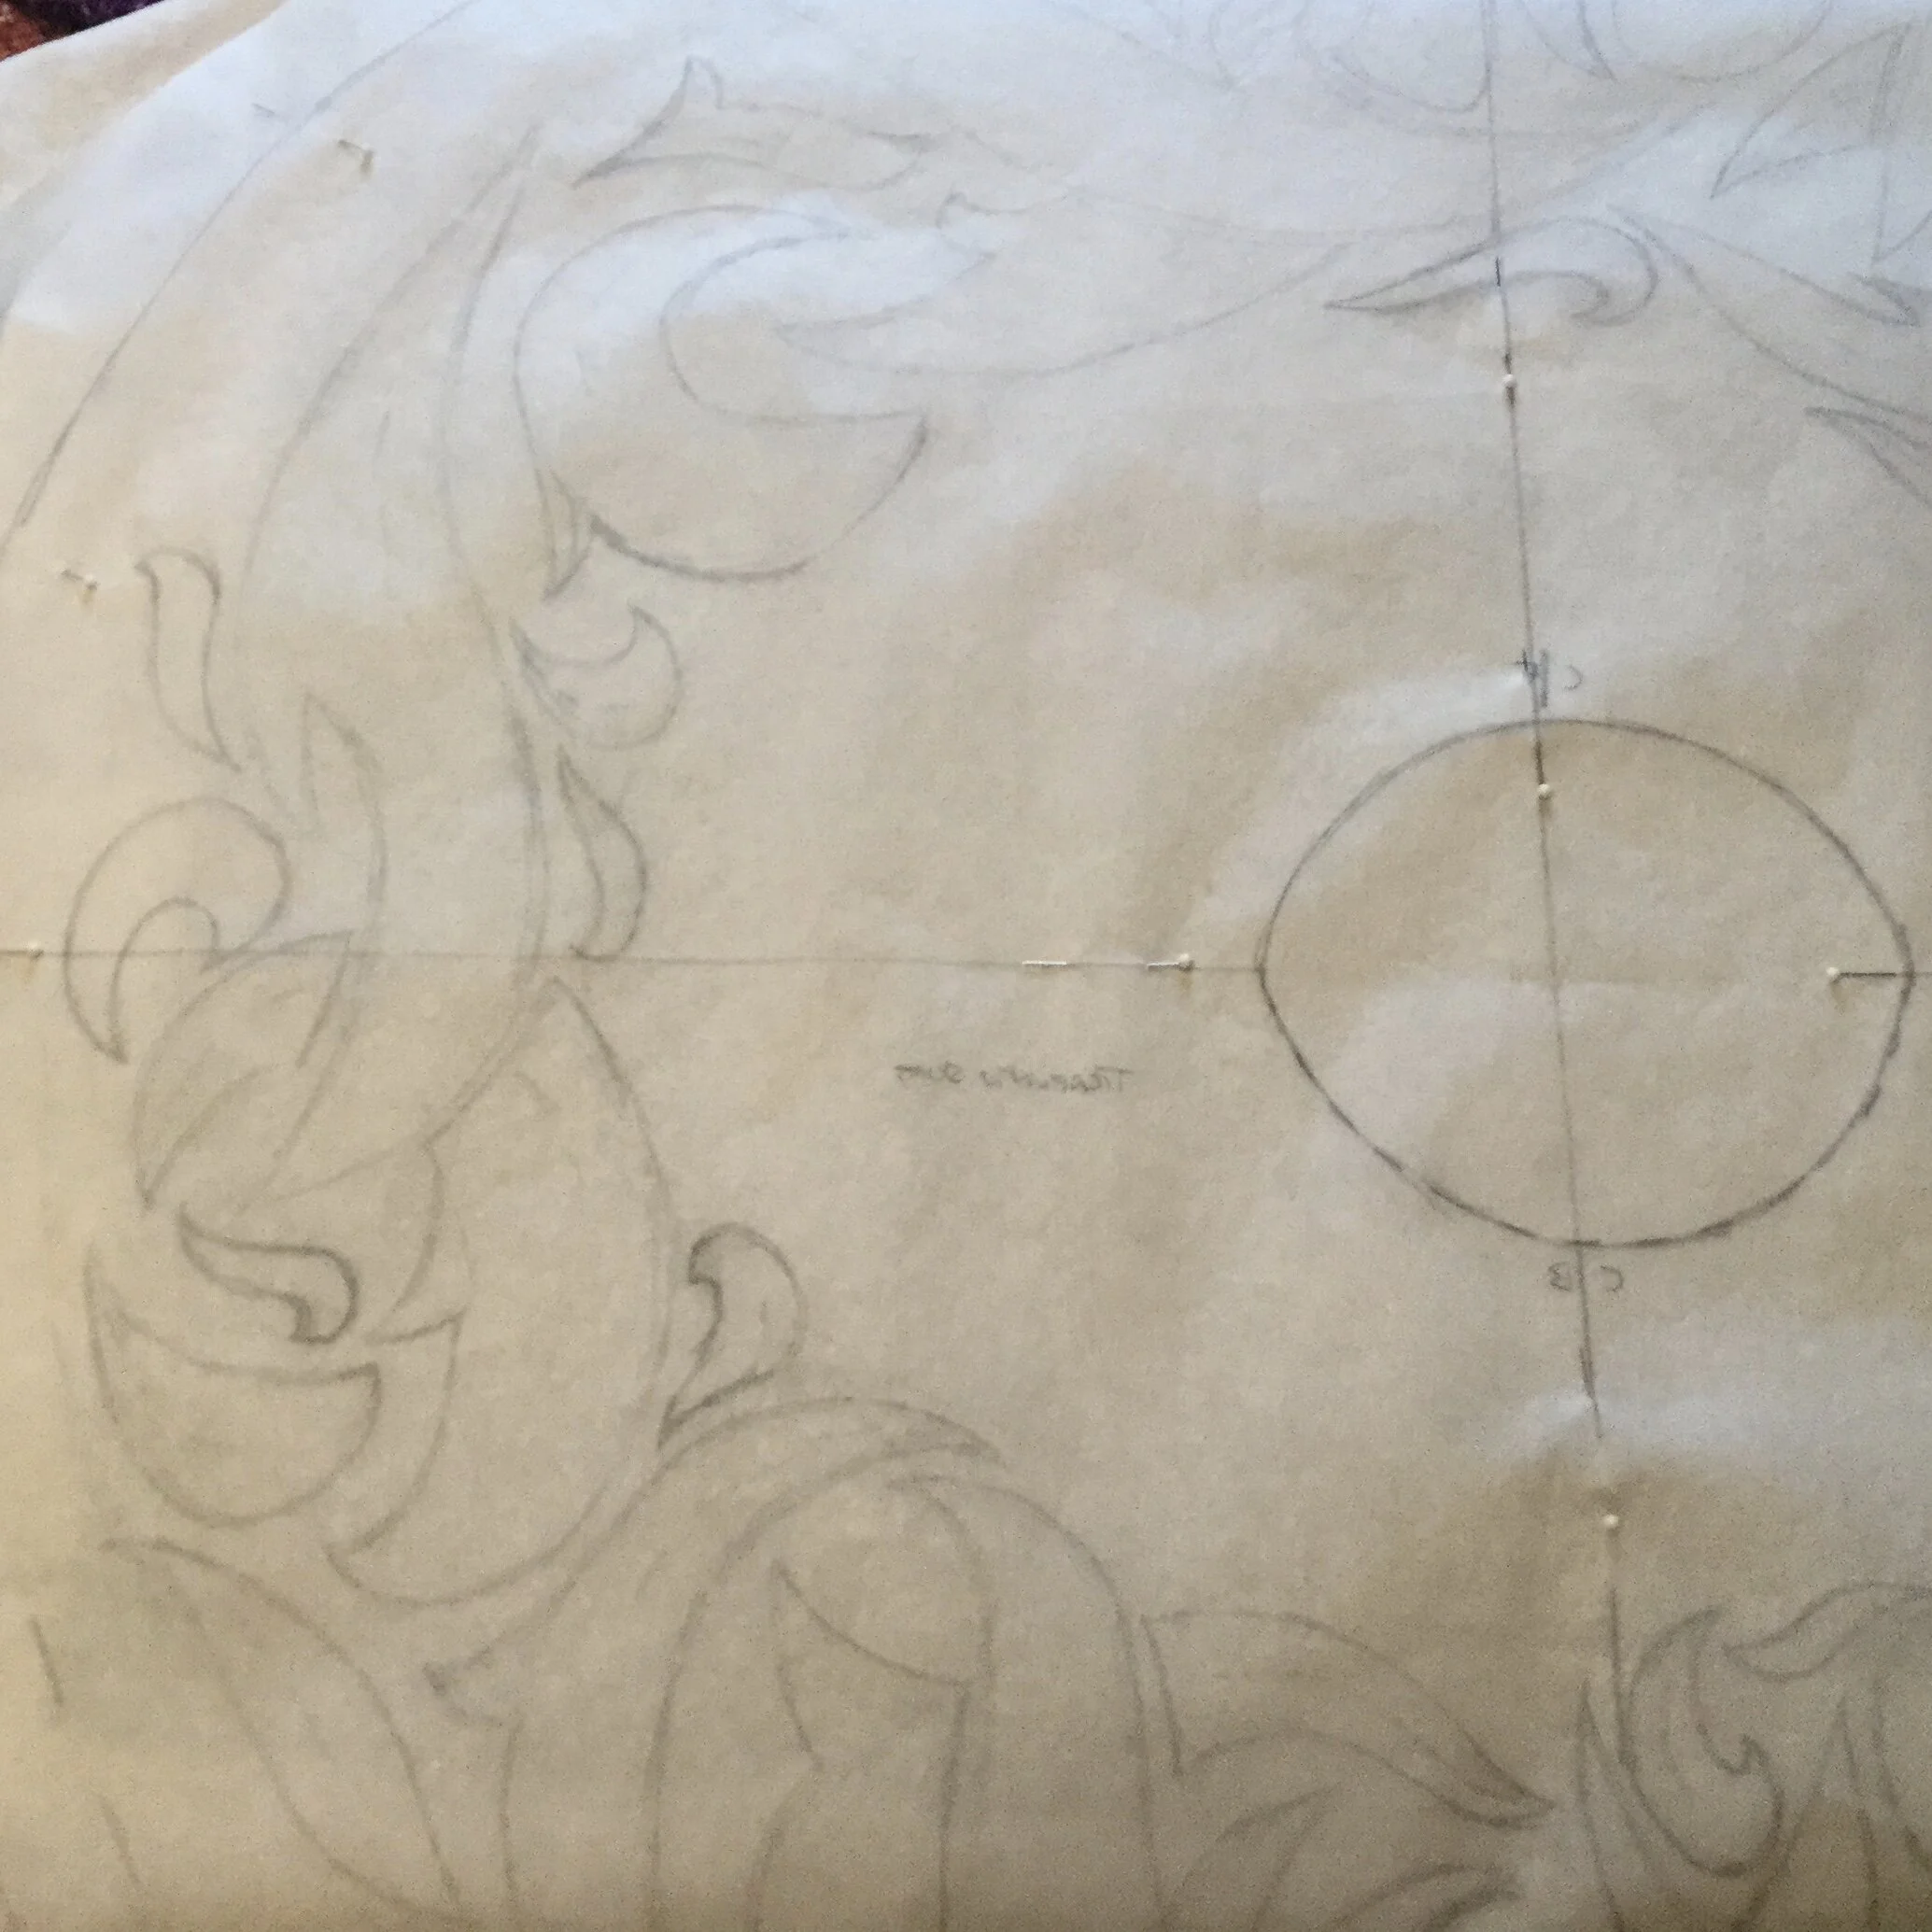
The next step was to draw the design for the quilting and figure out how I was going to transfer it to the final fabric. I'm not really very good at coming up with intricate embellishments; whenever I draw something with lace I represent the lace with the same swirly lines. I considered something quite complex like a mandala design but discarded the idea fairly quickly as the individual parts of the design might end up being too small (also my aforementioned inability to make up complex patterns). When doing my sample, I had discovered that the size of the shapes needed to be a consideration; if they were too small the process of cutting open and stuffing them would destroy fabric I needed to be intact in order to stitch the opening closed. I ended up using my other “busy design filler” fallback: floaty, feathery/leafy shapes.
With the design drawn, the real question was how on earth I was going to transfer it to the fabric. I had drawn in pencil on tracing paper from the perspective of the right side so in theory I could just turn the pattern over, trace over my lines and allow the image to transfer. I was reluctant to do this though, as I was working with white fabric and images of dark graphite smudges and white pearl cotton turned grey as it stitched through pencil lines filled my mind.
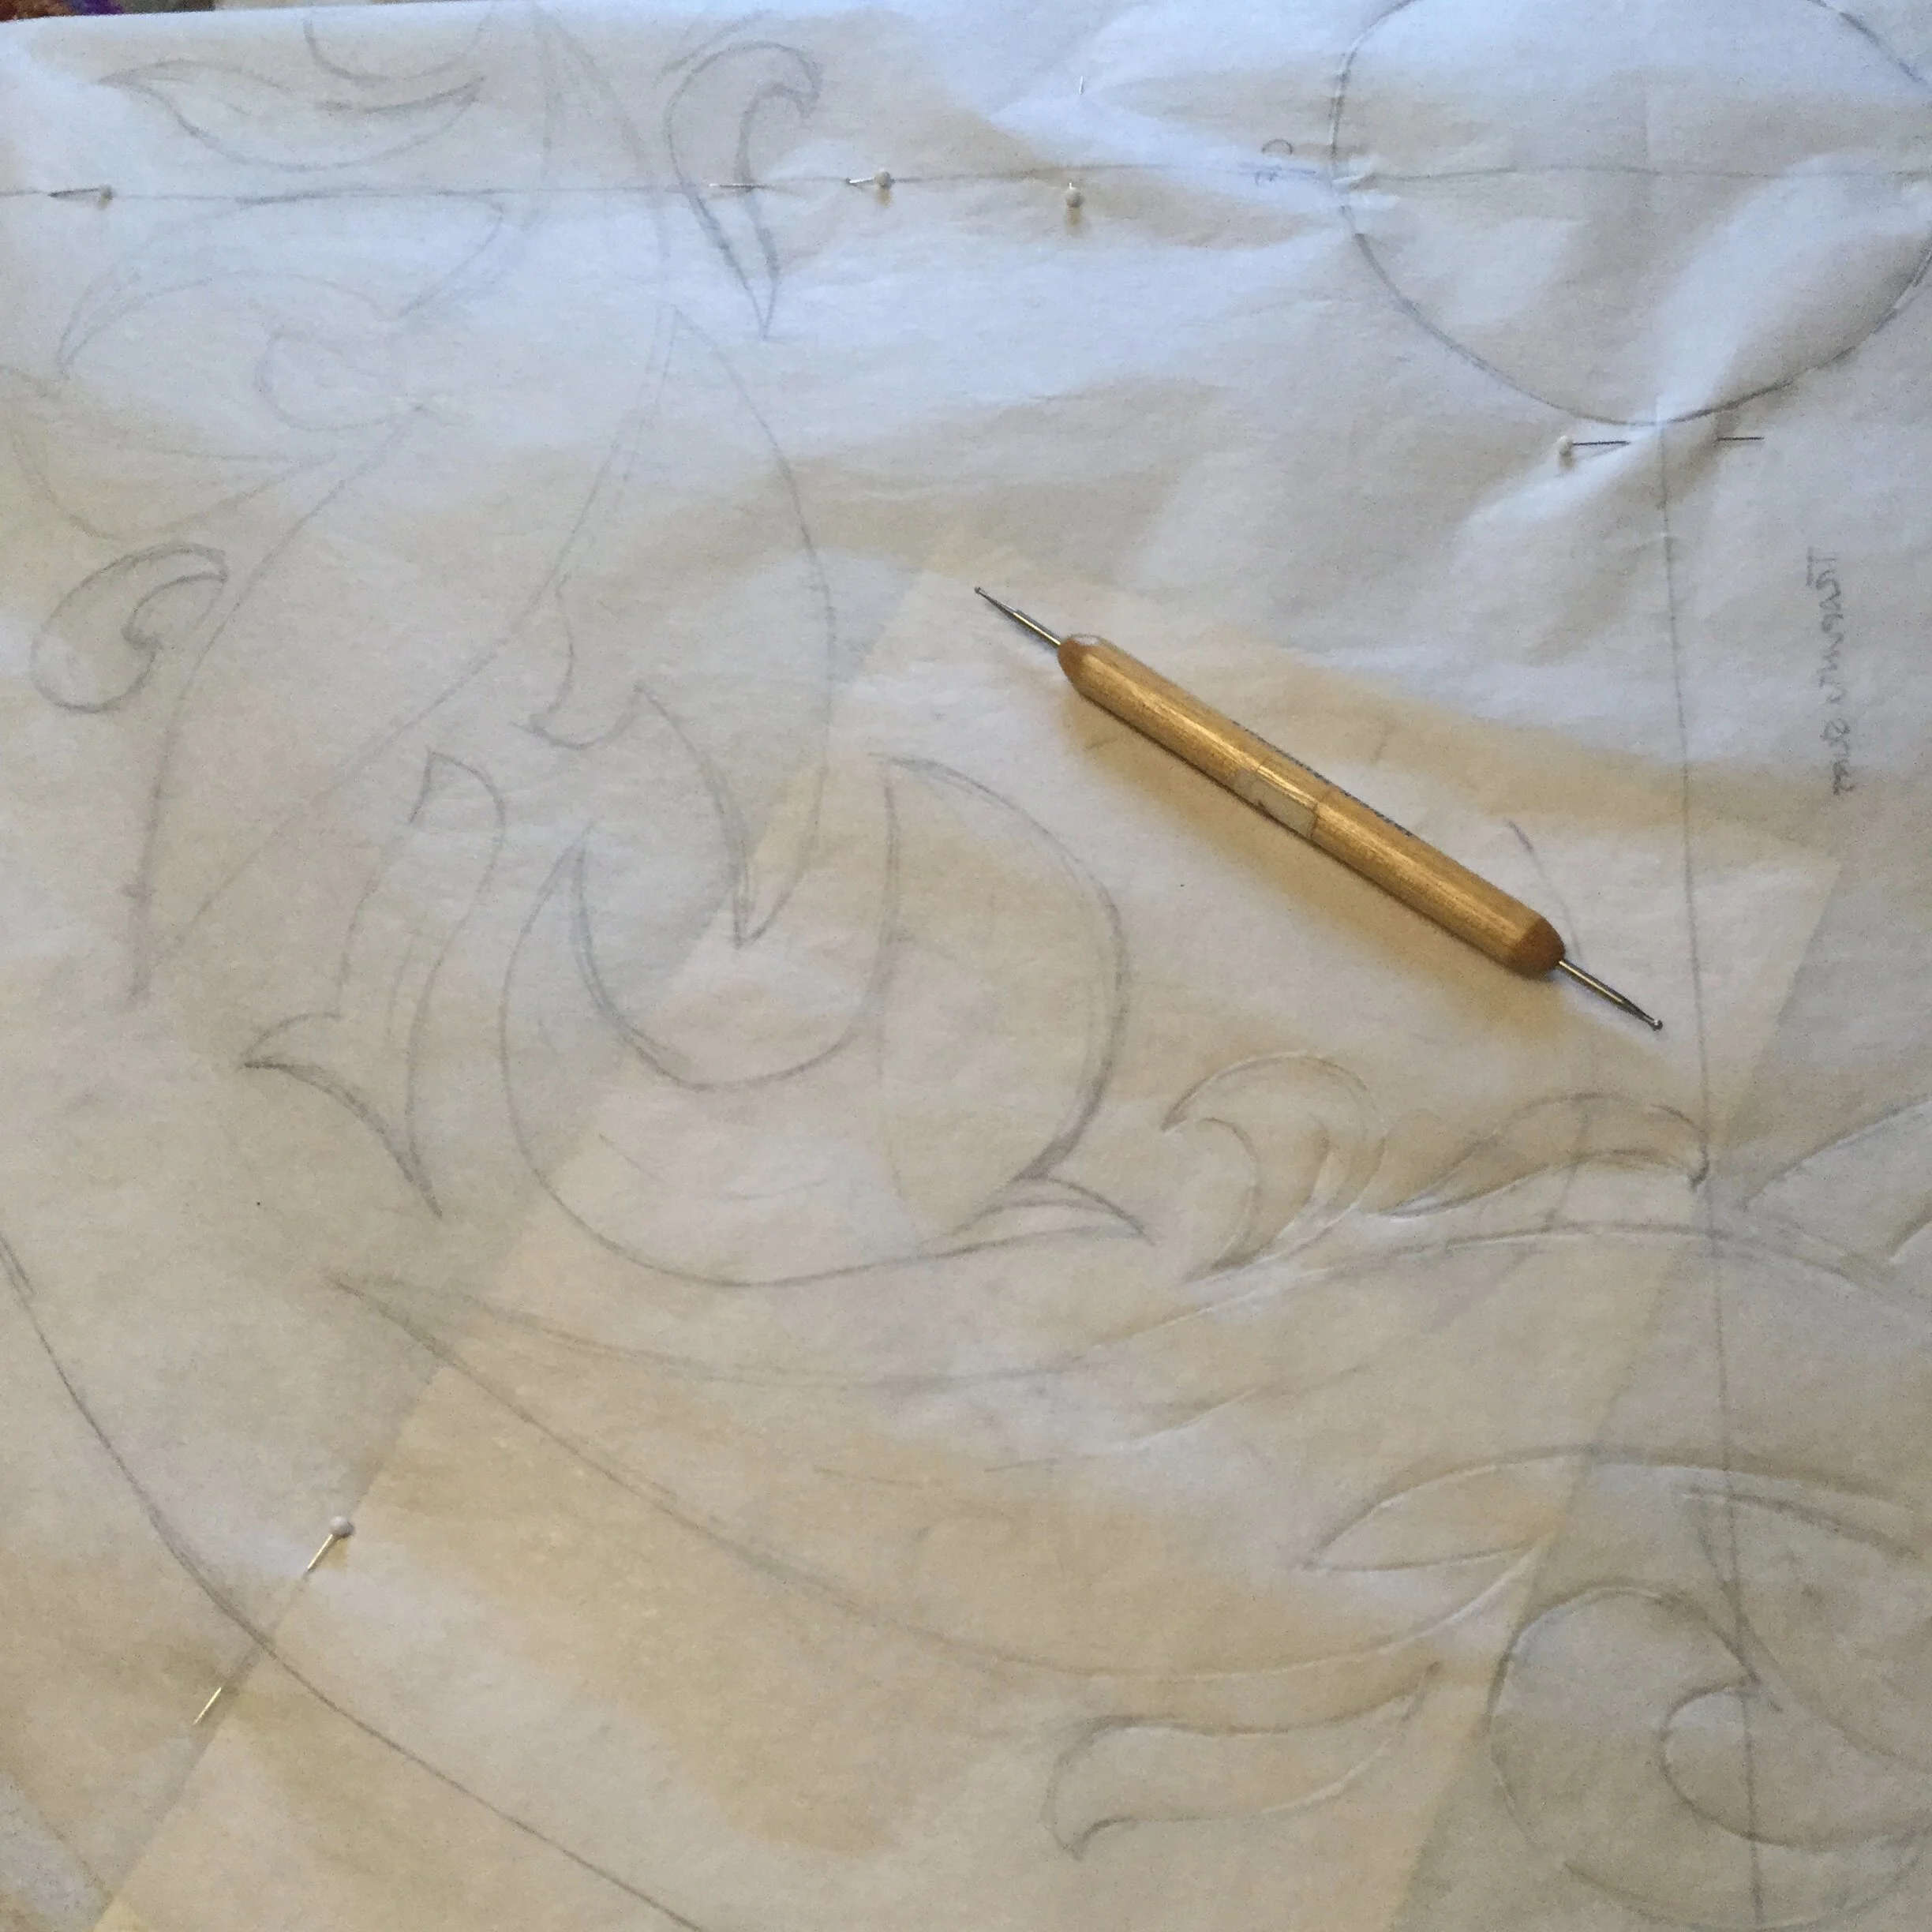
Instead, I used yellow chalk transfer paper. I considered using white, as the yellow could (and did) still colour the thread in some places, but it barely showed up on the fabric. I placed the pattern face down on the wrong side of the fabric and slipped the transfer paper between them face down. I started tracing the design with a tracing wheel, but that lasted about five minutes before I concluded that it was a tiresome way to do it and wasn't producing smooth and clear lines and I needed something with a finer point. First I tried the tip of a small crochet hook which worked but was a bit tricky to hold and use like a pencil. I finally ended up using an embossing tool.
After tracing the design onto the cotton, I added the tulle layer of the skirt. I basted the two layers together with a small stitch at the waistline and several large diagonal bastes throughout the skirt. I didn't cut either layer at the waistline or along the hem as I wanted to prevent any possible stretching at the waist as I worked with the skirt and I wanted to keep as much hem allowance as possible available for adjustment later when I finished the hem.
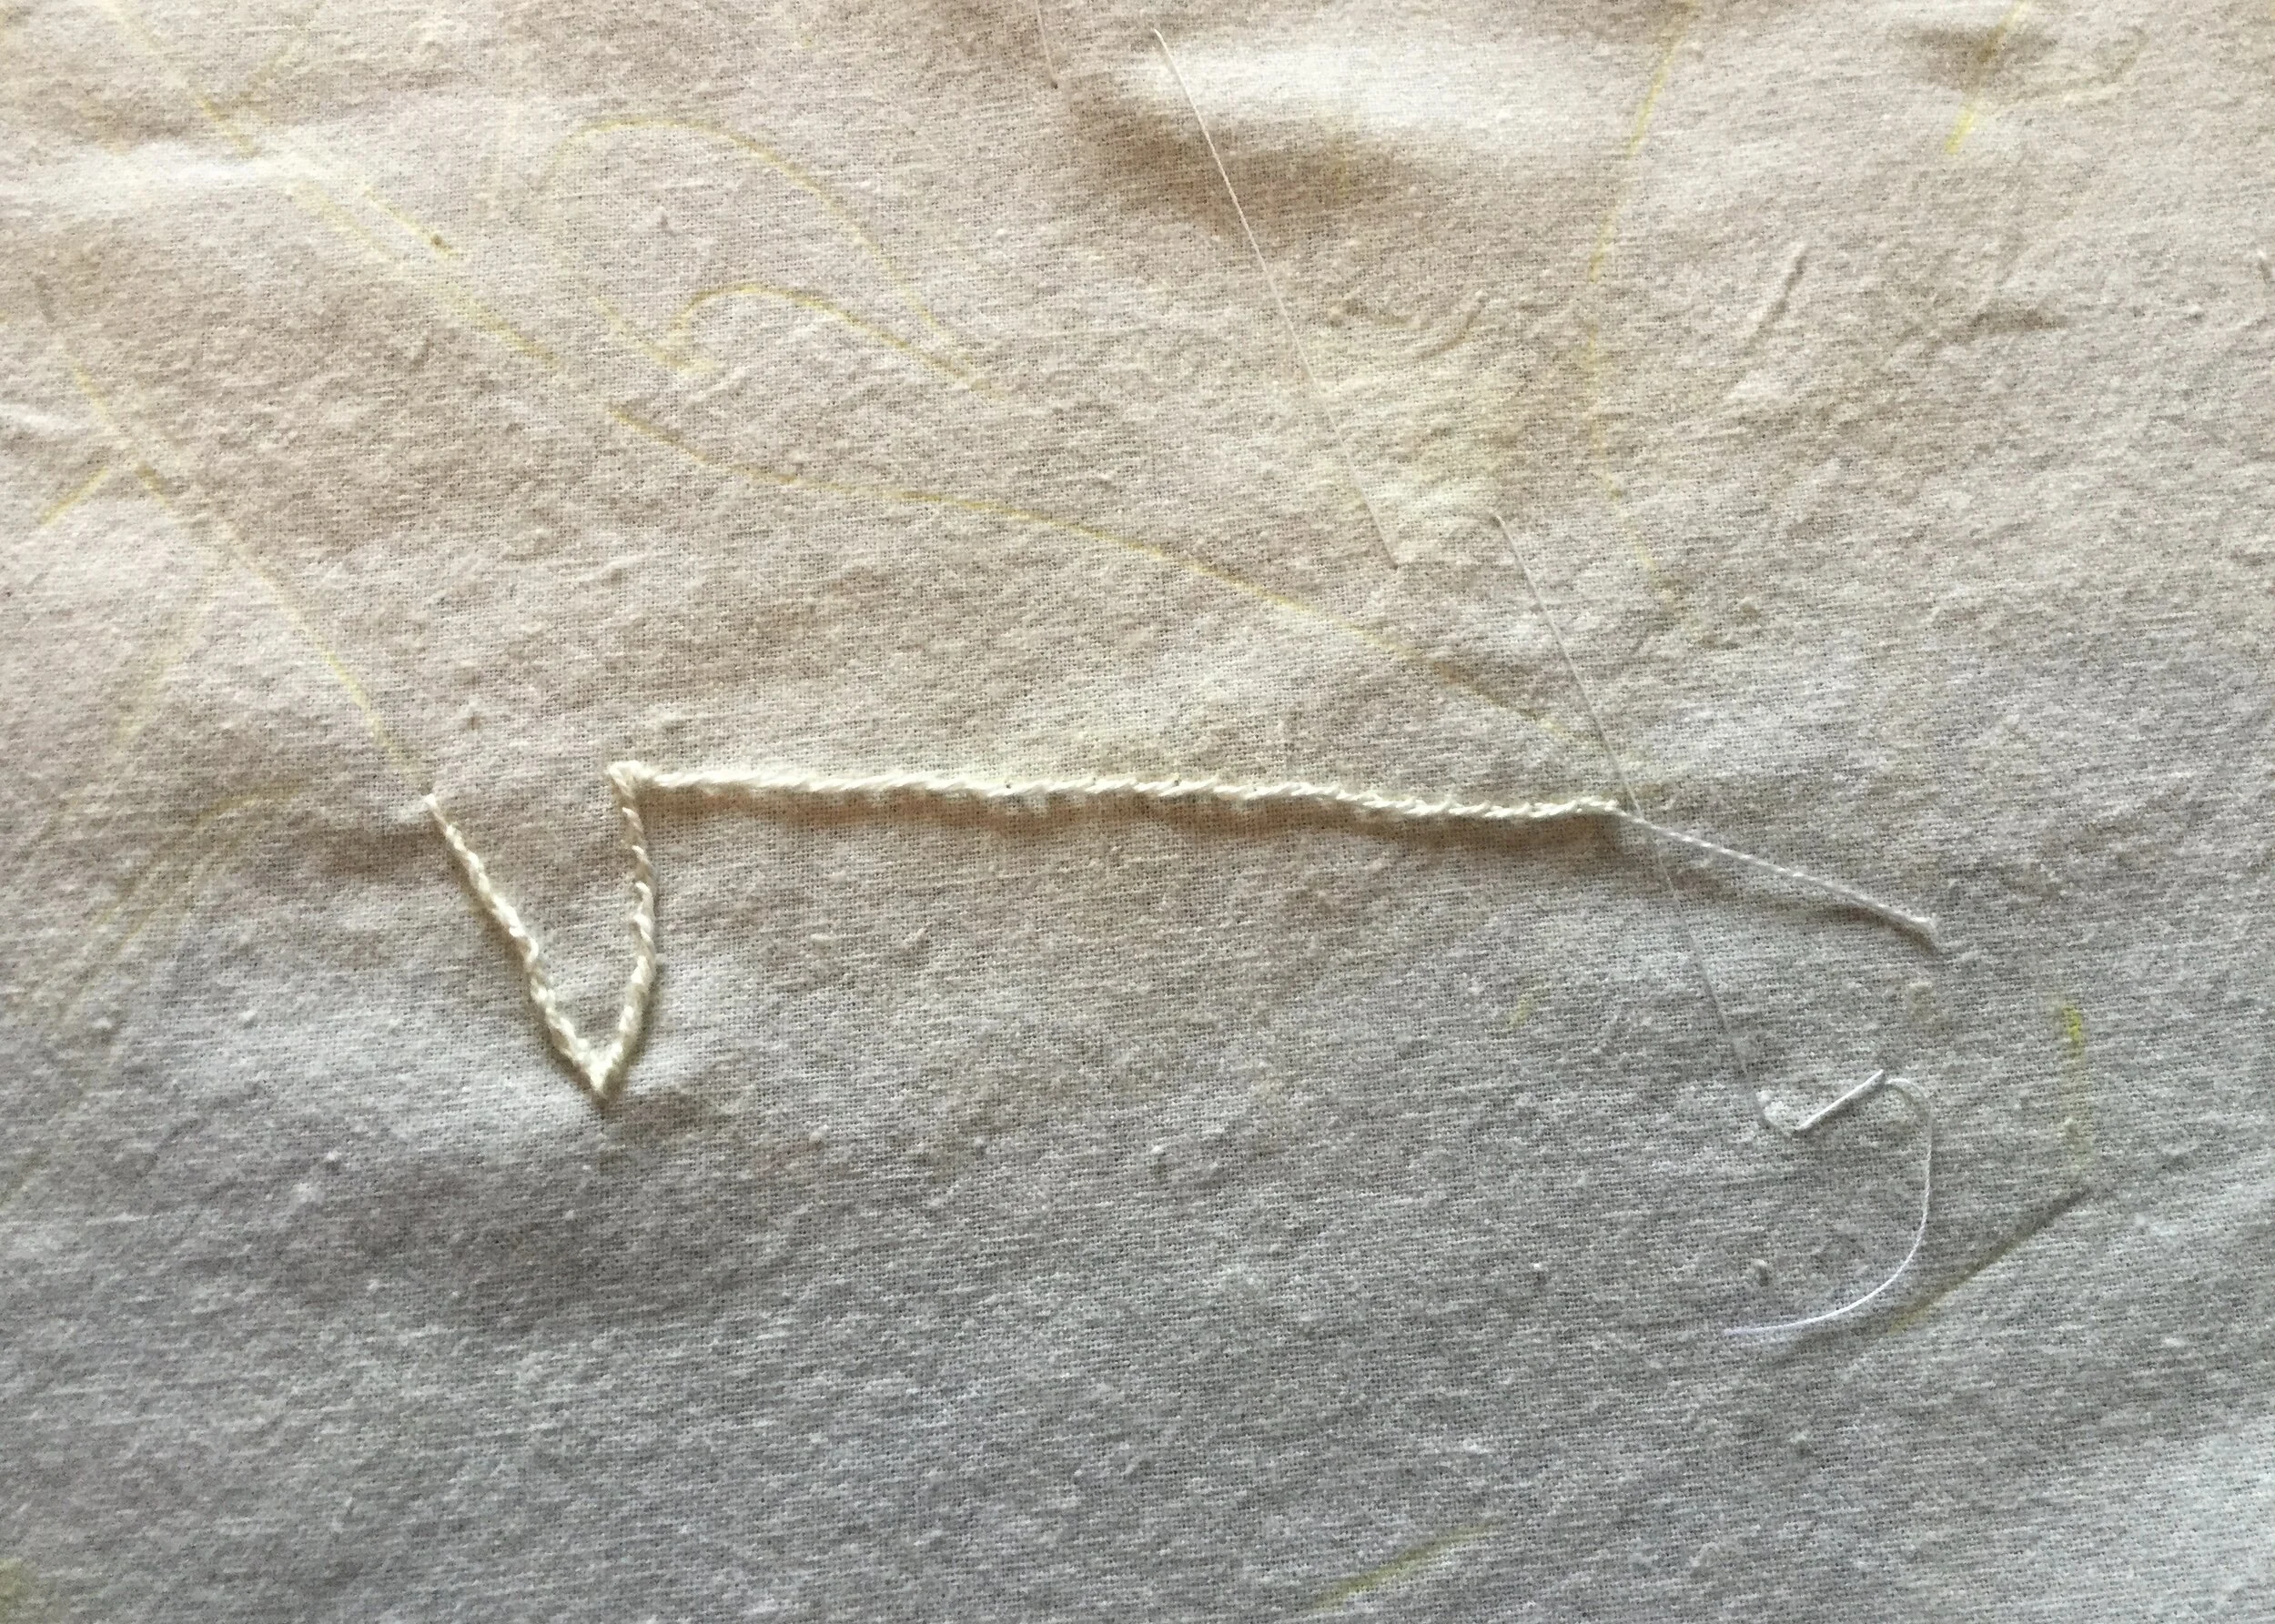
With all this prep done, there was nothing for it. Time to start stitching.
