Belle Part One
The Floofening...
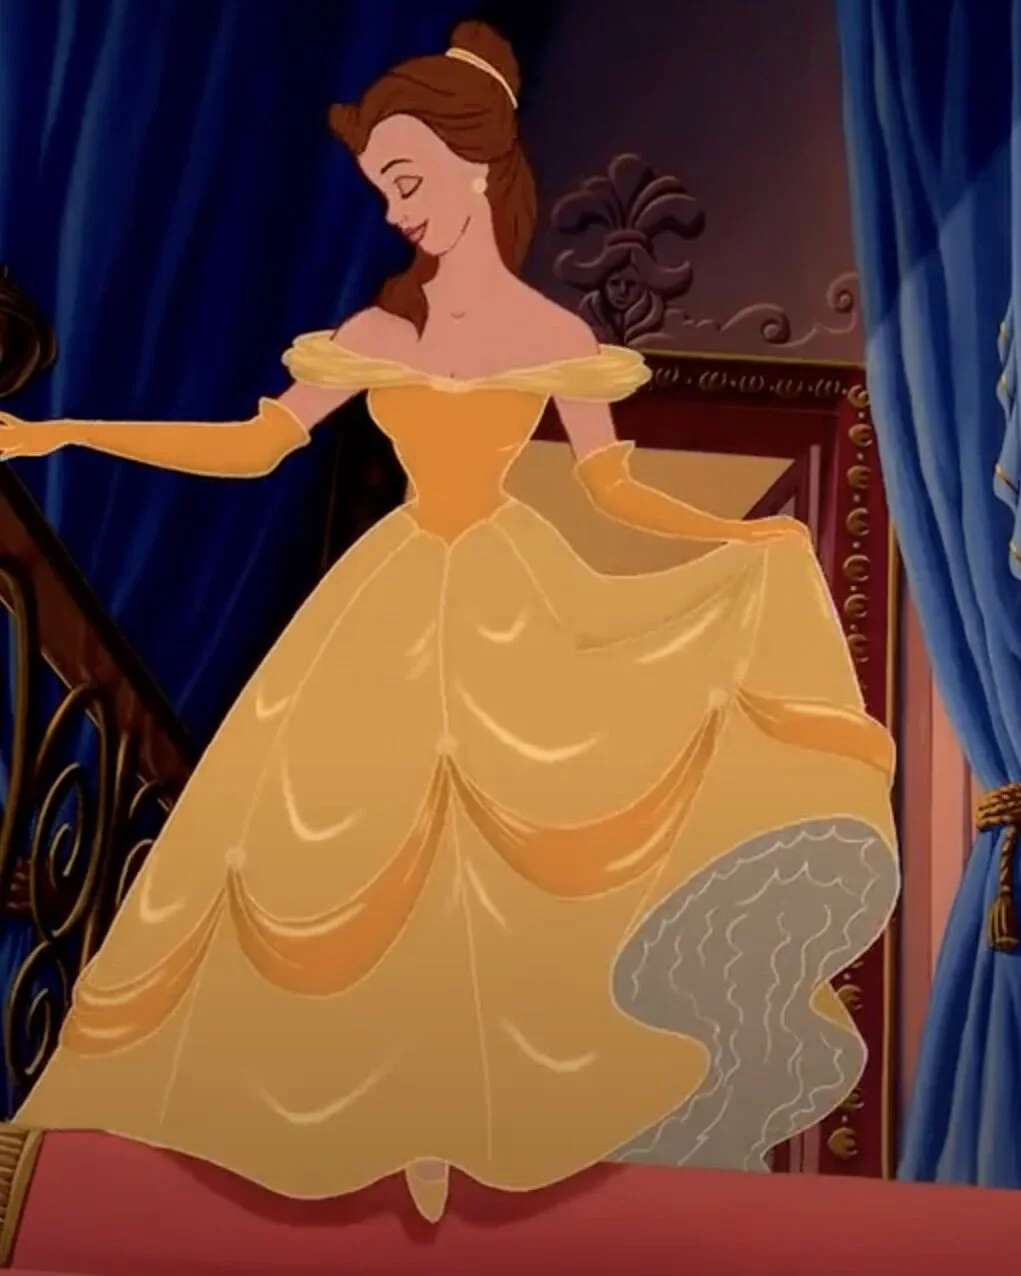
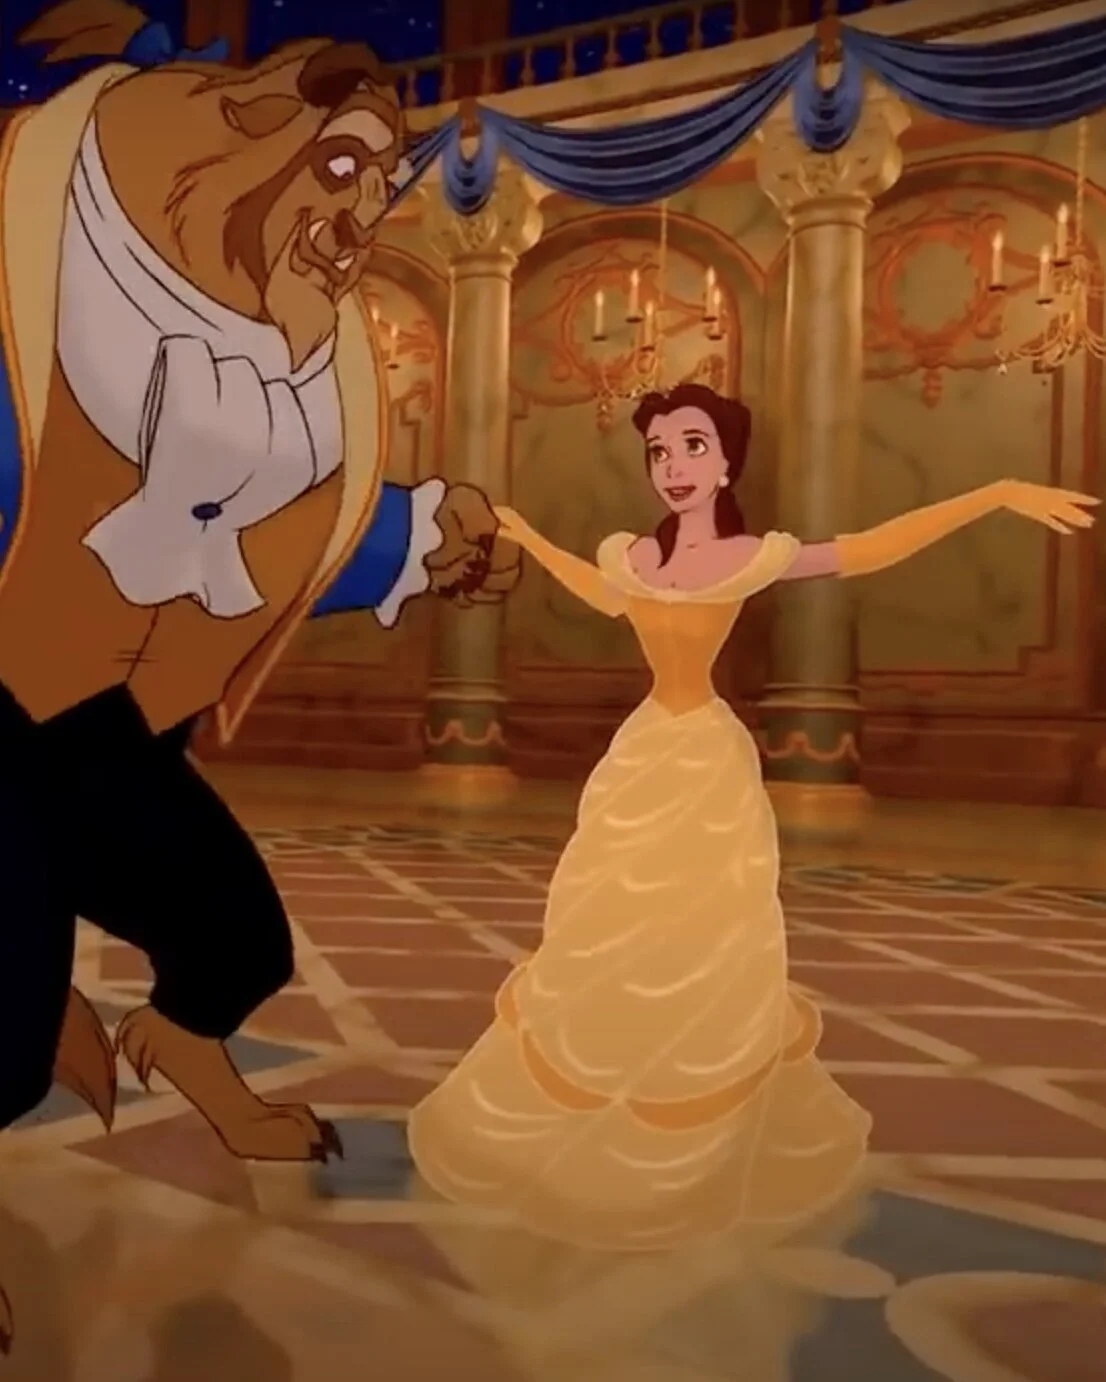
This dress is a bit of a long term project for me. It all began on a movie night with a friend who is a fellow Costume Studies grad. We were watching Beauty and the Beast and it occurred to us that it would be fun to make a really movie accurate version of Belle's ball gown. This meant that not only would it look exactly like the gown in the movie, but it would move like it as well. In the dance scene, you see Belle twirl a number of times and when she does her skirt spirals quite closely around her legs rather than remaining full and sitting out from her body.
Does that description make sense? I don't know.
Basically, it is clear that the fullness of the skirt comes from something soft (and probably several layers of it) rather than a hoop or a cage crinoline. We were probably not the first people to think of this, but all of the various Belle costumes either of us had seen did use some kind of cage to get the “bell” (har har) shape.
We decided that we were just the people to bring this super accurate version of the dress to life and got very excited and giggly. At one point I noted that the necessary research to get the shape right would essentially be to make skirts and twirl around in them and I'm fairly certain I said it as though I had just seen the face of god. (We may have then spent a lot of time googling almost every other animated princess for future project ideas in anticipation of the demand which would naturally spring from the fame and renown this endeavour would surely bring.)
Visions of the future.
Like most ambitious plans devised over a few drinks on a Saturday night, this one didn't get all that far. We were unwavering in our excitement, but it would be a big, not to mention expensive, project. For a while it simply lived in that ethereal space where projects are flawlessly executed and look exactly how you imagined because you haven't actually started them yet. It's a beautiful yet tragic space as so many projects go there never to leave.
*siiiiigh*
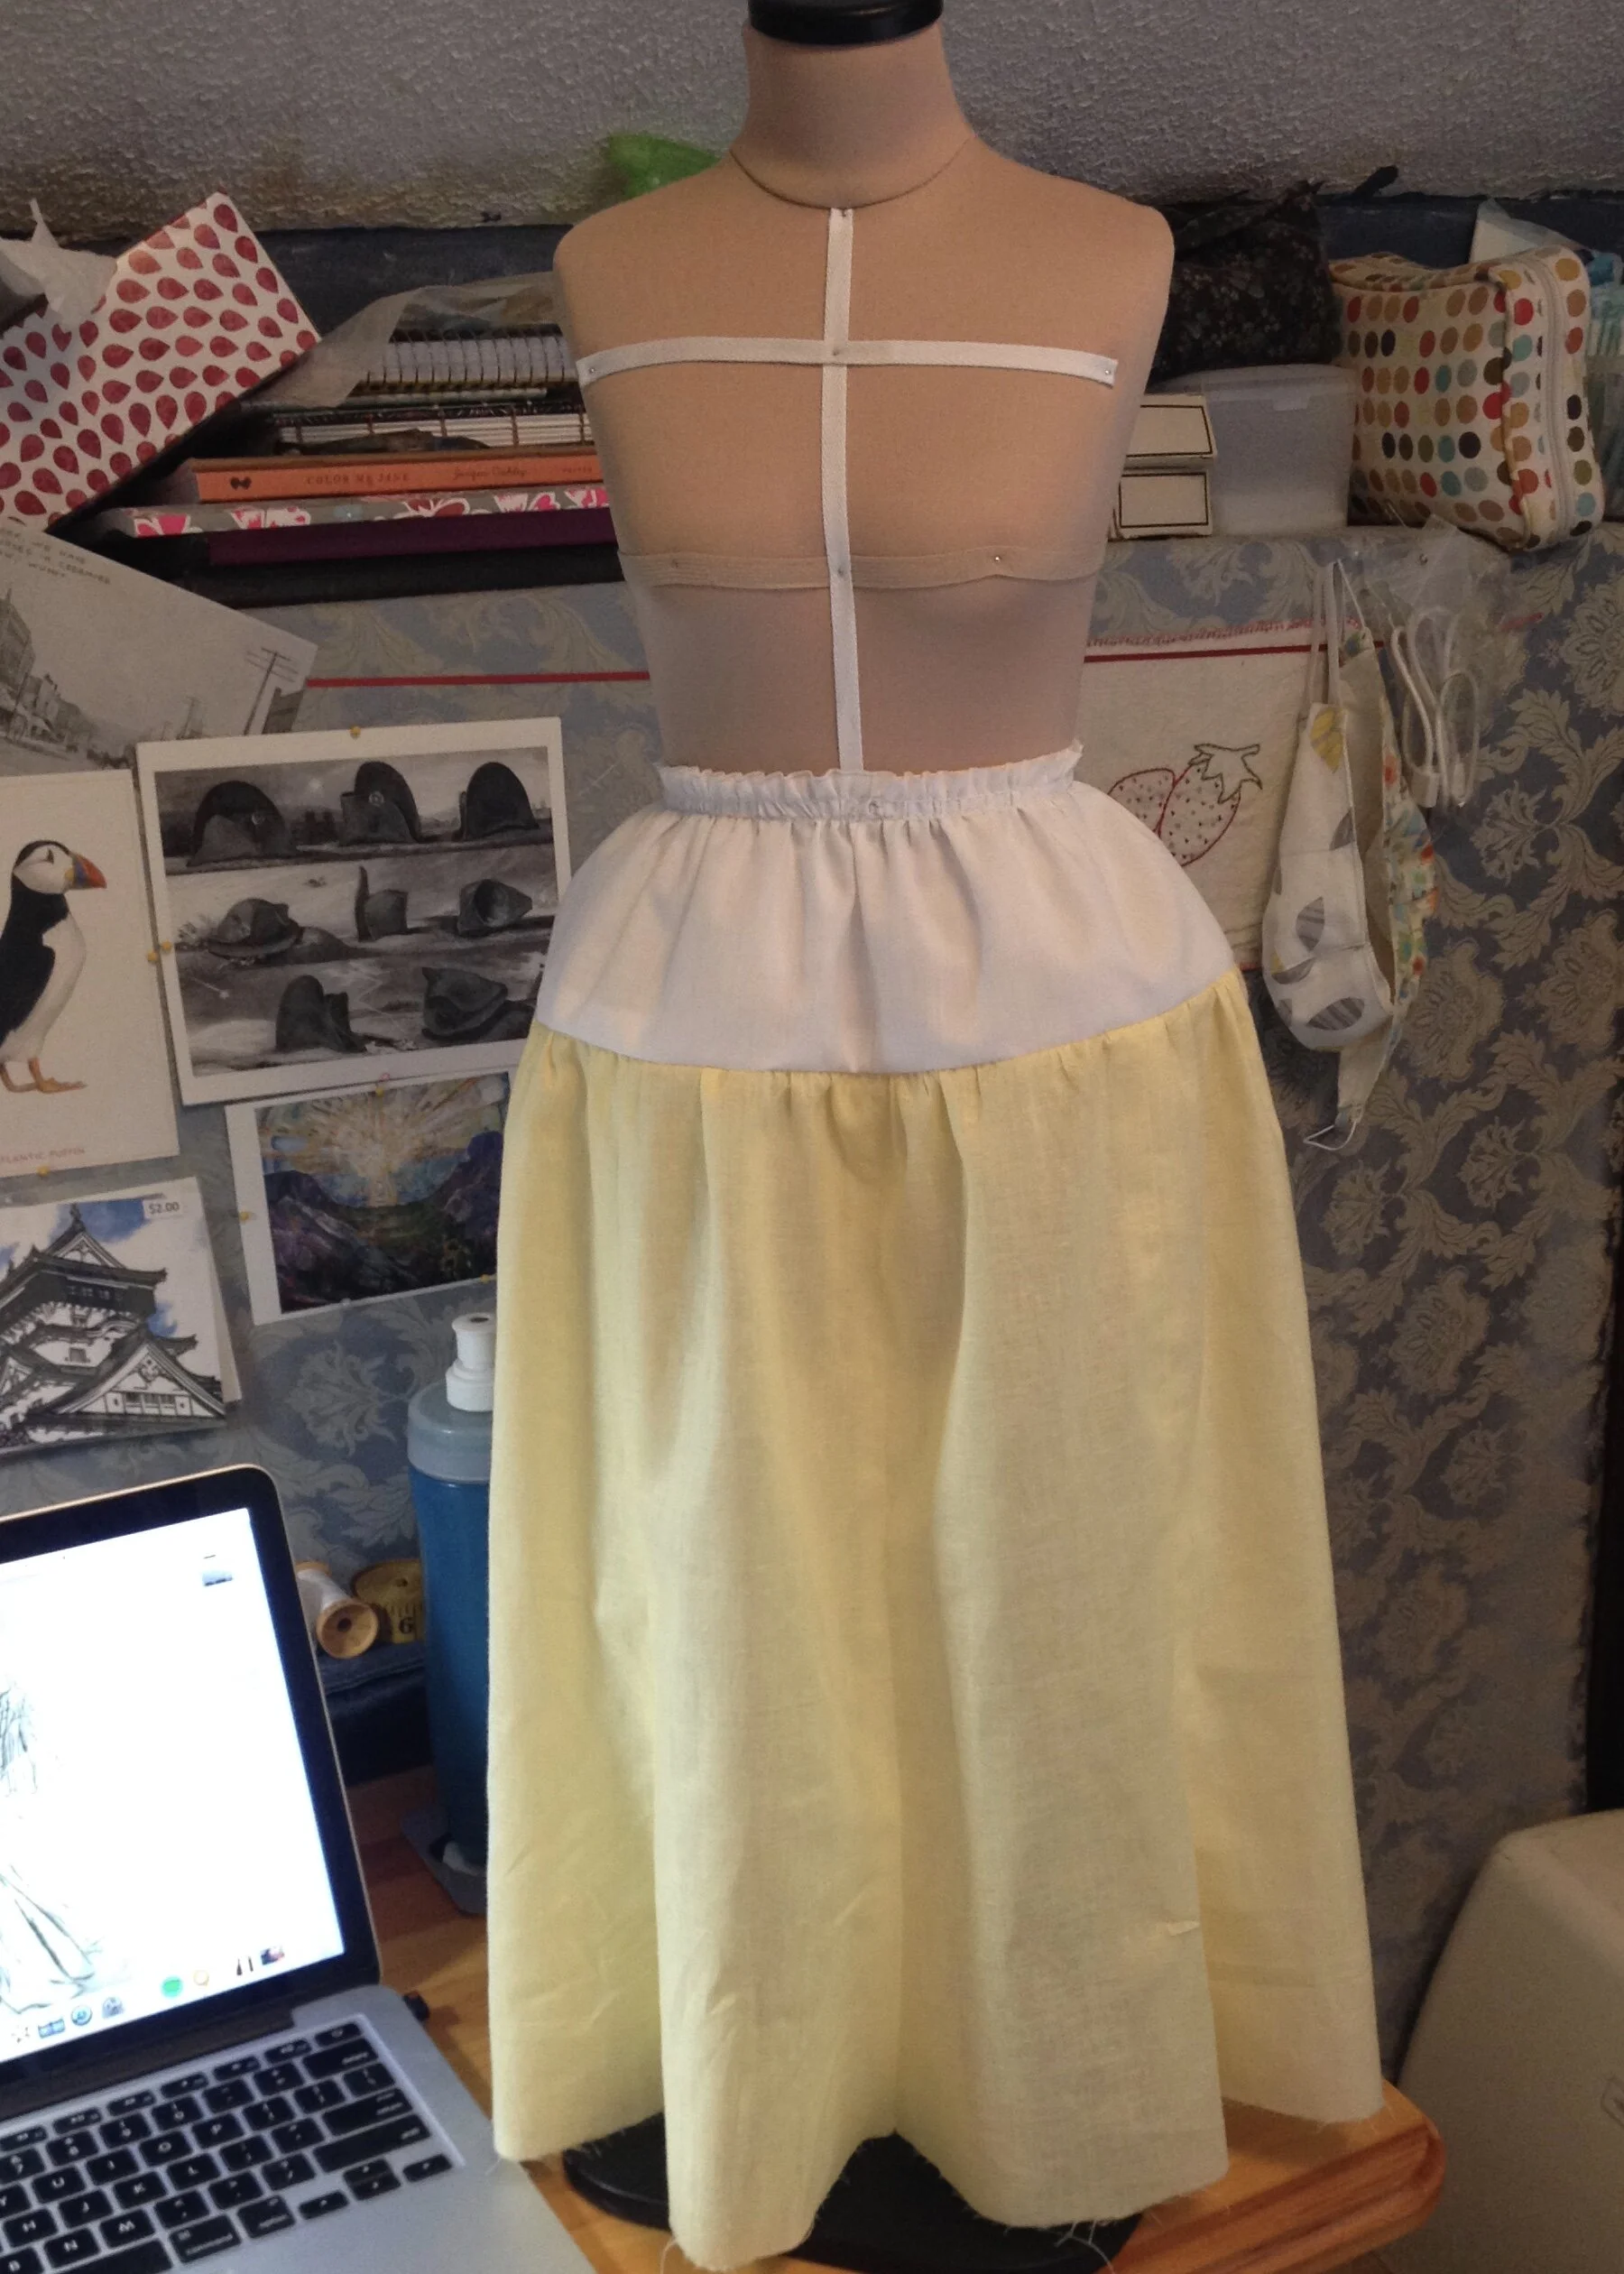
Anyway, Belle sat on the back burner for a while and was occasionally mentioned but was unlikely to happen anytime soon. When I decided to start making and blogging about tiny clothes the possibility of finally realizing this idea was high on my list. The mock up of the petticoat was actually the very first thing I made for my little lady when she arrived.
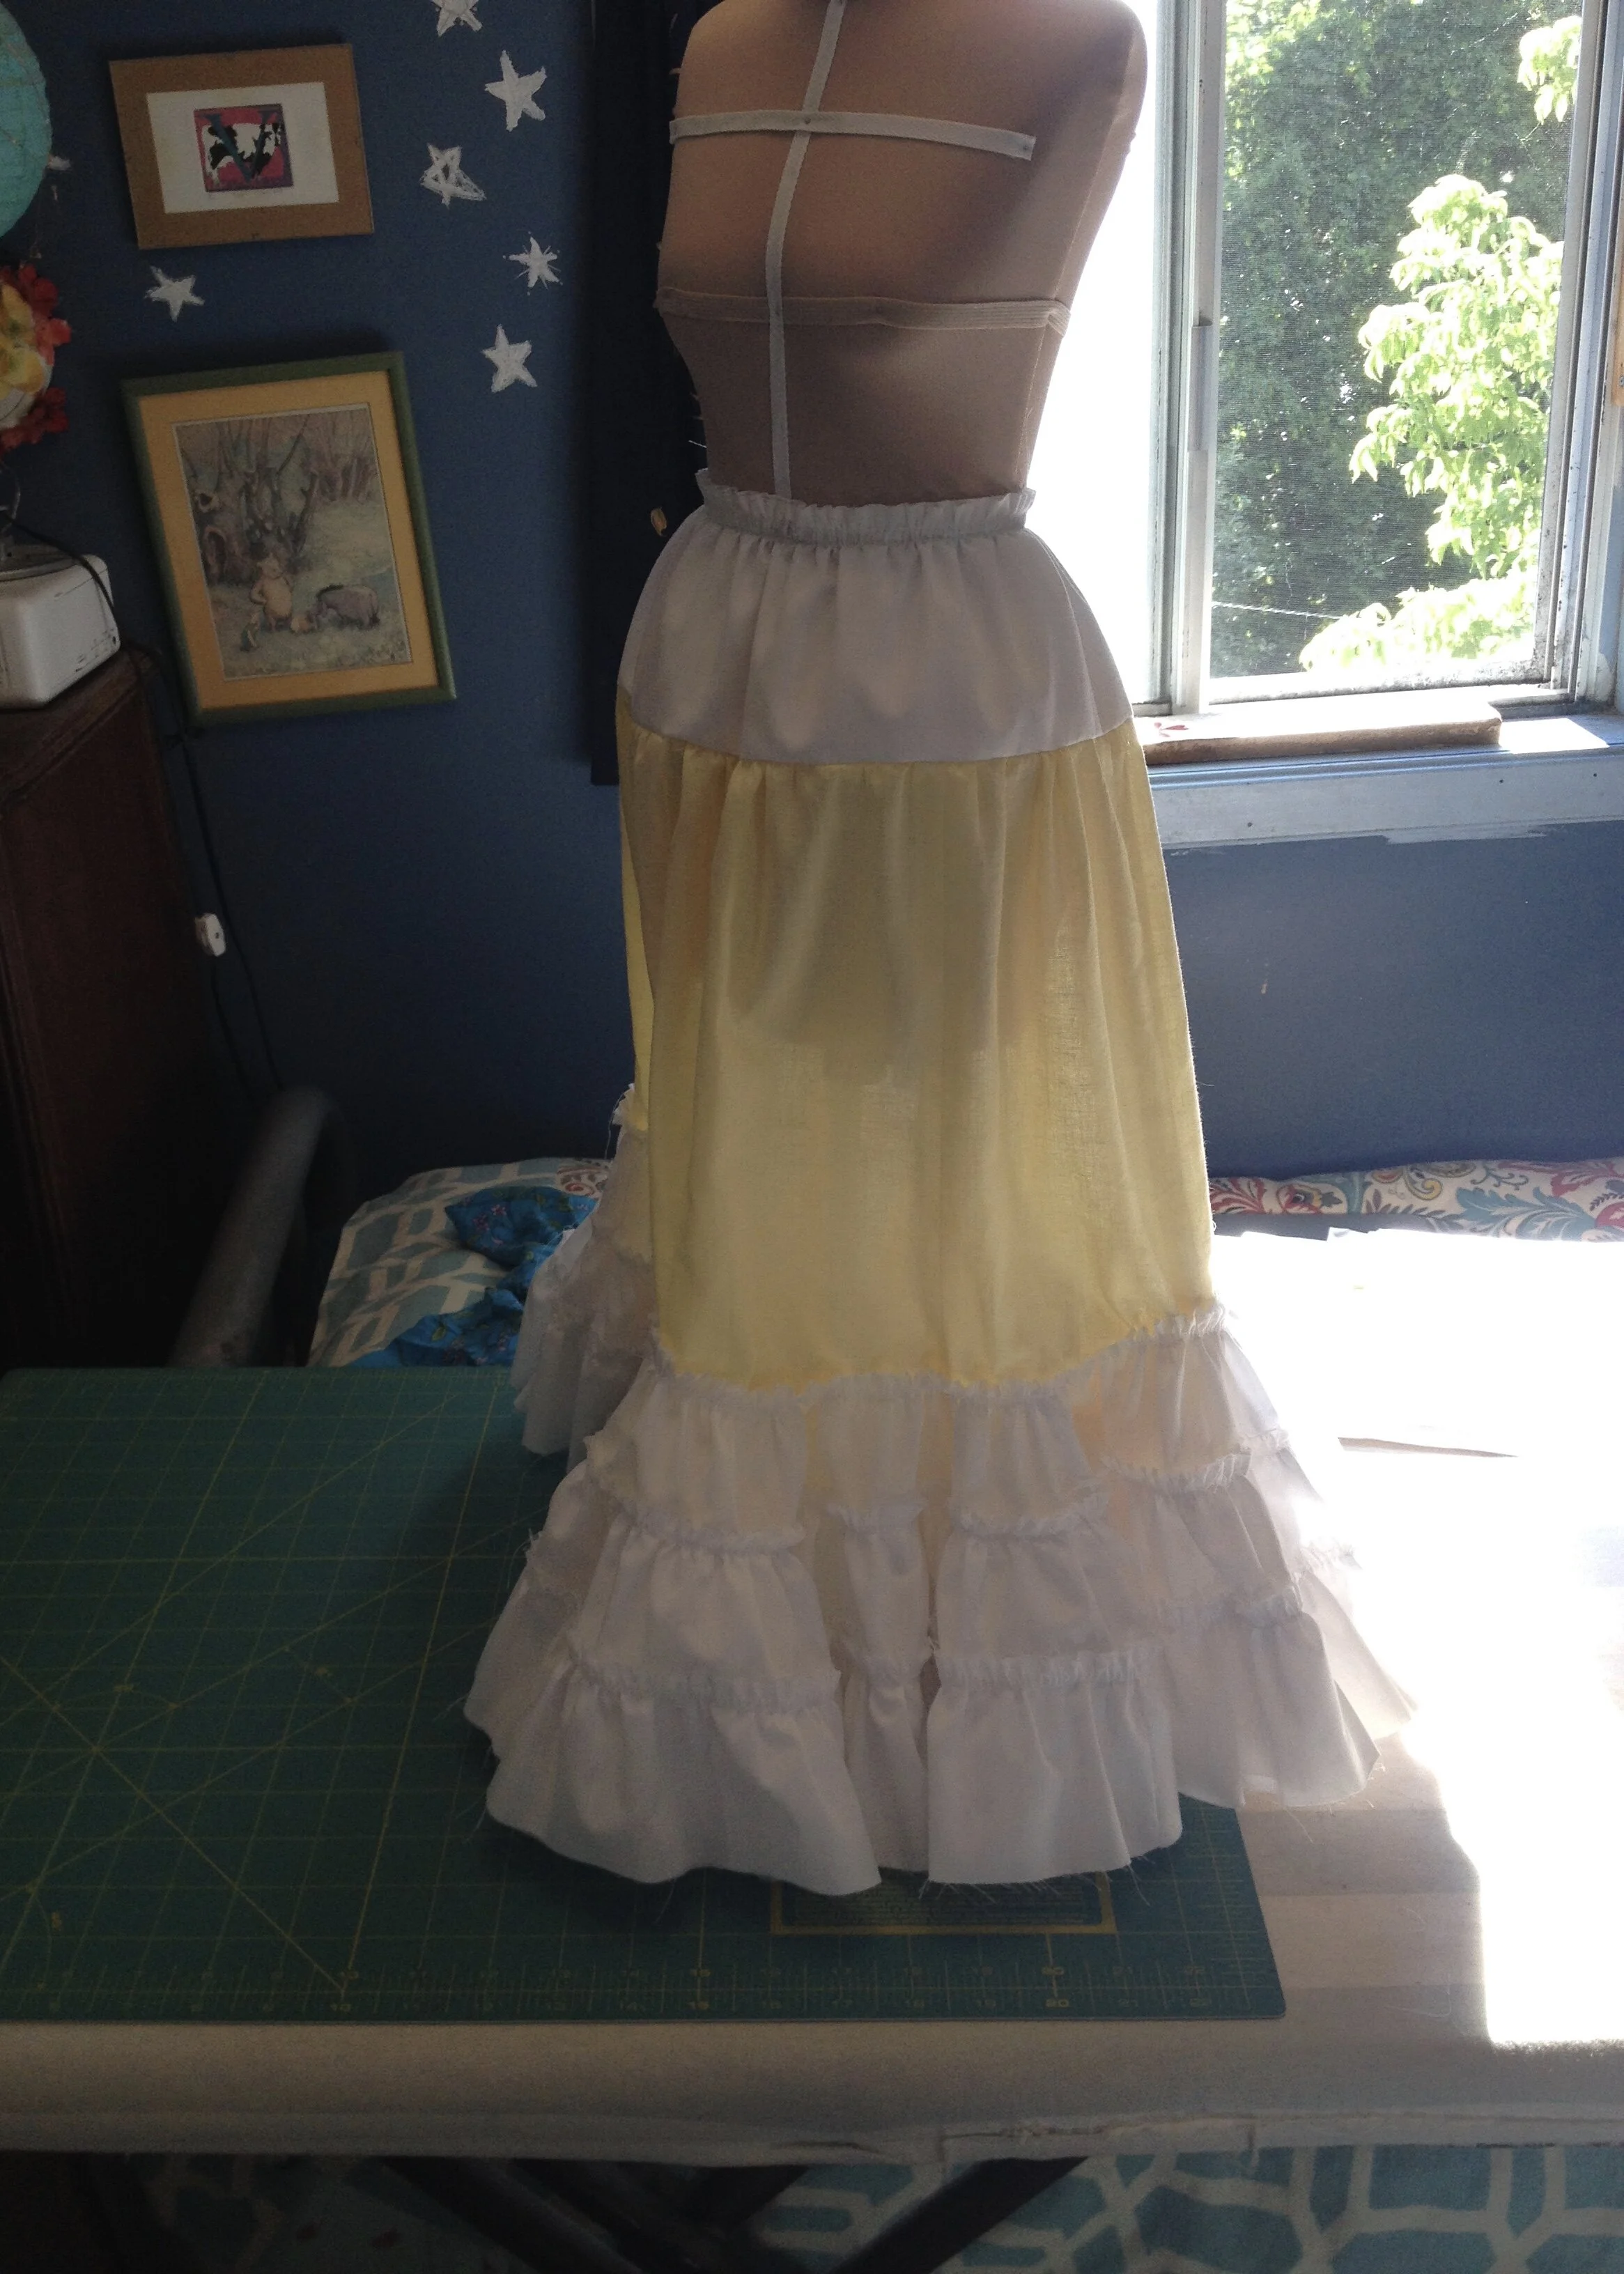
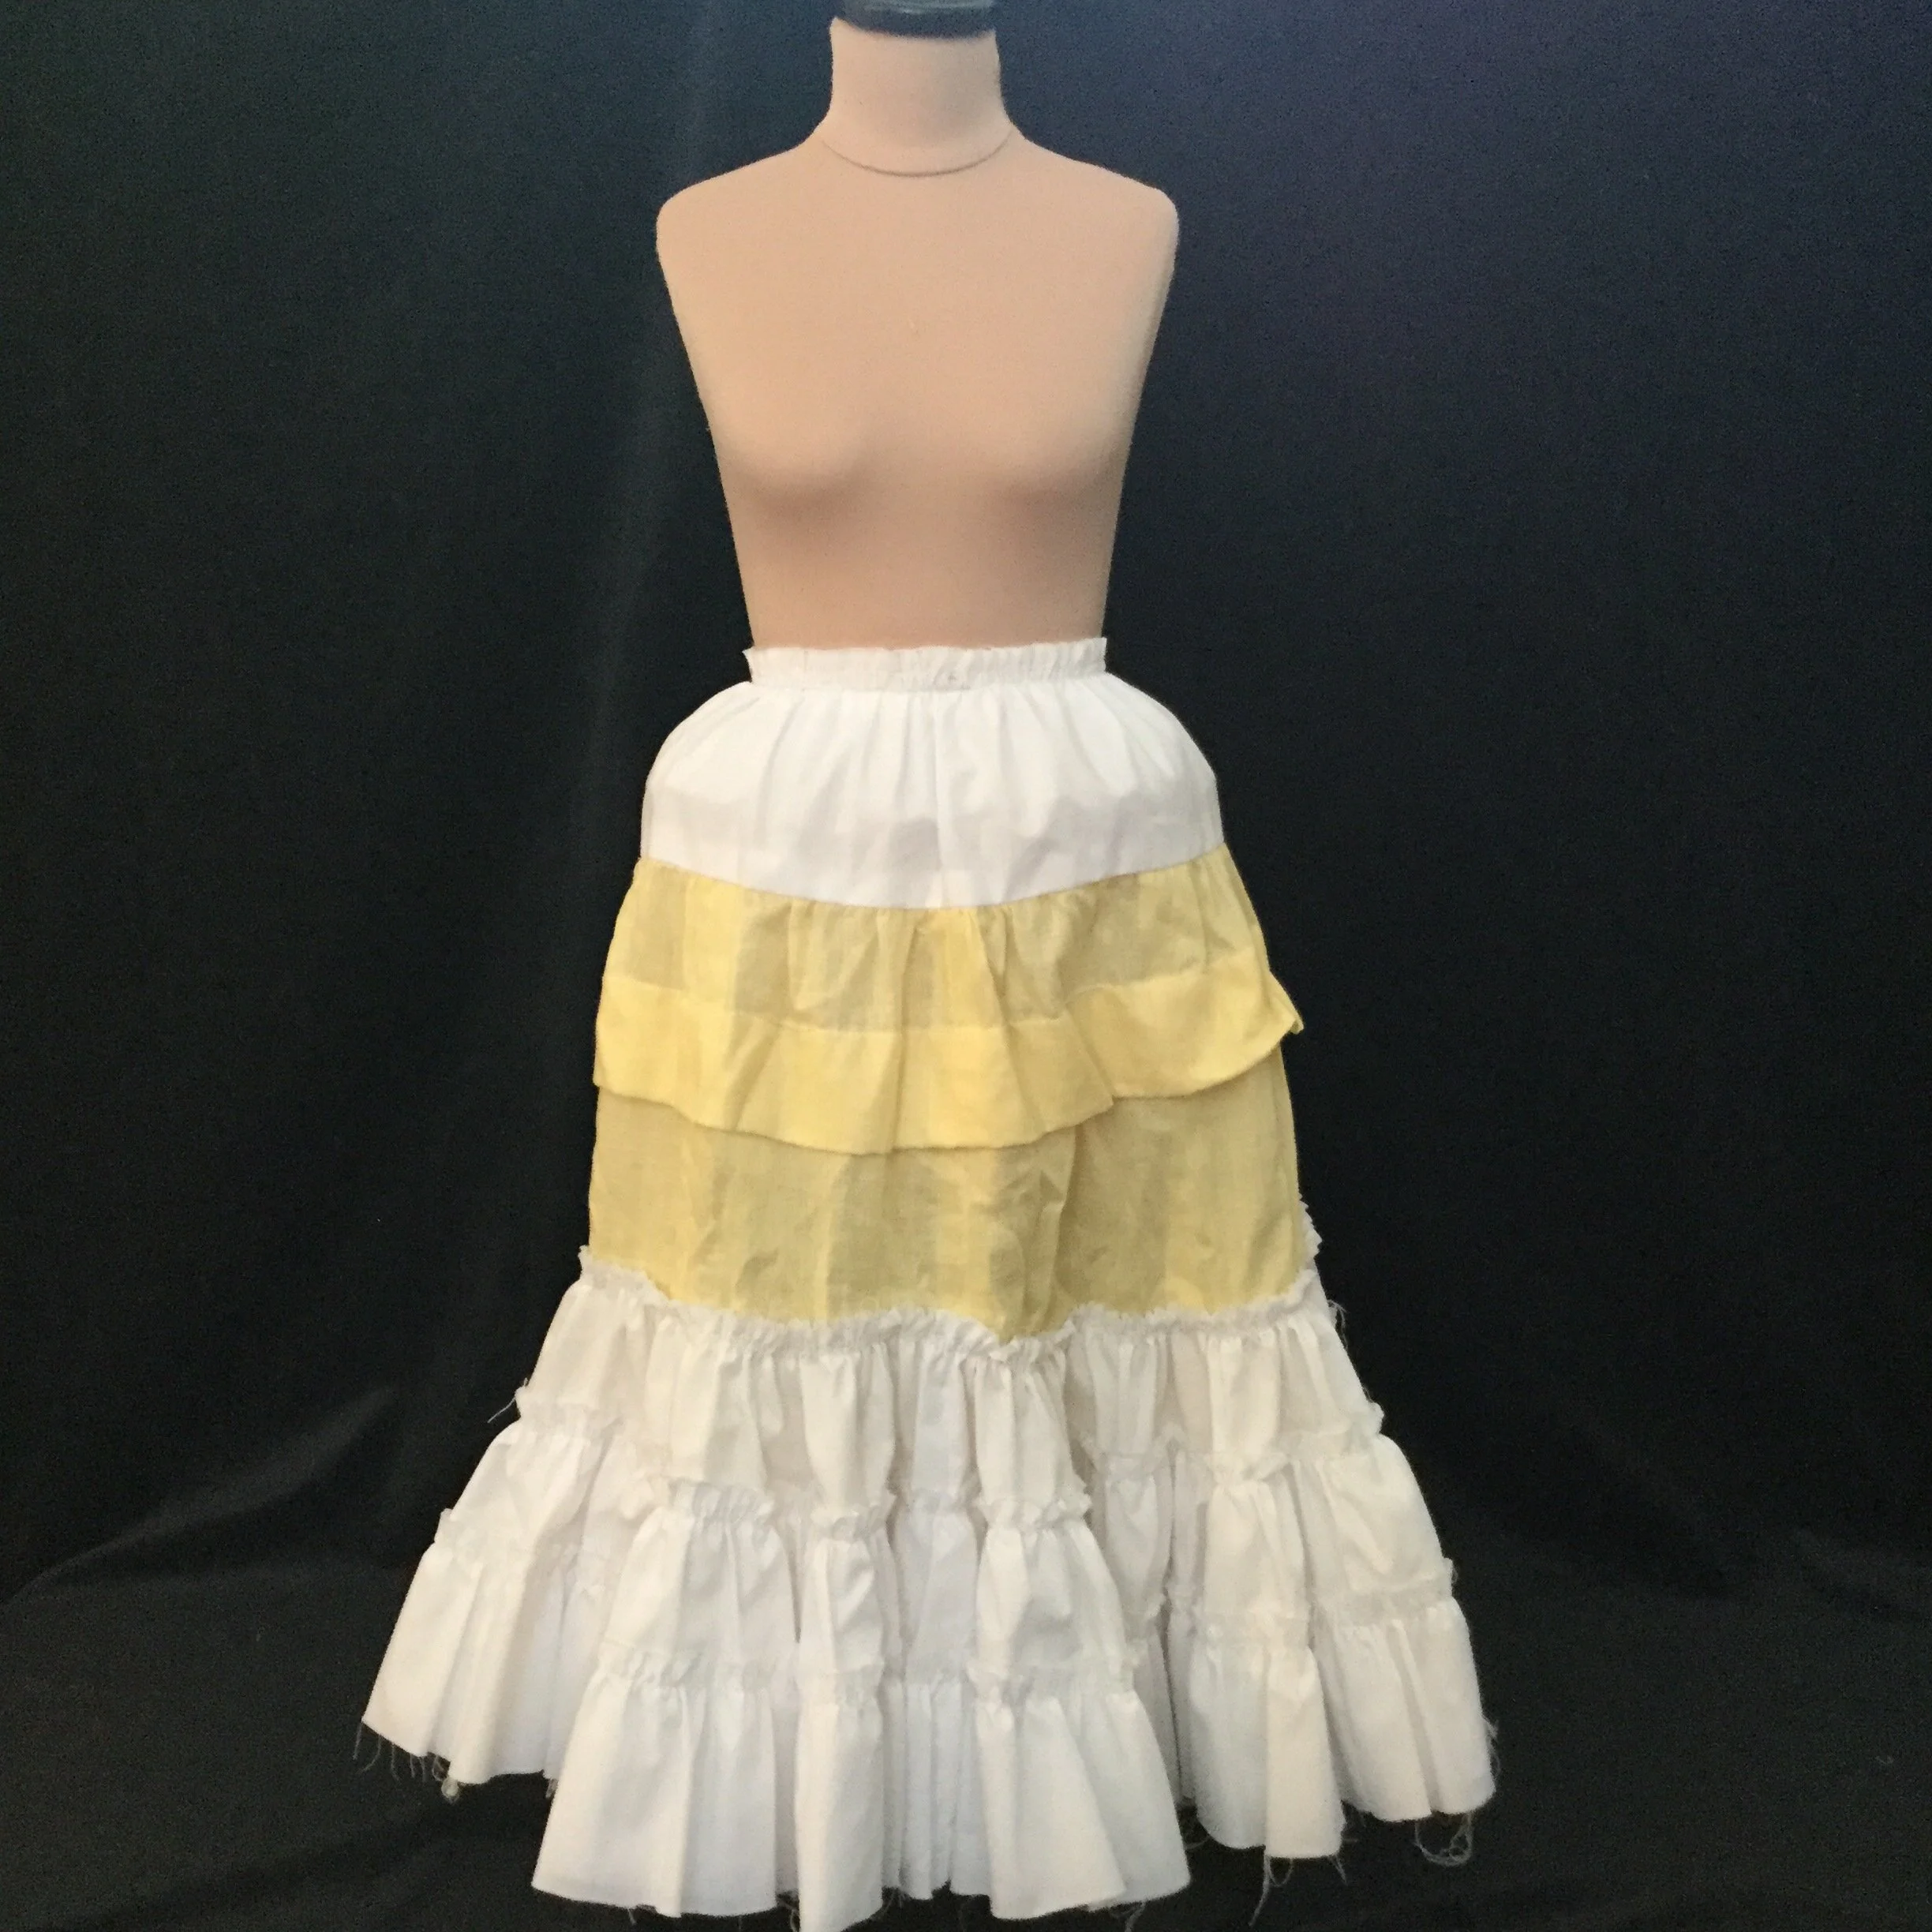
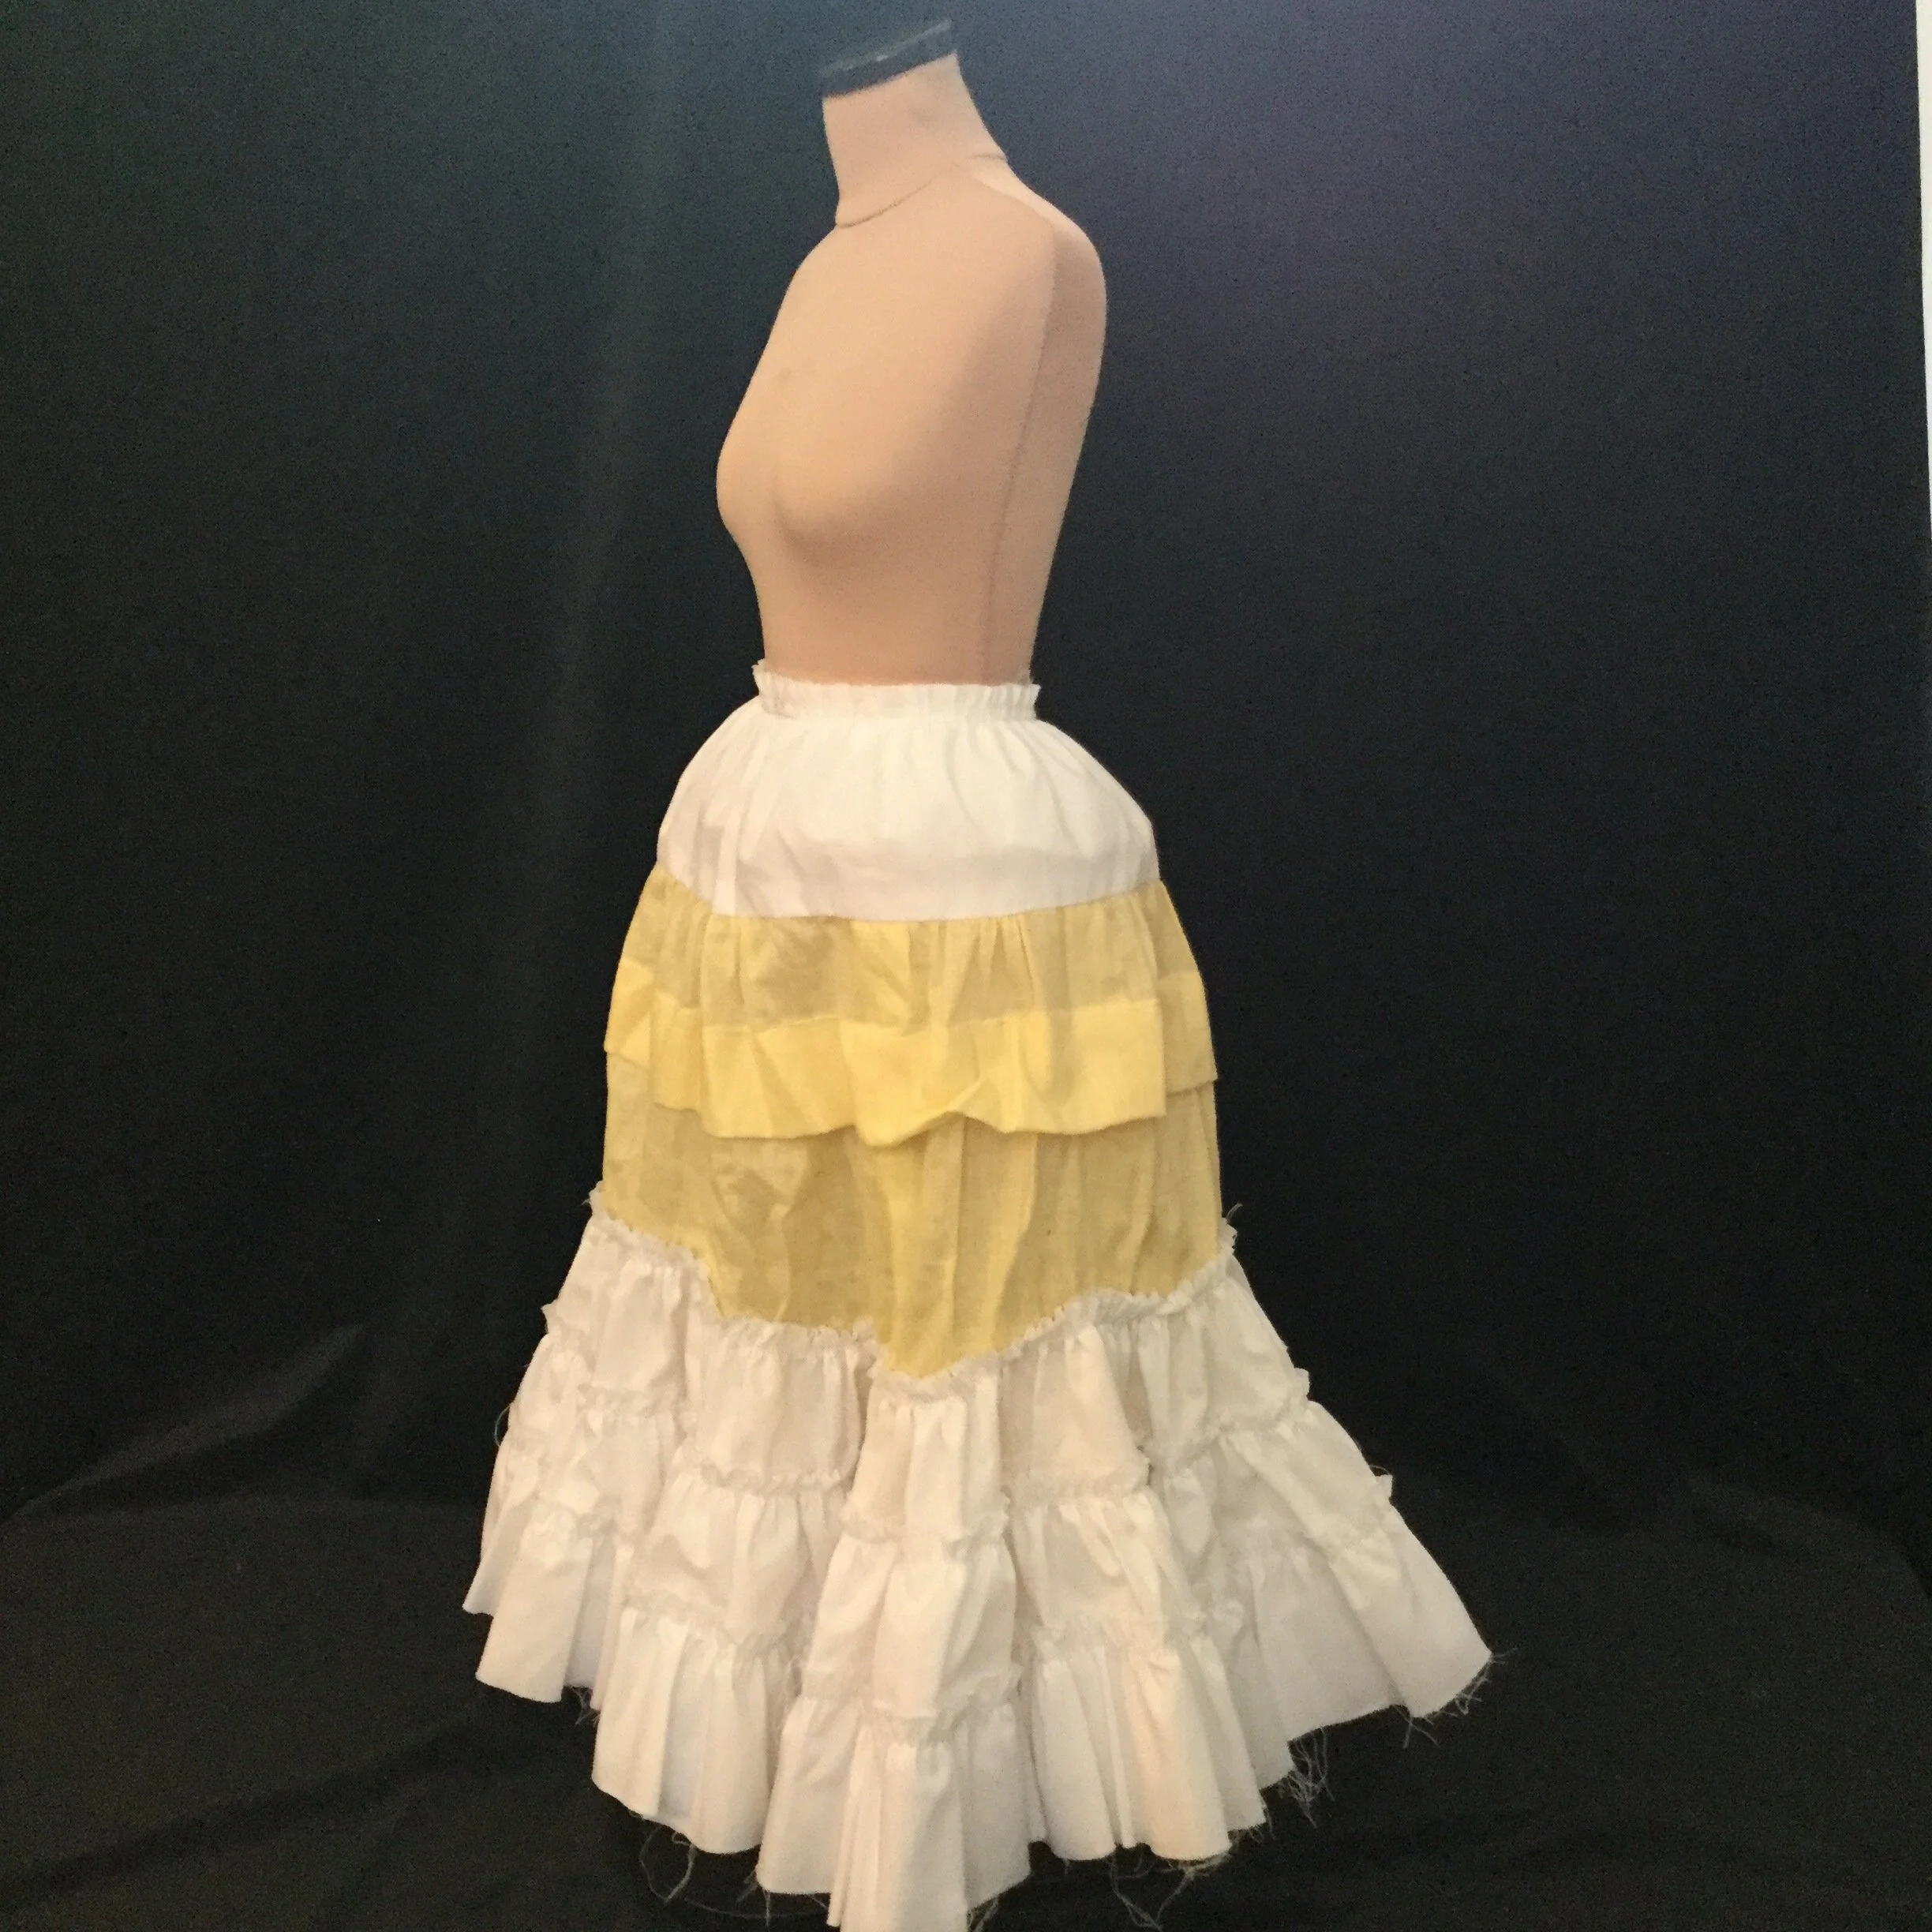
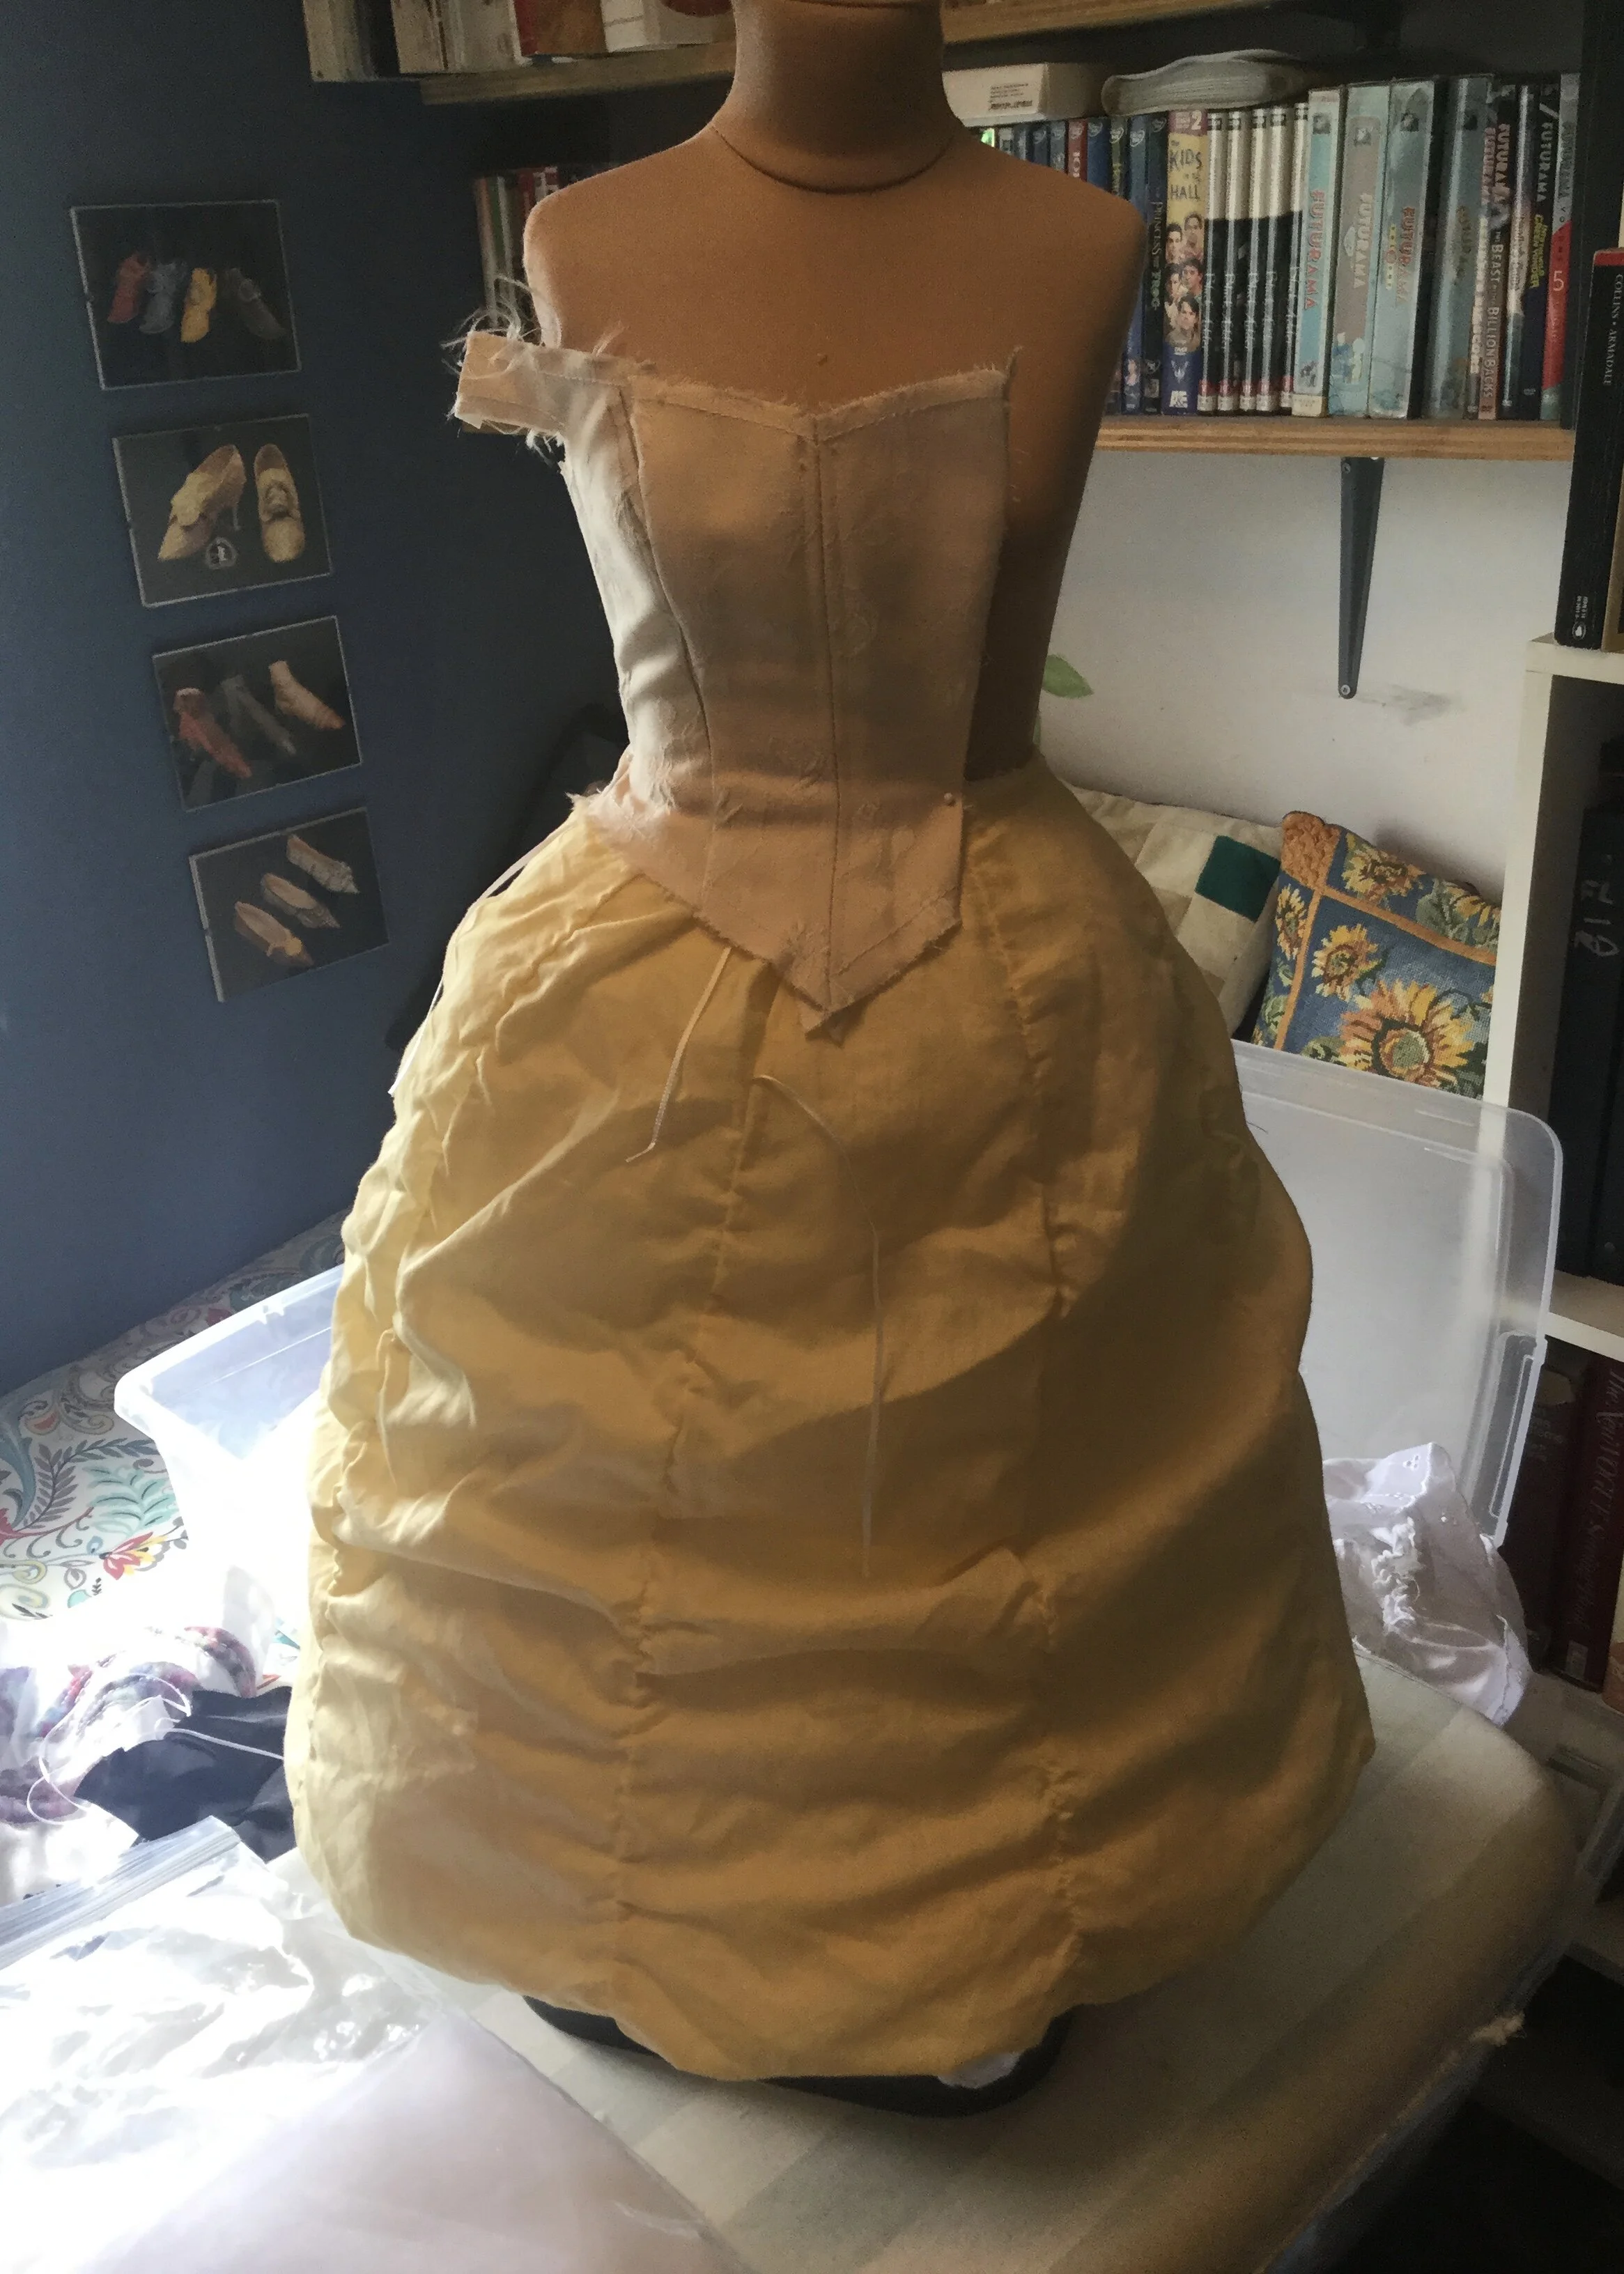
Baby’s first outfit: a petticoat mock up before flounces.
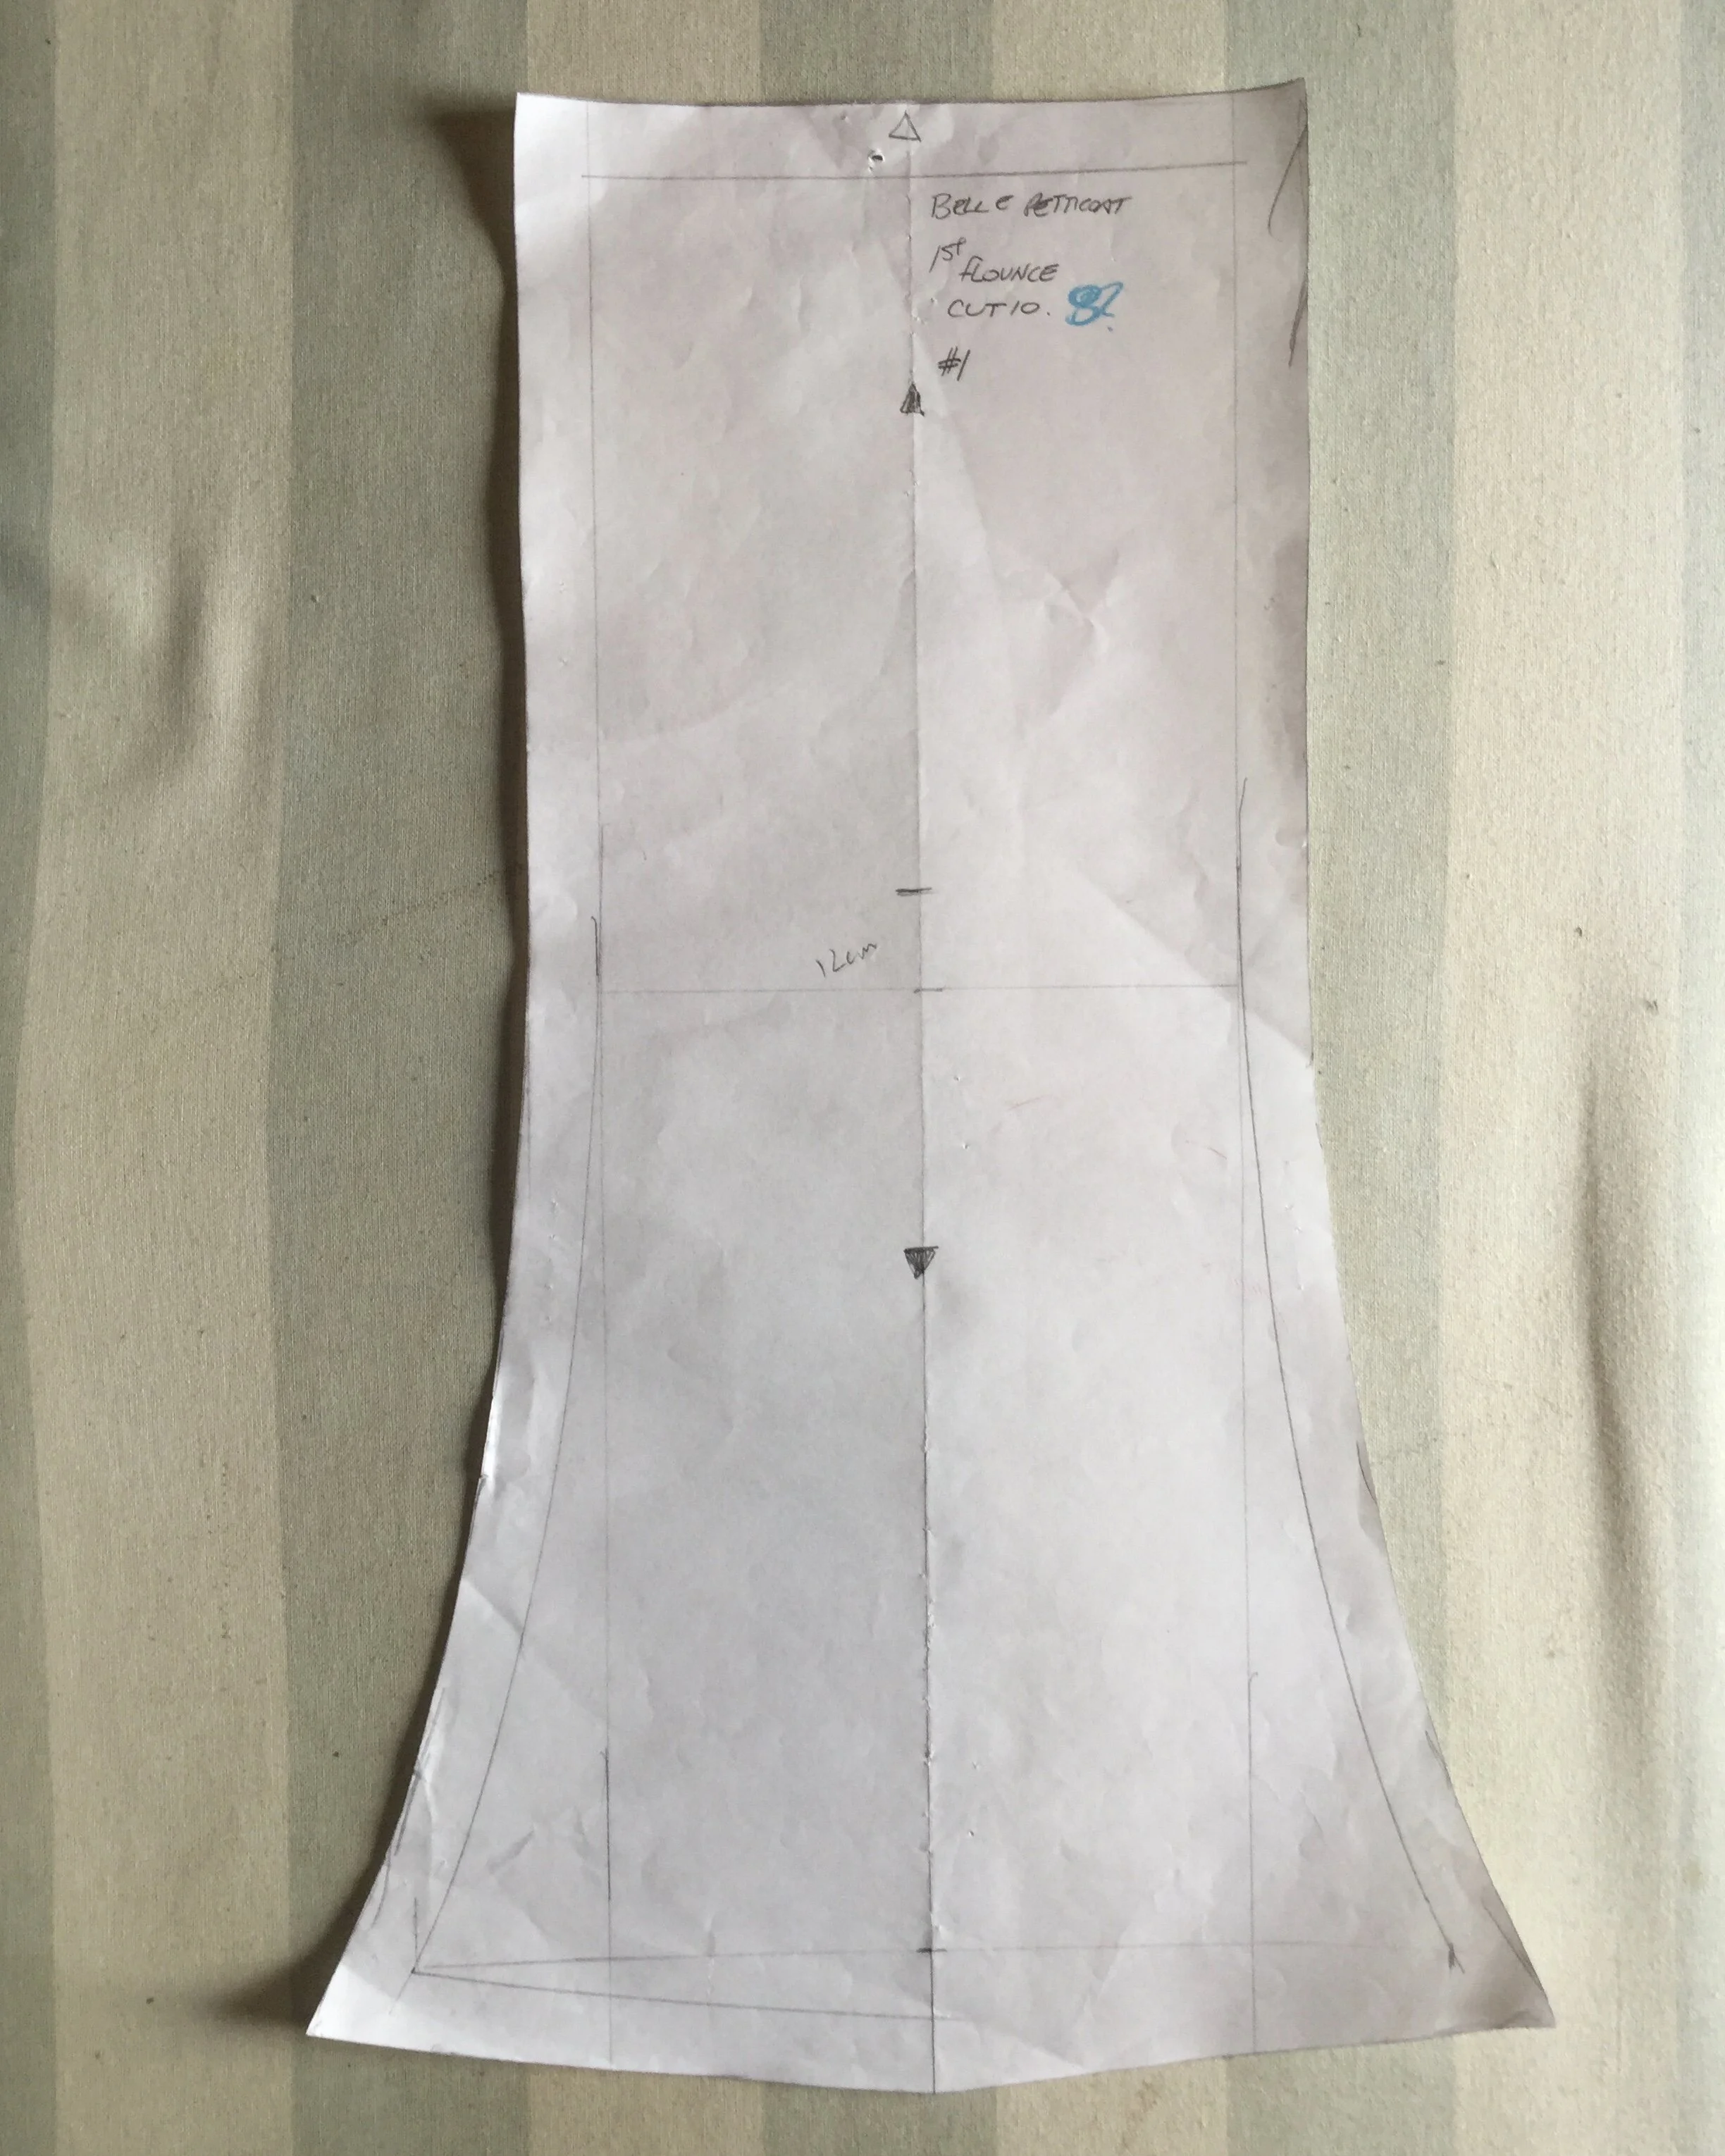
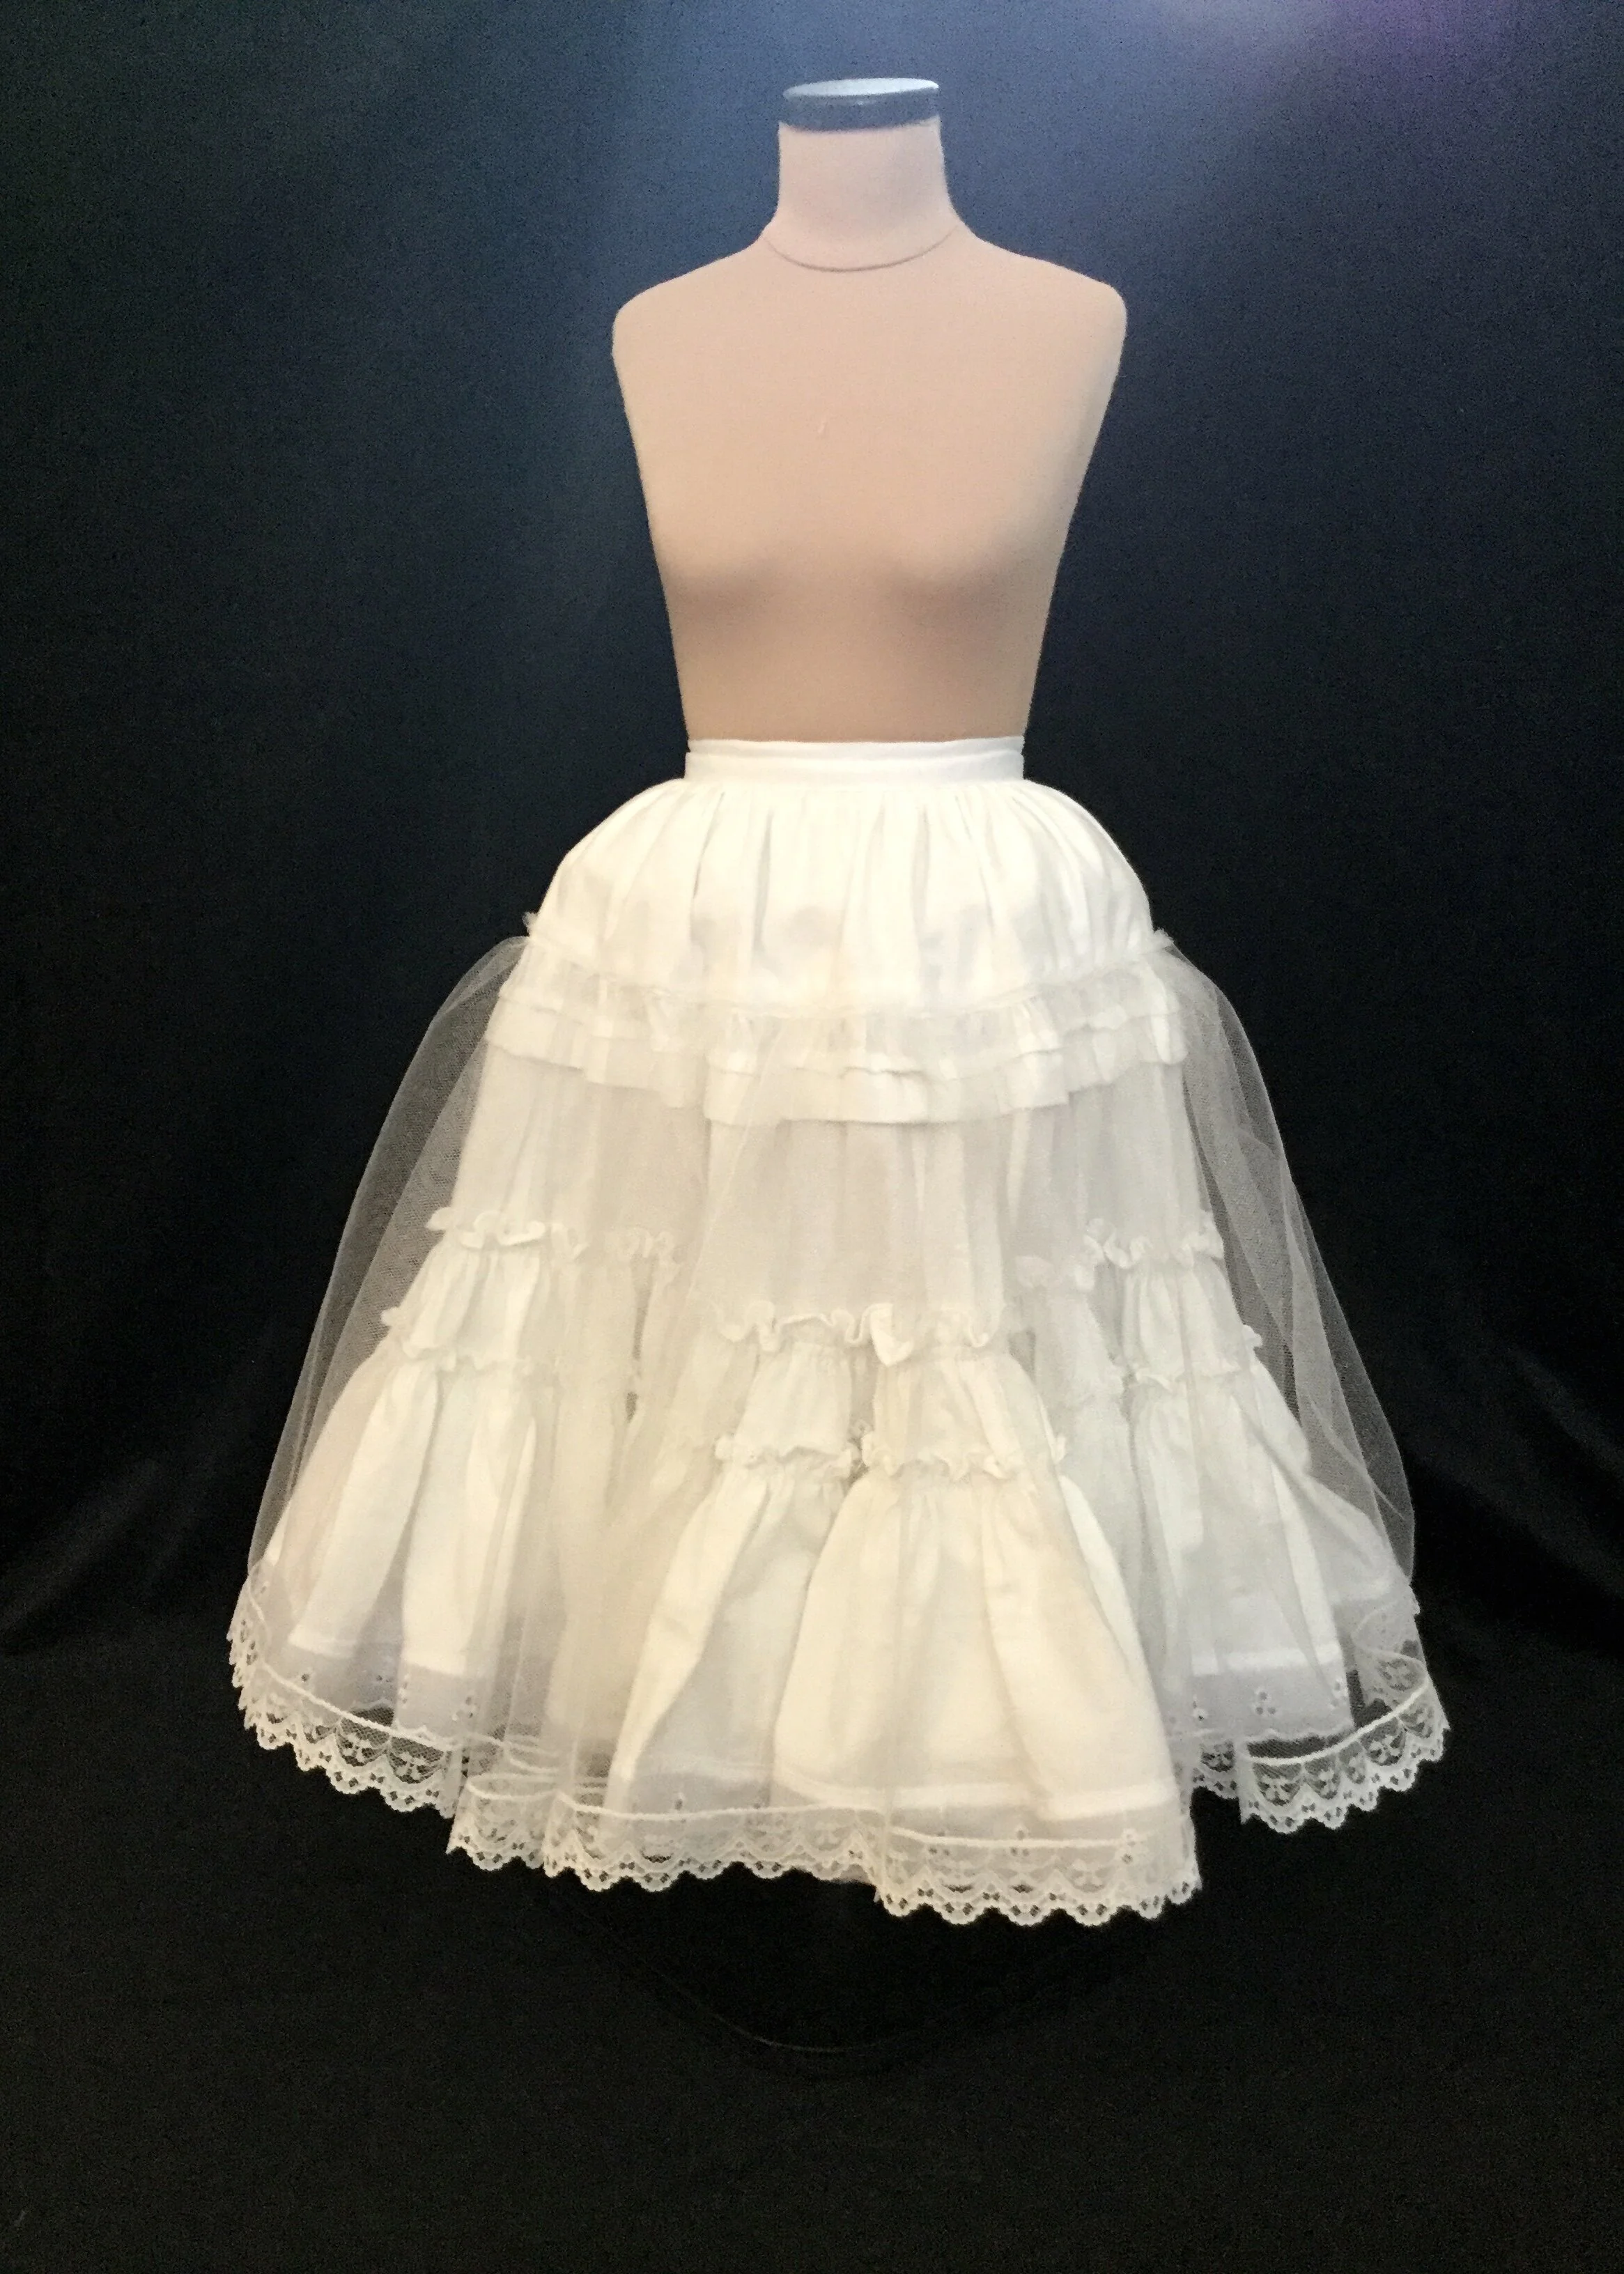
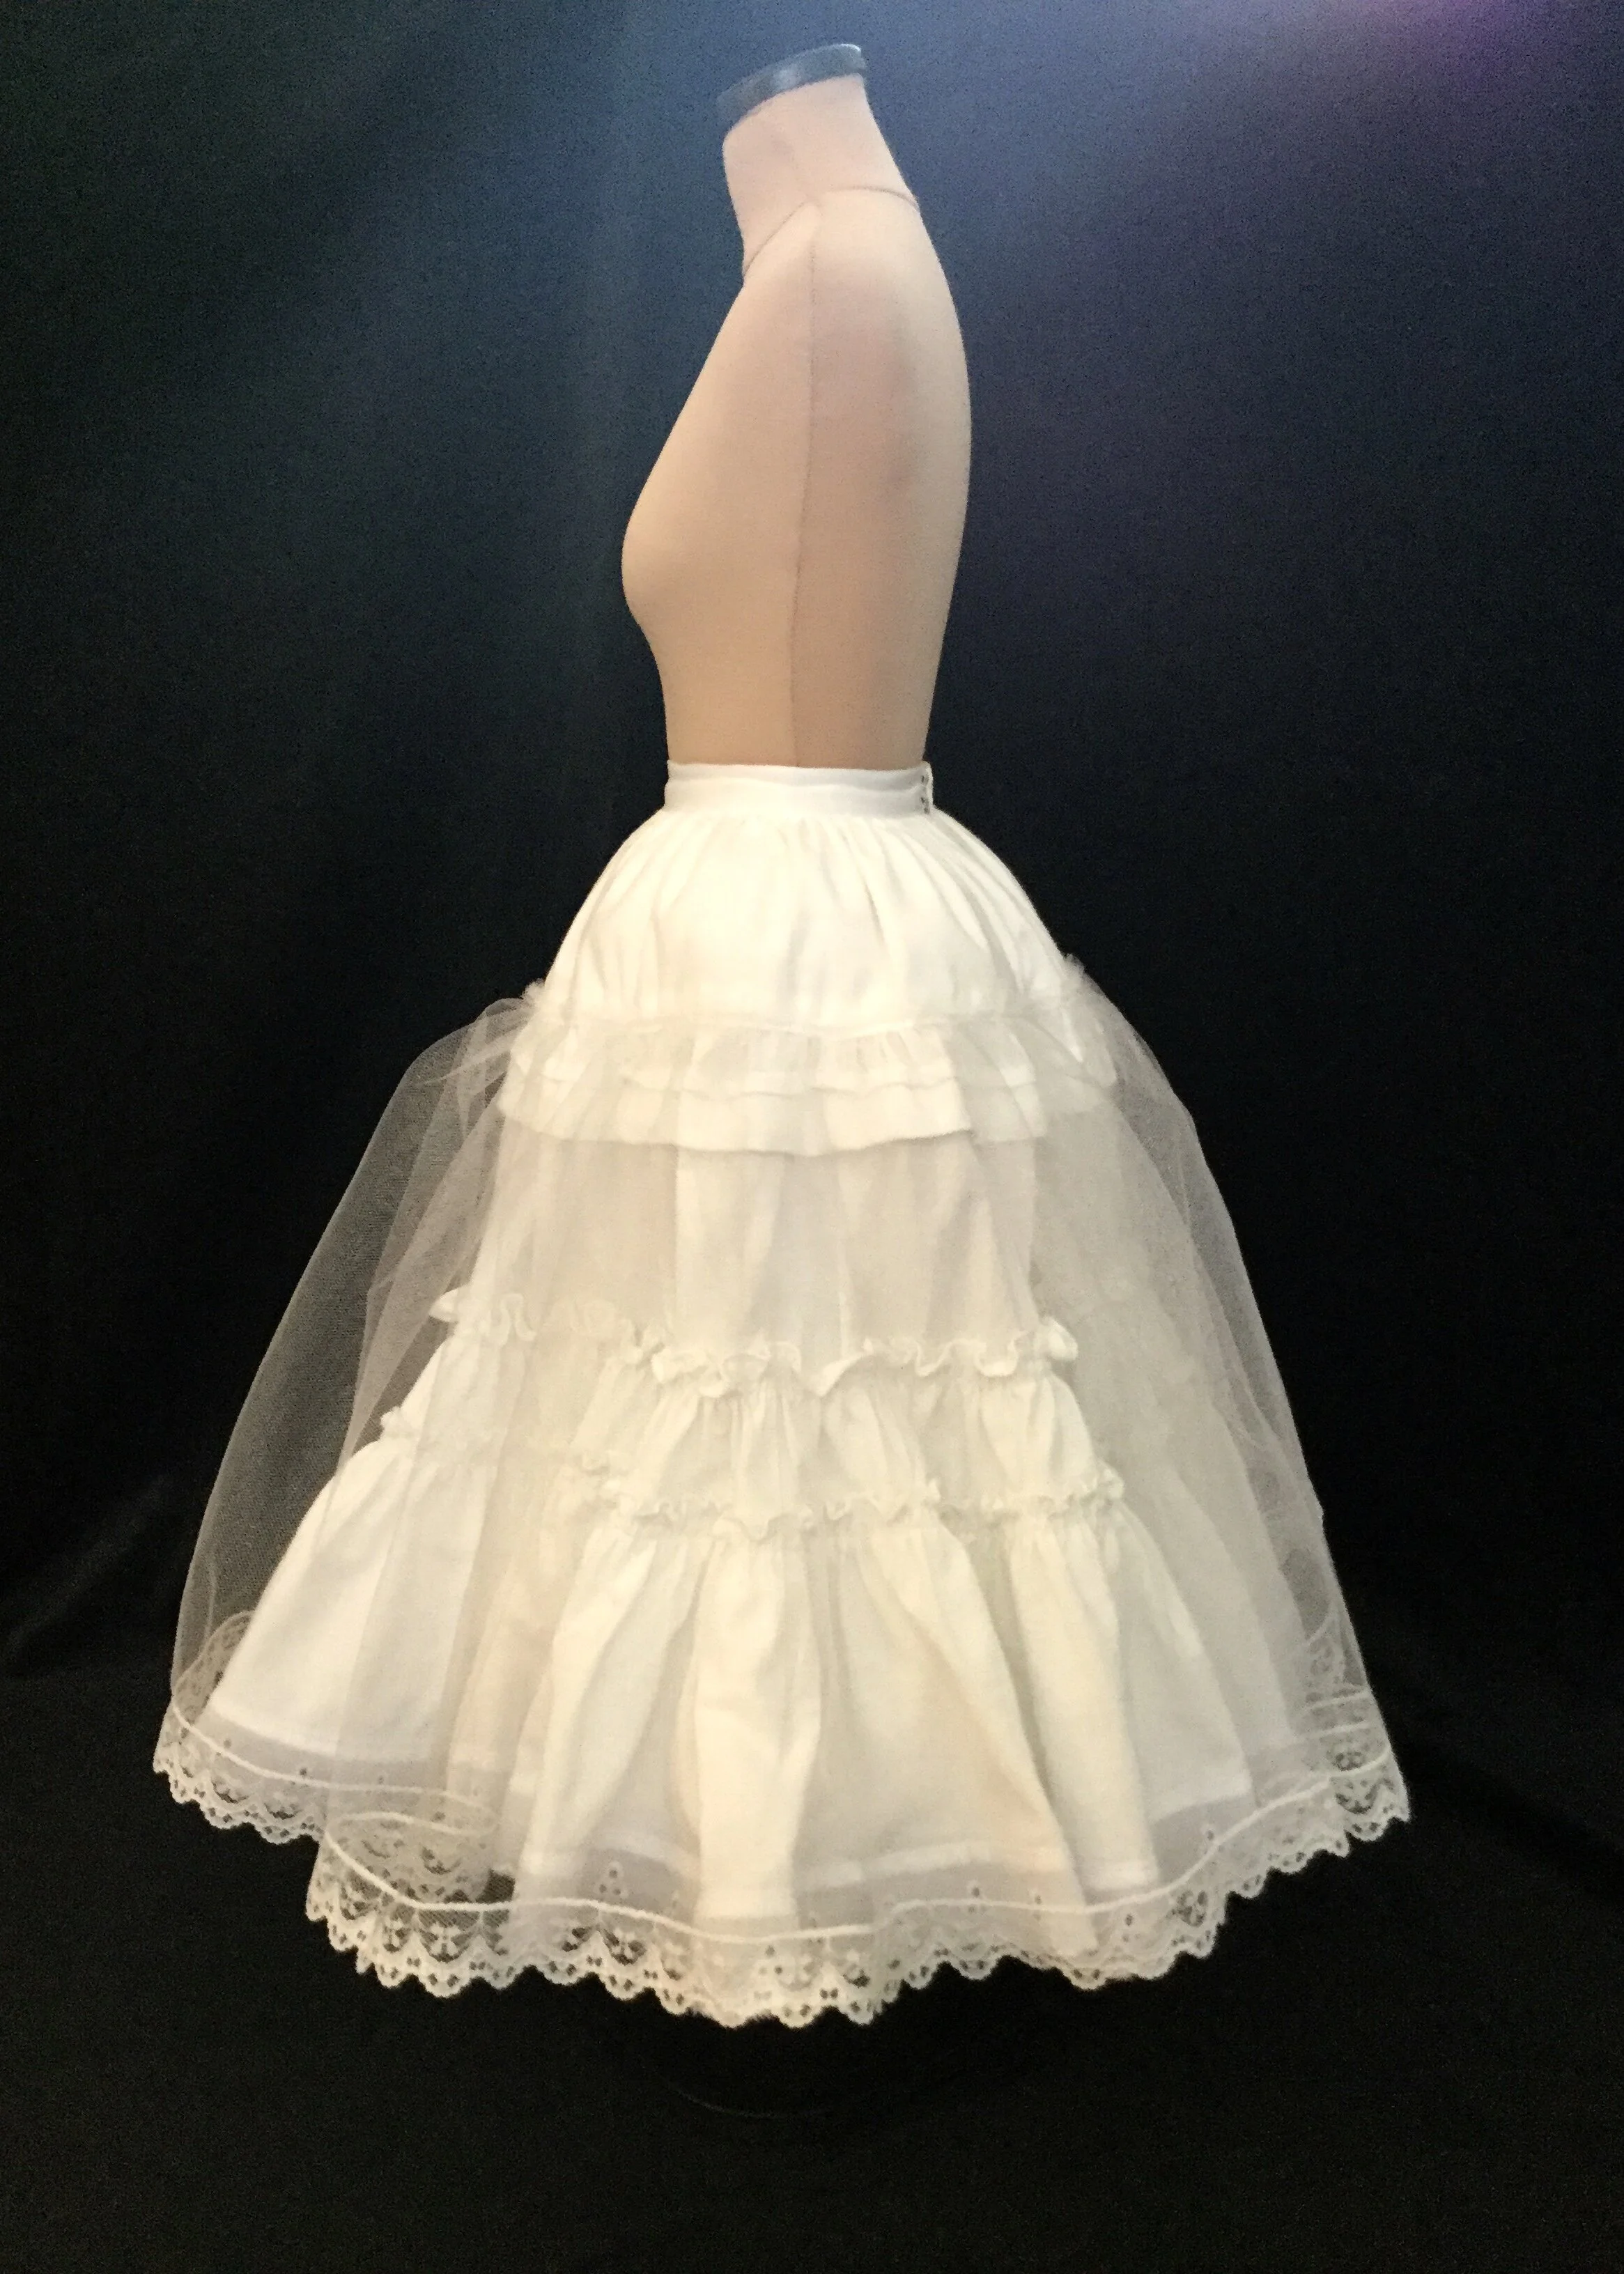
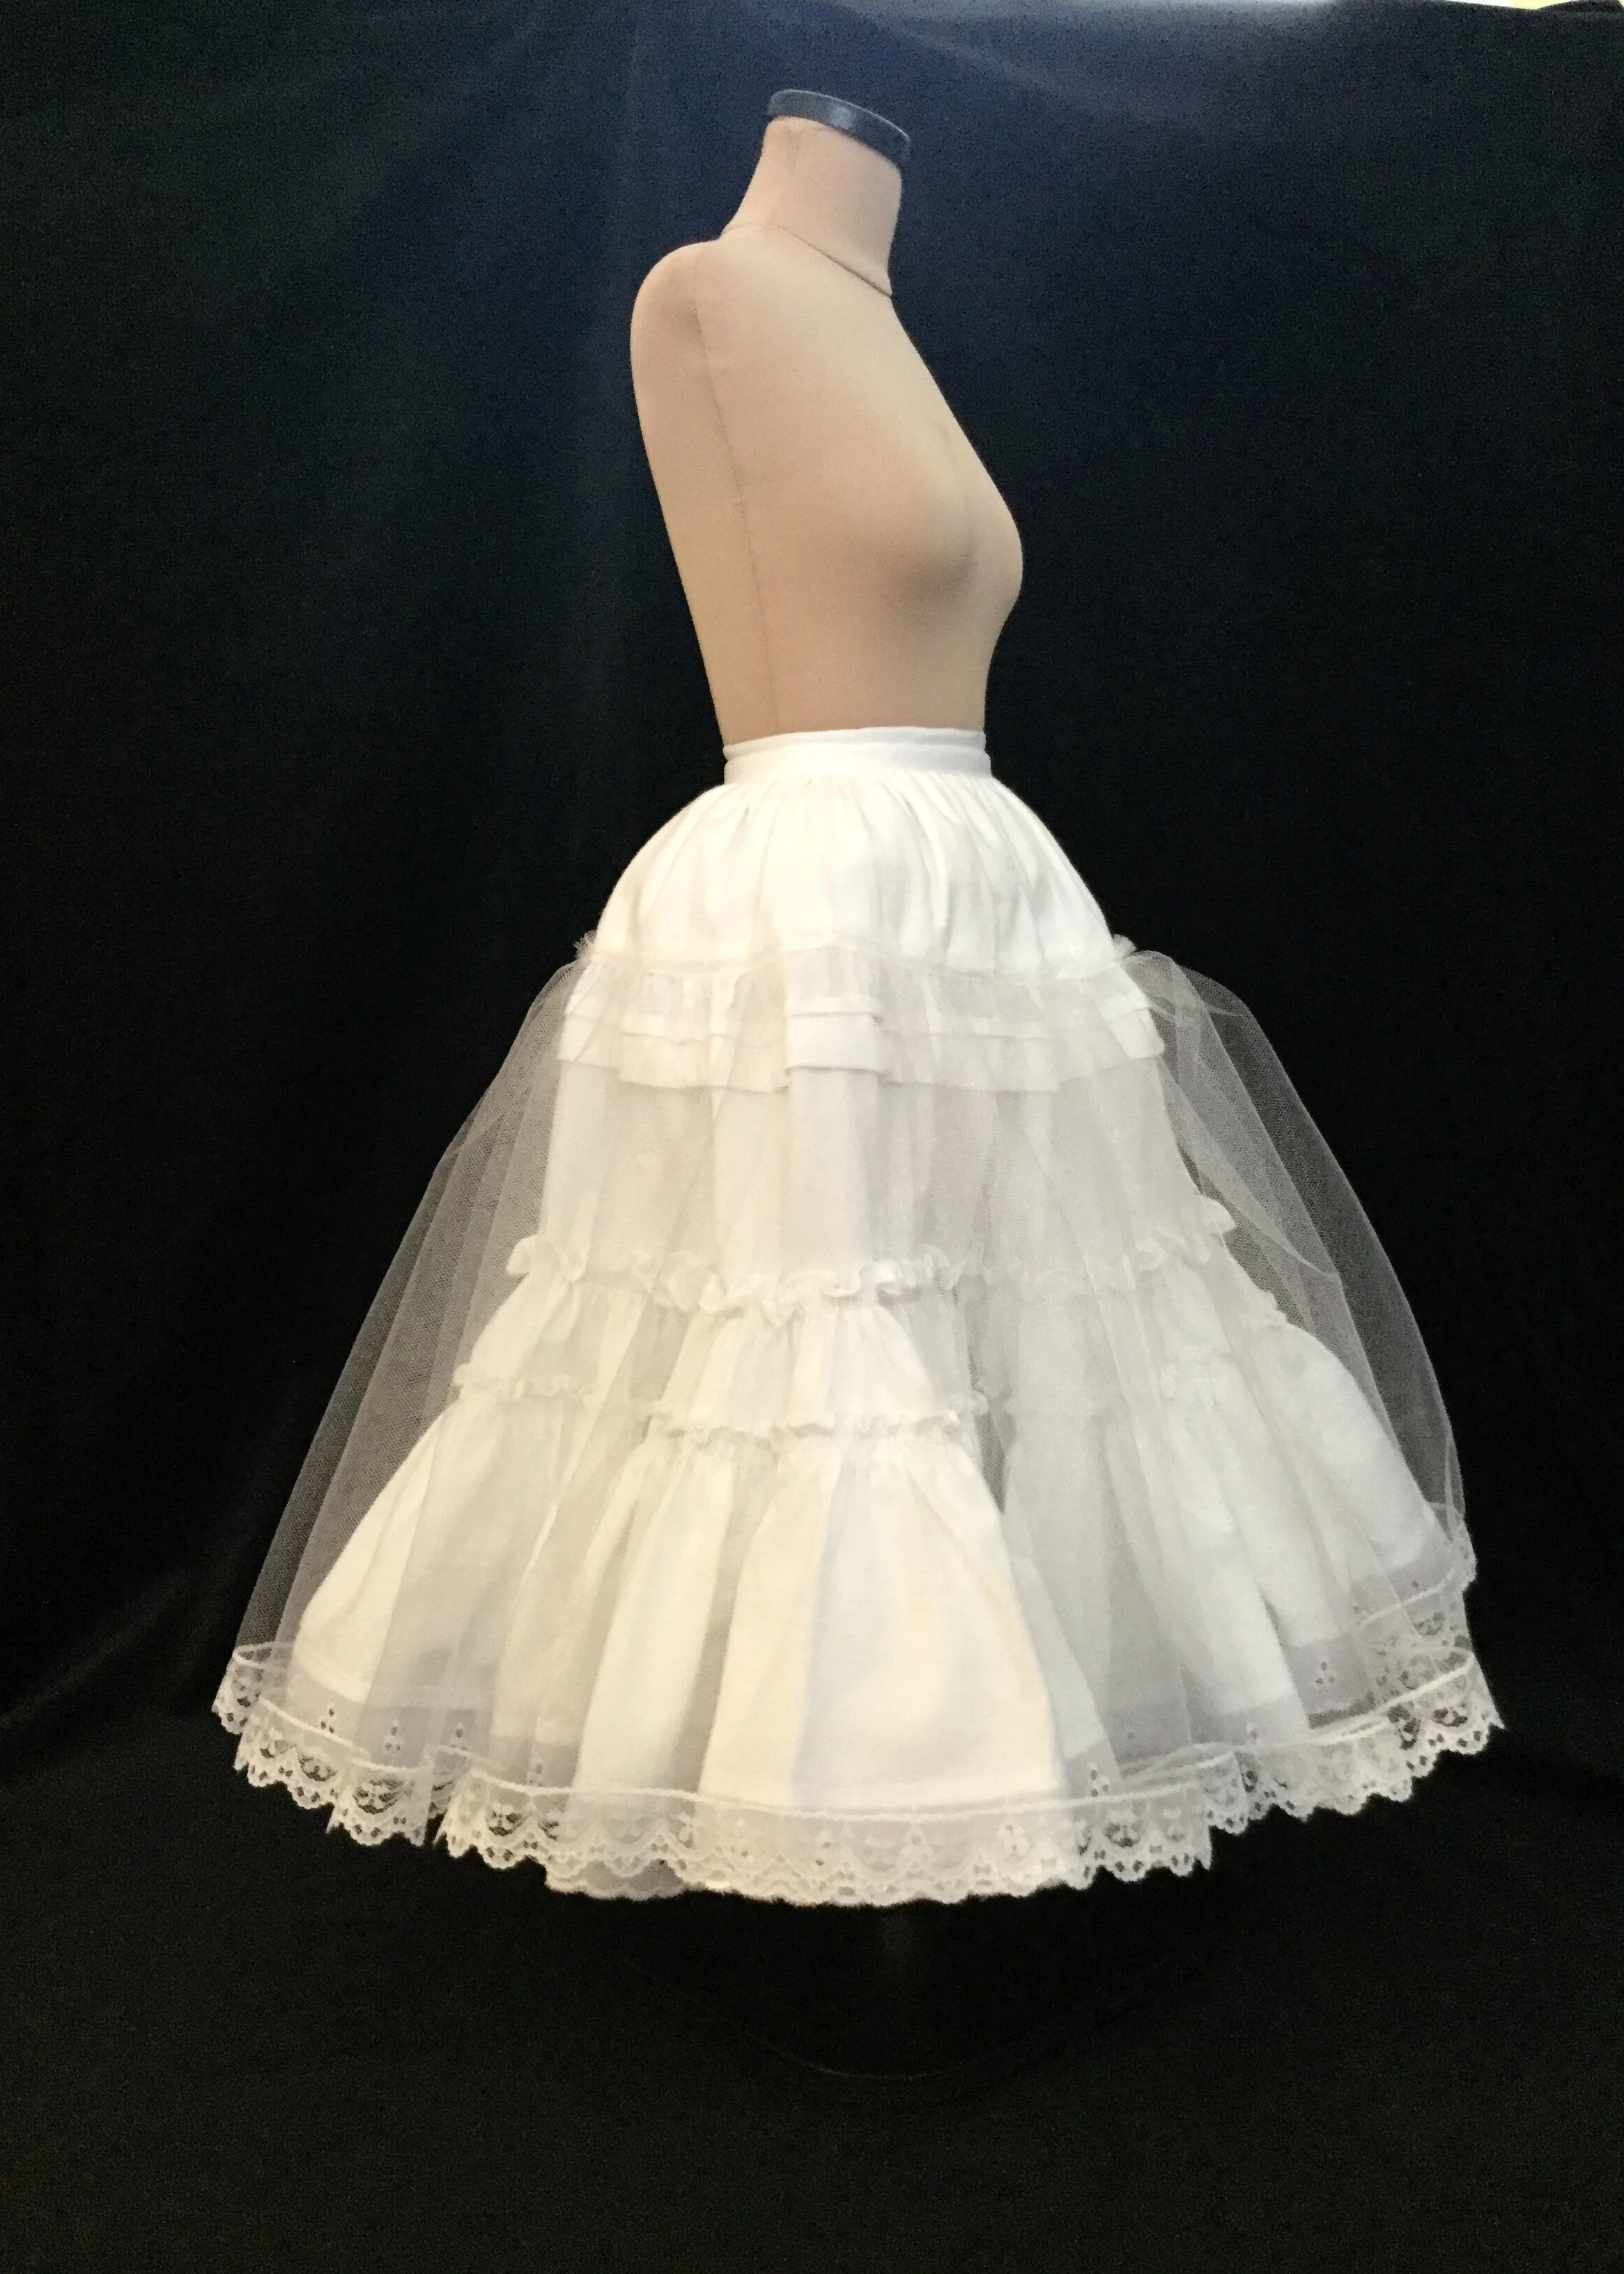
So, where to begin. How do you get a skirt to twirl and flare like that? Well, you need a shape that naturally does that. I settled on panels with a flare starting from about the knee, somewhat reminiscent of skirts that were popular in the 1930s. This is kind of just a really poufy version of that. With ruffles. I also decided to use a yoke for the top of the skirt and start the panels at the hip so that I could add in even more fullness and treat the body of the skirt as though it was actually one of the flounces as well. The yoke also served me well when I came to making the final petticoat as I made it with two layers and sandwiched the skirt between them, giving the seam a really clean and attractive finish.
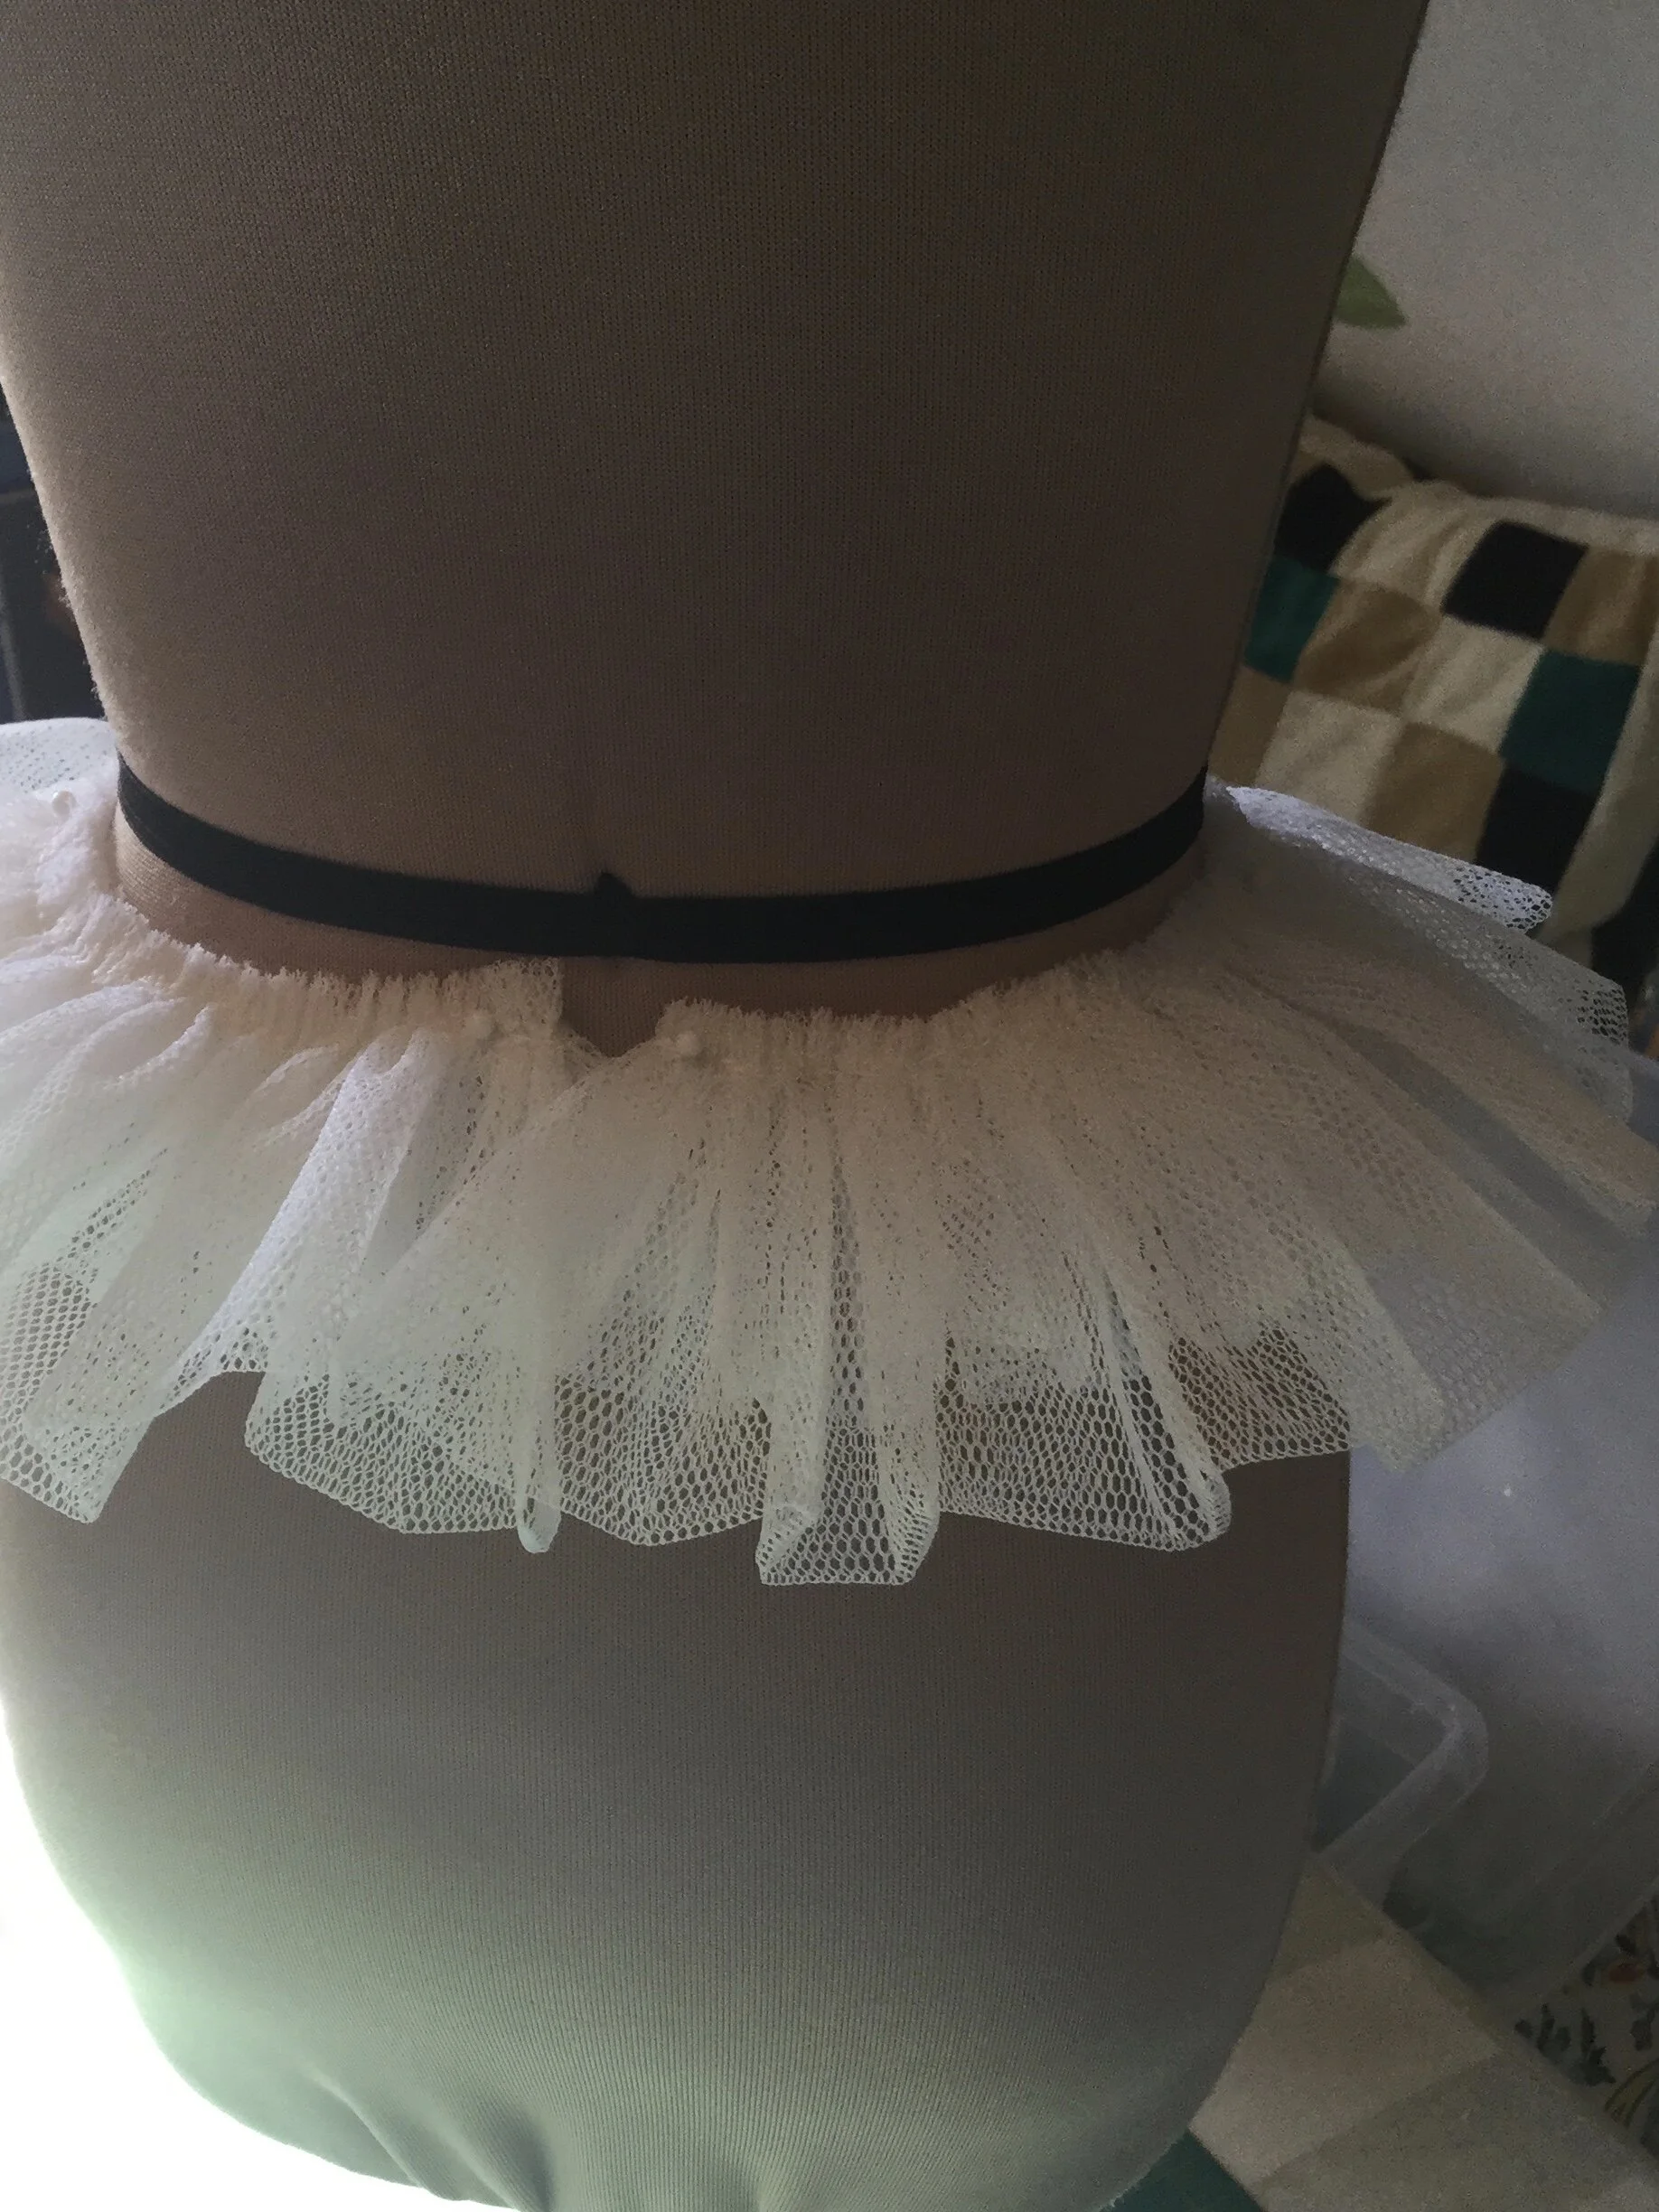
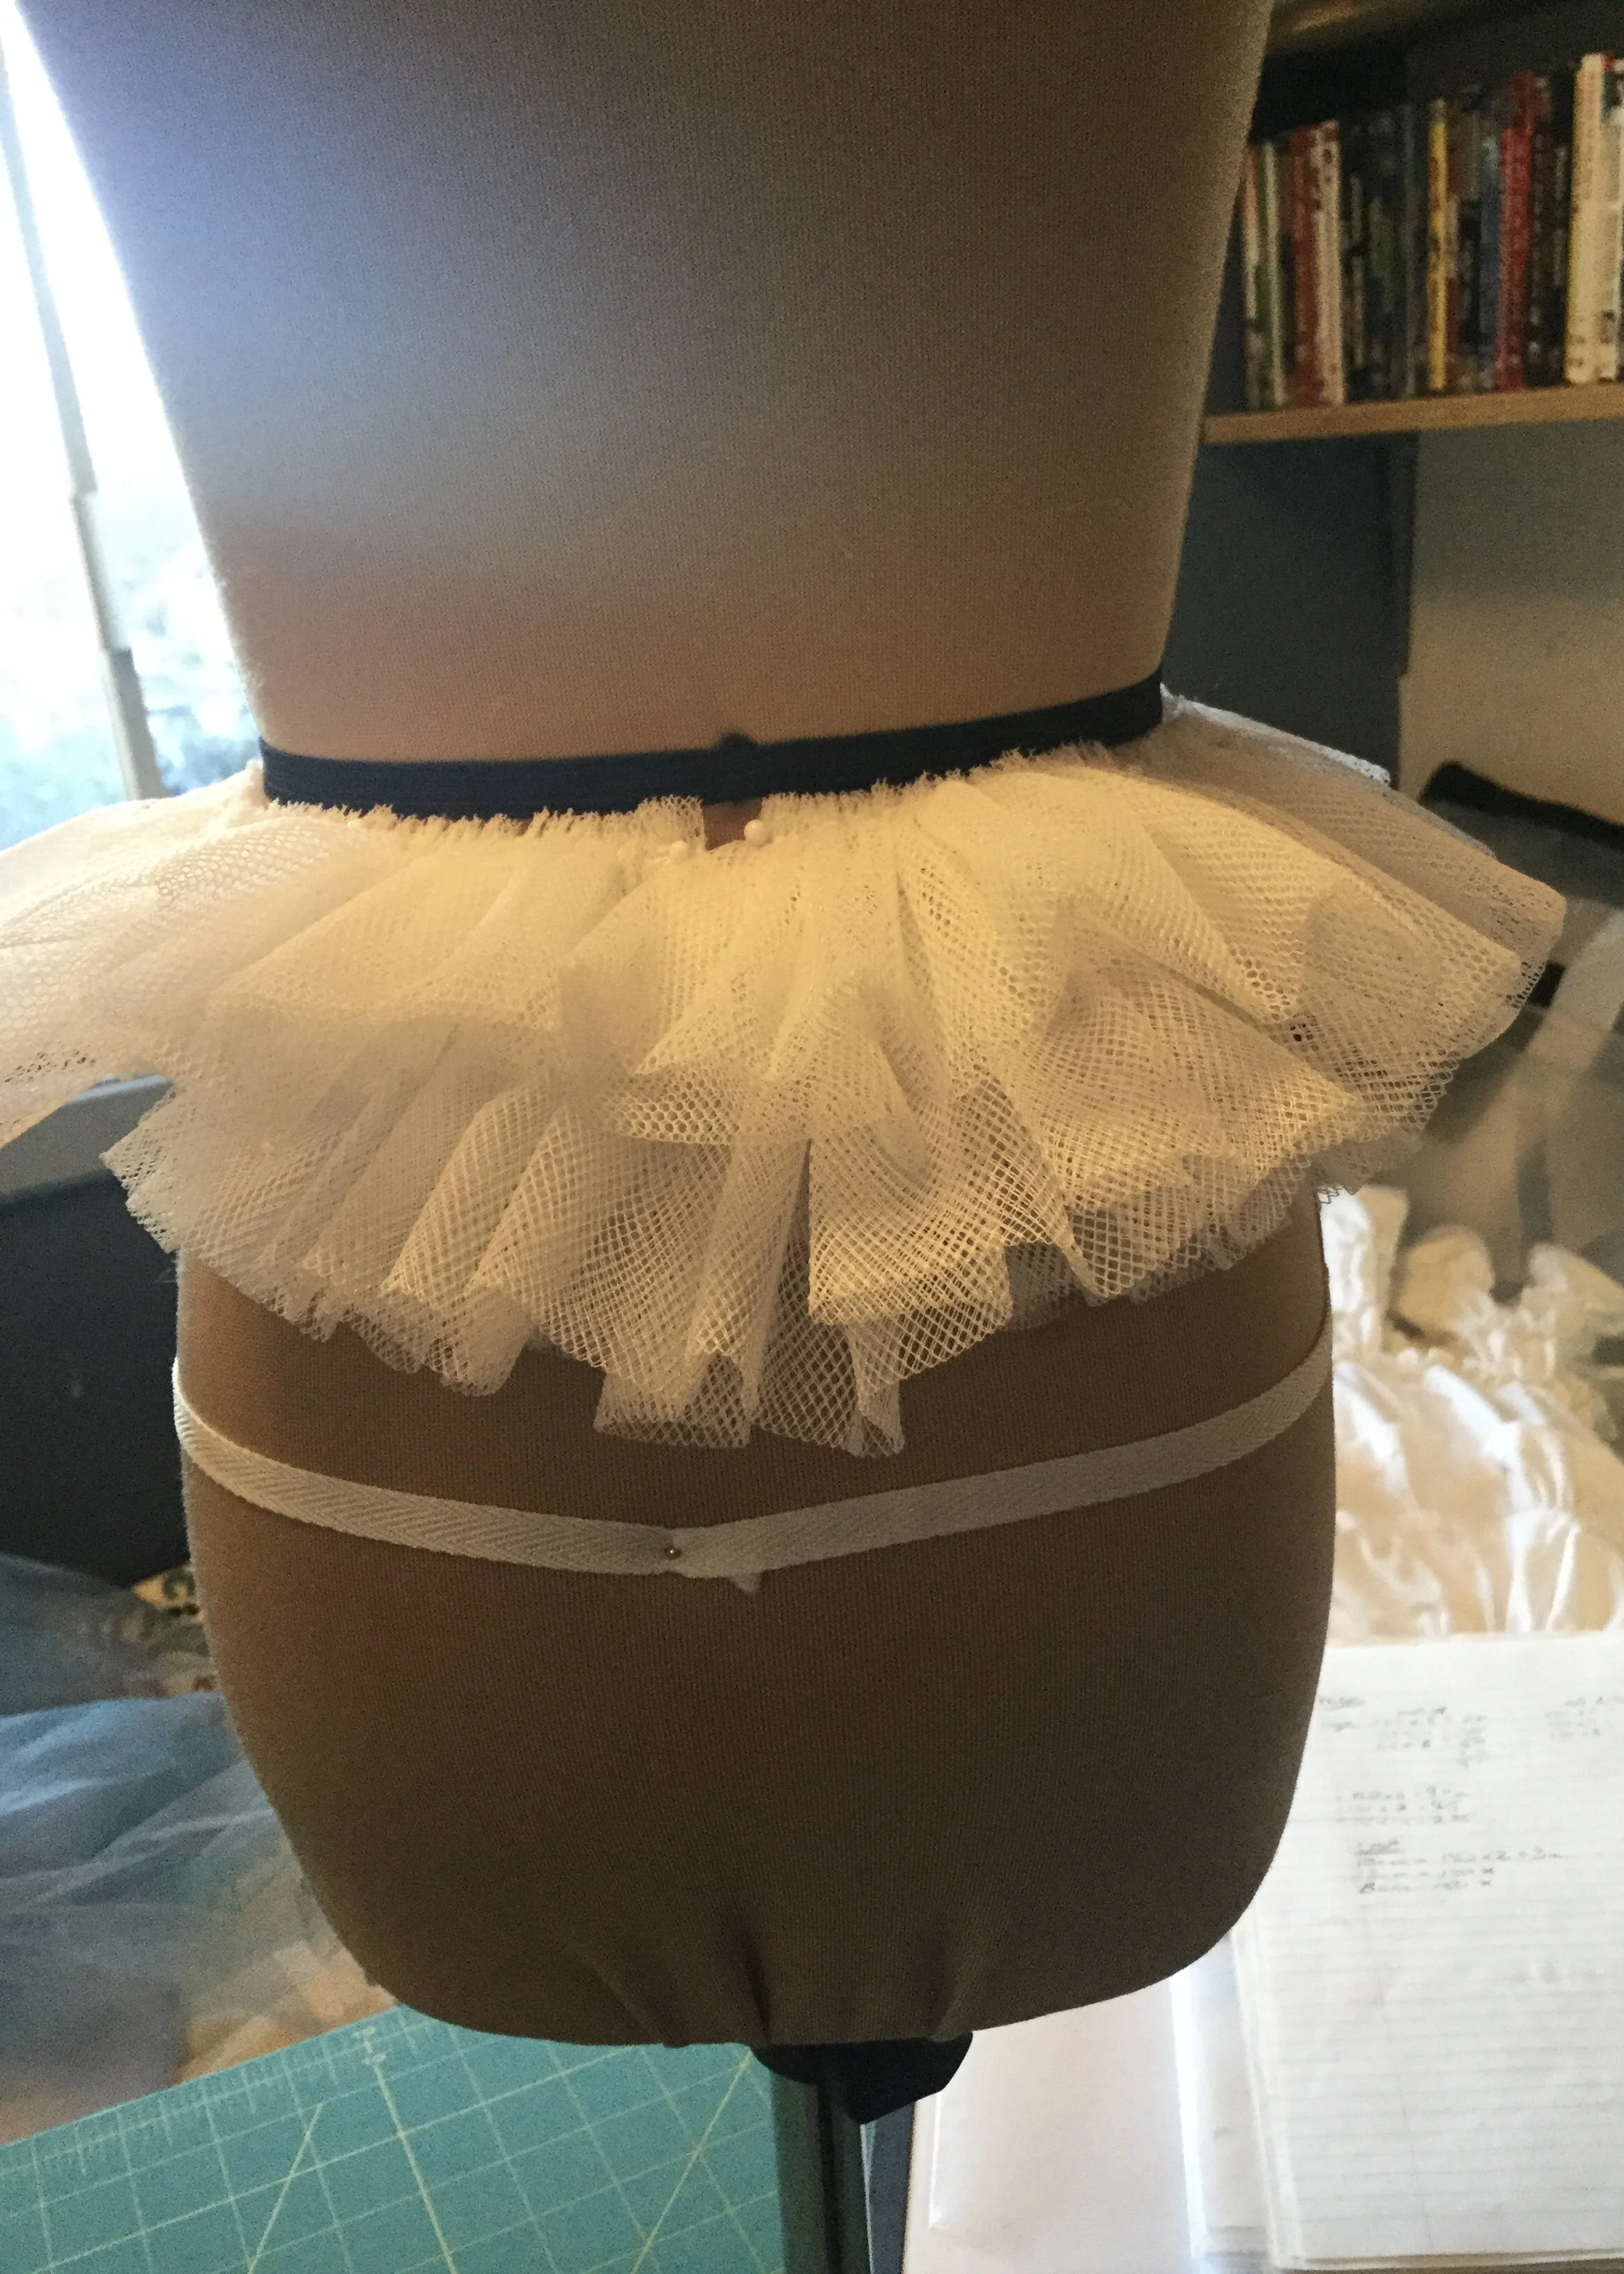
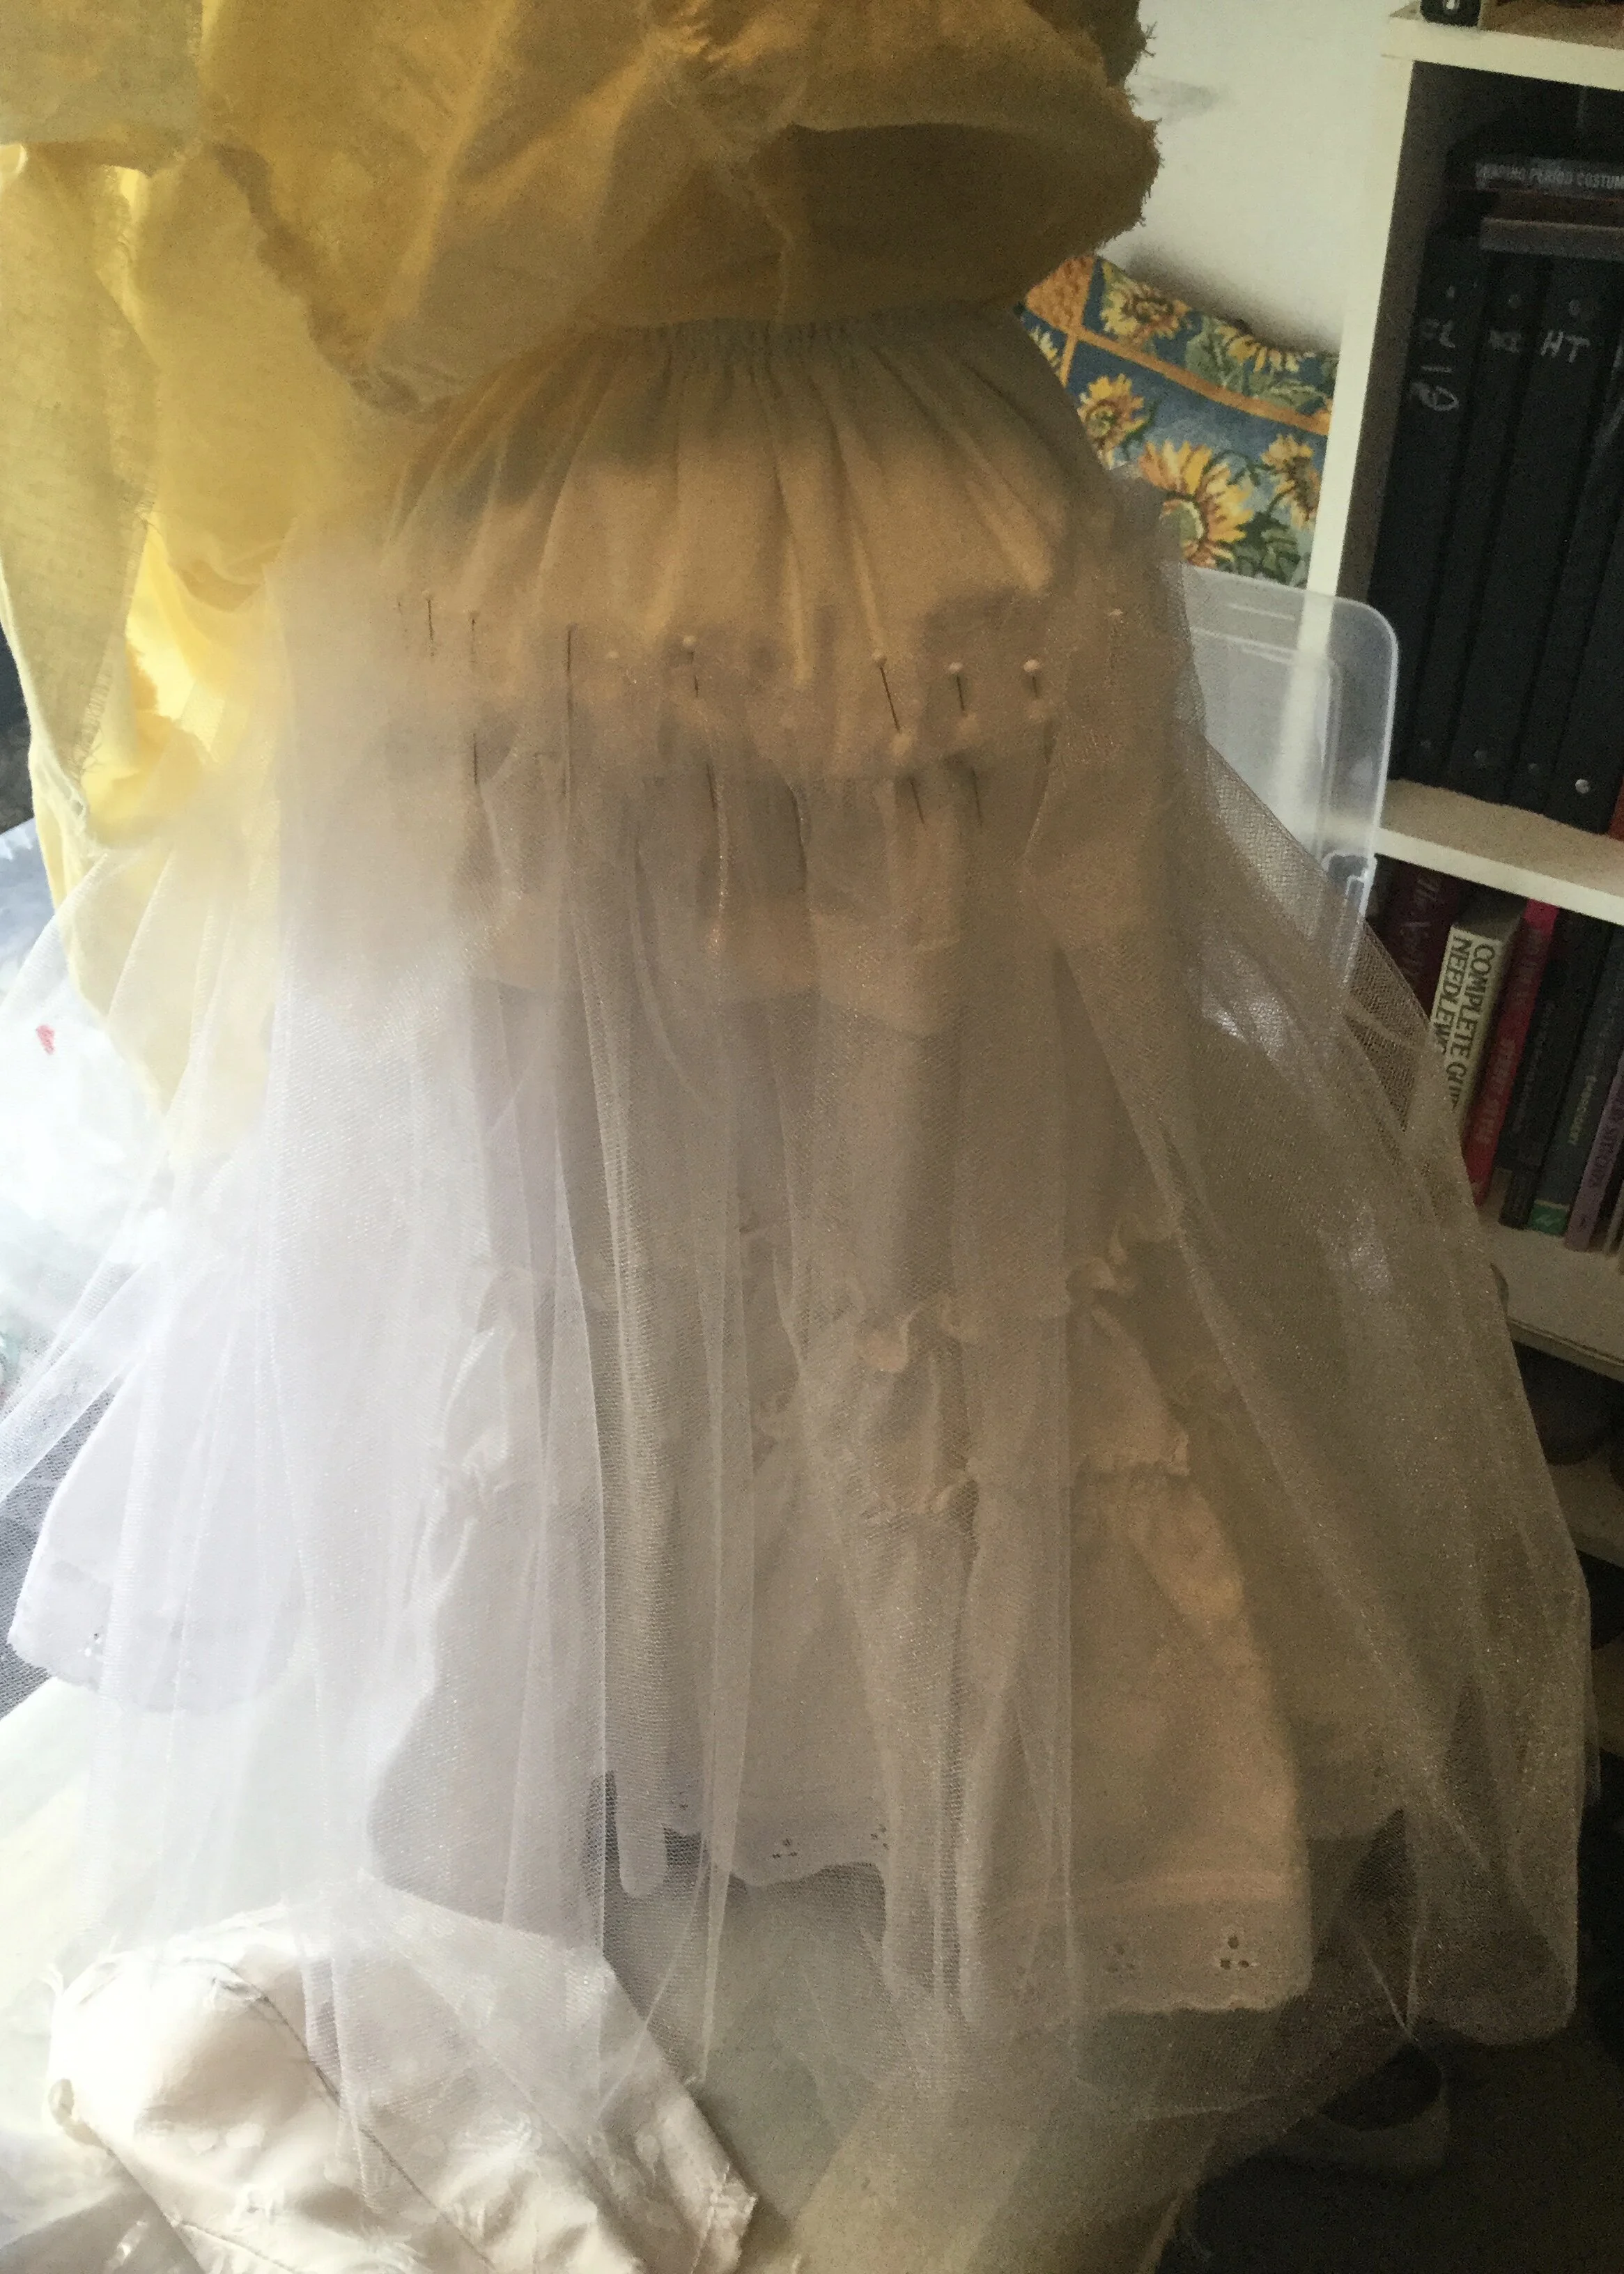
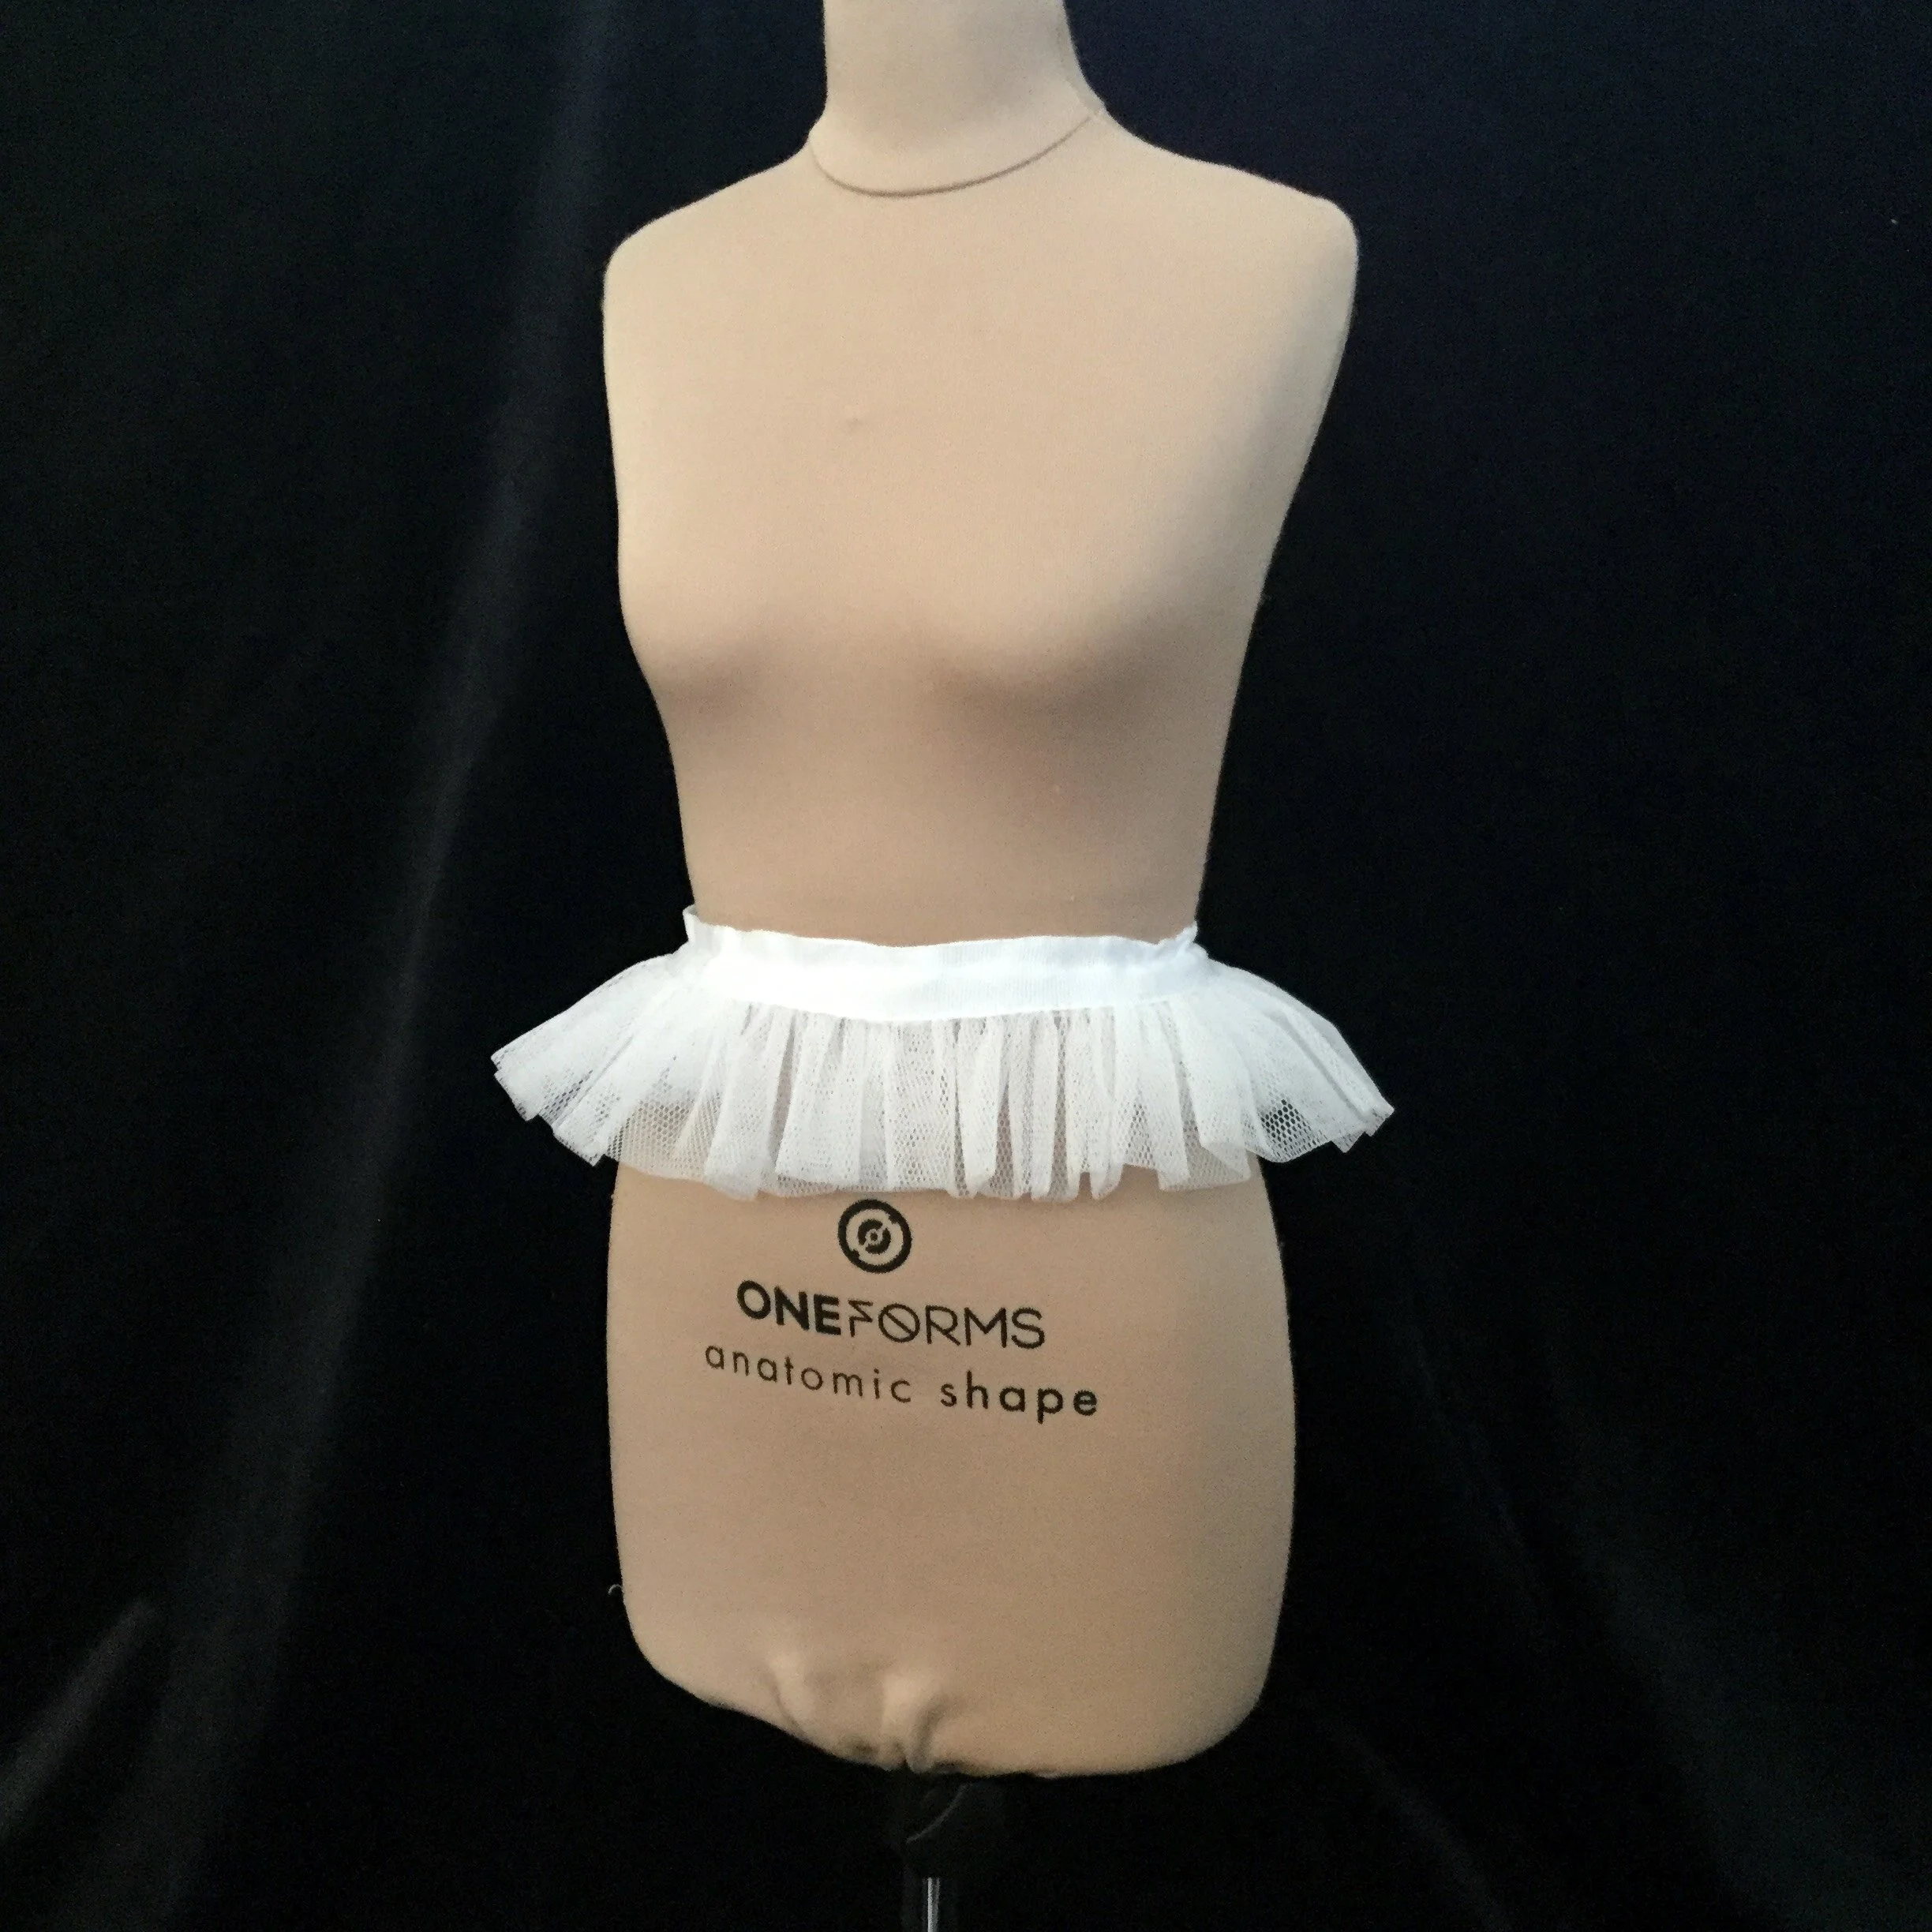
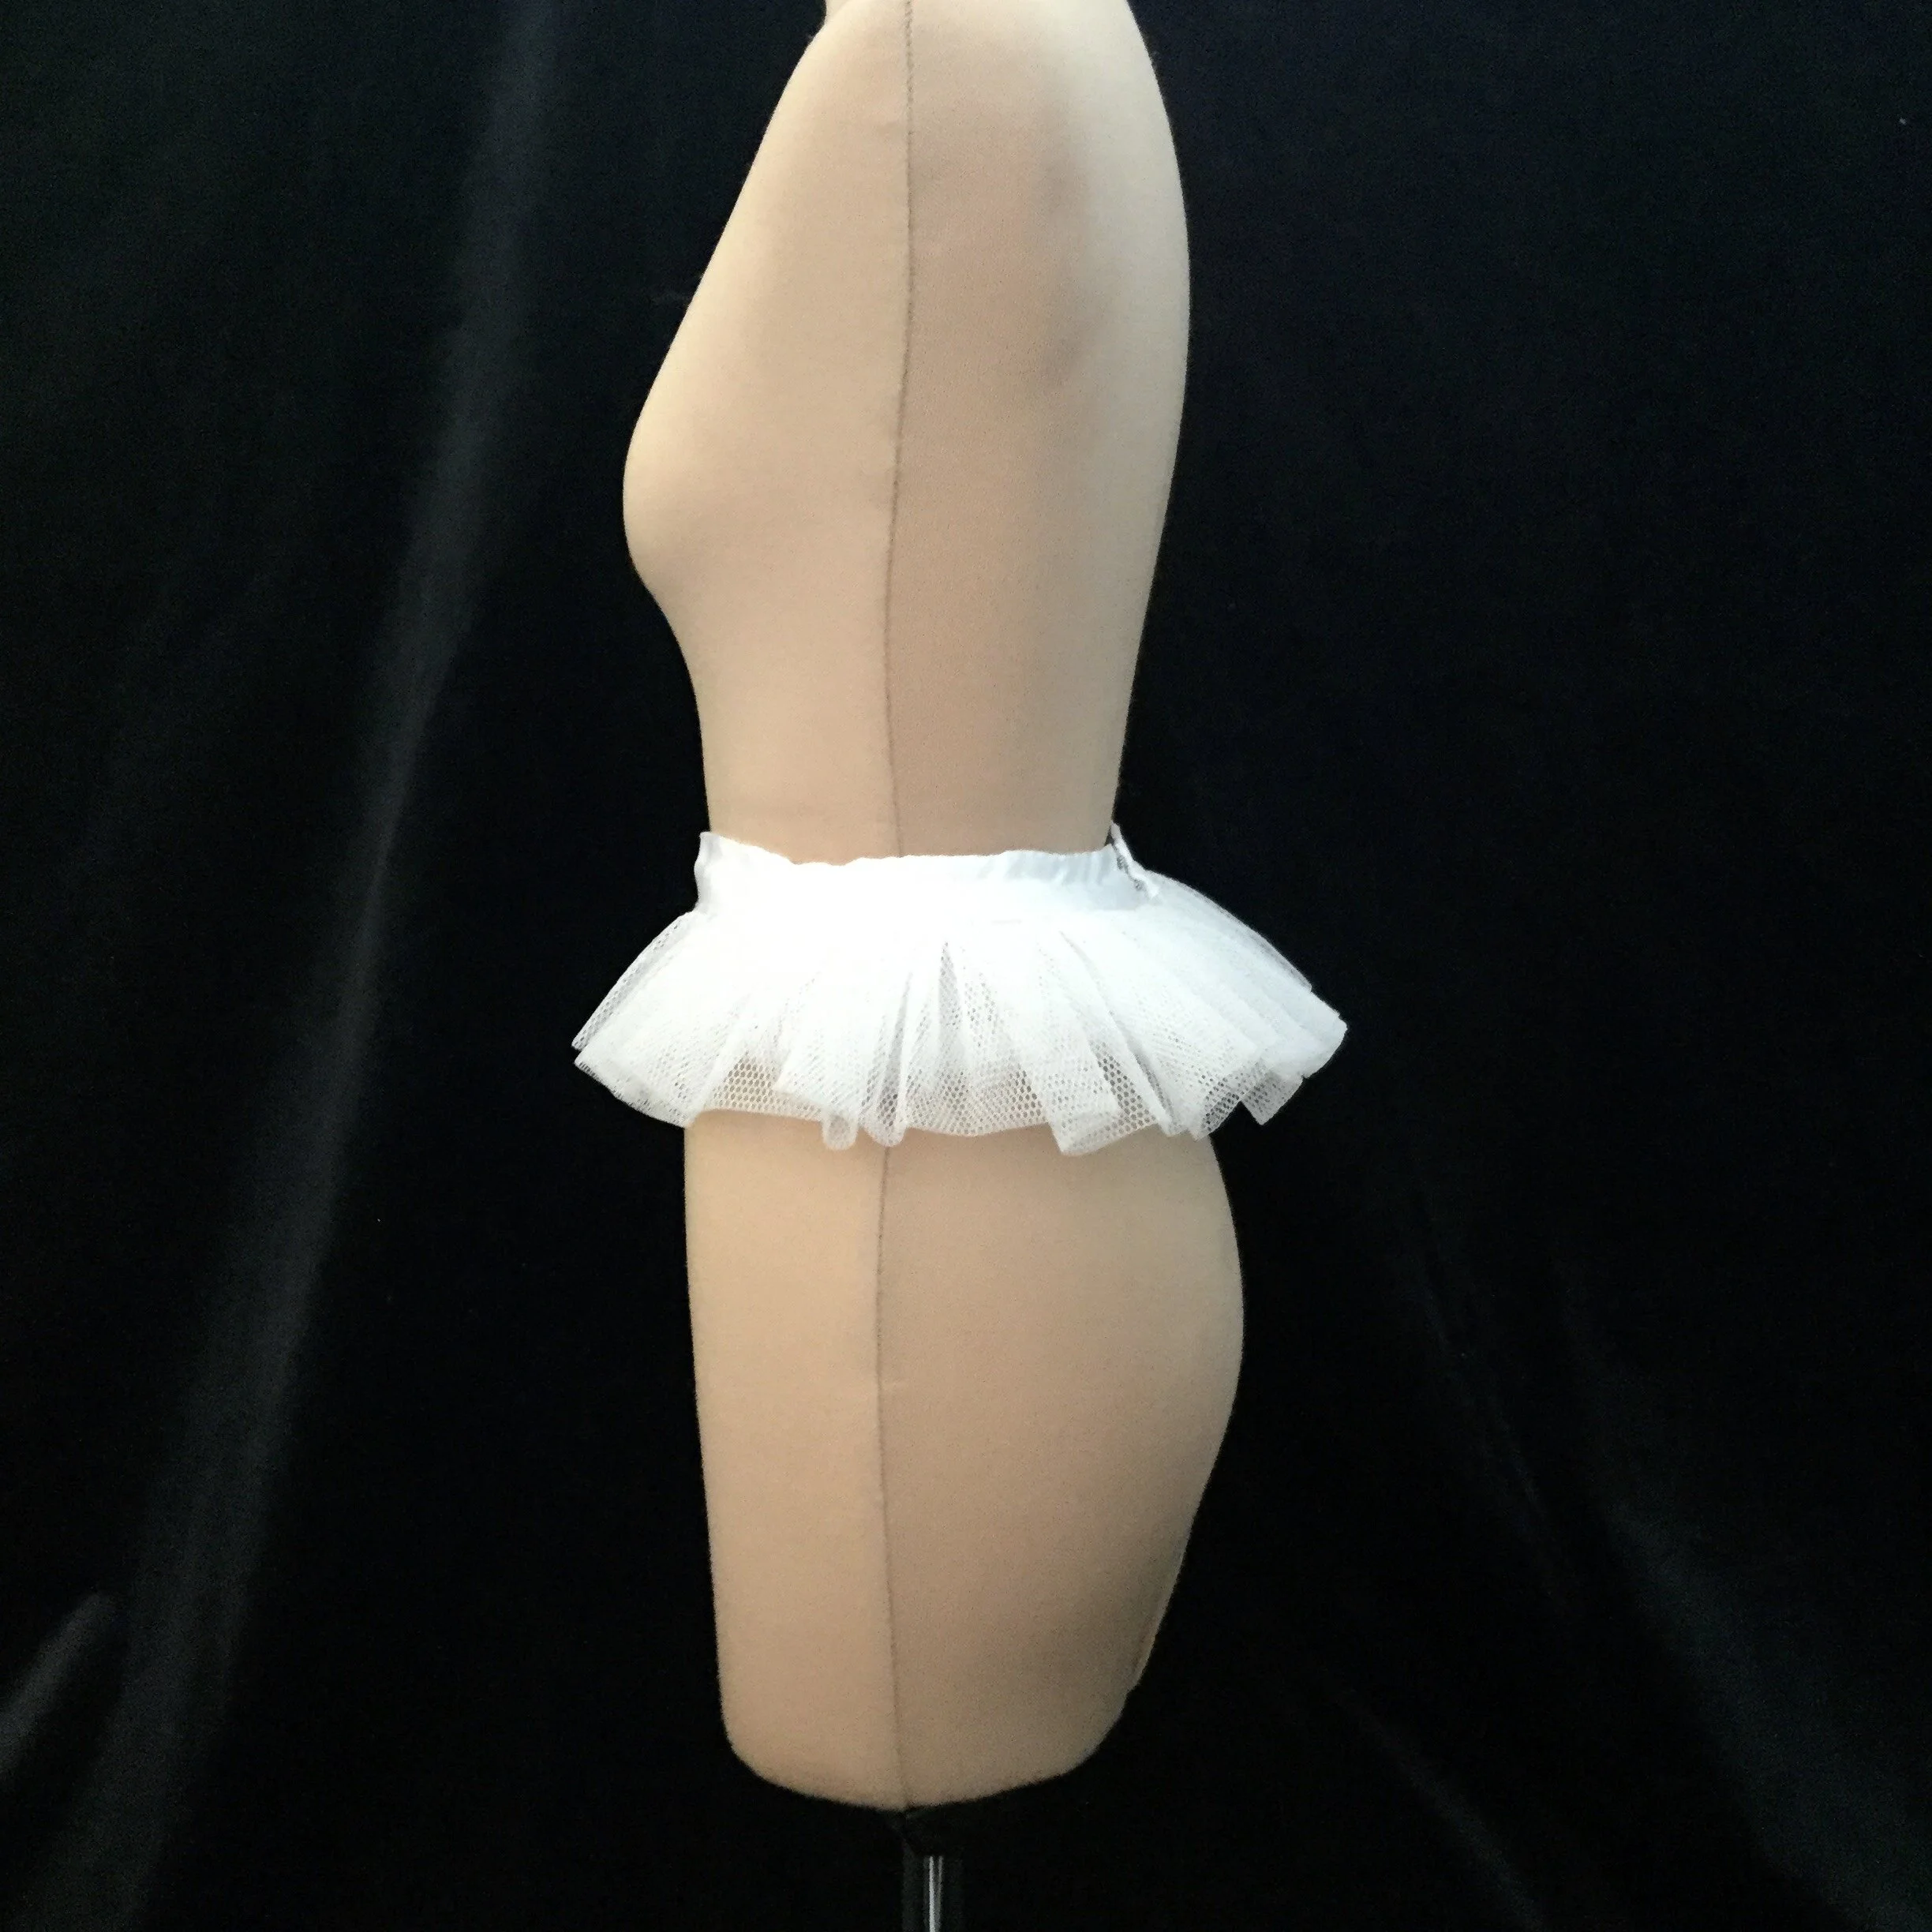
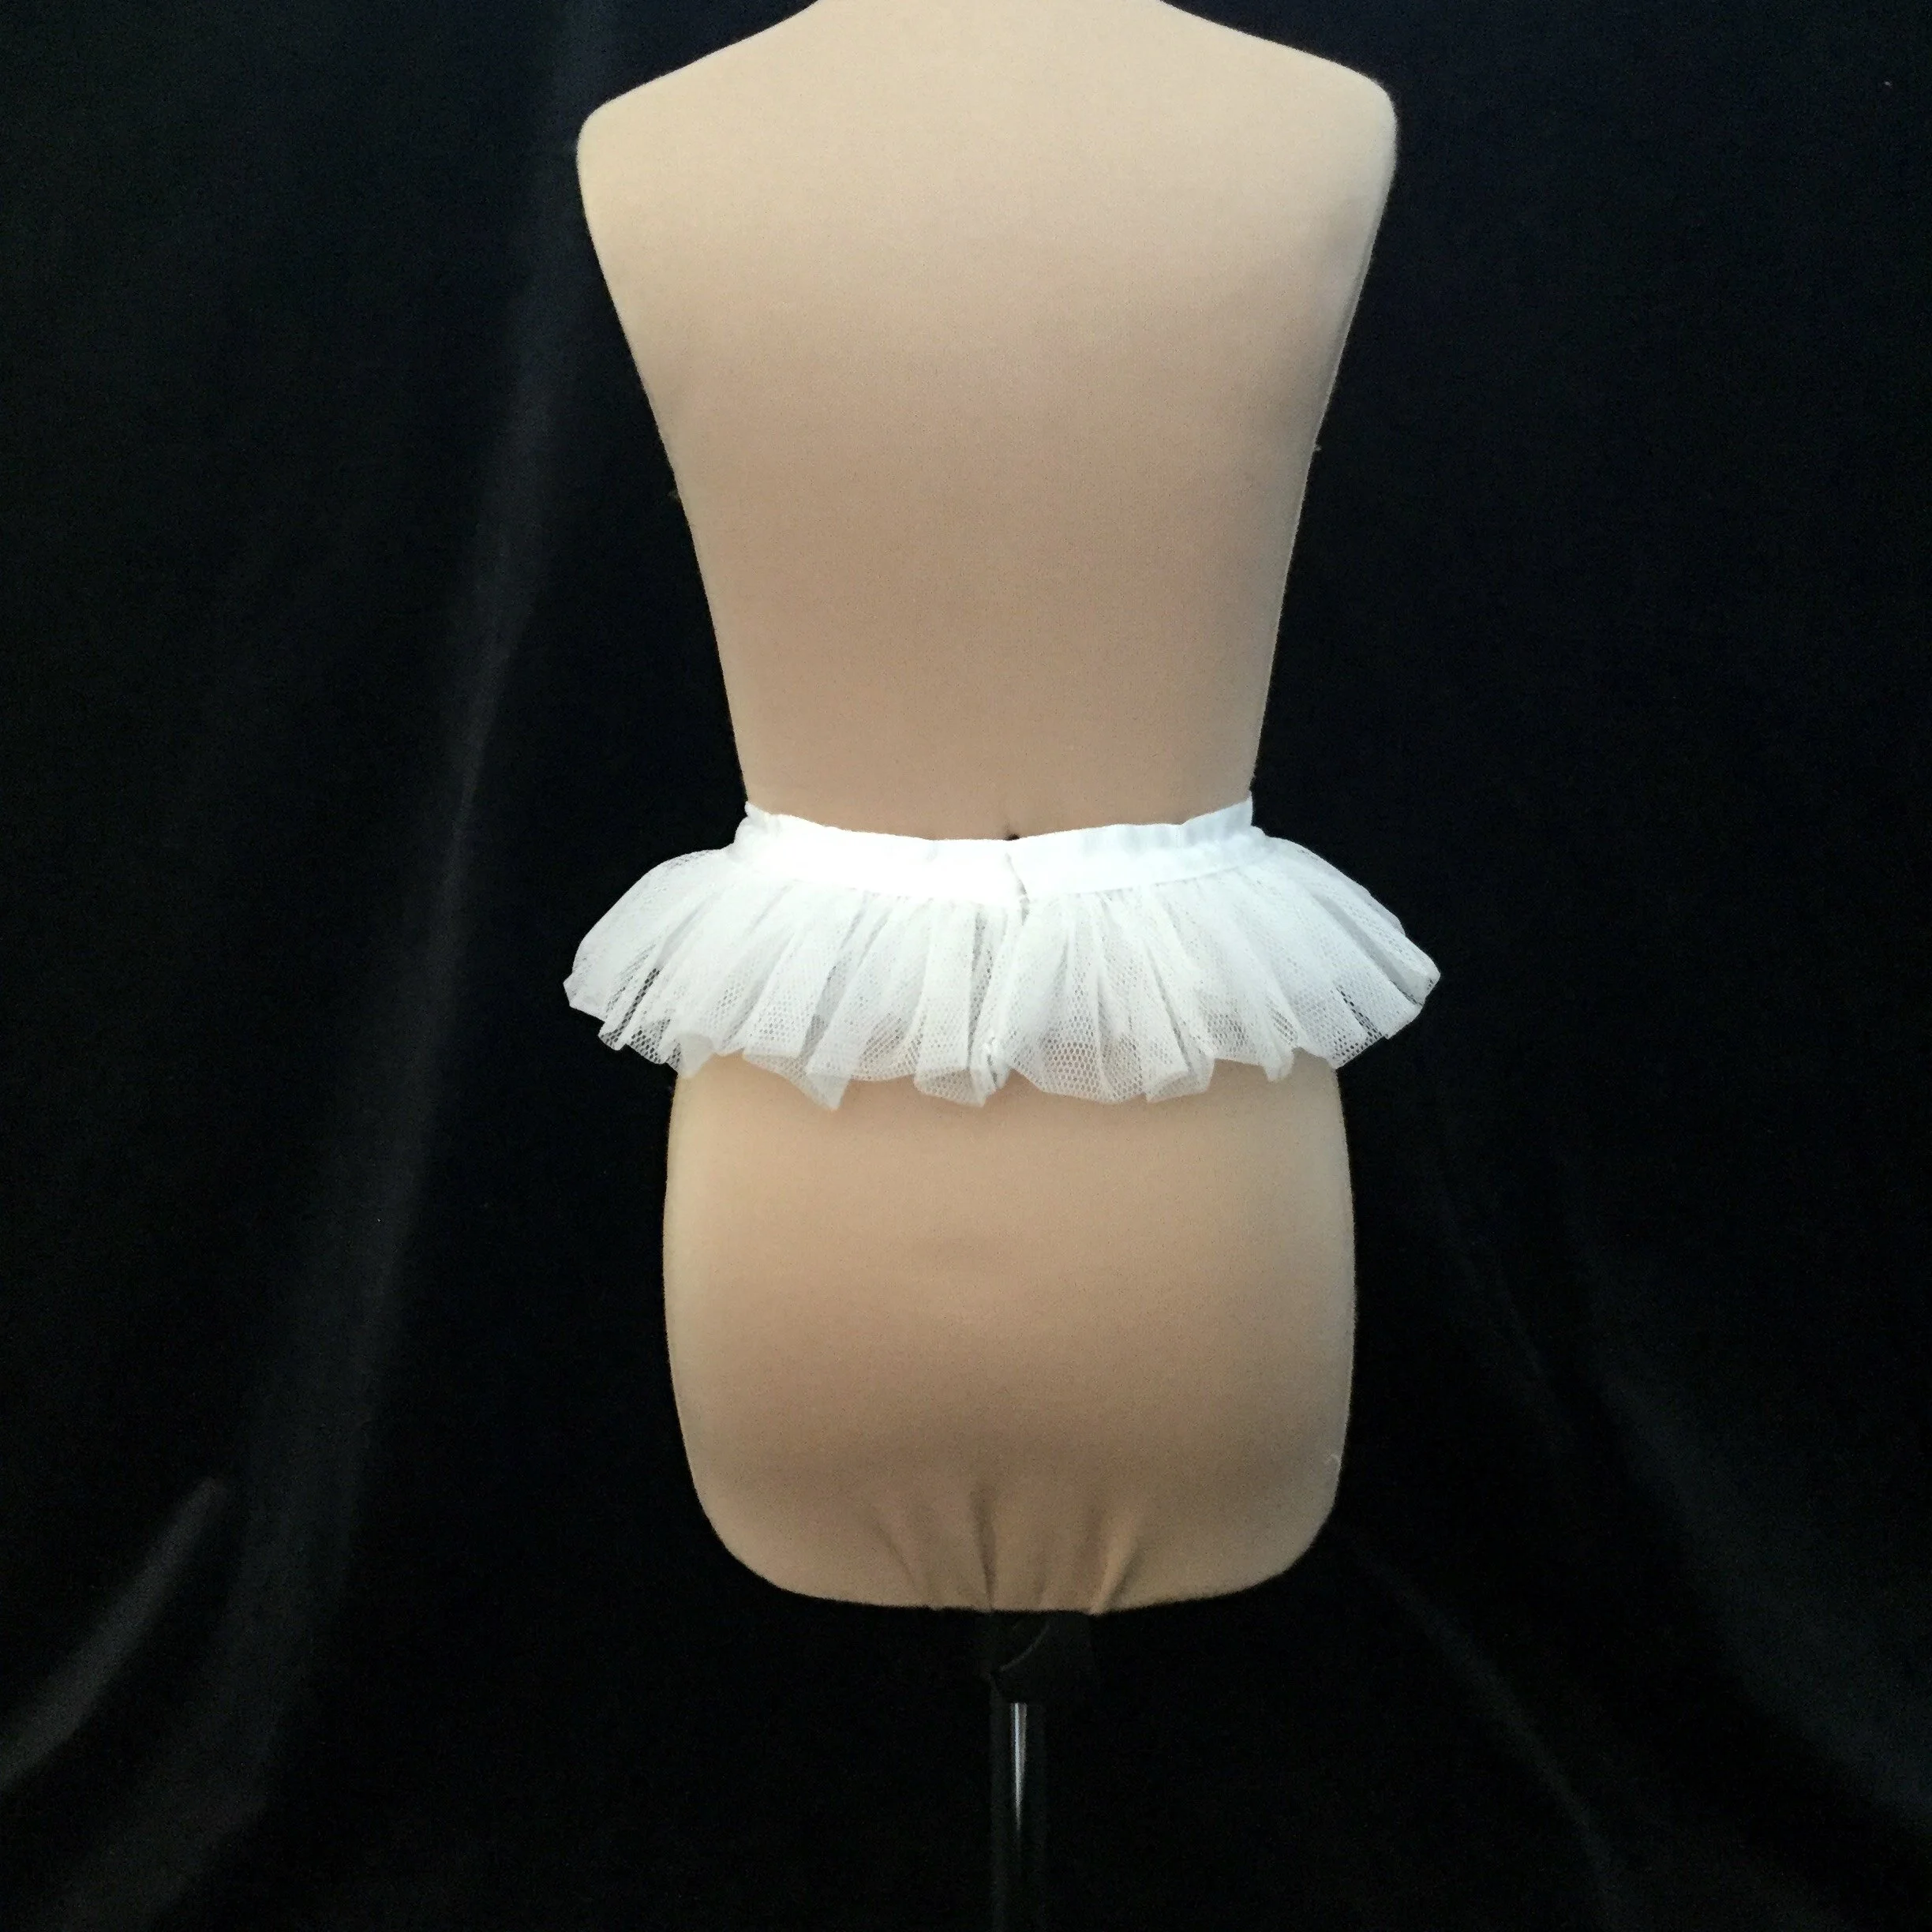
Without a cage the petticoat needed something to fill out the fullness at the waist and give it a bit of shape. As it happened, before the world came to a crashing halt in March of 2020 I had been working on a show where I spent a good deal of time making what I affectionately called bum tutus. As the name might imply, they’re kind of a cross between a bum roll and a tutu.
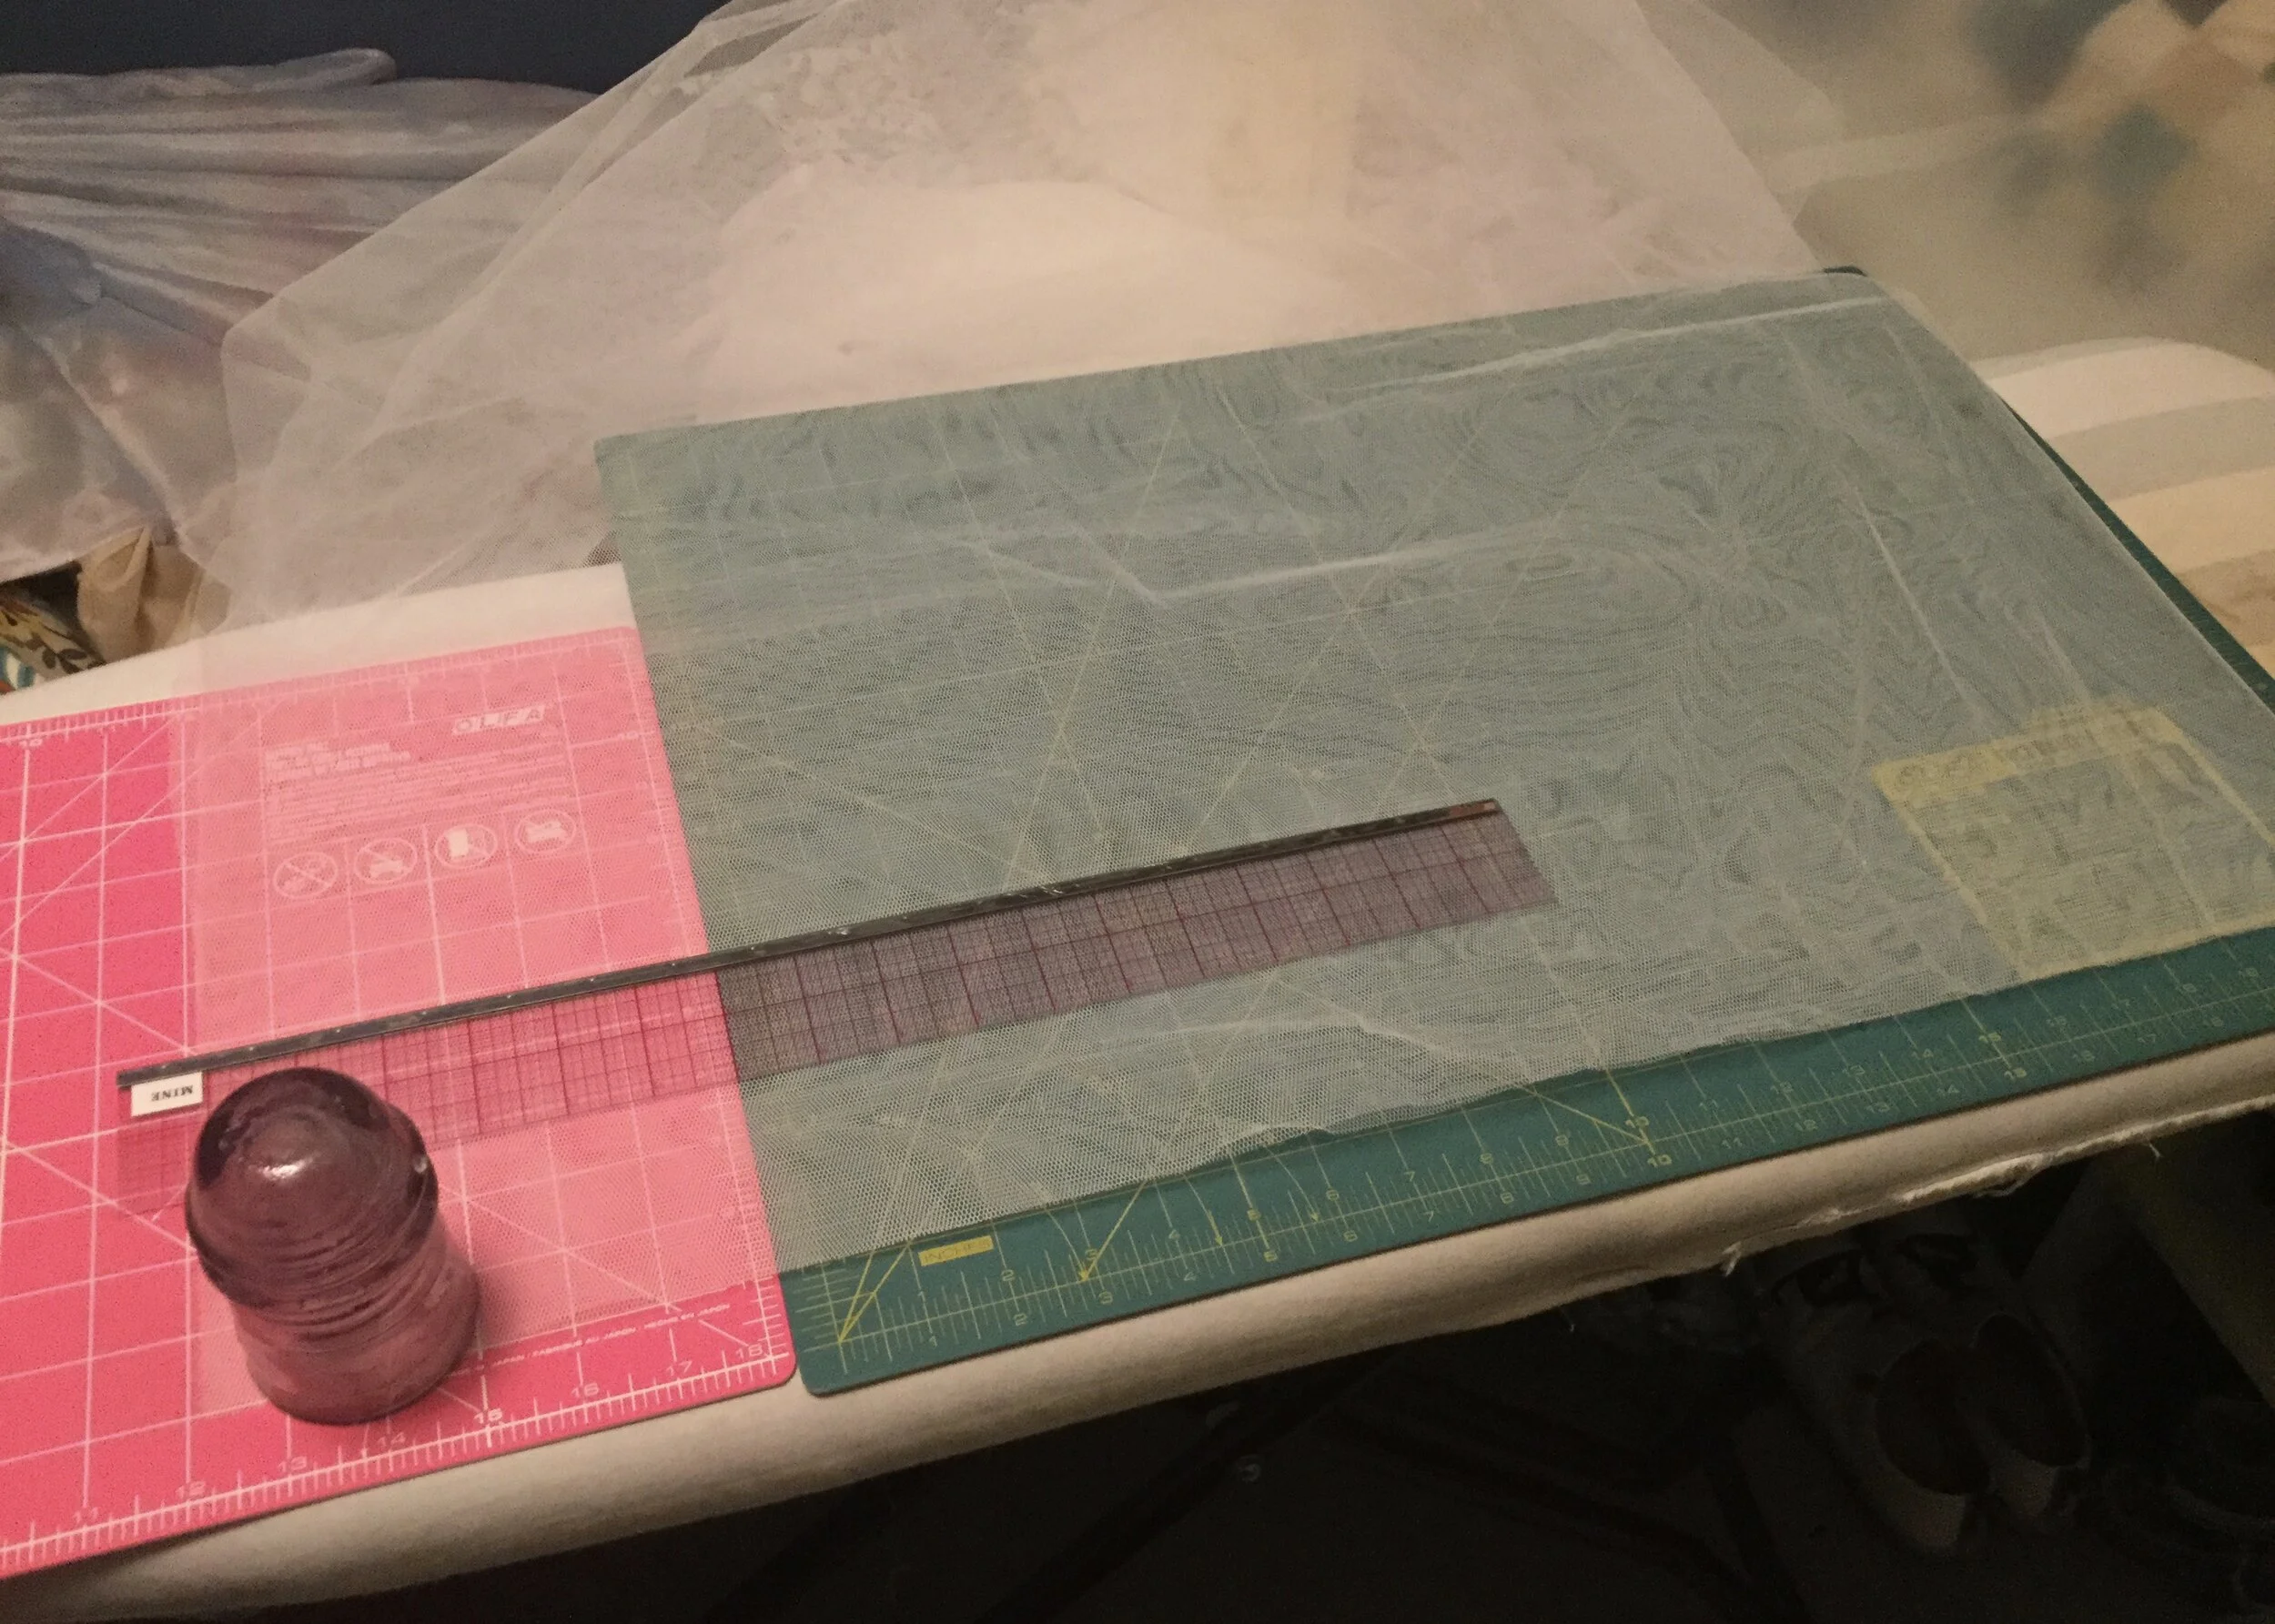
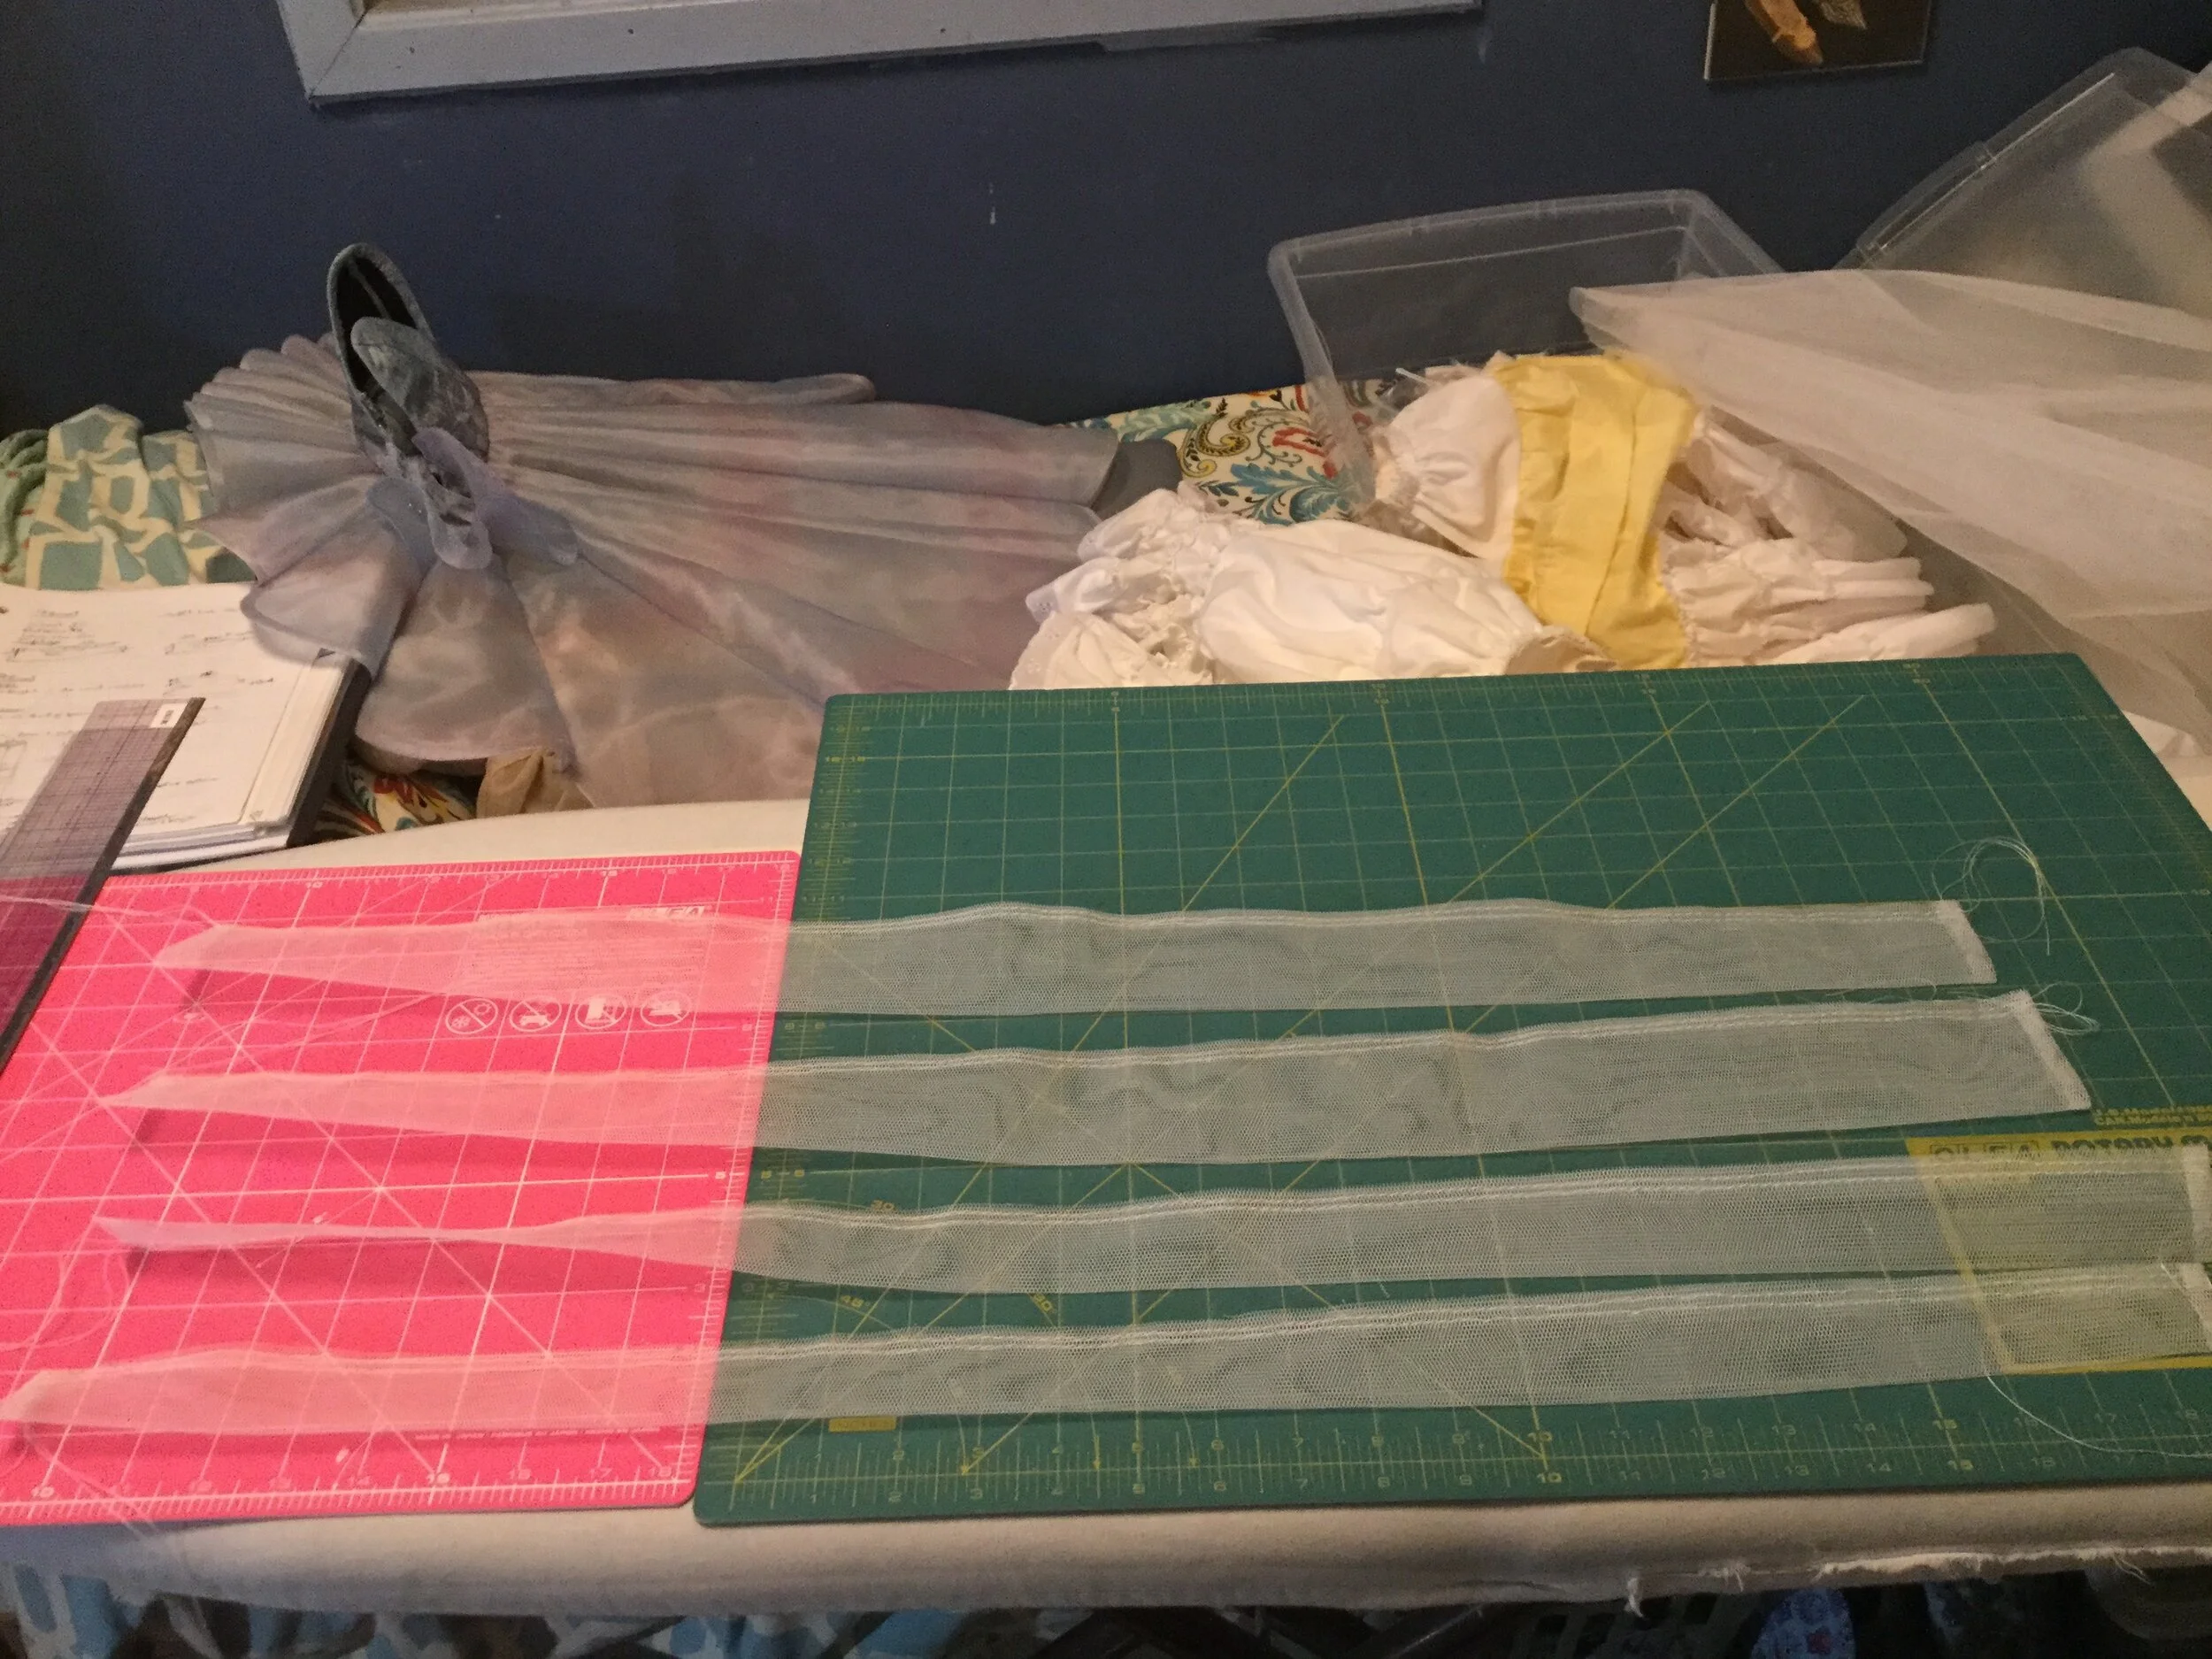
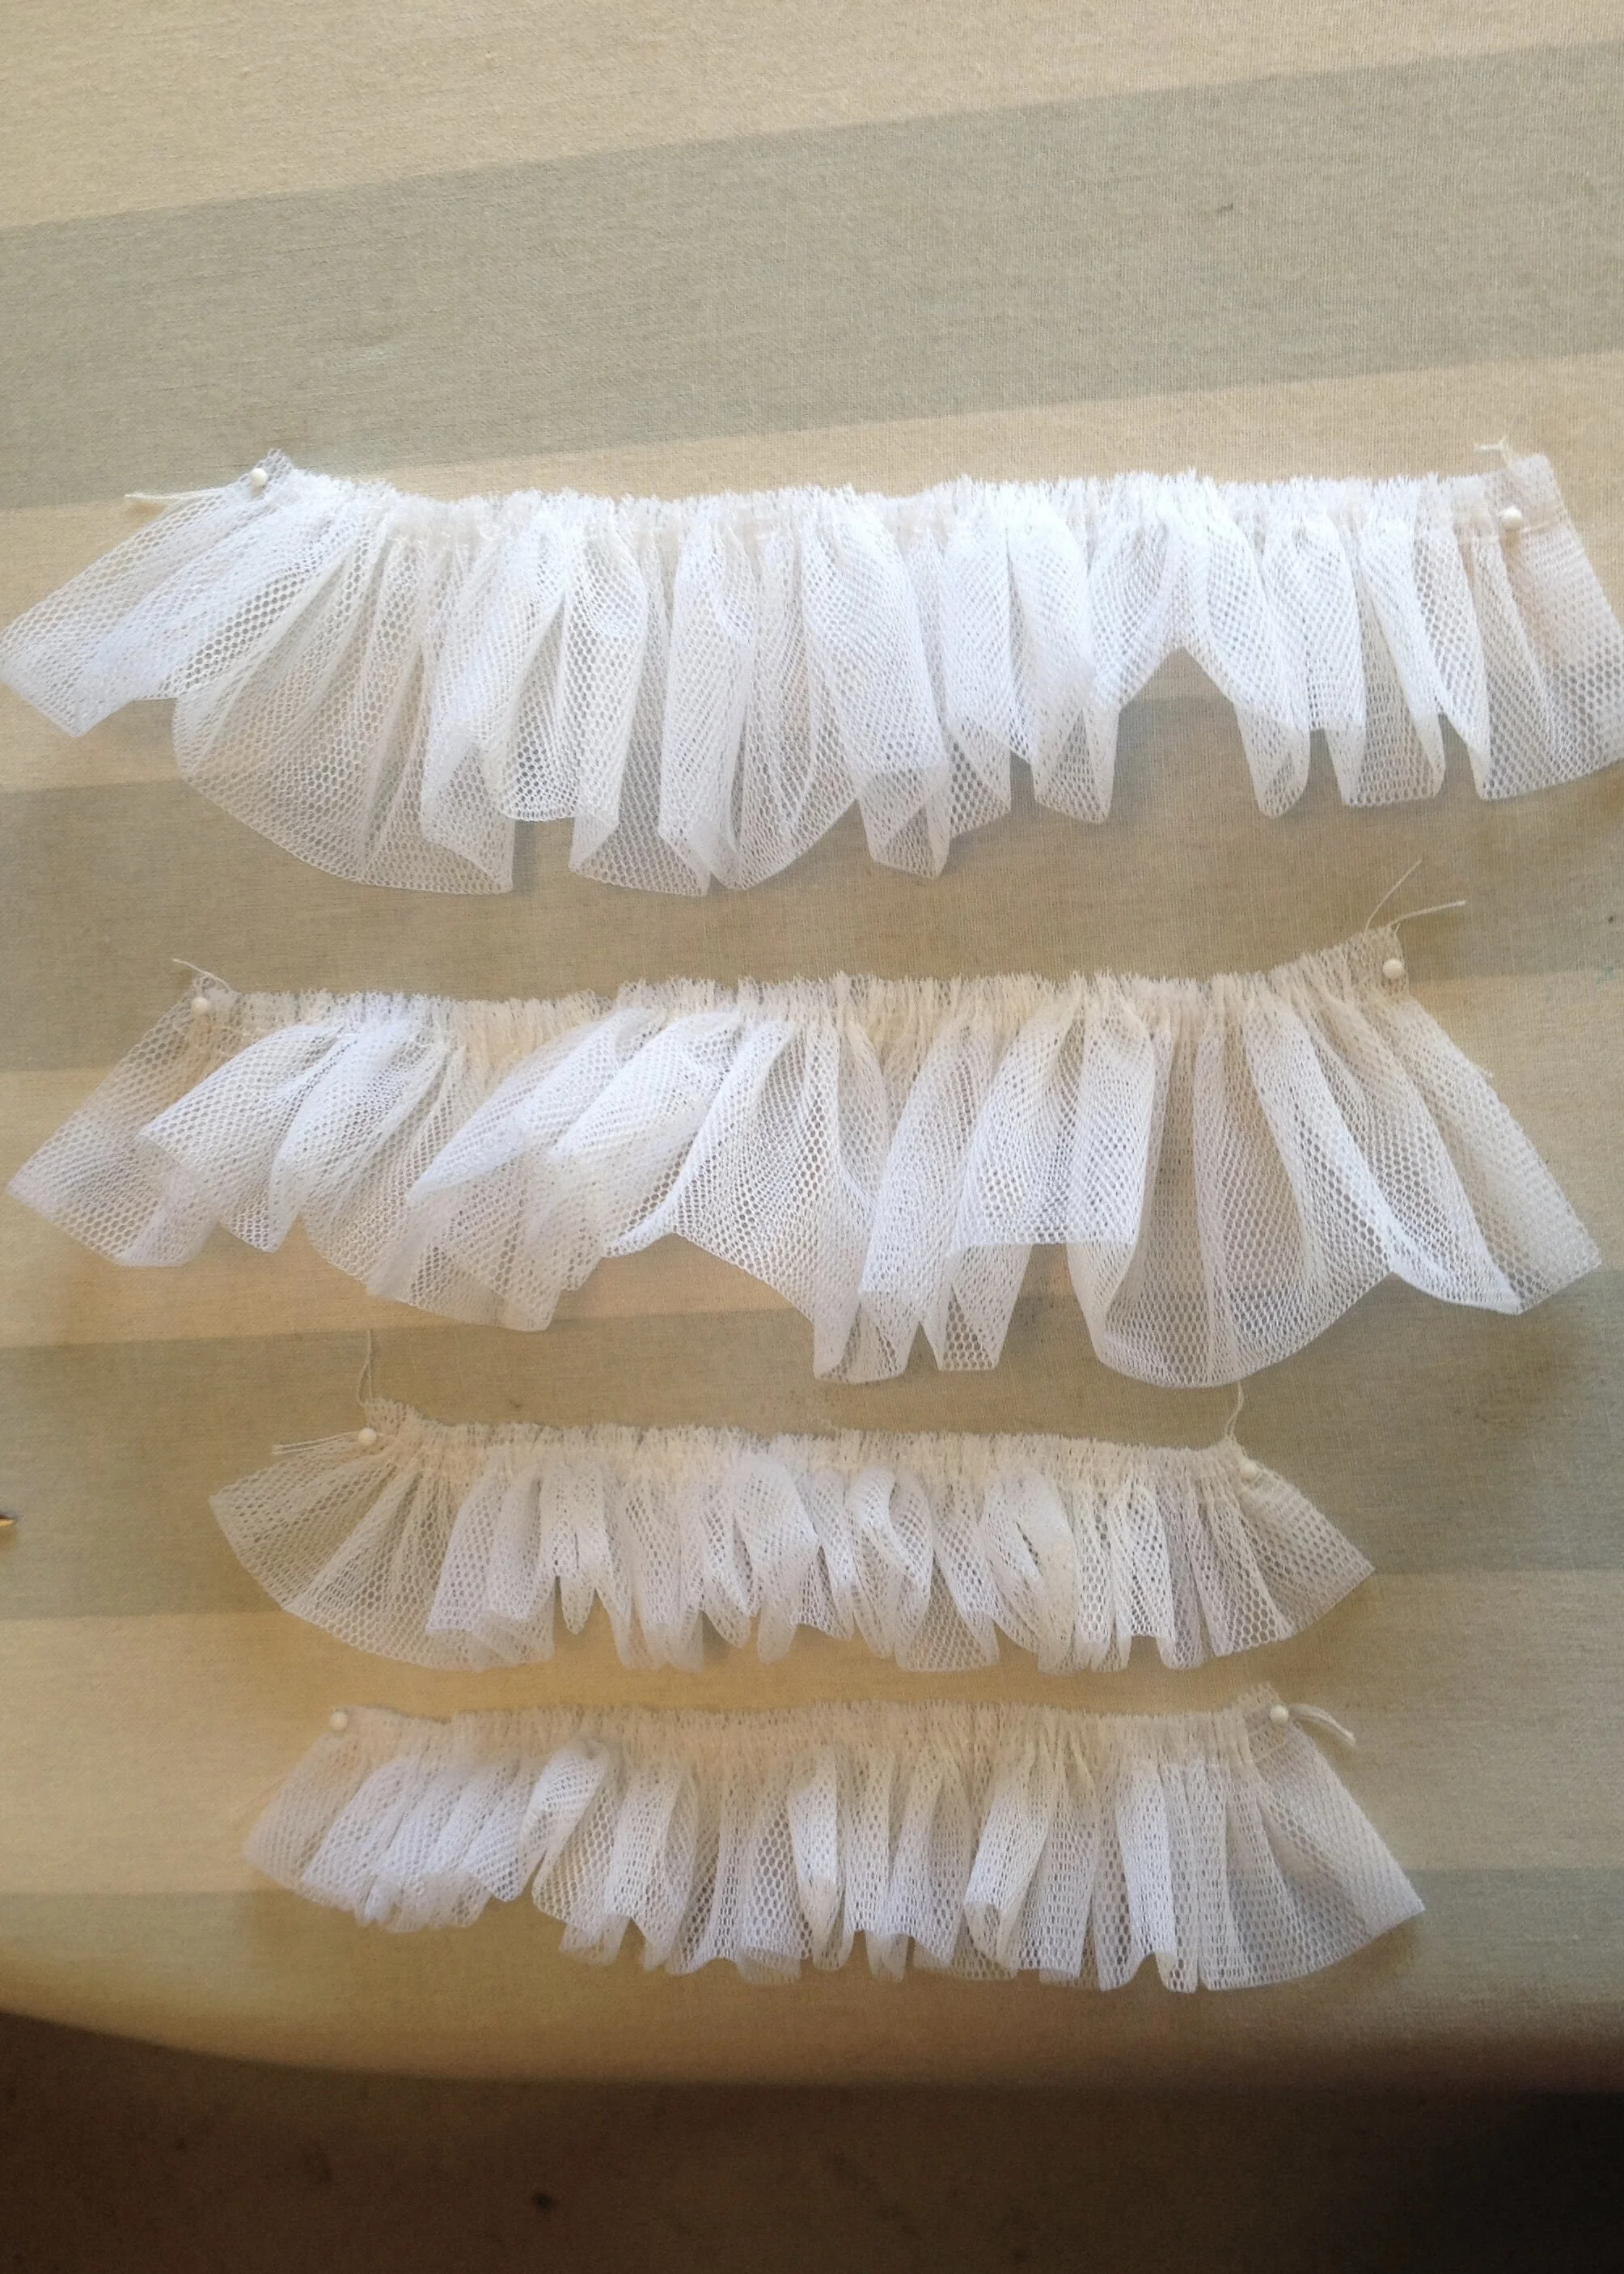
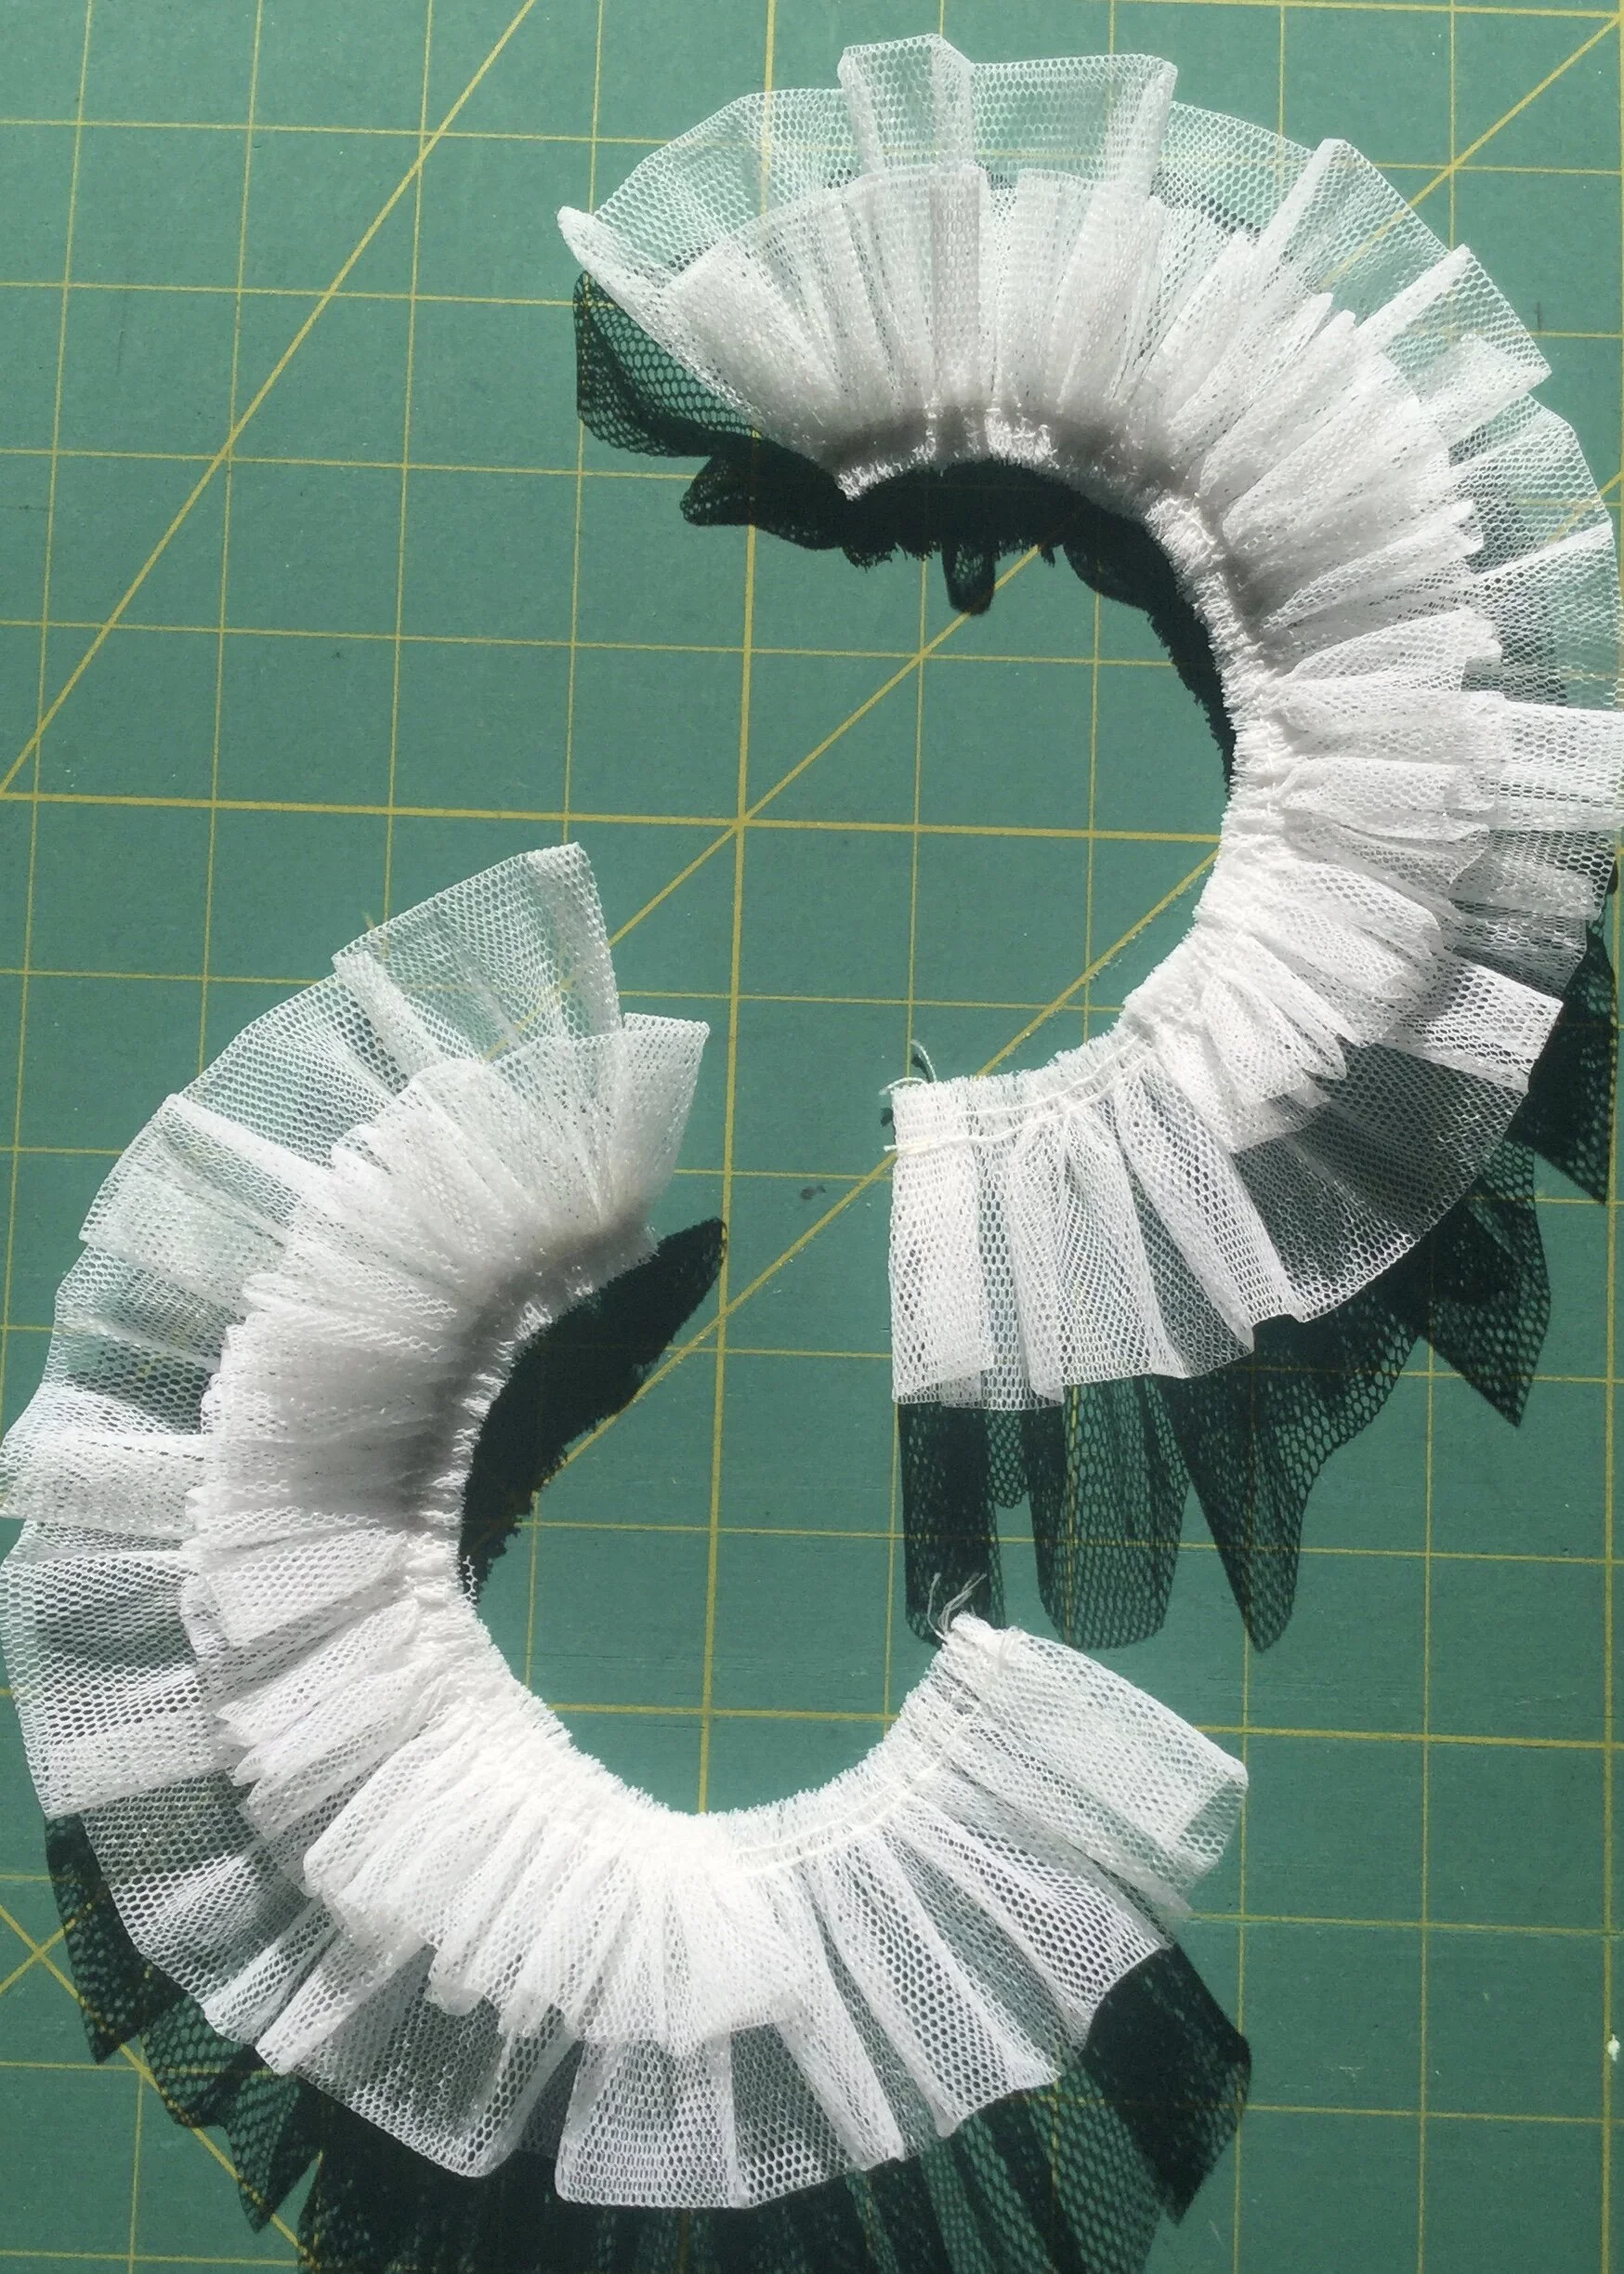
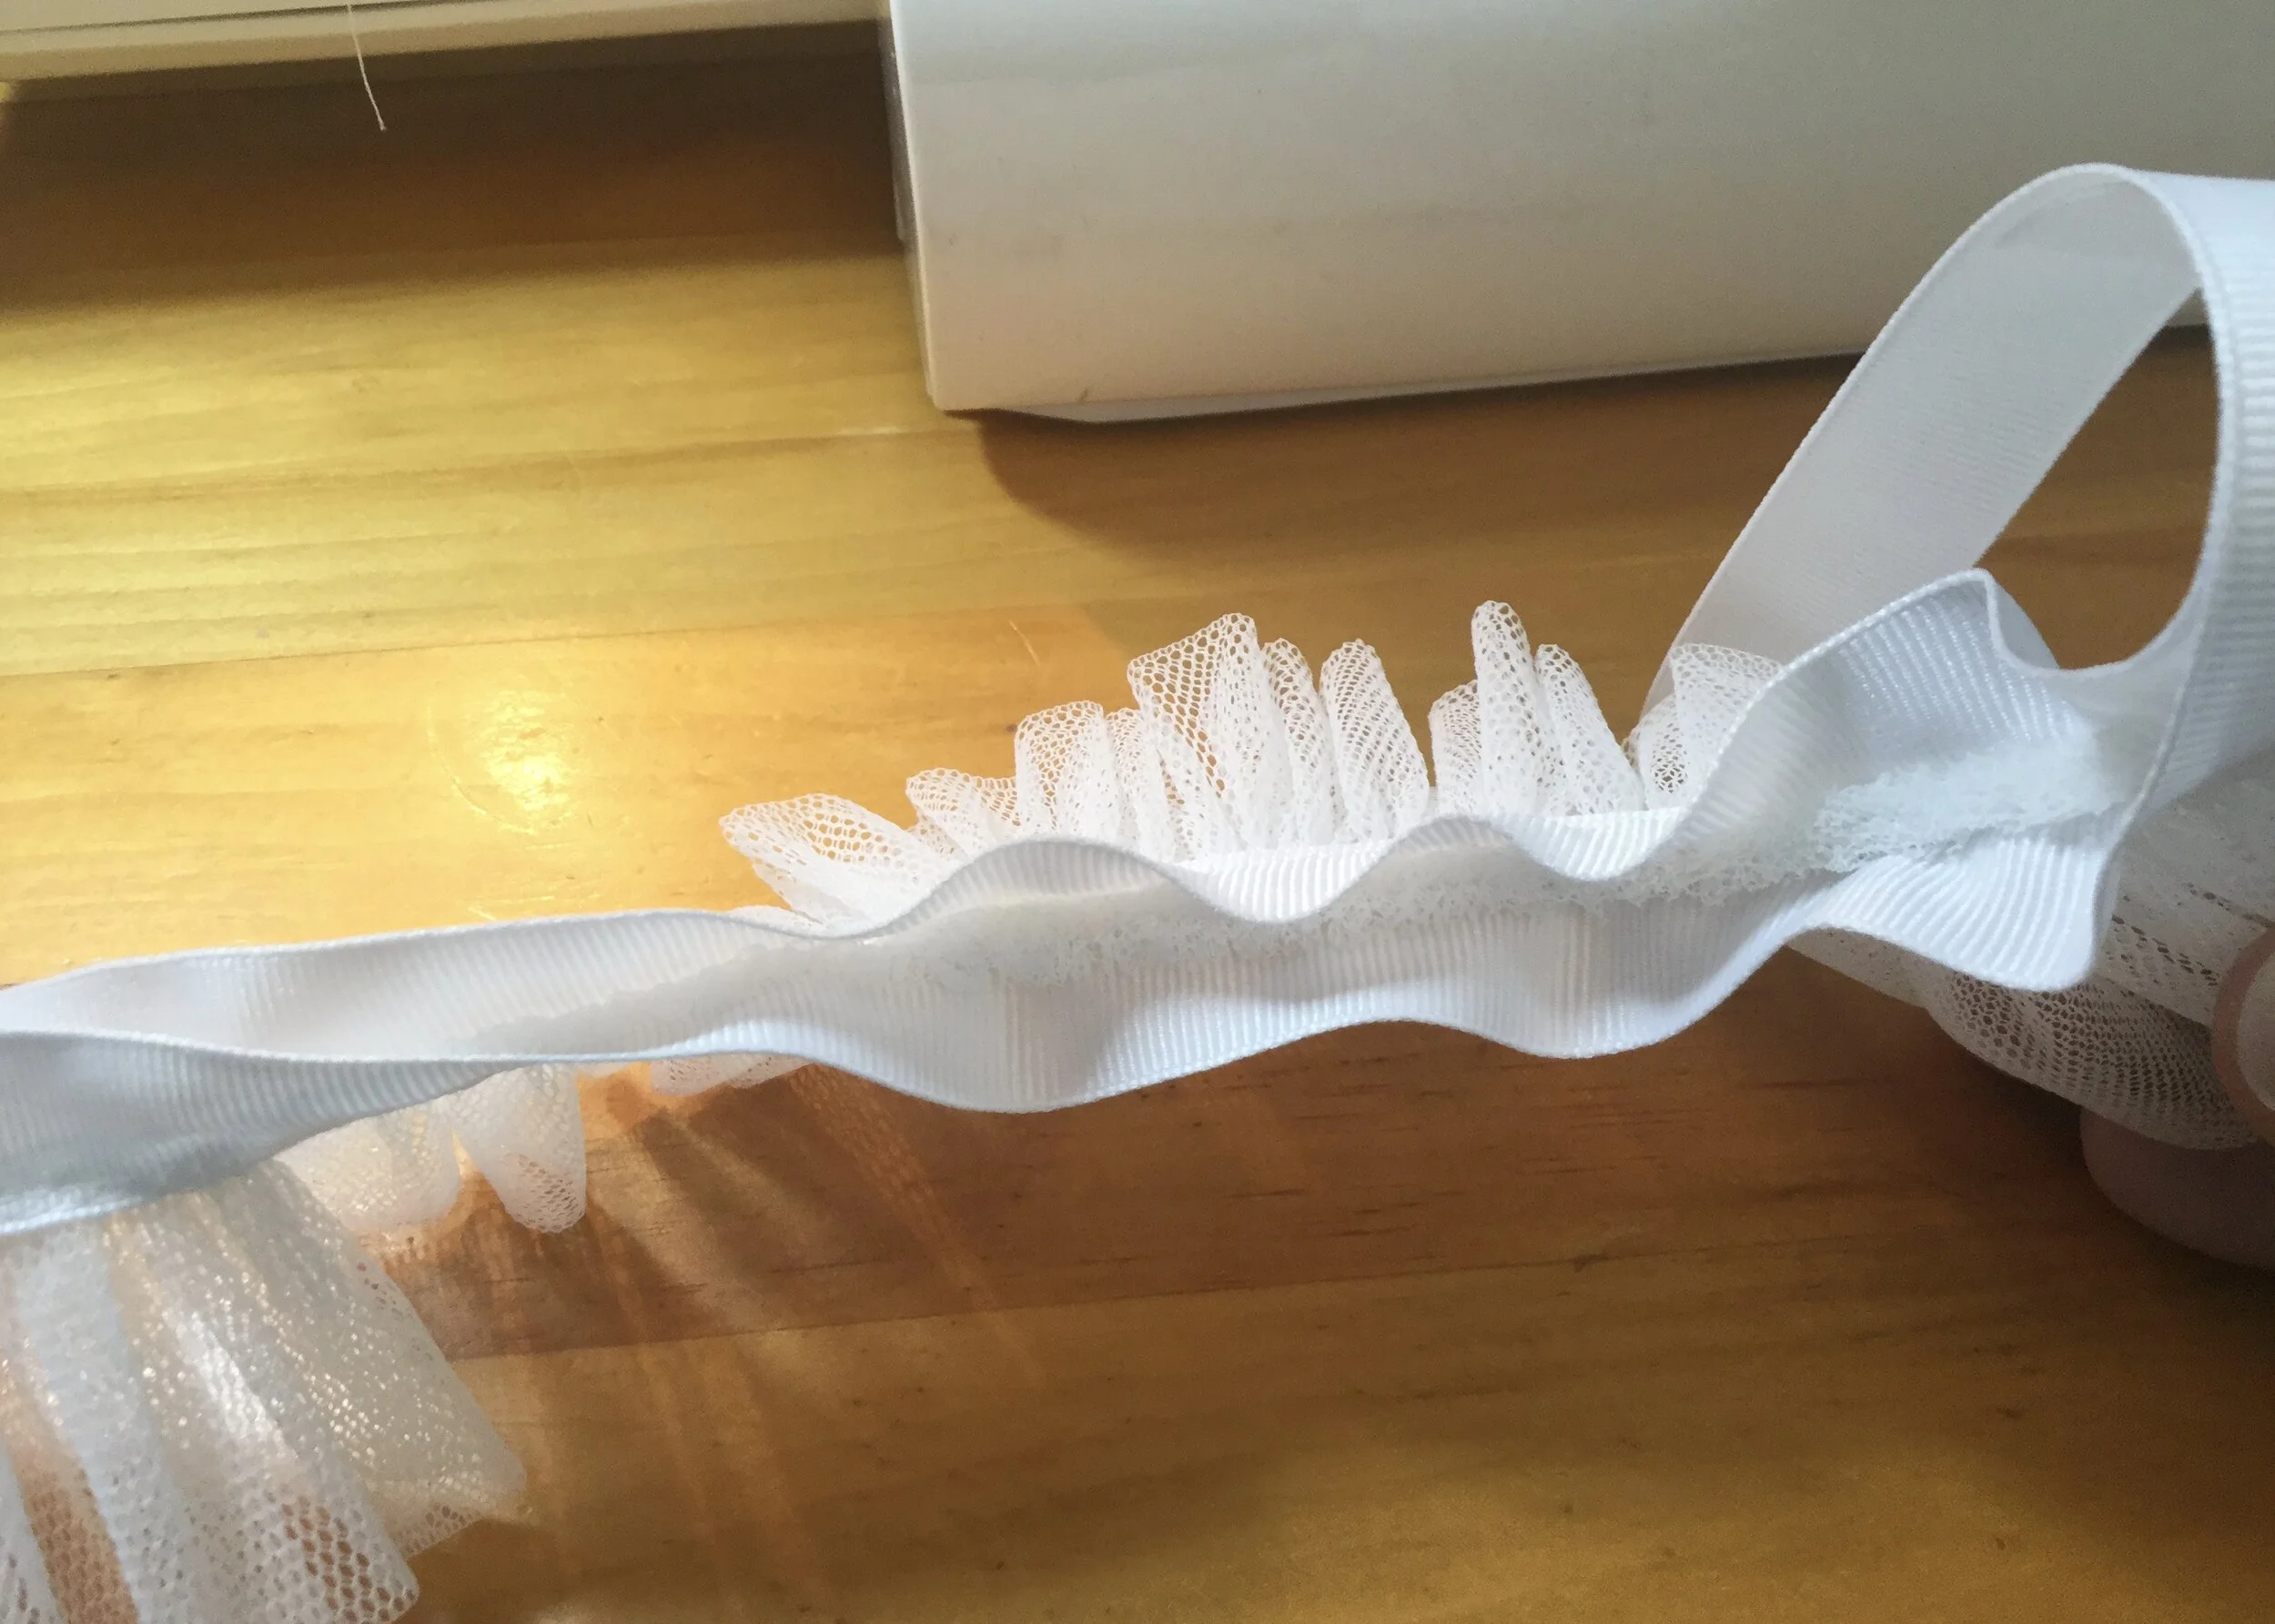
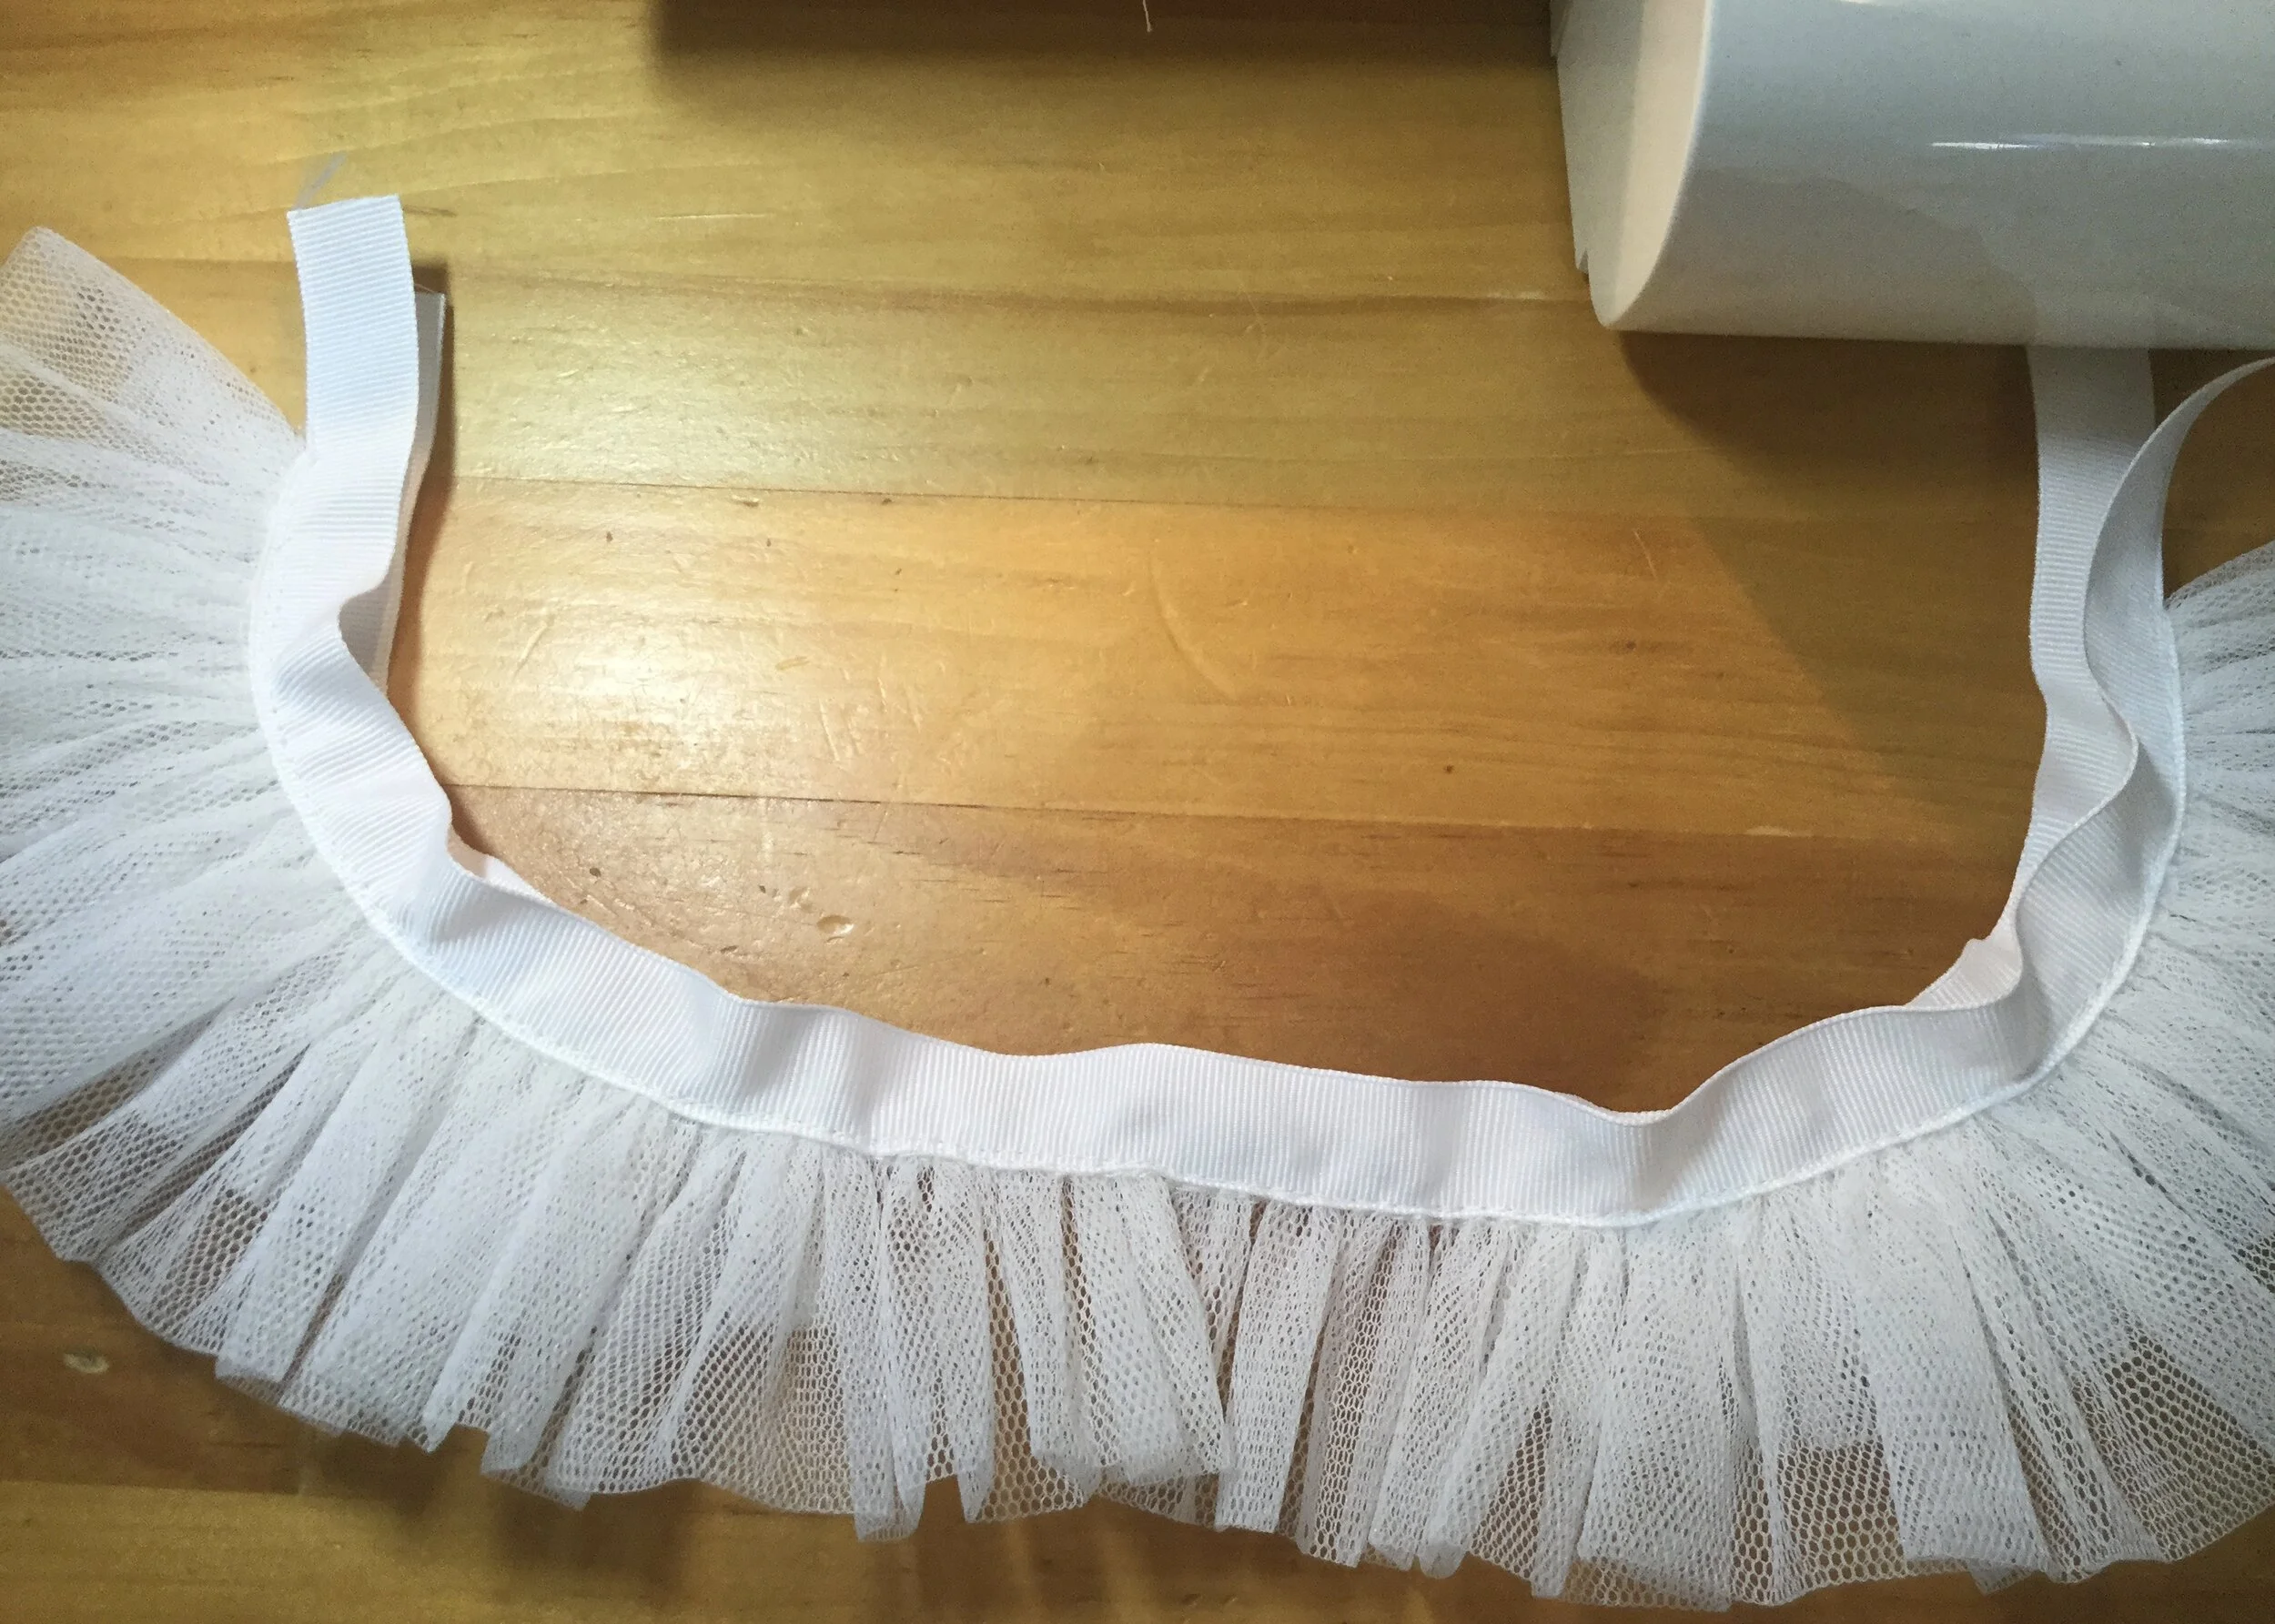
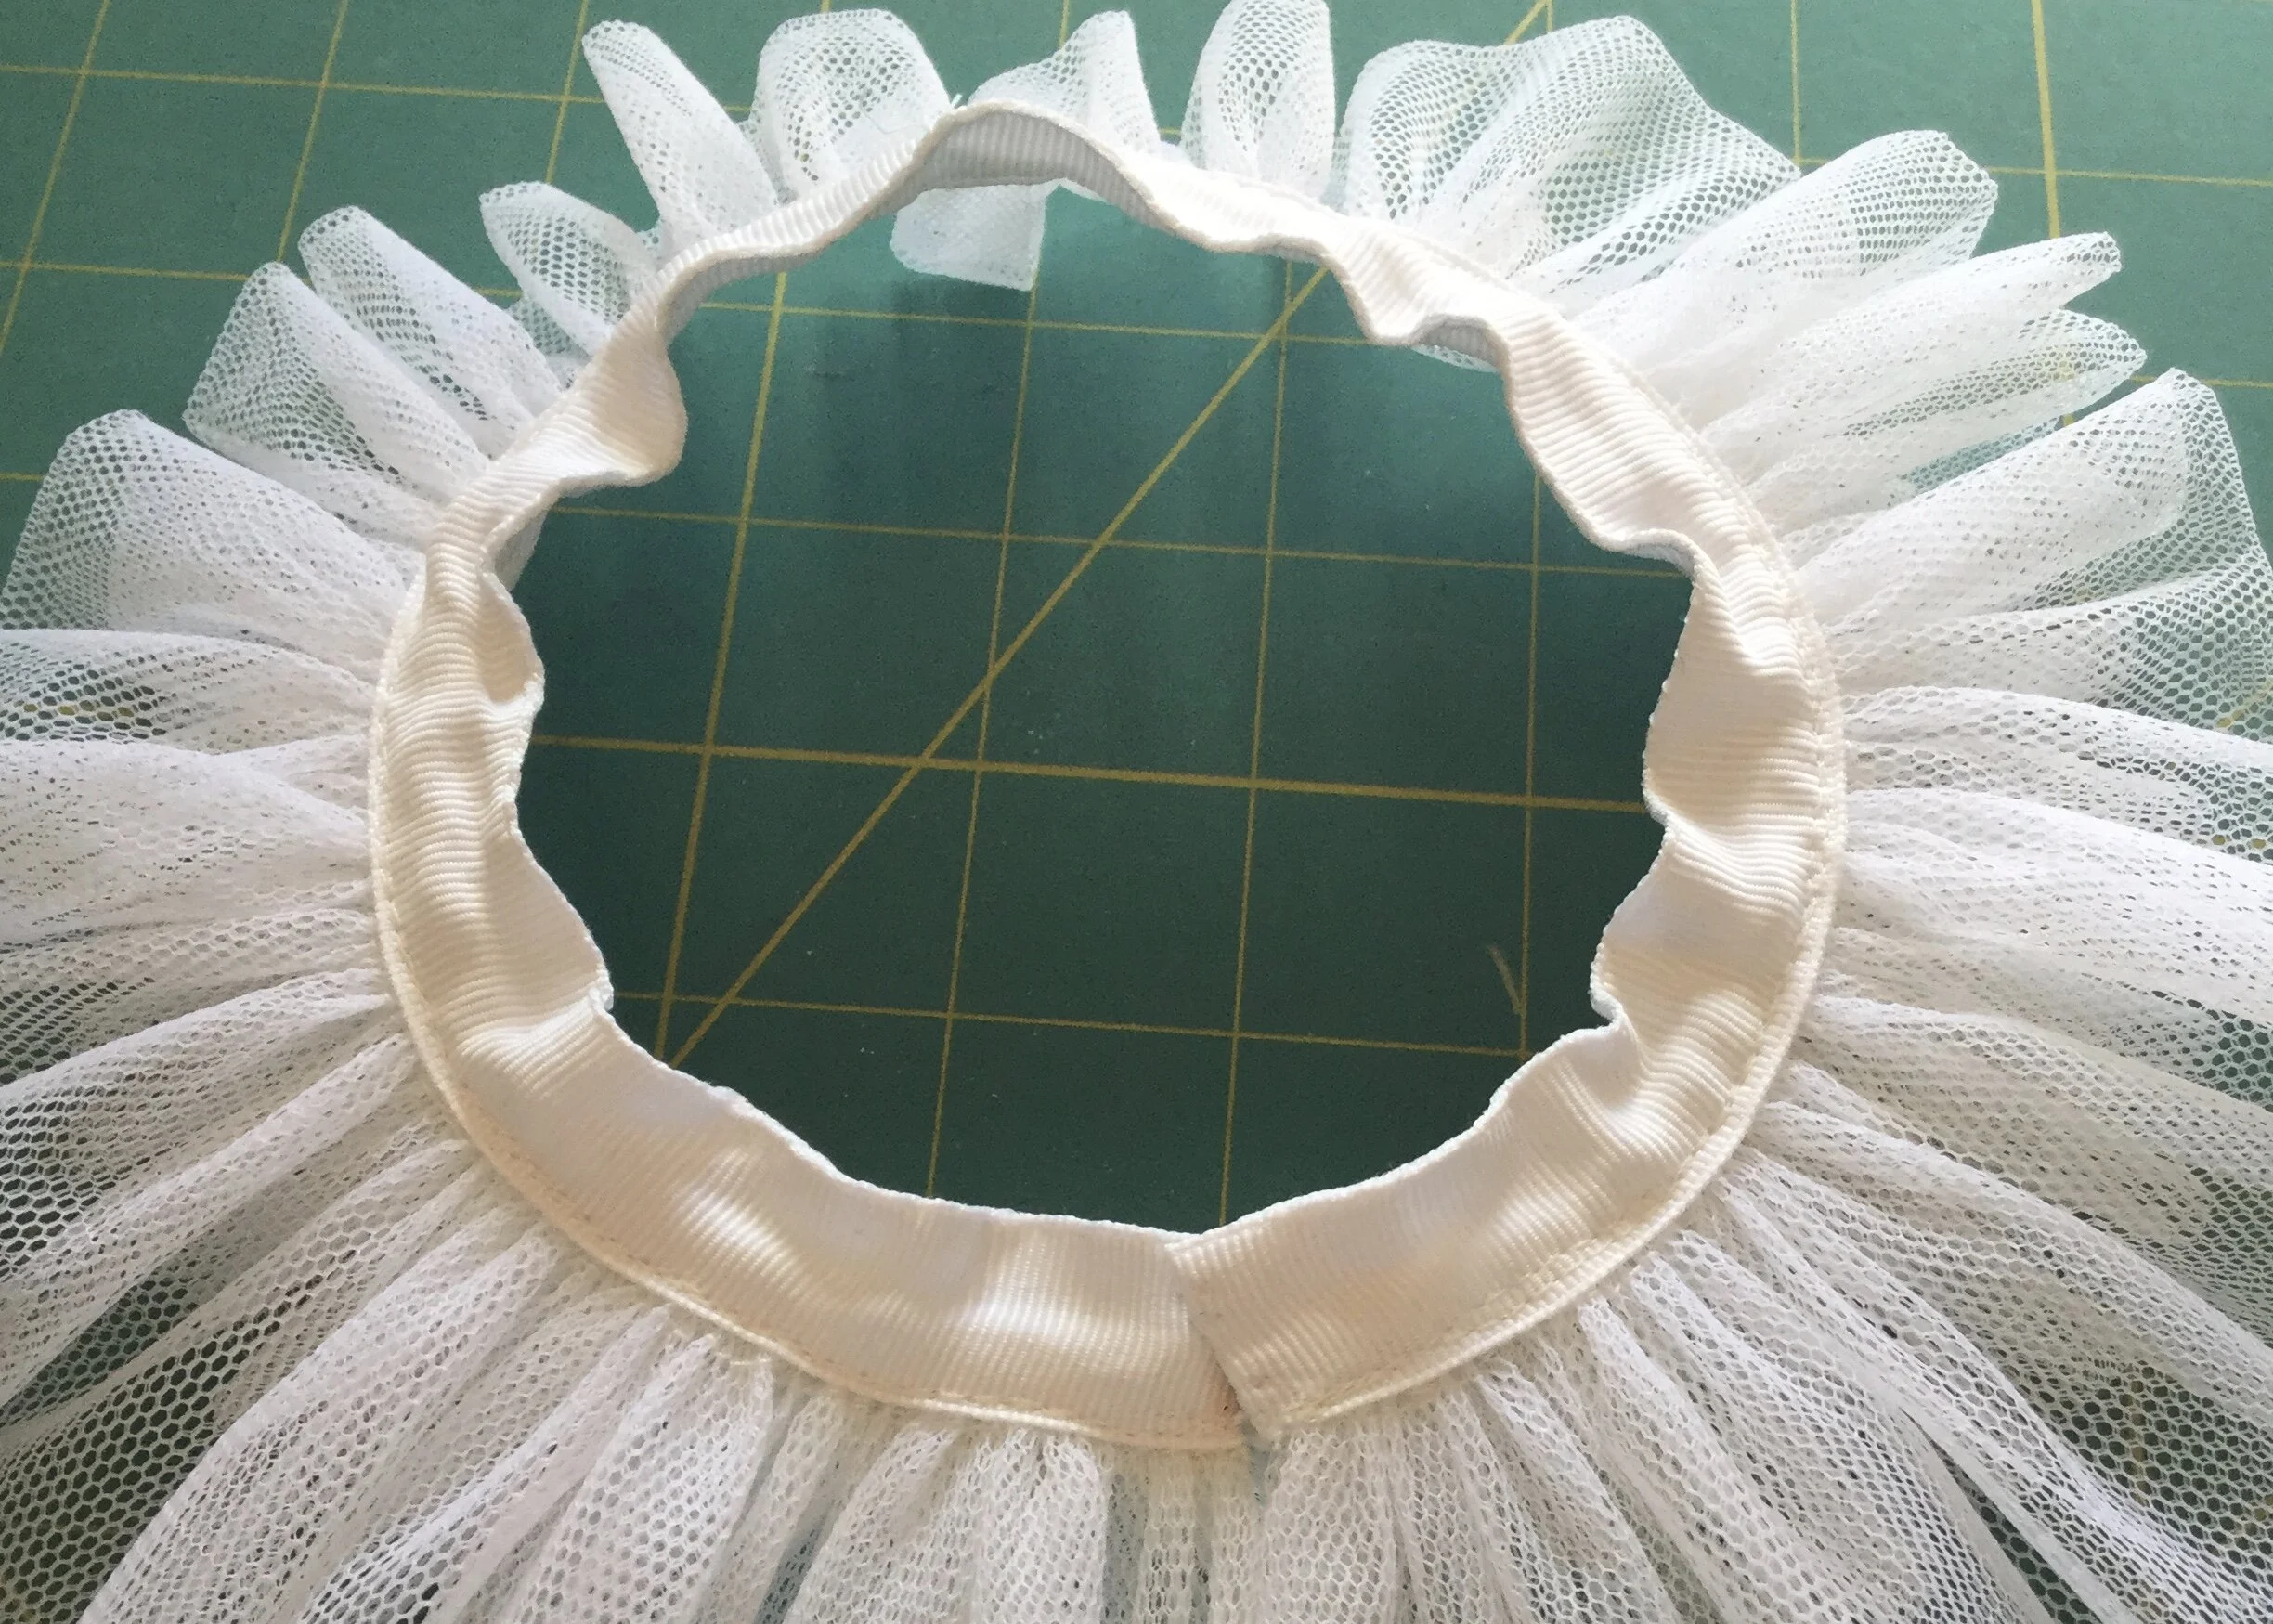
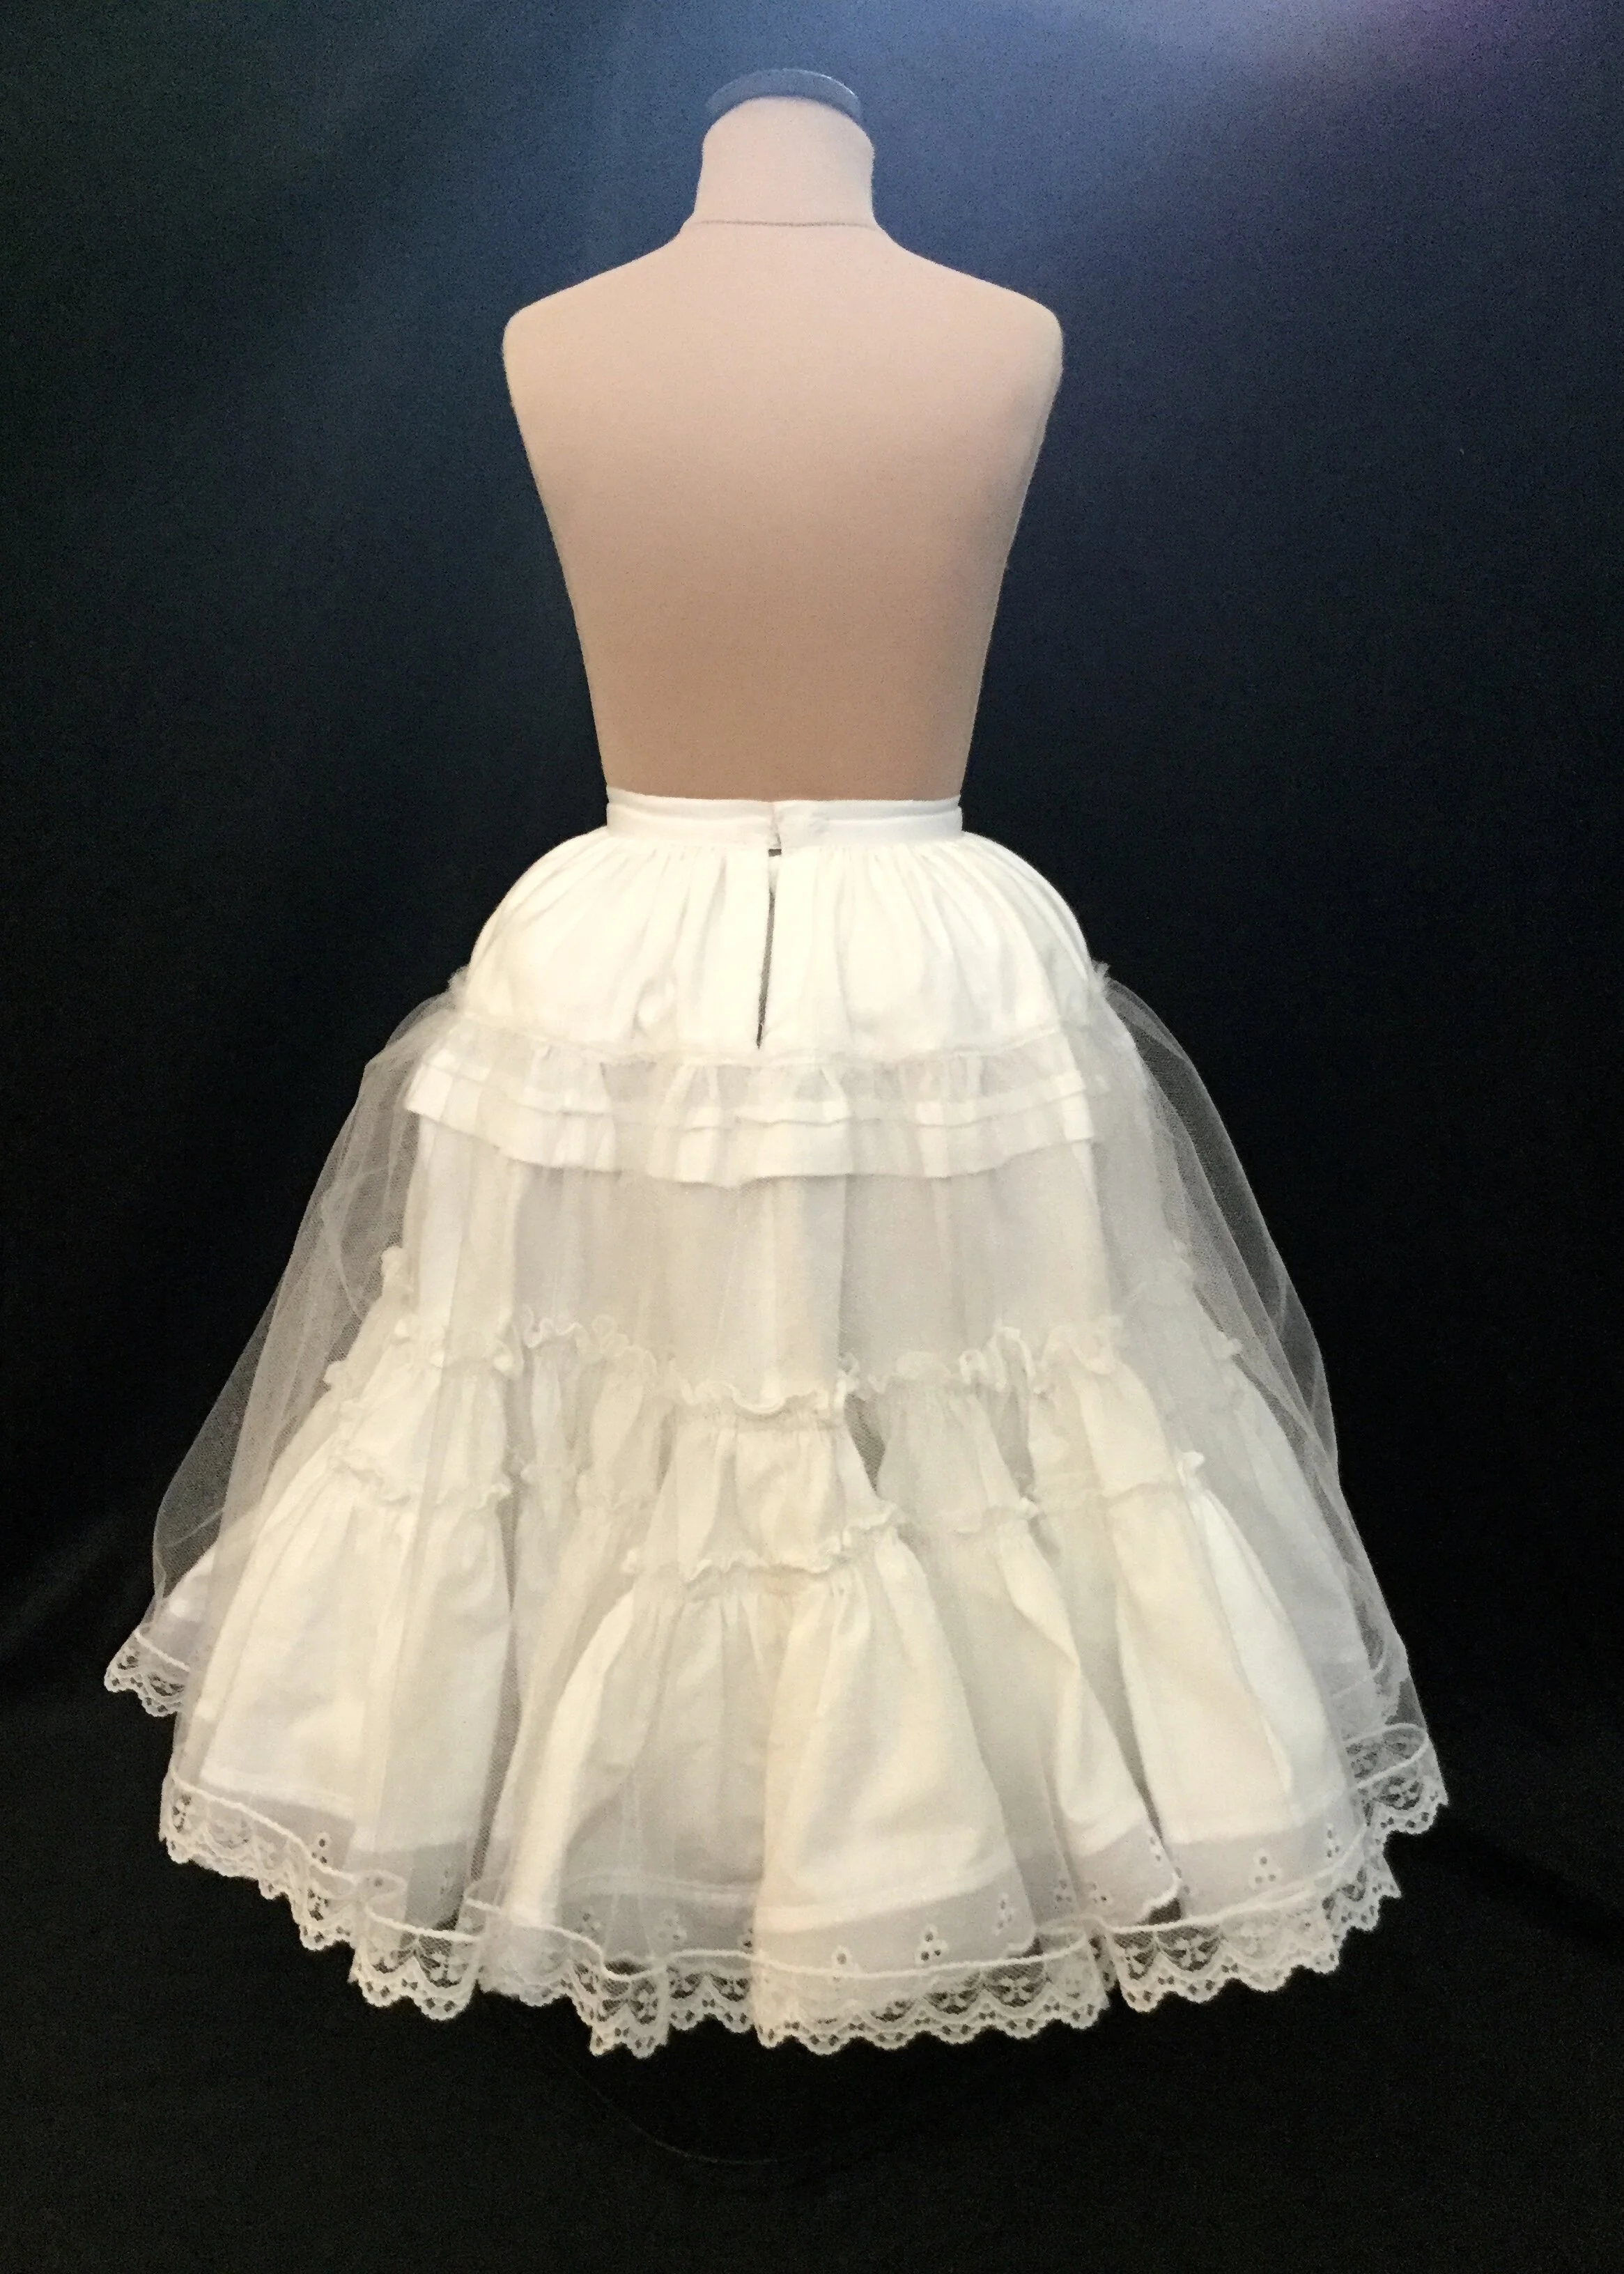
Each side is made from two strips of net, one a bit narrower and shorter, folded lengthwise and tapered a bit at one end then gathered onto a waistband. The shorter piece sits on the underside of the longer one and more towards the centre back. Once the full weight of the petticoat is sitting on top of them, they compress a little but they do still create a pleasing round shape at the waist.
I stitched the two pieces onto one waistband and I purposely made it a little loose so that it would sit a little below the waistband of the petticoat. This was in part because that waistband was very tight and I don't know if another would have fit underneath it, but it was also because eventually the bodice will extend down a little past the waist and potentially push the tutus down which would mean losing the shape they provide; my hope is to prevent that by having them sit a little lower already.
Next was the actual flounces. I went with flounces on top of flounces as a way to gradually achieve the necessary fullness at the hem without having too many layers preventing the skirt from spiralling inward how I wanted it to. It also meant that there would be some weight at the hem which would help the skirt flare outward when spun. For the mock up I had lucked out and found some voile on a sale table (I do love a bargain) so I was able to test my theory with something quite light and soft. The final result needed to be shortened a bit but ultimately it worked. Proof of concept: check!
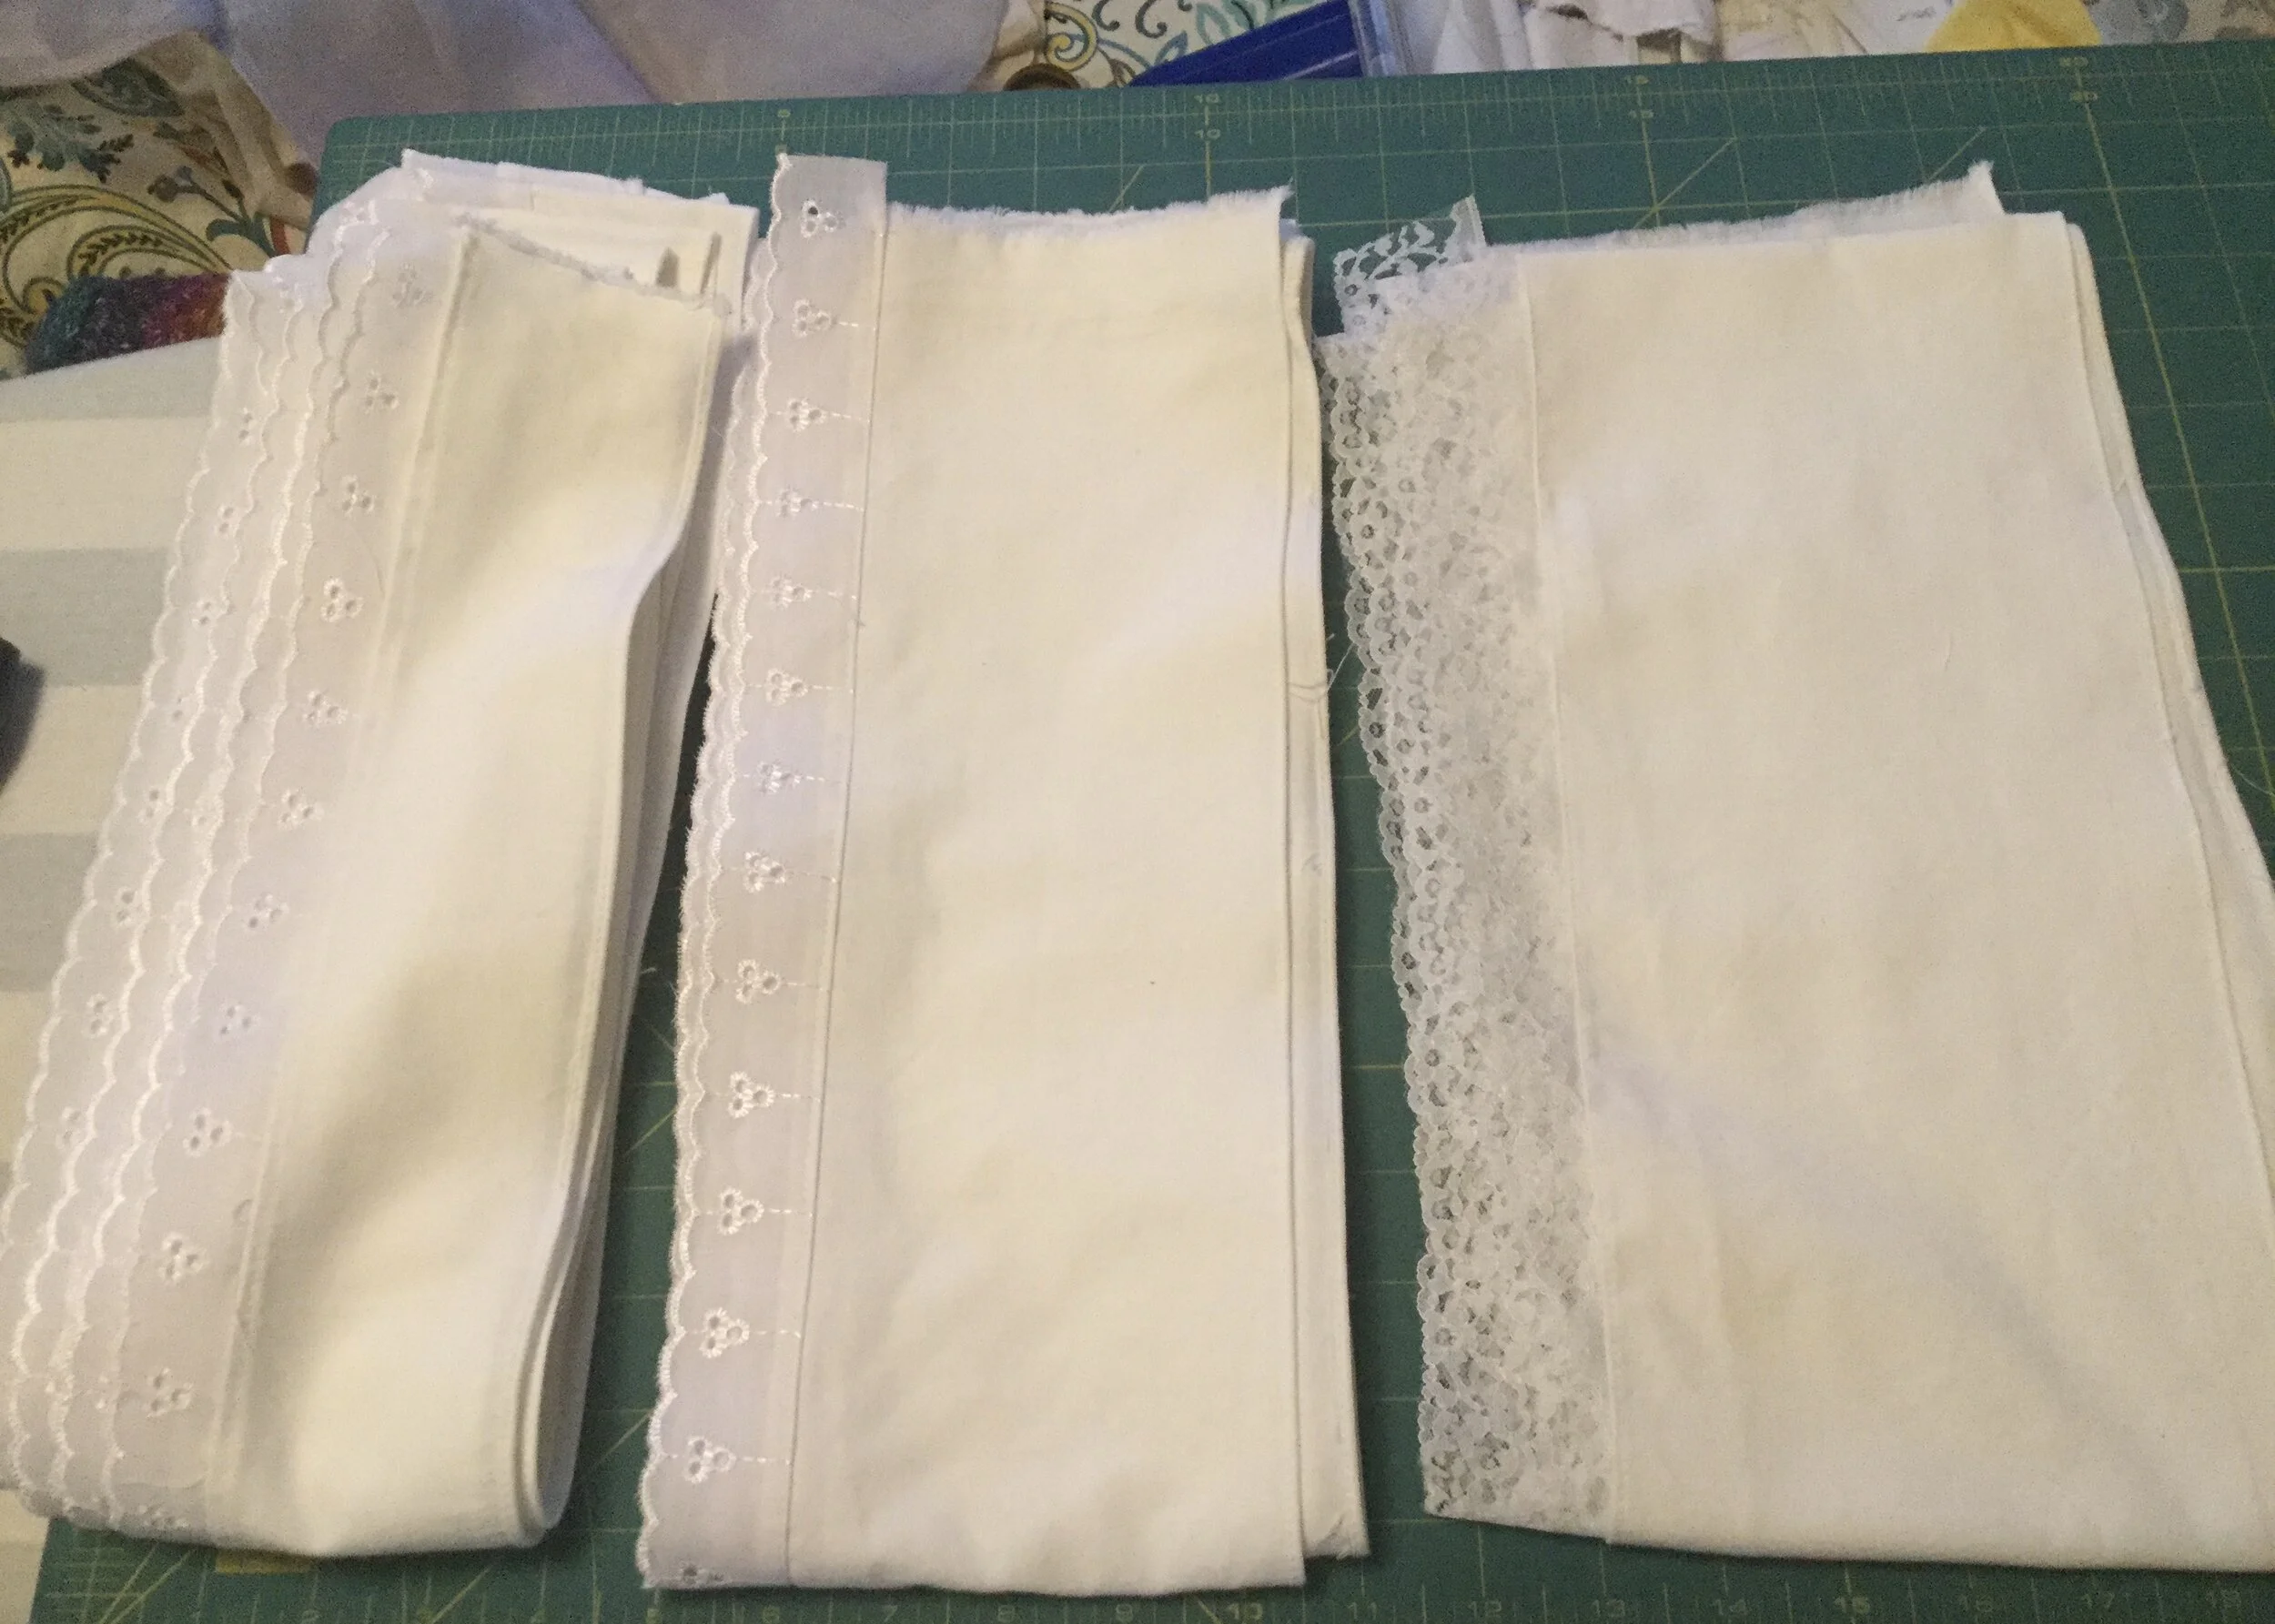
With a plan ready I was on the hunt for some appropriate fabric. Ideally I wanted a beautiful soft and floaty cotton bastiste or lawn. But those fabrics can be a bit pricey and it turned out that in spite of my Judy's small size, it was actually going to take at least a few meters of fabric to make this petticoat with all its floof. Searches on the internet had yielded various options which would seem economical until I got to calculating shipping or exchange rates. Finally I returned to Fabricland, determined that come hell or high water I was leaving that day with fabric for the petticoat, whether it was my dream fabric or not. In the end I found cotton drapery lining. Not nearly as light as I would have liked, but still pretty soft, 100% cotton and a good price. I also cleaned them out of 1” eyelet lace and I still had to sub in a different lace from my stash on one of the layers. There is a deceptive amount of fabric in this thing.
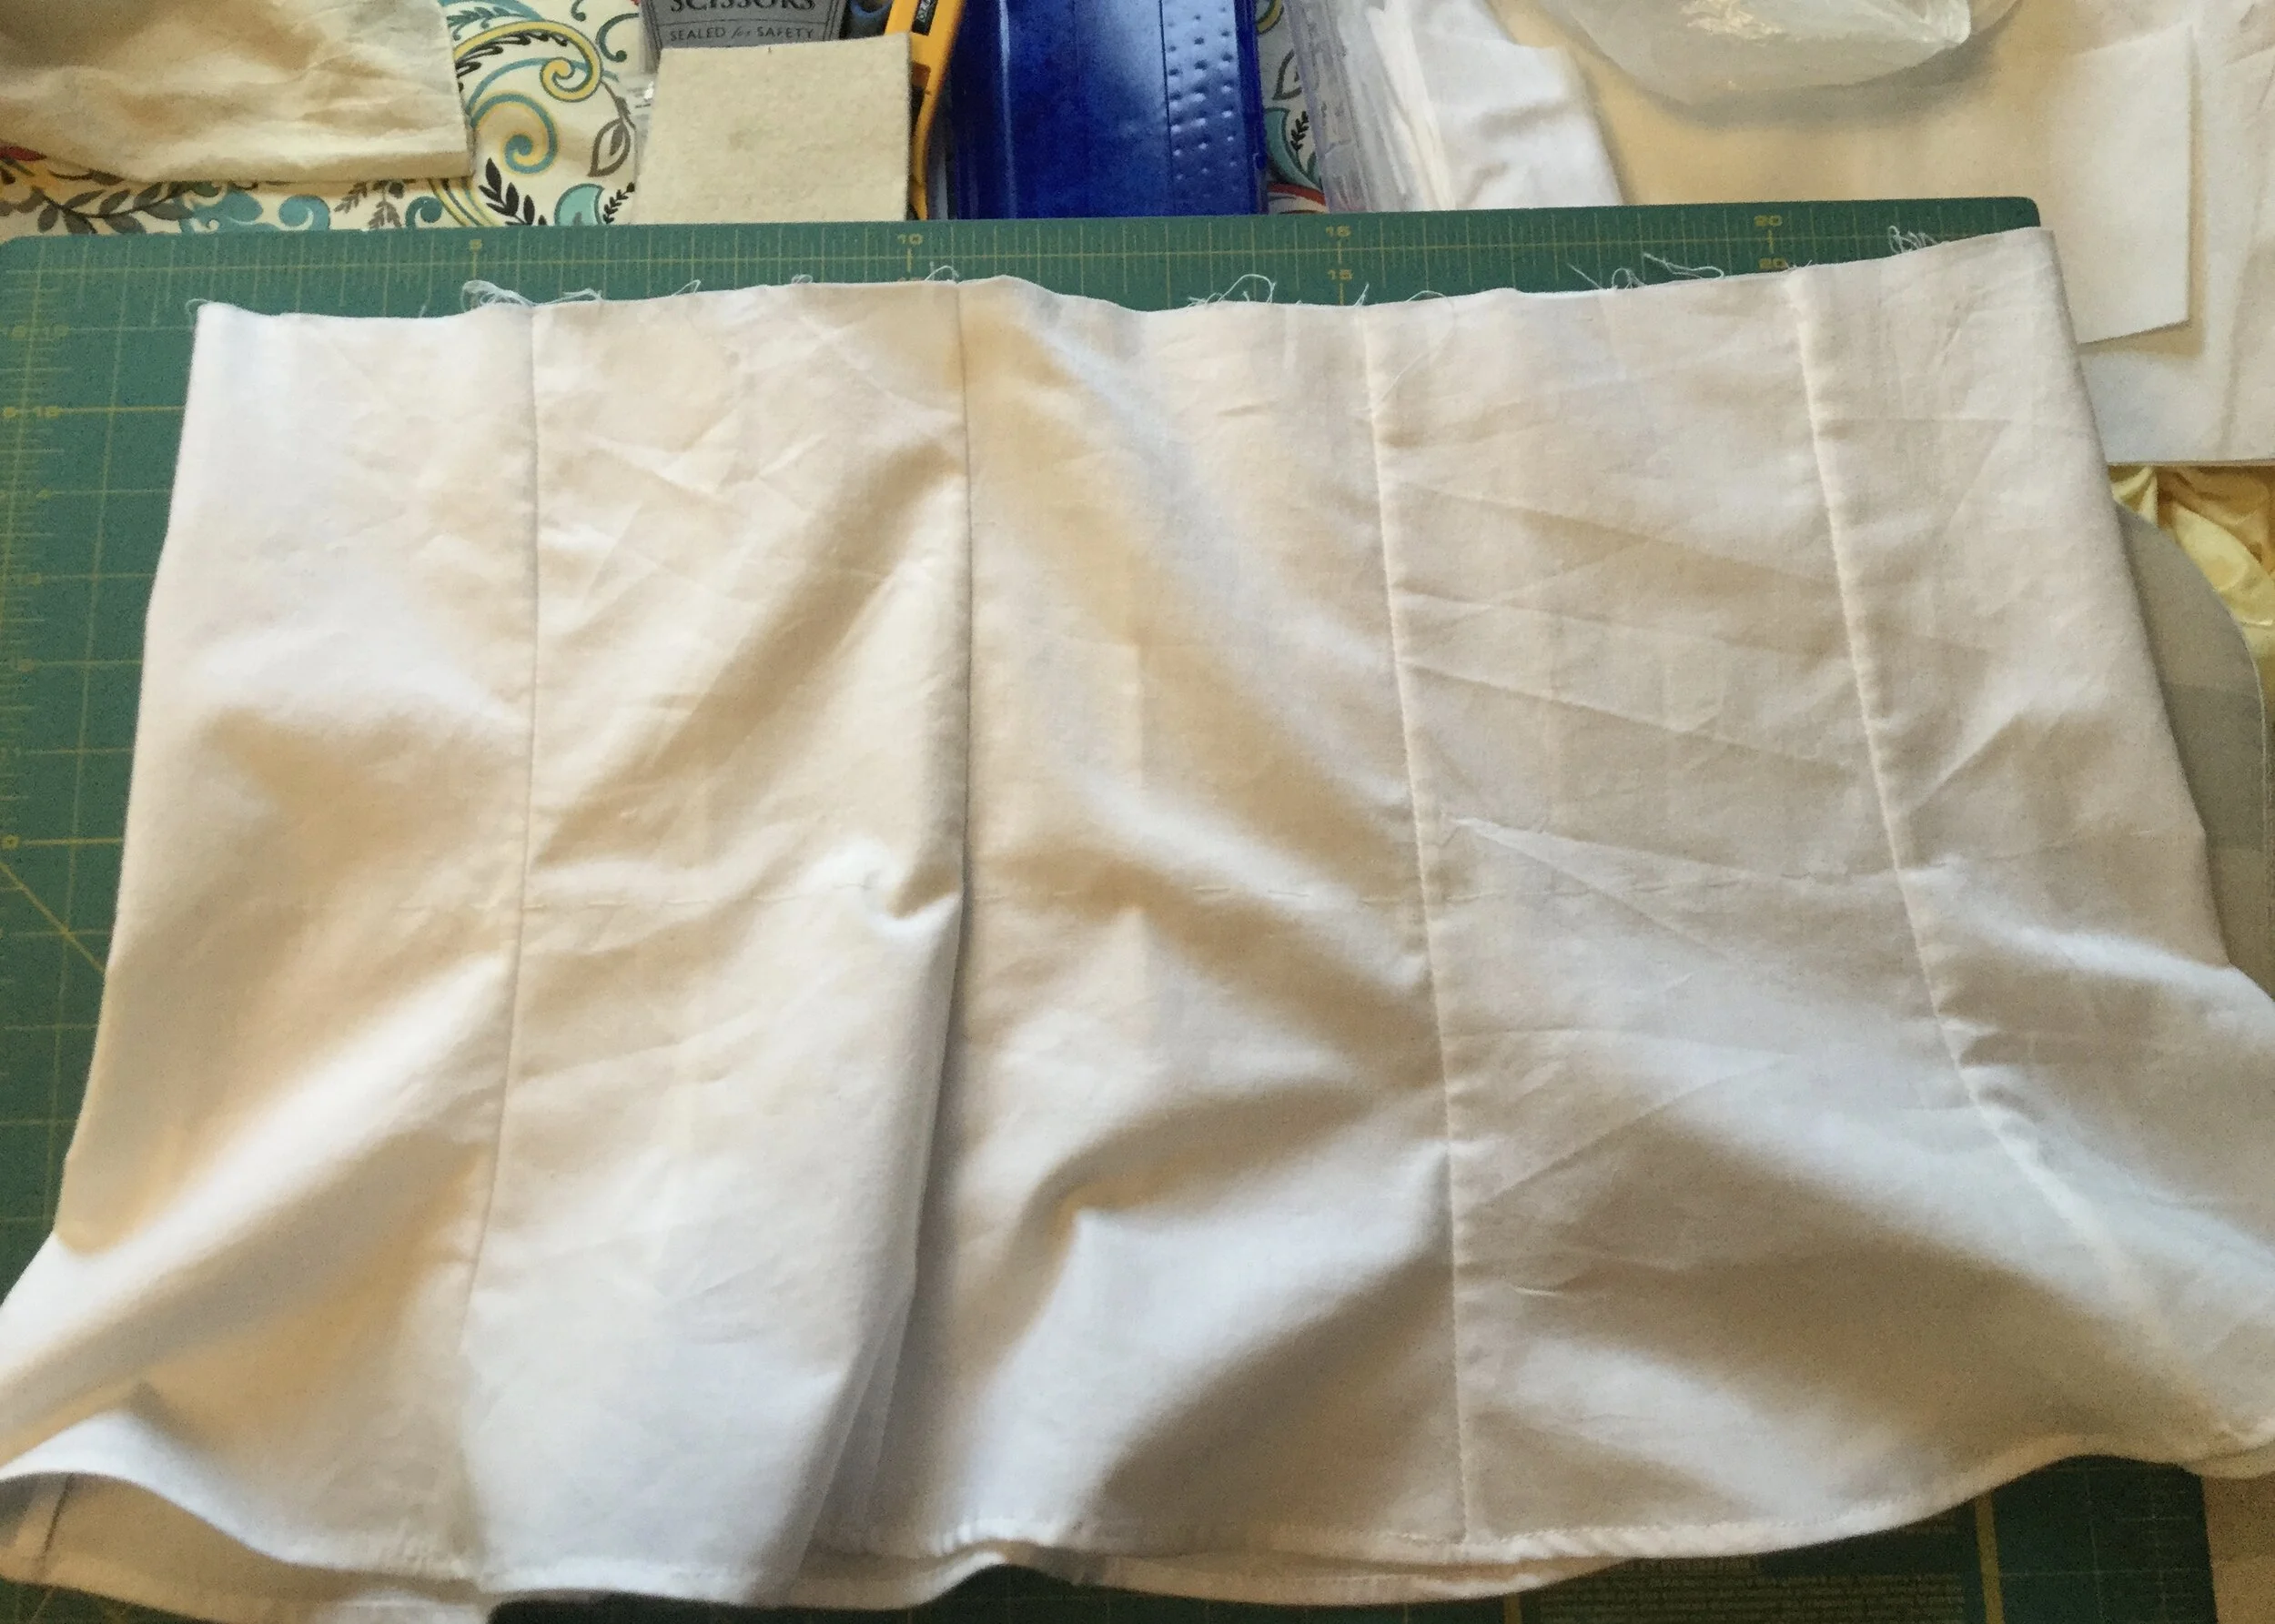
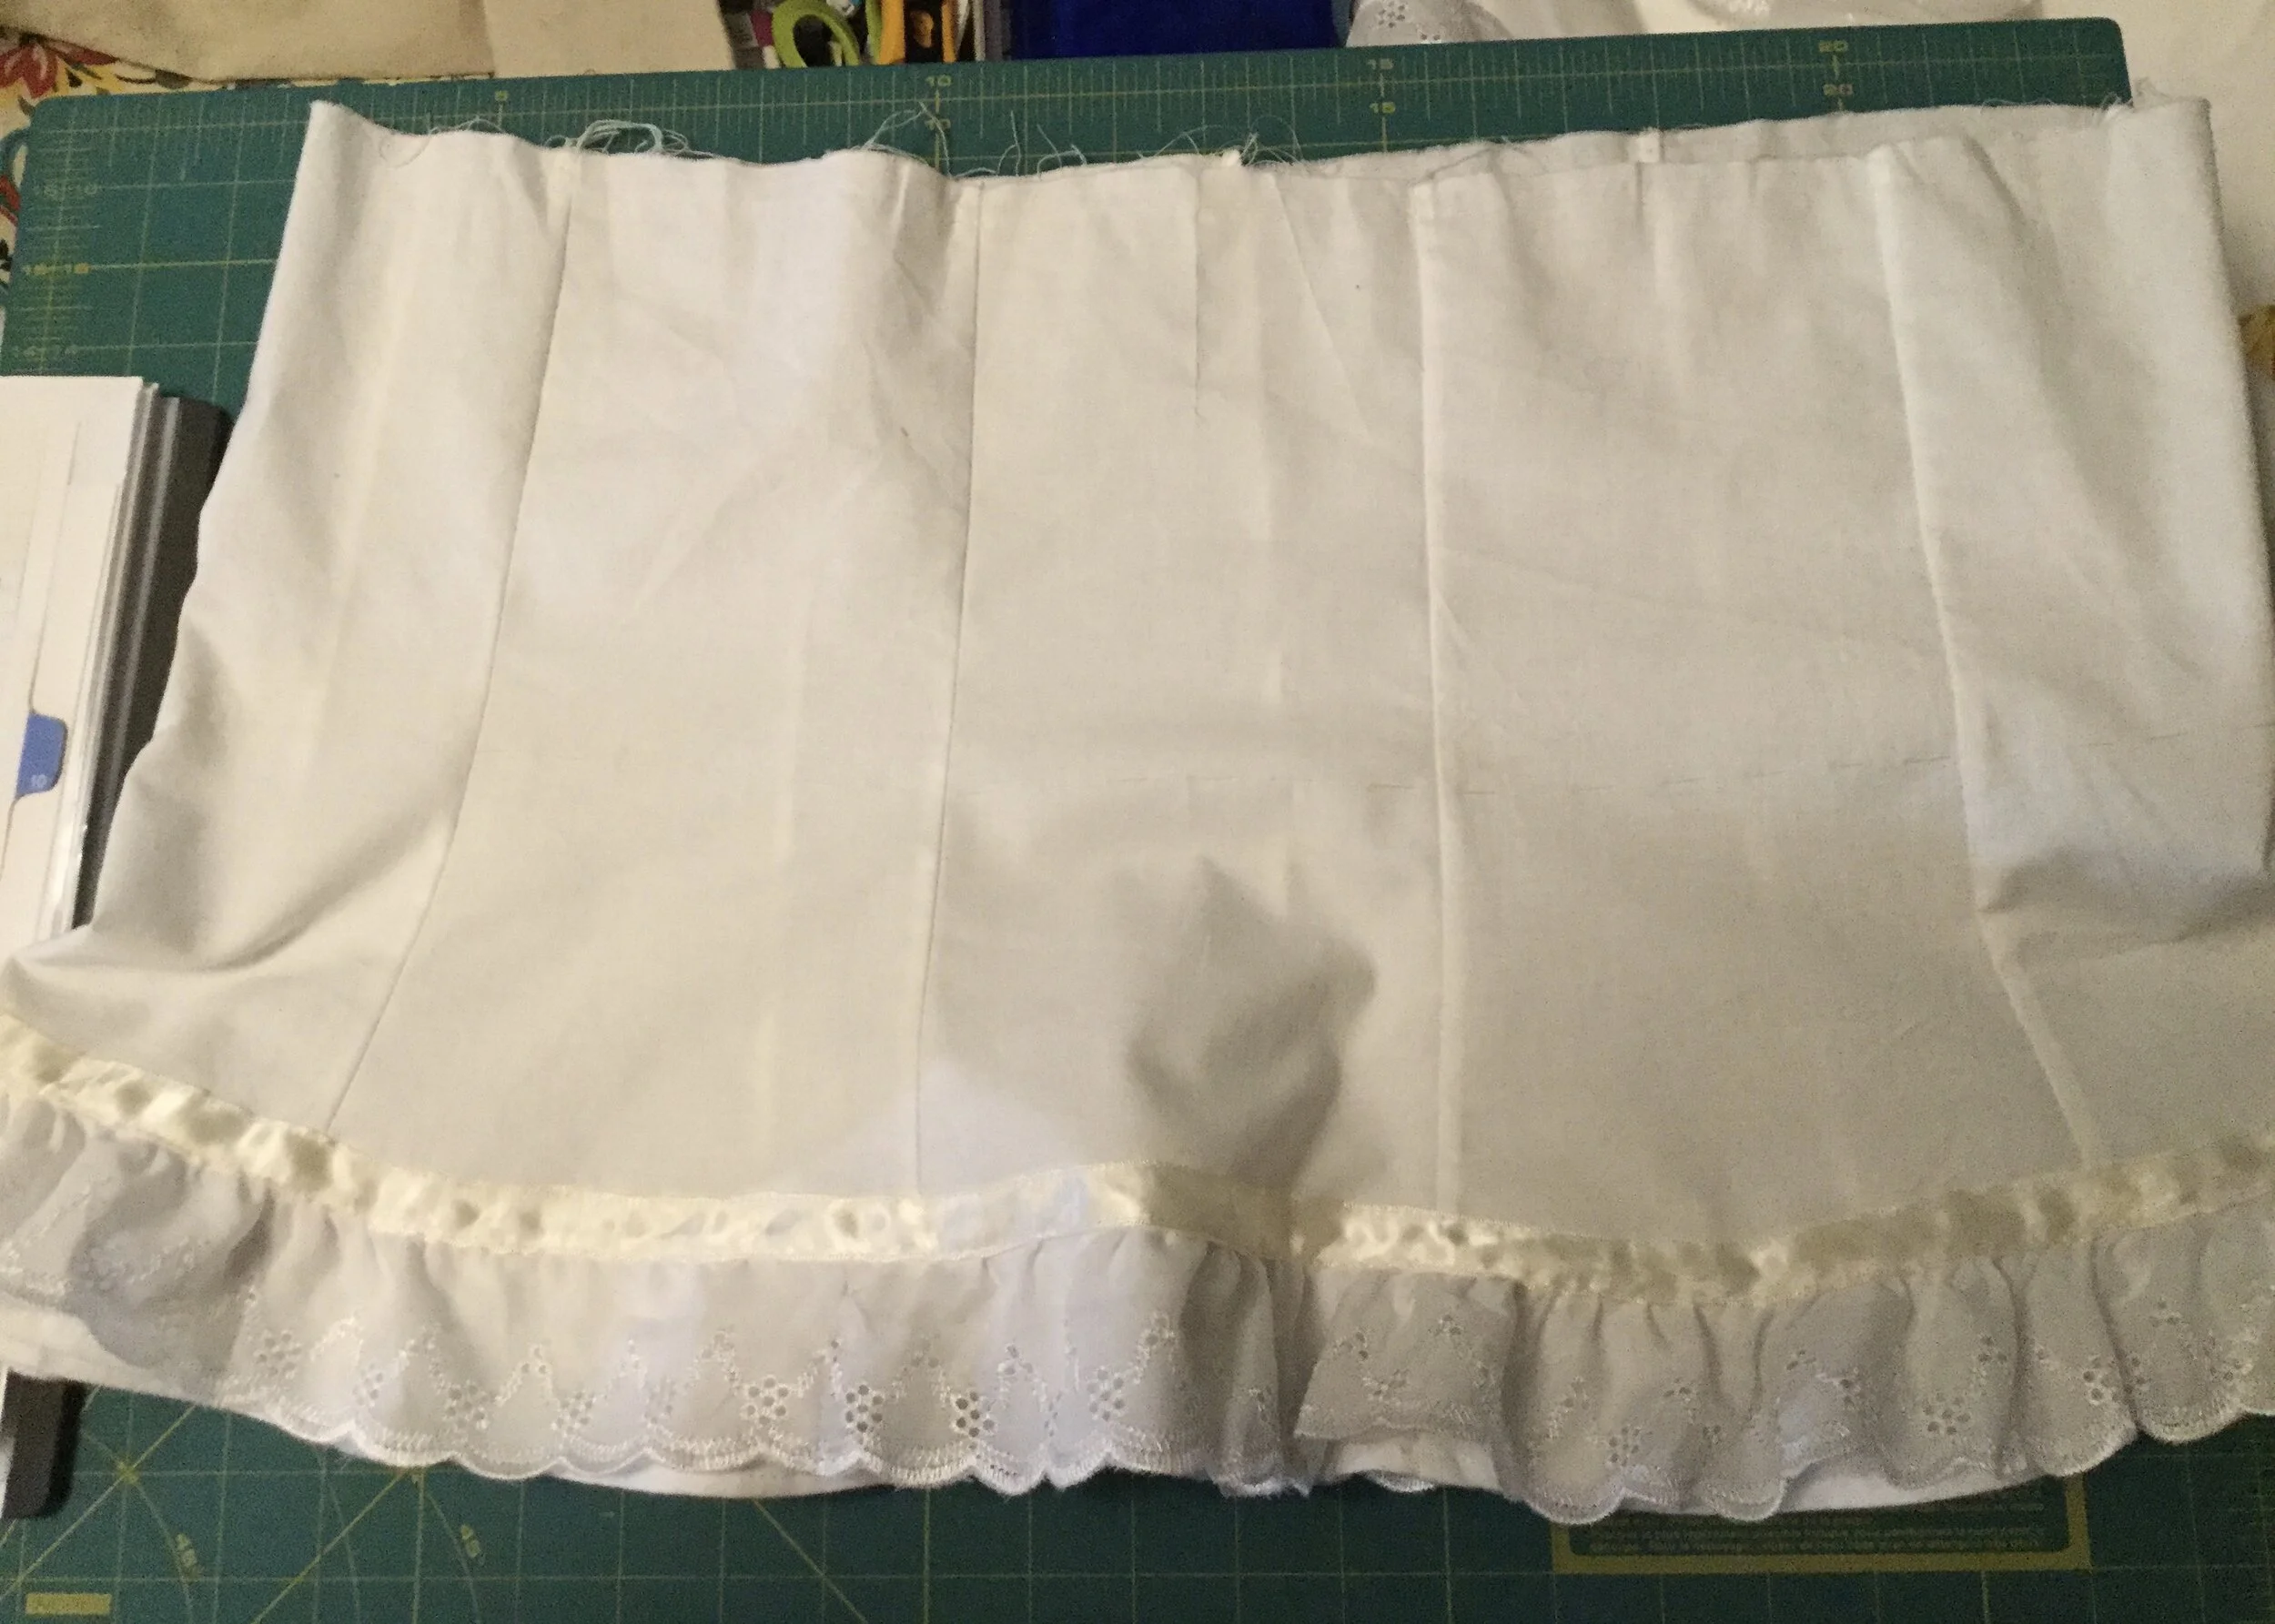
Having committed to a fabric, I got started. I decided to increase the number of panels for the body of the skirt from eight to nine; I had thought that the mock up didn't look quite as full as I wanted and the gathering where the skirt met the yoke looked a little thin. After stitching all the panels together, using french seams to avoid anachronistic serging, I applied the first layer of lace to the hem. I also remedied a mistake I had made with the mock up and marked the line for the flounces before actually trying to sew them on.
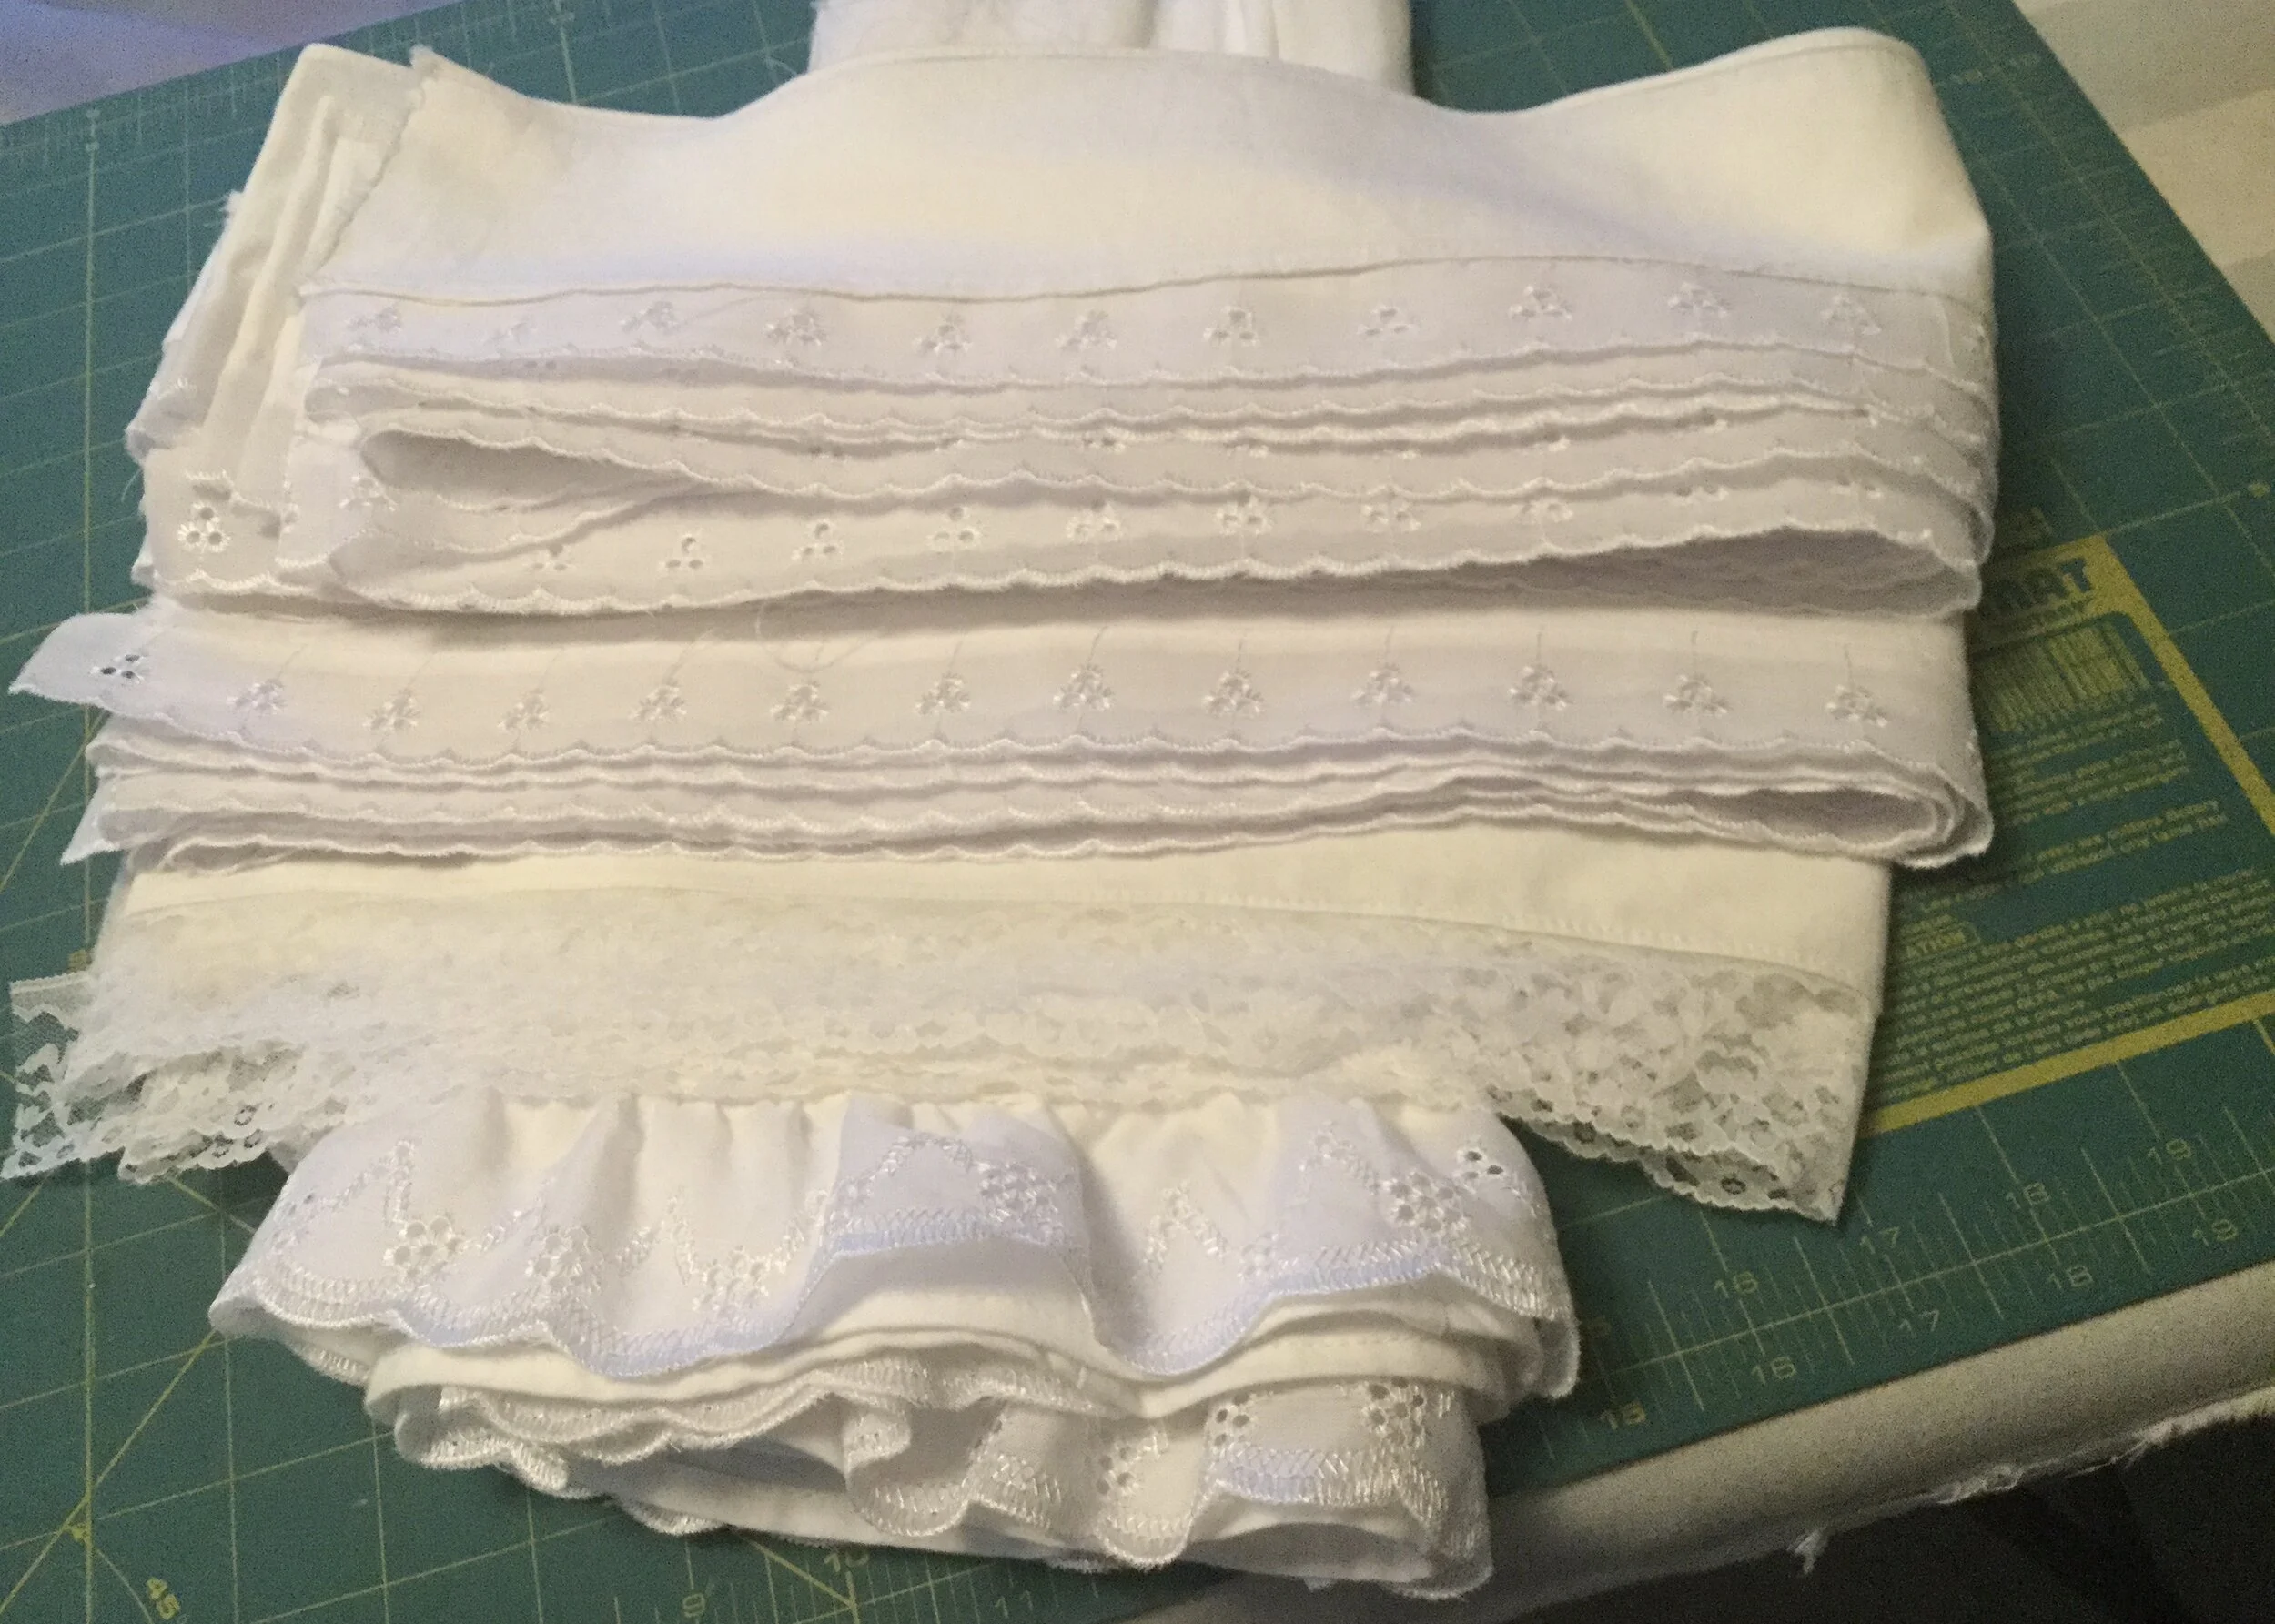
With the skirt assembled, it was time to actually make all these flounces. My general rule for gathering is to have at least double the fullness; depending on the fabric and the desired look it's sometimes not quite enough or it may be a bit more than necessary but usually it's a good place to start since much less than double can easily look more like a mistake than something intentional. With this in mind, I cut two strips the width of the fabric by 18cm long, four strips at 13cm and eight strips at 8cm. (When making flounces for petticoats I work in units of the width of the fabric to take advantage of the selvage as a seam finish.)
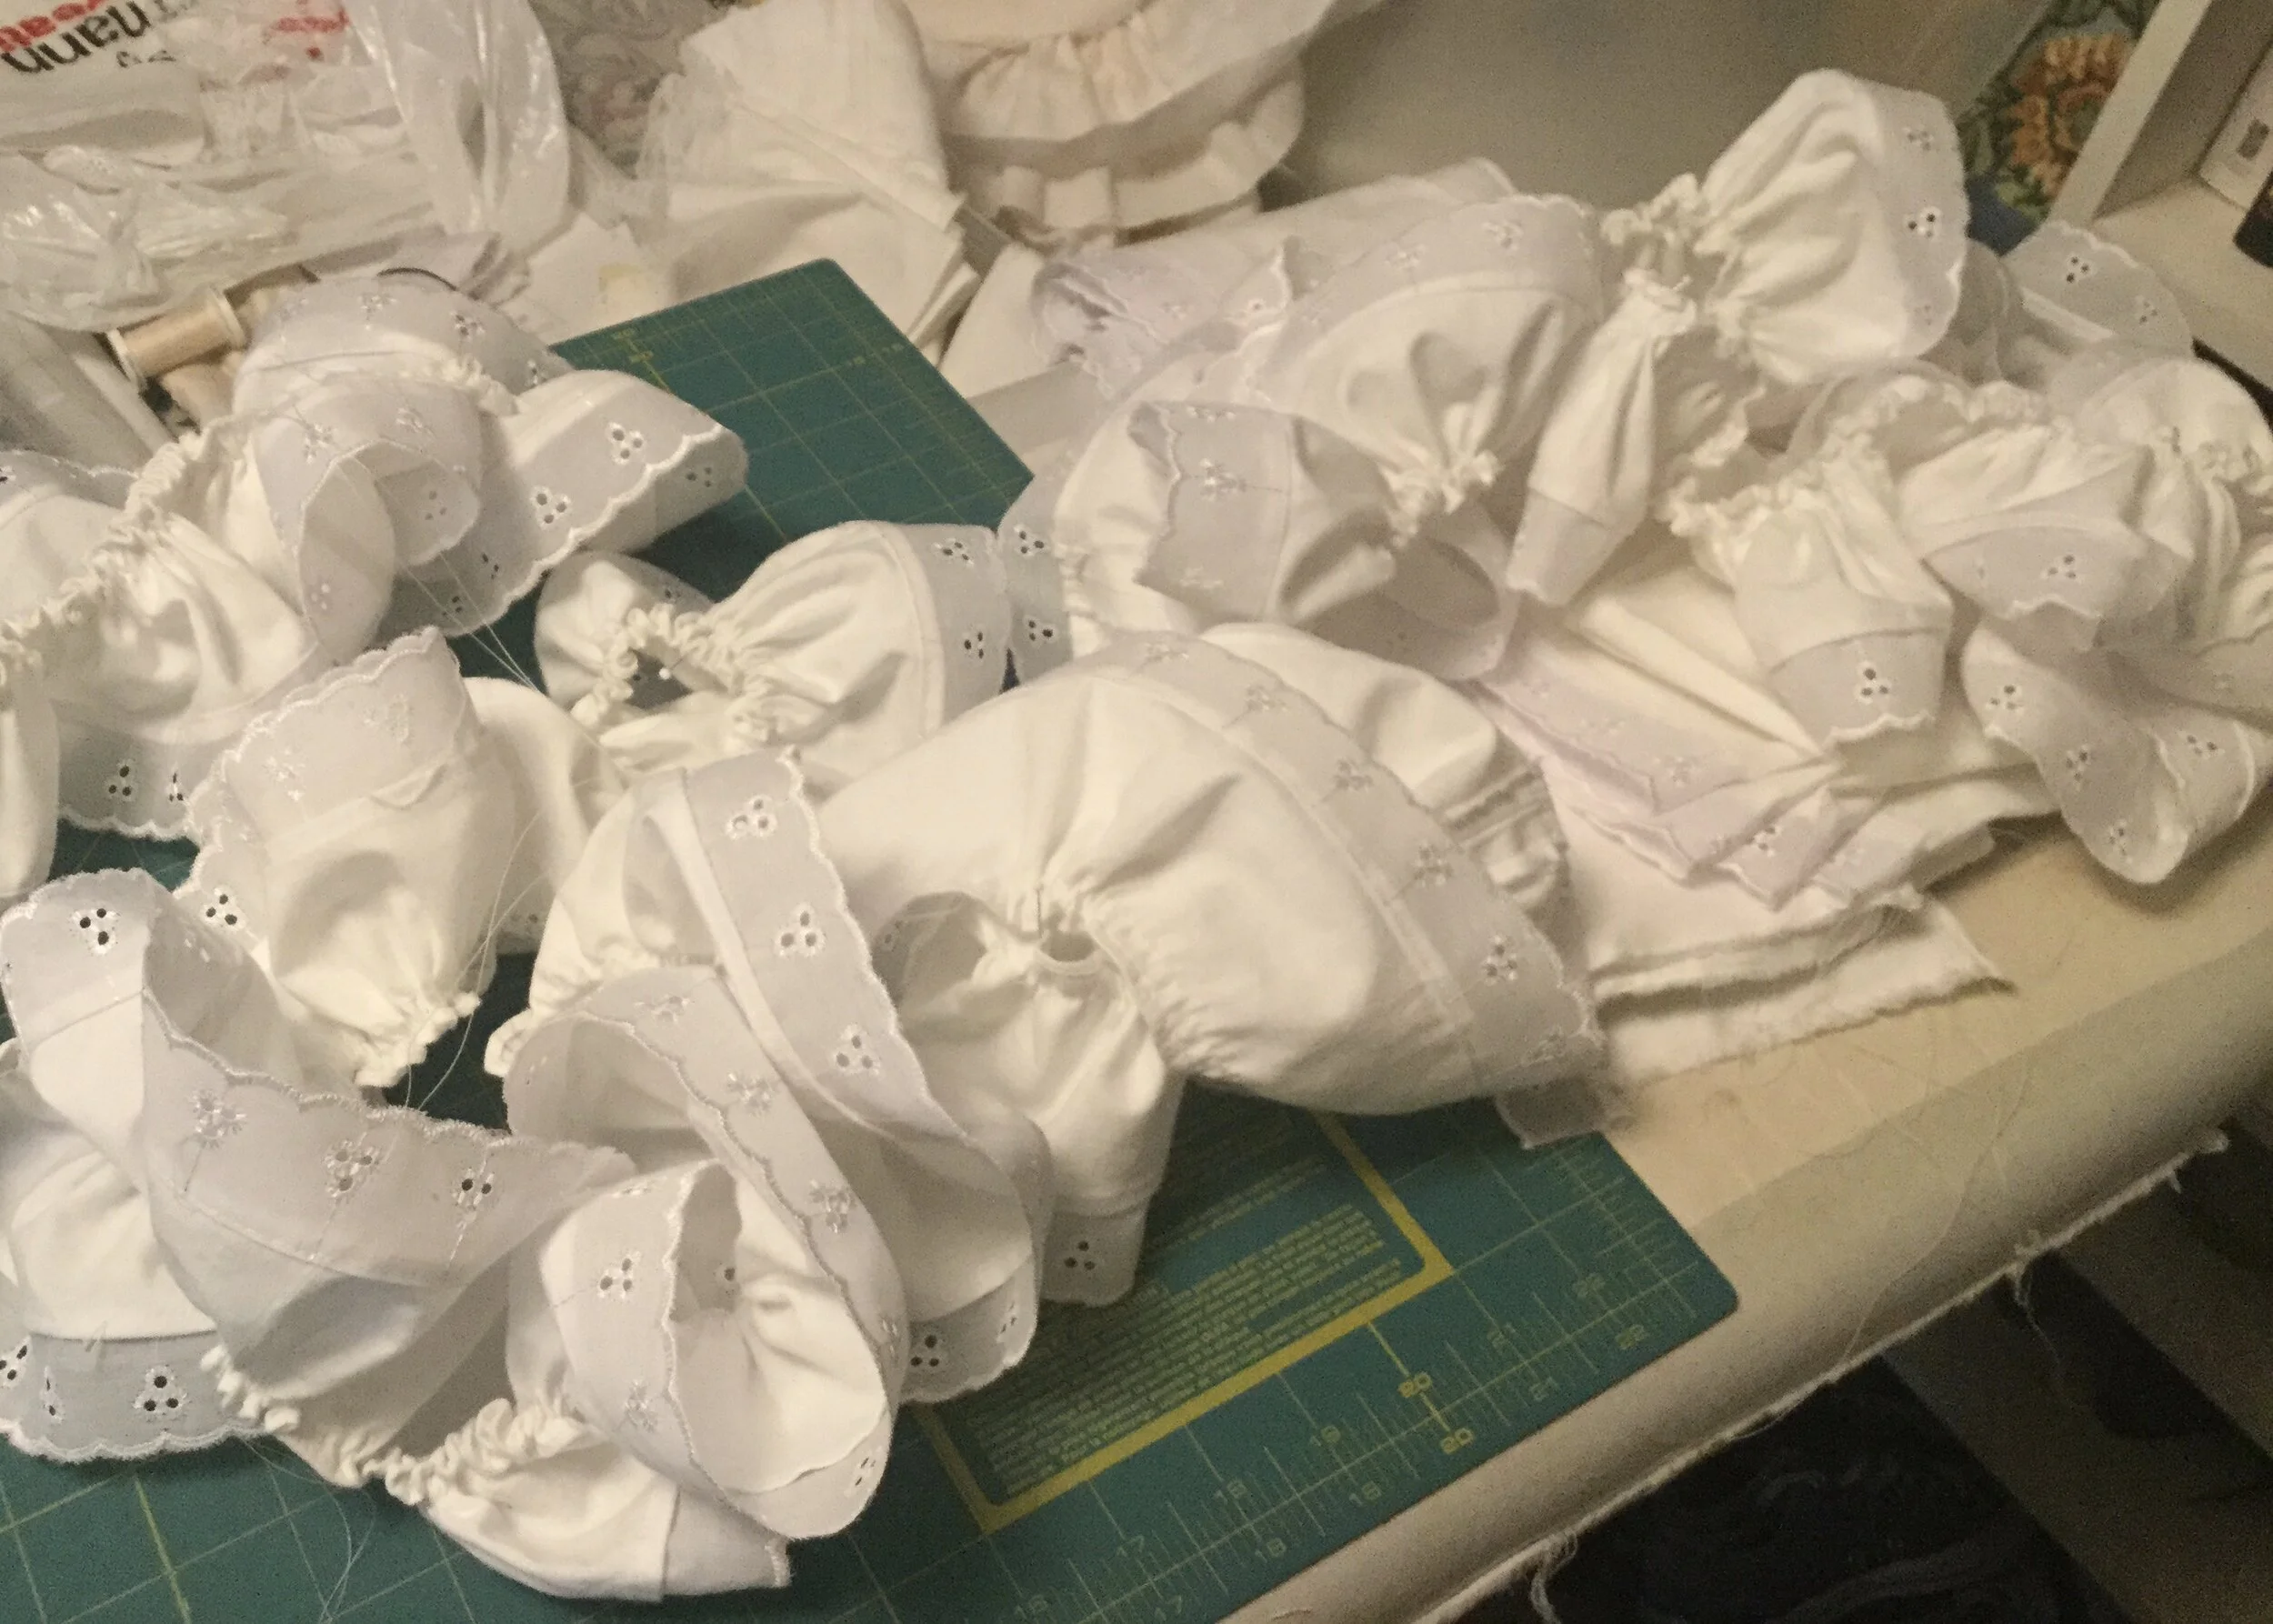
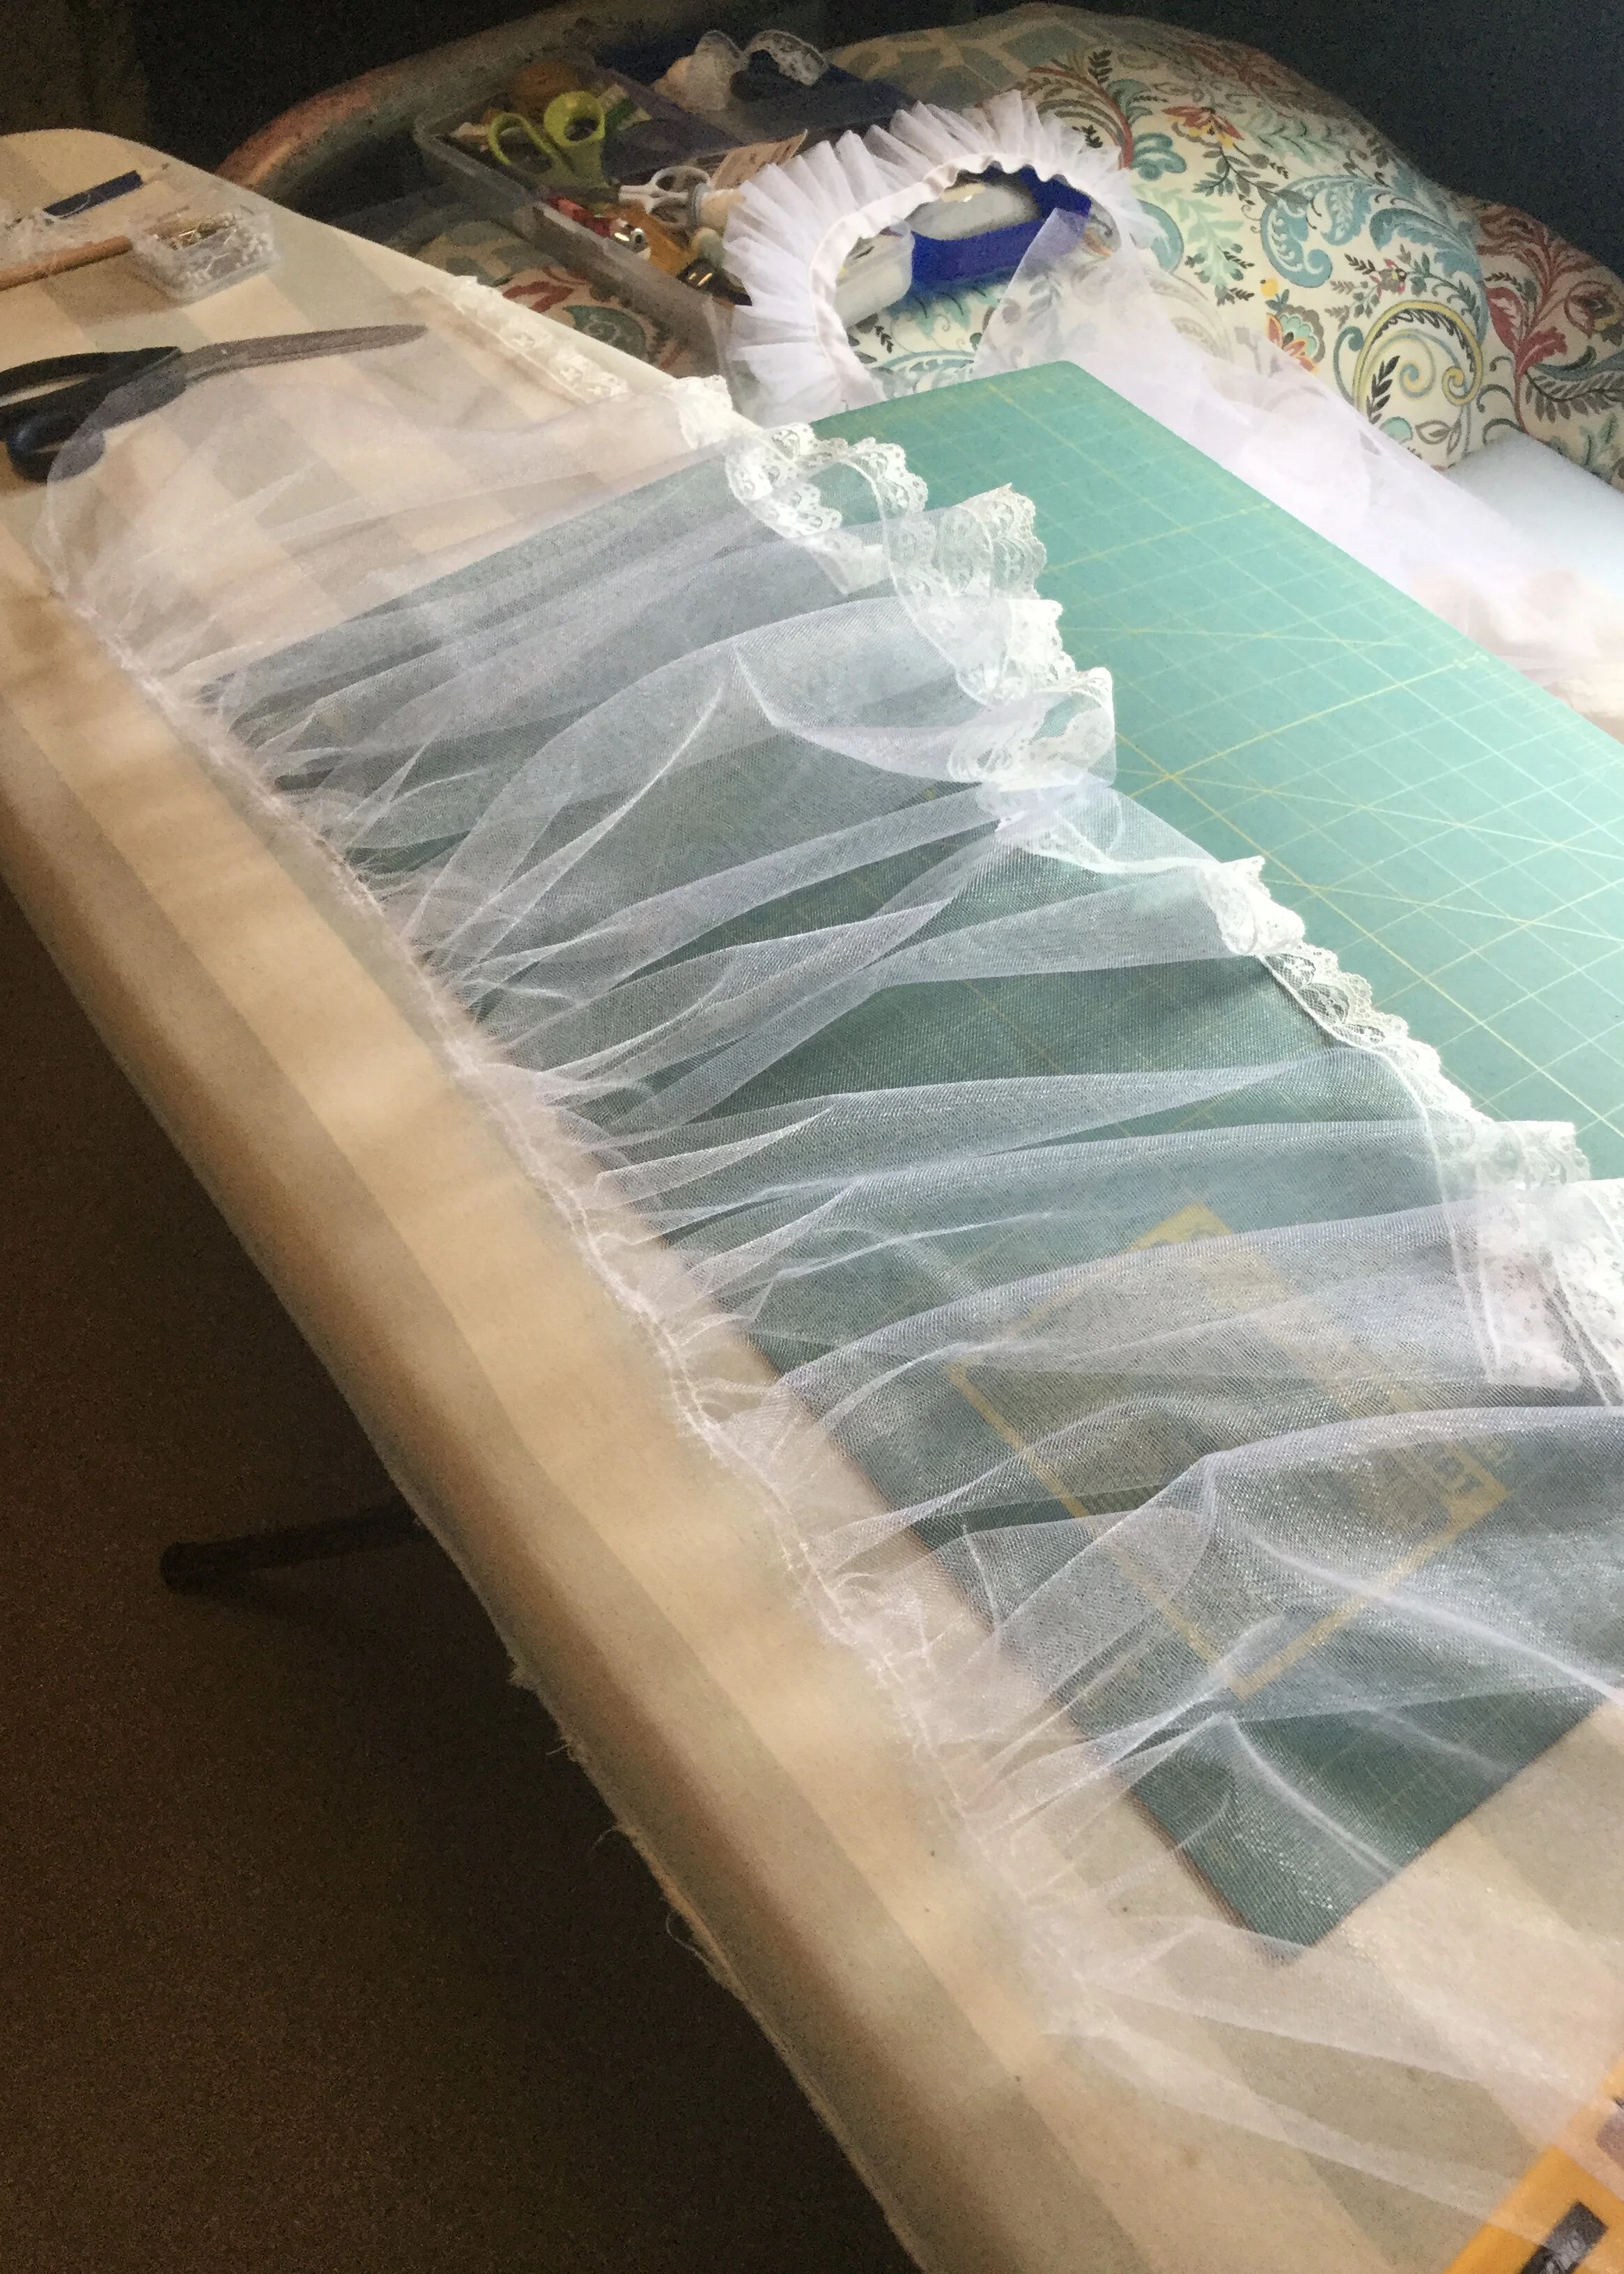
Once each set of strips had been assembled I began the tedious process of finishing the sides. Usually I don't enjoy working with a rolled hem foot, and this wasn't really an exception, but I used it for the top edges anyway as I had no interest in making the finishing of 21 meters of fabric any more painstaking than it already was; that’s not really what this project is about. Applying the lace was not as fiddly but did involve two passes on each flounce. The final step was to run the two rows of gathering stitches along the top edge of each flounce. Two rows... that's two more passes. So, that's five trips from one end to the other of each flounce with 21m of flounce total which comes to 105m. Like I said, more fabric than it looks like.
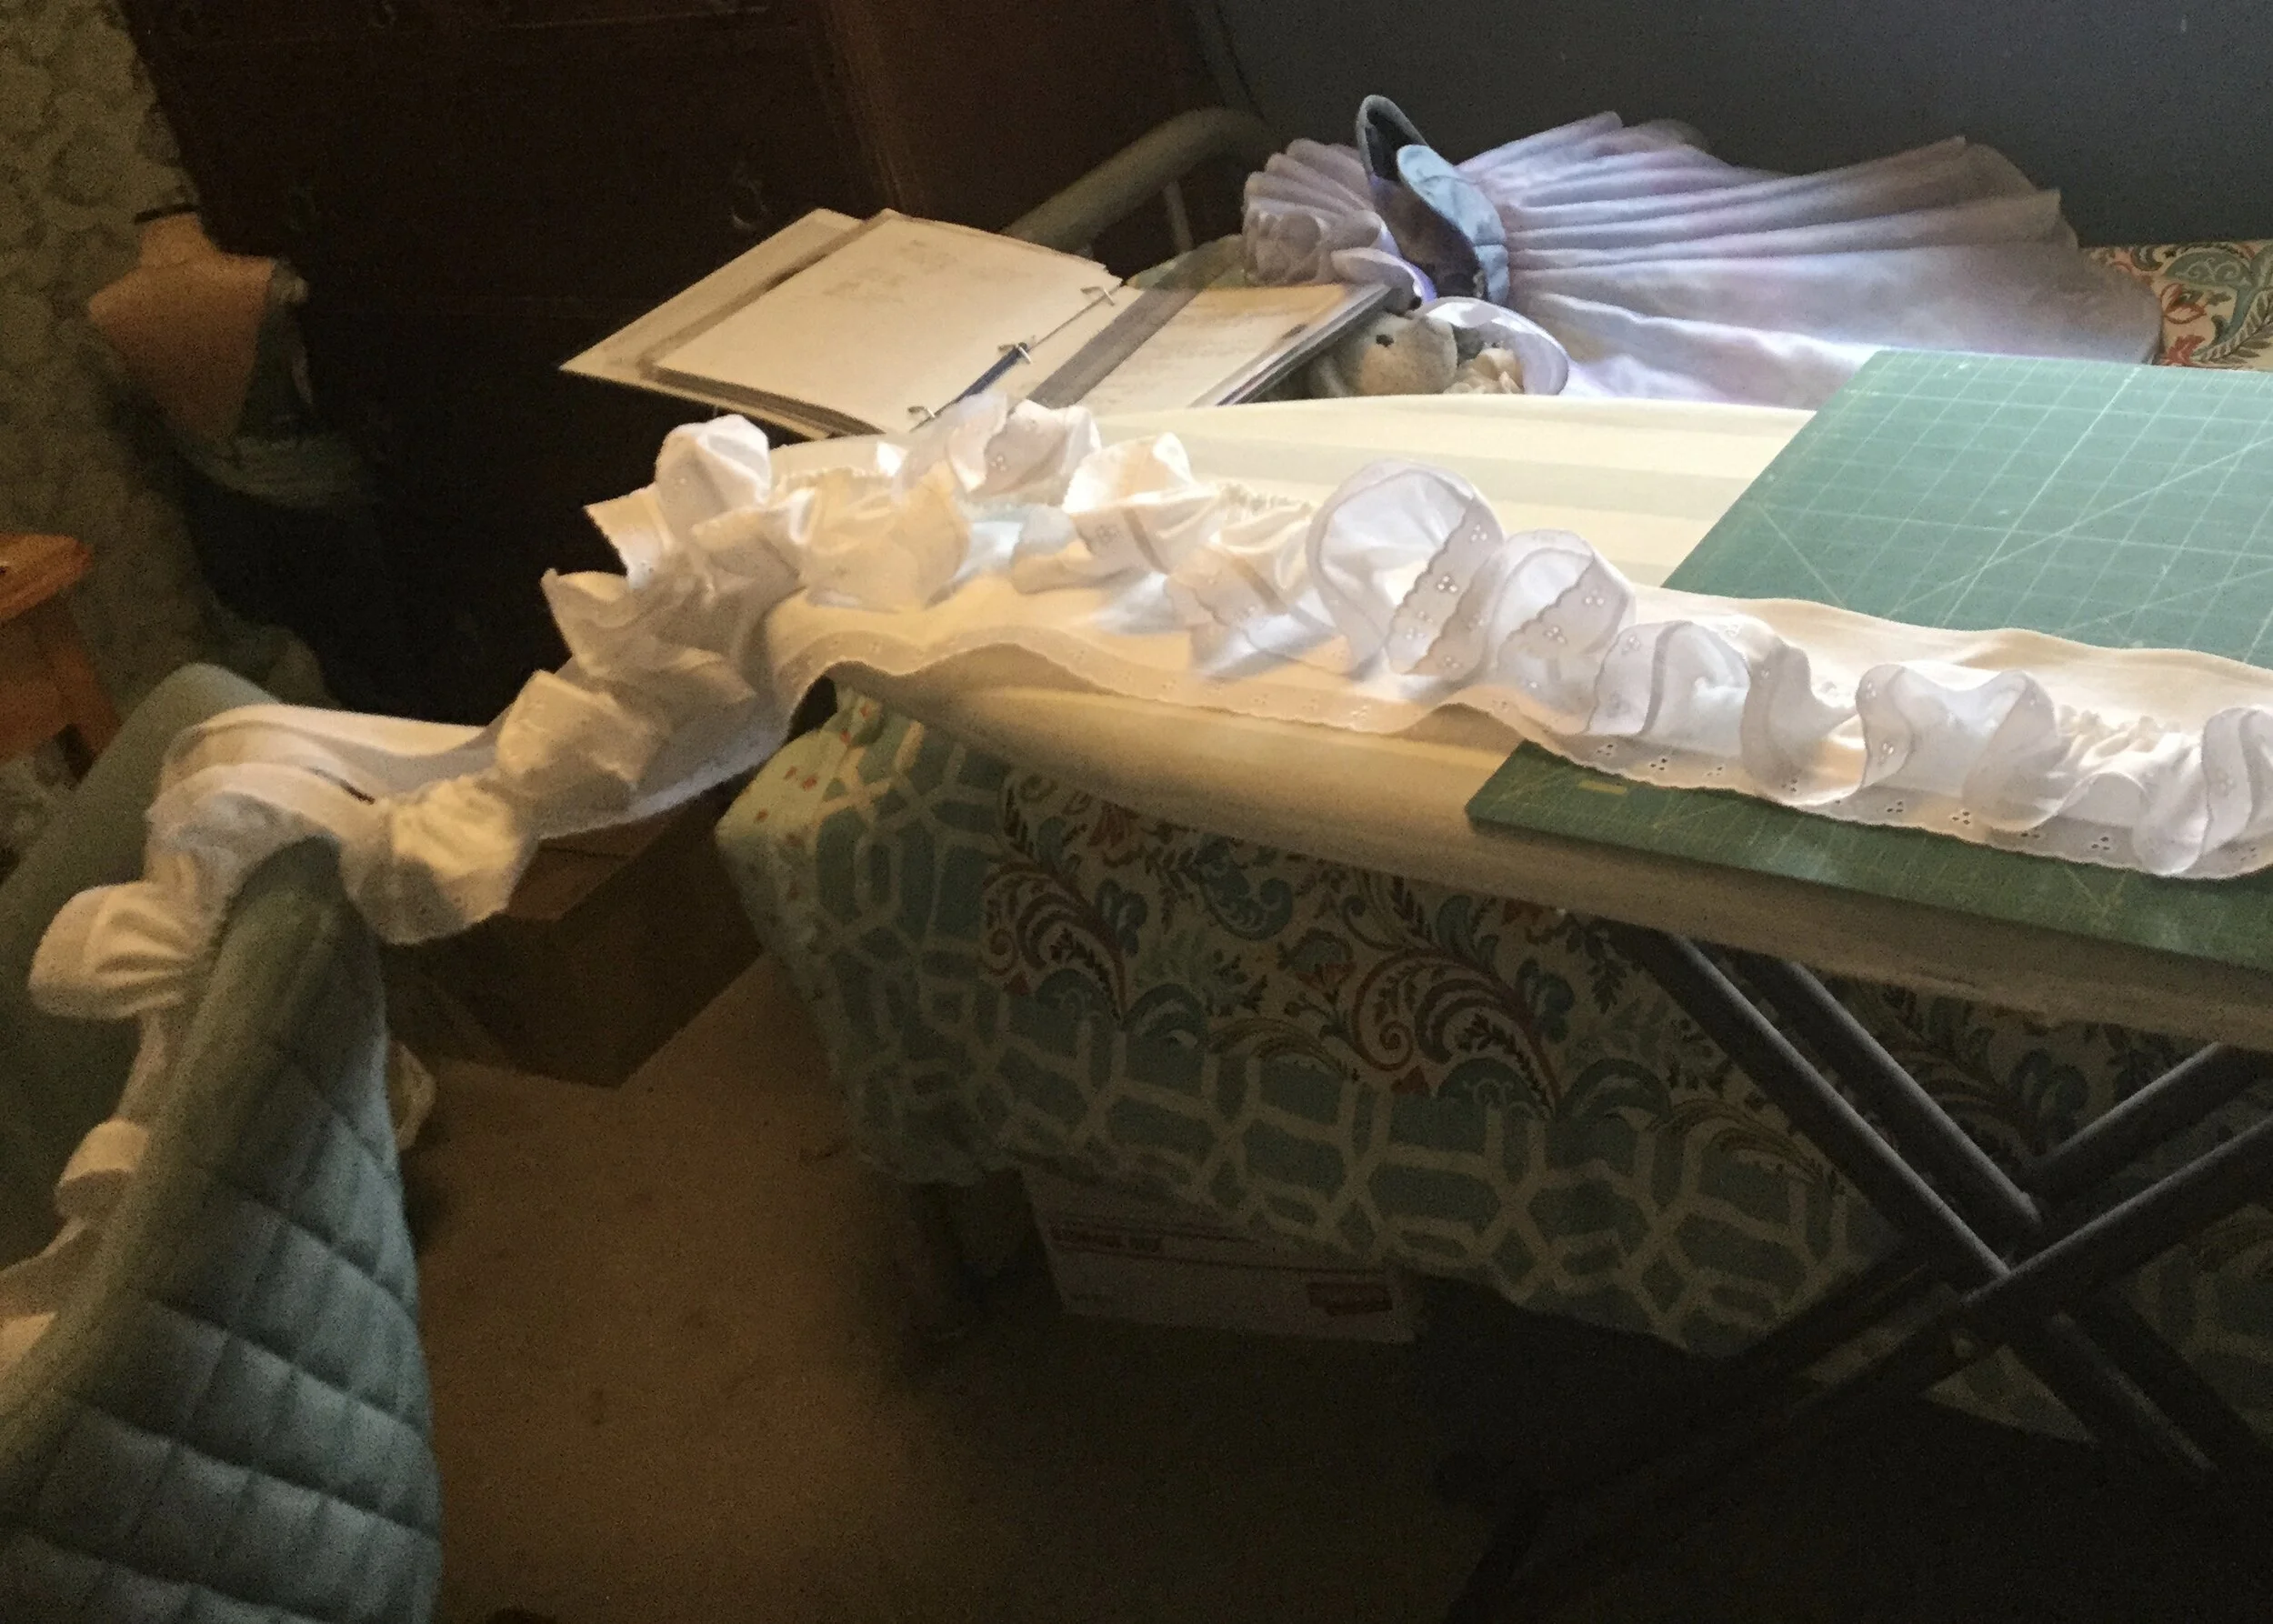
But it's floooooooofy!
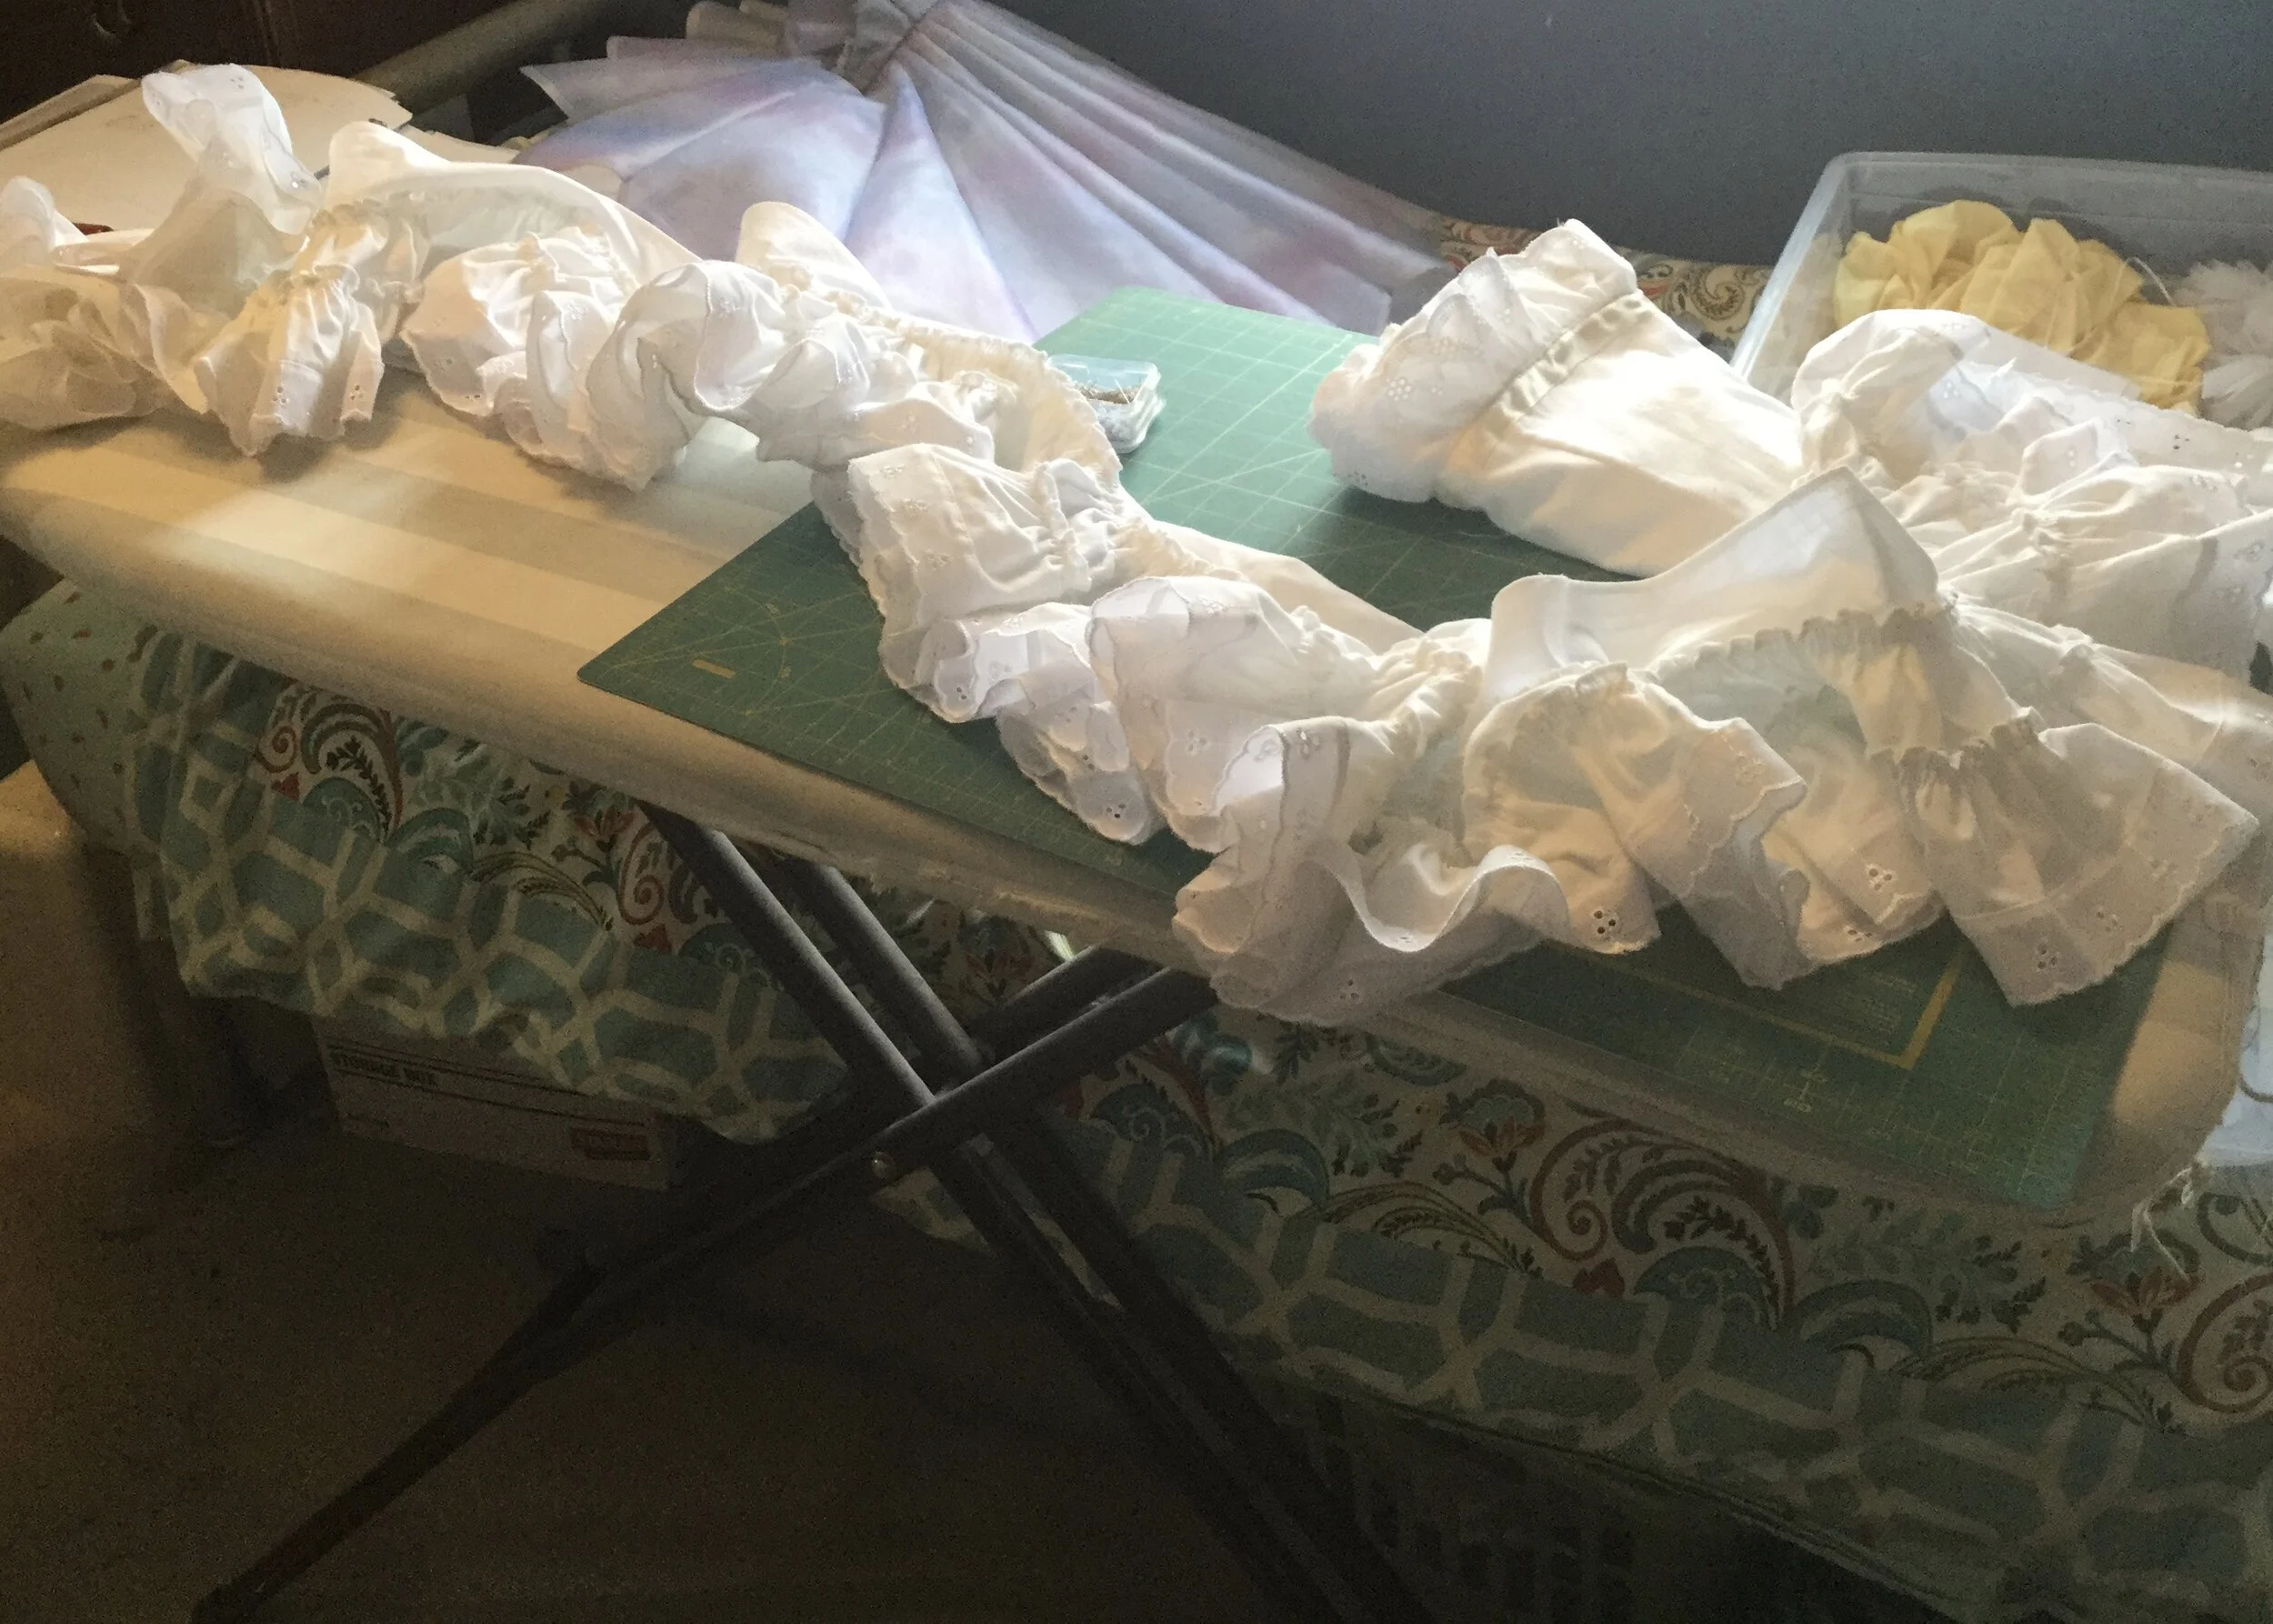
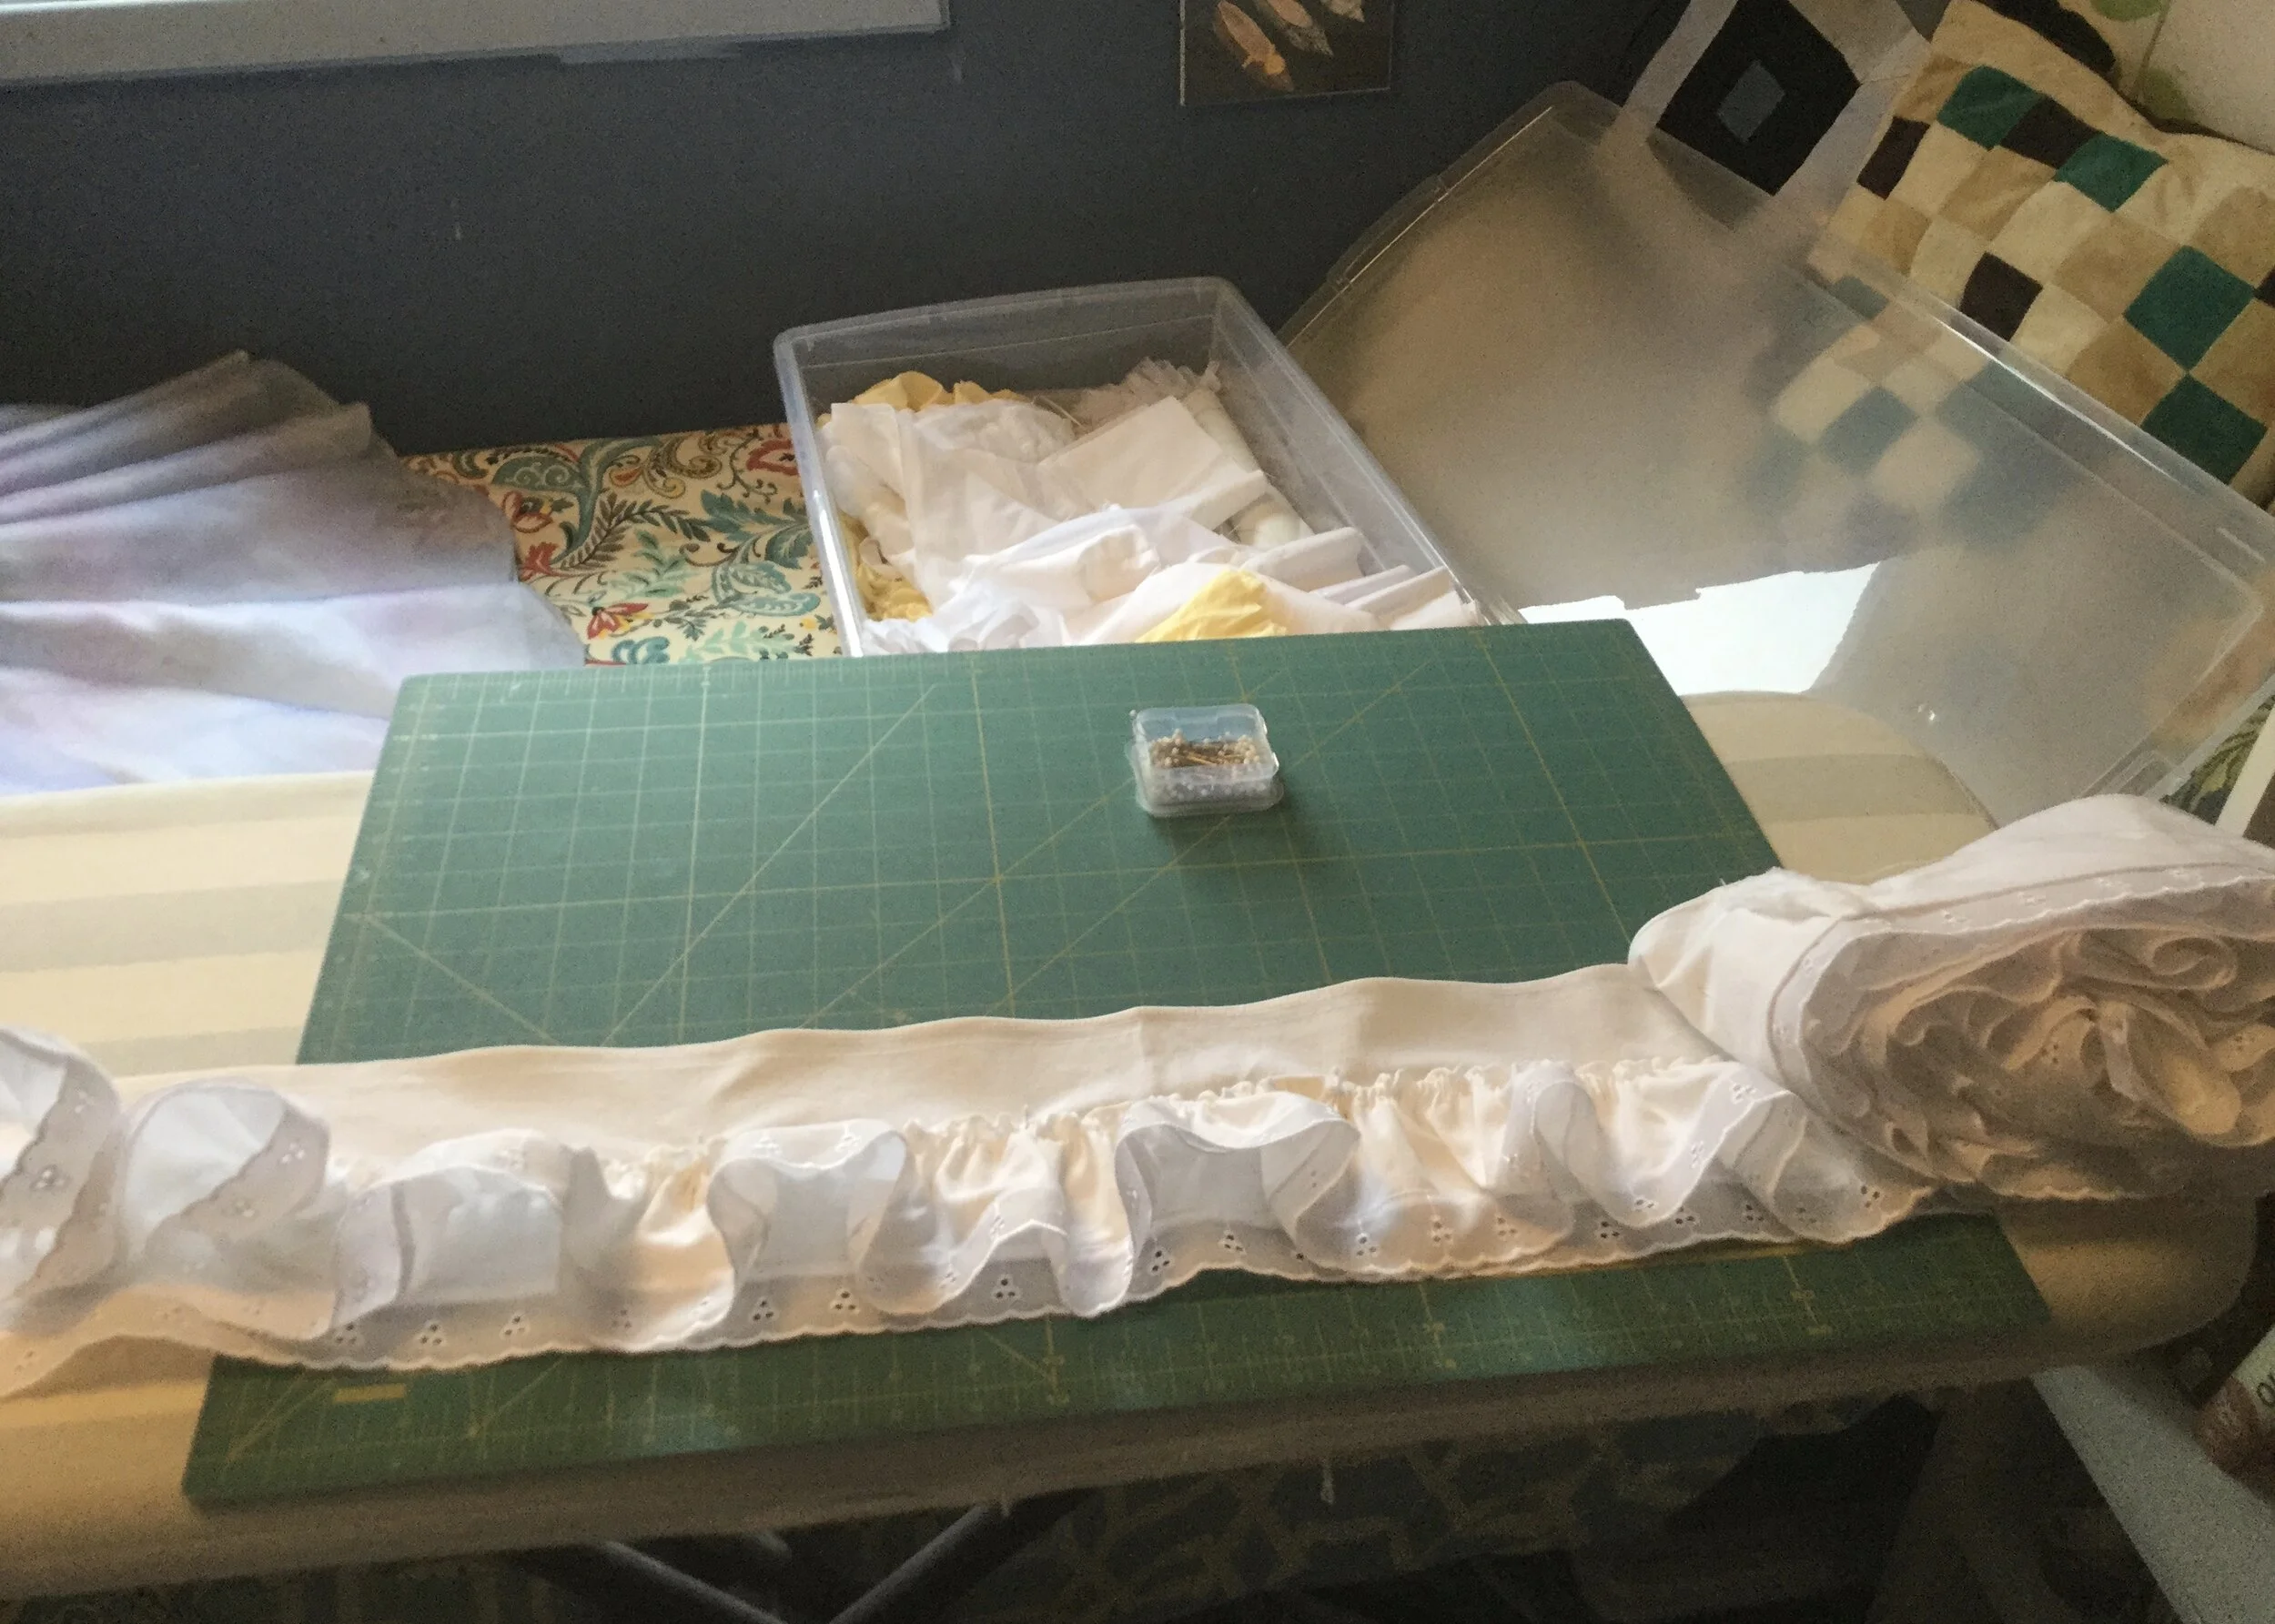
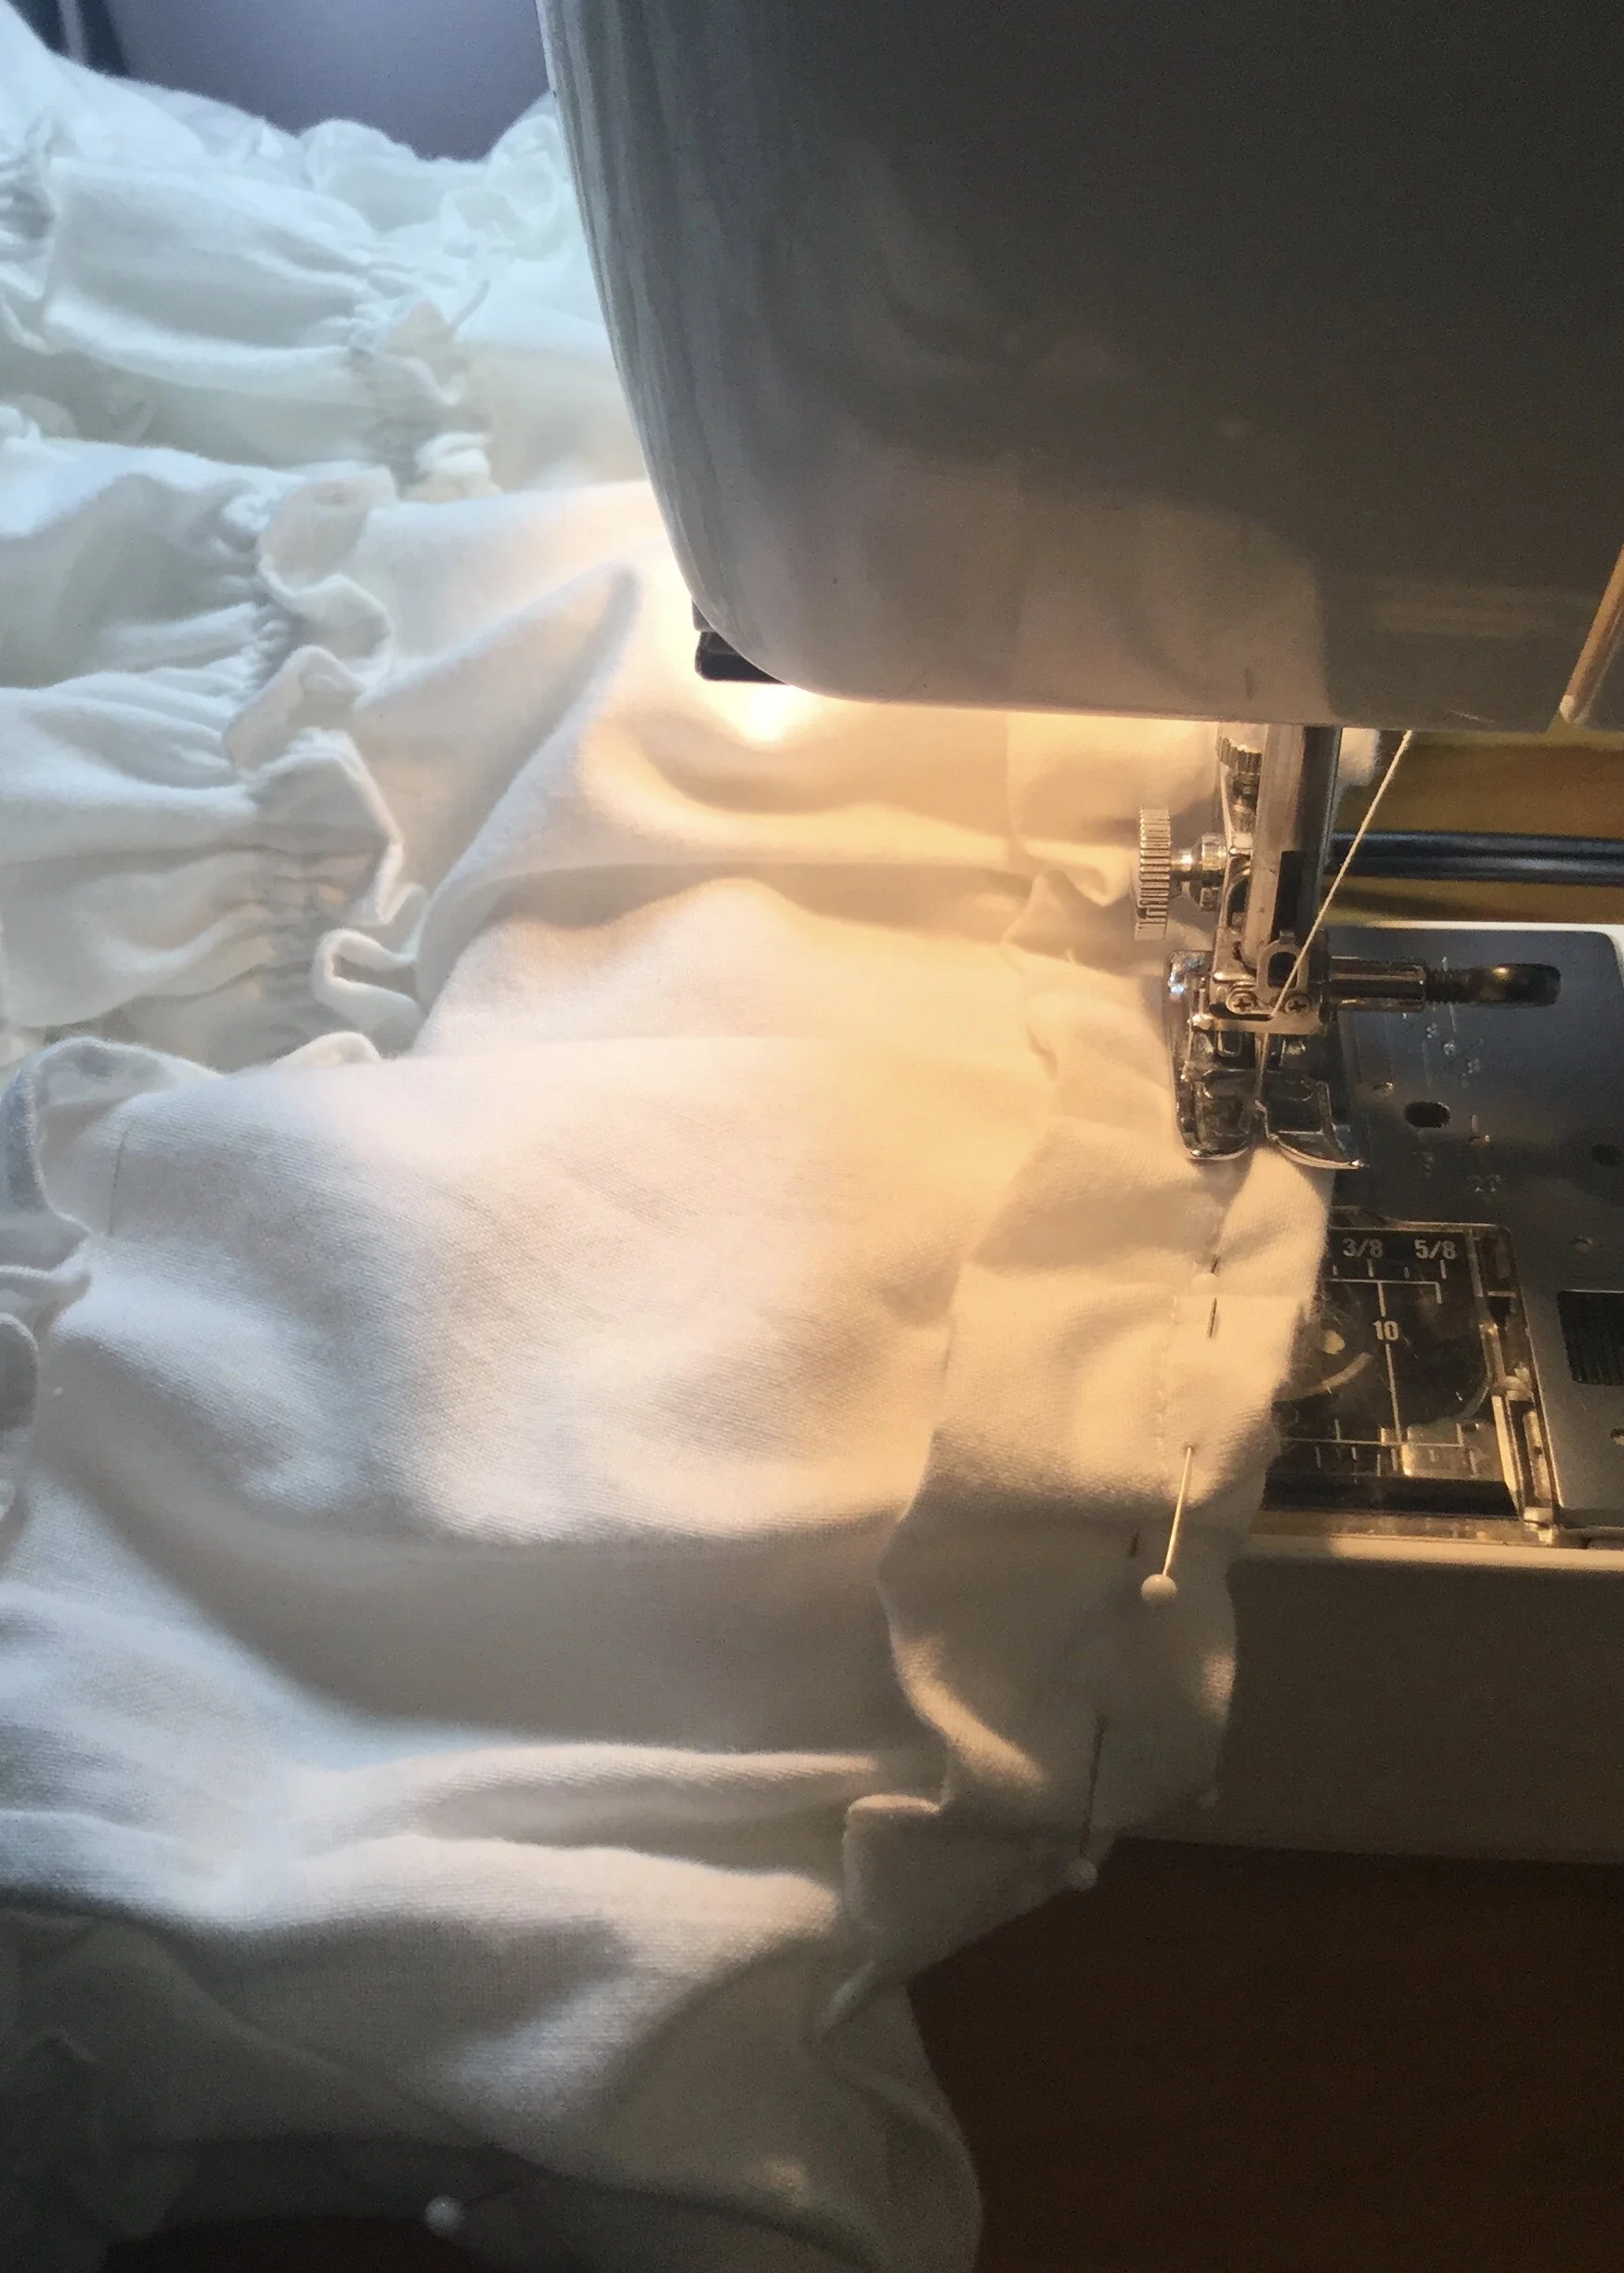
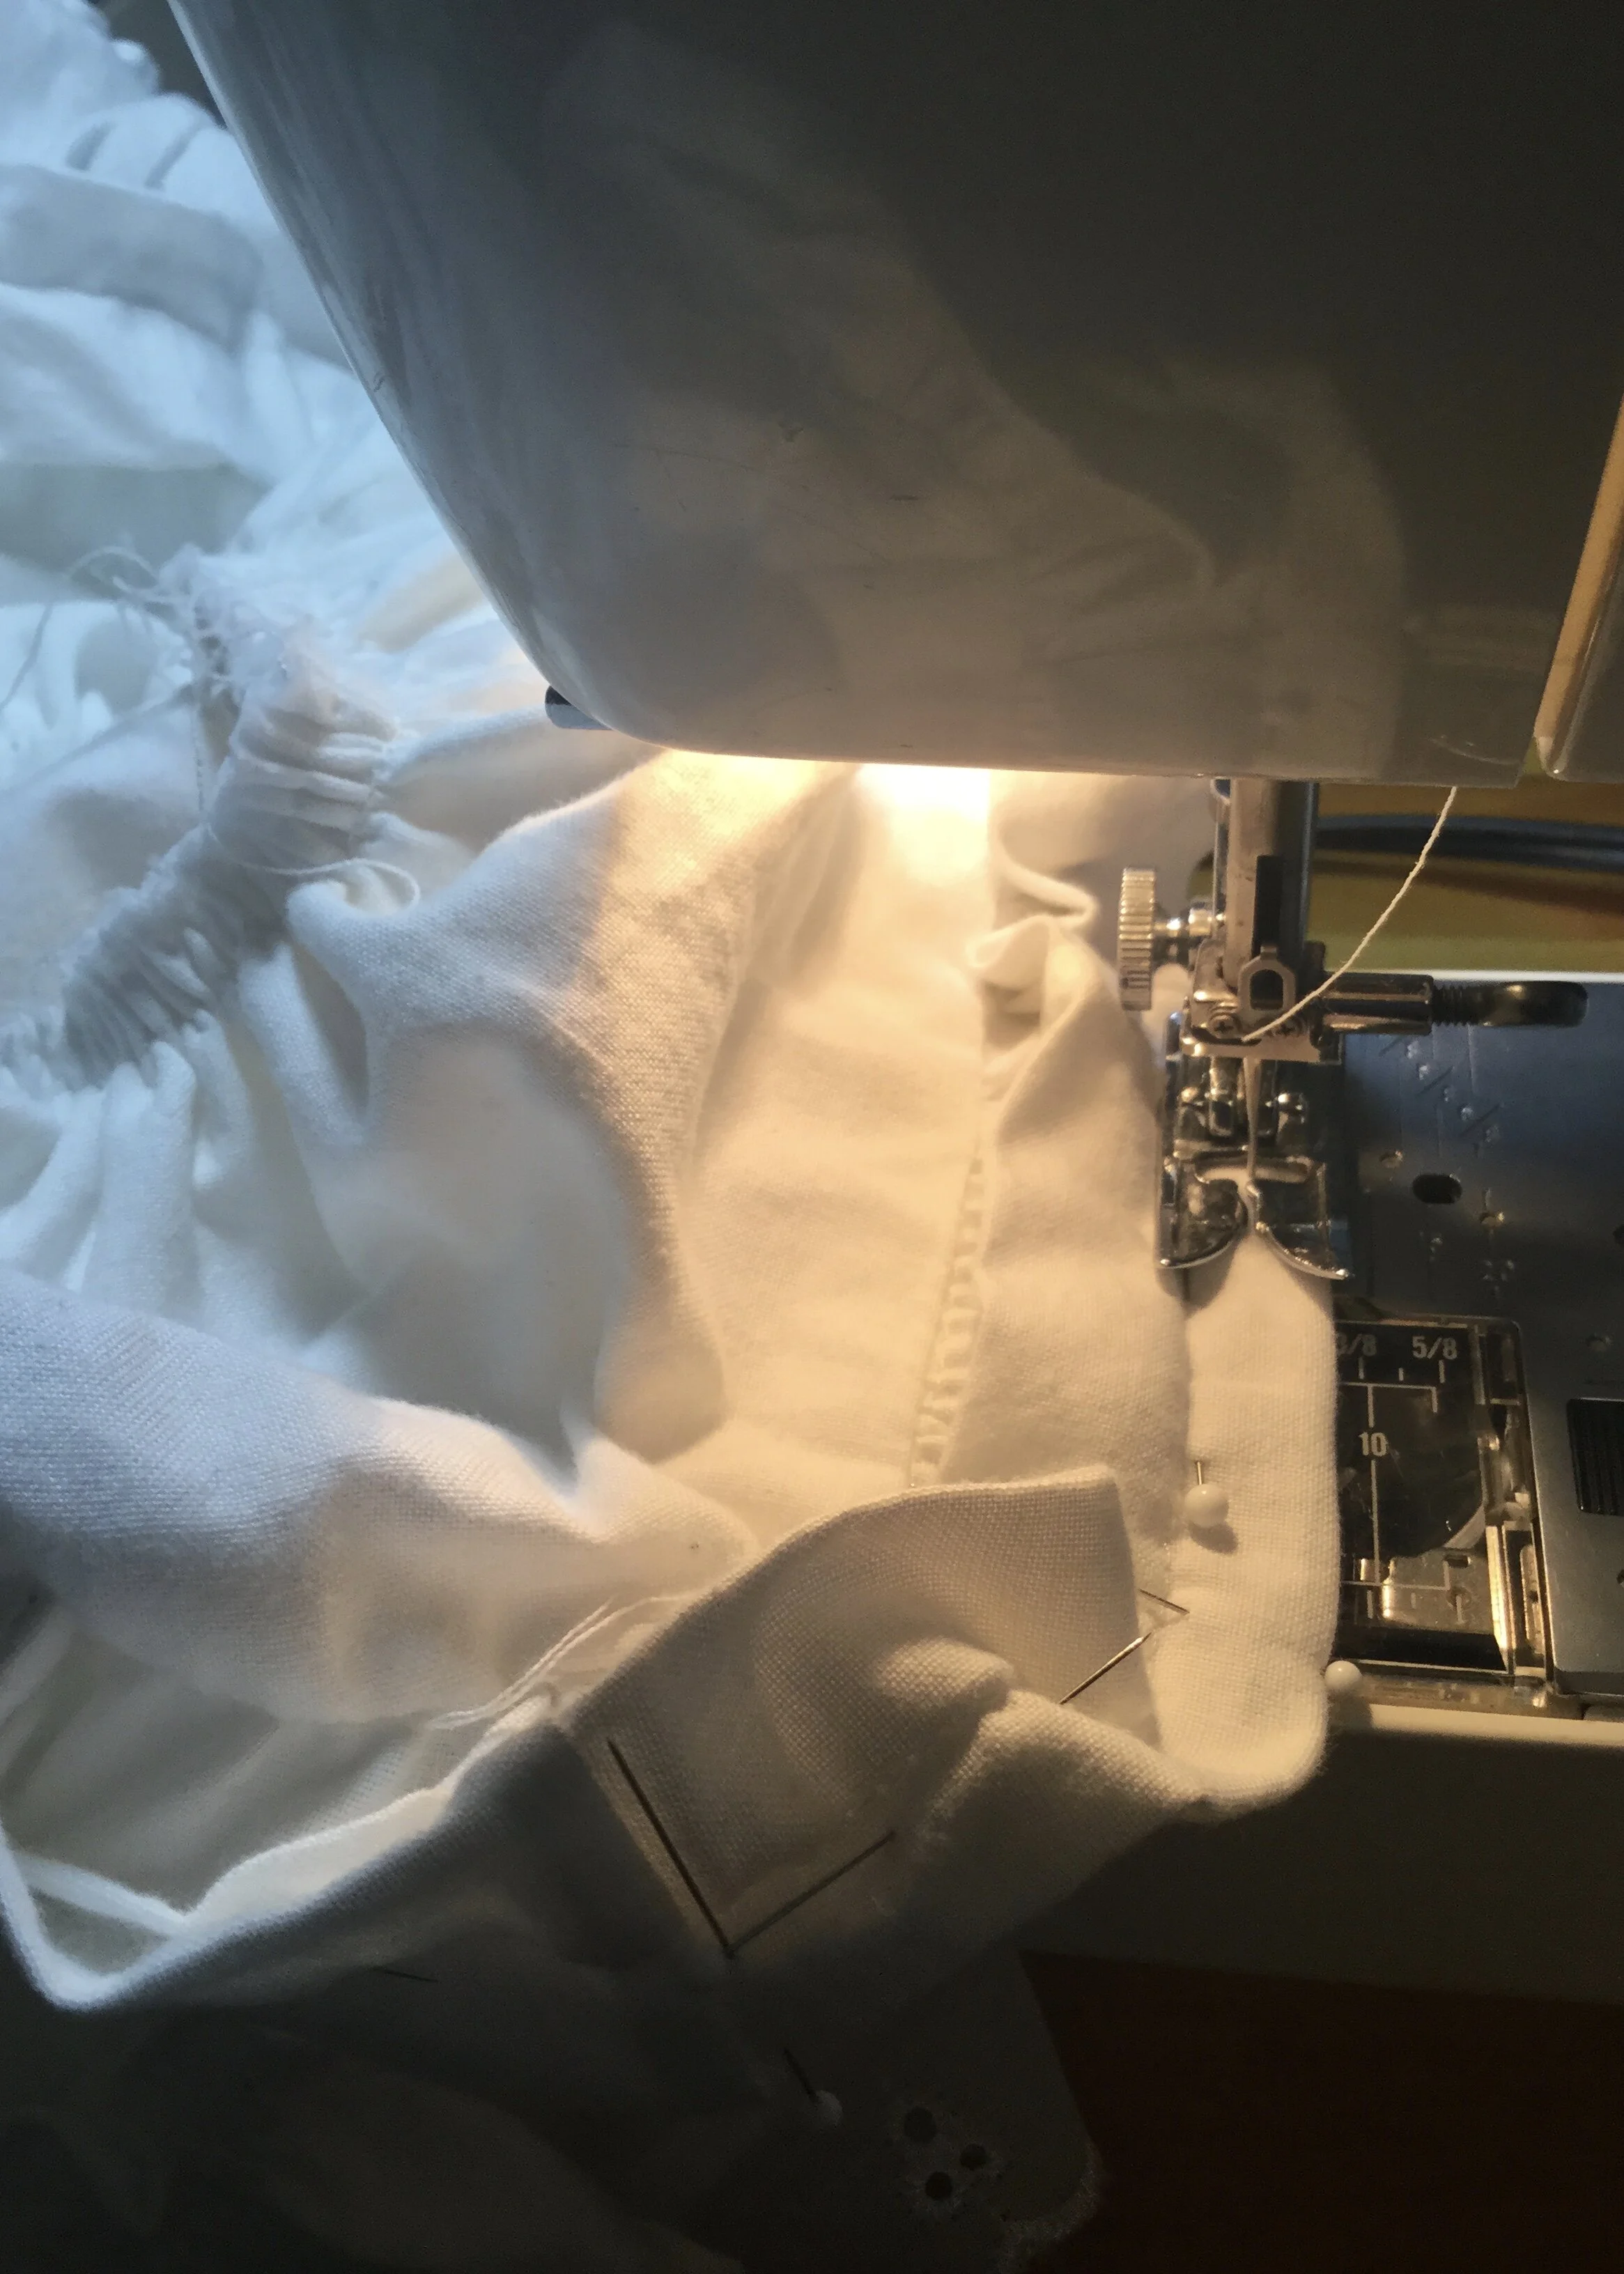
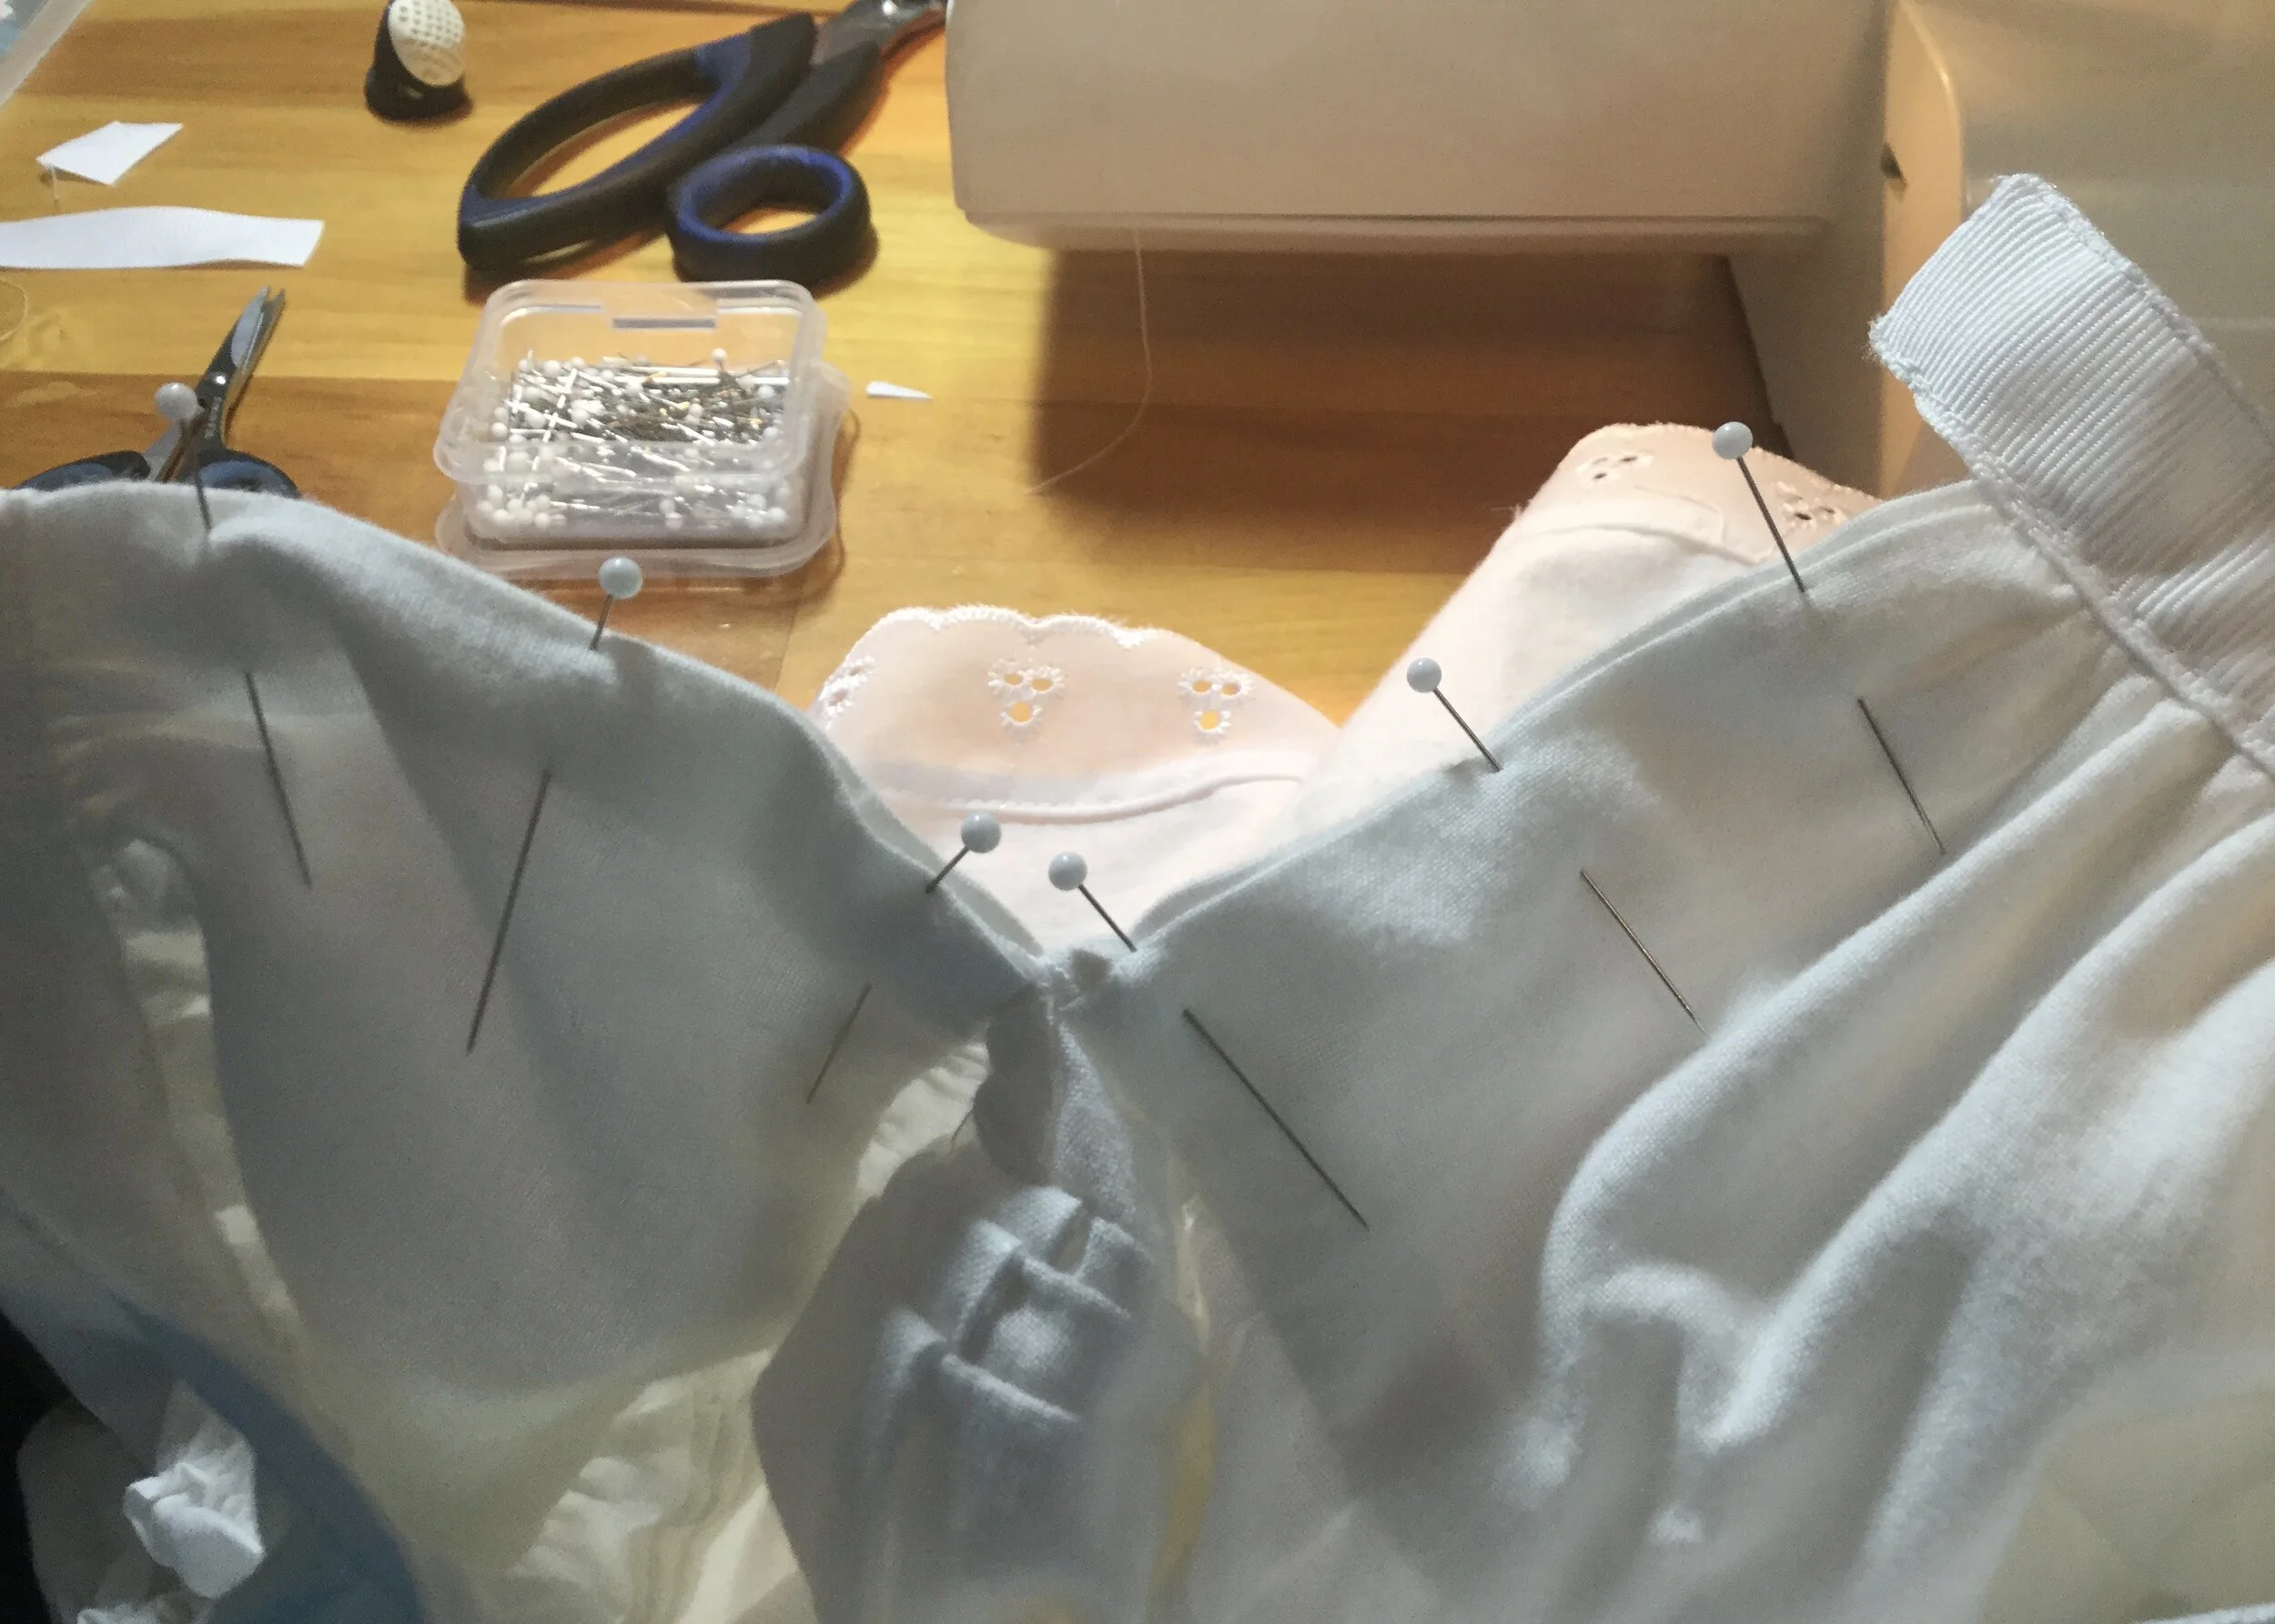
Then began the gathering up of all the flounces and actually sewing flounces to flounces to flounces. It was a lengthy task and it took up a lot of space.
I did go from the smallest flounce to the biggest one so at least it got progressively more manageable with each layer and once the flounces were stitched to the skirt I could gather it onto the yoke and gather that onto a waistband to see what I had wrought. It was looking a lot fuller than my mock up...almost too much.
This doesn’t look quite right…
Had I over floofed?
Oh riiiiiight.... the mock up fabric was only 115cm wide and the final was 150cm so my calculations of how many widths to use were off and now these flounces were actually much fuller than the previous ones.
Oops.
Okay…maybe I went overboard just a wee bit.
I decided to leave it for a bit and come back to it later. A few months later to be honest. I took a break to focus on a few other dresses and work up the patience to dive back into the world of flounces and gathering. When I was emotionally ready to tackle the problem, I decided that the first thing to try would be just to take off the lowest flounce and see if the skirt could still be full enough without it. It seemed to do the trick so I mourned the loss of the layer and the time I had spent making it and moved on. Someday I'll make something that needs lots of lacy ruffles and then I'll be laughing.
The whole thing was looking pretty good, but still seemed a bit too long and thin rather than full and round. Earlier, I had sewn a large tuck into the skirt to shorten it a bit and at this point I decided to add two more small tucks to take it up a little more. This gave me an overall shape that I liked and which I thought looked proportionally good, but it does mean that the skirt doesn't have as much room to spiral how I want it to. For the moment I have left the tucks in, but I will likely revisit this later when I get closer to making the skirt.
I also noticed that when I put the mock up of the skirt over it, there was a bit of space above the flounces where it was collapsing a bit. I needed to find some way to prop it up that would still be soft and wouldn't interfere with the movement of the petticoat and skirt. I settled on a single layer of tulle applied at the seam of the skirt and yoke. This also afforded the opportunity to add a layer of lace back into the mix which made my heart happy.
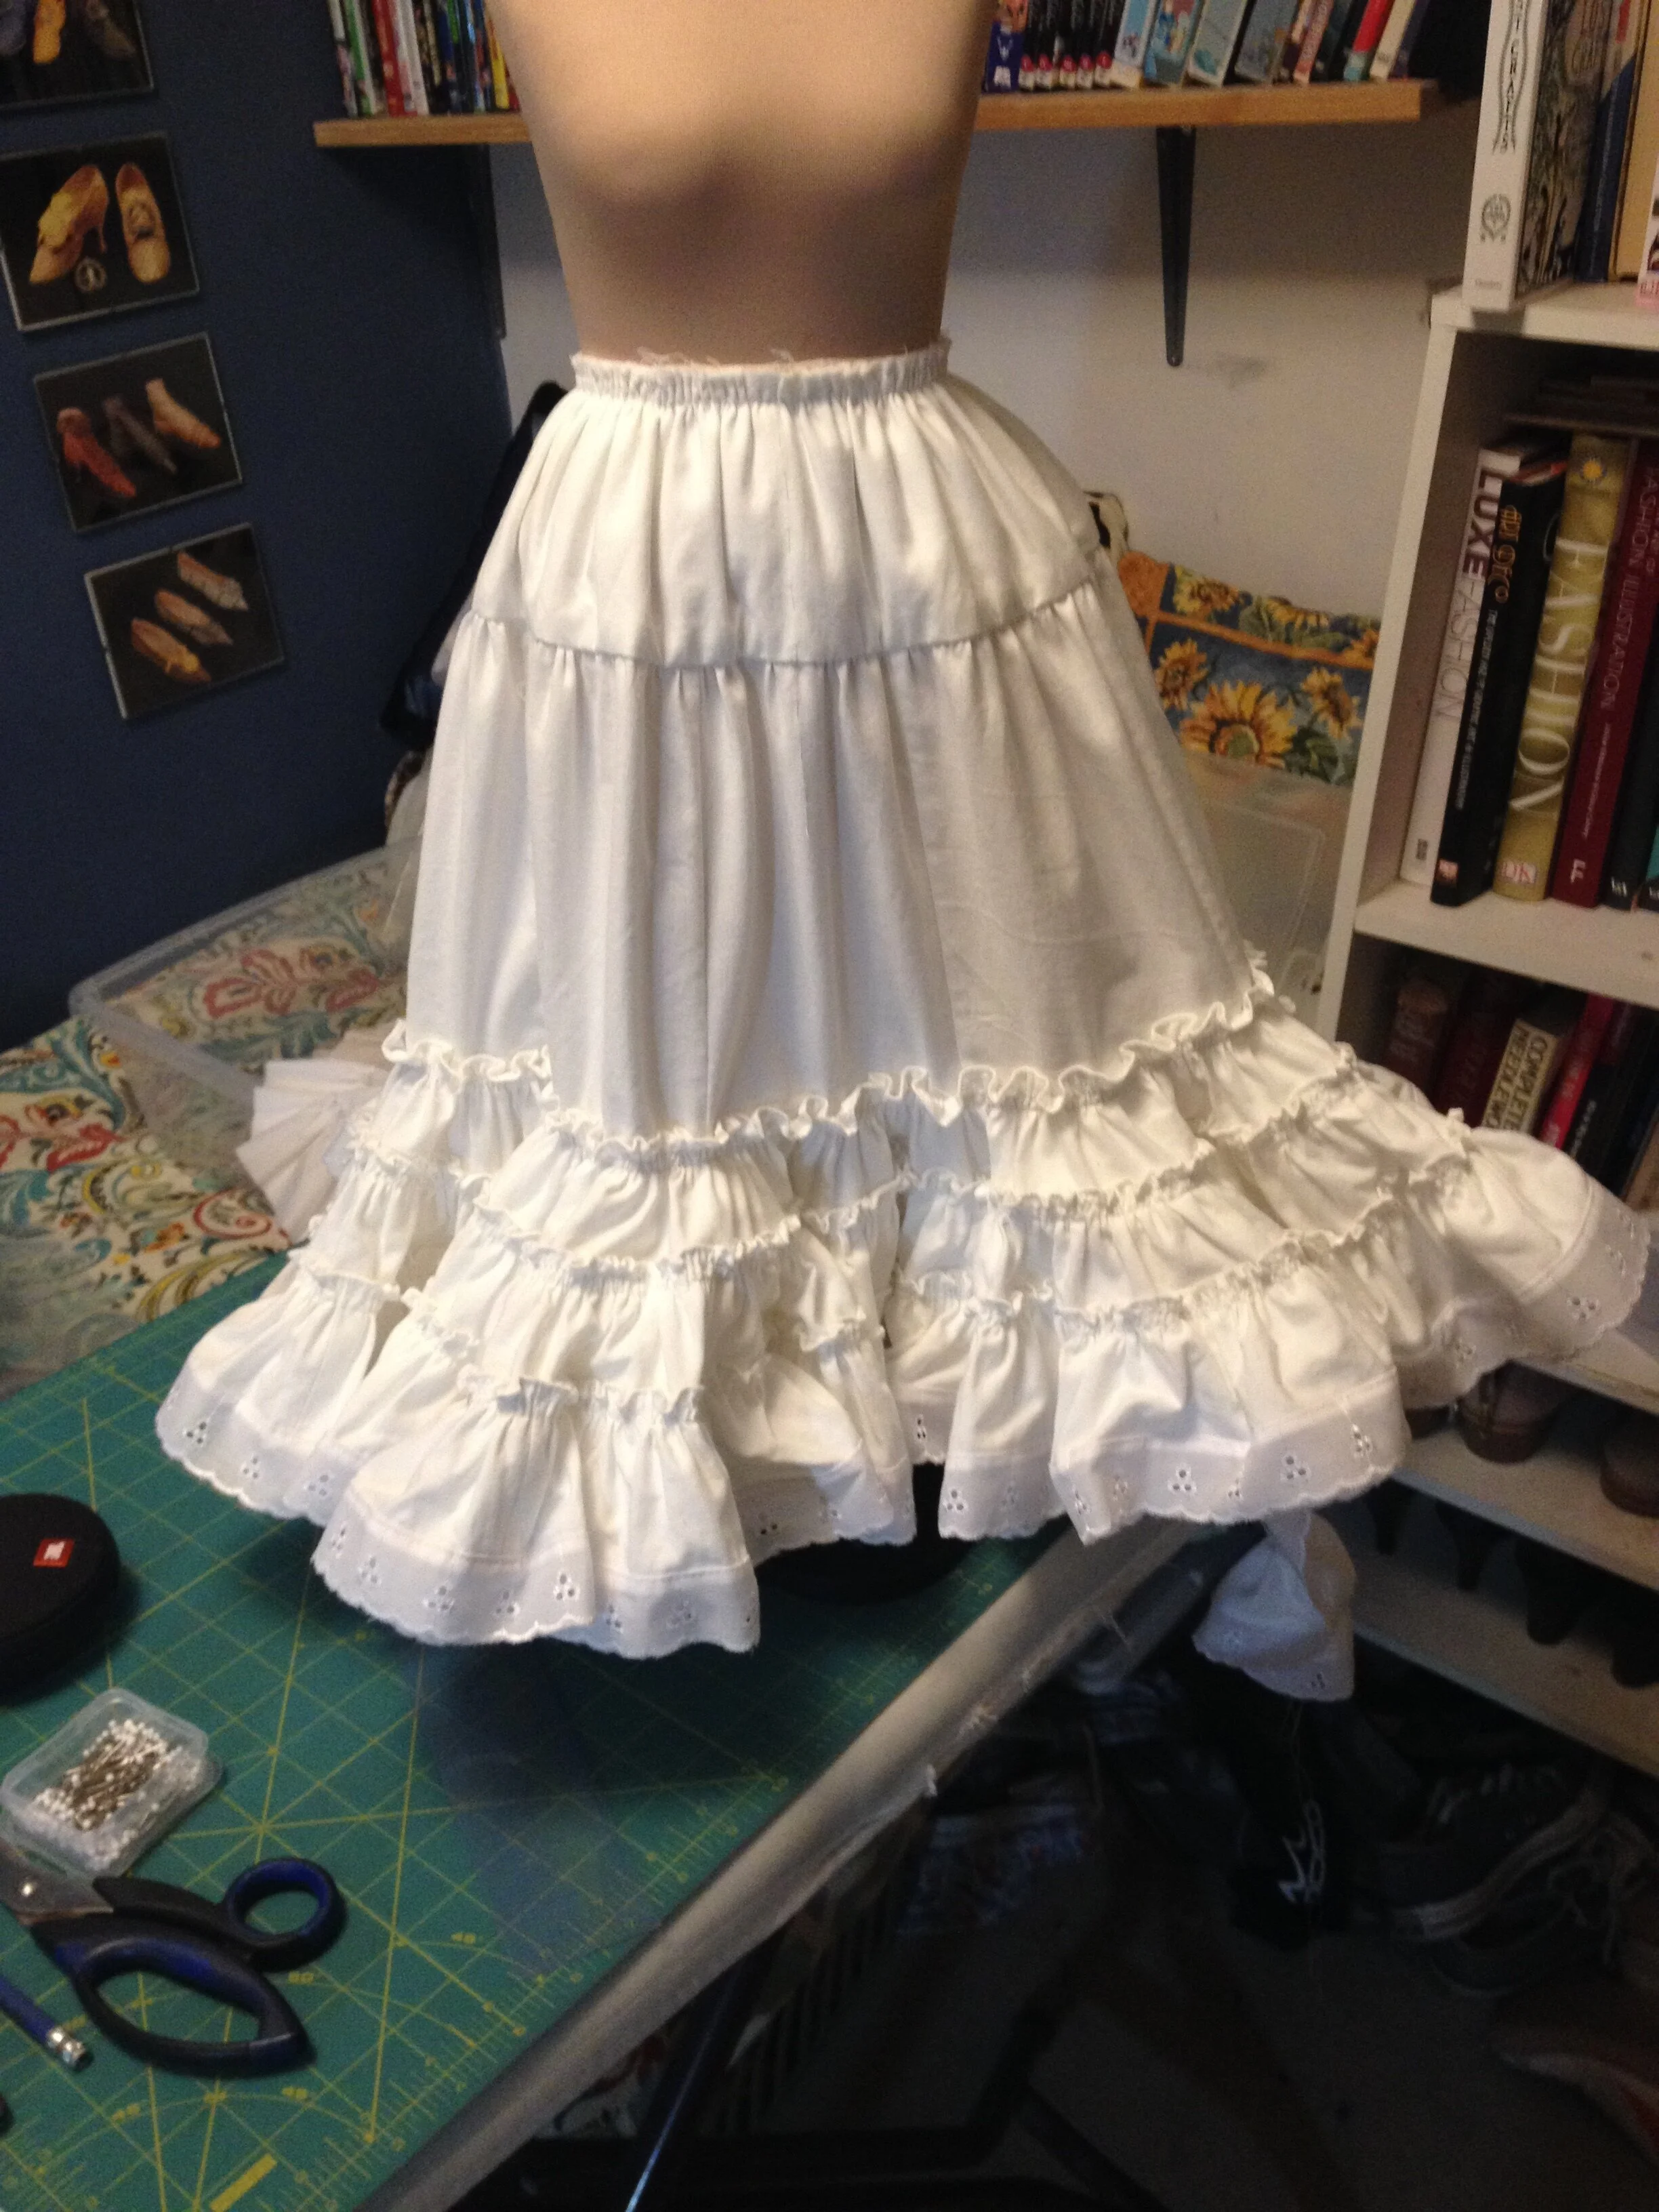
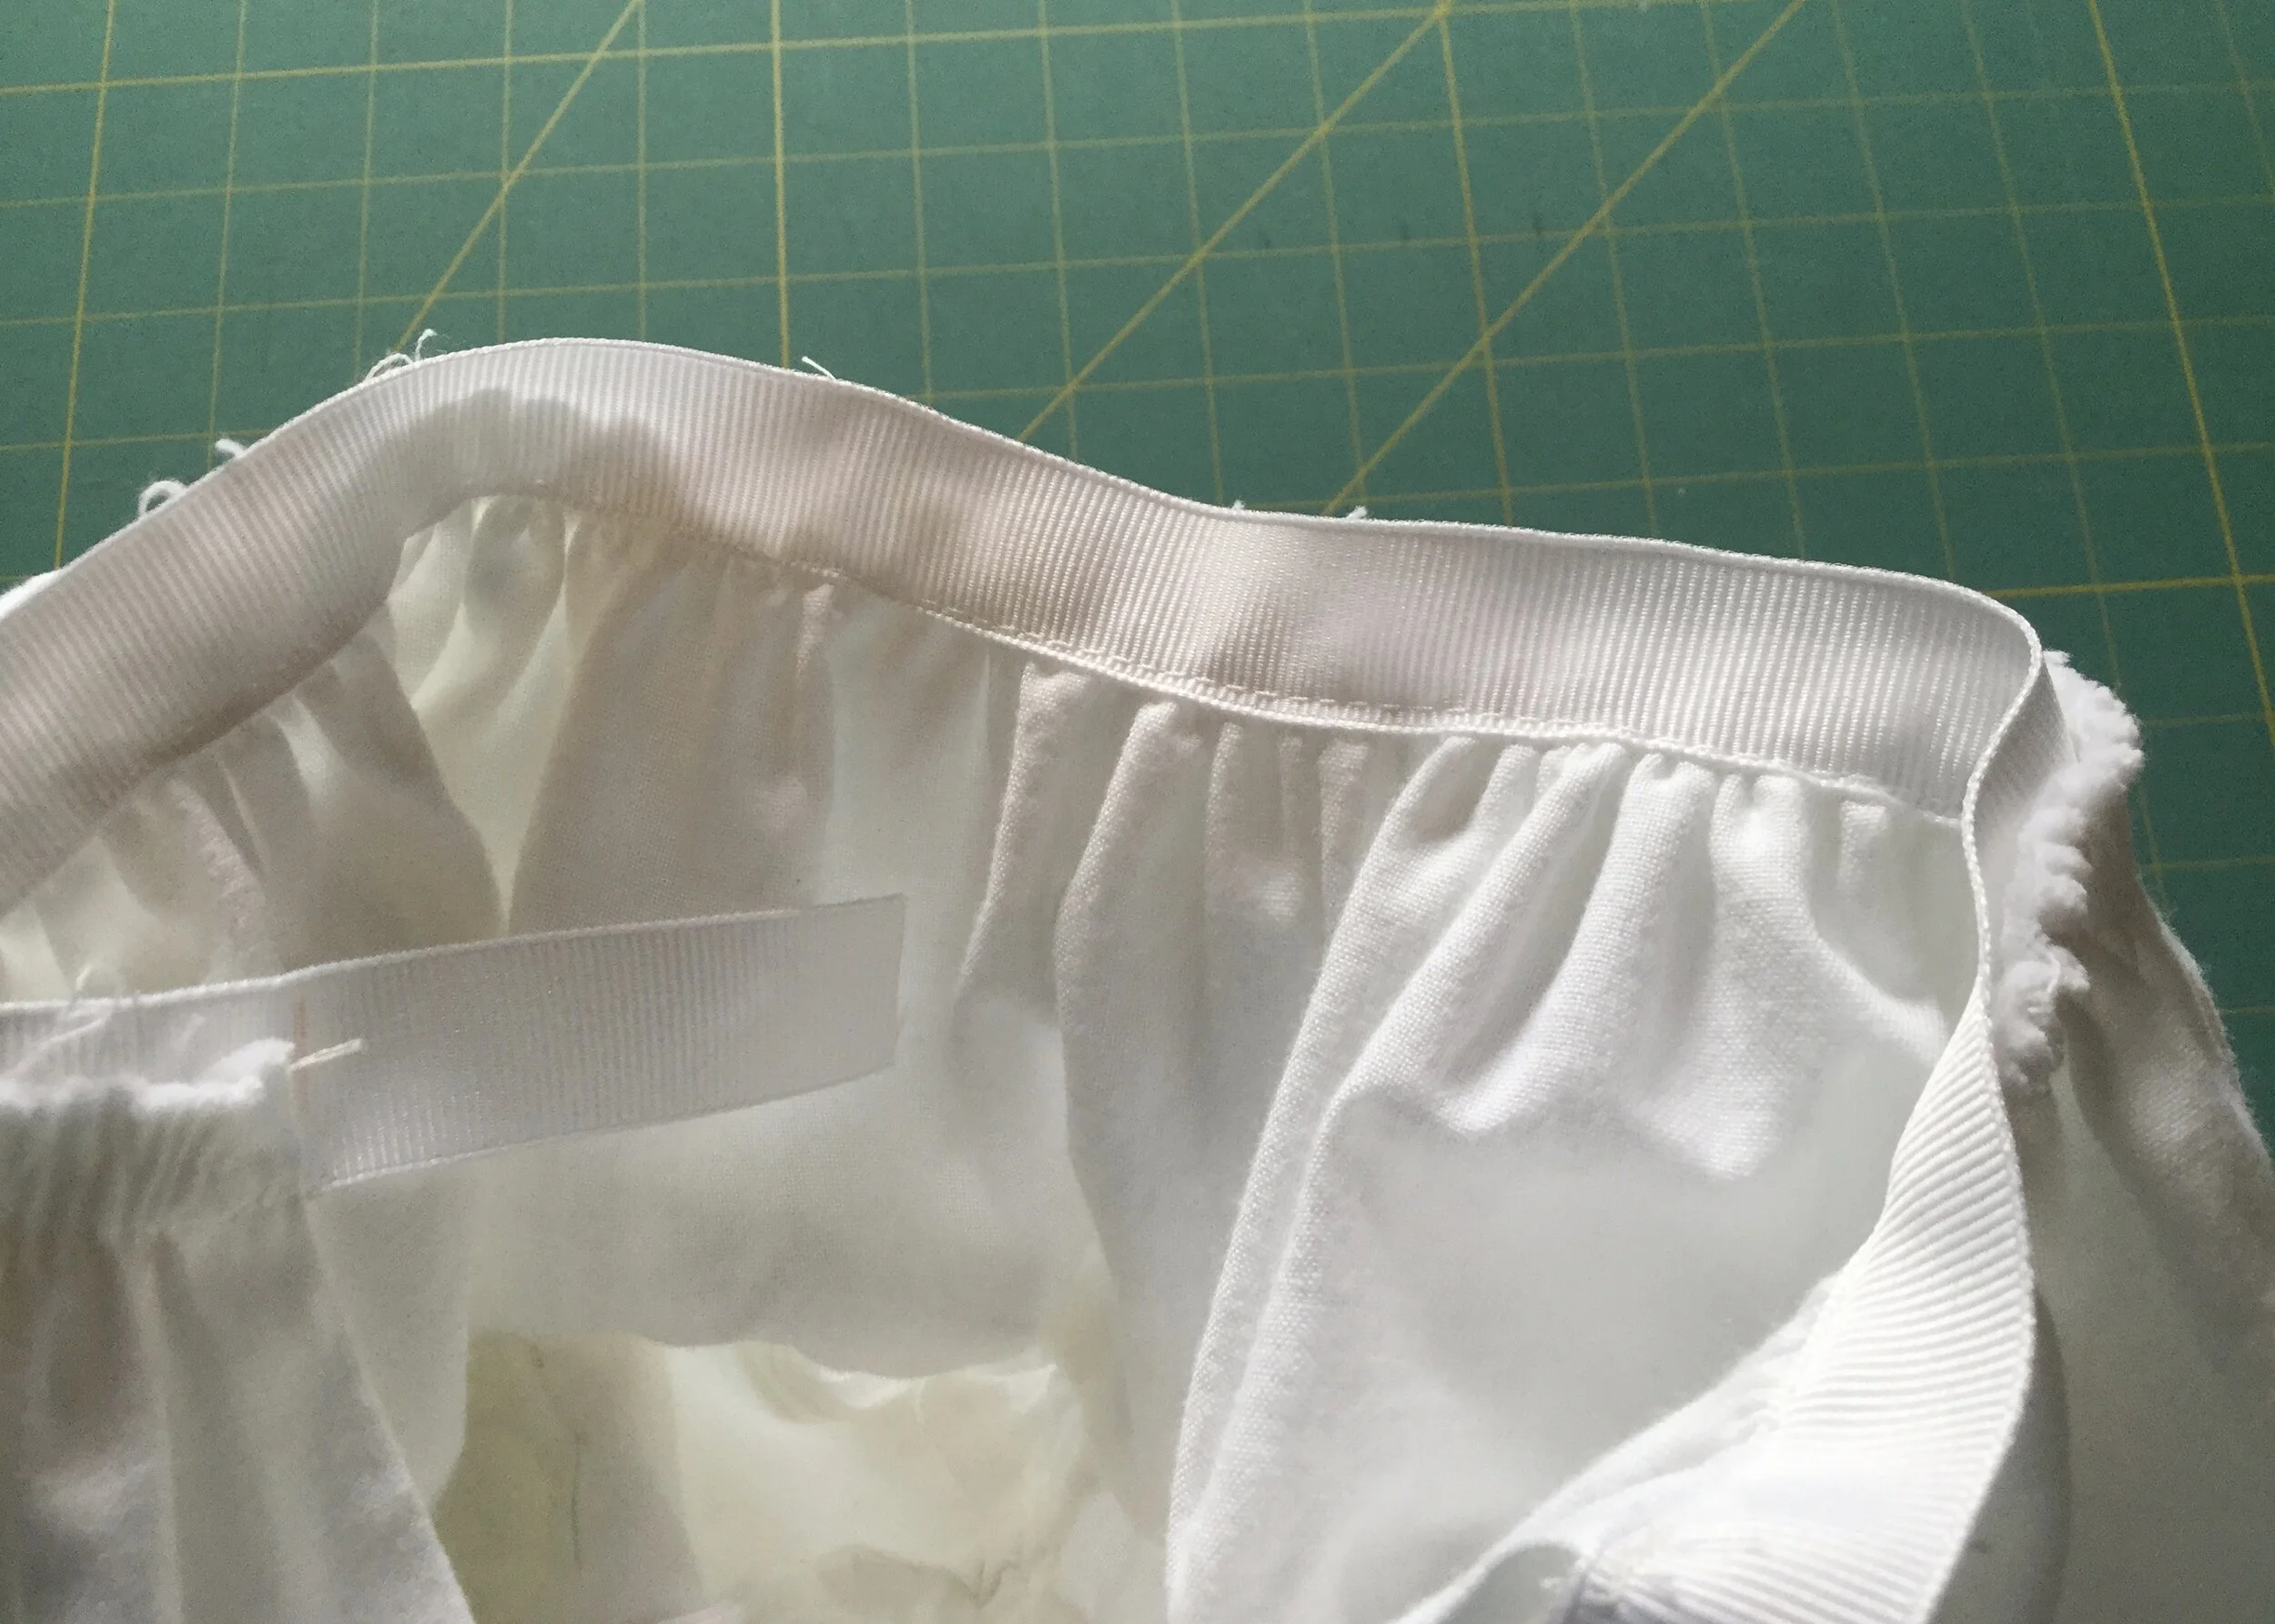
At this point, there was just finishing. I closed the layers of the yoke at the centre back and finished the waistband by encasing the seam allowance in 5/8” grosgrain. I added hooks and bars and a snap at the centre back and I had a finished petticoat.
Here you can see her in action. I think I have shortened the petticoat a bit too much and I will most likely take out the two smaller tucks at least. That’s the beauty of petticoats being mostly unseen: making them longer or shorter when necessary is pretty easy.
Belle’s petticoat took 37.5 hours in total. I spent 6 hours on drafting and the mock up and 31.5 hours on the final build….so far. Next up: the skirt!
