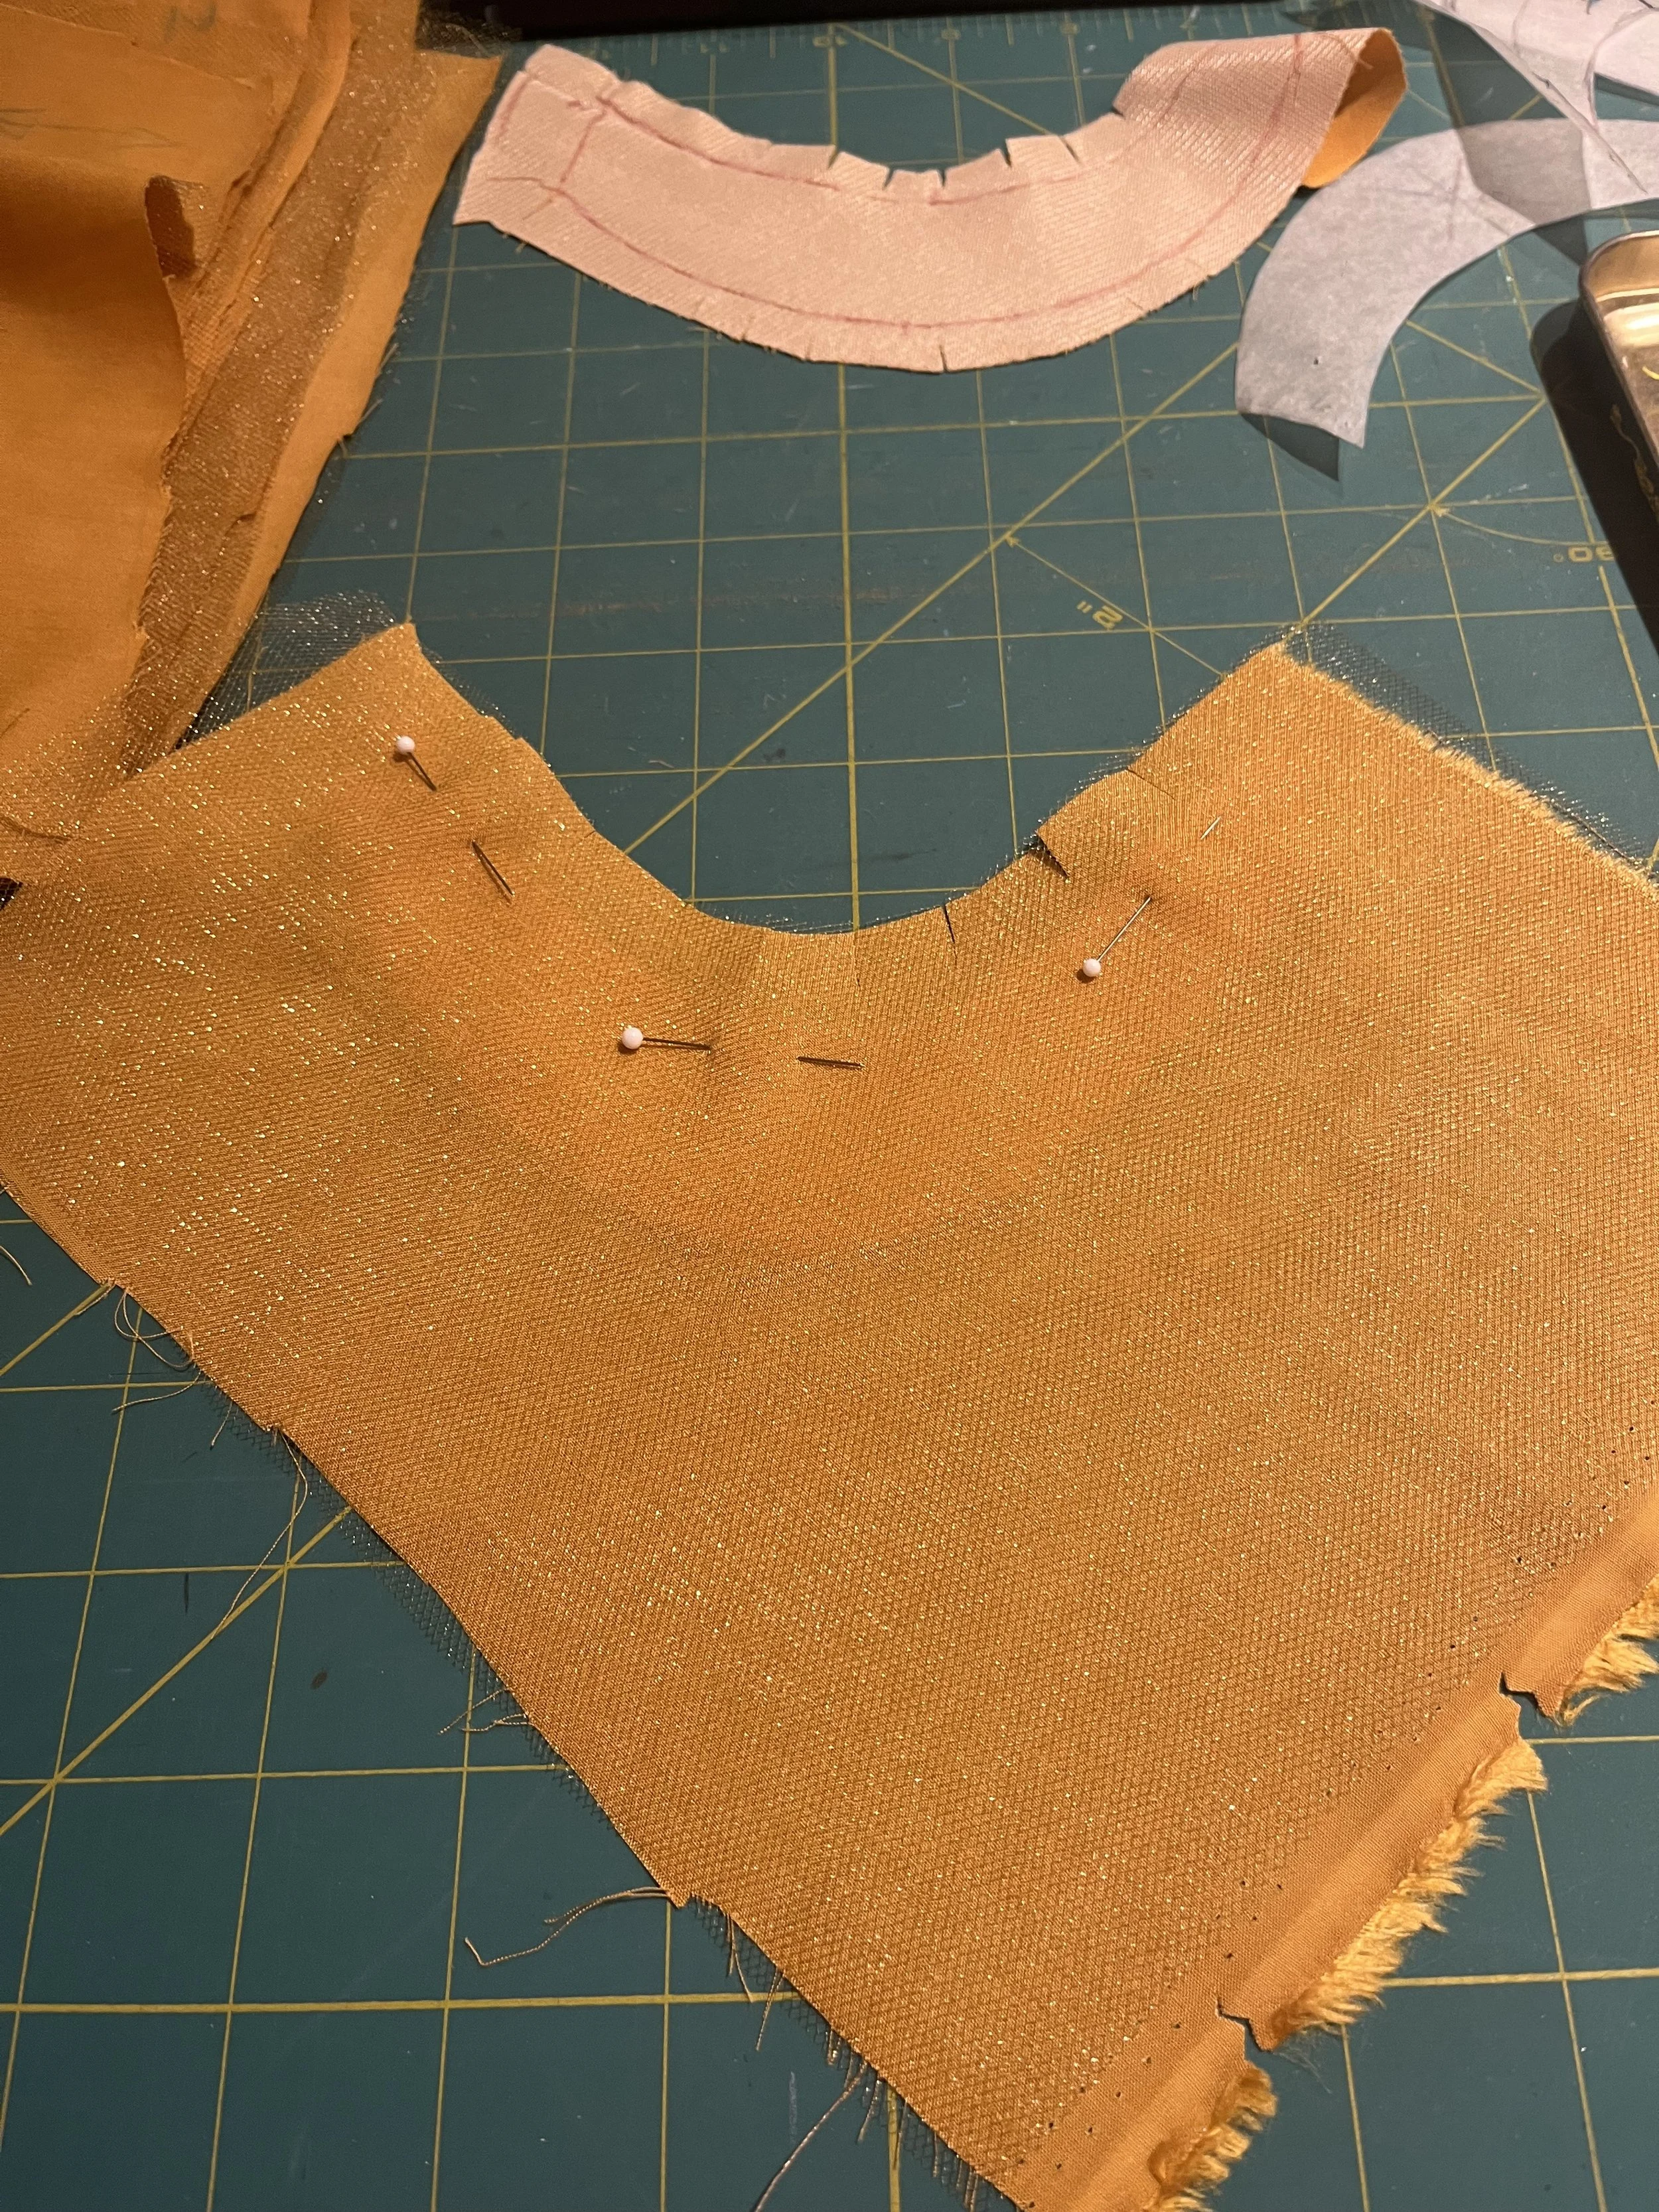
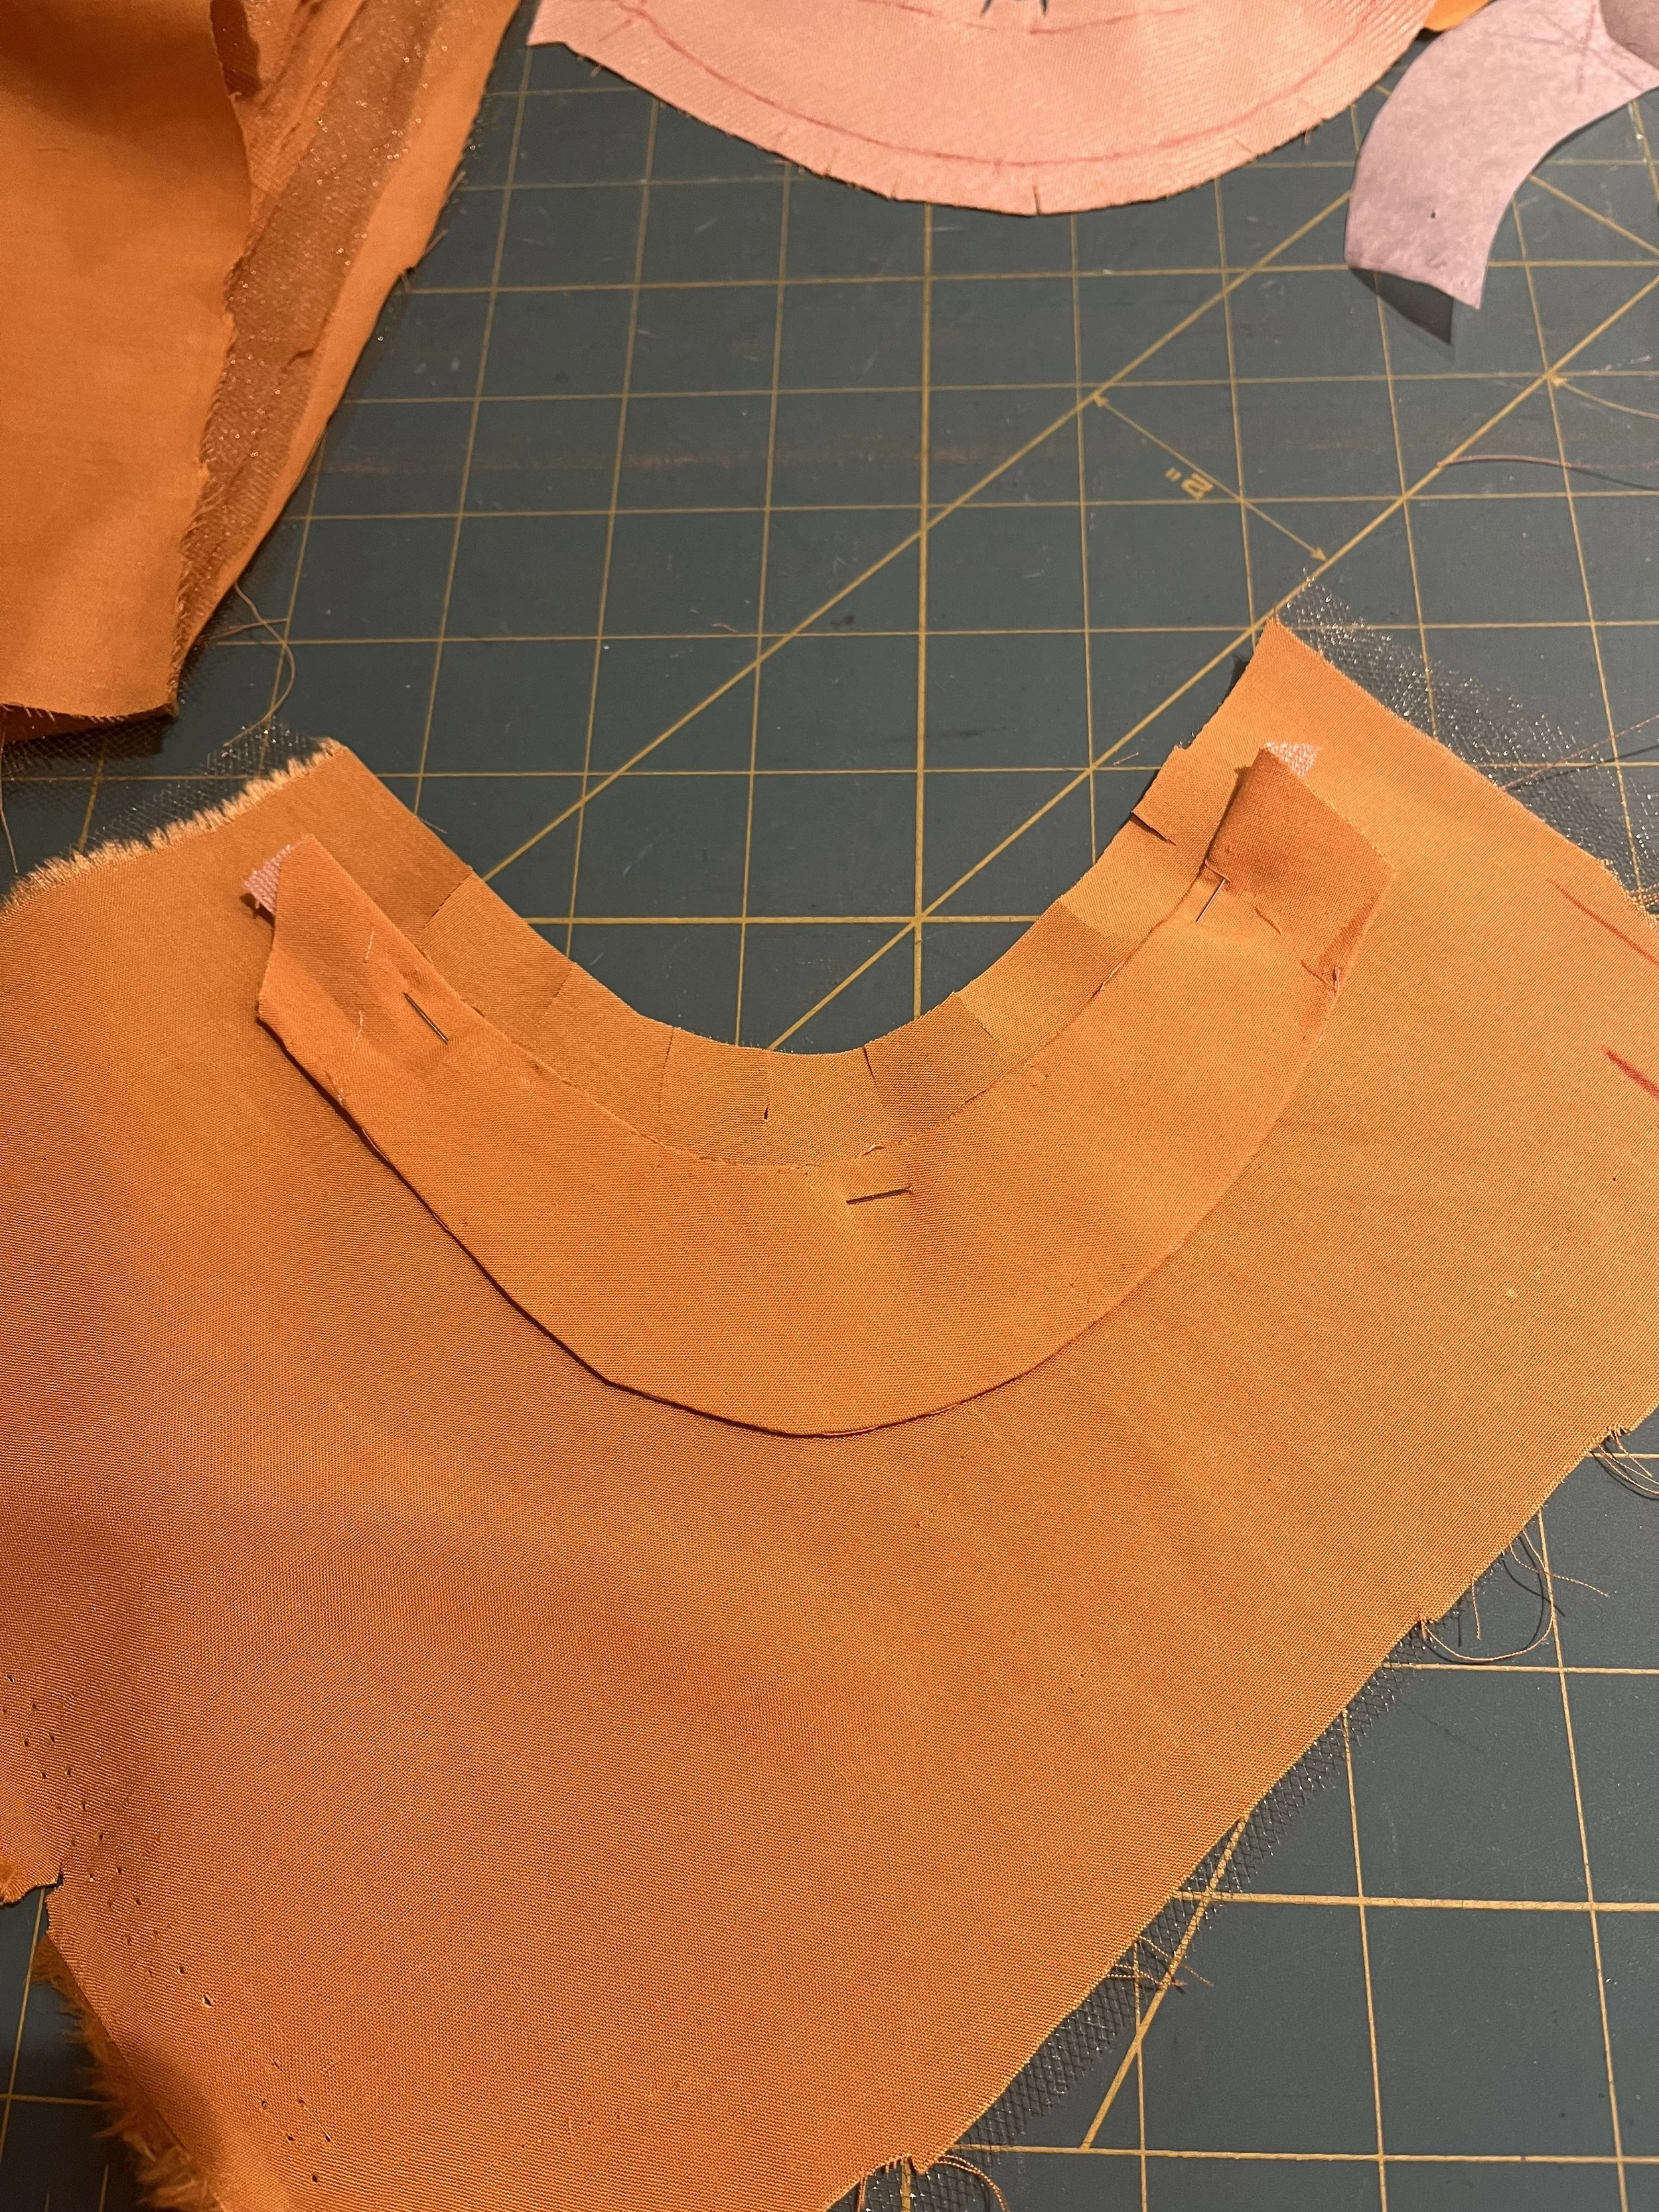
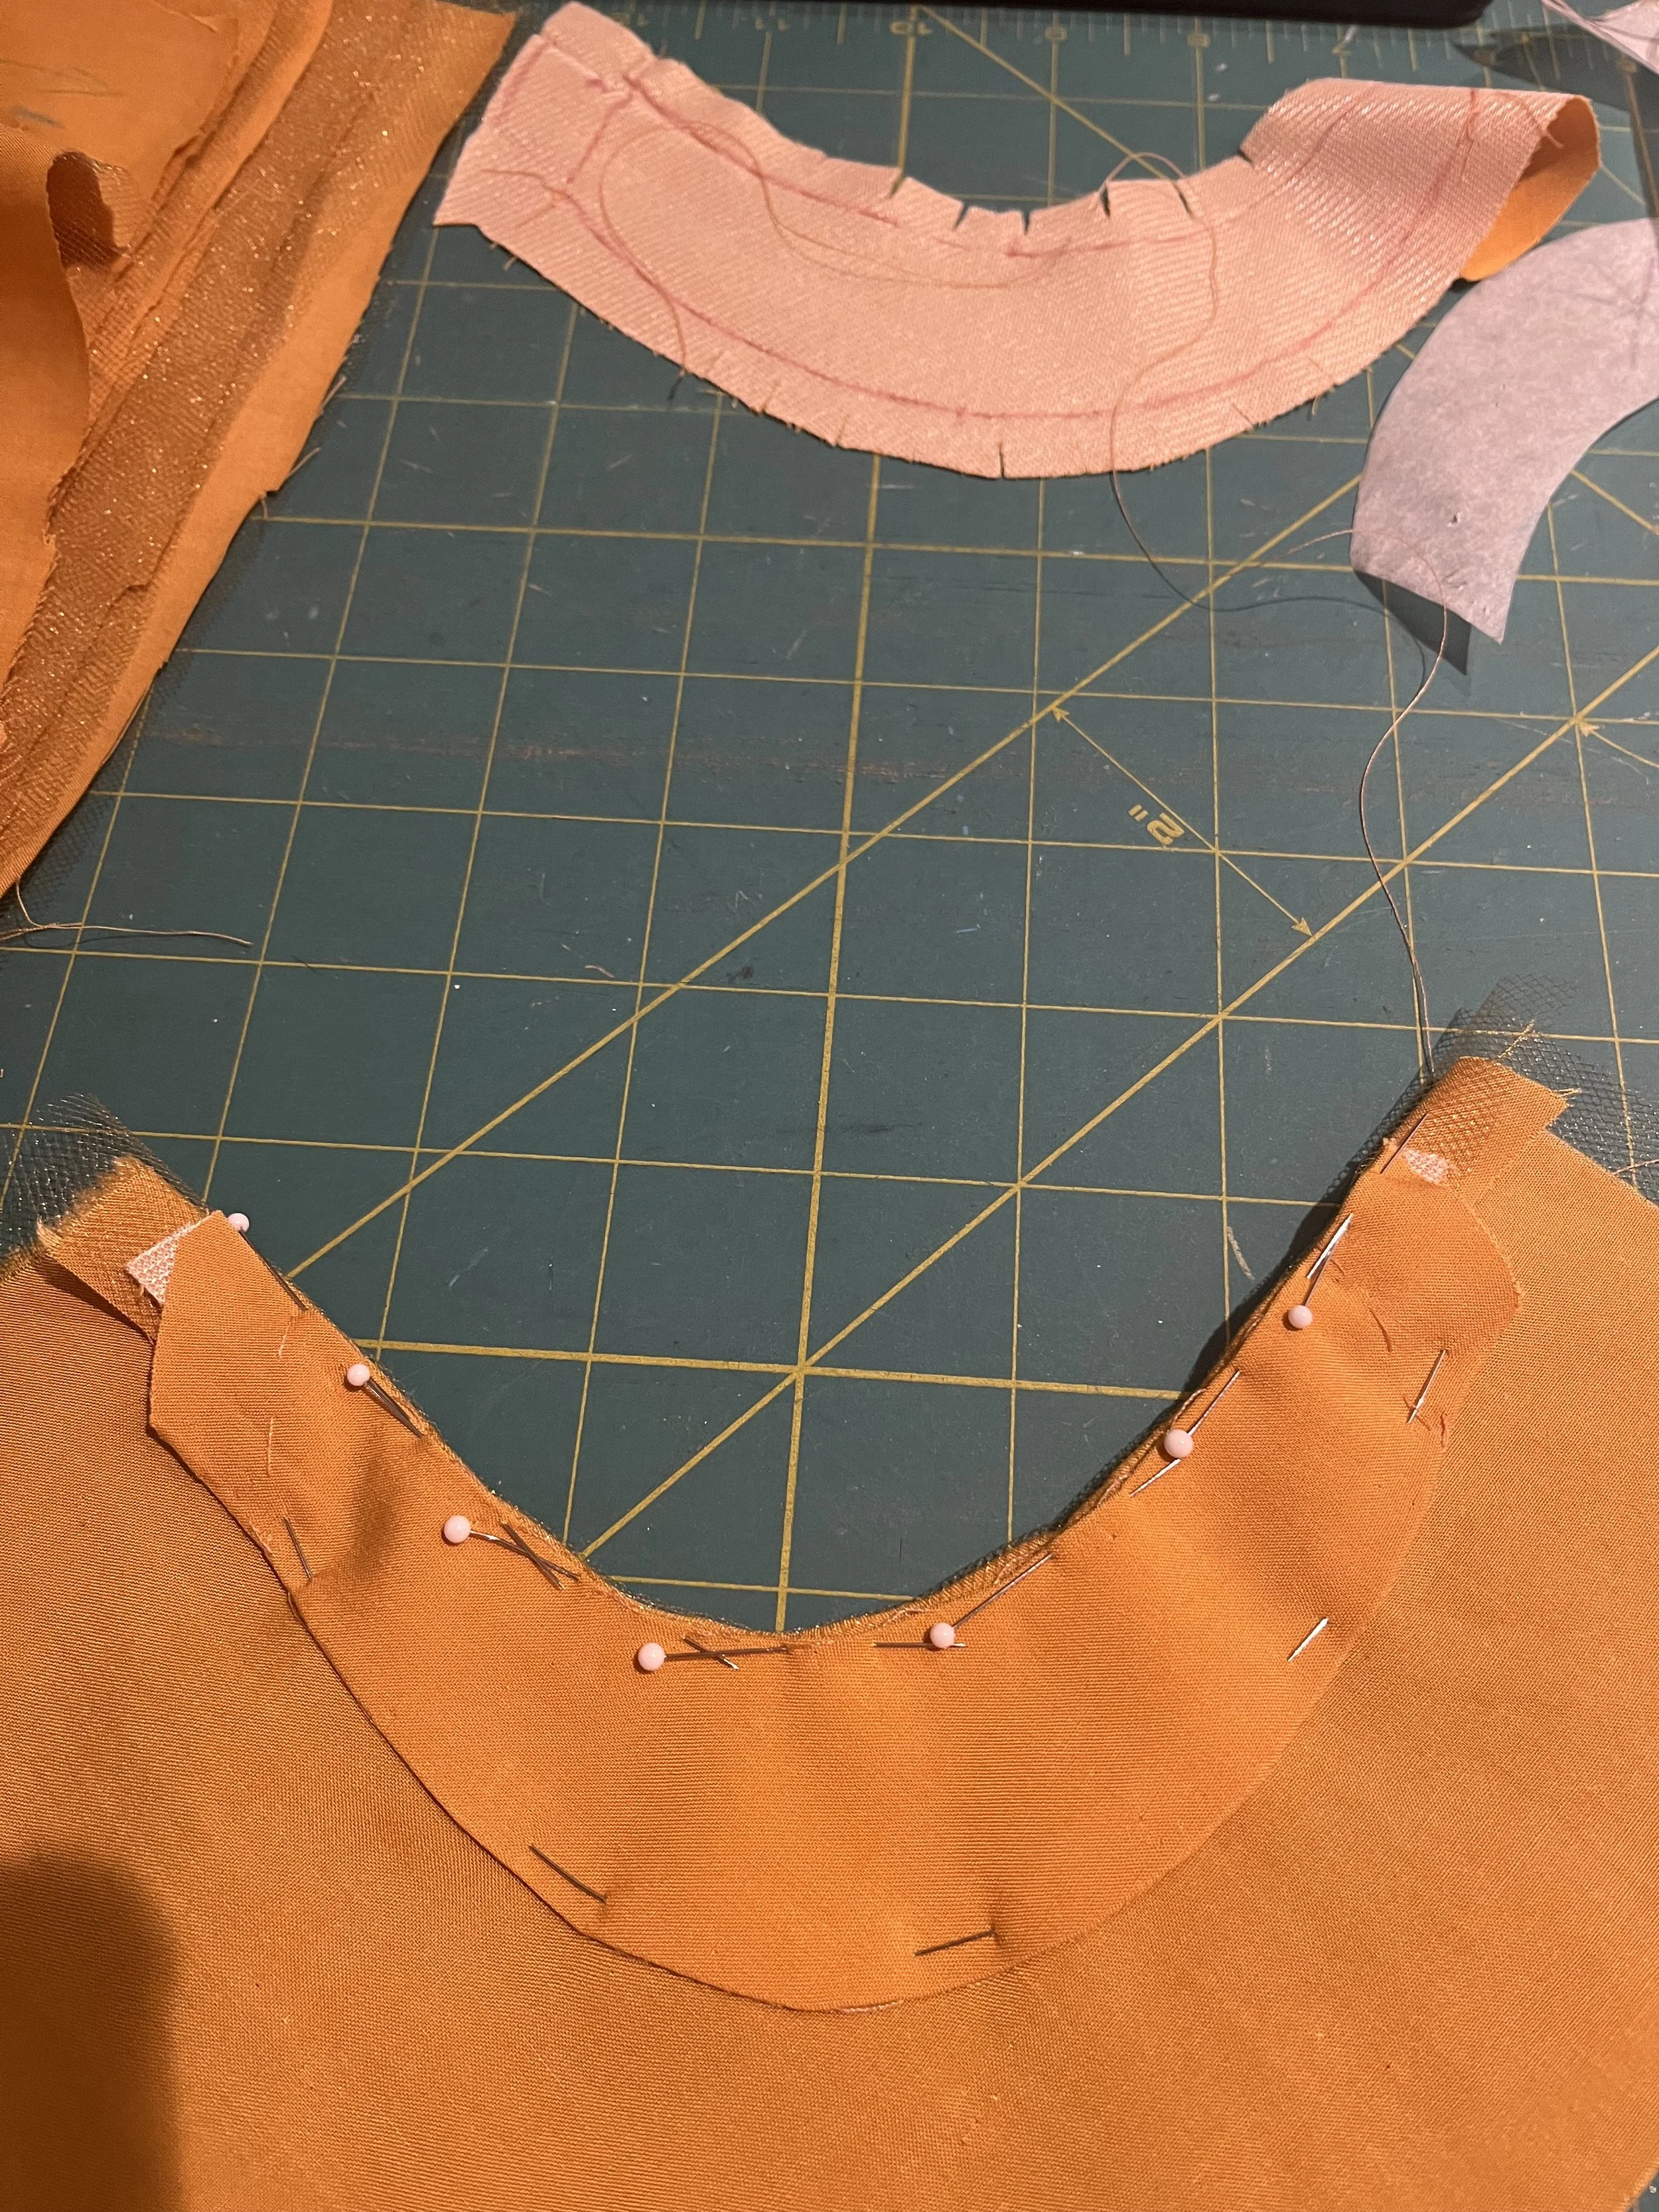
Belle Part Three
So, it's been a while...
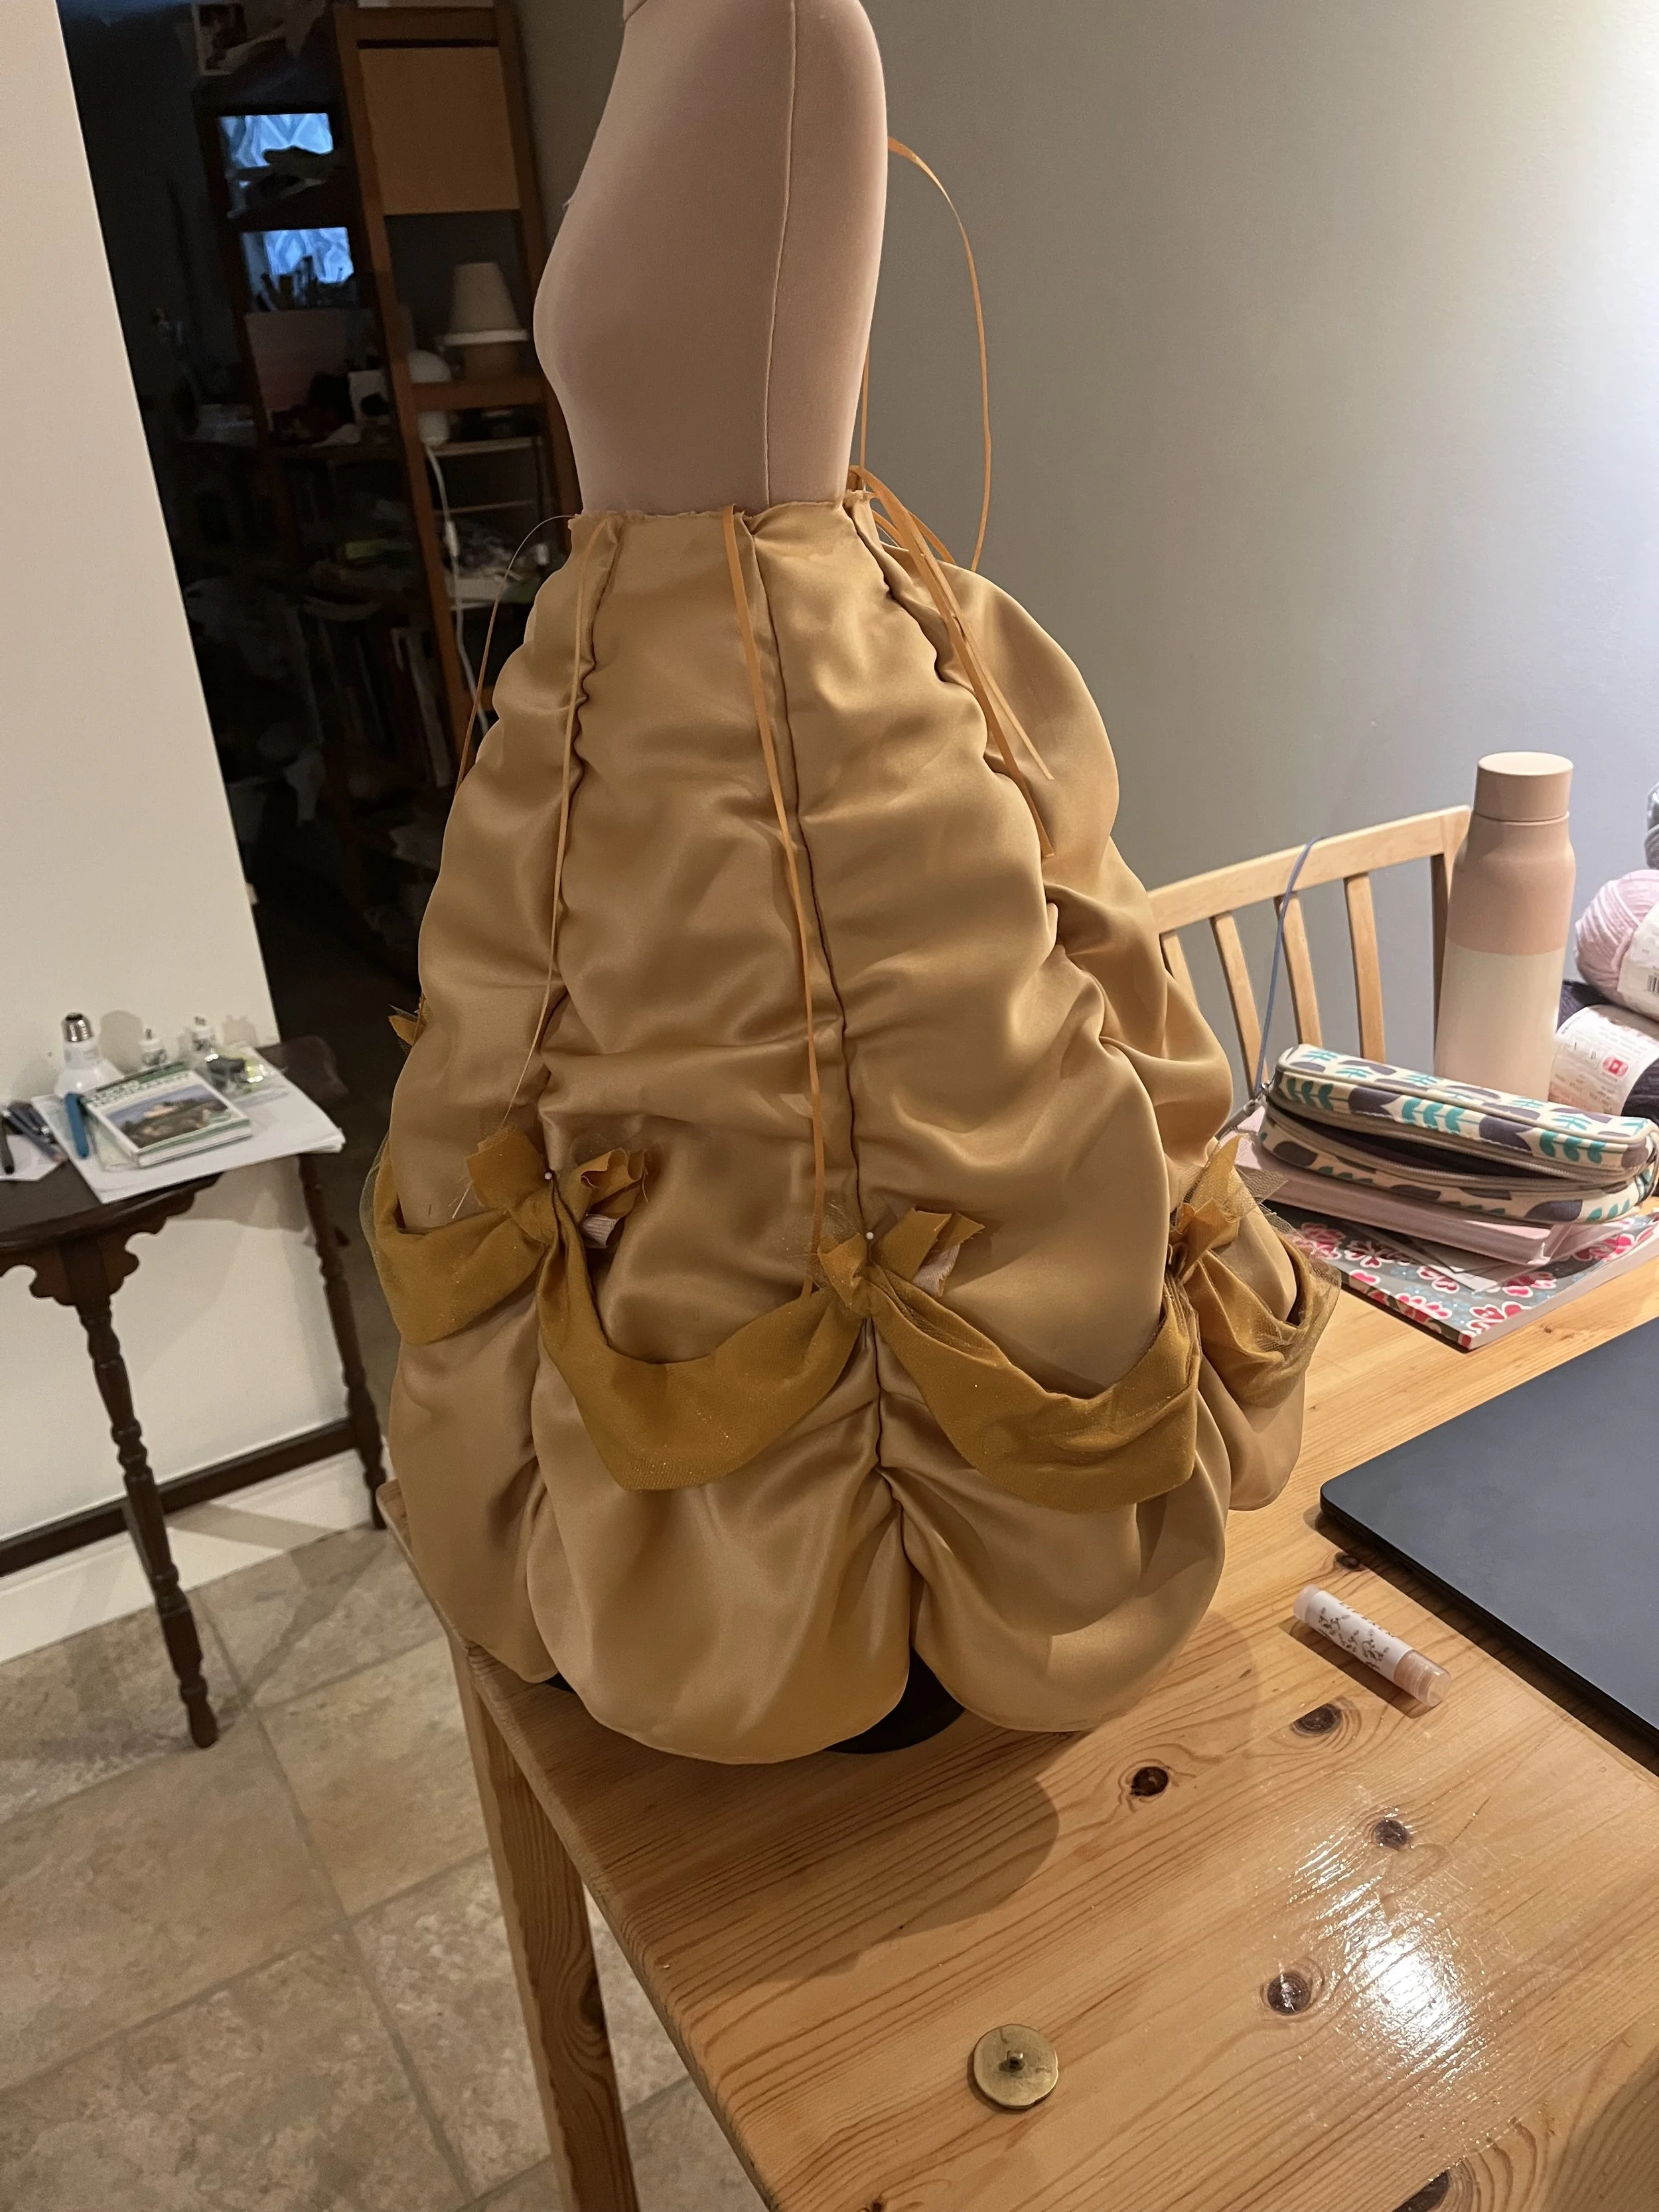
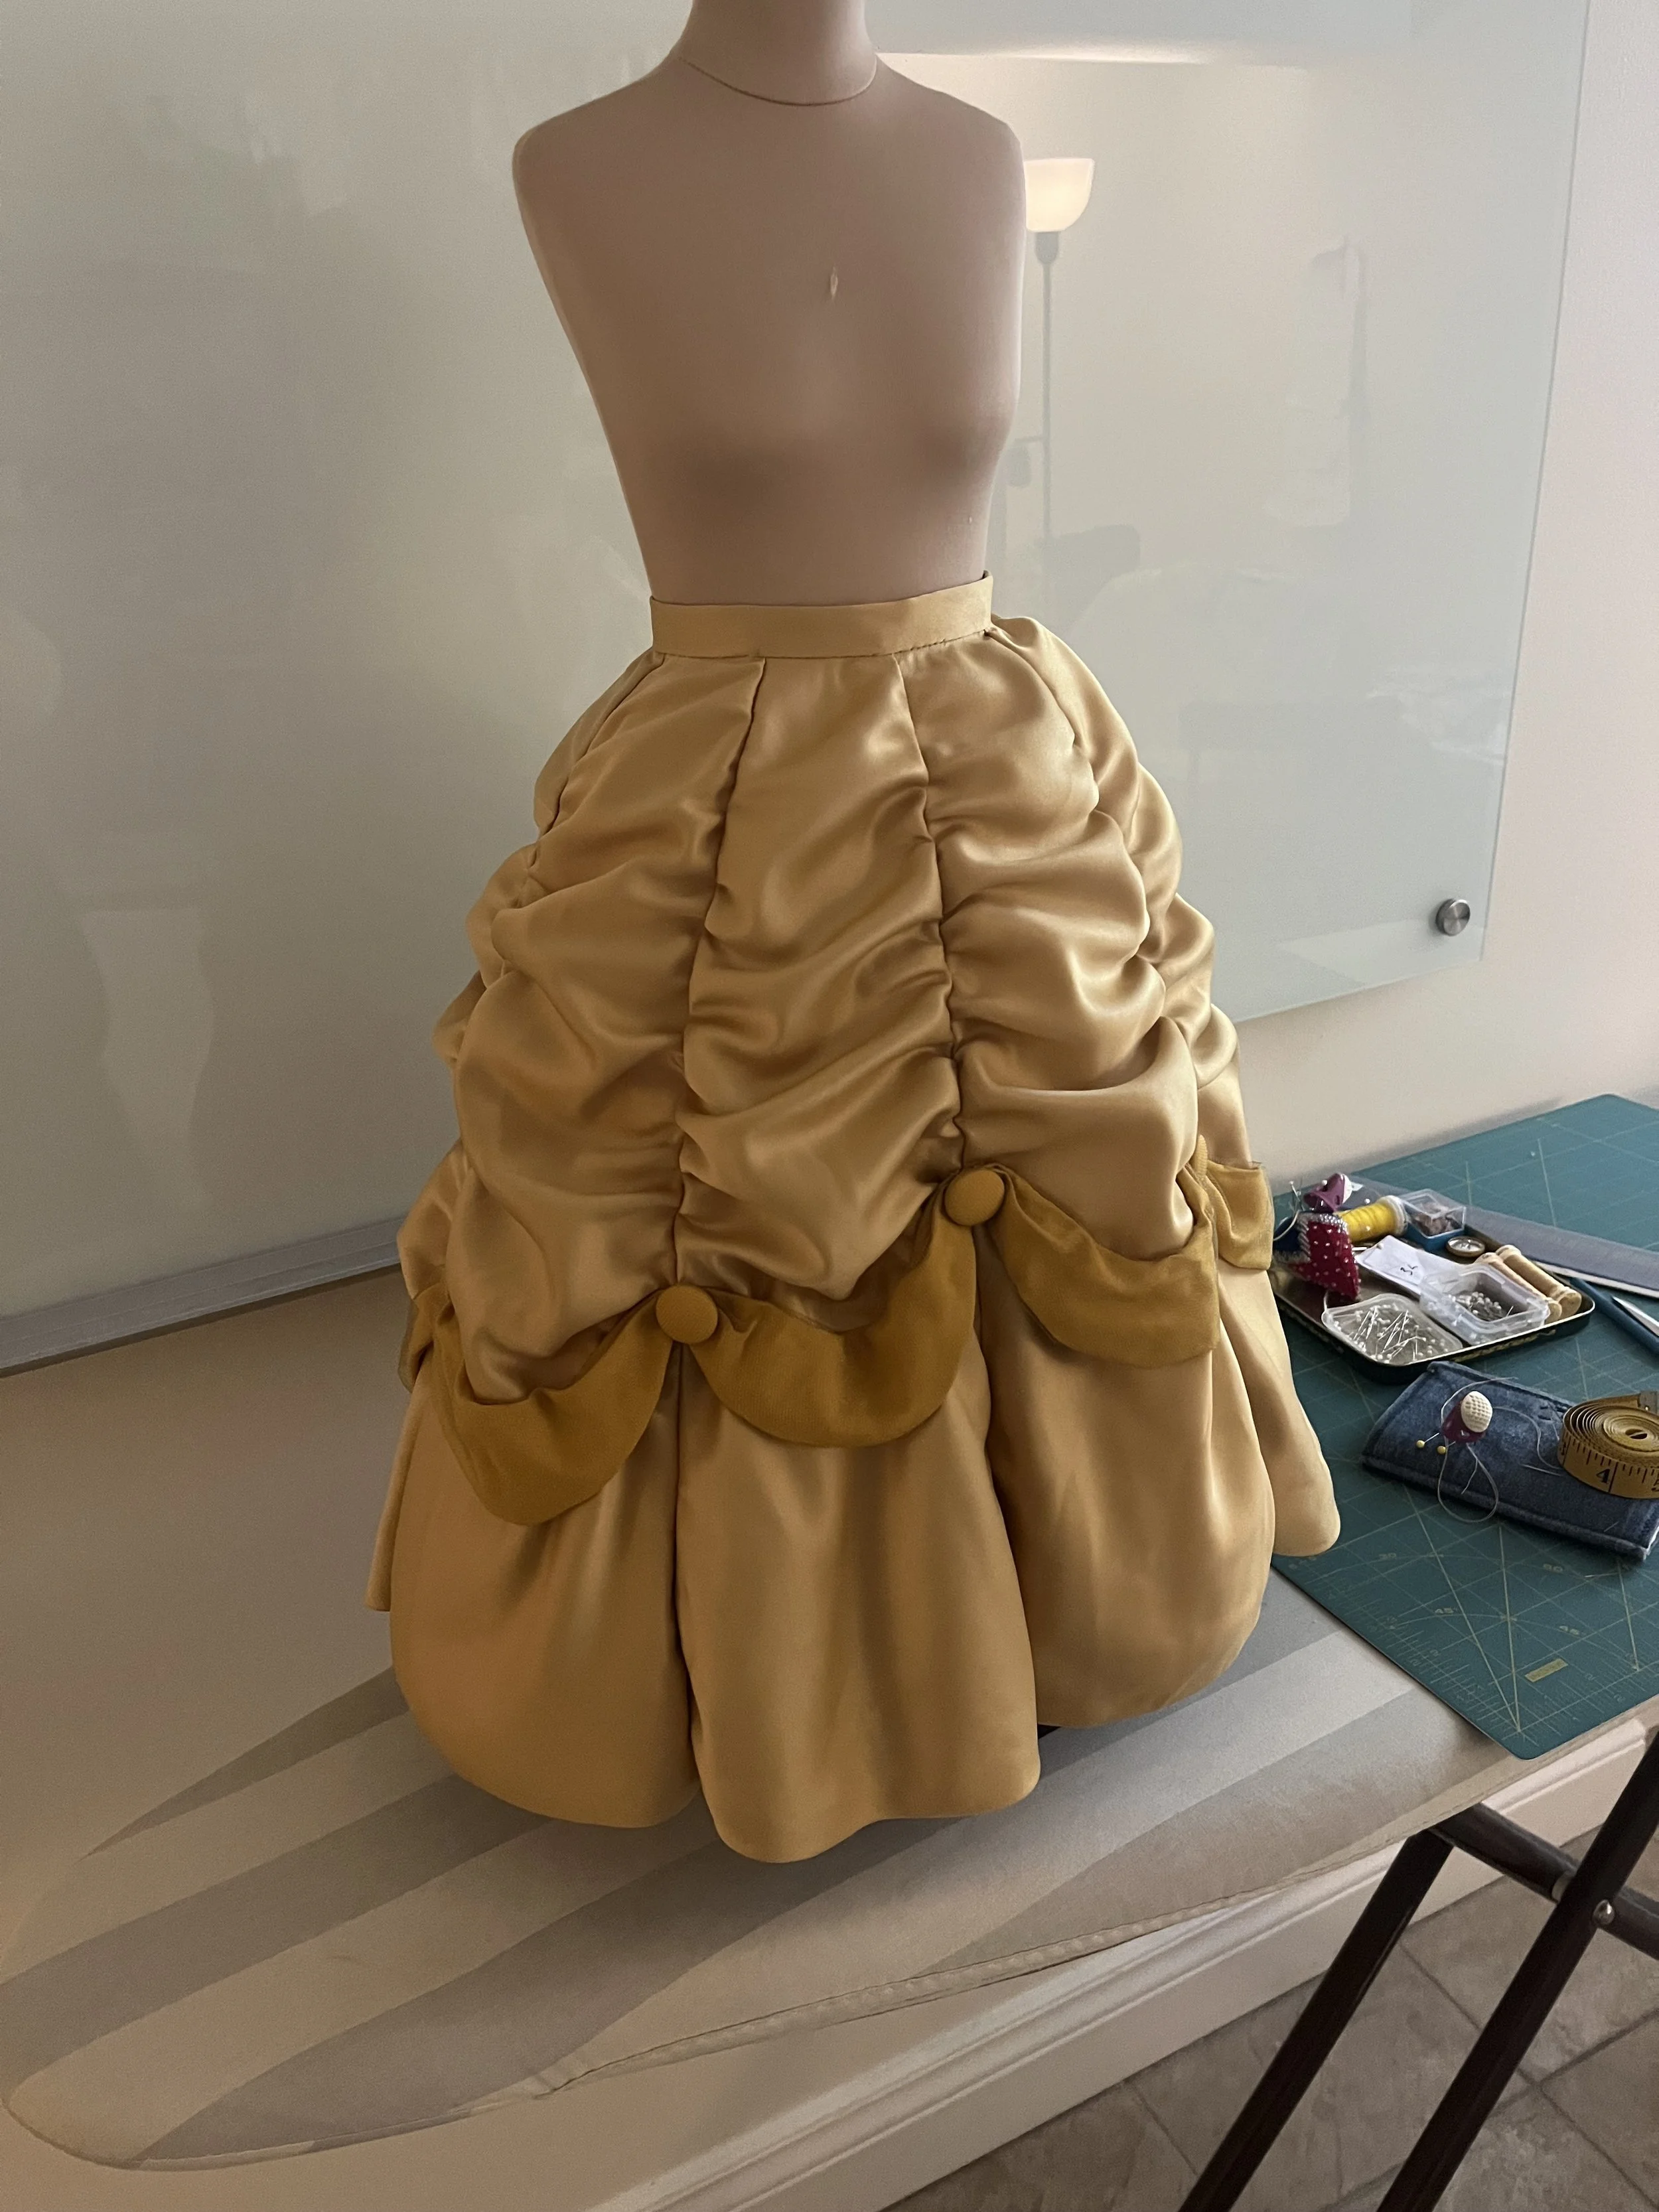
Long story short: I found the right fabric and finished the skirt. Ta da!
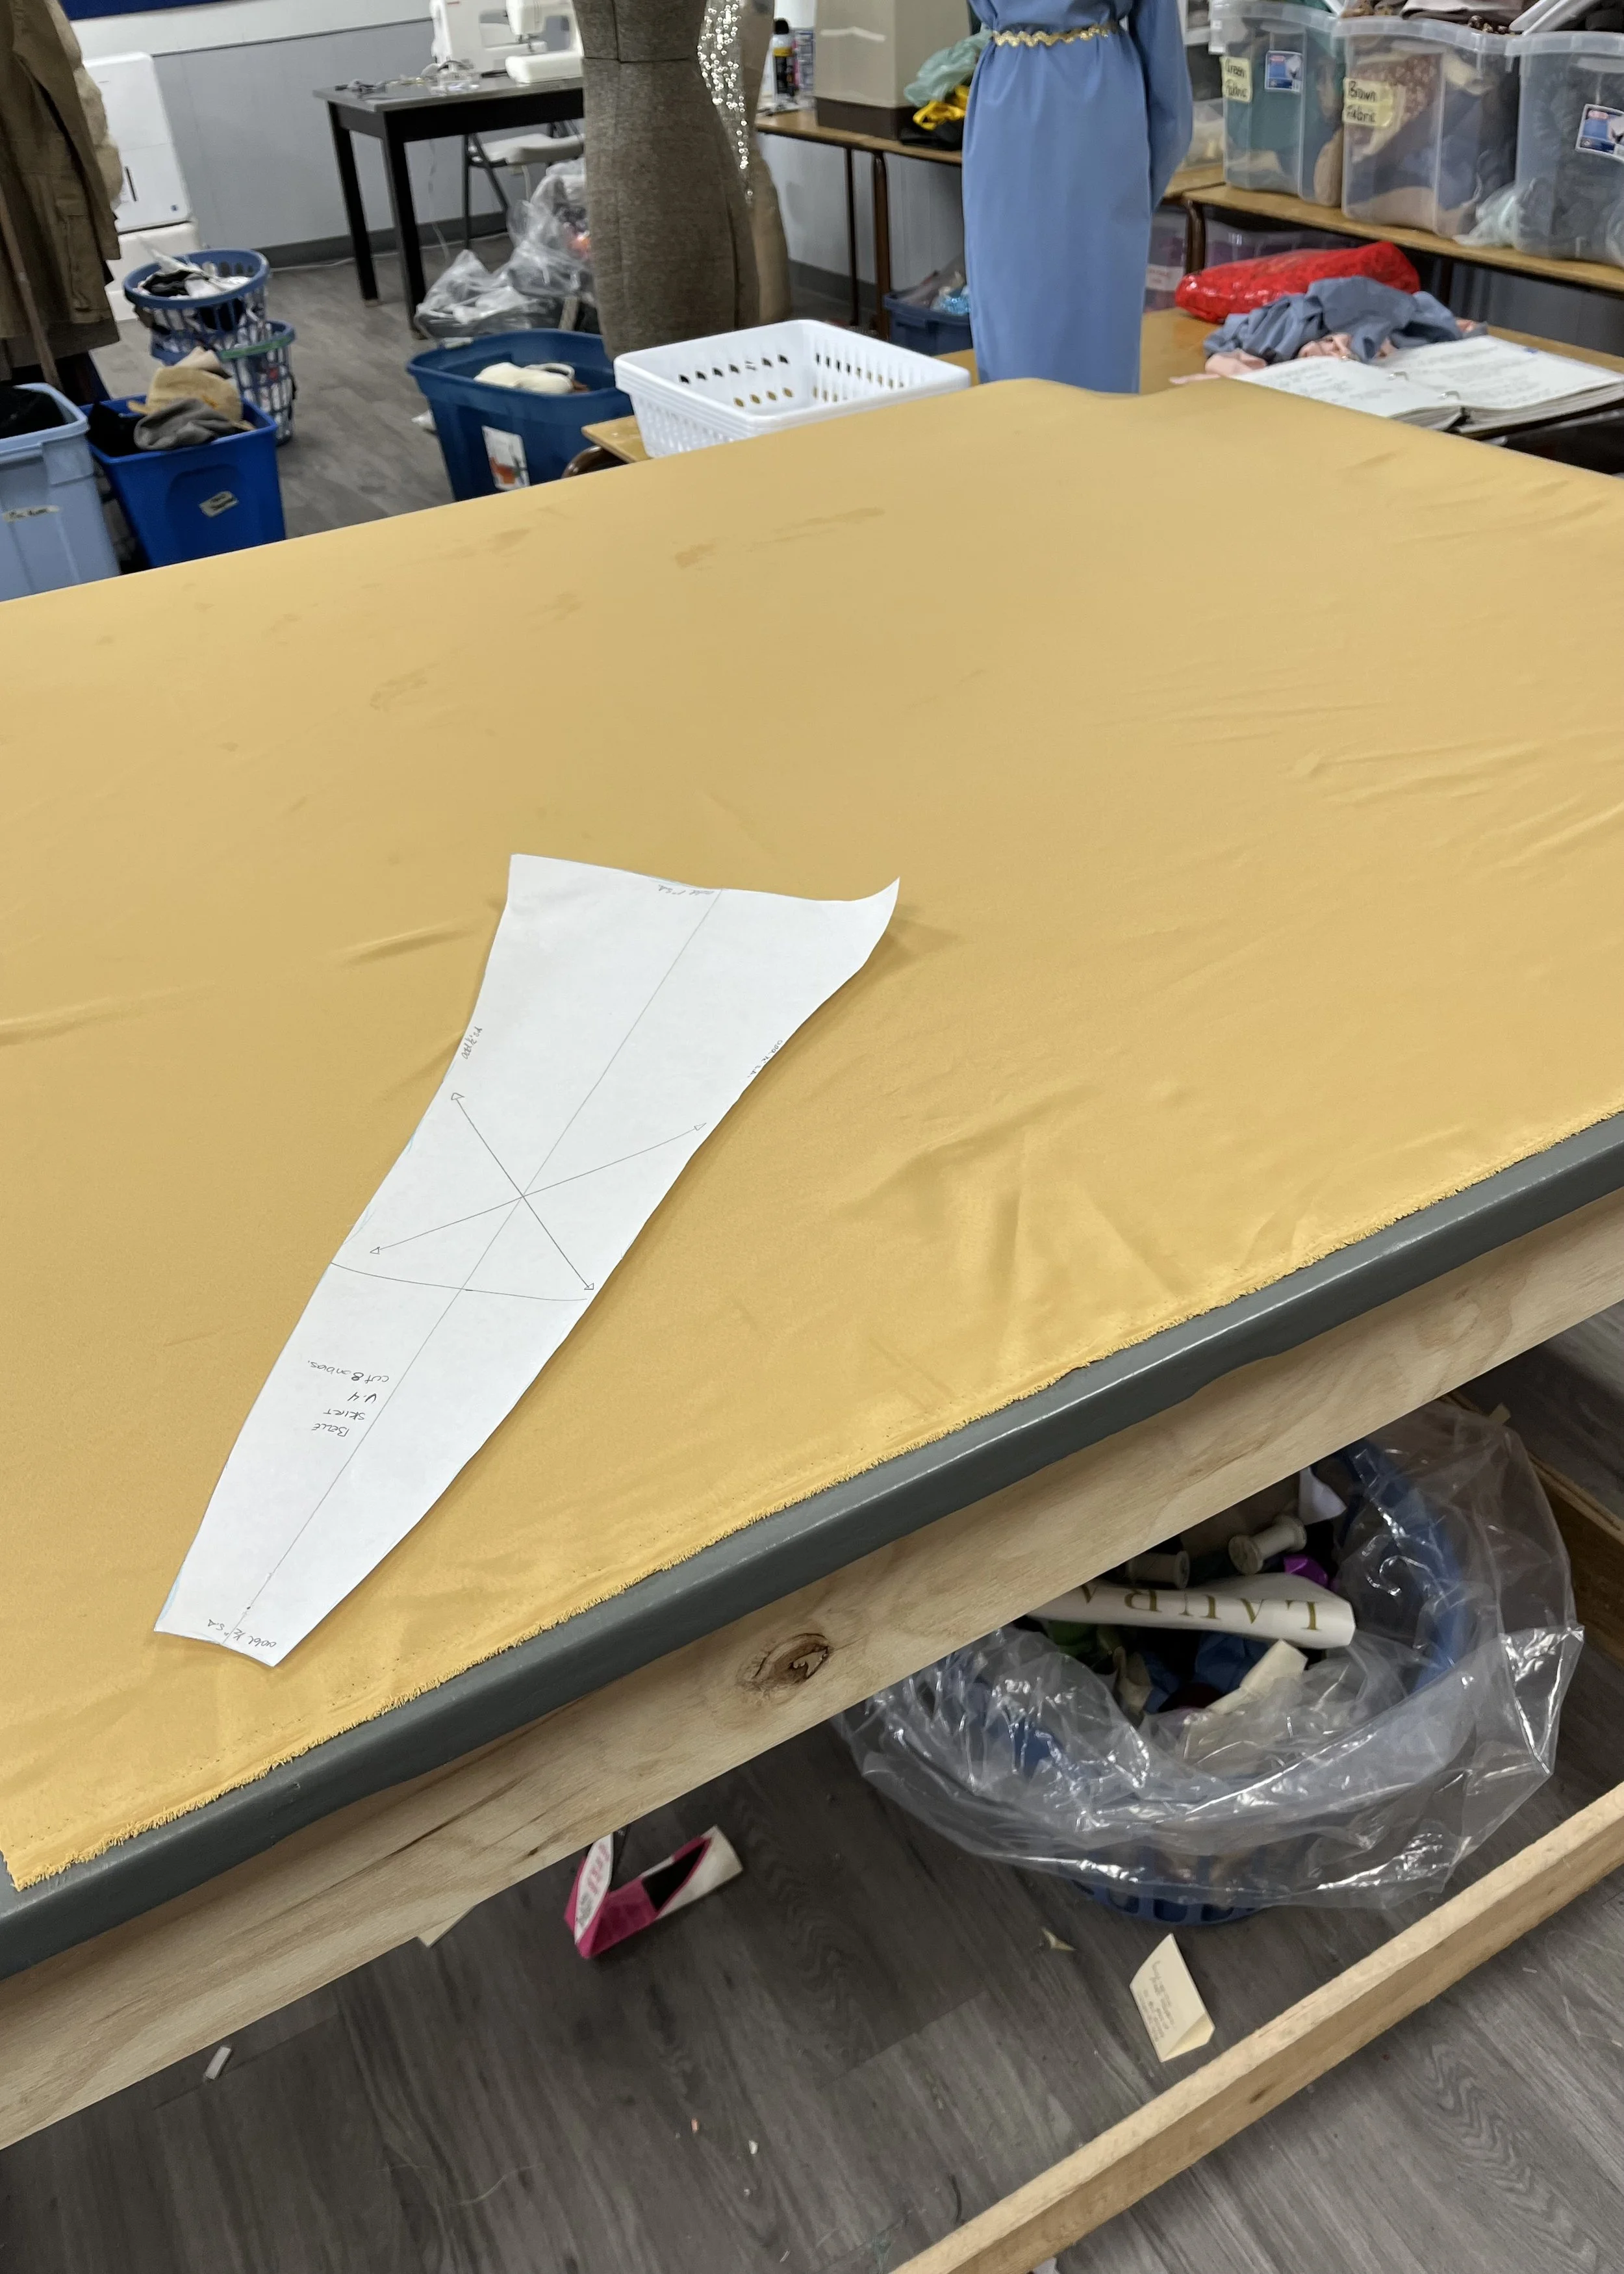
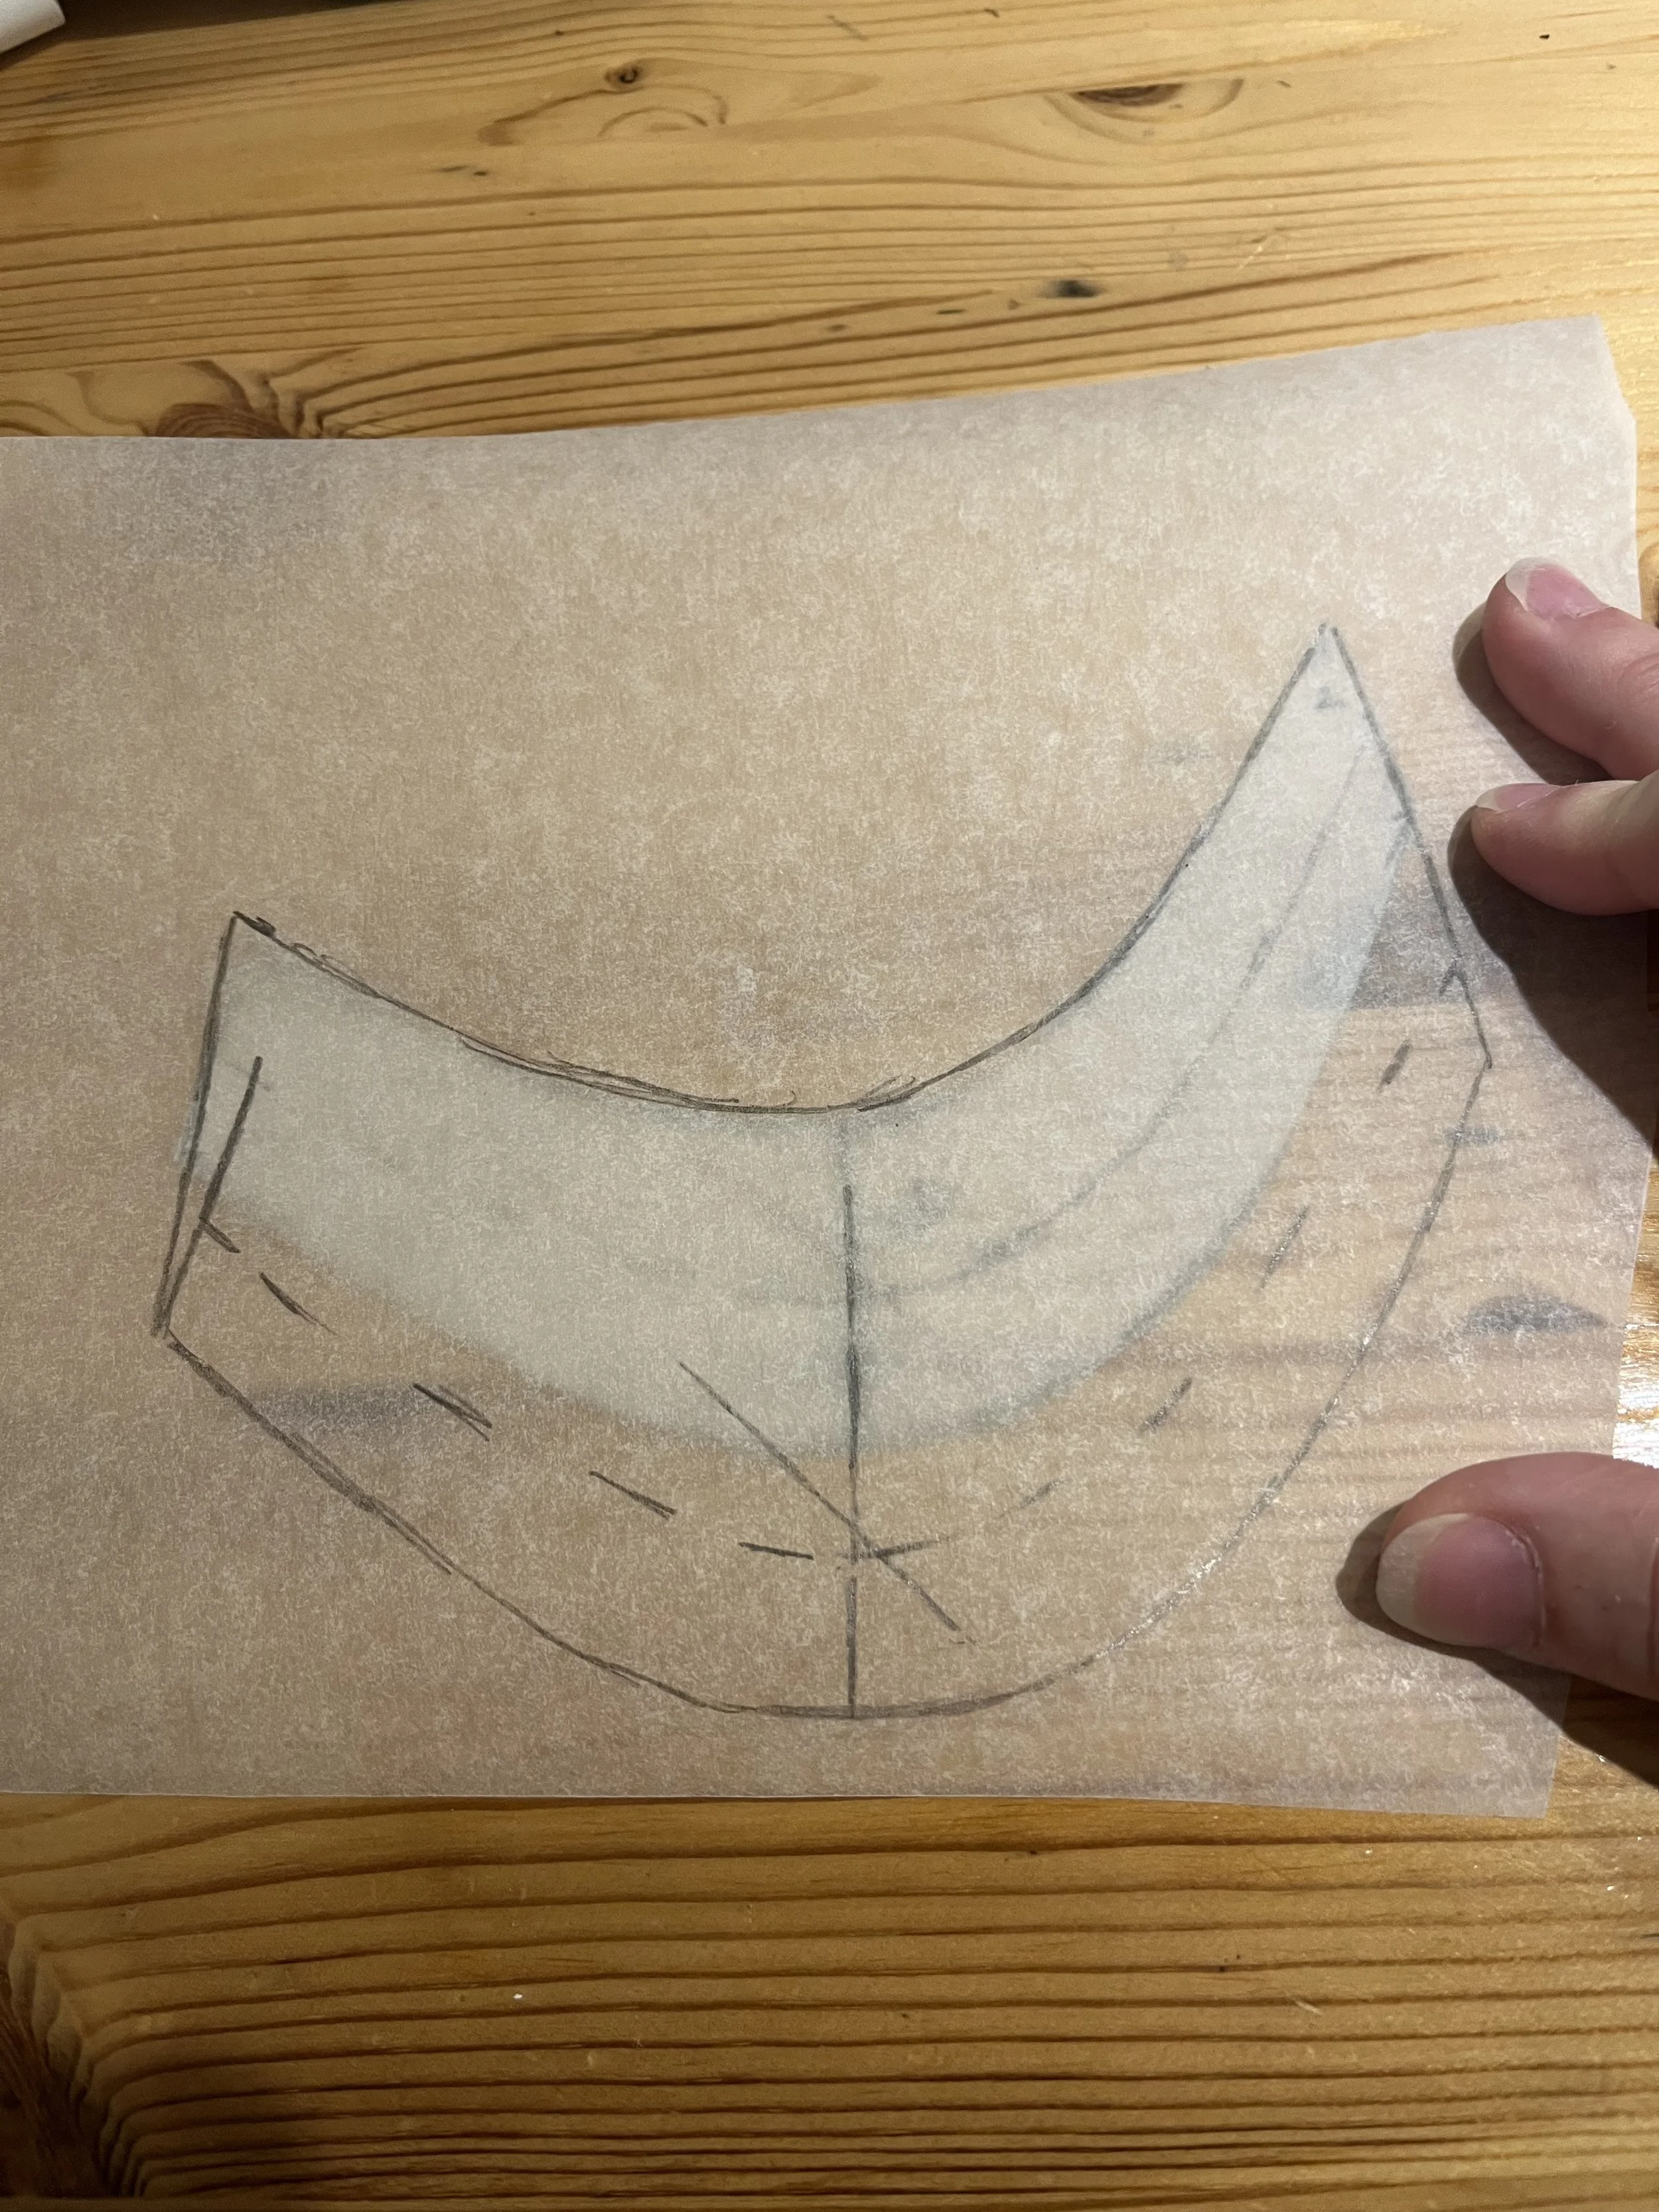
Laying the pattern on a big table at work, soooooo long before I actually got around to putting the skirt together.
I ended up finding a lightweight satin at Fabricland that was the right colour. I had noticed it one day but didn't rush to buy it, opting rather to simply eye it up each time I went back to the store for something else. I finally bought it after having a small panic when they moved it to a different table causing me to think briefly that it was gone and I had been returned once more to square one.
(I’m really glad I held out on choosing fabric. I found the remaining bits of the one mock up fabric I had been considering using for the final build and it’s not nearly as nice. The weight, the colour, everything.)
I also found the bodice material at Fabricland, but at a later date.
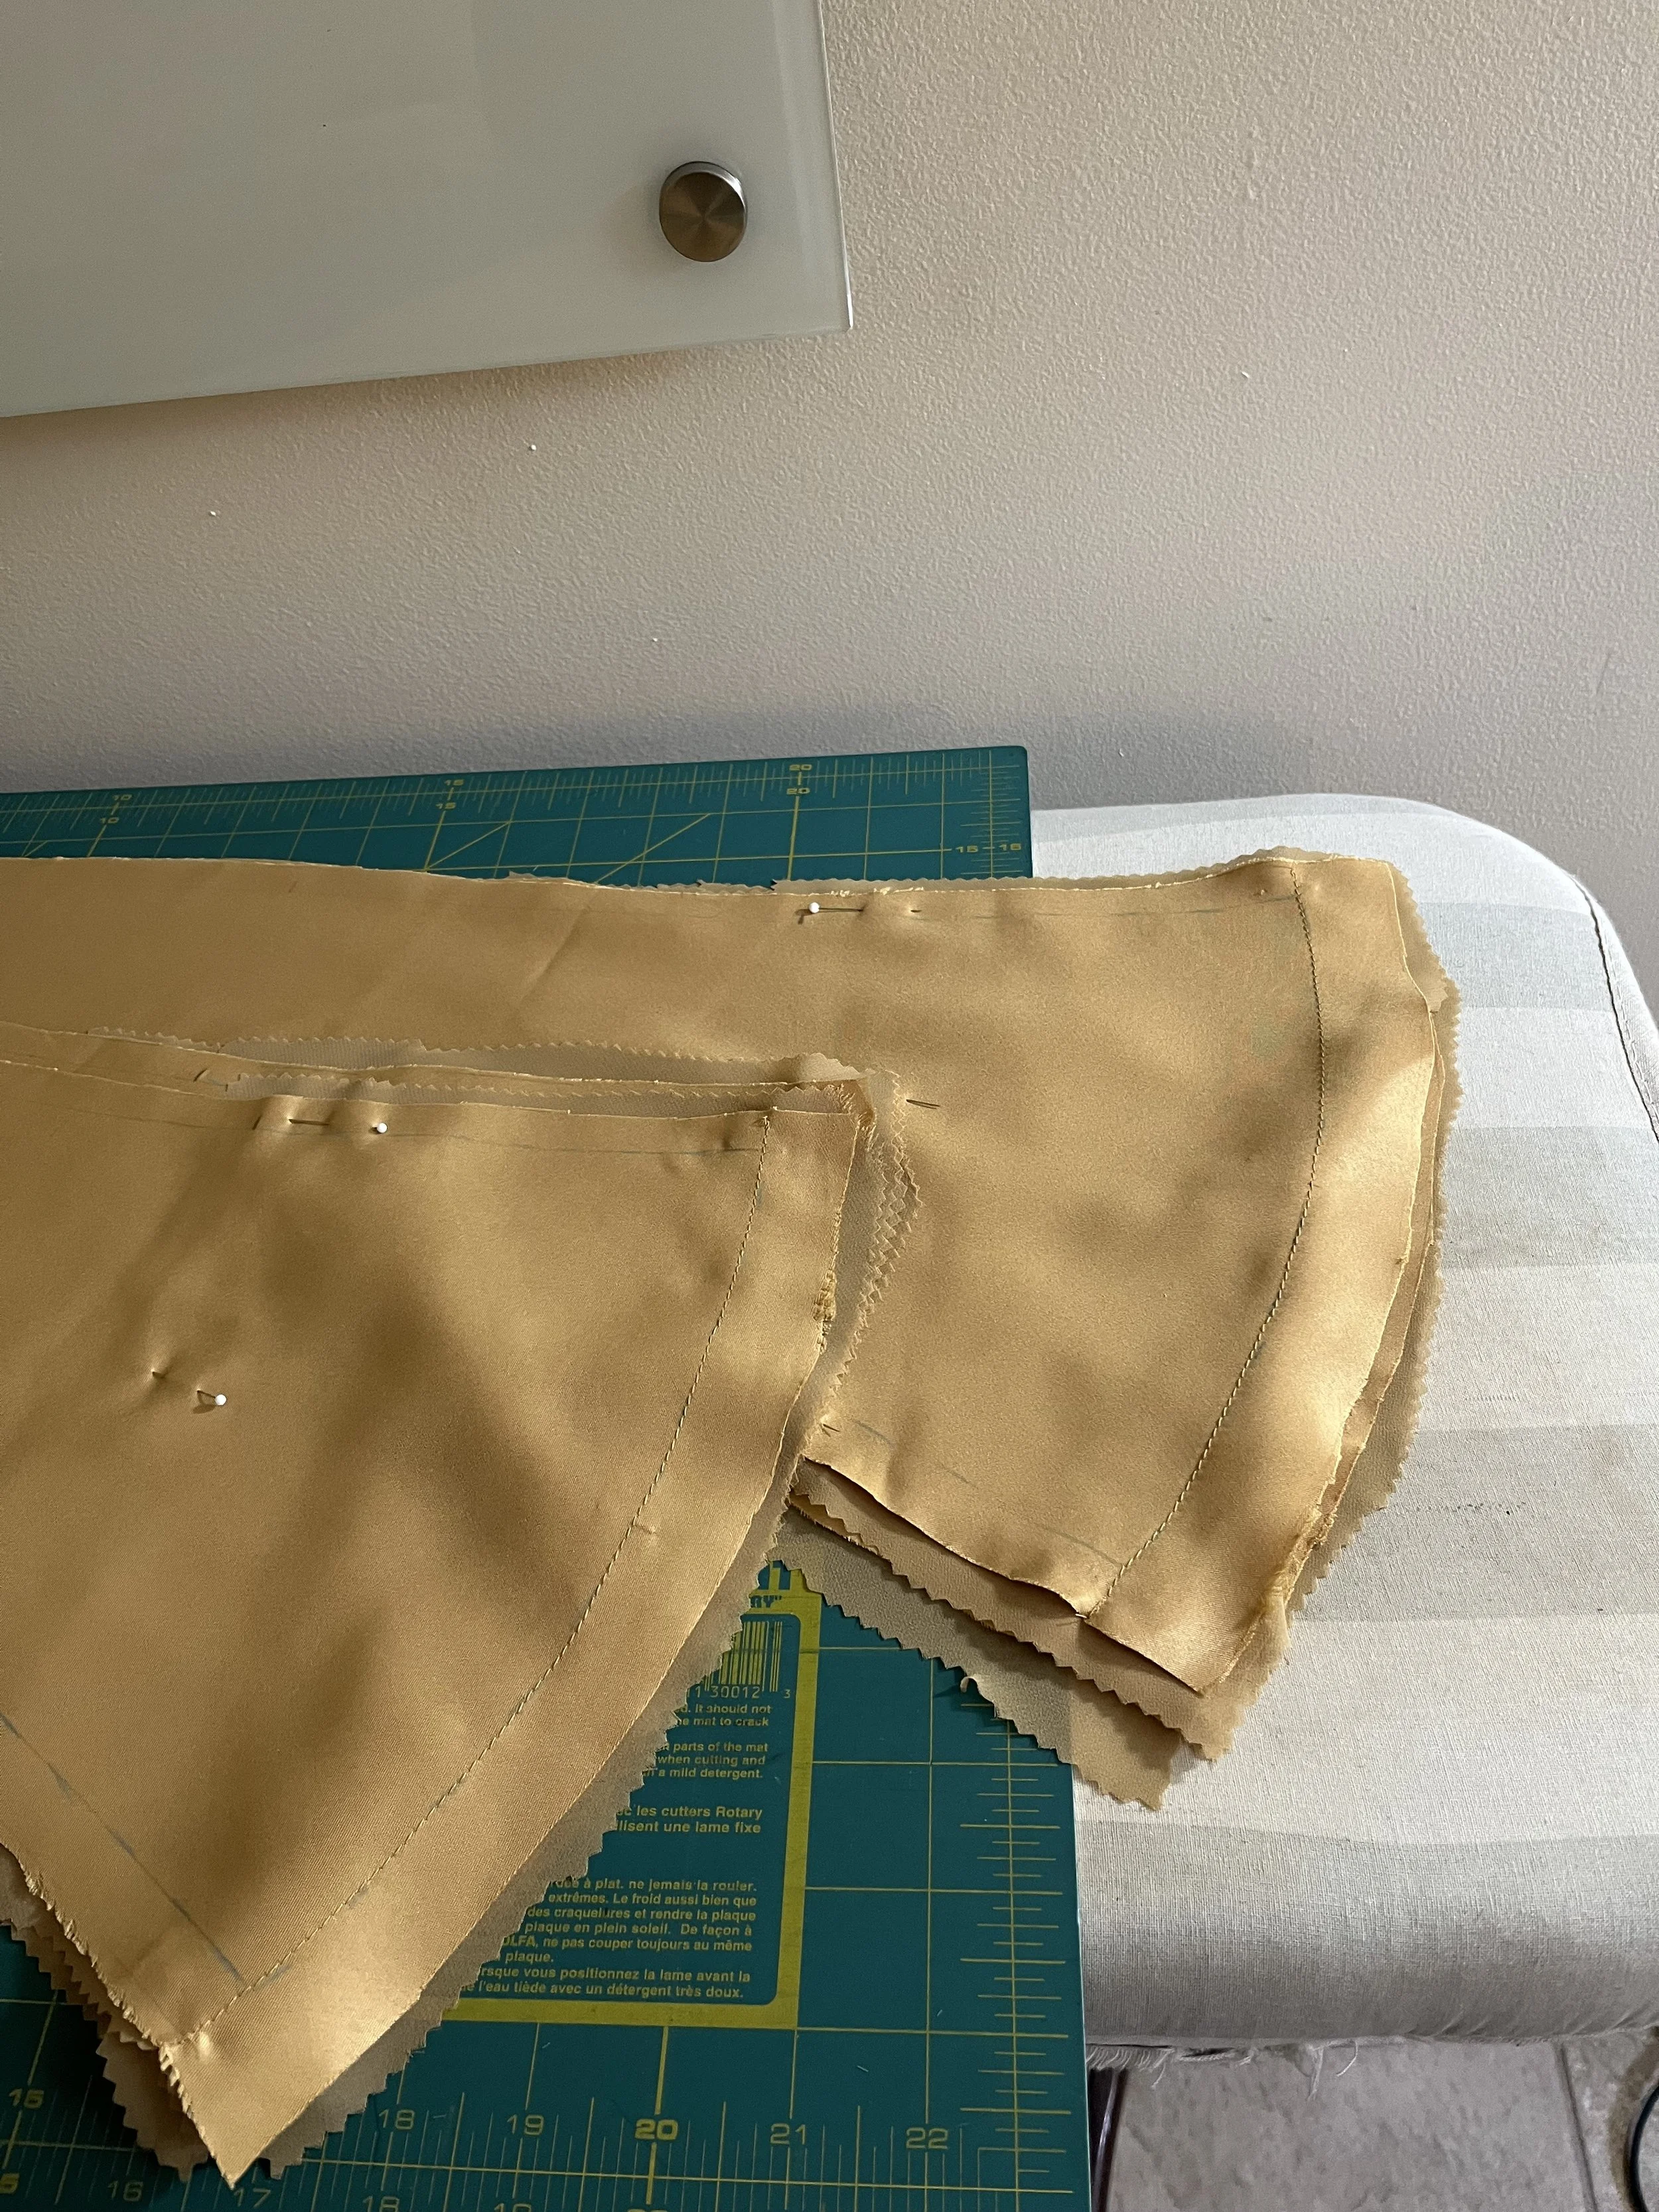
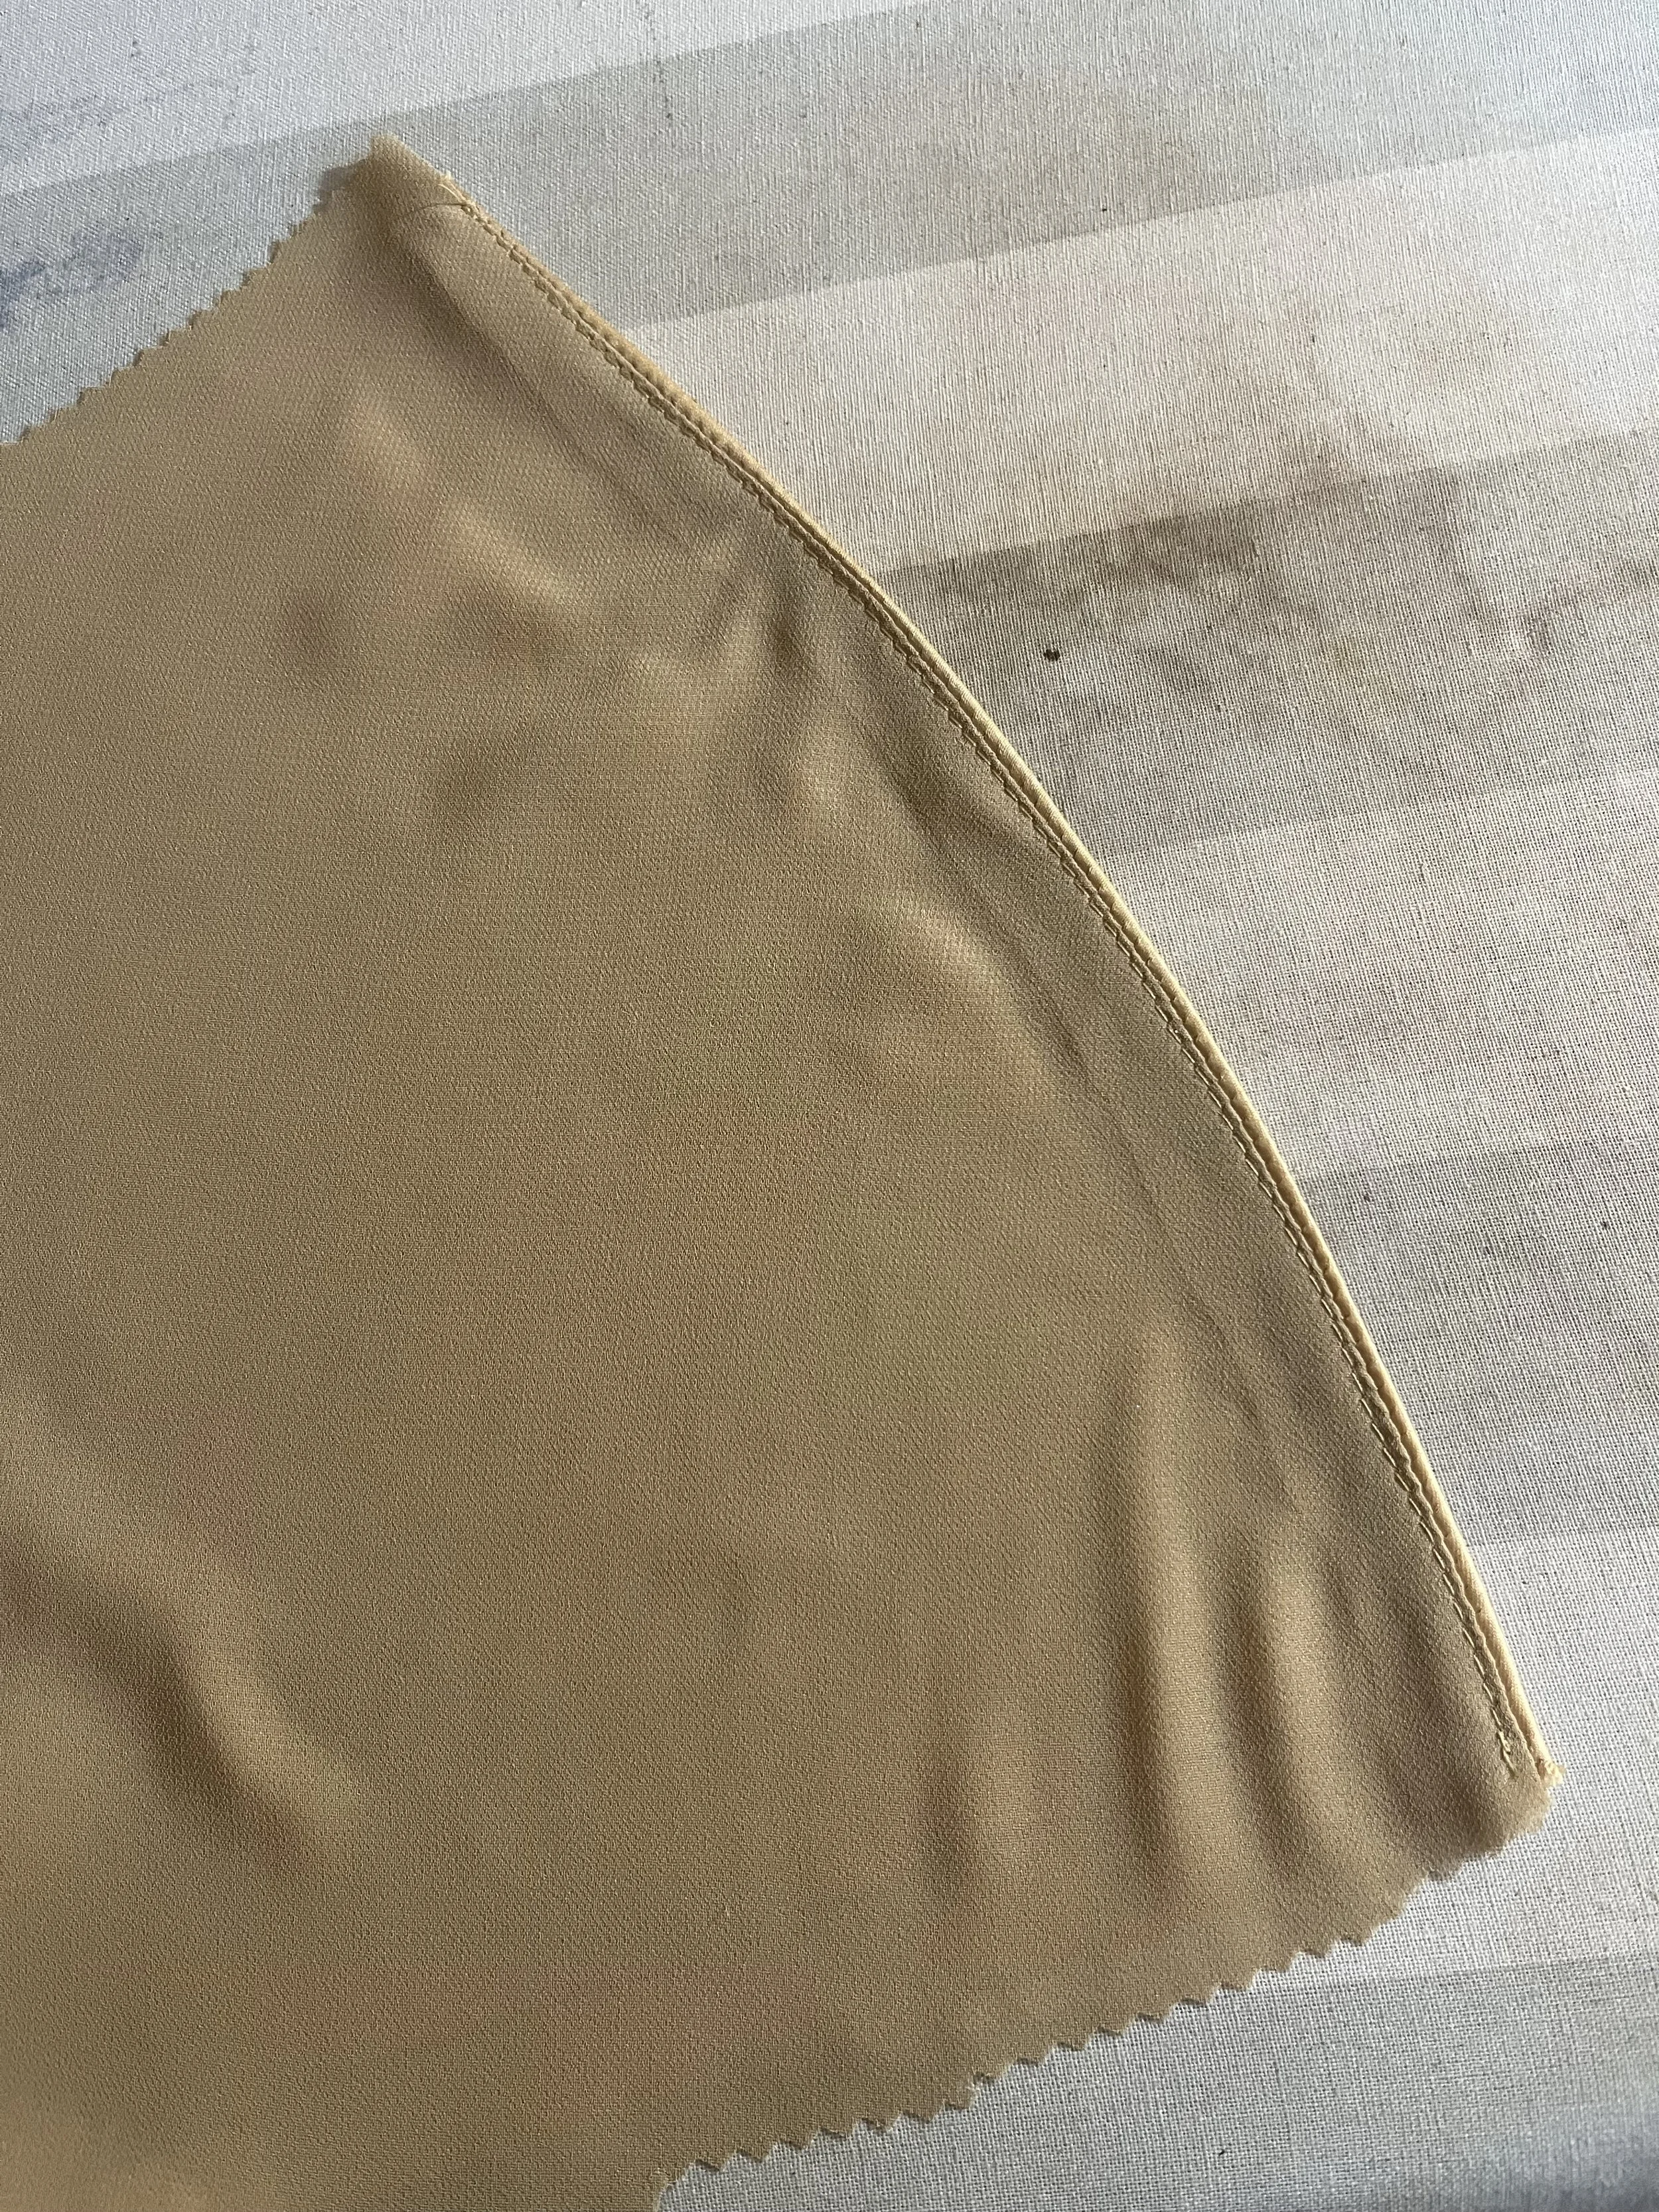
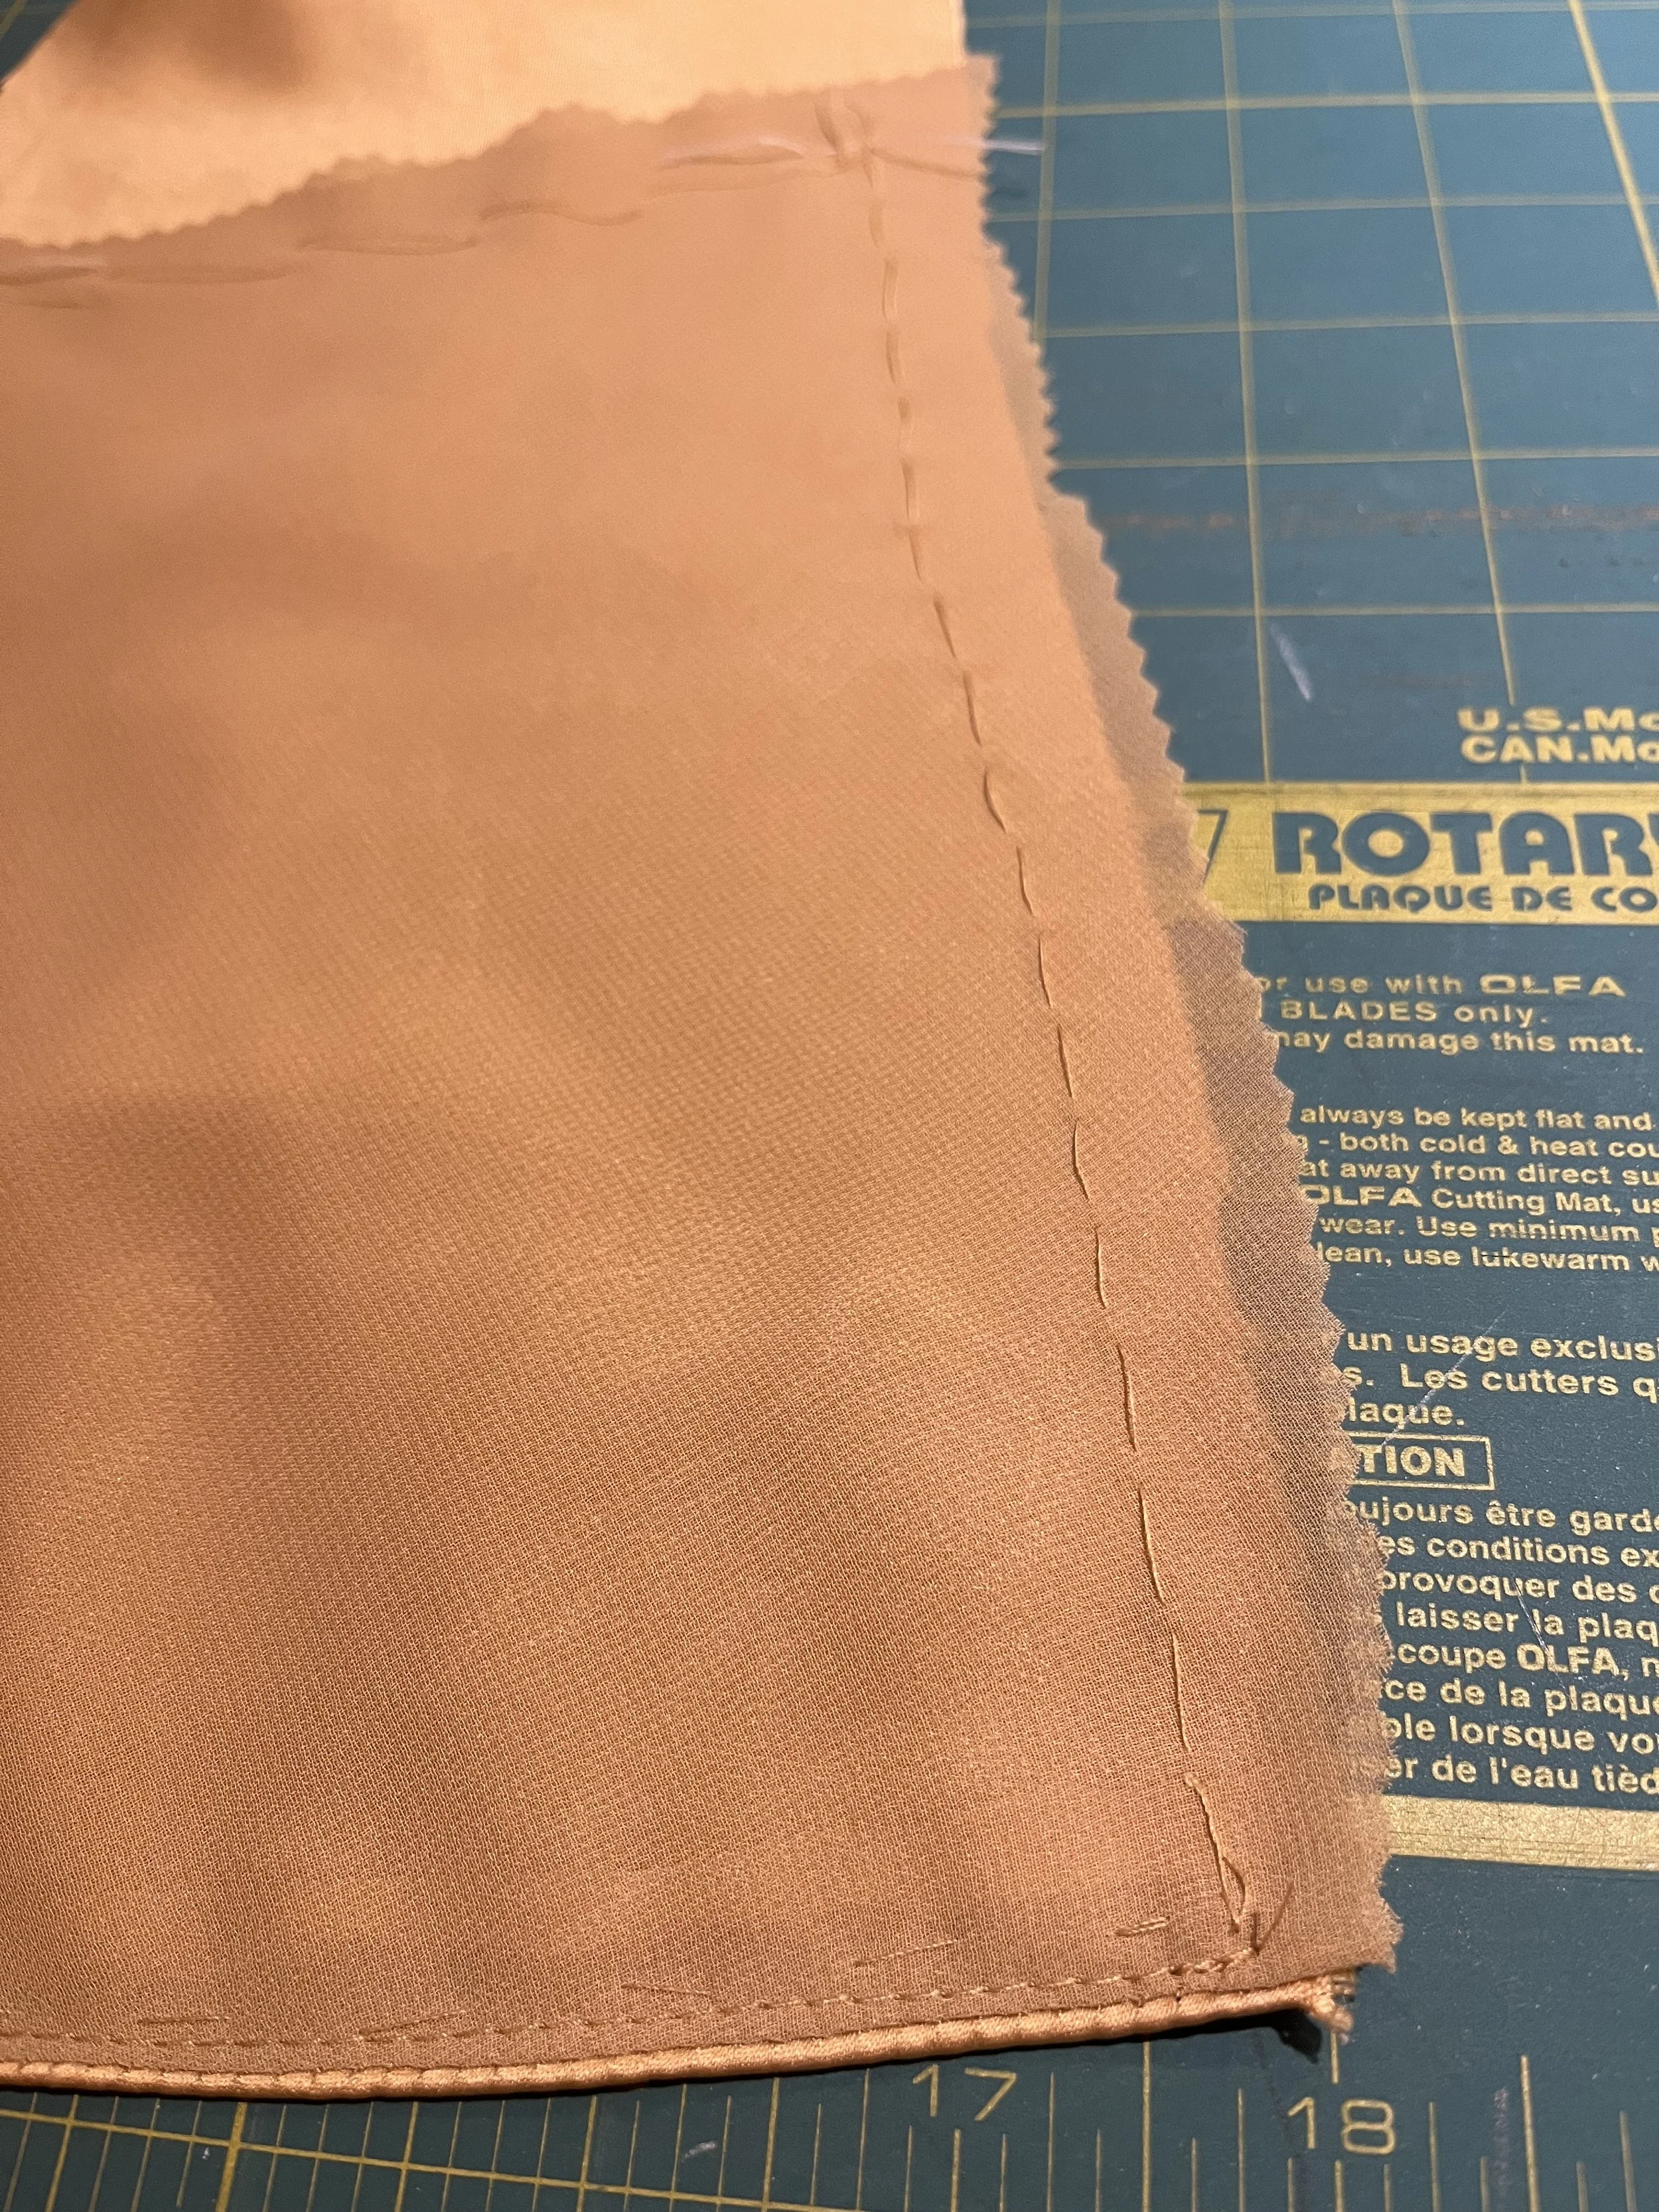
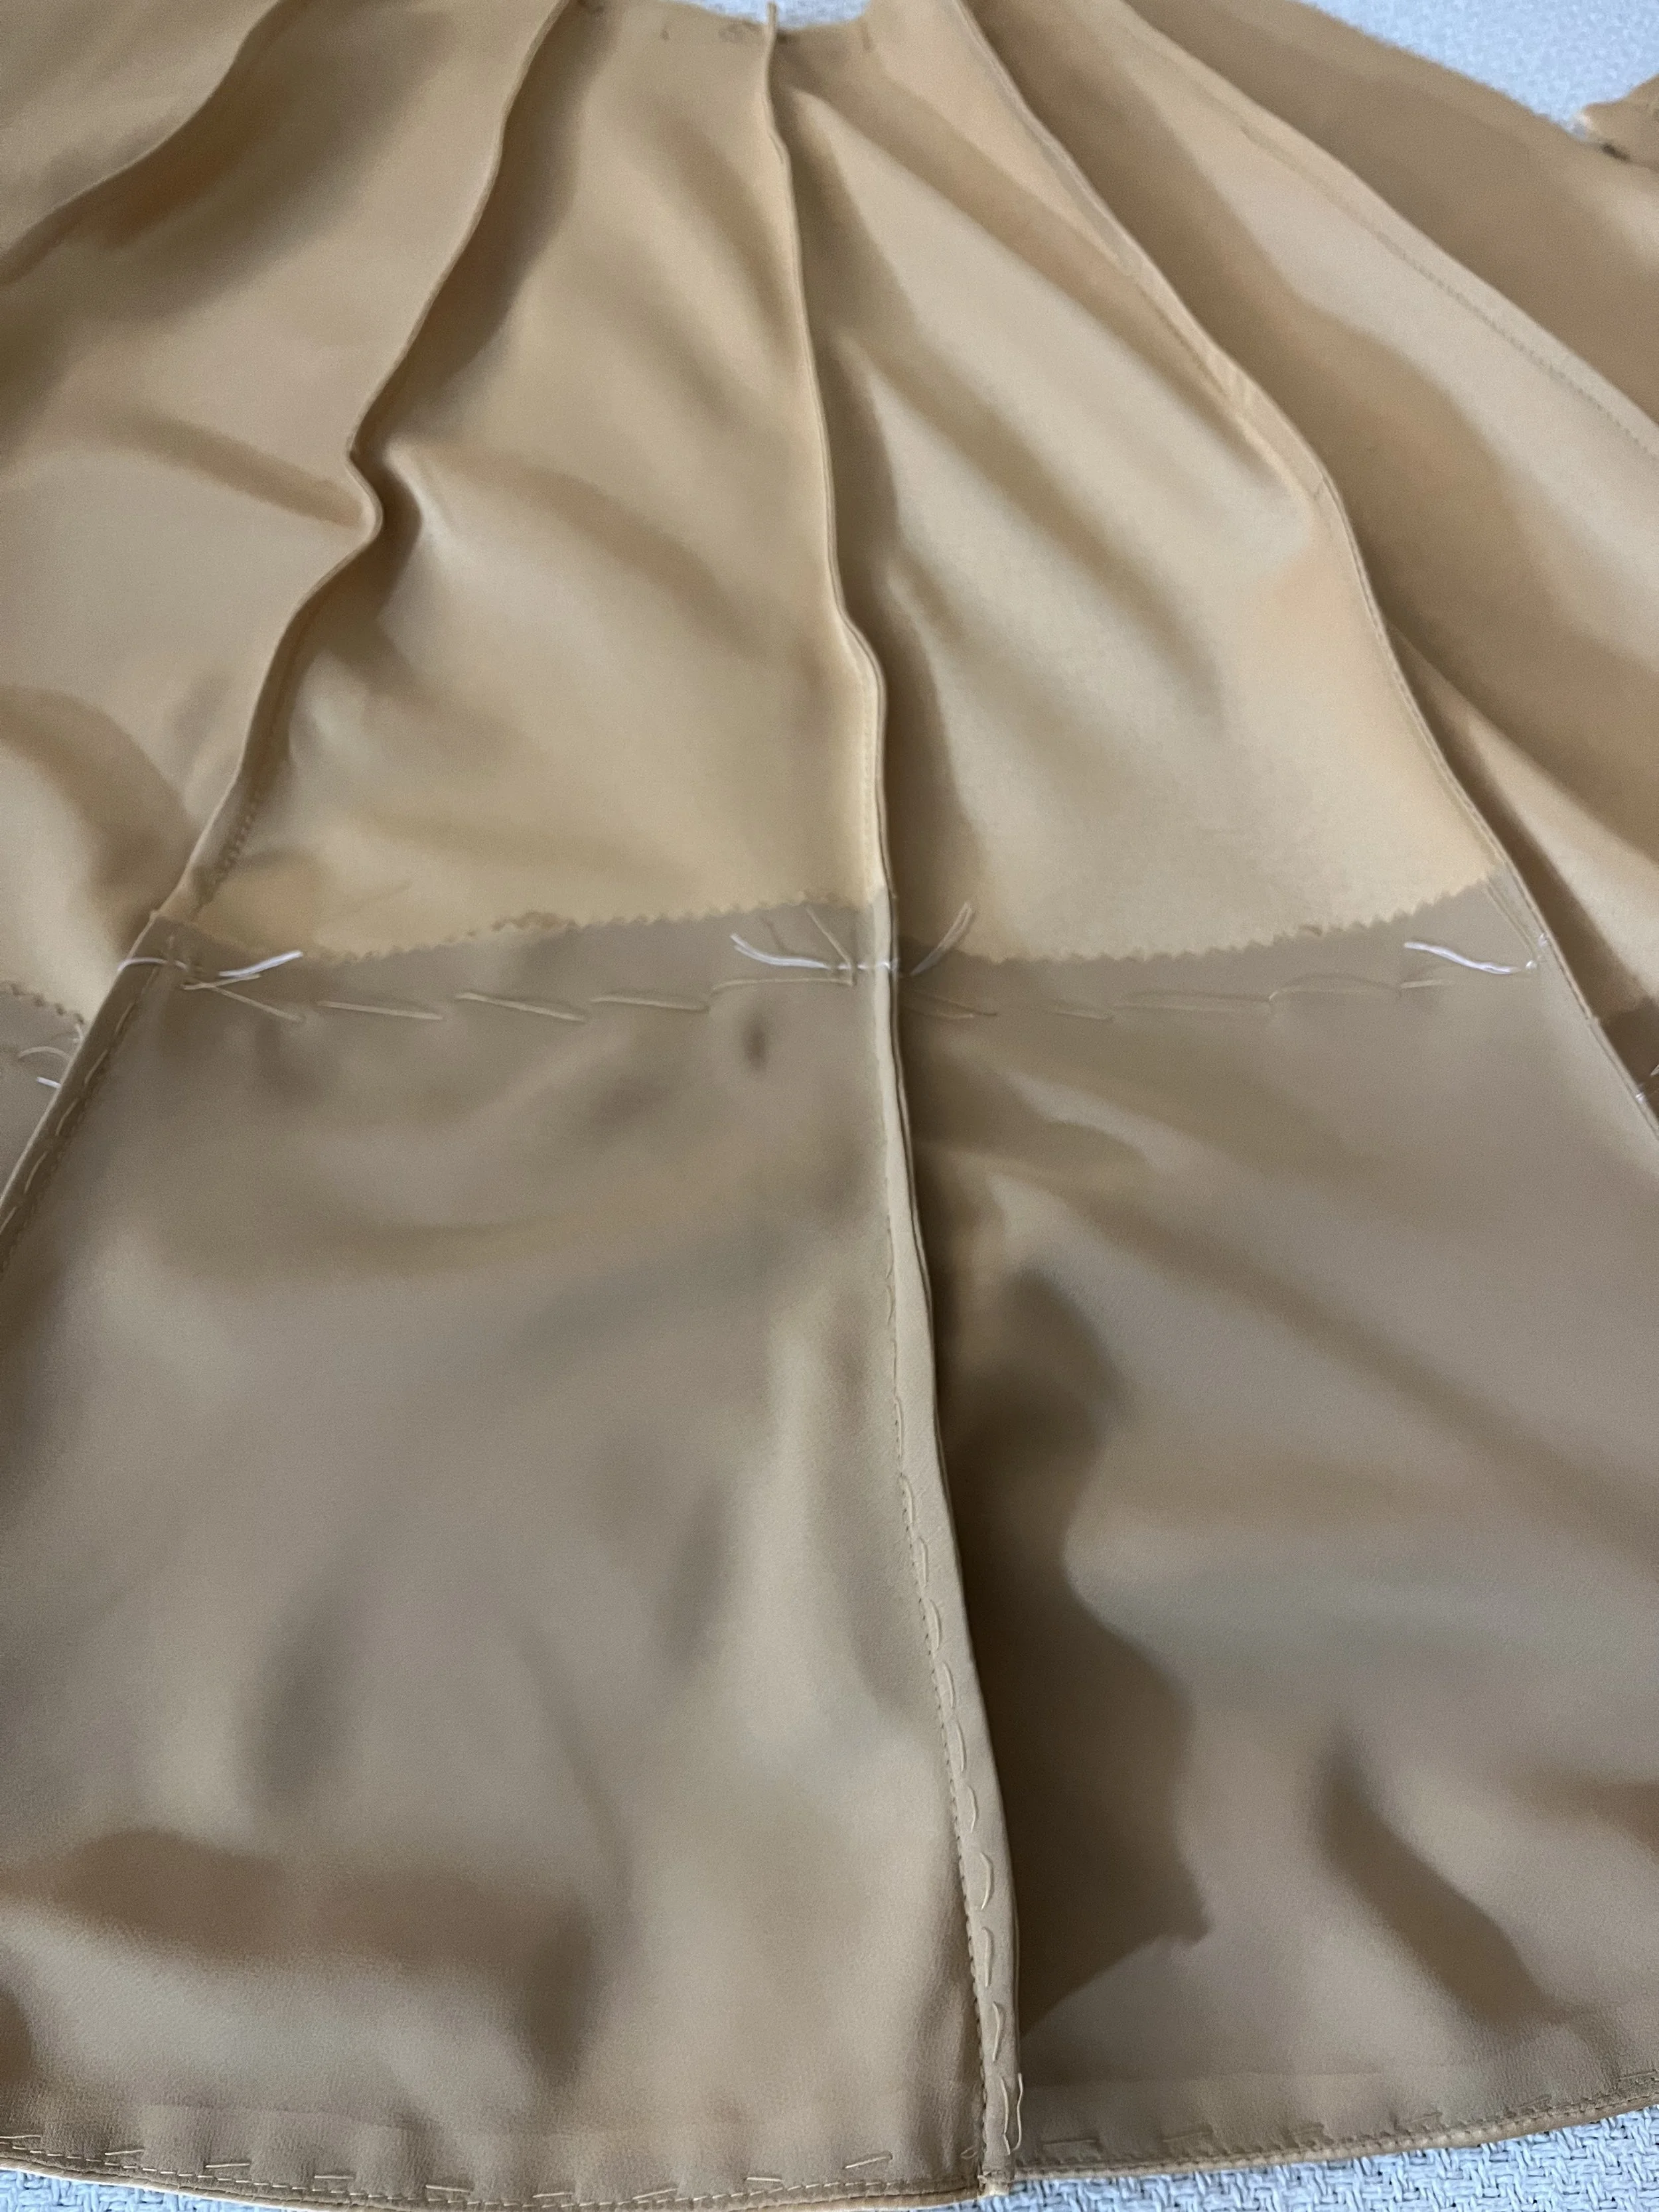
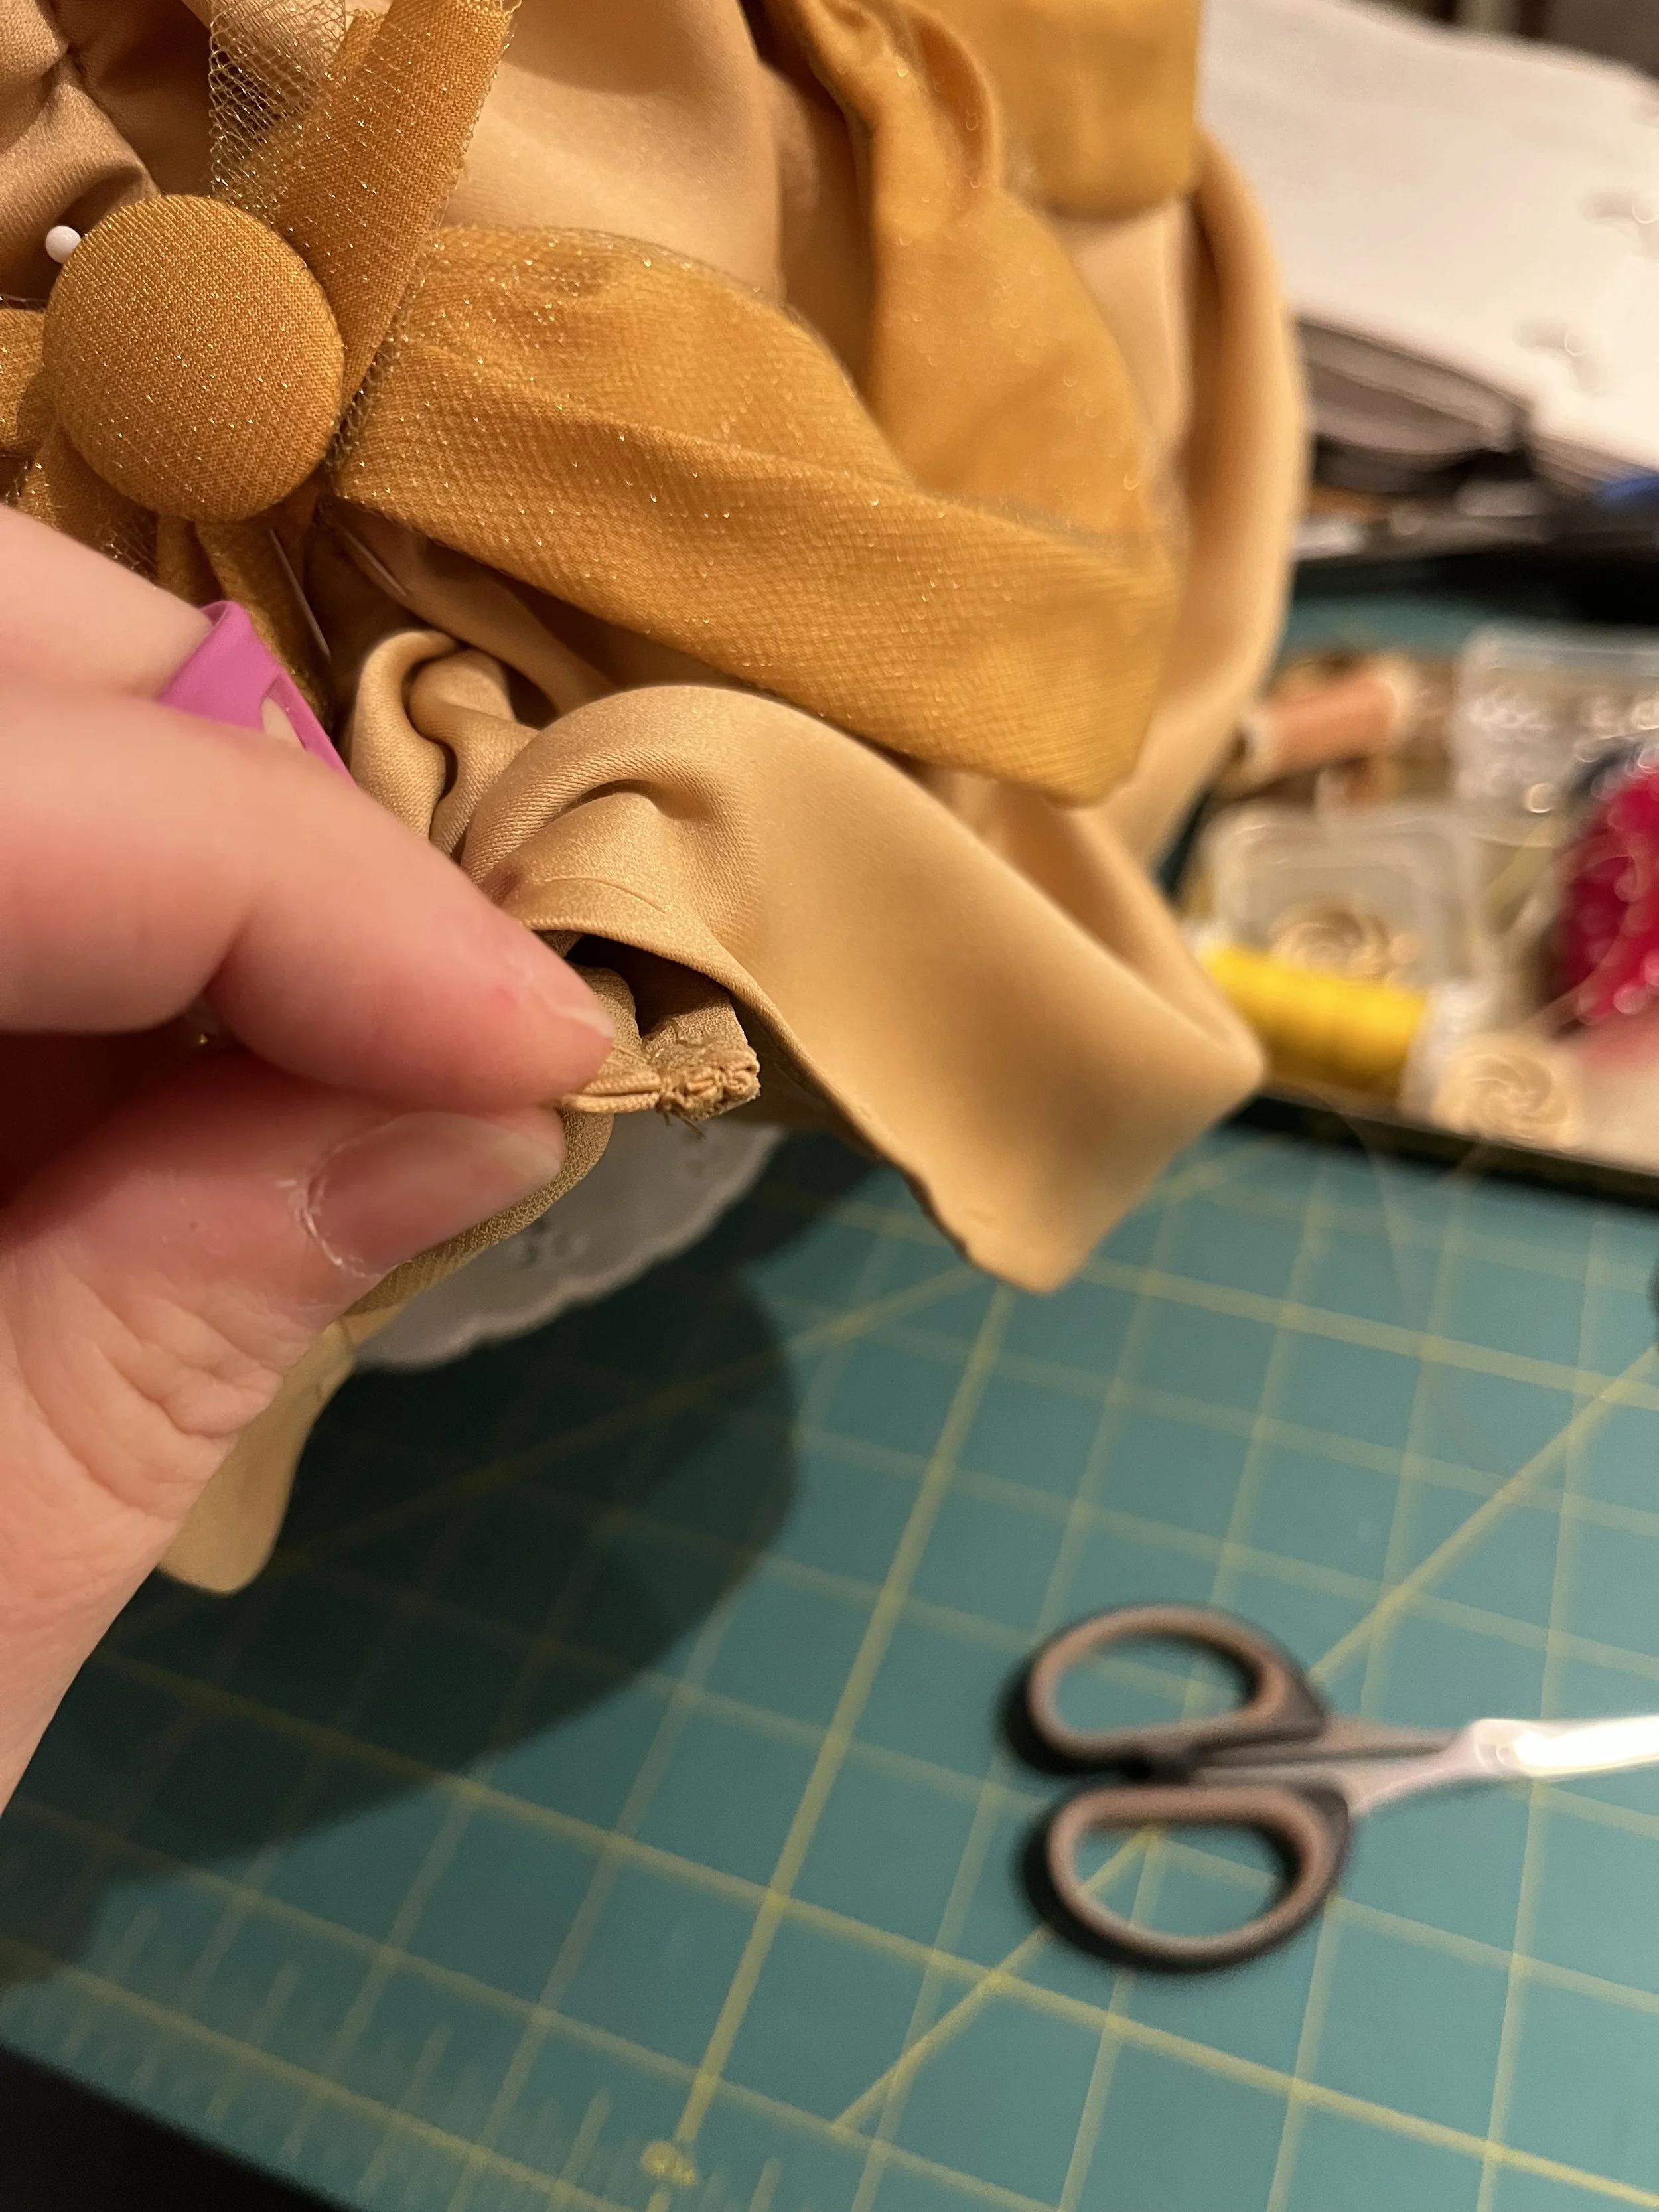
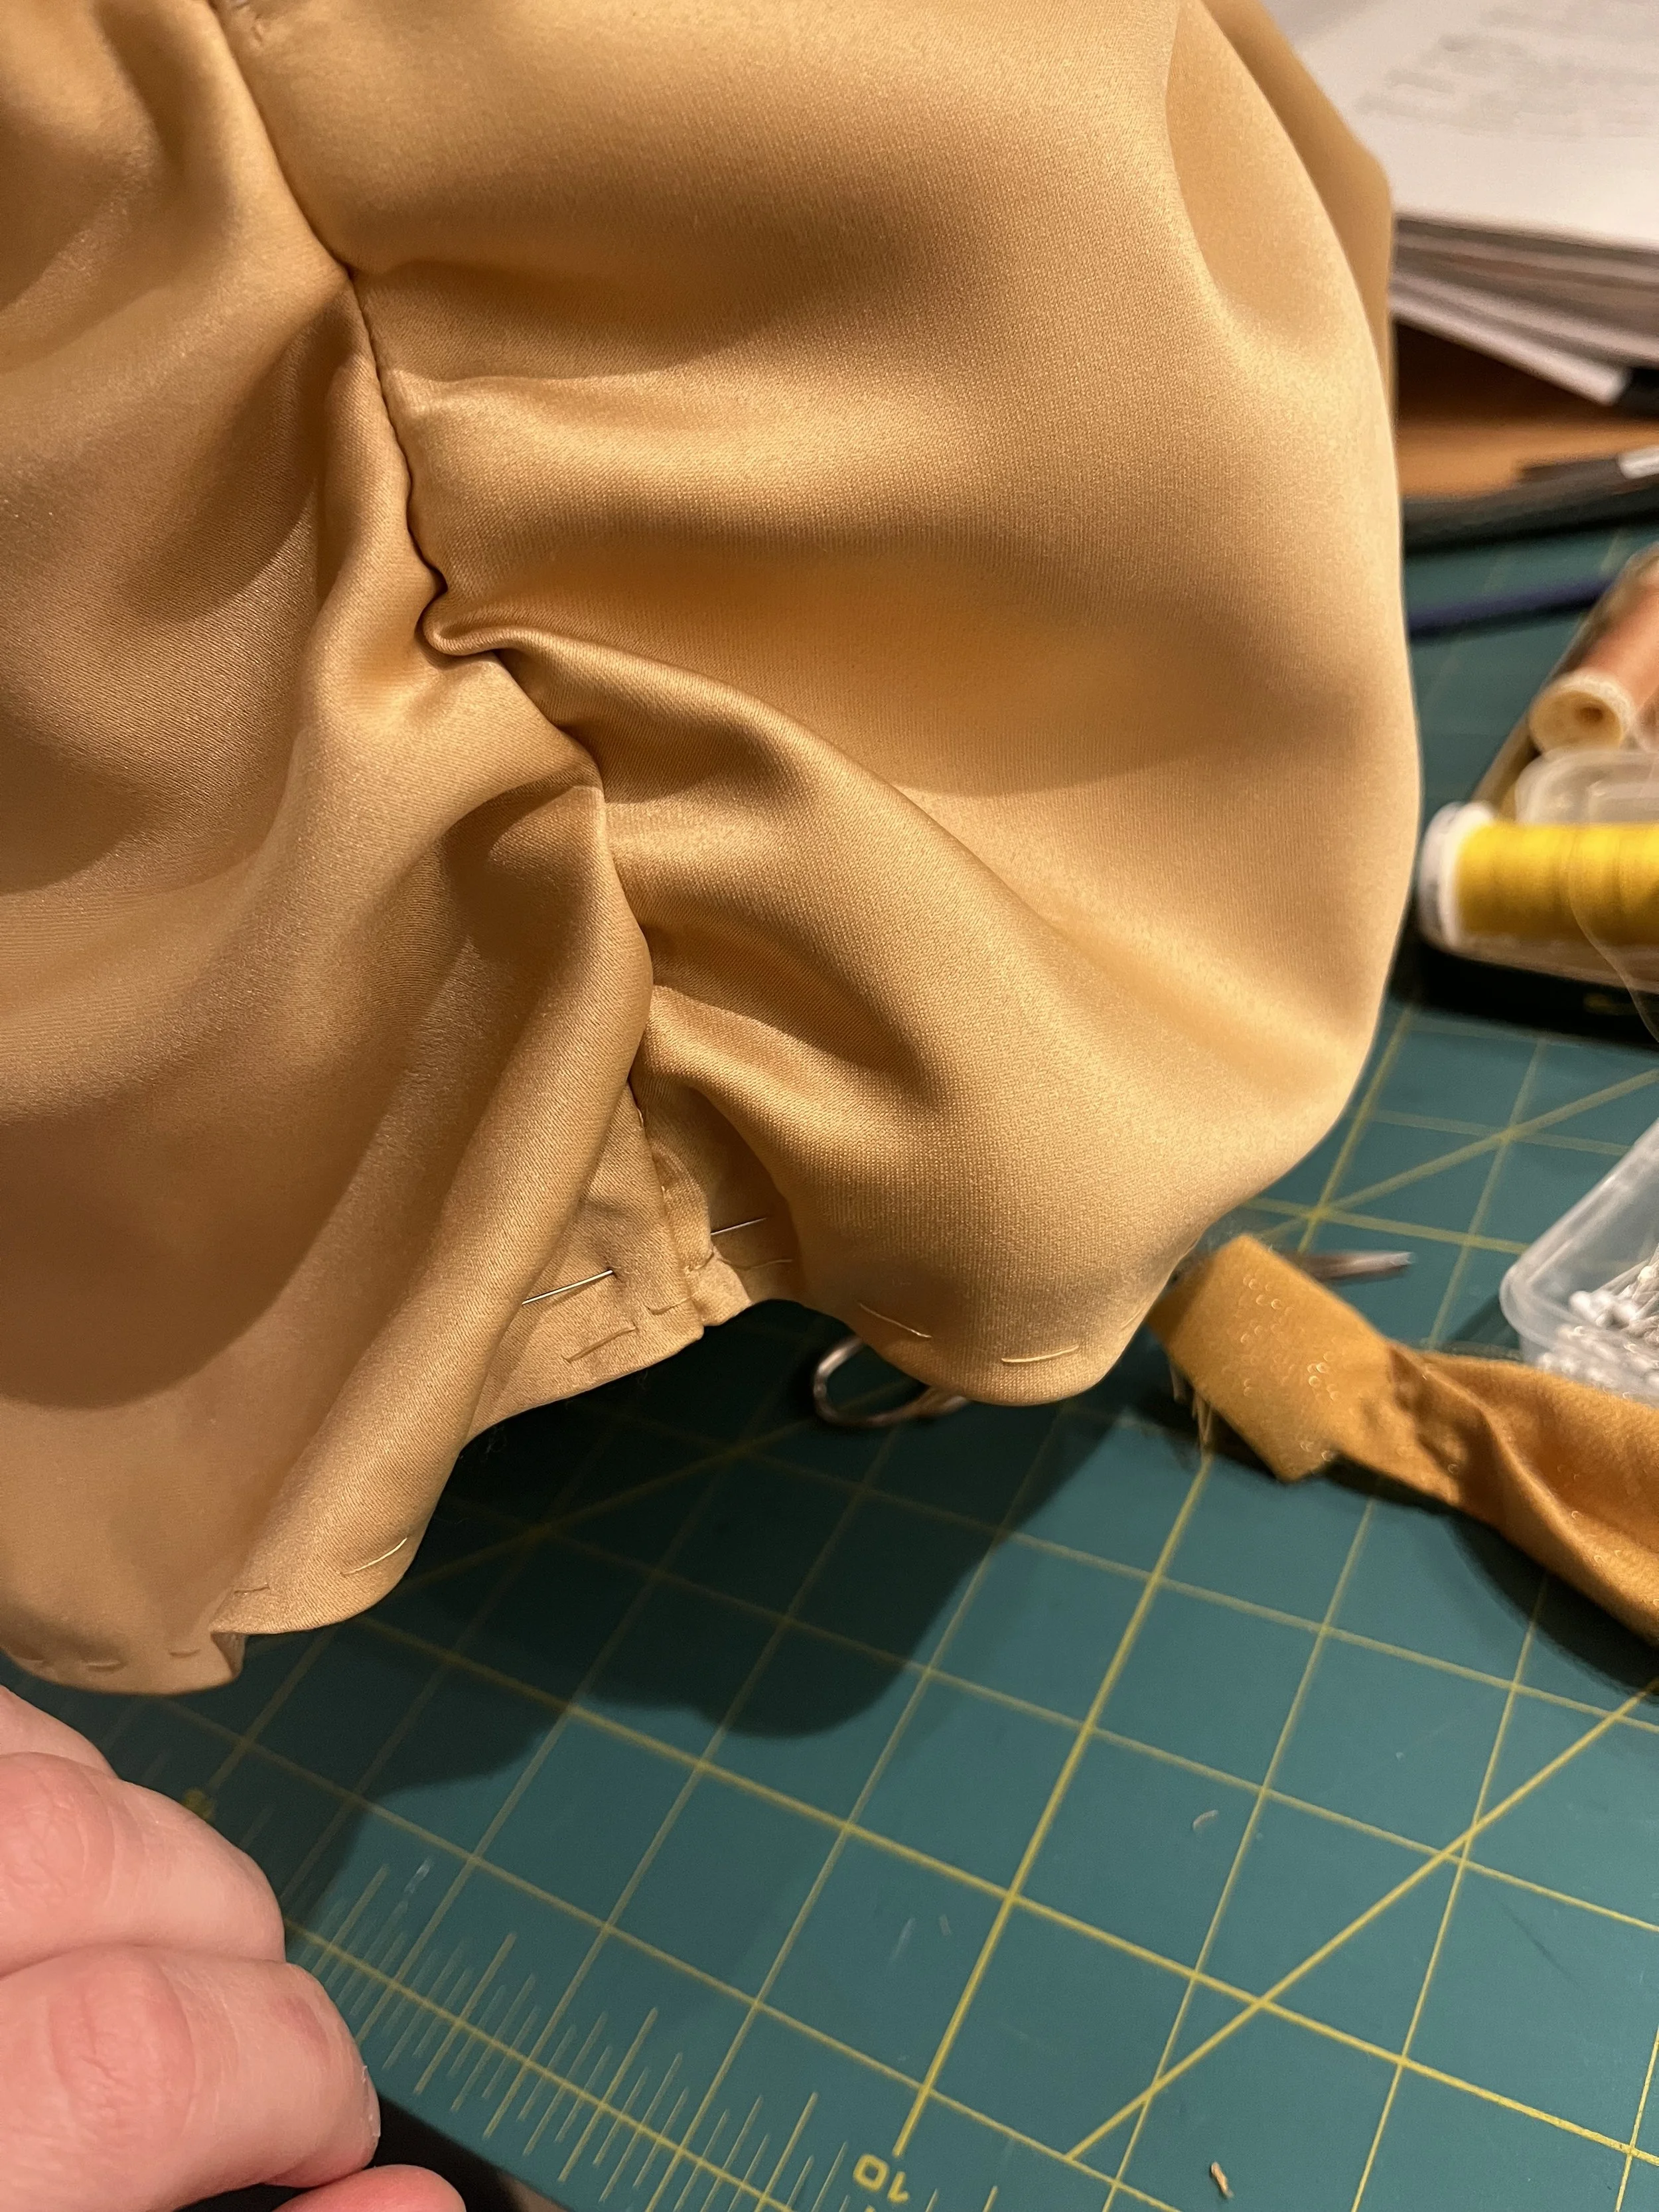
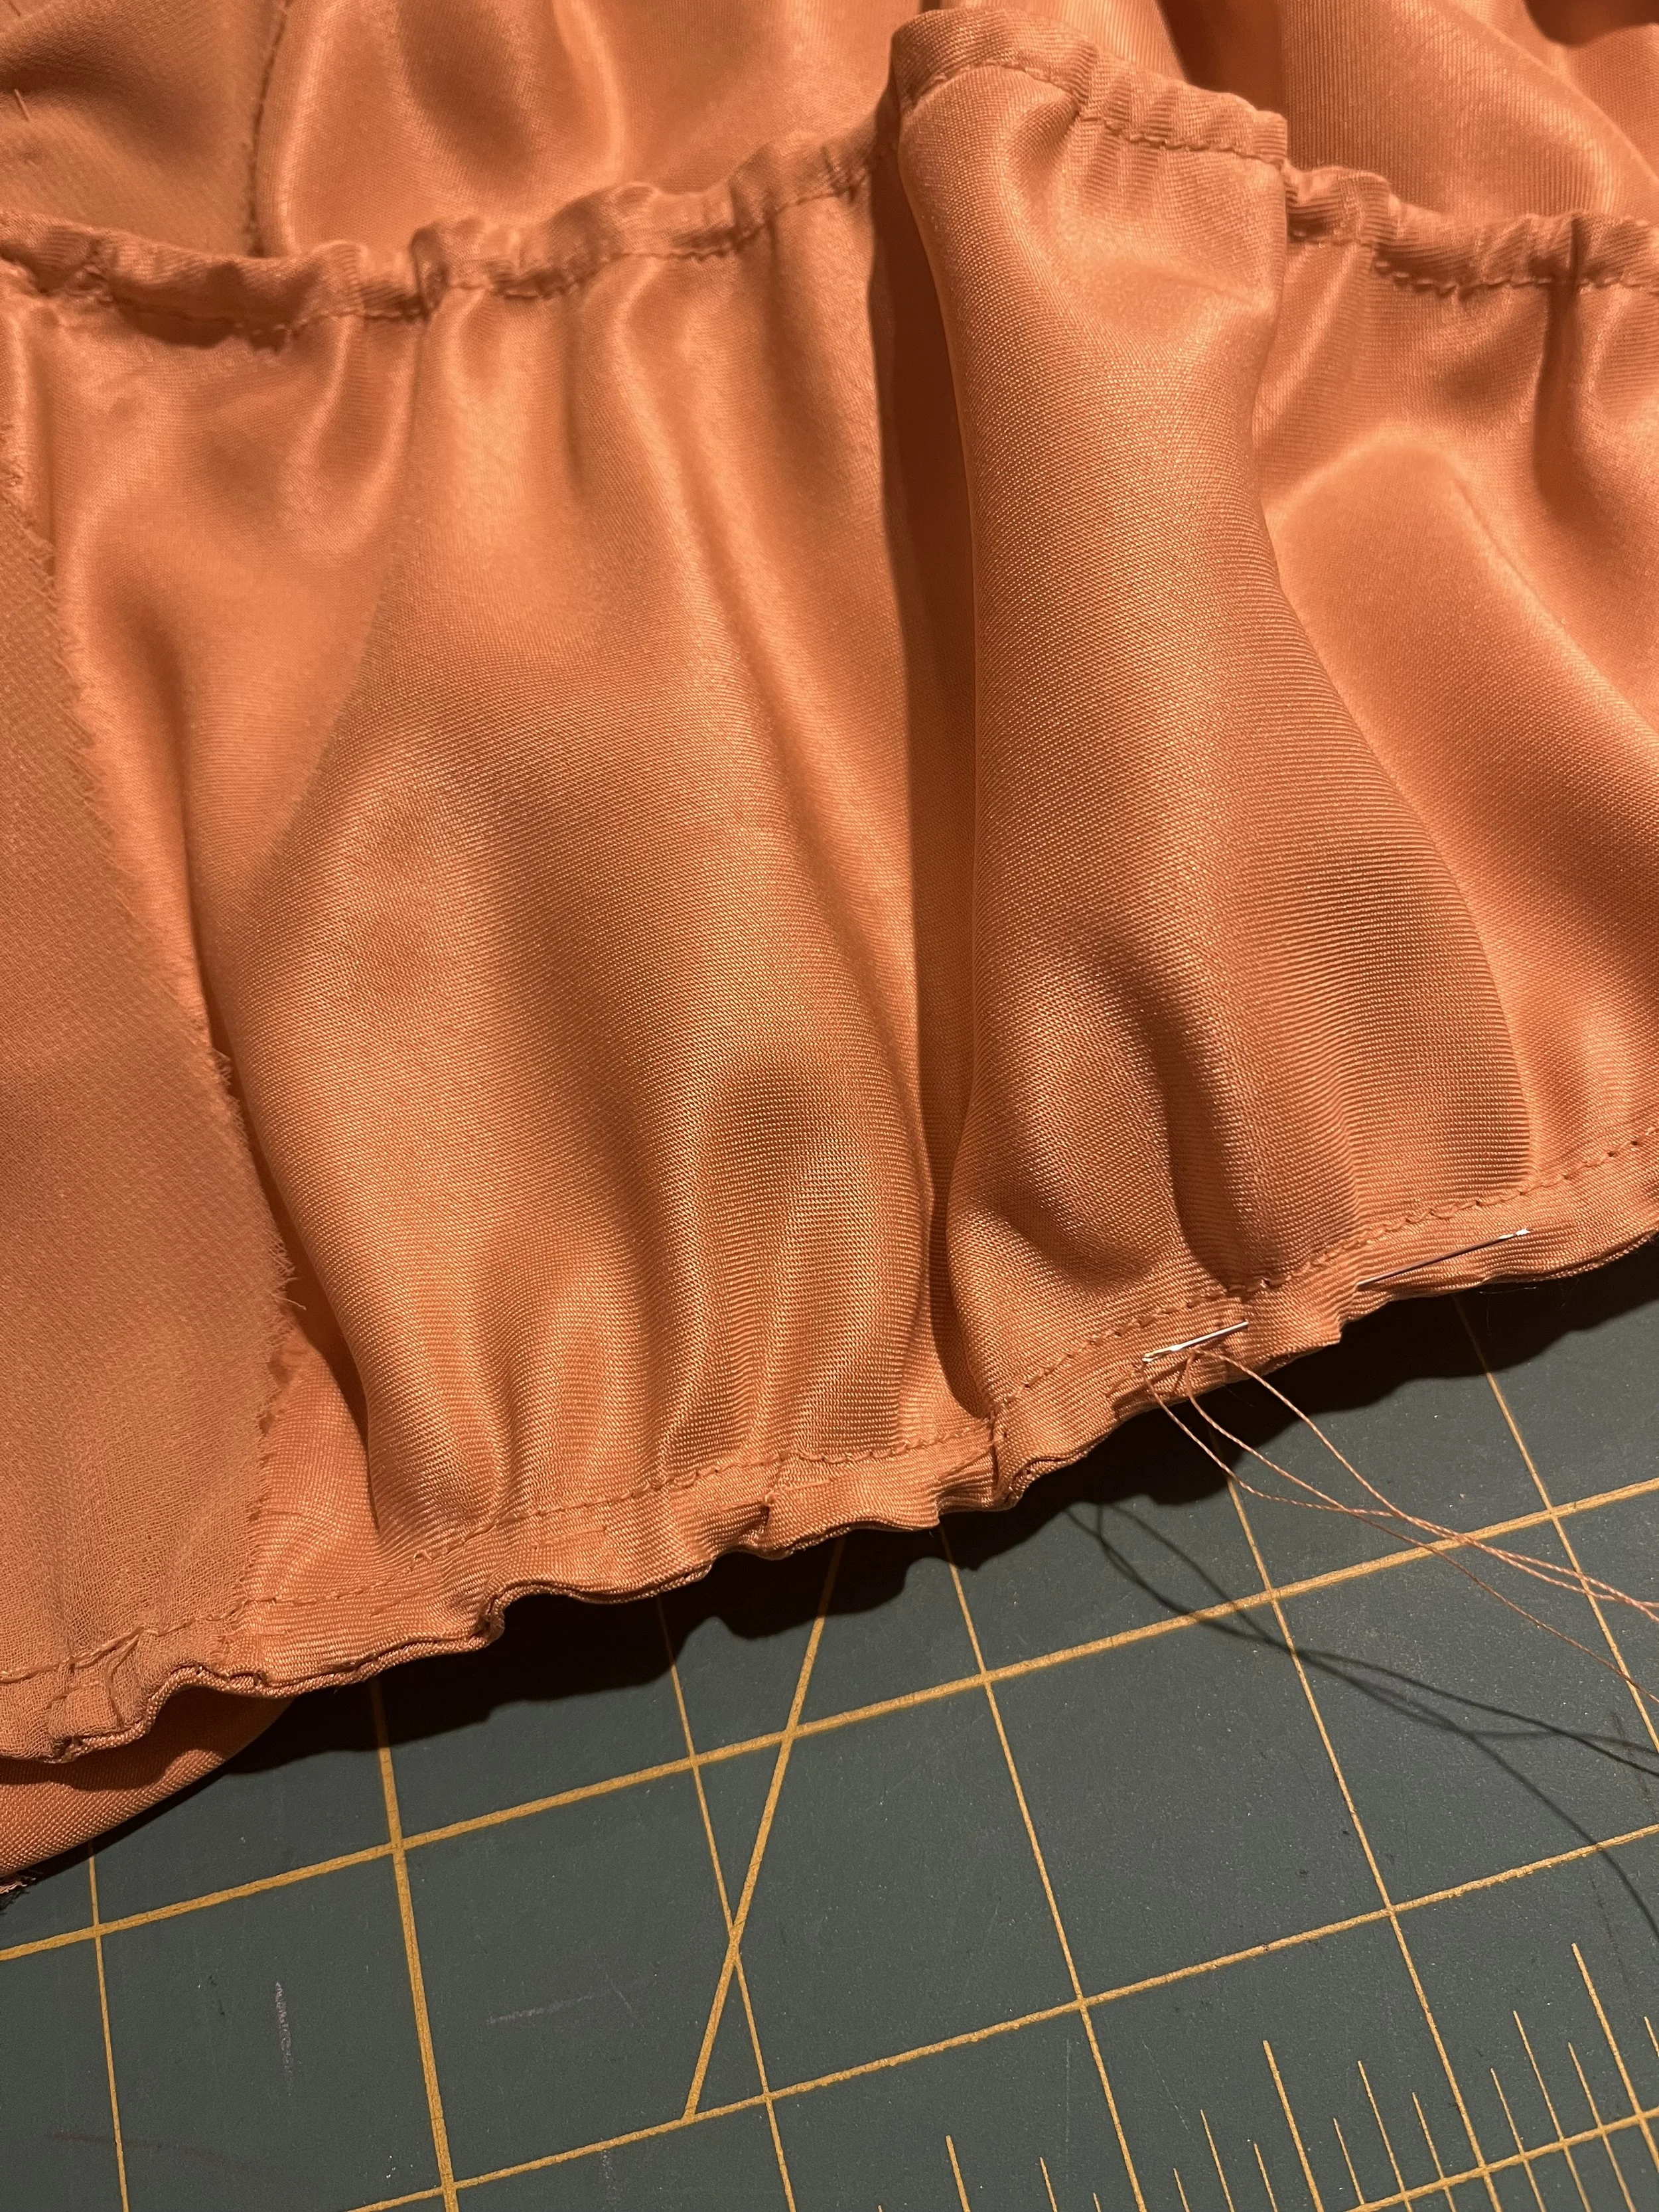
With the panels cut, the first step was, of course, the hem. While I had been figuring out the pattern and making mock ups I had been contemplating how I would go about putting together the final skirt and how I would finish the various parts, such as the waist and the hem. Between the curve of each panel and the ruching along each seam, just having a regular turned up hem wasn't really an option. At least, it wasn't one that would look good without being incredibly frustrating. I also wanted to avoid having a visible stitch line along the edge, a real possibility given the light weight and colour of the satin. My solution was to face the hem with chiffon which I would cut long enough to reach the swags so that it could be caught in to the stitching holding them in place and therefore be hidden and look really seamless from the outside. This meant that the hem was one of the first parts to be finished.
After stitching the chiffon to the satin along the hem line and understitching, I trimmed the seam allowance and pressed the facing in place. I then basted close to the hem to hold it in place then flat mounted the two layers together along the seams. I also added a white thread mark at the height of the swag at each seam and diagonal basting across the top edge of the chiffon (between their descending height from front to back and the fact that I got a bit mixed up about which panel would go where the white marks ended up being all kinds of in the wrong place, but they were still helpful...sort of).
If stitching narrow french seams on satin and chiffon cut on the bias sounds like a pain, you're right. It is and I don't want to talk about it. I've come out the other side and it's done.
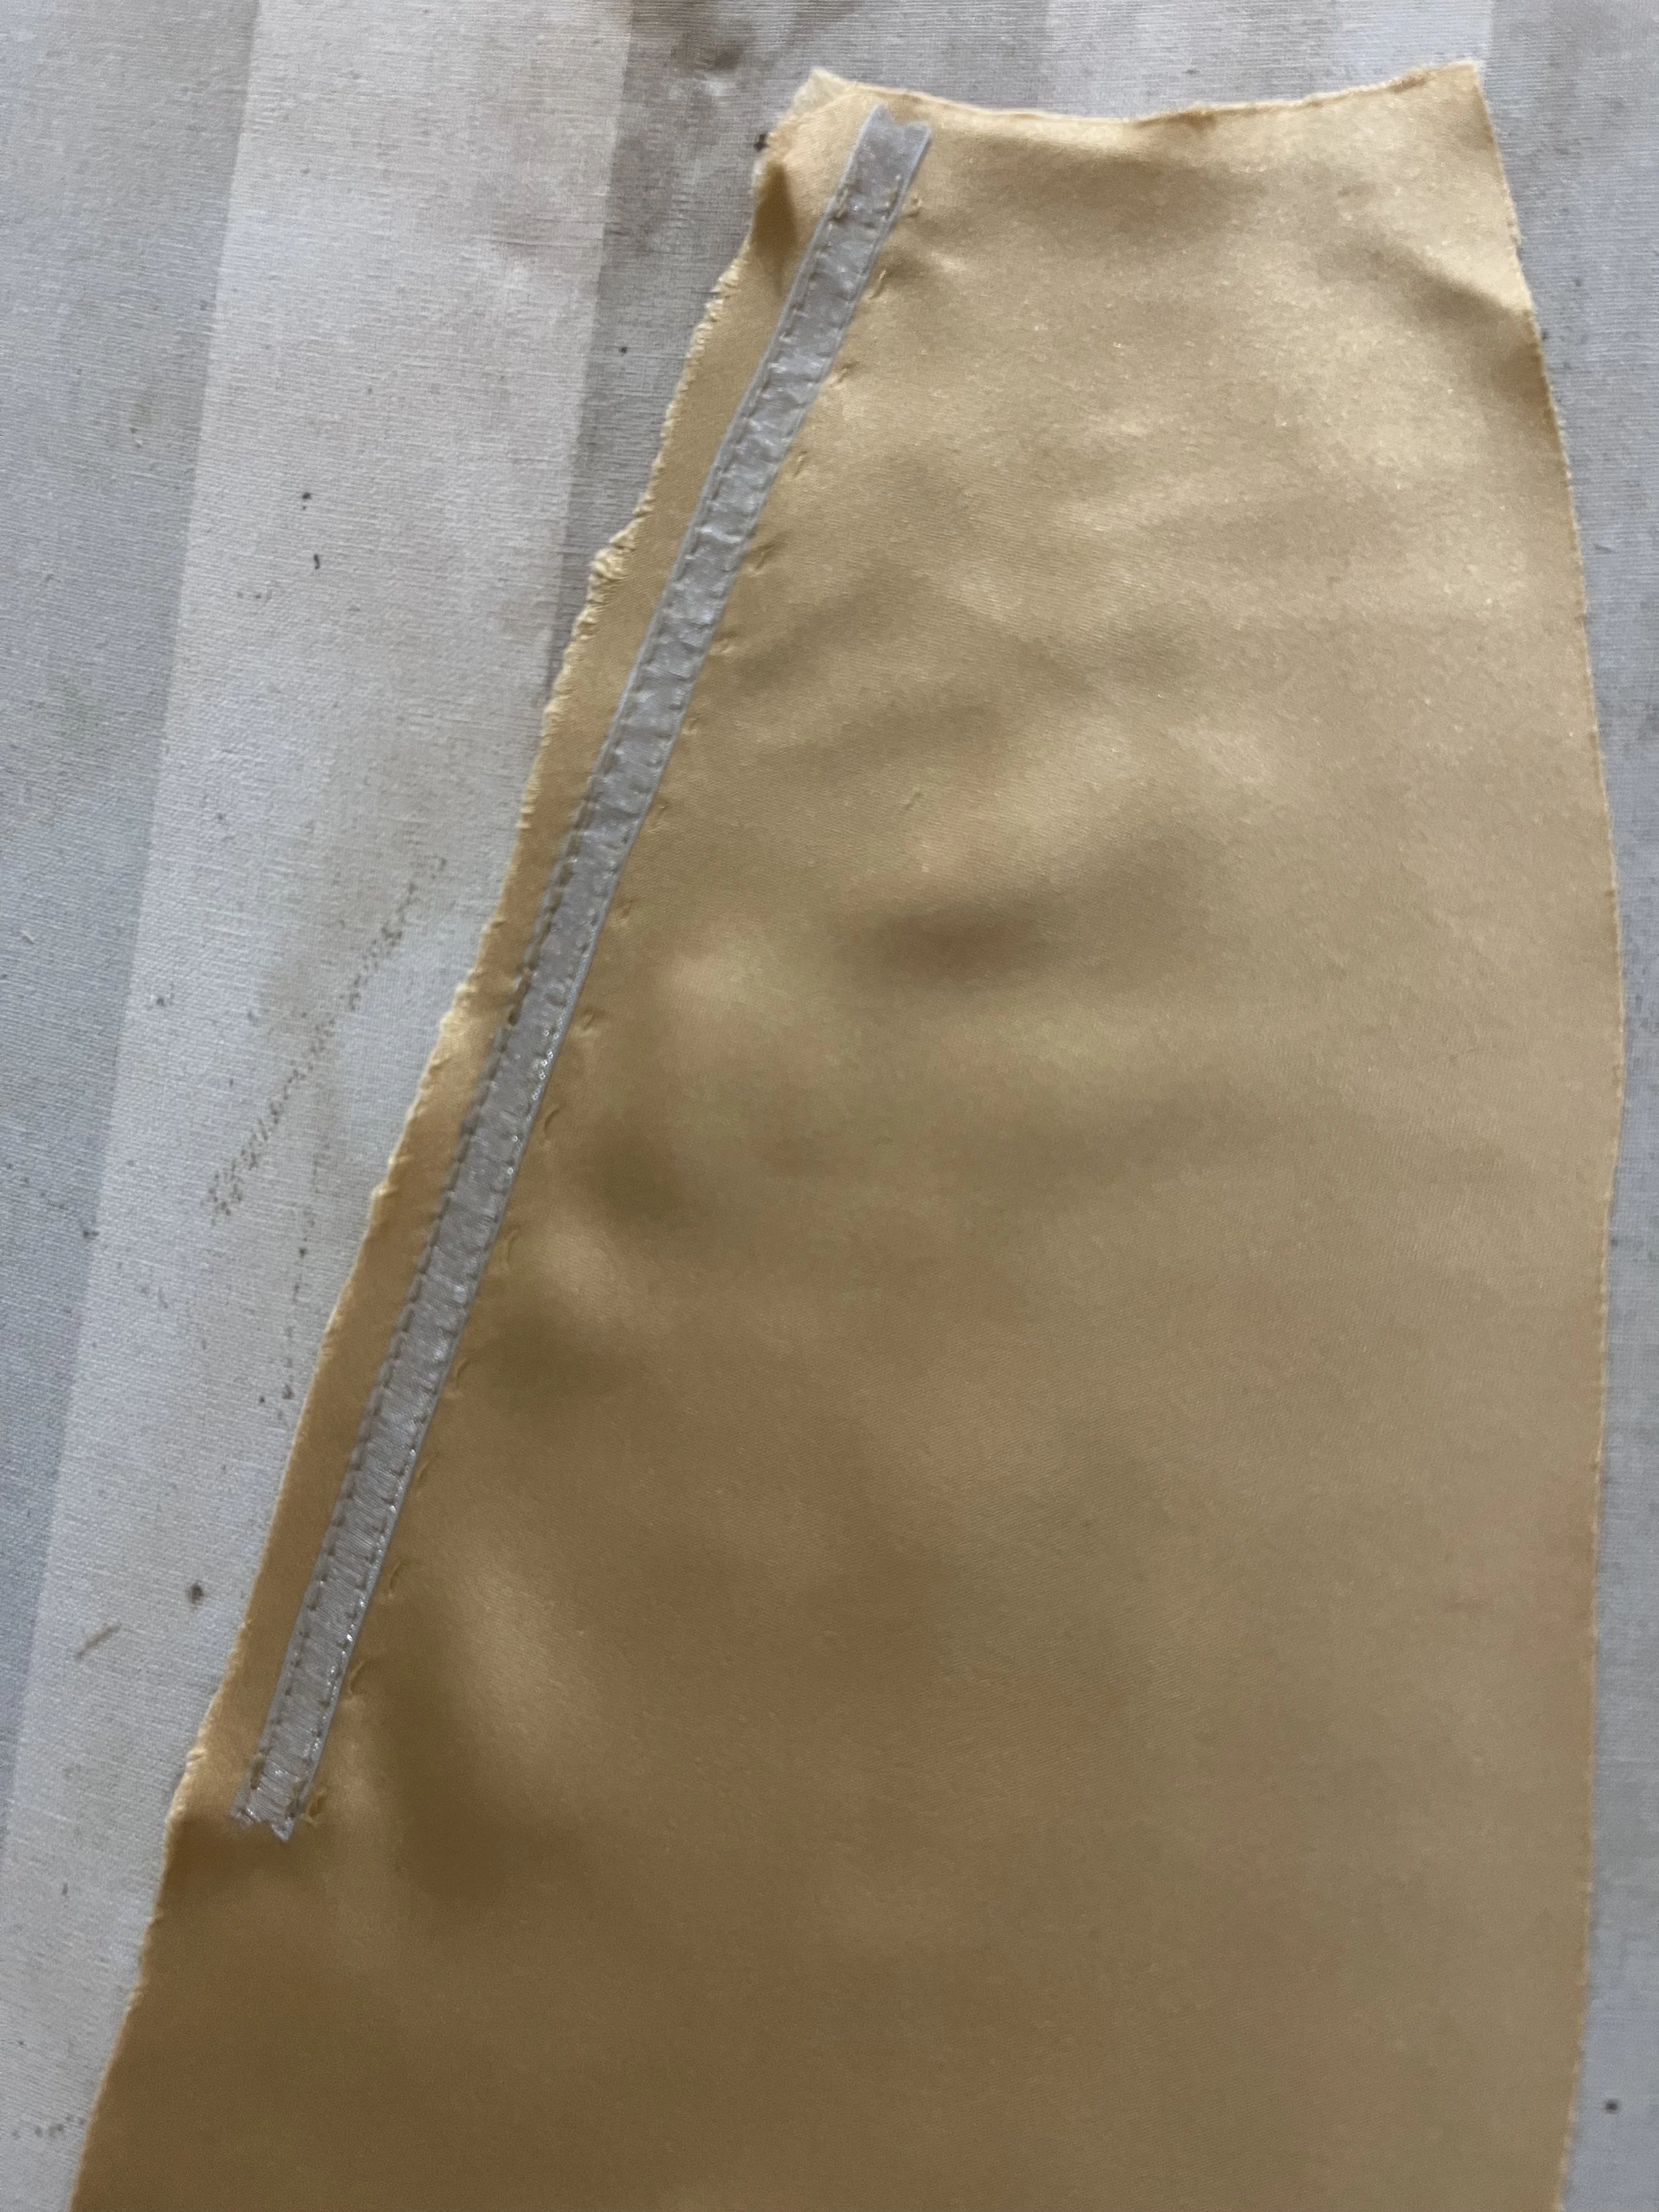
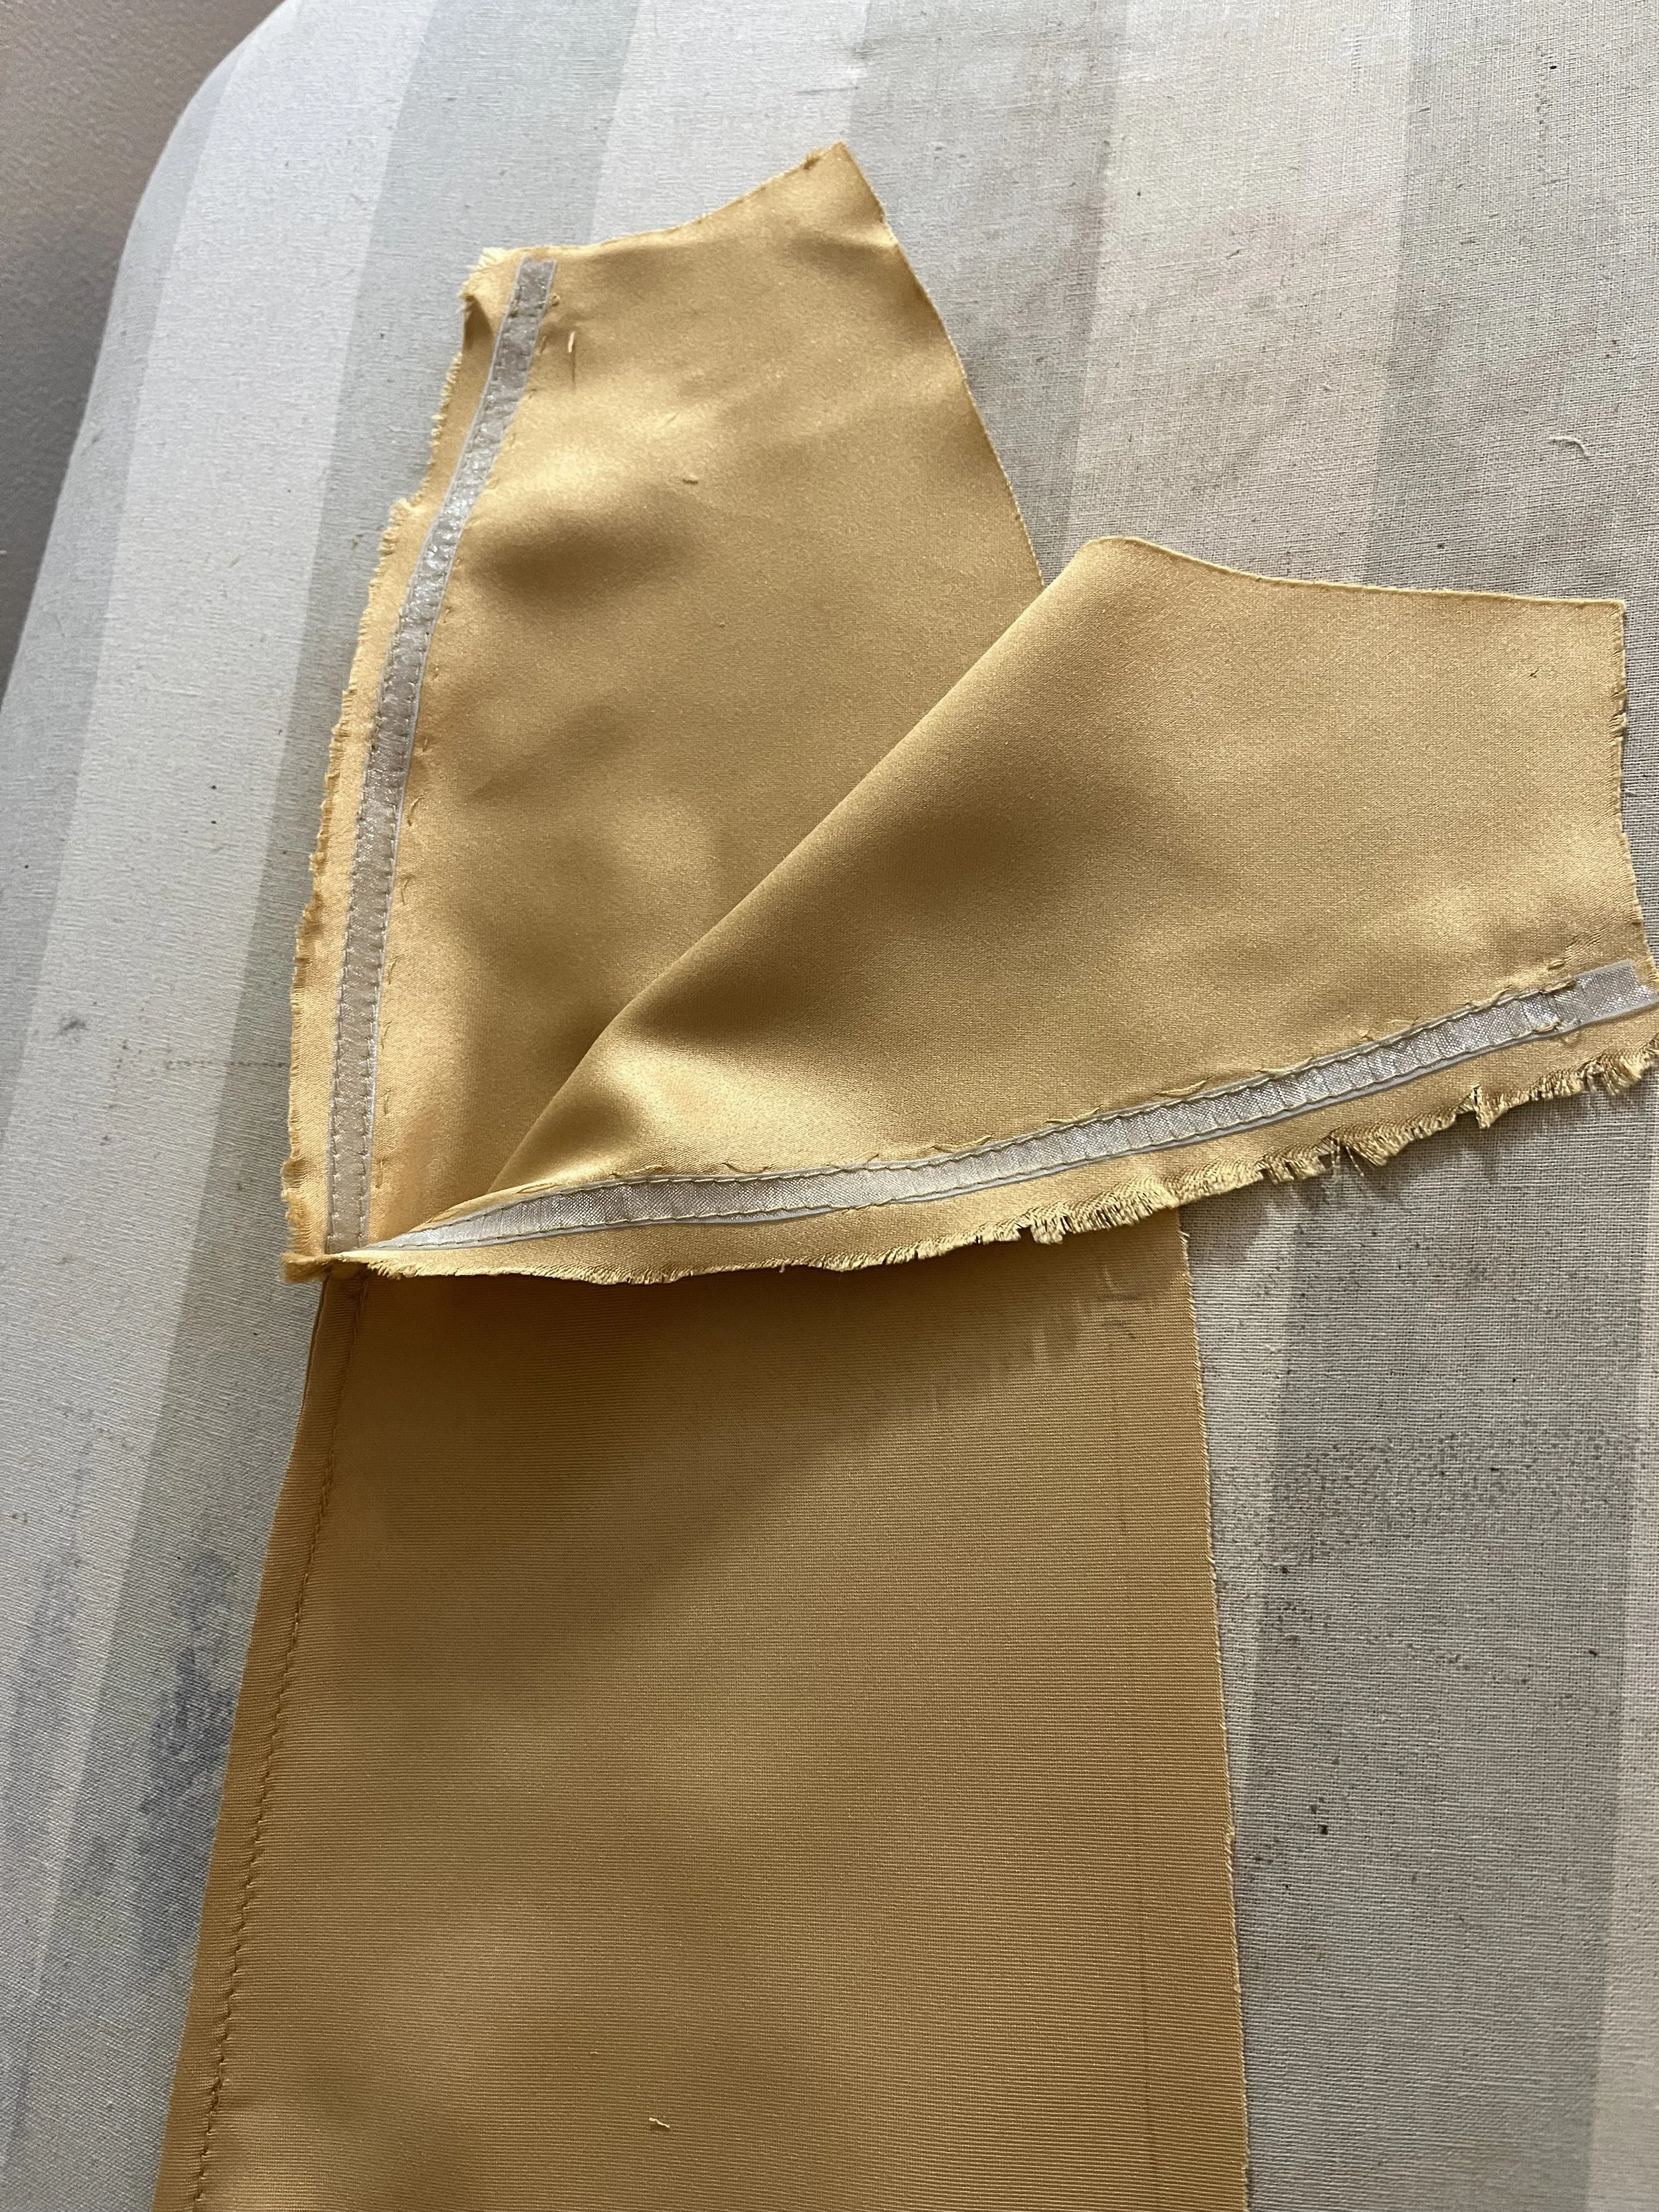
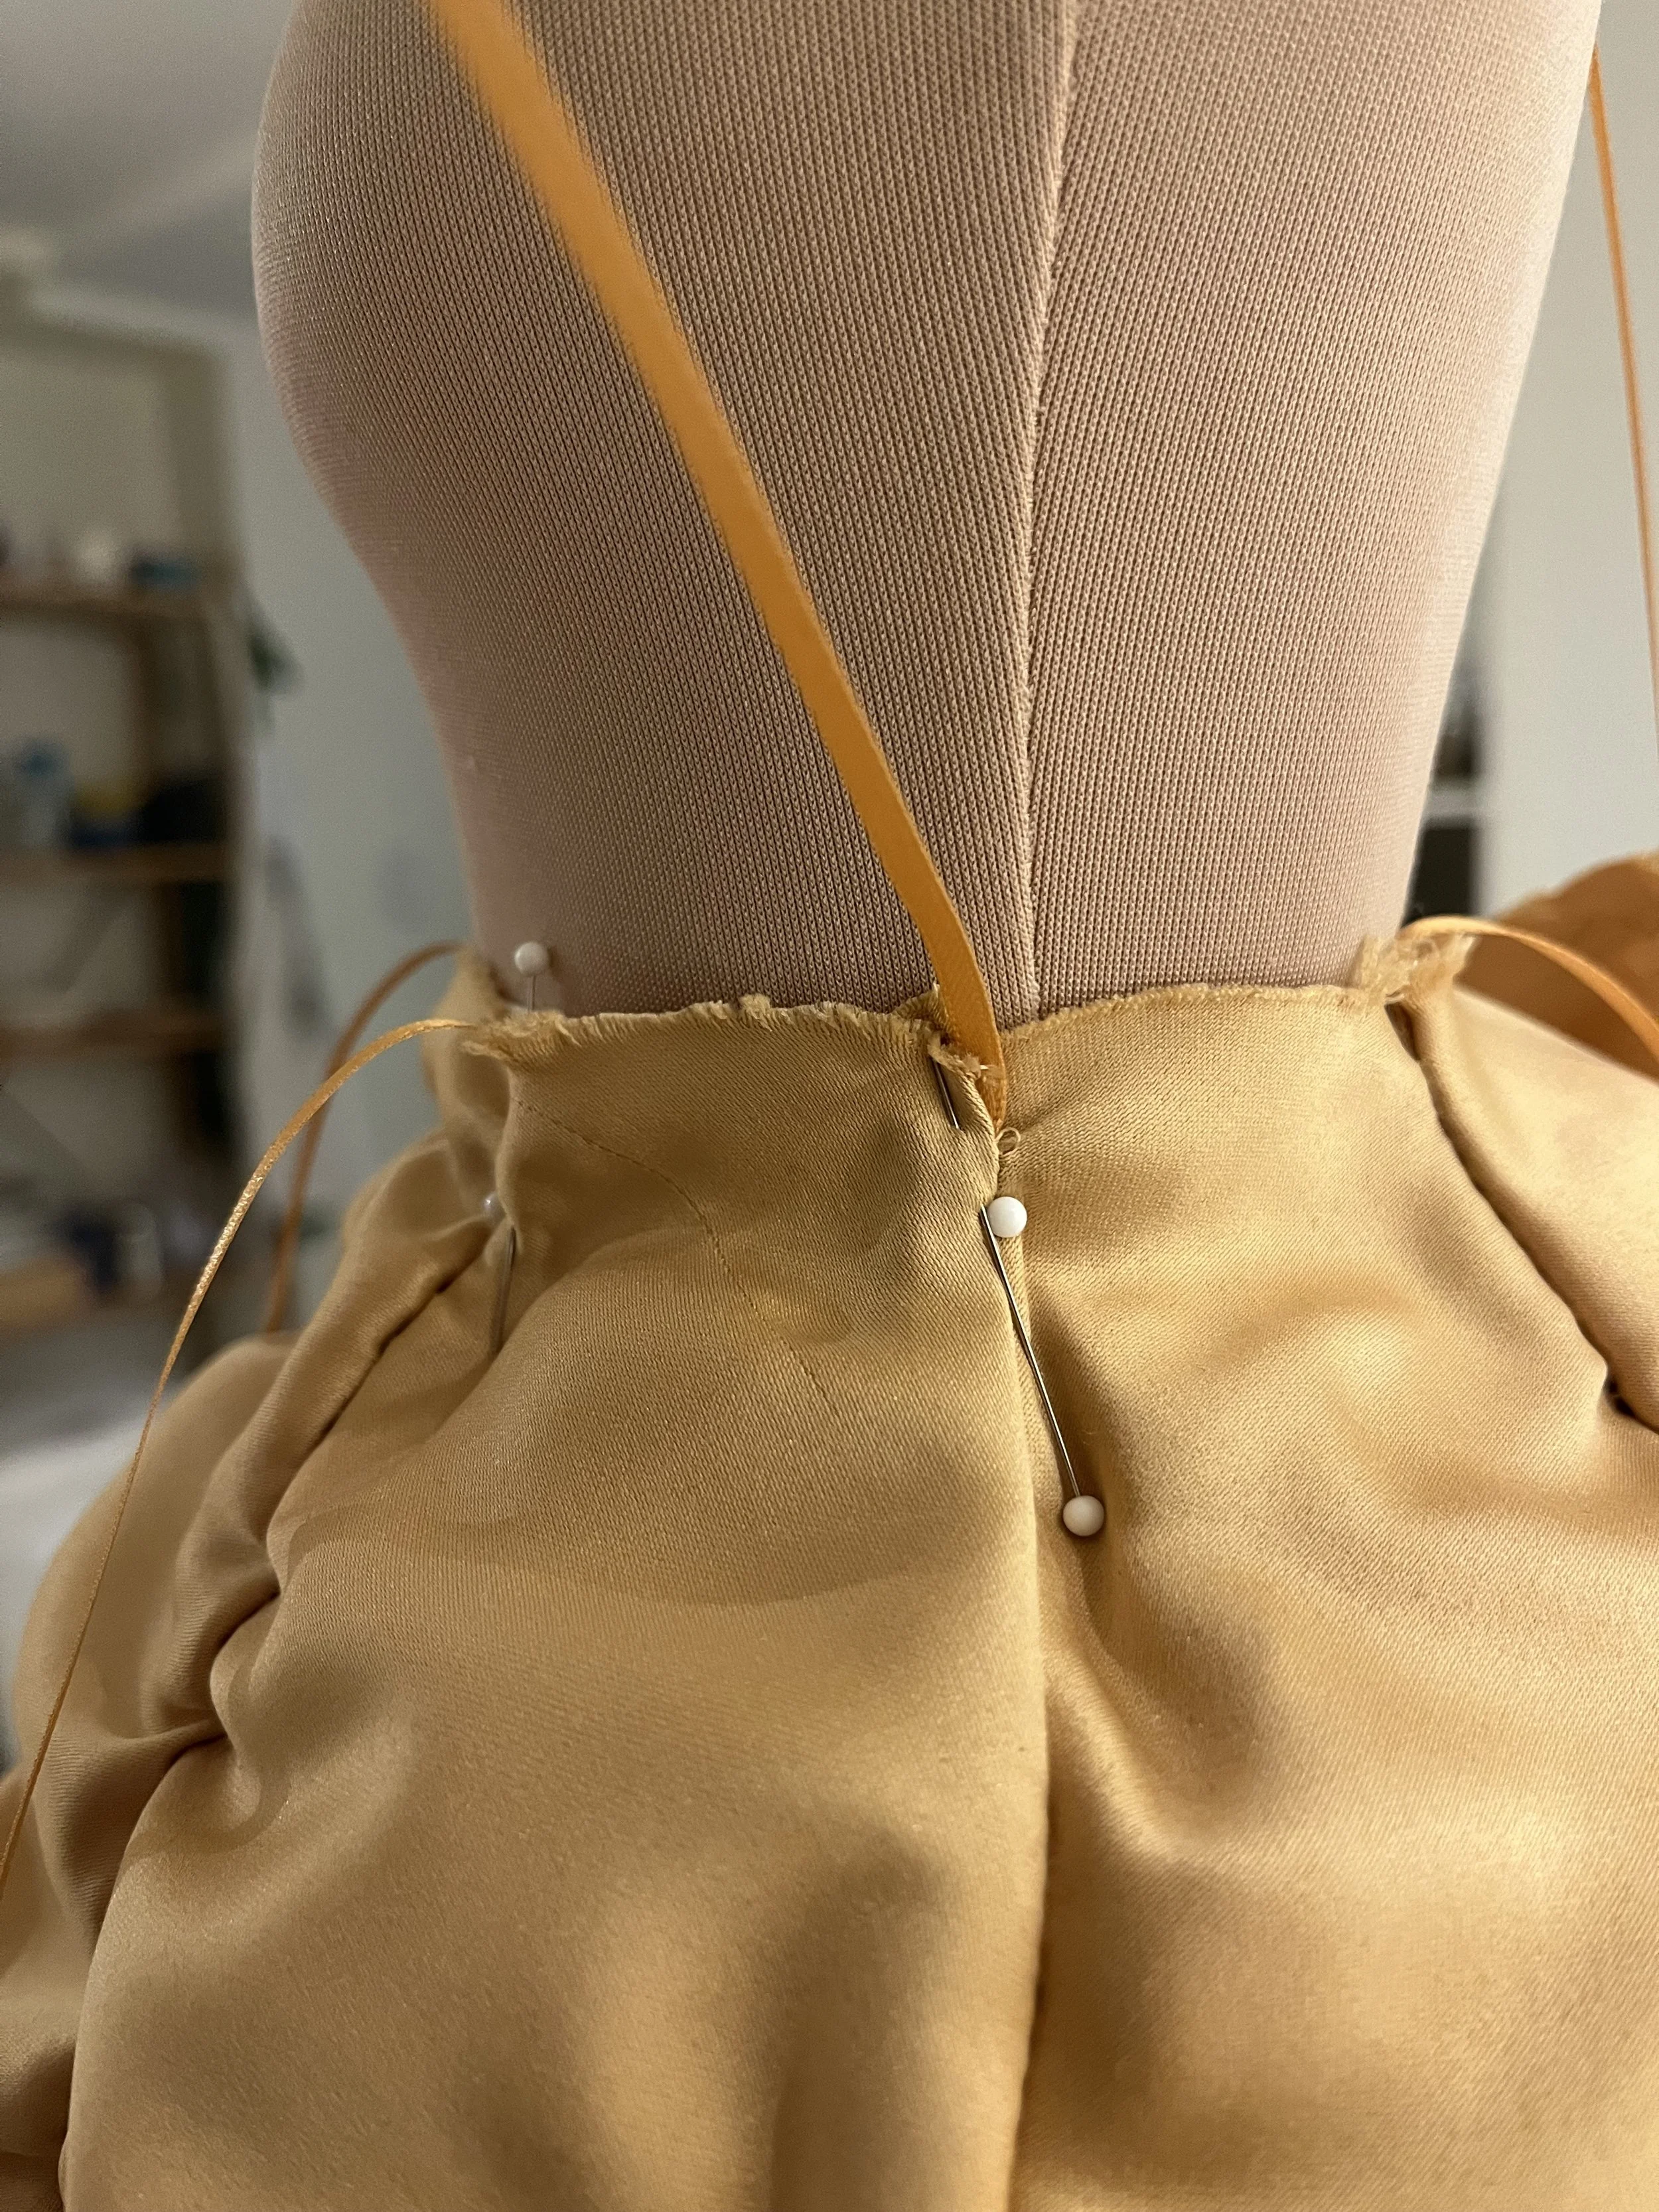
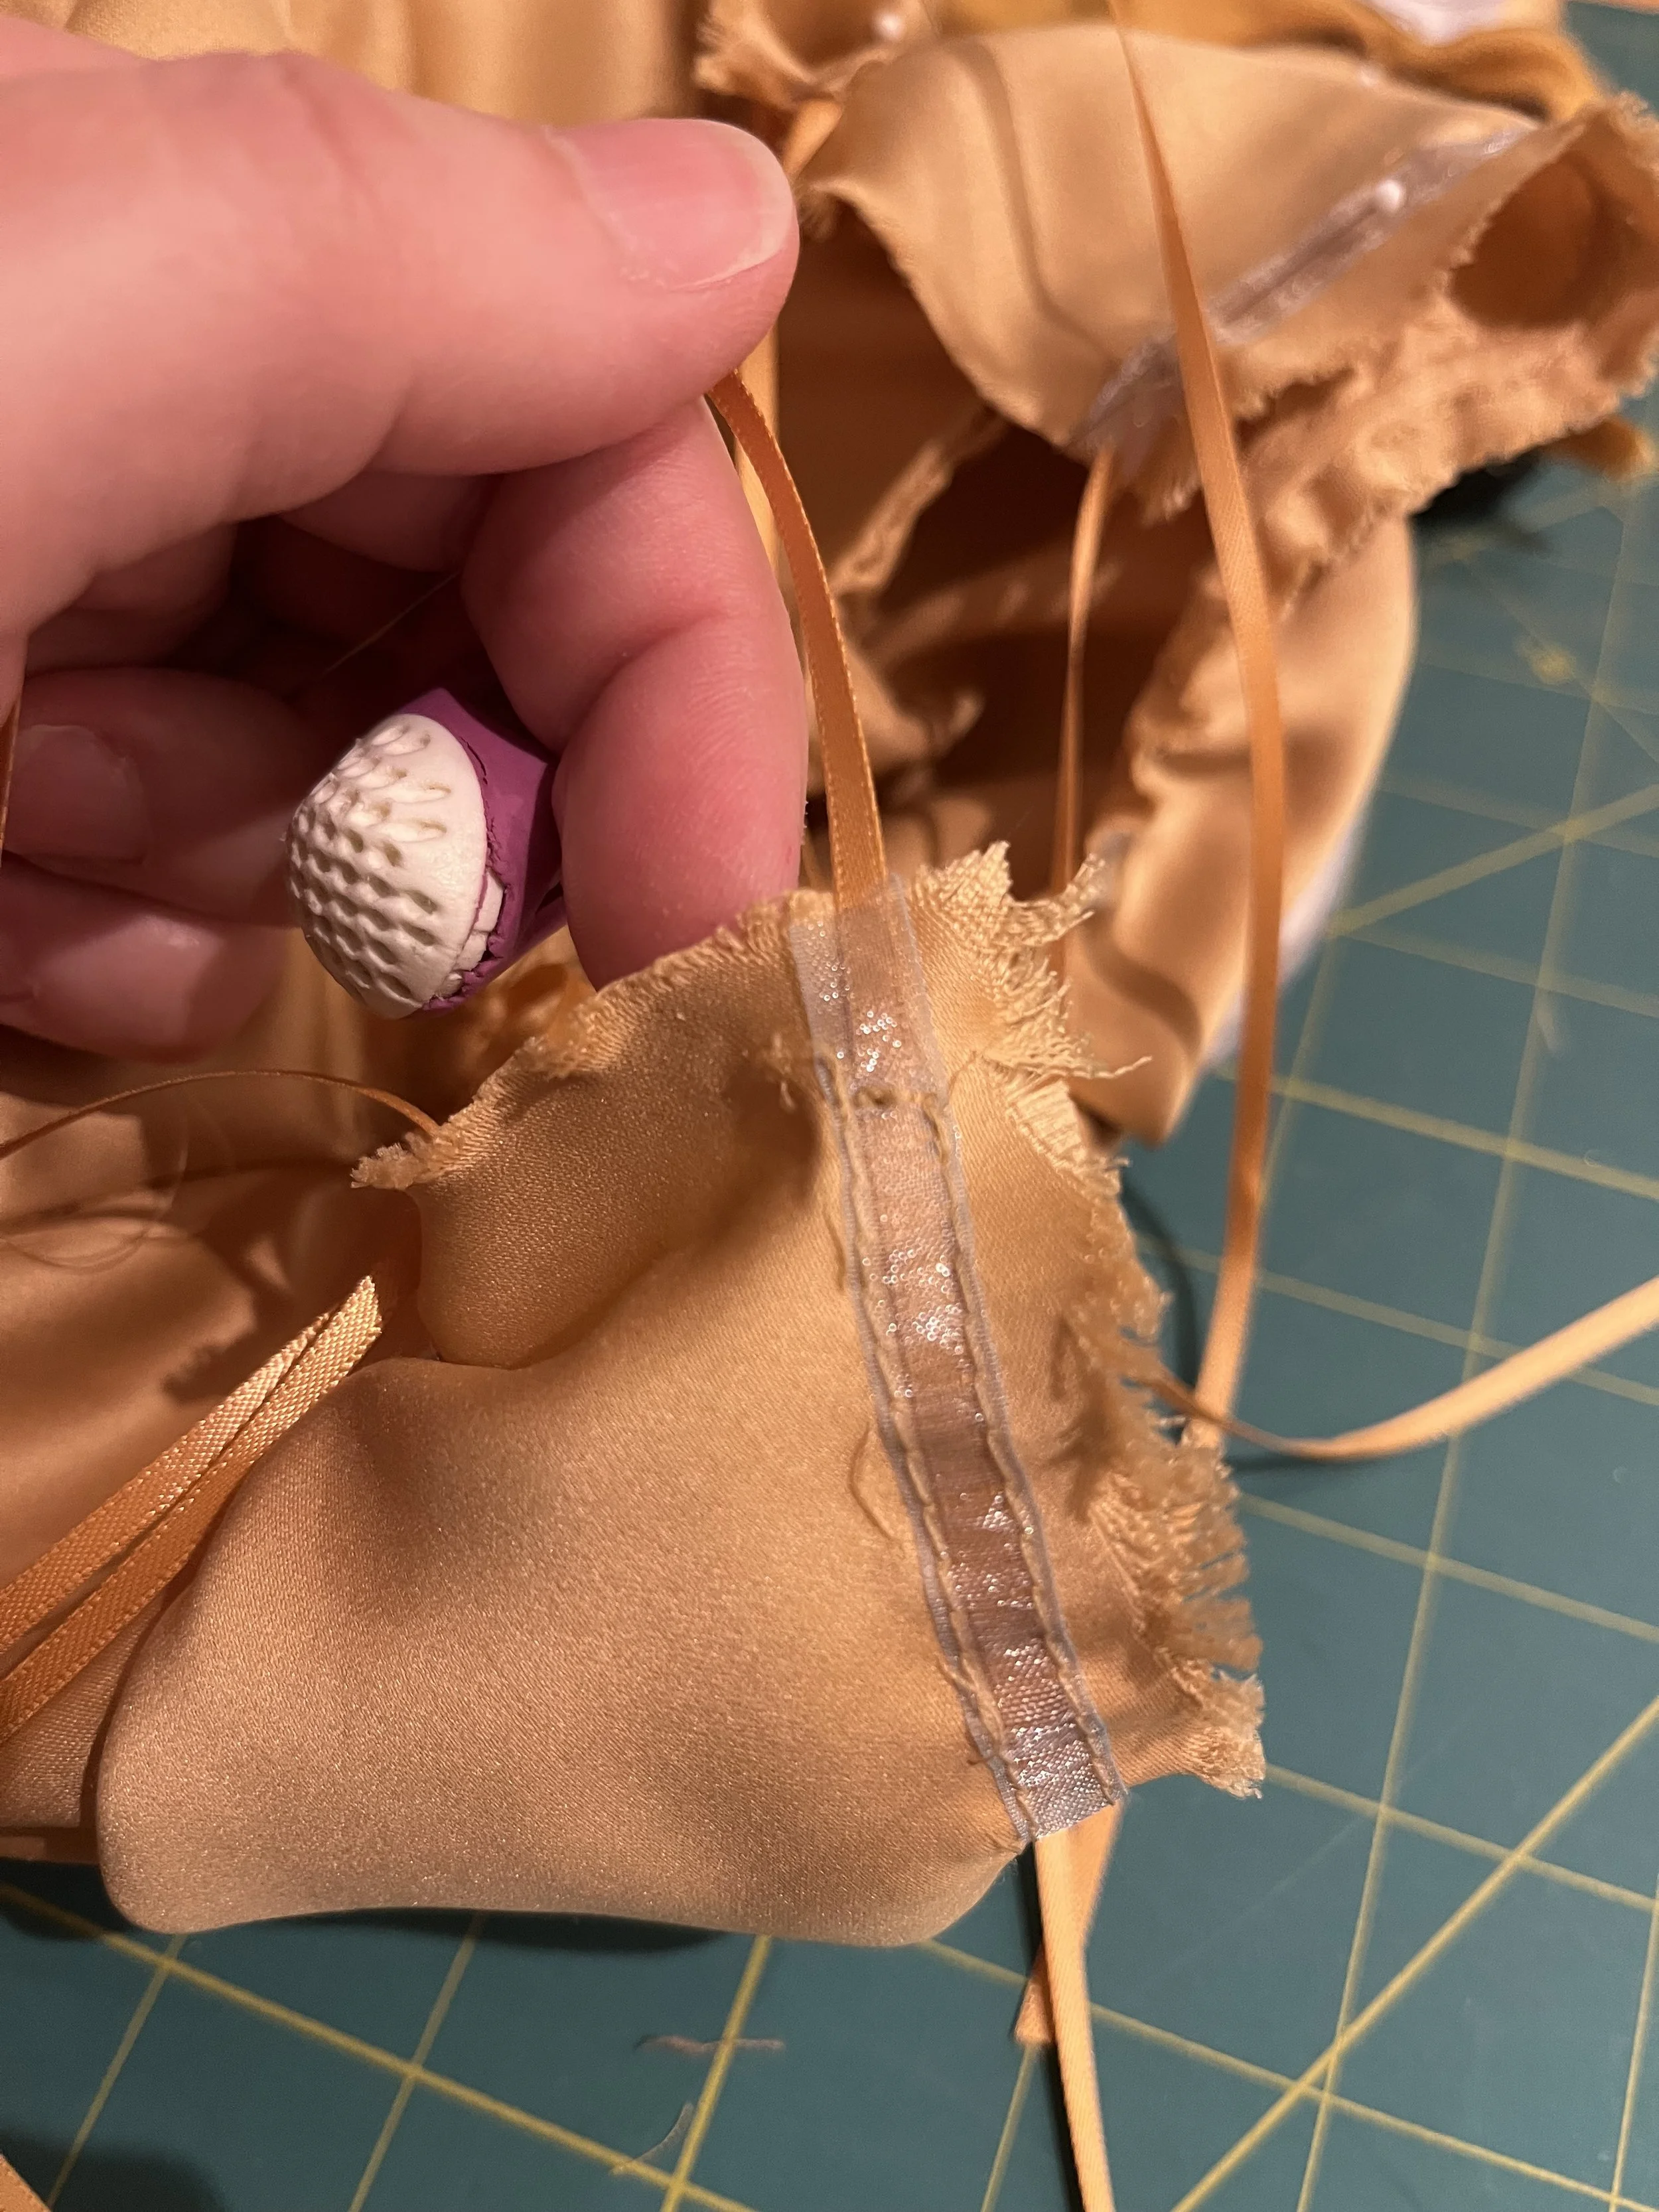
At the centre back, I added a piece of organza ribbon (in a very incongruous blue, but it's what I had and it's going to be covered up anyway) to each side of the opening to serve as casings. Once all the seams had been stitched, I threaded in the ribbons for the ruching. The centre back seam has two ribbons which run together from the hem to the base of the opening and then diverge into the organza casings.
Of course, at this point I drew up all the seams to give it a test spin.
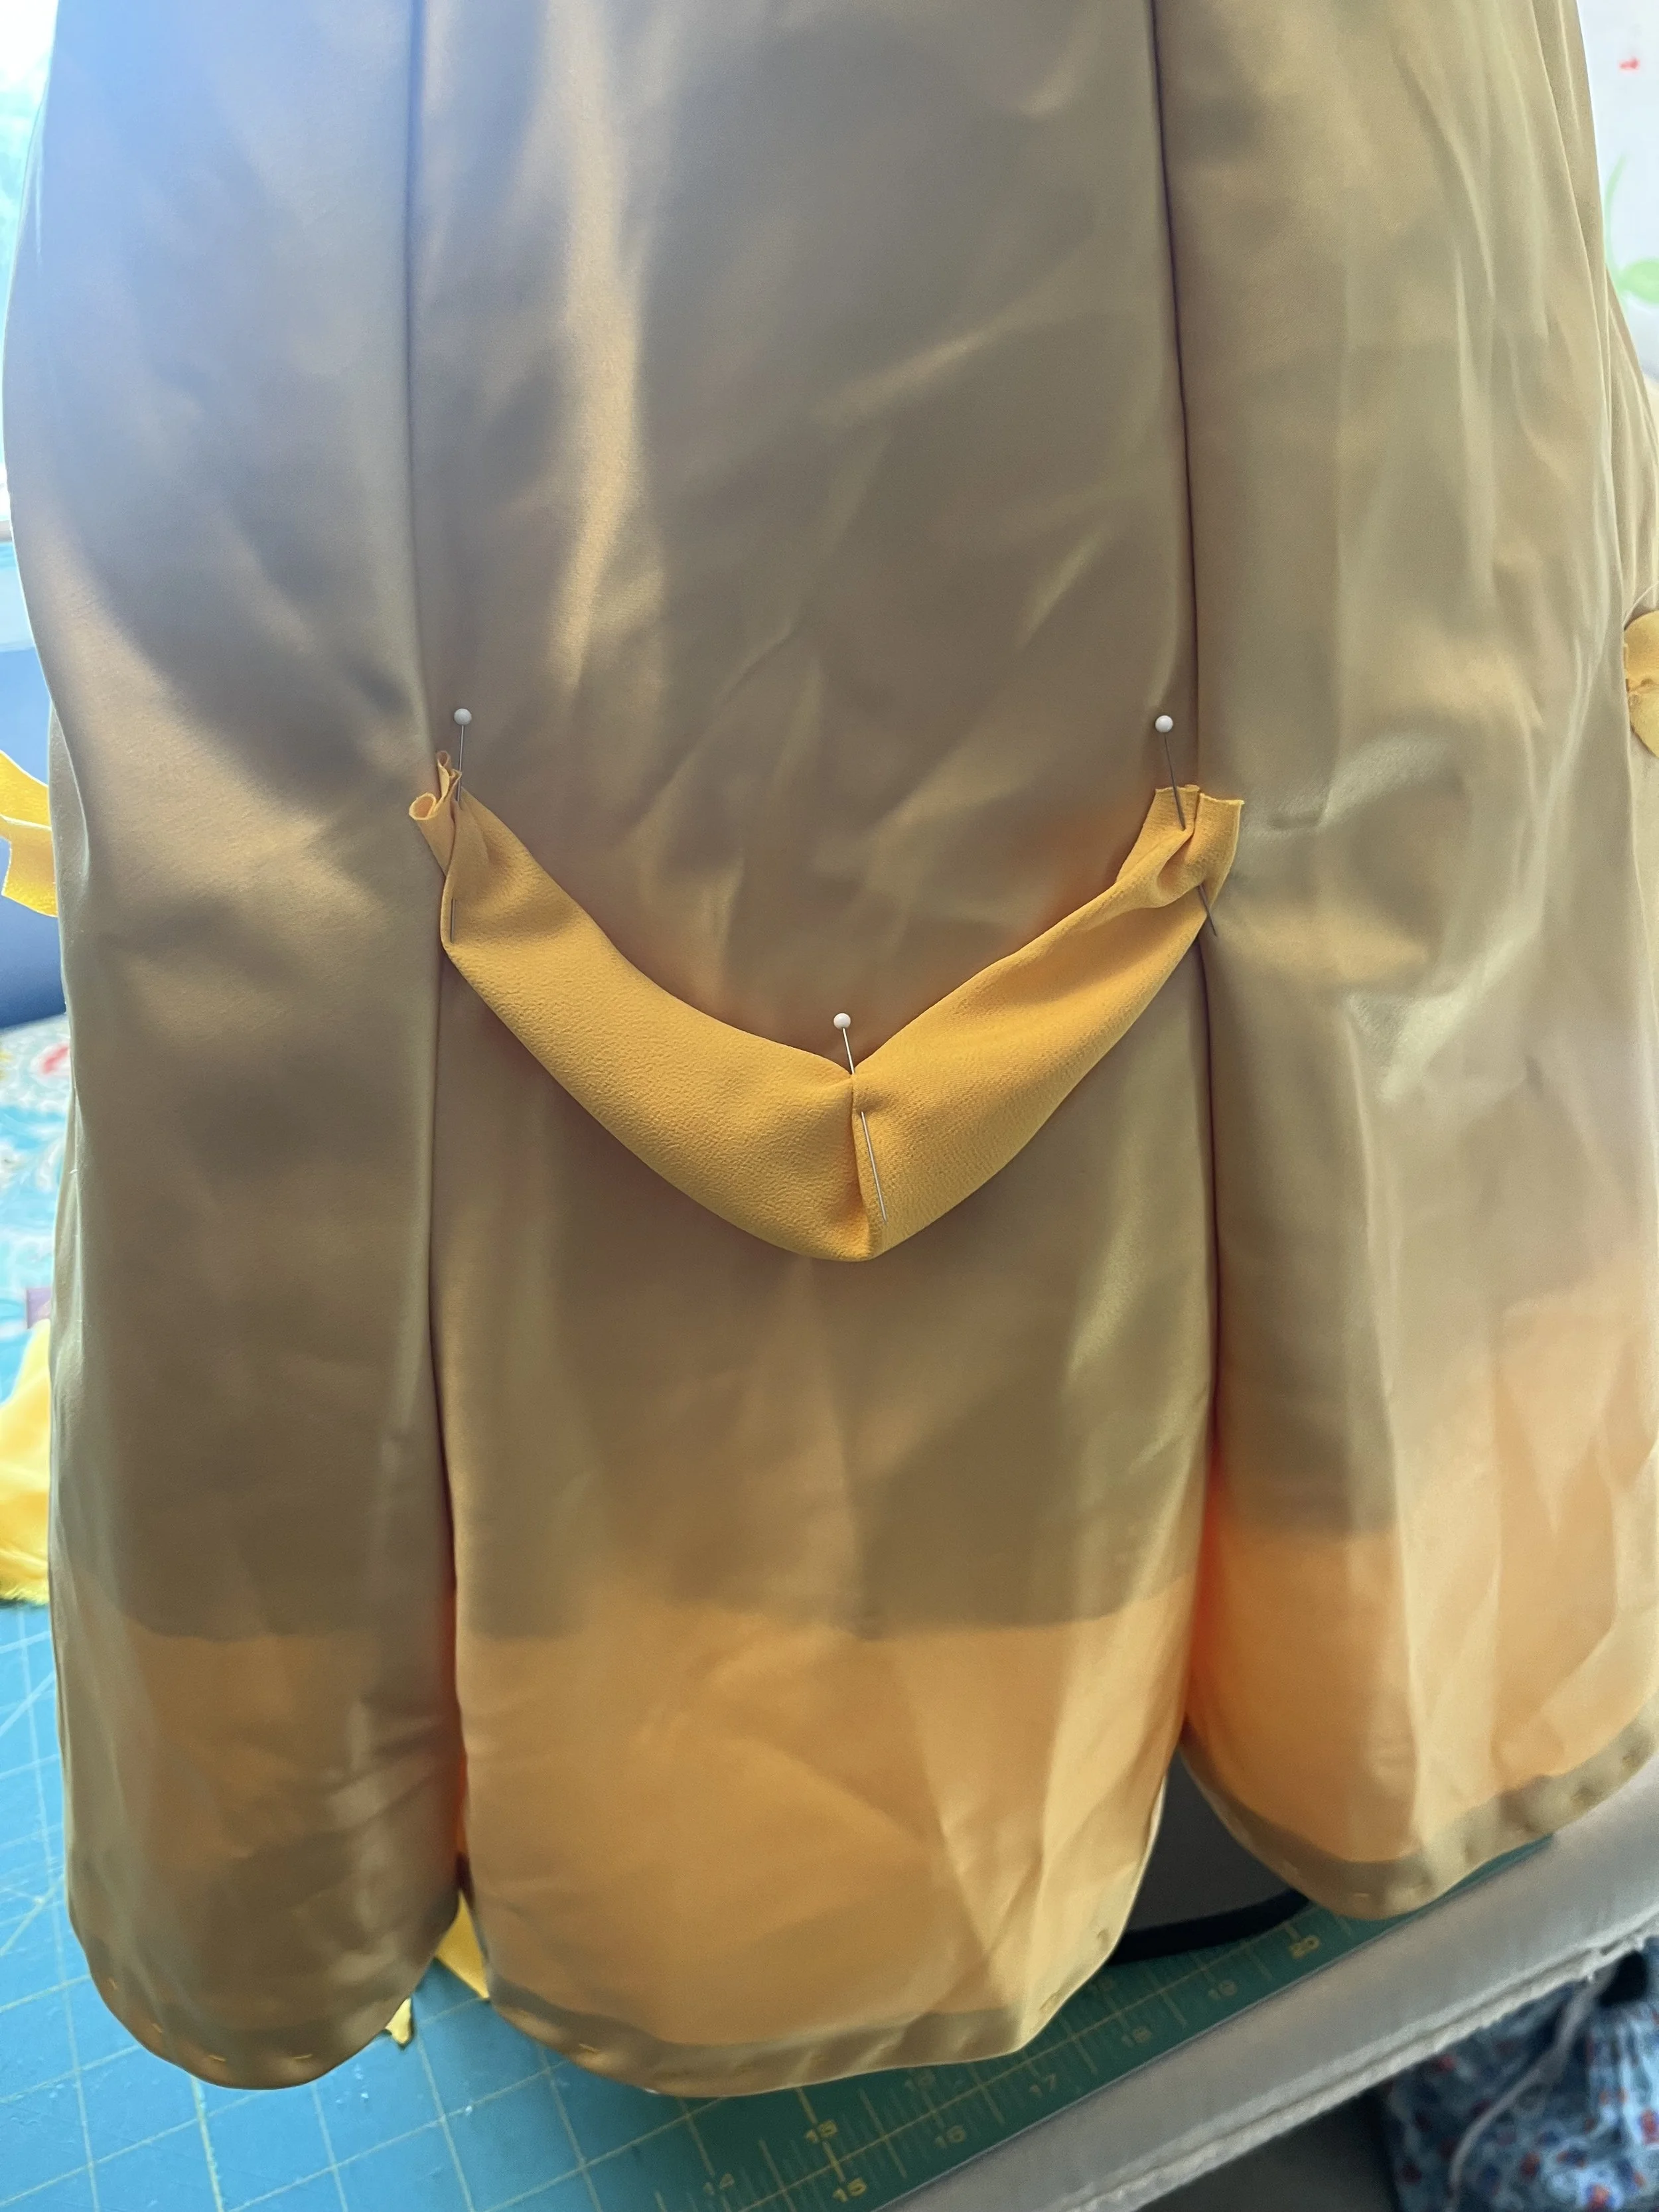
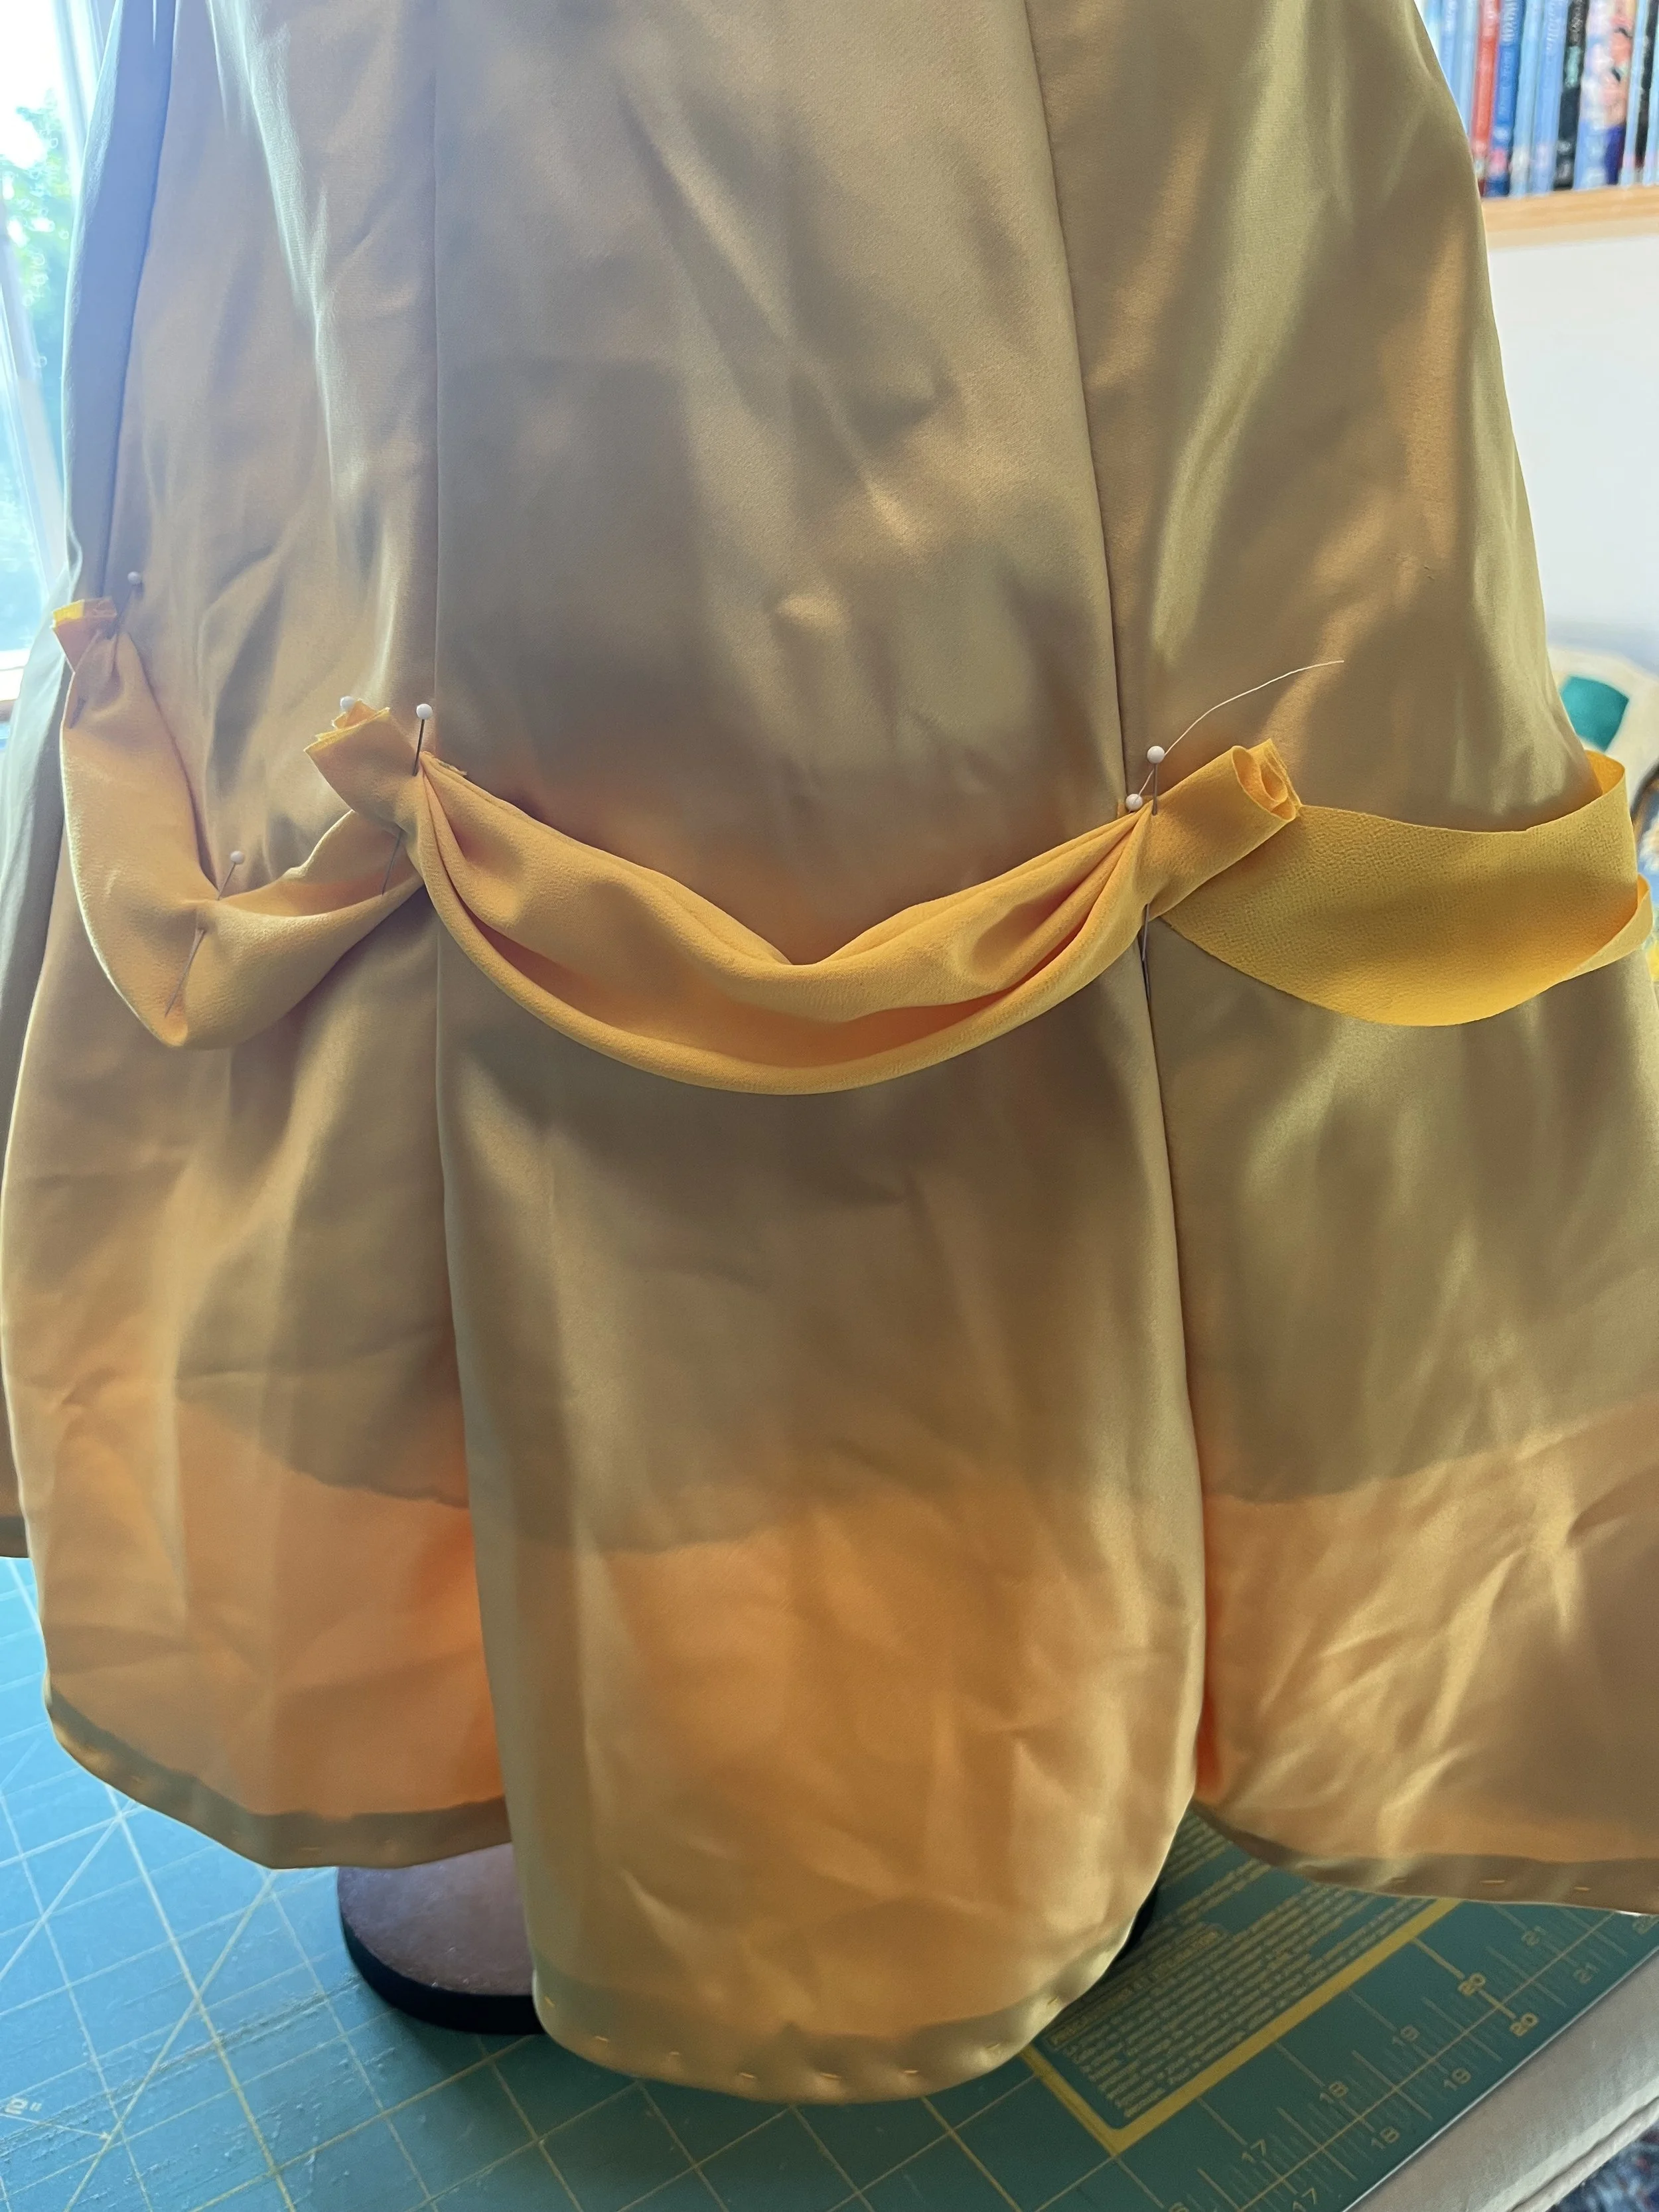
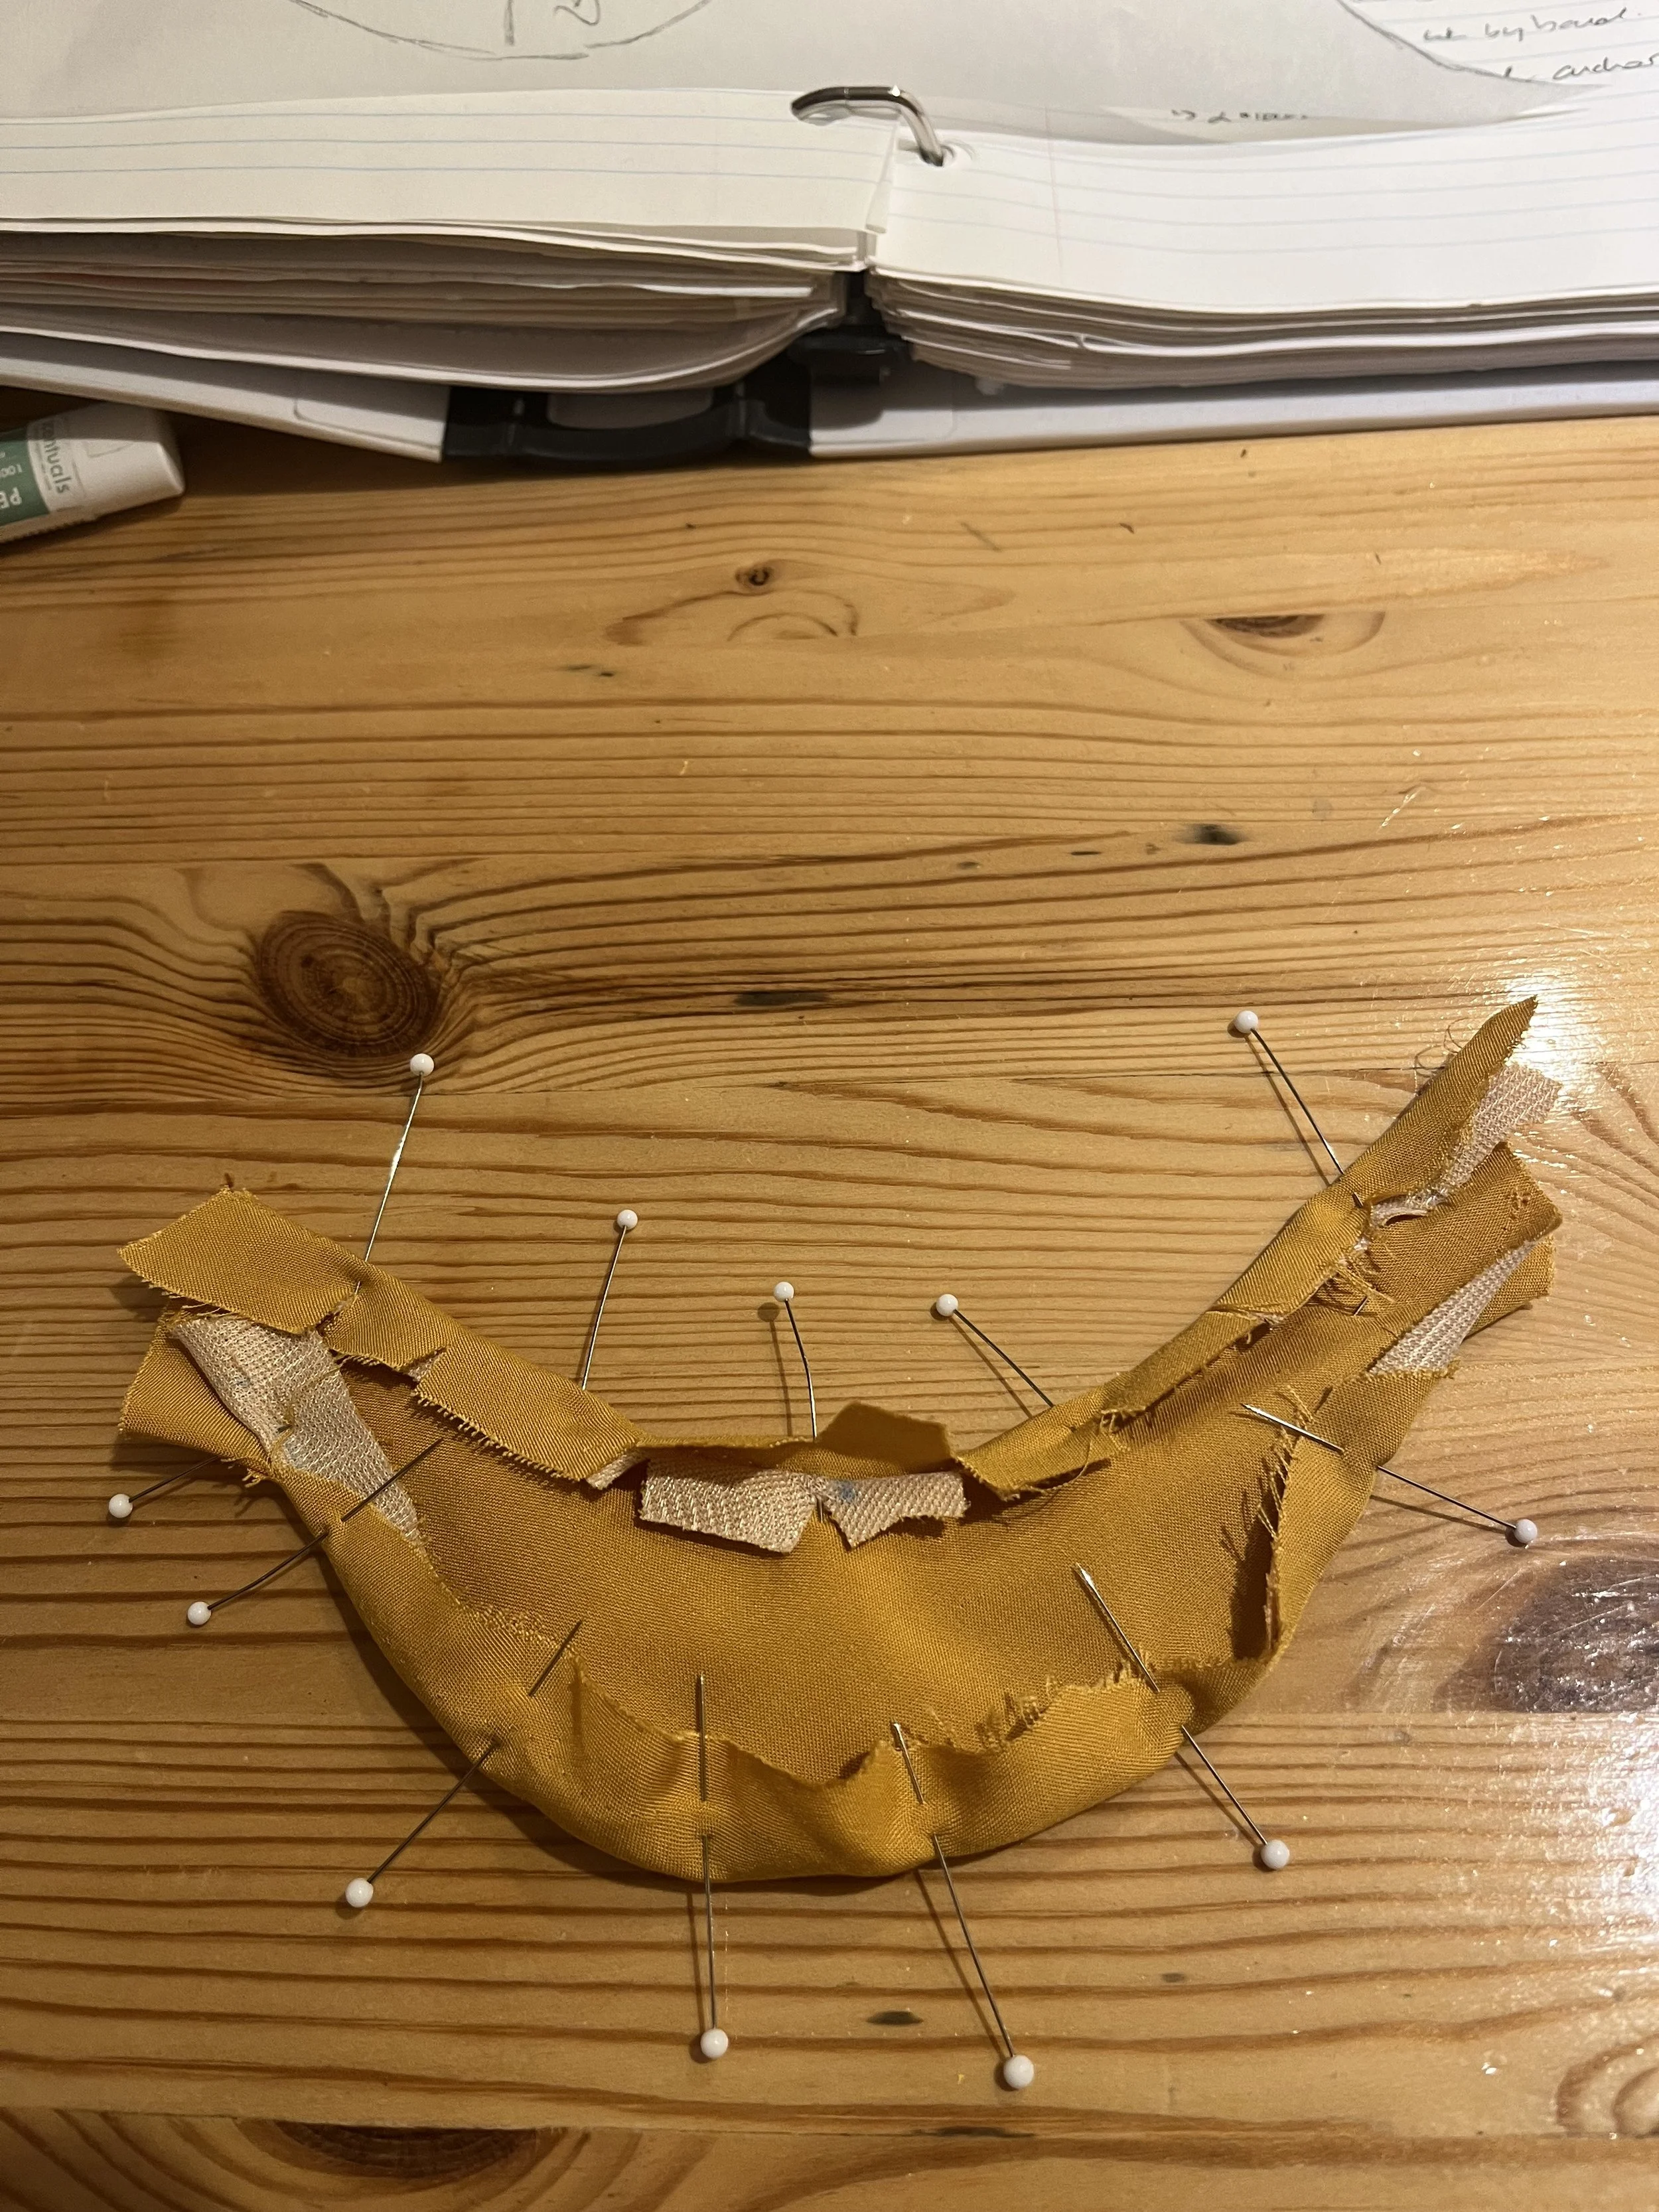
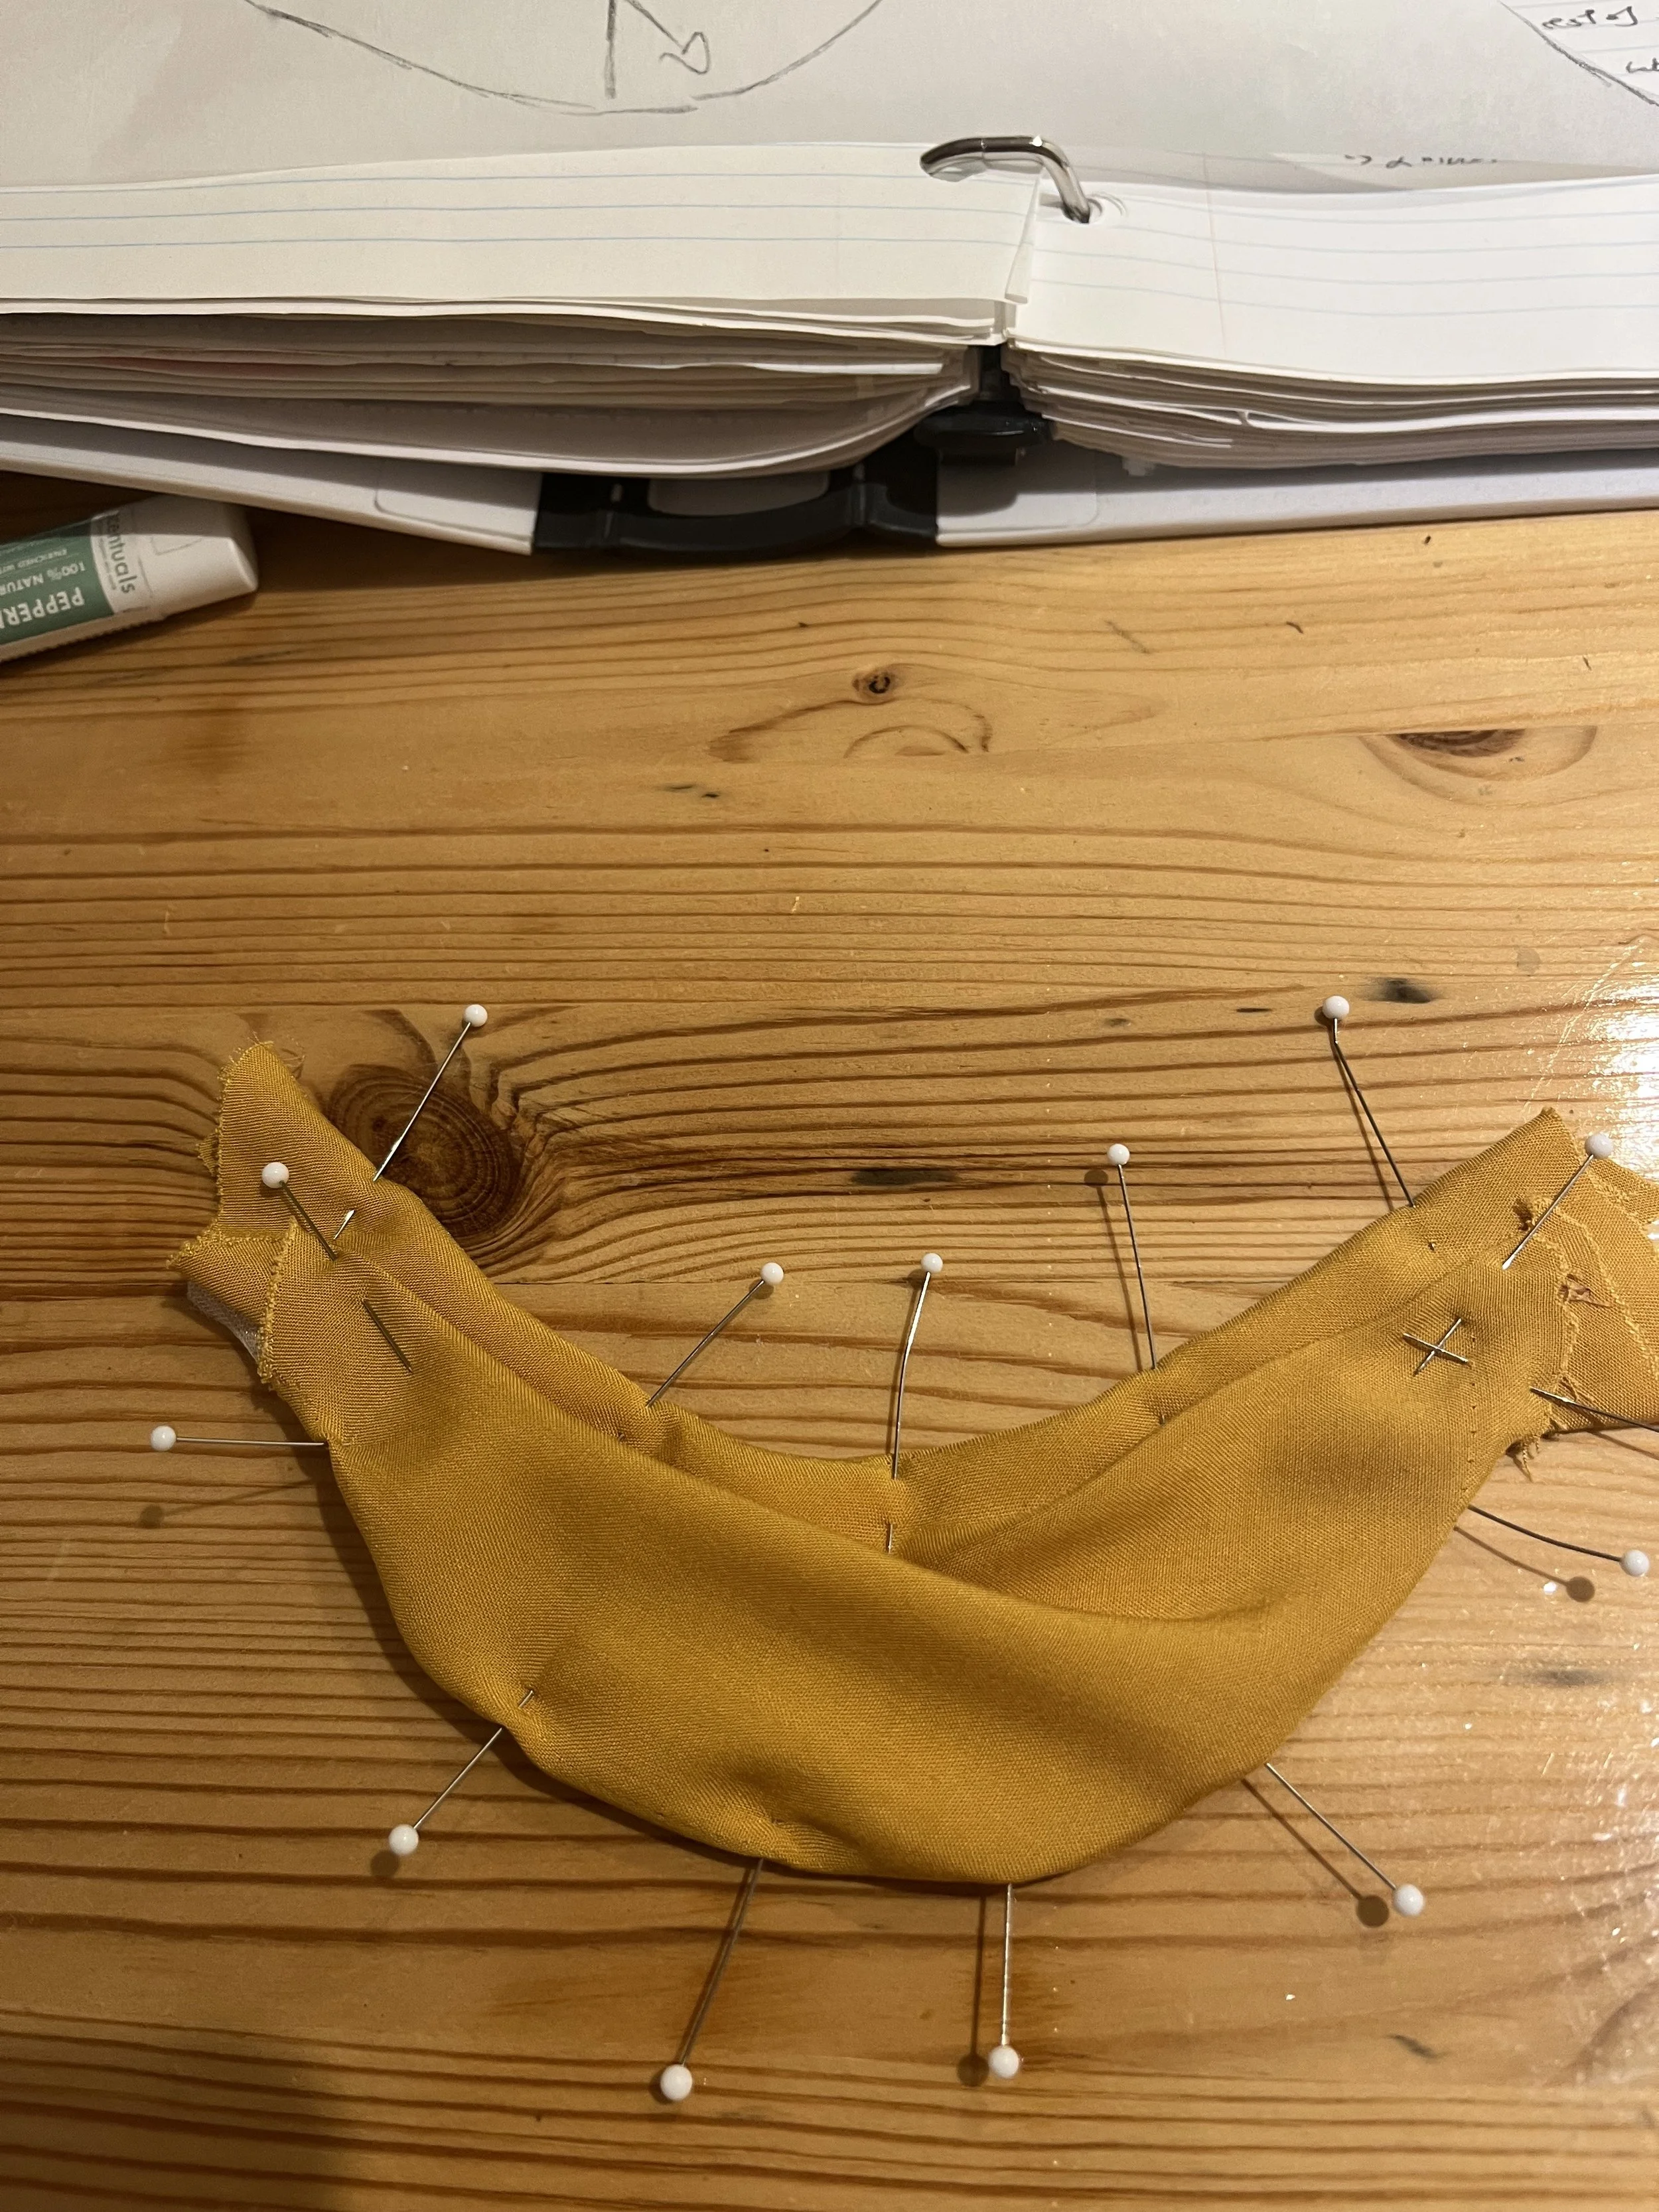
Before securing the ruching in place I had to sort out the swags and how I was going to do them. I had already explored a few options a while ago and I thought I had some idea of what I would work.
I didn't.
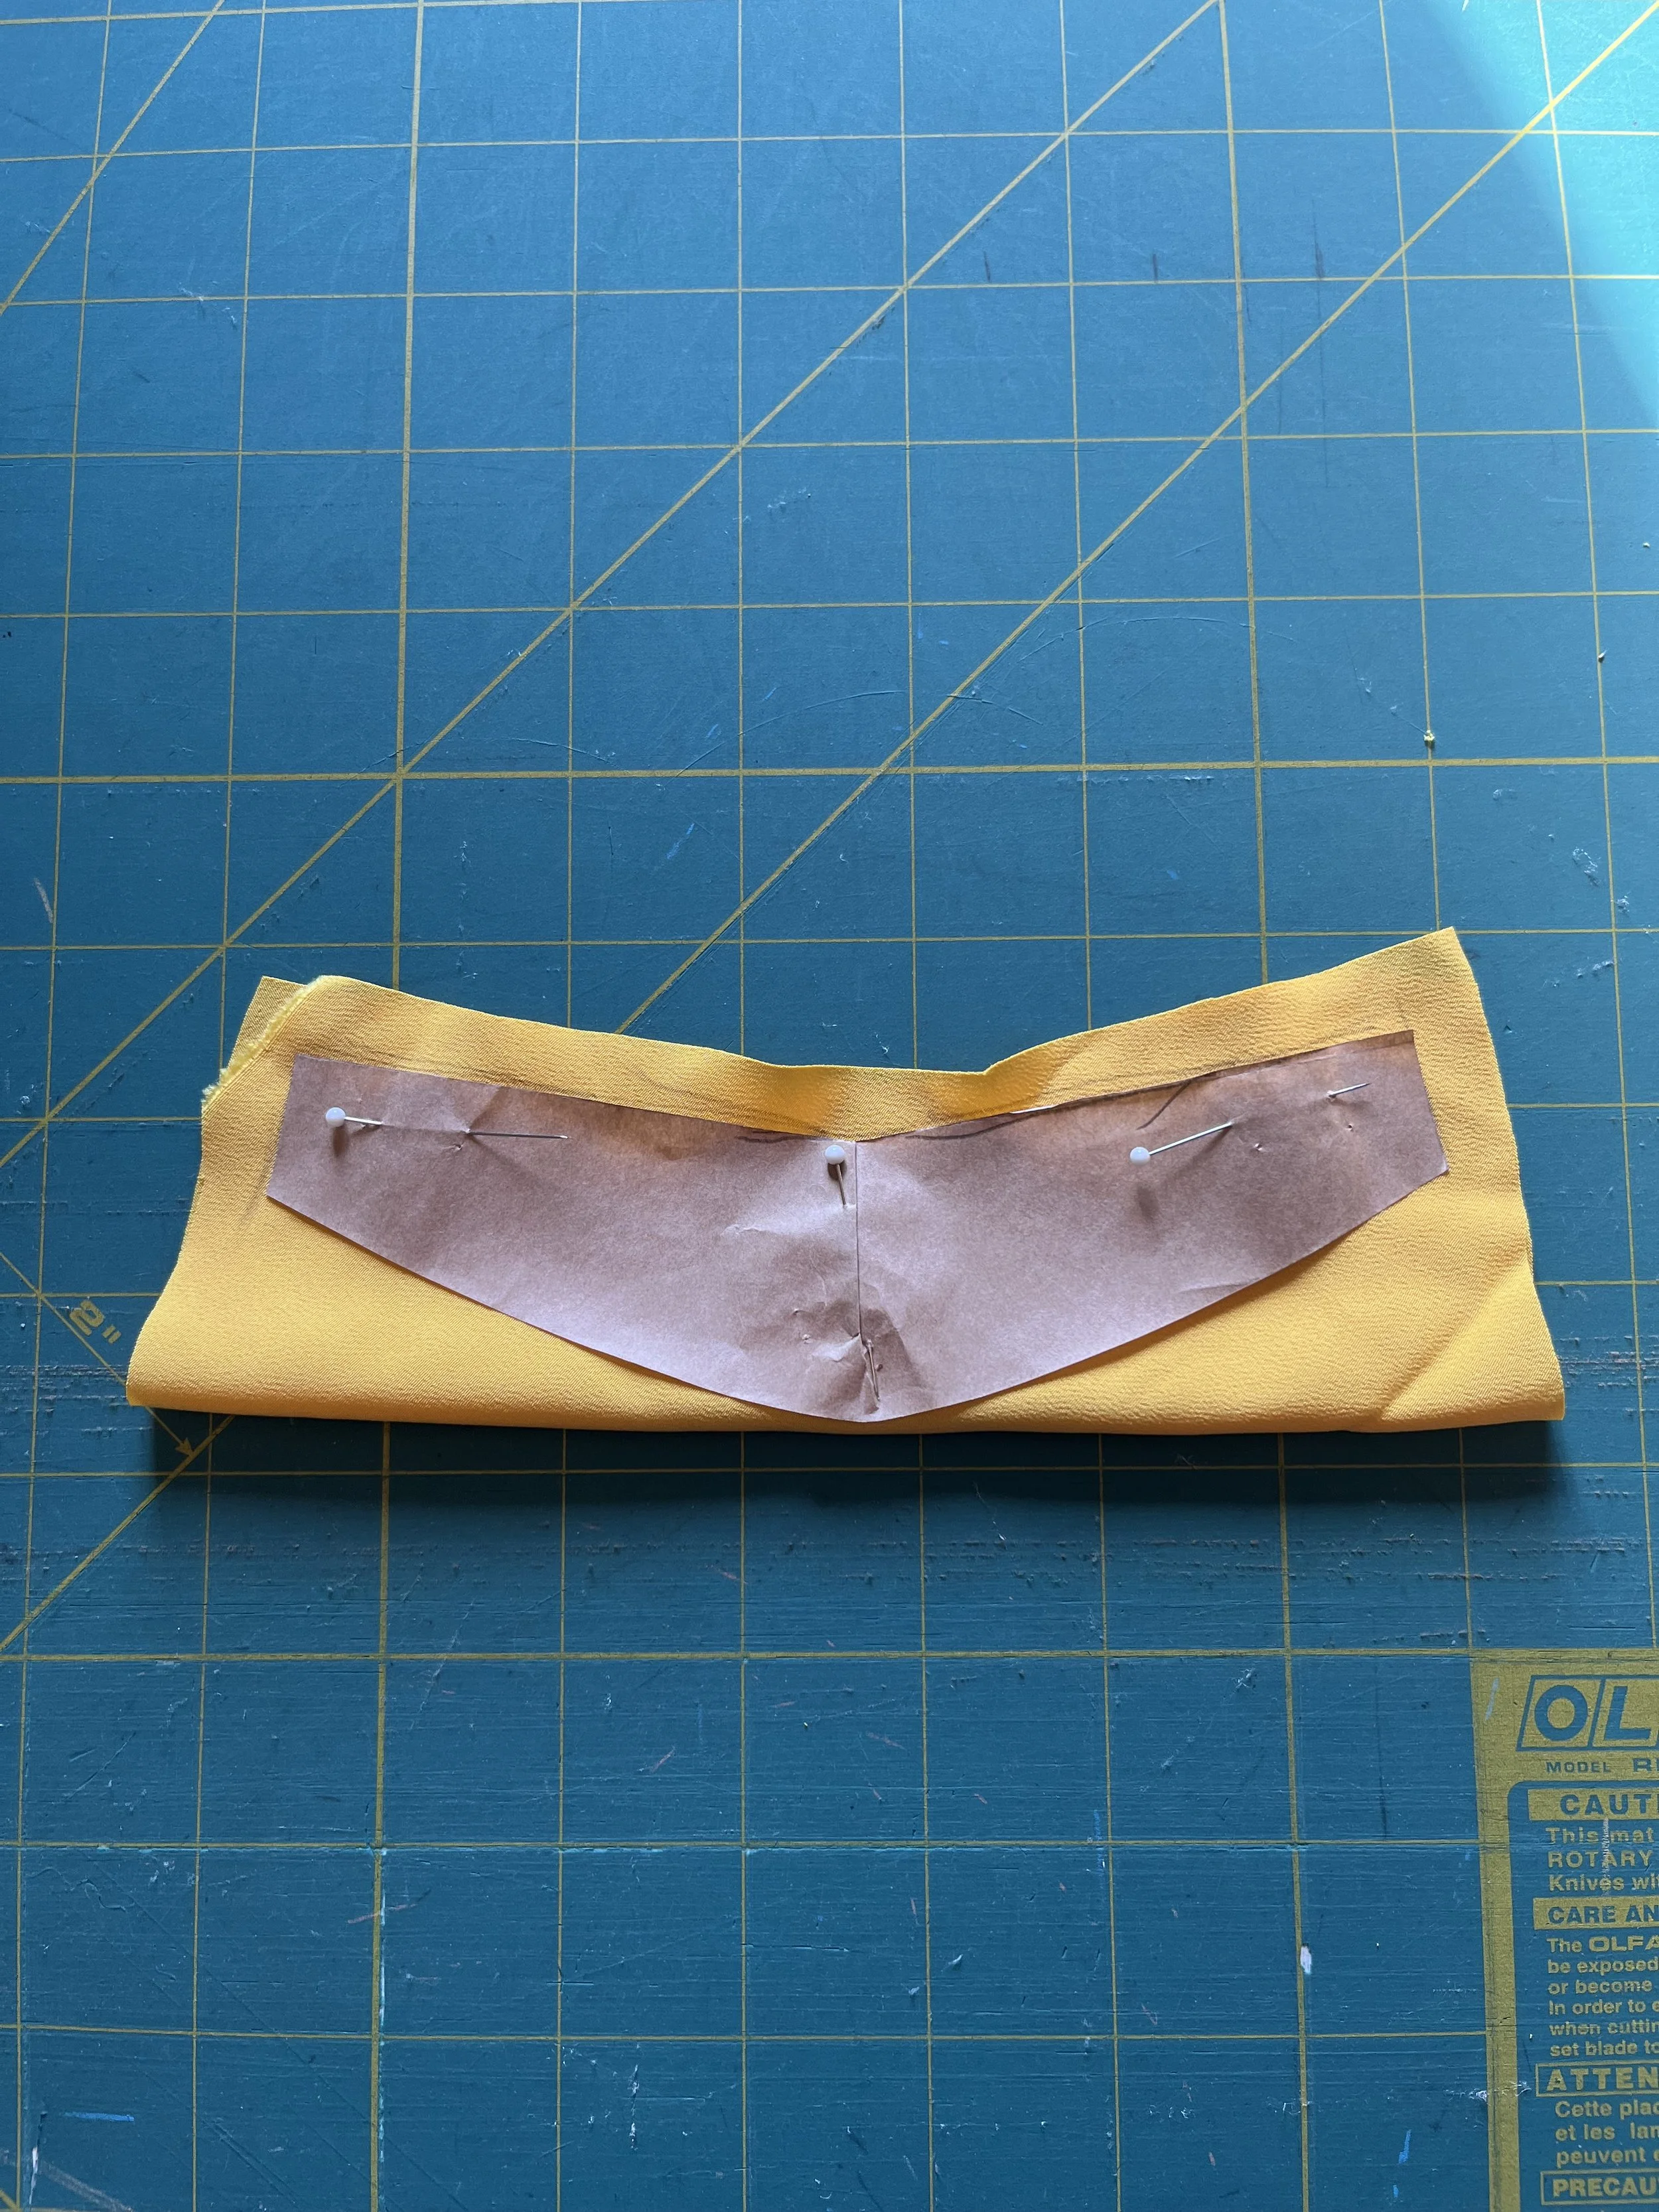
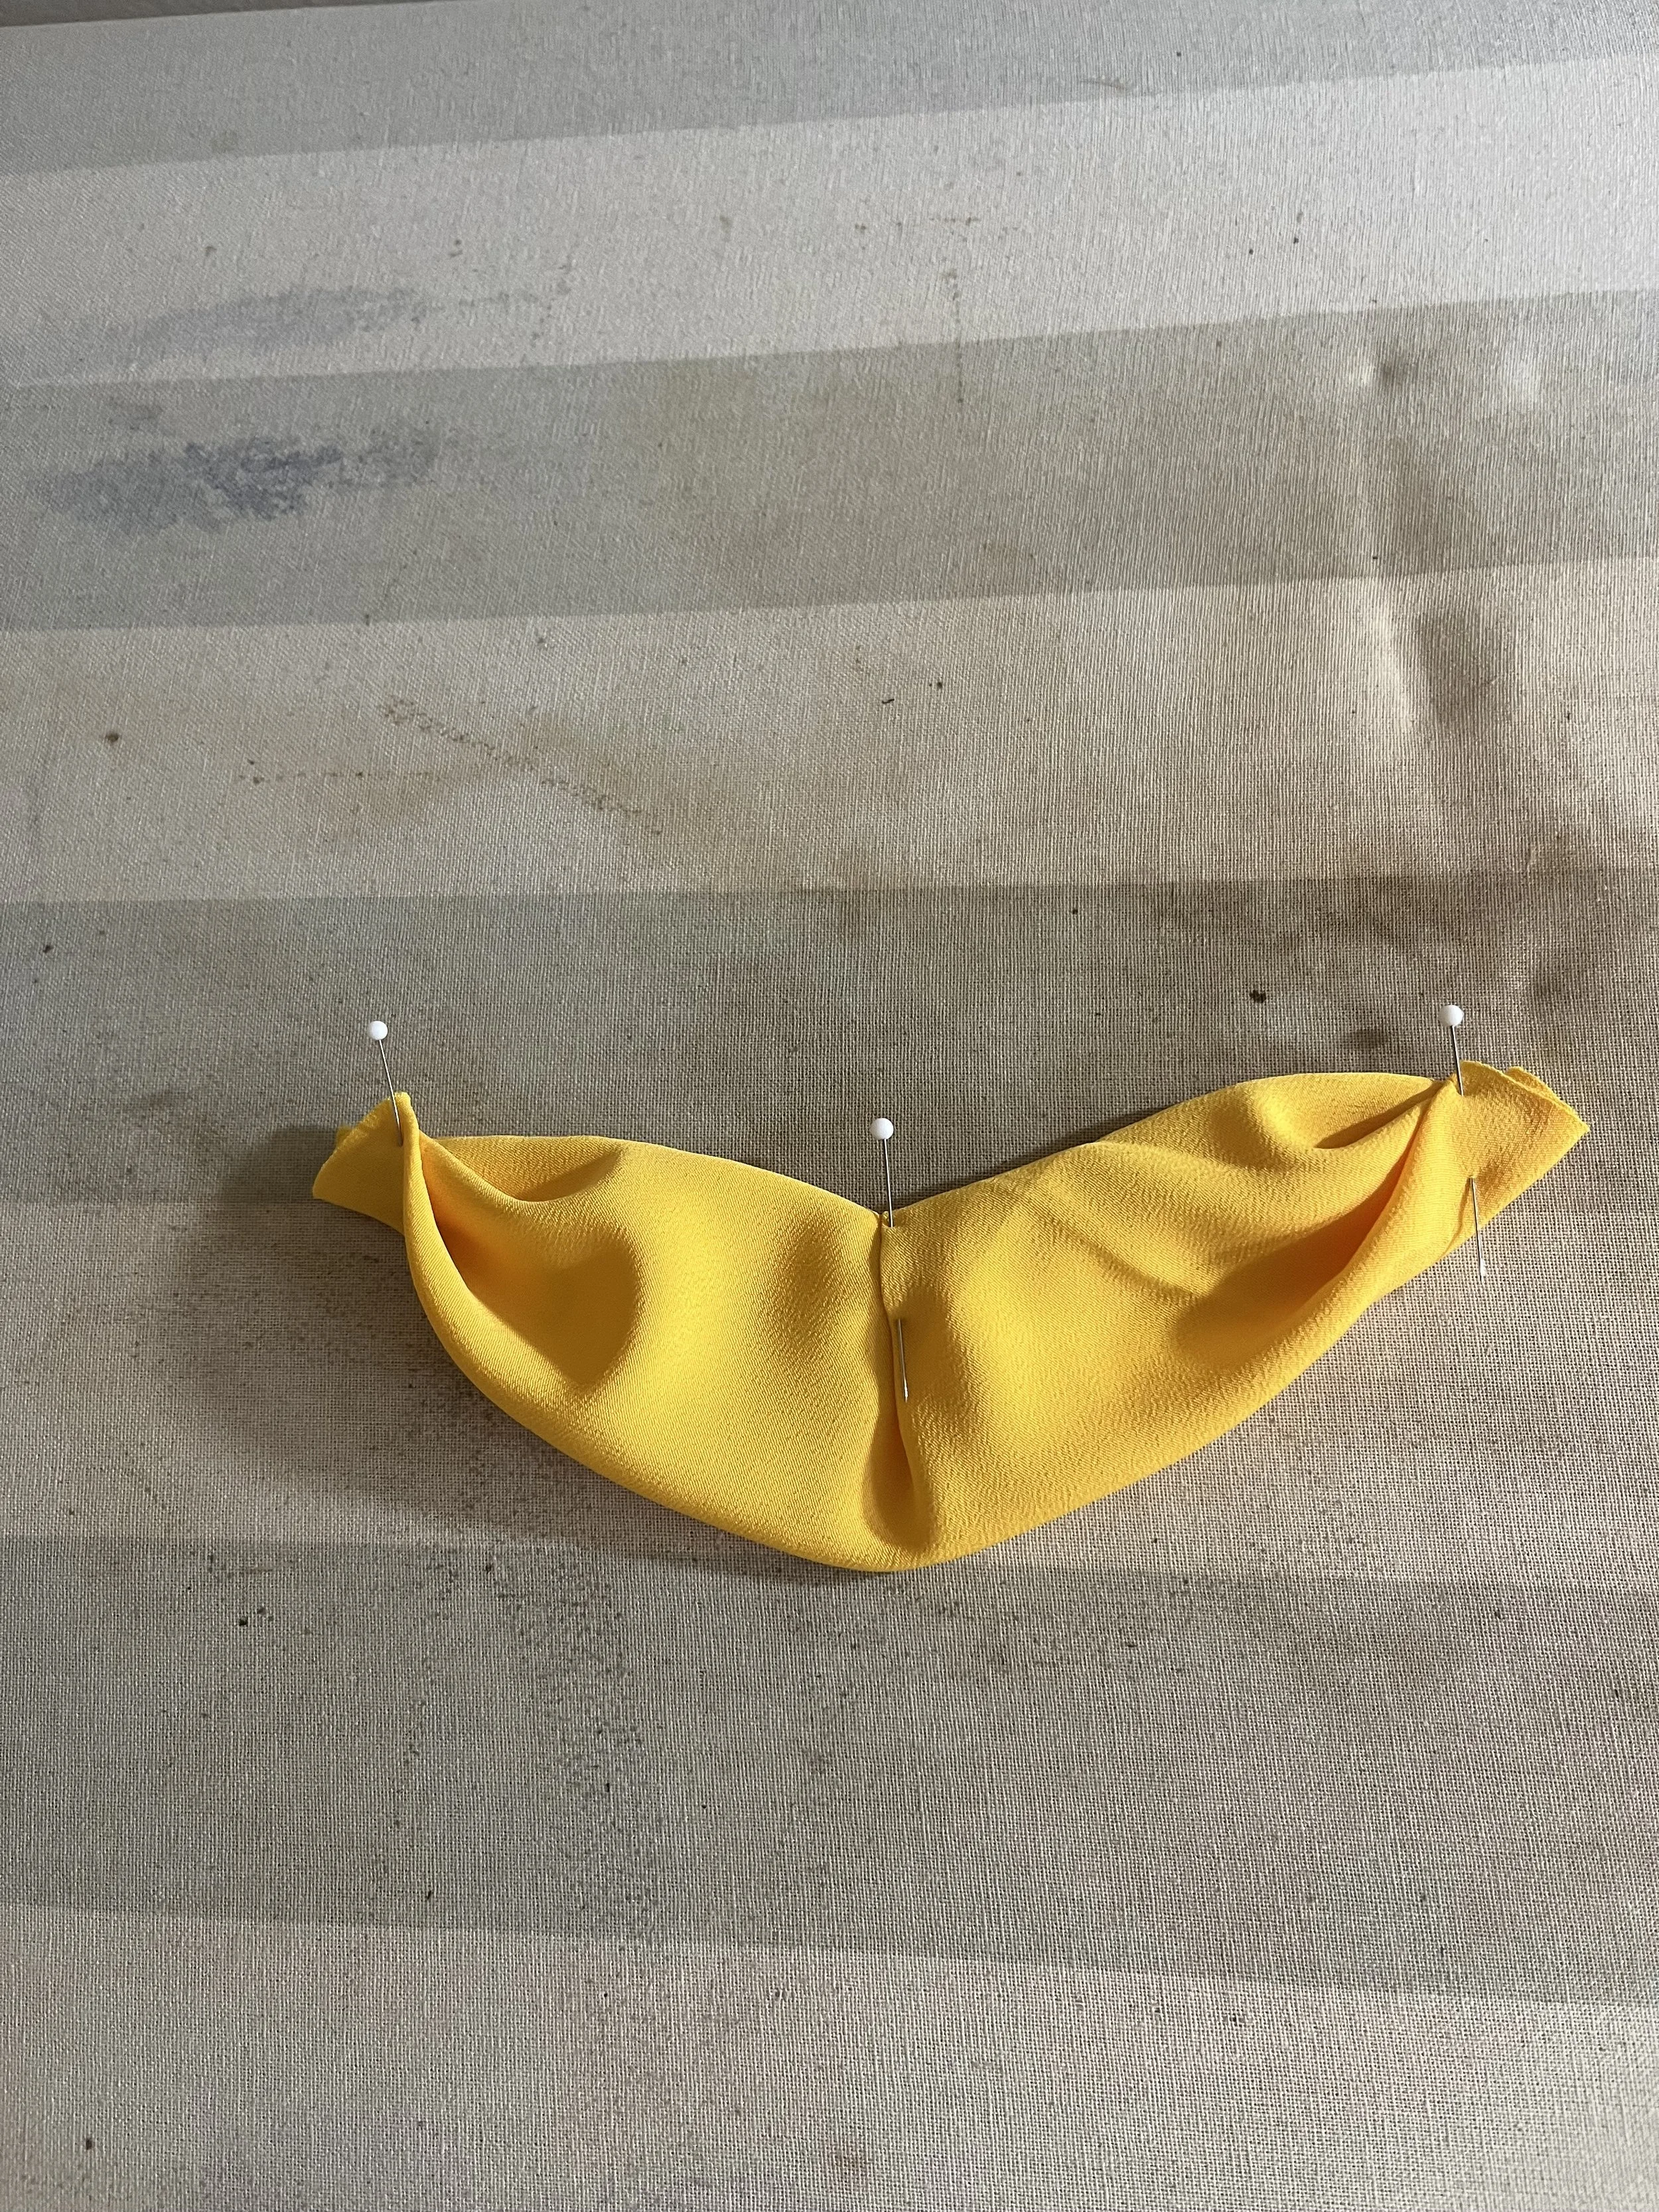
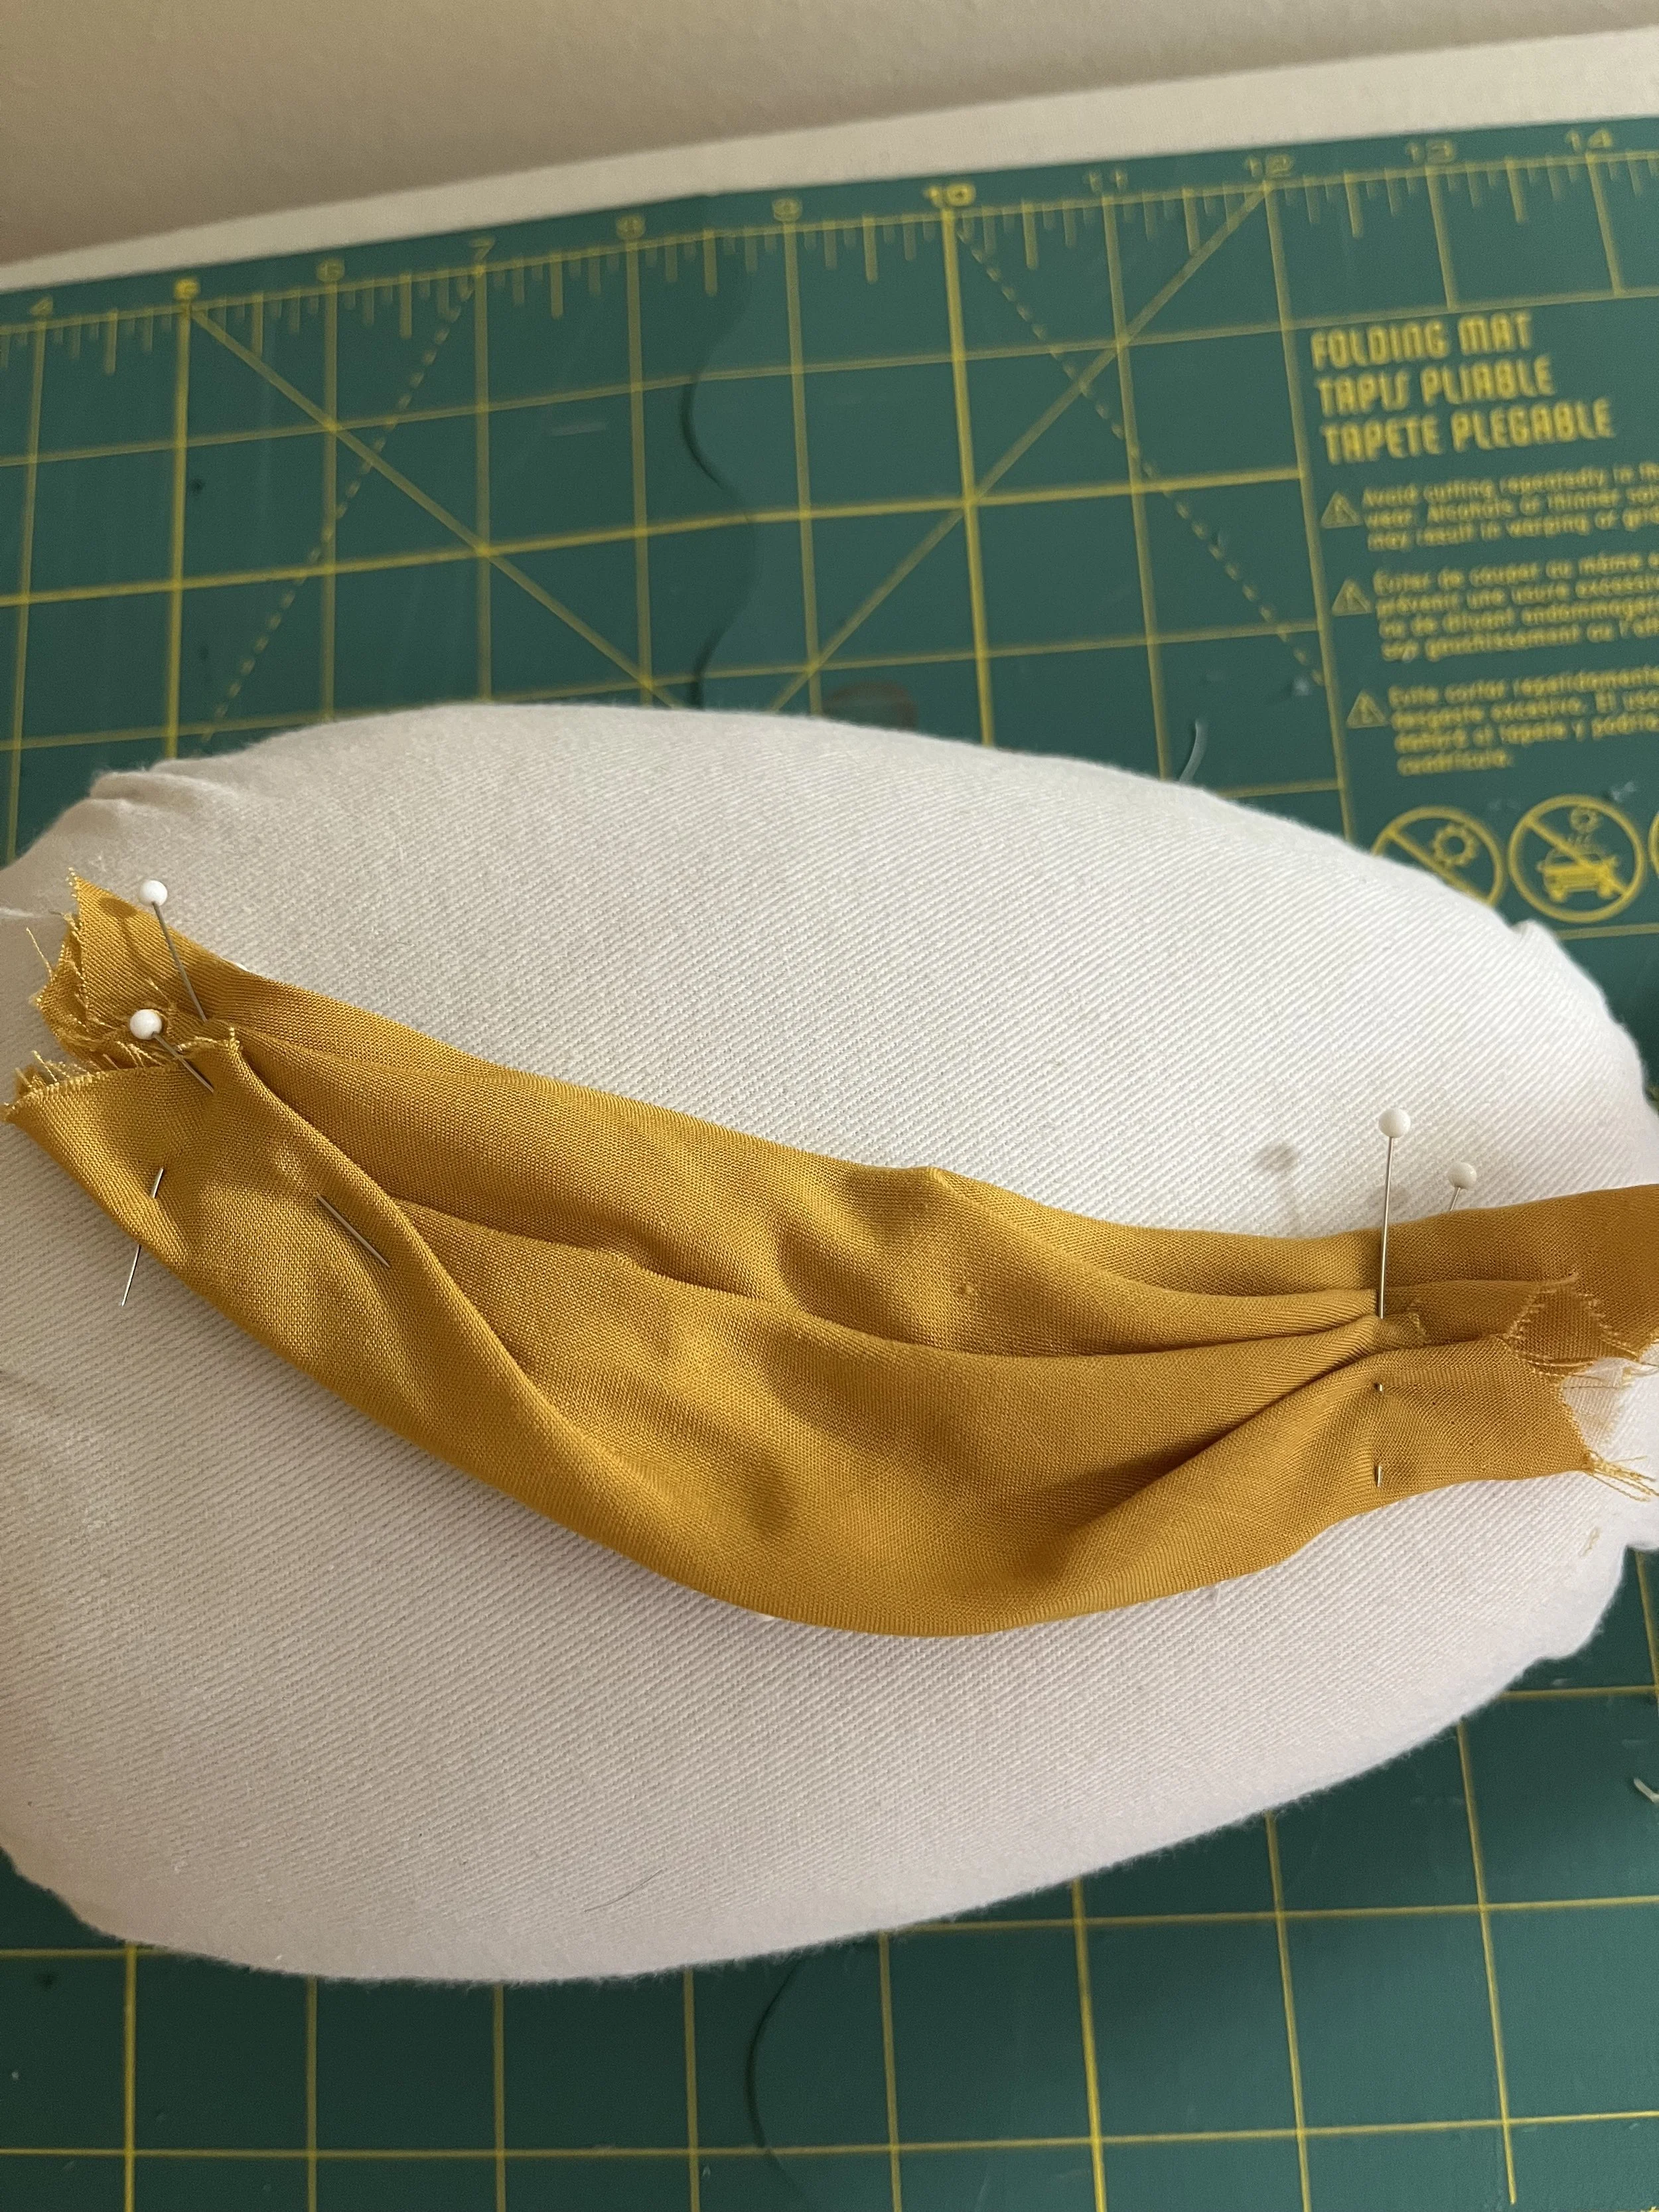
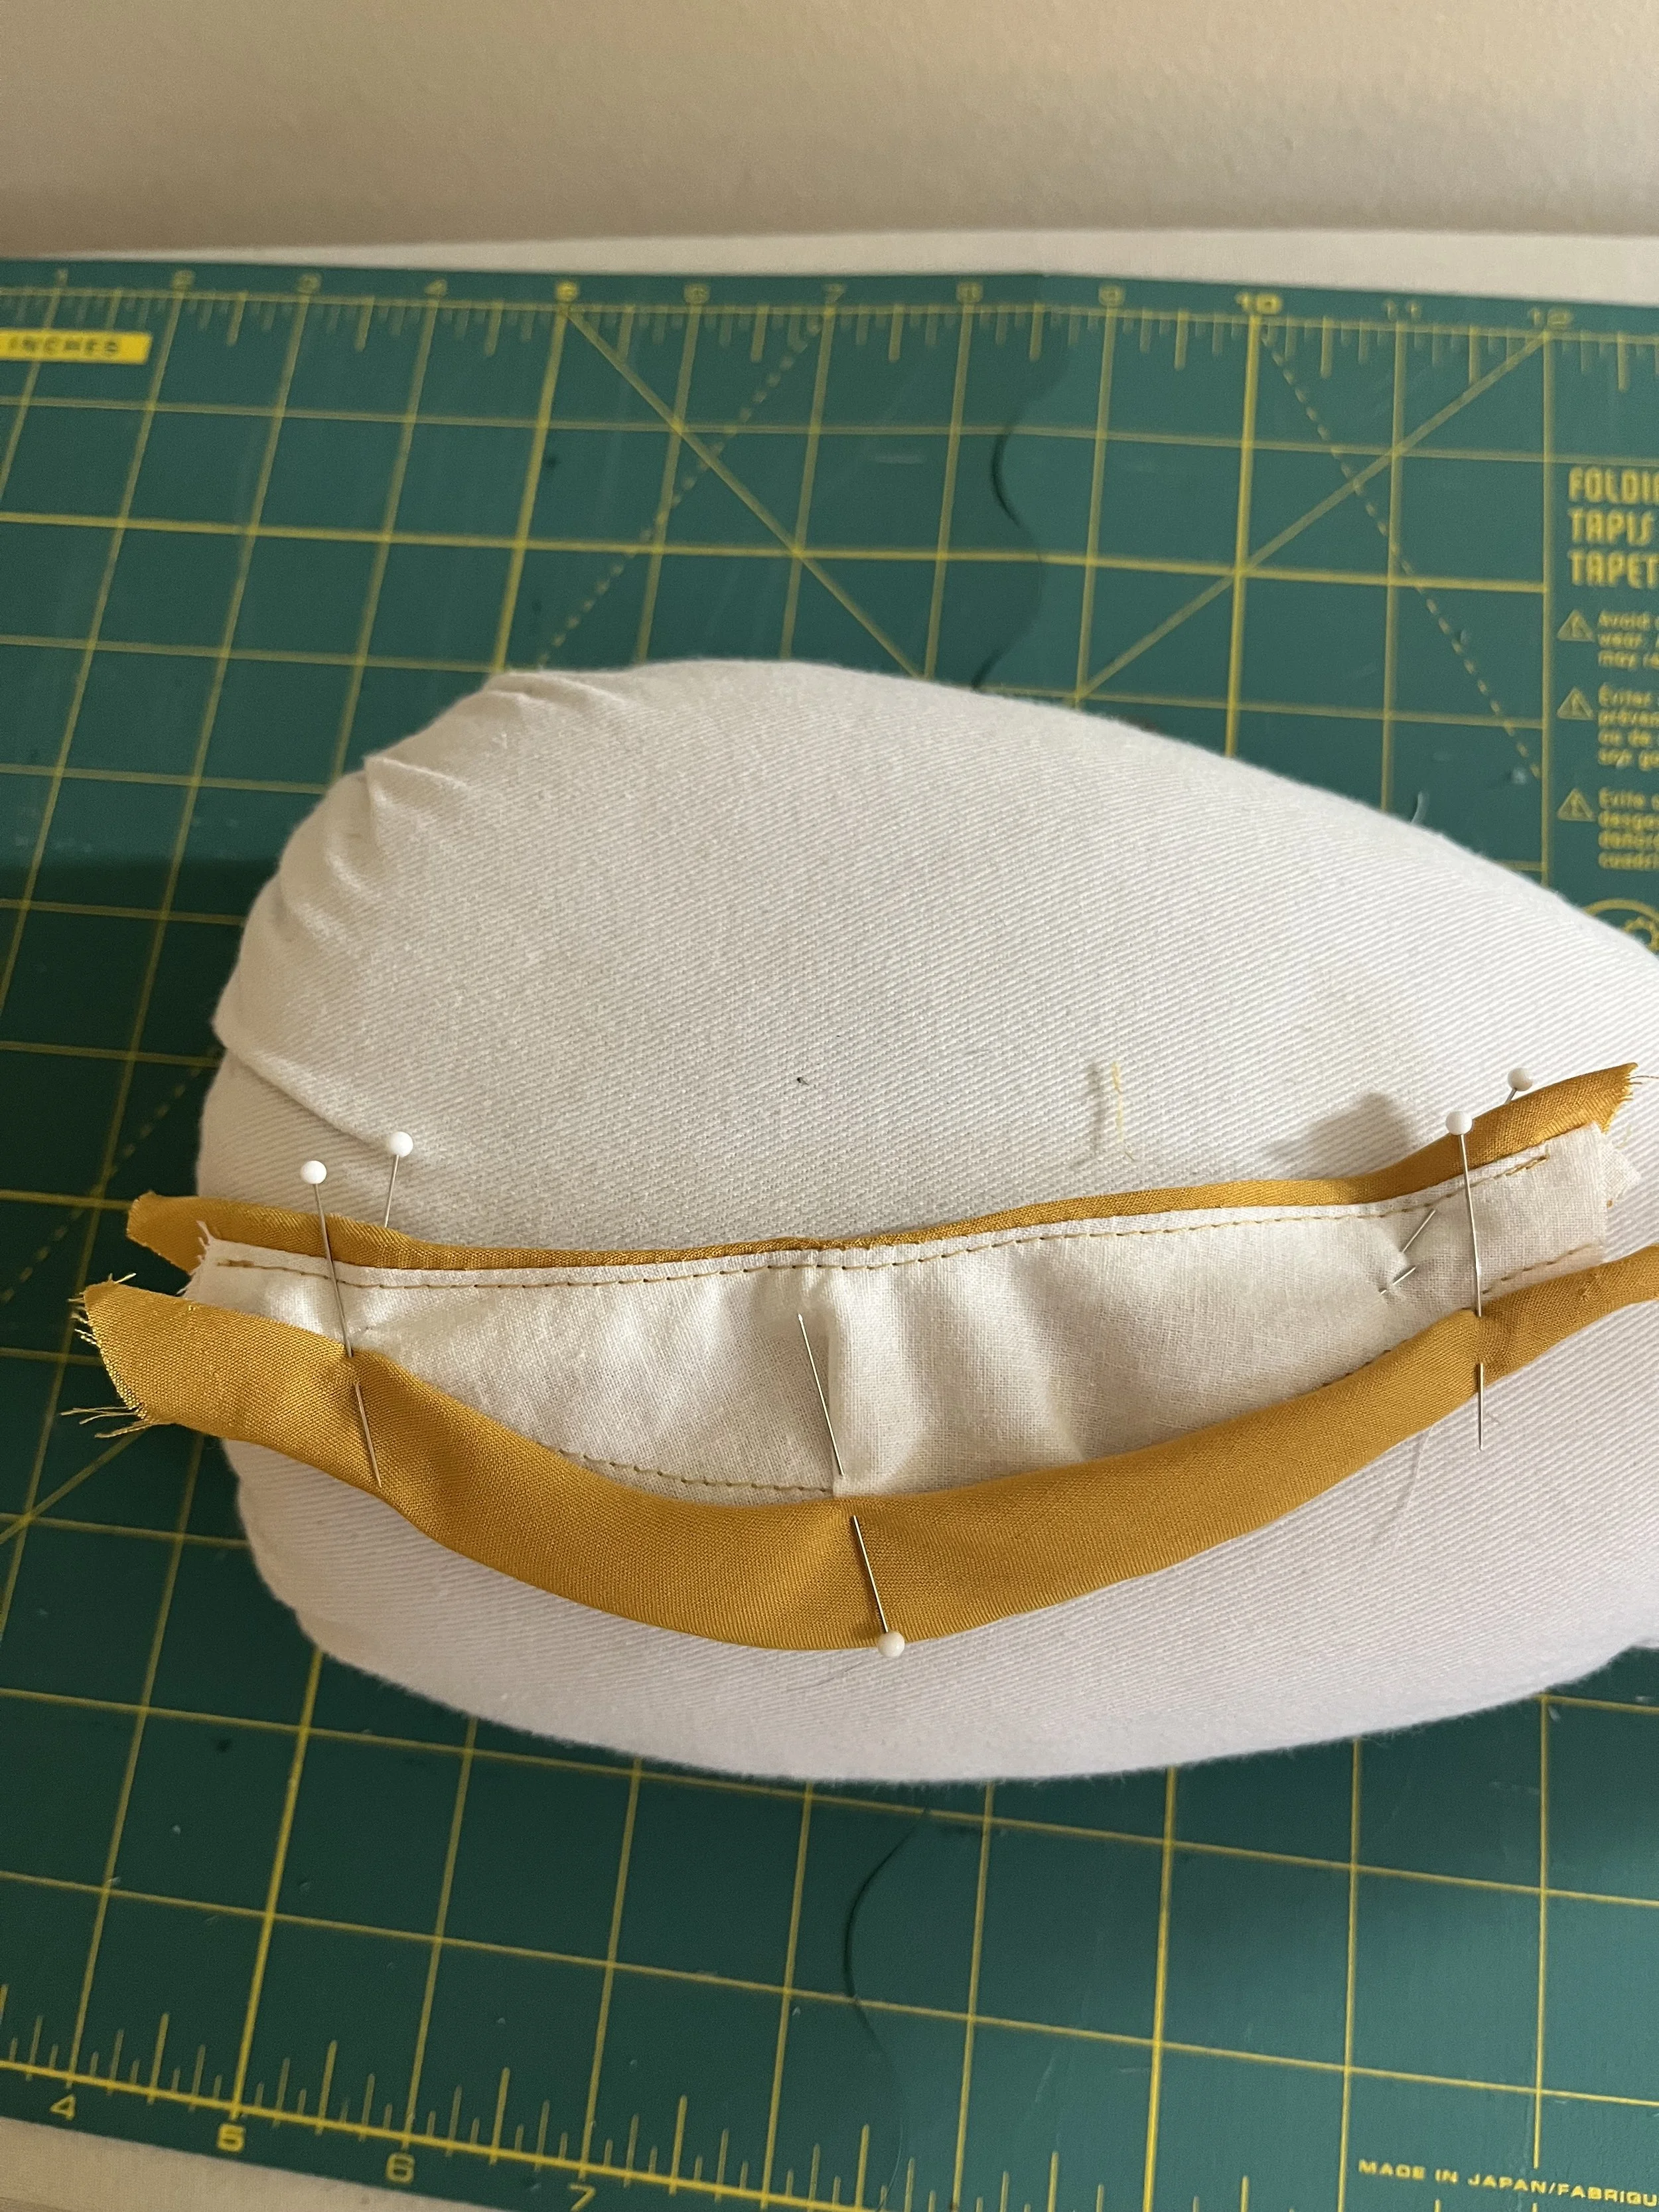
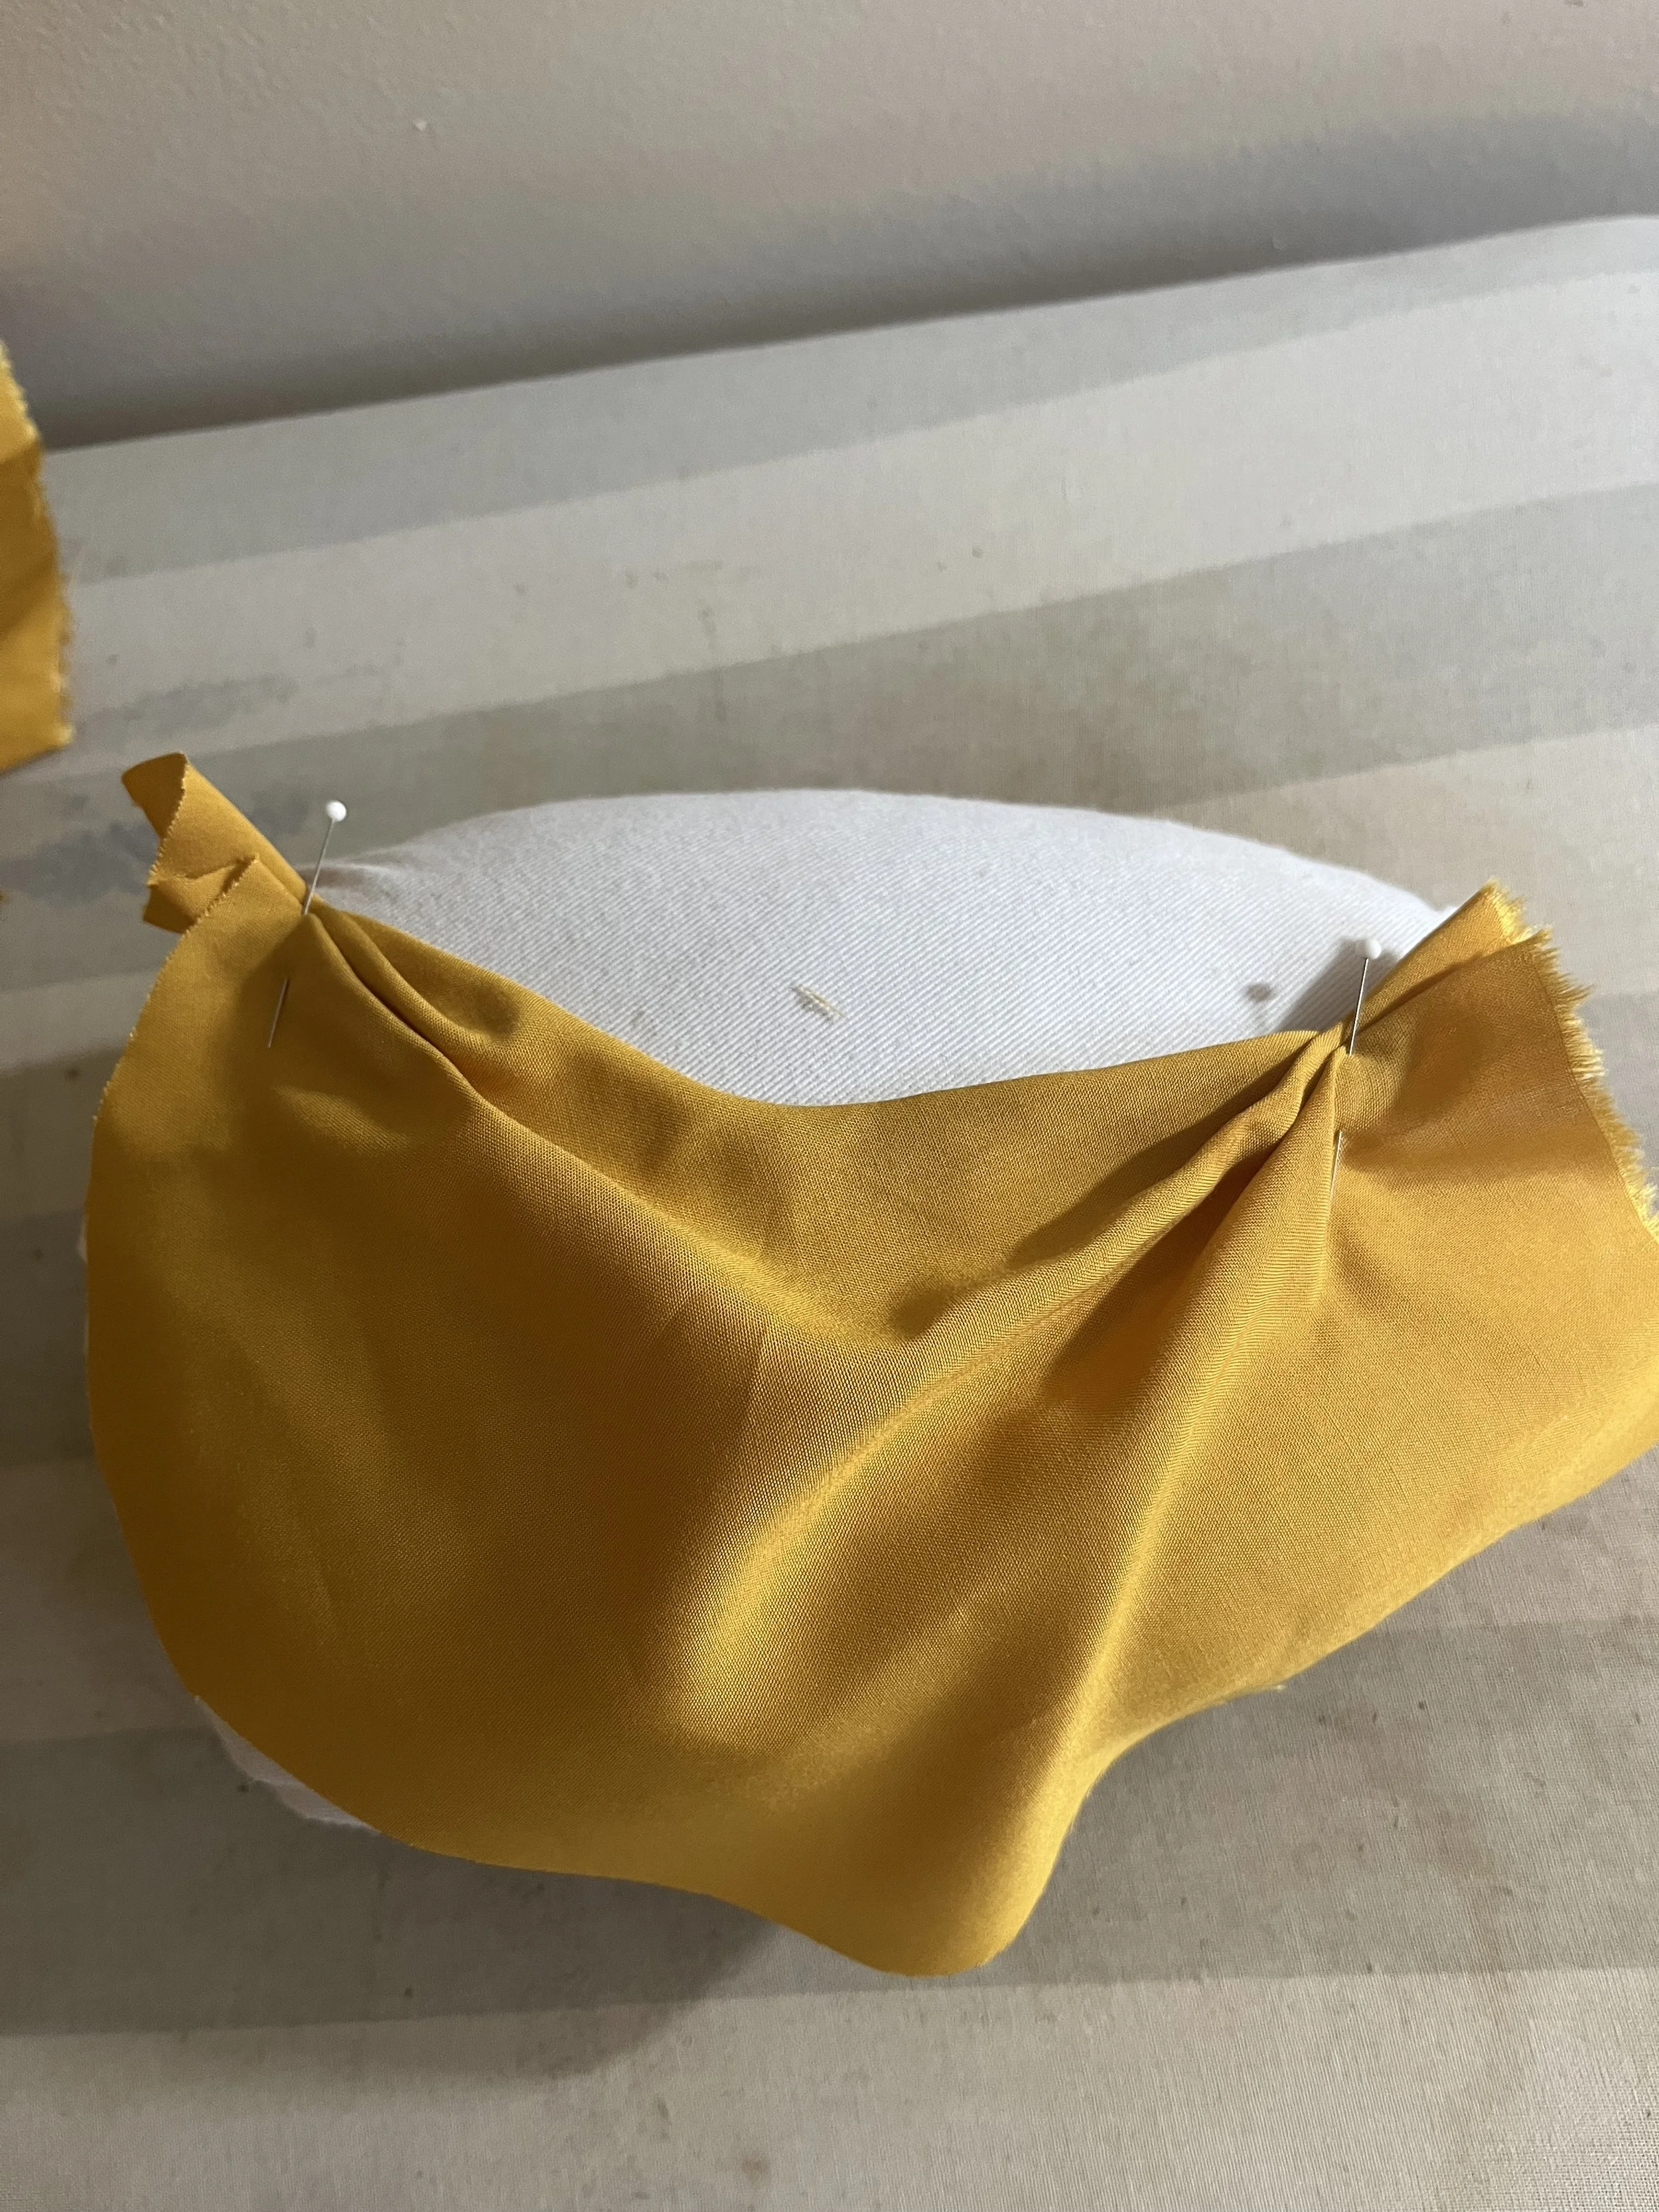
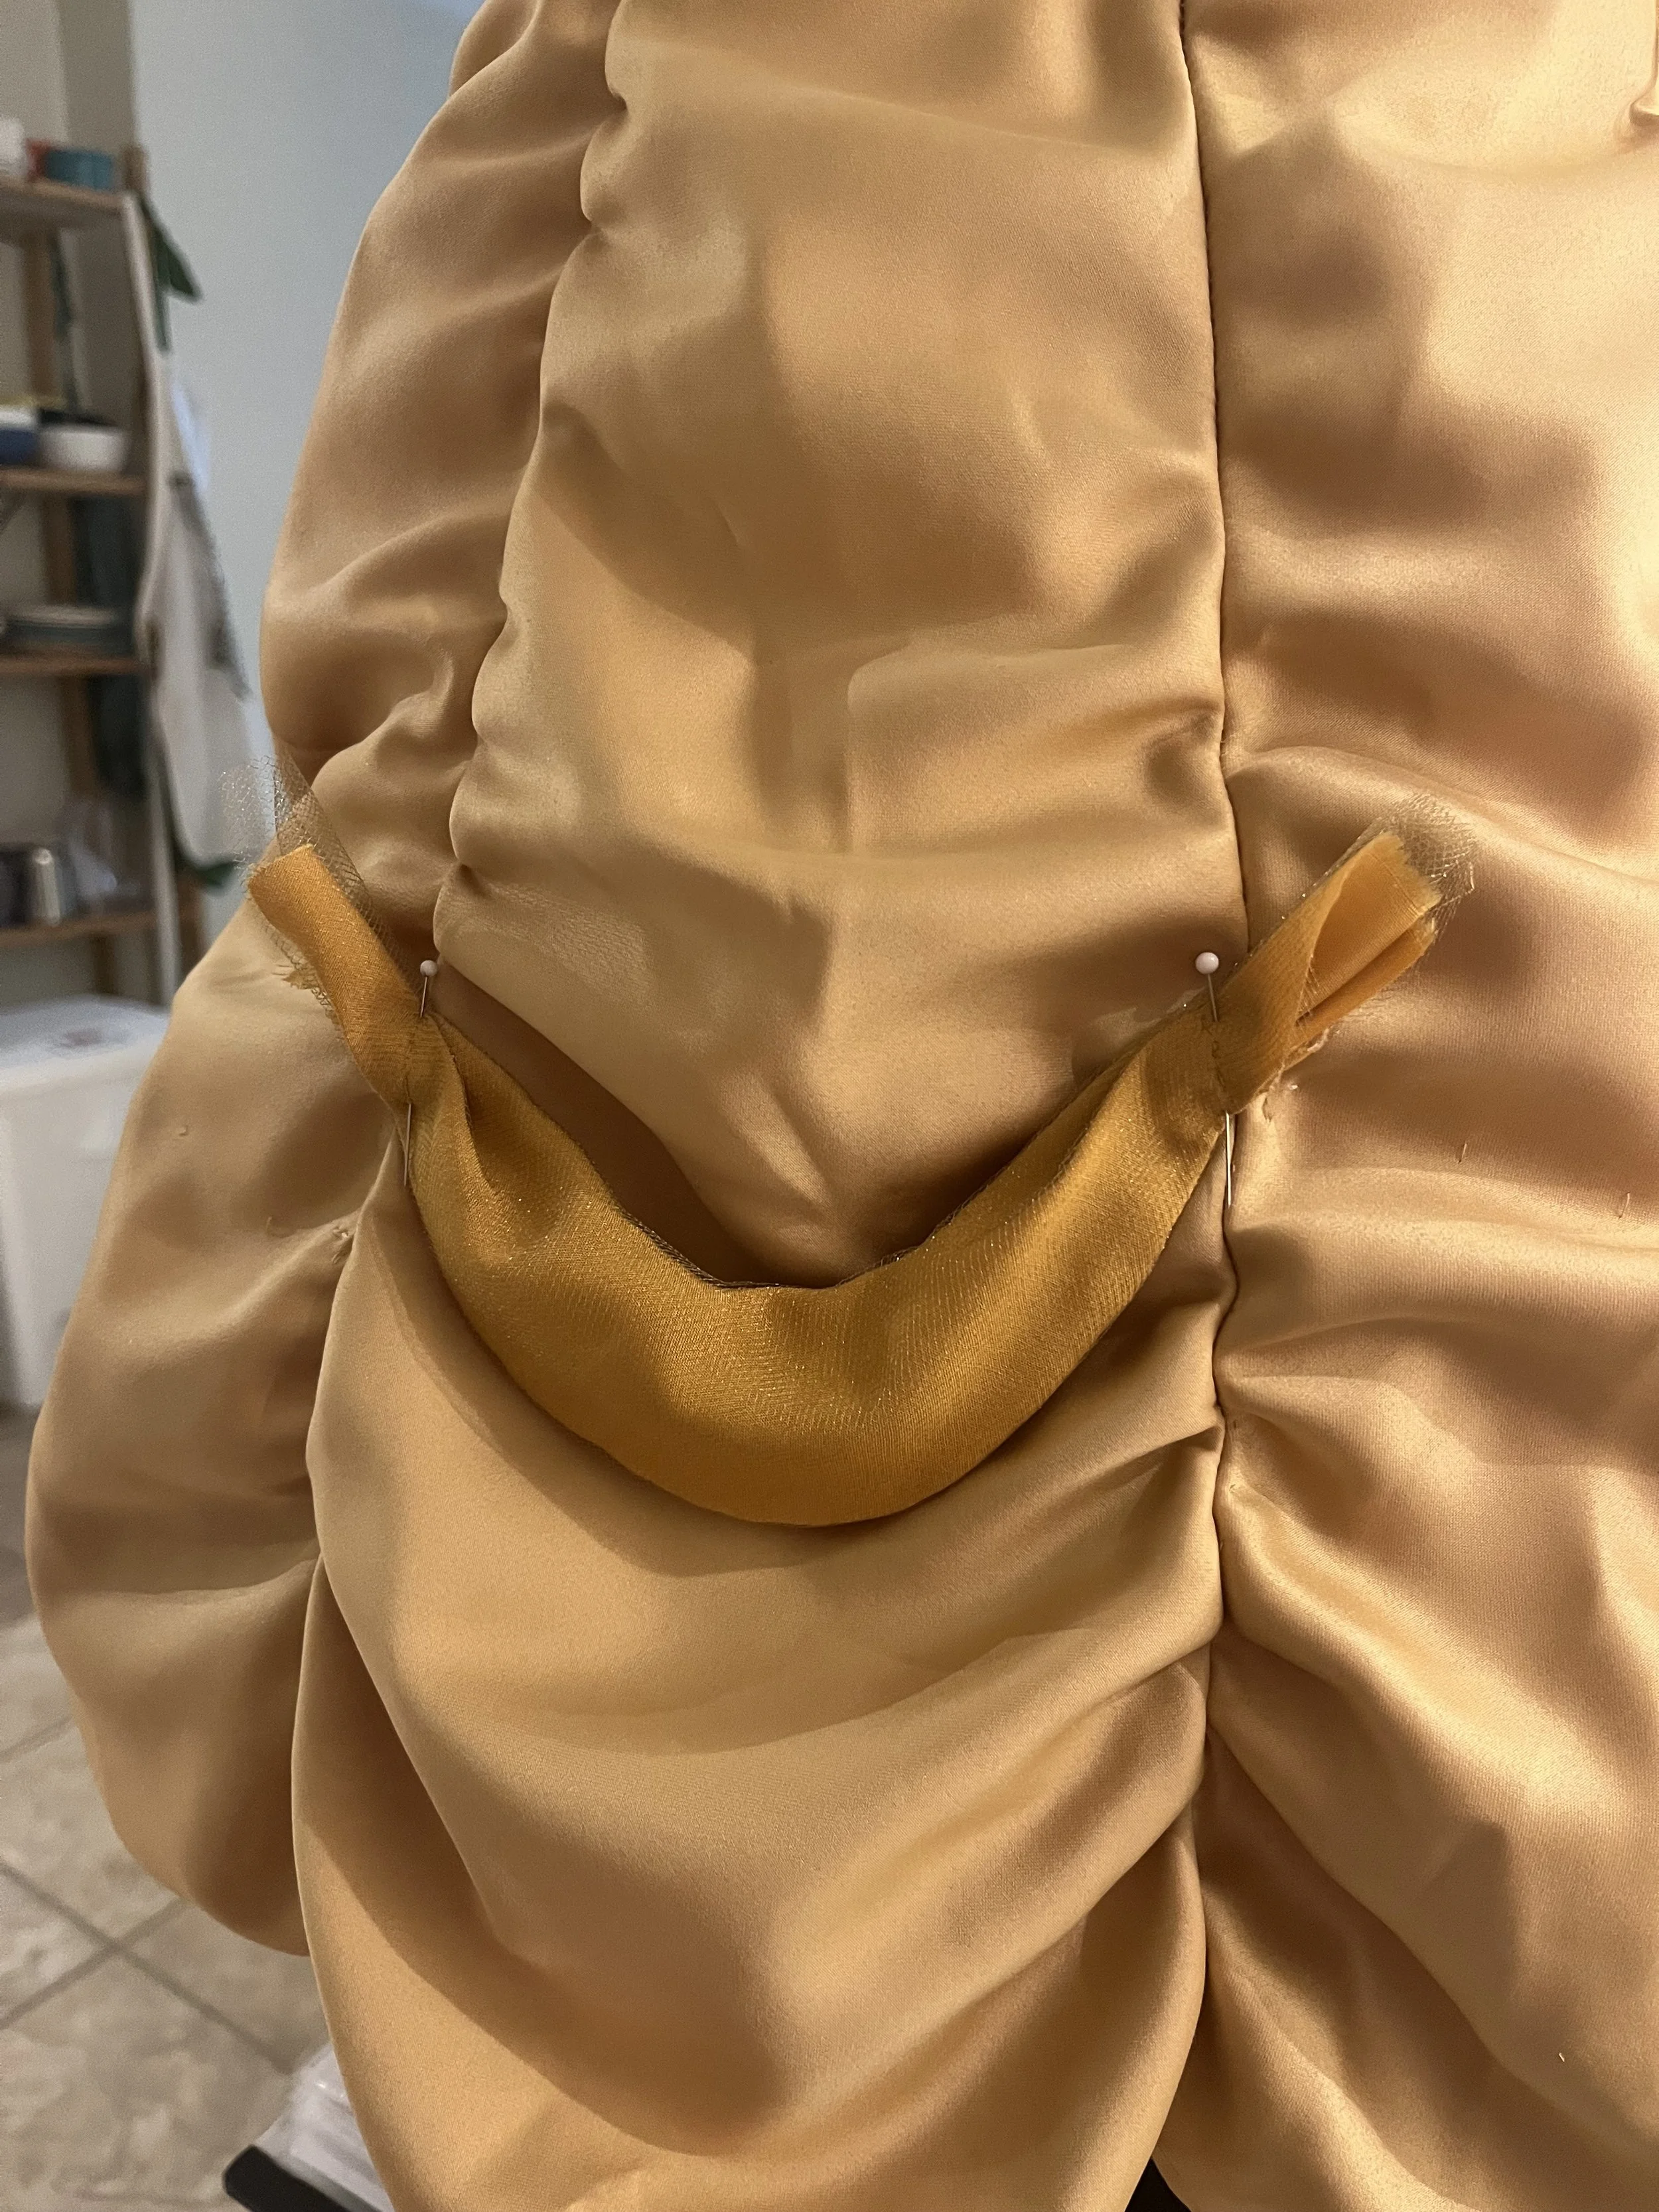
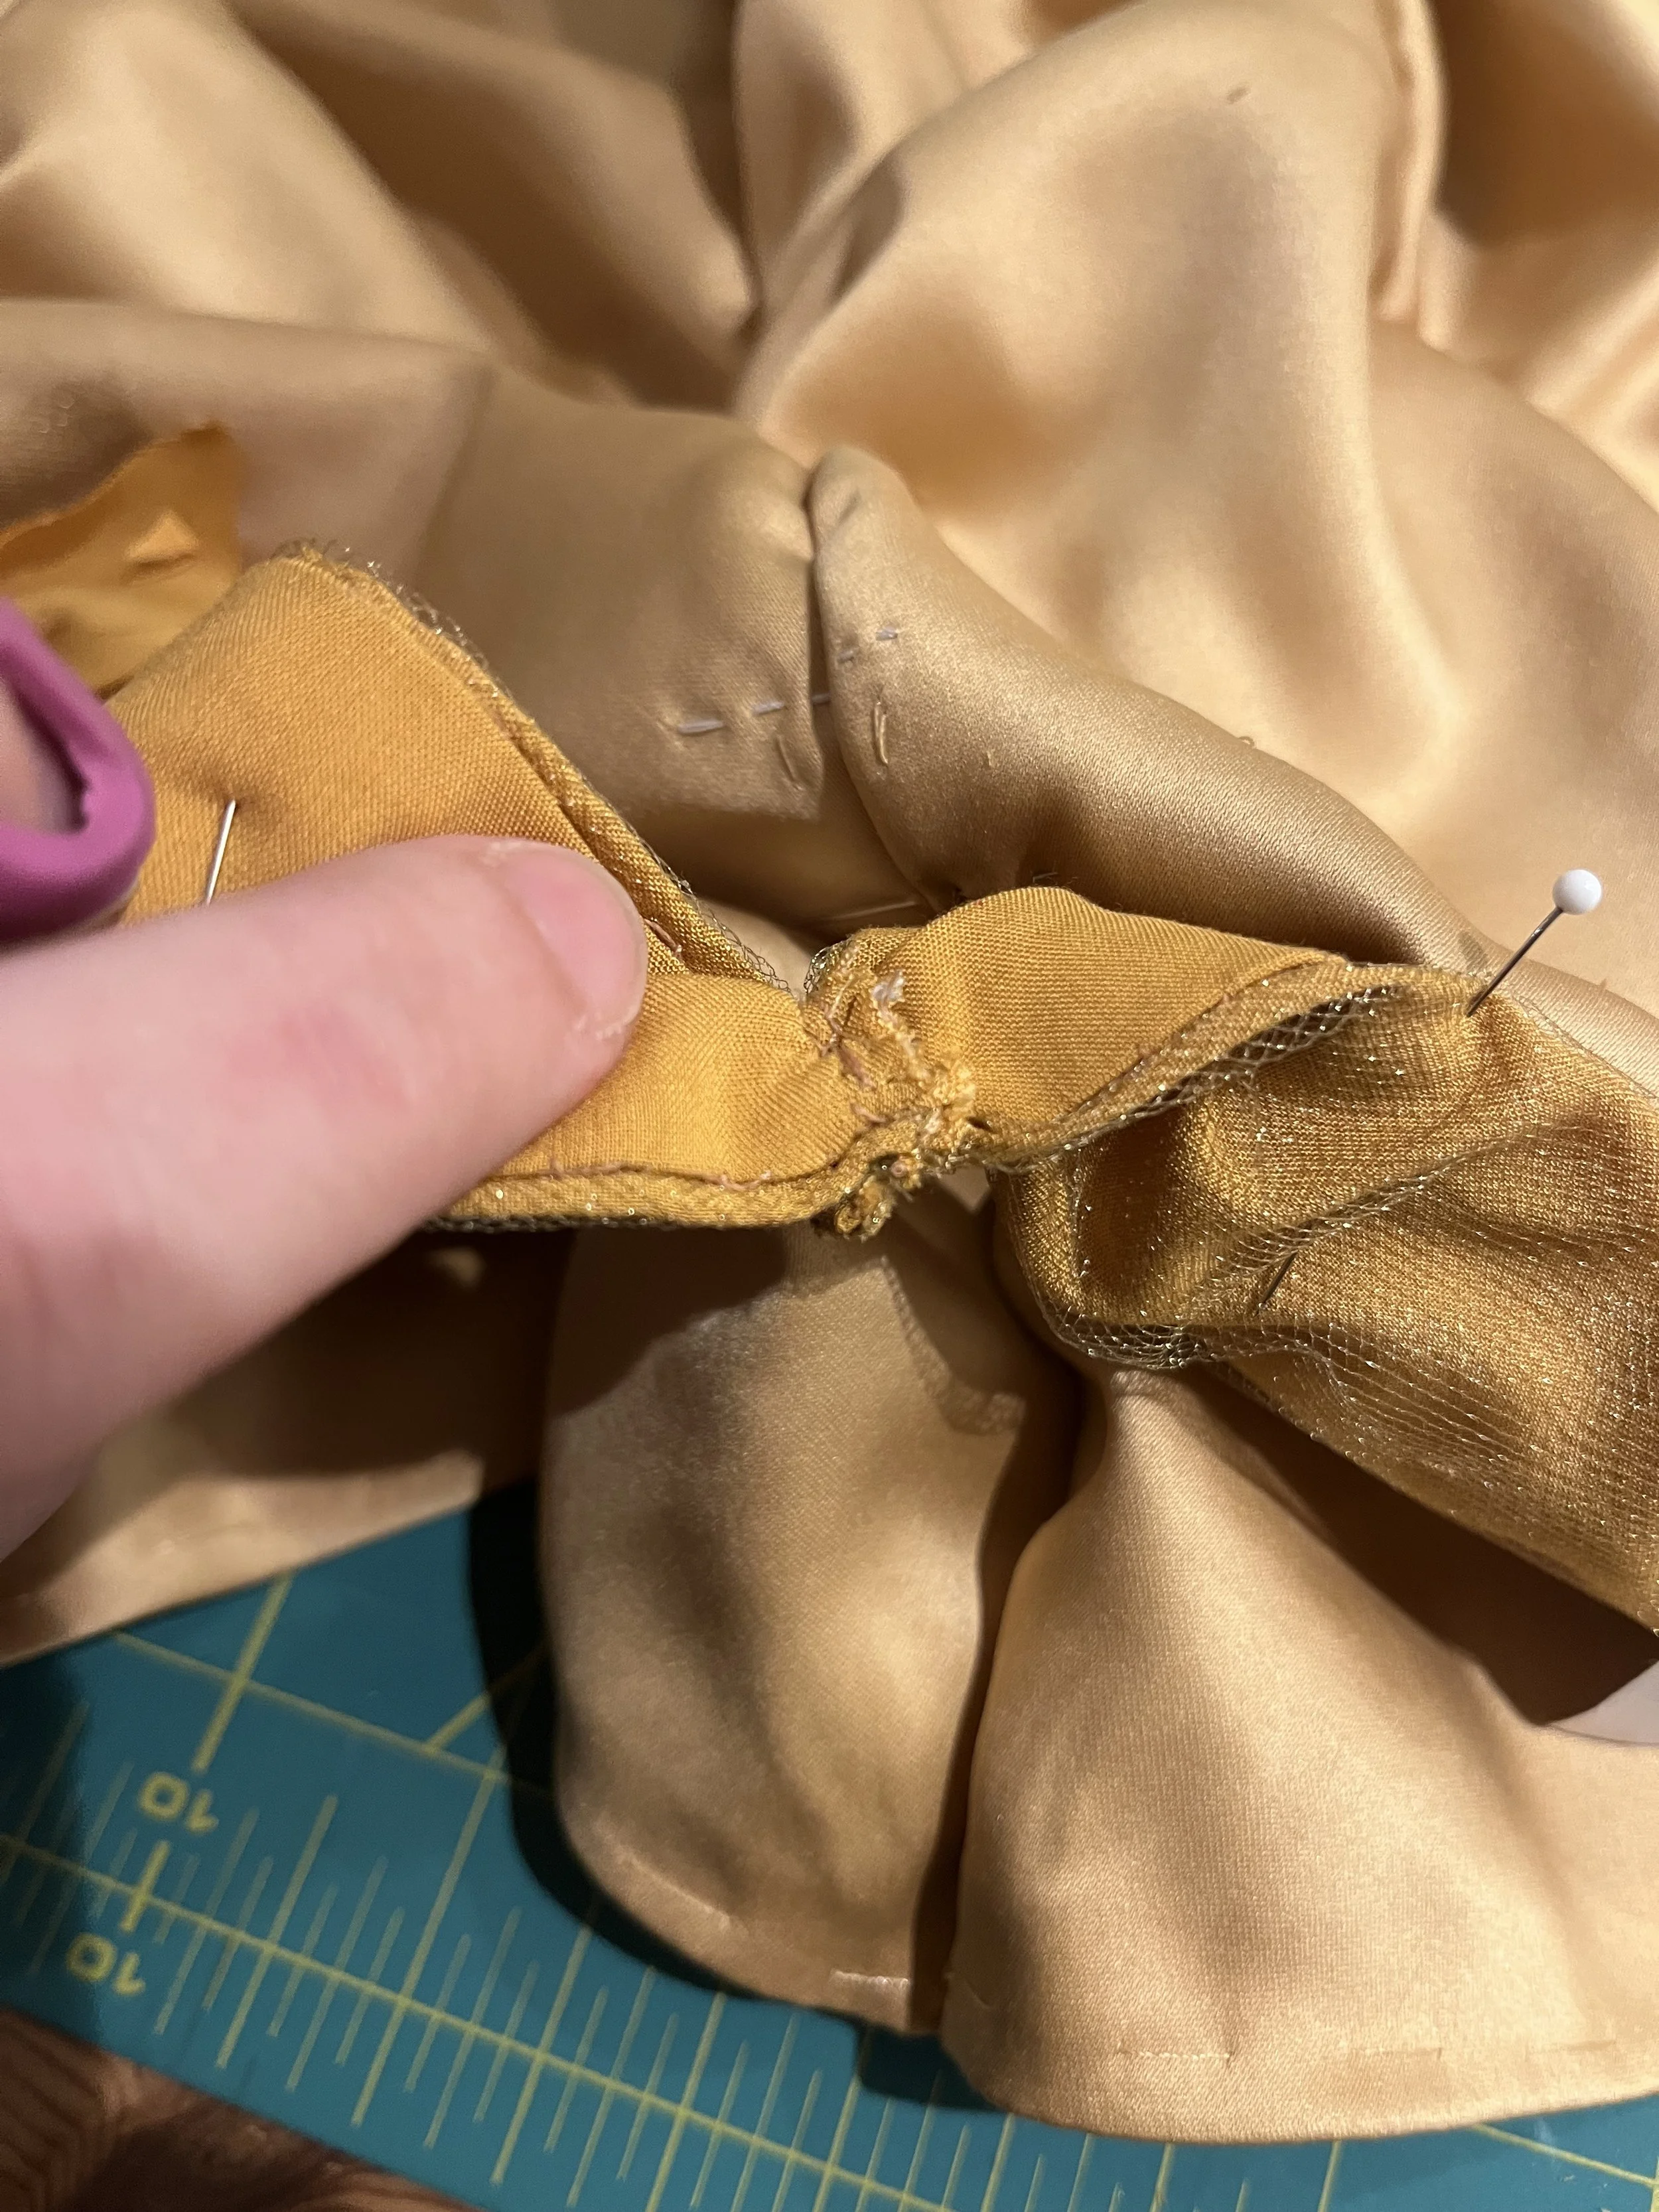
Now, several months...actually a year...maybe more....a long time later, I took another crack at it. The question of how to give it the right shape while also finishing the edges was the main problem. To be honest, I don't think I totally solved it and if I were to build this again (ha!) I would try something different, perhaps including them in the structure of the skirt rather than as a separate piece to be added on.
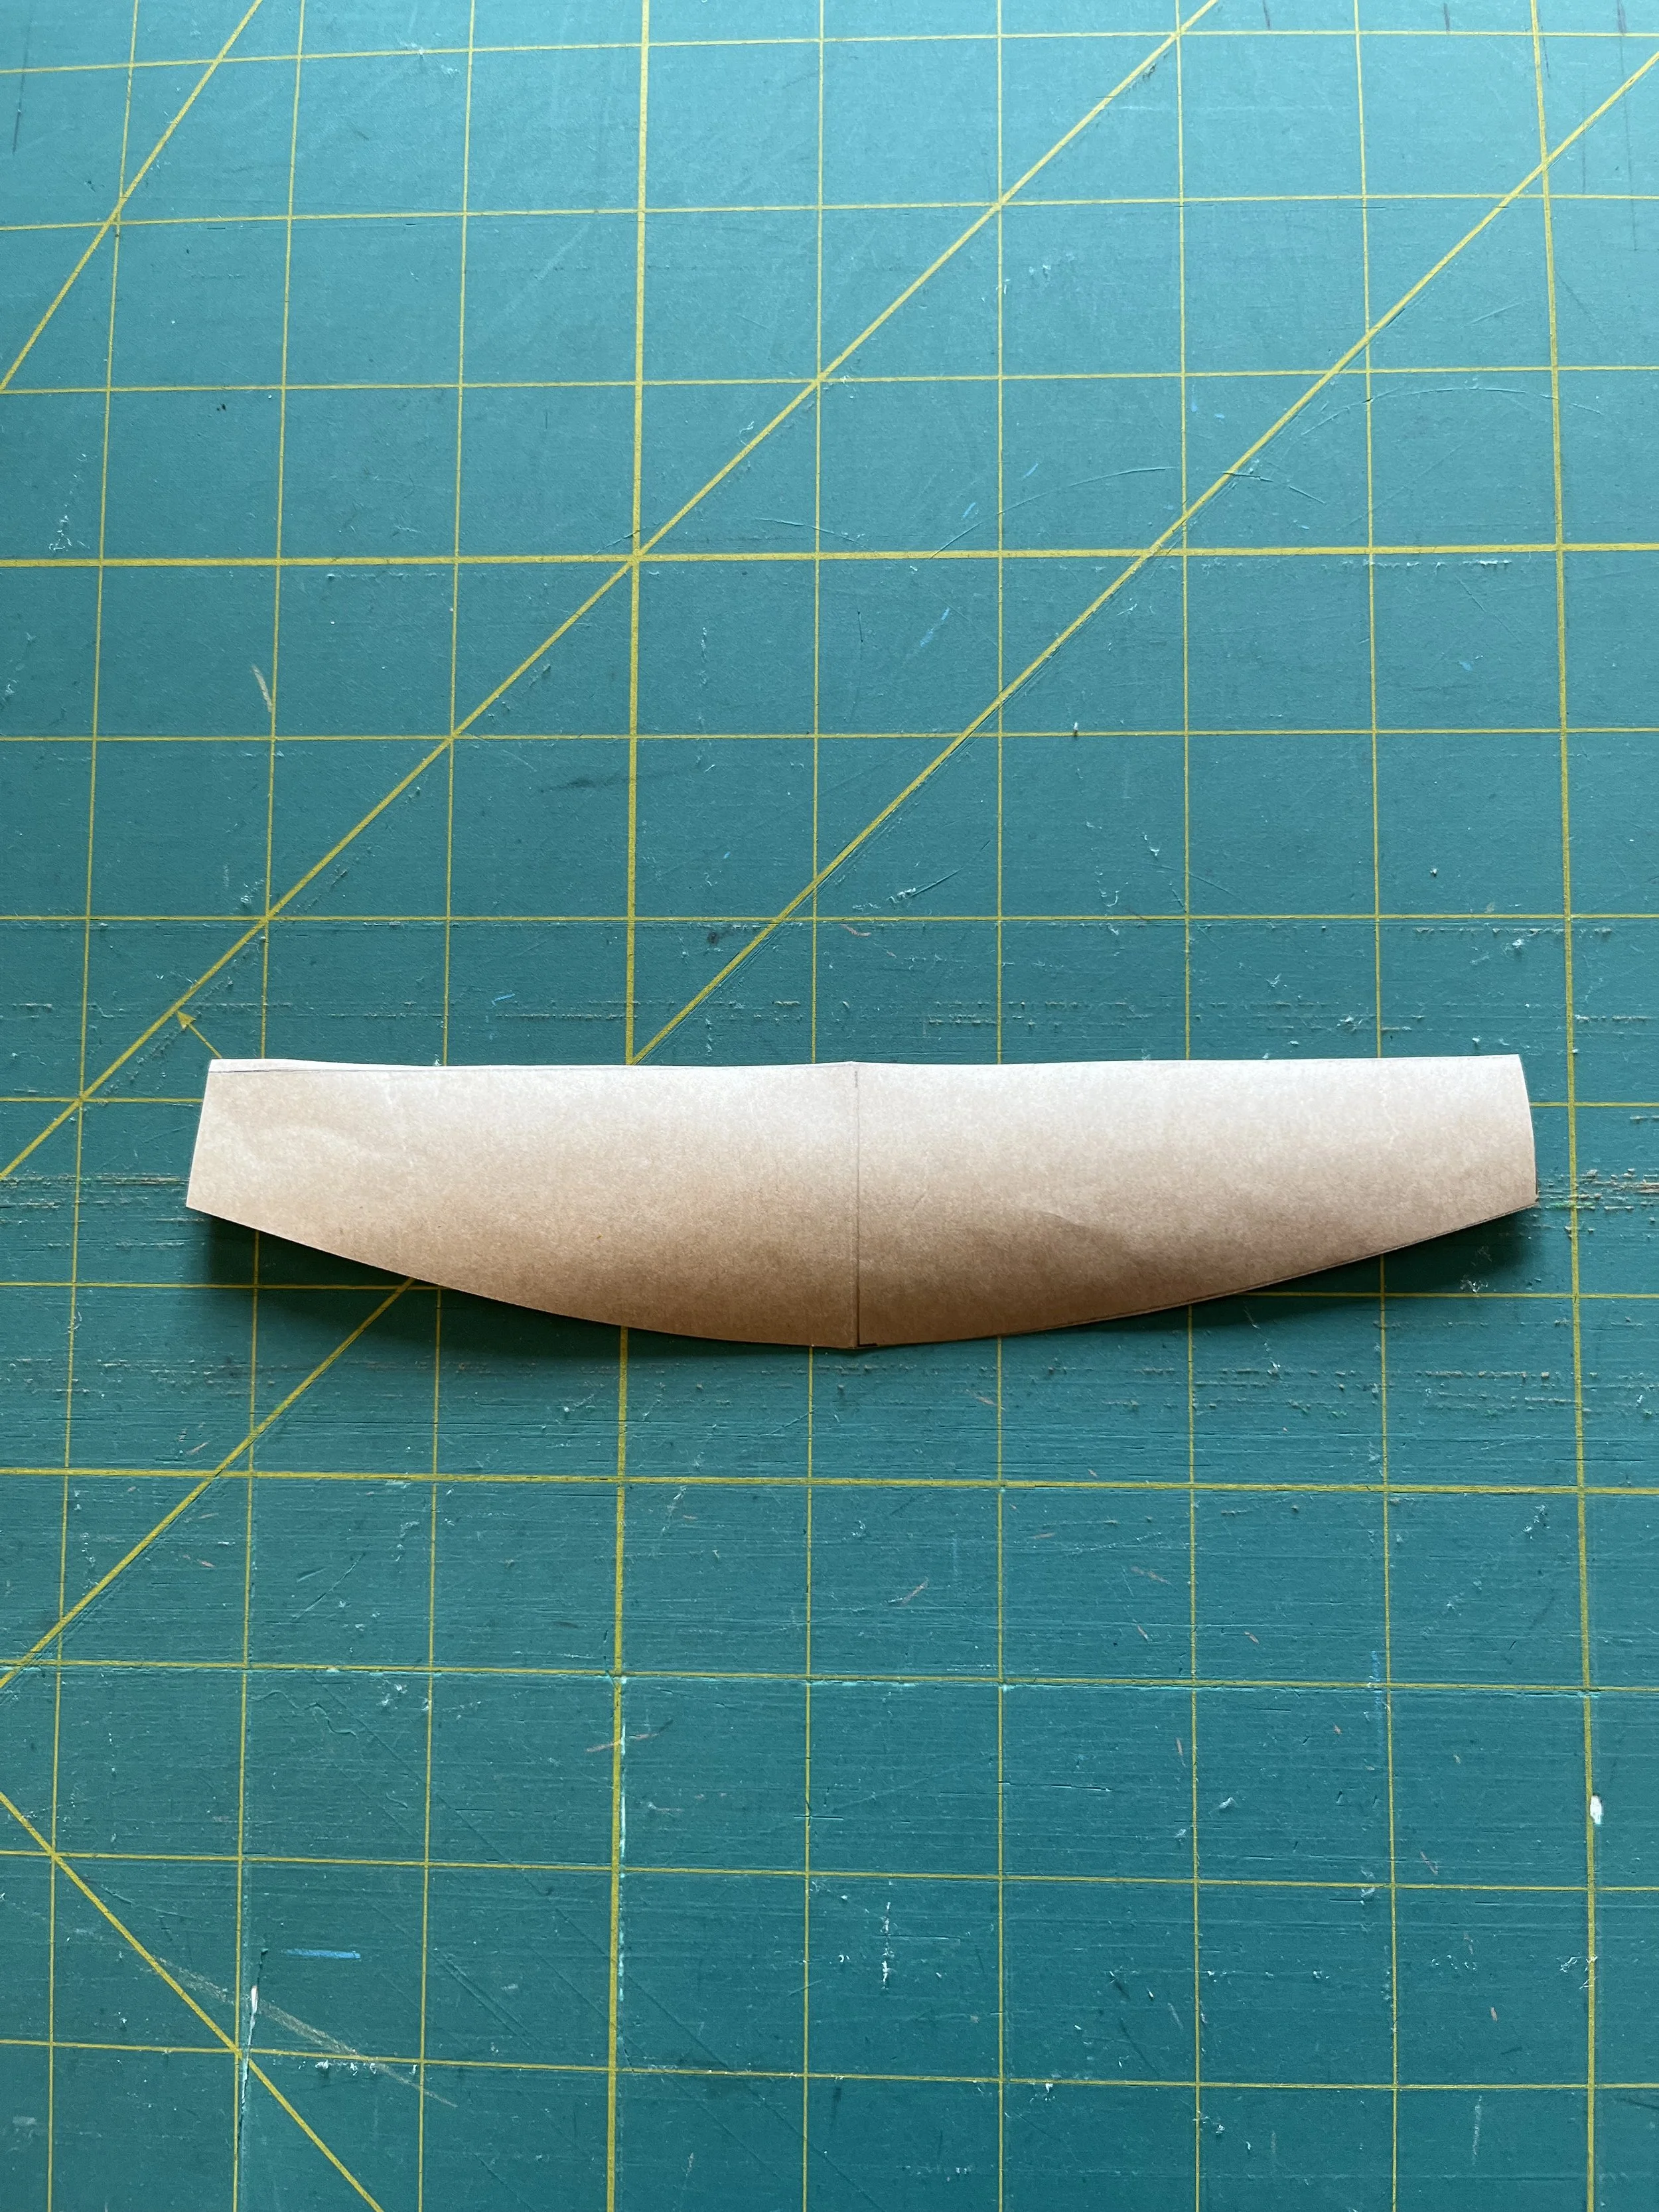
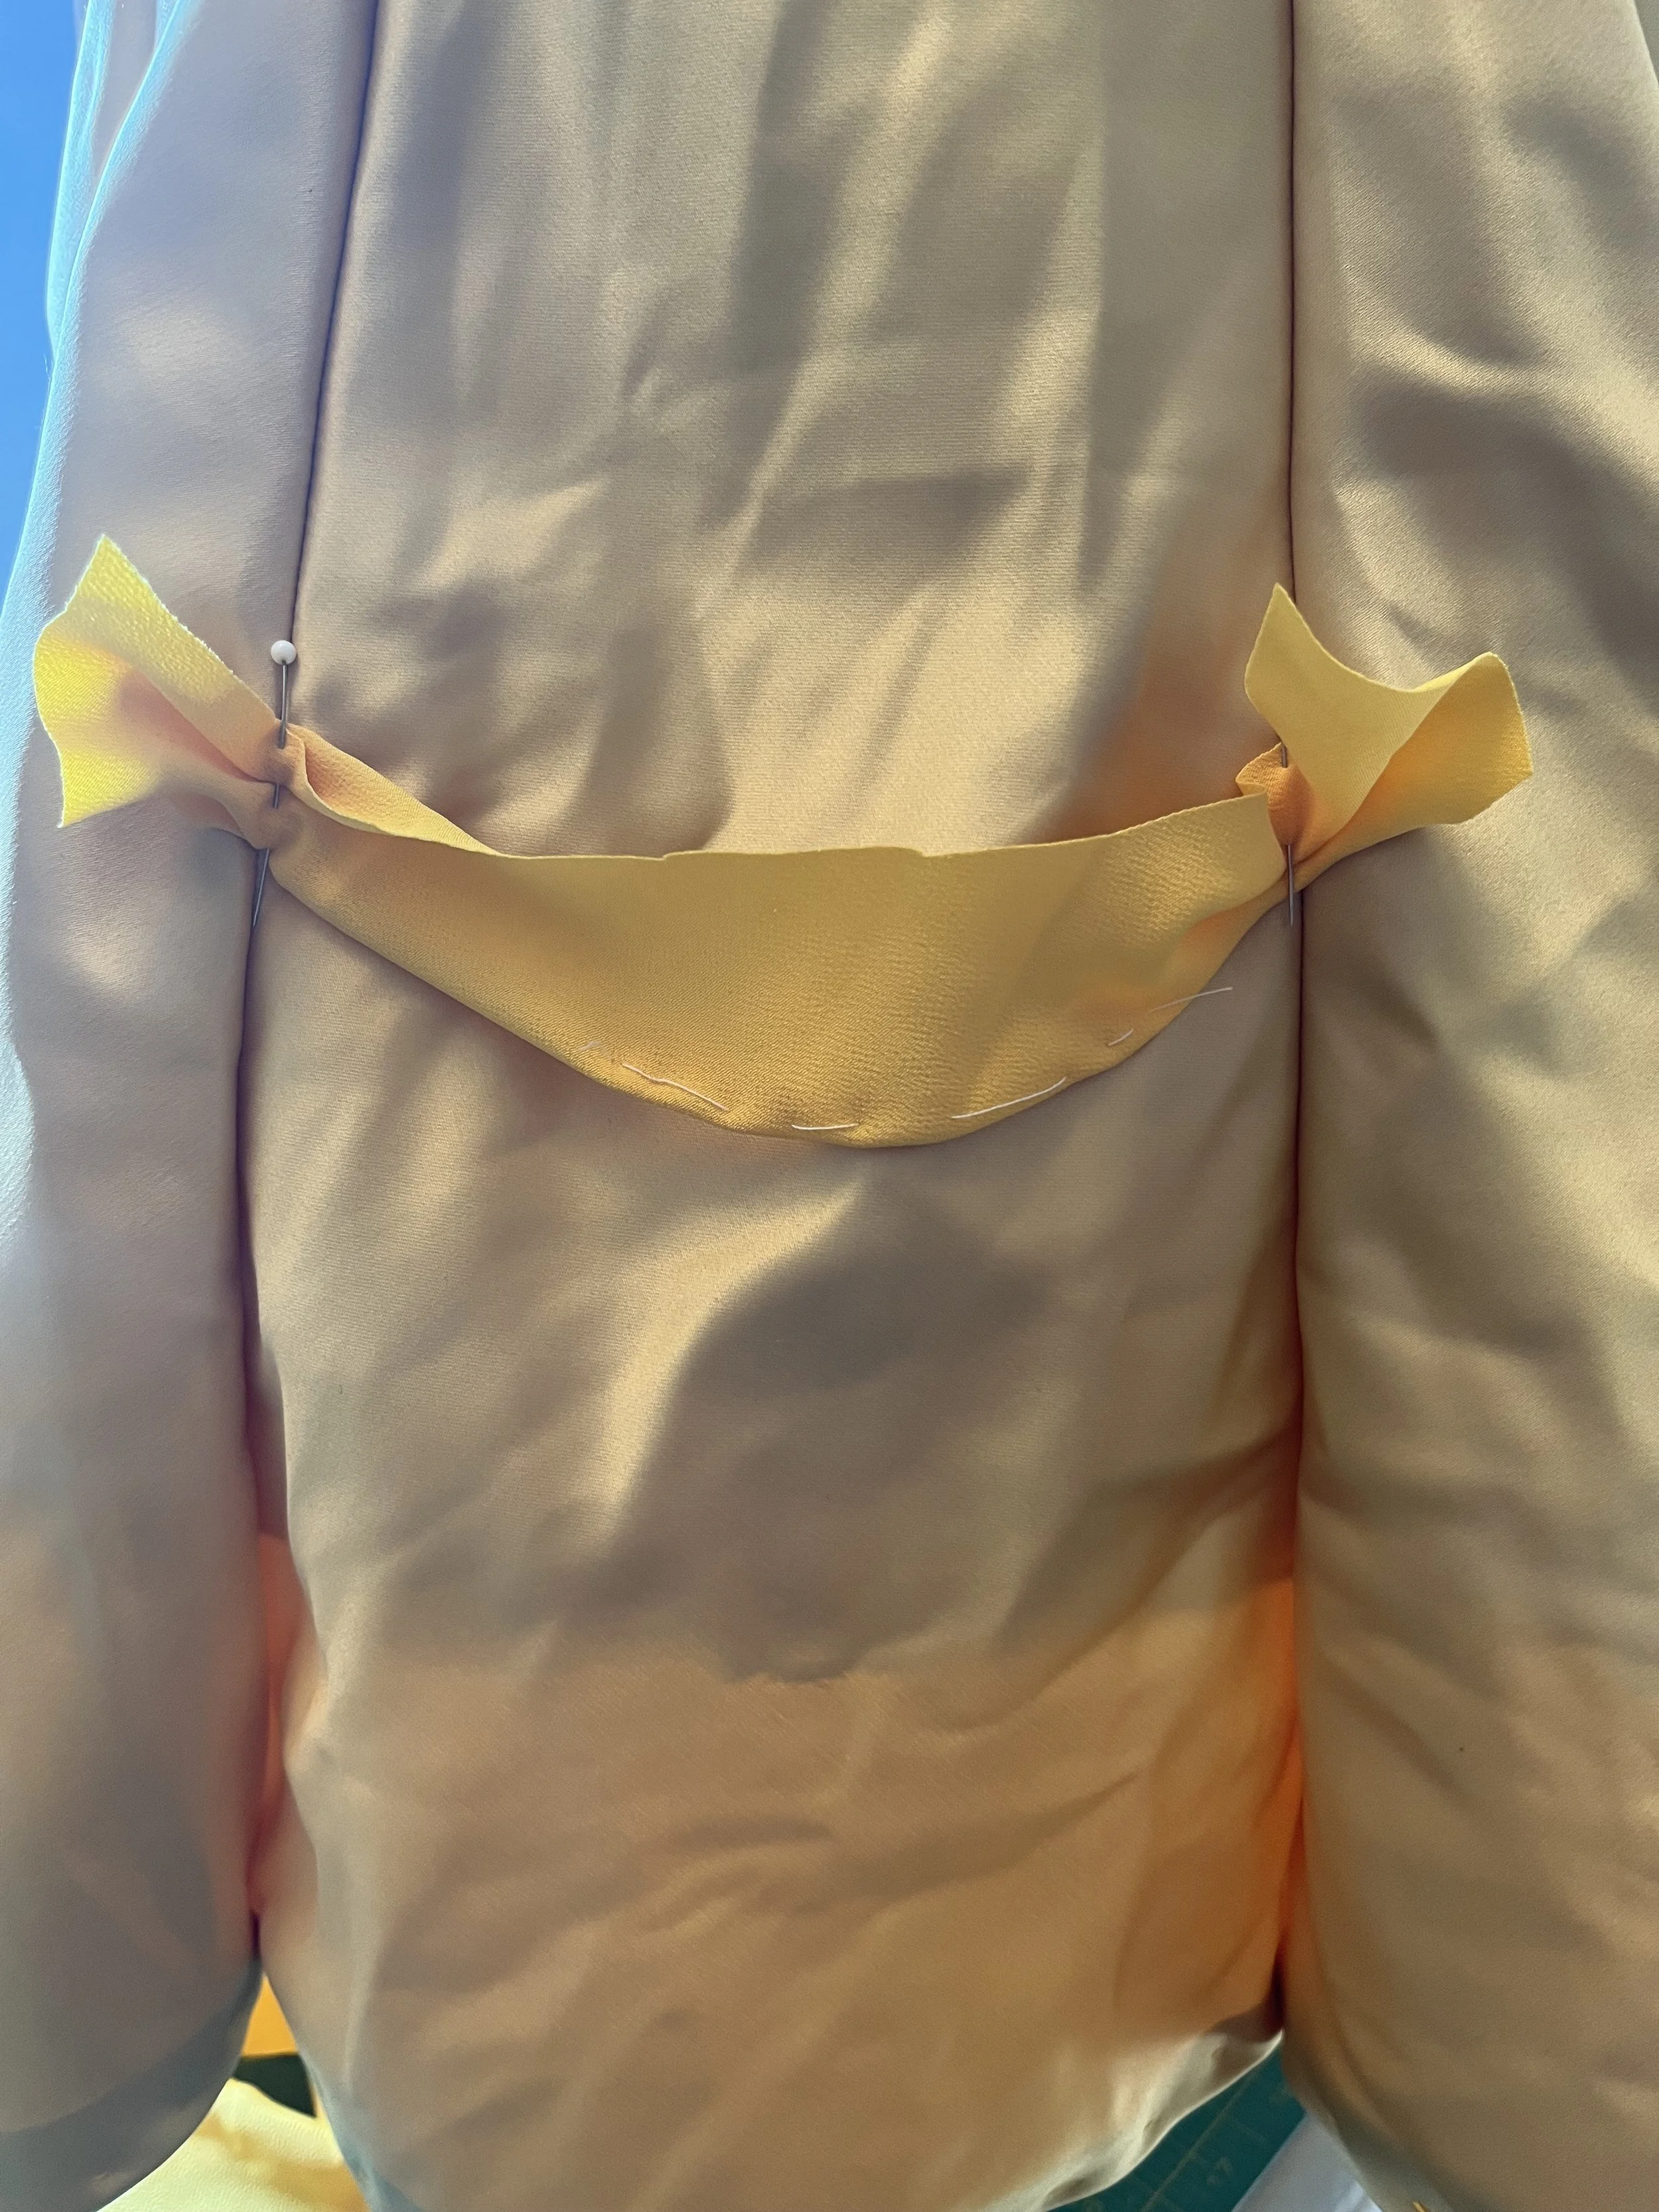
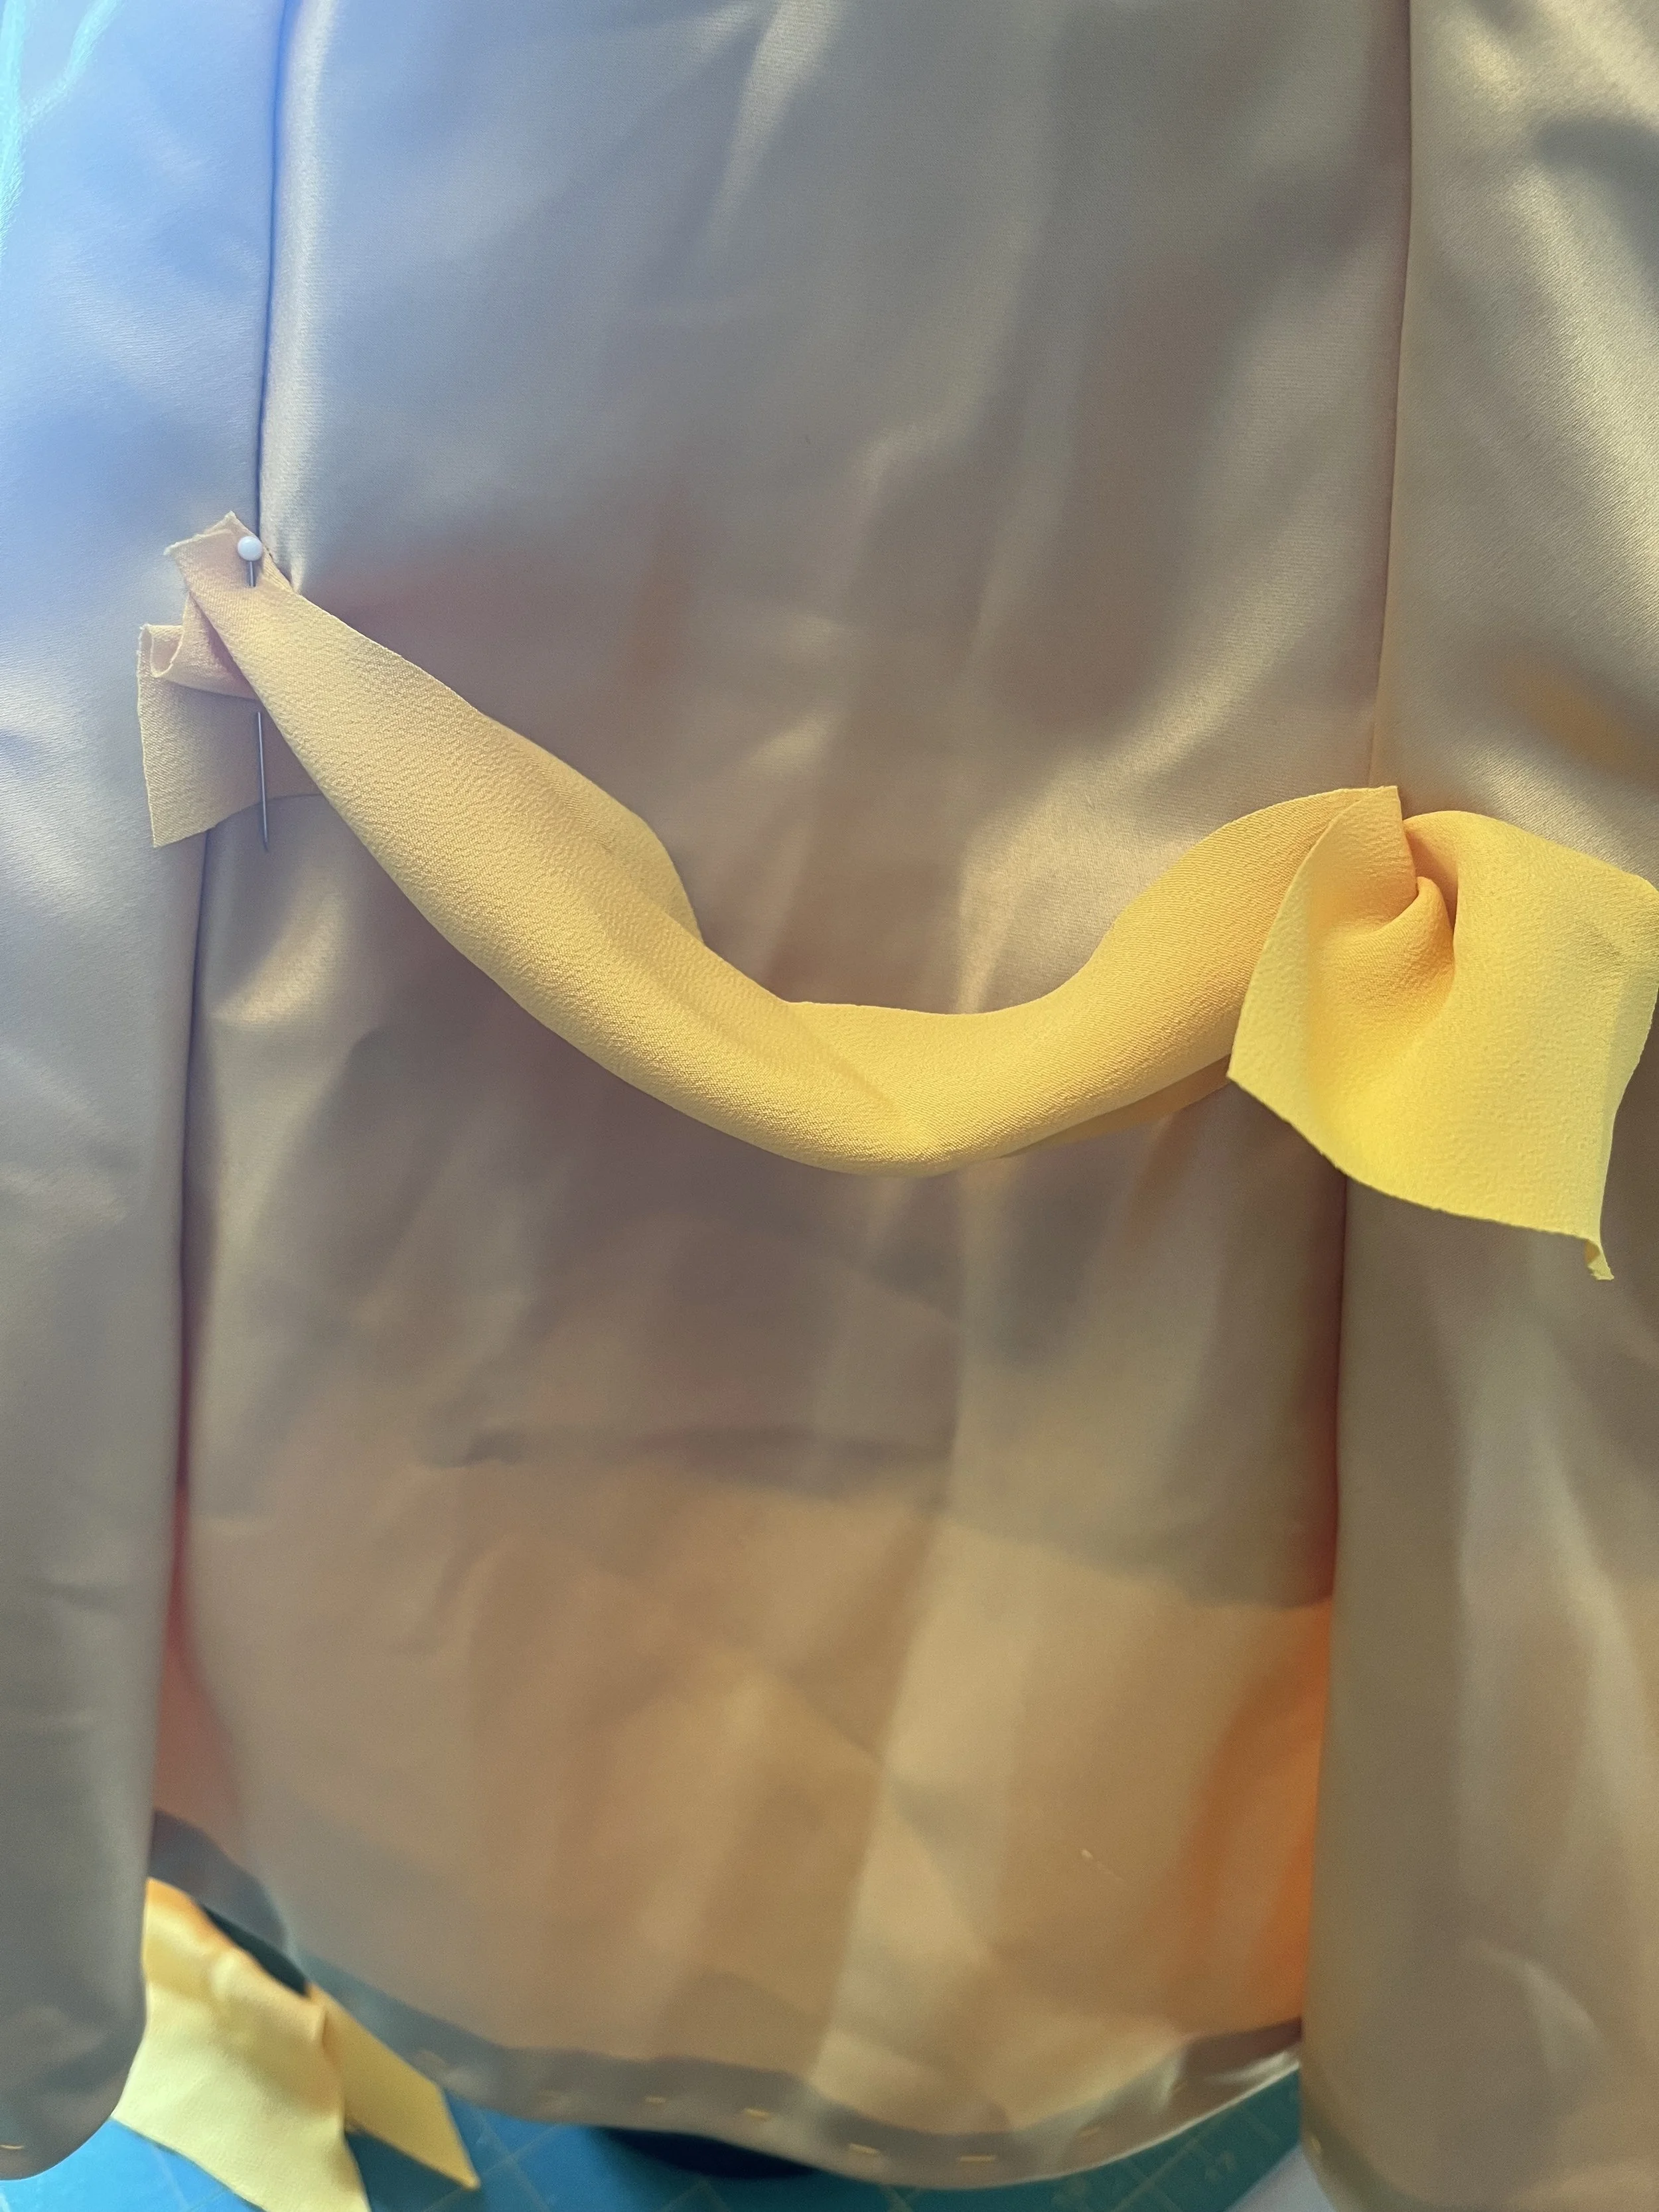
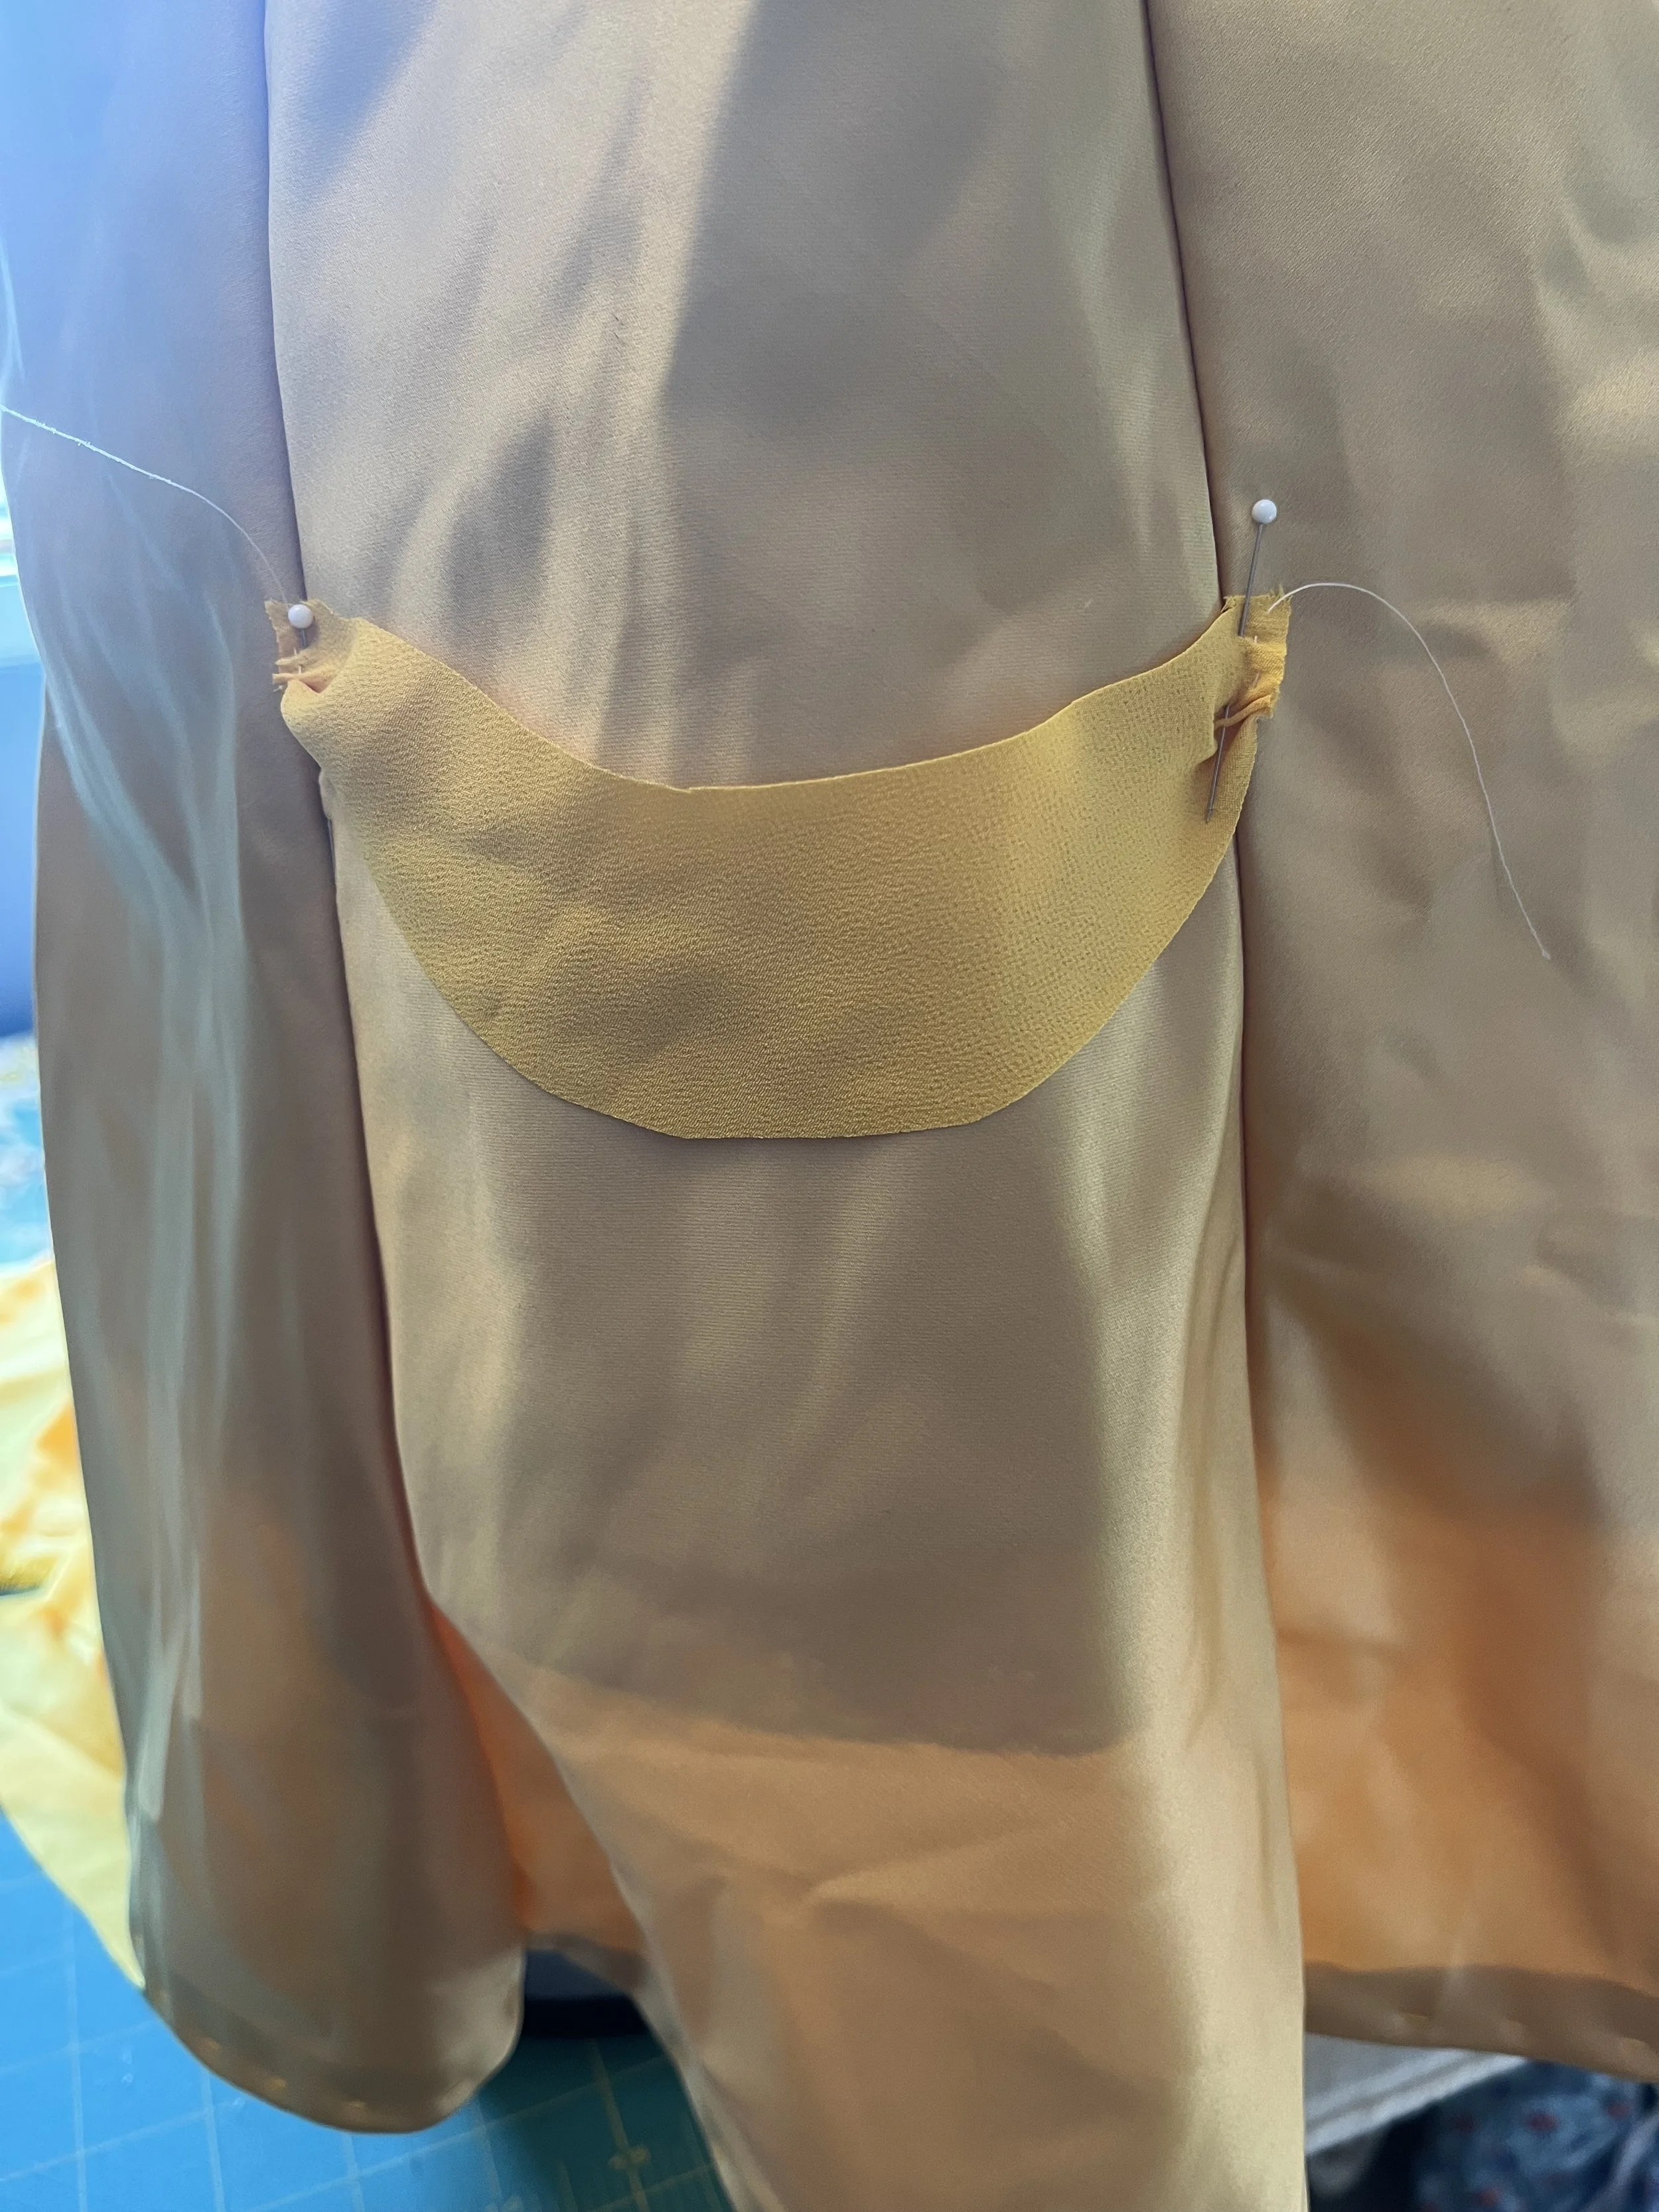
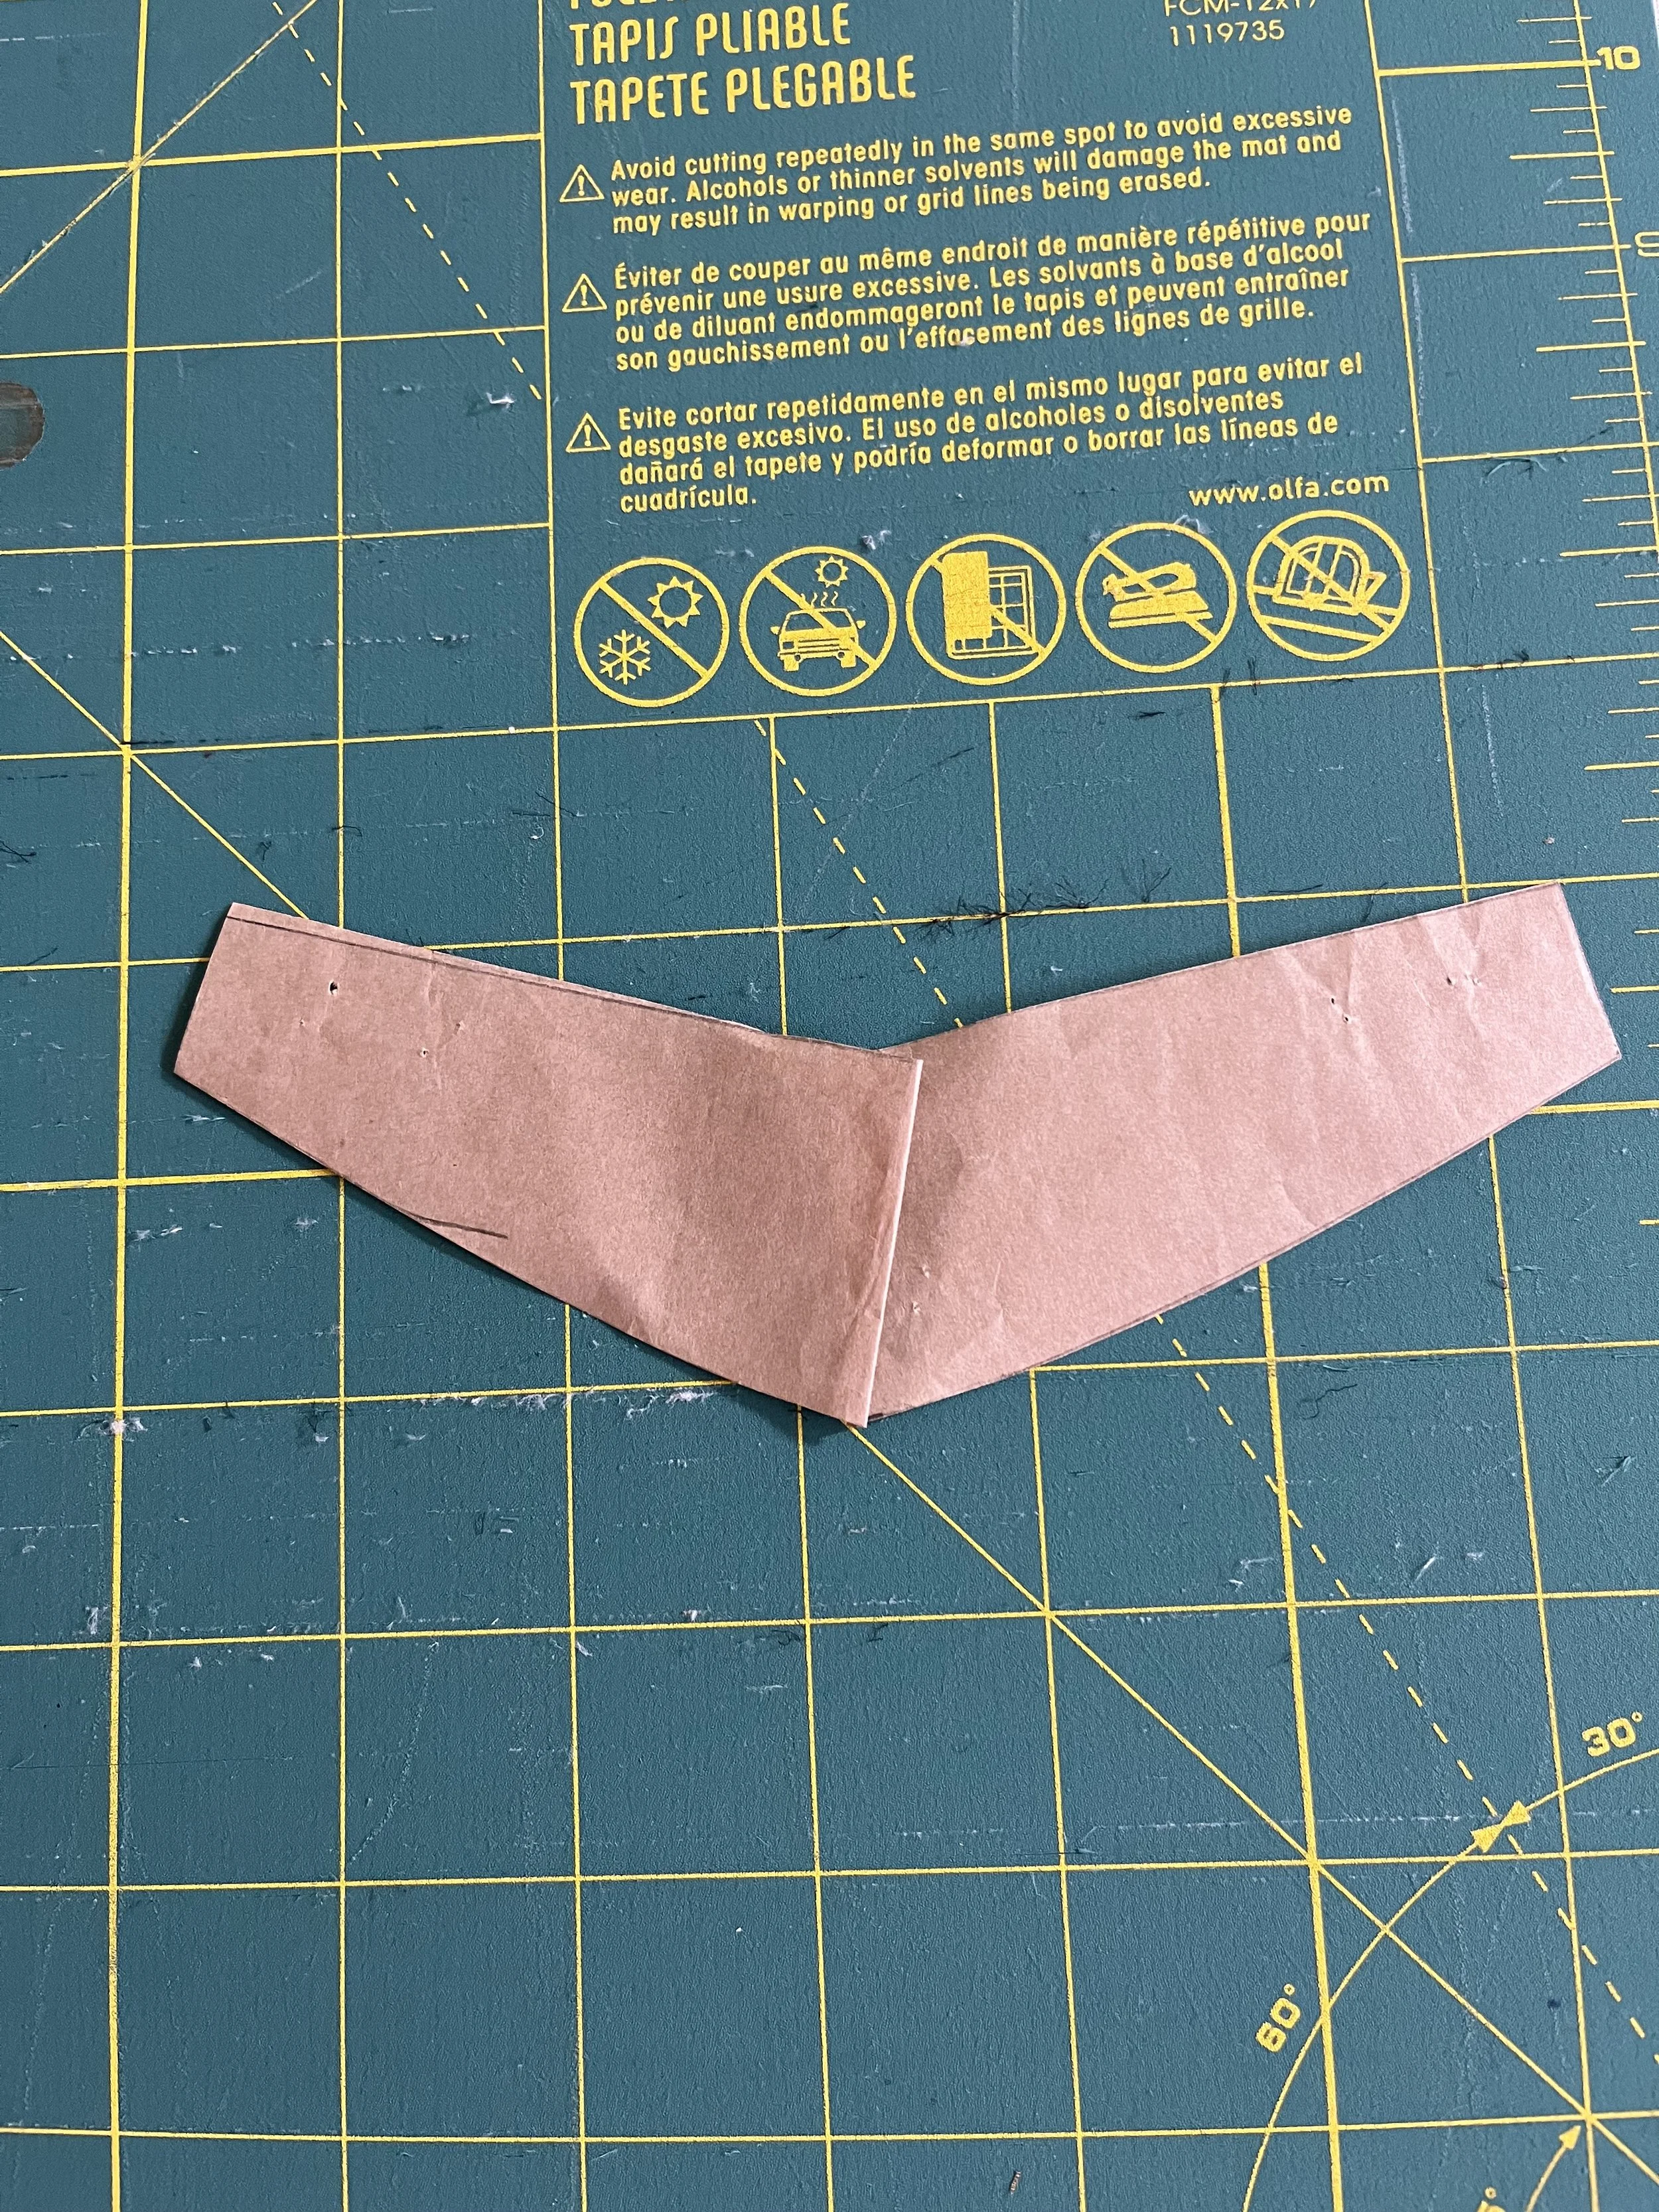
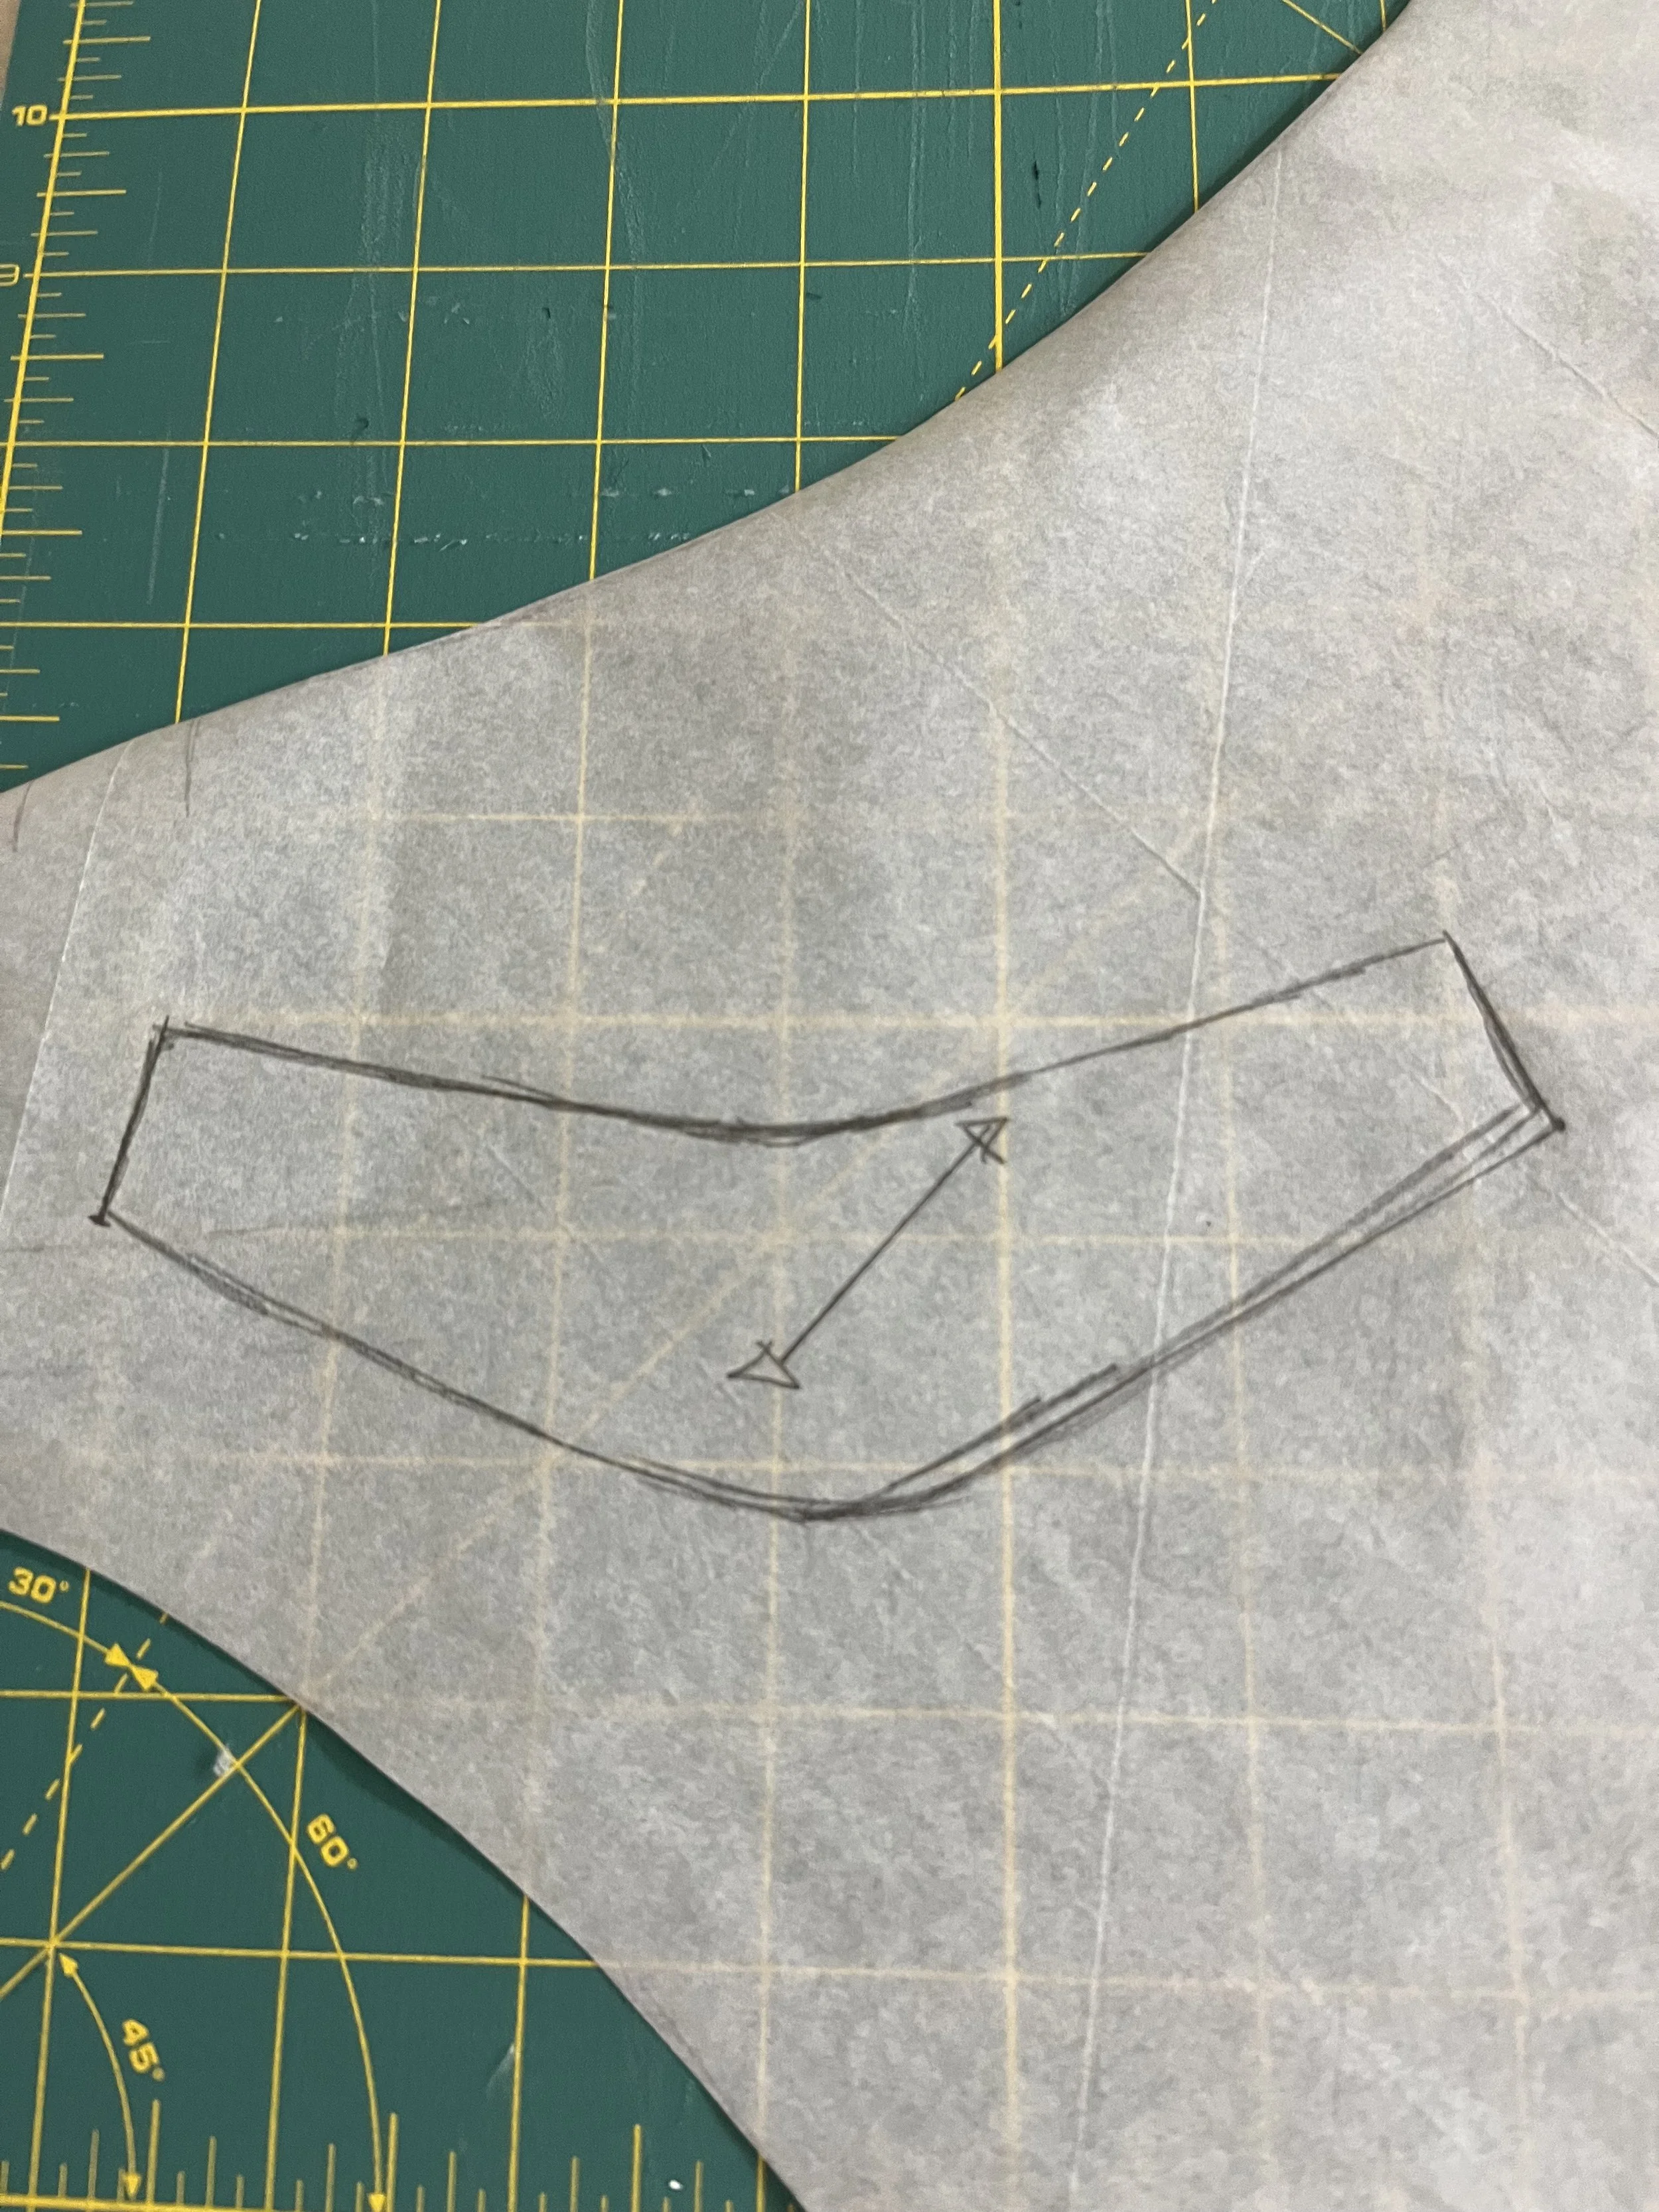
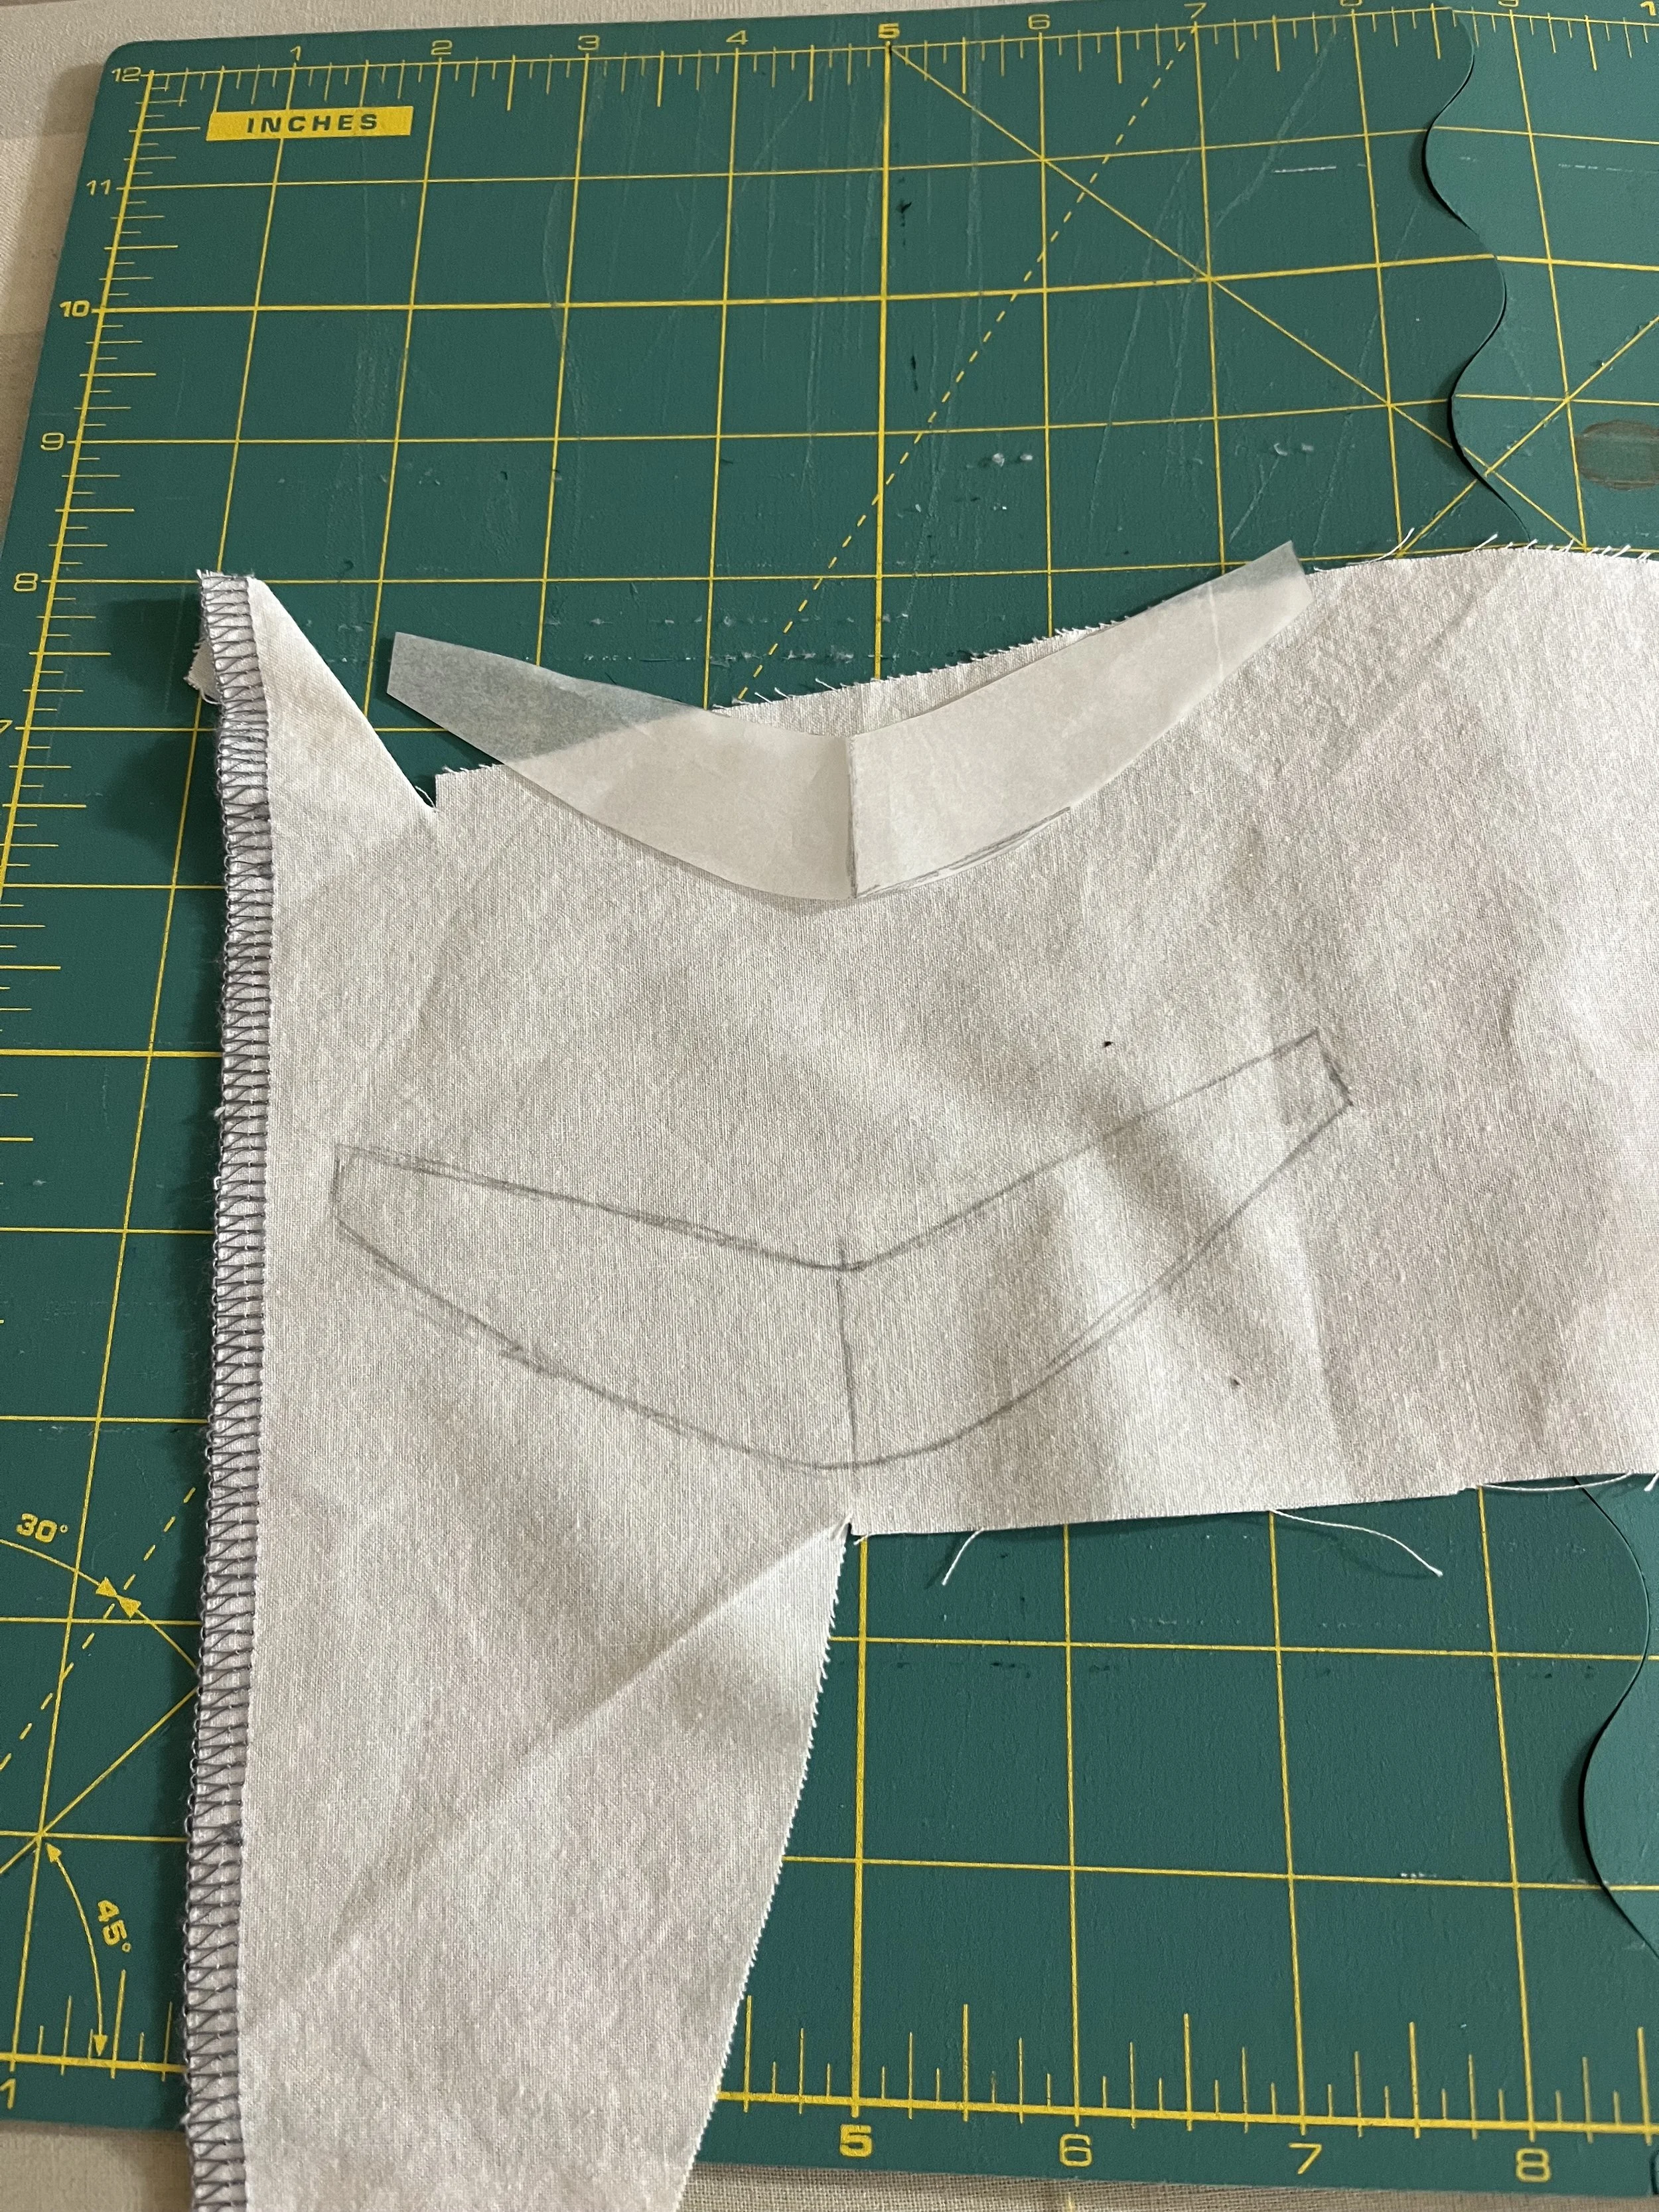
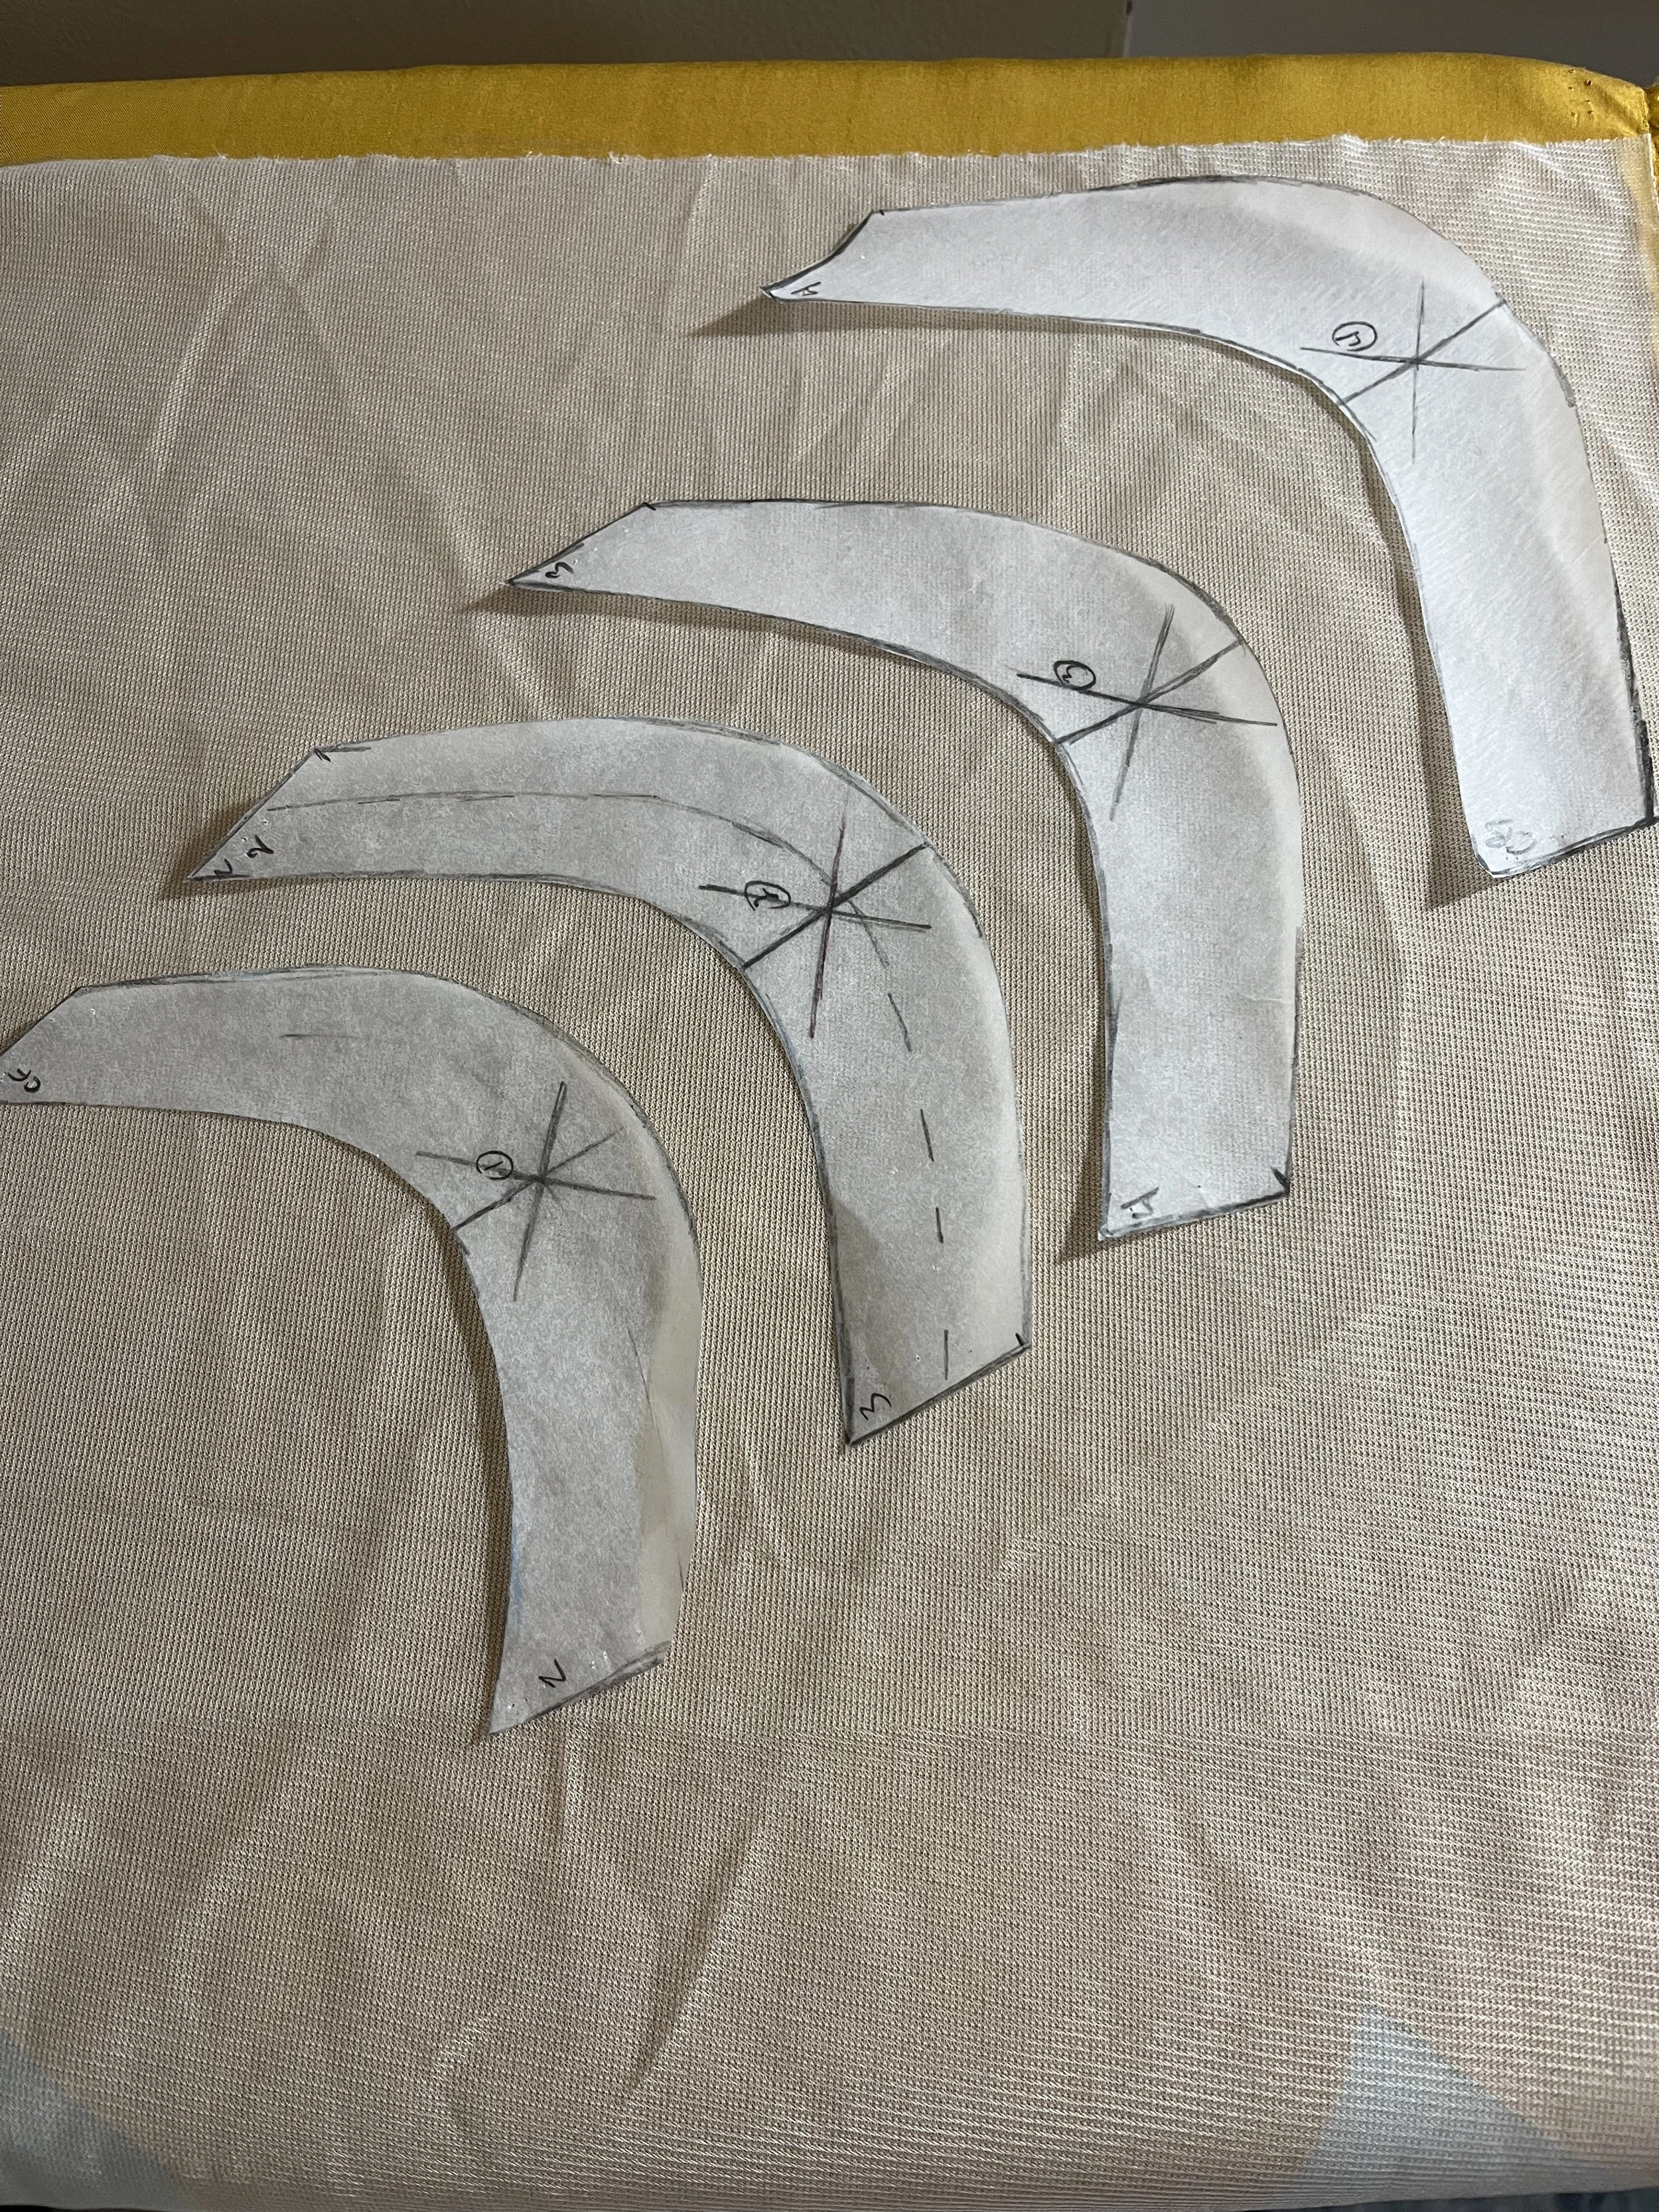
I eventually landed on the idea of a base which would be the desired shape, upon which I would drape another piece to give it the fullness and texture I wanted. This would also continue the bias party. I did have the wisdom to realize that the base pieces would have to one: be shaped to be higher at the front and two: get longer as the swags moved down to wider parts of the skirt panels. I got at least that much right.
I don’t completely hate it…
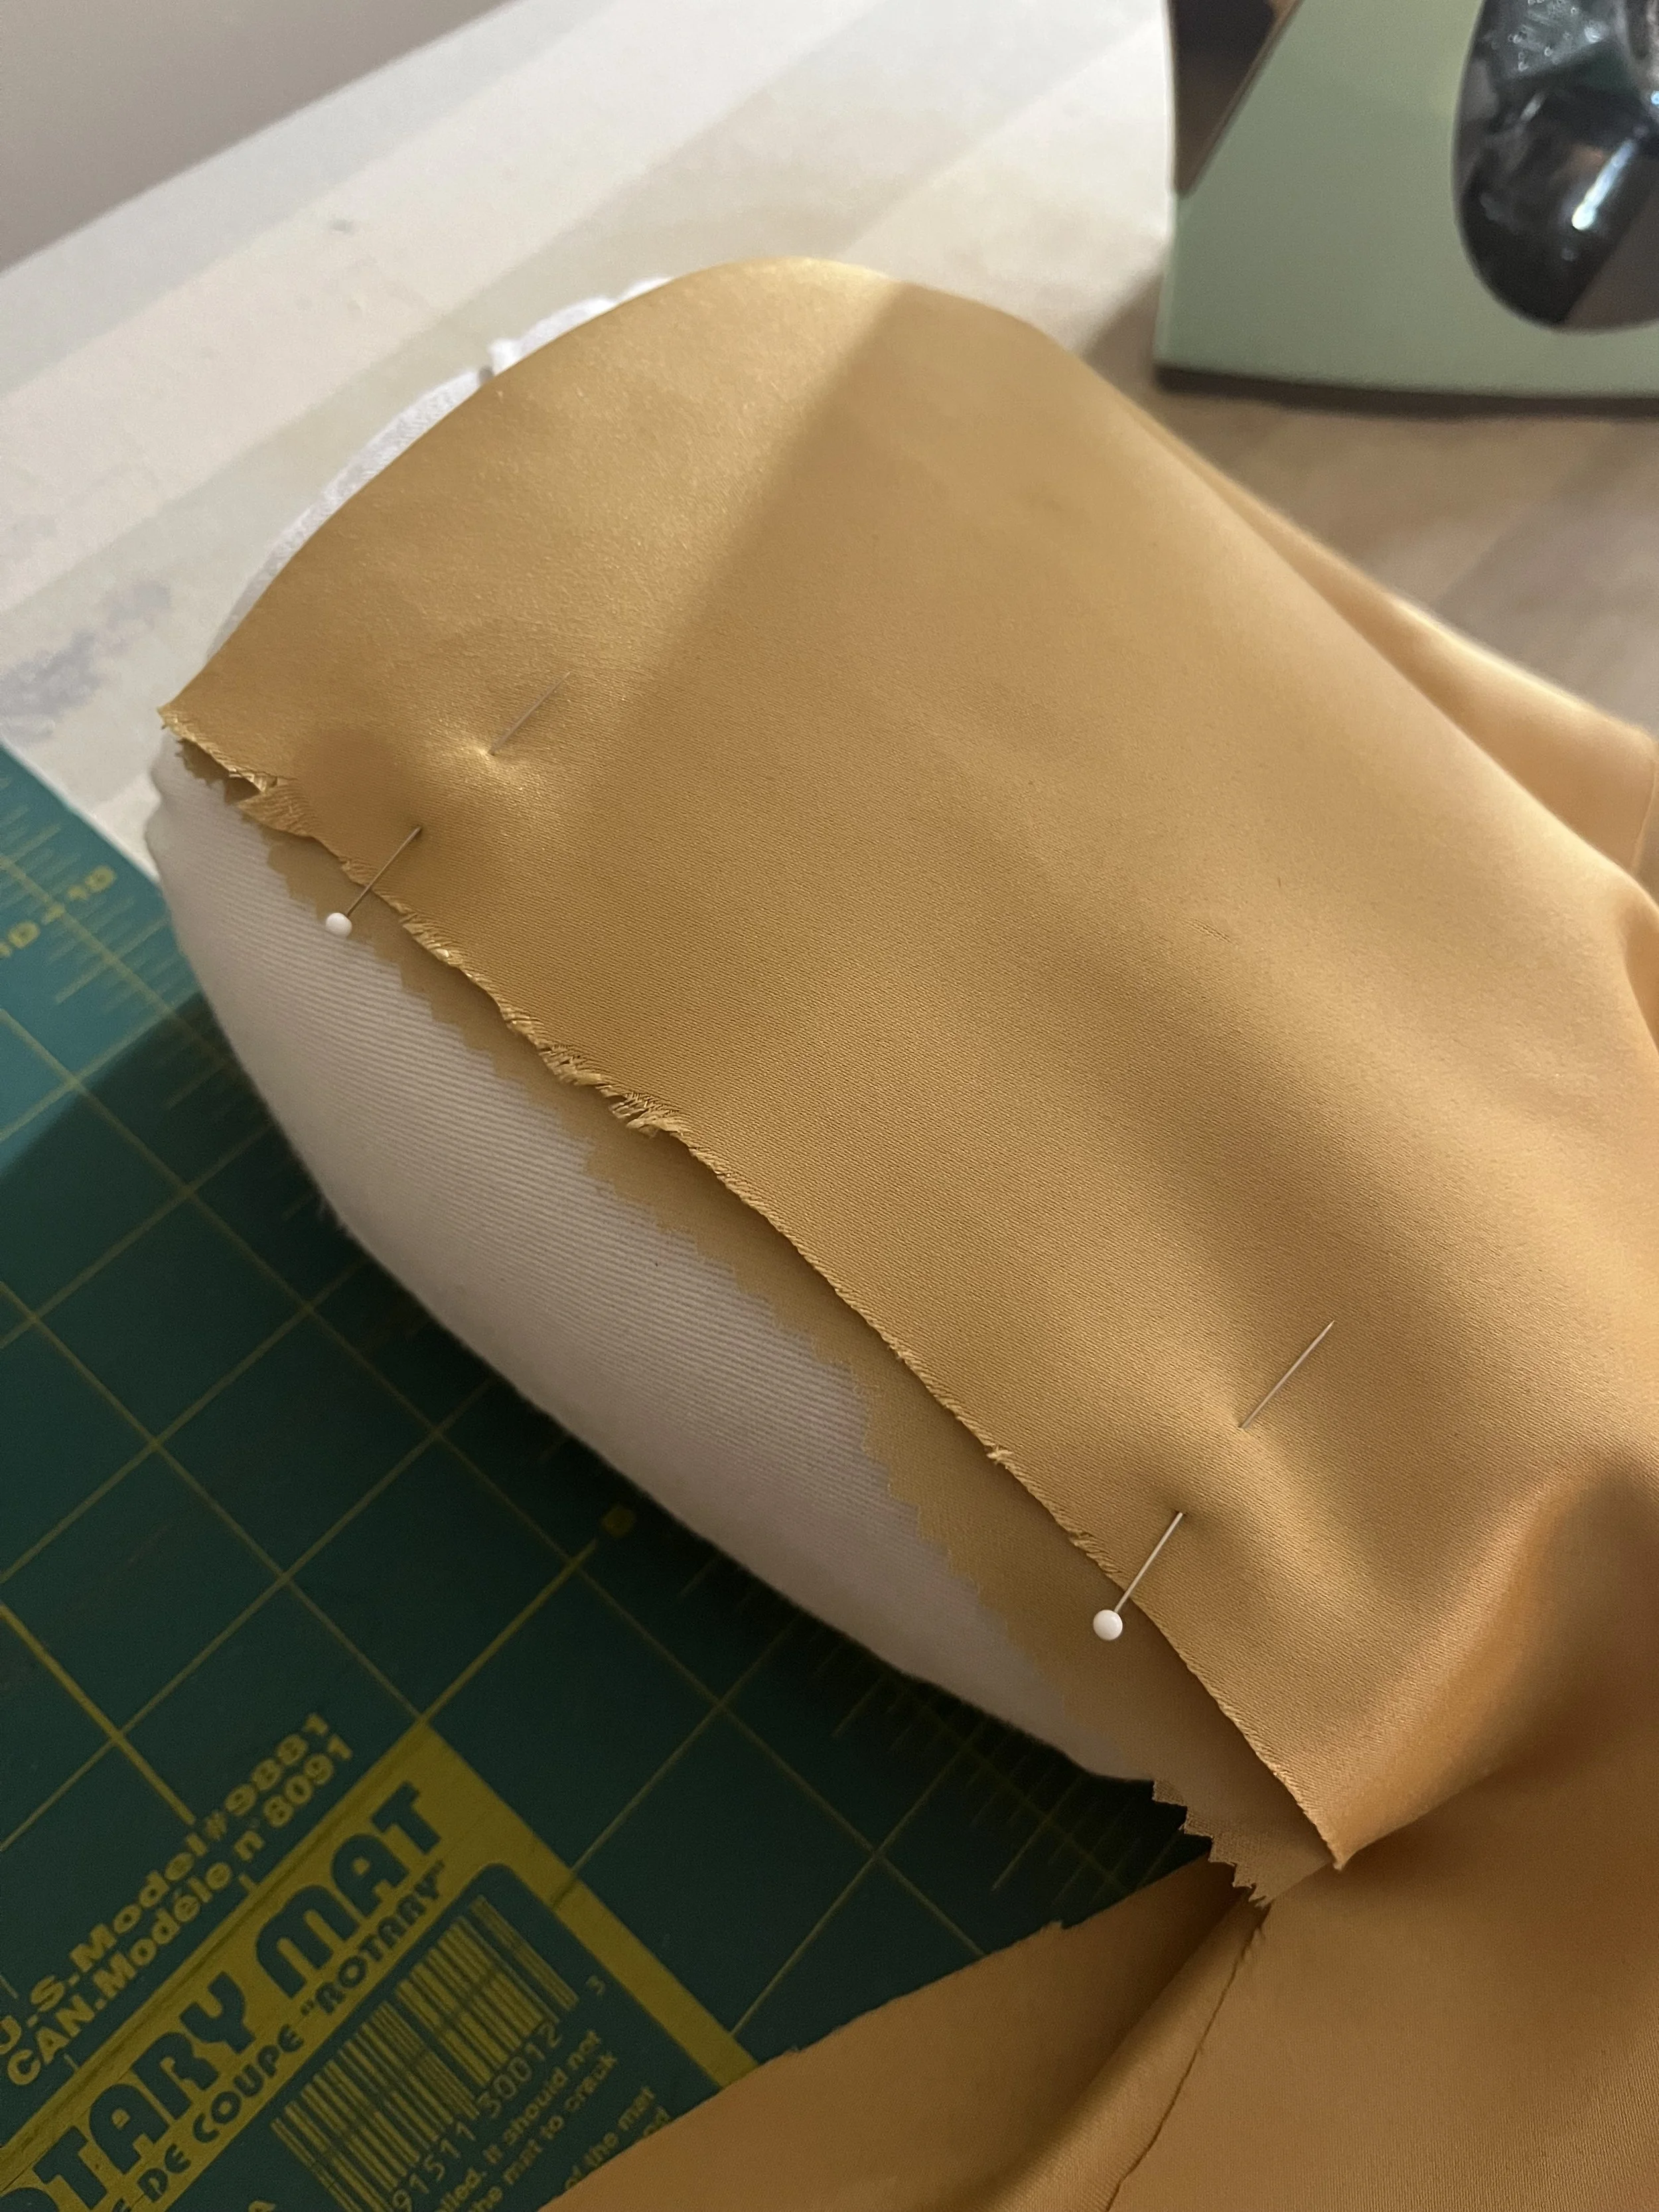
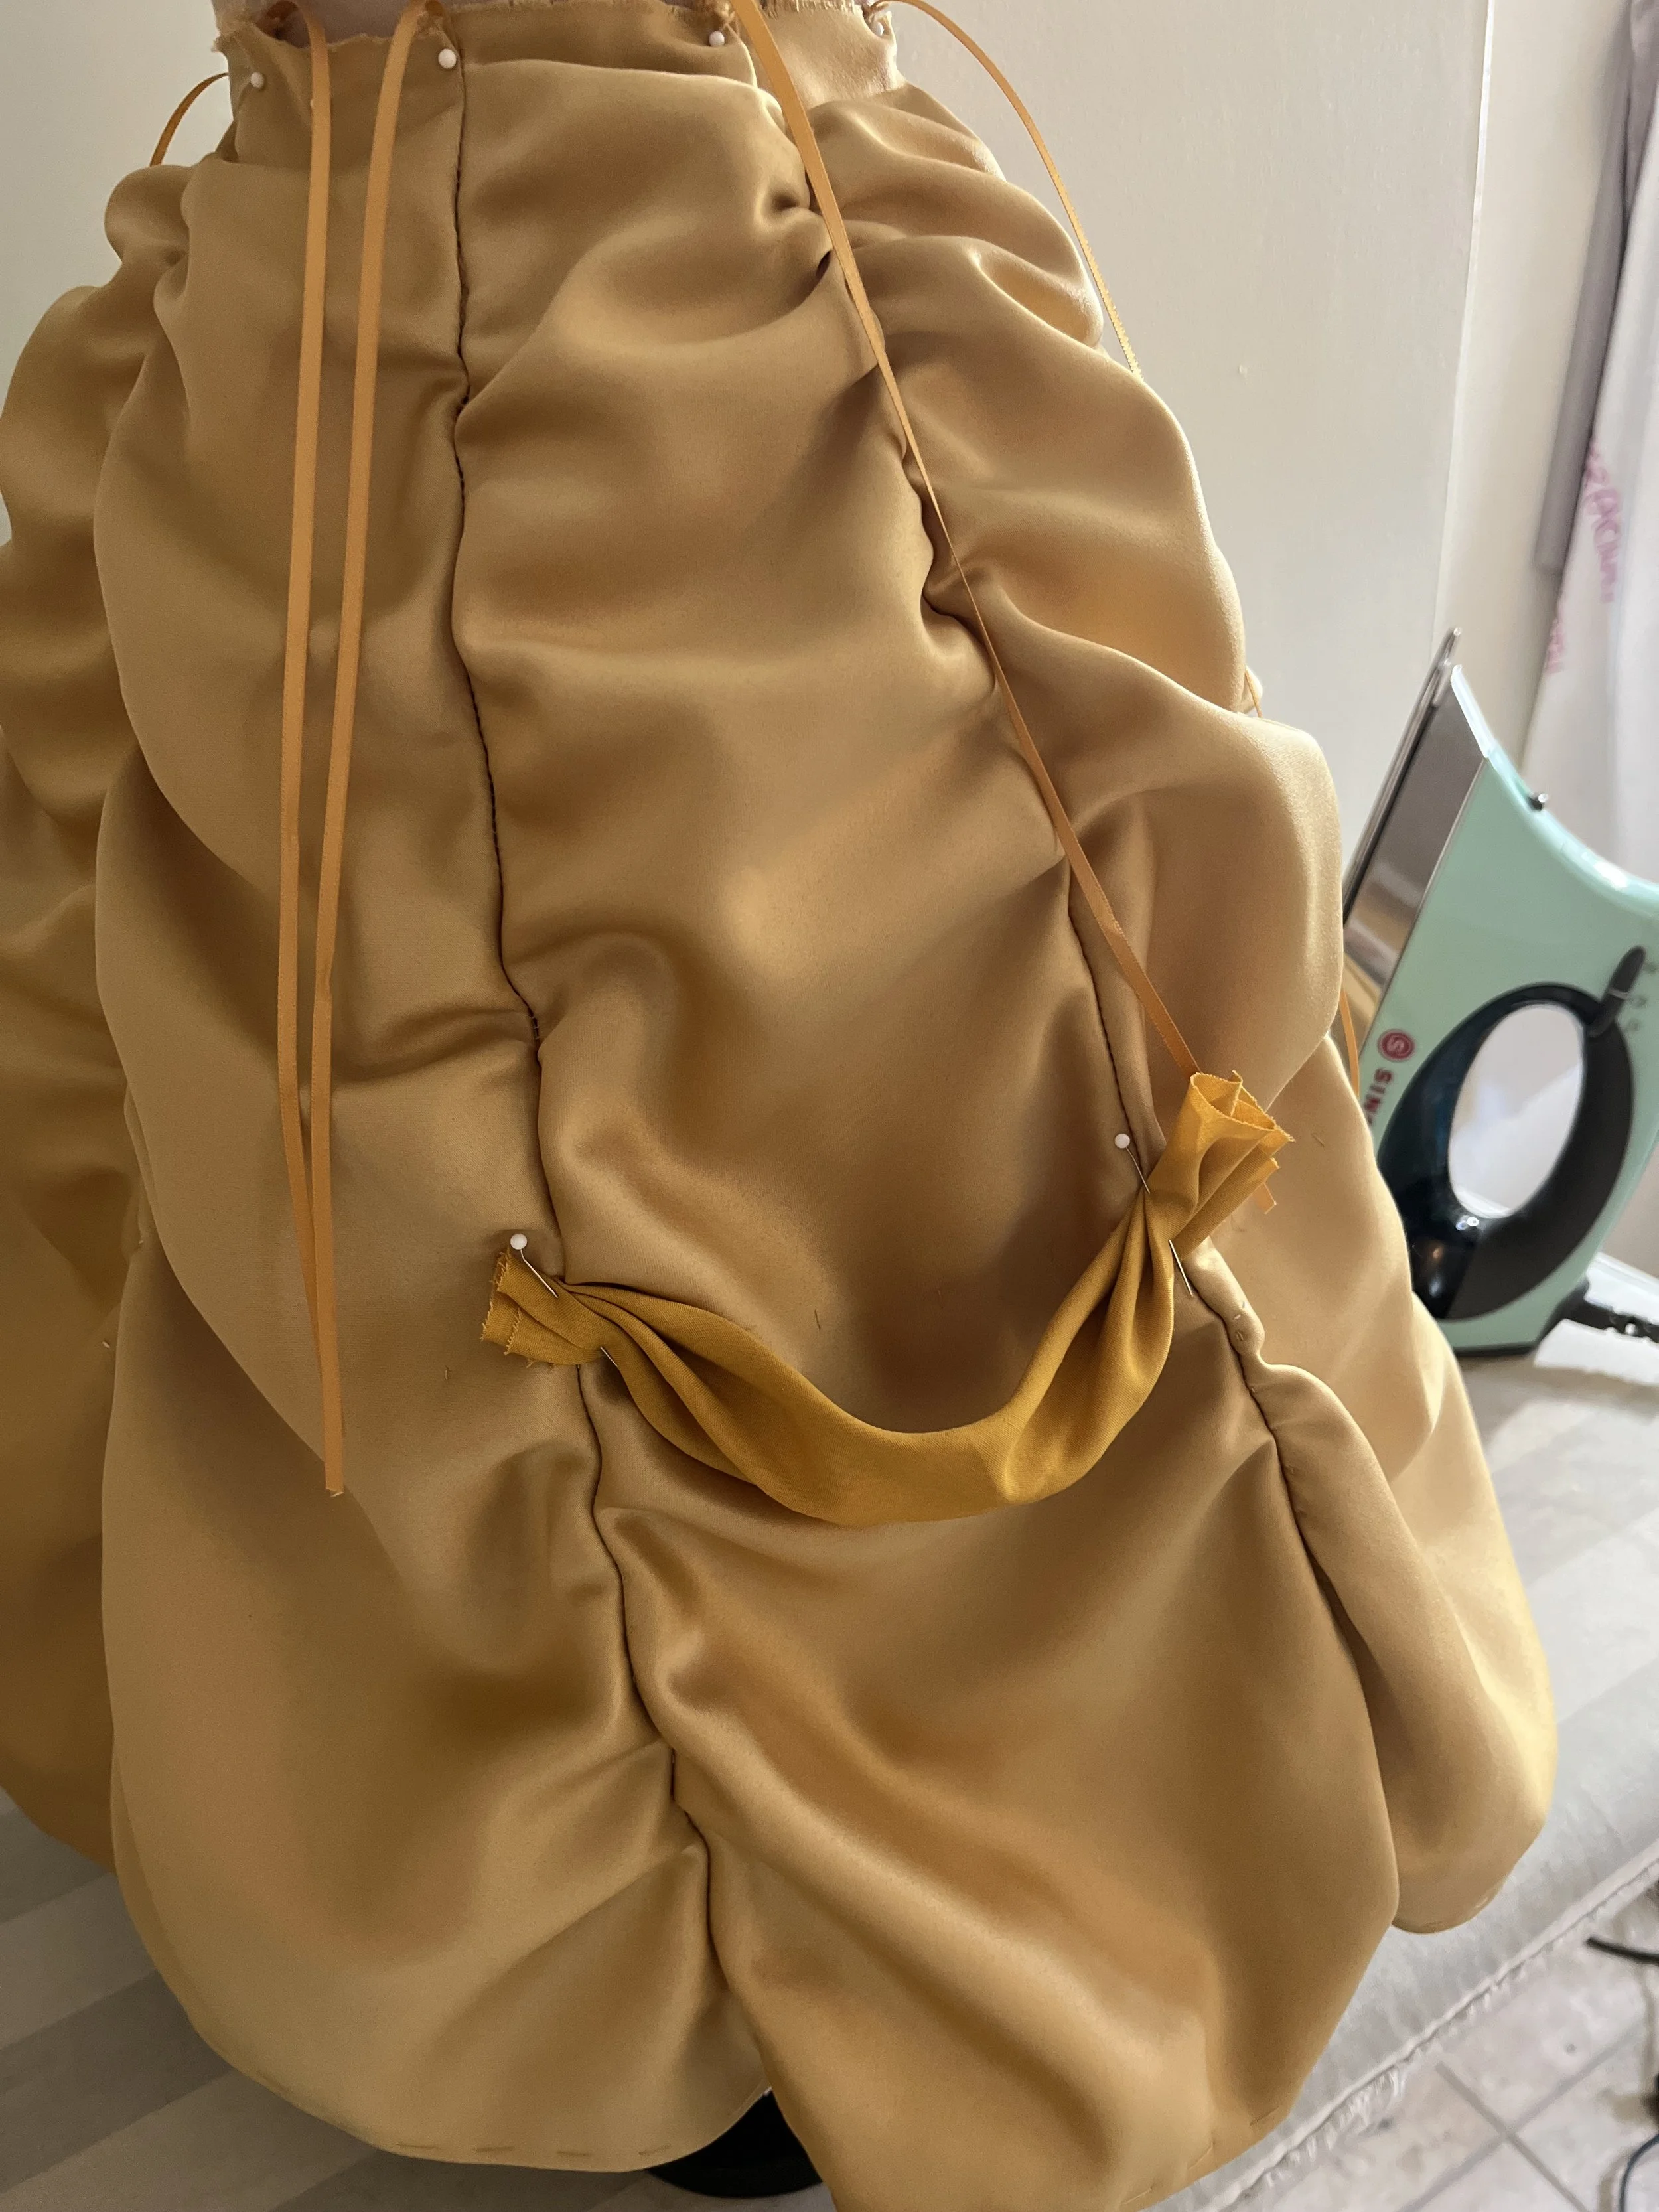
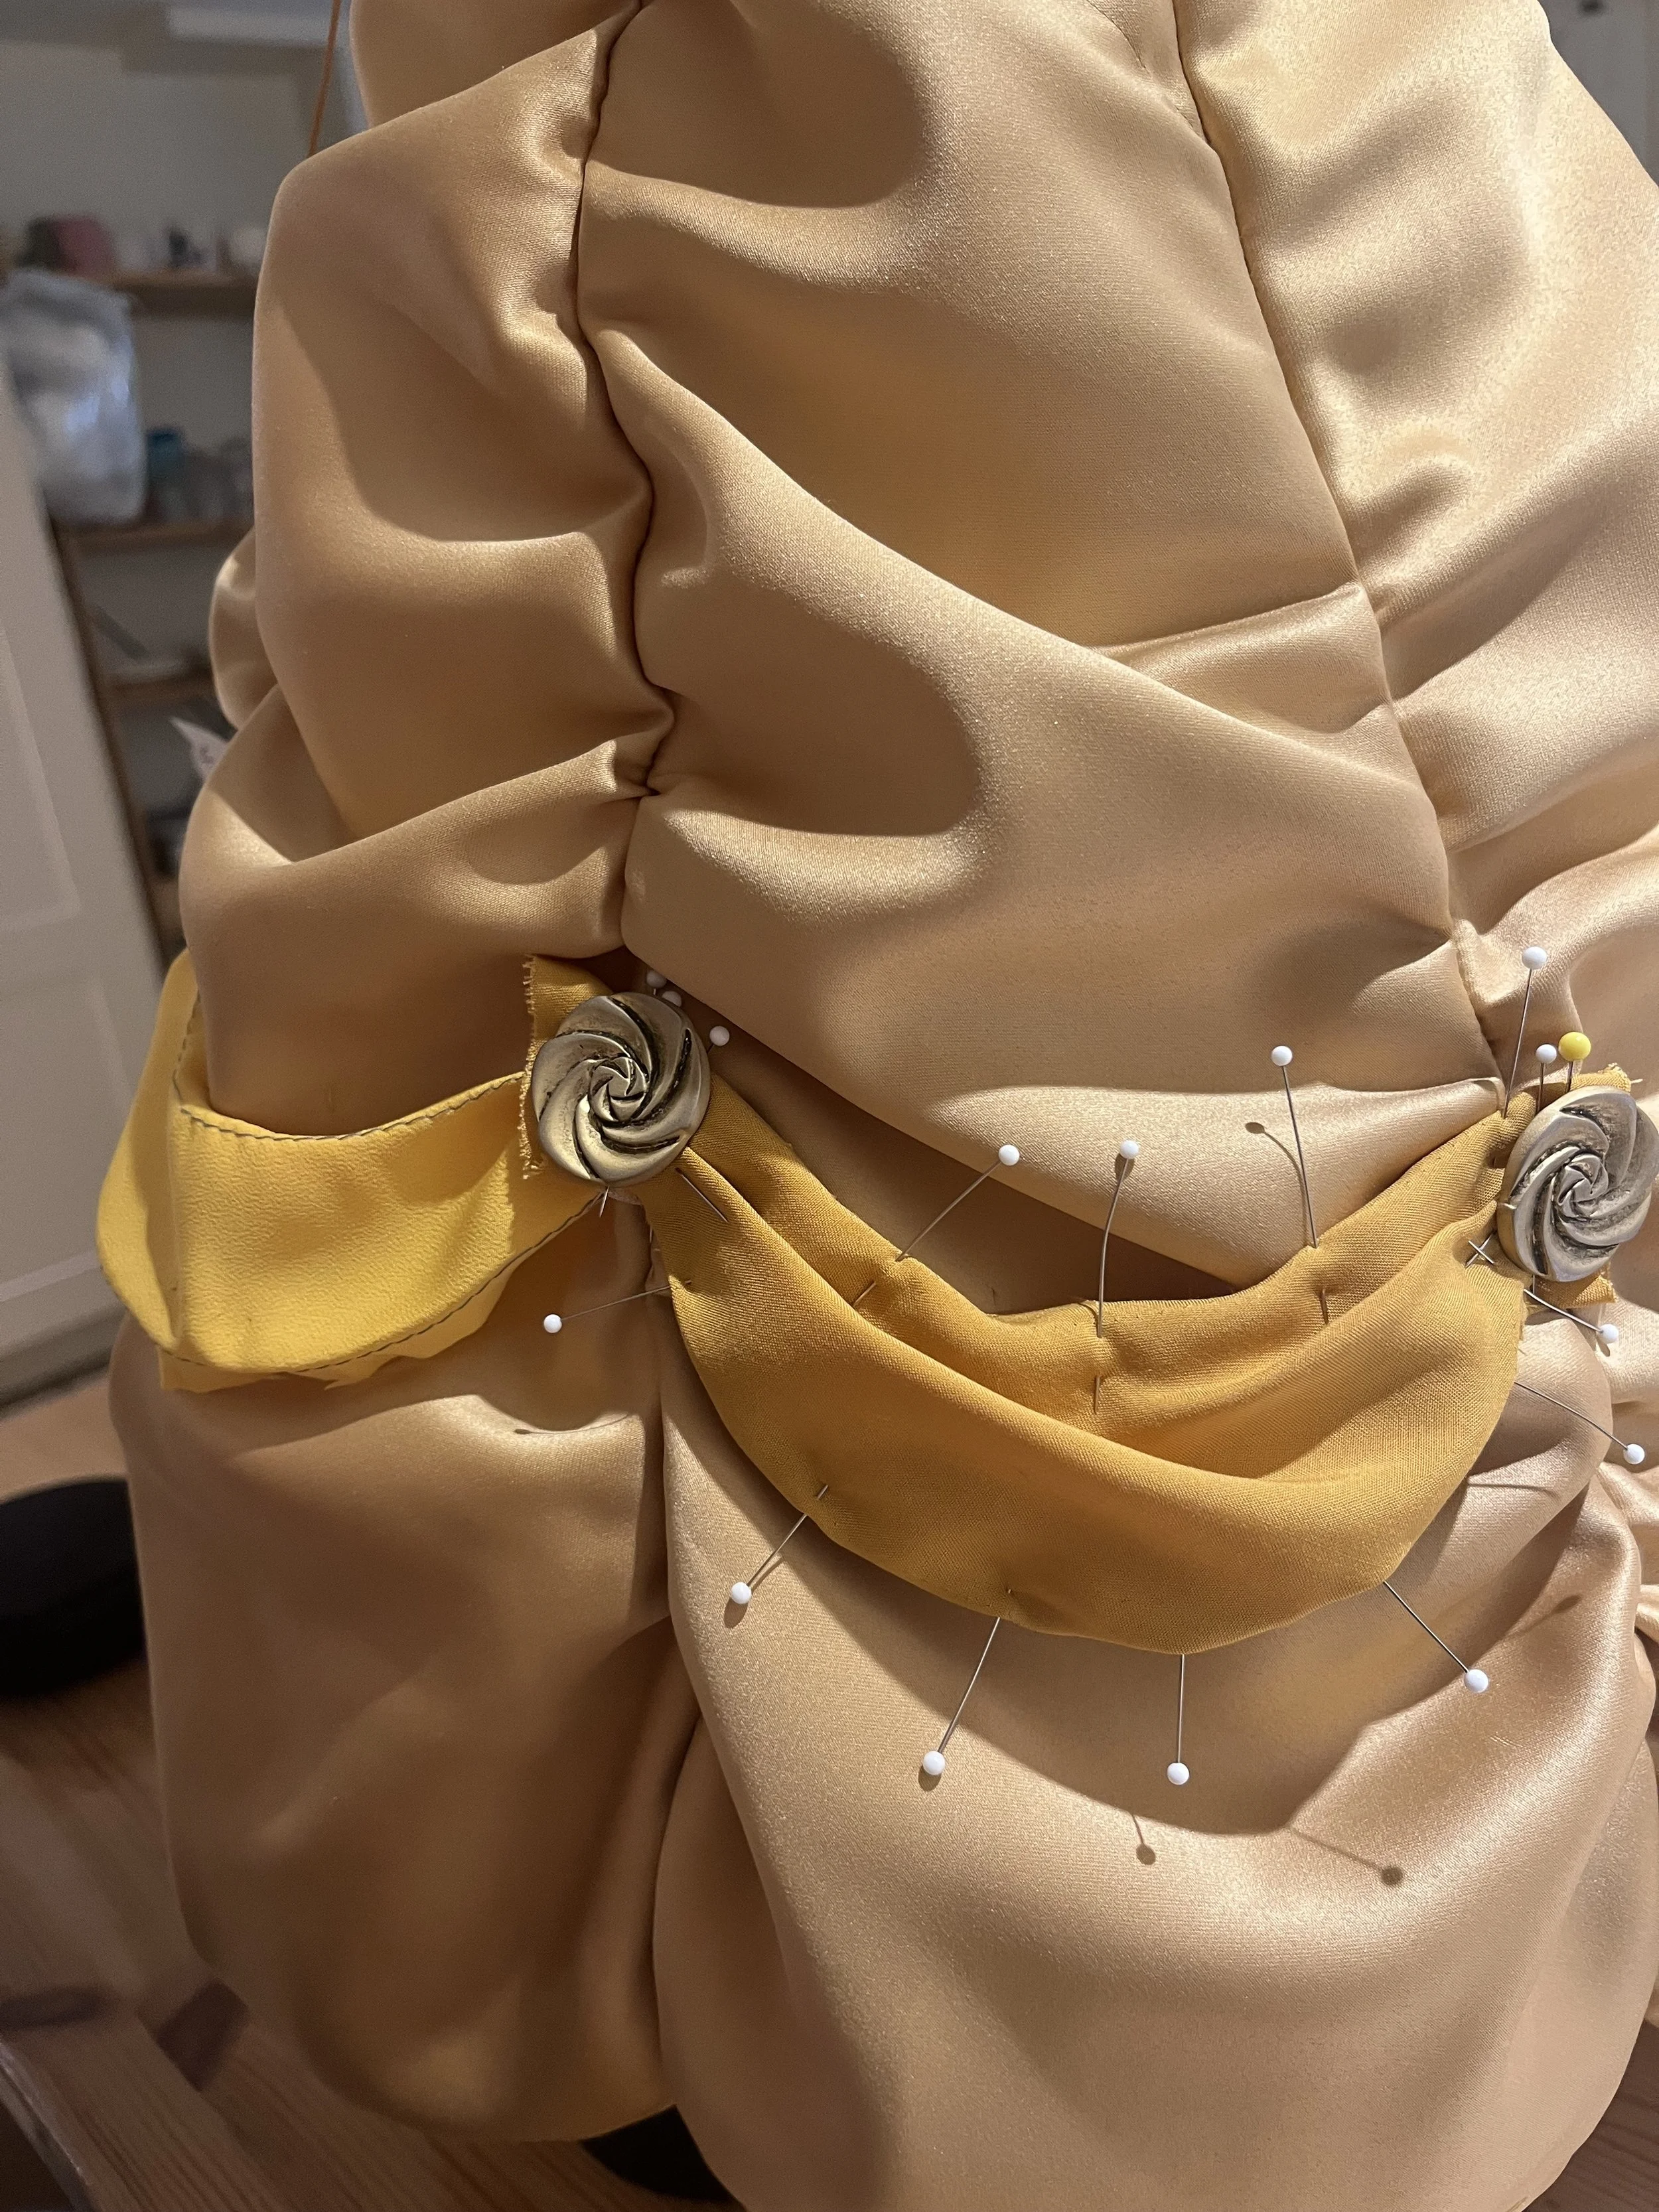
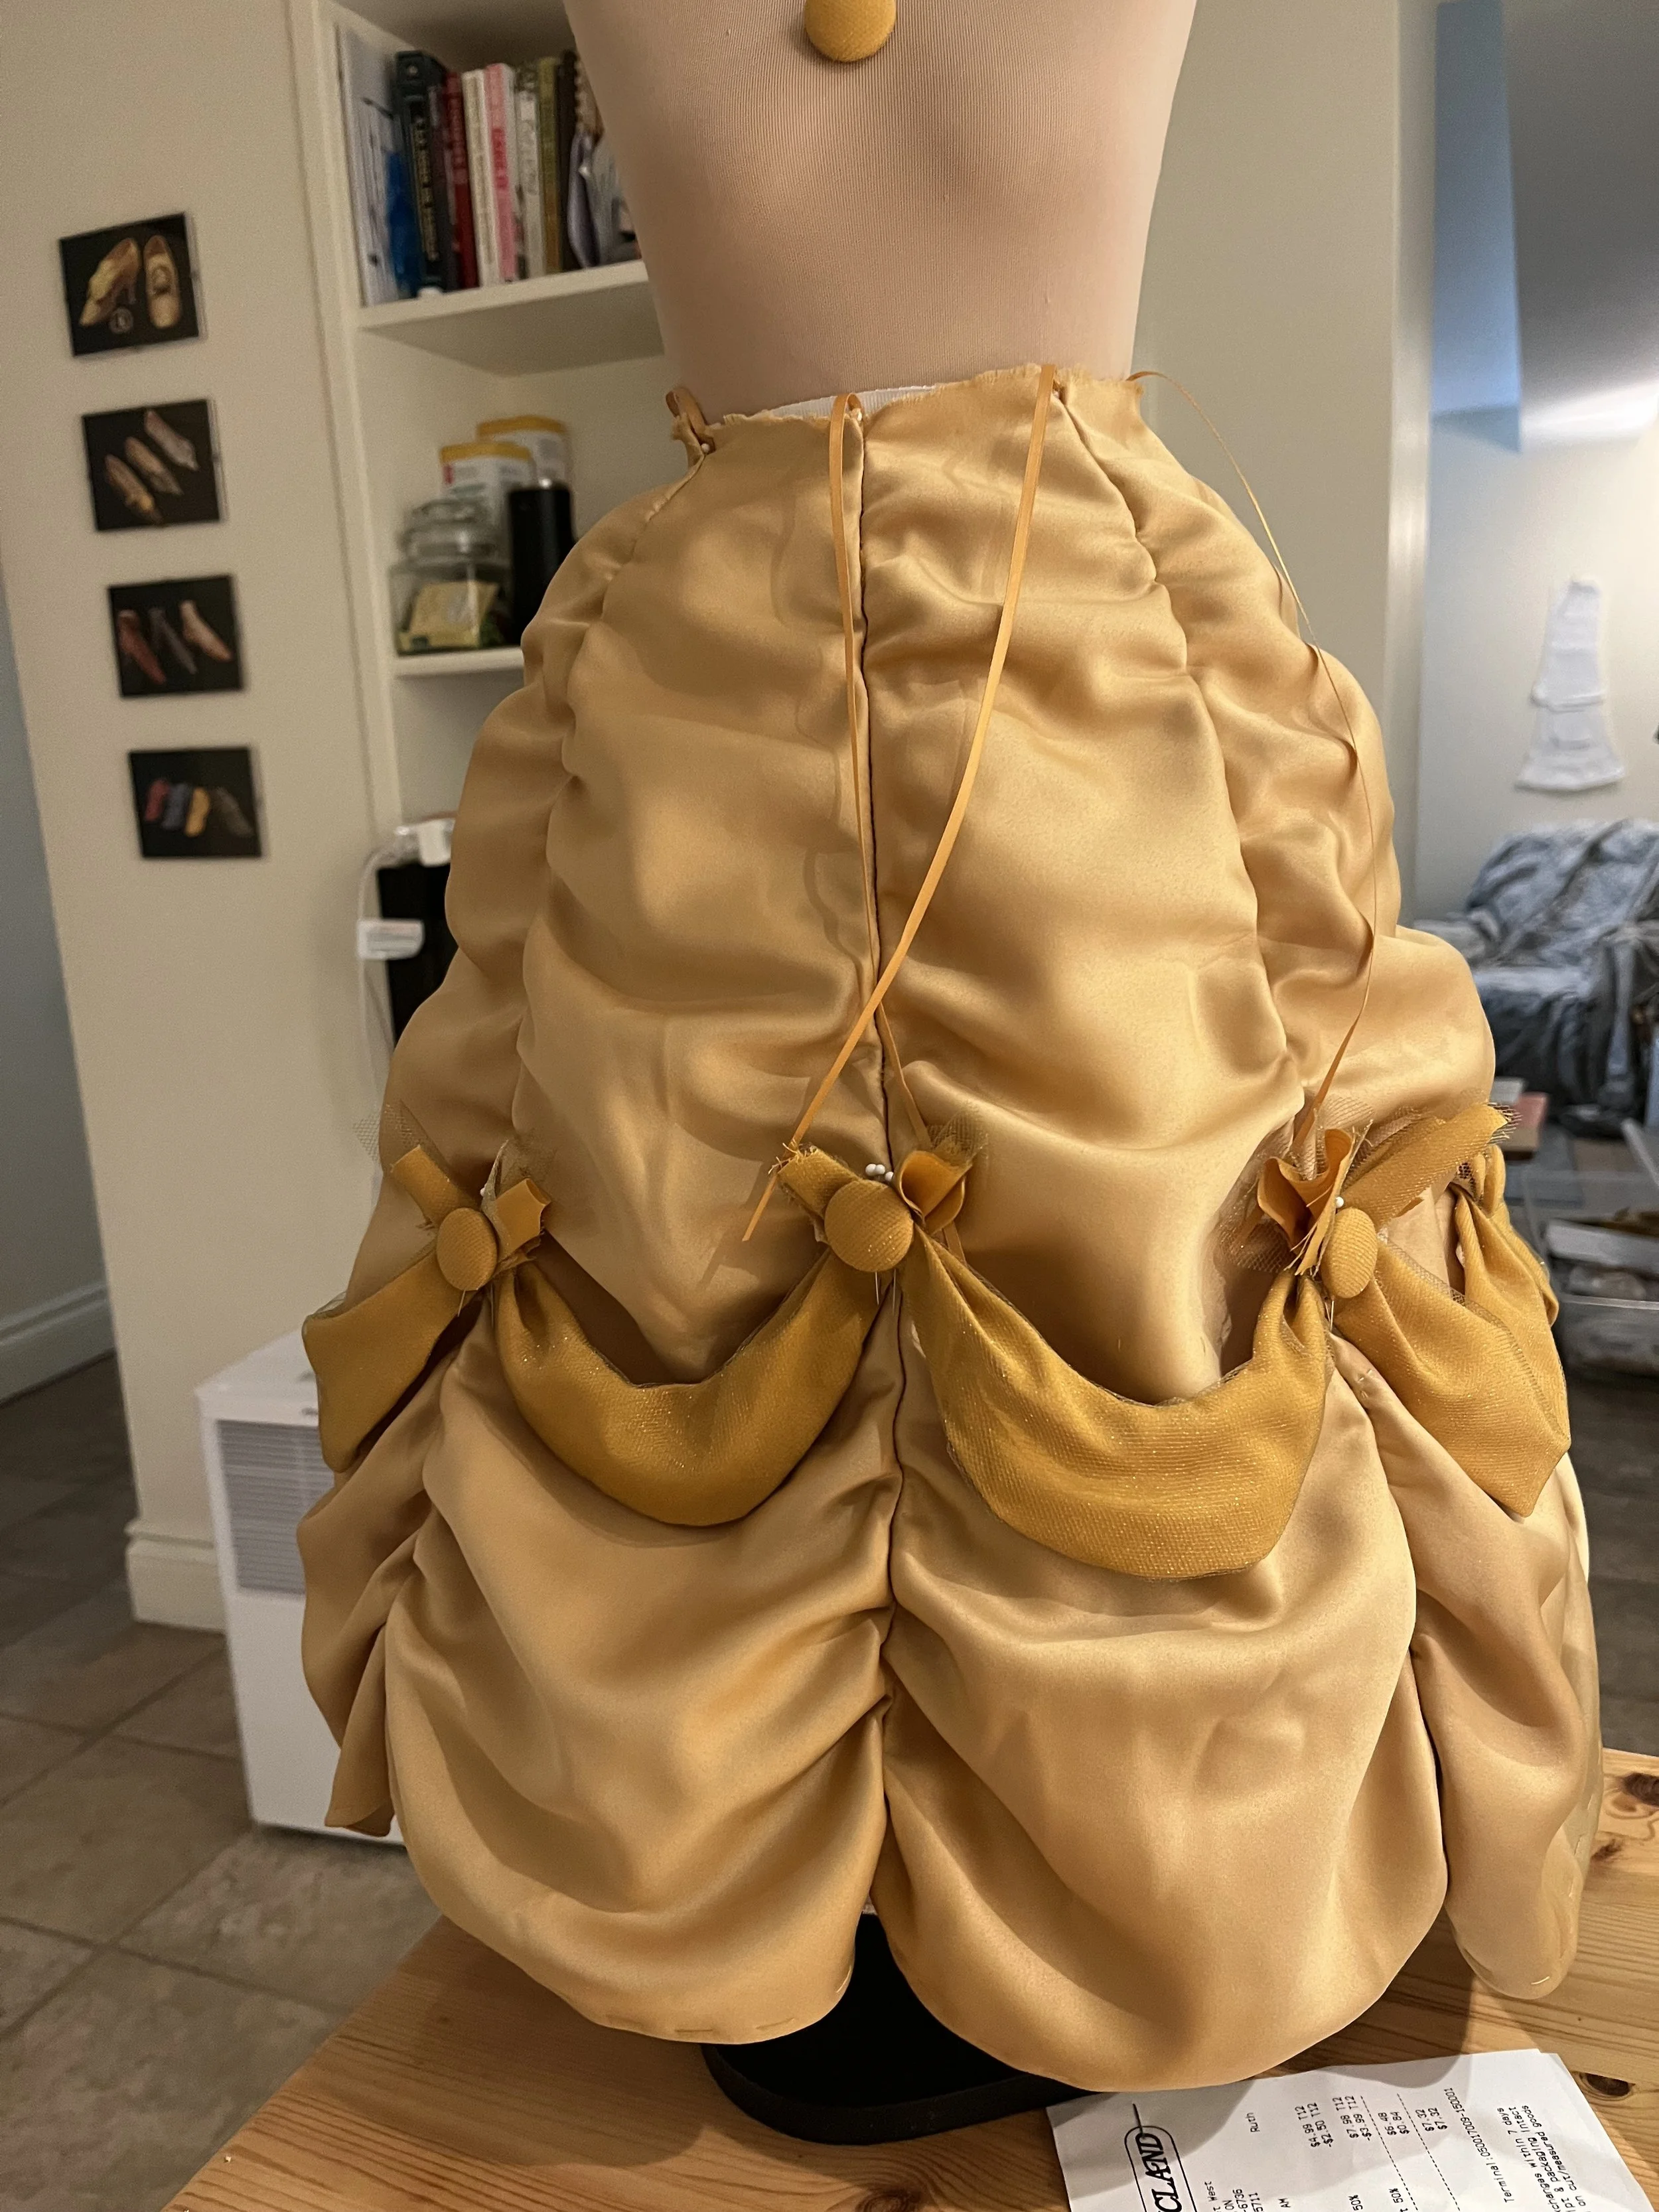
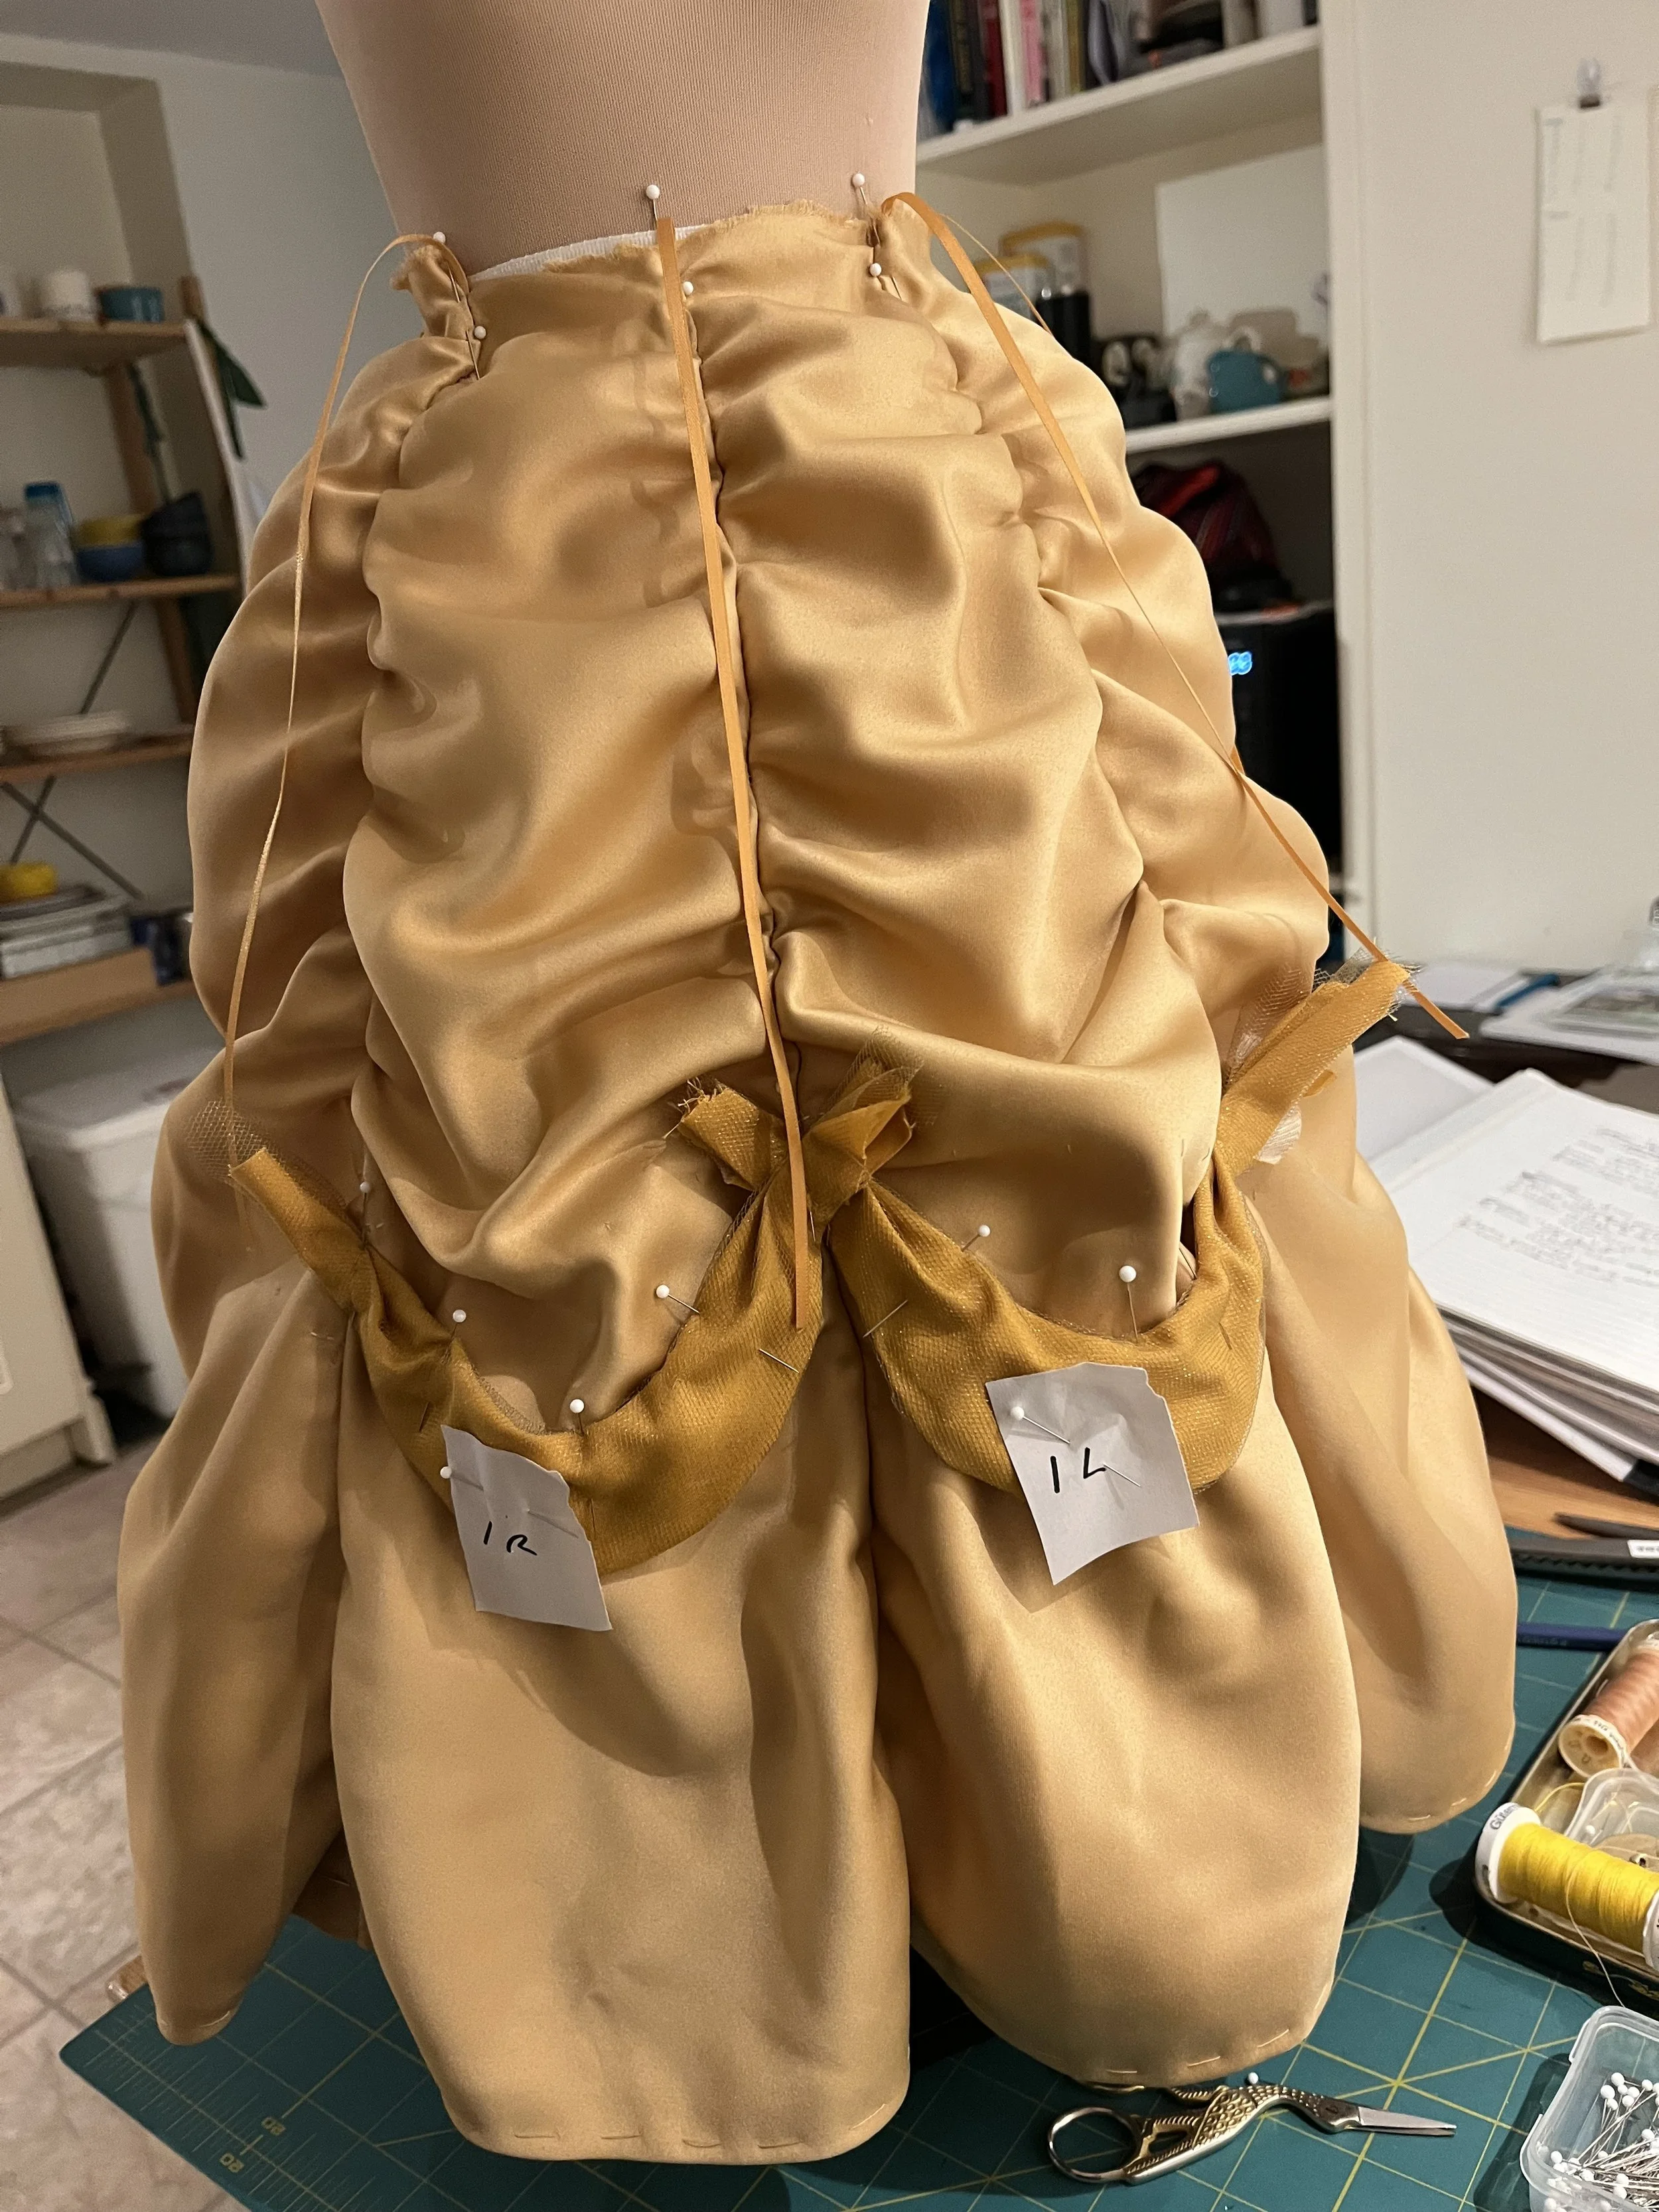
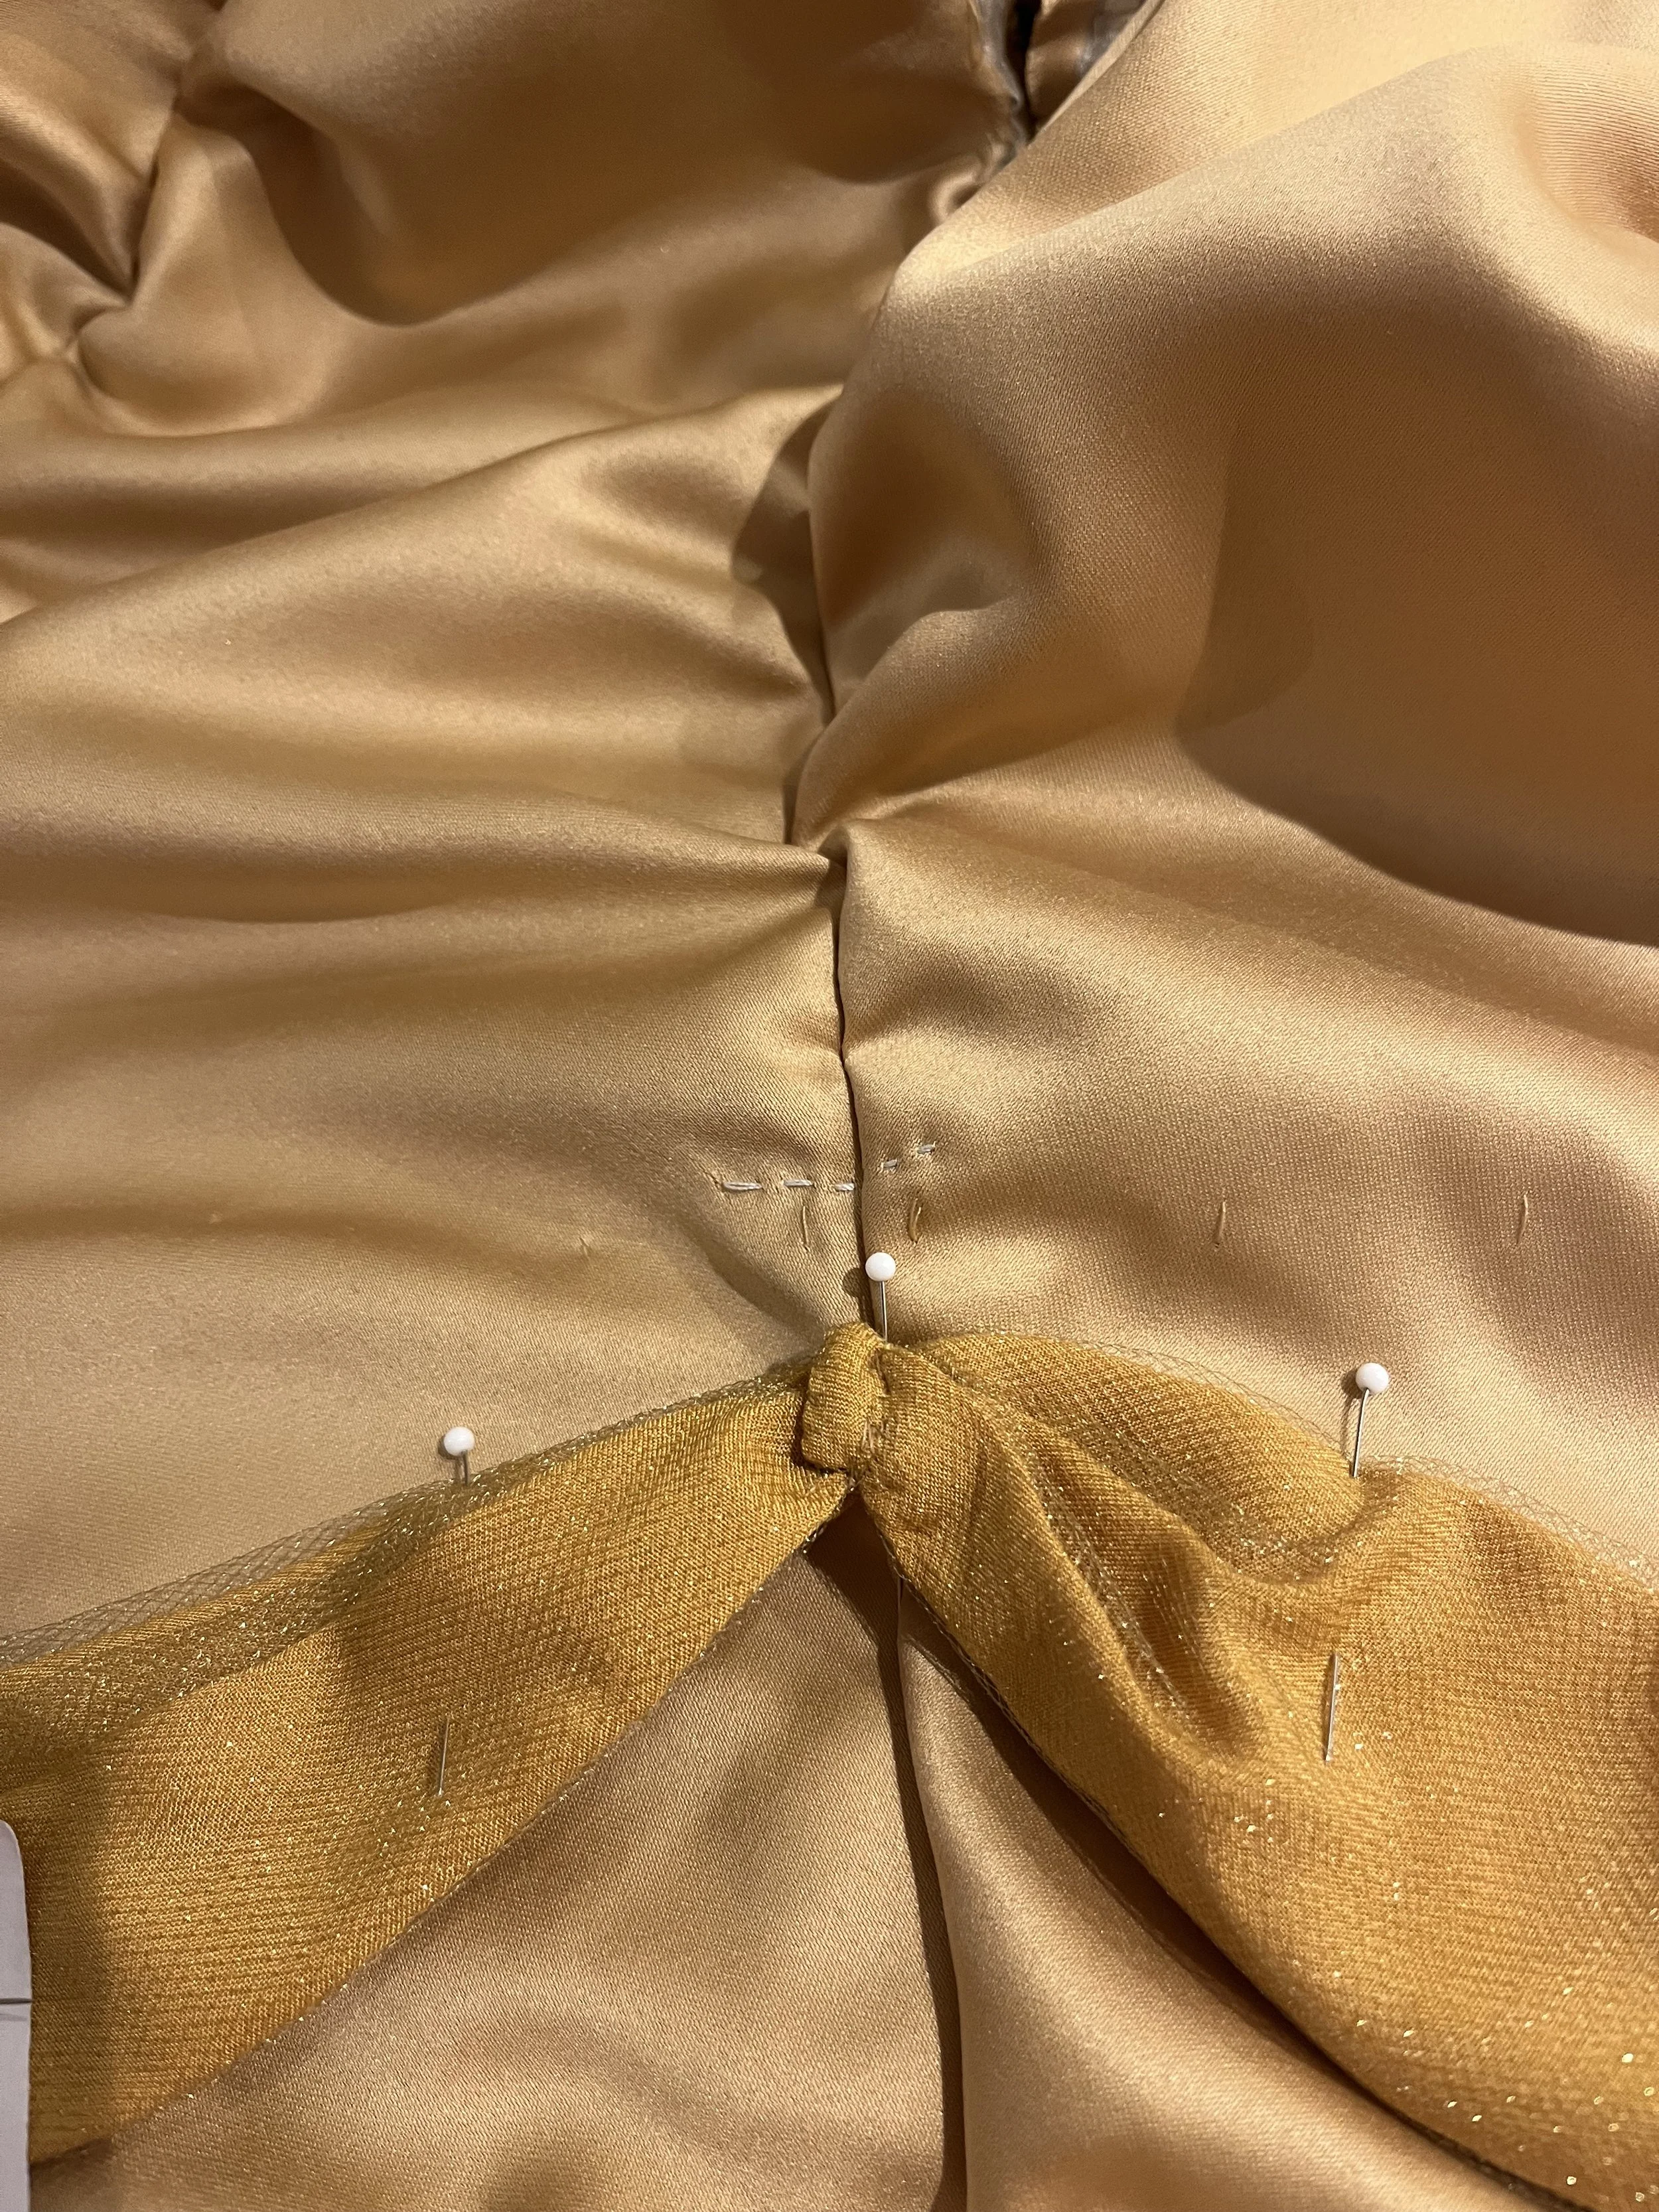
With all the swags made, I was ready to bring all the elements of the skirt together. I secured each ribbon at the hem before drawing up the skirt along each seam to the desired length. I pinned each swag at the desired height, even using a measuring tape instead of just my eyeballs to make sure each was at the same height as the corresponding swag on the other side. Sometimes I do smart things.
I ended up concentrating all the ruching above the swags and leaving the seam flat from the swag to the hem. I made this choice mostly because I thought it looked most right and the skirt hung and twirled best when I didn't introduce a bunch of gathering at the most flared part of each panel. This is one of the details that isn't completely consistent in the movie, so I feel justified in just choosing the one which worked best for my particular project.
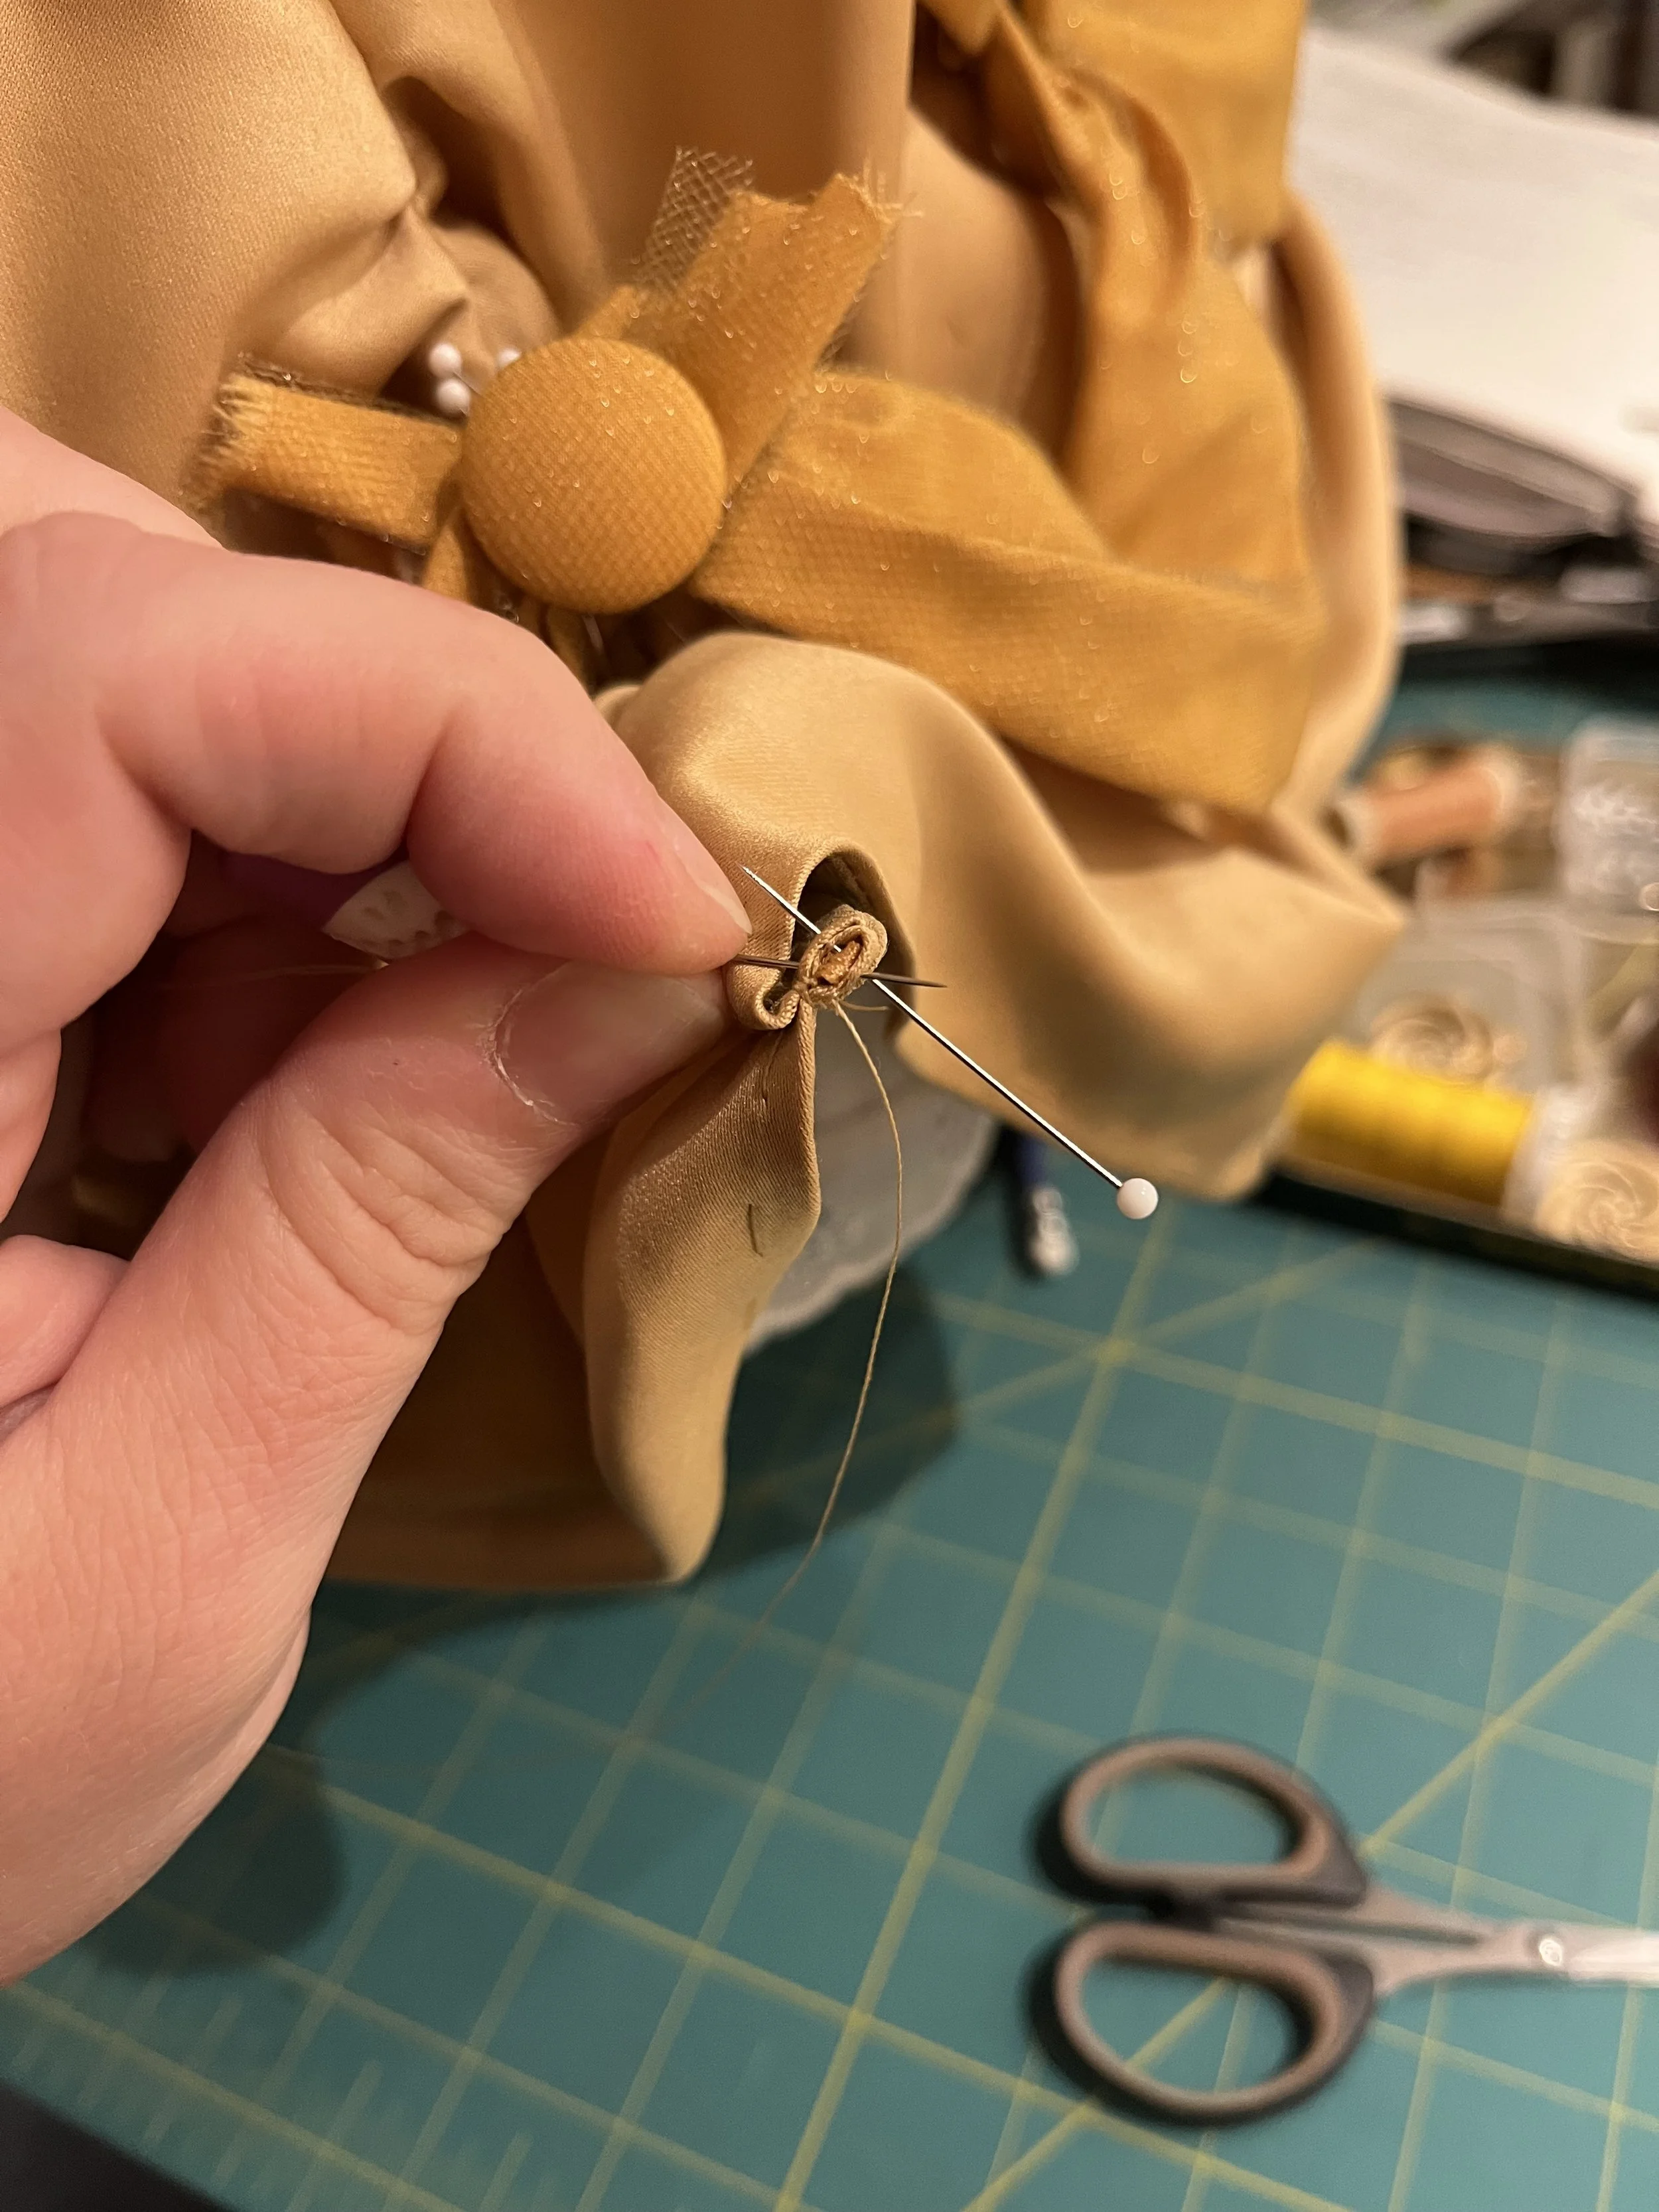
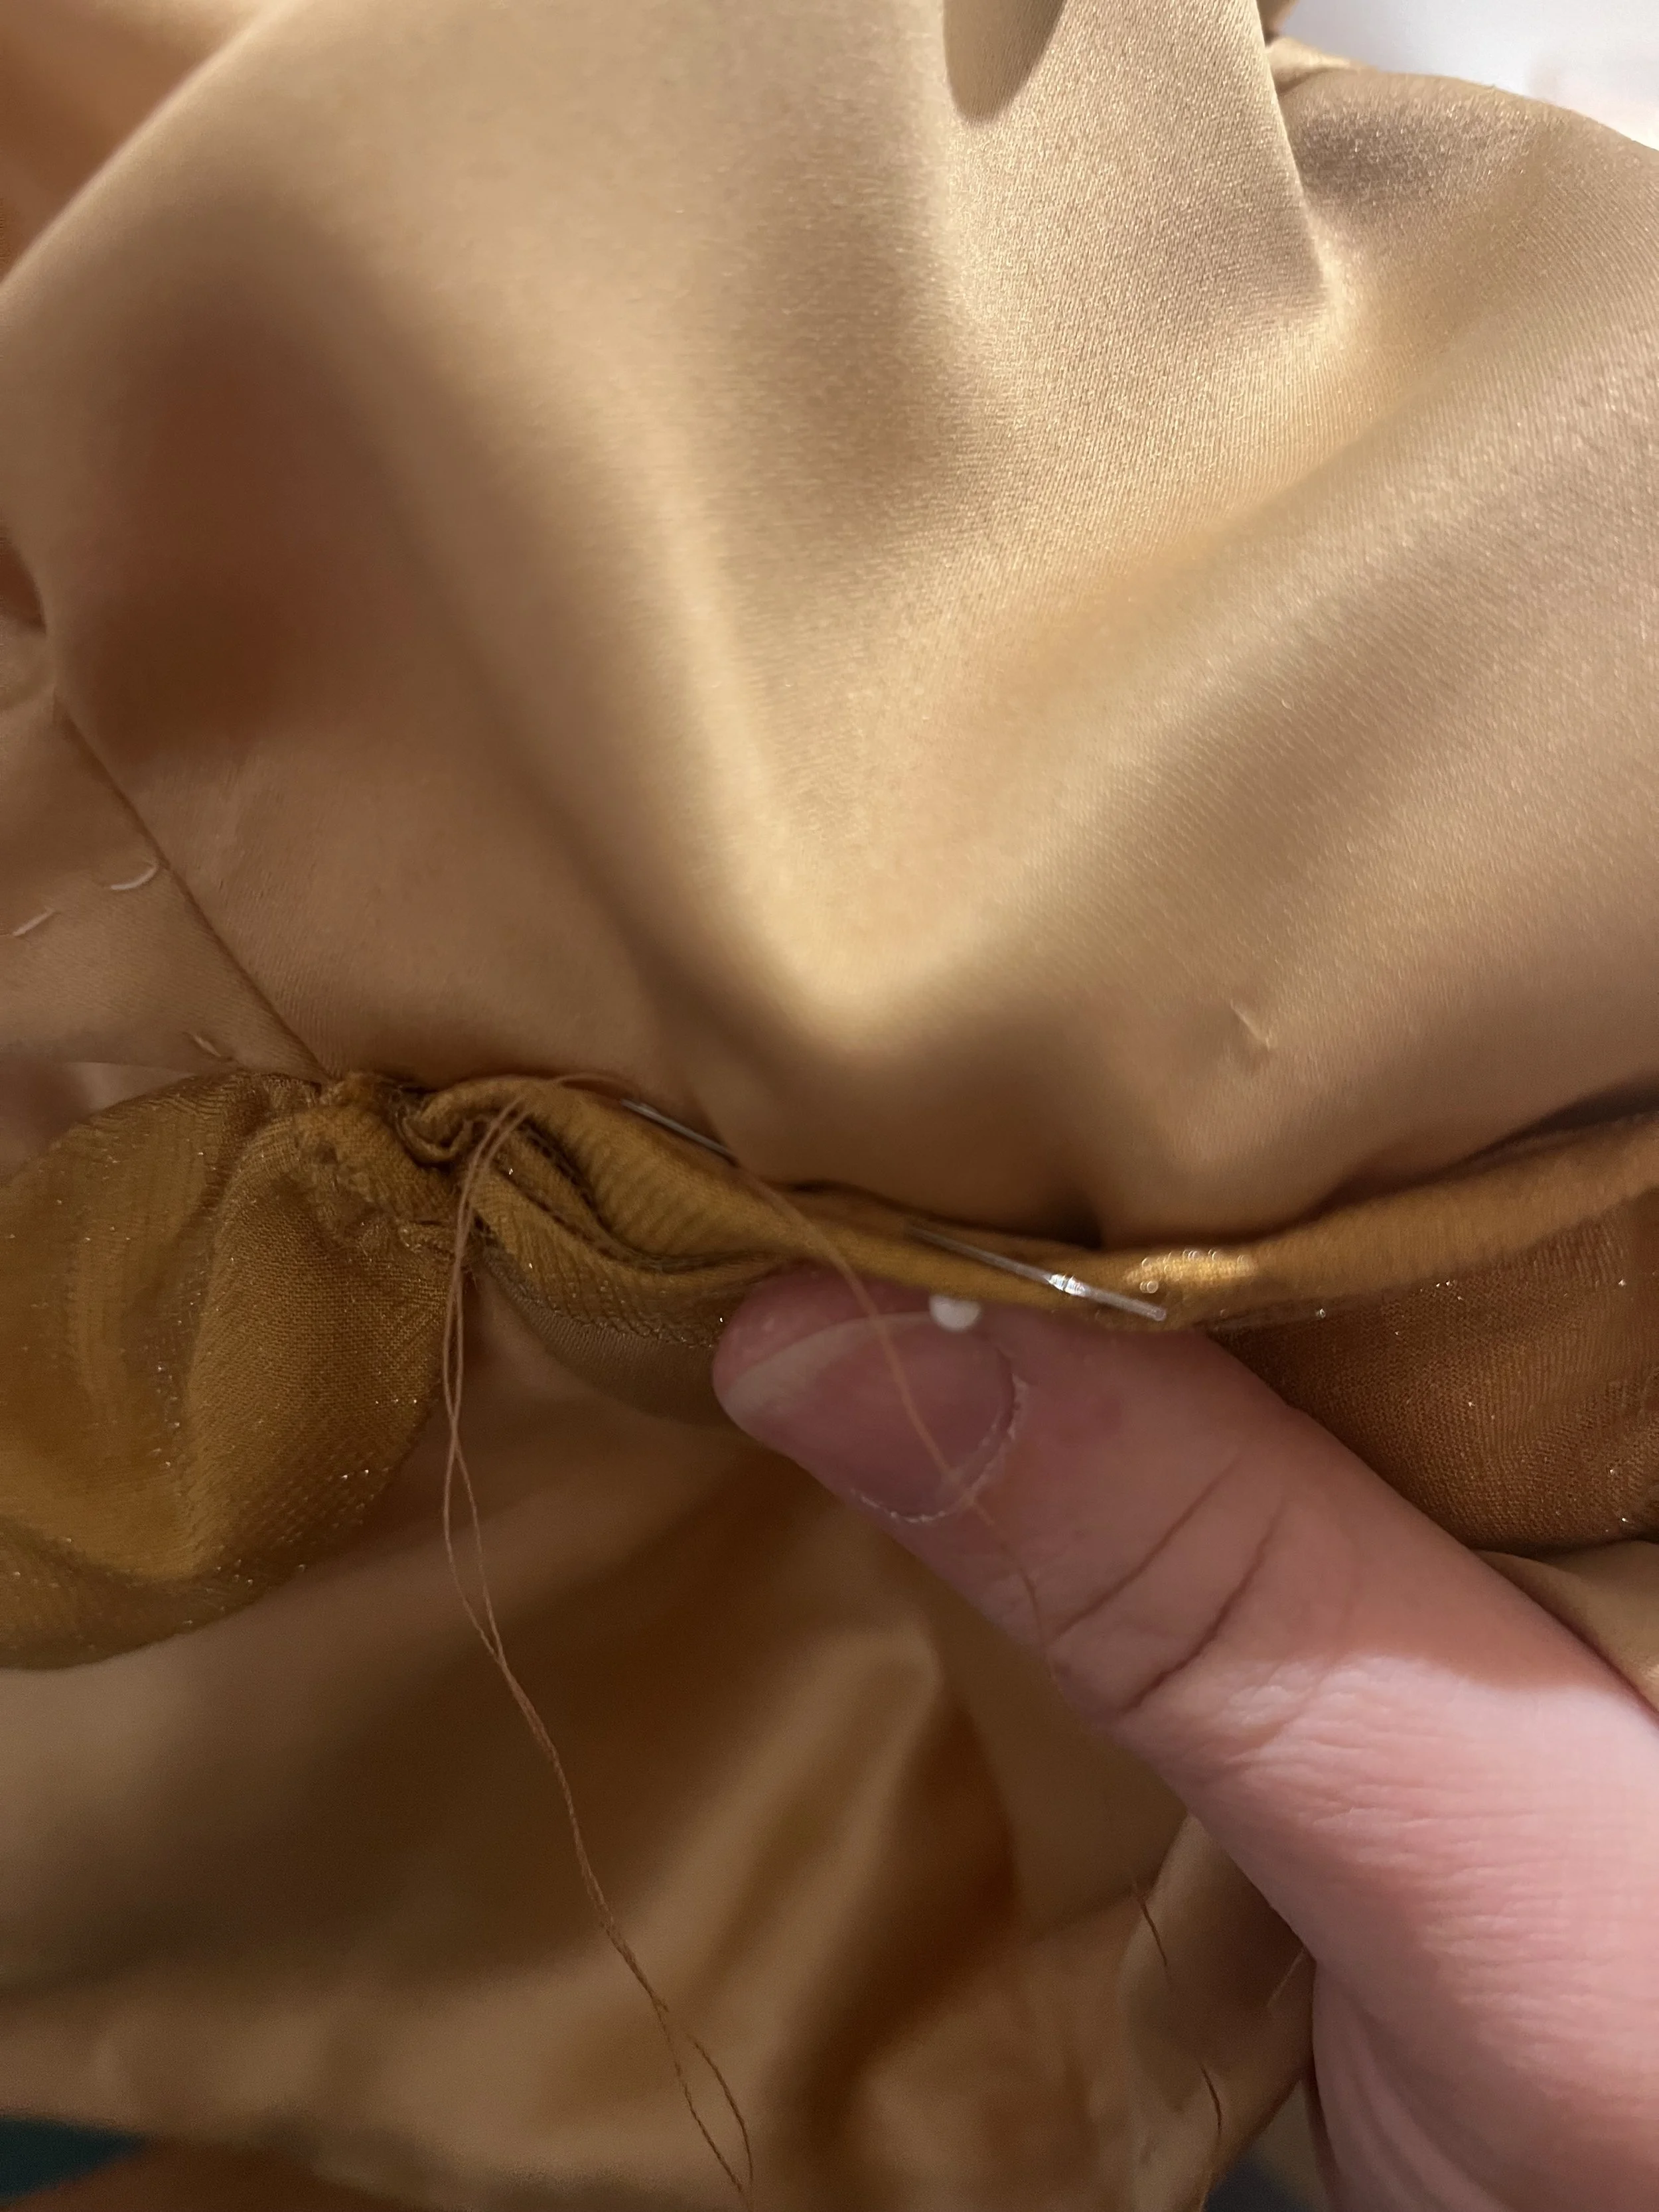
I secured each ribbon at the waist, finished the ends of the swags, stitched them together and finally stitched them to the skirt, making sure to catch the ribbon and secure the ruching above the swags. I then added a running stitch through the seam allowance of each skirt panel, catching the ribbon to hold the distribution of the ruching in place and preventing it from sliding down the ribbon when the dress spins. Next, I slip stitched the top edge of each swag to the skirt, using this stitch to catch the chiffon facing and hold it in place.
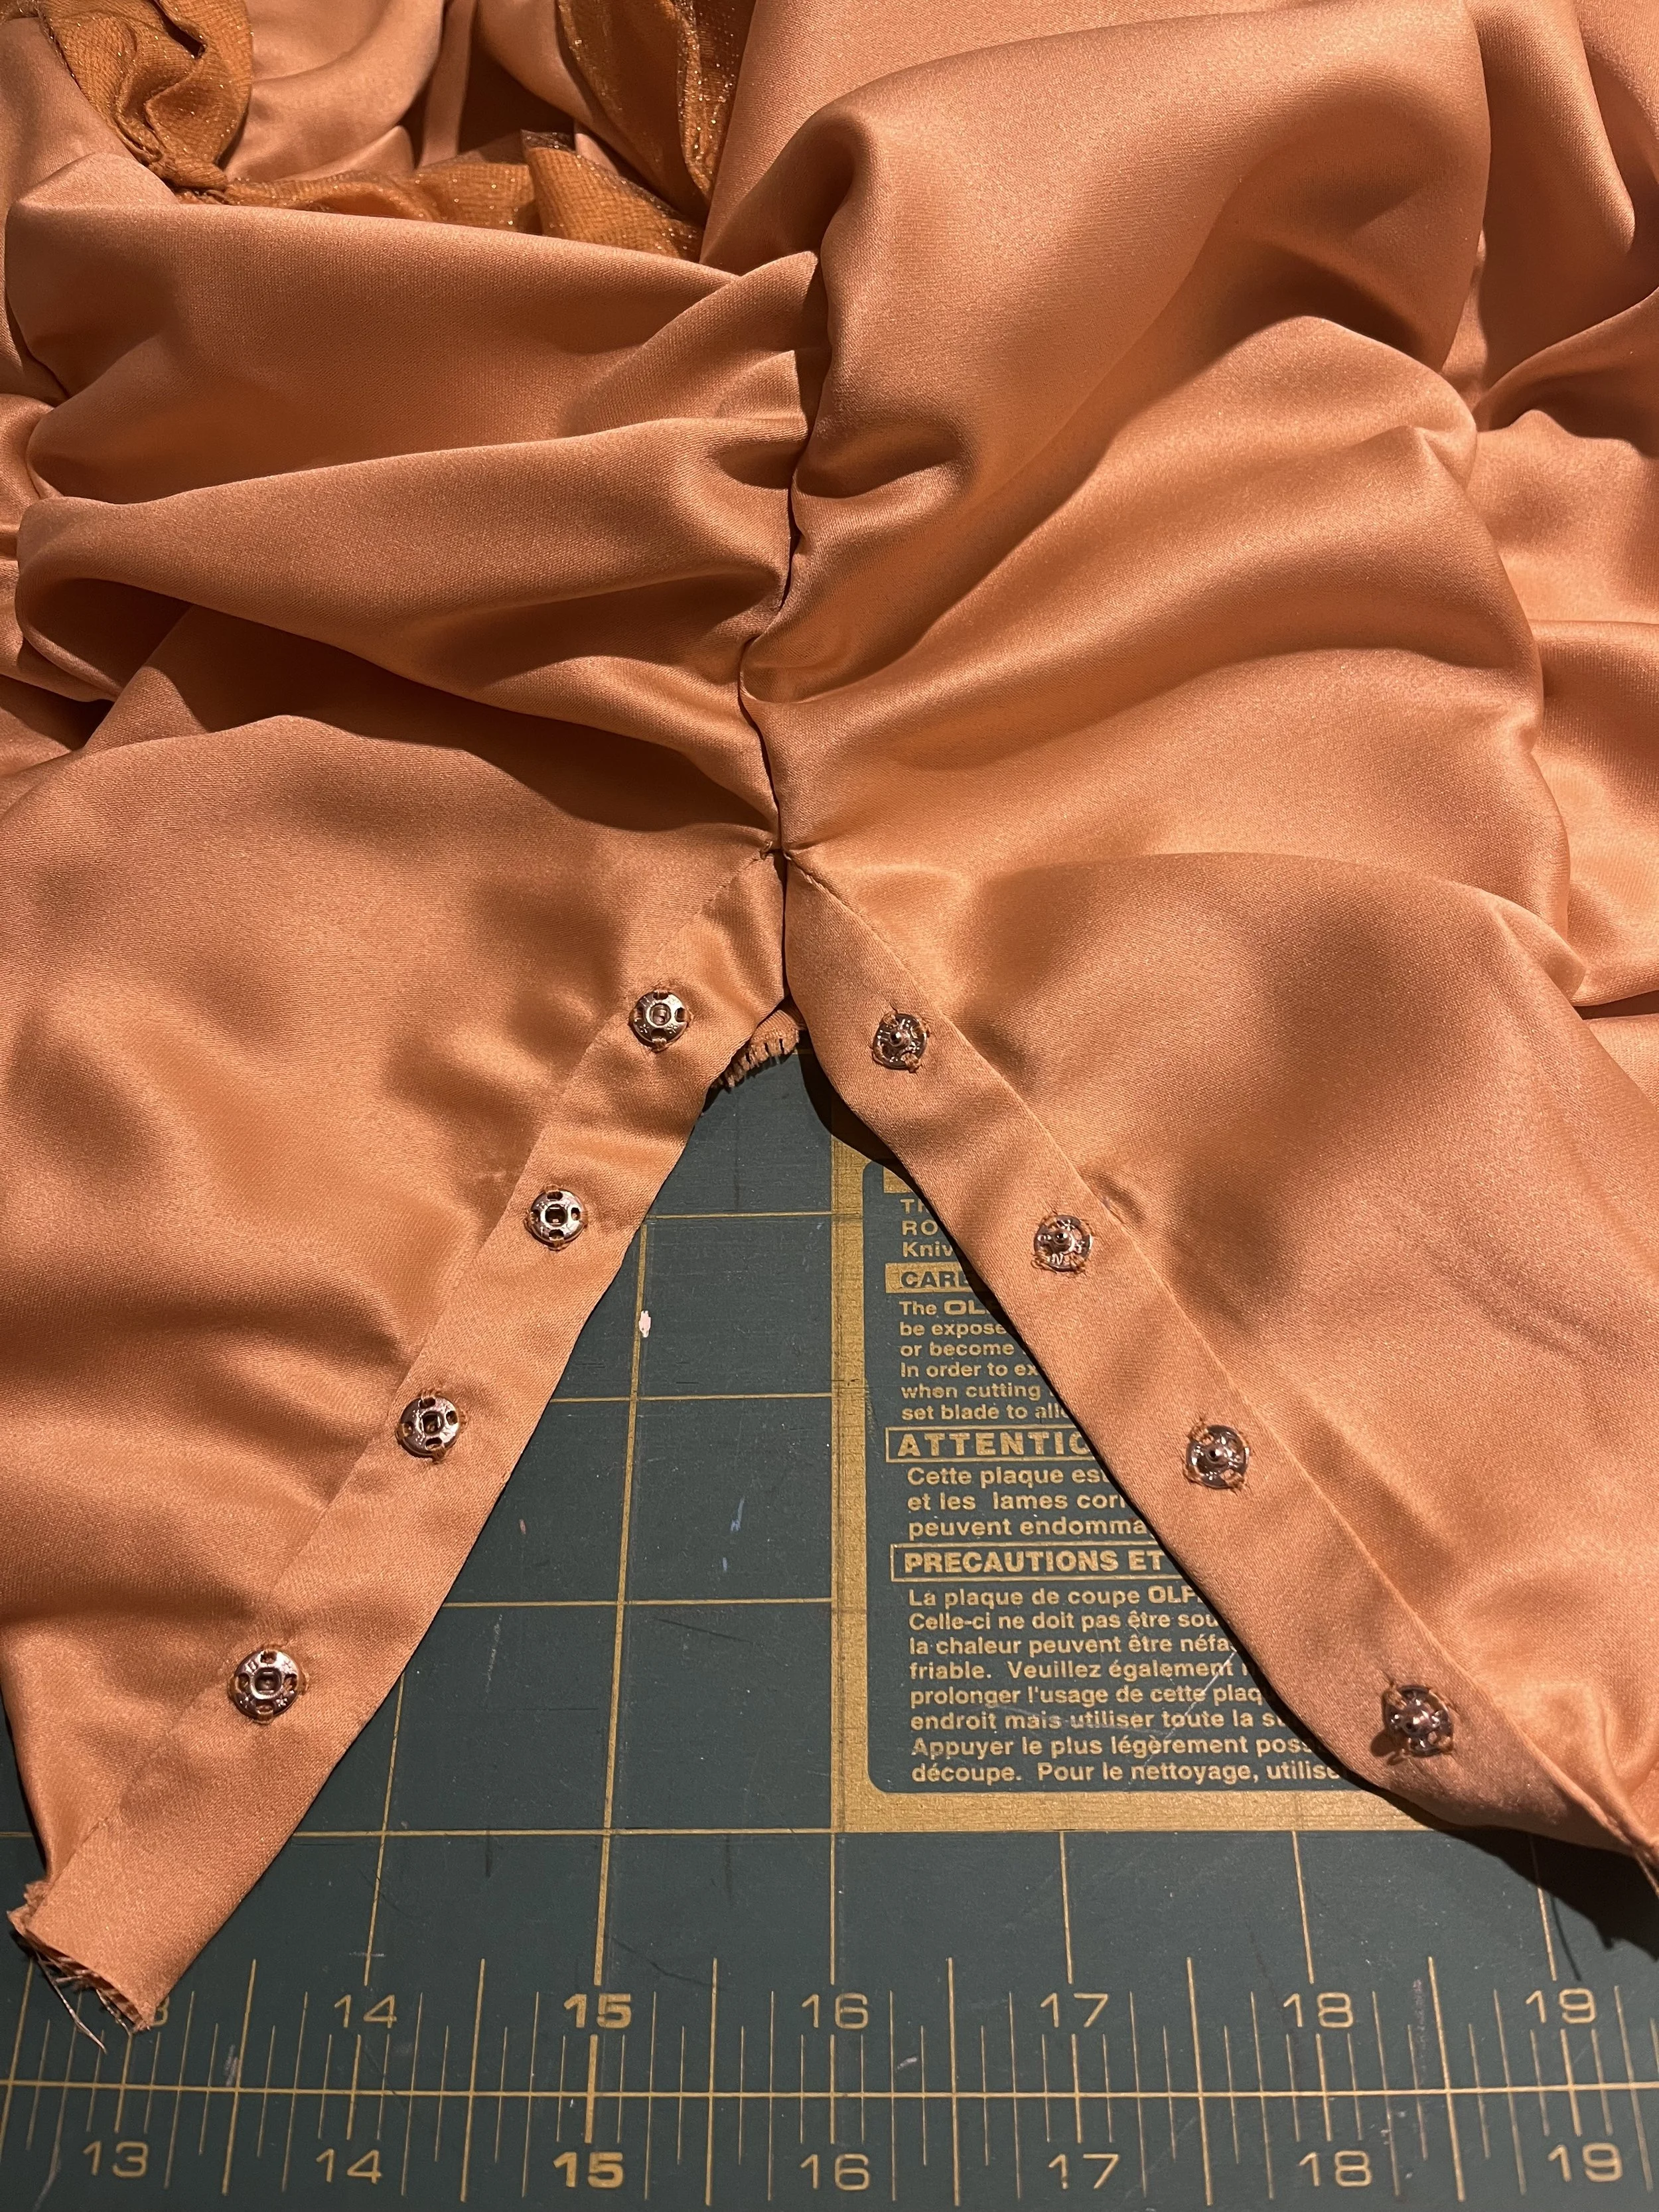
With the ruching in place, I finished the placket and added snaps to close the skirt. Next, I applied grosgrain ribbon and covered it with the satin to finish the waistband. Finally I applied covered buttons at the points of the swags. Here we see an example of how you can be so wrong about something you think you know so well: I covered the buttons in the same rayon and tulle I used for the swags (and eventually the bodice), absolutely certain that, on the original dress, this whole element was the same colour. Turns out, no. That is not the case. The pearls (is that what they’re supposed to be? I dunno.) are in fact the same colour as the main body of the skirt.
Could I fix this. Yes. Will I? Probably not.
With that, the skirt was complete and I could return to the bodice once more. As usual, I come to the end of a project having learned things that I would use to improve on my work if I should ever make the exact same thing again. I do think I have achieved my main goal which was to build a skirt that looked and acted as close to the movie as possible. Sometimes I catch her from the right angle and she looks suuuuuuper right and I get a bit giggly.
Belle's skirt took 56.25 hours in total. I spent 17.25 hours on the pattern and mock ups and 39 hours on the final build.
