1880 Dress Pt. Seven
Cover that corset!
After finishing the petticoat, I thought I would move on to the final gown but after a little more research and consideration I decided I really ought to make a corset cover as well.
Y'know. Be thorough.
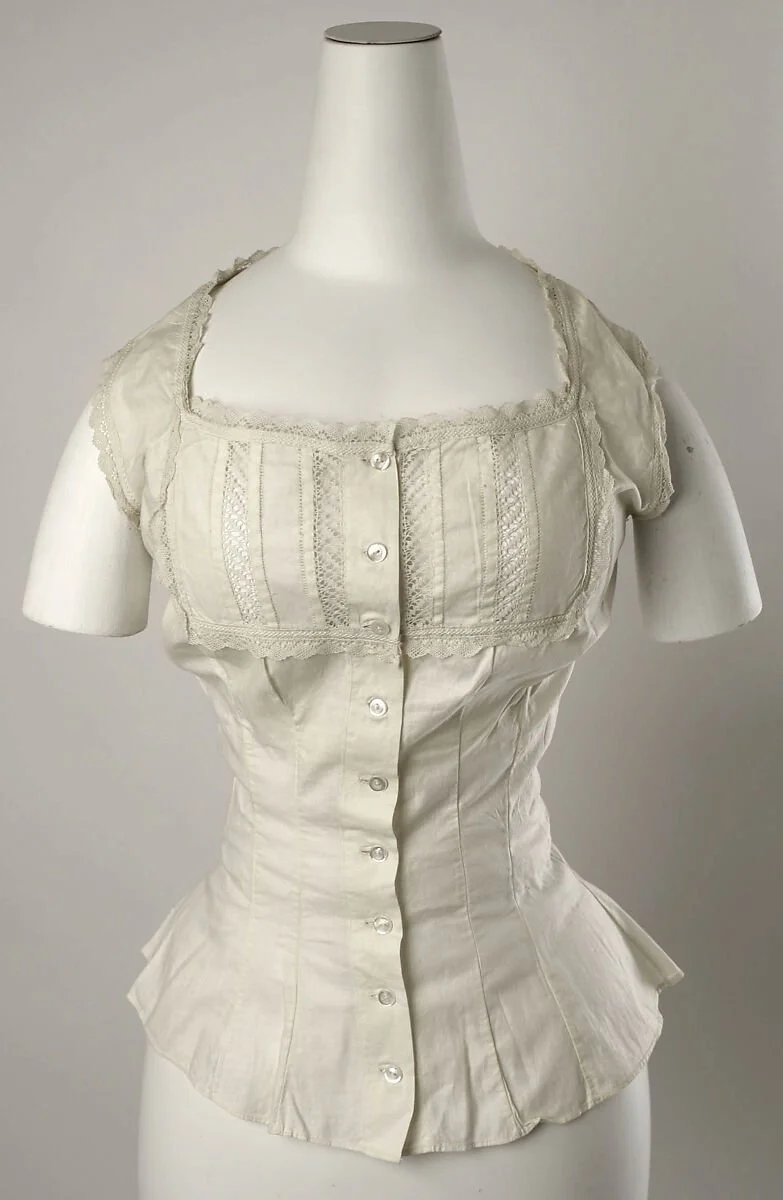
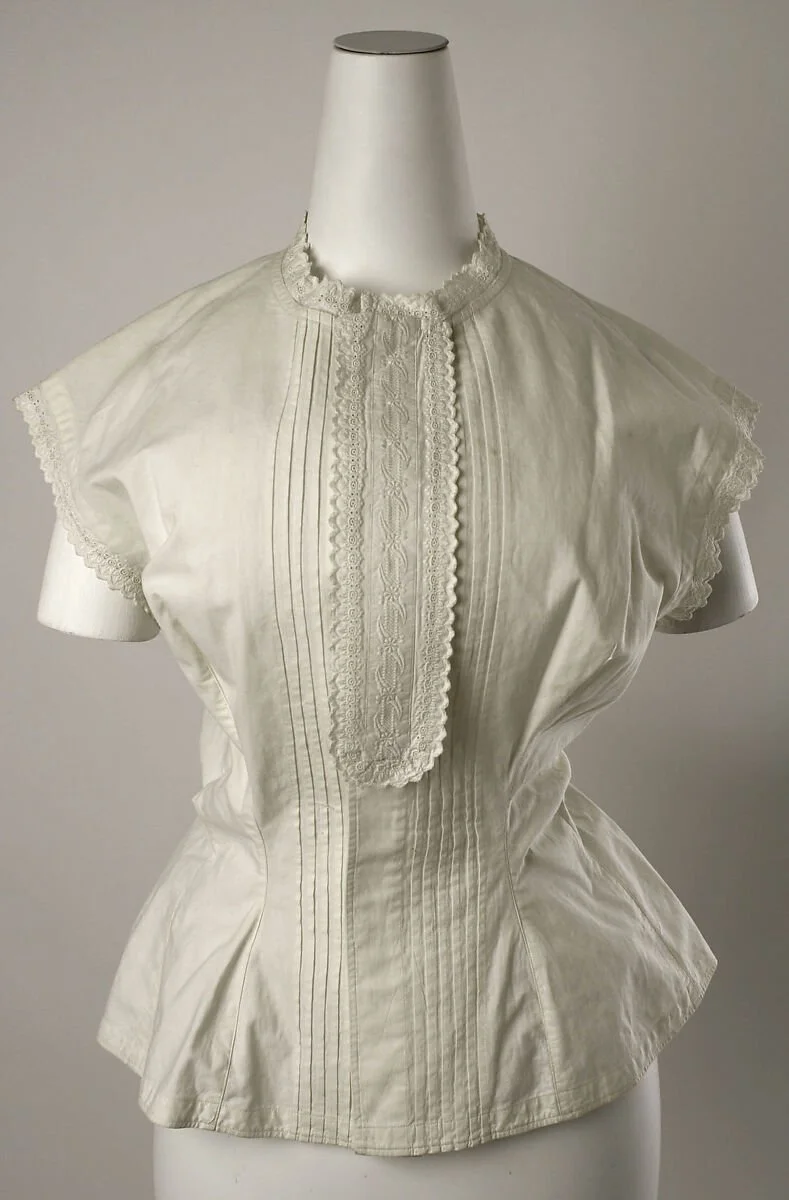
Anyway, much like the other elements I started looking through my various books and museum collections for examples of corset covers from around the time period to put together my design. What I found was that, much like the other undergarments, the corset covers of 1880 were not completely plain and would feature some embellishment, but were still a bit more restrained than later examples.
This has kind of been a theme through all the underpinnings.
Corset Cover, ca. 1880, Metropolitan Museum of Art Costume Institute, New York, https://www.metmuseum.org/art/collection/search/109136?deptids=8&ft=corset+cover&offset=0&rpp=40&pos=13
Corset Cover, 1880s, Metropolitan Museum of Art Costume Institute, New York, https://www.metmuseum.org/art/collection/search/132282?deptids=8&ft=corset+cover&offset=0&rpp=40&pos=8
Corset Cover, 1880s, Metropolitan Museum of Art Costume Institute, New York, https://www.metmuseum.org/art/collection/search/109271?deptids=8&ft=corset+cover&offset=0&rpp=40&pos=17
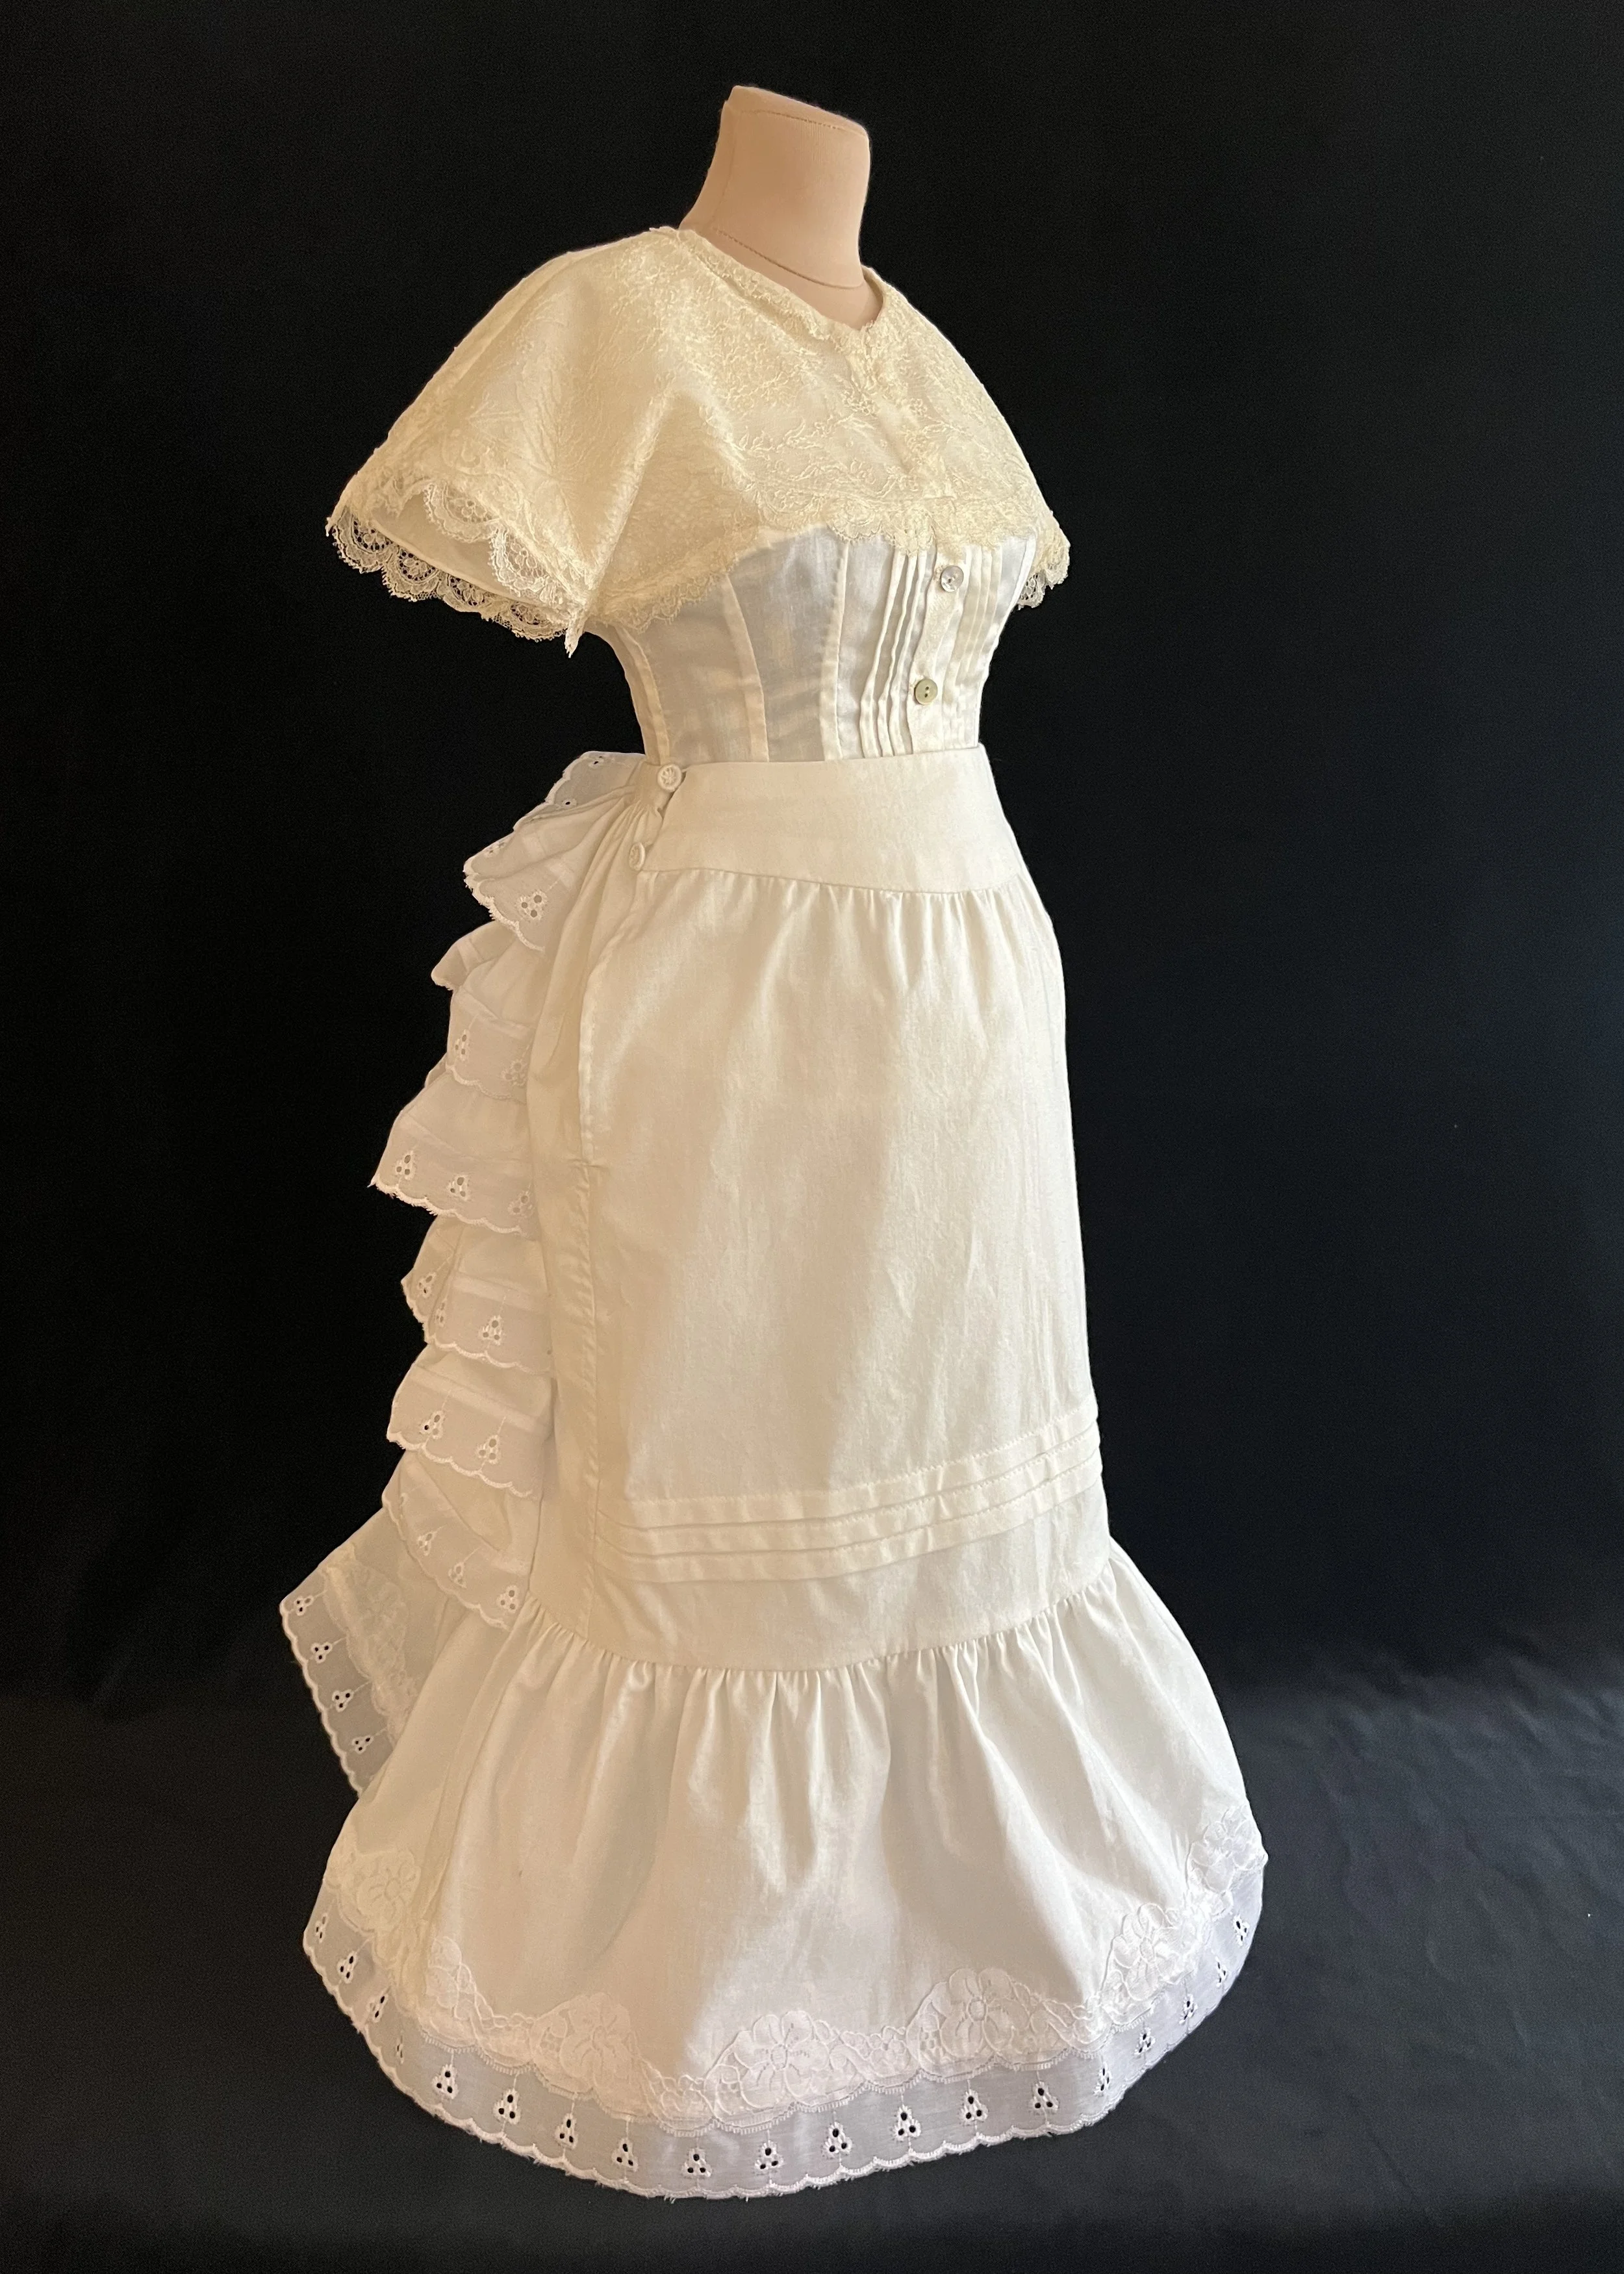
They often featured some lace or pulled and or cut thread work around the neck and armholes but not much else; perhaps there would be some pintucks. The body extends down over the hips and the close fit seems to most commonly be achieved with darts or tucks which would be top stitched or felled, and possibly trimmed, so as to sit flat and reduce bulk. Some are quite open around the neck and shoulders, presumably for wear under evening gowns with lower necklines and exposed arms, but some of the examples I saw were cut quite high around the neck and even had a cap sleeve.
I initially wanted to keep the design of this piece a bit simpler and not get carried away with extra decoration which would be time consuming and fiddly.
HAH!
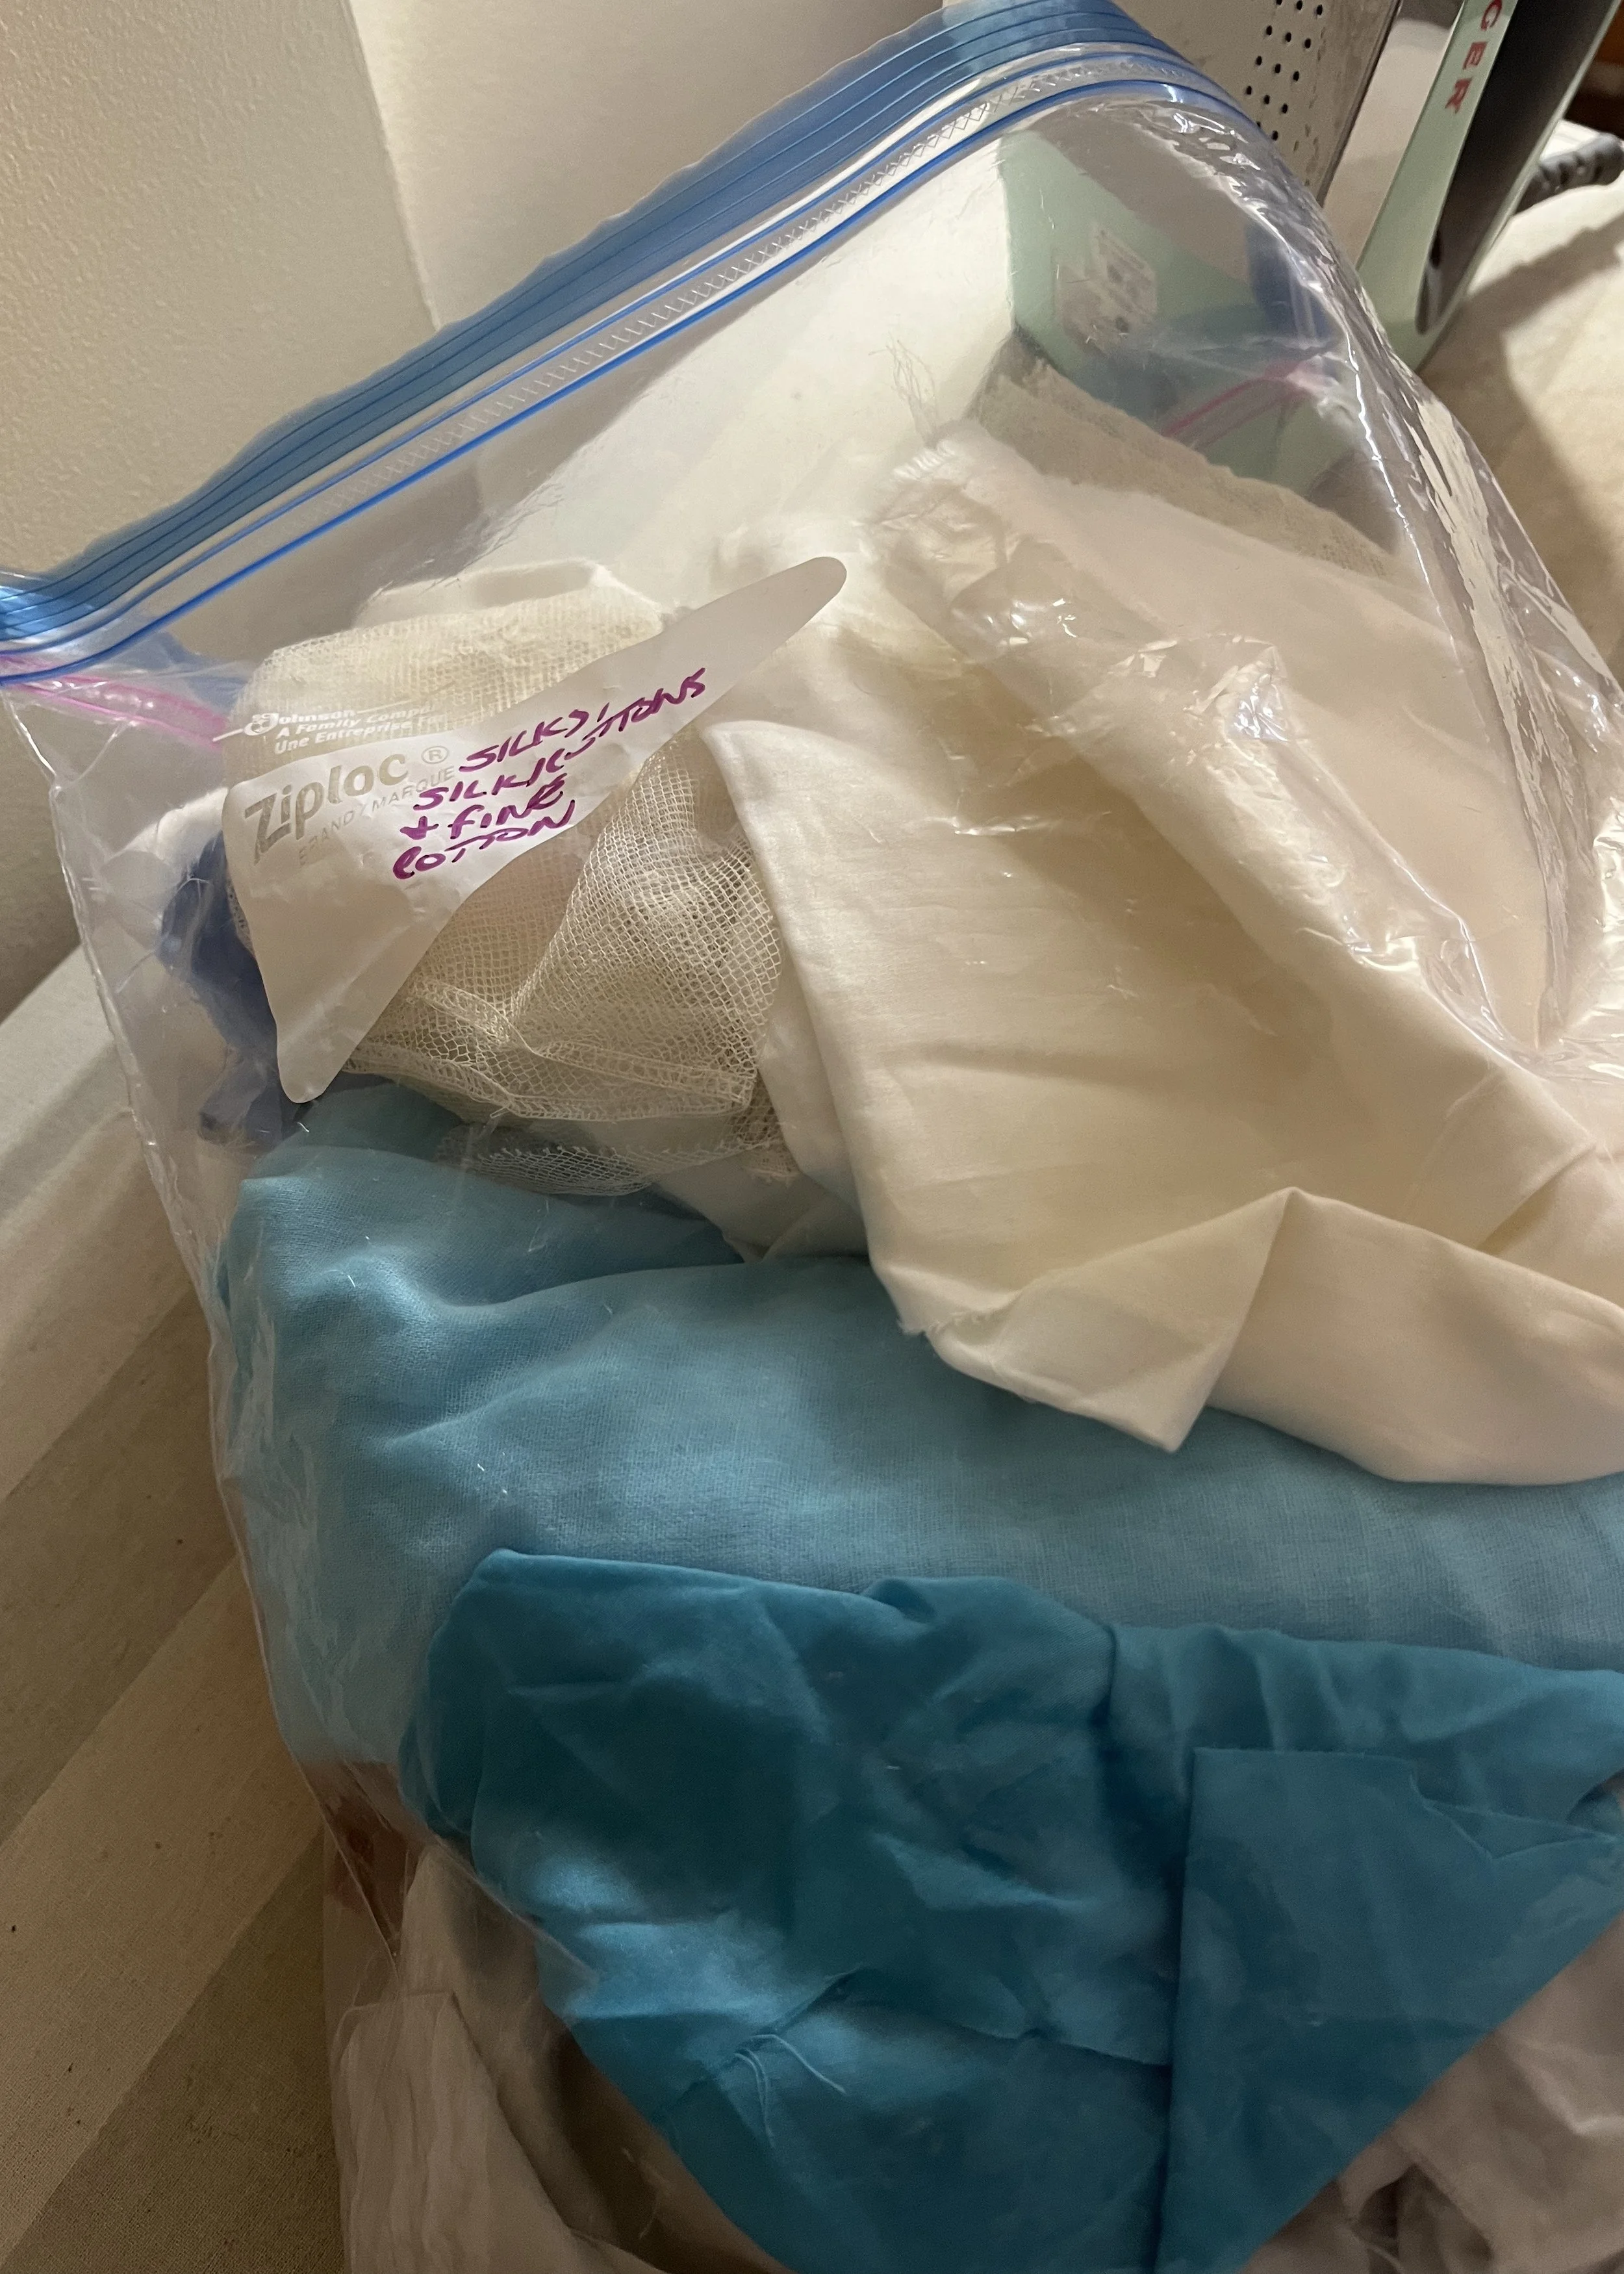
Fancy storage for fancy fabrics.
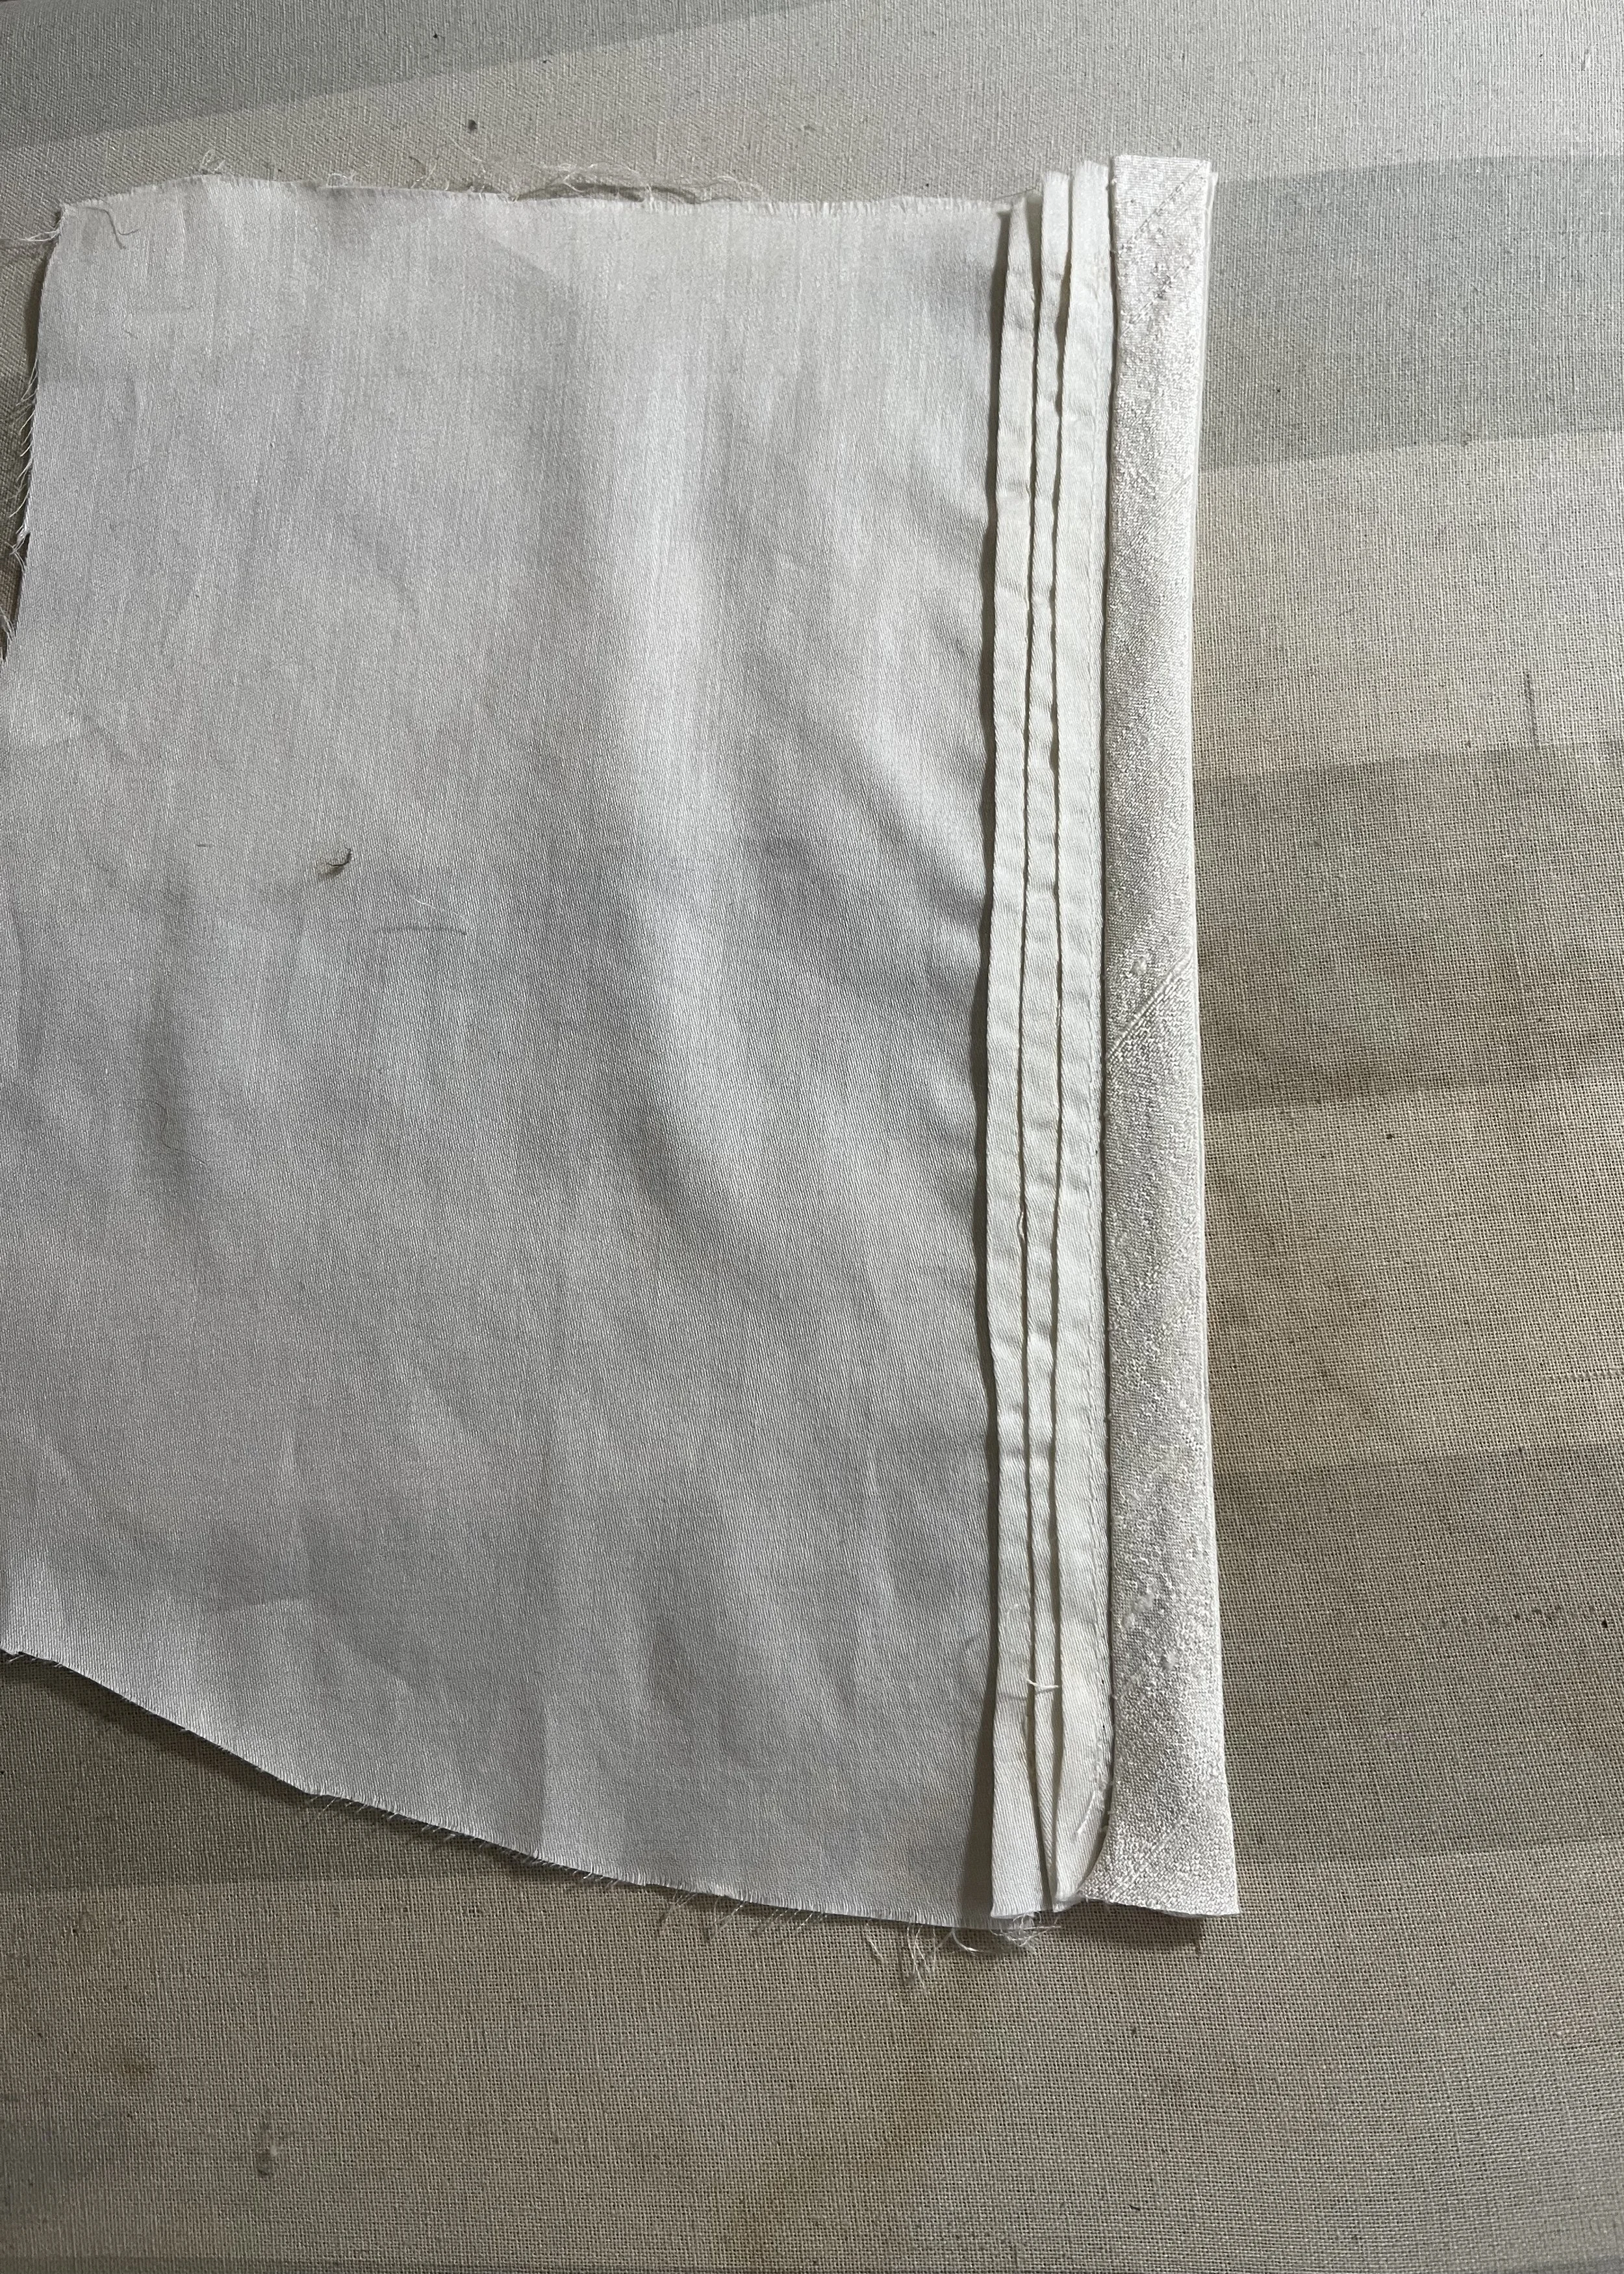
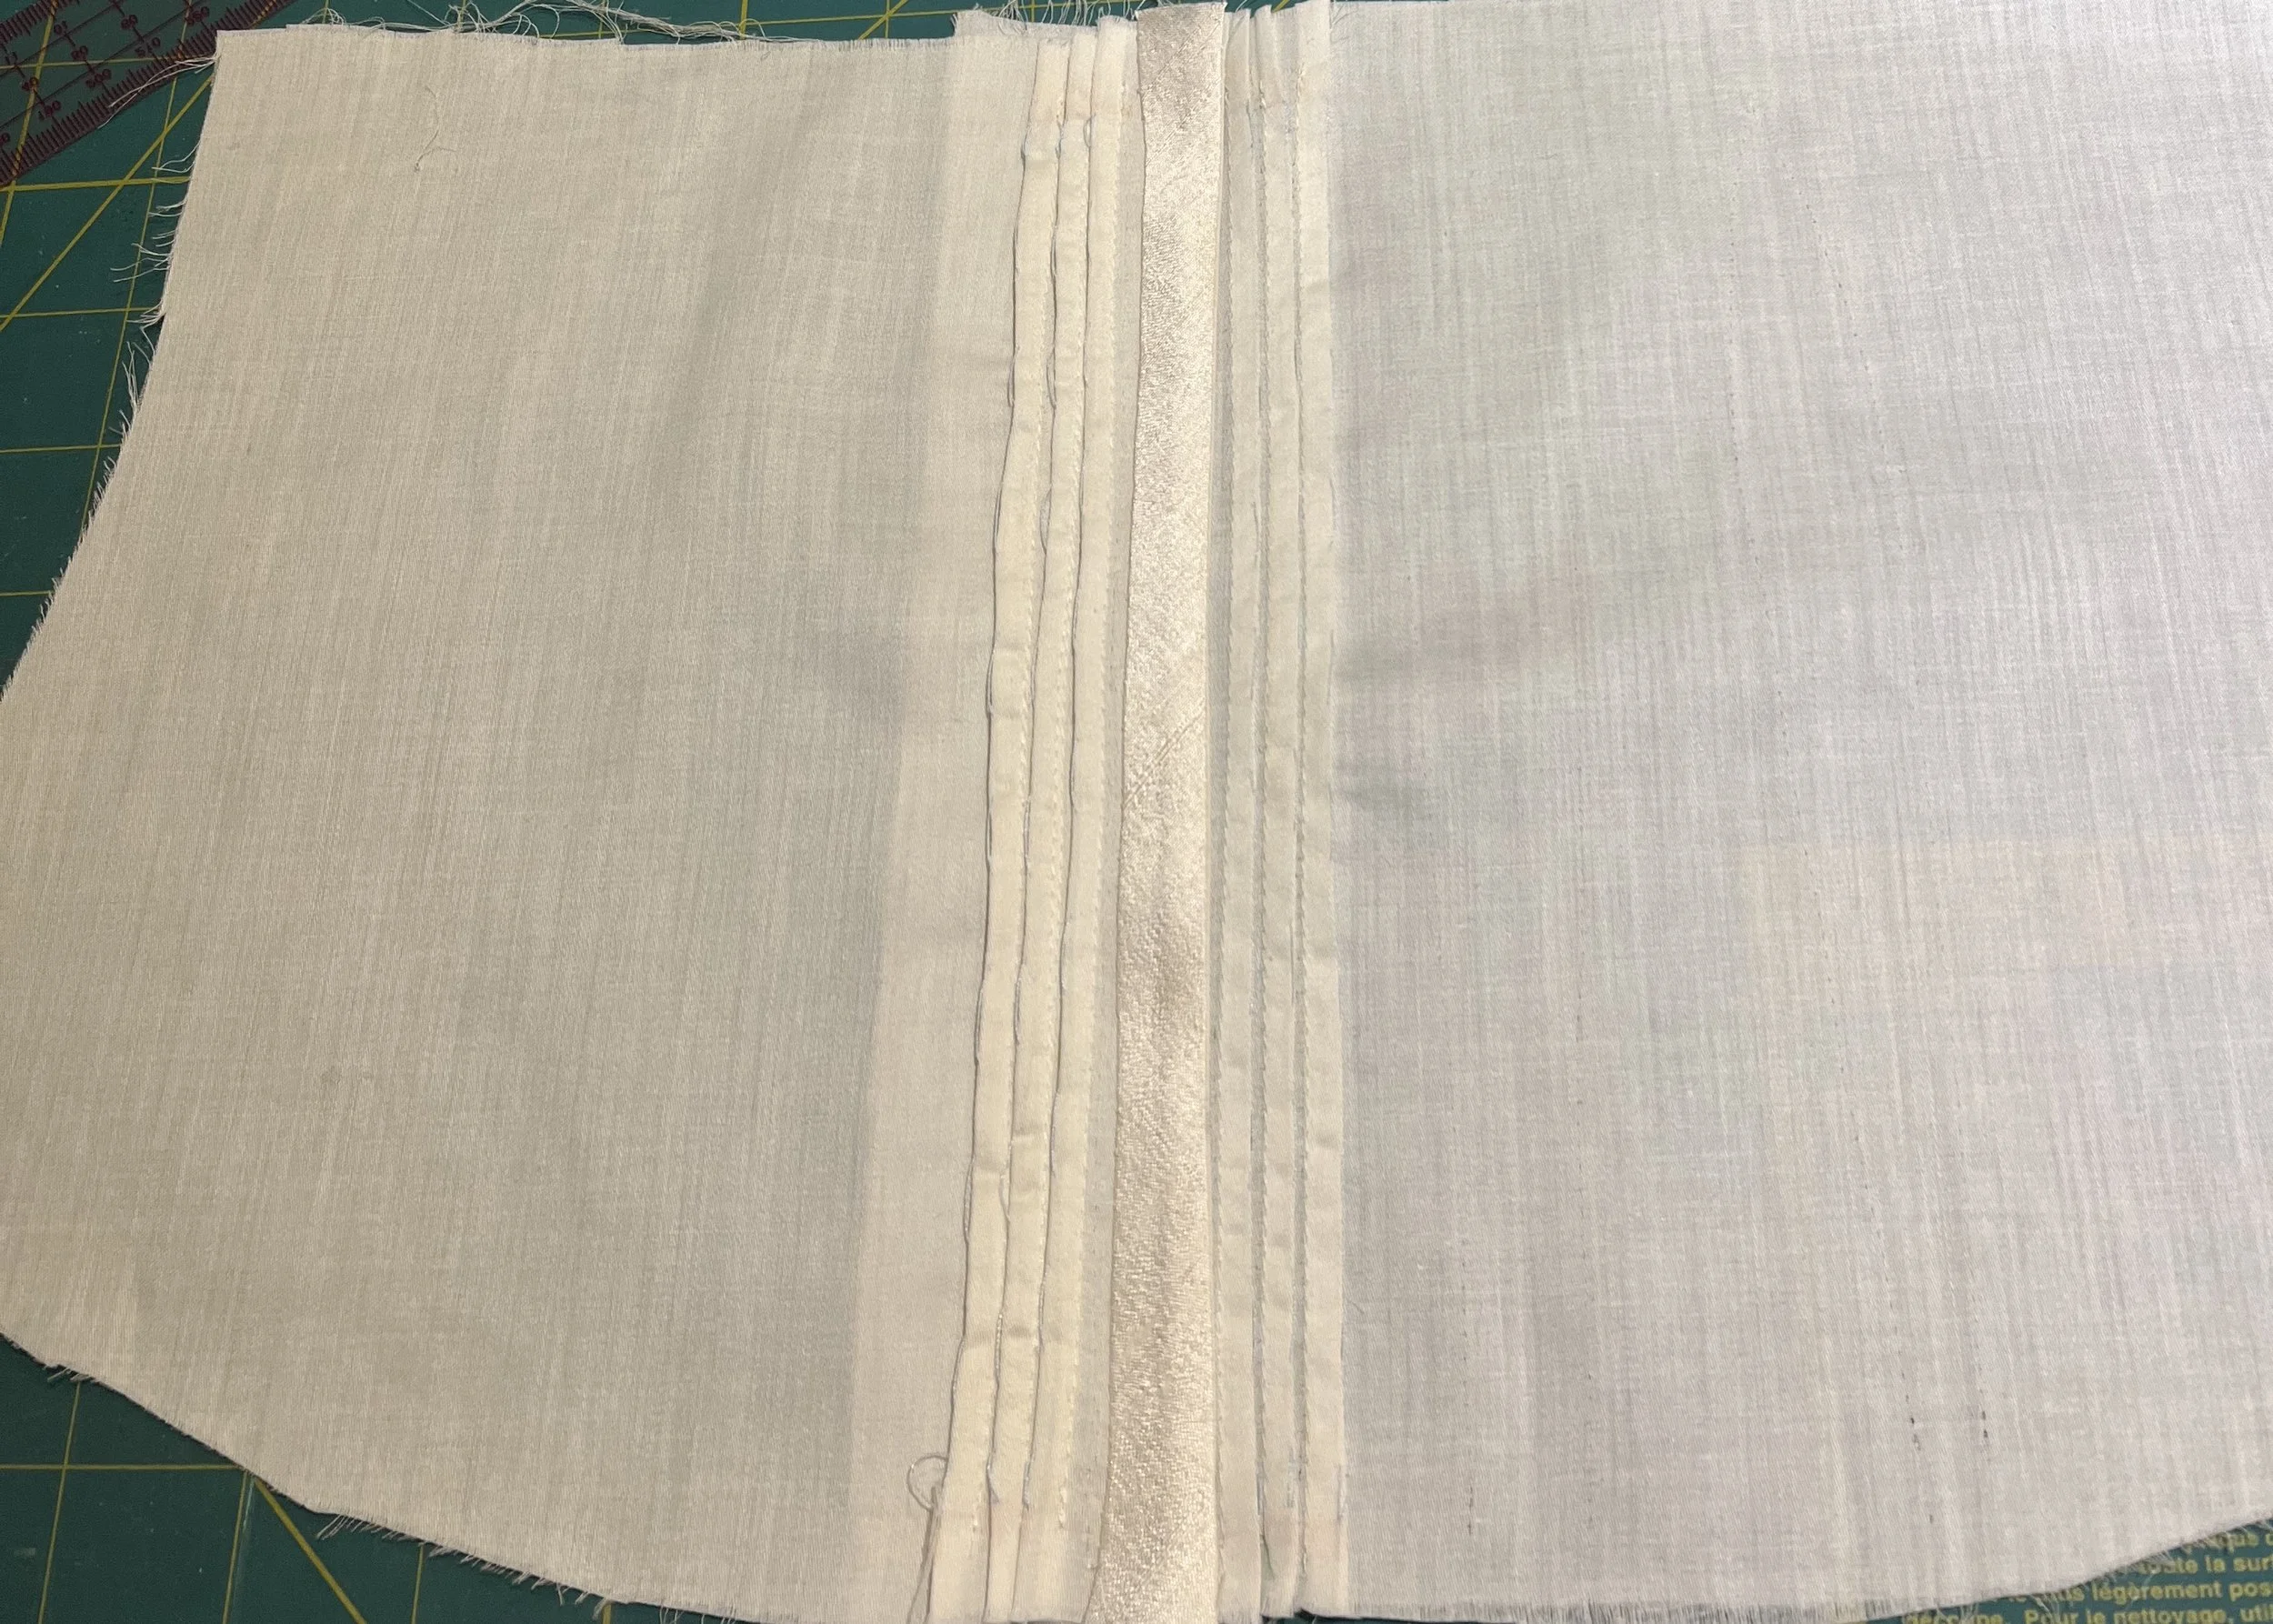
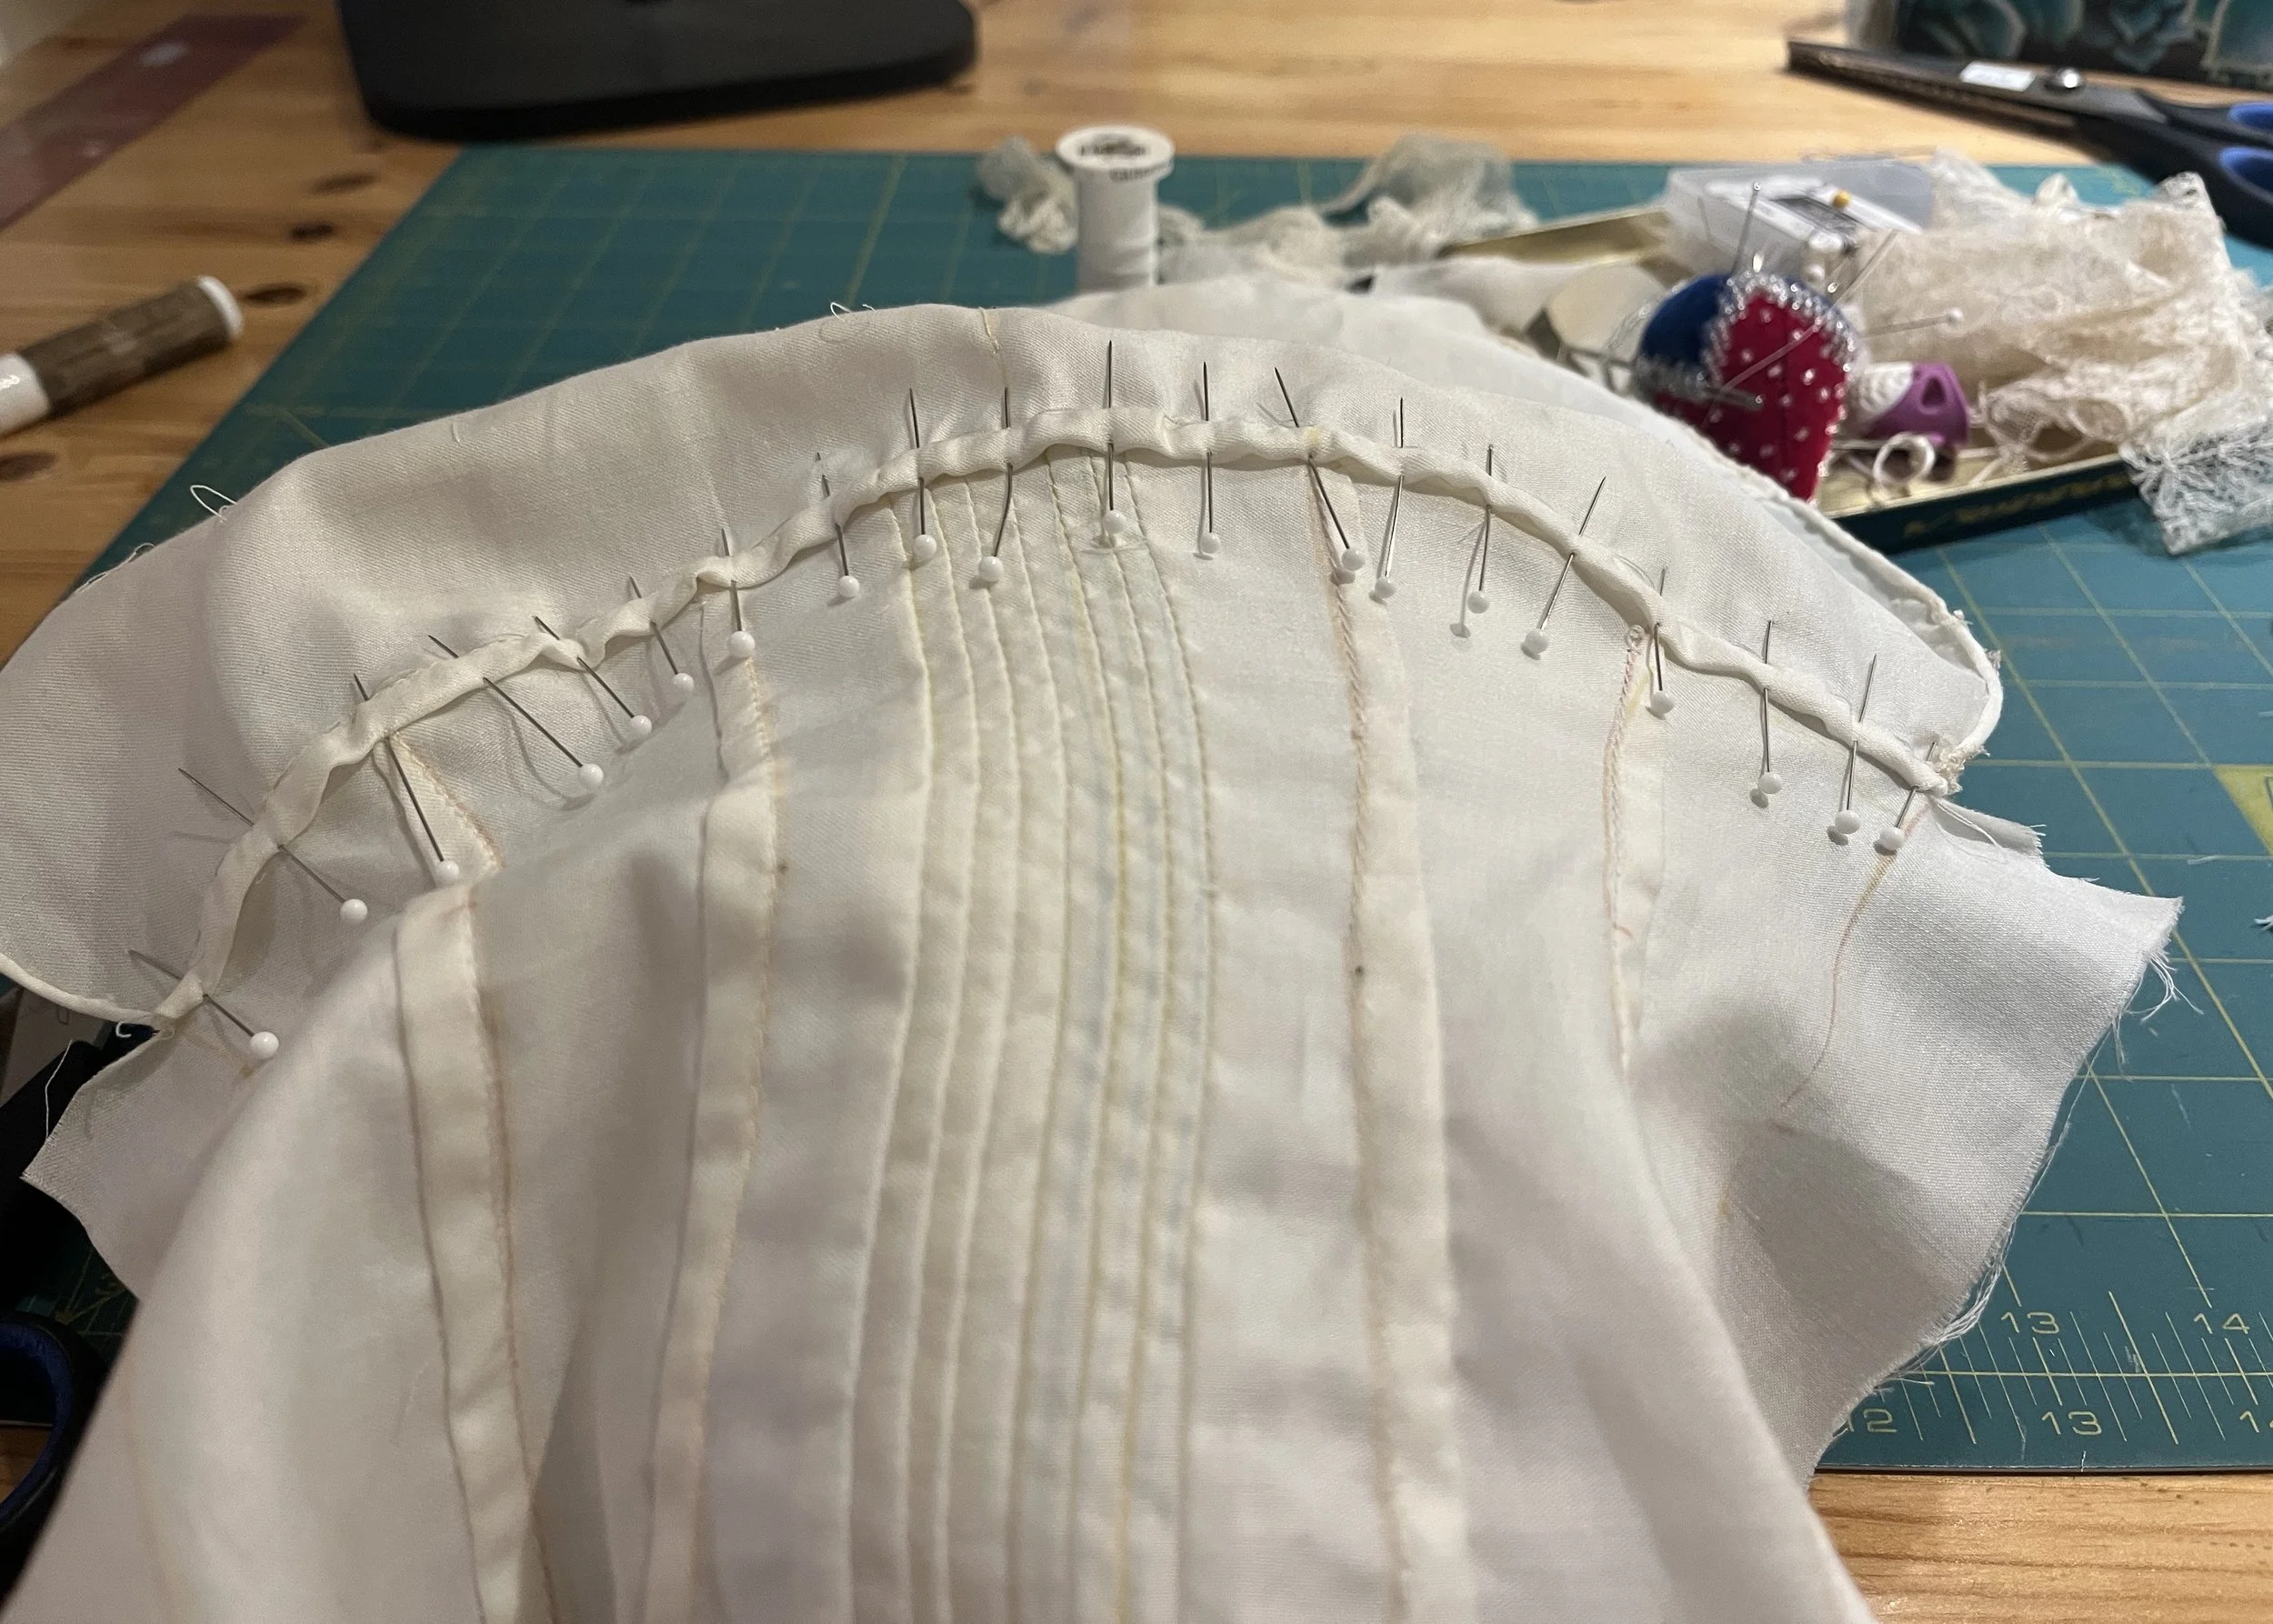
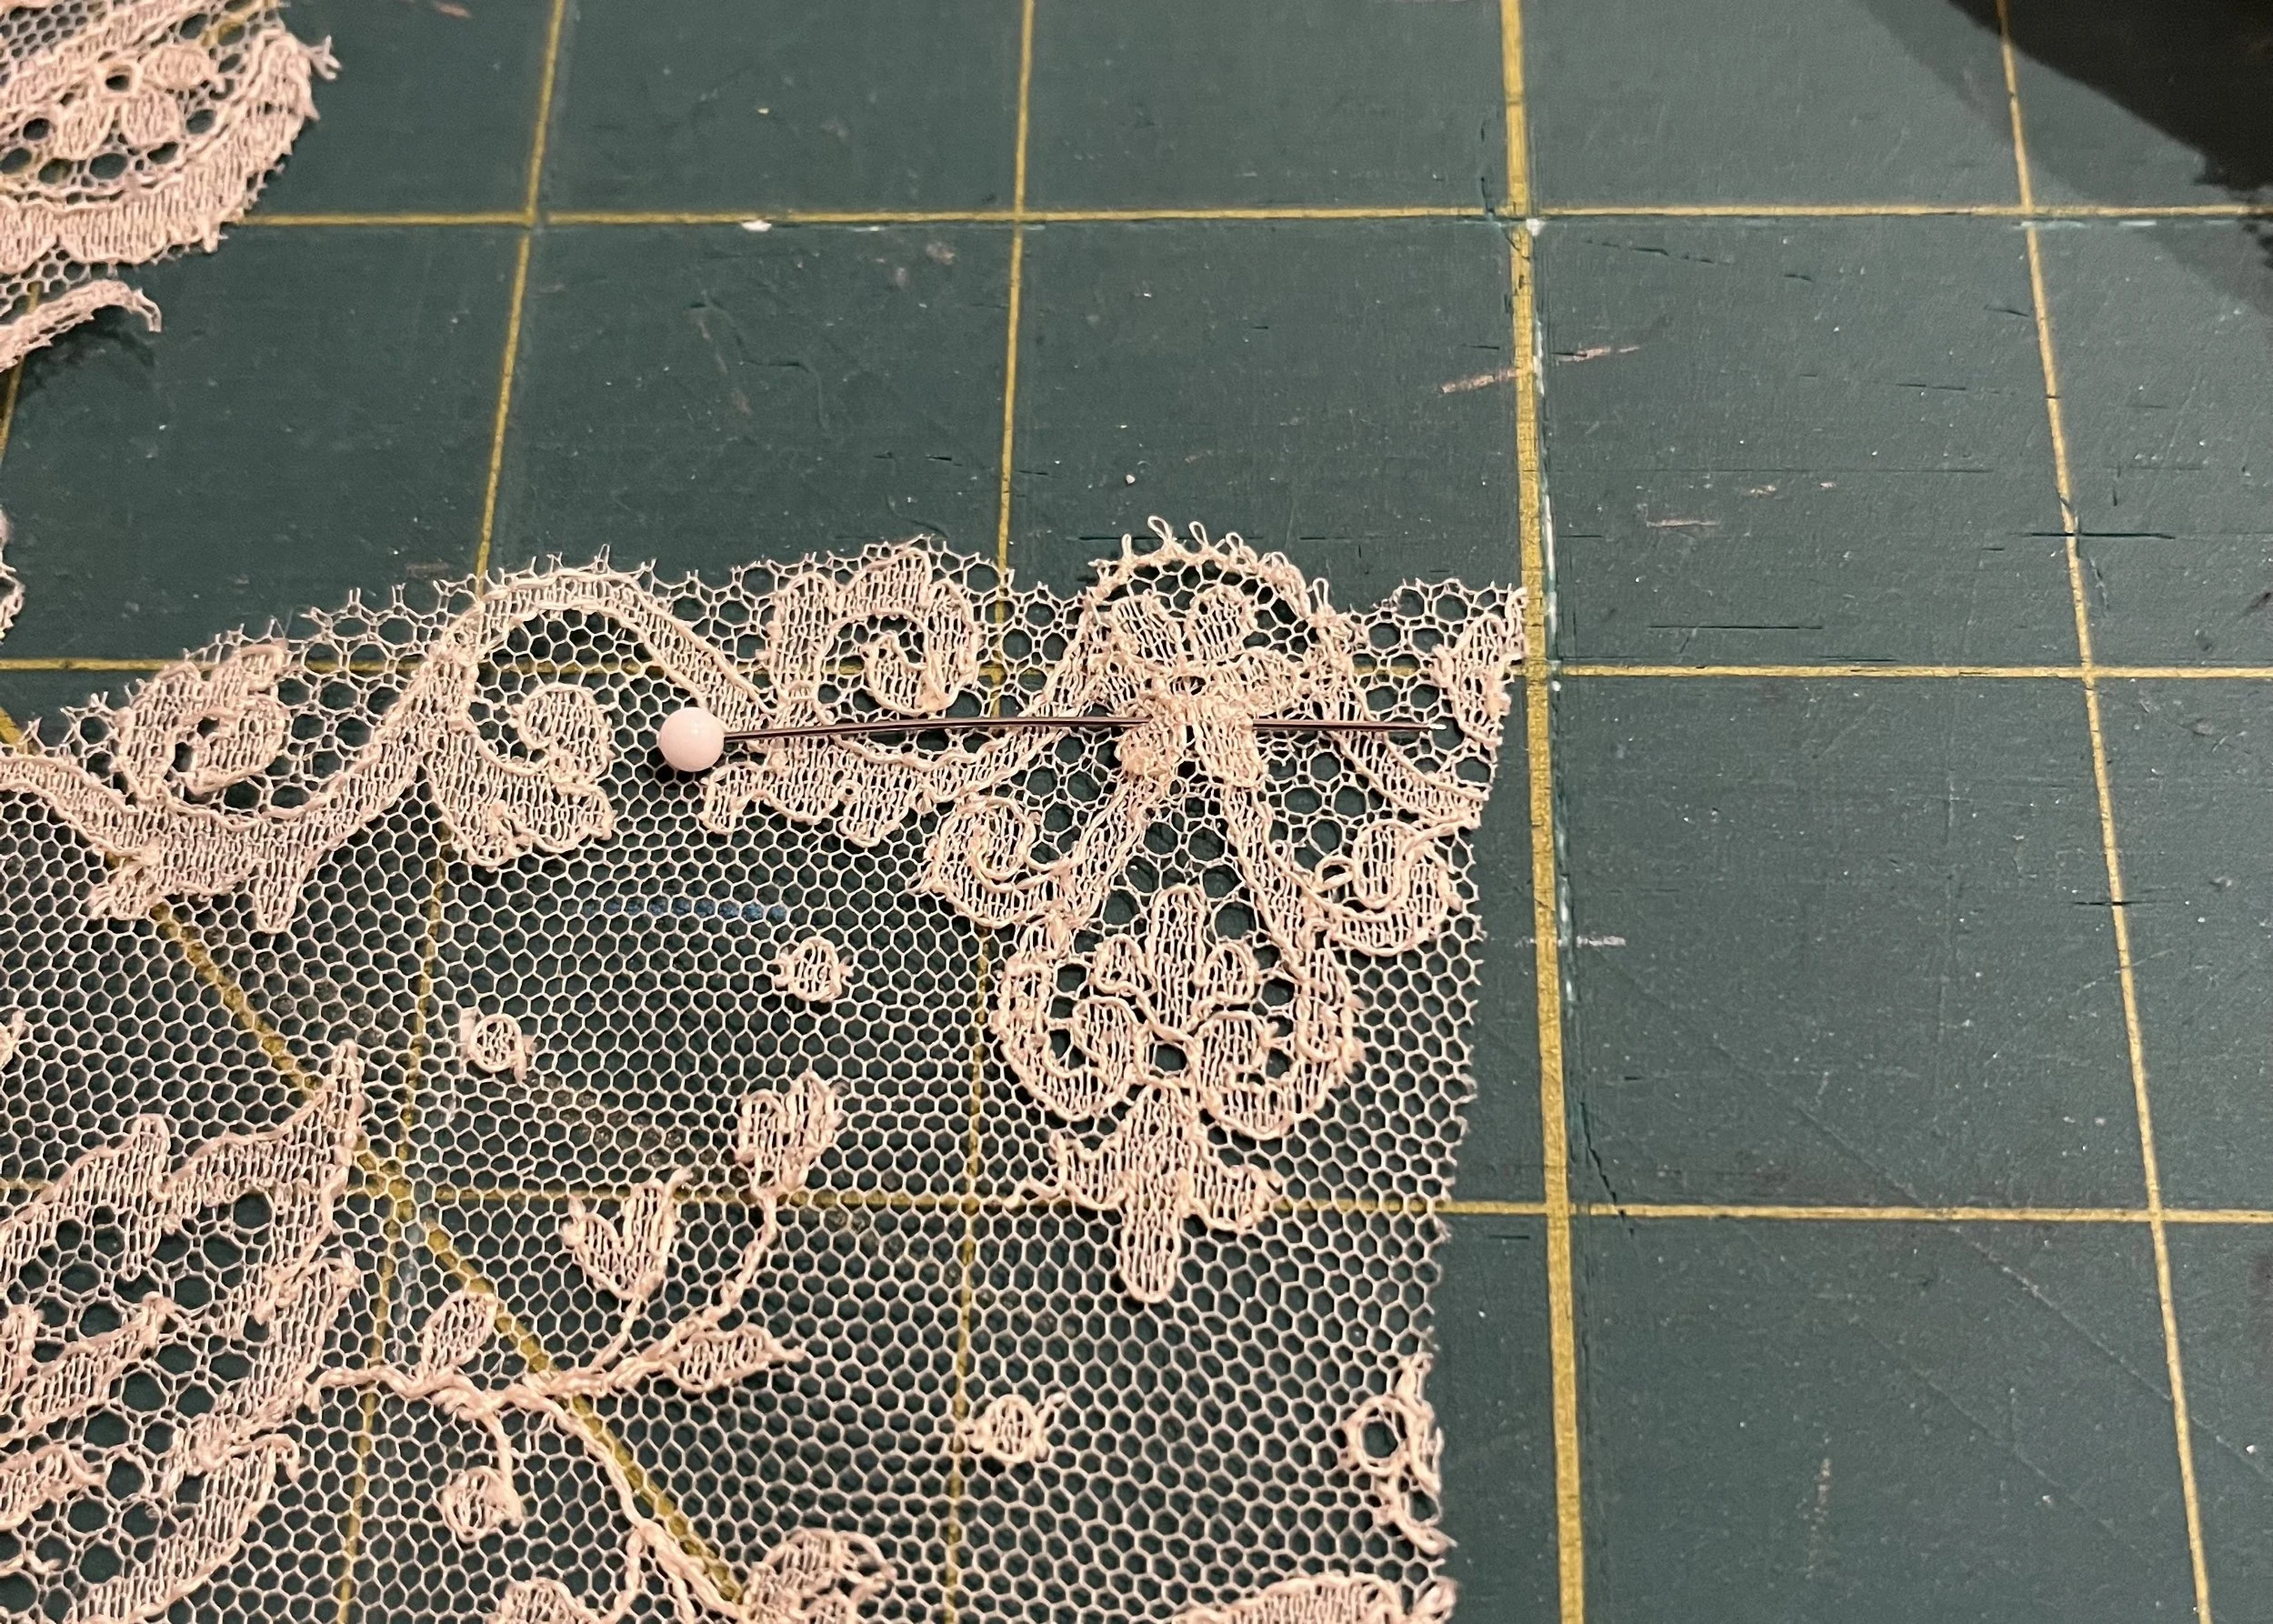
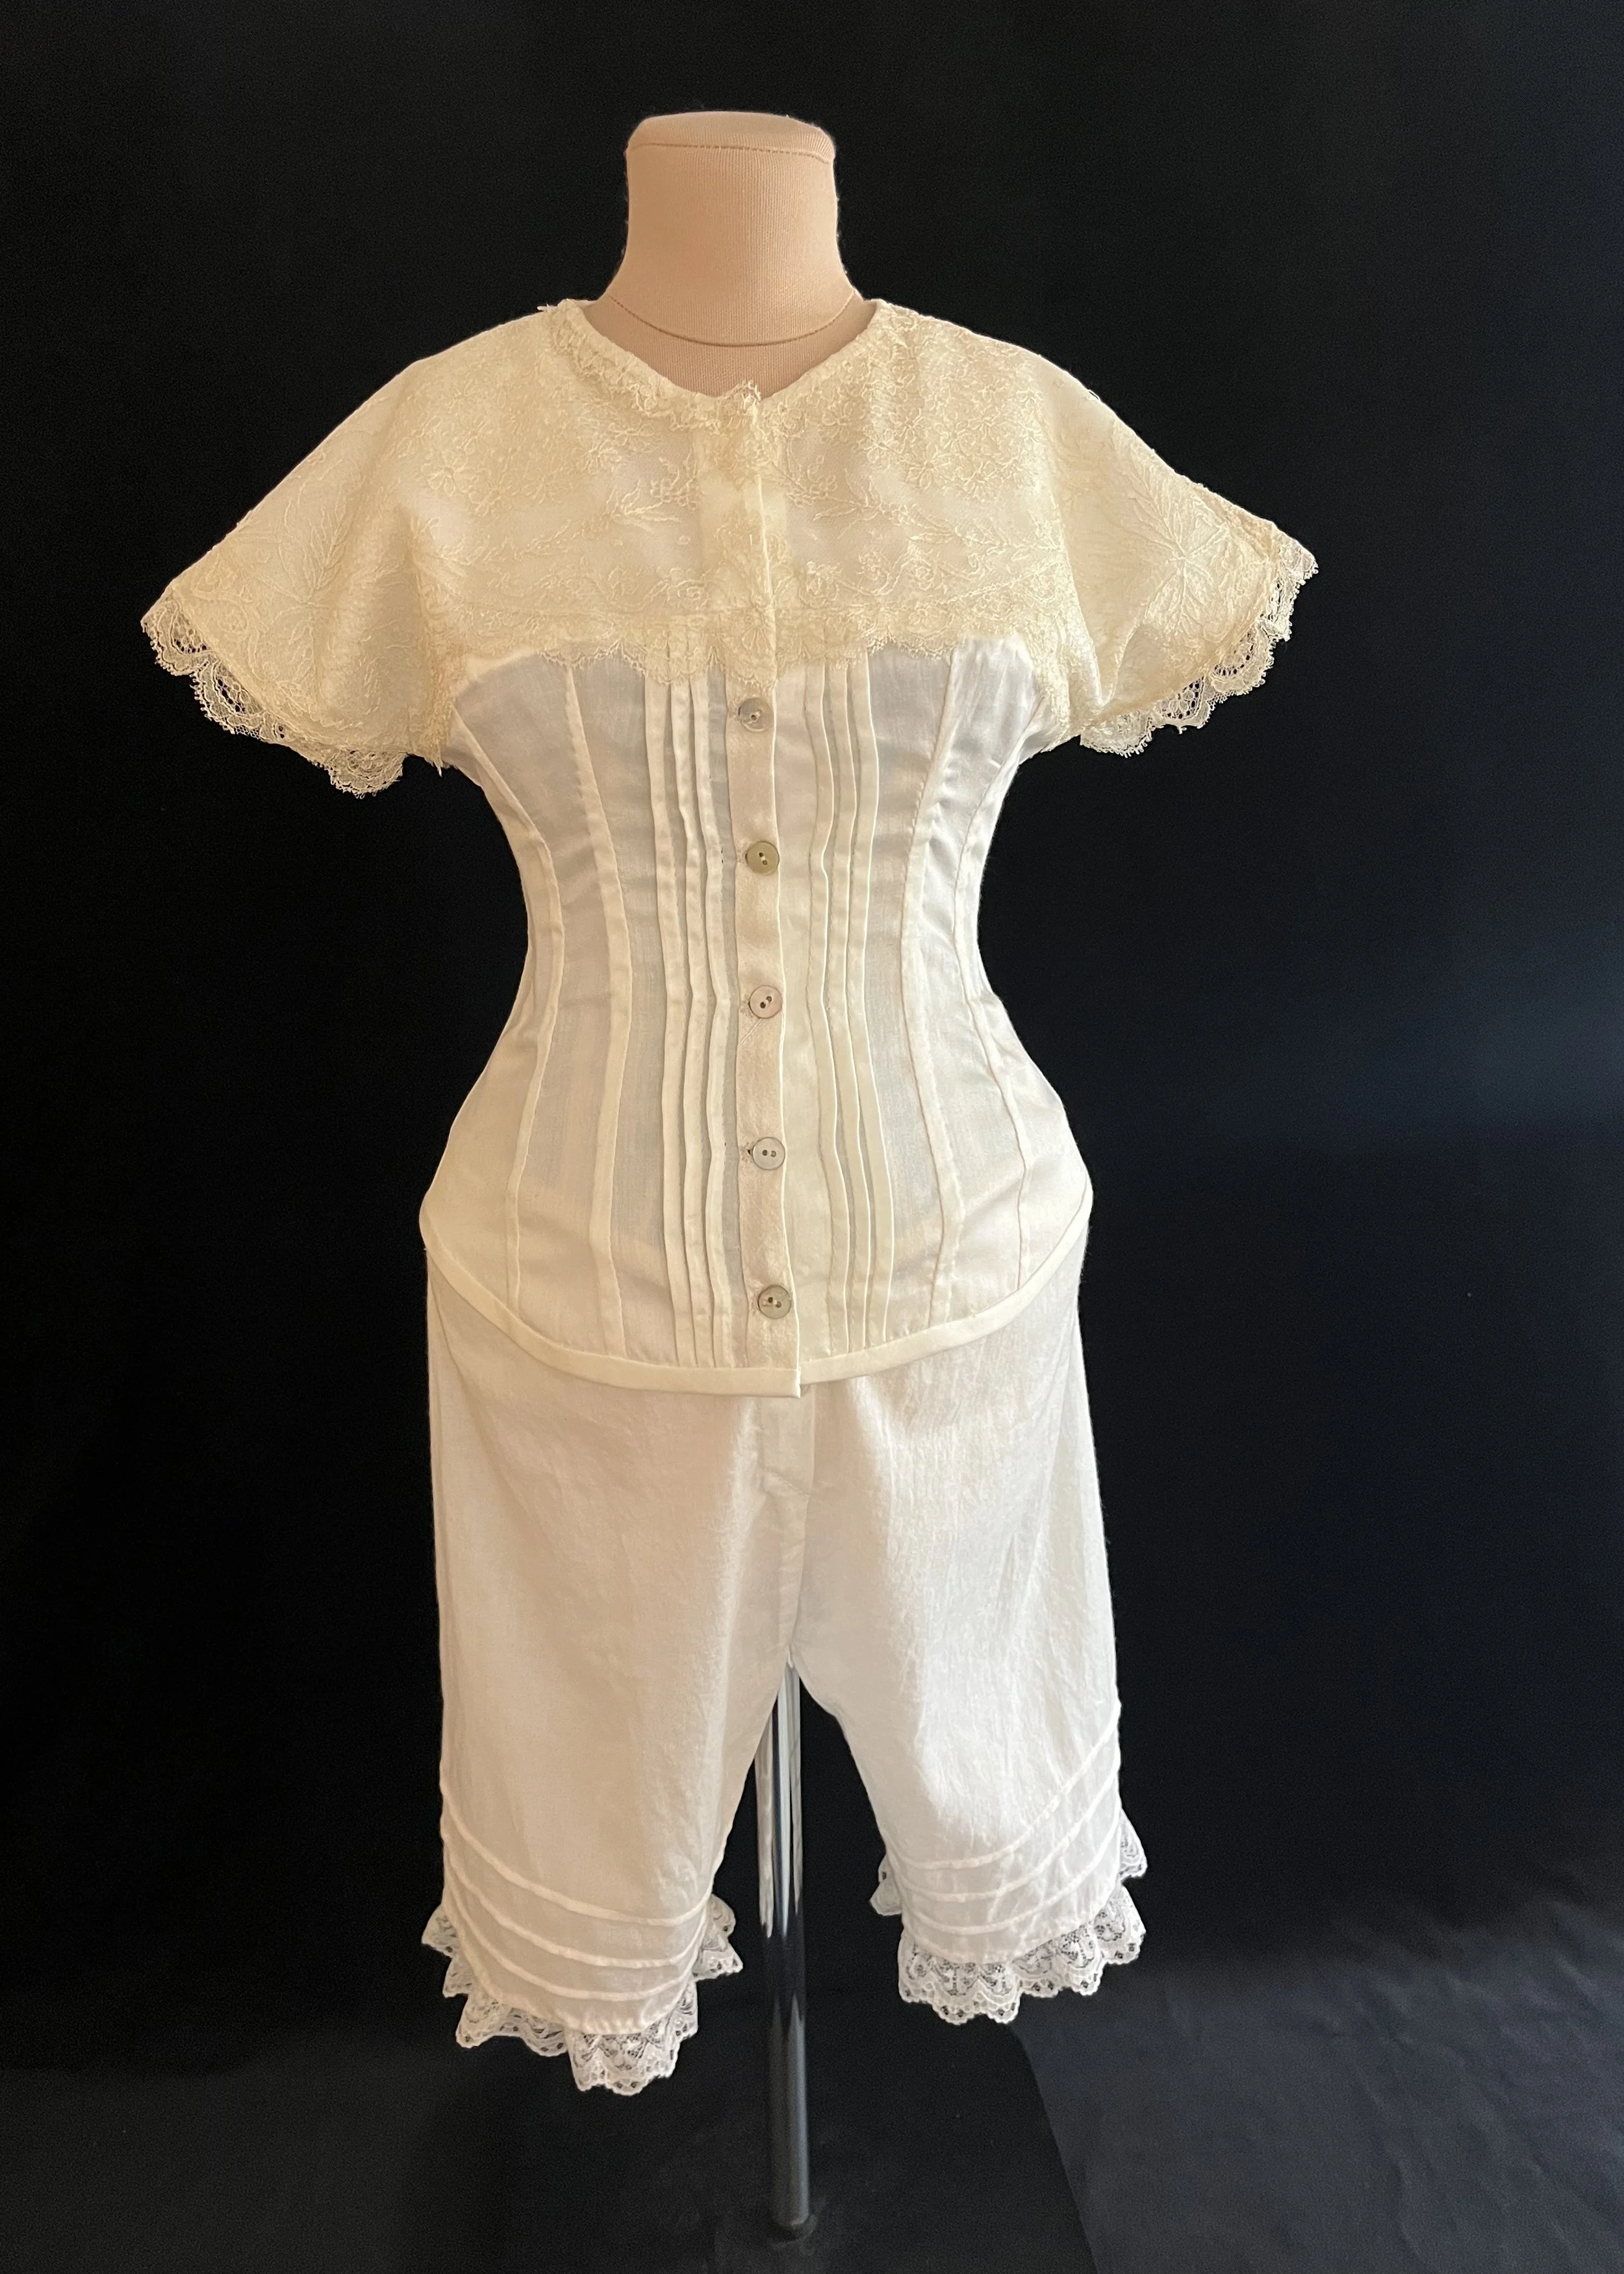
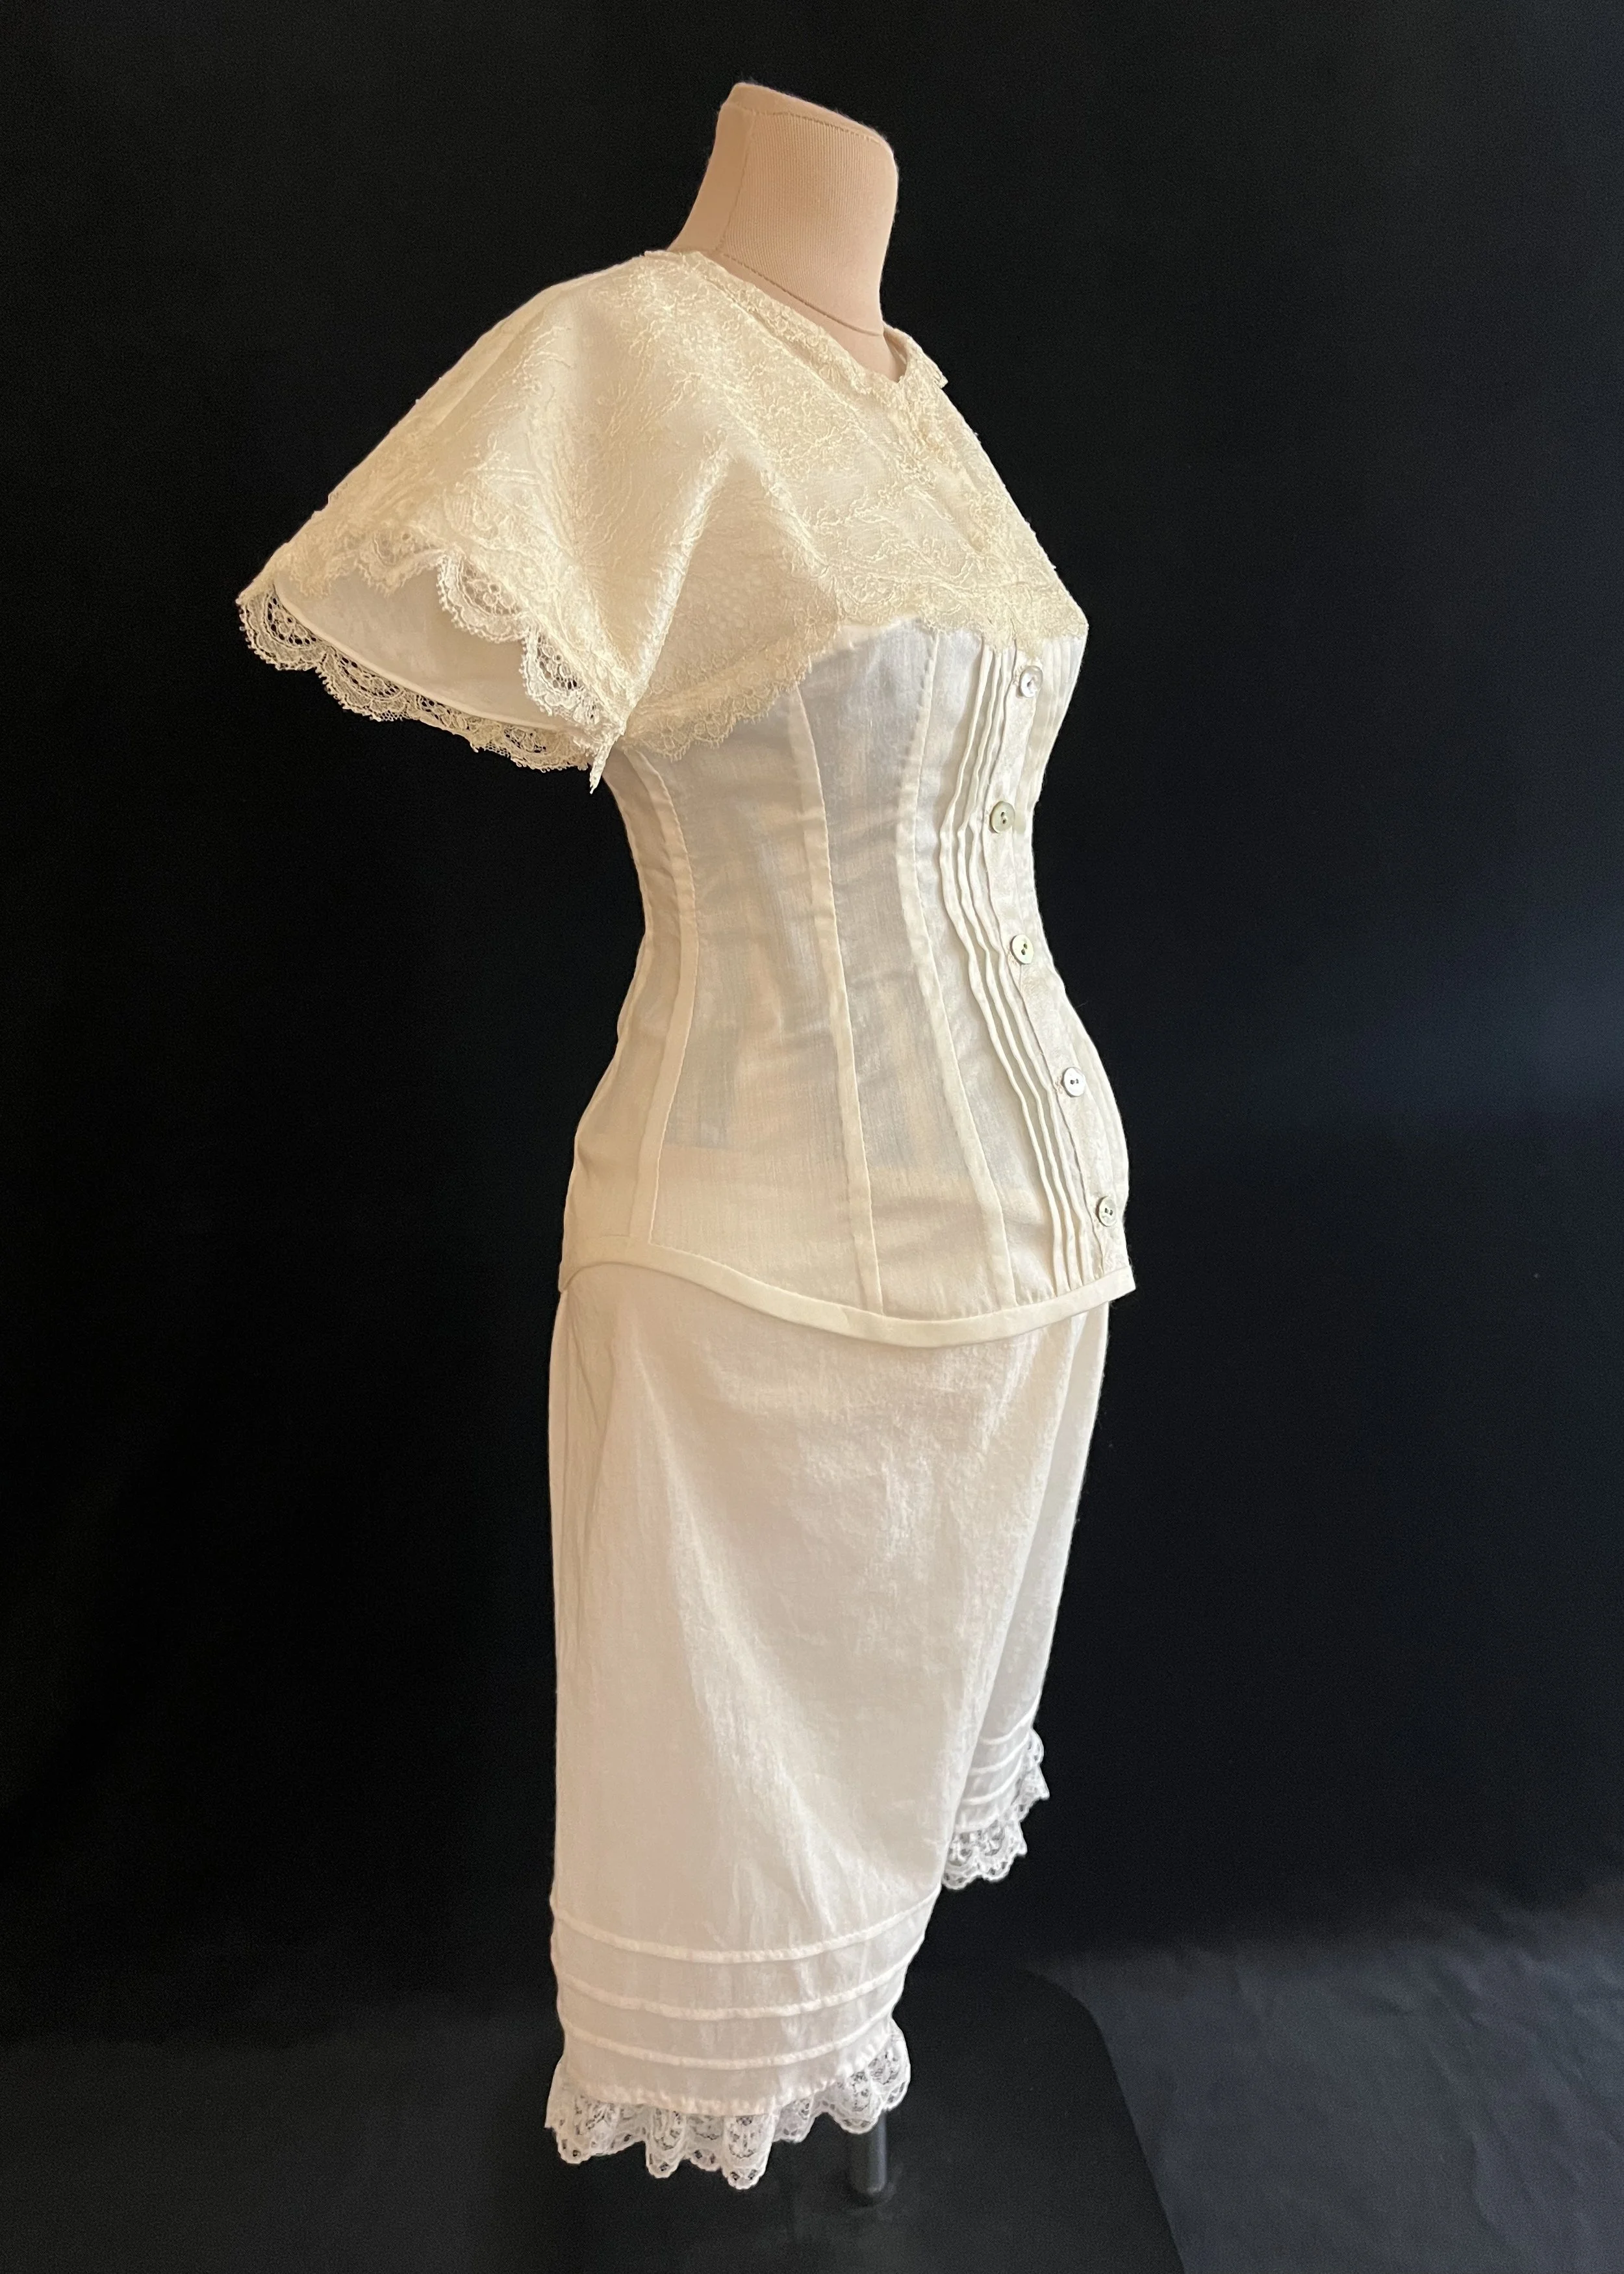
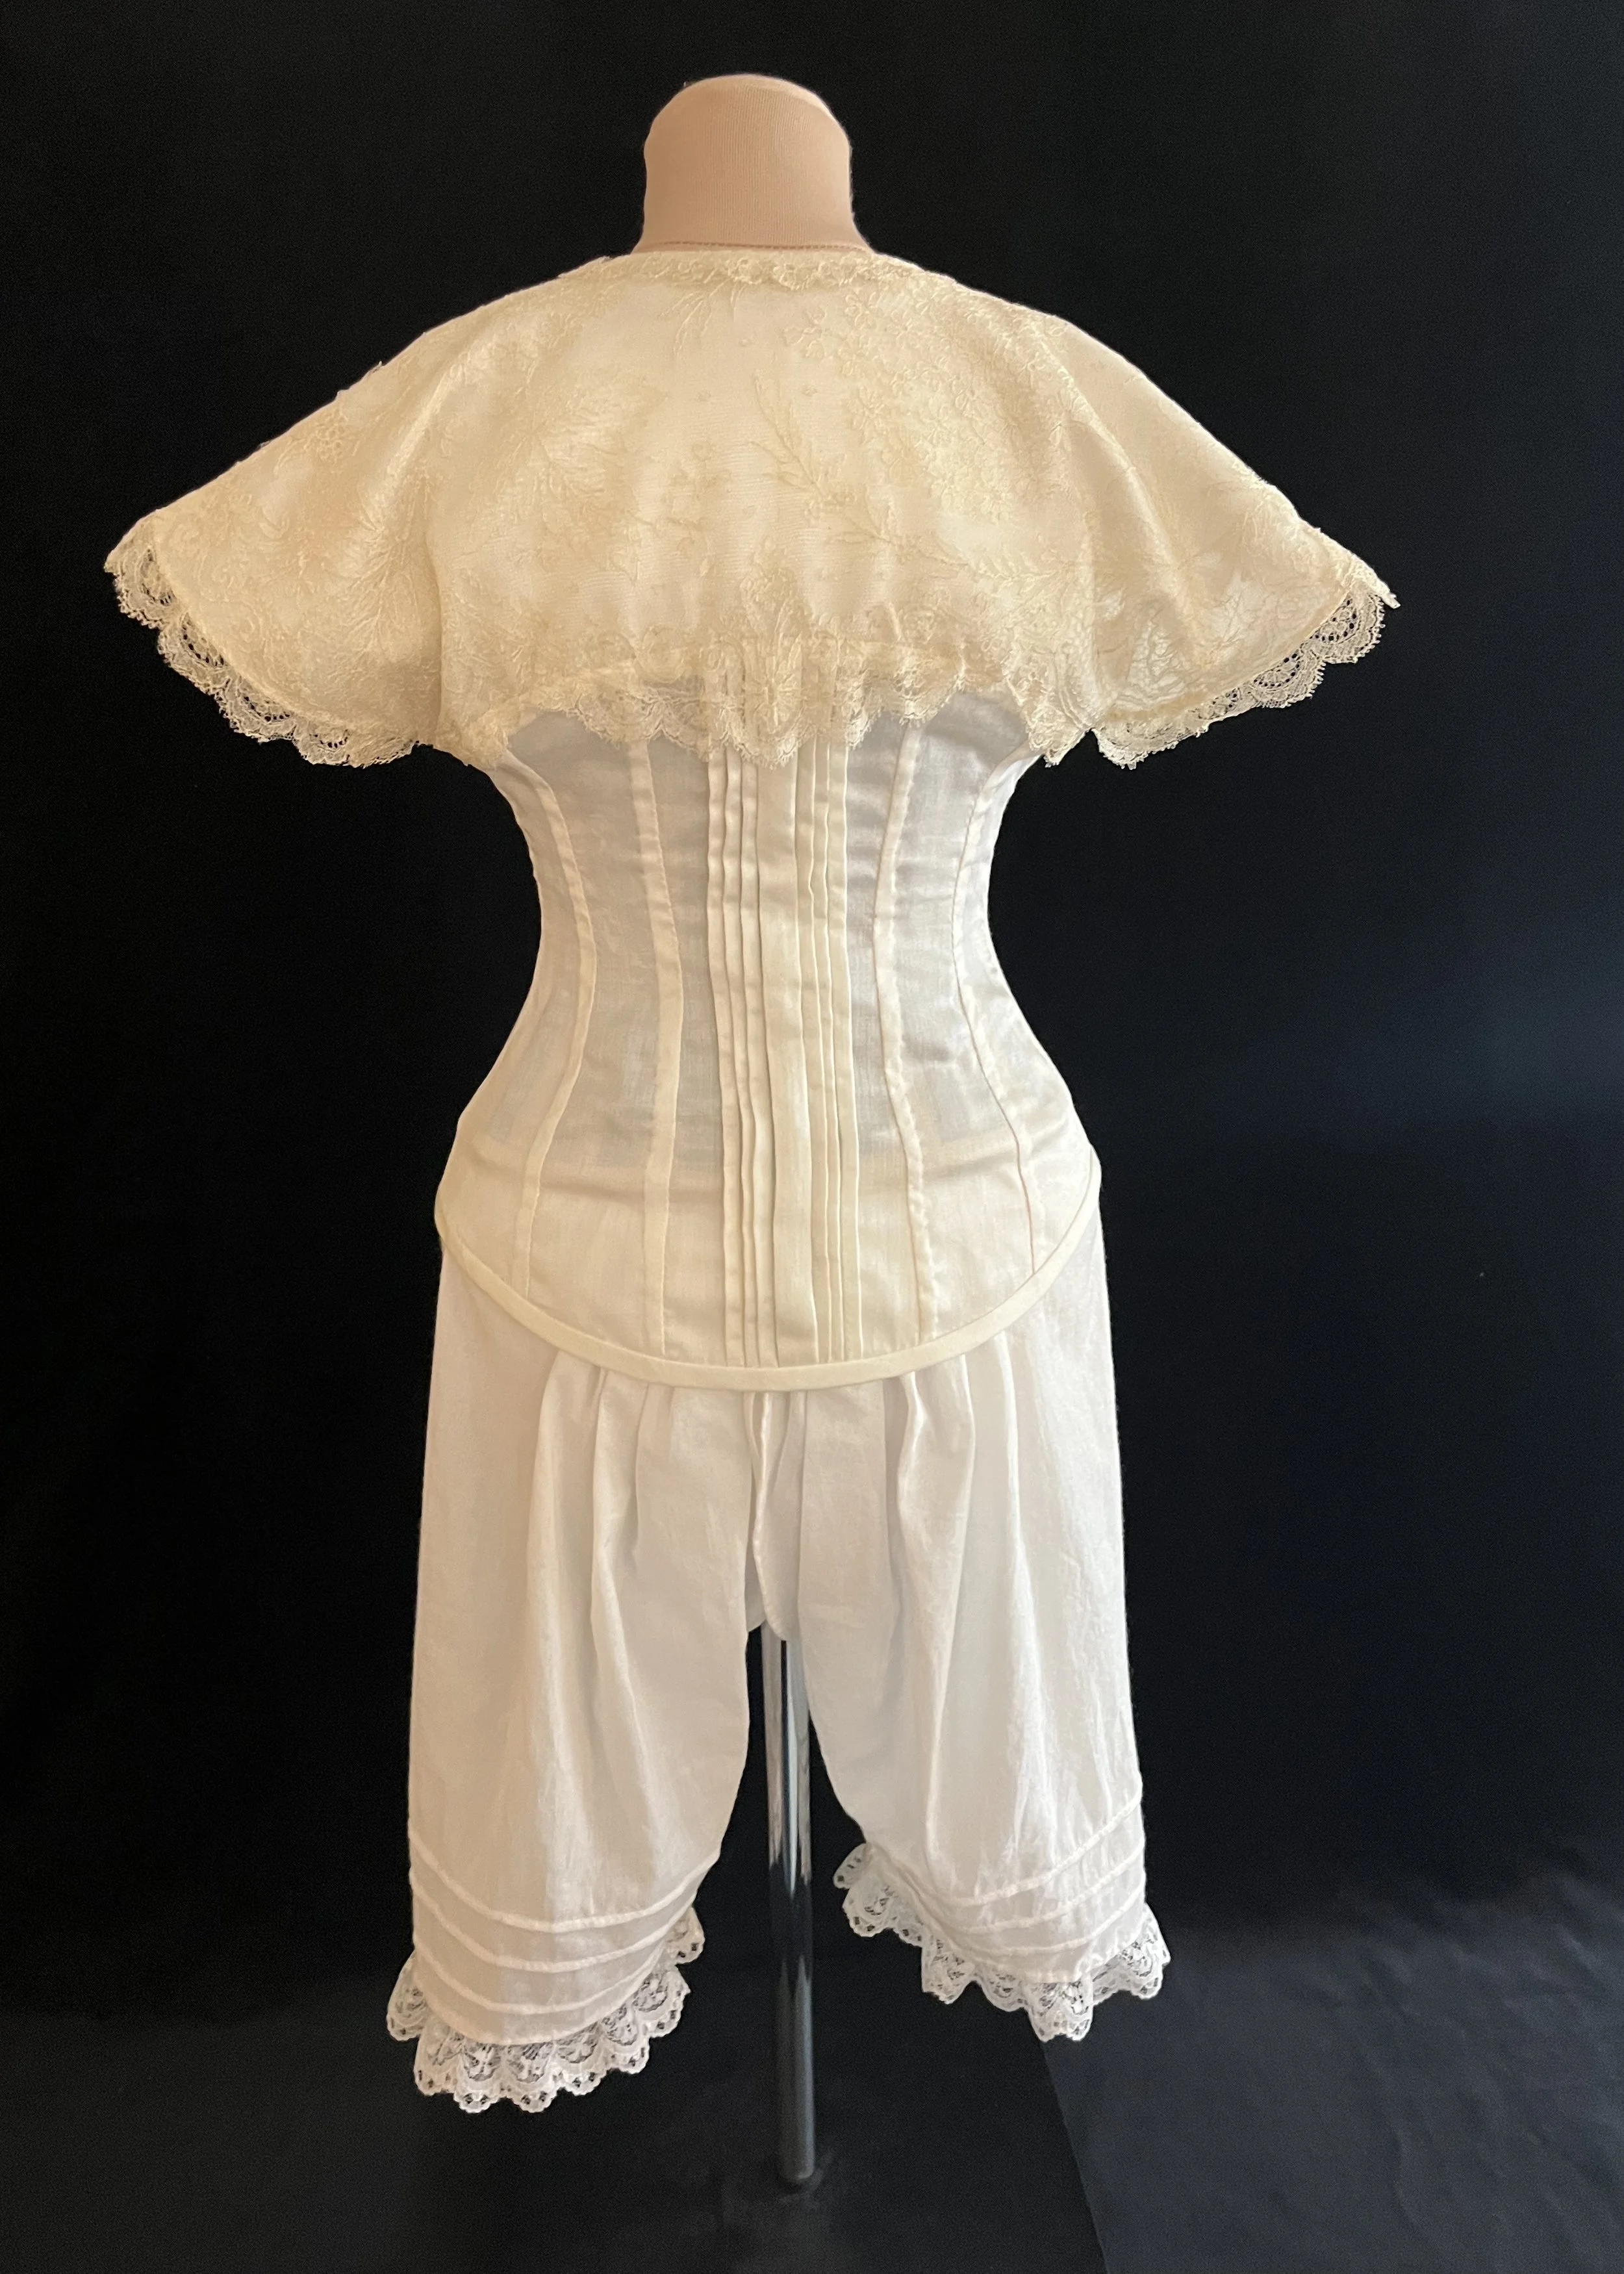
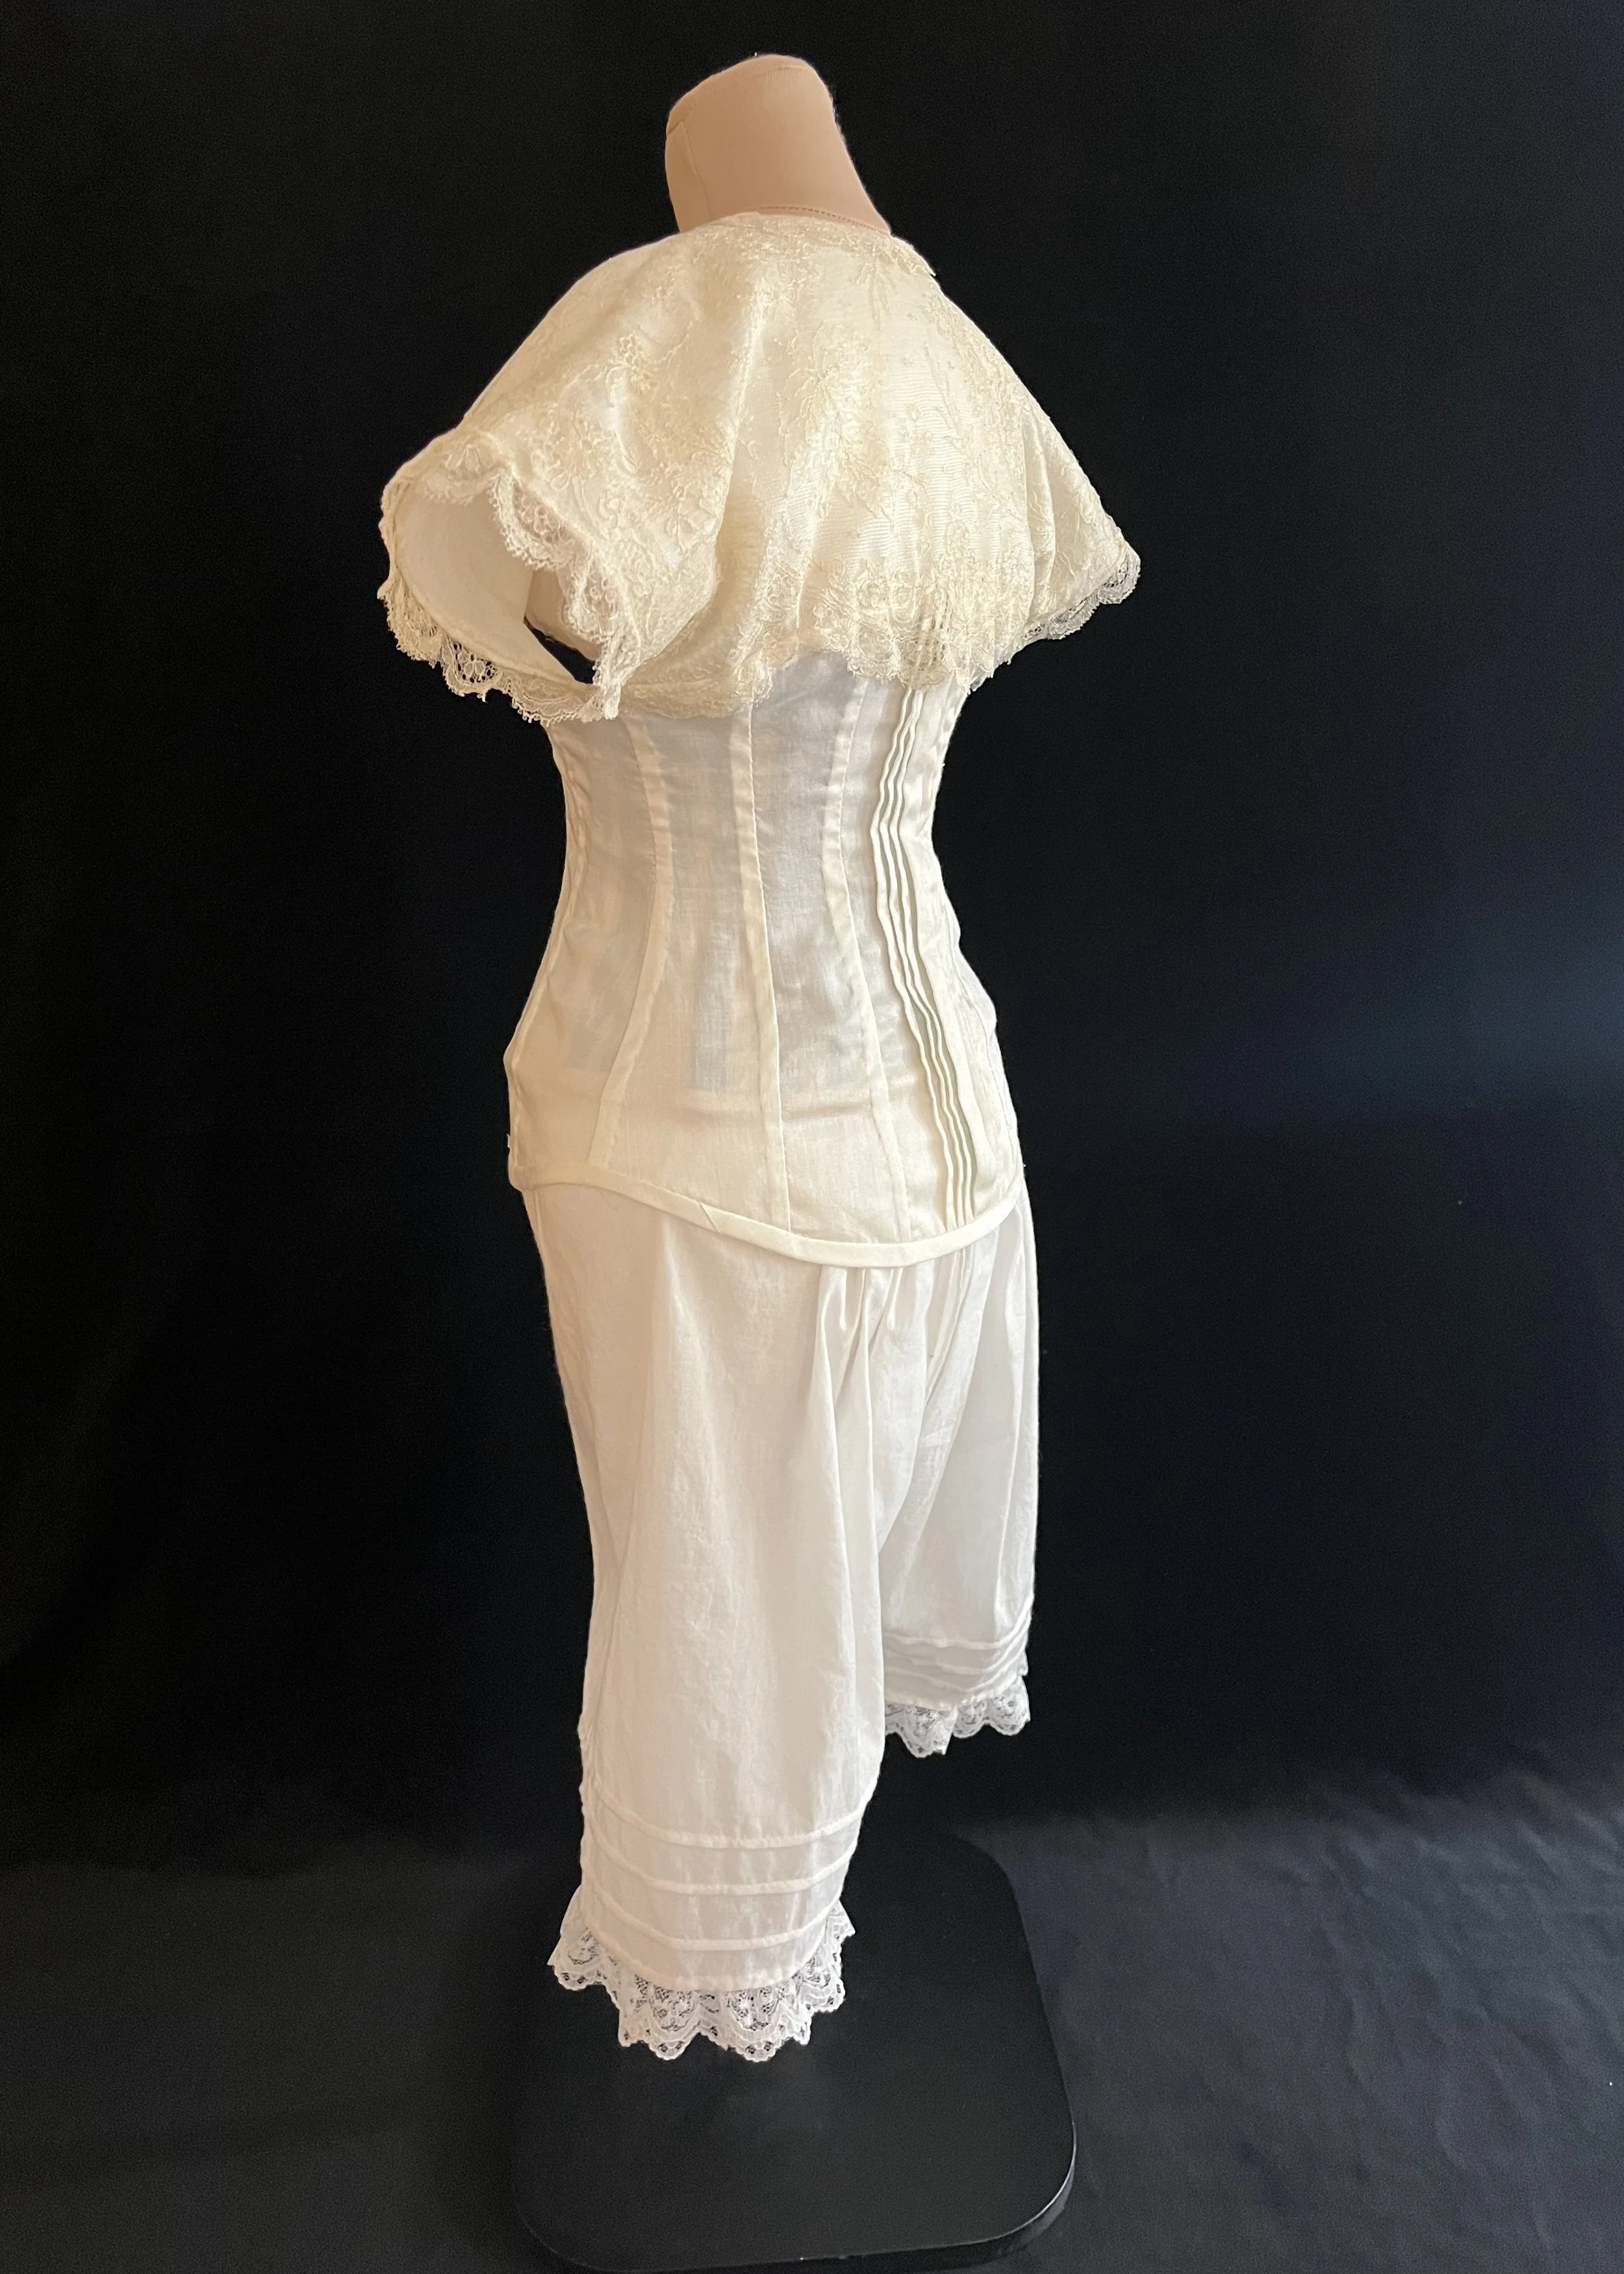
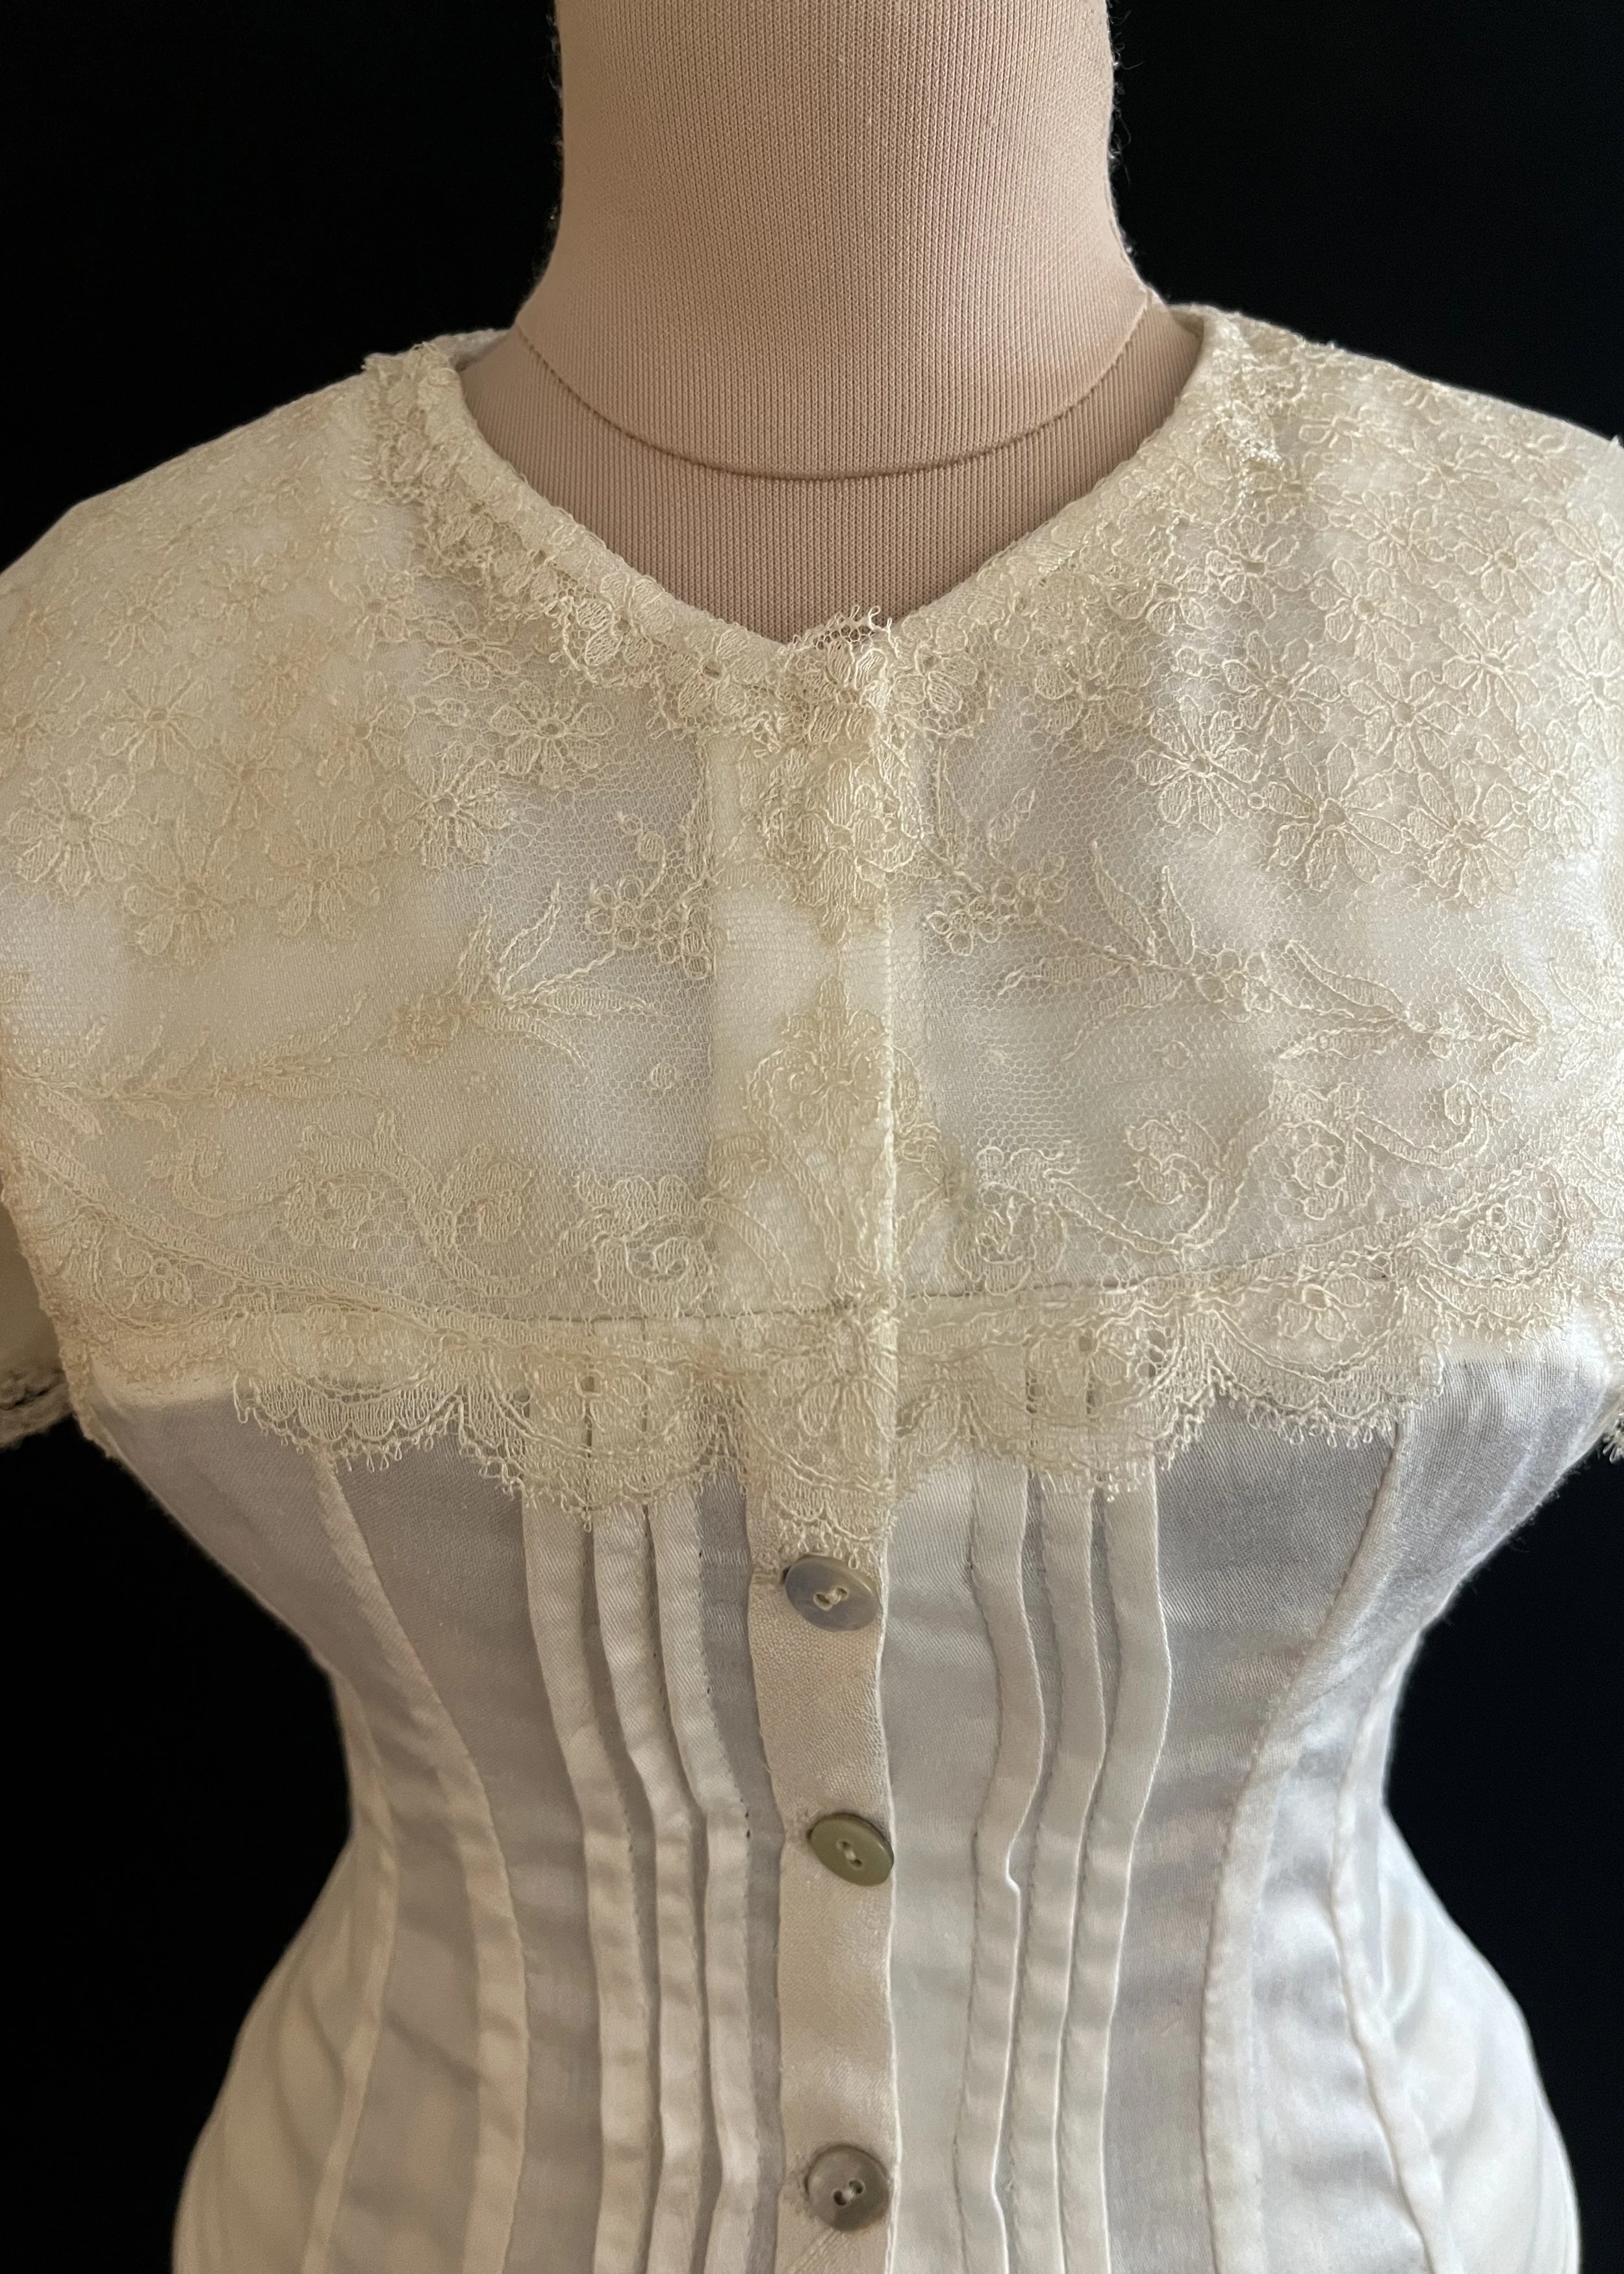
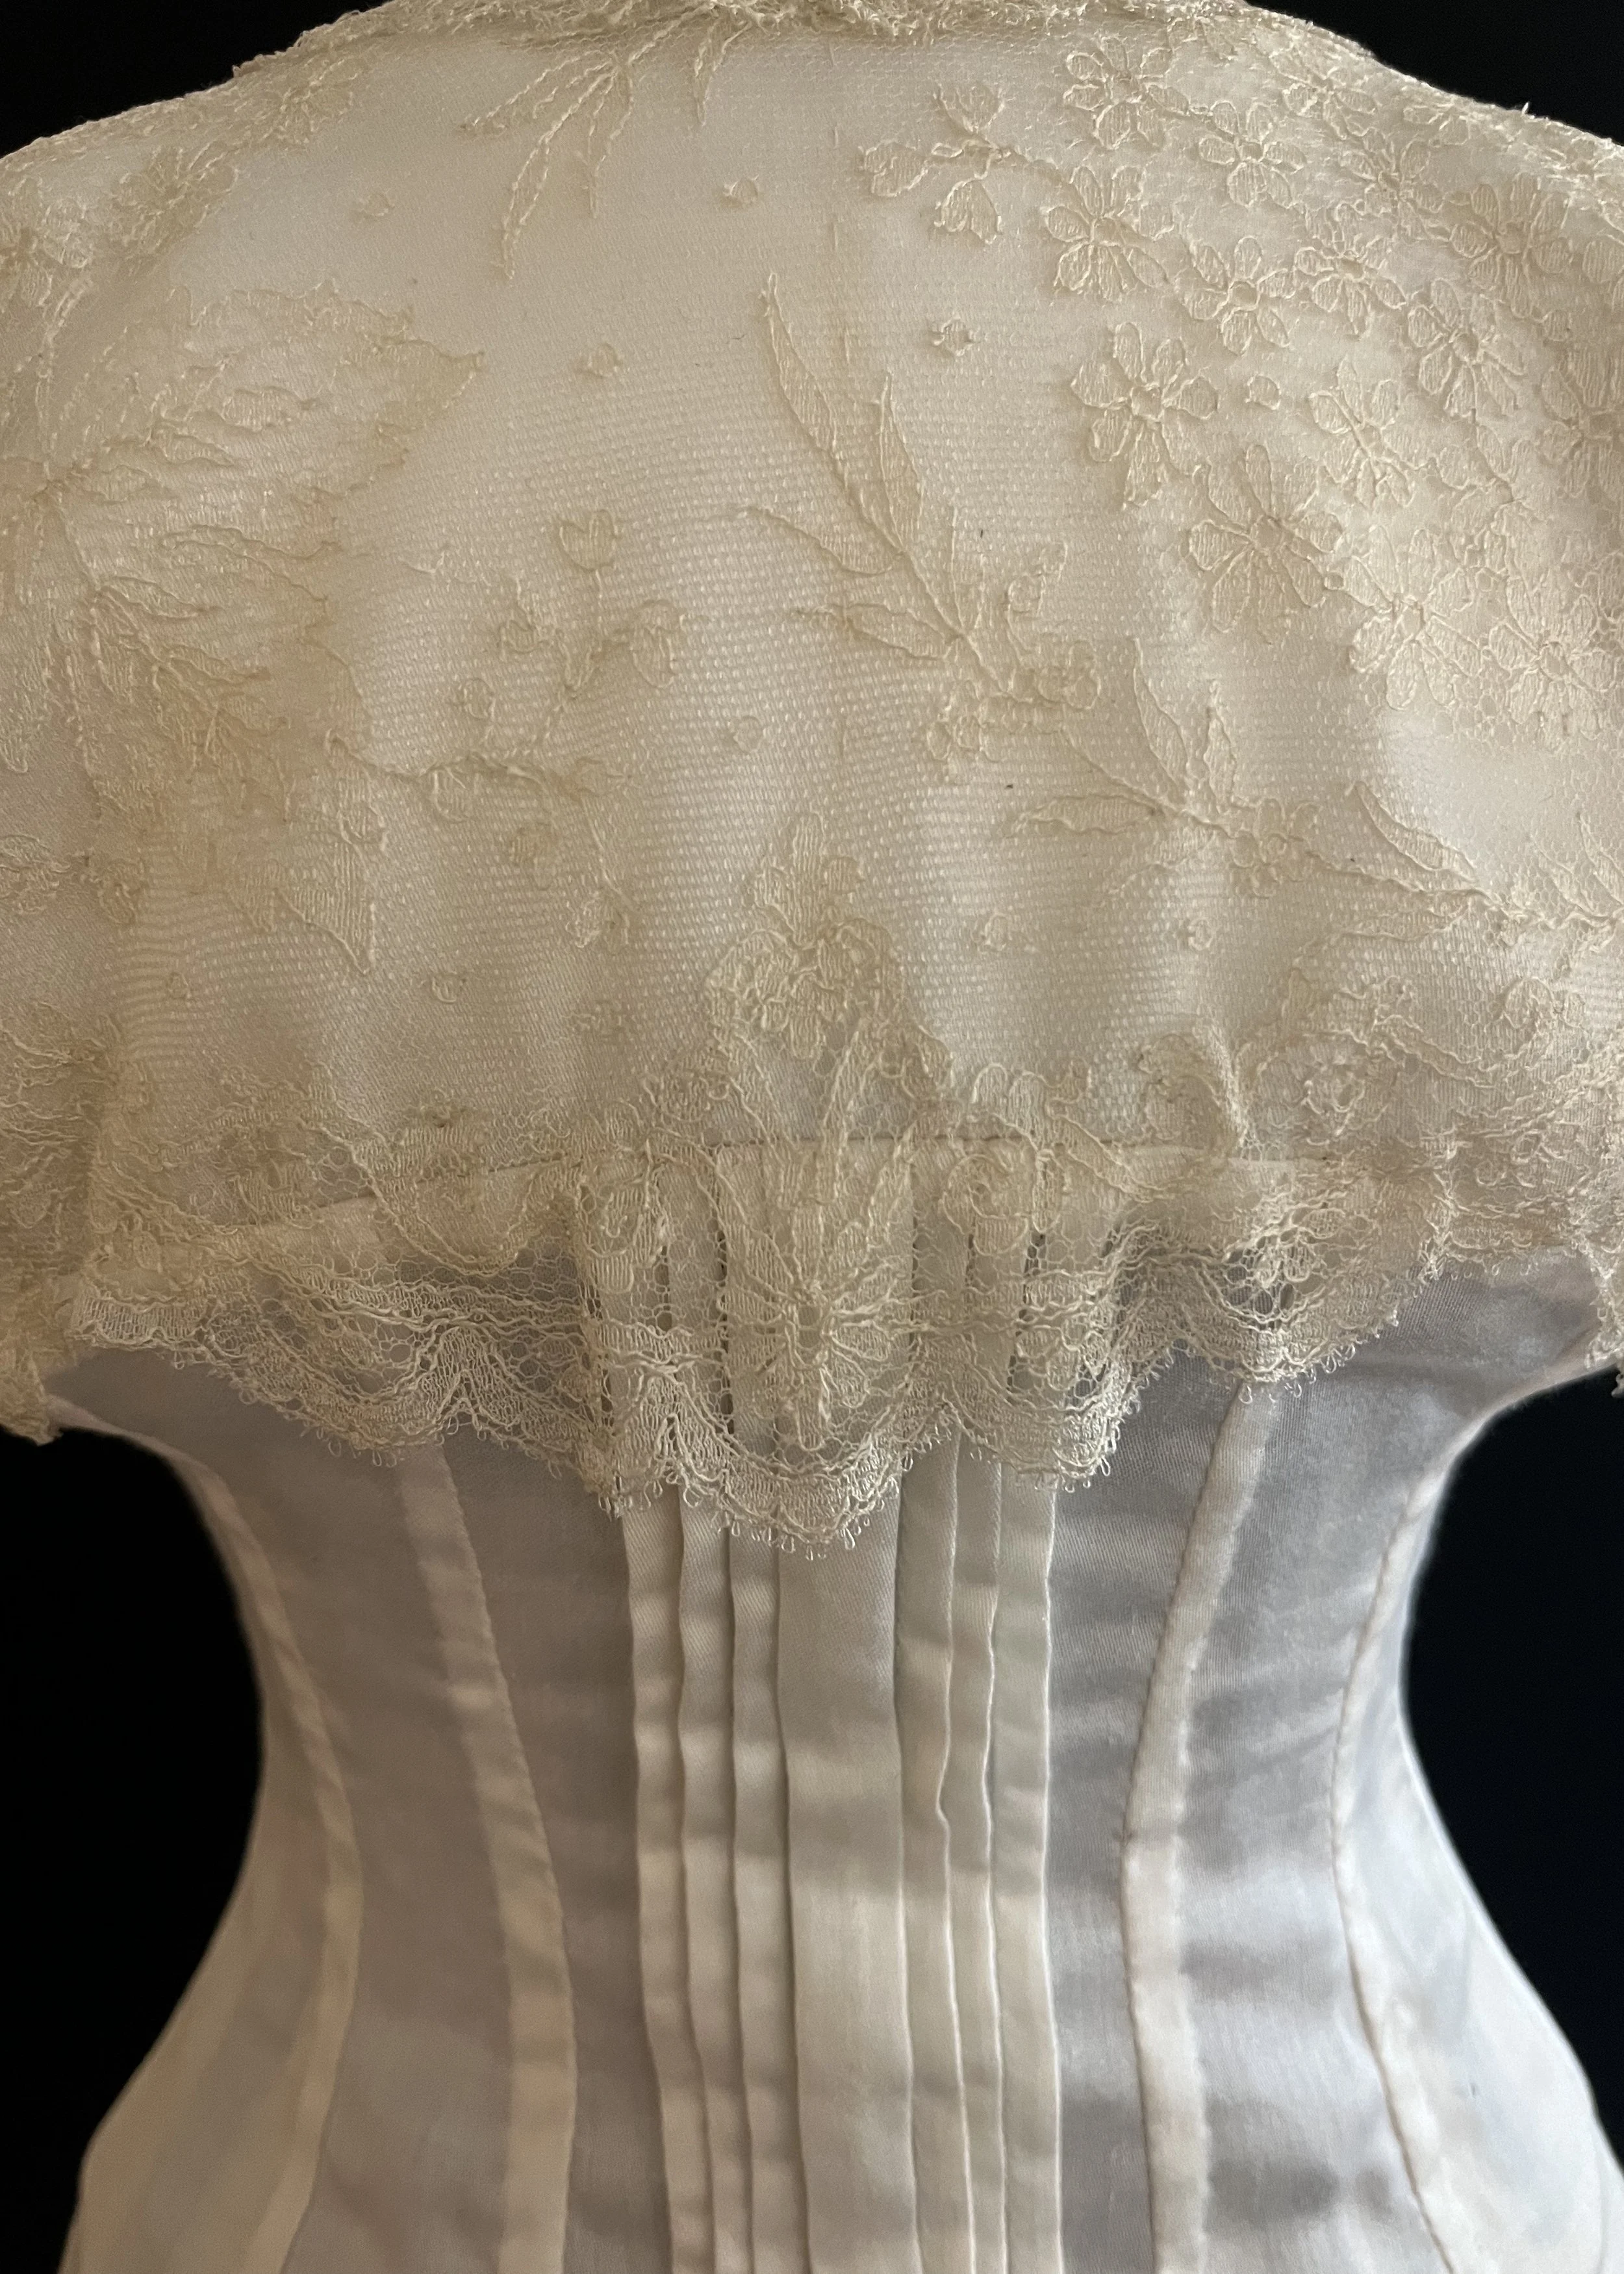
Not possible apparently. For materials I went shopping in my bag of bits of various fancy cottons and silks where I found inspiration and some things I wanted to play with. The fabric is a sateen finish, cotton batiste which I have leftover from the chemise, knickers and petticoat of my Titanic dress from school. I also found two small pieces of a very fine lace border which I believe I acquired from a friend who was clearing out her office. I decided that it would look really pretty as a yoke and even if I would have to piece the lace a bit, I was pretty sure I could do it and it would be worth it. Once I was making the top so fancy, I had to do something to tart up the bottom; I settled on some pin tucks on either side of the placket on the front and down the centre back.
So simple.
Starting the pattern.
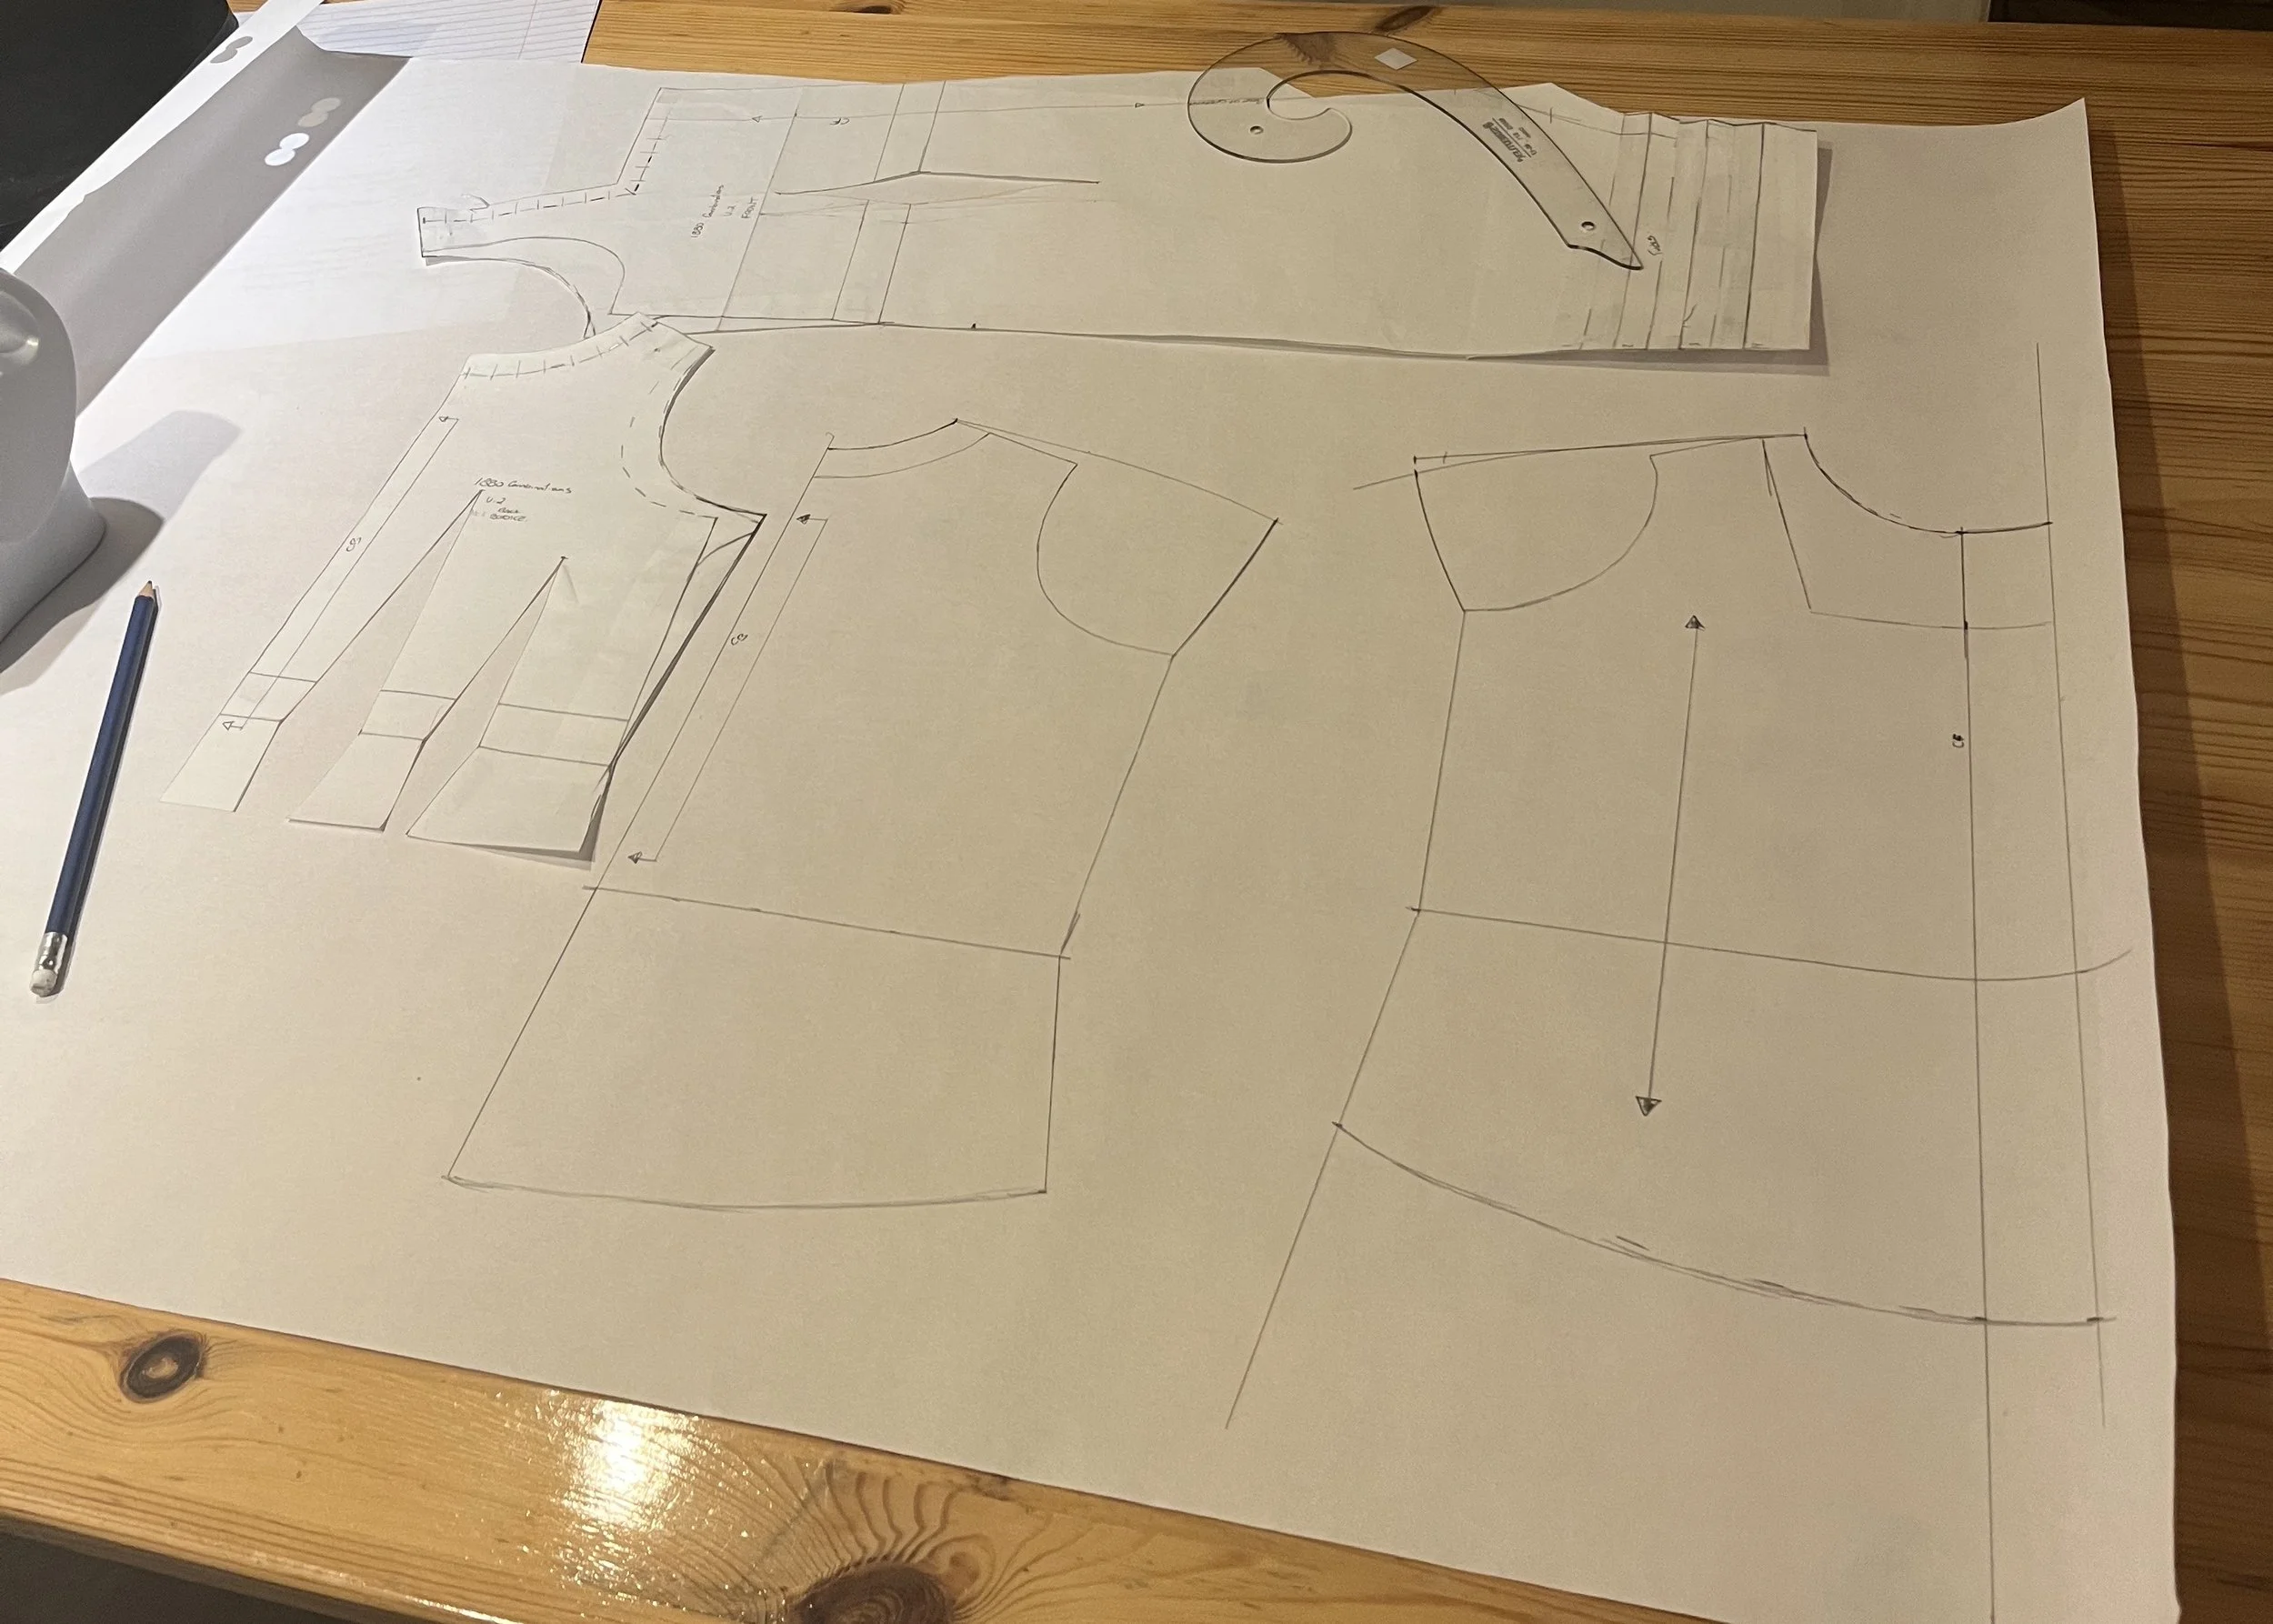
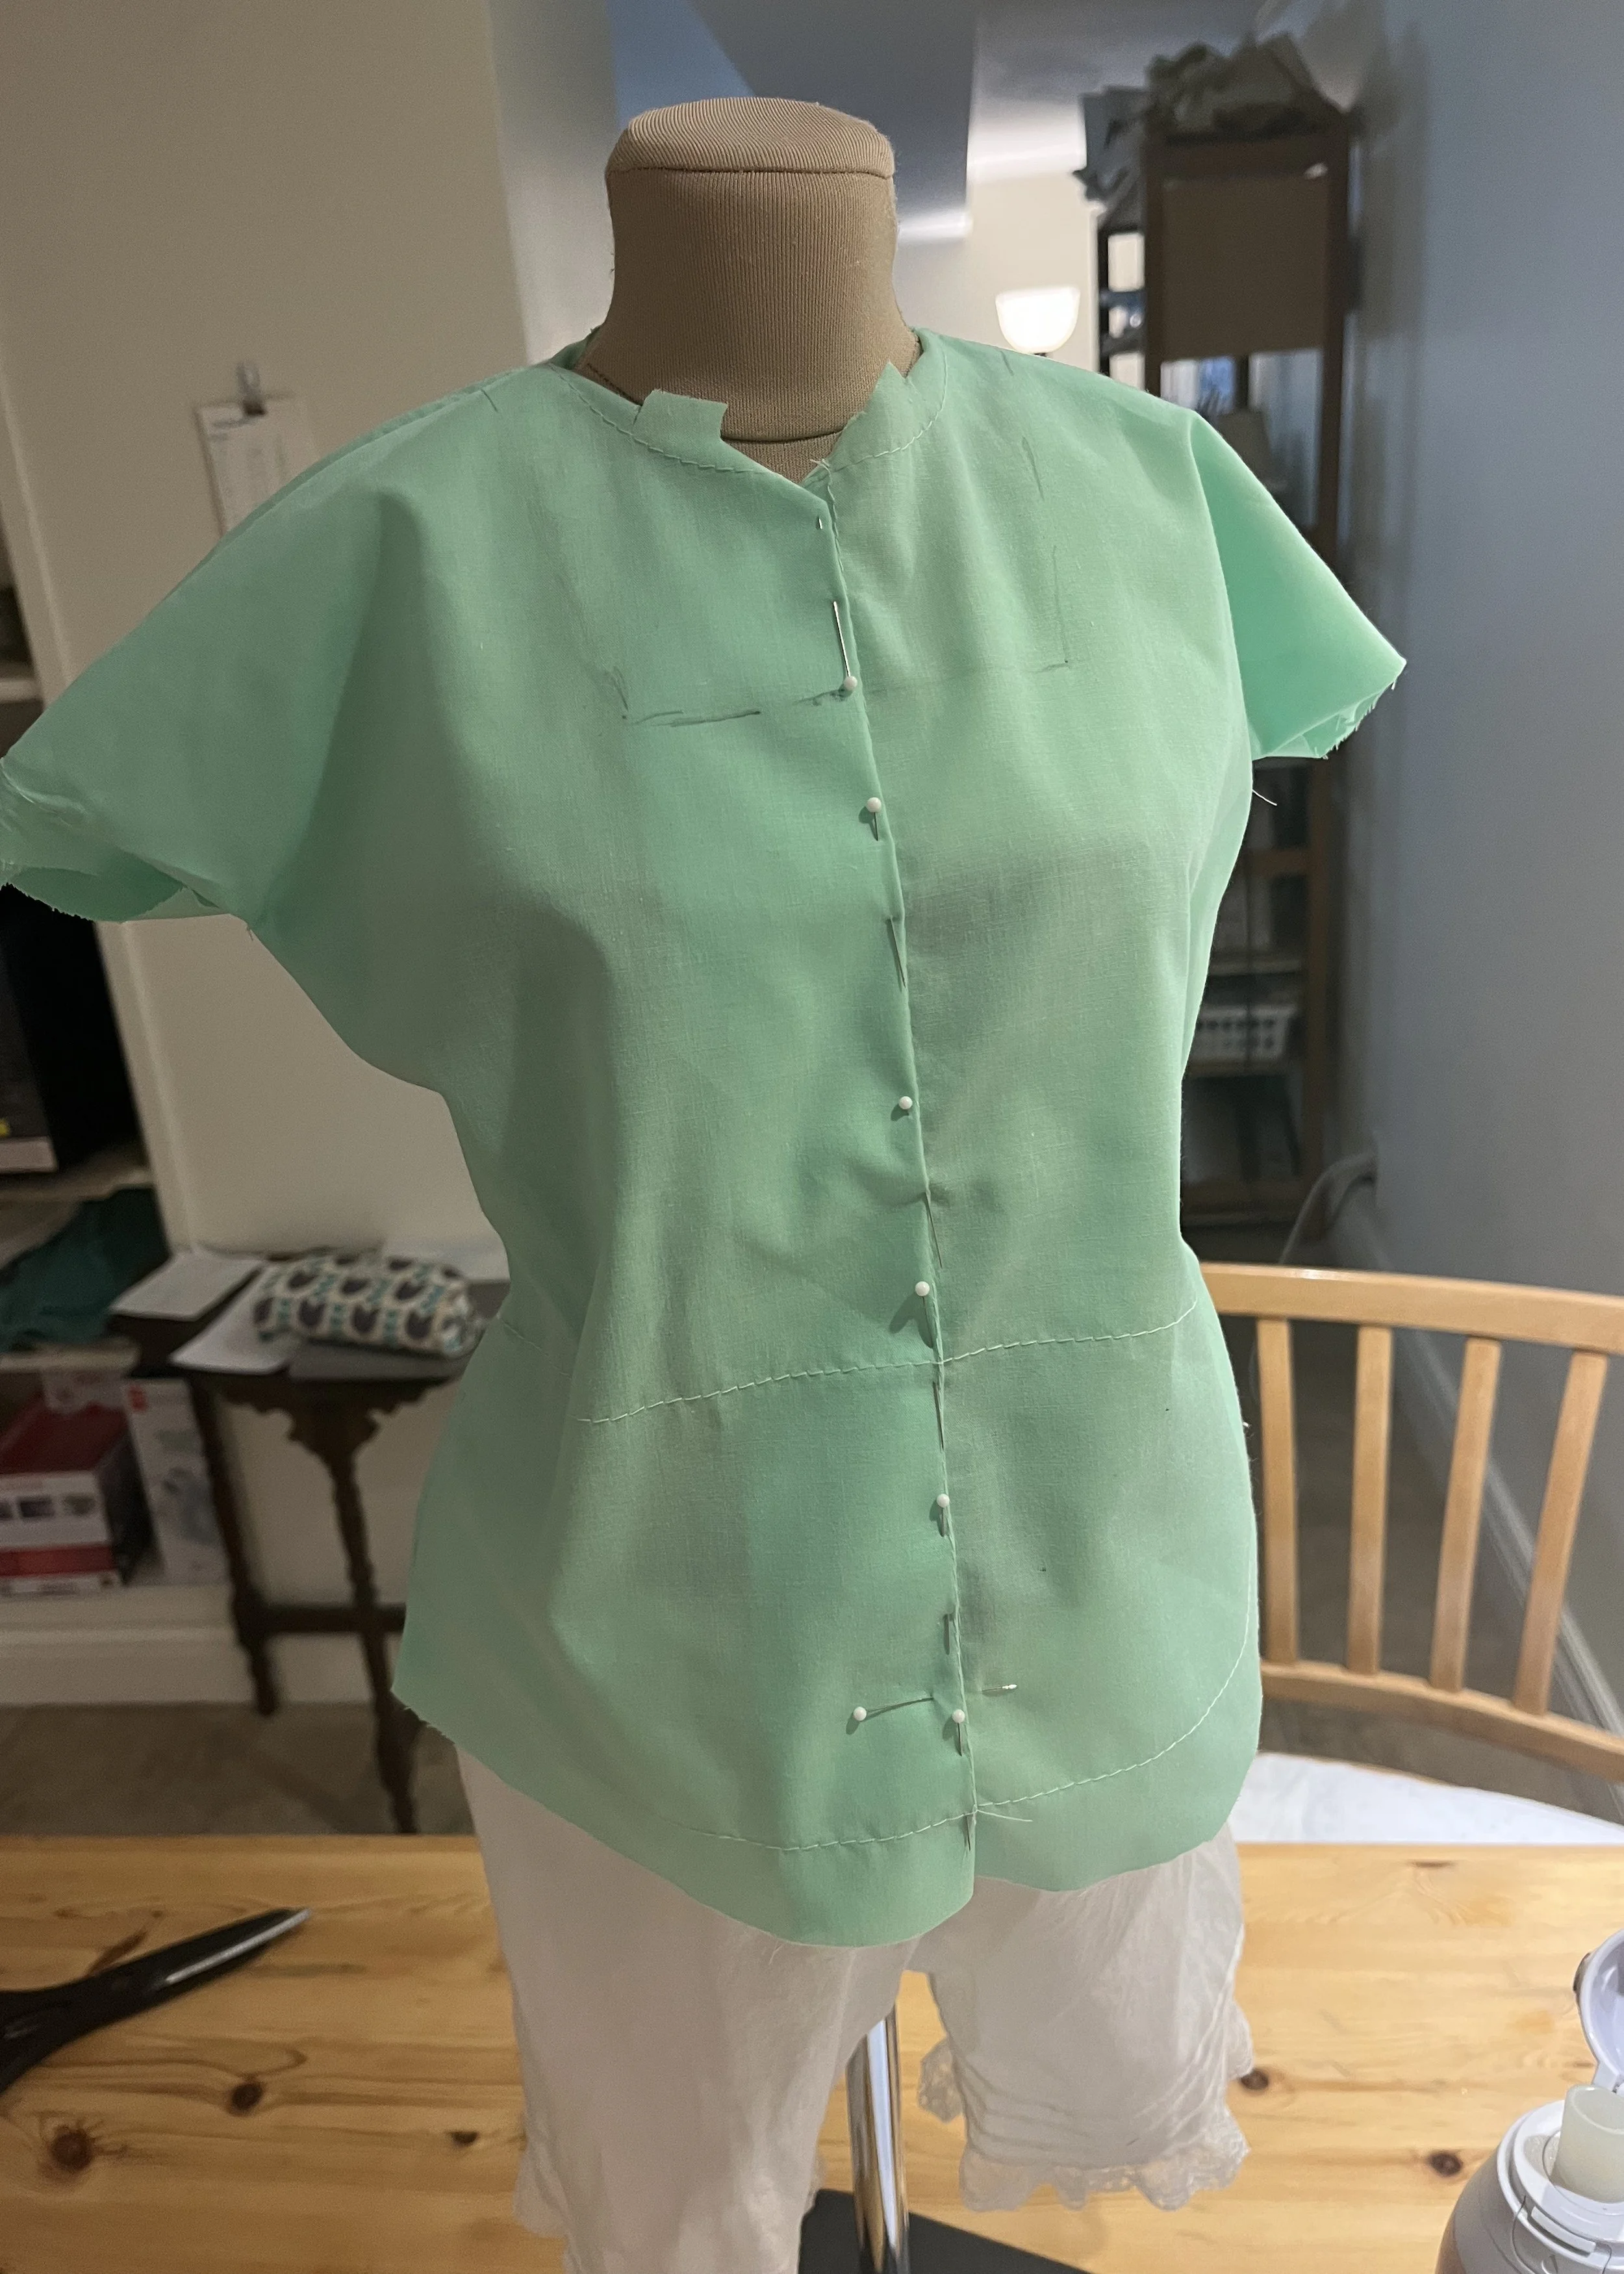
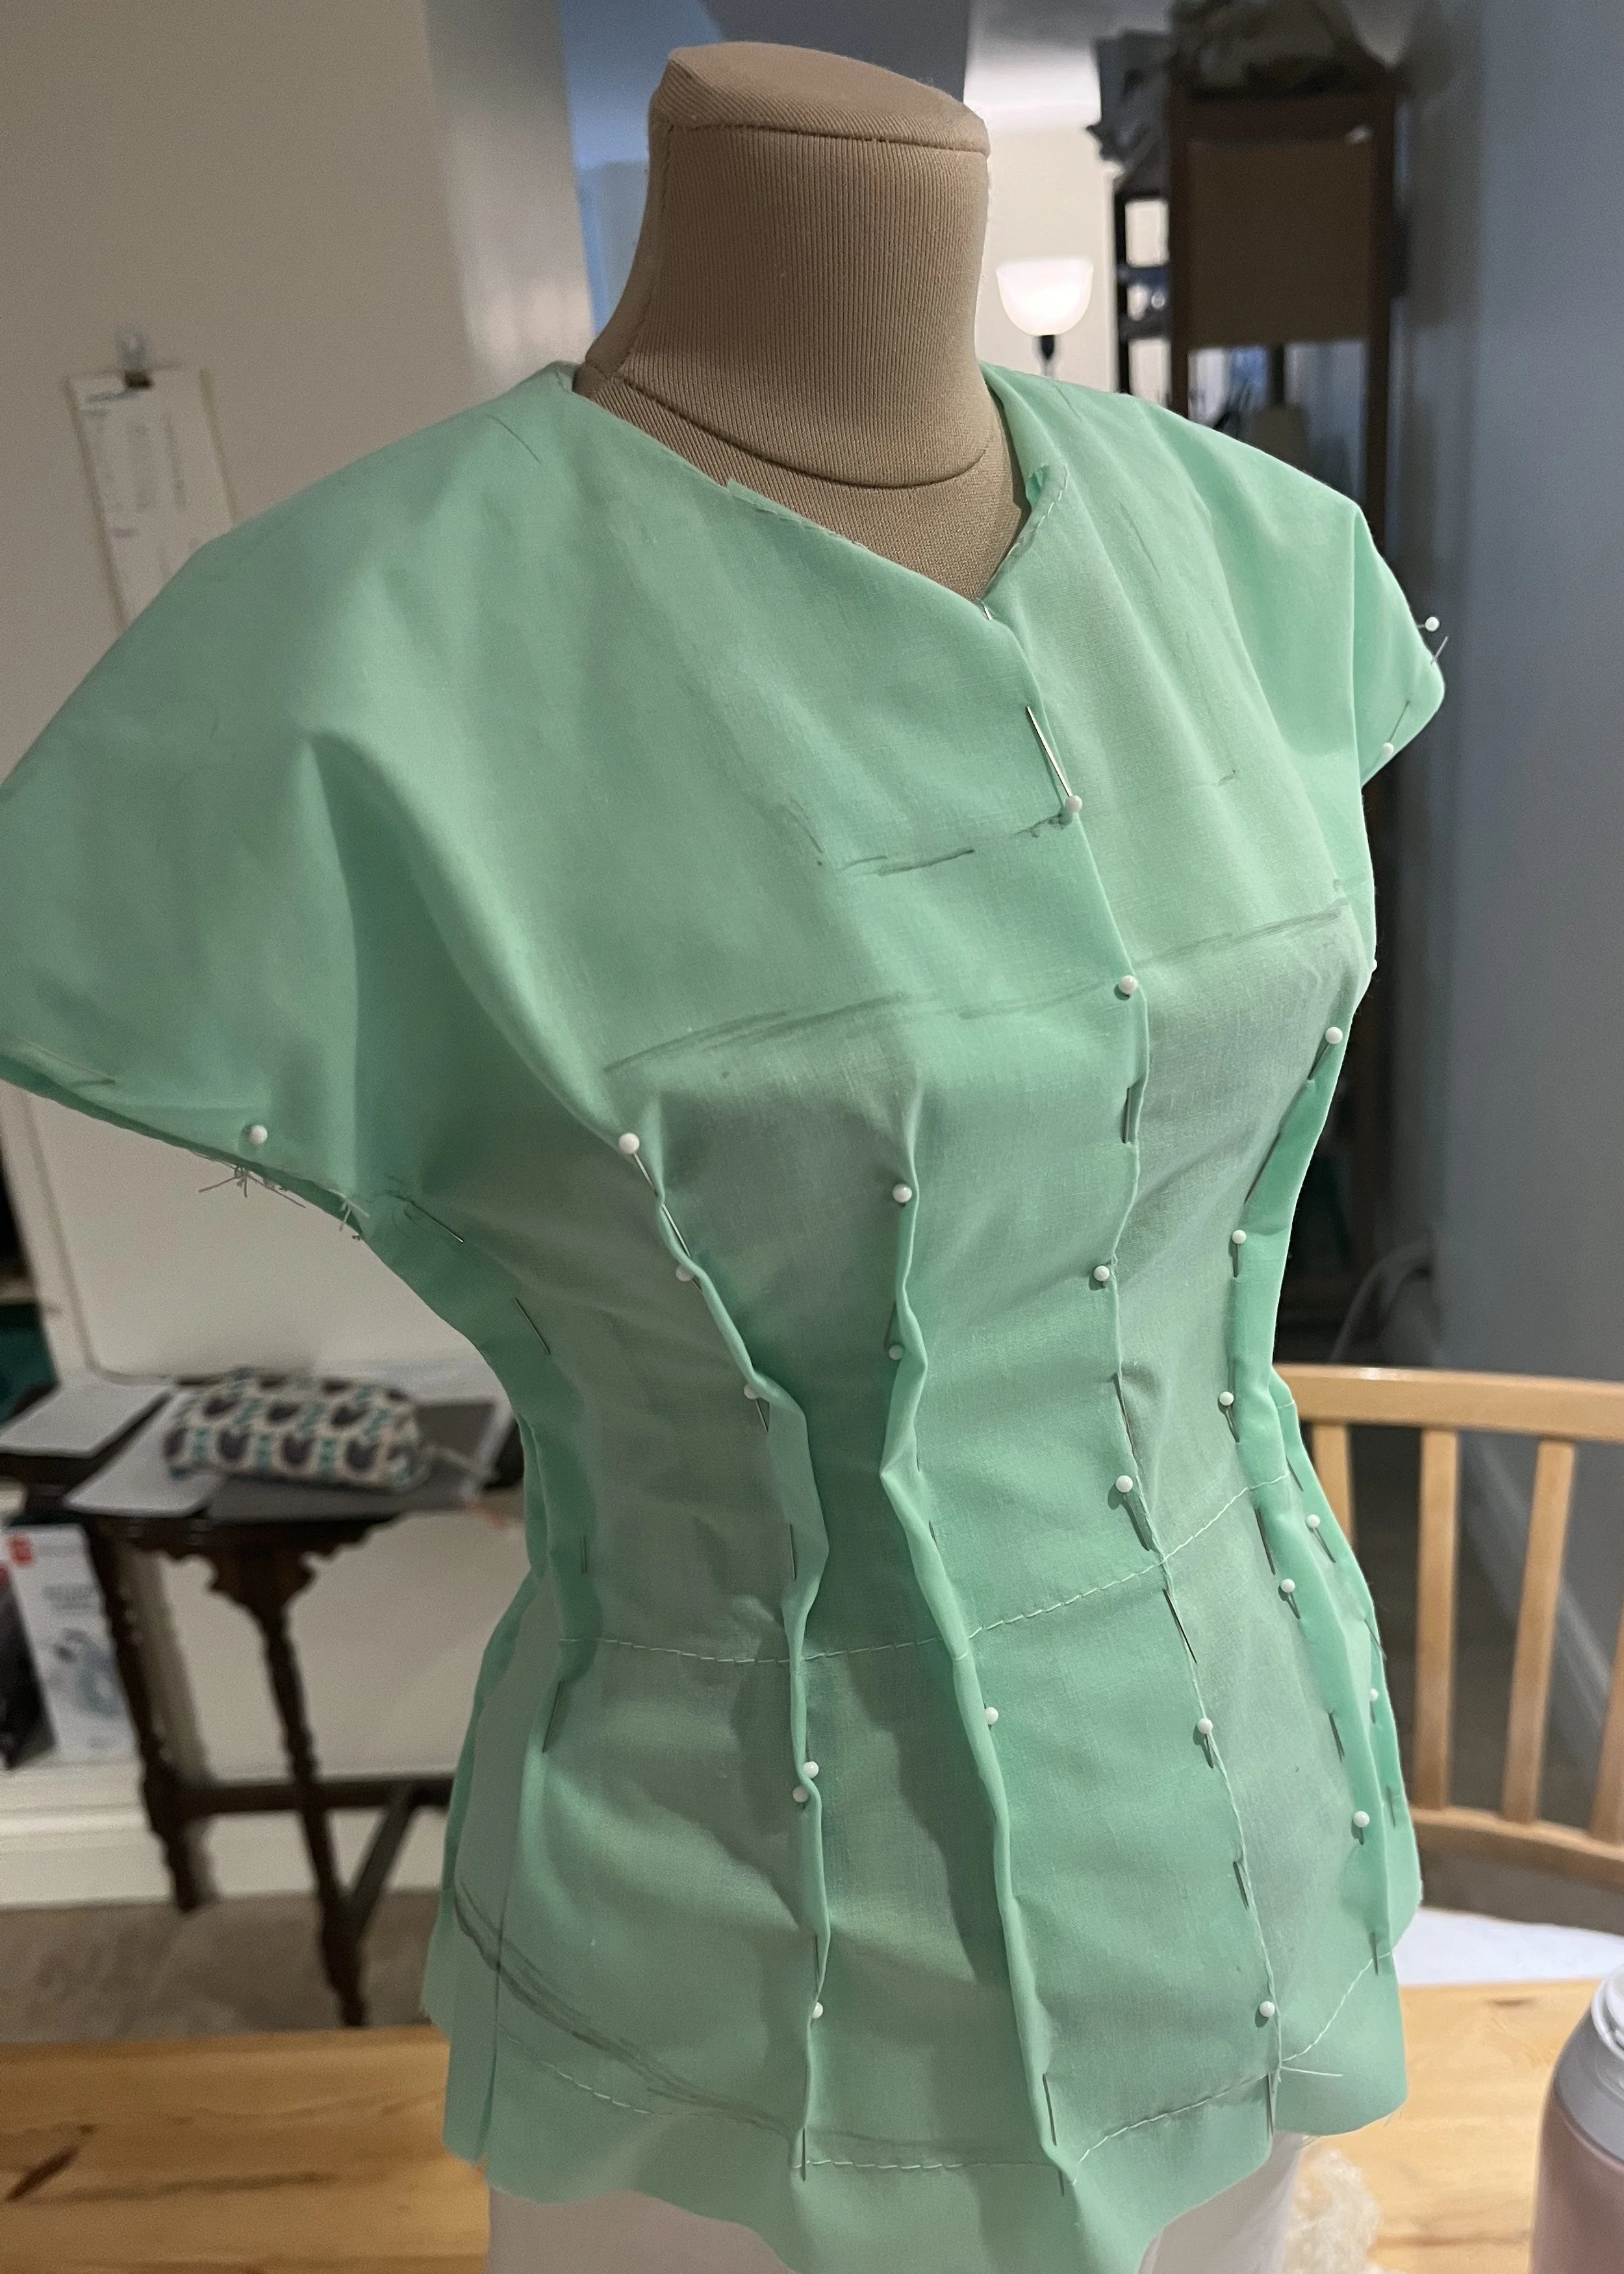
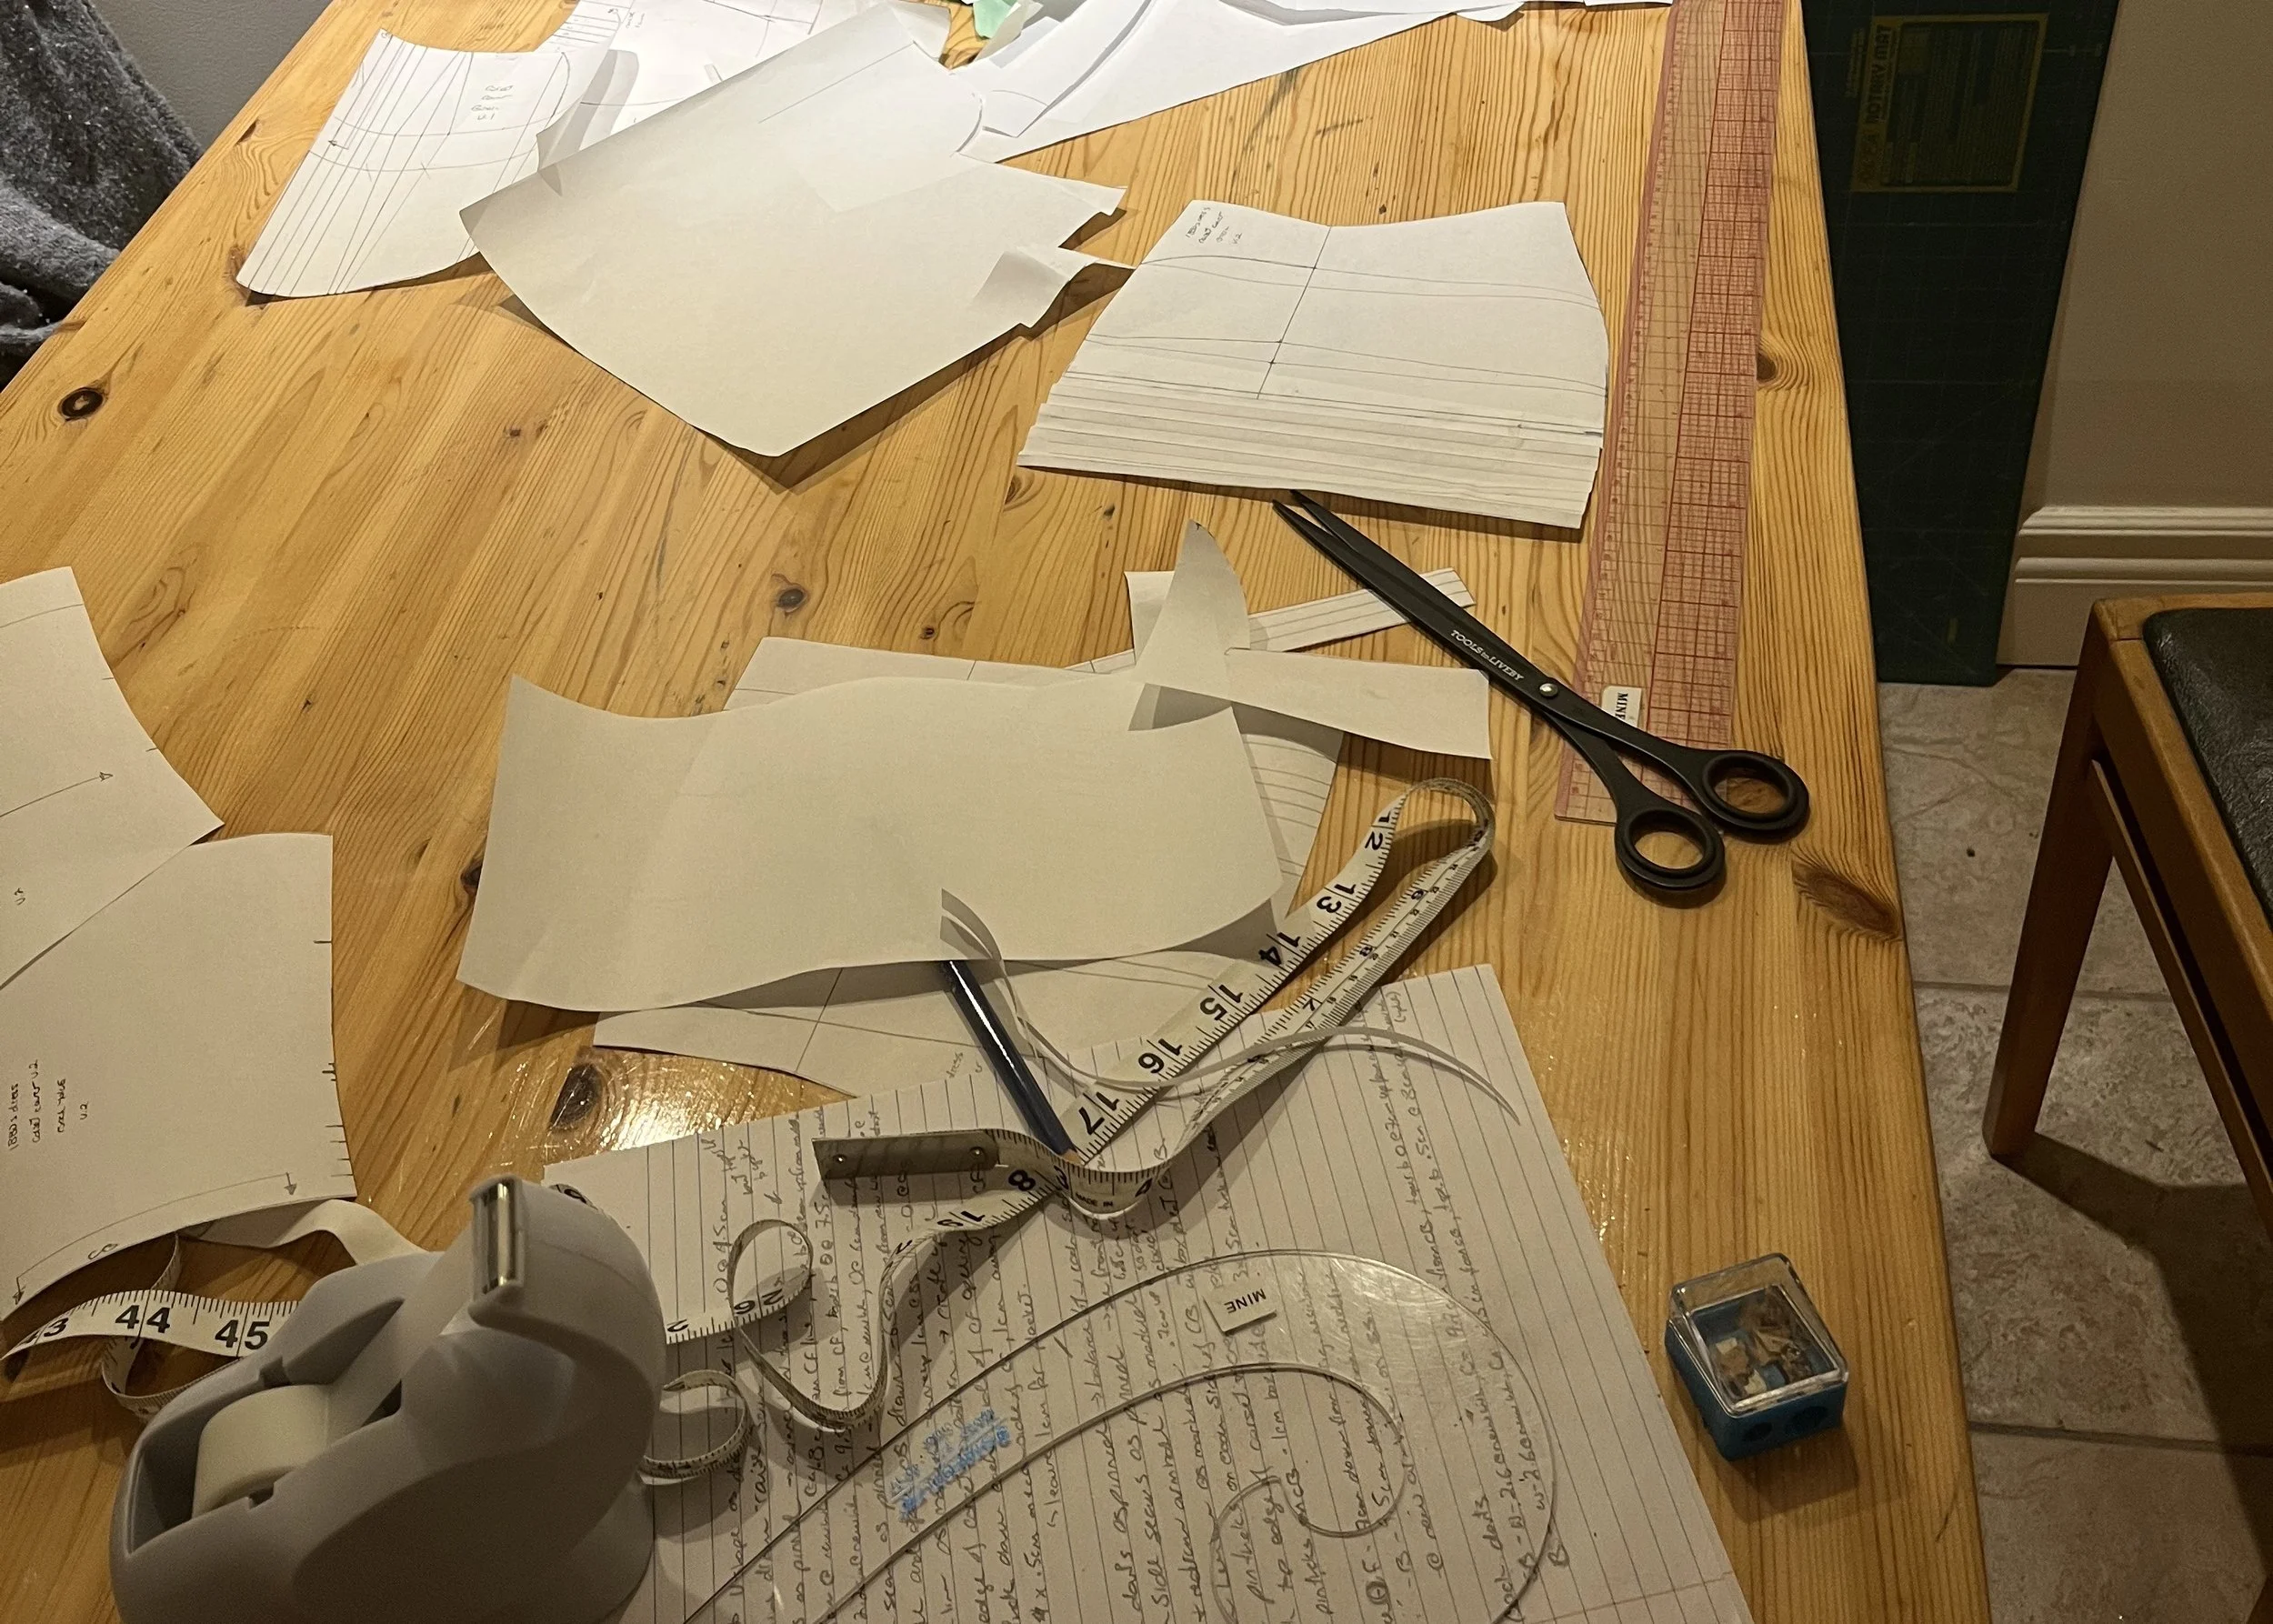
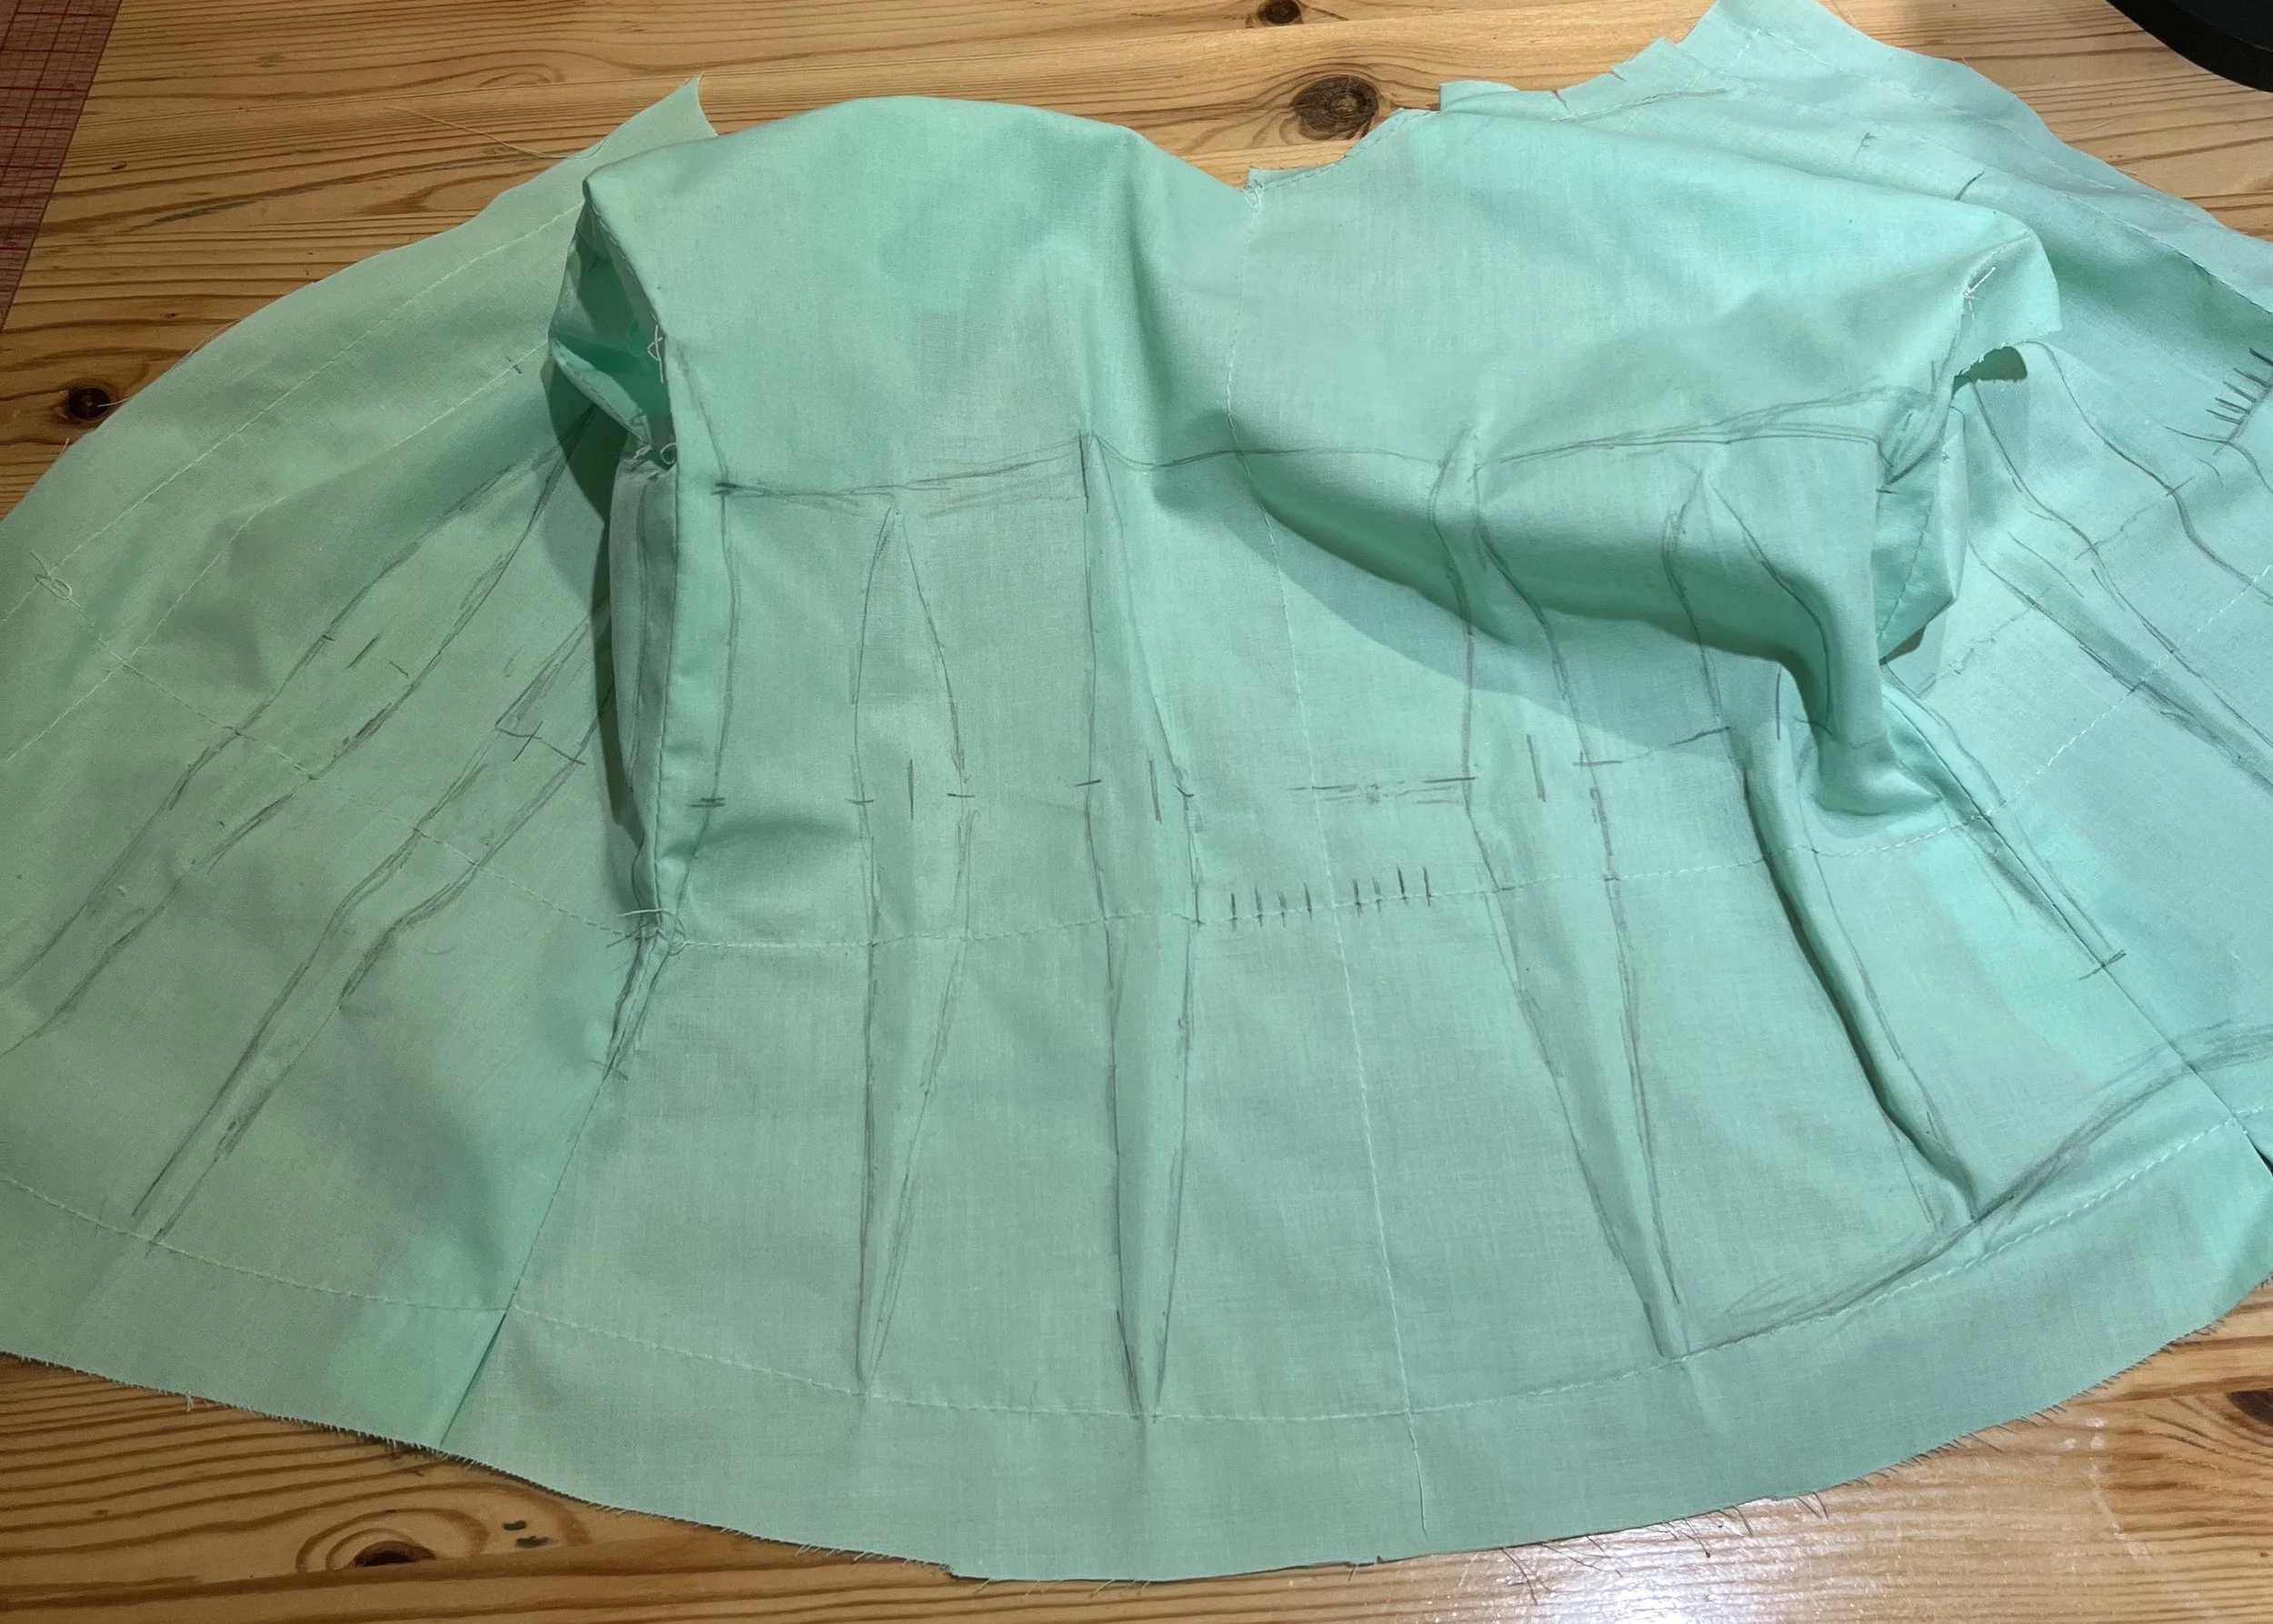
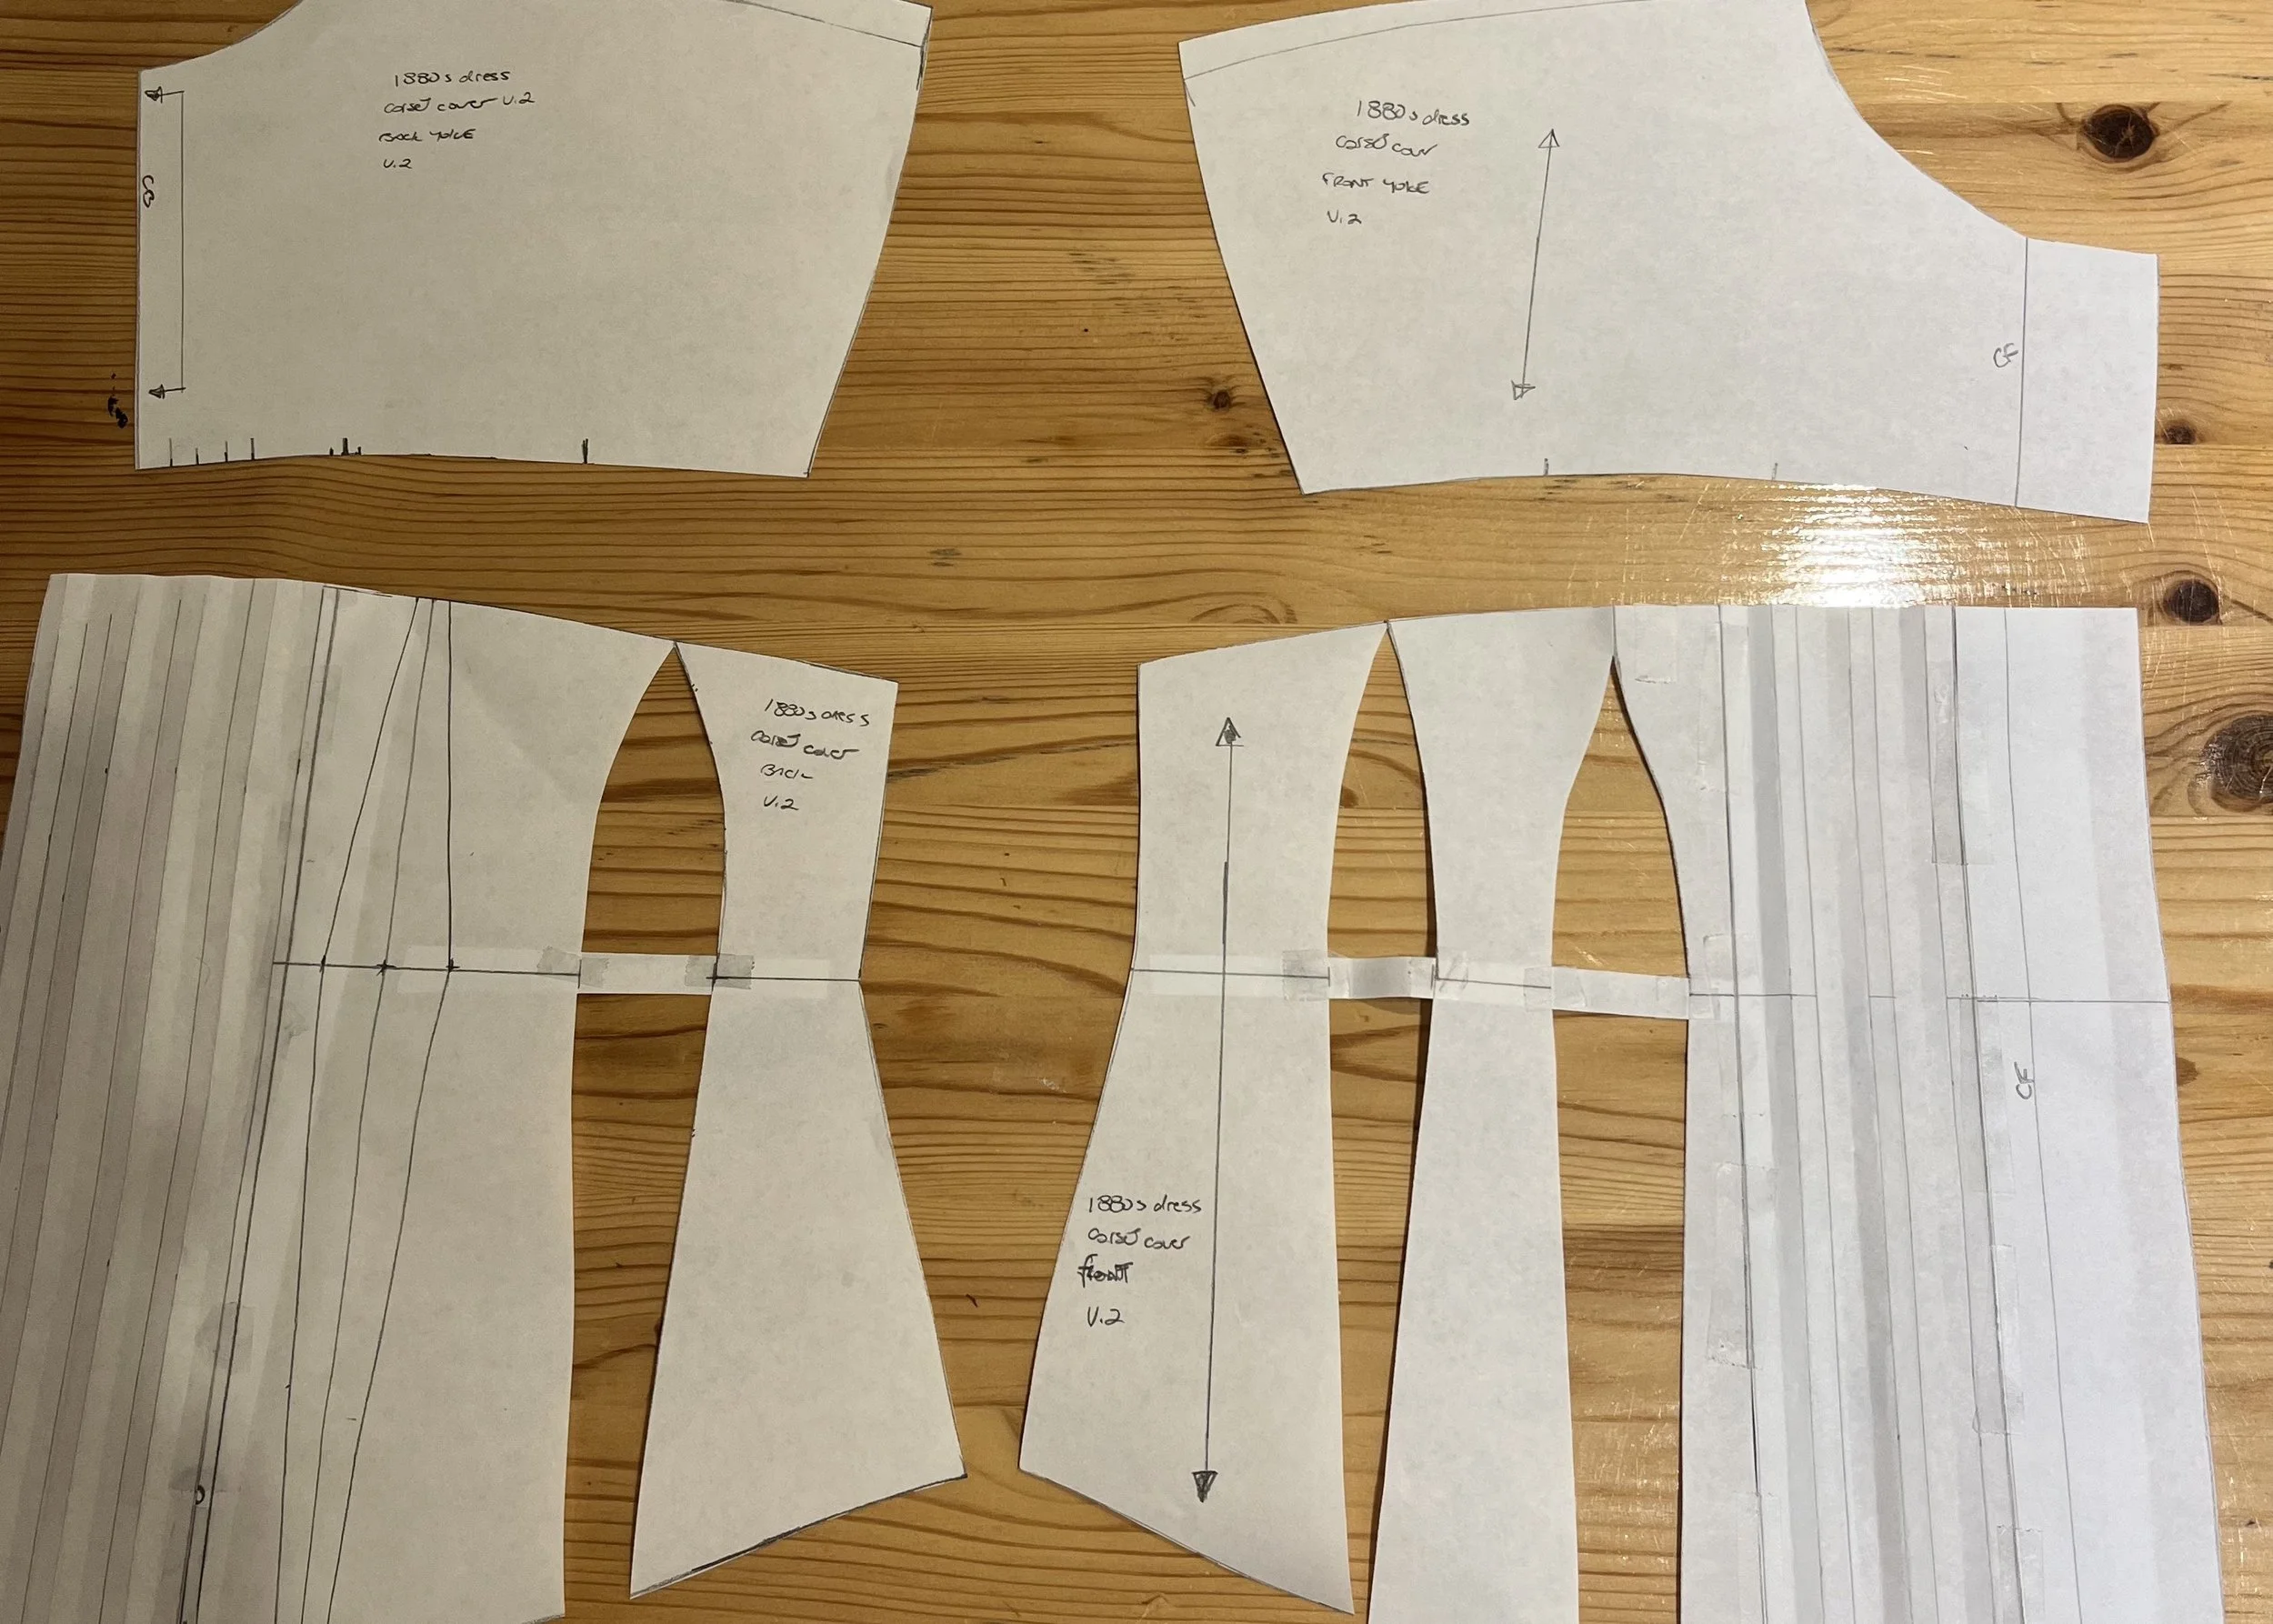
For the pattern, I decided to start by recycling the top half of the combinations. I traced the part of the pattern I wanted, redrew the neckline, armhole and hem and cut a mock up. Much like the combinations, I chose to mark the darts on the mockup once it was on the body rather than draw them in beforehand.
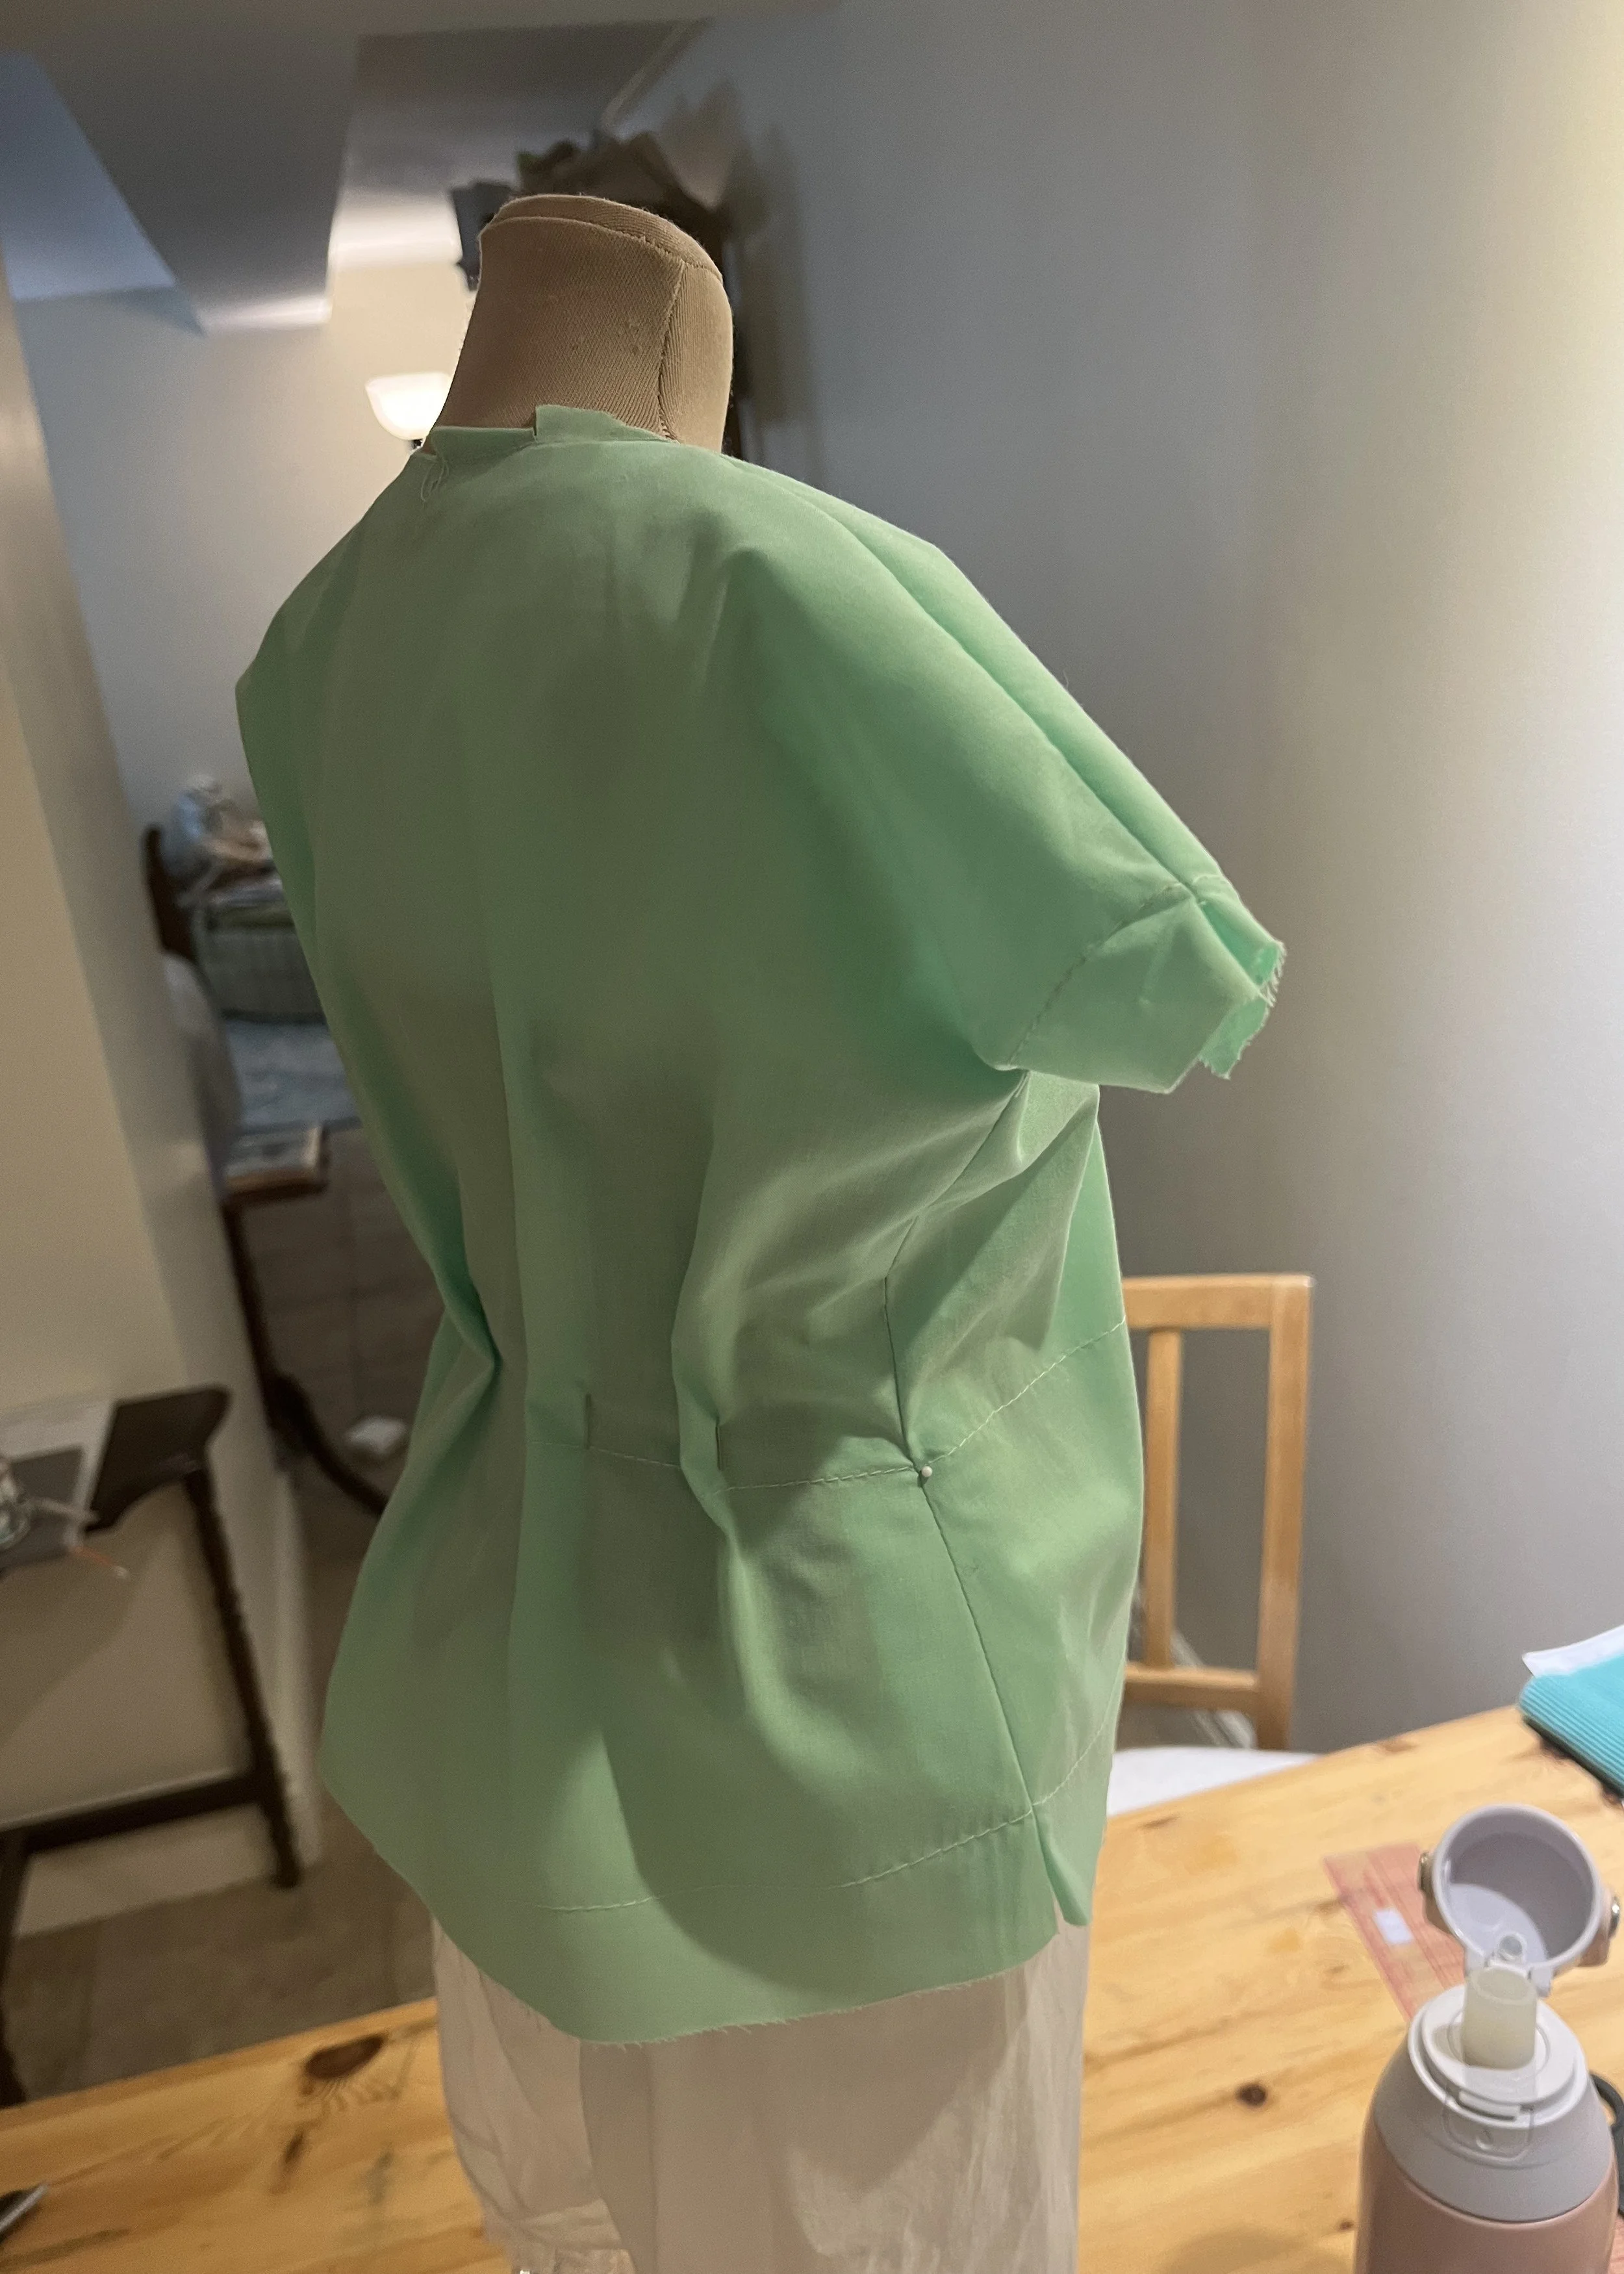
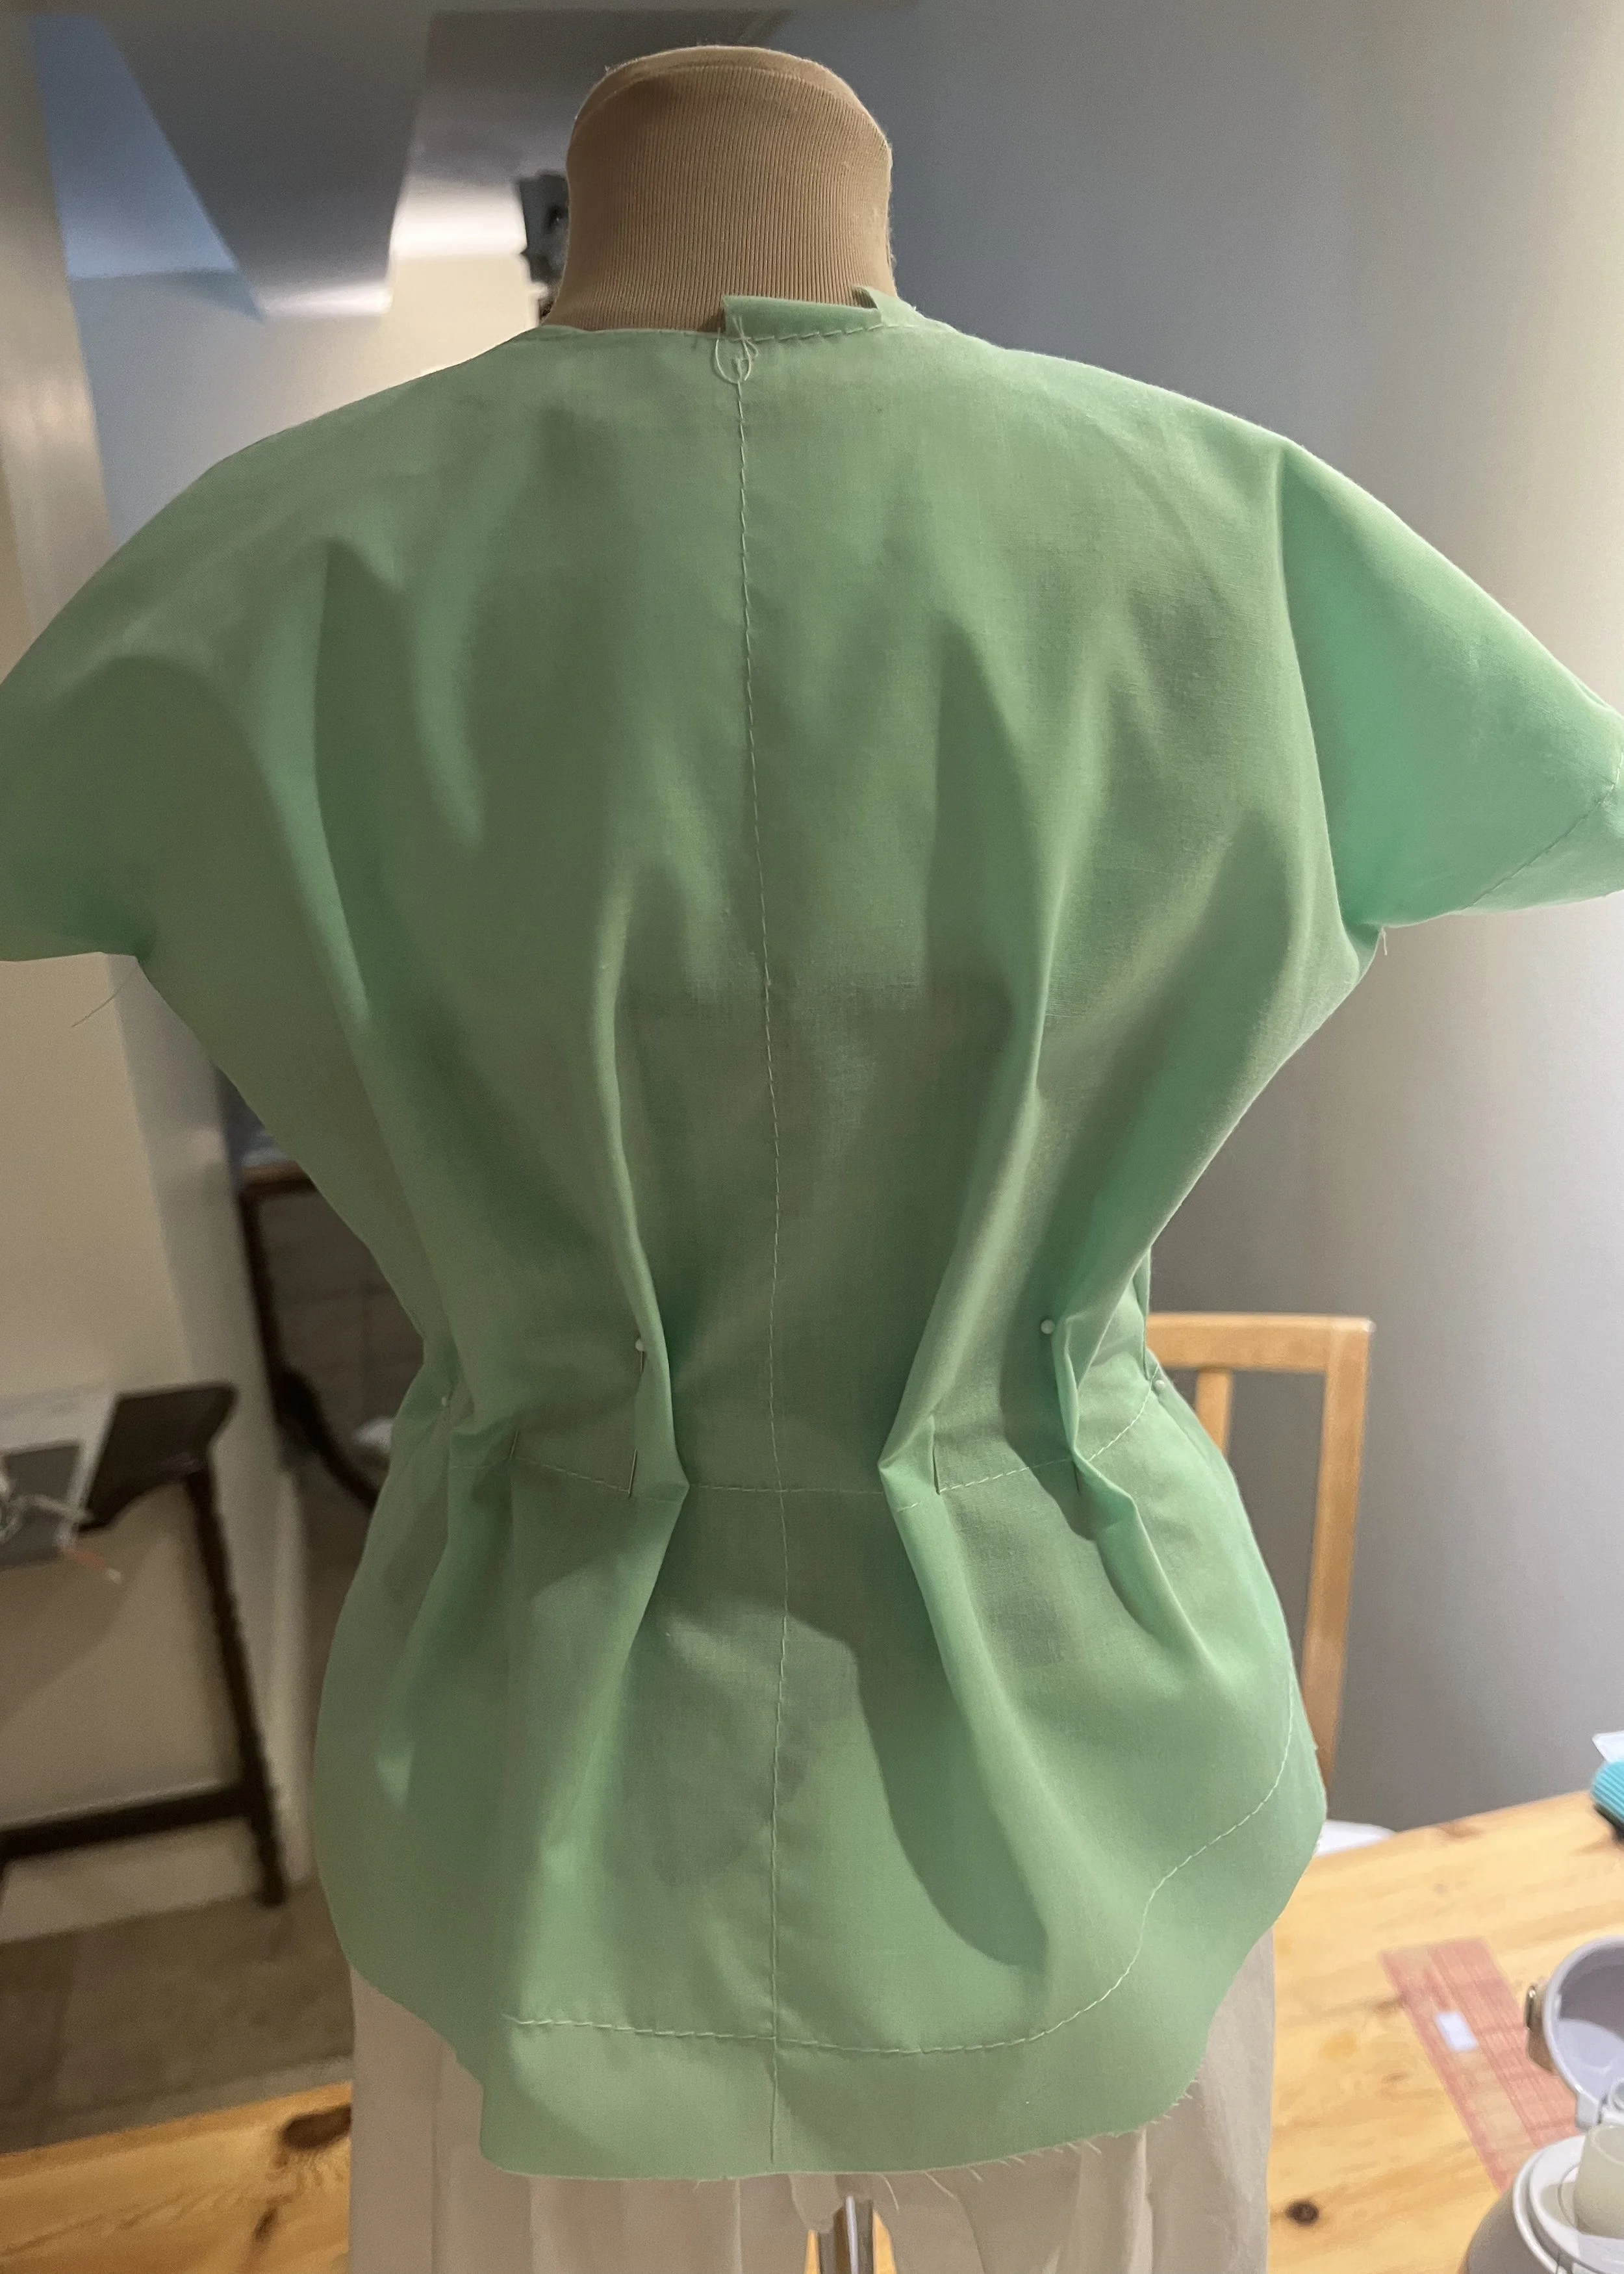
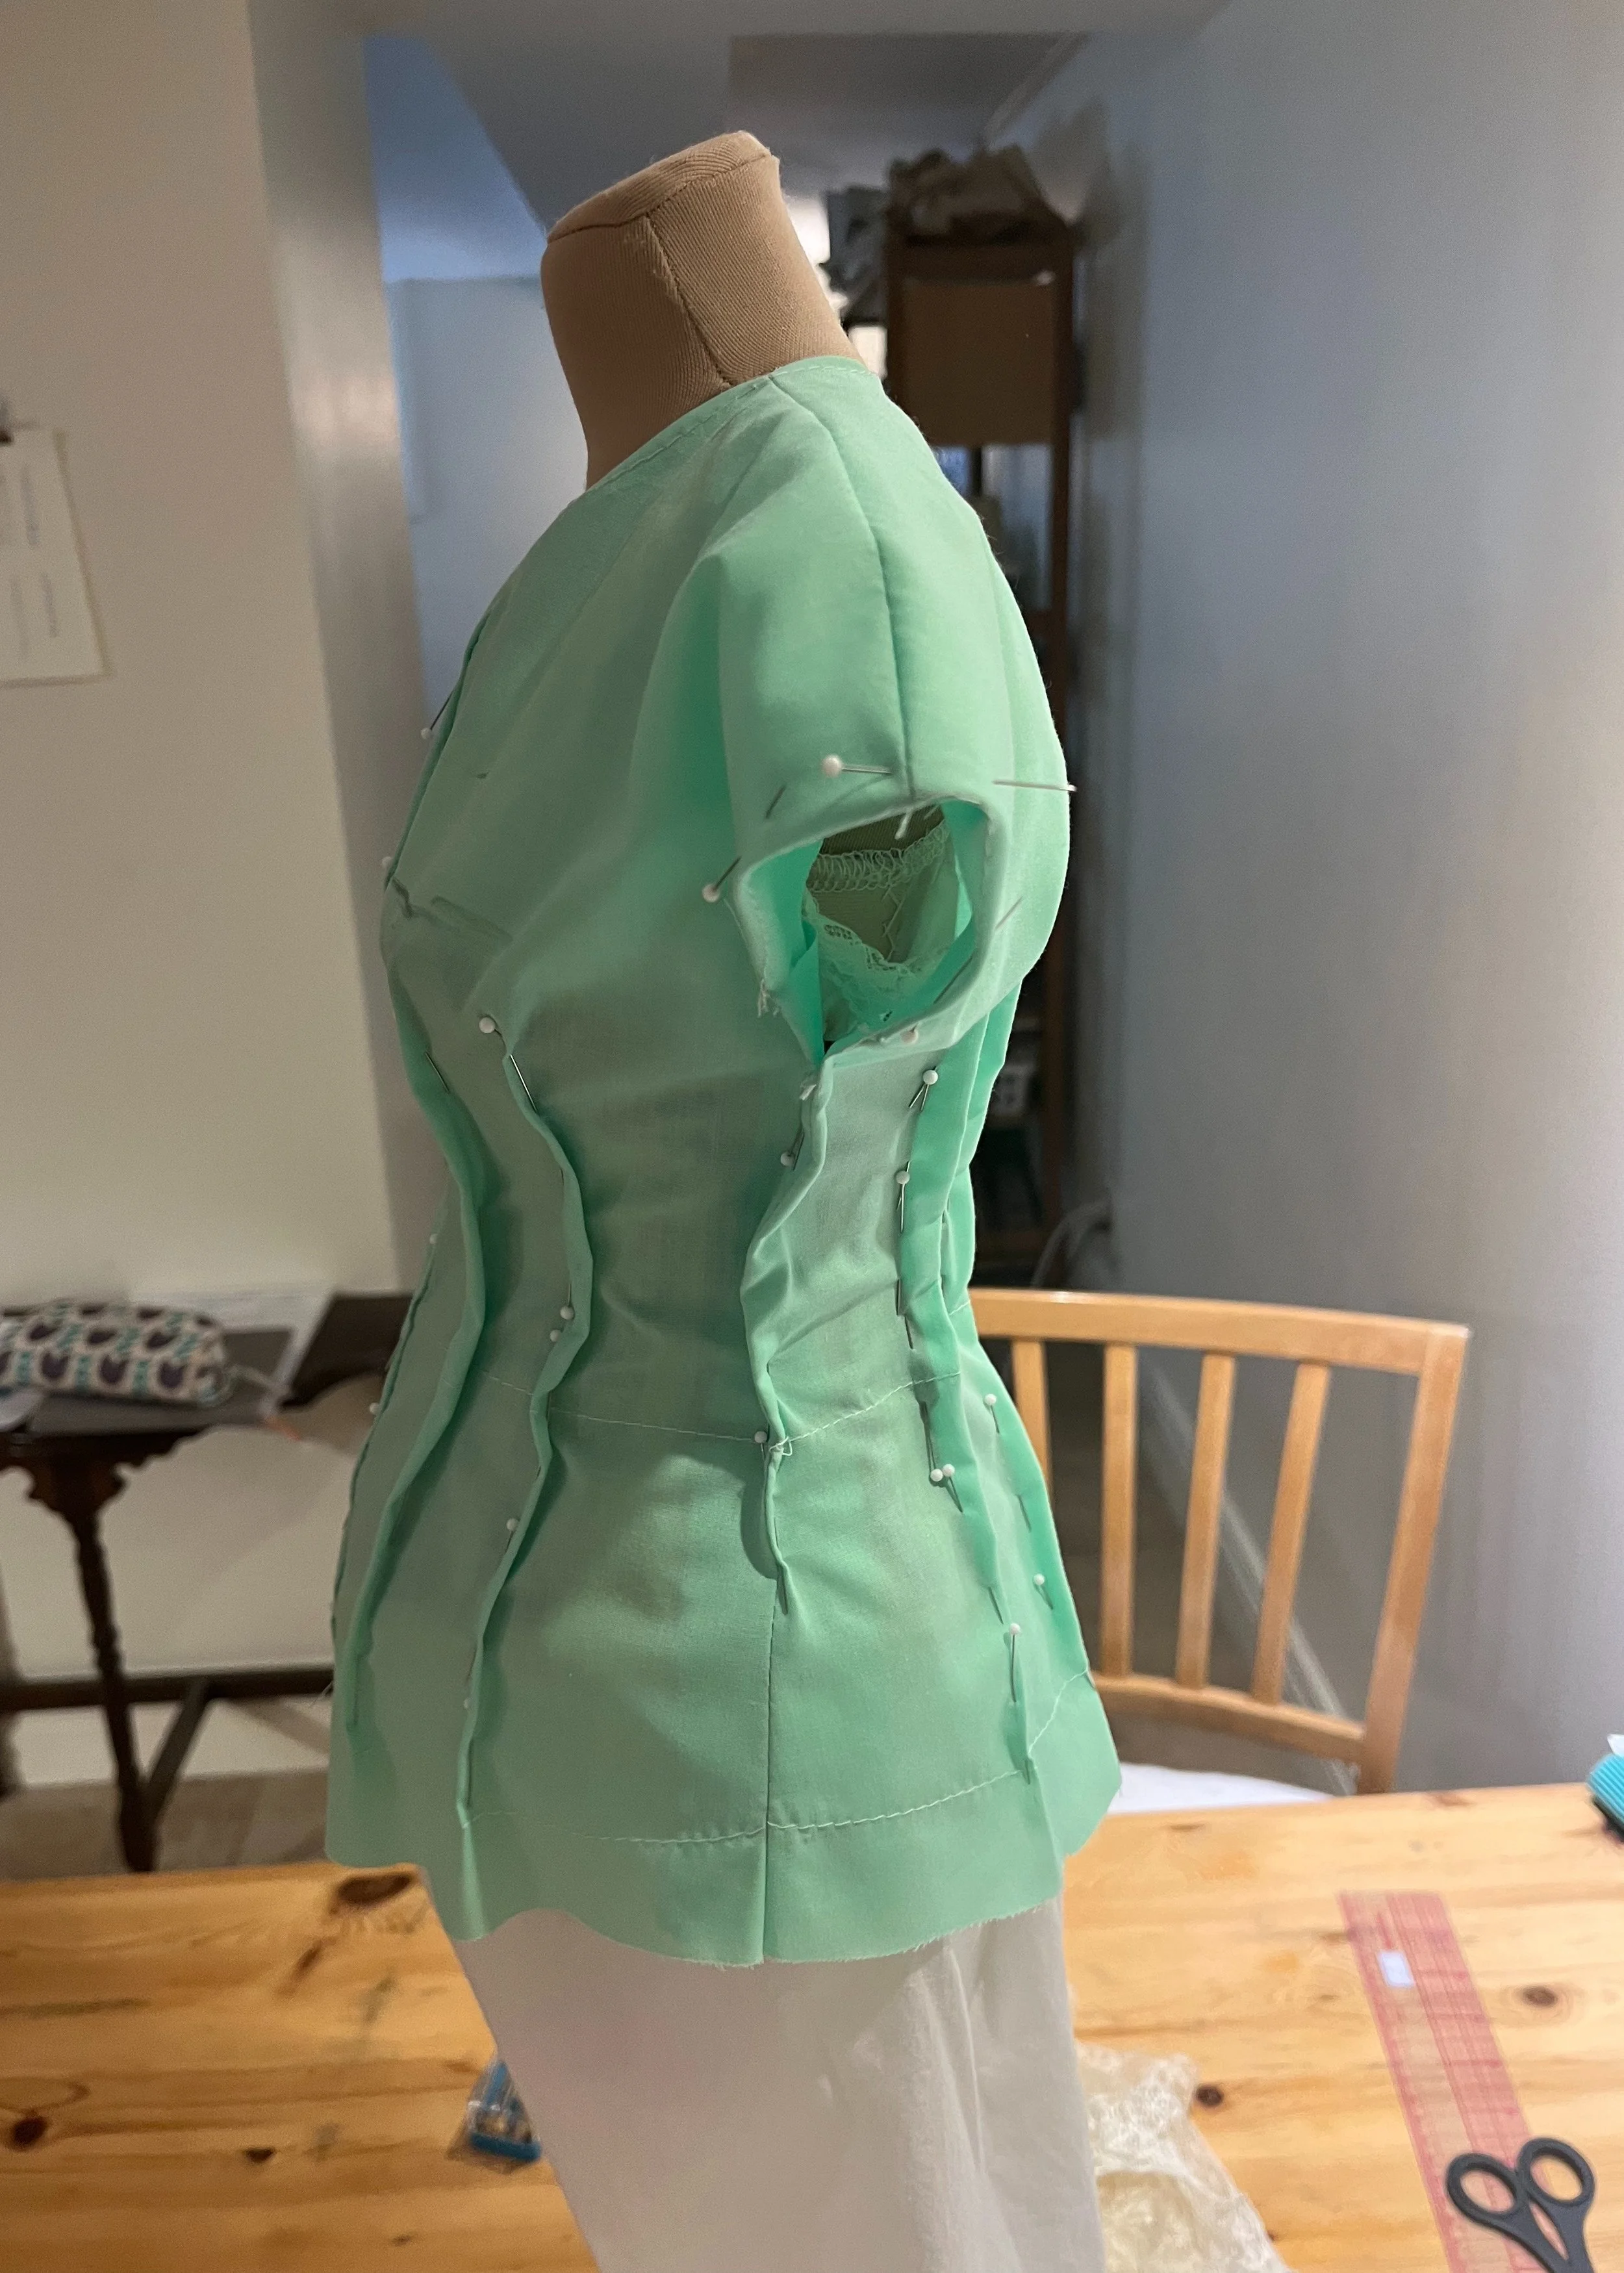
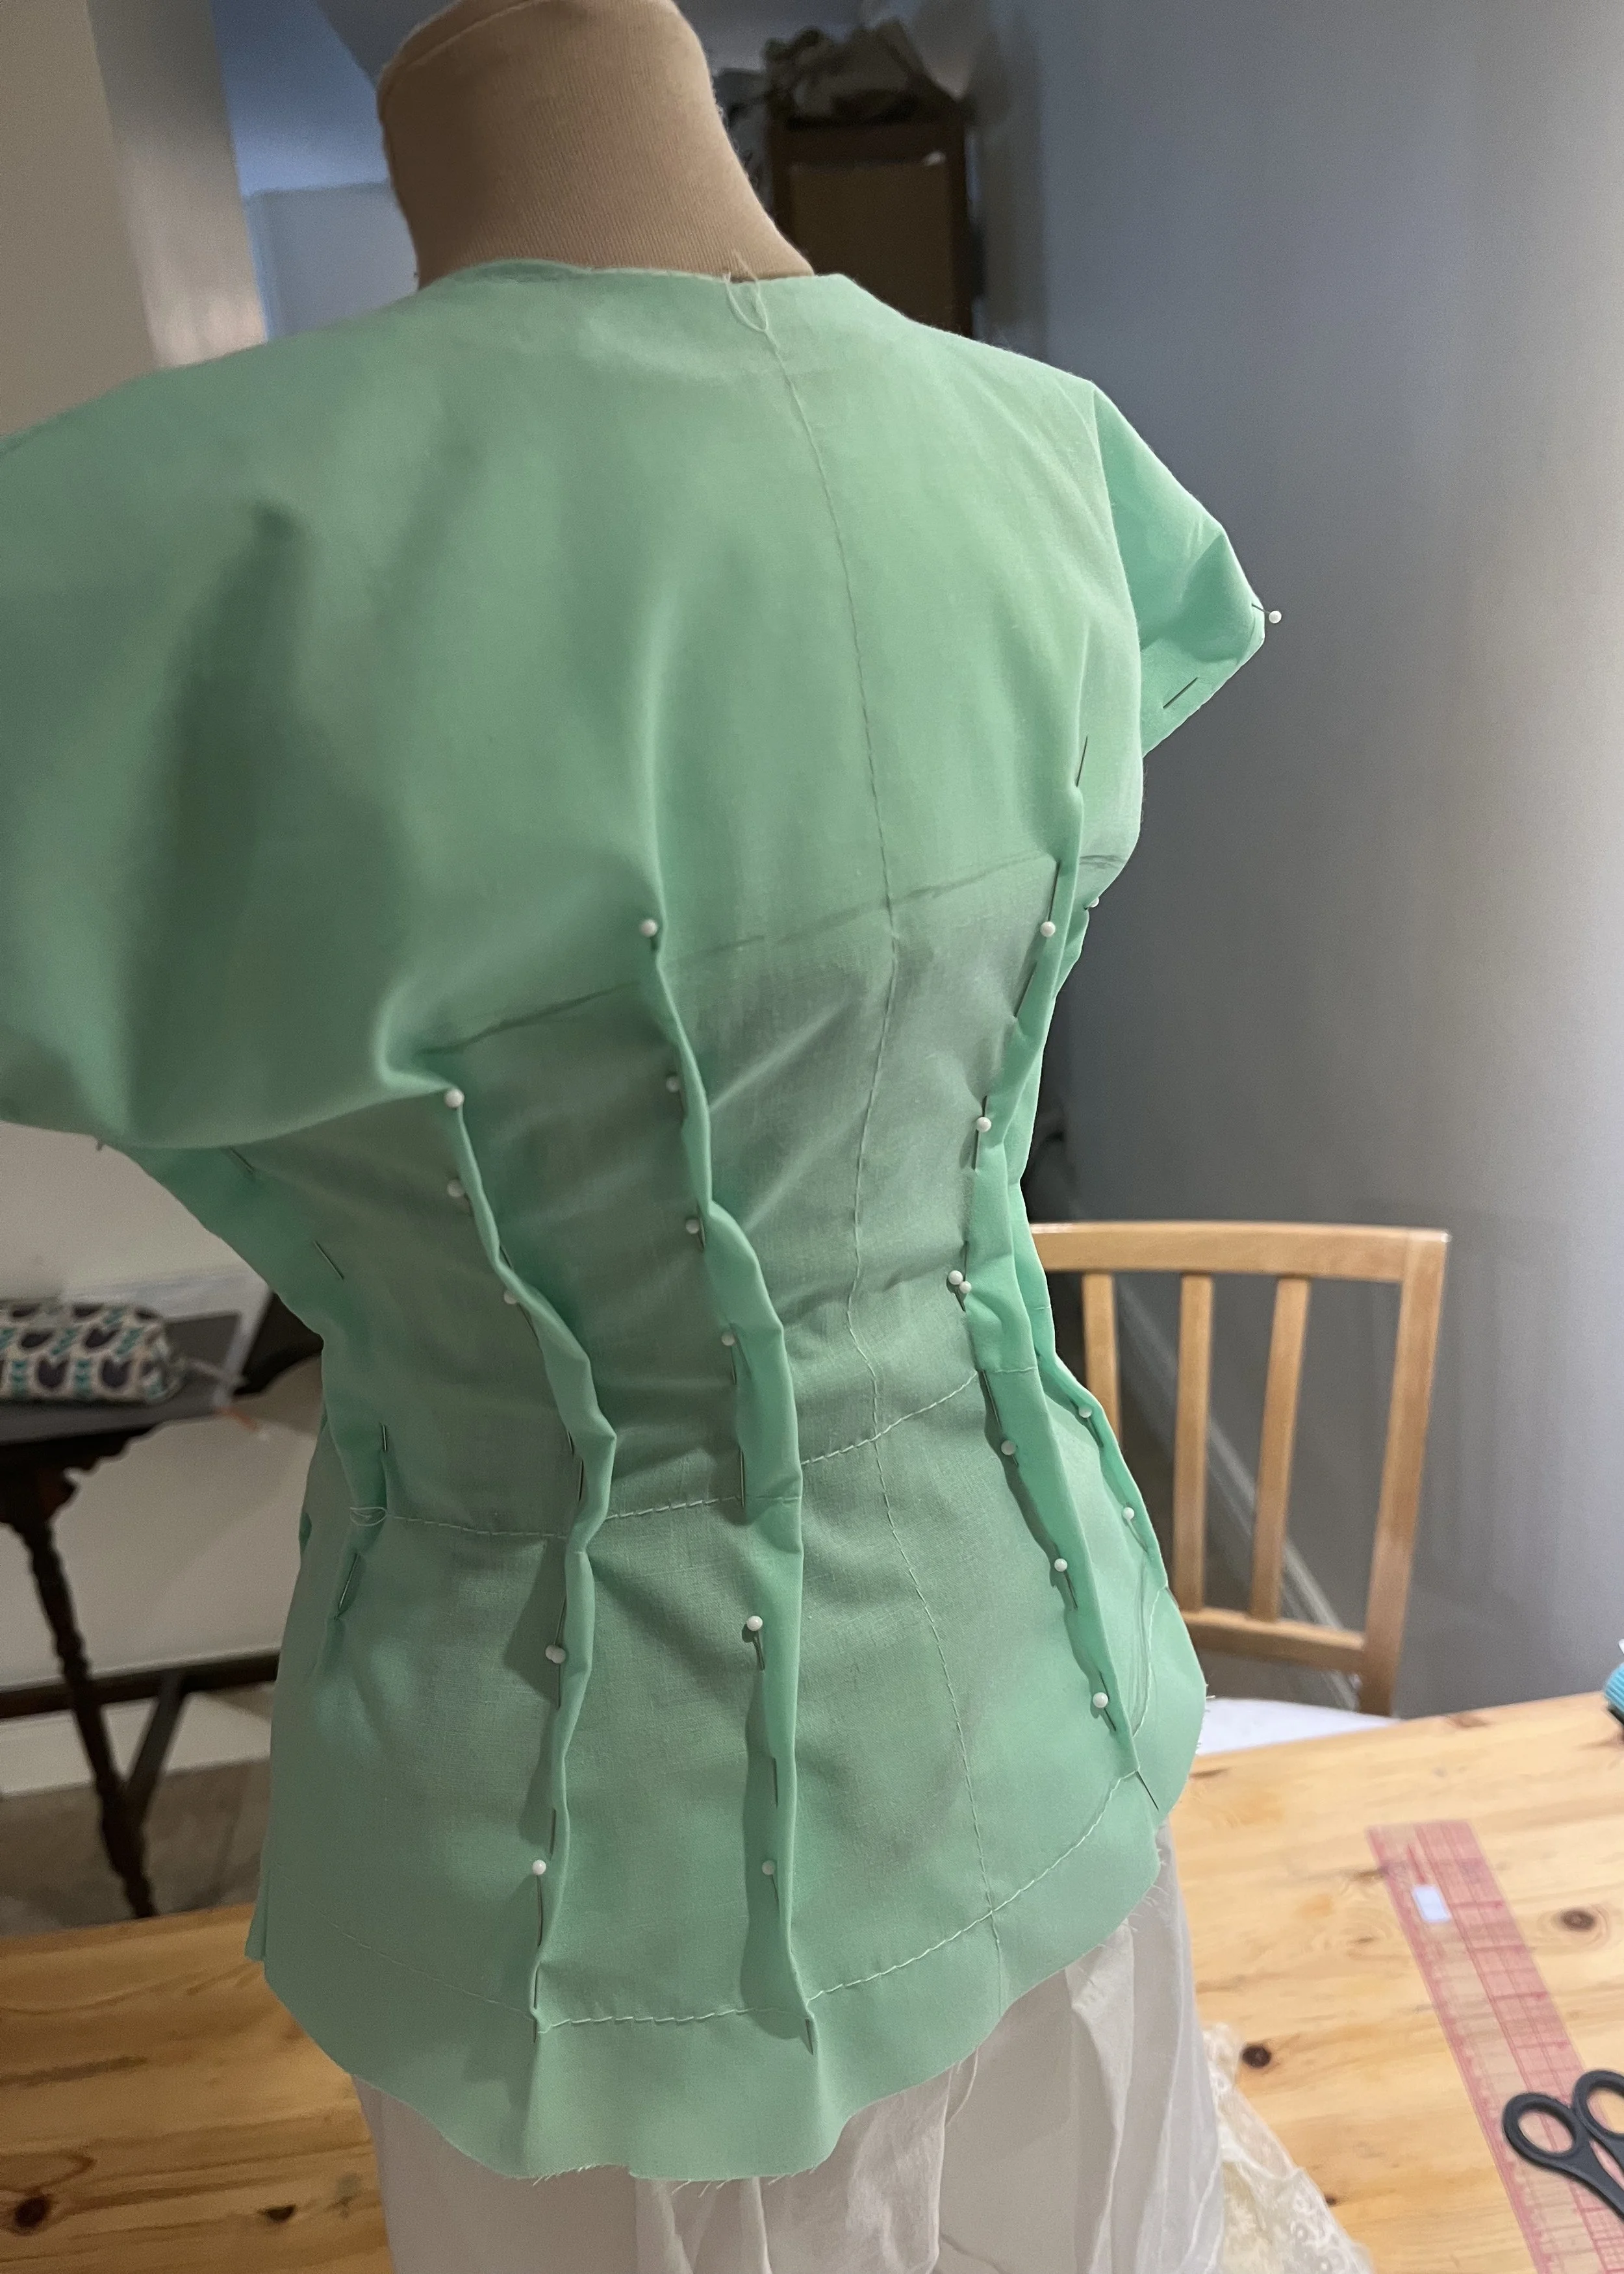
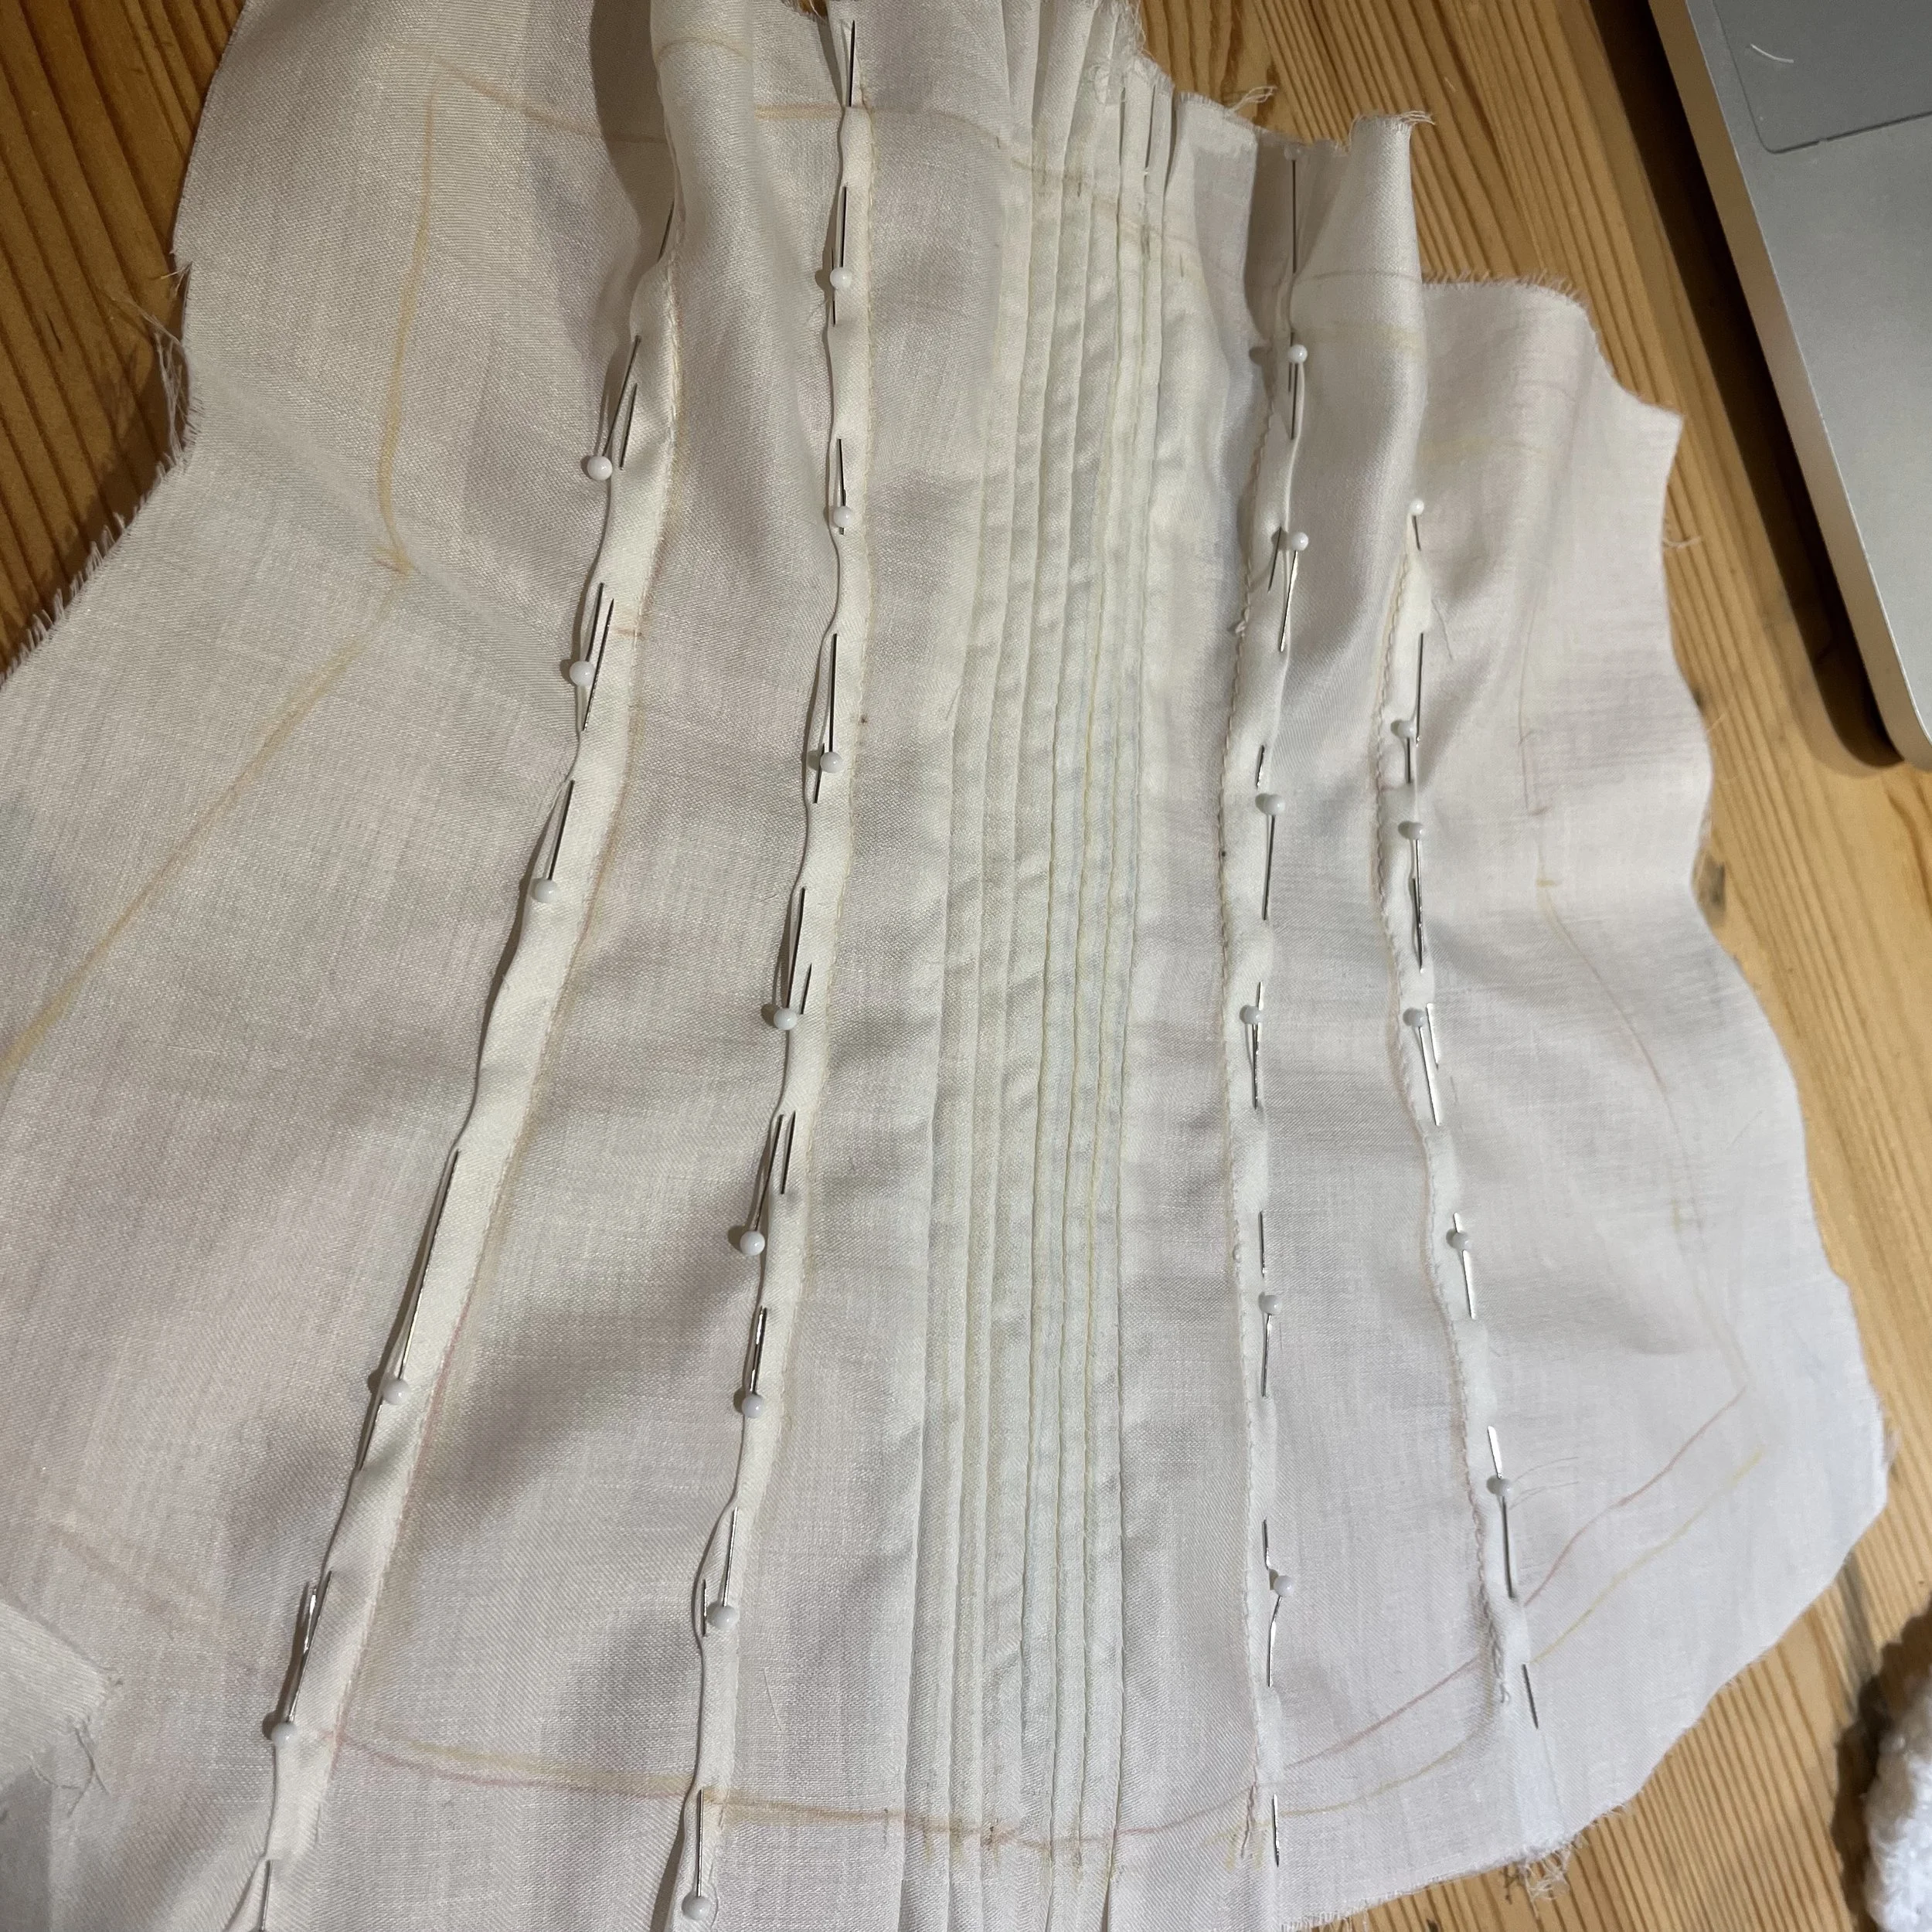
The first alteration to the mock up was to alter the neck a little bit and give it a V shape. Priorities. Next, I anchored the side seams to the sides of the Judy so that I wouldn't pull it too far in any direction and then I set to pinching out the darts. I began with the largest part of each dart at the waistline and distributing the excess as evenly as I could eyeball between all the darts.
Can I make the pieces I have work???
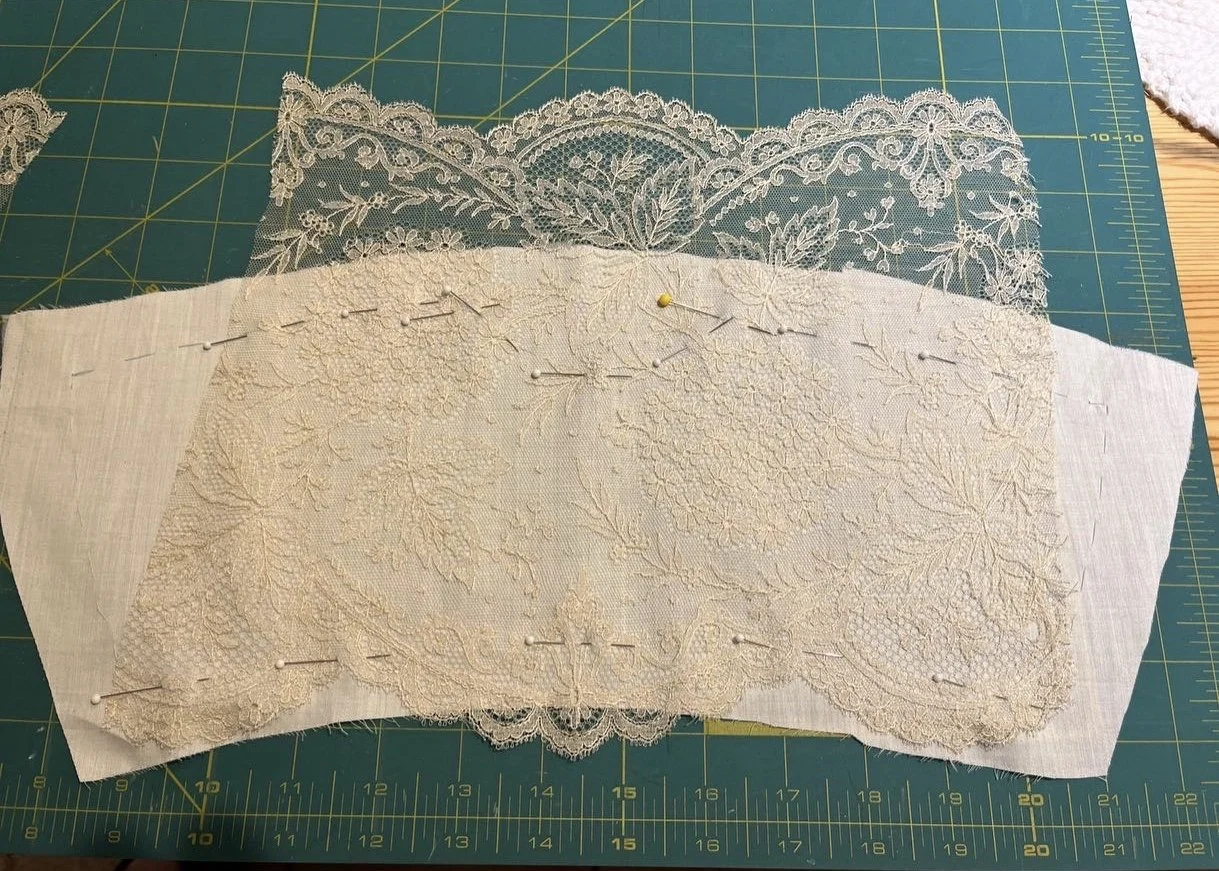
I also decided to take a little off the sides and open the armhole a little more to help the sleeve fall correctly. Finally, I traced the top edge of the corset to use as the yoke line and deepened the curve of the hem a bit. I also experimented a bit with how I would piece the lace to cover the yoke.
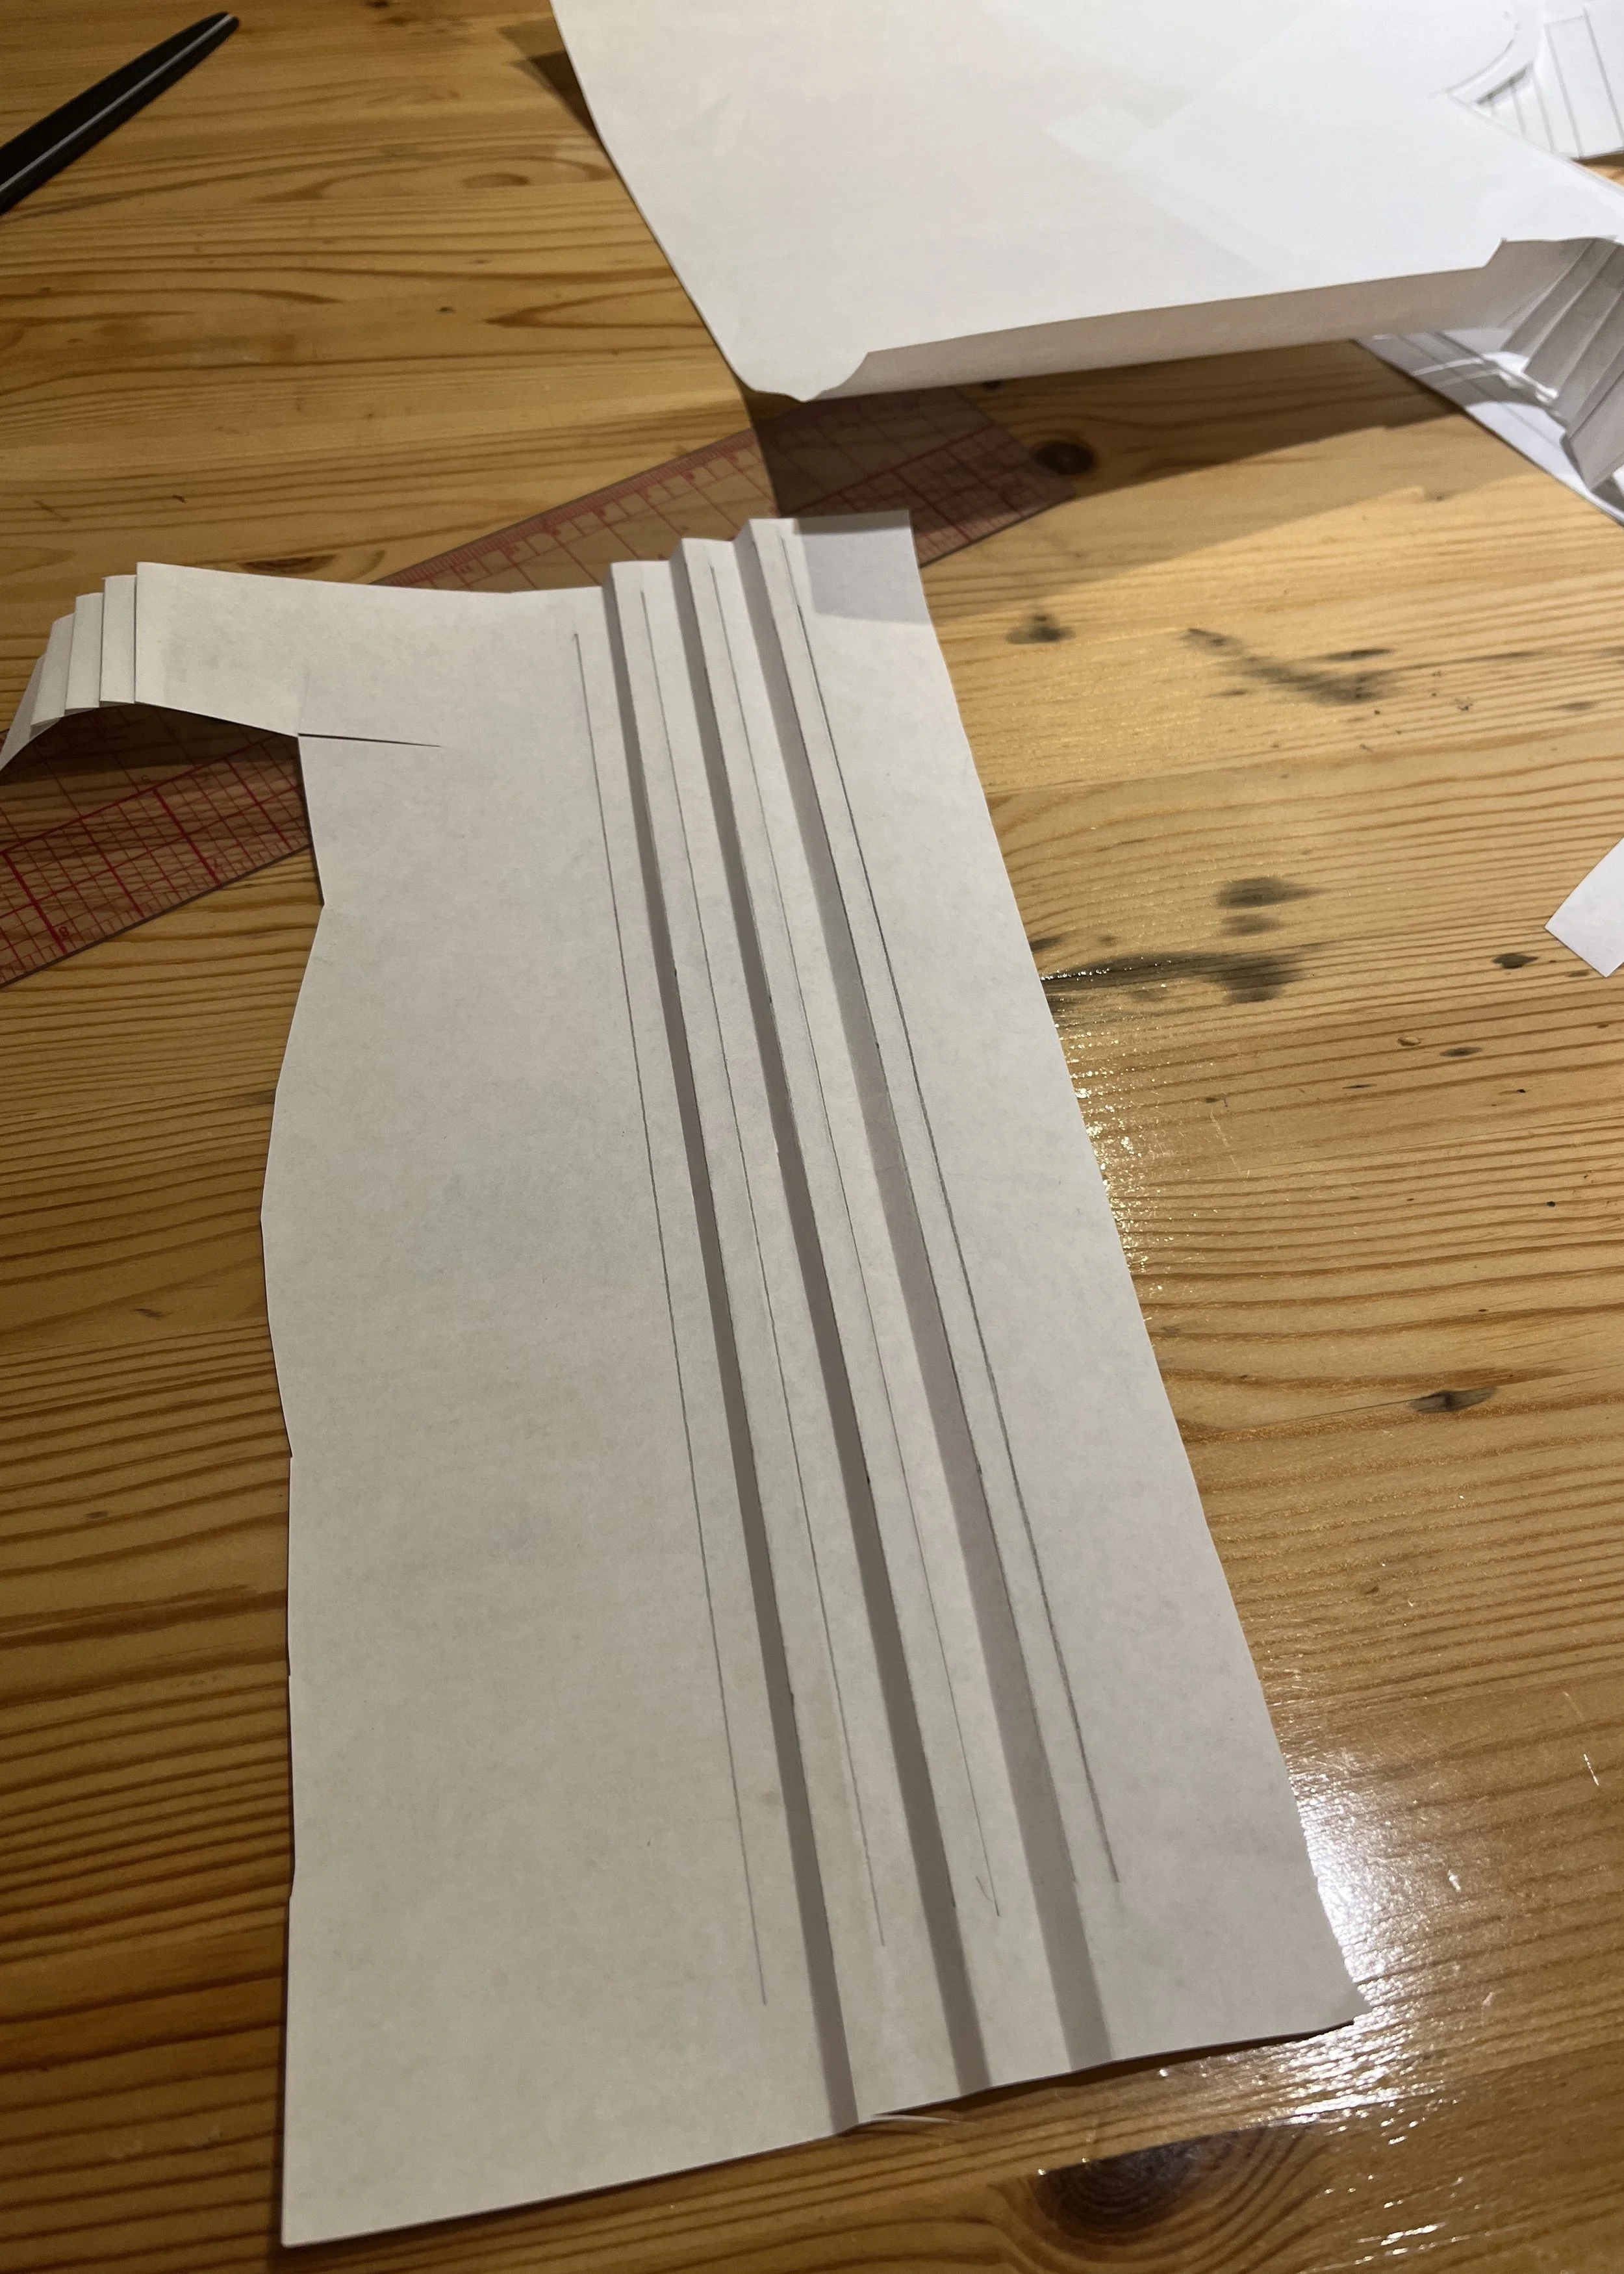
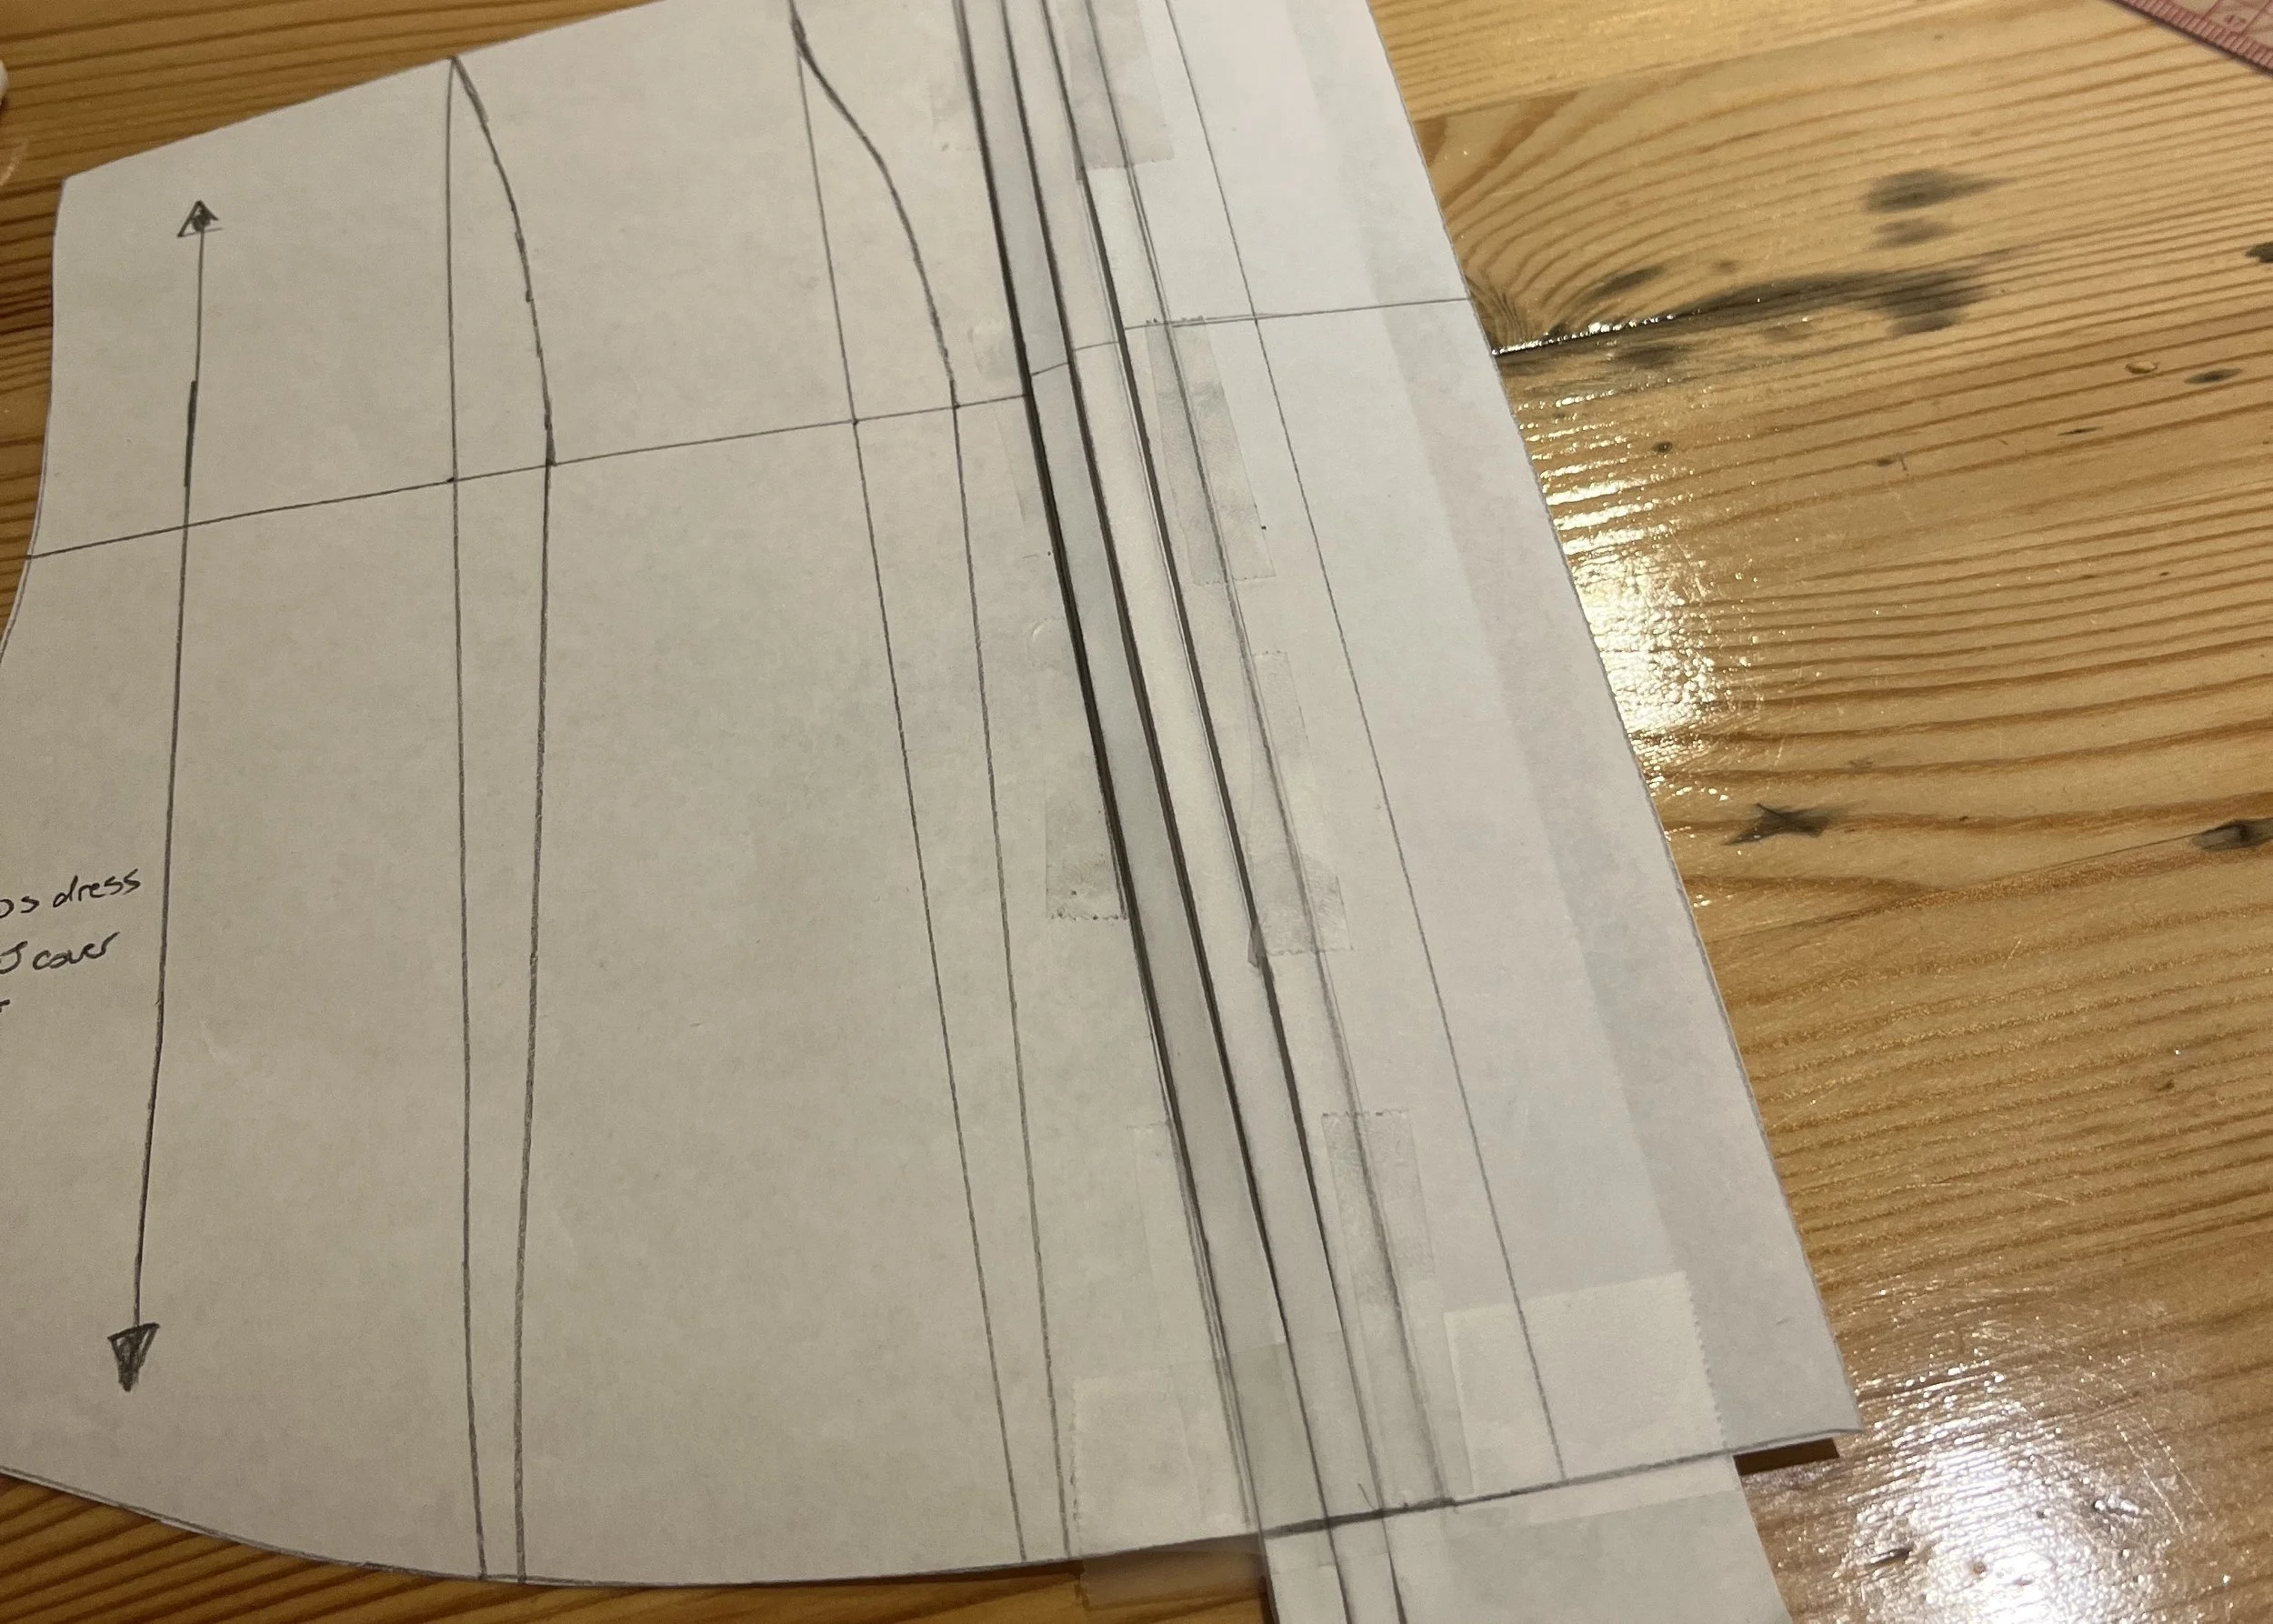
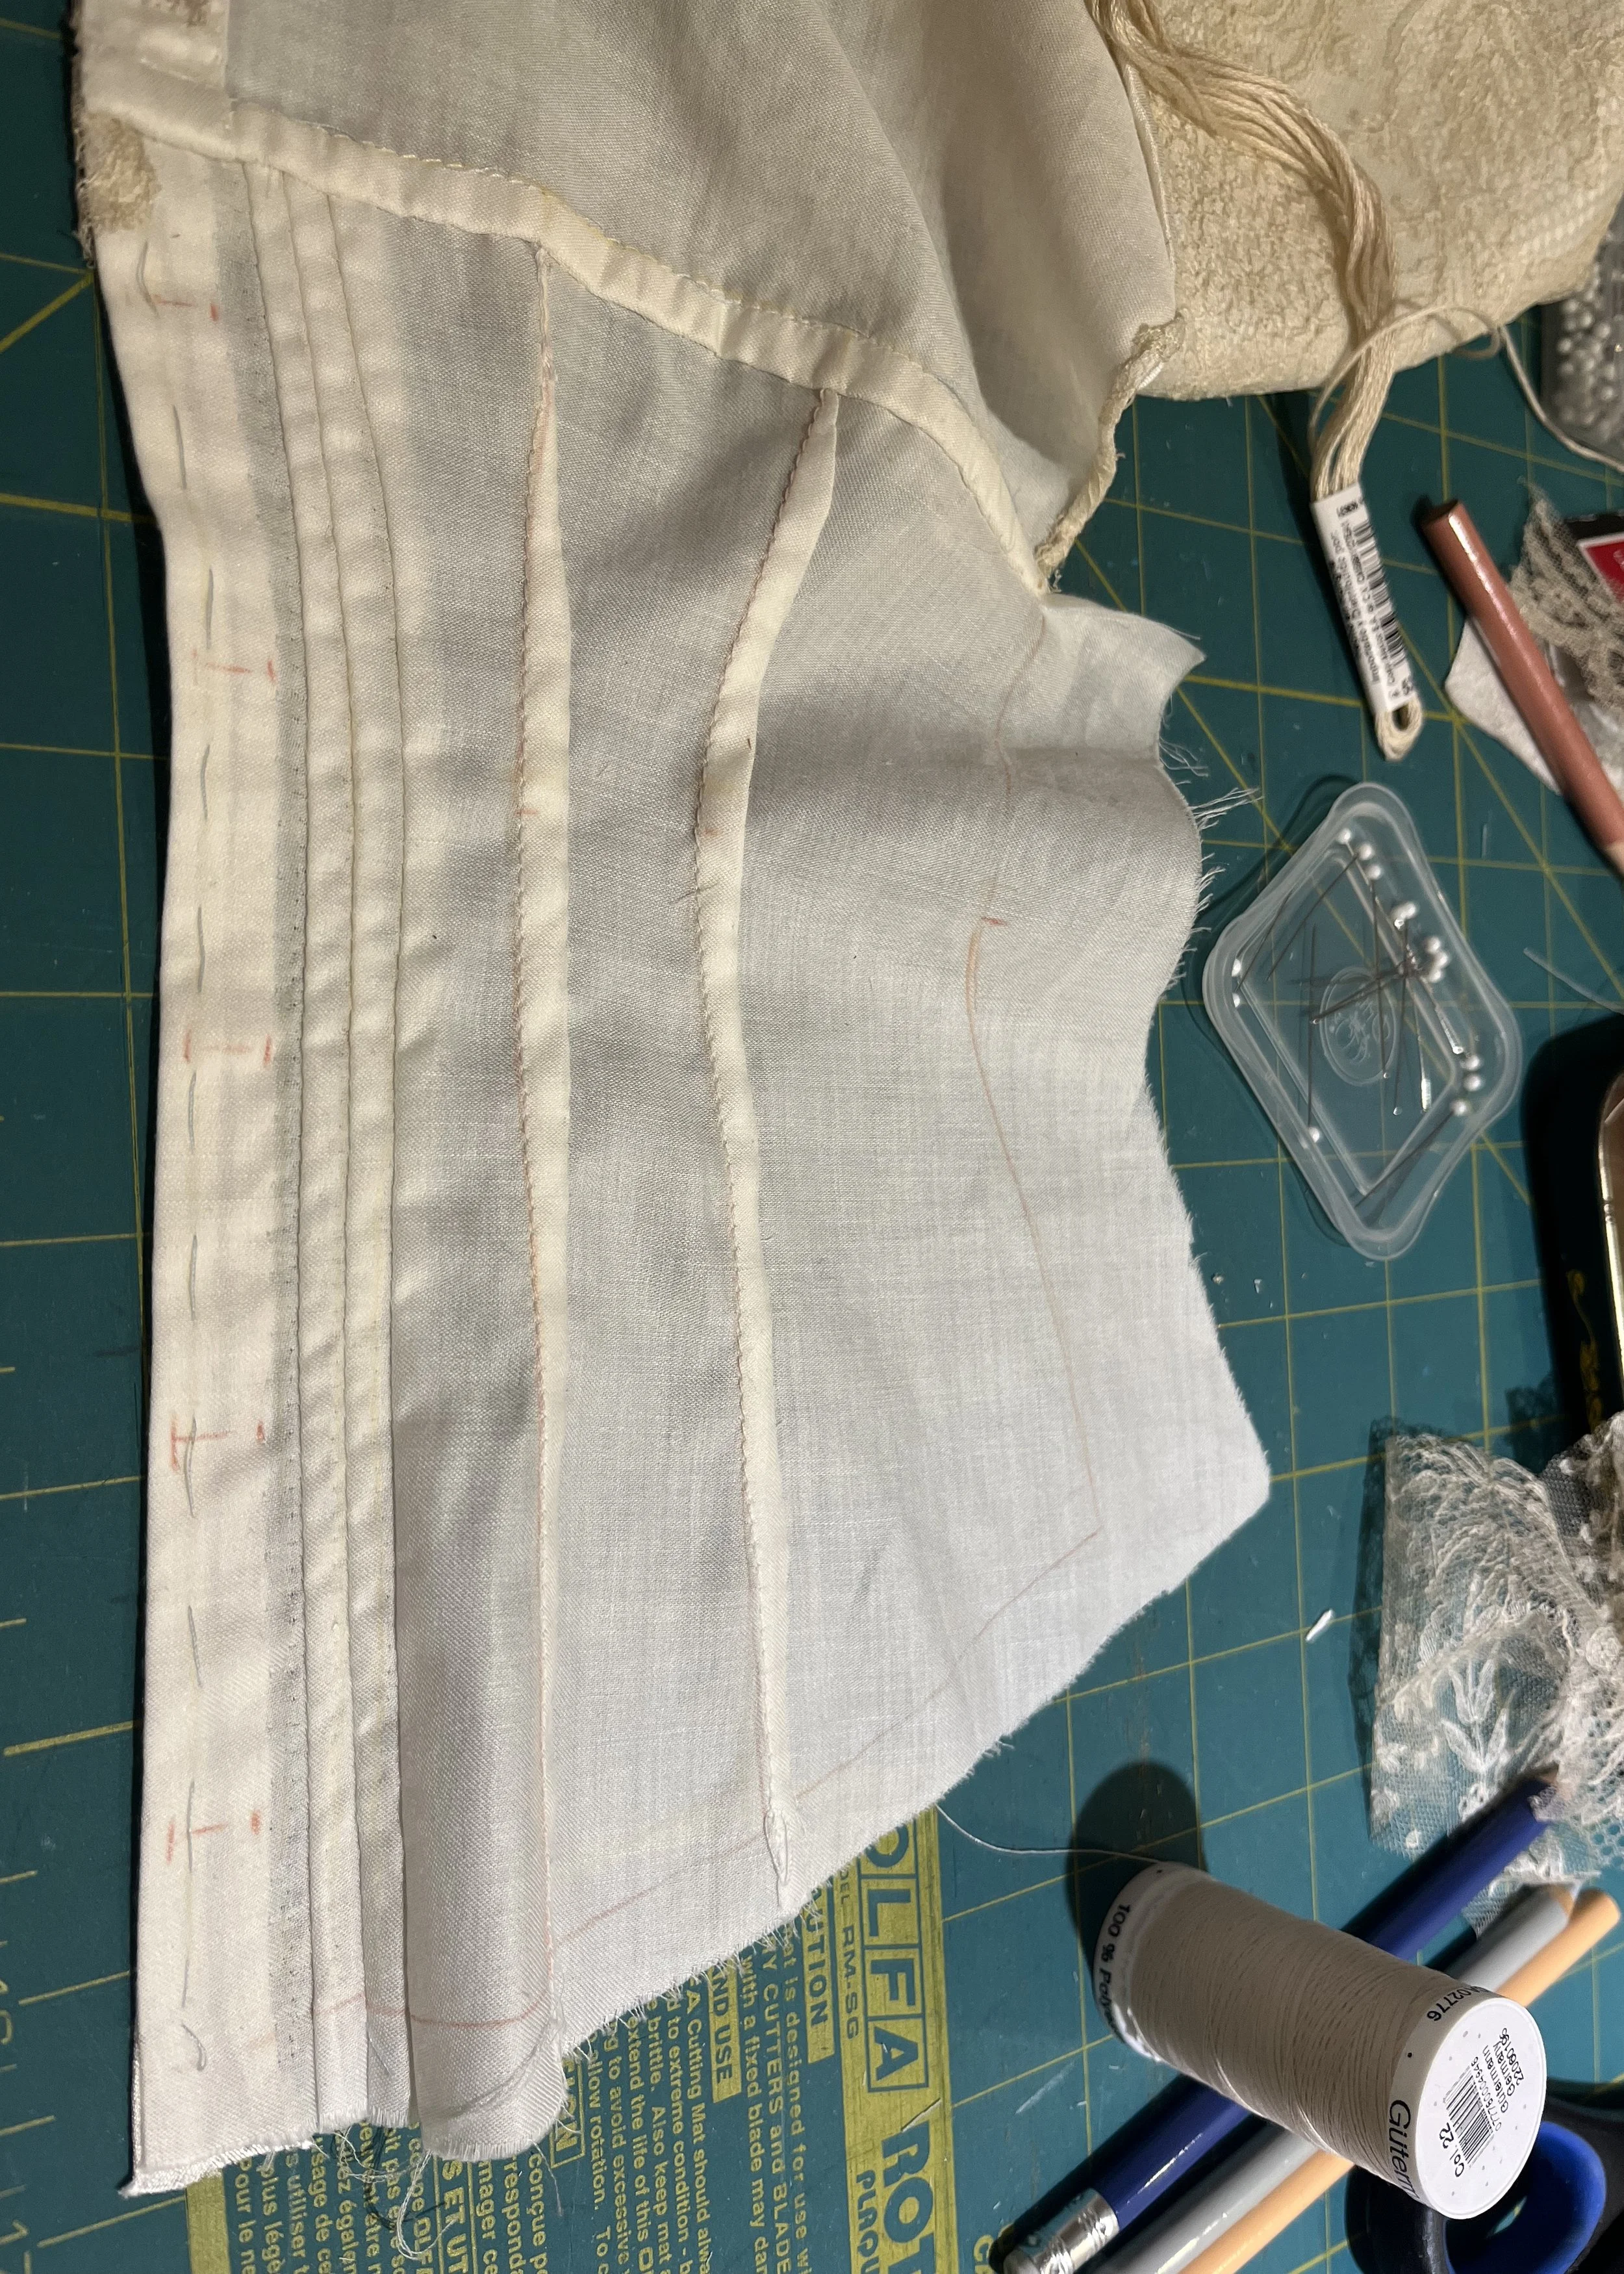
After transferring all my alterations to the pattern and drawing in the final darts, I added the pintucks. To do this, I made a little piece folded into the desired pleats and taped it onto the pattern rather than the usual slice and dice I use to add pleats into a pattern.
With my pattern made, I cut out the final garment.
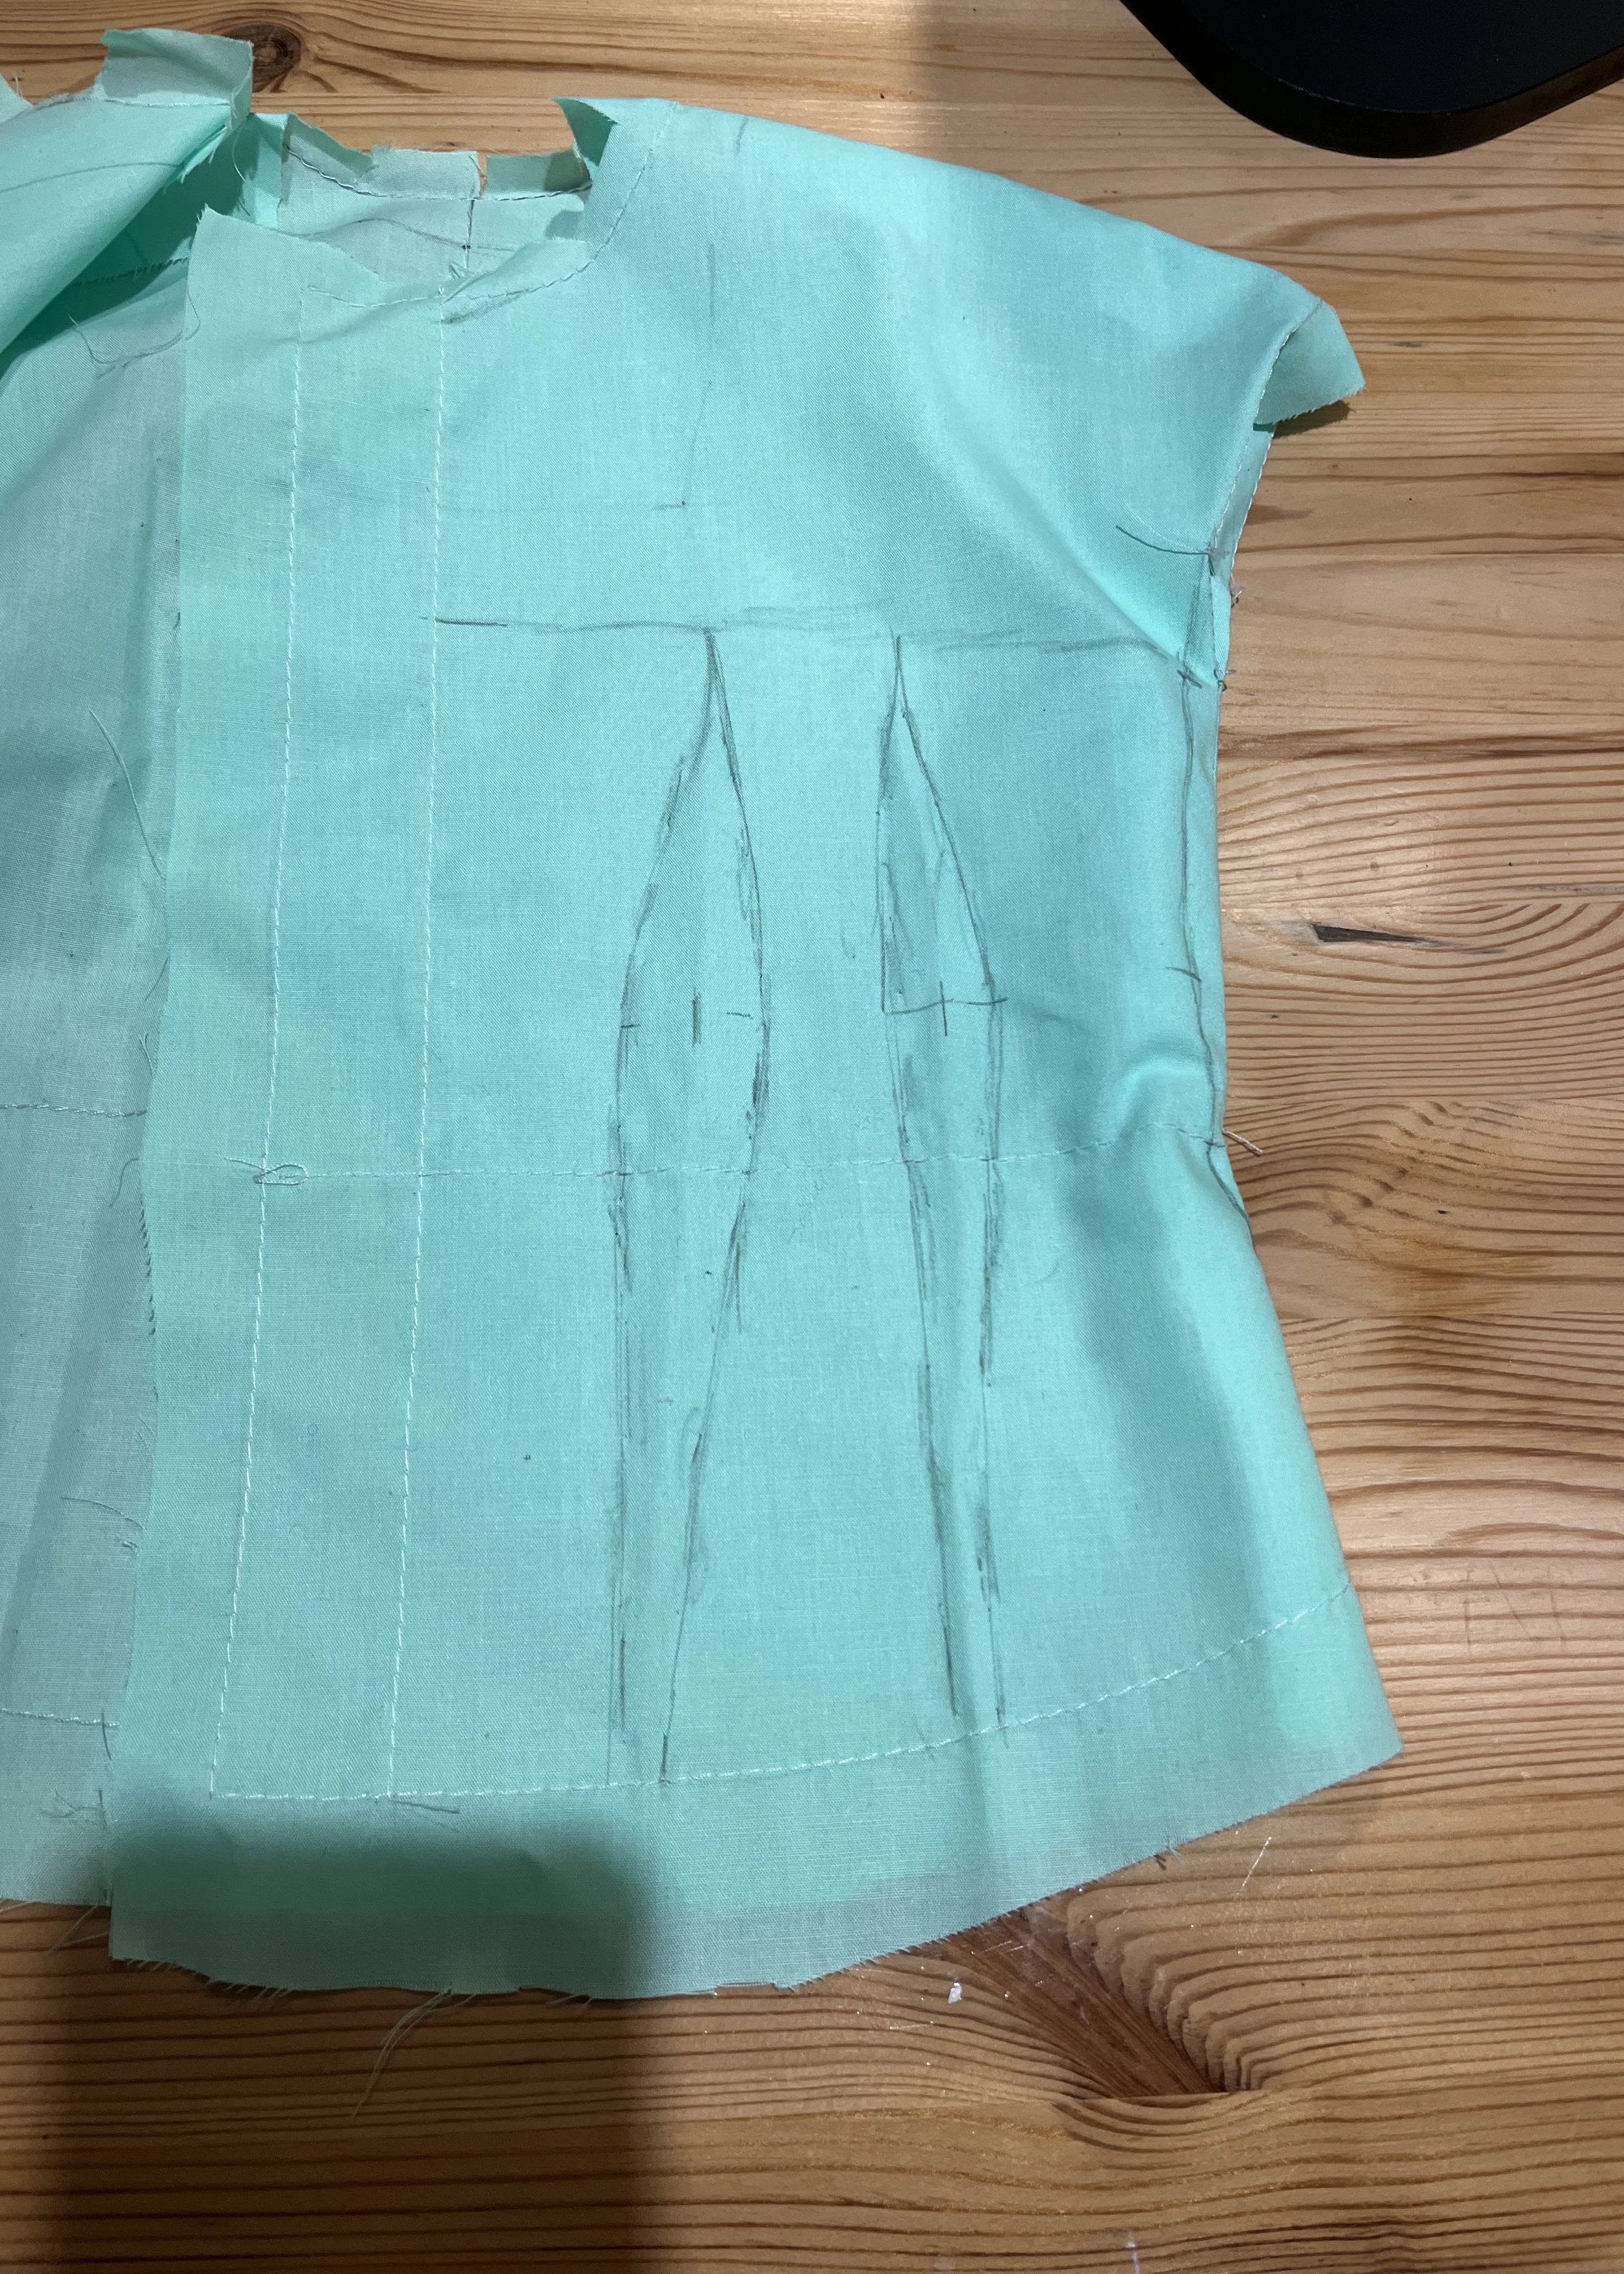
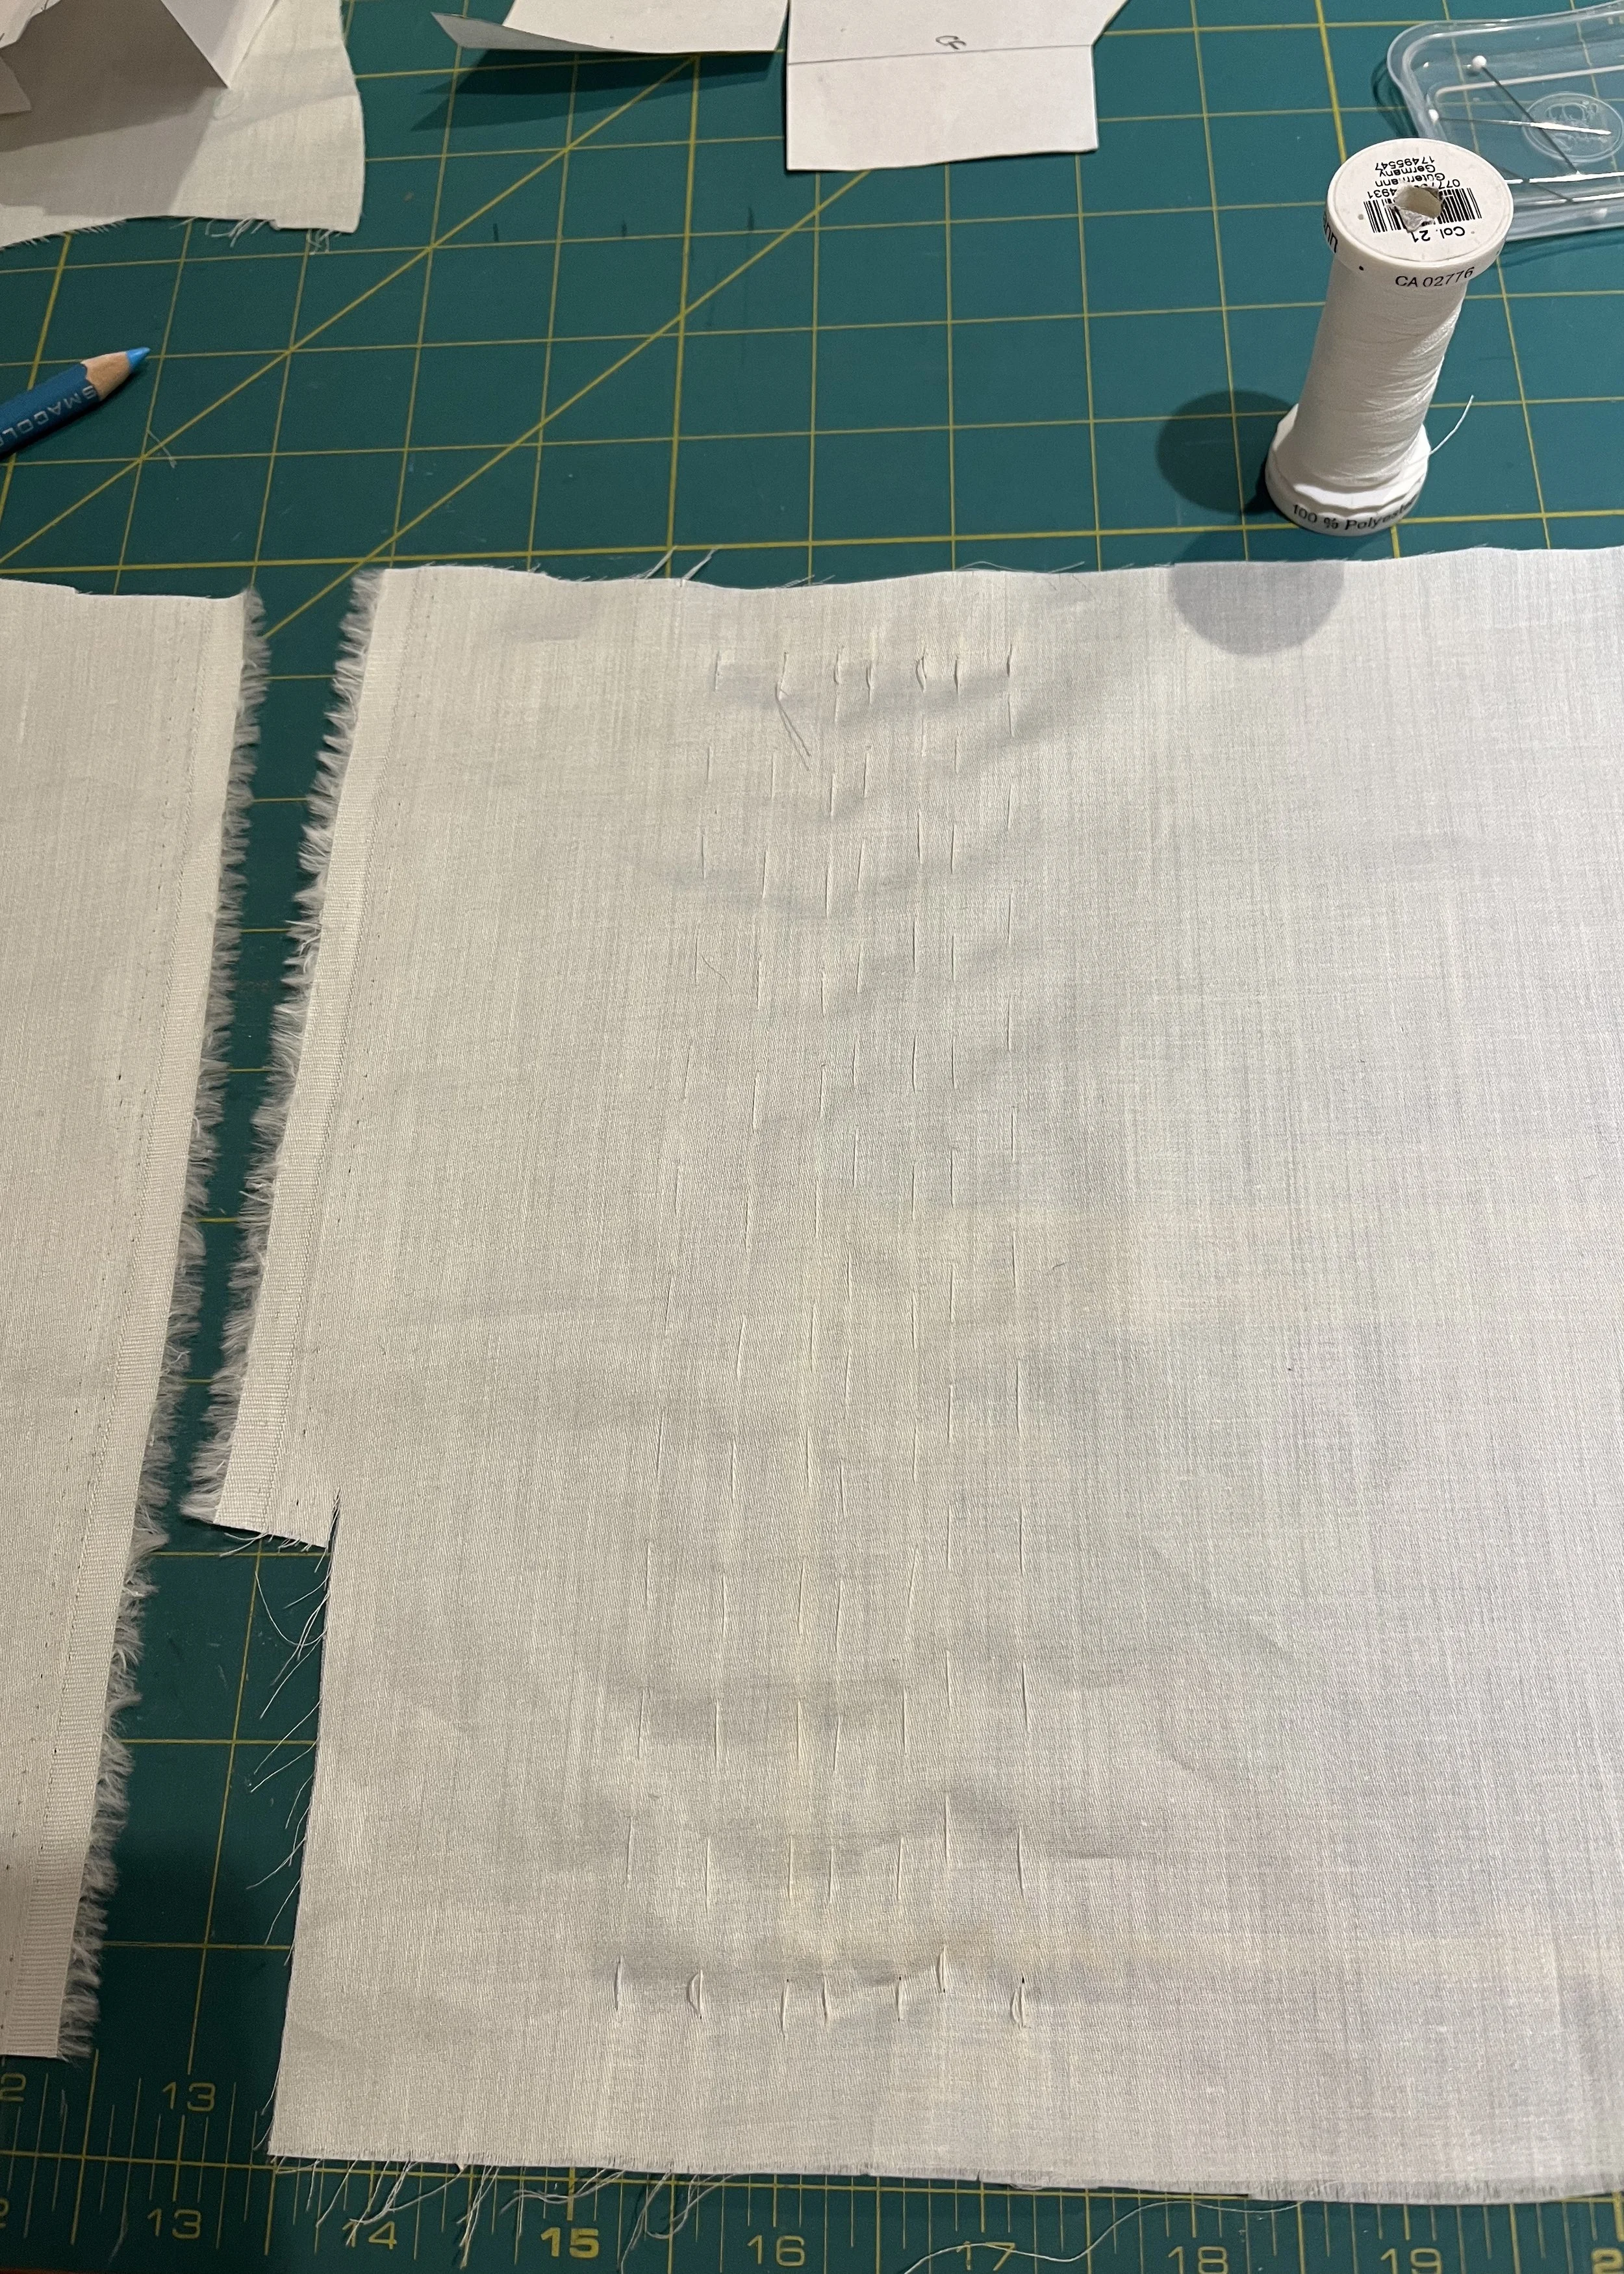
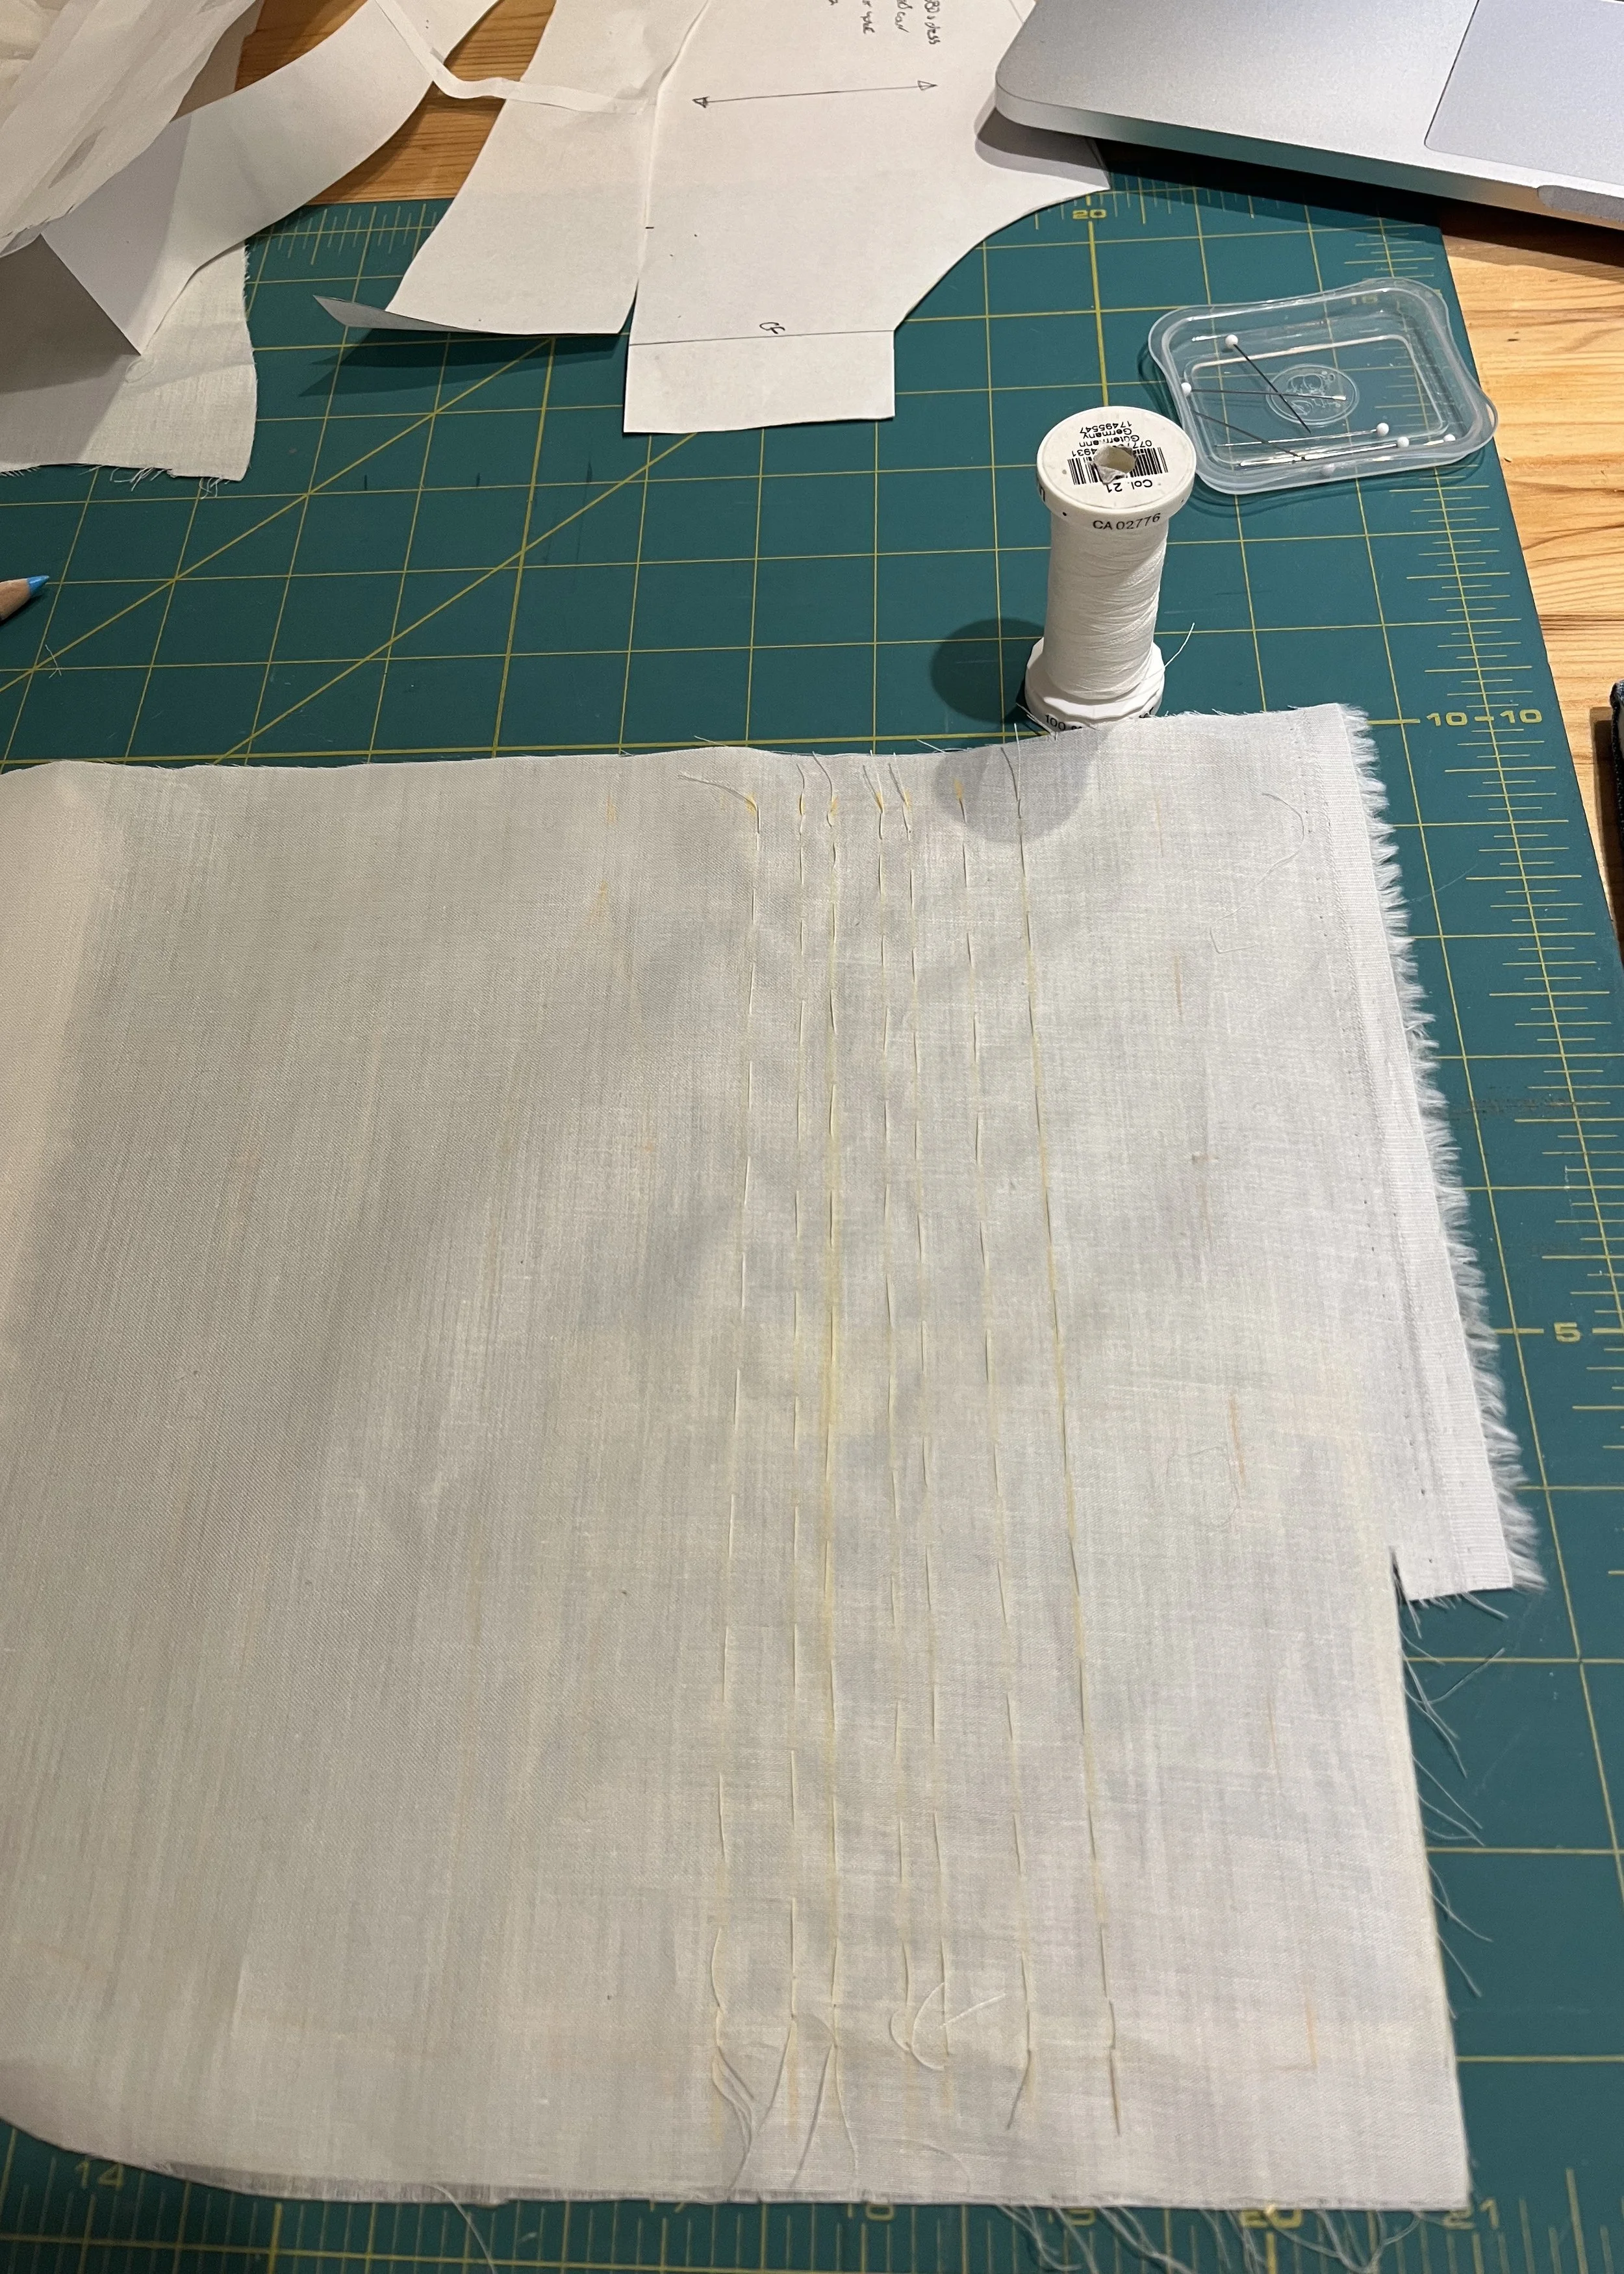
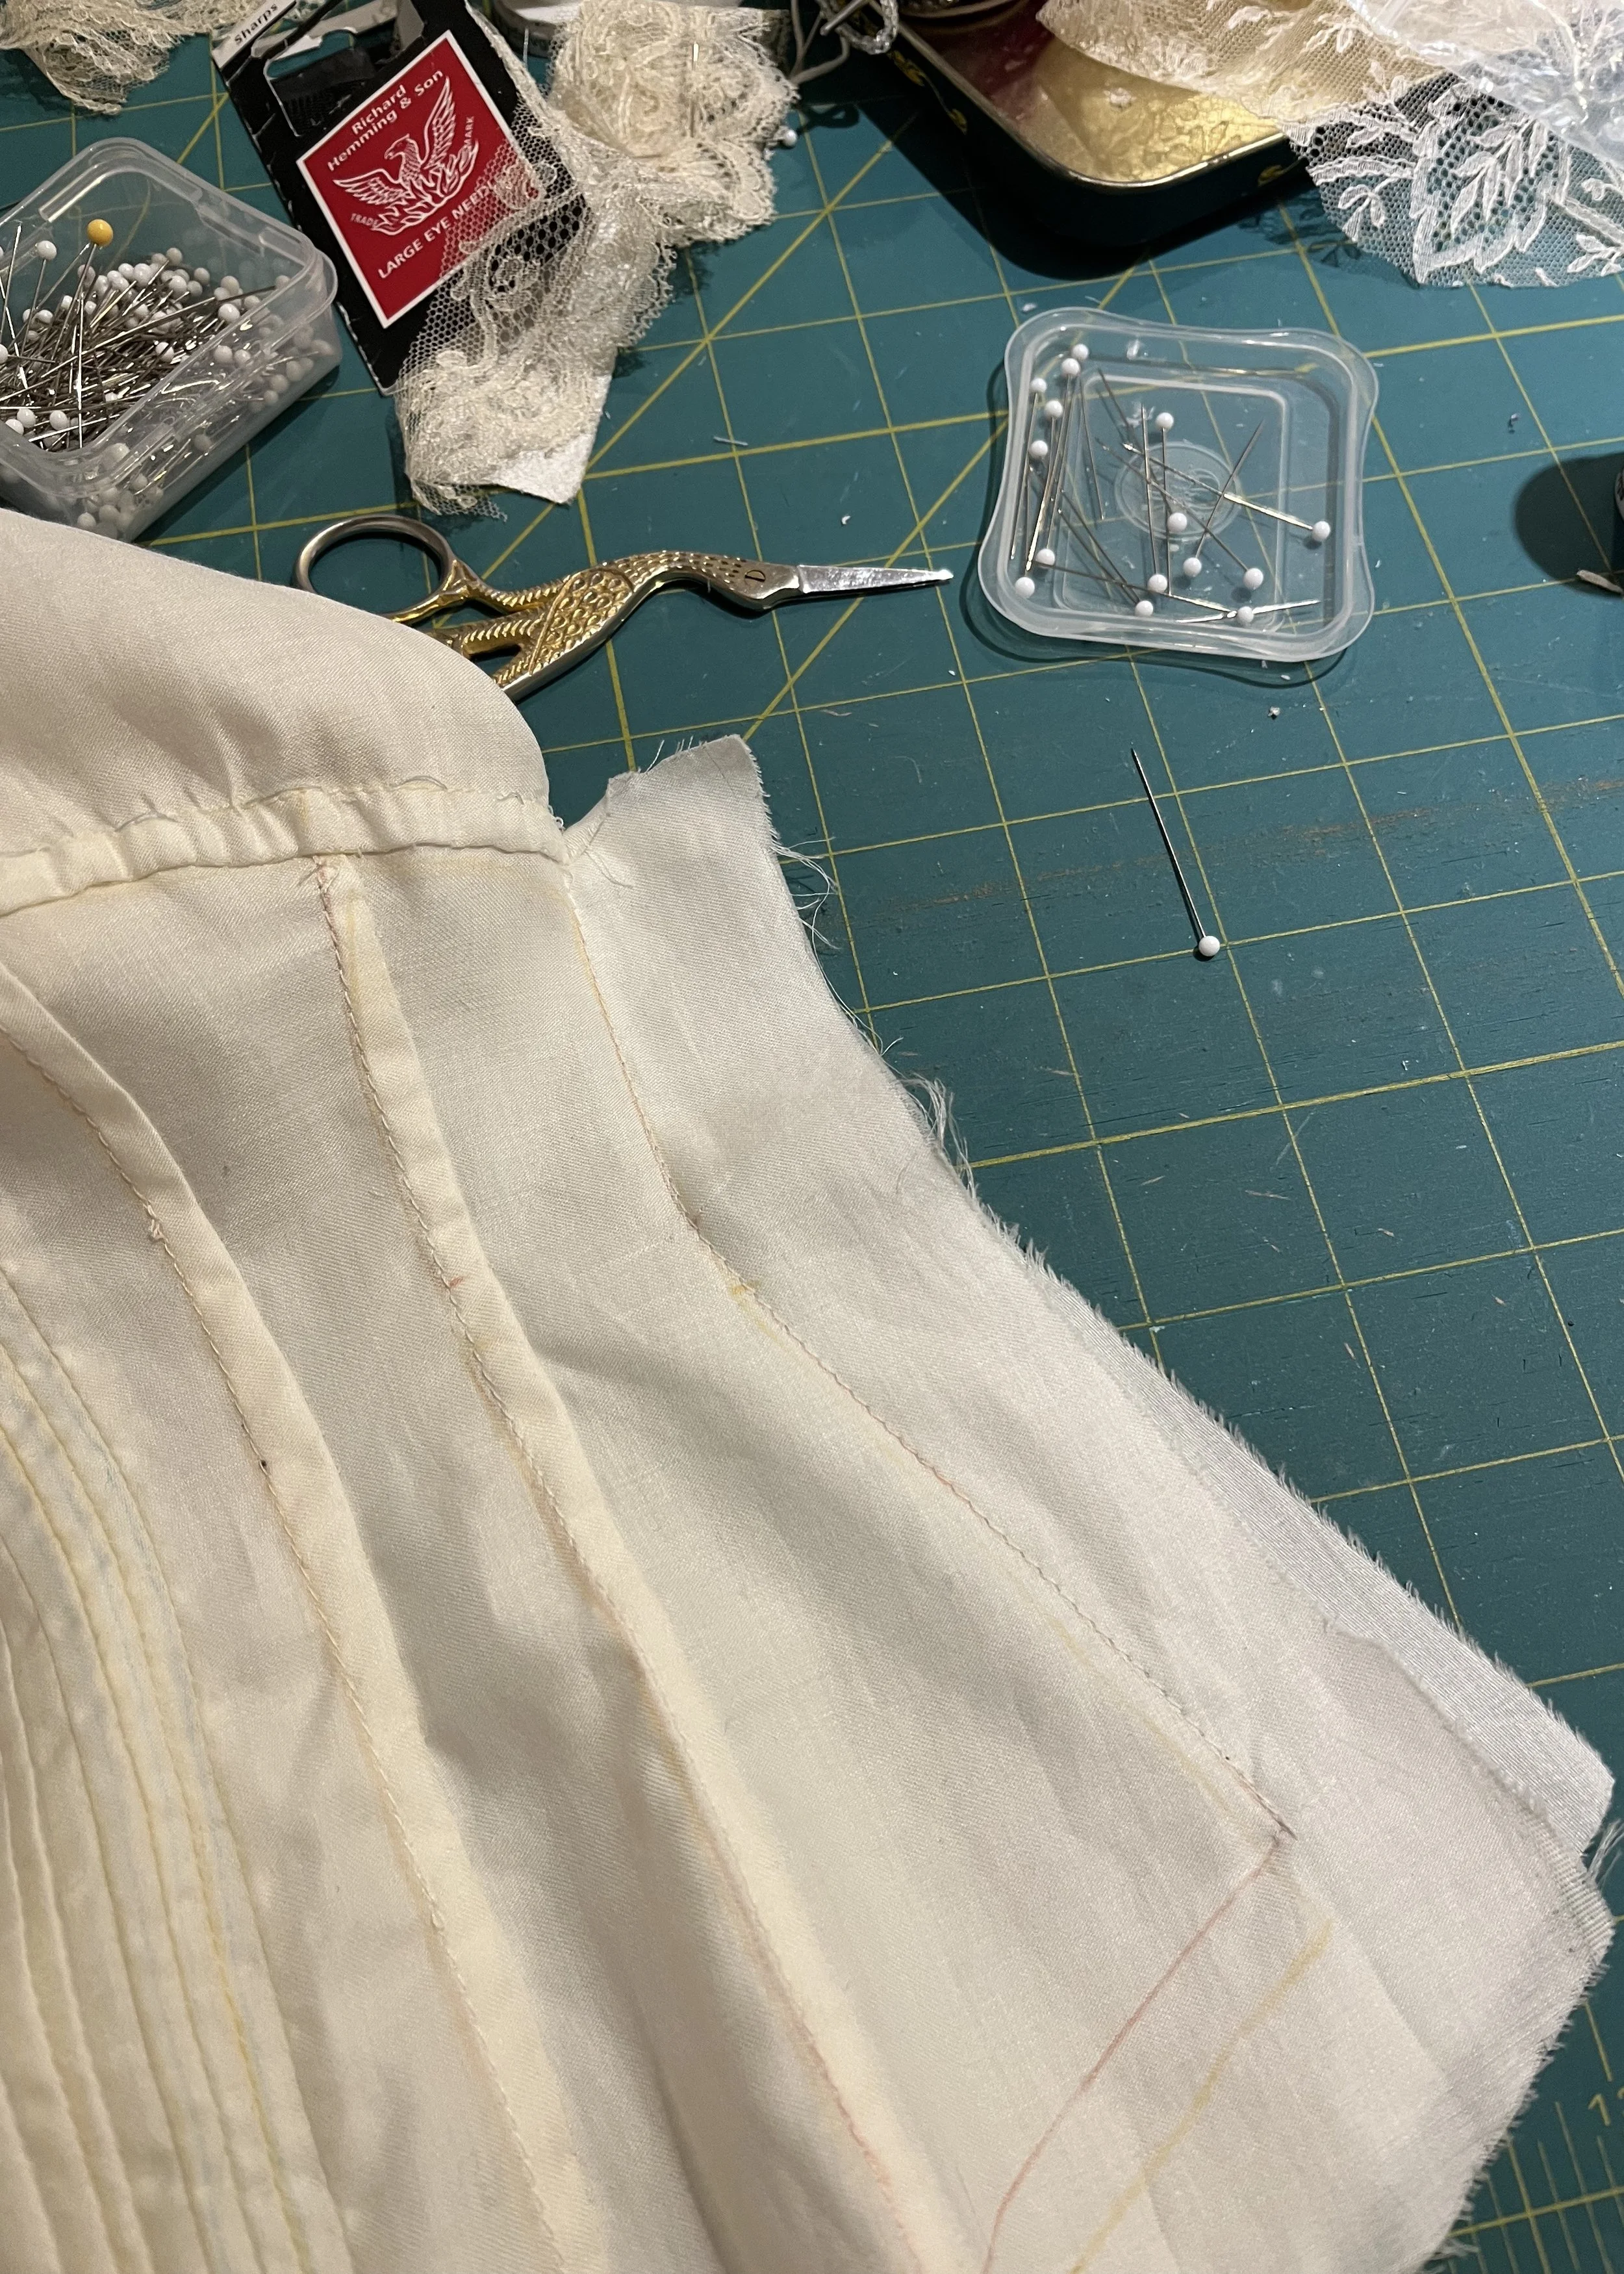
(*Side Note* Generally I would agree that it is a poor craftsman who blames his tools when something goes wrong, but getting the desired result is much easier with the correct tool. For example: when you trace off your pattern onto your lovely, special, still expensive in your mind even though you bought it ten years ago fabric you should use a pencil crayon which is still long enough for you to hold properly so that your lines may be accurate. If you don't have such a thing, maybe wait to trace your pattern until you have have a chance to acquire one. All this is to say, the initial trace was a bit wonky and I ended up being quite glad I had added lots of seam allowance as I ended up retracing the pieces a bit, as may be visible in some pictures later on.)
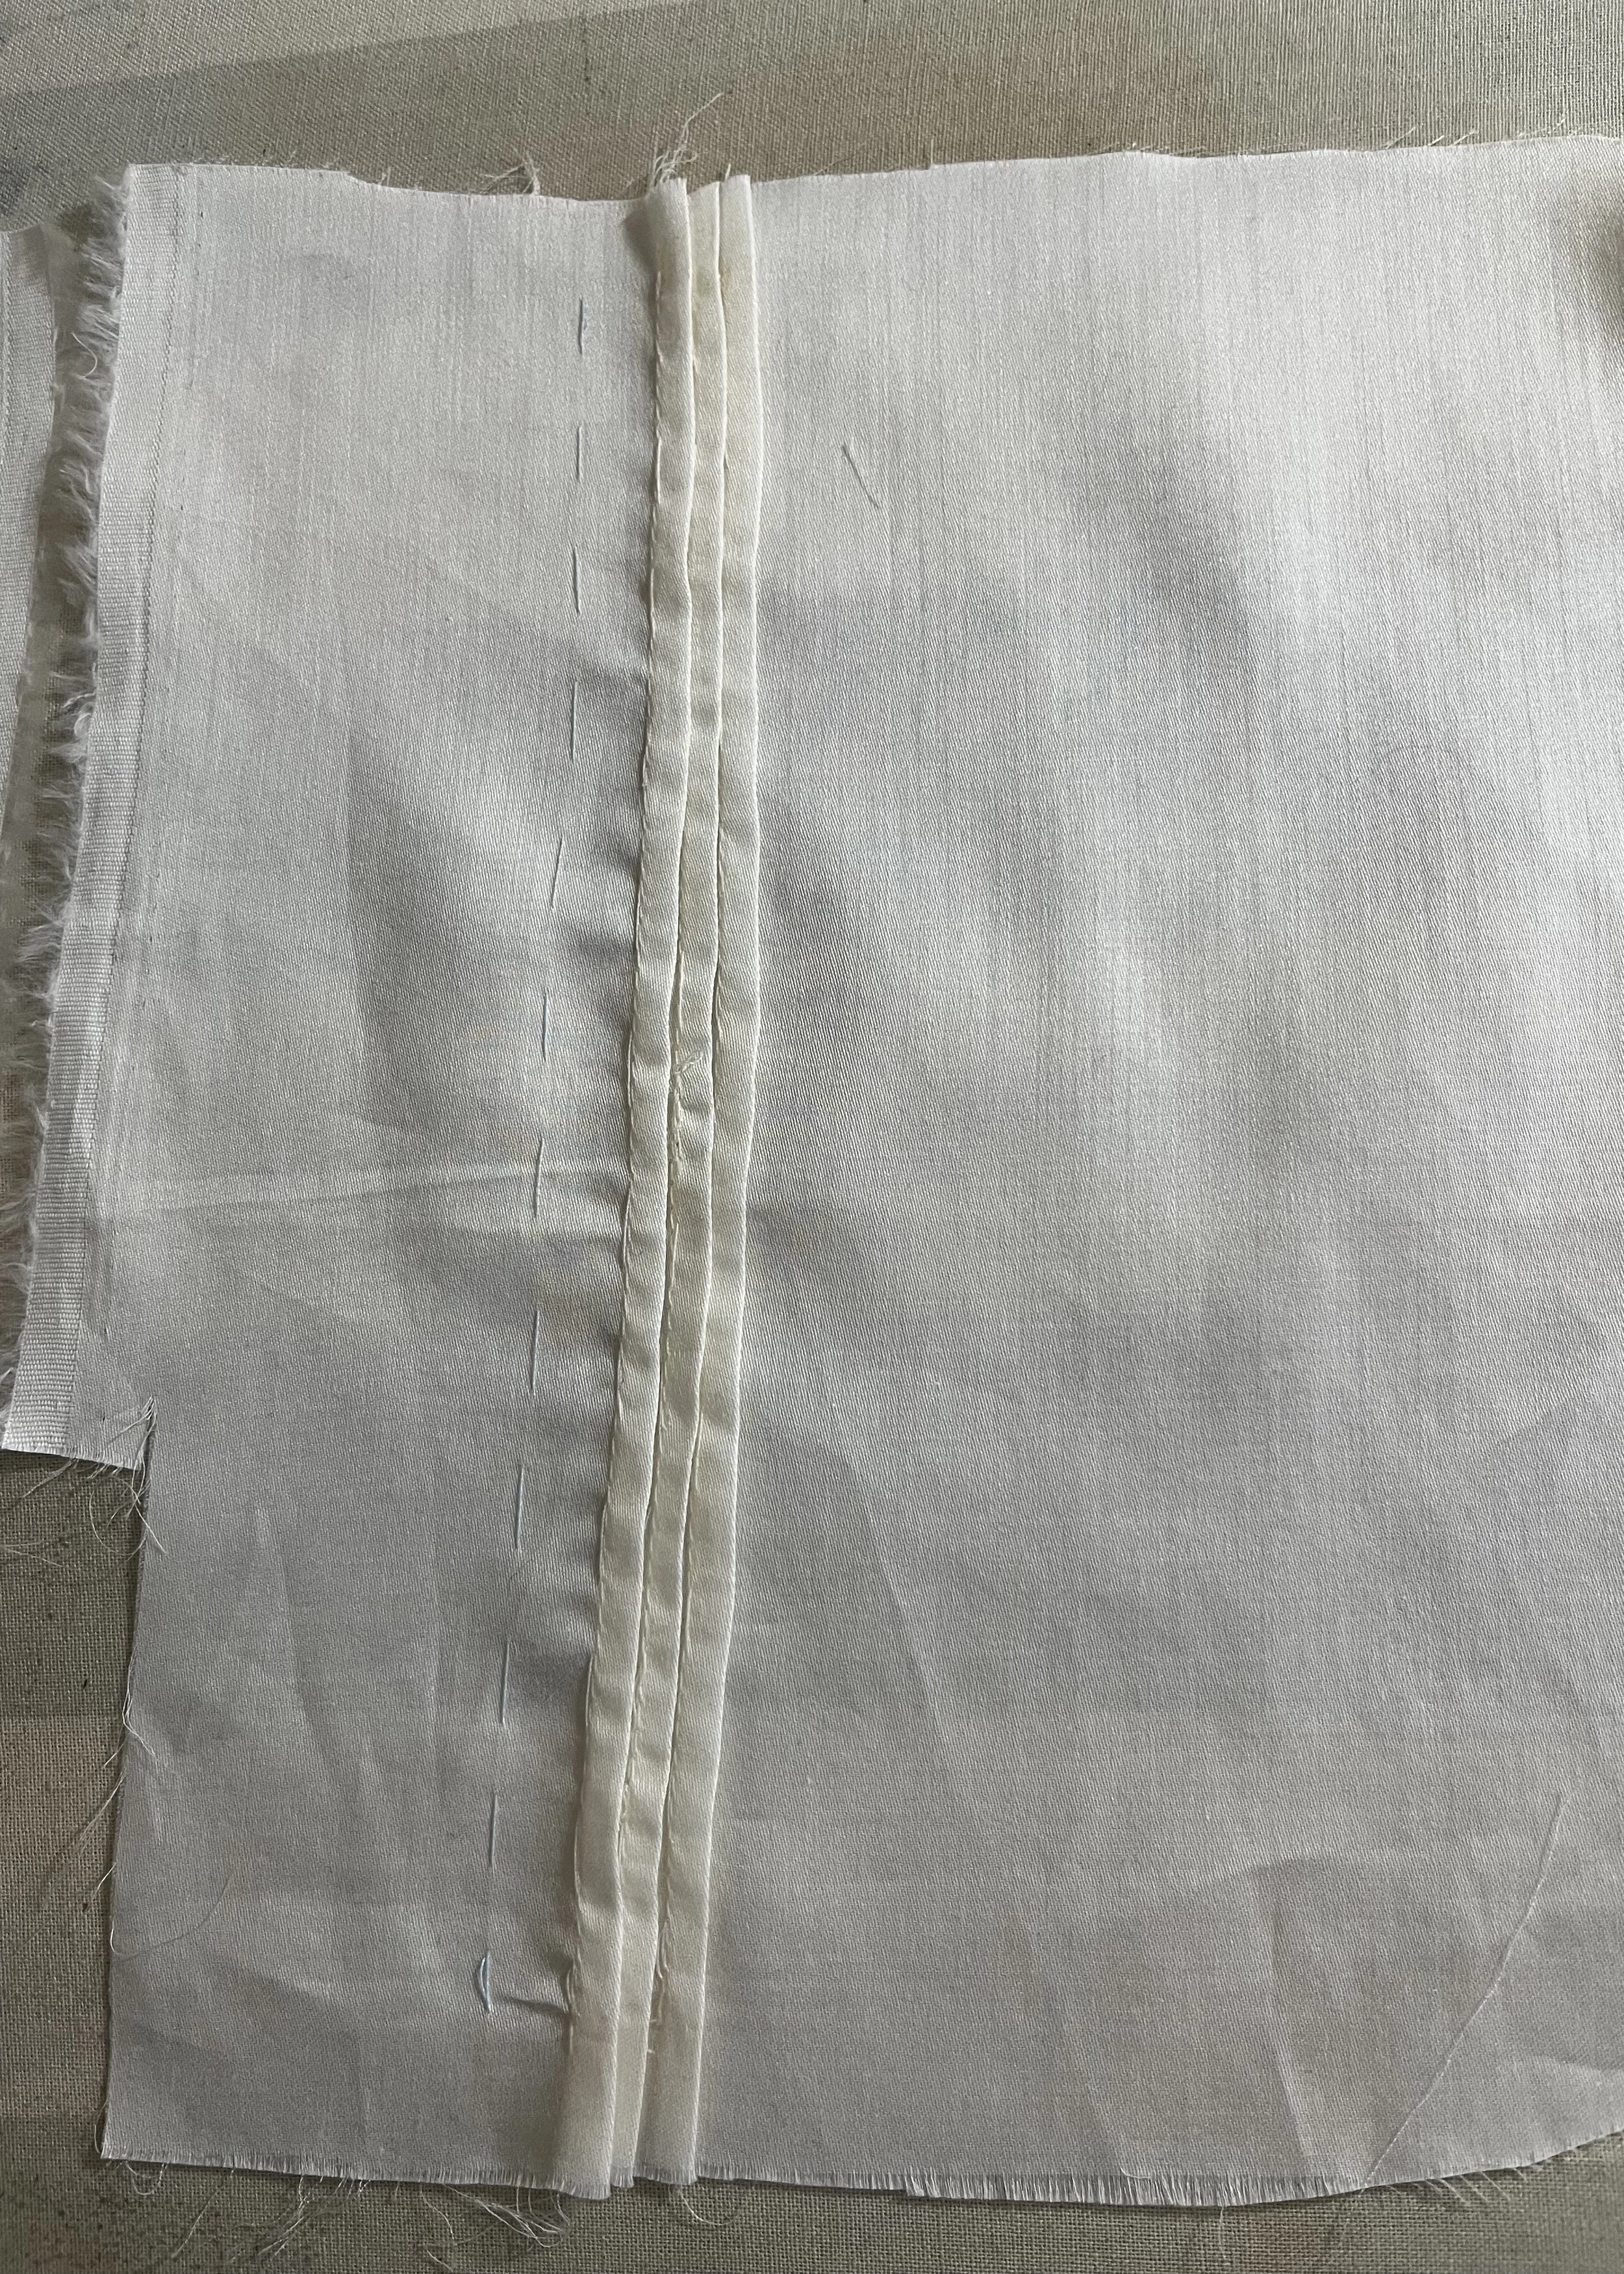
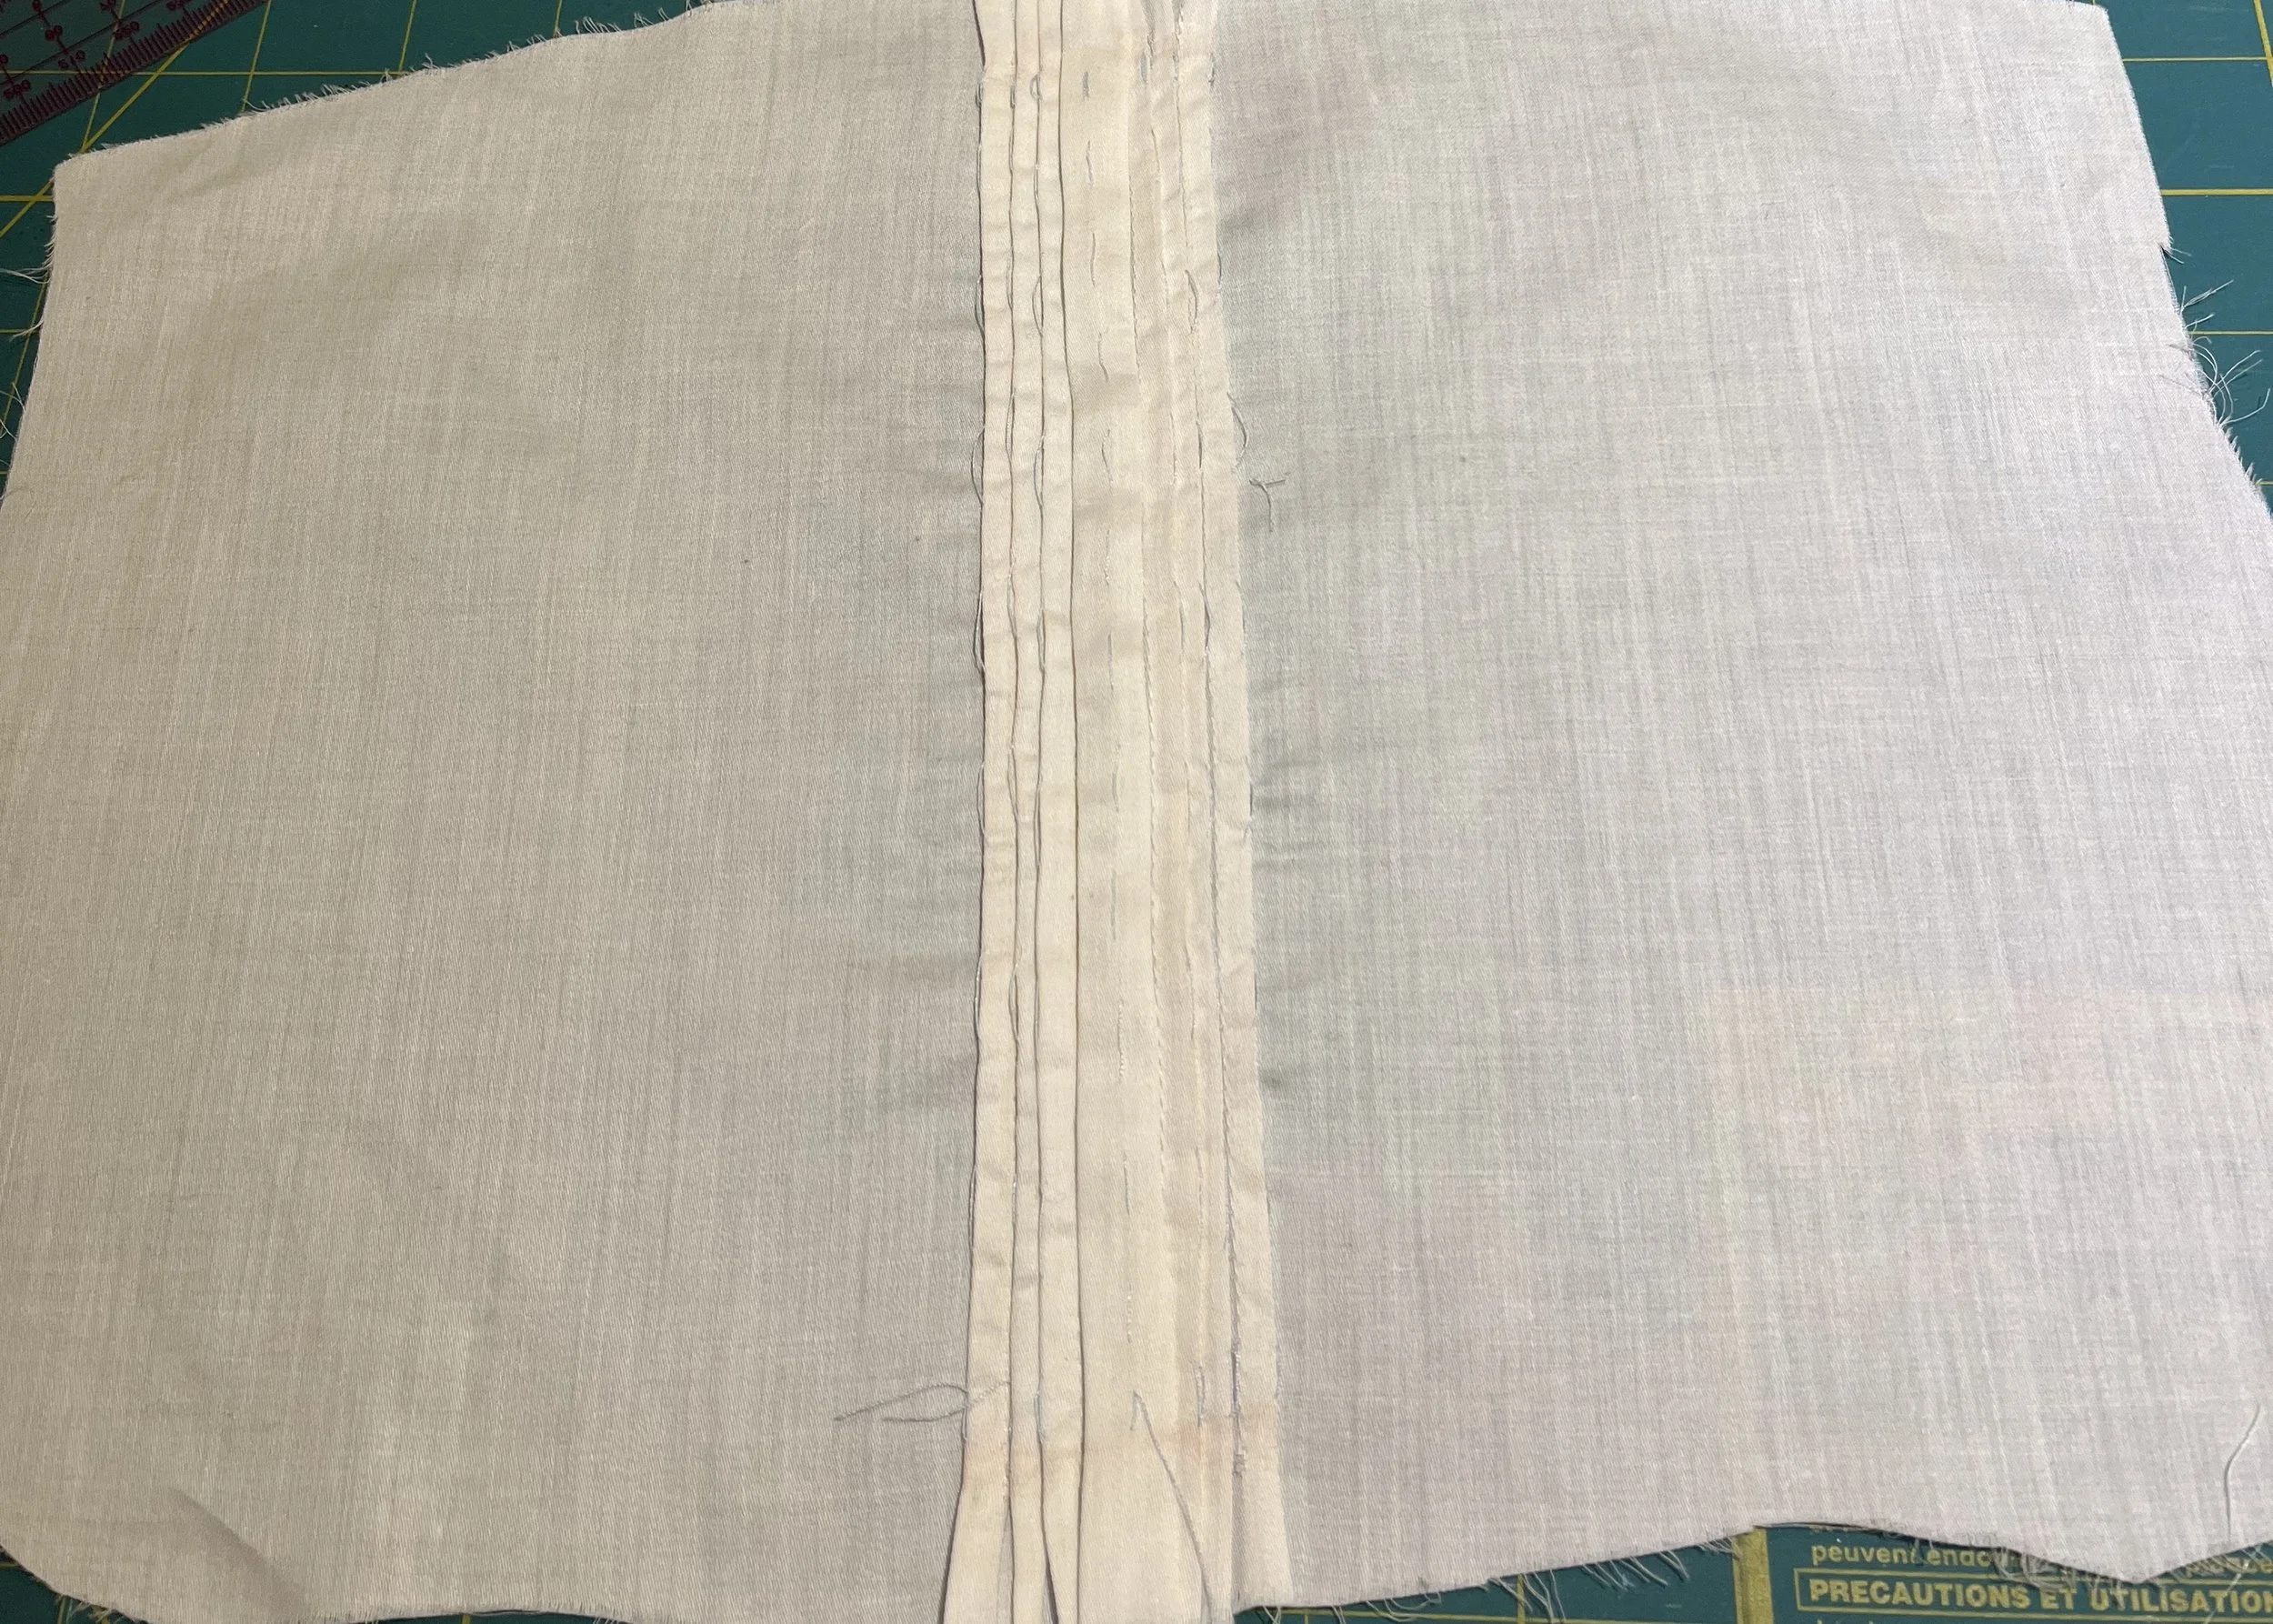
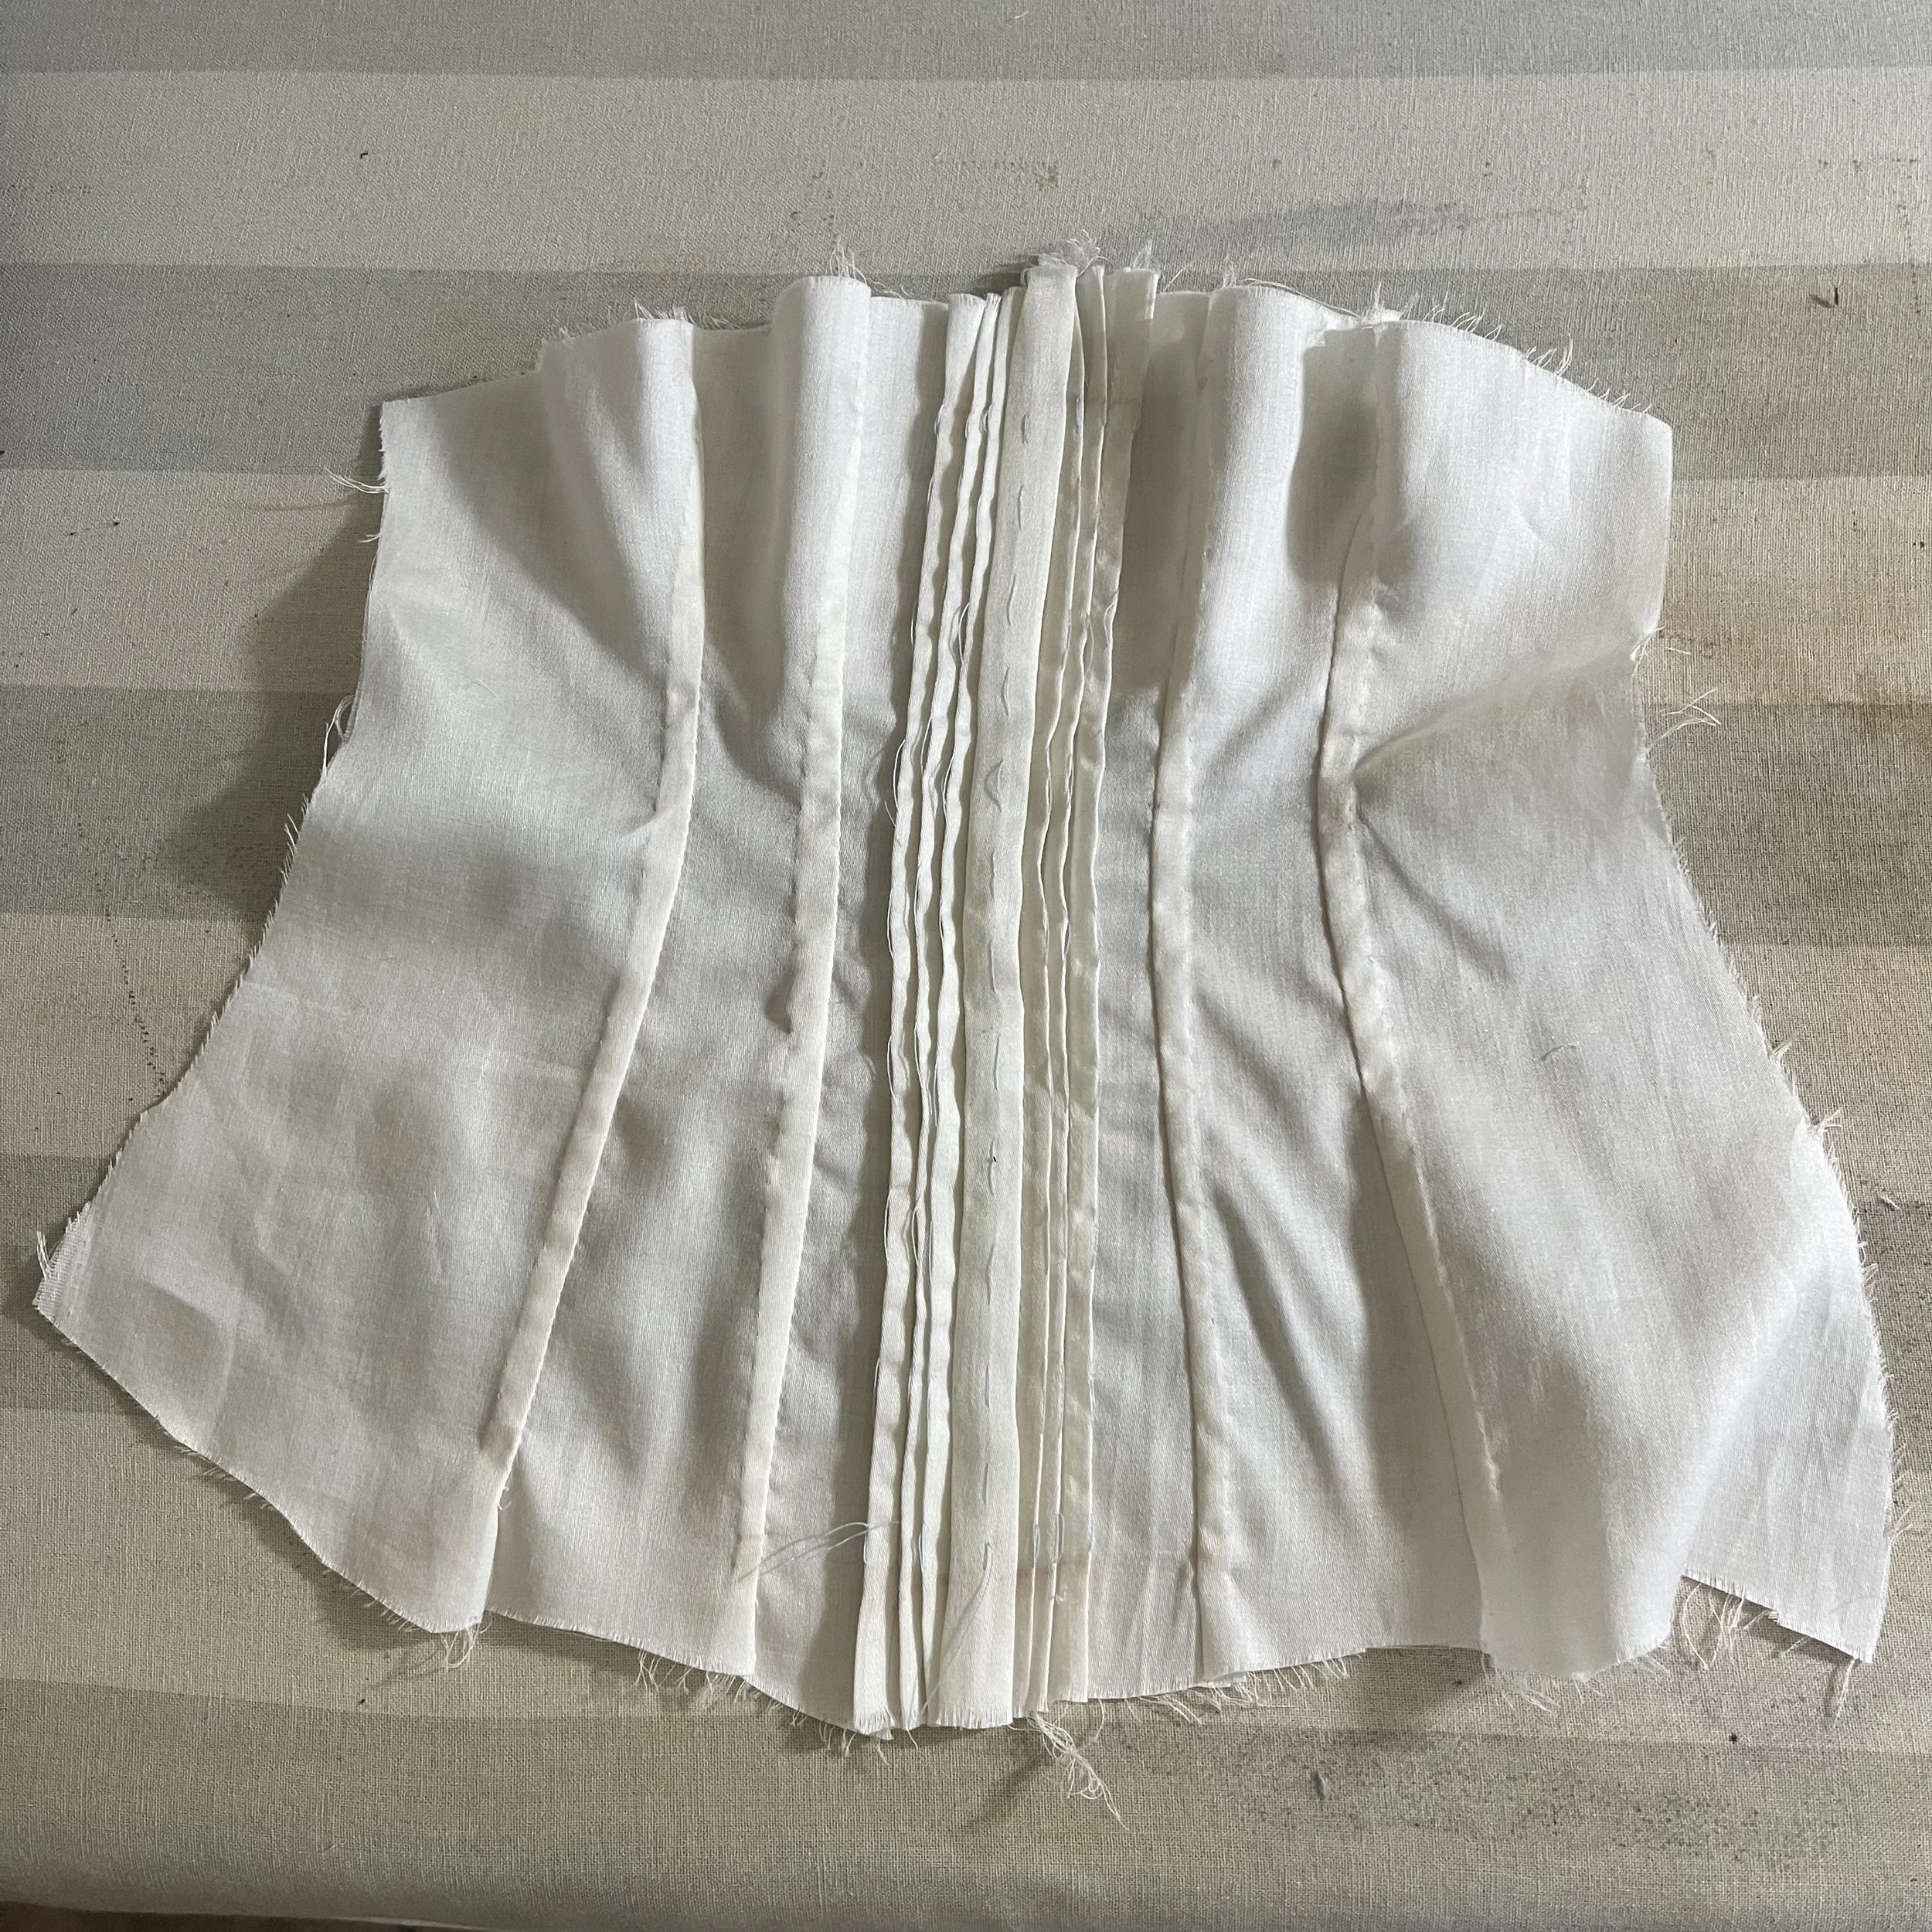
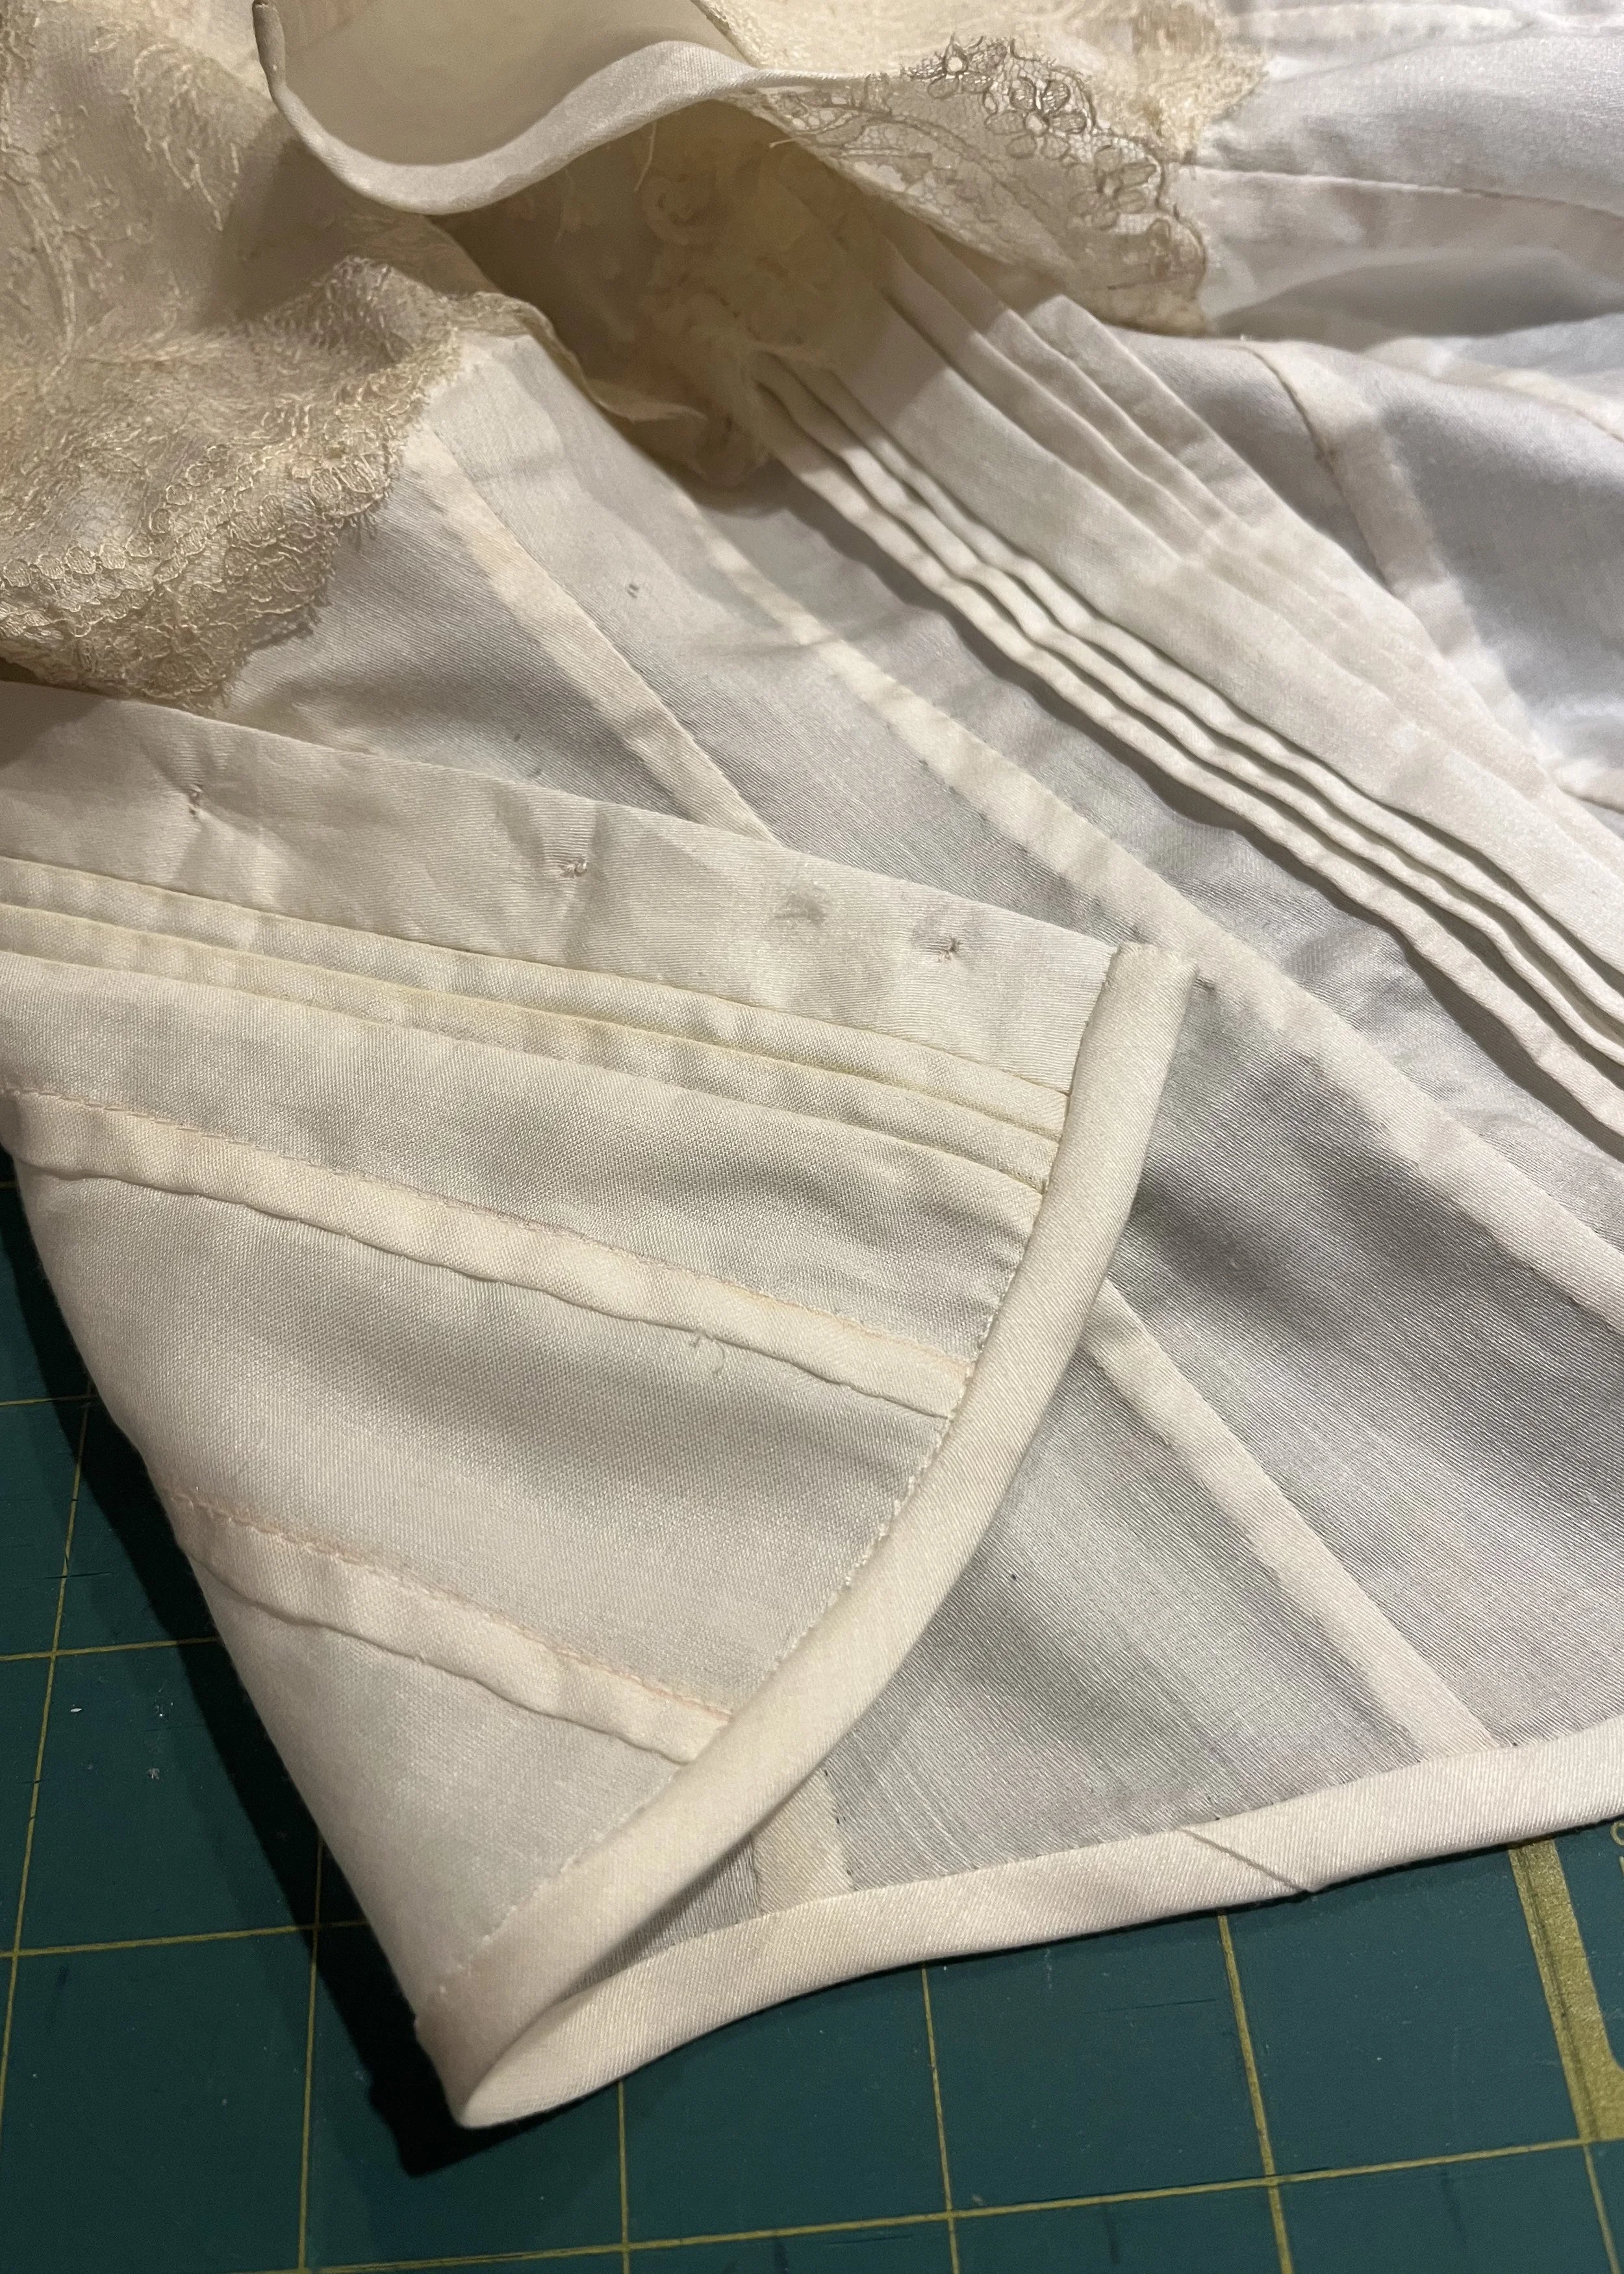
The first step in the assembly was to mark the pintucks and stitch them closed. After finishing all of them and applying a little piece of silk bias to the placket, I decided that the tucks had not turned out very well and I wasn't happy with them, so I took them all out and redid them.
The first time around, I had marked each of my stitching lines and pinned them together to stitch, rather than marking the fold line and stitching the desired distance over. I don't entirely know what my reasoning was behind that decision, but it was wrong.
The final tucks are still a little bit wobbly in some places, but overall they are much better than the first round. It was also, with the final tucks in place, that I retraced the pieces more accurately. With the tucks in place, I closed the darts and felled them down after trimming some fabric away.
Now the fun bit!
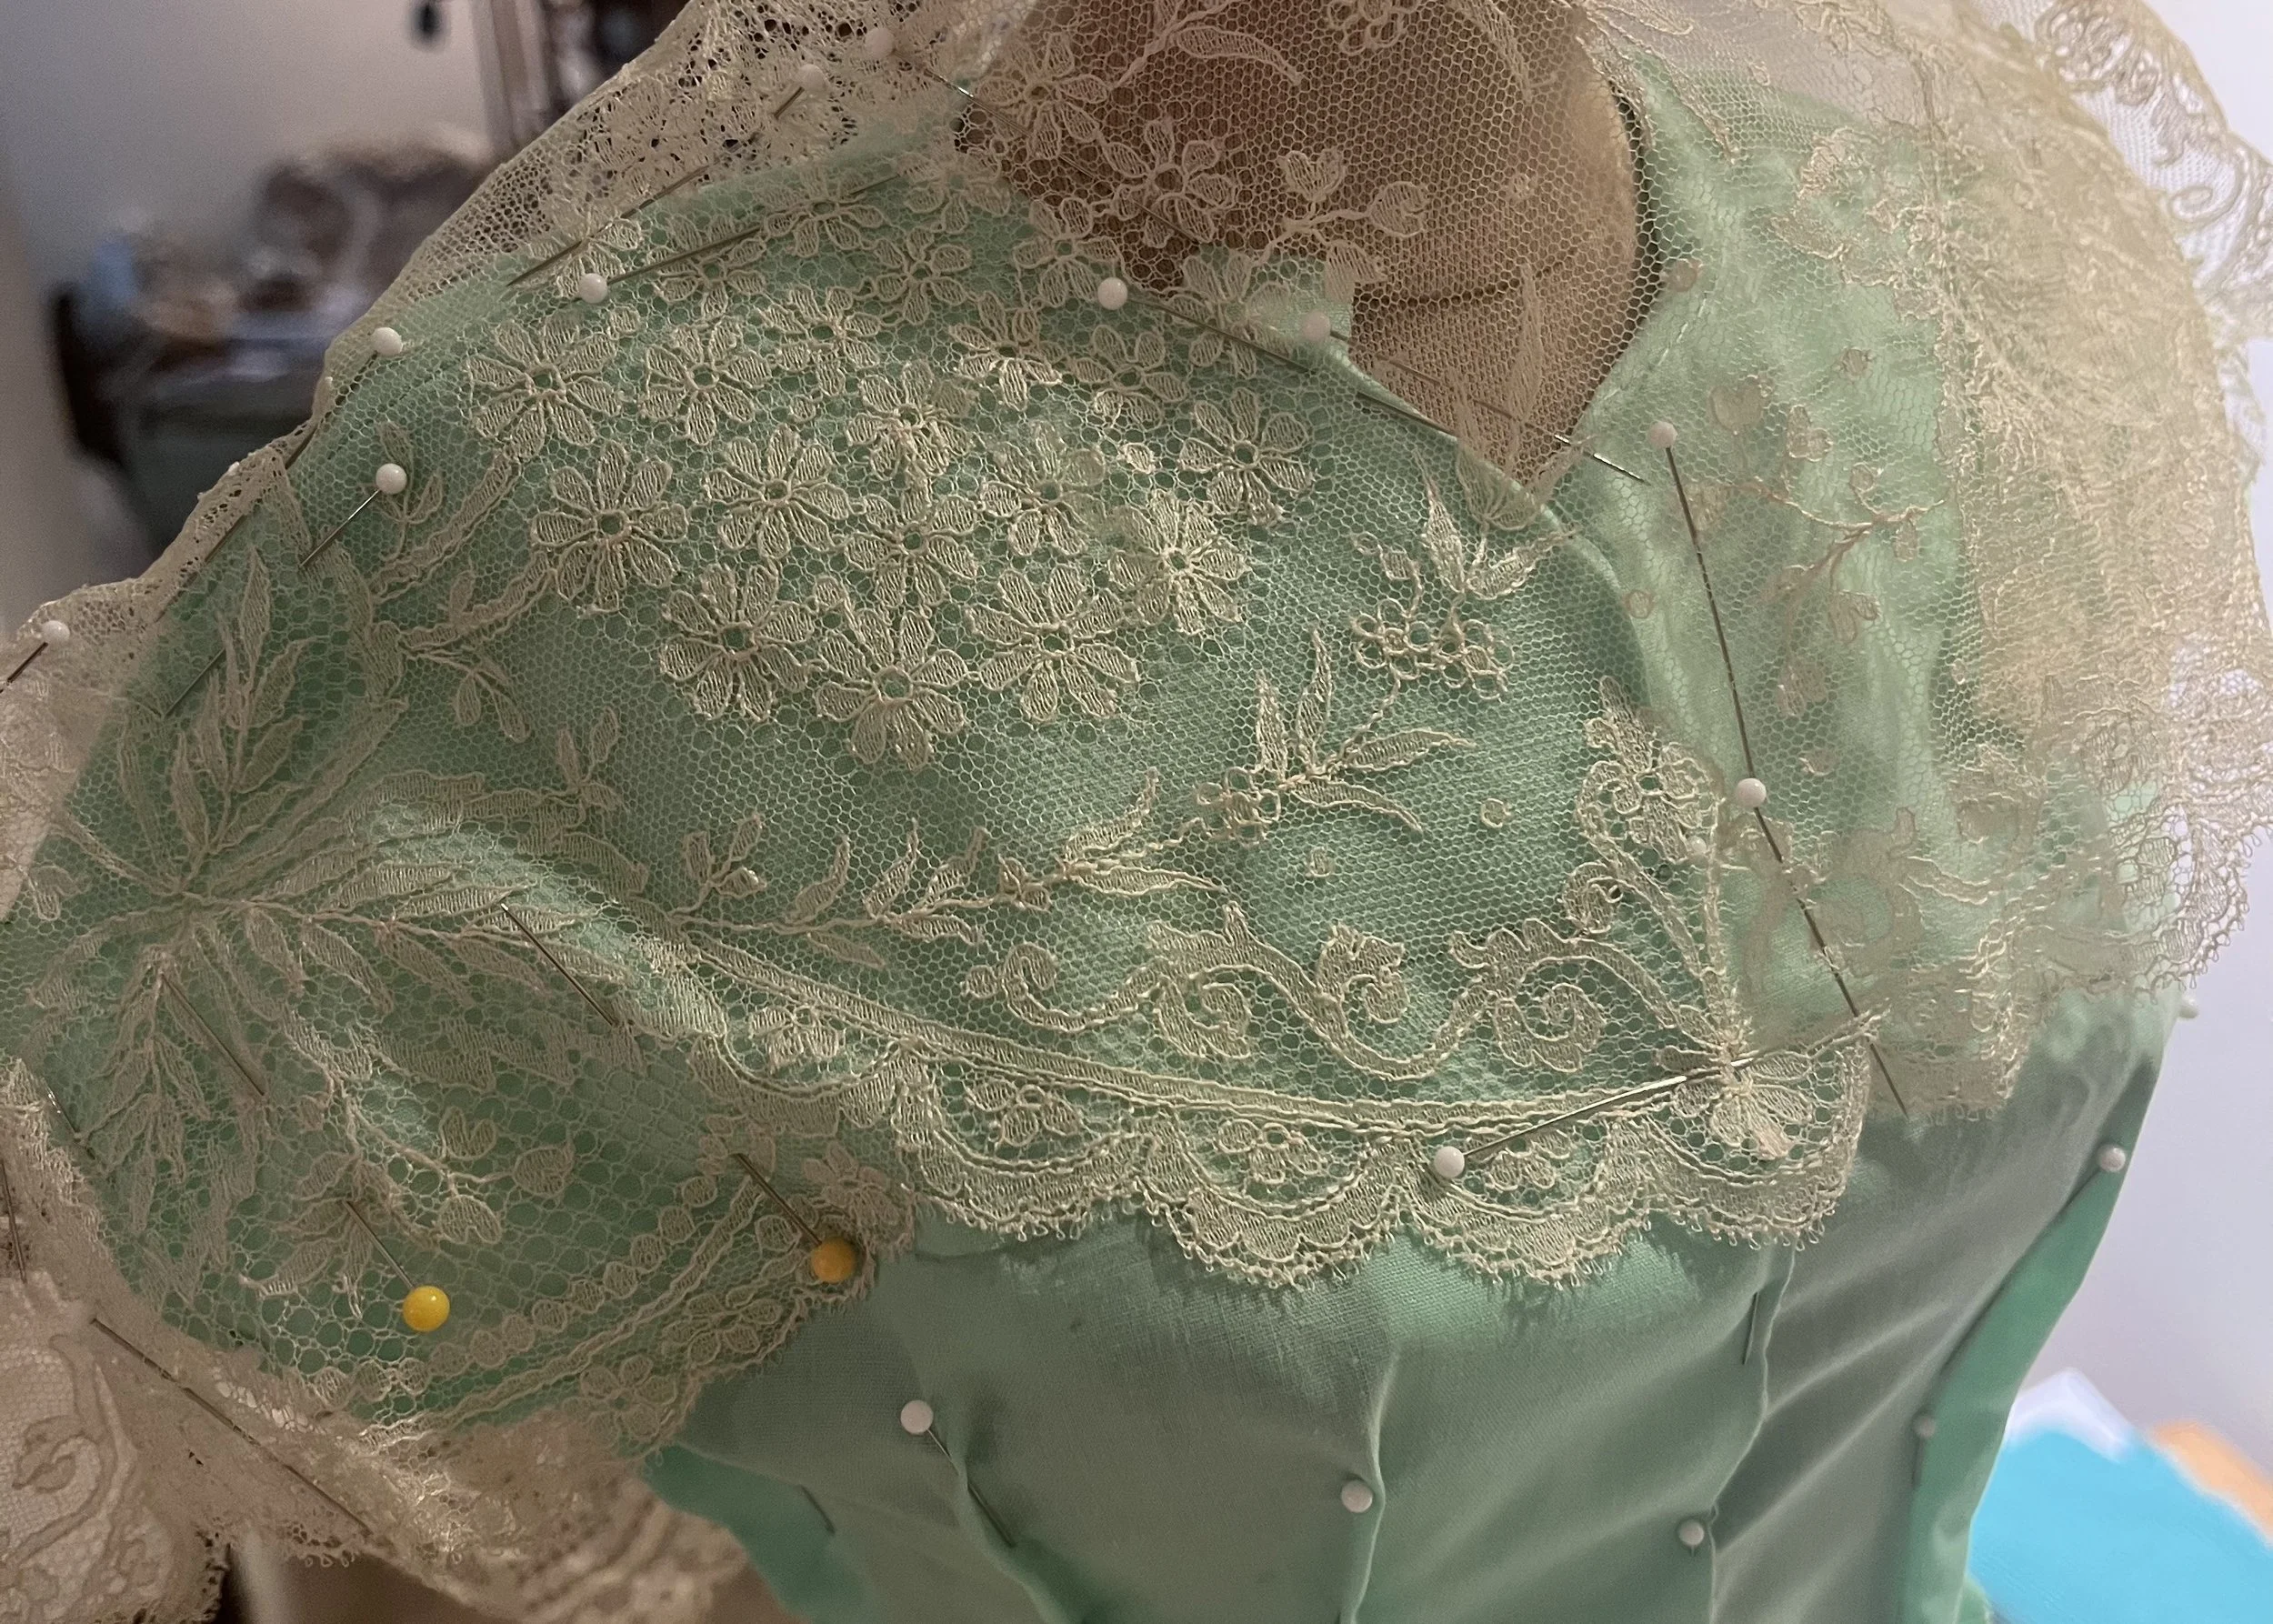
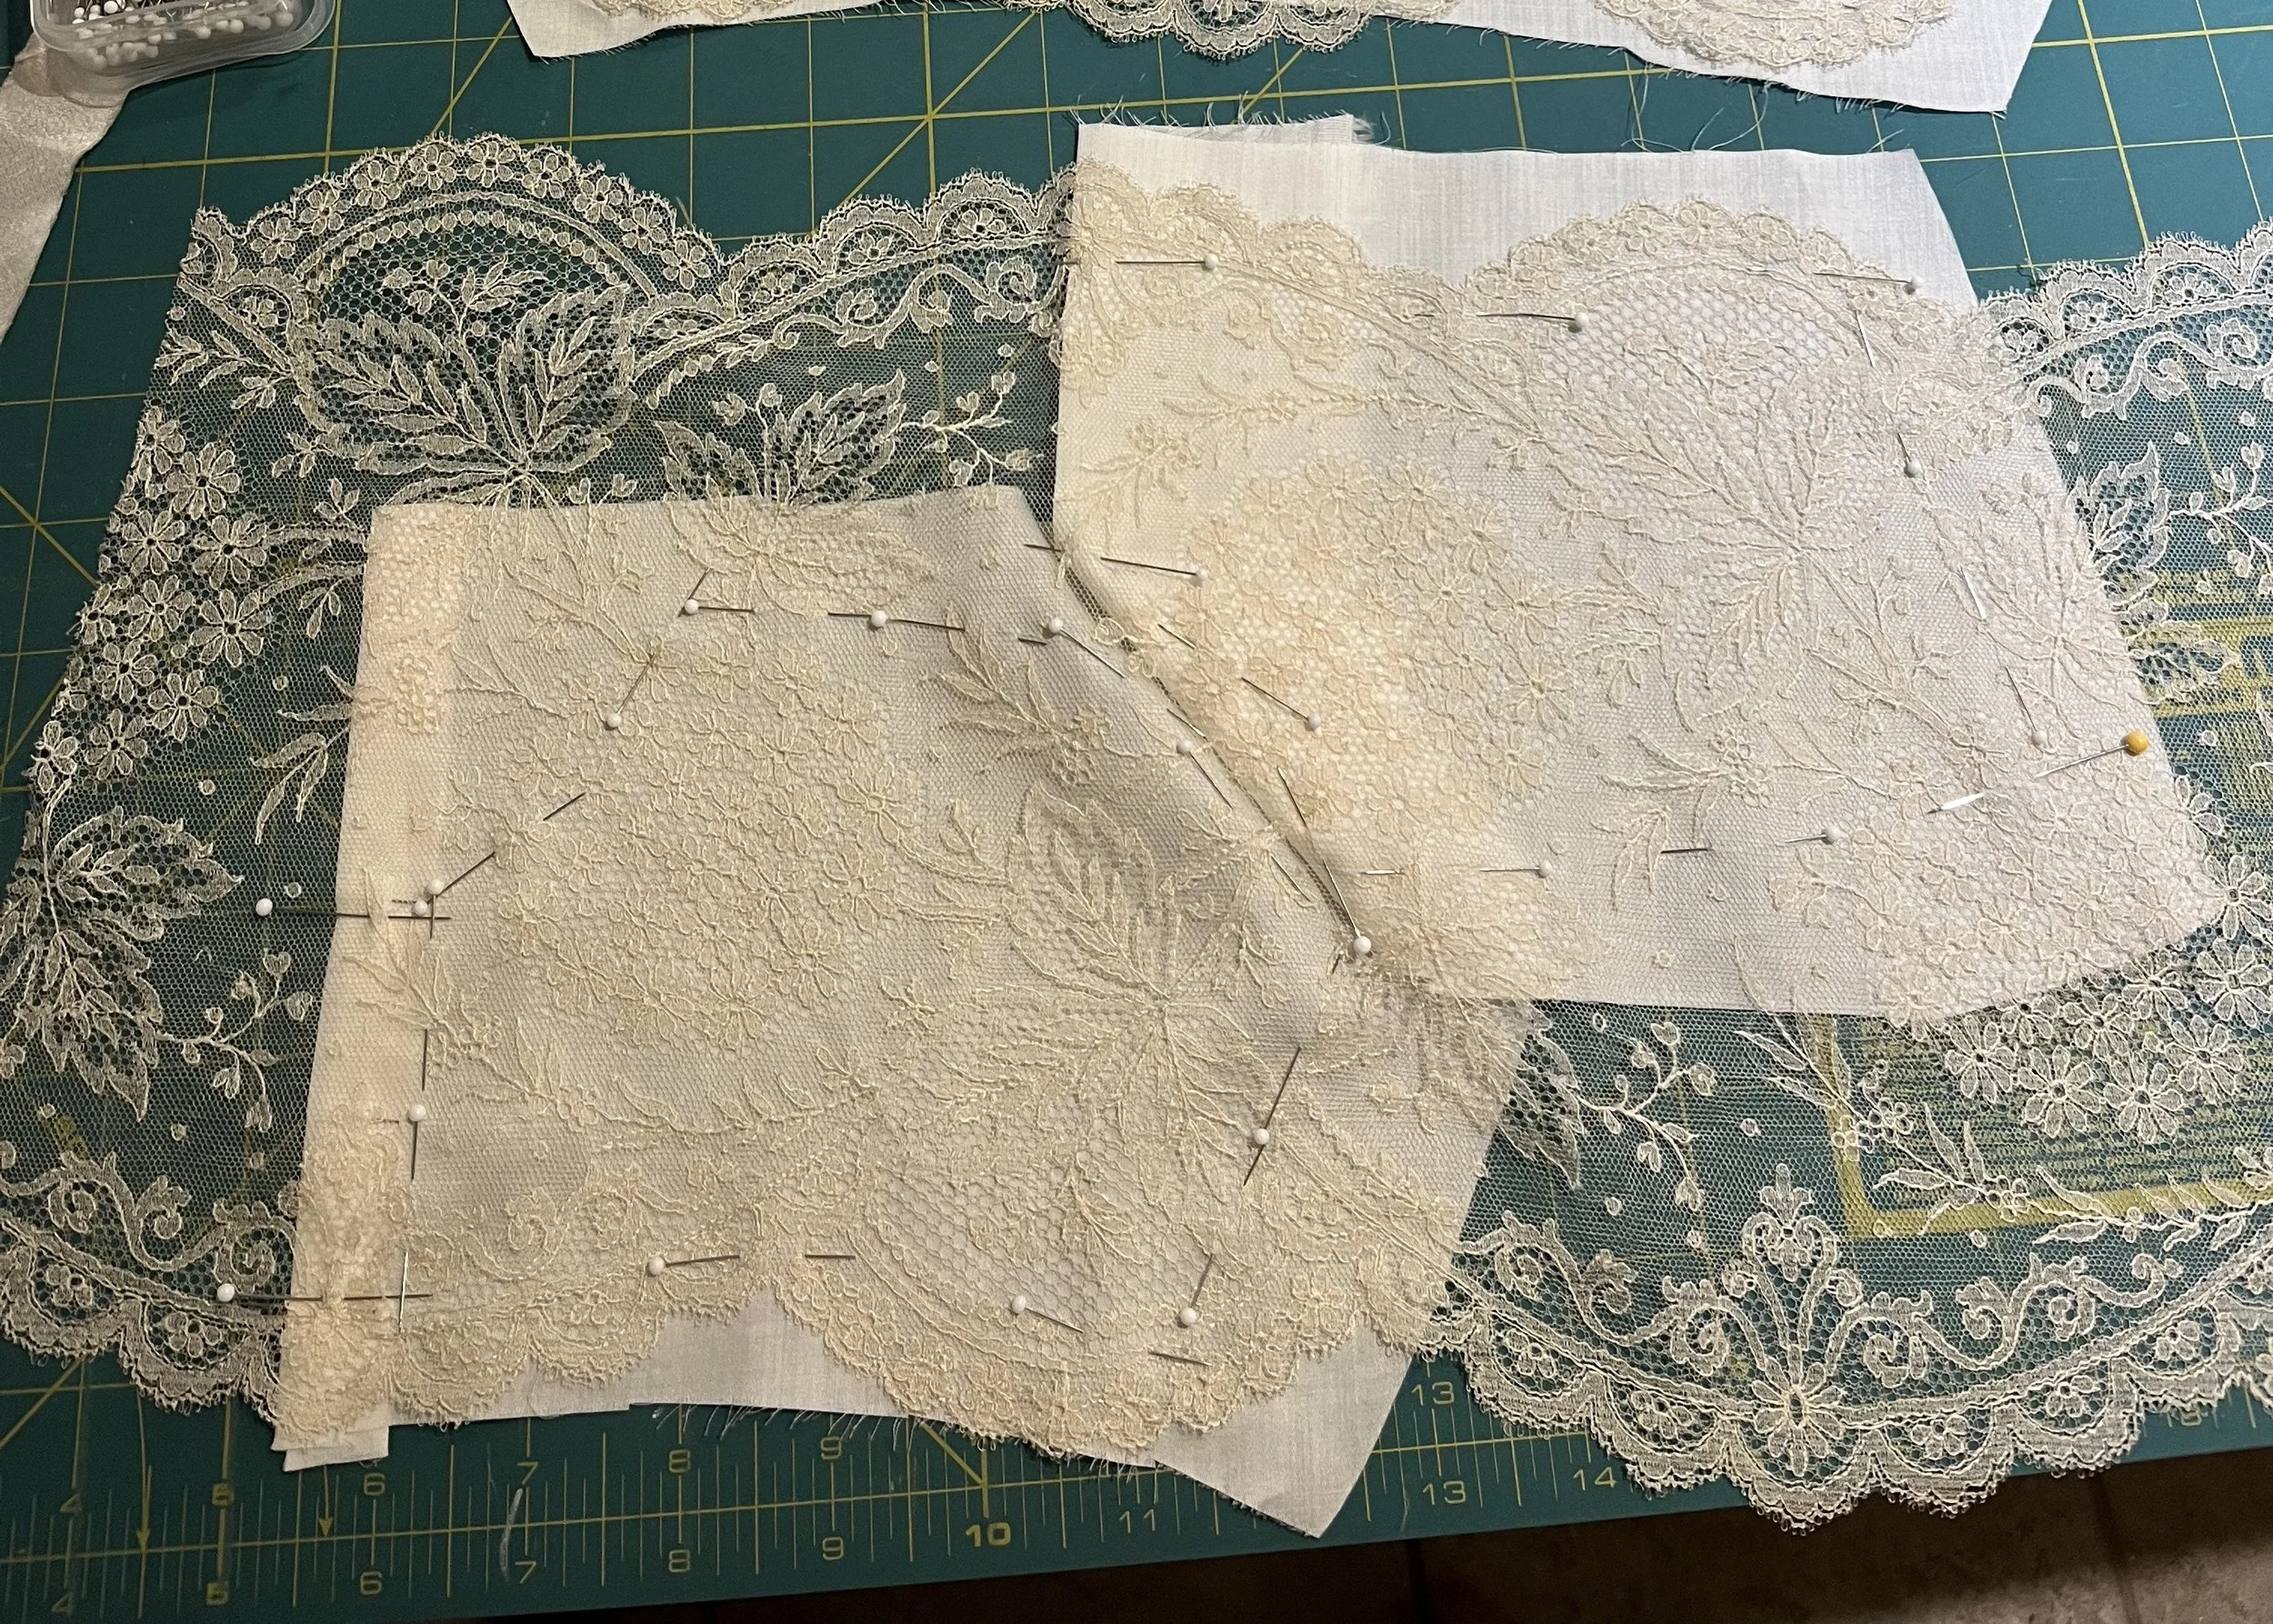
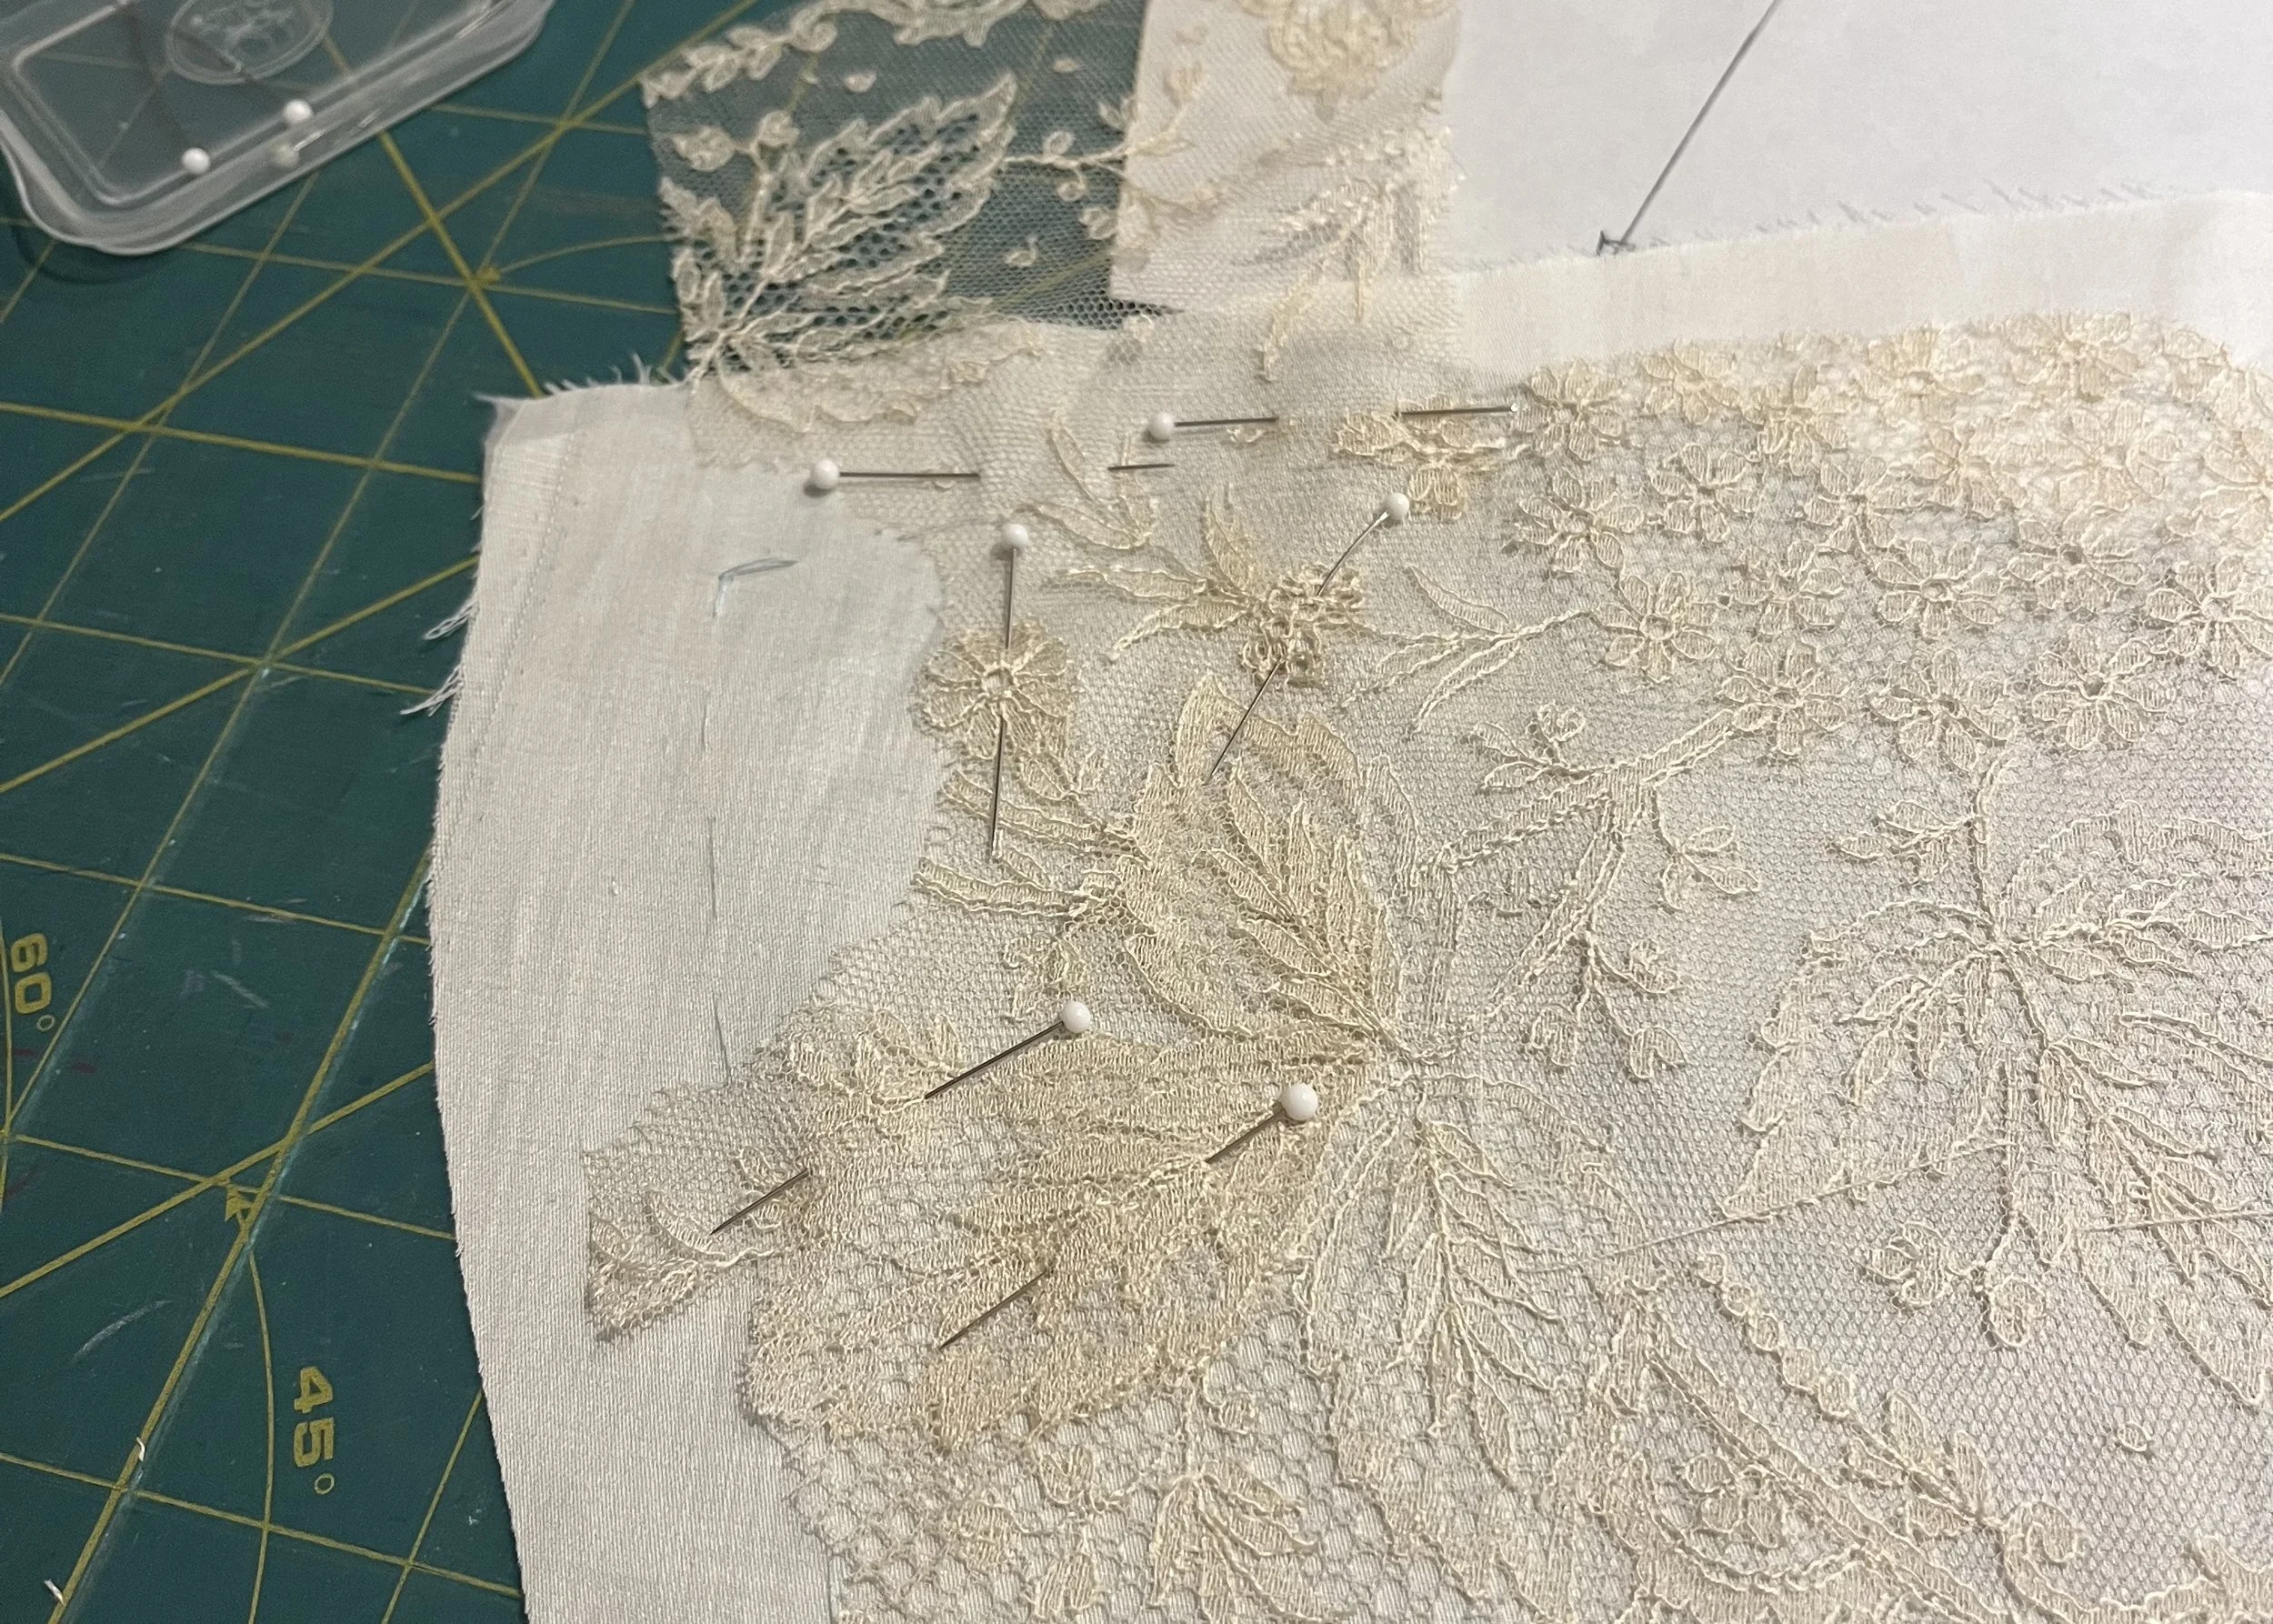
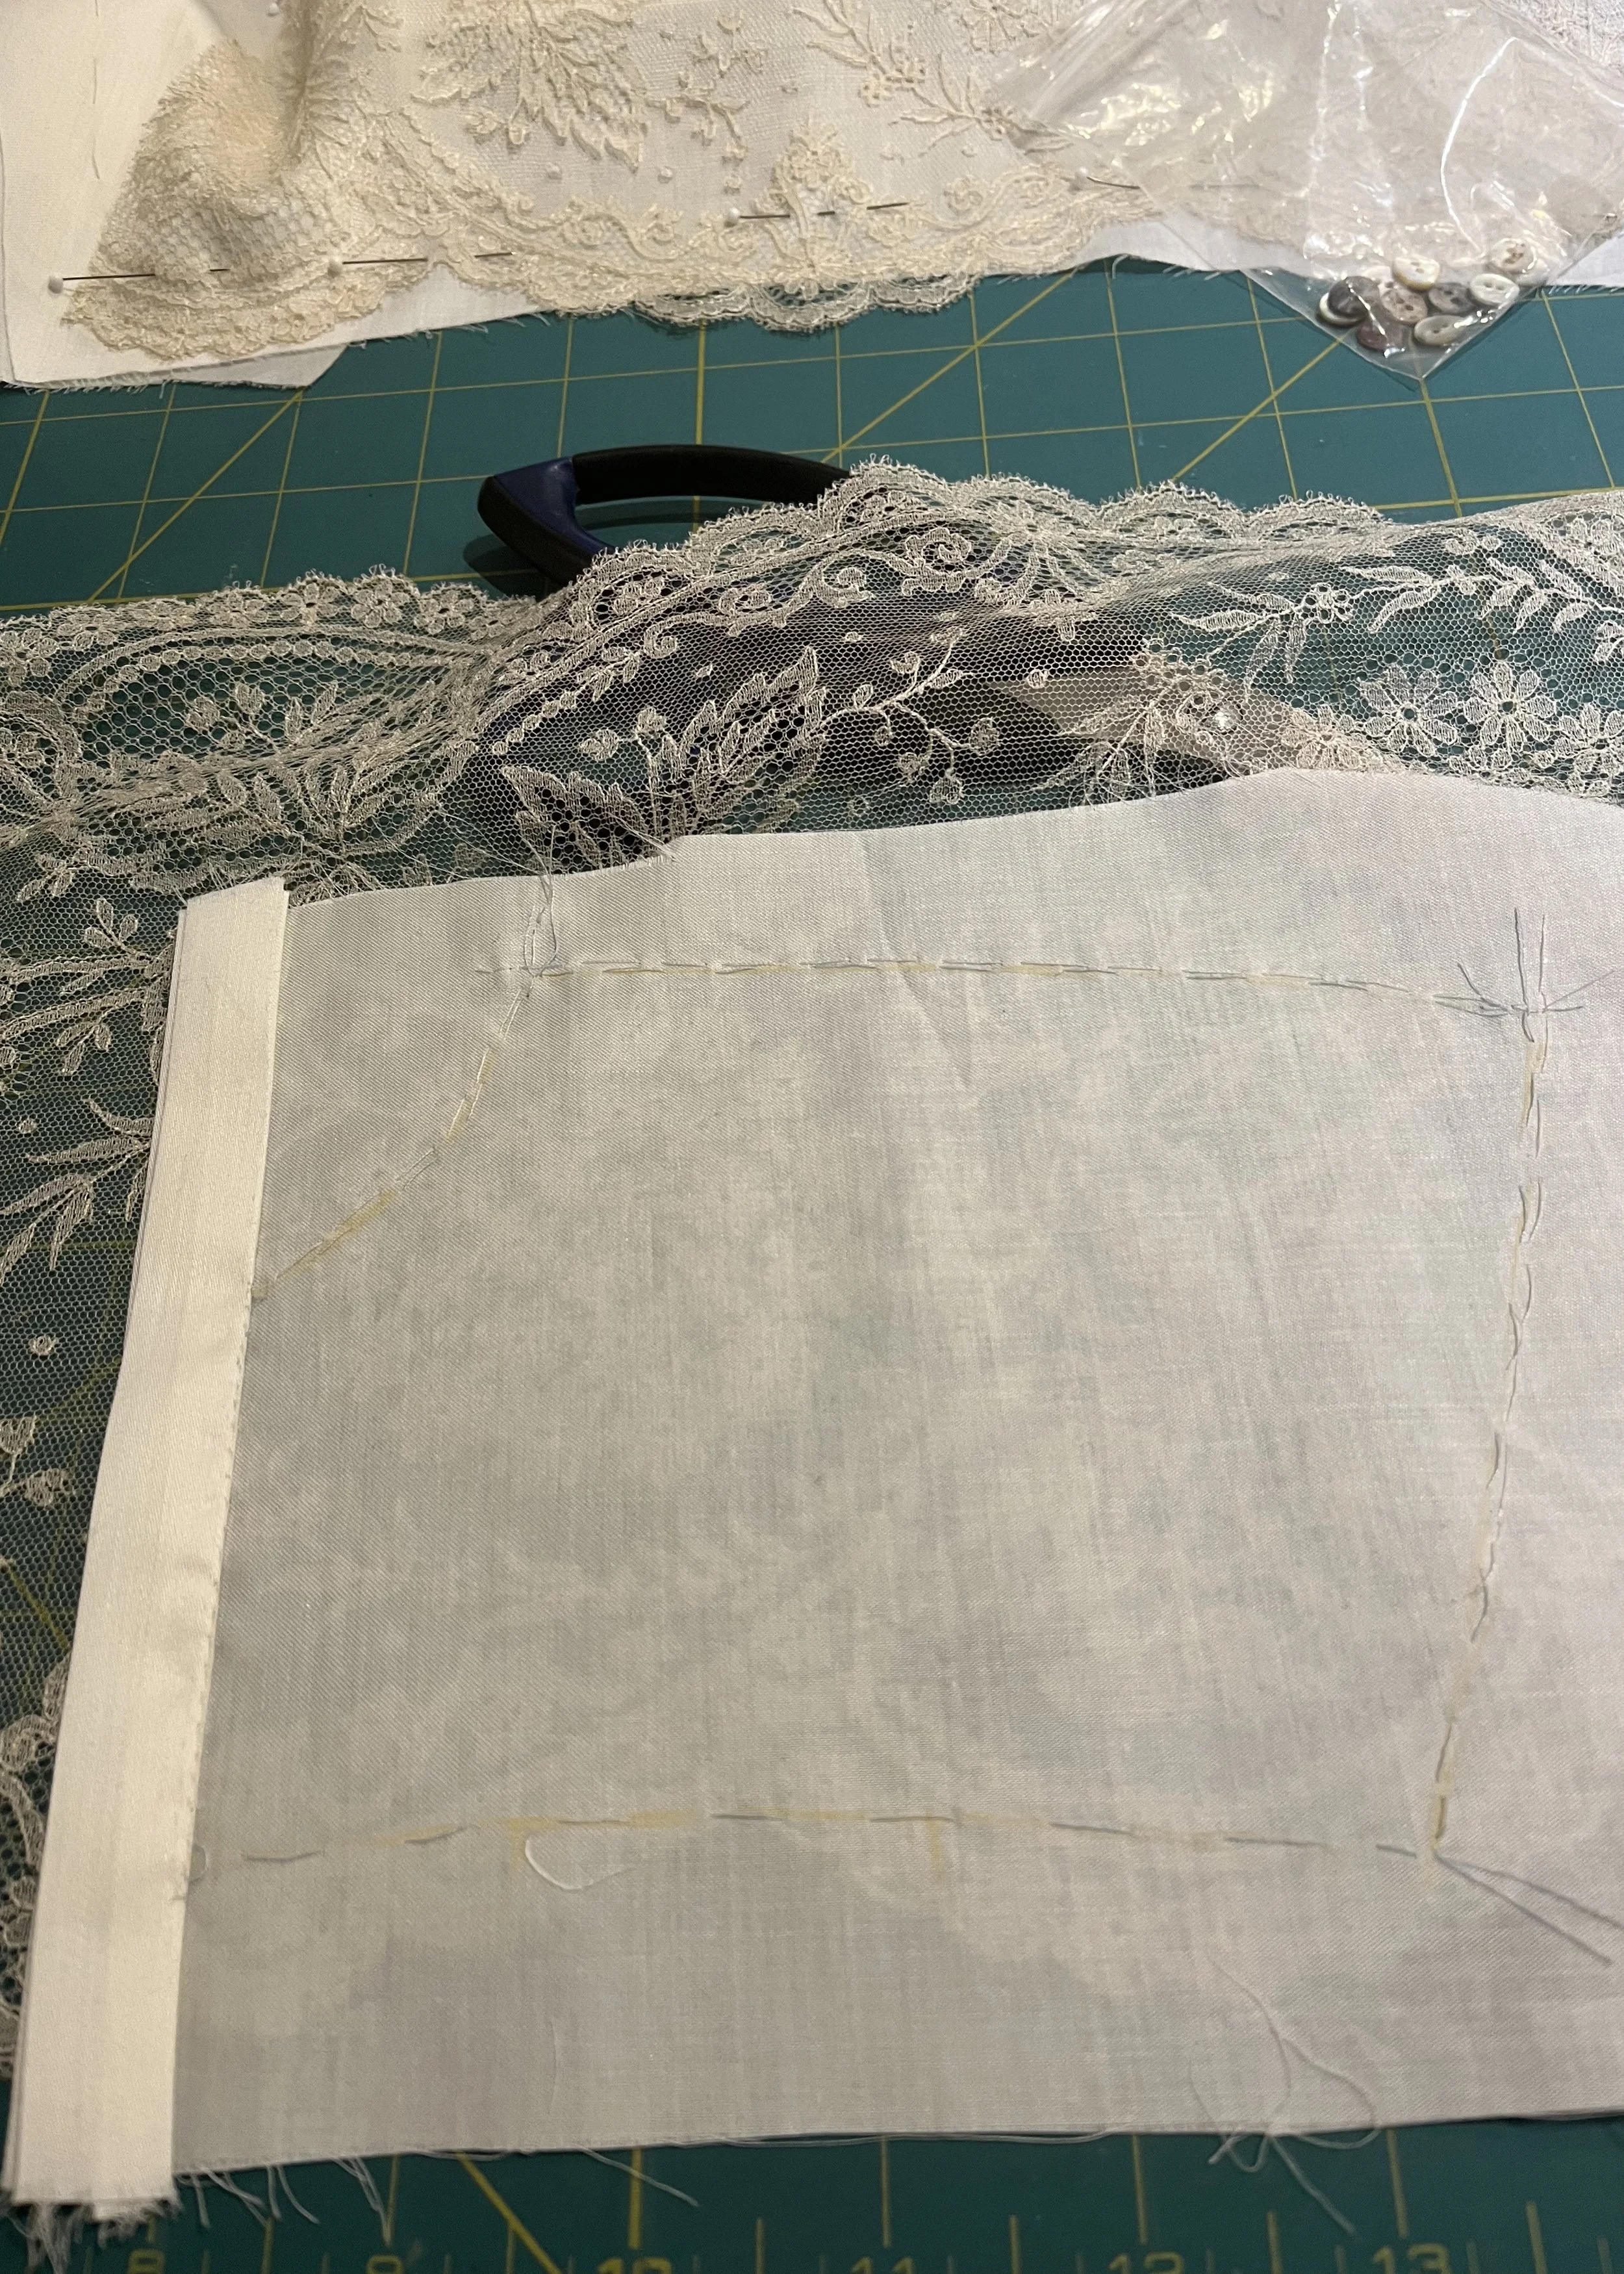
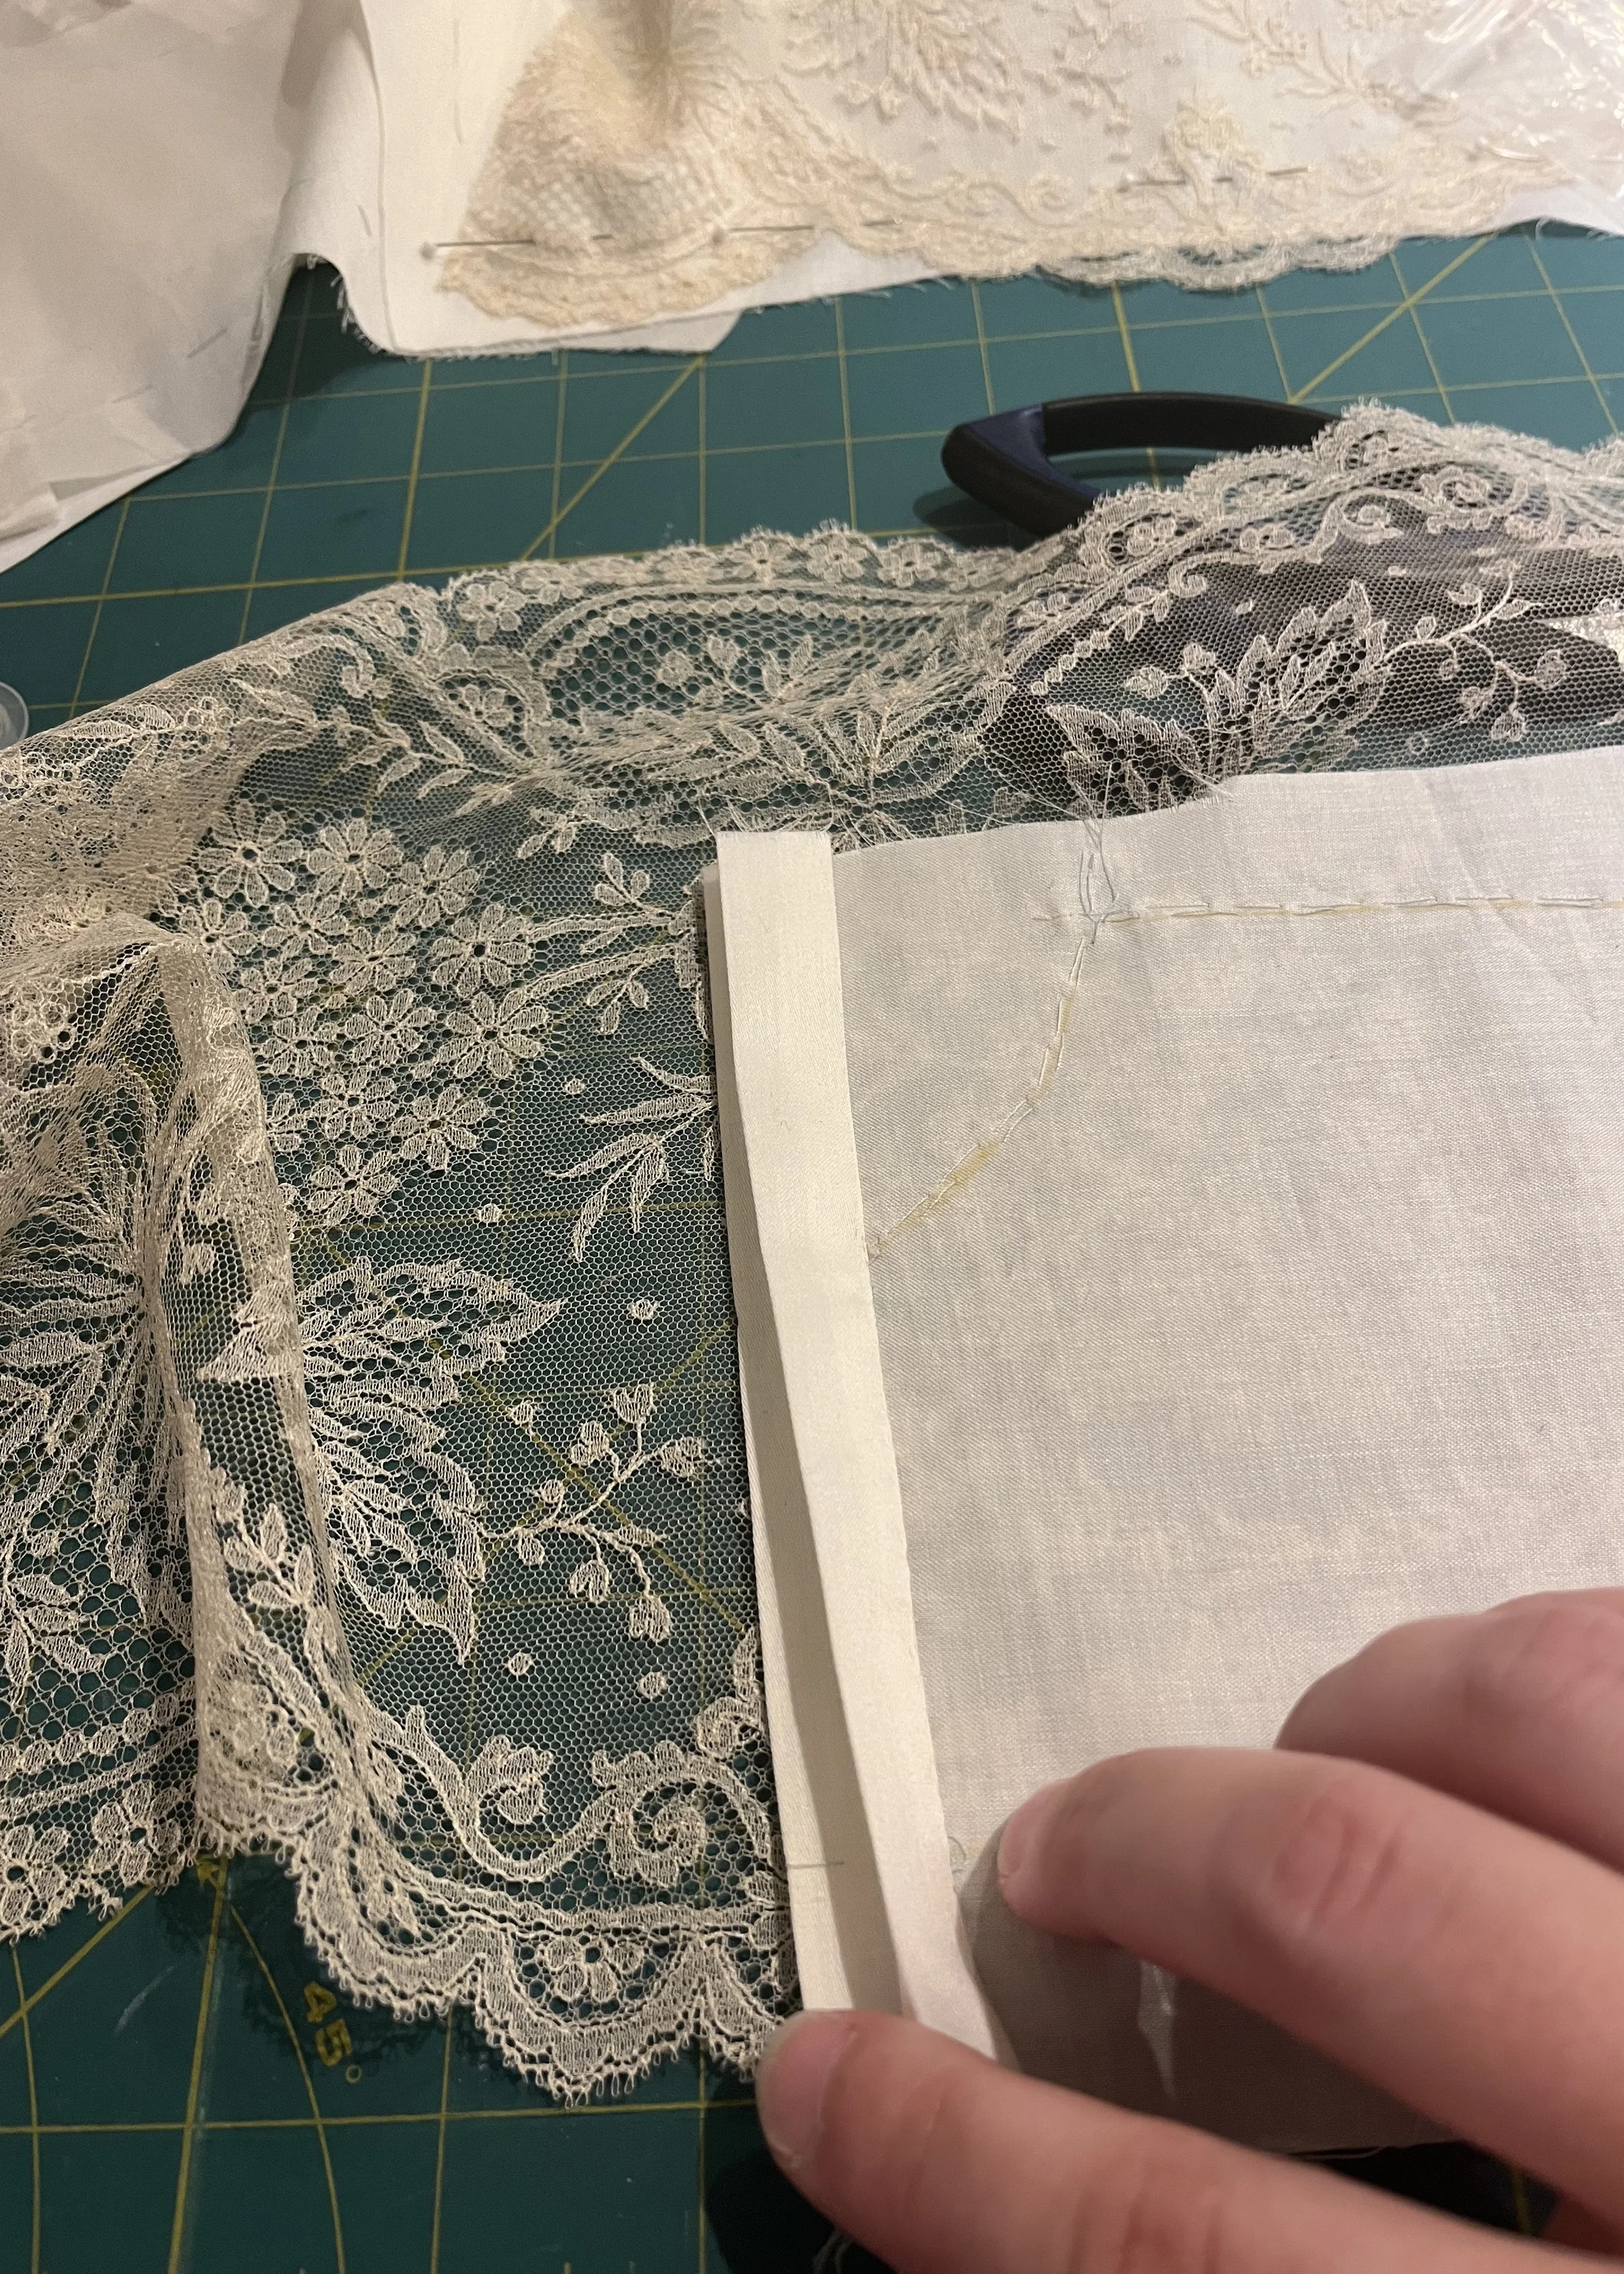
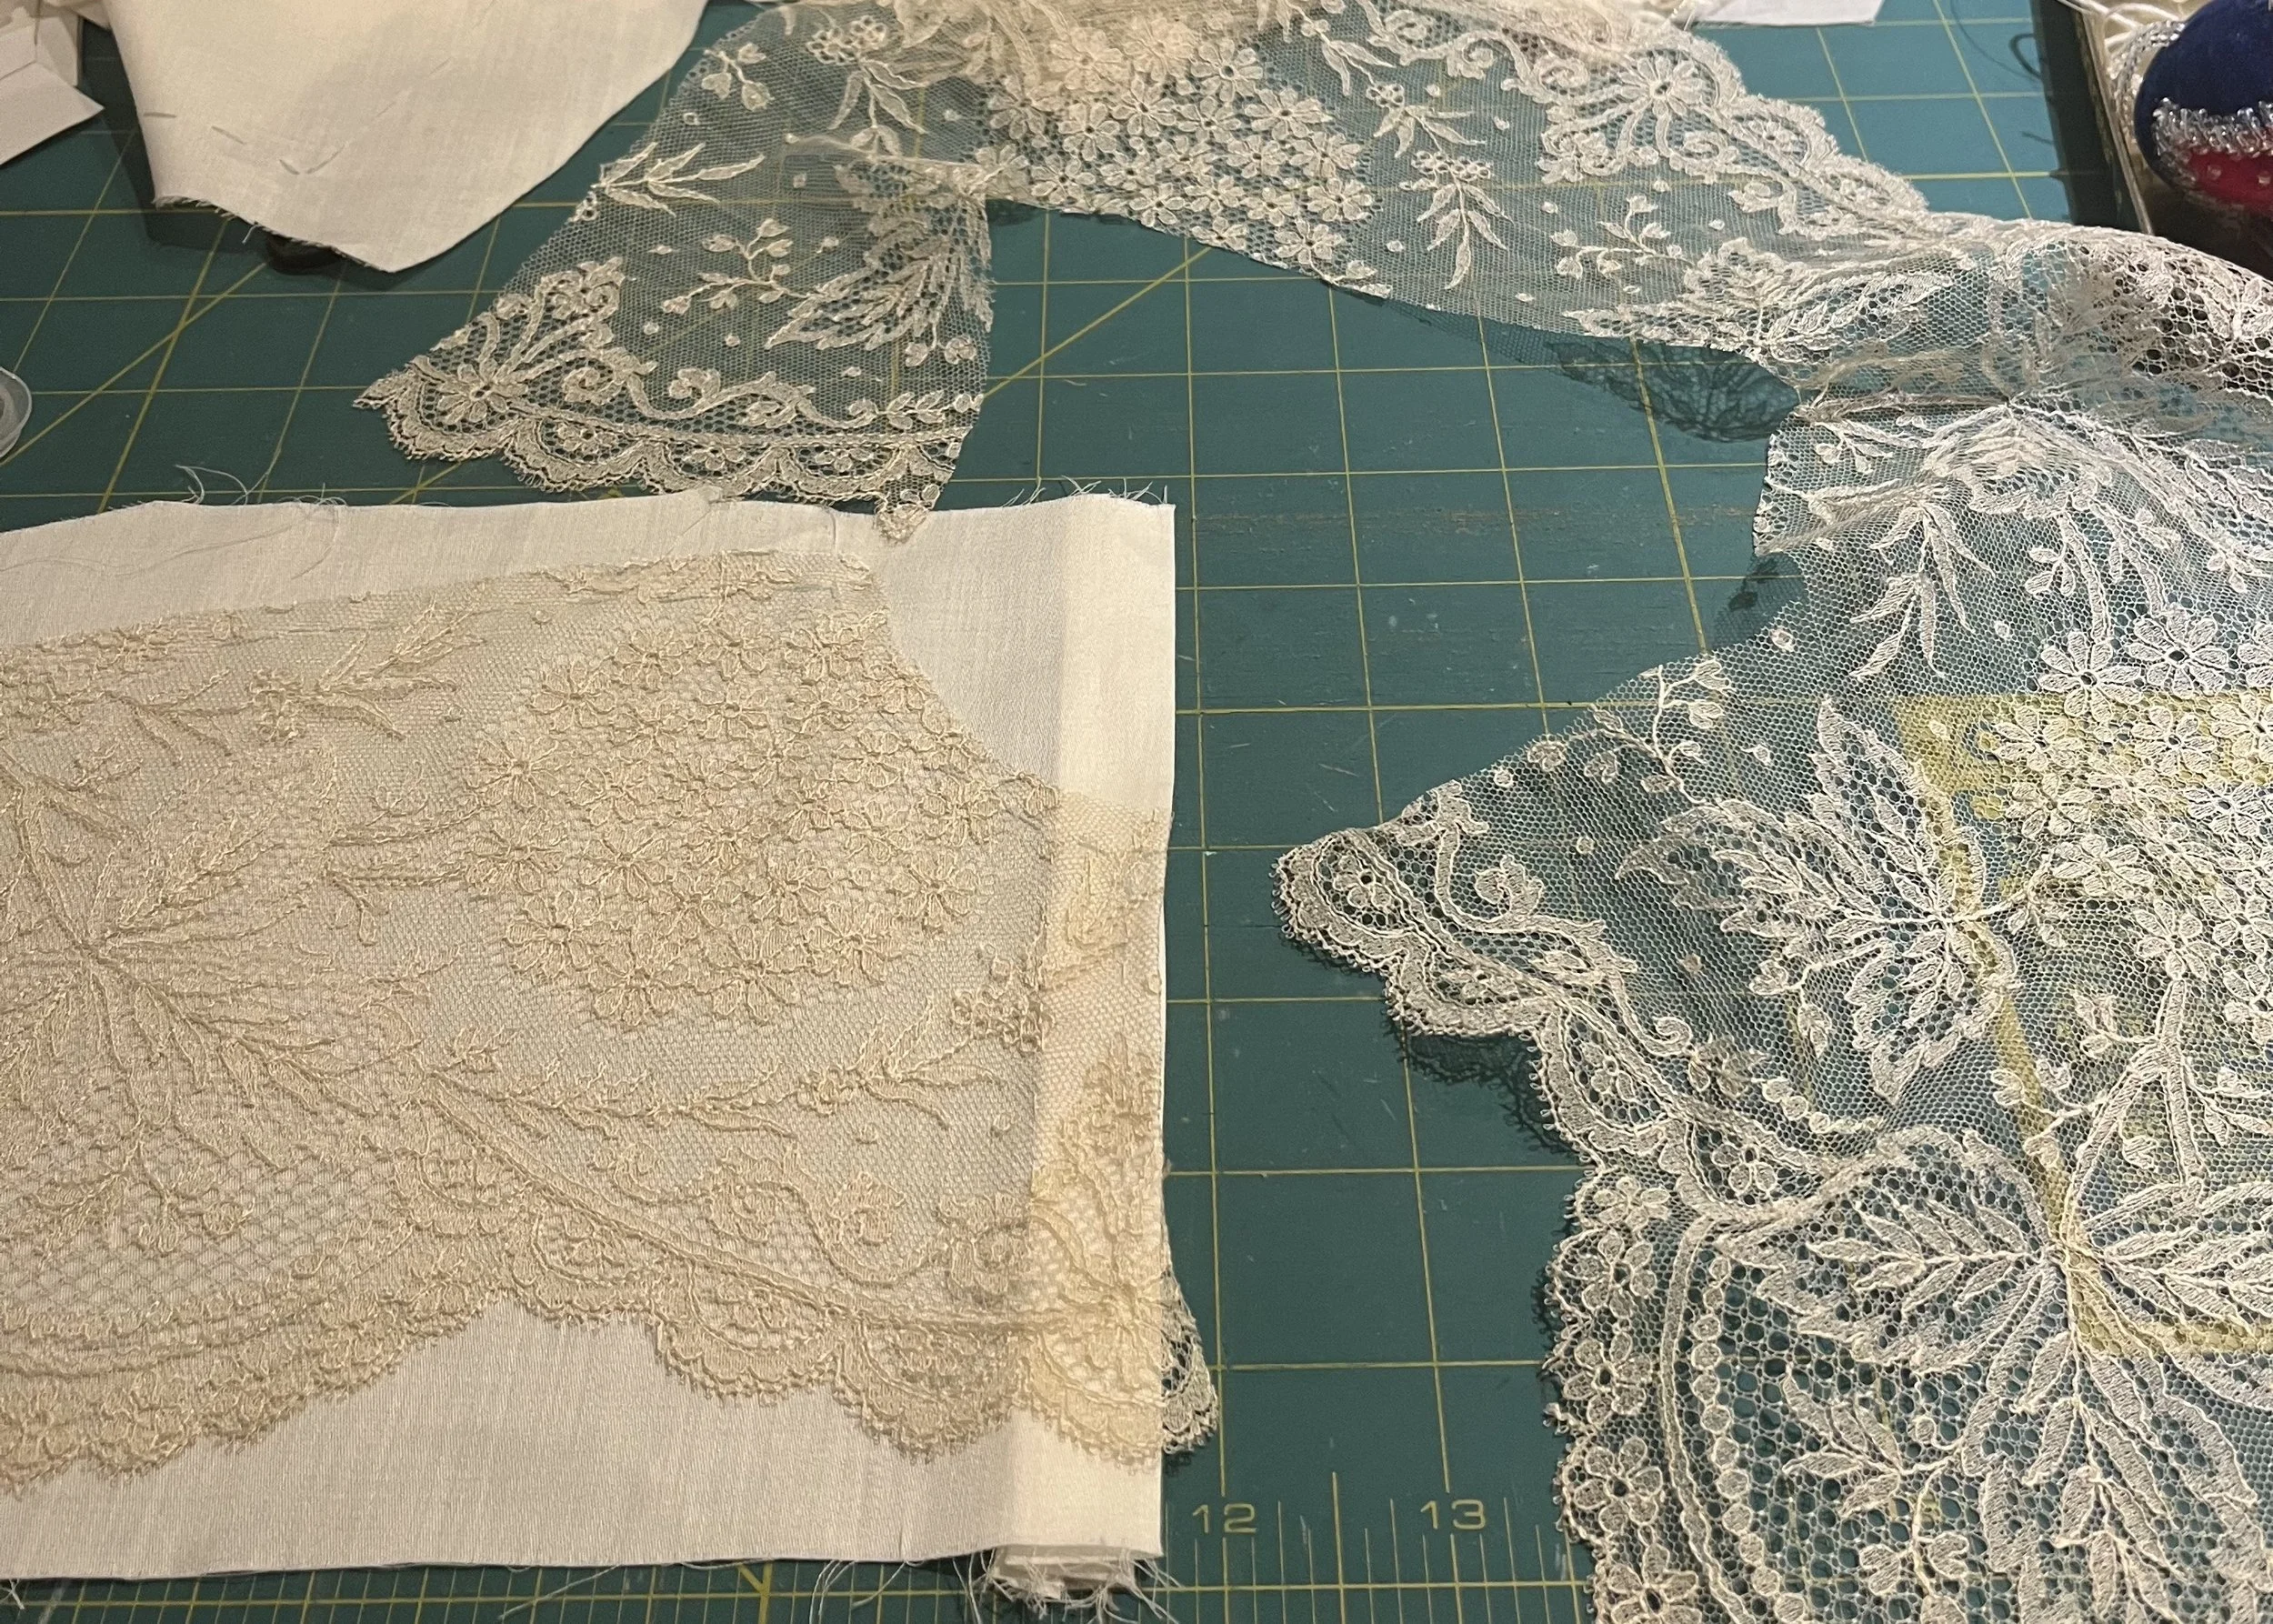
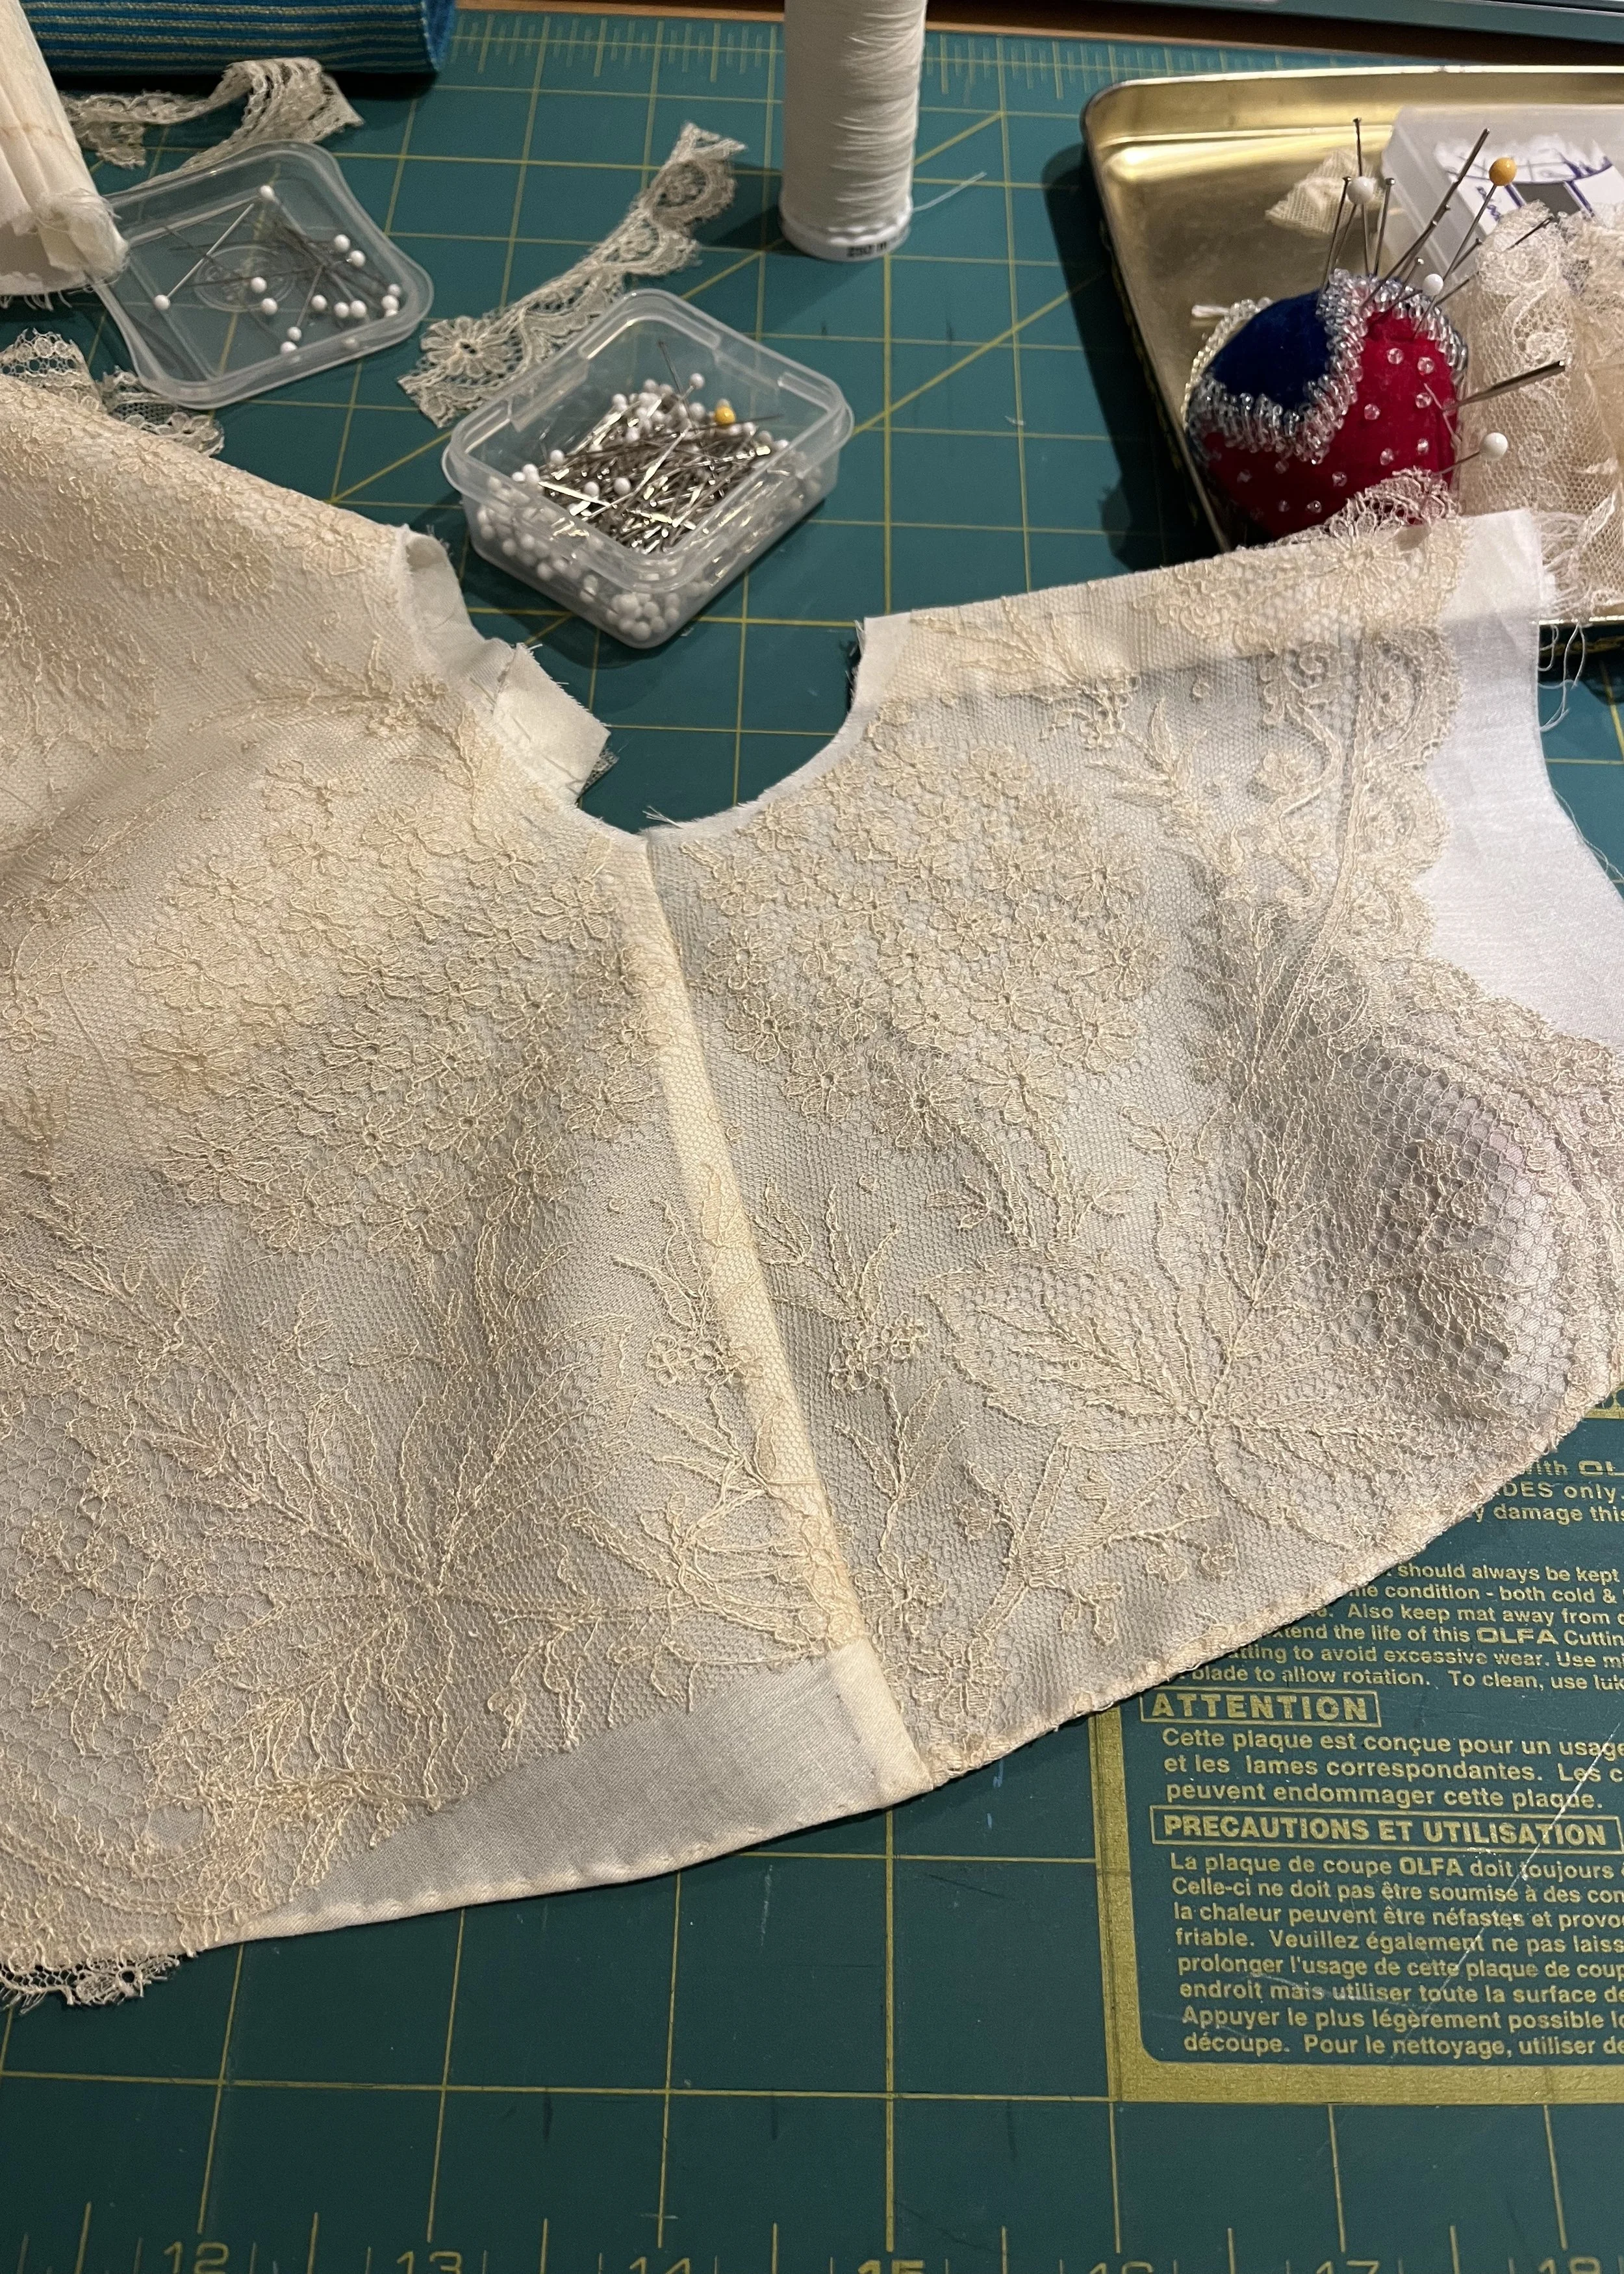
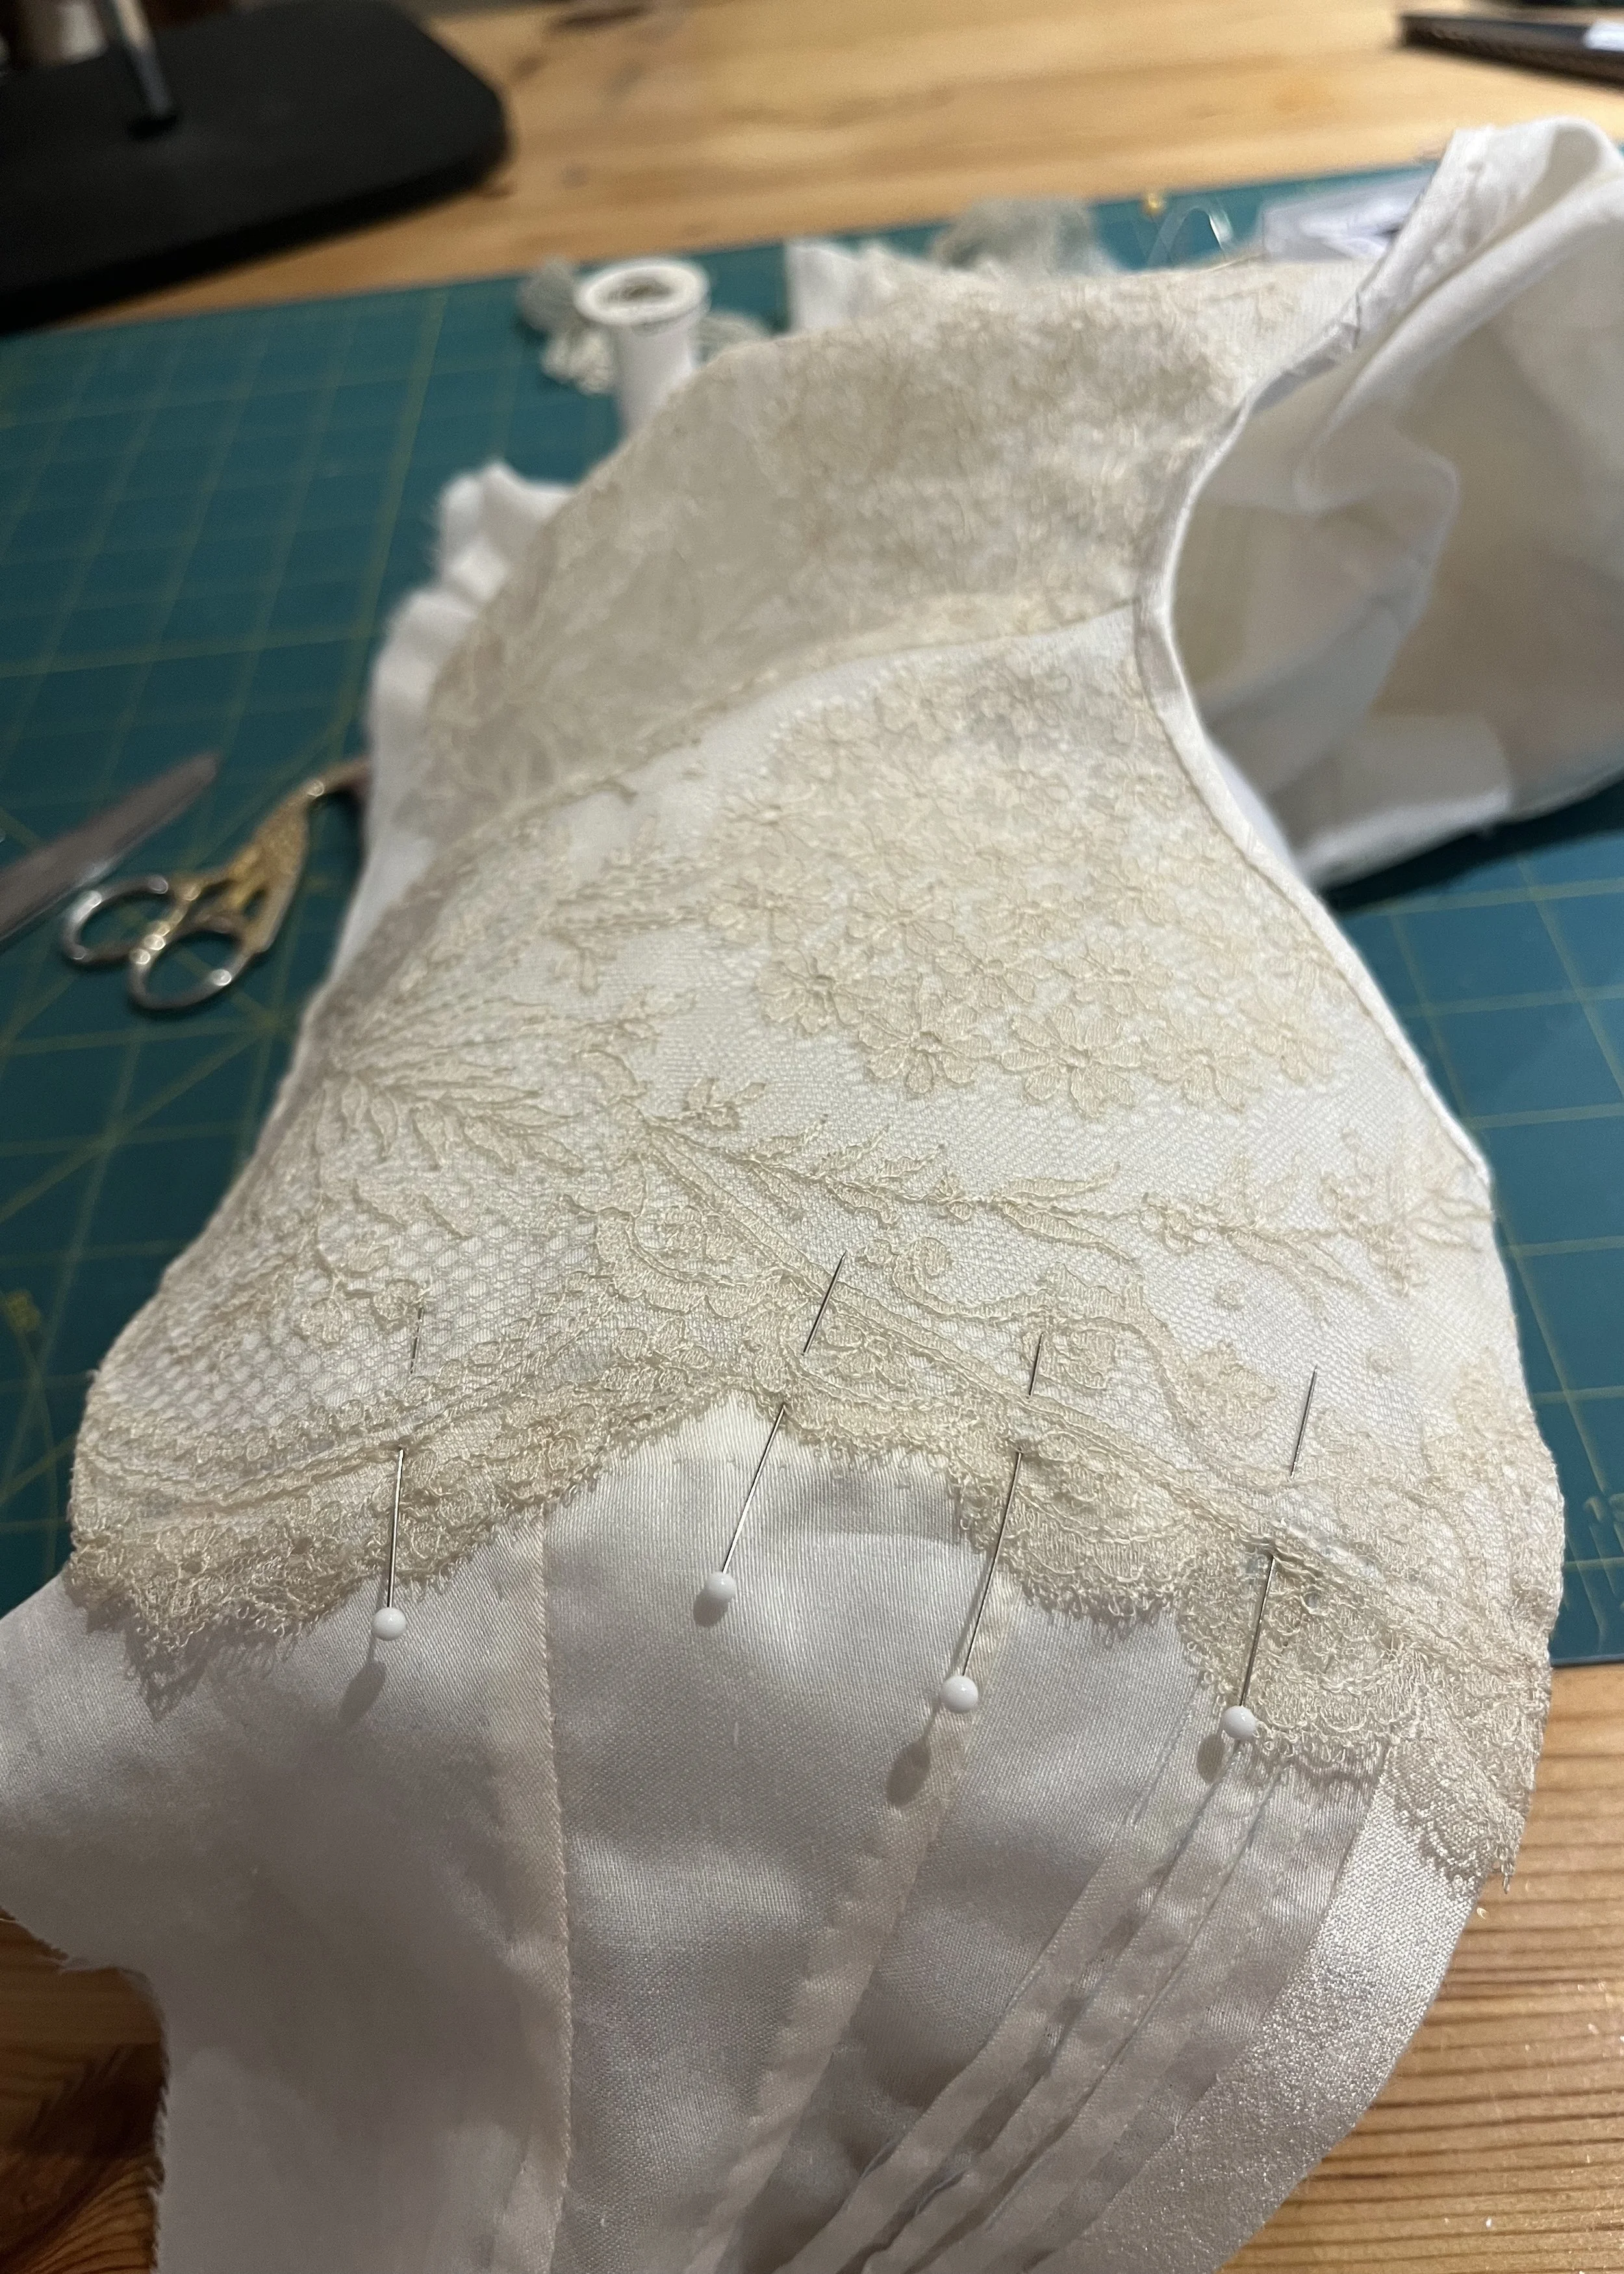
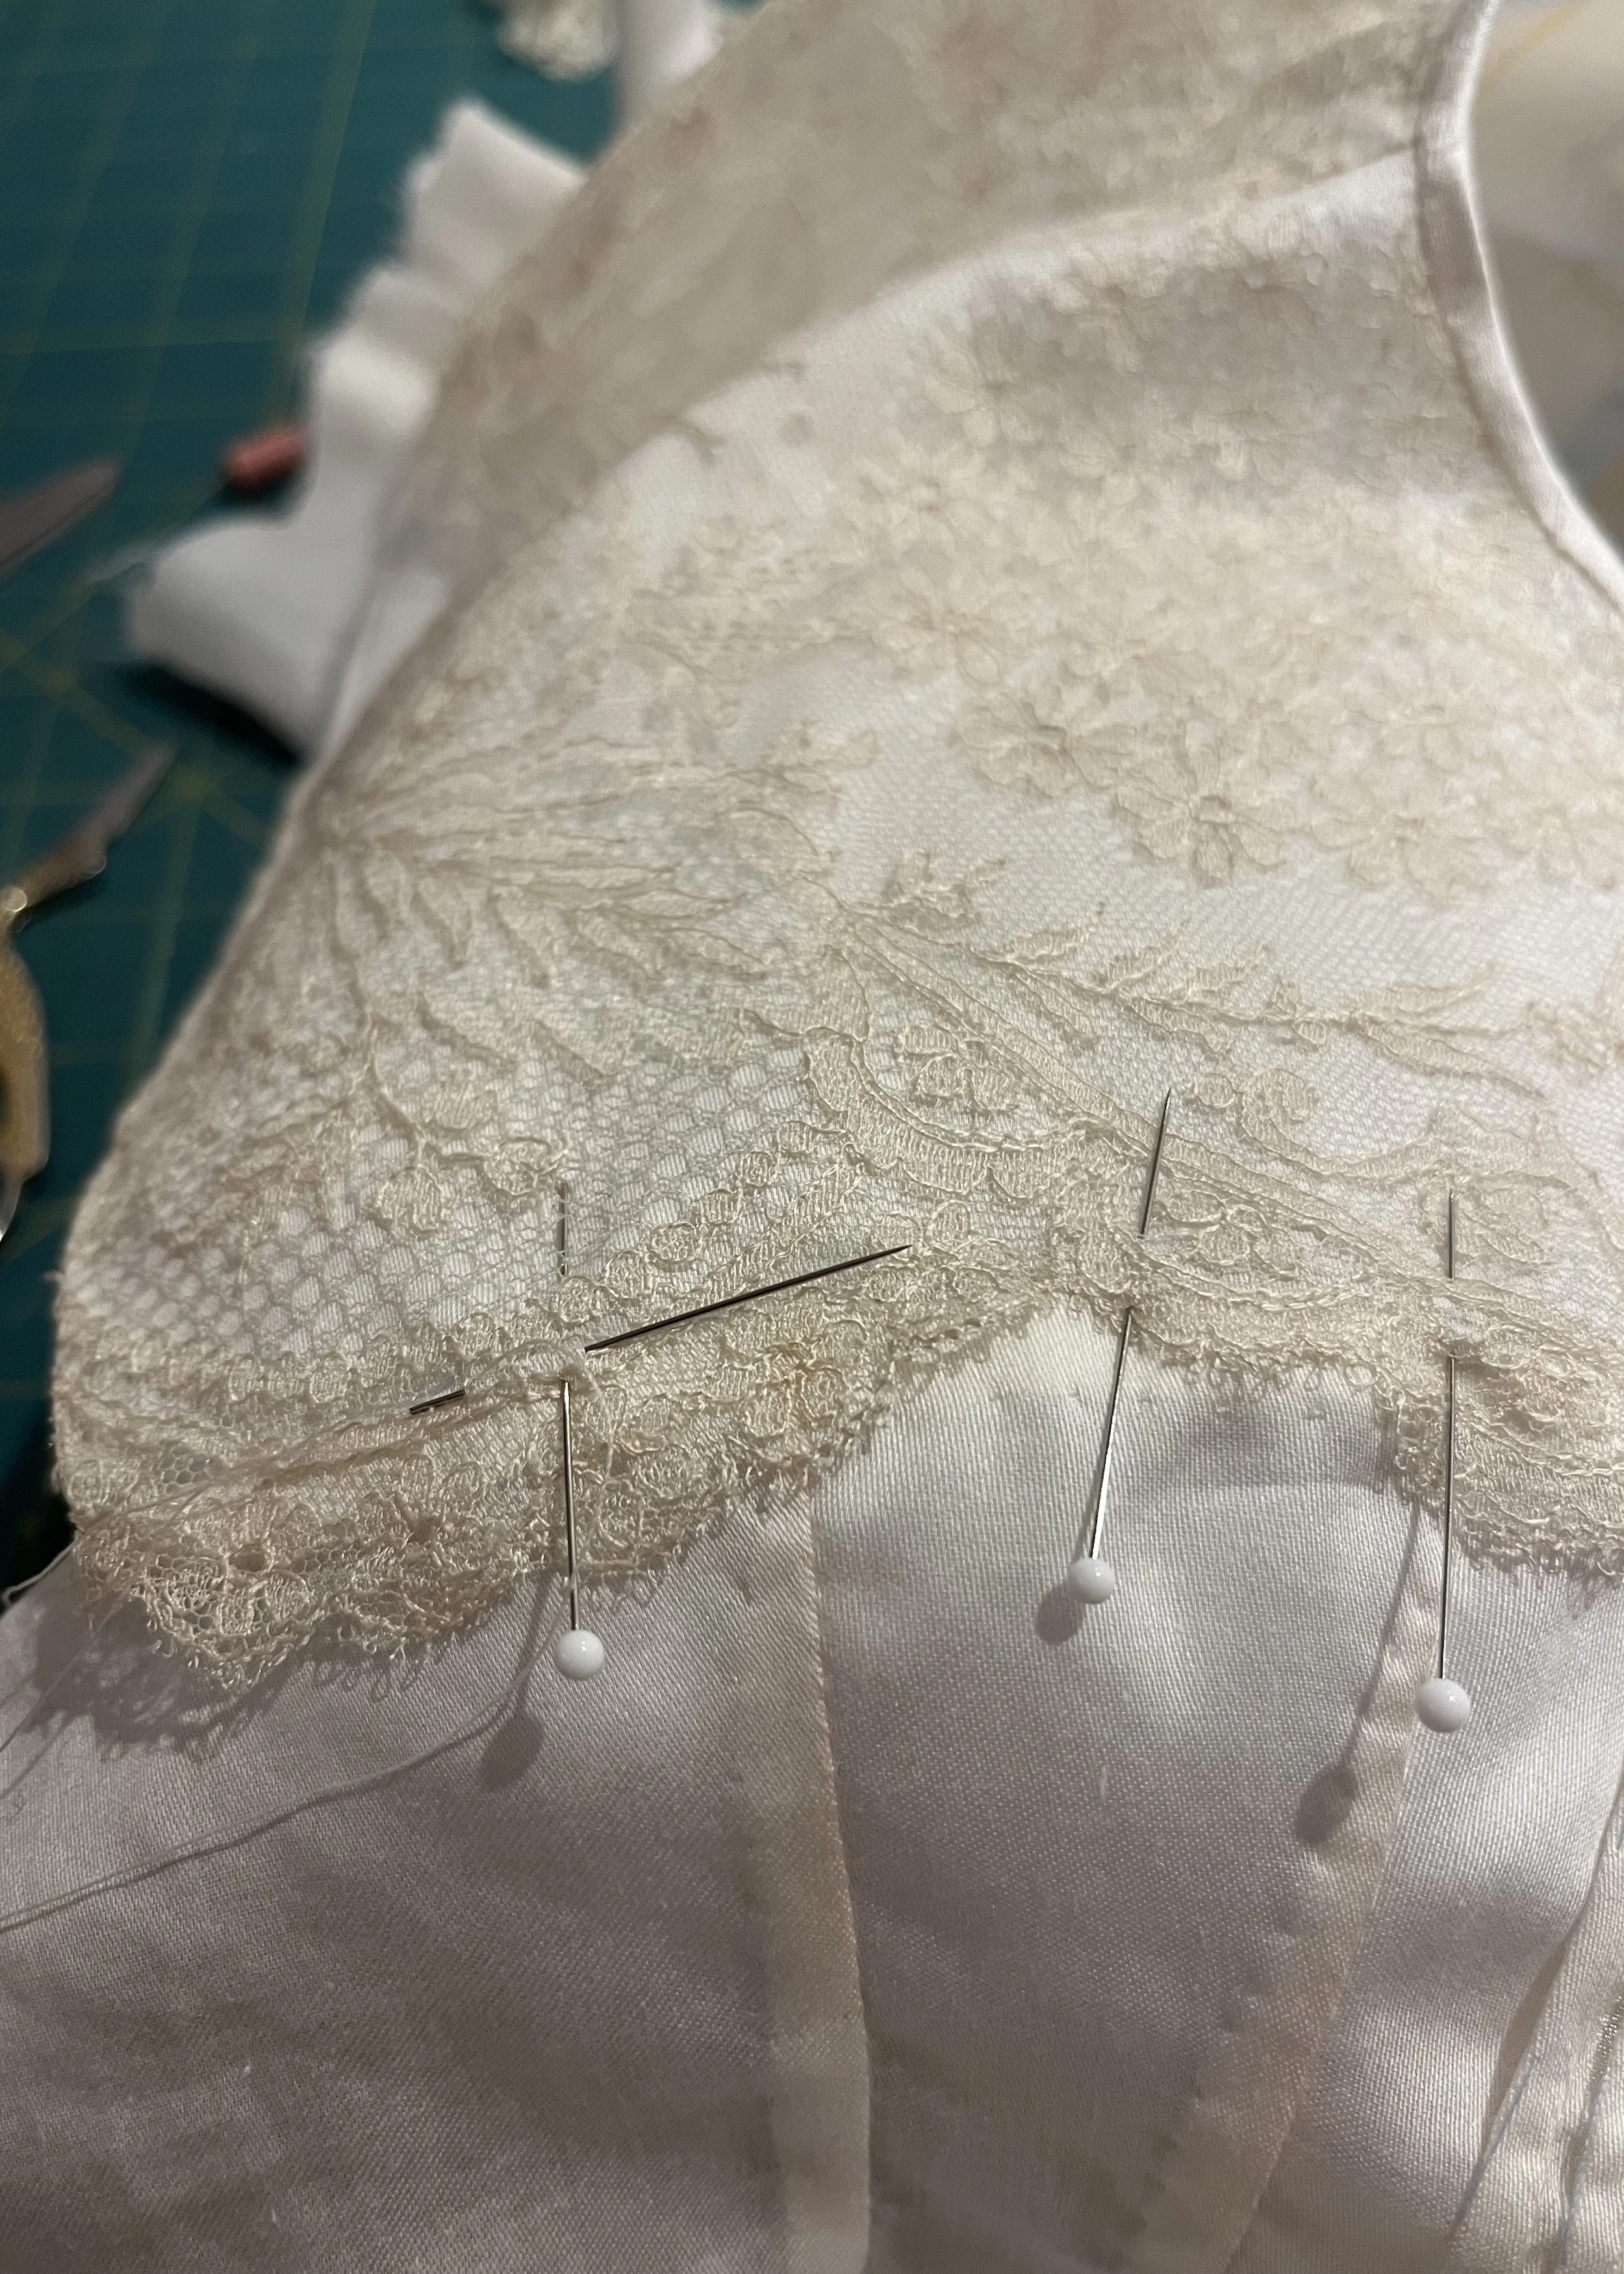
I began to actually cut the lace and apply it to the yoke pieces. (As opposed to just laying it over the pieces, thinking yeah, I can make this work and then going back to just dreaming about how pretty it will be when I actually do it.) I began by basting the outline of the yoke in a colour I would be able to see through the lace, then I chose the part of the pattern which I wanted at the centre front and lined it up with the centre front of my yoke while lining up the highest point of the scalloped edge of the lace with the seam of the yoke to make sure it would be covered.
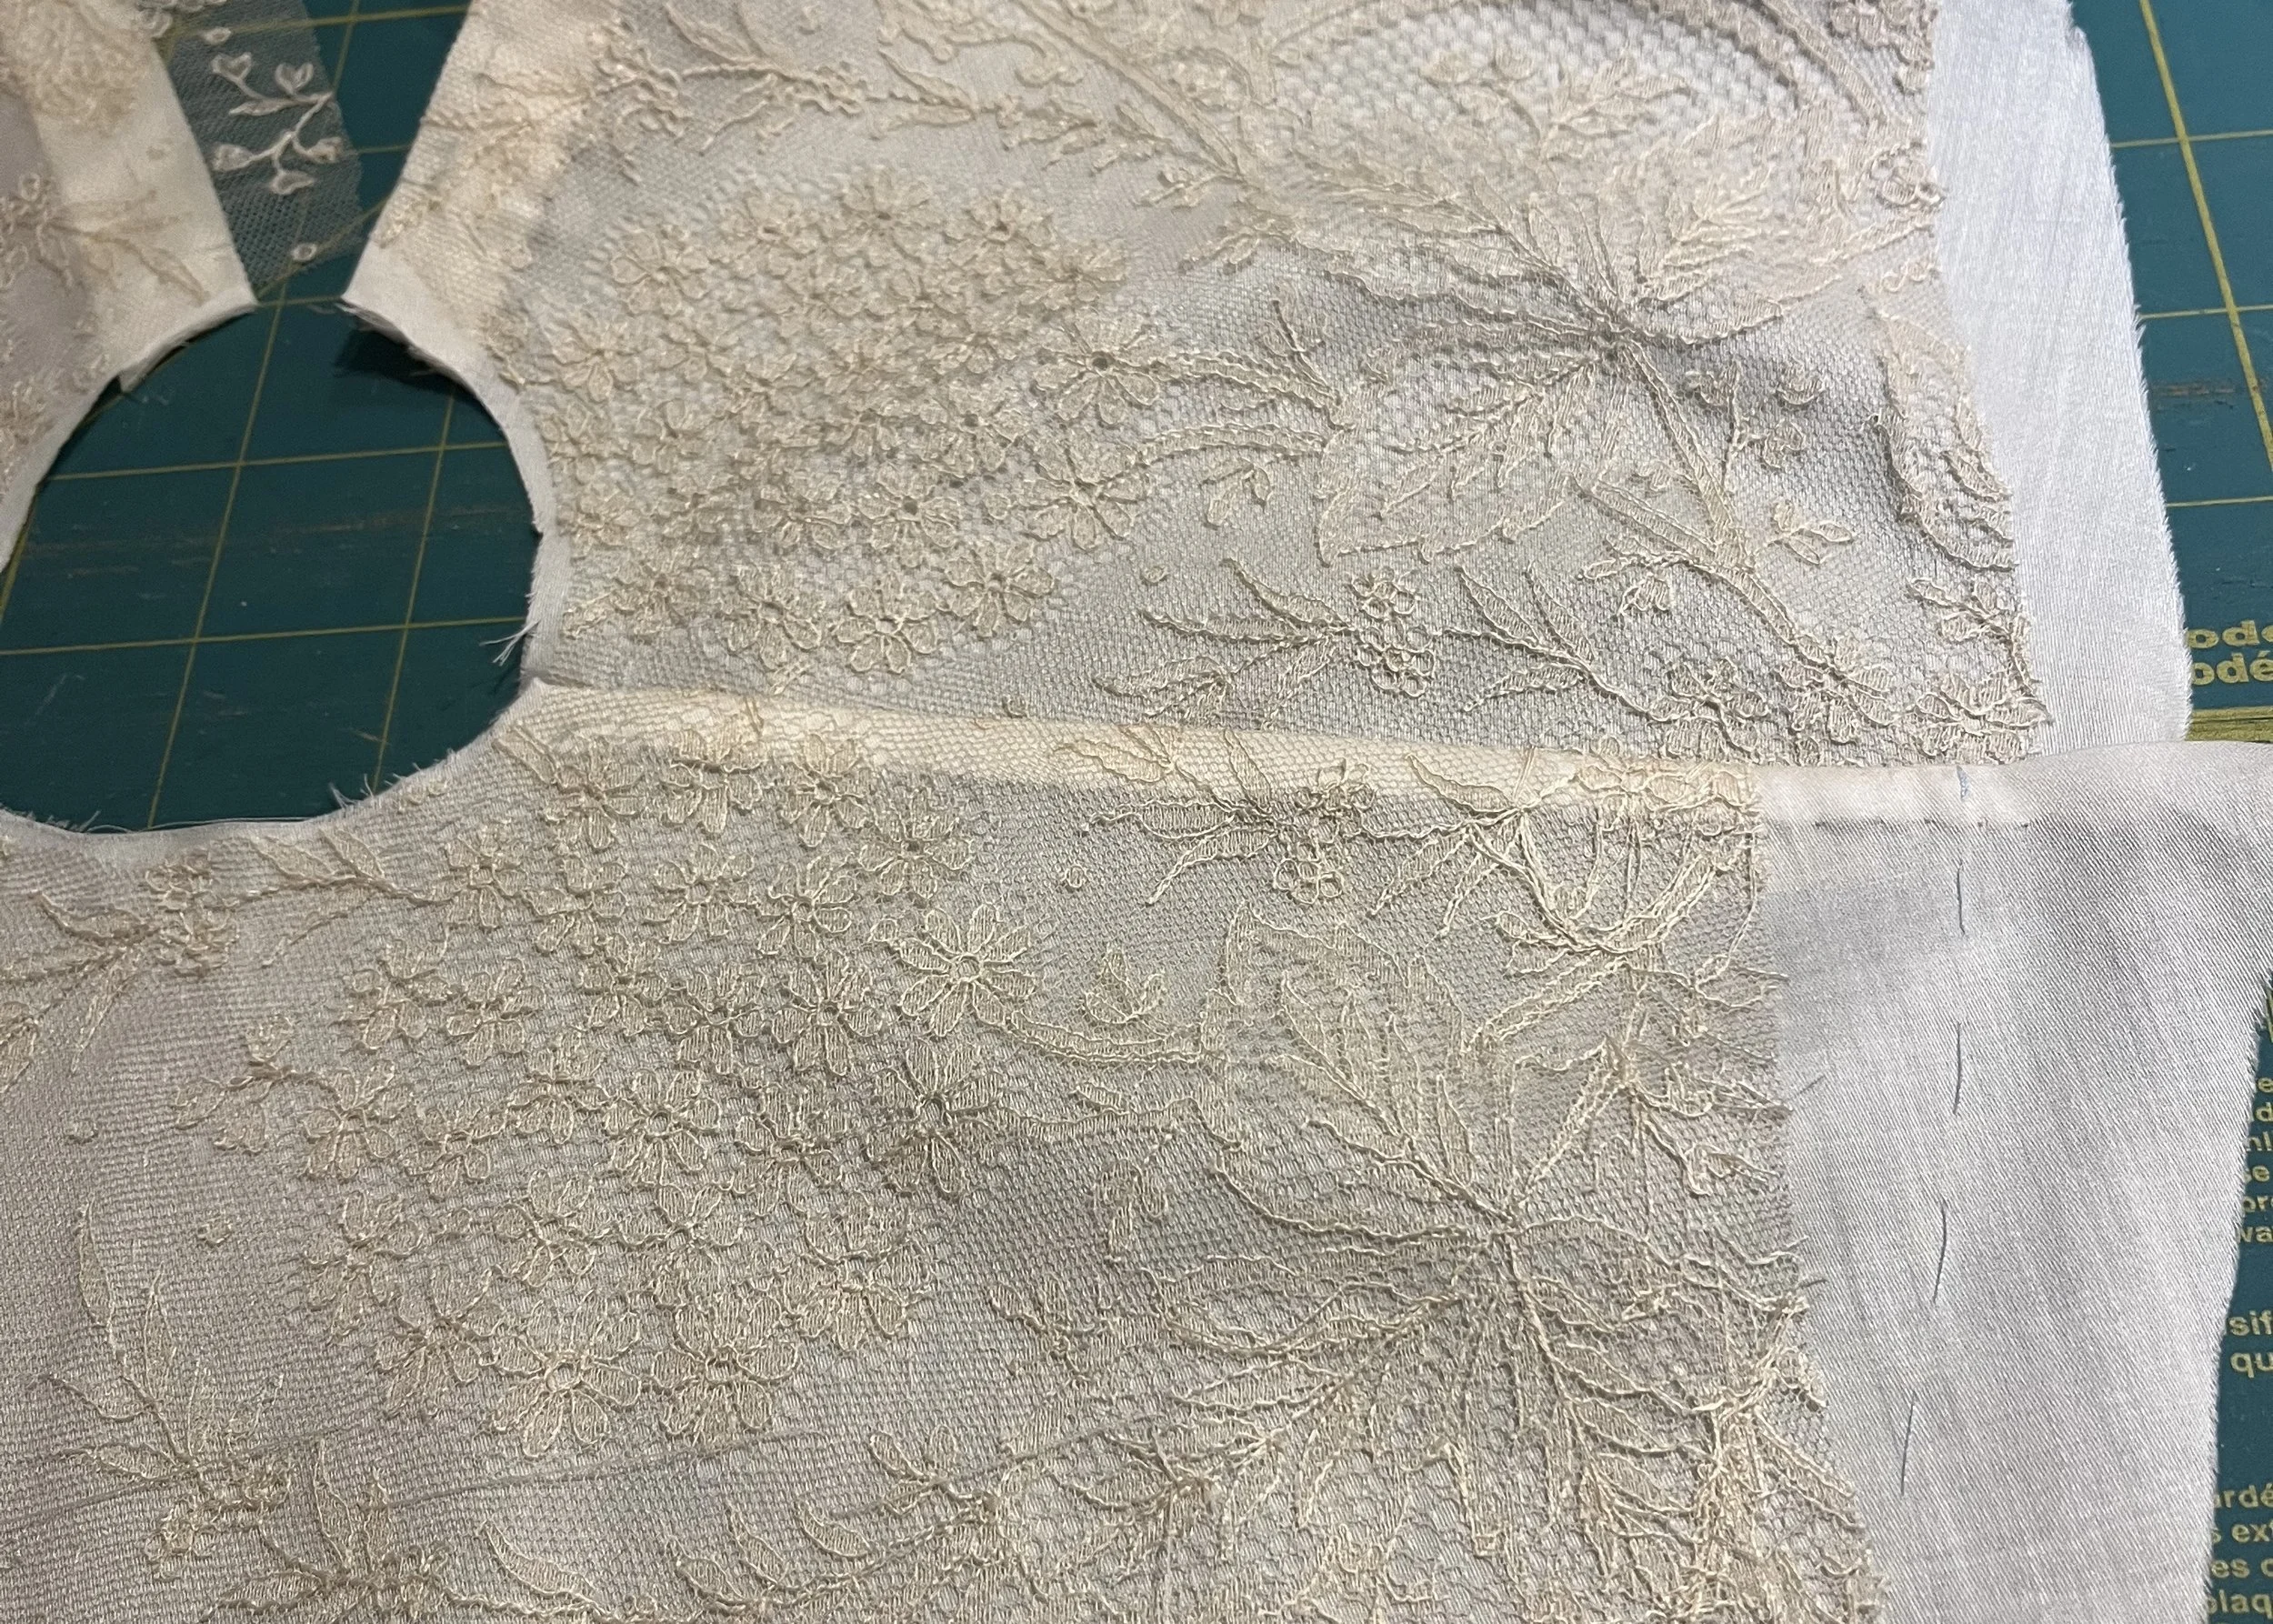
The fronts came together pretty easily and I ended up only having to piece in a little bit of one of the flower motifs on the left shoulder.
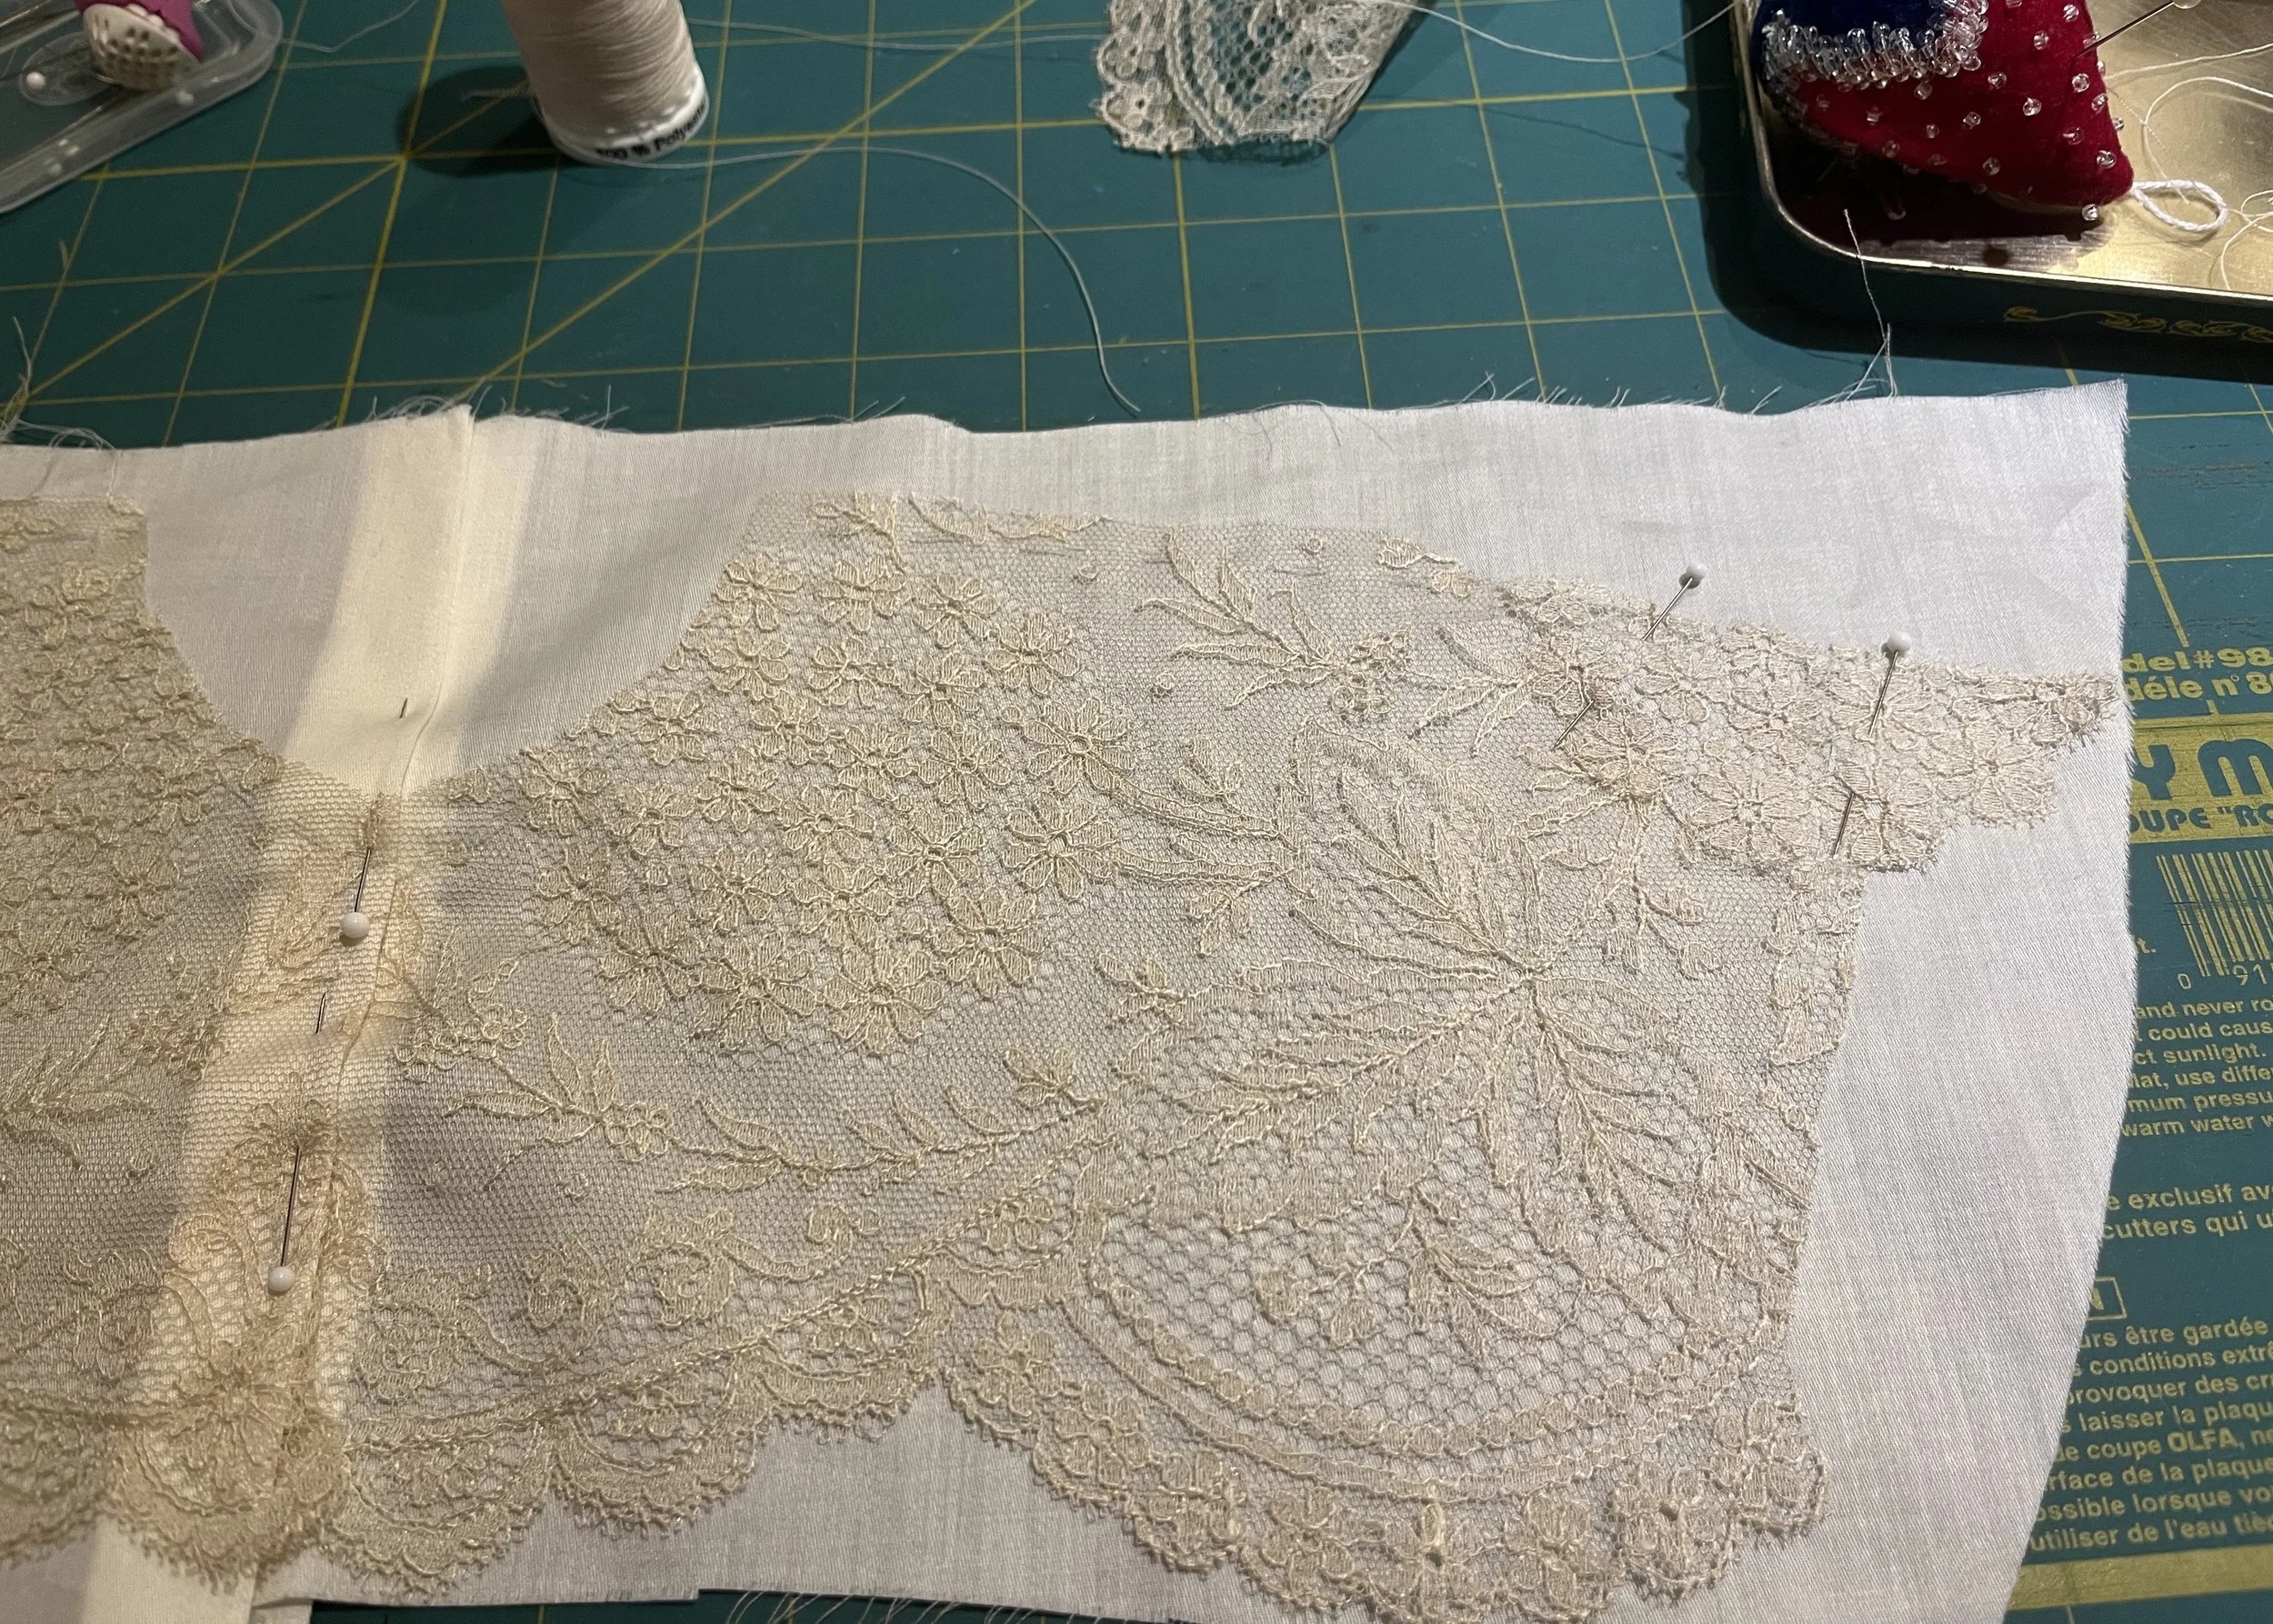
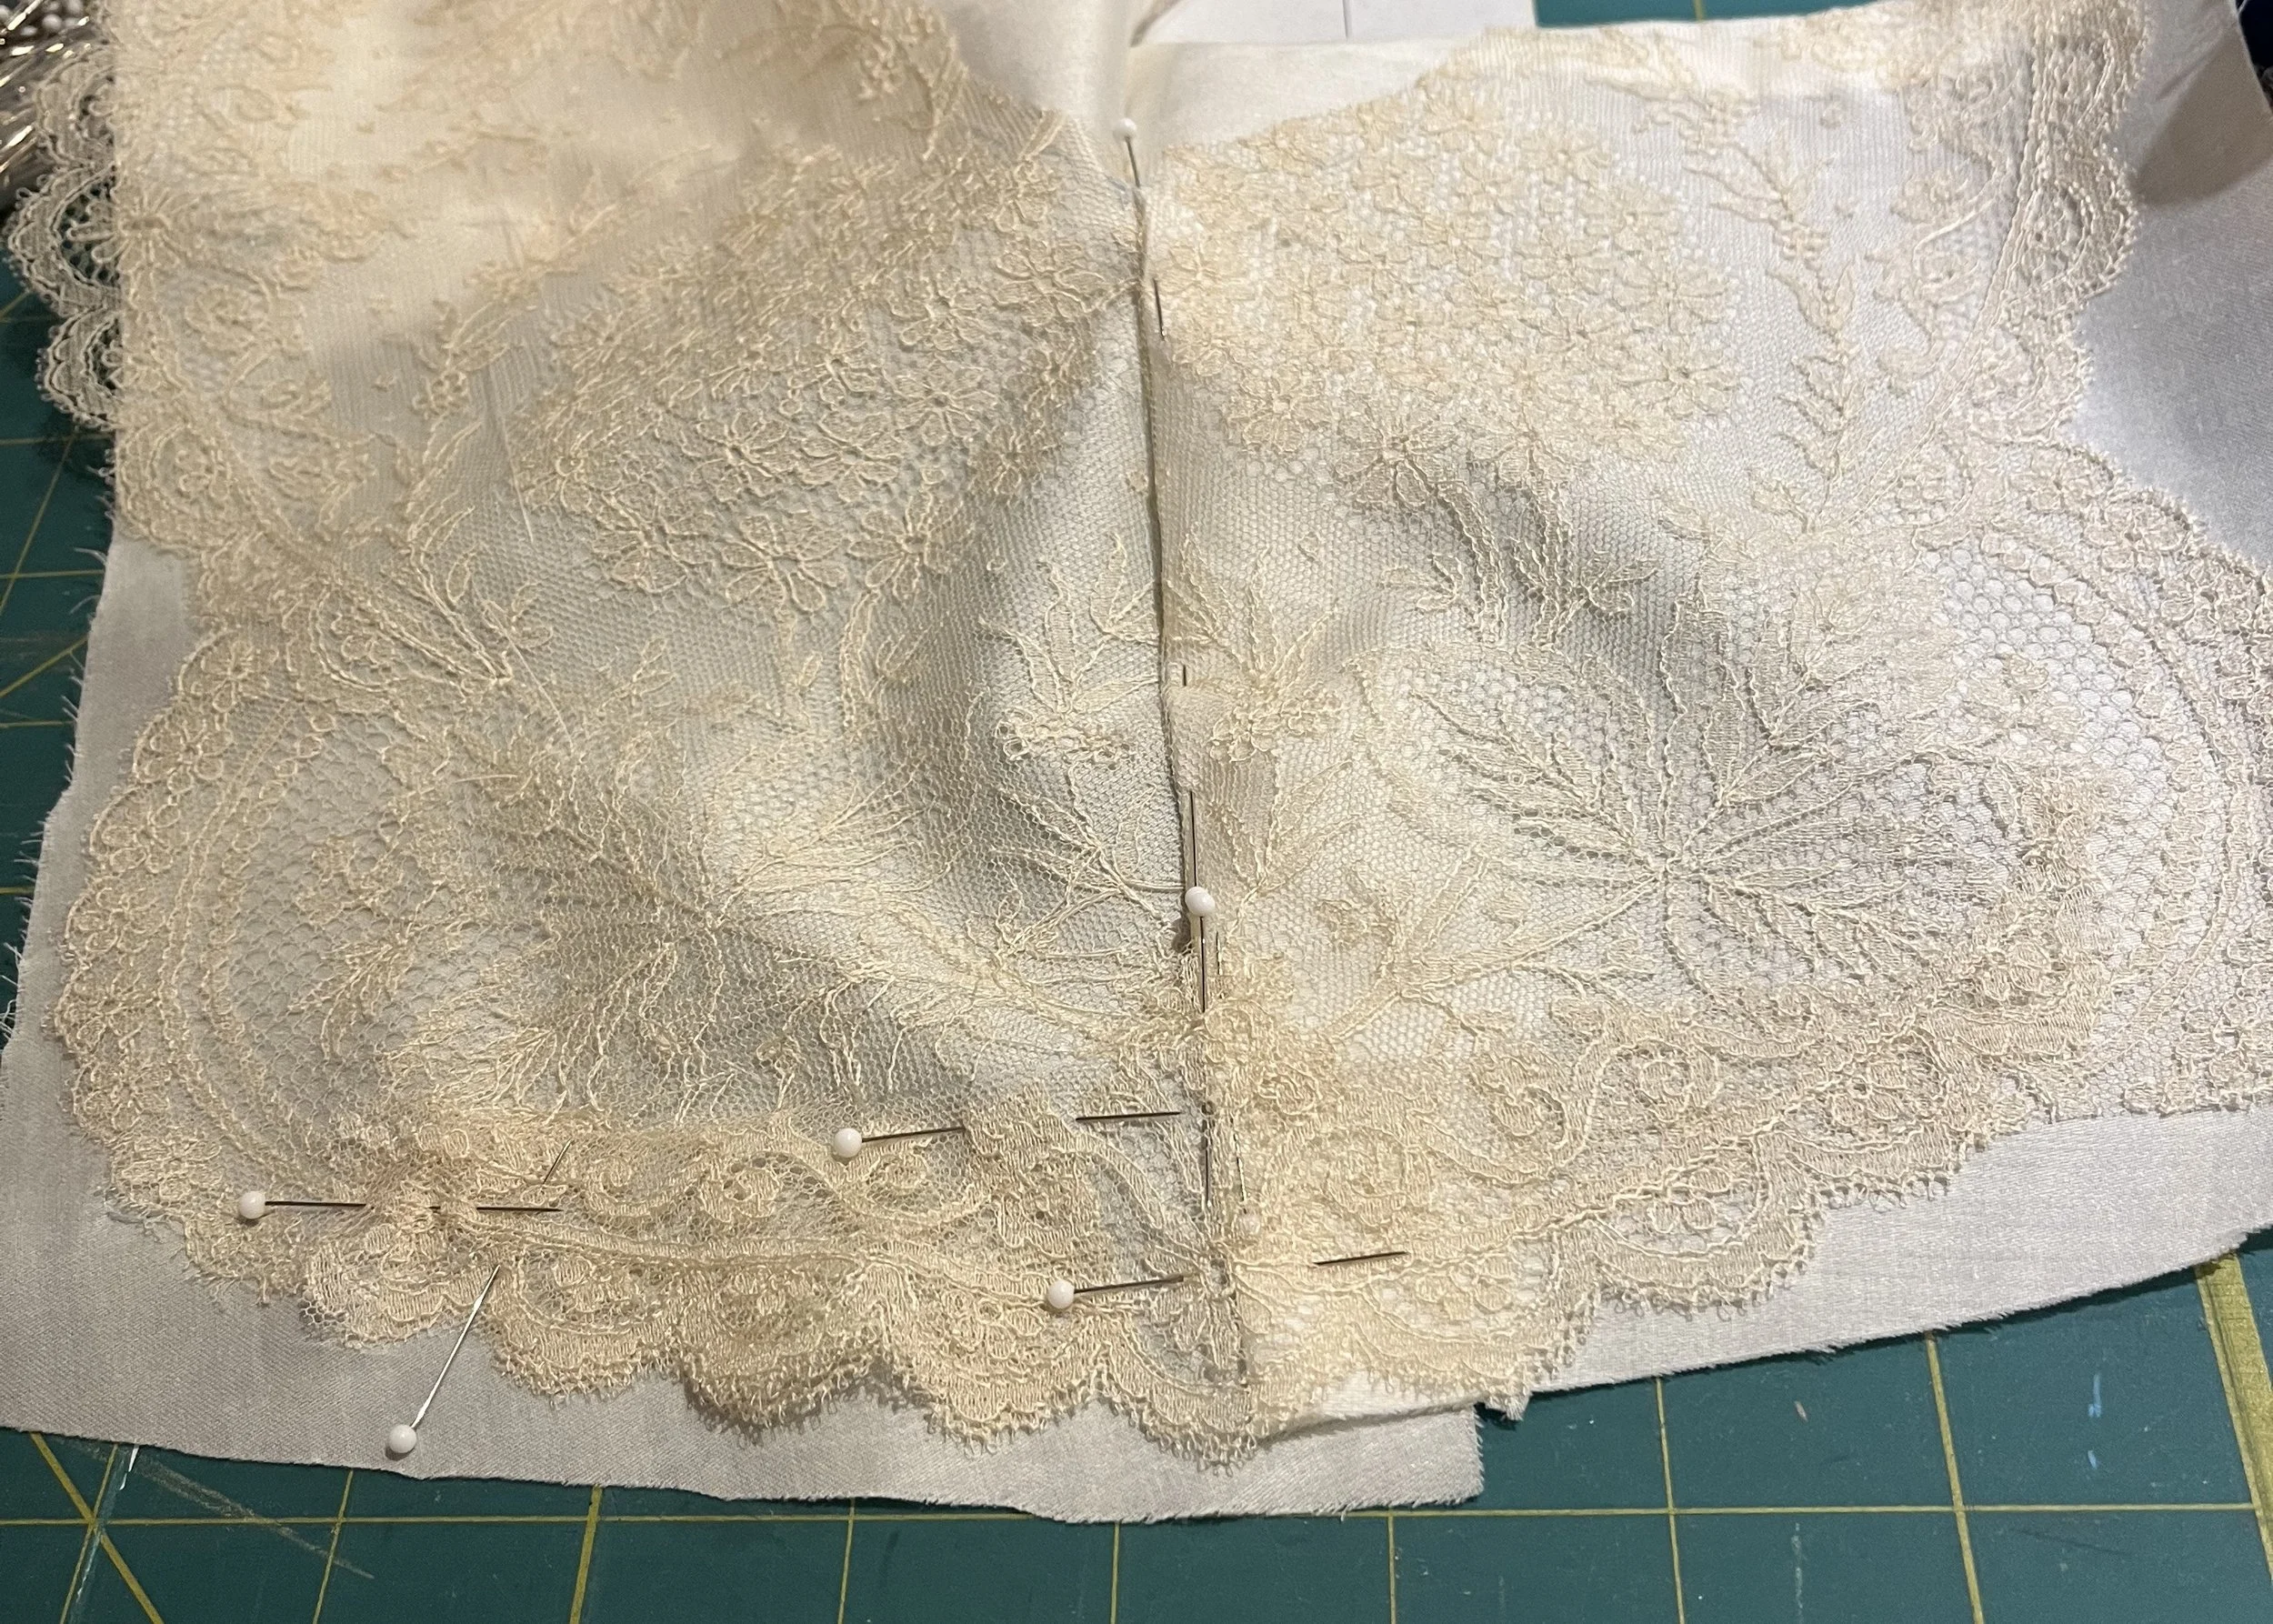
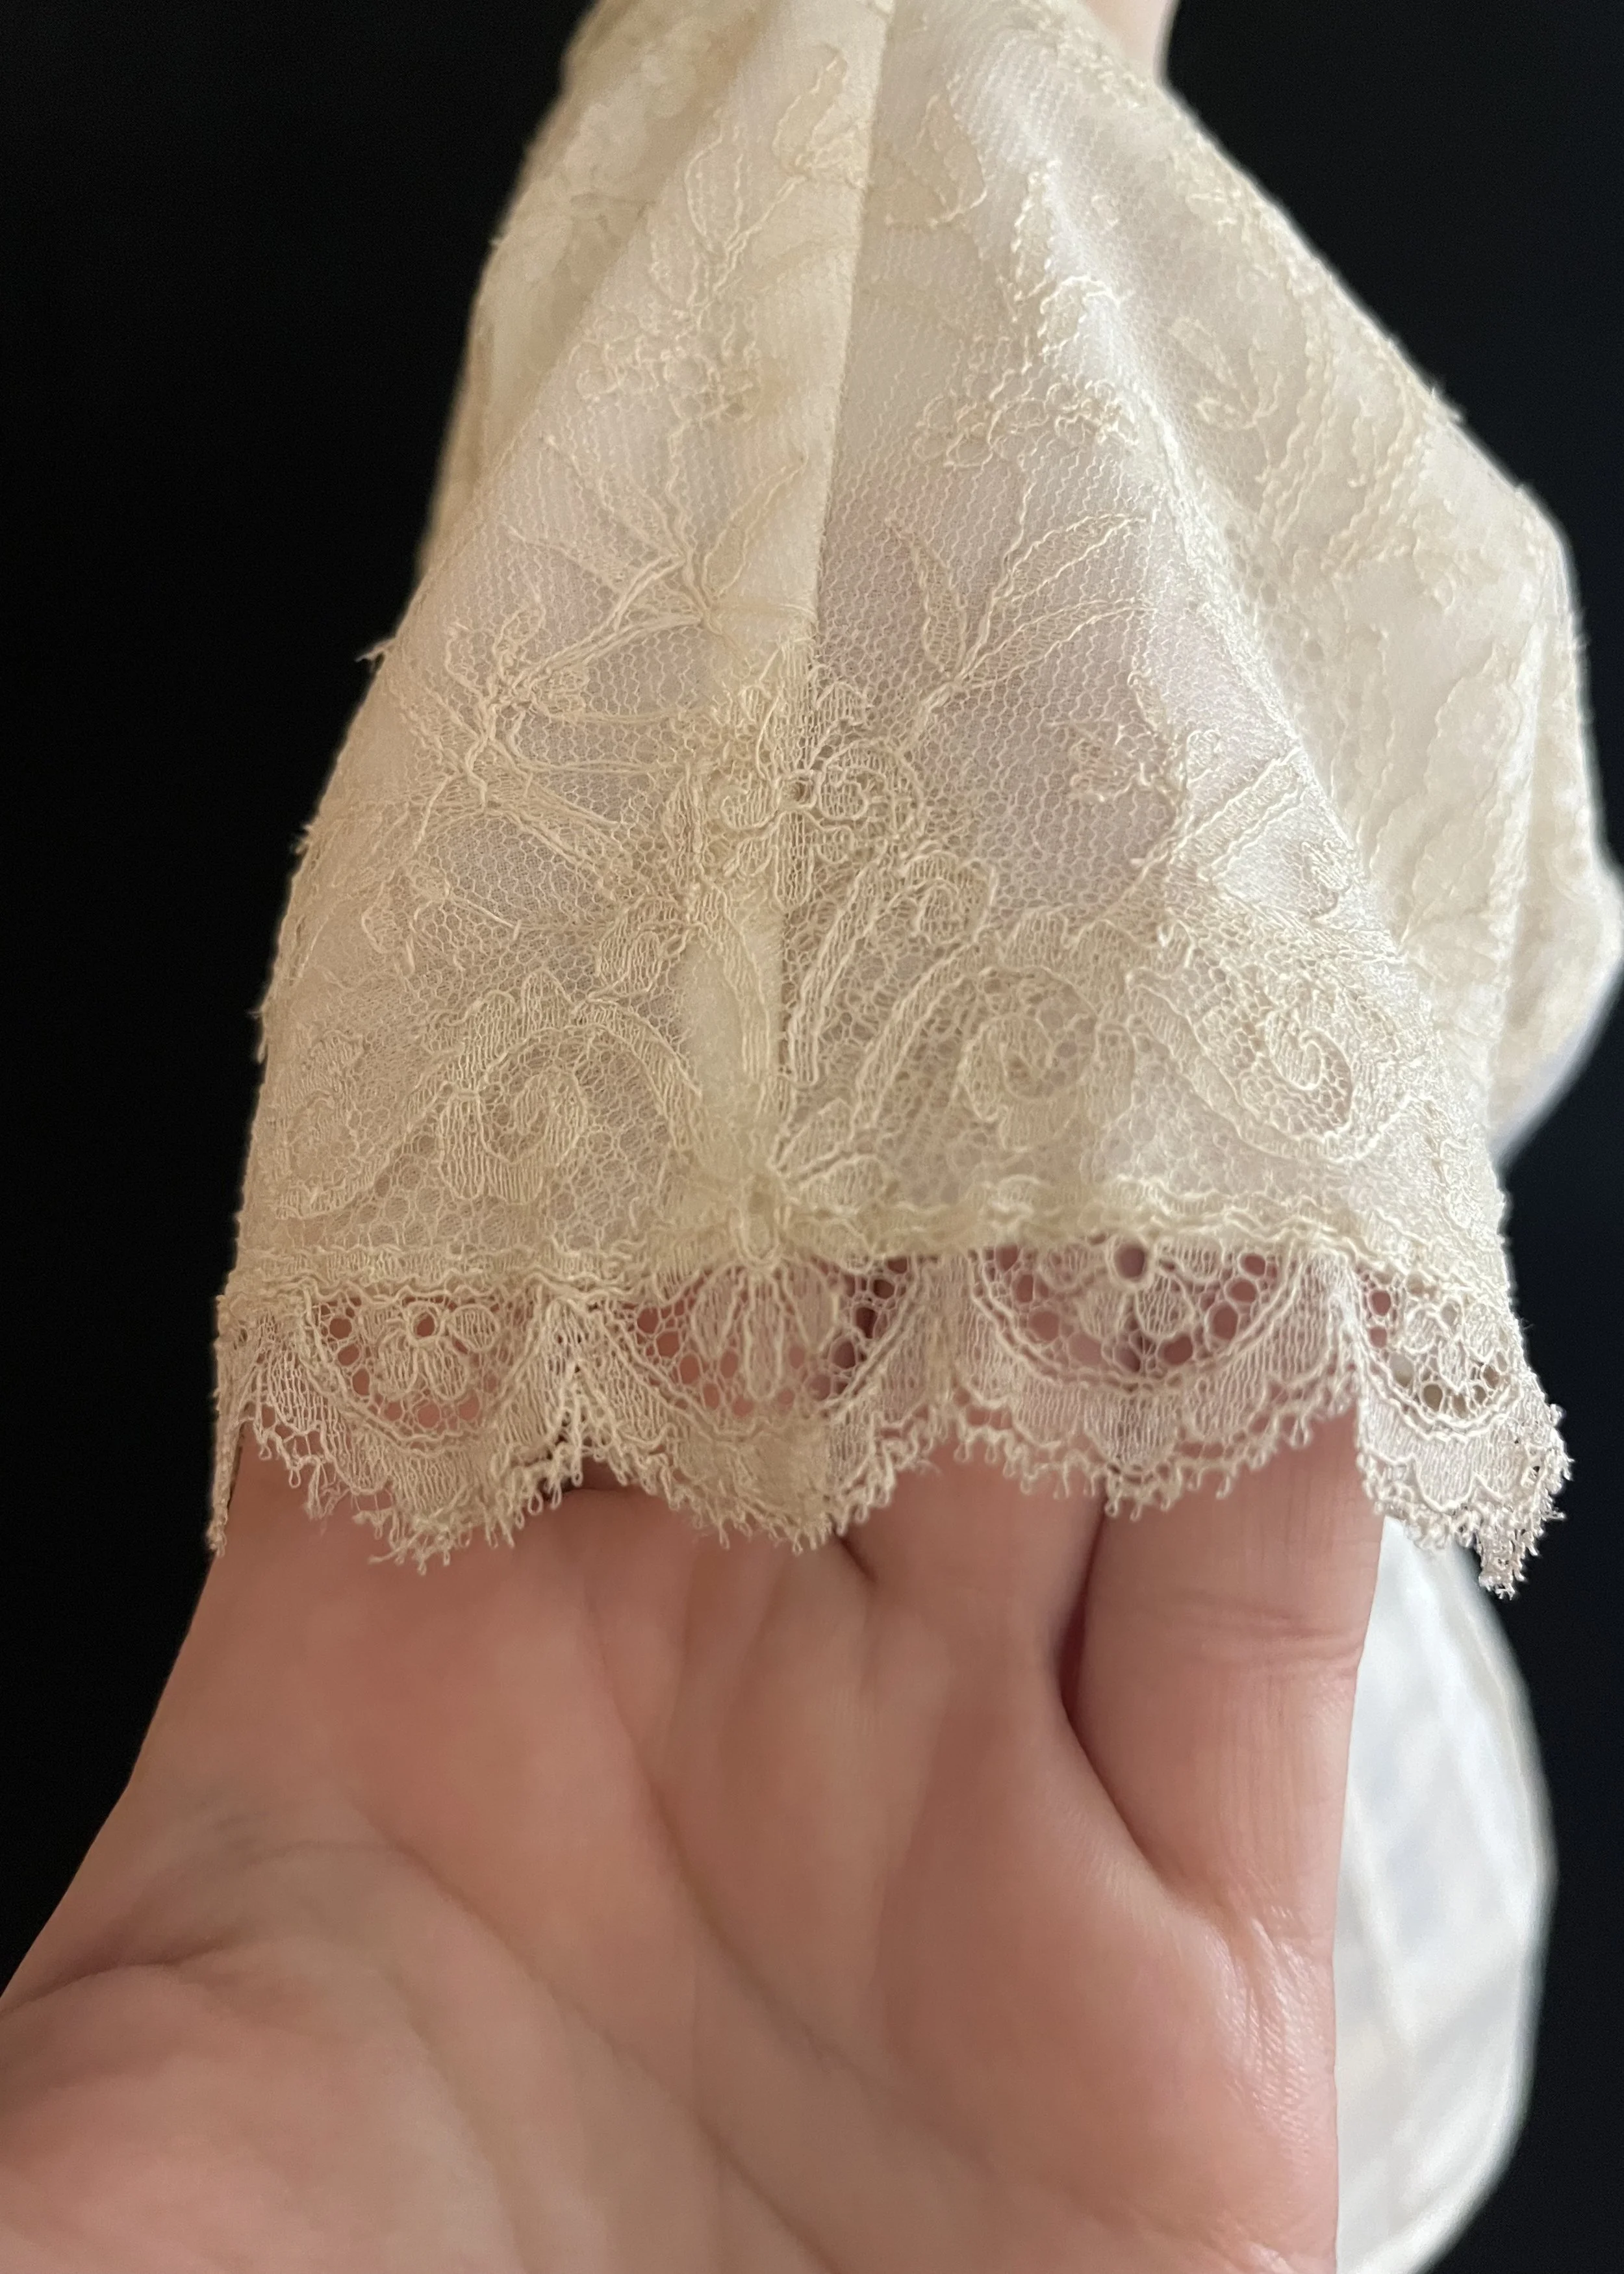
The back required a little bit more piecing, but was ultimately a bit more straightforward since there was no way to have a mirror image as with the centre front so it was really just figuring out how to fill in the bits at the shoulders. To this end, I began to piece together all the remaining bits of border and figured I could come up with a piece long enough to cover the armhole. This would also completely cover the exposed bit on the right shoulder and most of the left where I did have to add a few more bits to fill in the gaps.
I flat mounted the lace to the cotton before cutting, only trimming the lace away when I was very confident that I was happy with the placement and doing so veeeeeery carefully so as not to have any big chops going through the lace.
Did I save all but only the most minuscule of scraps until I was completely finished? Yes.
Have I kept all the tiny bits I have left even though the whole garment is complete? Also yes.
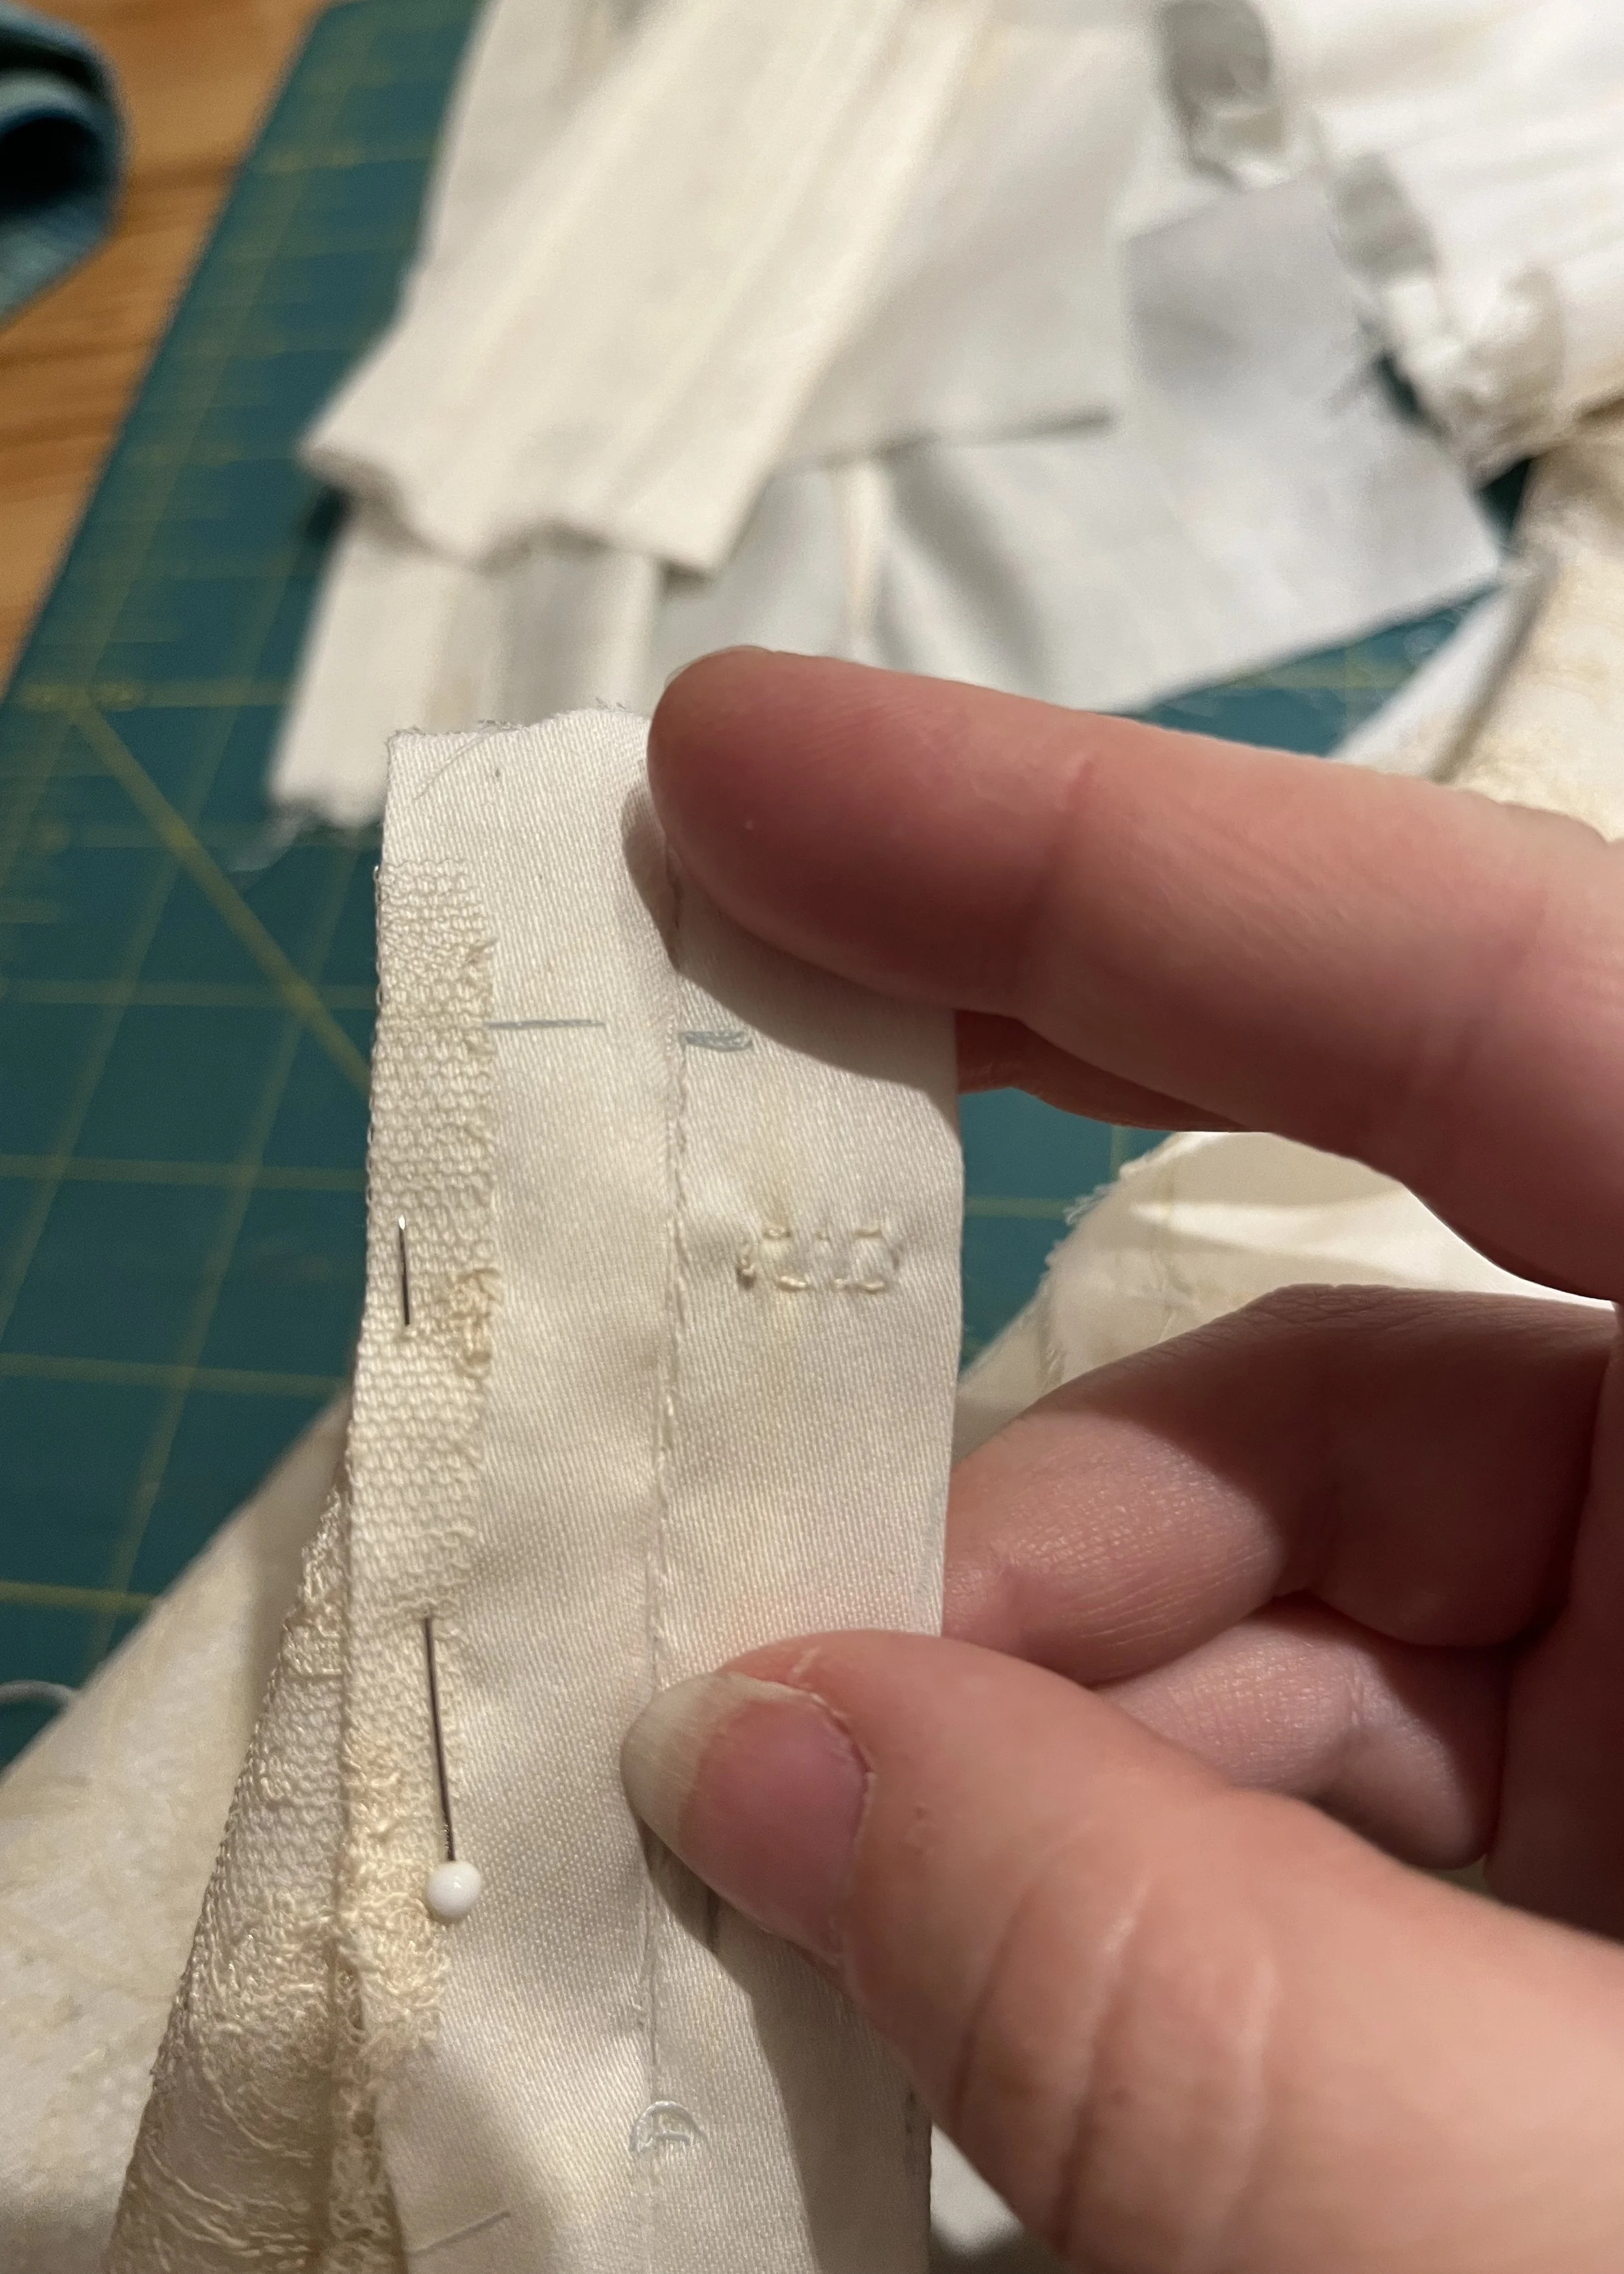
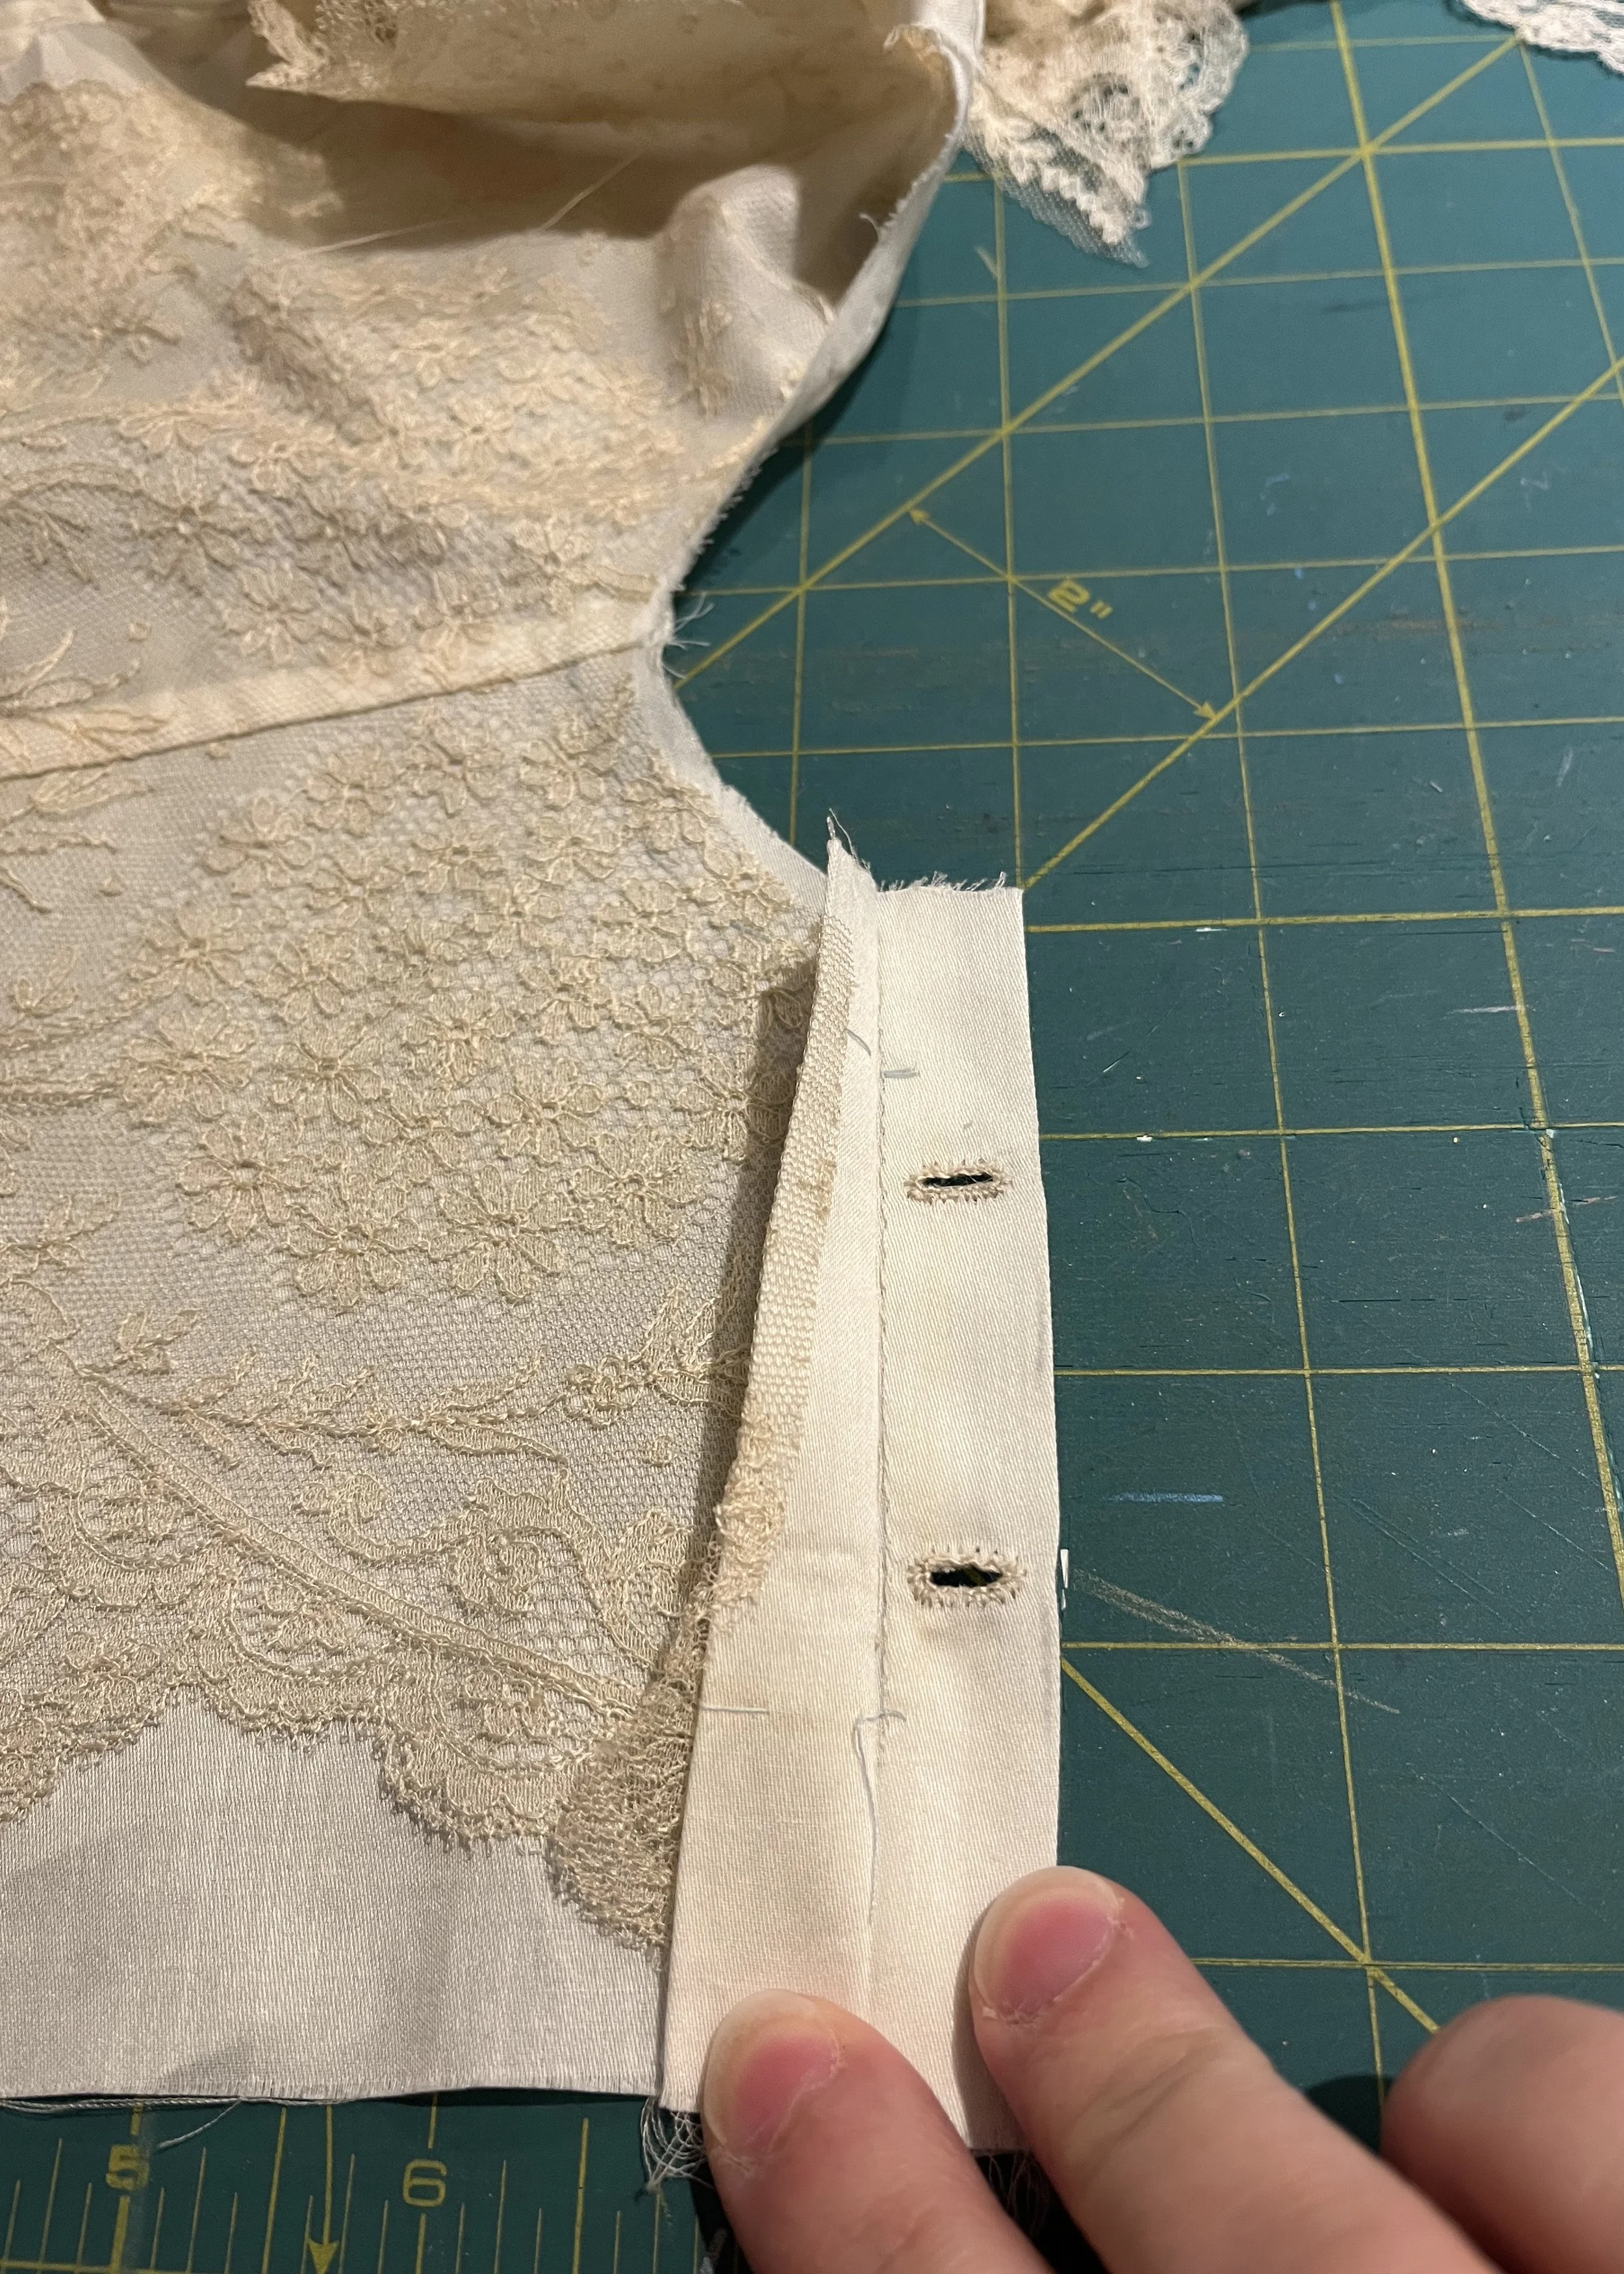
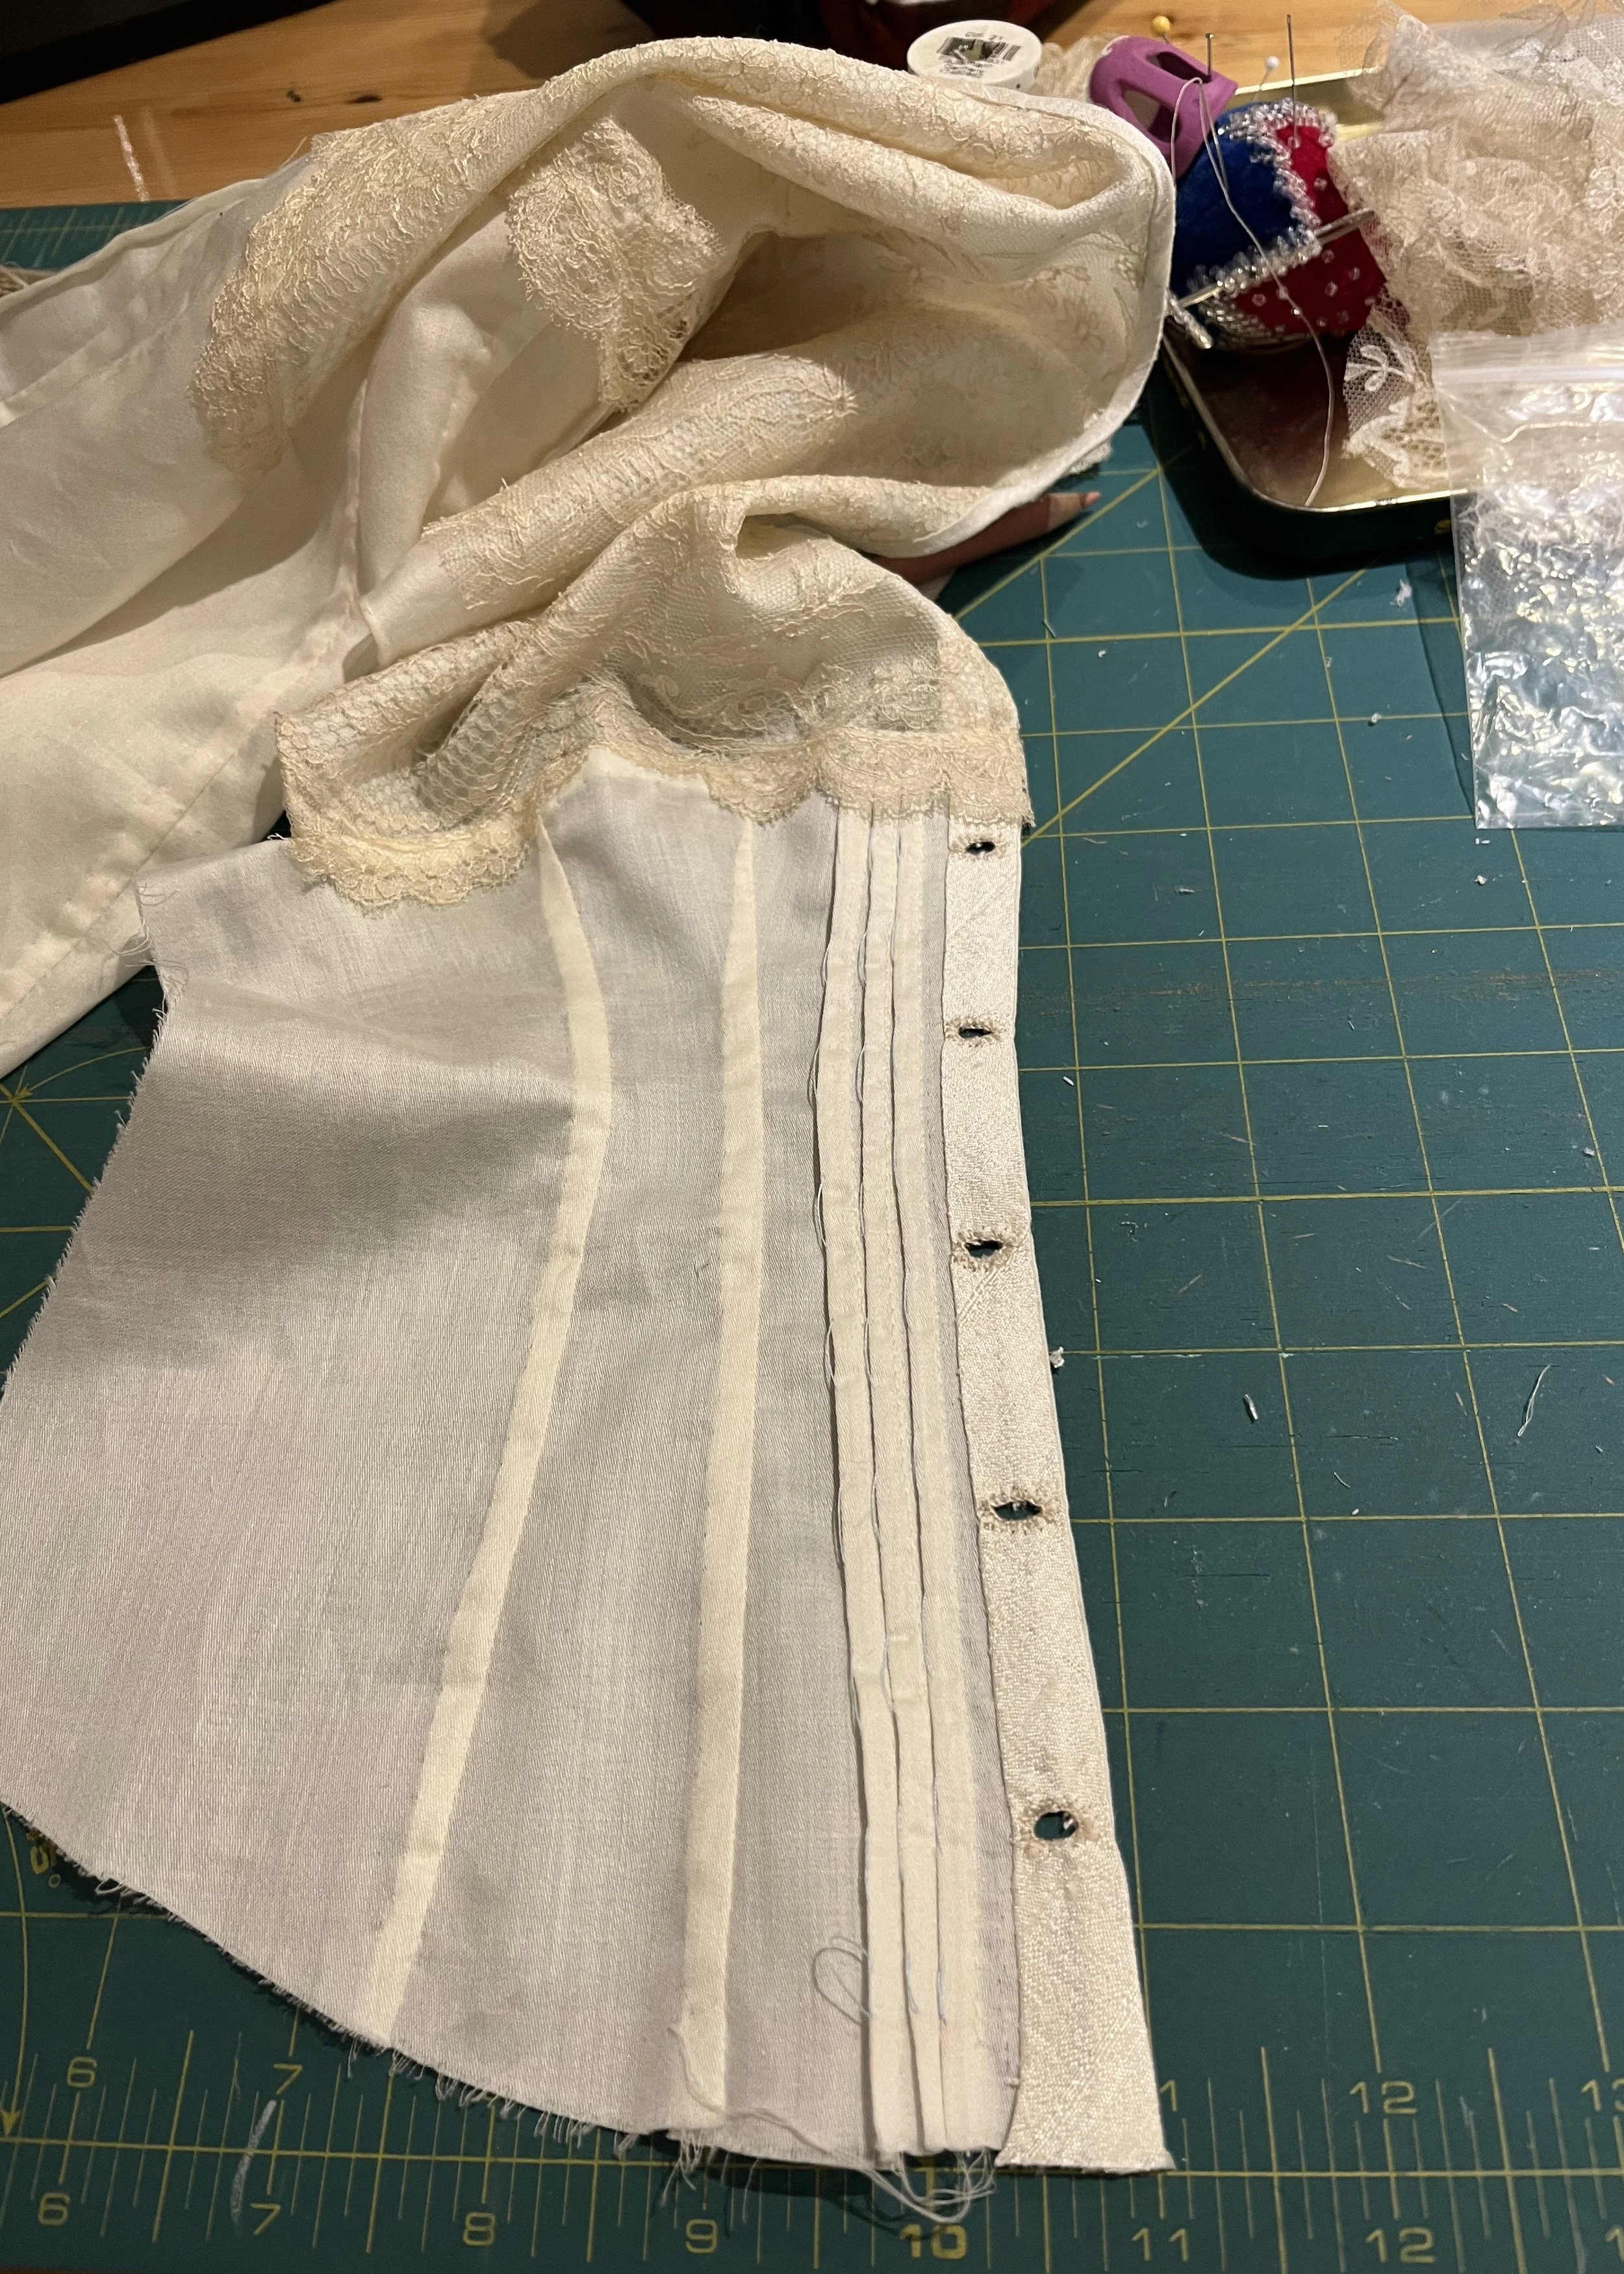
While I was flat mounting the lace, I also finished the front placket with a simple extension on the left and an invisible placket on the right.
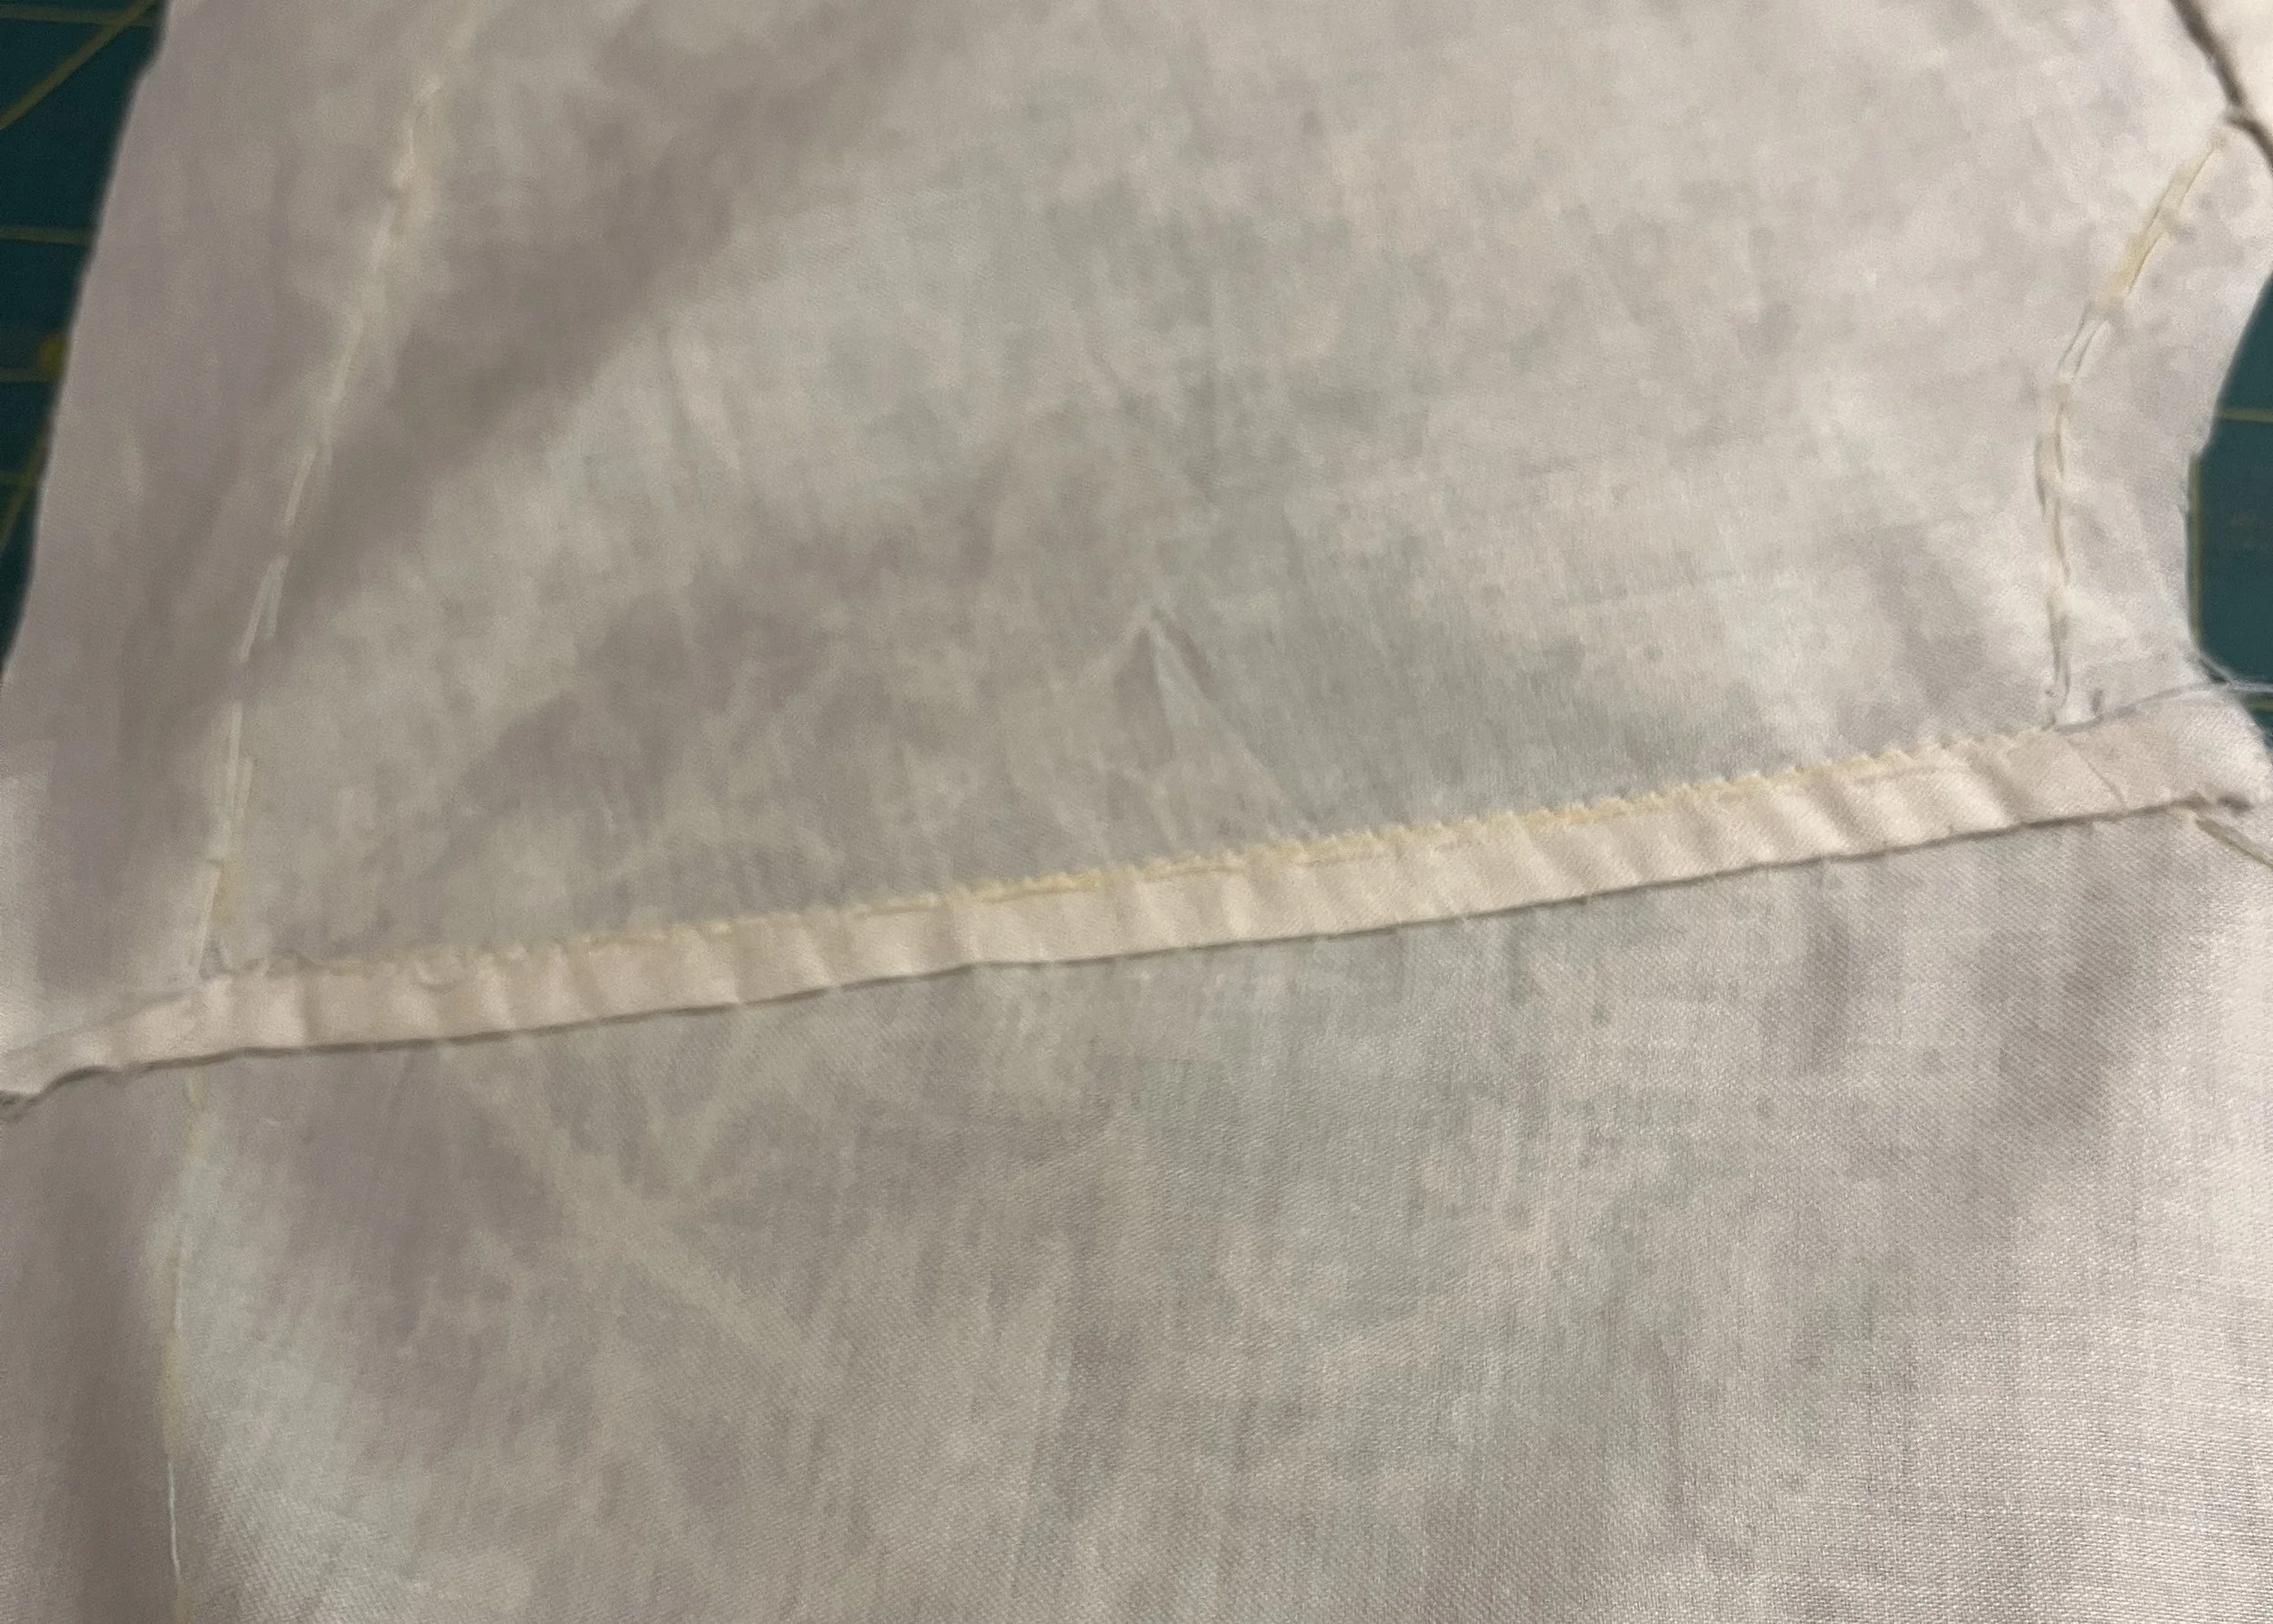
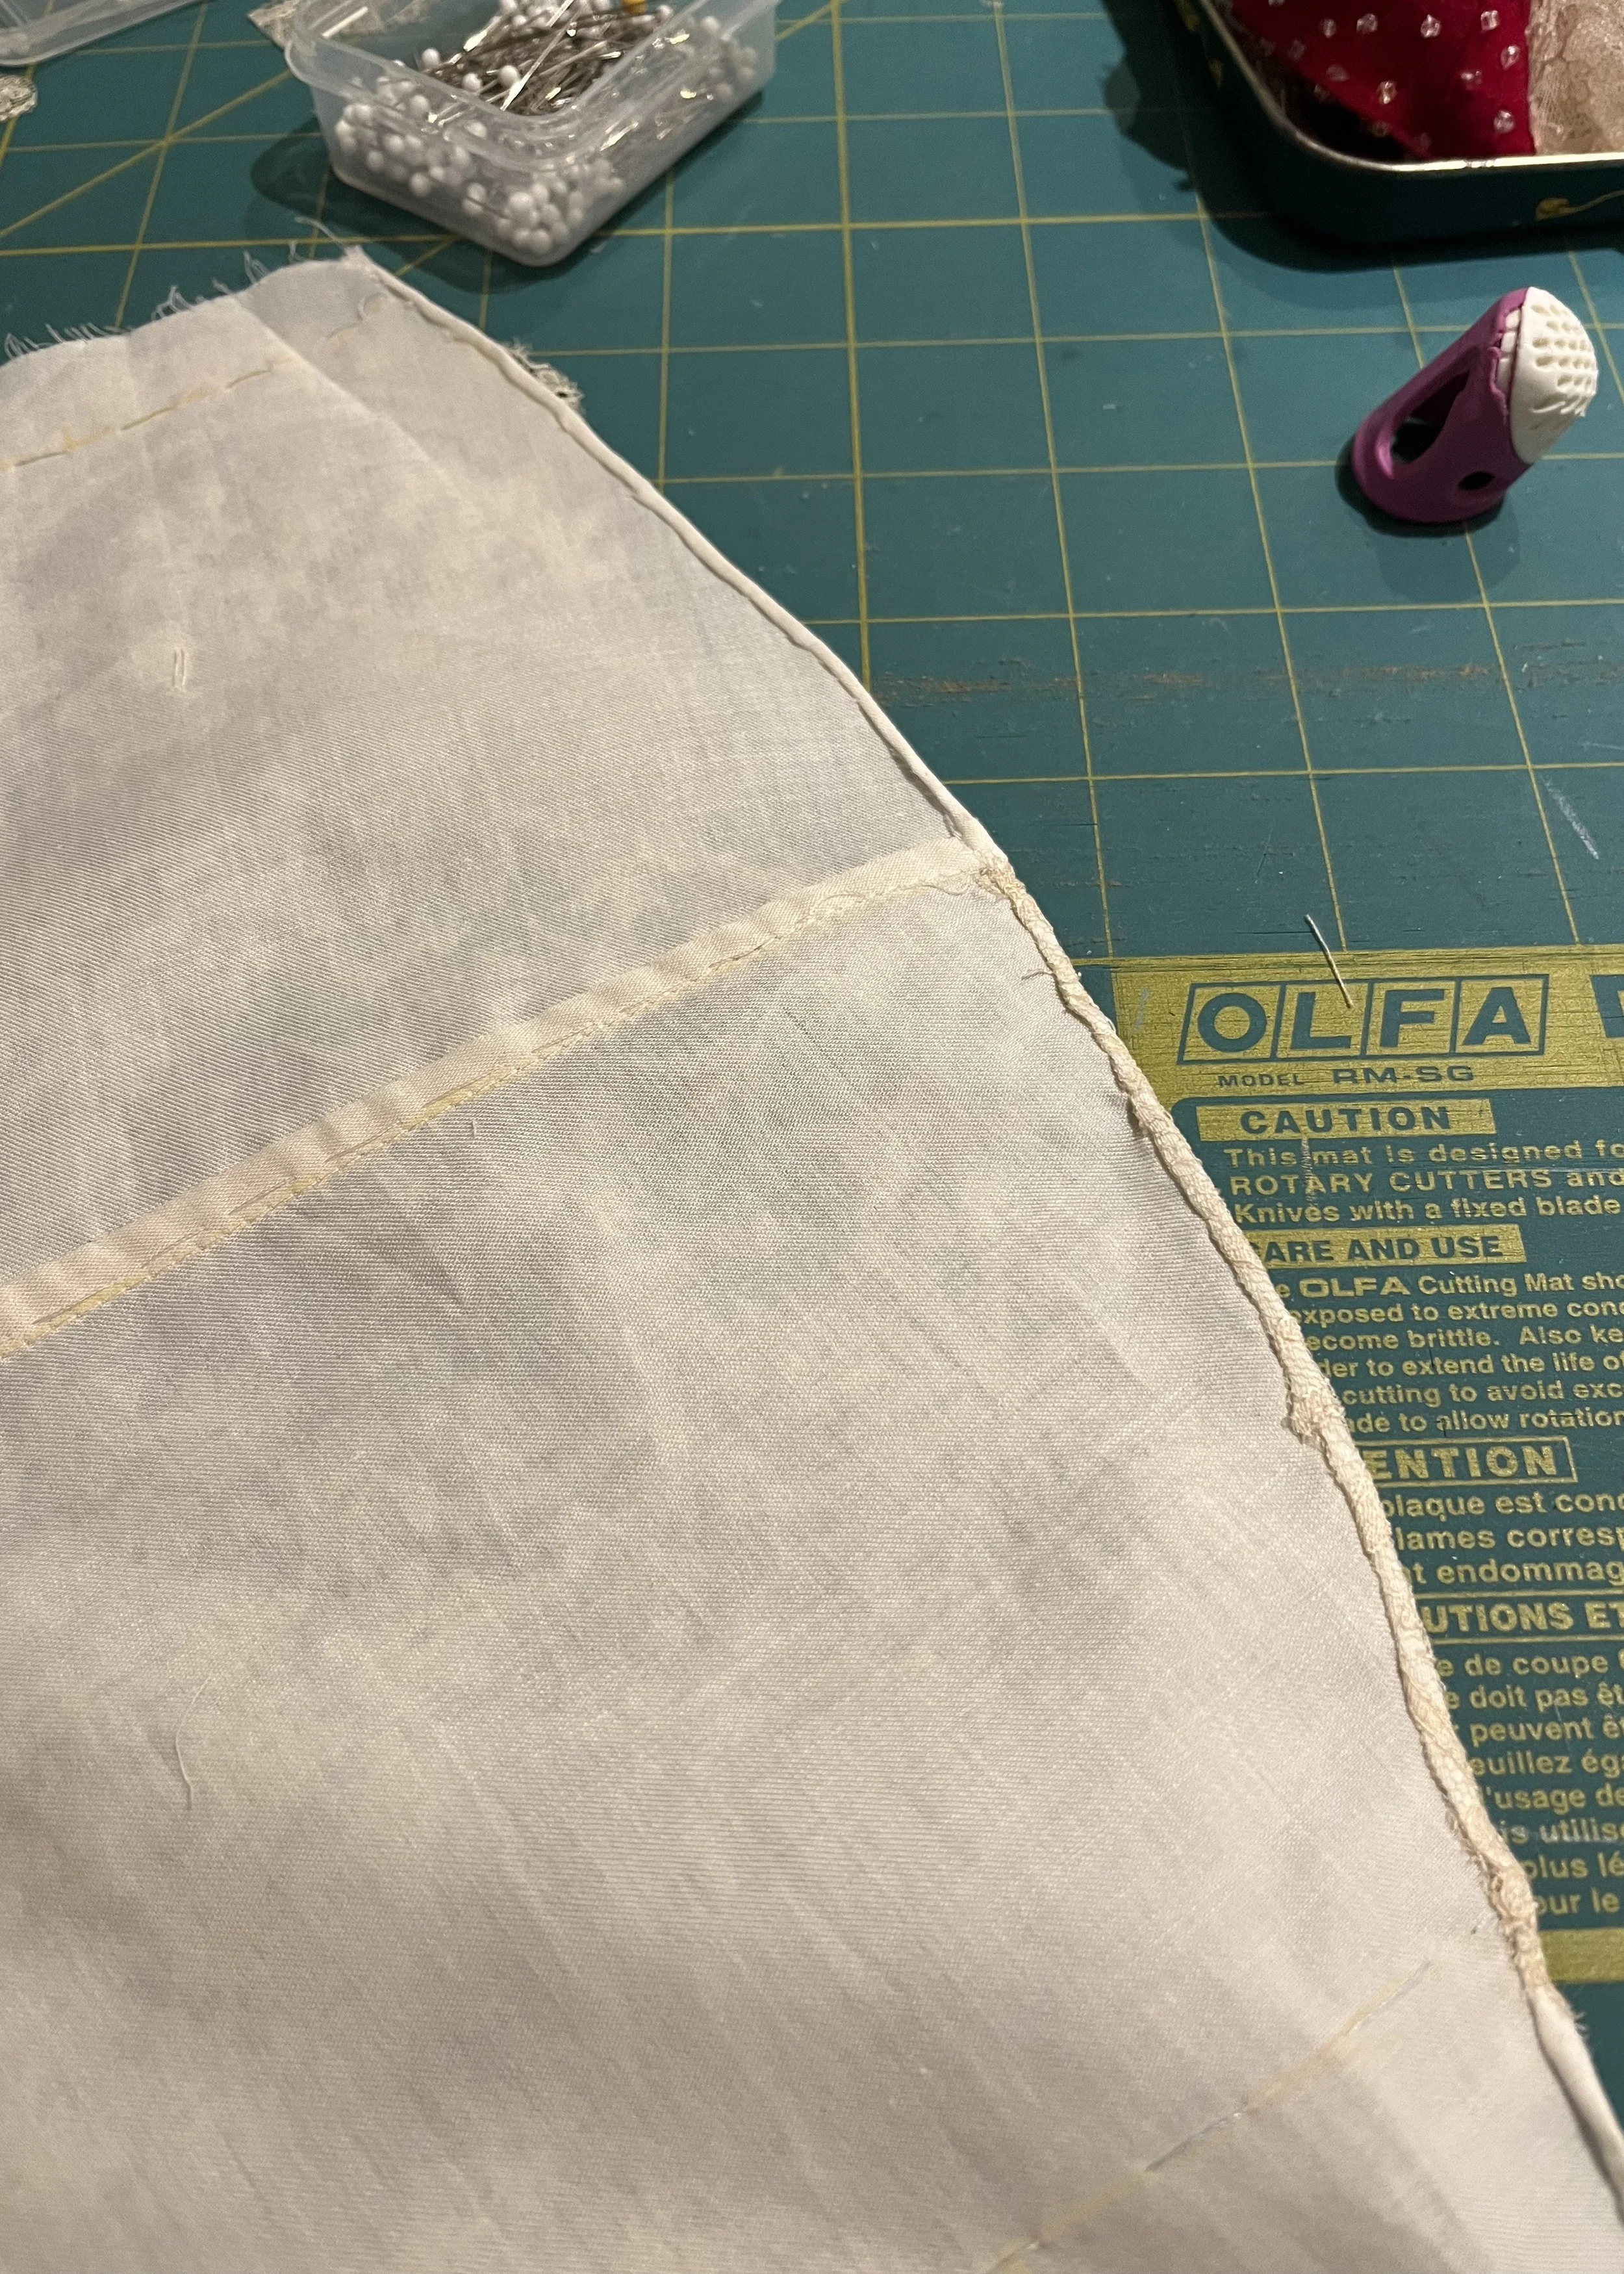
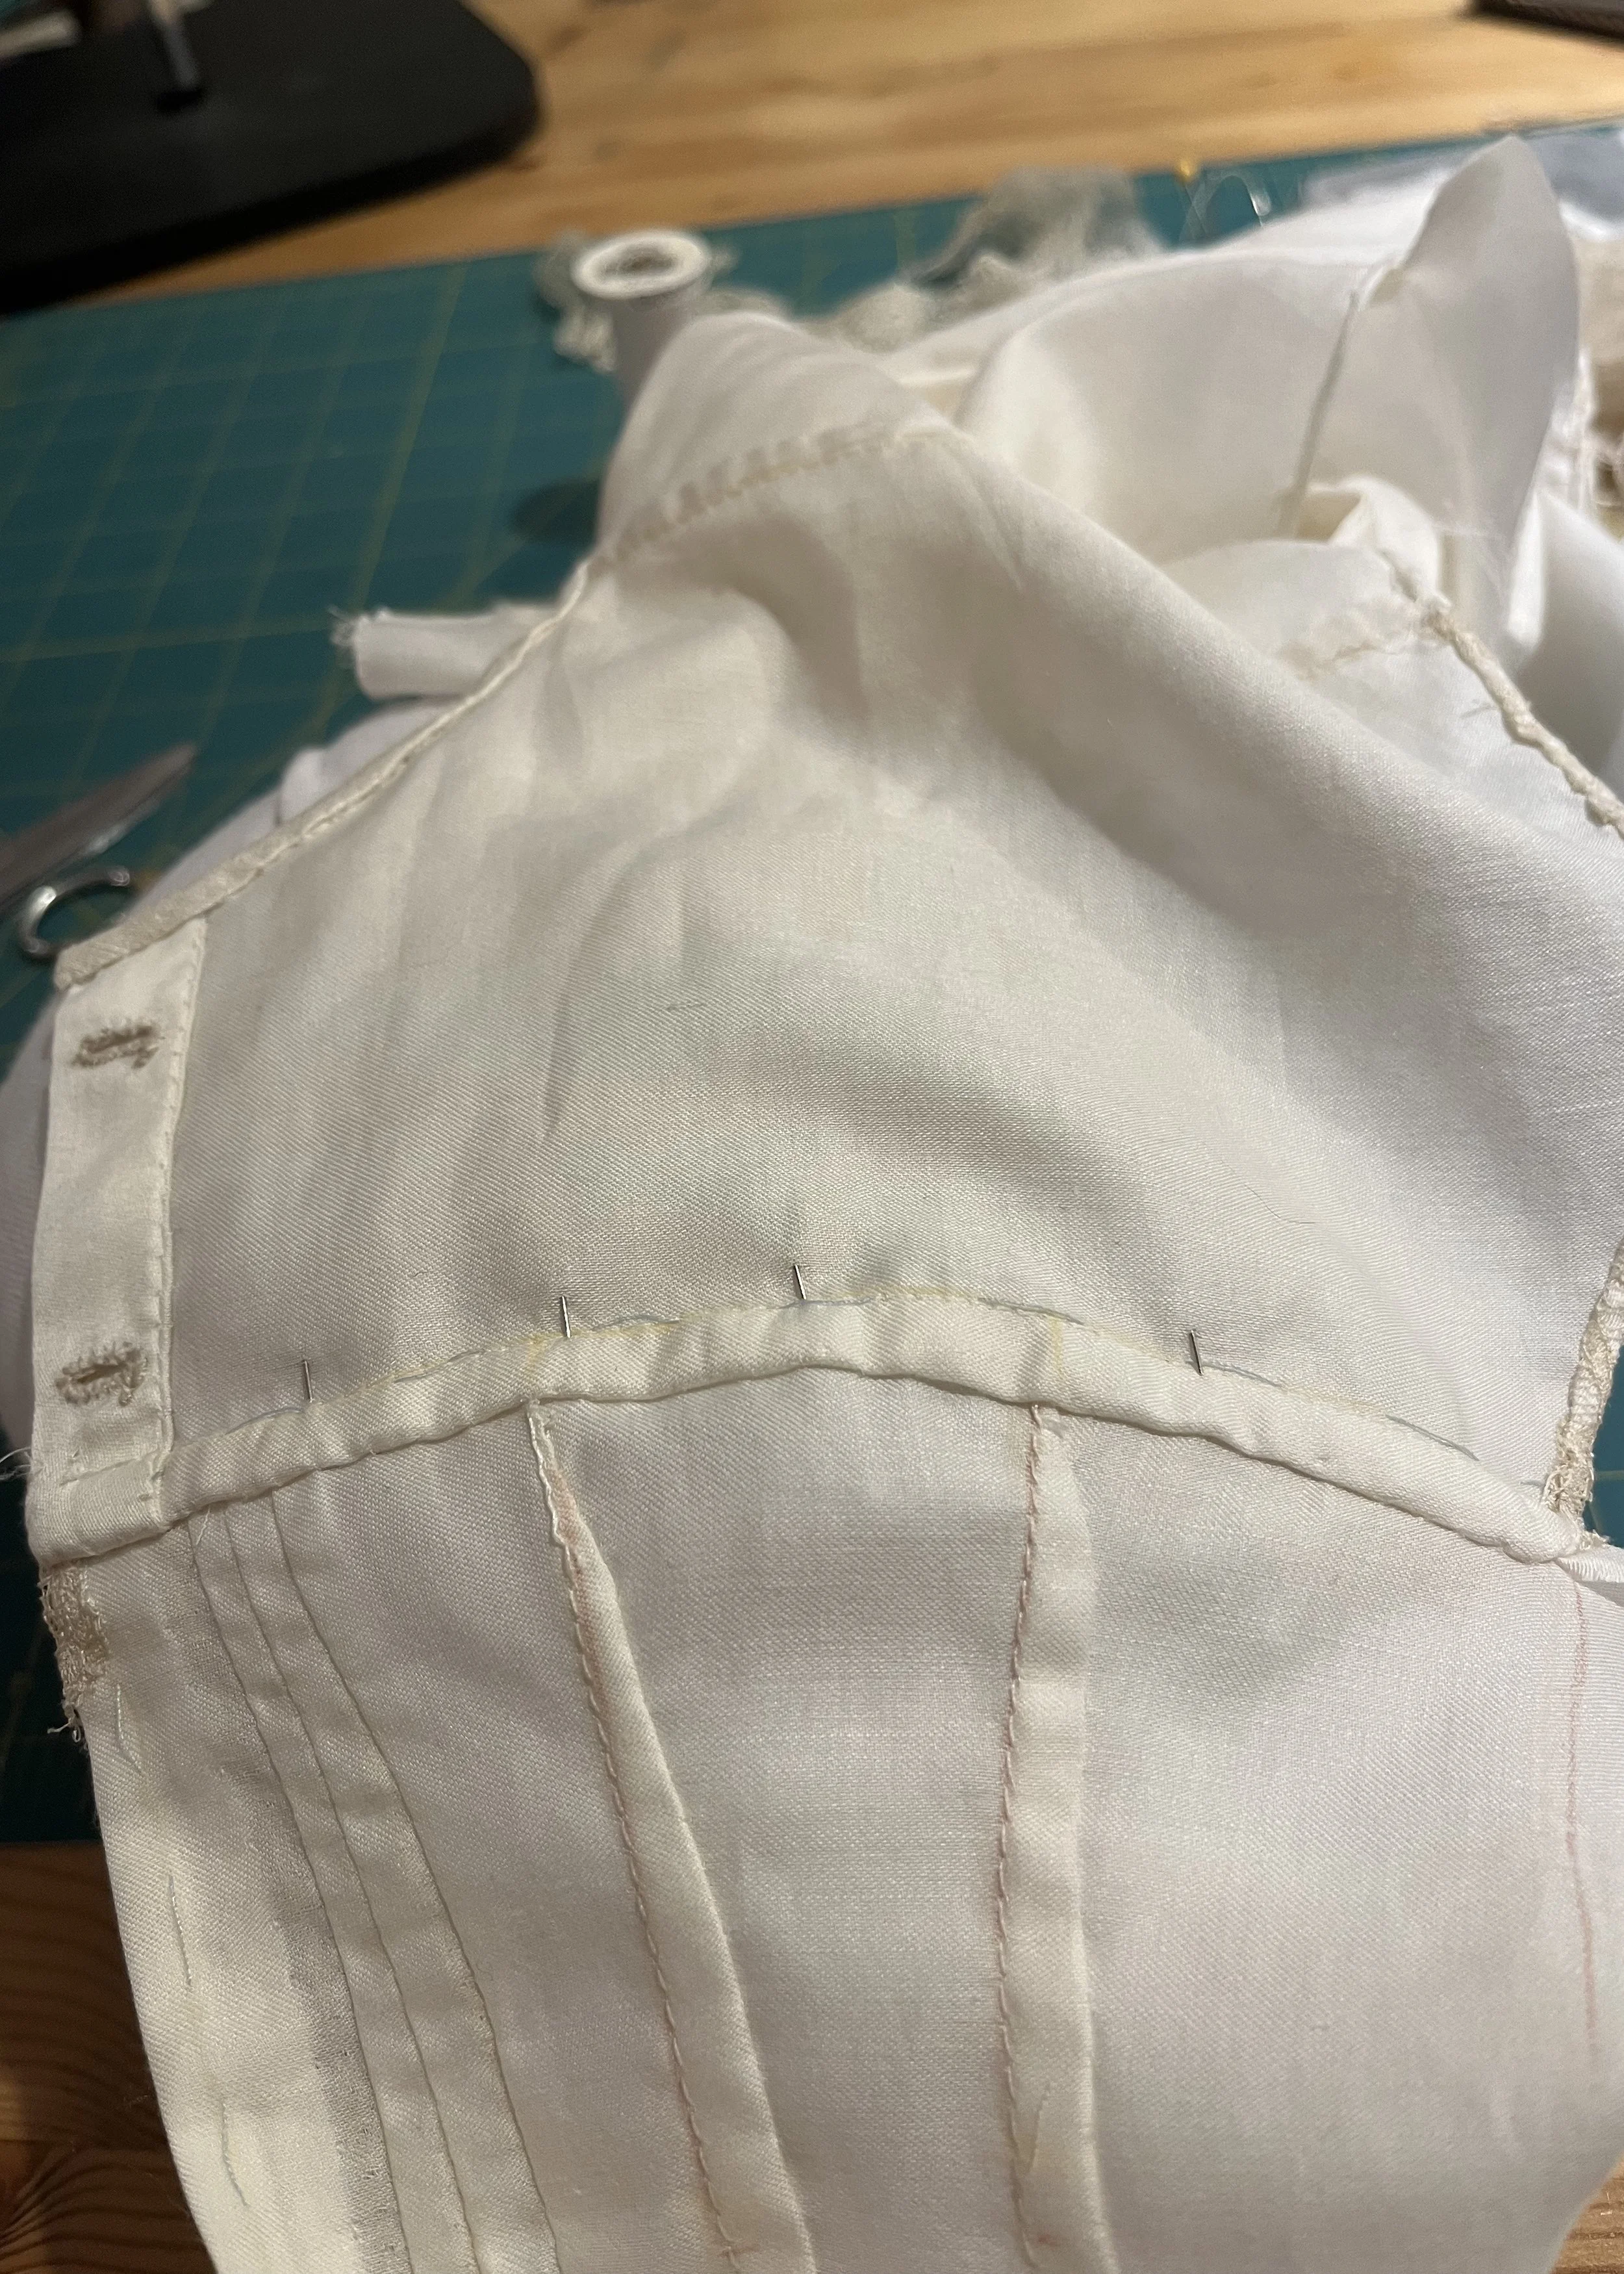
With the lace in place, I stitched and felled the shoulder seams and finished the armholes with a hand rolled hem. I then worked two buttonholes on the inner layer of the right placket before I finished the neckline with narrow binding in the same silk as the placket on the body of the cover. I then stitched the yokes to the body and felled those seams as well.
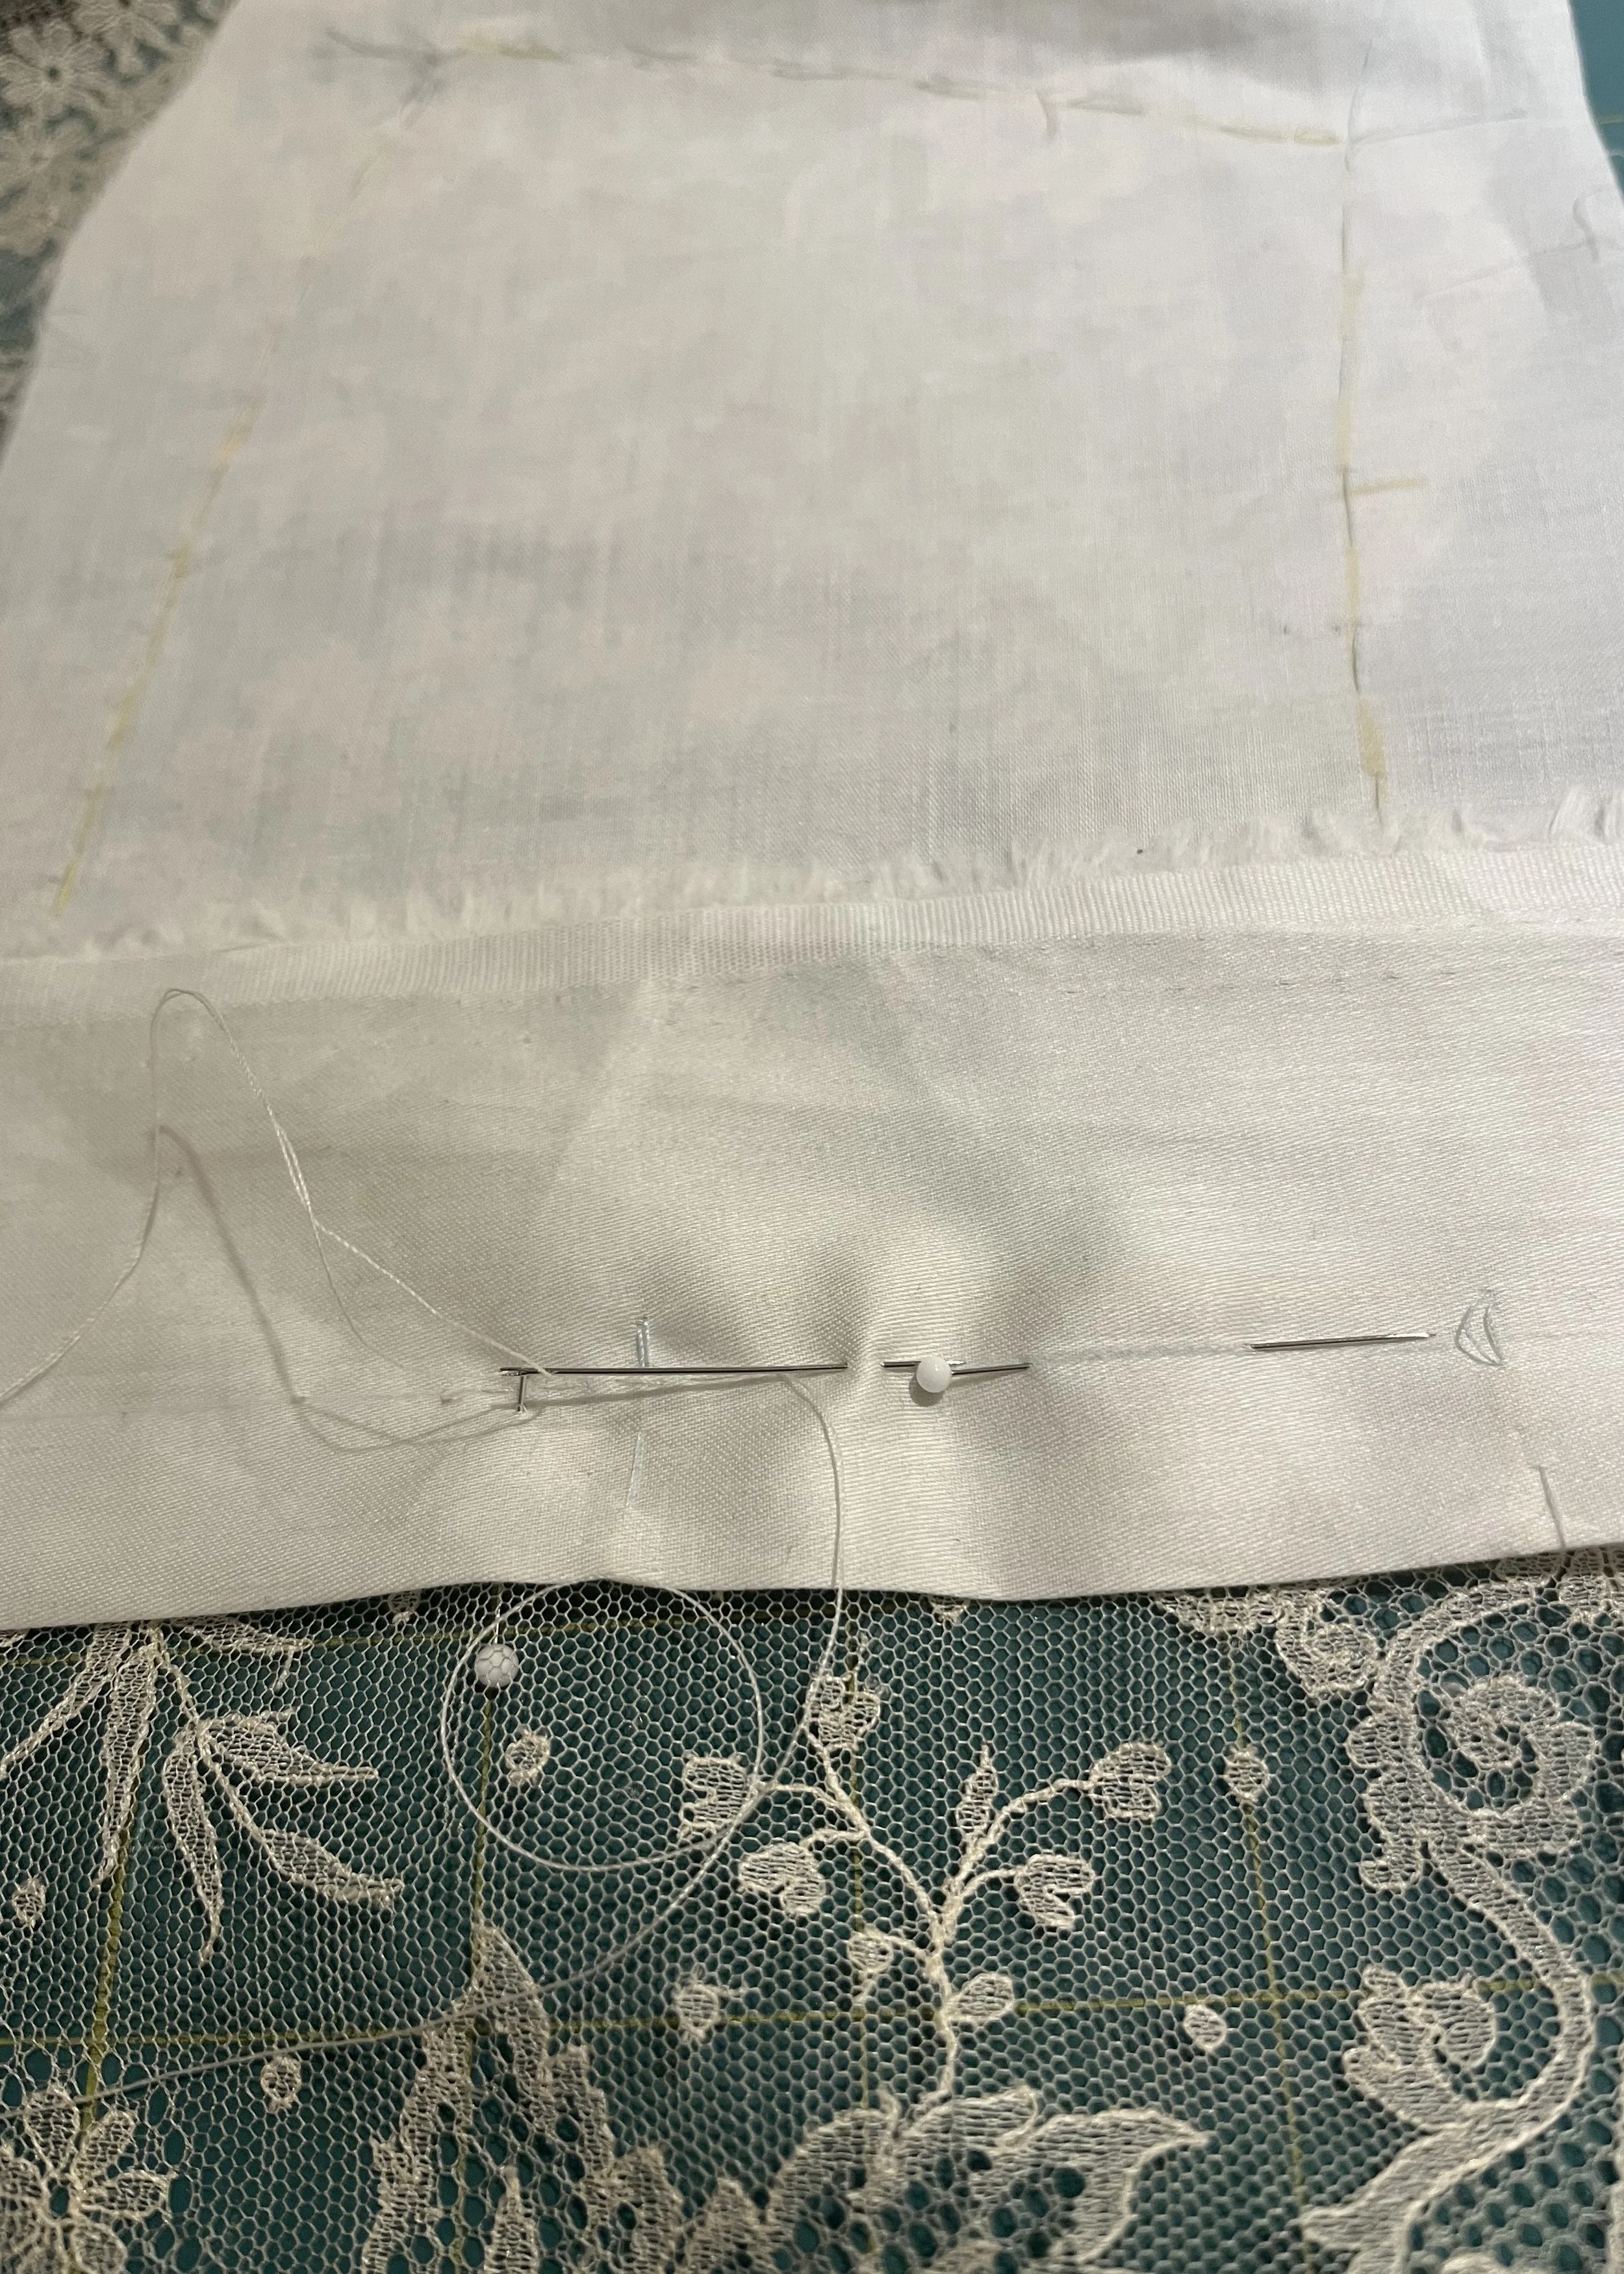
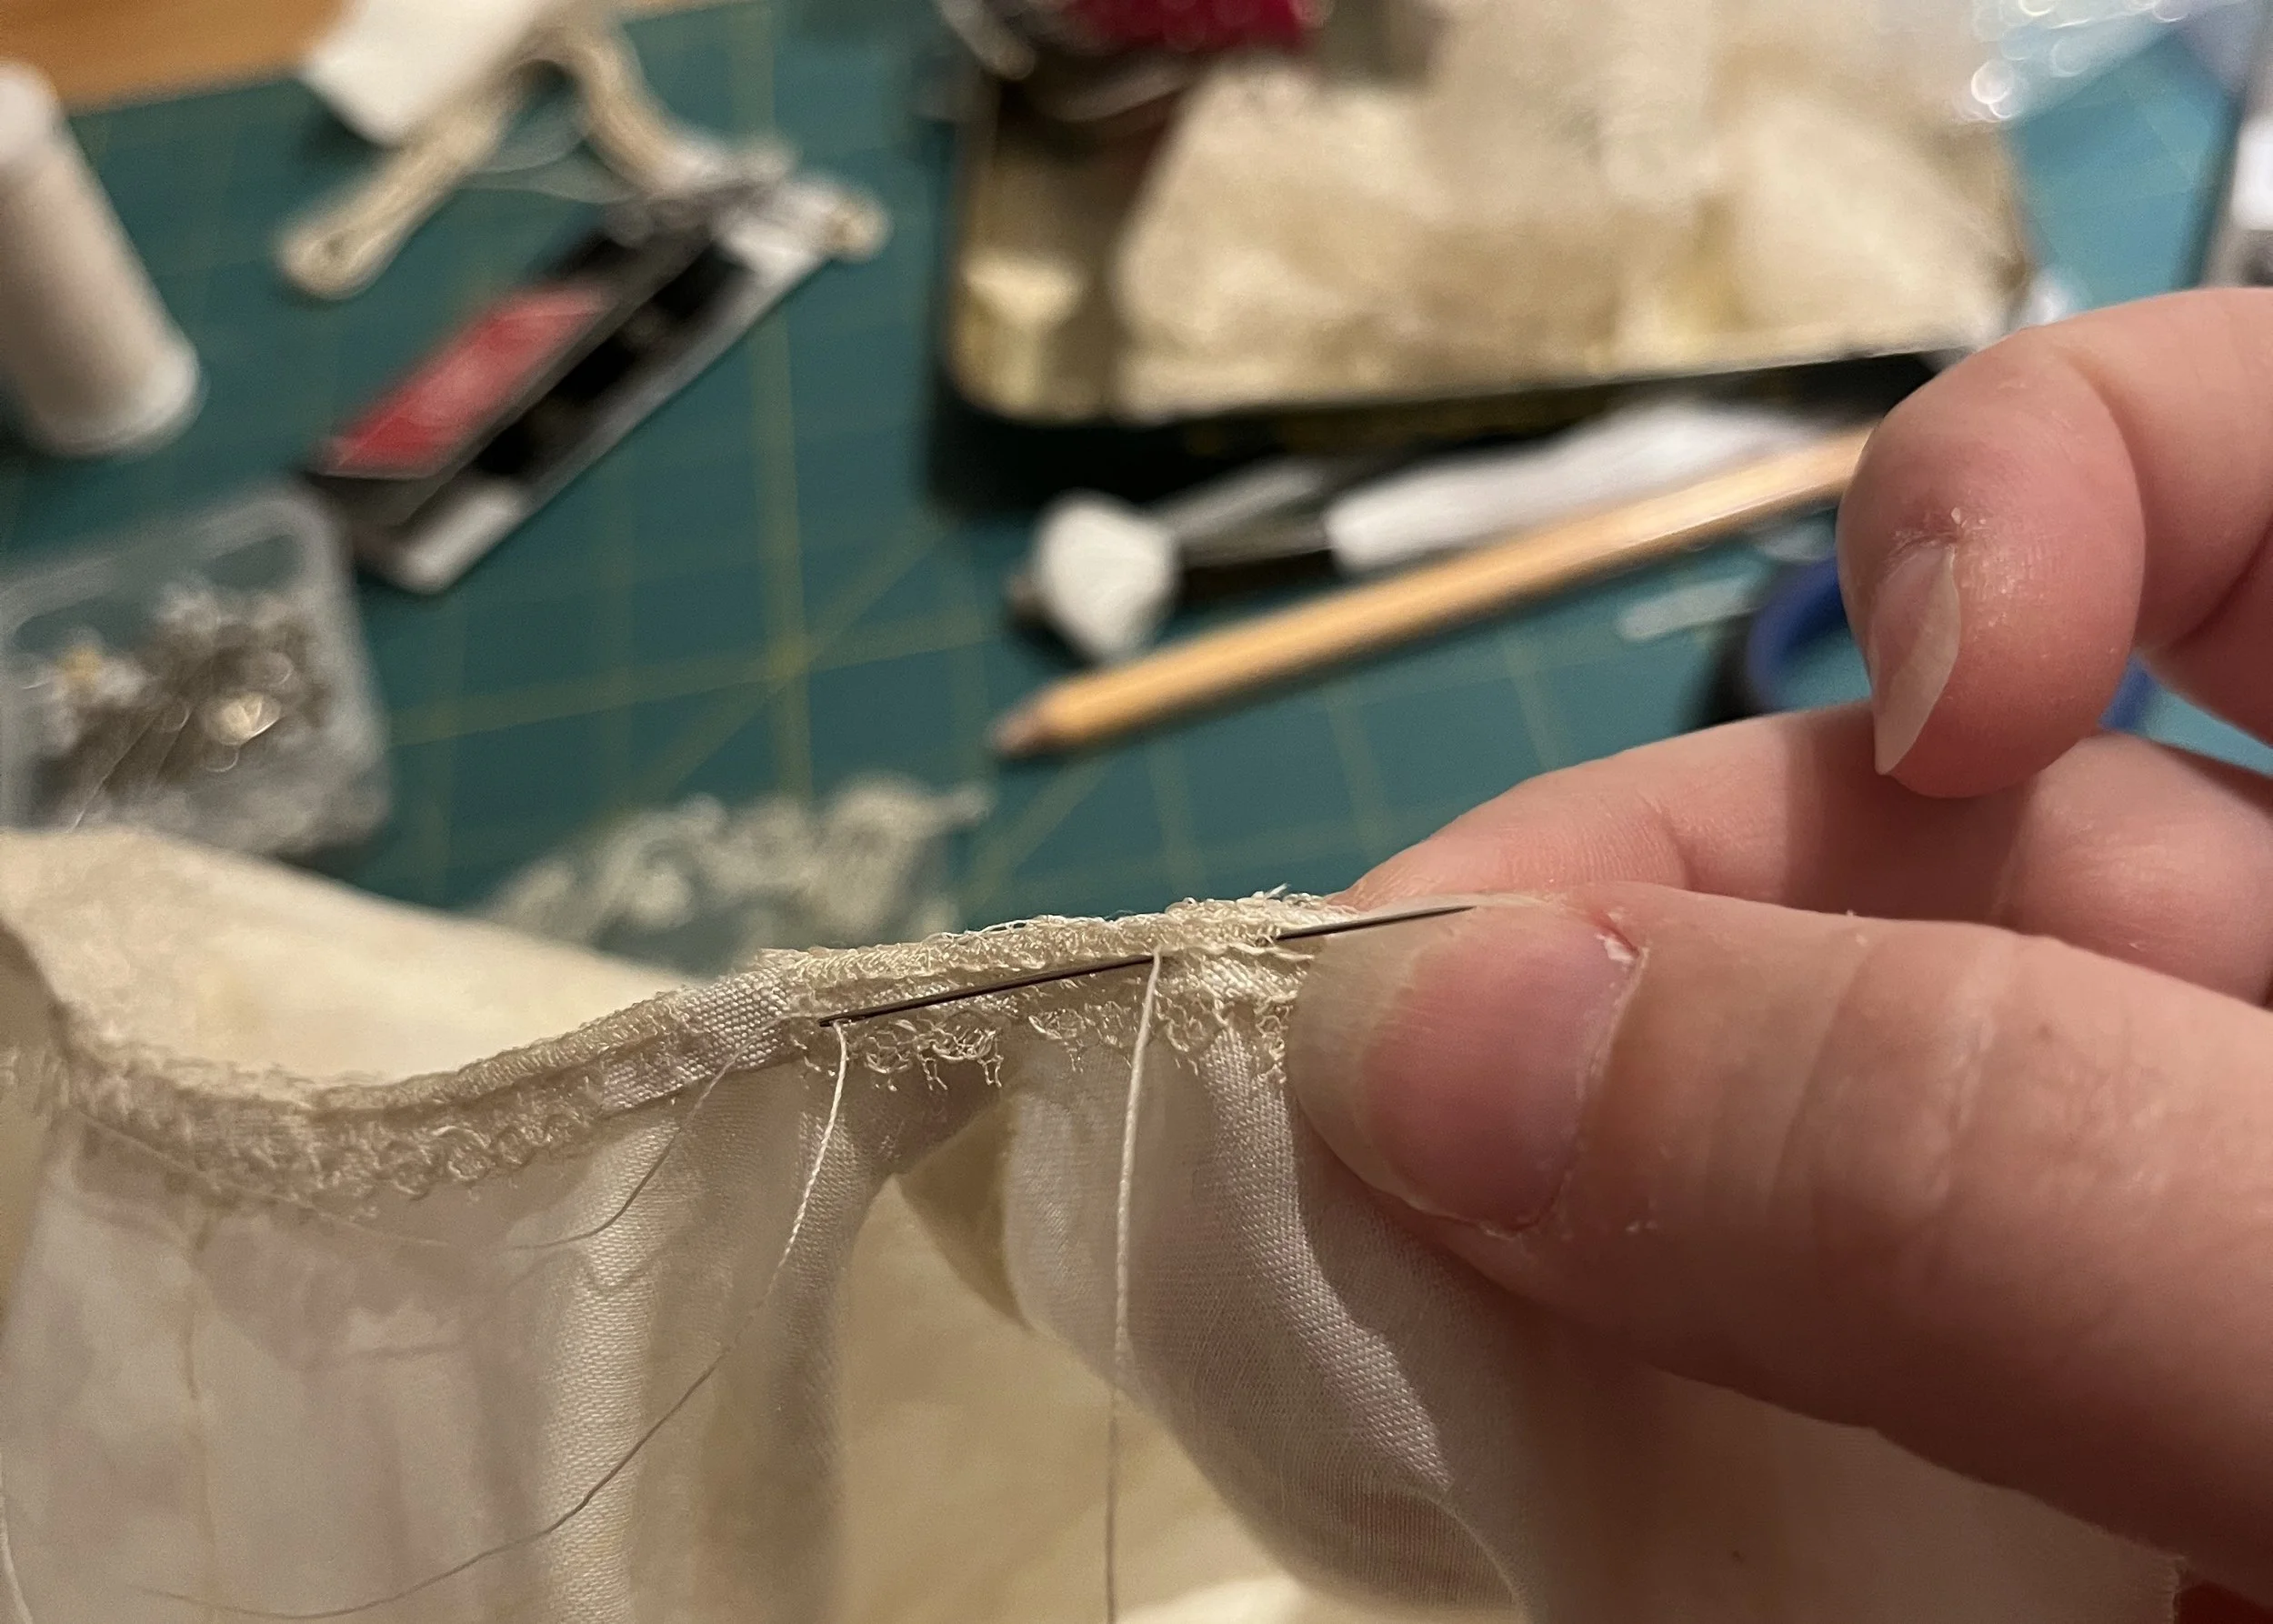
Felling the back yoke seam.
When I was applying the lace to the yokes, I had left the lower edges free for stitching this seam and at this point I finished stitching down the lace by hand. Before closing the side seams, I worked the rest of the buttonholes and marked the button placement while it was still easy to lay the front flat.
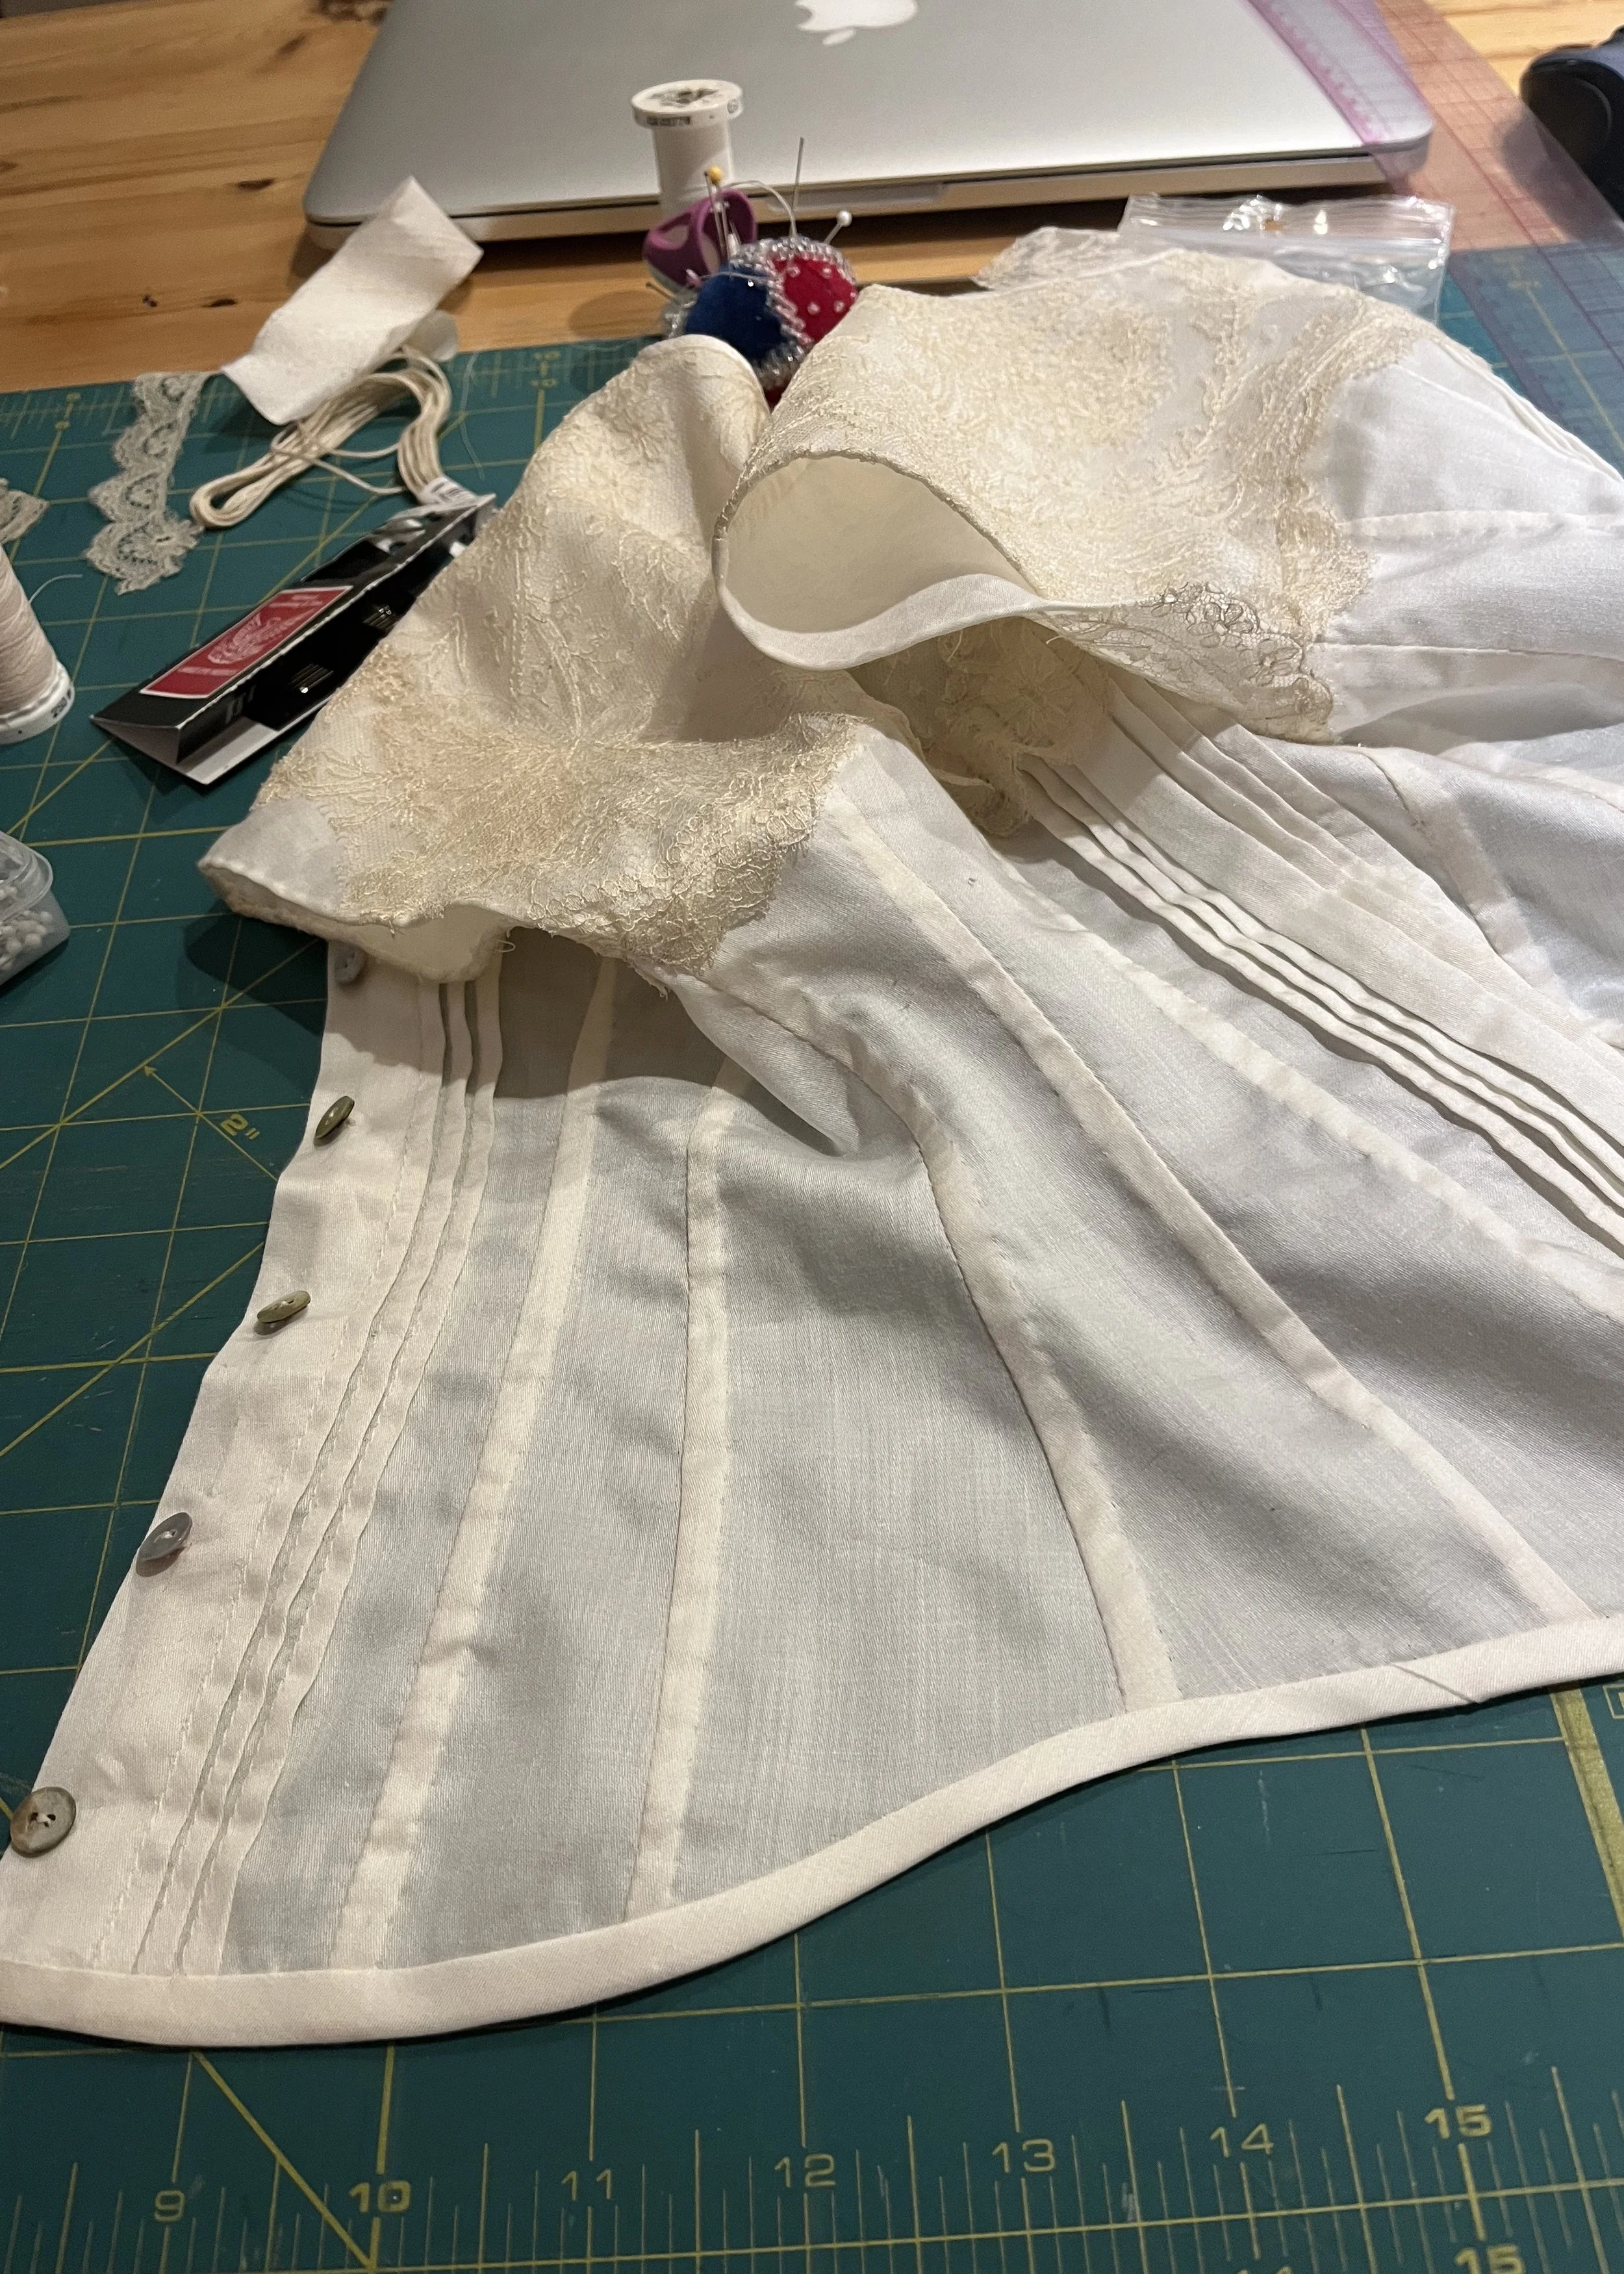
After applying the buttons, I stitched and finished the side seams then trimmed the hem and finished it with binding in the same cotton batiste as the body of the cover.
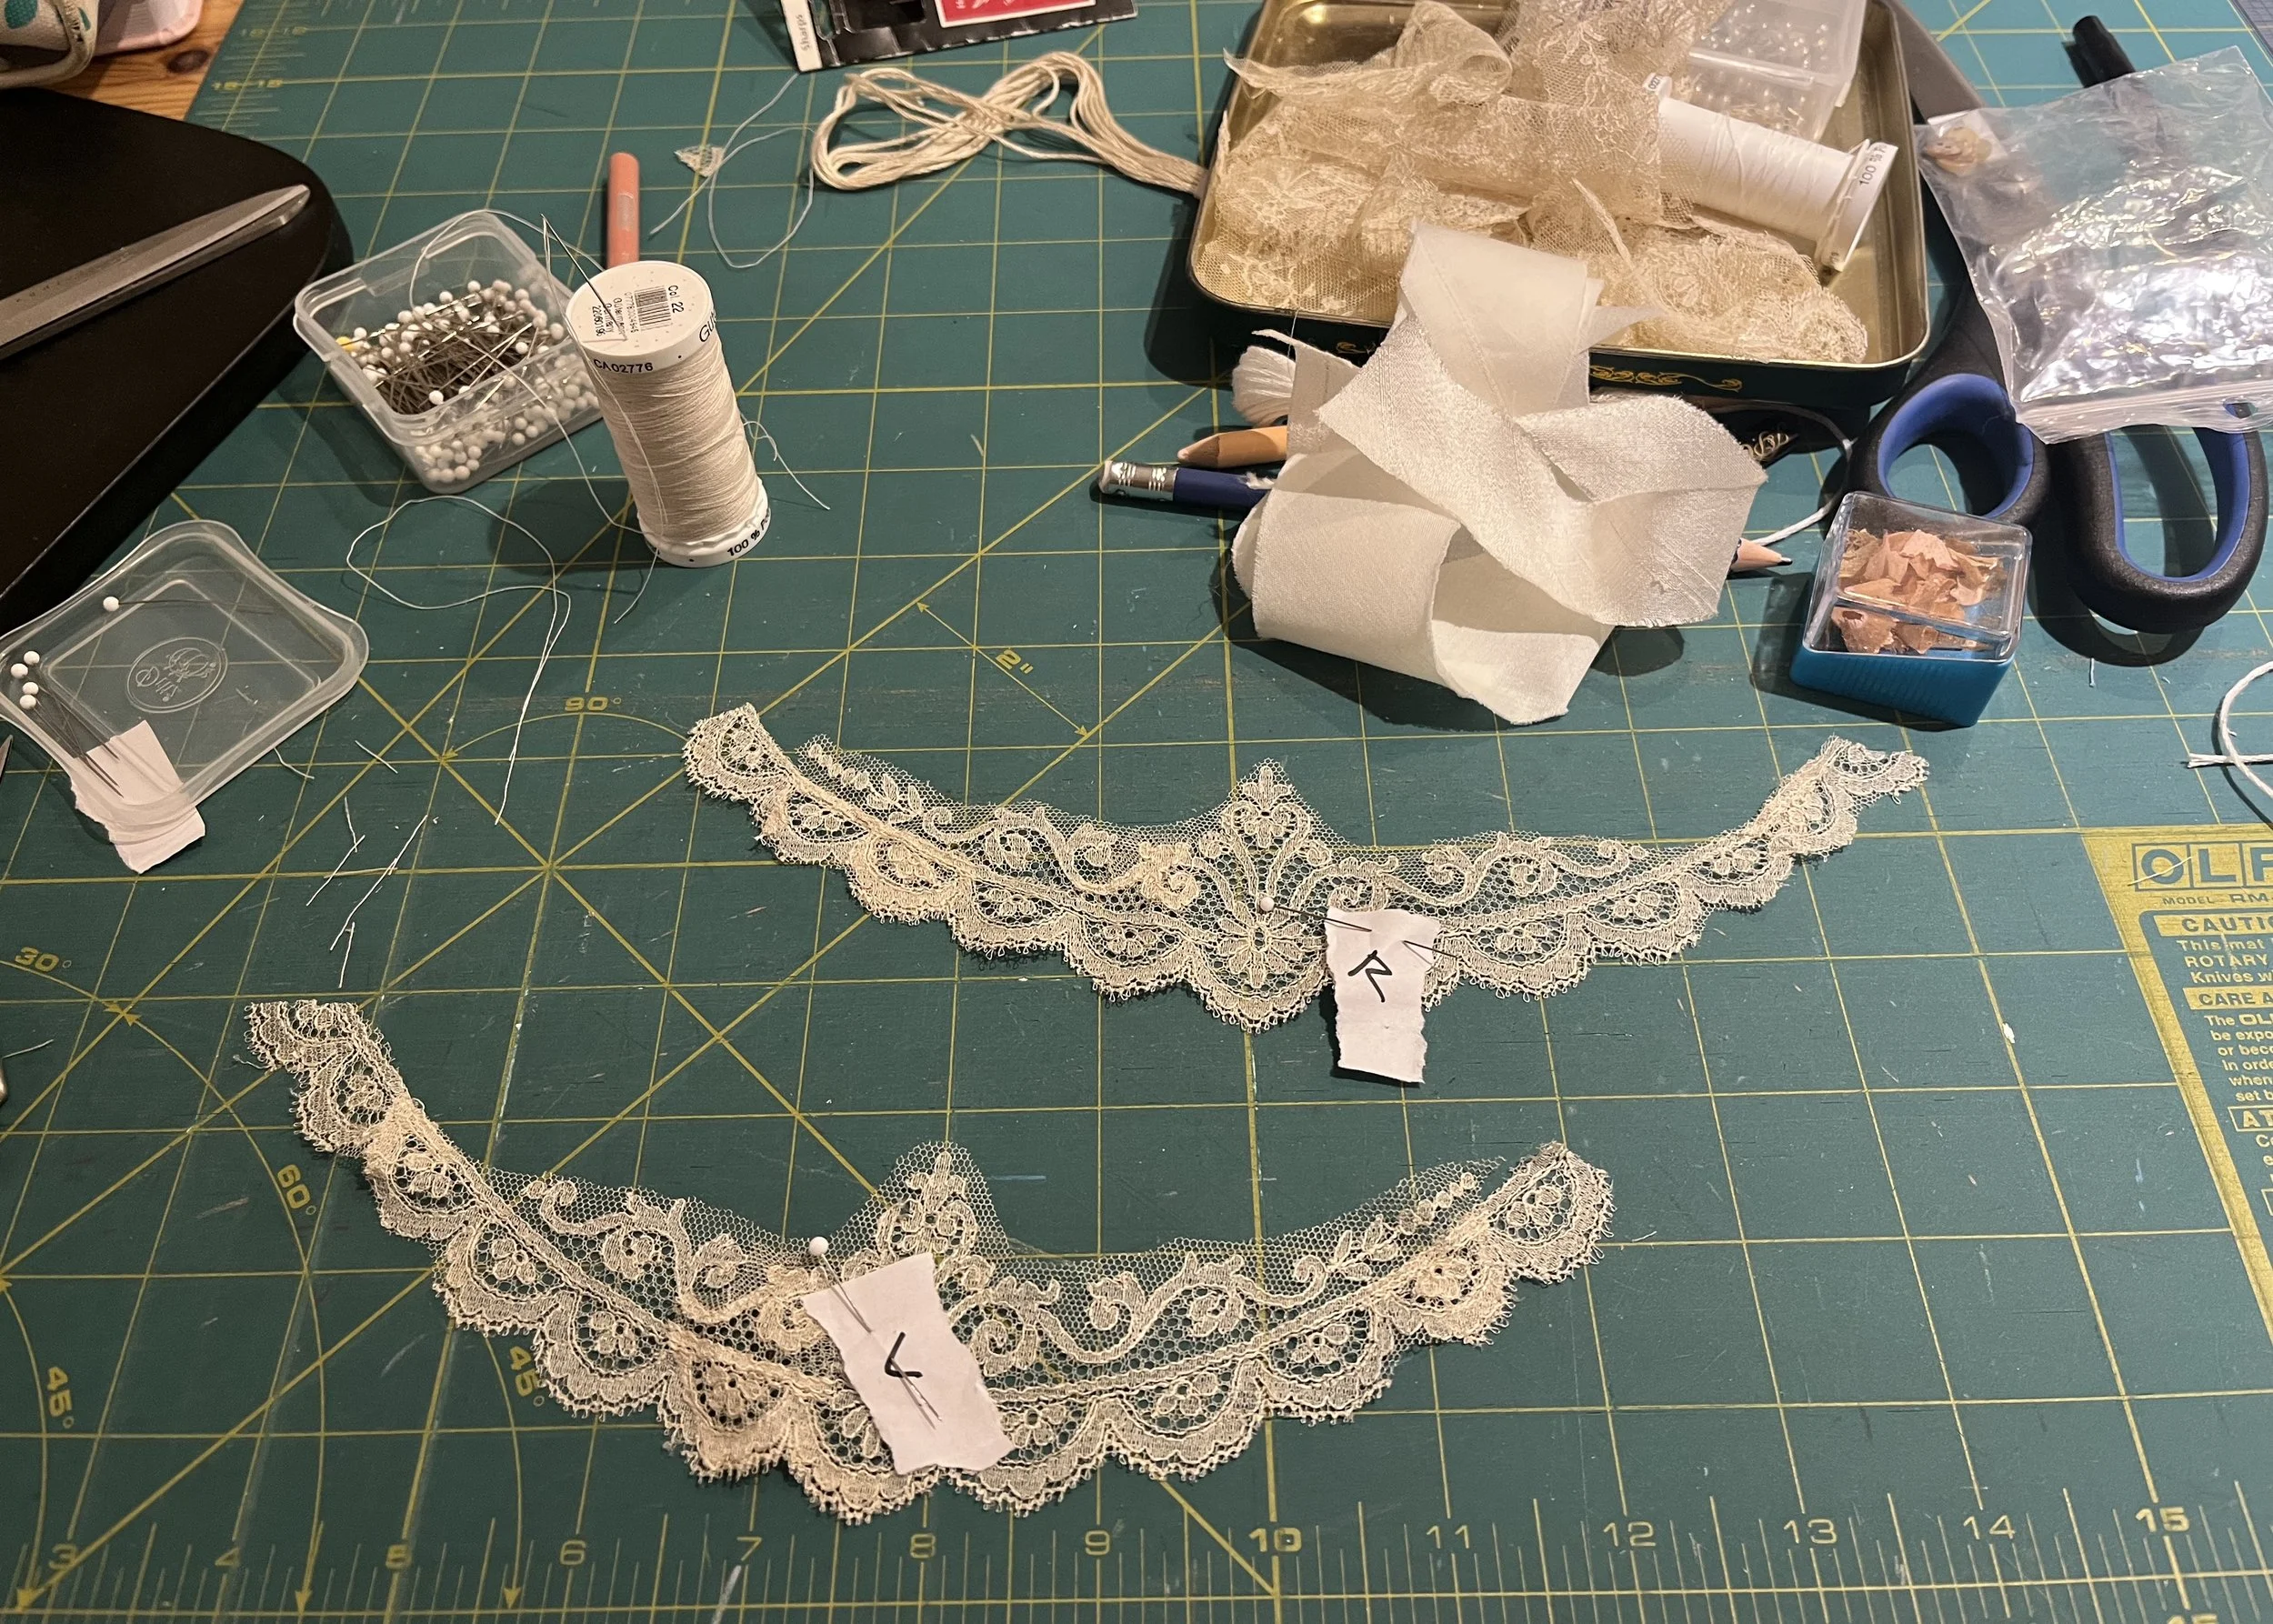
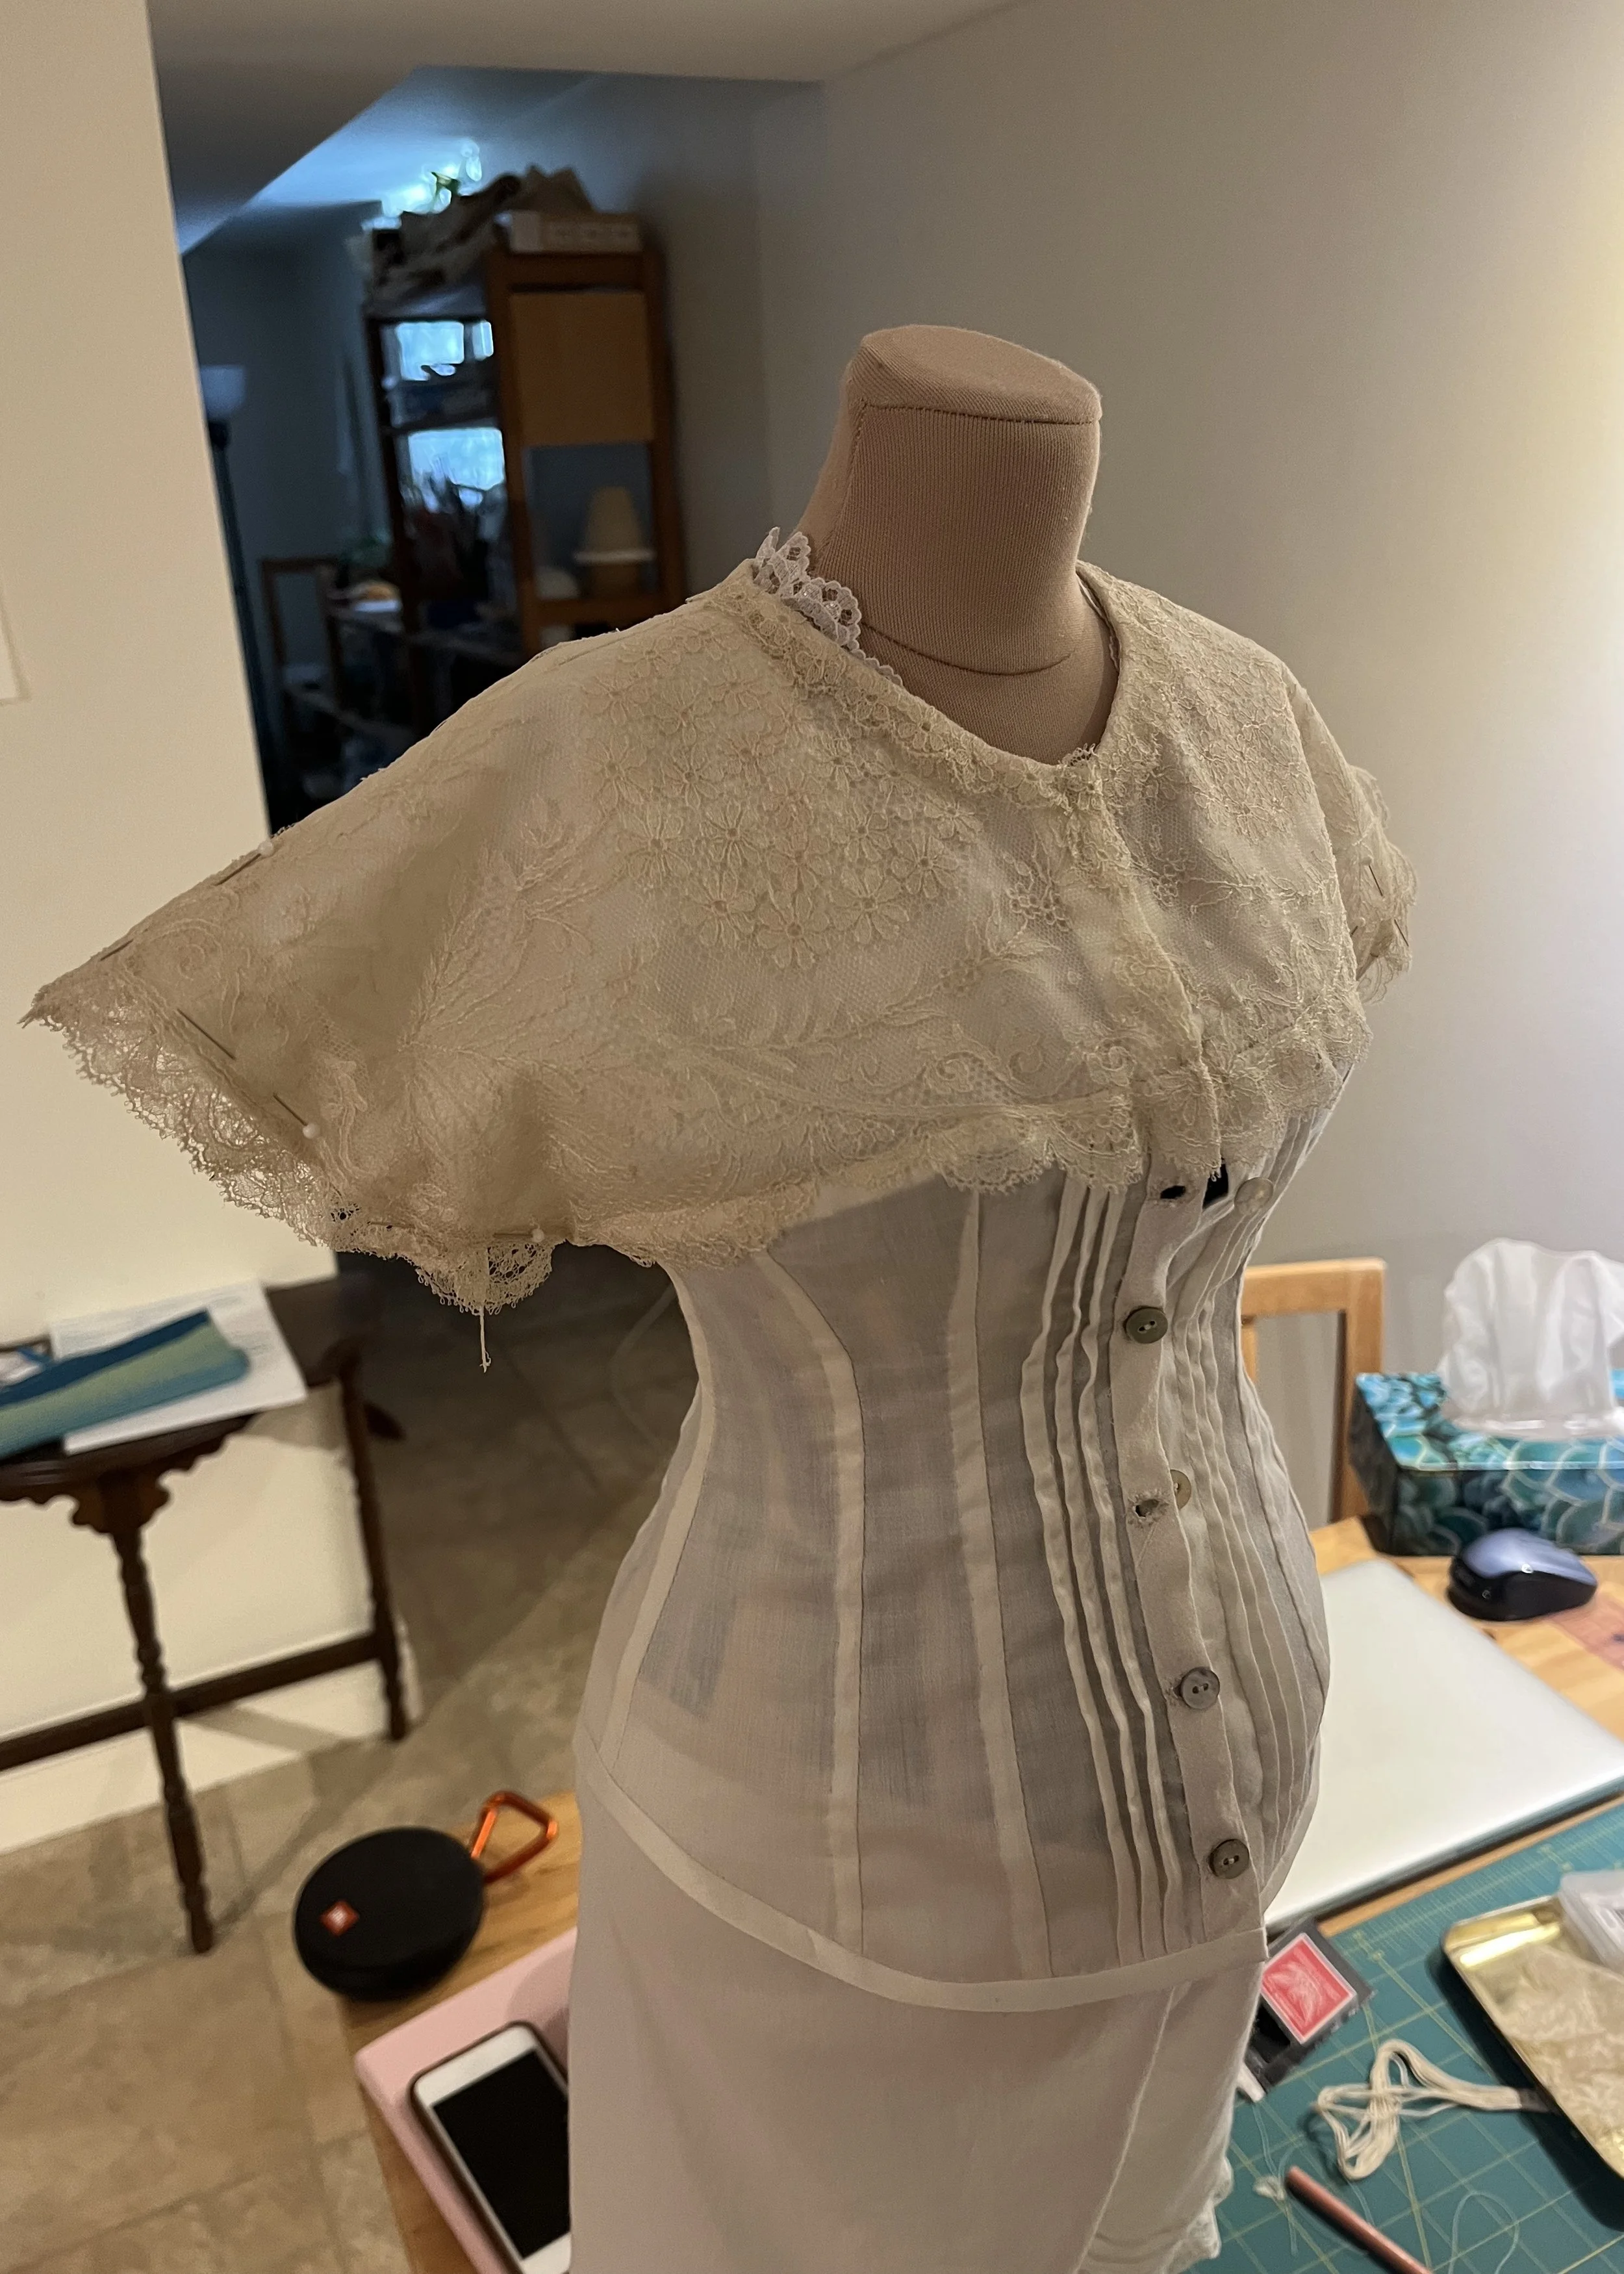
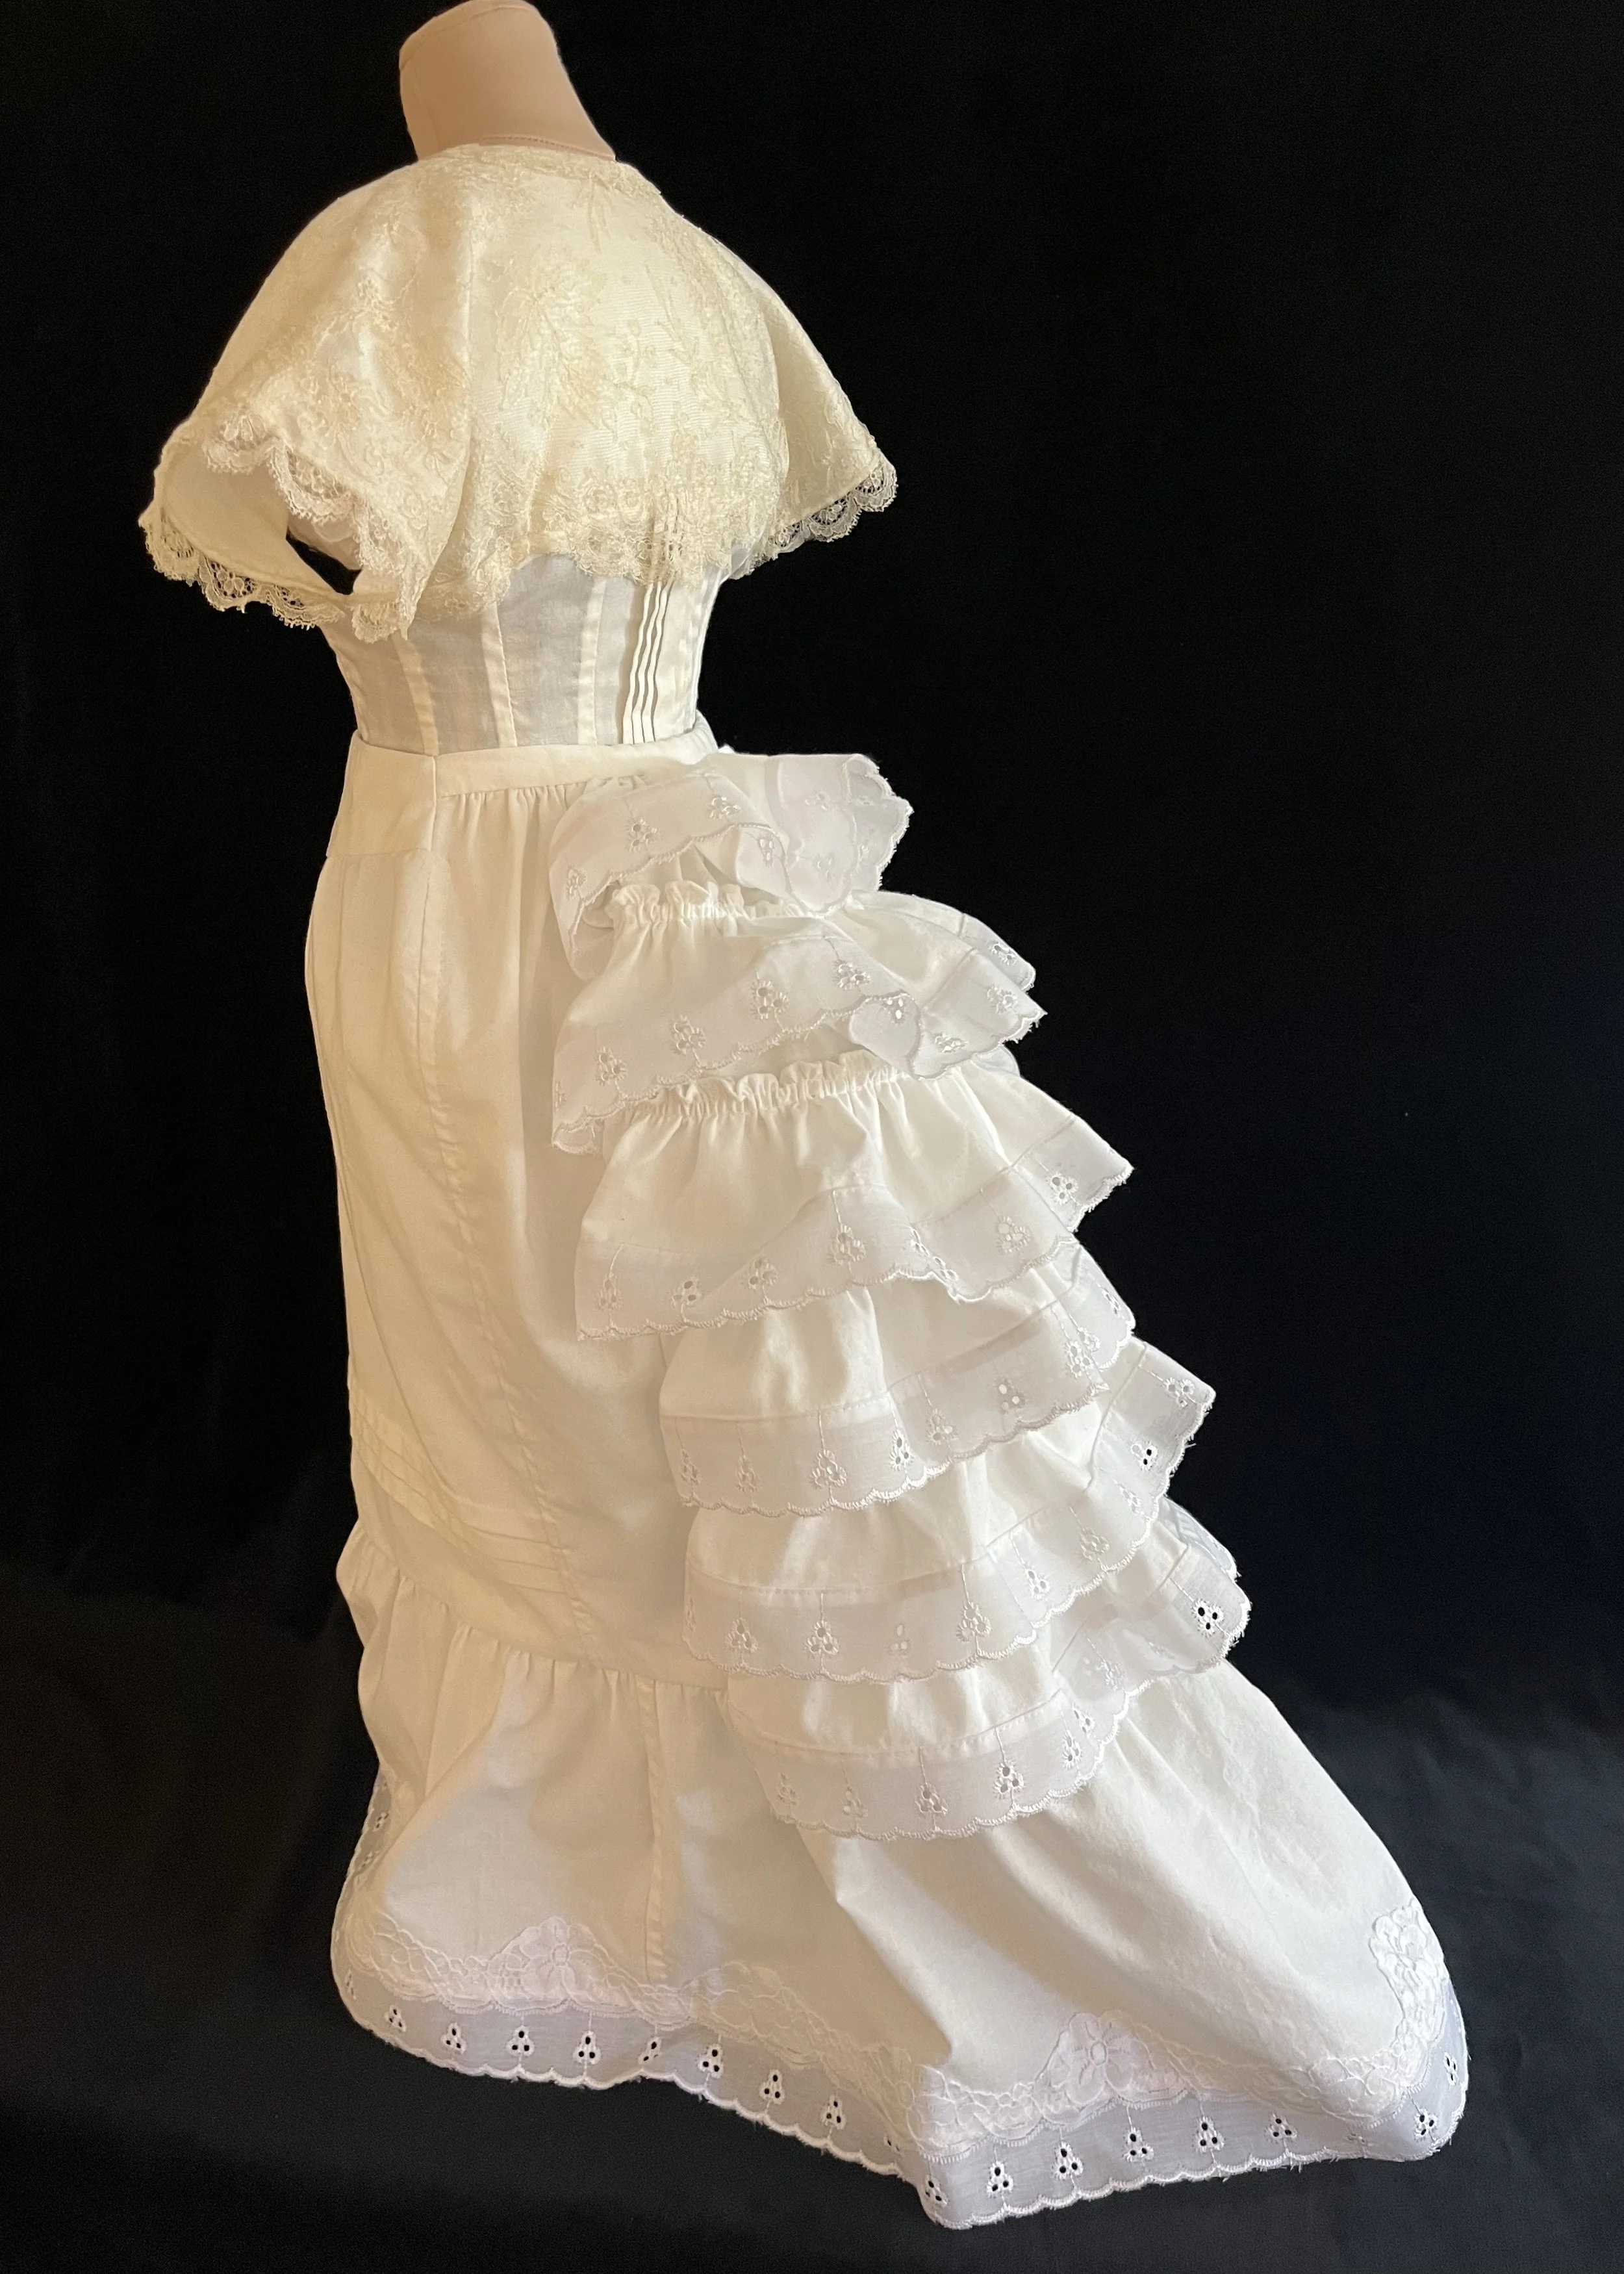
The last step was to add the last bits of lace trim around the neckline and armholes. Around the neck, I used the edge of the border on the smaller scallops; between the three scallops available, I was able to cover most of the neckline and filled in the little gap at the centre front with my own motif cobbled together from some remaining bits of lace.
I will turn all these bits into a collar and cuffs! I will!
Two armholes, cobbled together.
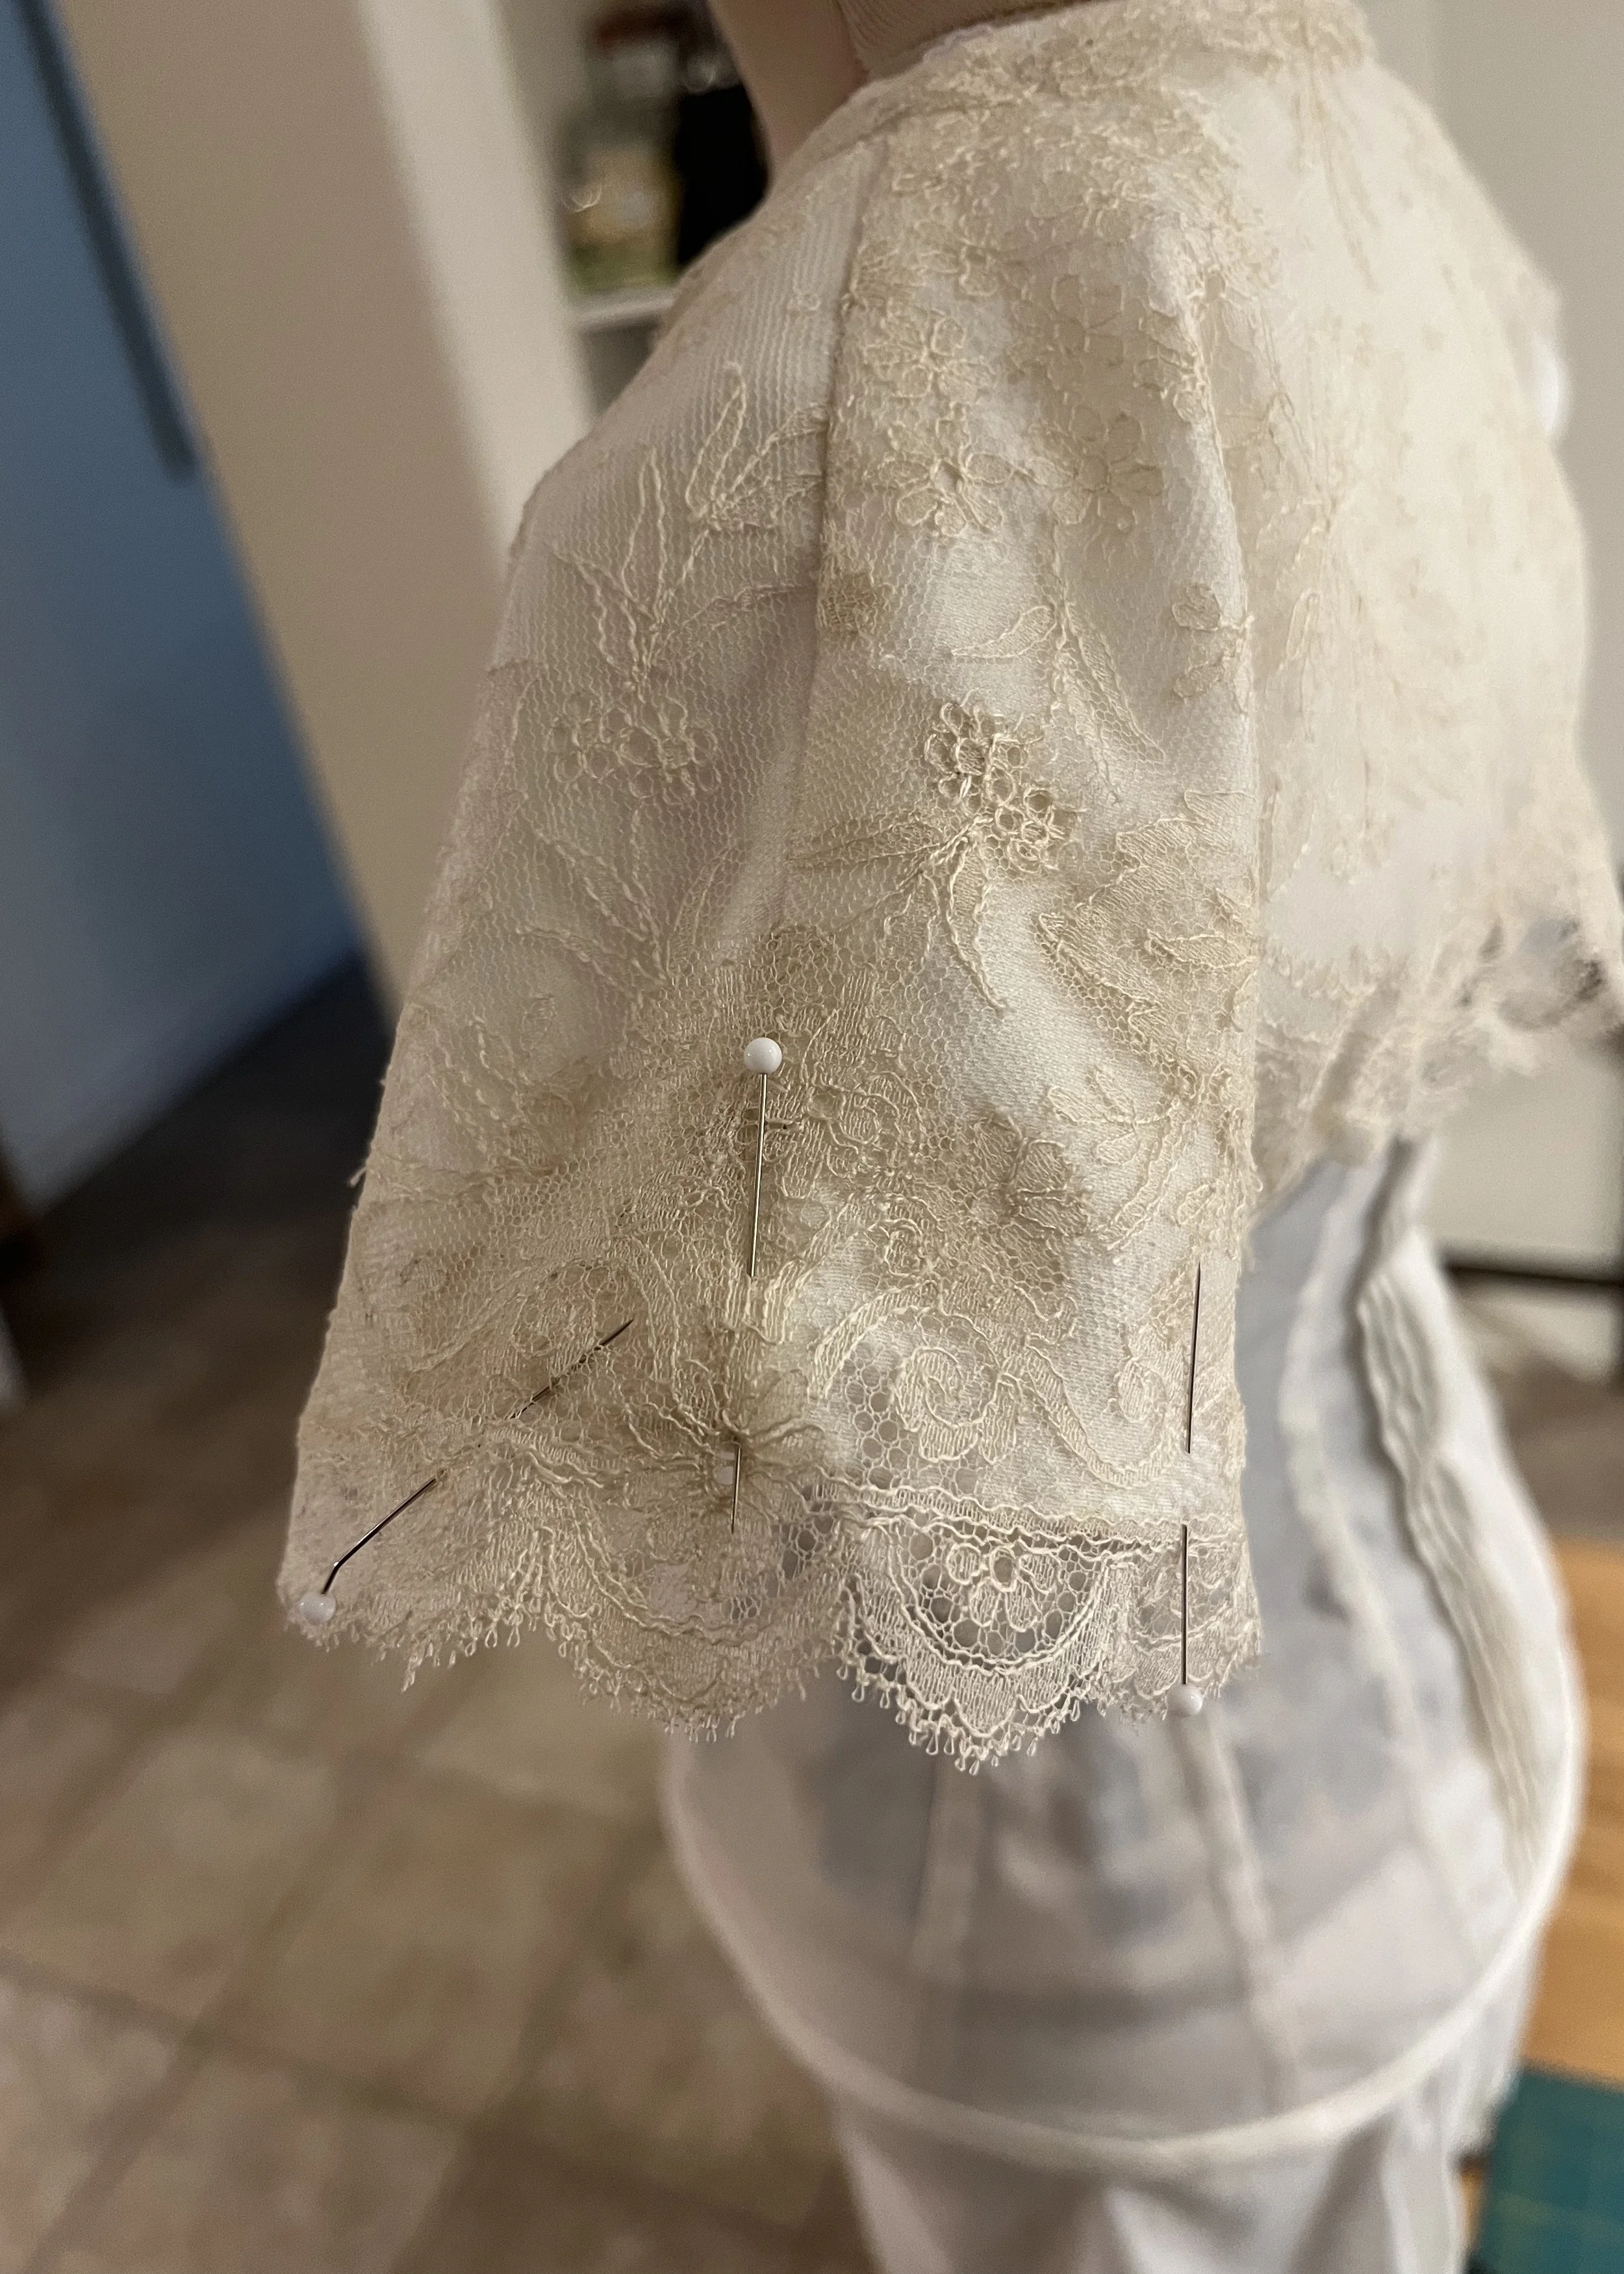
For the armholes, I used leftover bits of the larger scallops to create pieces long enough for the edges of the sleeves, though there was a fair amount of harvesting a single mini scallop or two to add to the ends. I was very pleased to be able to do so with the centre motif of the scallop sitting on the shoulder seam. It lends a lovely gloss of intentionality to the necessity of piecing so many little bits.
With these last few pieces applied, the corset cover was finished! She turned out pretty well, despite wonky tracing and wobbly pleats and I didn’t go totally overboard with the embellishment. I’m also very pleased with the fit; she’s perhaps a bit snug, but I think that’ll be okay since one wouldn’t have wanted any excess in this type of undergarment.
So, I think that's finally all the underpinnings! Time to figure out the final dress. I'm interested in making a day dress of some kind. There's something about the style of skirt which flares a little bit over the smaller bustle but without any train which I find kind of cute. I have some brown silk I found at Fabricland a while ago which I think will be perfect as the main fabric and another bit of brownish purple dupioni which will be perfect for details and embellishment, although I don’t have much of that so I may need to keep my eyes peeled for alternatives or other complimentary fabrics. There isn't any specific dress I want to recreate; much like with all the various underpinnings, I'm looking at a lot of extant examples for inspiration and ideas from which I'll design something of my own.
Marie’s corset cover took 34.75 hours in total. I spent 6 hours on drafting and fitting the pattern and 28.75 hours on the final build.
Marie’s underpinnings have taken 158 hours in total. I spent 10.75 hours on the padding, 45.25 hours on her combinations, 37 hours on her corset, 11 hours on her bustle, 19.25 hours on her petticoat and 34.75 hours on her corset cover.
*phew*
