1880 Dress Part Six
At last, we arrive at the garment which will bear the ruffles which inspired this whole project: the petticoat!
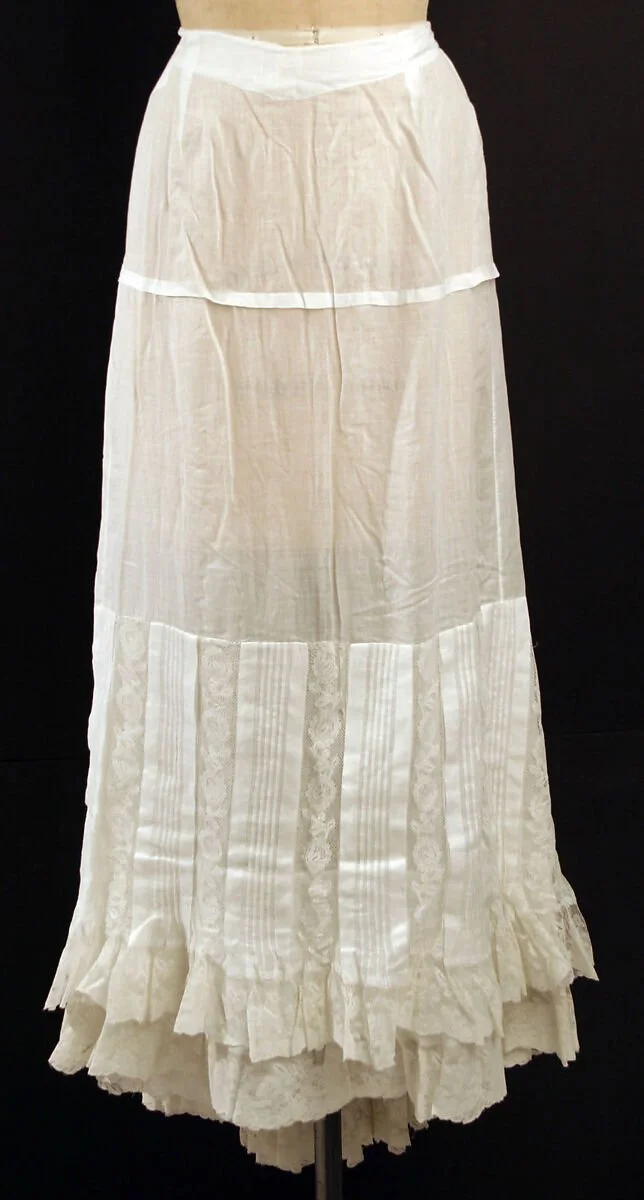
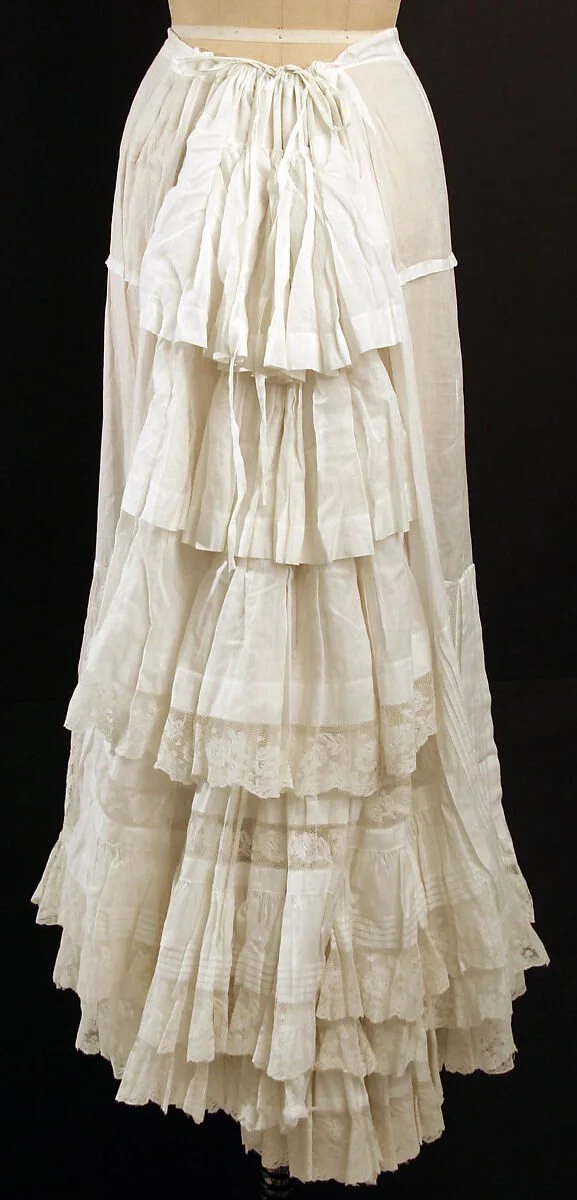
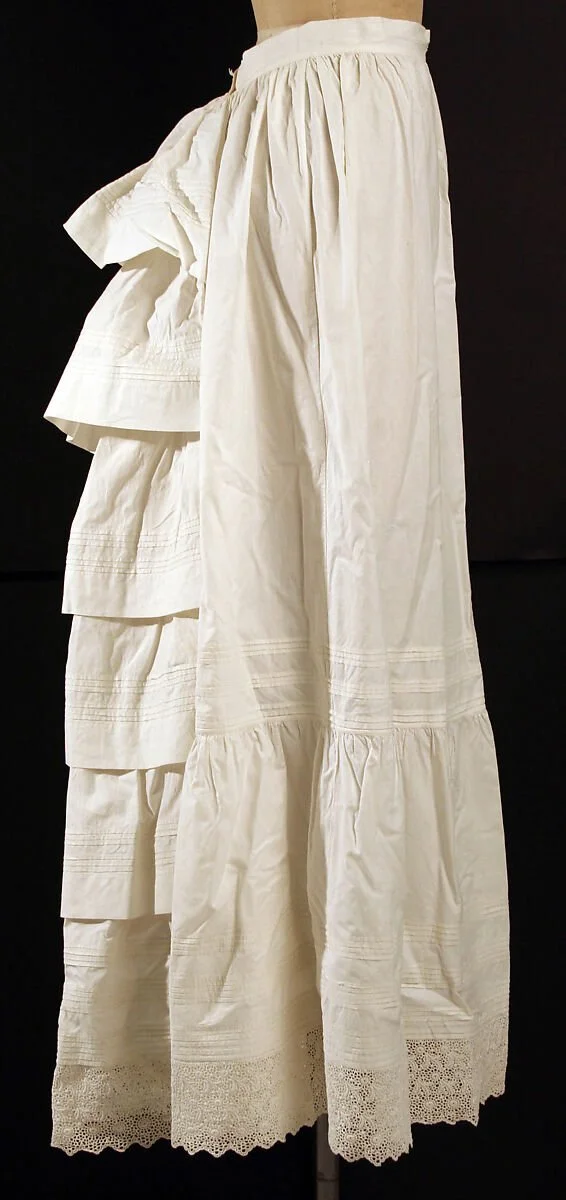
For Marie's petticoat I was particularly inspired by a few examples from the Met Costume Institute.
Petticoat. 1880s, Metropolitan Museum of Art Costume Institute, New York, https://www.metmuseum.org/art/collection/search/86288?deptids=8&ft=1880+petticoat&offset=0&rpp=40&pos=5
Petticoat. 1880s, Metropolitan Museum of Art Costume Institute, New York, https://www.metmuseum.org/art/collection/search/86288?deptids=8&ft=1880+petticoat&offset=0&rpp=40&pos=5
Petticoat. 1880s, Metropolitan Museum of Art Costume Institute, New York, https://www.metmuseum.org/art/collection/search/110407?deptids=8&ft=1880+petticoat&offset=0&rpp=40&pos=4
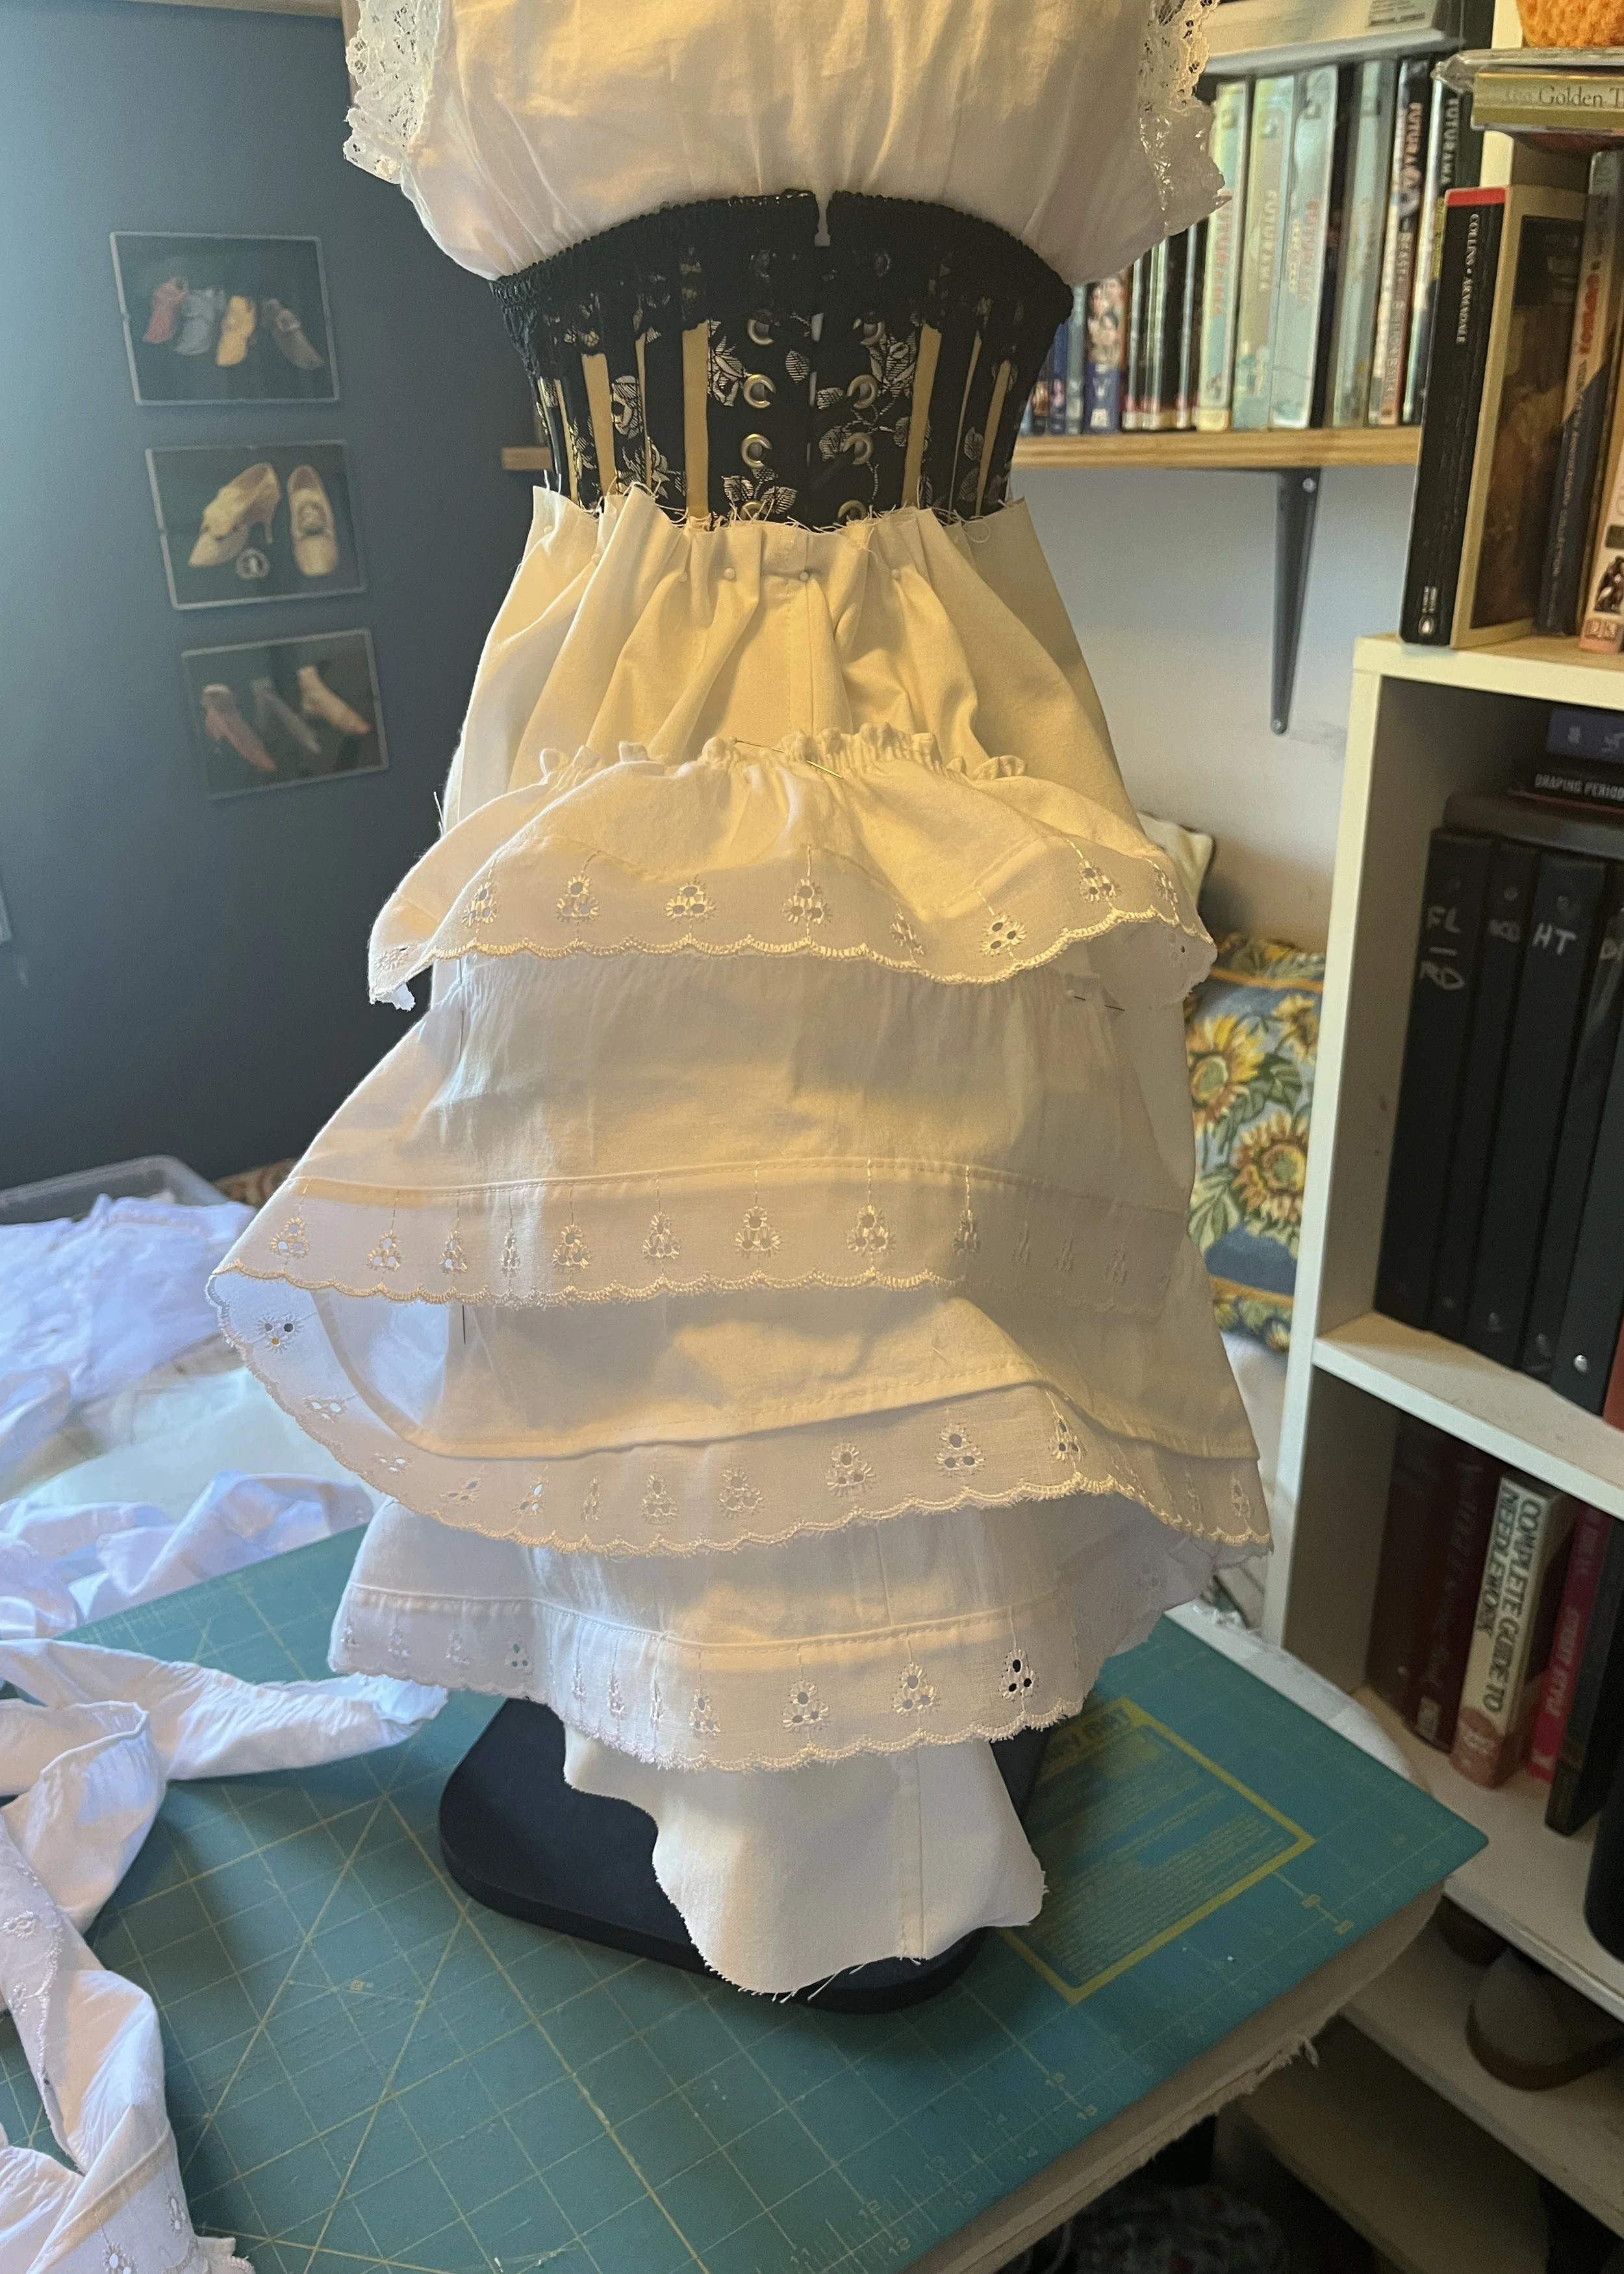
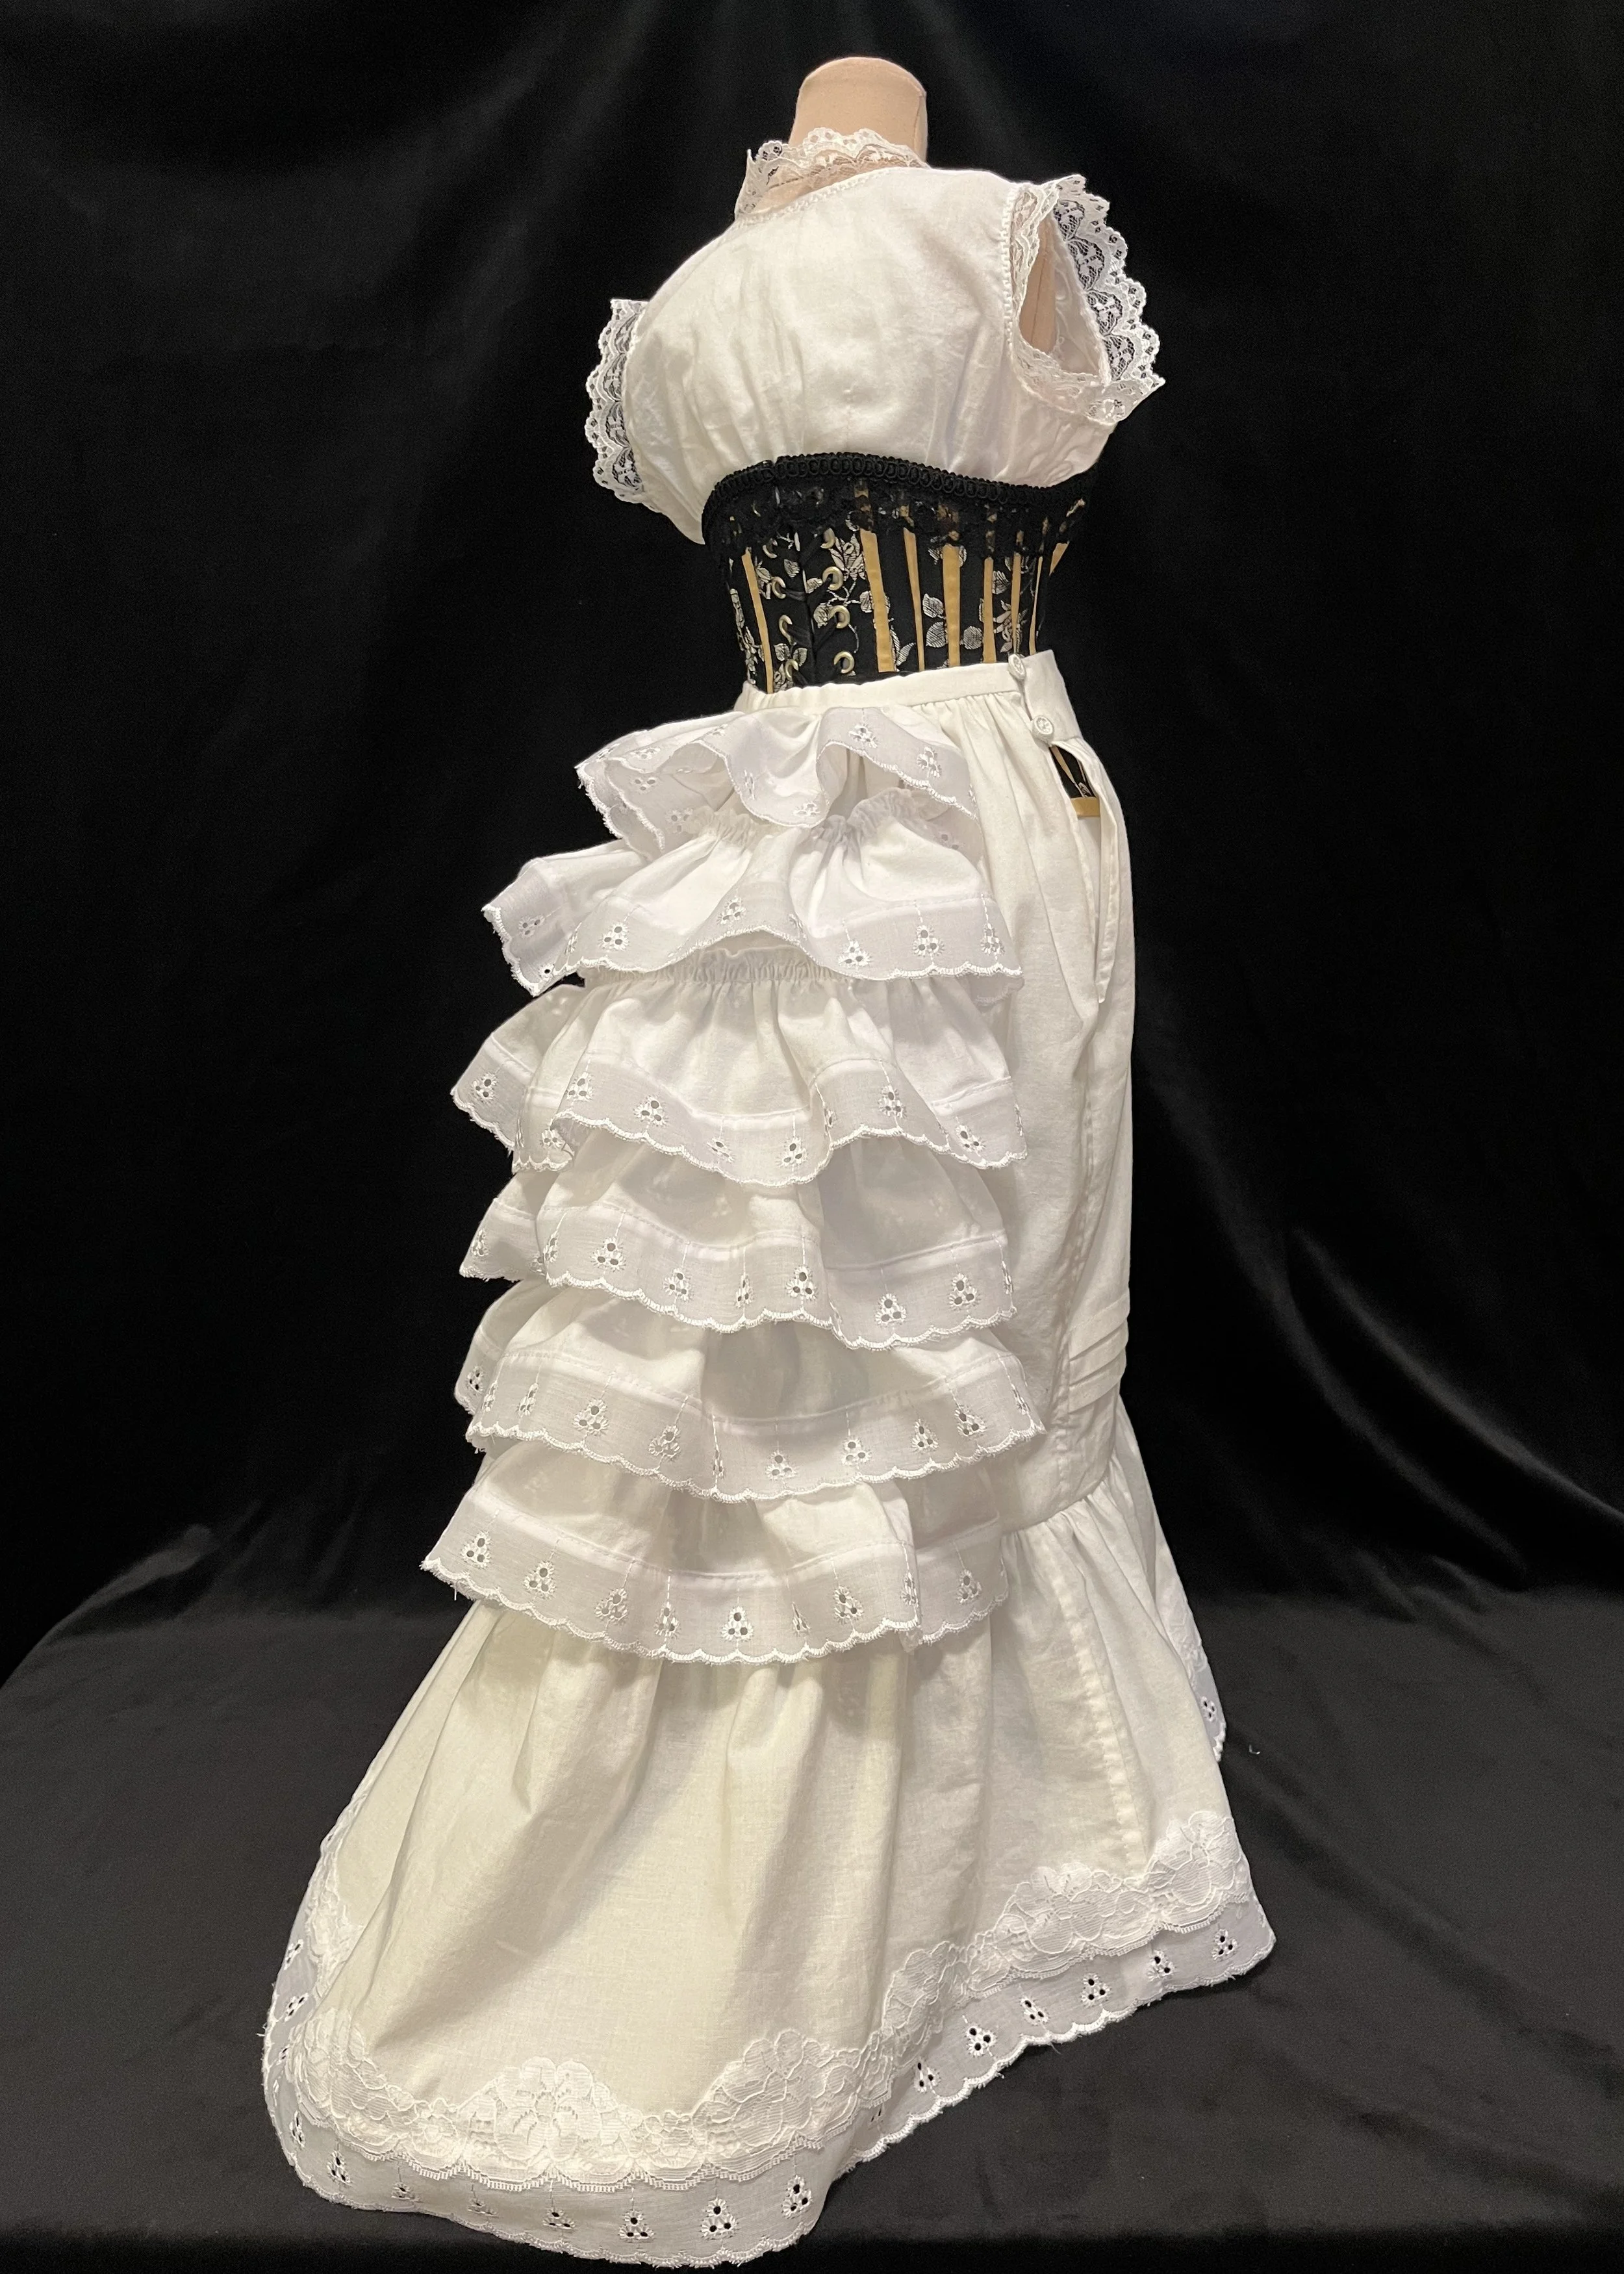
So, the petticoats I looked at mostly appeared to be fairly straight skirts with perhaps a bit of flare and some lace or flounces around the hem which were not particularly full; pretty much in keeping with the shape of the gowns of the time. However, the back might be a different story. There I found glorious cascades of ruffles...sort of. As with the combinations, petticoats in 1880 have some embellishment and ruffles, but are not quite as full and flouncy as they will be closer to the end of the century. But do not despair! There is still flood to be had! In order to support the growing bustle and to enhance, and probably smooth over, the shape of whatever structure was underneath, the petticoat might have several flounces down the centre back and it does appear that they could be embellished a bit if desired.
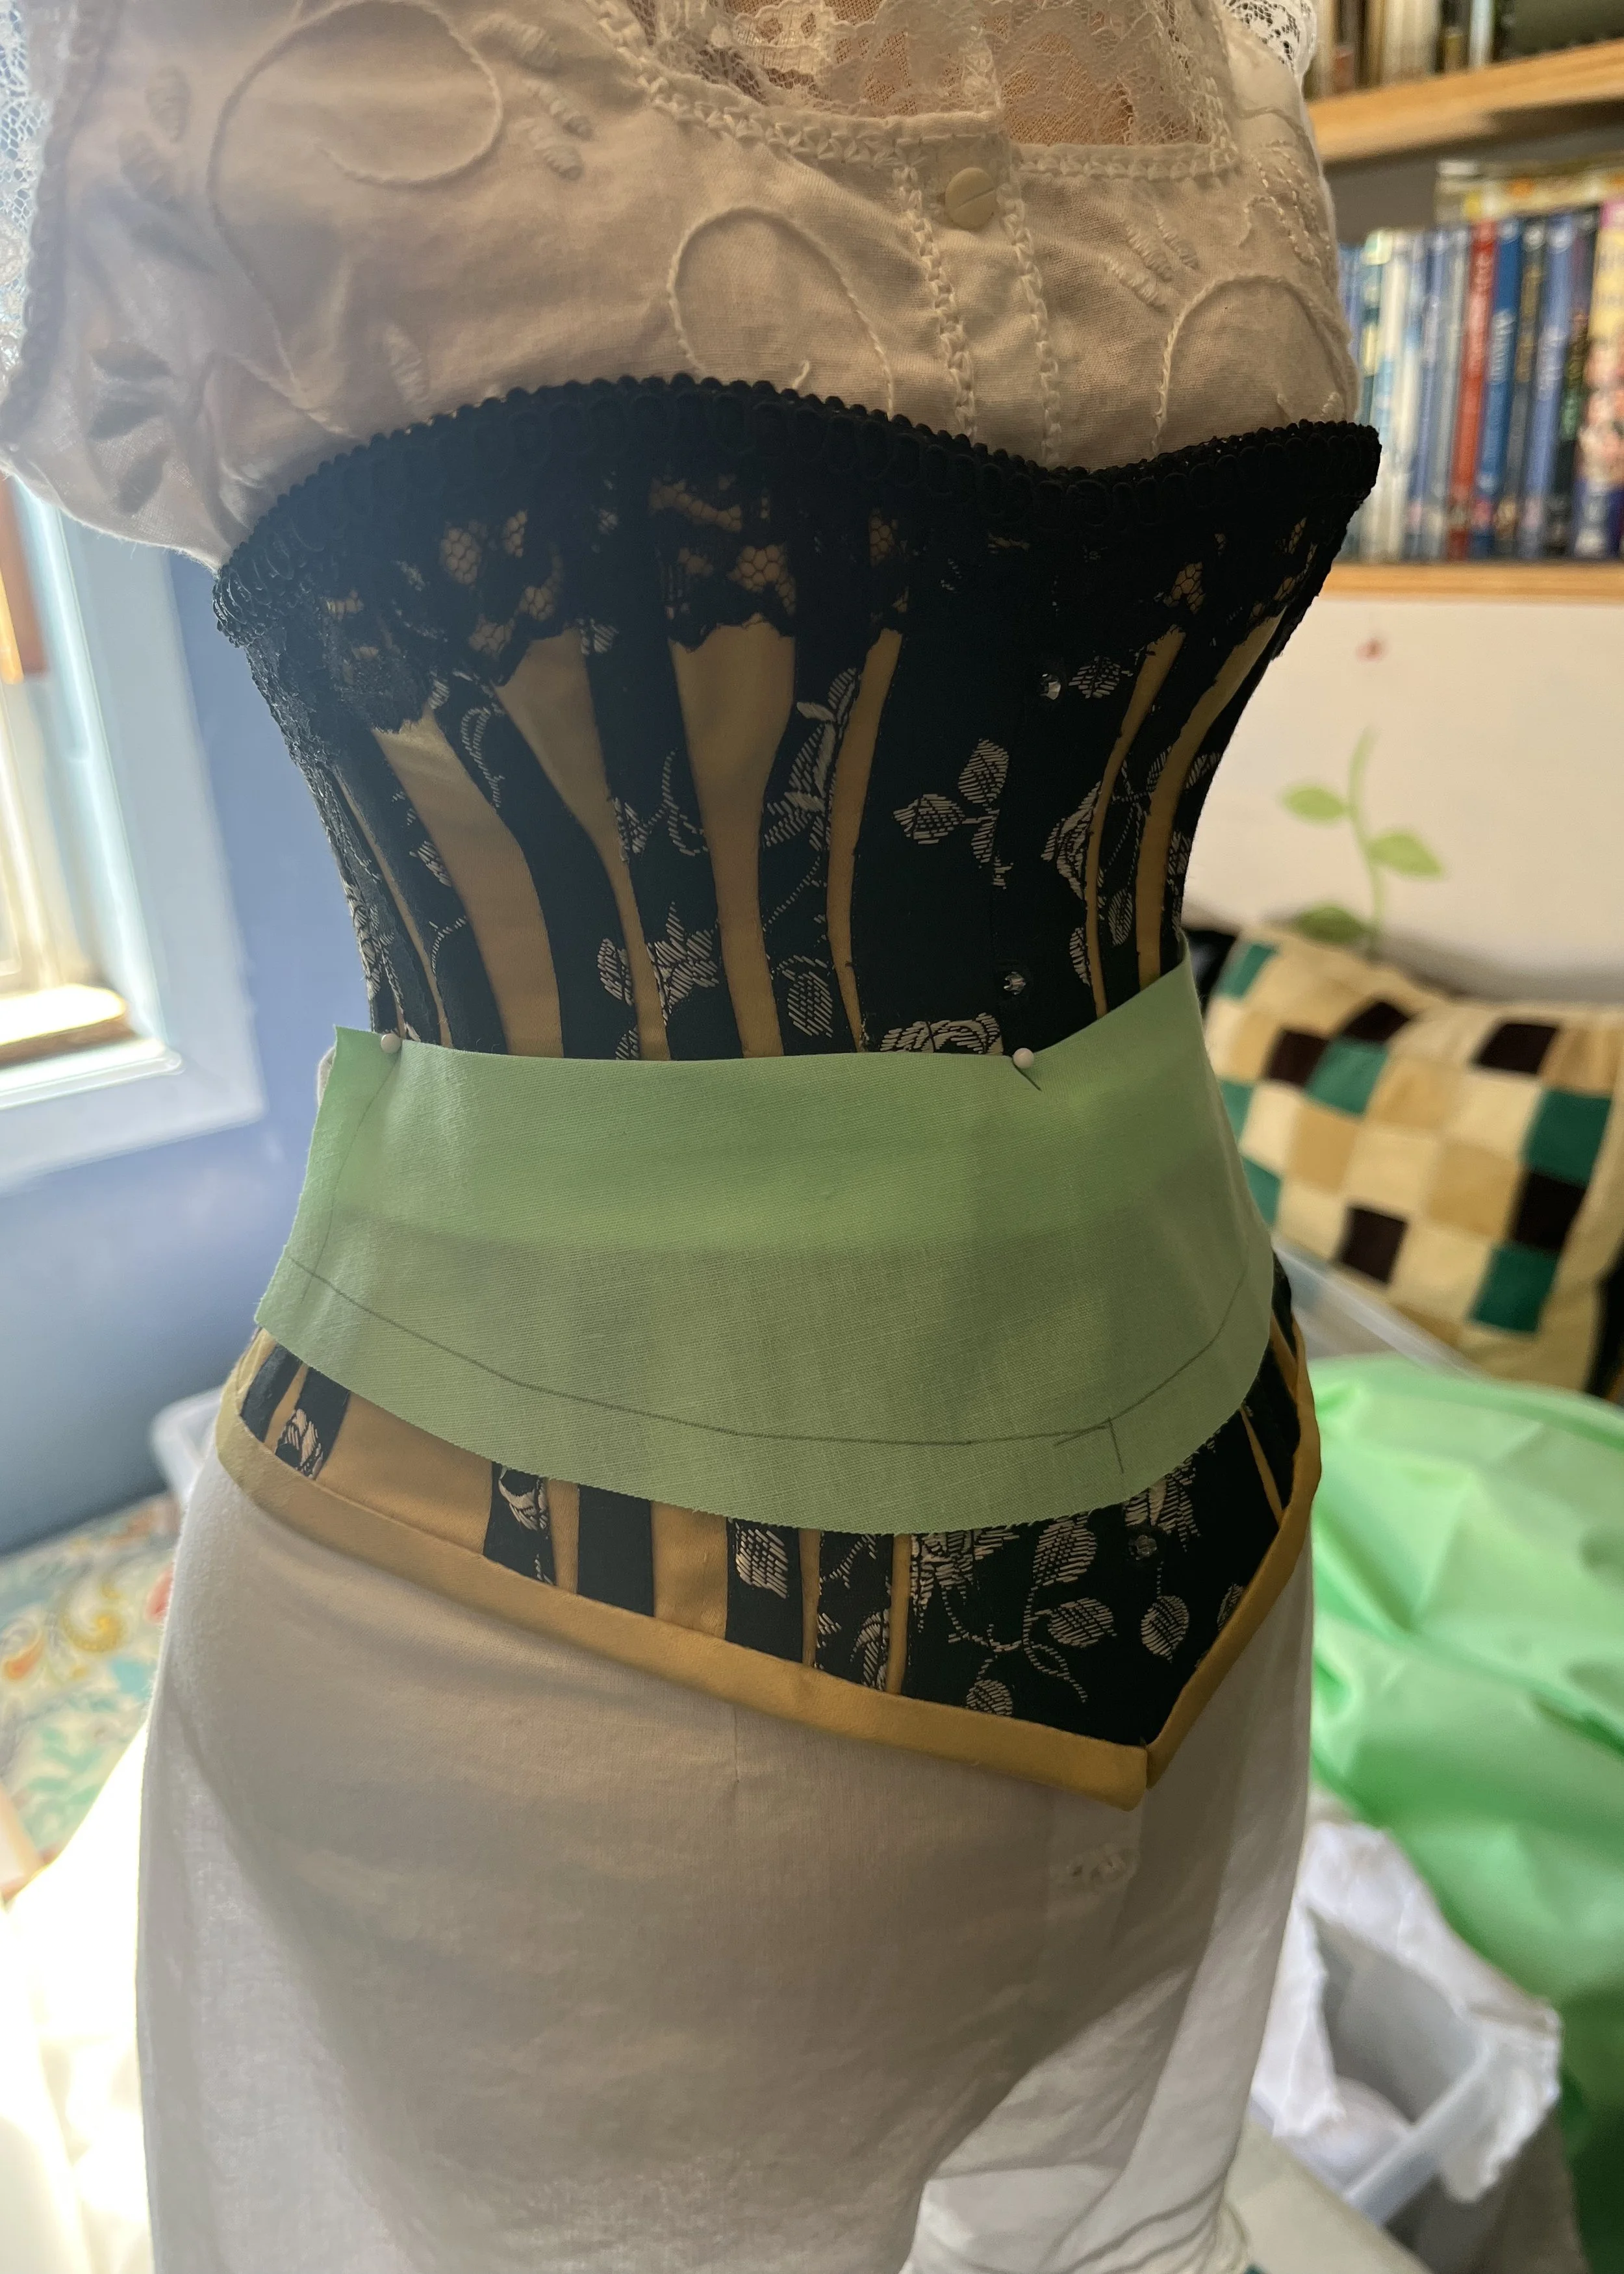
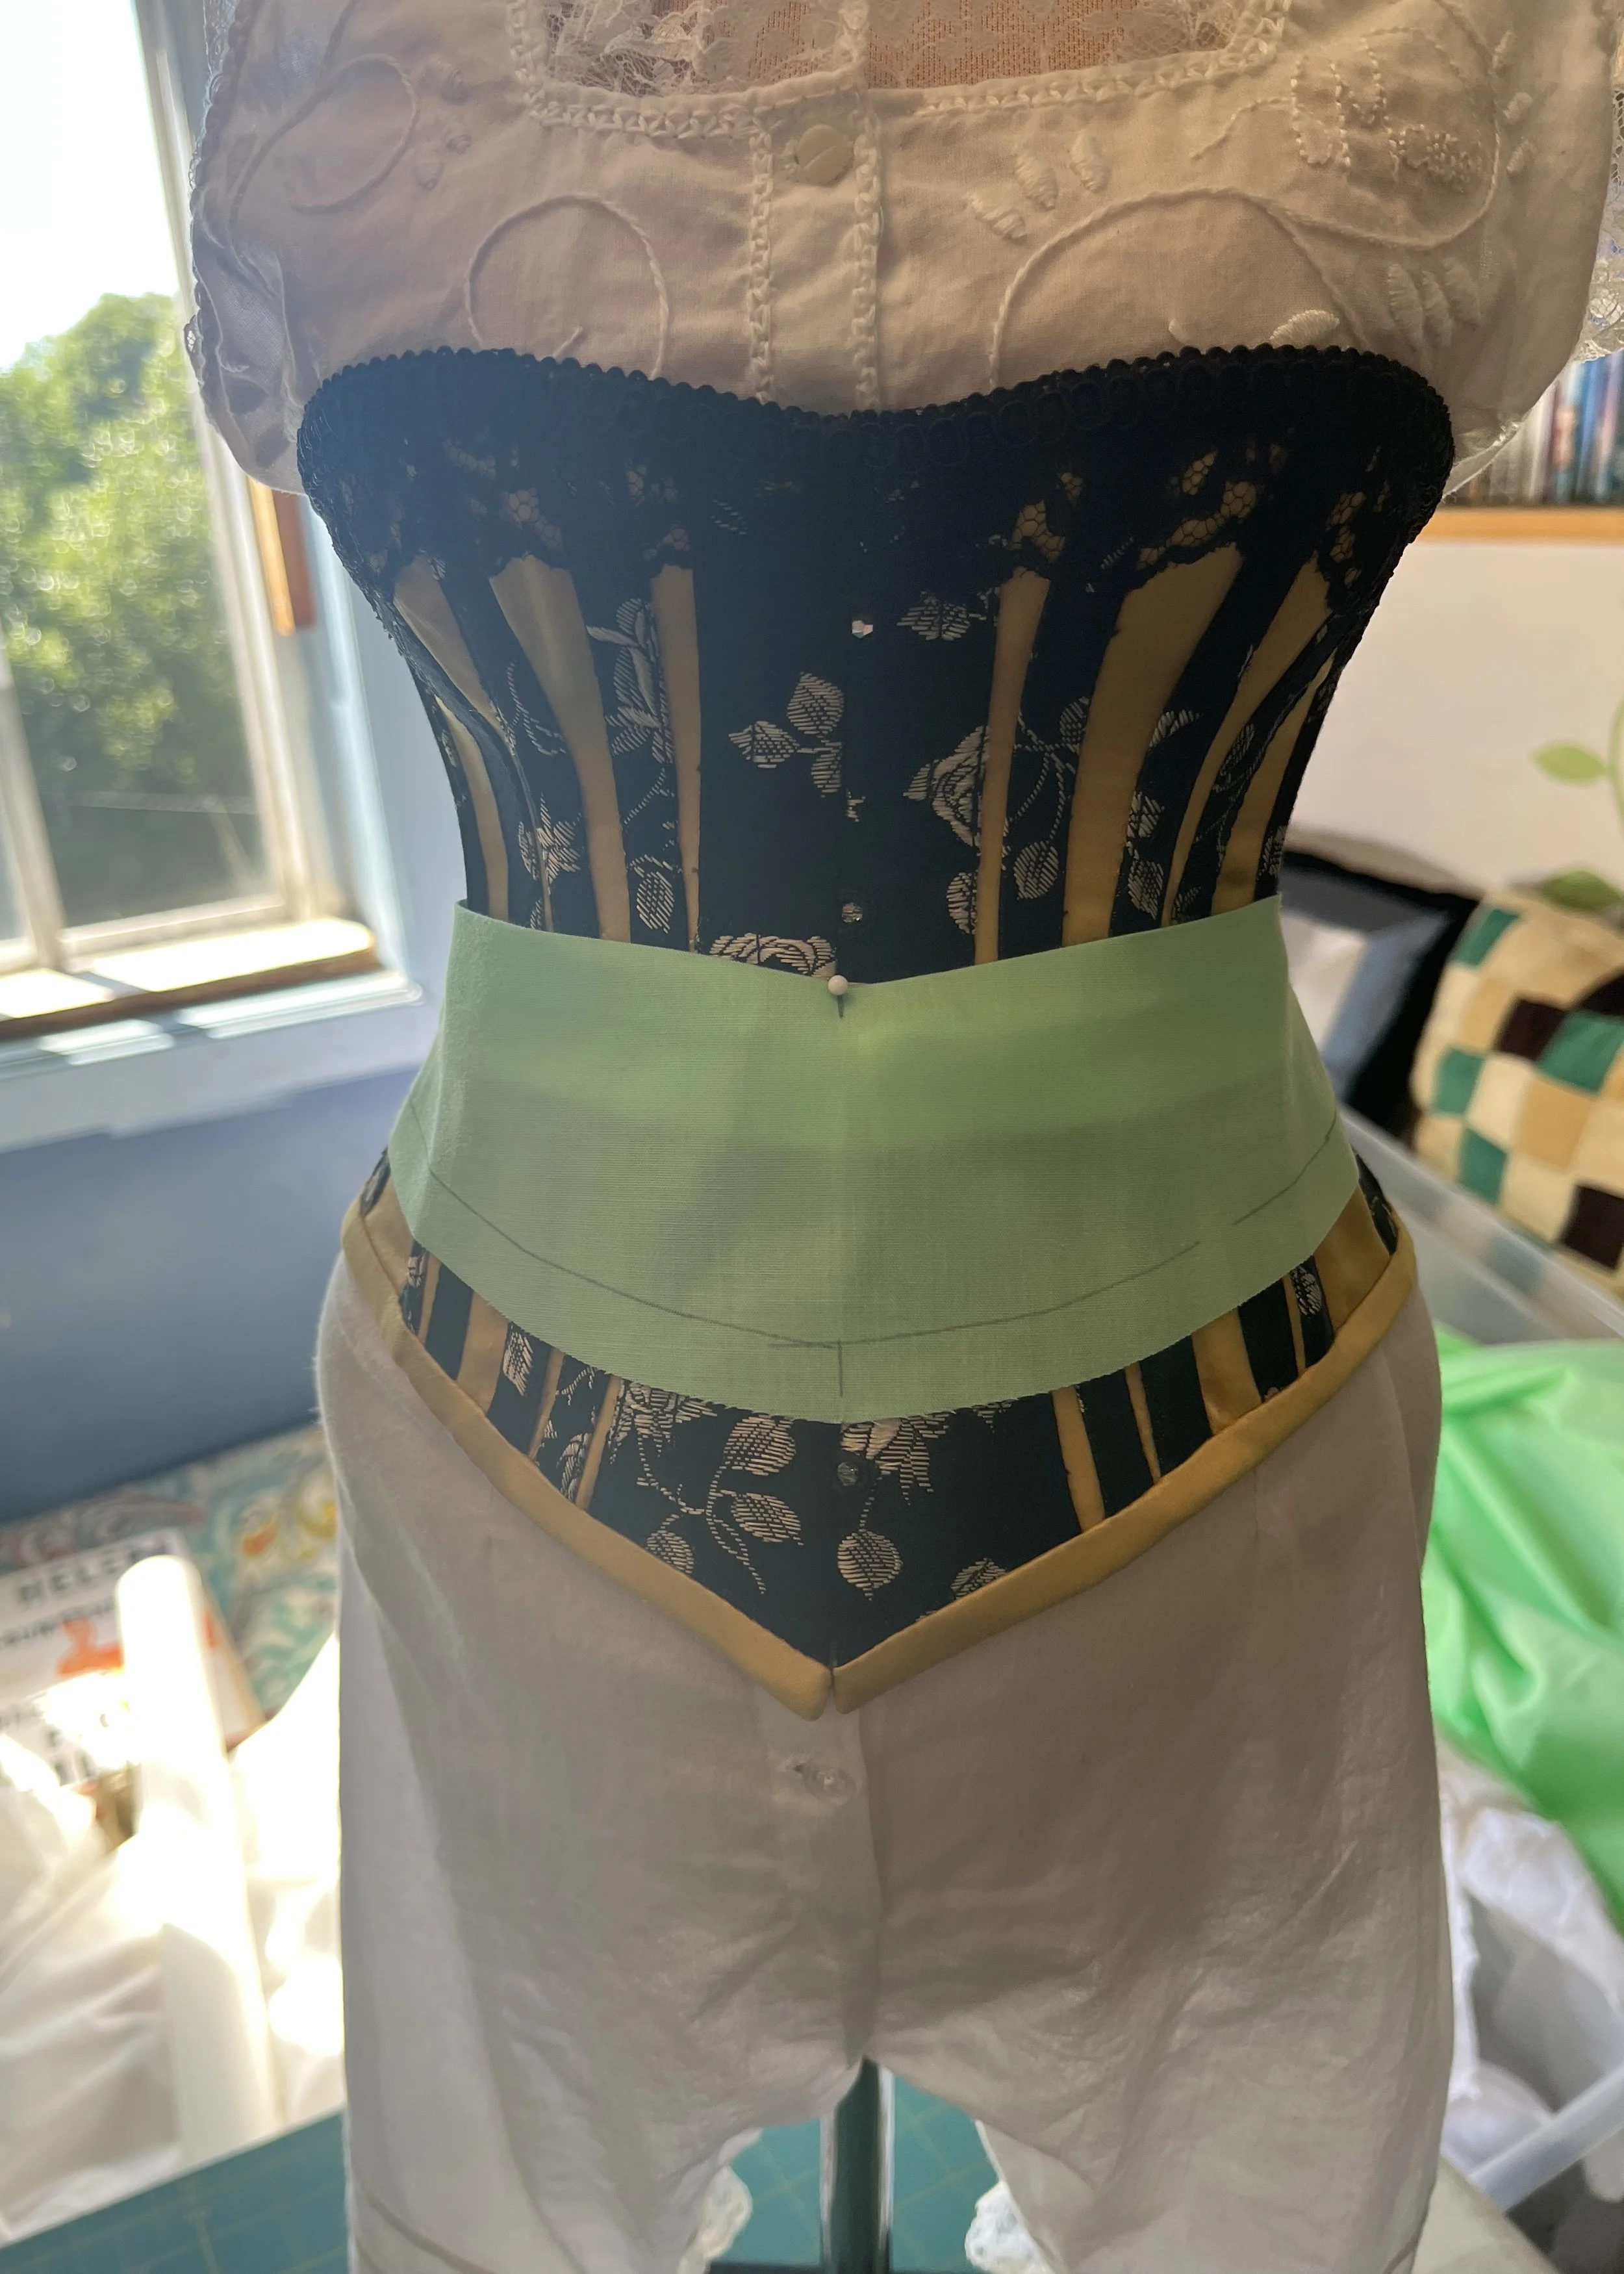
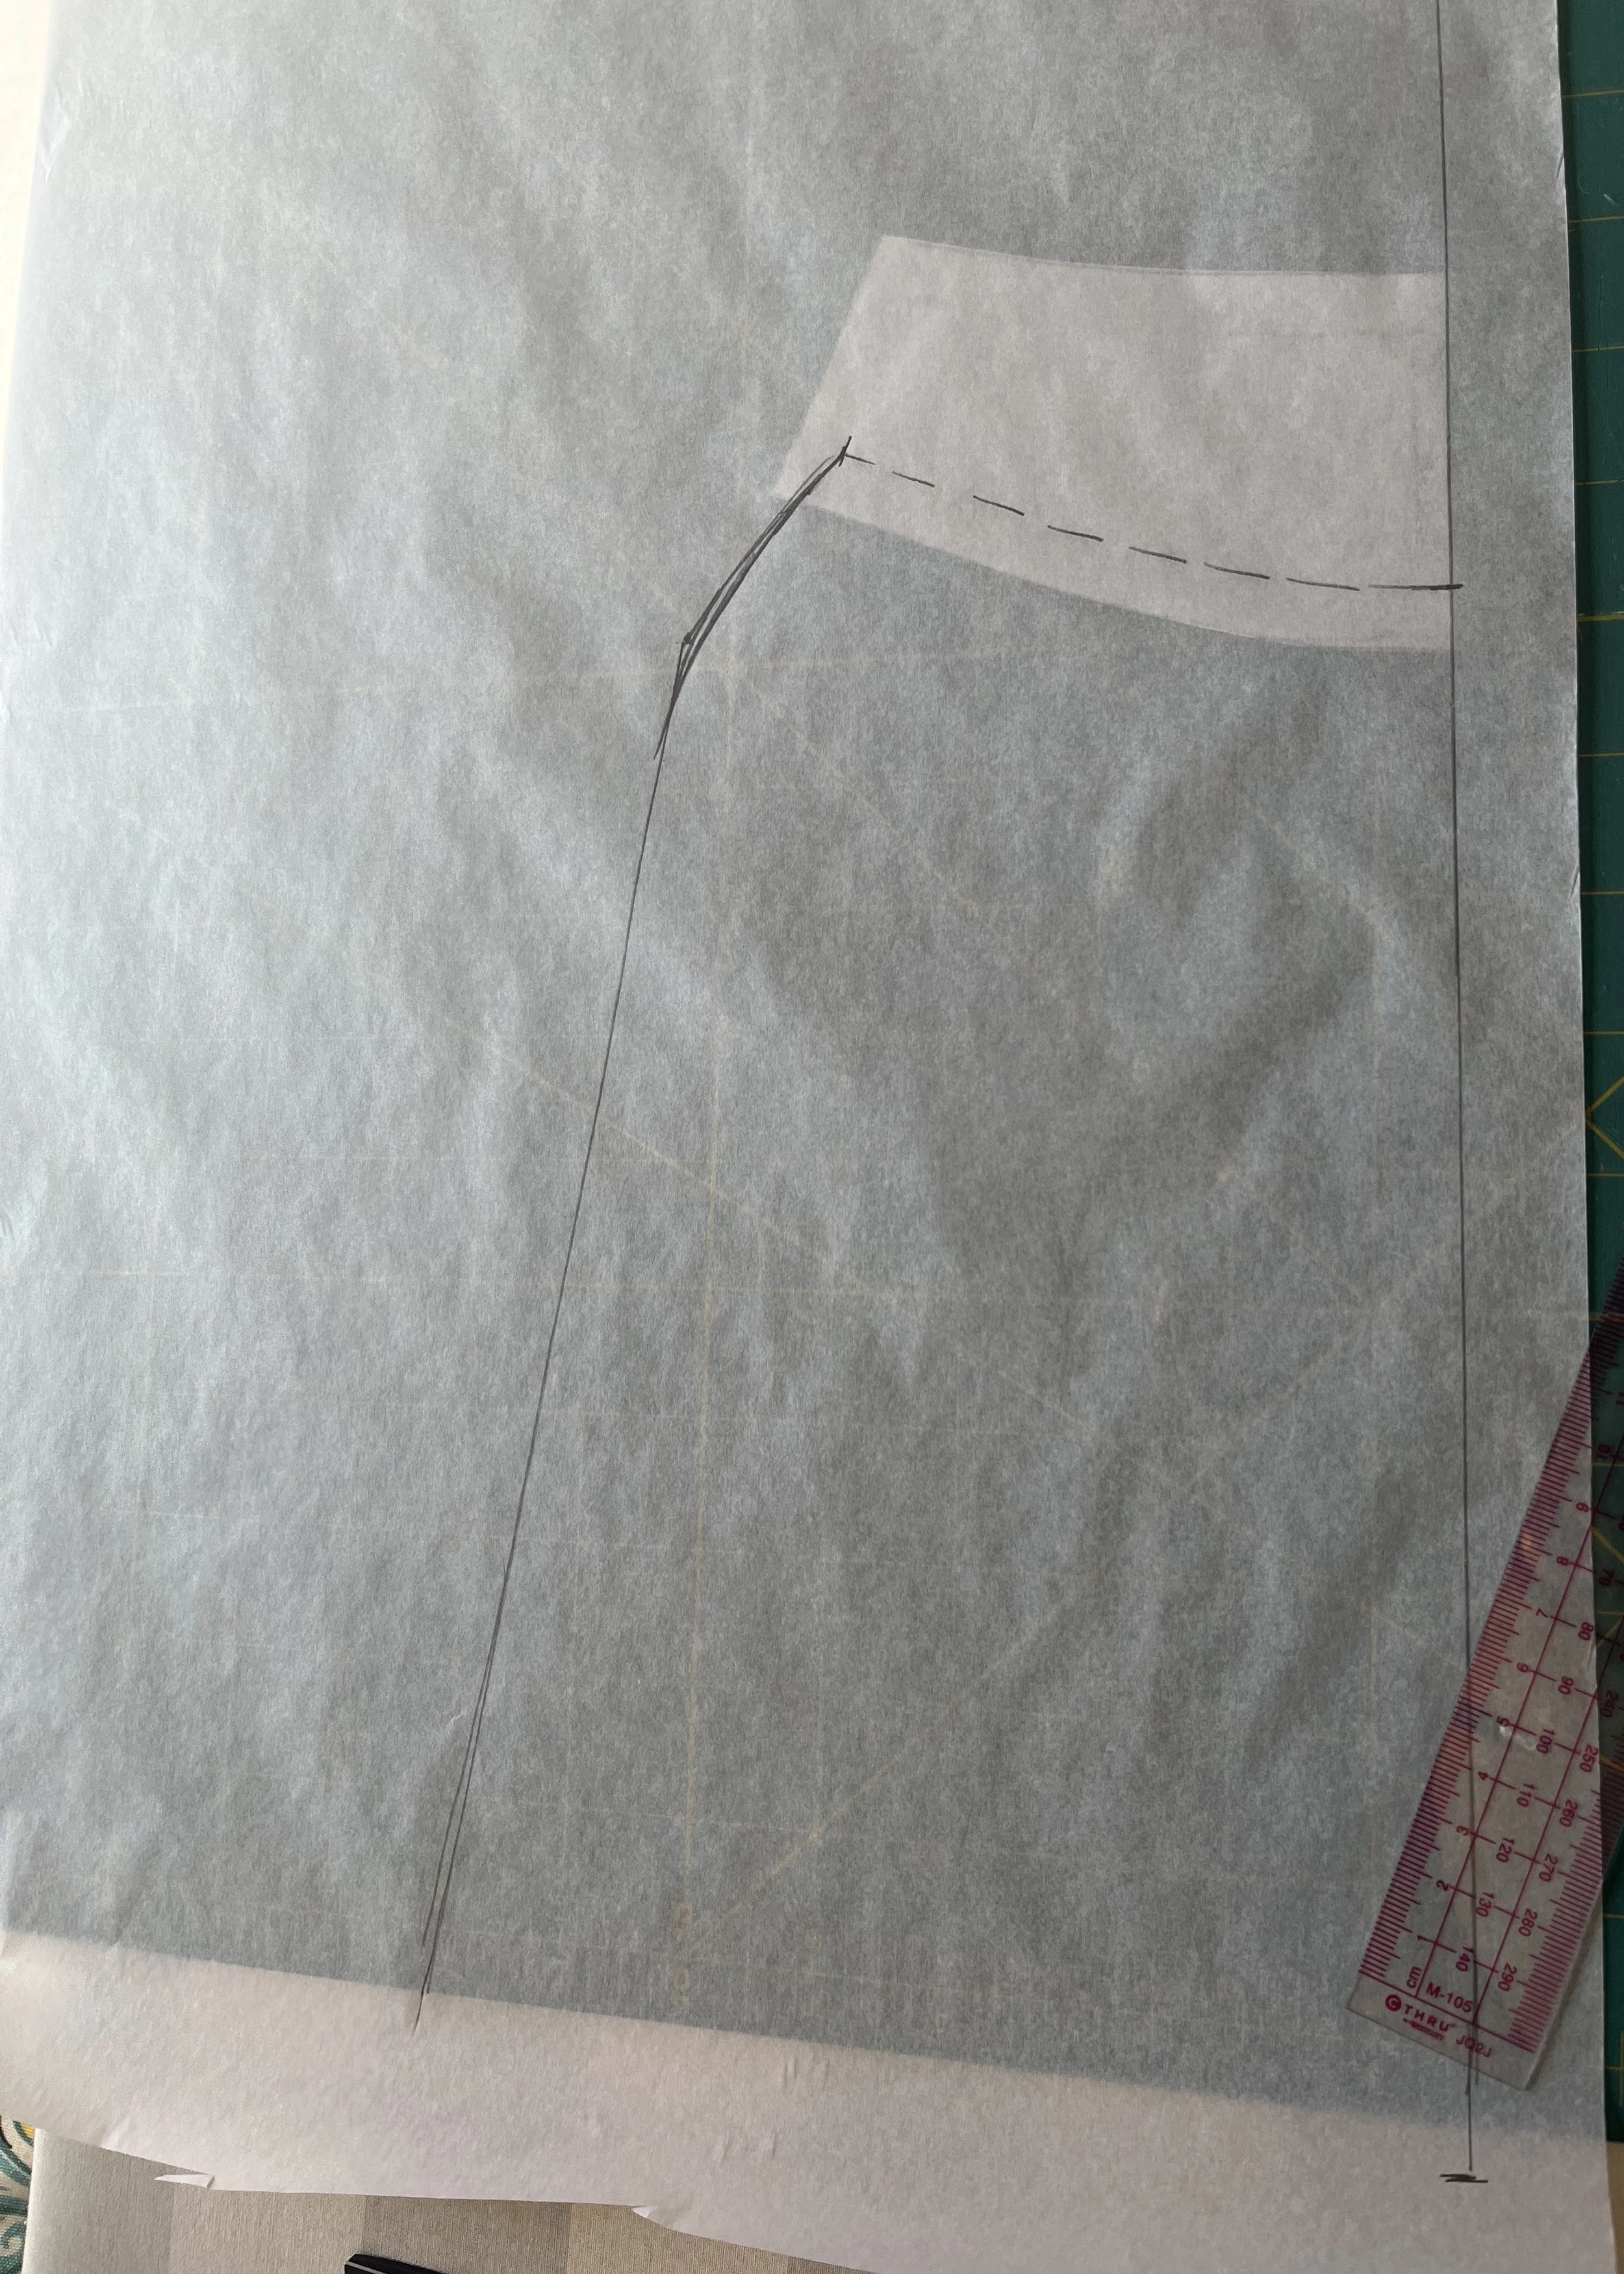
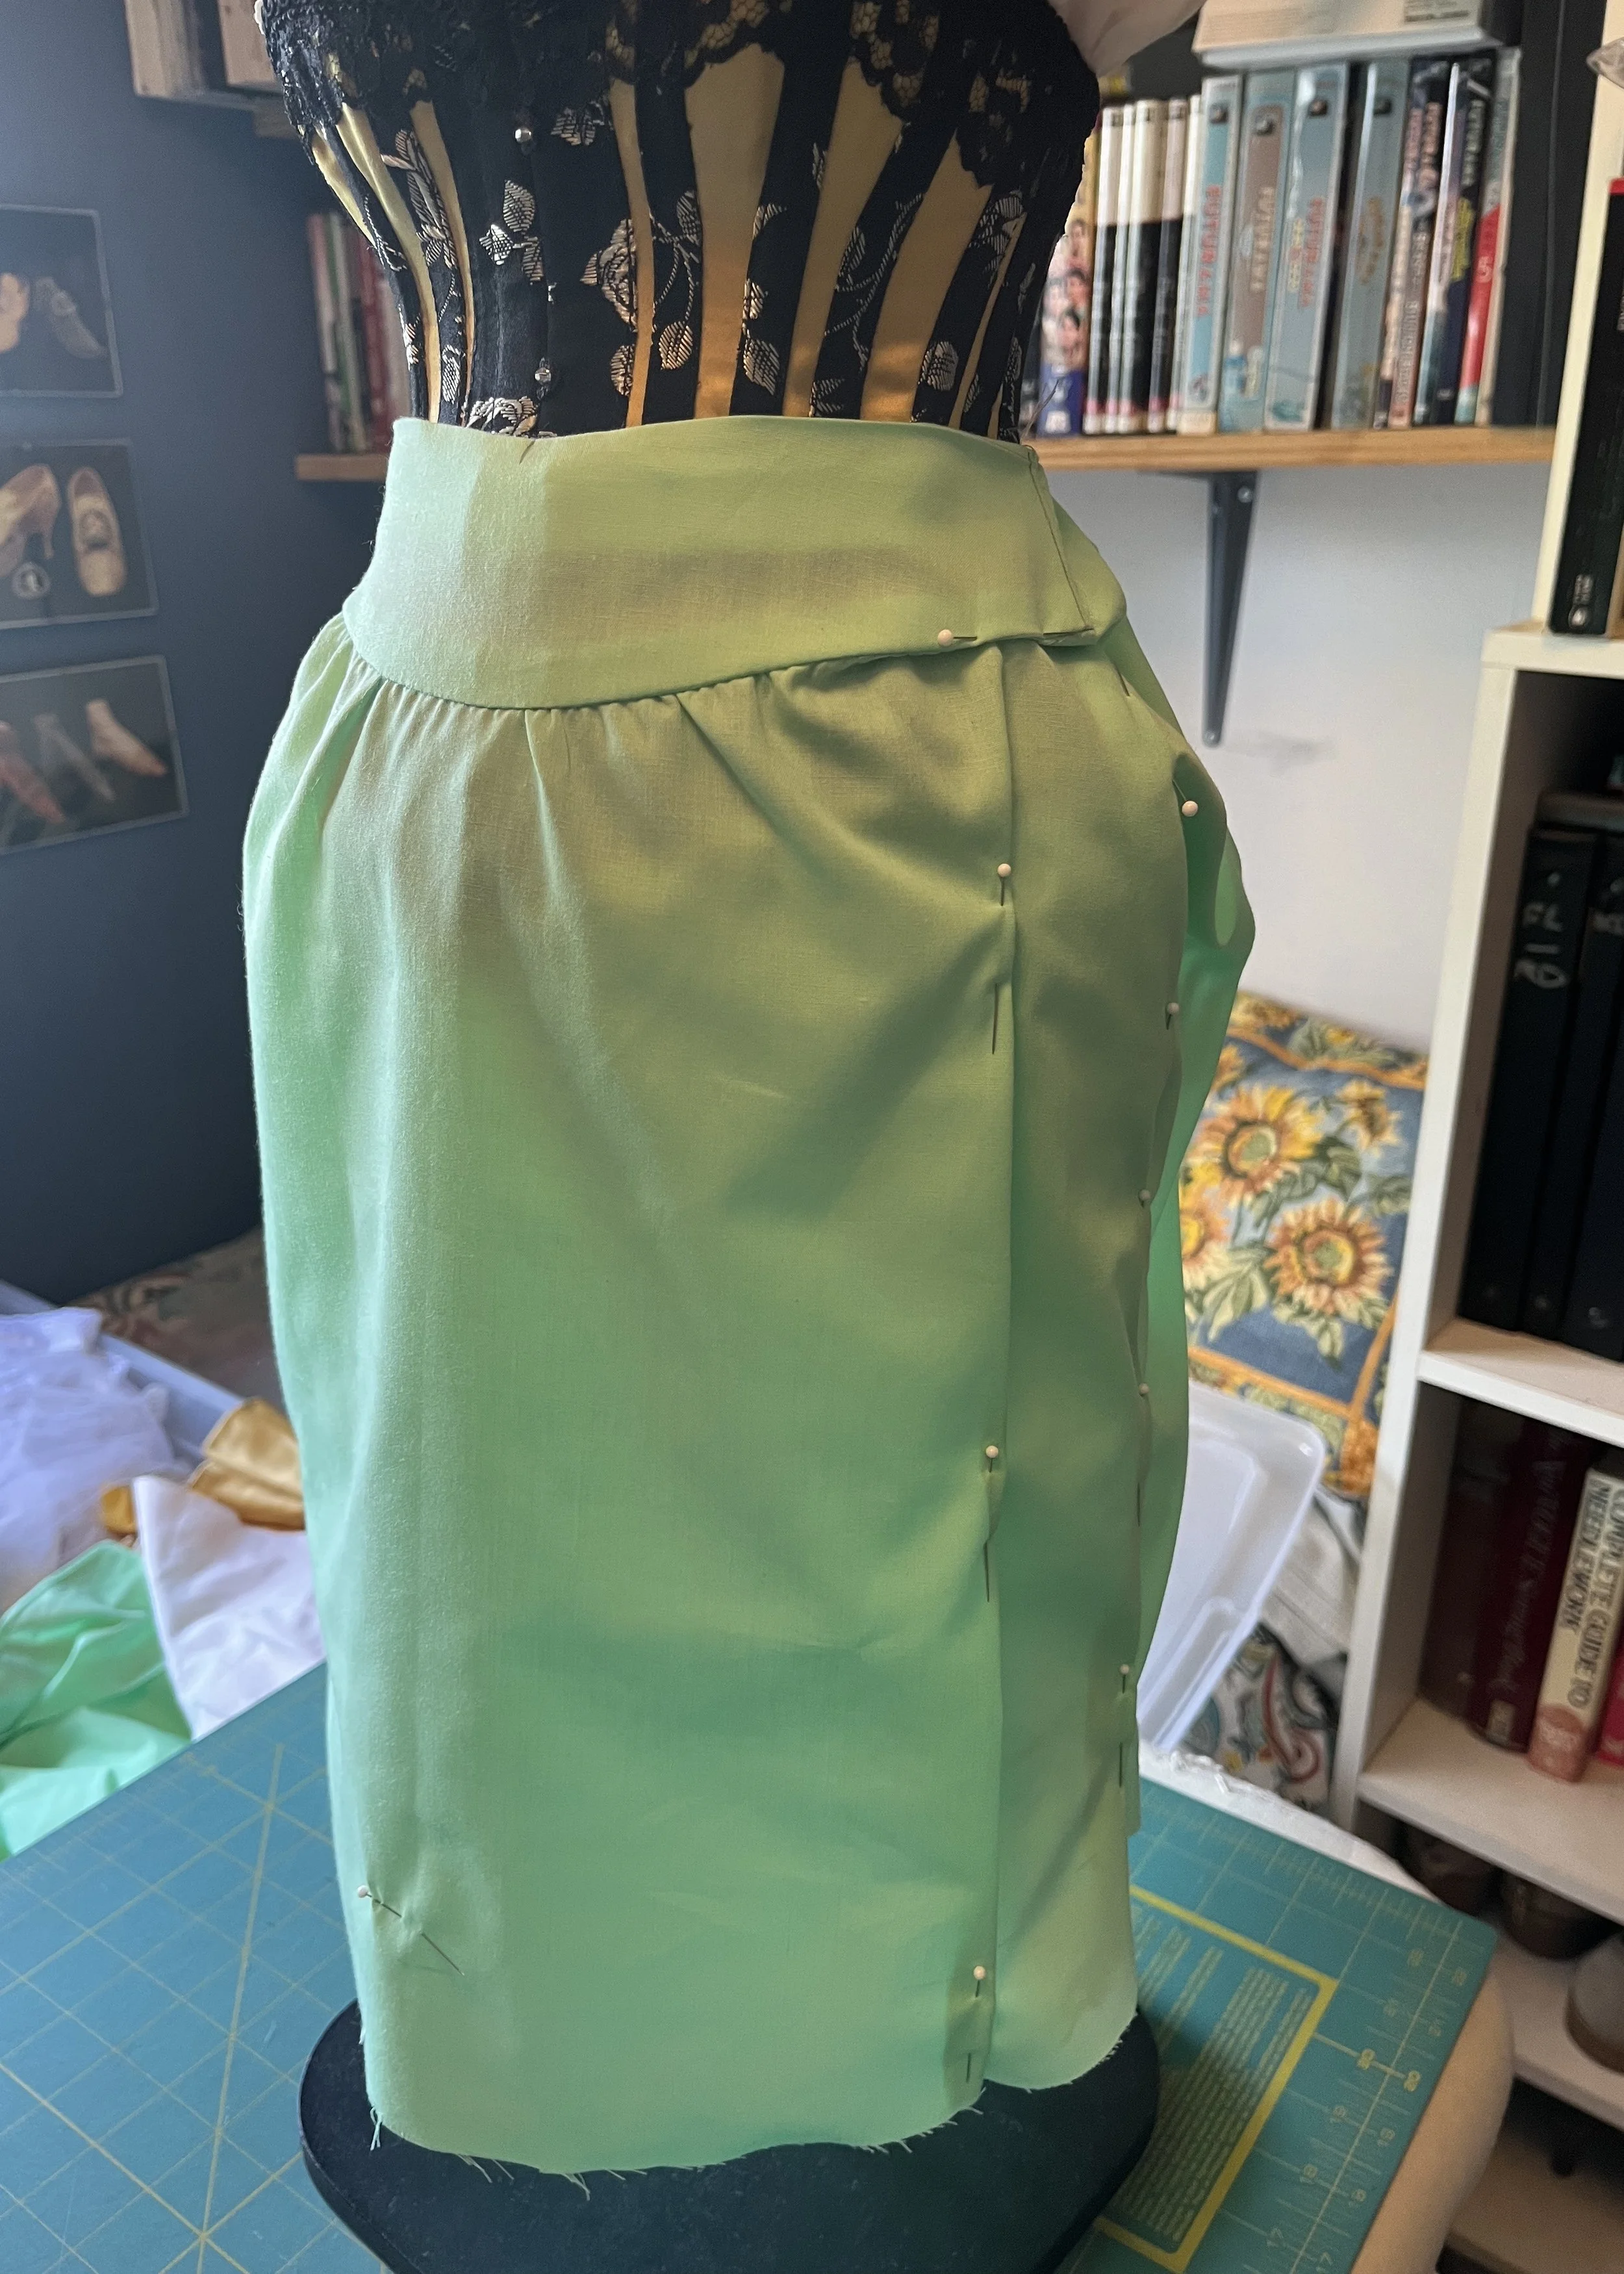
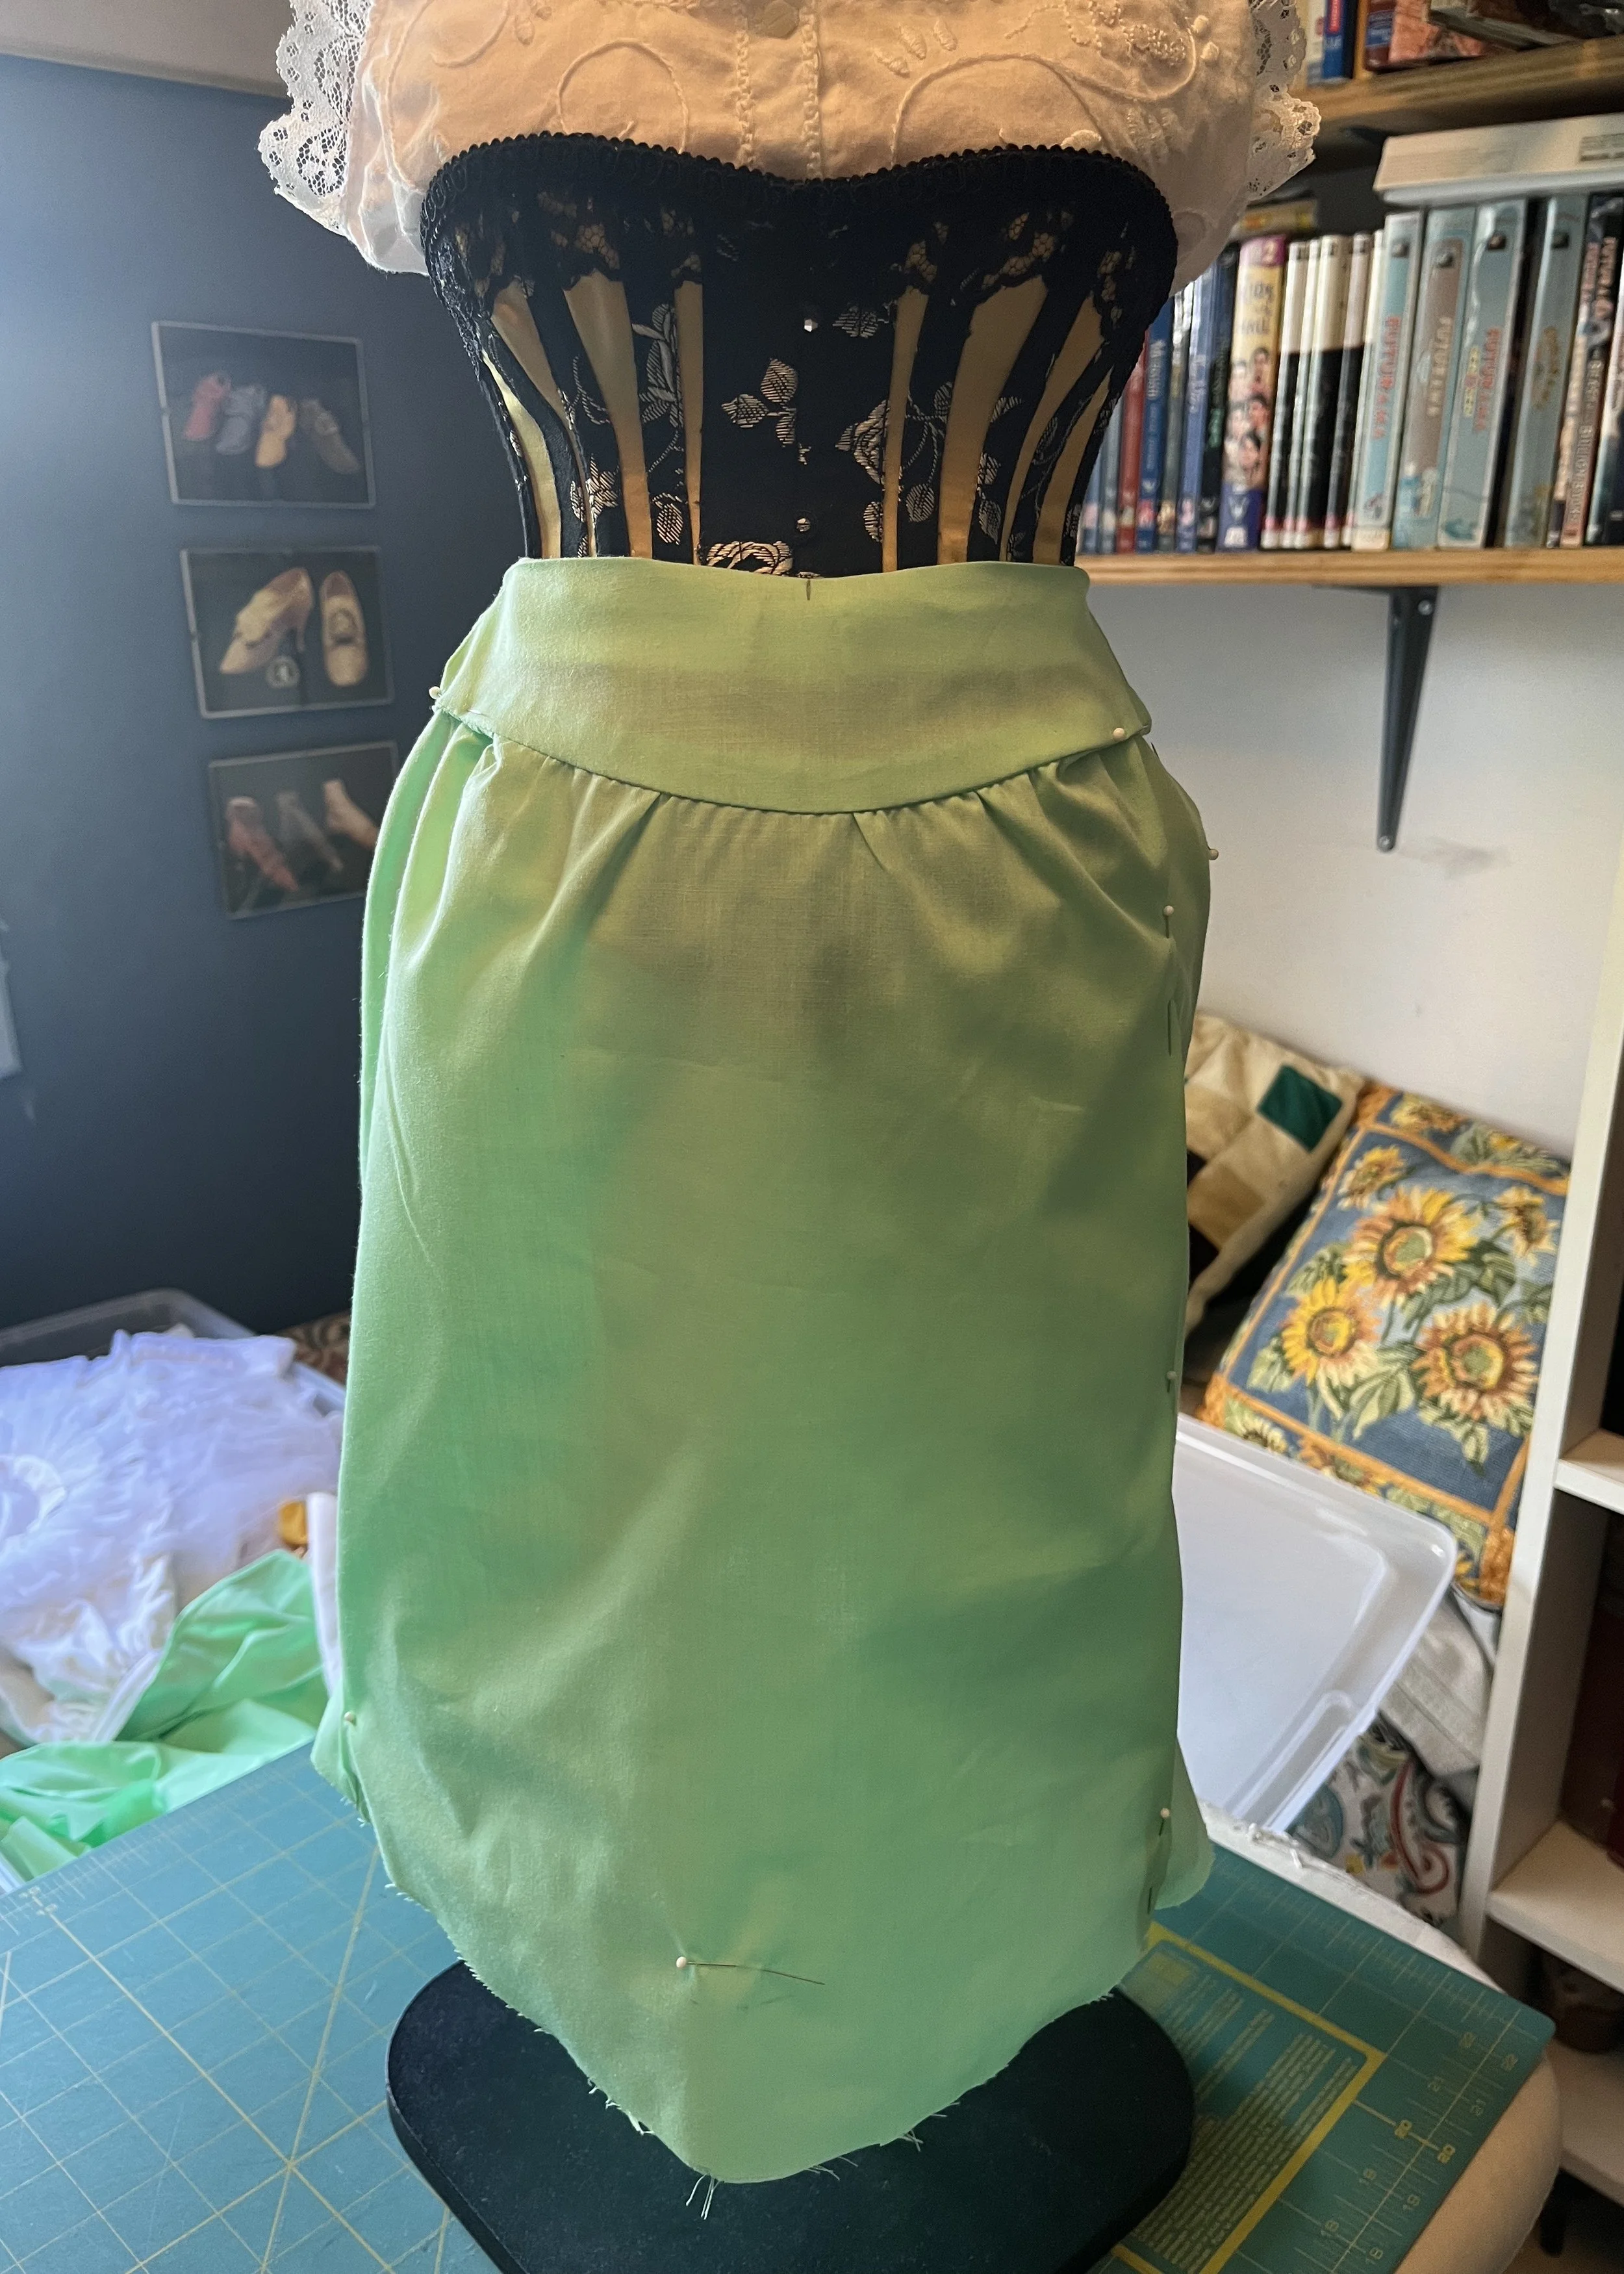
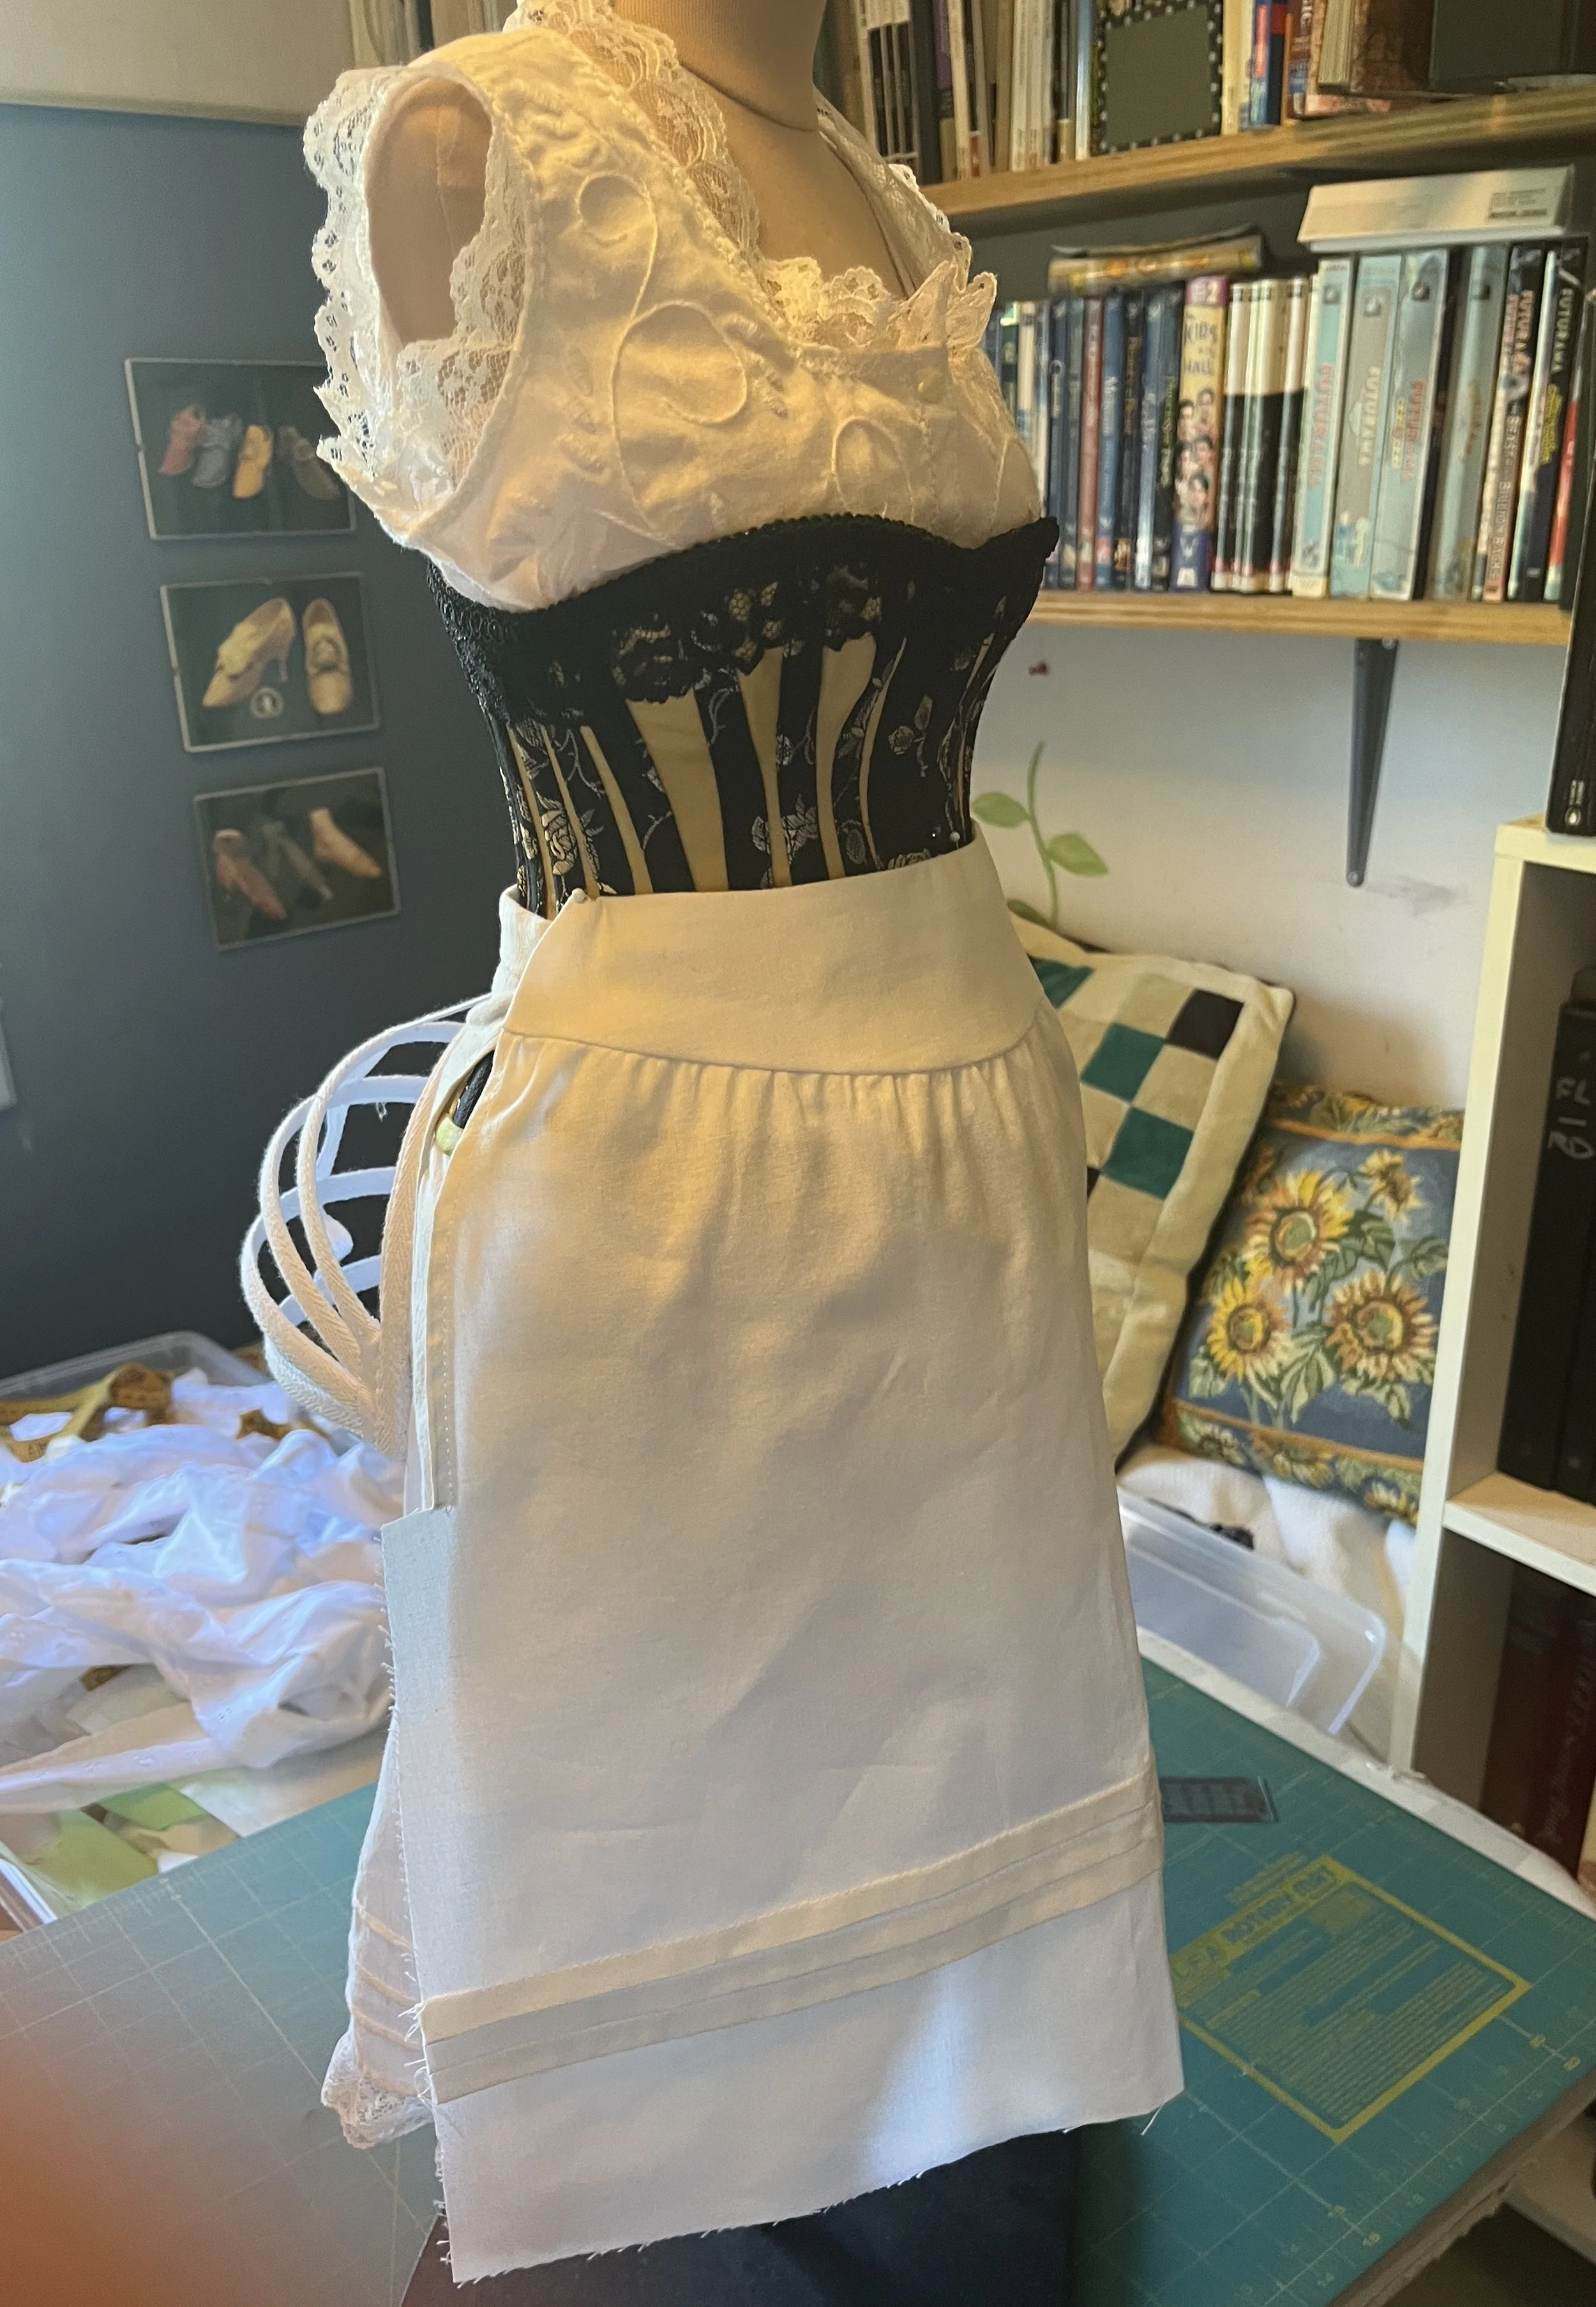
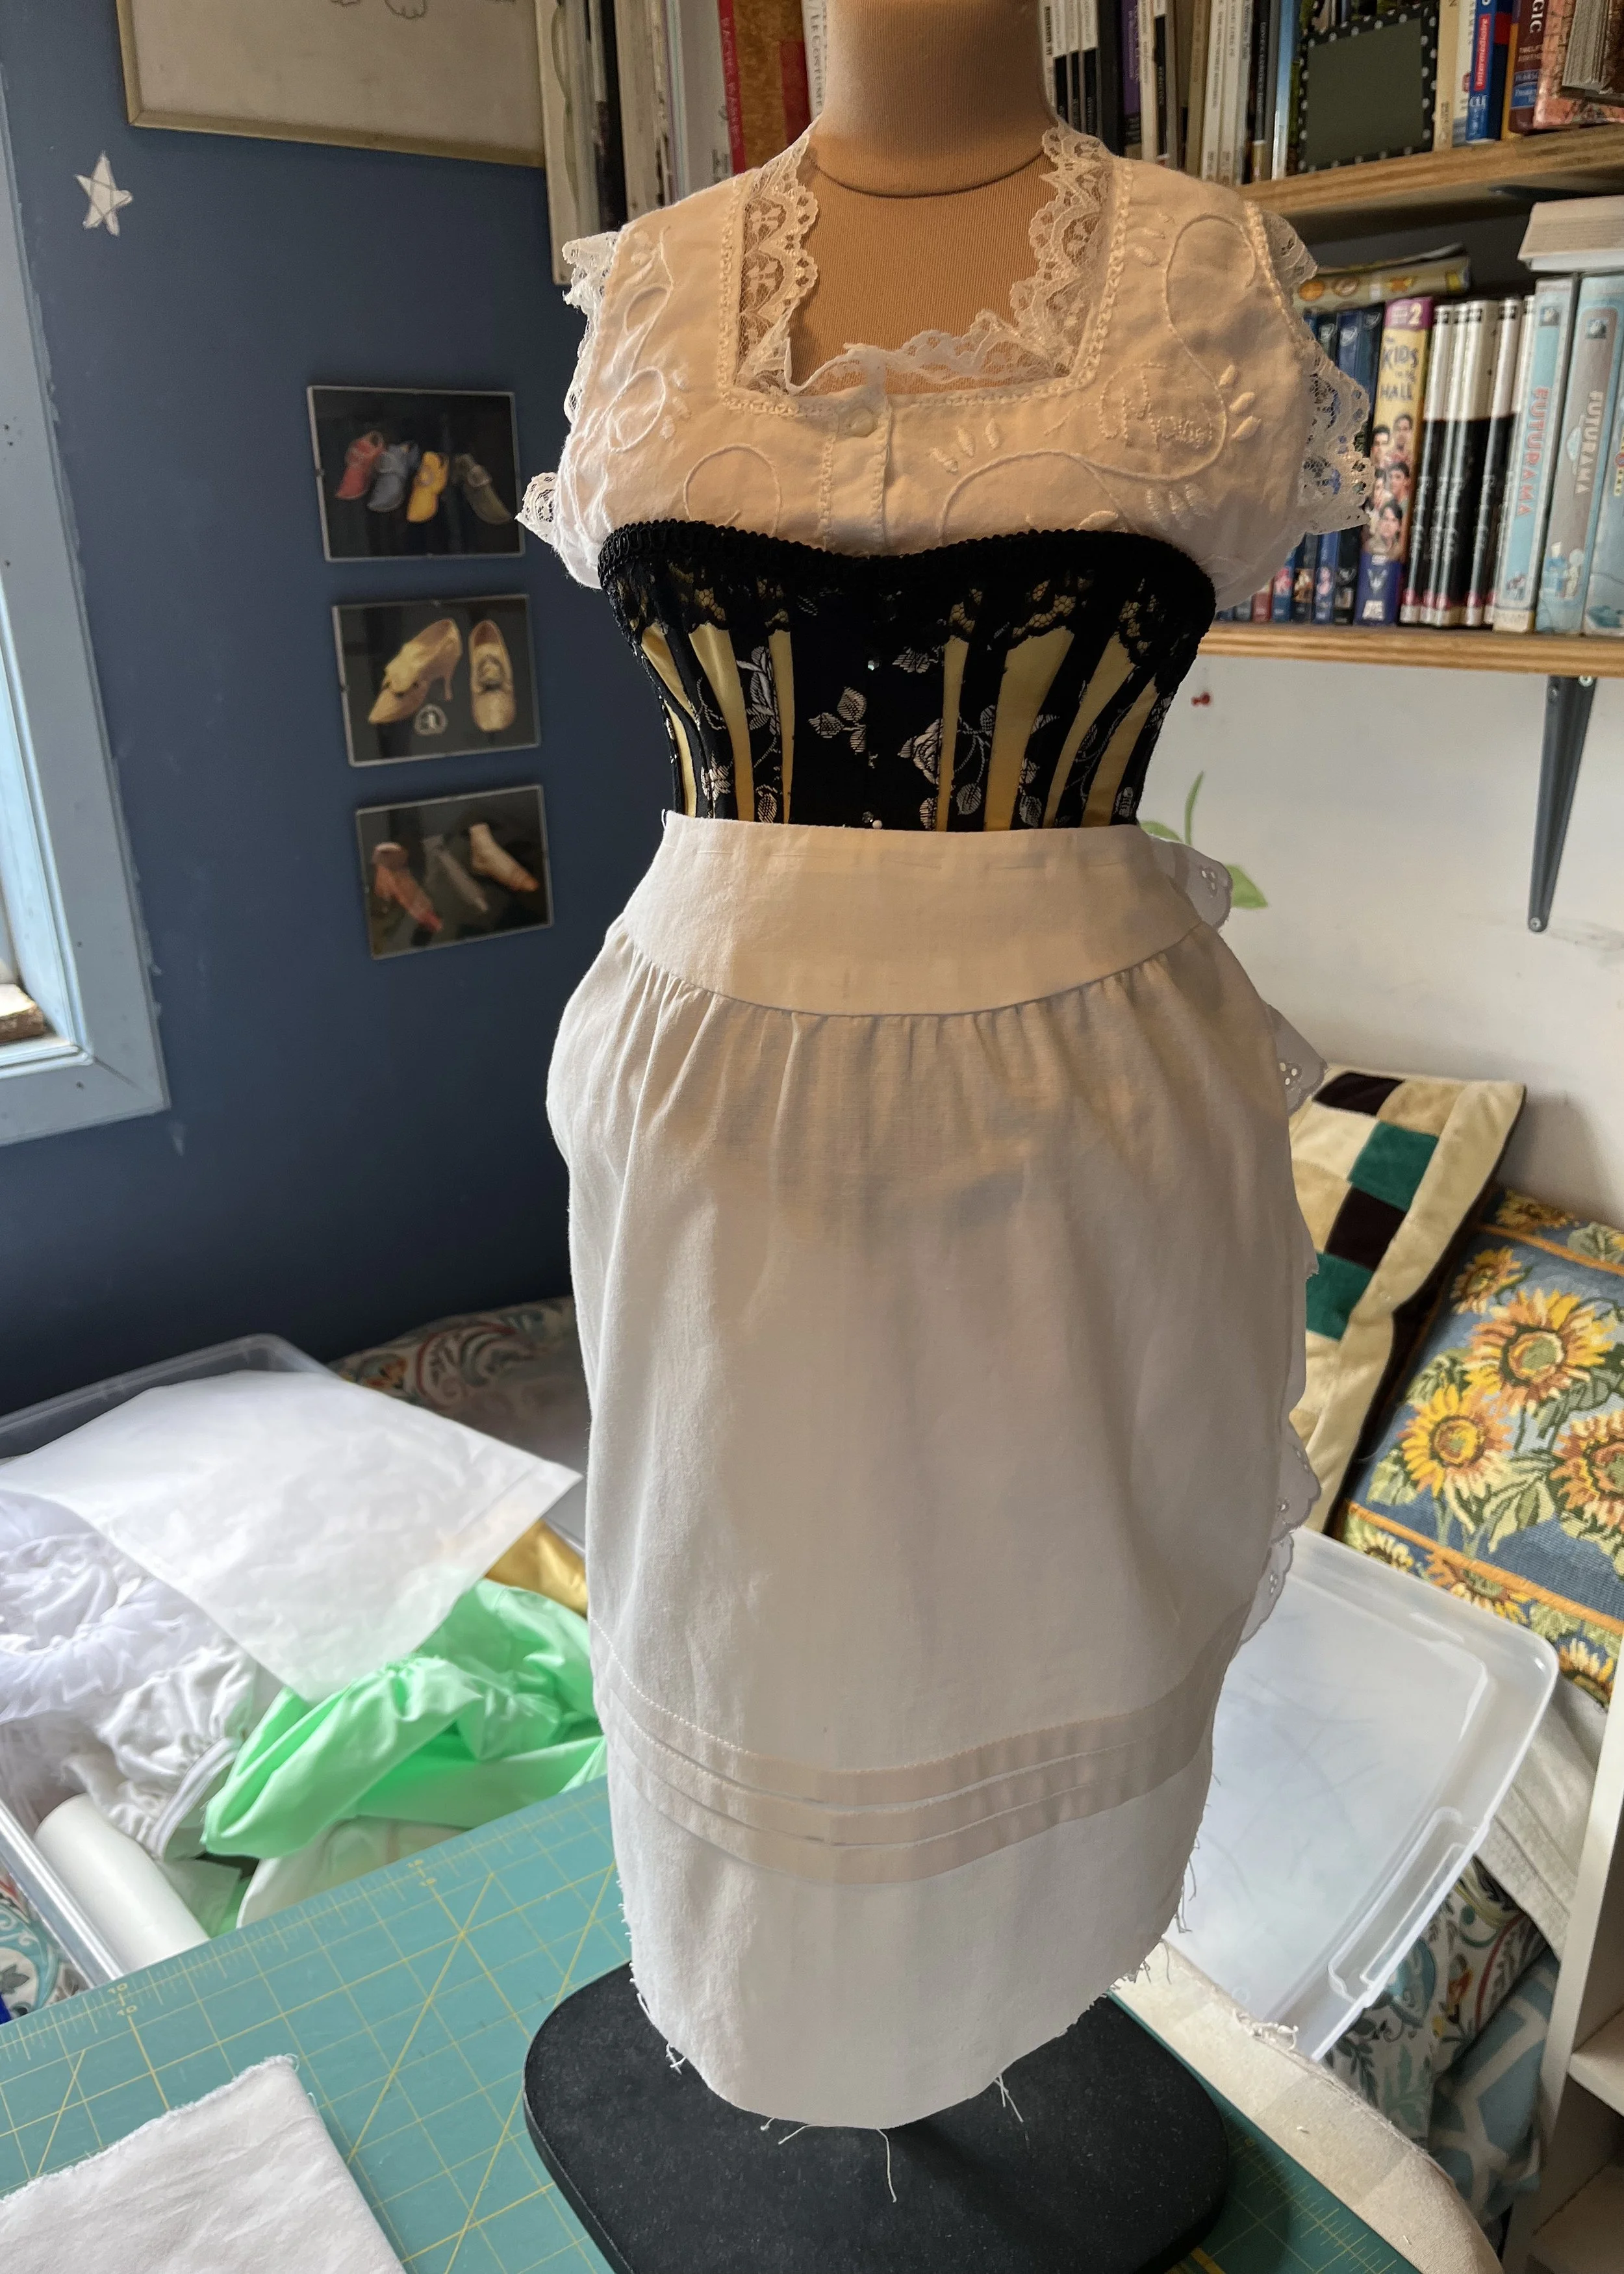
I began by draping a yoke to go across the front waist and then using this piece to generate a pattern for the front of the skirt. I opted to use a yoke in order to keep the waist smooth and reduce bulk under the final dress.
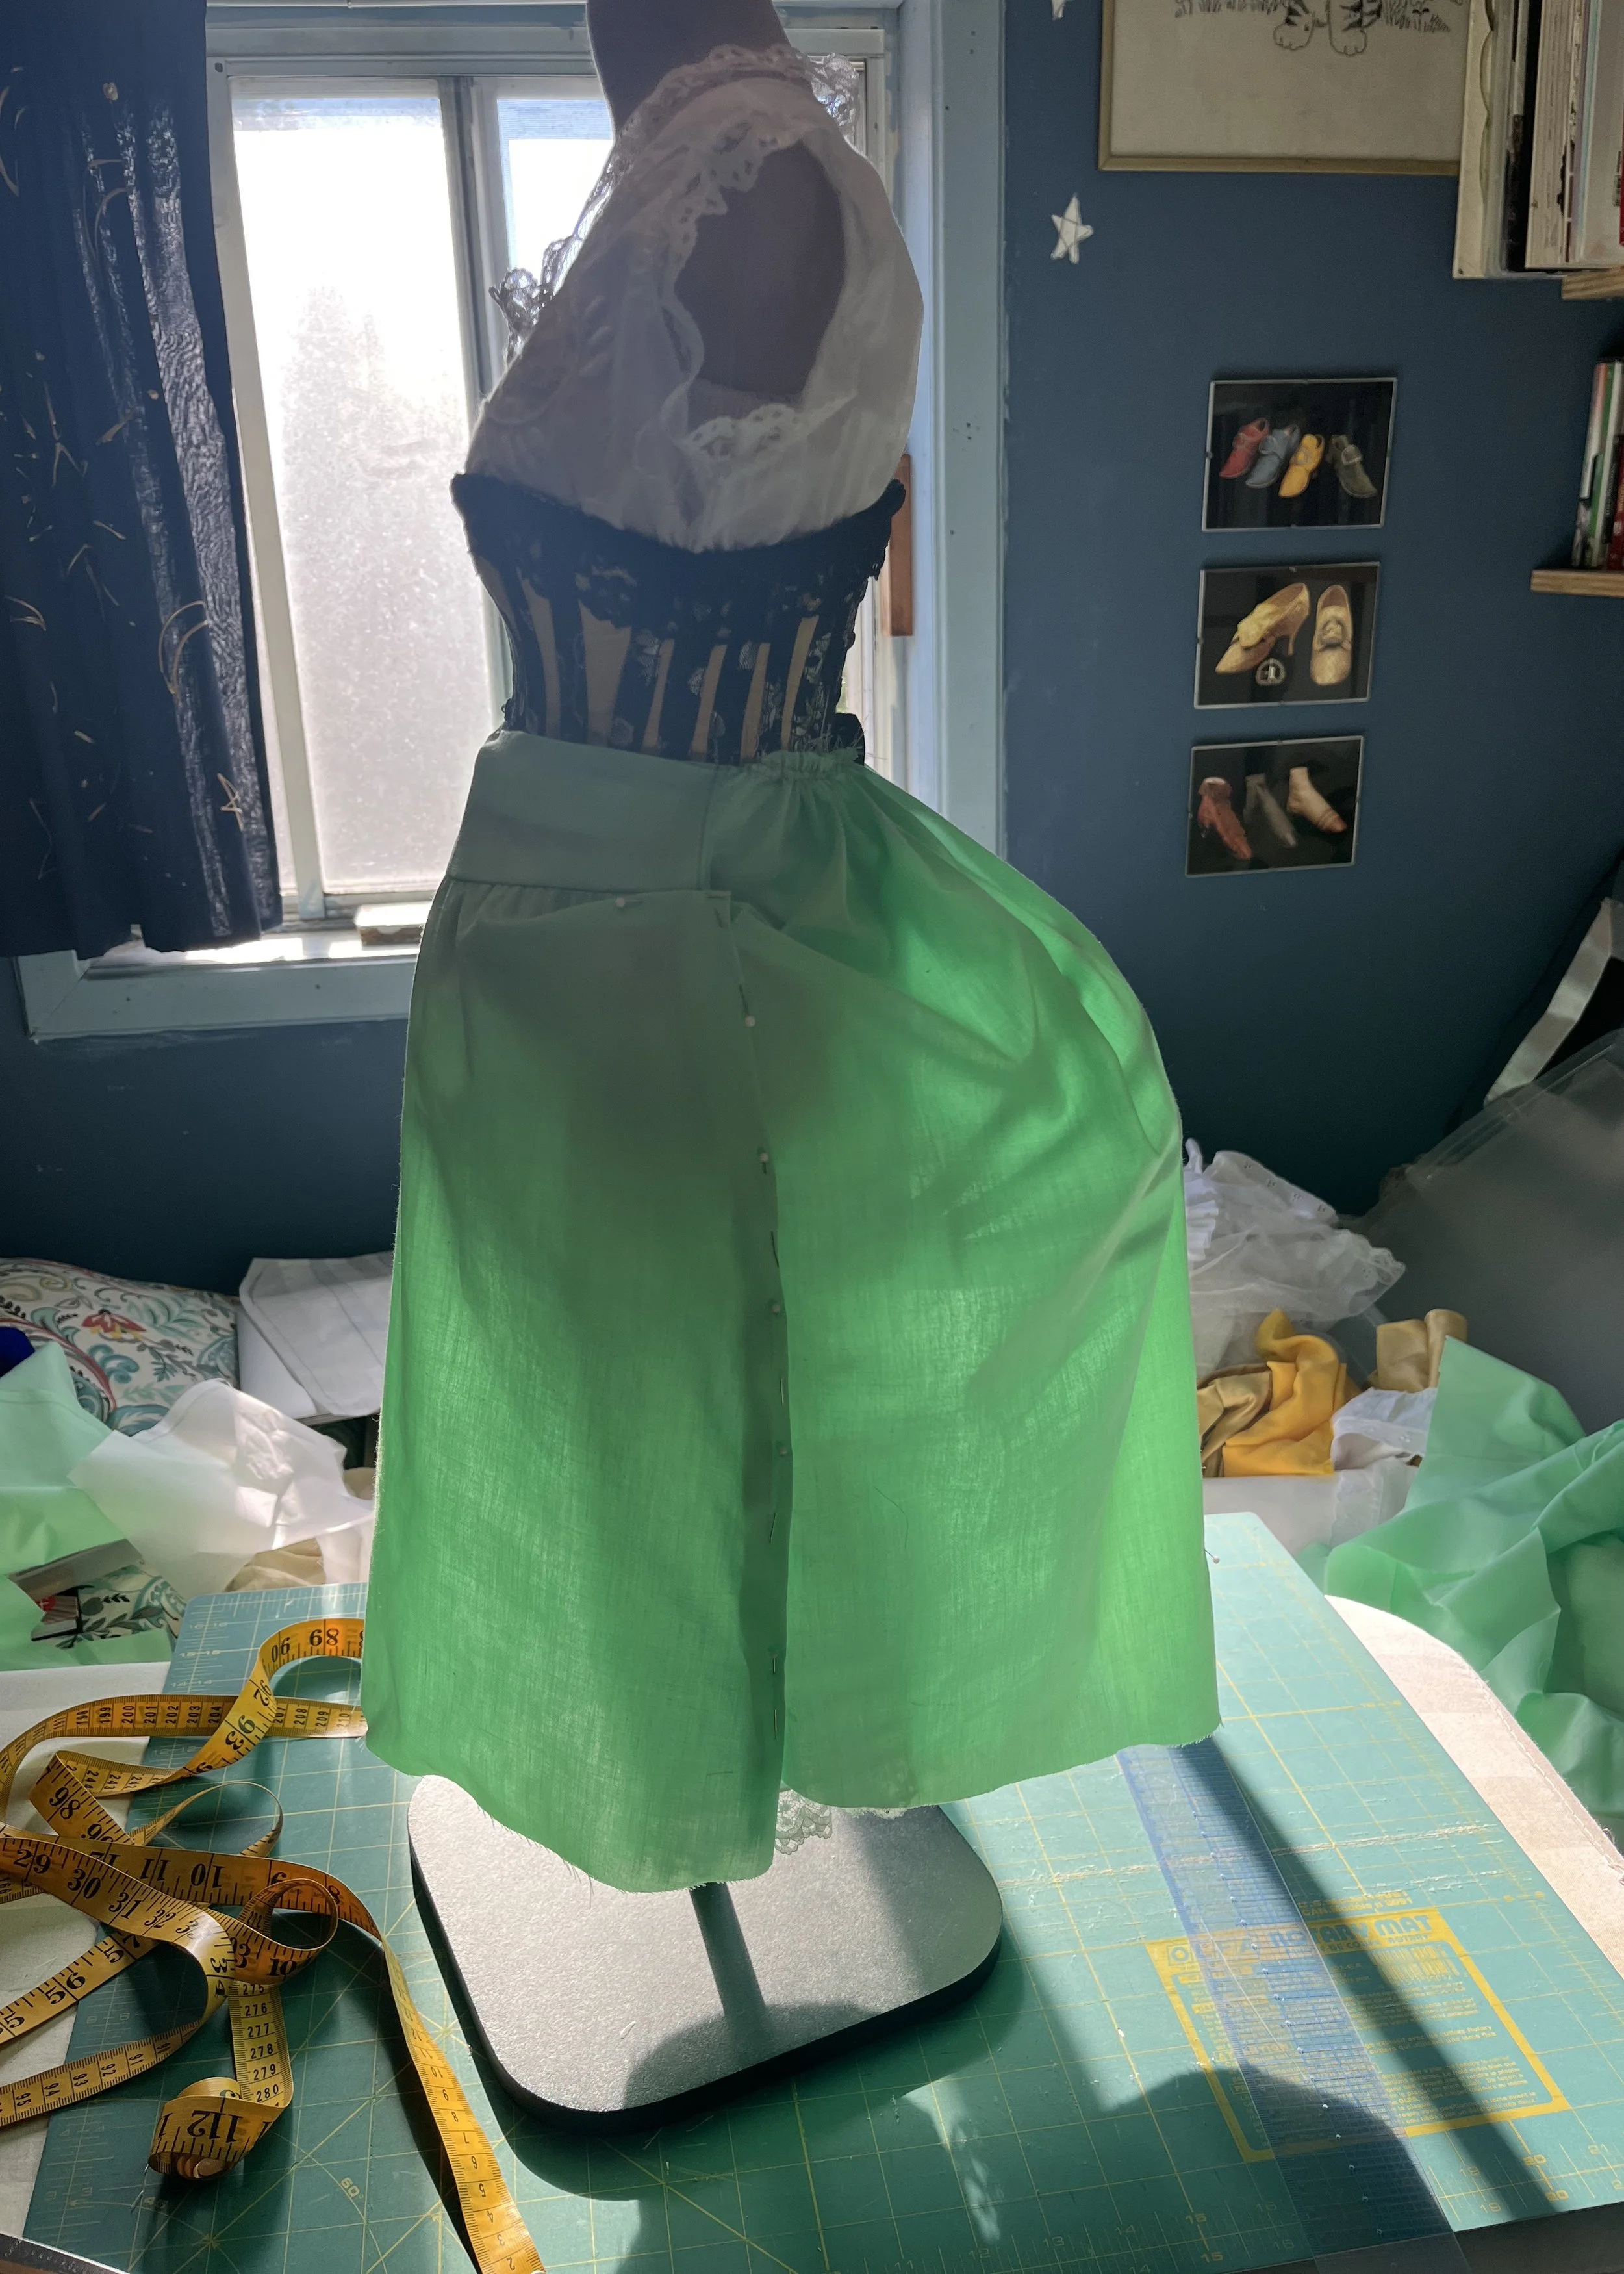
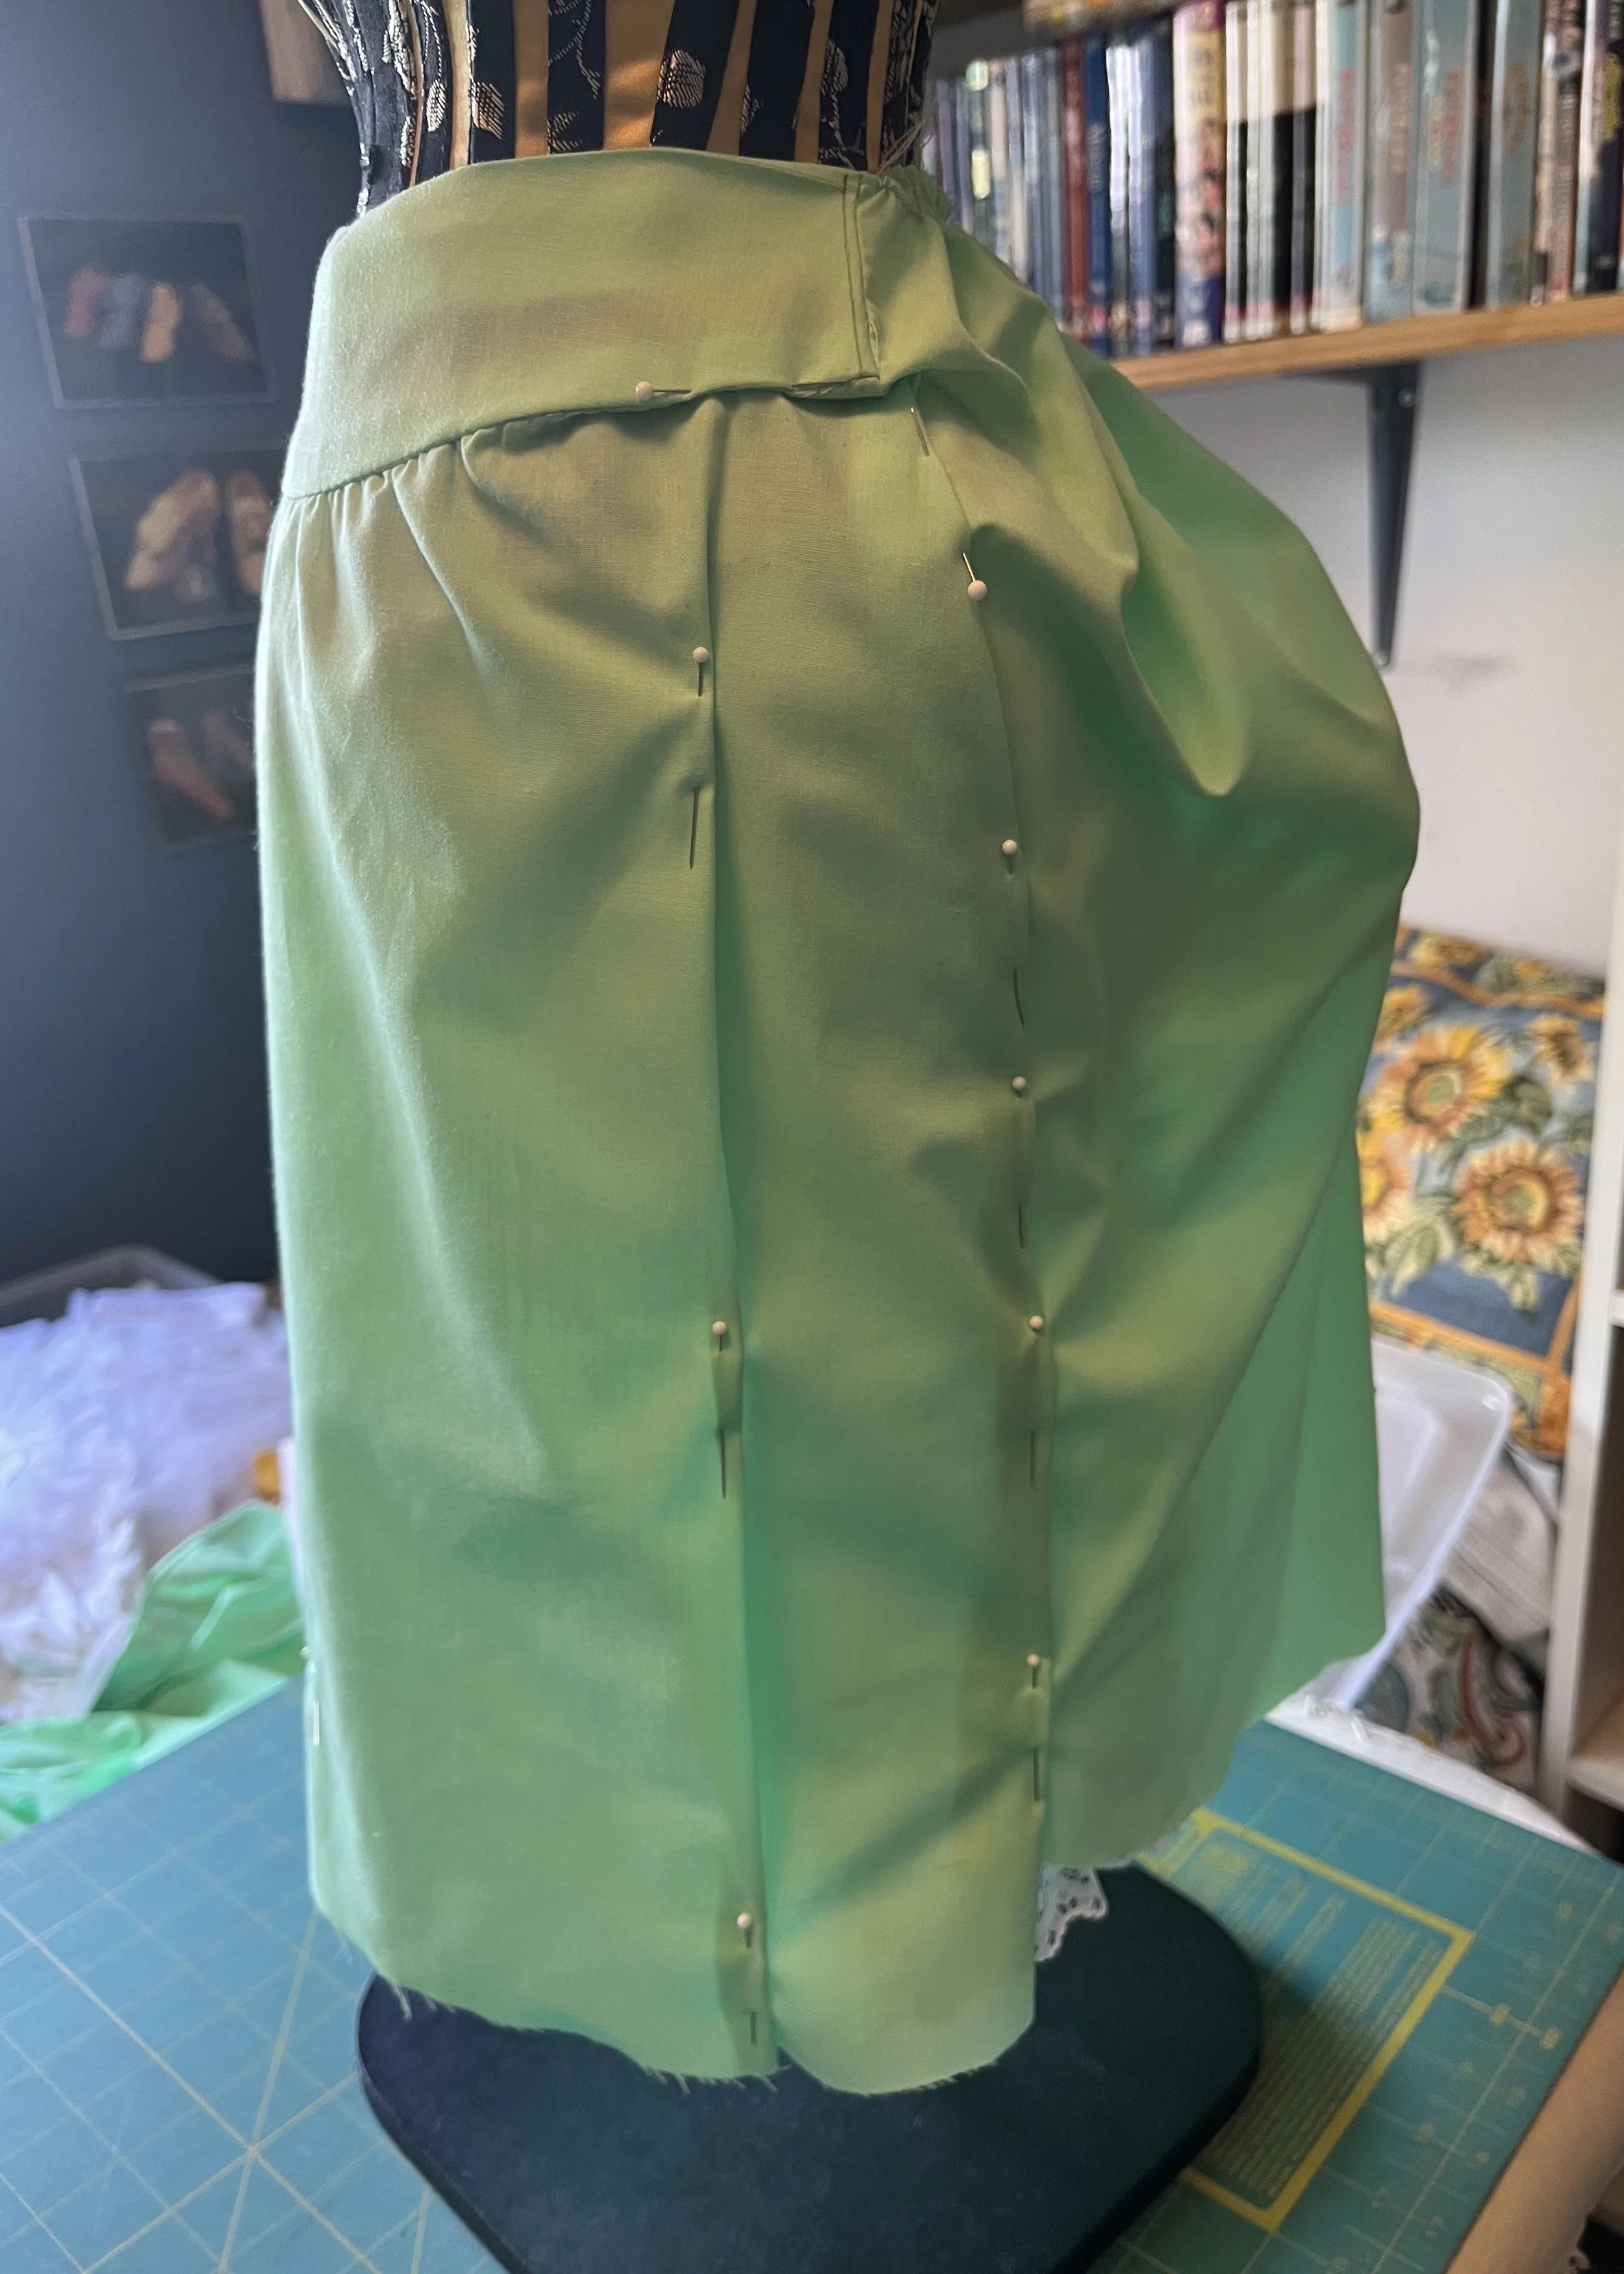
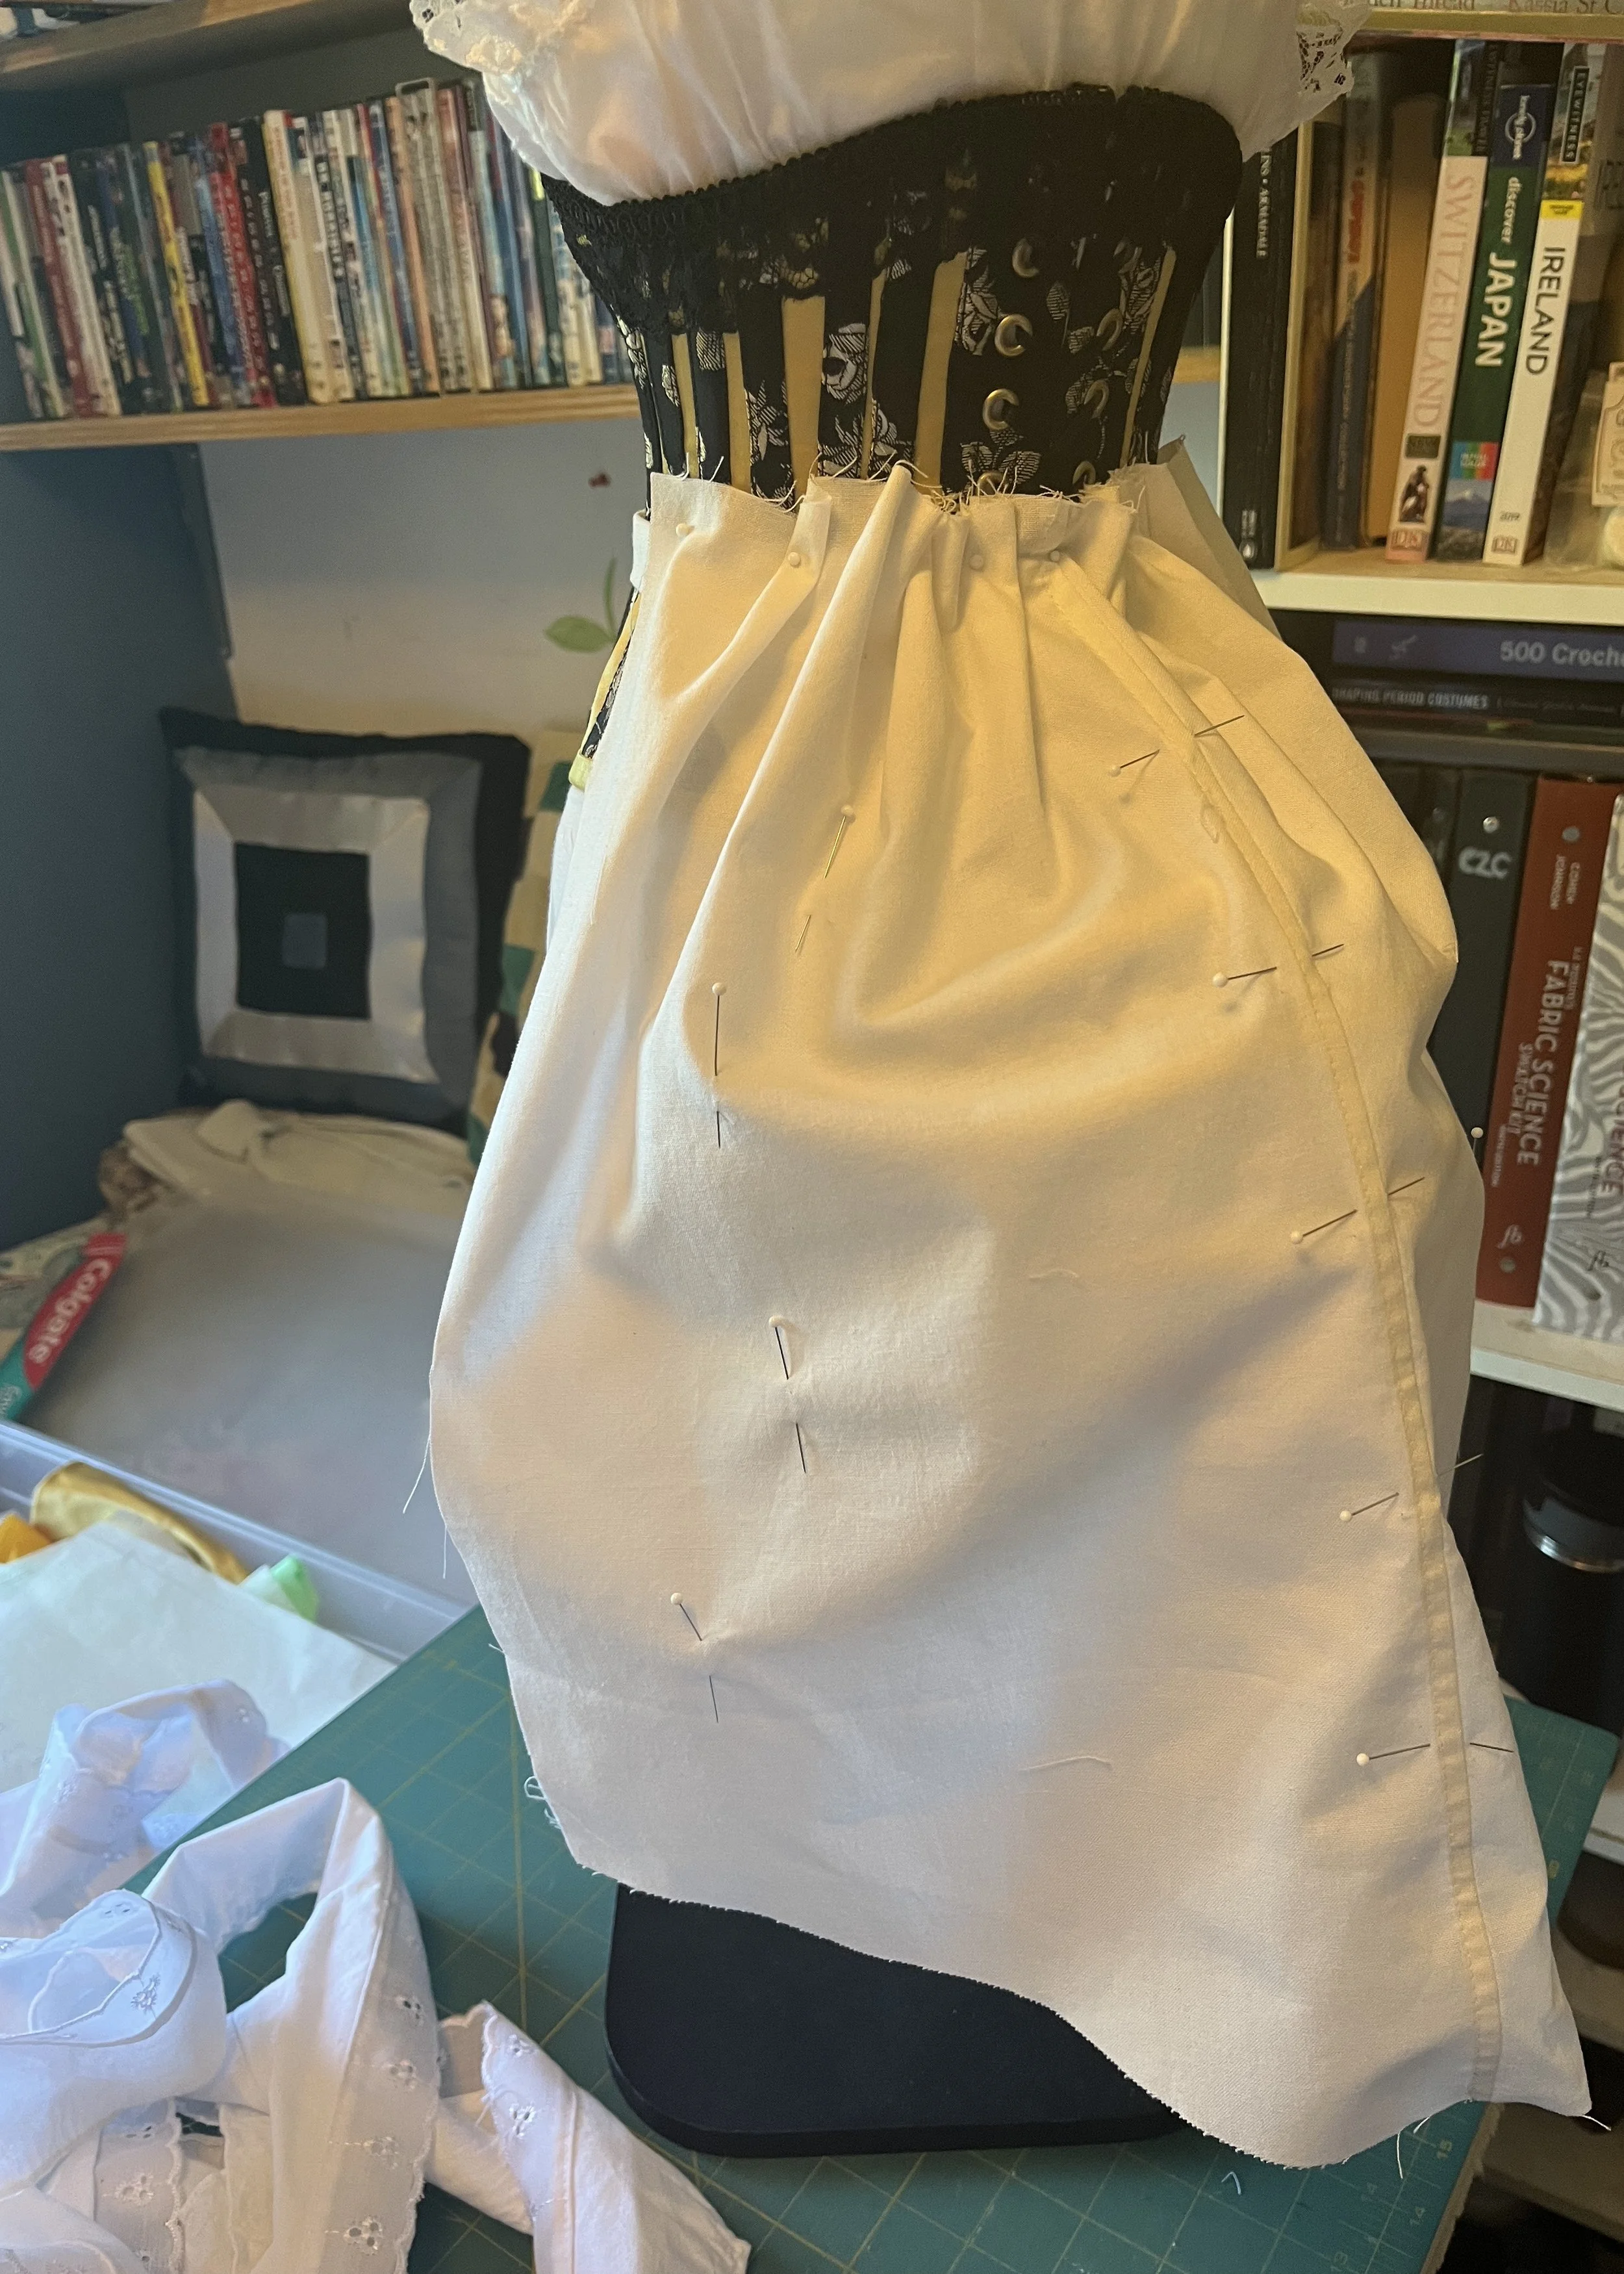
For the back, I draped a piece wide enough to cover the bustle and meet the front piece at the side seam, added a few marks to show approximately how long it should be, then drew in the bottom edge of the pattern. I then used this piece to make a mock up of the whole pattern.
I ended up pinning out a lot of fullness from the front of the mock up, but overall I was happy with the shape and decided to move right into the final fabric.
To build the final petticoat, I used some medium weight, plain weave cotton I had left over from something else (what that something else is, I honestly do not know. It's mystery fabric!) It's not quite as light as the fabrics which appear to have been used in the extant pieces I looked at, but it works.
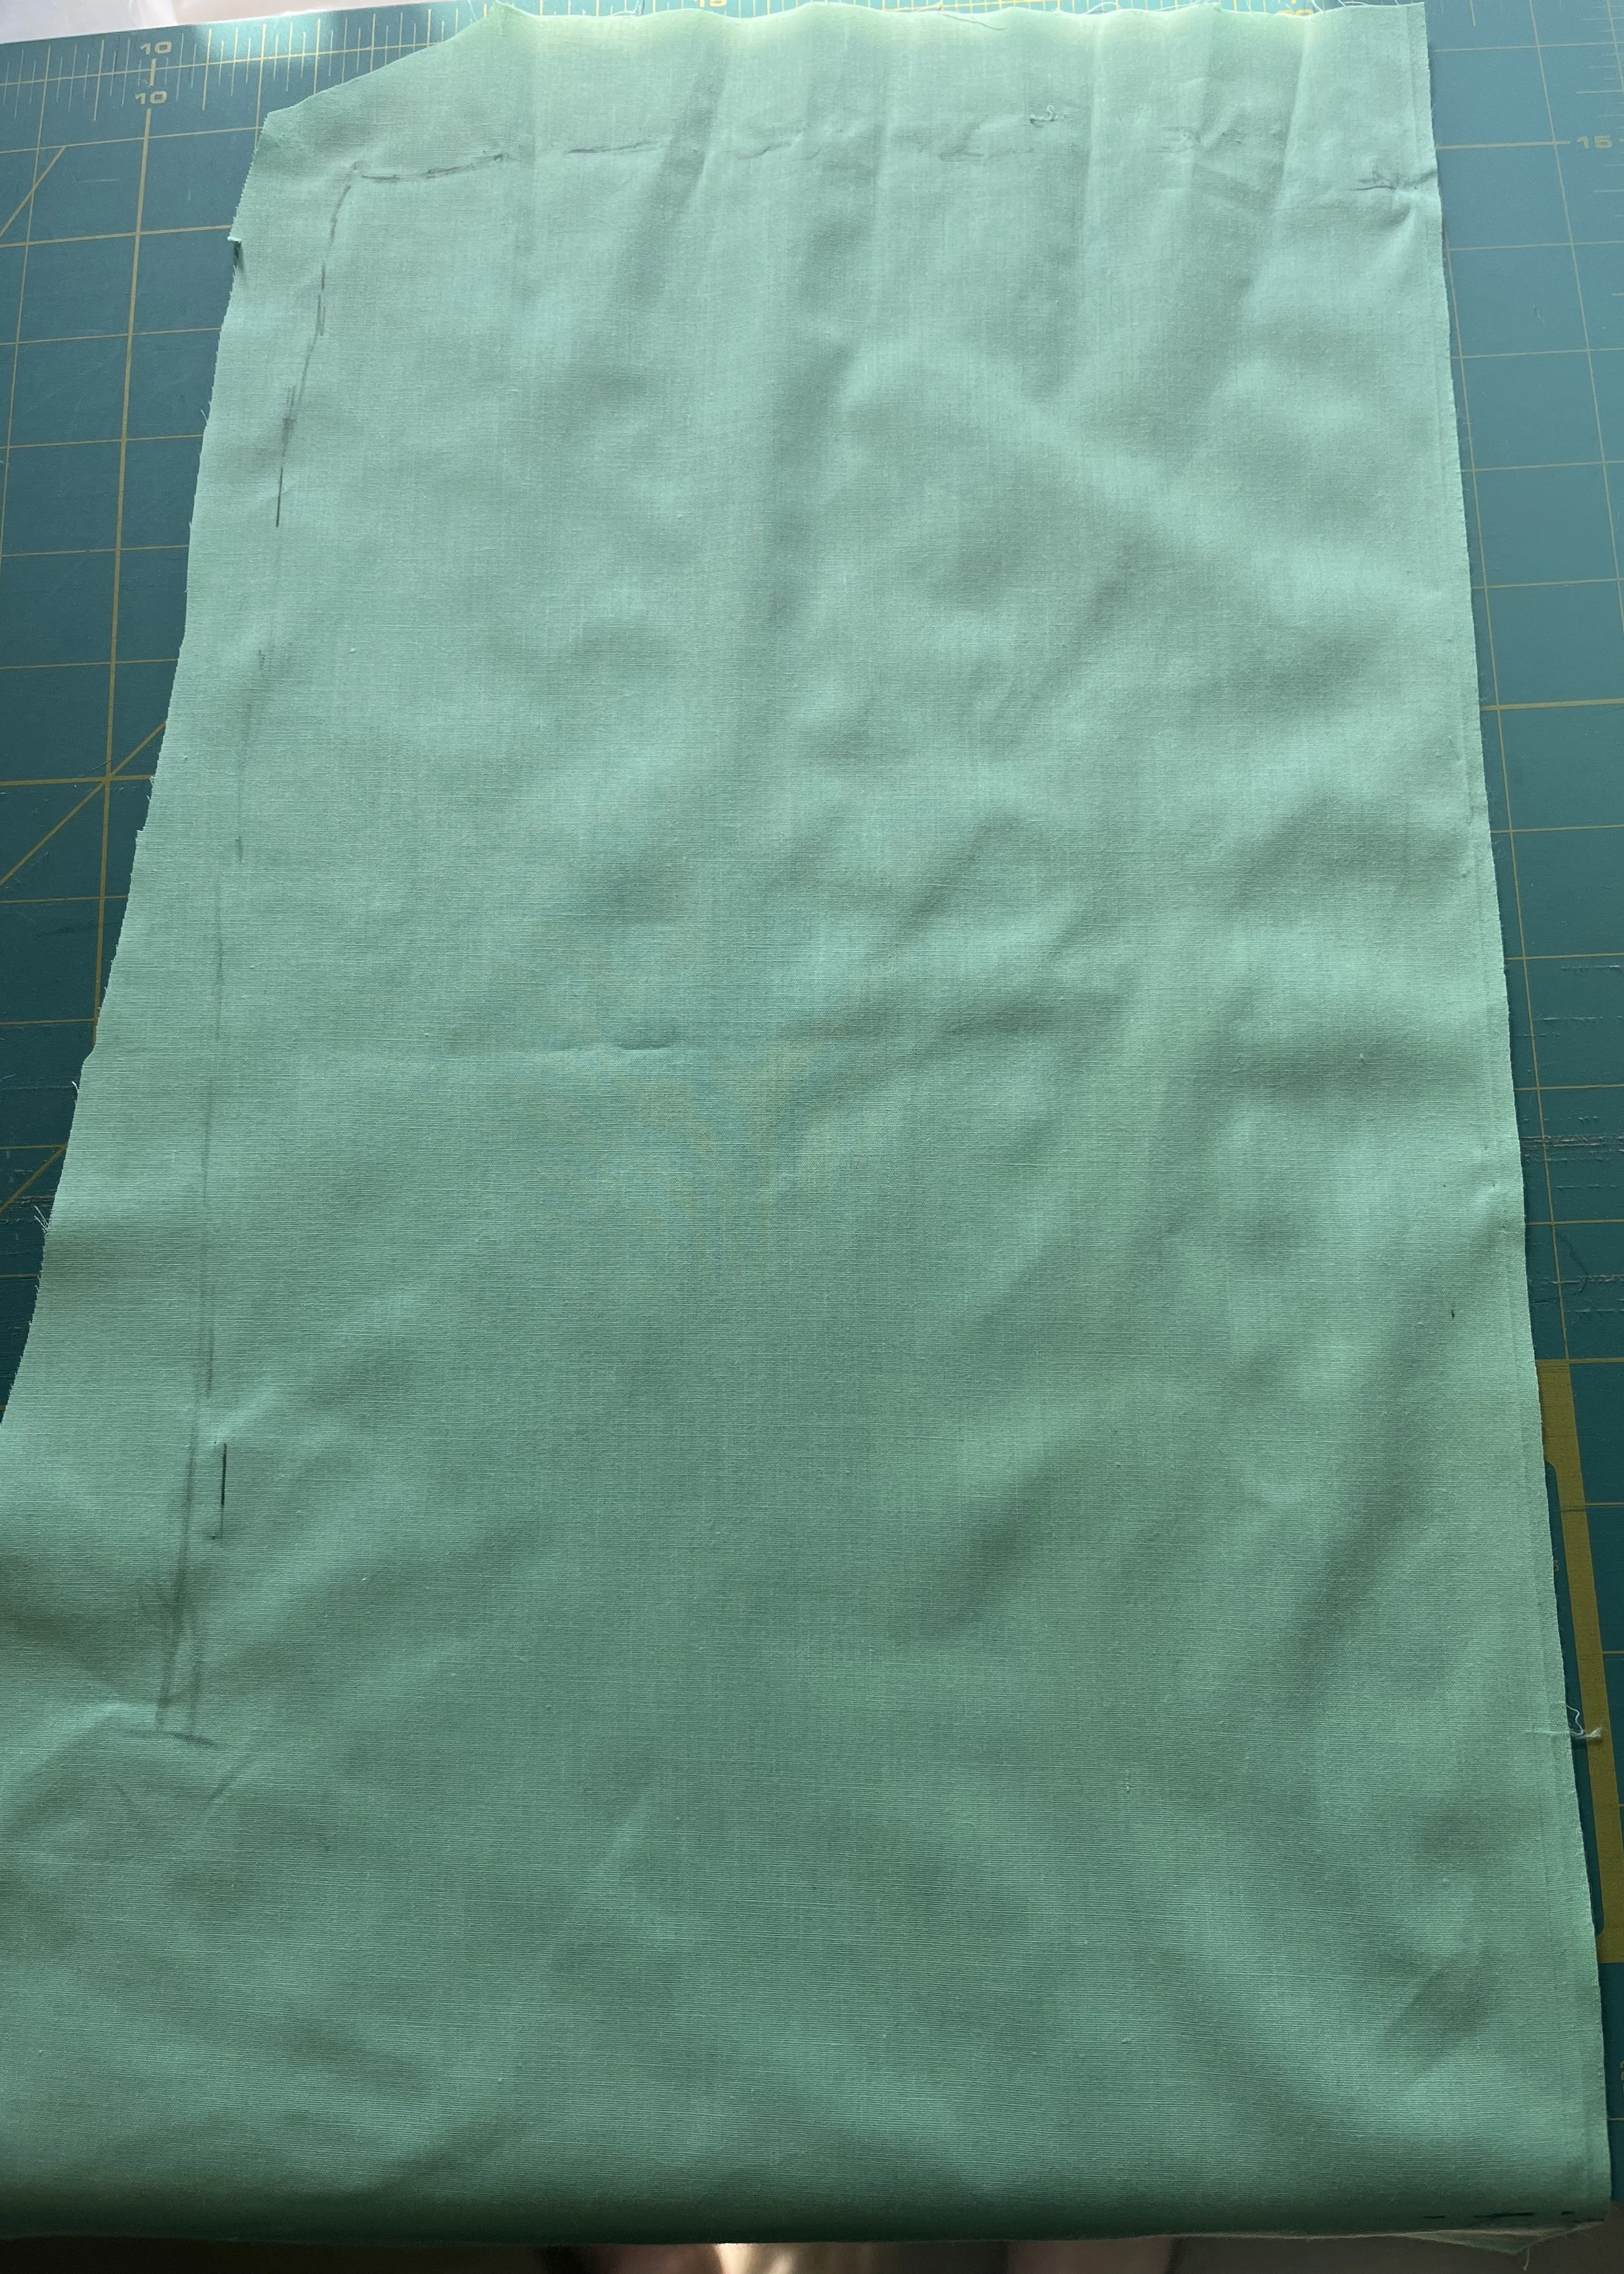
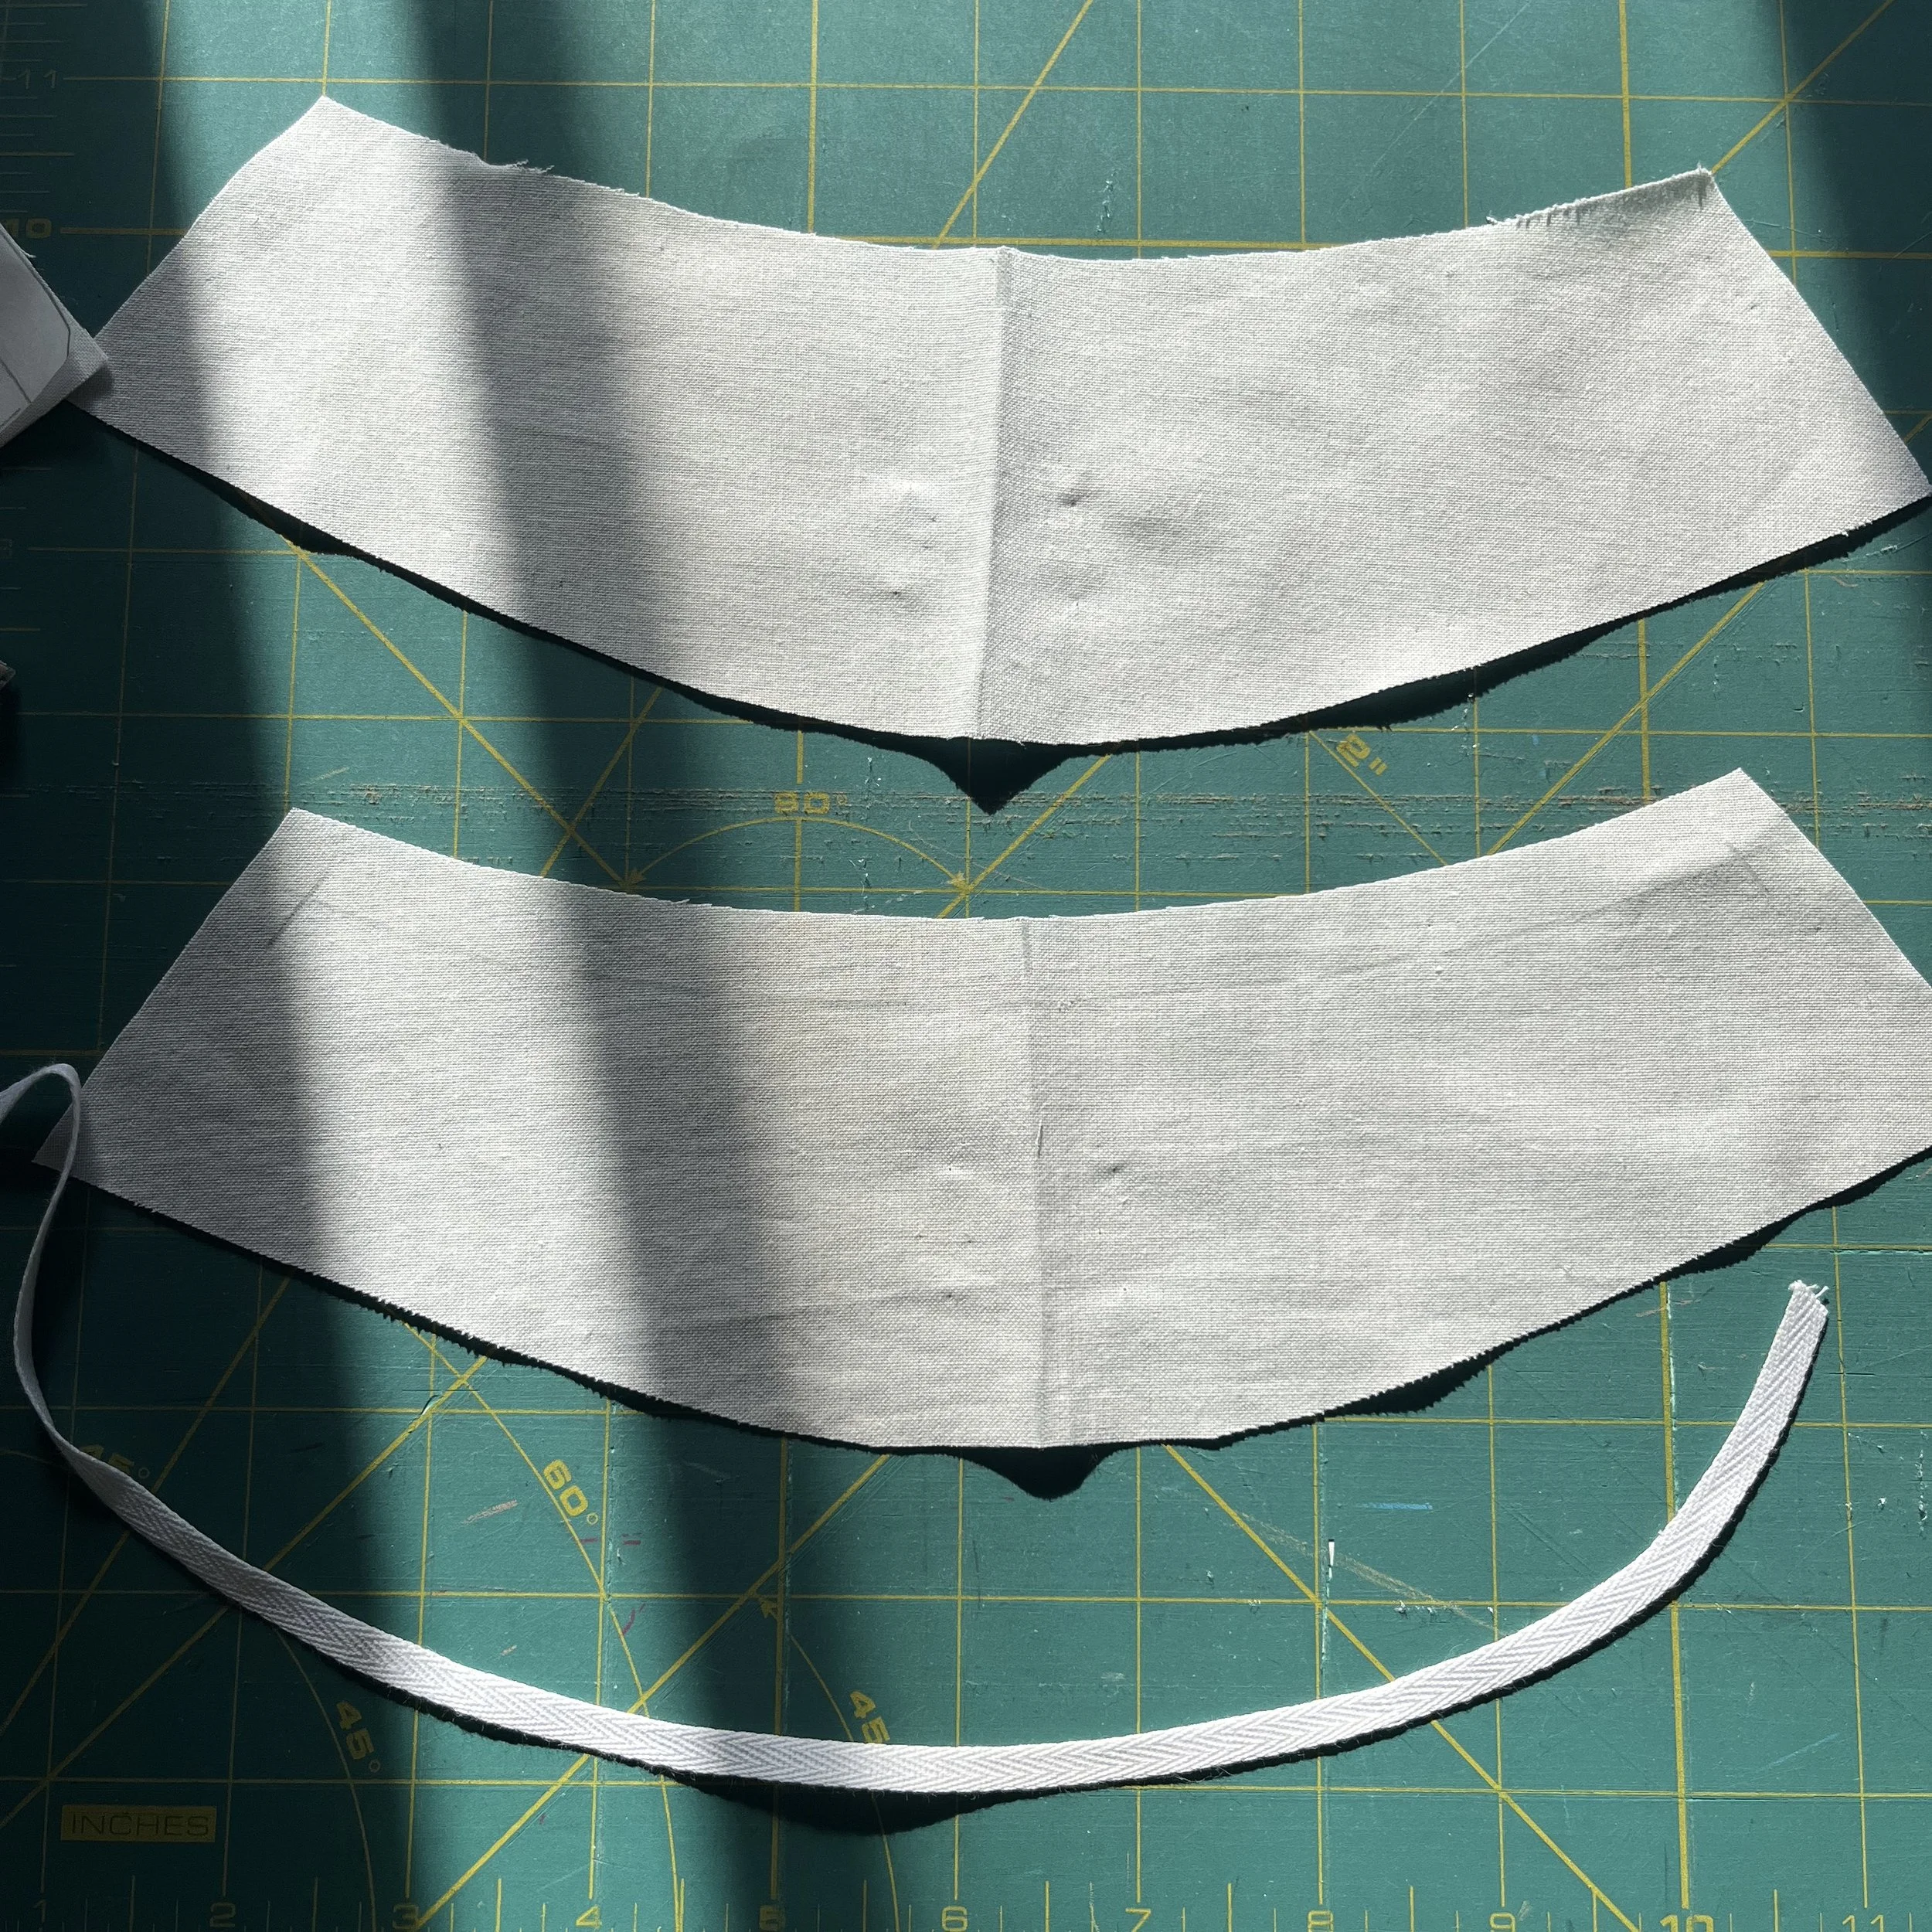
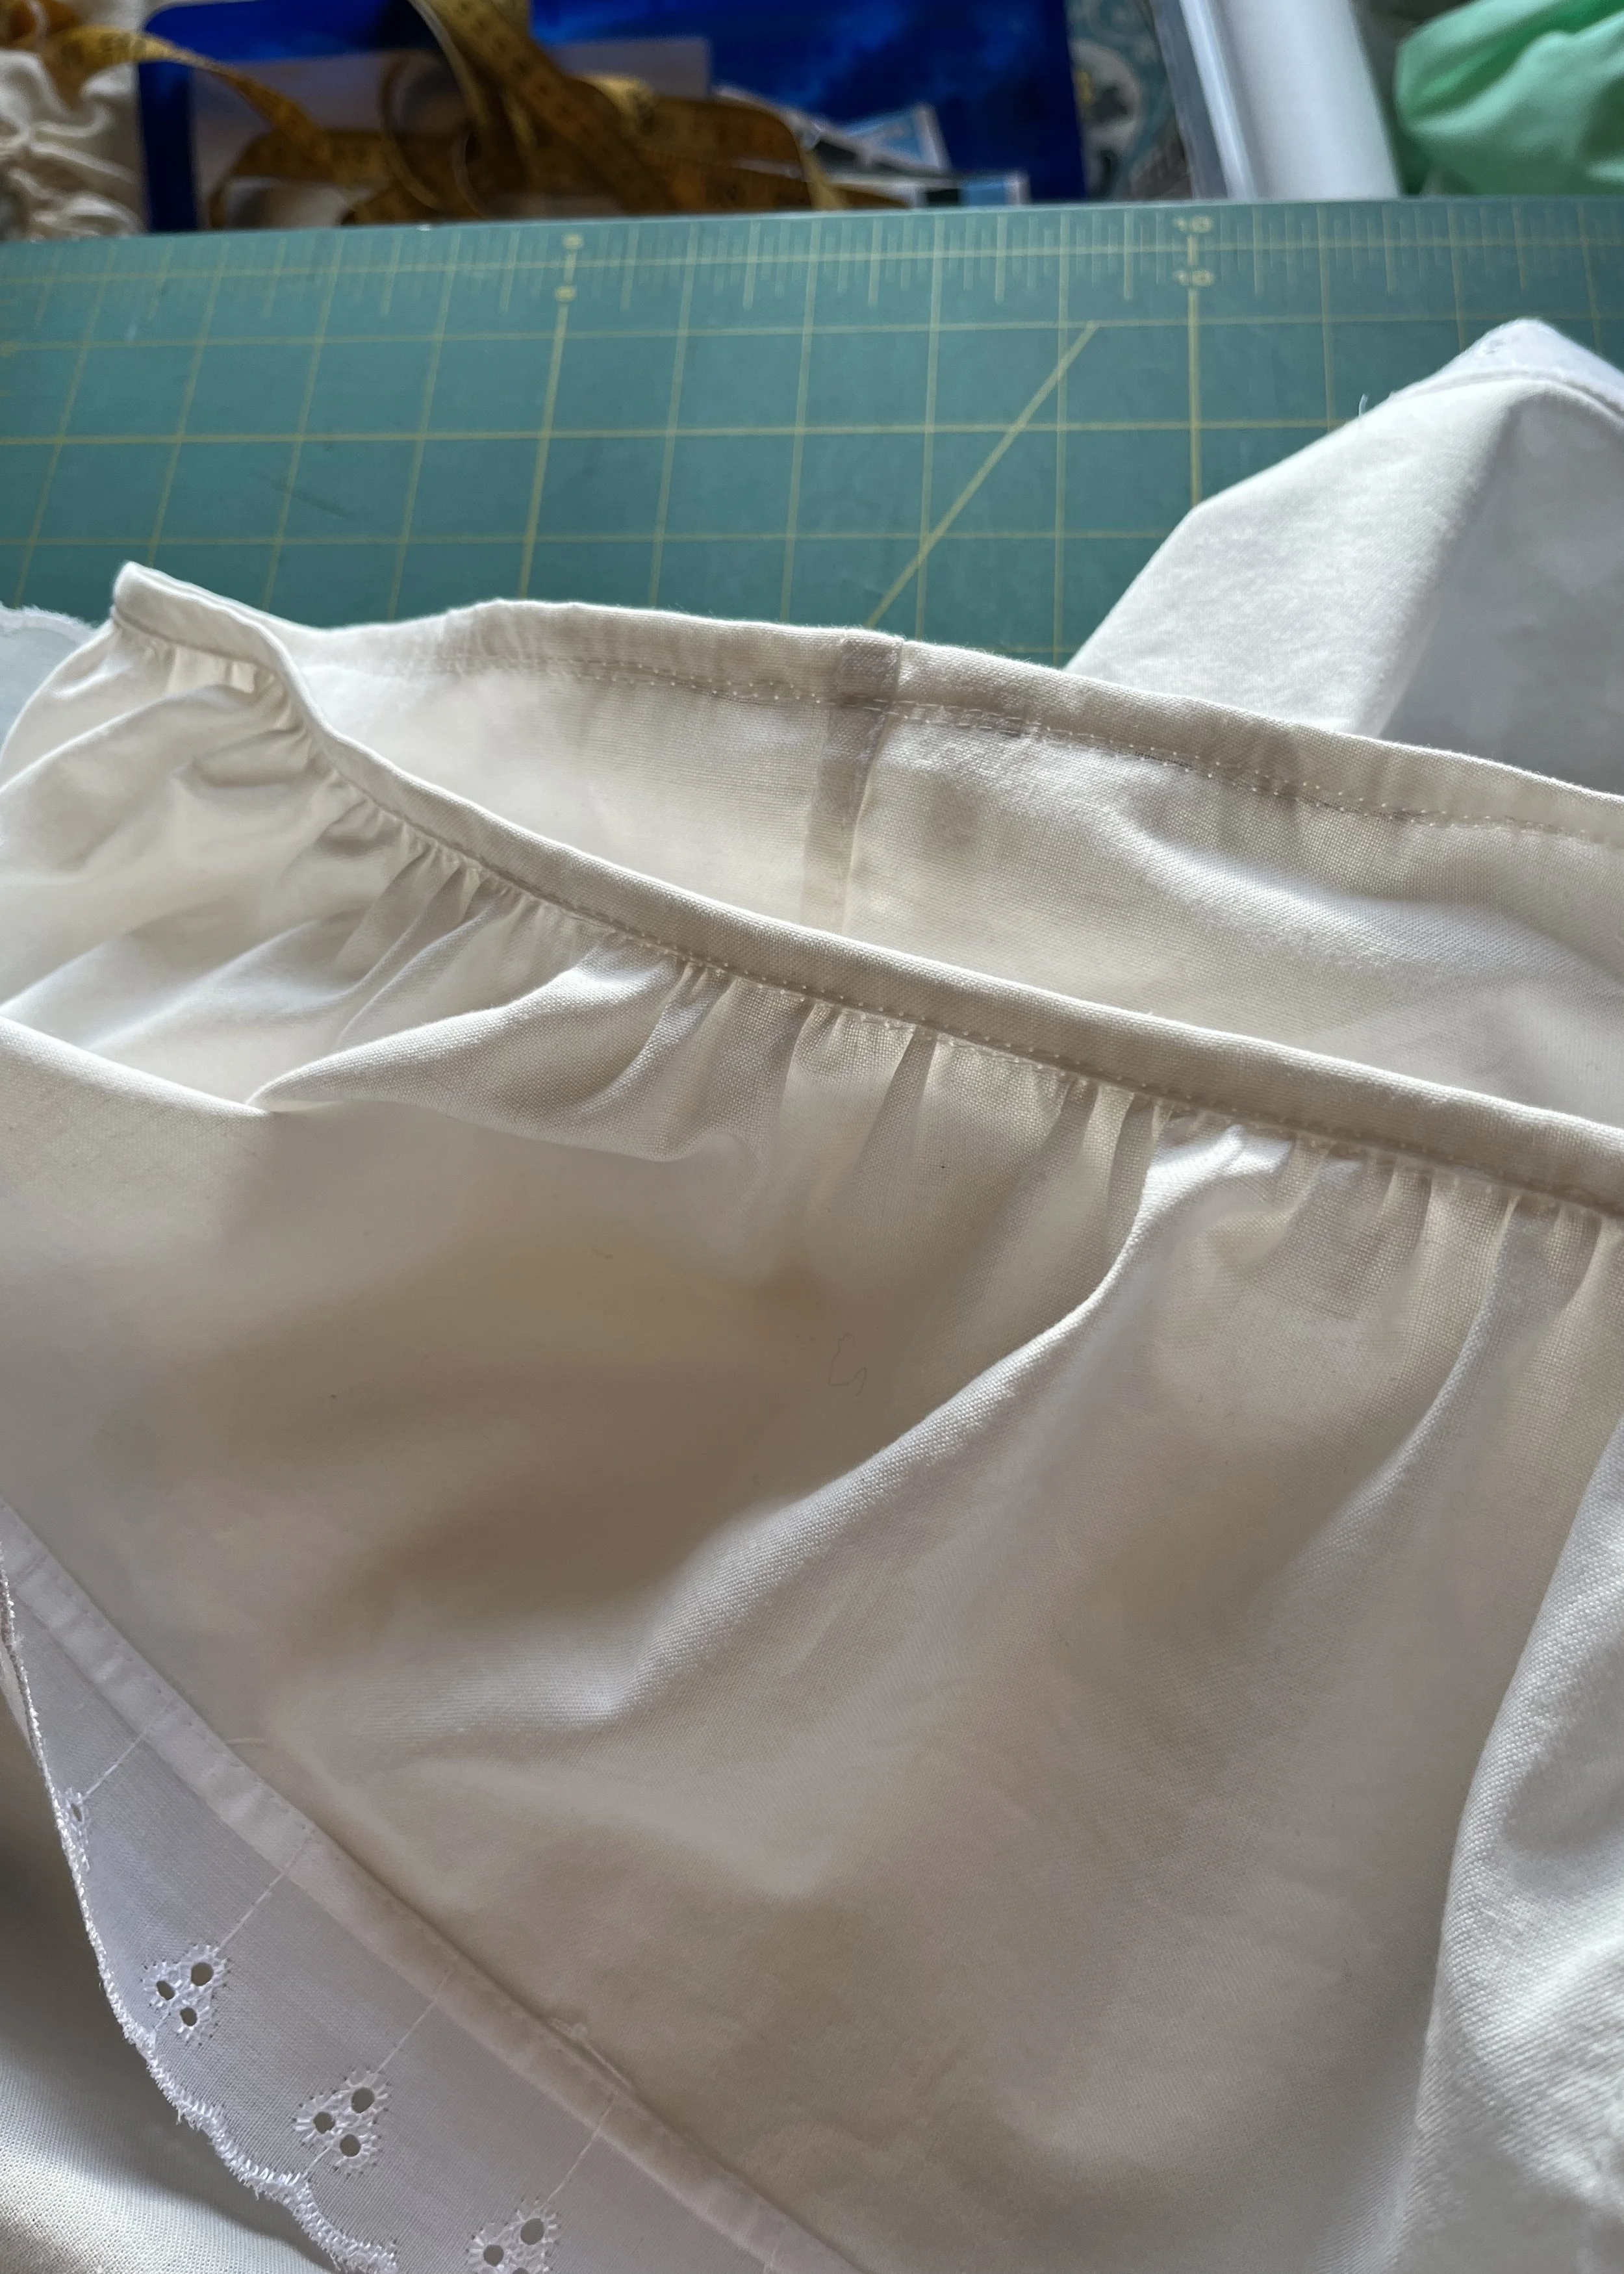
For the yoke, I cut two layers and stitched them together along the waist line, leaving the sides open. I also added twill tape into the seam allowance of one of the layers to stabilize the waist curve and ease it in a little bit.
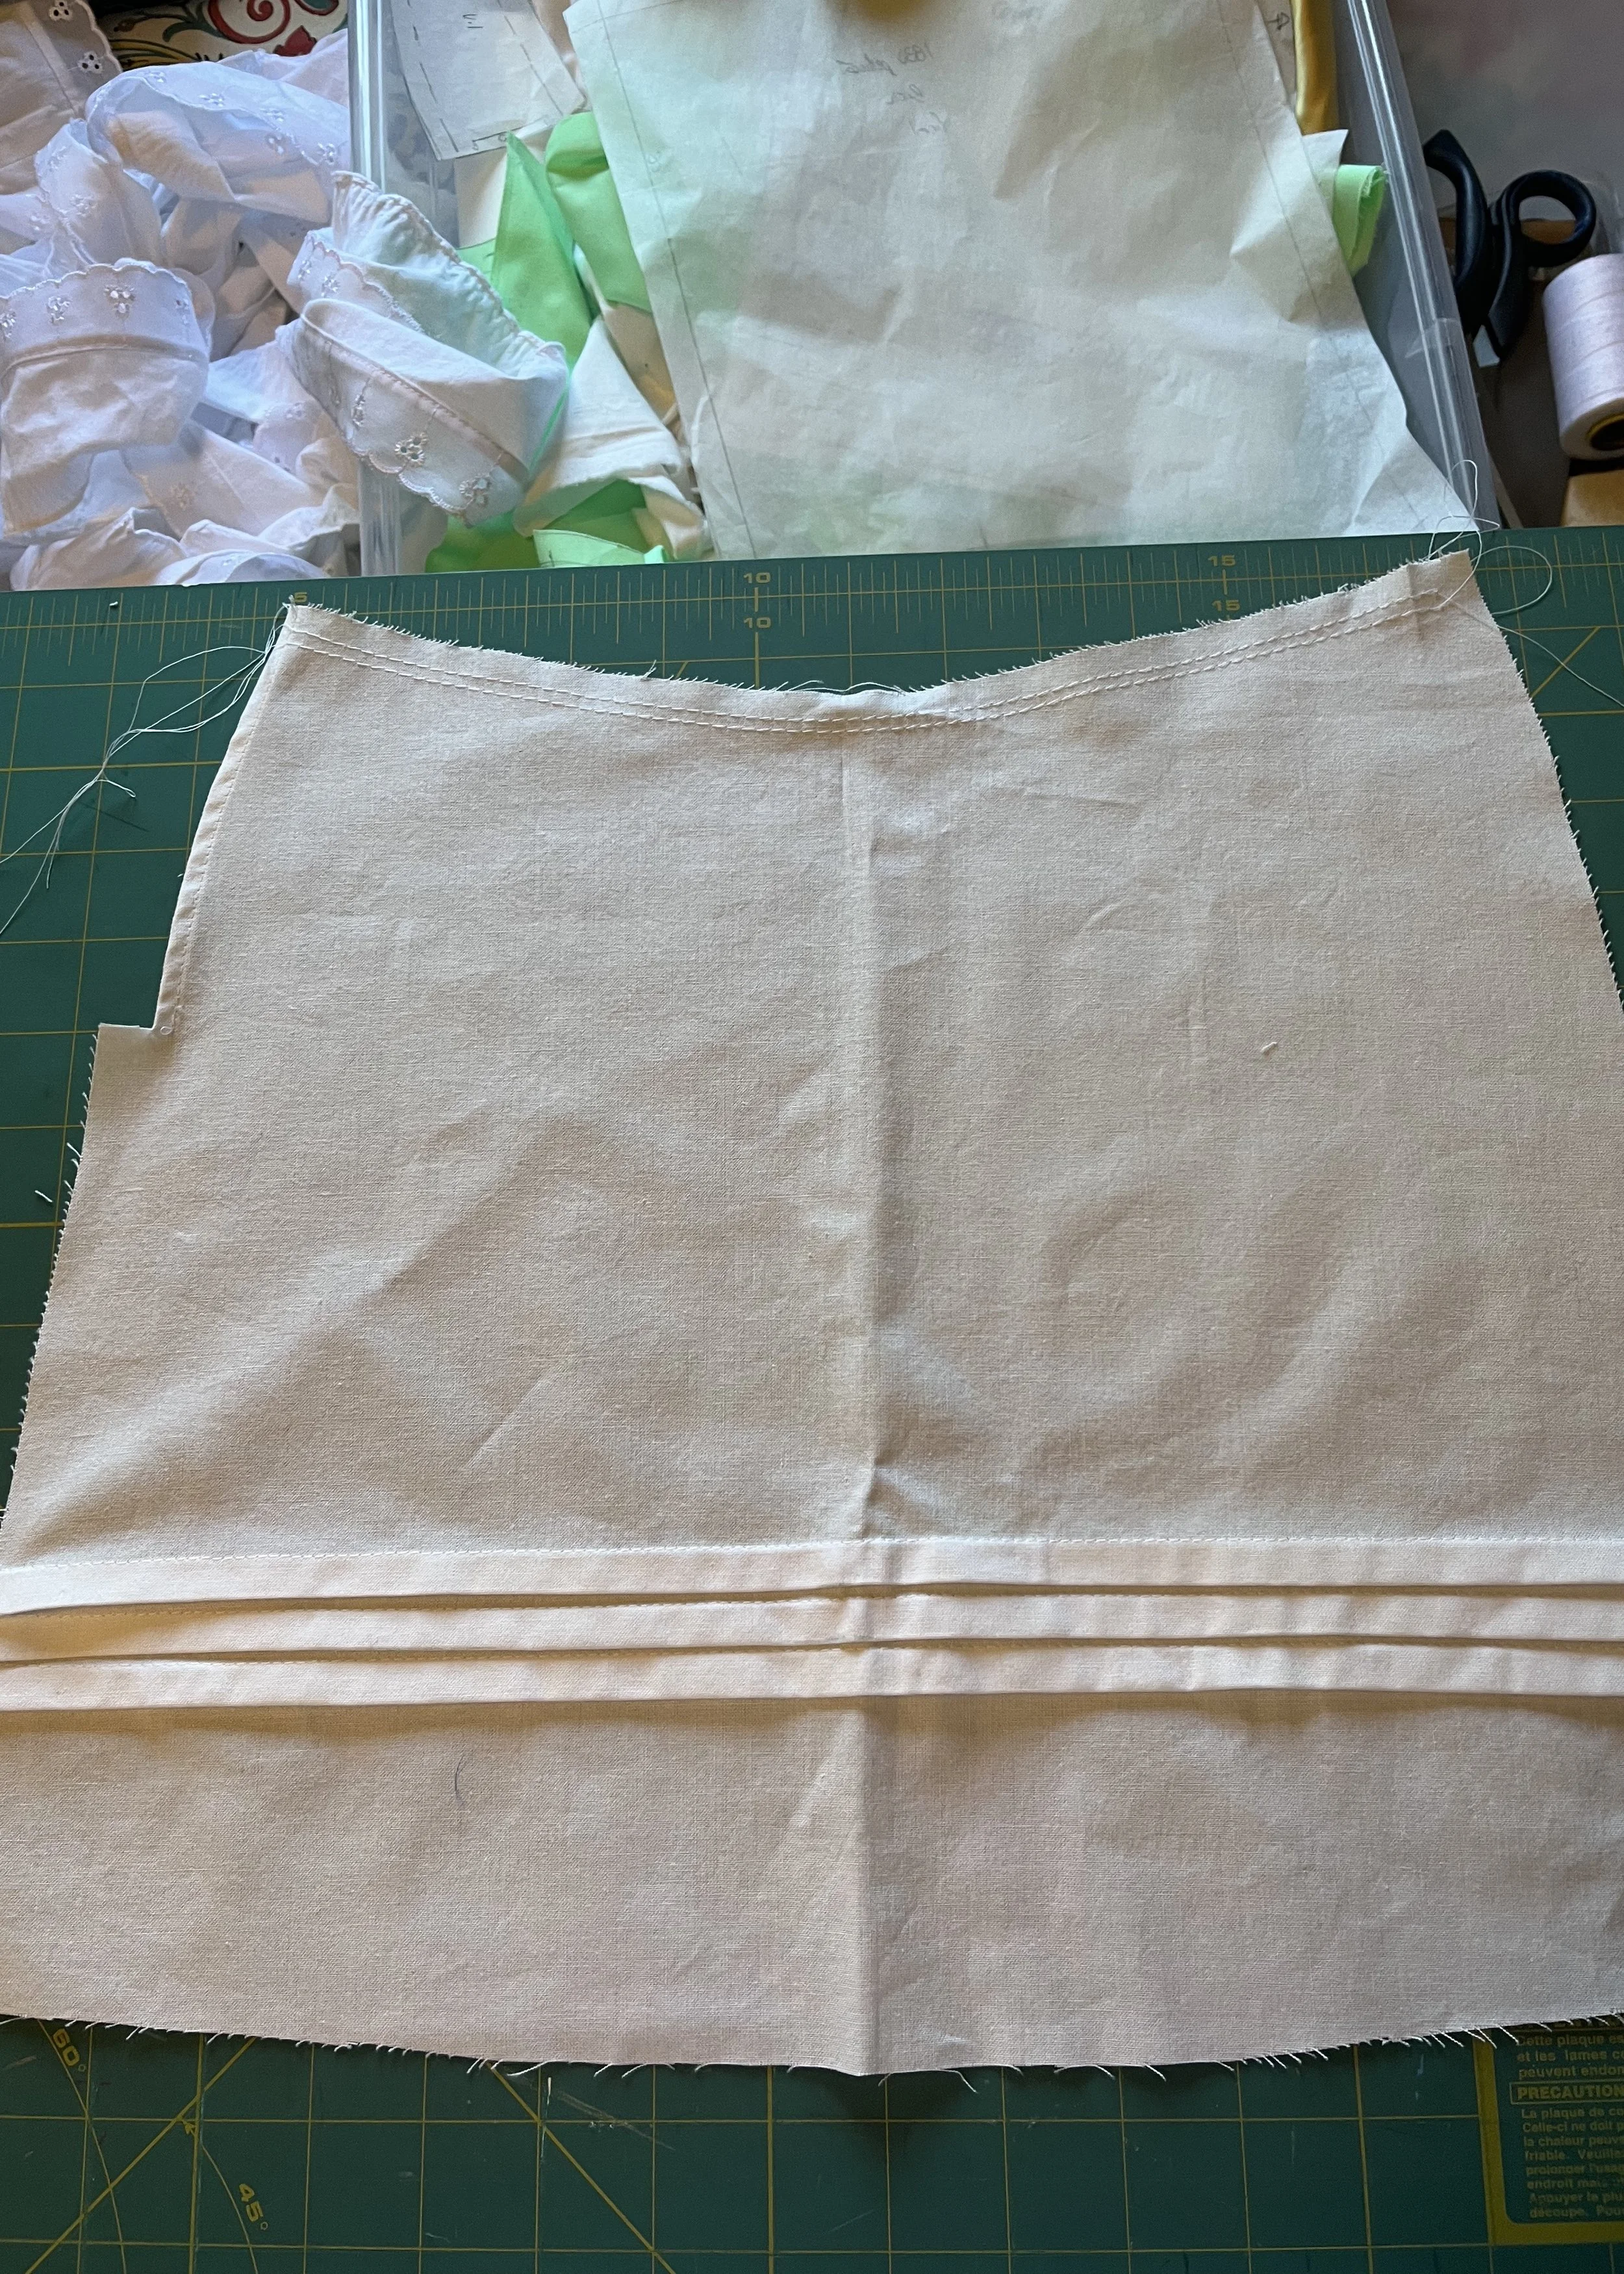
Front panel, ready for the yoke.
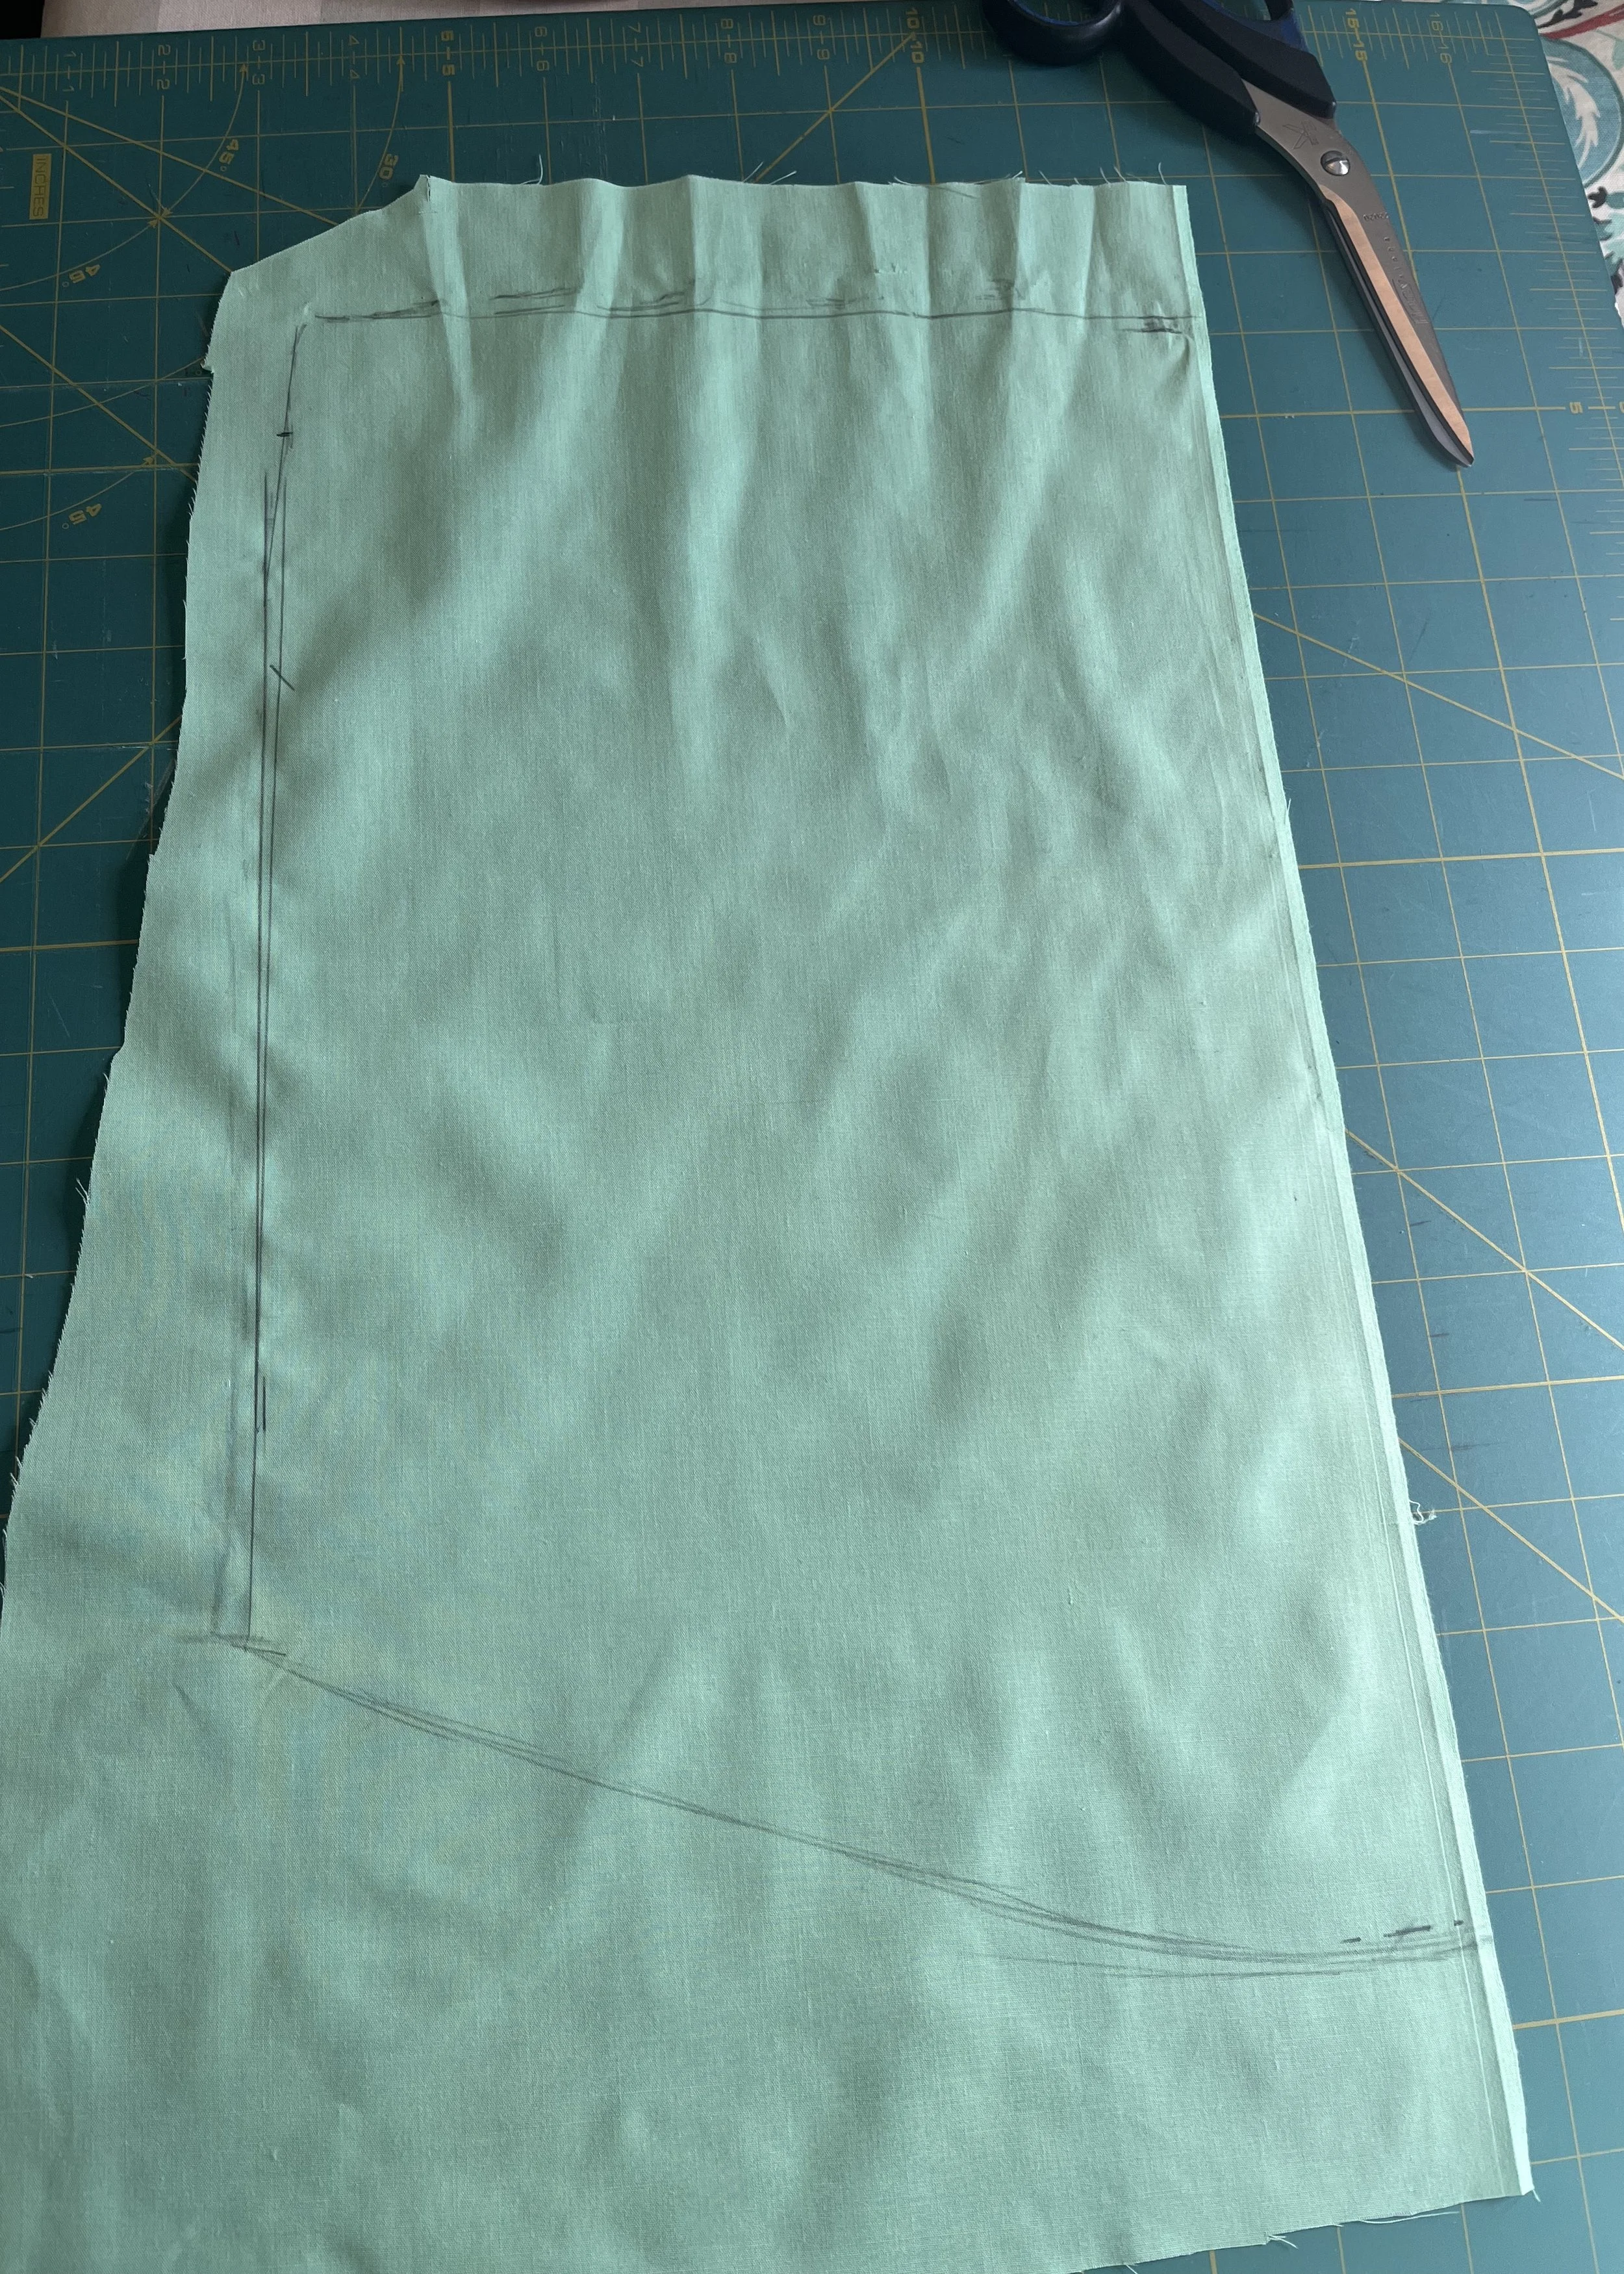
Next, I stitched the three tucks across the front, finished the right side to the base of the closure with a small double turn and ran gathering stitches across the top edge. I stitched the front to the yoke, gathering it slightly, and finished the right side of the yoke where the closure would eventually be.
The assembled front.
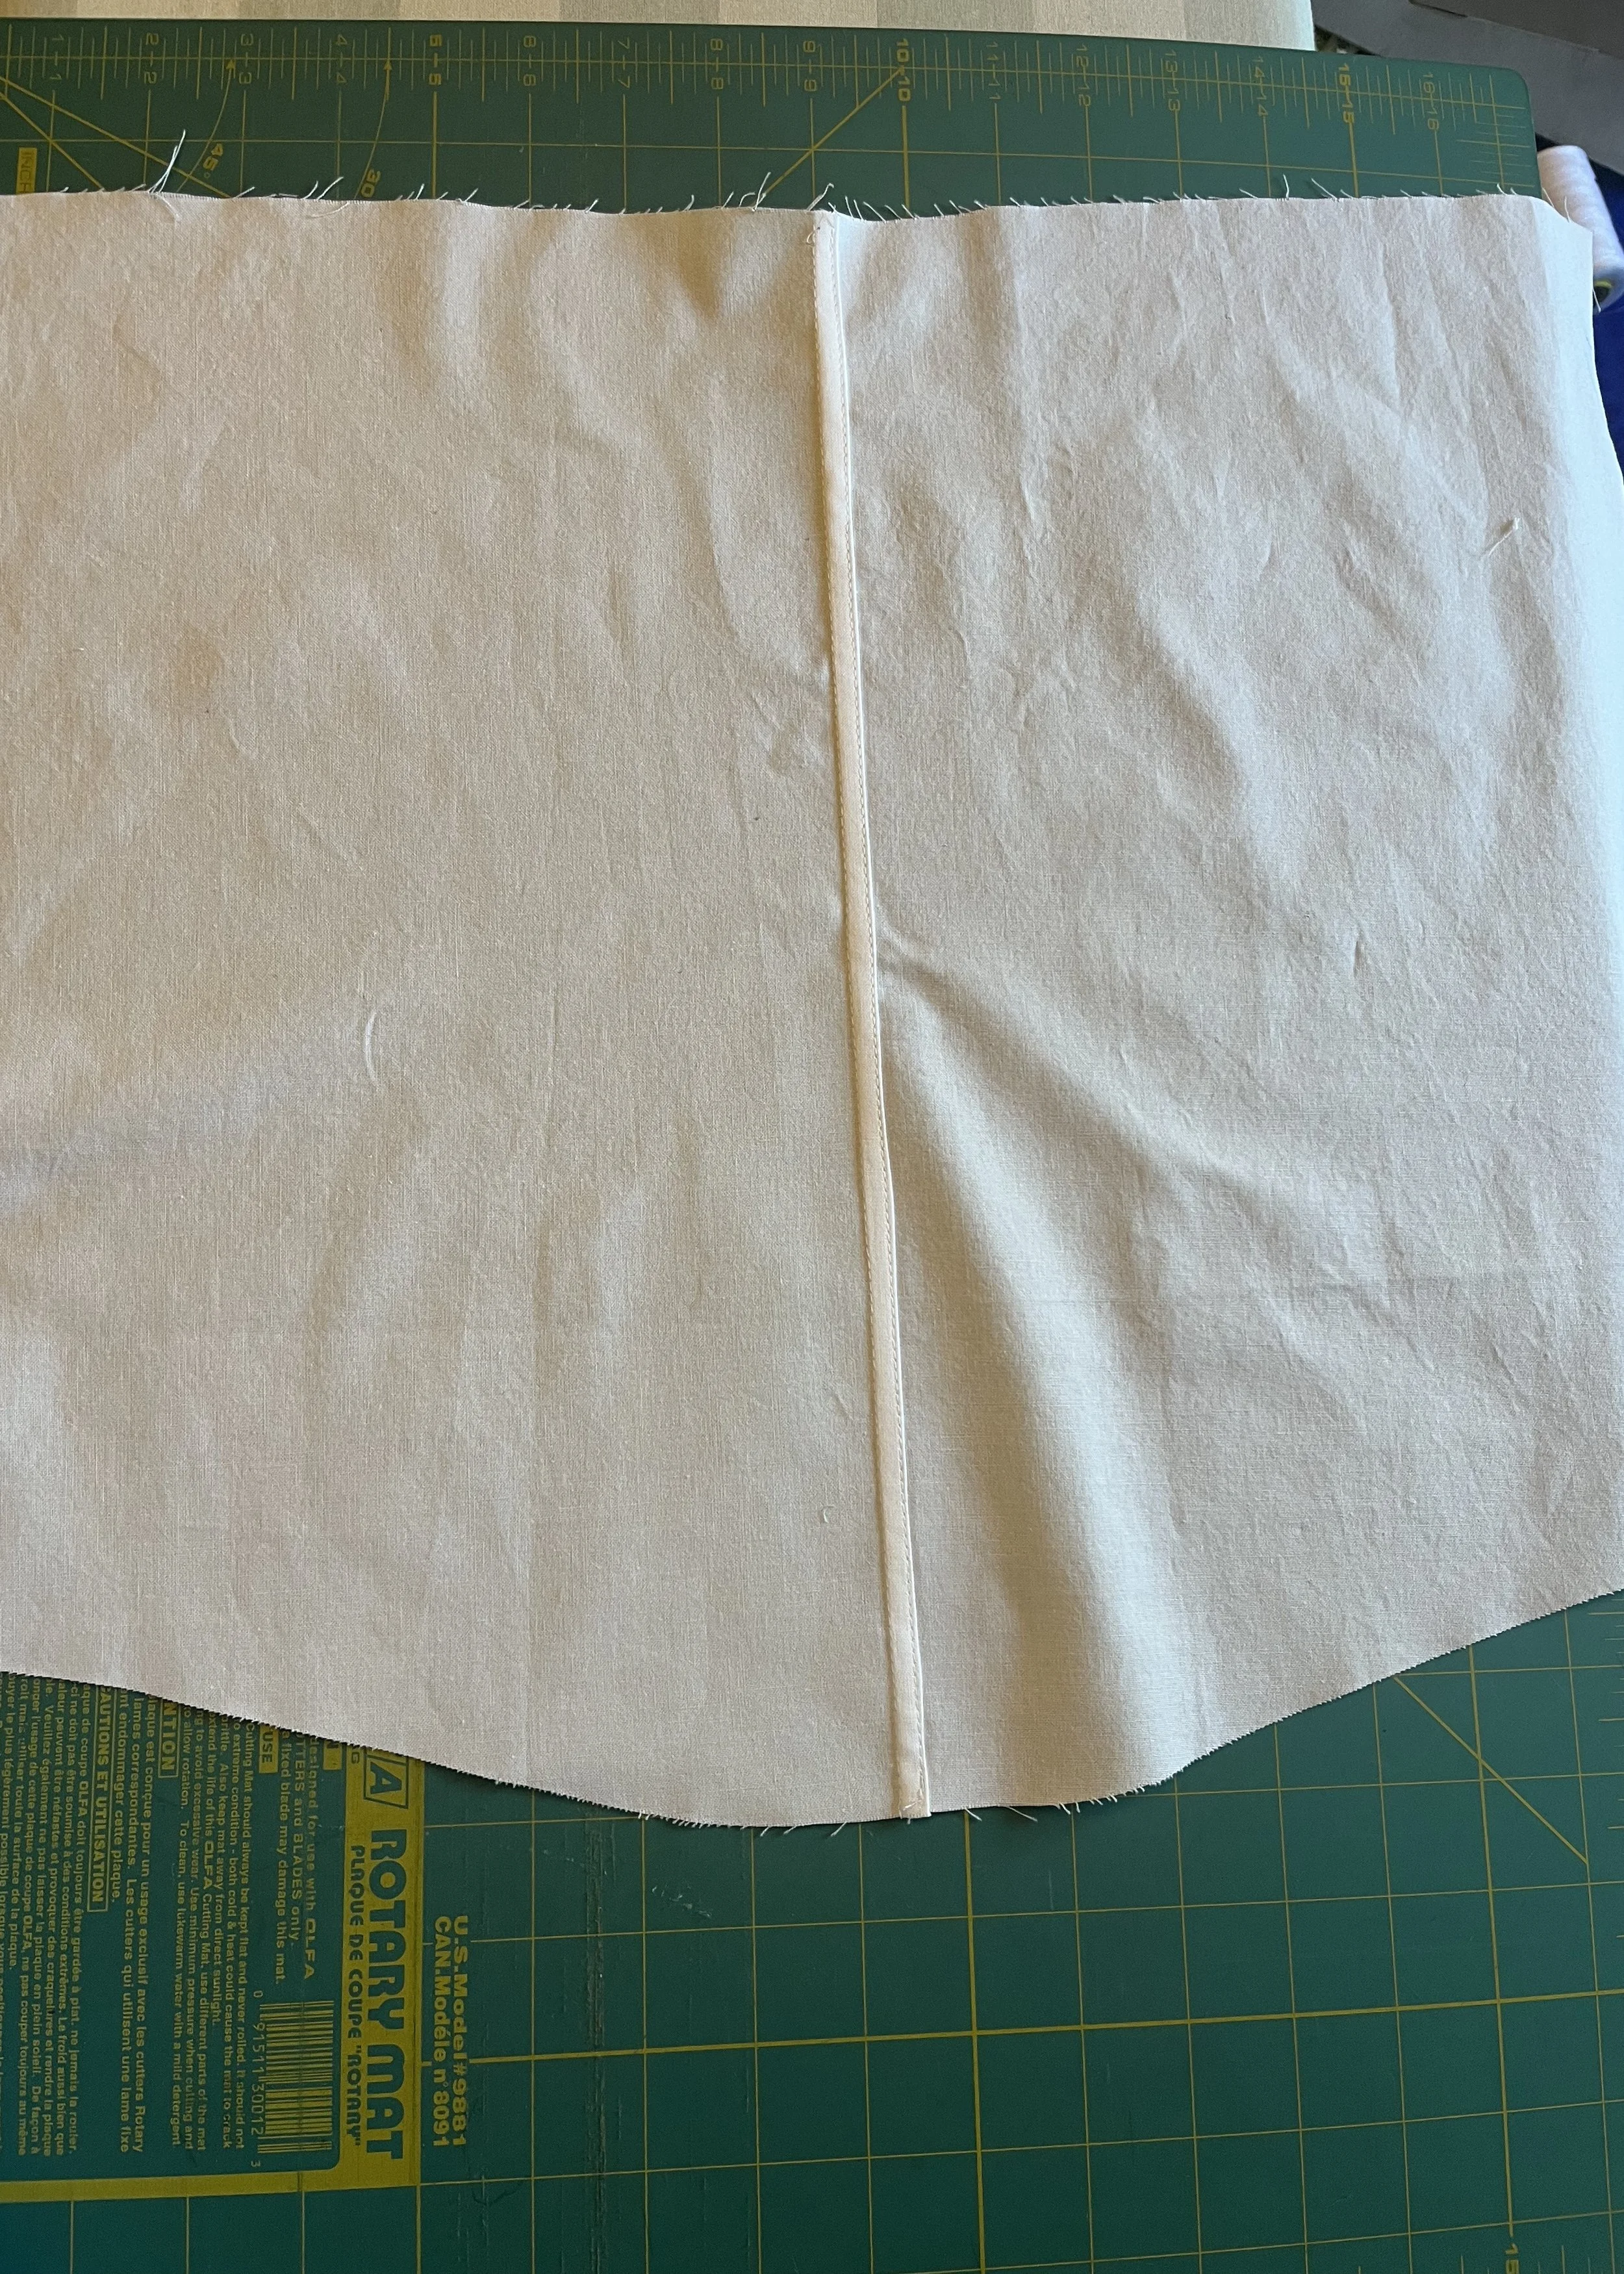
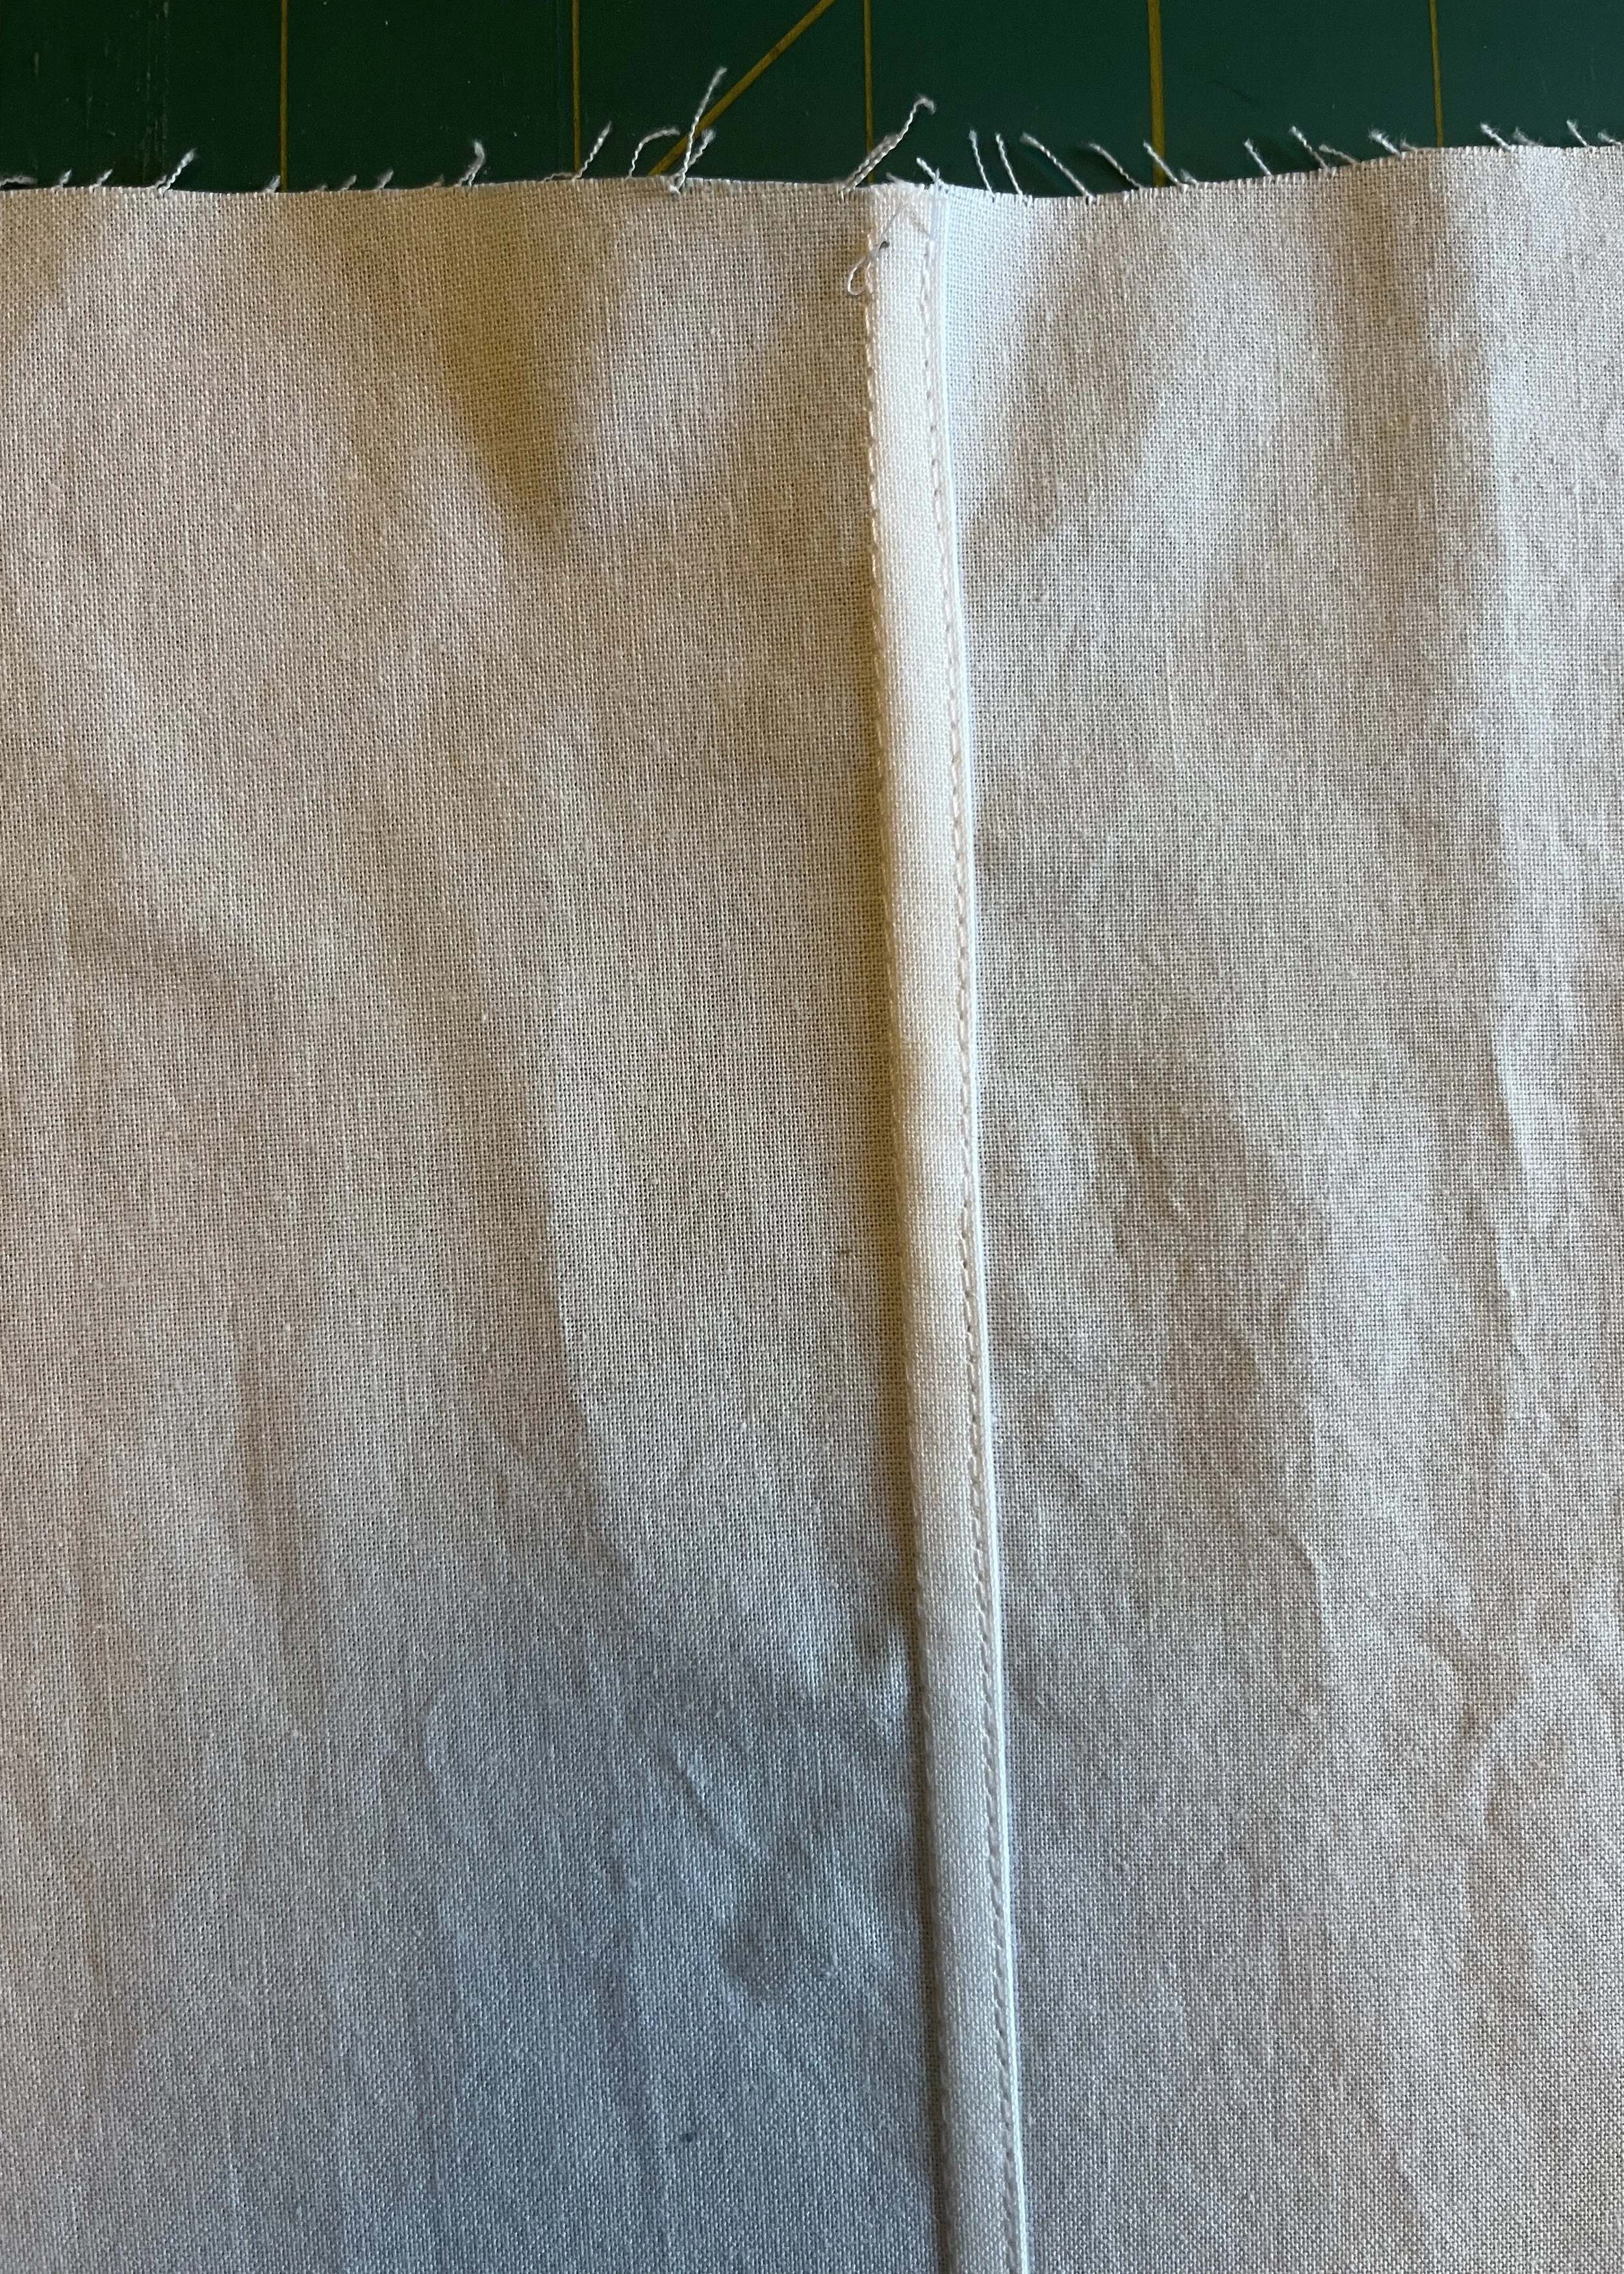
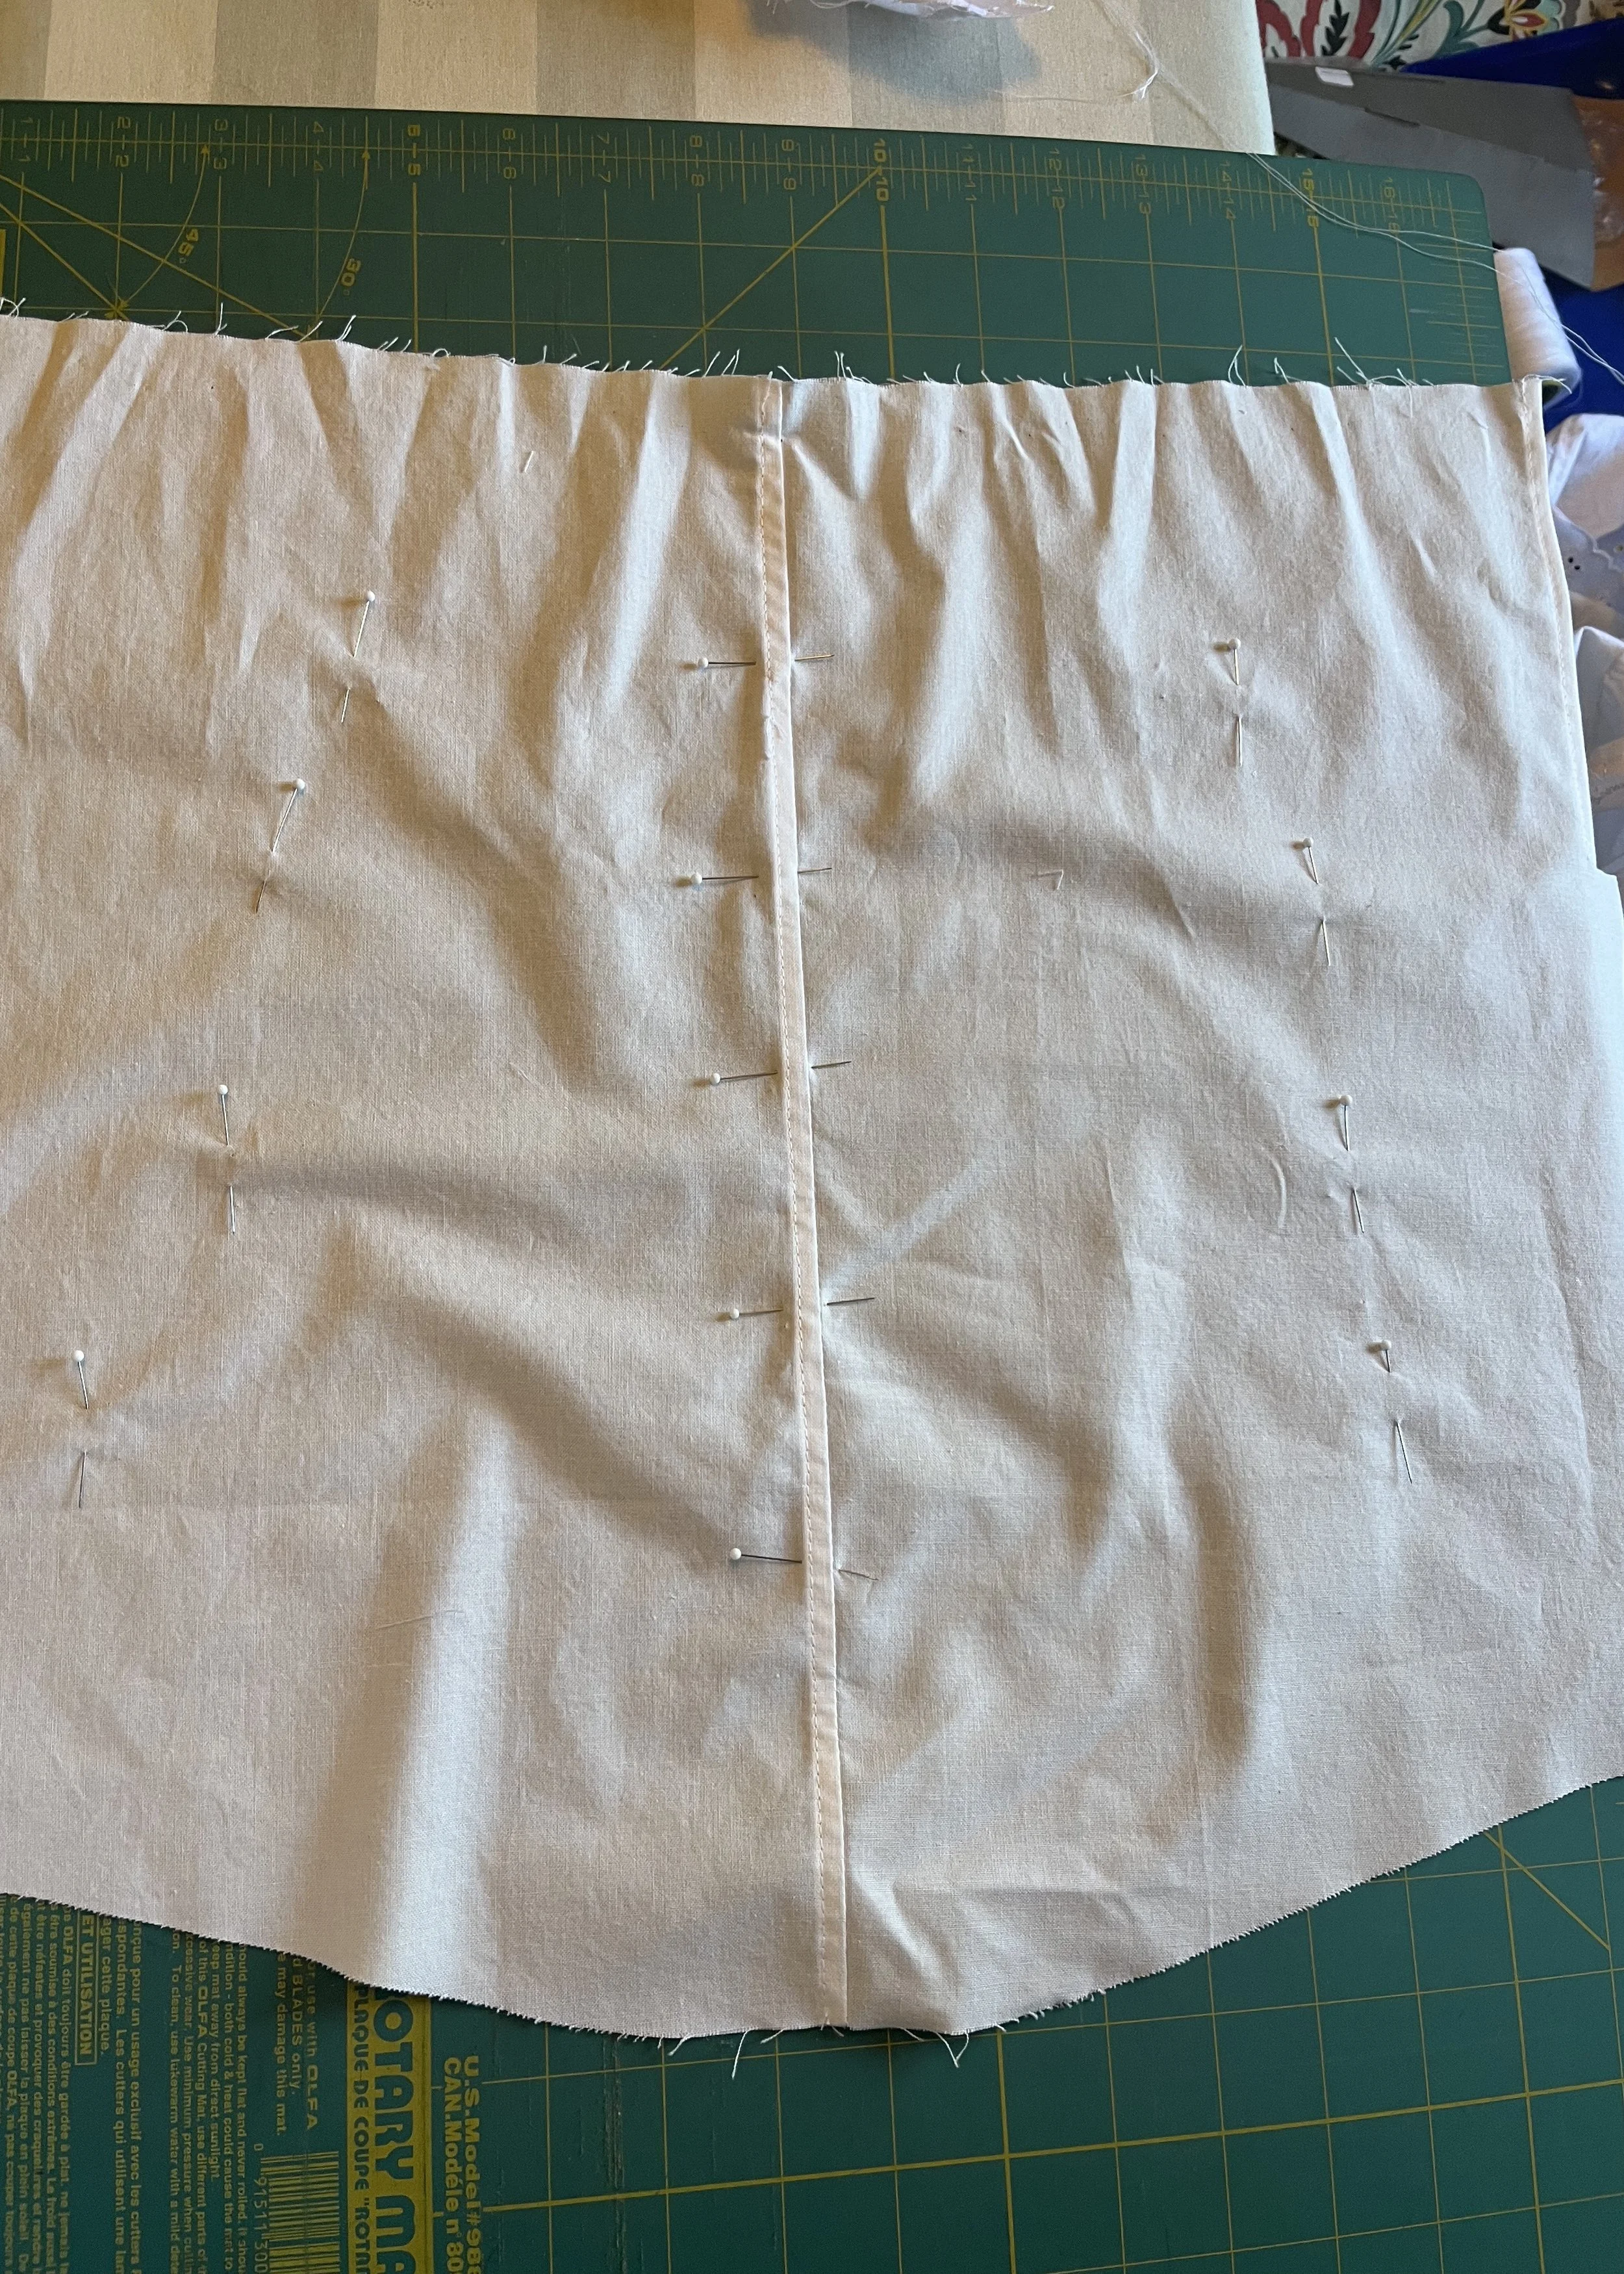
With the front assembled, I started onto the back. For reasons I do not recall at this time, I cut the back in two pieces rather than on the fold (perhaps this was leftover from when I thought the closure would be at the centre back before I remembered all those ruffles I was so excited about) so I started with a flat felled seam down the centre back.
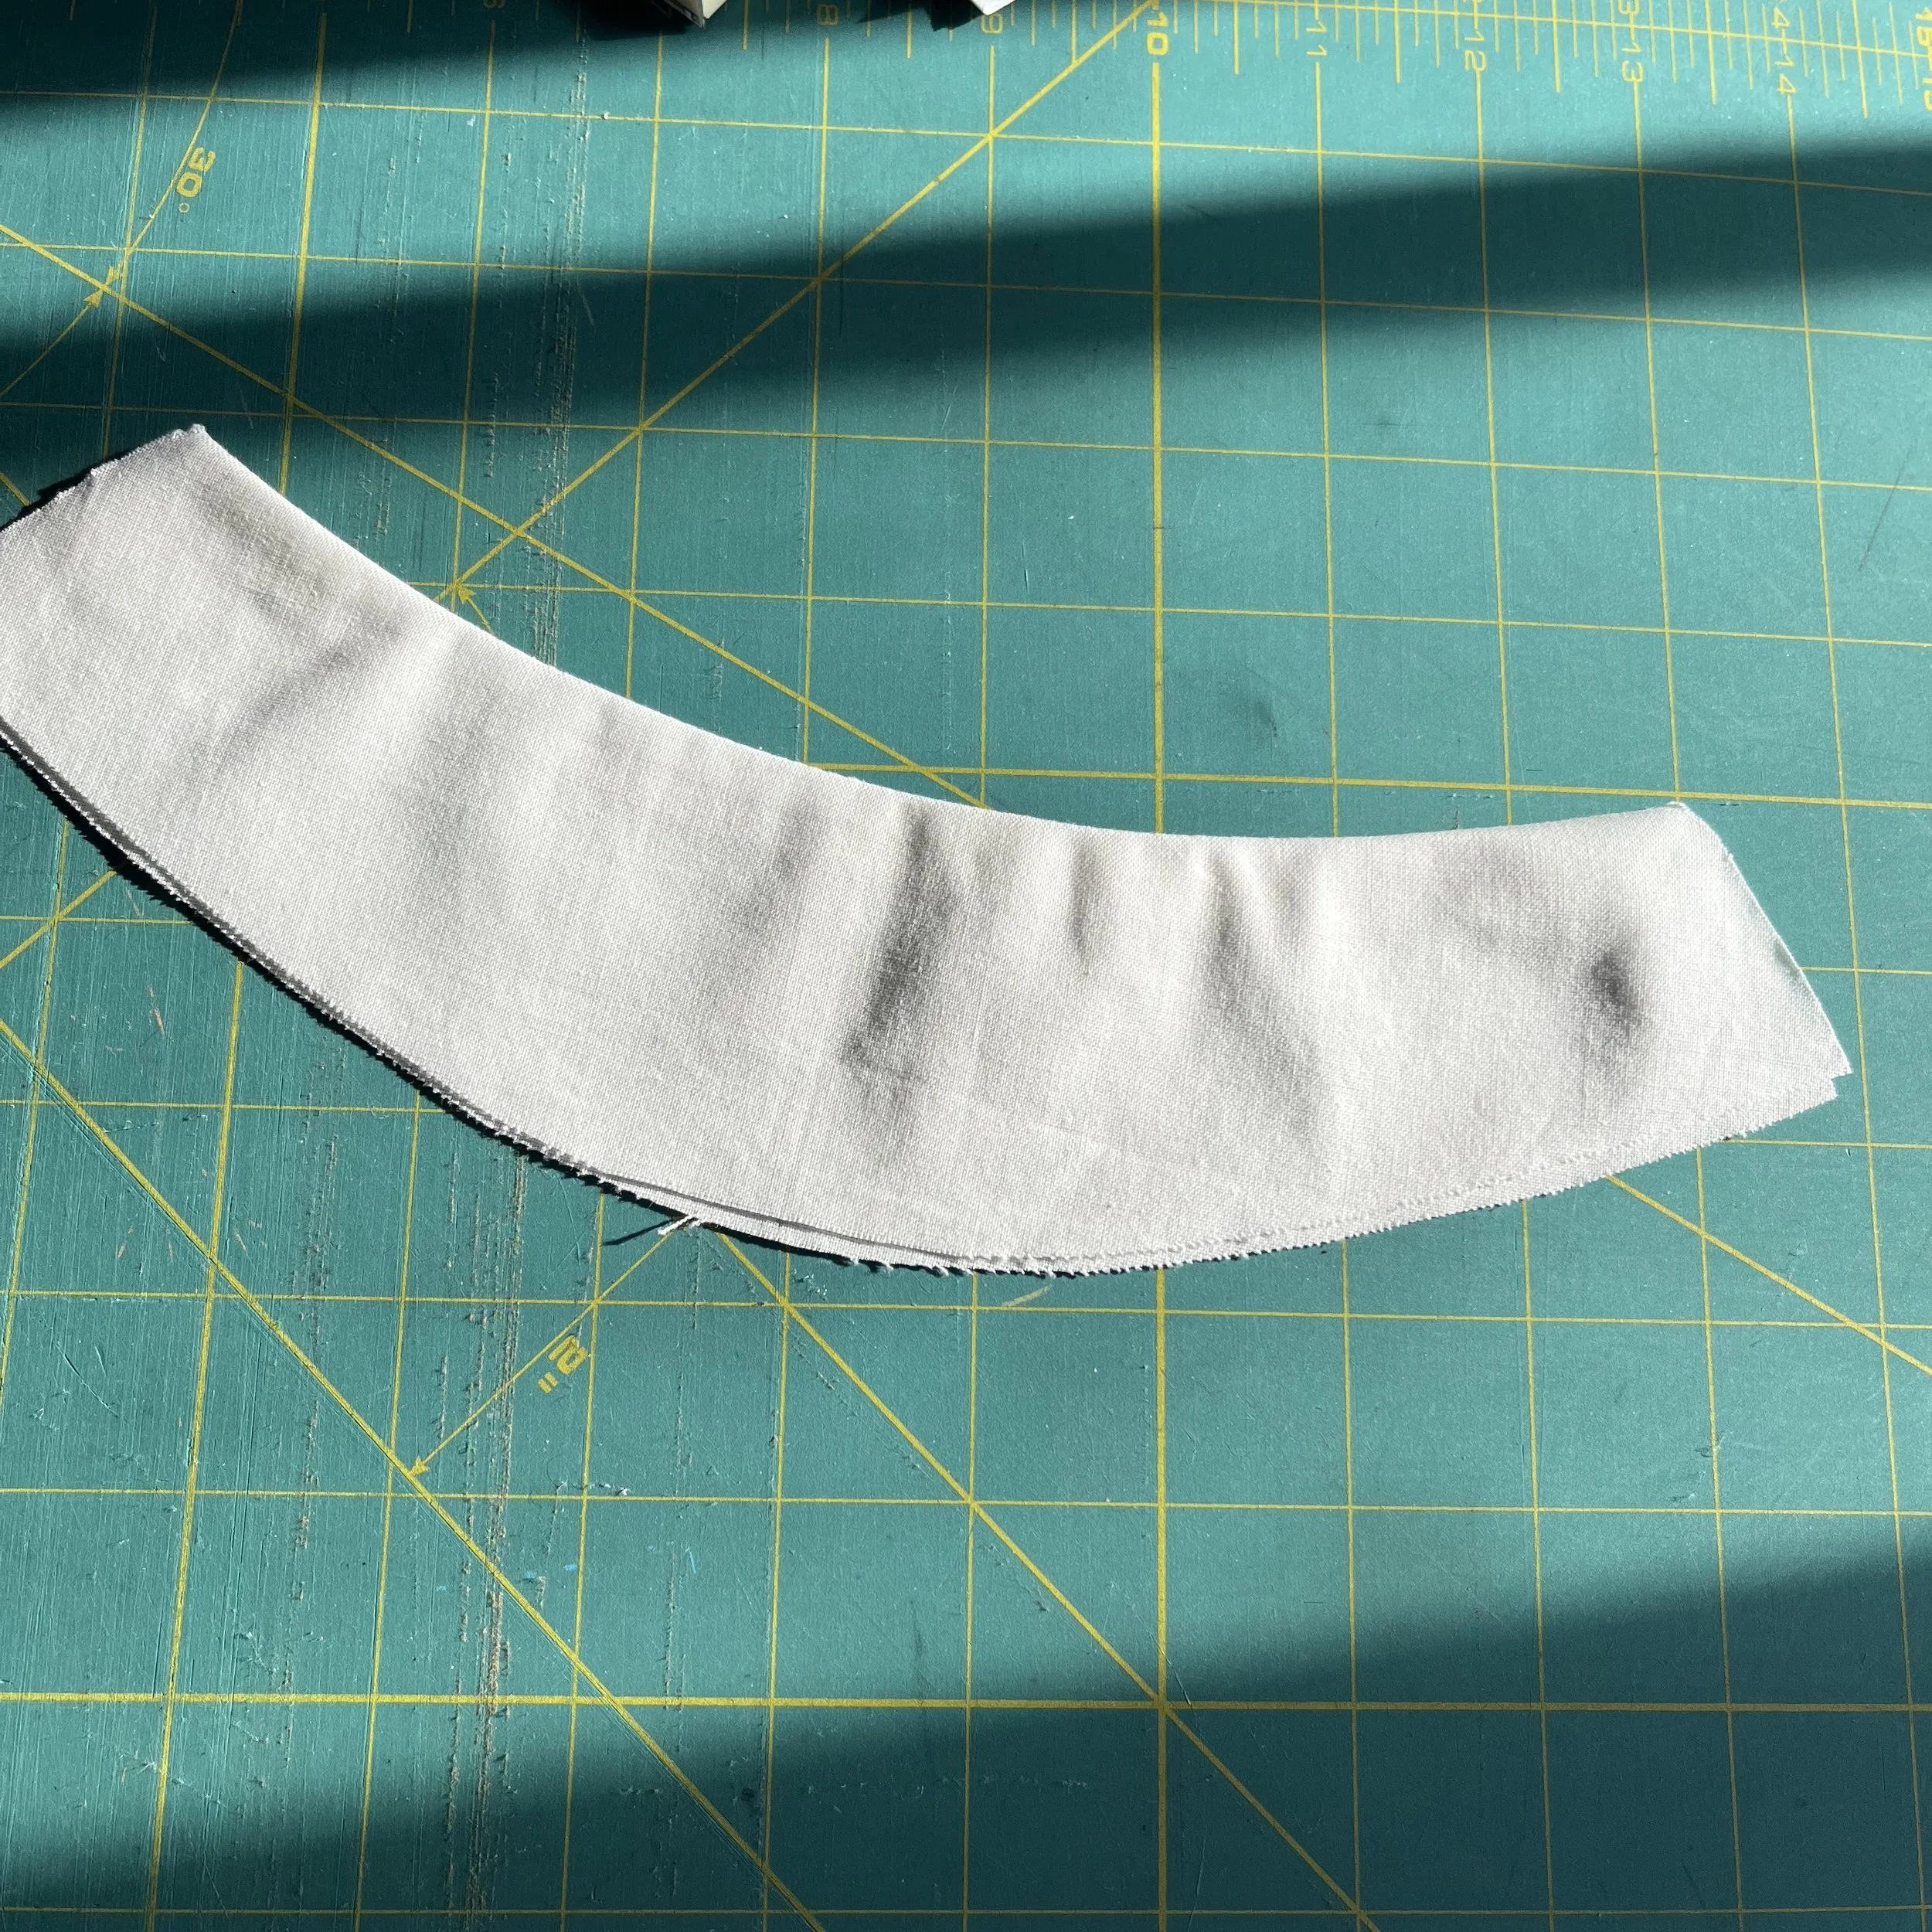
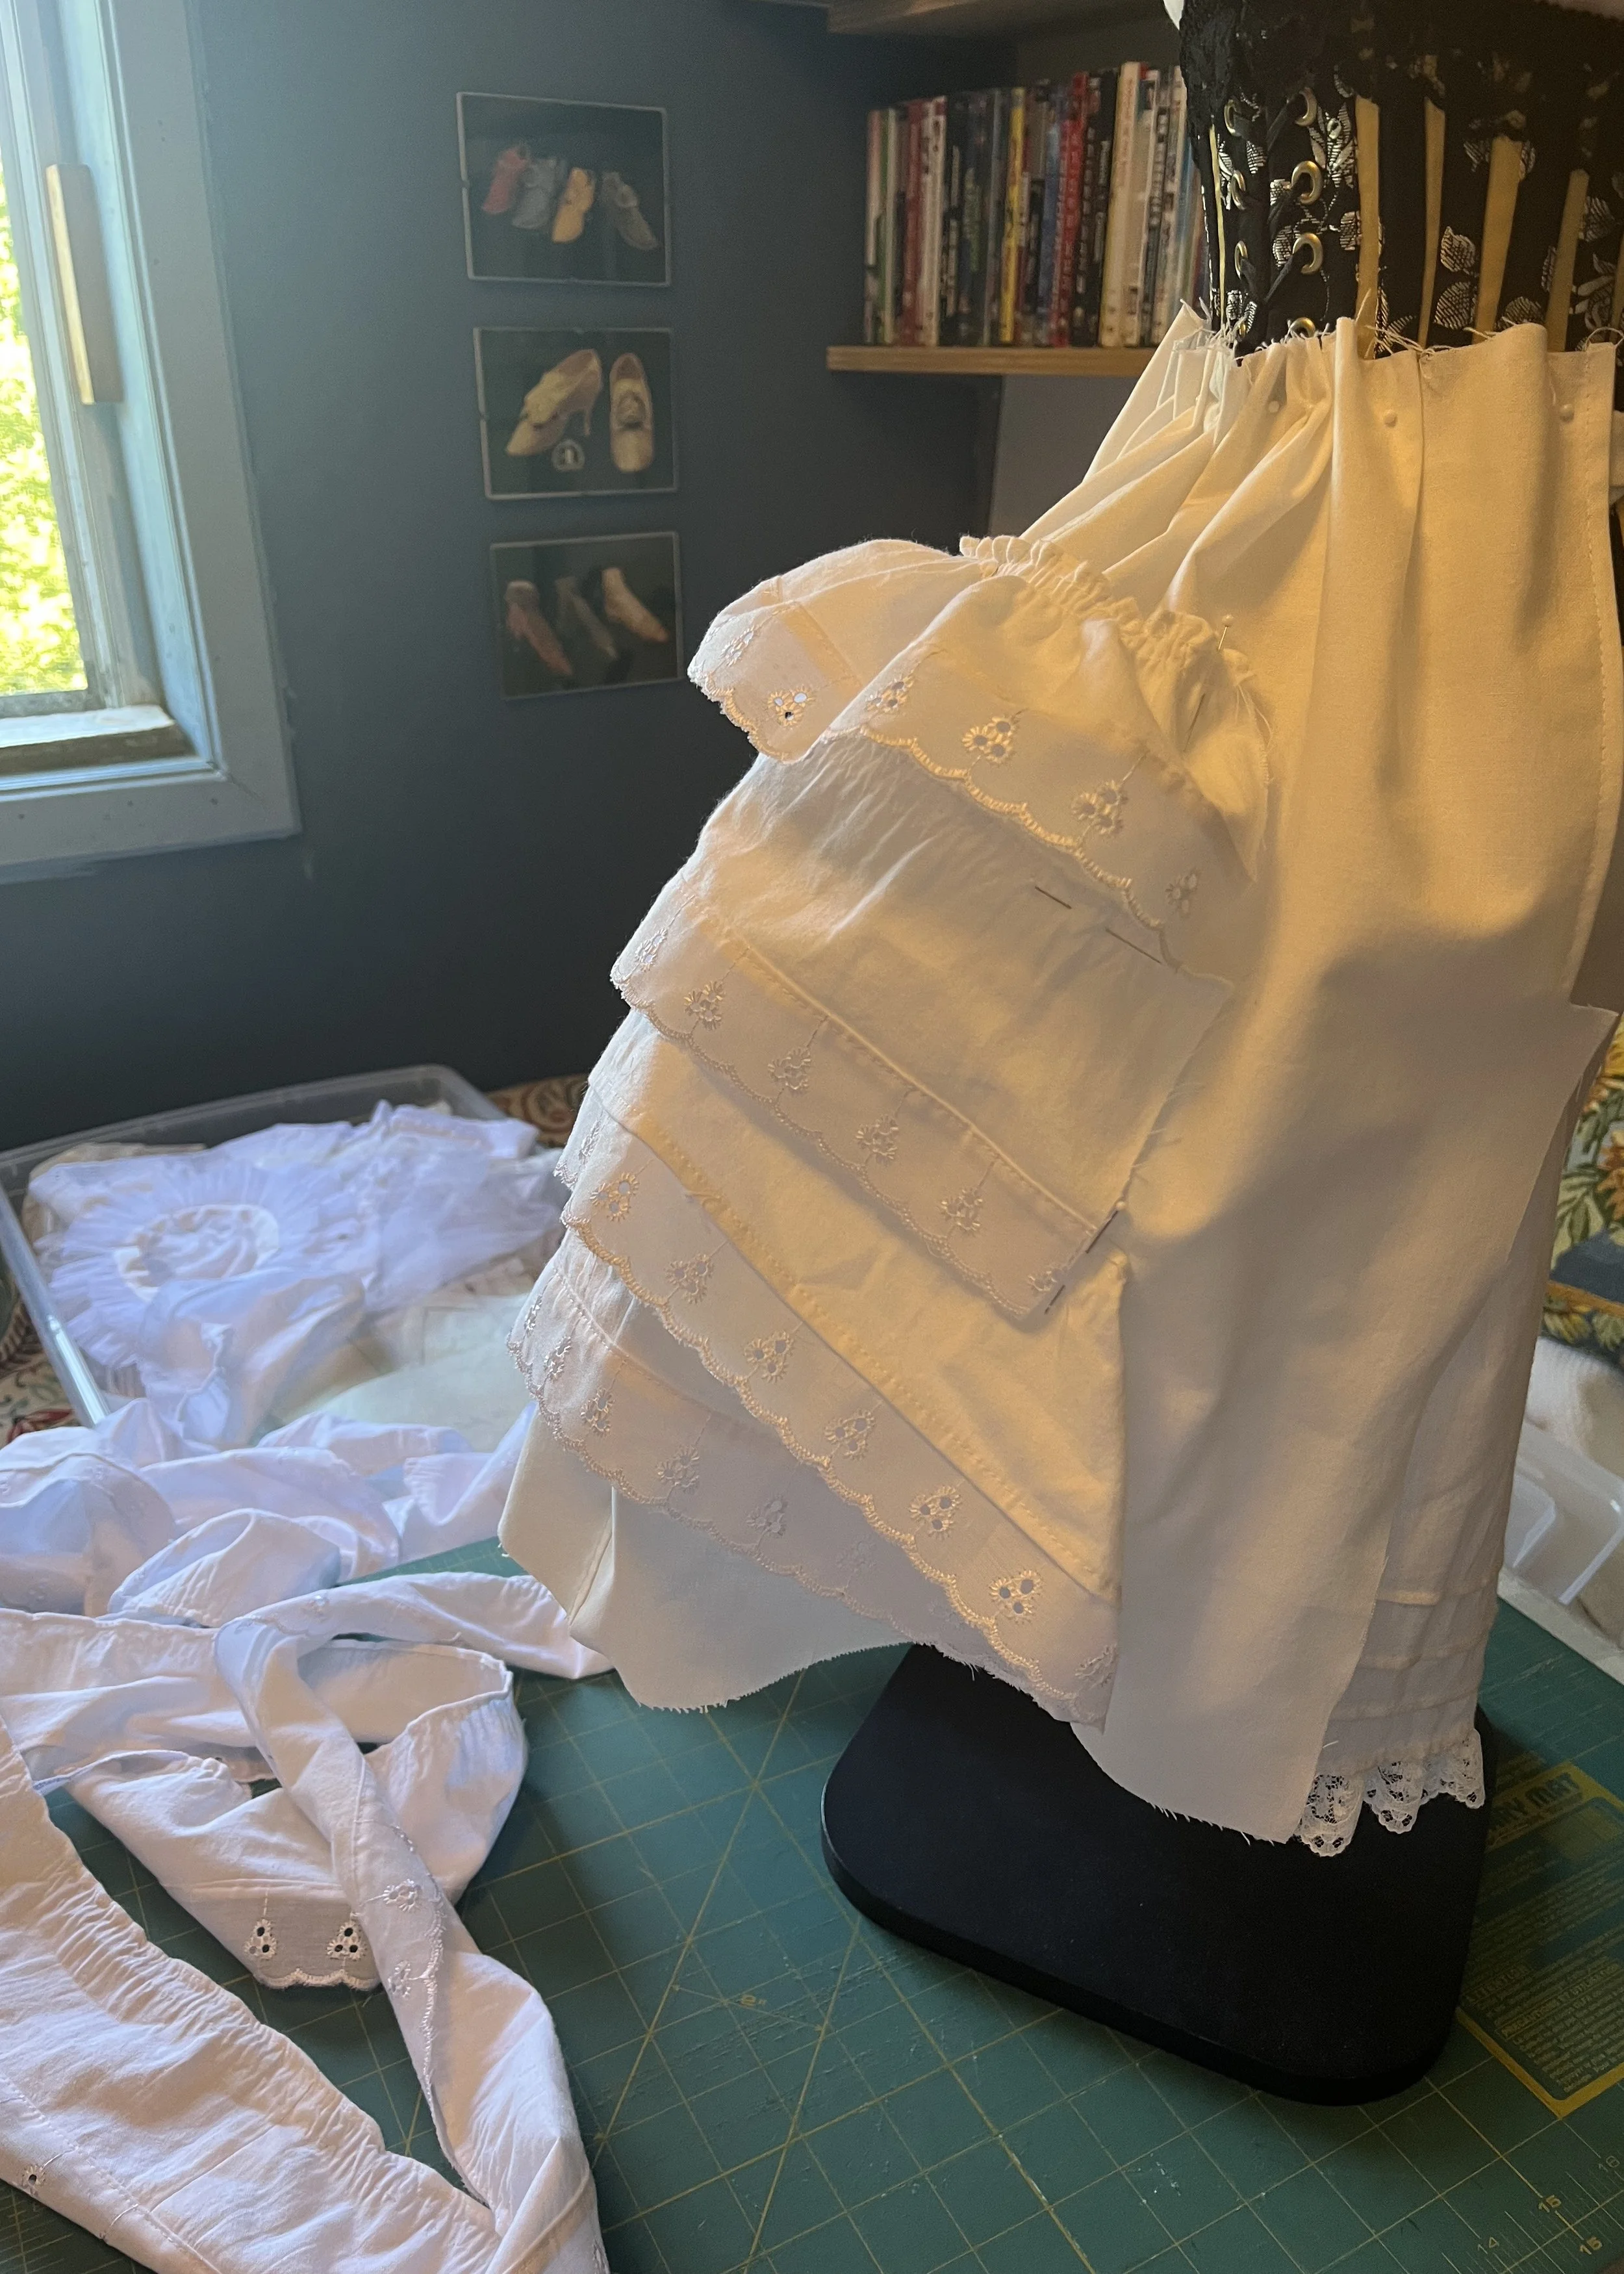
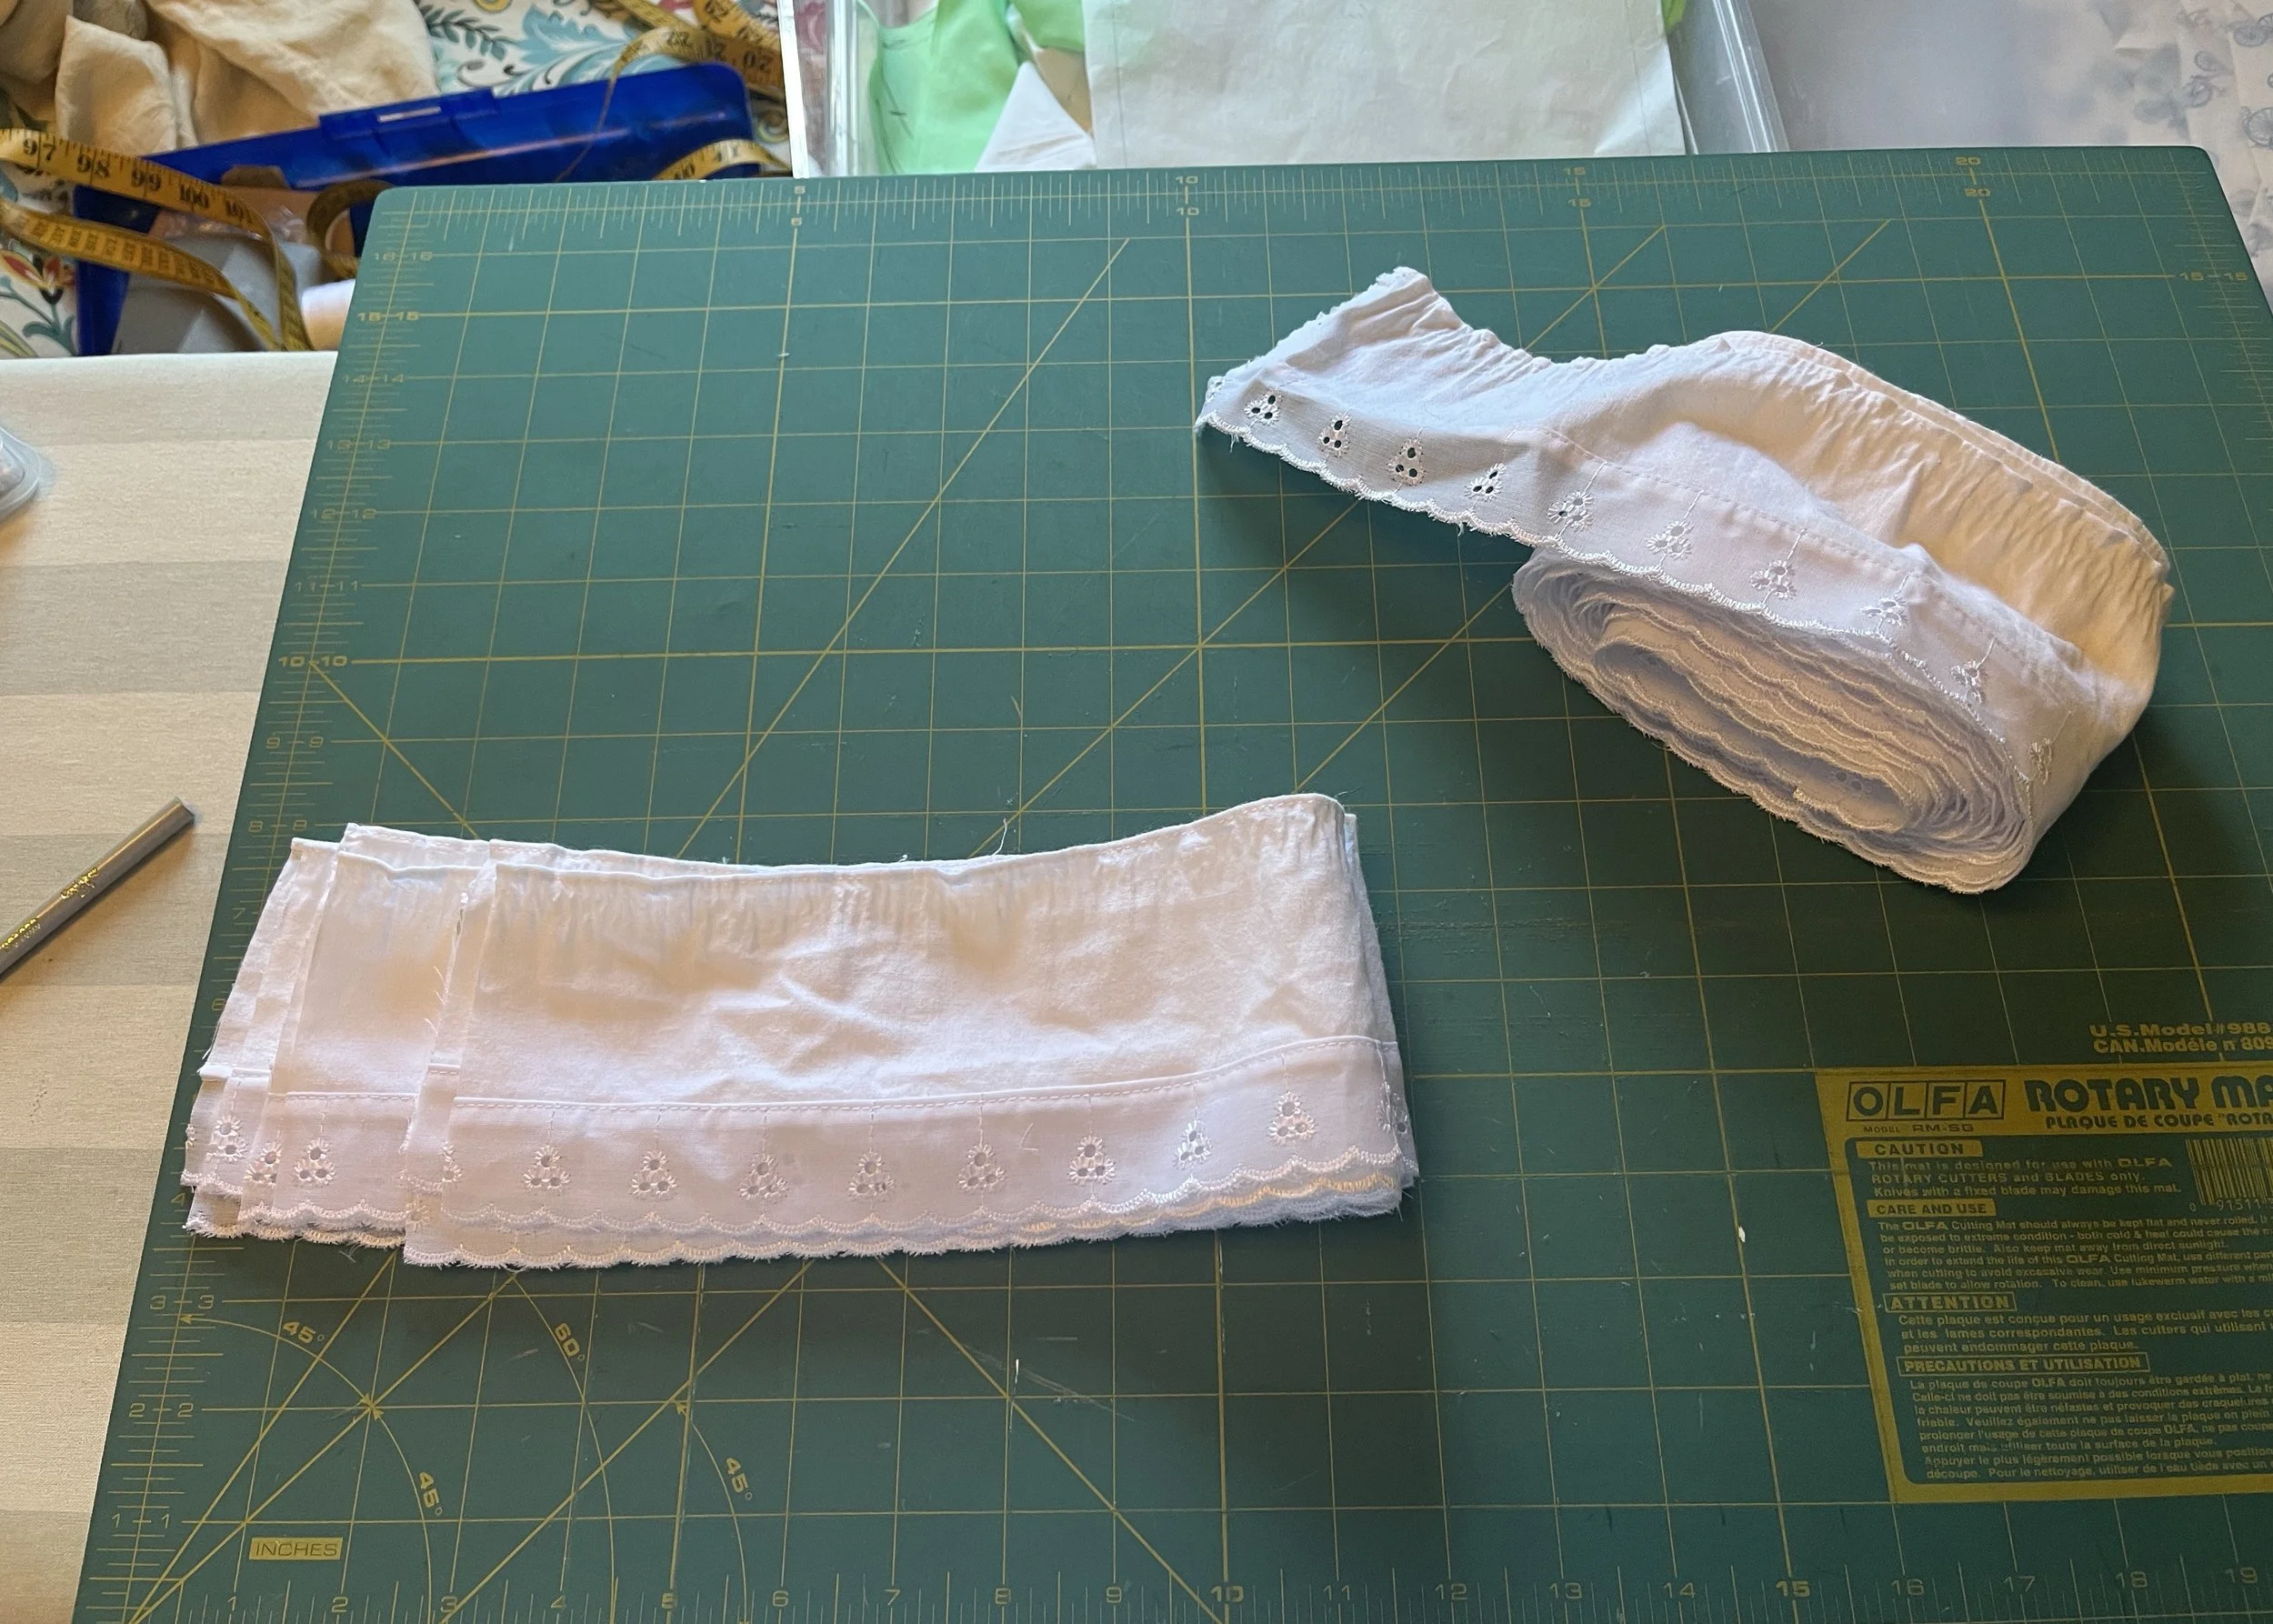
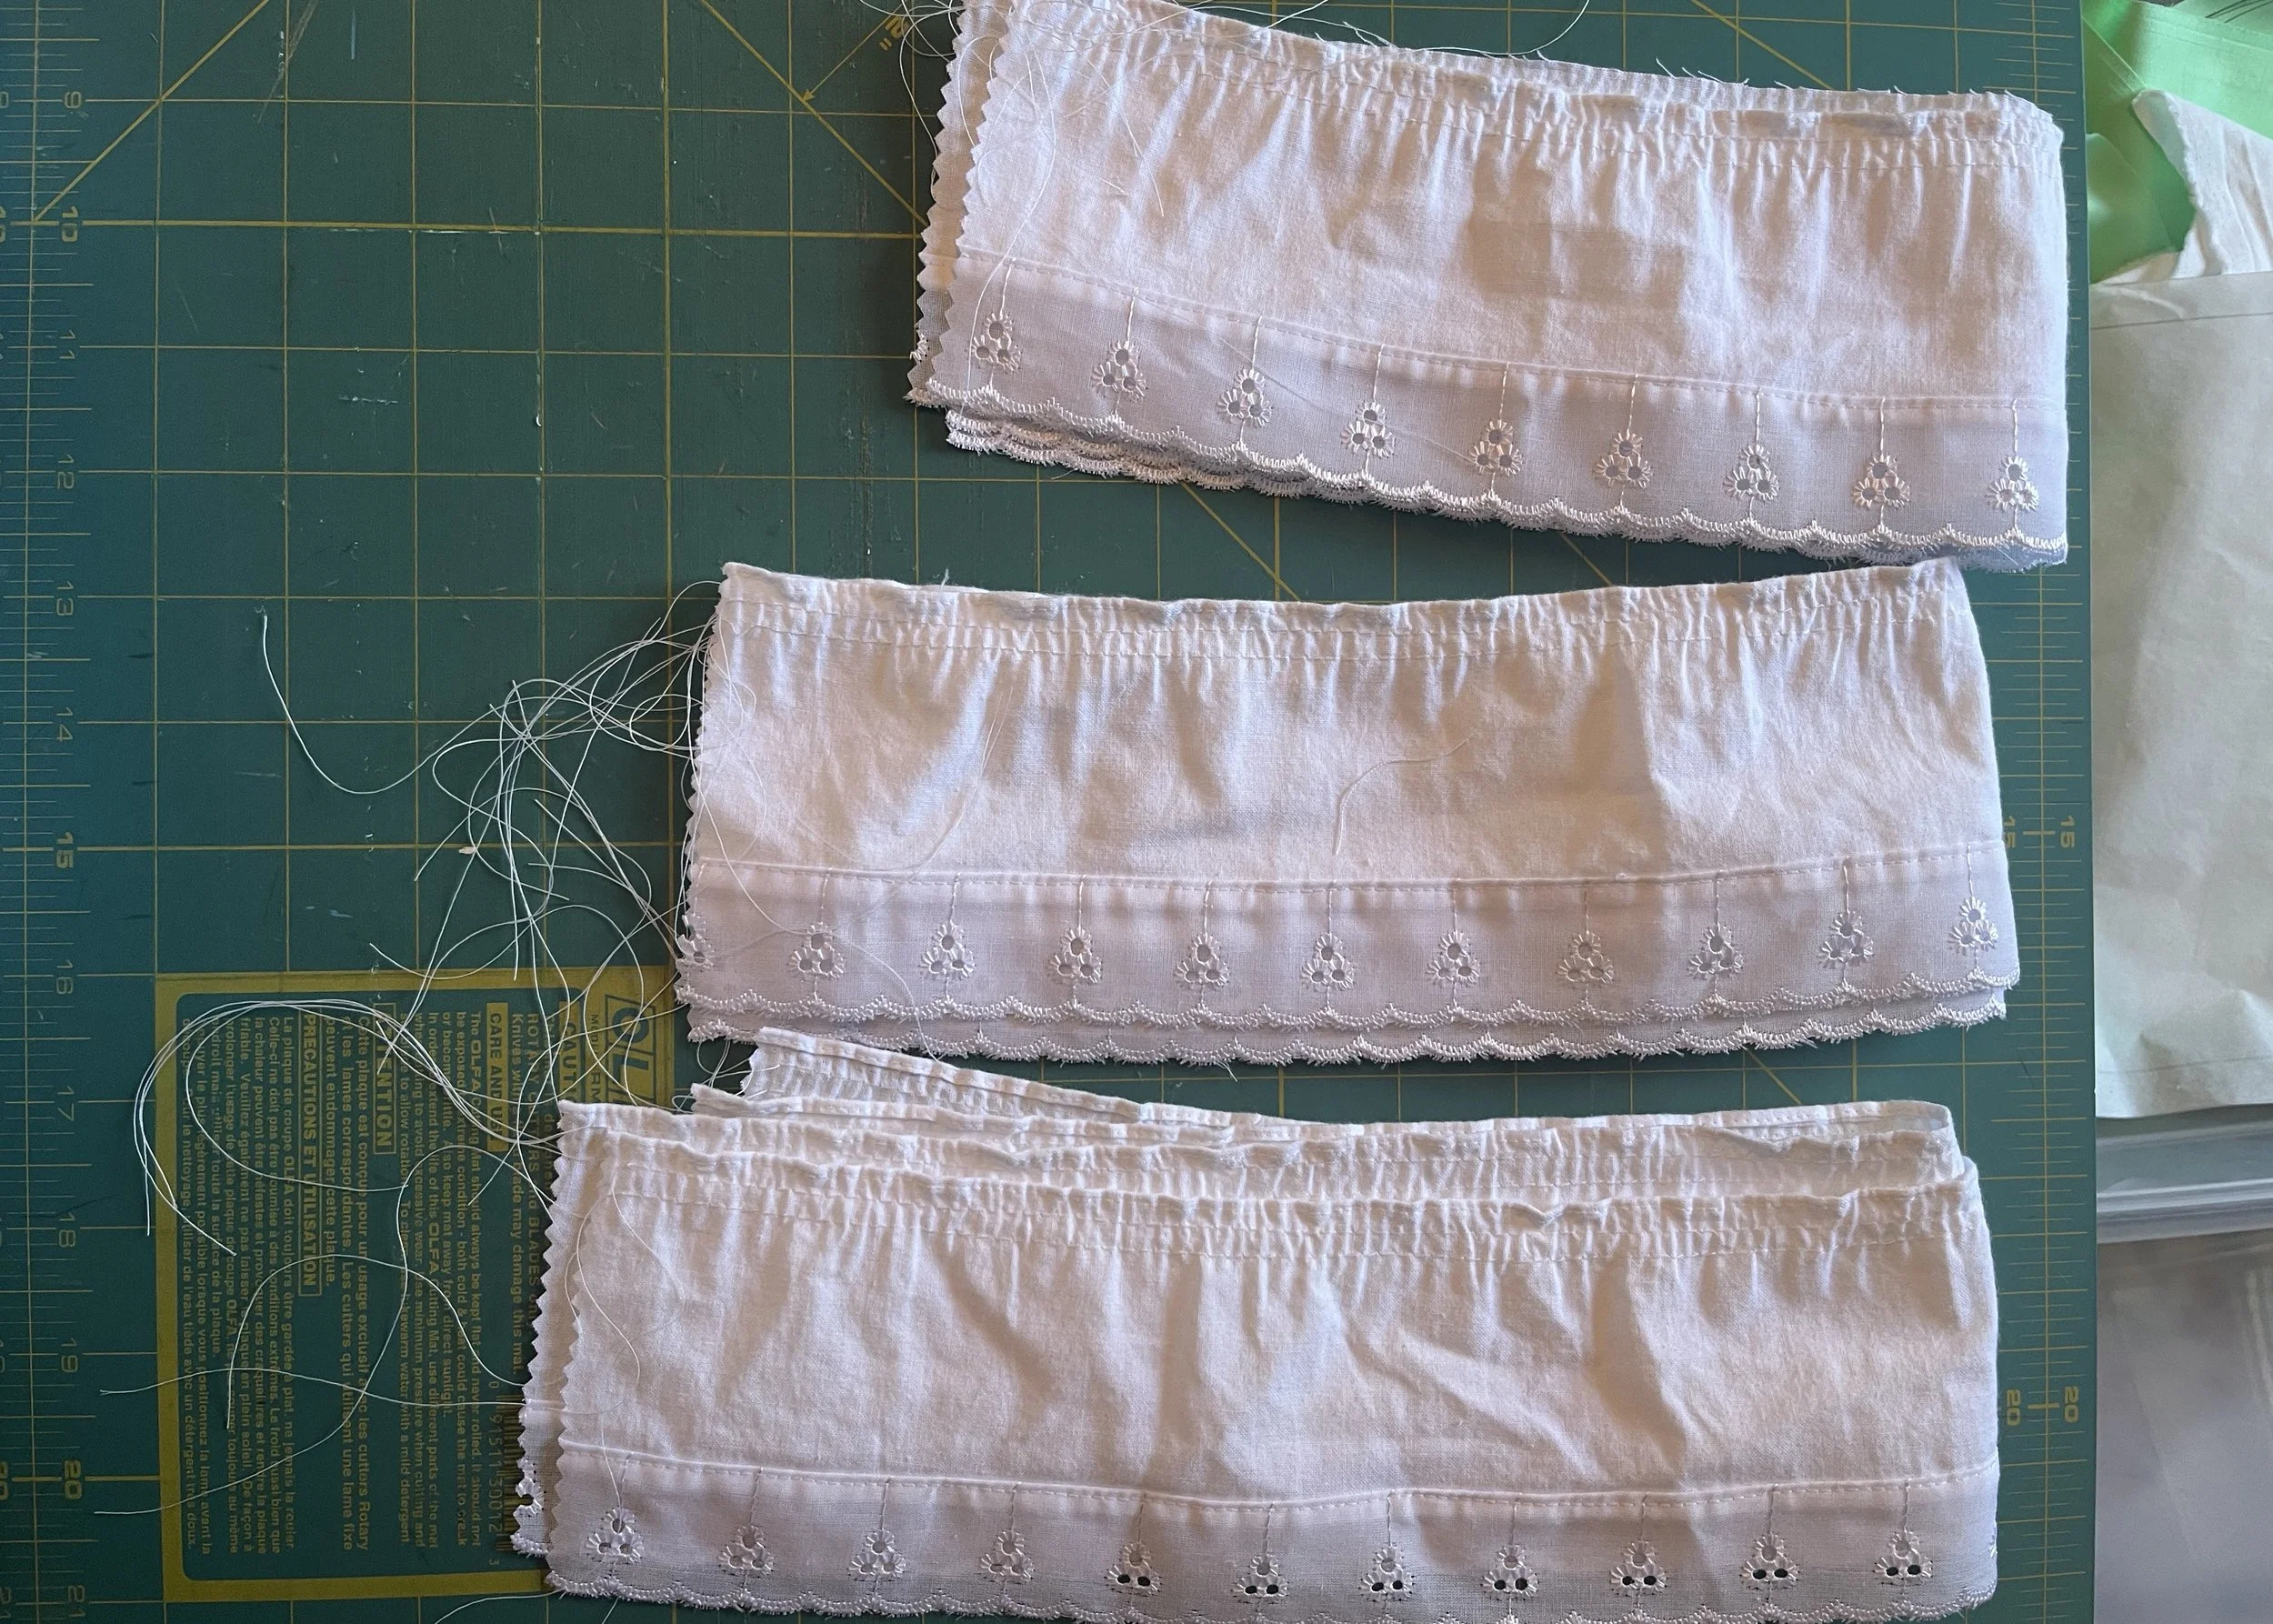
Next, I began to work out where the ruffles would sit. Using the ruffle piece, I experimented with placement and how much they would overlap as well as how wide they would be.
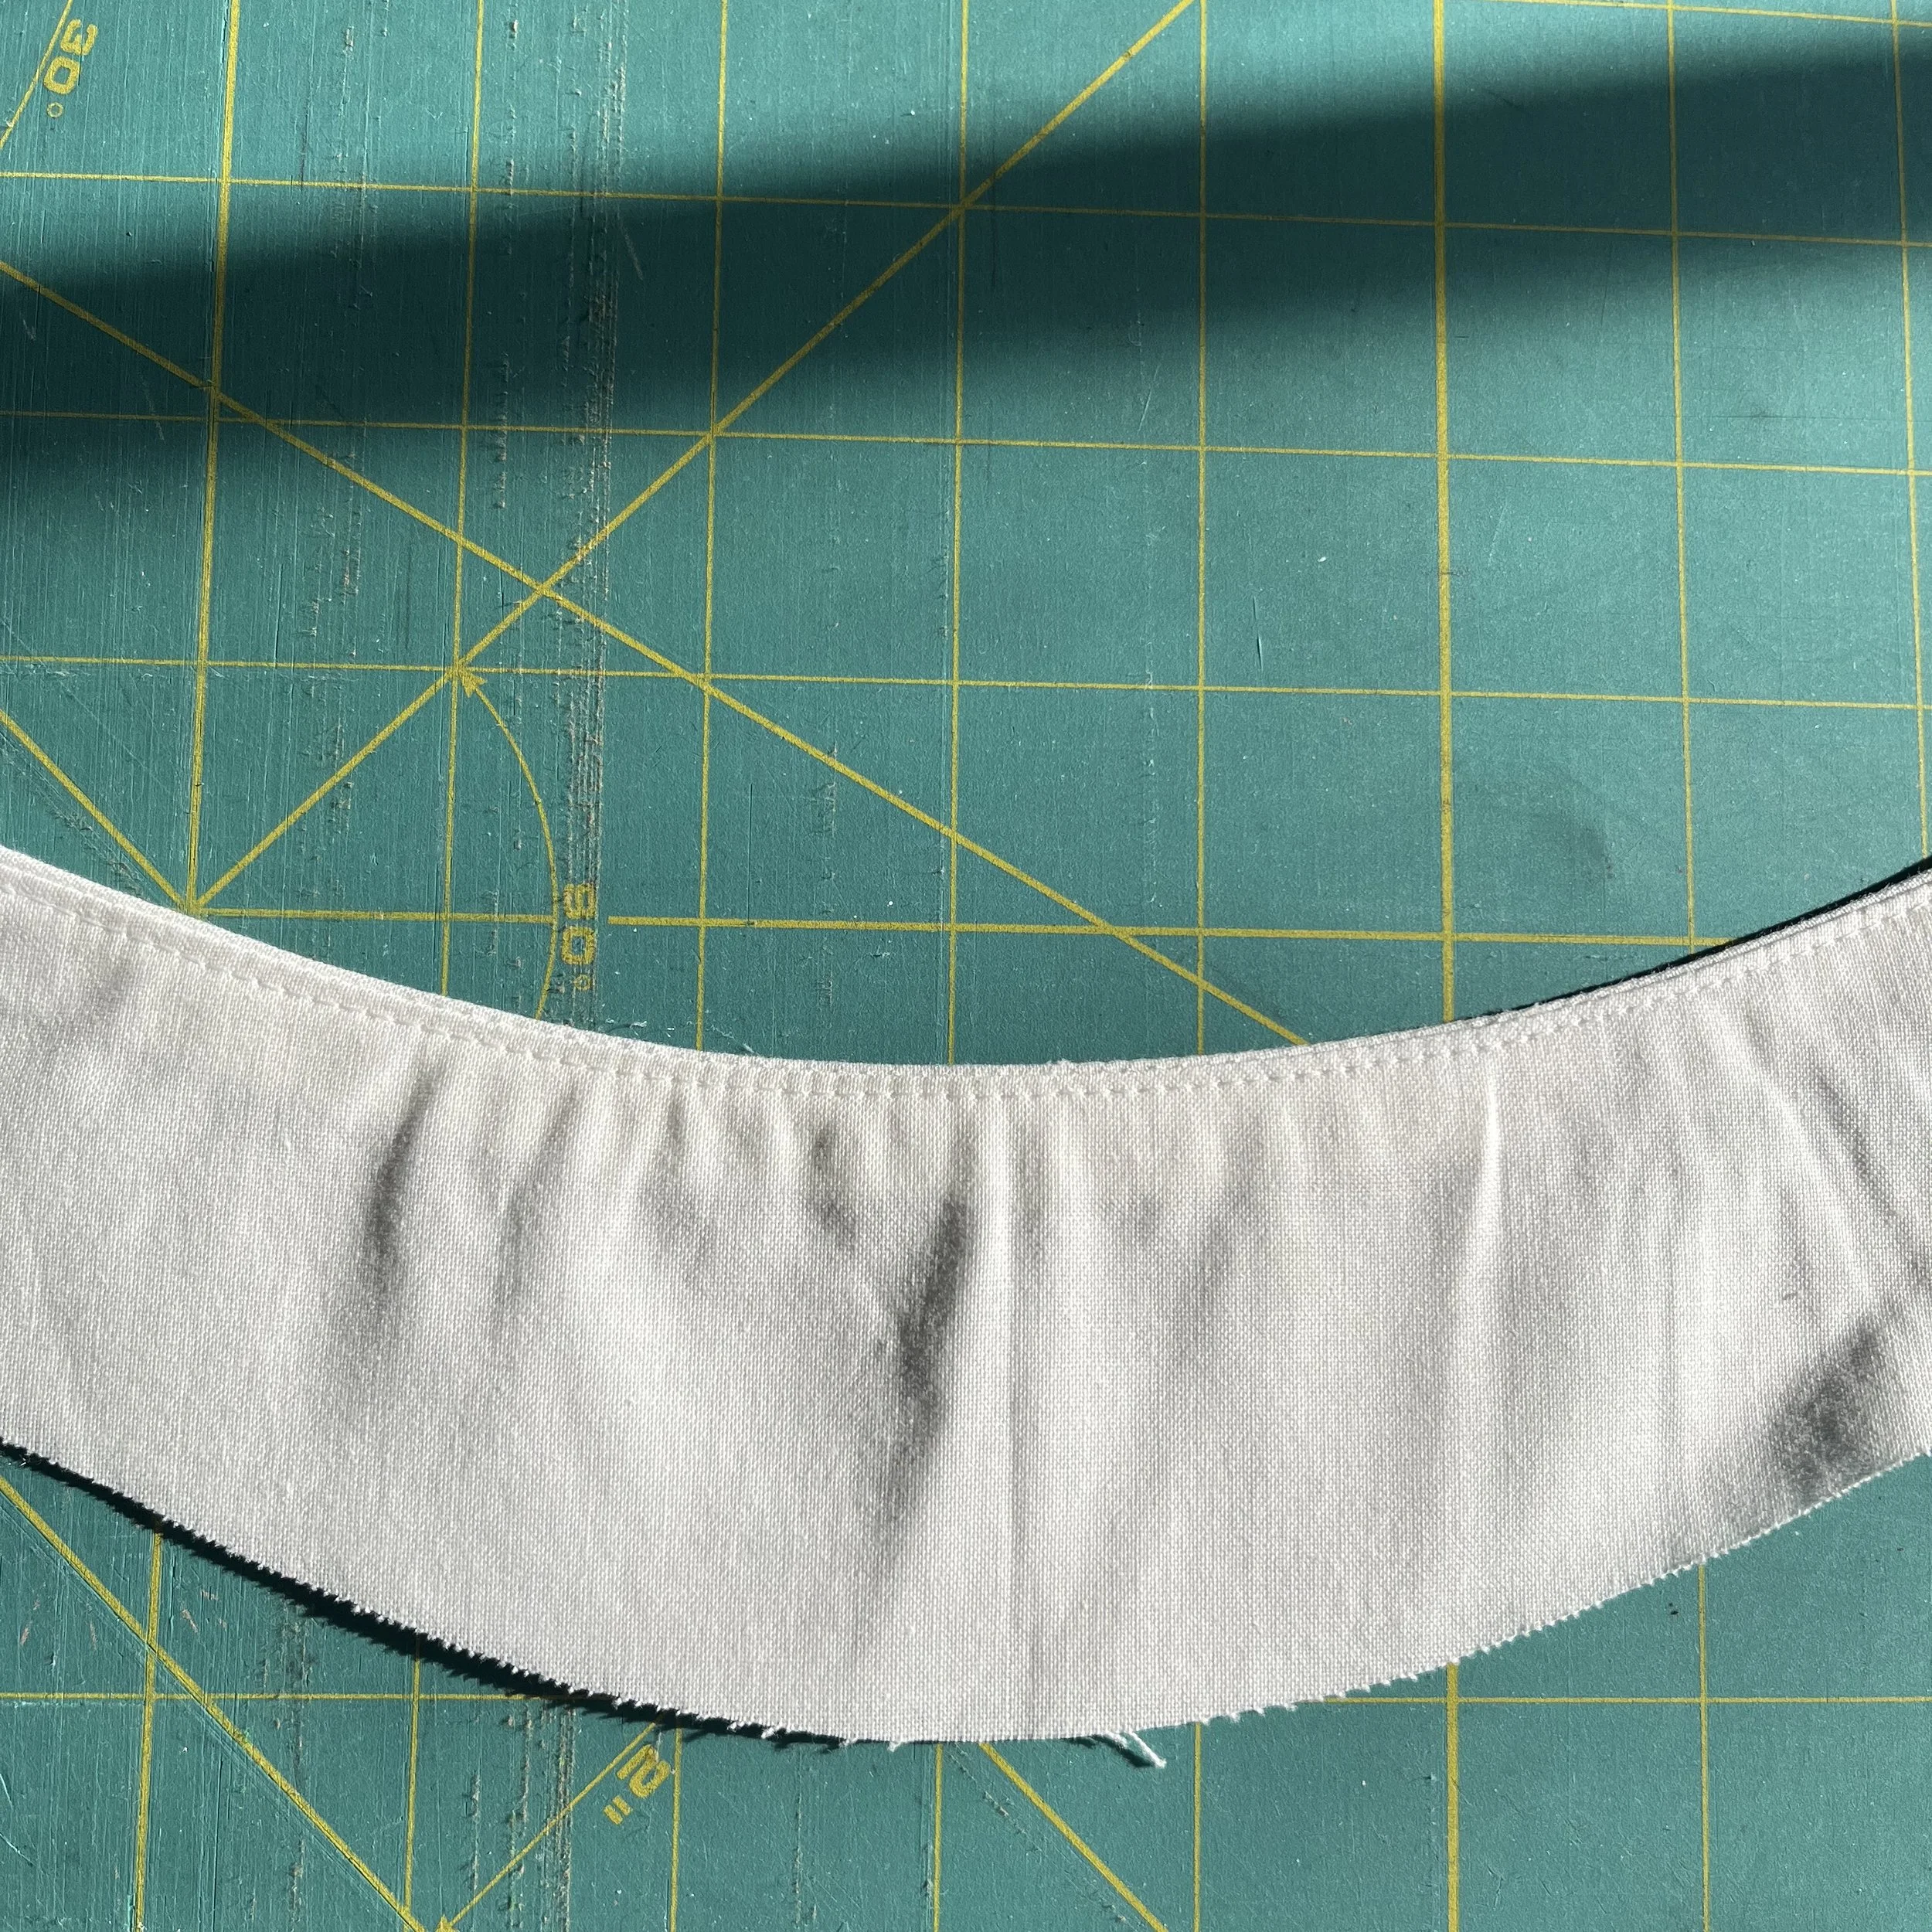
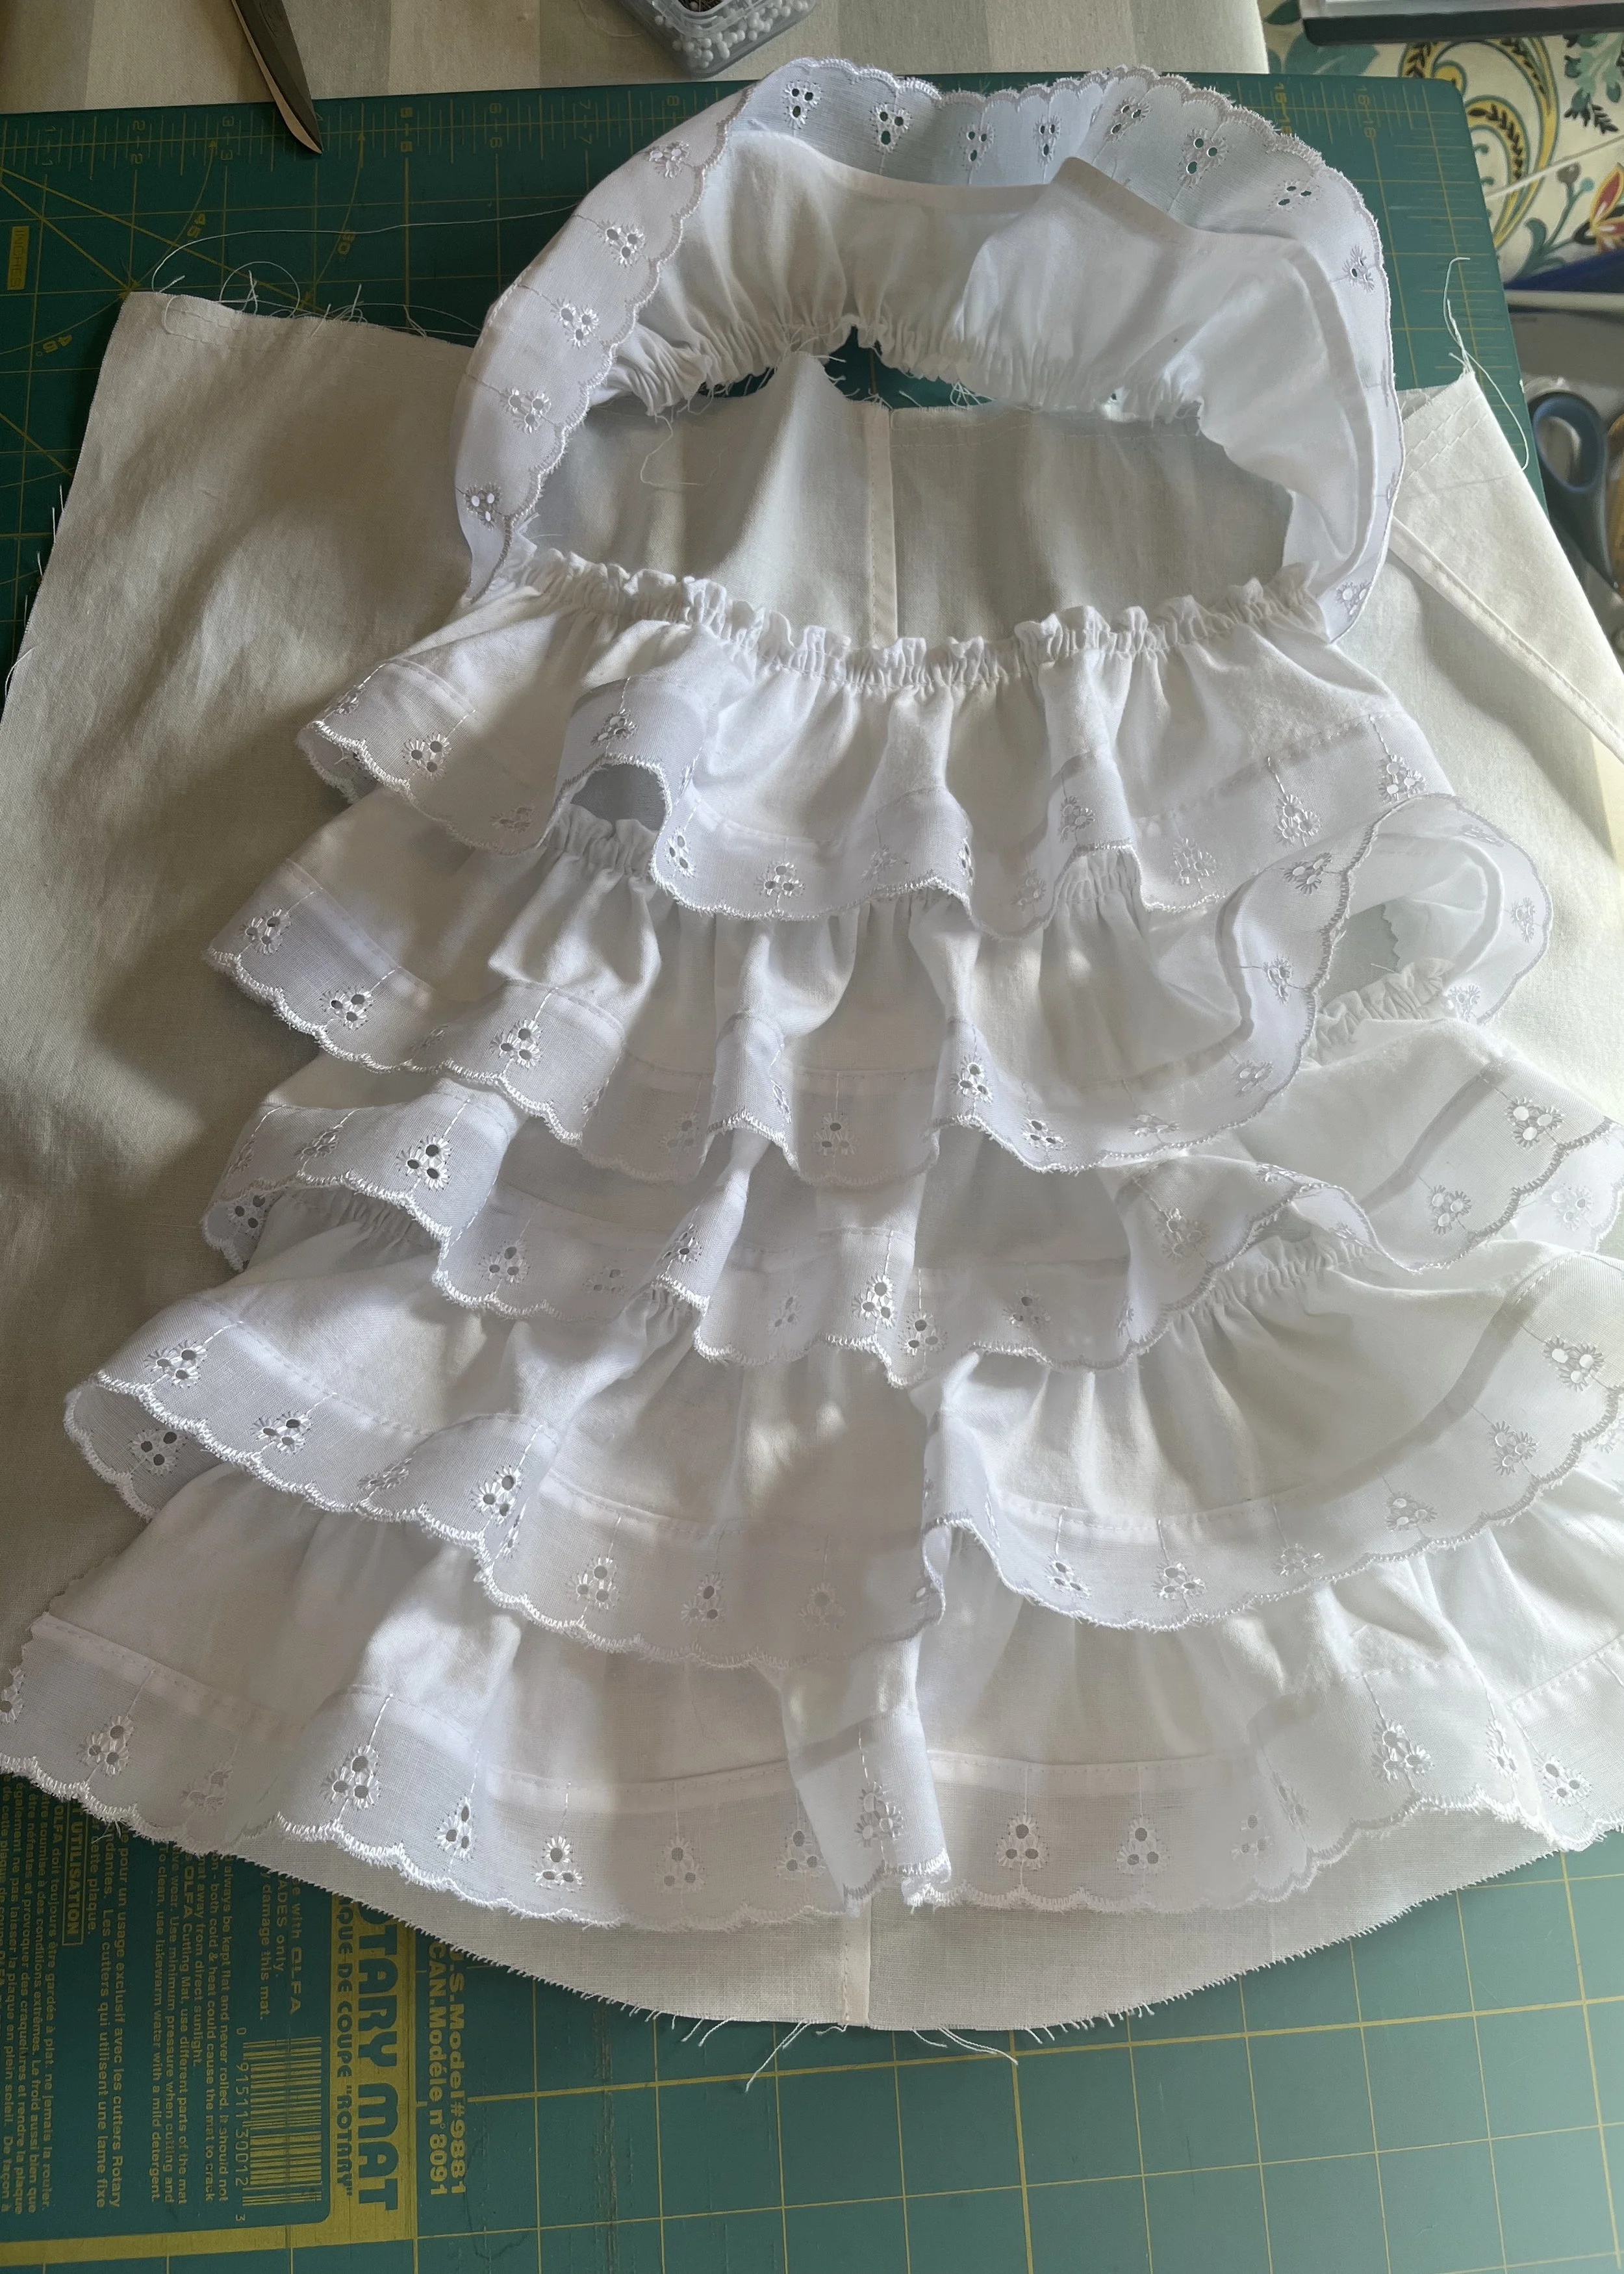
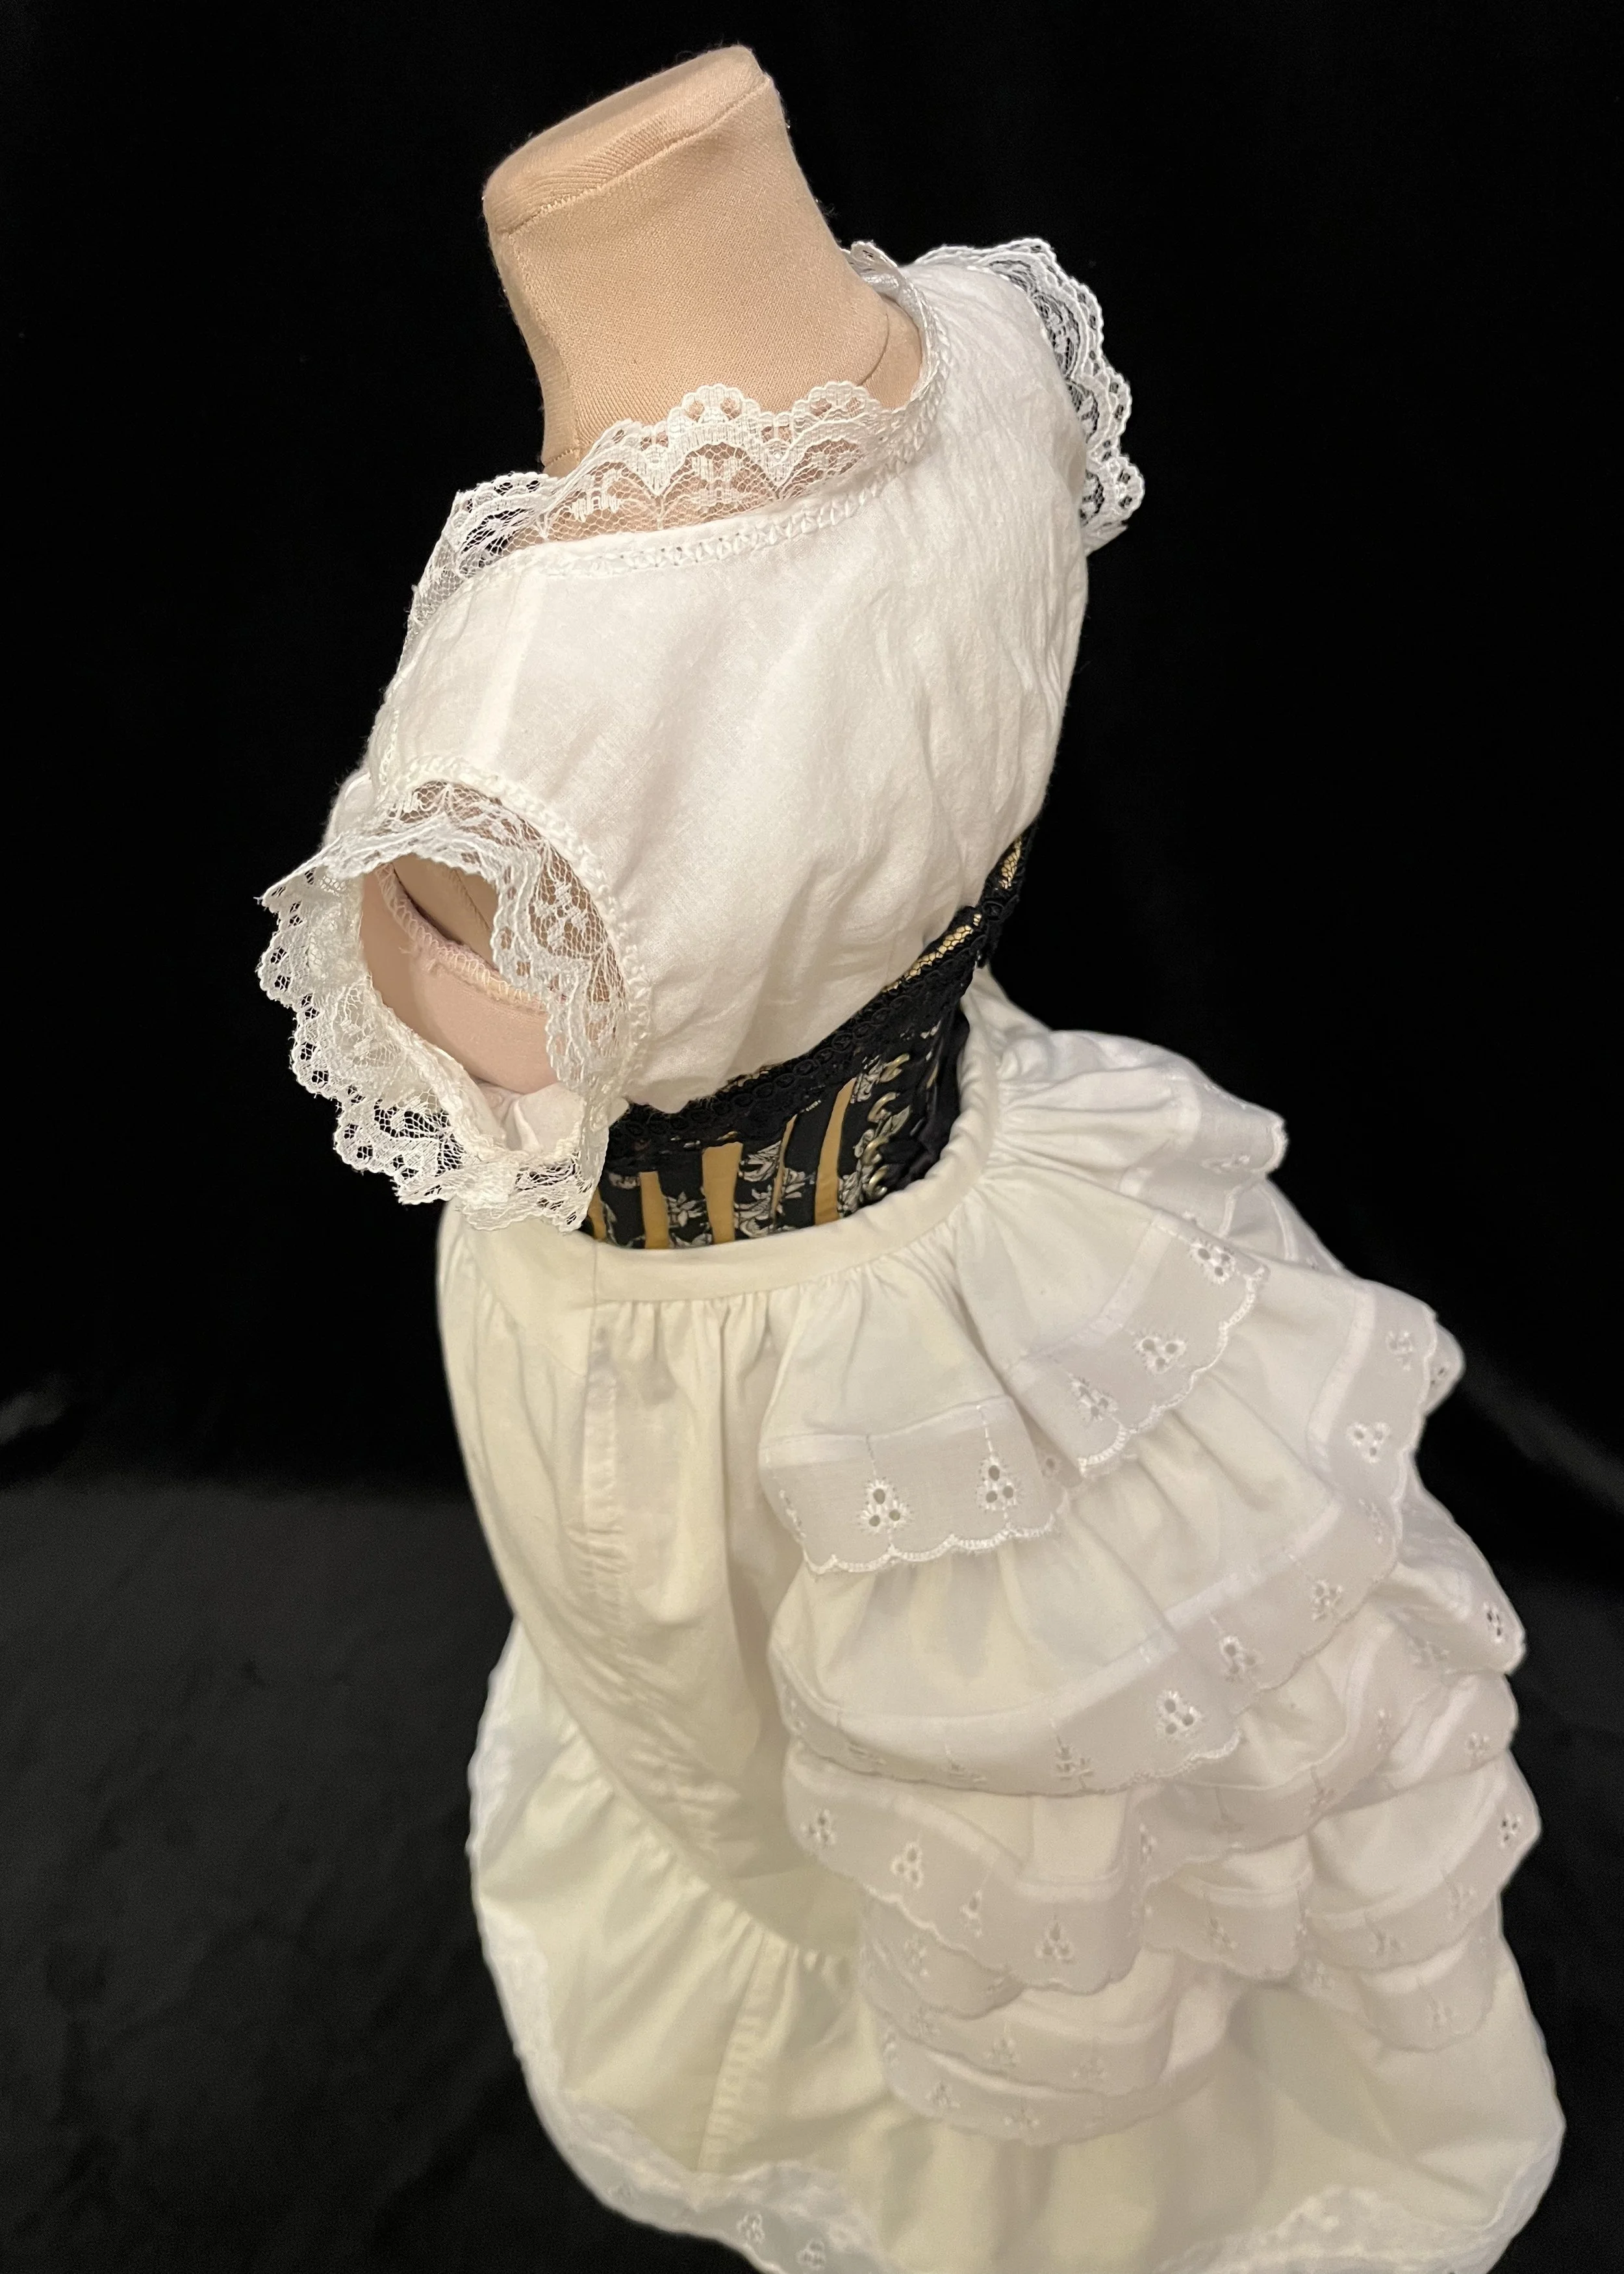
After determining their placement, I cut the ruffles, ran new gathering stitches and applied them to the back of the petticoat.
This involved little bit of fancy footwork as I wanted each ruffle to sit inside of the ruffle above it, and therefore be a bit more contained and kept towards the back, so rather than working from the hem towards the waist, I had to go the other way while holding ruffles out of the way. Not exactly the greatest hardship in the world but still annoying and less than ideal.
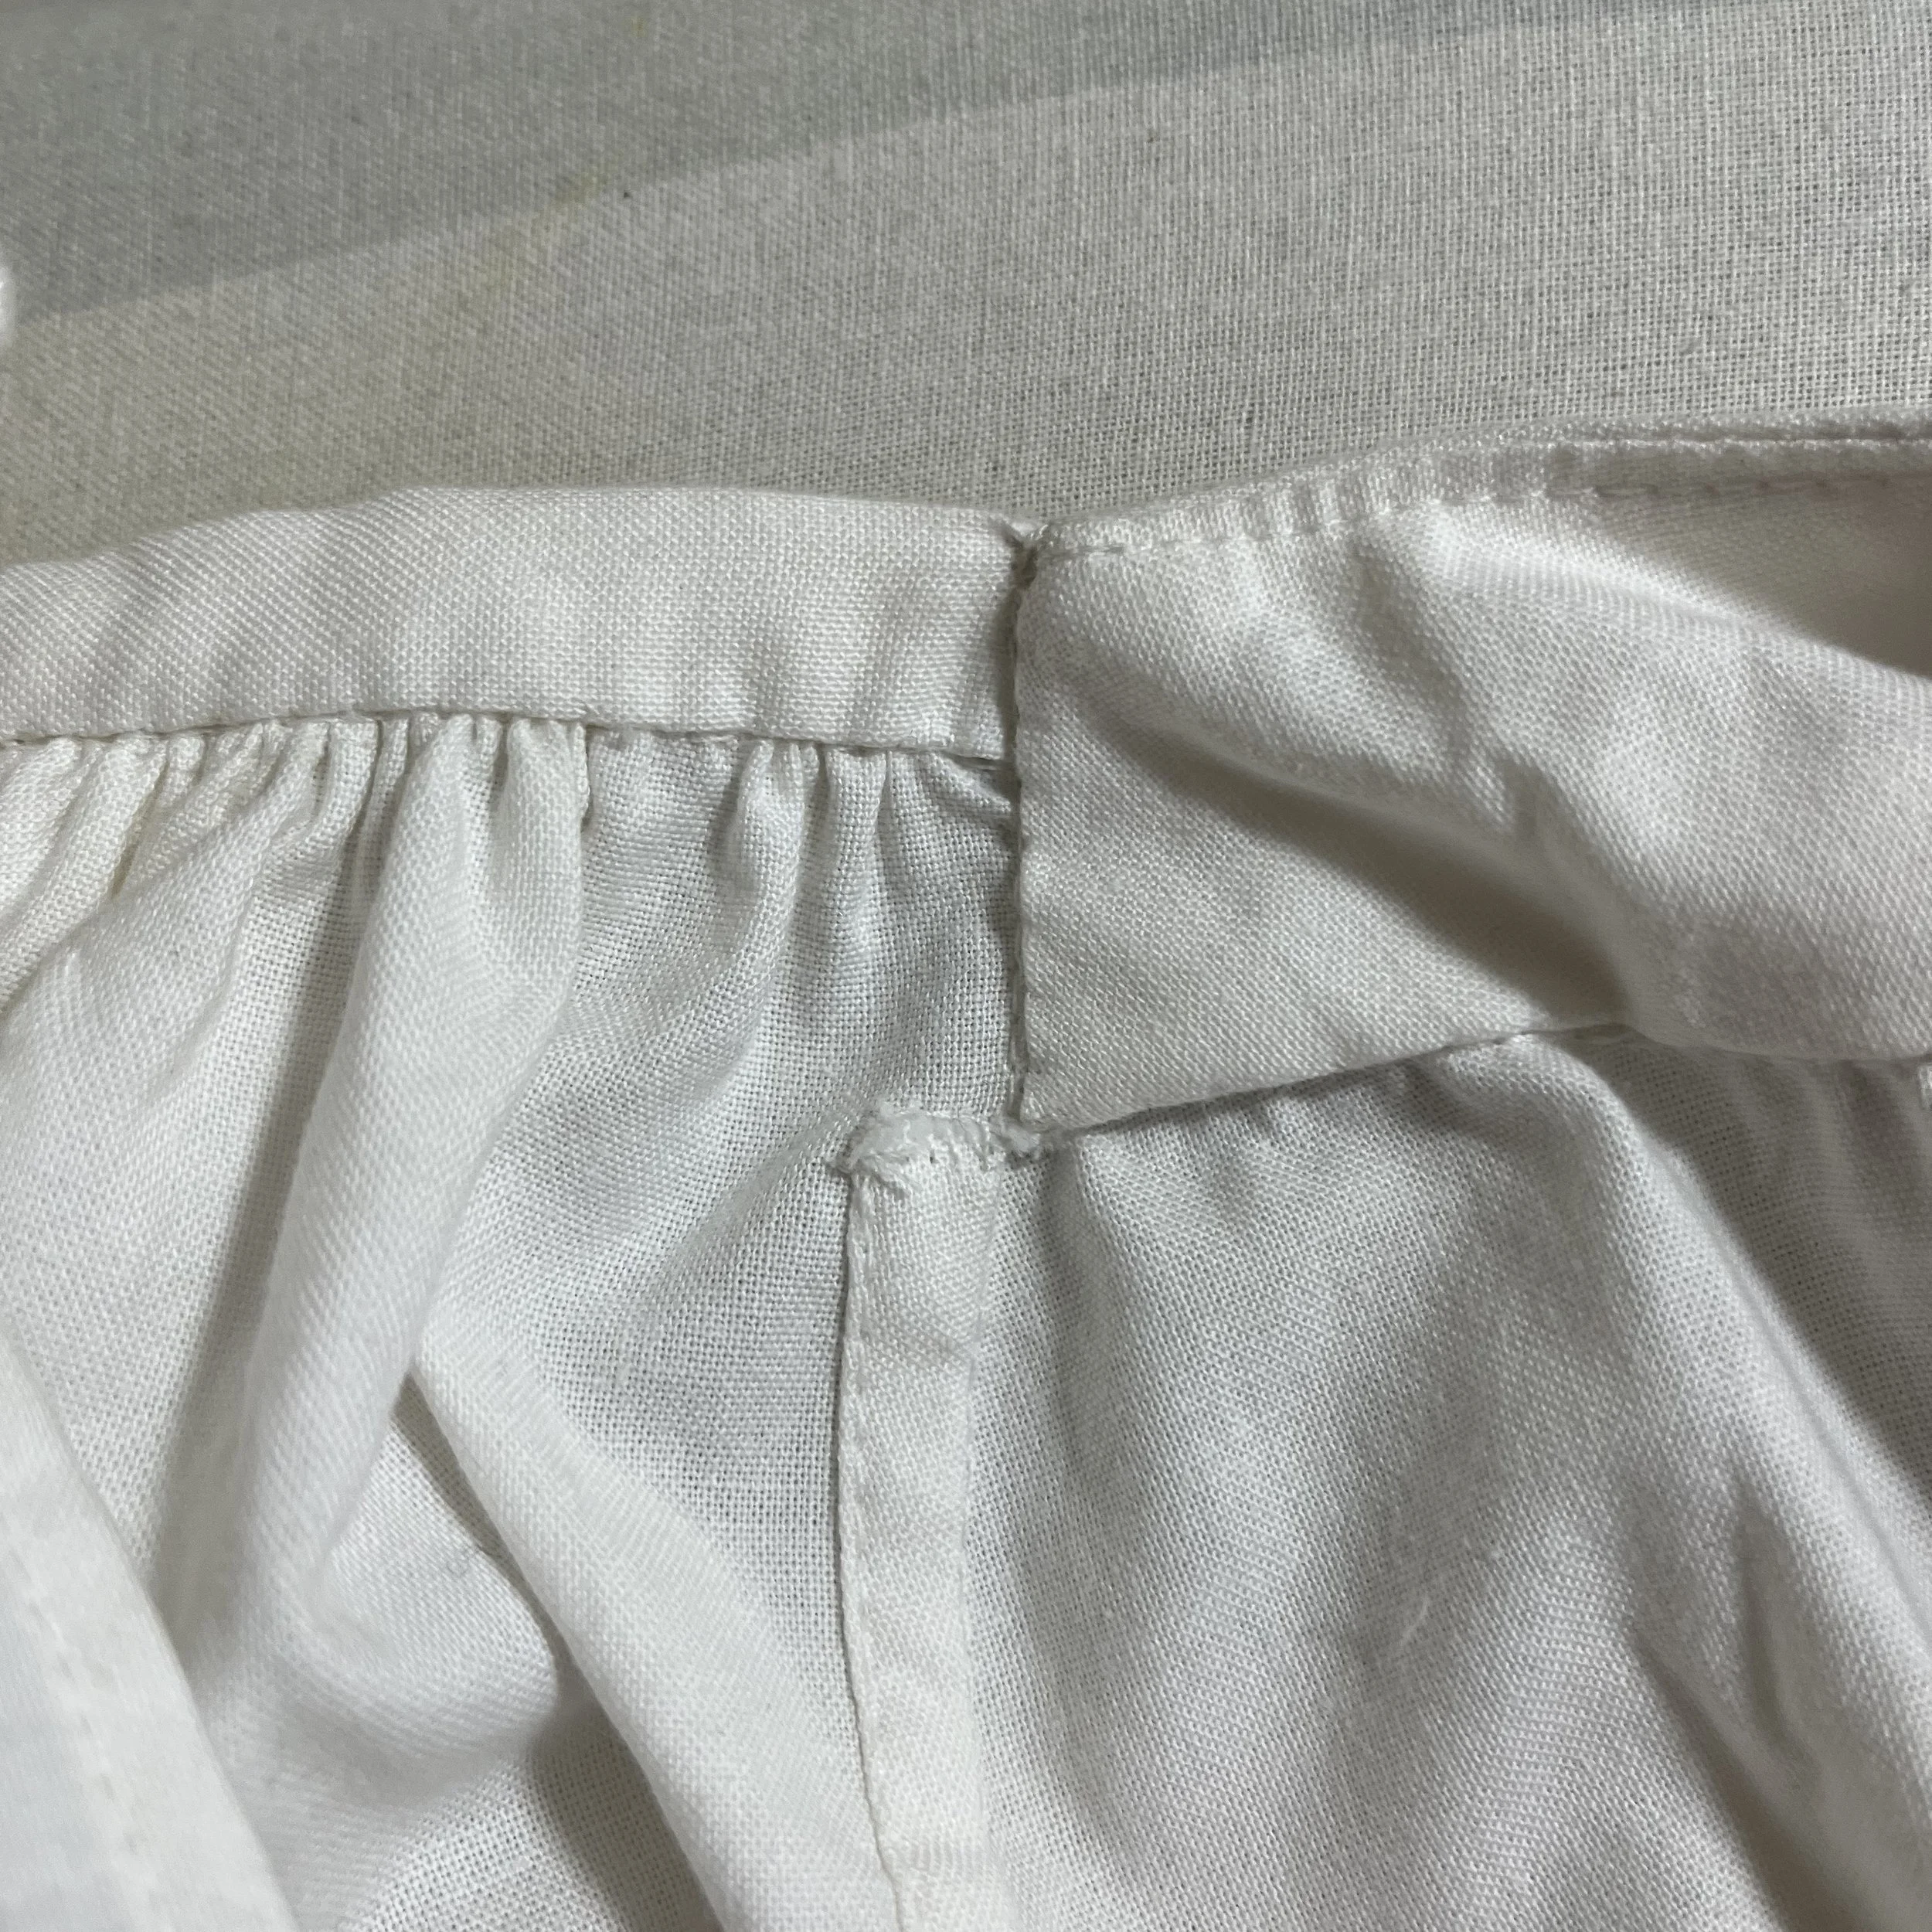
With all the ruffles on, I gathered the back waist to the desired length and stitched it onto a waistband, enclosing the top ruffle as well. I then stitched the front to the back, finishing the seams with more flat felling and enclosing the top of the left seam in the yoke which I then finished.
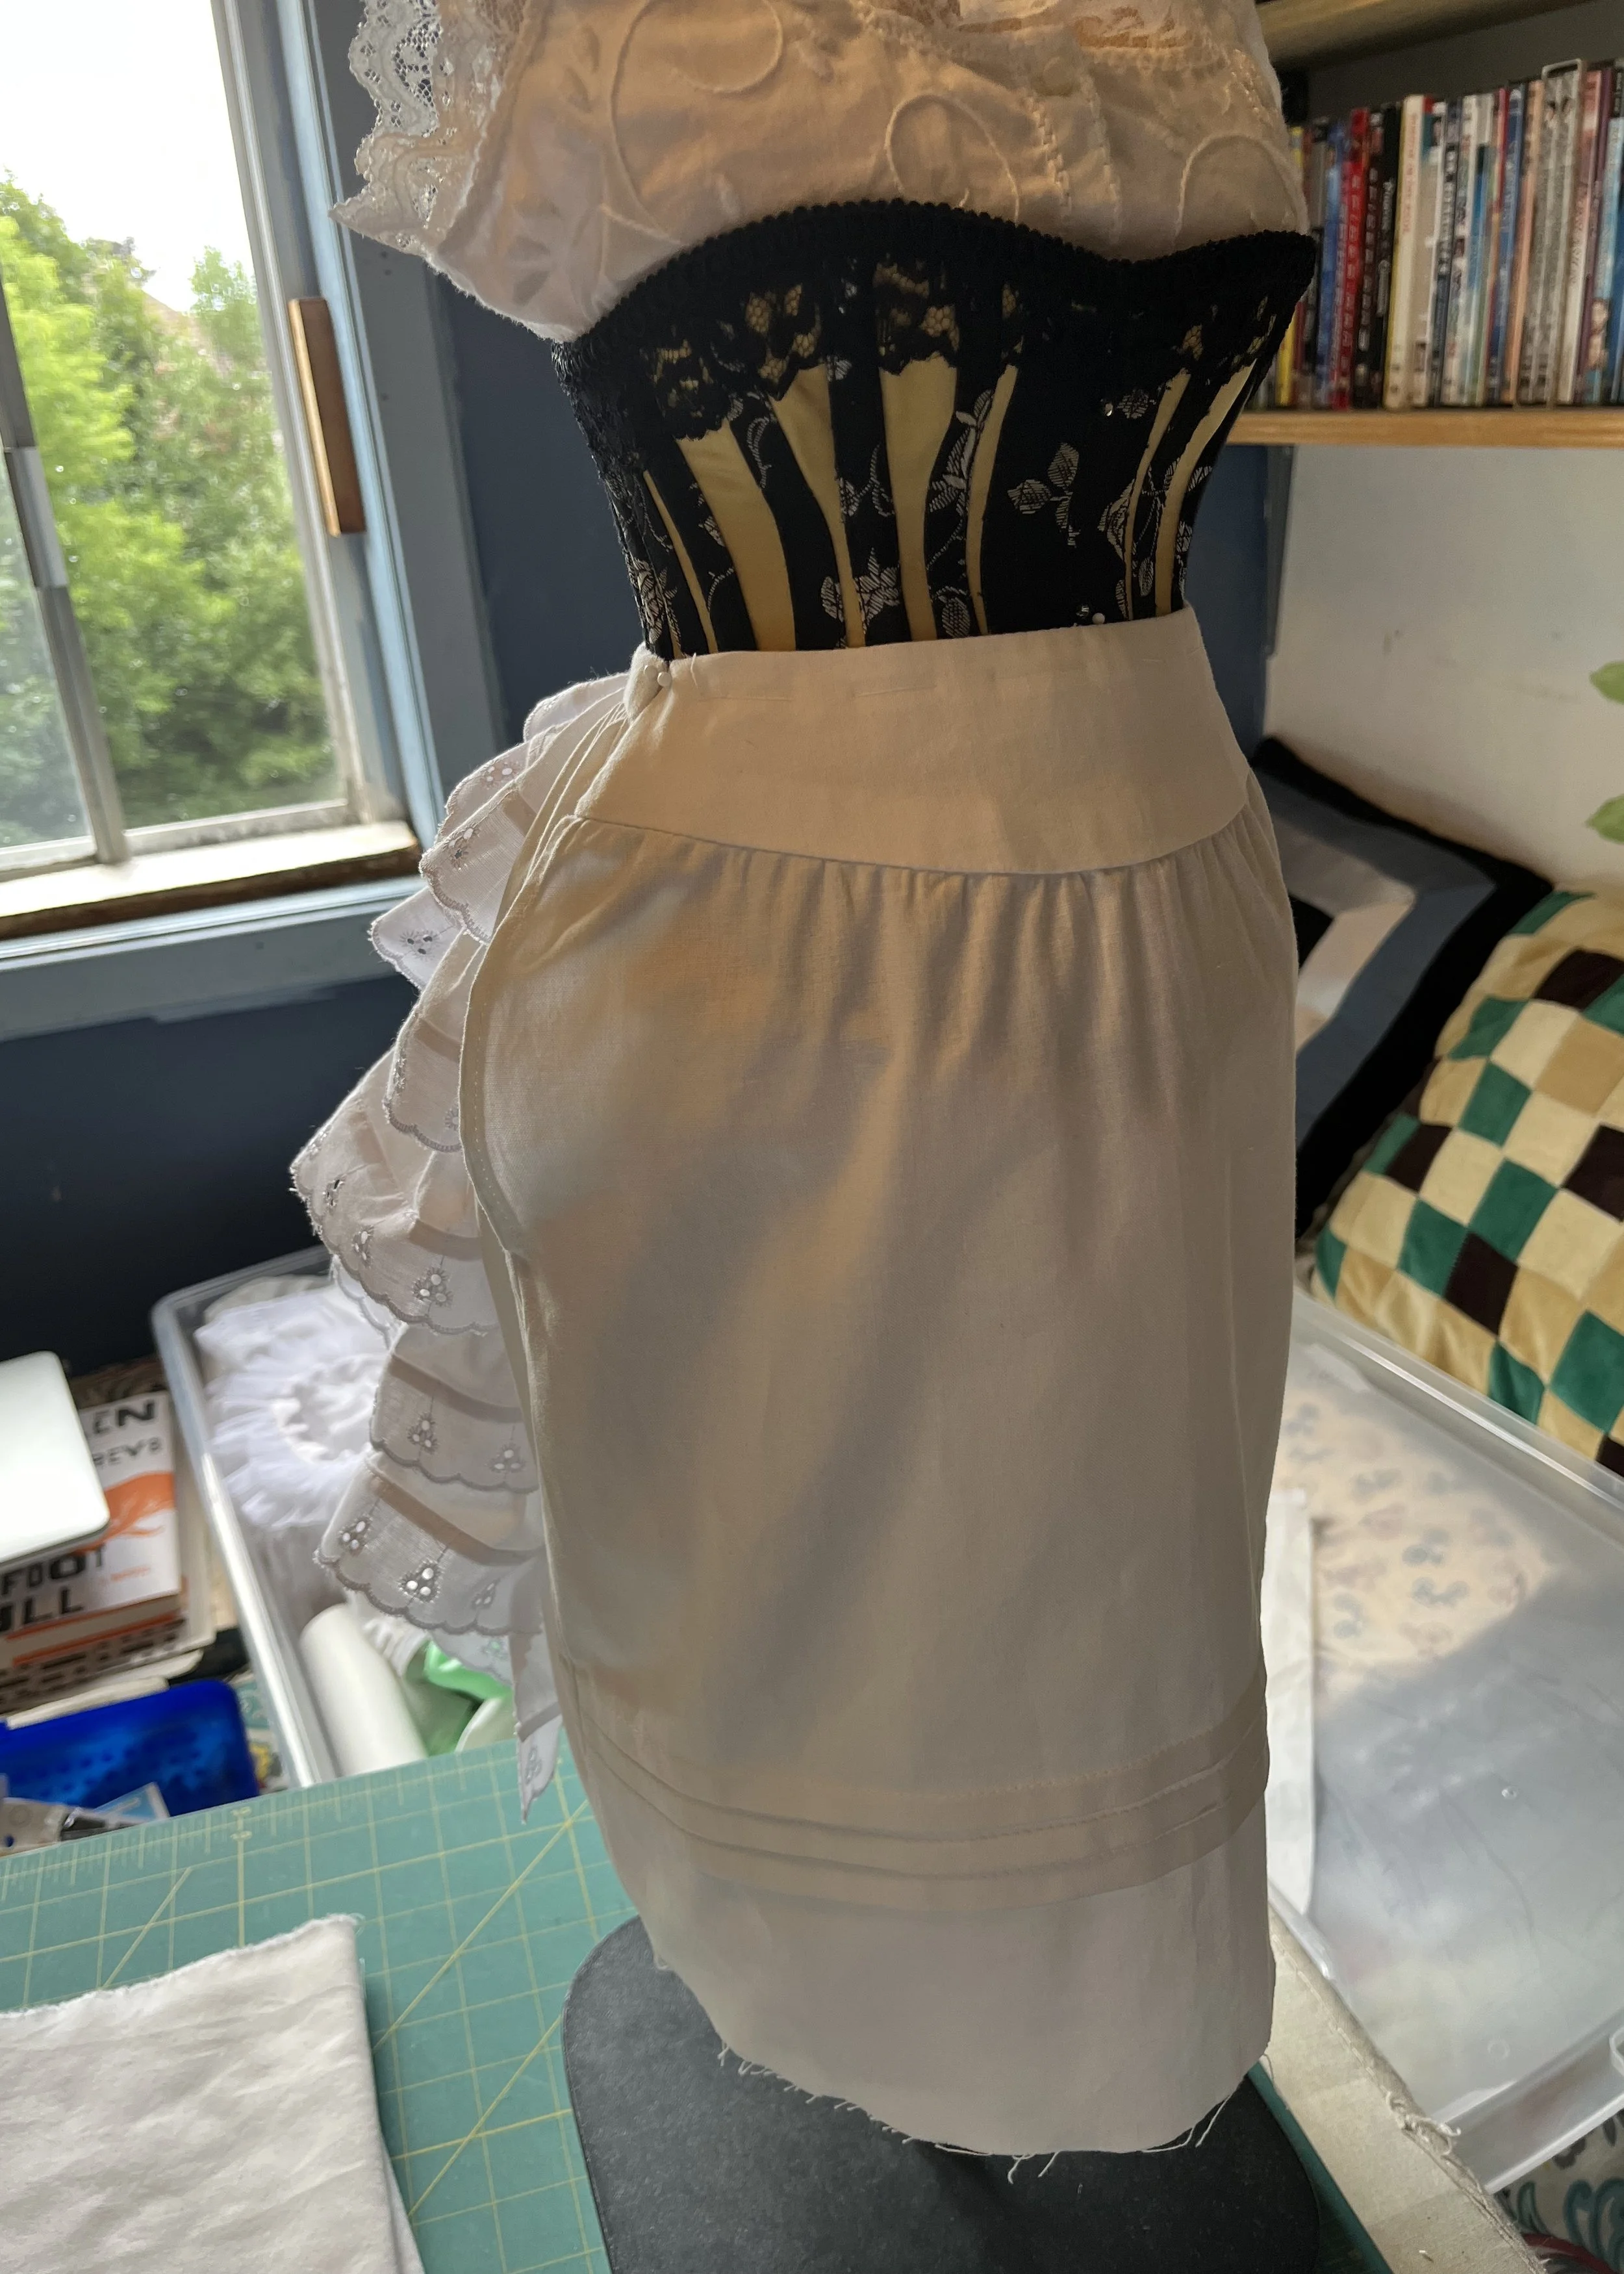
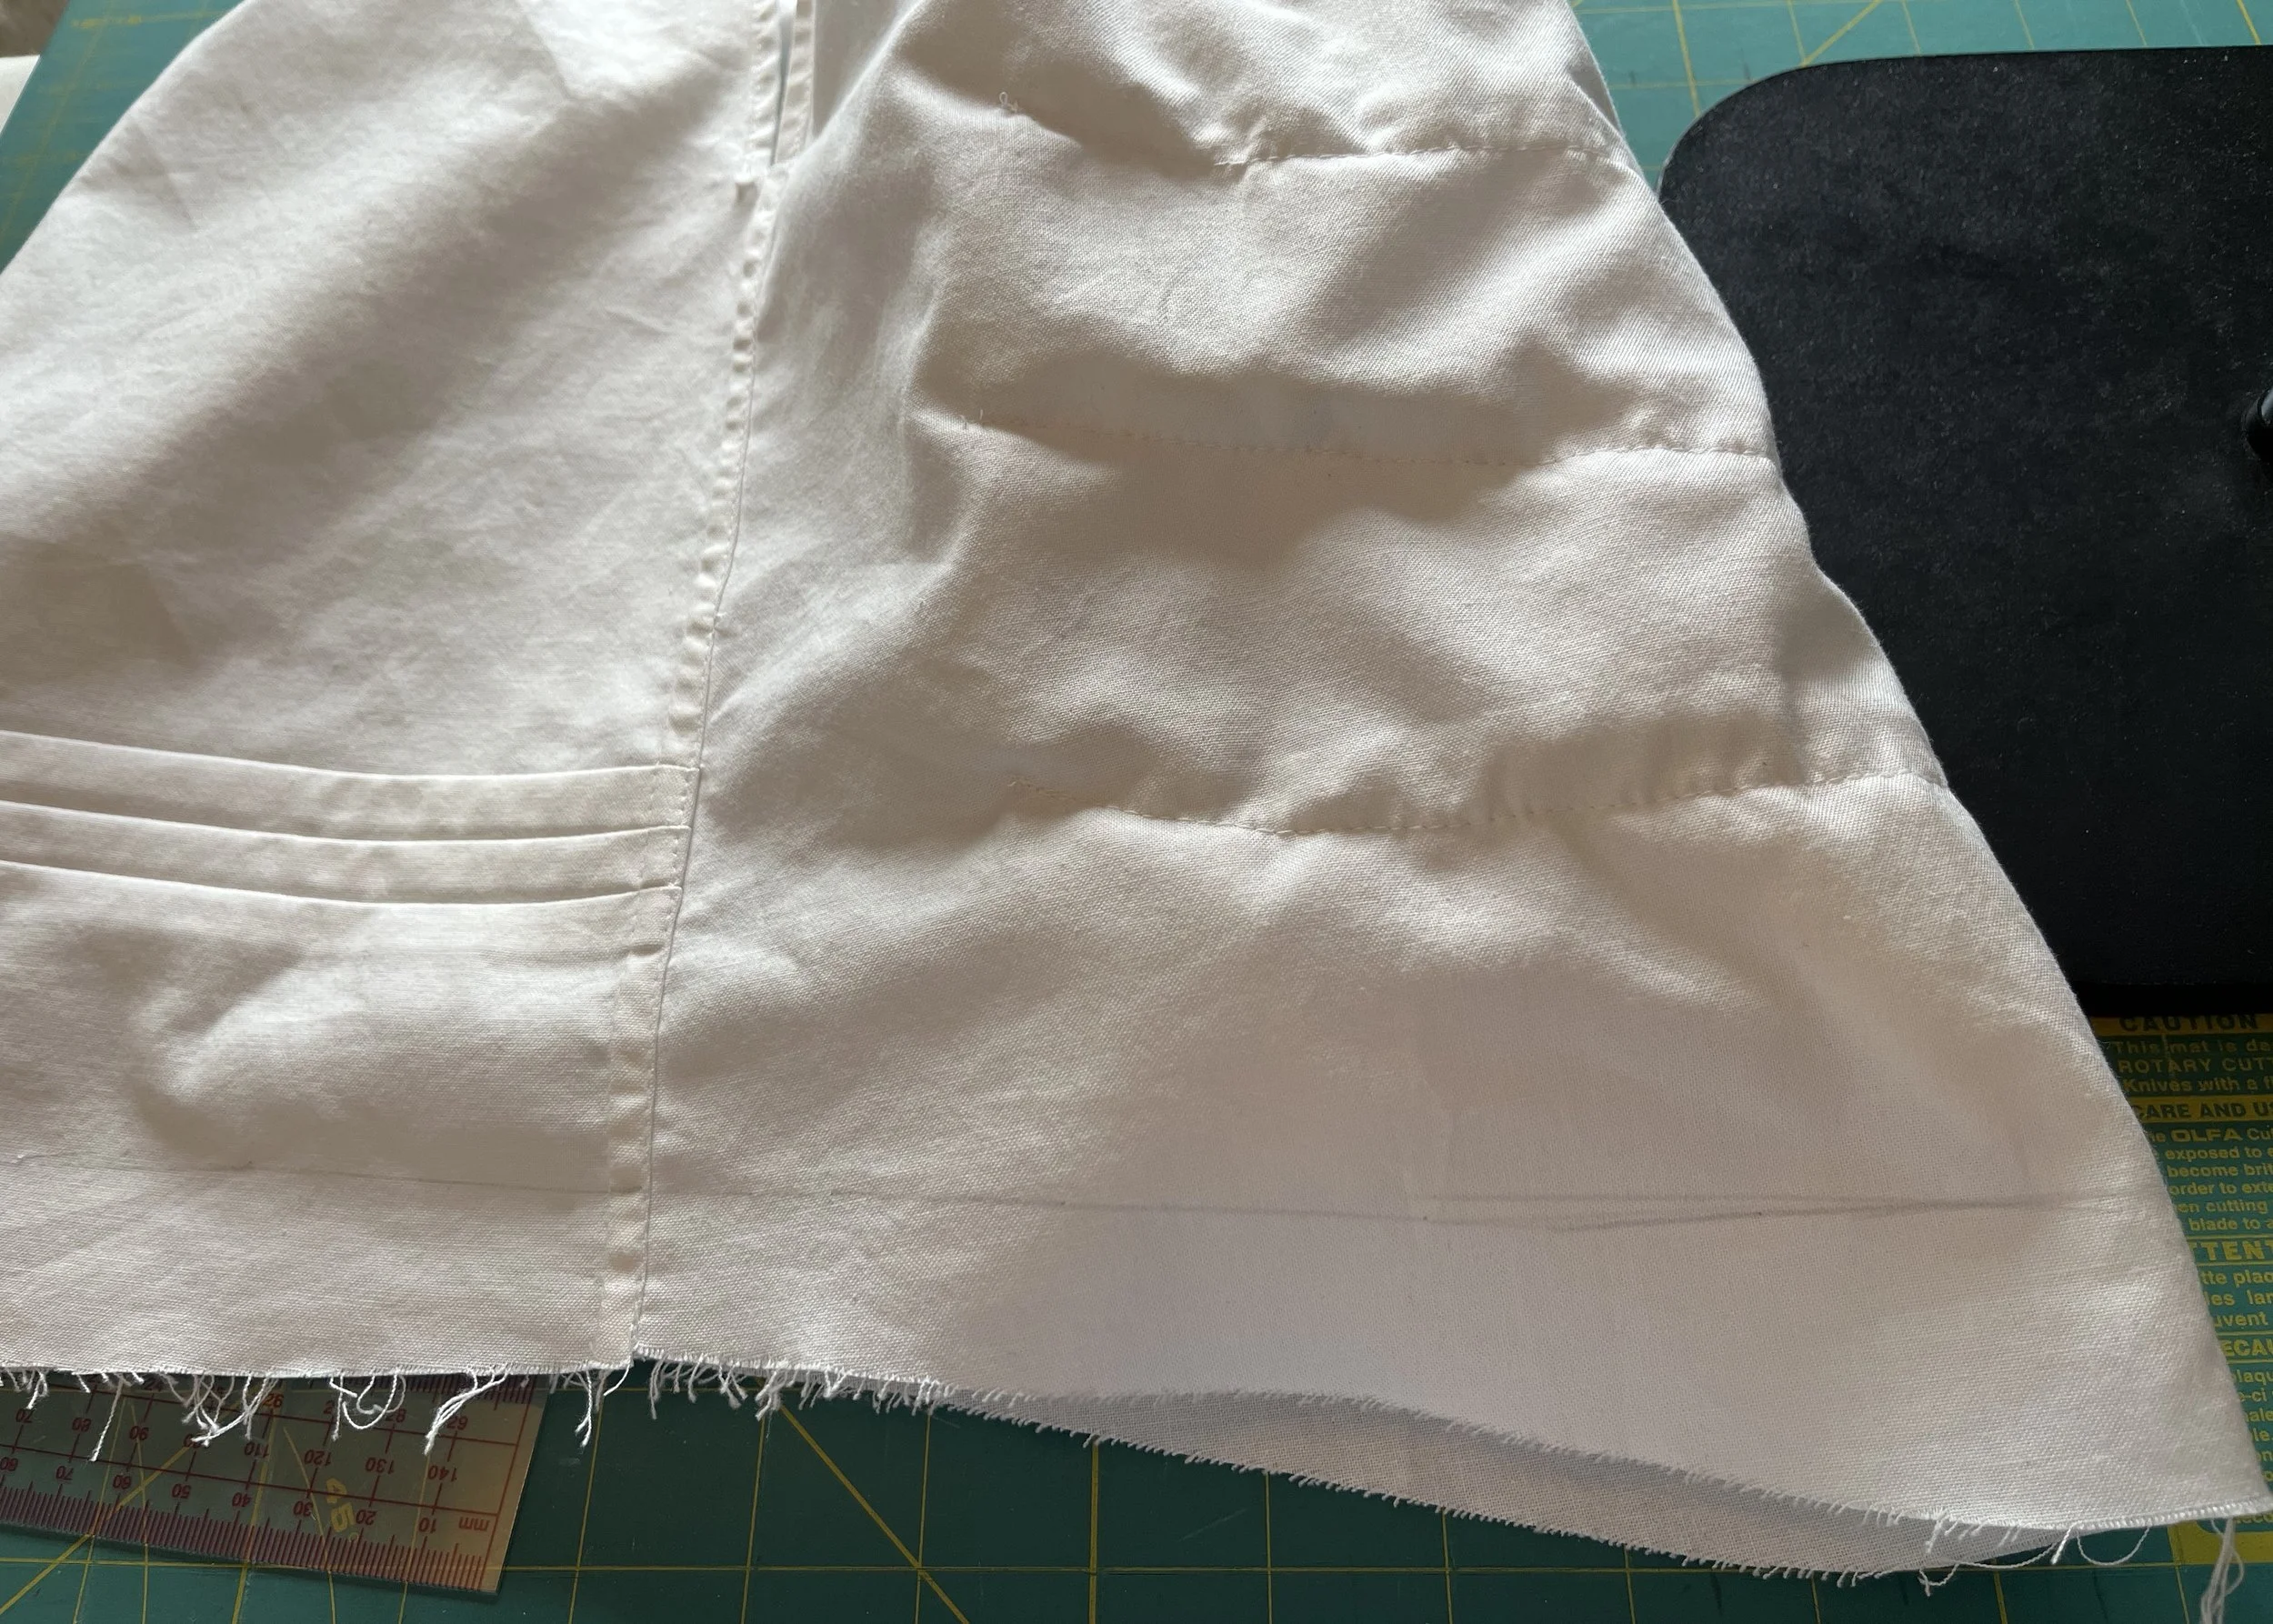
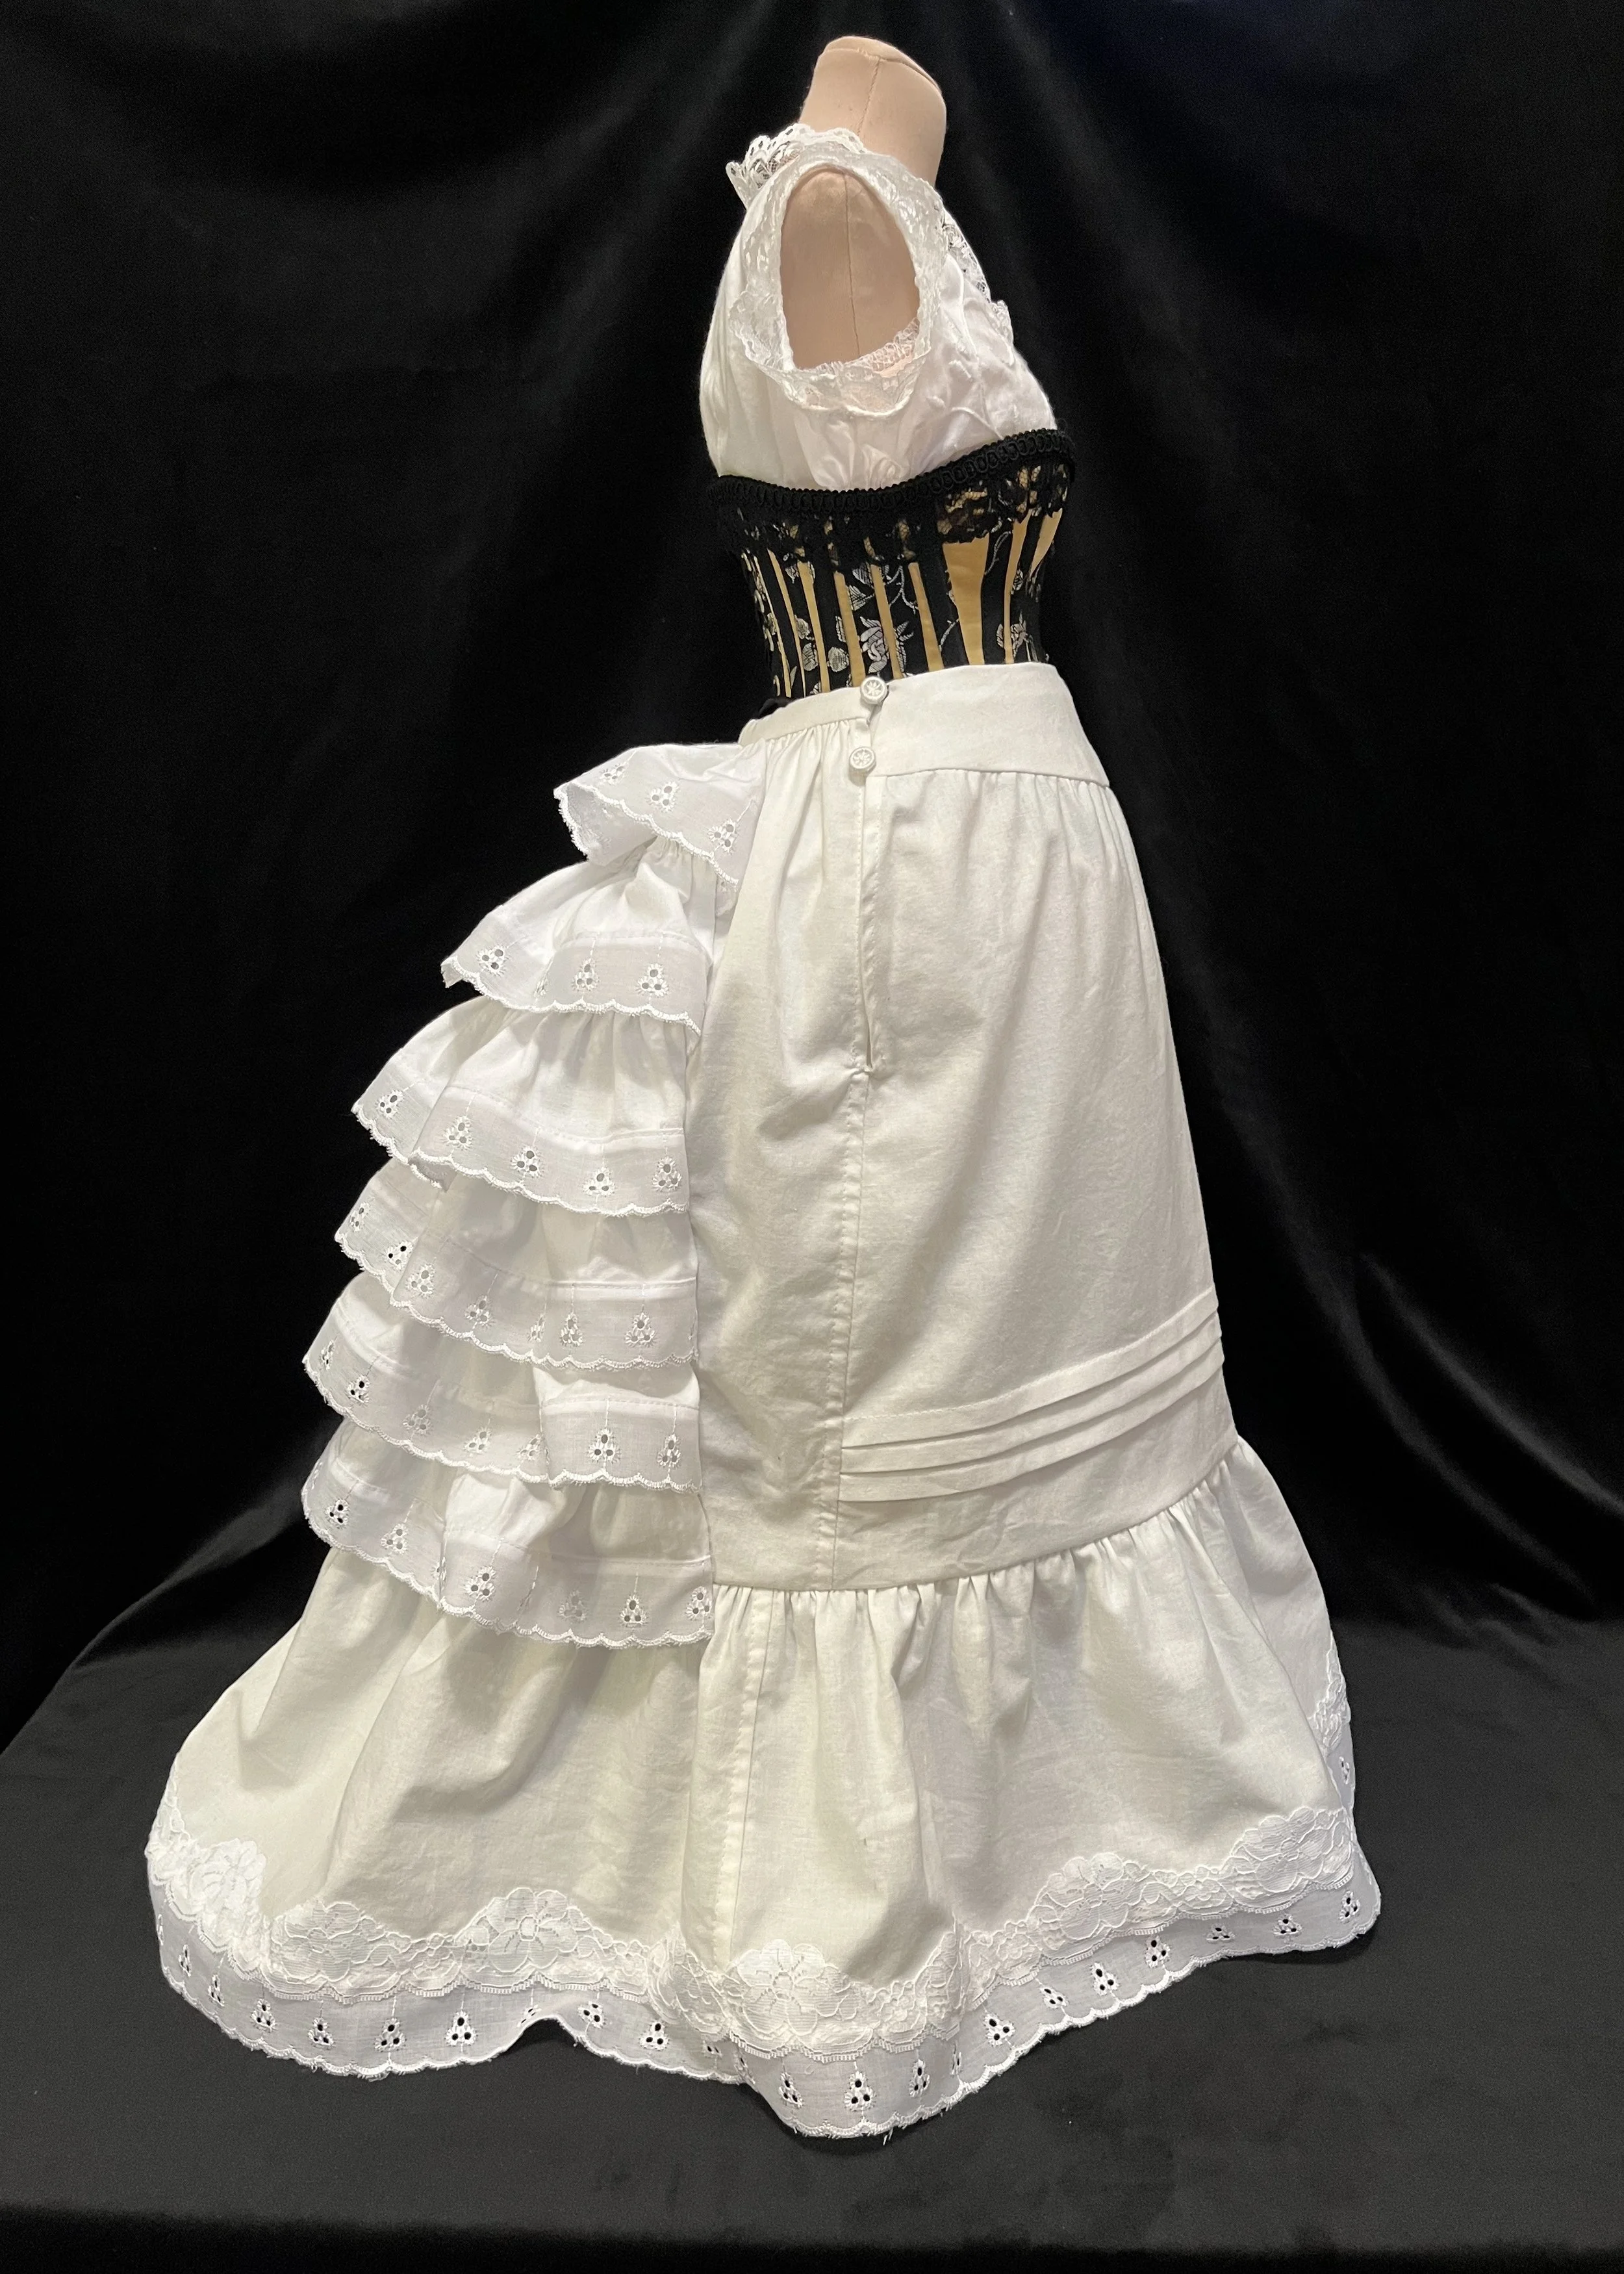
I put the petticoat back onto my Judy at this point to establish the seam line for the flounce. She wasn't going to get anything super floofy, but she did need little bit of flare towards the hem. I also cut the flounce a little longer at the centre back to give her a little bit of a train. I marked a level line on the skirt and cut an even seam allowance, being sure to leave plenty to use later to bind the flounce seam.
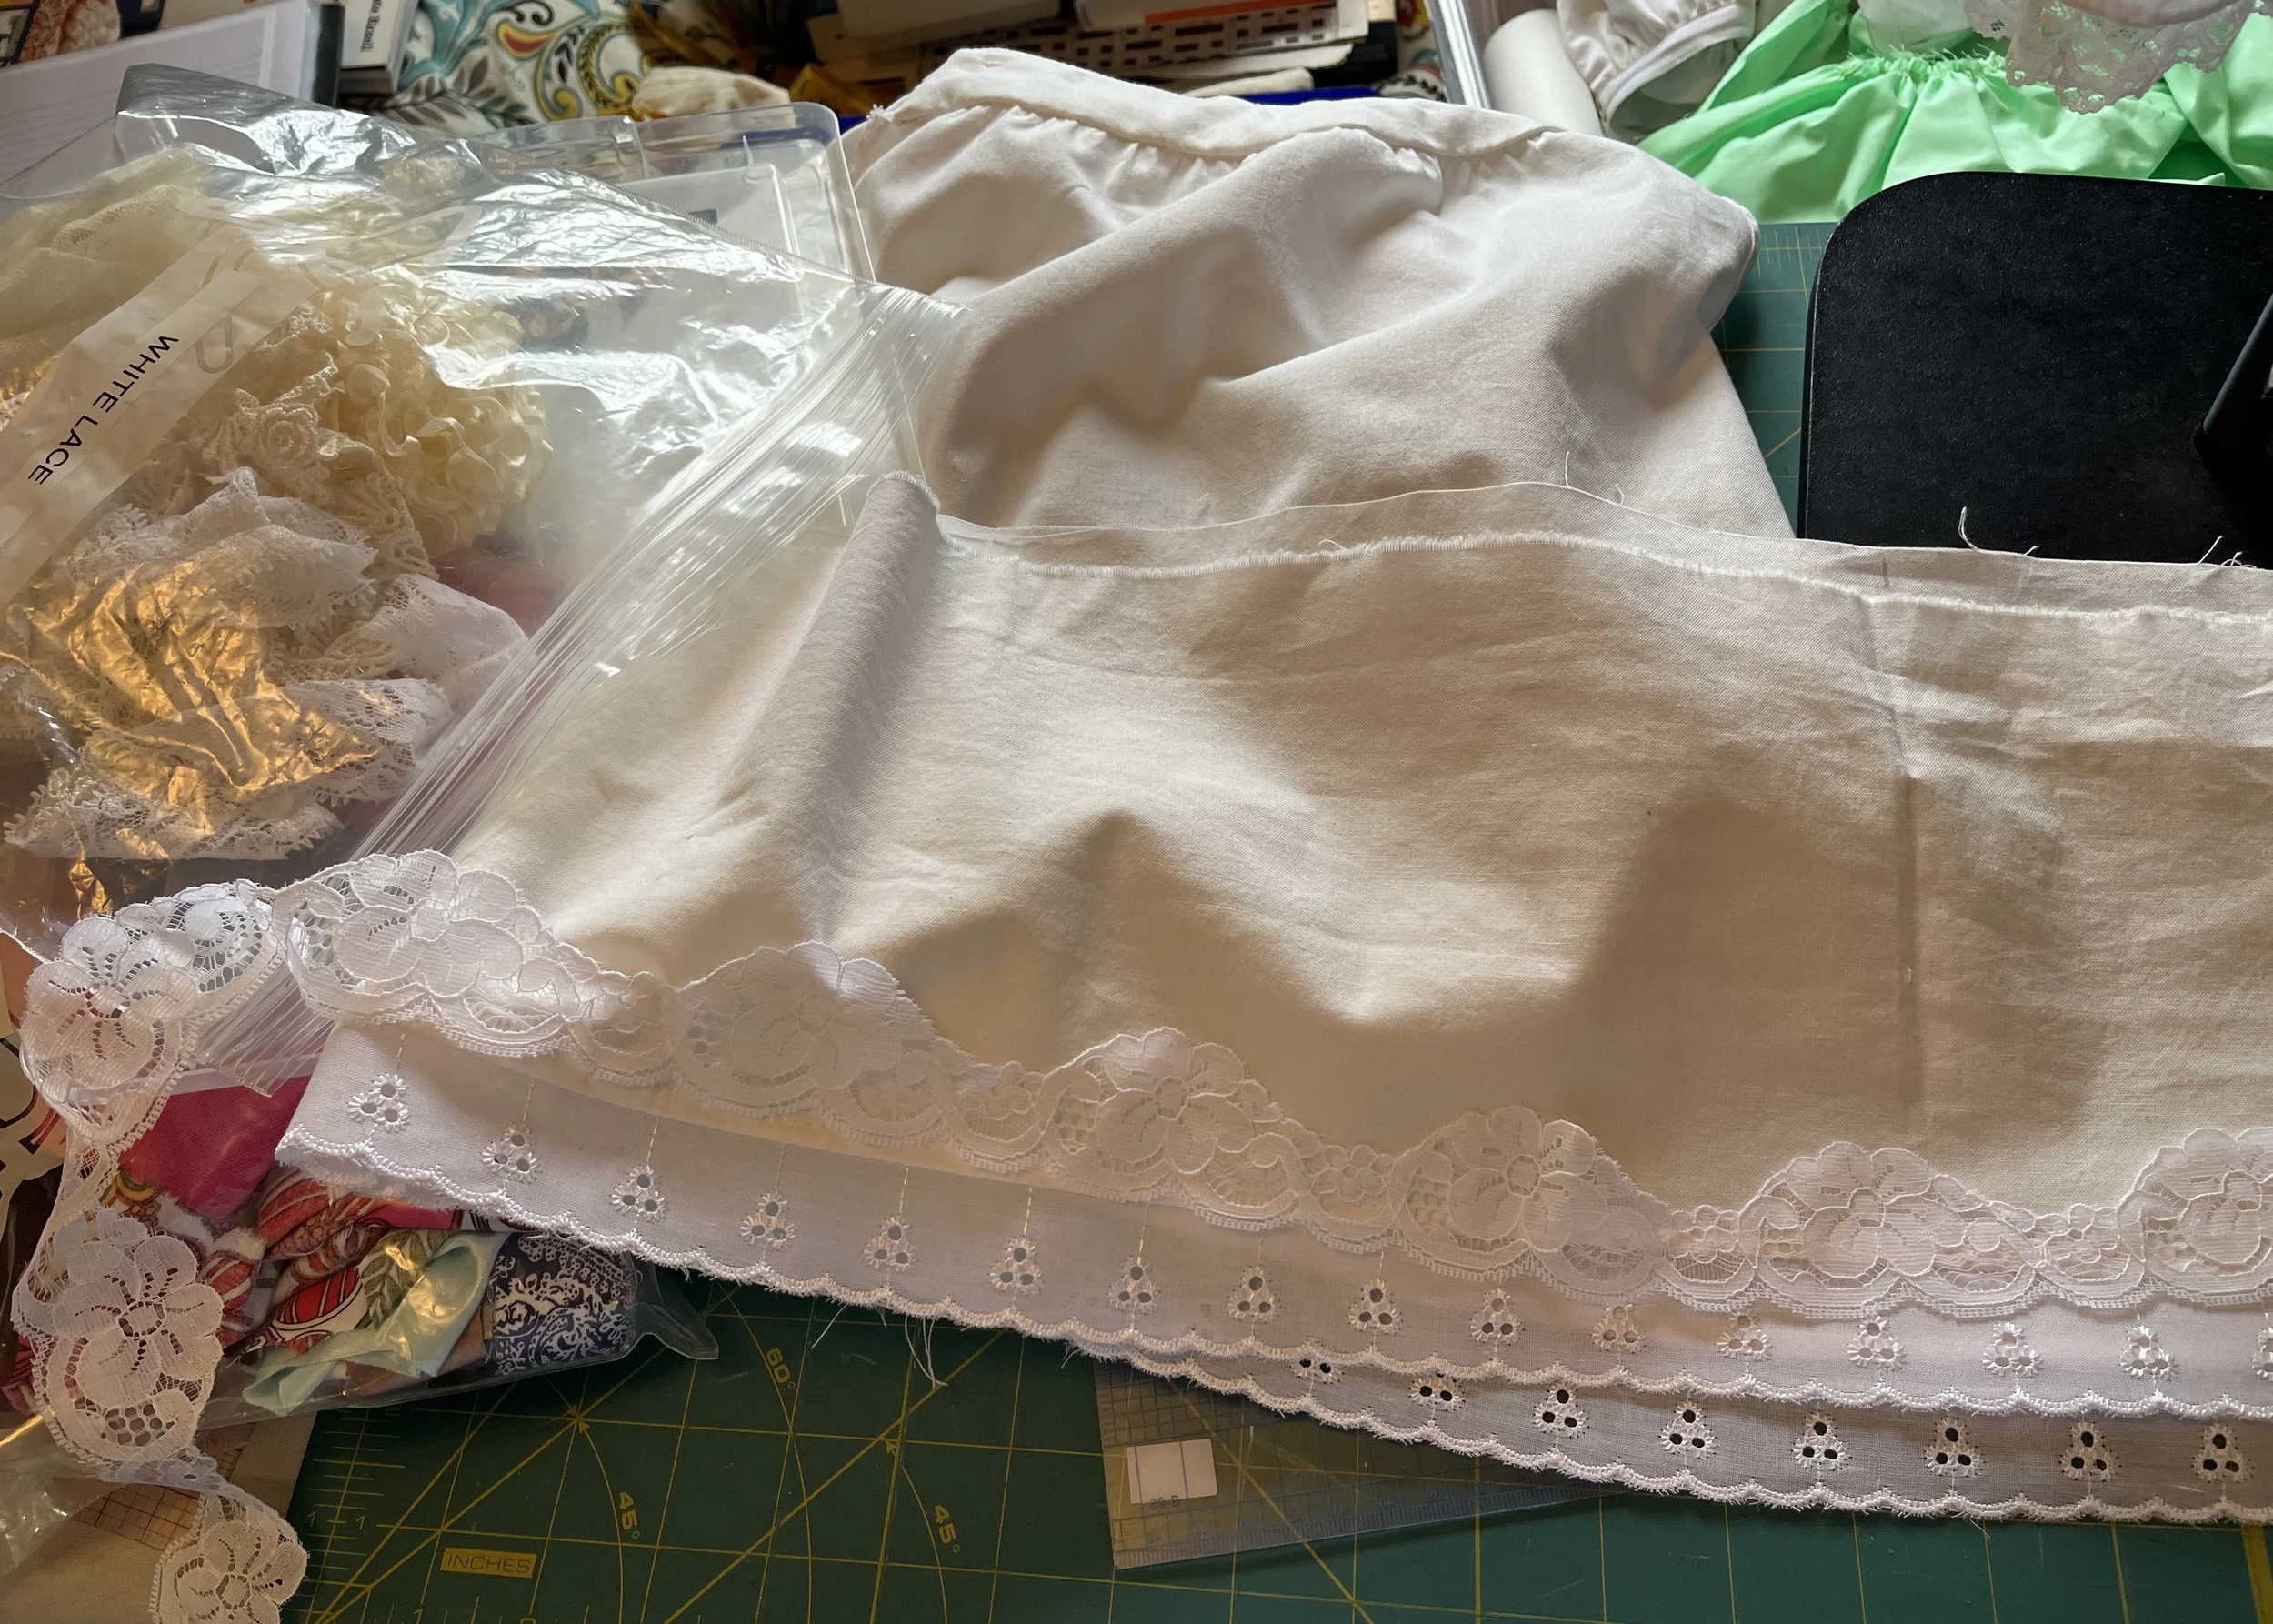
I happened to have a bit of lace leftover from when I had originally made the ruffles which I used to finish the hem of the flounce and tie it into the rest of the petticoat a bit. I contemplated adding another layer of lace to the hem but opted to leave it for a bit and decide later (spoiler: I added it later. I couldn't resist. I never can.)
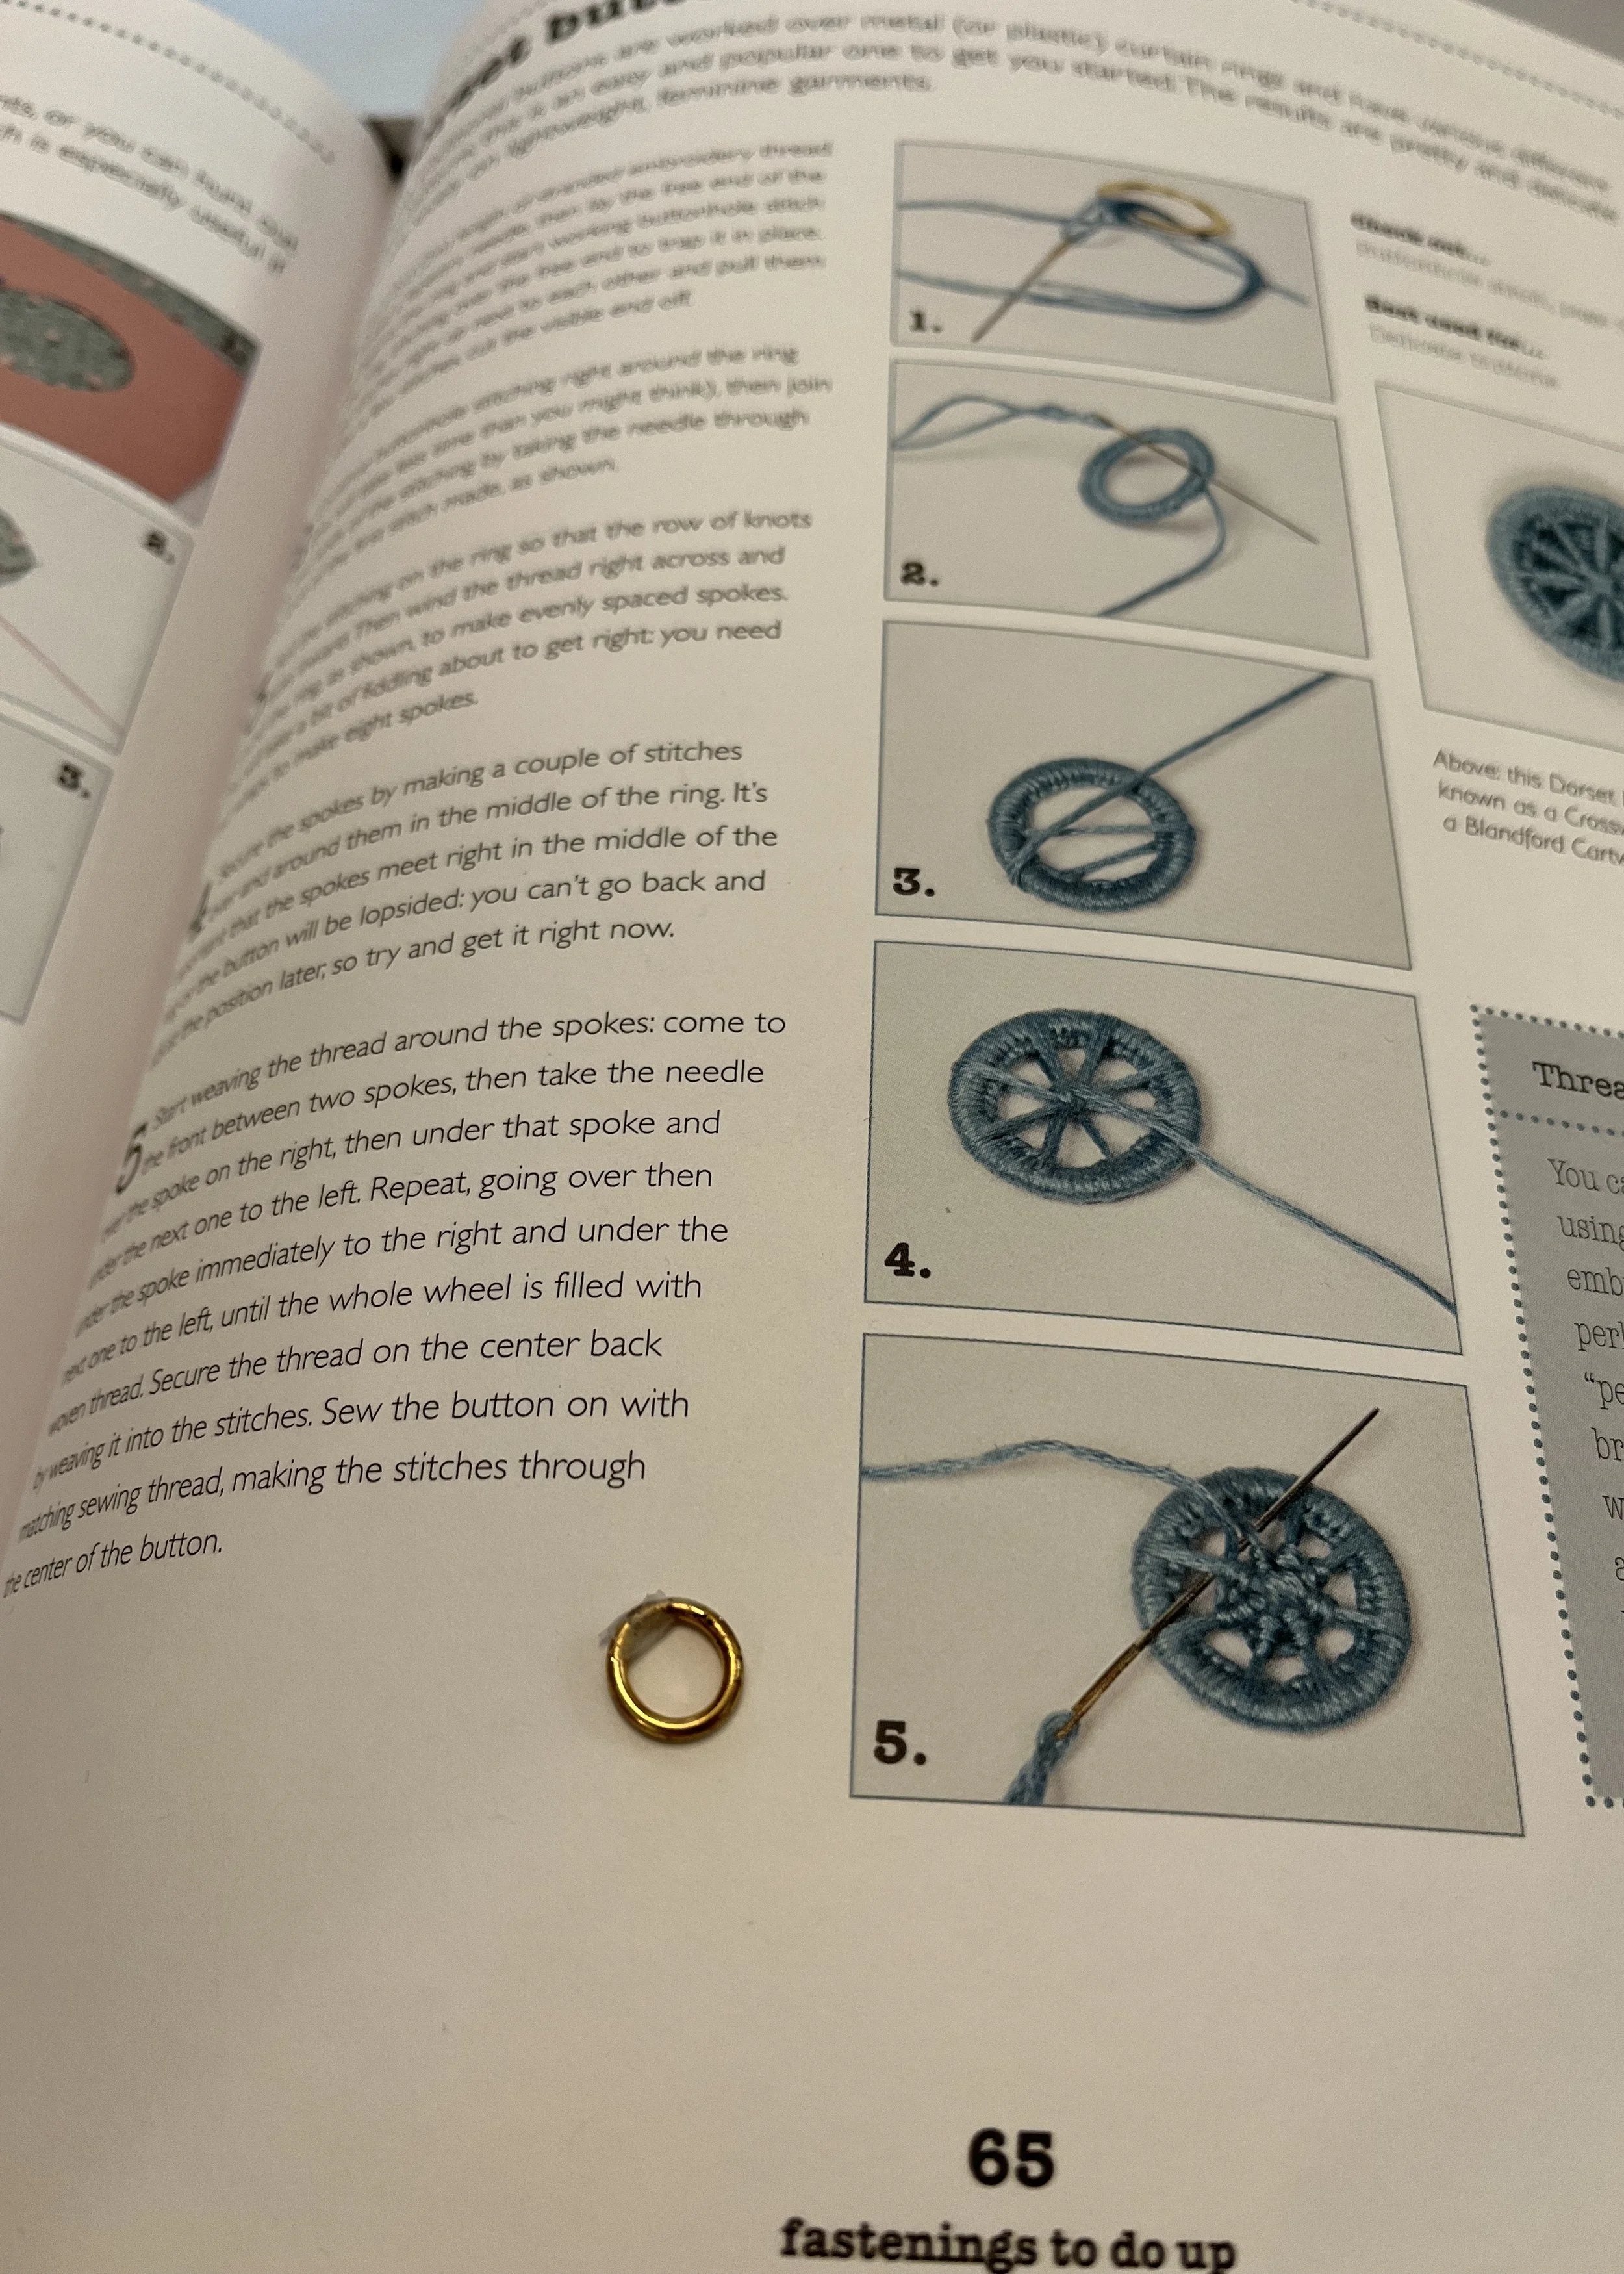
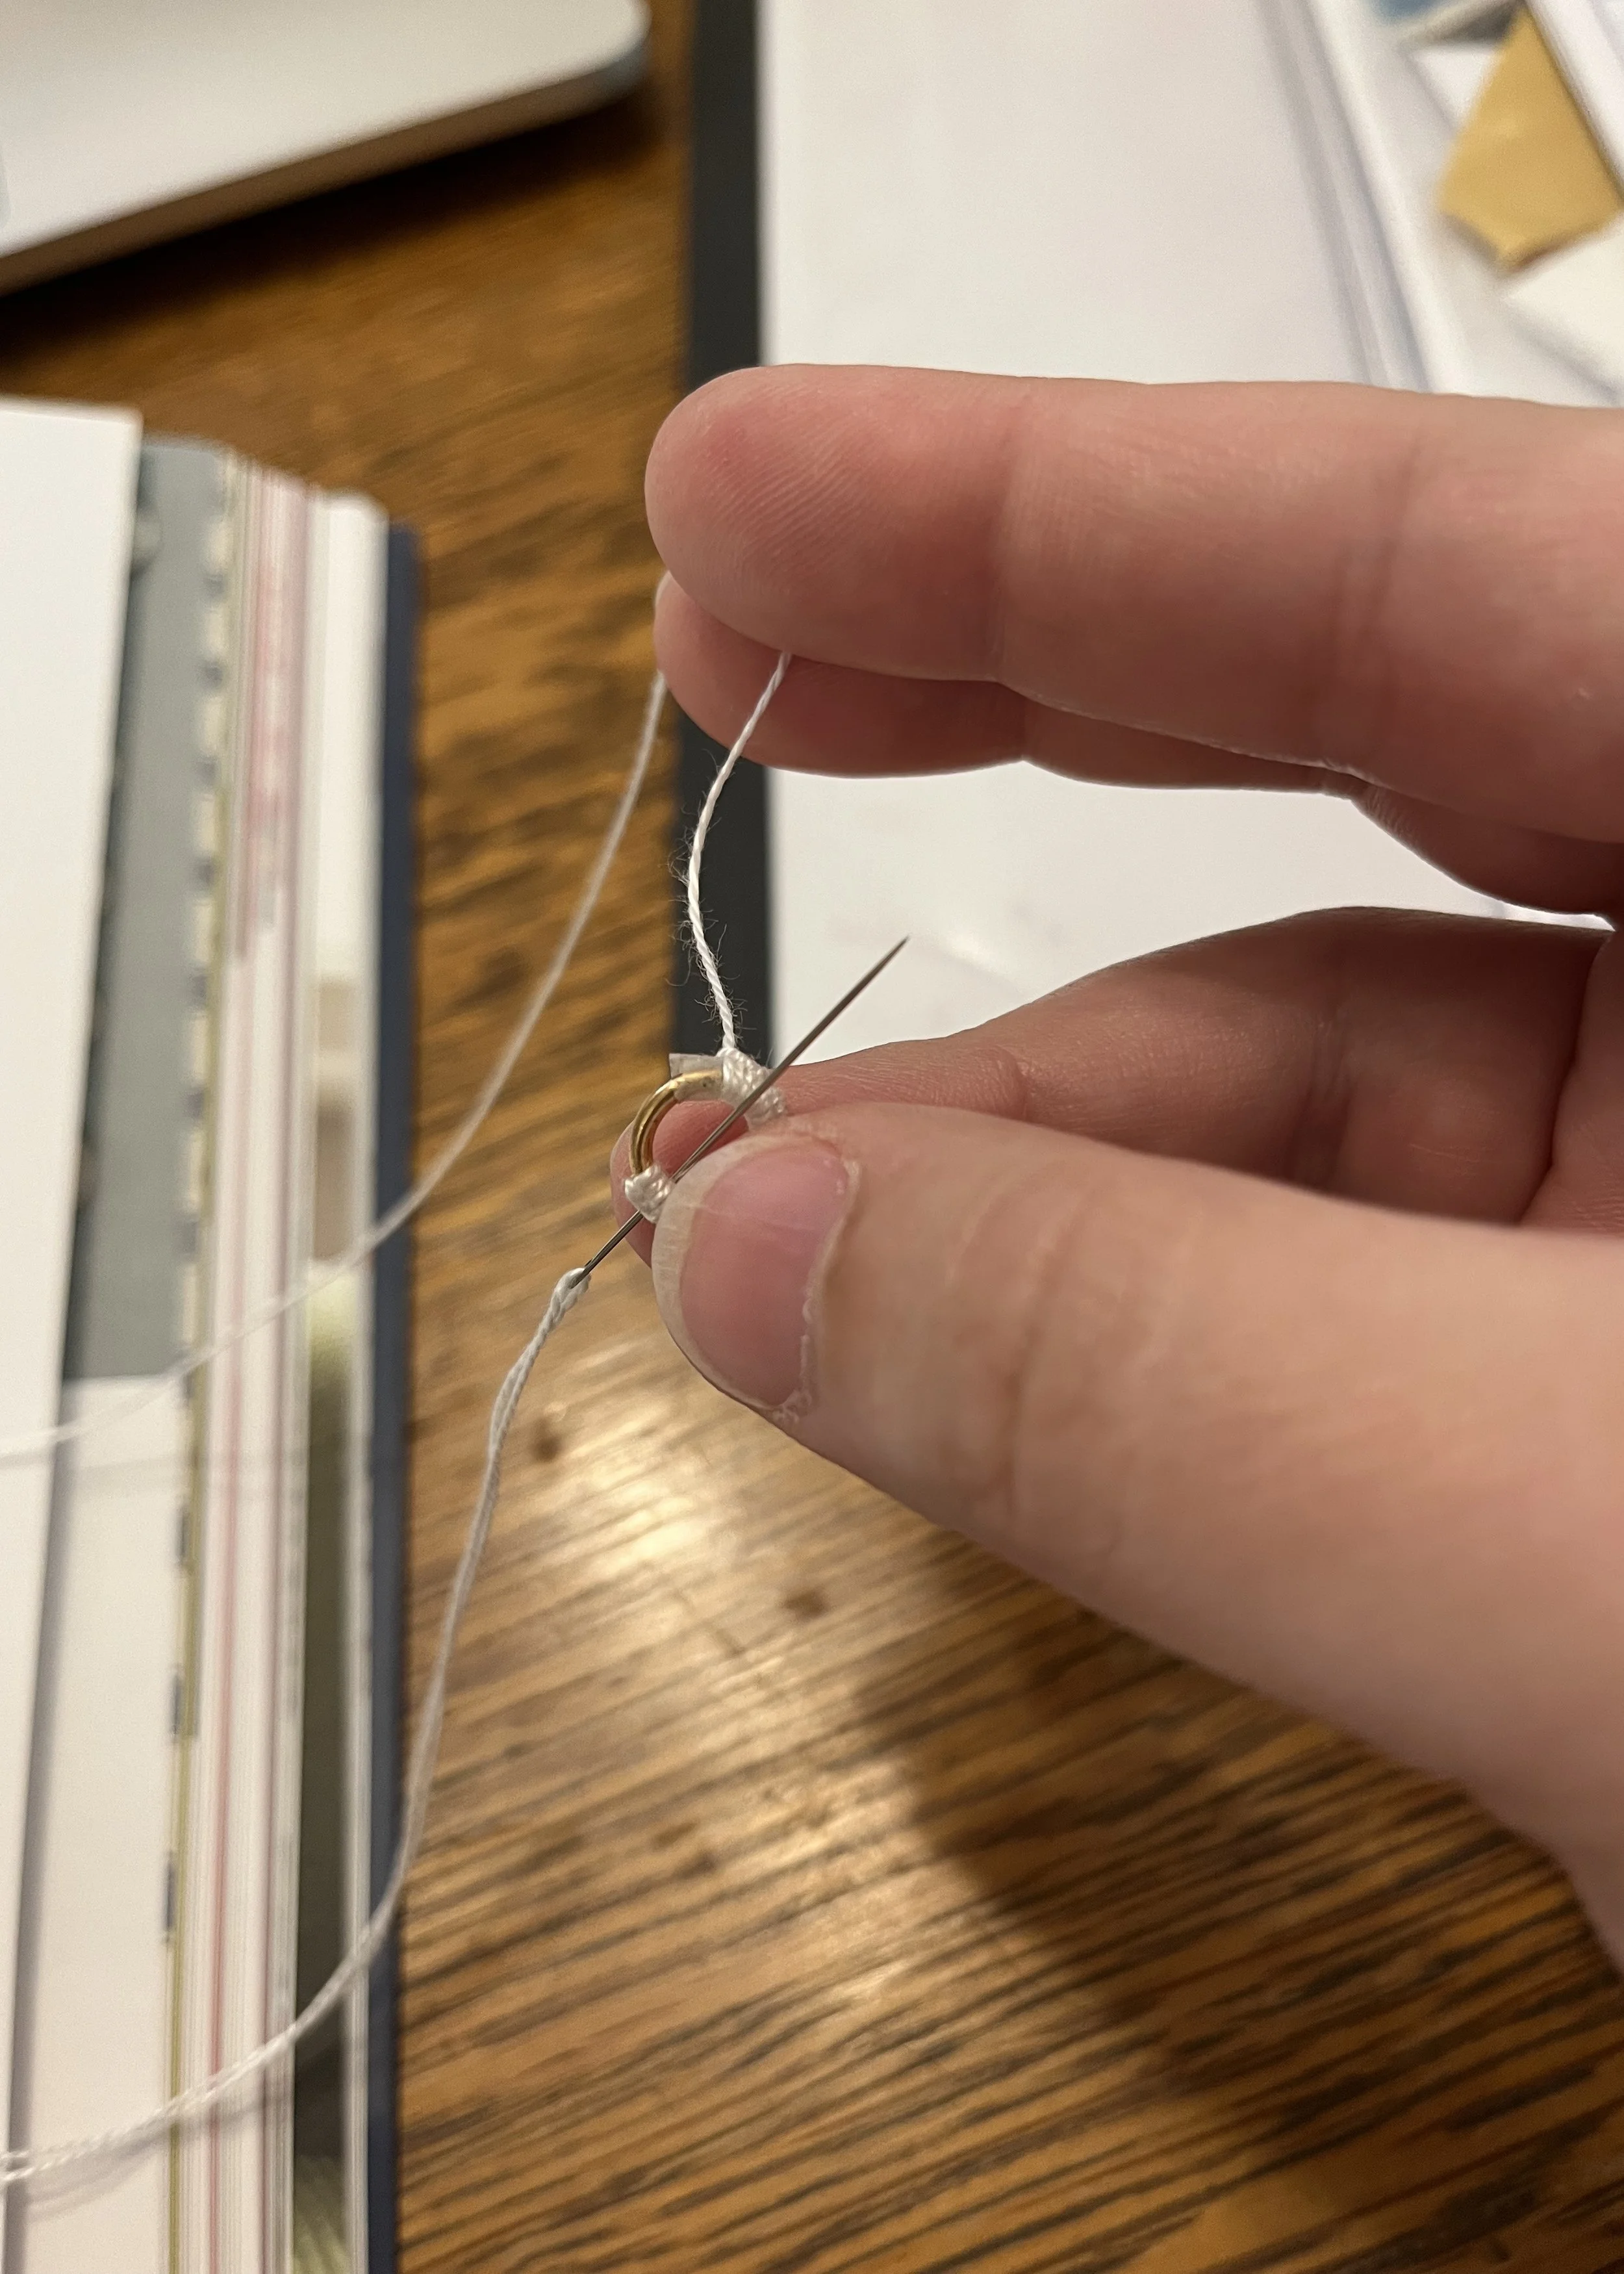
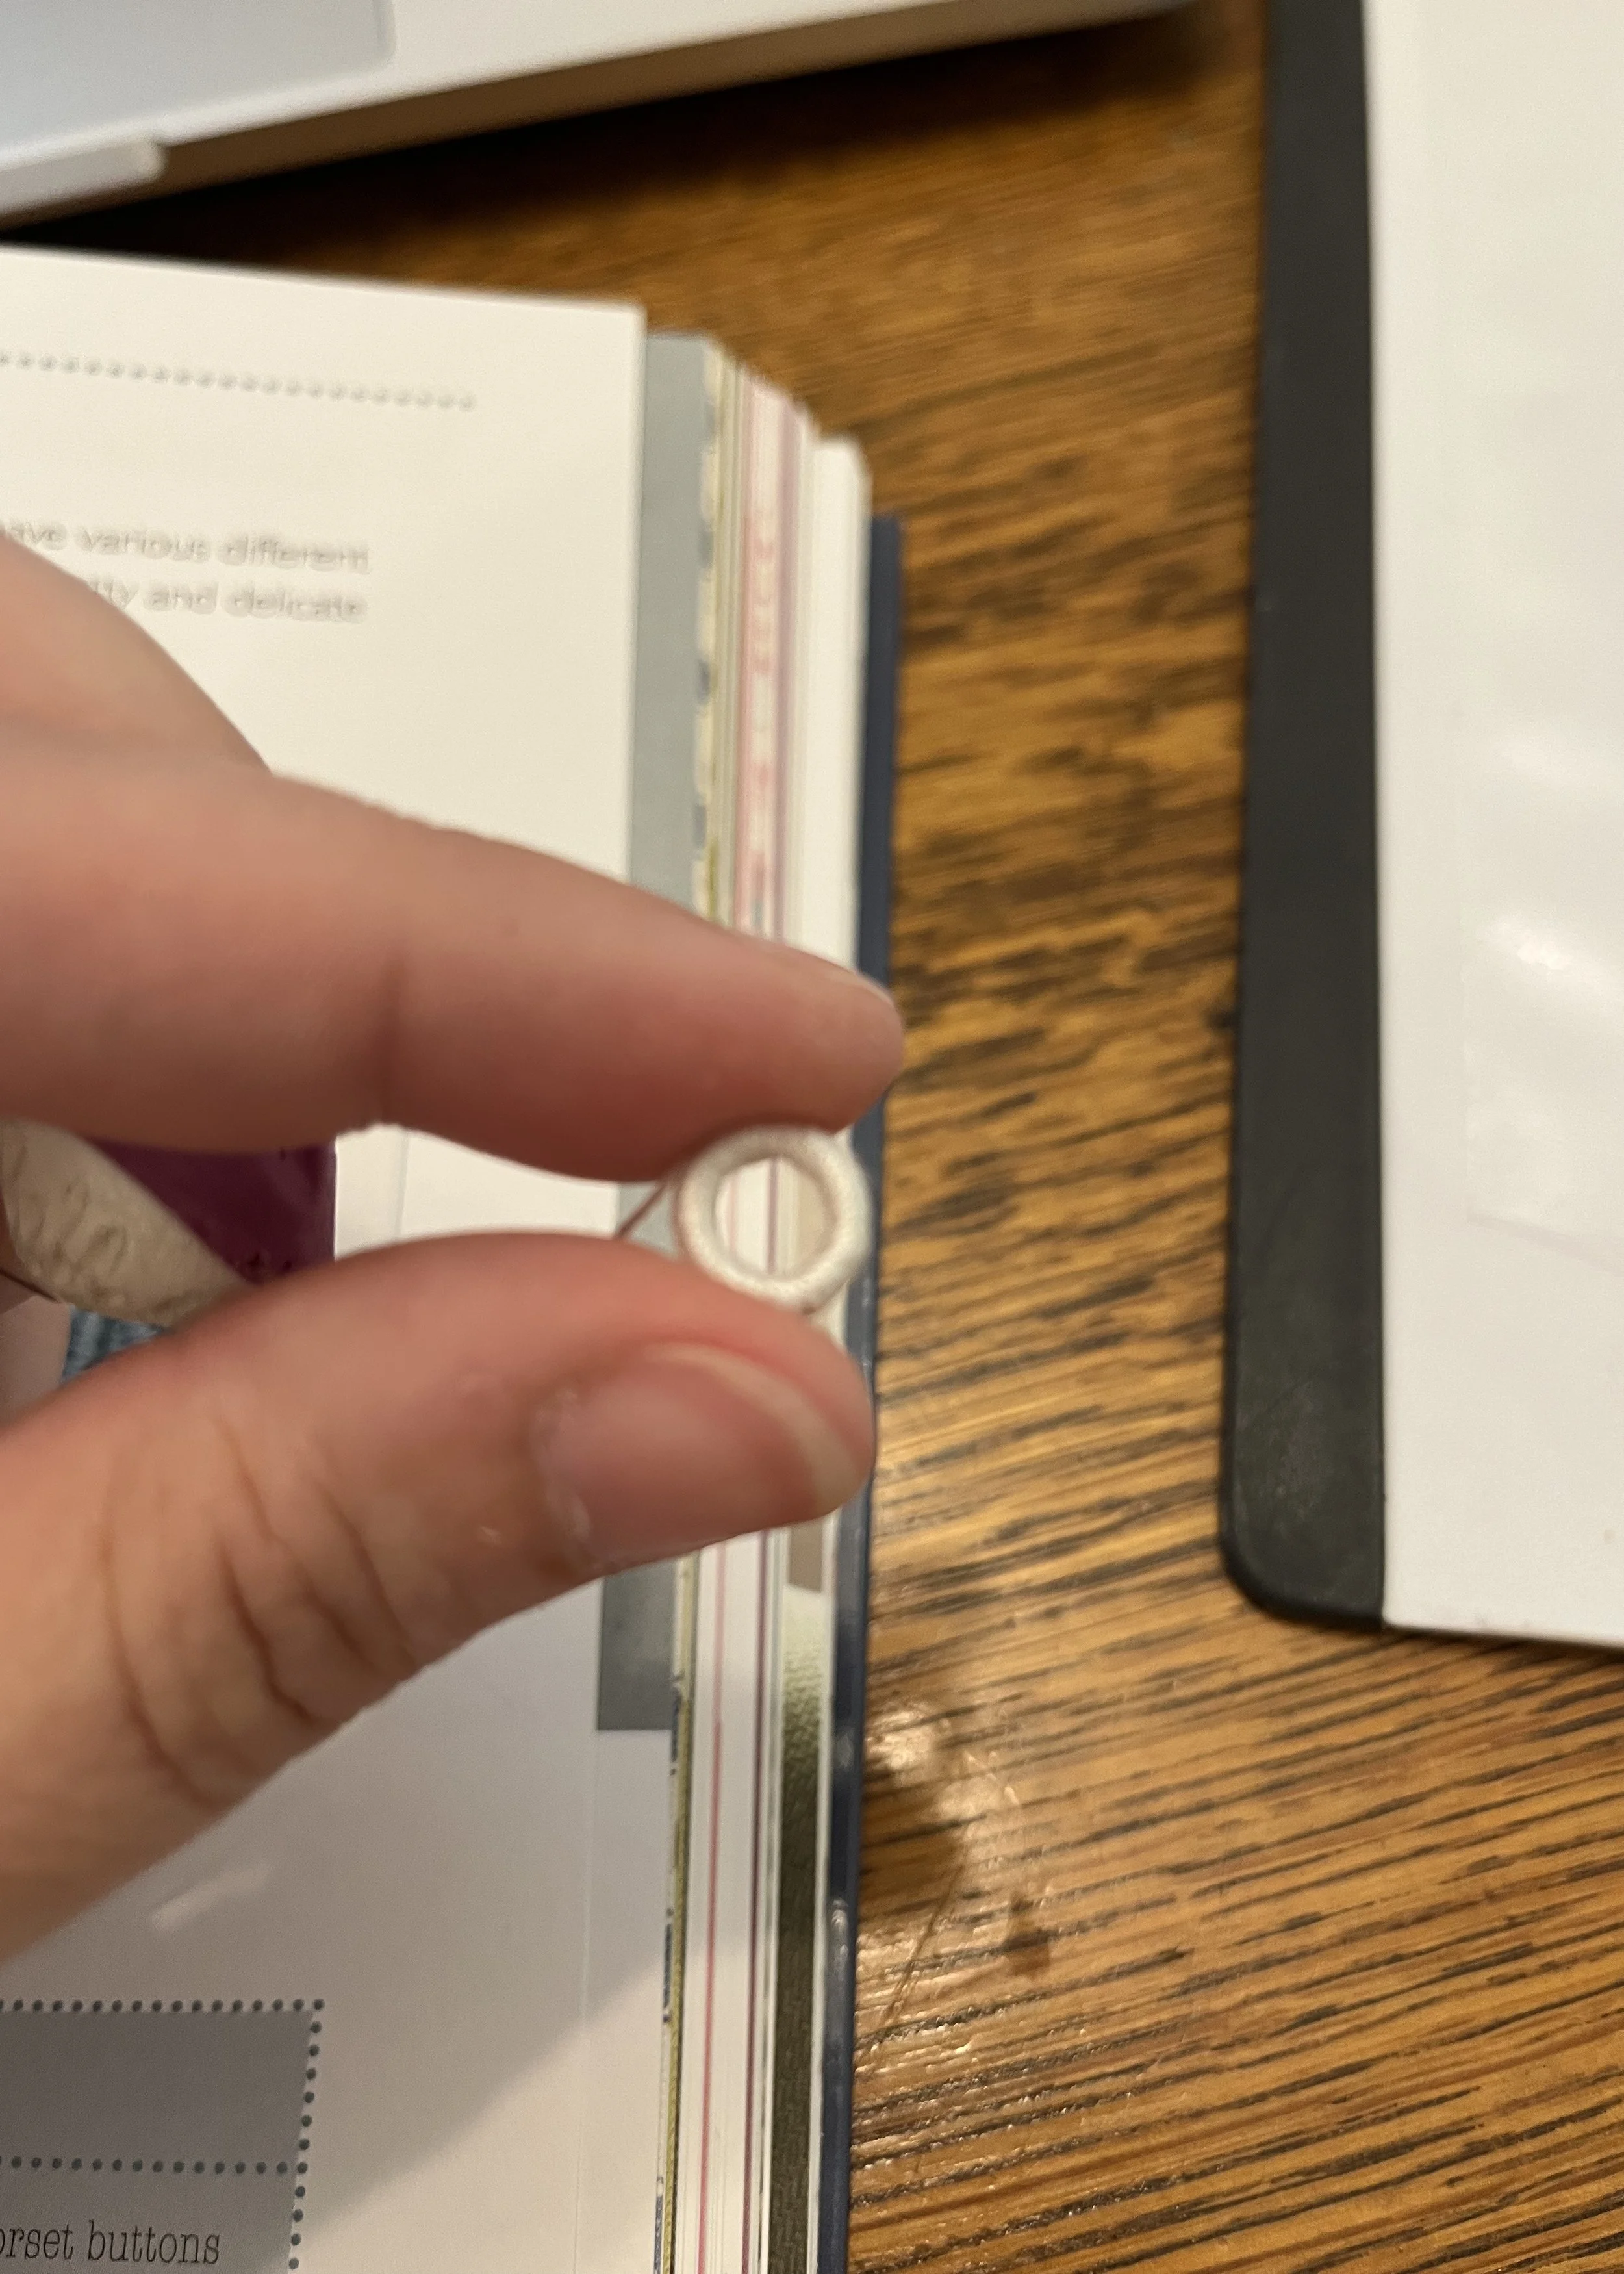
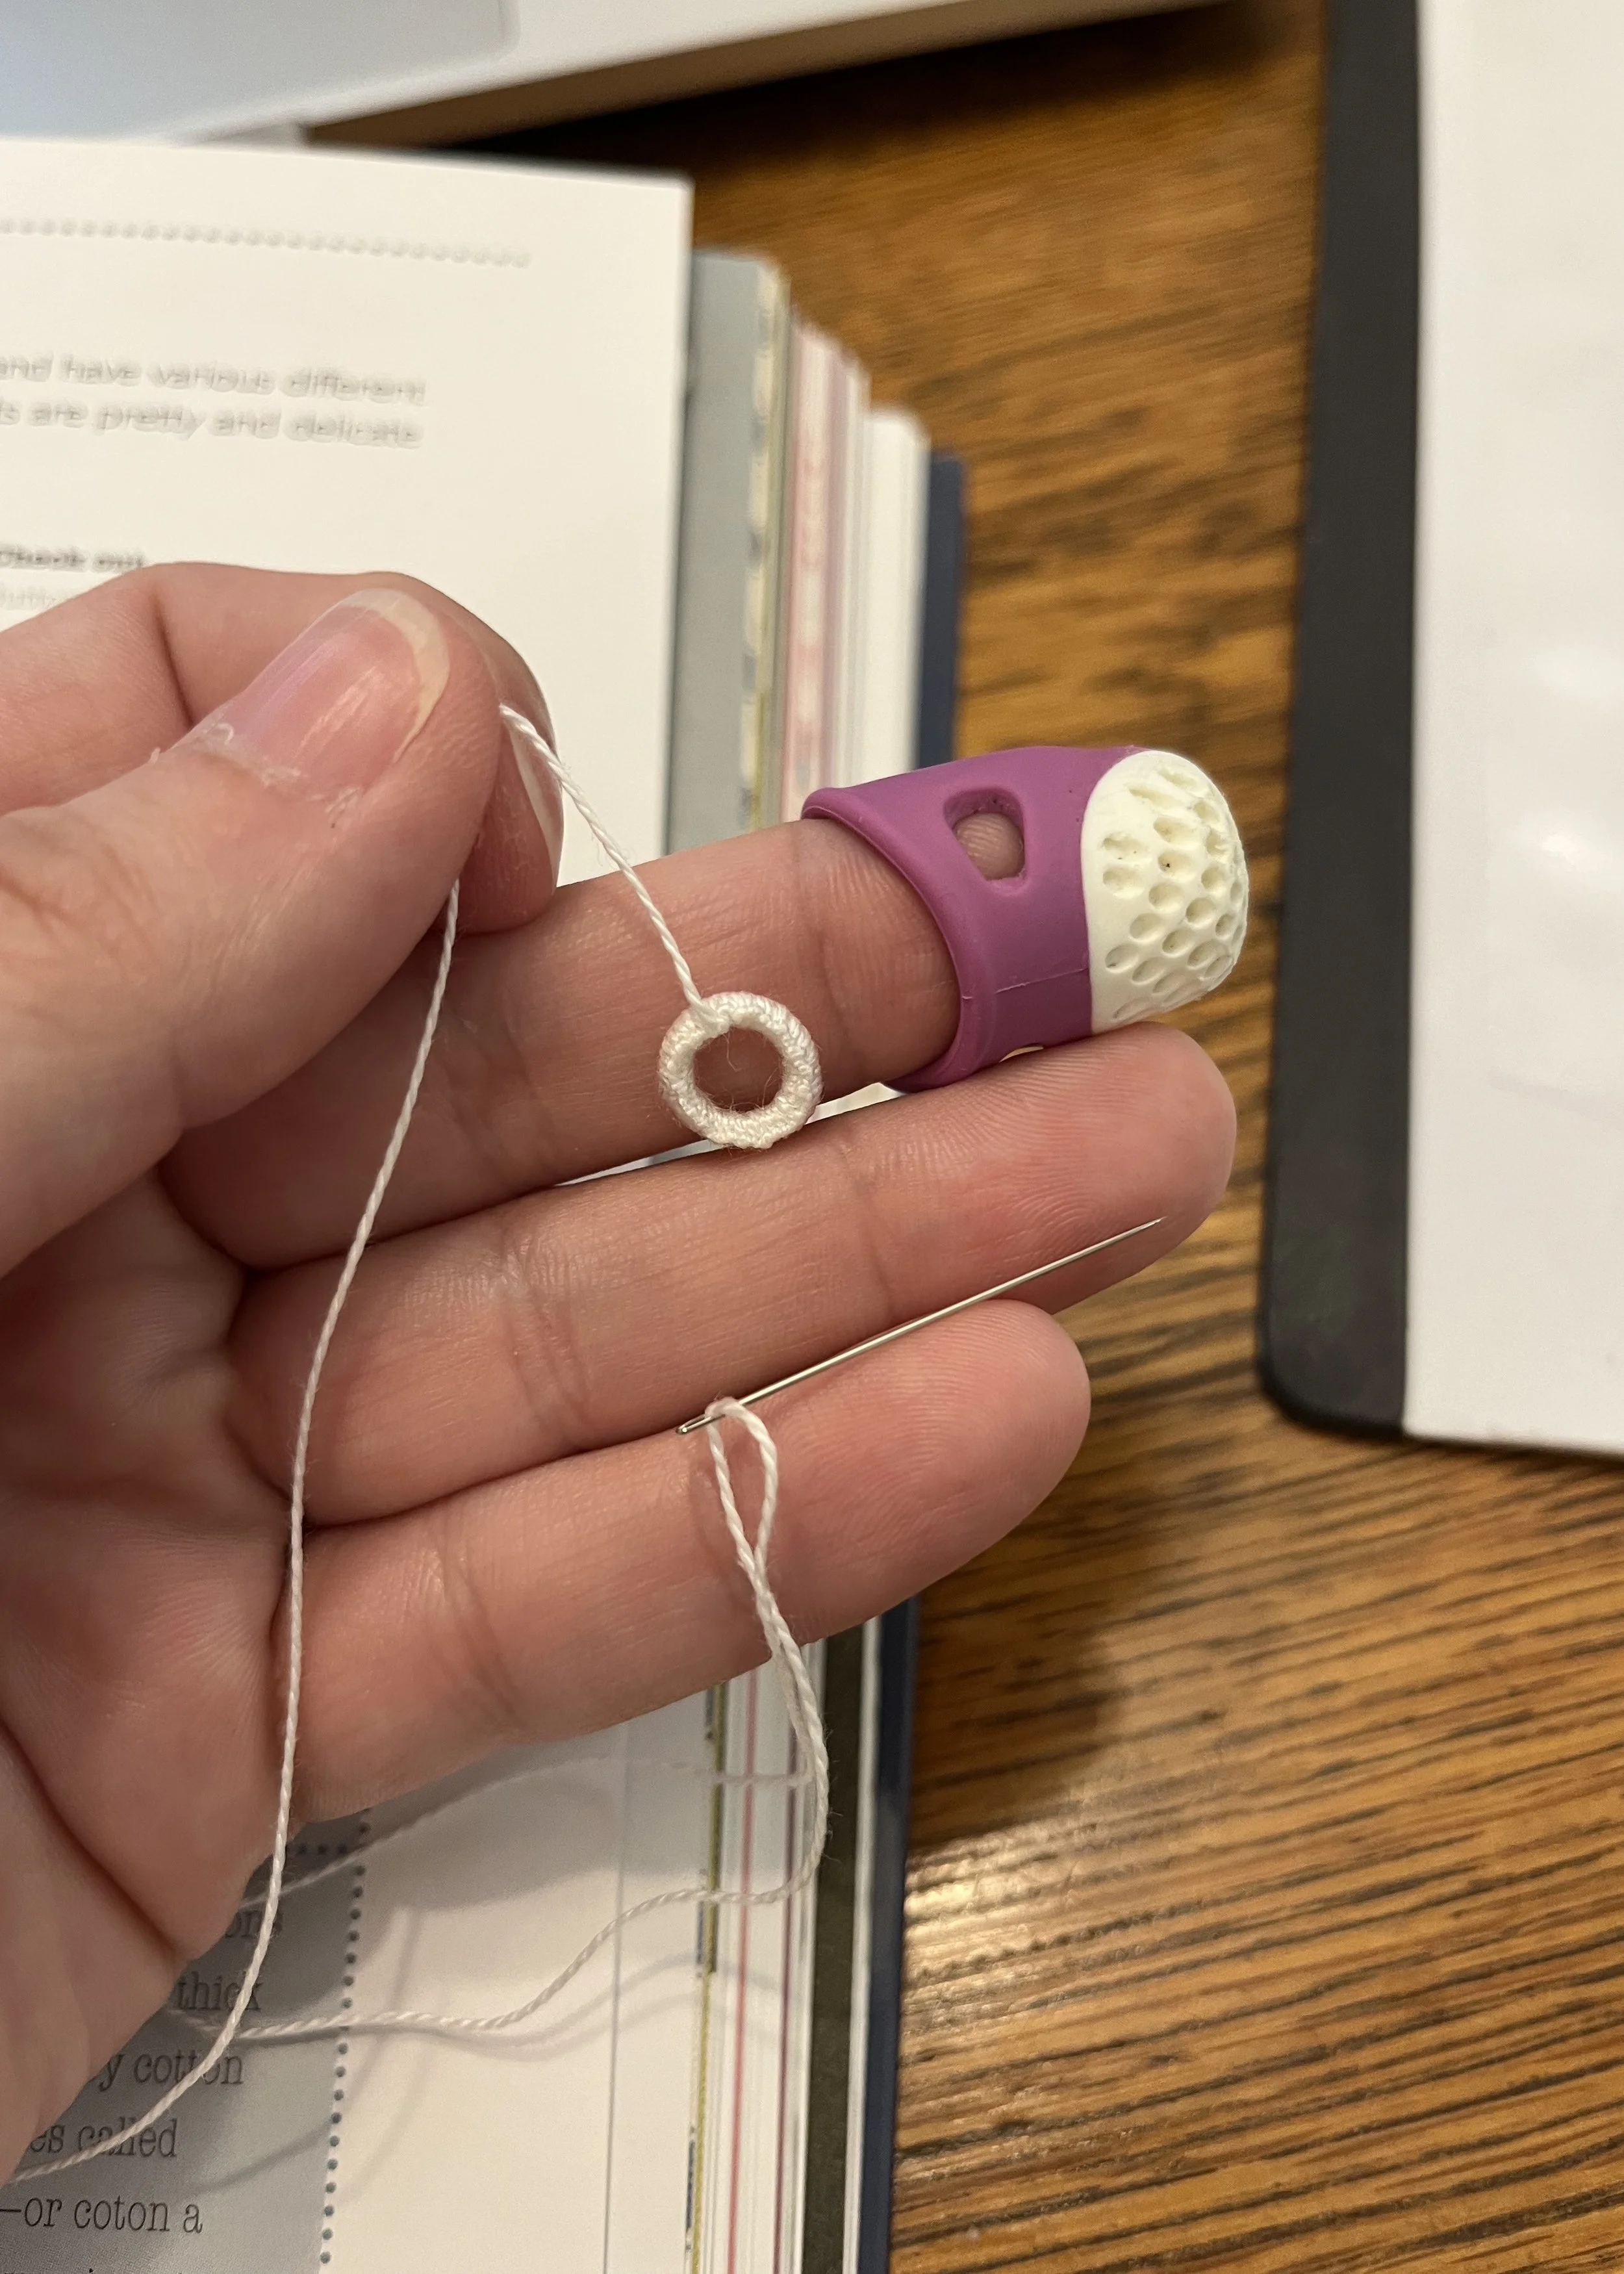
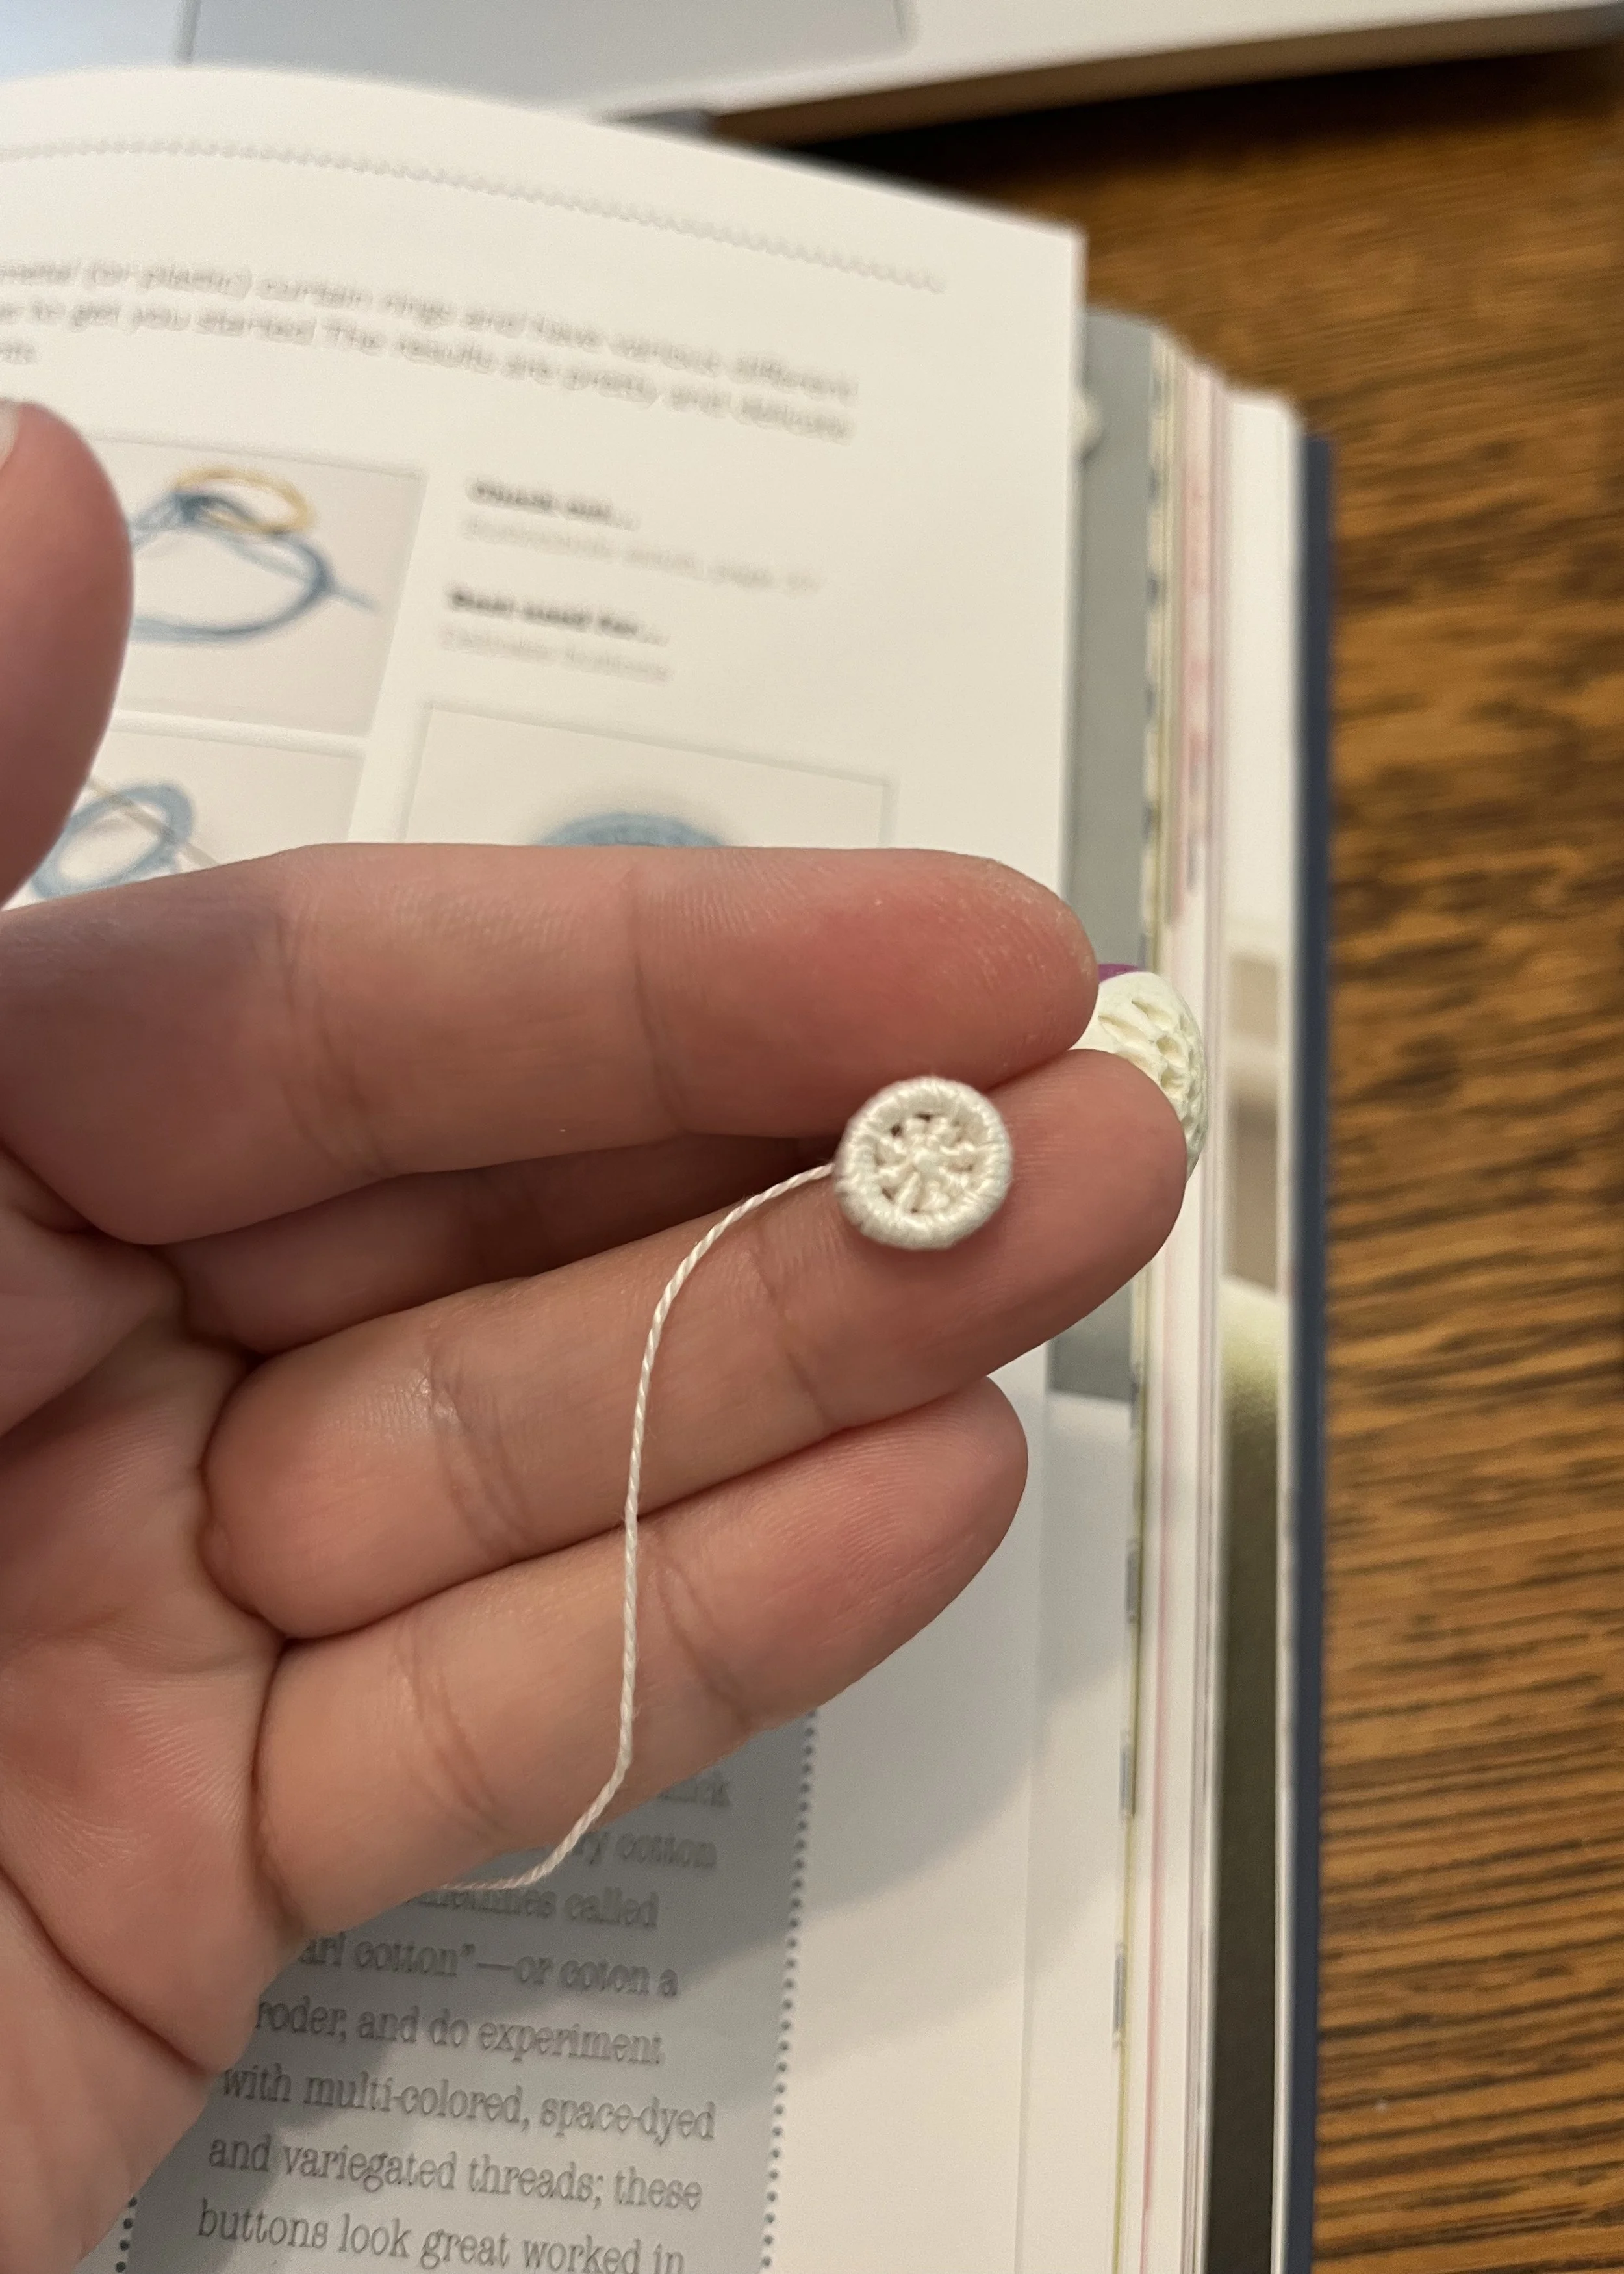
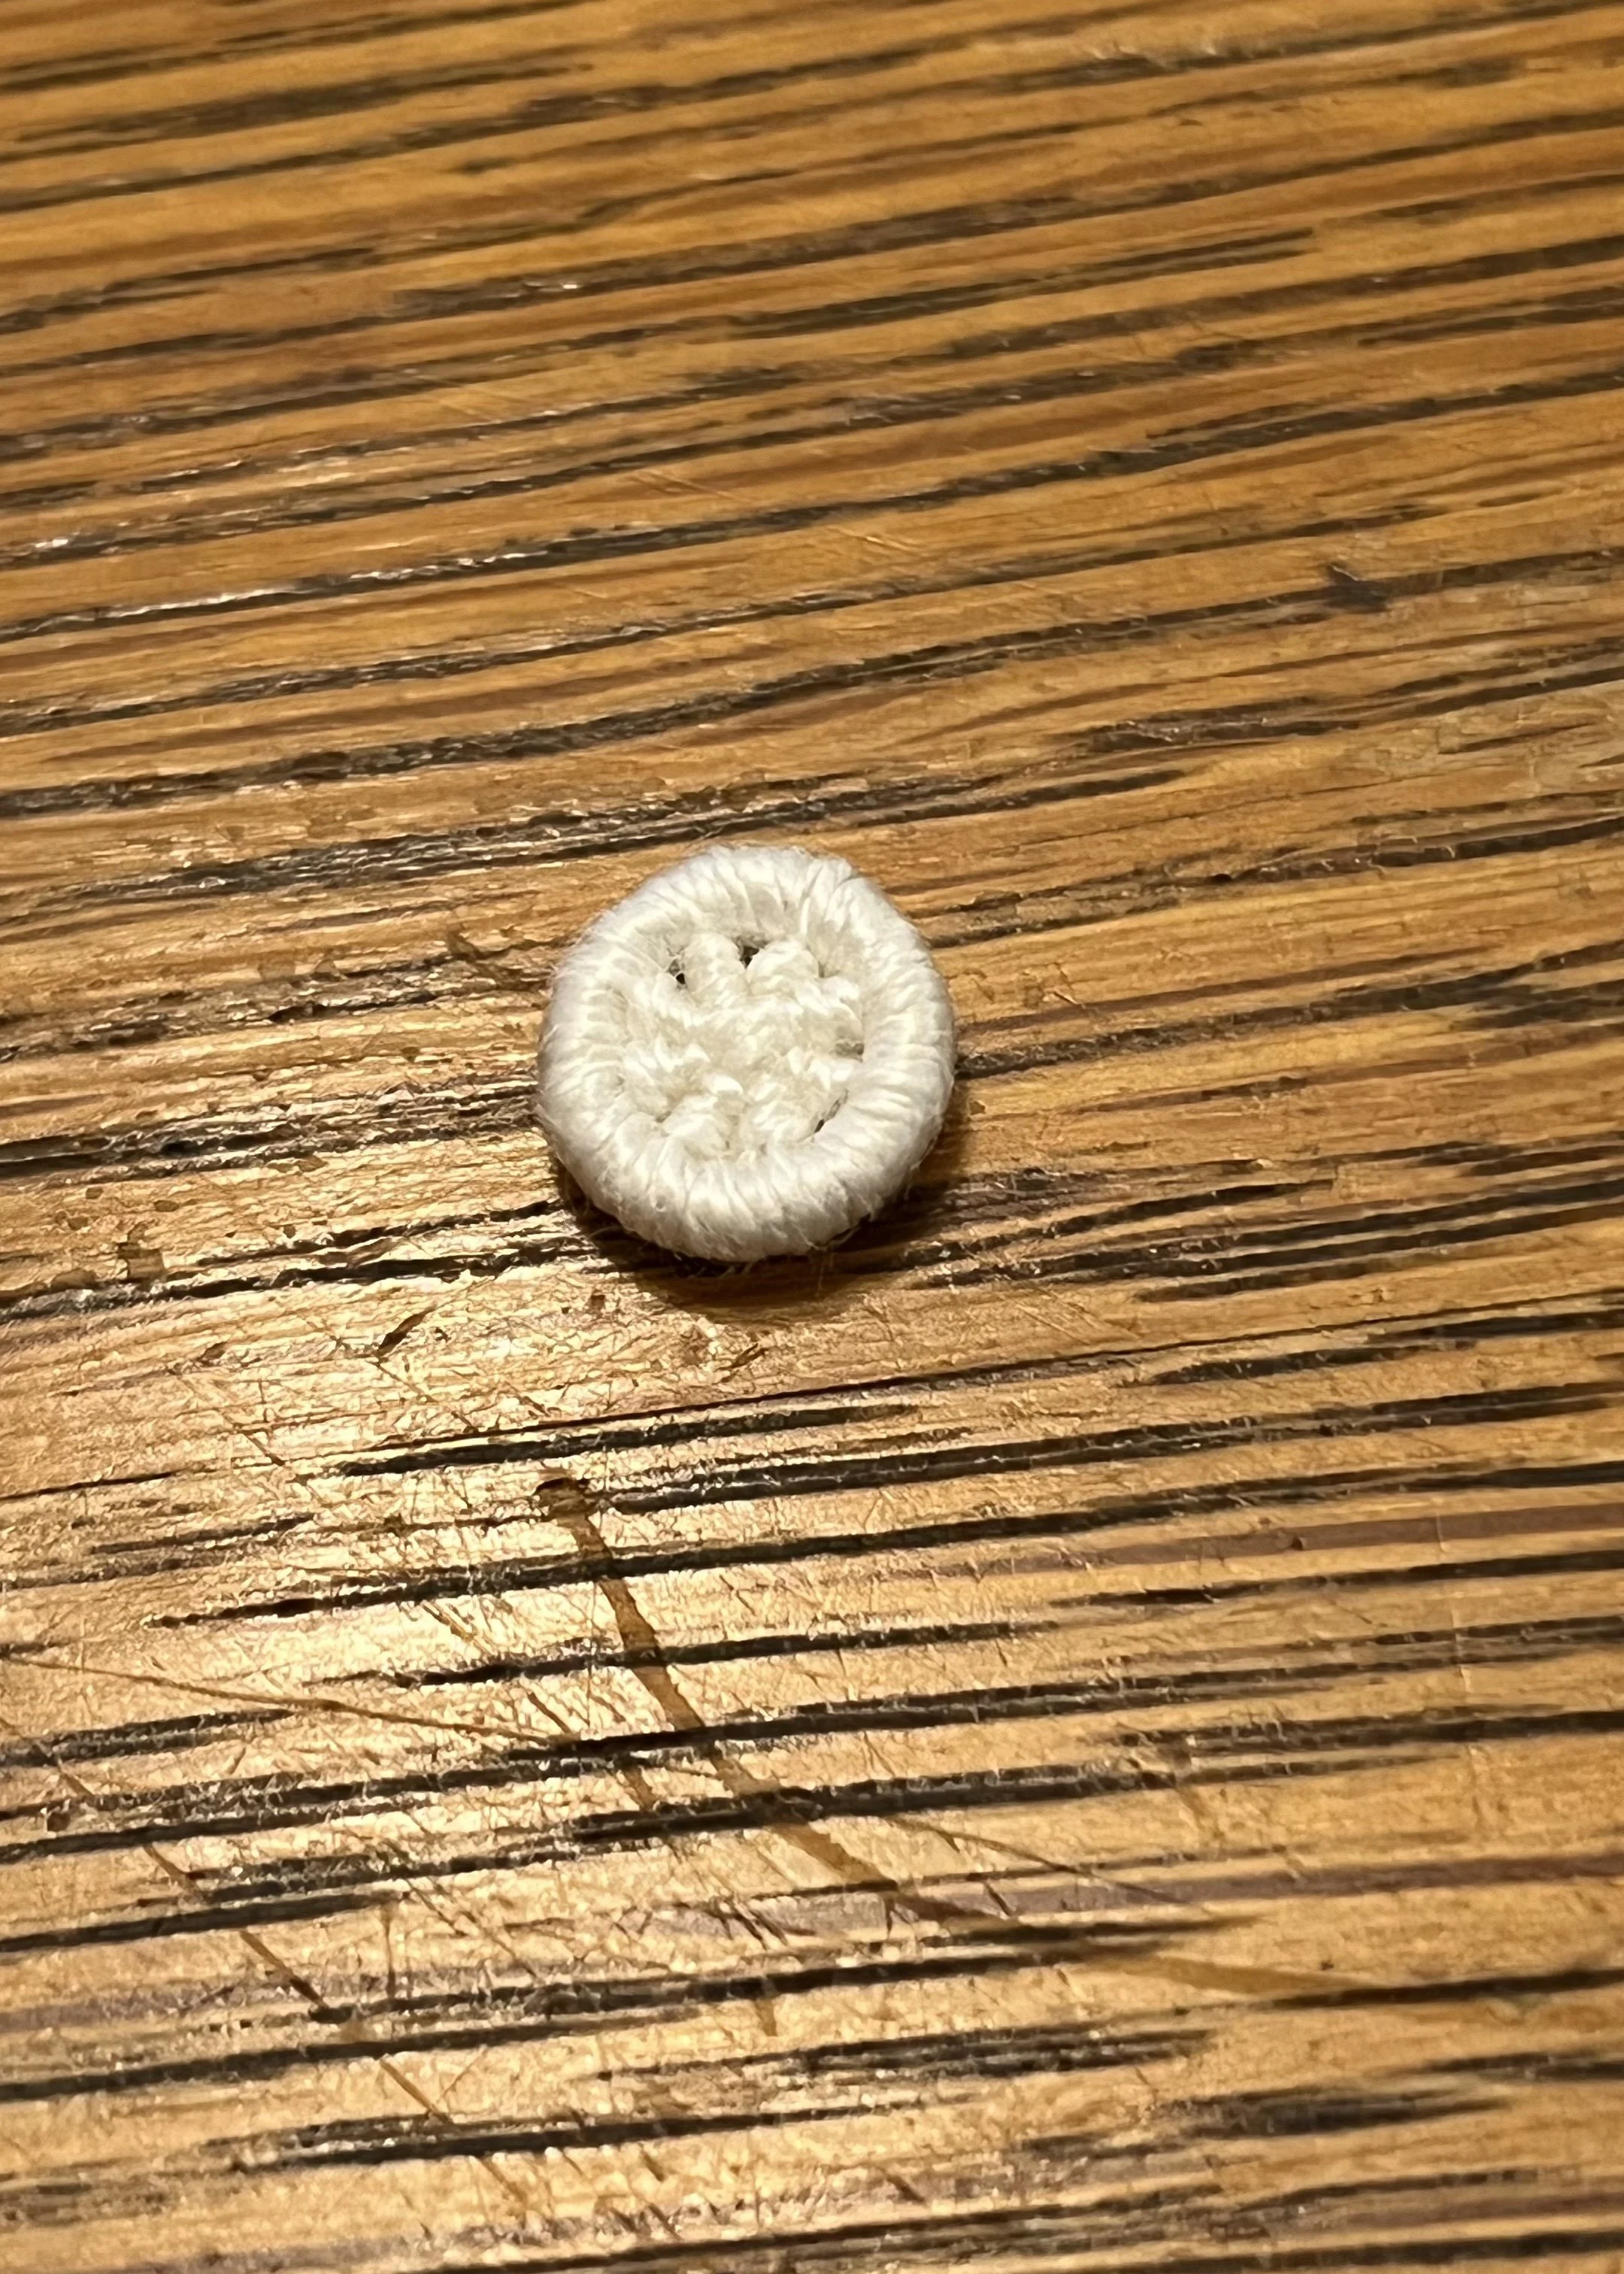
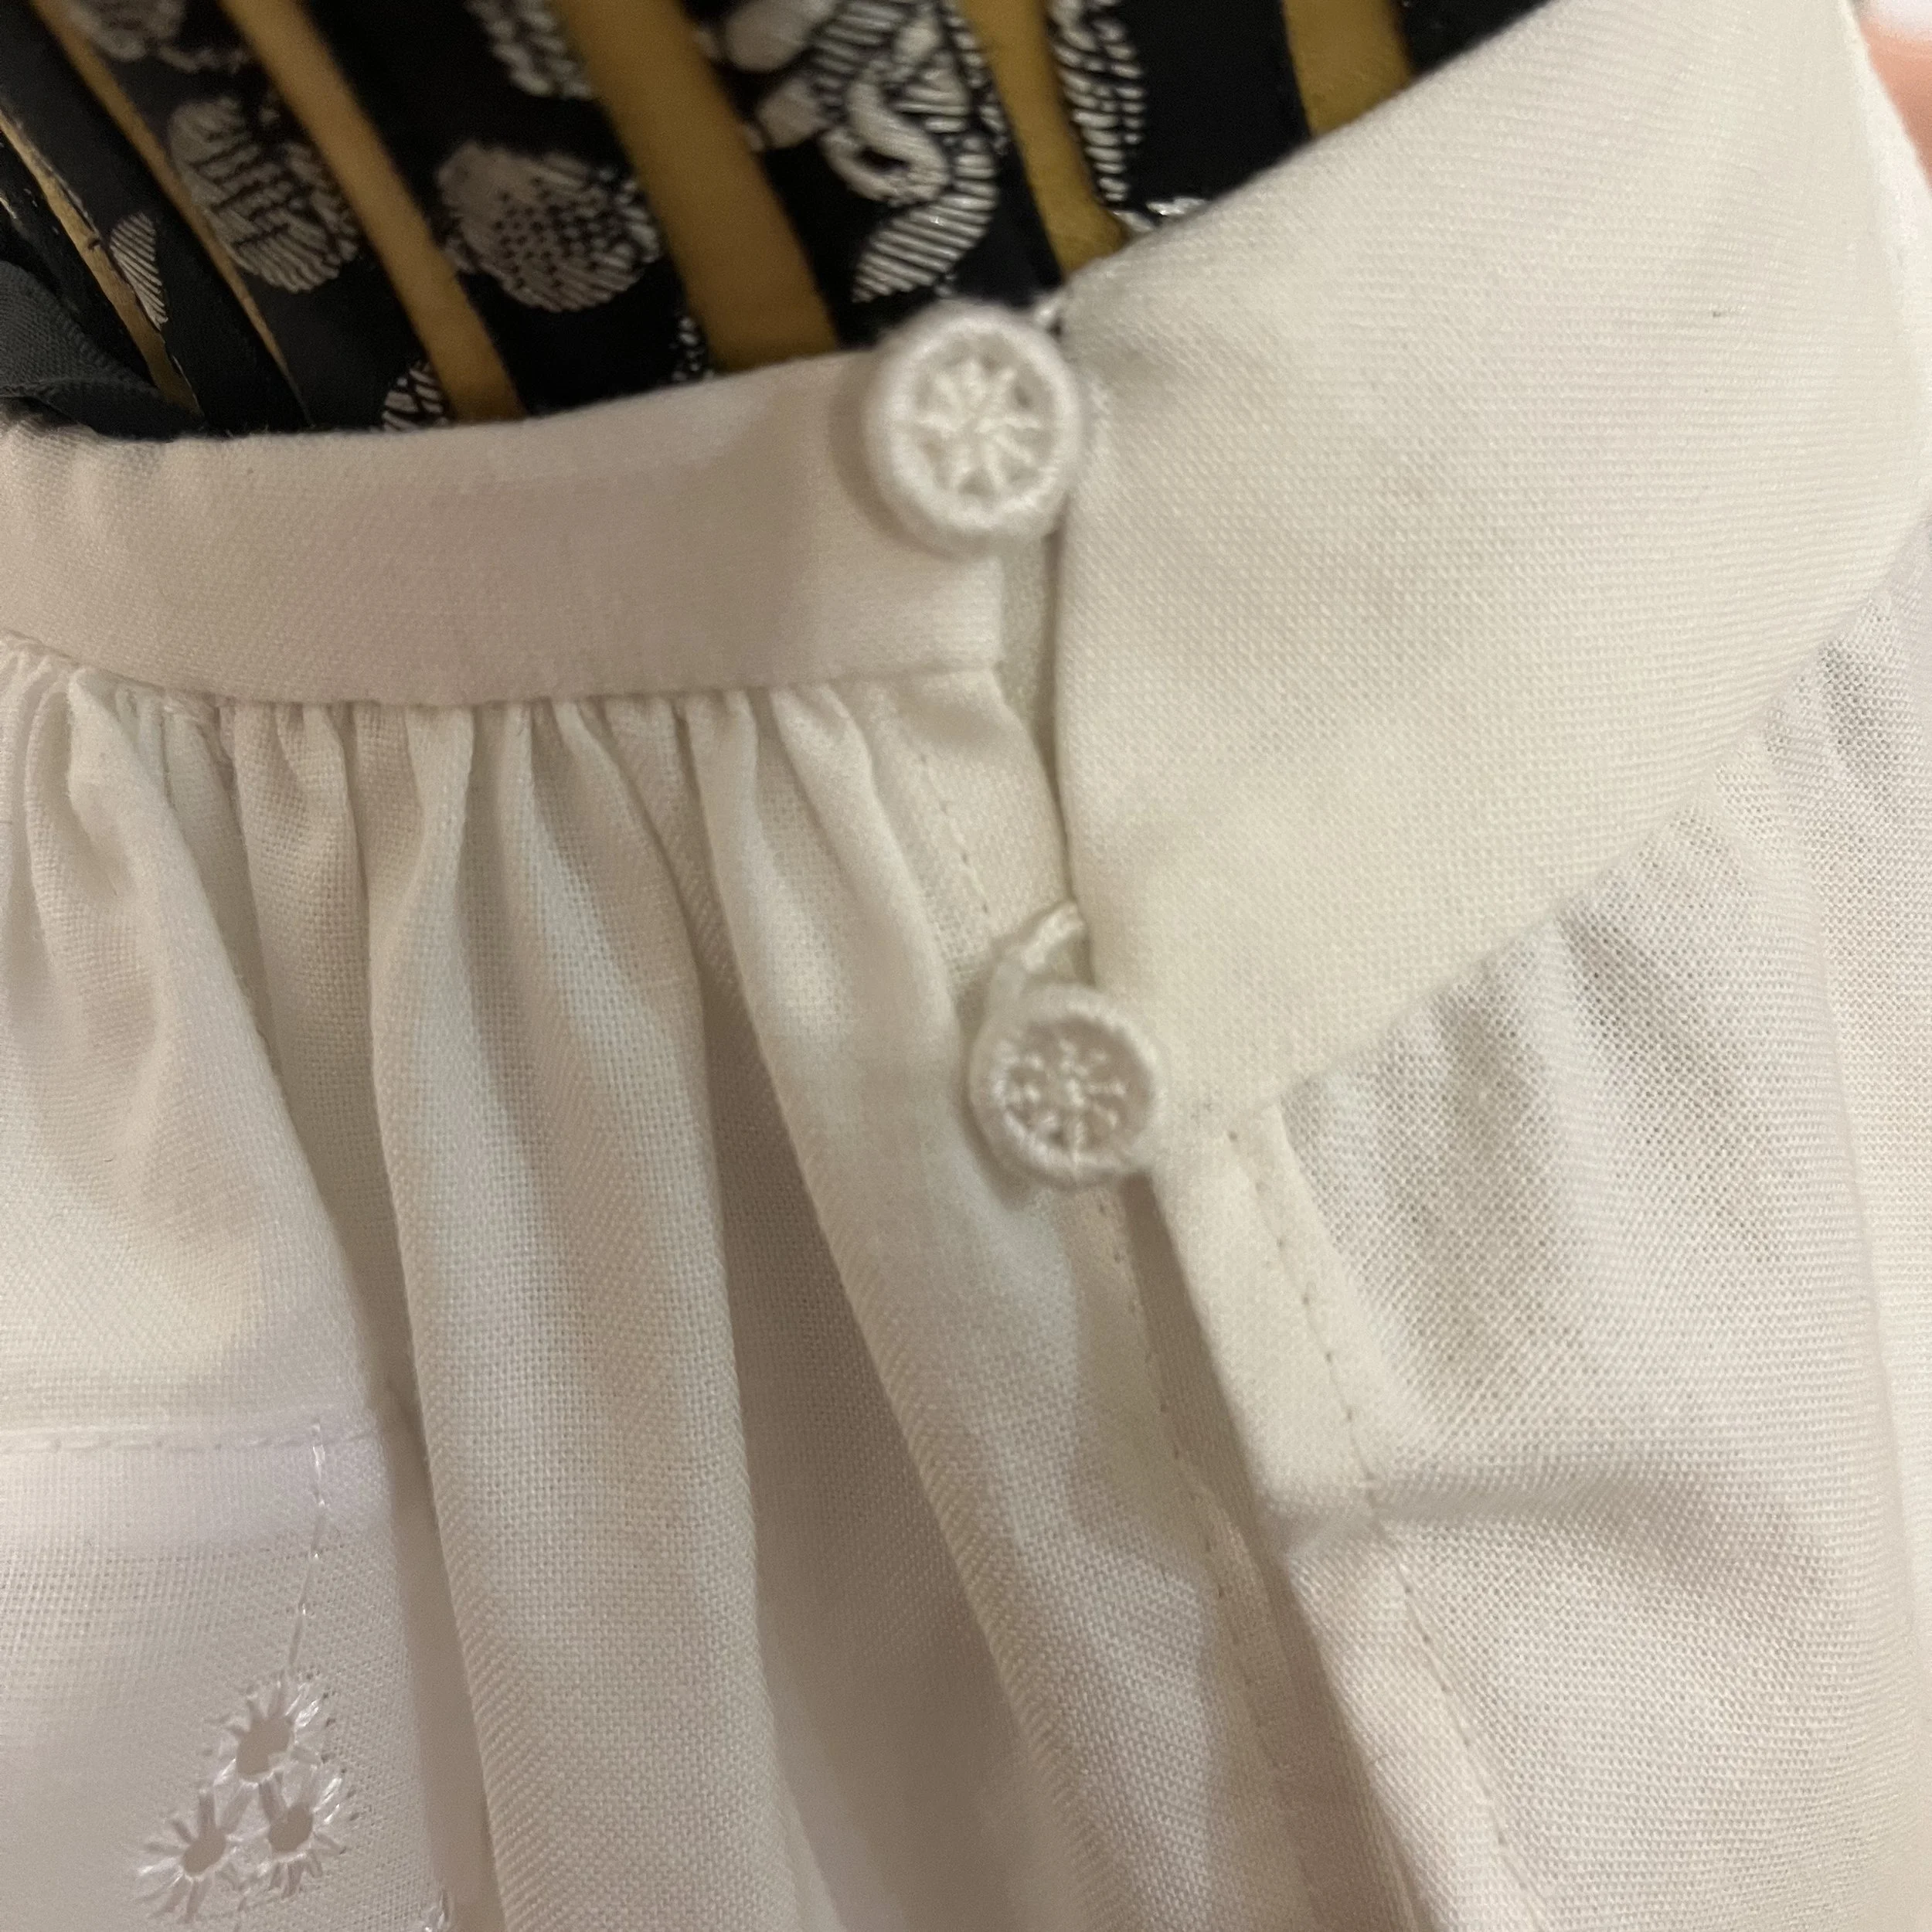
With the flounce stitched on and the seam finished, the final step was to make the closure actually close. I had always intended to use buttons, but I guess that wasn't quite extra enough for me. I randomly have a book of sewing projects which is generally a bit below my skill level, to be completely honest, but it does happen to have instructions to make a dorset button. It basically involves embroidering around a ring, traditionally of wood, bone or metal, and filling it in with some kind of design.
The design I've used here is, I gather, a fairly basic one, but I still like the effect. I also decided that my first attempts at a new craft should be tiny and extra fiddly; I guess I don't have time for all that walk before you run nonsense.
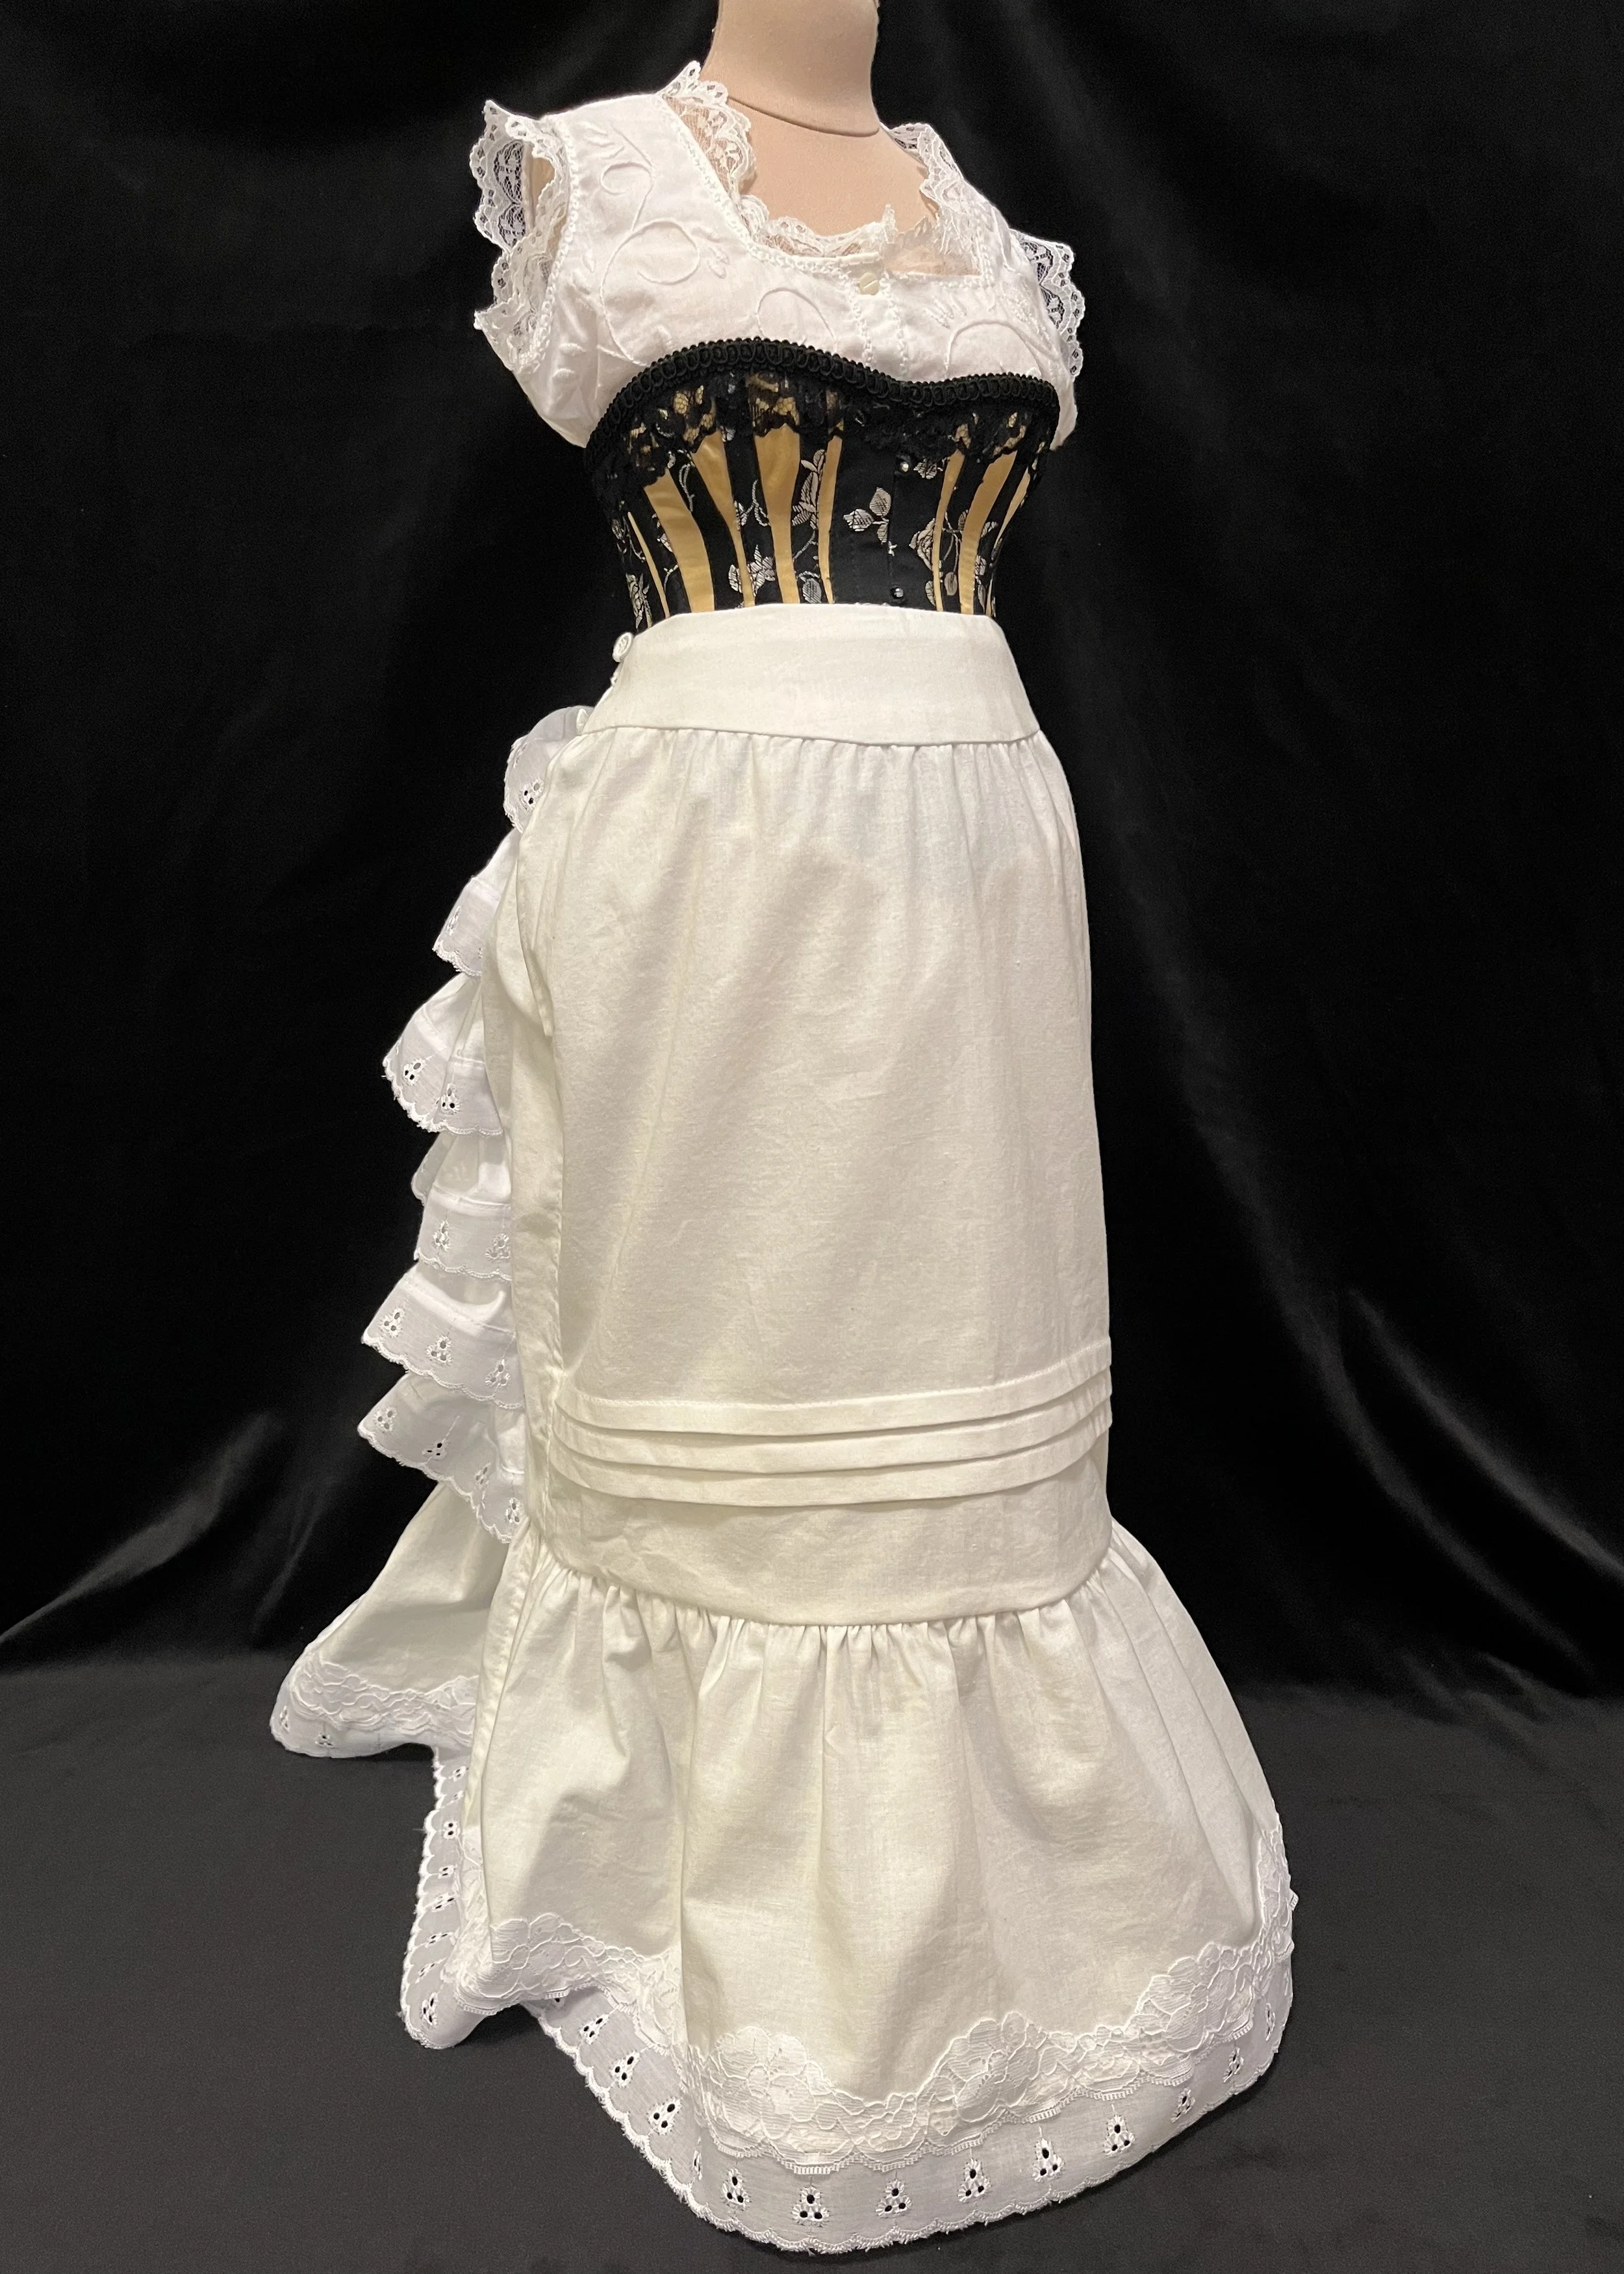
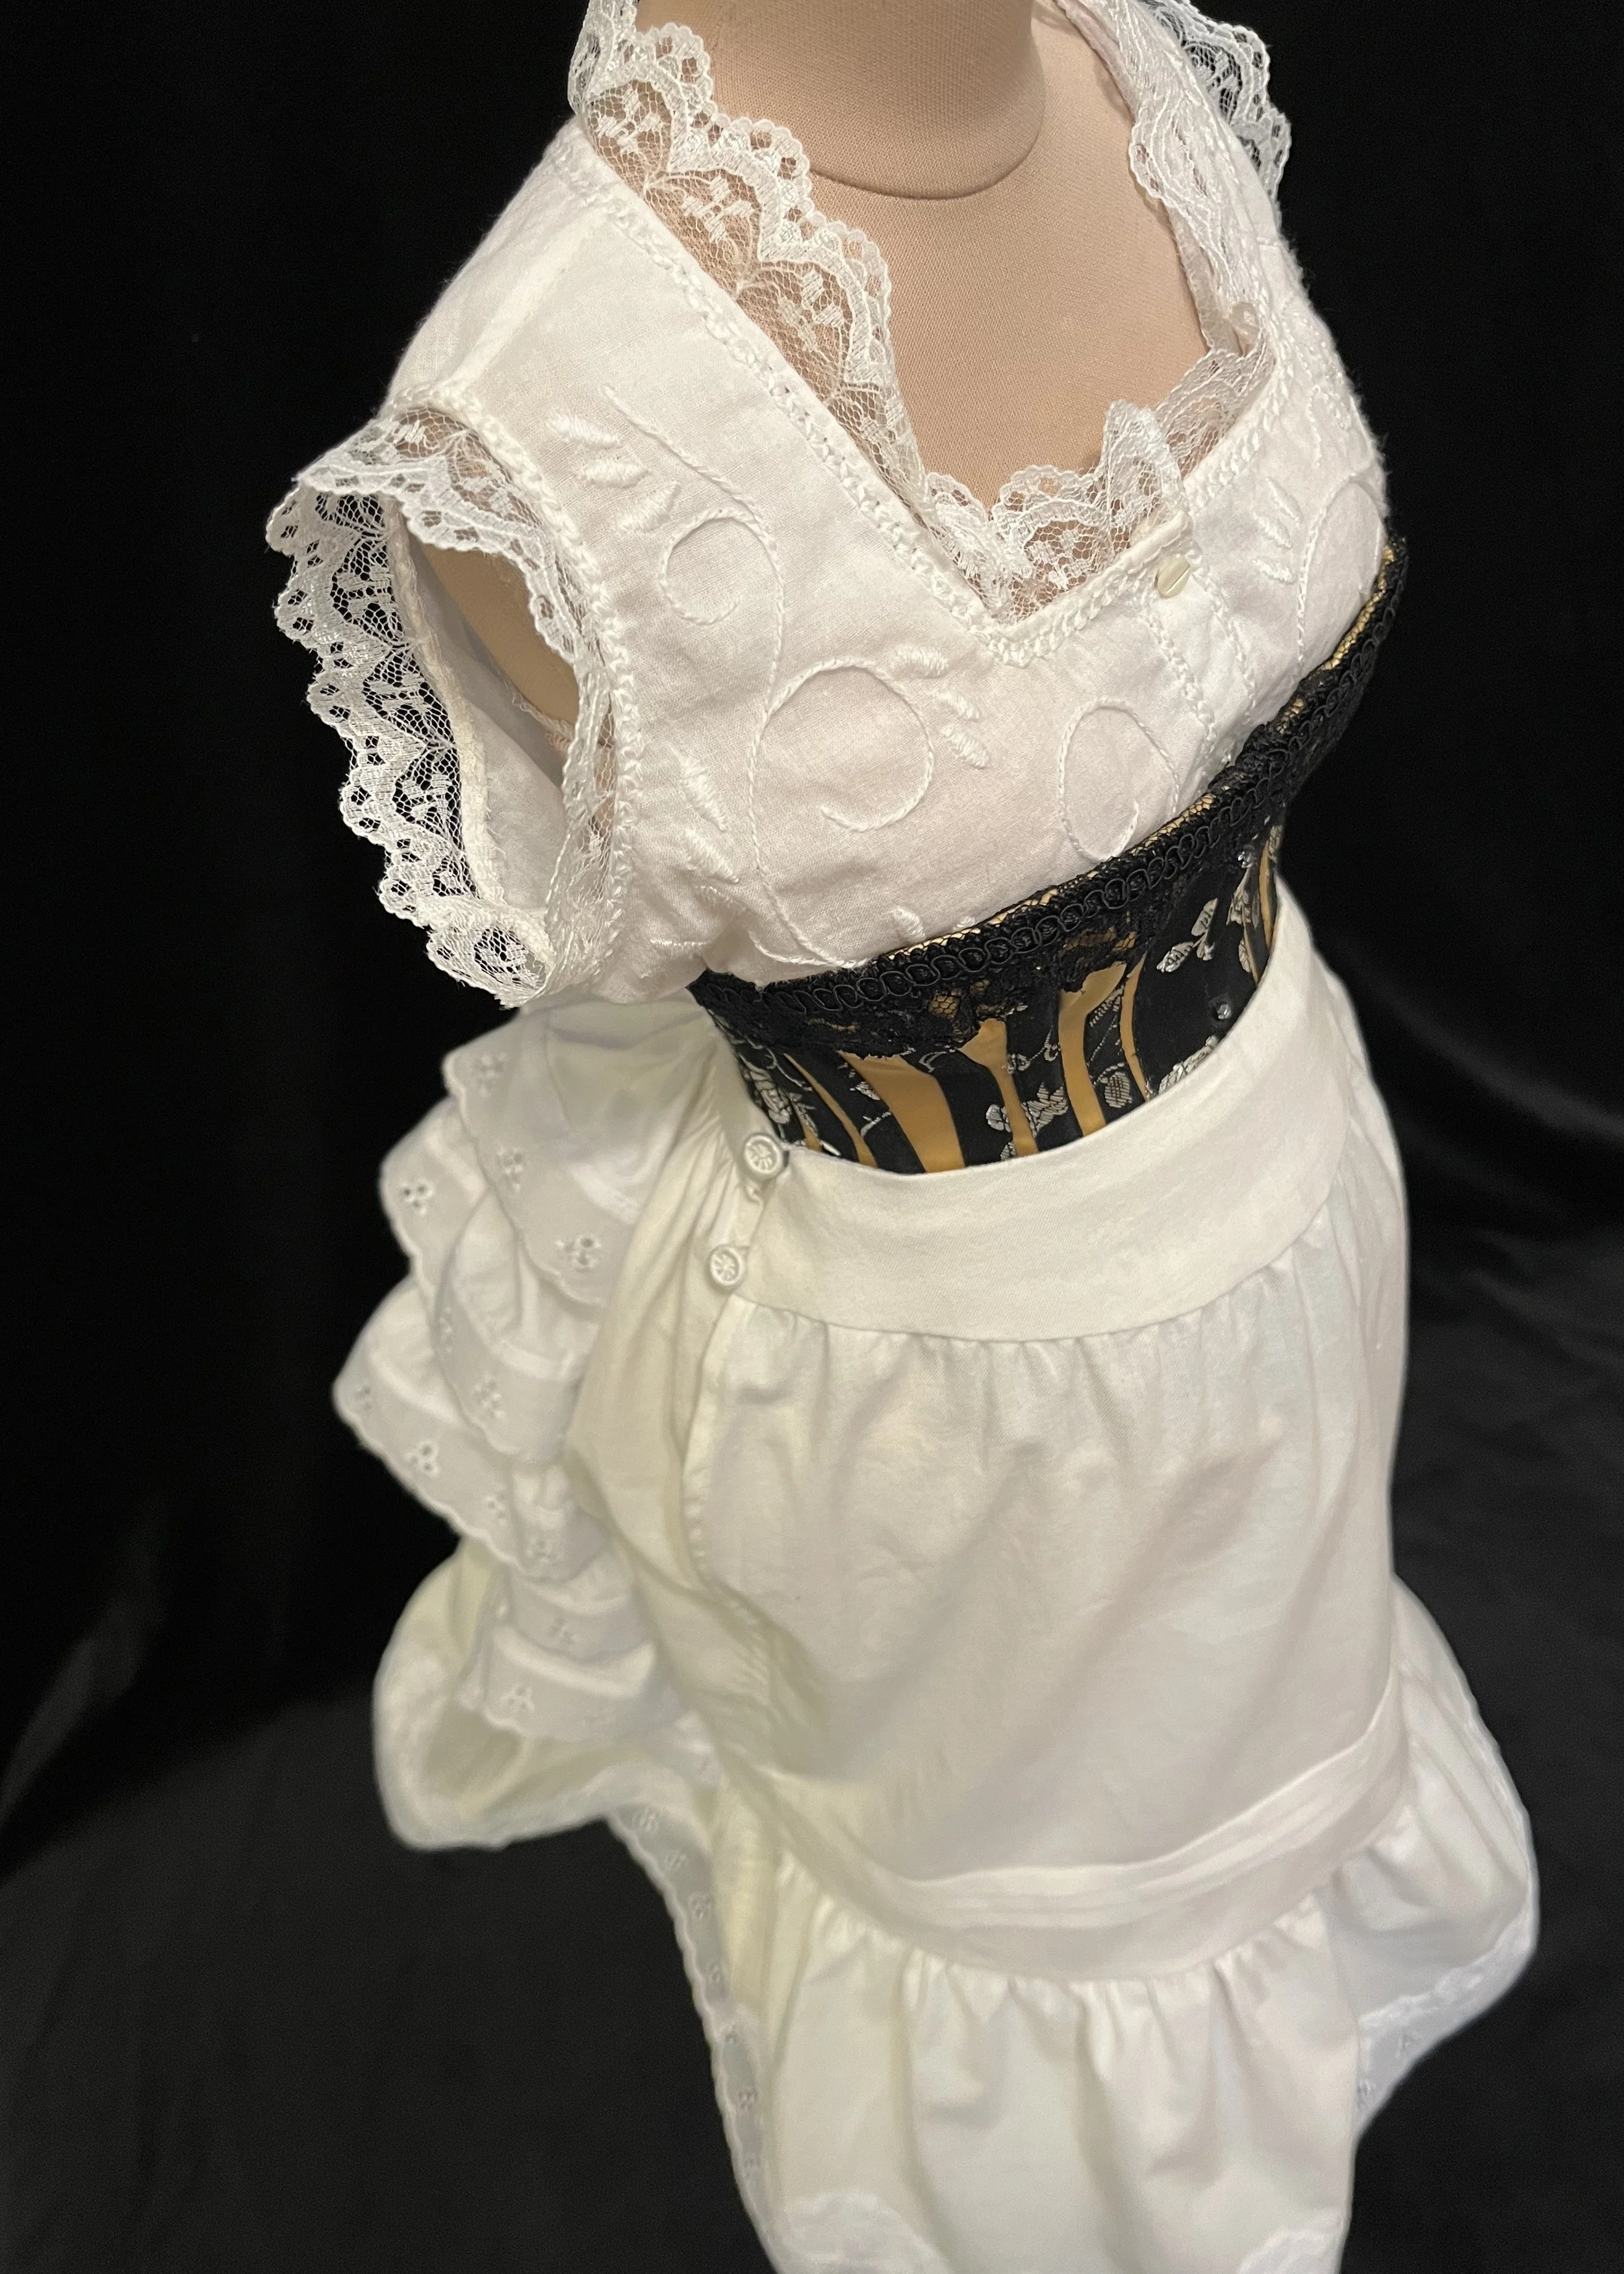
With the buttons and thread loops in place, the petticoat was finished.
I must confess, I’m very pleased with this one. It looks really right to me and the view from some angles makes me squeal with glee. You feel that? That’s a huge wave of smugness coming at you through your screen because I got the shape right.
Next up will be the corset cover. I wasn’t initially planning to make one, but upon consideration decided that I ought to as it would have been part of the whole ensemble. I think it will also provide some valuable information about where to place darts and seams on the bodice and make that whole process a little easier.
Marie’s petticoat took 19.25 hours to complete including draping, mock up fitting and the final build.
