1880 Dress Part Five
The 19th Century butt lift.
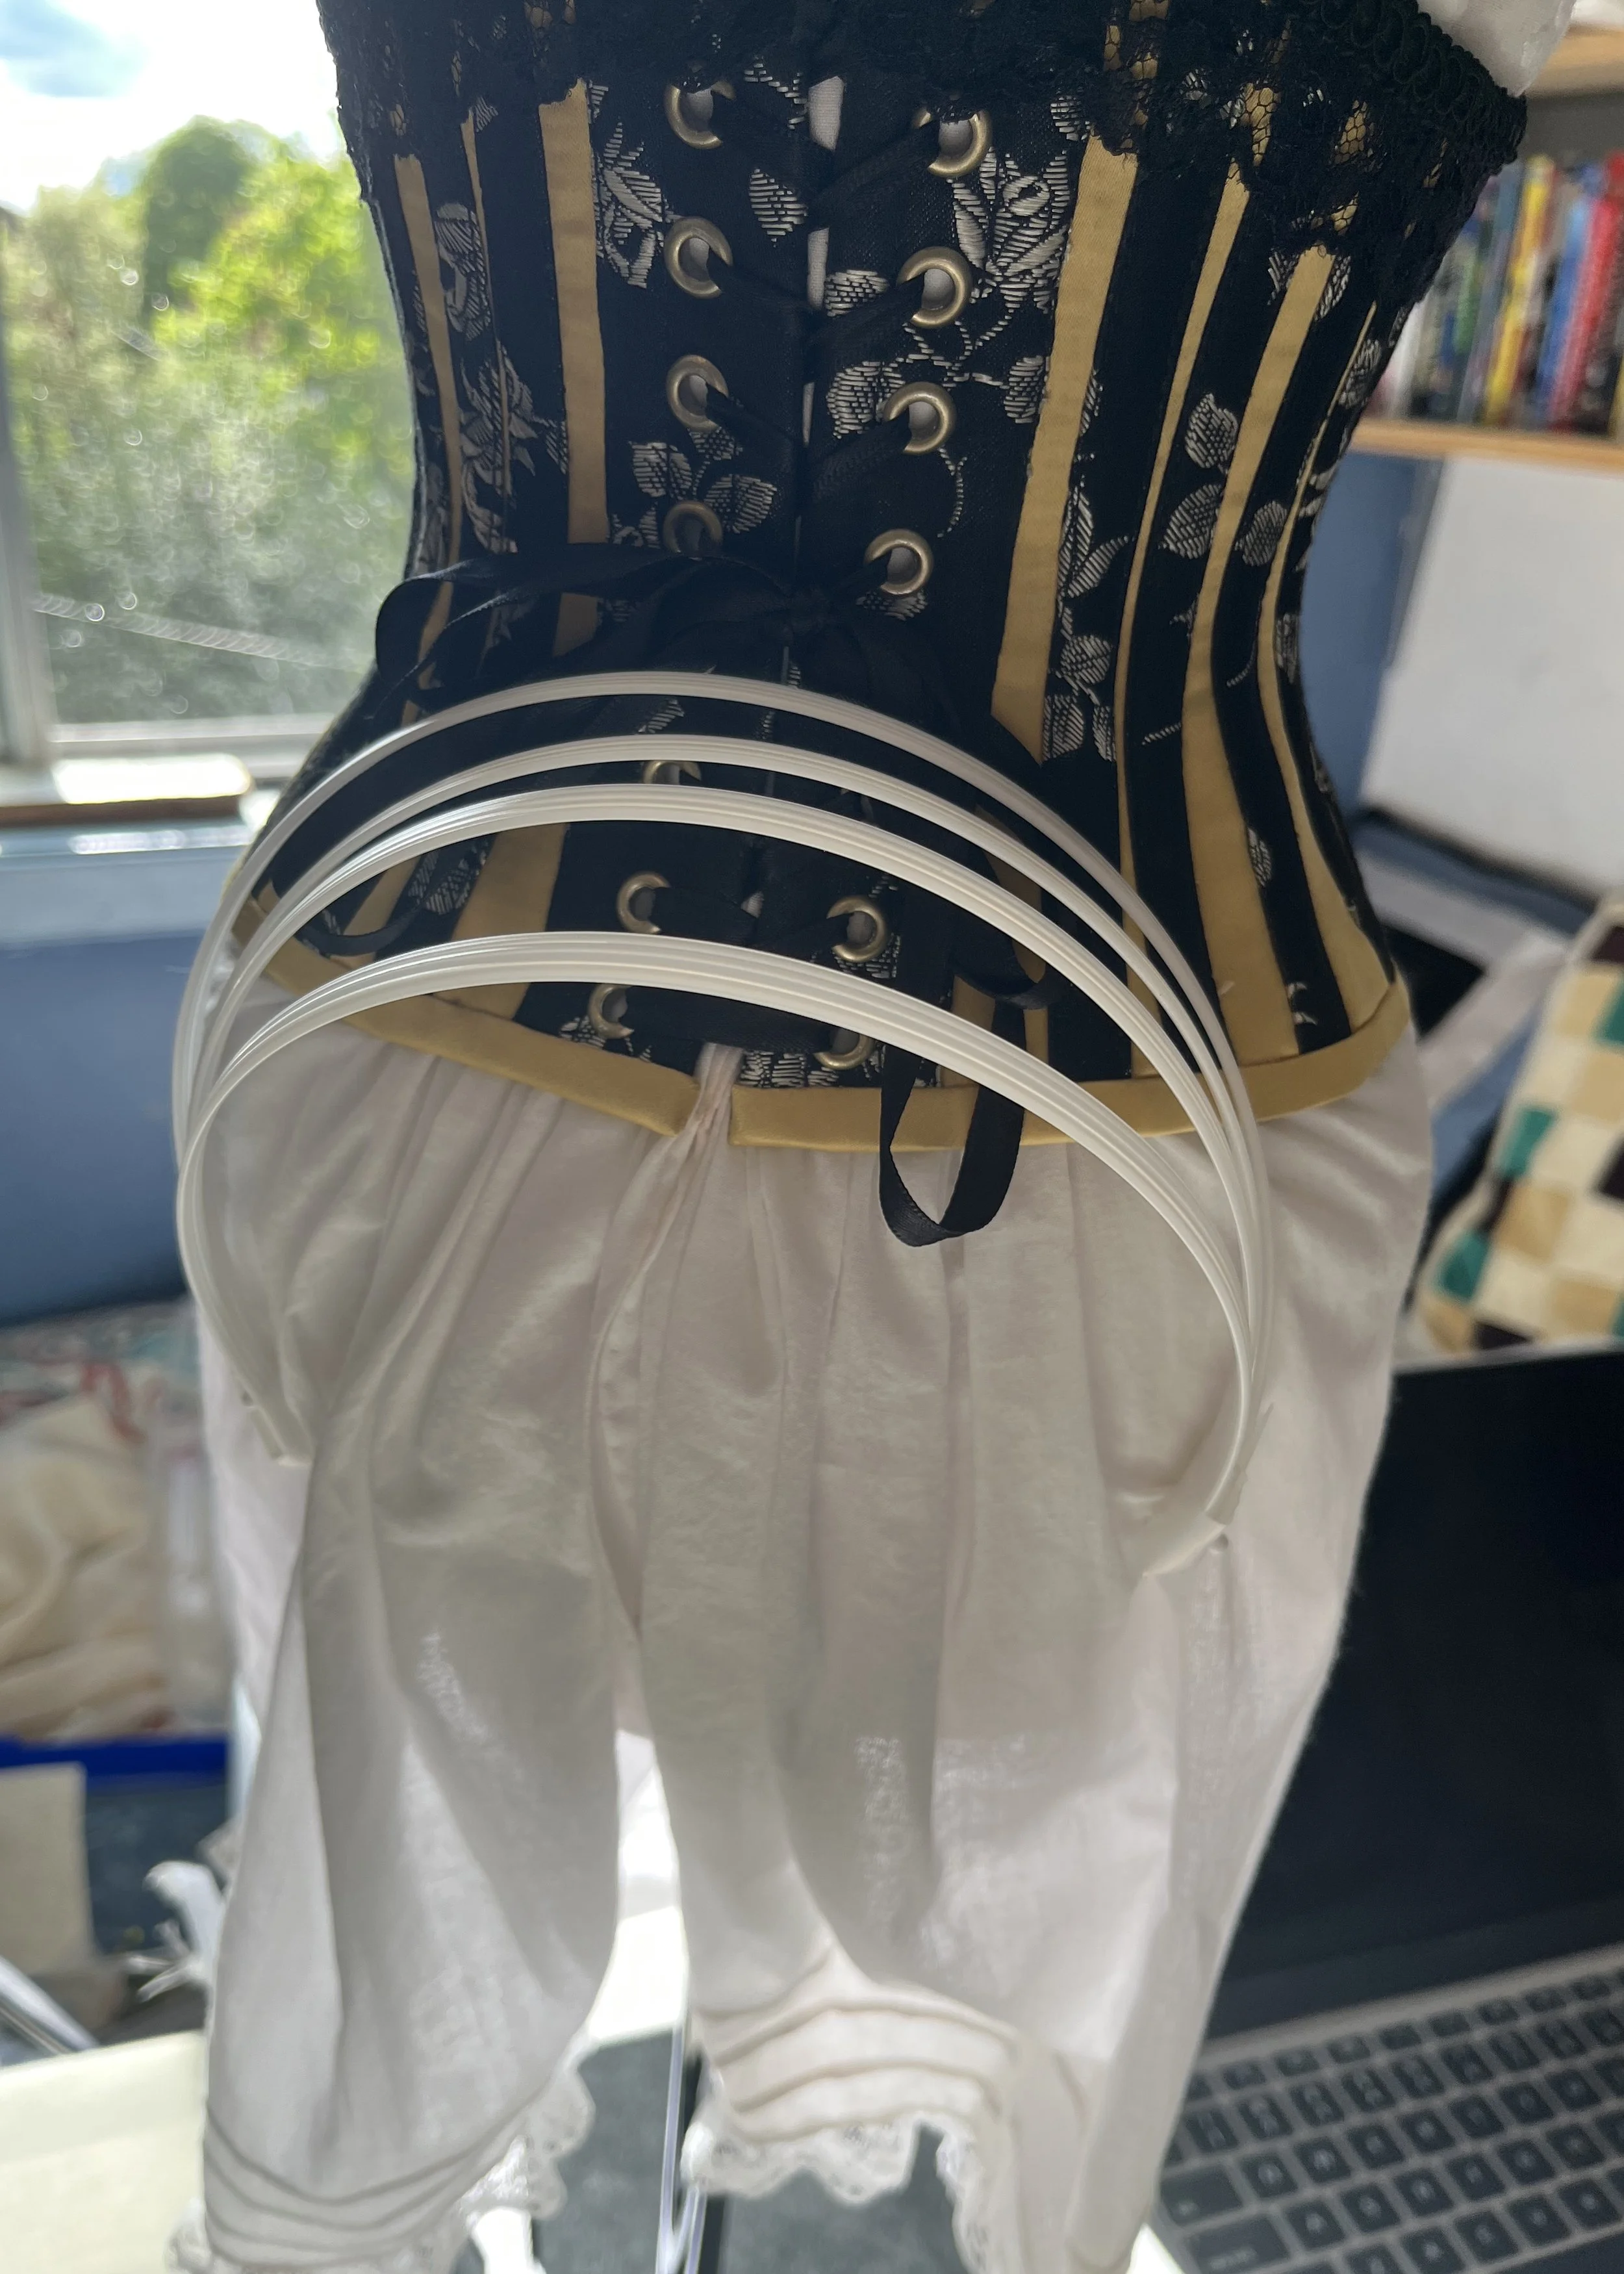
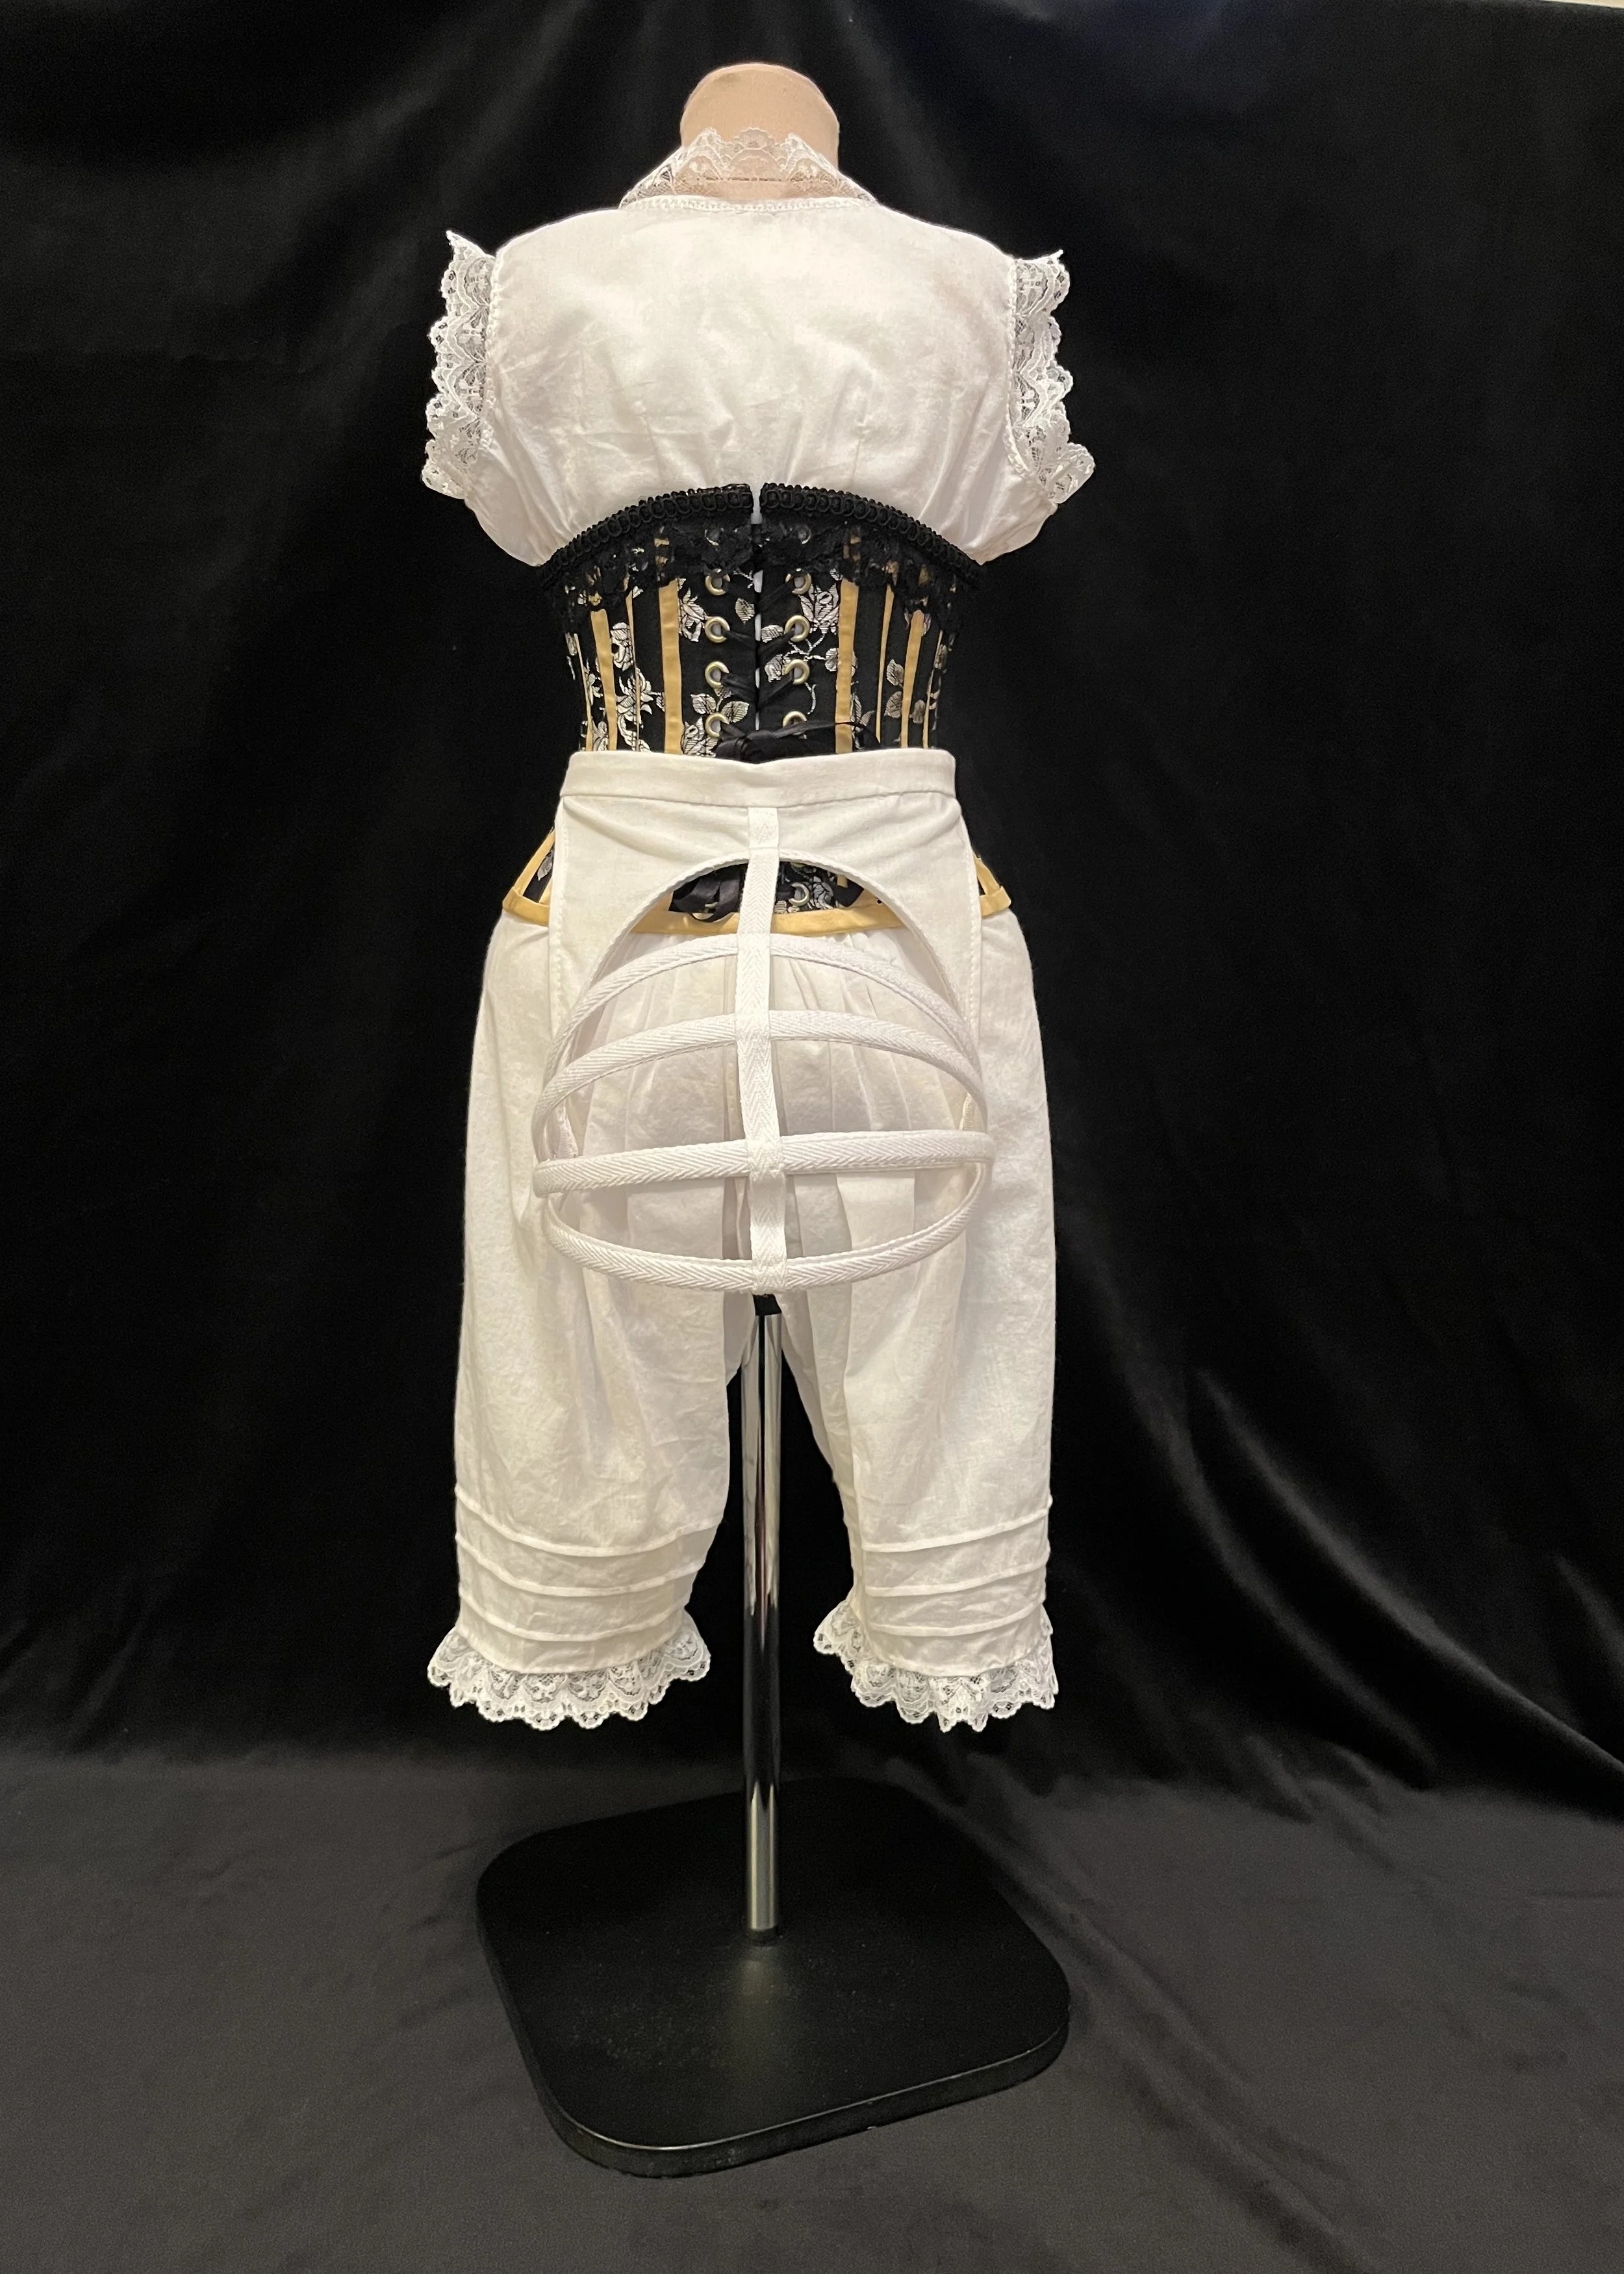
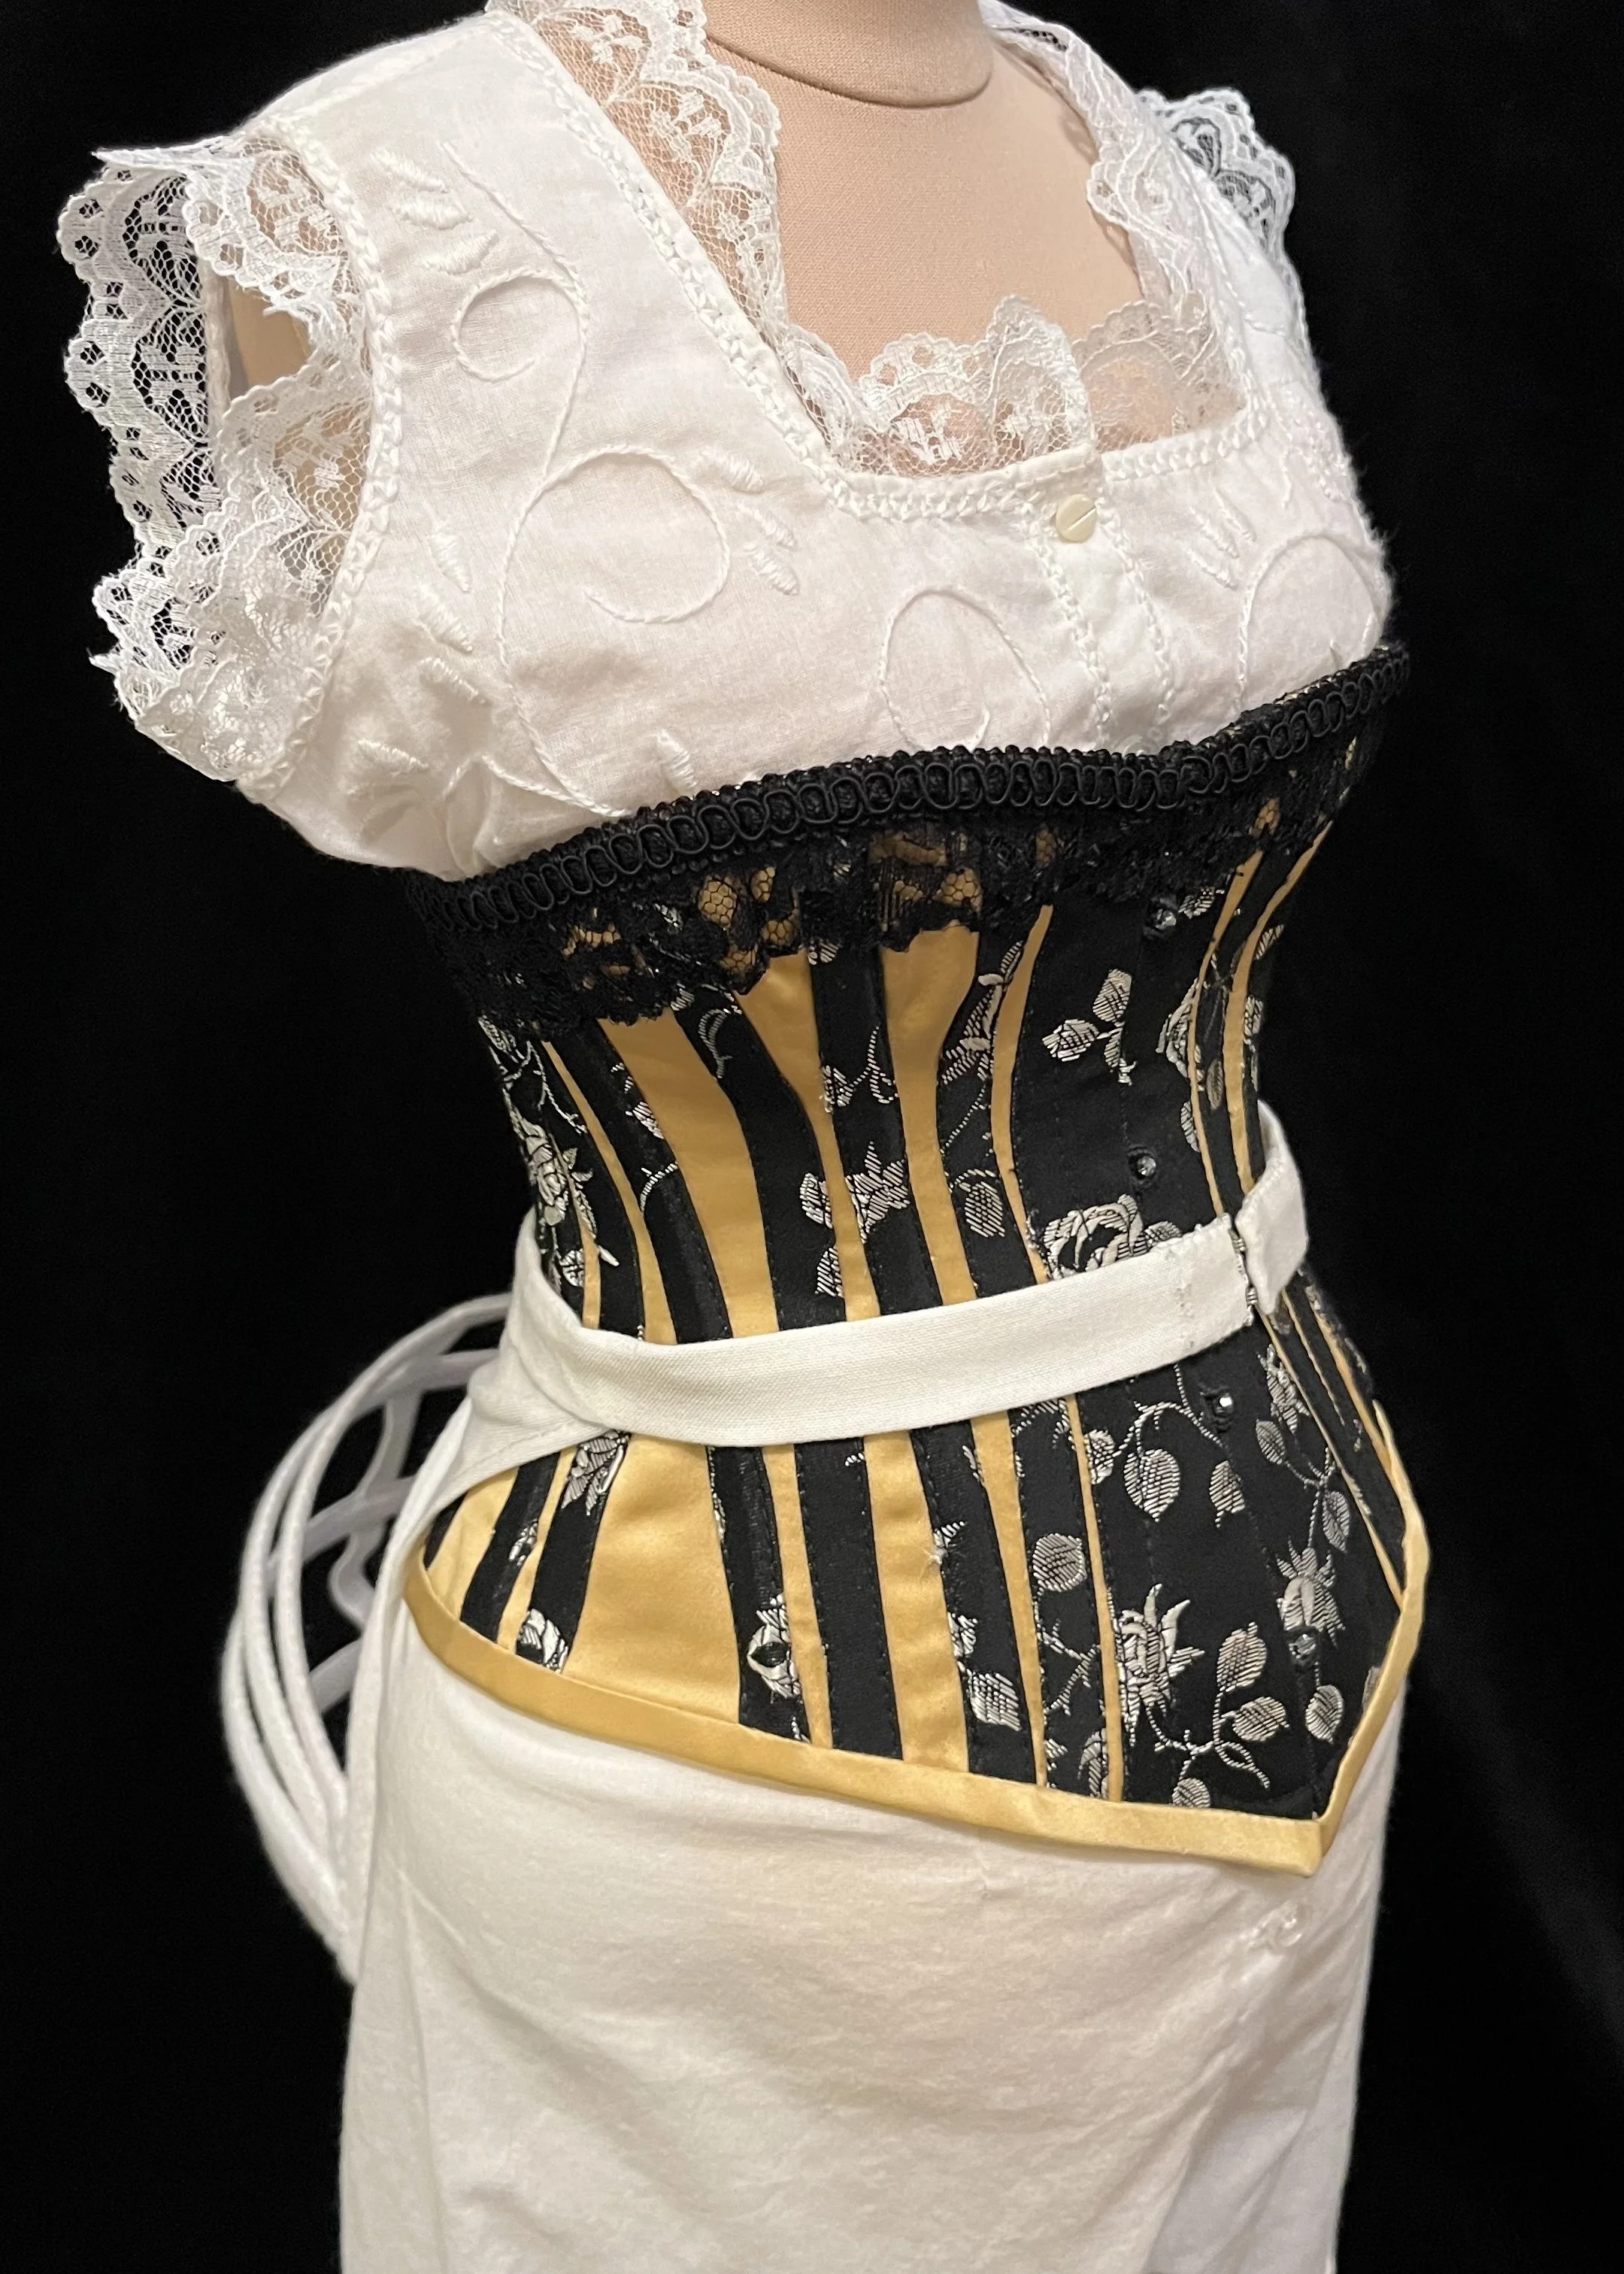
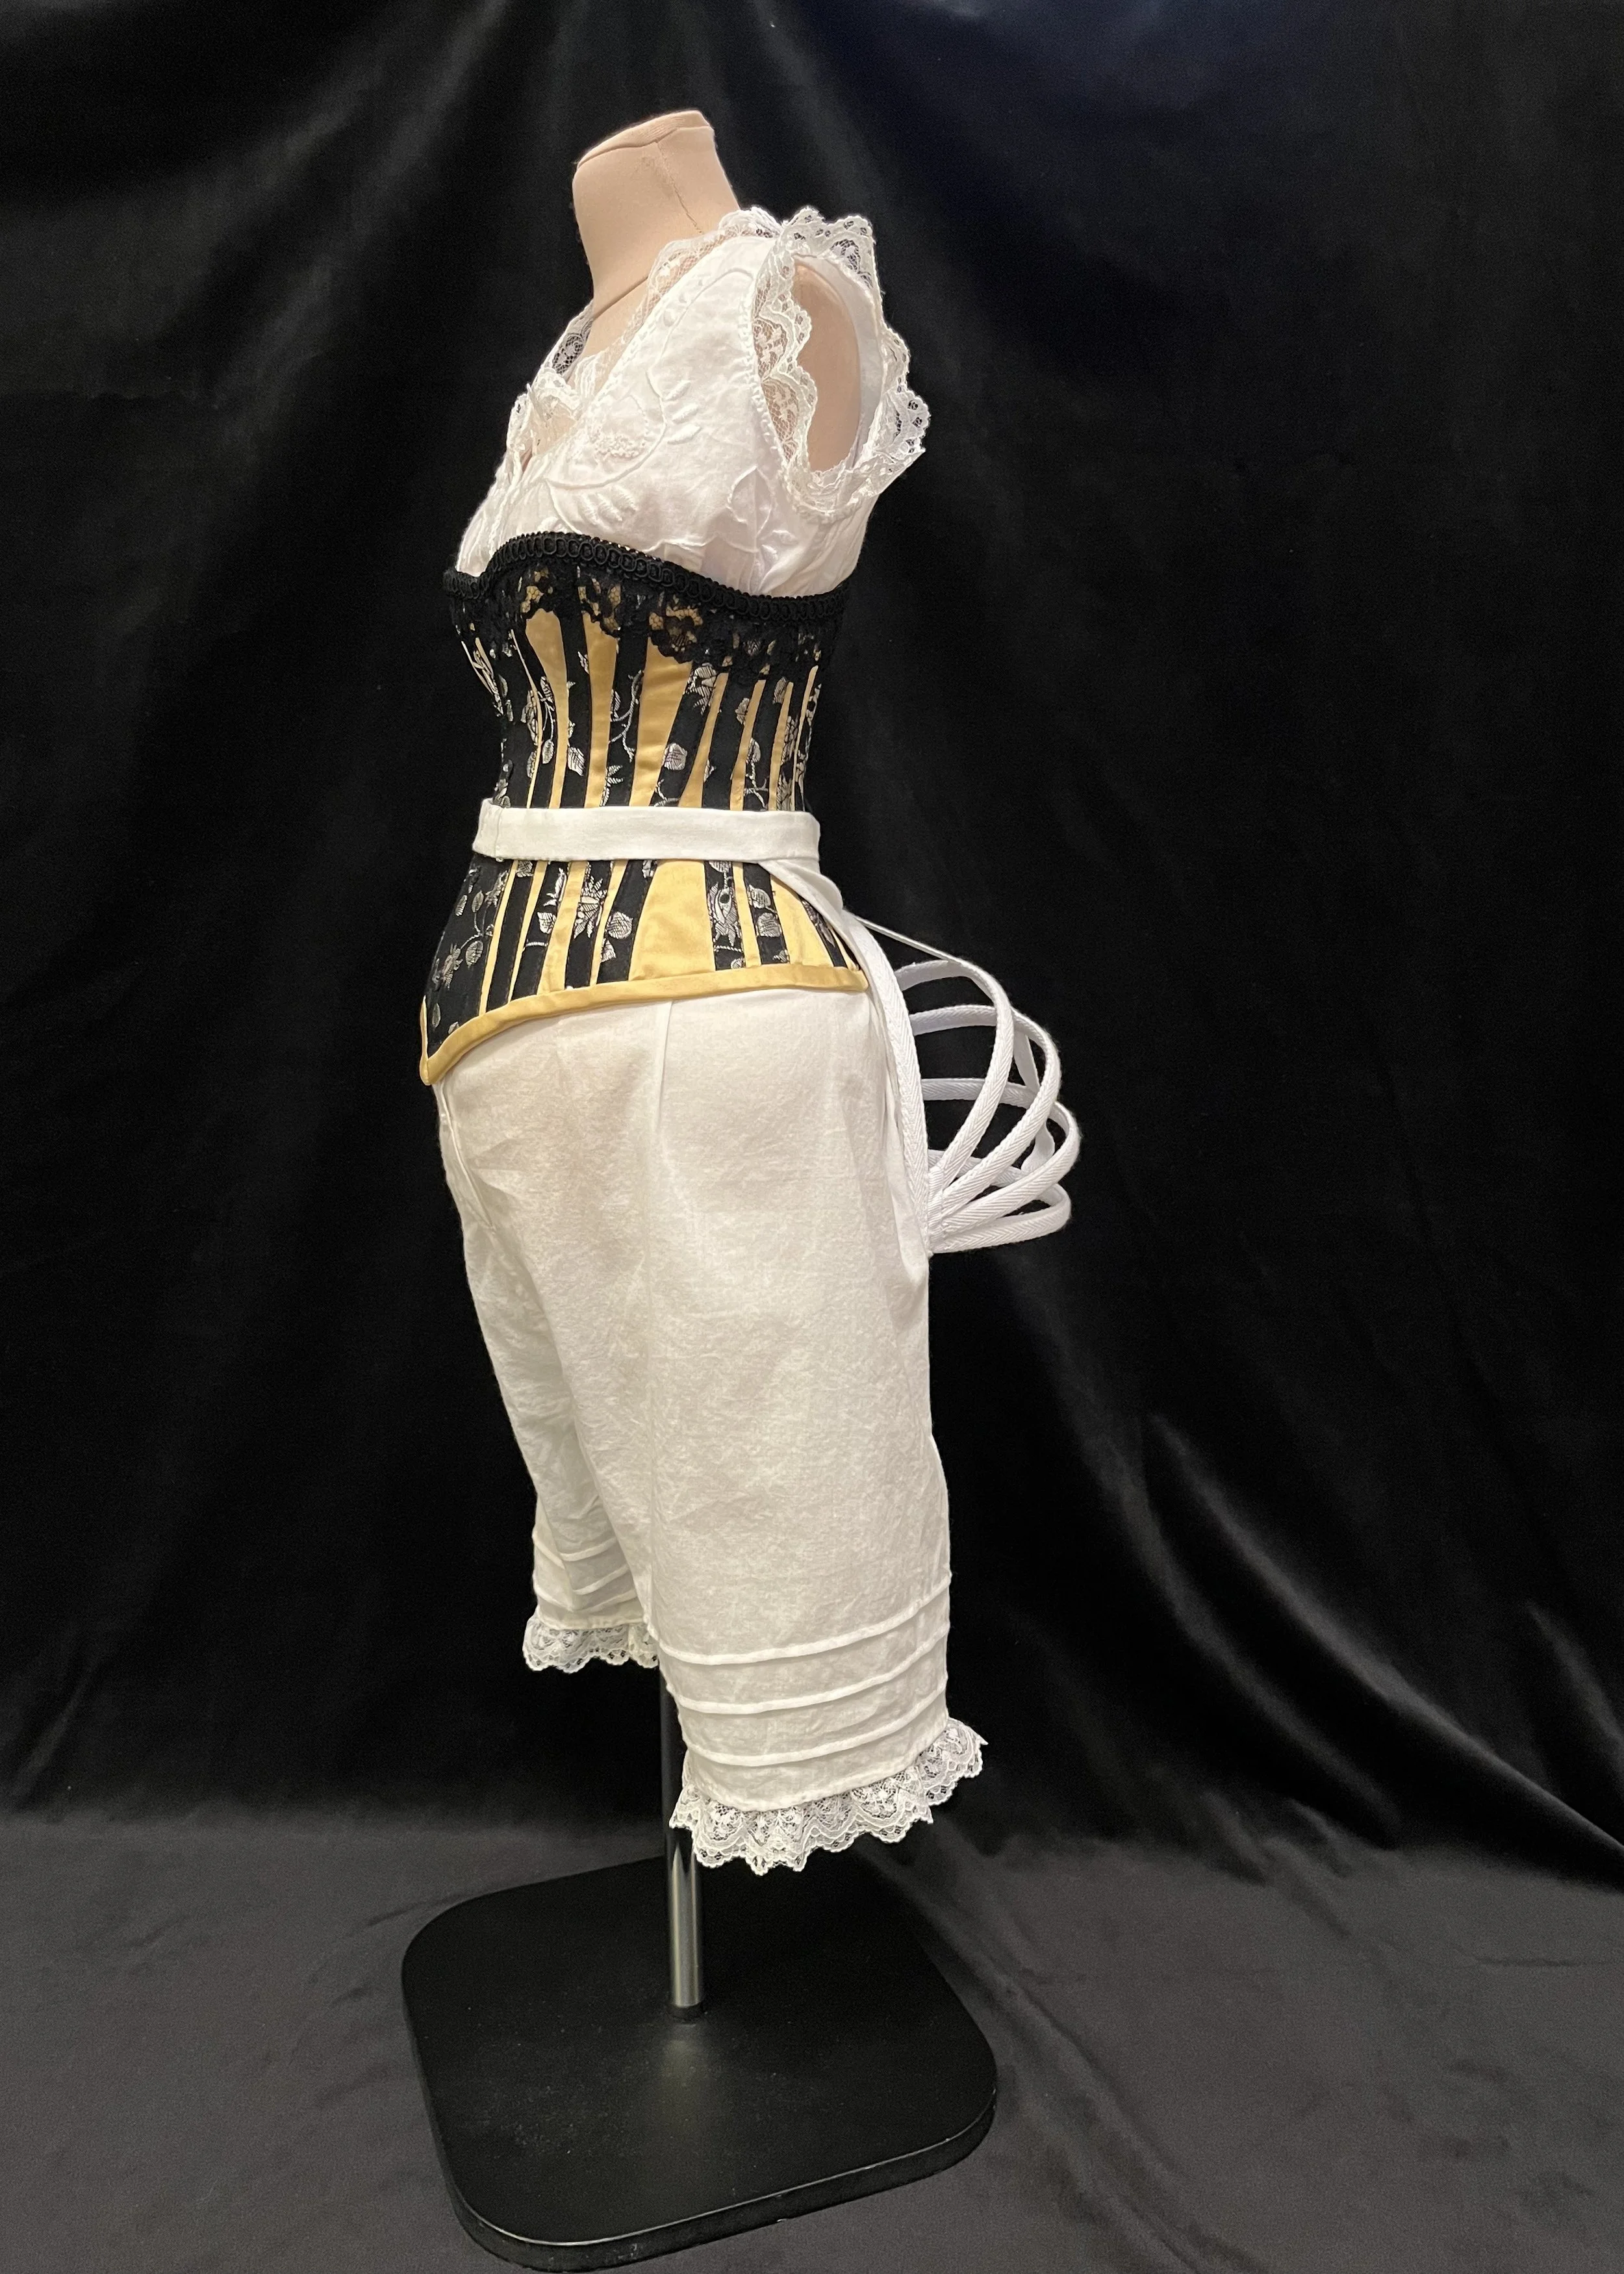
The next layer of the 1880 dress is the bustle. As I have mentioned before, part of what has drawn me to this particular year is that the bustle is once more sitting further up on the body, but hasn't quite yet reached the horizontal extremes of later in the decade. As usual, my process is fraught with uncertainty and second guessing about whether or not this is an actual moment in fashion history and if all these pieces would actually have been worn together, but I’m in too deep so I just have to keep going.
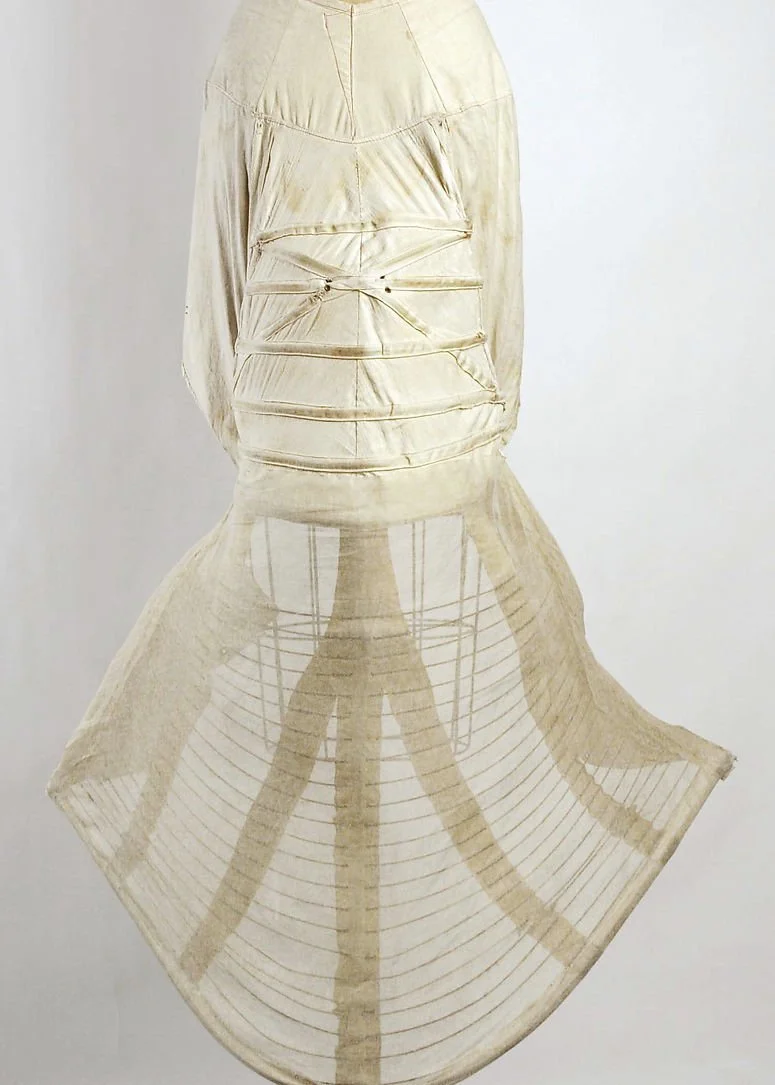
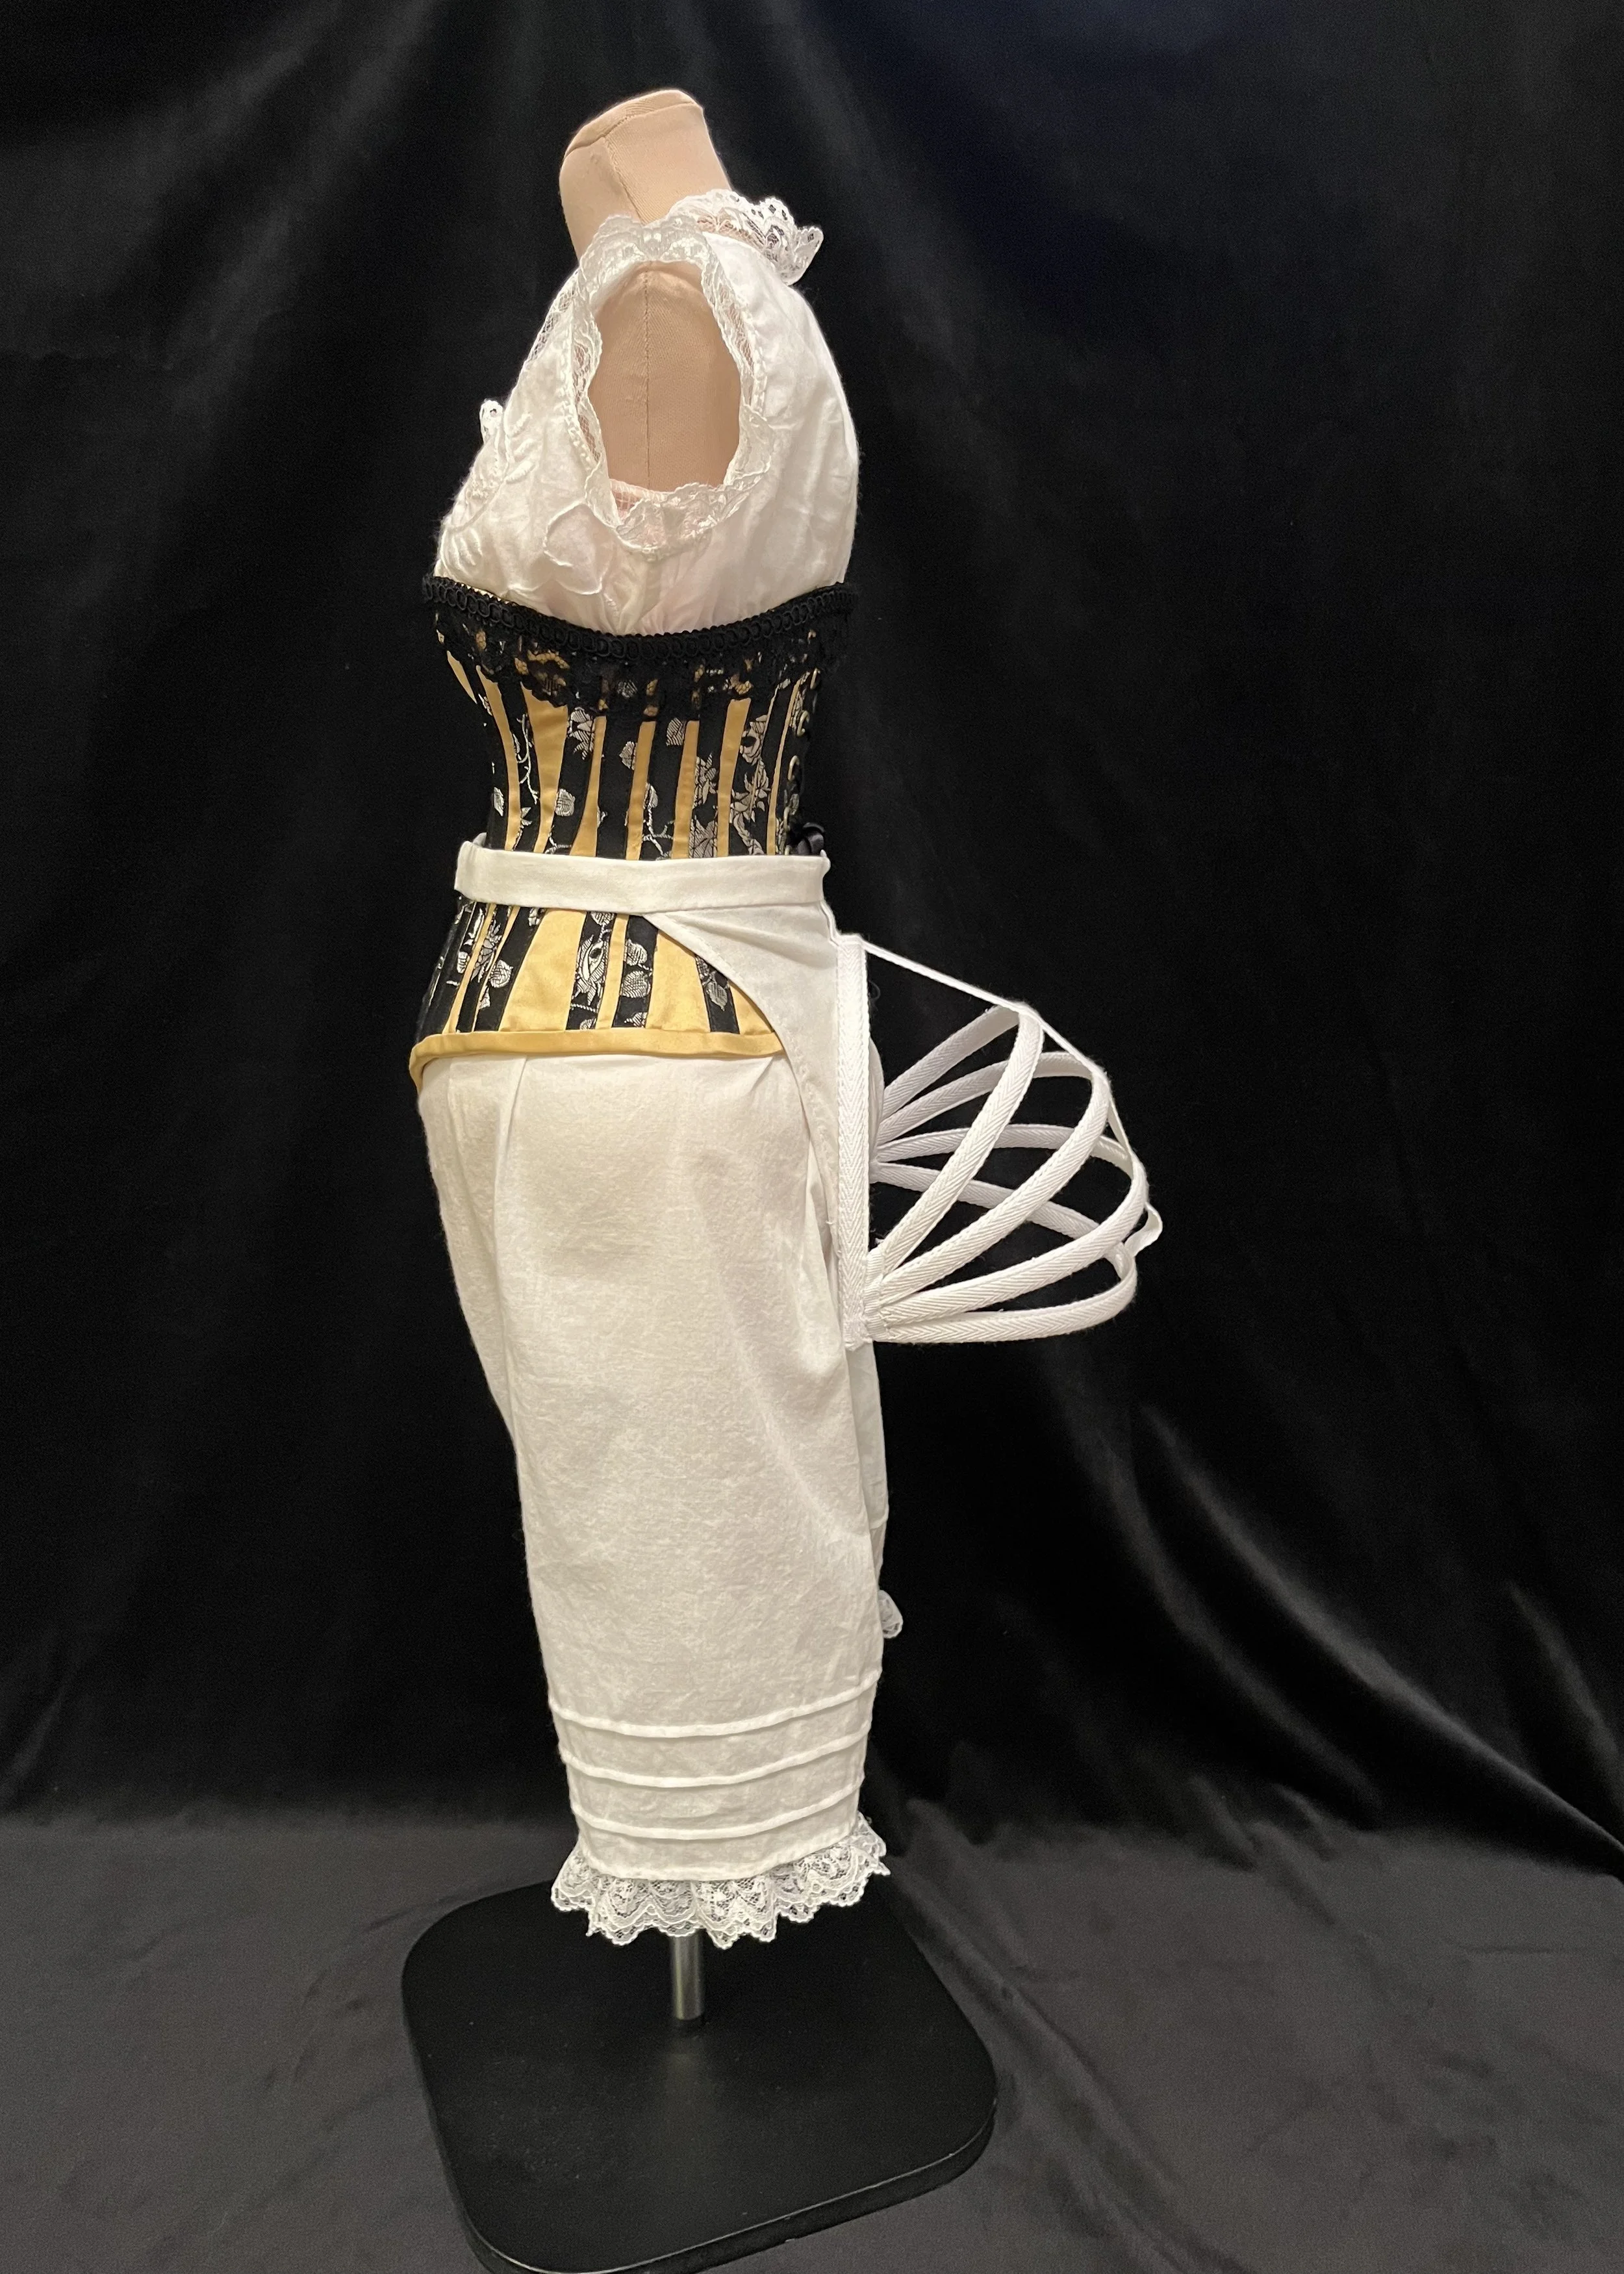
I knew that one of the longer bustles (sometimes called “lobster tails”...or at least I've heard them called that) wasn't appropriate for the silhouette I was looking for and that I should be aiming more for something smaller which added some volume on the behind but would not extend past the hips.
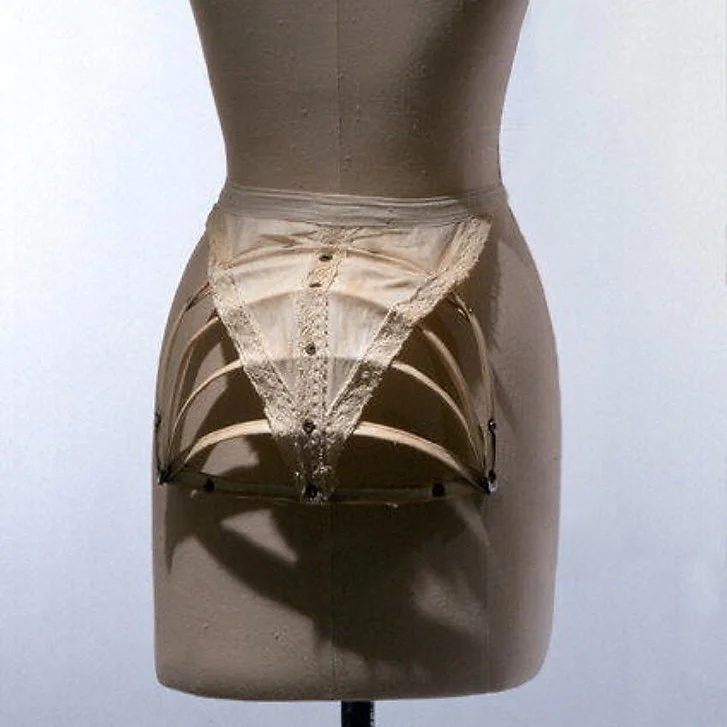
Bustle. 1870-89. Metropolitan Museum of Art Costume Institute, New York, https://www.metmuseum.org/art/collection/search/107288
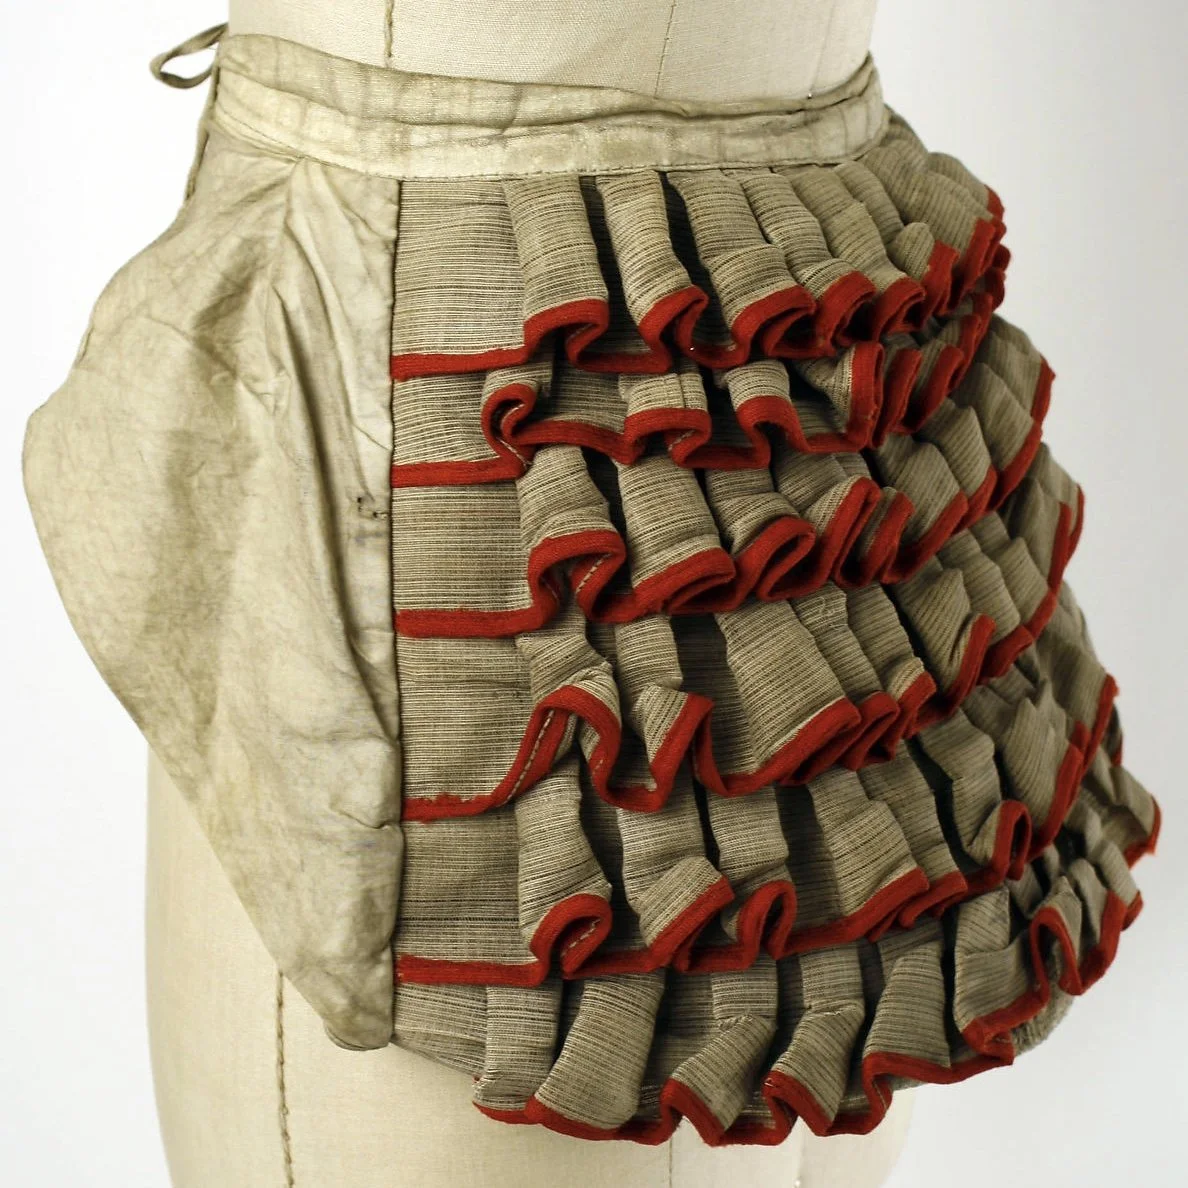
Bustle. 1880s. Metropolitan Museum of Art Costume Institute, New York, https://www.metmuseum.org/art/collection/search/85361?searchField=All&sortBy=Relevance&deptids=8&ft=bustle+1880&offset=0&rpp=20&pos=3
I looked at one which was basically a bunch of ruffles sewn onto a panel which tied around the waist but decided against this style as it was very similar to what I had planned for the petticoat and I feared it wouldn't provide enough support for the weight of the skirt and bustle of the final gown (not that I have any definite plans for the dress yet, other than to use a lot of fabric).
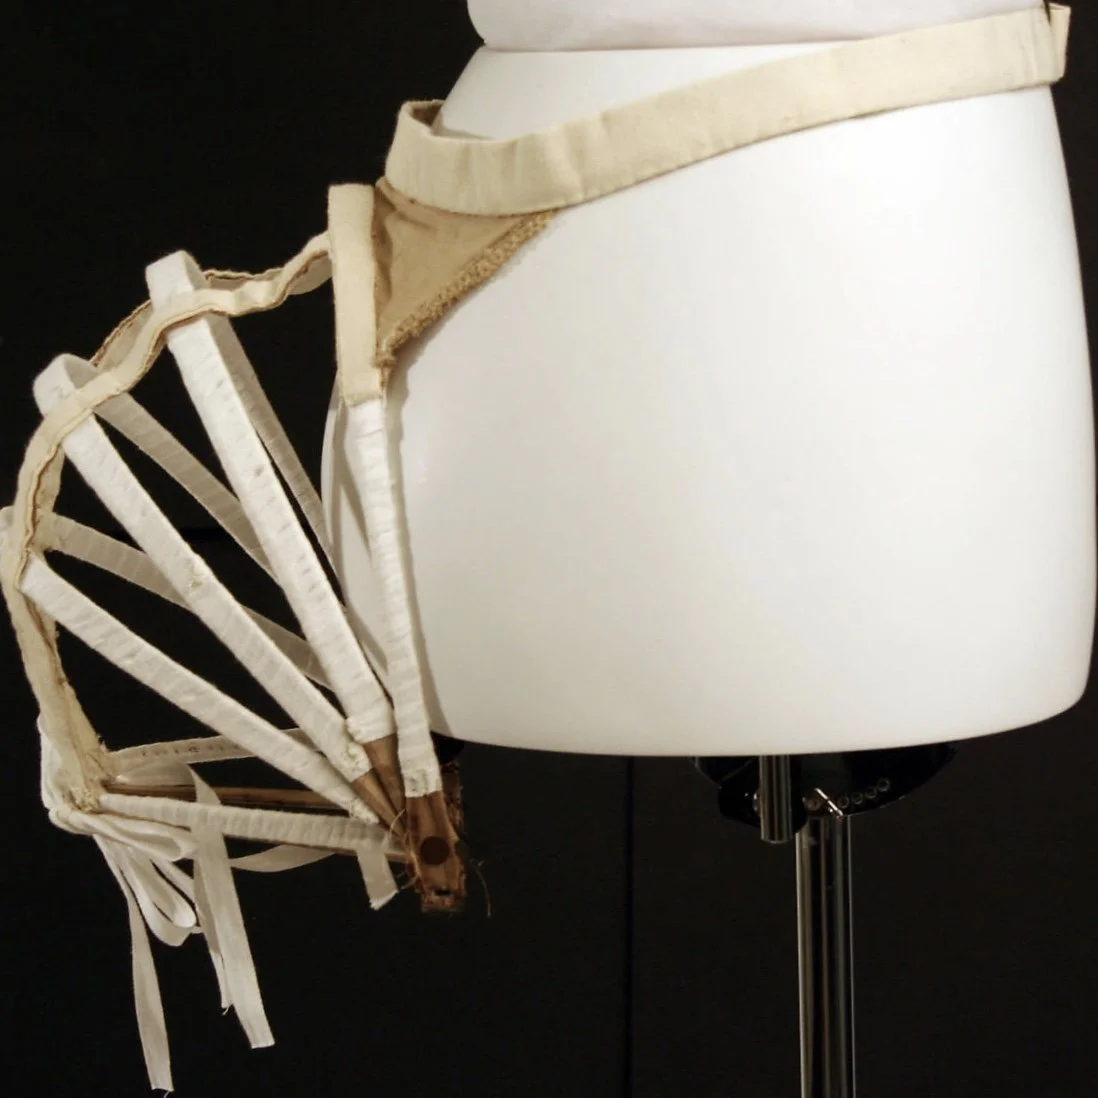
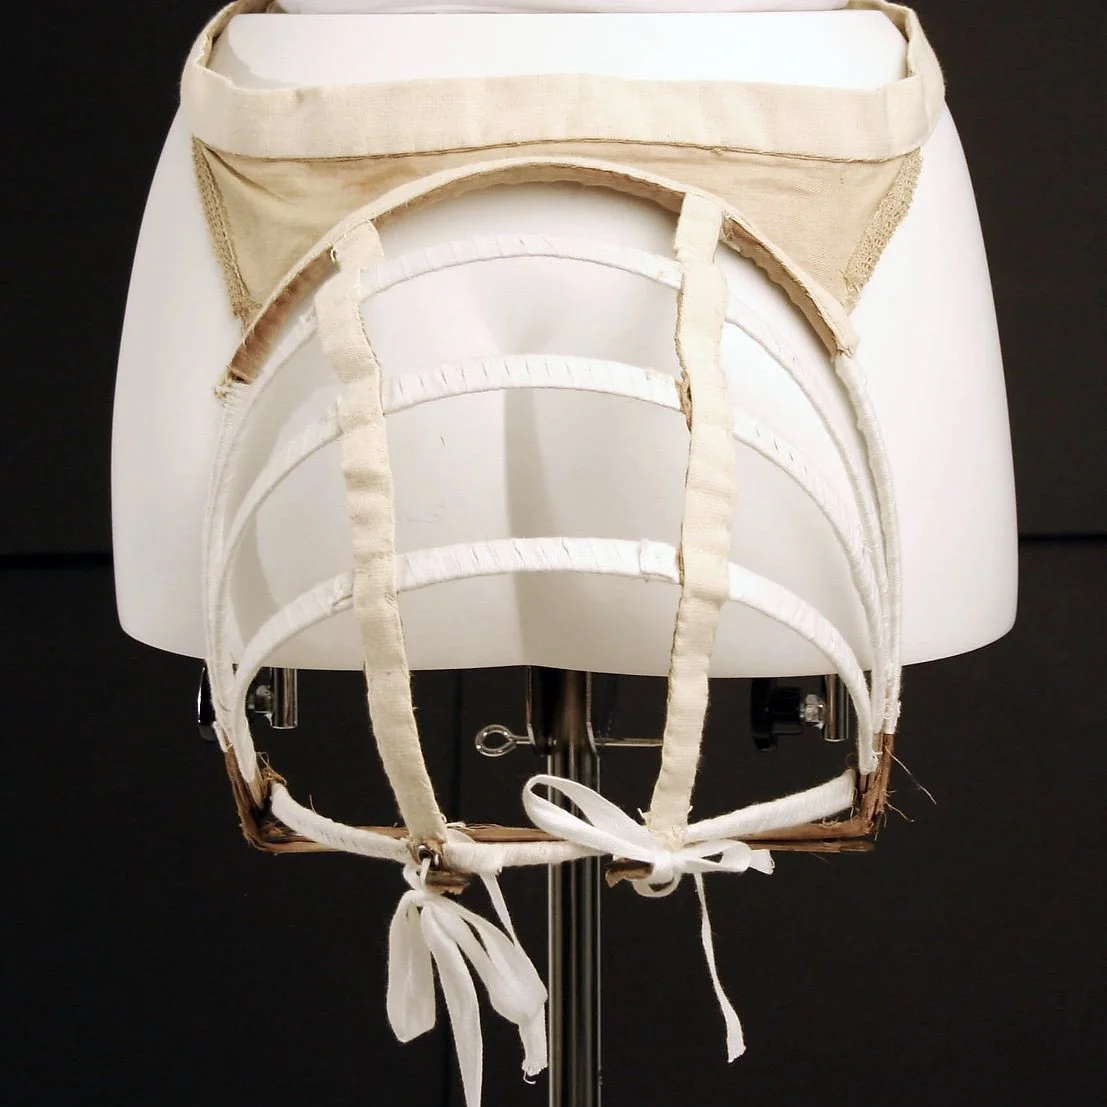
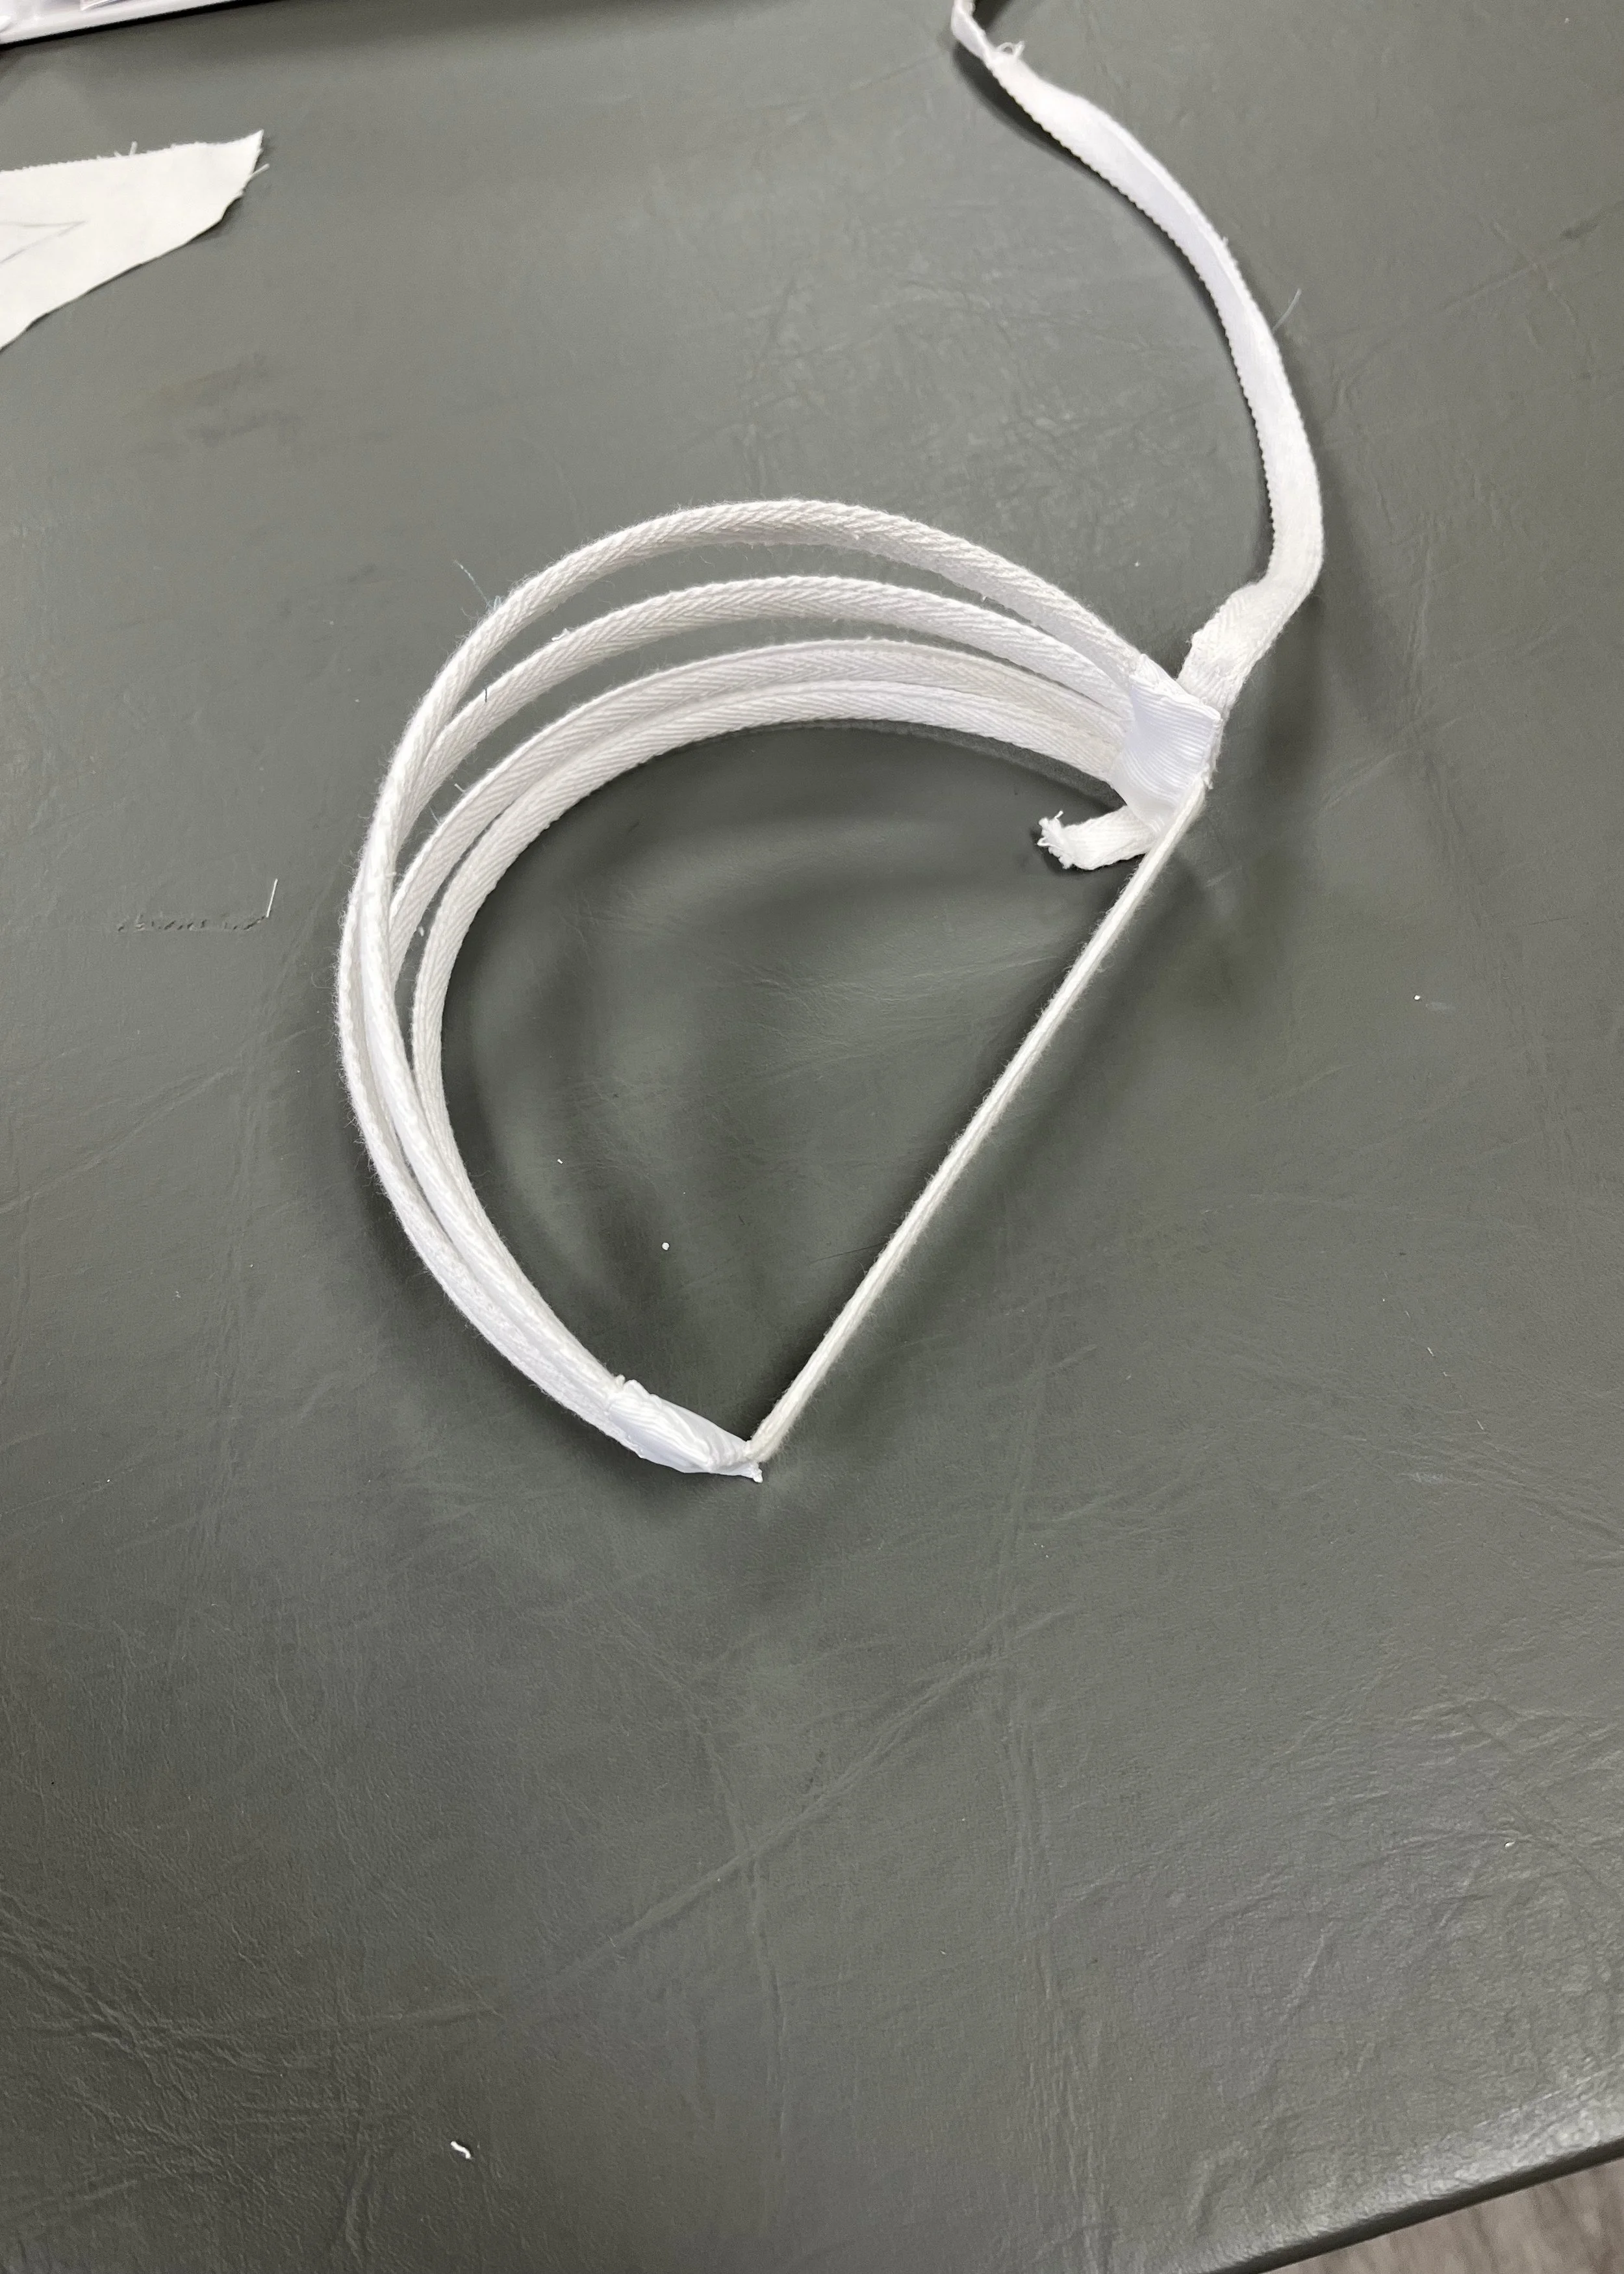
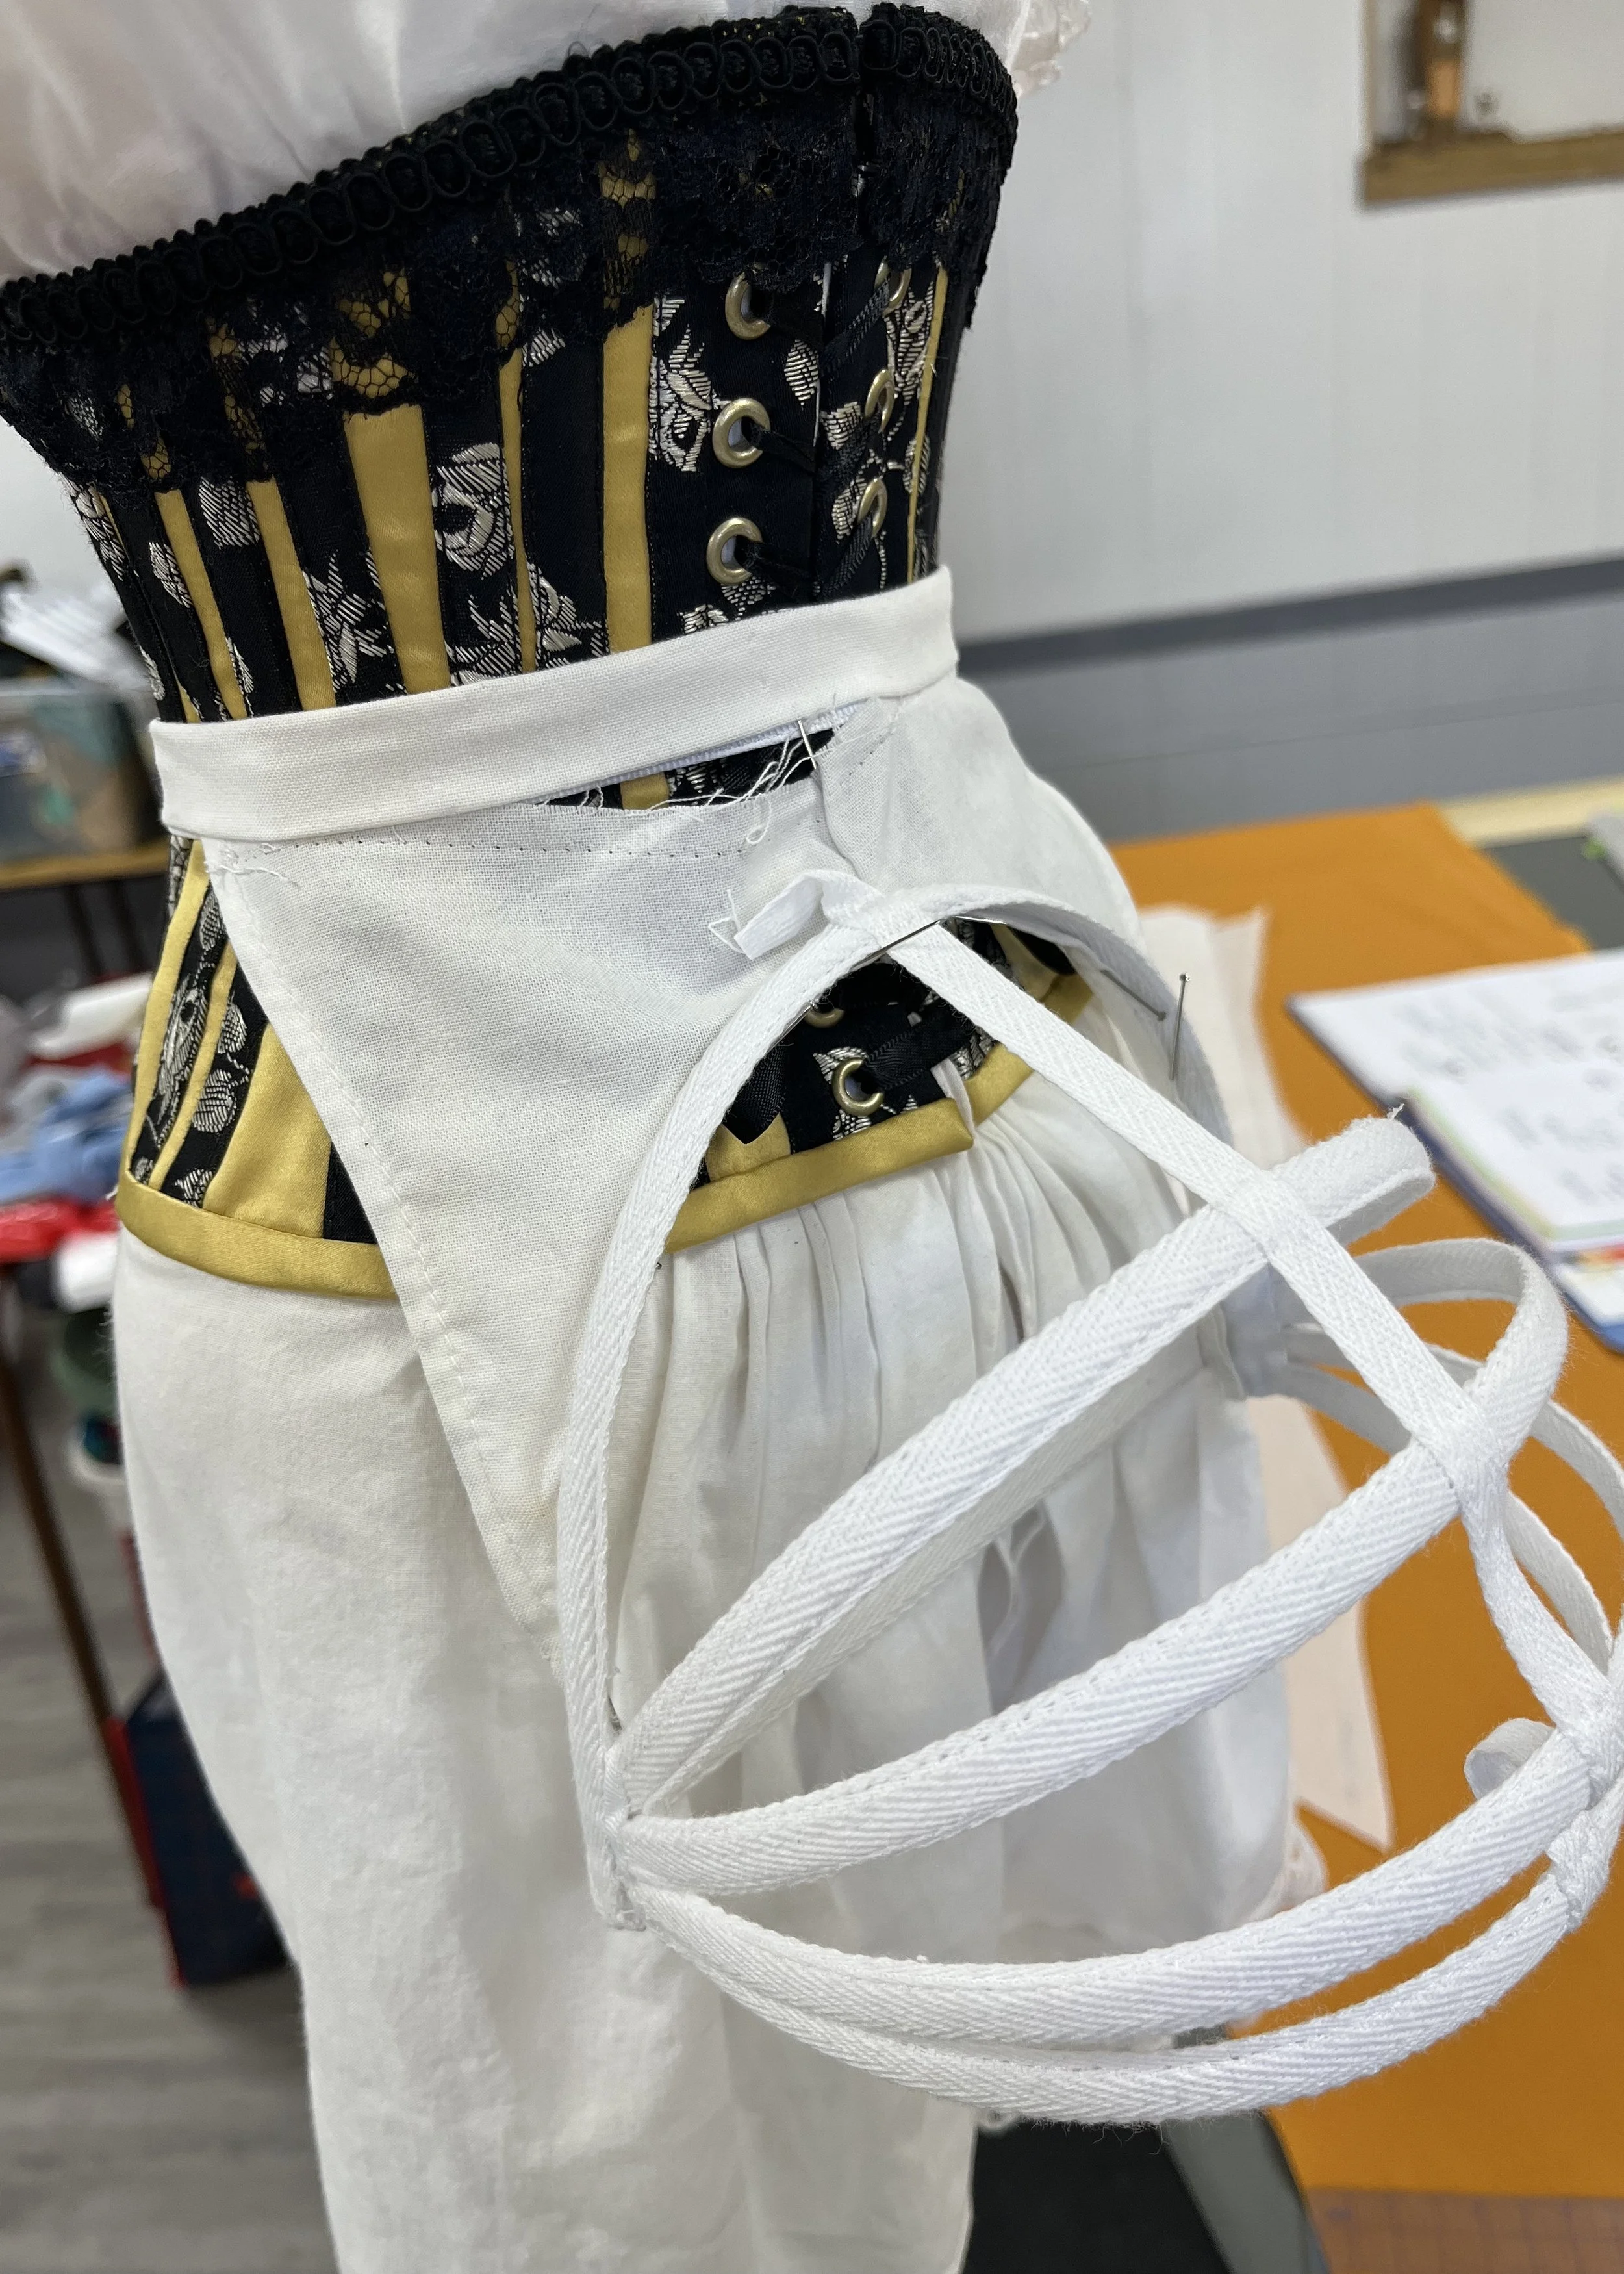
I was drawn more to the bustles which consisted of a series of semicircular steel hoops, held in place with a cross piece and a short panel attached to a waistband. This design would provide the structure I felt was necessary to hold up the layers which would ultimately go over it while still providing space to adjust how much it stuck out from the body and how extreme the resulting bustle appeared.
Bustle. 1882. Metropolitan Museum of Art Costume Institute, New York, https://www.metmuseum.org/art/collection/search/109598?searchField=All&sortBy=Relevance&deptids=8&ft=bustle&offset=20&rpp=20&pos=26
Bustle. 1882. Metropolitan Museum of Art Costume Institute, New York, https://www.metmuseum.org/art/collection/search/109598?searchField=All&sortBy=Relevance&deptids=8&ft=bustle&offset=20&rpp=20&pos=26
Bustle. 1880s. Metropolitan Museum of Art Costume Institute, New York, https://www.metmuseum.org/art/collection/search/82418?searchField=All&sortBy=Relevance&deptids=8&ft=bustle+1880&offset=0&rpp=20&pos=5
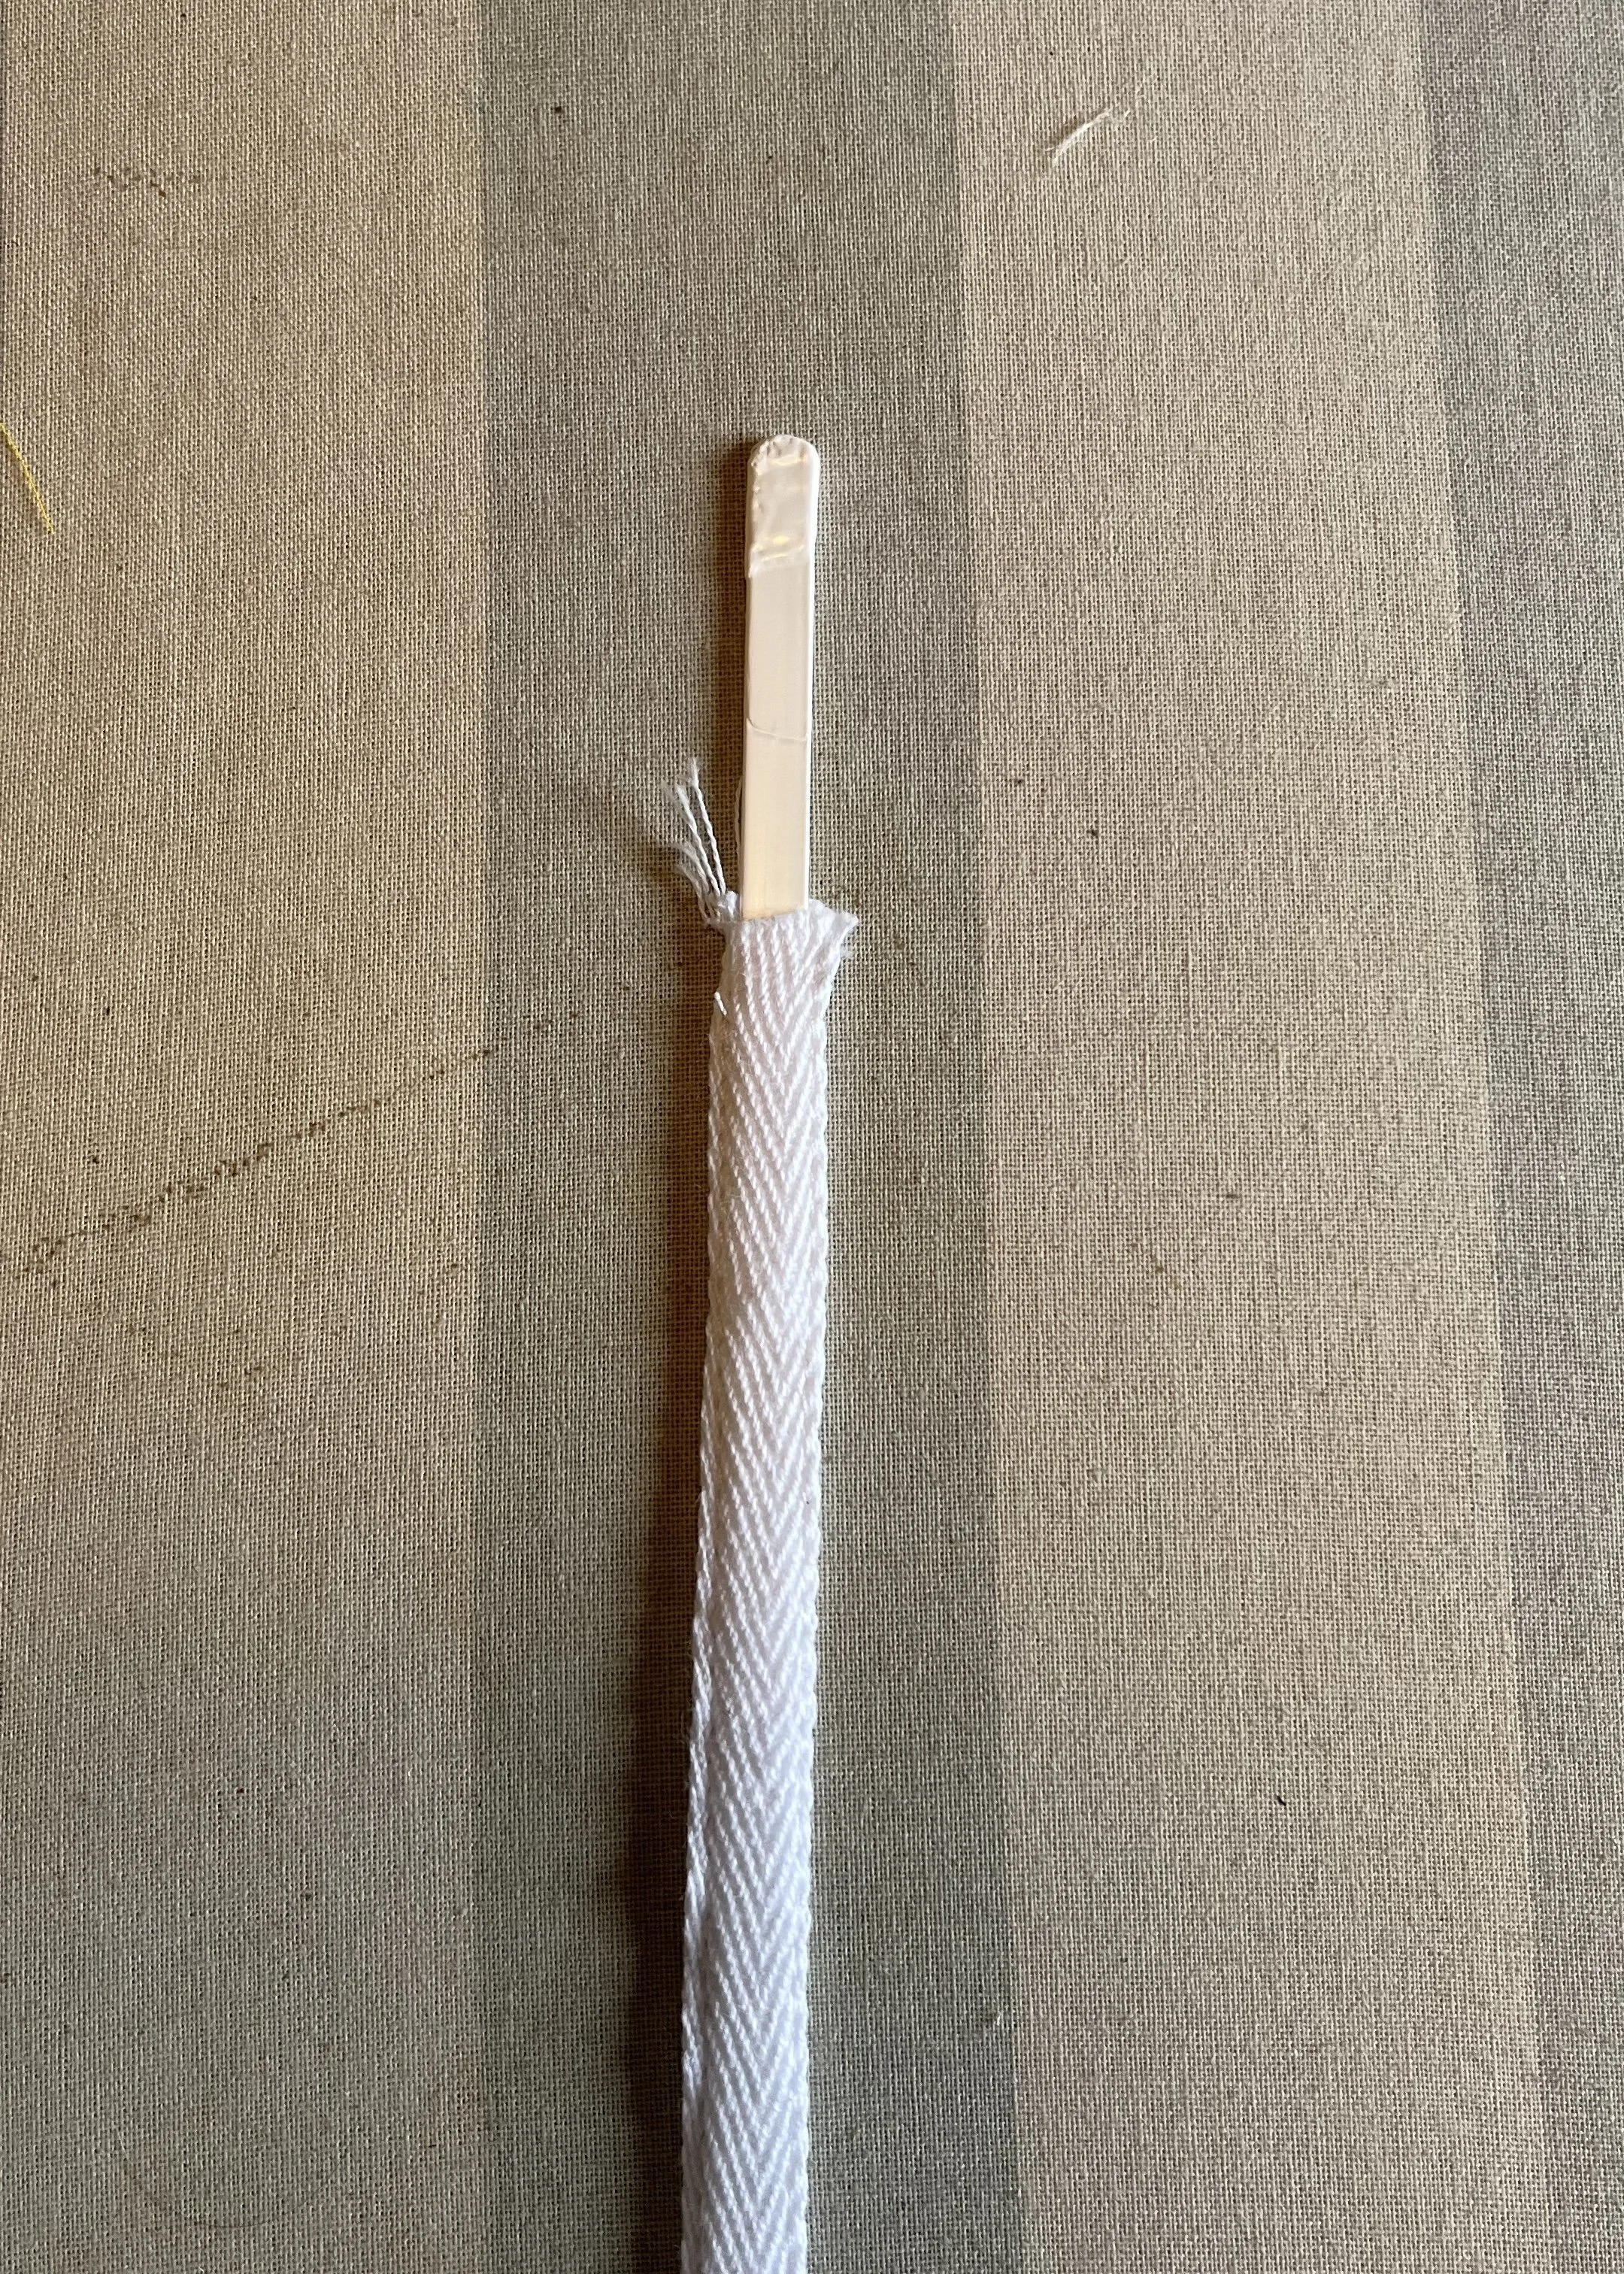
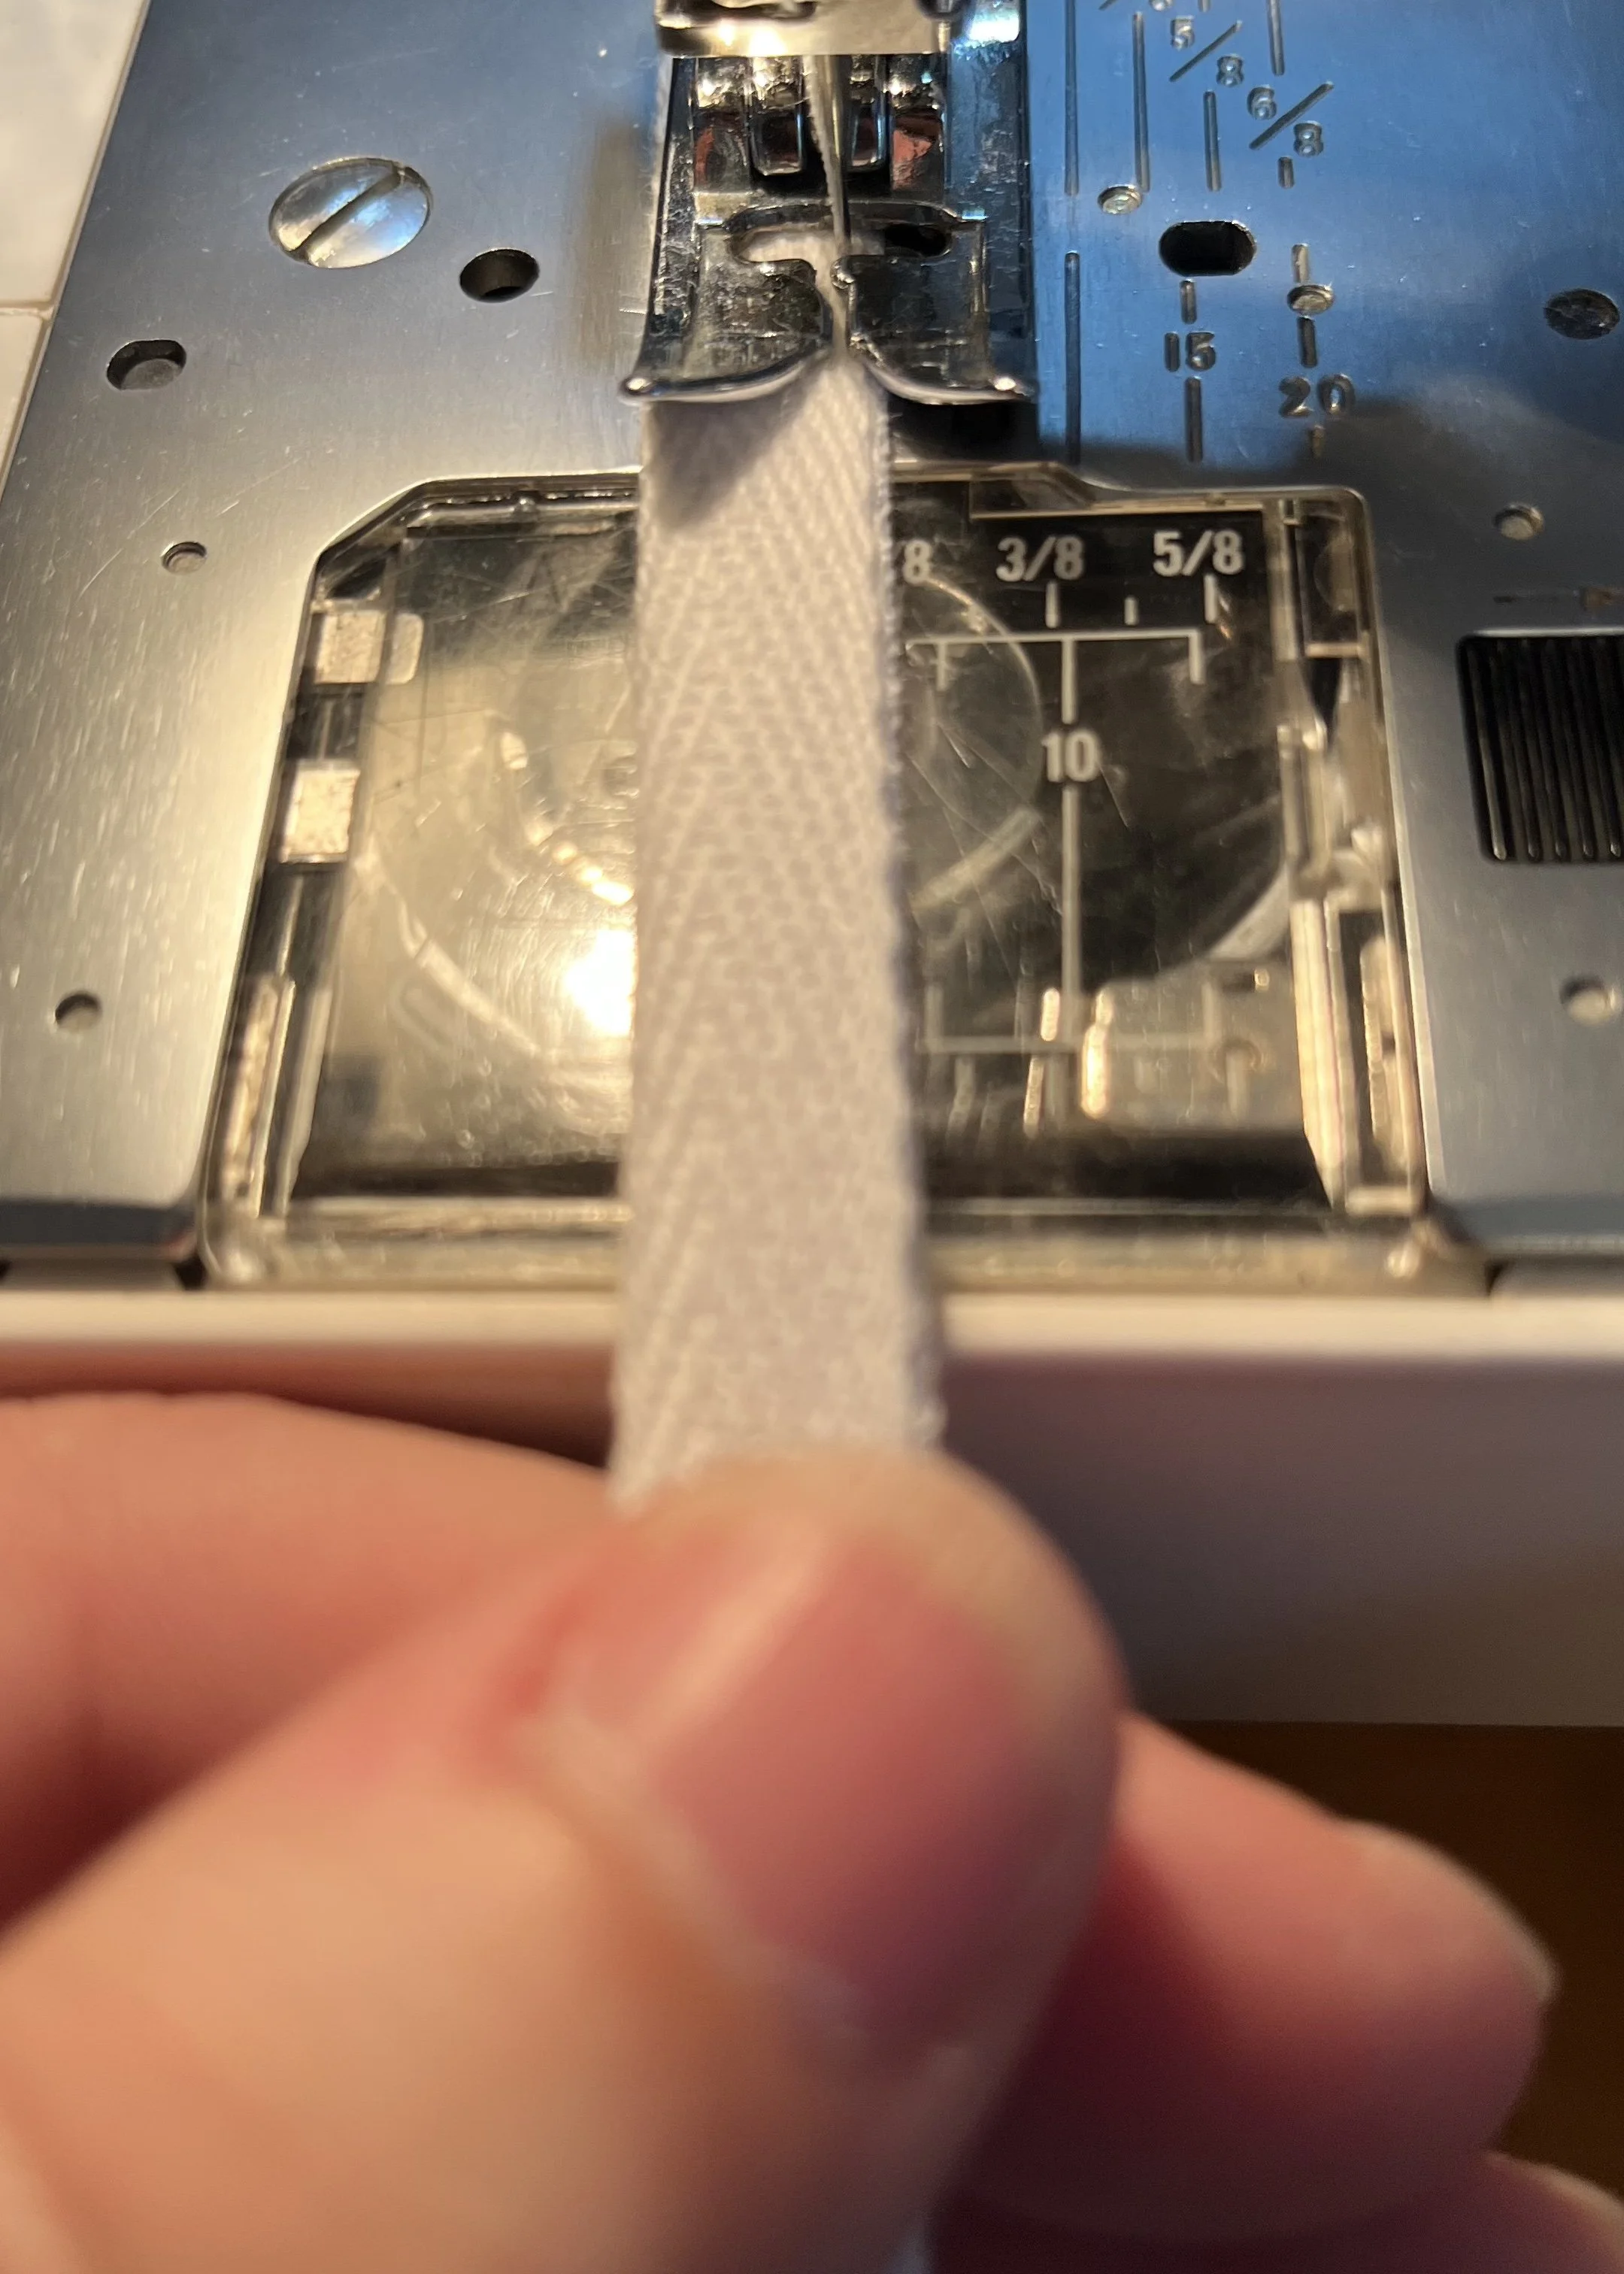
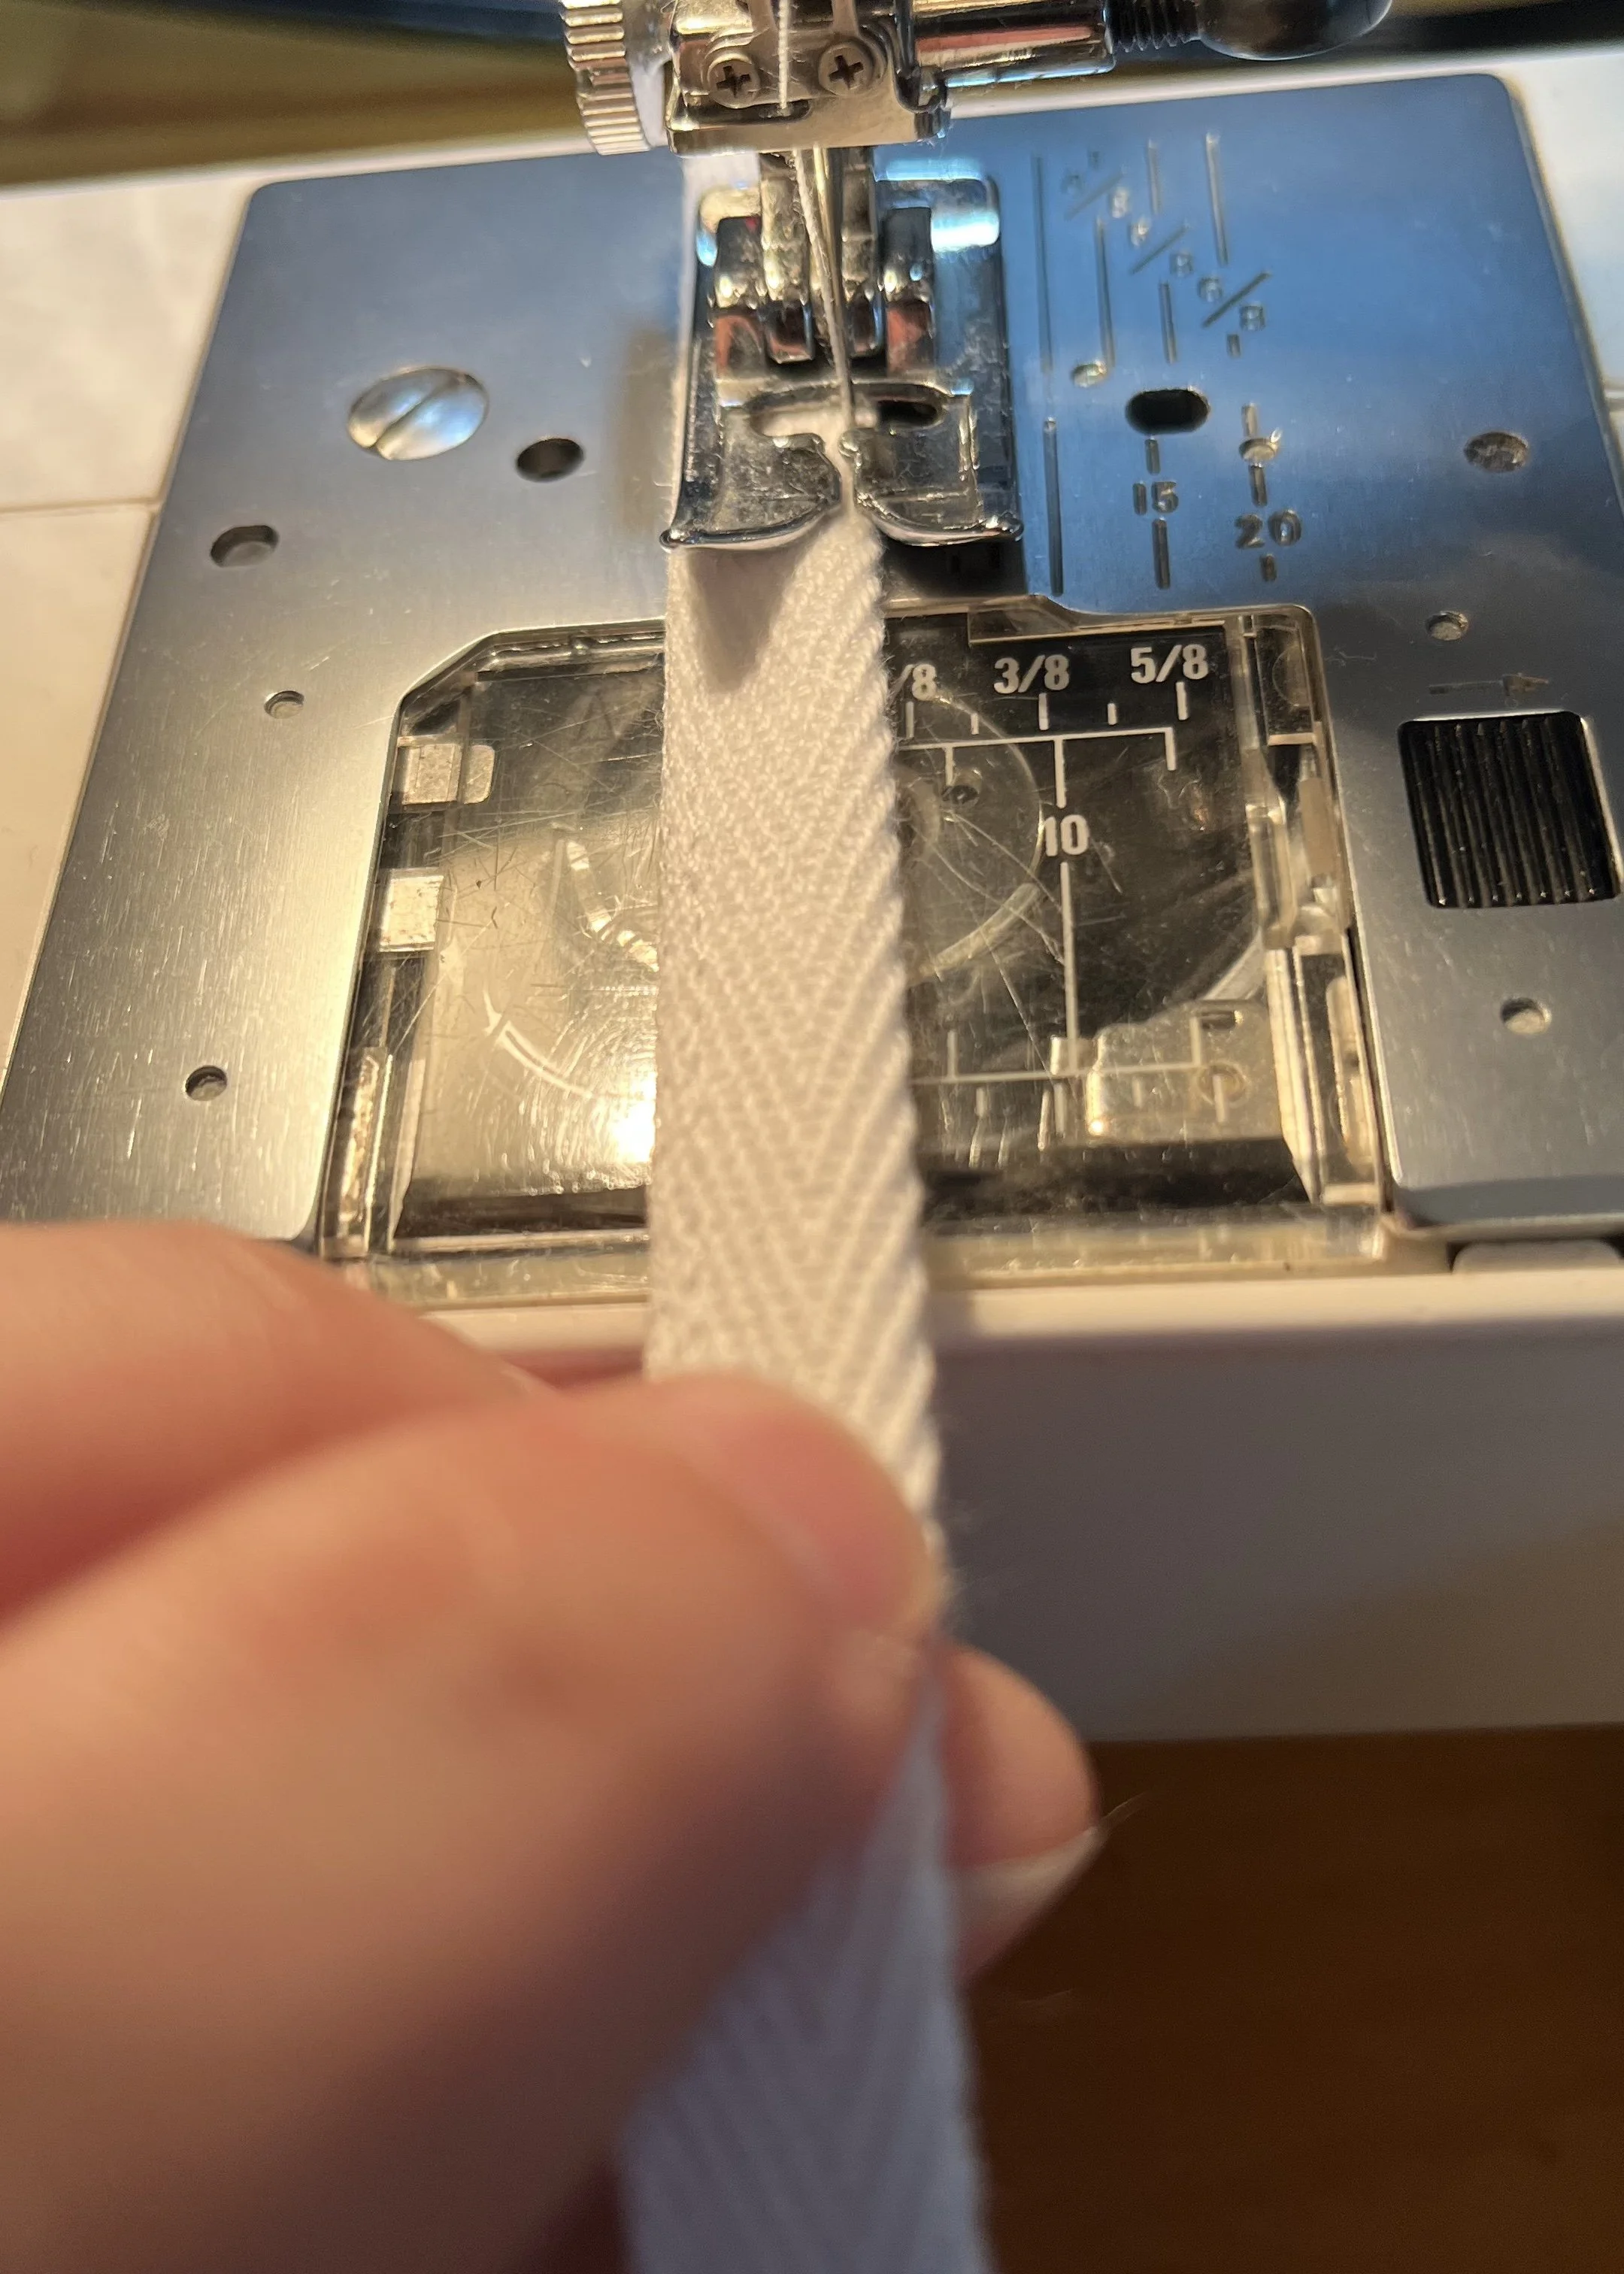
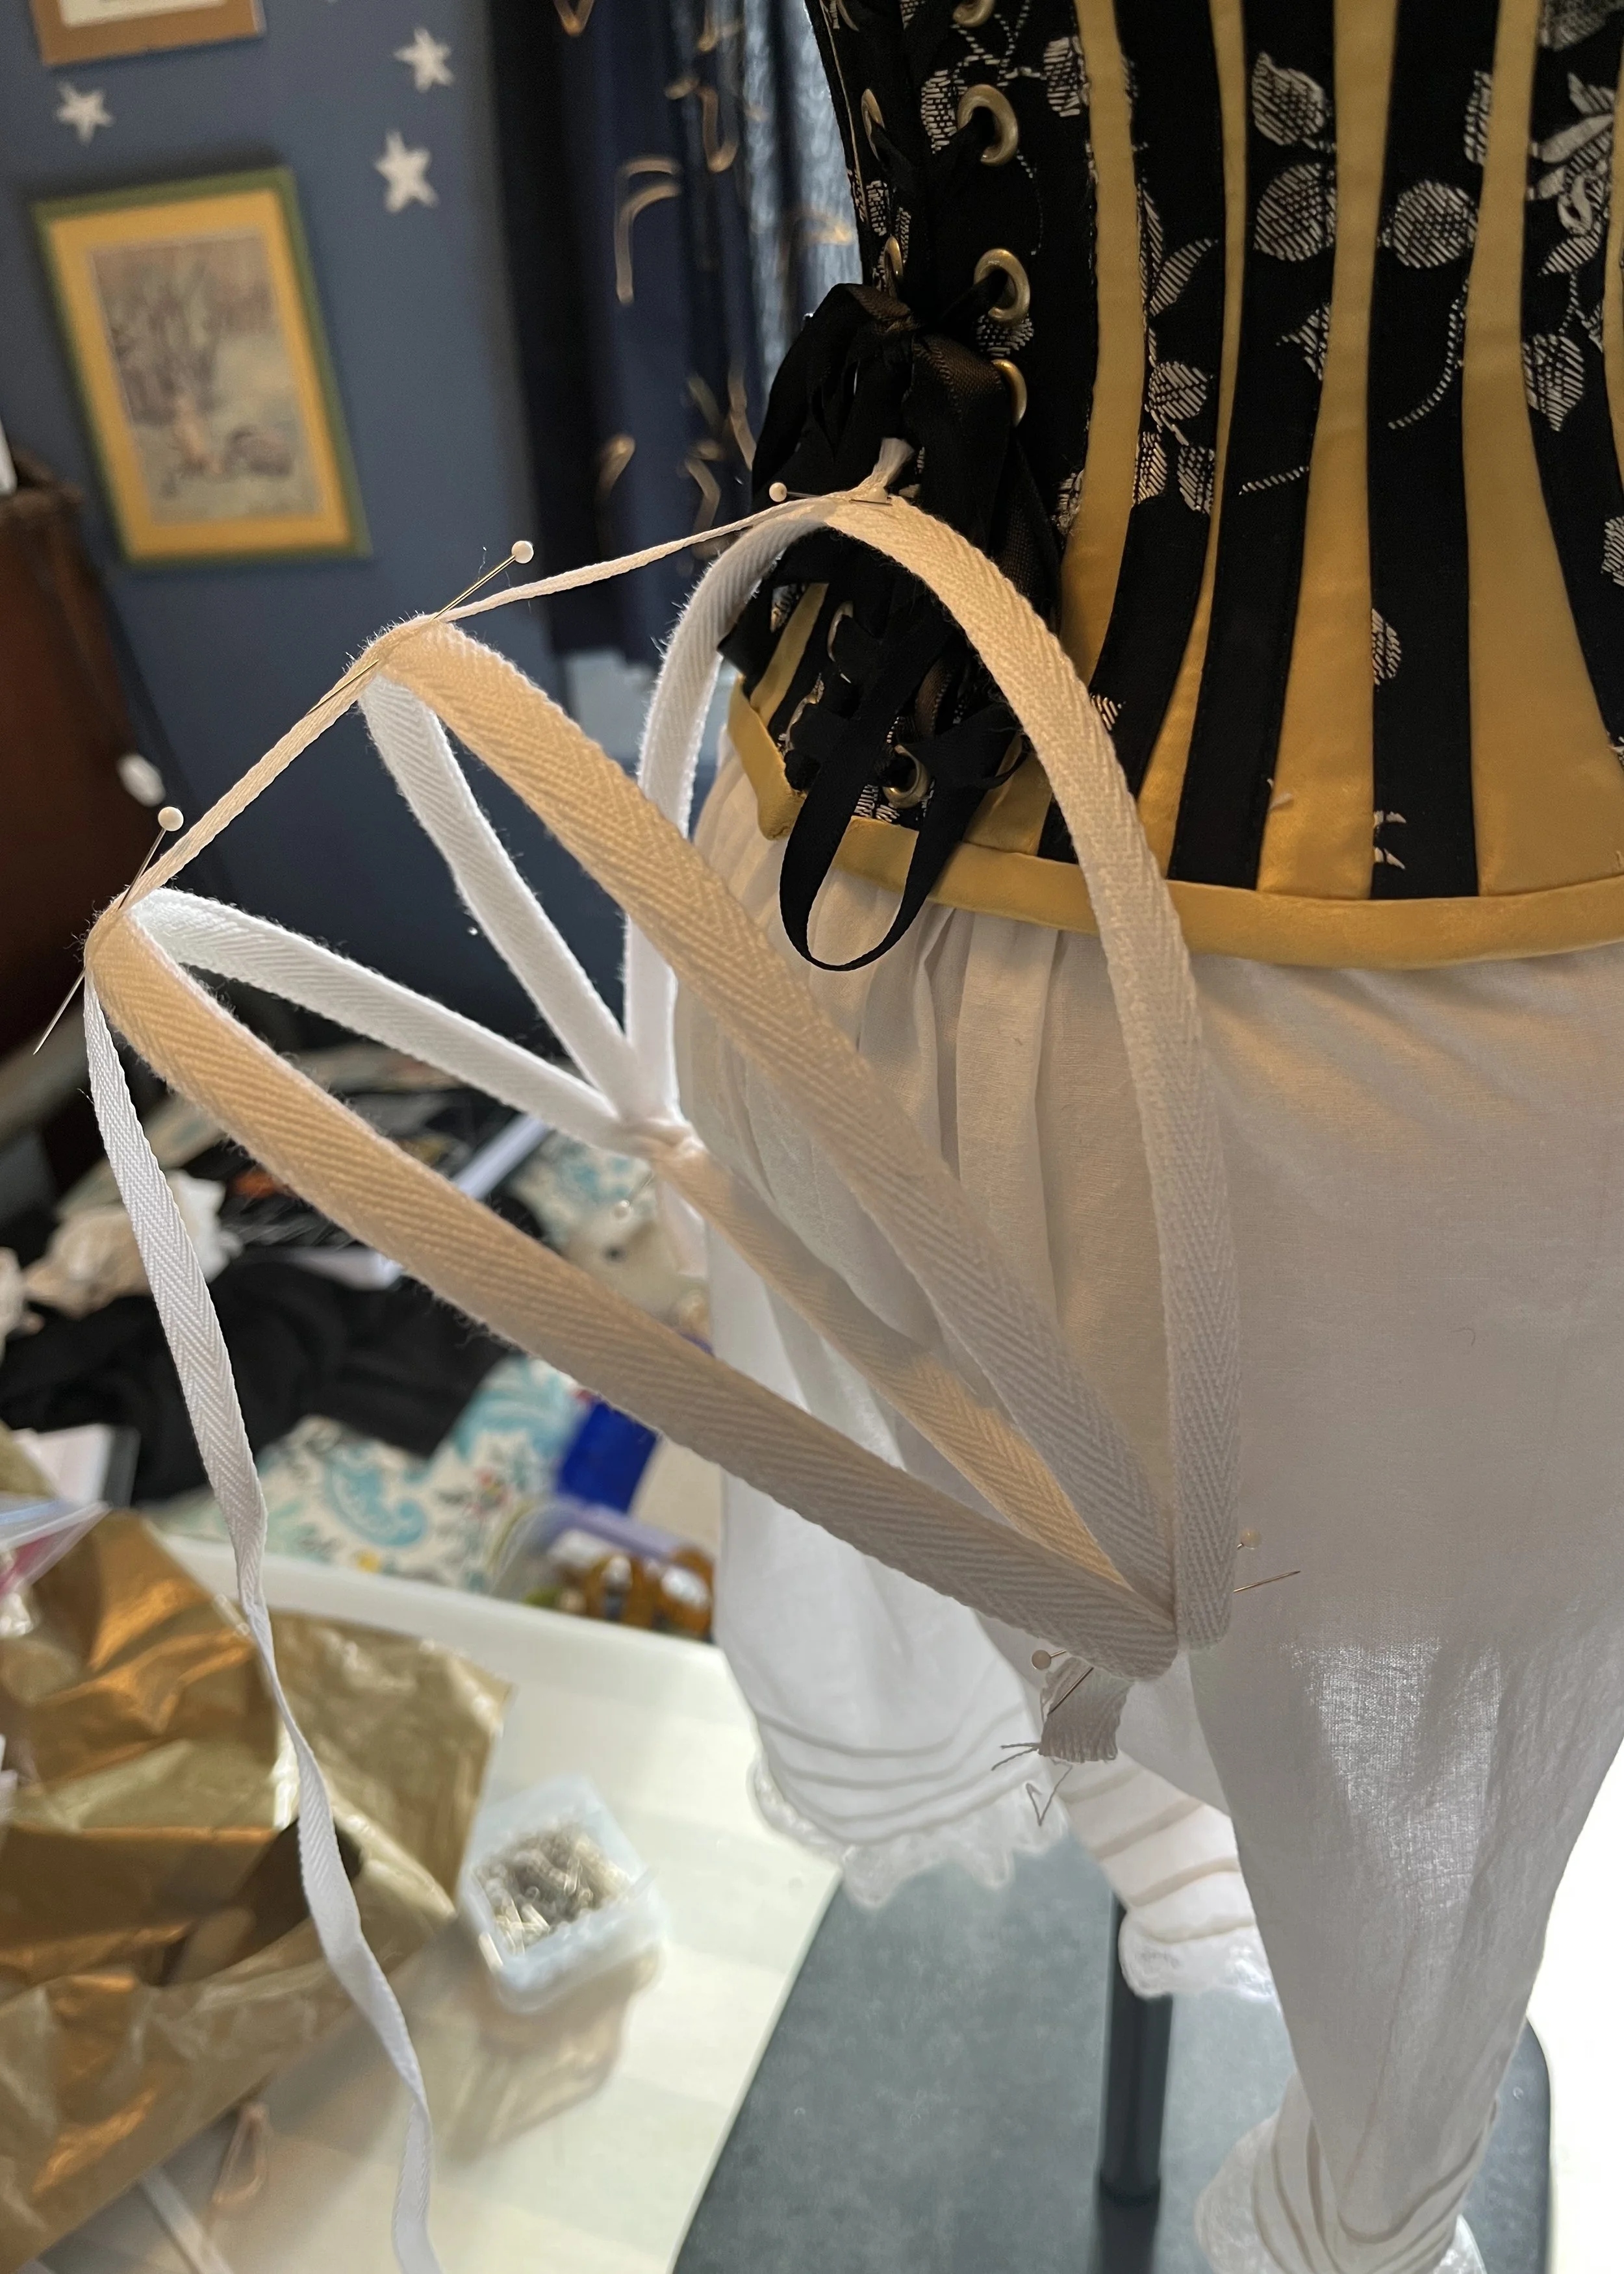
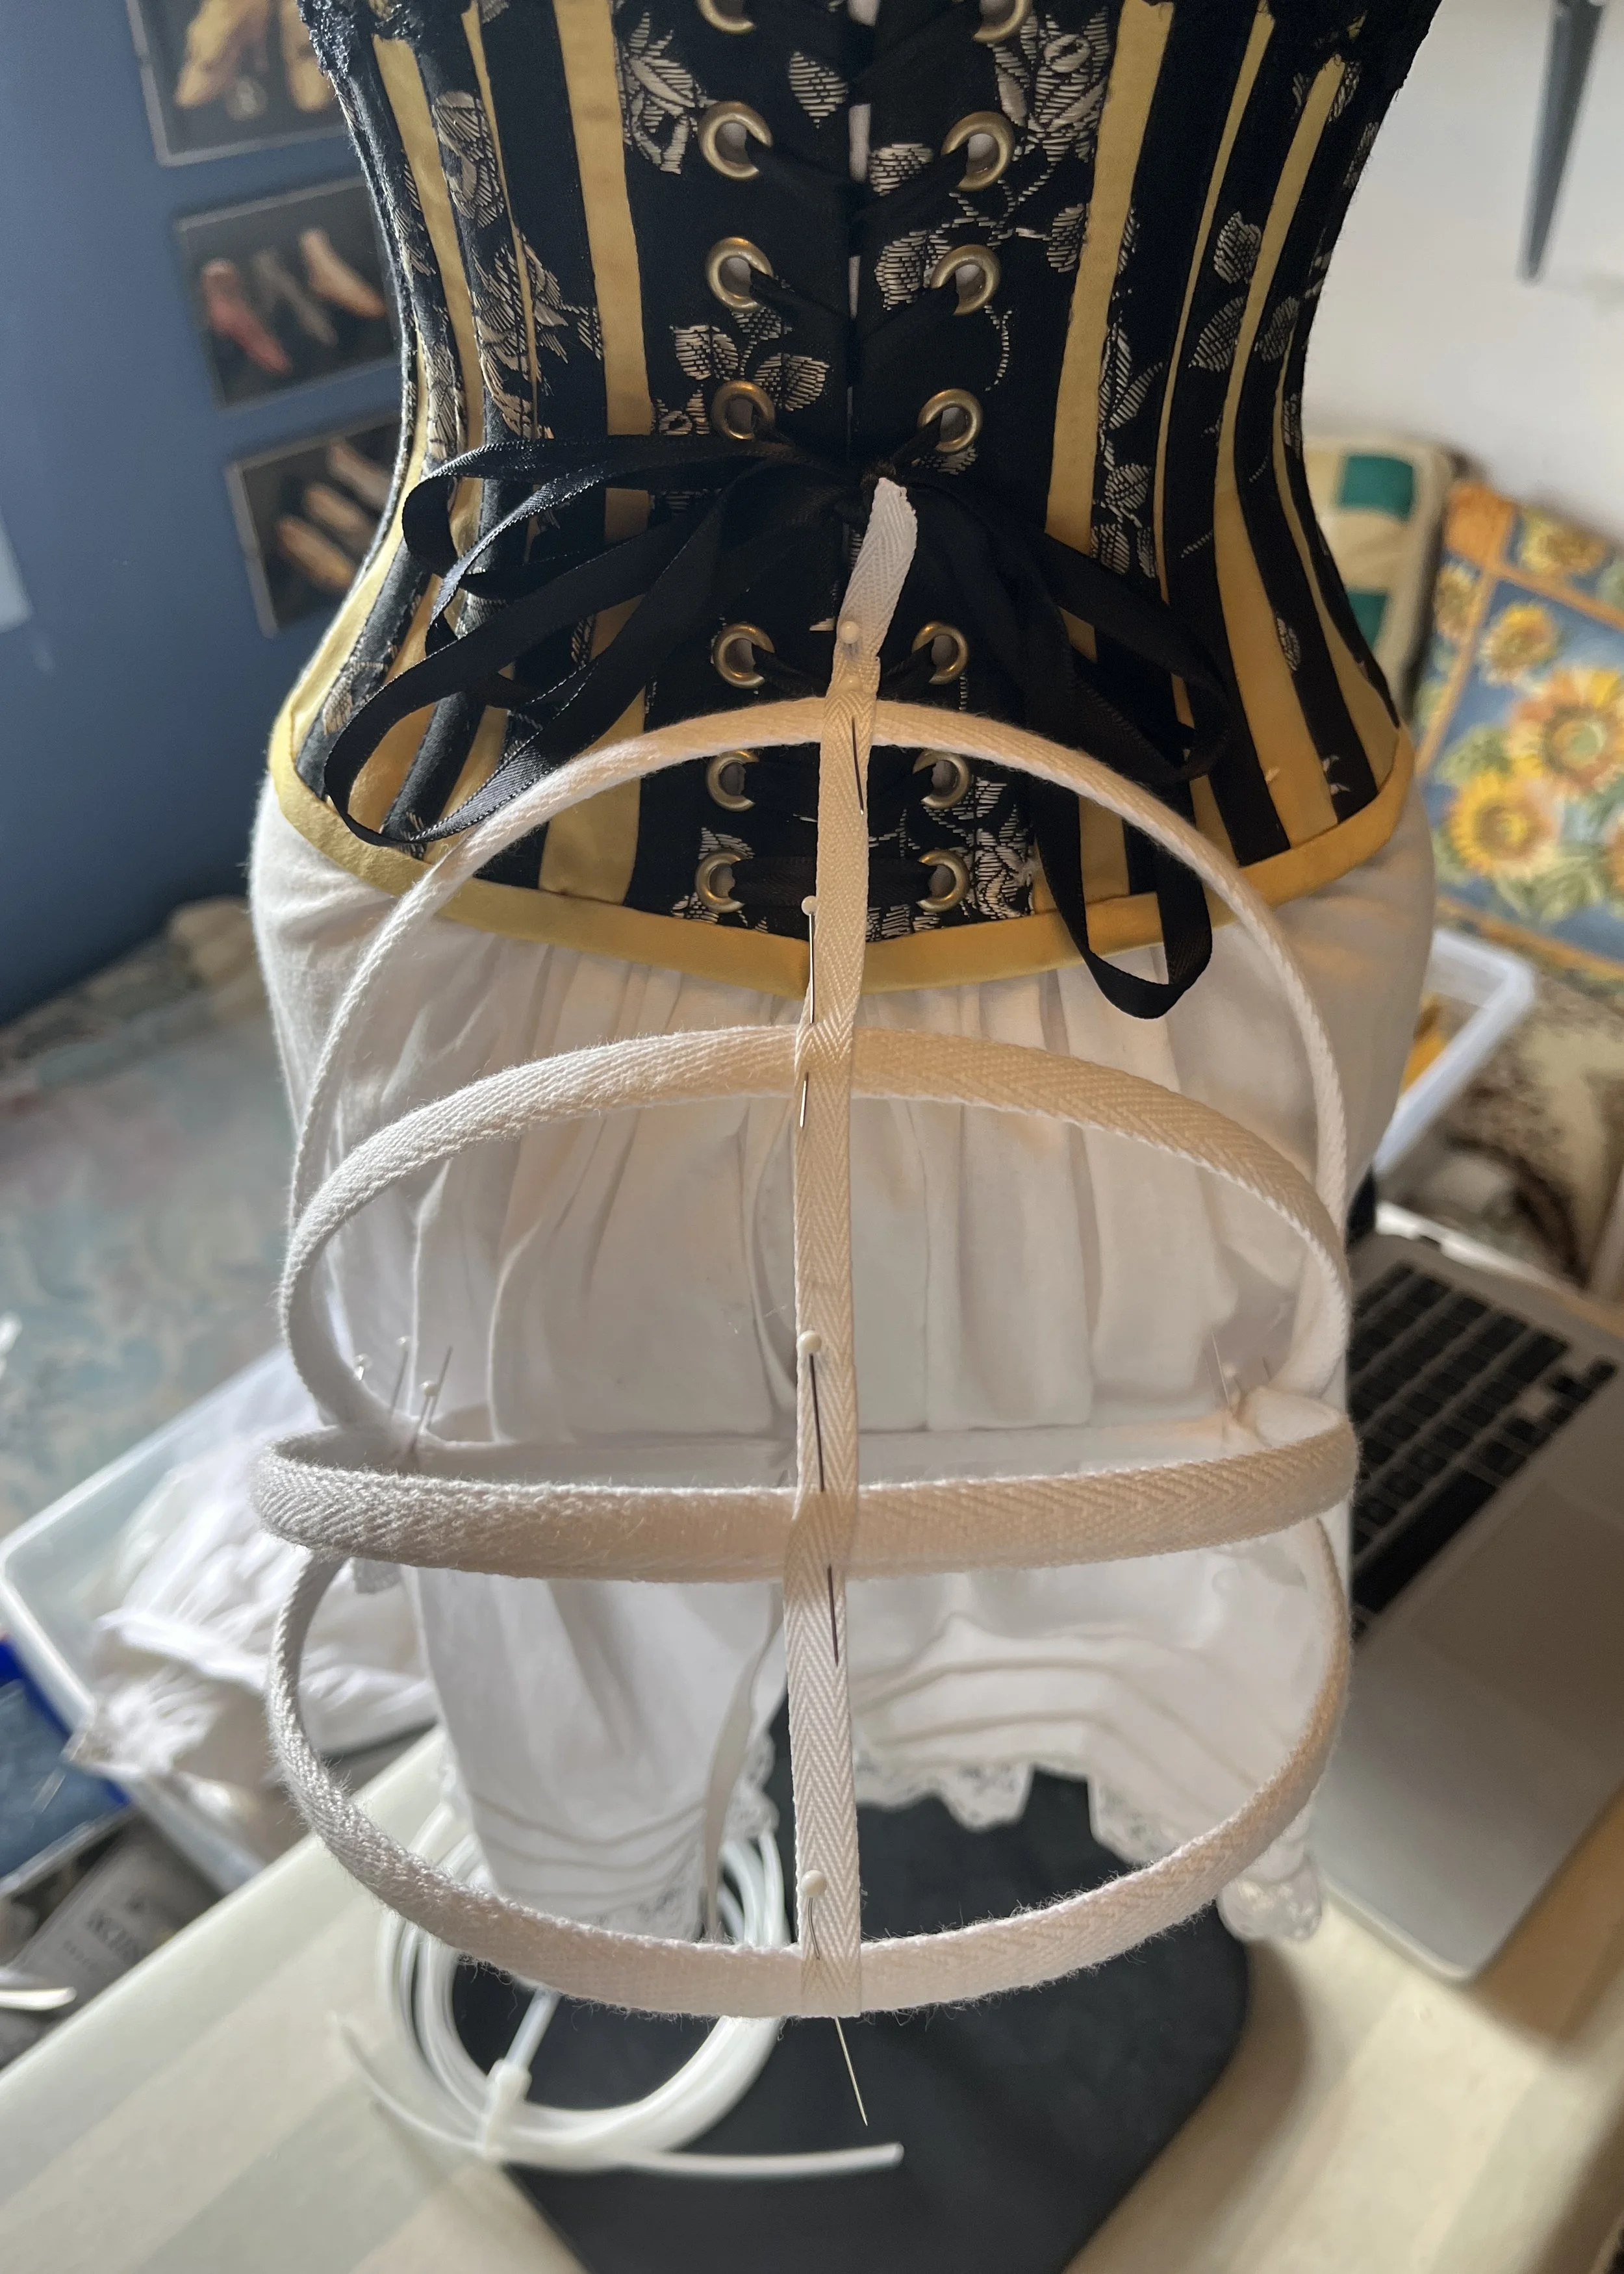
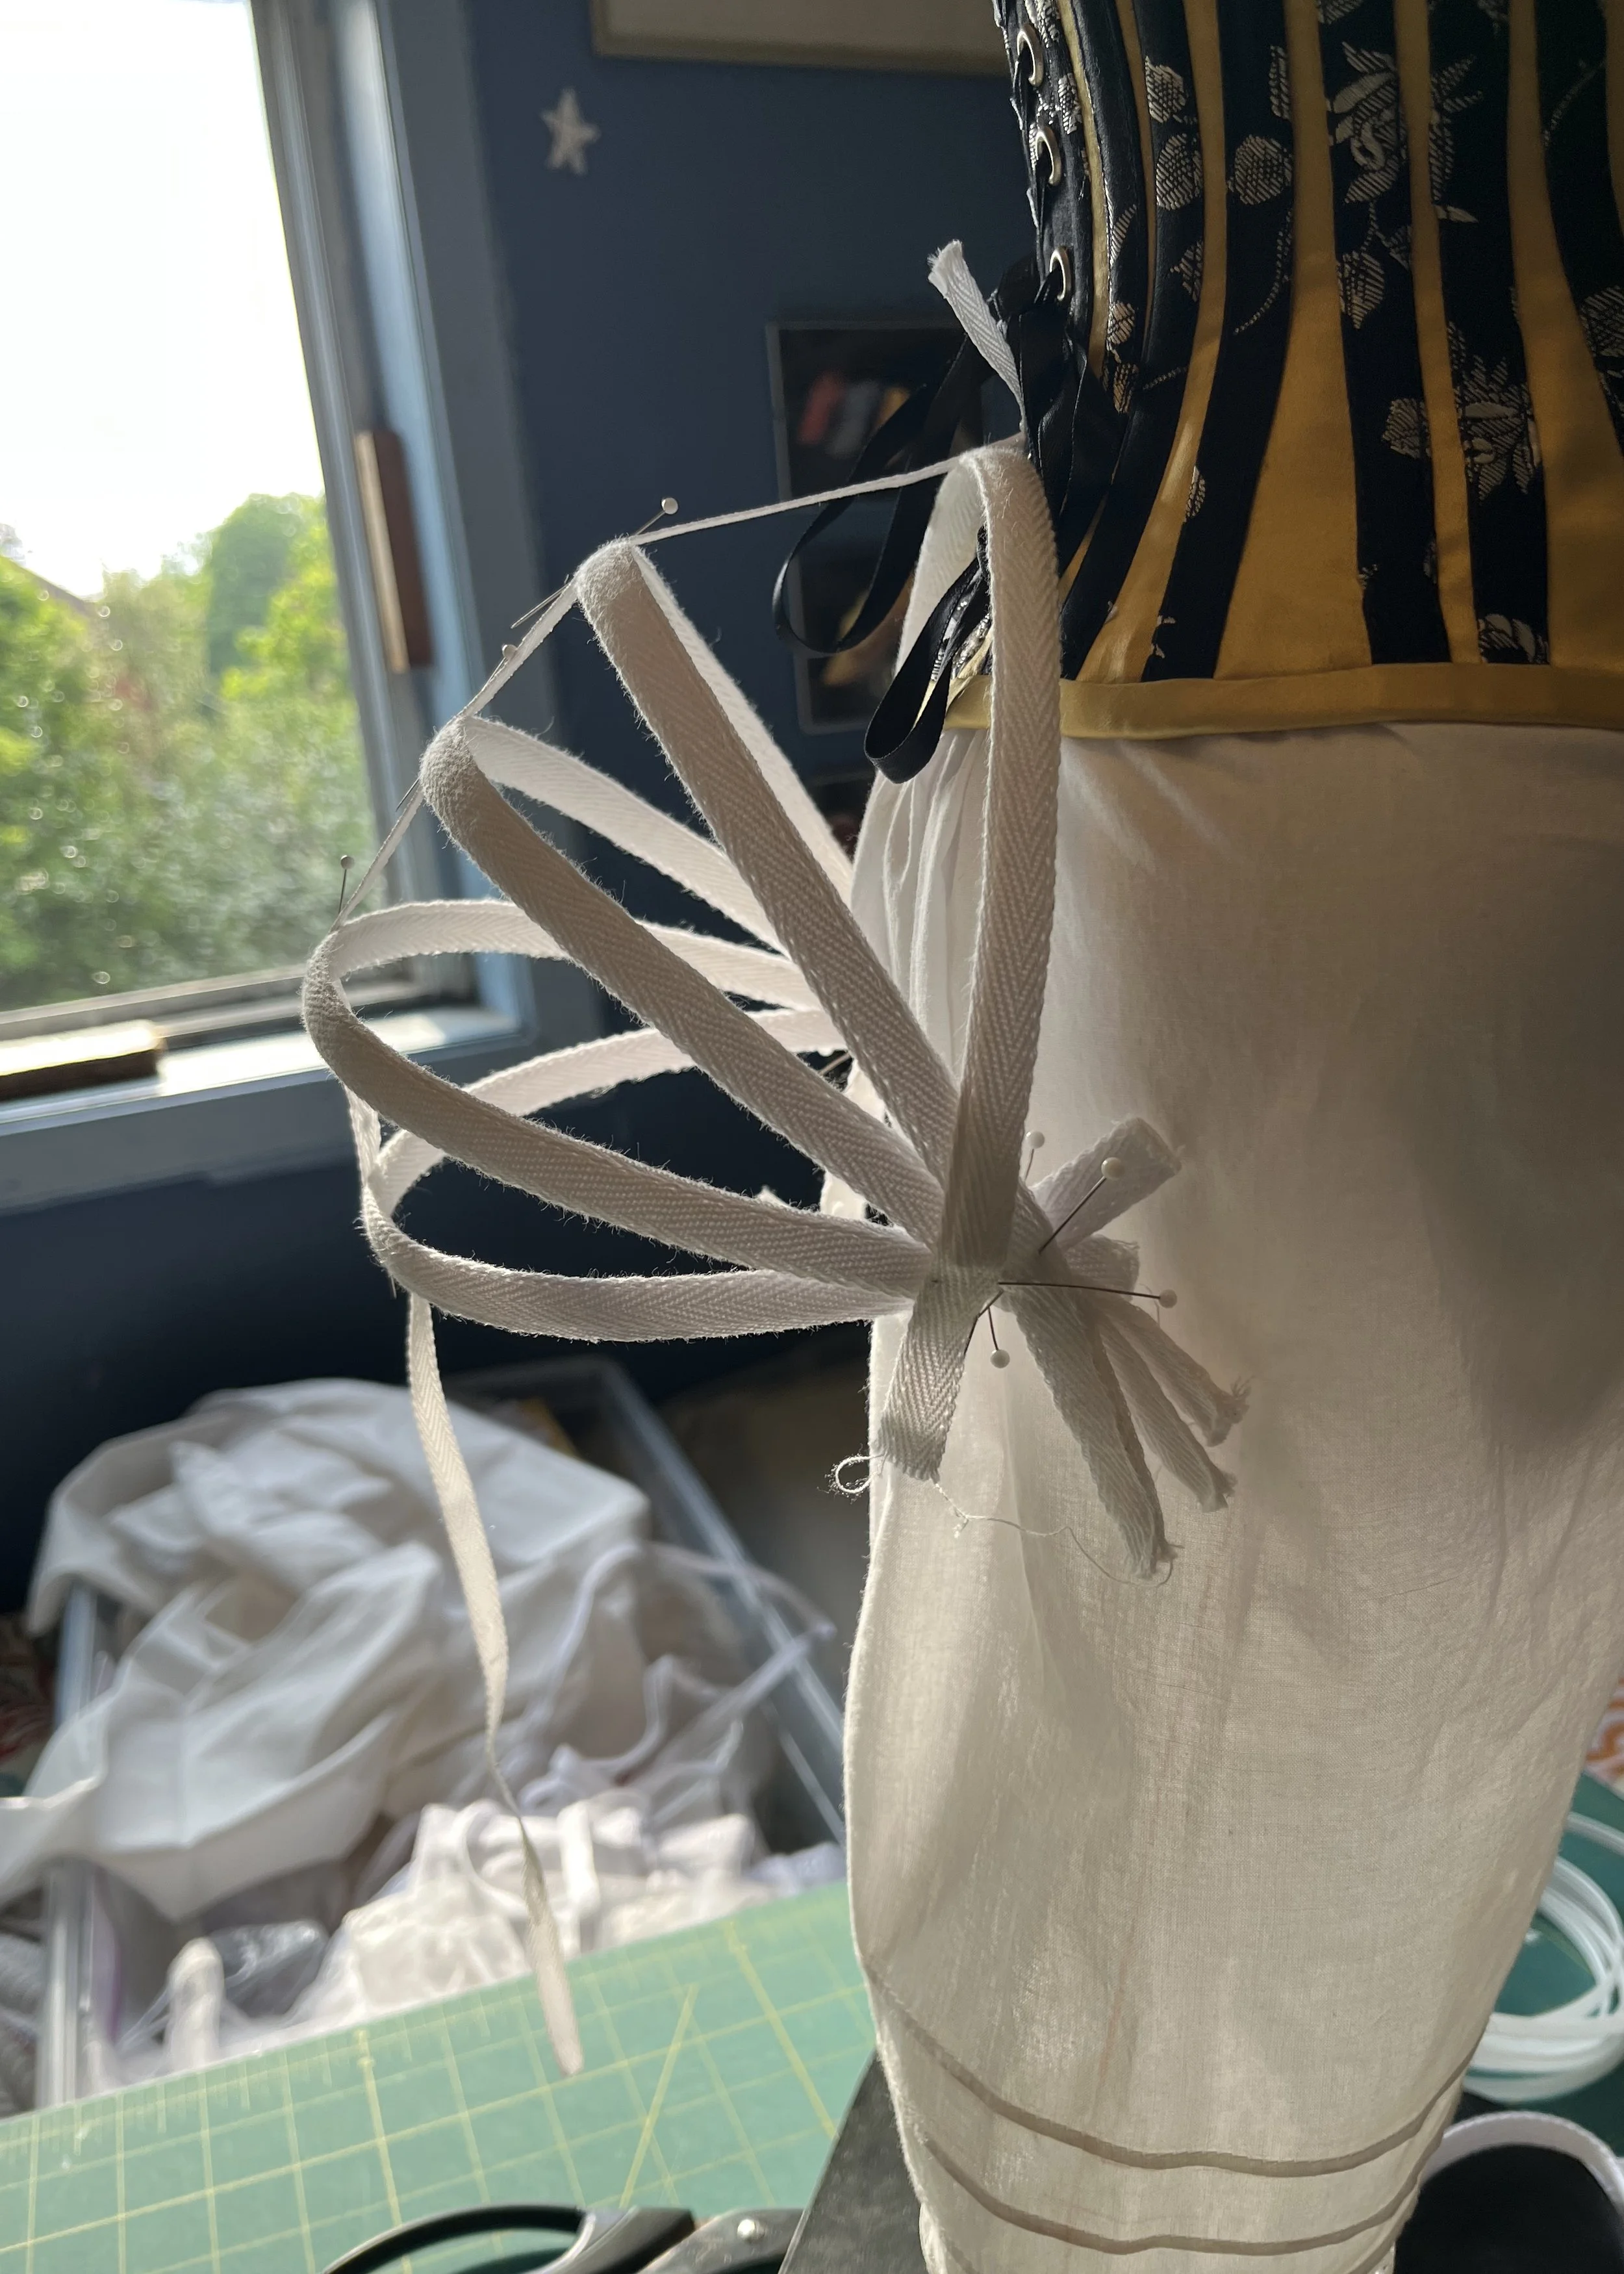
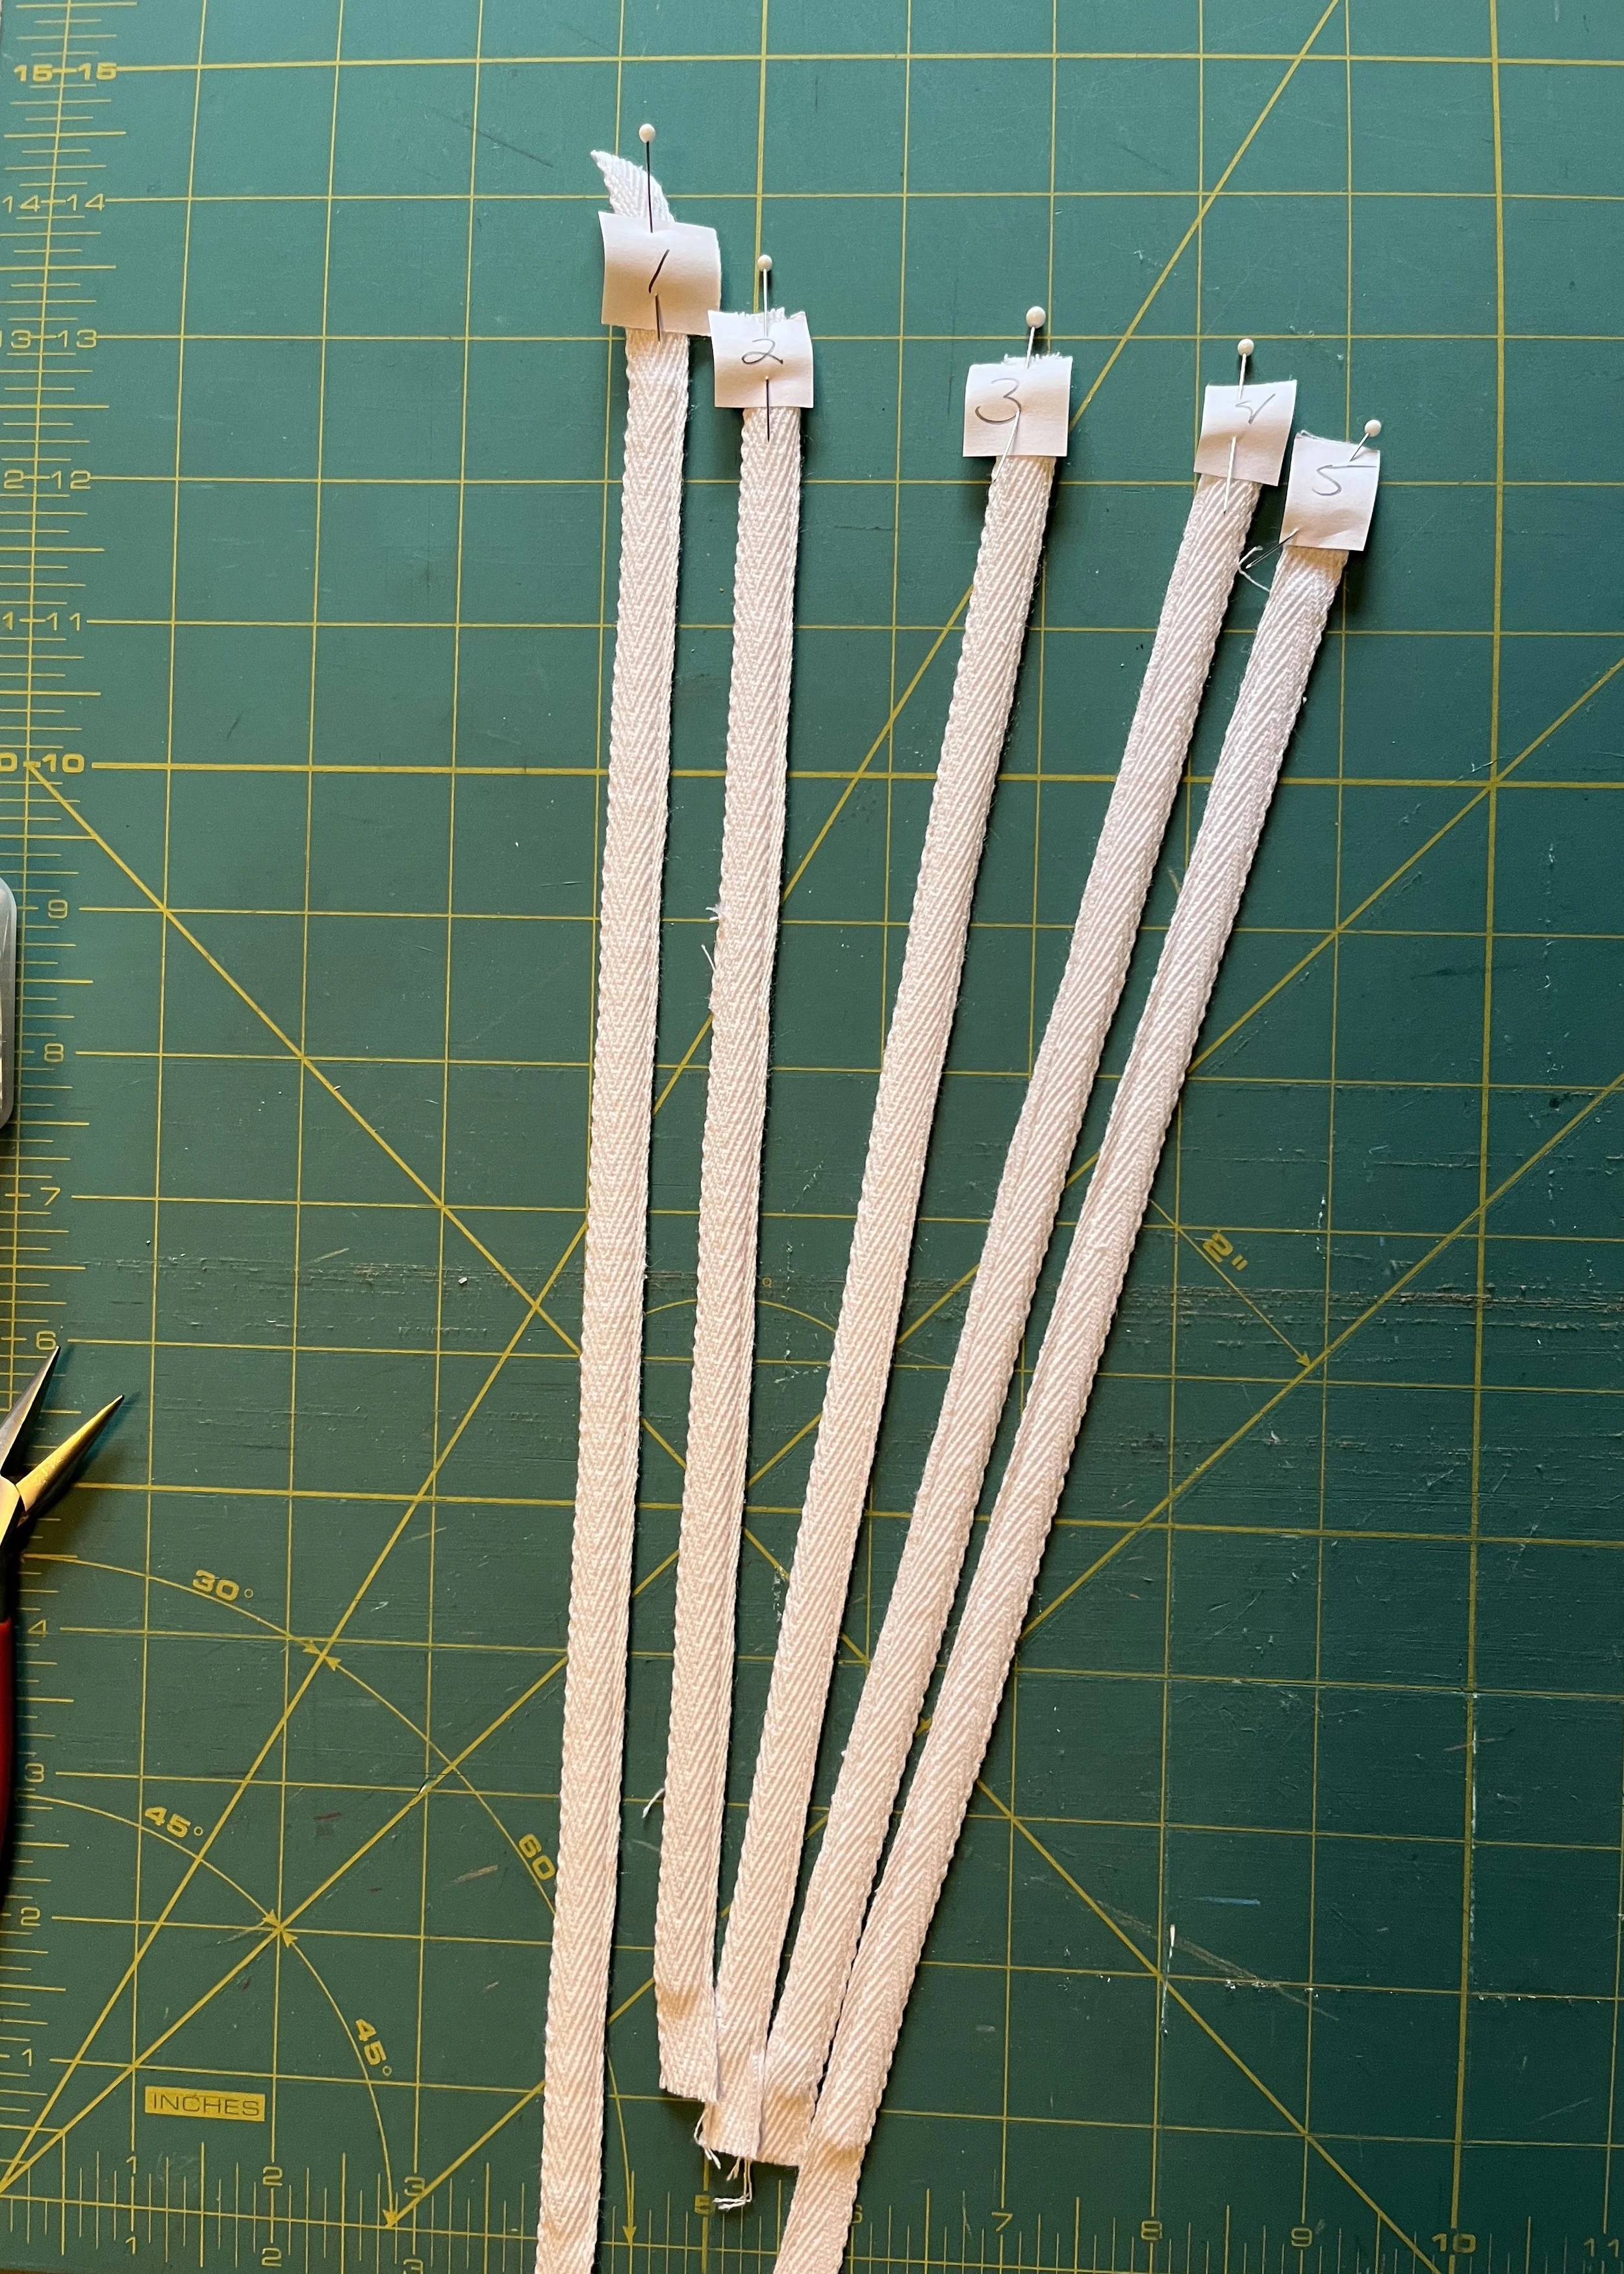
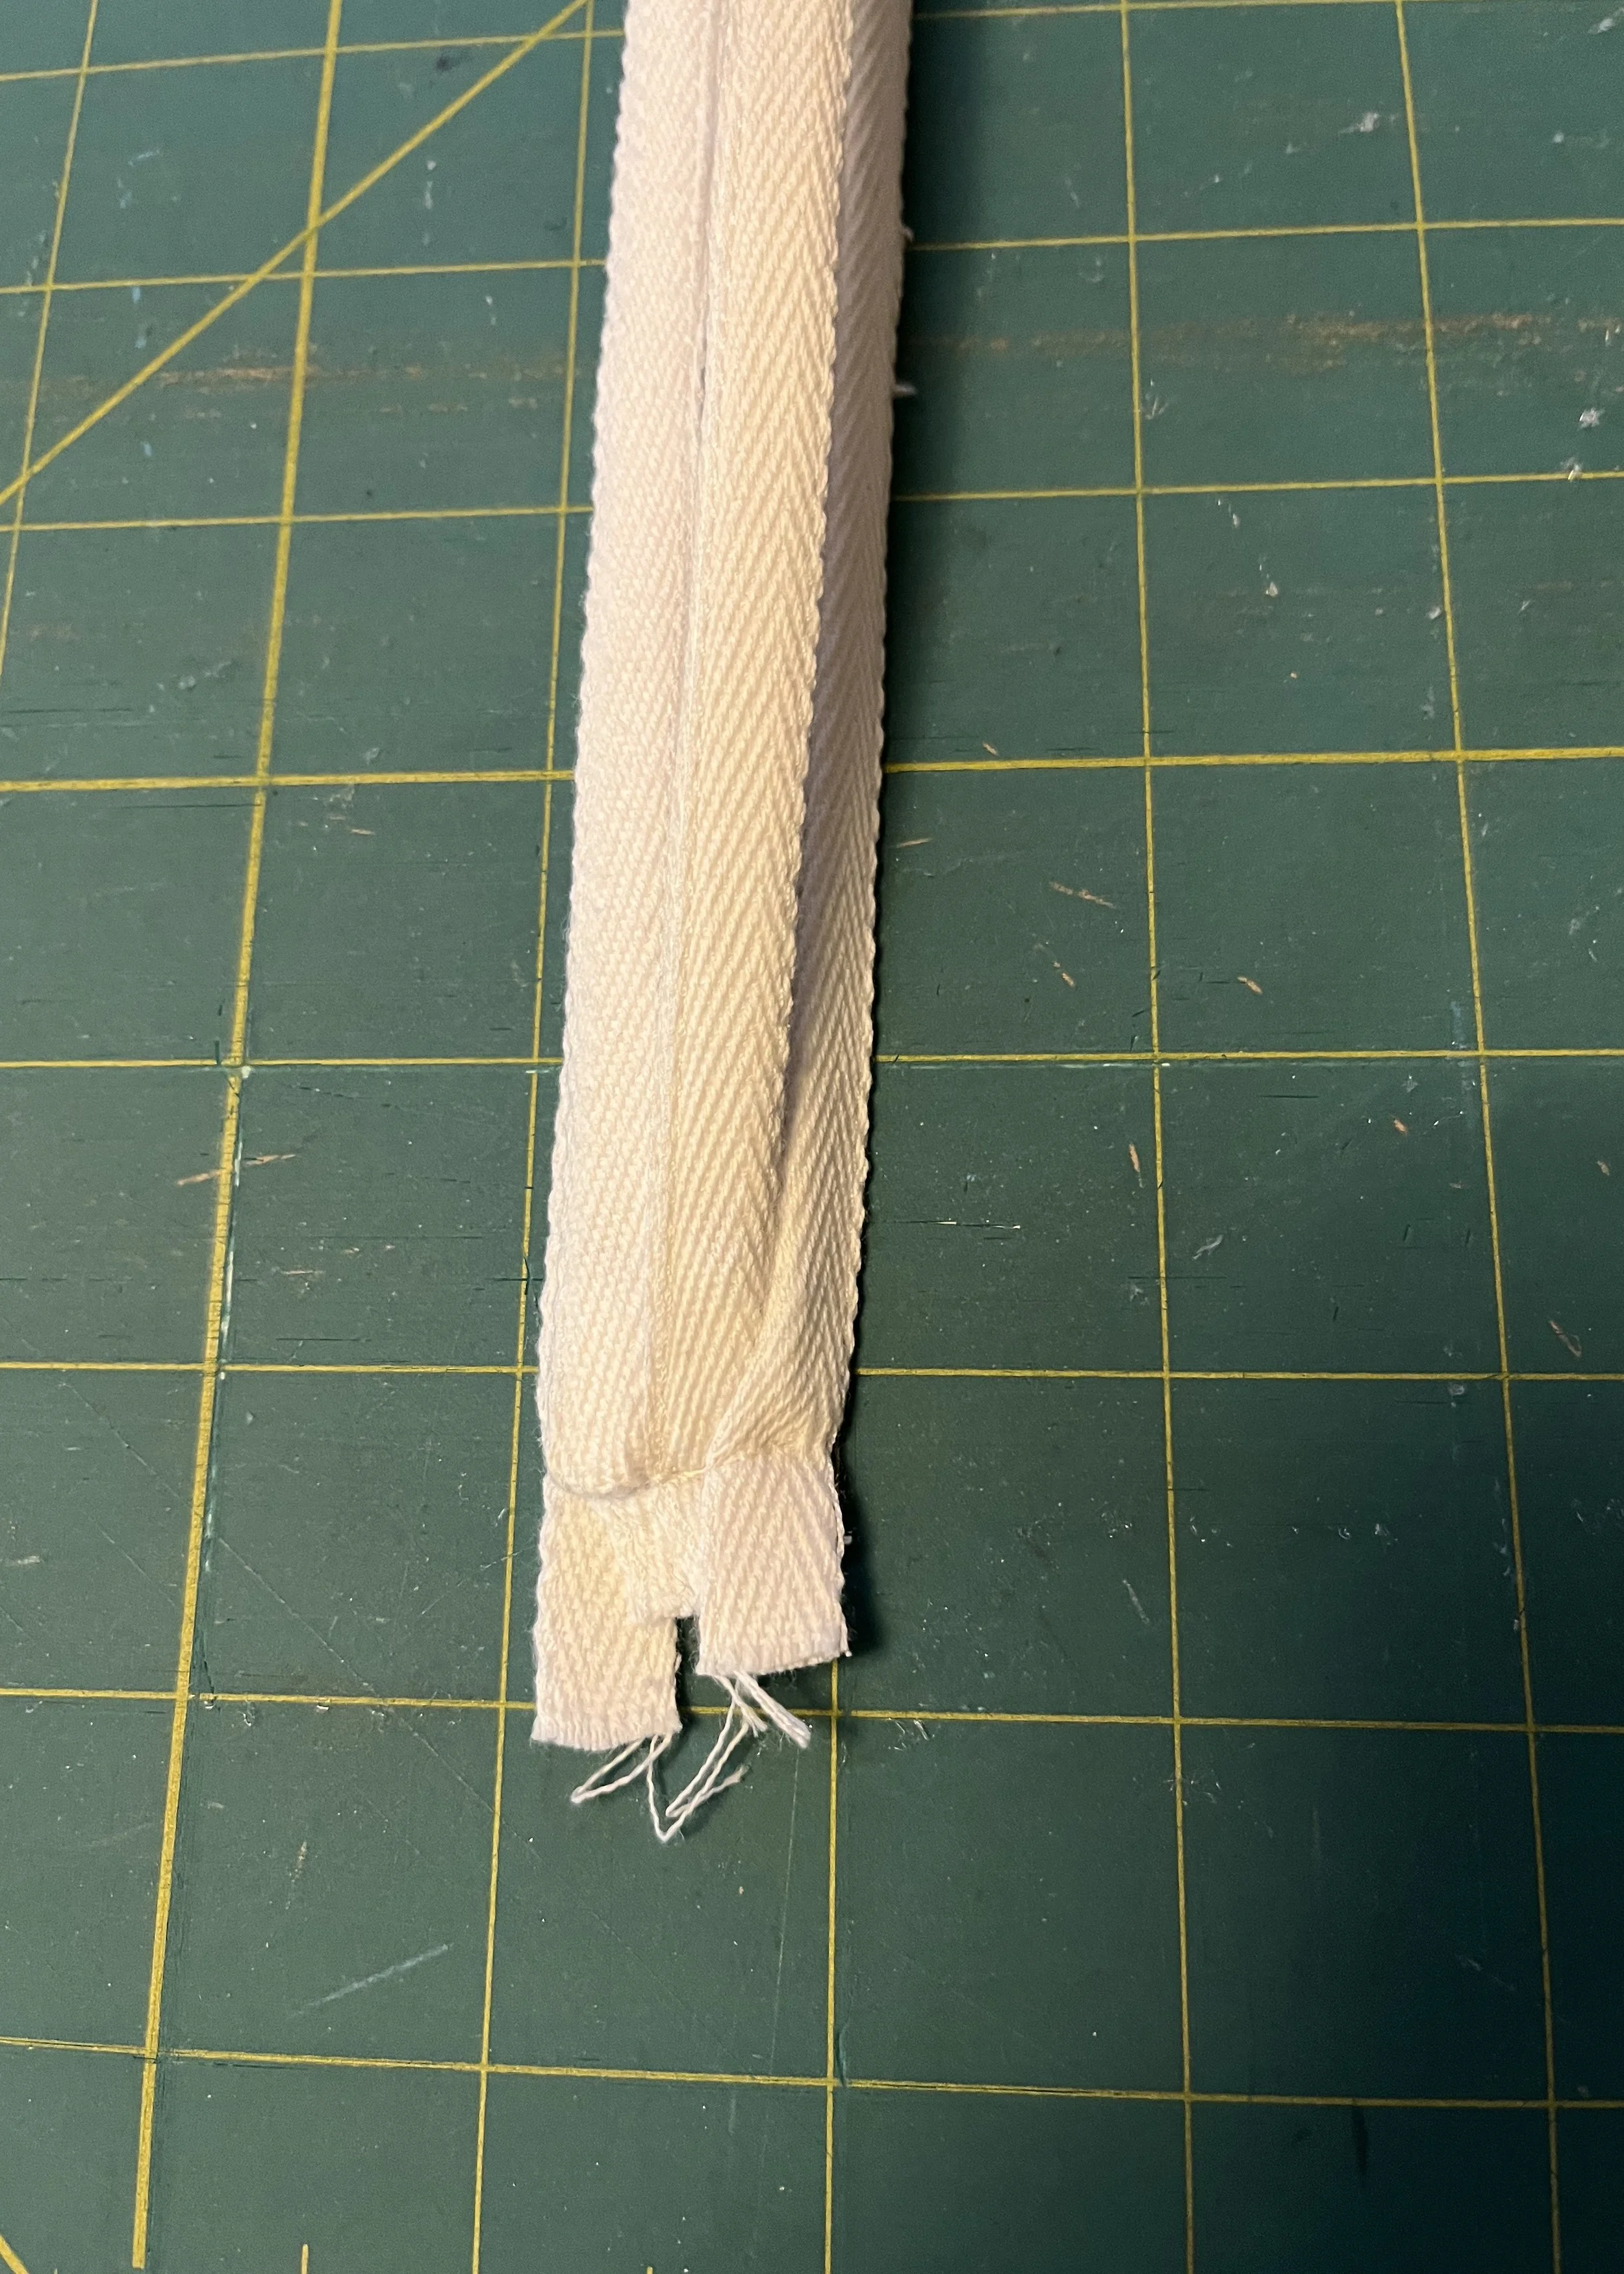
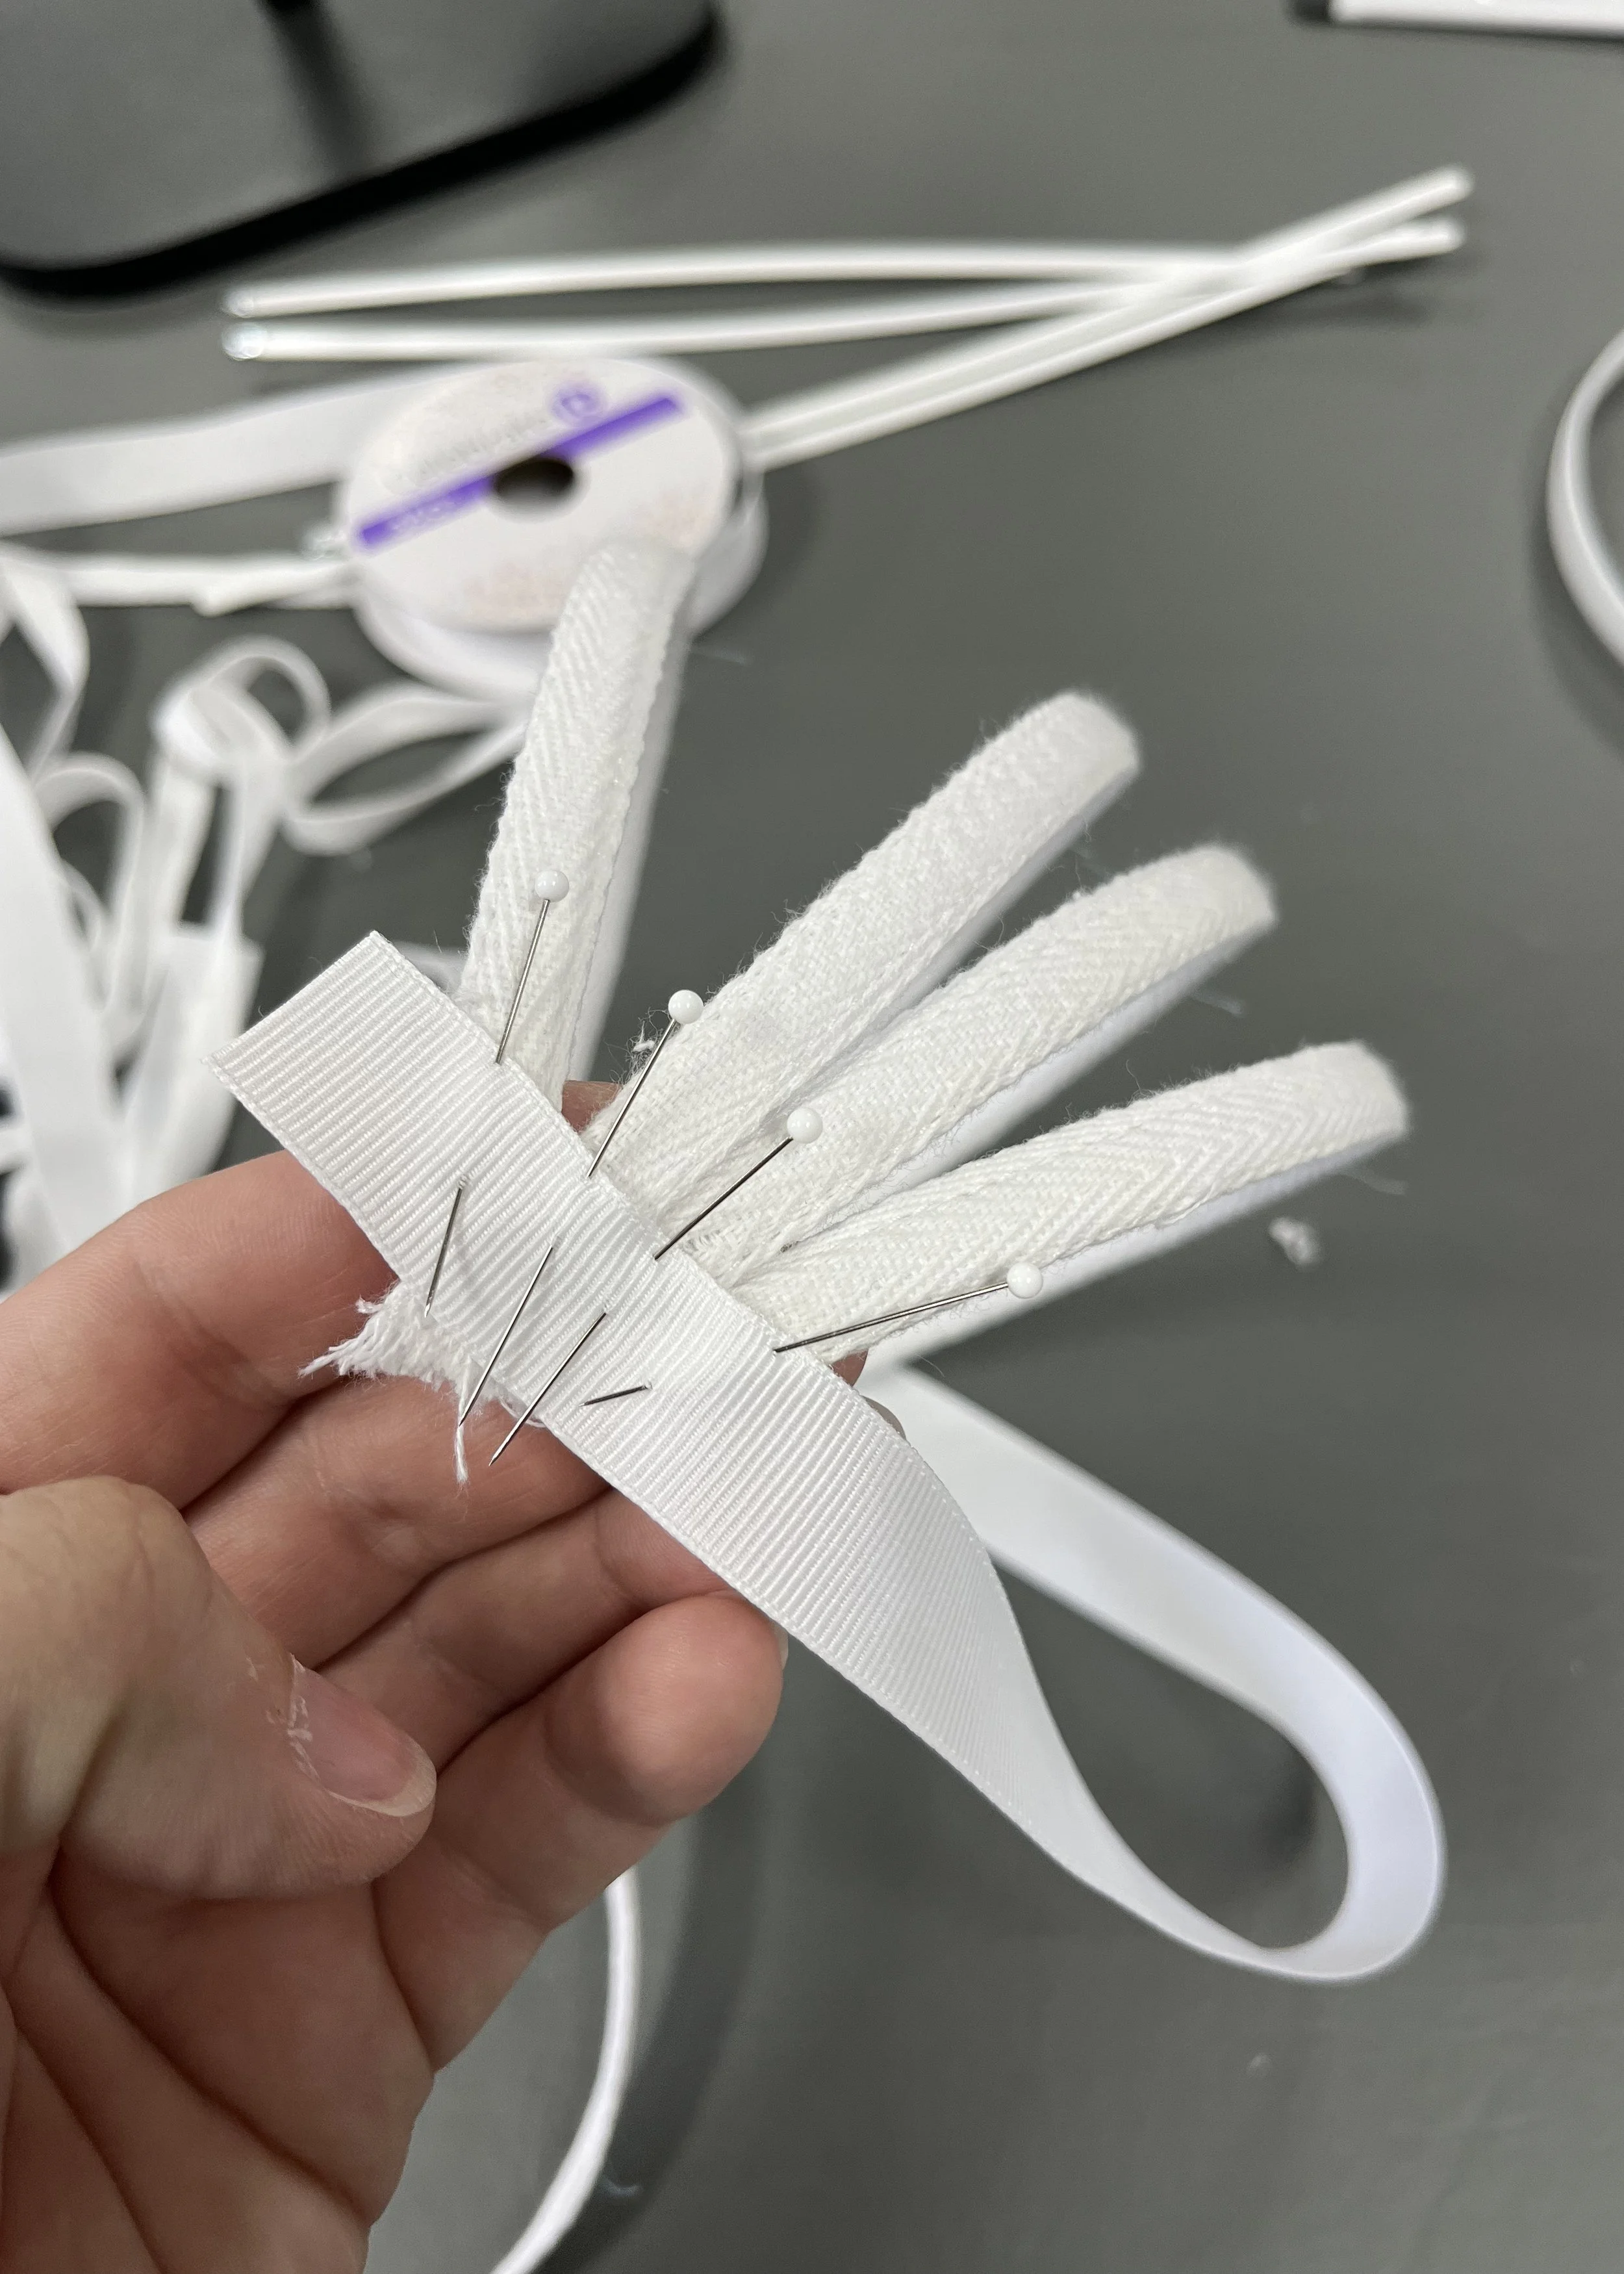
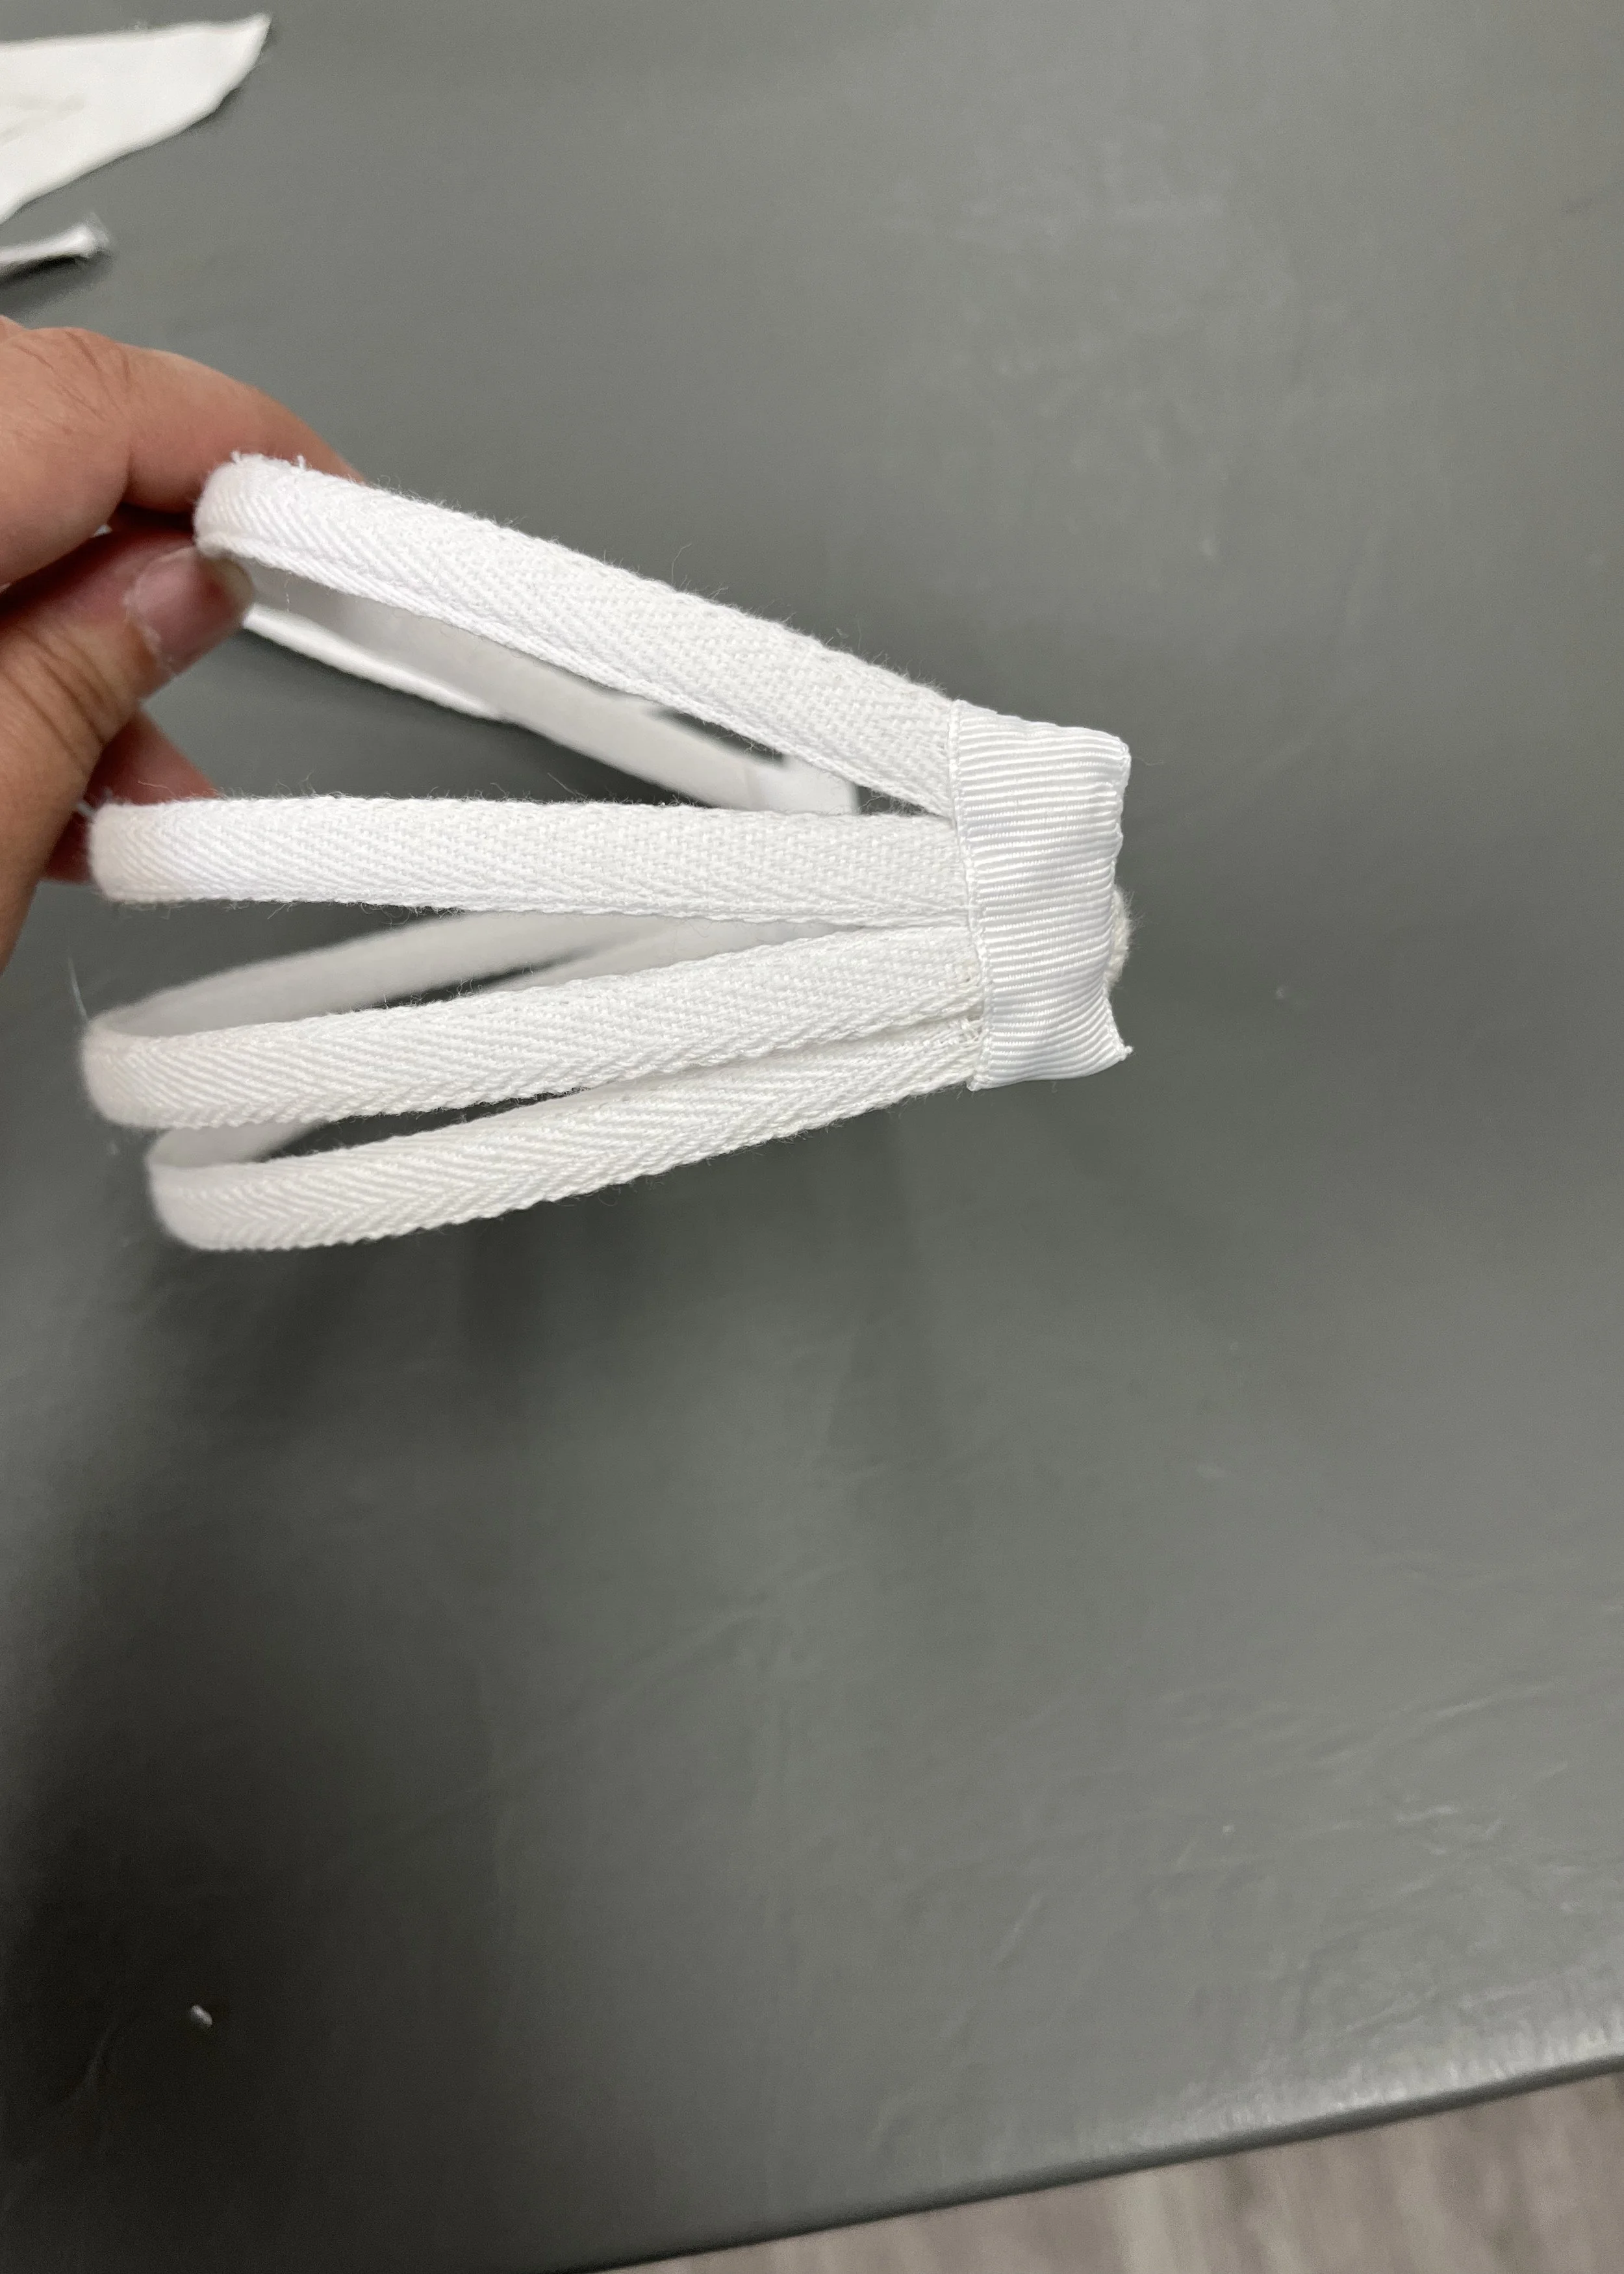
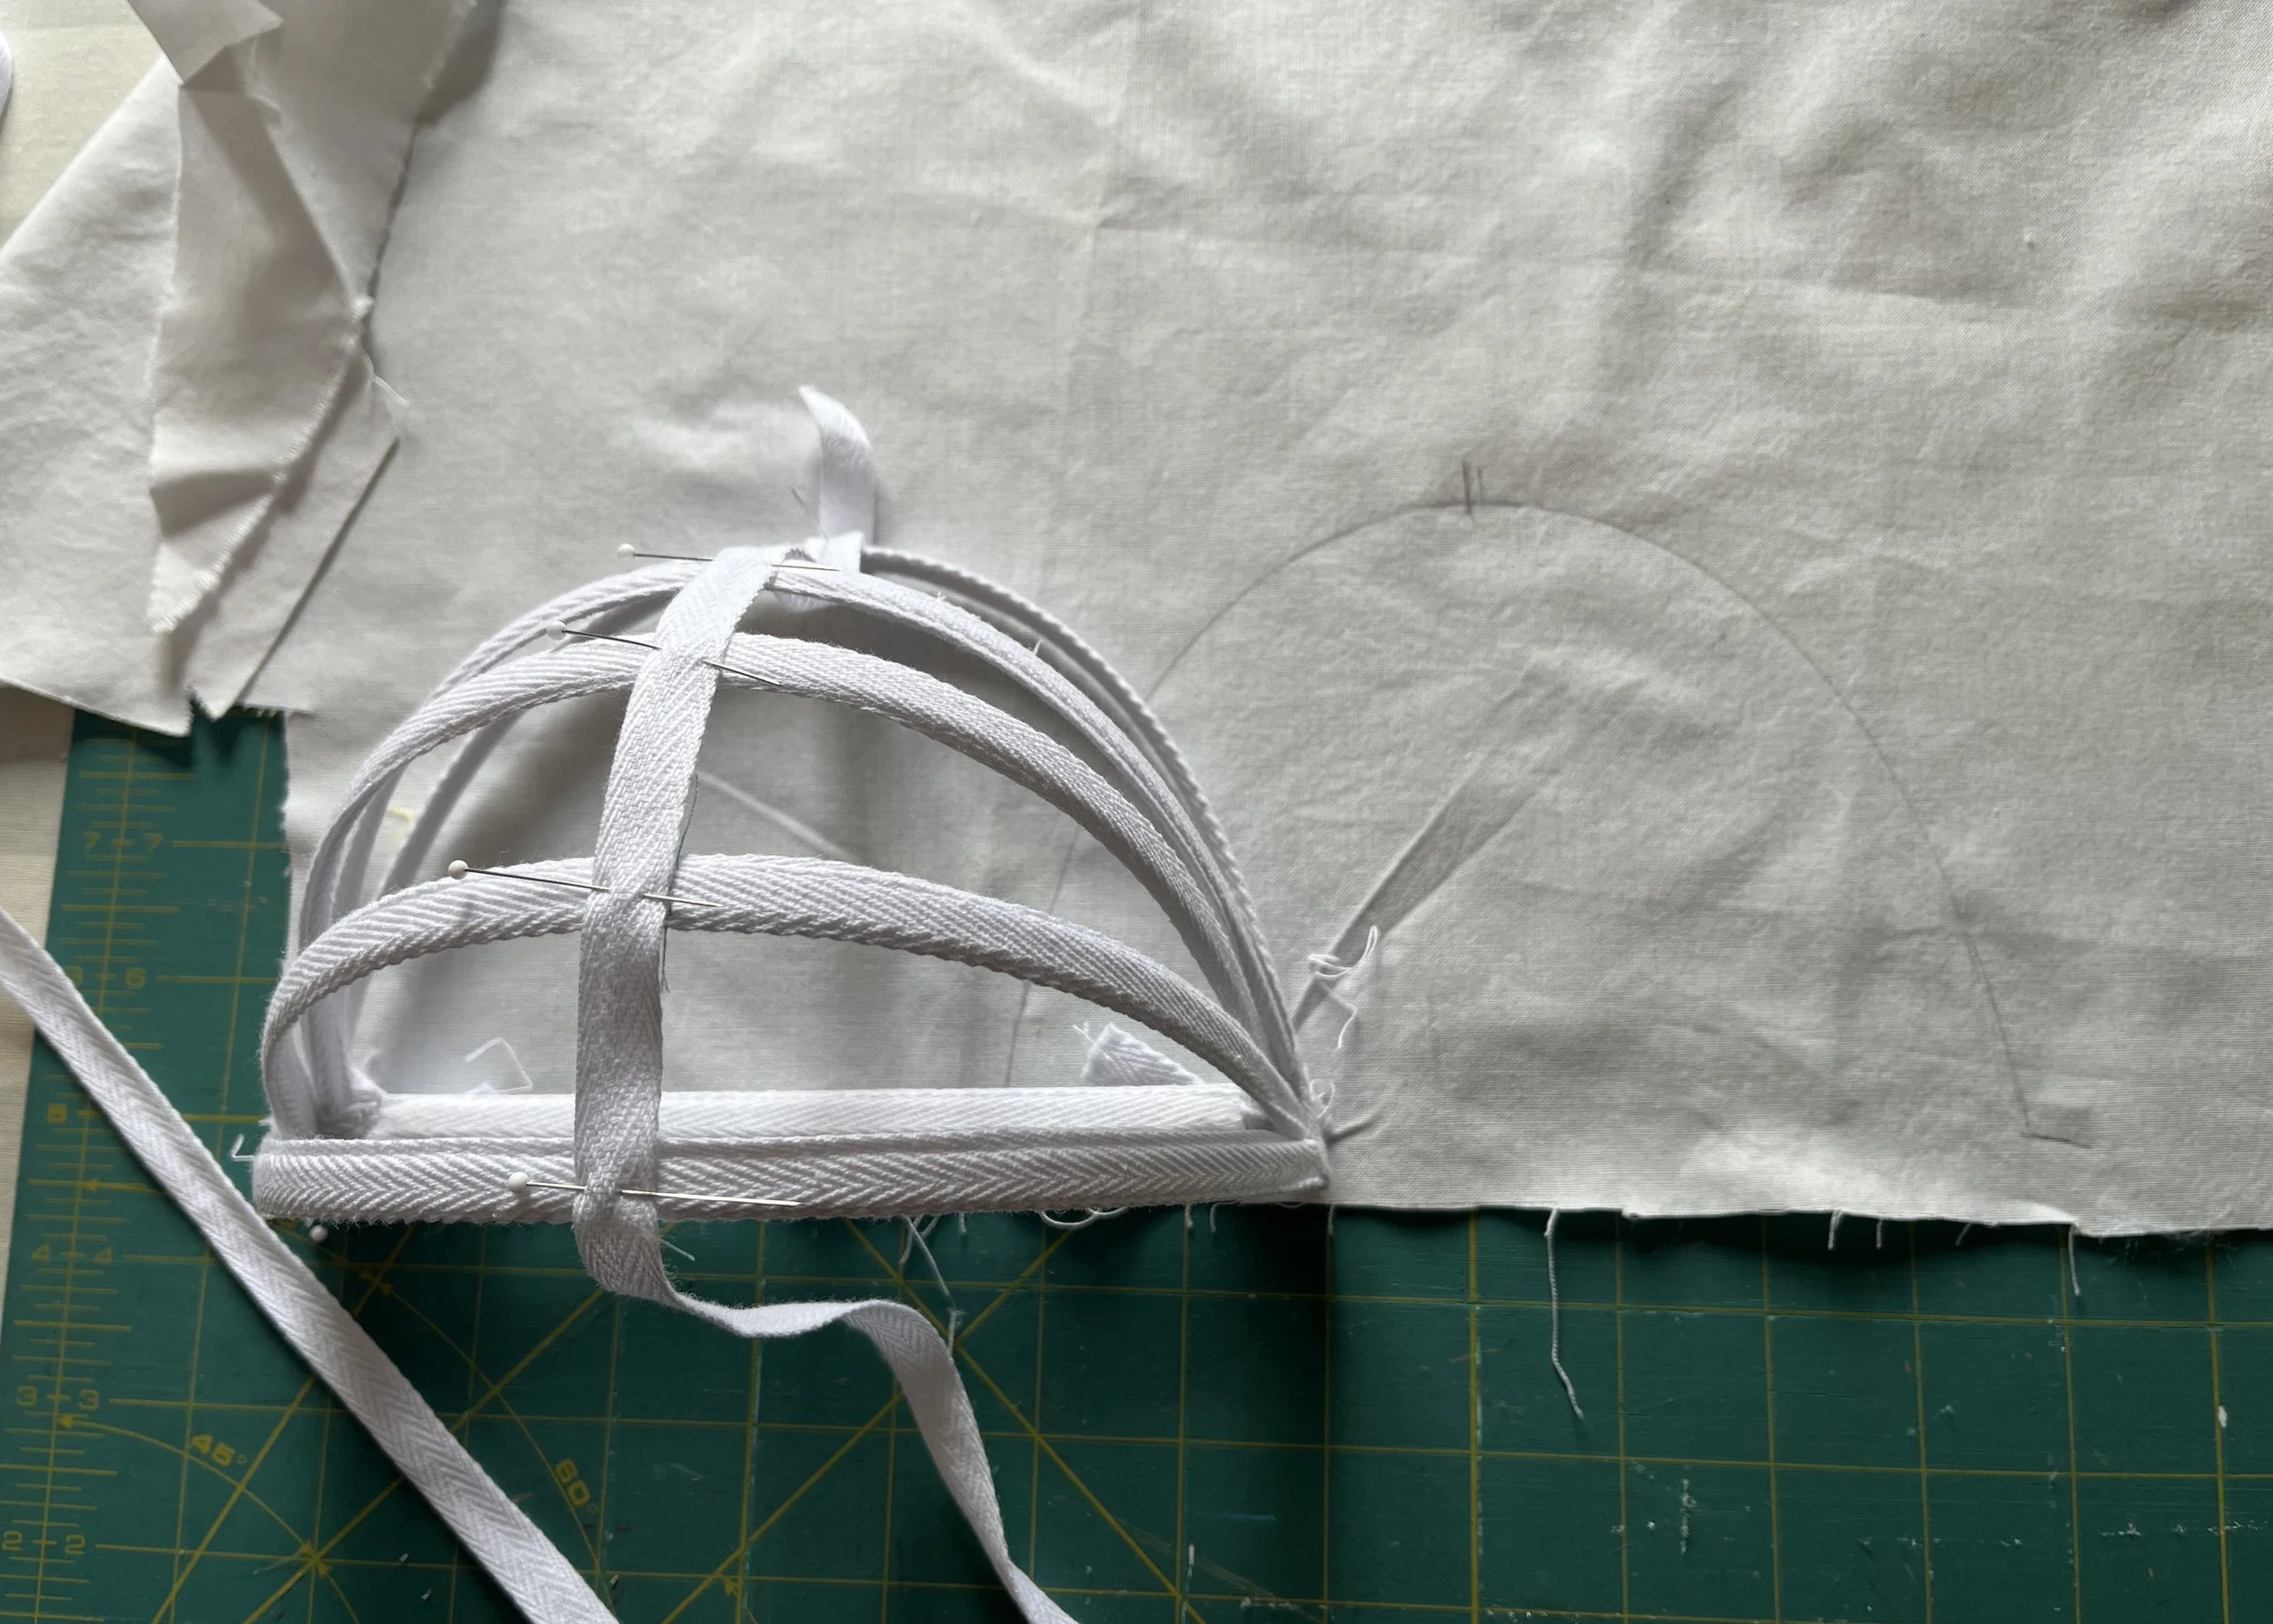
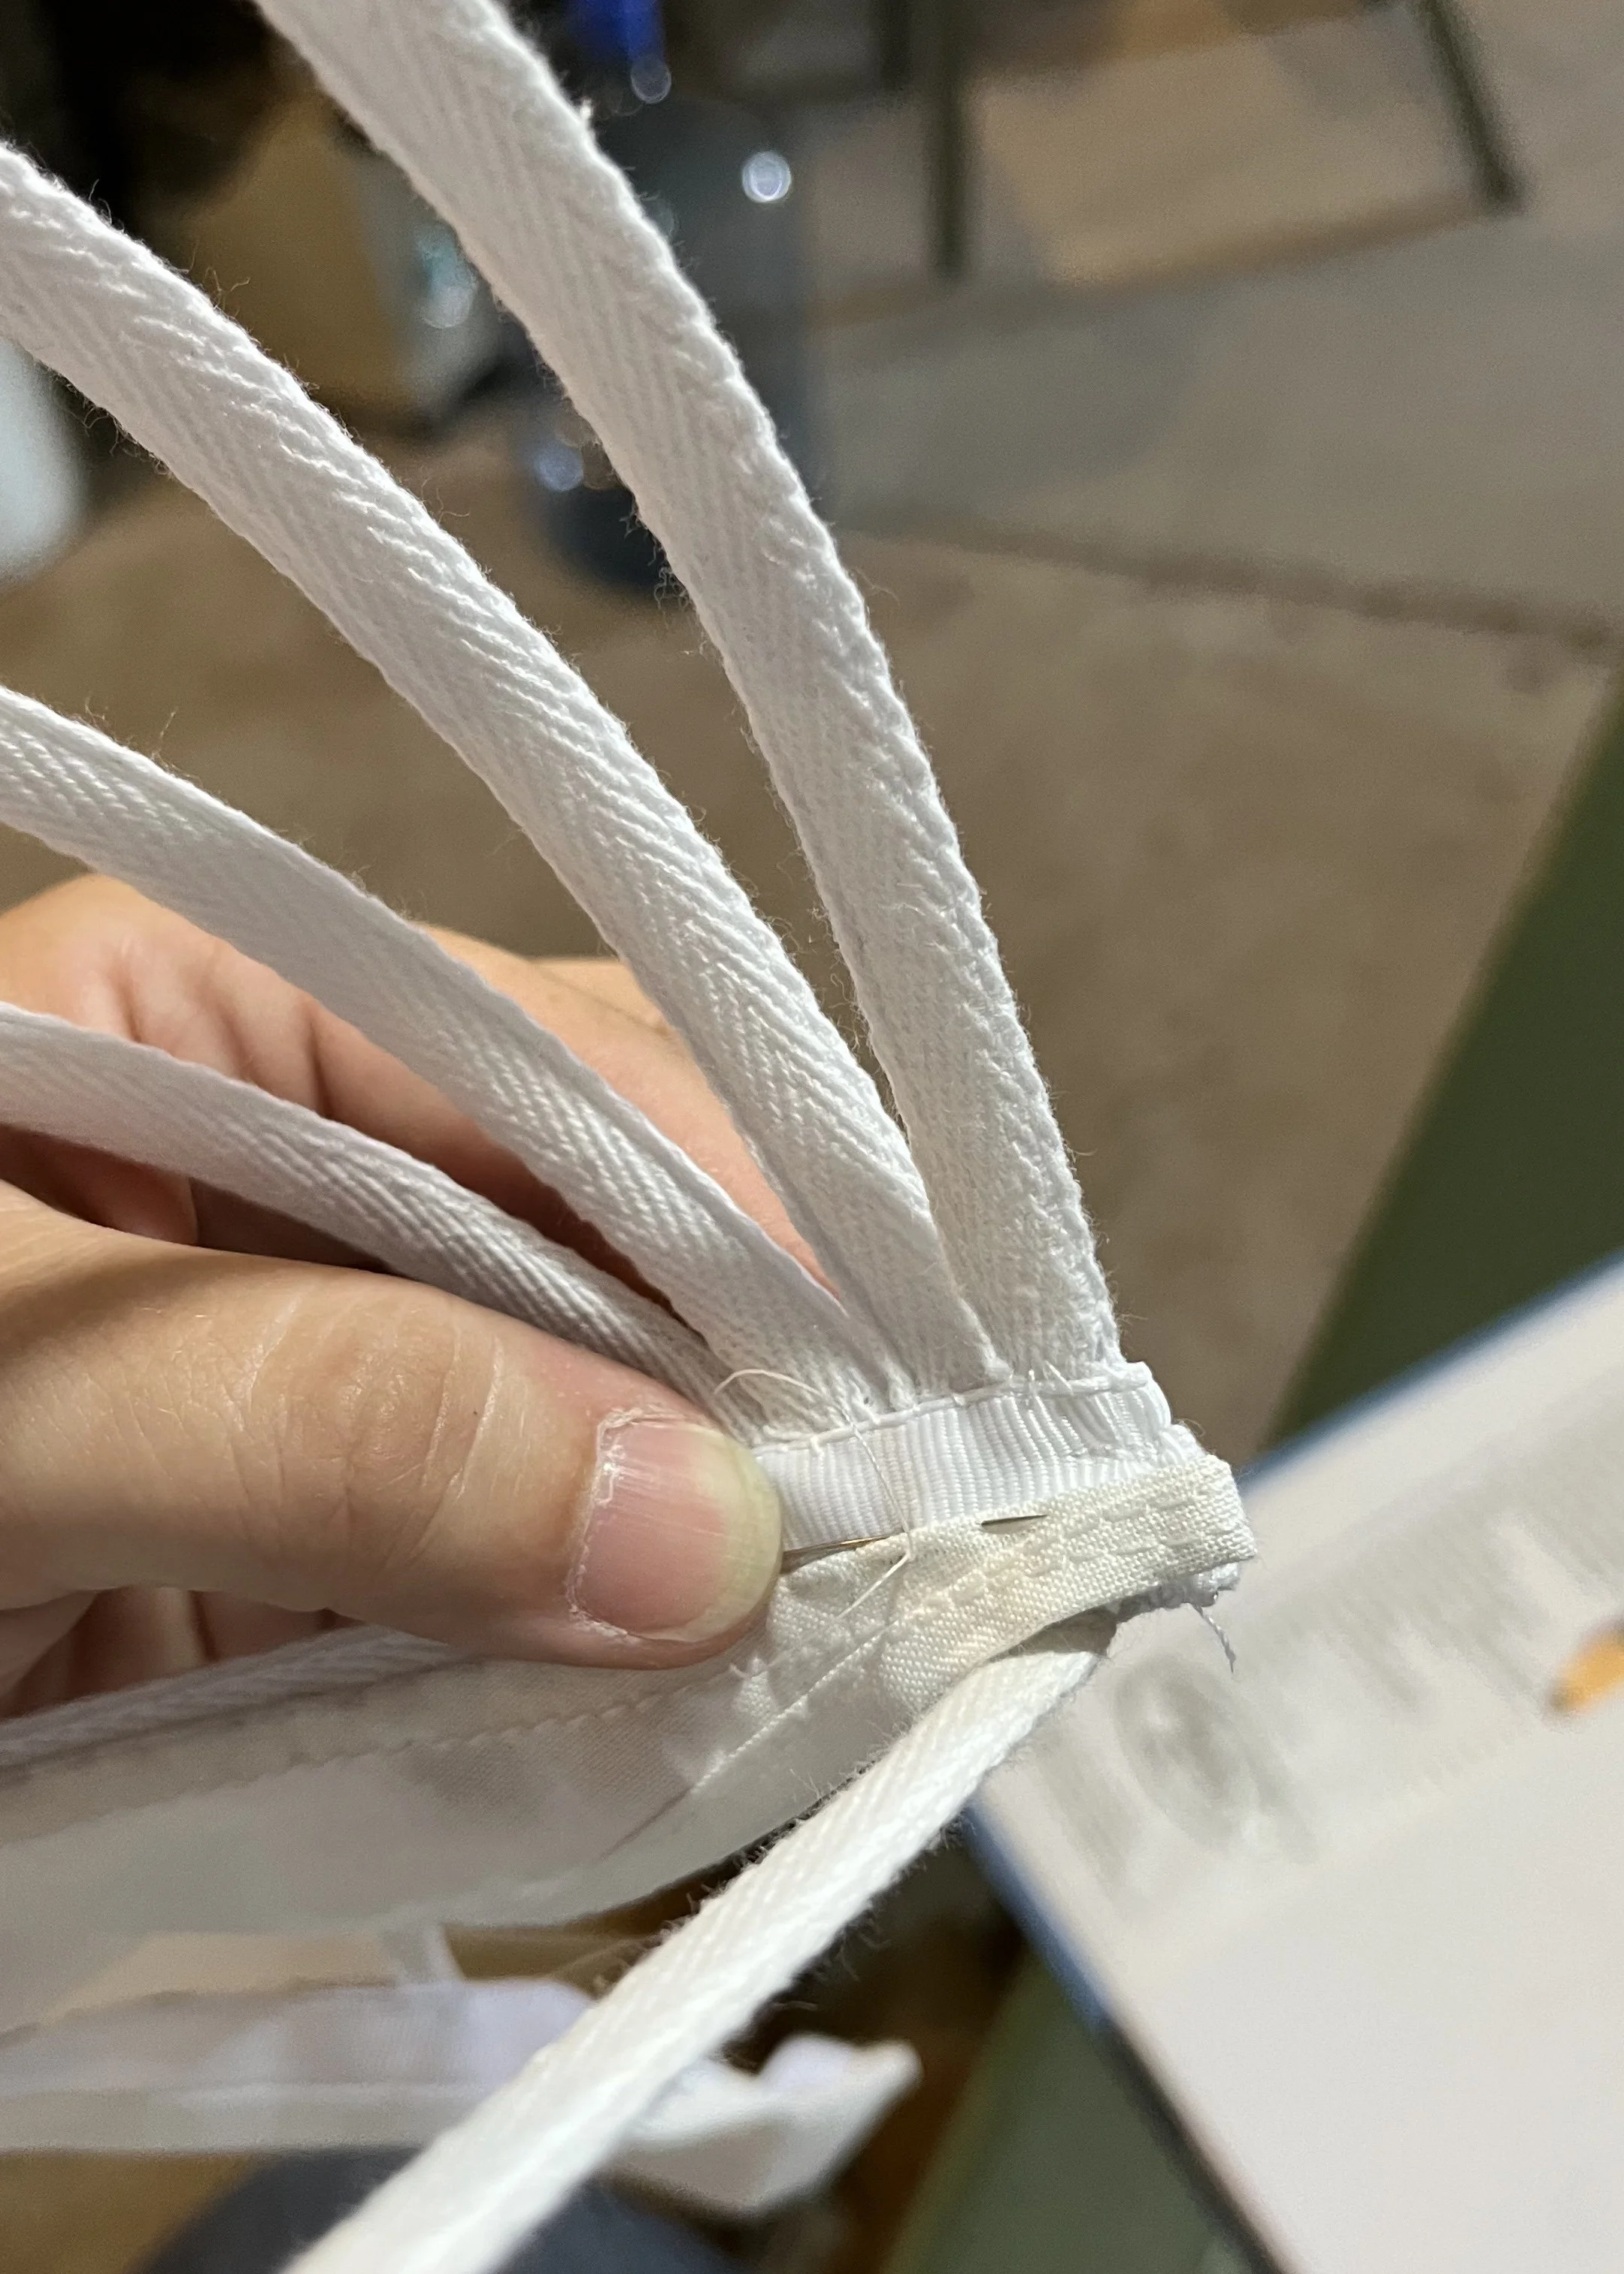
The first step was to figure out how I would attach all the hoops together. In most of the examples I found, the hoops had been riveted together but this method was a bit beyond the tools I had at my disposal; if I had to stitch them together, they would have to be covered with something I could sew through. I ended up using some twill tape which I folded in half and stitched down each side to create a bone casing. This ended up working pretty well so I decided to go forward with this method.
In hindsight, I wish I had chosen a more tightly woven tape, but more on that later.
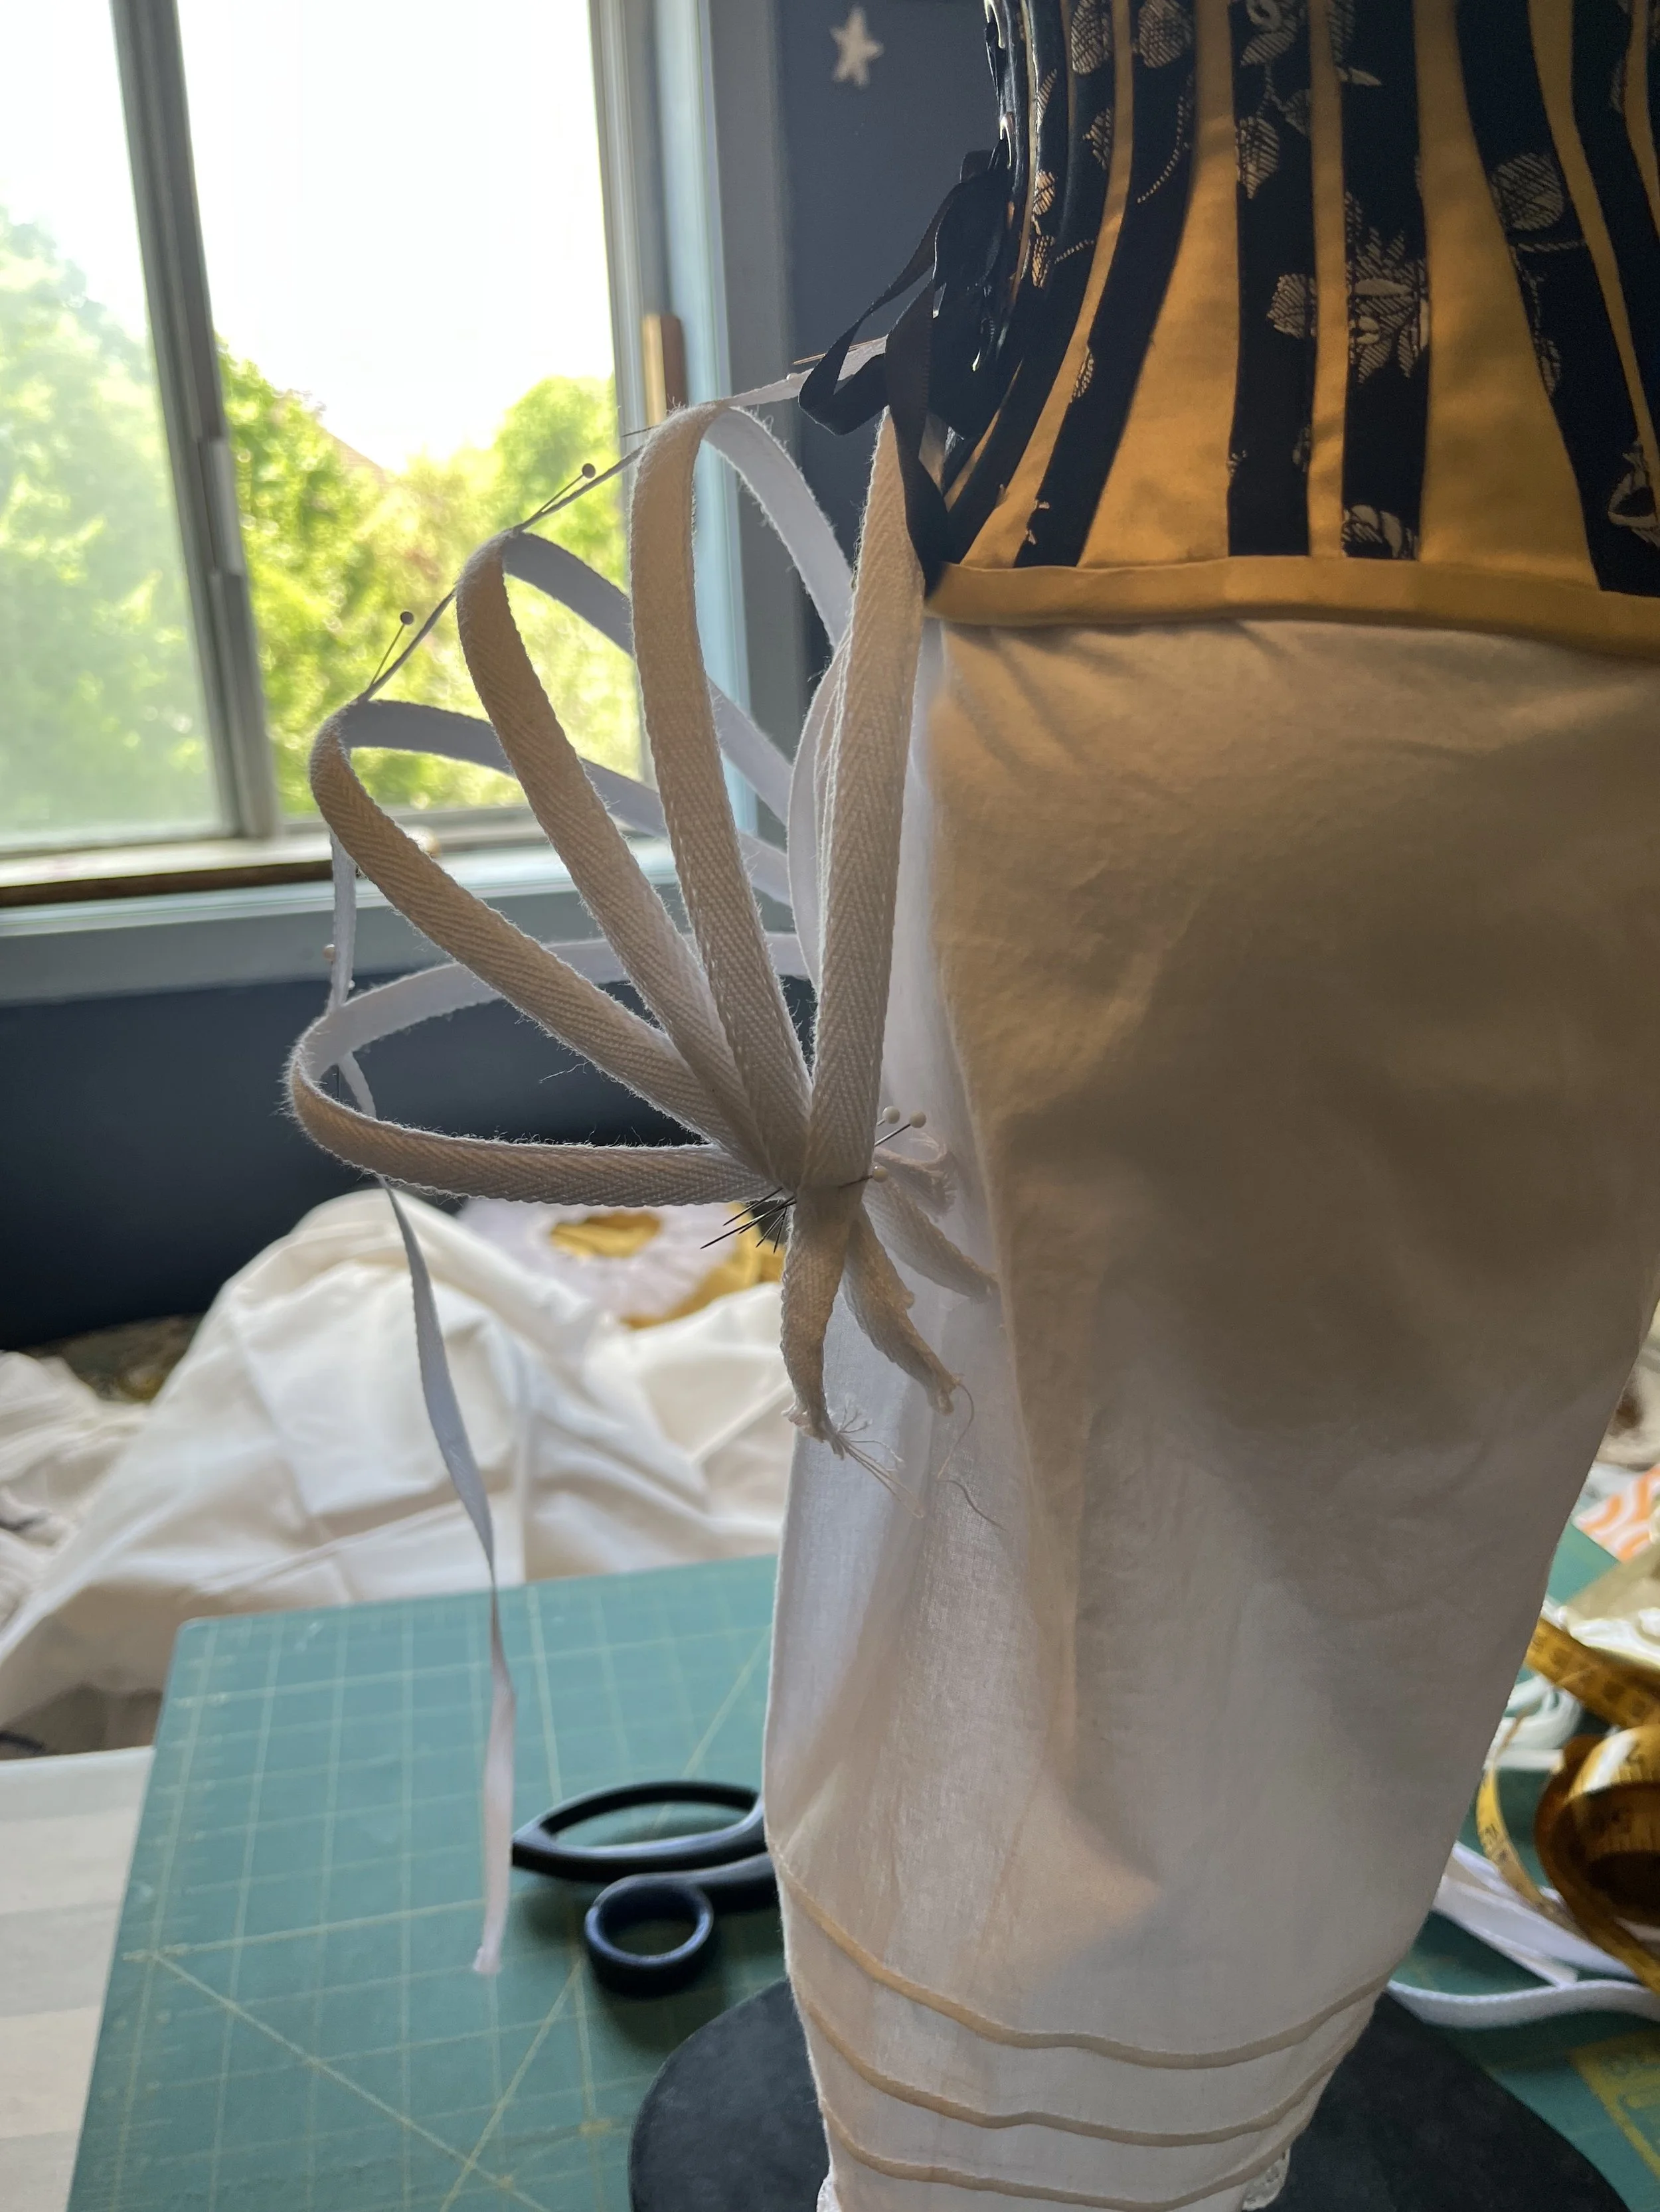
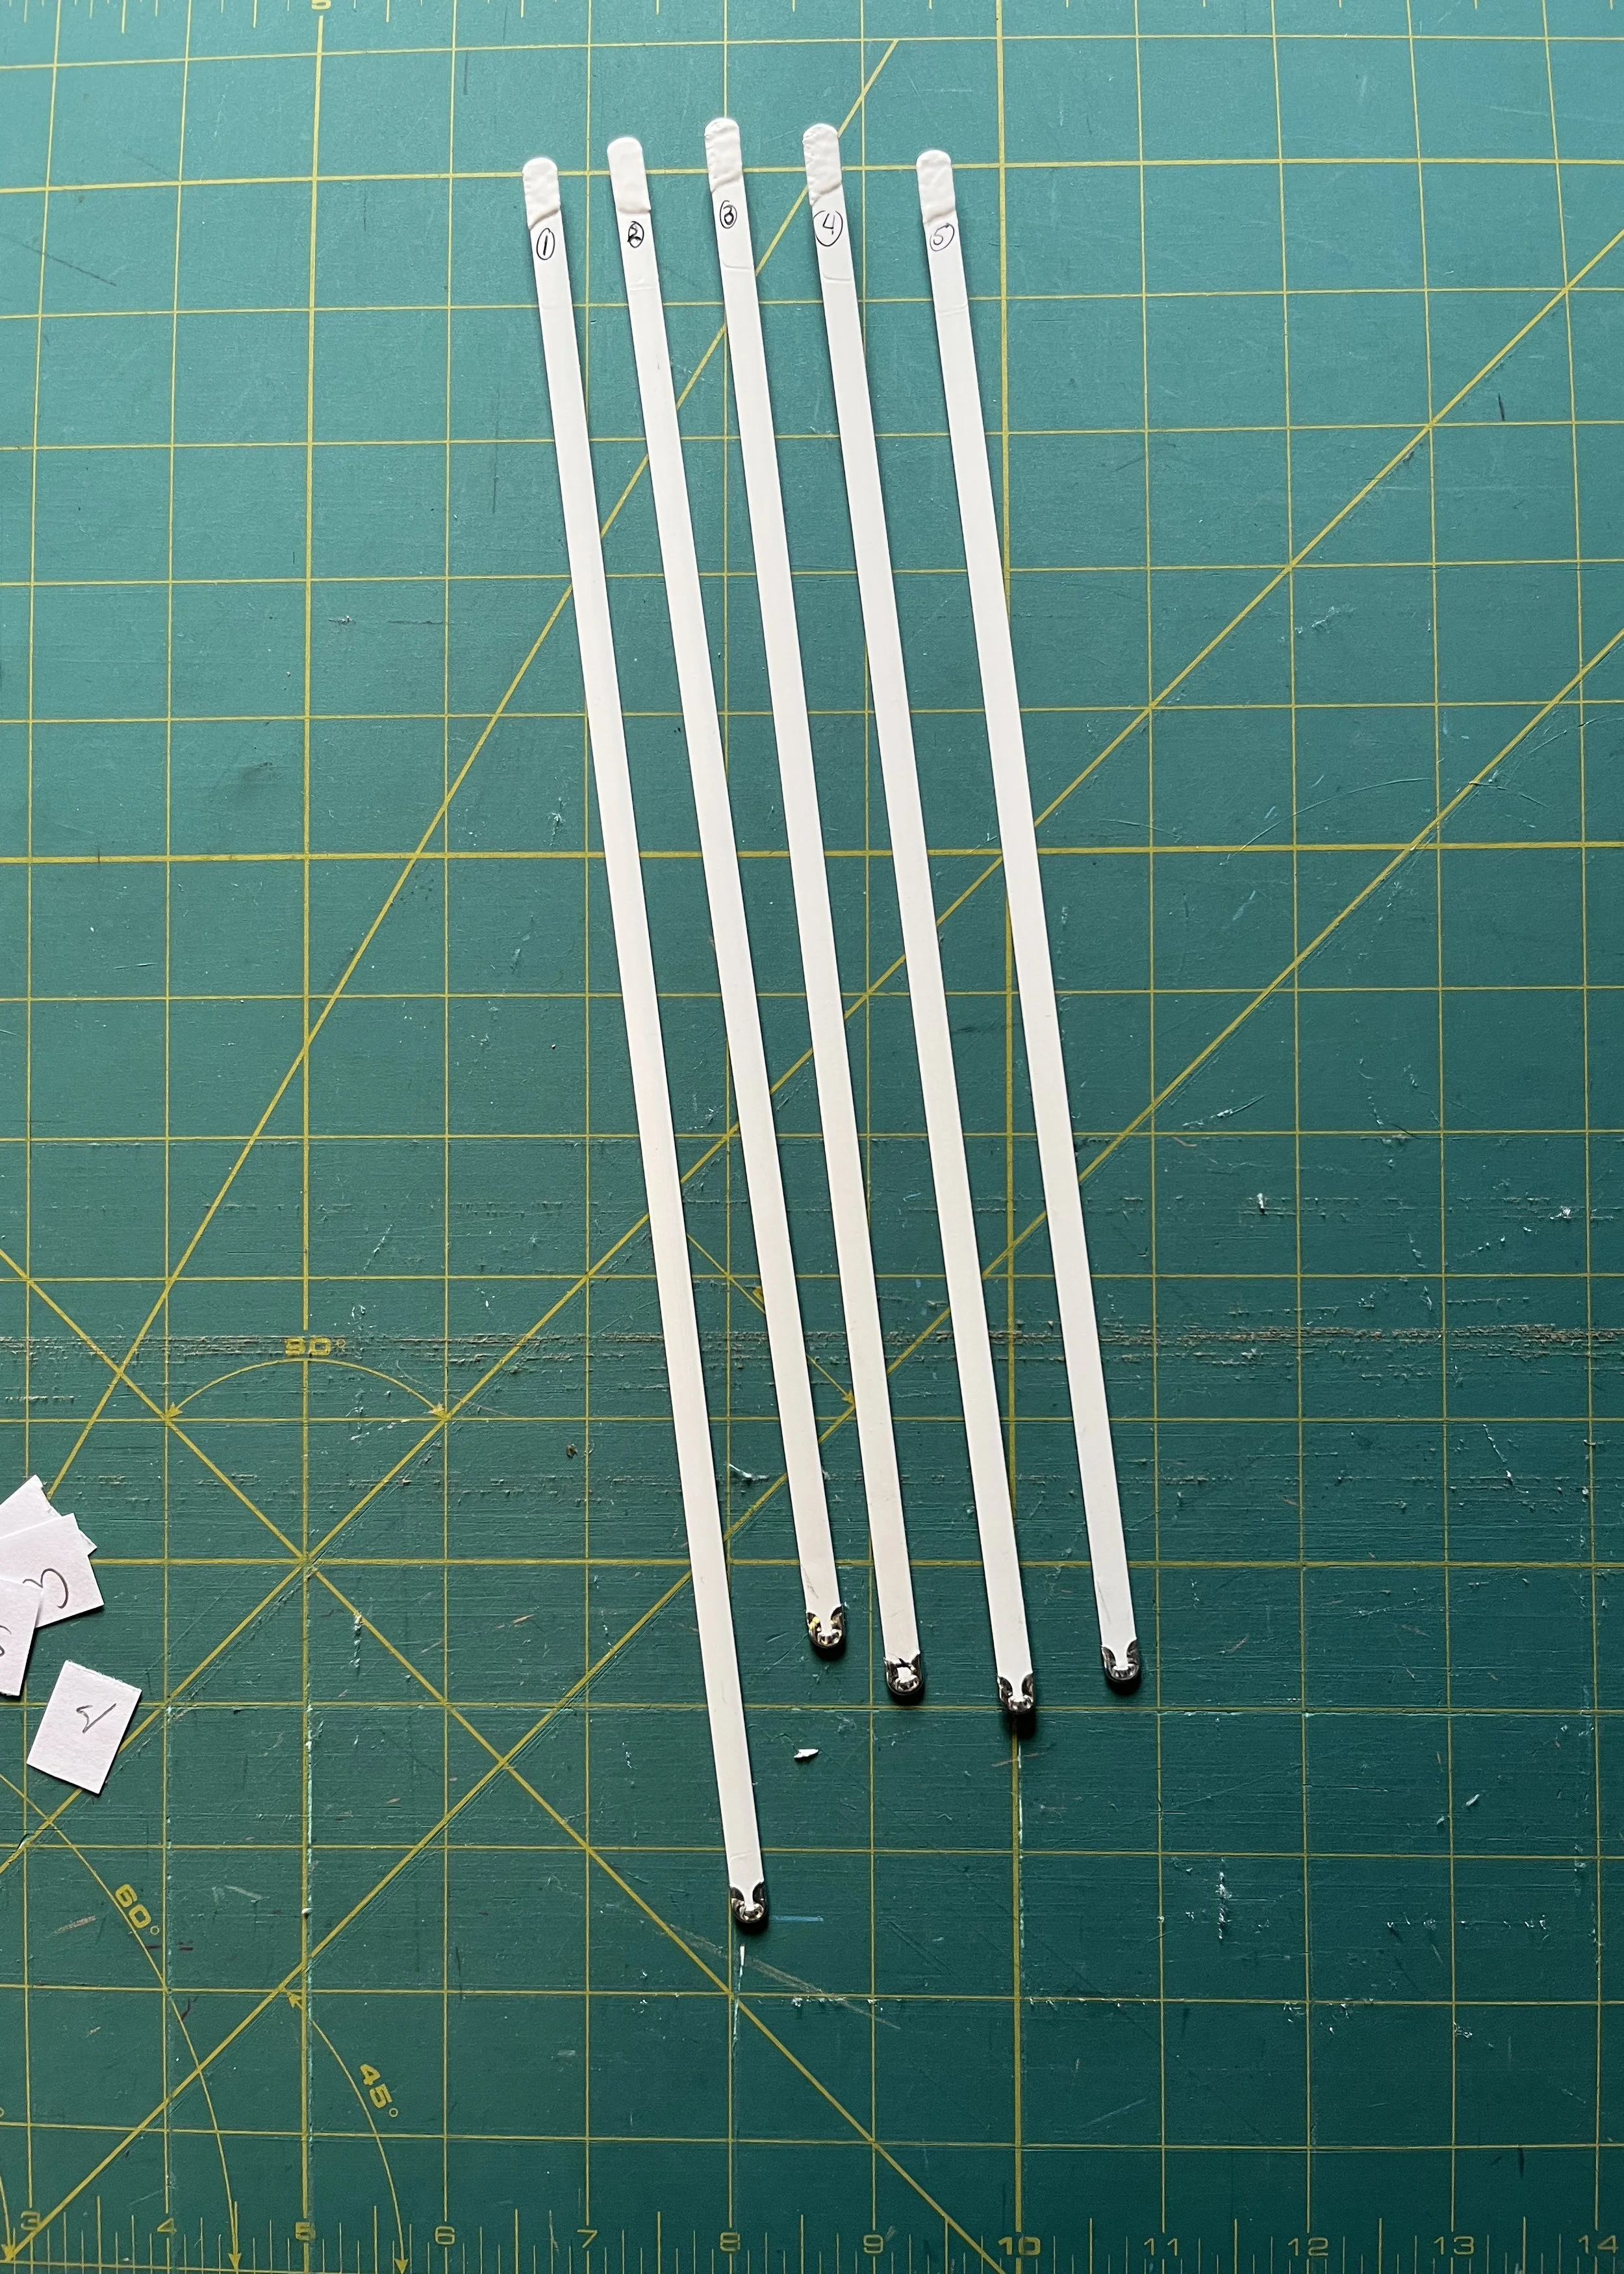
I grabbed a bit of 1/4'' german plastic boning I had and started to figure out how long each hoop had to be. I did measure my Judy for the top hoop and the crosspiece, but for the other hoops, I kind of just pinned them at one end and eyeballed about where they looked right.
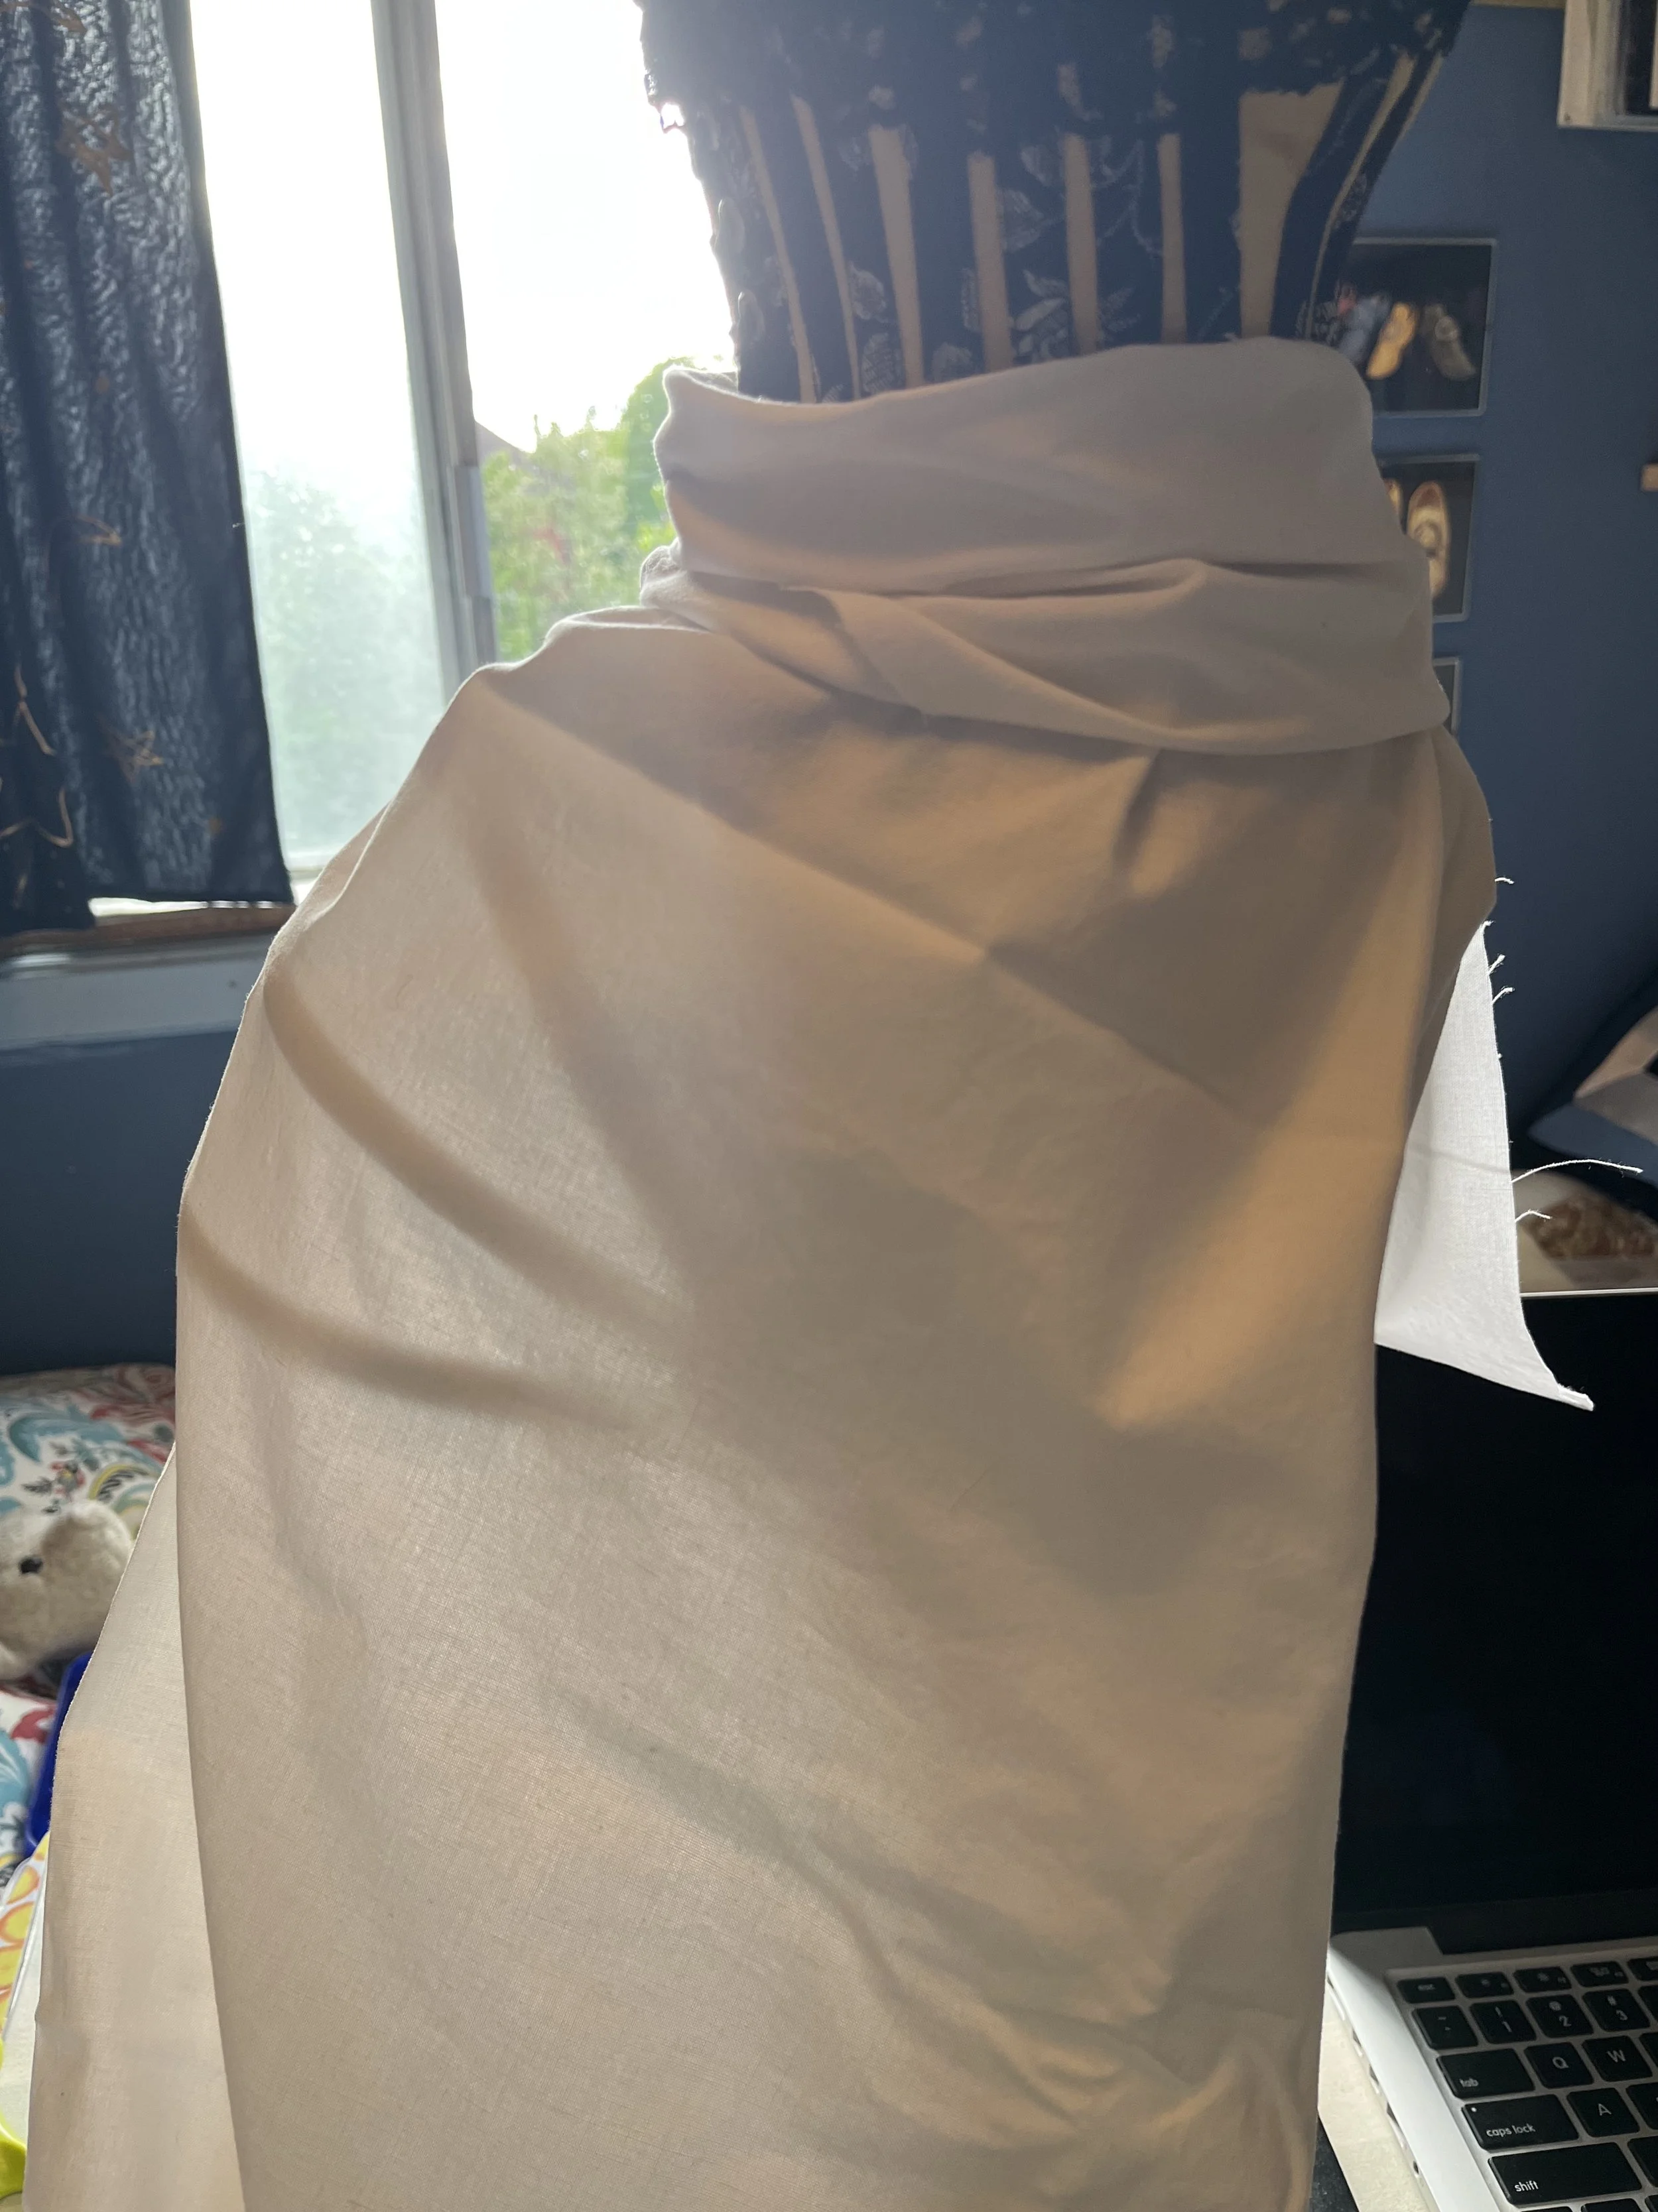
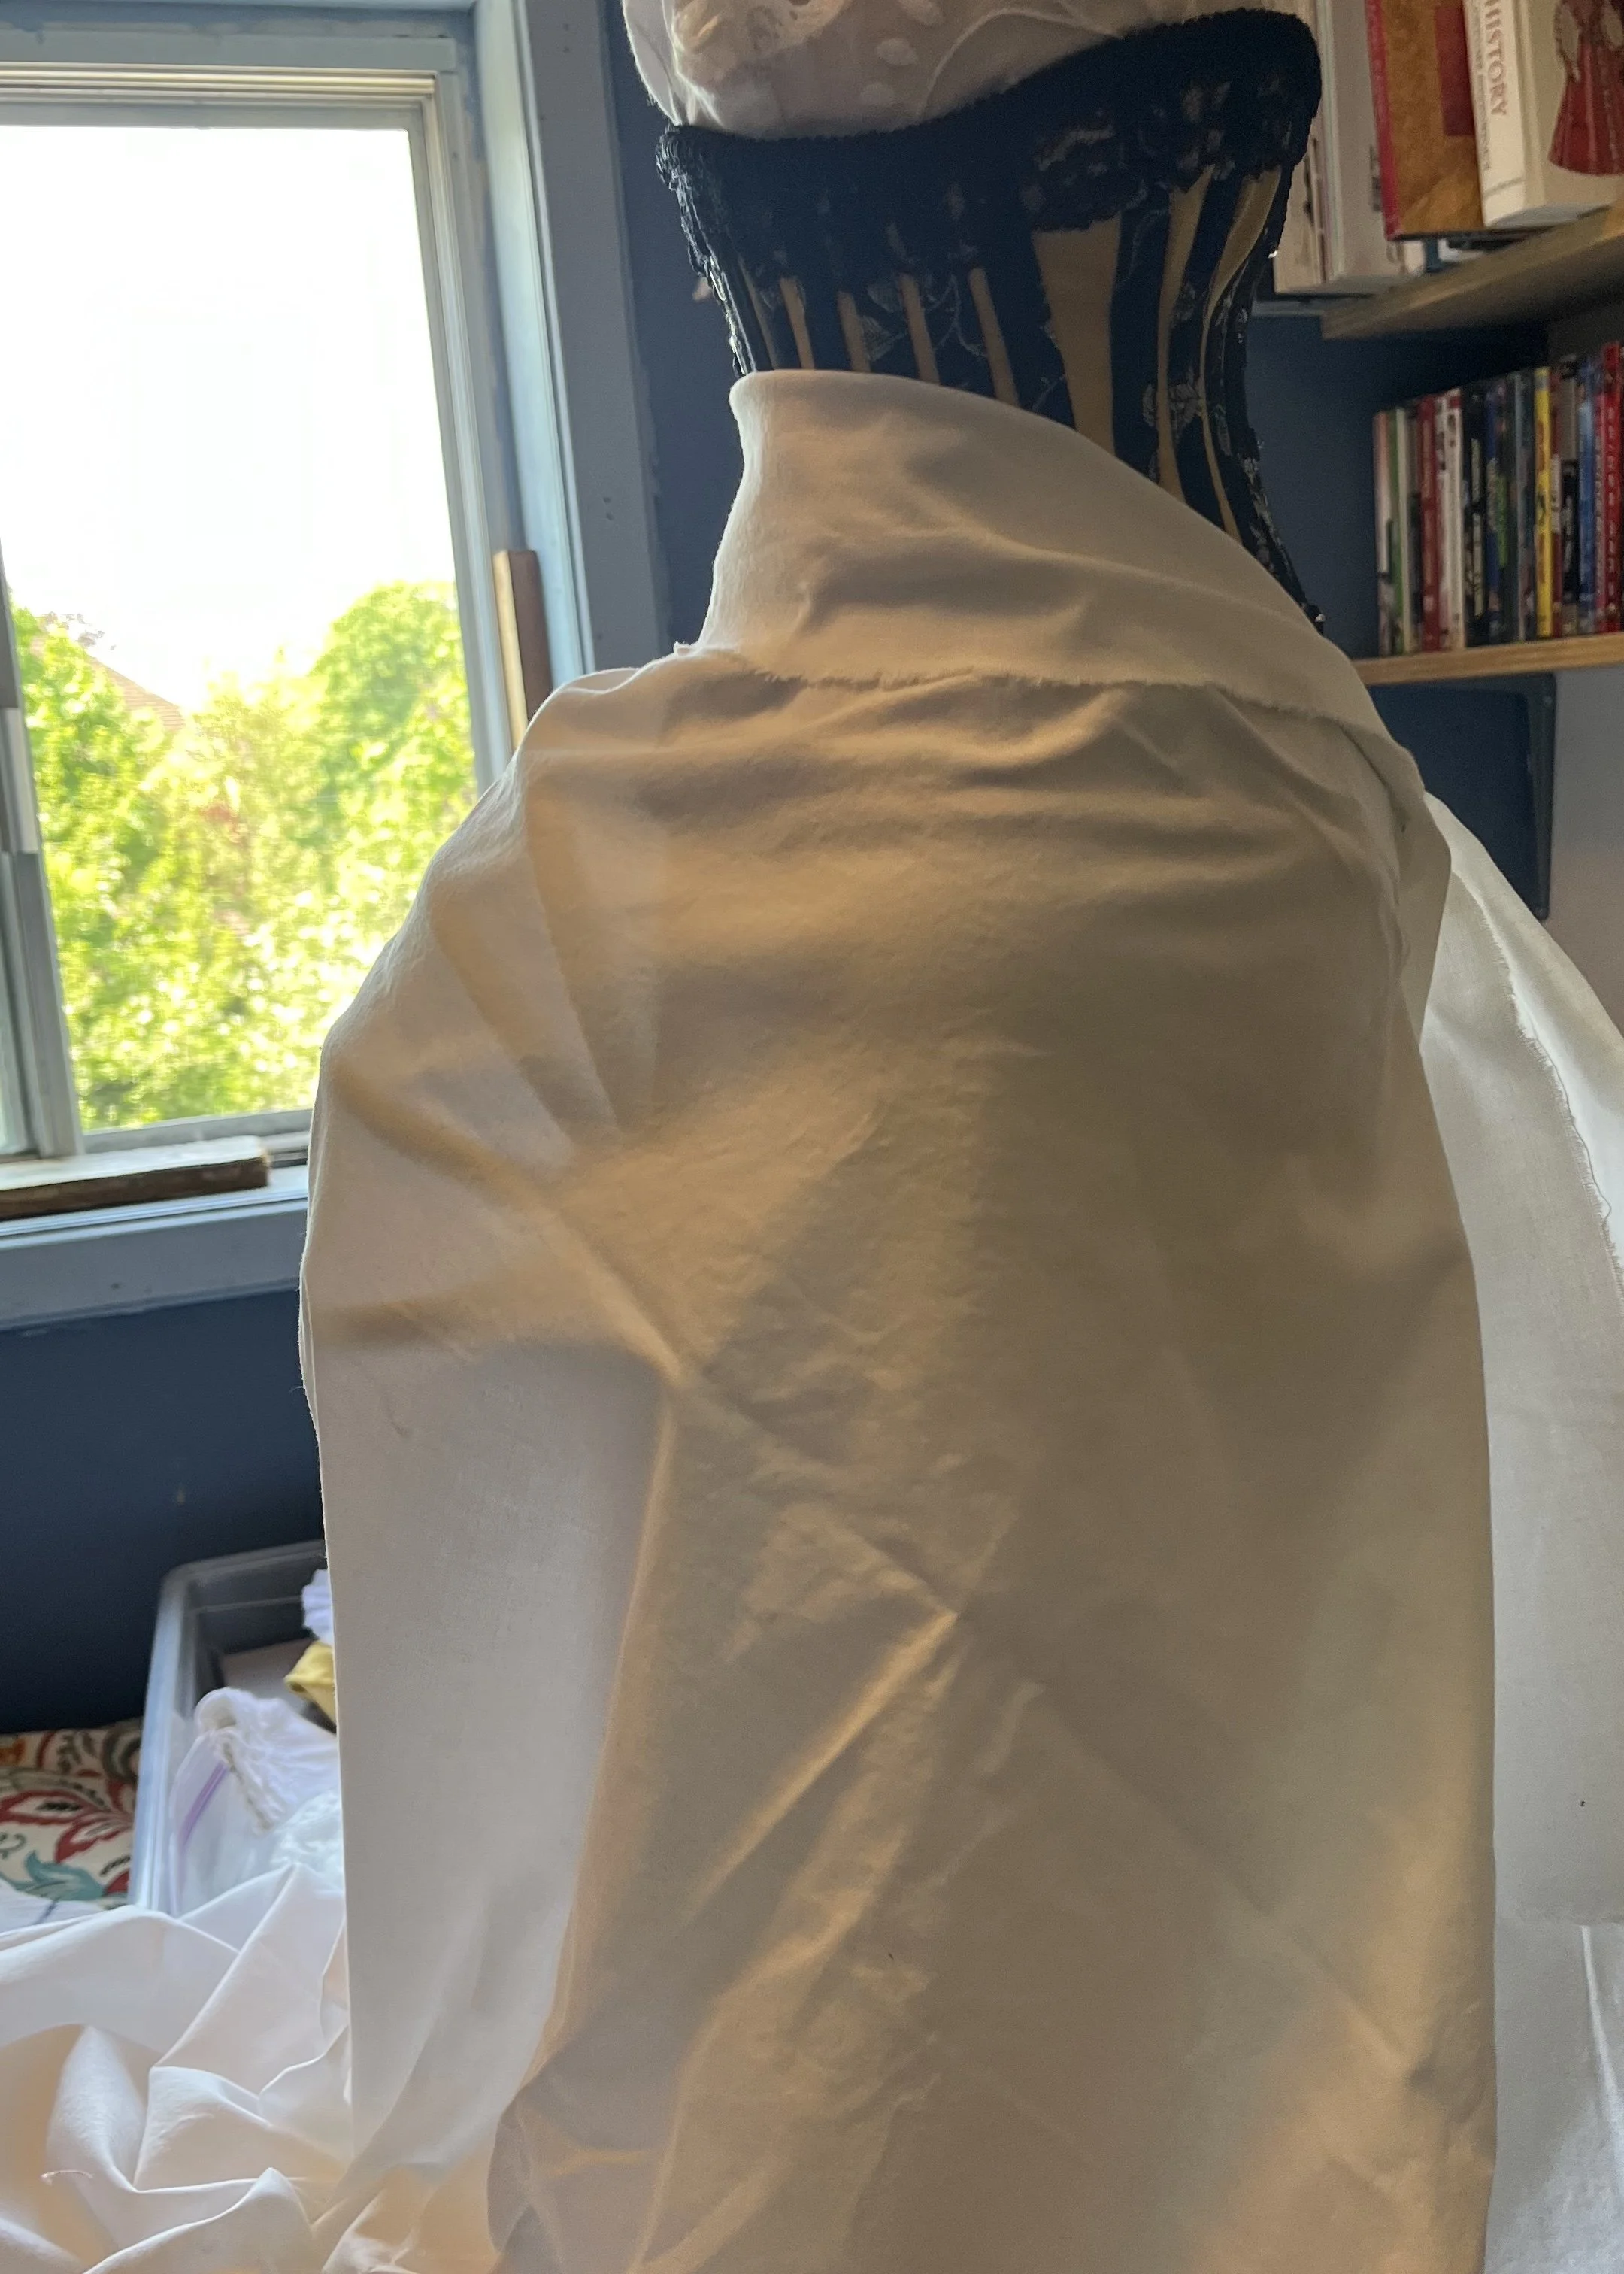
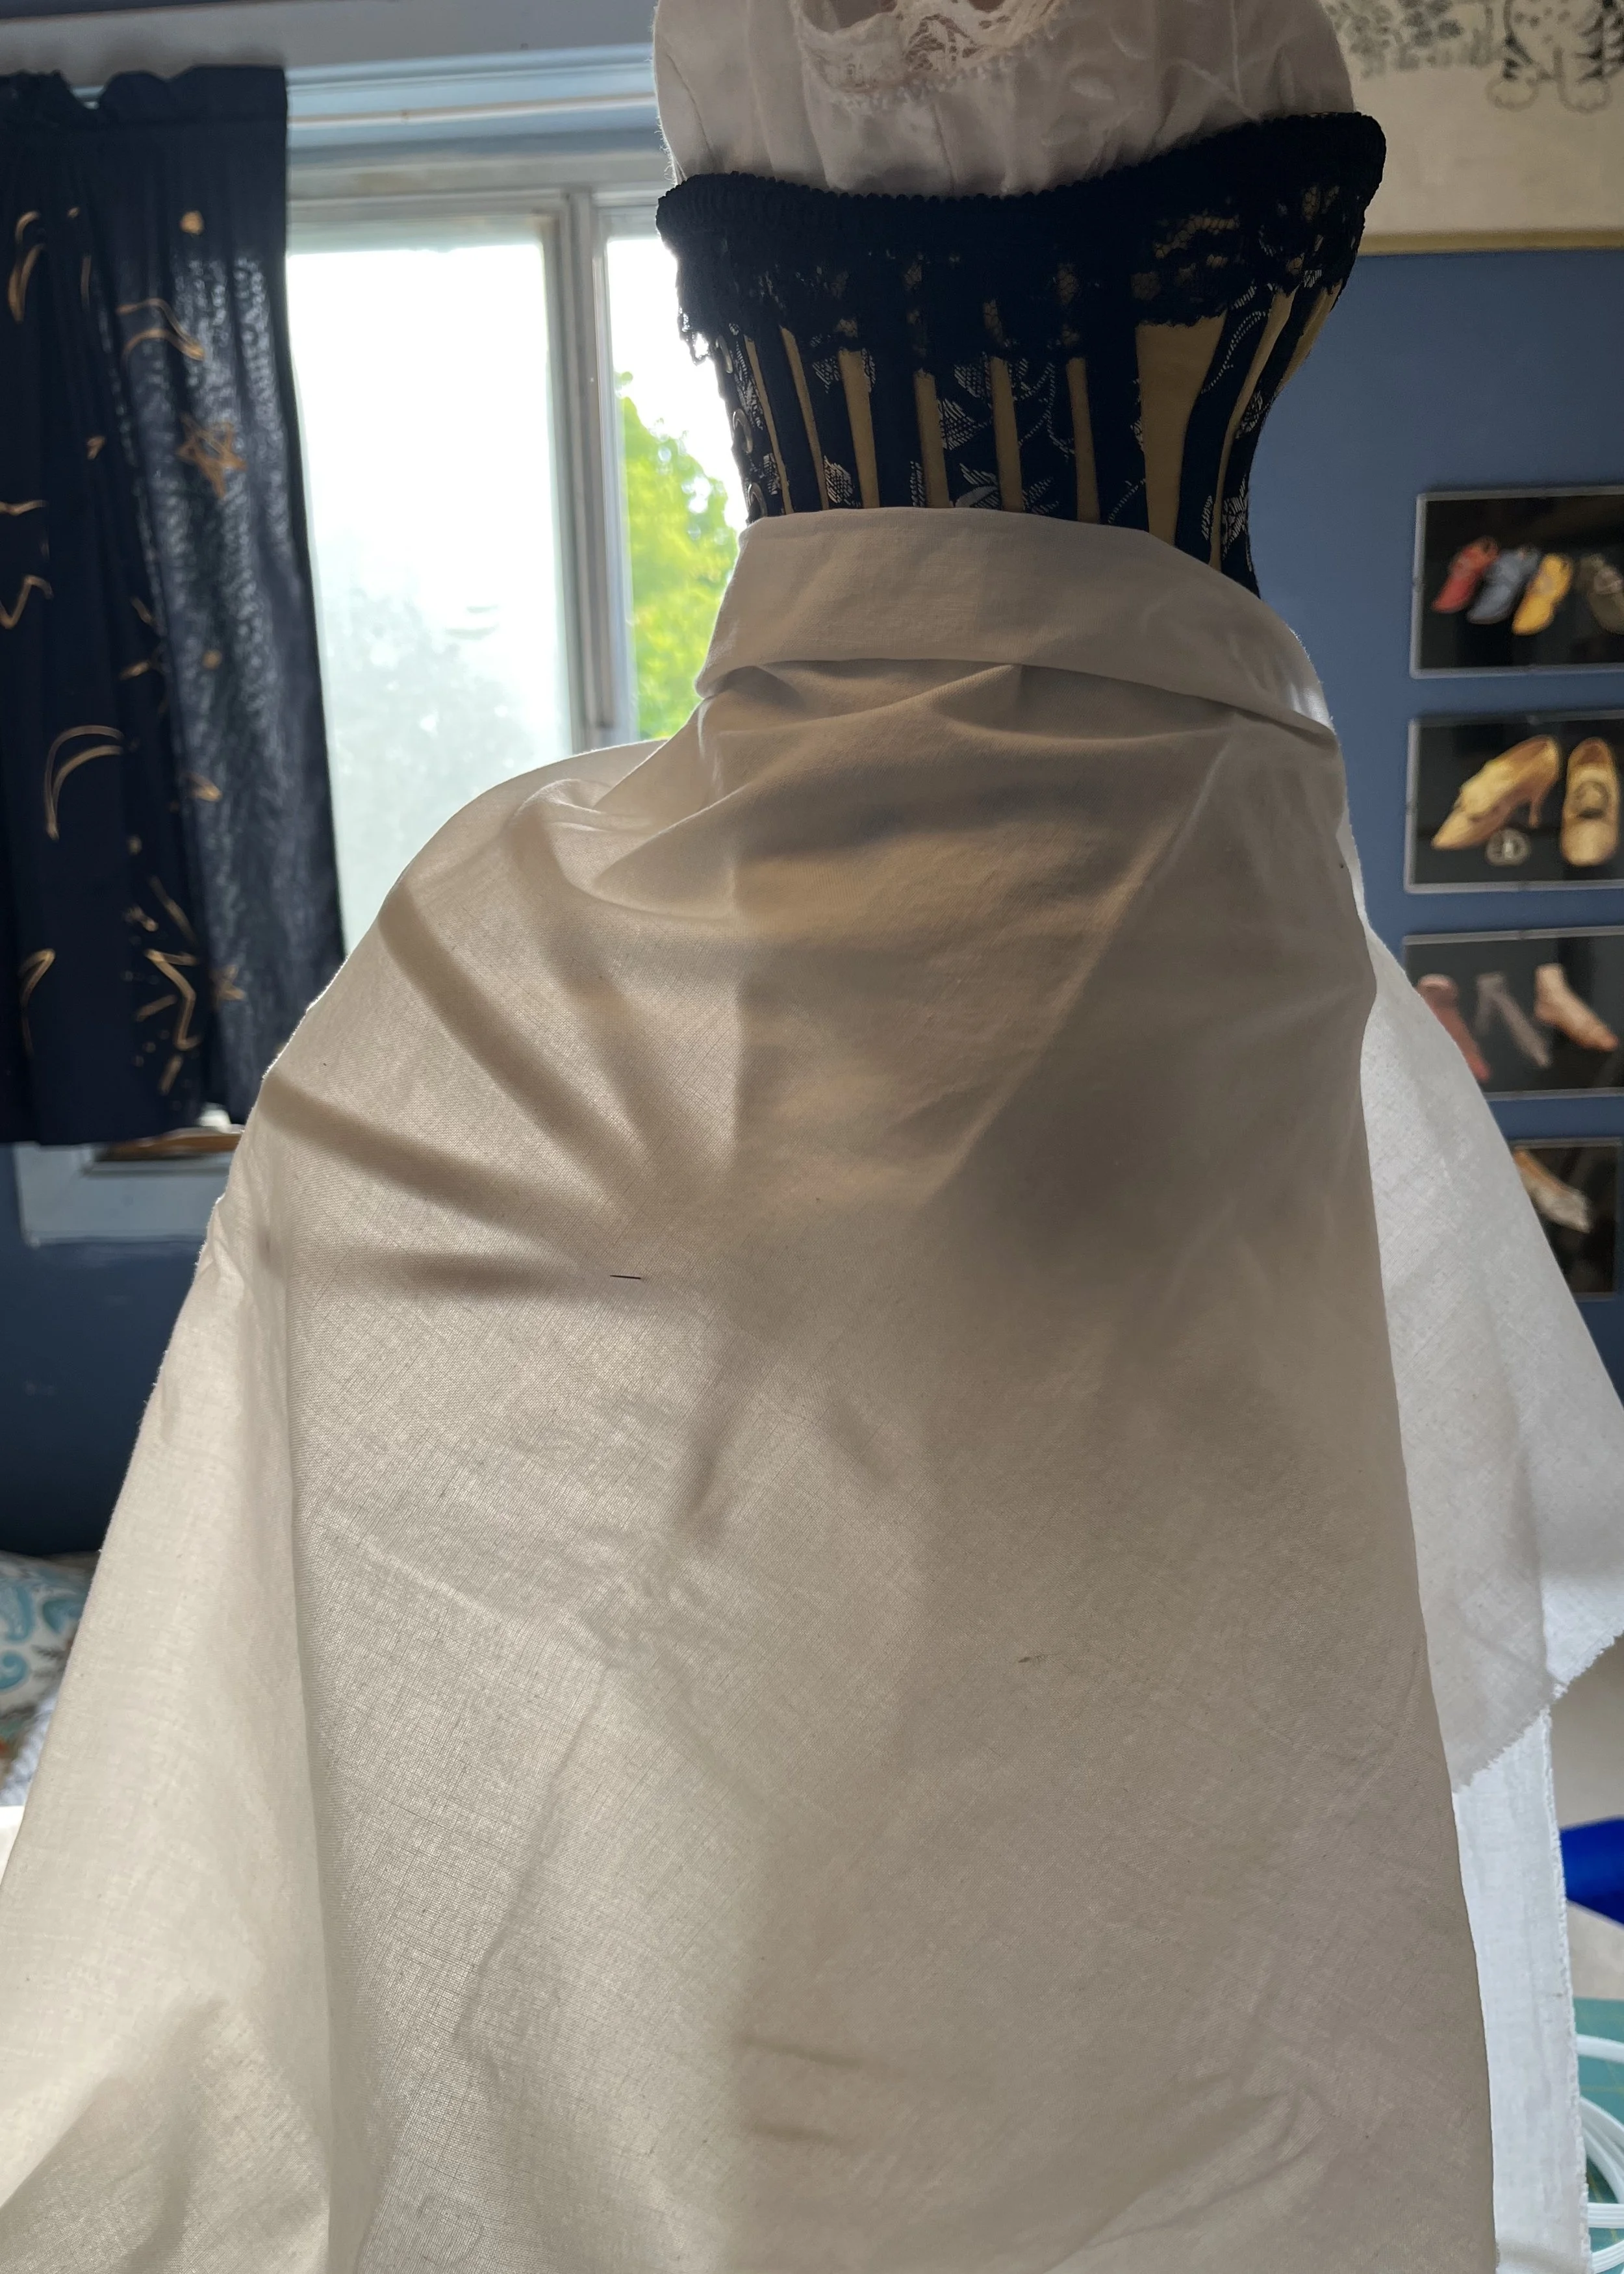
I used a piece of 1/4'' twill tape to join the hoops along the centre, shifting them along the tape to get the shape I wanted. Occasionally I would roughly drape a piece of cotton over the bustle in an attempt to see the shape I was getting. This is nothing if not a thoroughly slick and professional operation.
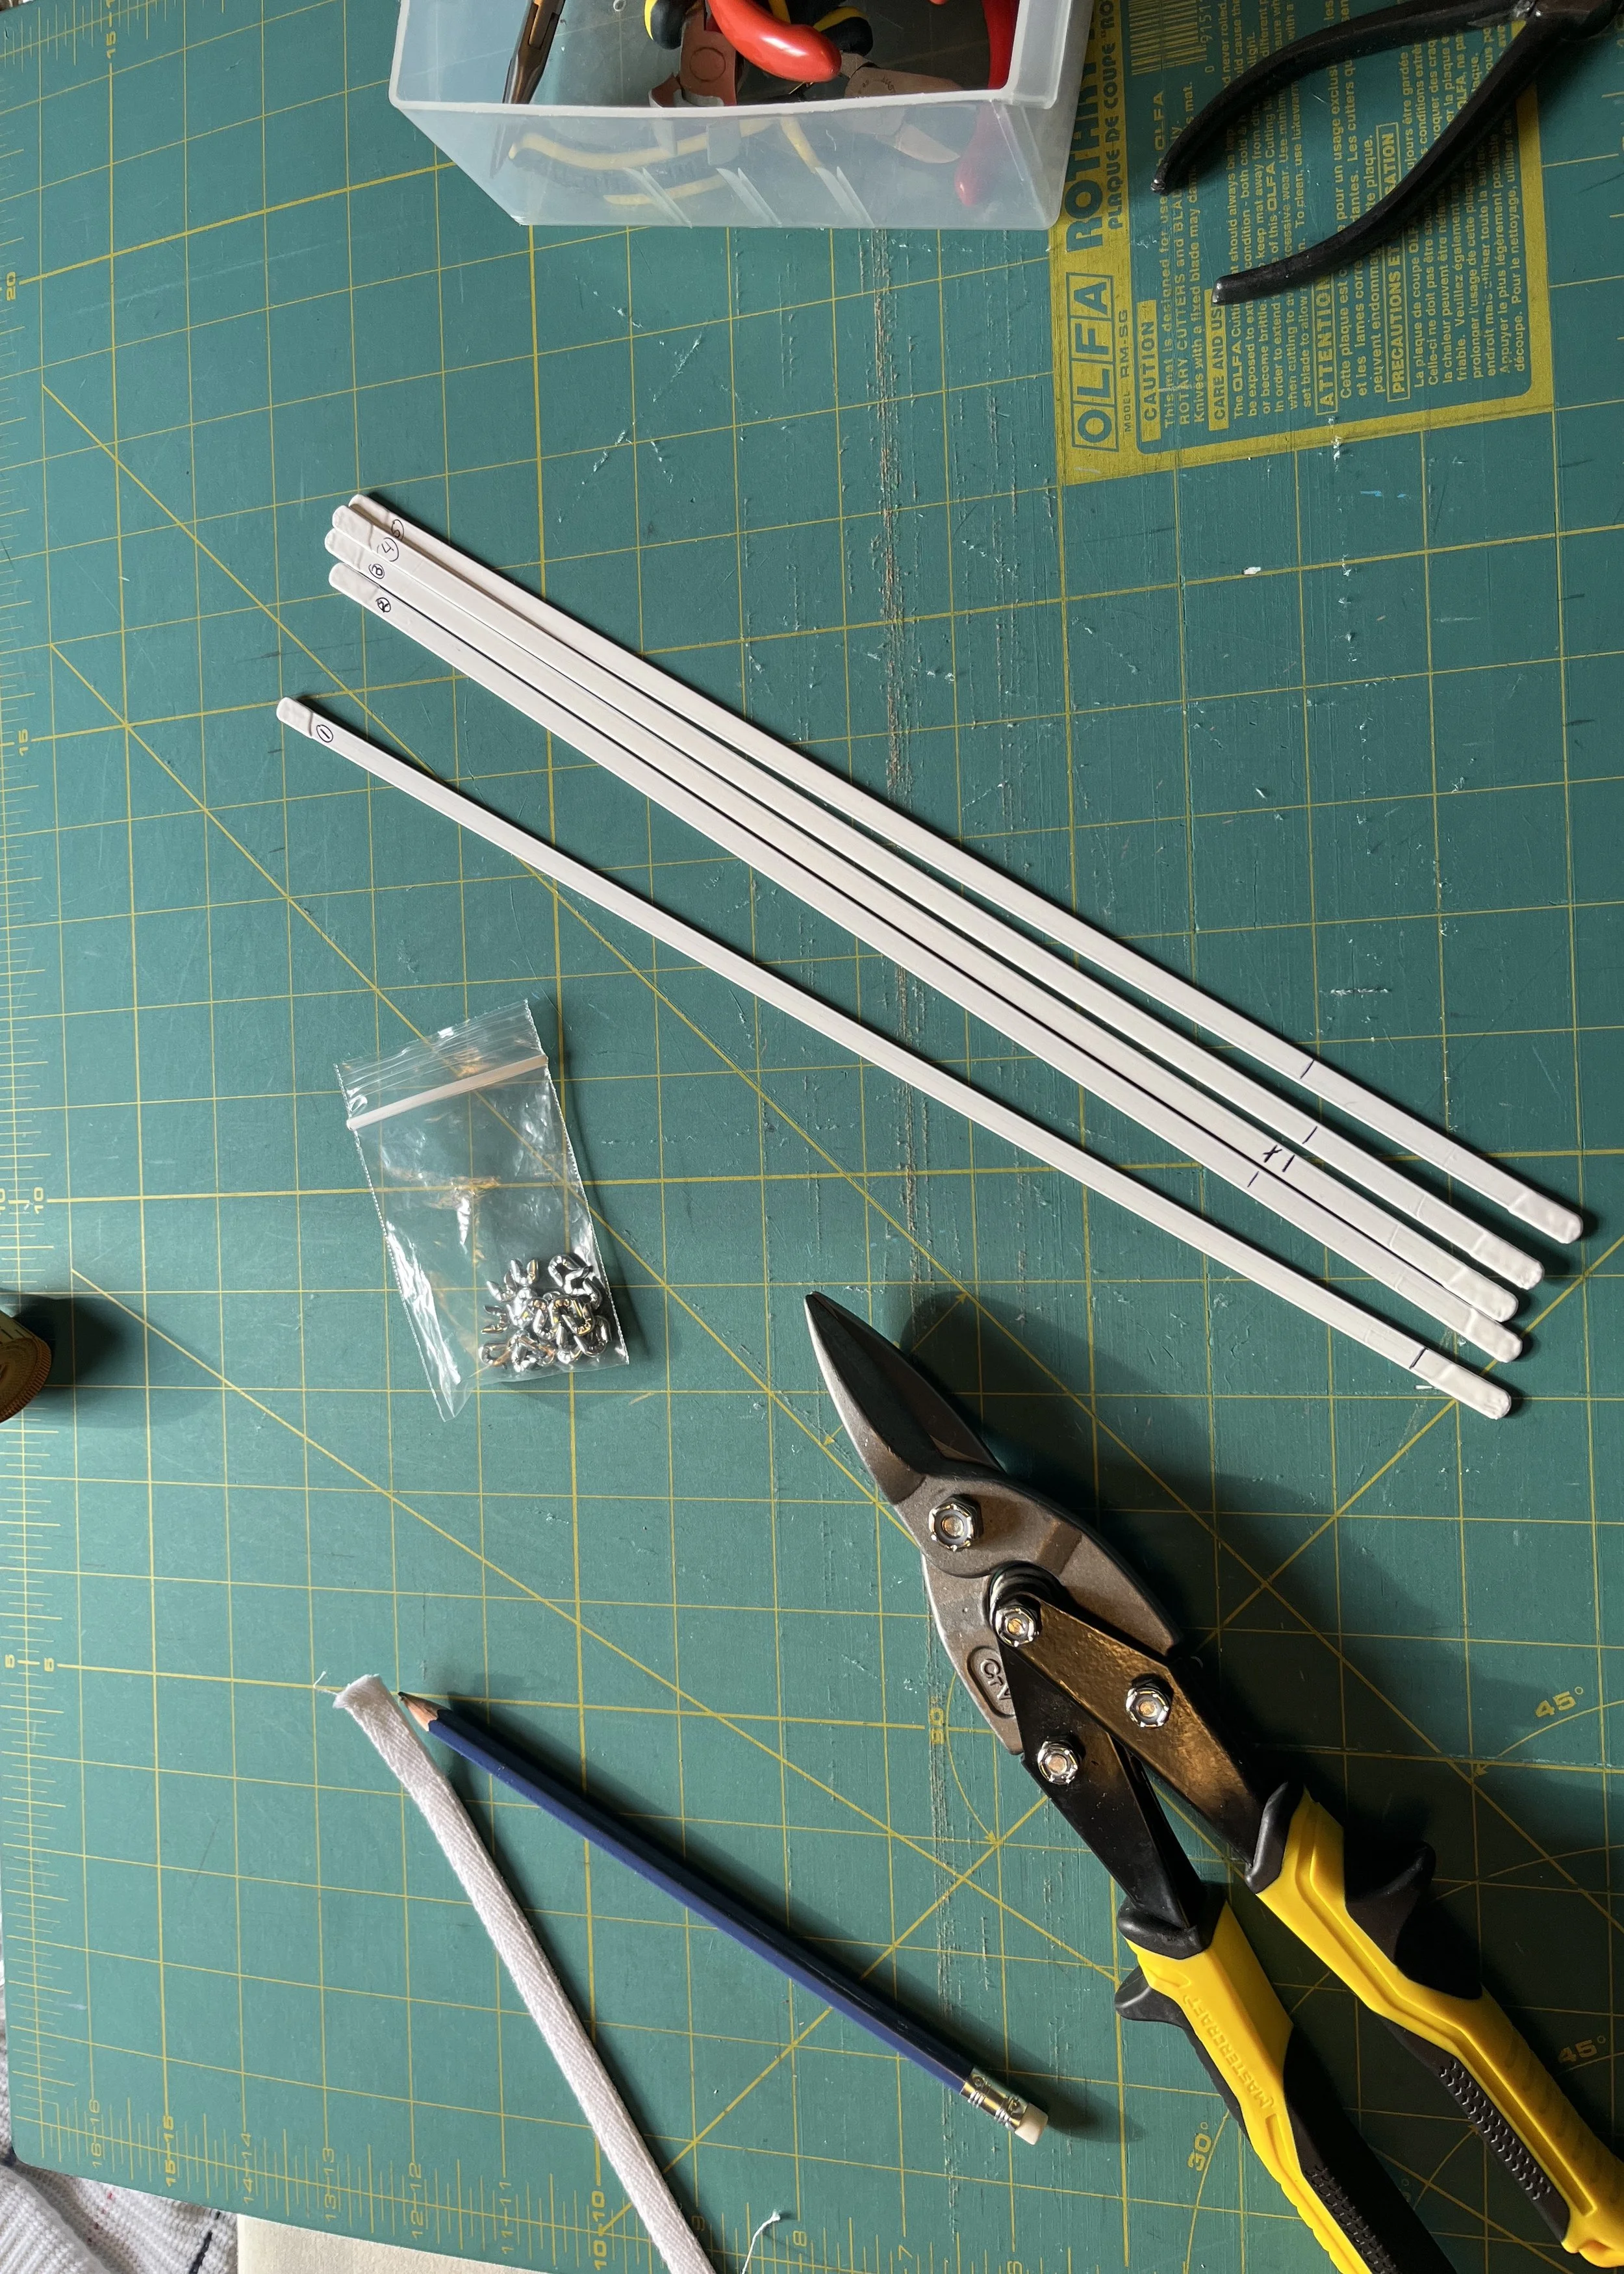
I settled on the lengths and angles I liked and, naively thinking that things were going well and it would be a fairly quick process to put this thing together, I moved on to the final build. Initially, I wanted to use steel bones for the final bustle as I feared the plastic might collapse a bit under the weight of the petticoat and skirt. I even bought and cut bones for that purpose, but in the end they proved a bit too springy for the smaller scale.
I found that they would take the curve and if I had four or five more hands I might have been able to hold each bone in the desired position while I stitched them together, but sadly, I have only two hands and the hoops kept springing out of the pins' grip. It was at this time that it also became clear that I should have looked for a more tightly woven tape. The bones were starting to poke through, not because they had actually managed to wear holes in the tape in such a short time but because the pressure from the bones was shoving the individual threads apart.
Eventually, I had to face the fact that it wasn't working with the steel bones so I returned to the german plastic. I did keep the steel for the top hoop and the crosspiece as they do most of the heavy lifting to help the whole piece keep its shape, but I changed the lower four hoops to plastic.
They still gave me a bit of attitude, but were overall much easier to hold in place while I joined the ends and finished them.
With this structure built, it was time to make something to hang it from which could be fastened to the body.
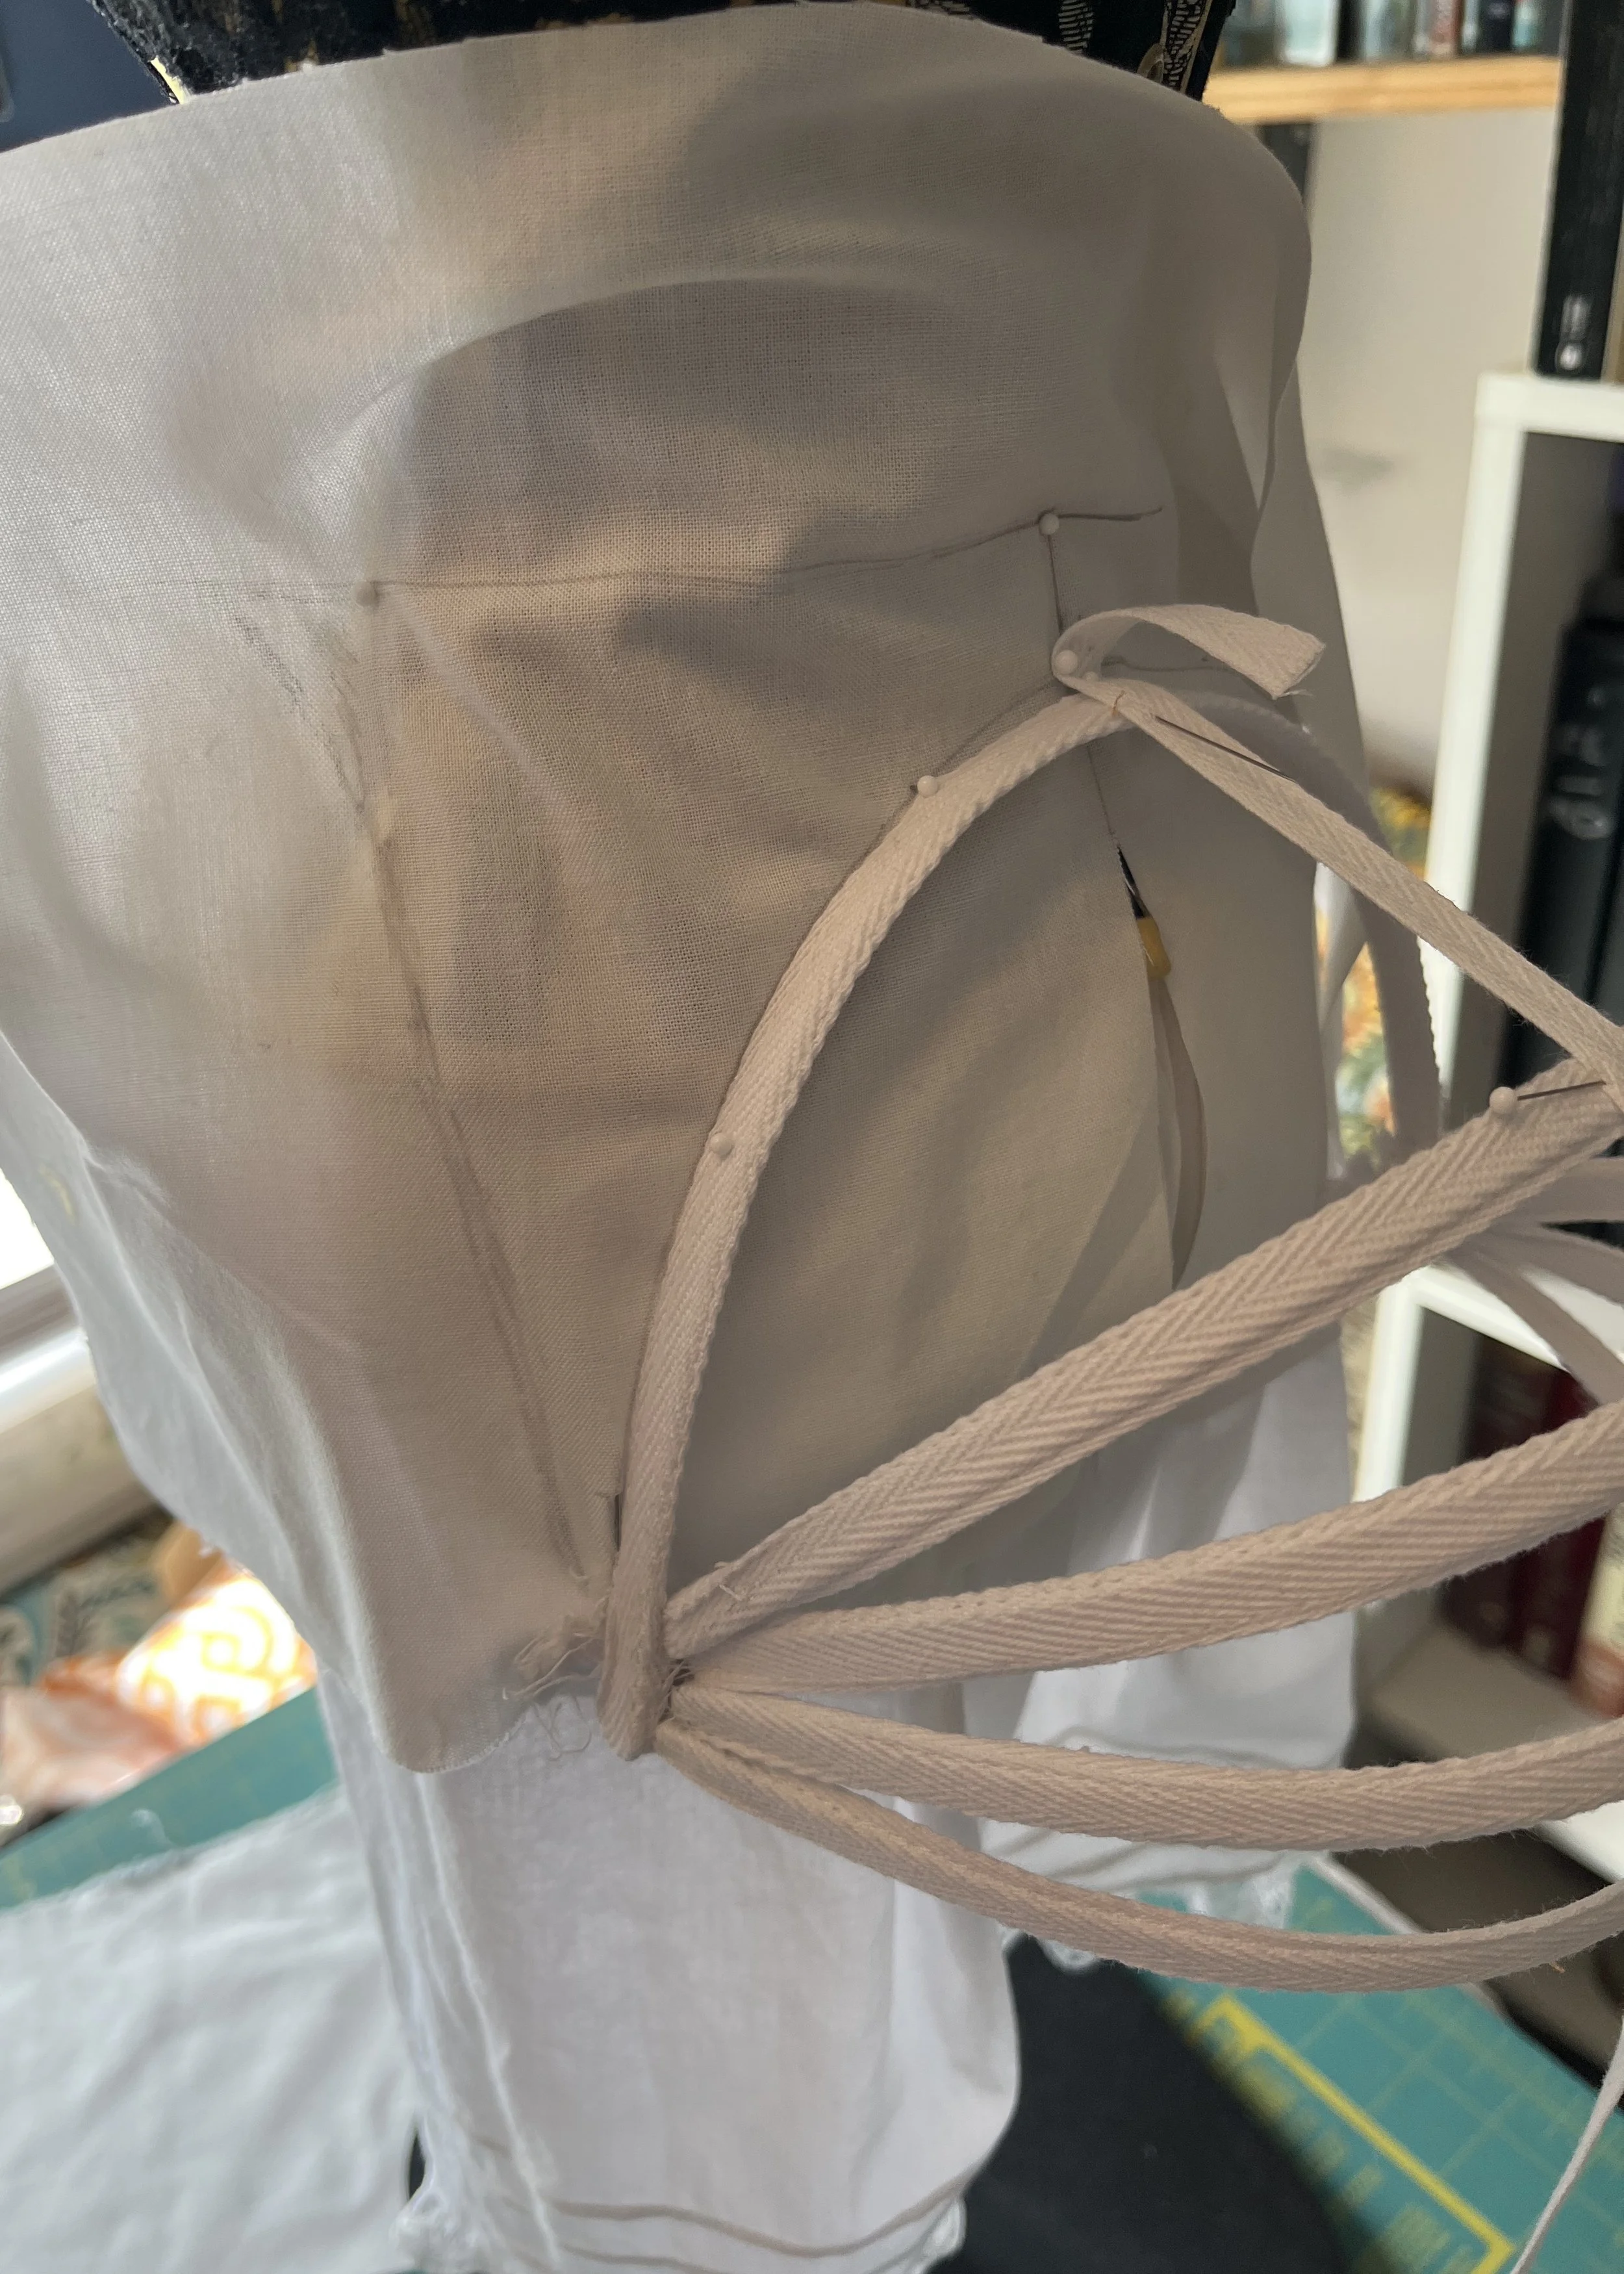
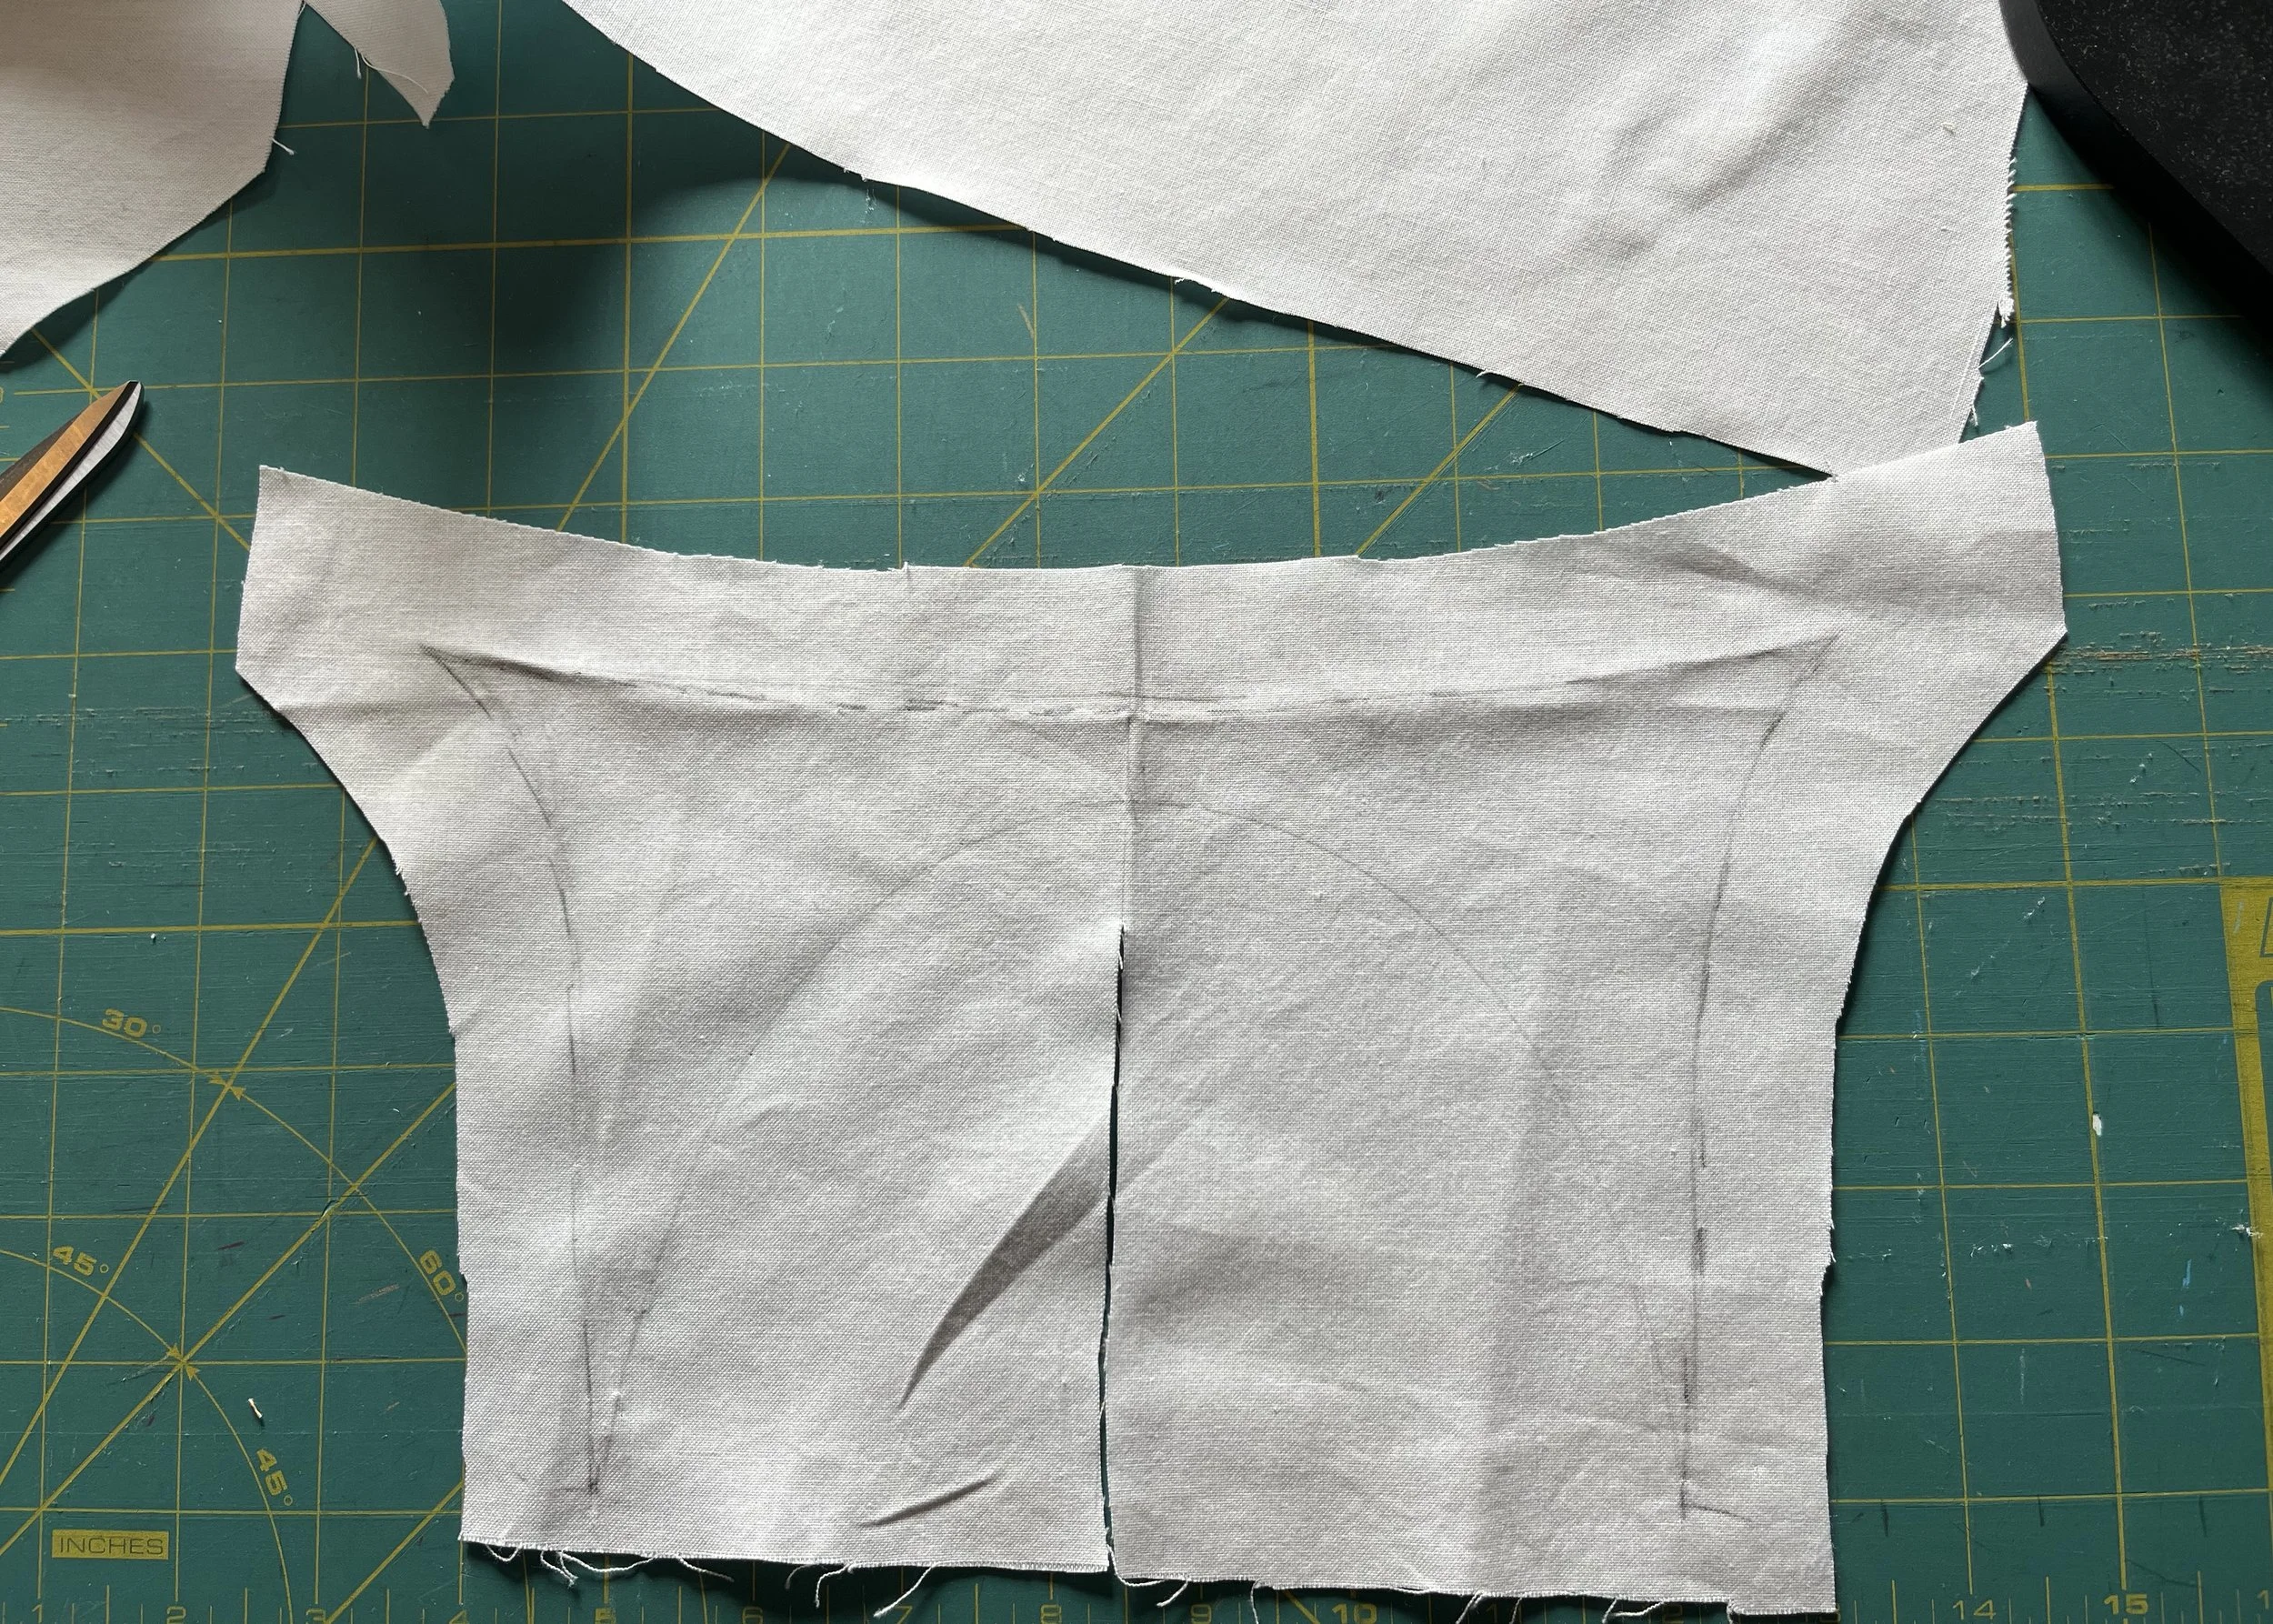
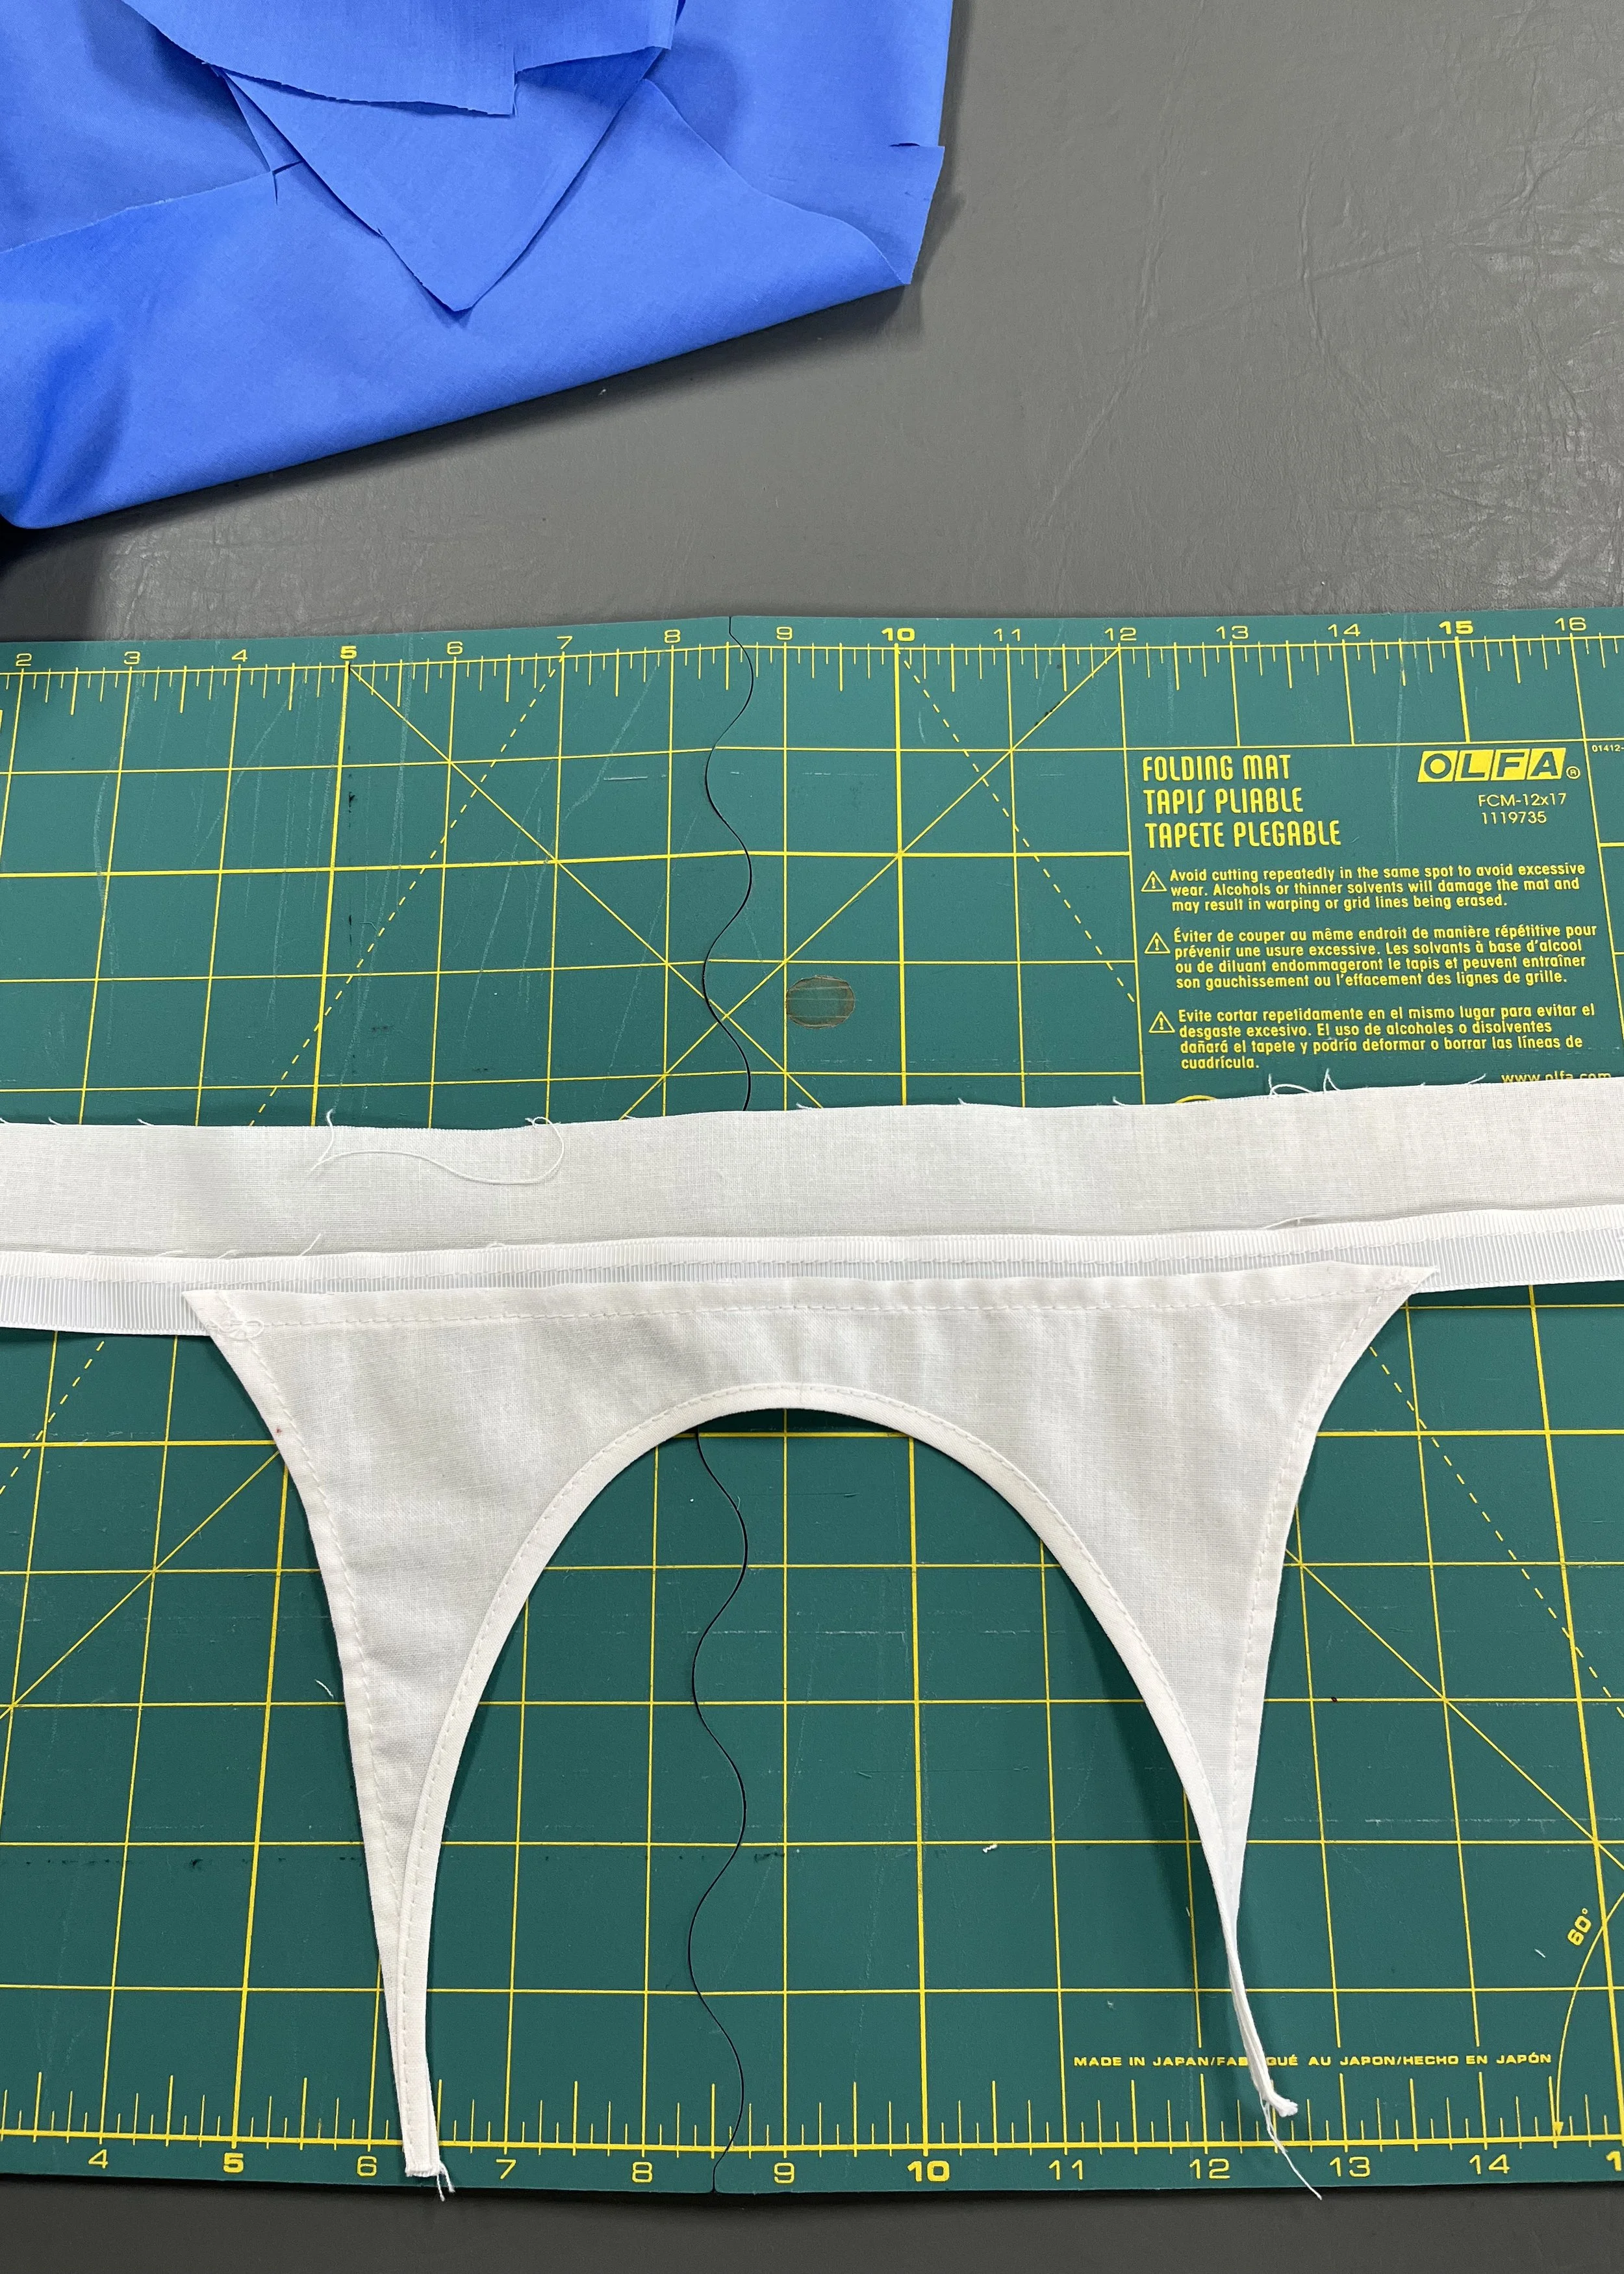
Earlier, before submitting to the unavoidable truth that the steel bones were not working, I had pinned a piece of cotton to the Judy, marked a waistline and traced the shape of the hoops in the position I wanted them to sit in.
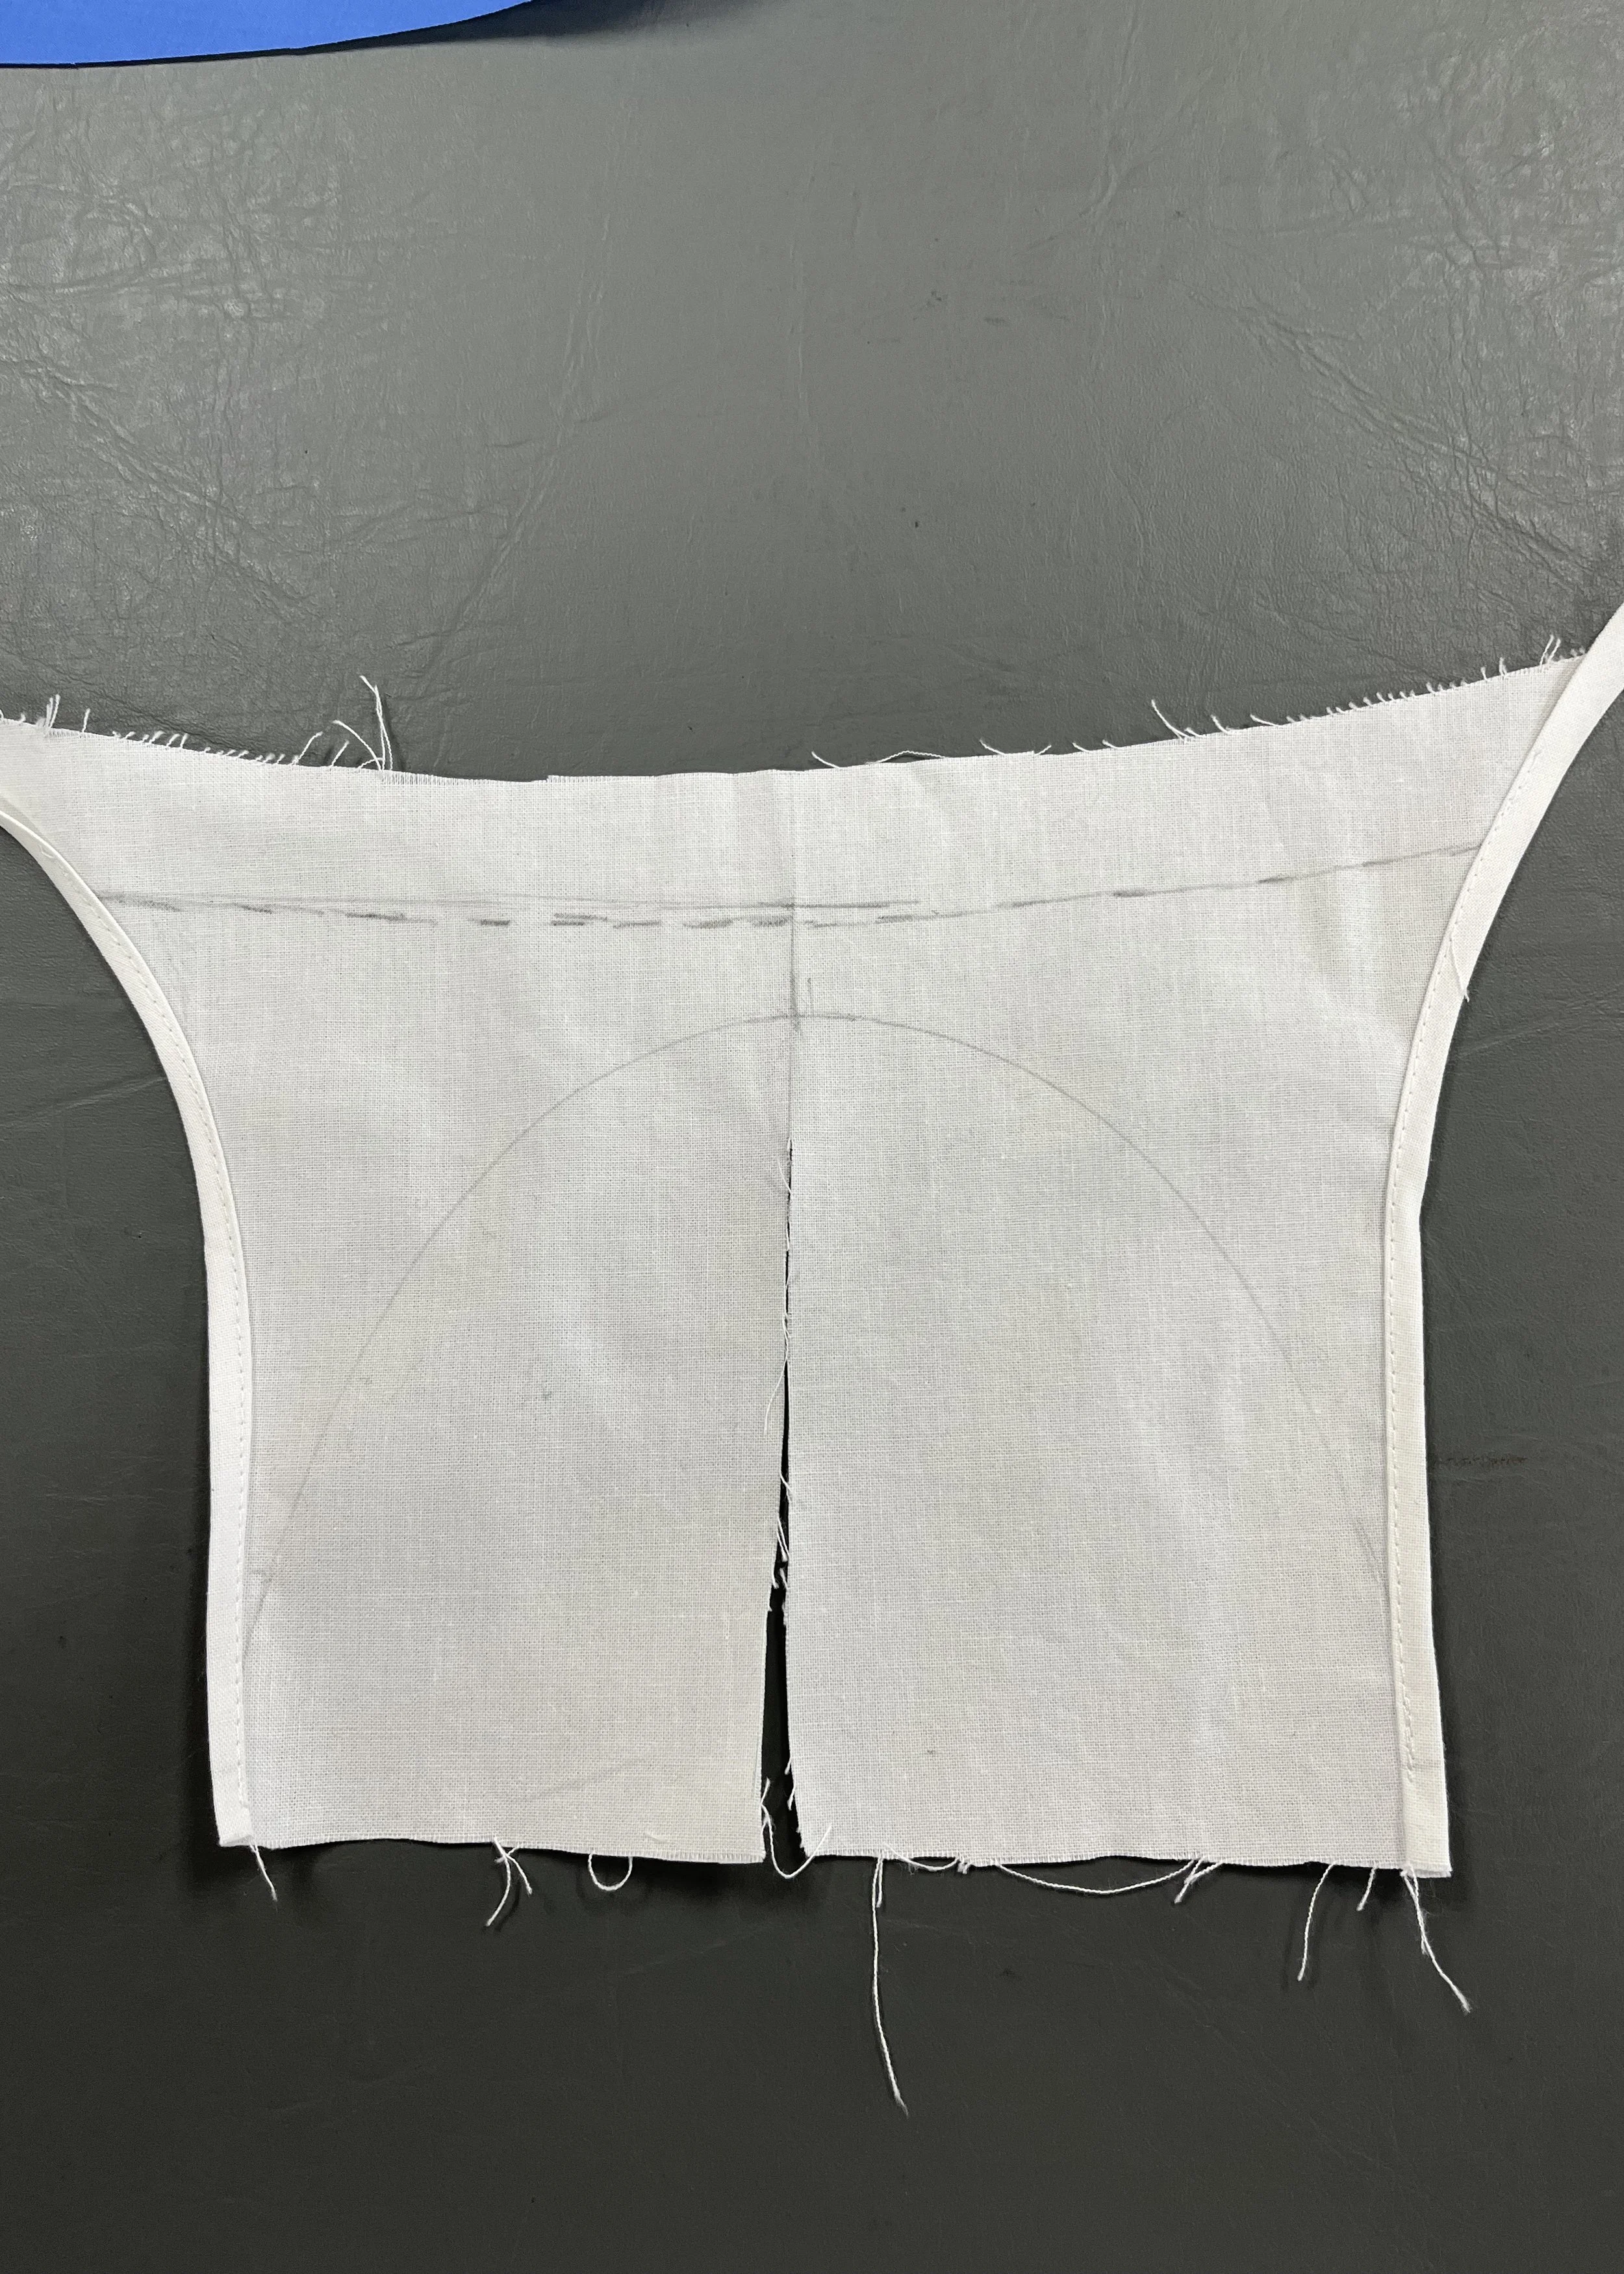
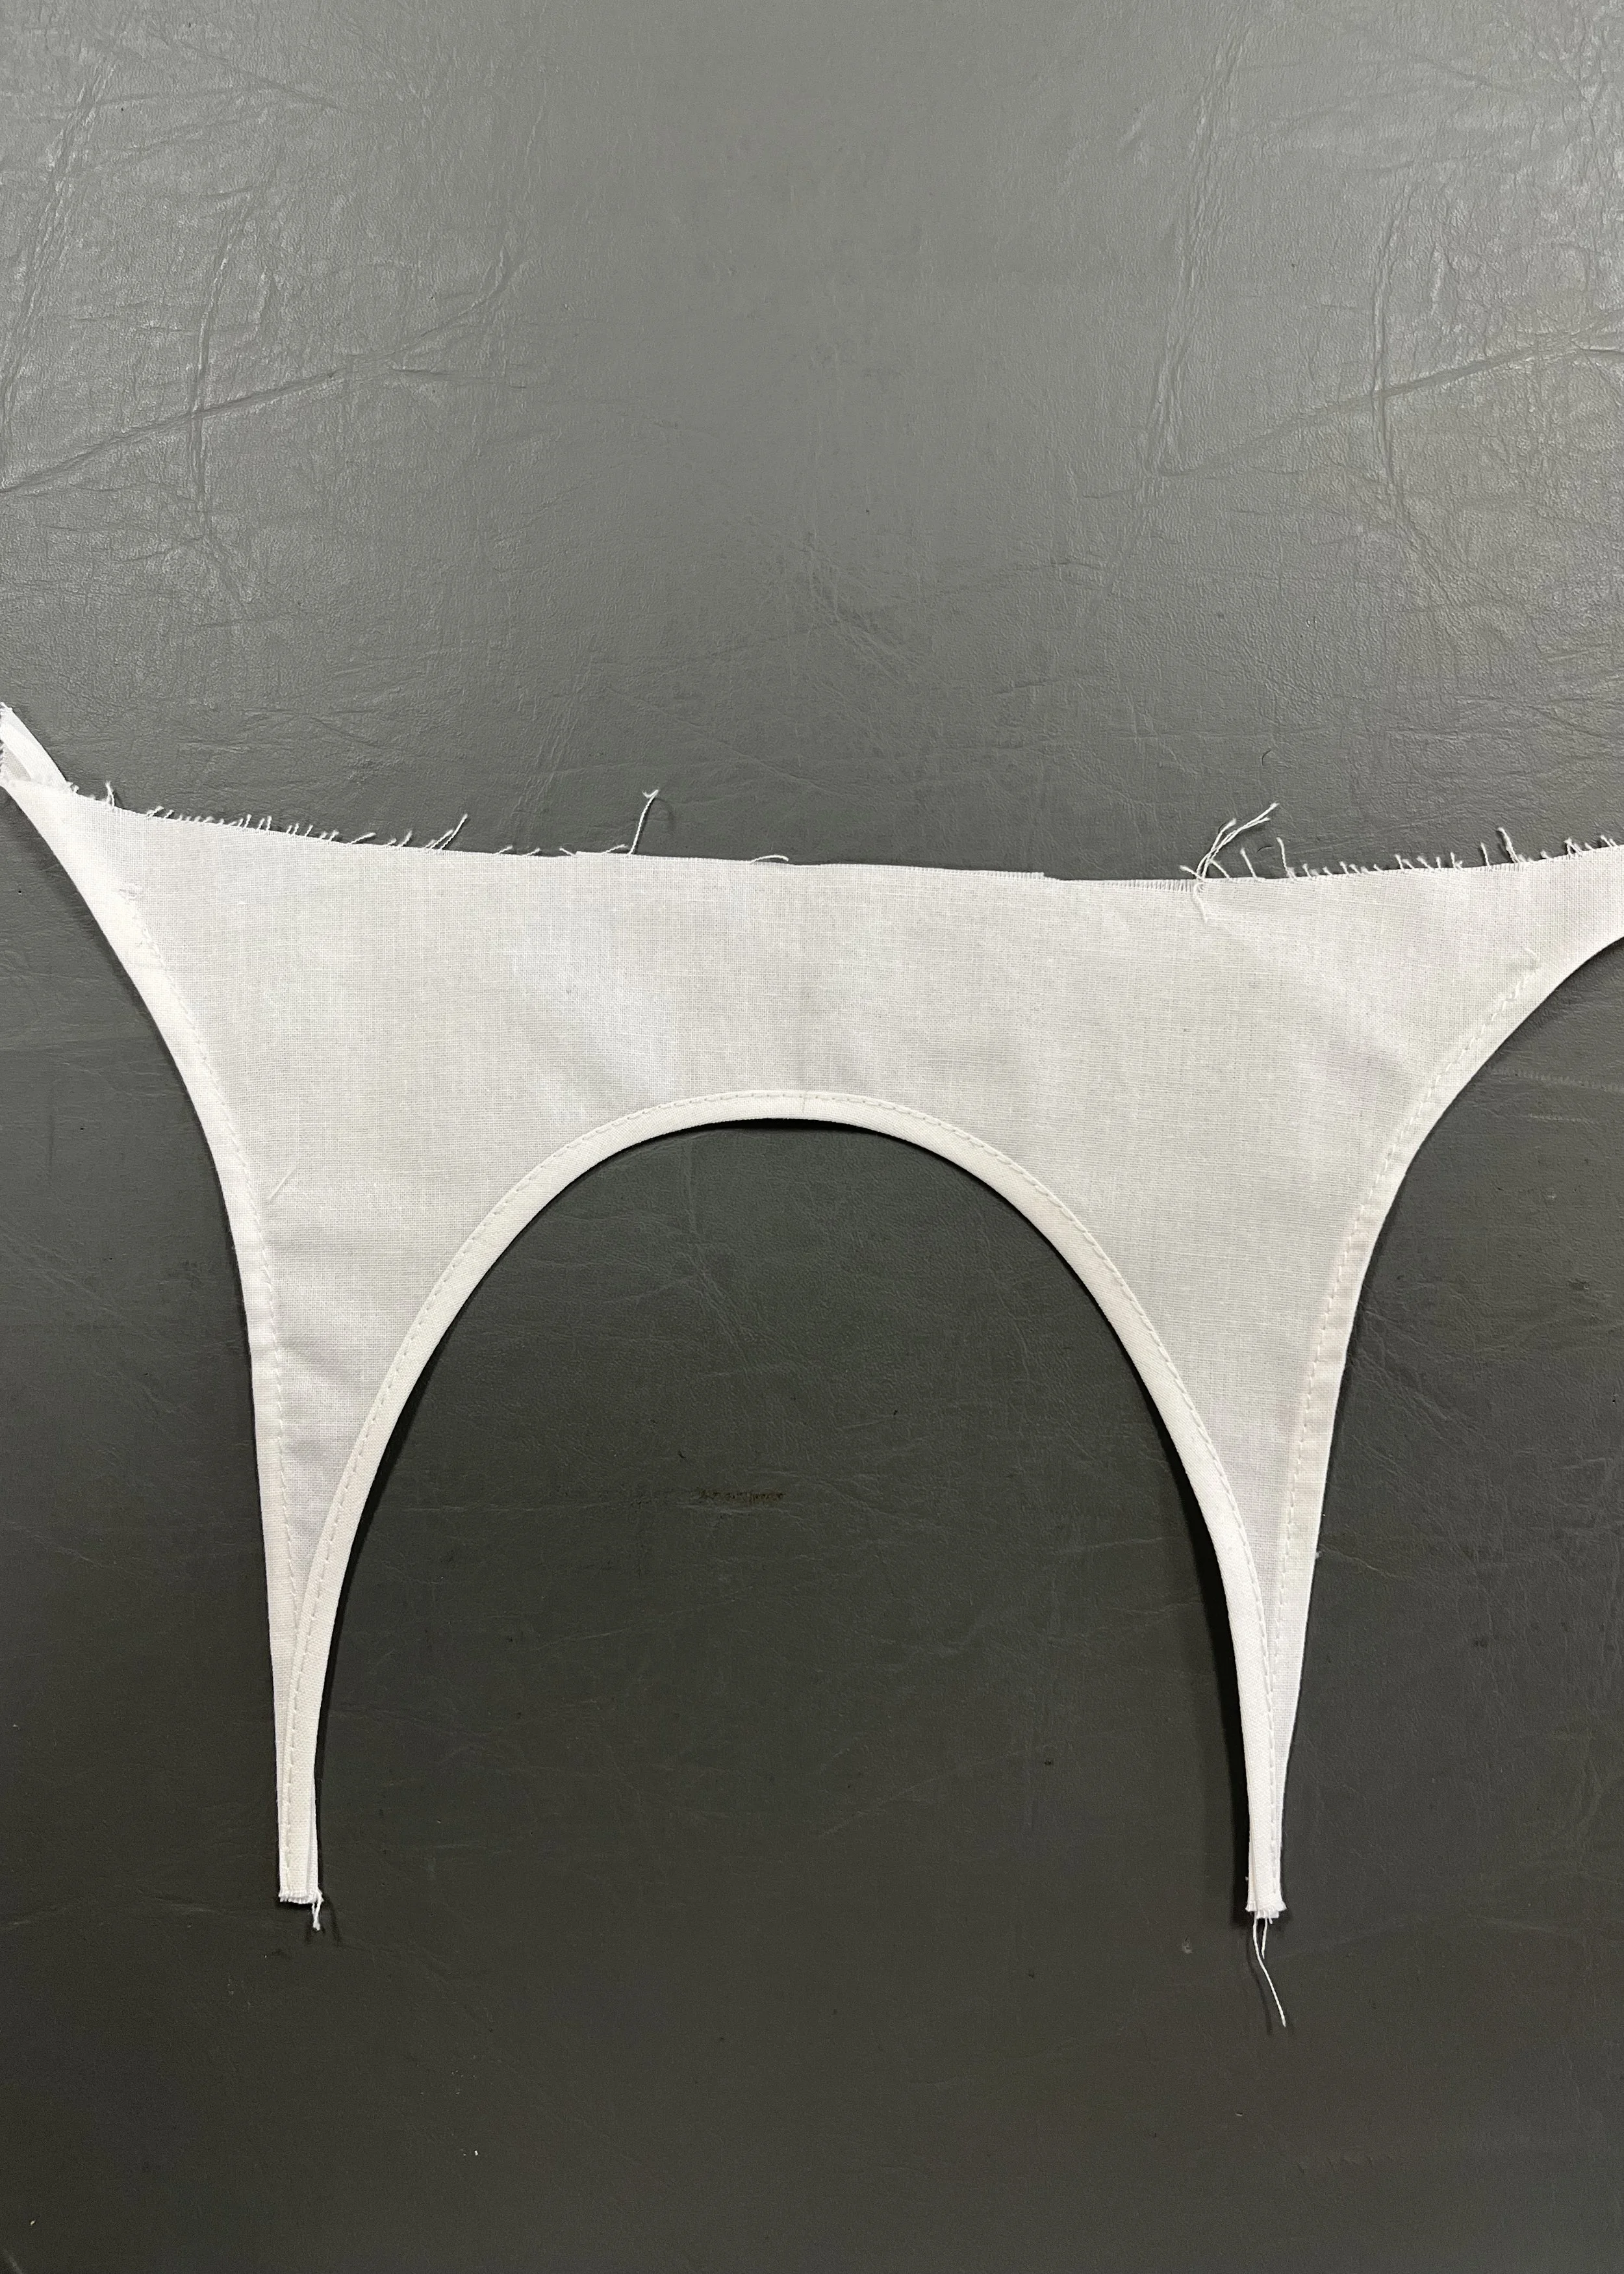
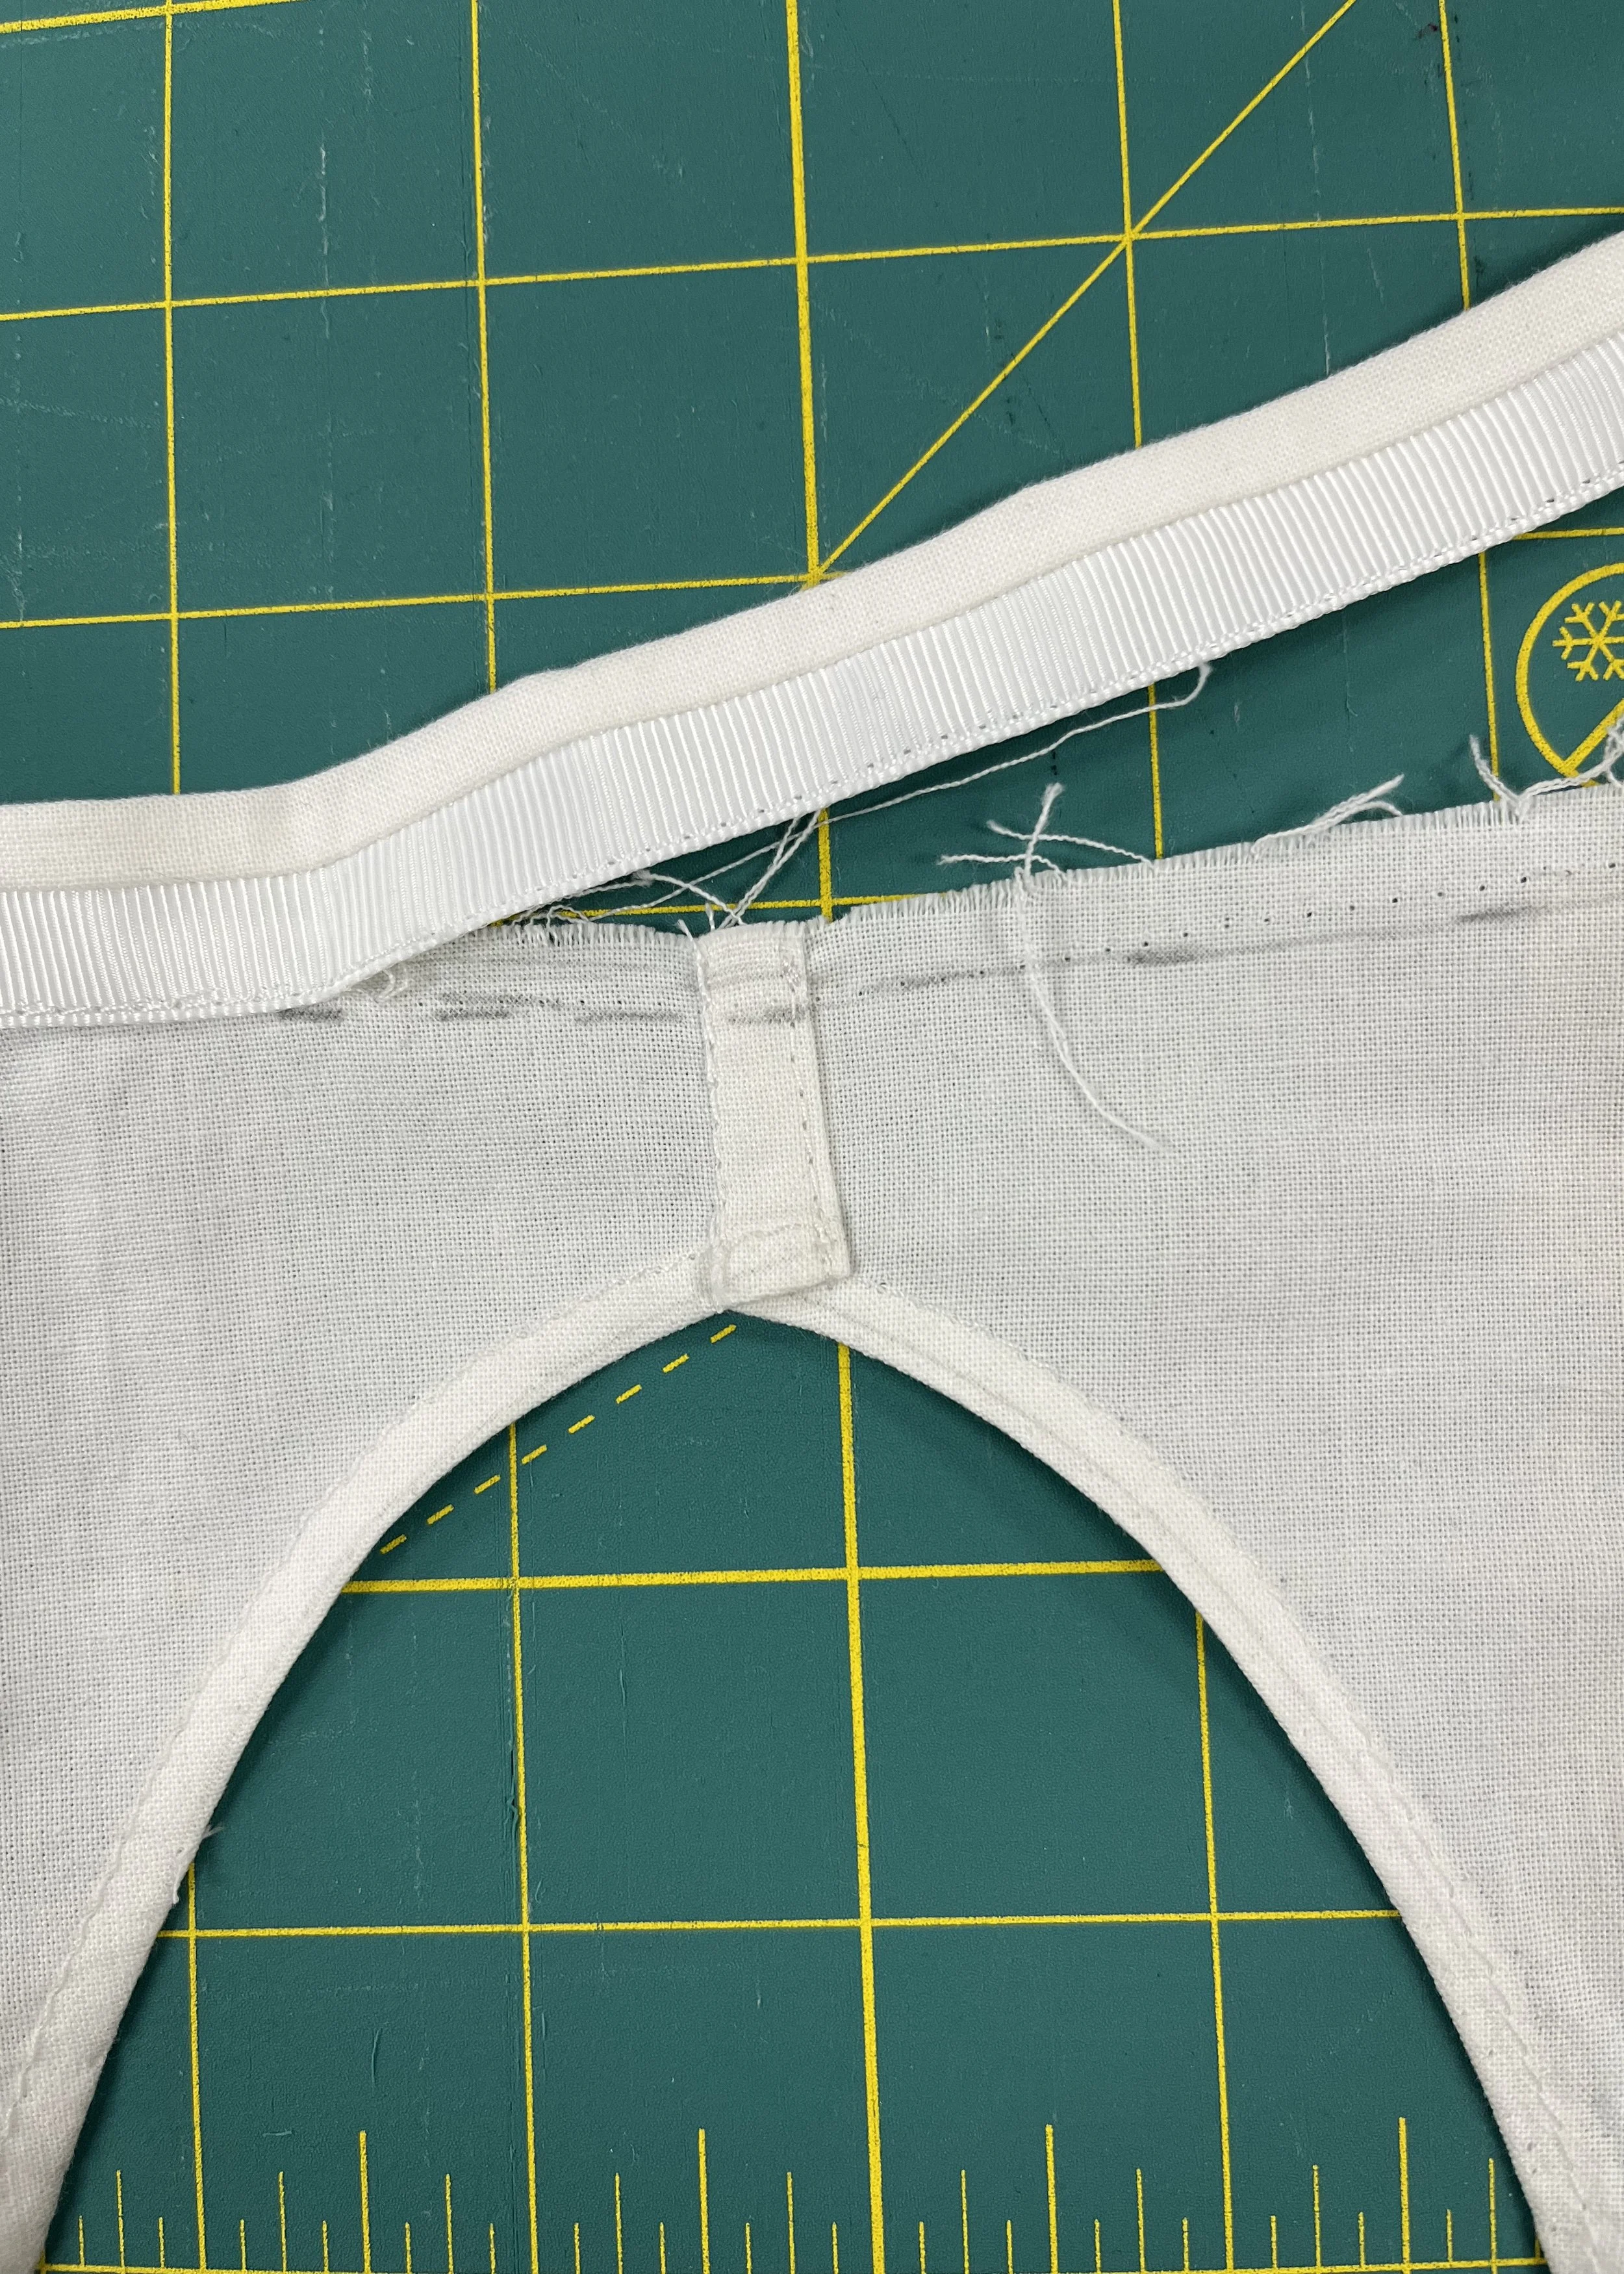
I took this piece, tidied and trued up the lines a bit, then finished the edges with a 1/4'' double turn and applied a waistband. Next I stitched it to the top hoop by hand; an awkward and painstaking job which I, rather stupidly, completed before putting the whole thing on the Judy and checking to see how it all sat.
Turns out, I needed to tweak the cotton piece a little bit. Luckily, it proved to be a pretty simple fix and all I had to do was take a little bit out of the centre to make it a bit narrower across the back and pull the whole thing a little more snugly into the back of the Judy.
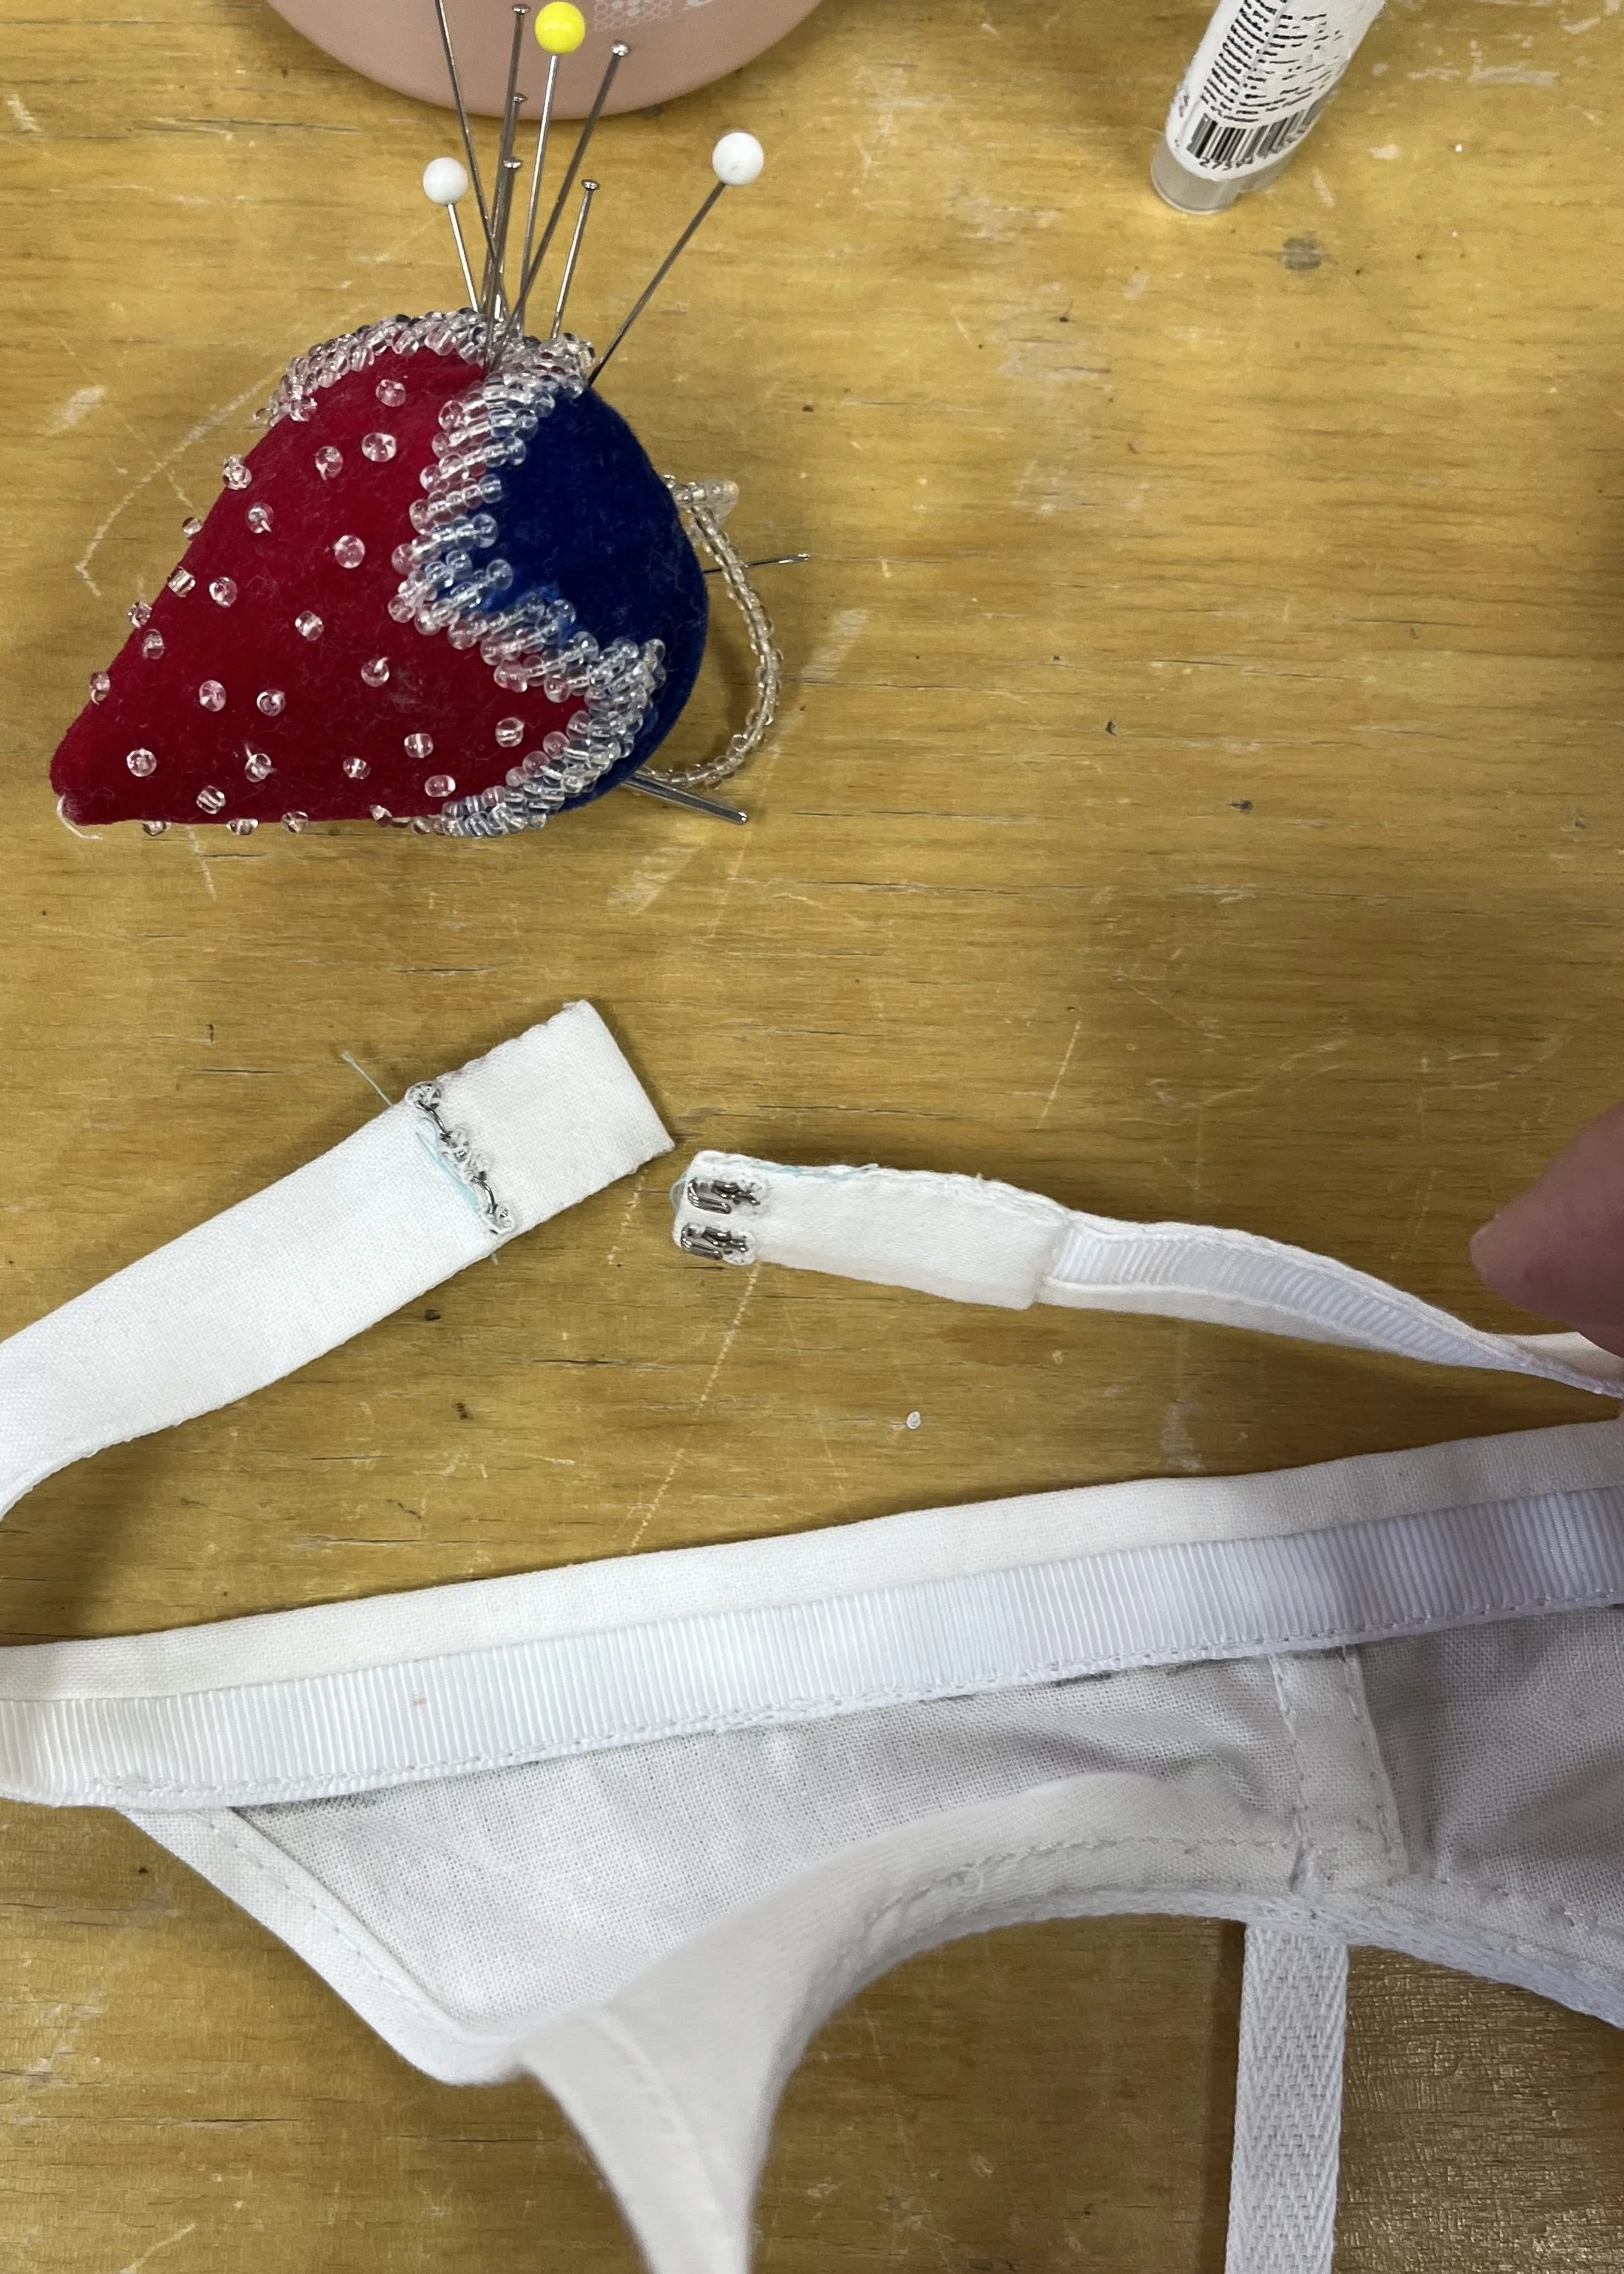
I finished it all a second time, added hooks and bars and had myself a bustle!
Huzzah!
Marie’s bustle took a total of 11 hours to make.
Next up is her petticoat where I will finally use the flounces which inspired this whole project!
