Irene Part Two
Much like Olivia, Irene was a deceptively complicated dress to put together. Both dresses do not, at first glance, appear to be all that complex, but they both offered a few order of operations quandaries.
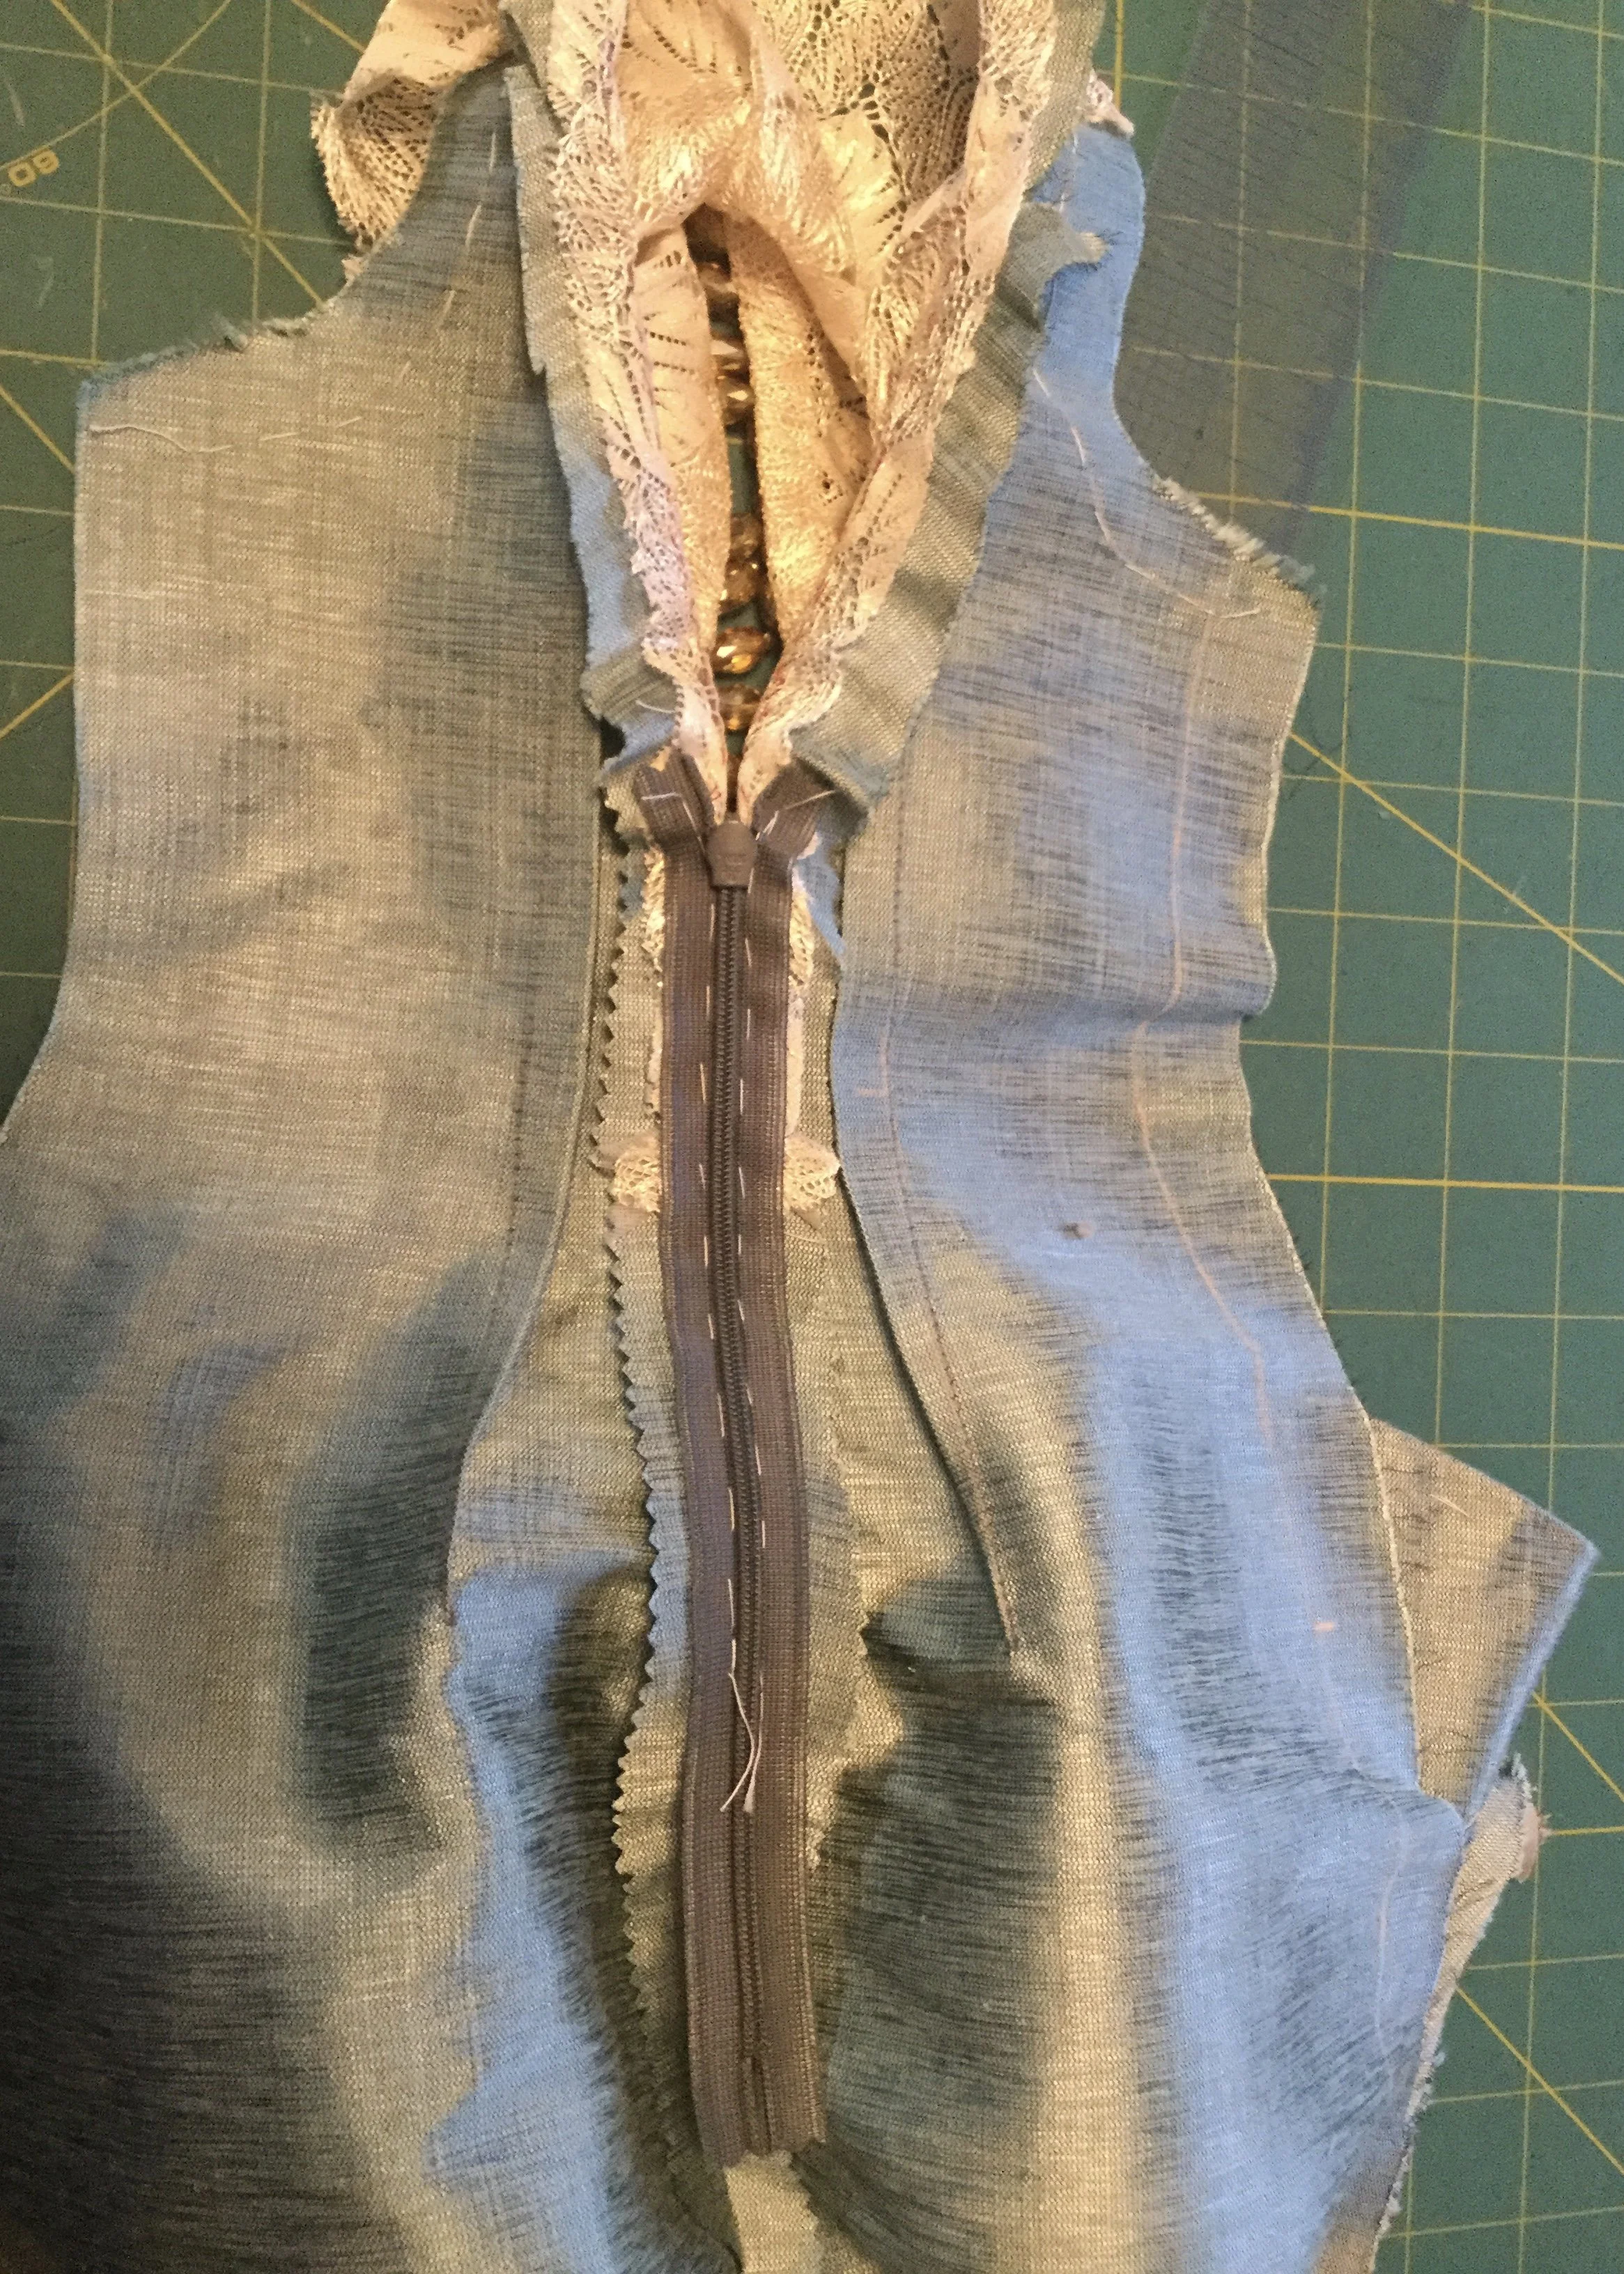
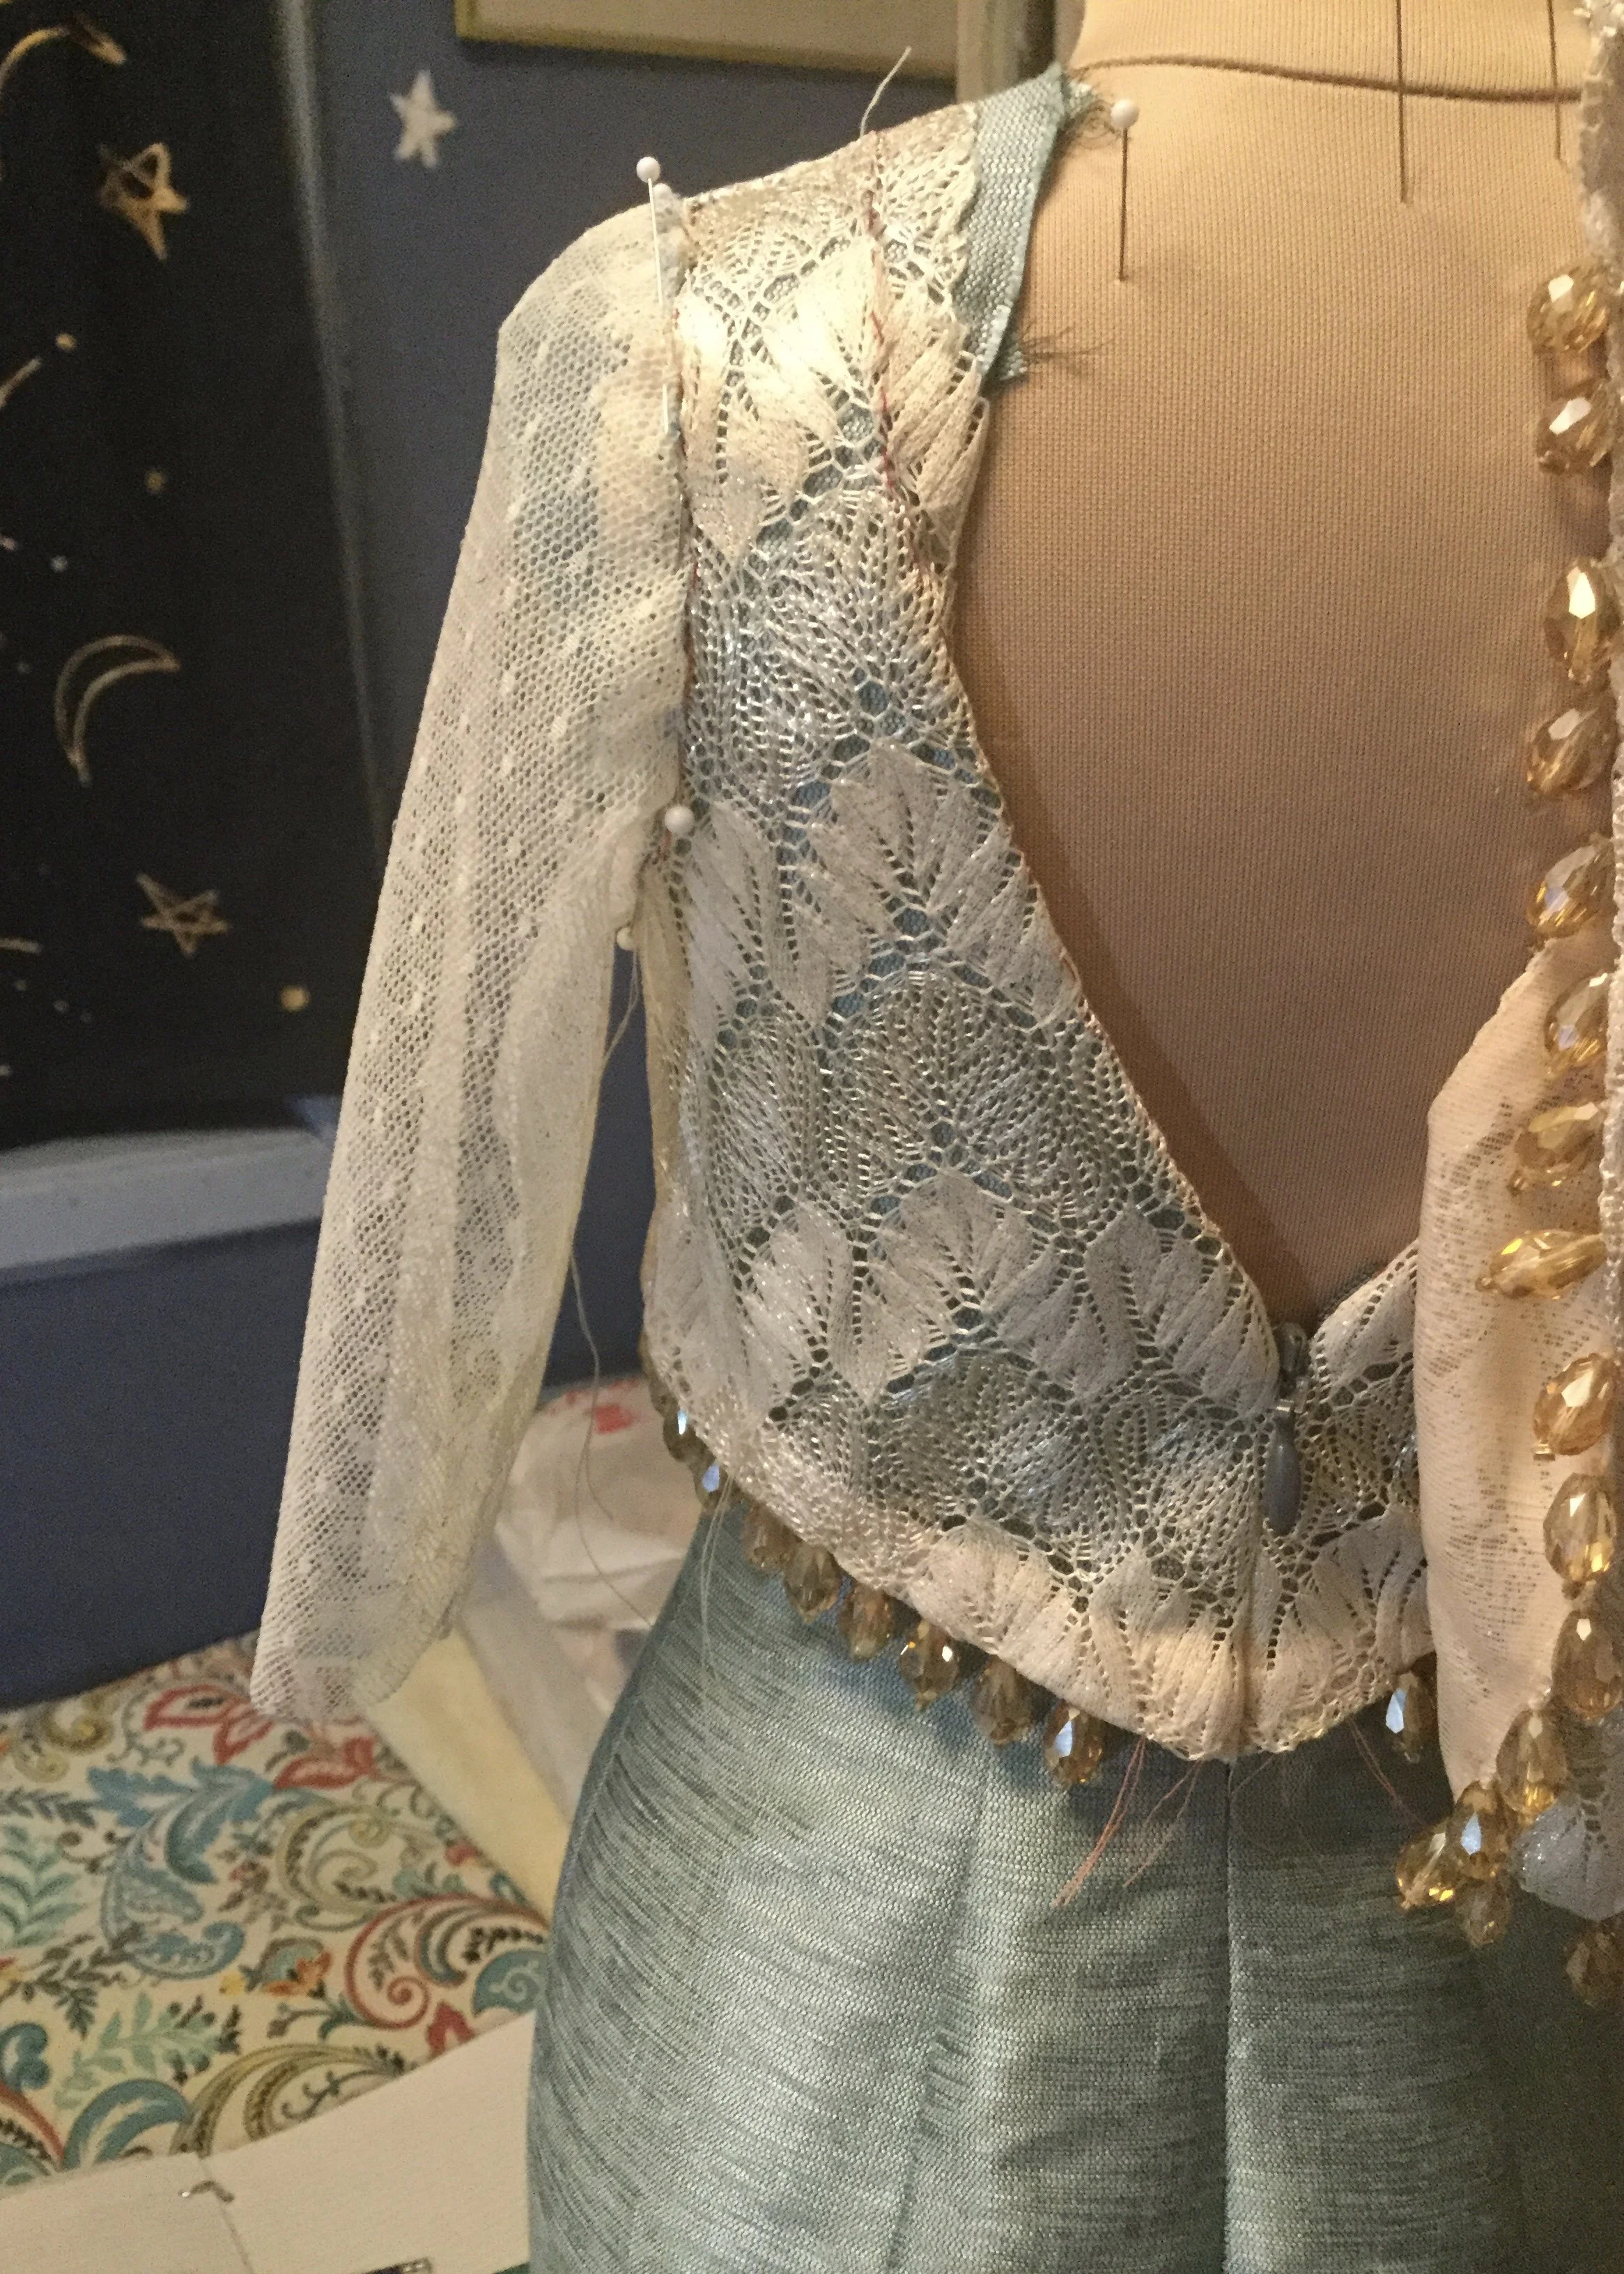
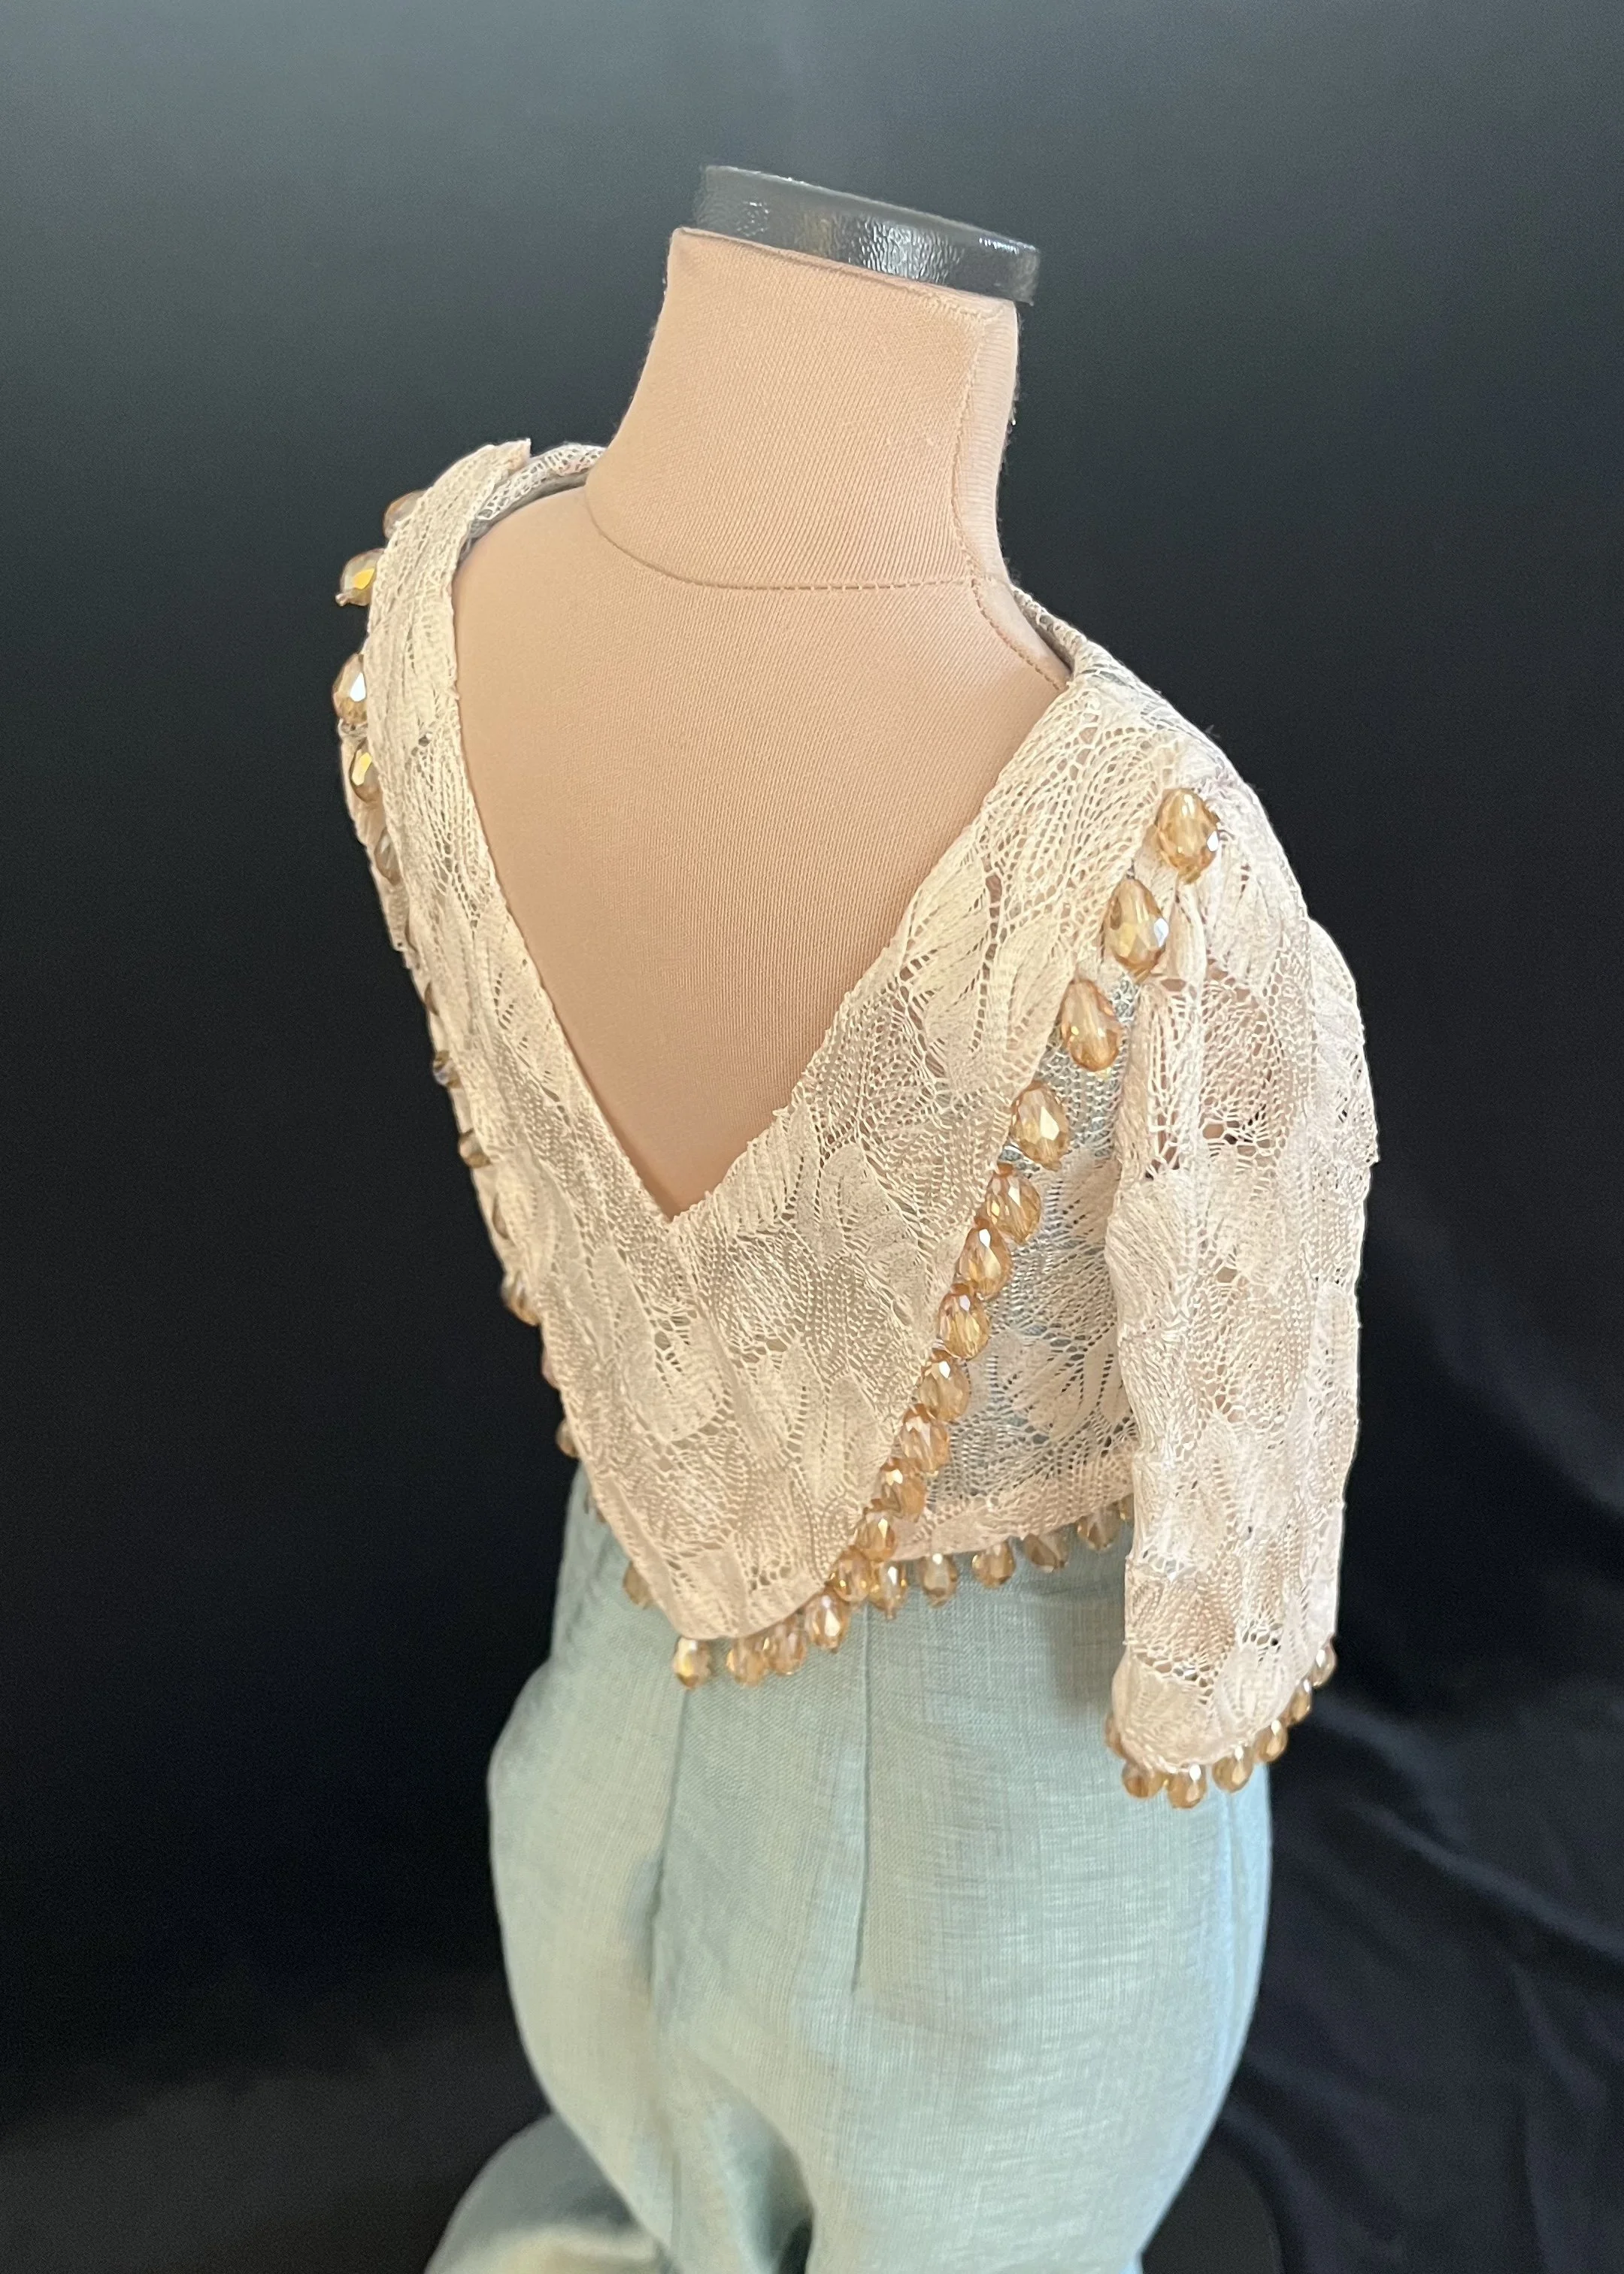
On Irene’s bodice, there is the question of when to add the lace and sash in relation to the zipper. At first, I thought the easiest thing would be to insert the zipper (another invisible one, *sigh*) into the back of the dress and apply the lace by hand afterward. This would have afforded the control which hand work offers, but ultimately I decided that it would never actually look as clean as applying the lace first and stitching it in with the zipper.
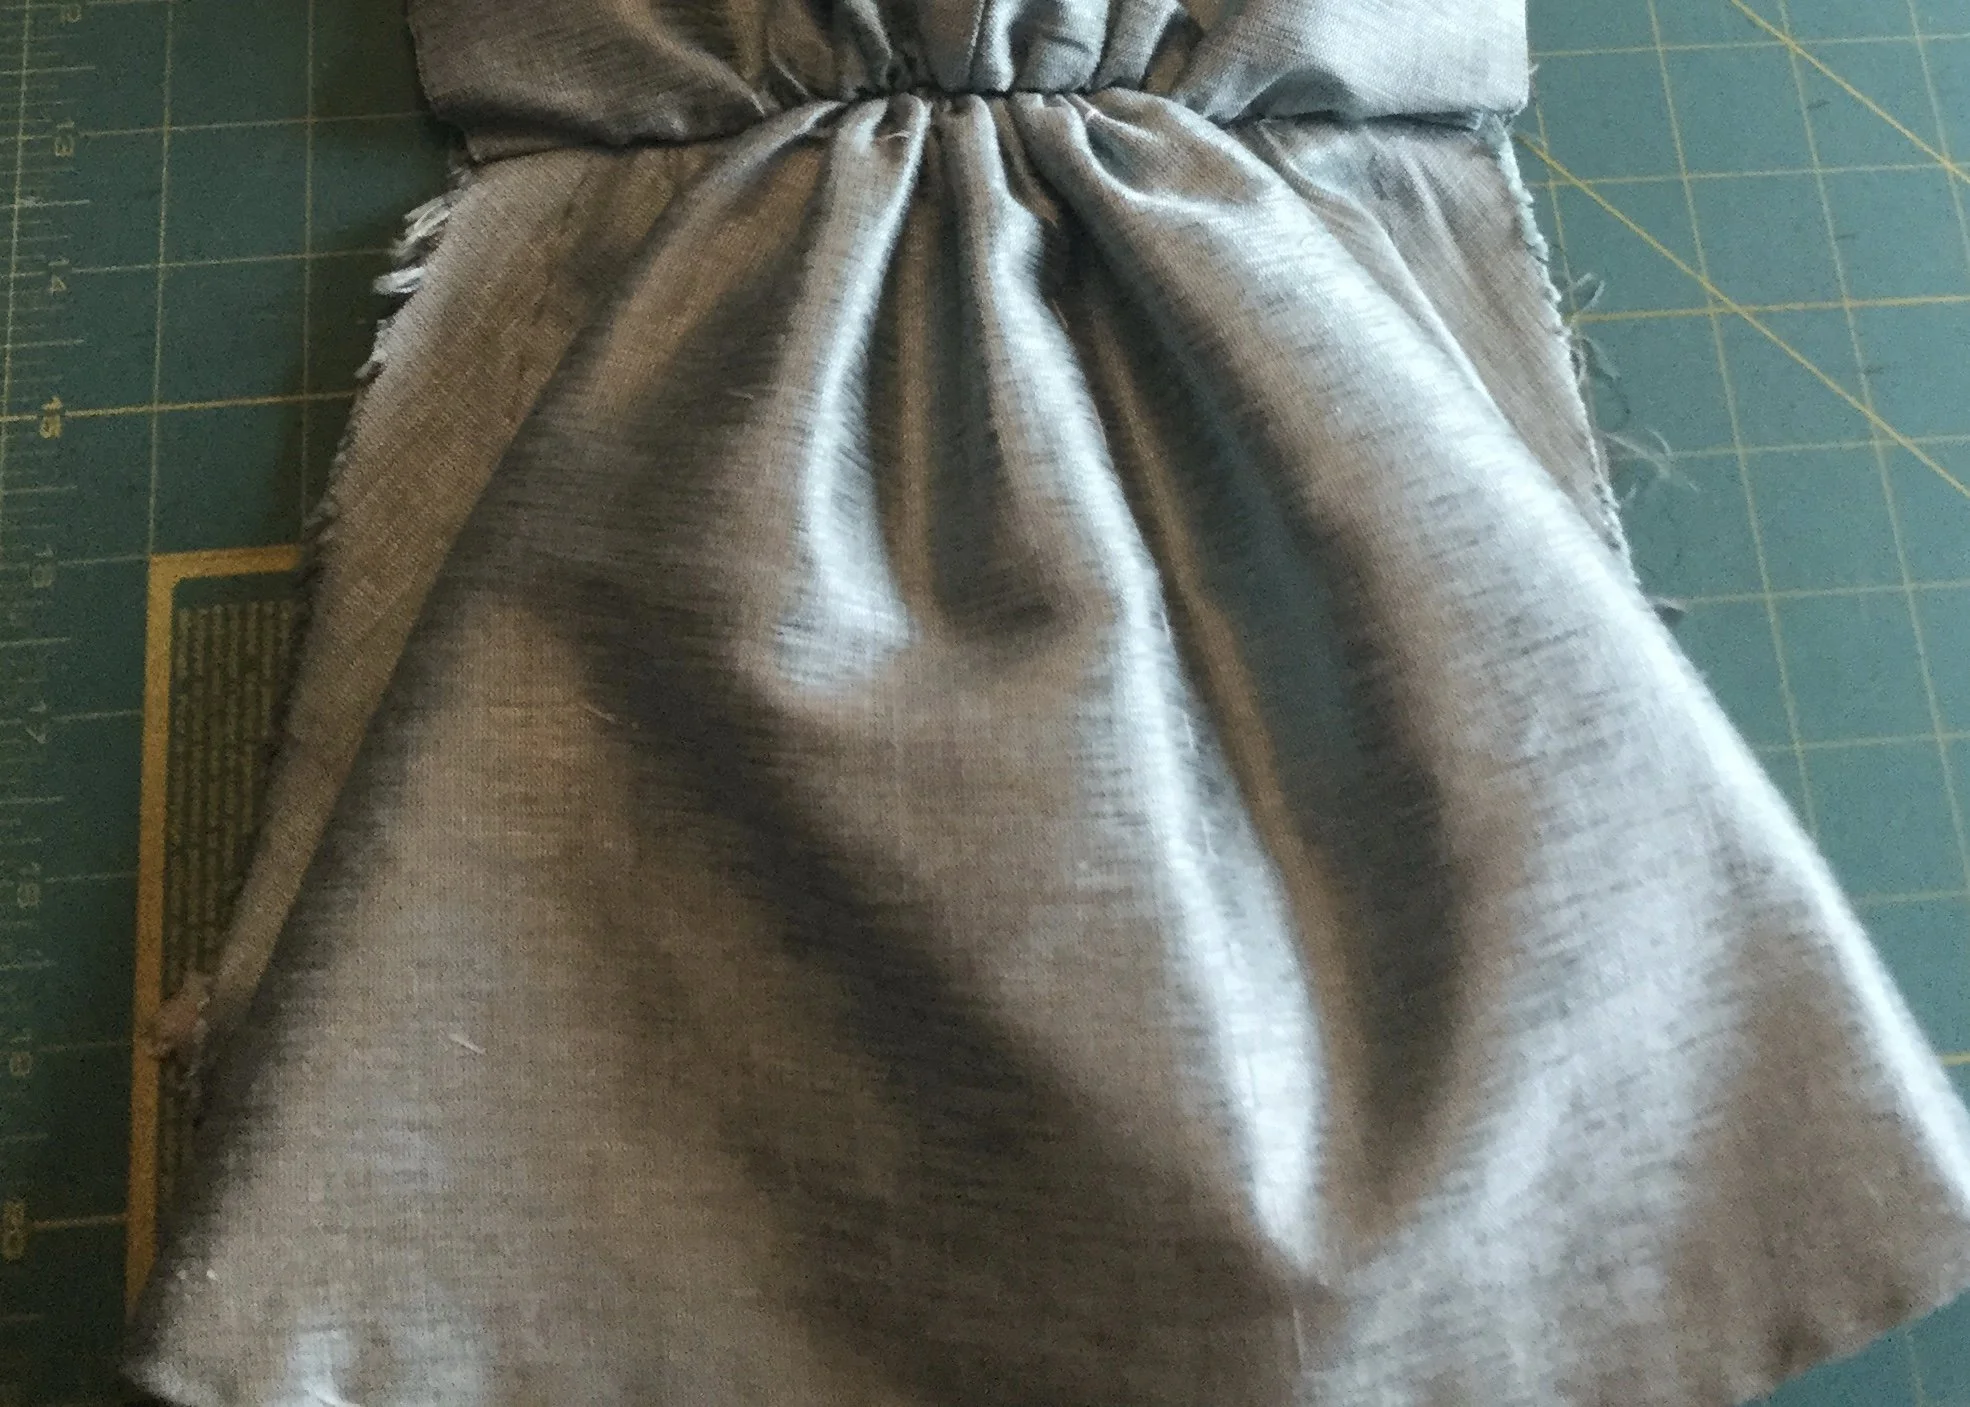
At the hem of dress, I had already determined how the lower back, train and back would all be assembled, but at this point I realized that I had better be happy with the length as hemming the lower back and train would be most easily done while they were still separate. (If I was to build this for a real person, I could certainly leave part of the side seam open at the hem to allow for the length to be adjusted as needed but it seemed silly to worry about that on a half scale Judy.)
So, make the lower back and train and attach them to the back.
But first, the zipper and the centre back seam.
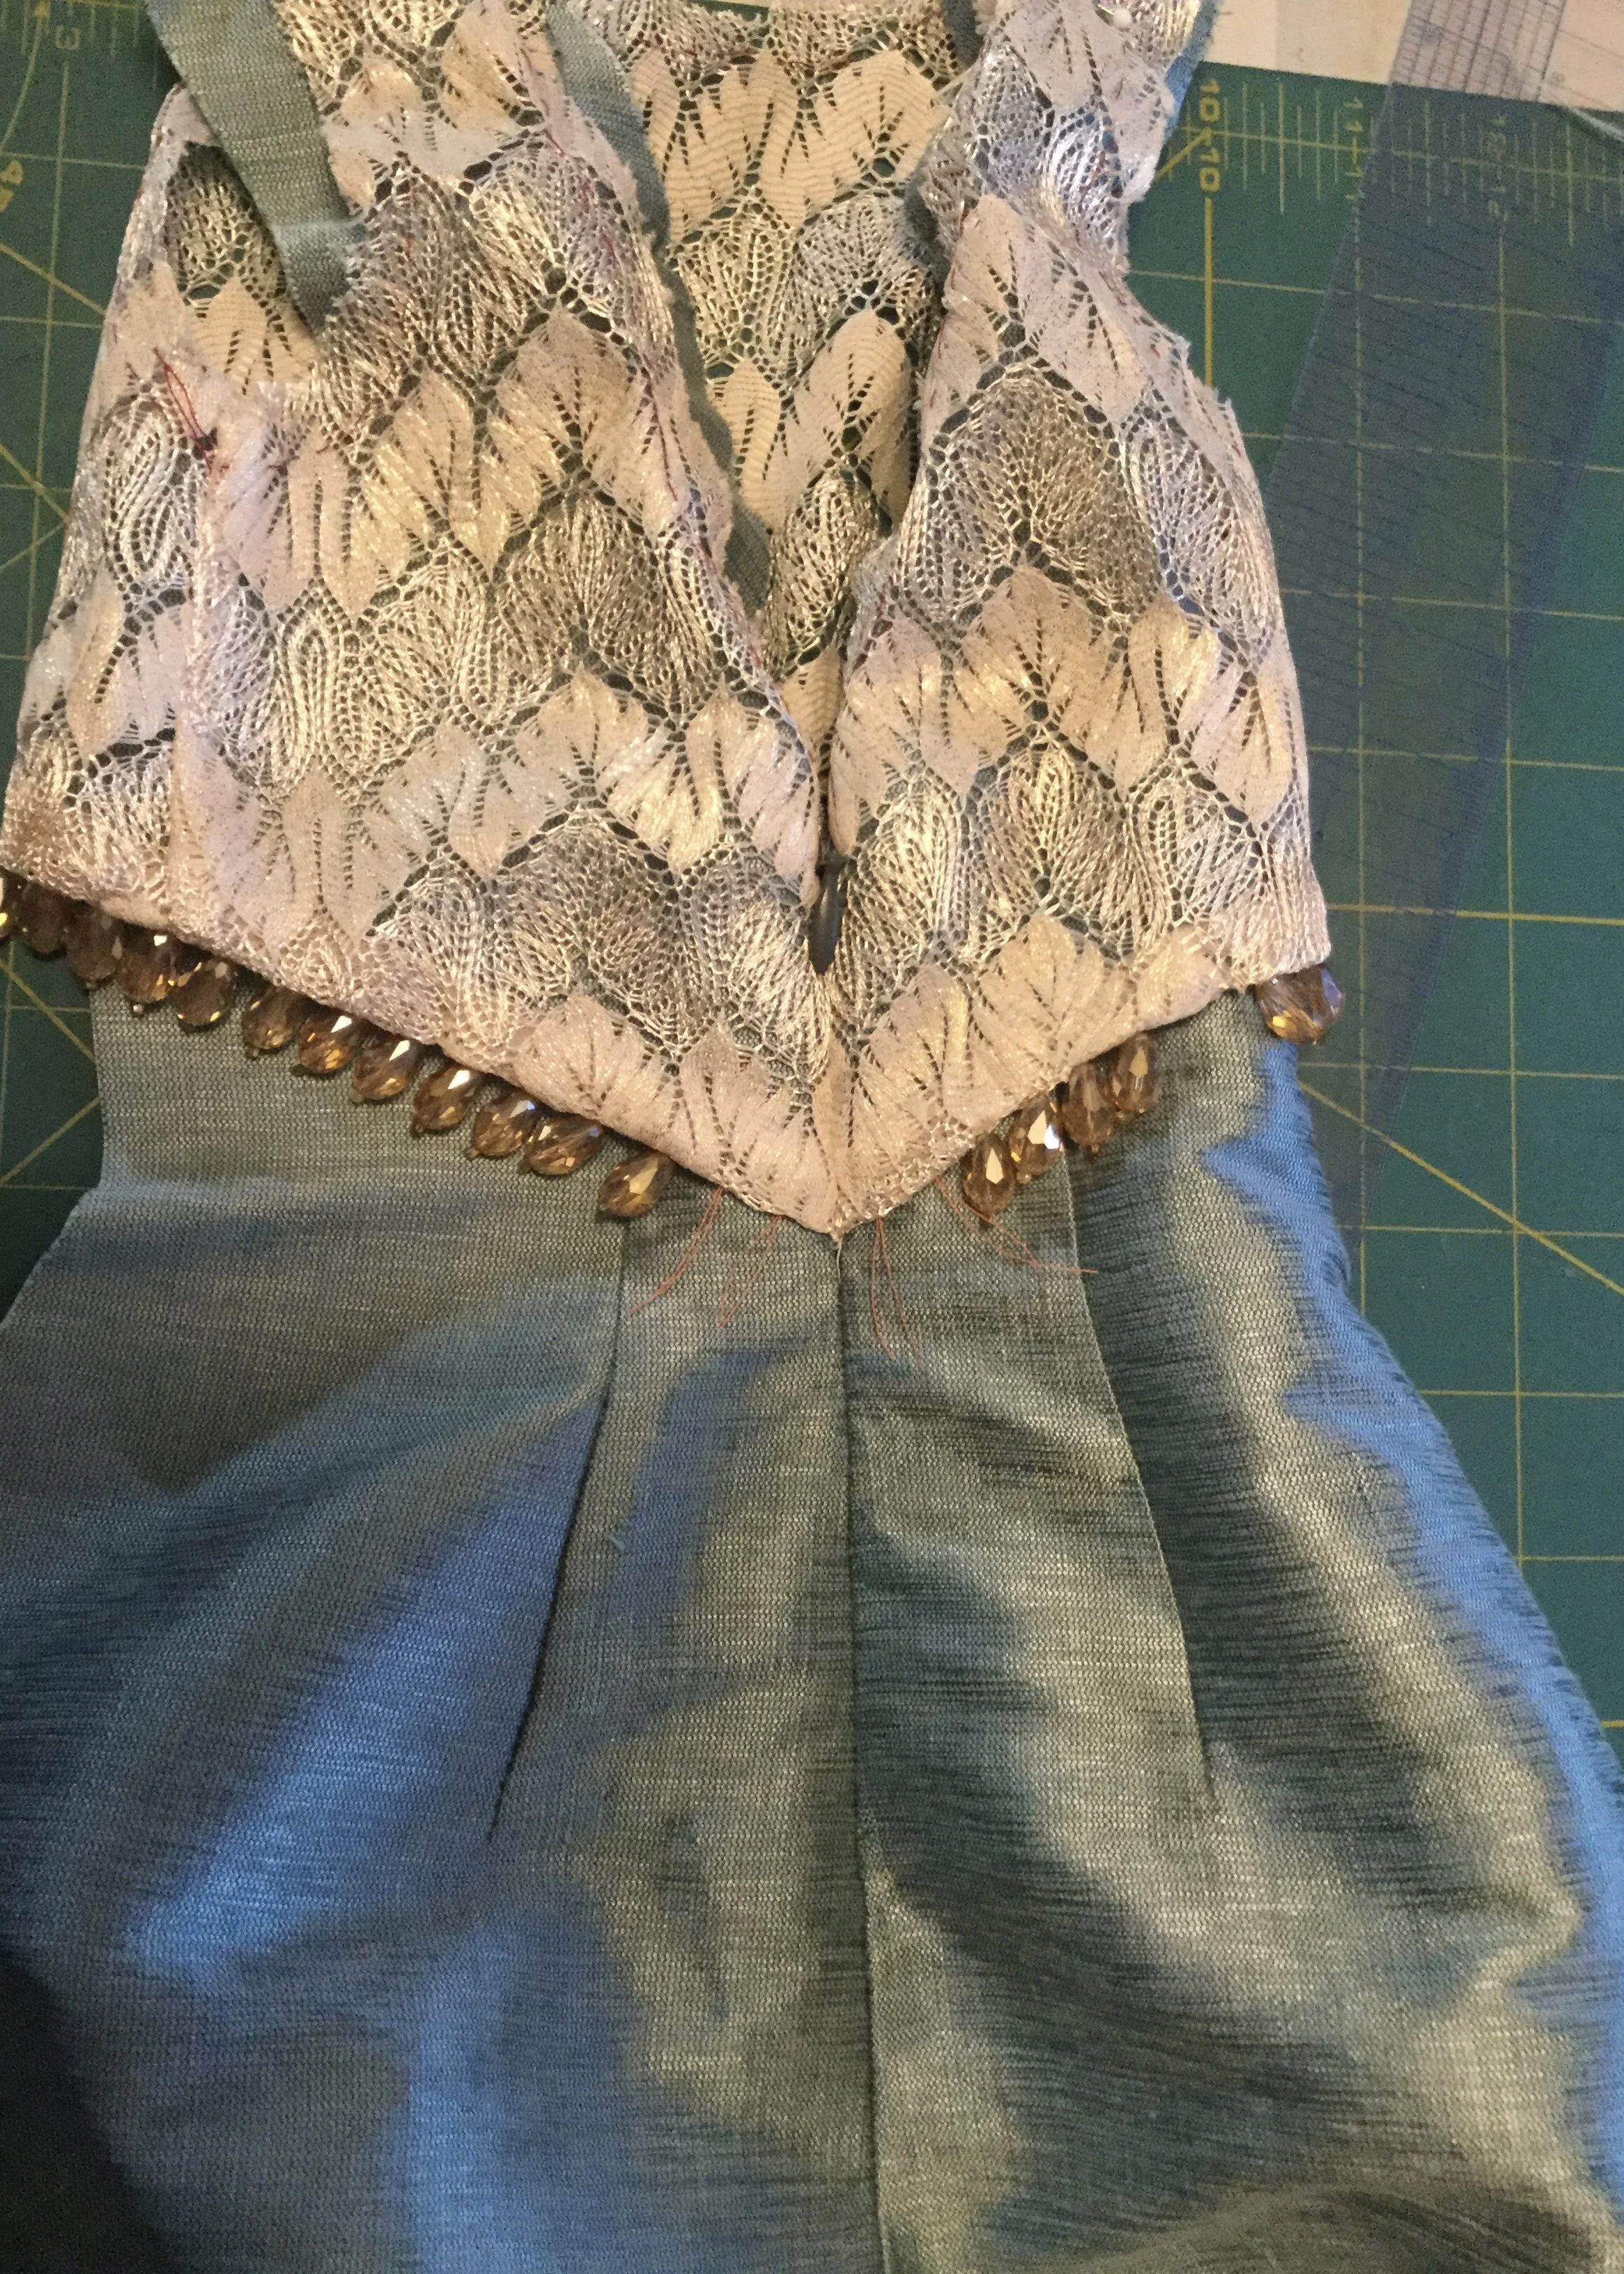
But first, baste the lace bodice to the dress at the back.
But first, the beading along the hem of the lace.
But first, stitch the side seams of the lace and finish the hem.
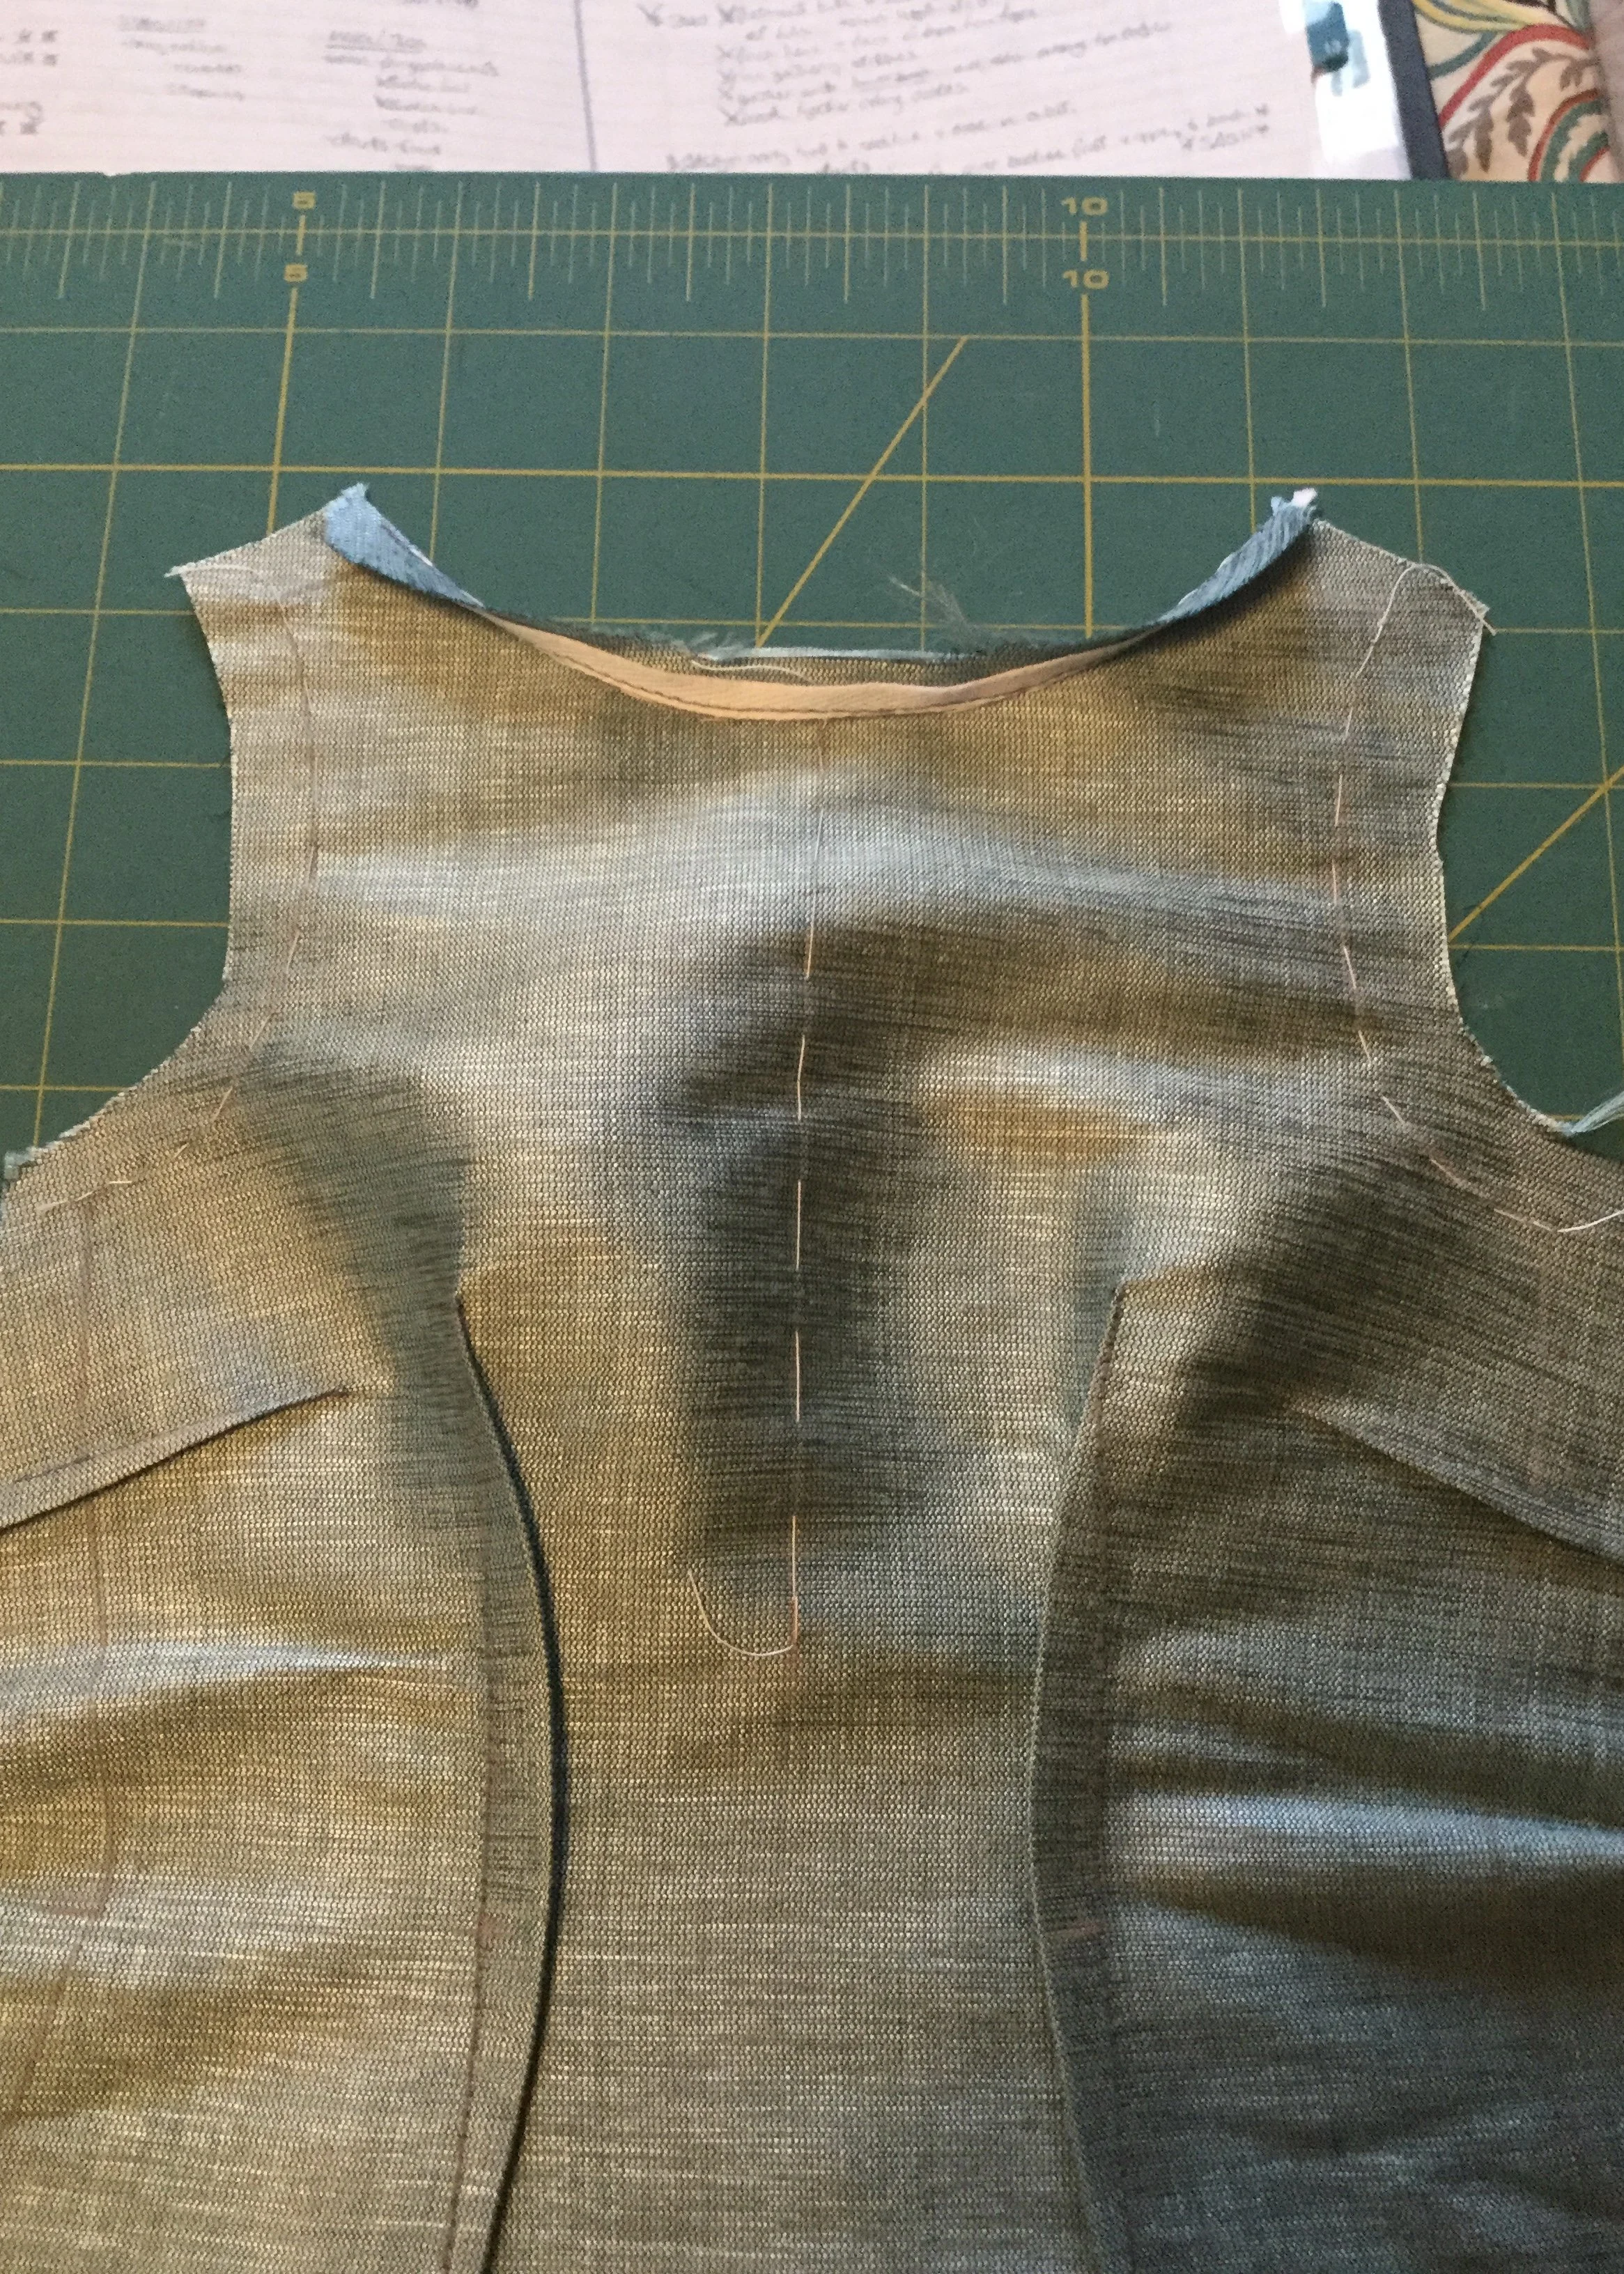
But first, close the darts and tape the neckline.
But first...no, wait. That's the start. *phew*
I'd love to say that I worked that out perfectly in advance and did not hop around between steps at all, but I love to say all kinds of things.
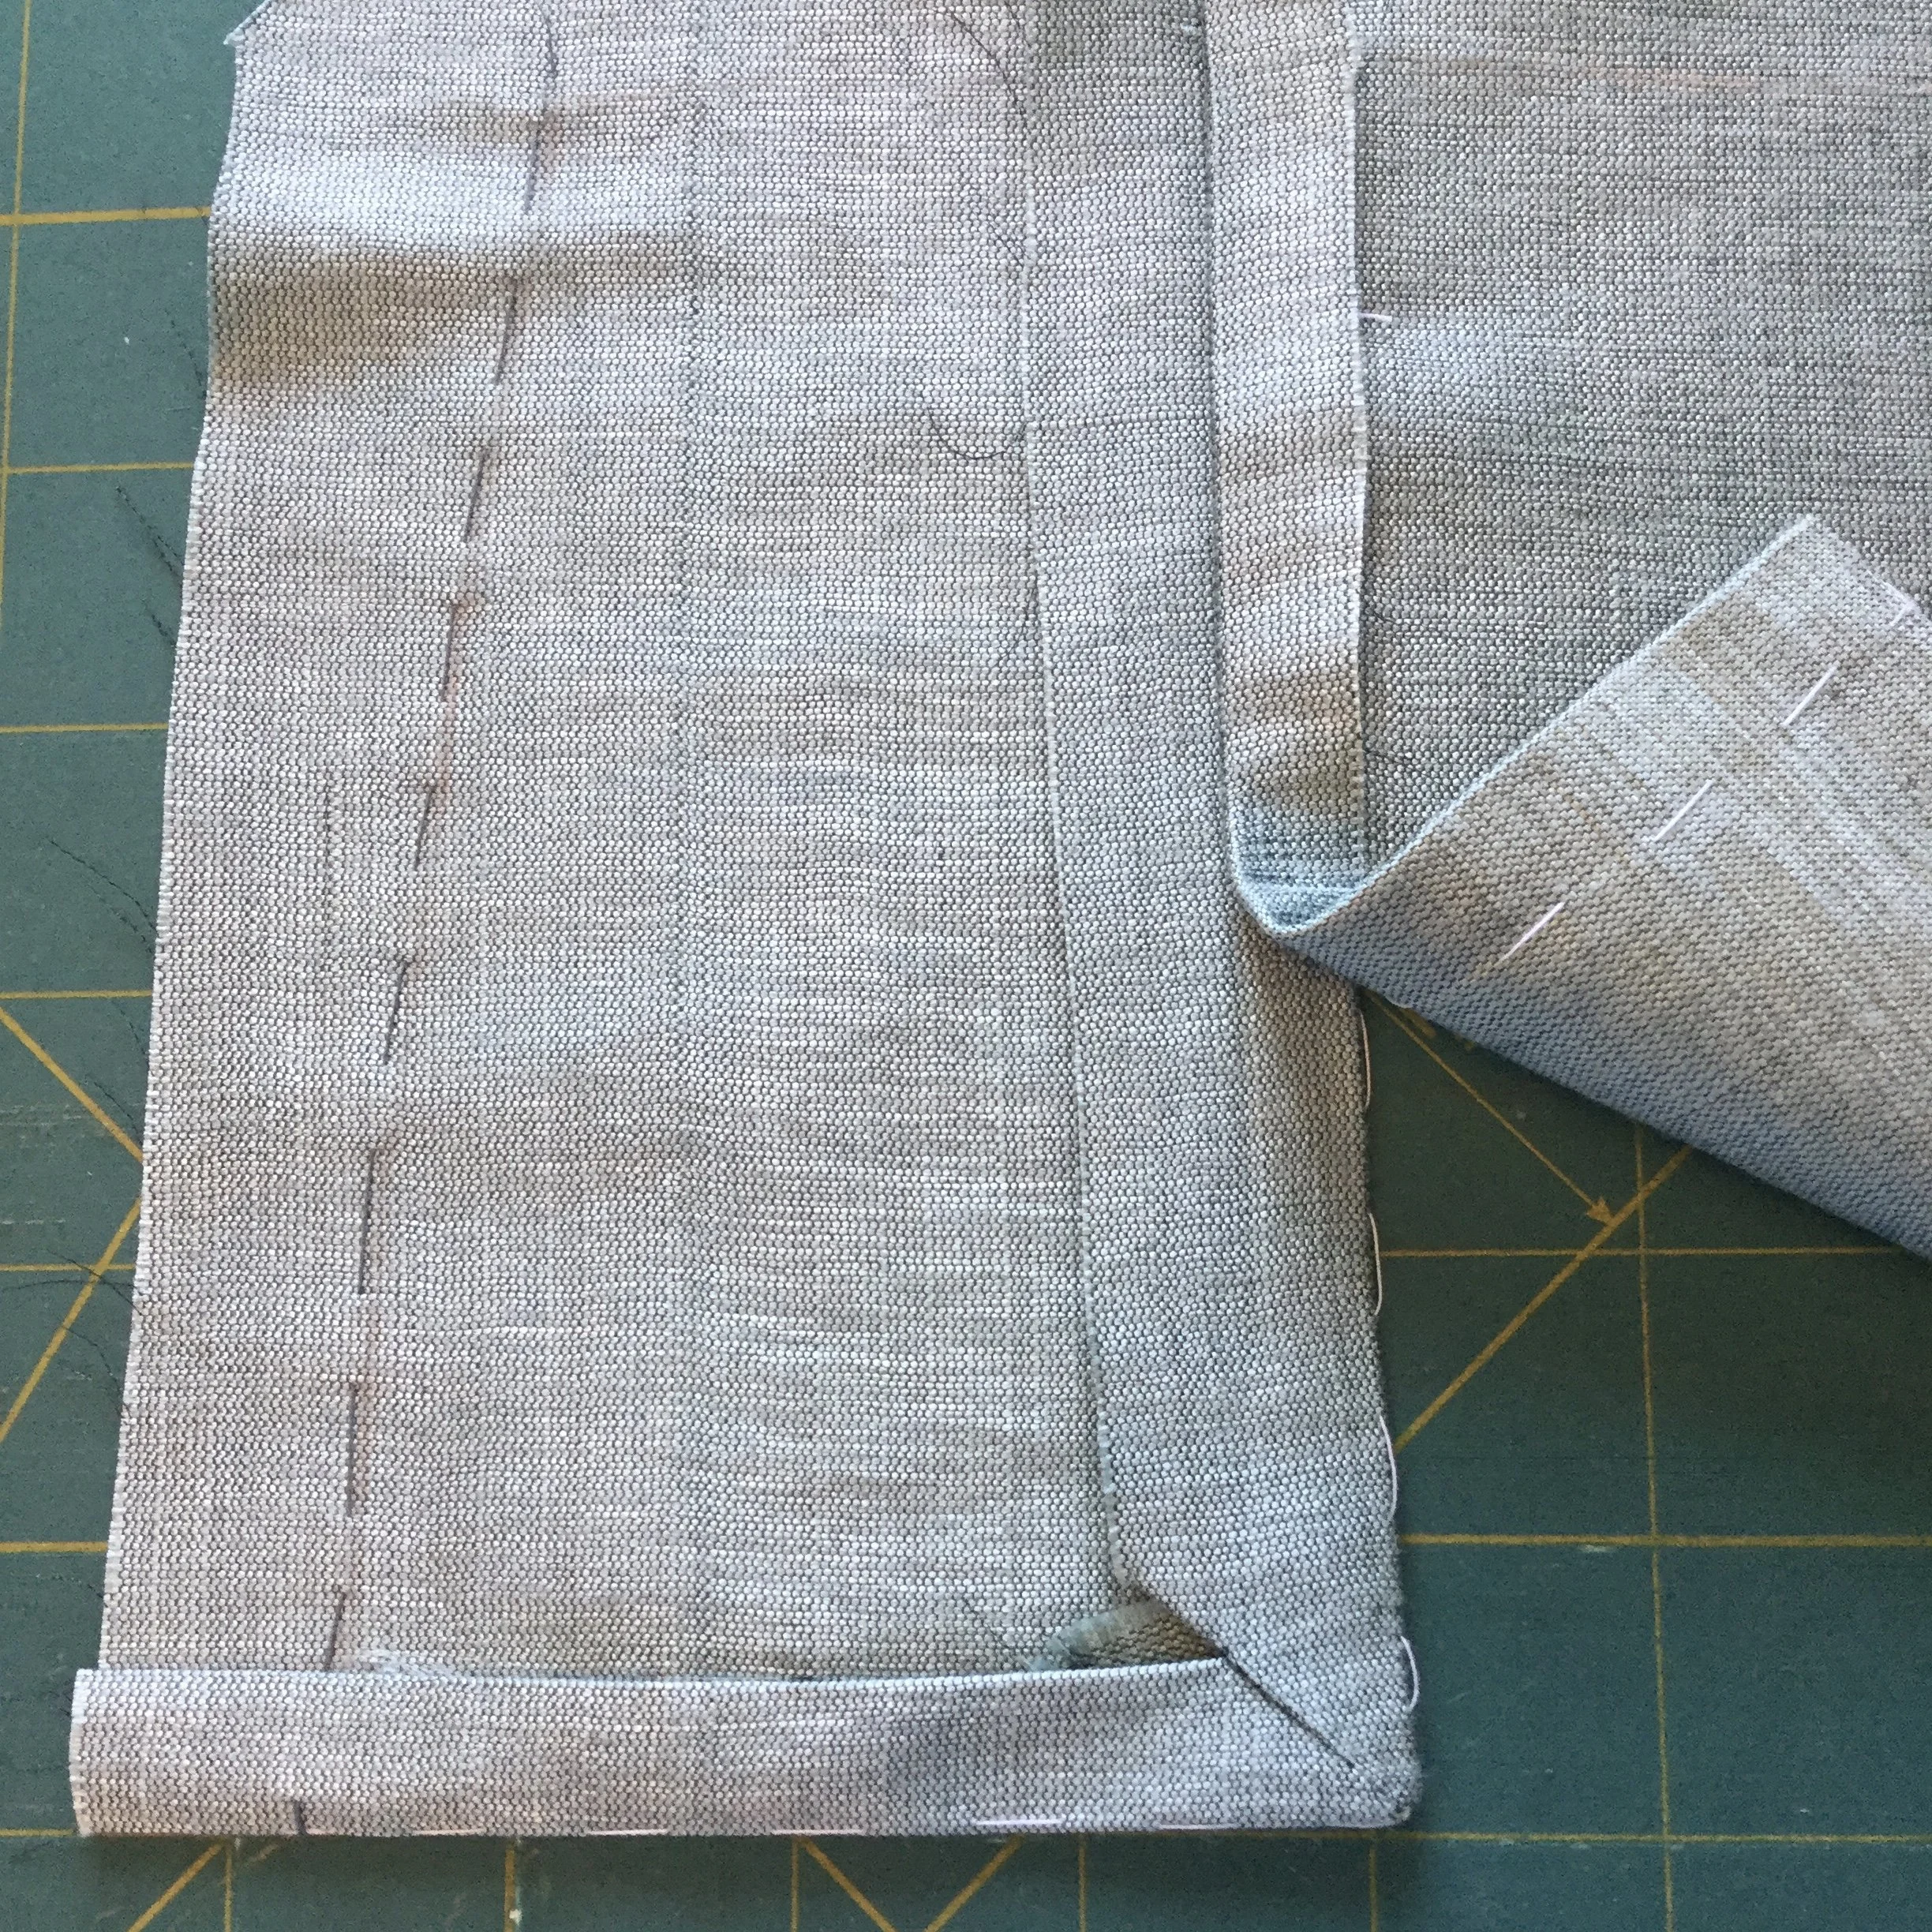
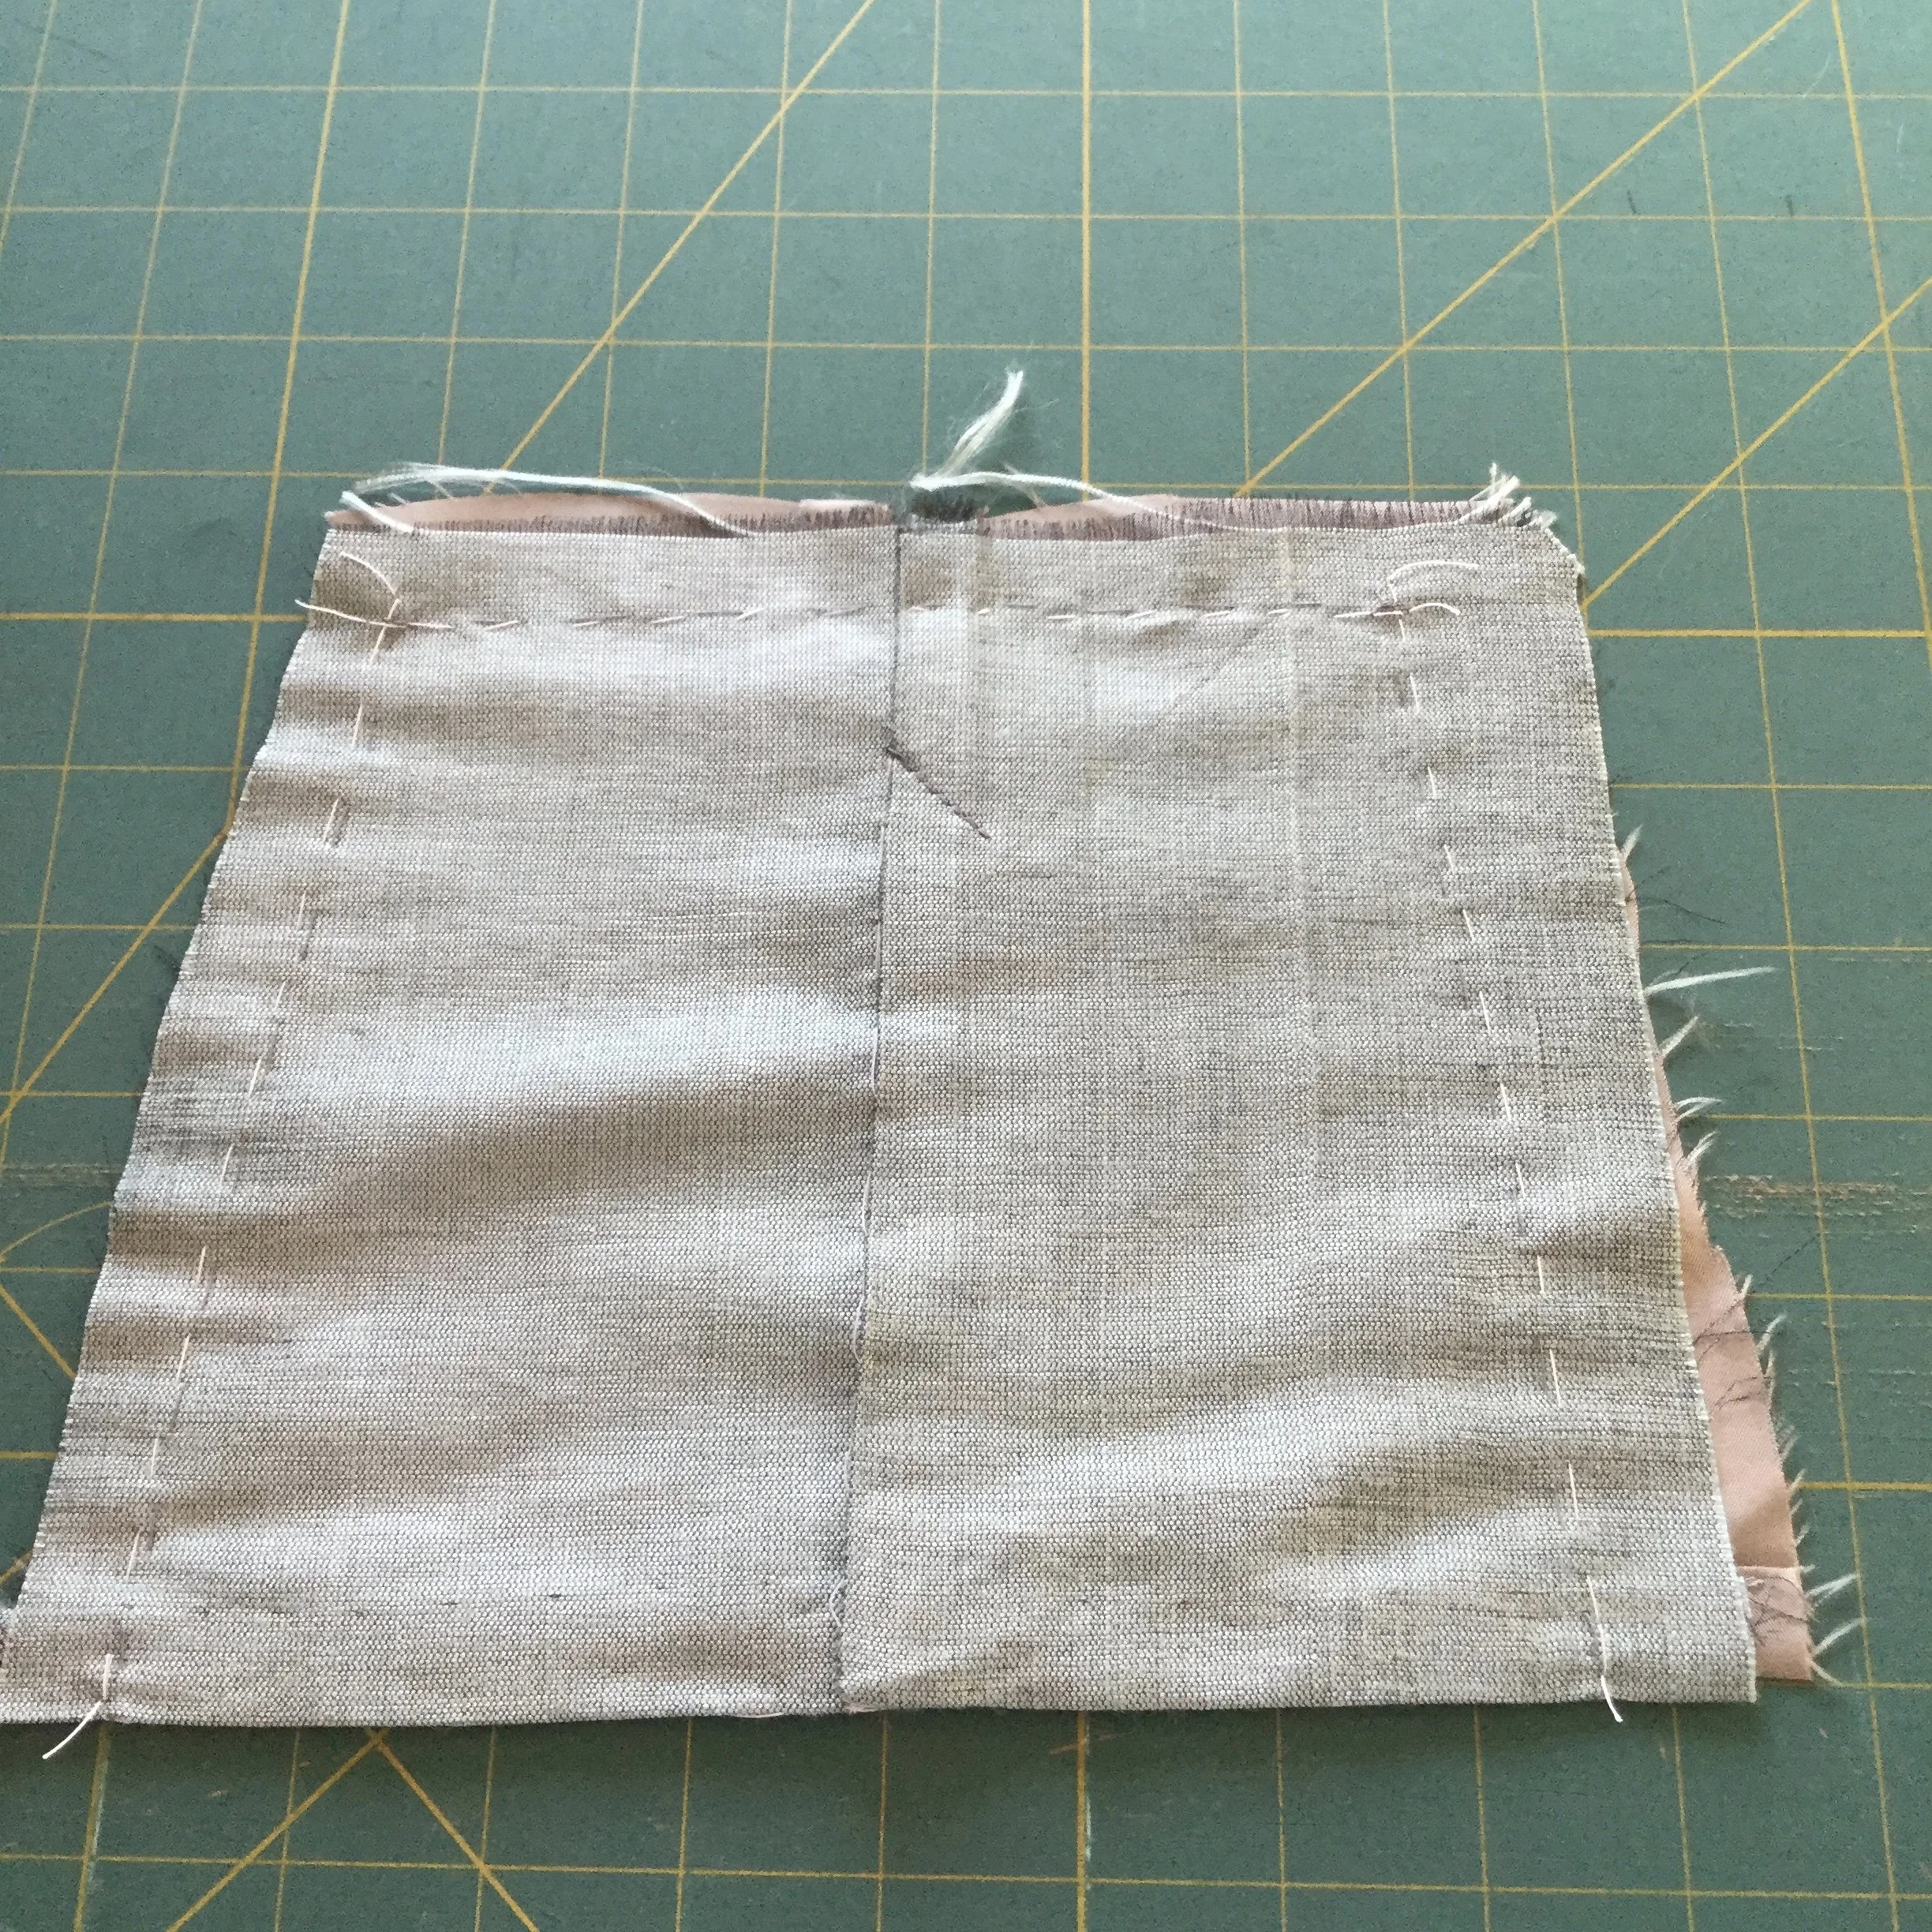
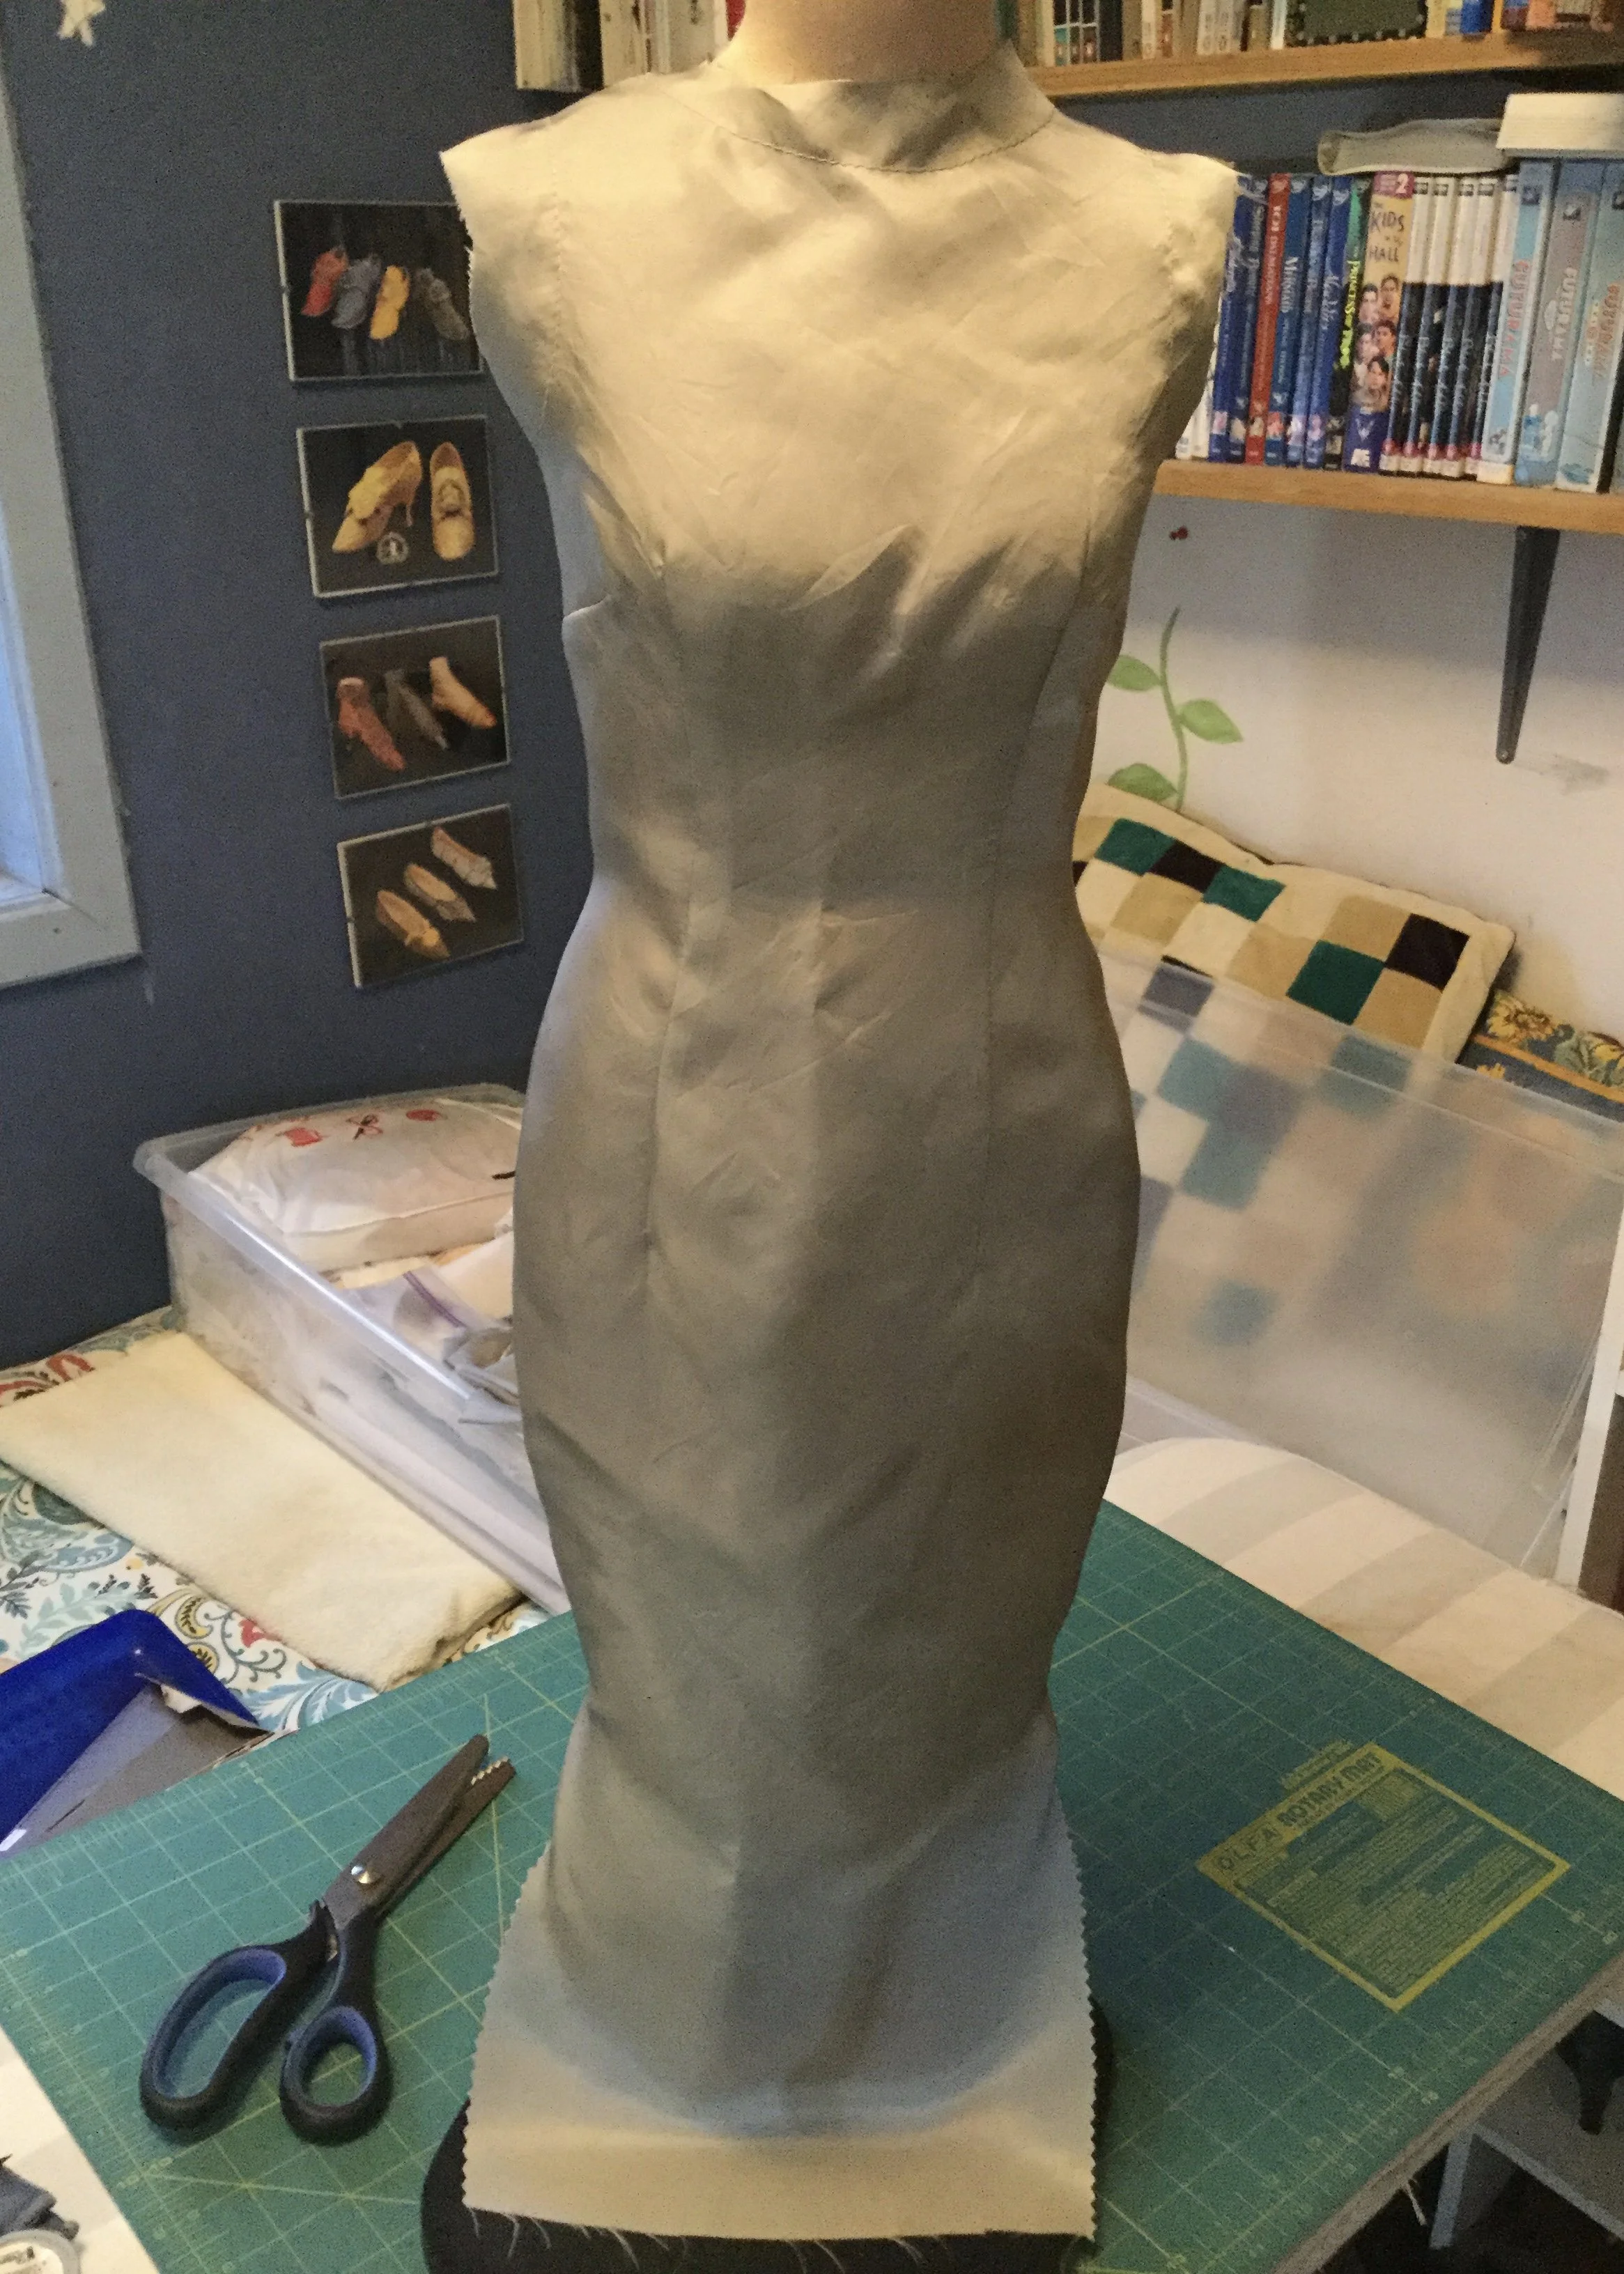
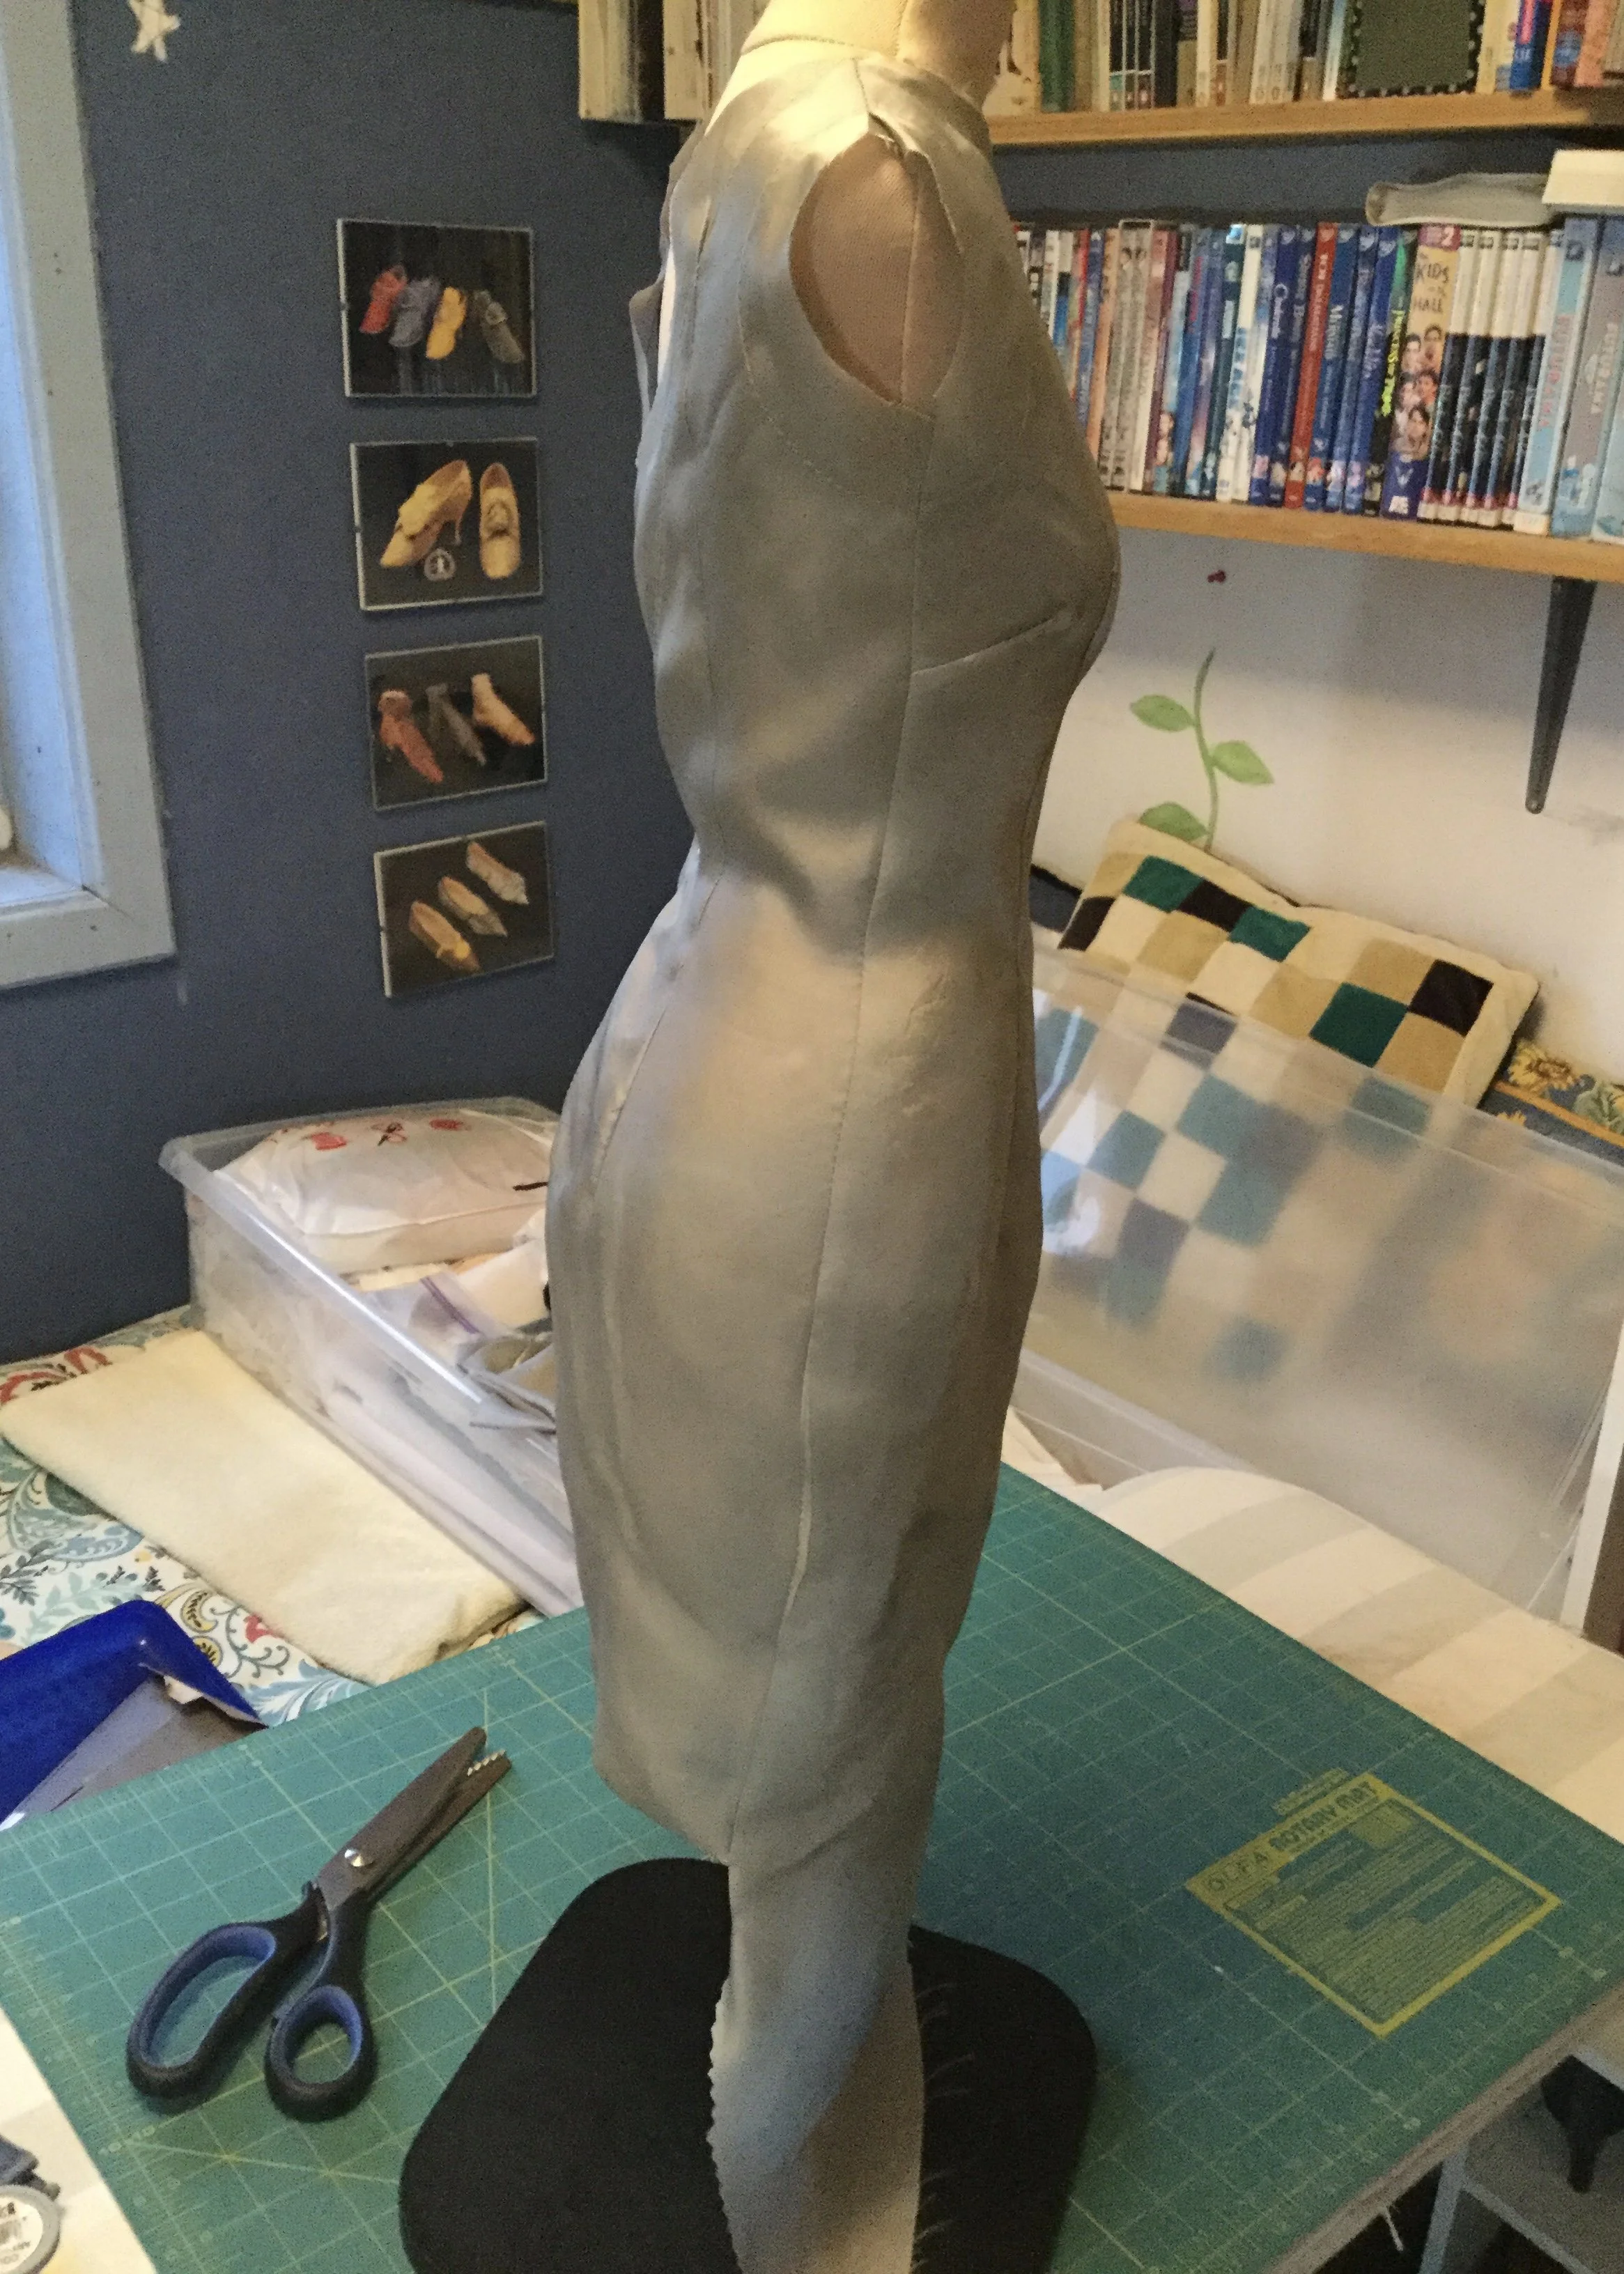
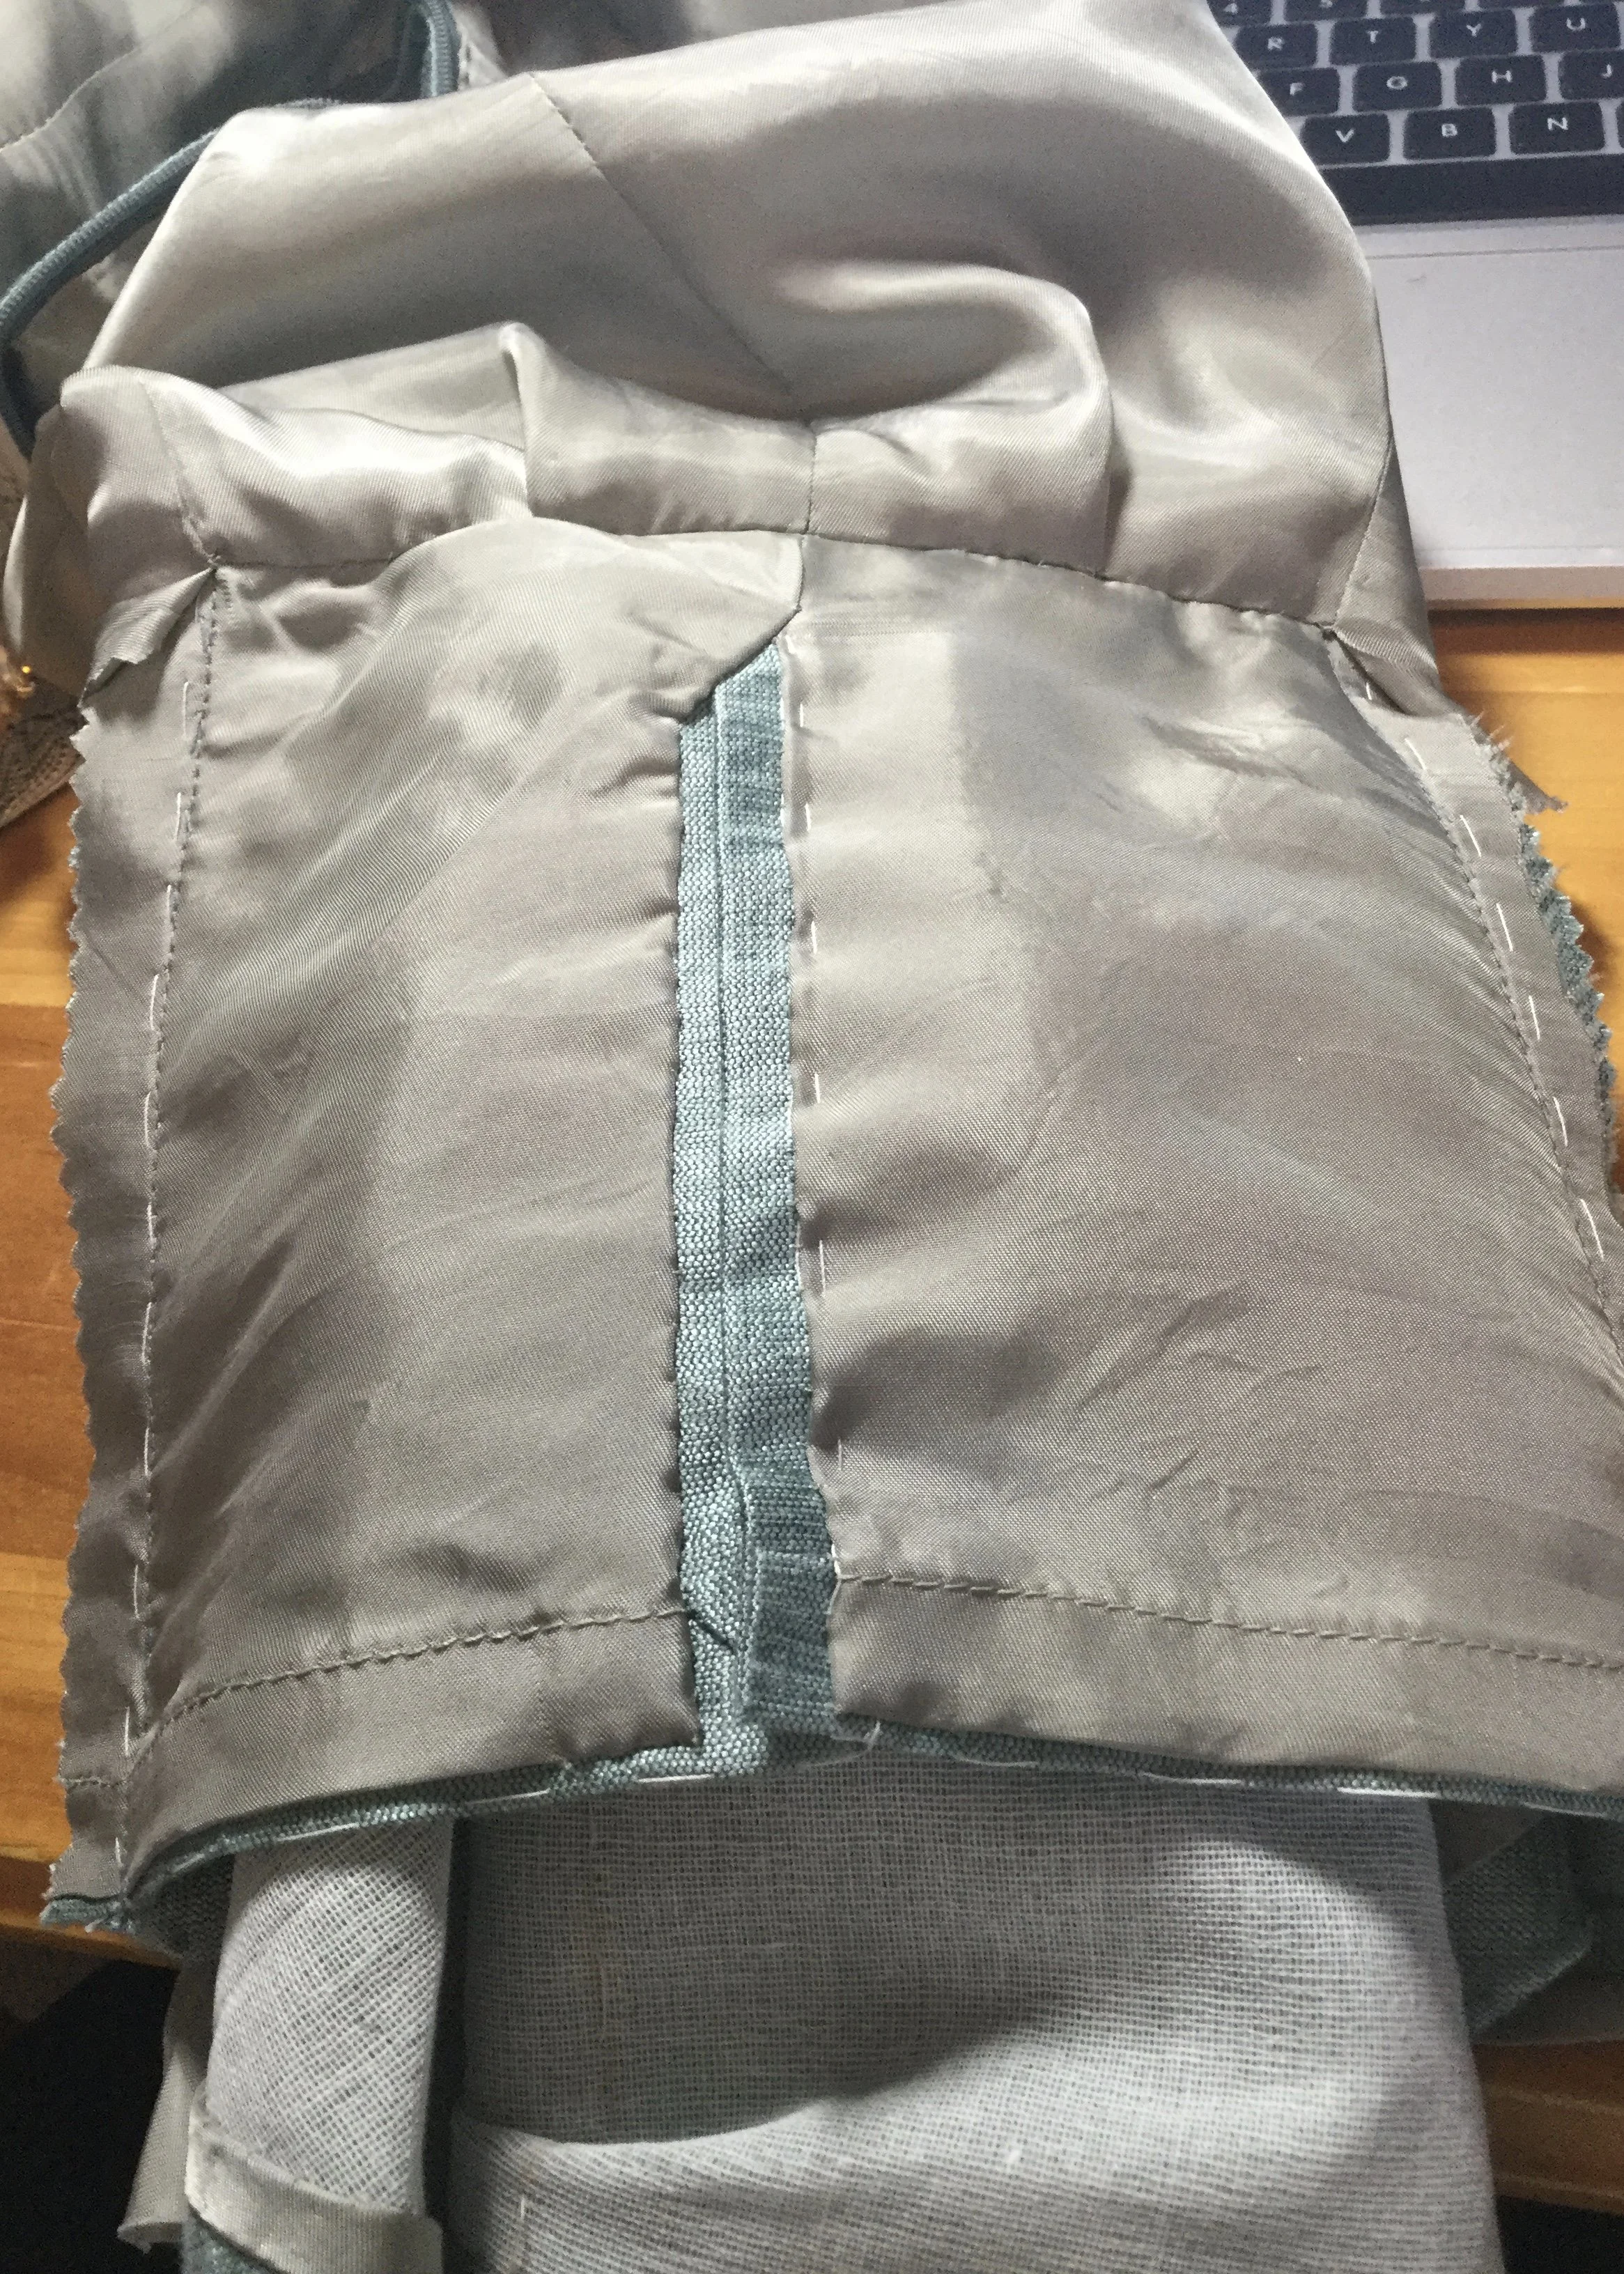
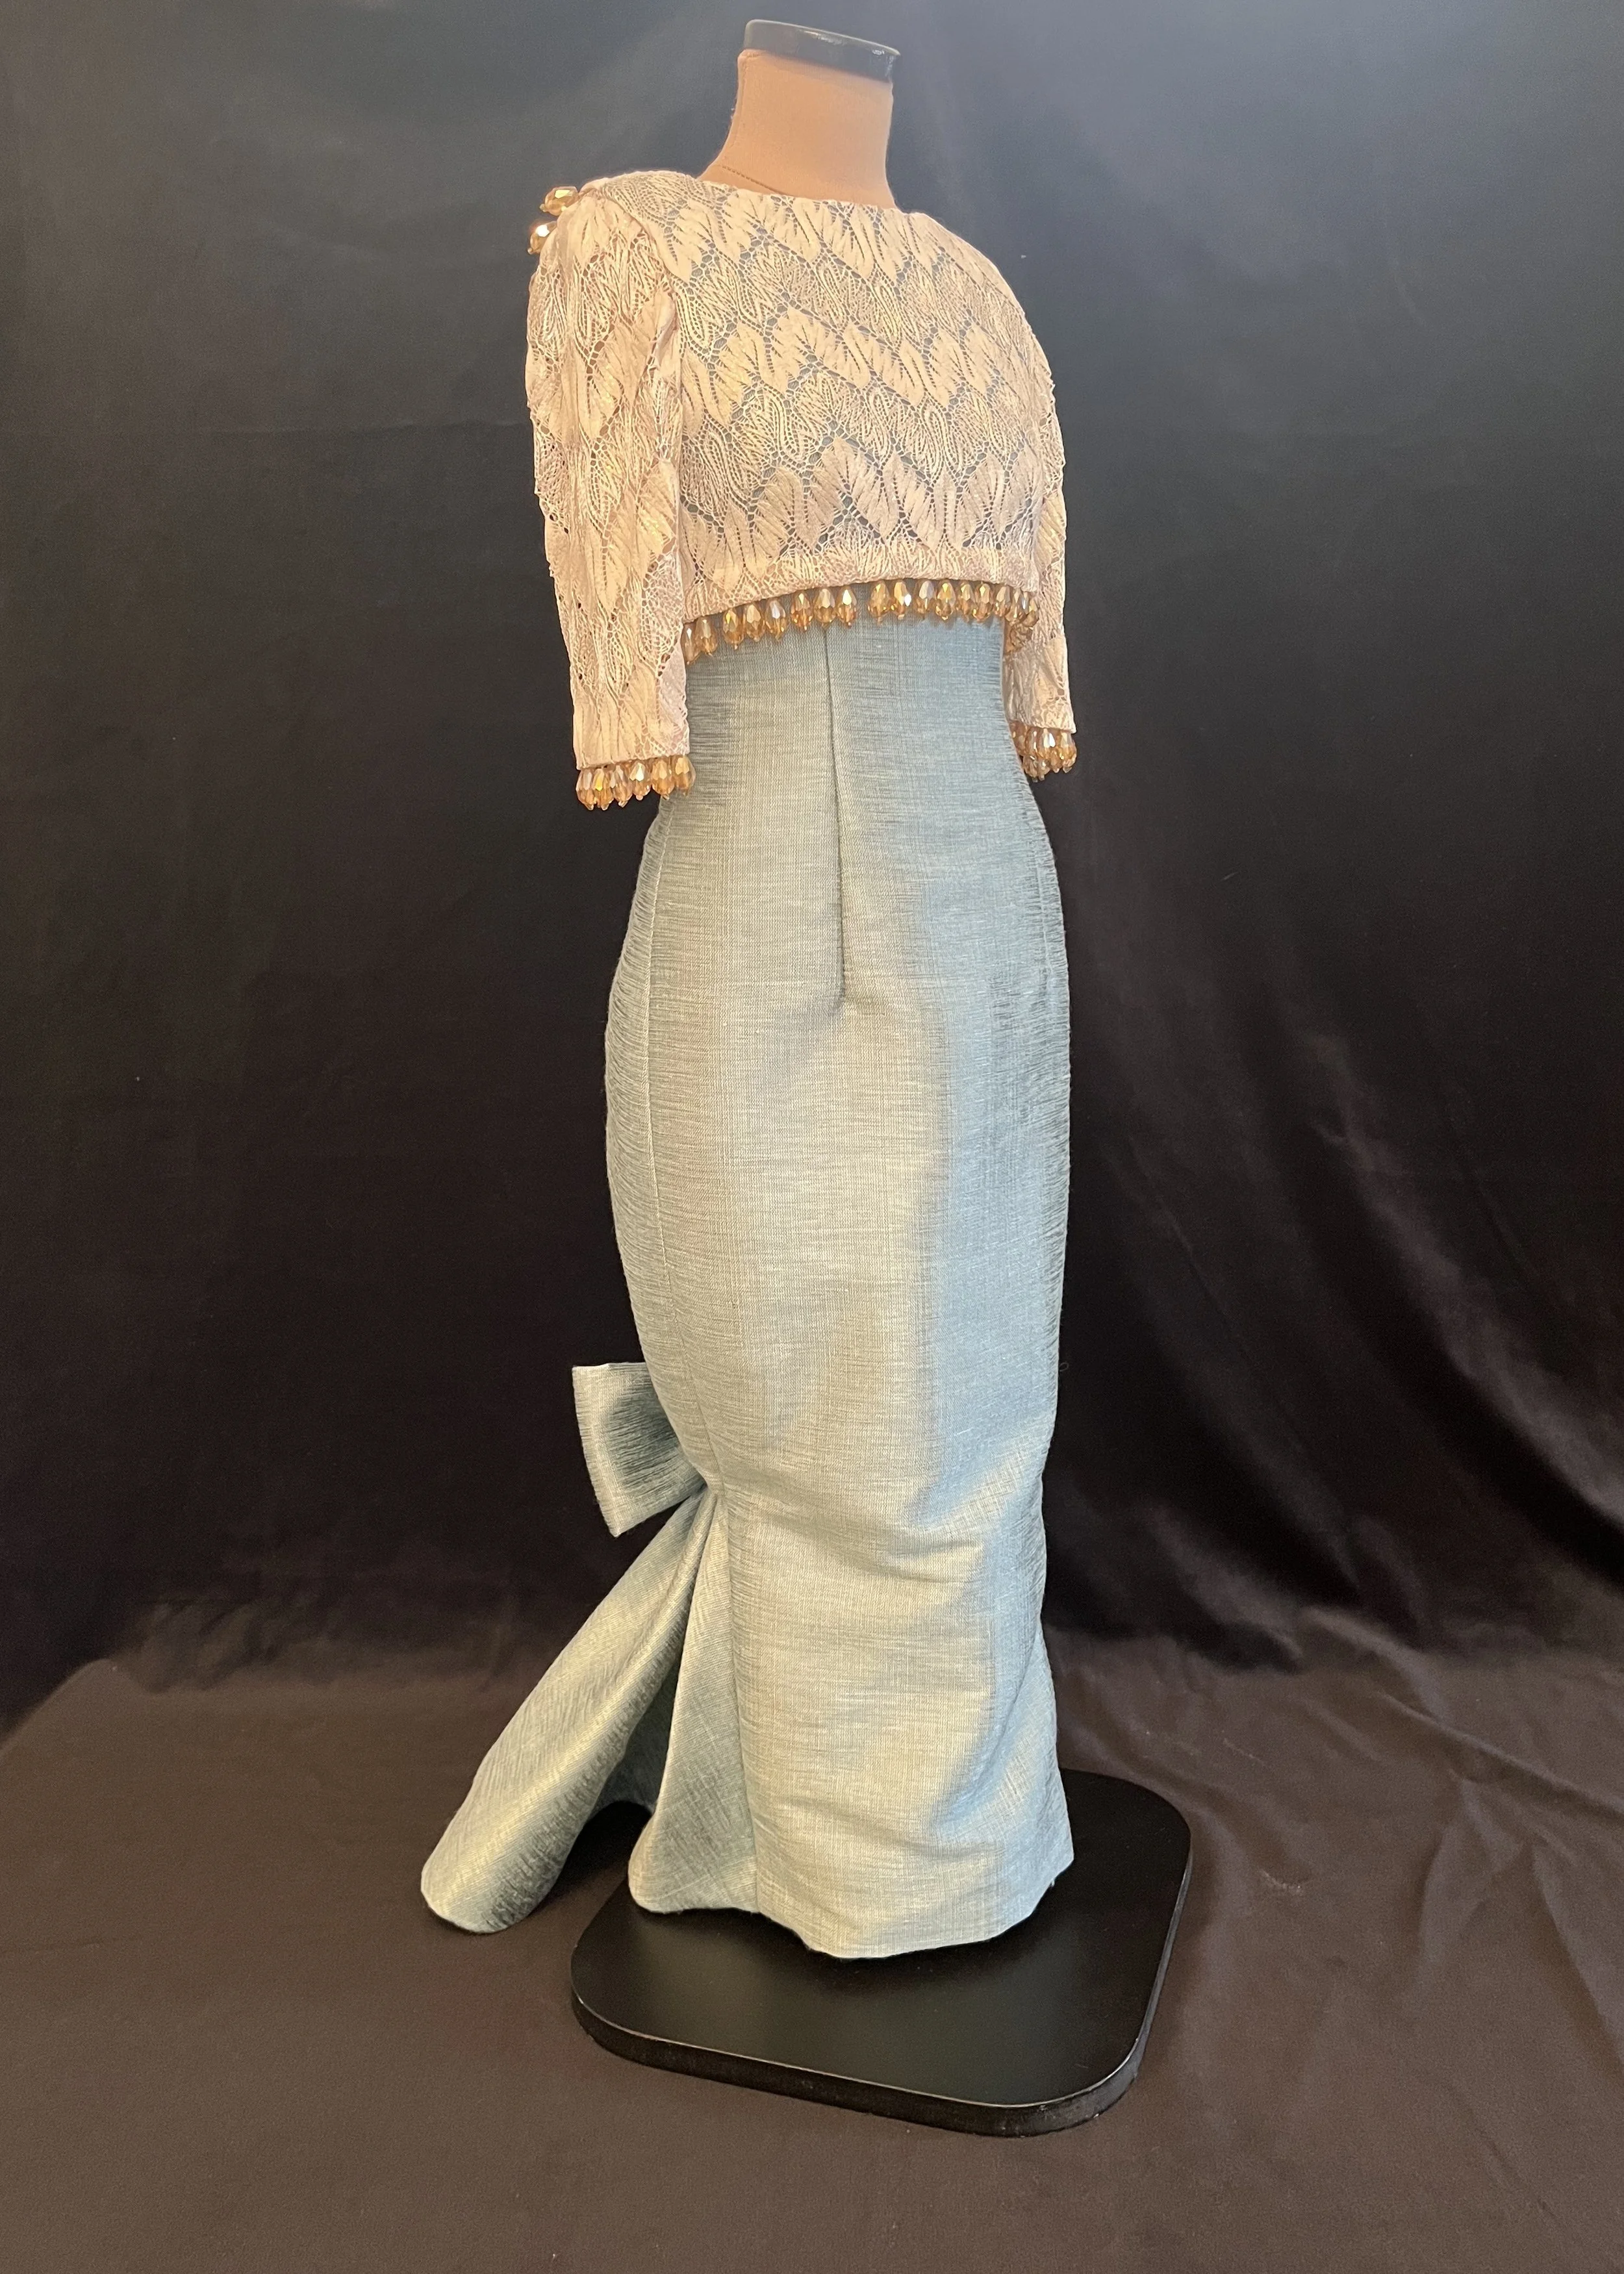
For the lower back, I decided to cut it in two pieces, rather than on the fold, and add a vent. The circumference at the hem was starting to look distinctly like a hobble skirt and I figured a little extra room for walking would be good. This step might not be strictly necessary for something that will never be worn by anyone with actual legs, particularly after the whole “I'll hem it whenever I want” moment, but I would categorize this choice as more of a functionality thing rather than a finishing thing.
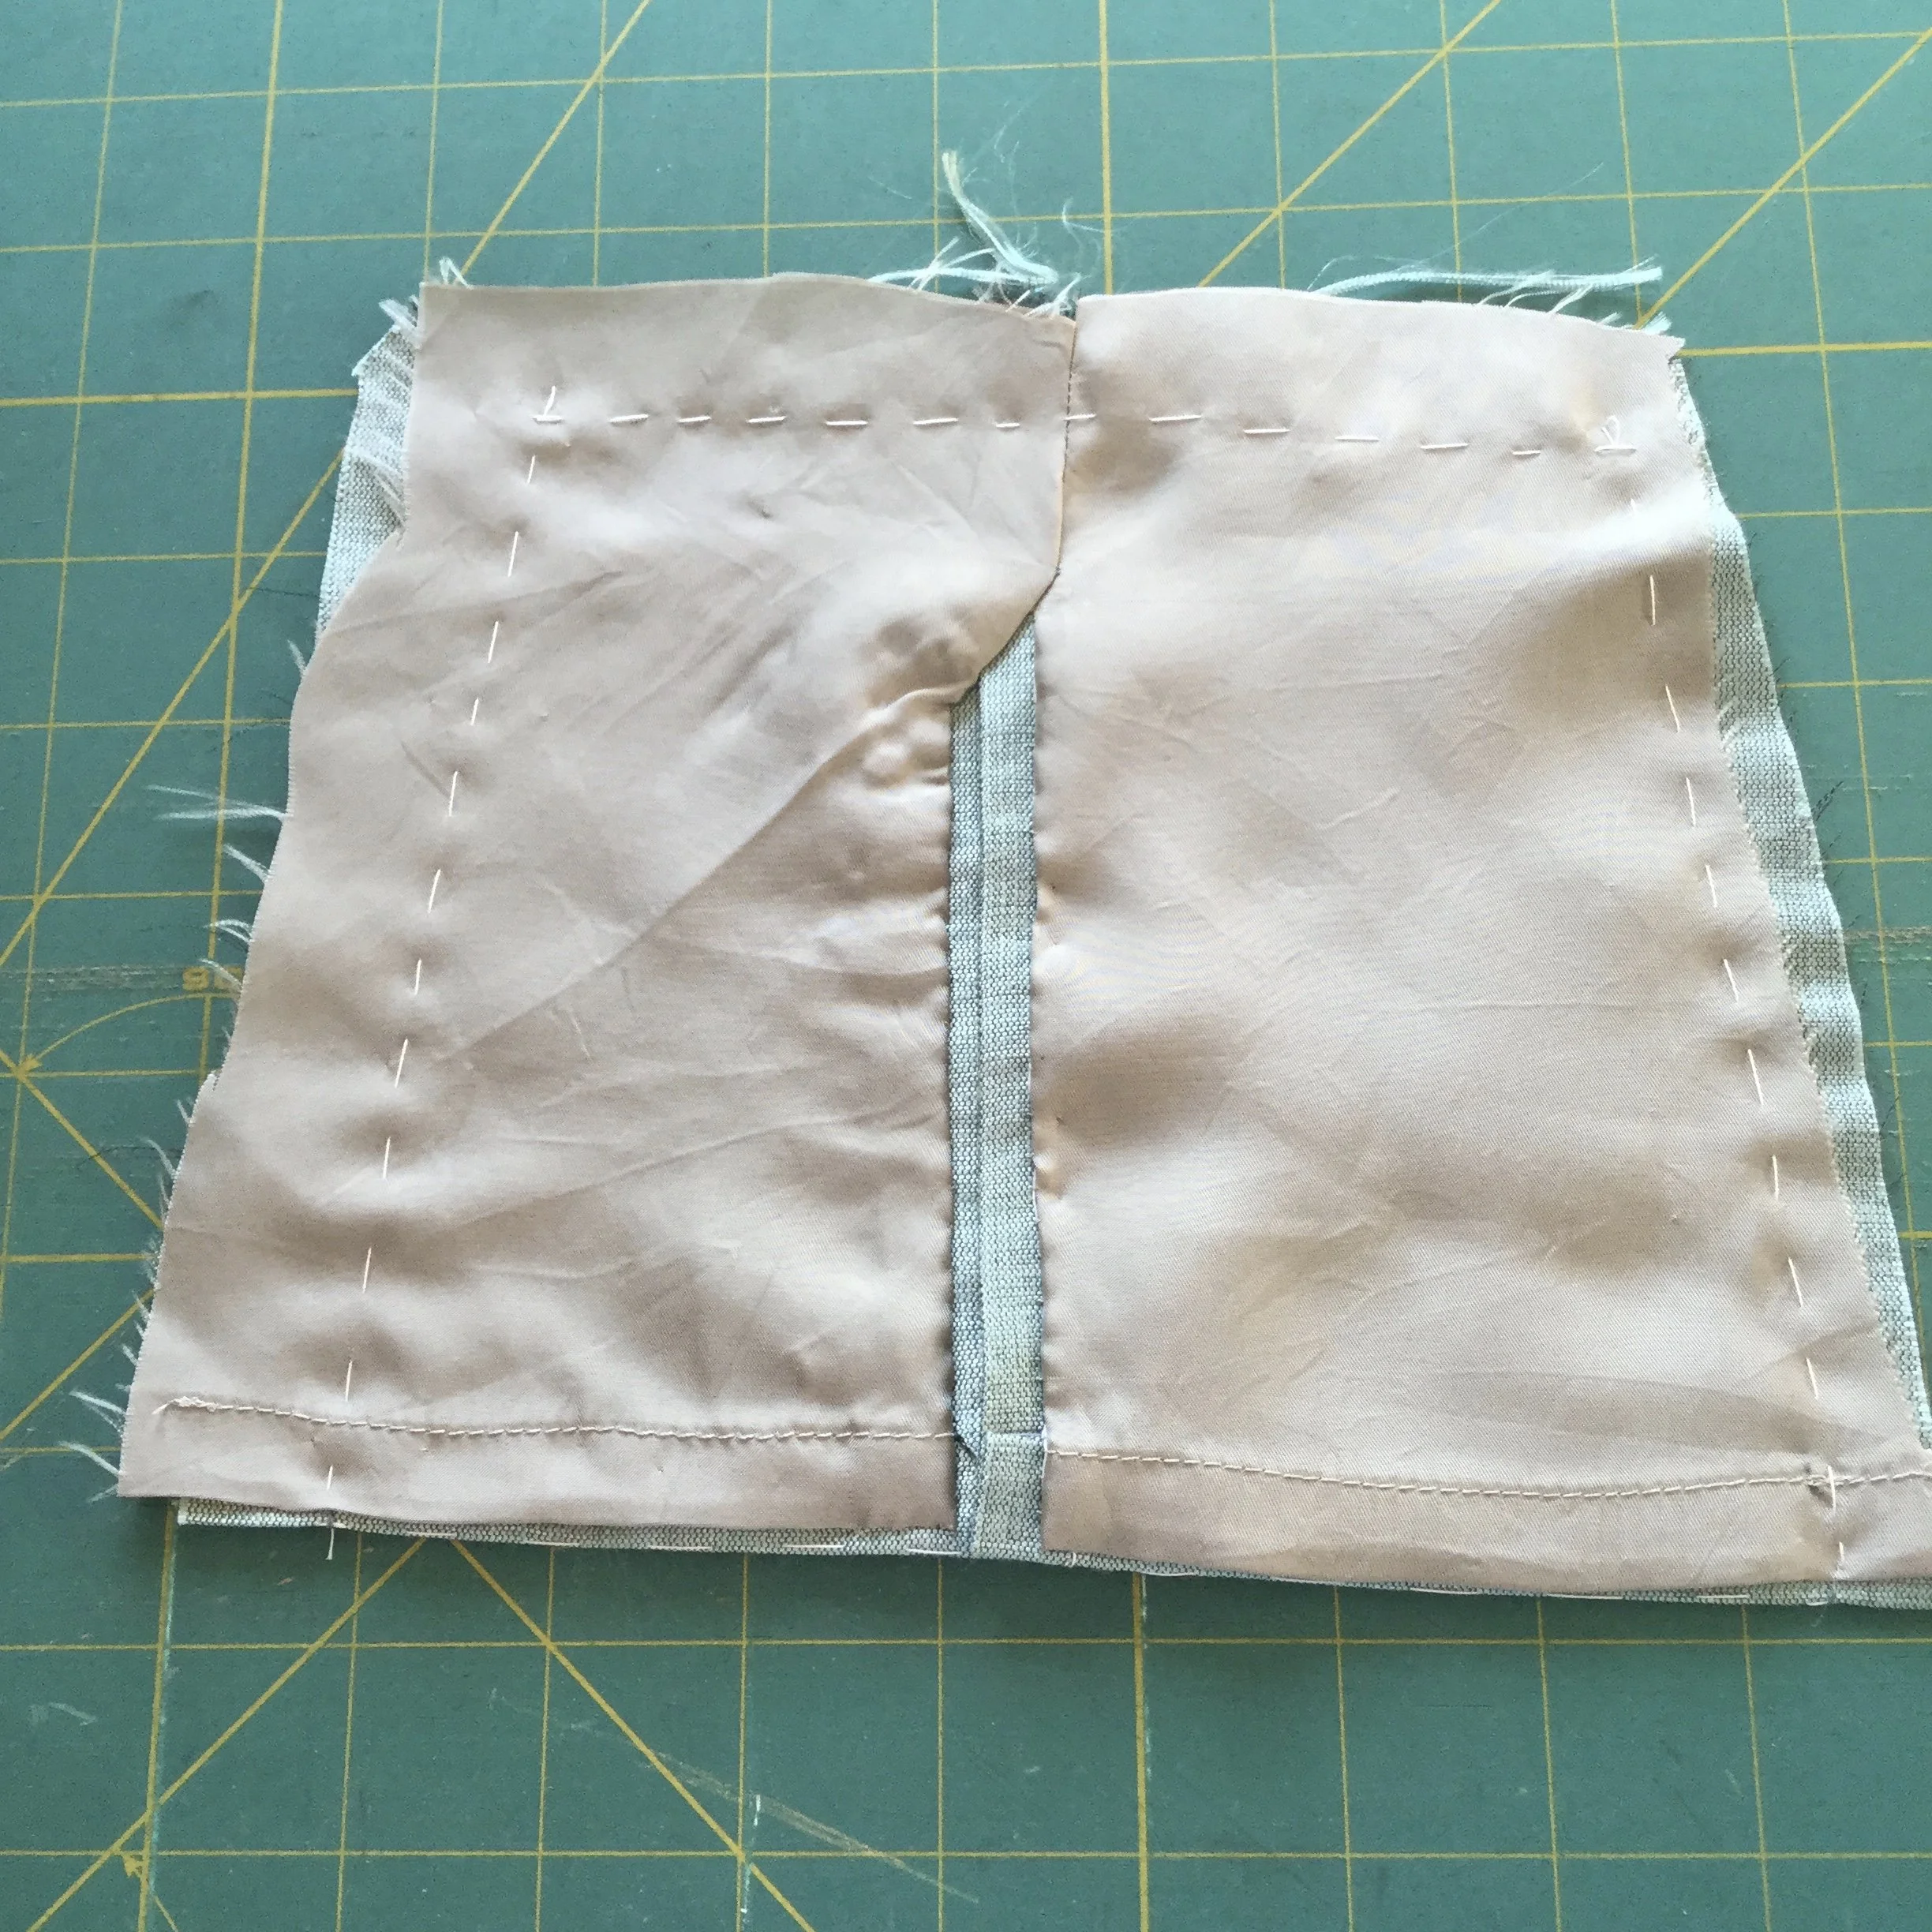
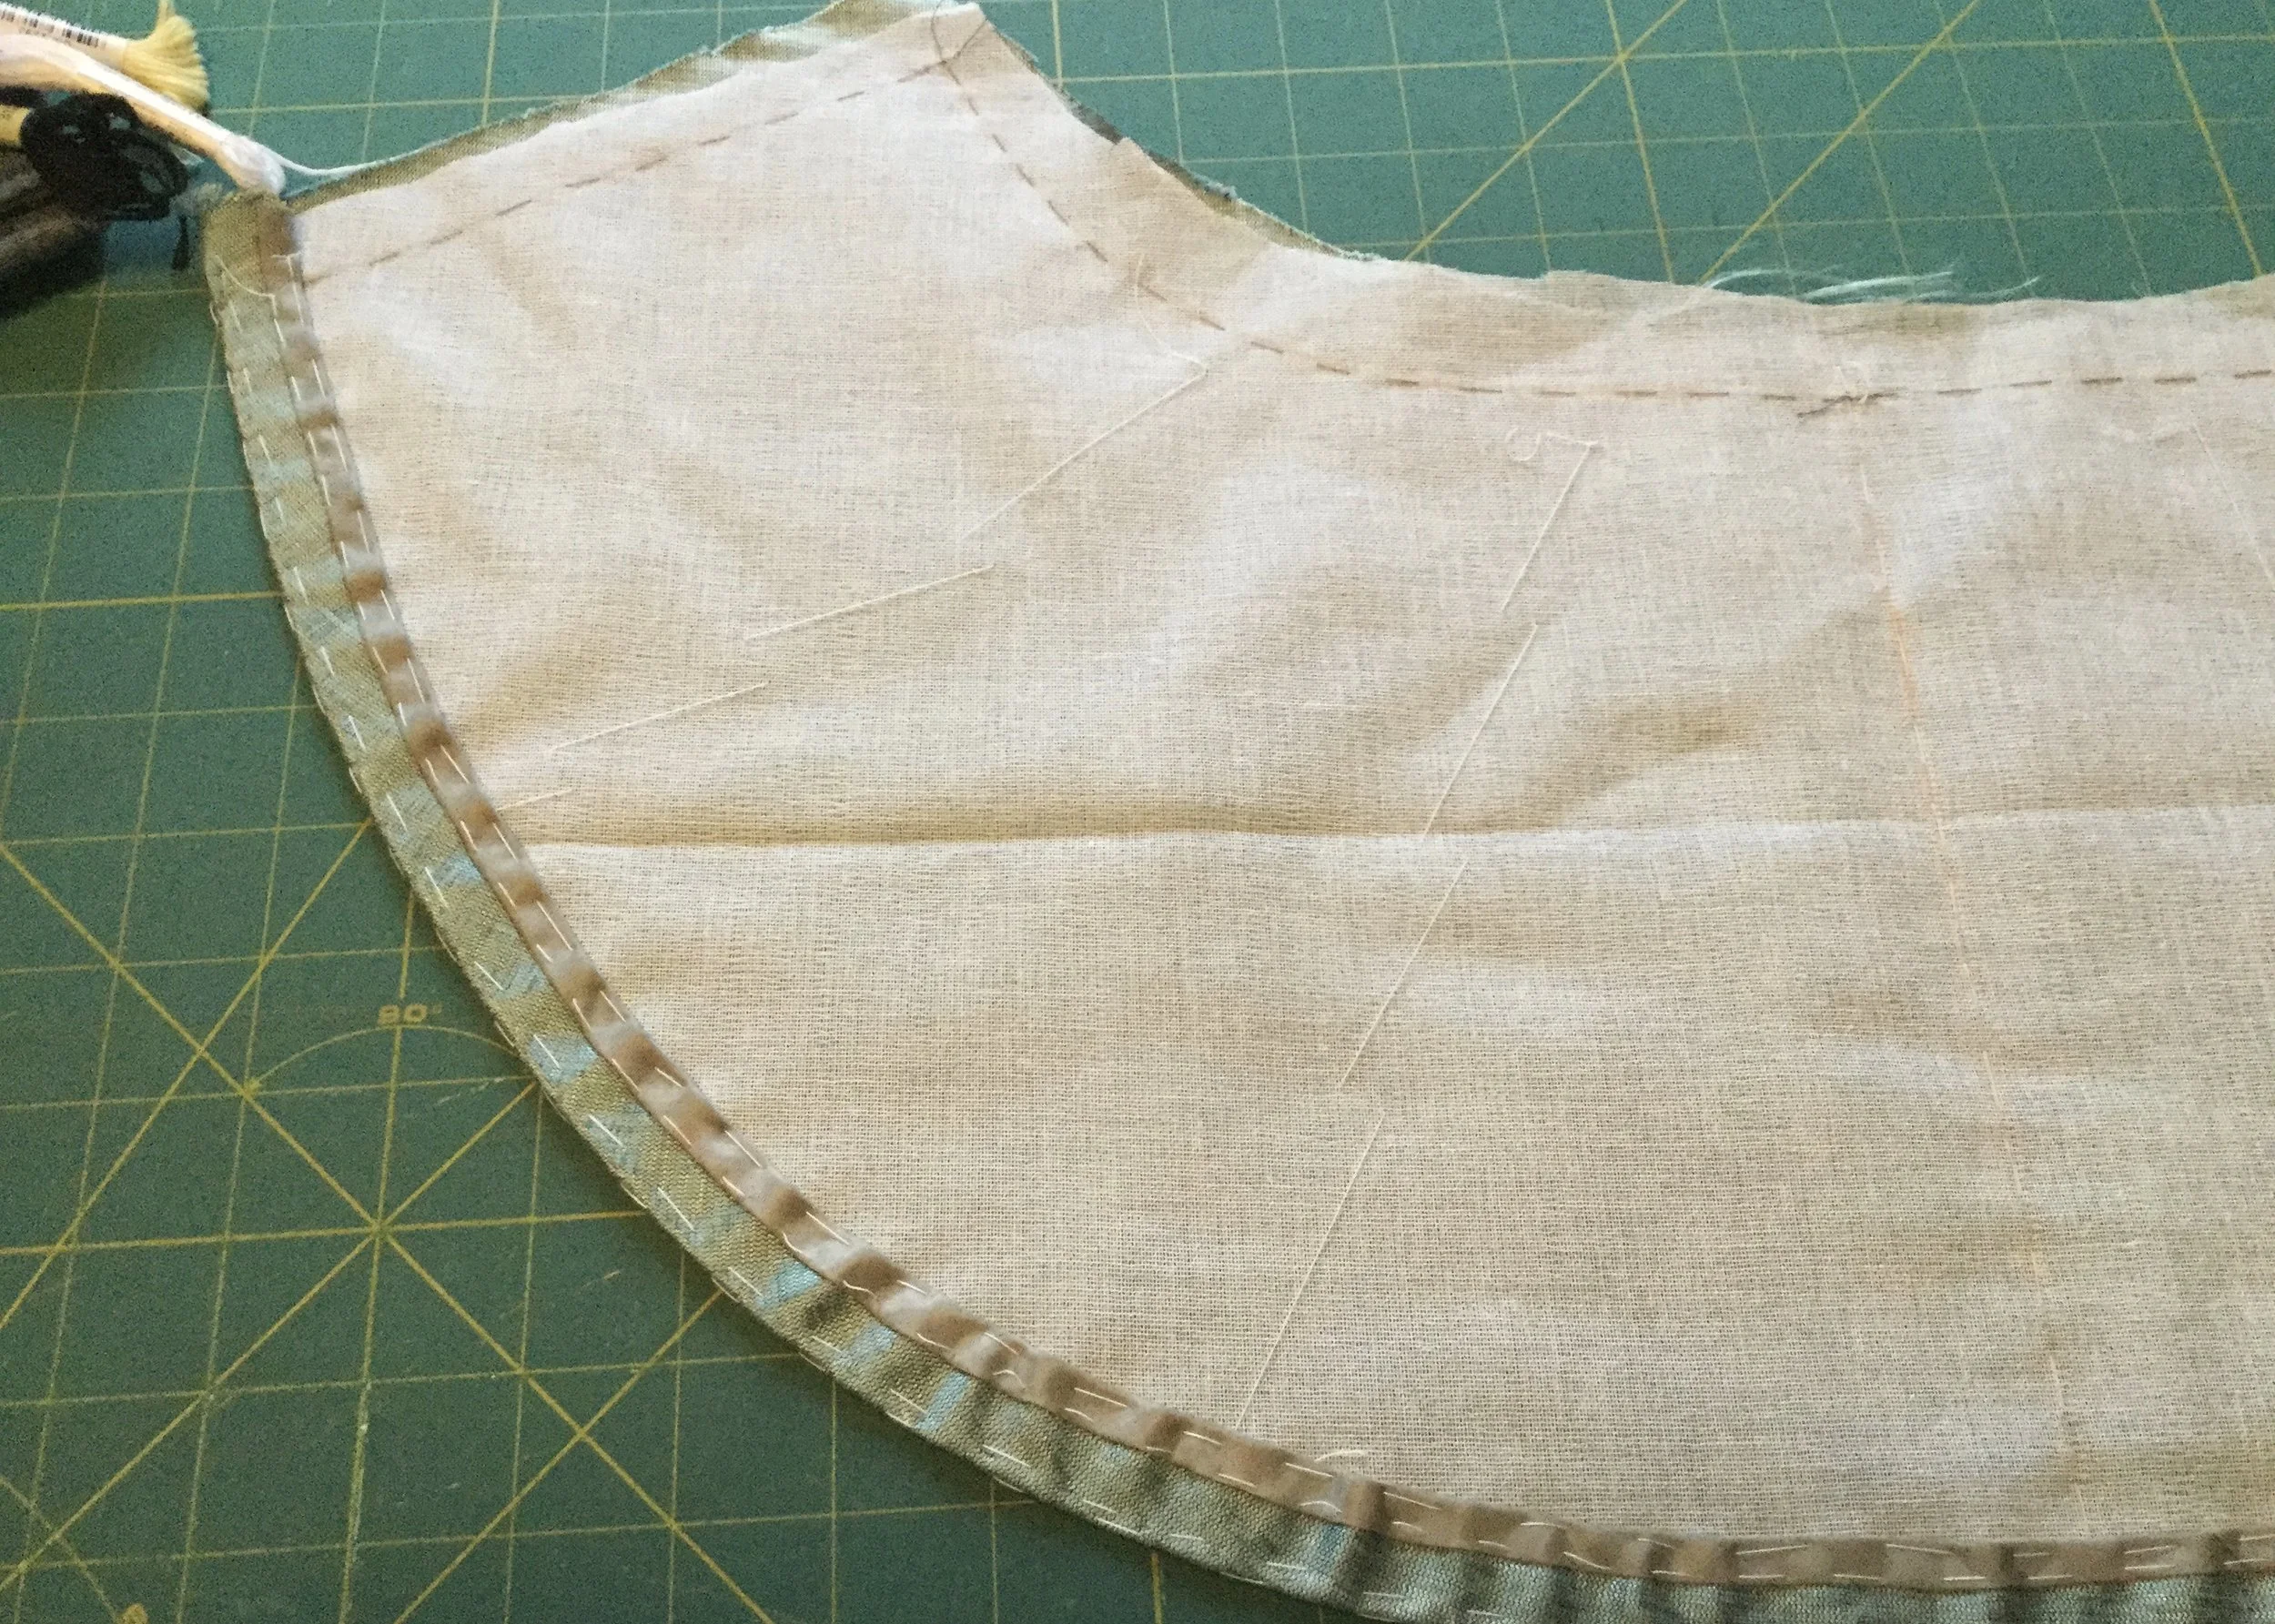
For the train, I wanted to give the fabric some extra stiffness (although it is already a bit crunchy) so that the train would have some body and wouldn't fall flat. I ended up using what I think is starched cotton which I had in my stash (something I inherited from a friend who was clearing out her office). I flat mounted it to the fabric with large diagonal bastes through the body of the train and a pick stitch along the seams and hem. To finish the hem, I cut some bias from the lining fabric to bind the edge before folding up the hem and slip stitching it in place.
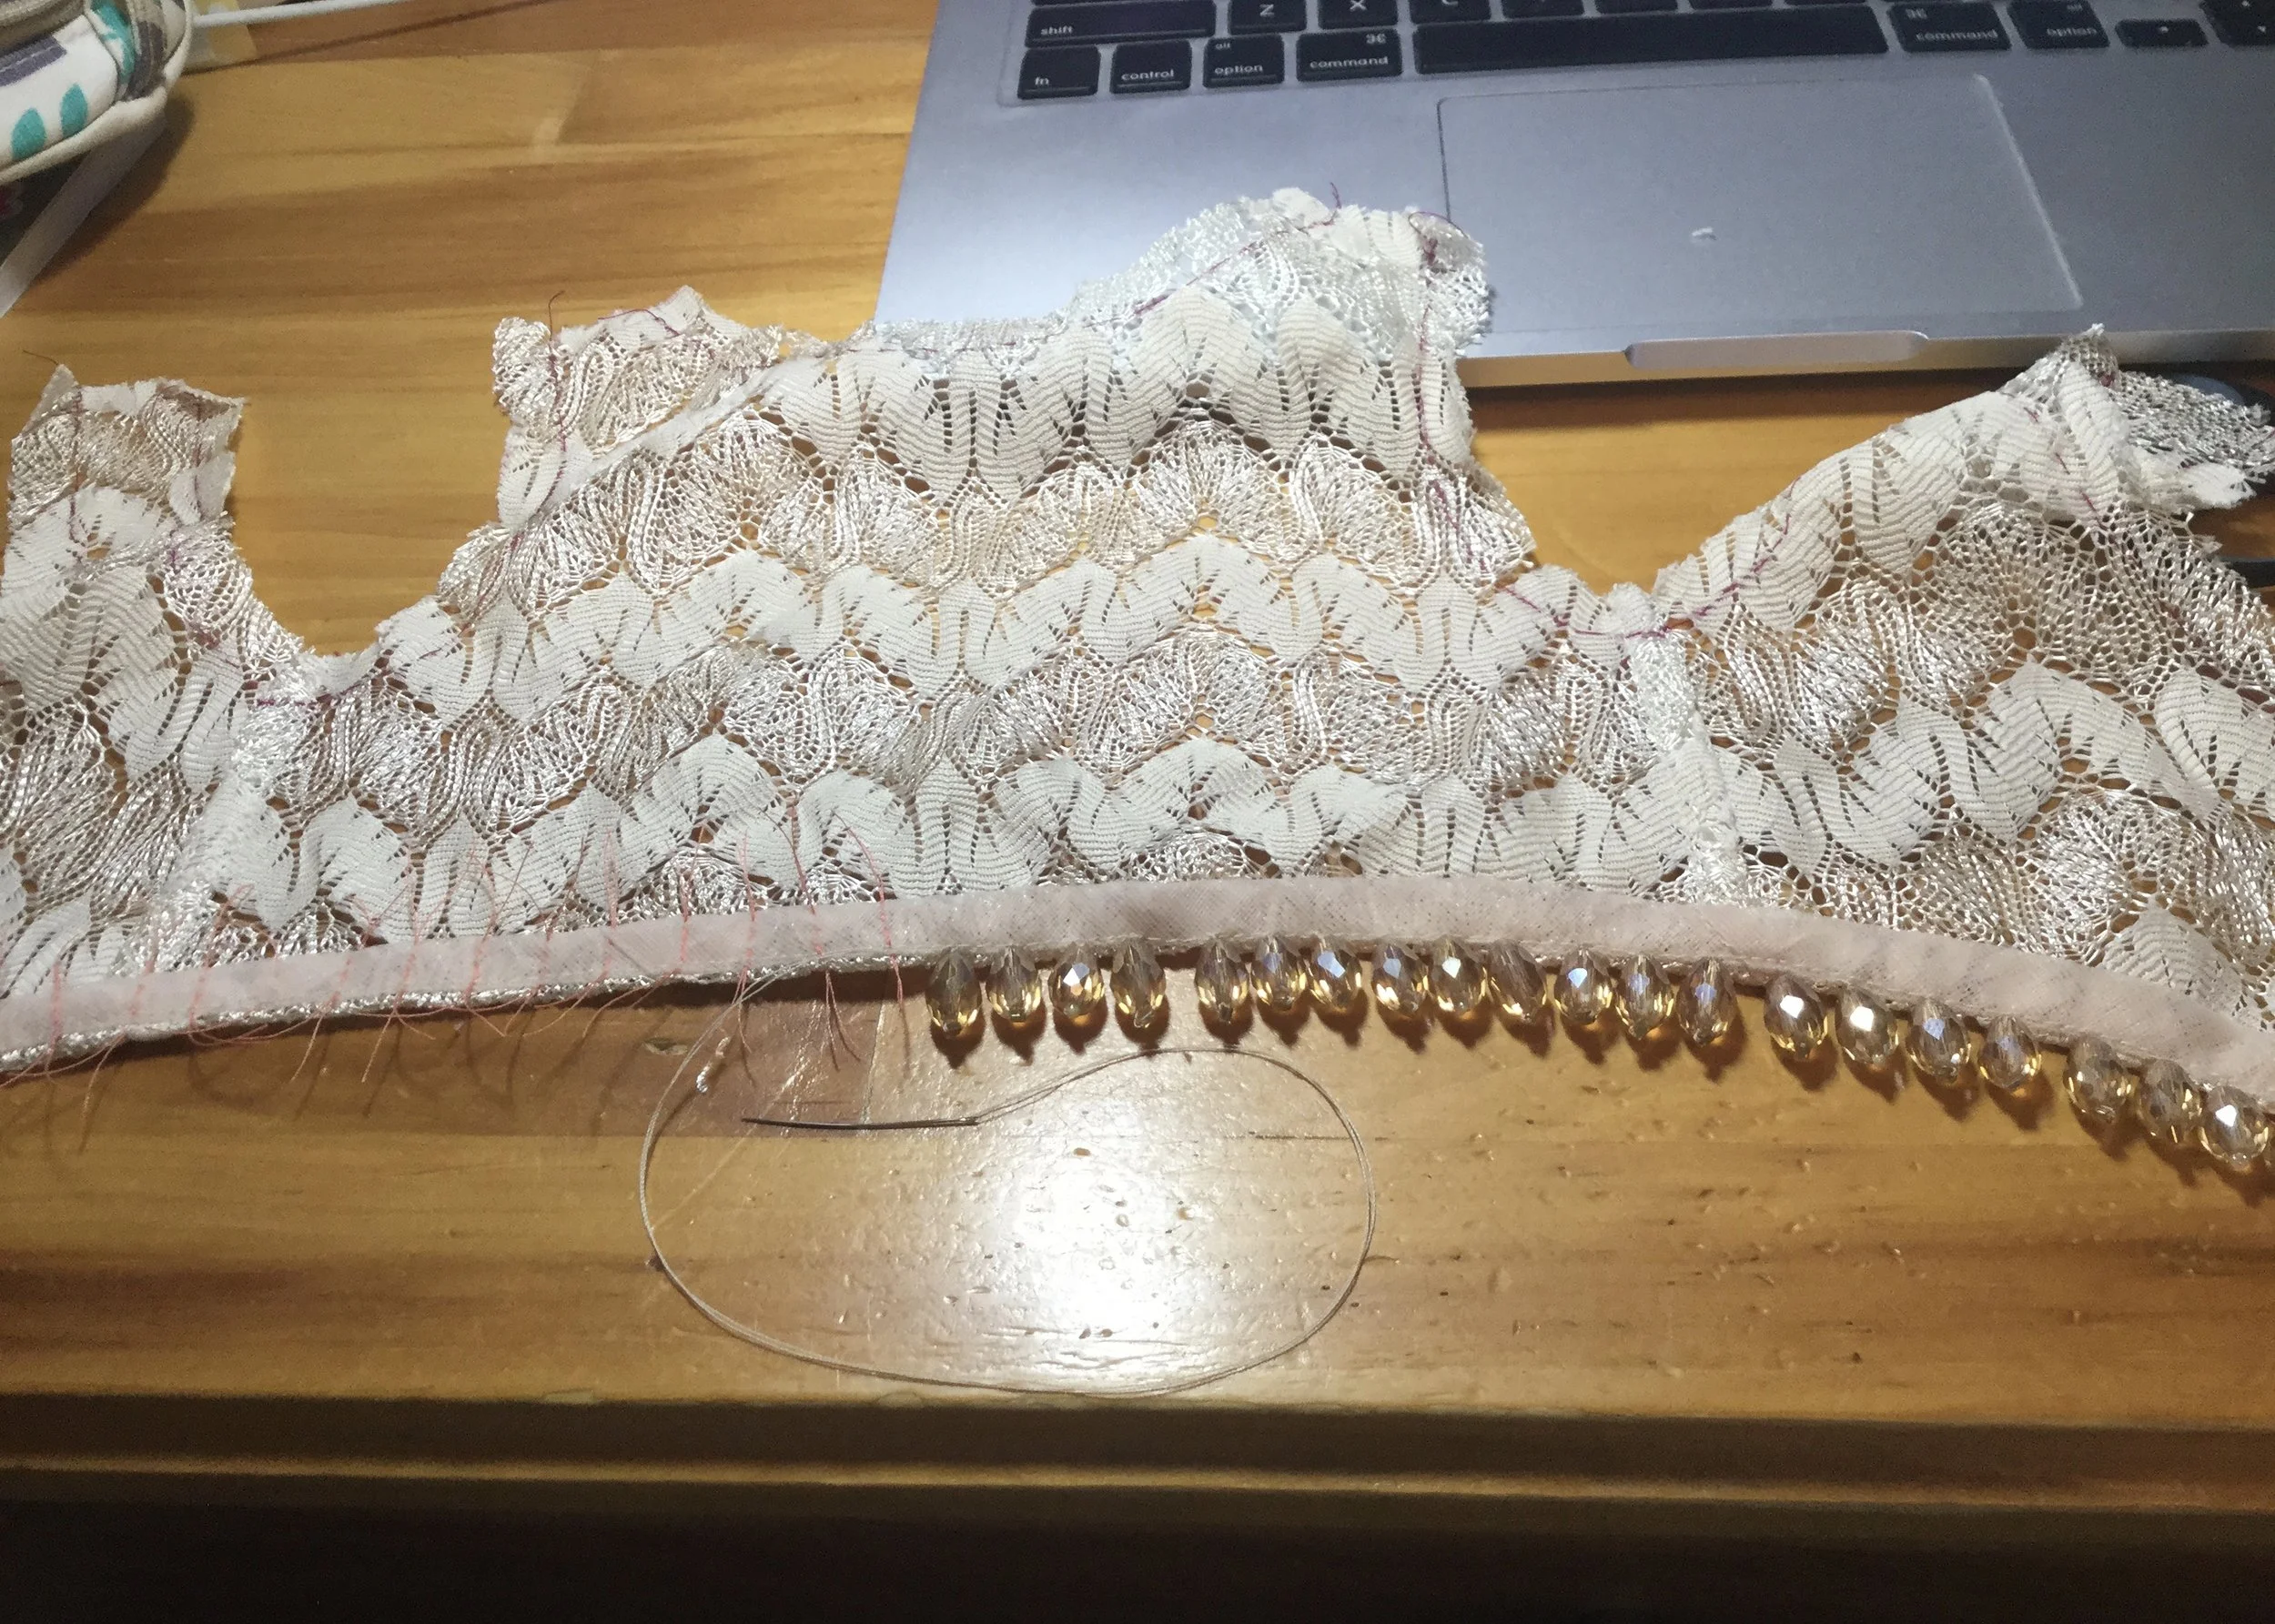
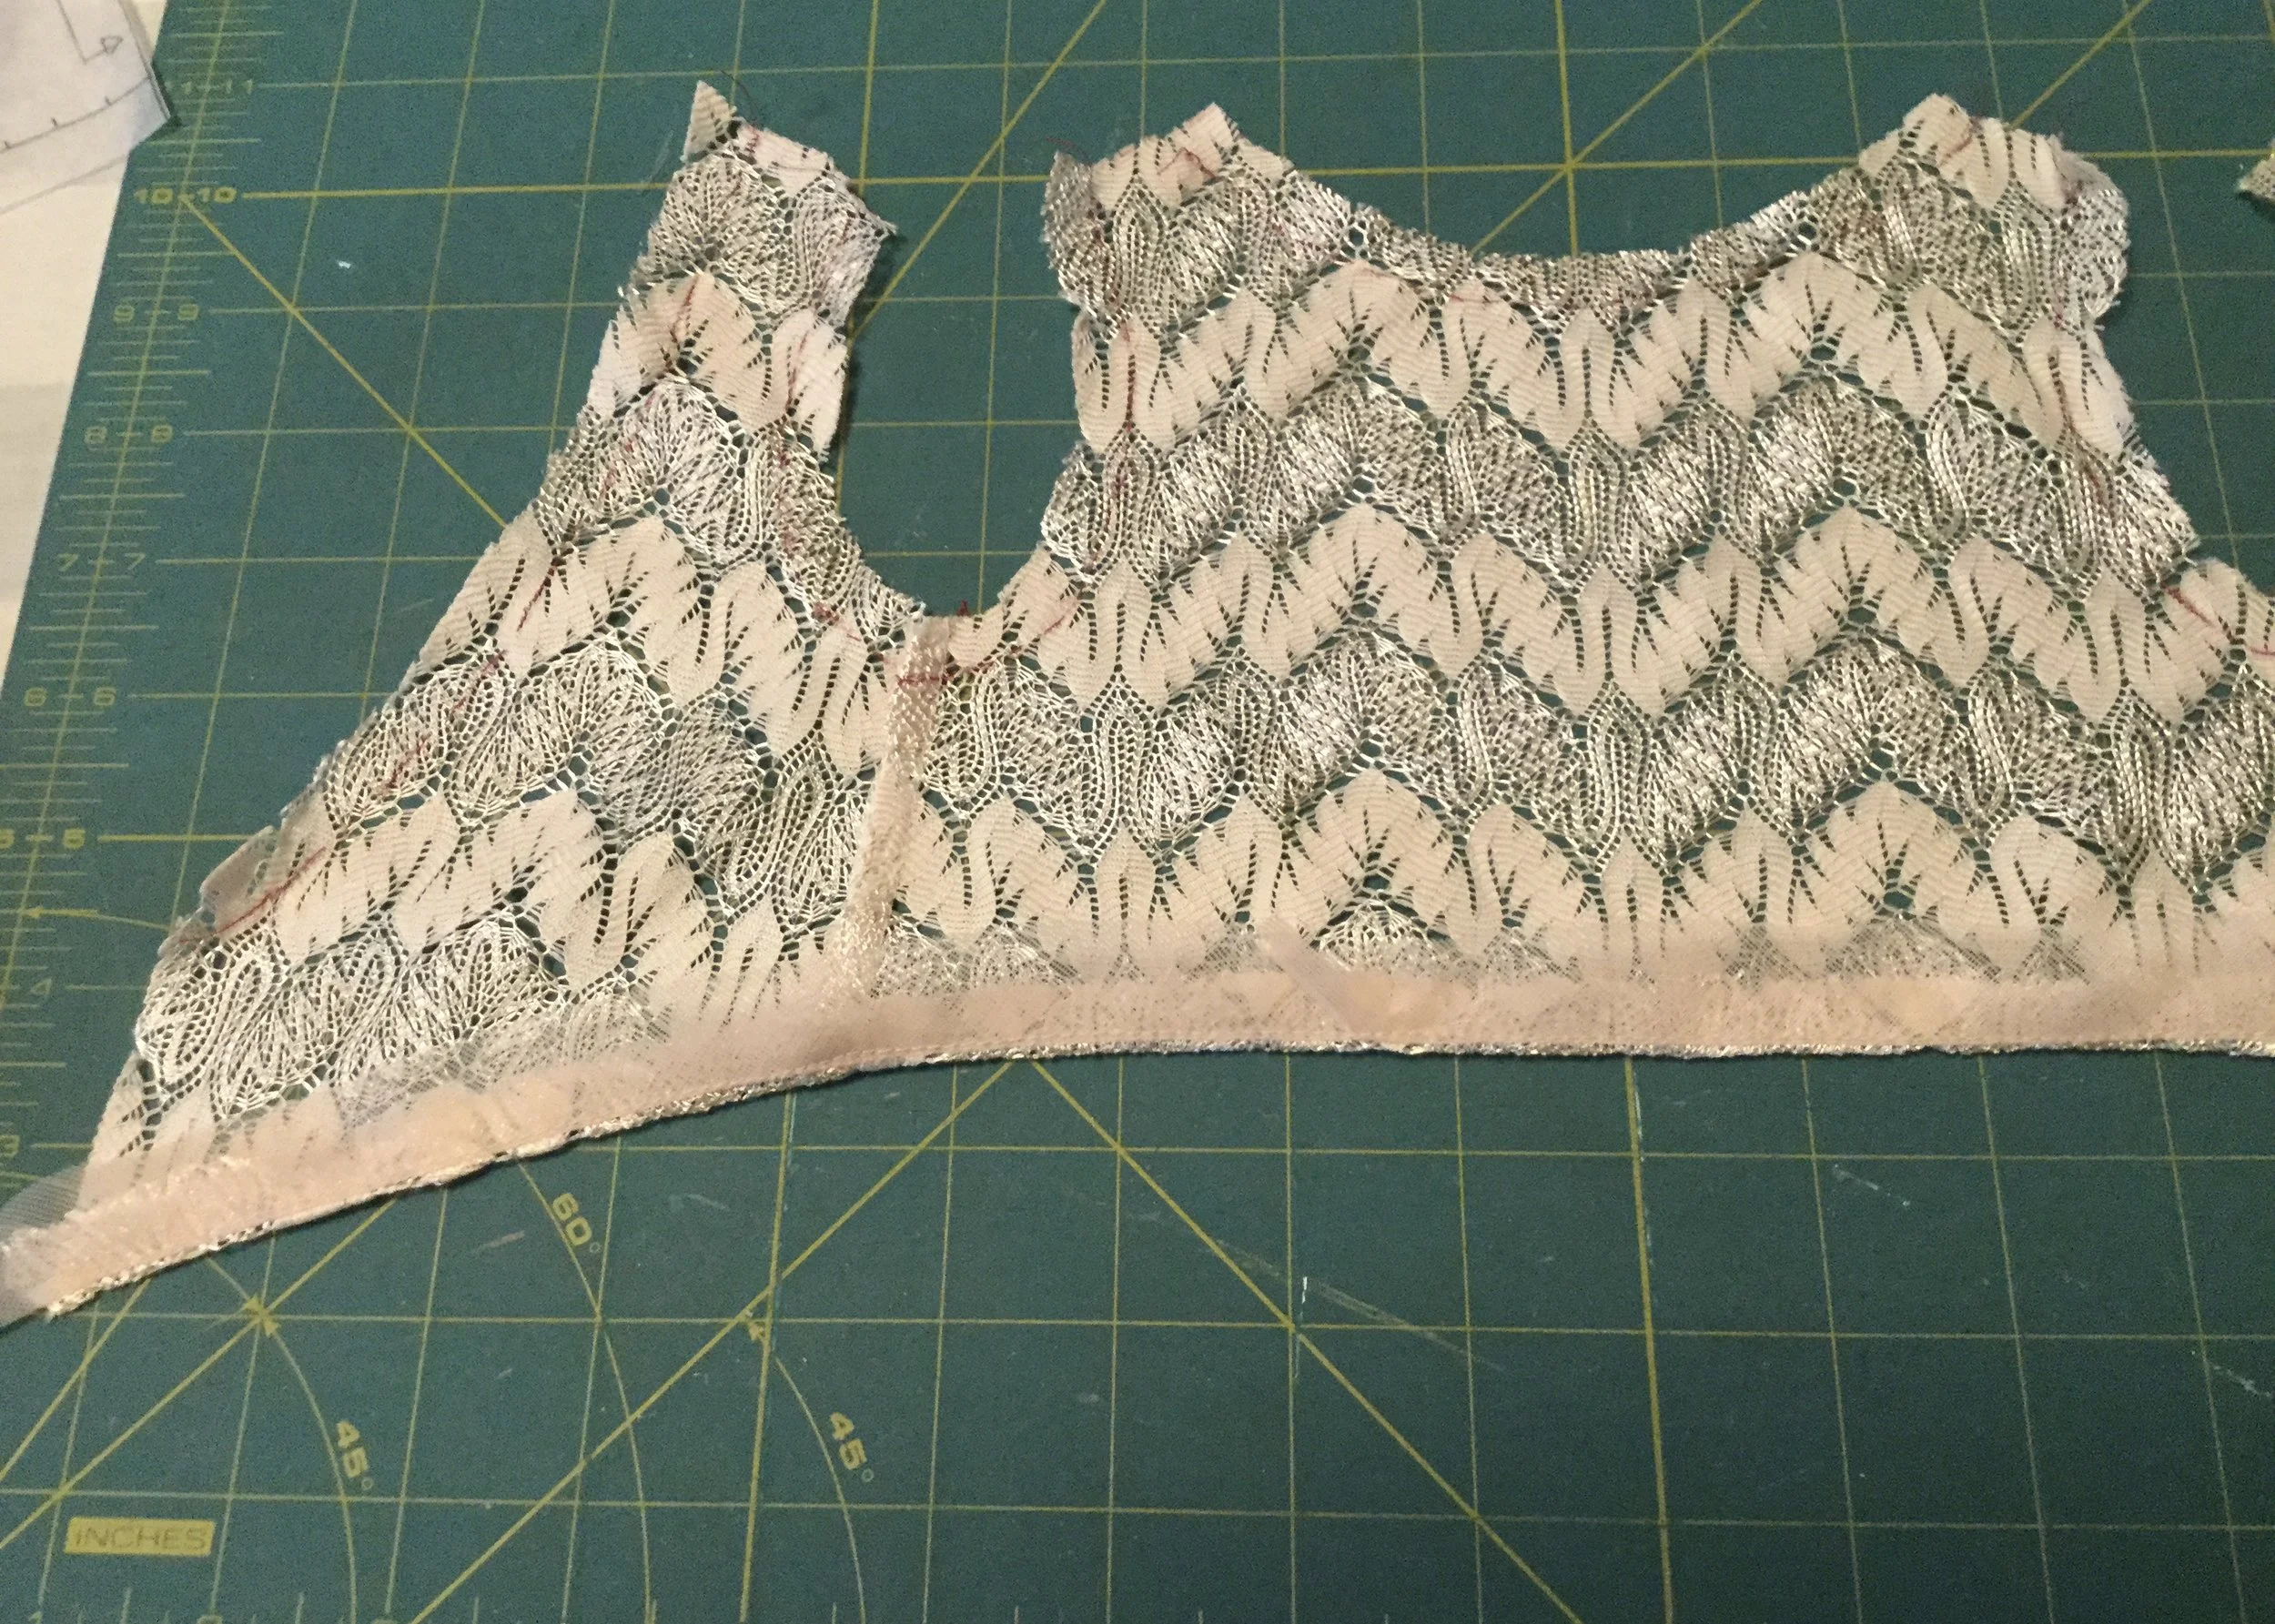
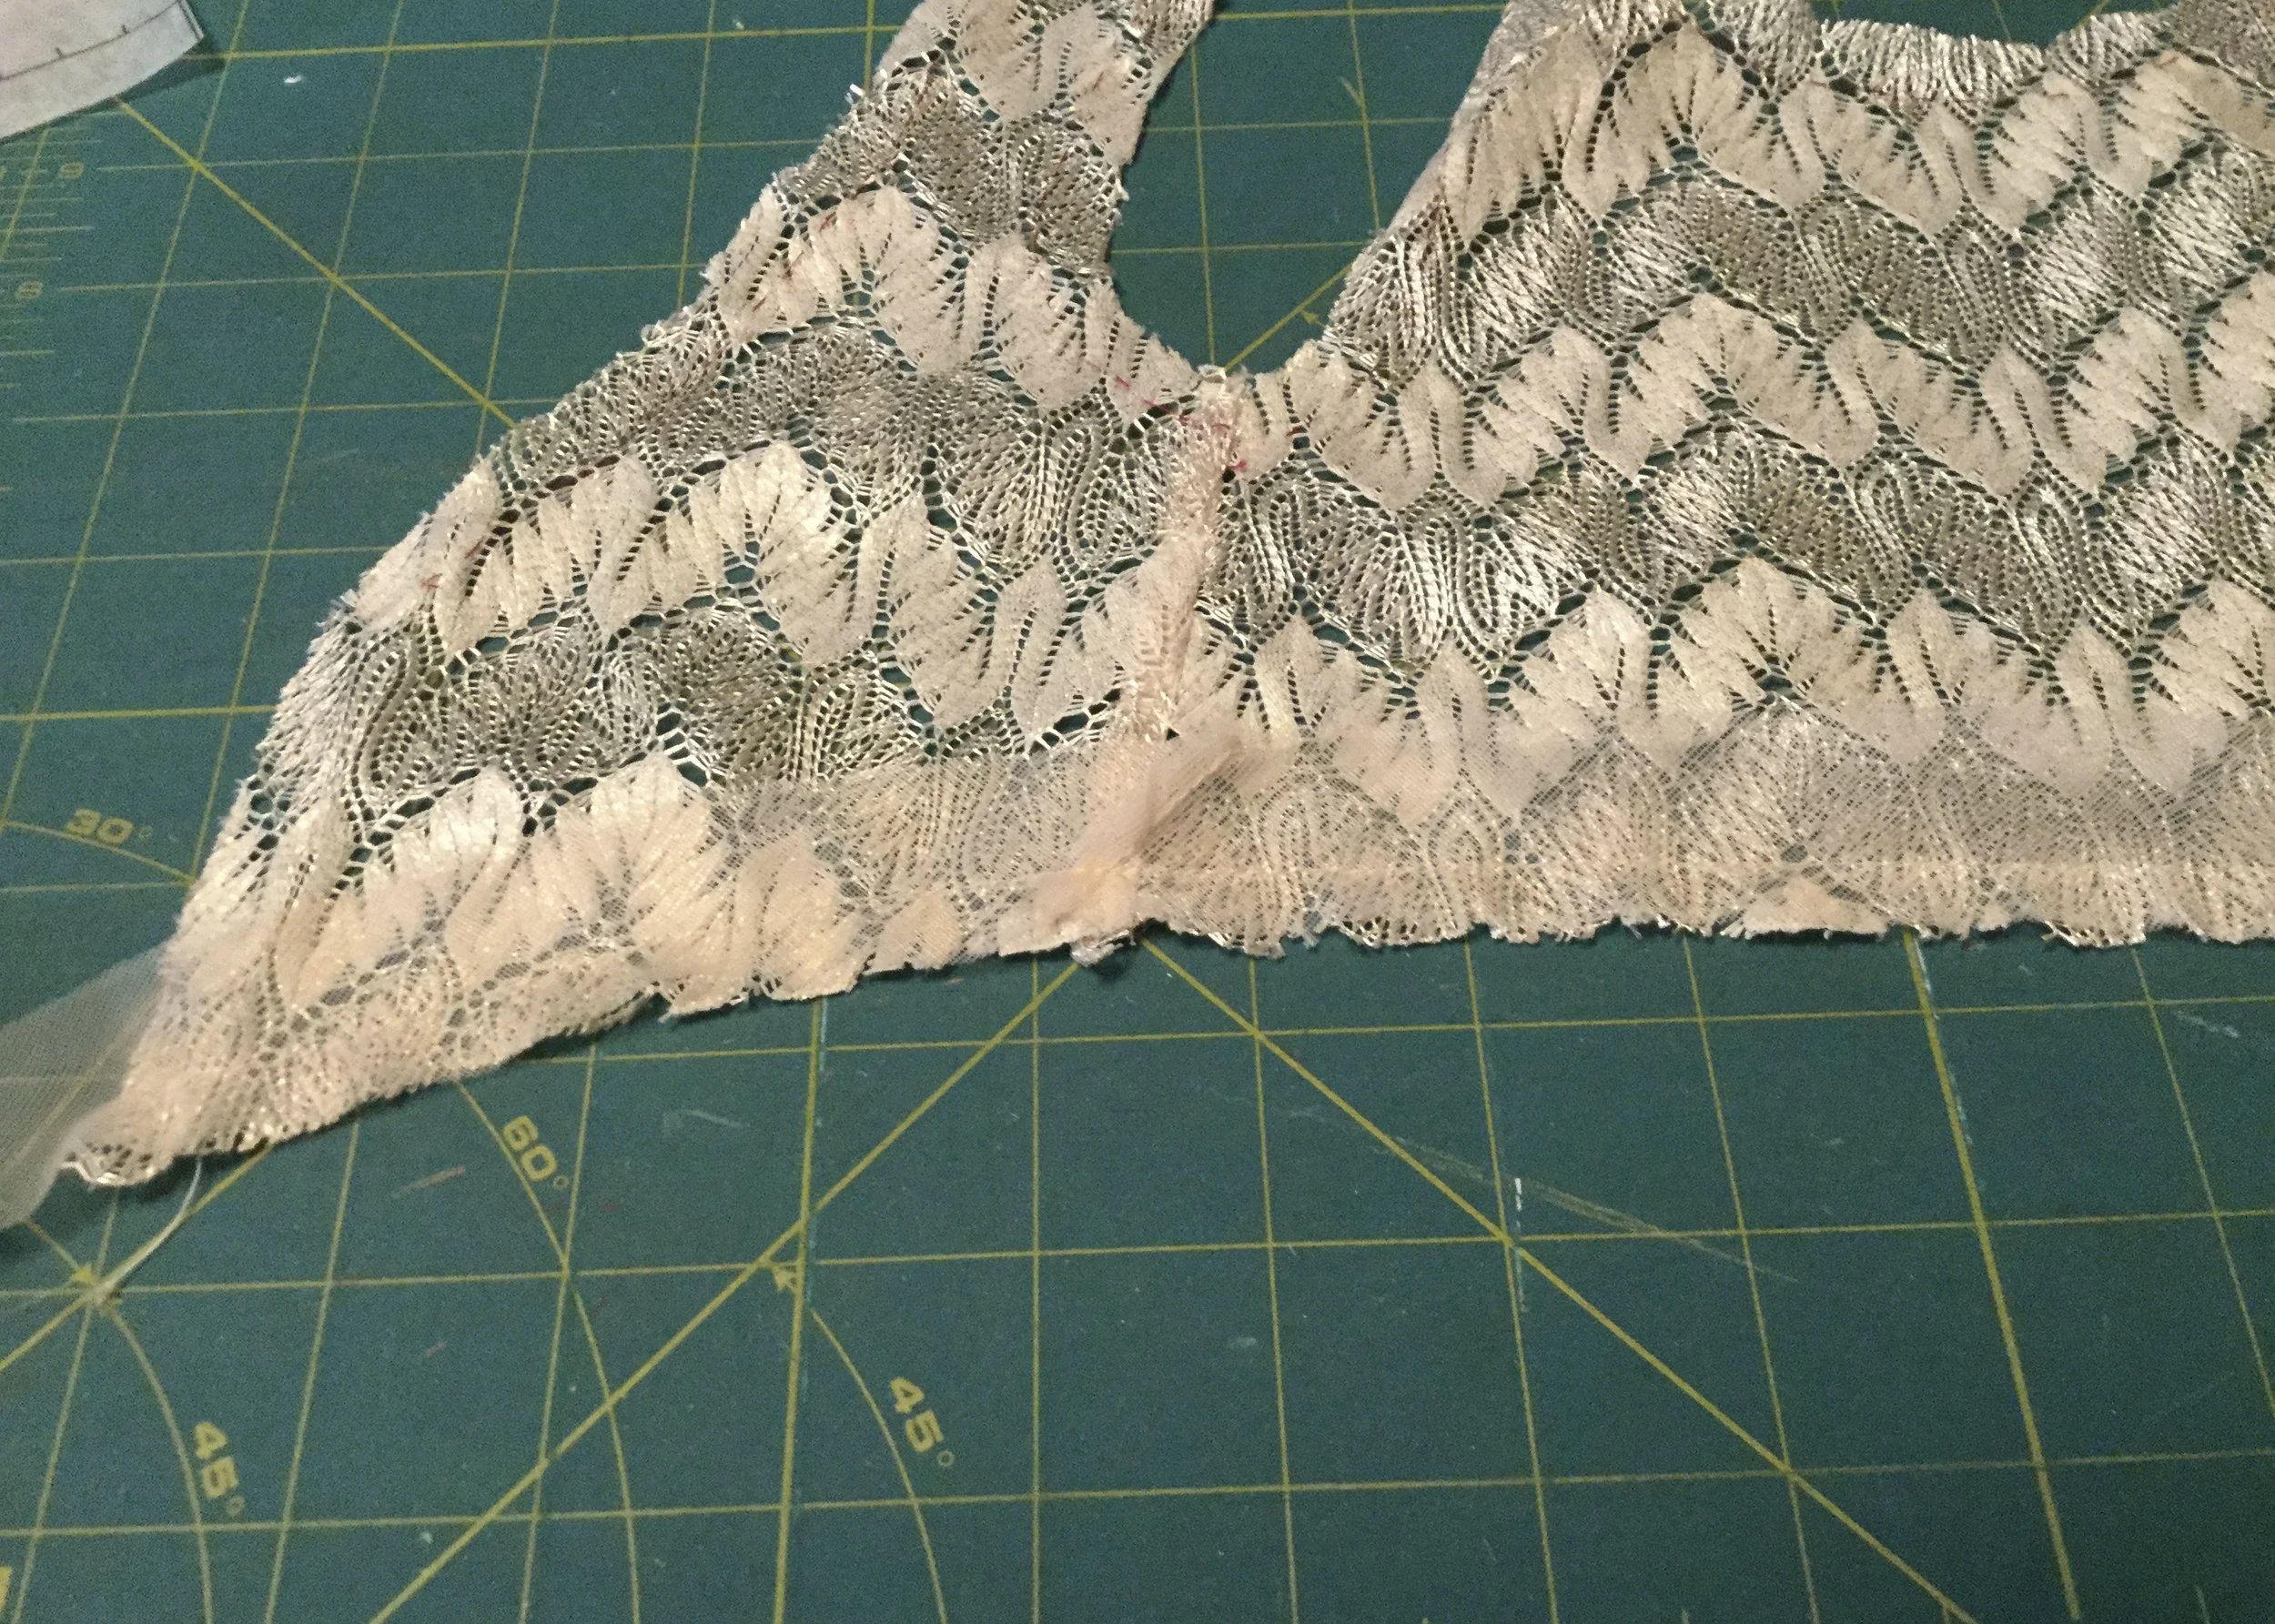
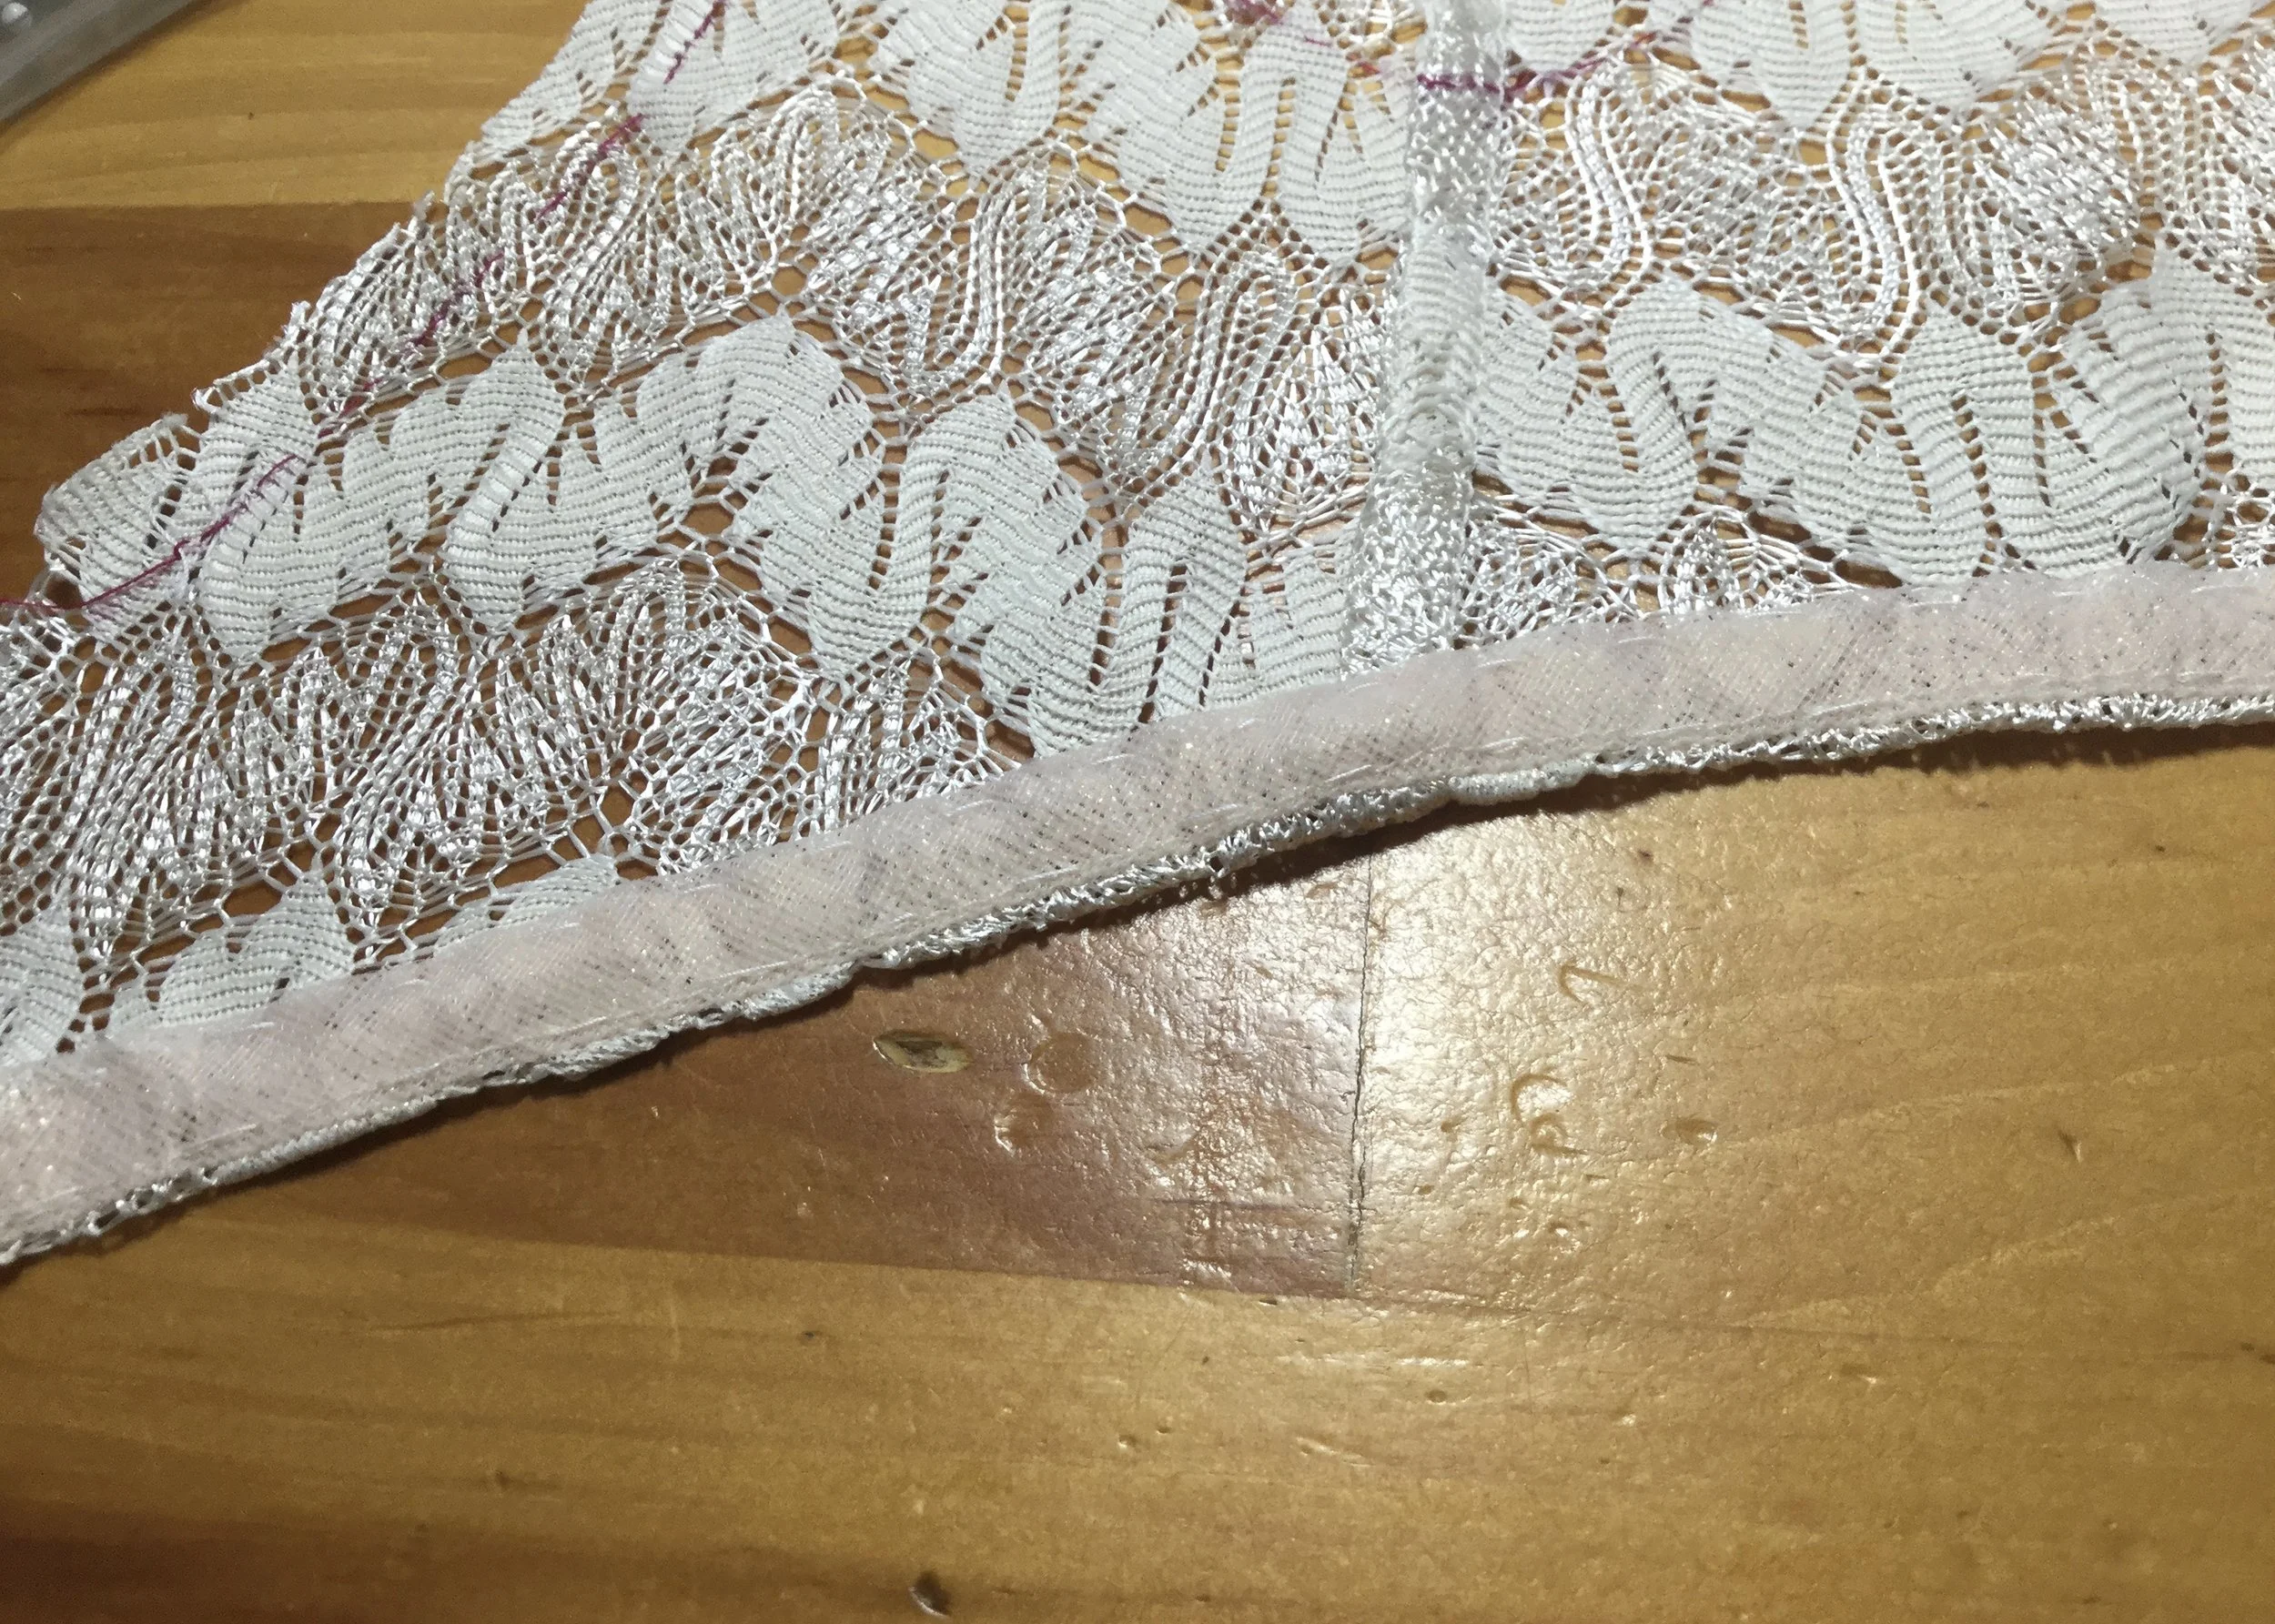
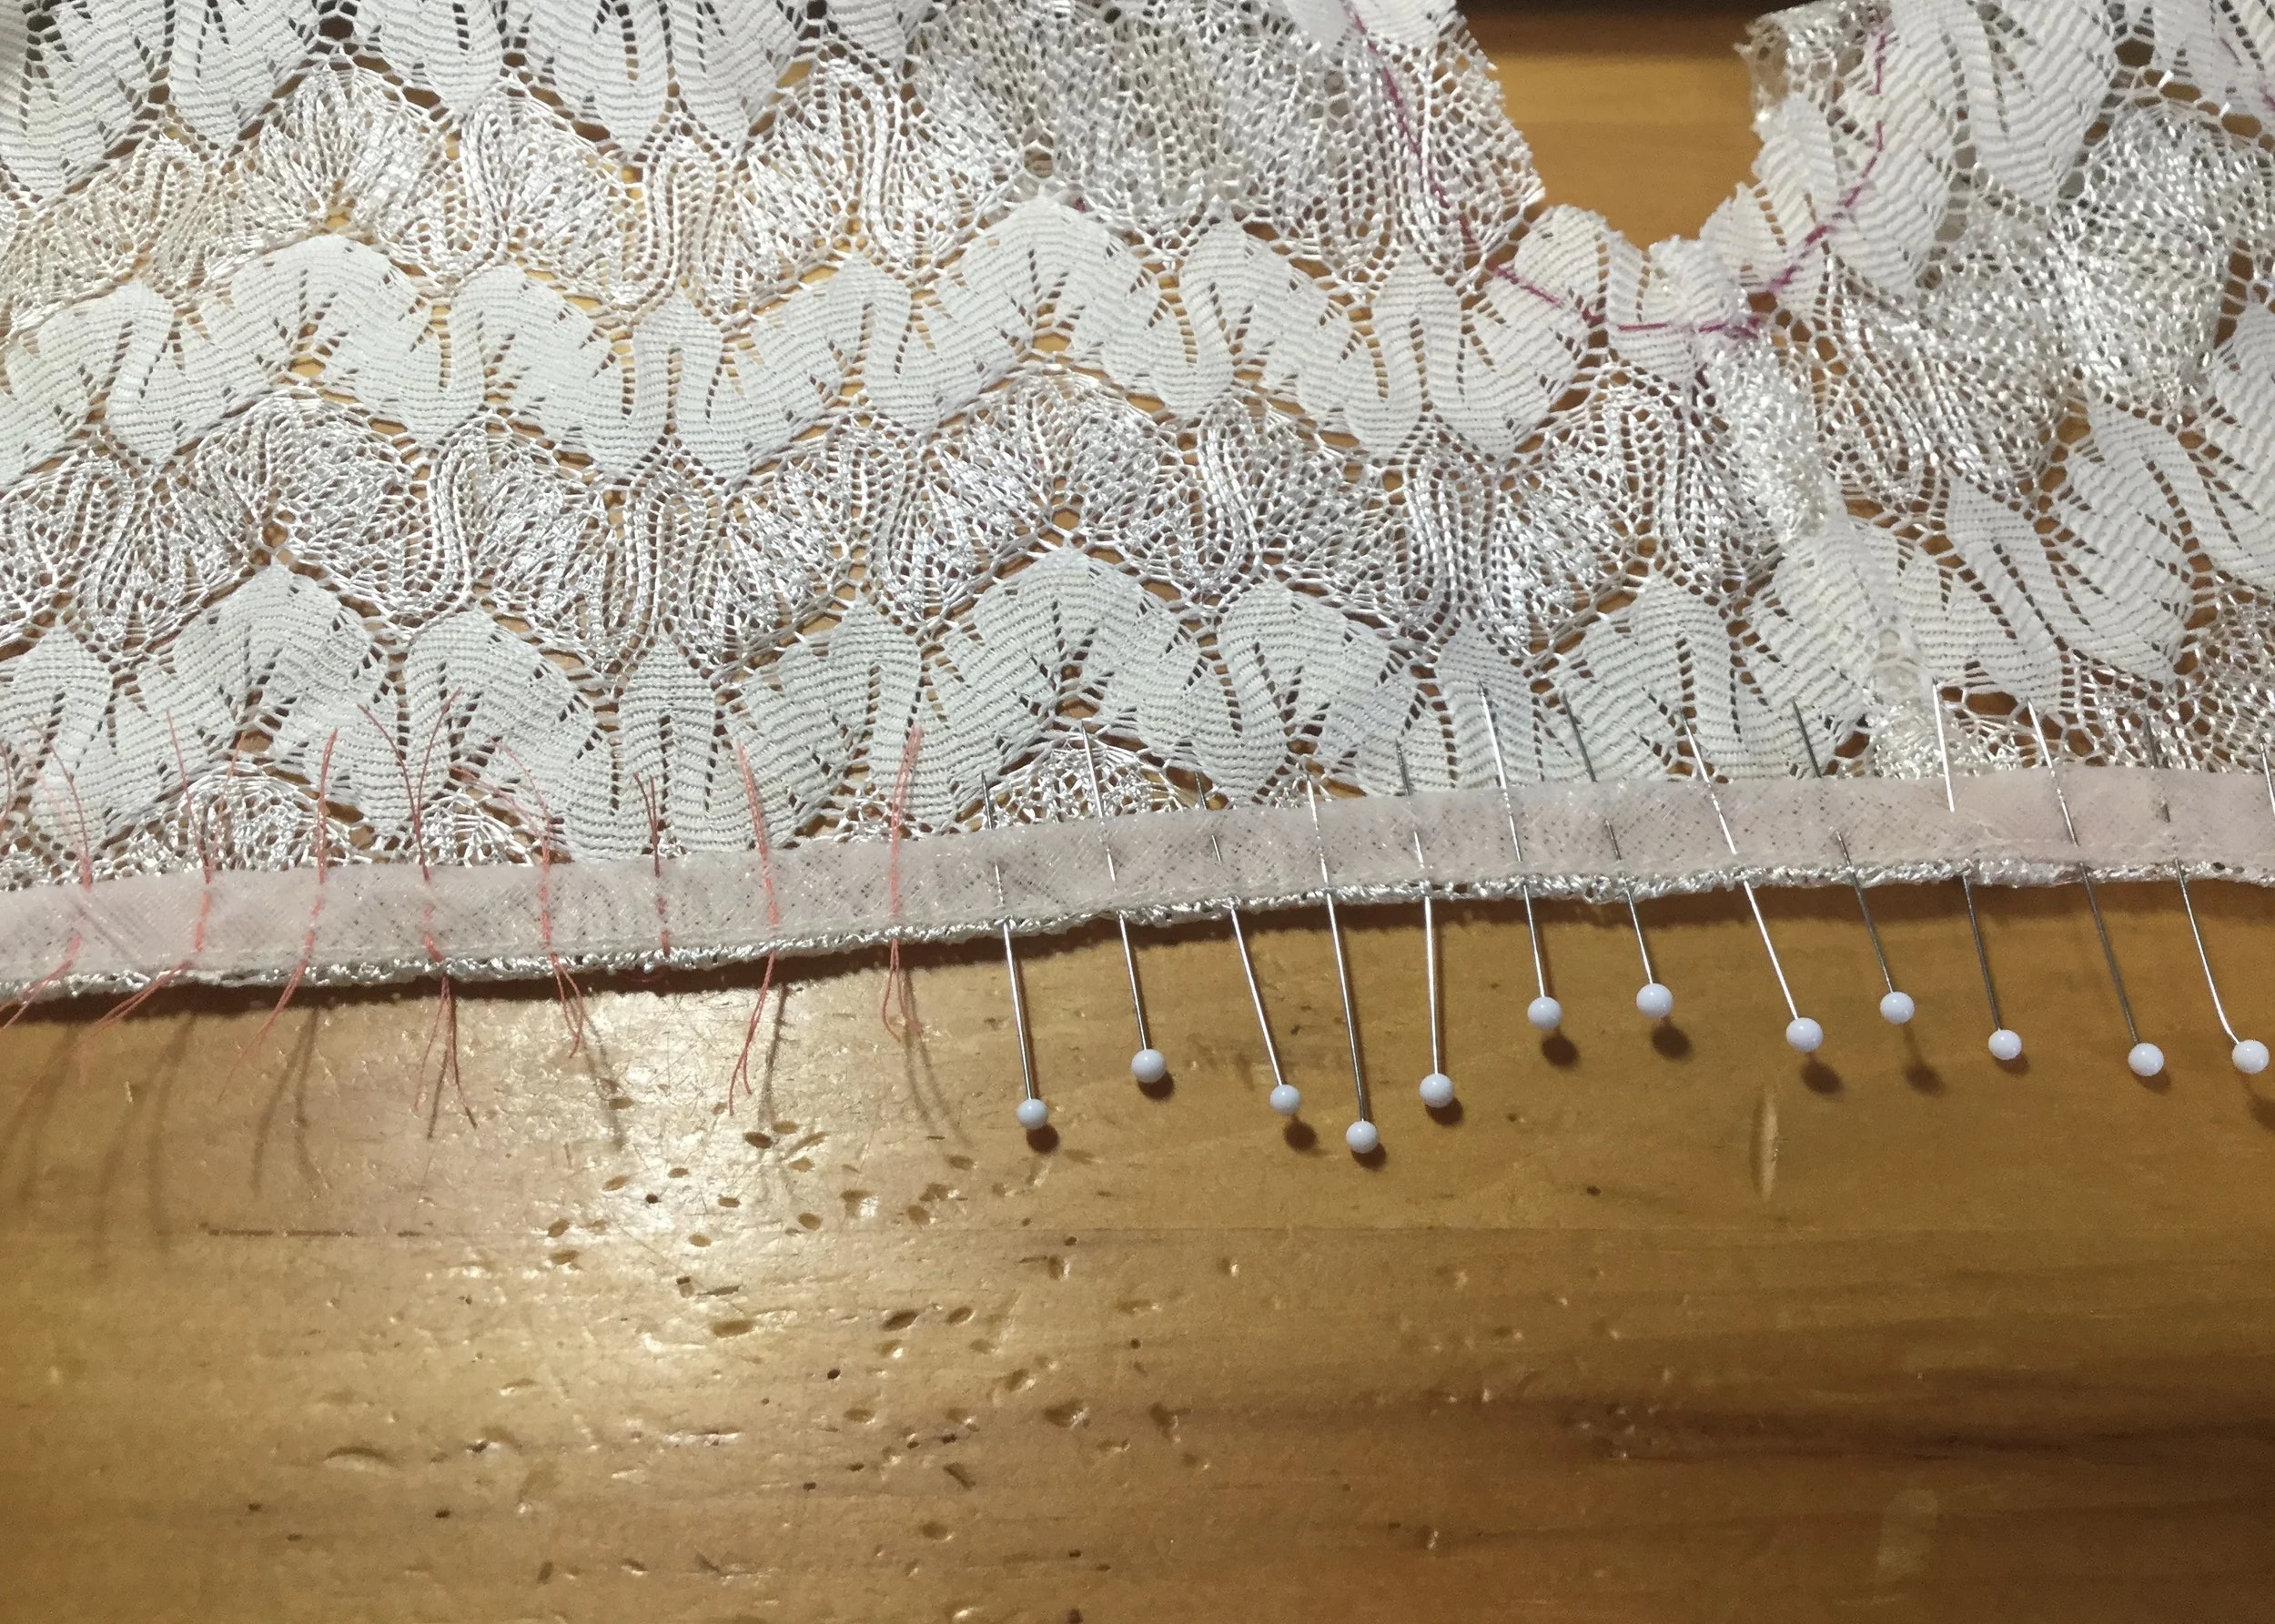
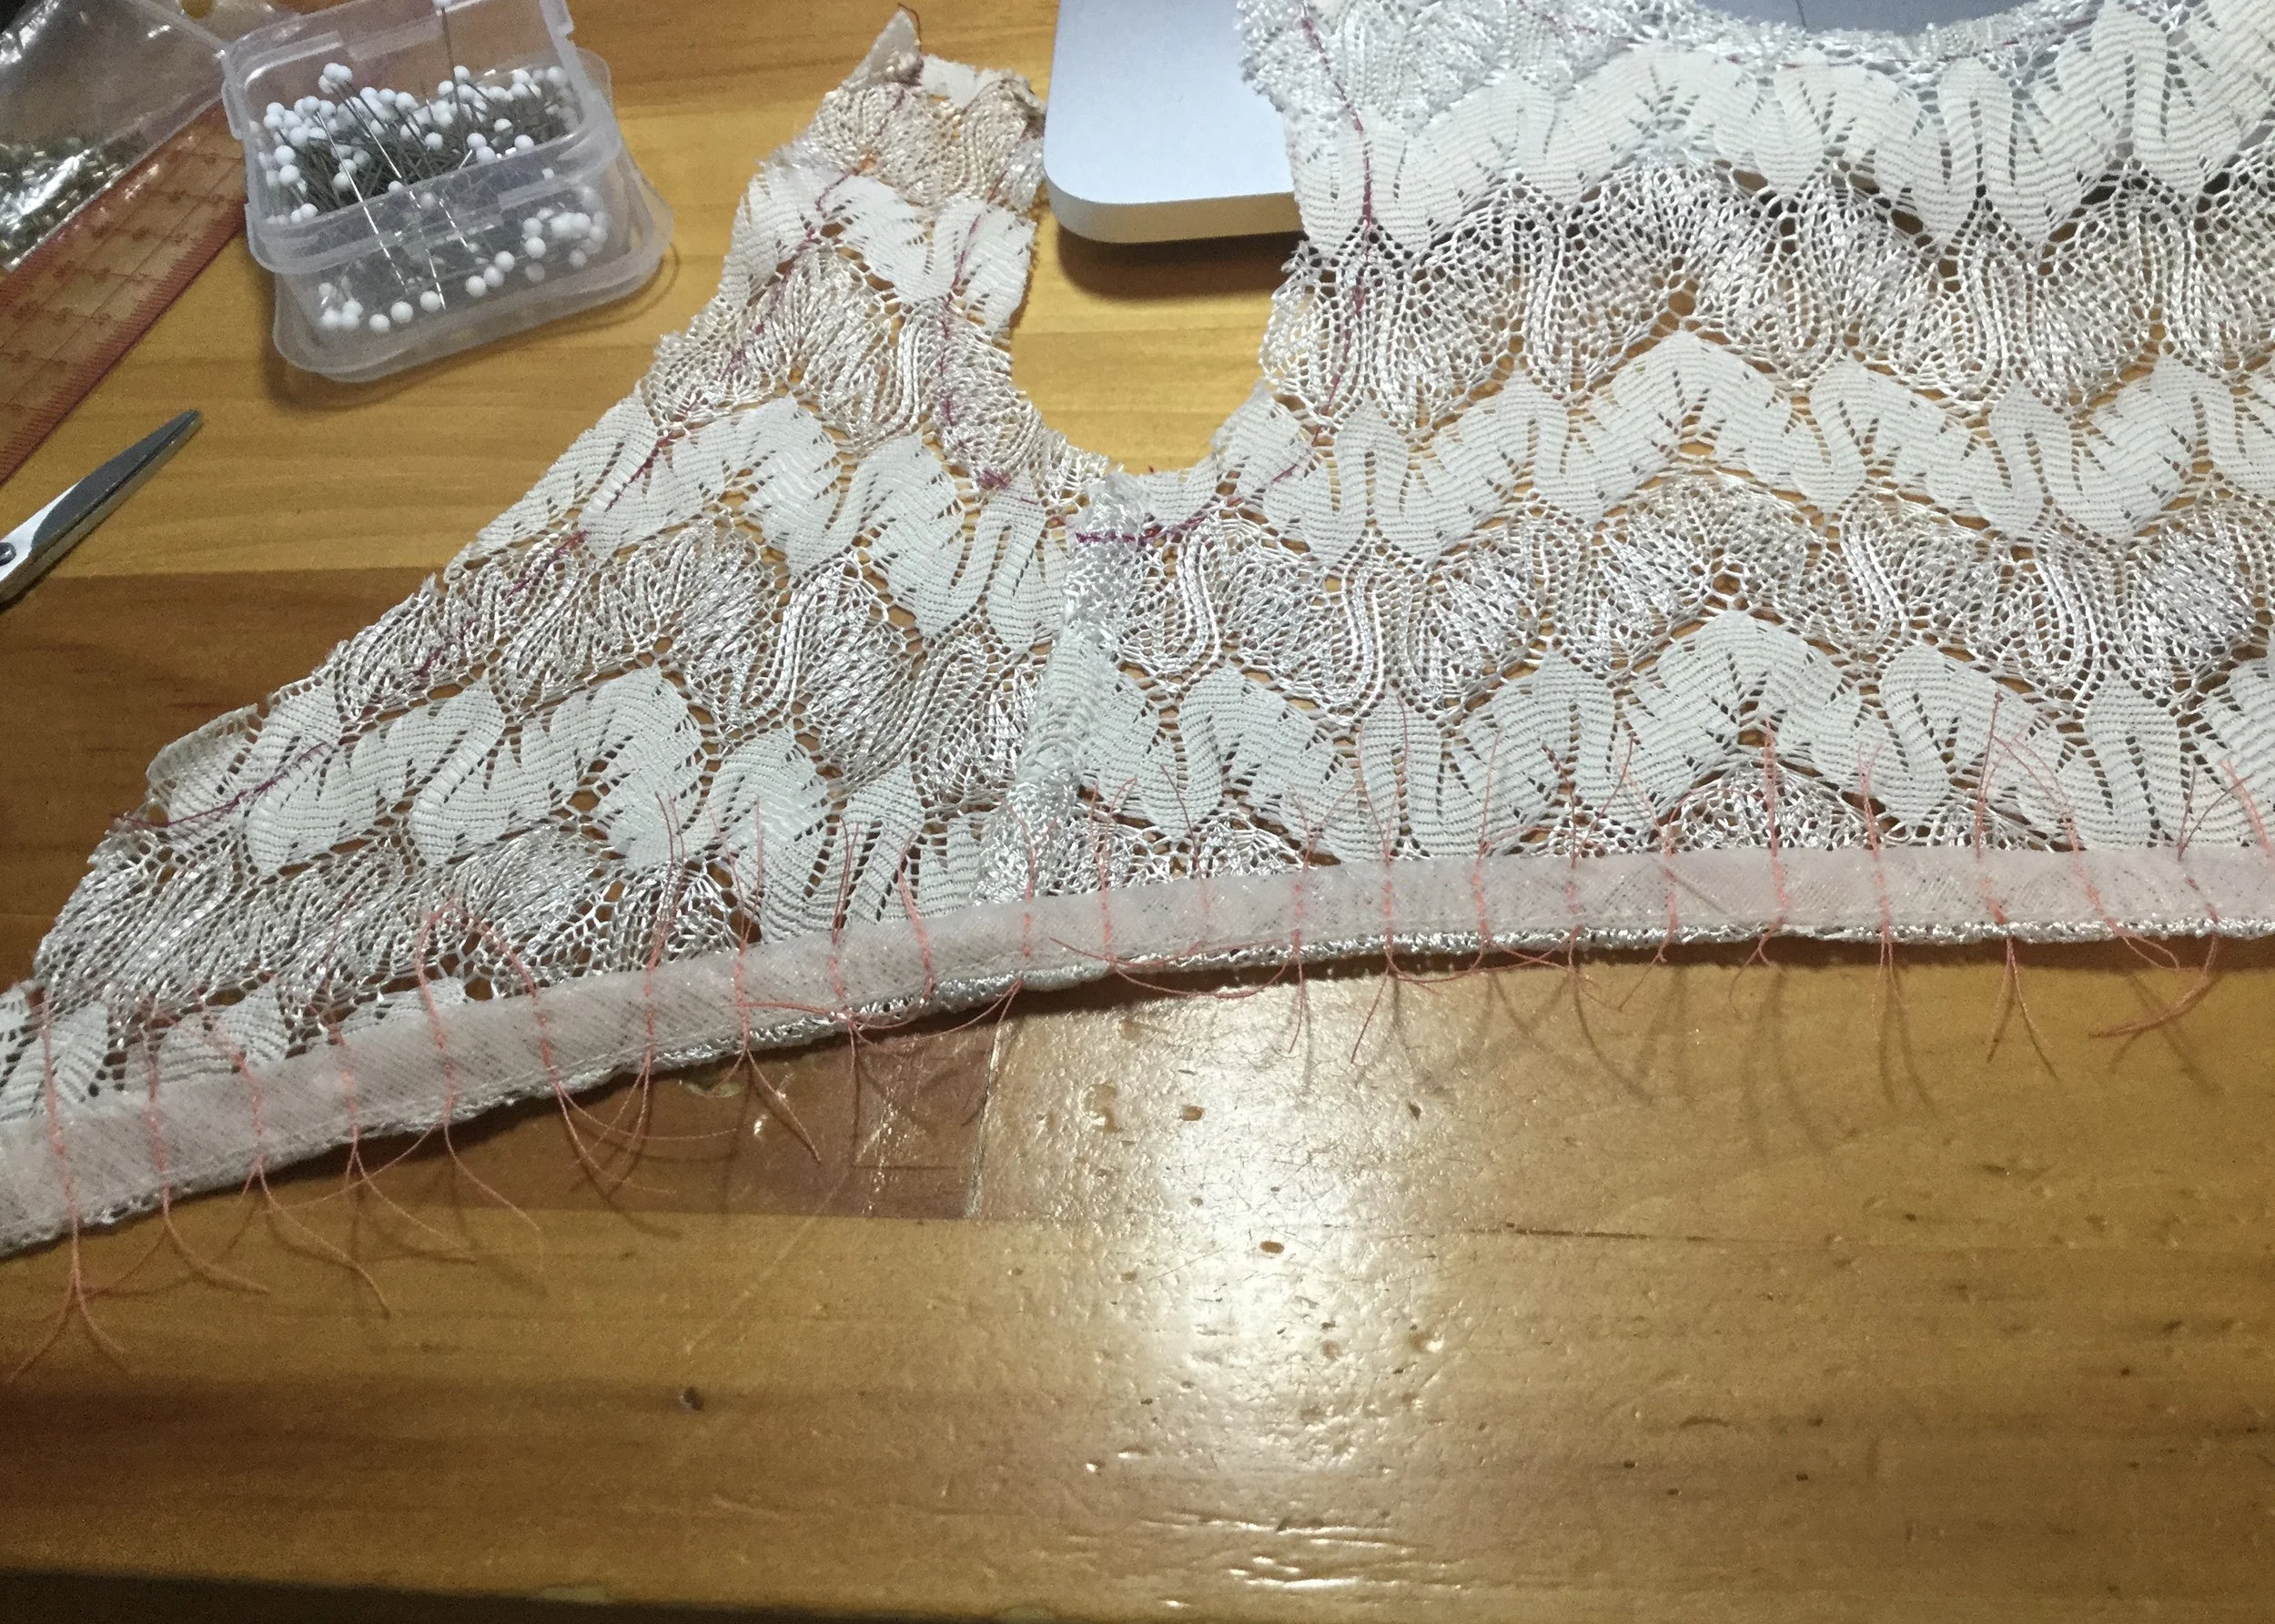
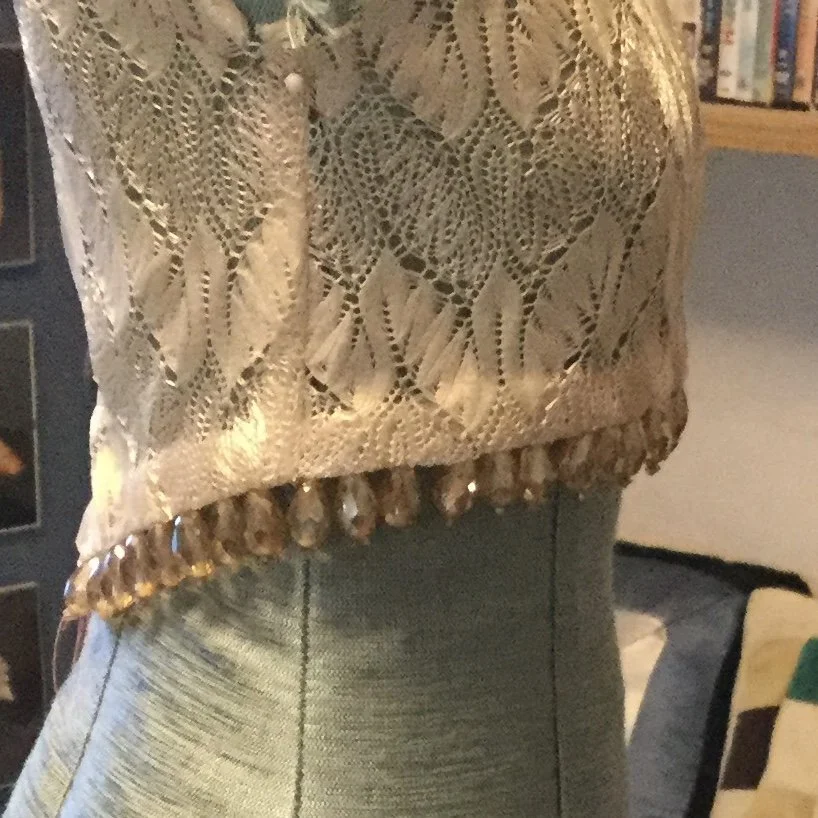
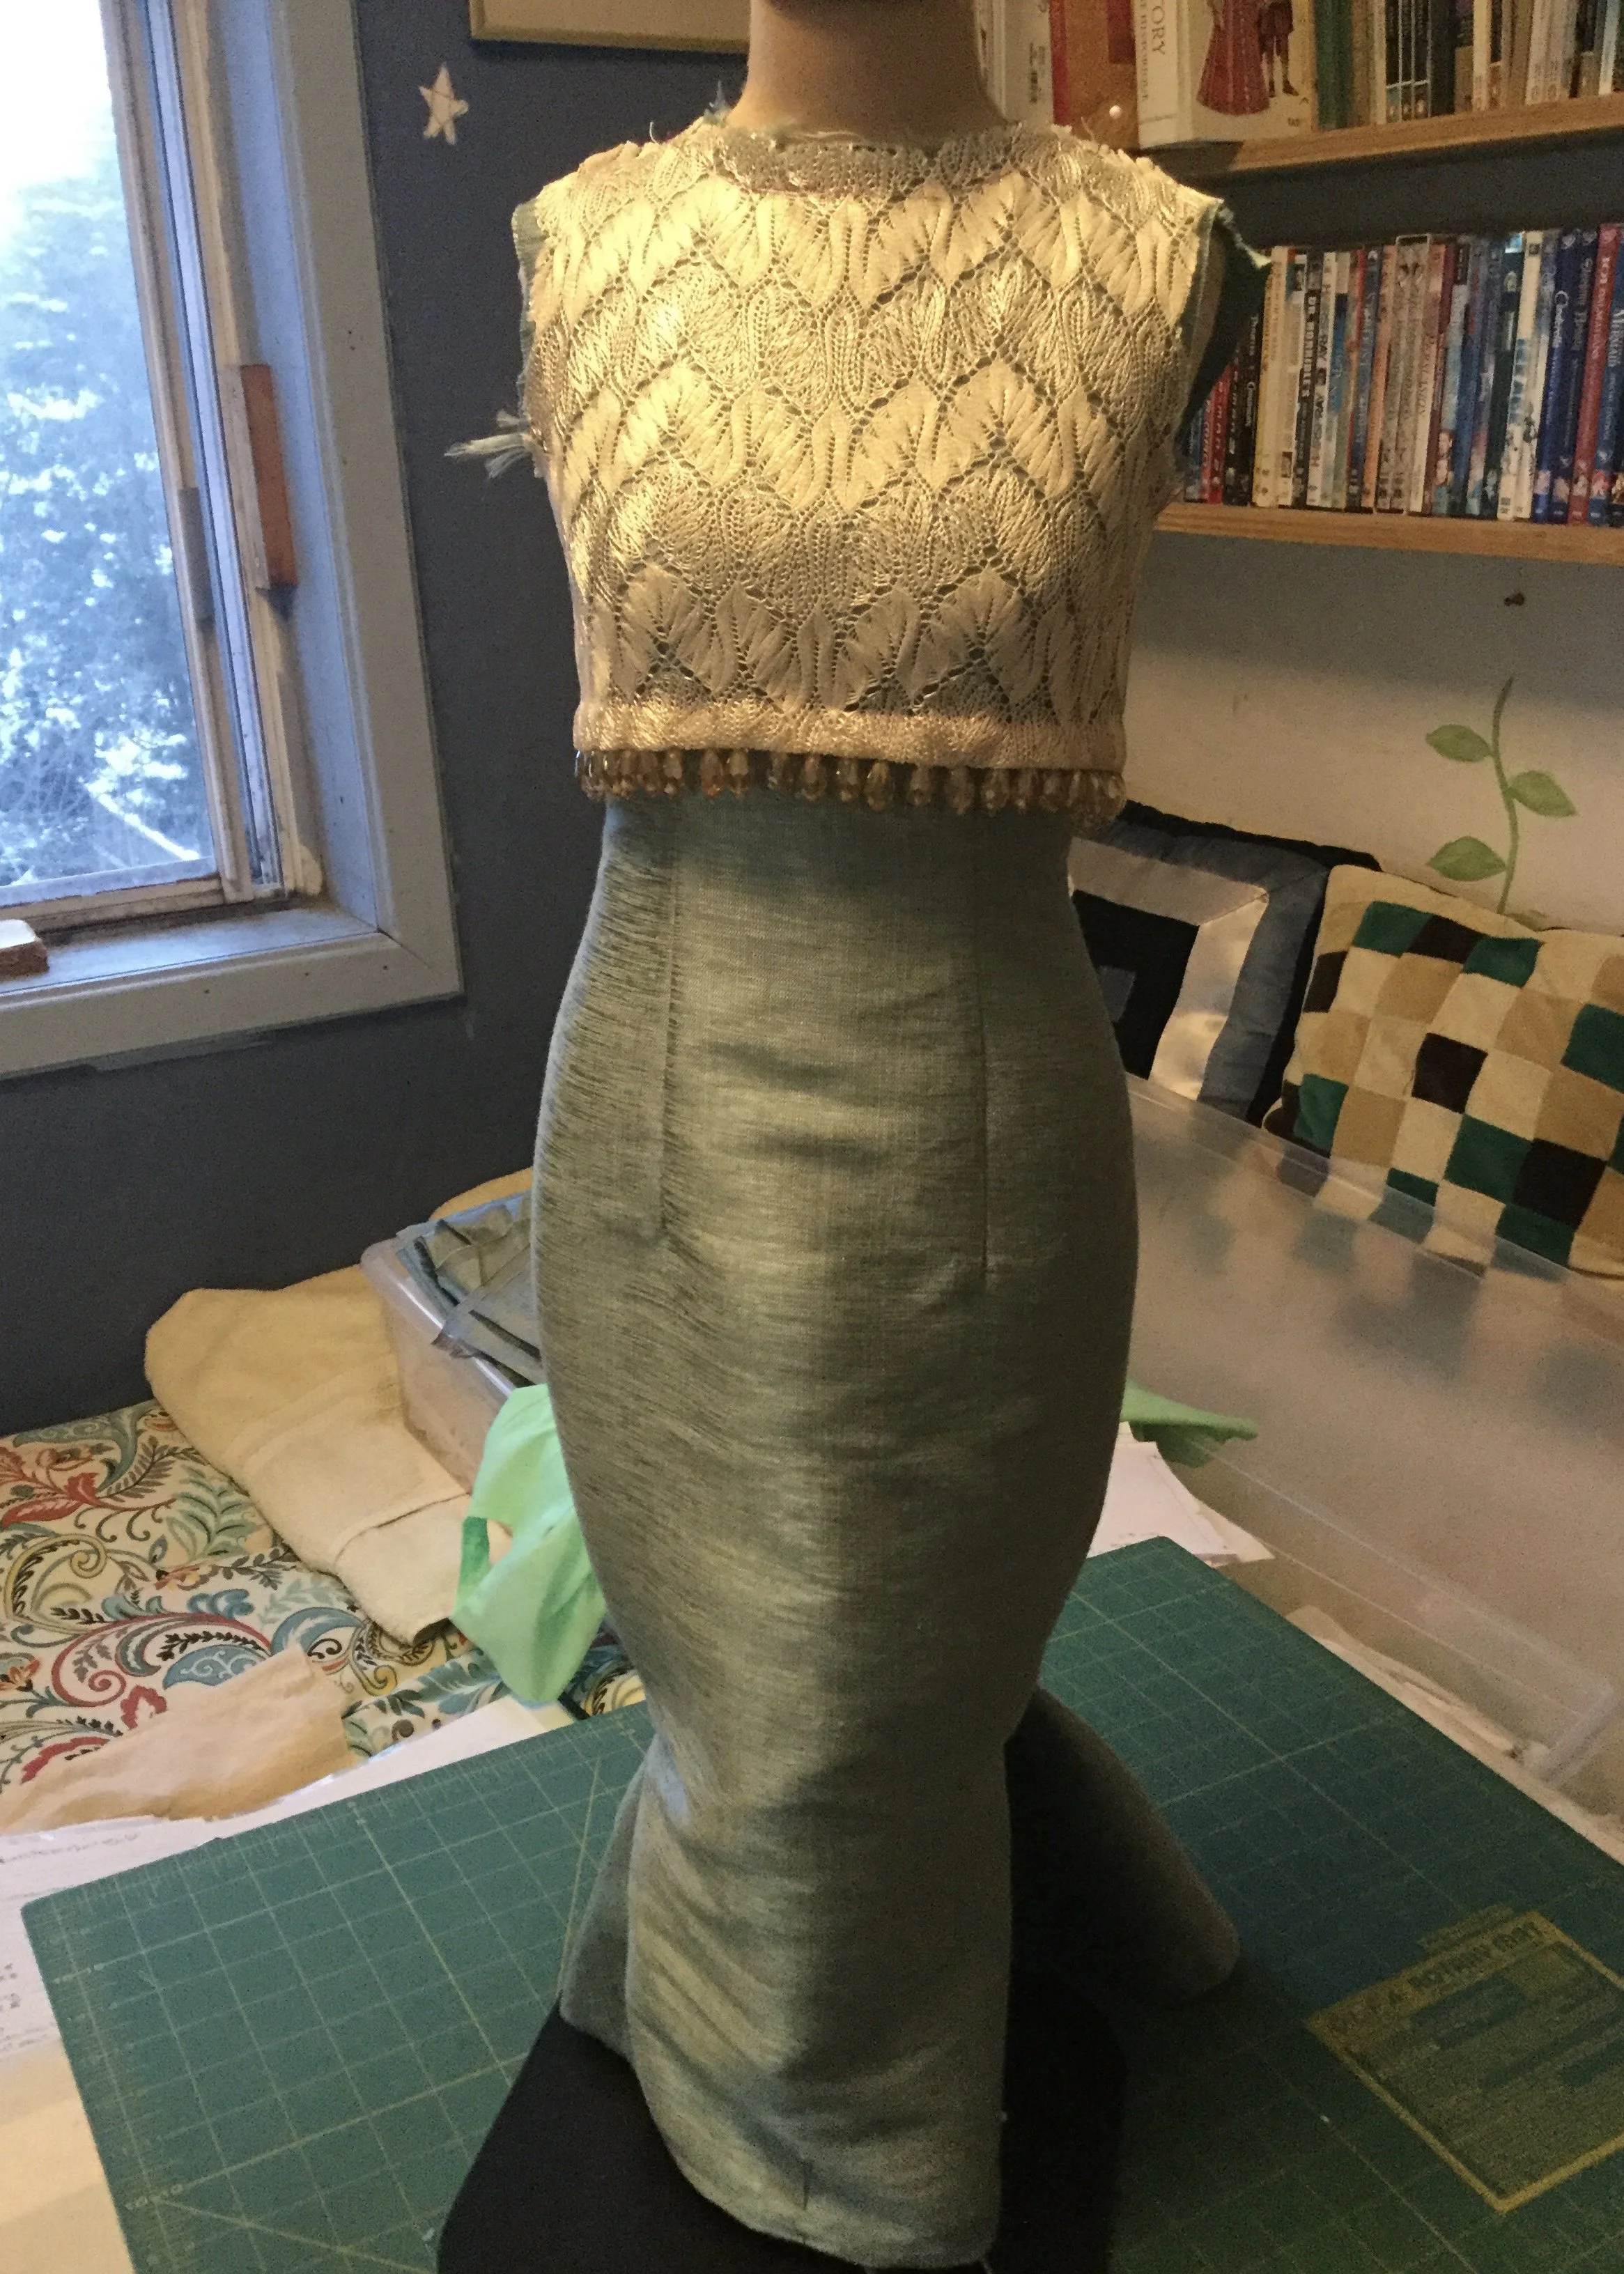
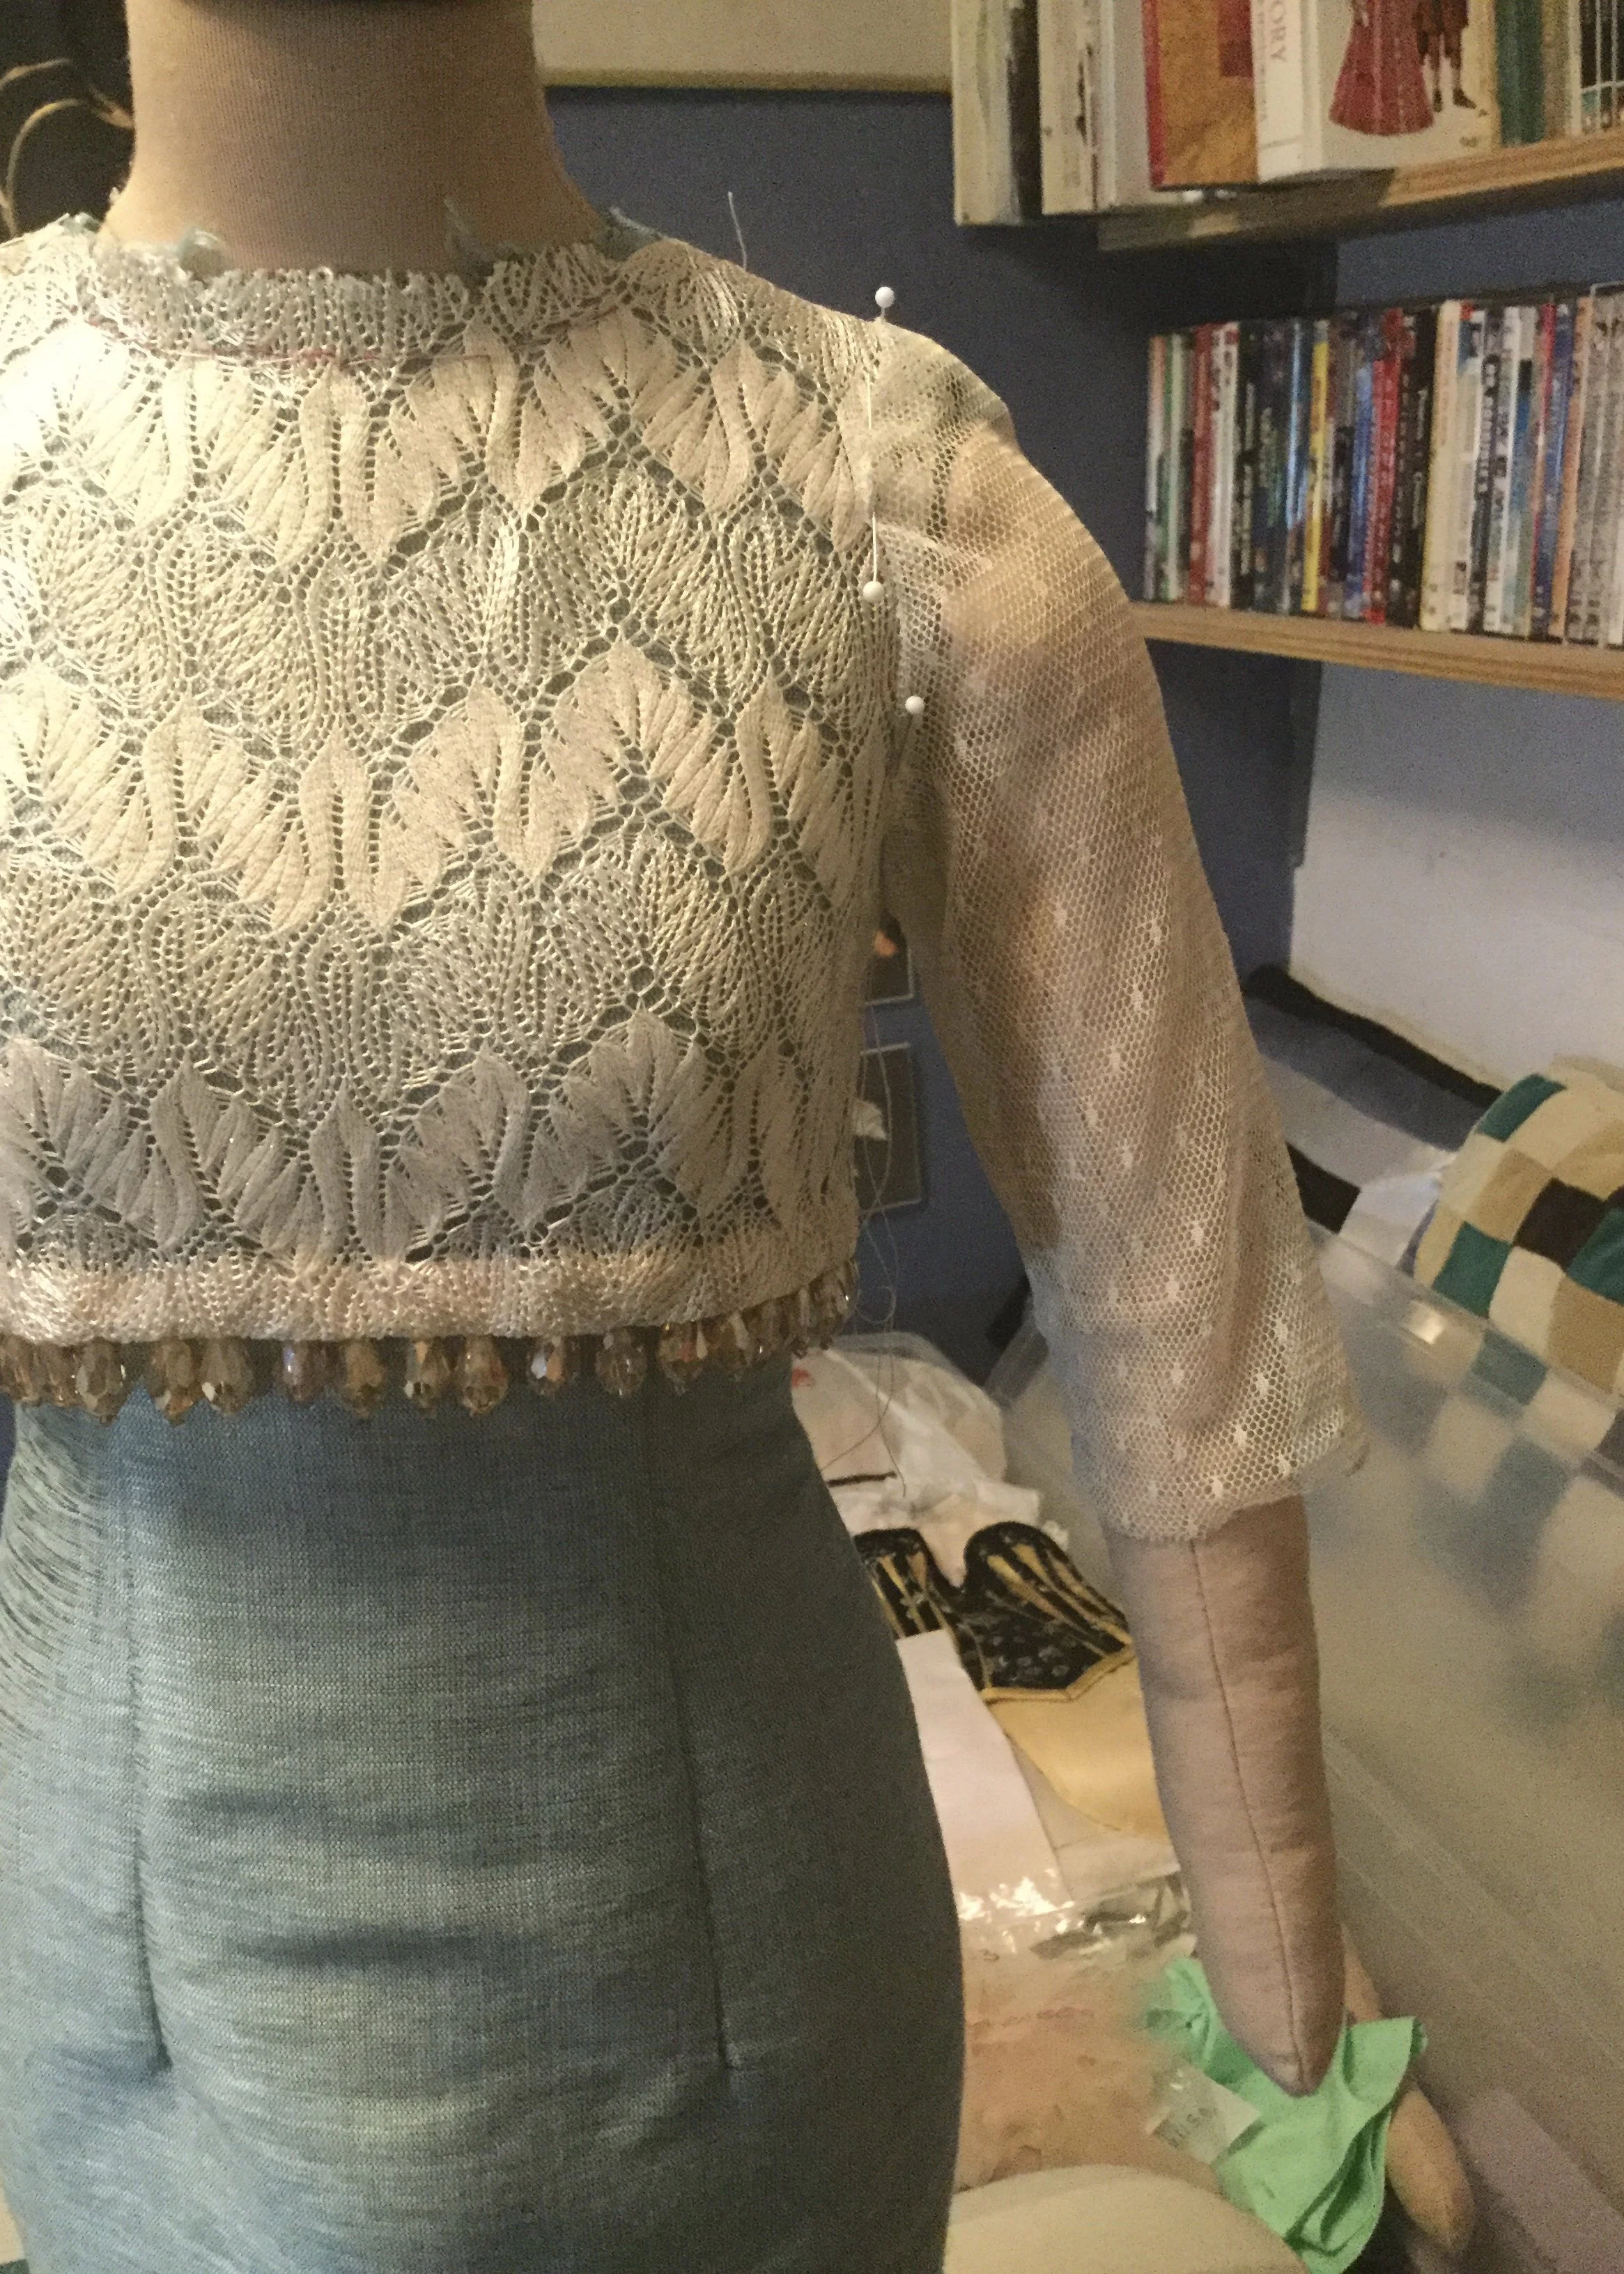
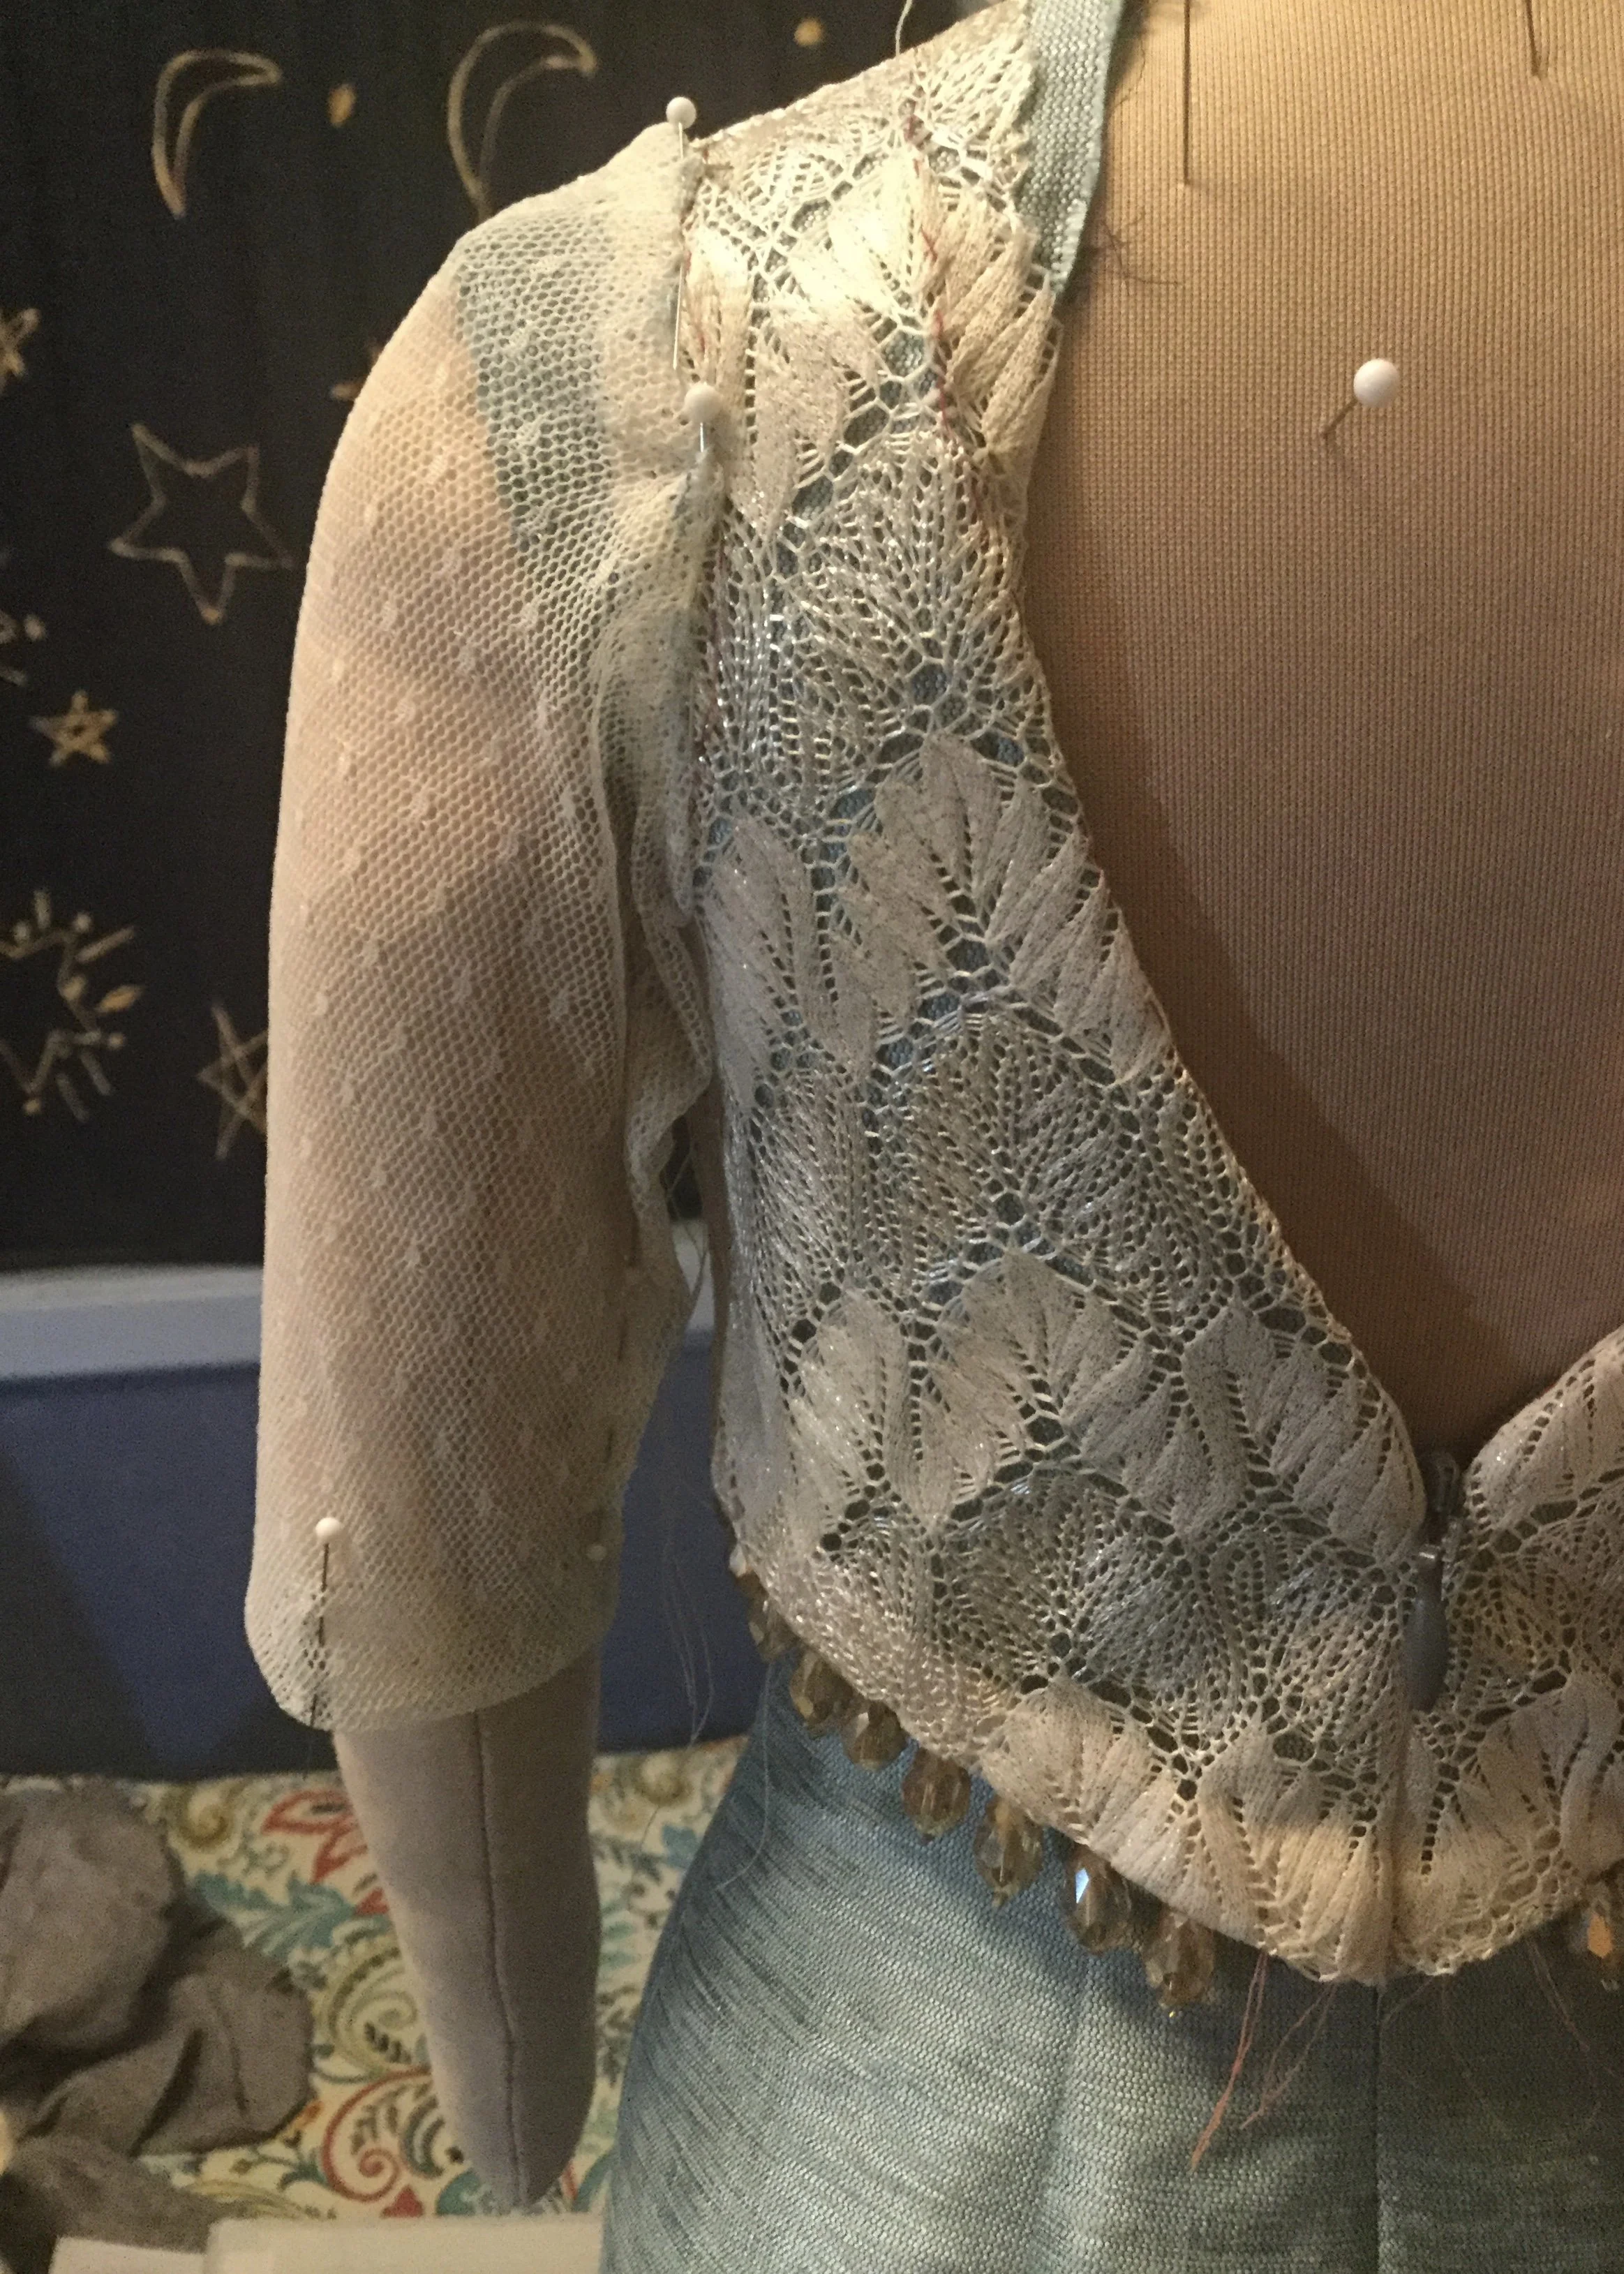
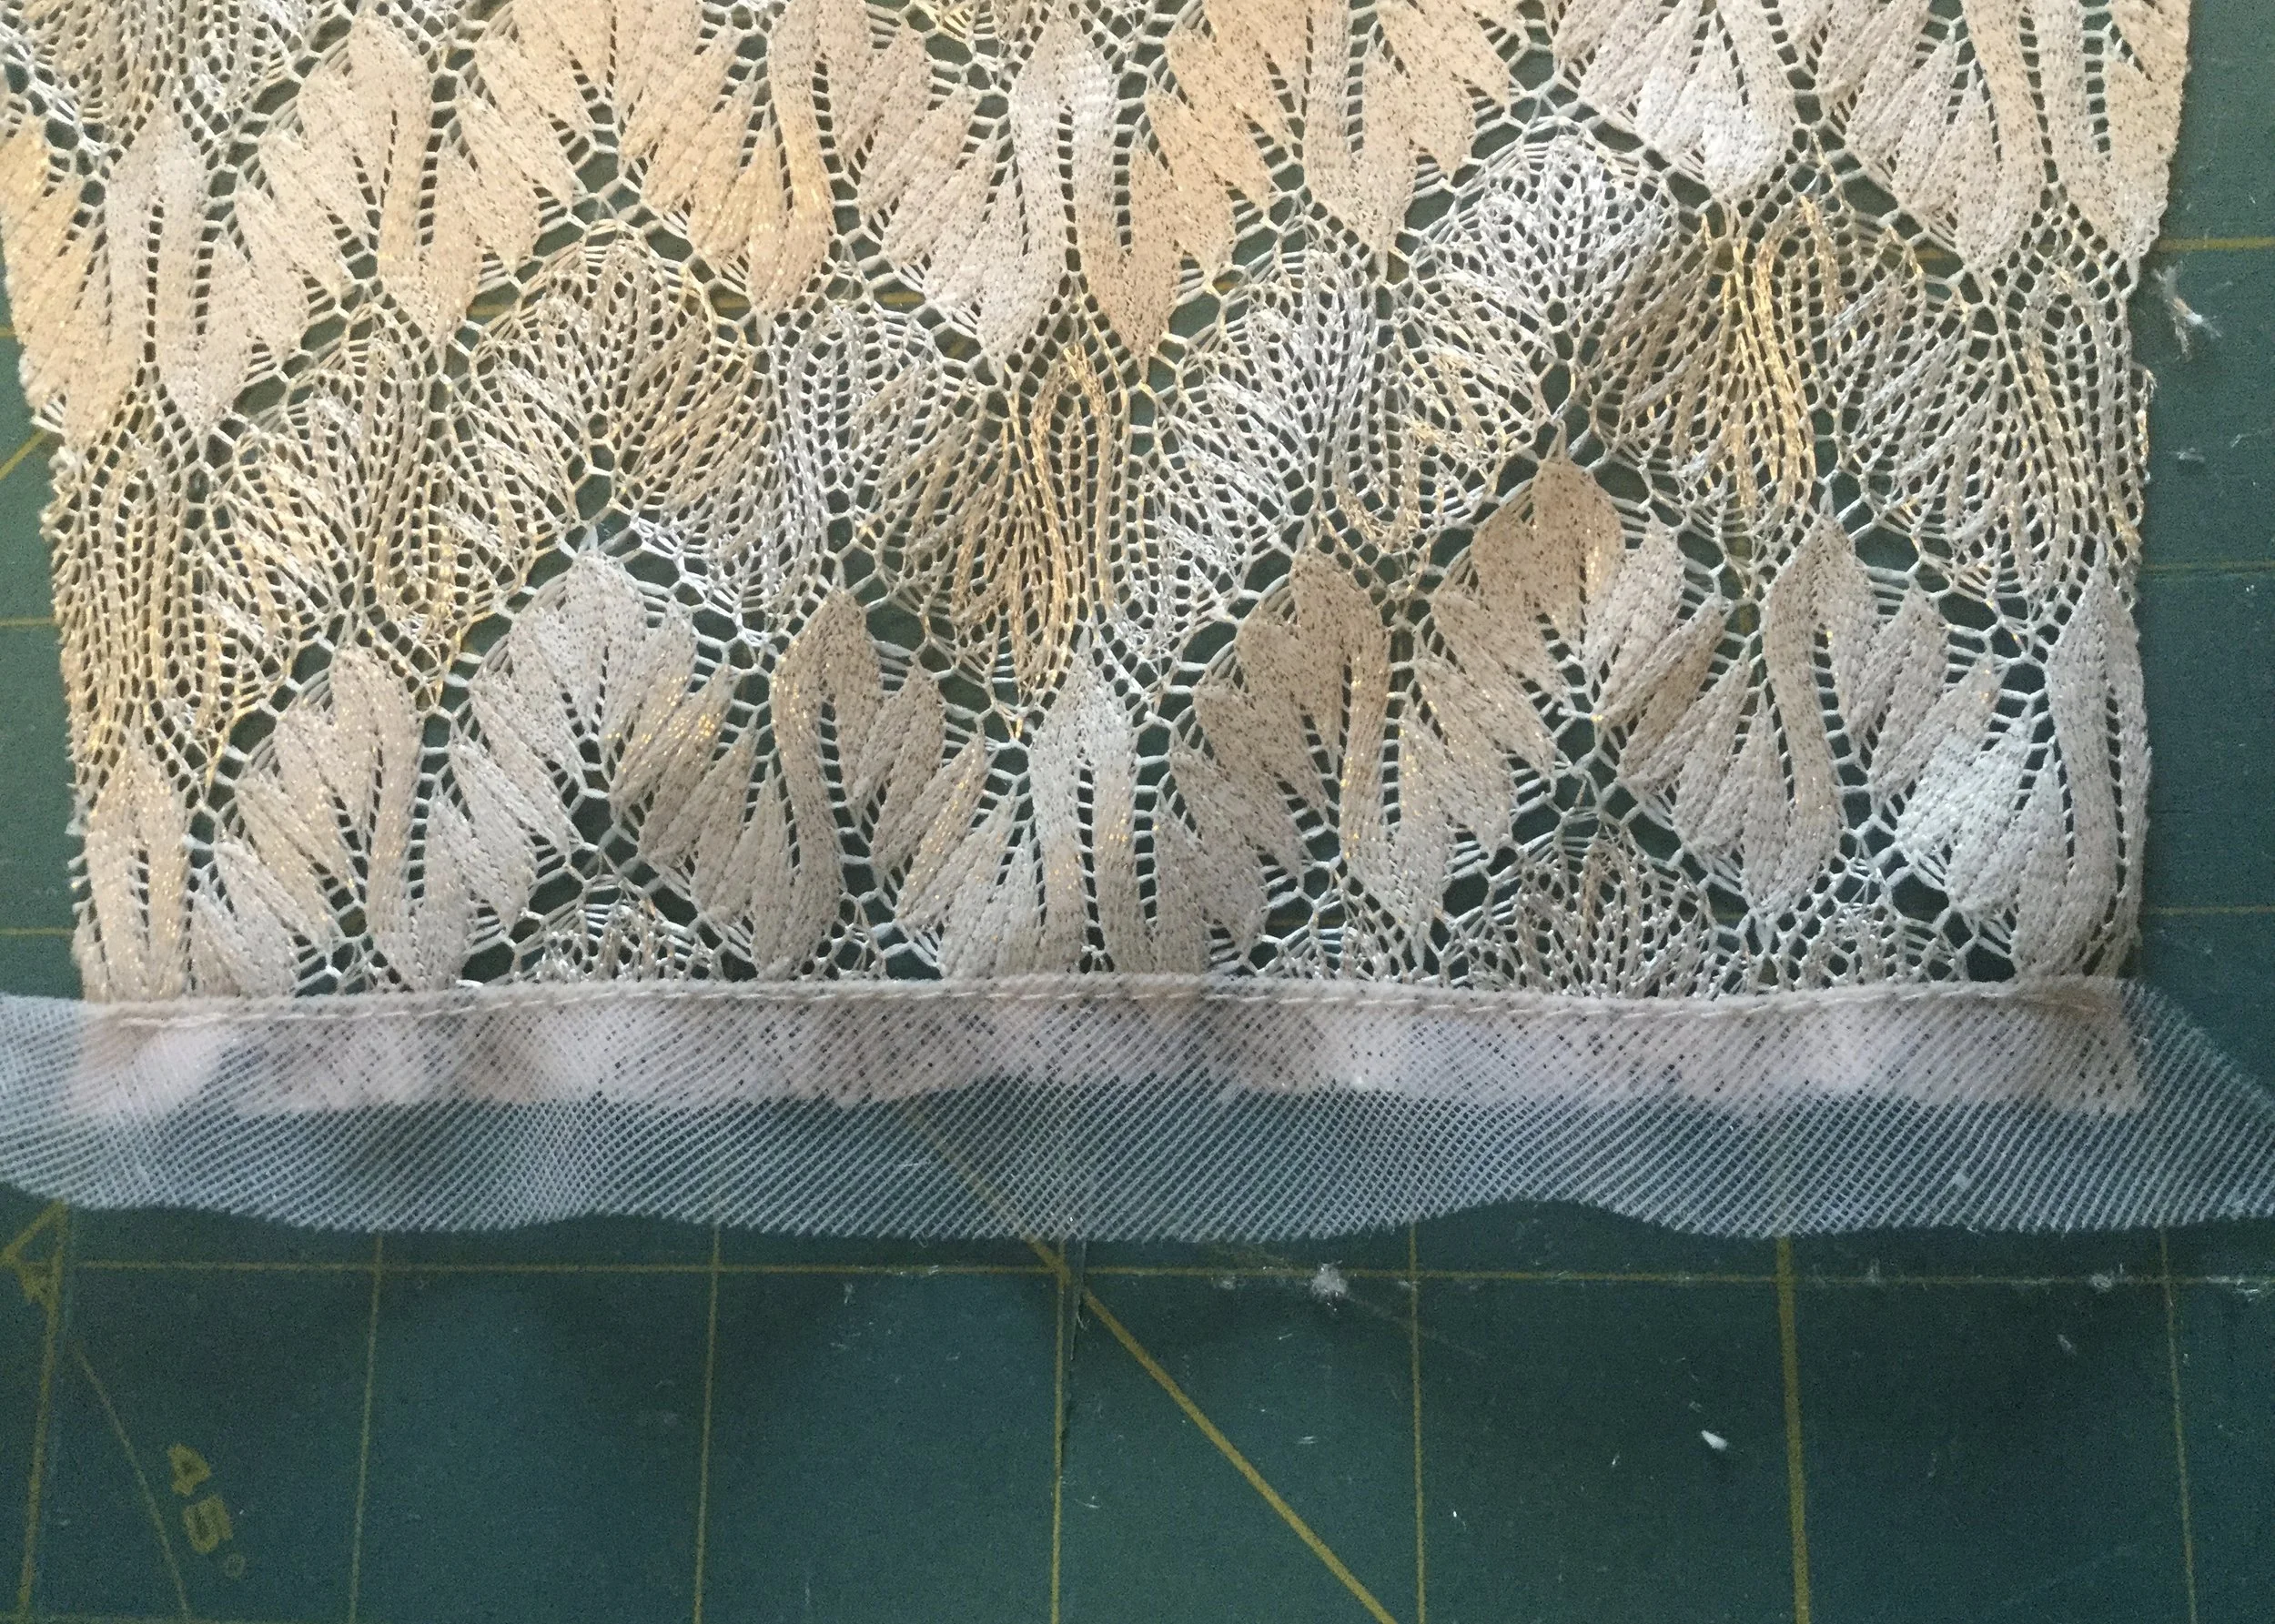
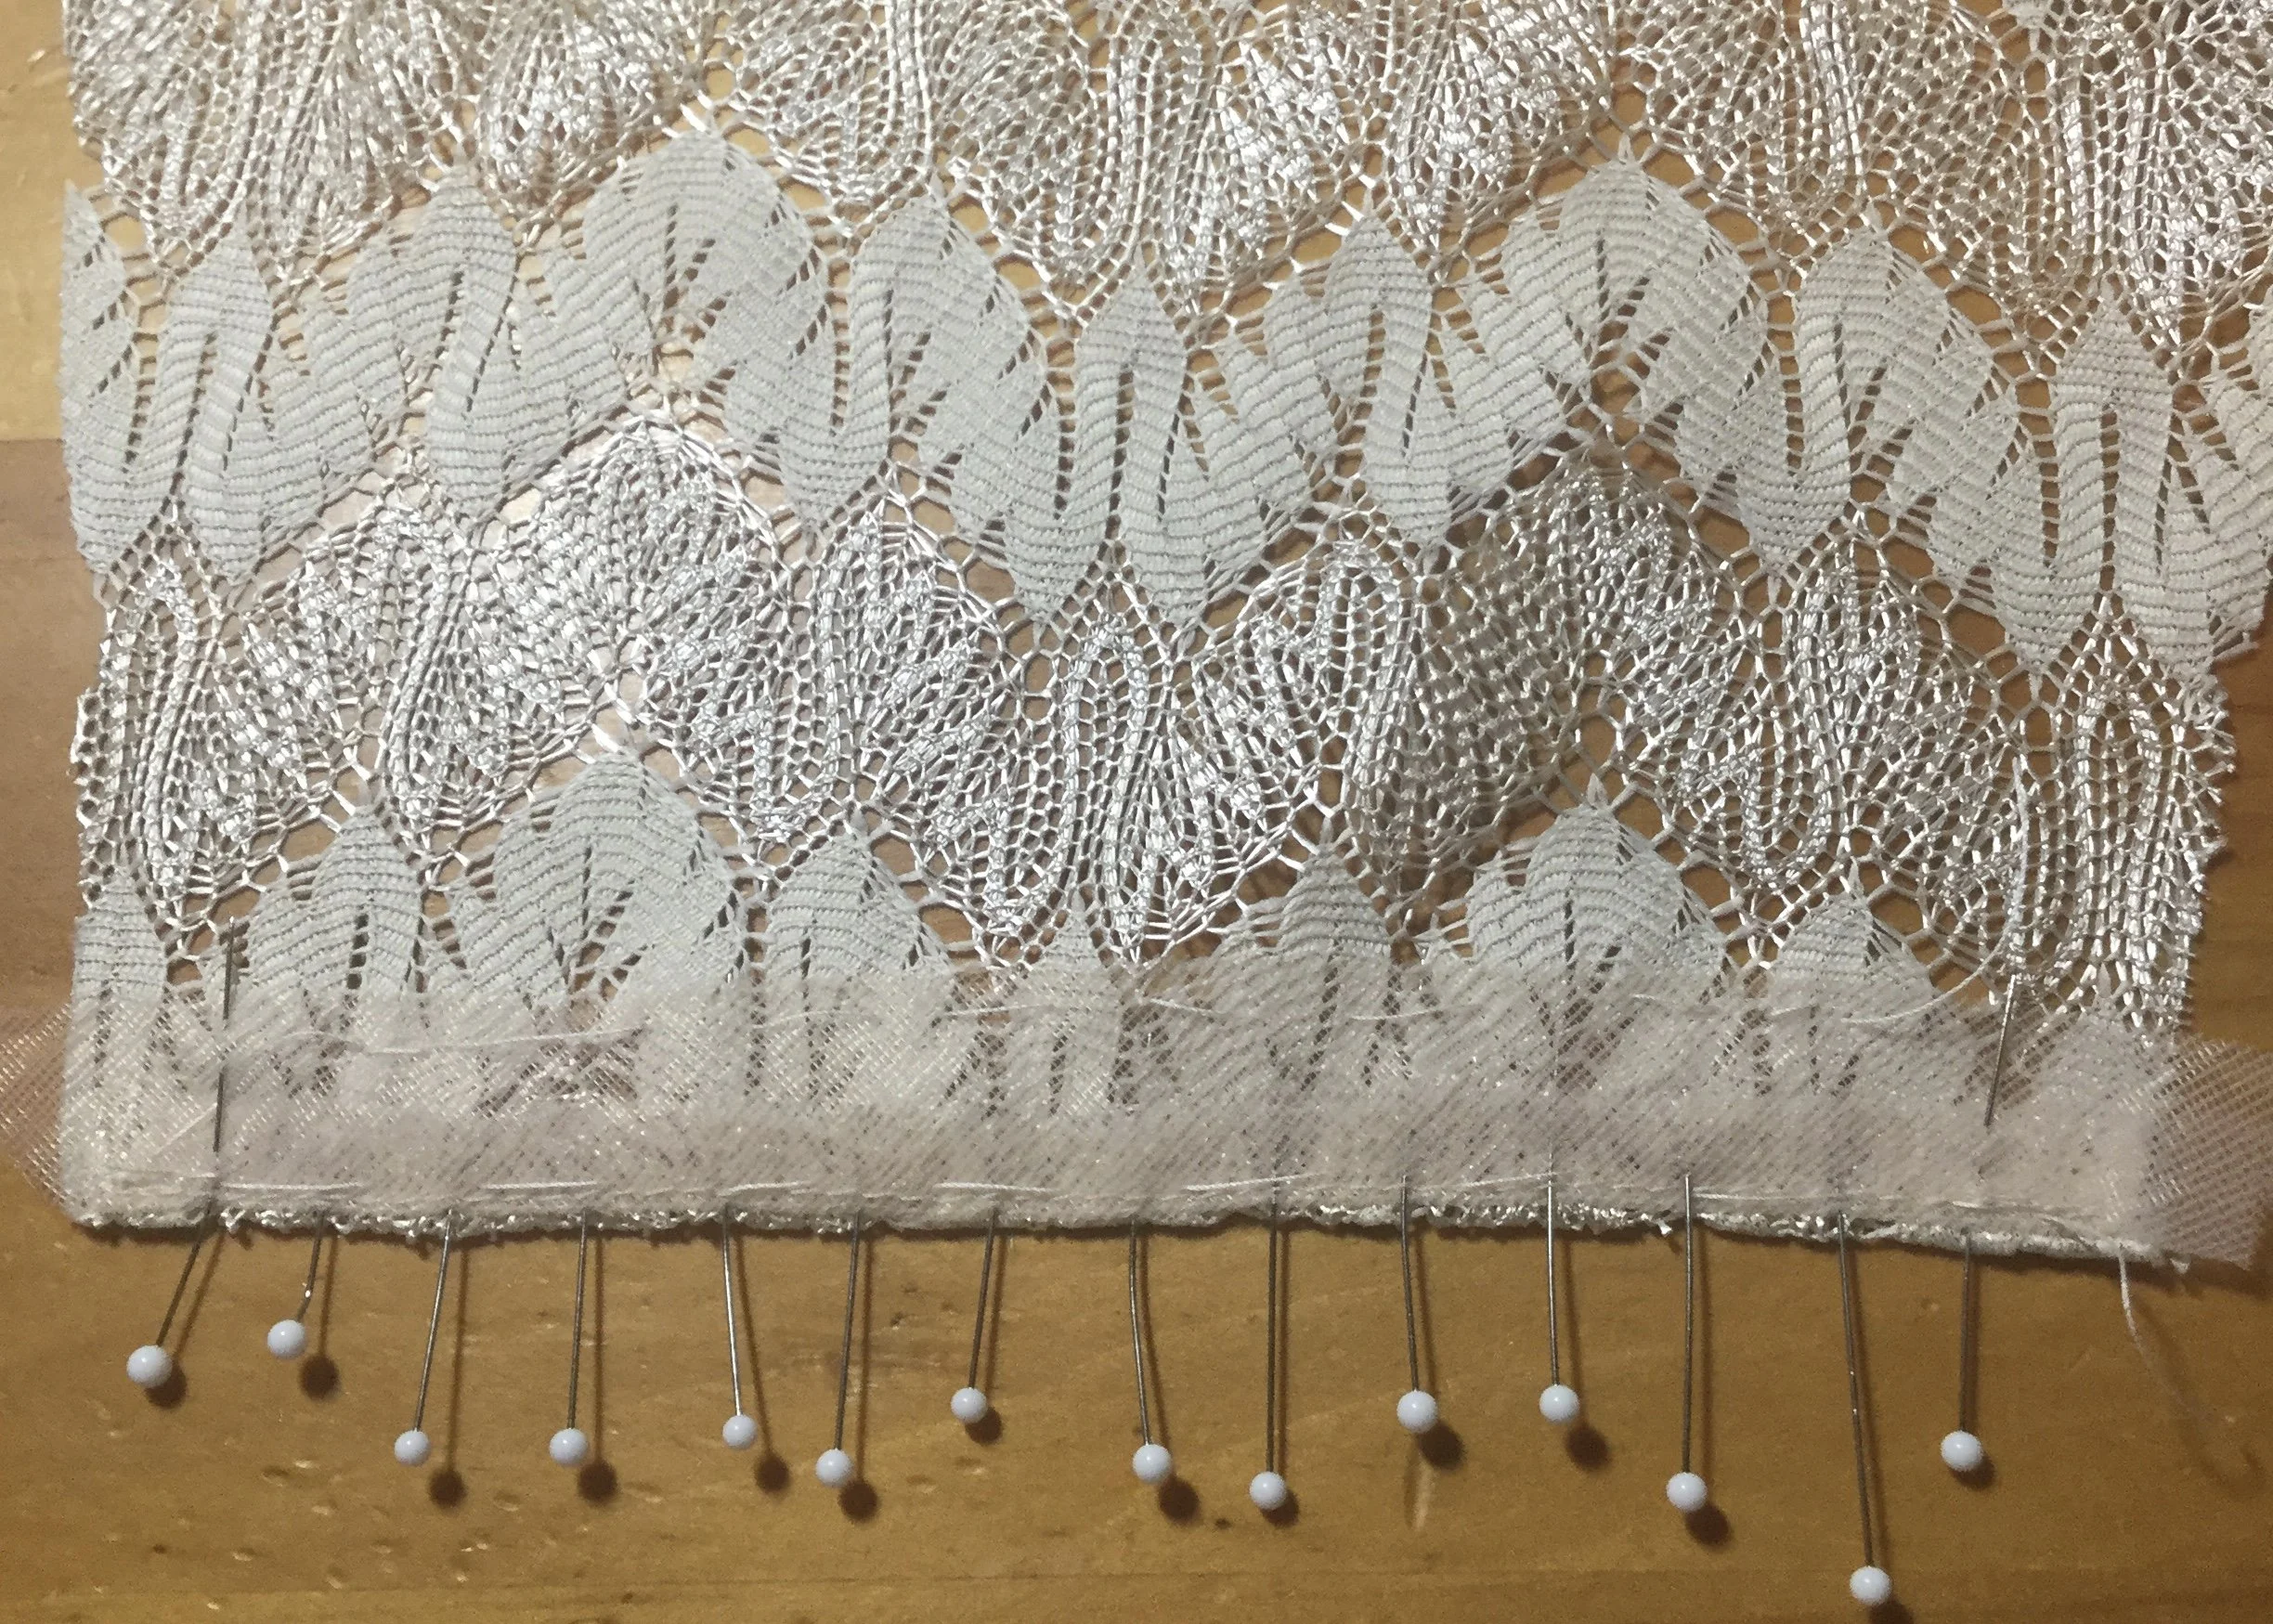
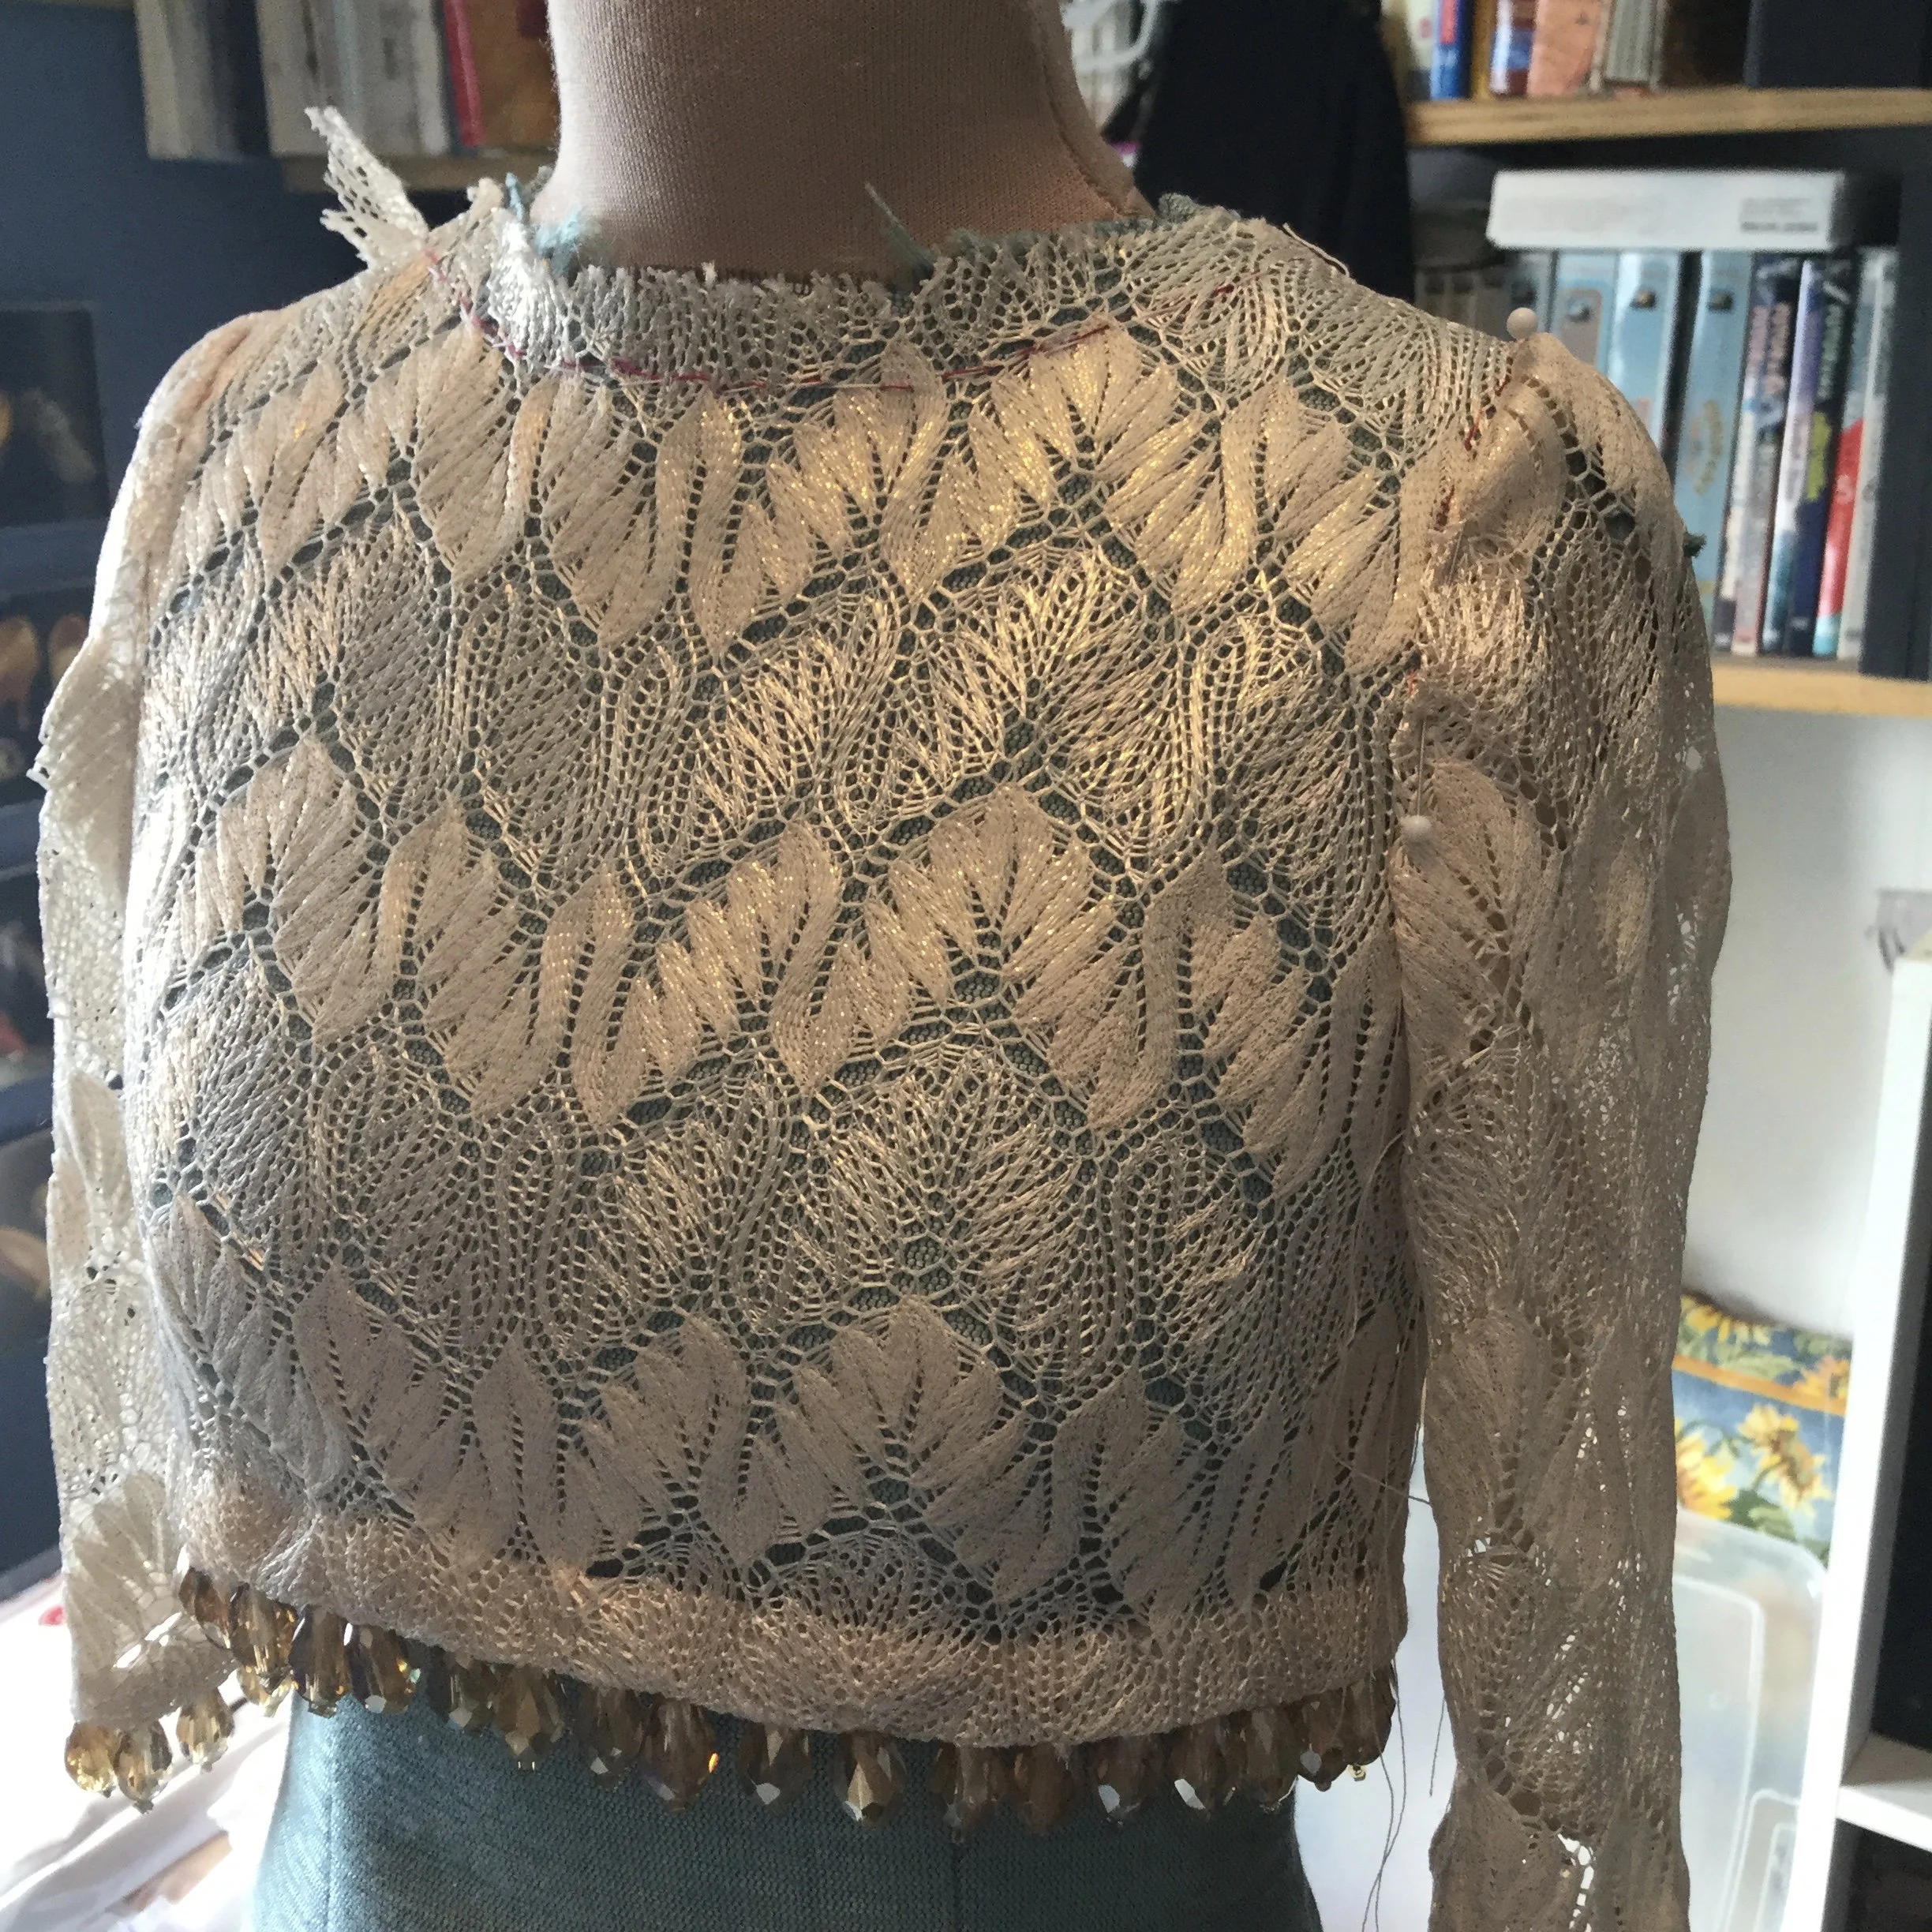
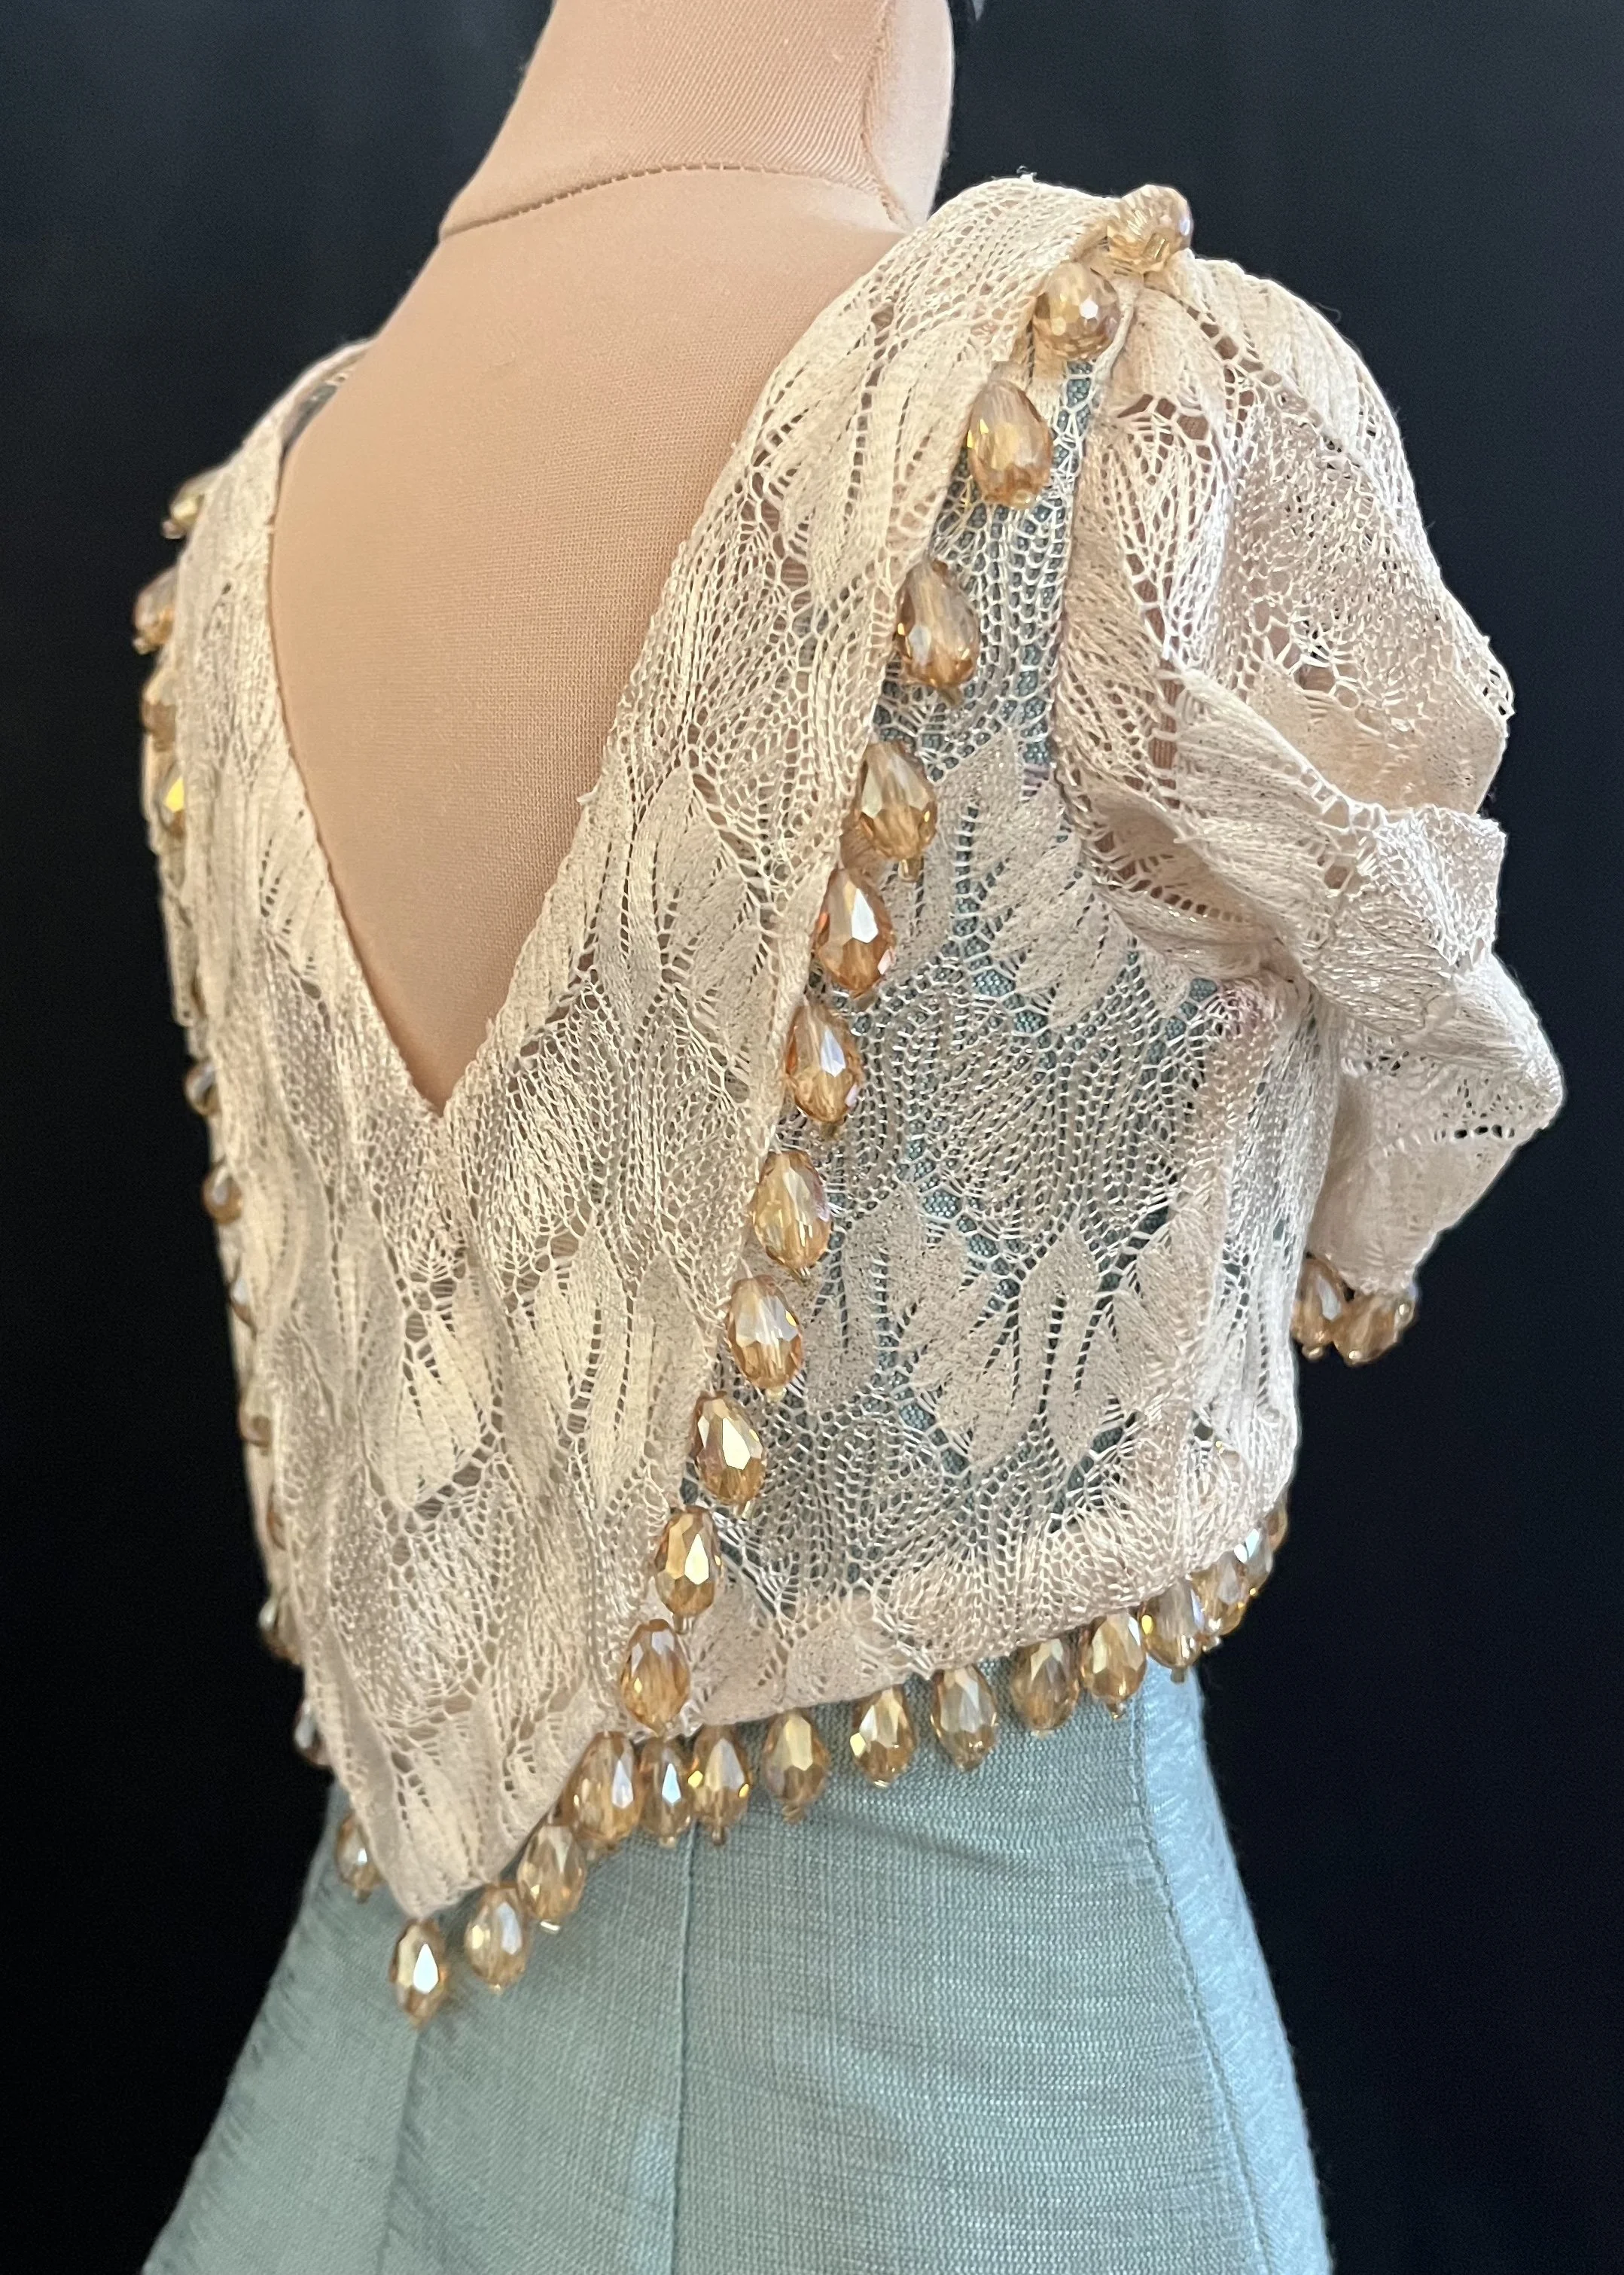
To finish the hem of the lace bodice, I cut some bias from some beige bra lining I had and faced the hem. After applying it by machine and finishing it by hand, I marked the placement of the beads. After thread marking each point I began beading, working from the centre front to the back so I could be sure that the beads were centred properly.
Finished beading.
Now, I would still not claim to be an expert at beading, but I have learned a few things since the Titanic dress, most importantly to knot my thread faaaaaar more often; basically at every bead.
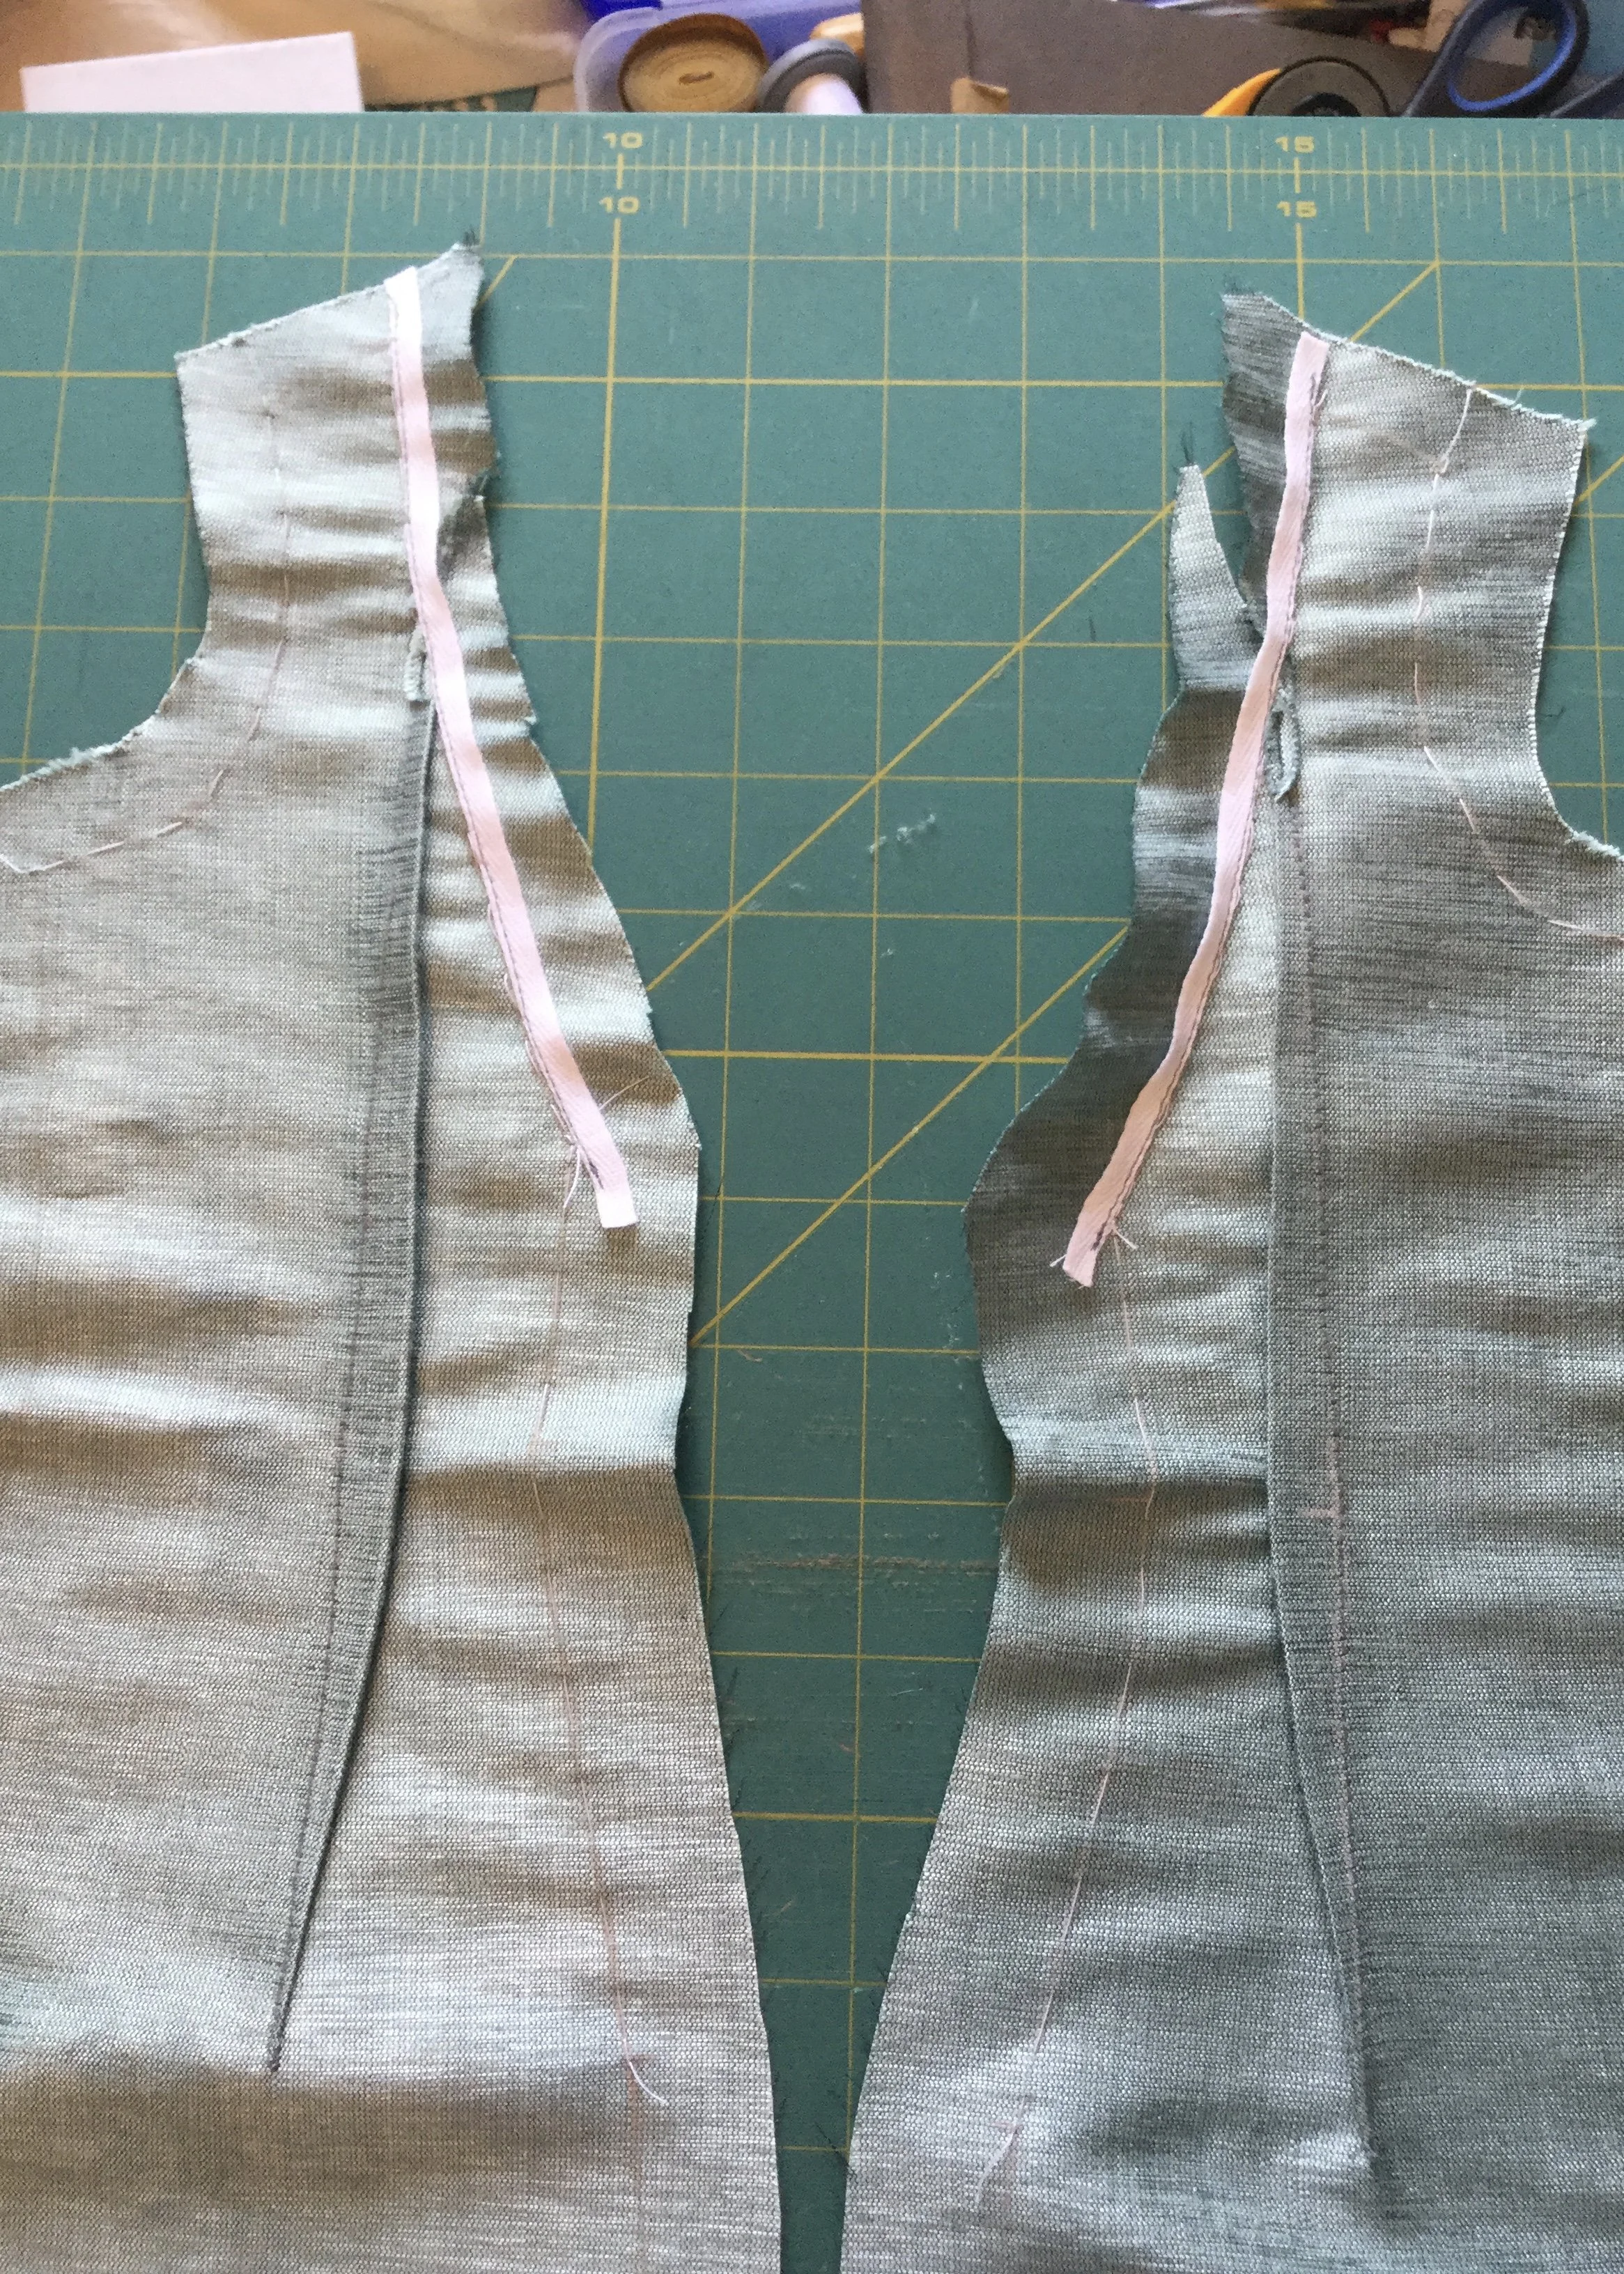
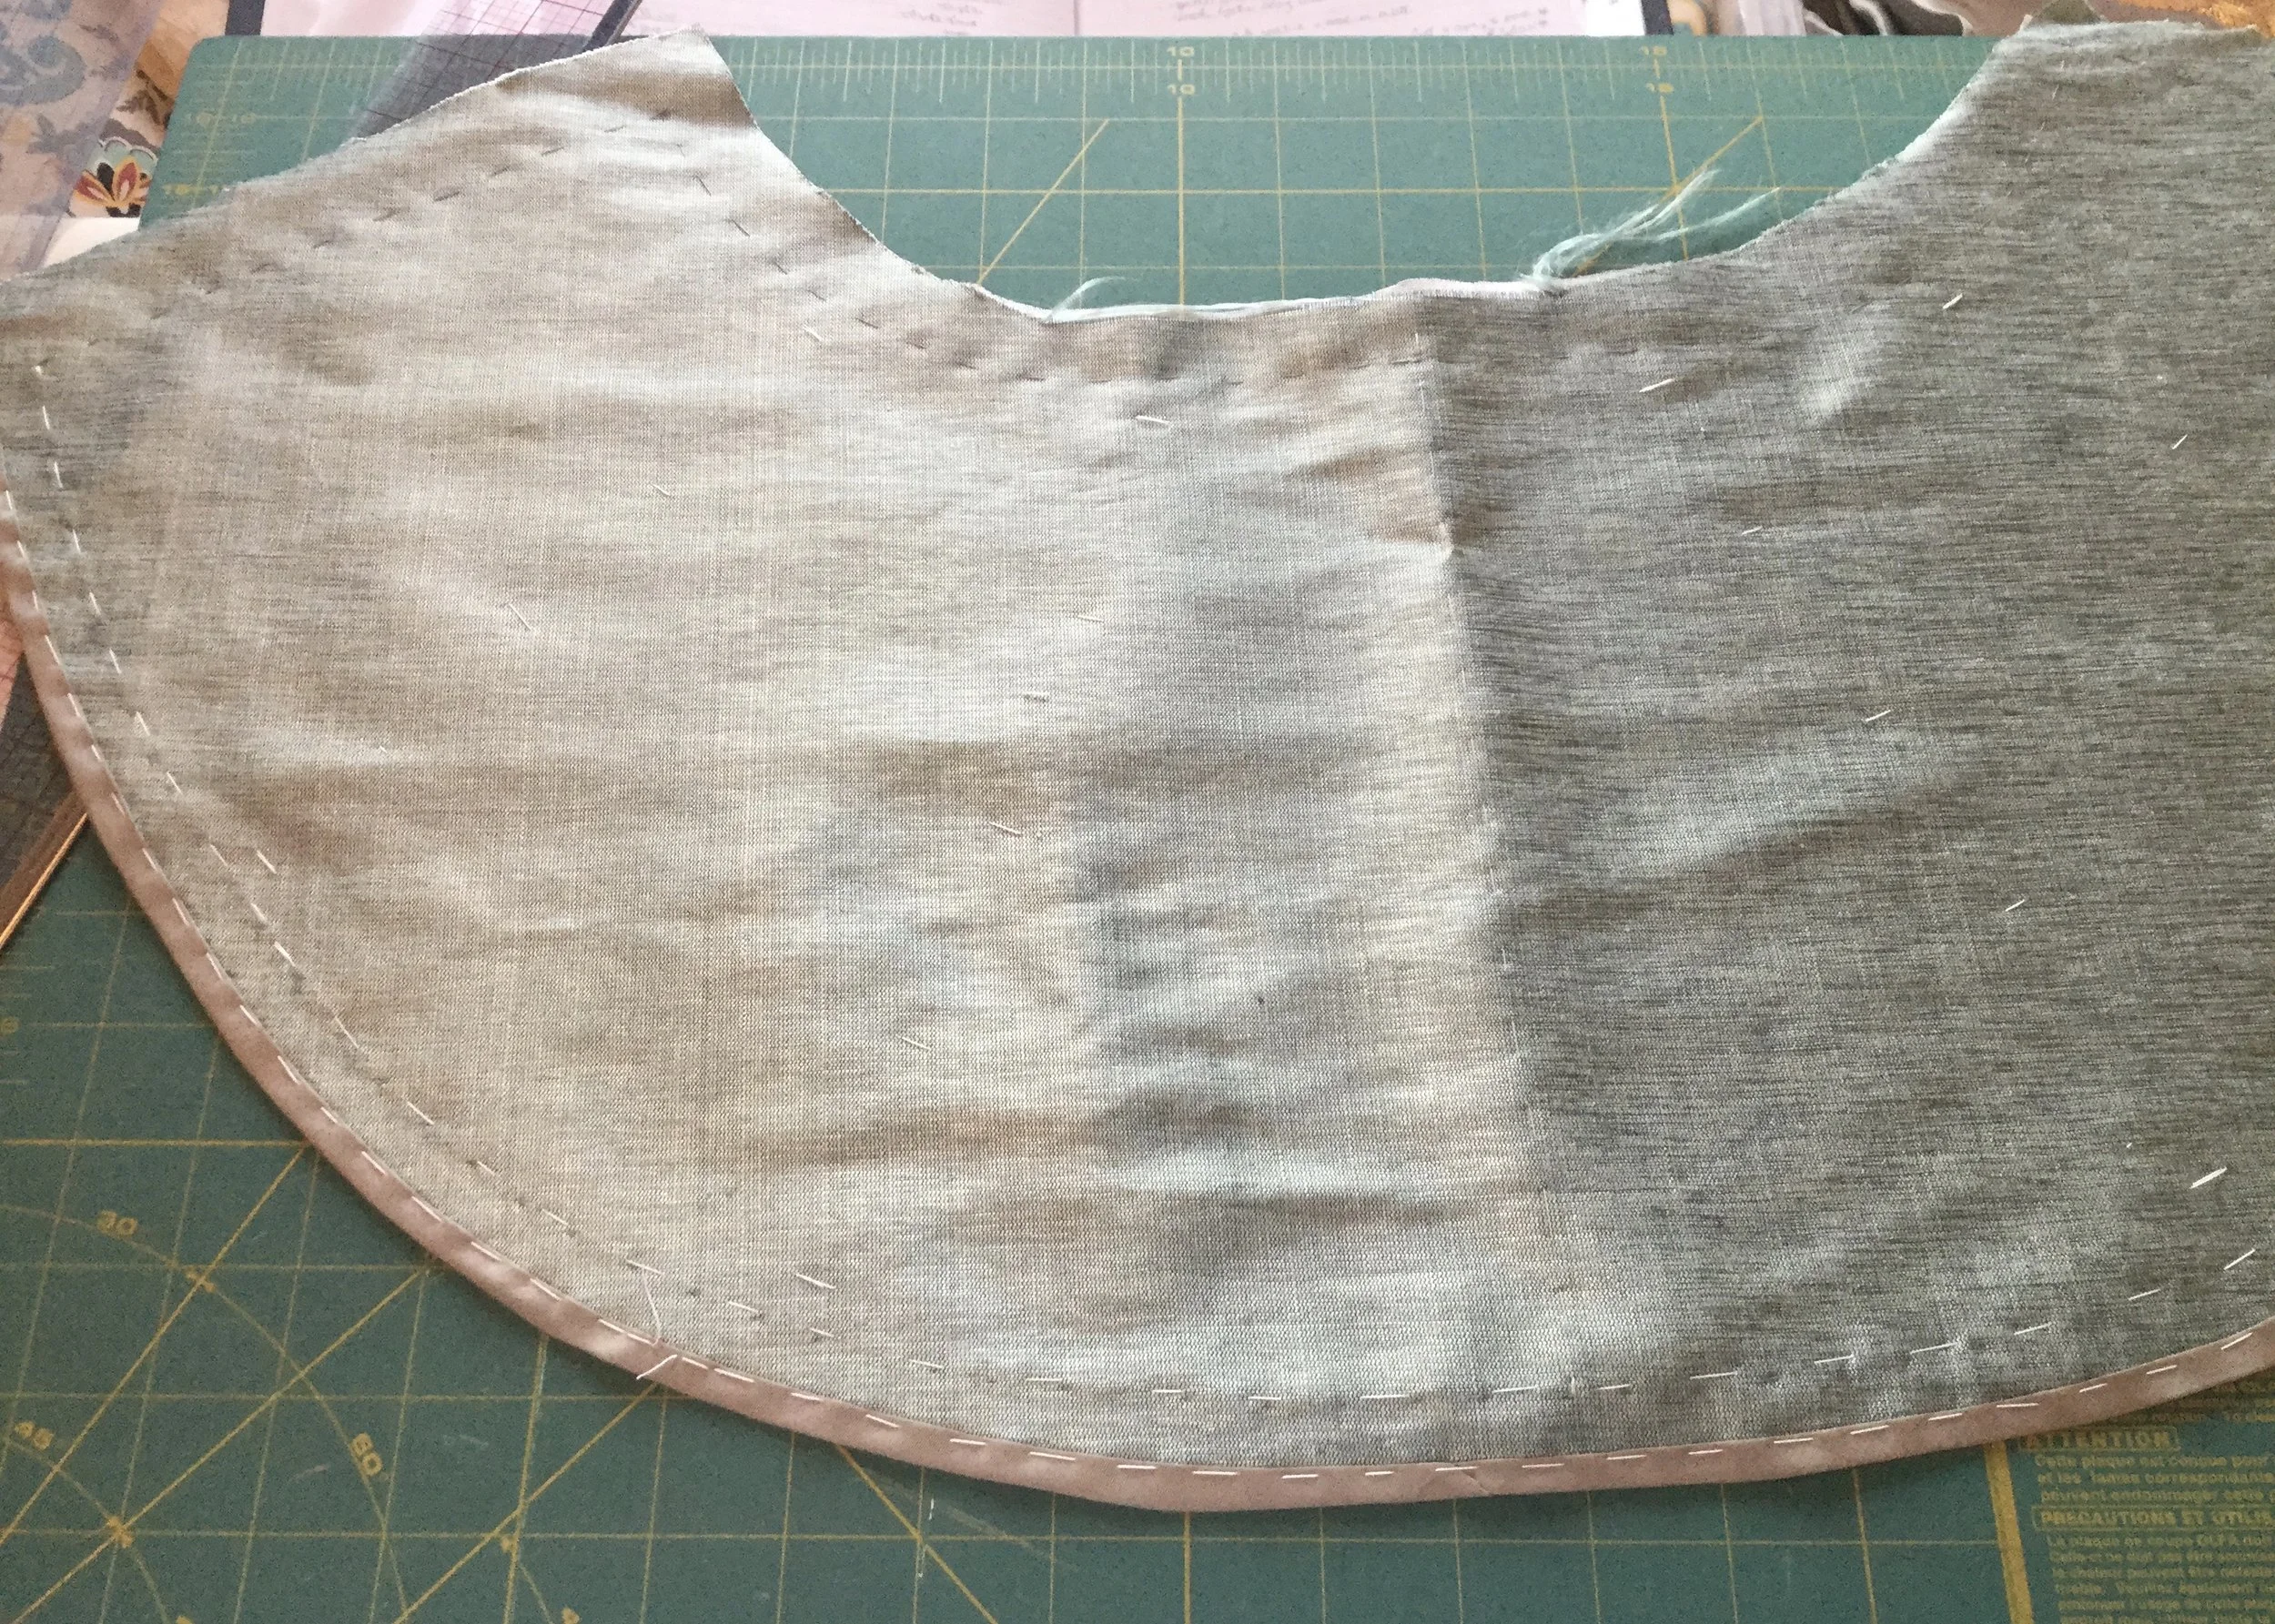
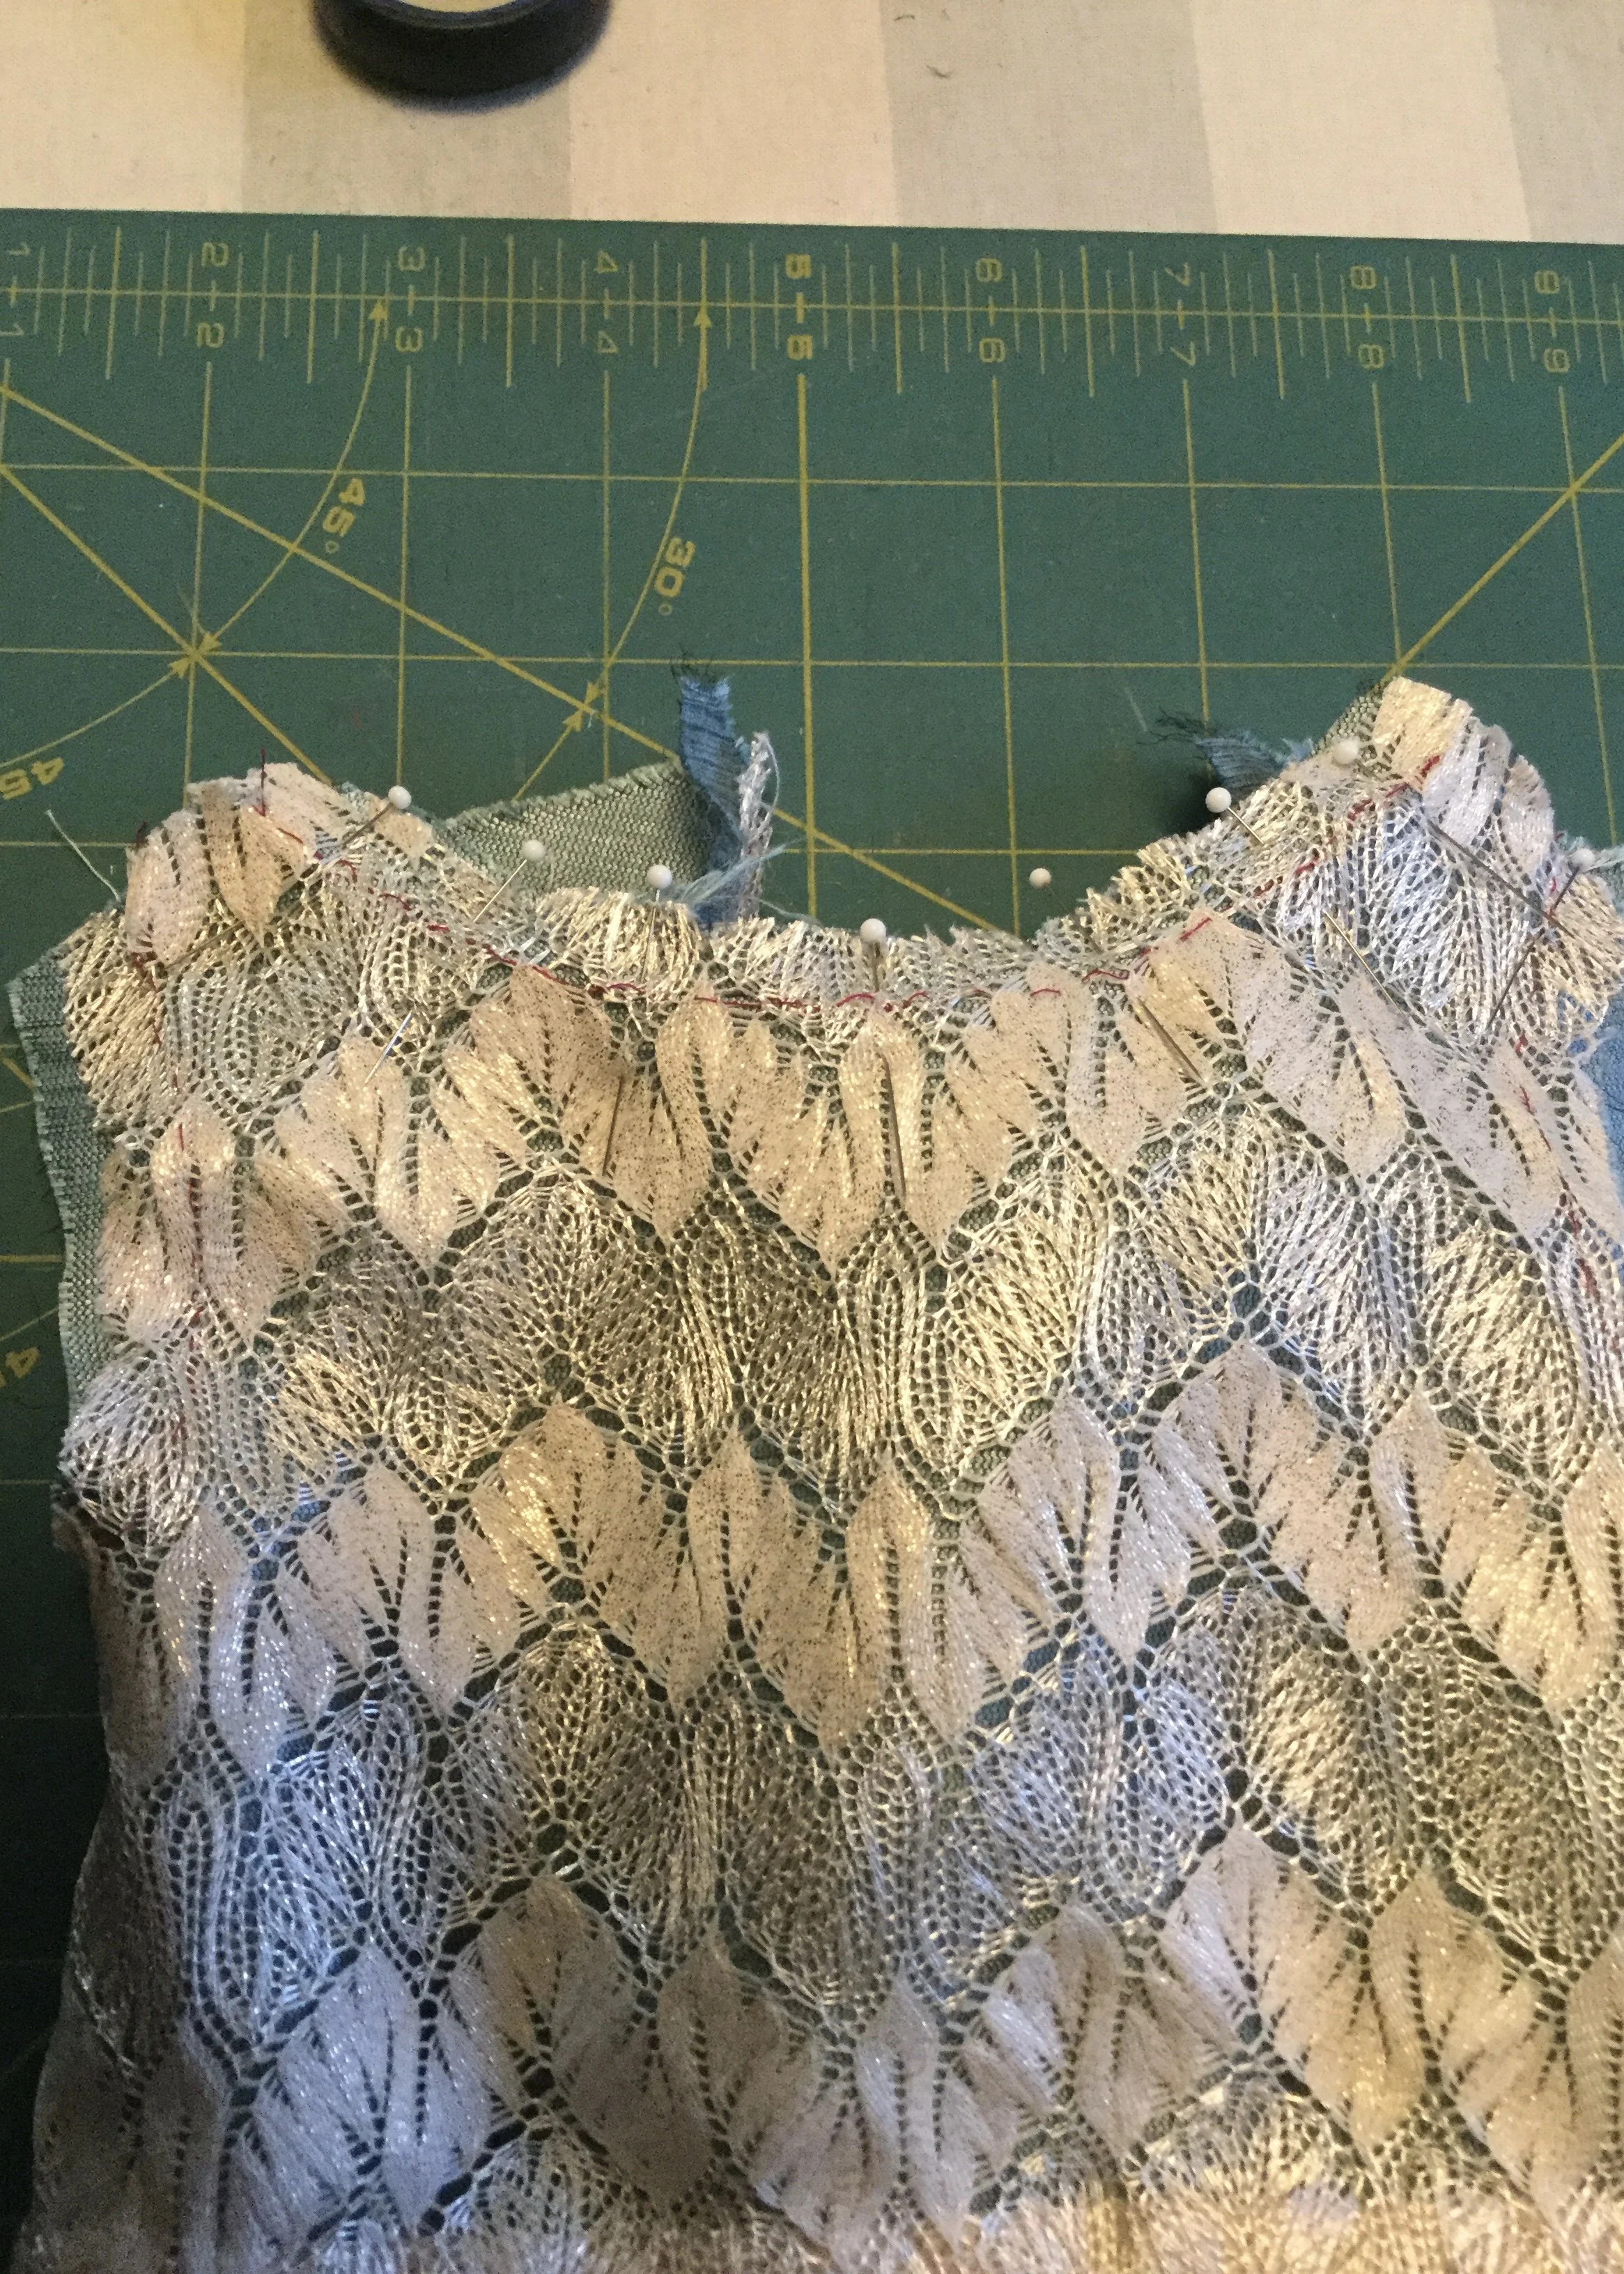
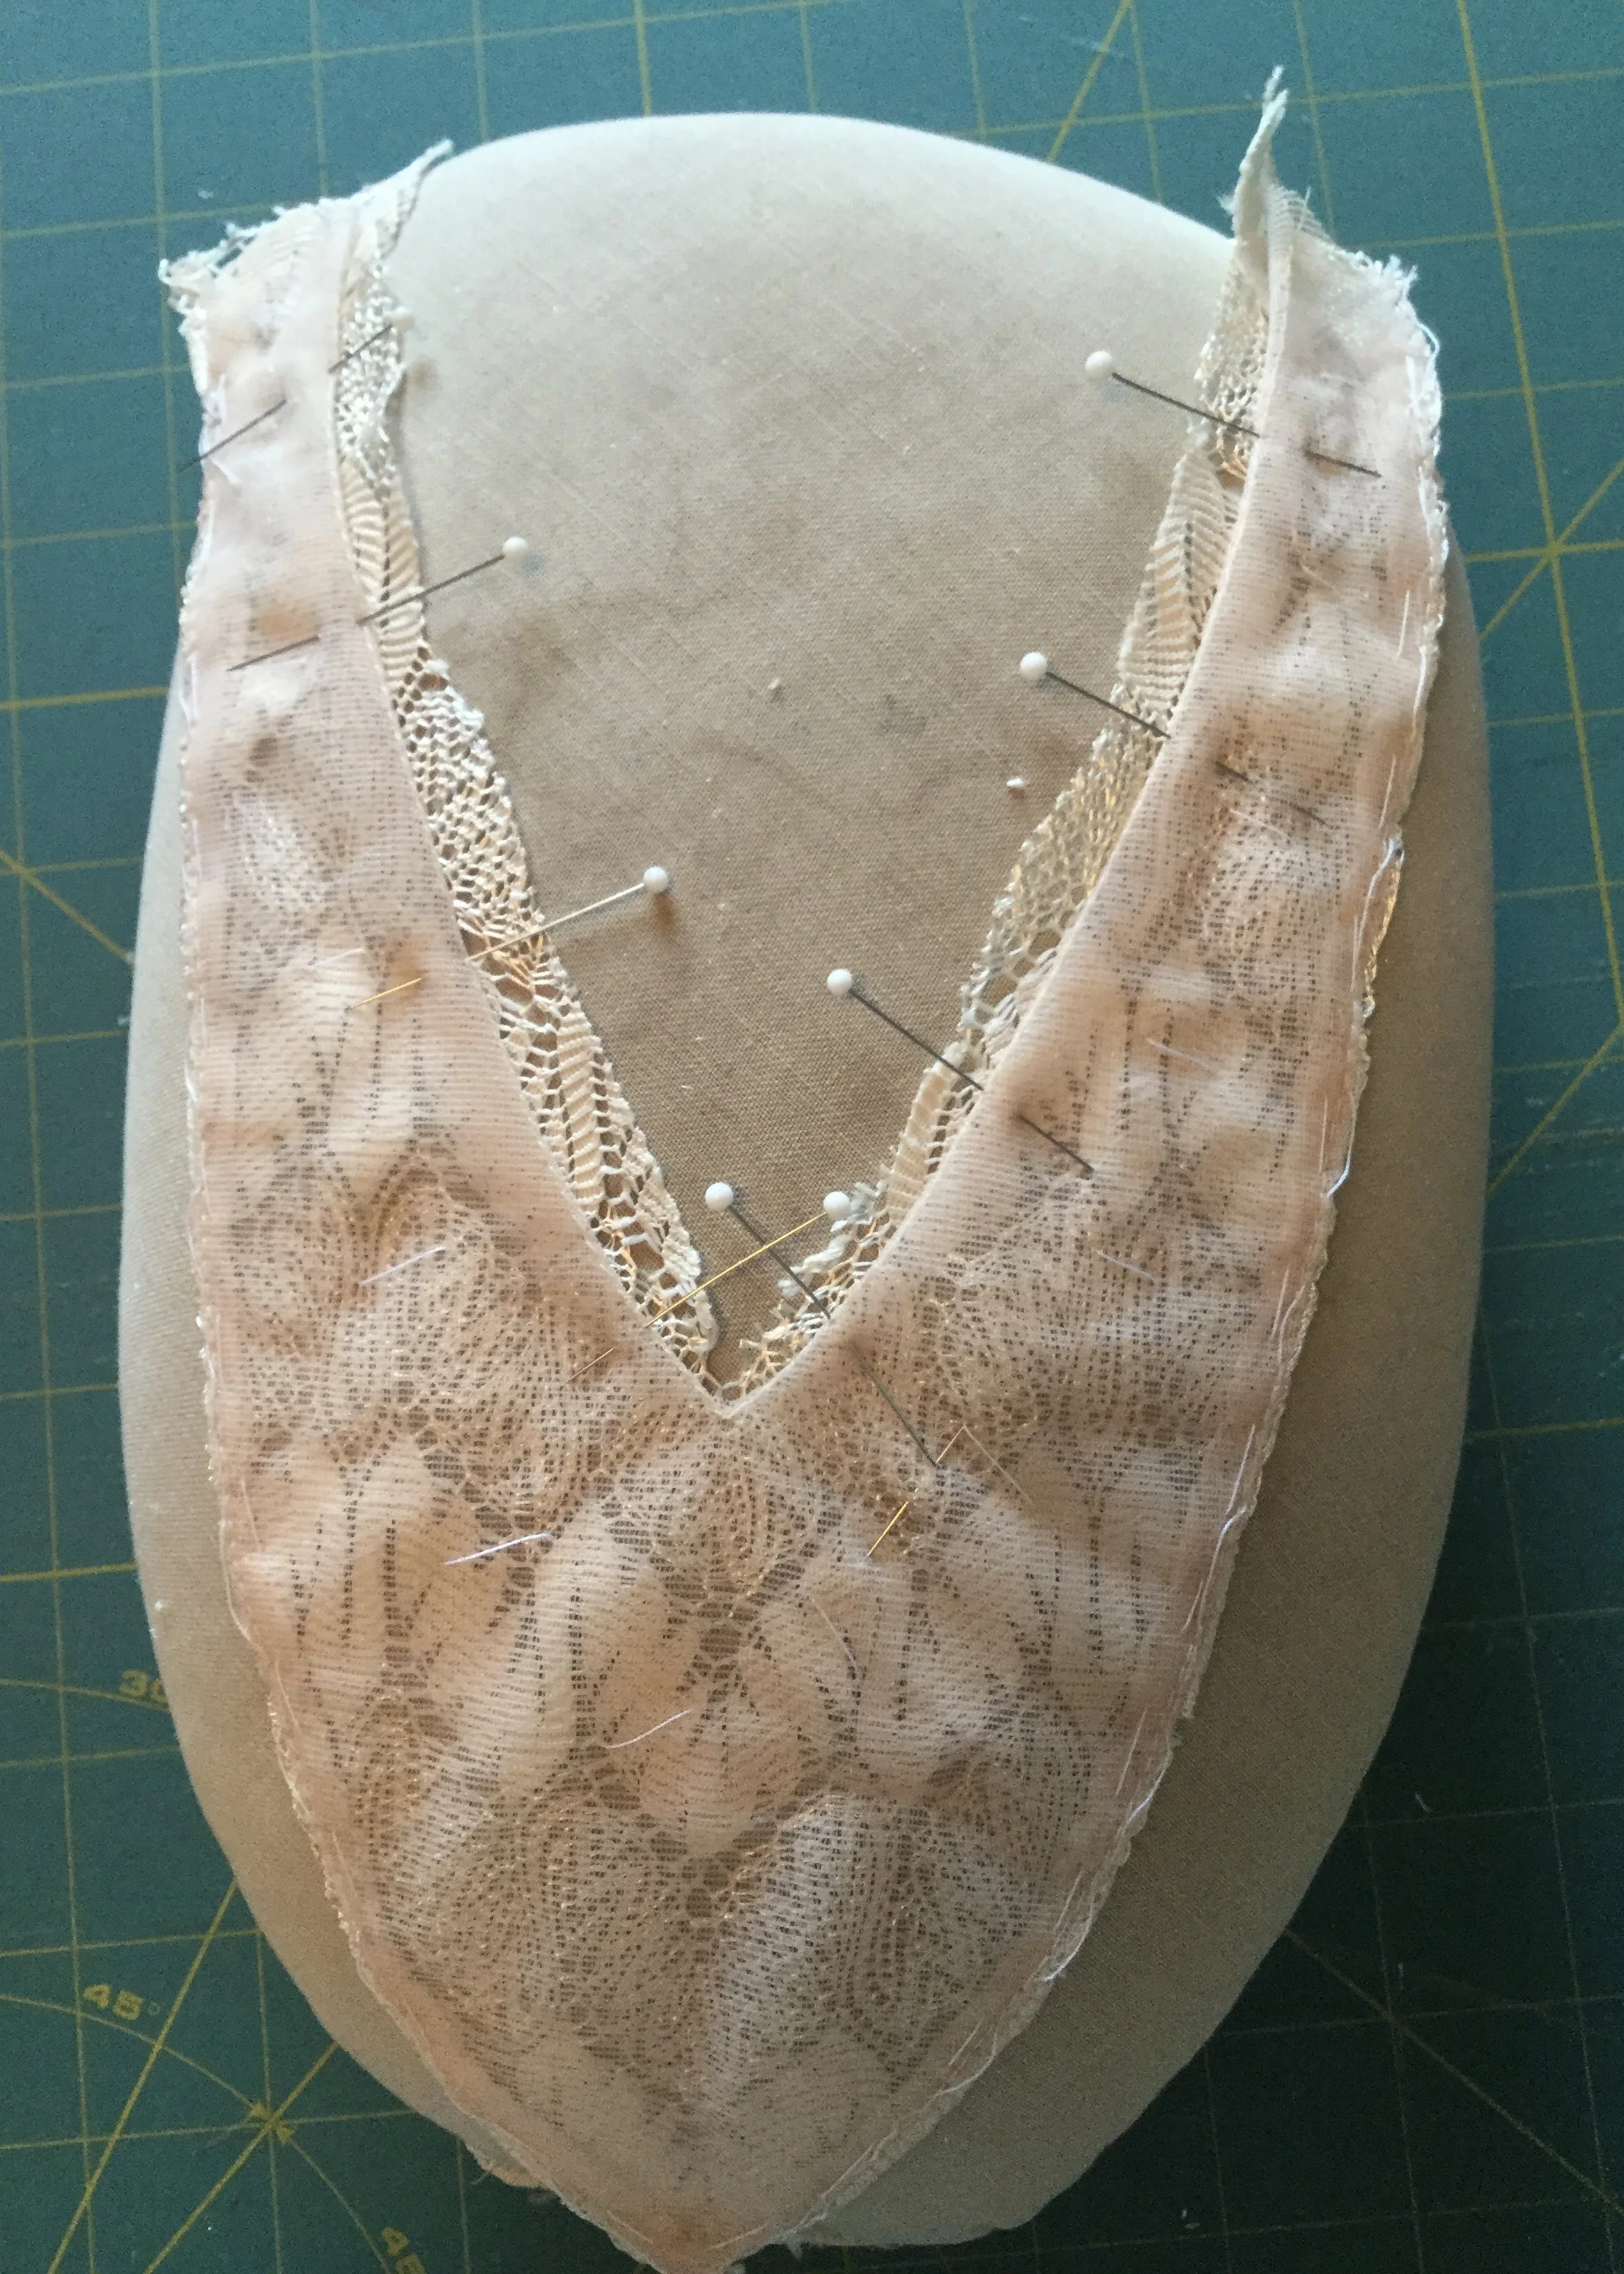
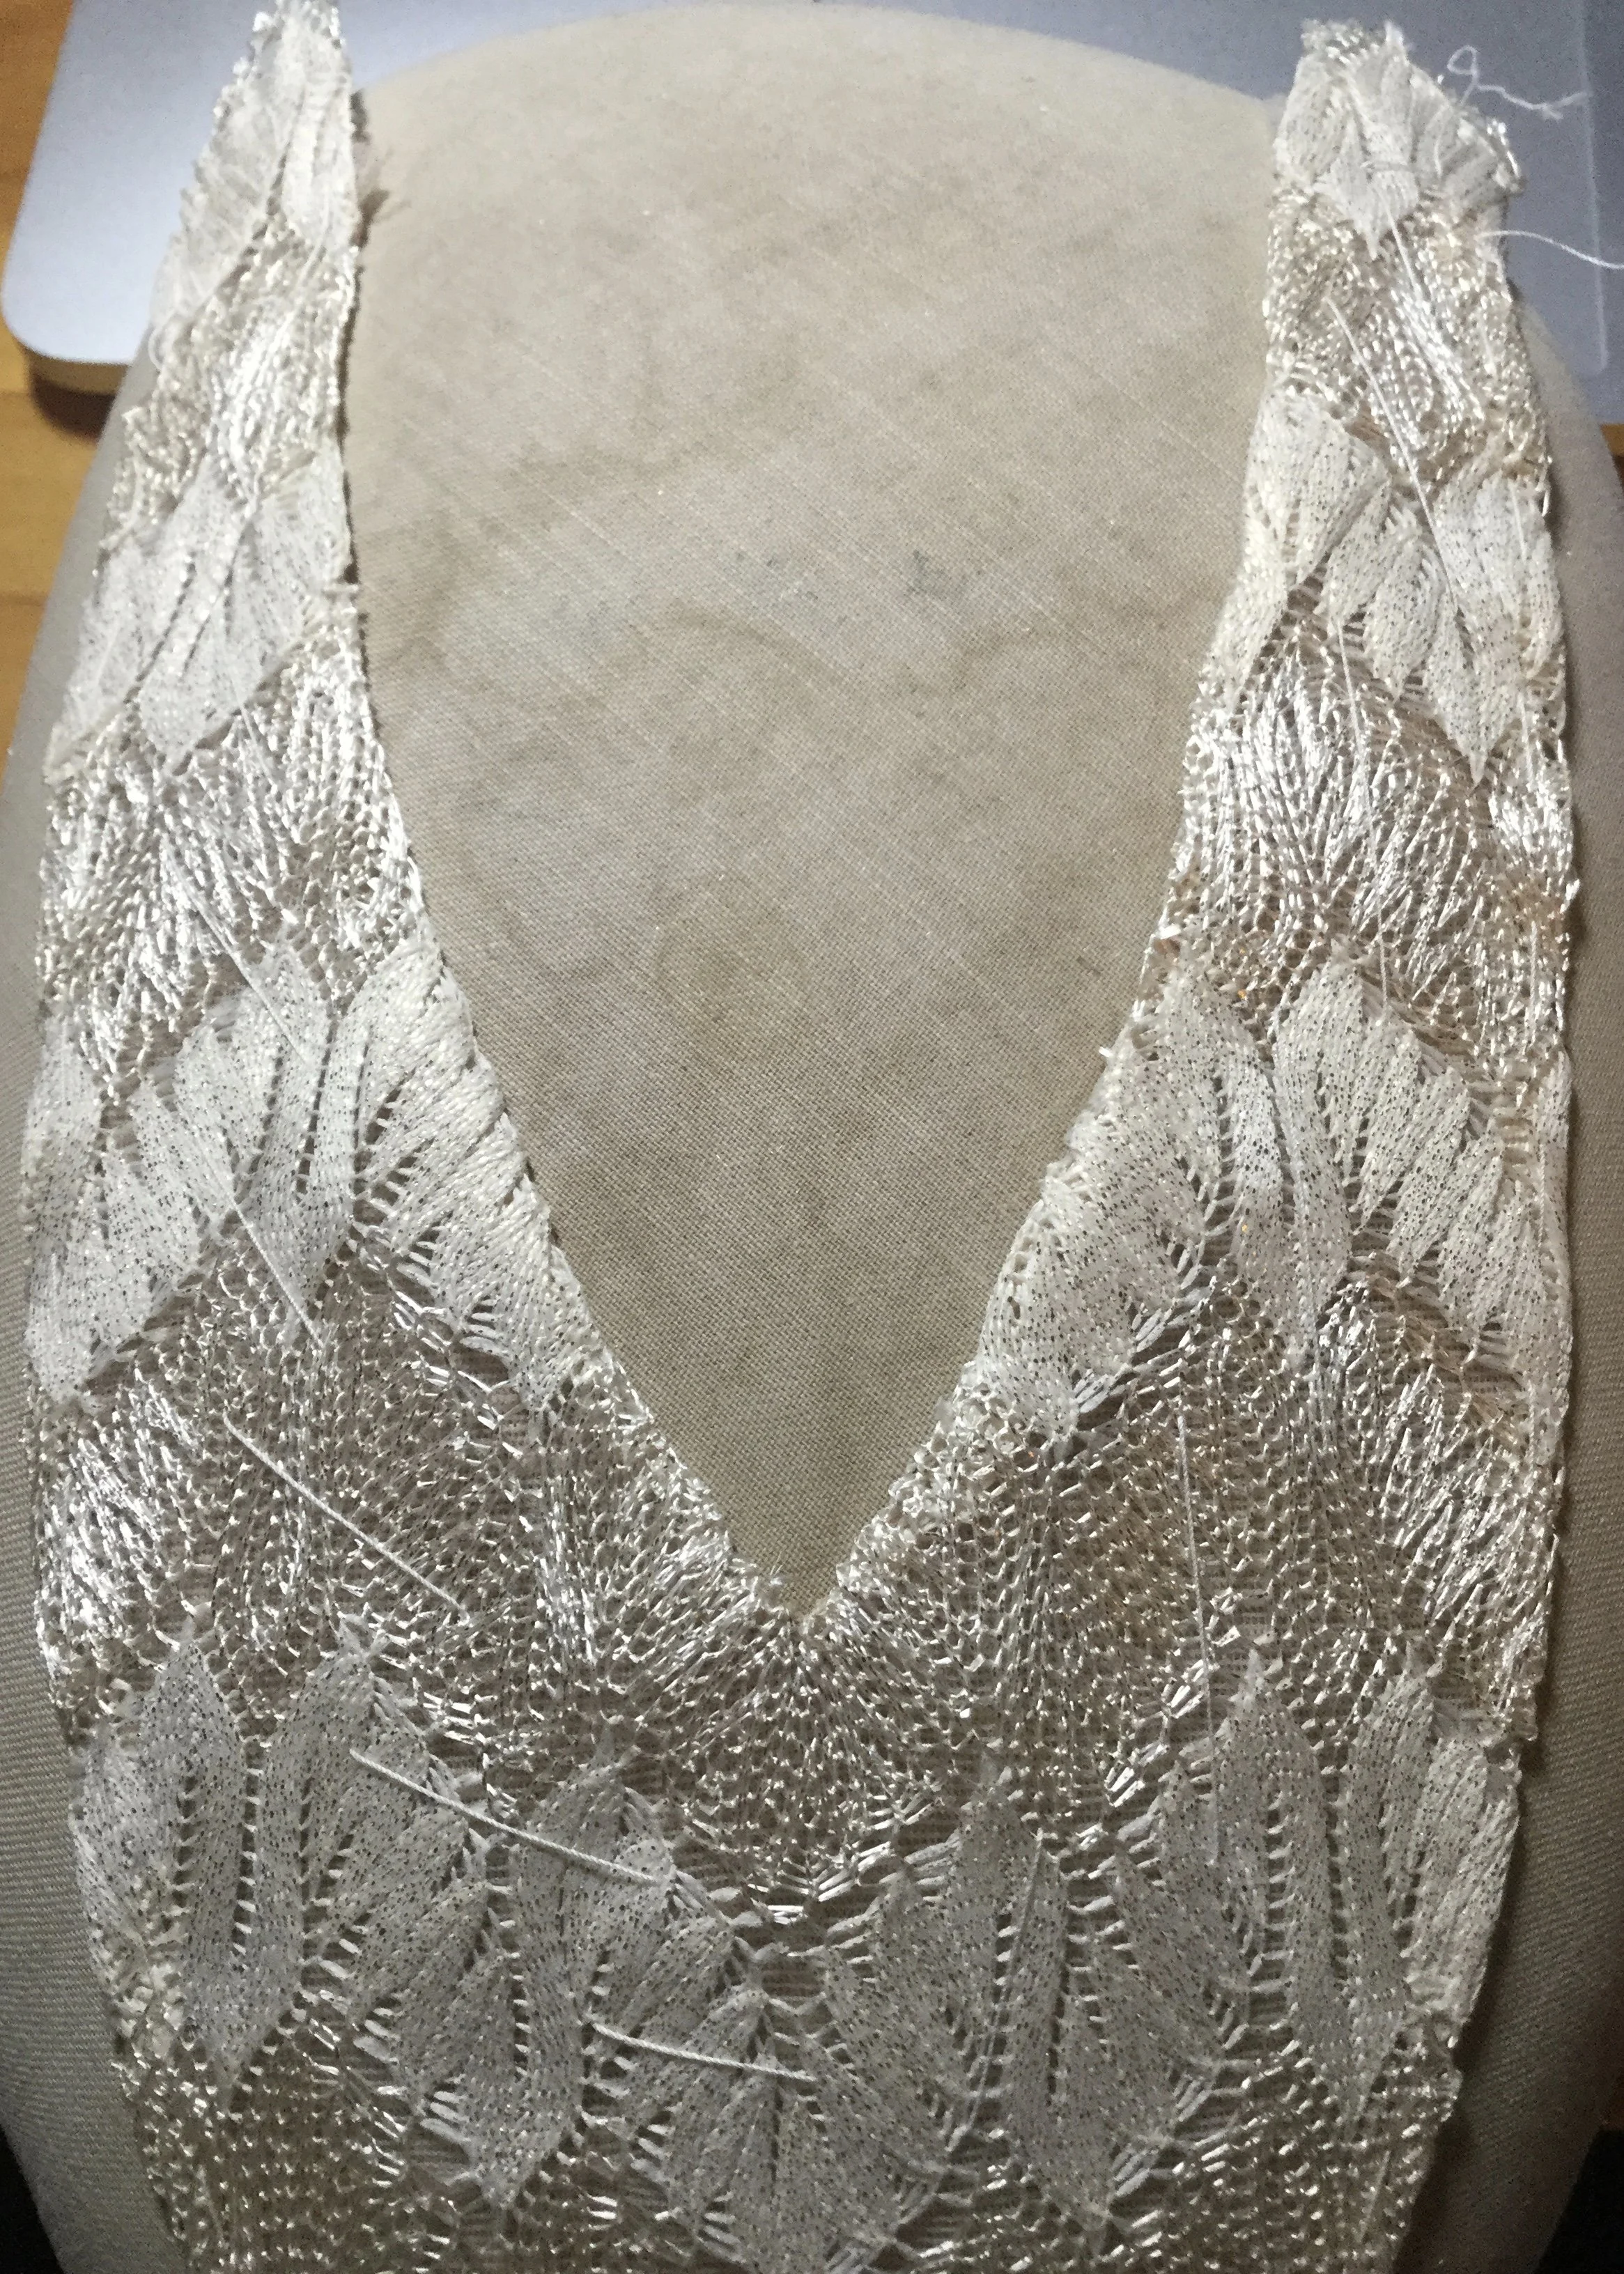
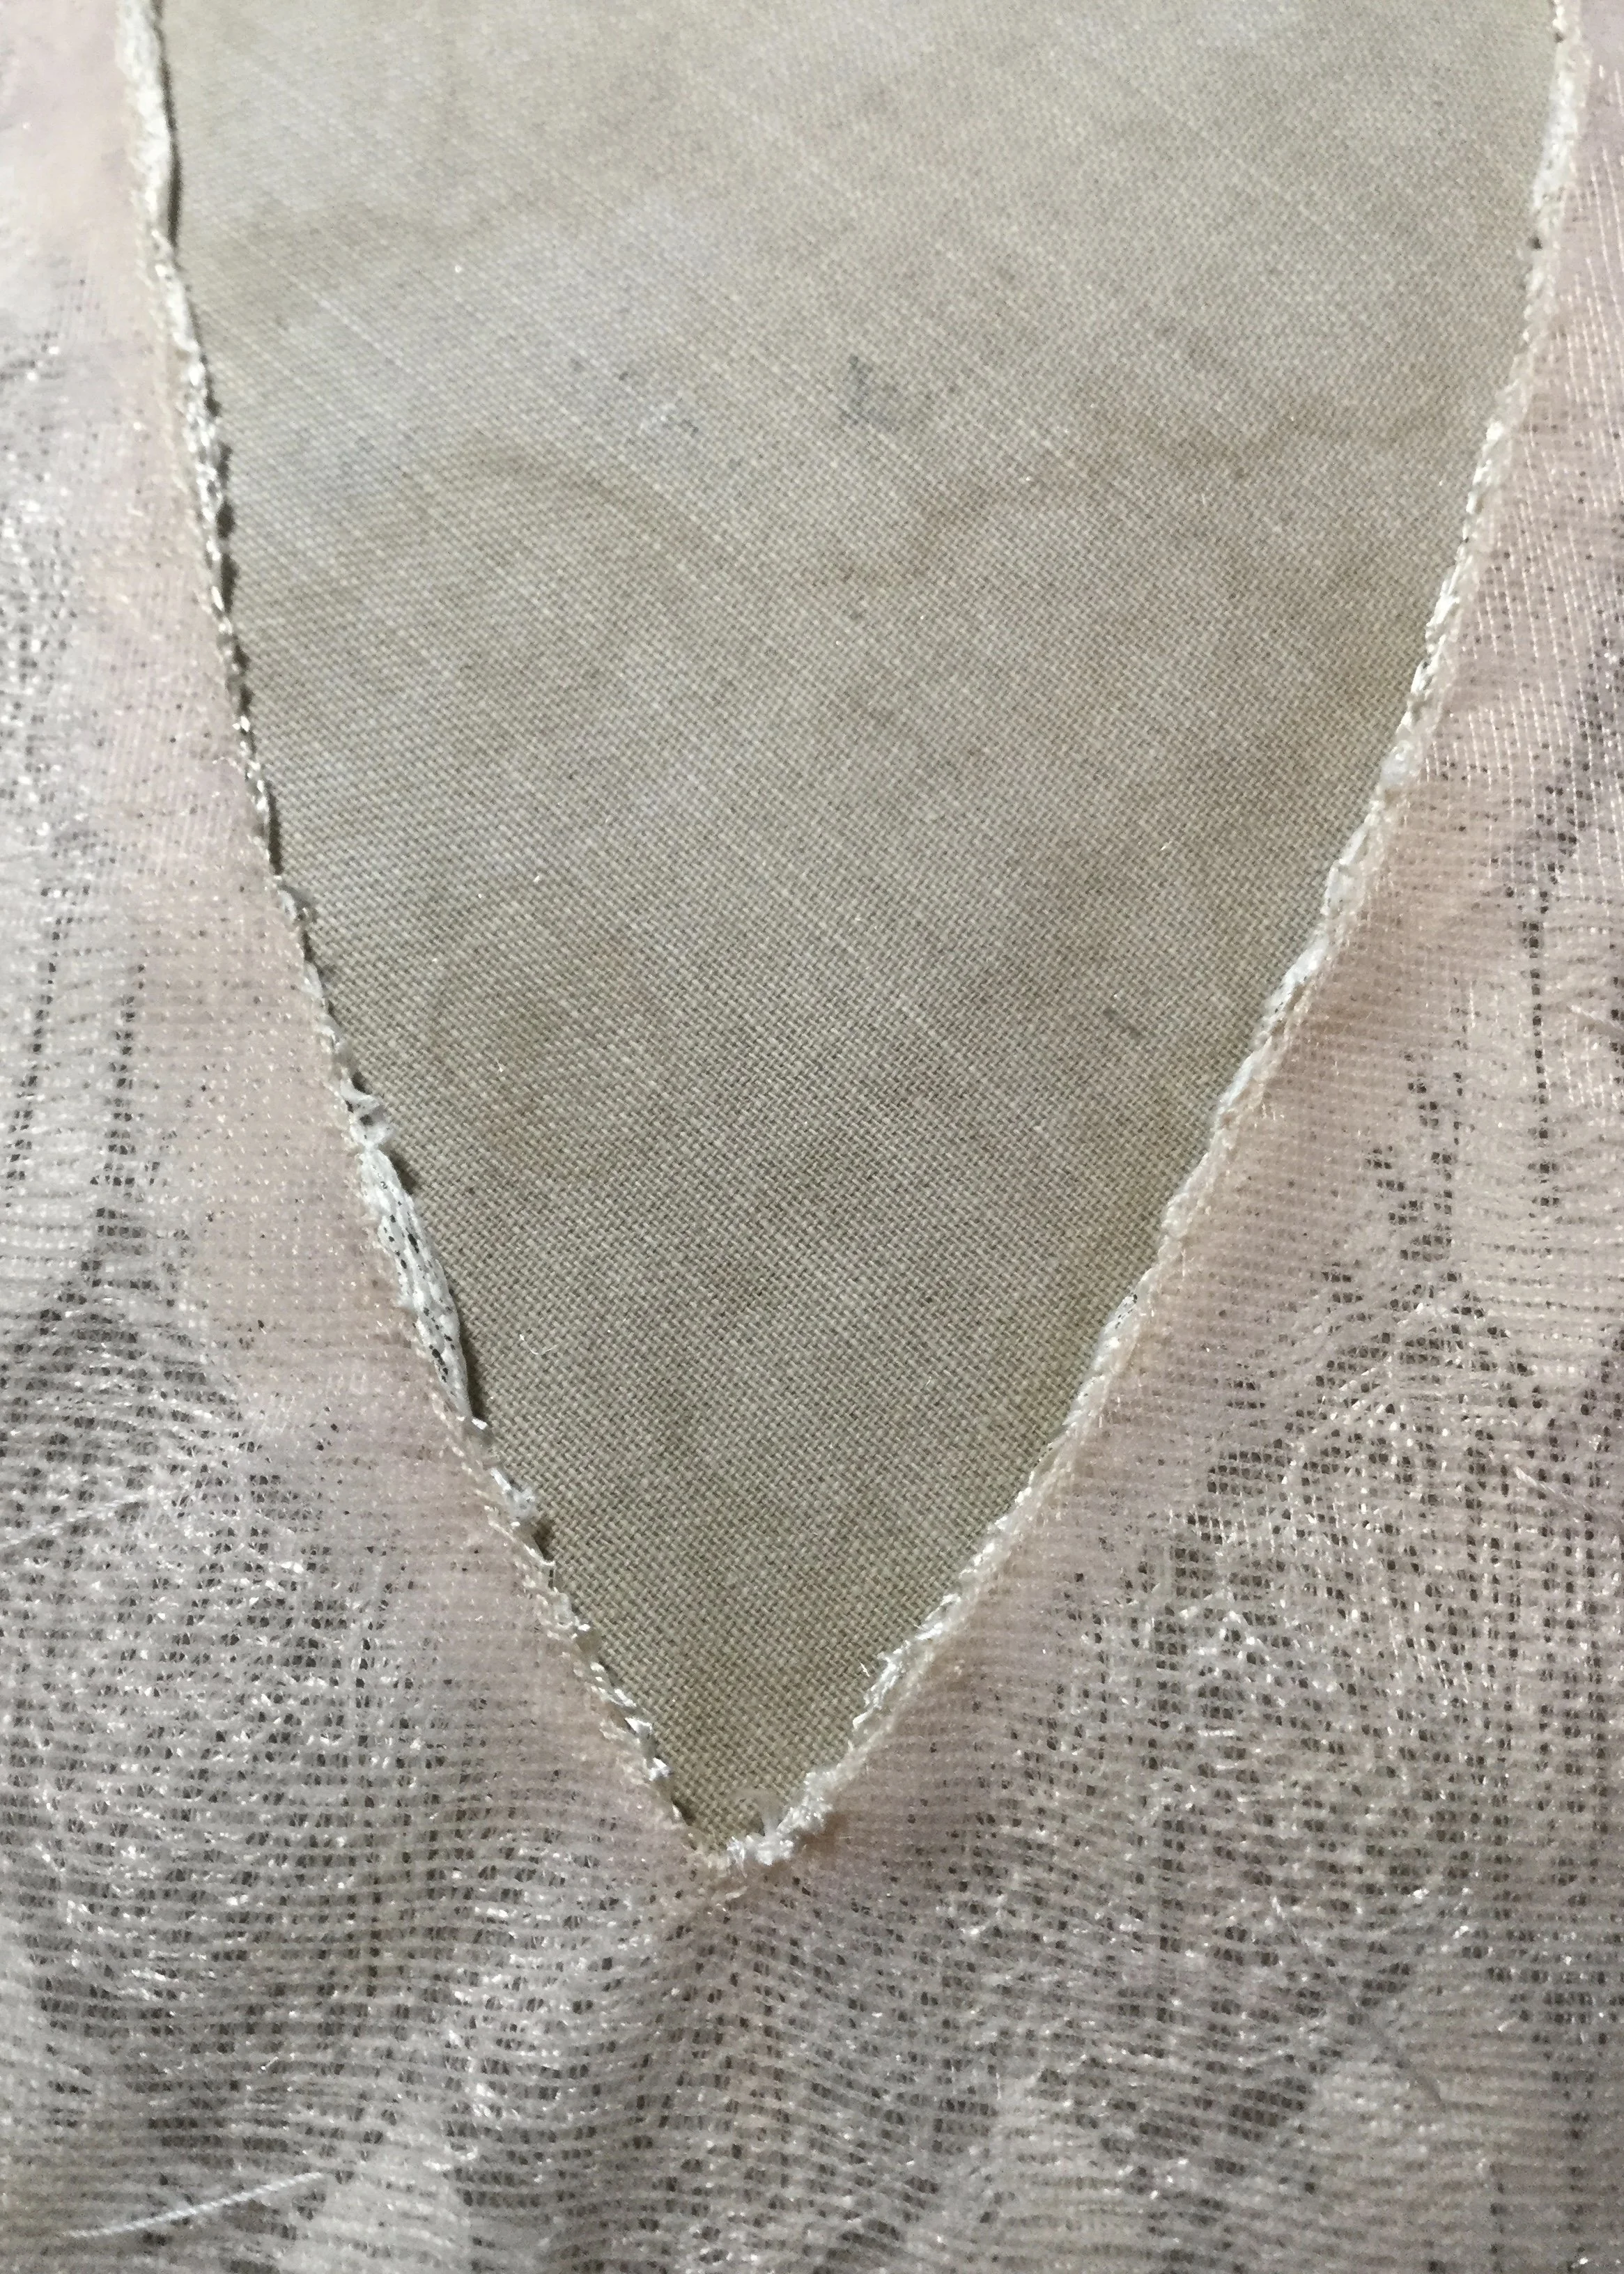
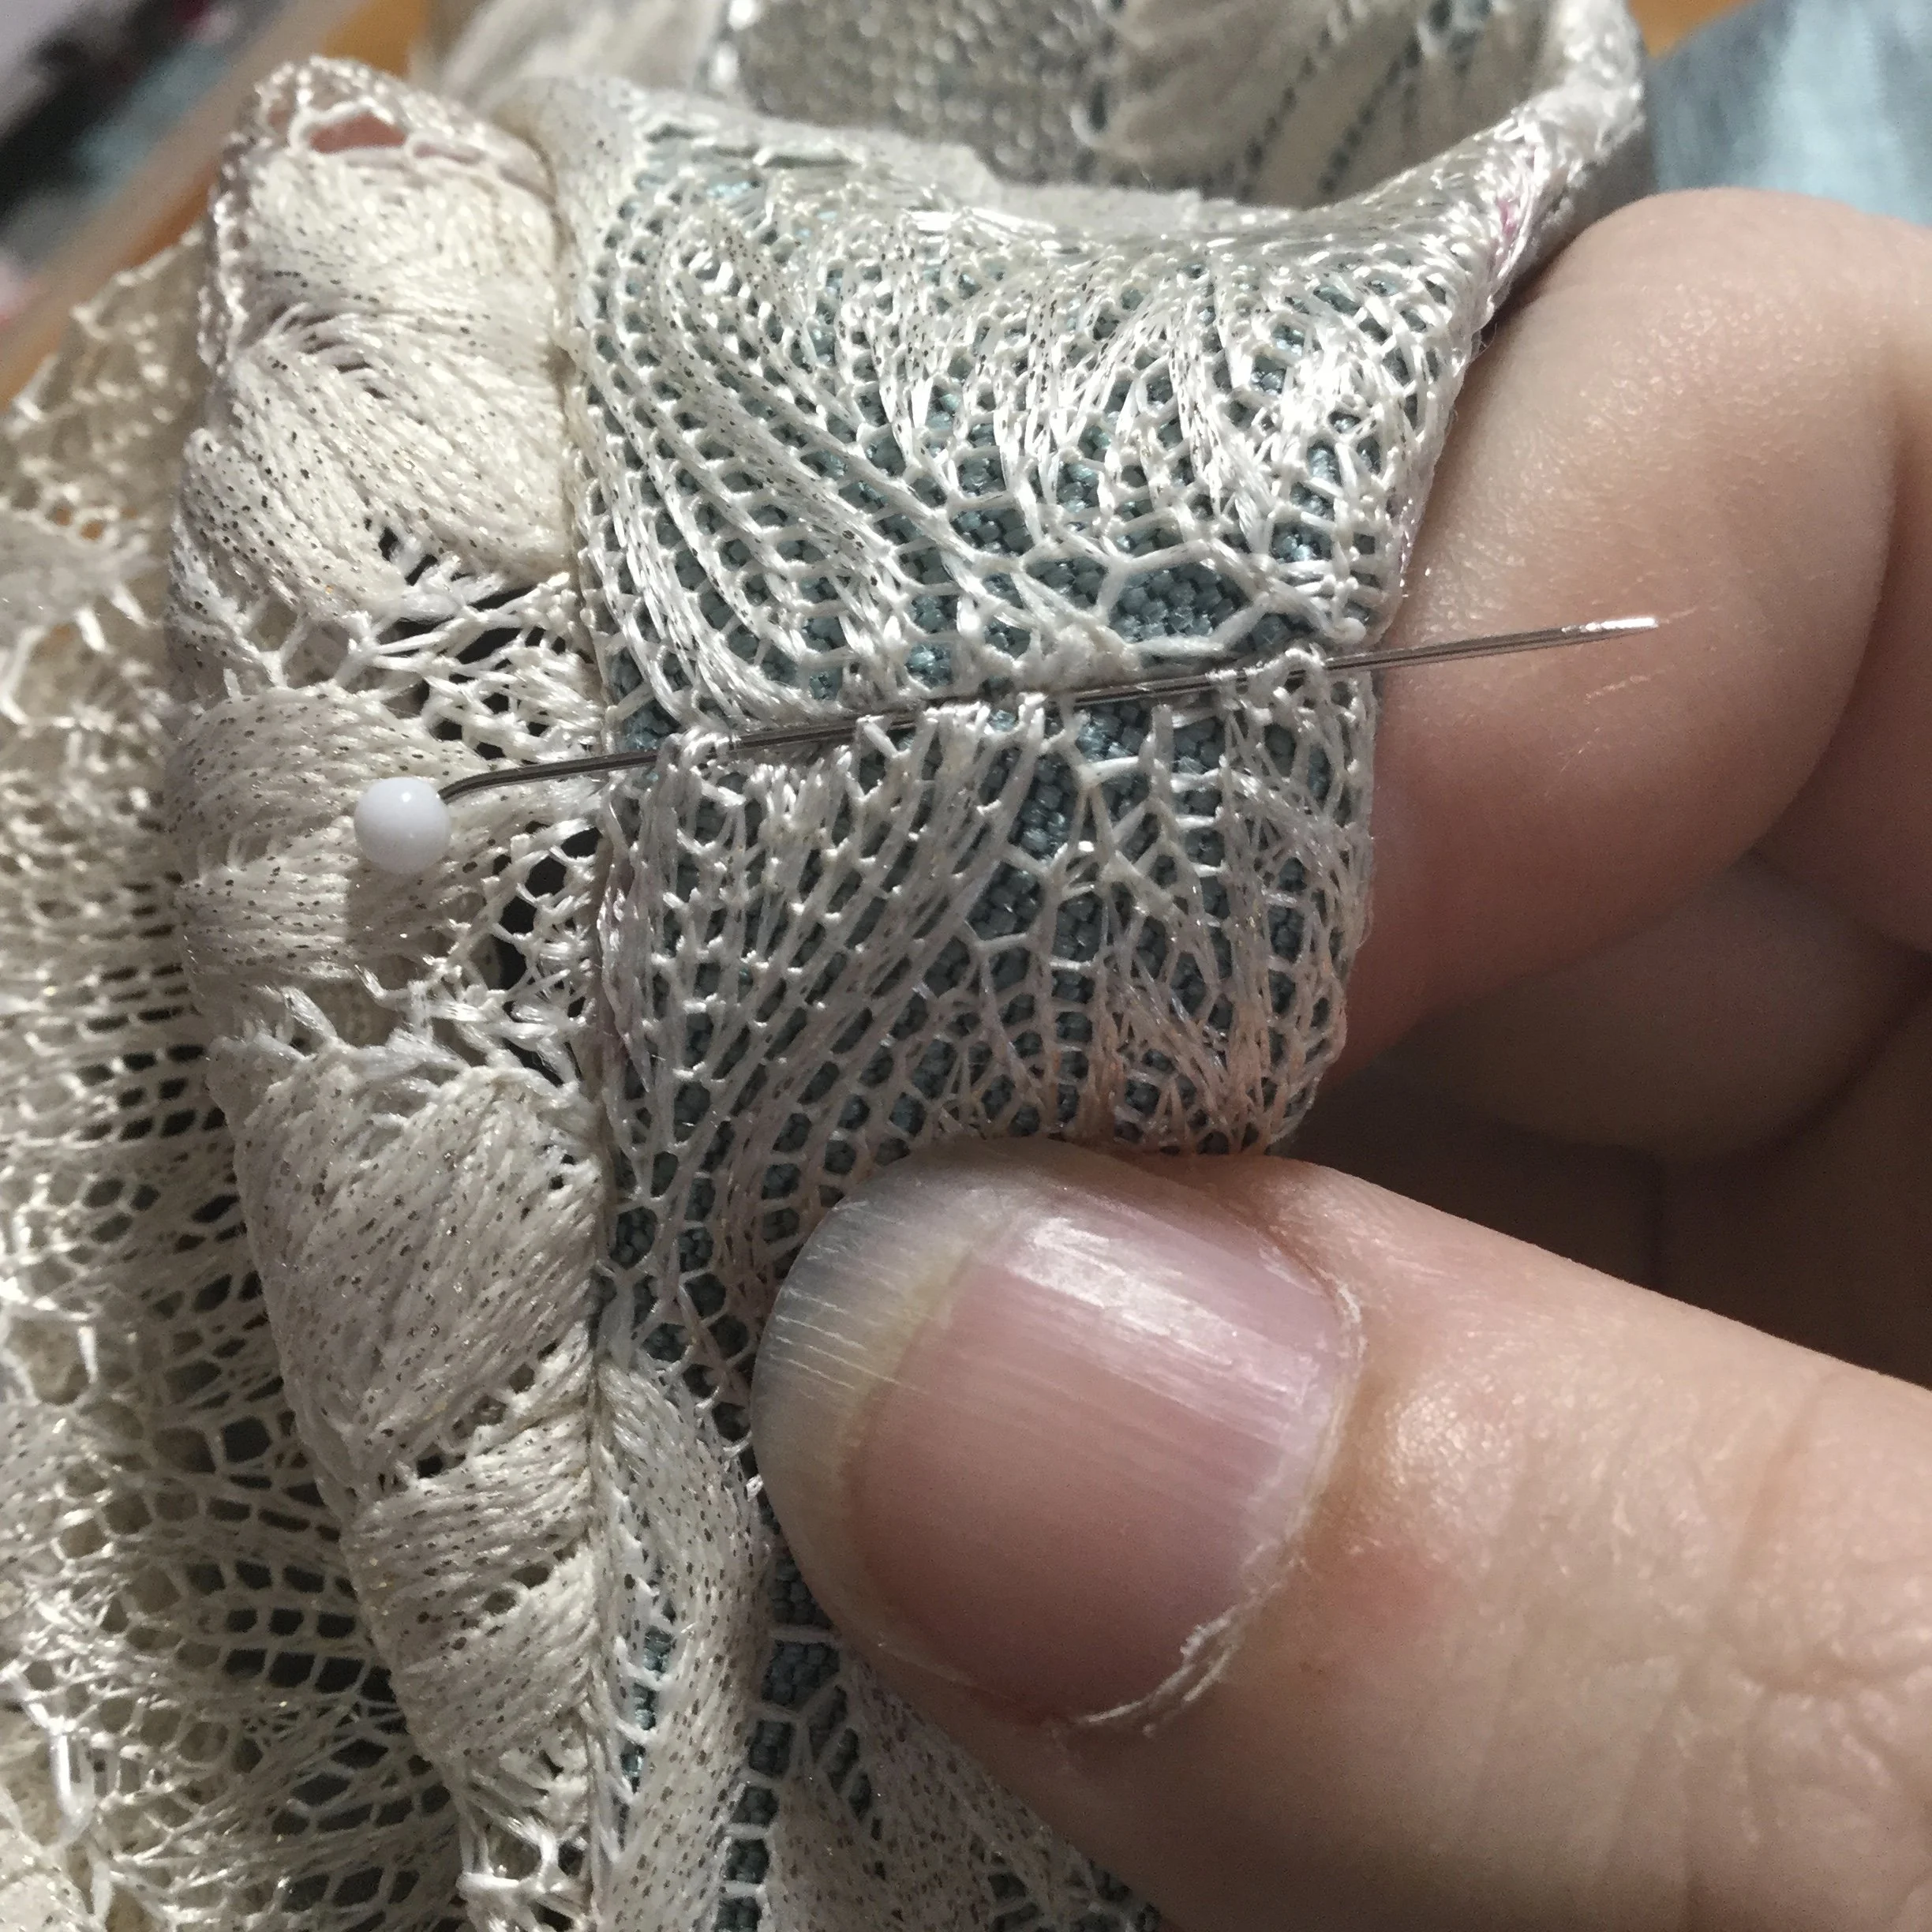
With all these steps finished in one order or another and the back assembled, I turned my attention to the front which was much less complicated. I taped the neckline, closed the darts and stitched it to the back along the side seams. I then basted the lace bodice in place along the neckline and armholes.
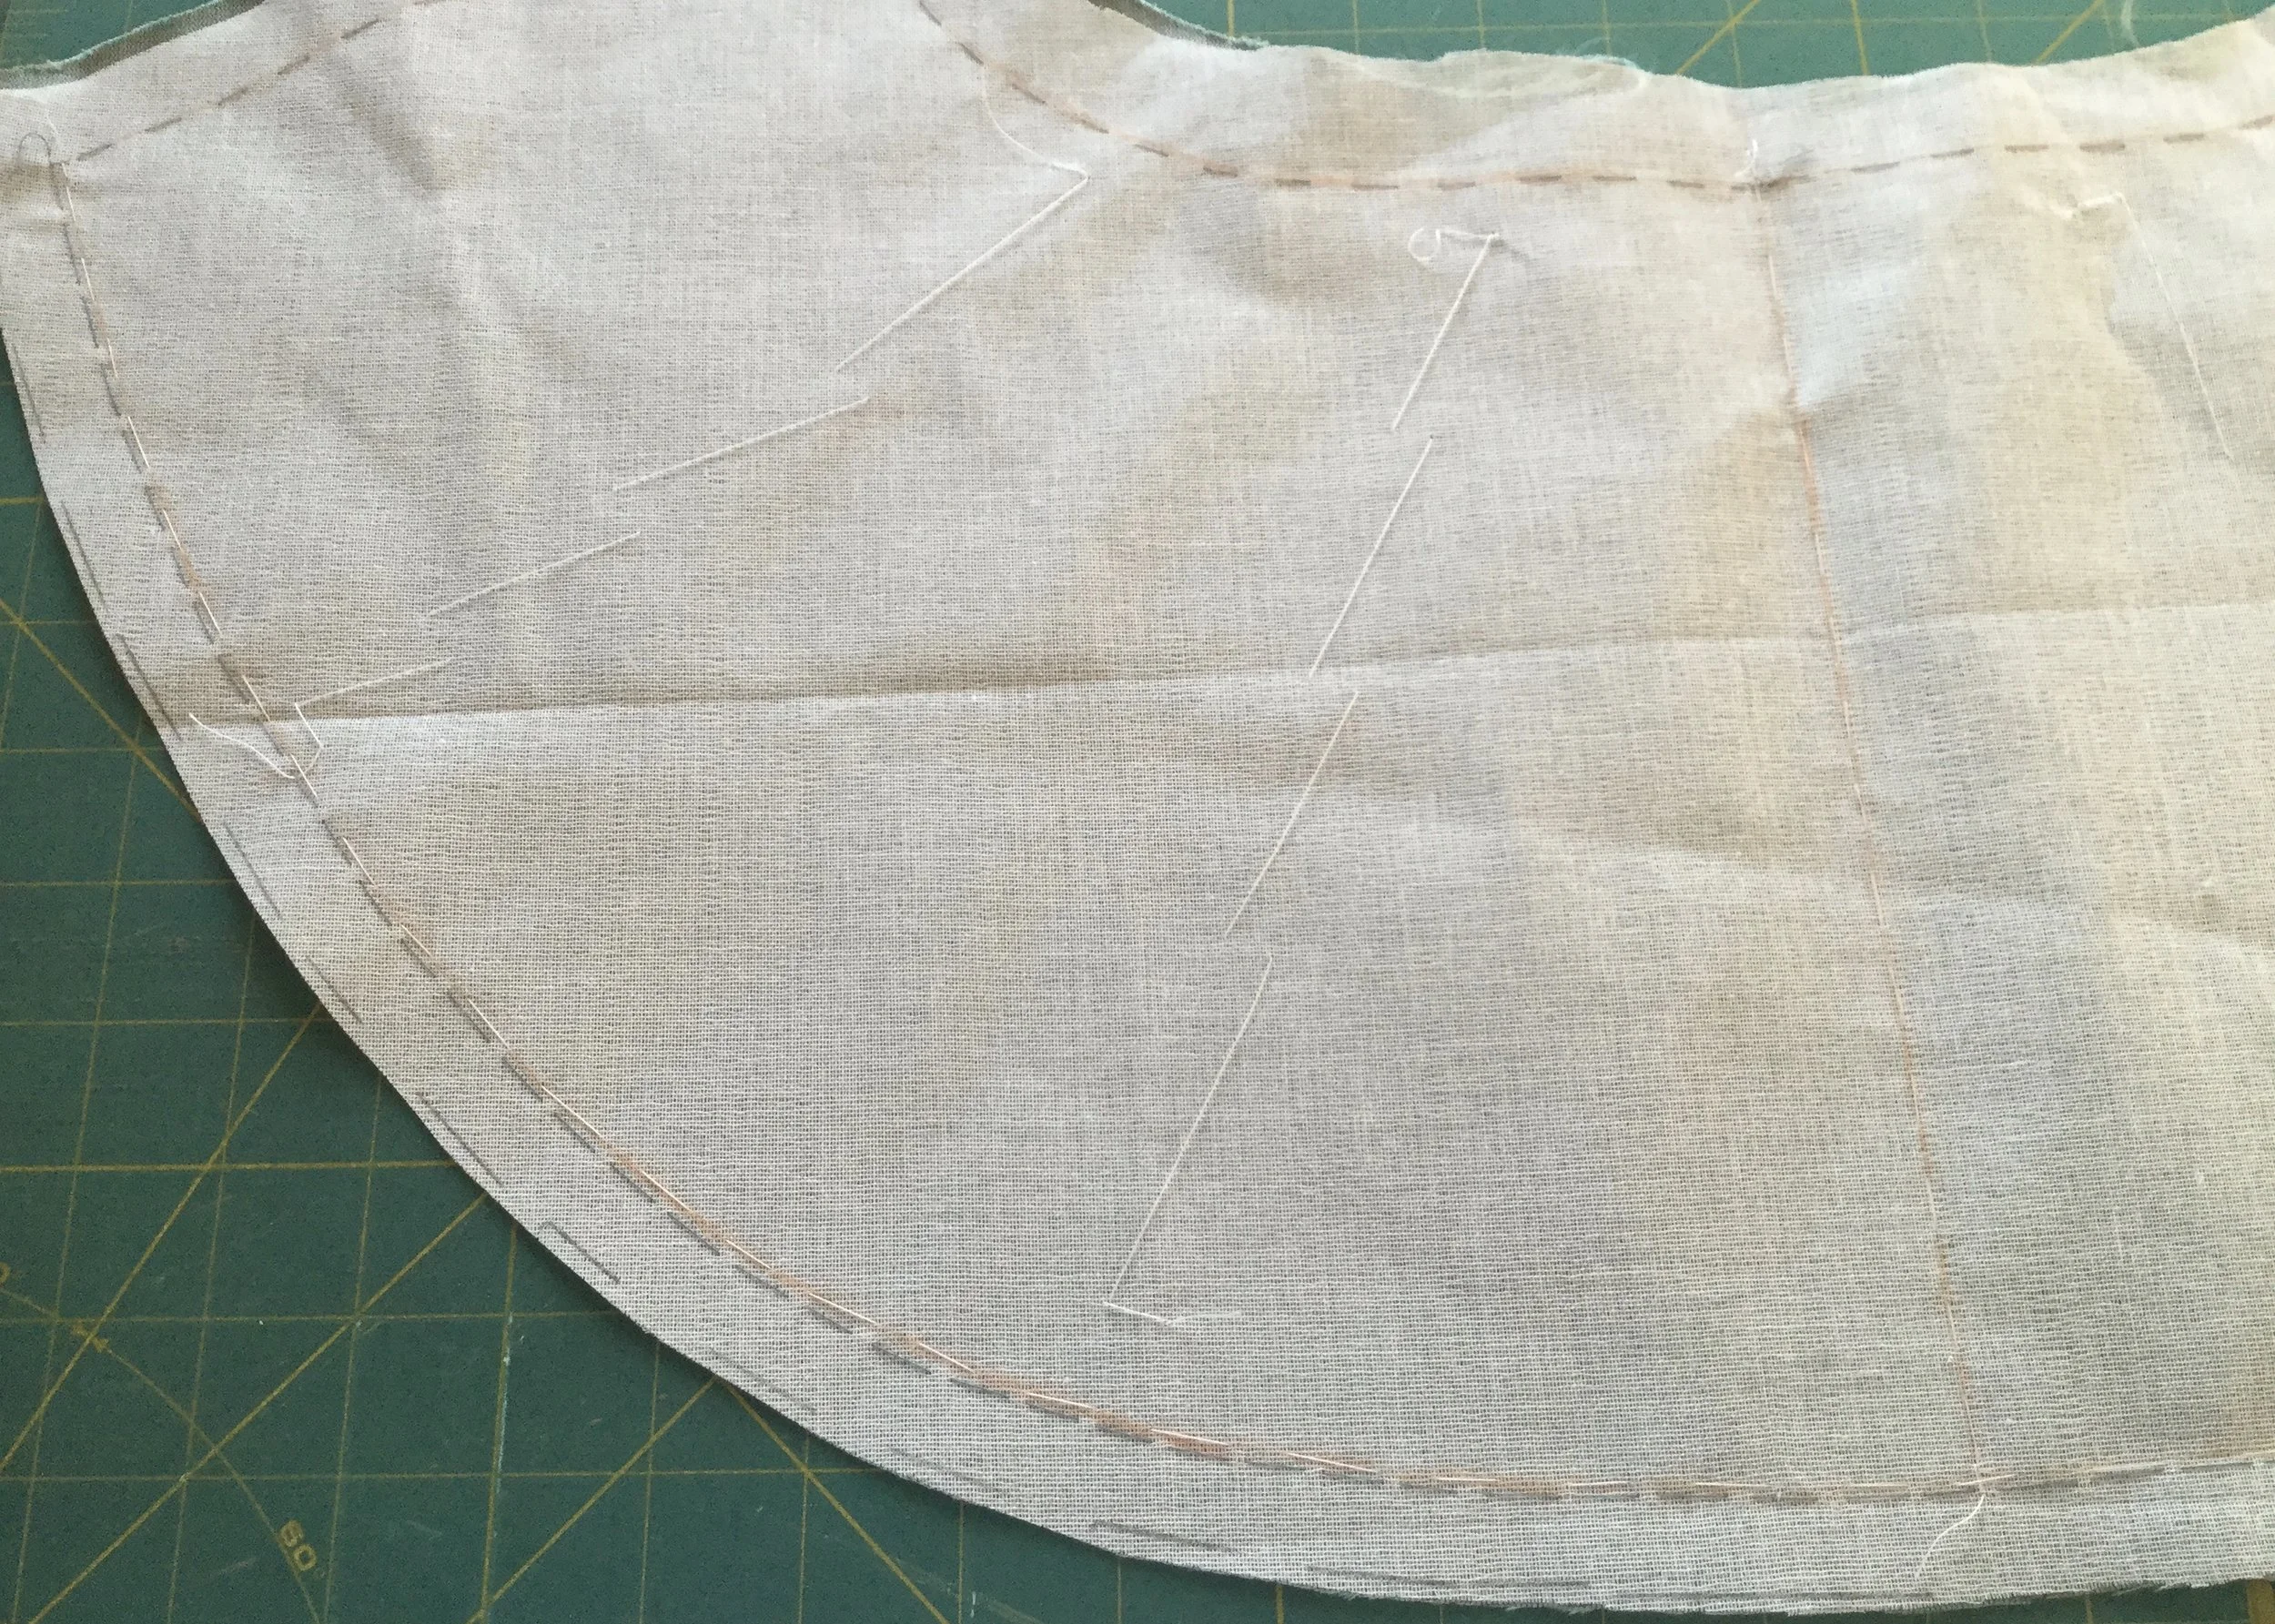
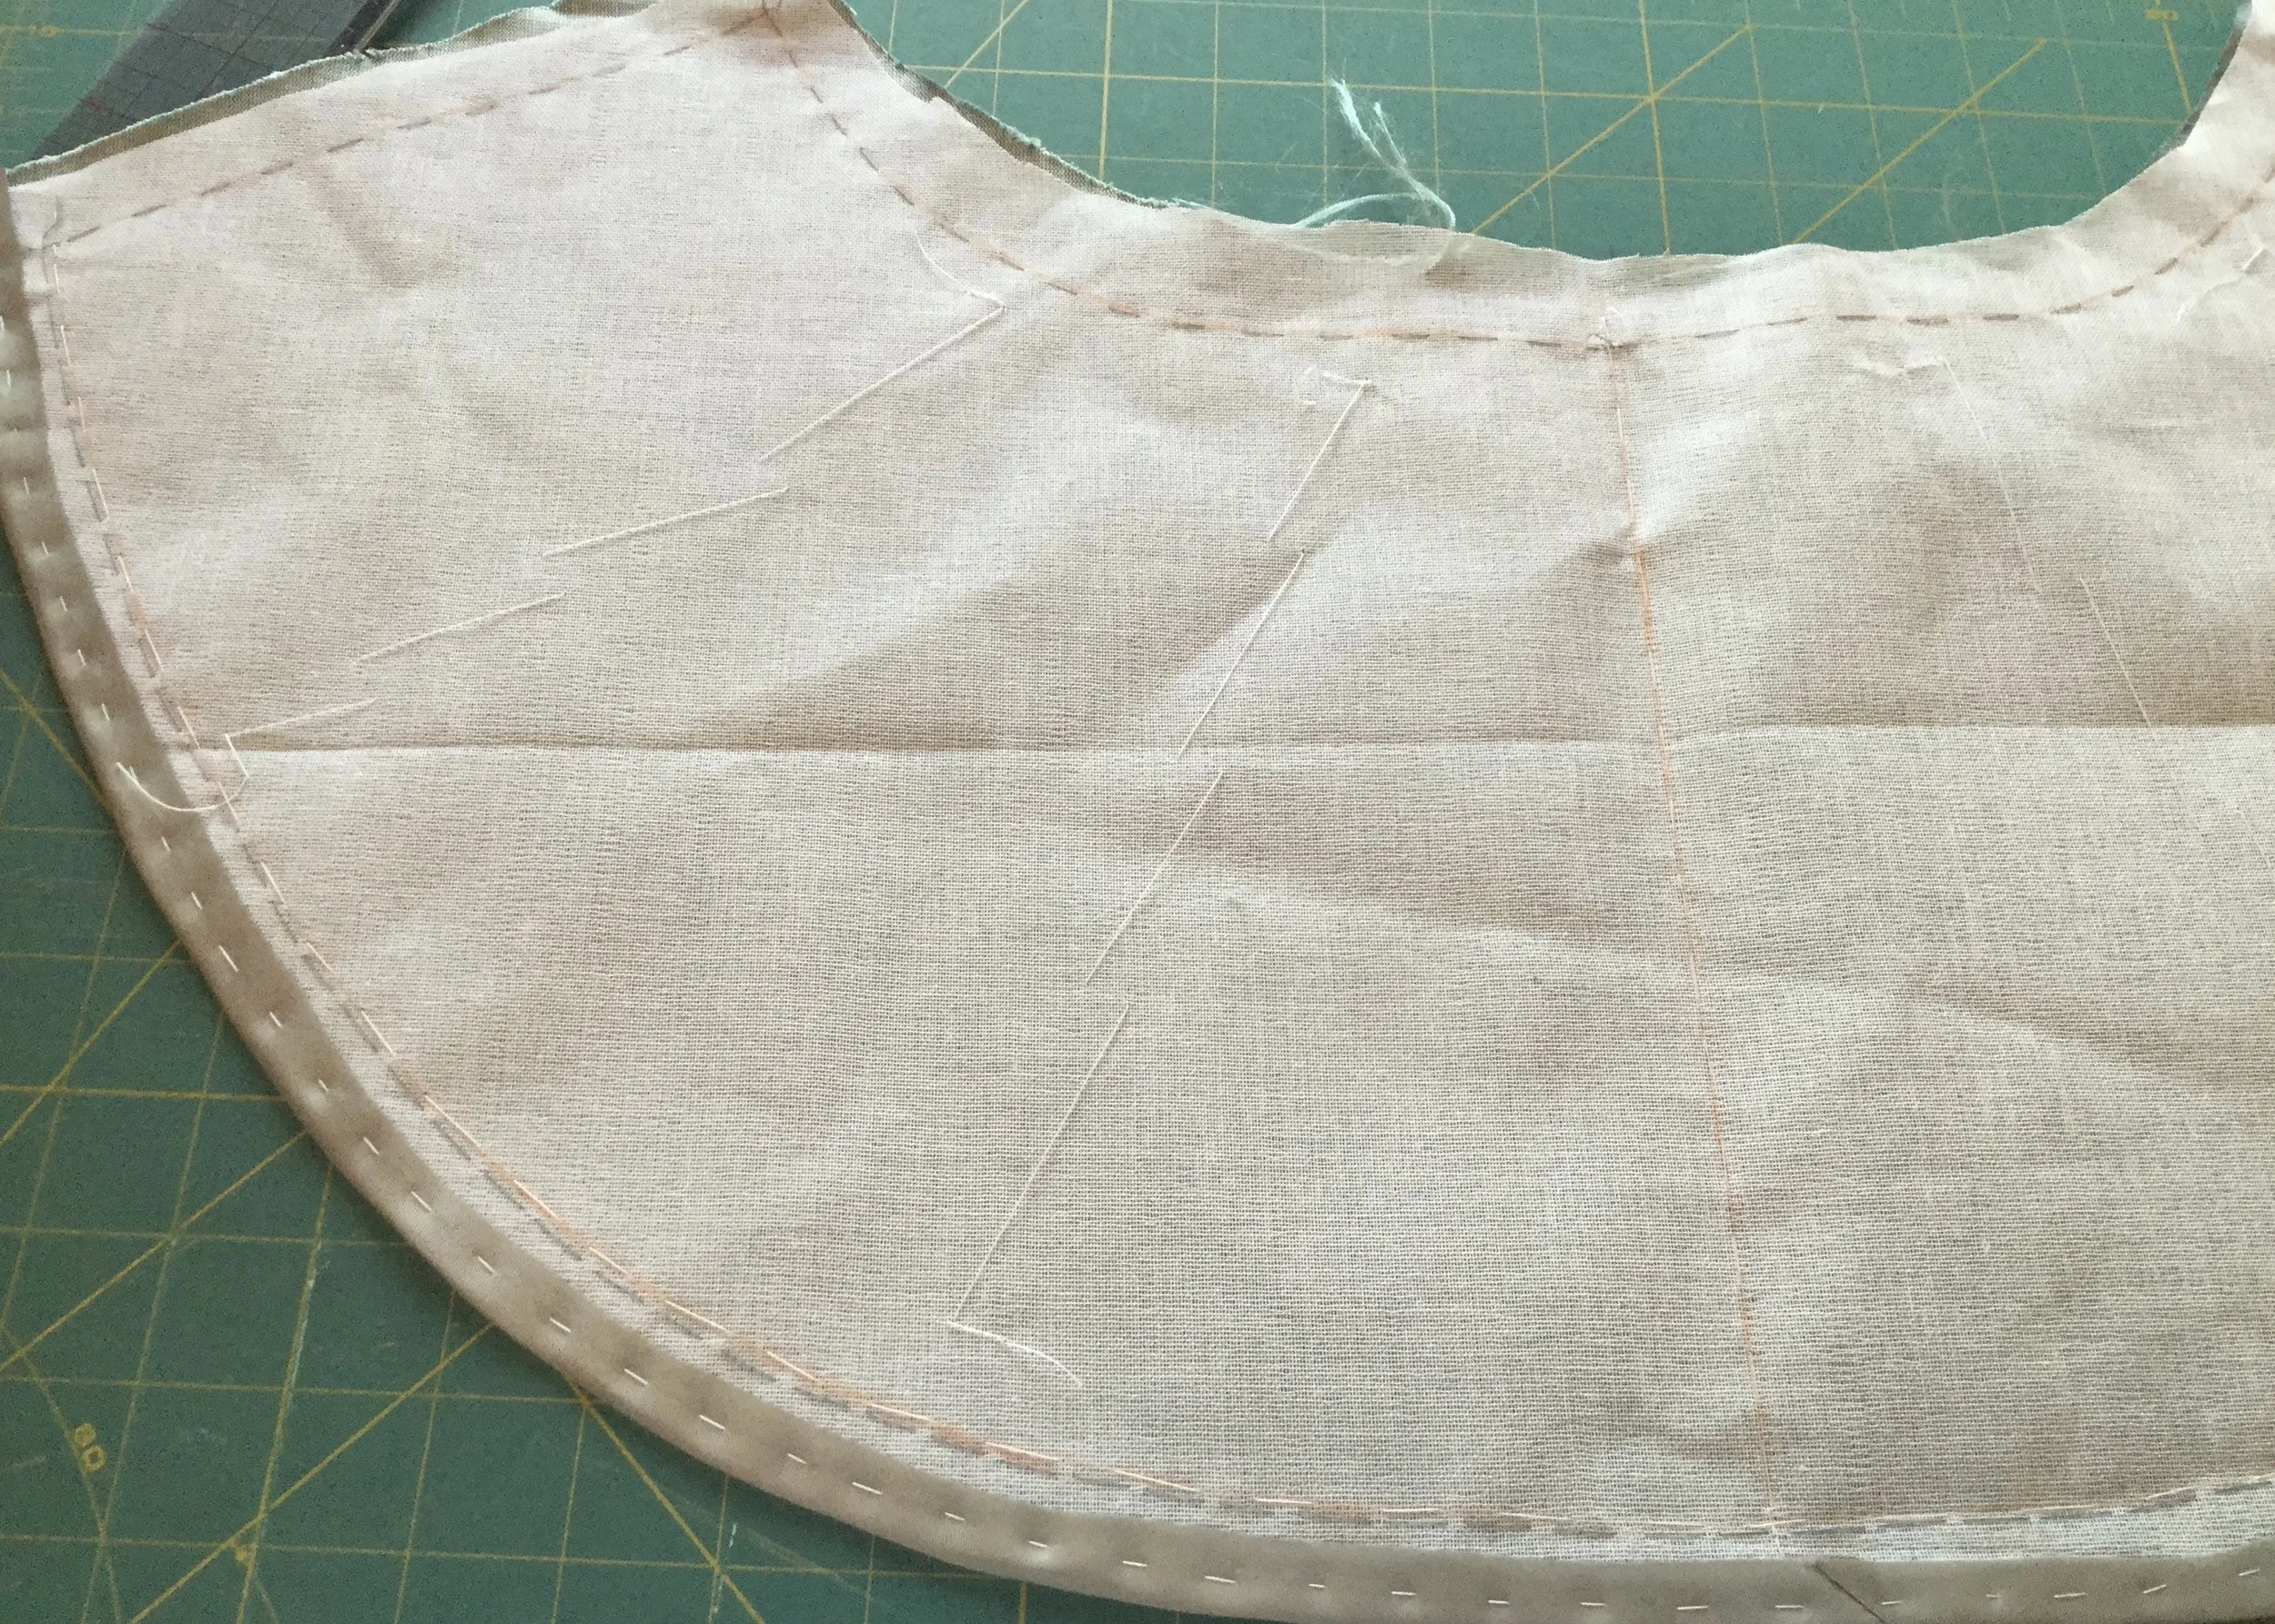
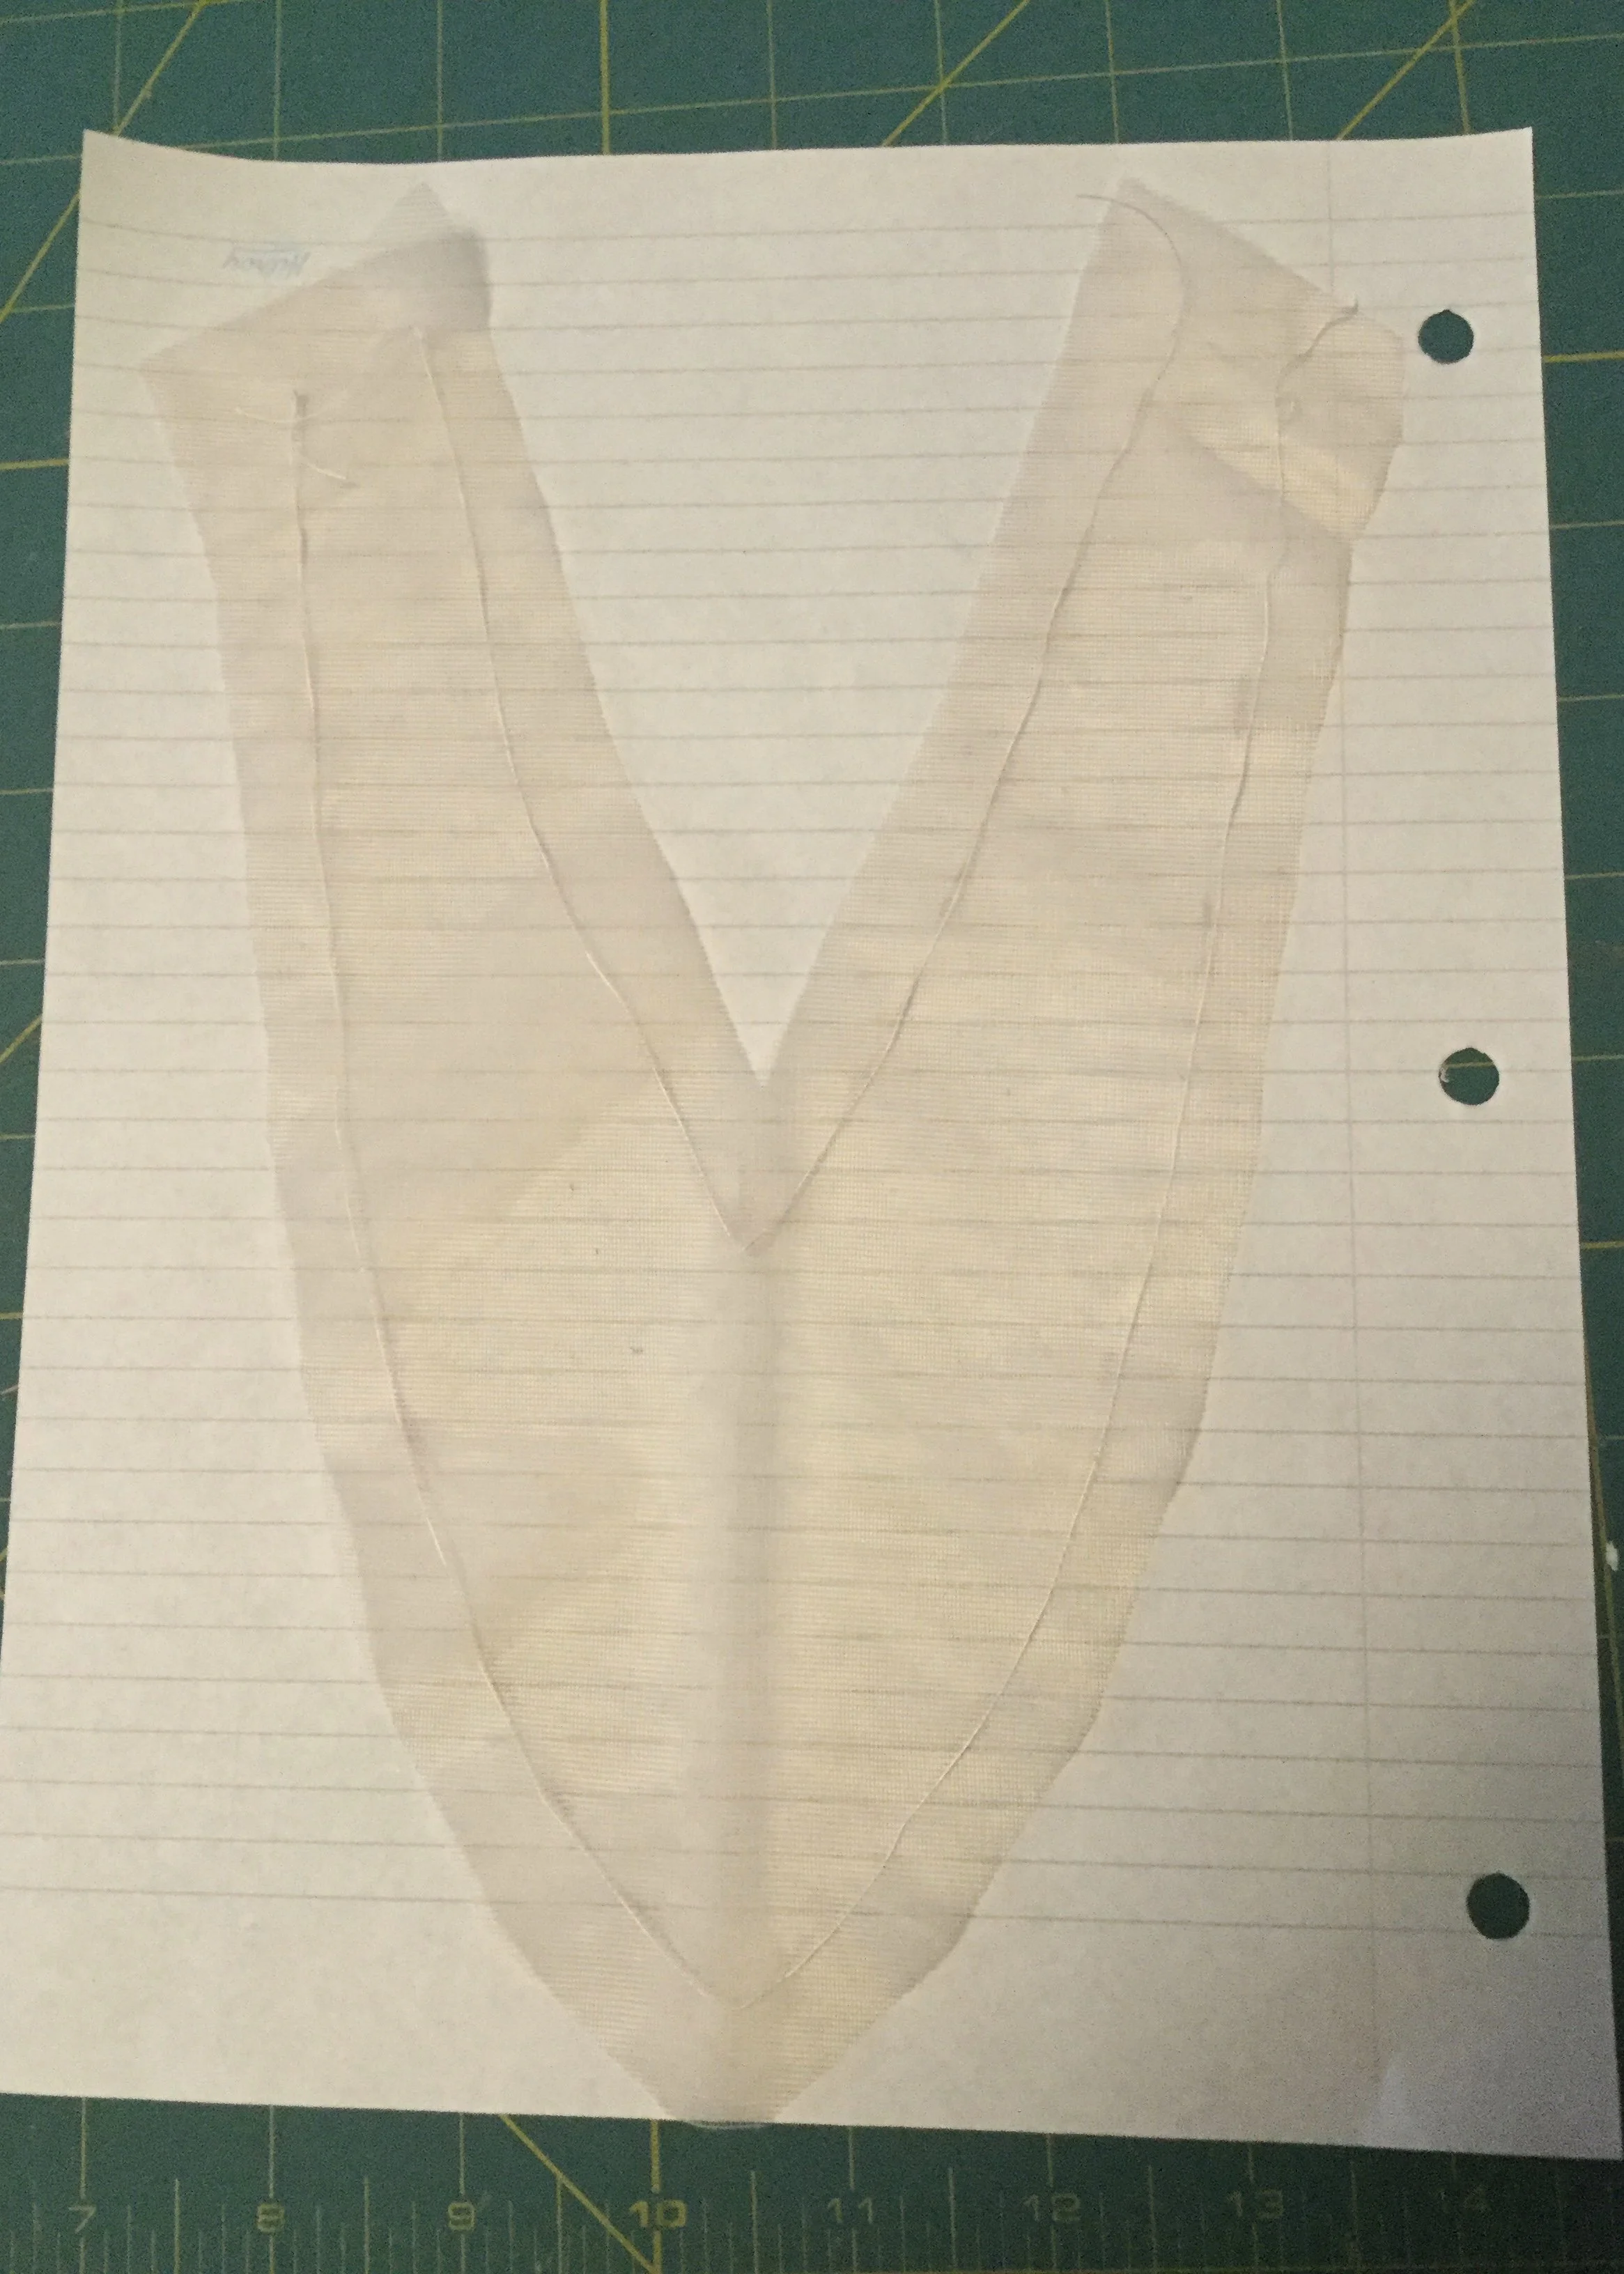
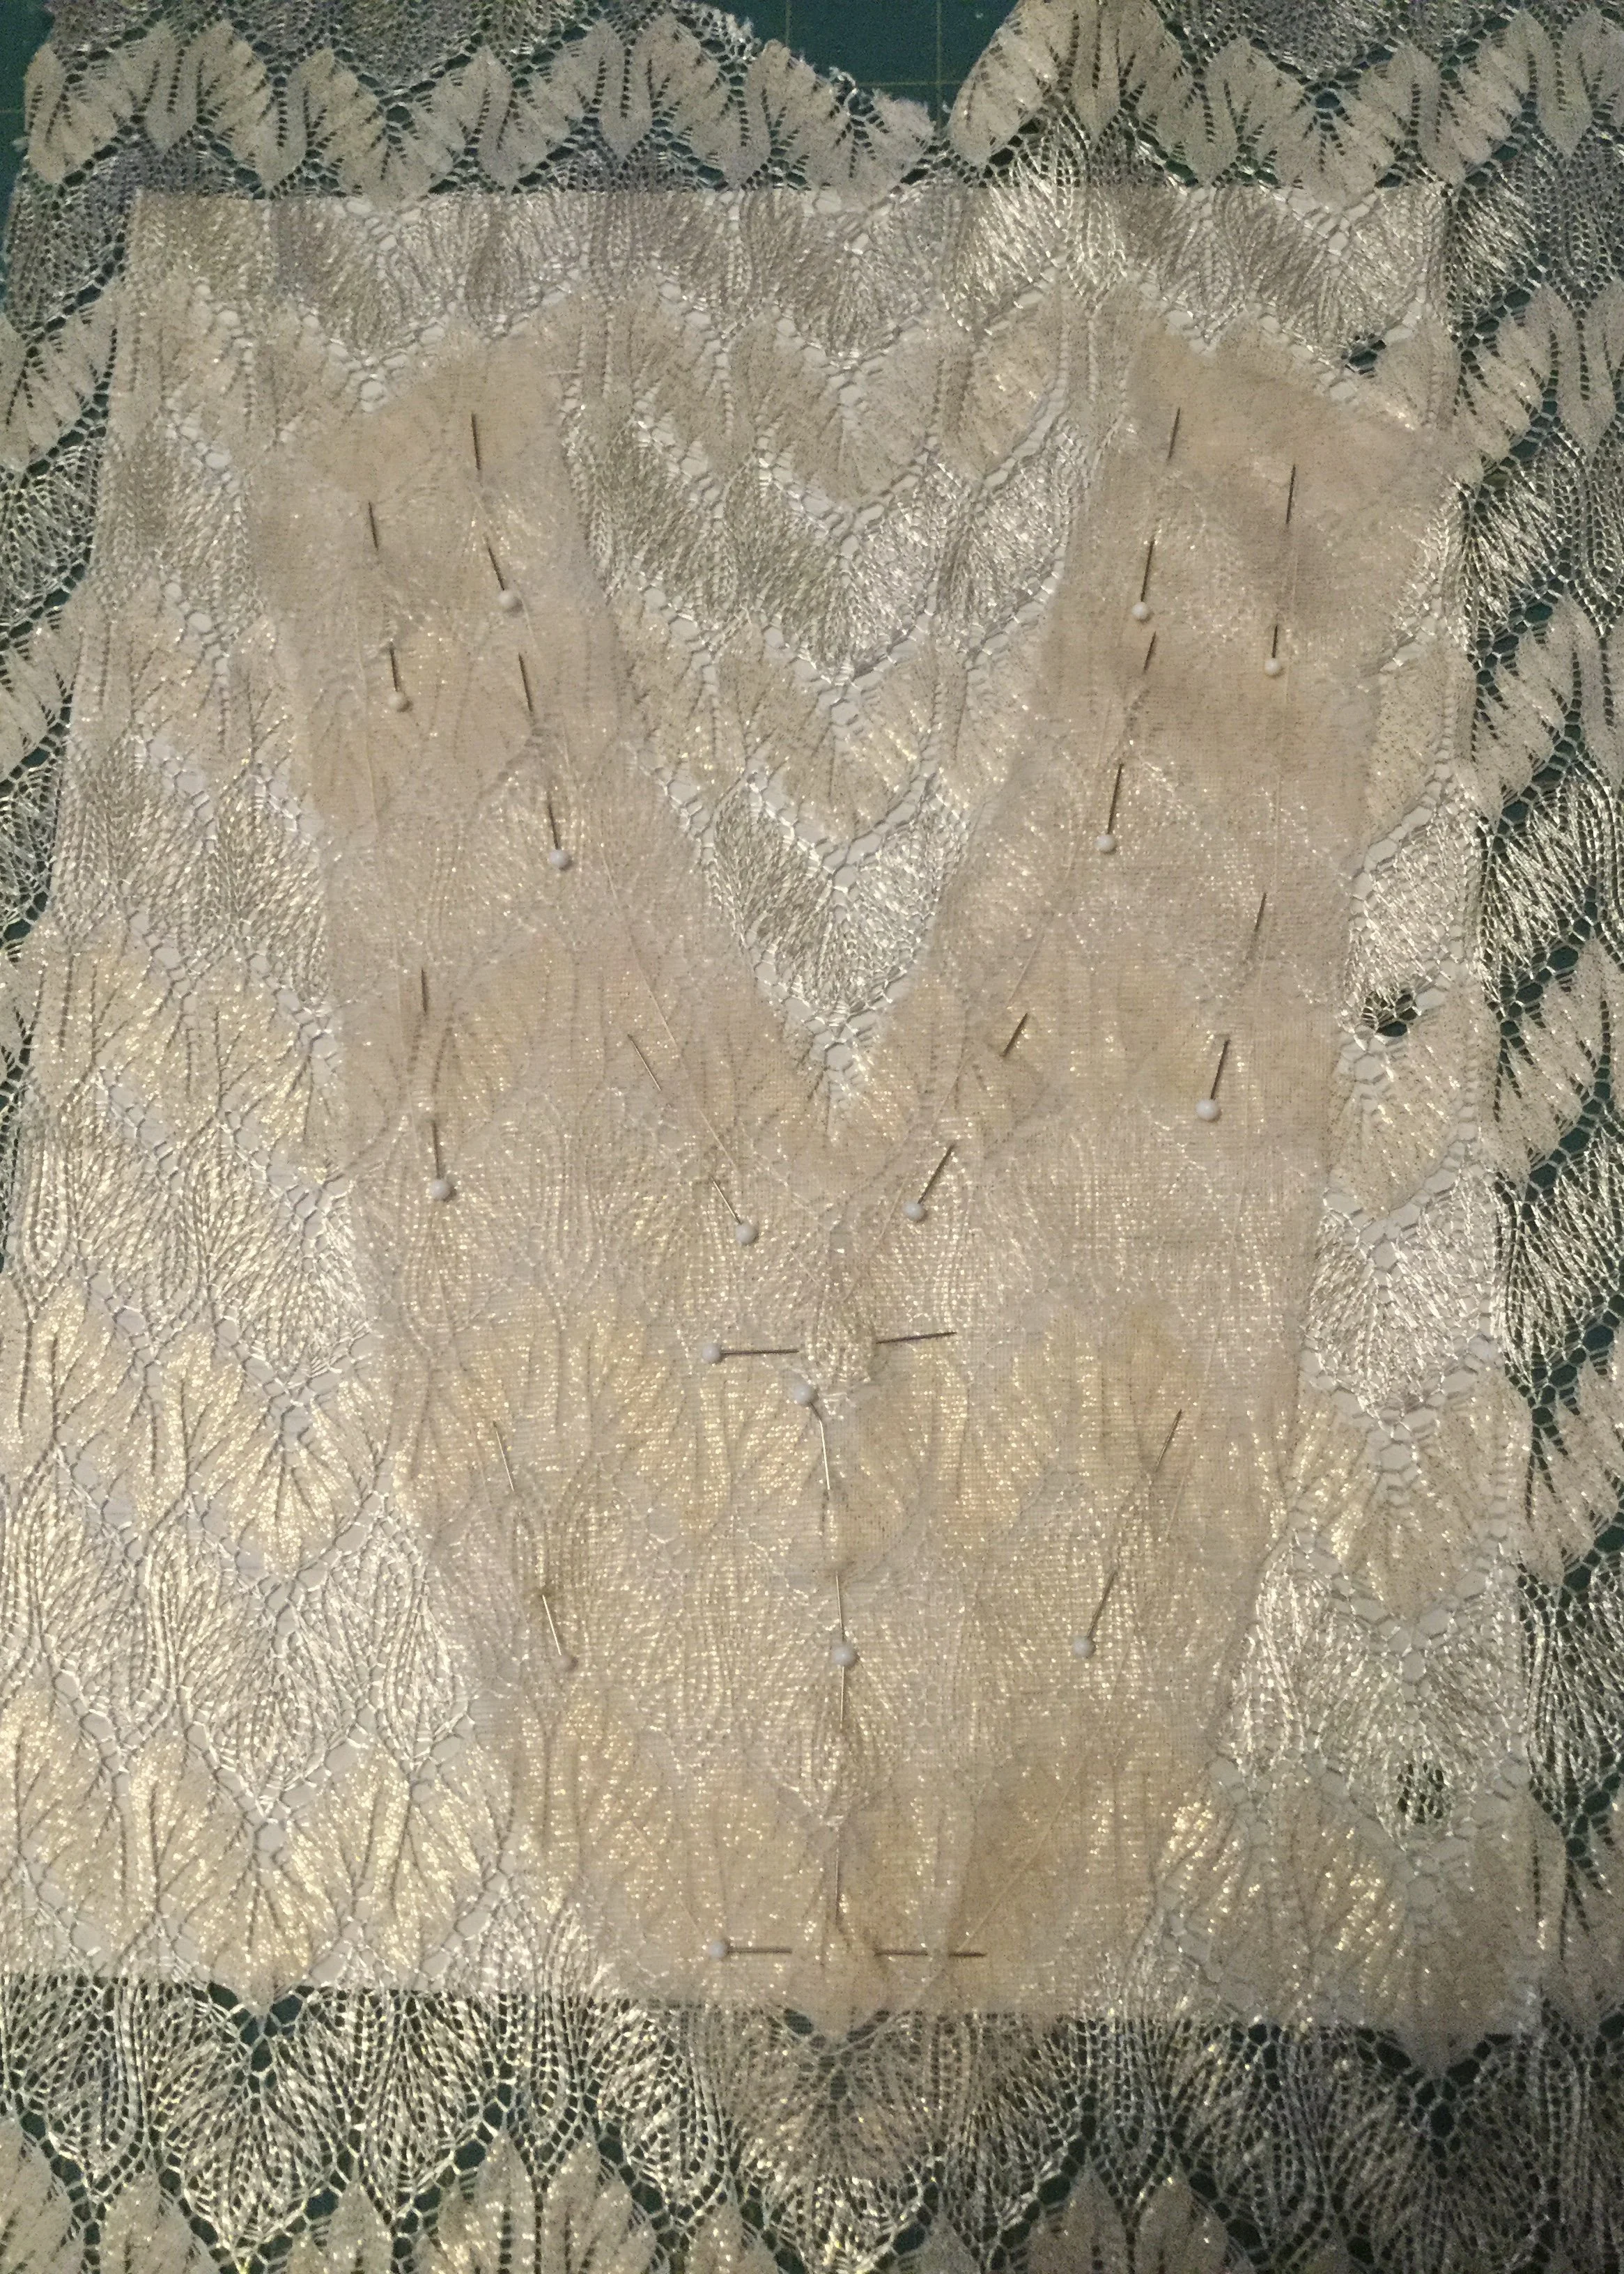
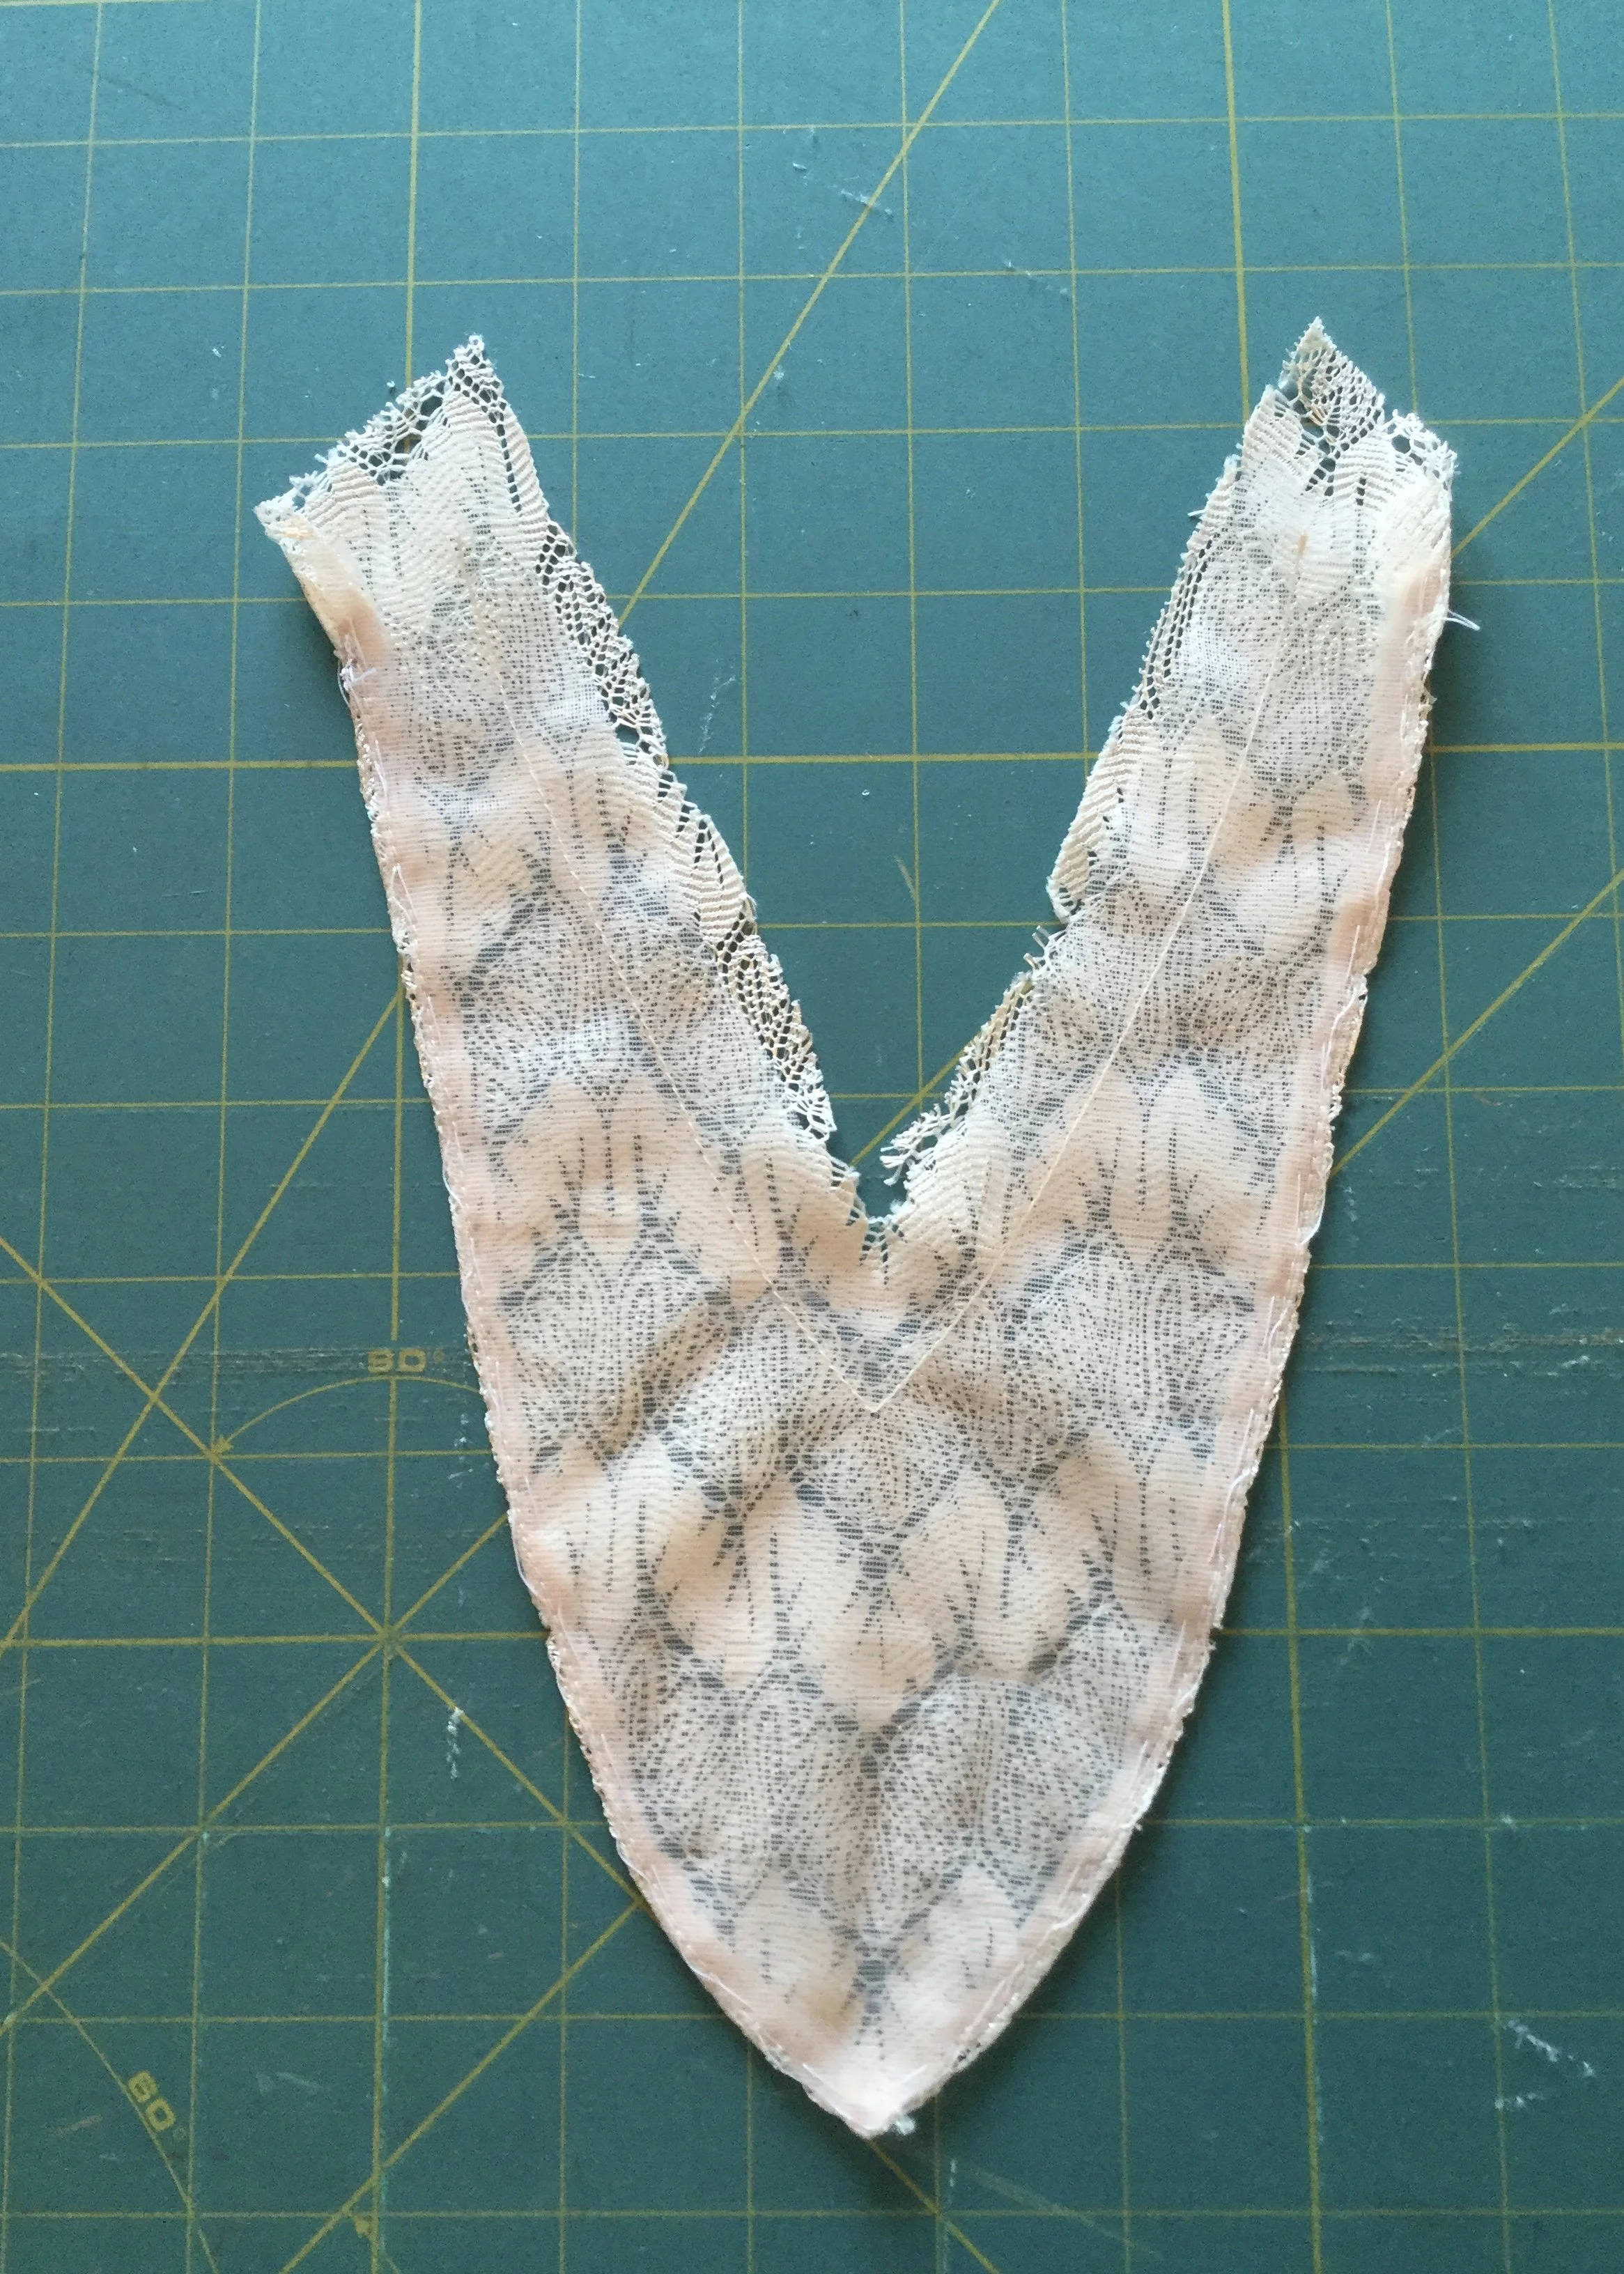
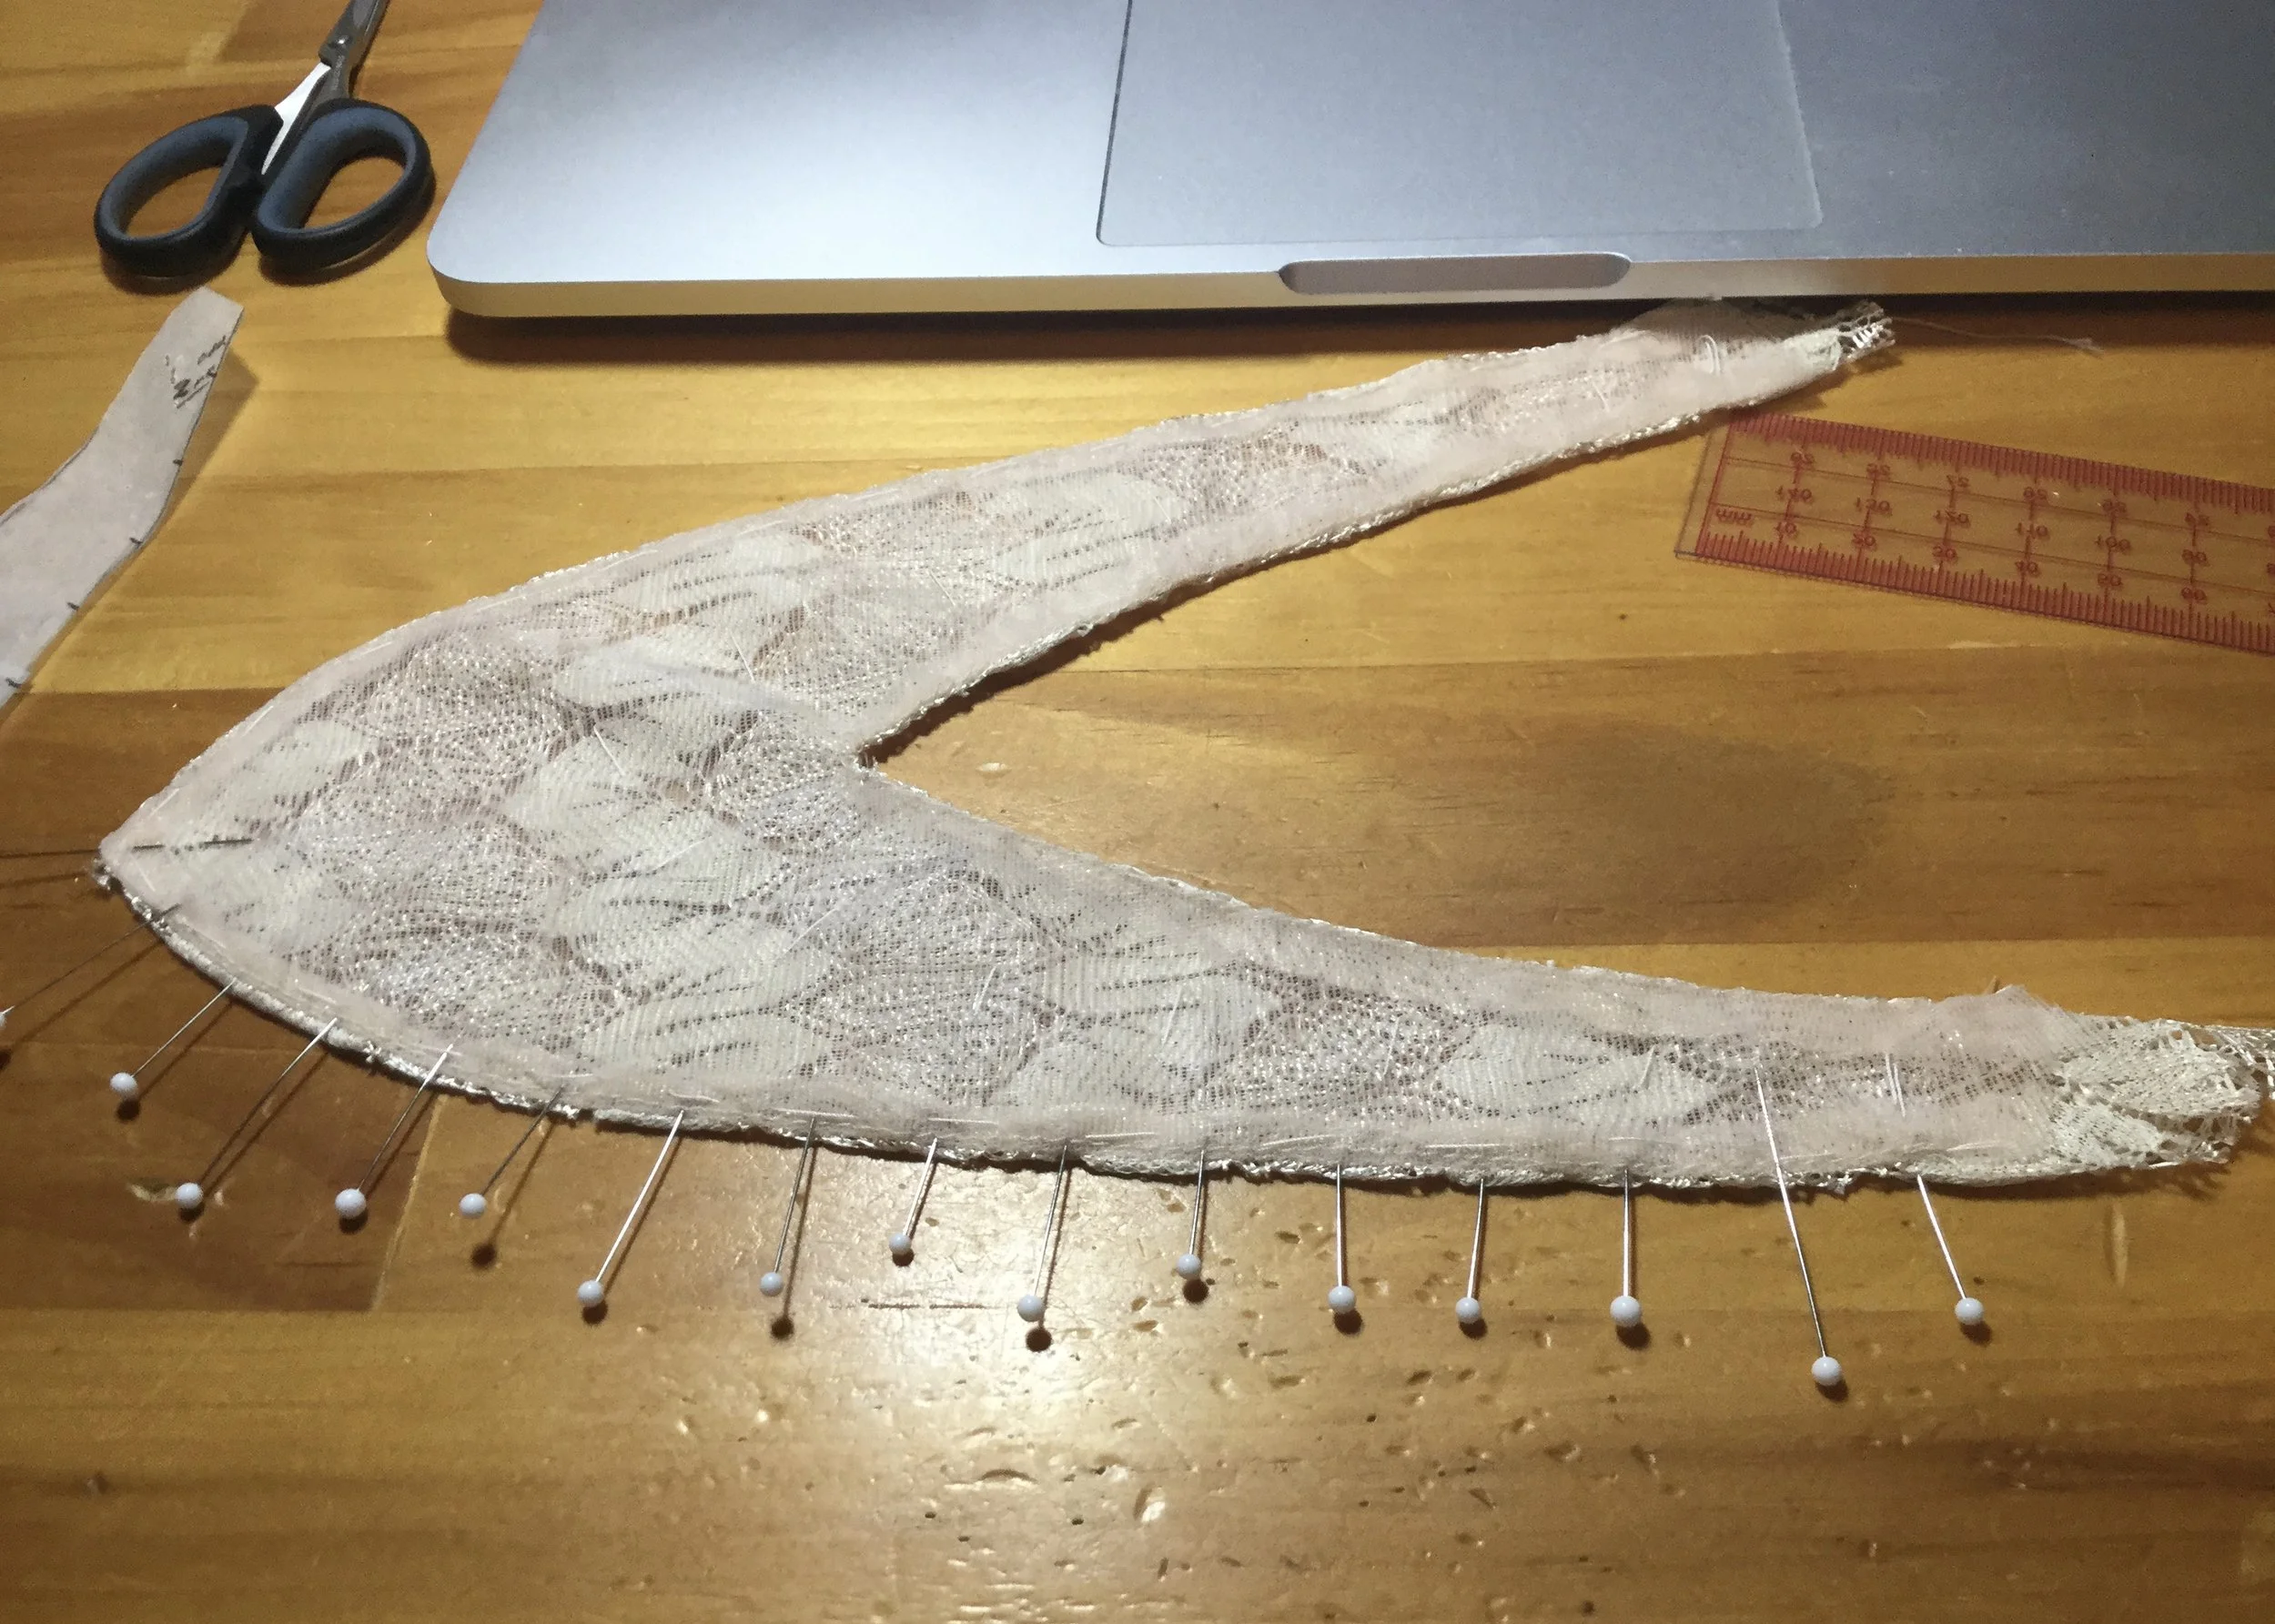
I then cut and assembled the sash which posed its own difficulties given that I lined the lace with the same fabric I had used to finish the hem of the bodice. They say two wrongs don’t make a right; well, two transparent fabrics don’t make an opaque one on which it is easy to see markings. I marked and basted the seam lines on the lining before pinning it to the right side of the lace and cutting it out. I stitched the outer edge by machine then trimmed, graded and turned the seam.
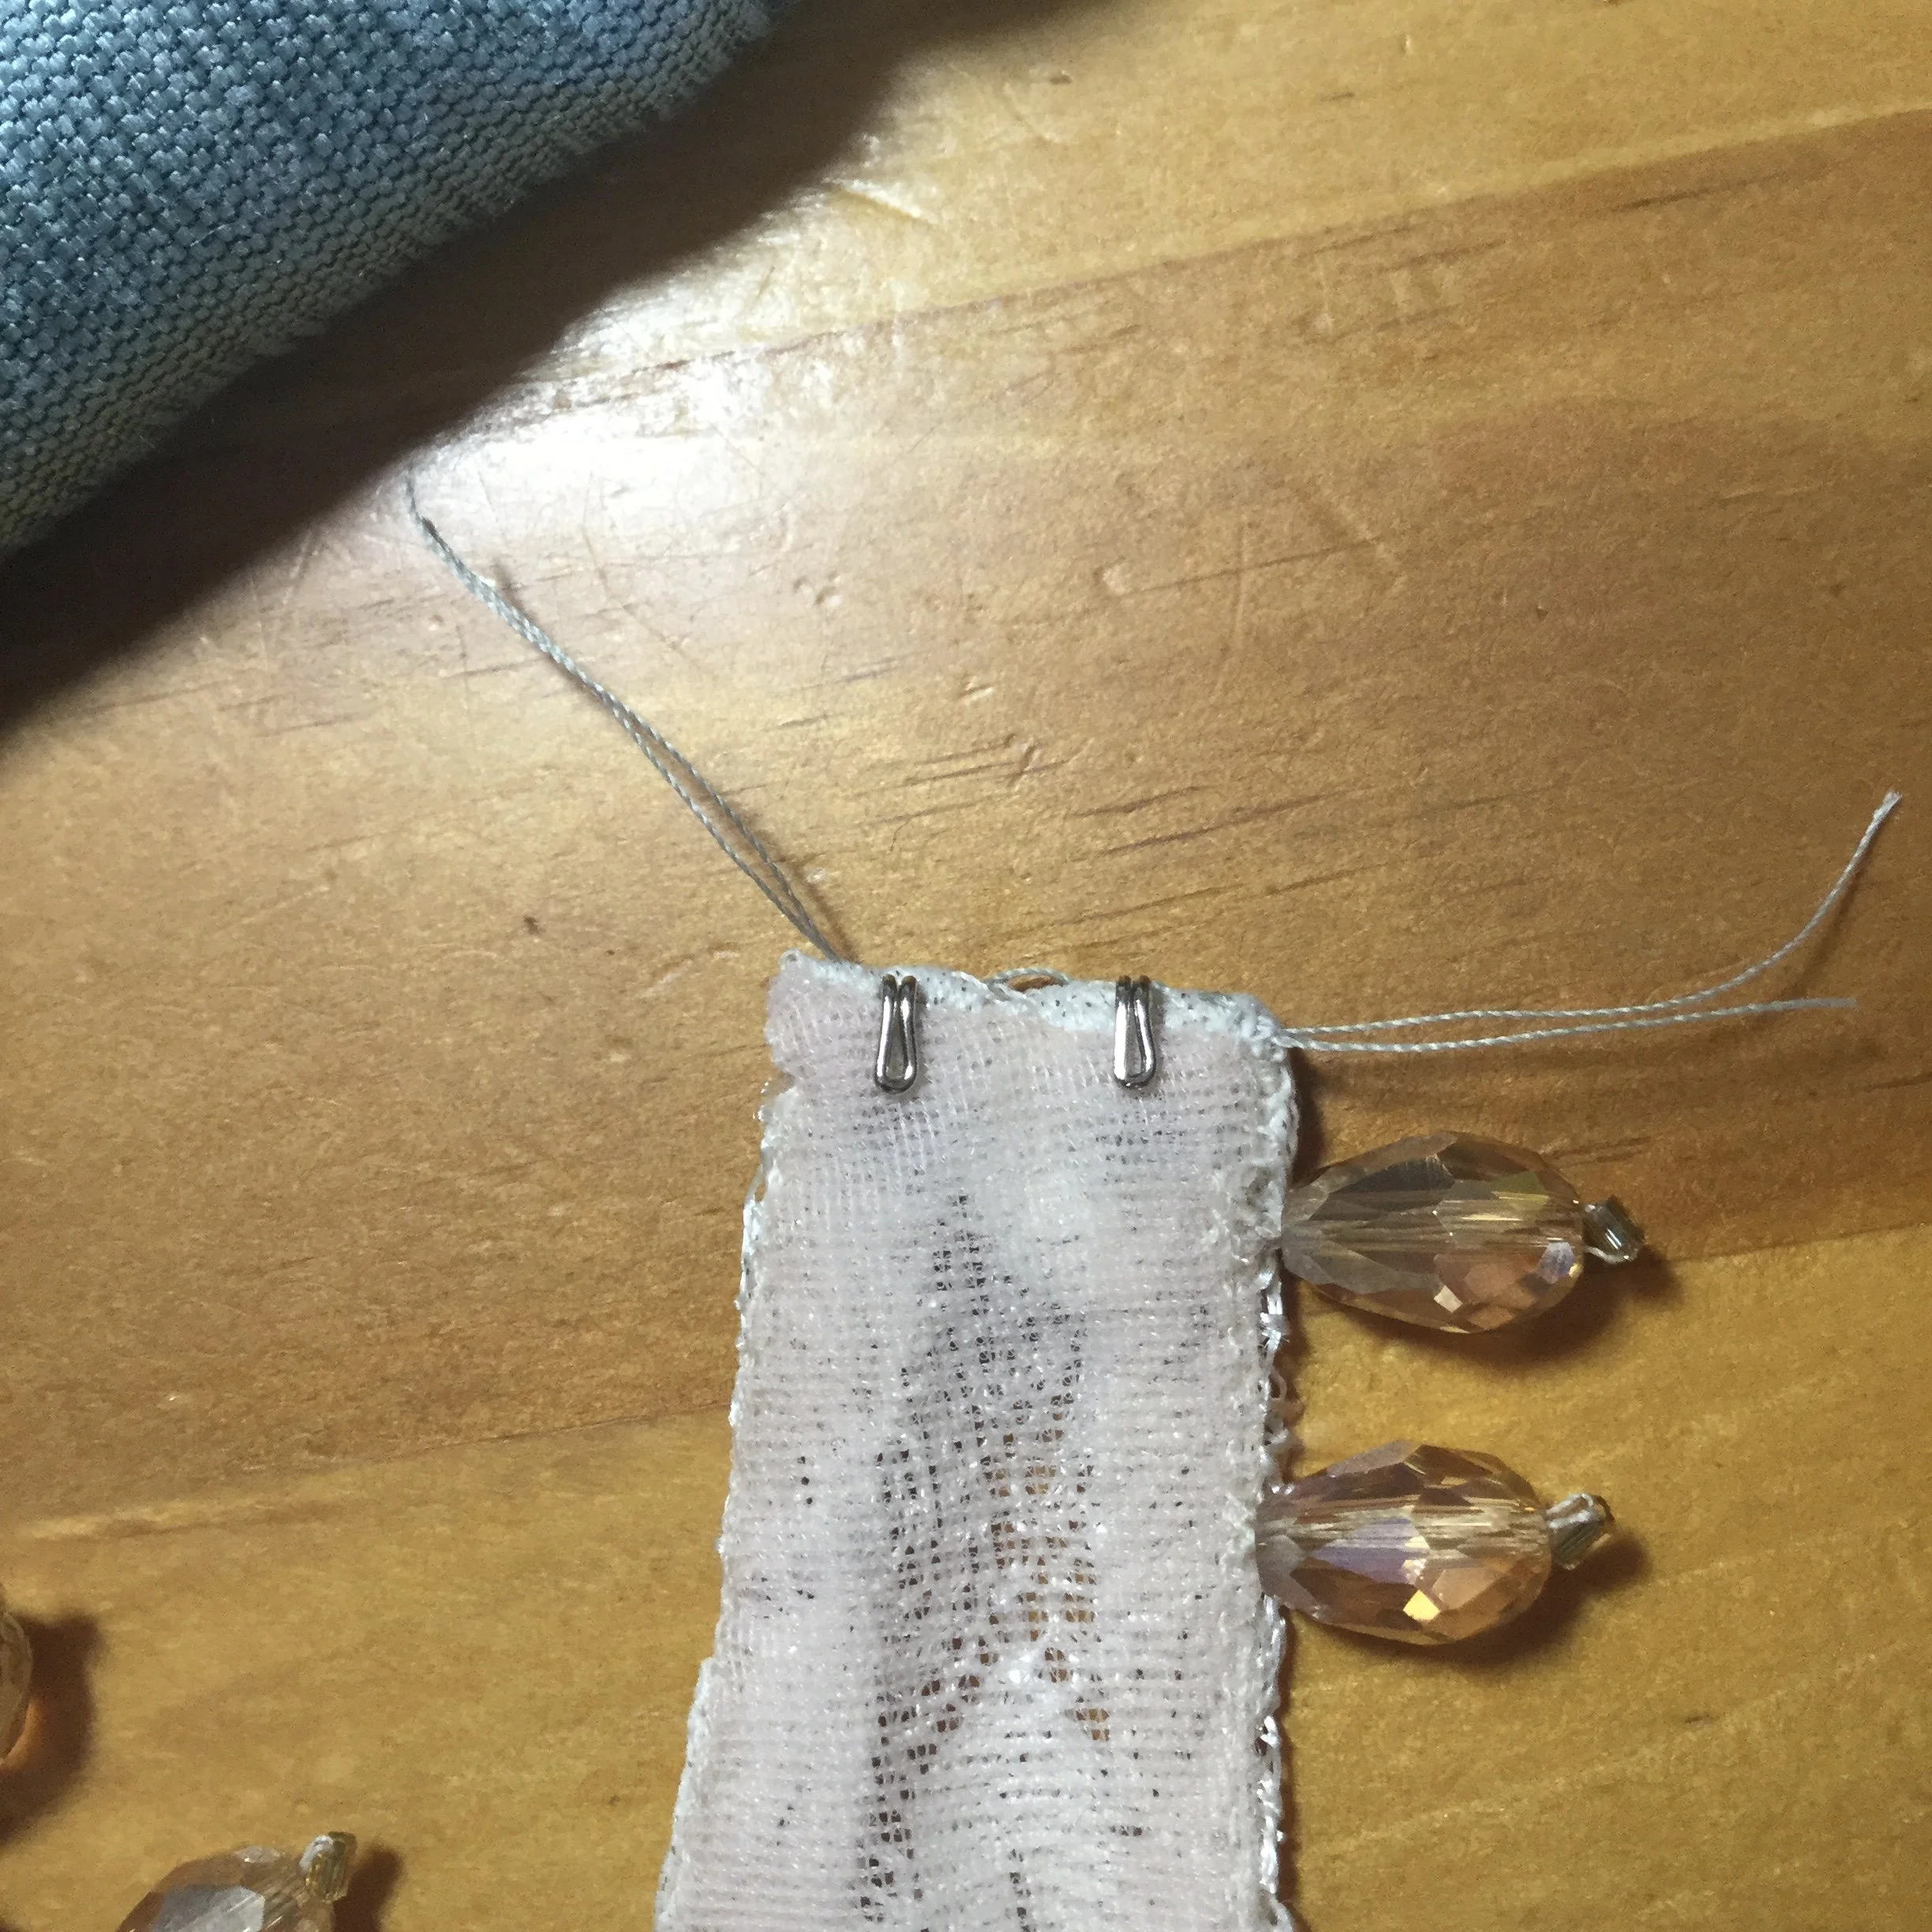
When pressing the sash, I got what I don't think was really a bright idea to shape it over the ham. I'm not sure that the piece really needs a curve like that, but at least it means the edges aren't curving outward. I closed the inside edge by hand and marked the bead placement.
Given that the beads would be hanging from a bit of an angle on the sash, rather than straight down as they do on the bodice, I spaced them a little further apart, still starting at the centre and working out to the shoulders.
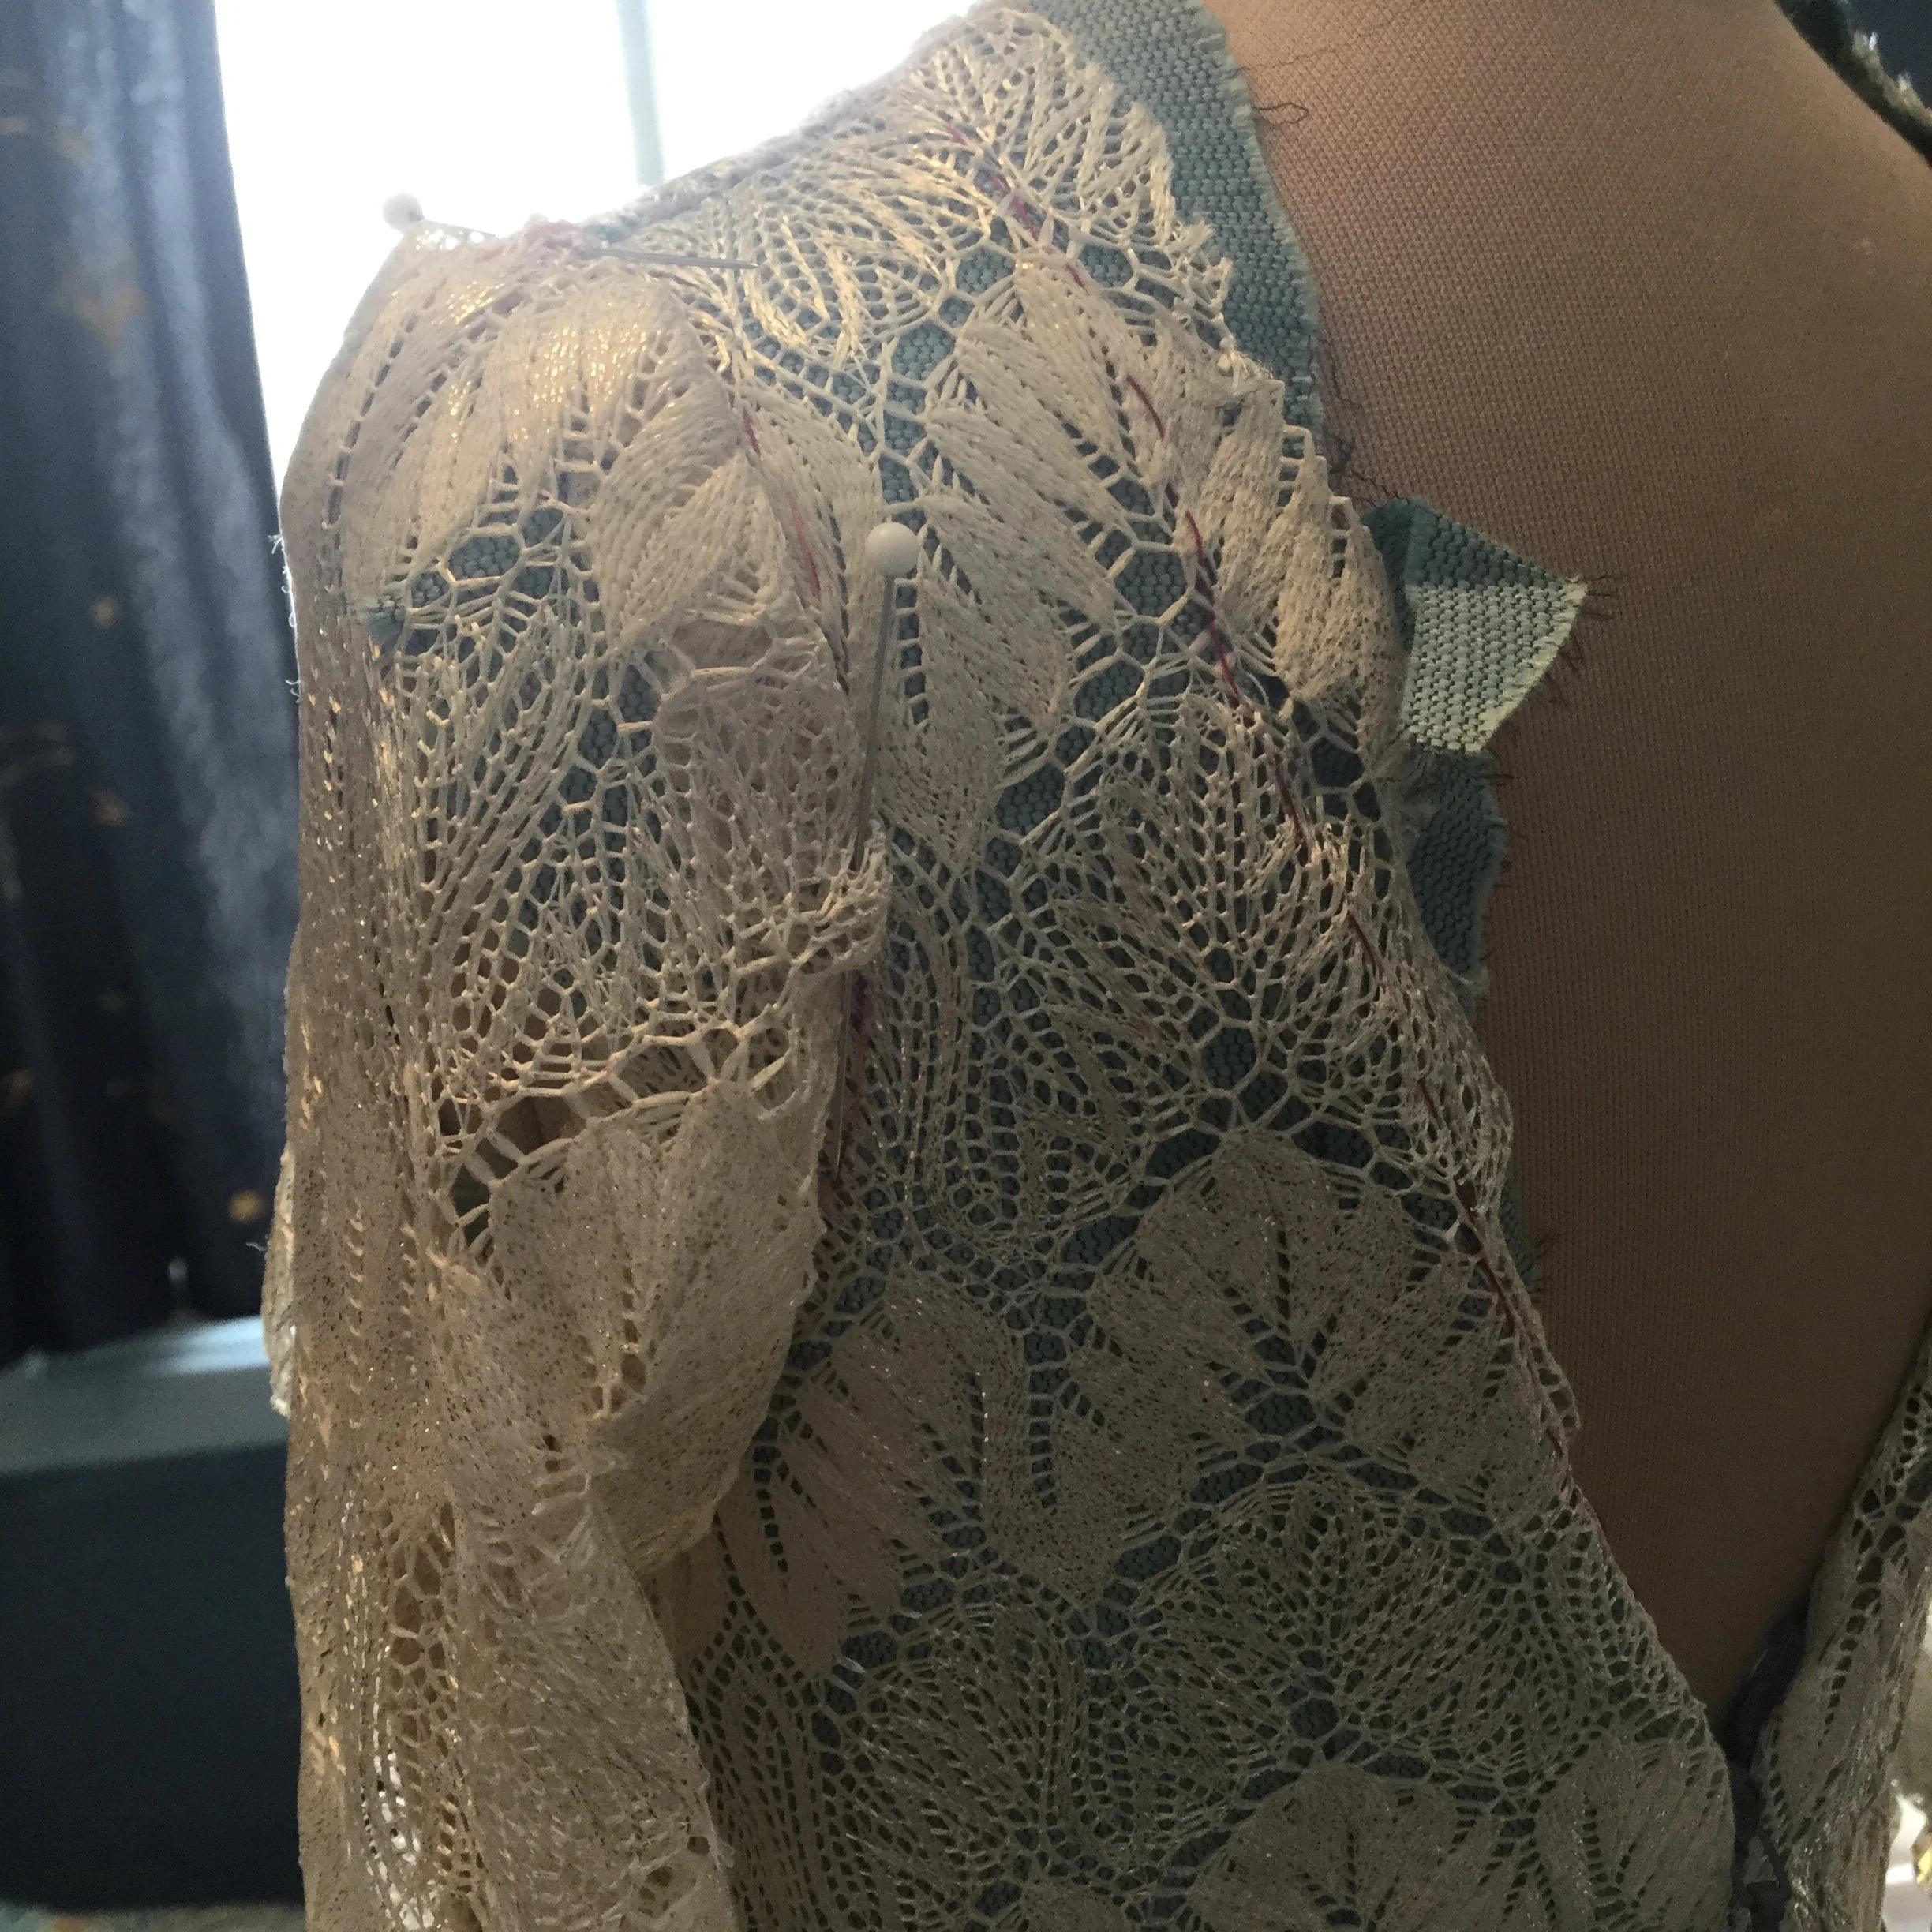
Next I closed the shoulder seams of the dress, adding the sash into the right one; I would finish the left shoulder of the sash and add closures later.
At this point, it could not be put off any longer: the sleeves.
This isn't the first time I have made something with sleeves for this Judy, but it is the first set in sleeve.
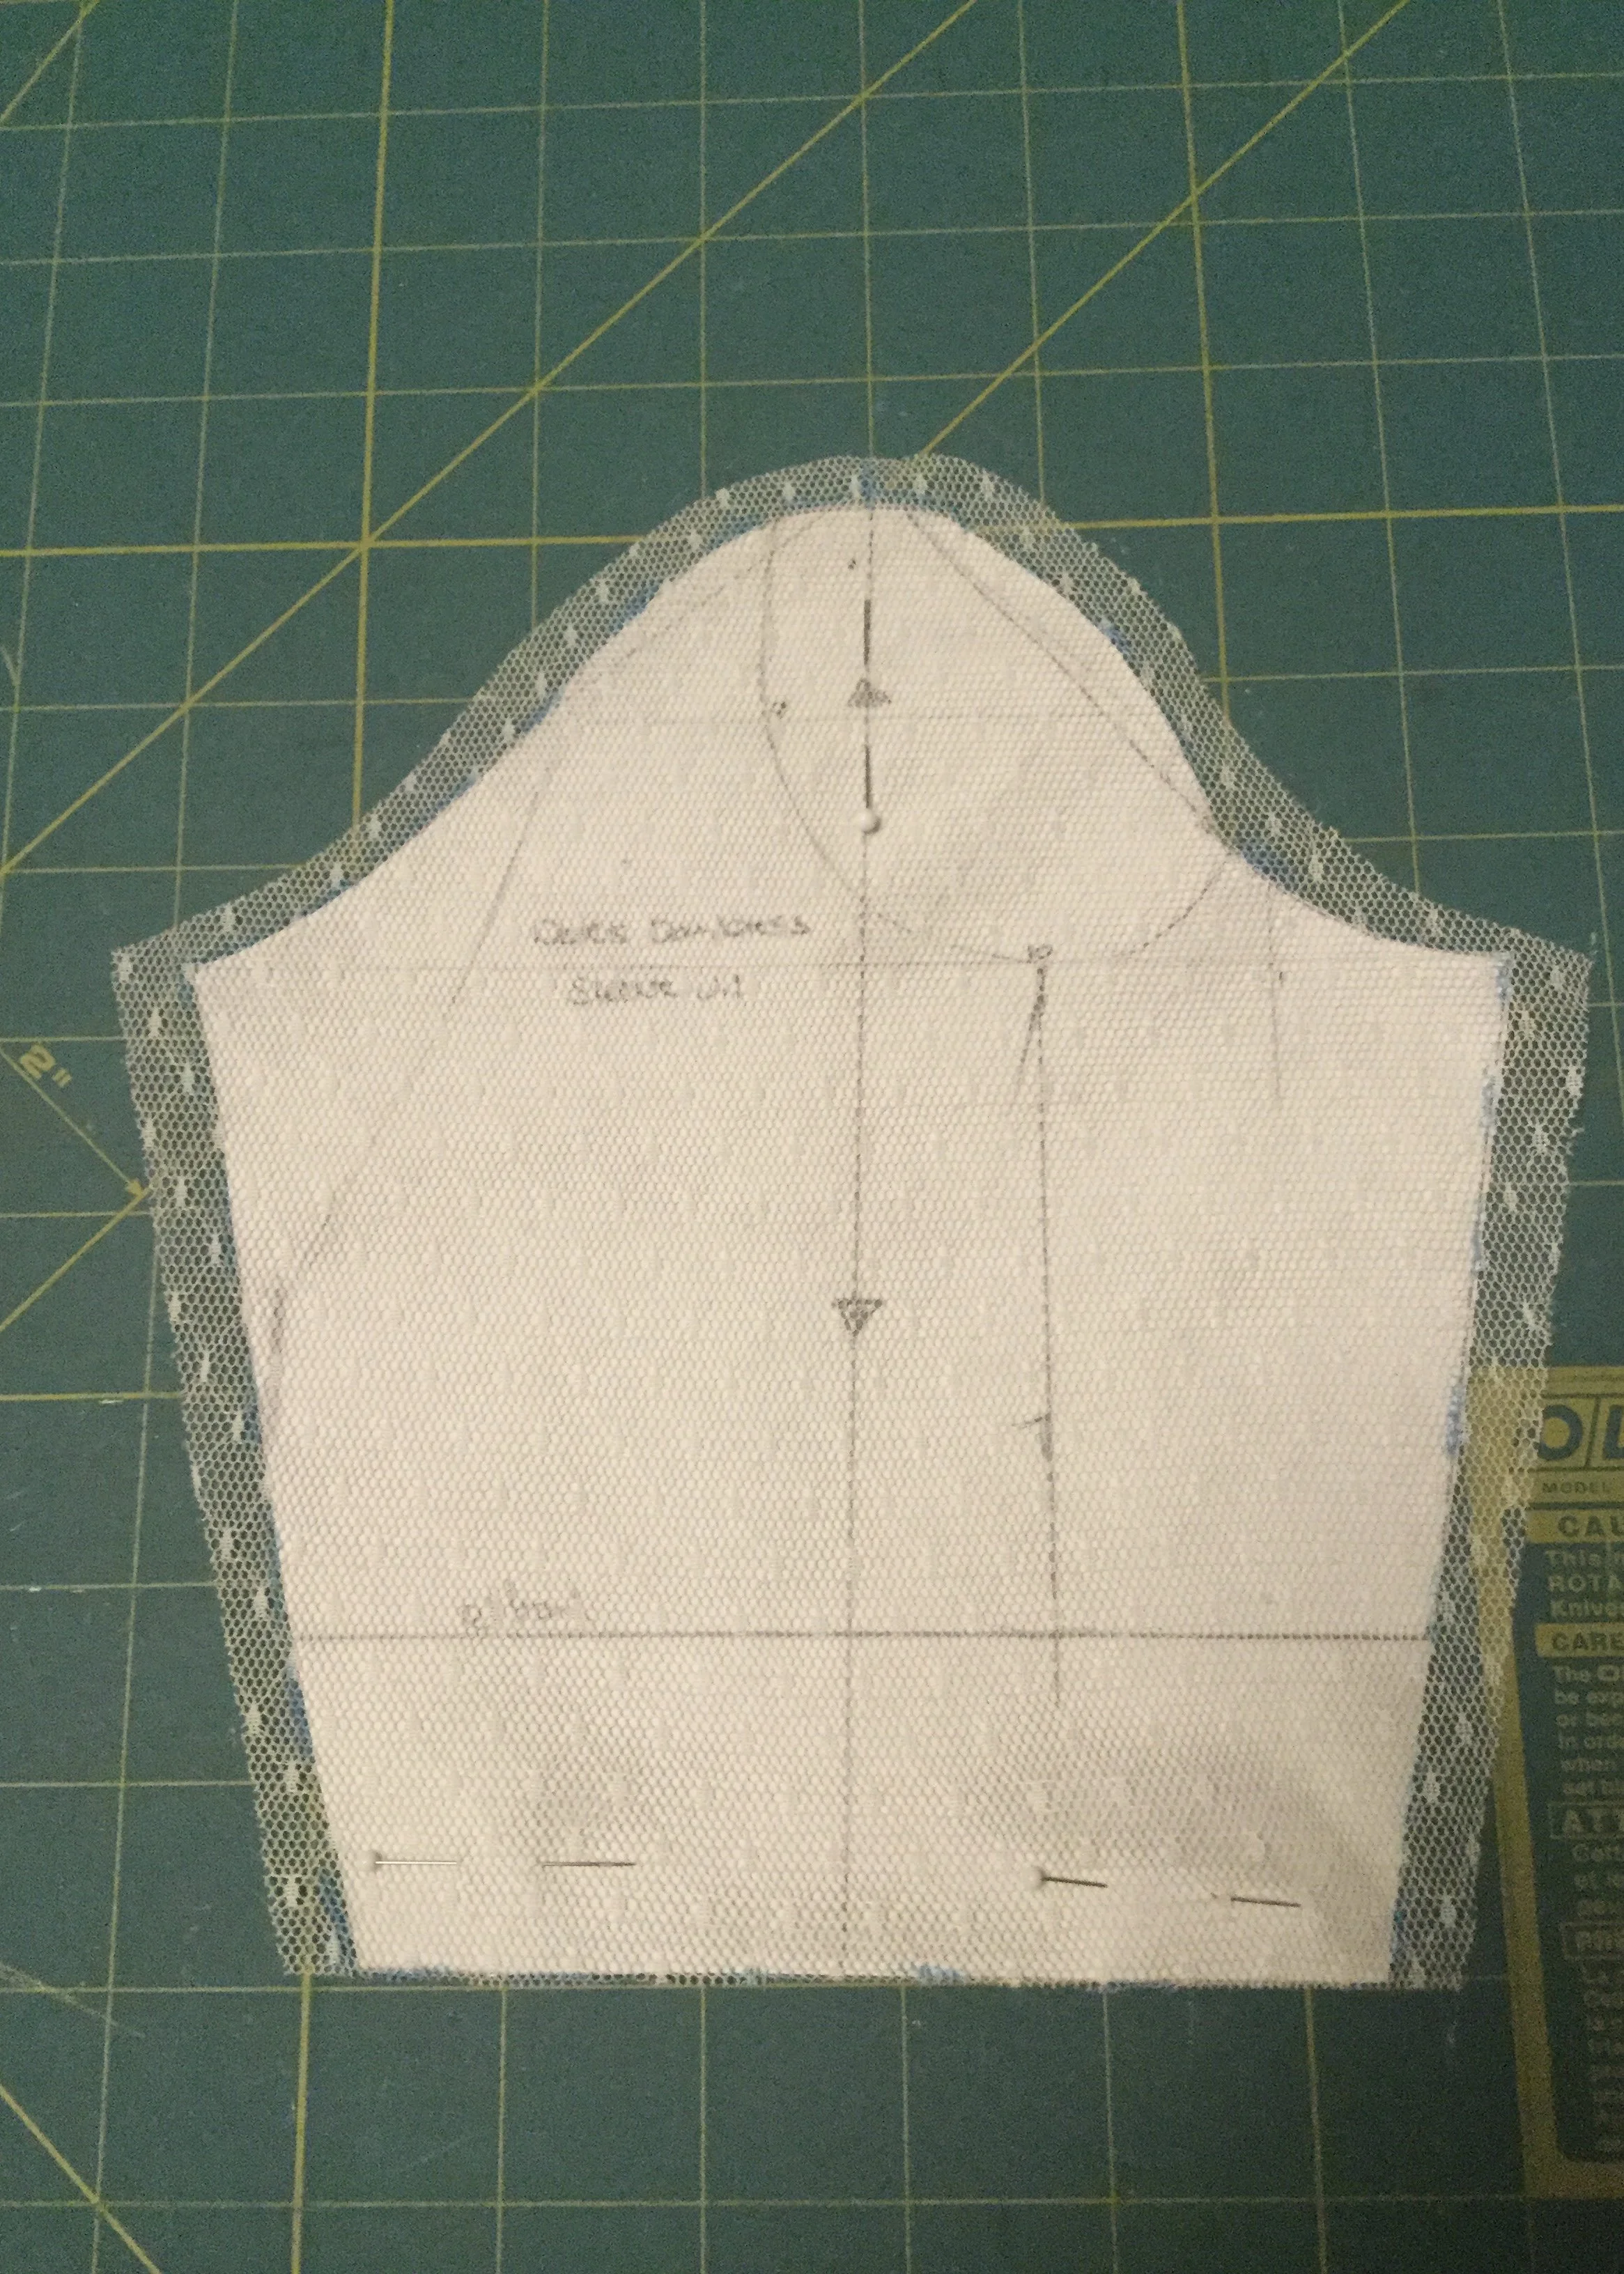
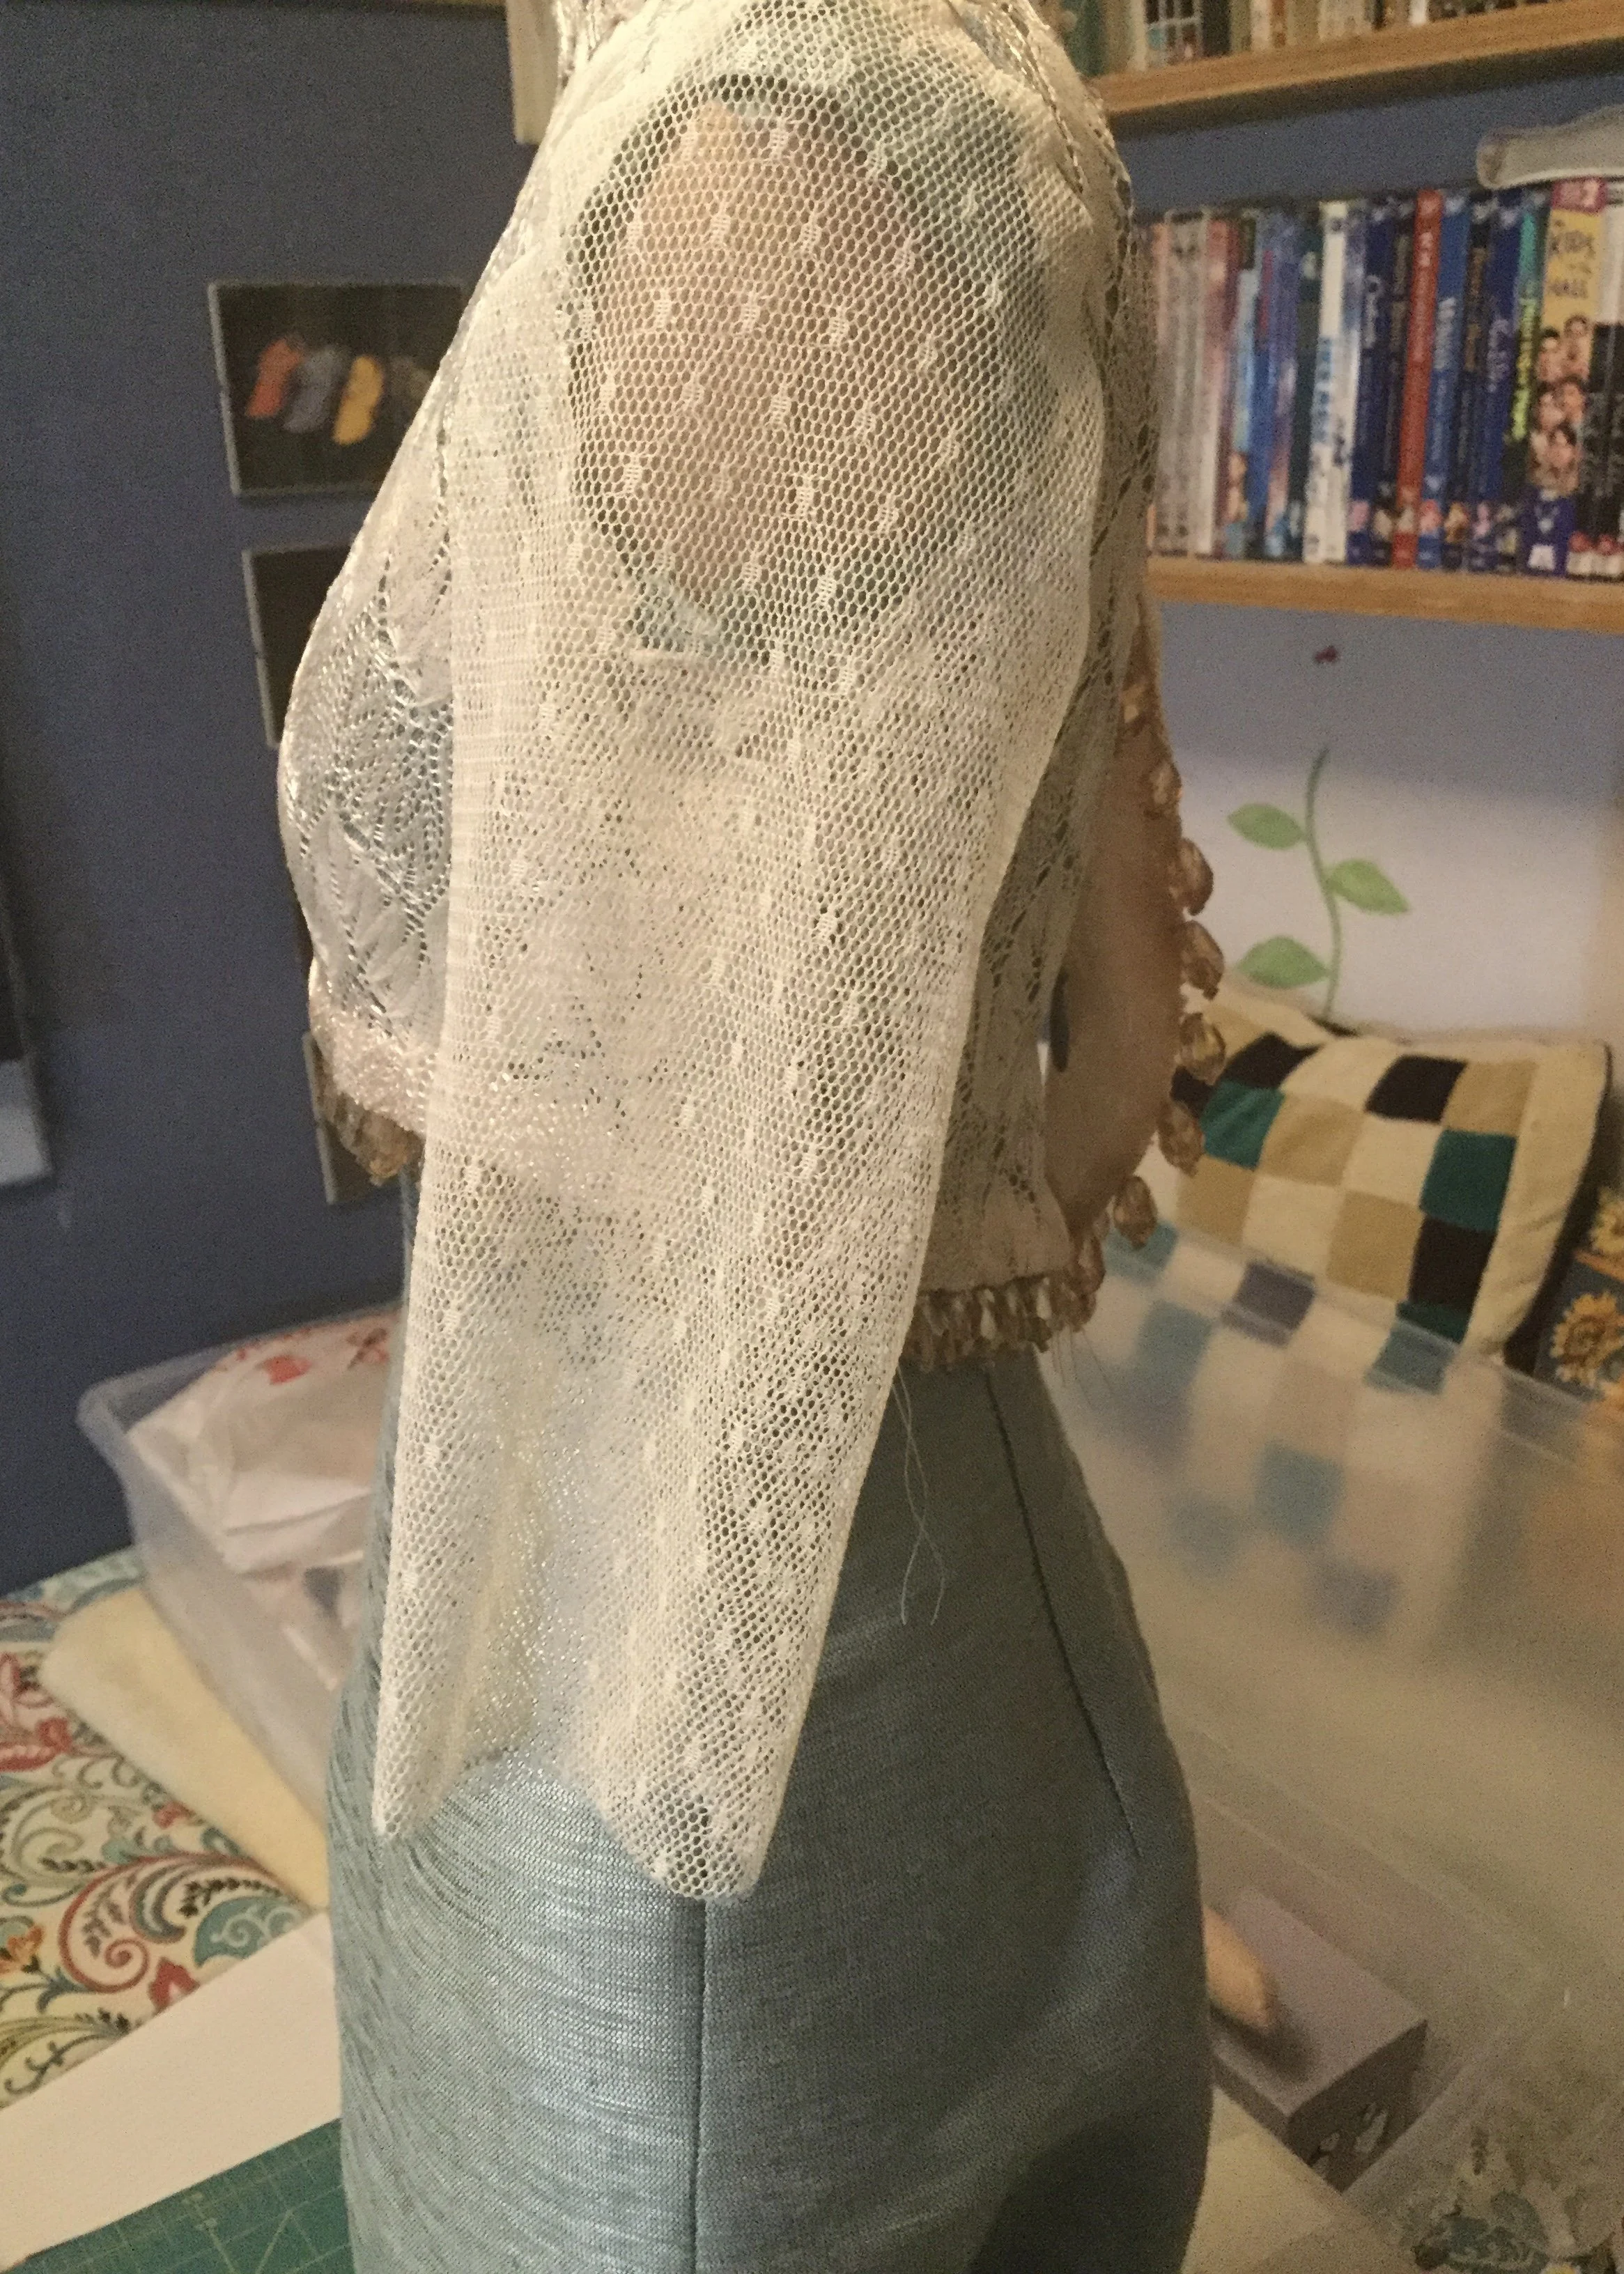
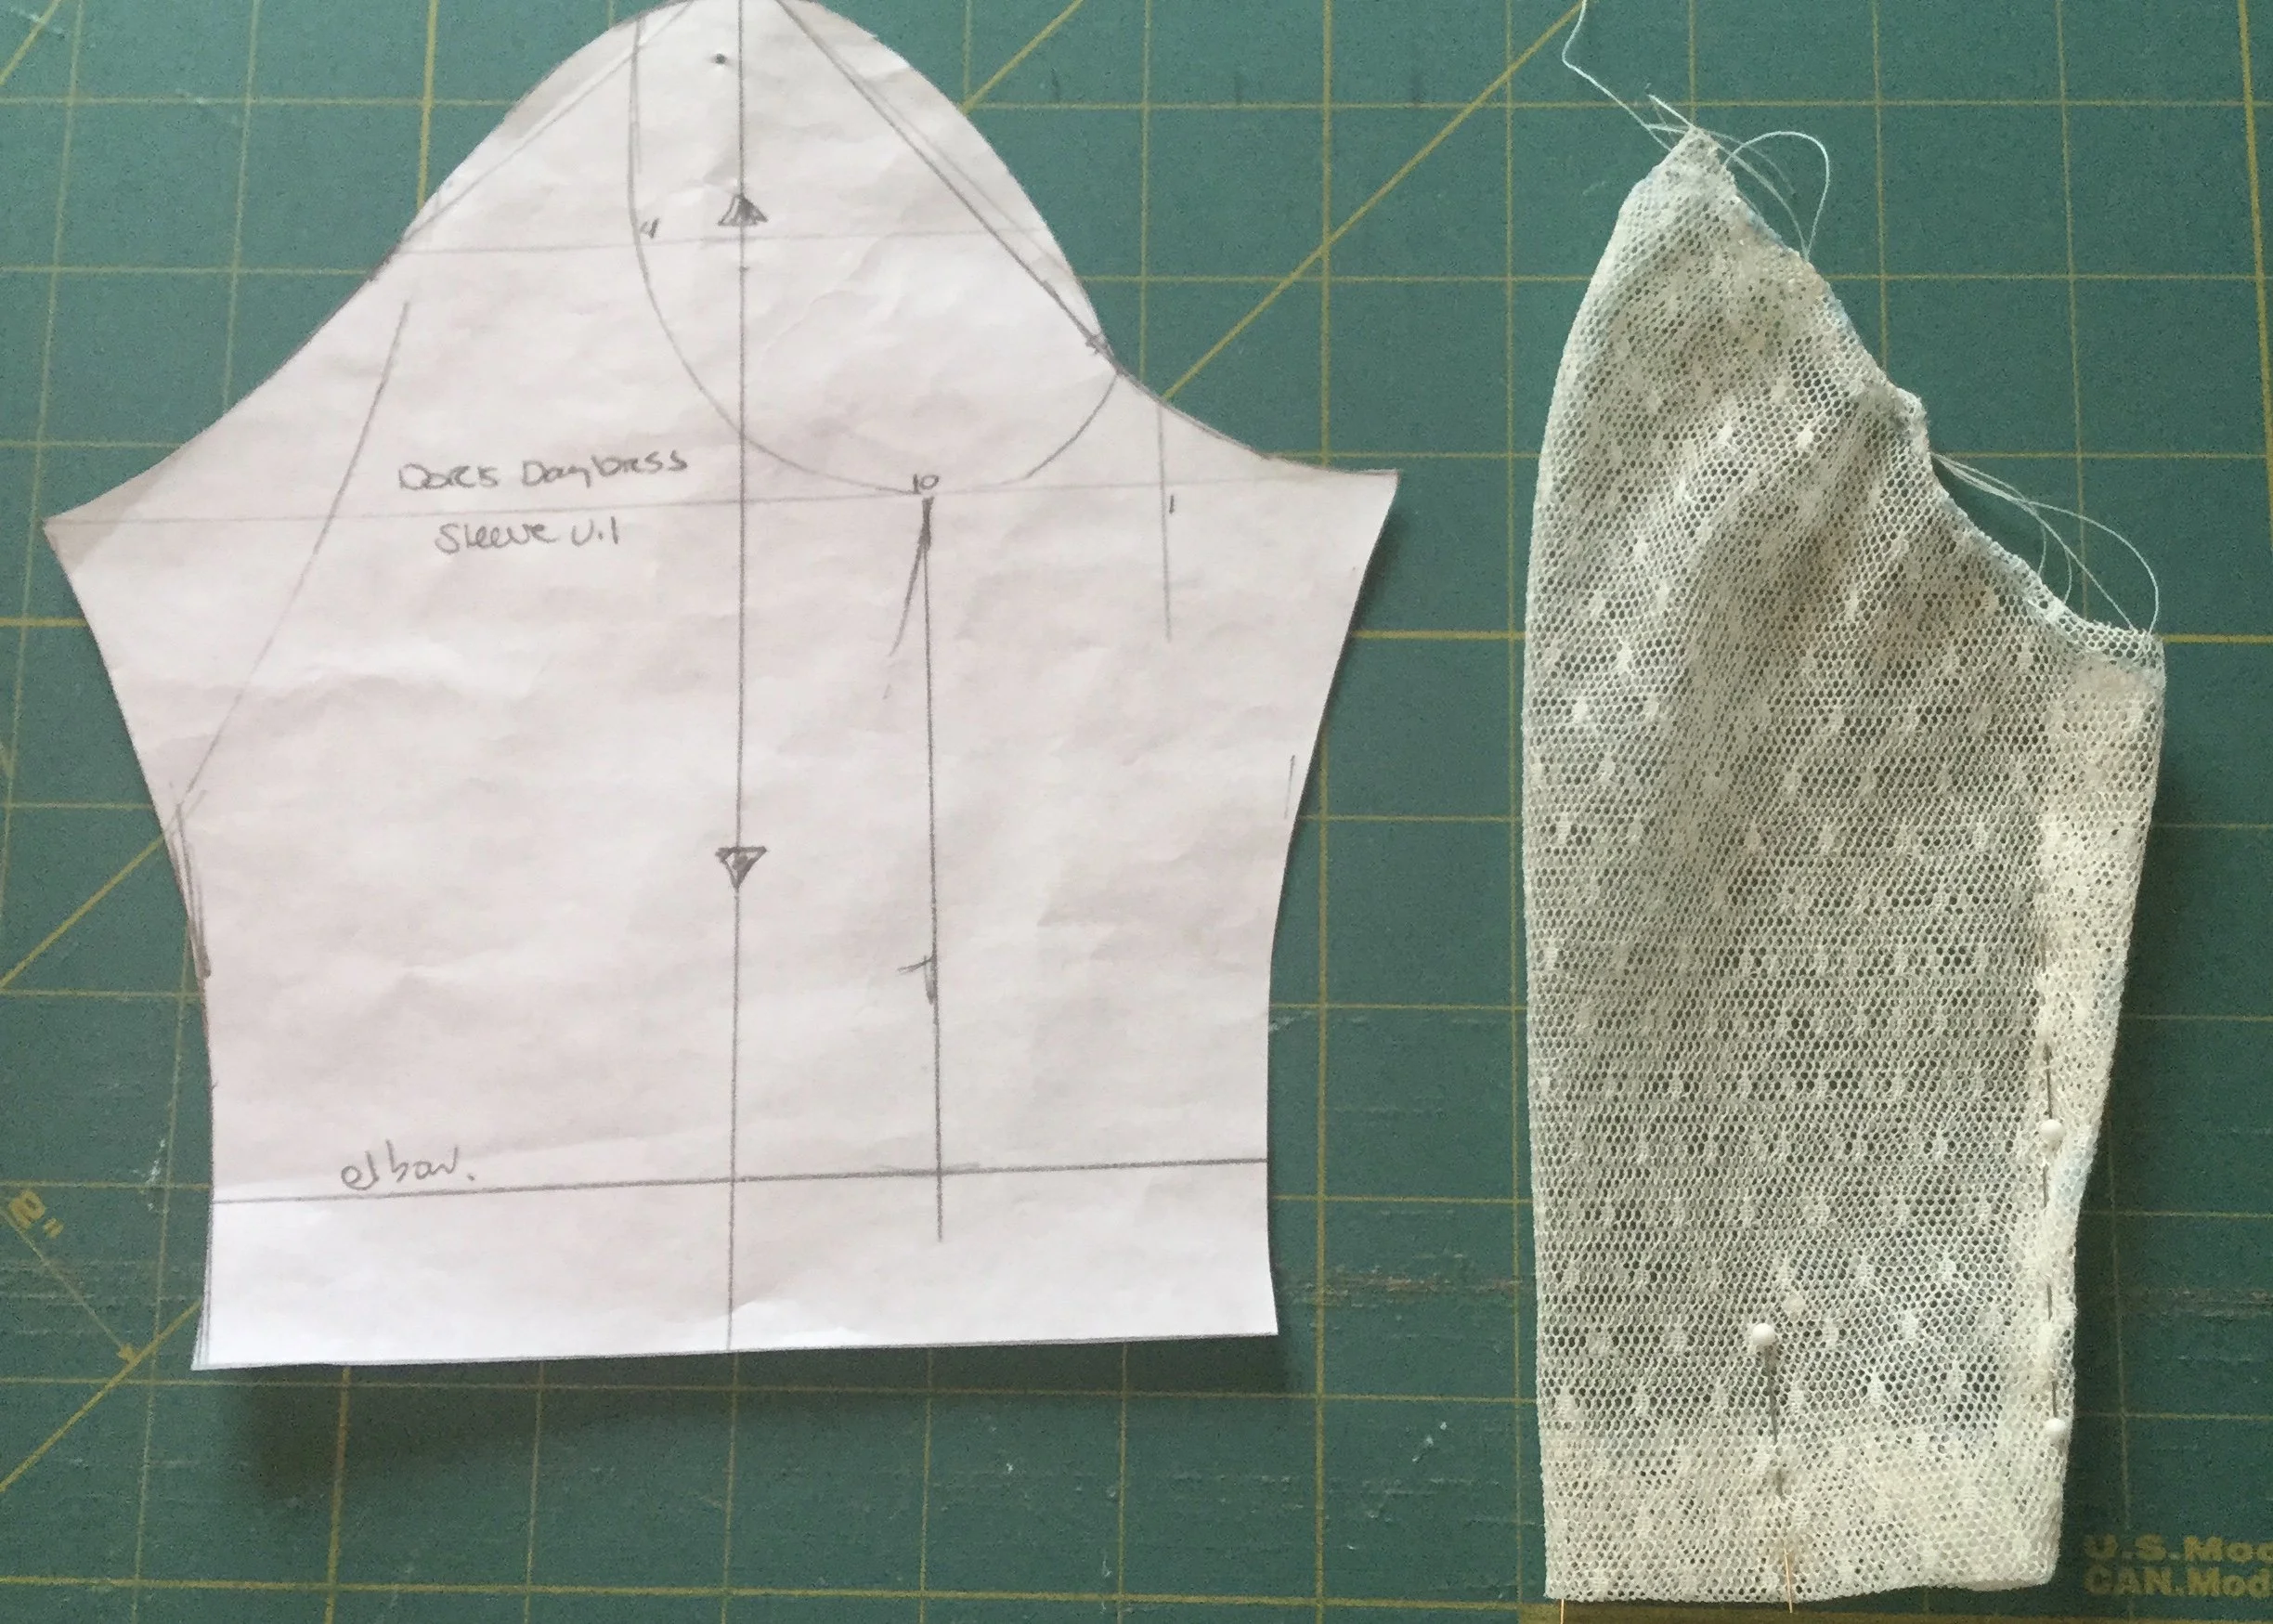
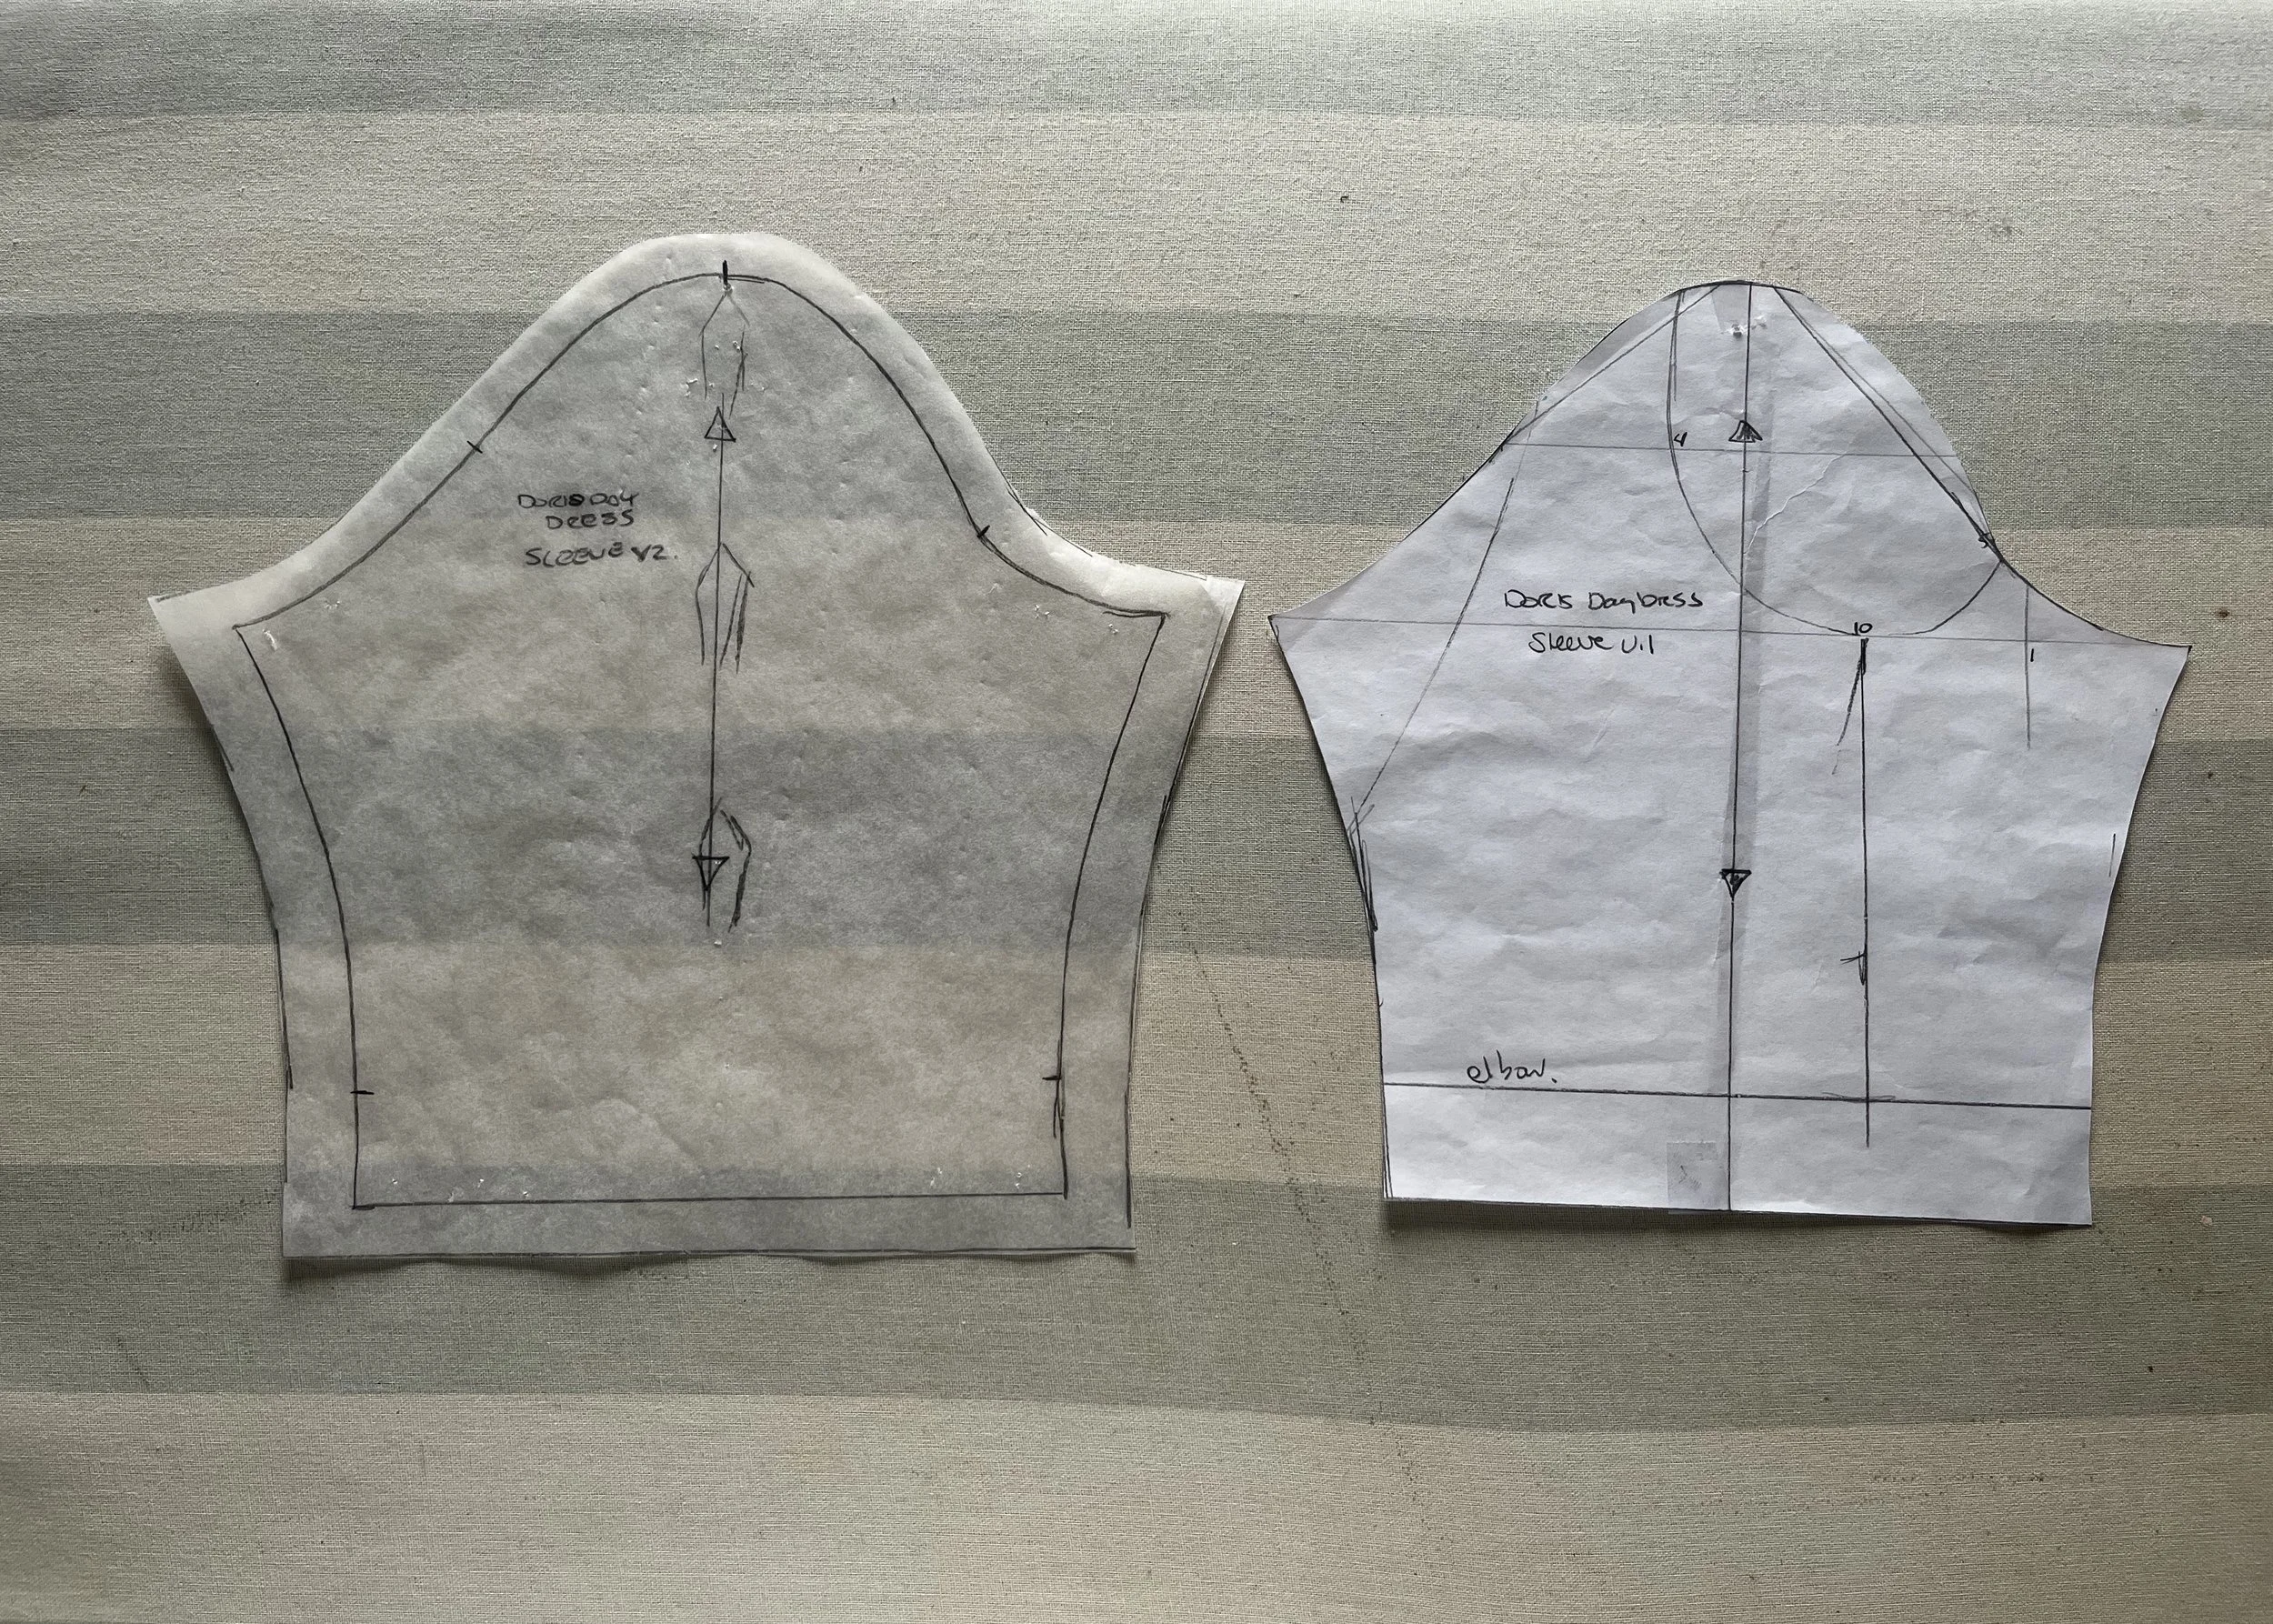
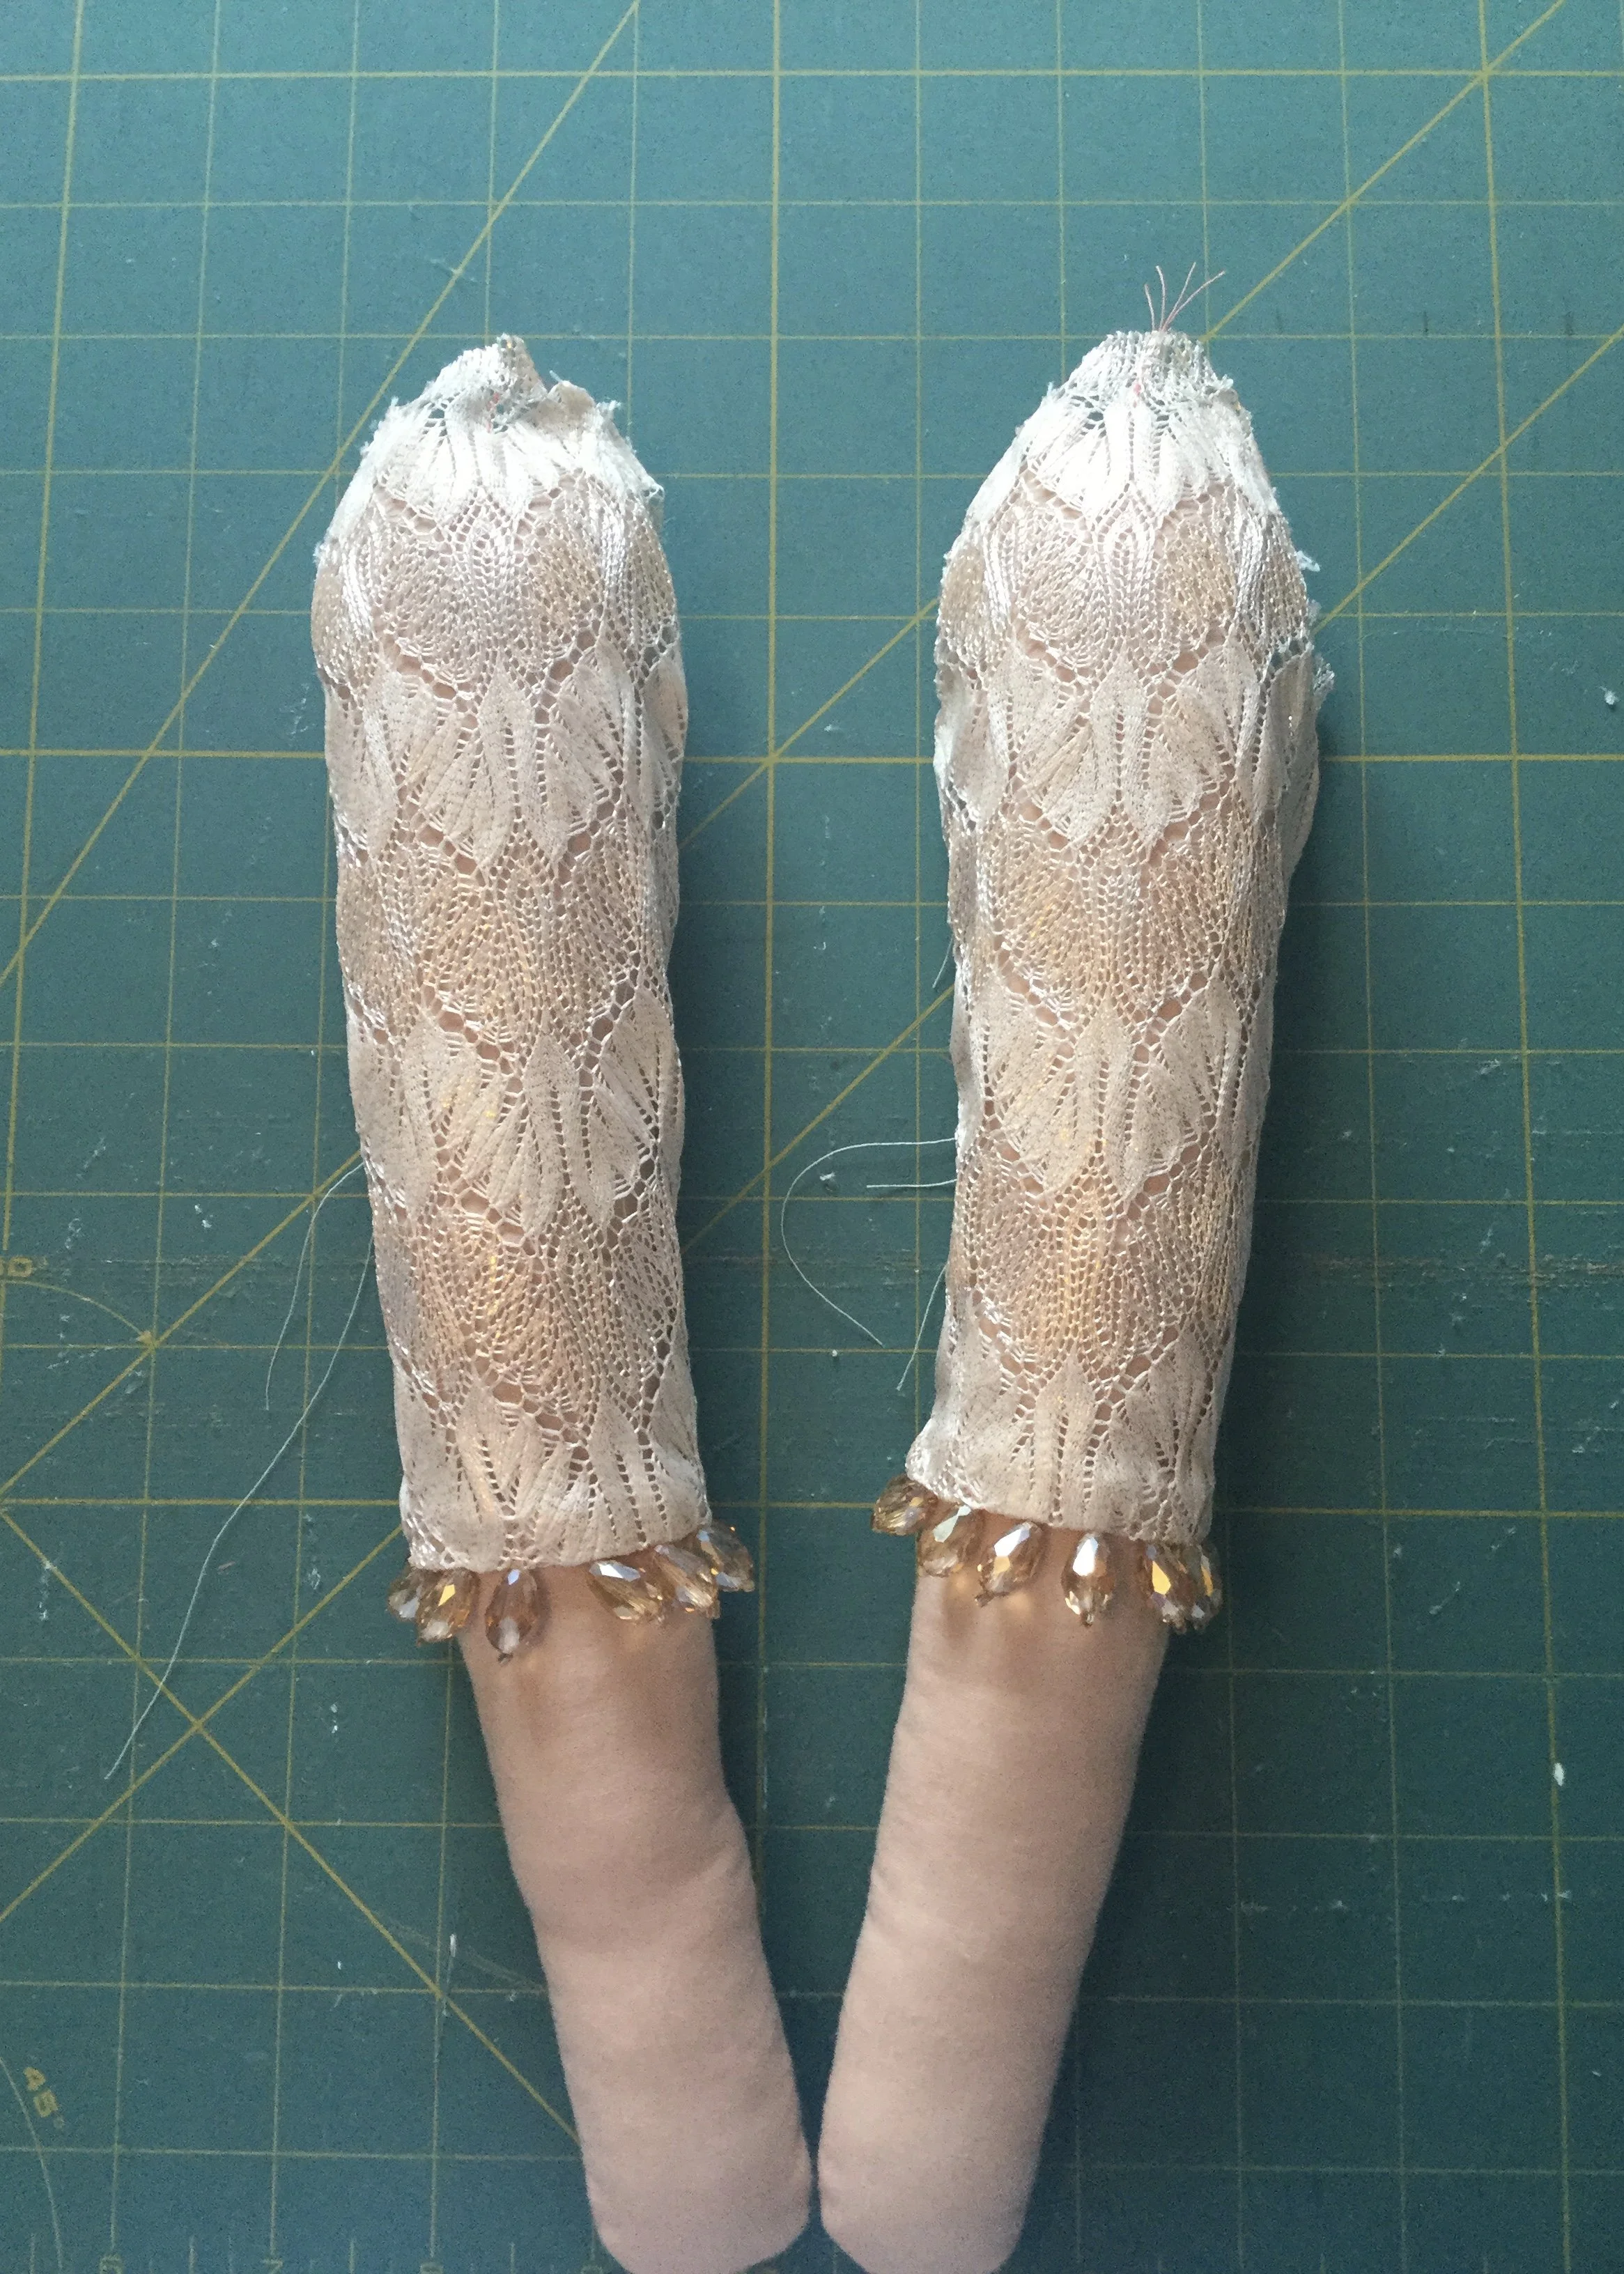
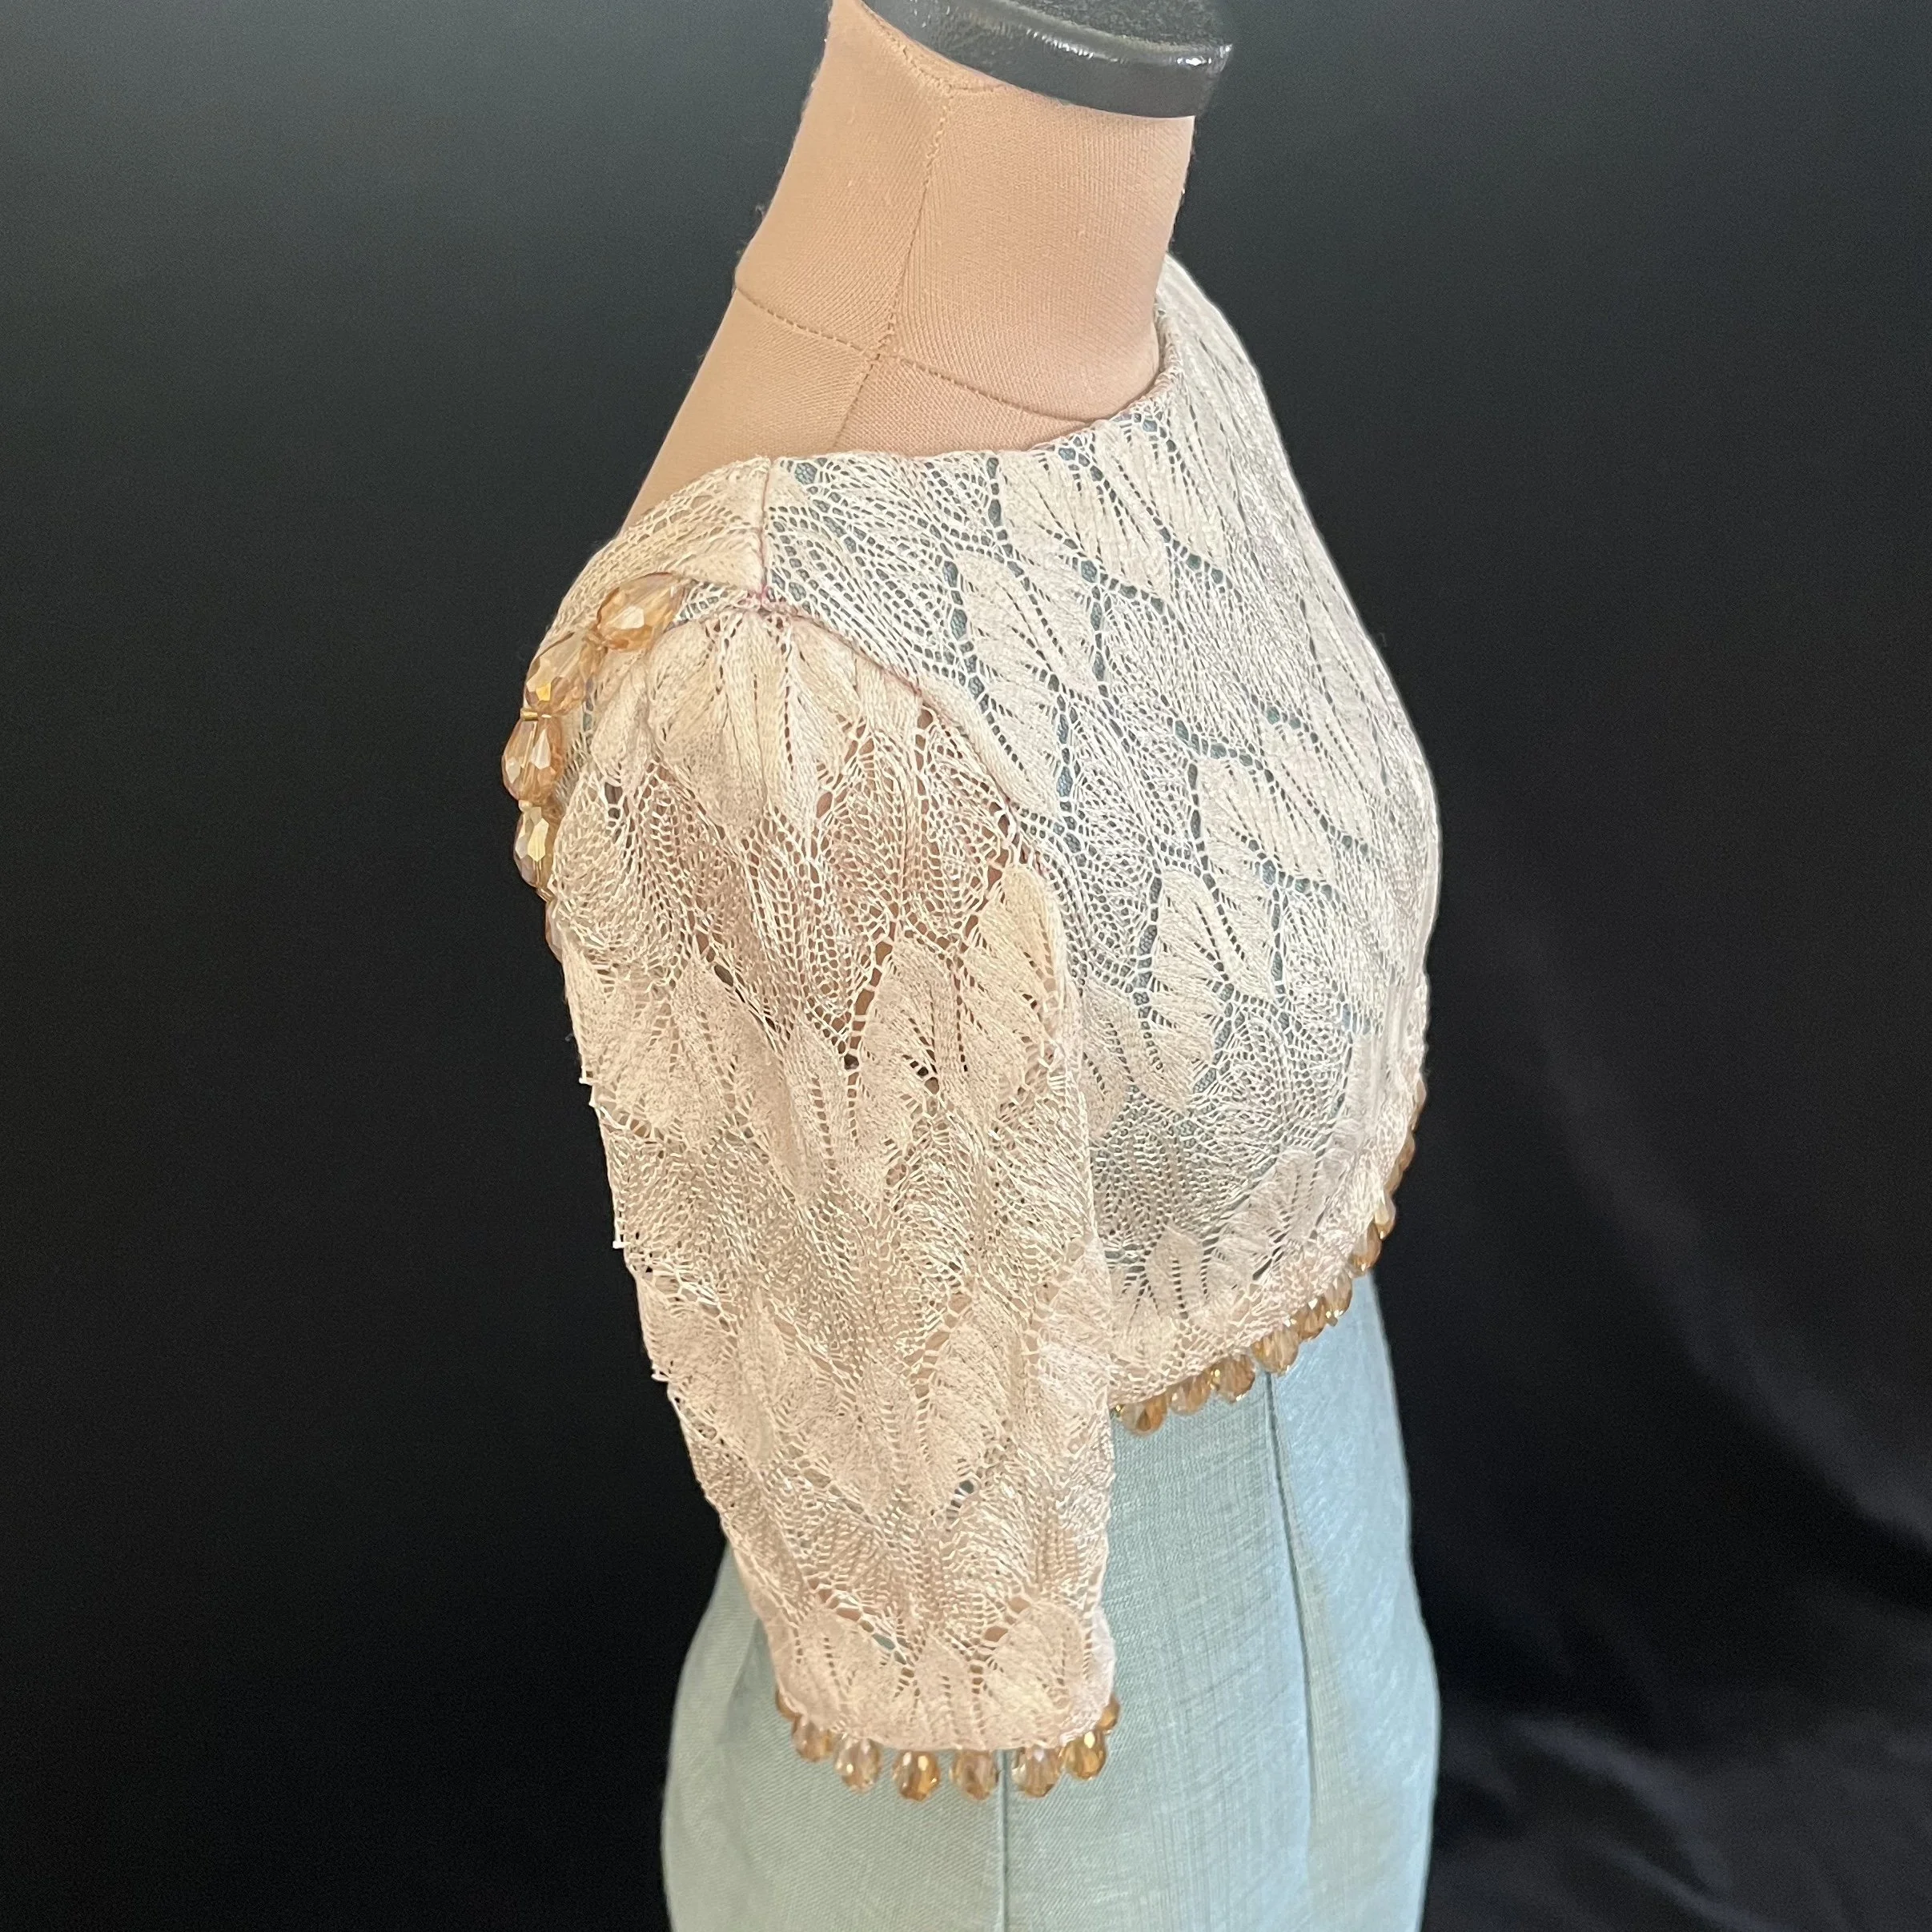
Ultimately, they really didn't give me much attitude. The draft ended up working well and other than shortening it and taking it in a little along the seam, it fit quite well. I tried fitting it over the little arms I had made for Cordelia, but it proved a bit more awkward than helpful.
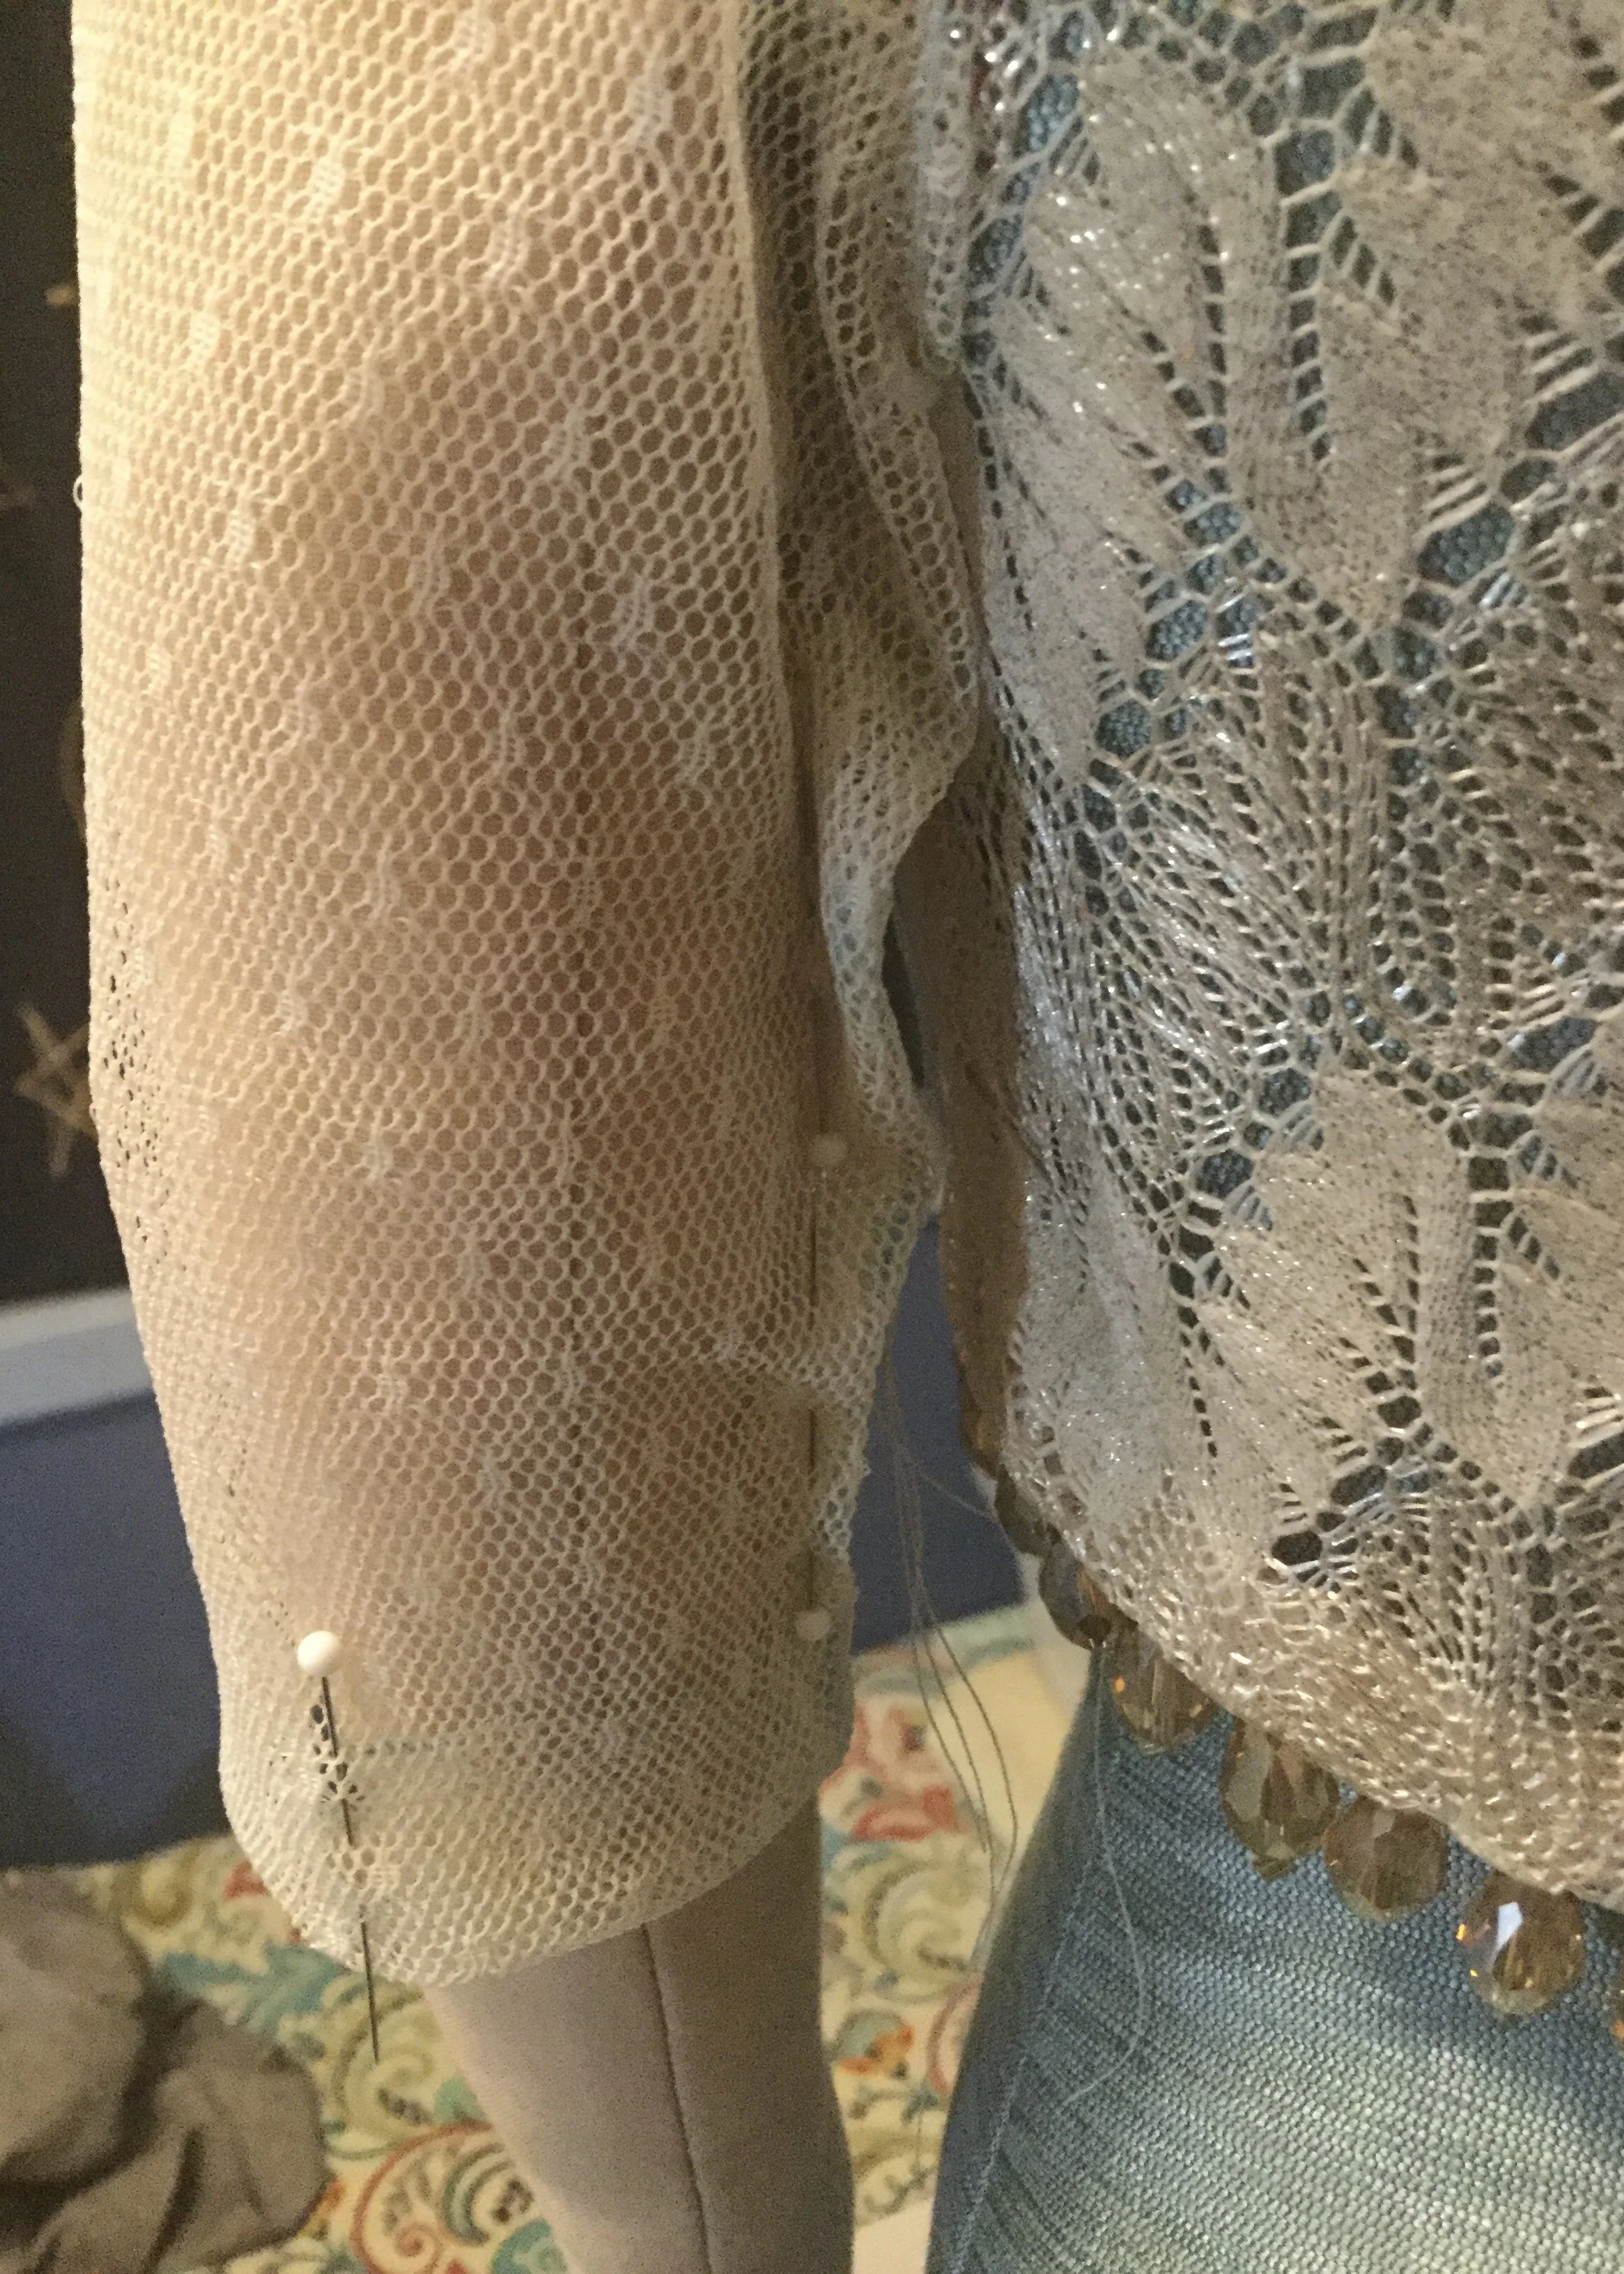
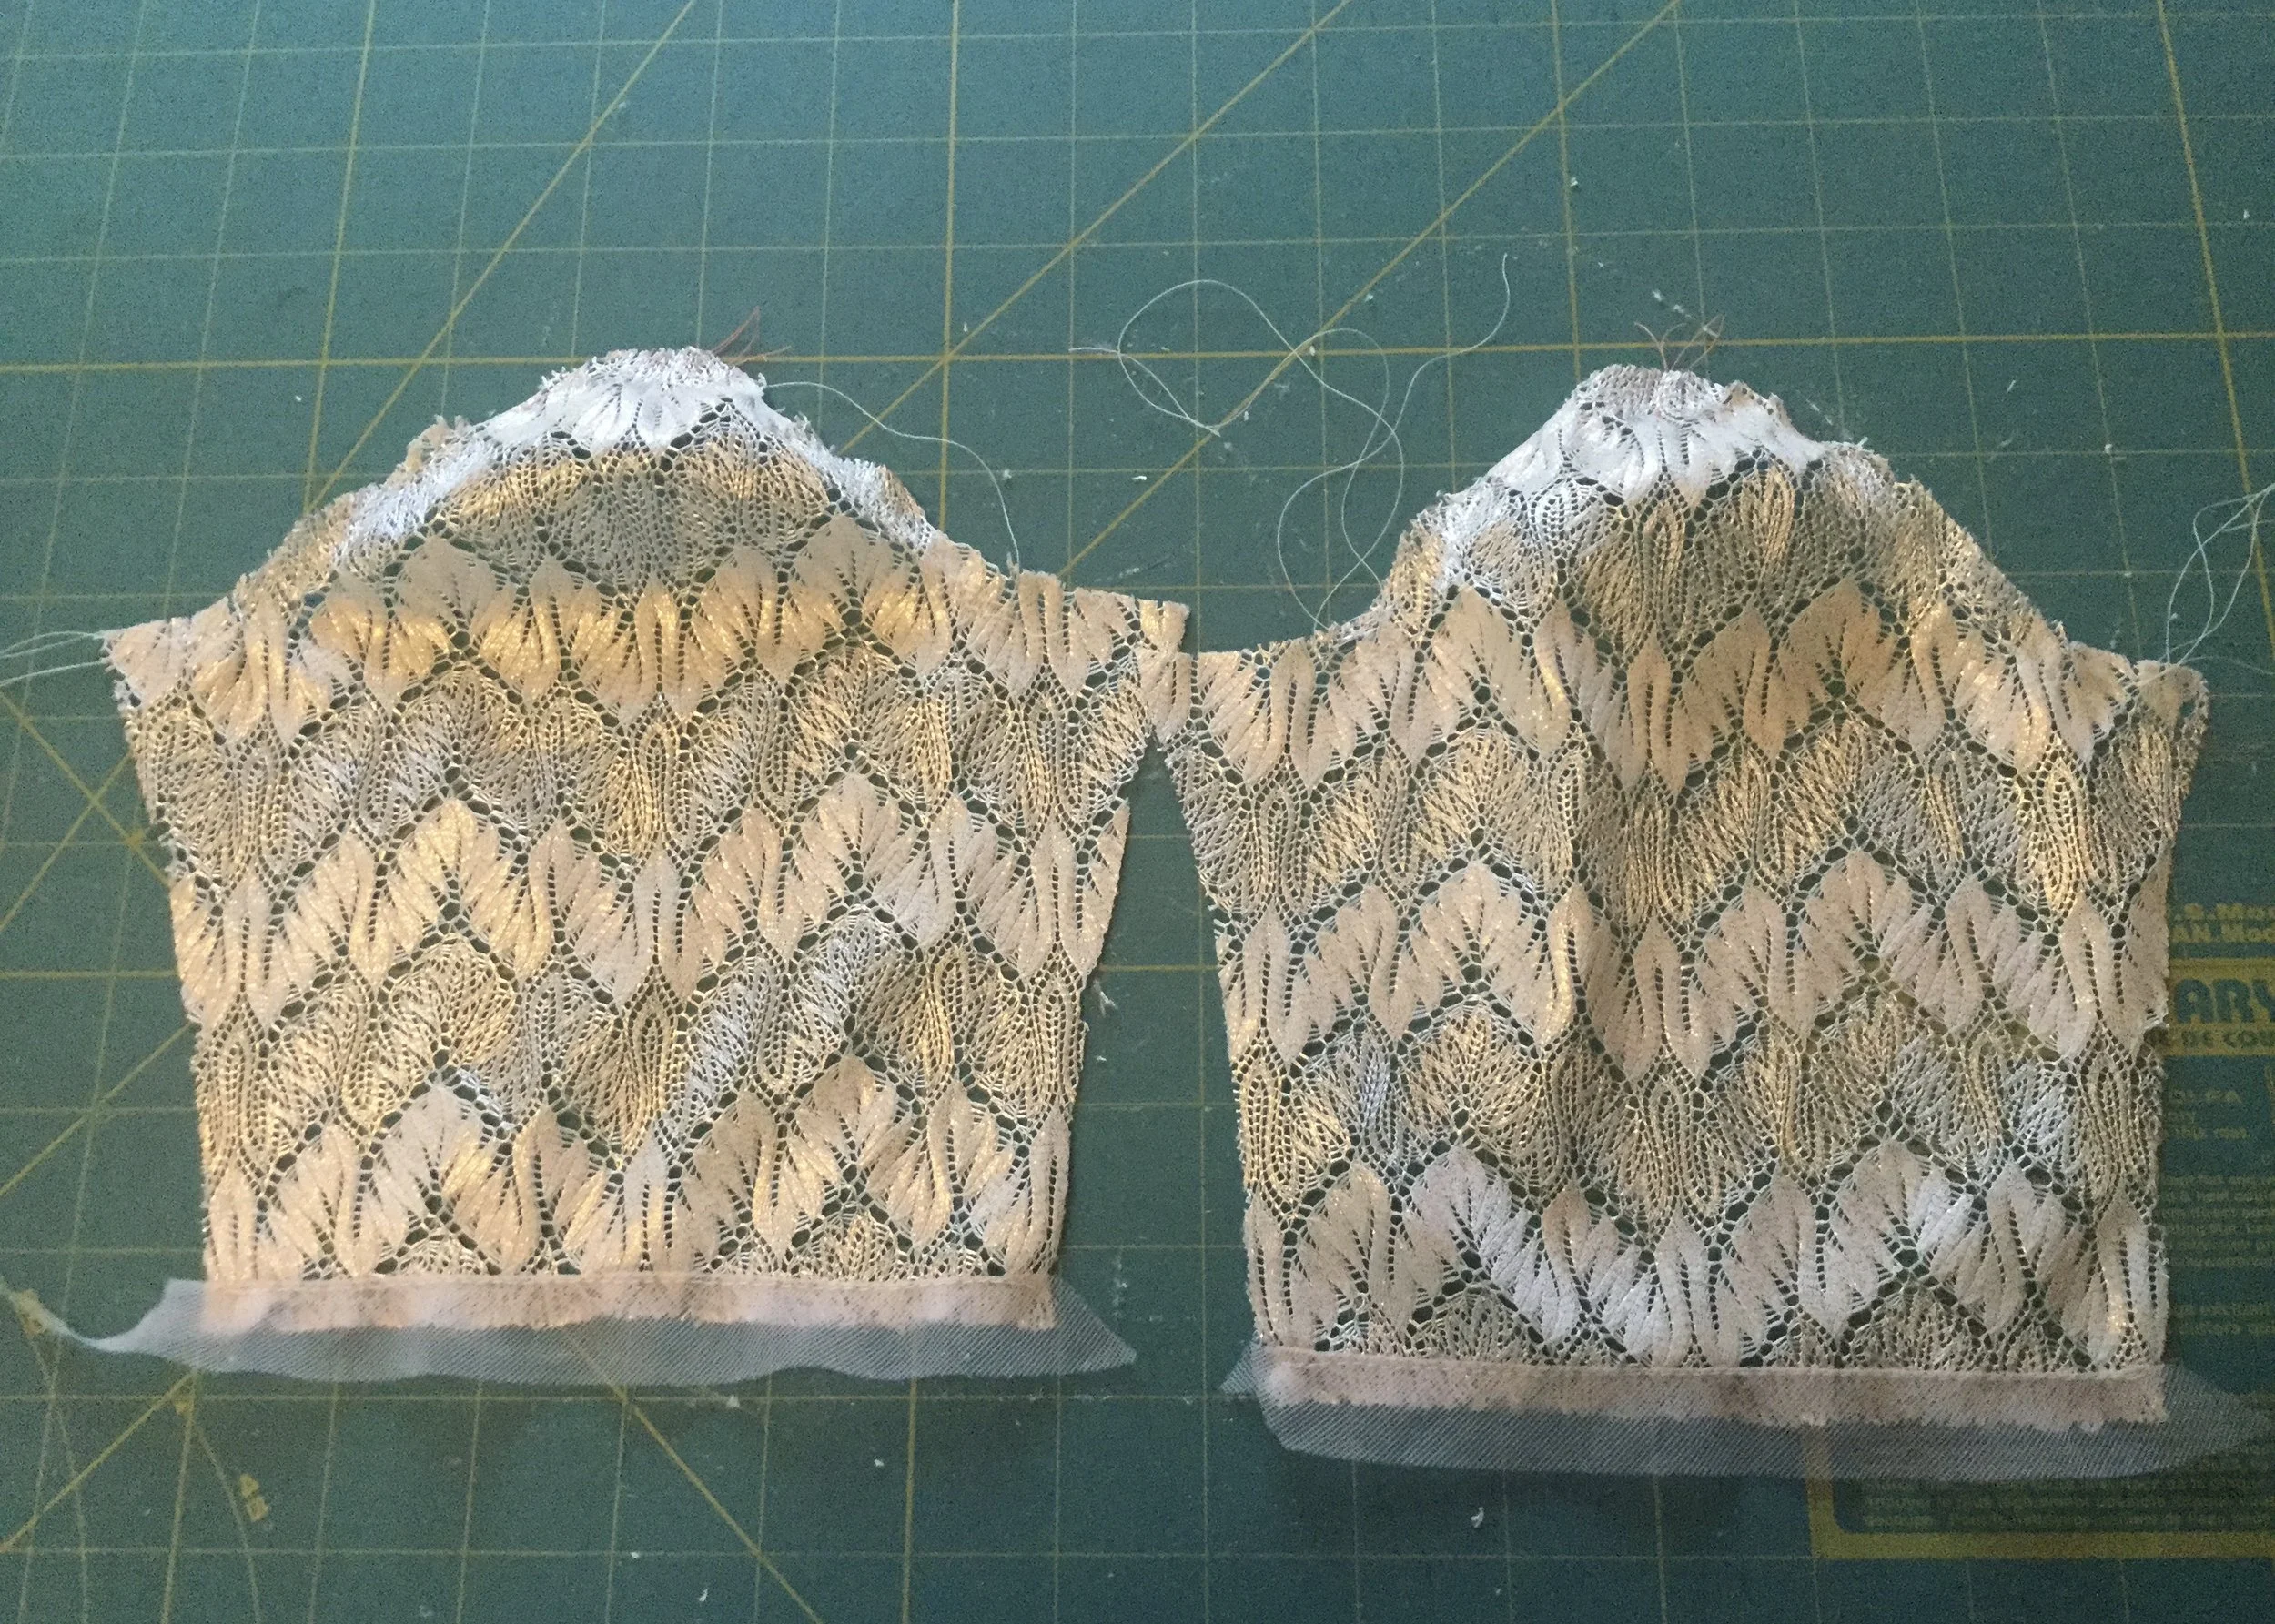
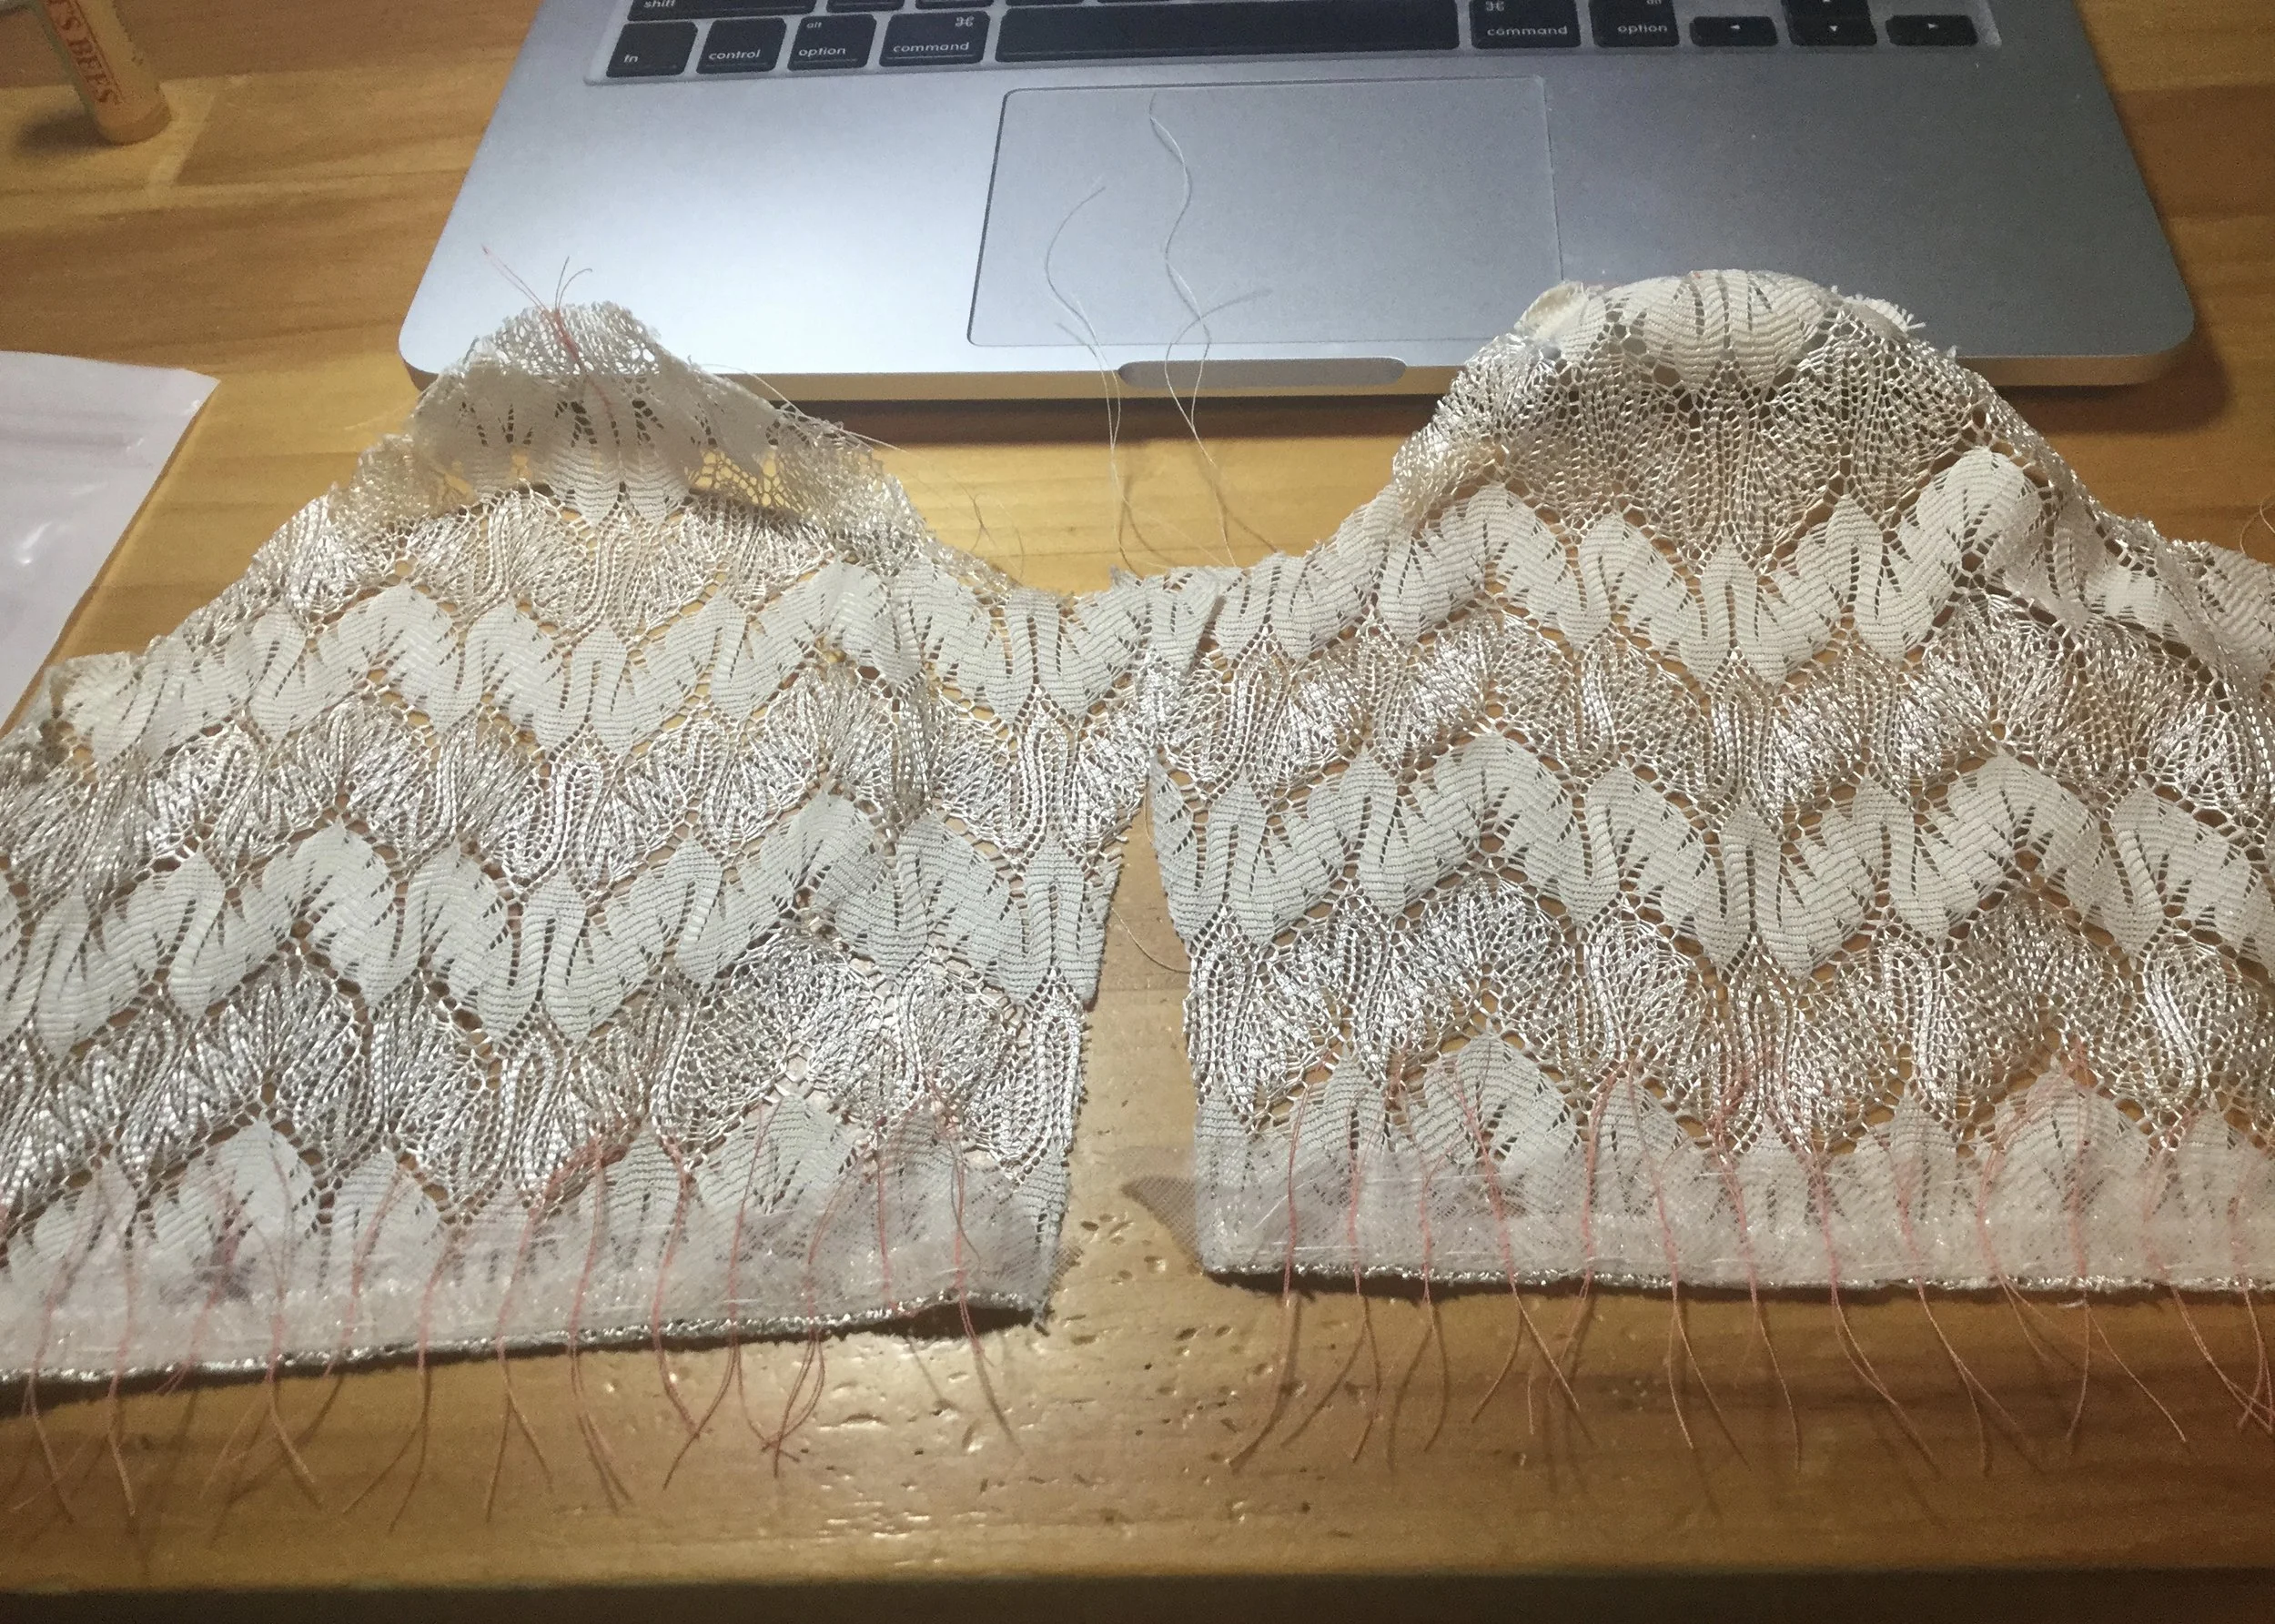
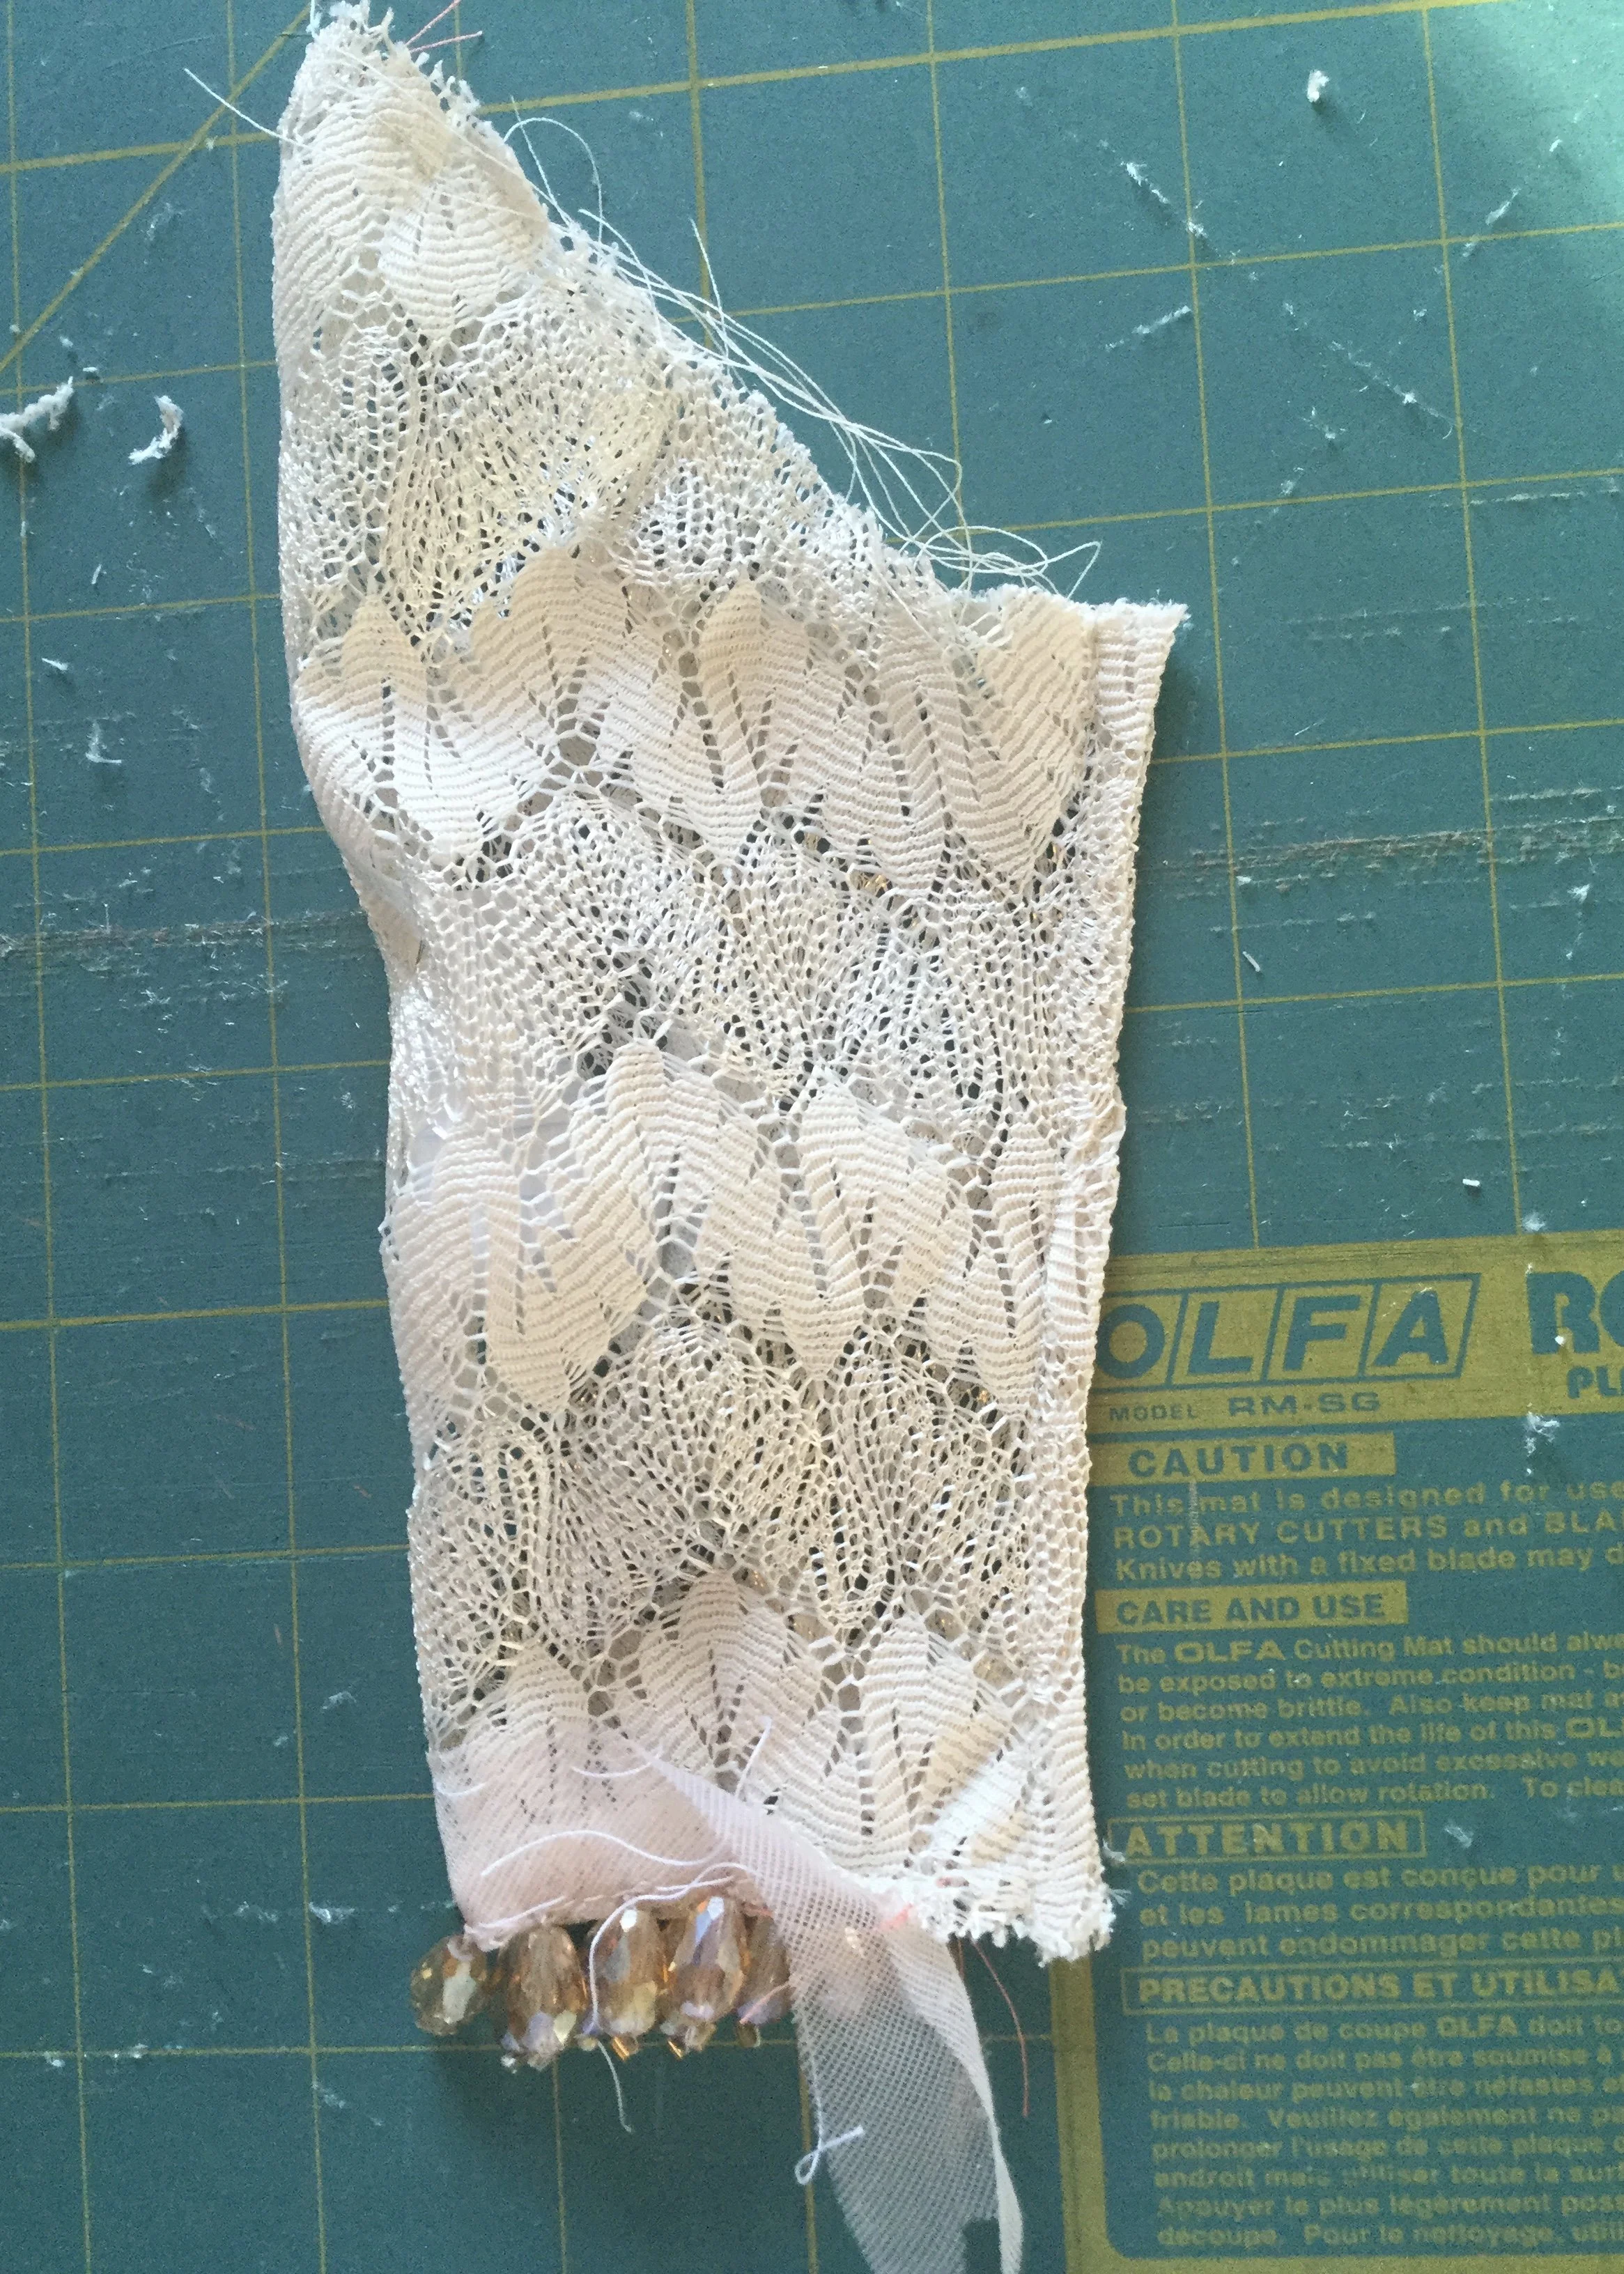
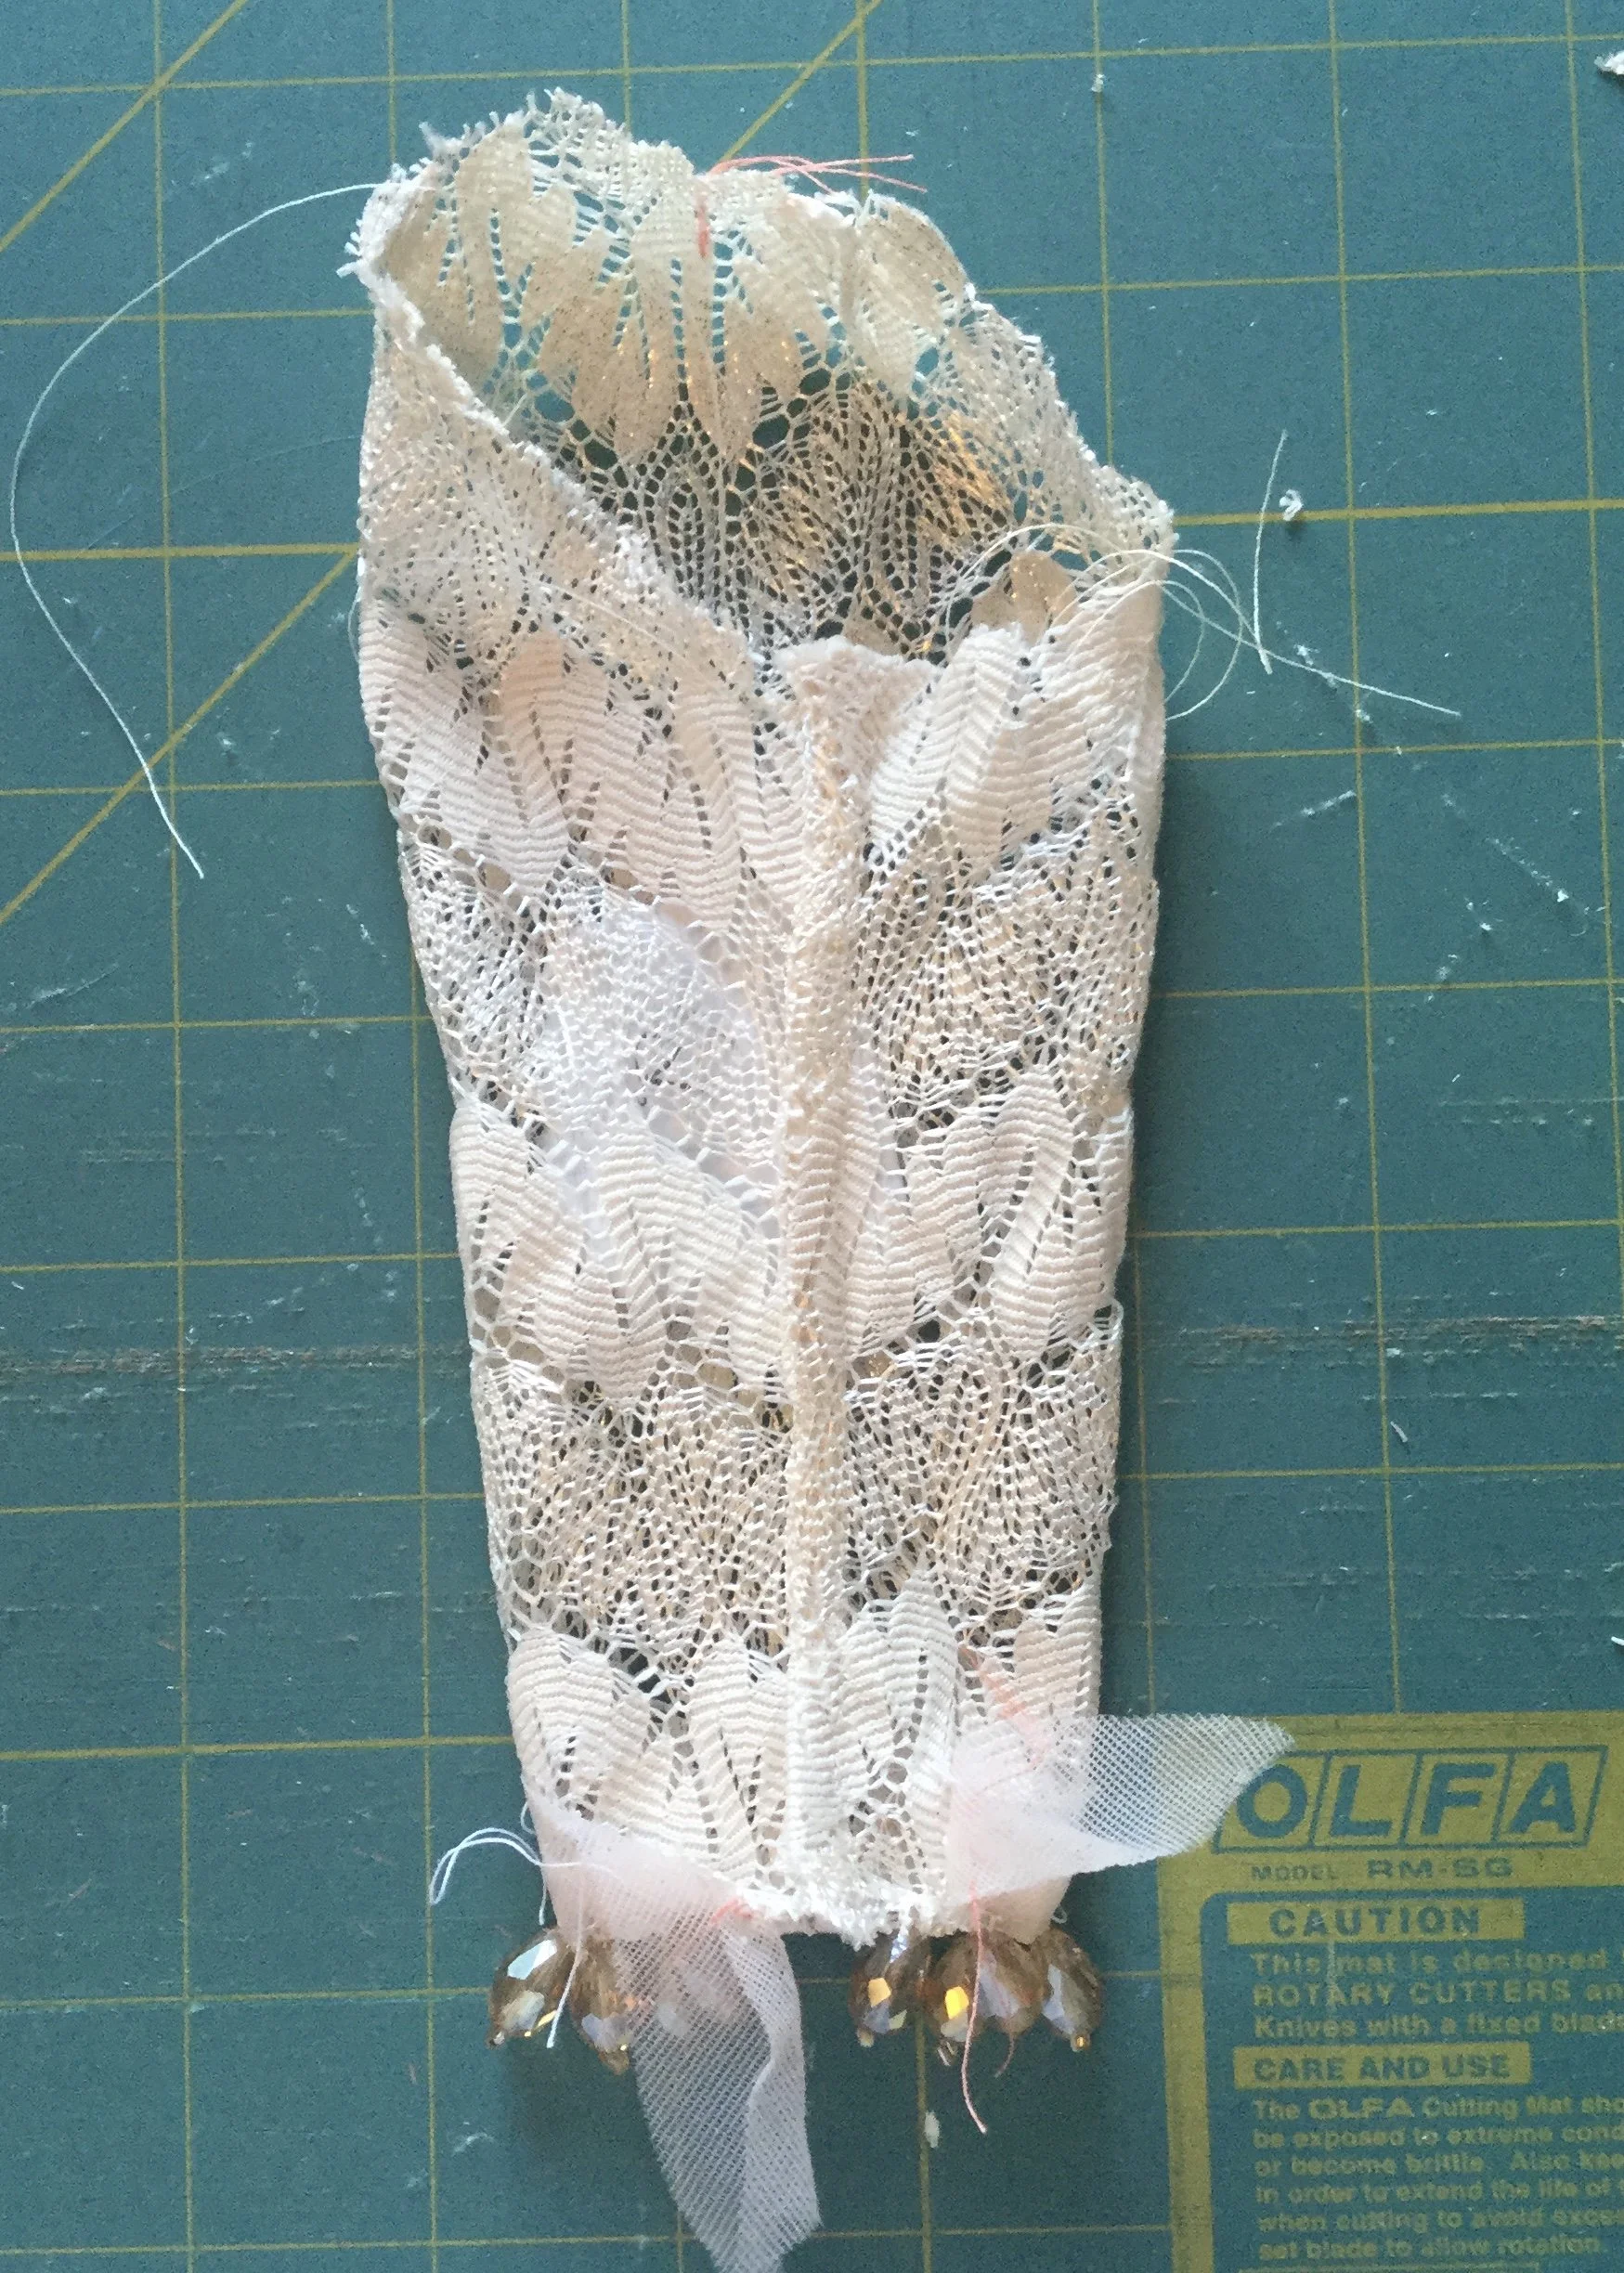
After cutting the sleeves, I ran an ease stitch over the sleeve cap and applied the facing to the hems (then unpicked a bit of it at each end so I could stitch the seam and finish the hem more neatly, 'cuz I'm good at thinking ahead like that). Before closing the seam, I applied most of the beads, leaving a few off at each end to leave room to stitch the seam.
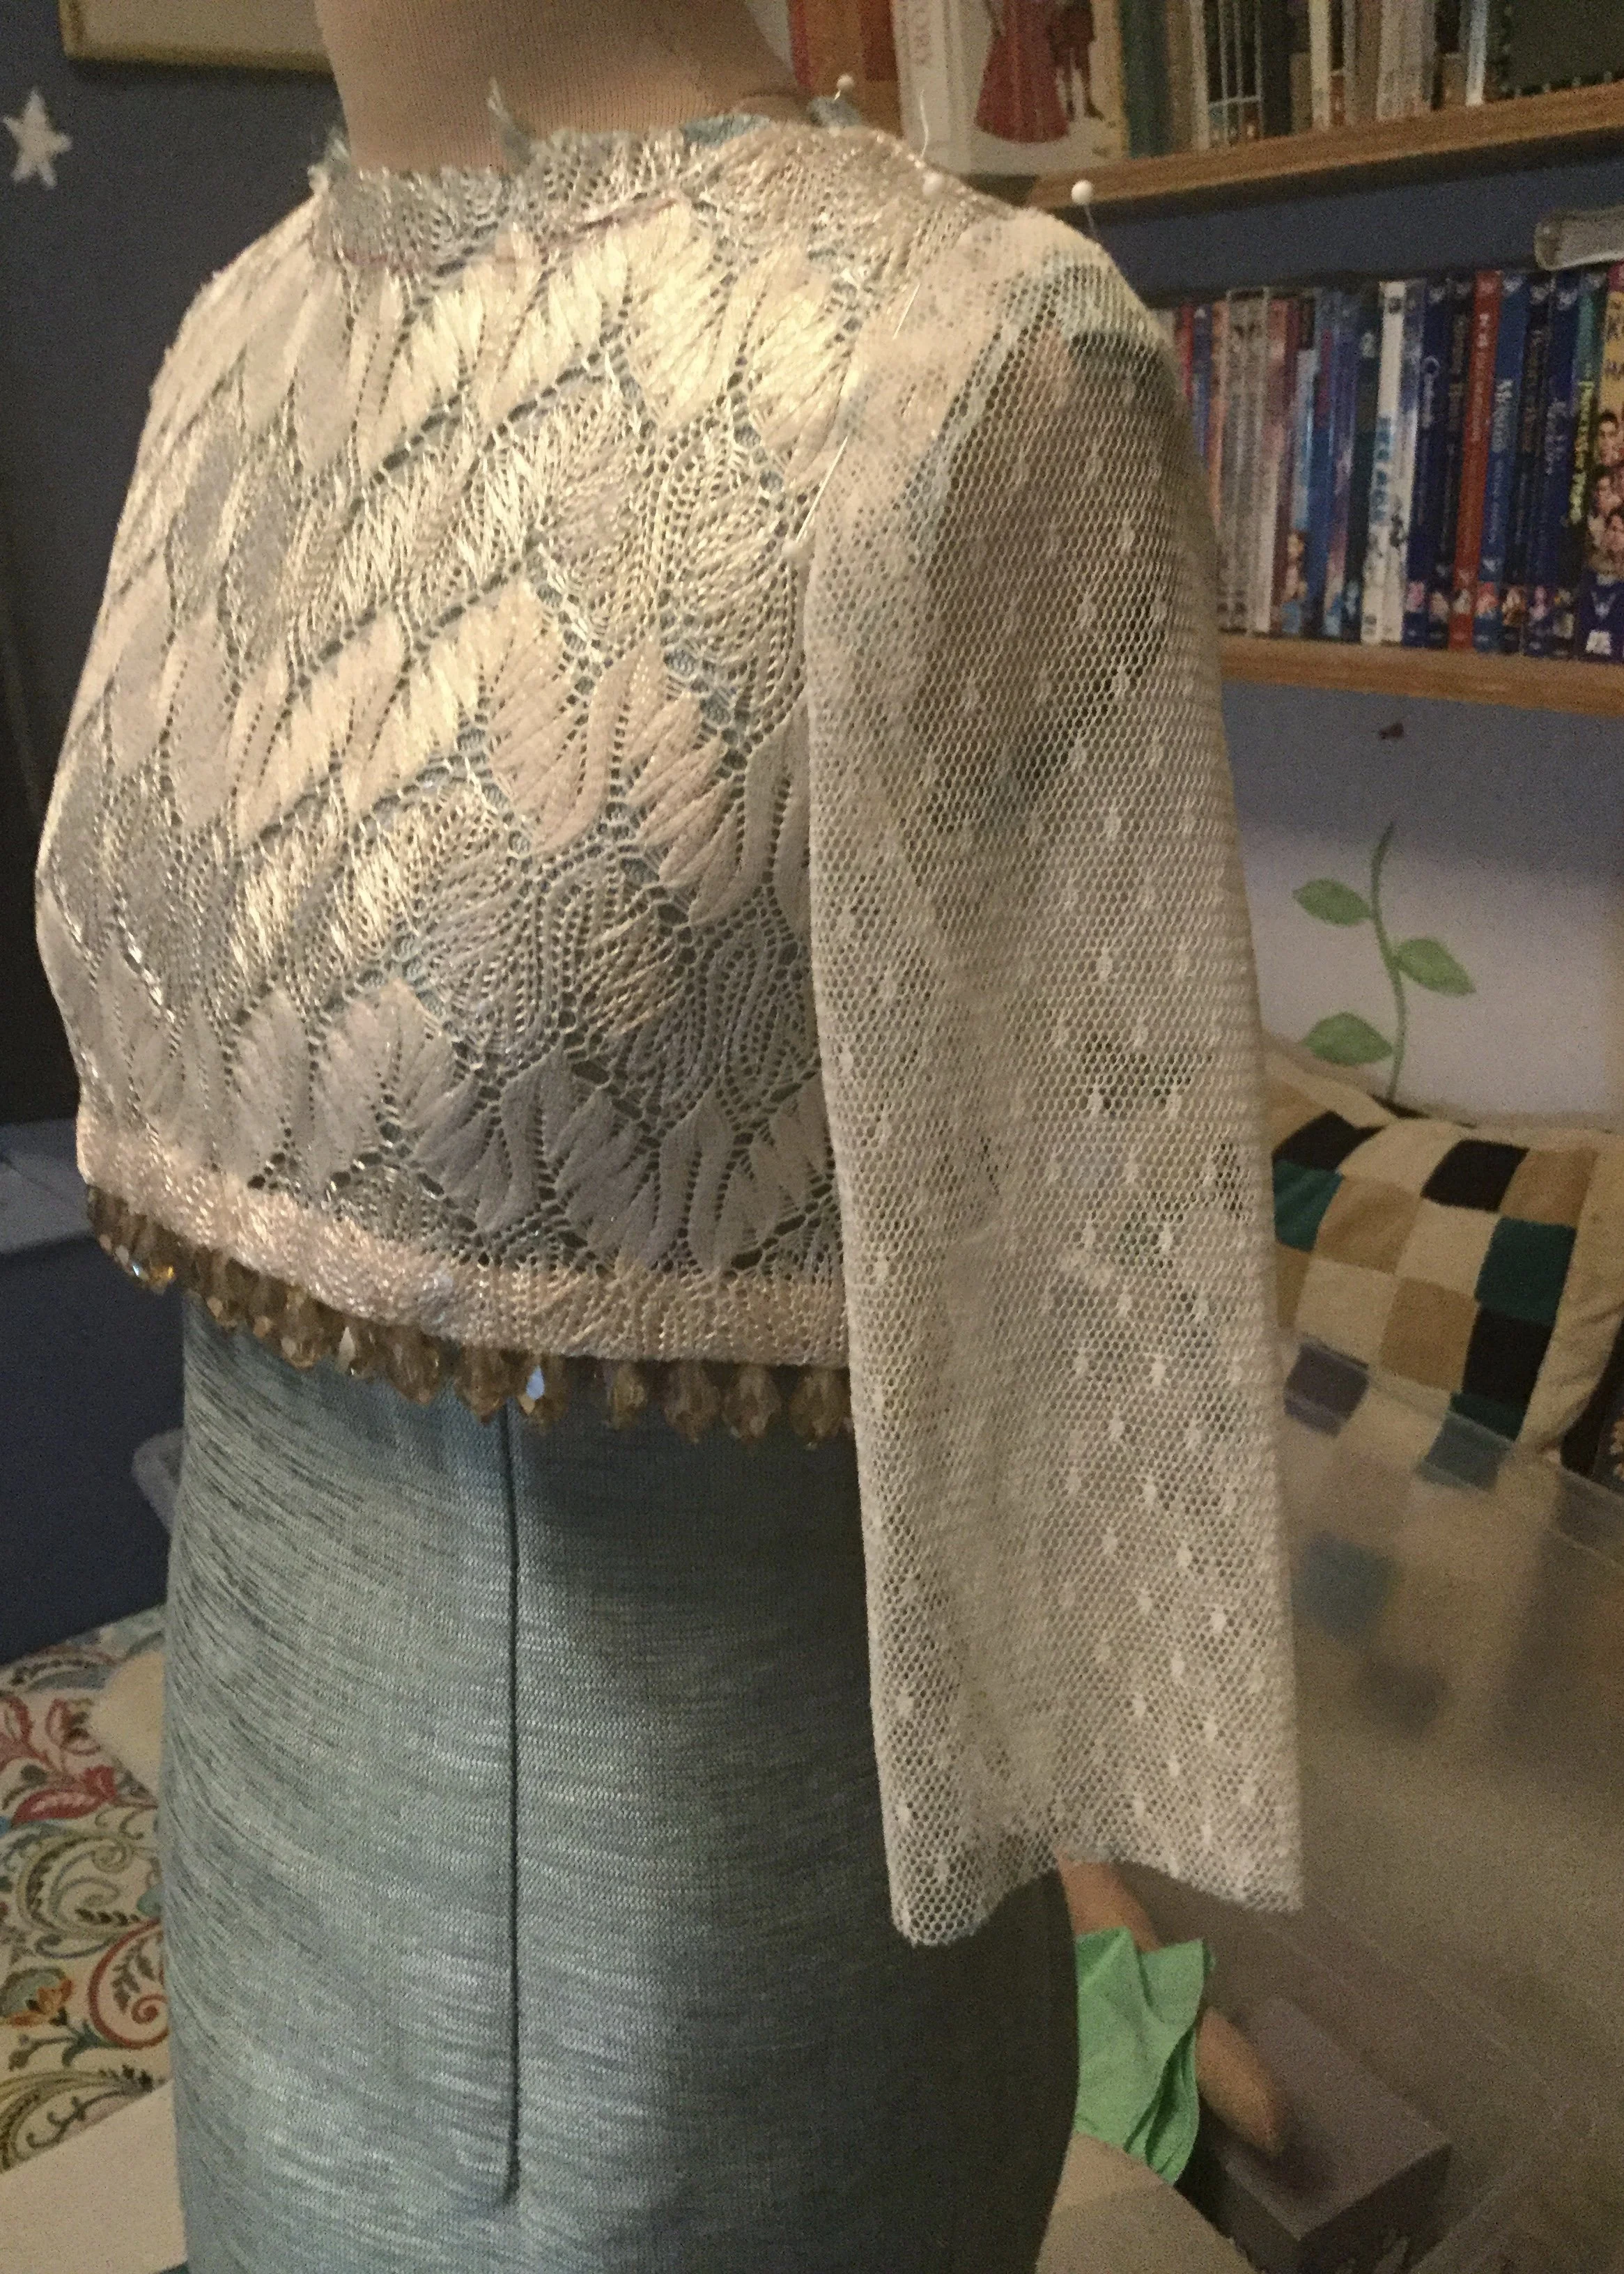
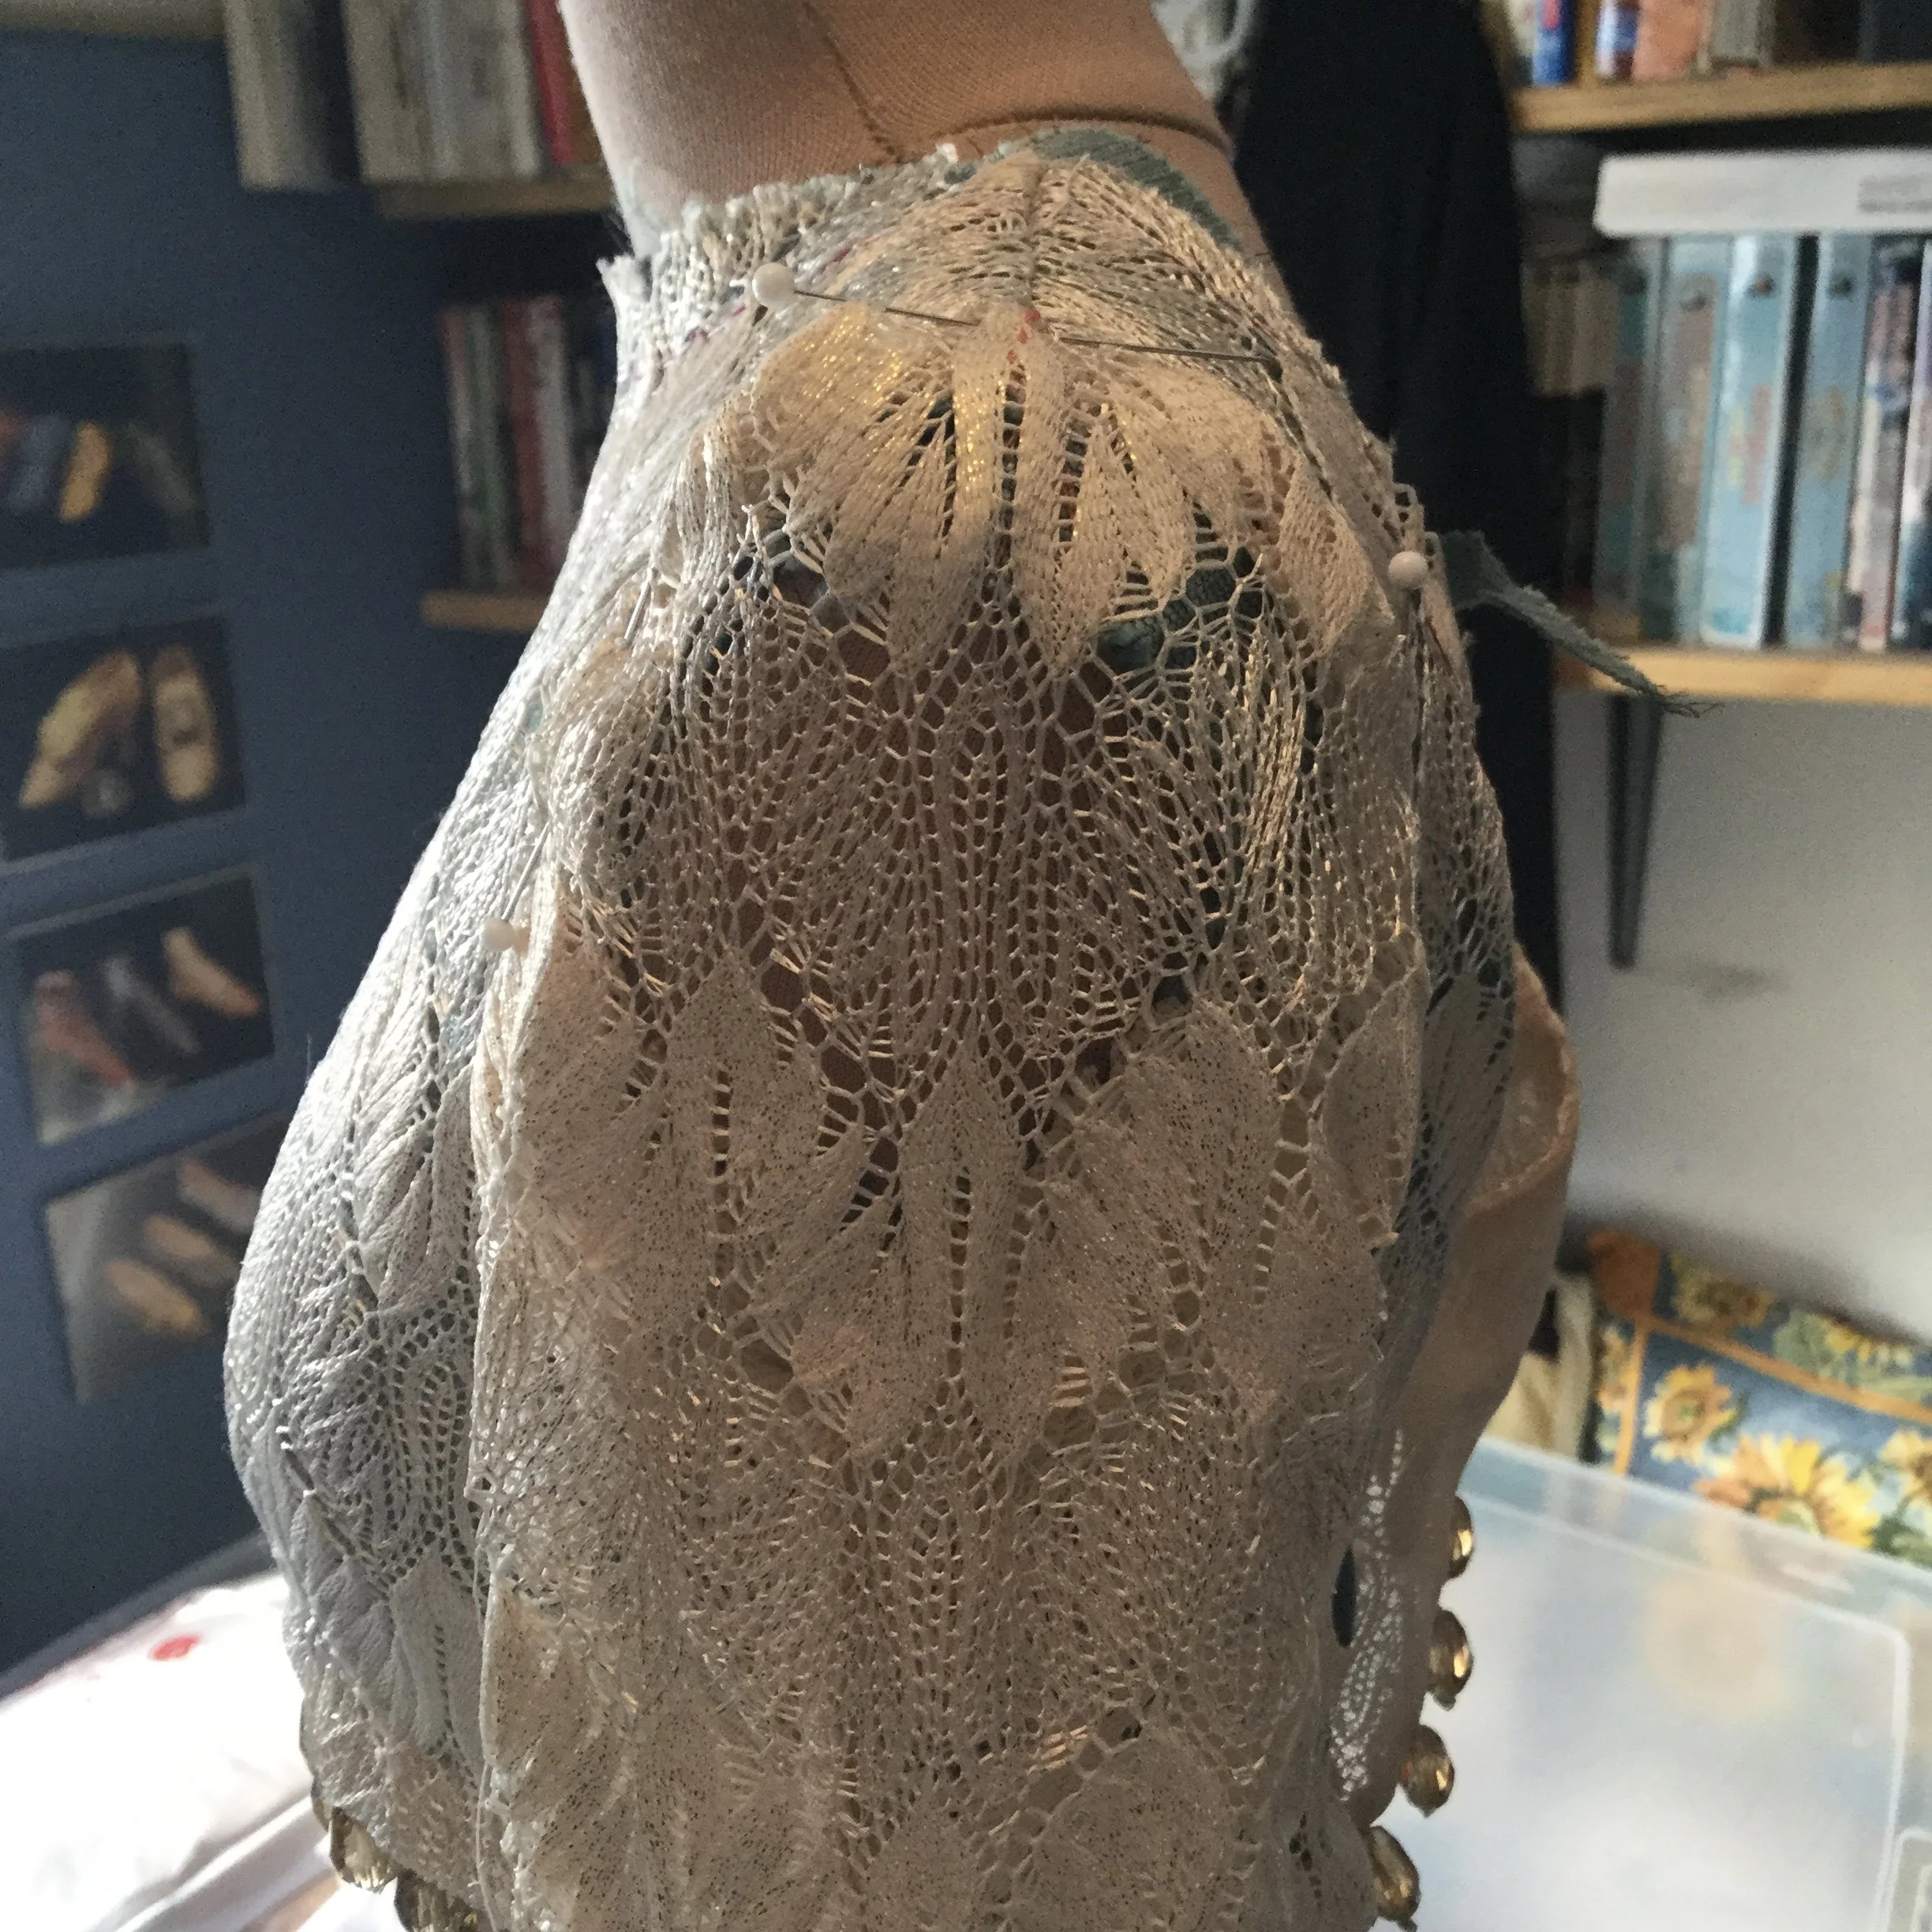
After closing the seam, I finished the hem and added the last few beads and the sleeves were ready to be set into the armholes. I pinned them into place and stitched them in by hand (I was not dumb enough to try getting into that tiny space with my machine).
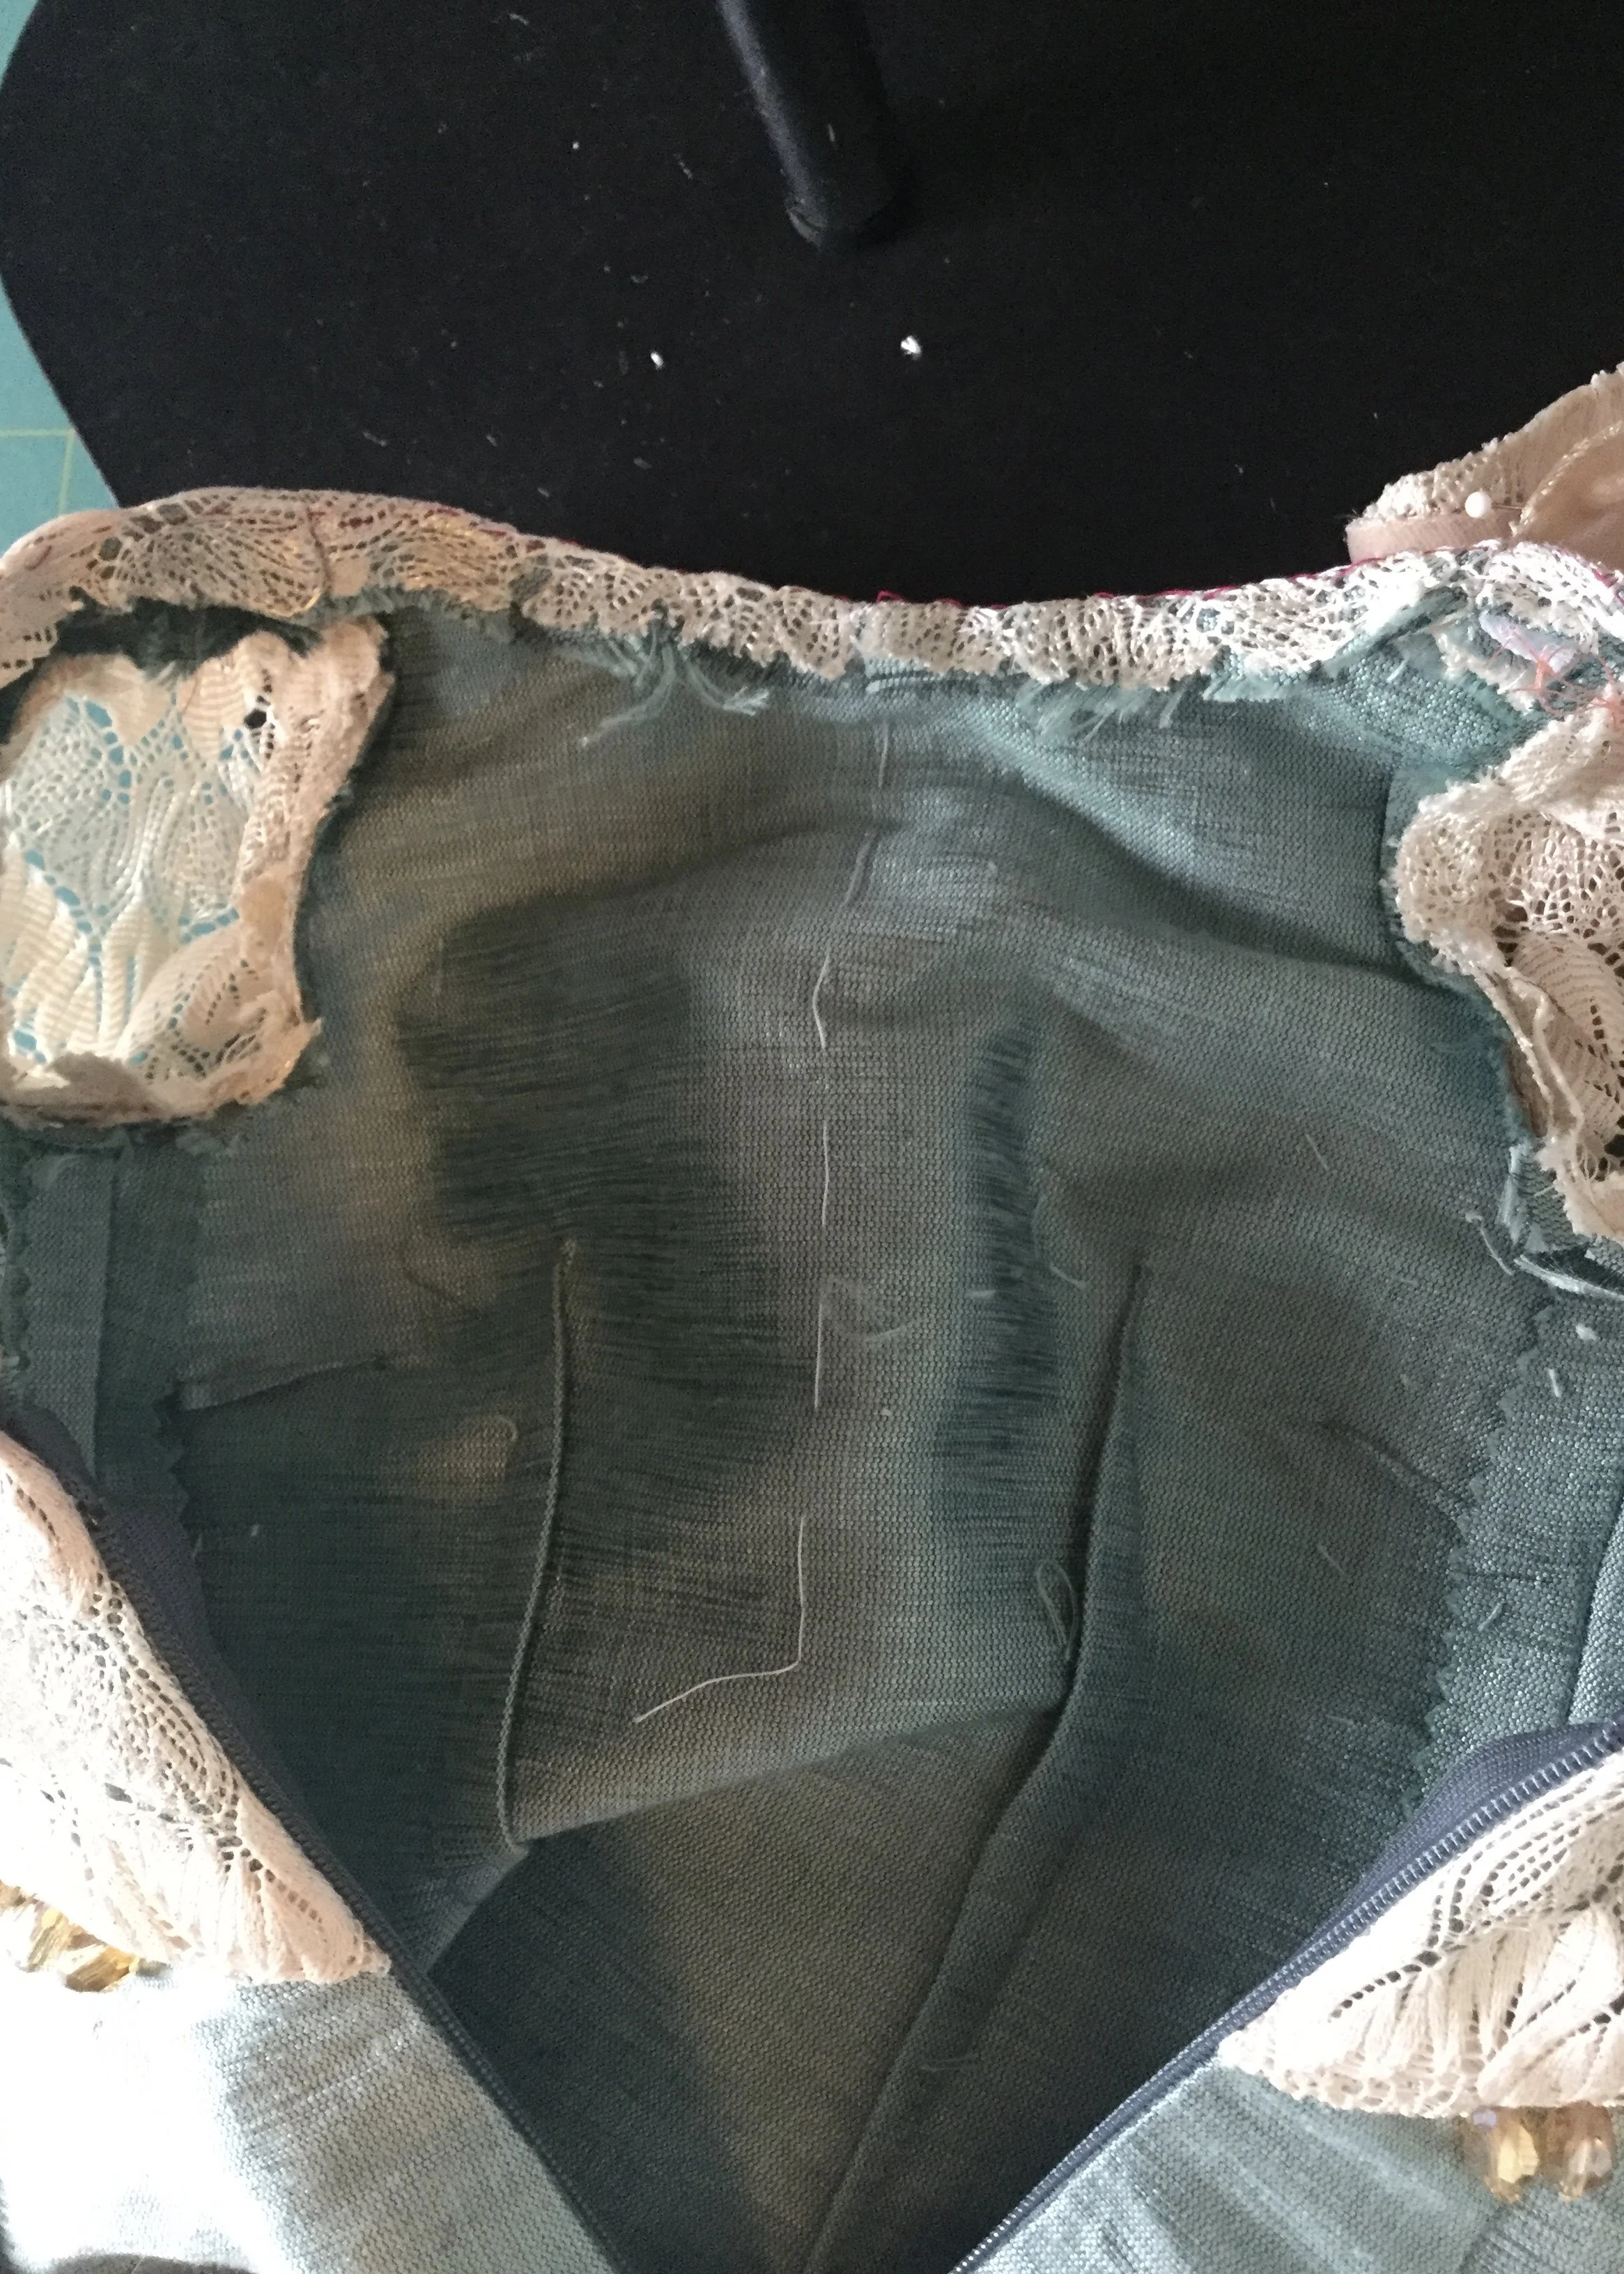
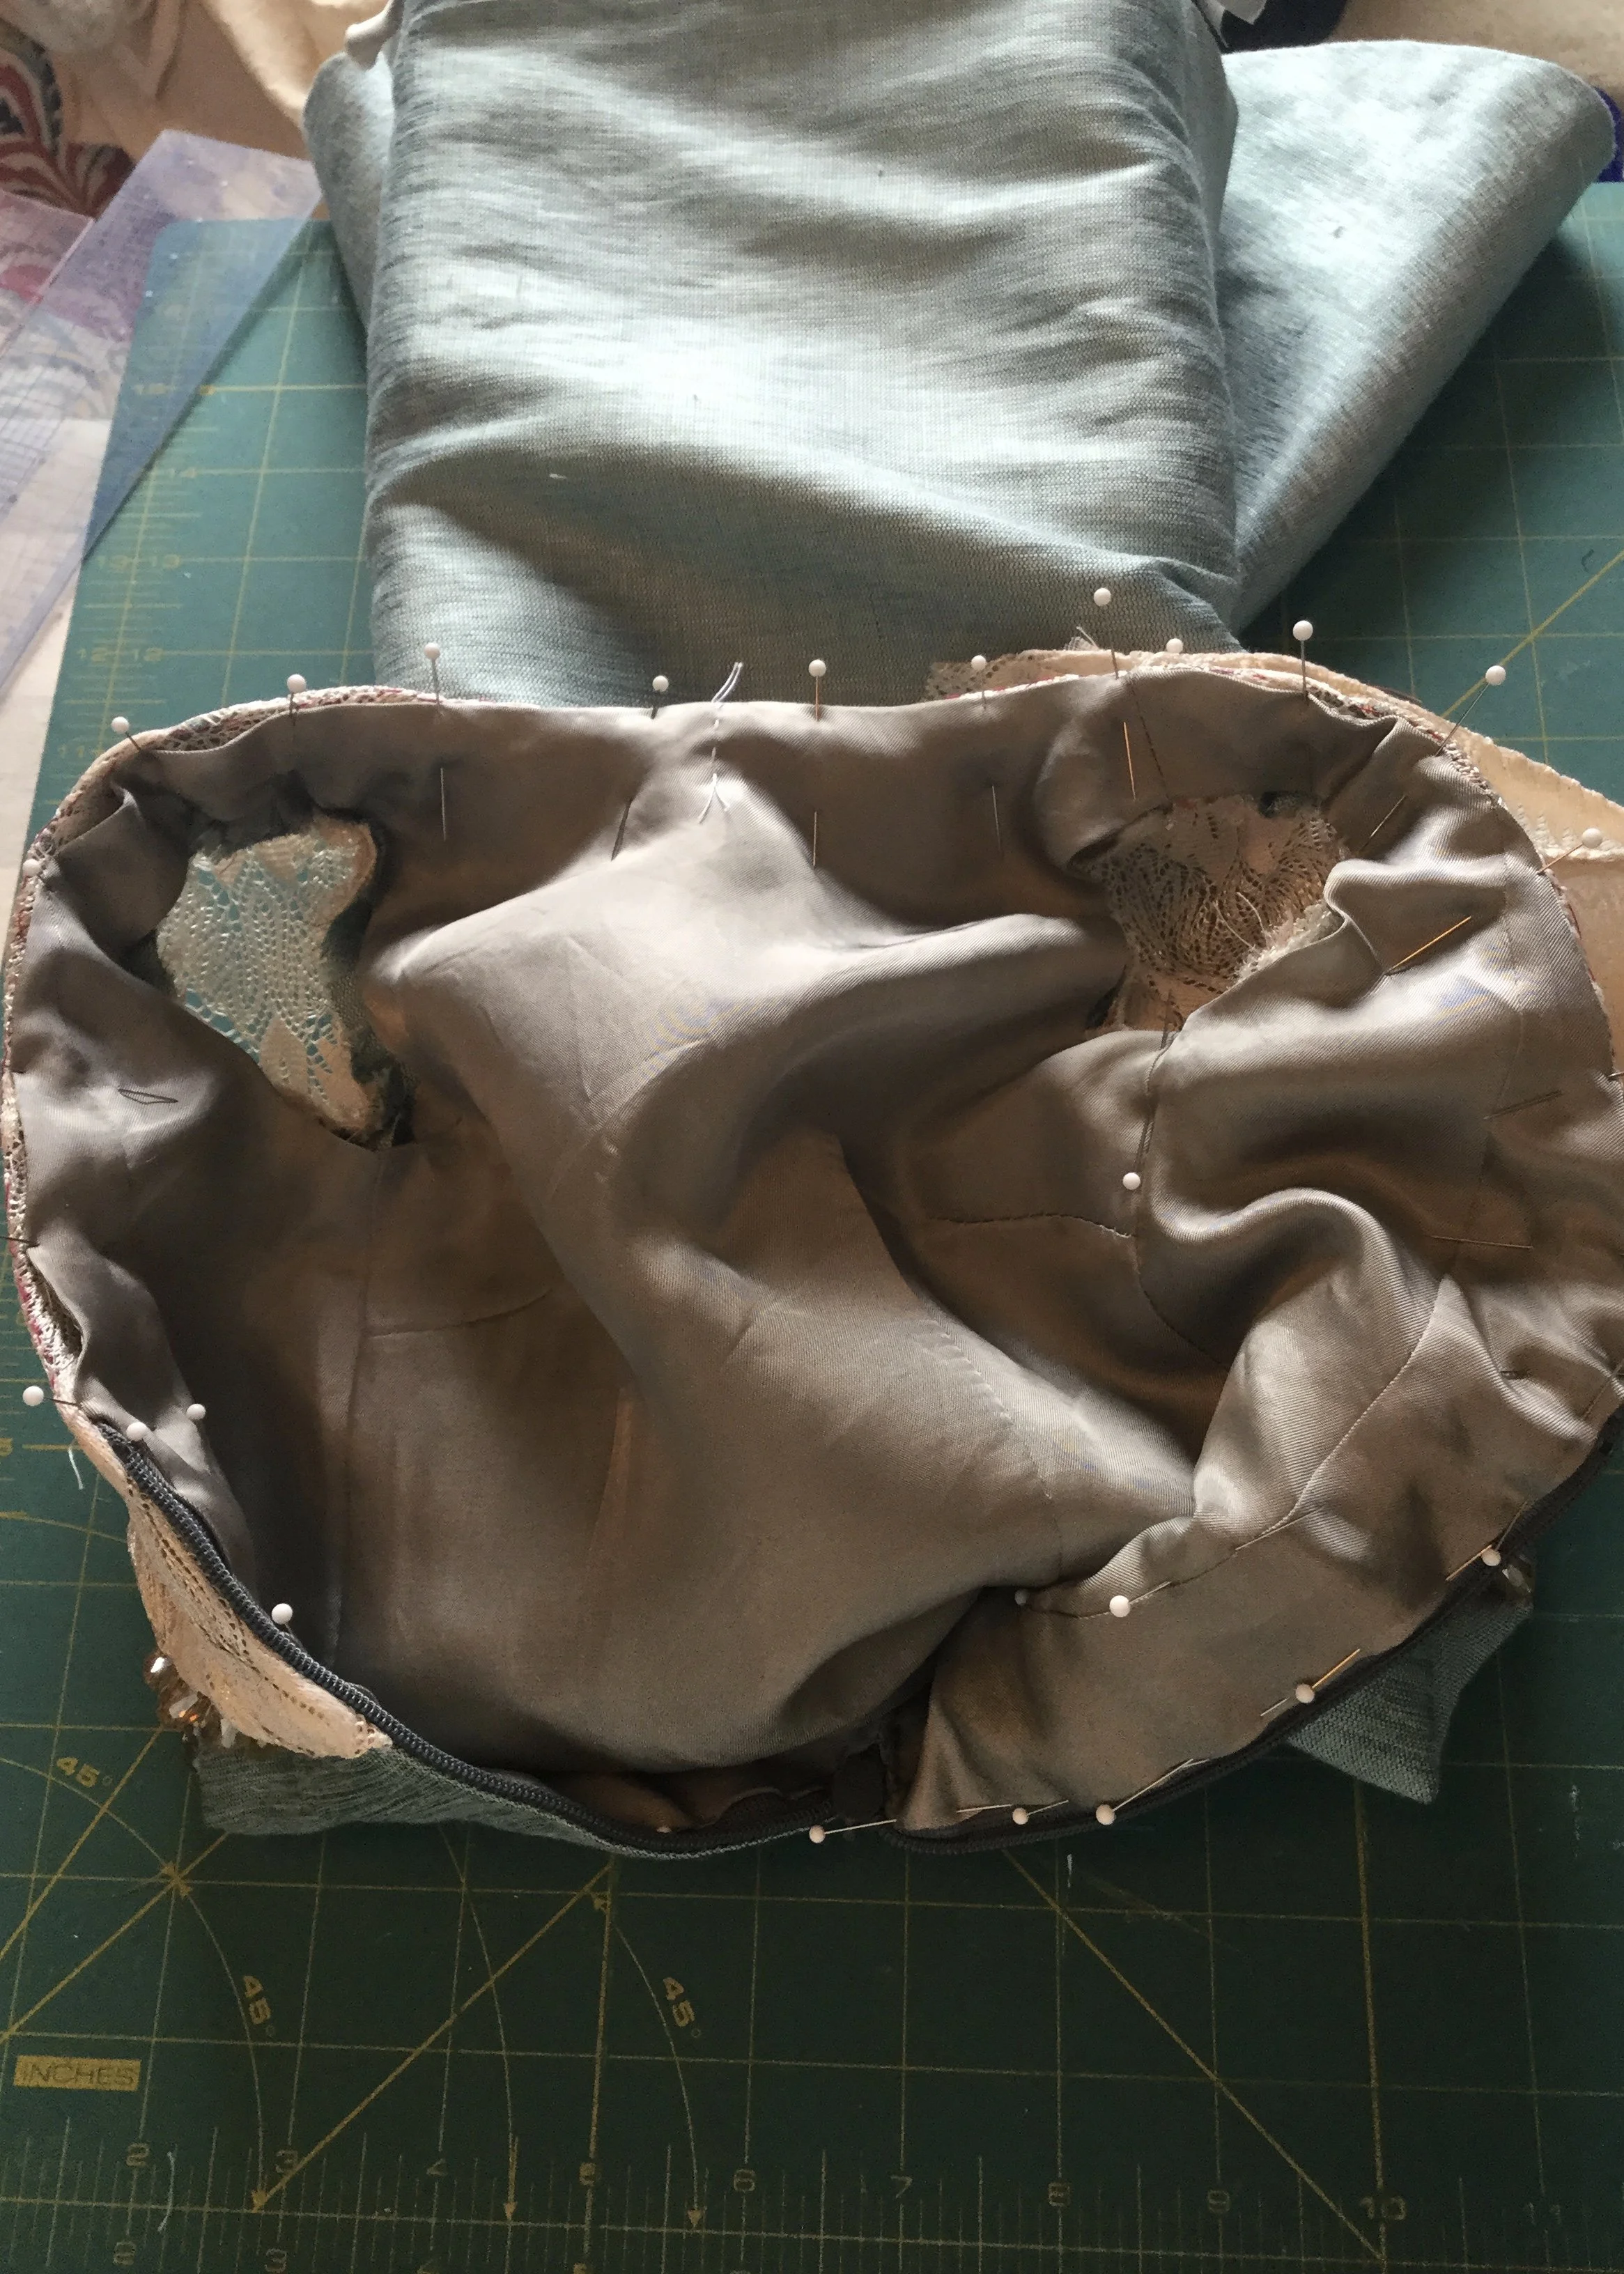
Once the sleeves were stitched in, I clipped and trimmed the seam allowances then pressed them in towards the body of the garment so that they would be covered when I dropped in the lining, which I applied and understitched by hand.
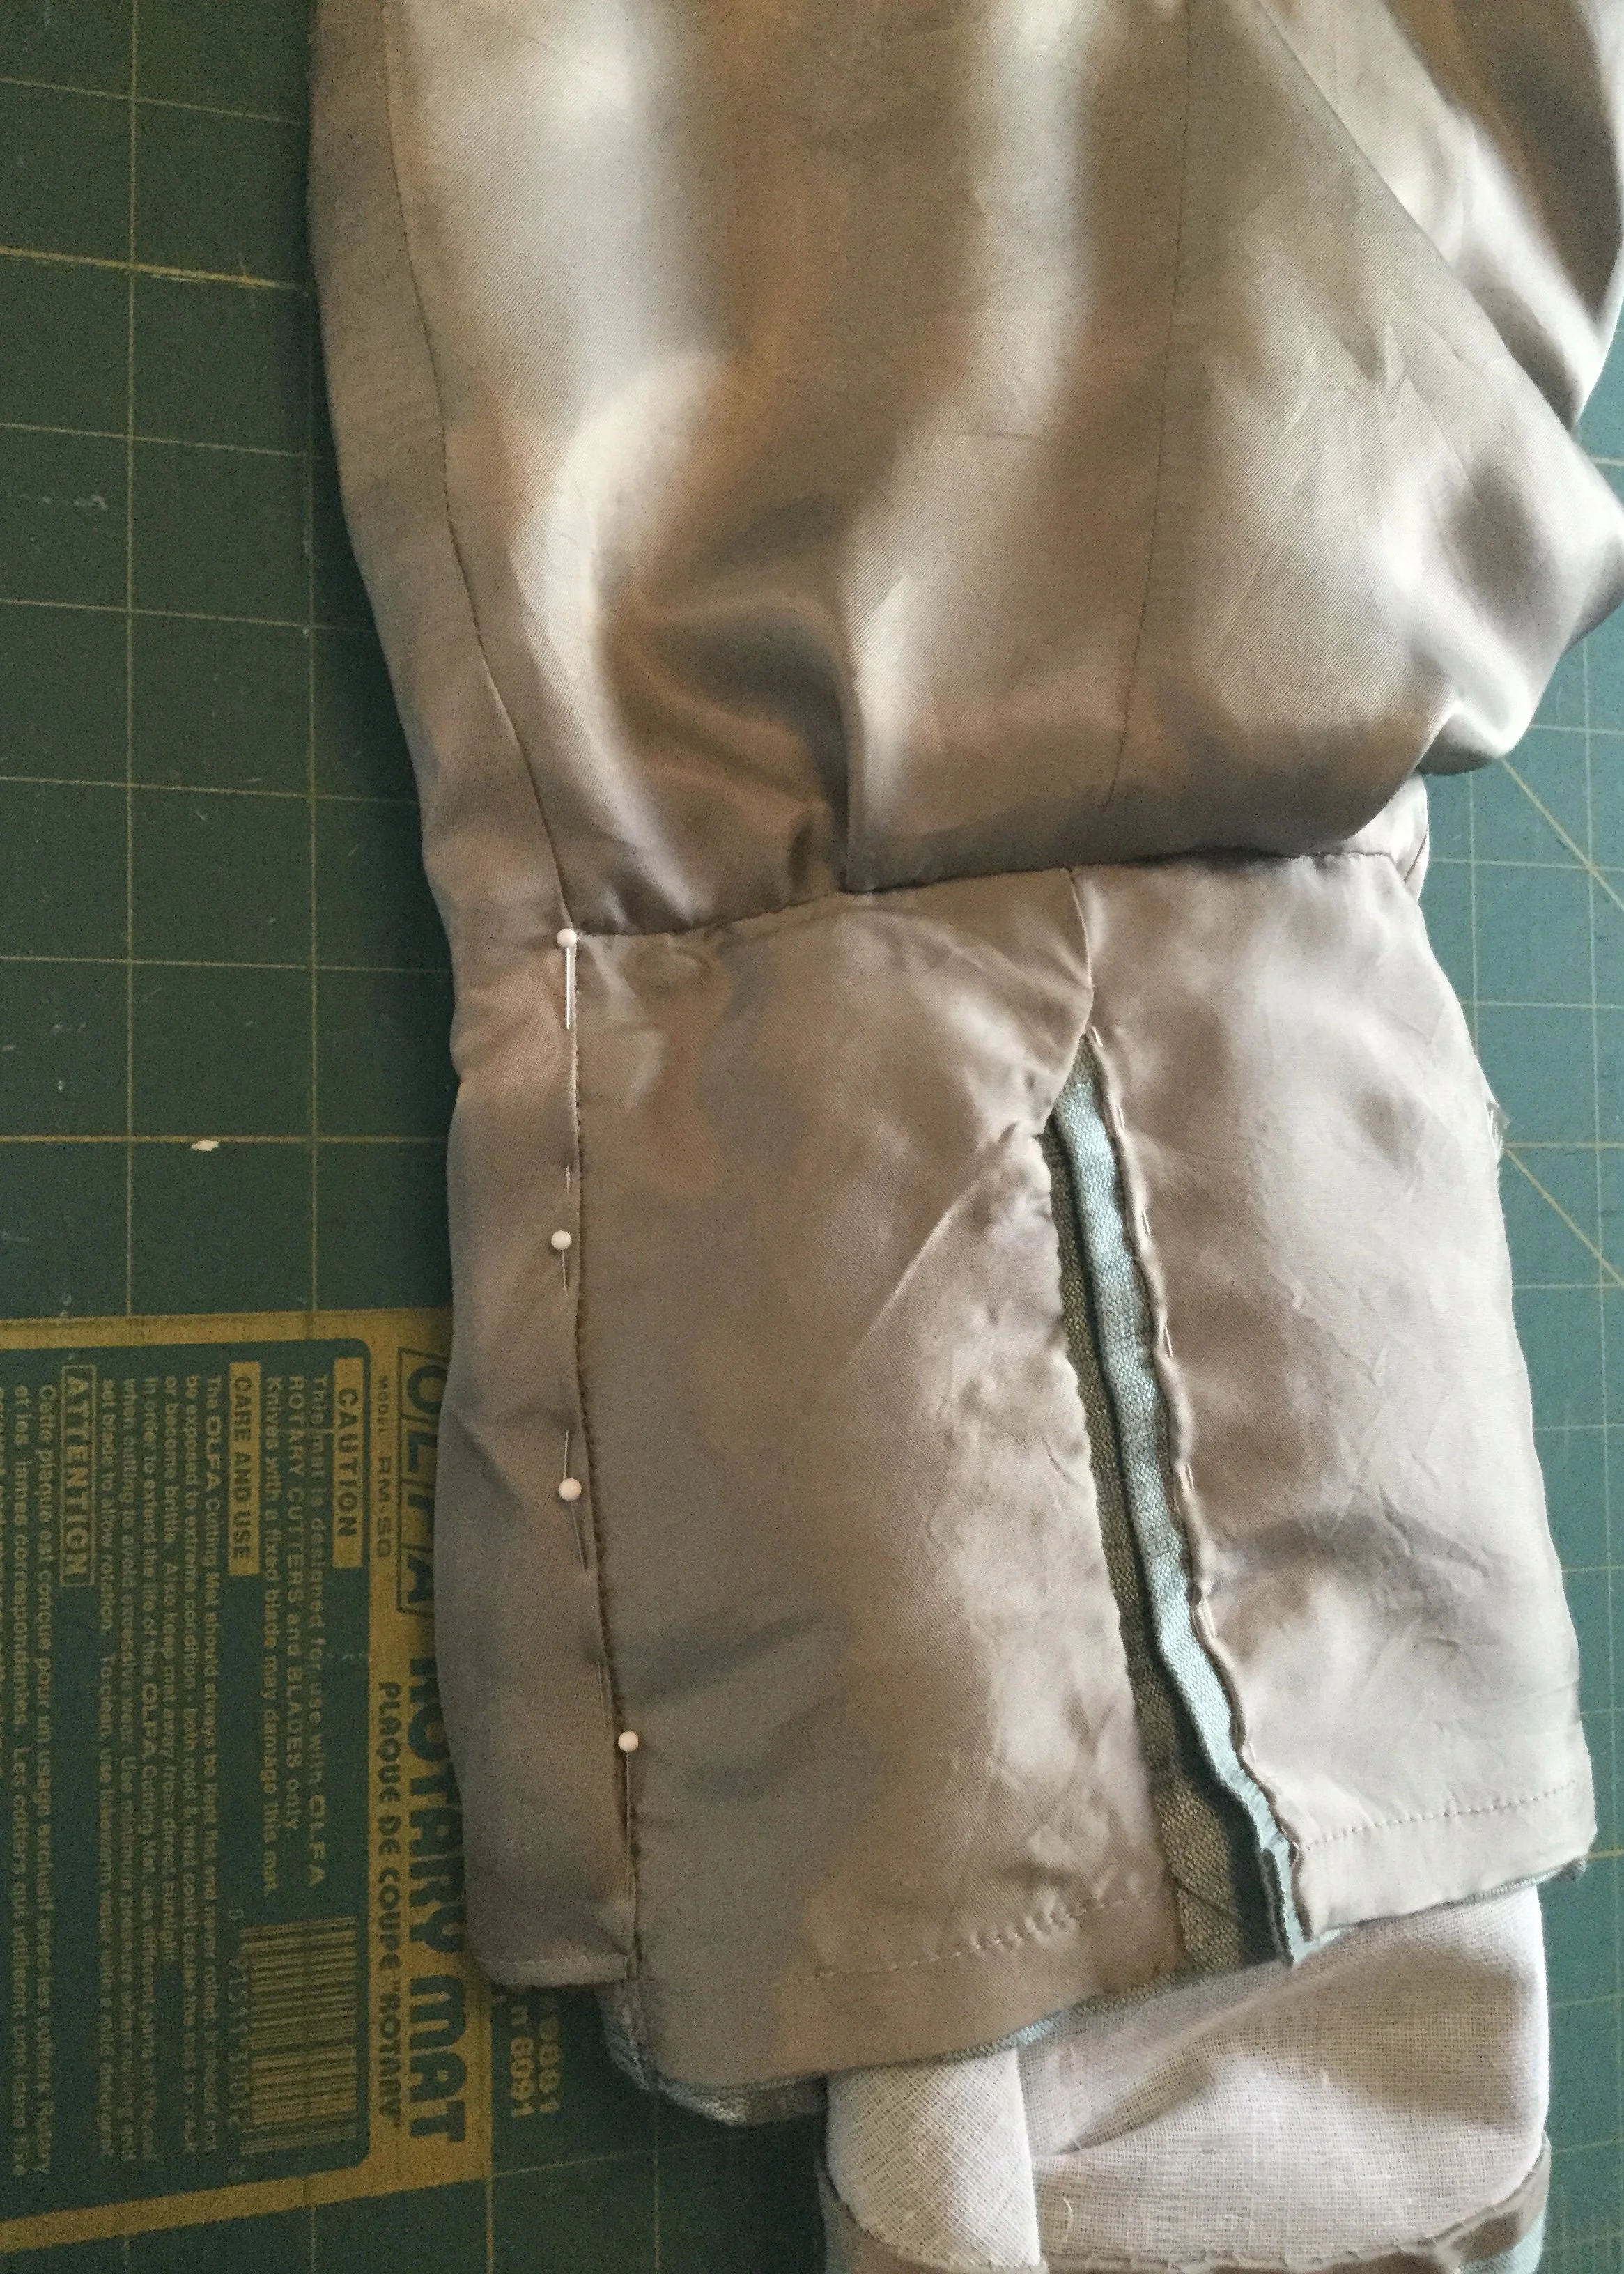
Finishing the lining involved stuffing the train inside the dress so that I could stitch the lining down along the lower back portion of the side seam; it seems to have come out of it unscathed.
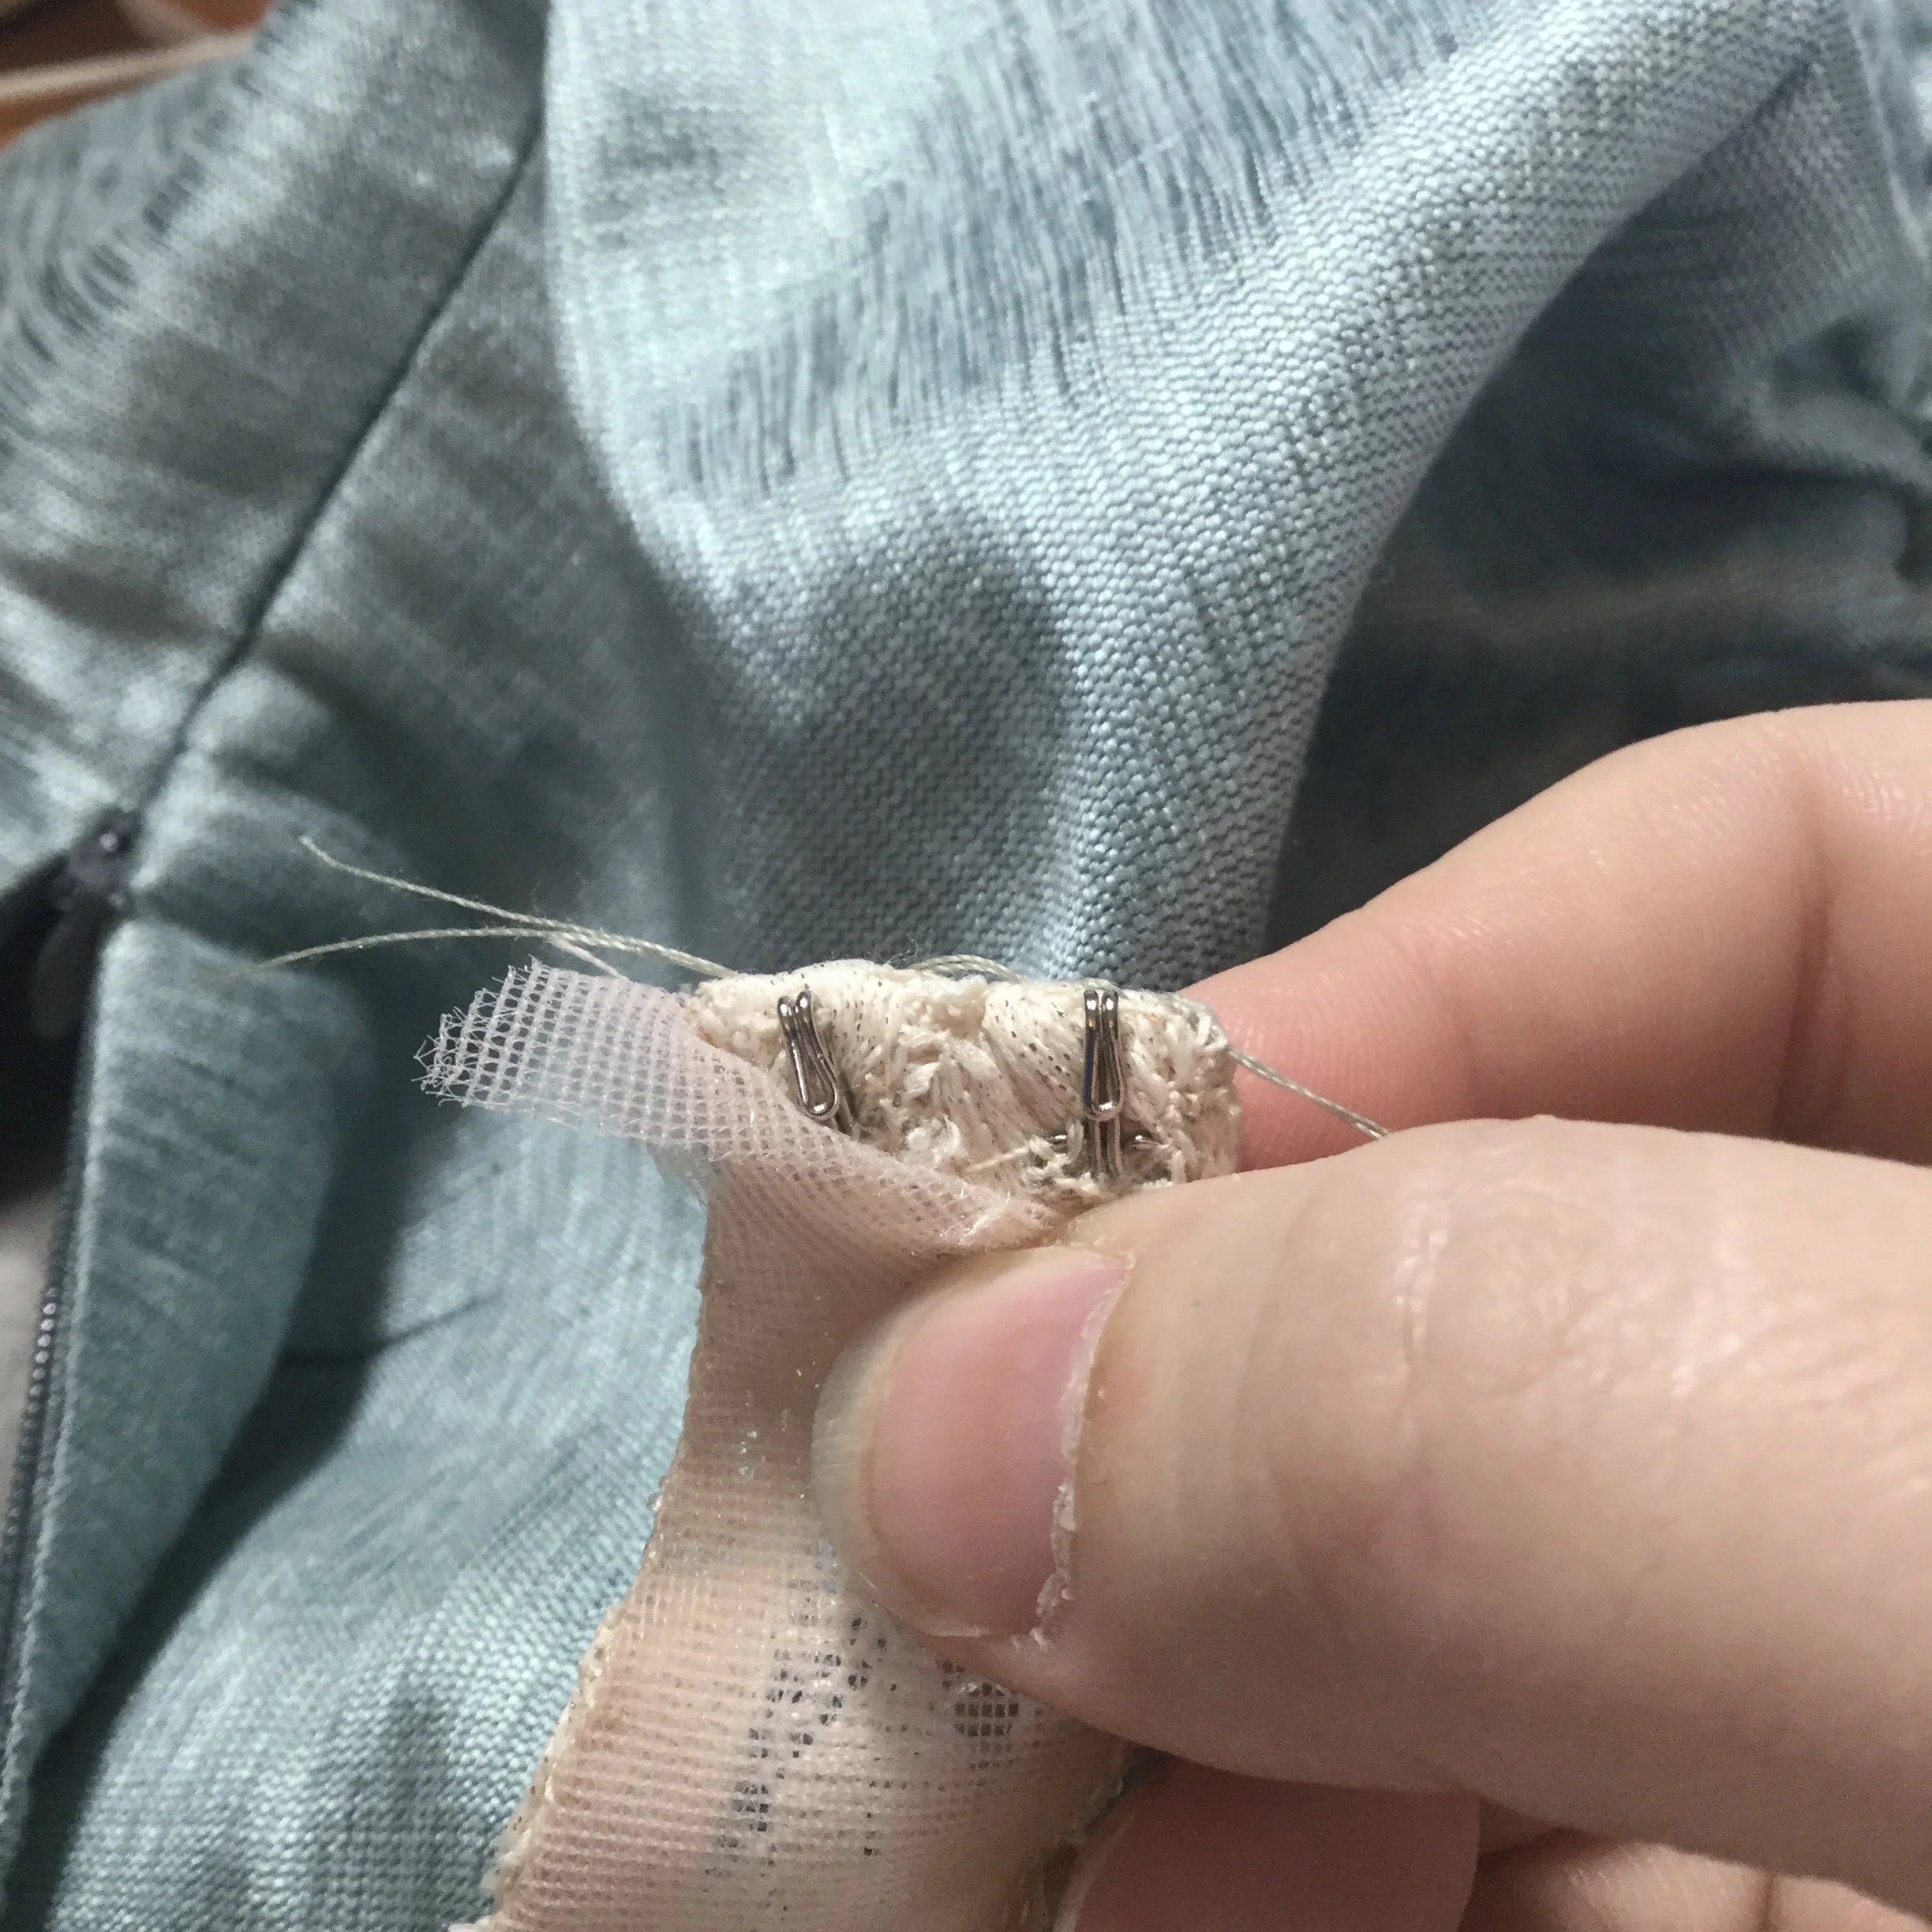
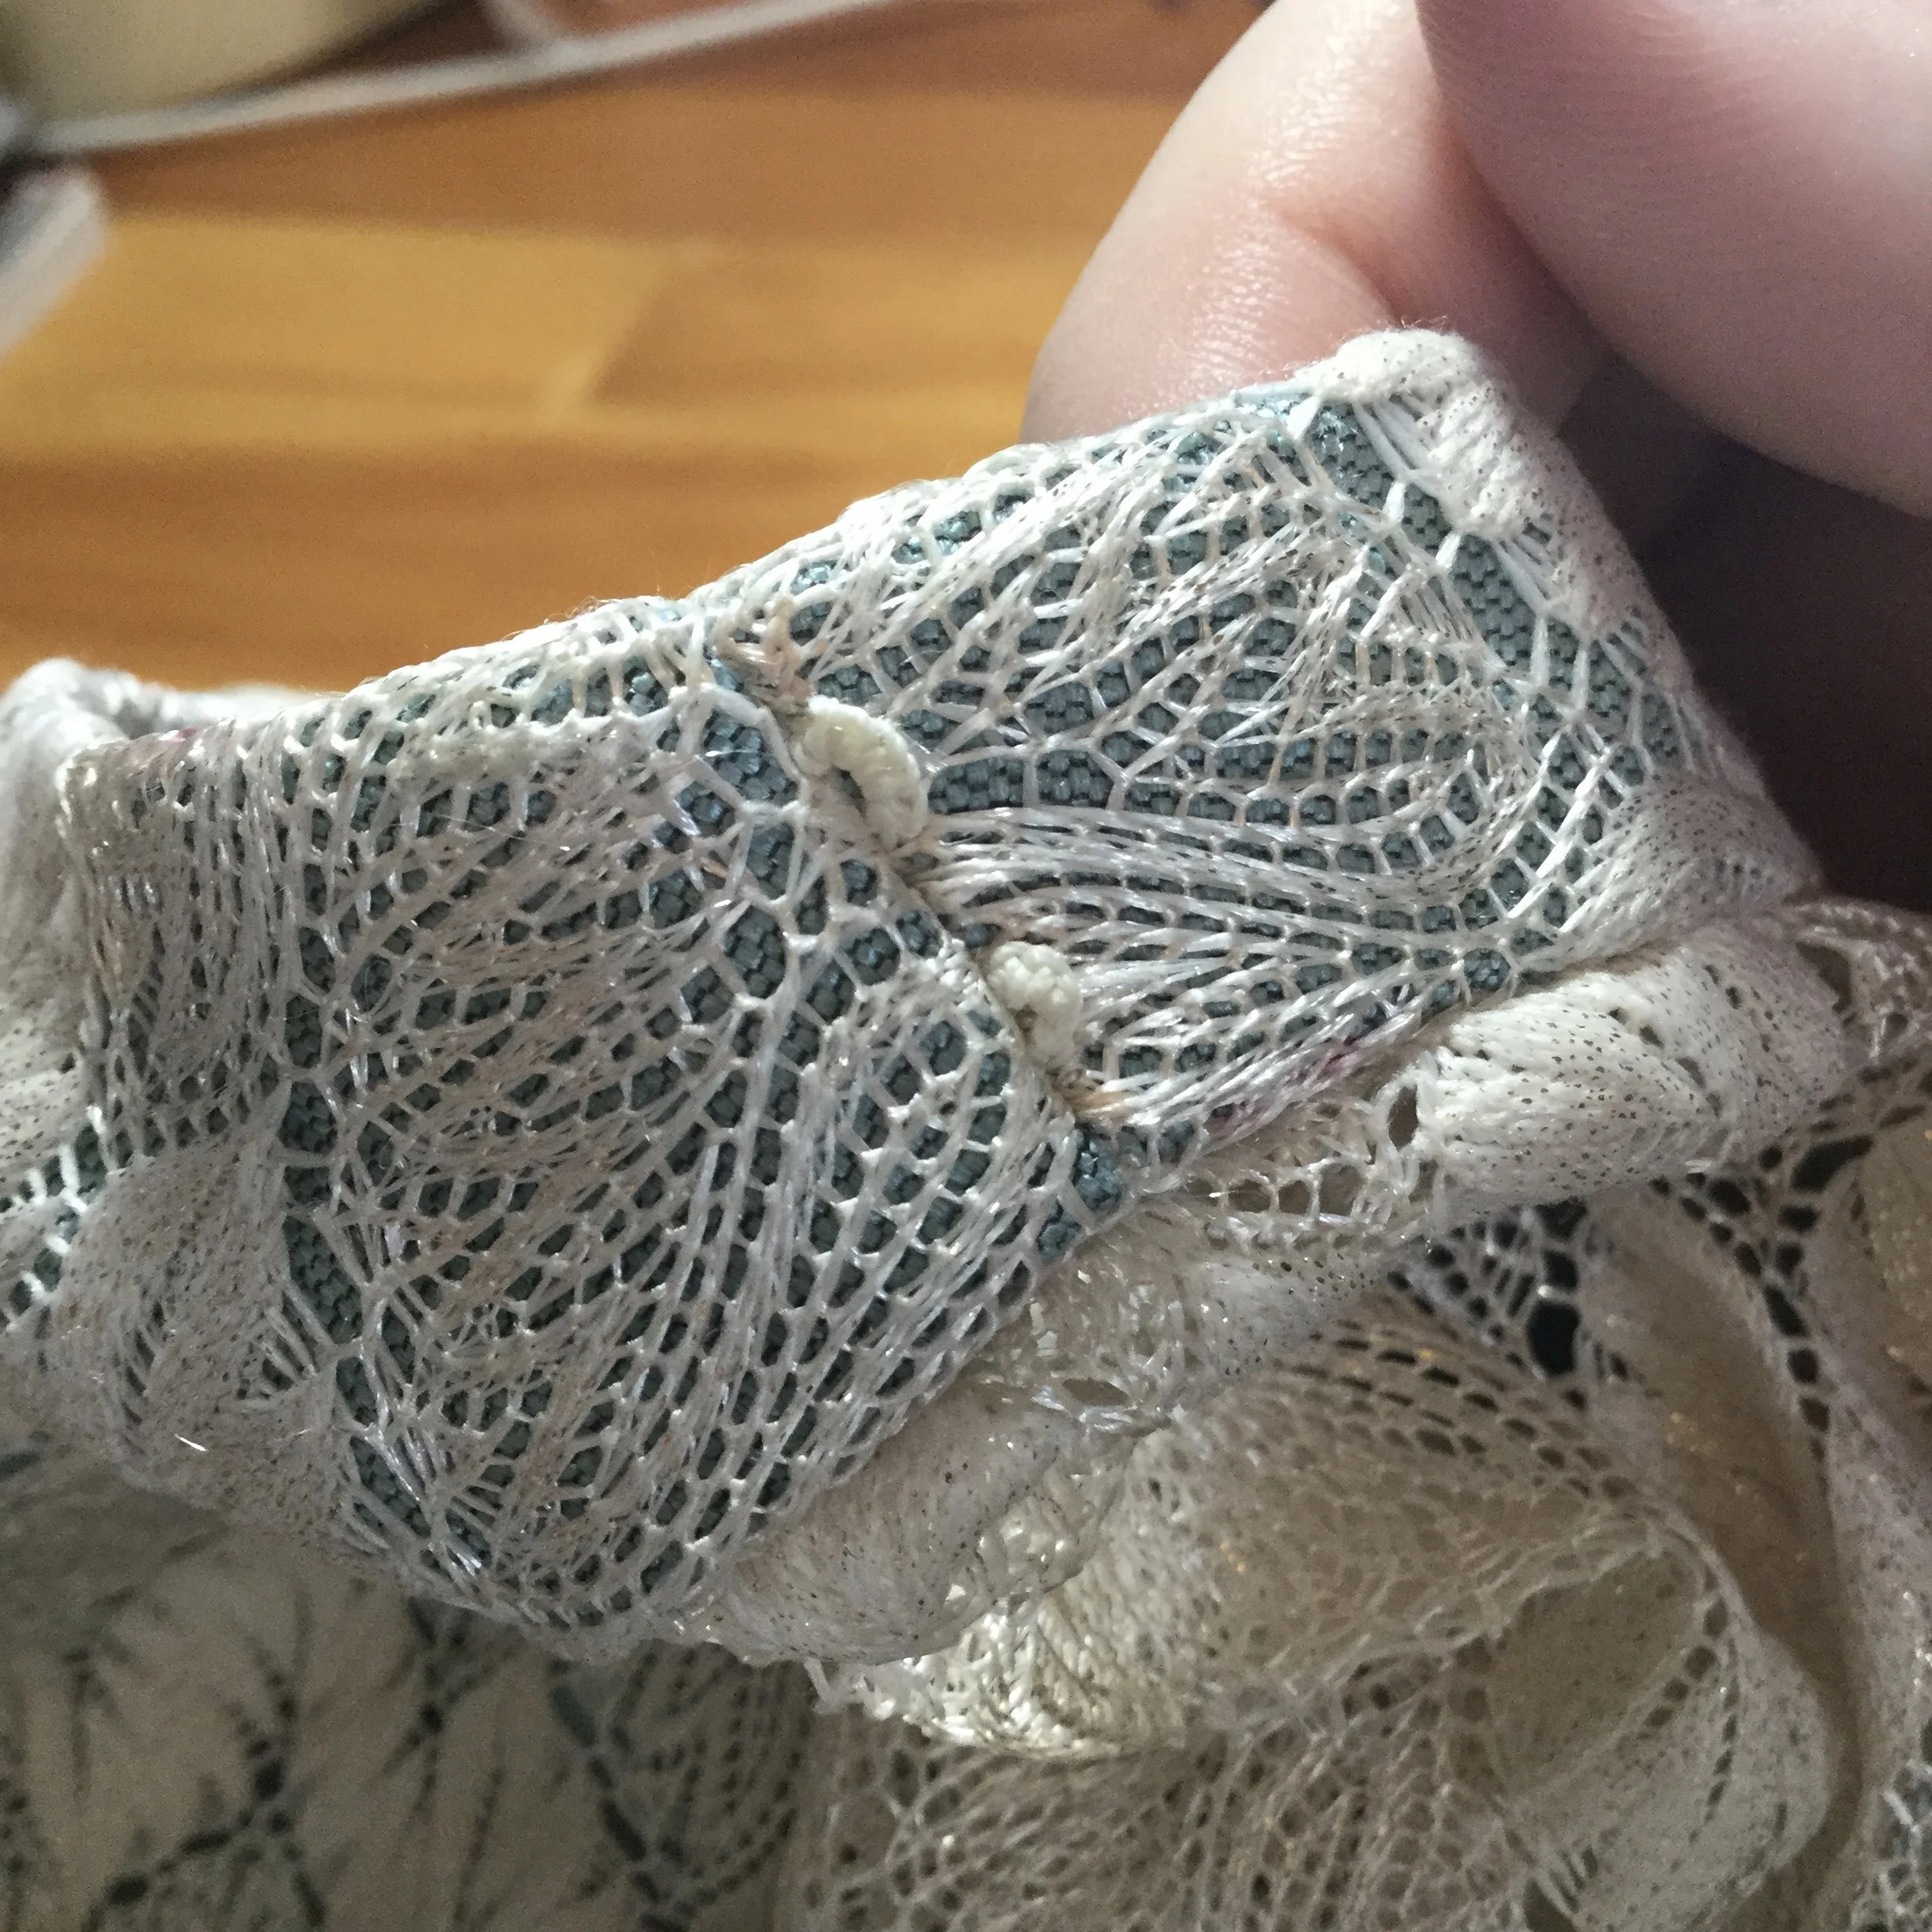
For the hooks on the left side of the sash, I decided to get a bit sneaky and put them between the lace and the lining in an effort to make them really invisible. I think this might be more effective in full scale, but whatever, I'm pleased with it.
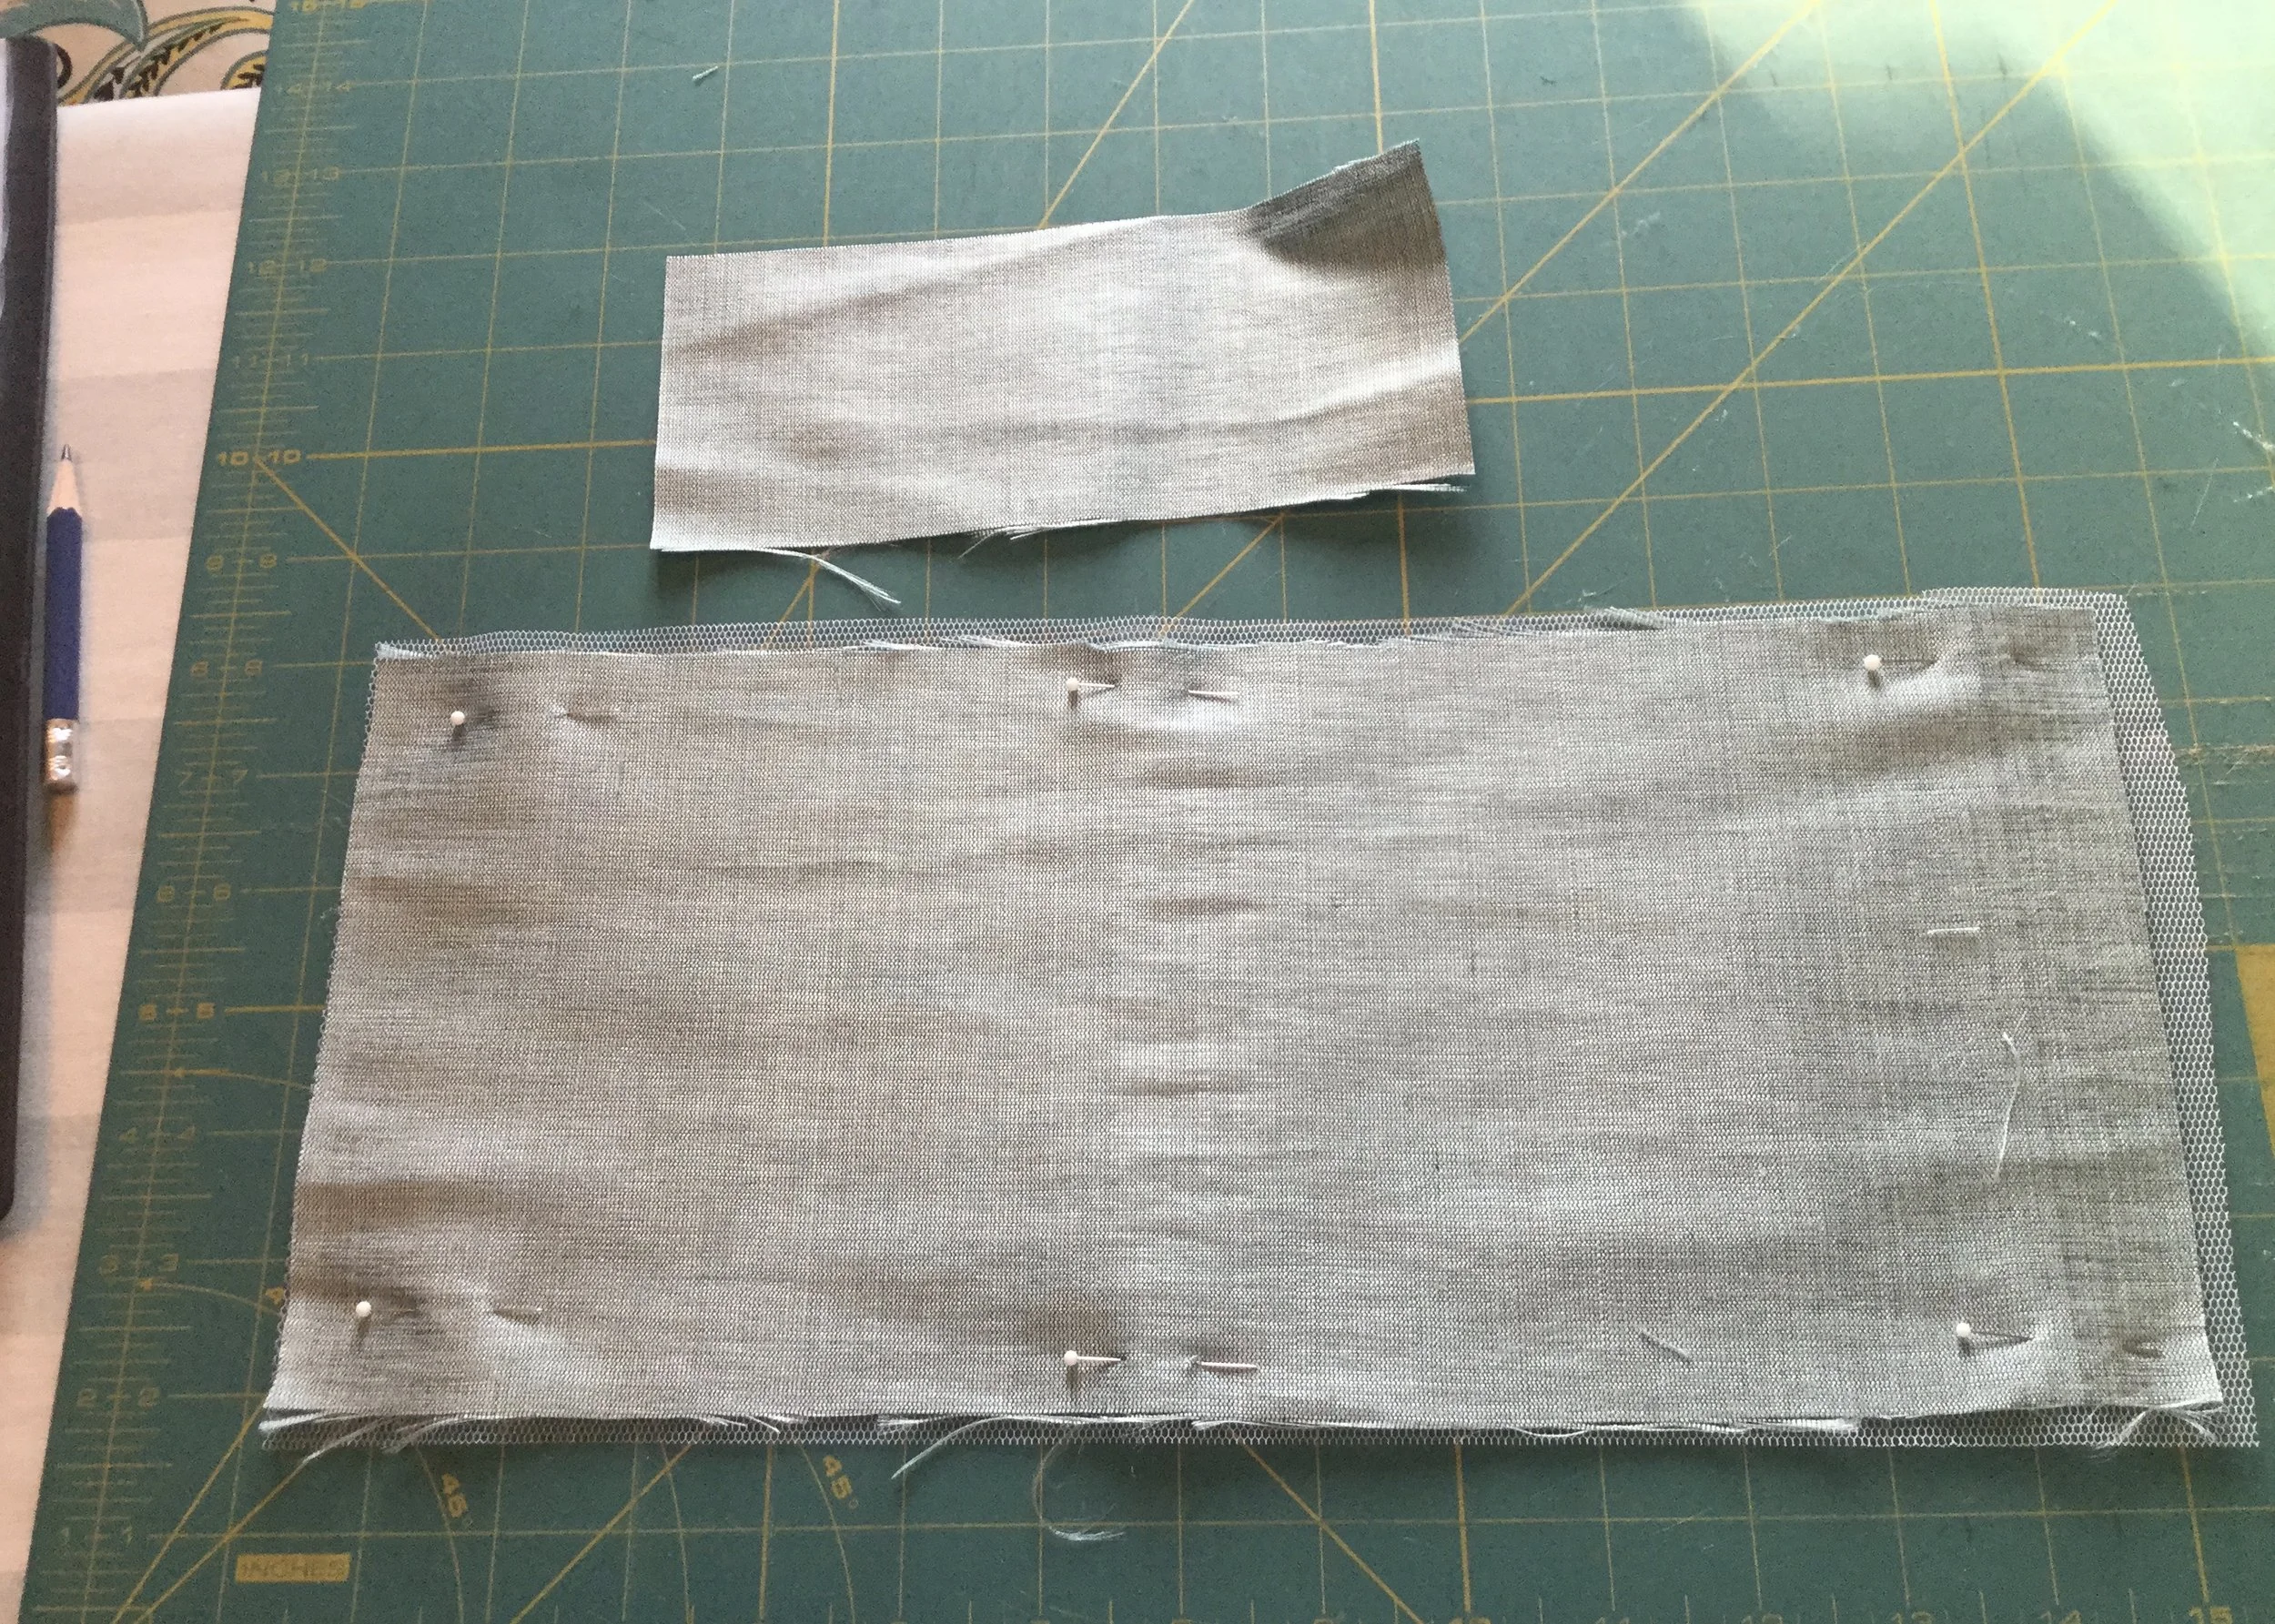
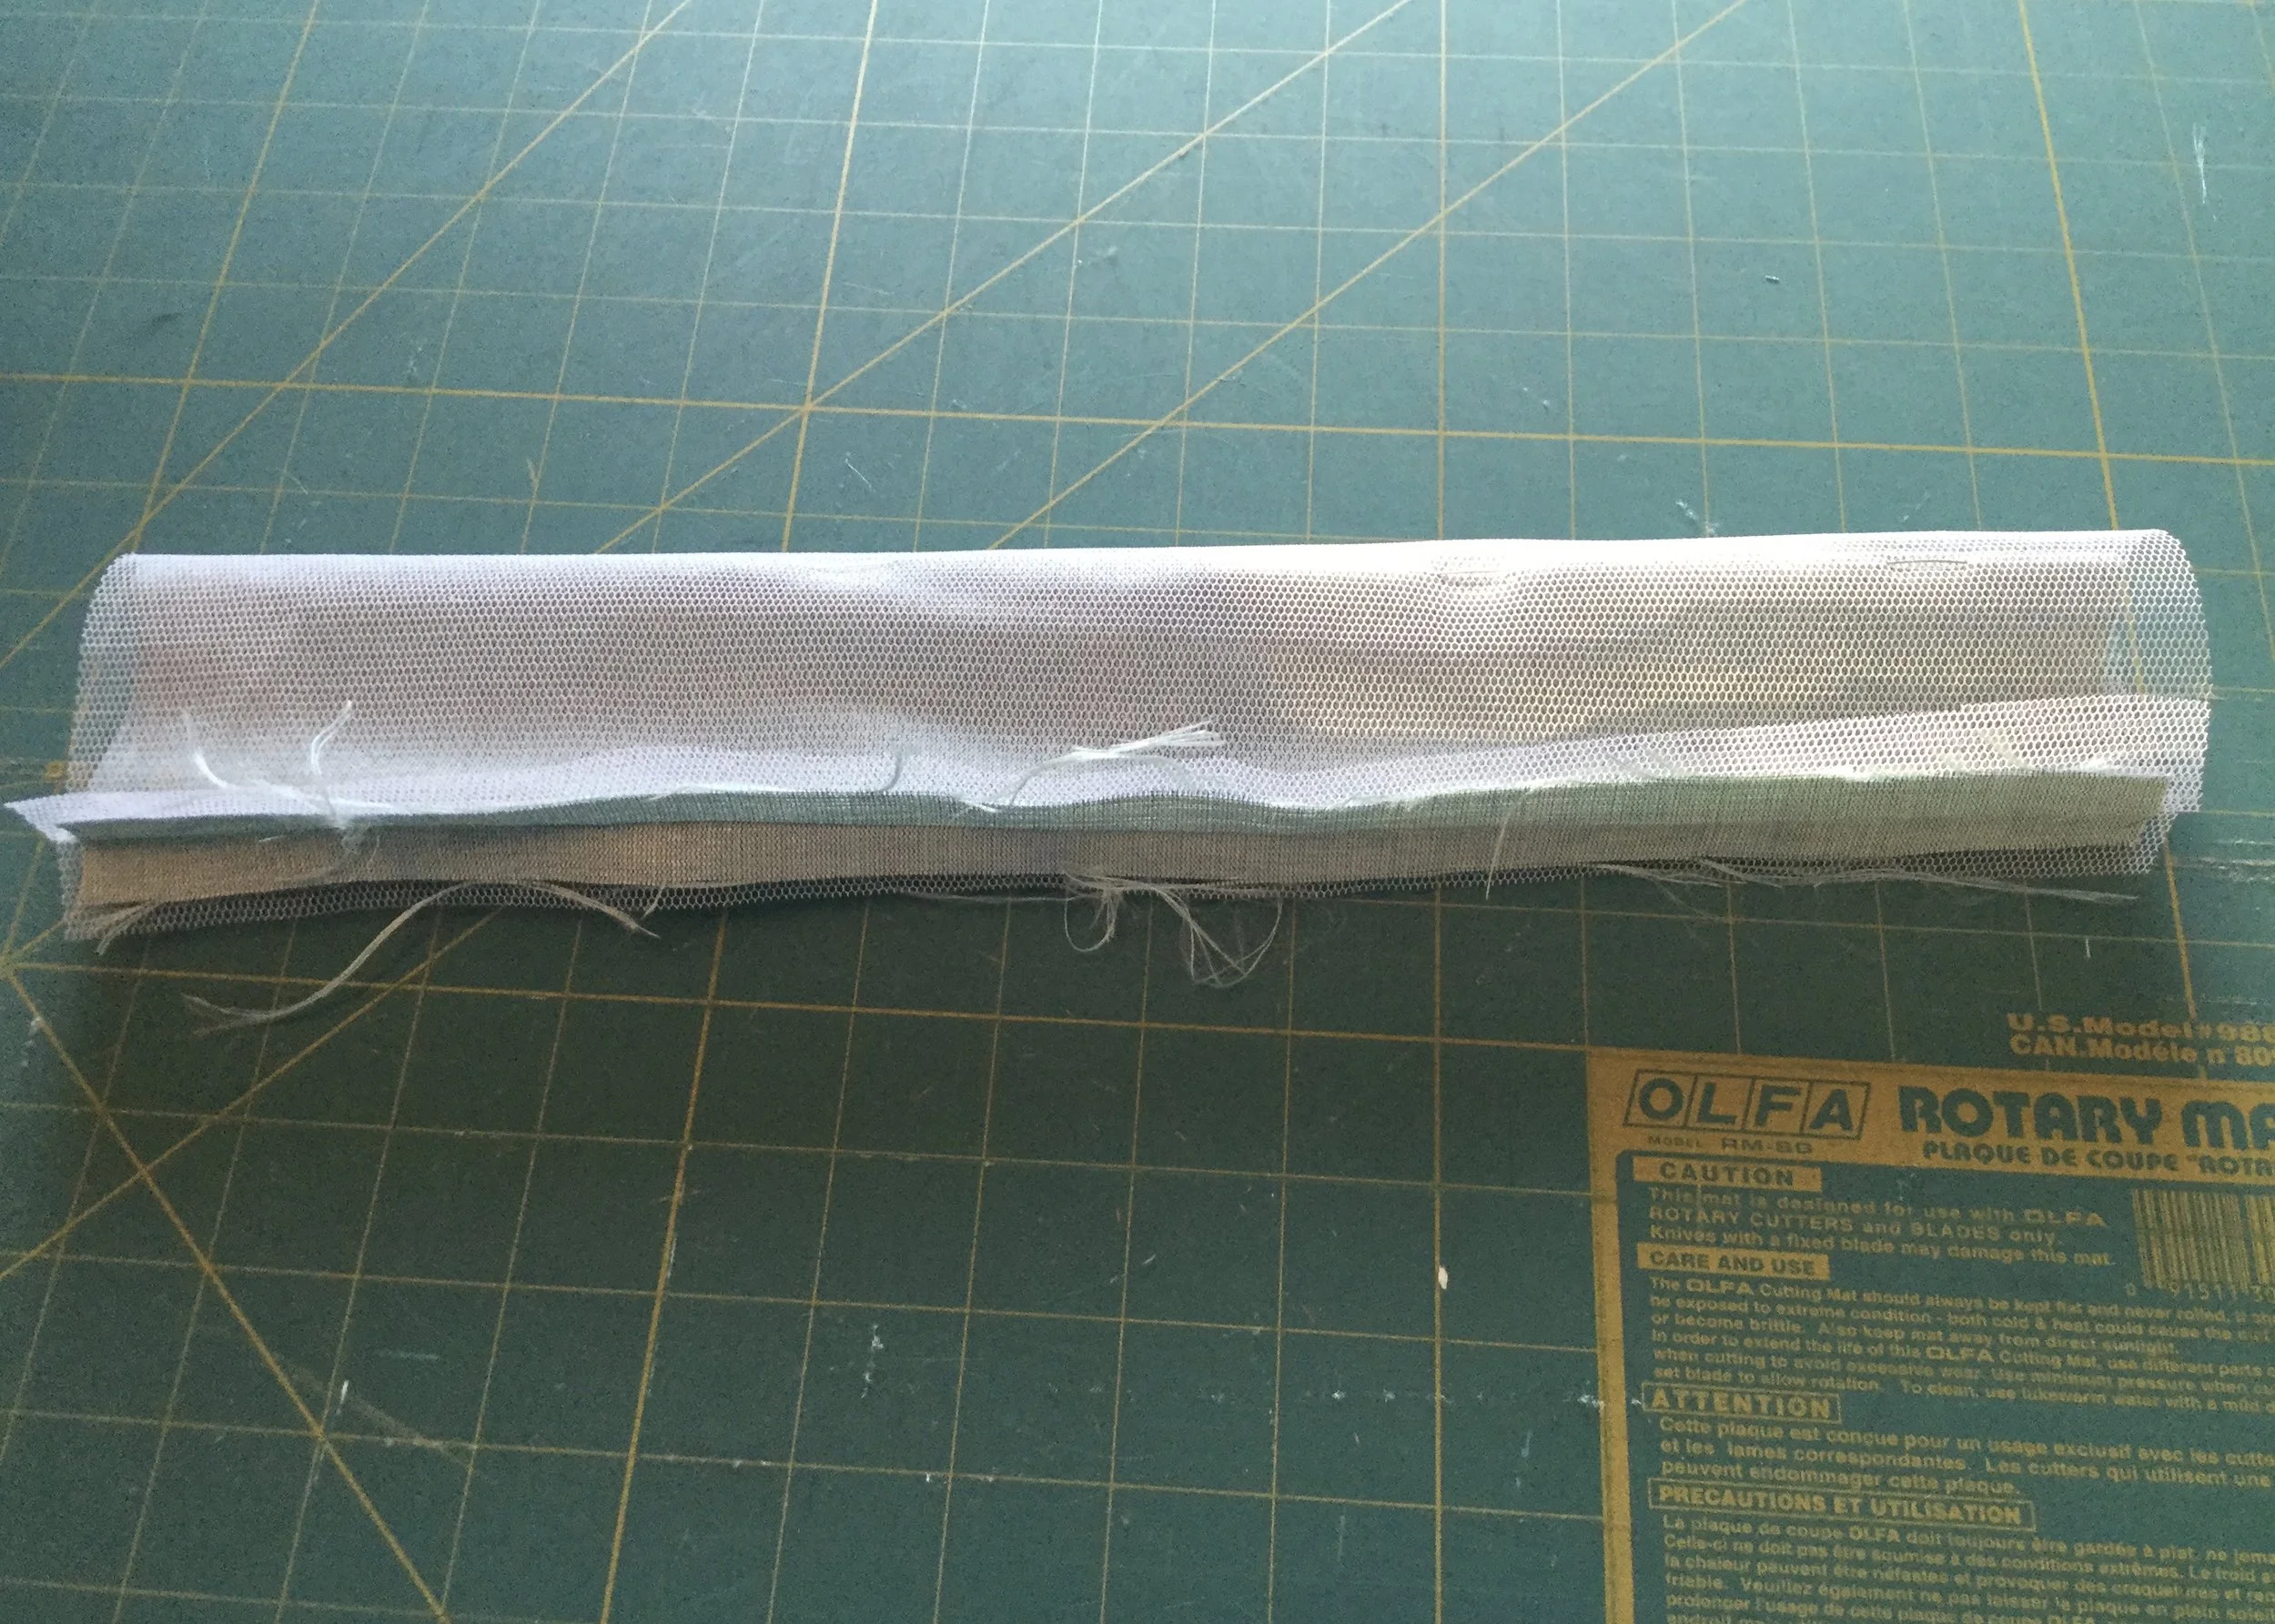
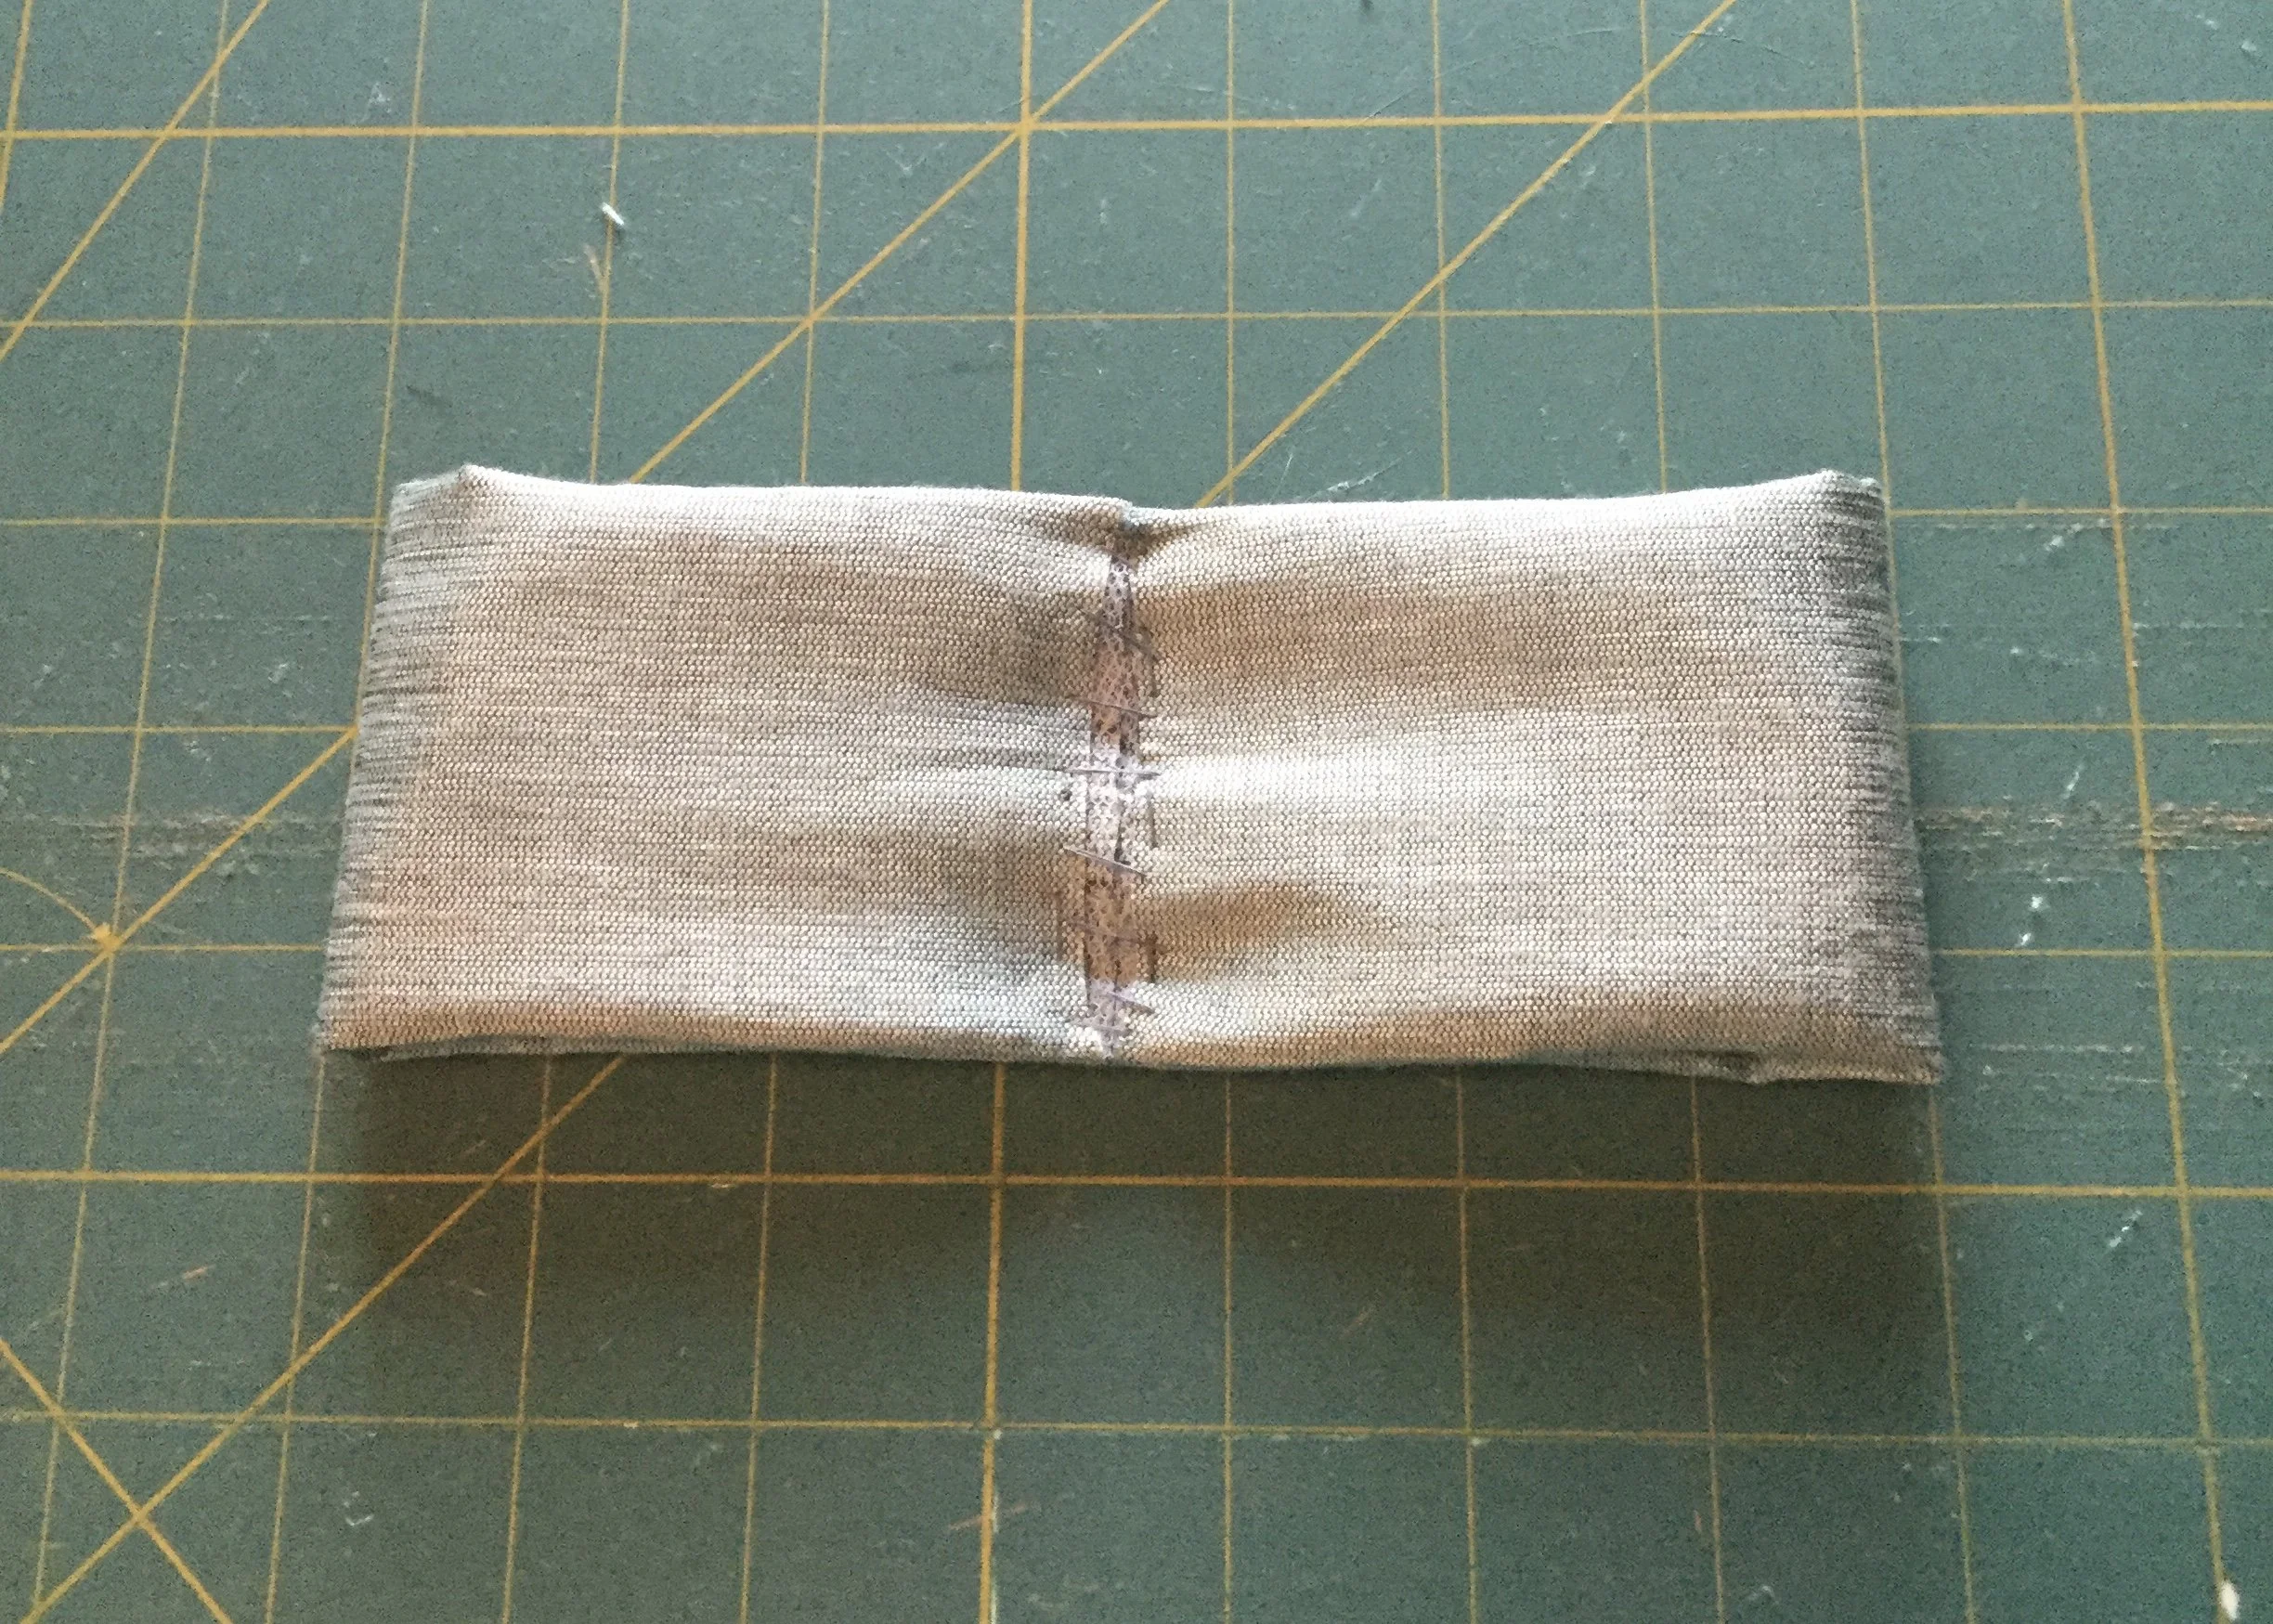
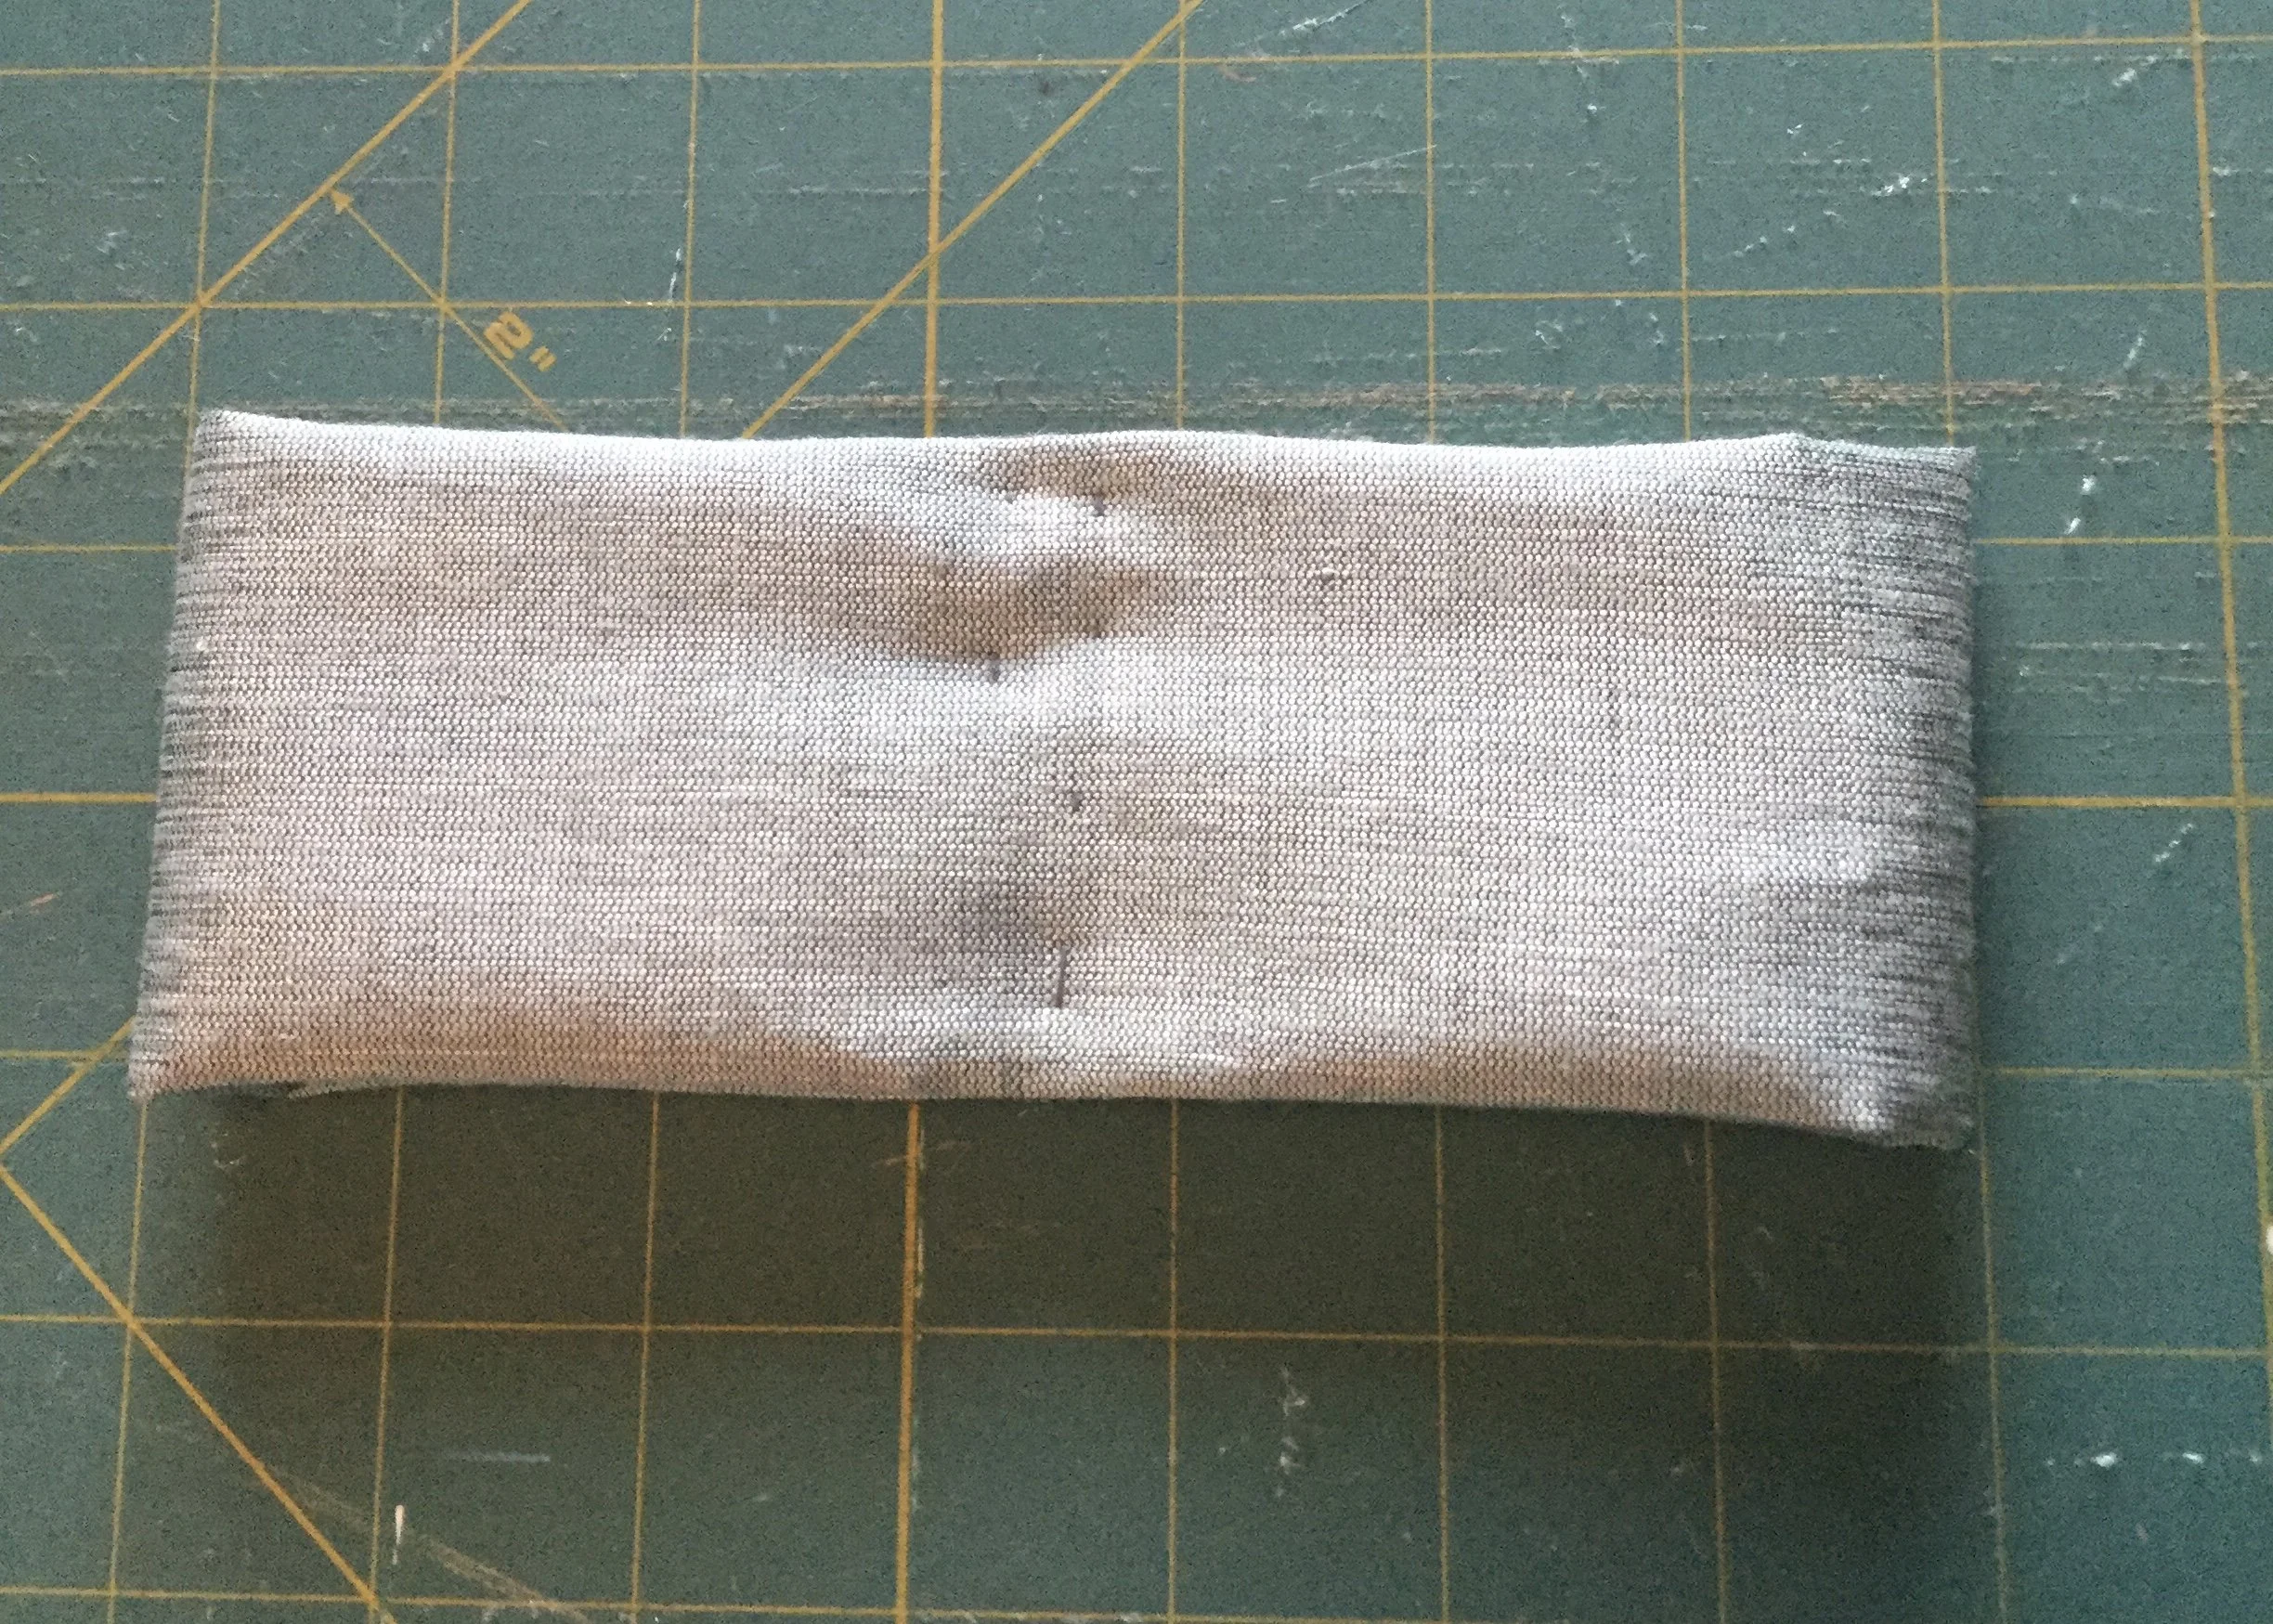
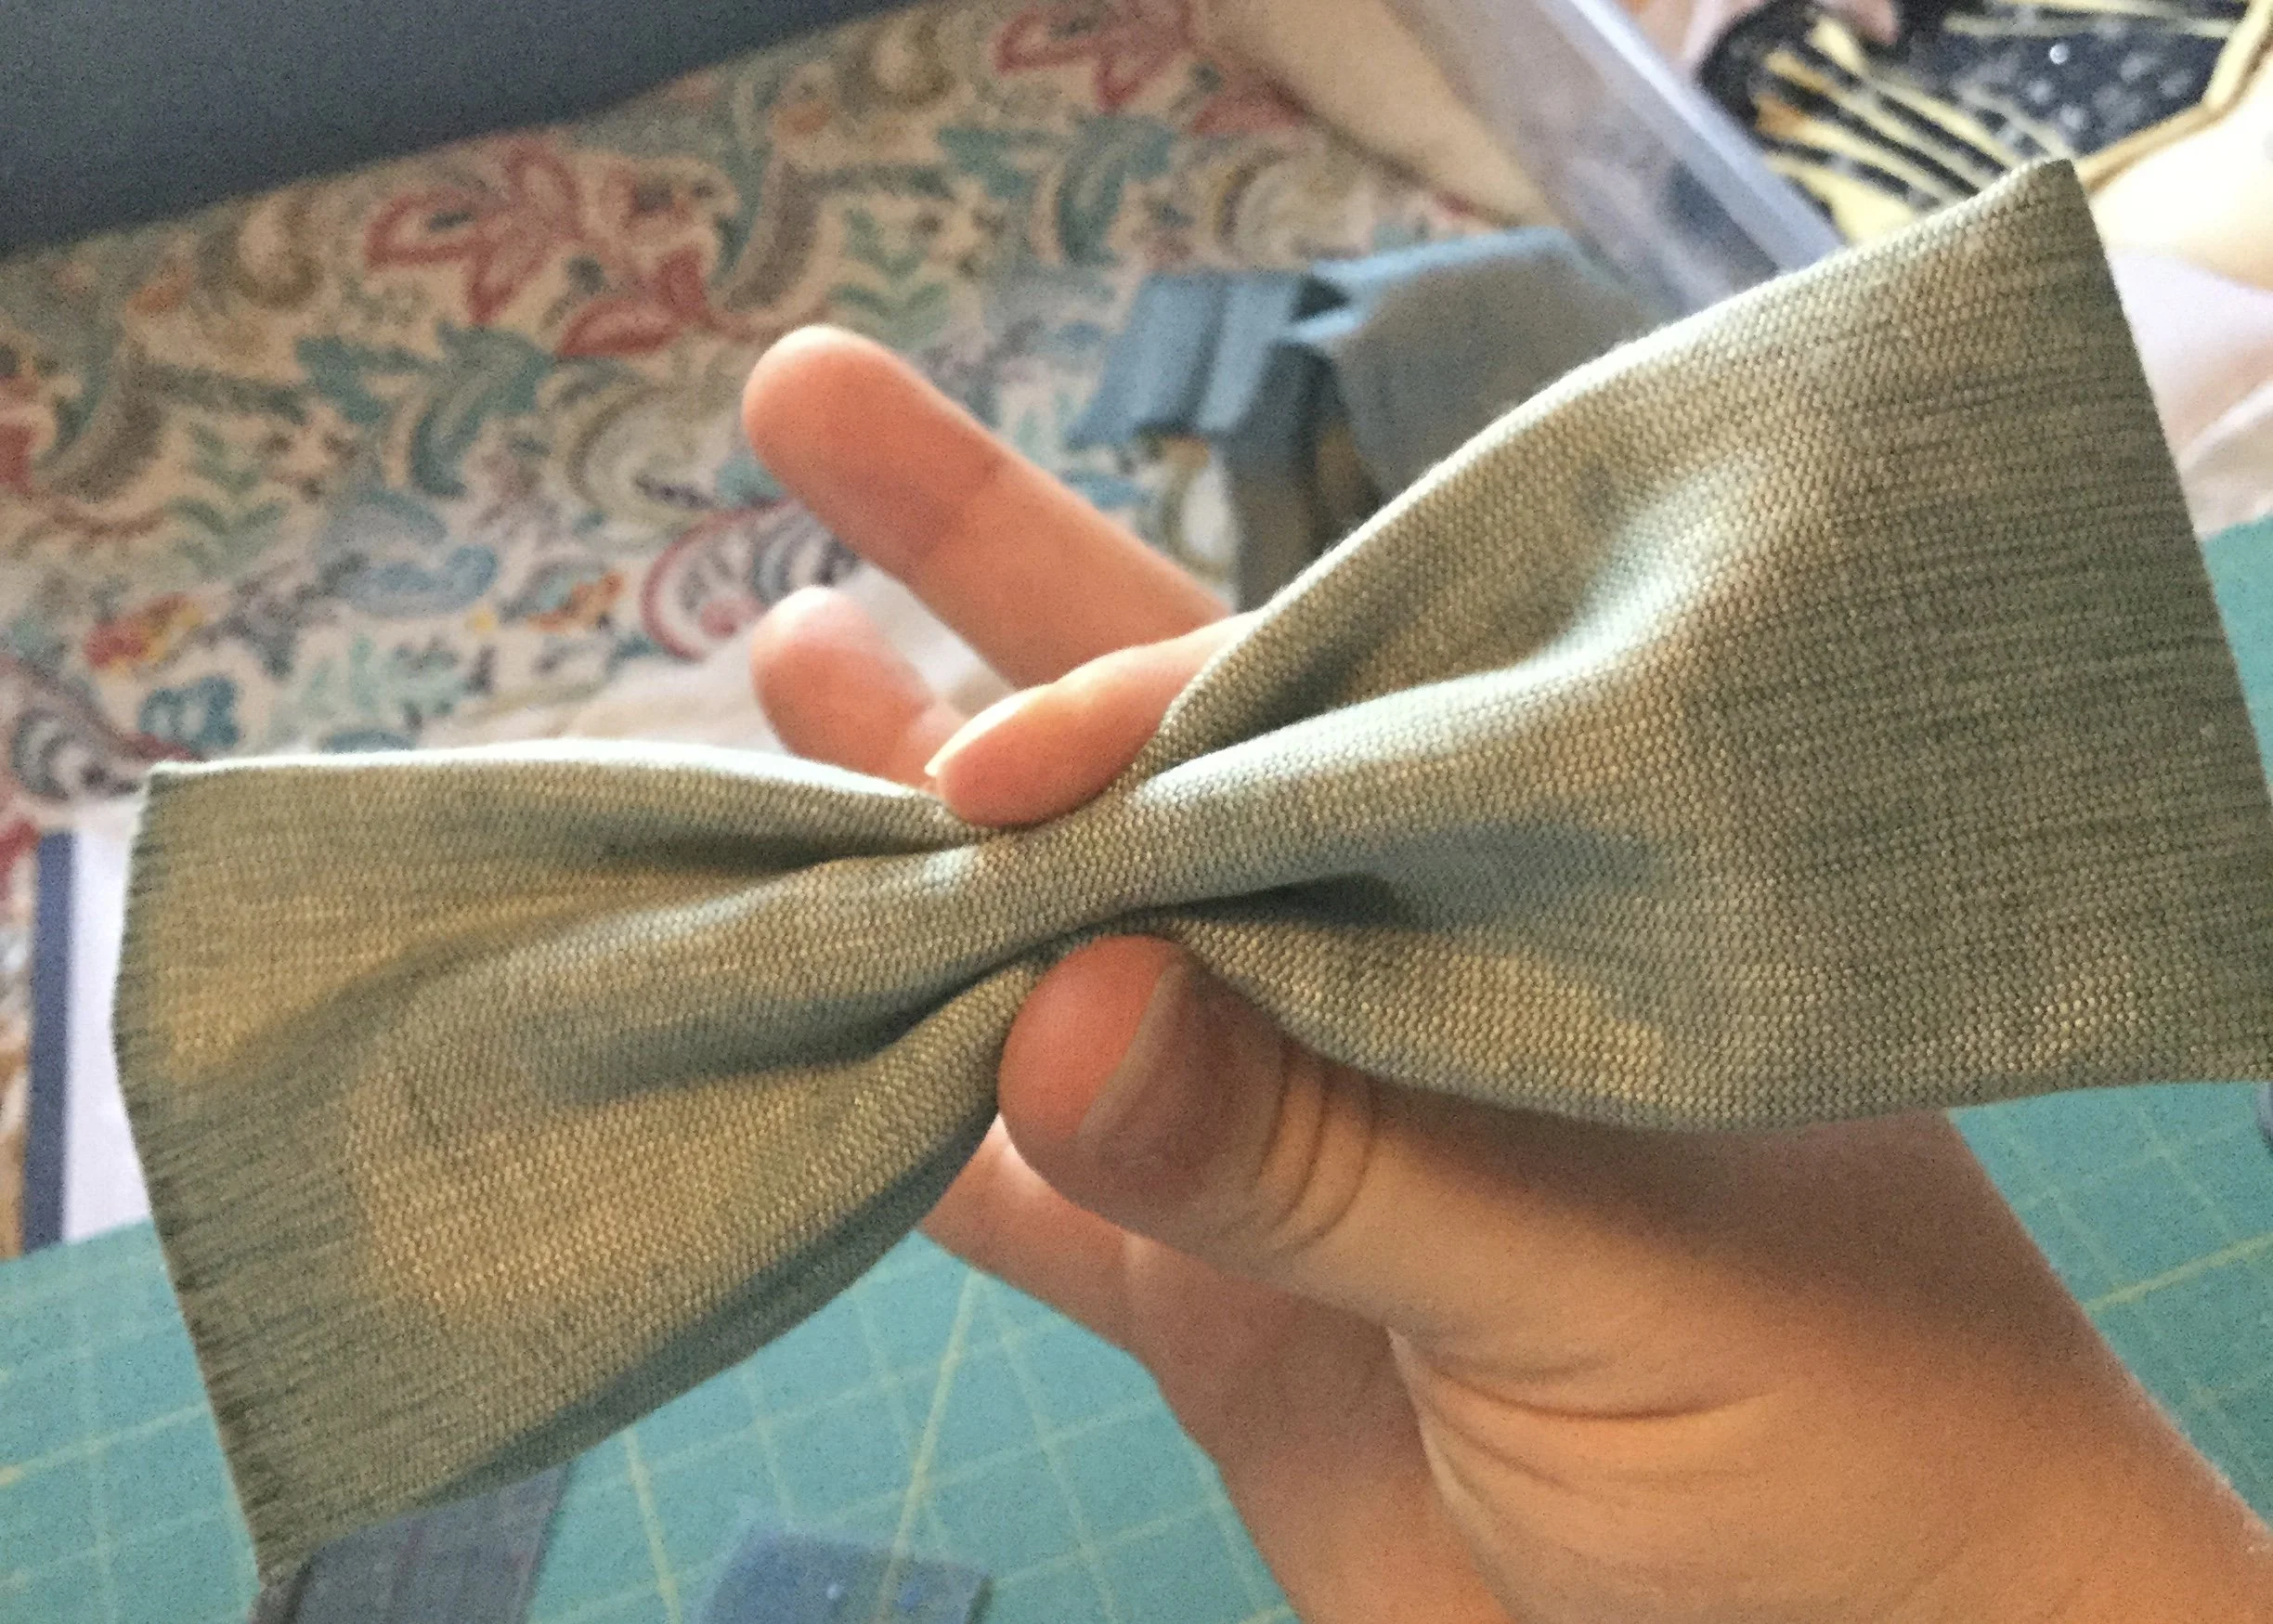
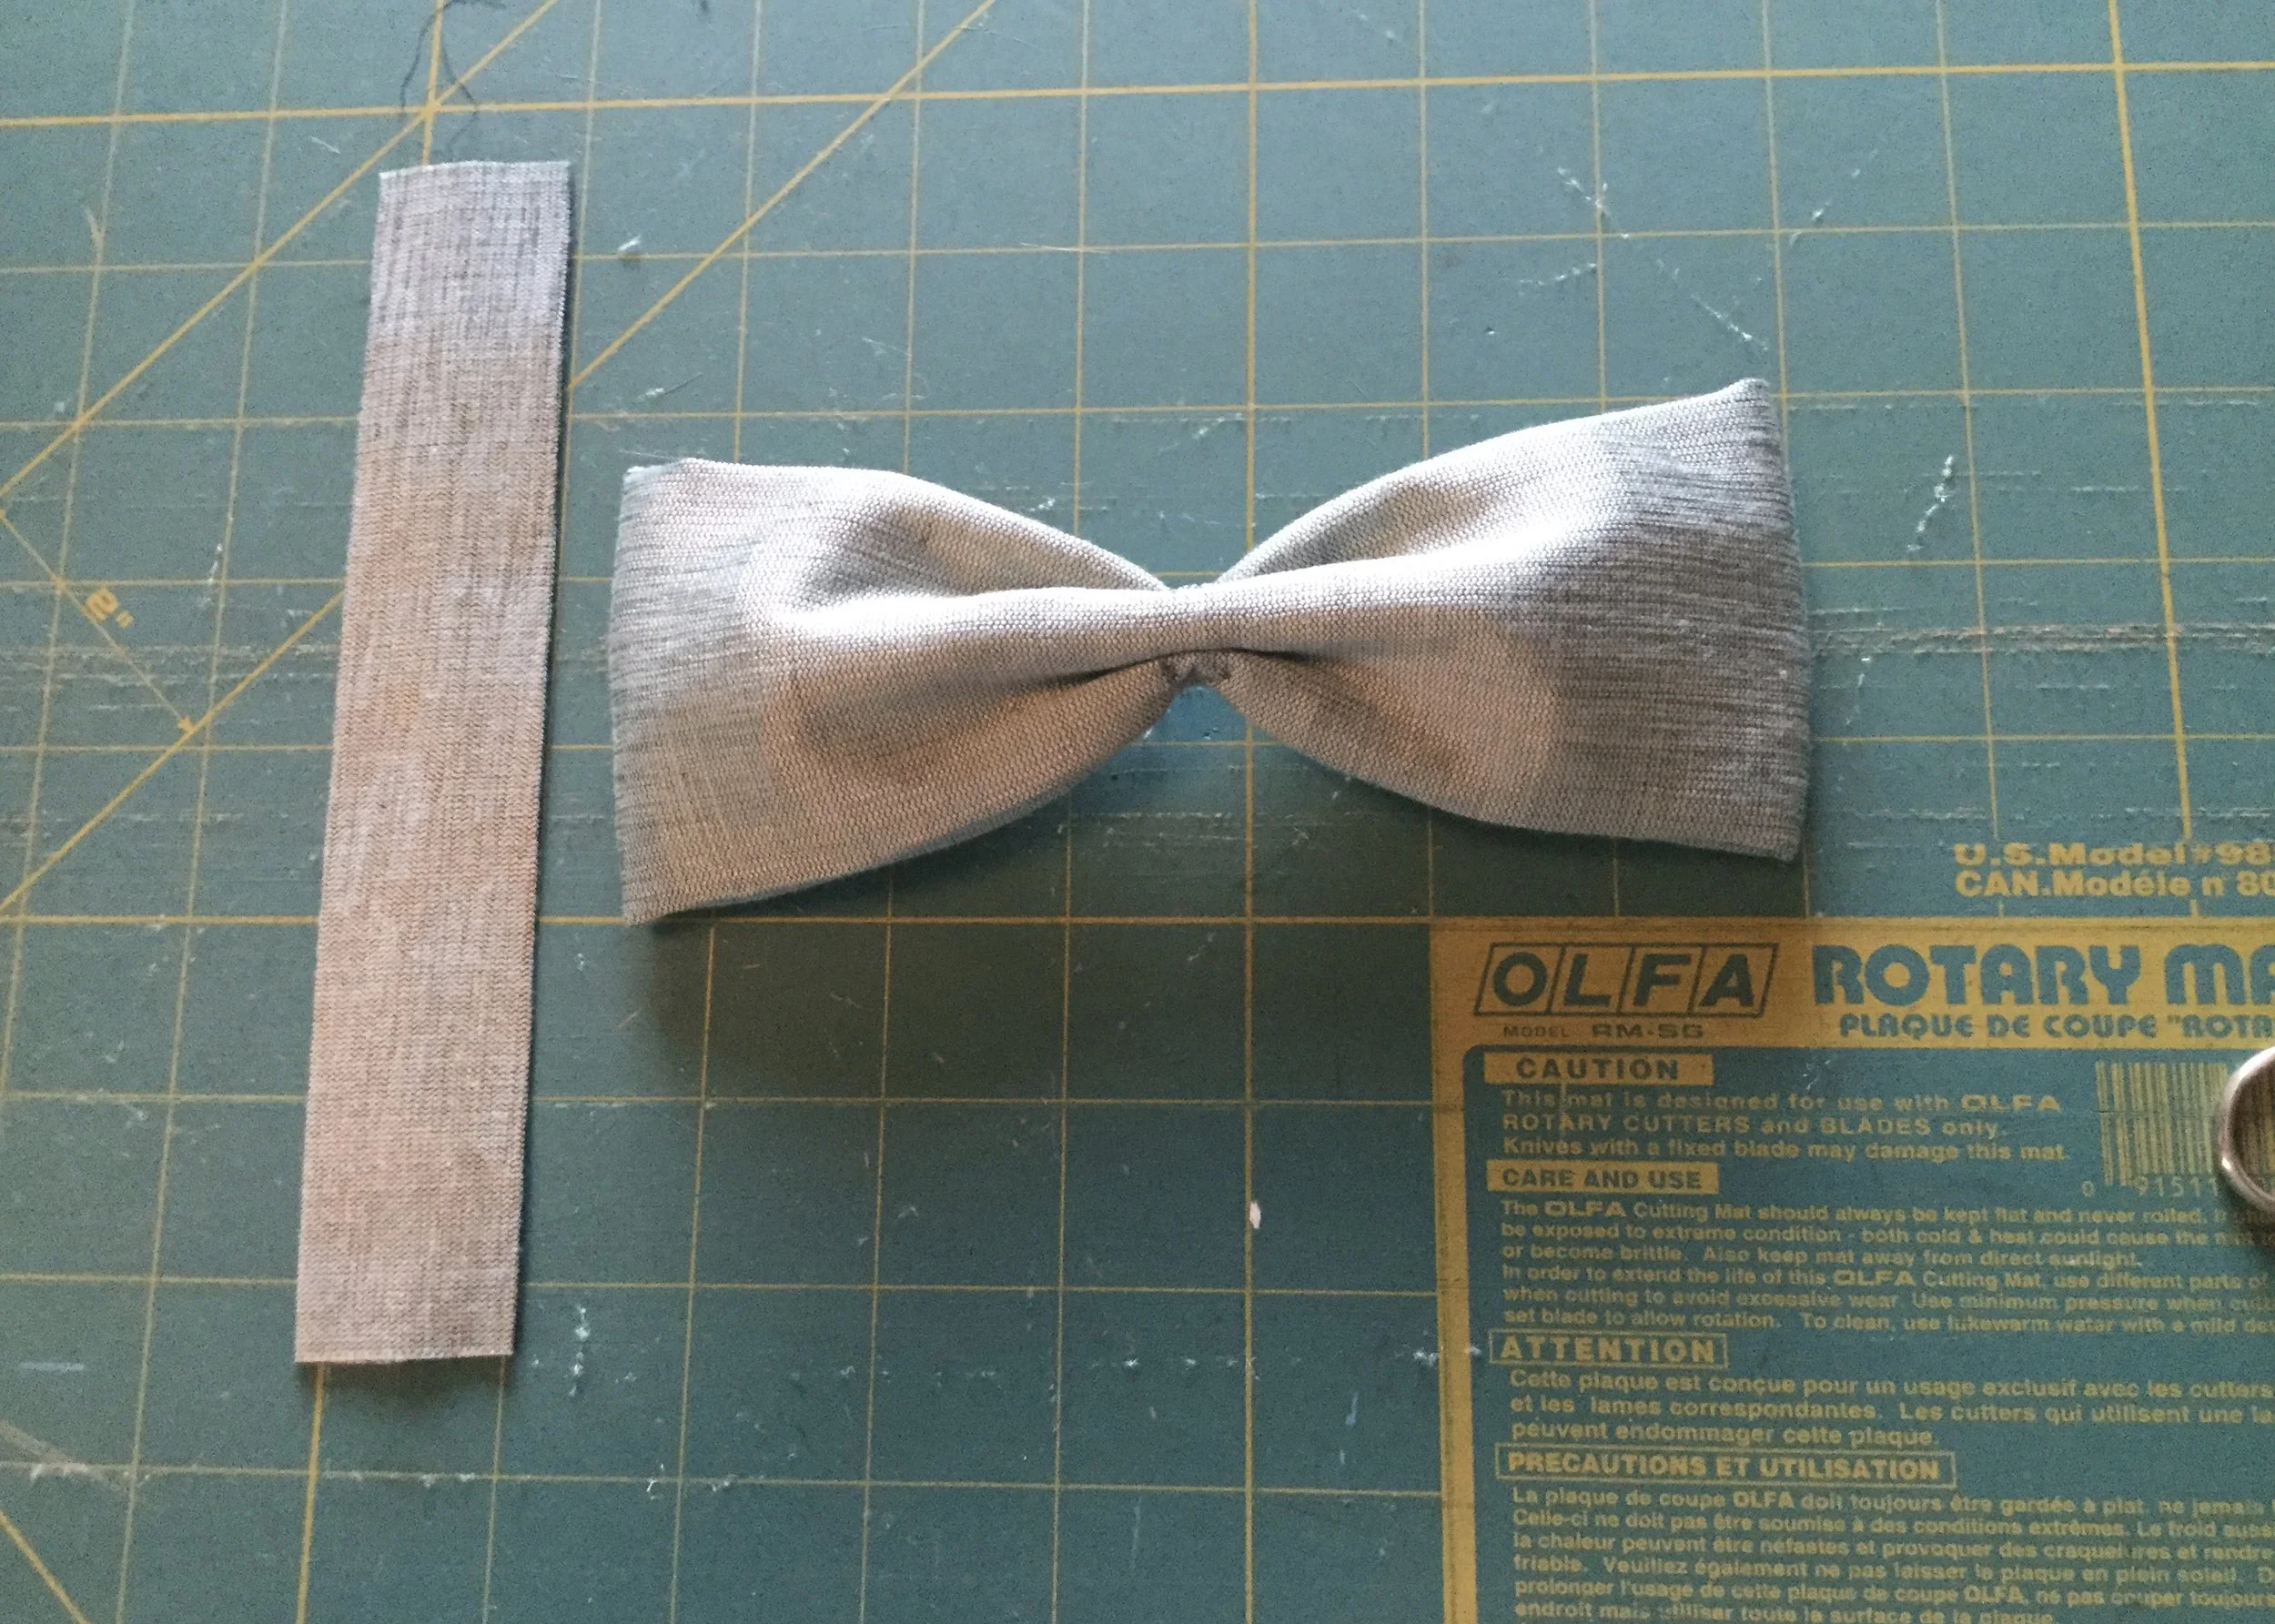
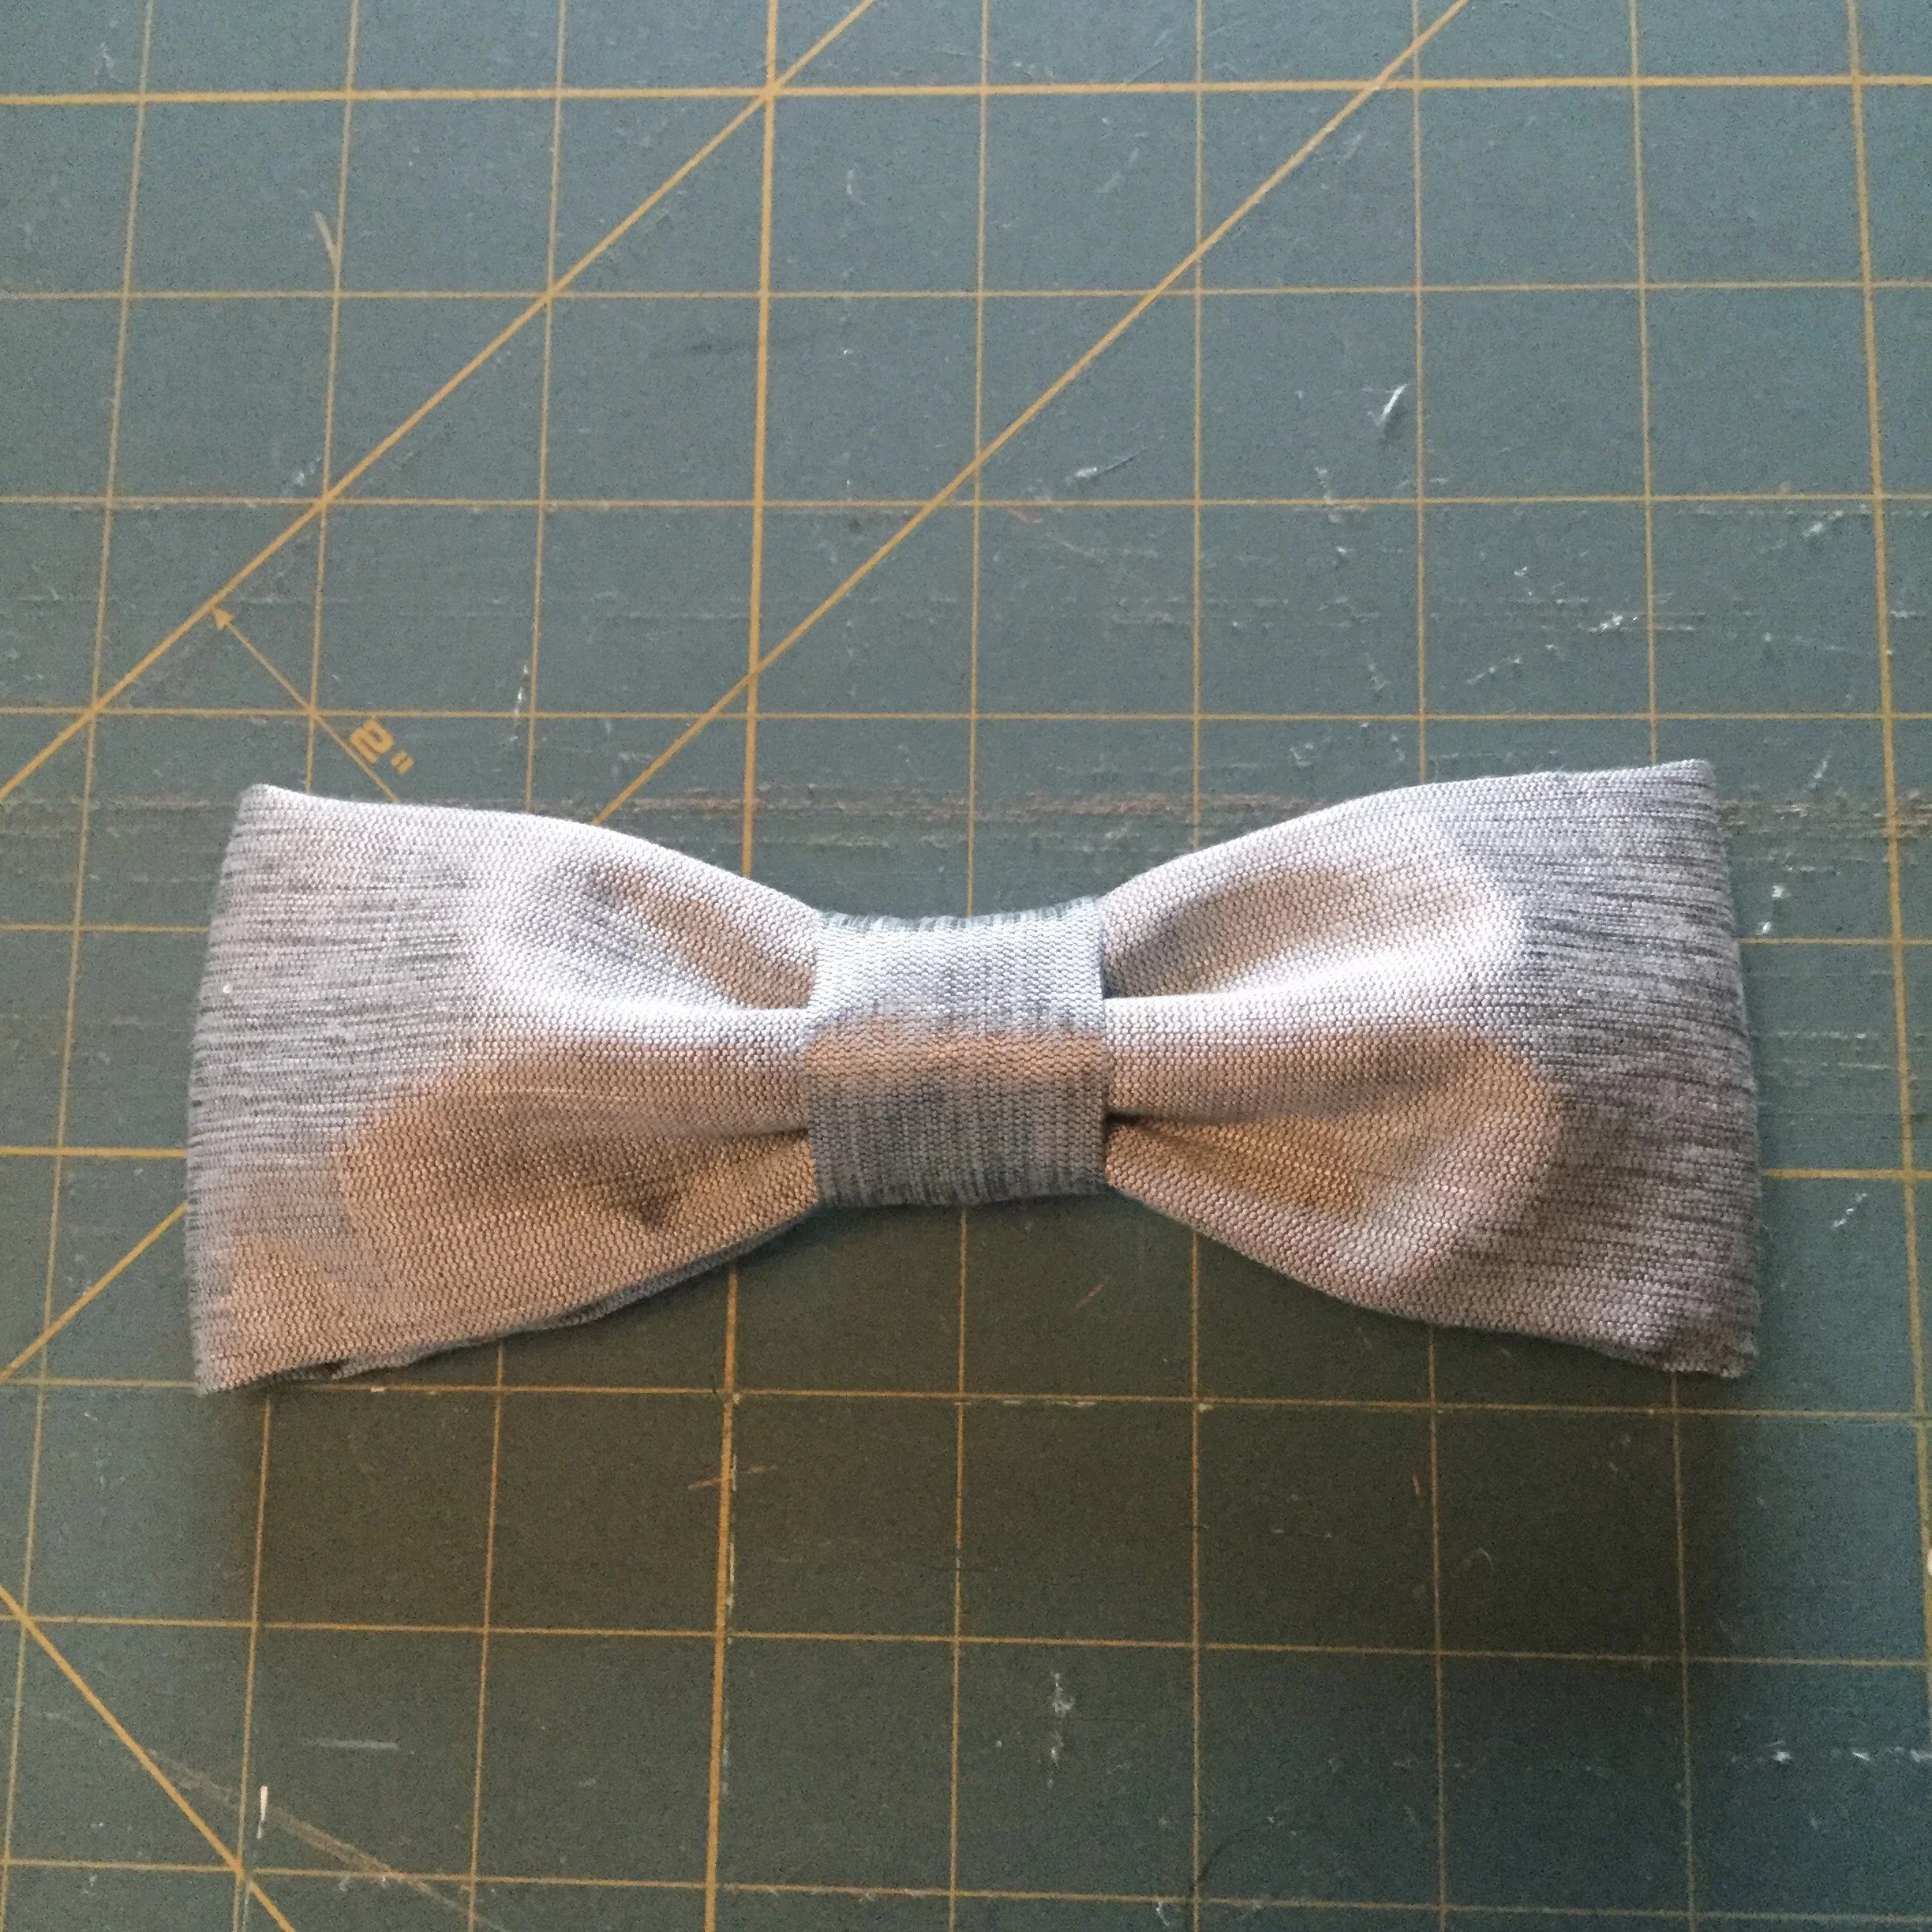
The final touch to add was the bow. Like the train, I wanted to add something inside to give it some body, but this time I went with some stiff netting as I thought it would cooperate better with the folds of the bow. After stitching and turning a tube, I folded the ends in to the centre, arranged the pleats and stitched them into place.
(A few years ago I worked on a show where I made many, many bows and was taught the fine art of 'squinching,' an art I was happy to use again on this project.) The finished bow is one of those tiny, finishing things which turned out perfectly and that I'm stupidly proud of.
Pretty pretty pretty pretty pretty pretty pretty pretty!
Once the bow was in place, the dress was finished and another little dream from my old sketchbooks had been realized. I'm really pleased with this one. I do think the gathering at the centre back would drape a bit better in full scale as the fabric is fairly stiff, but I still think it fit the design well. I'm also glad that I did end up using these two fabrics together; it's a shame that the gold on the lace doesn't show up very well in the pictures, it's really very pretty in person and nicely compliments the colour of the beads.
Irene took 62 hours to build. I spent 19.25 hours on the pattern, mock up and fitting and I spent 42.75 hours on the final build.
