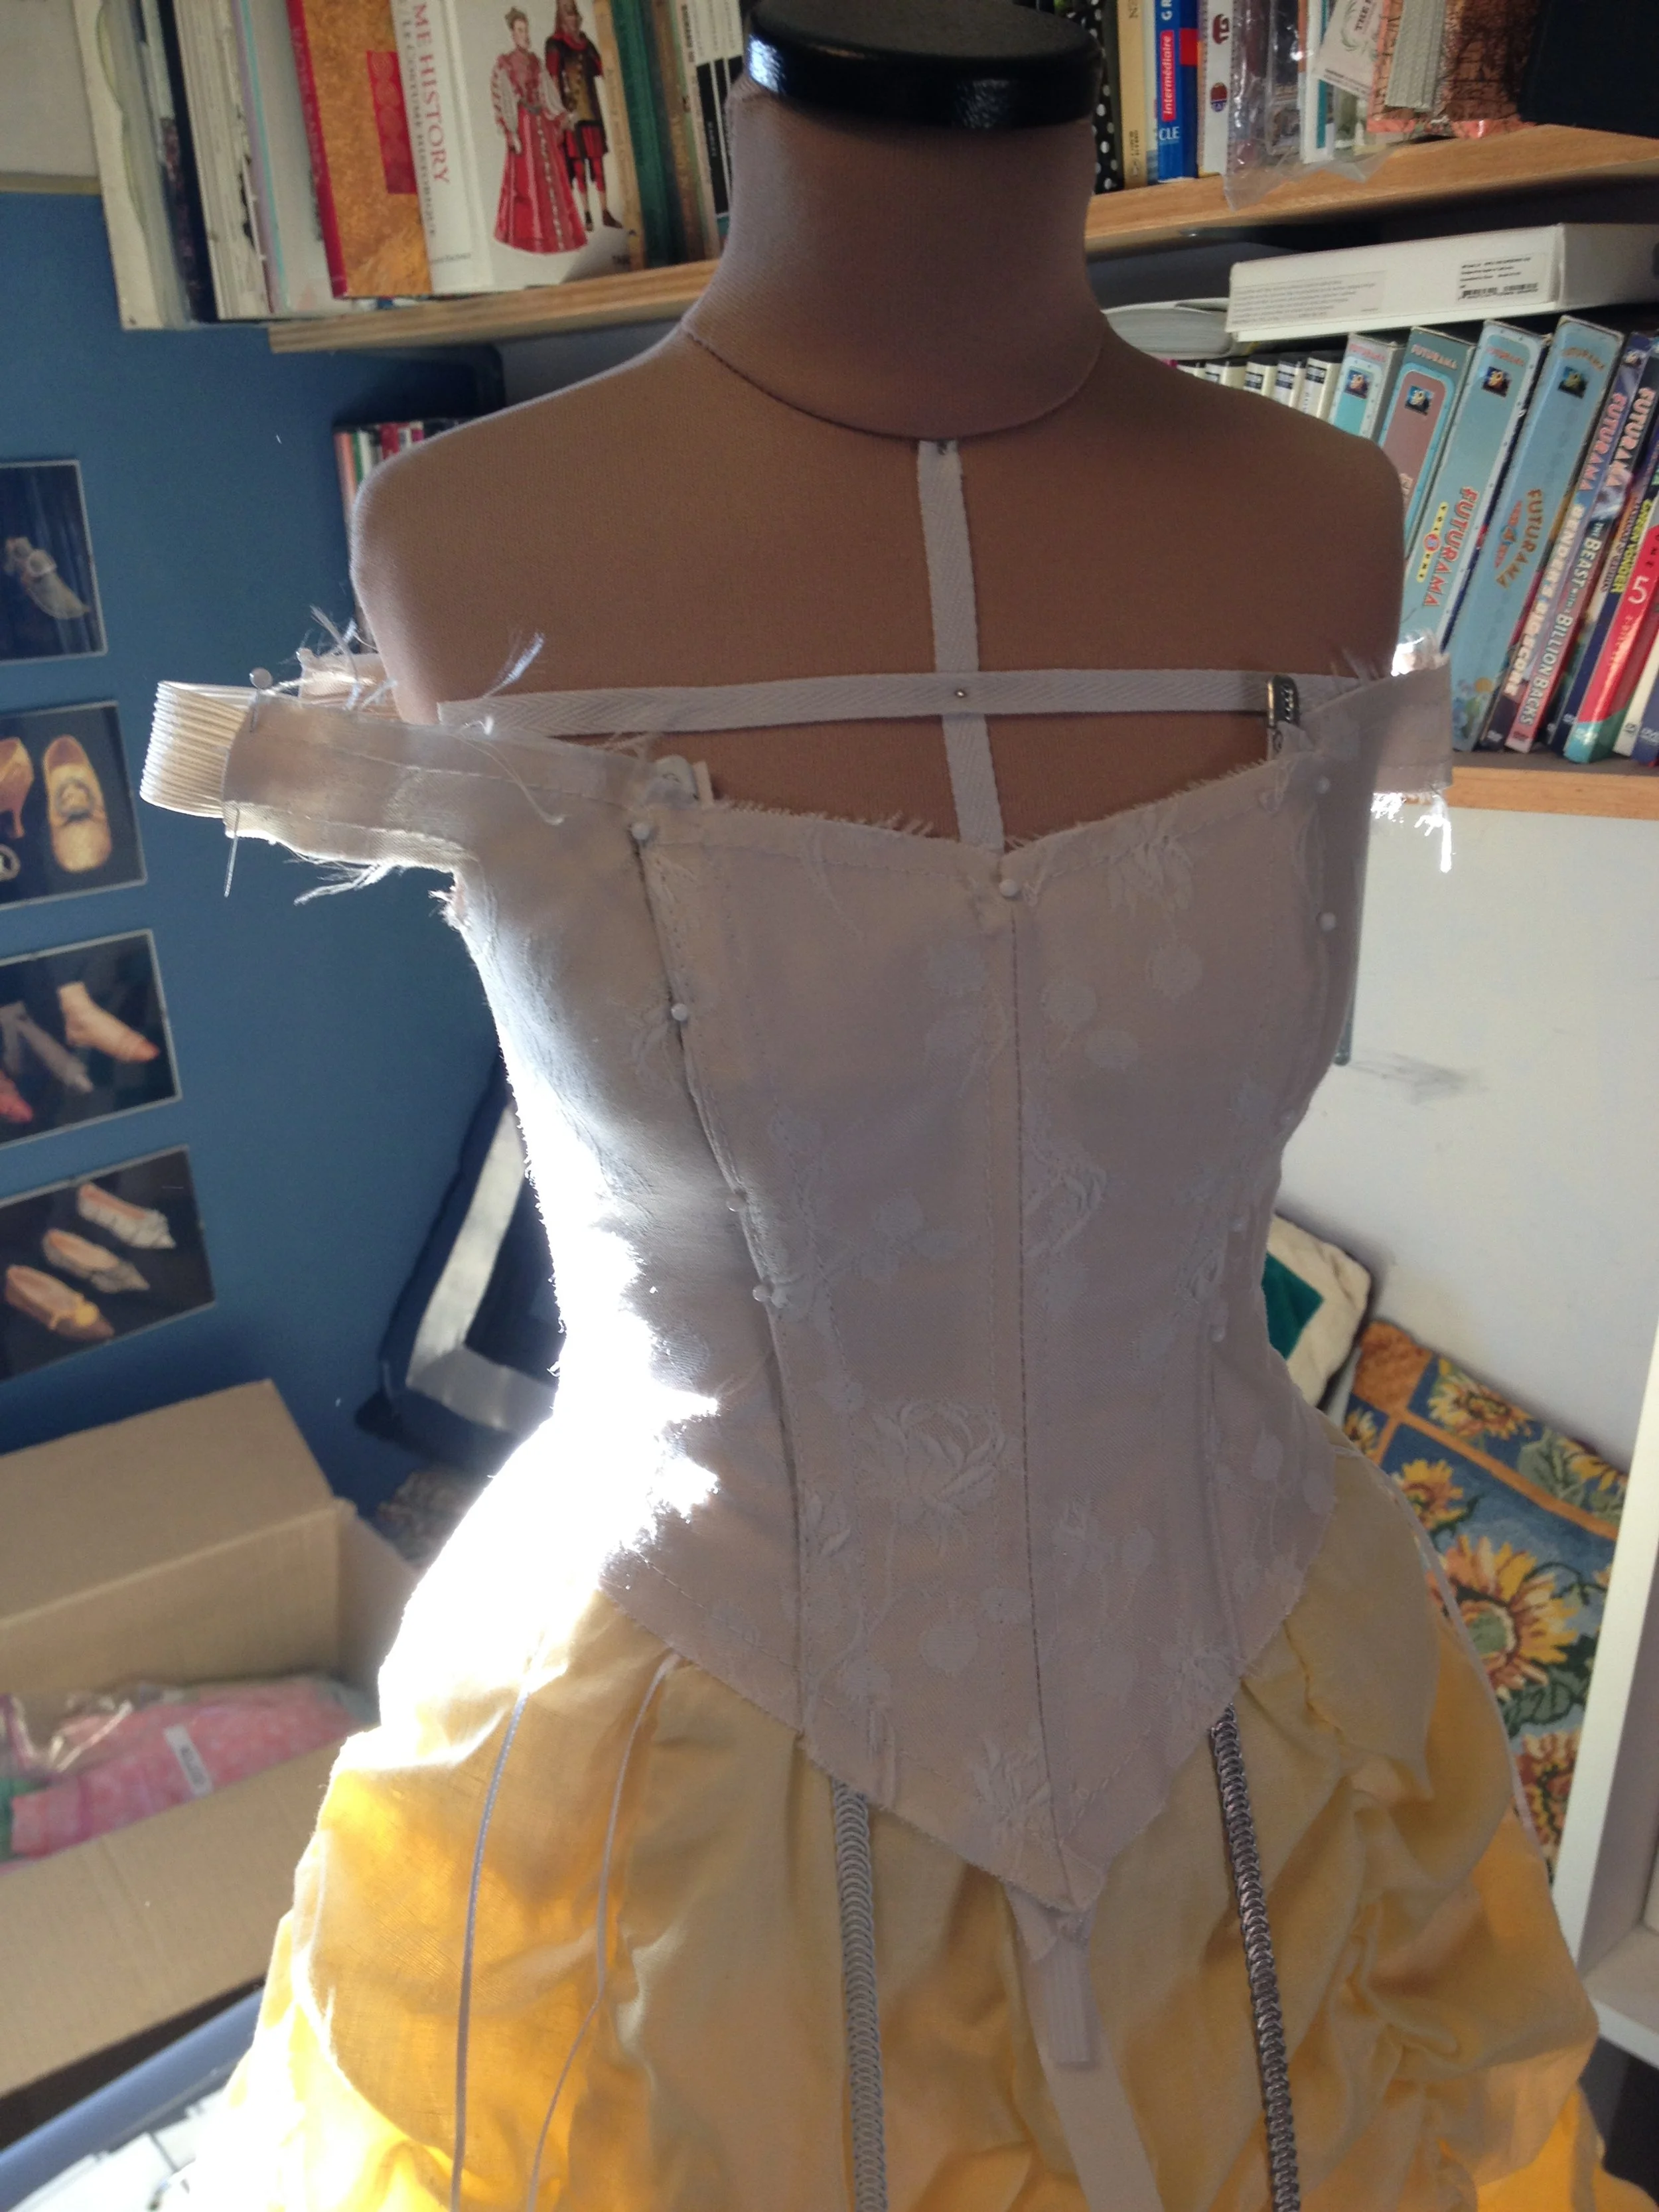
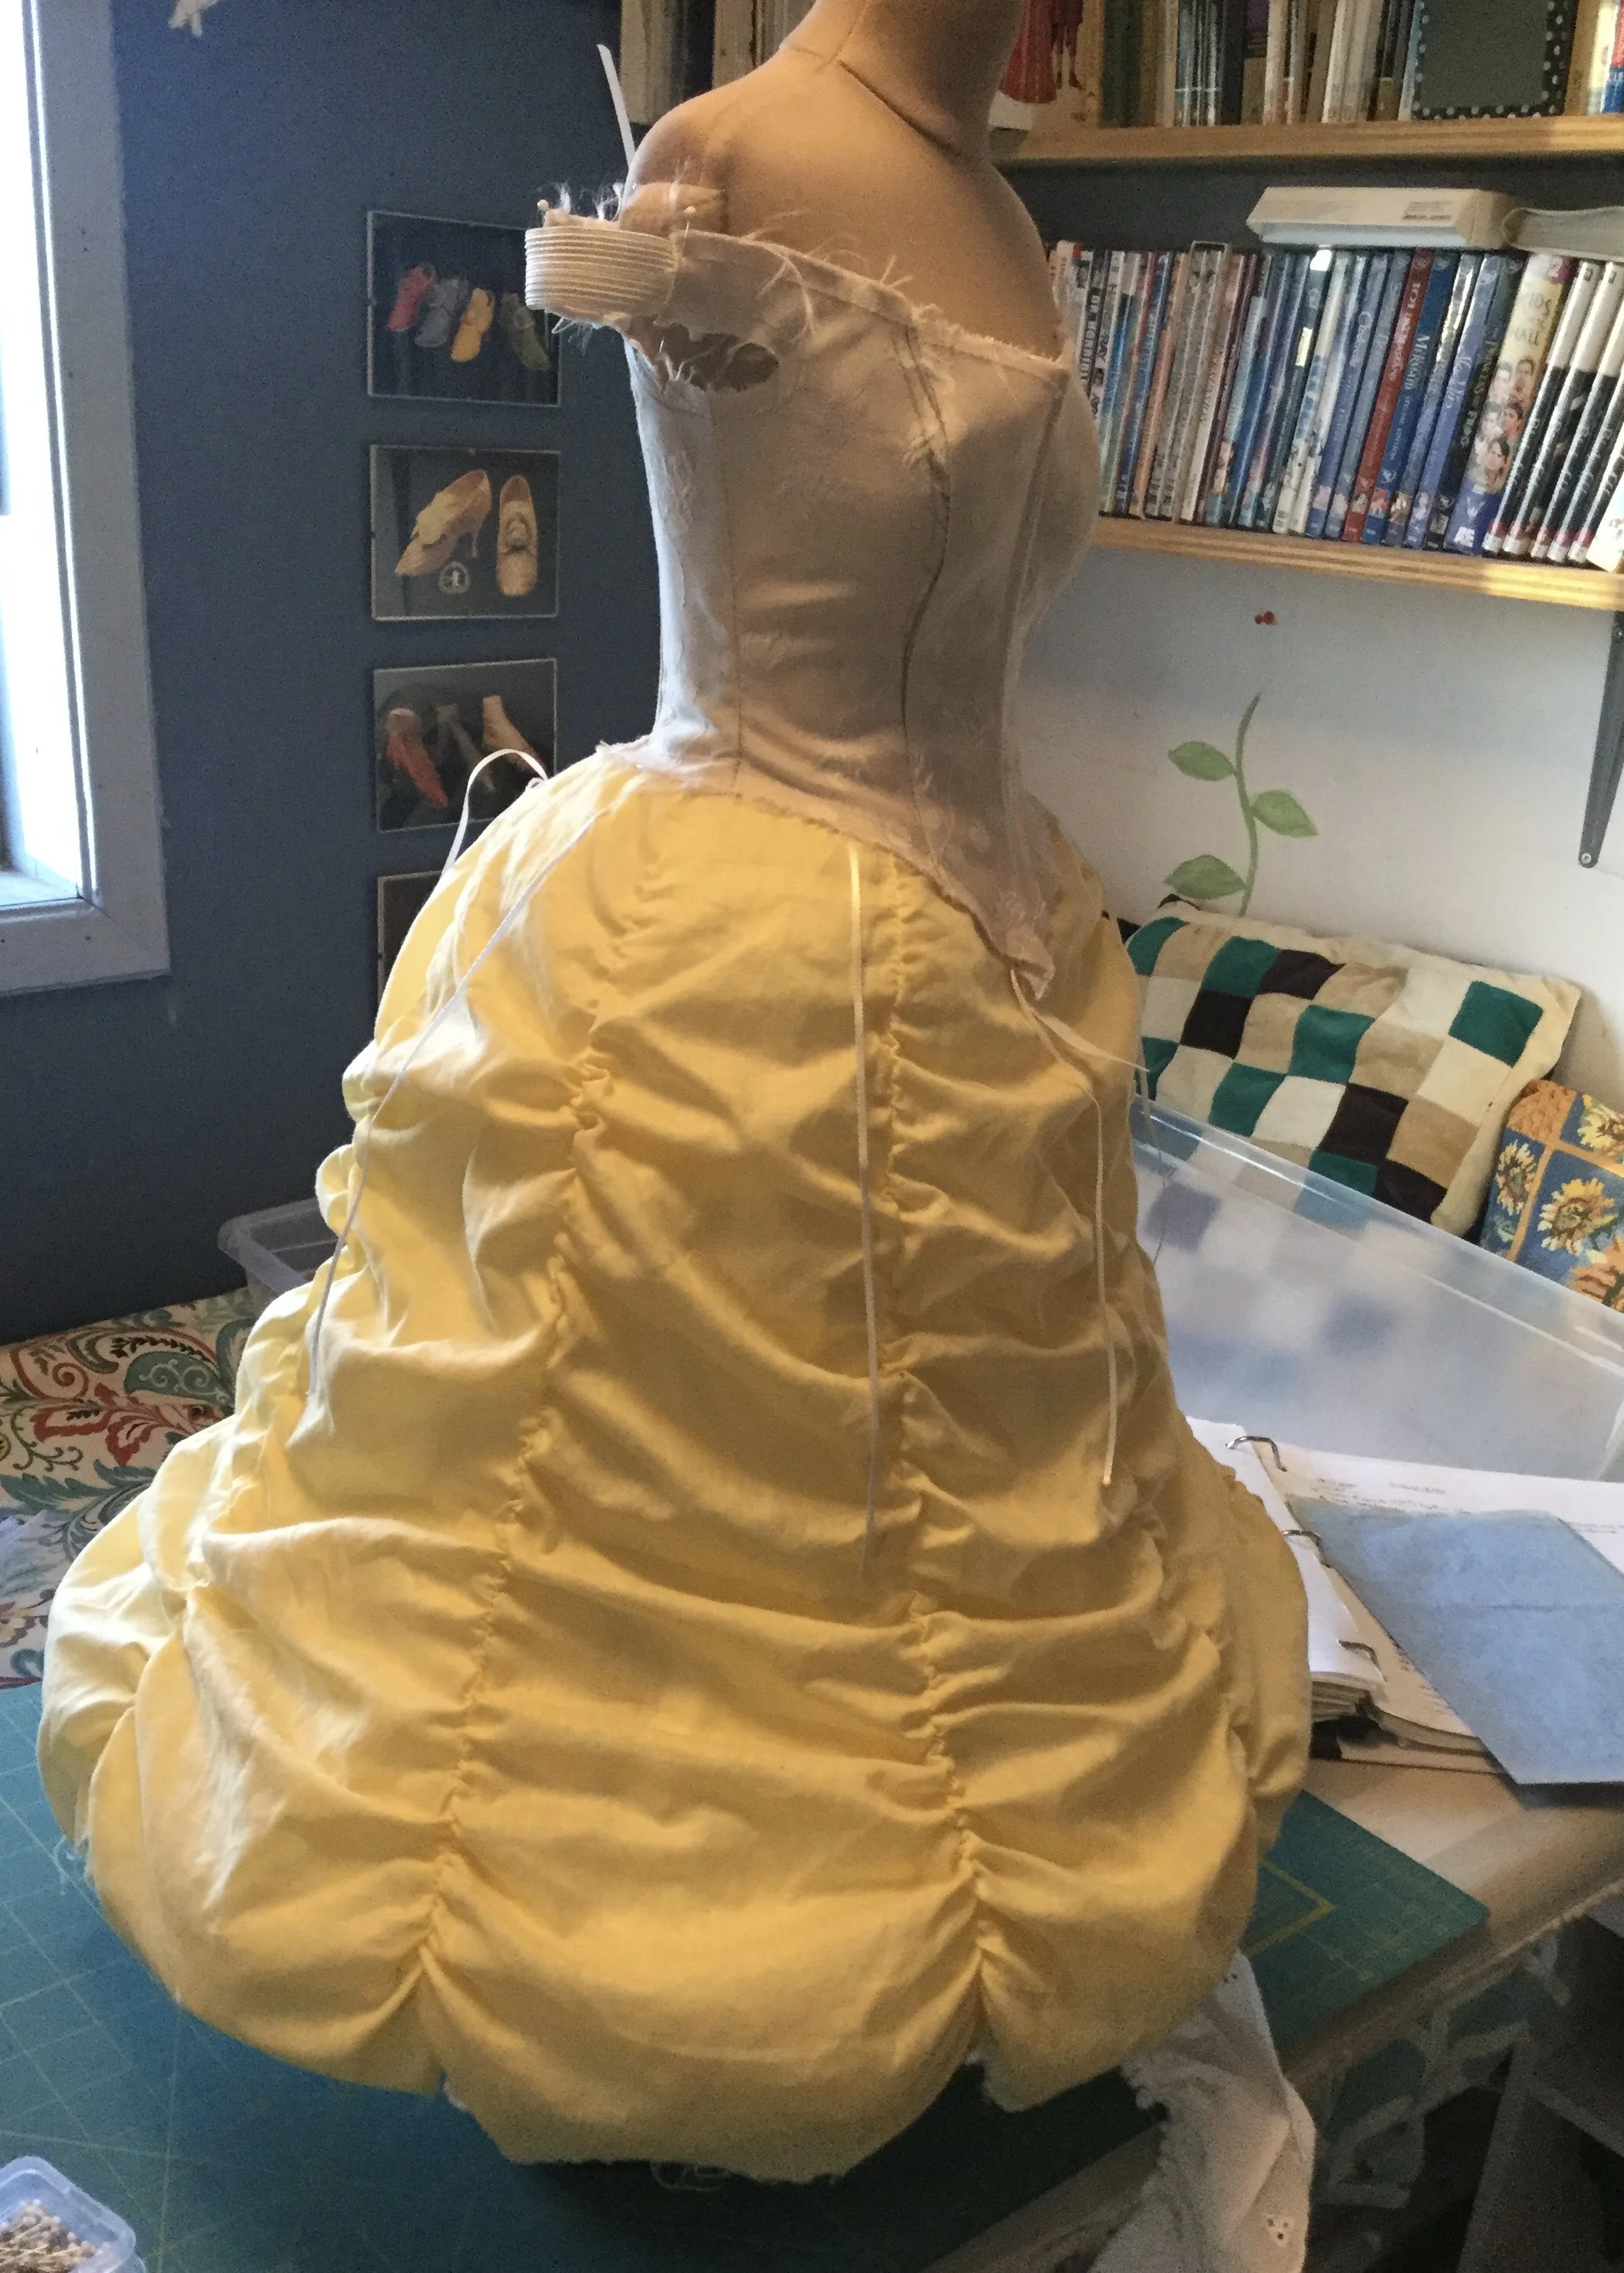
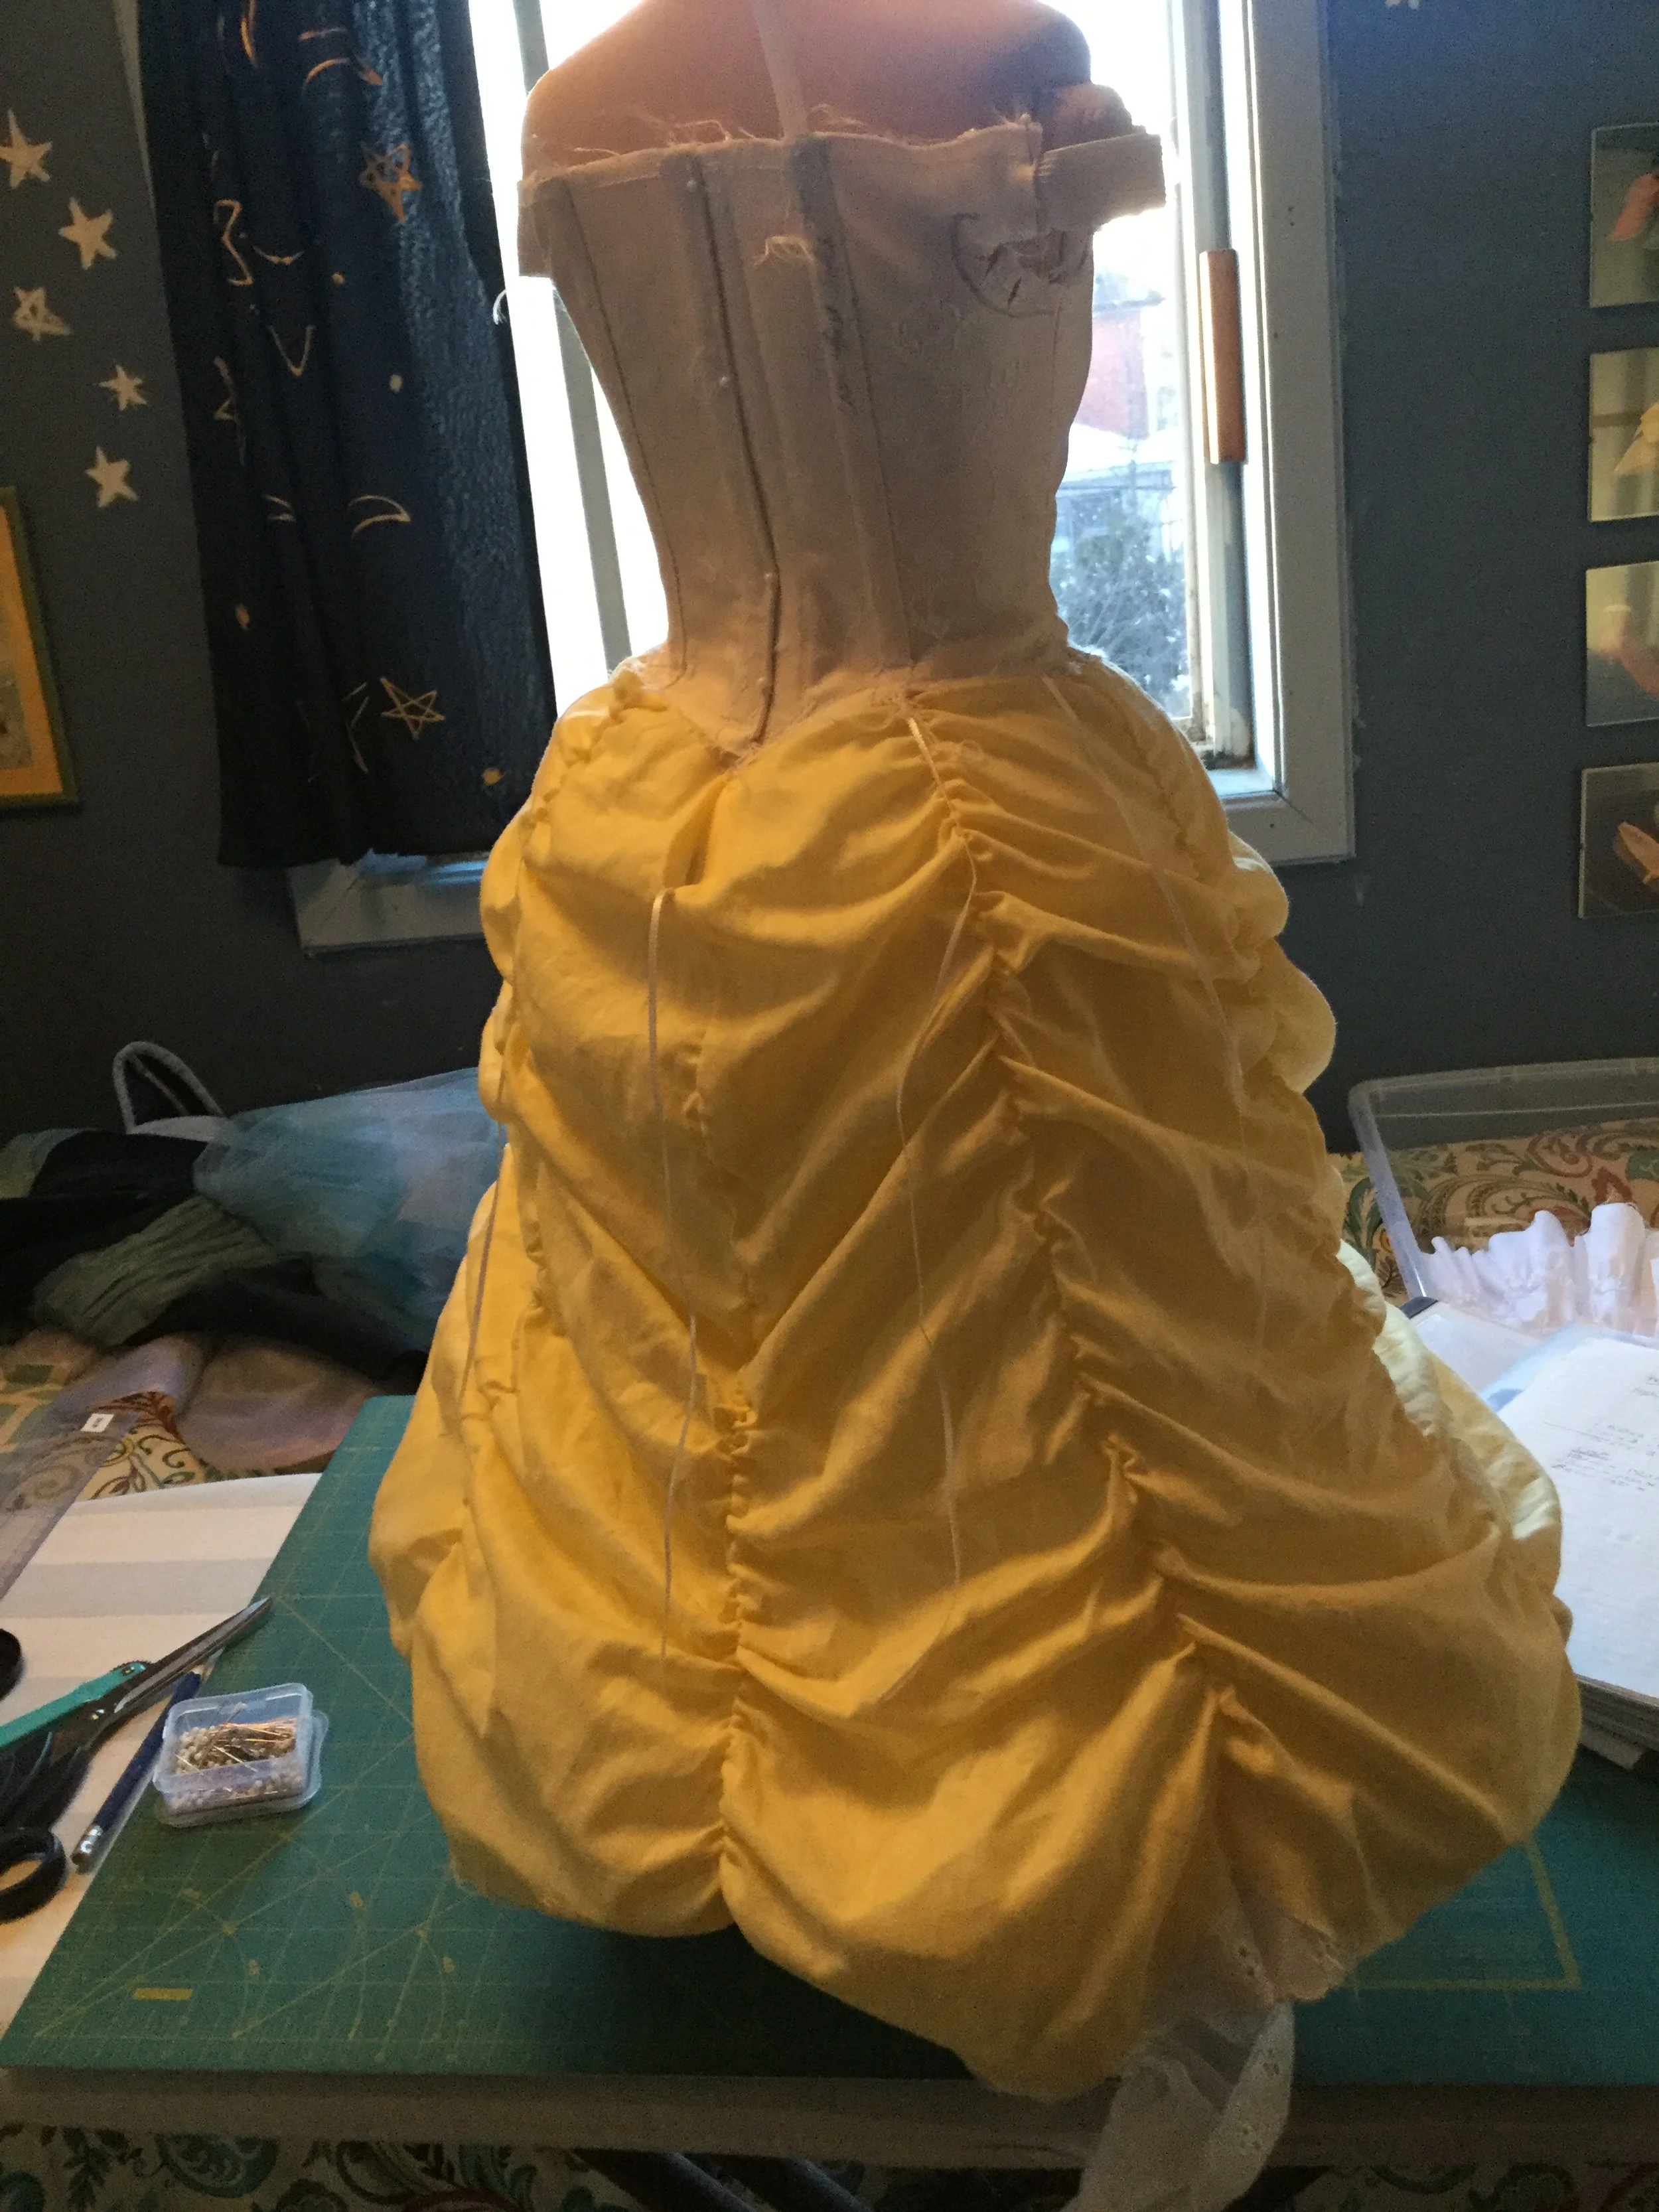
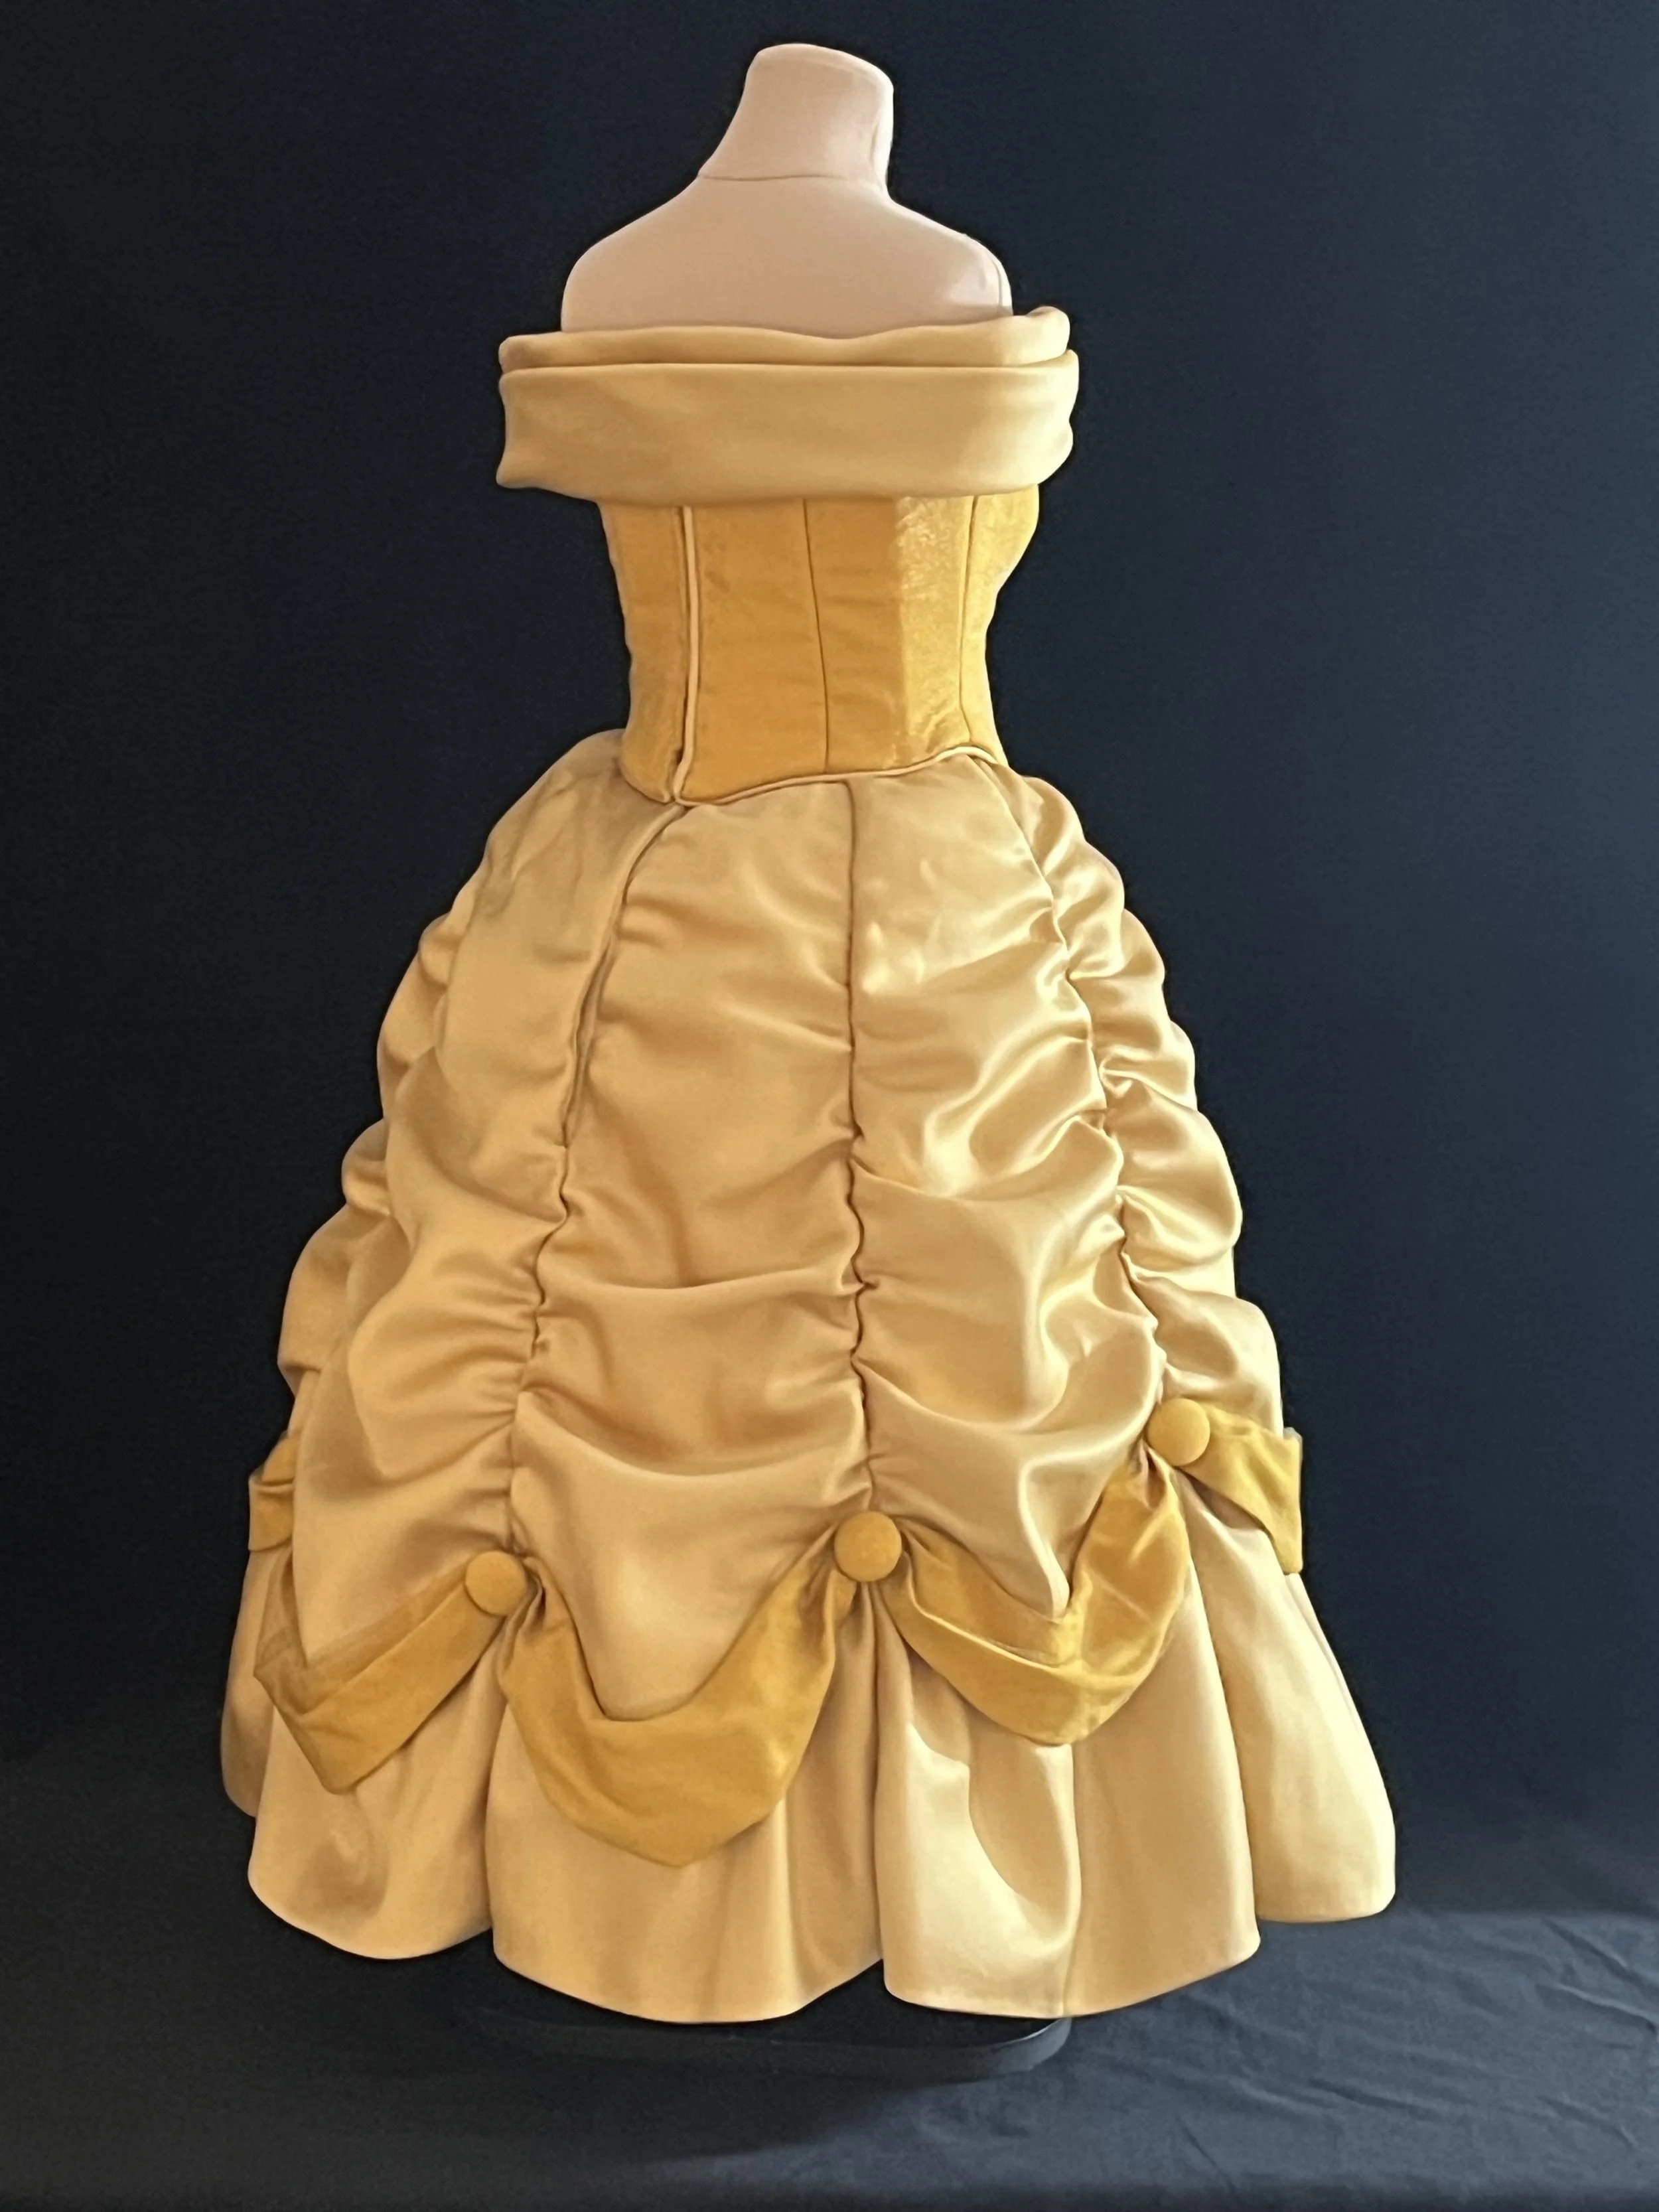
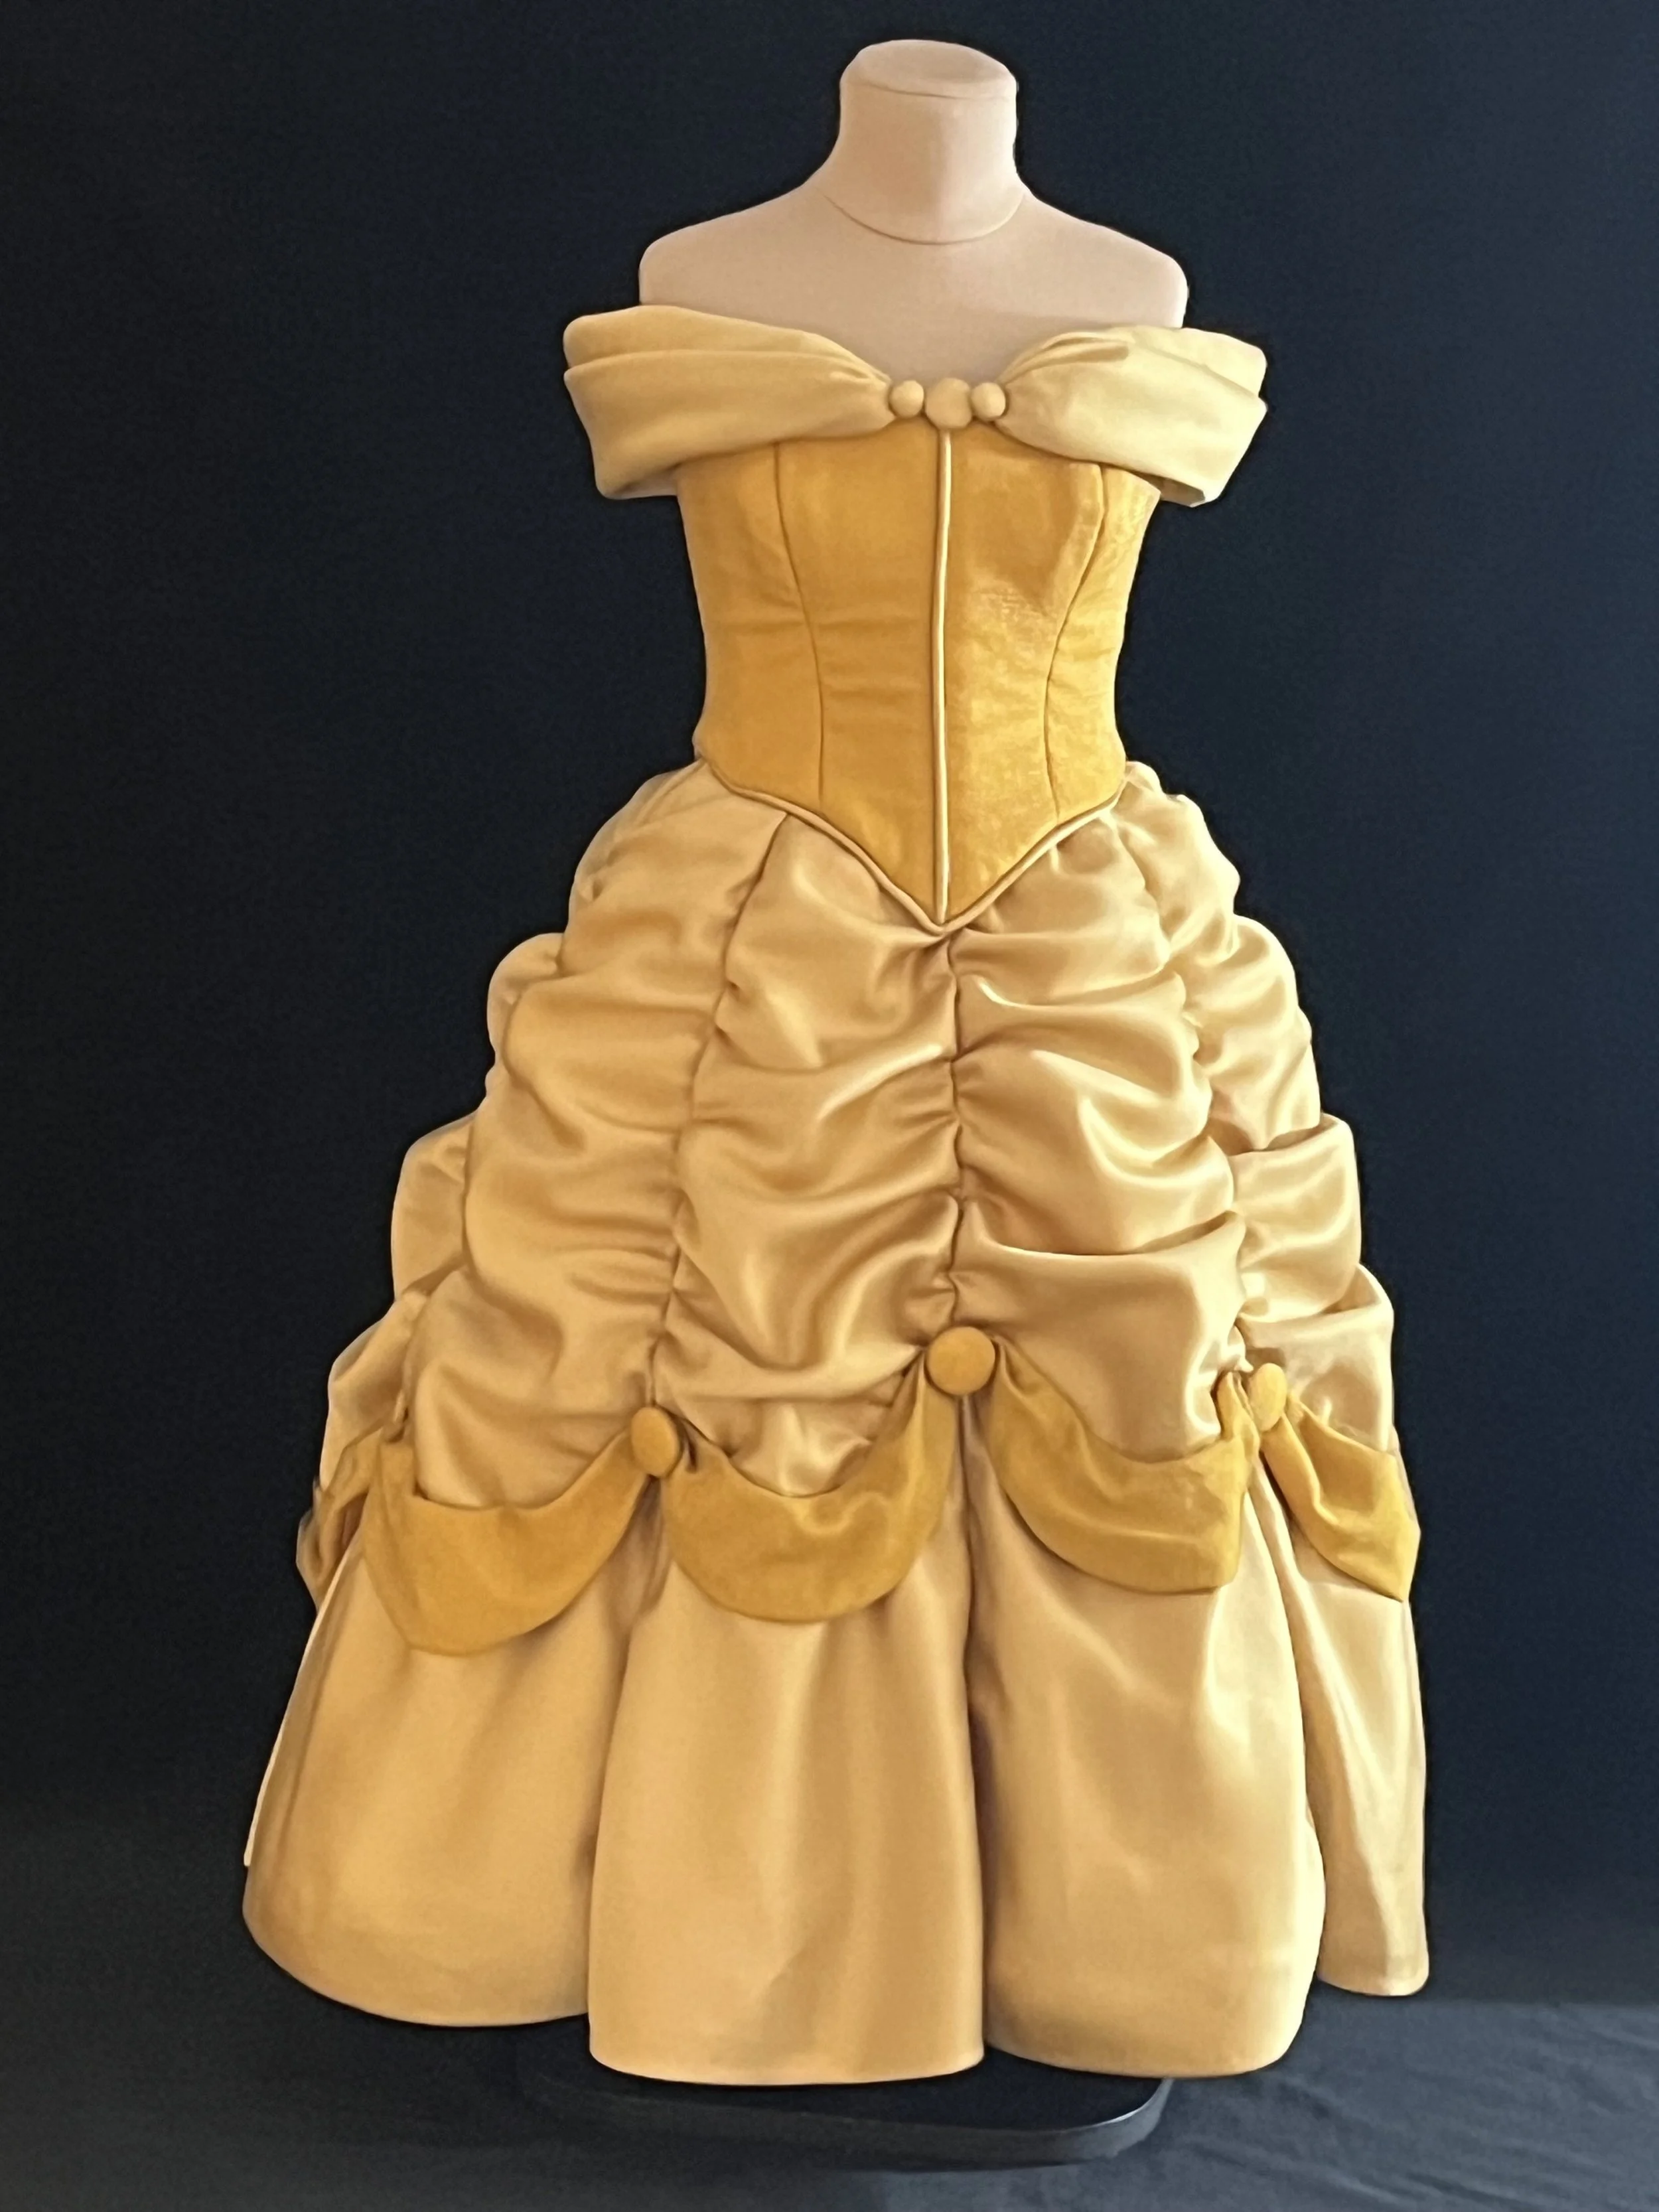
Belle Part Four
Certain as the sun…I was eventually going to finish this dress.
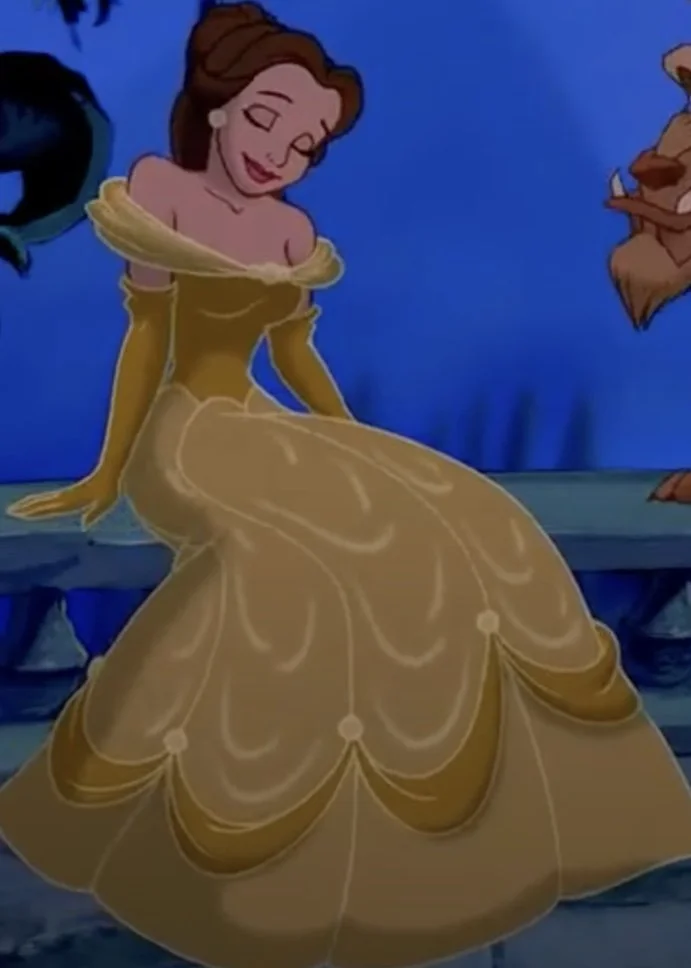
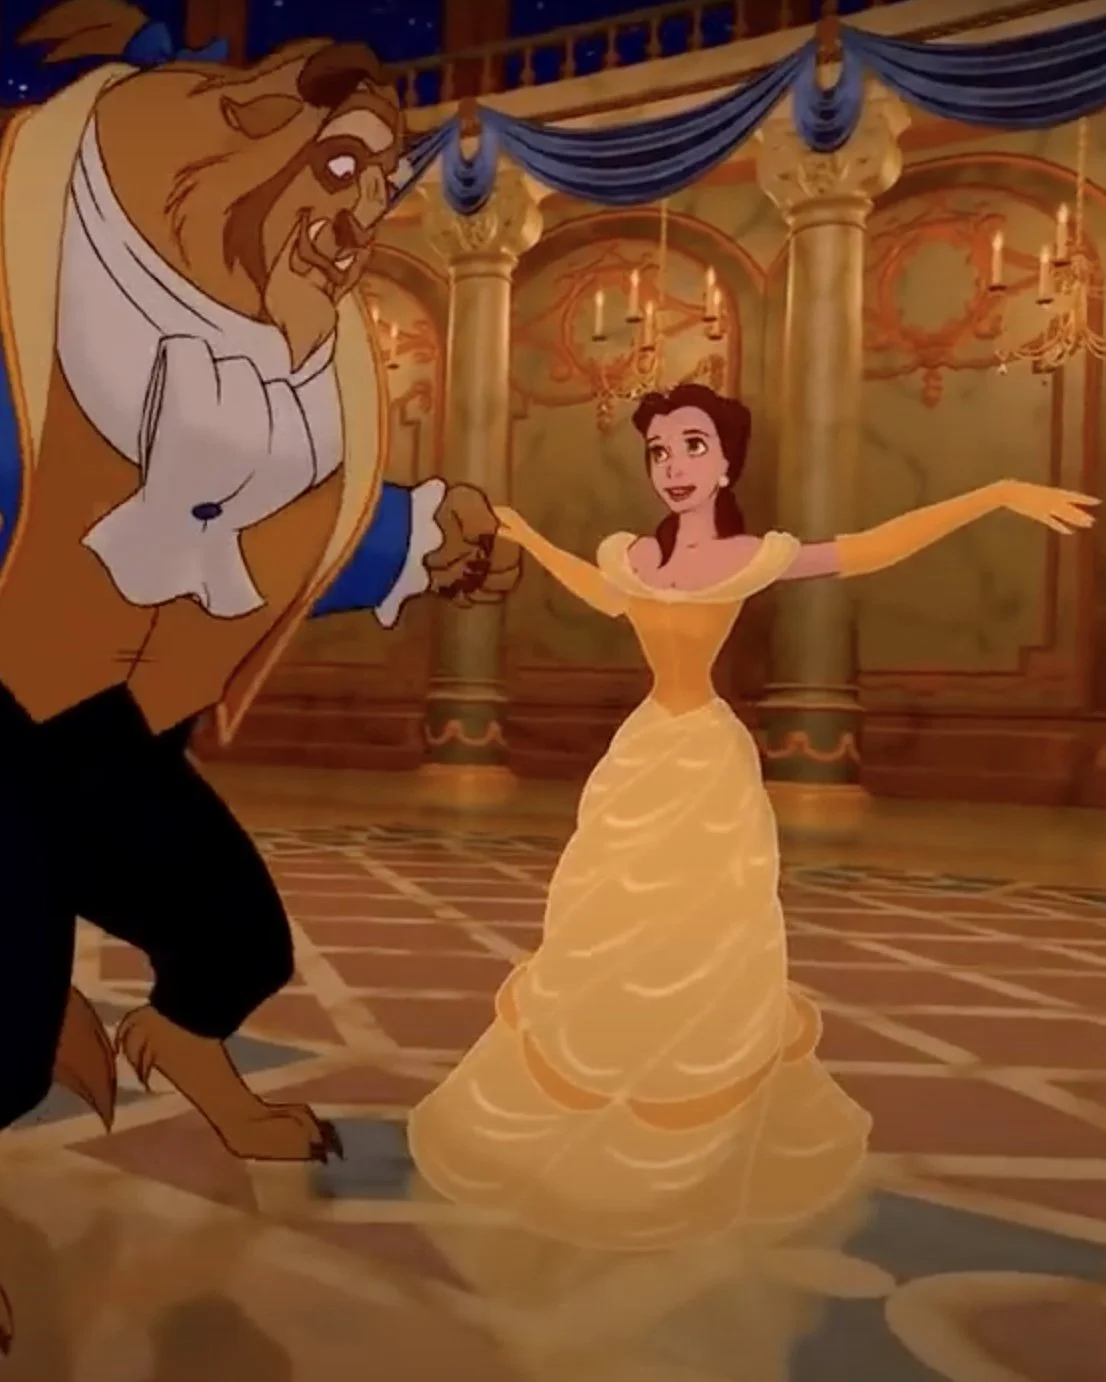
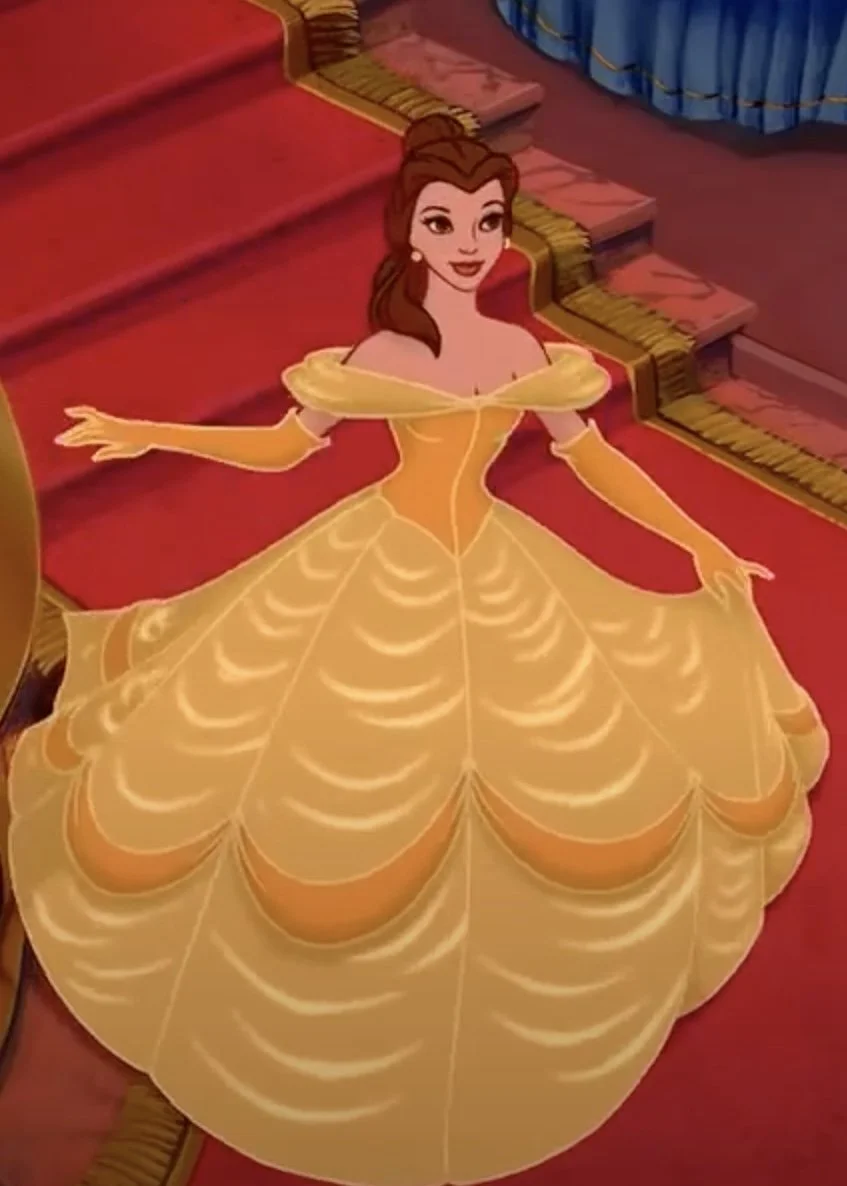
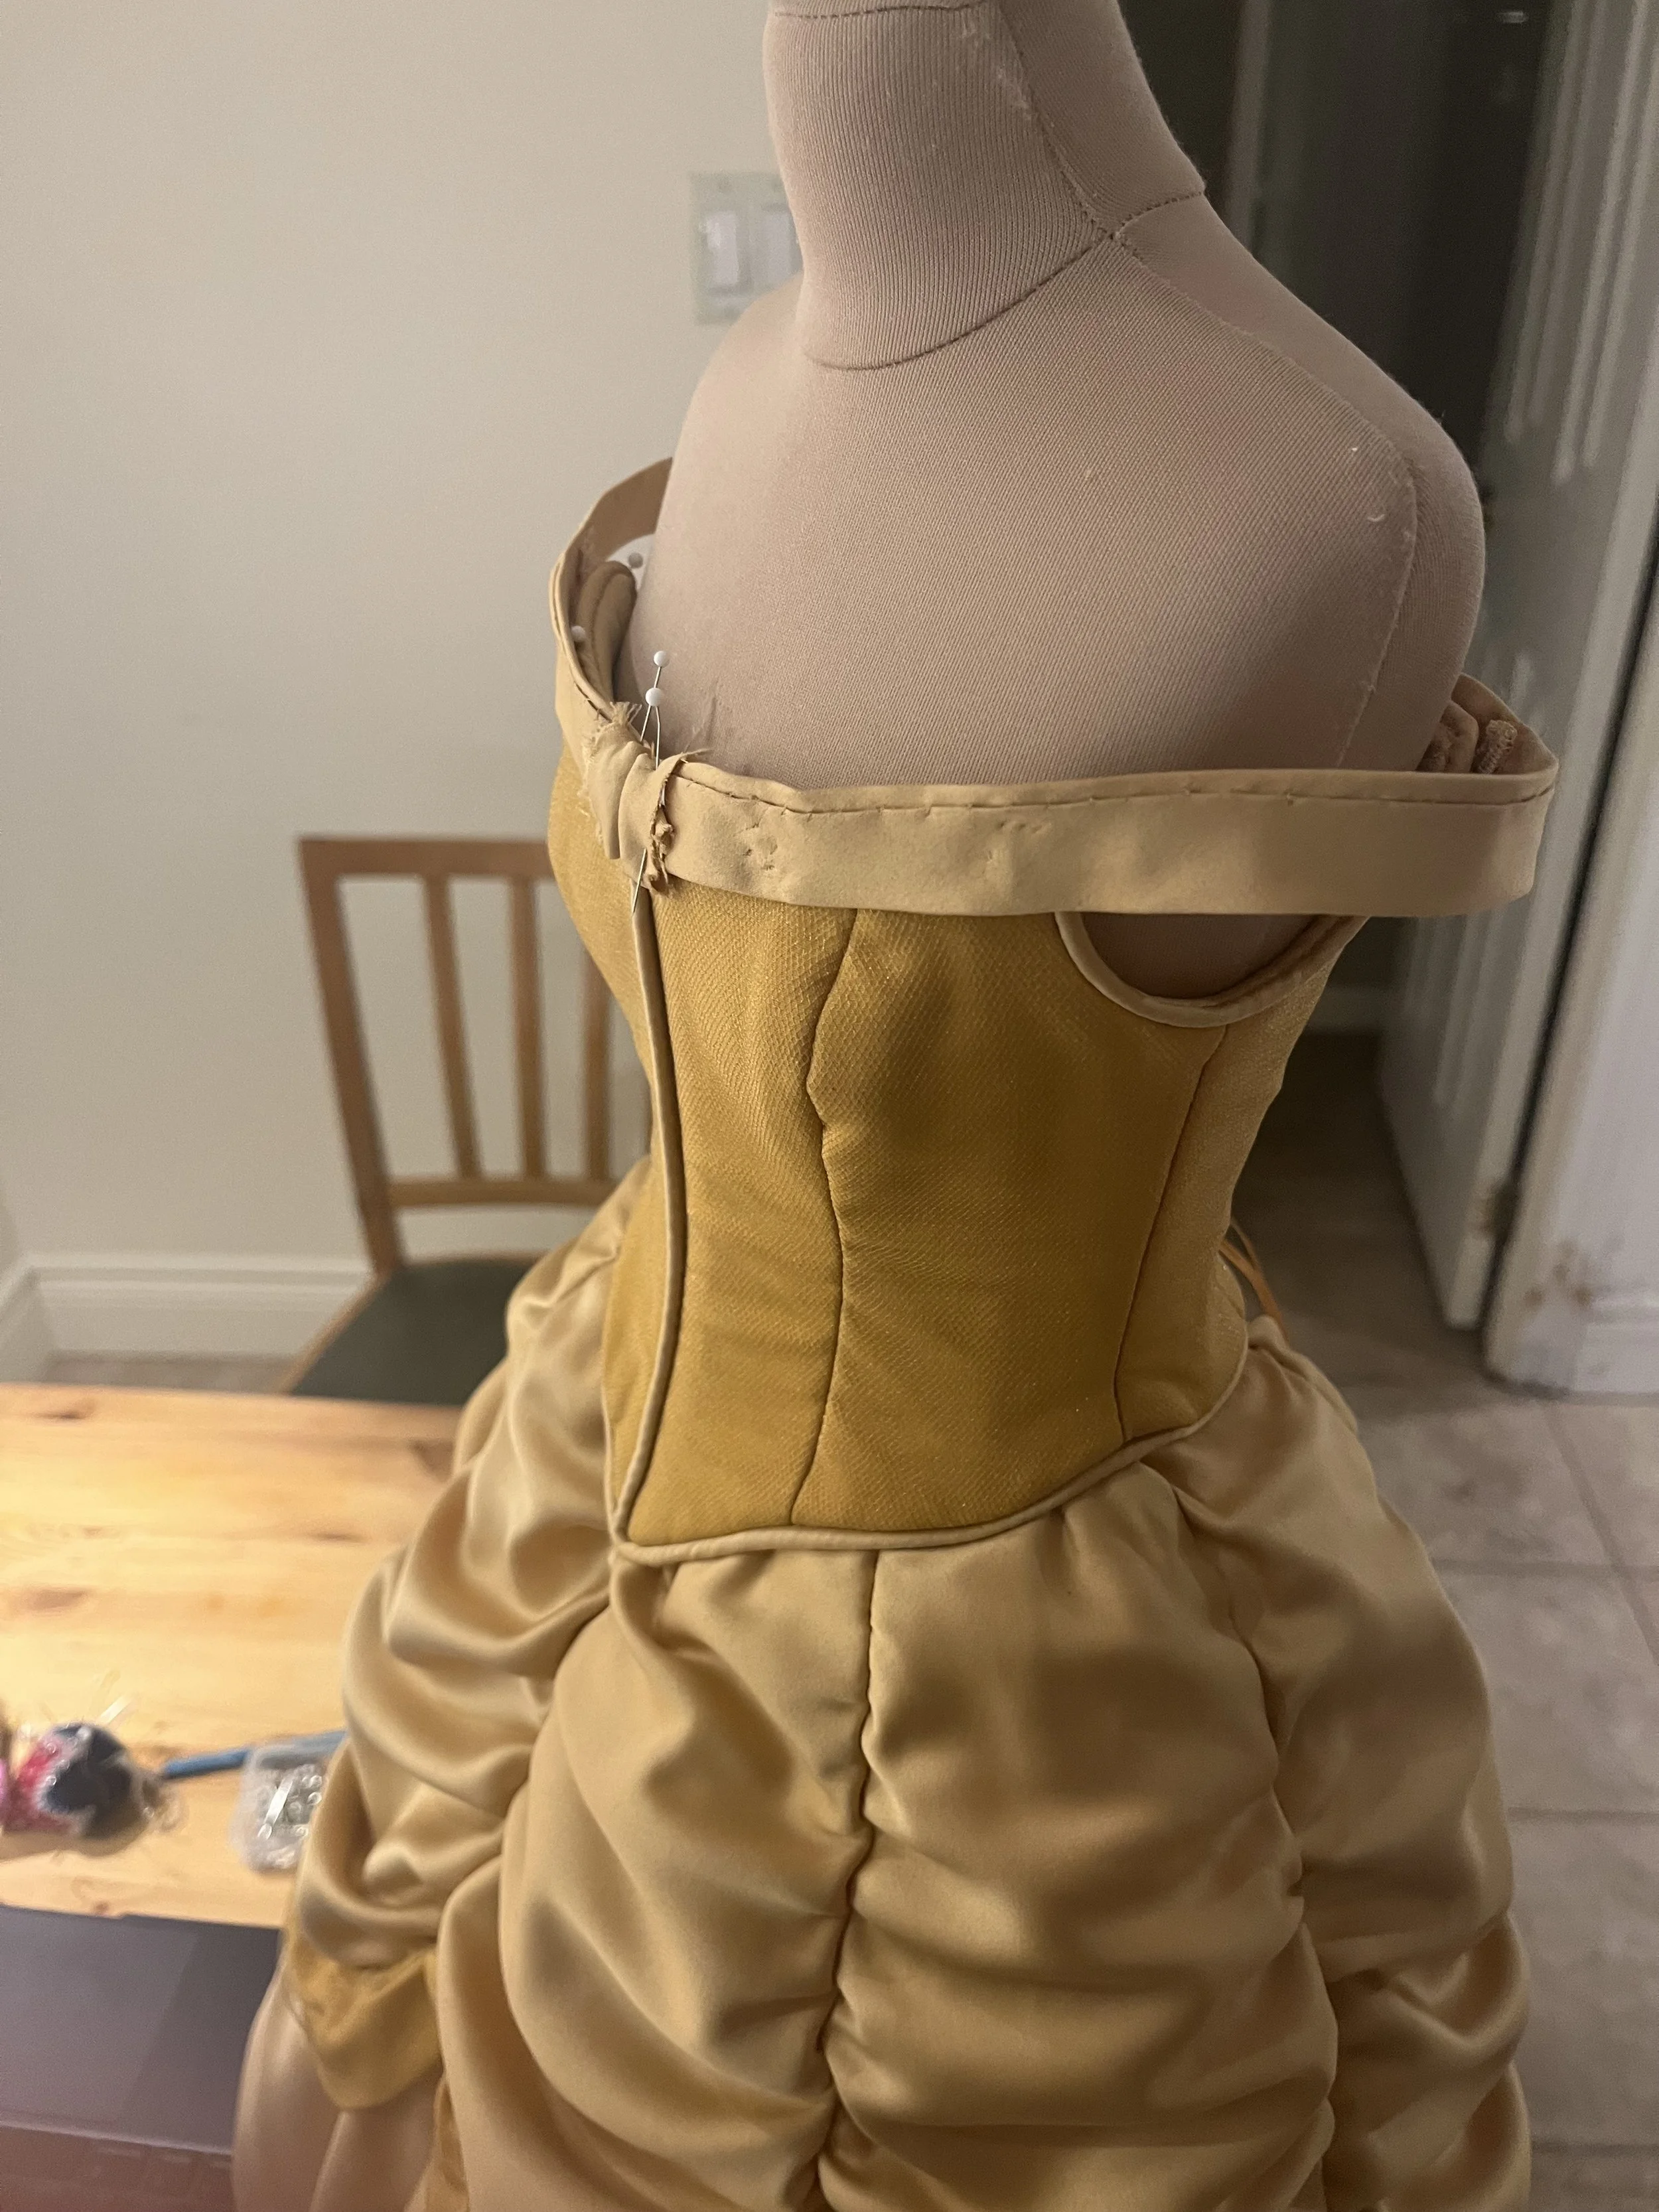
In some ways, Belle's bodice was the most straightforward part as it's just a normal bodice and could be drafted and put together as such. The trickier part of it was in how to make the shoulder piece (hereafter to be referred to as the sleeve for the sake of ease and brevity). Making a bodice with an off the shoulder neckline and some fabric draped over it isn't that hard to figure out, but in the movie, the sleeve is clearly soft and flexible enough that she can basically lift her arms above her head without trouble. I went through a few ideas for how to do this, trying to imagine how best to build something with a structure which would be secure, but stretch and move with the wearer (I was at this point thinking of how I might build it for the stage show) but then return easily the correct position when her arms were lowered again.
But first, the easy part.
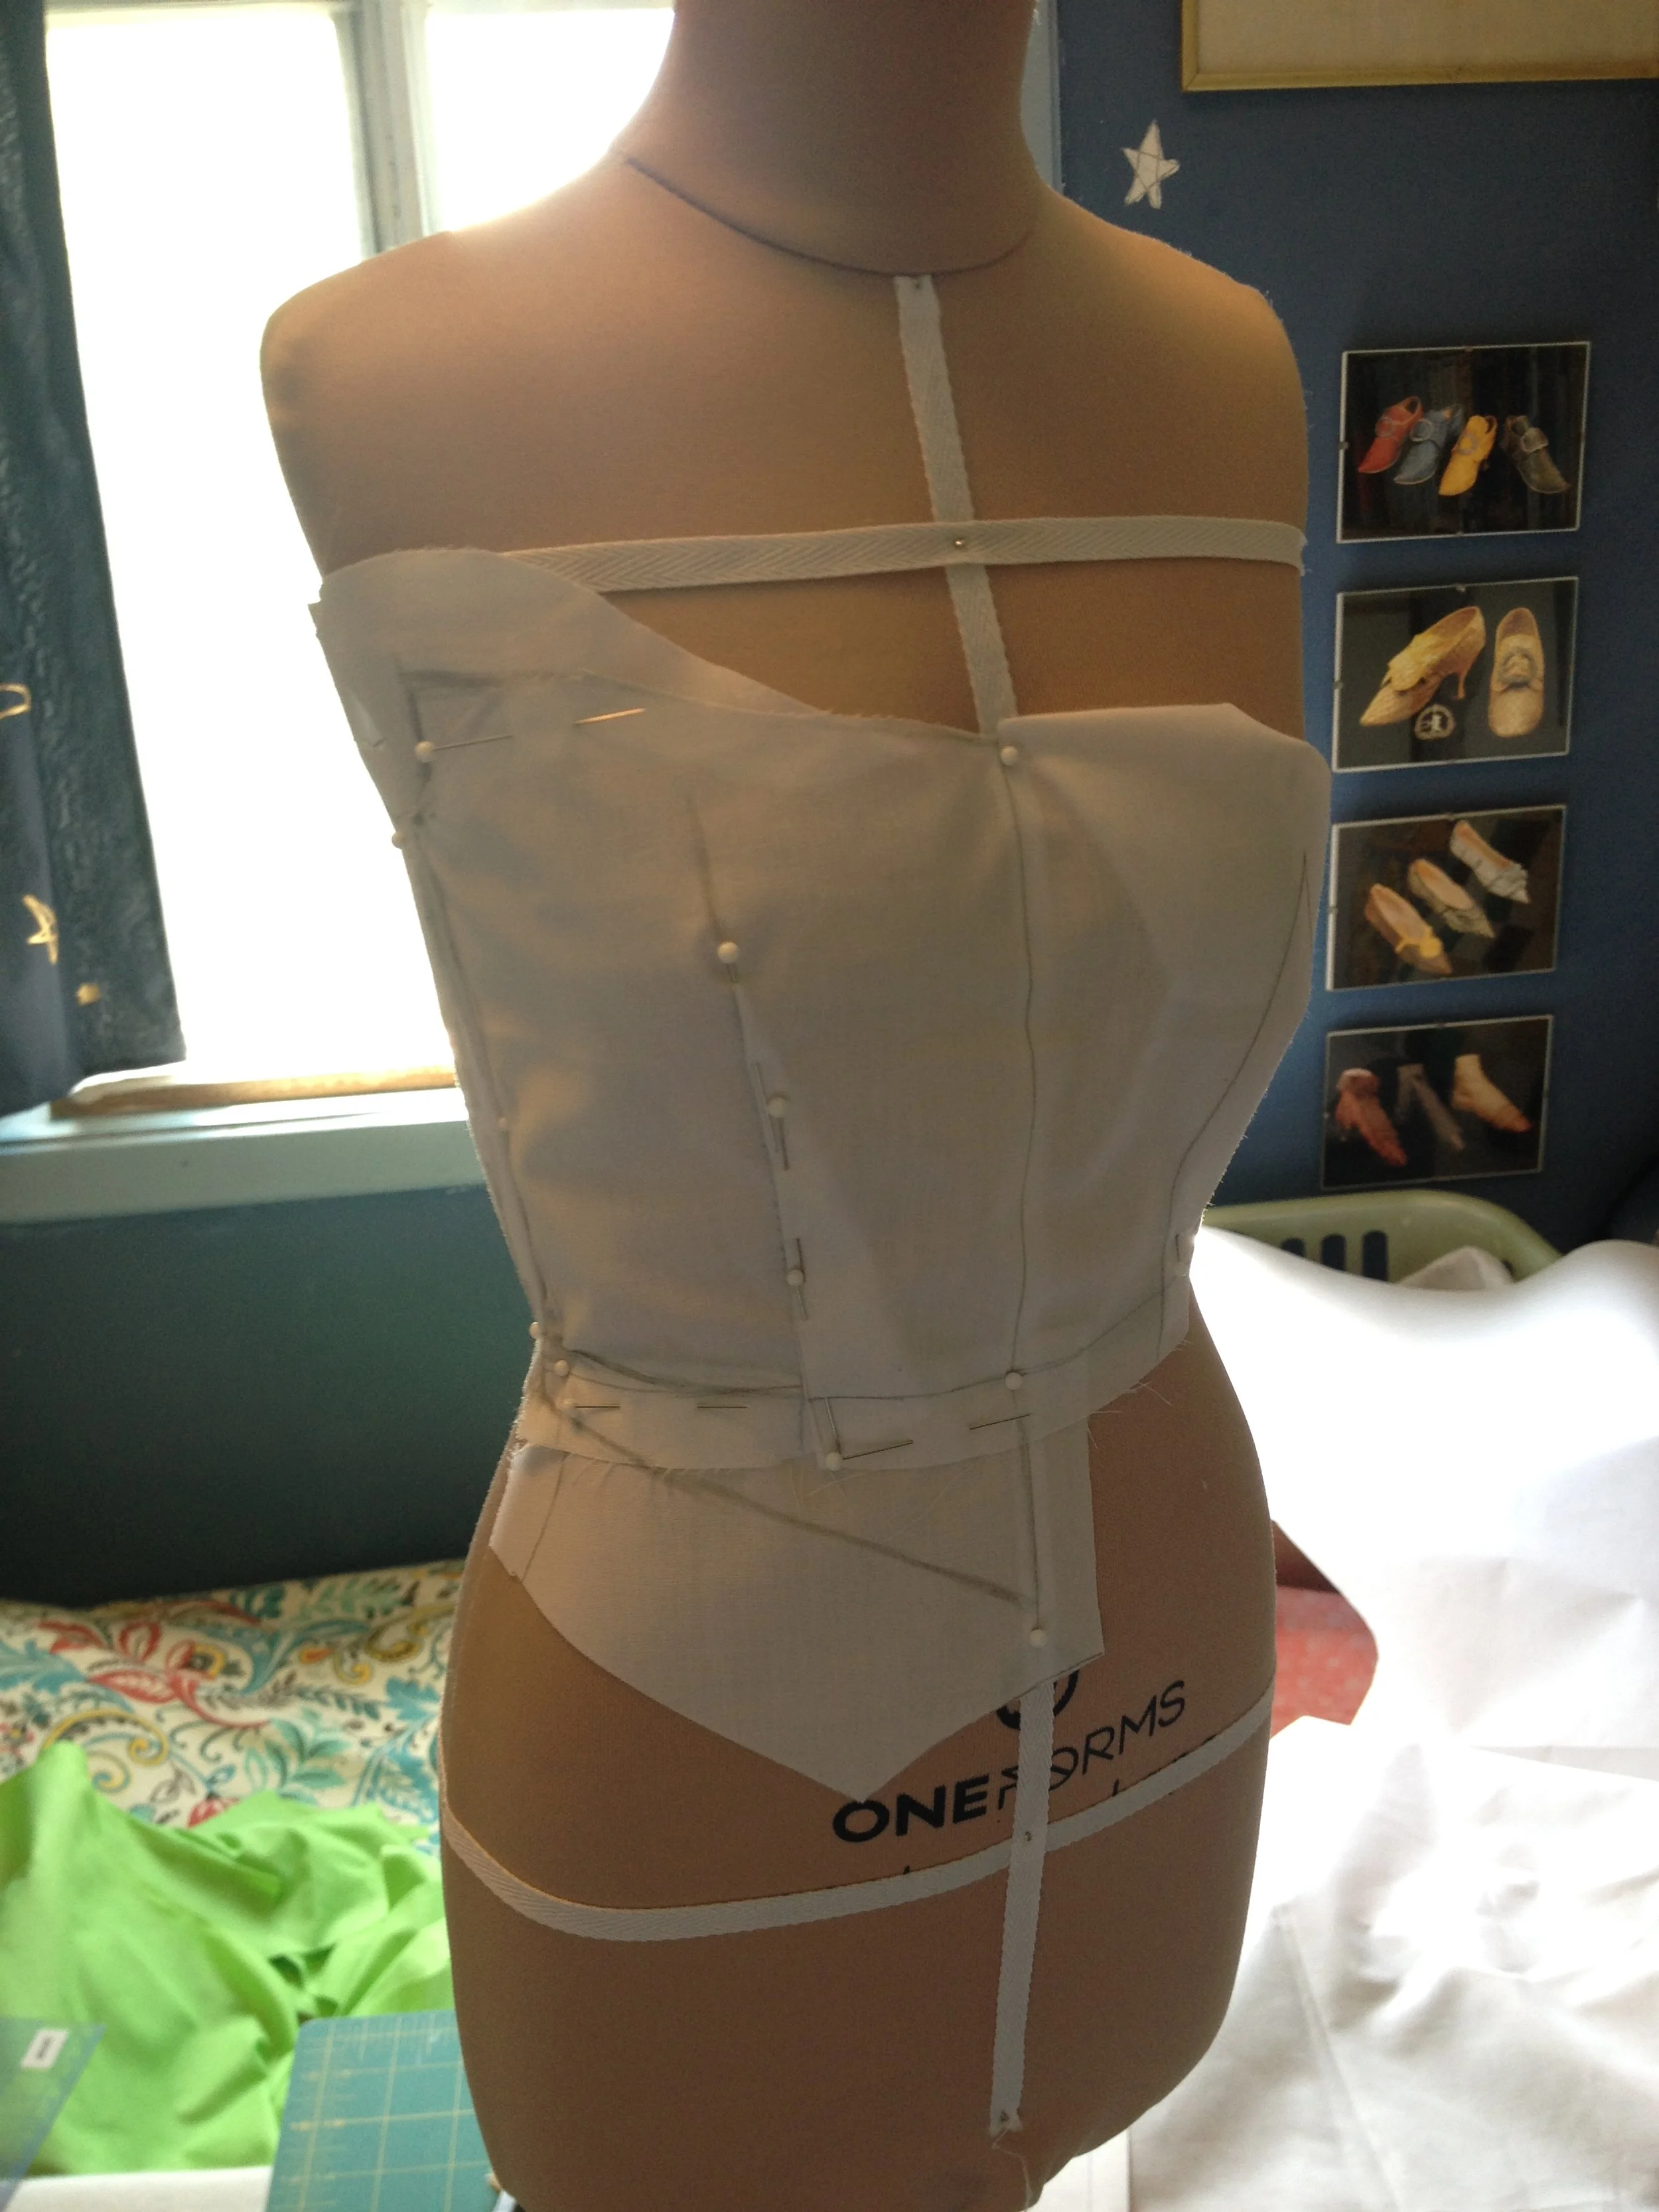
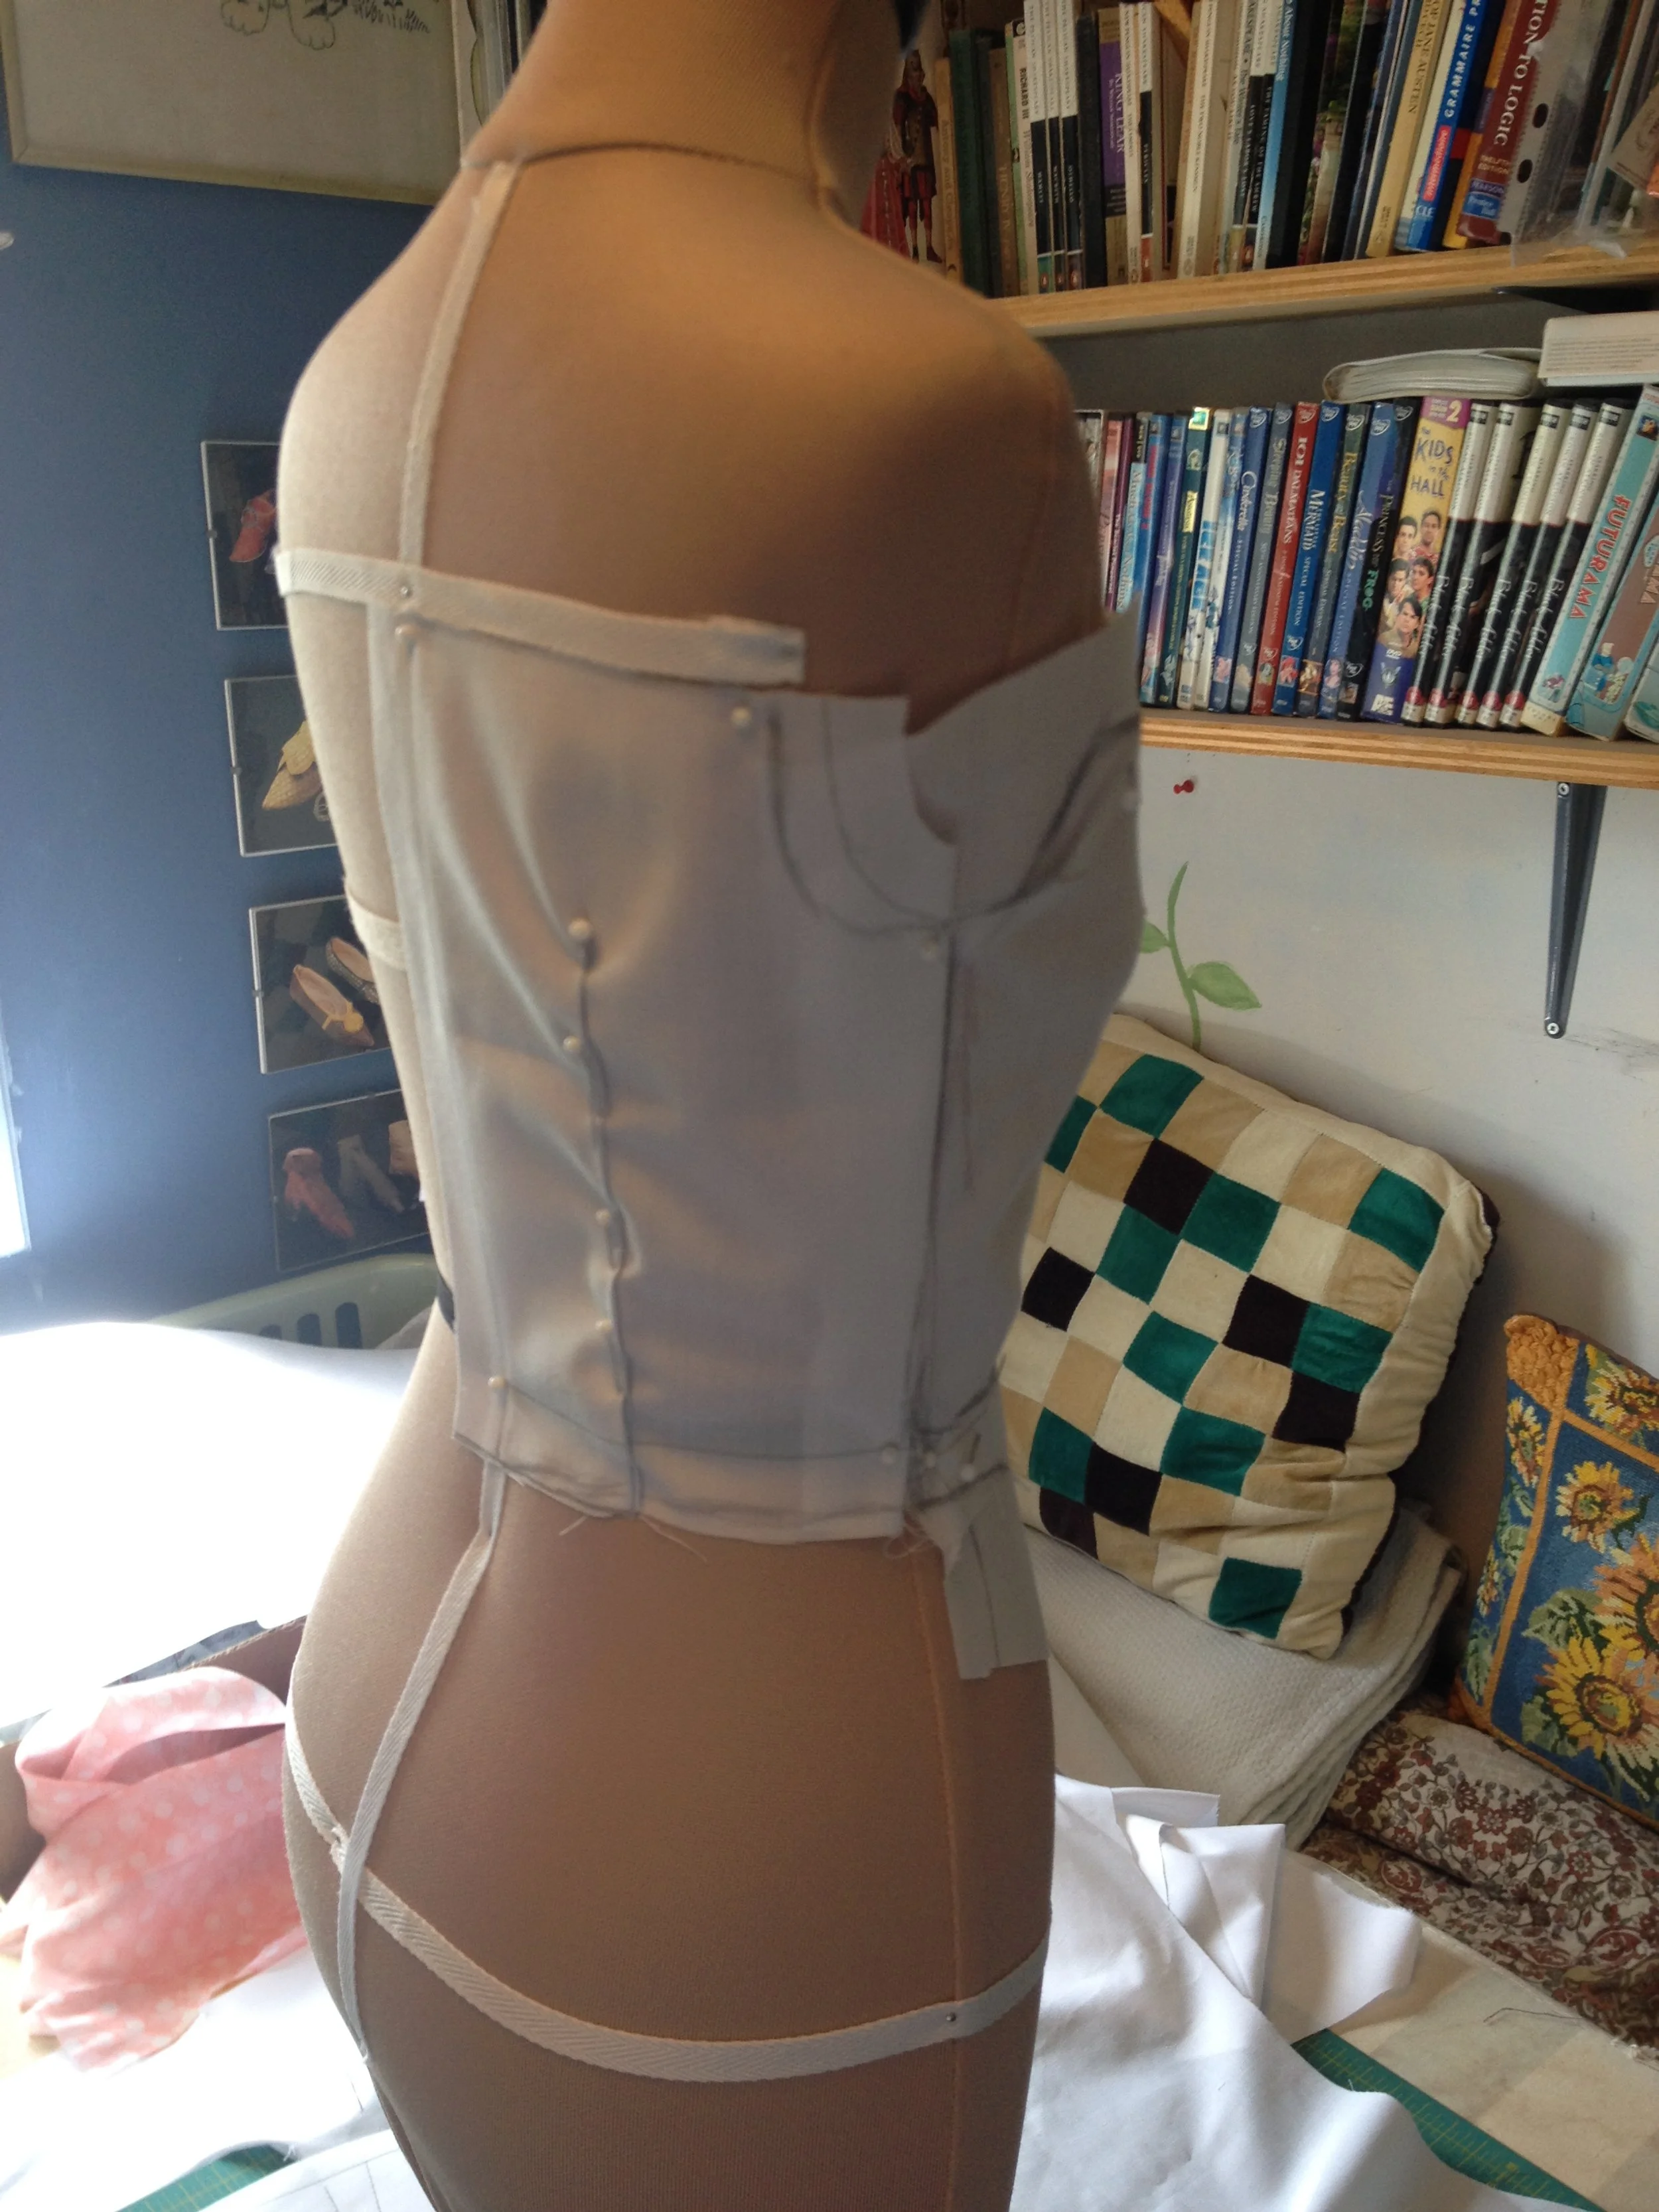
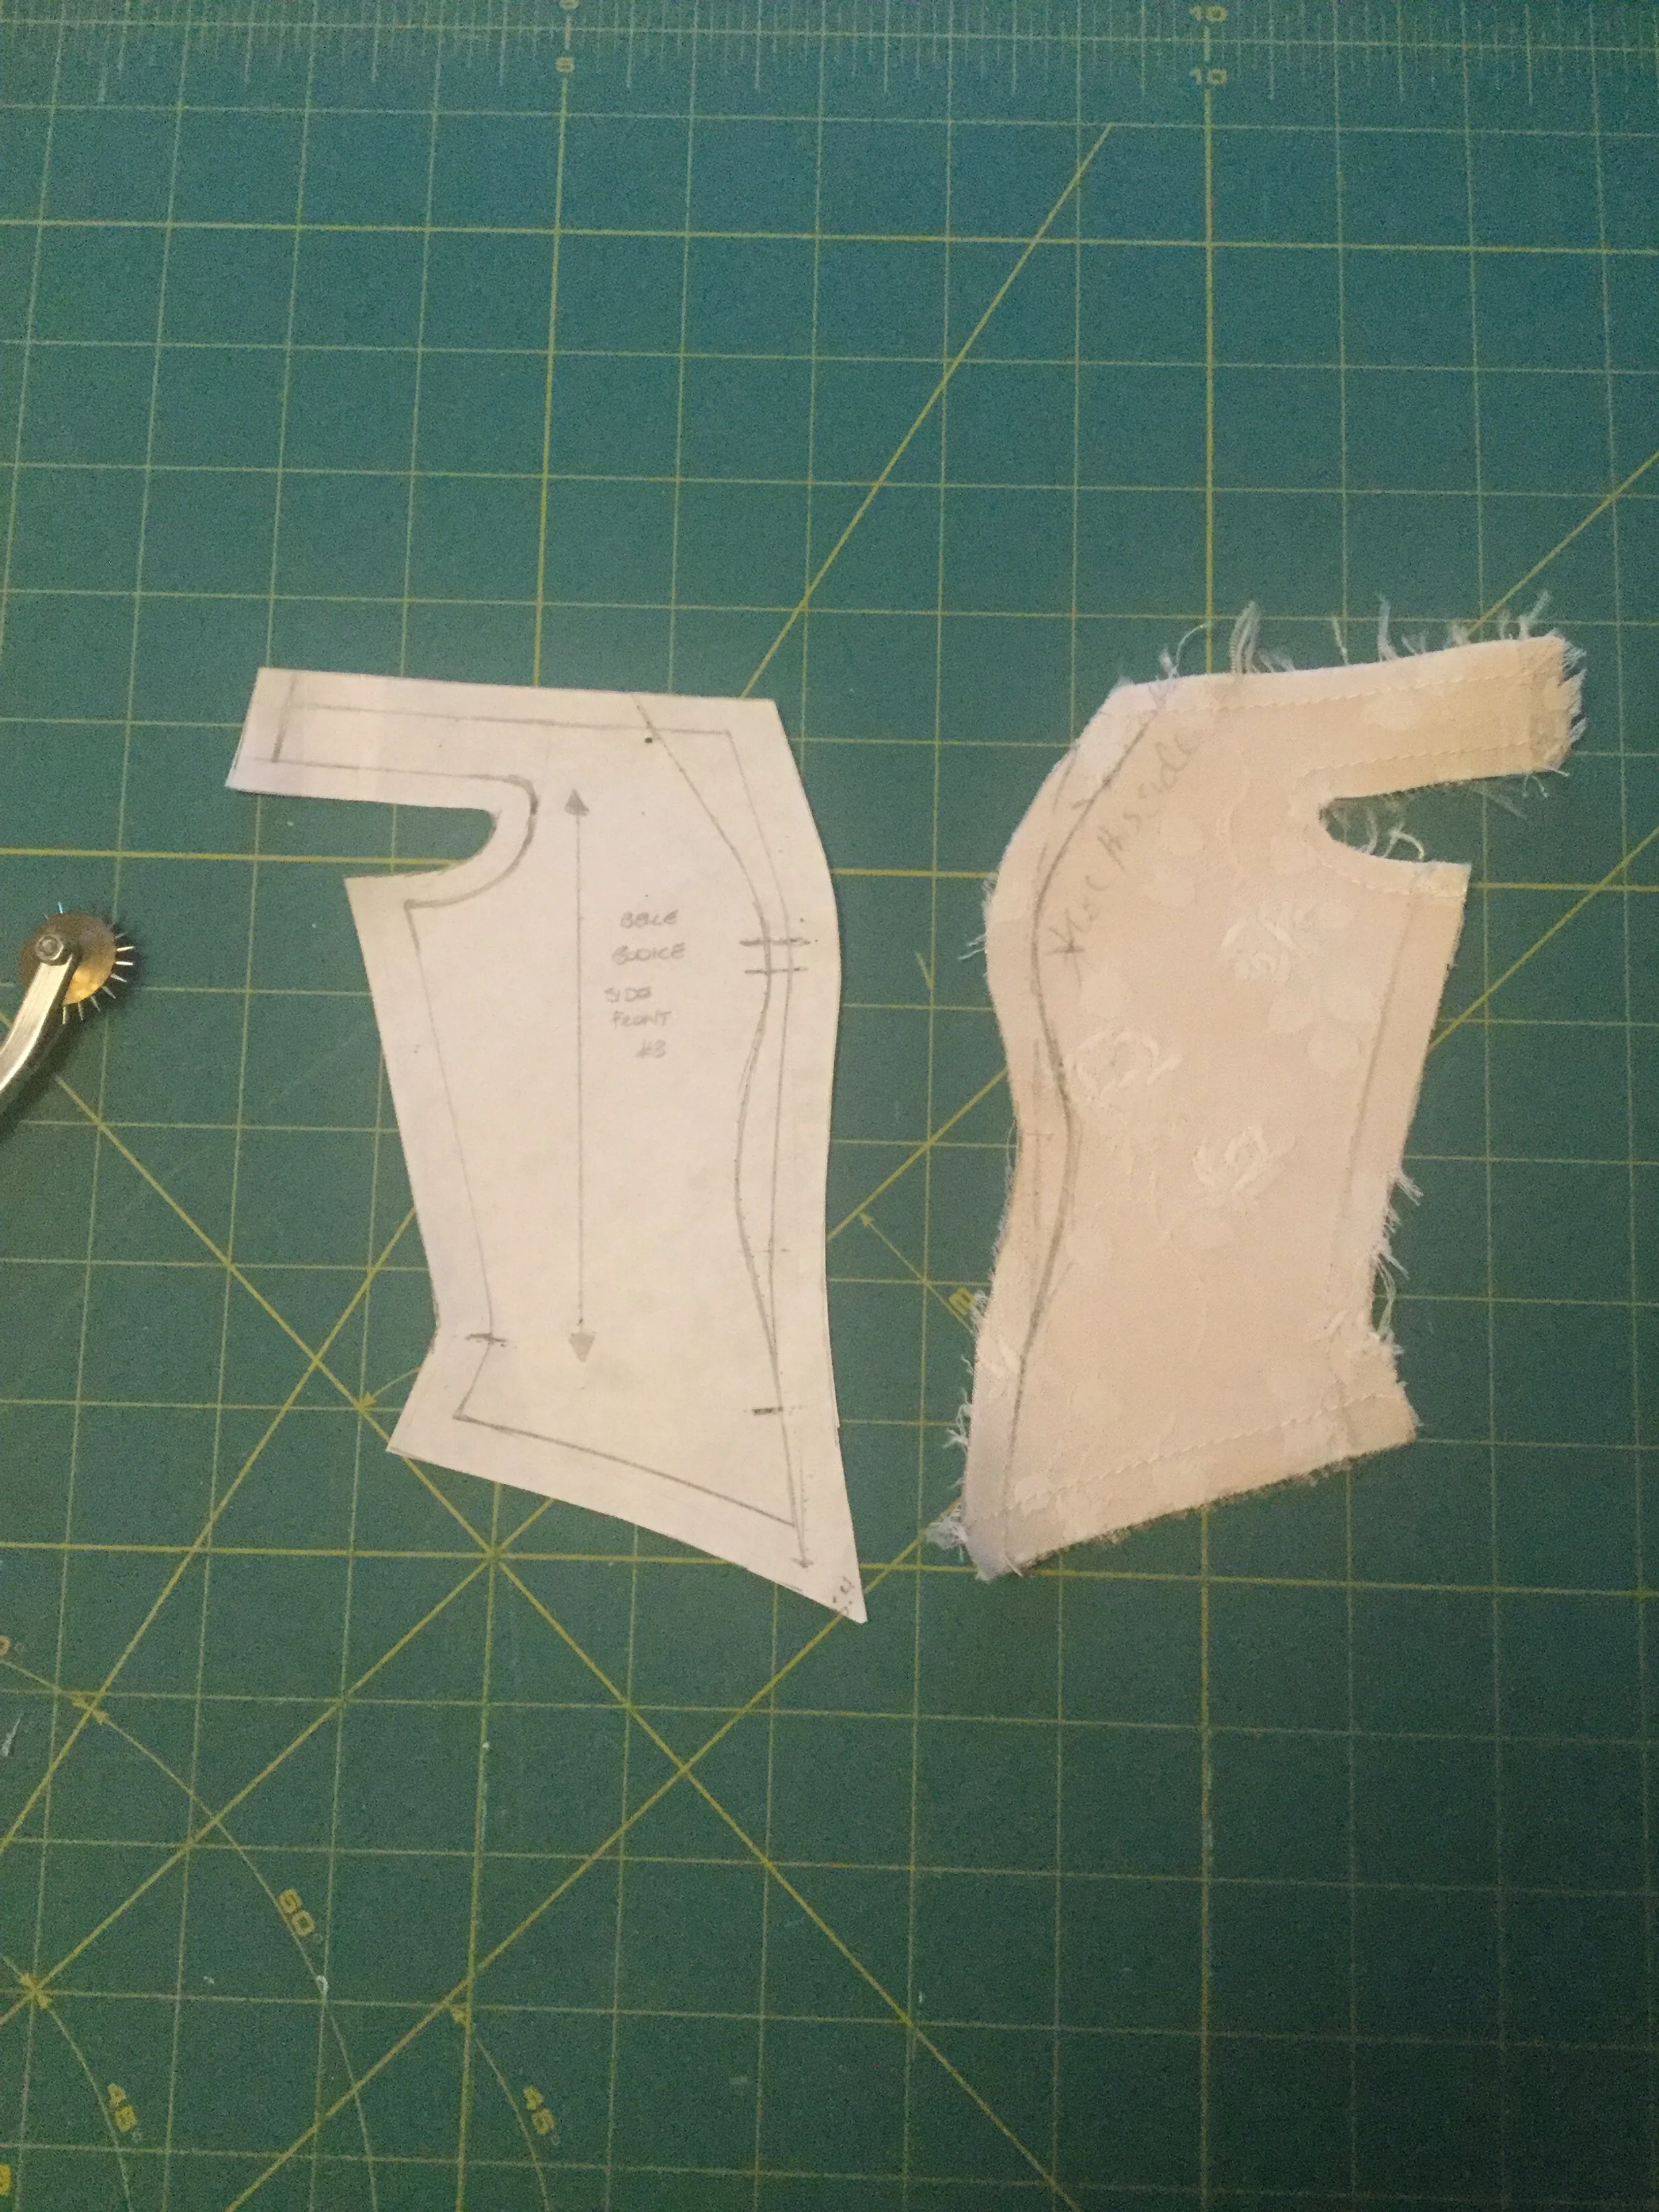
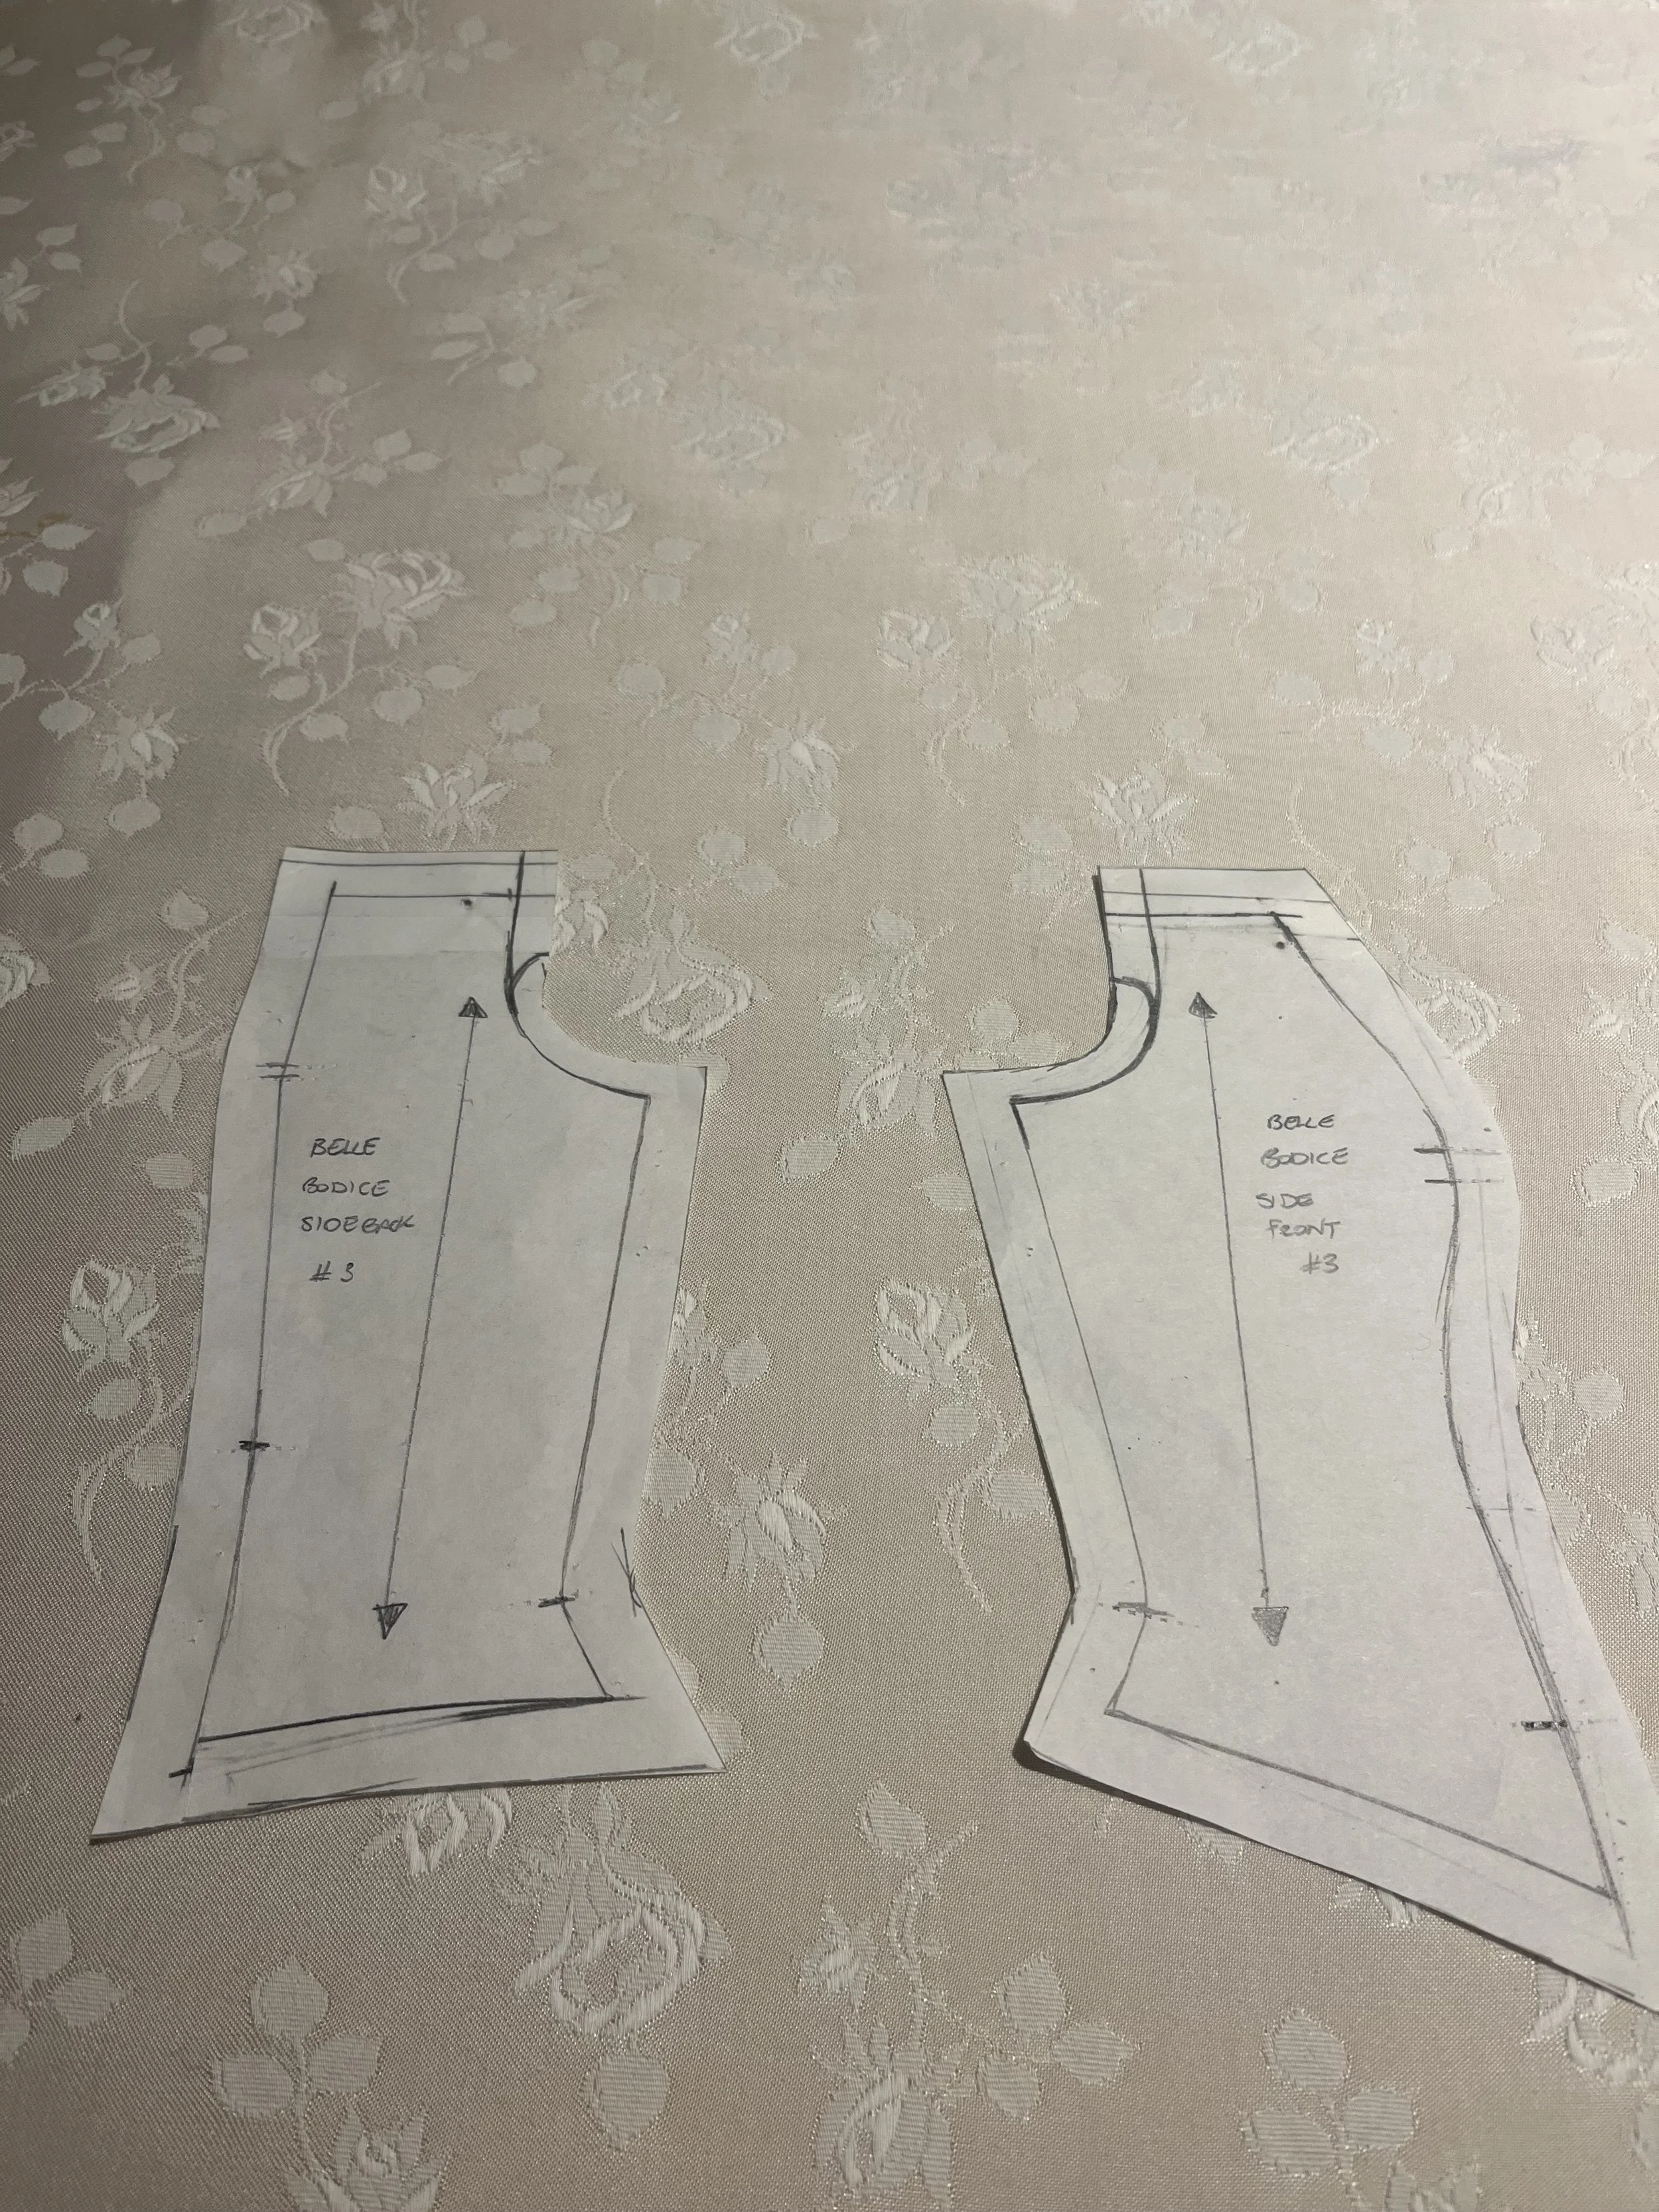
I began with a very basic draft from my basic block which I quickly mocked up in cotton. I refined the neckline, waistline and armholes and decided to extend both the front and back darts up to the top edge to make them into full seams.
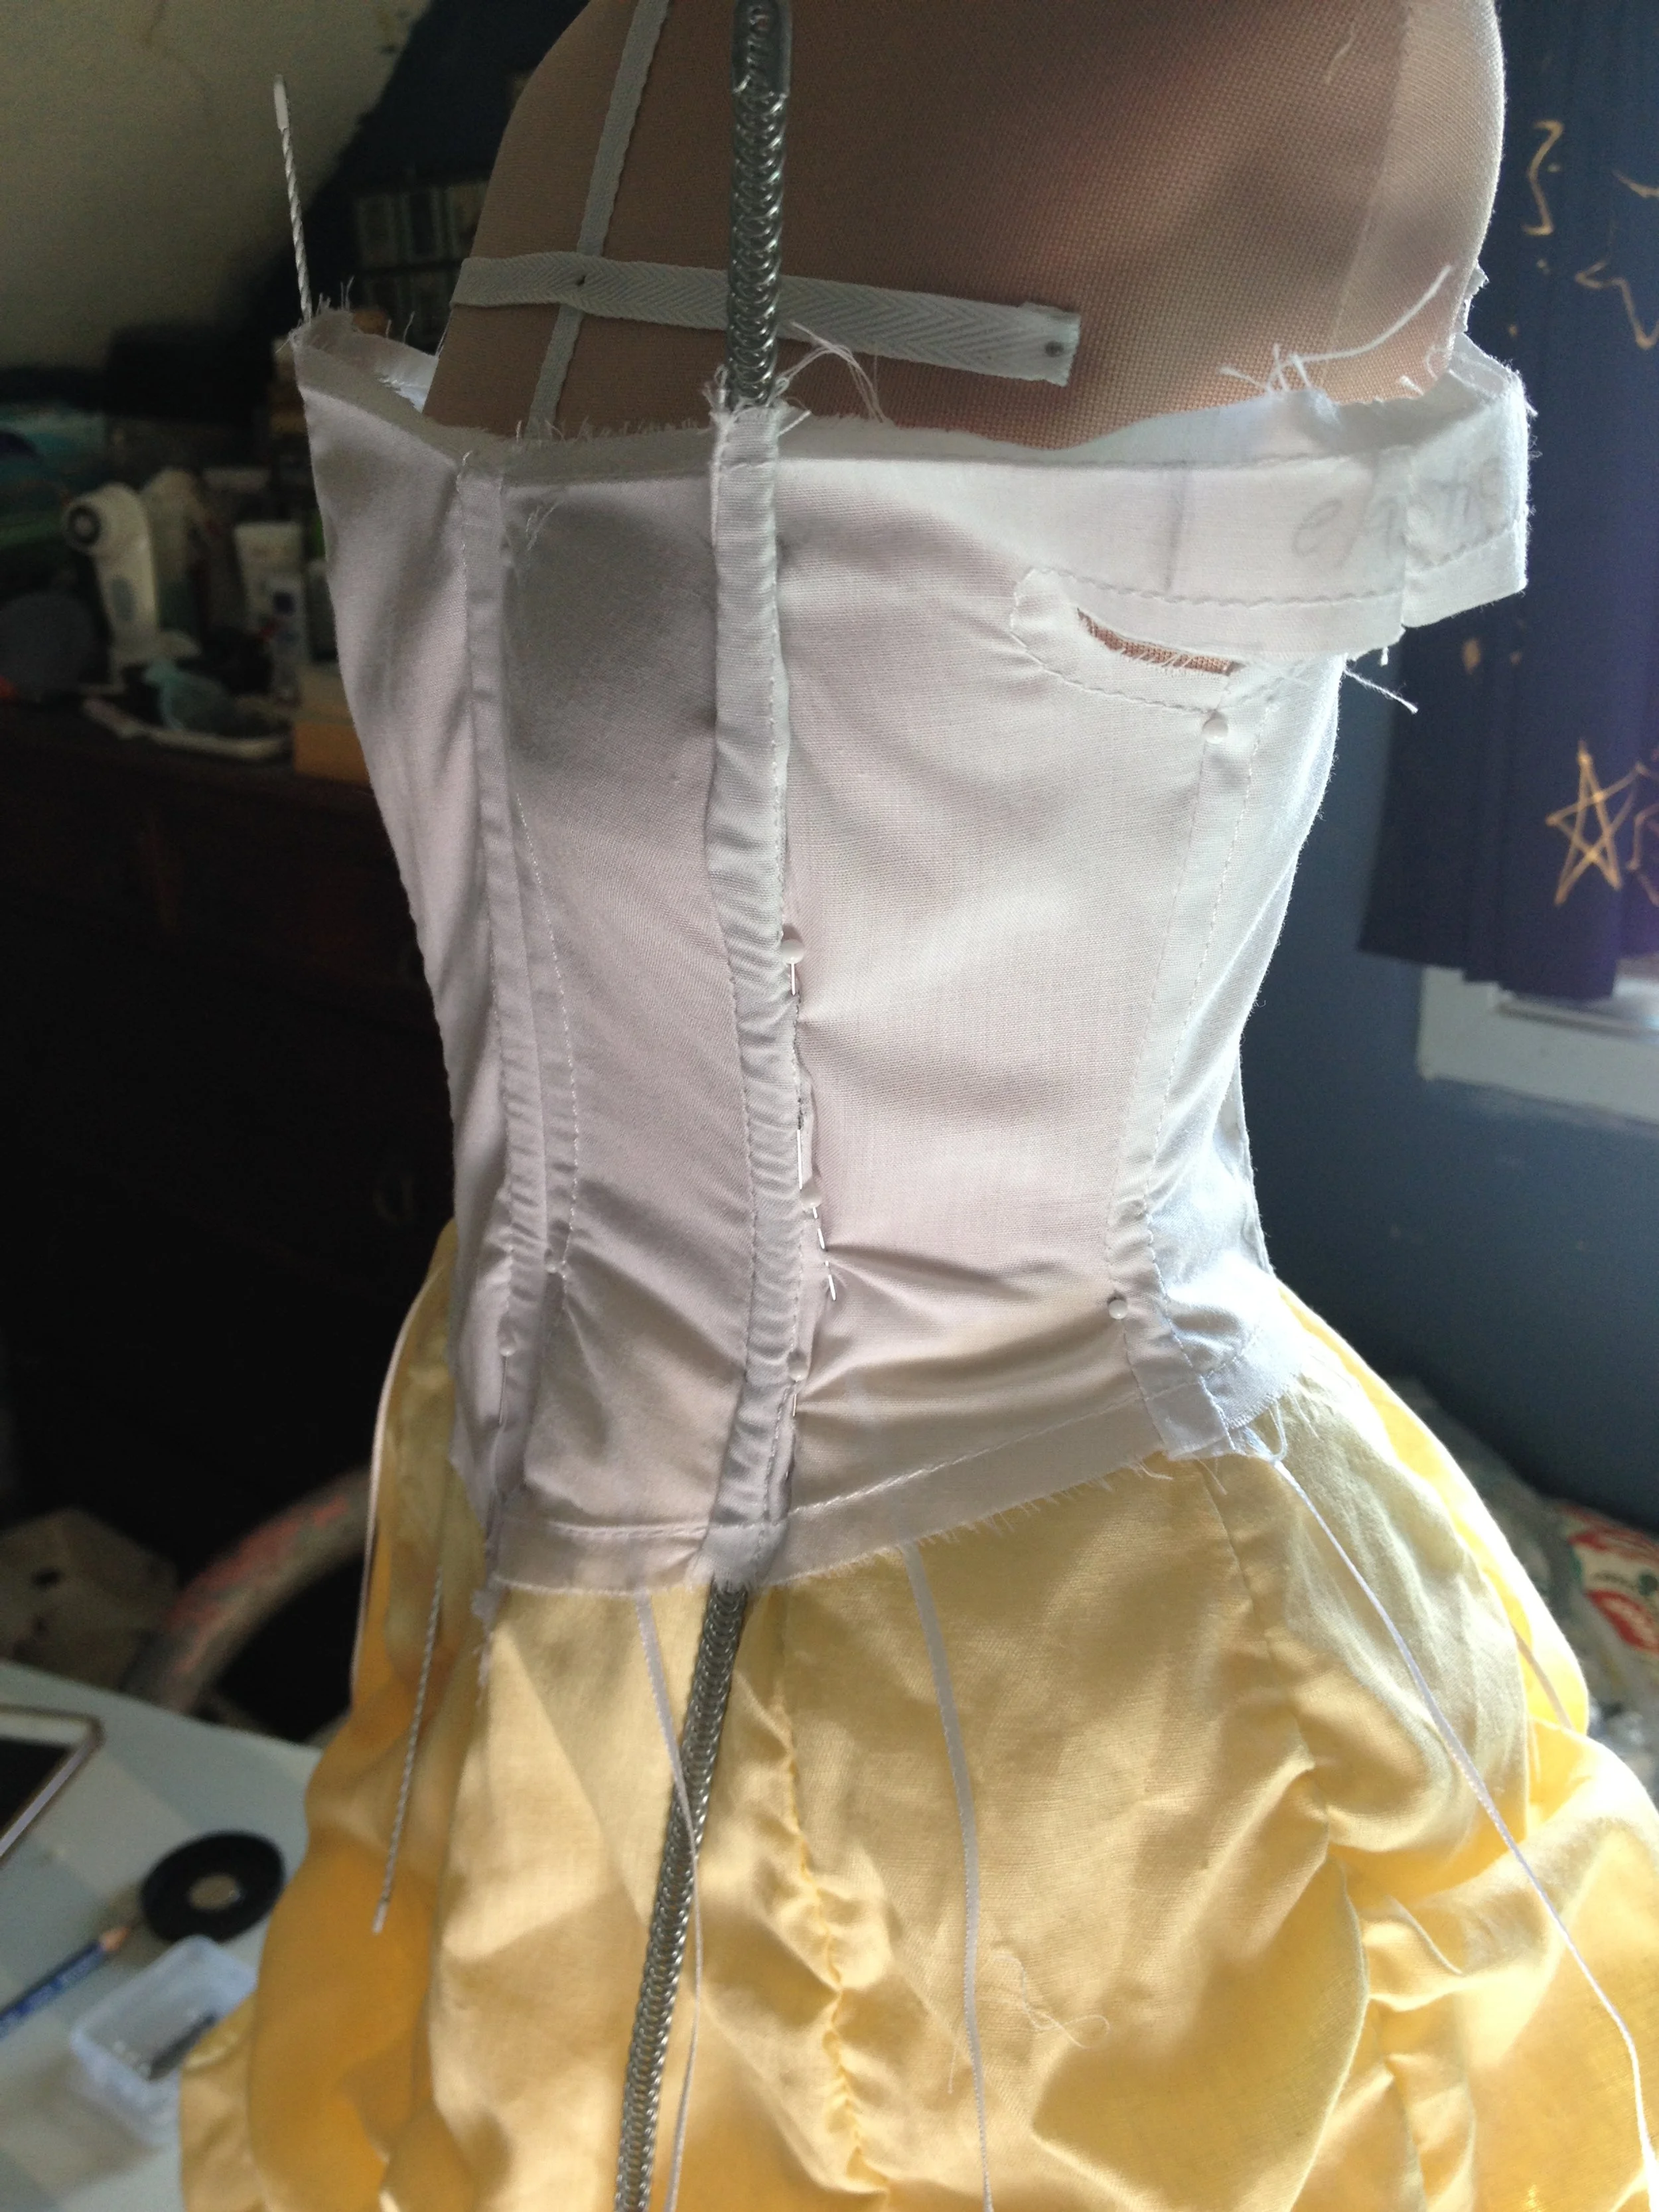
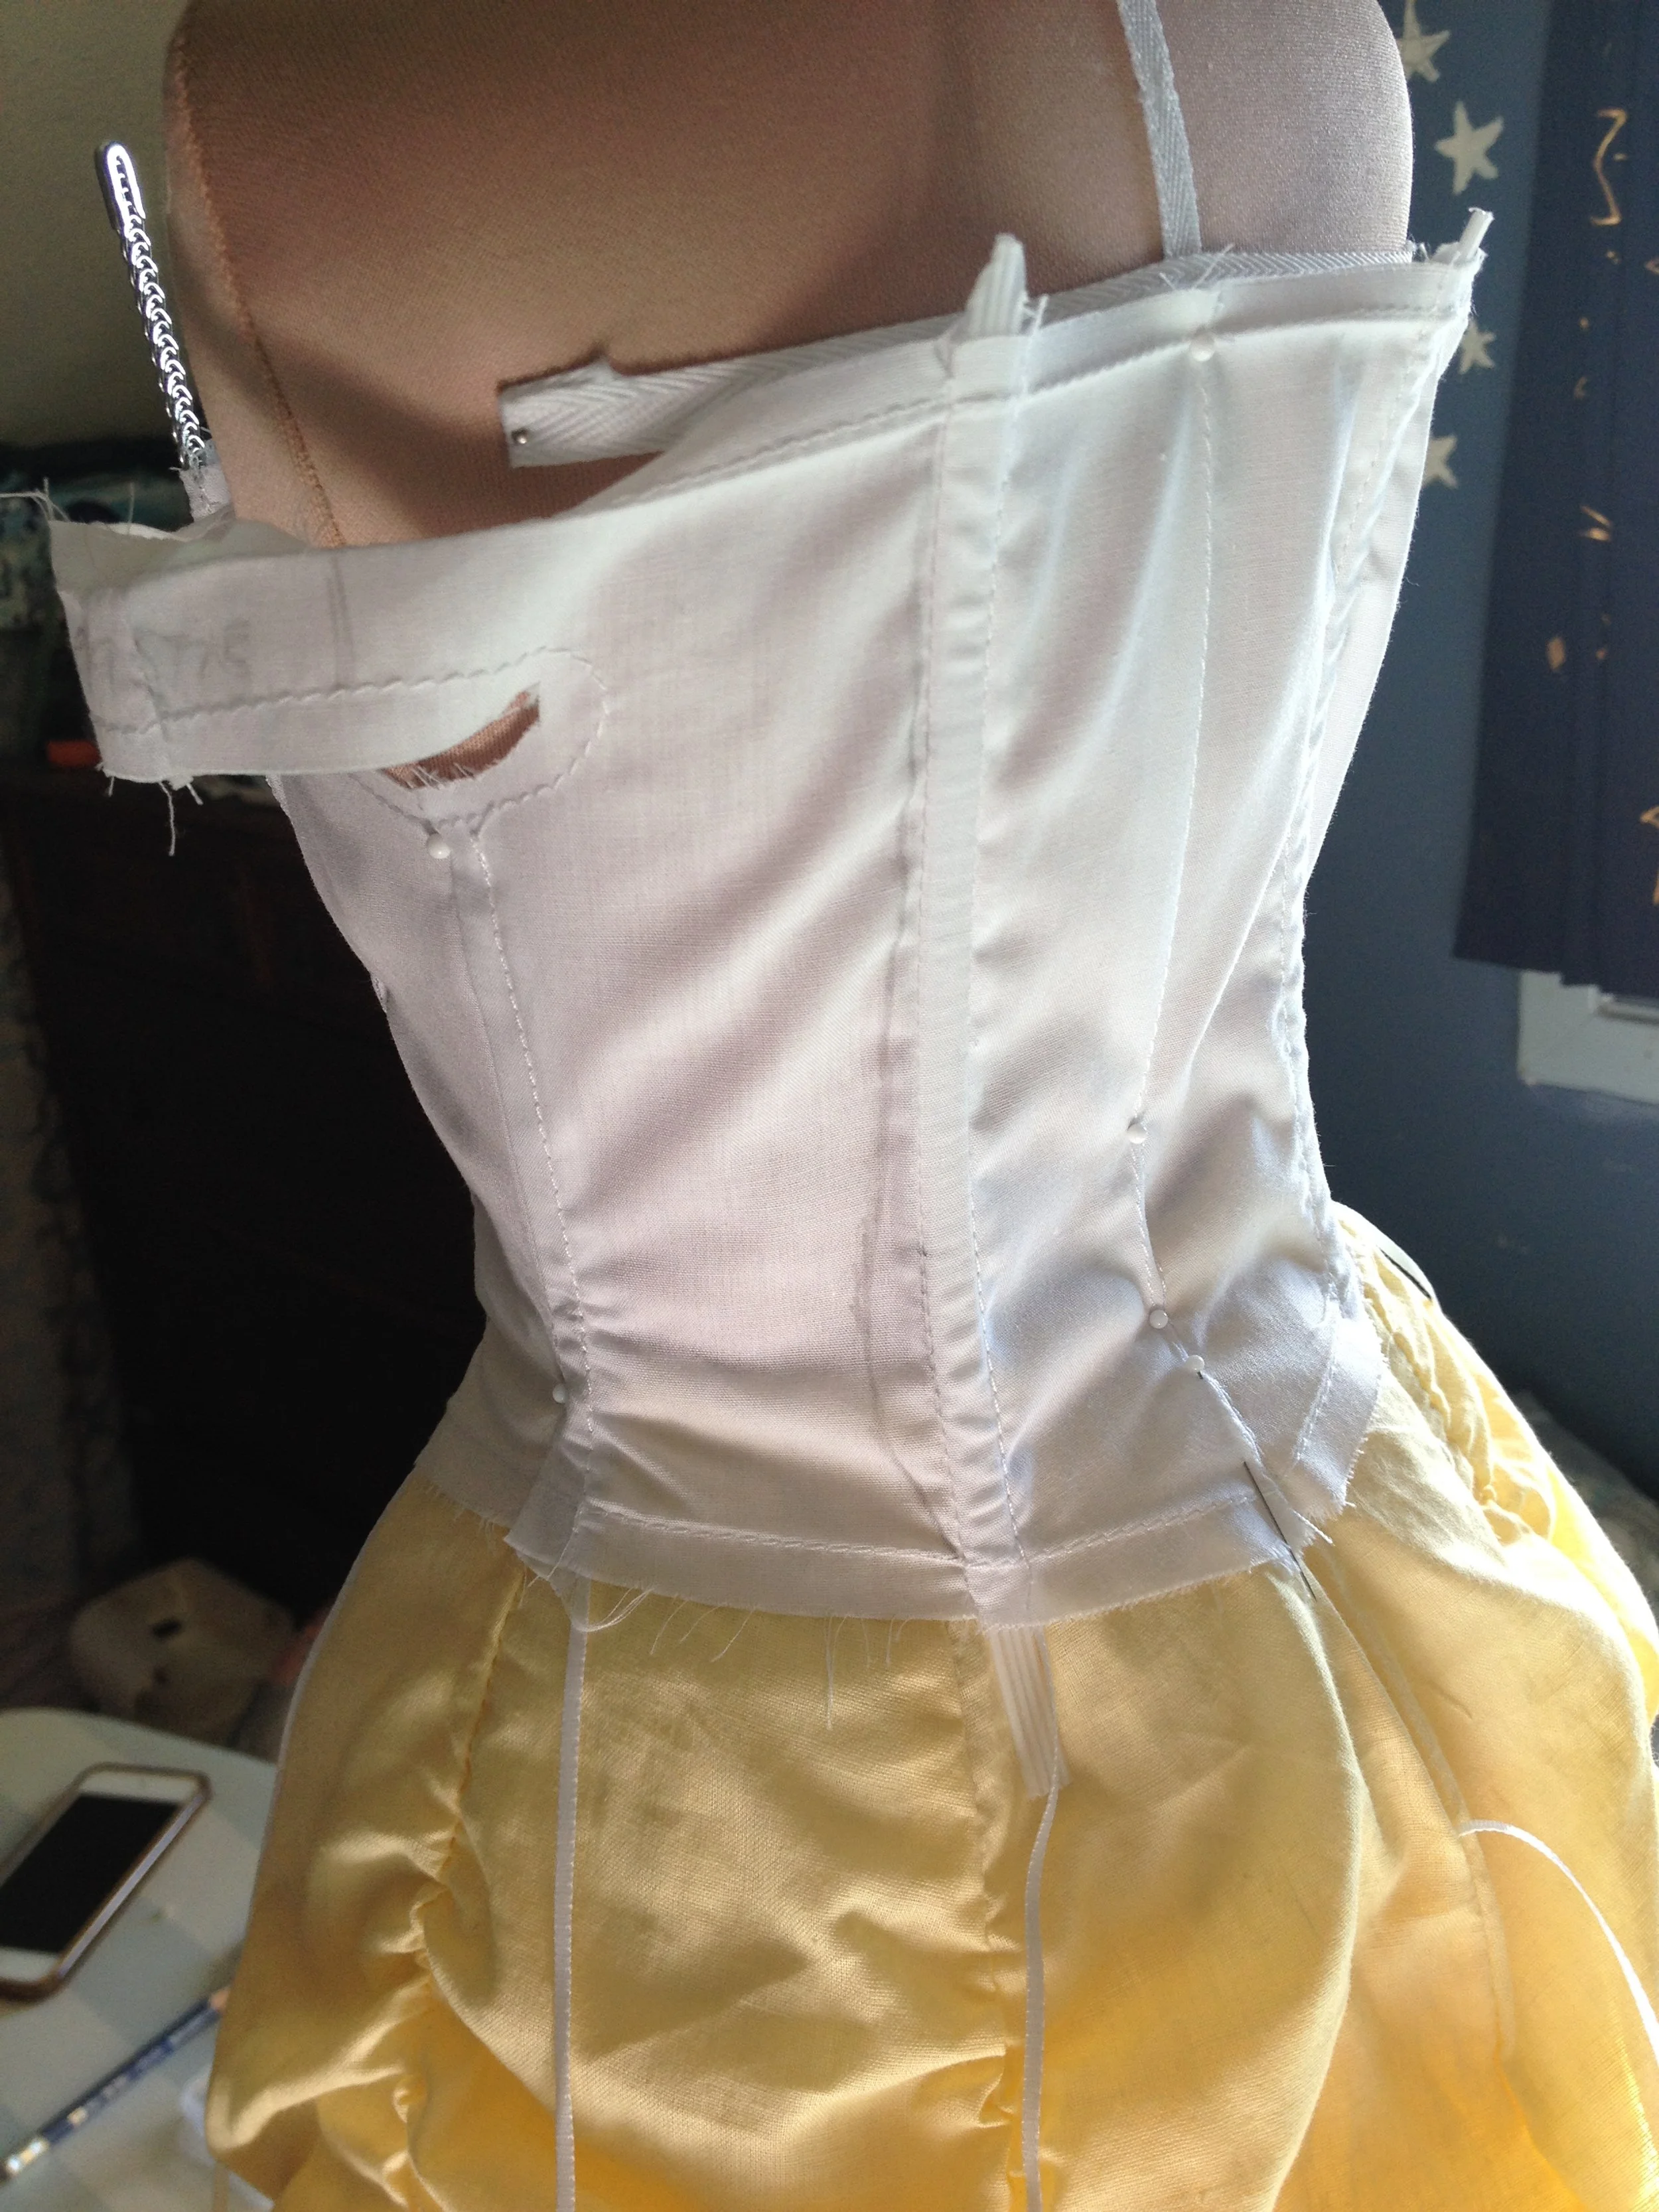
I cut a second mock up, to which I also added a bit to extend around the shoulder on which I thought I might be able to build the sleeve. I also tried adding some boning, which didn't go amazingly well; I hadn't cut this mock up intending to add them and as I was reluctant to cut the bones so early in the process, they are all a bit unwieldy and don't really tell me much. The obviously makeshift bone casings are not helpful either.
I decided to make another mock up, this time out of coutil; I was intending to use it as a base anyway.
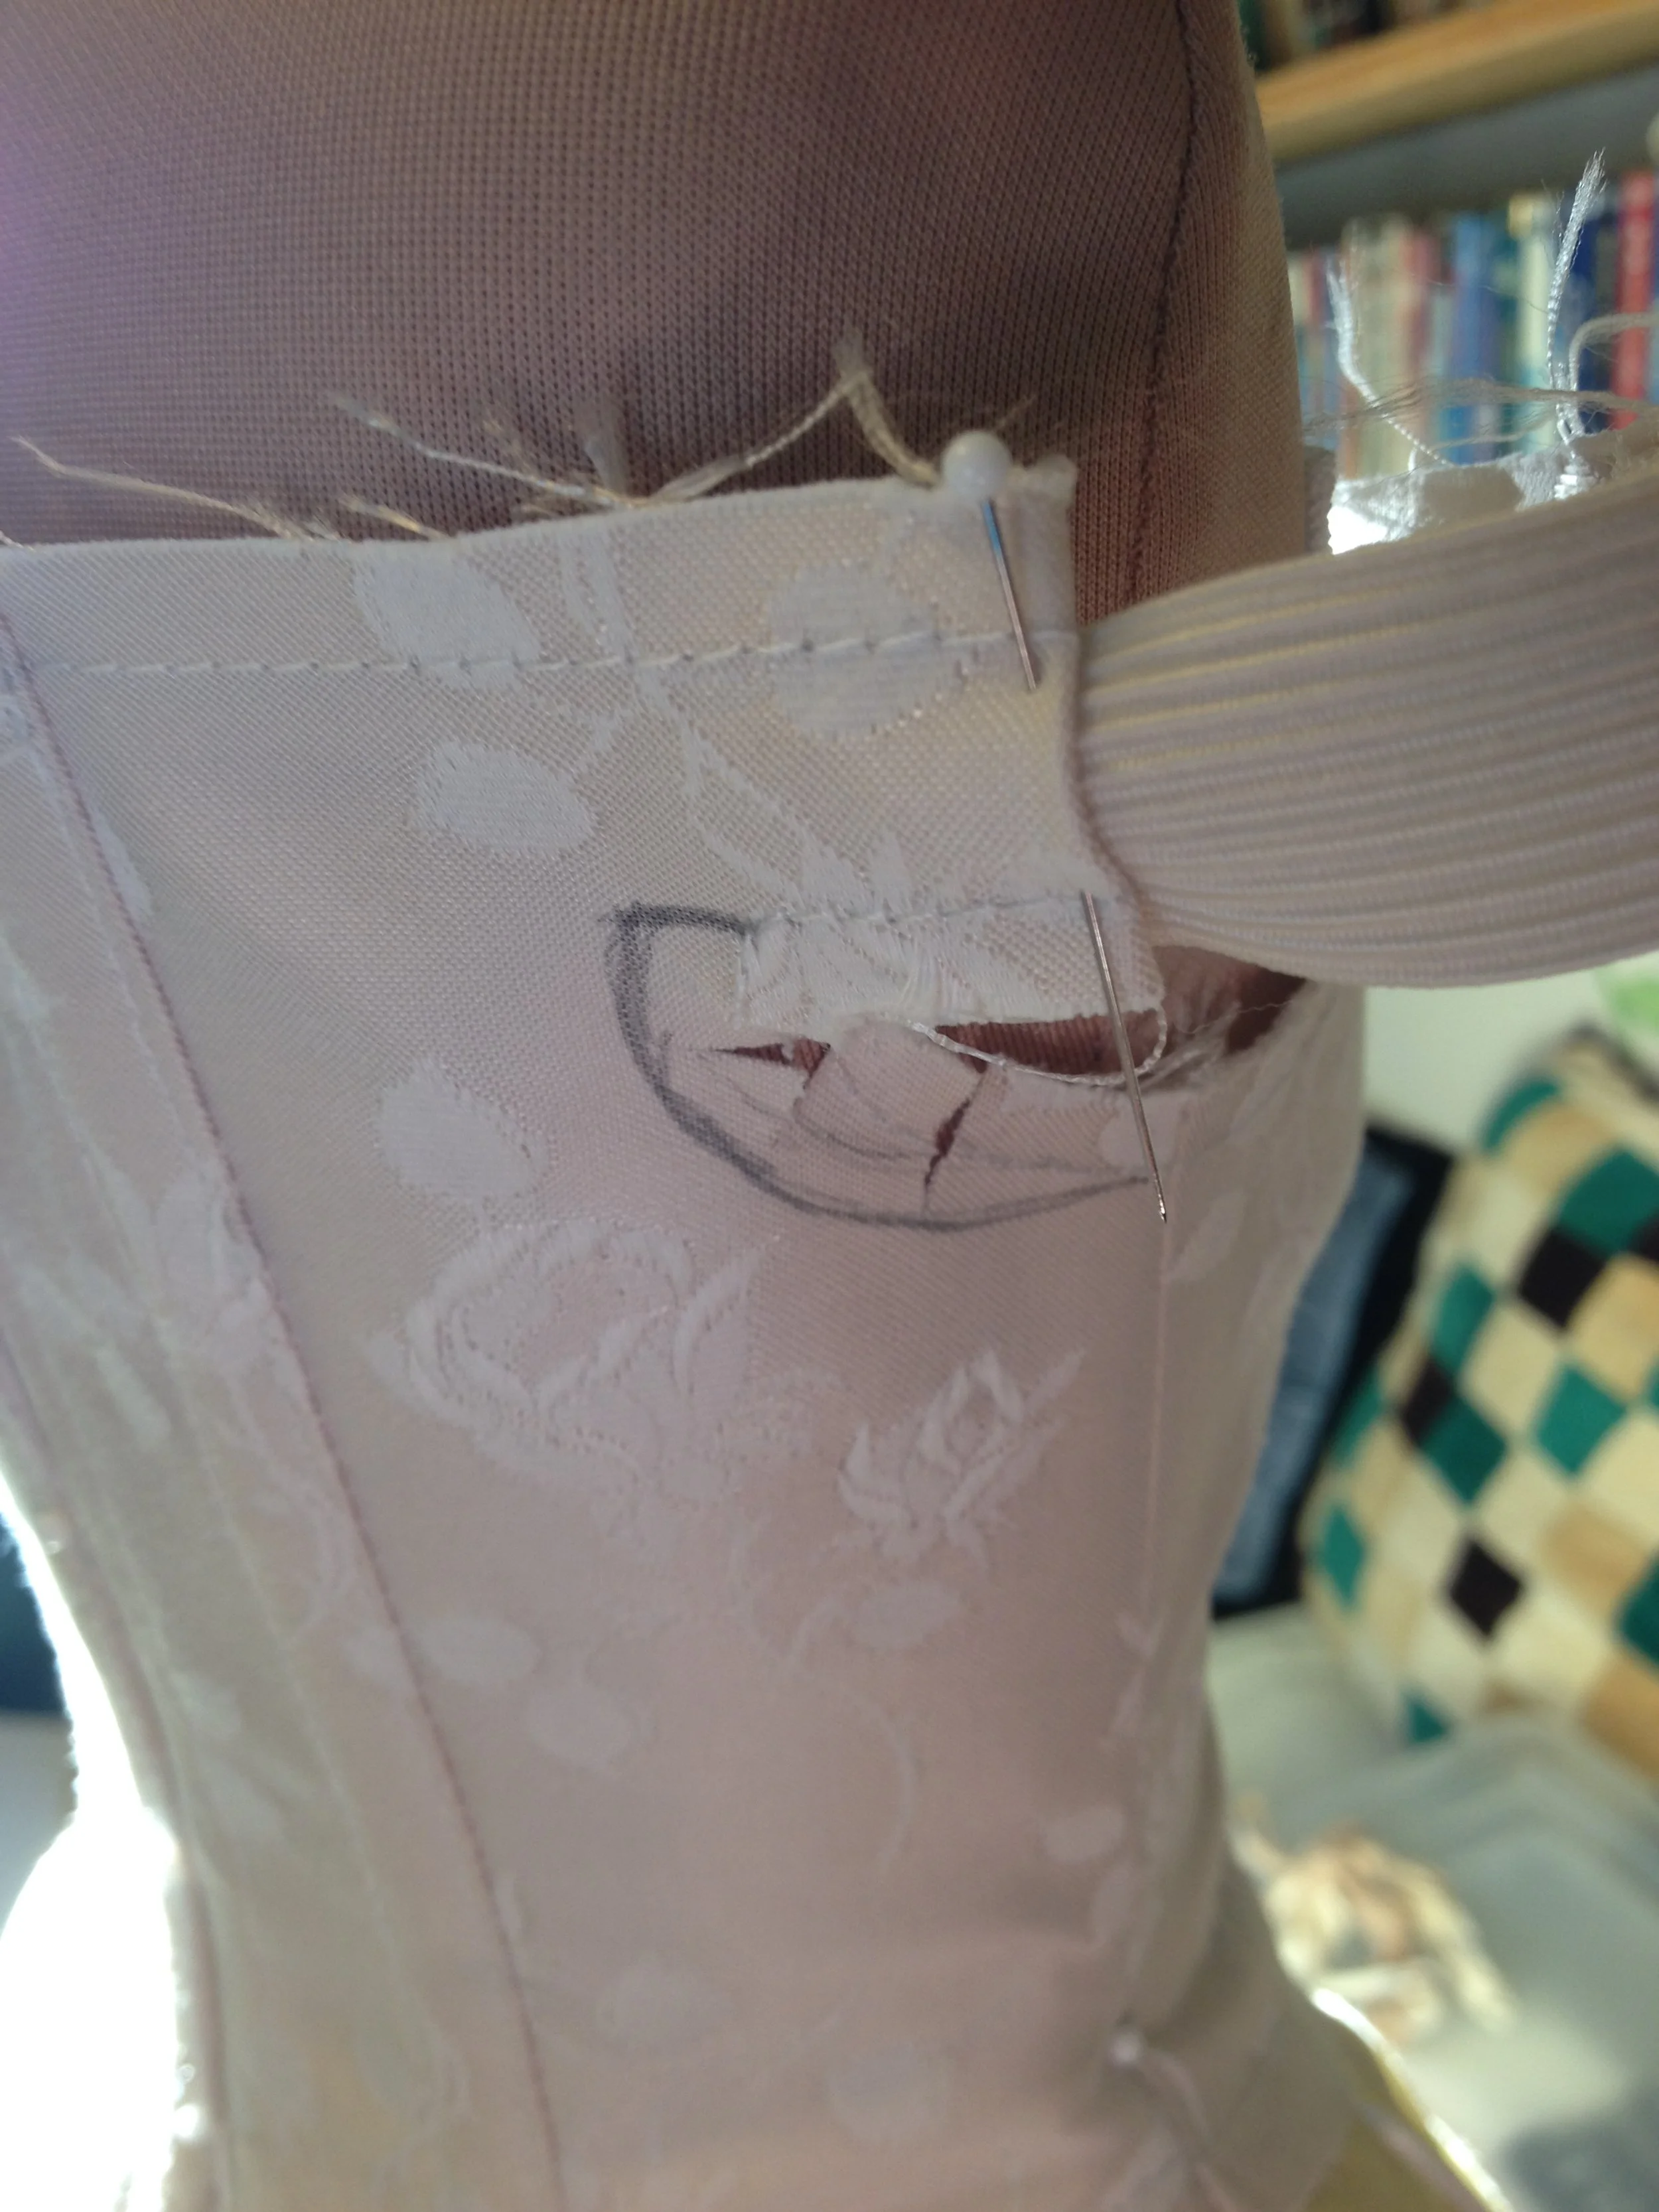
This mock up was much sturdier and I was able to get a better idea of what my shape was really going to look like. I also realized that the current shape of the neckline and armholes would be anything but flexible, so I decided to insert a piece of elastic between the front and back.
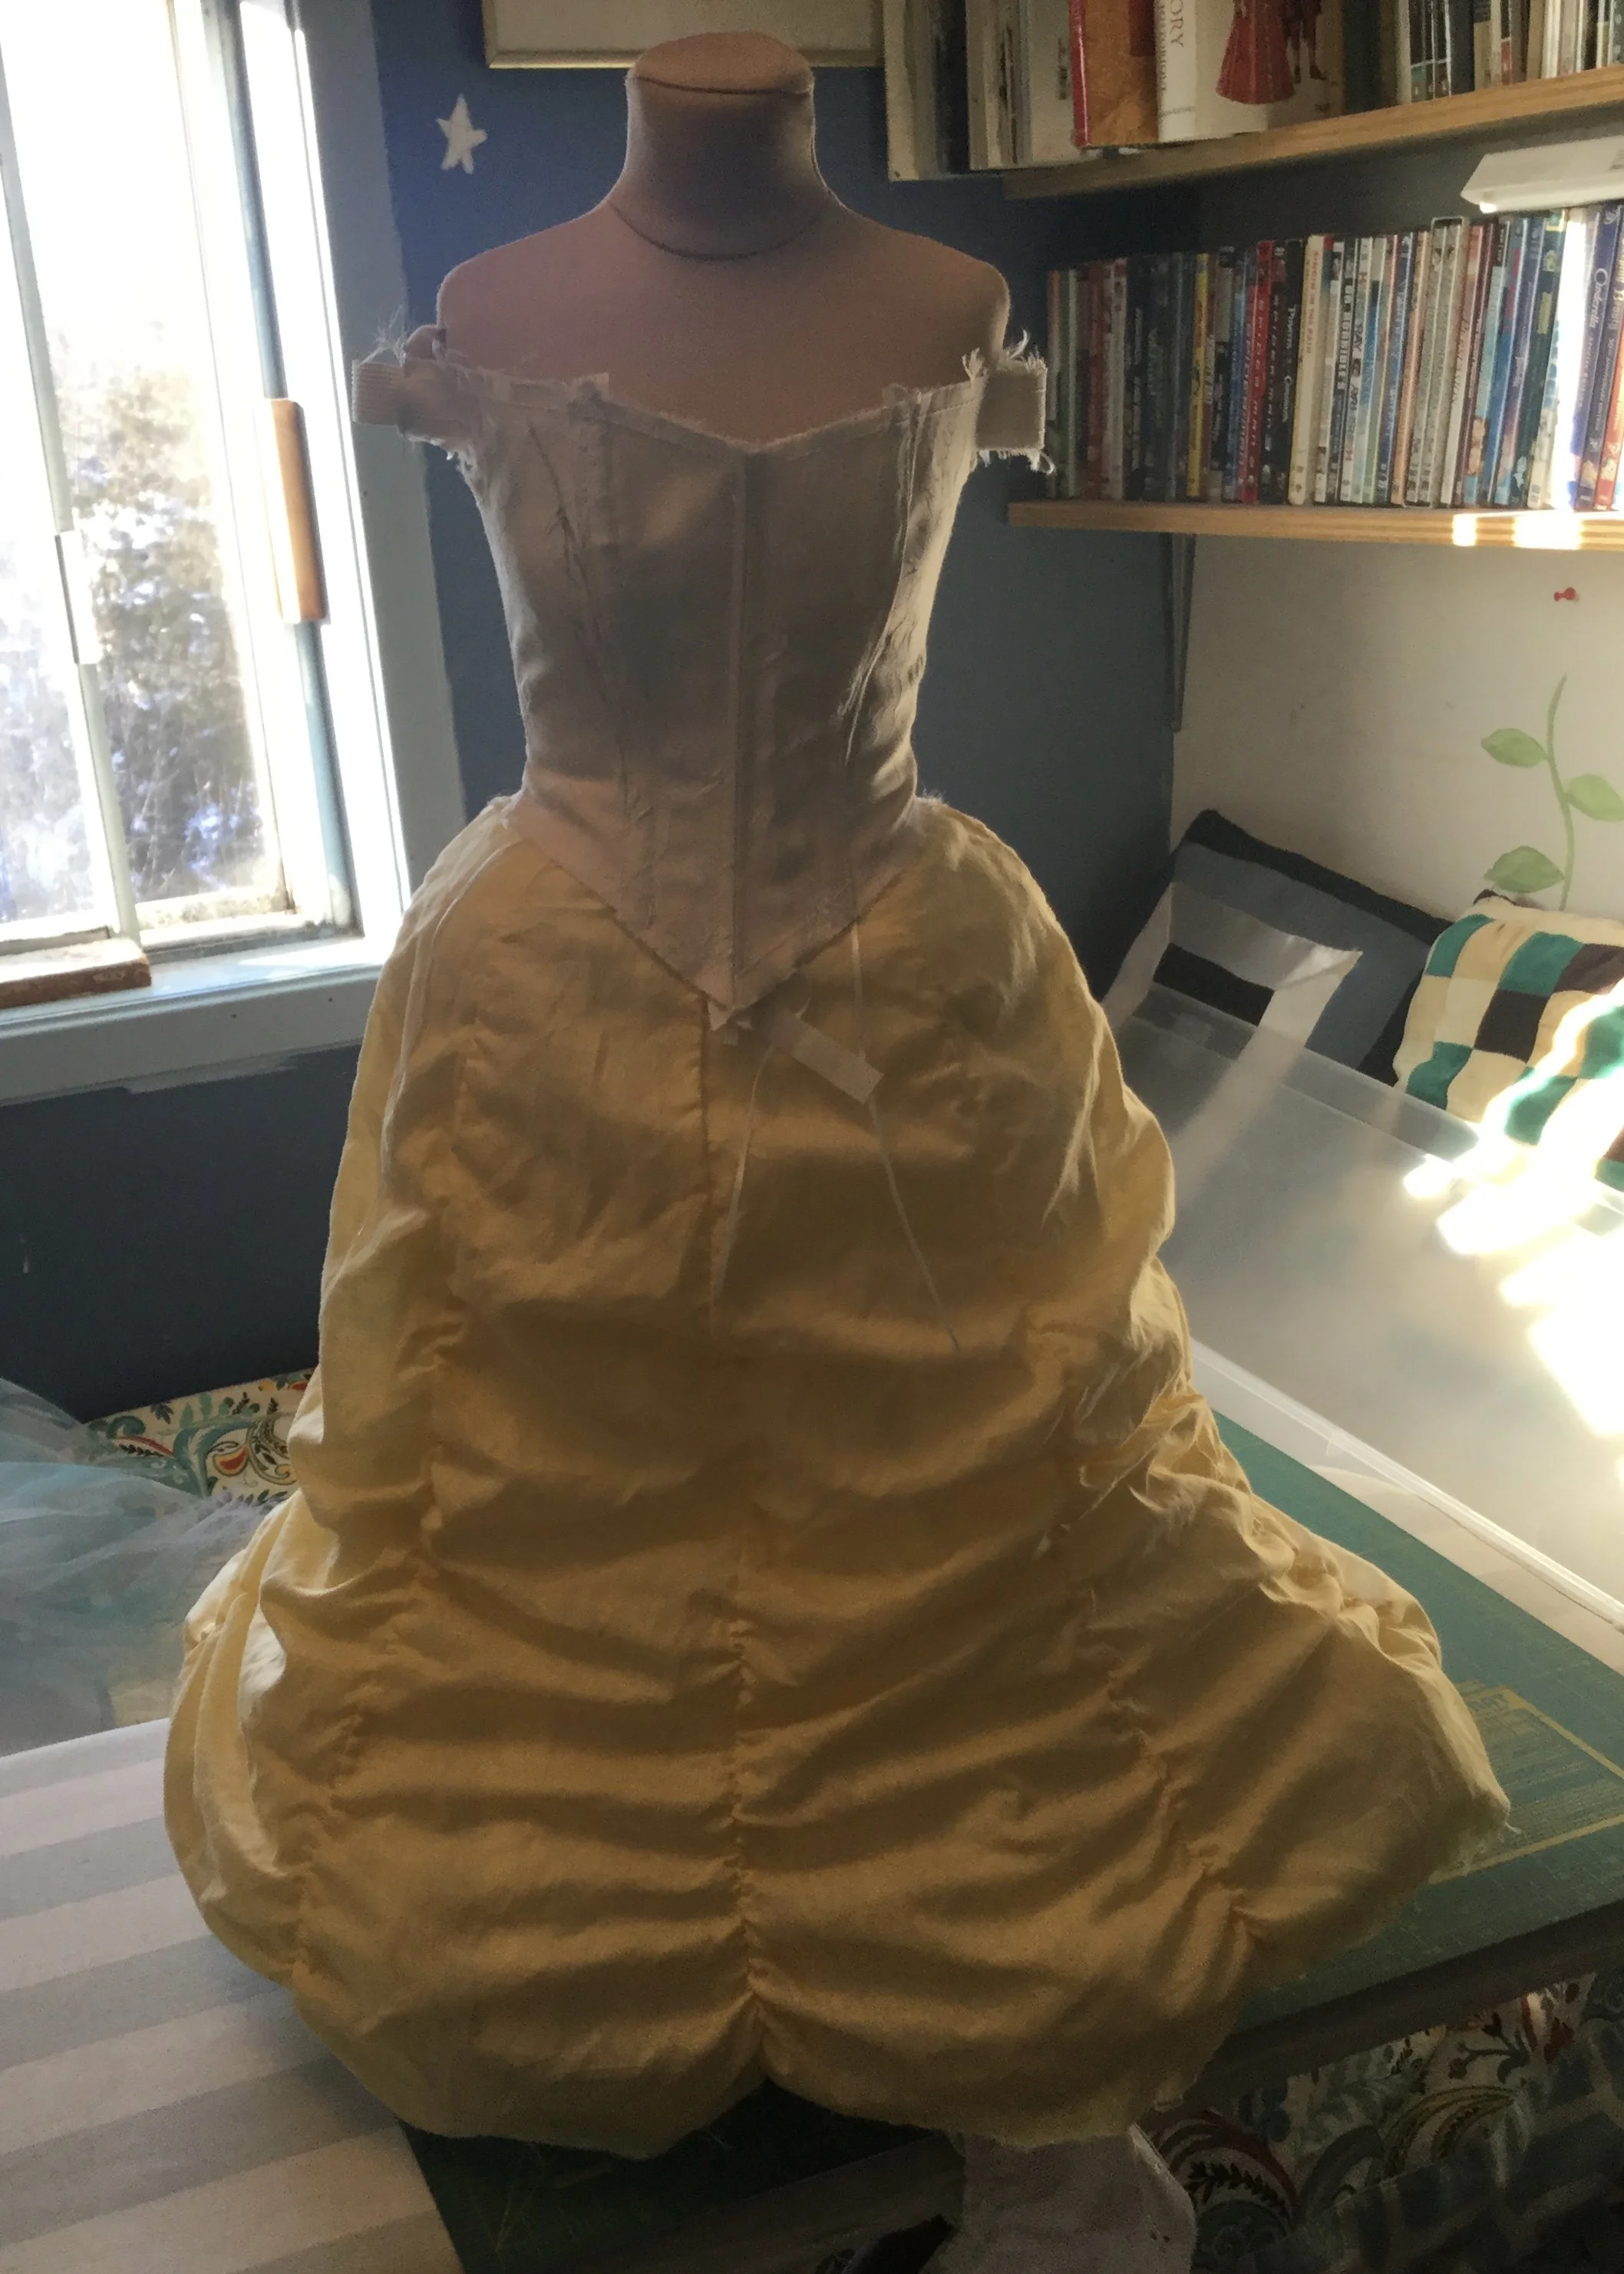
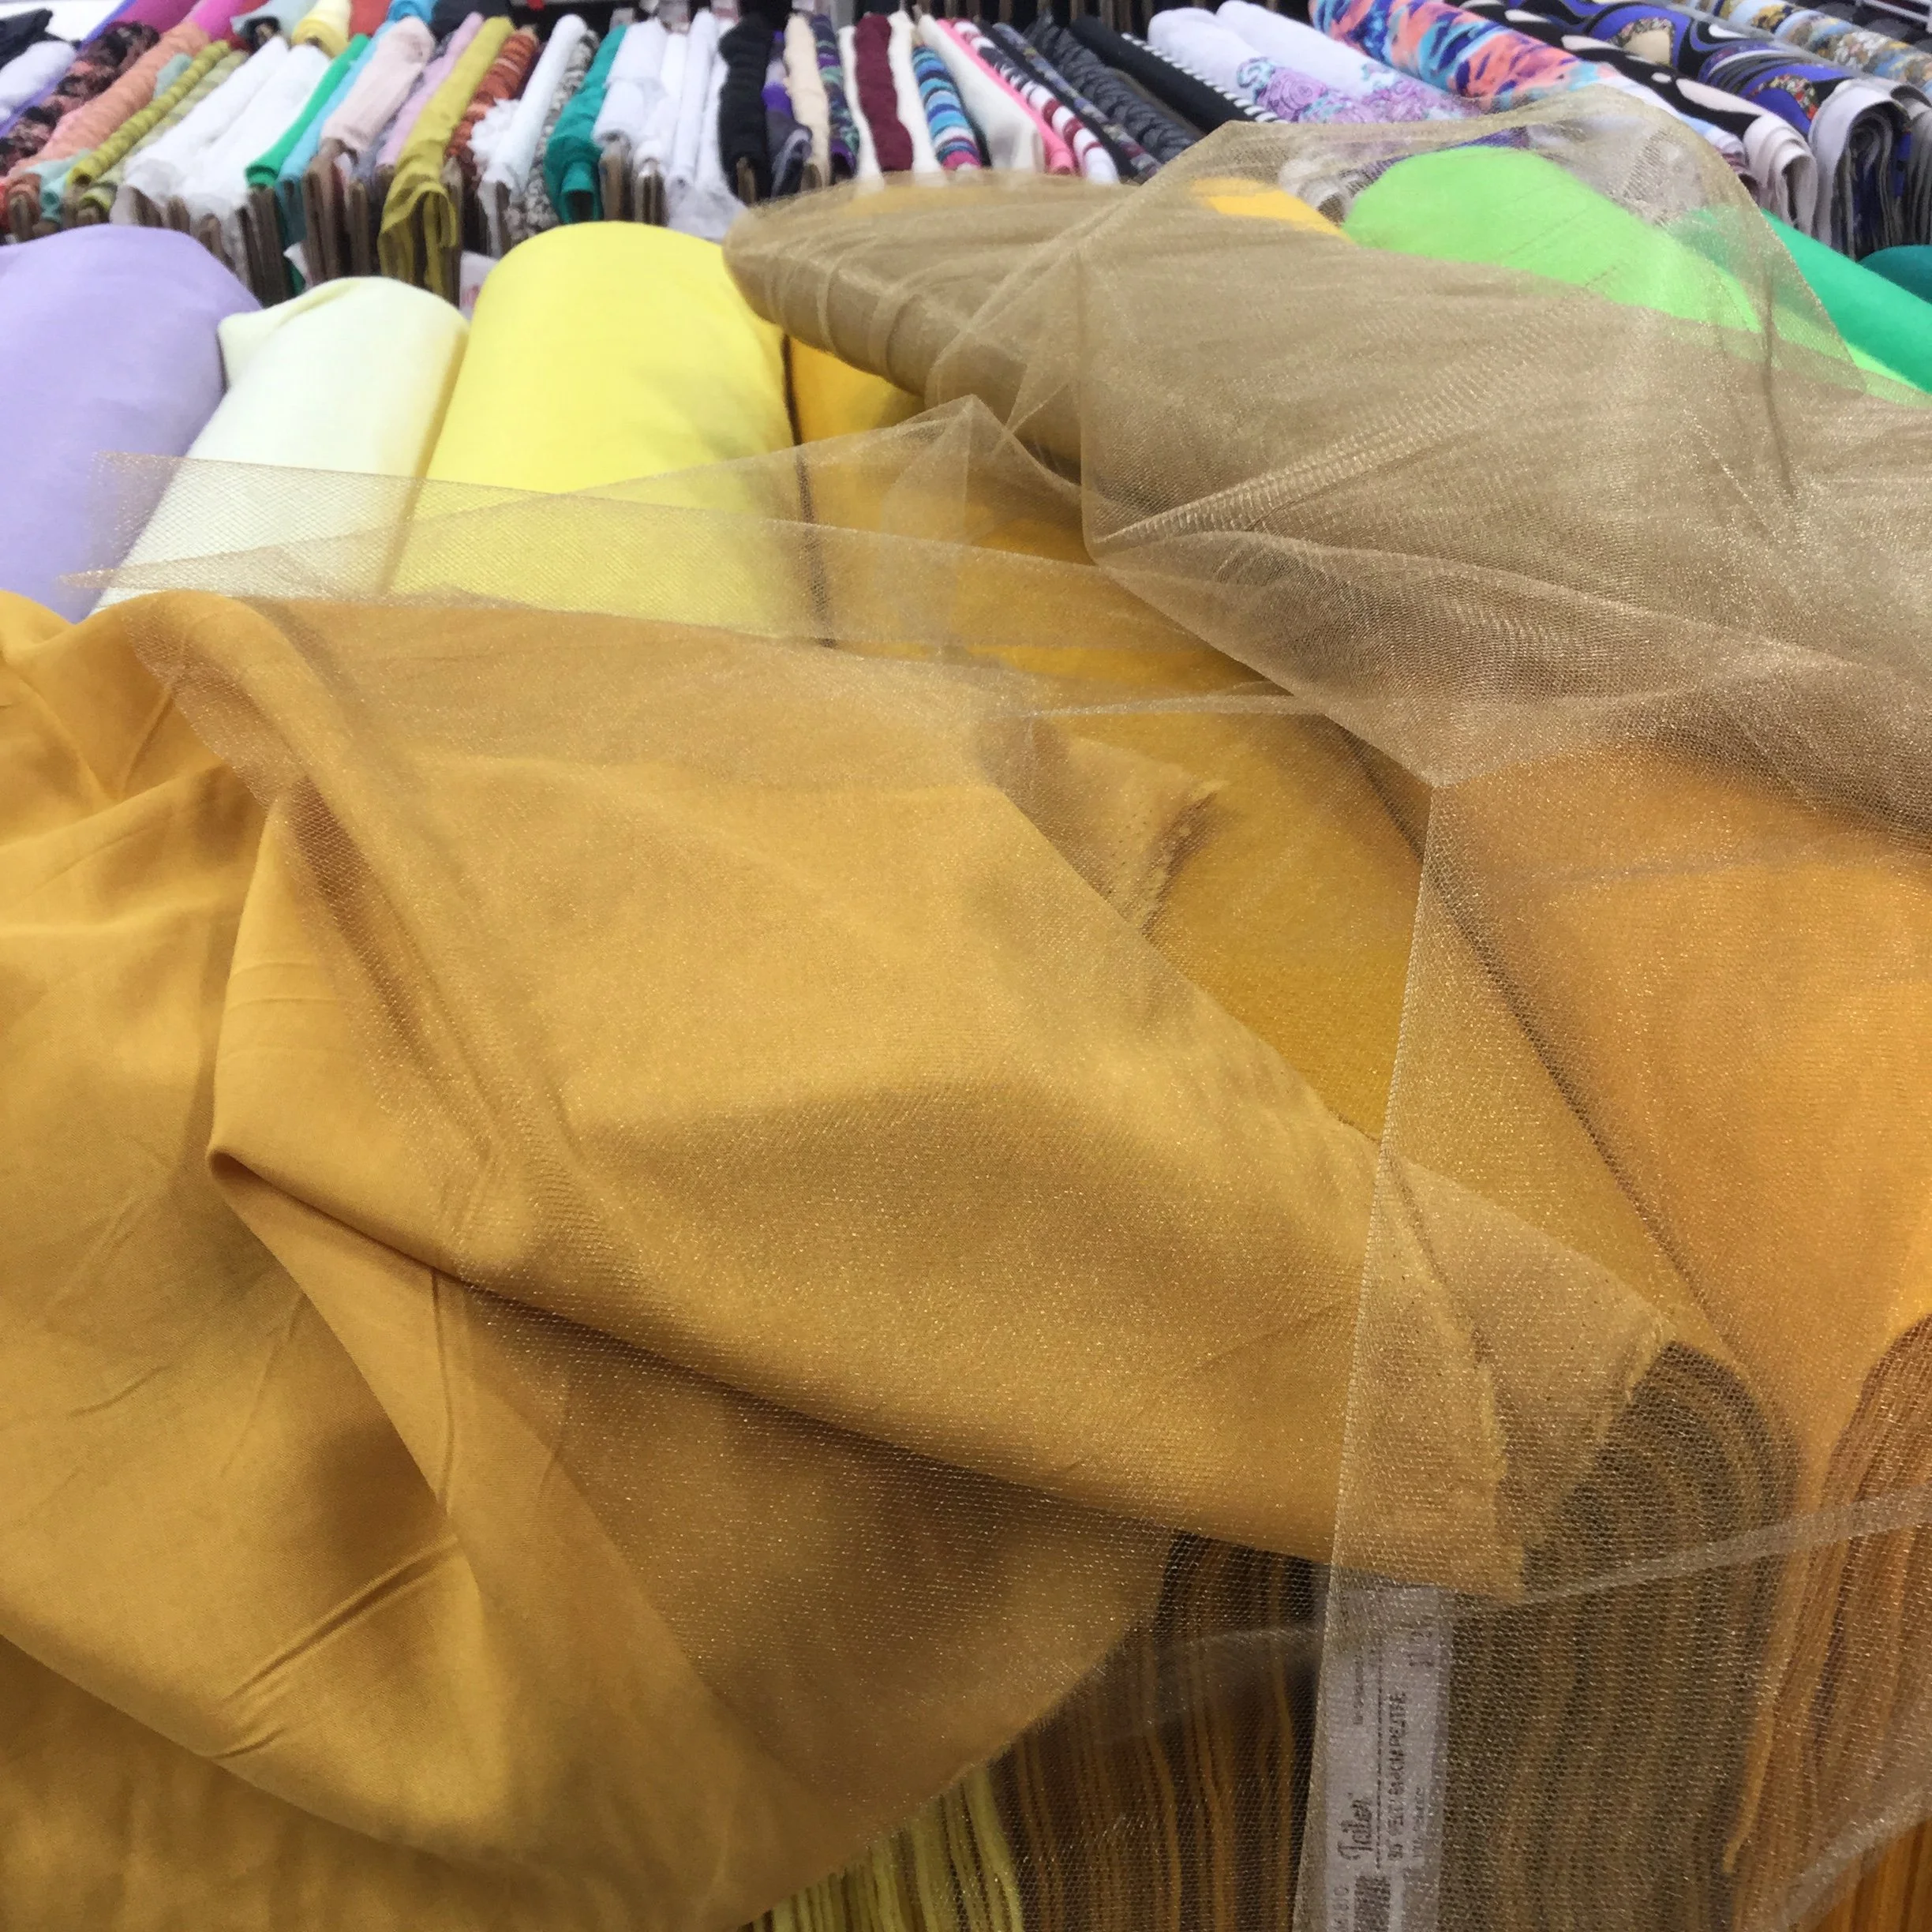
At this point, the bodice took a lengthy pause while I worked on other half-scale projects, finished the skirt and ended my pandemic induced period of unemployment for a few years. In the meantime, I did find the bodice fabric; I found a rayon which was the right colour at Fabricland and, after adding a layer of gold tulle over it to make it a bit fancier, decided to go for it.
When I finally did get back to it, I had wisely rethought my existing plan for the sleeves and took off the shoulder extensions. I also decided to recut a coutil mock up of my existing pattern to check where my fit was. Turns out I was basically there so I decided to go forward with the final build.
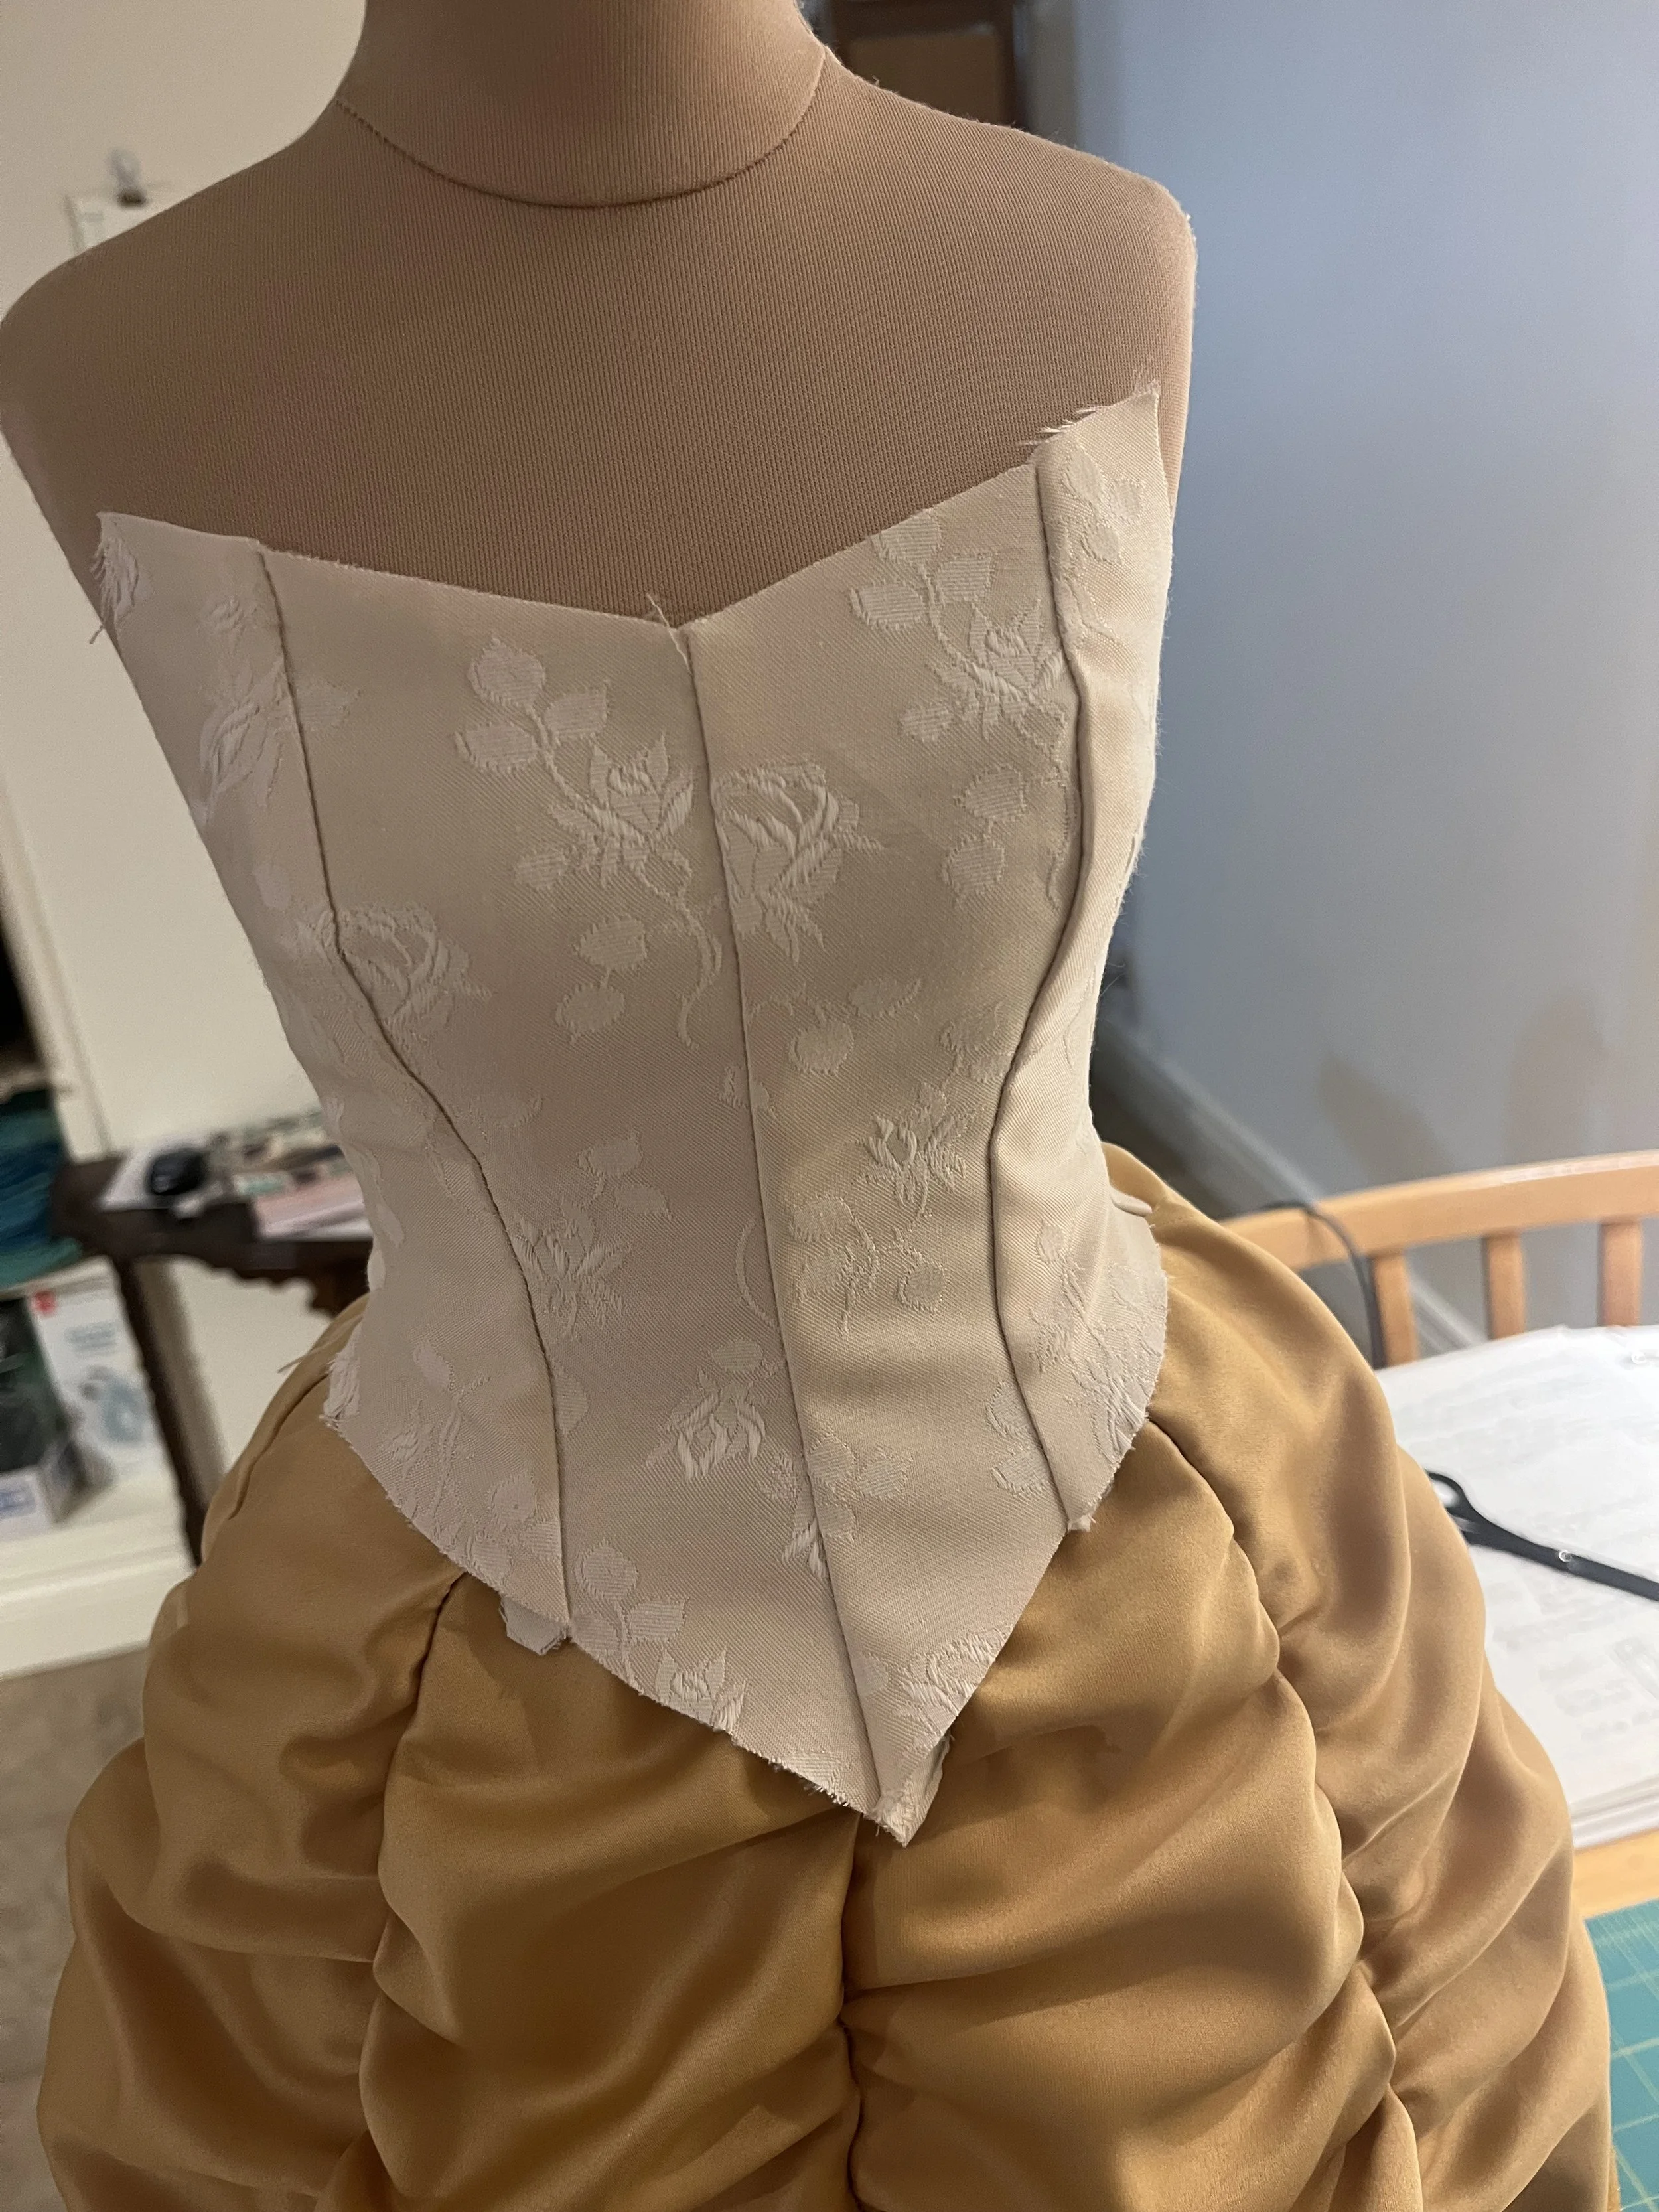
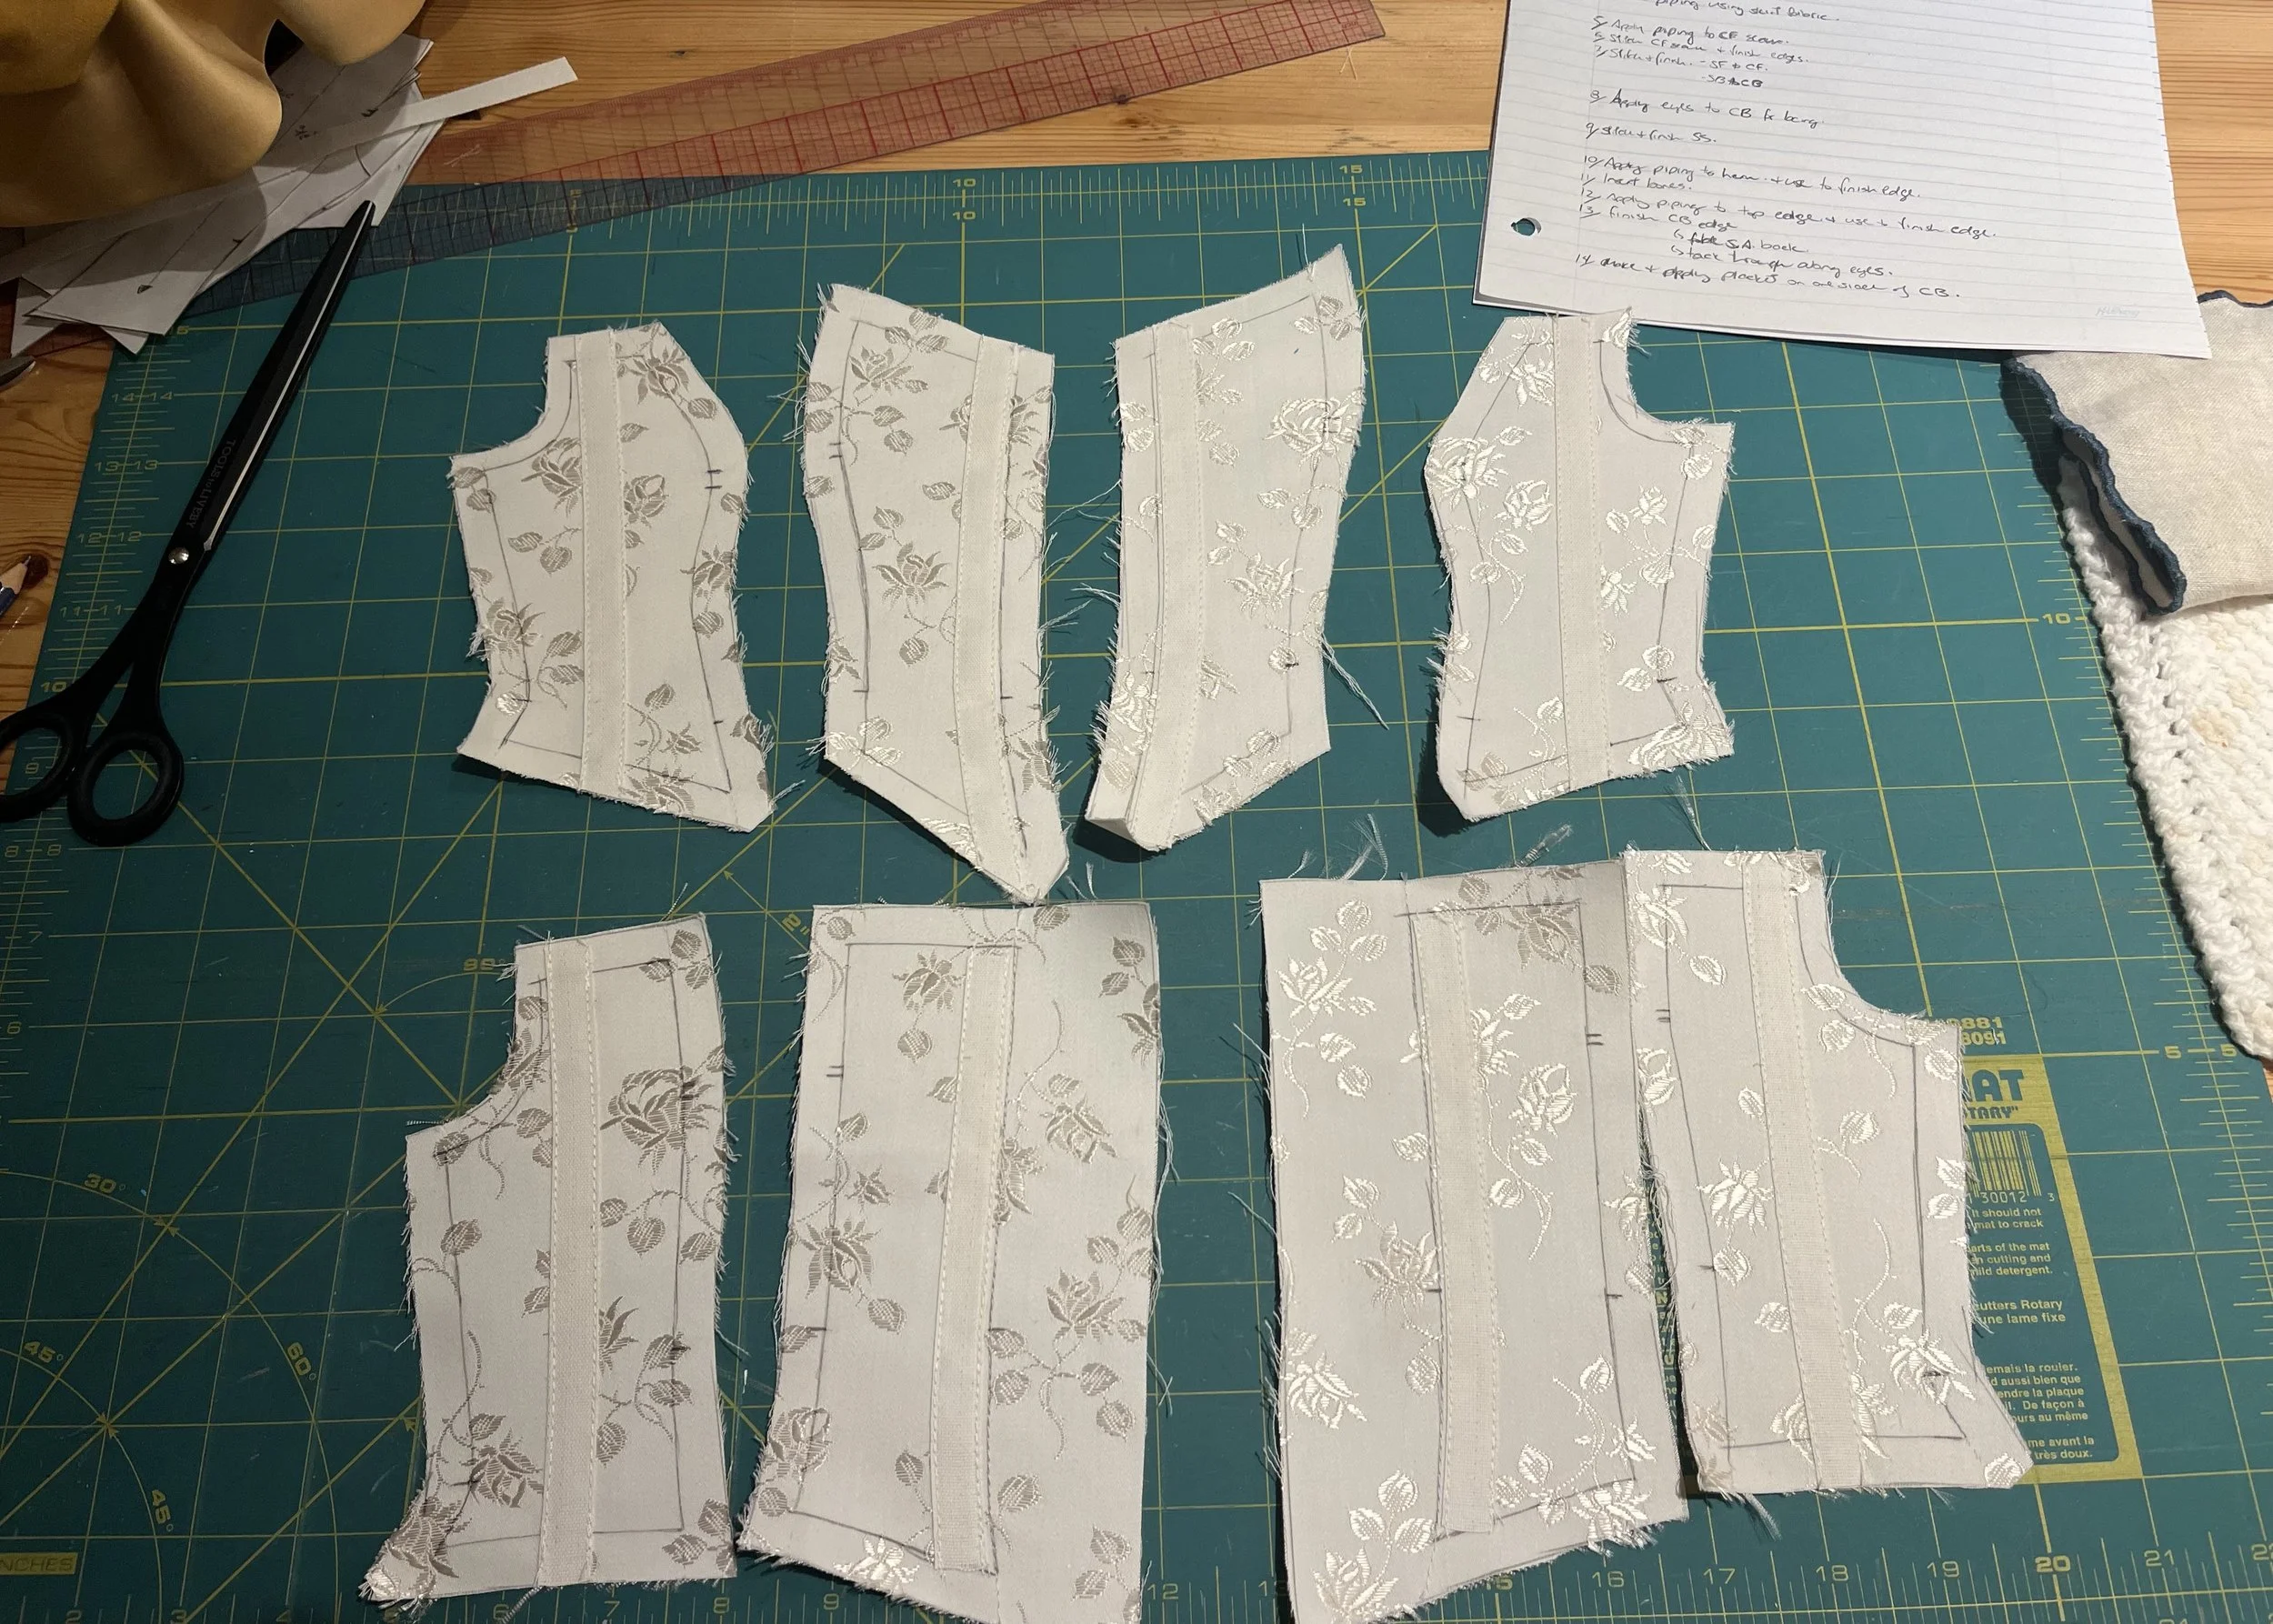
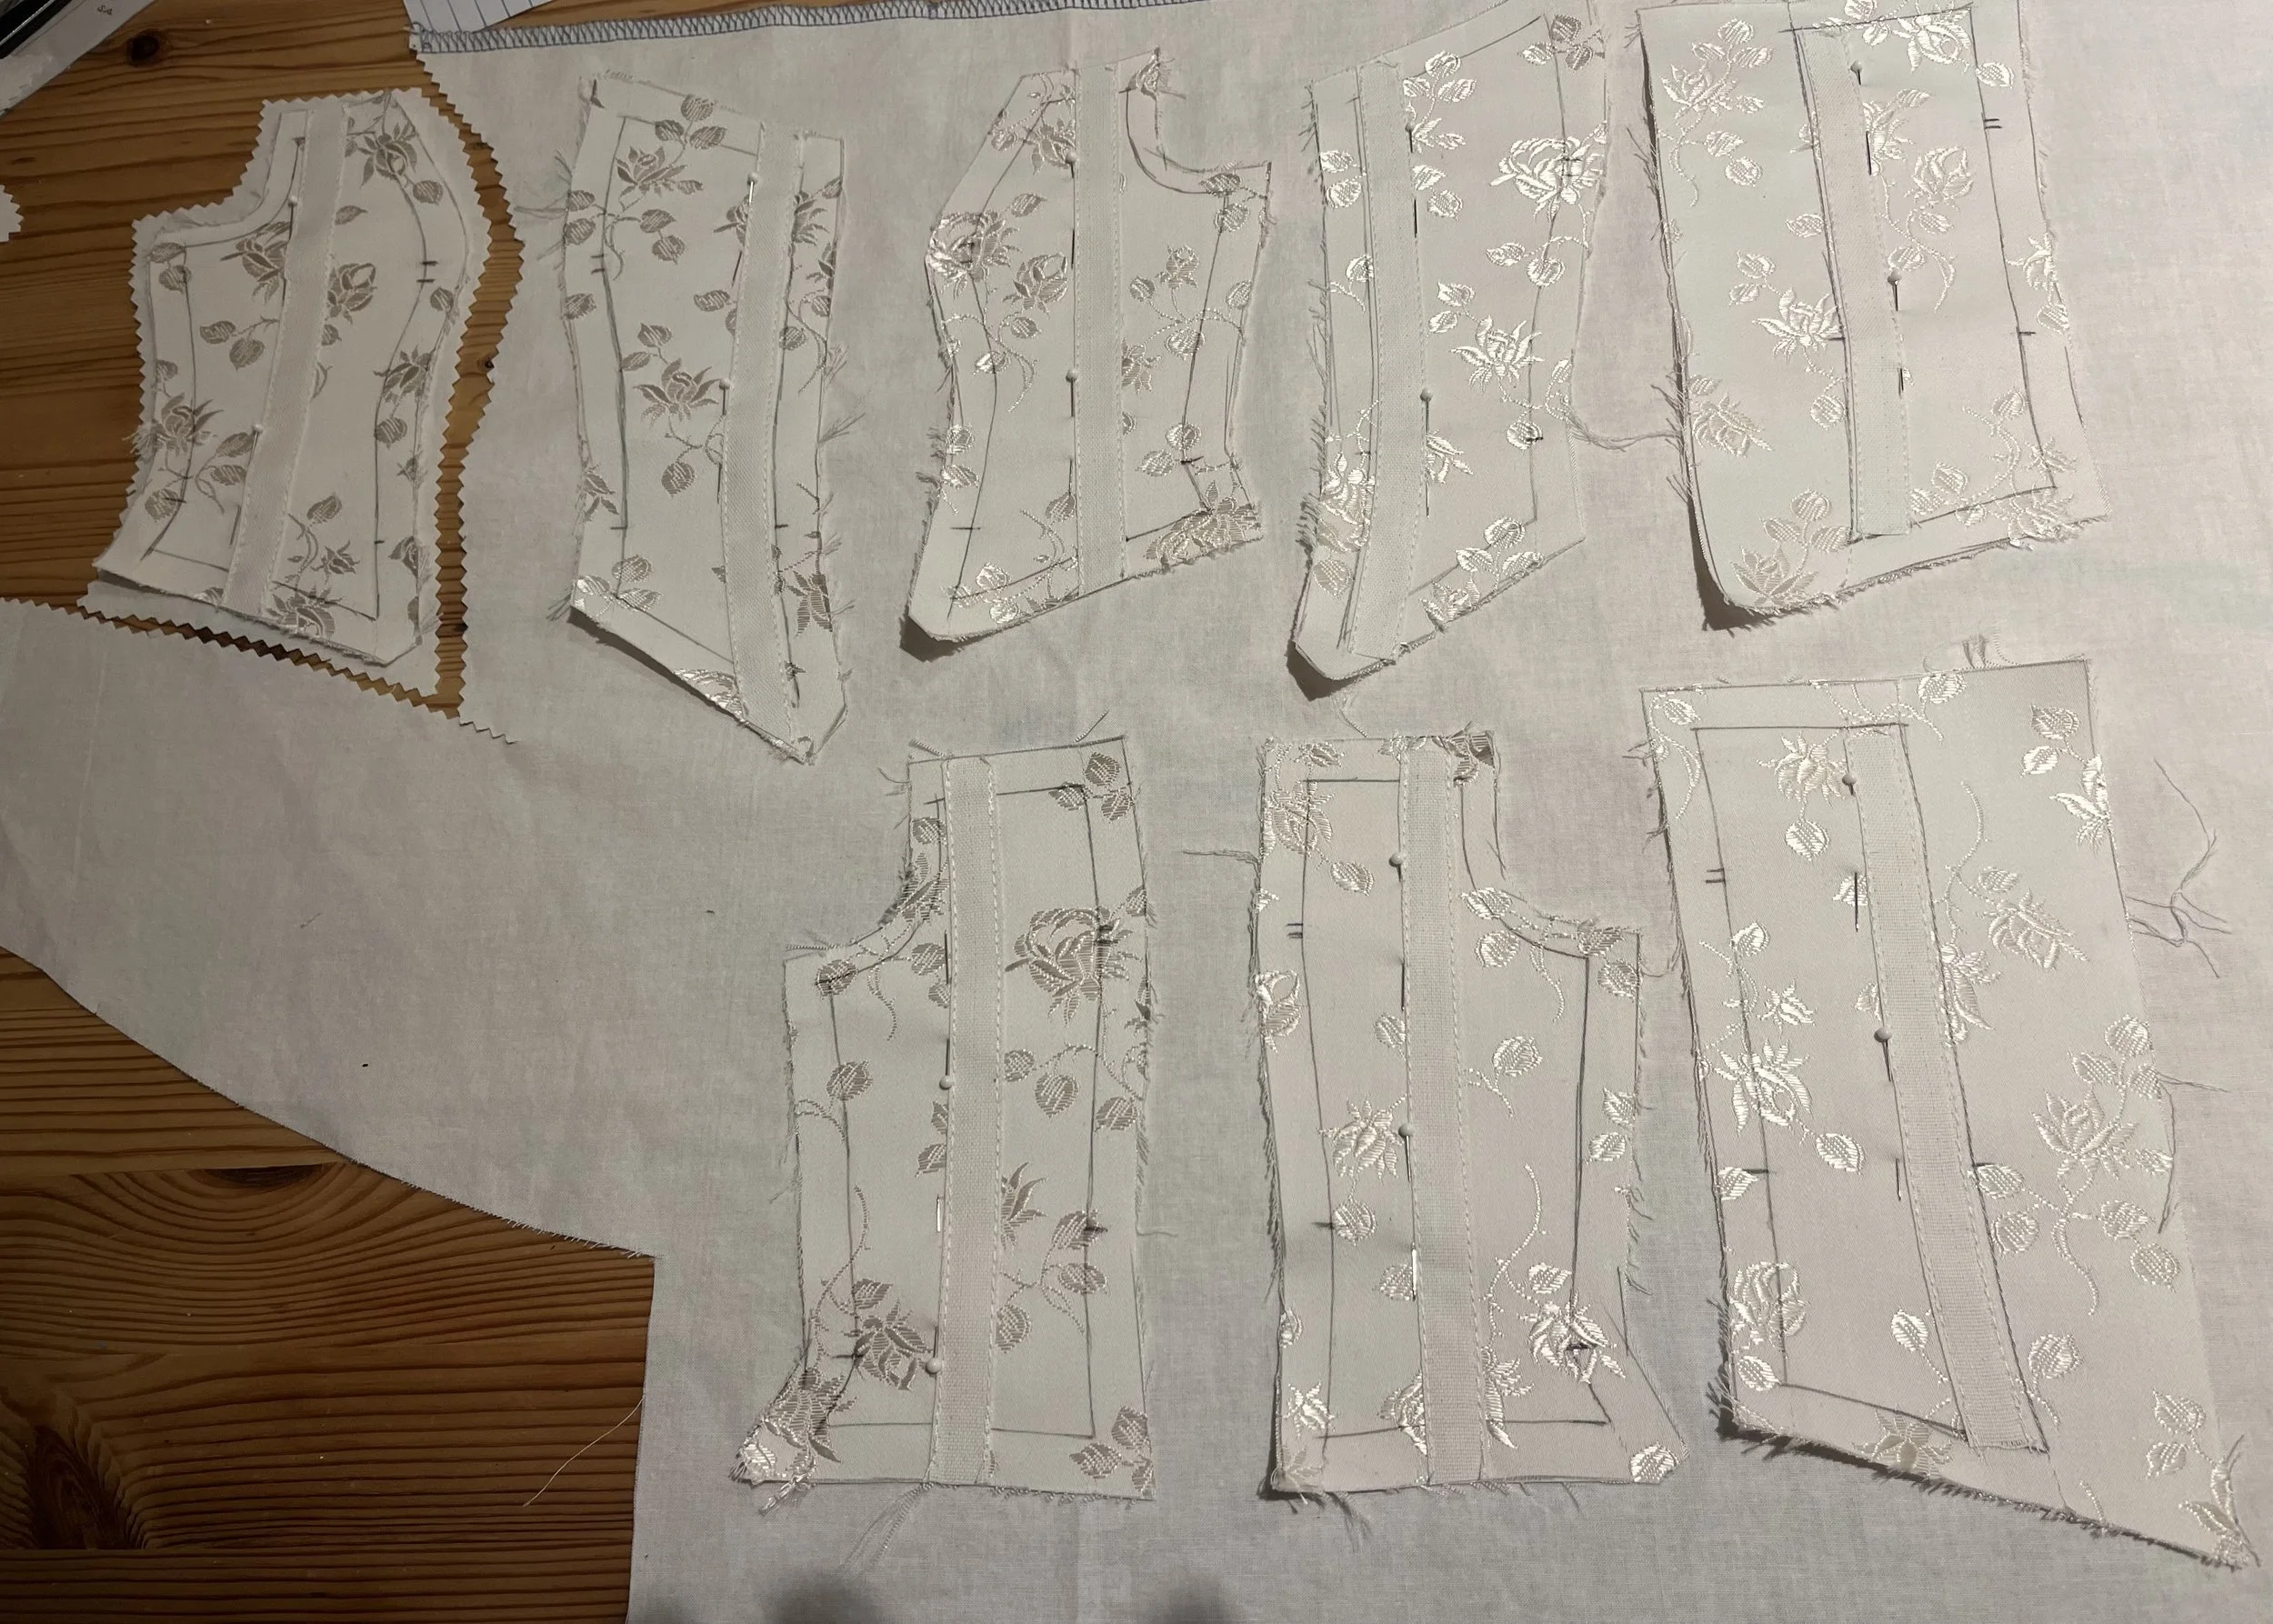
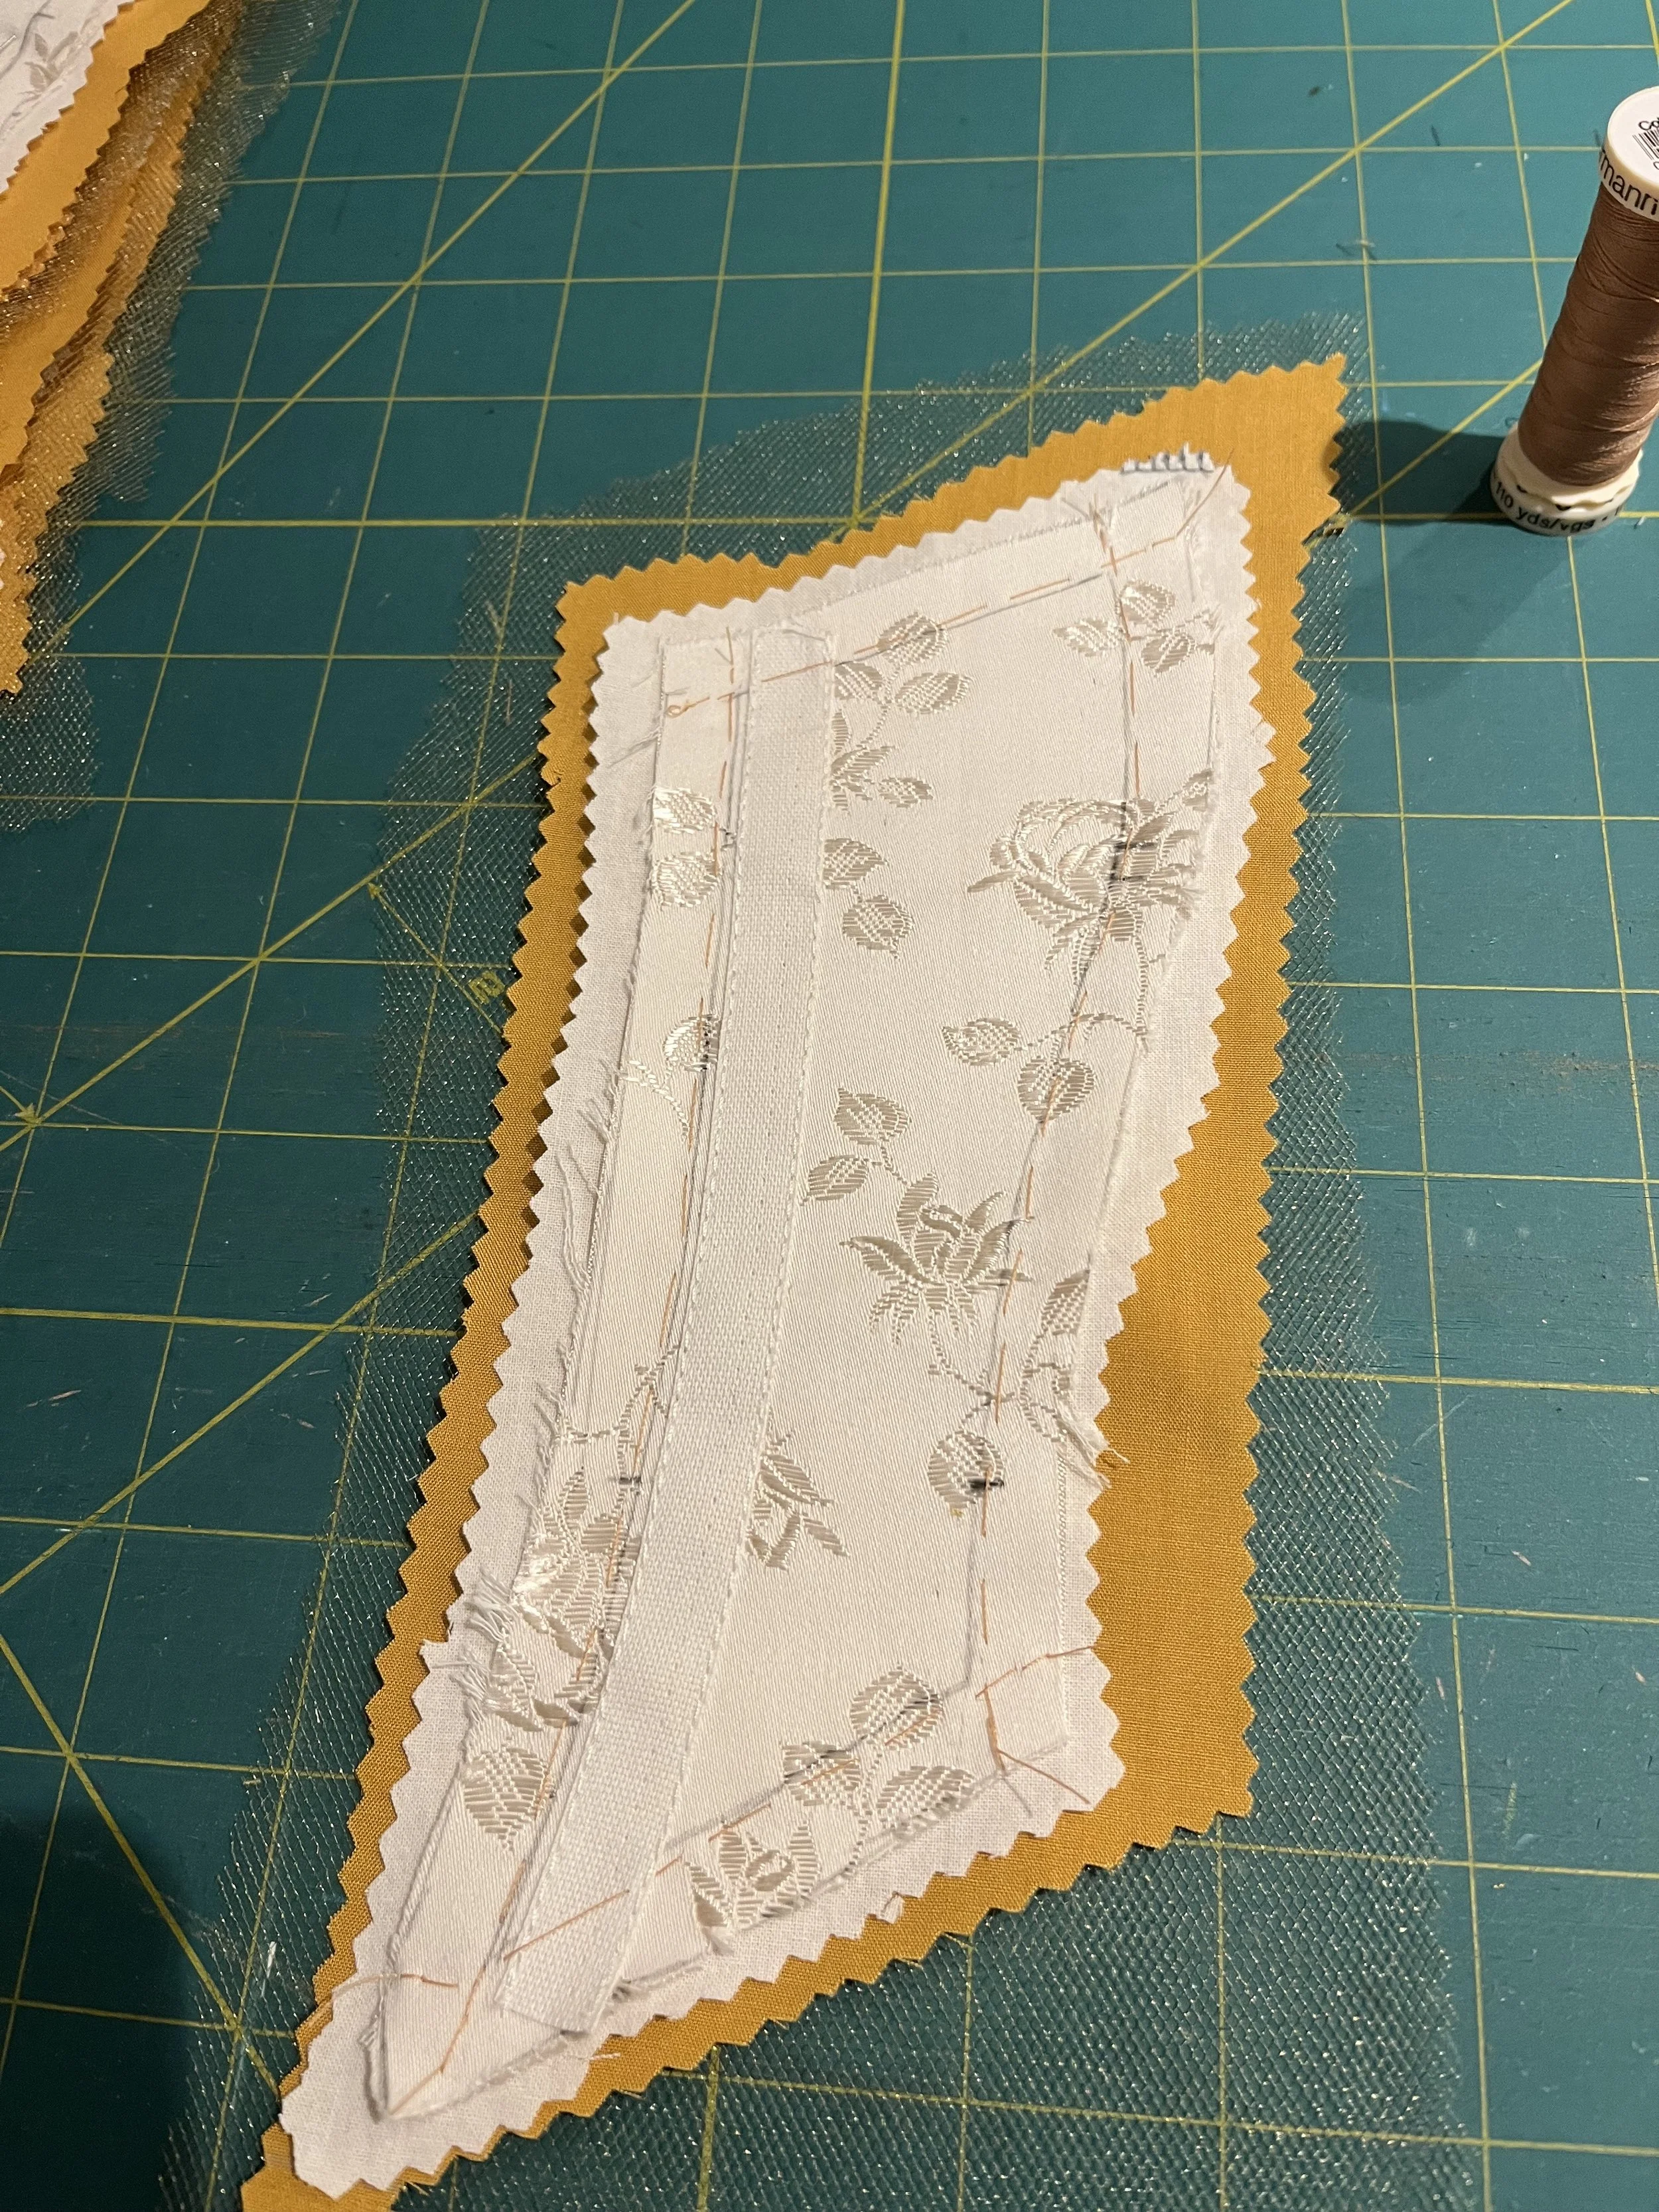
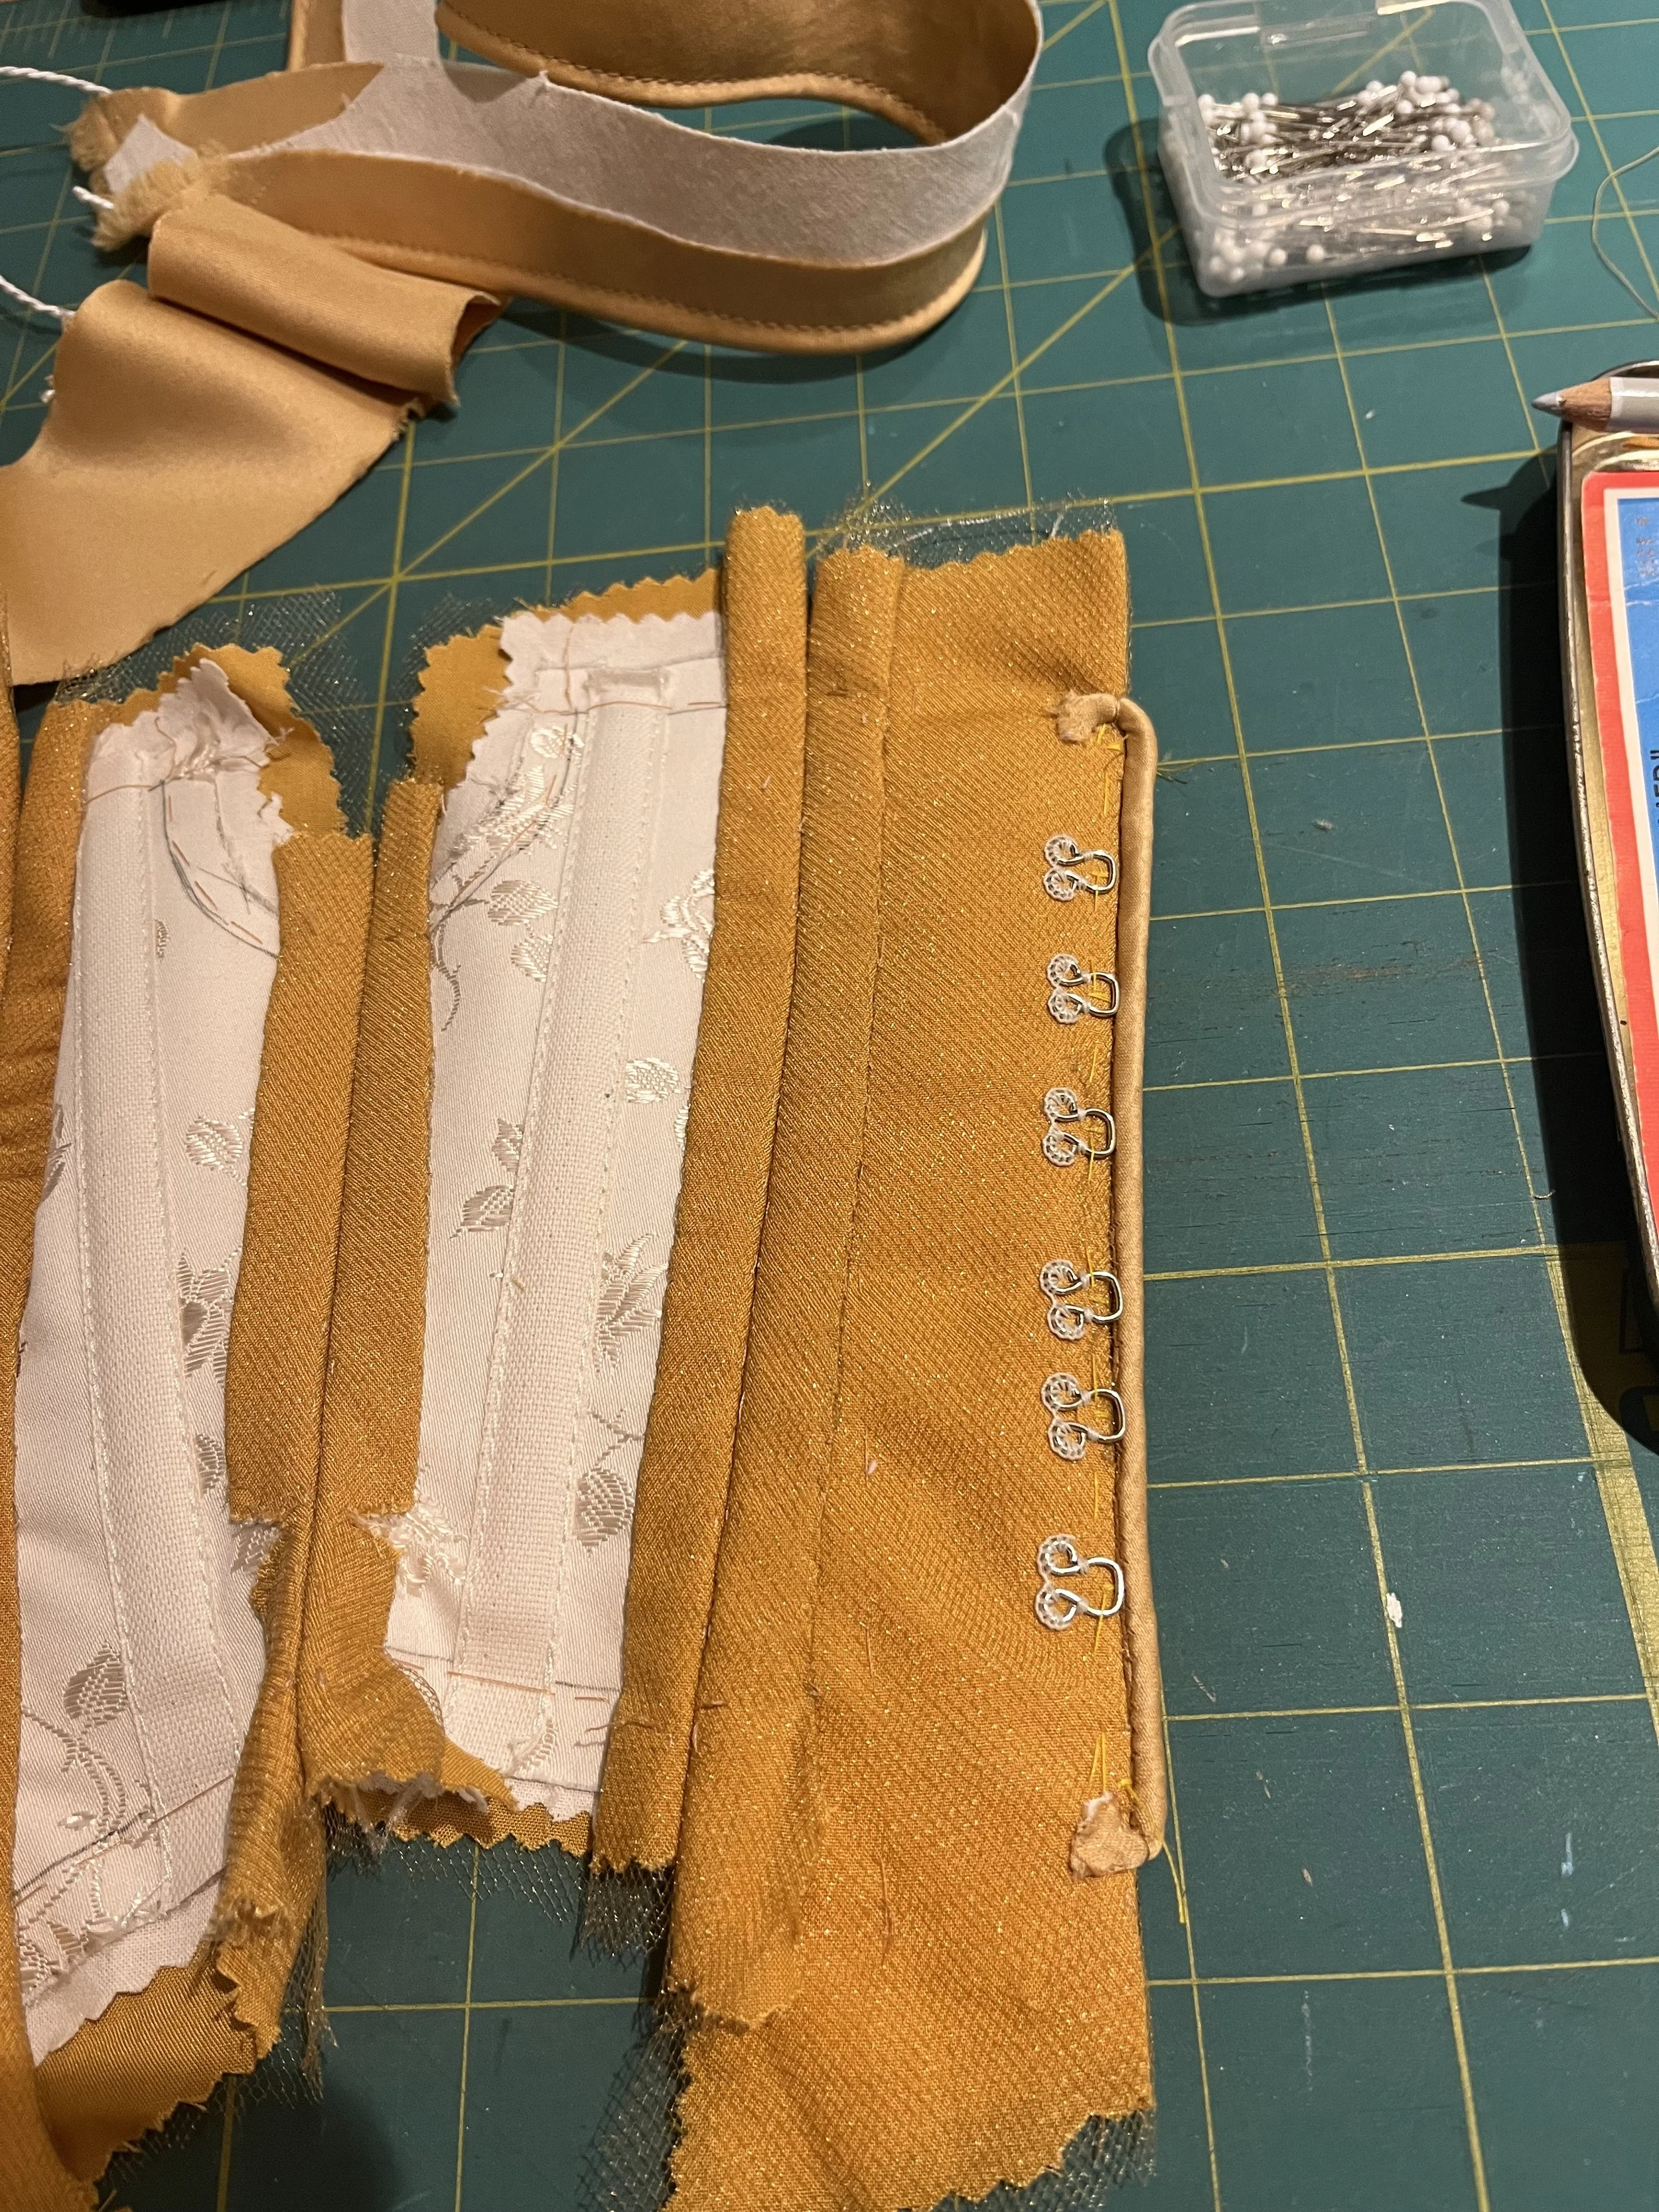
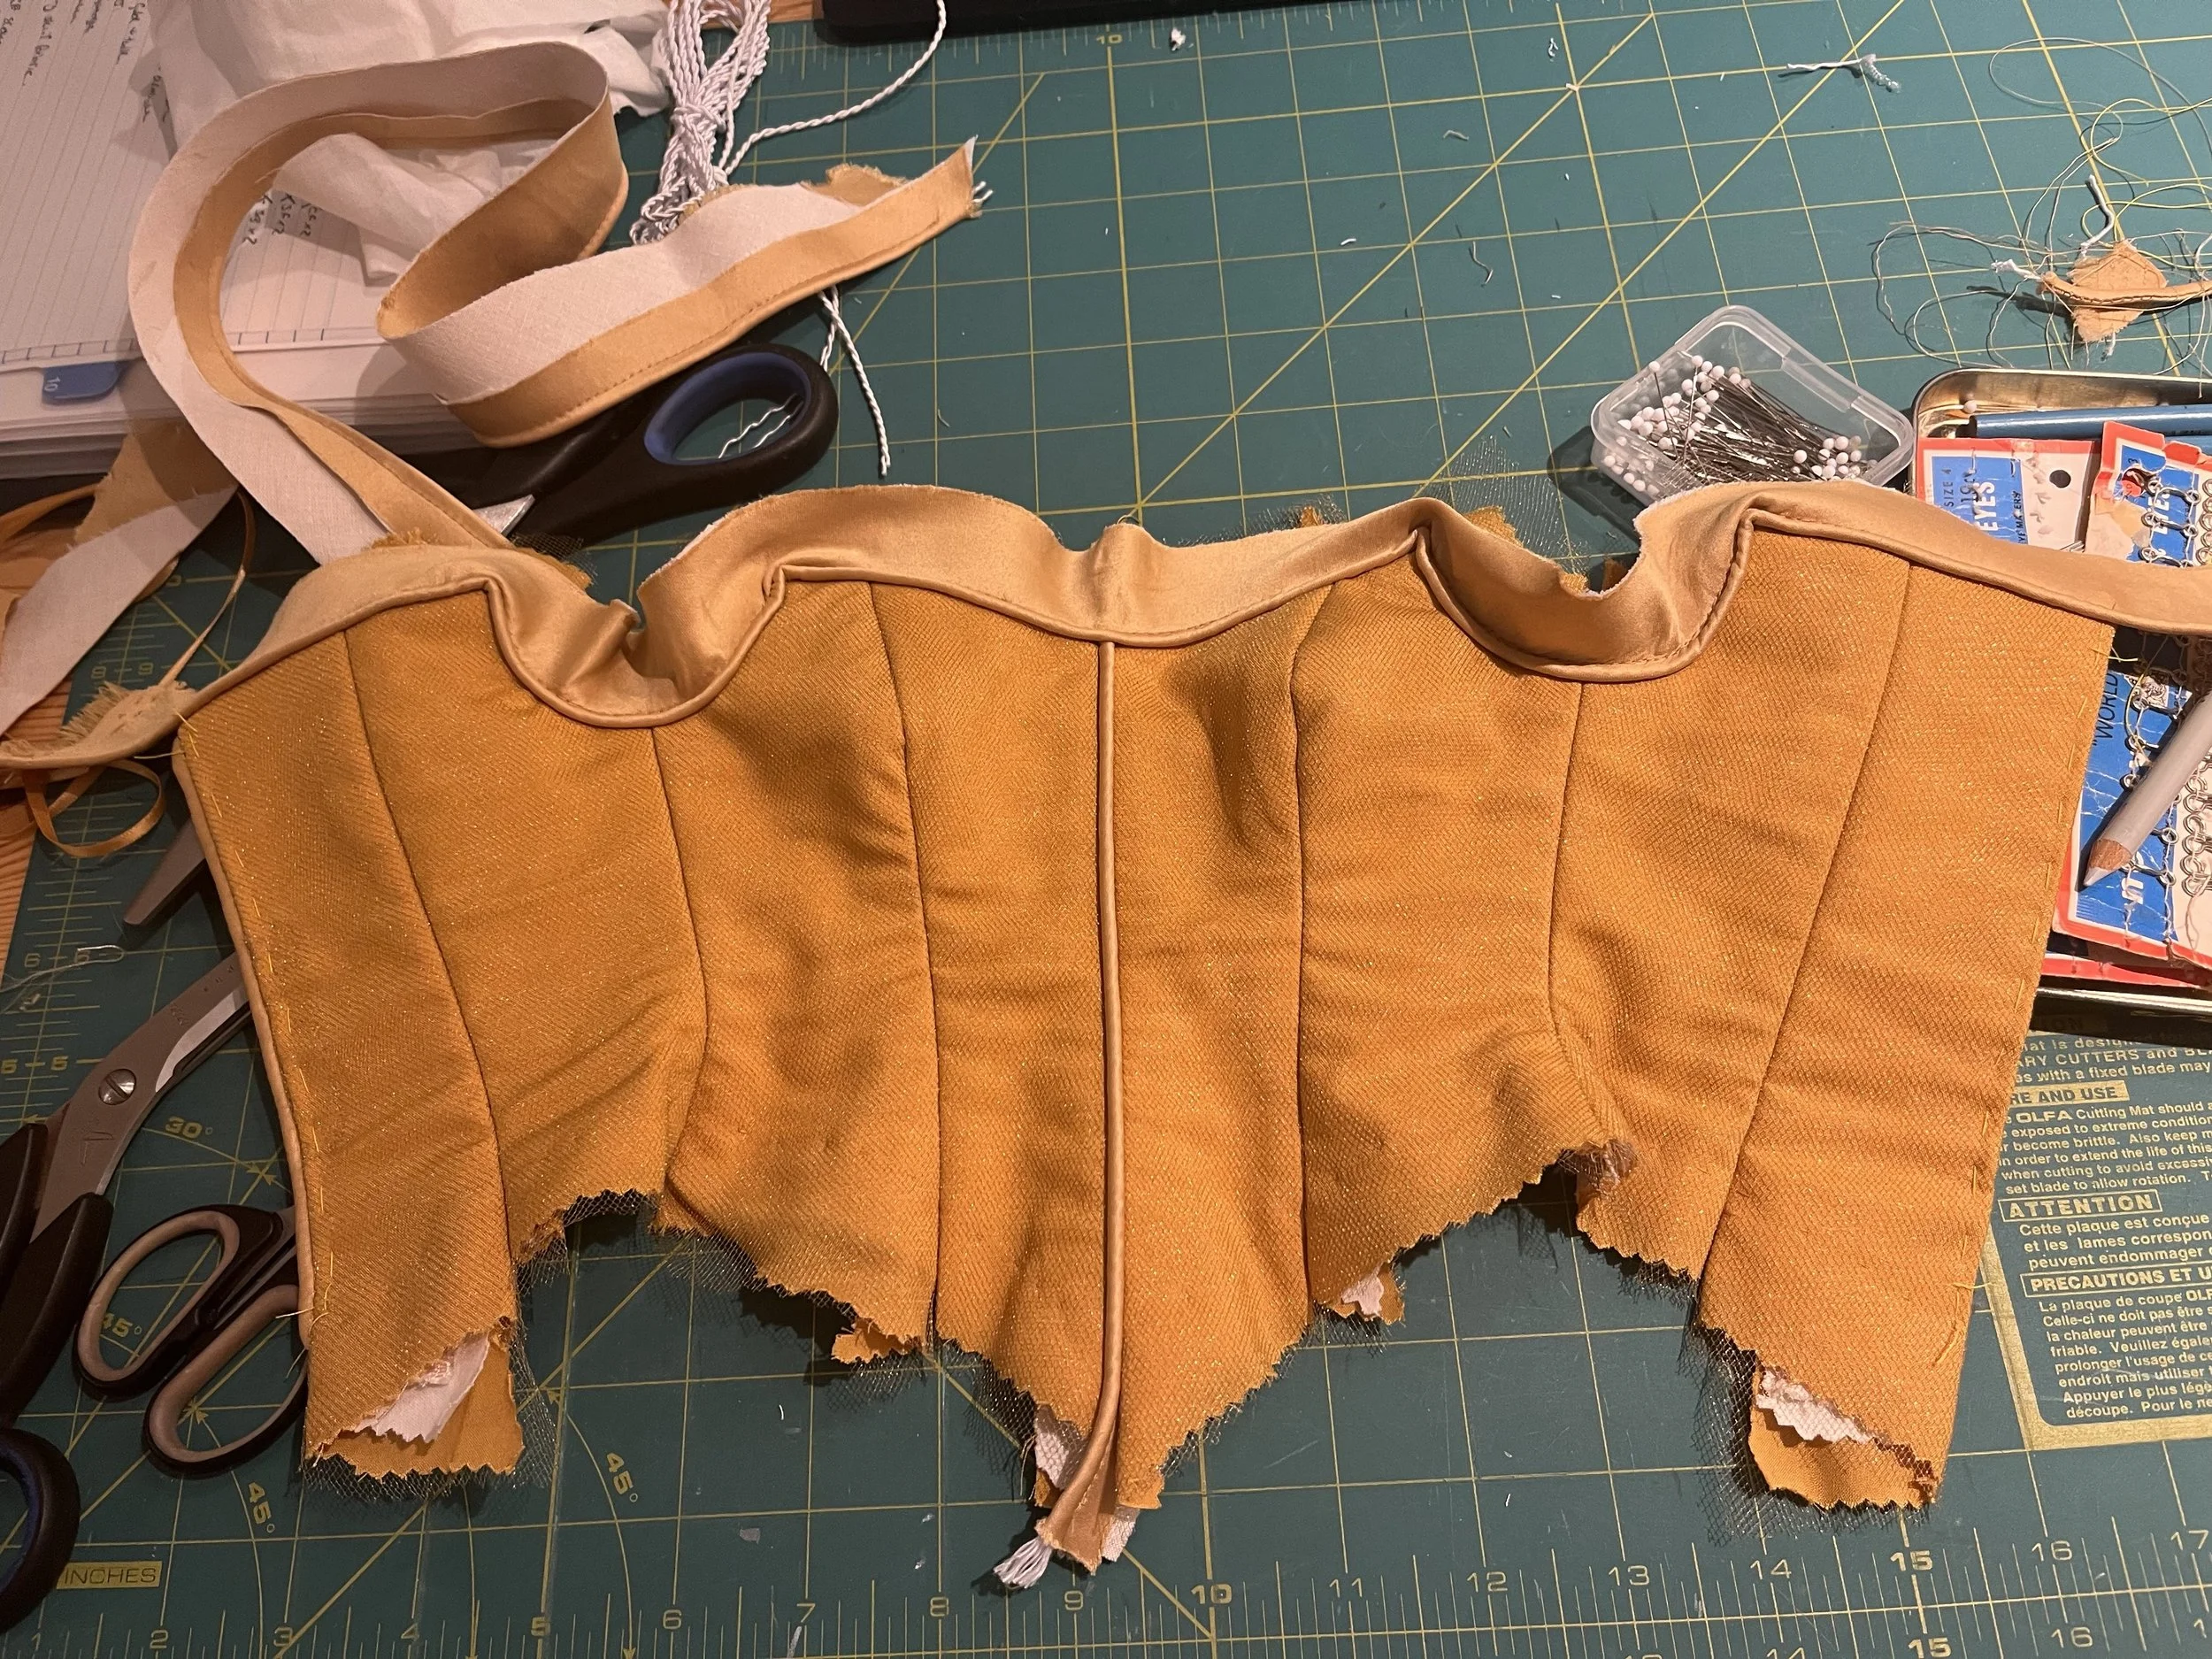
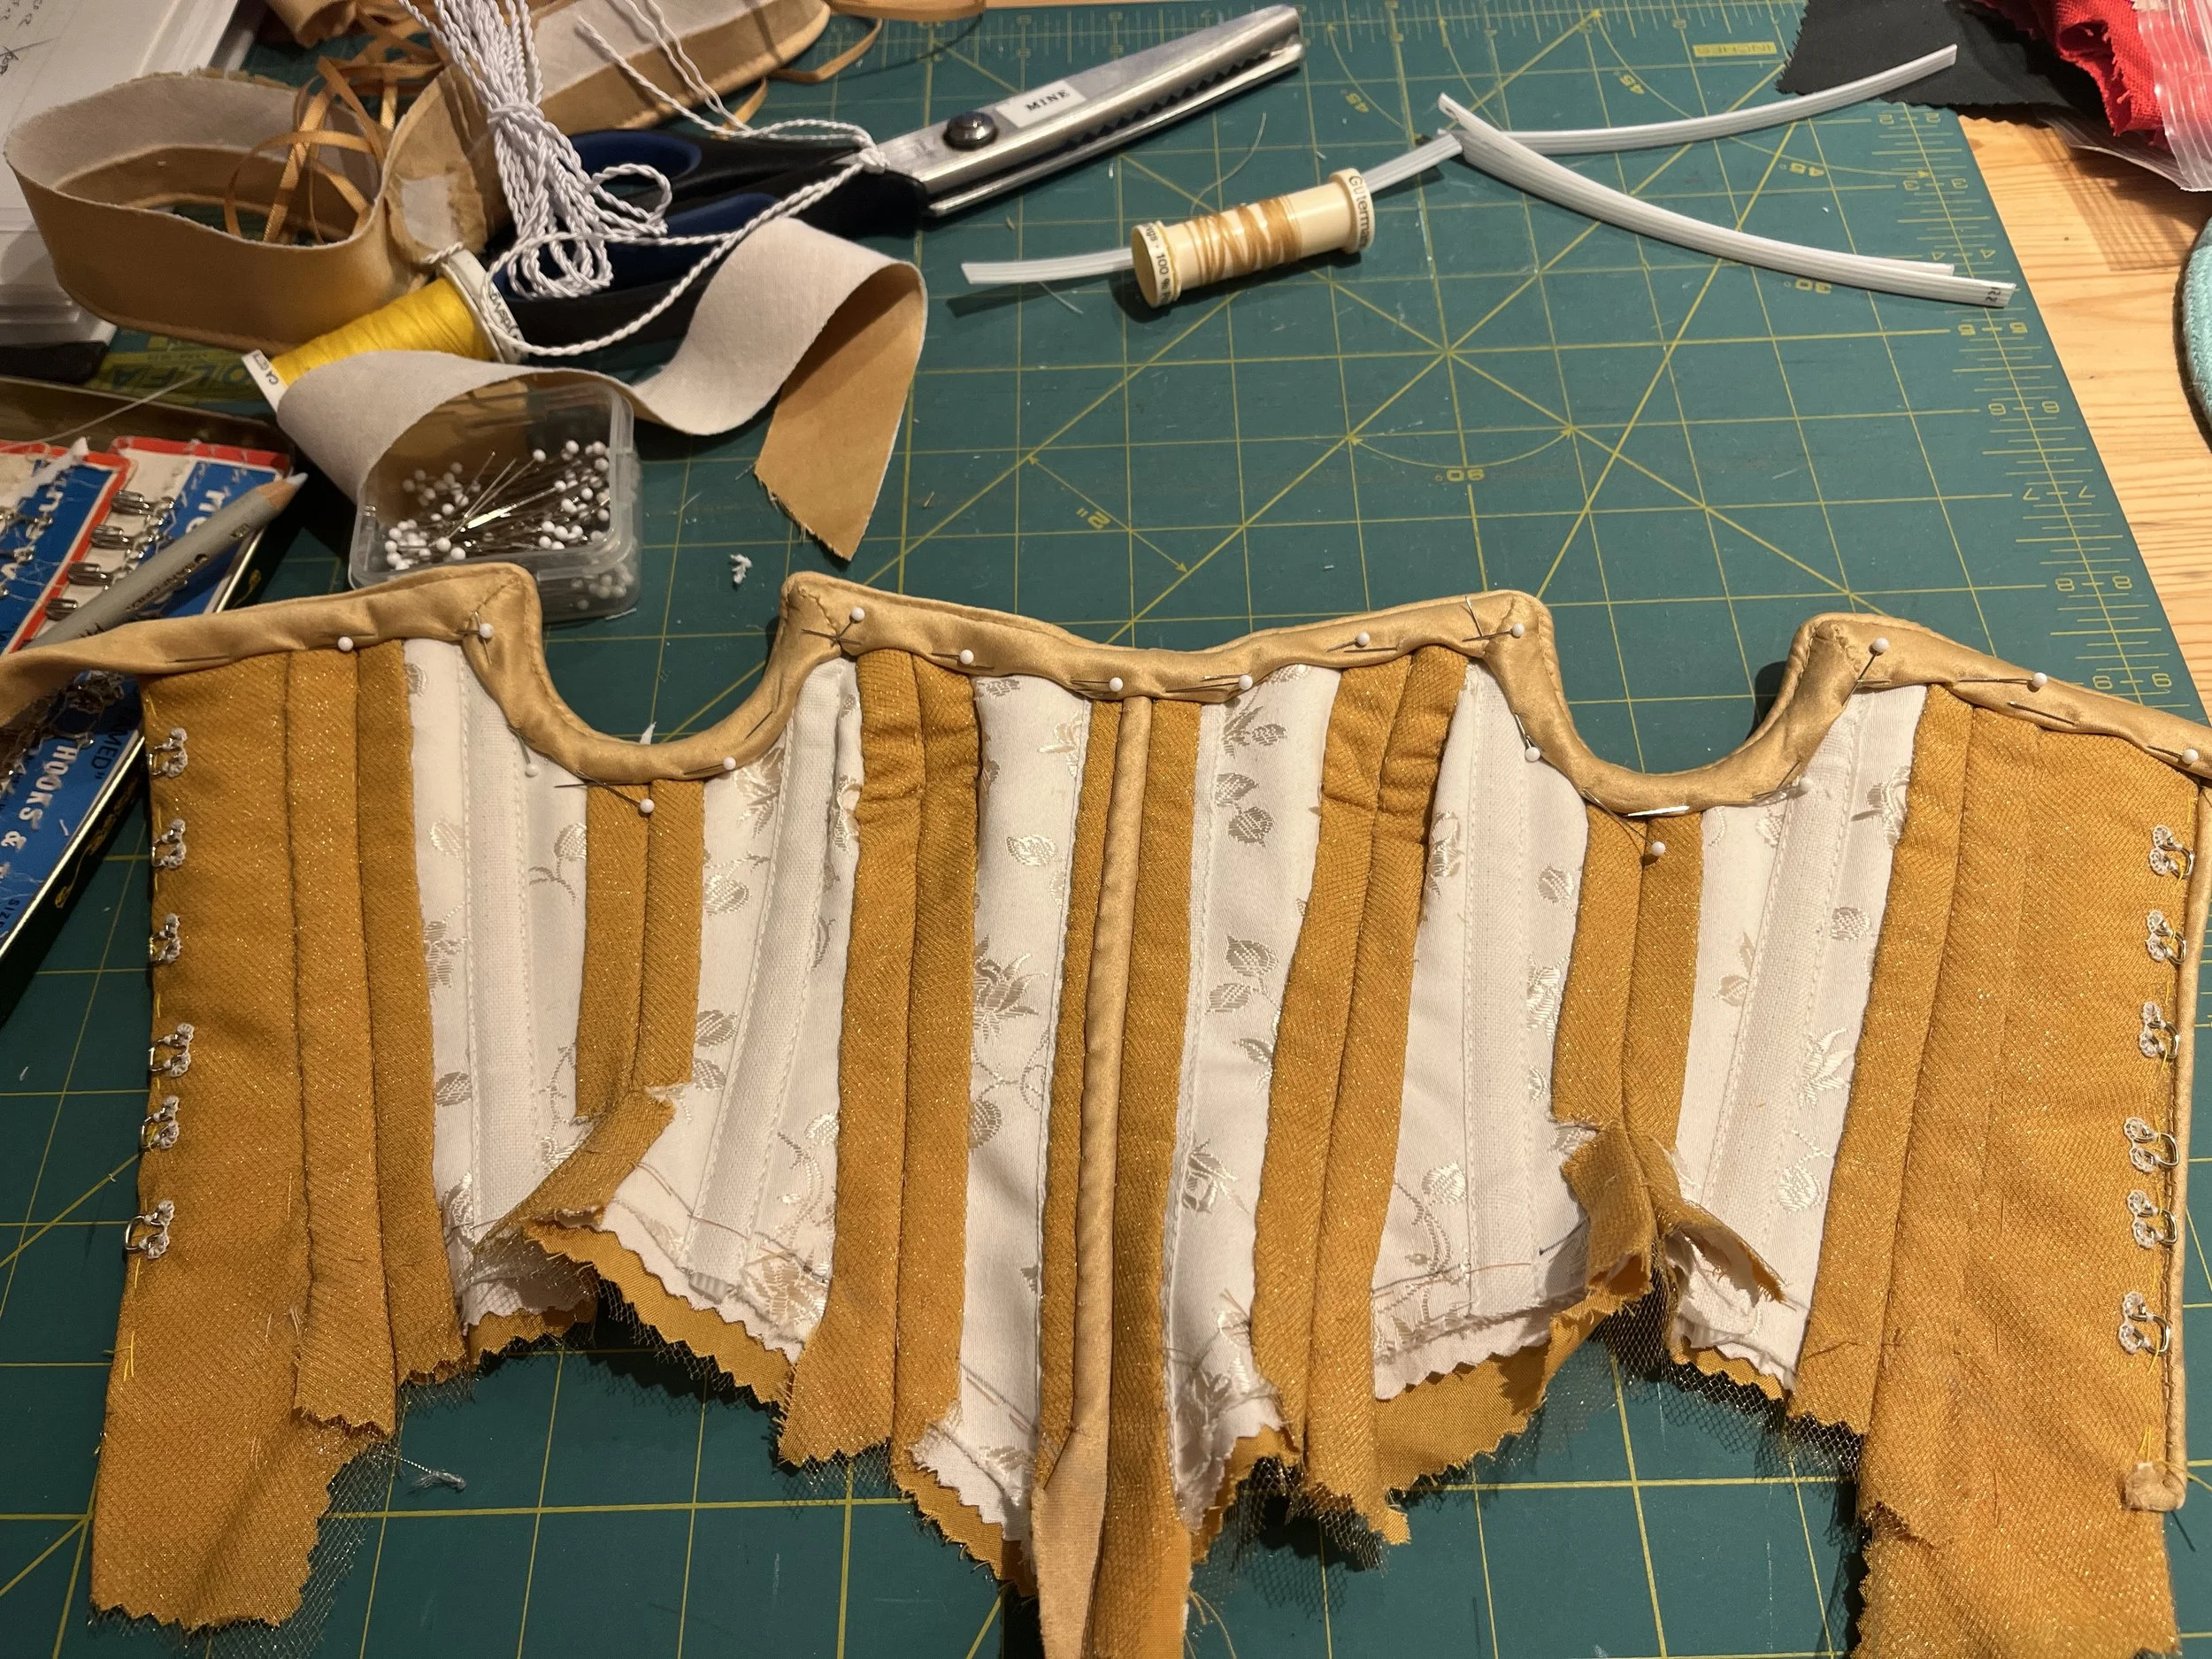
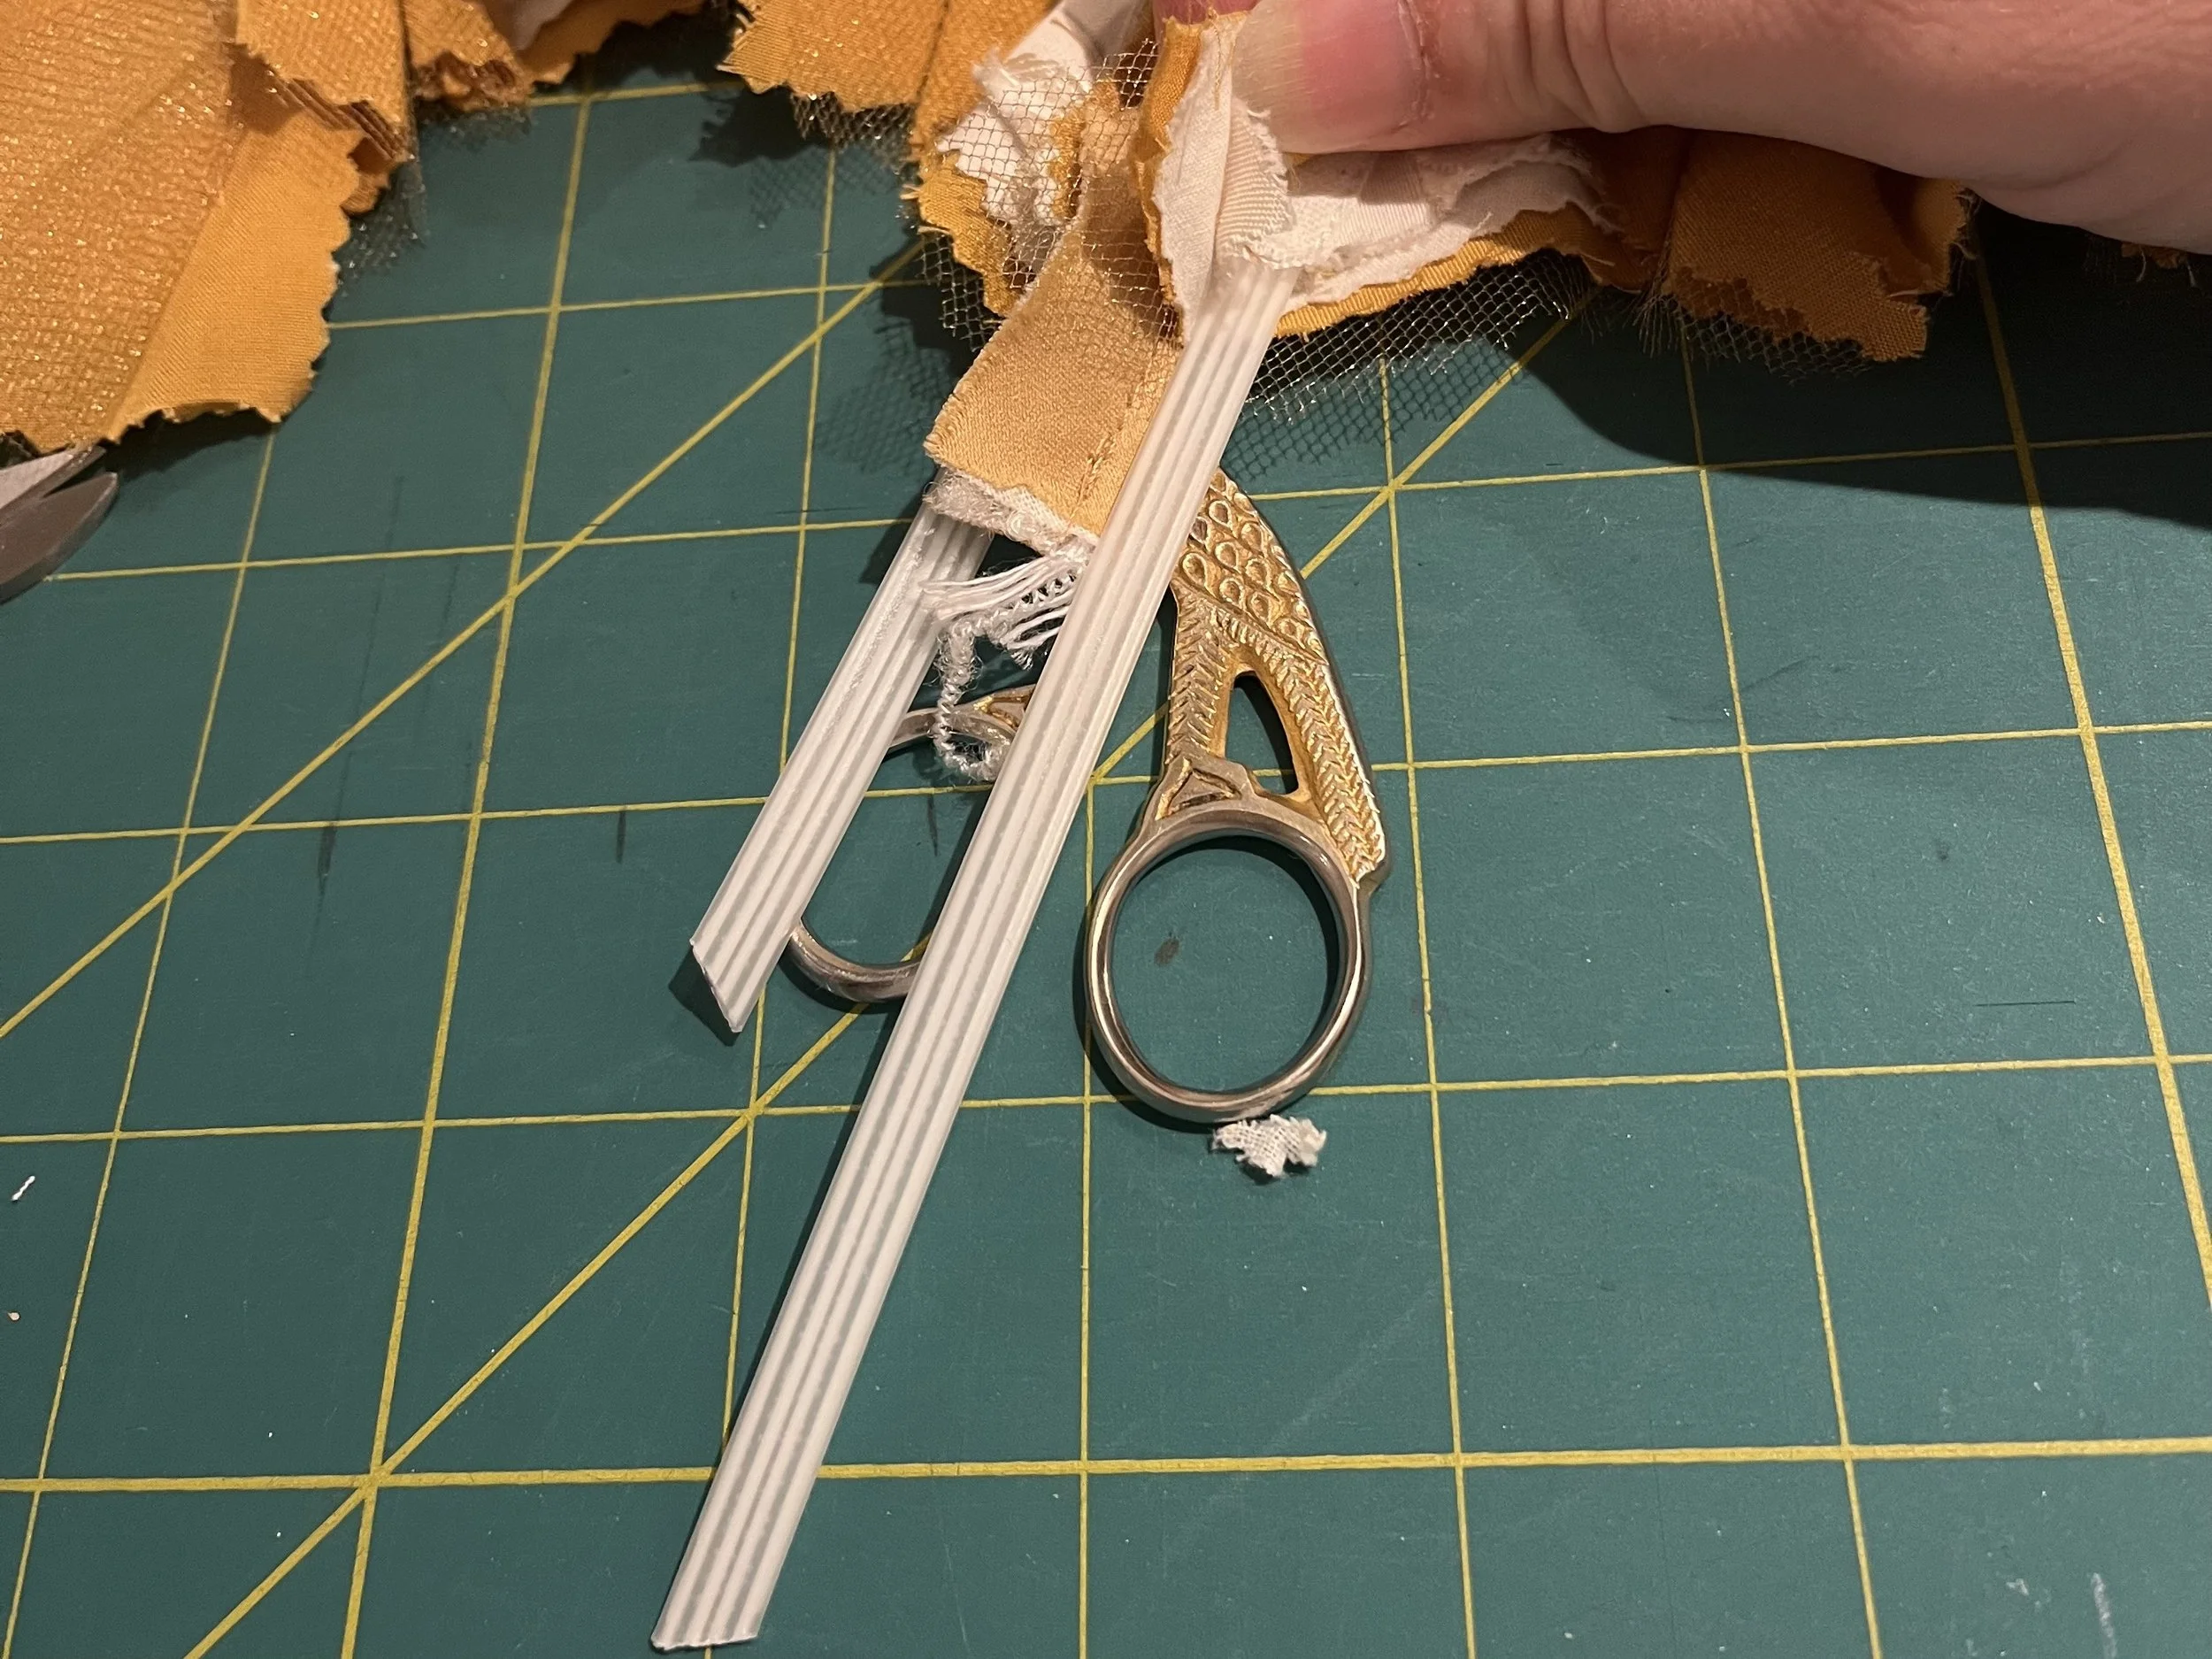
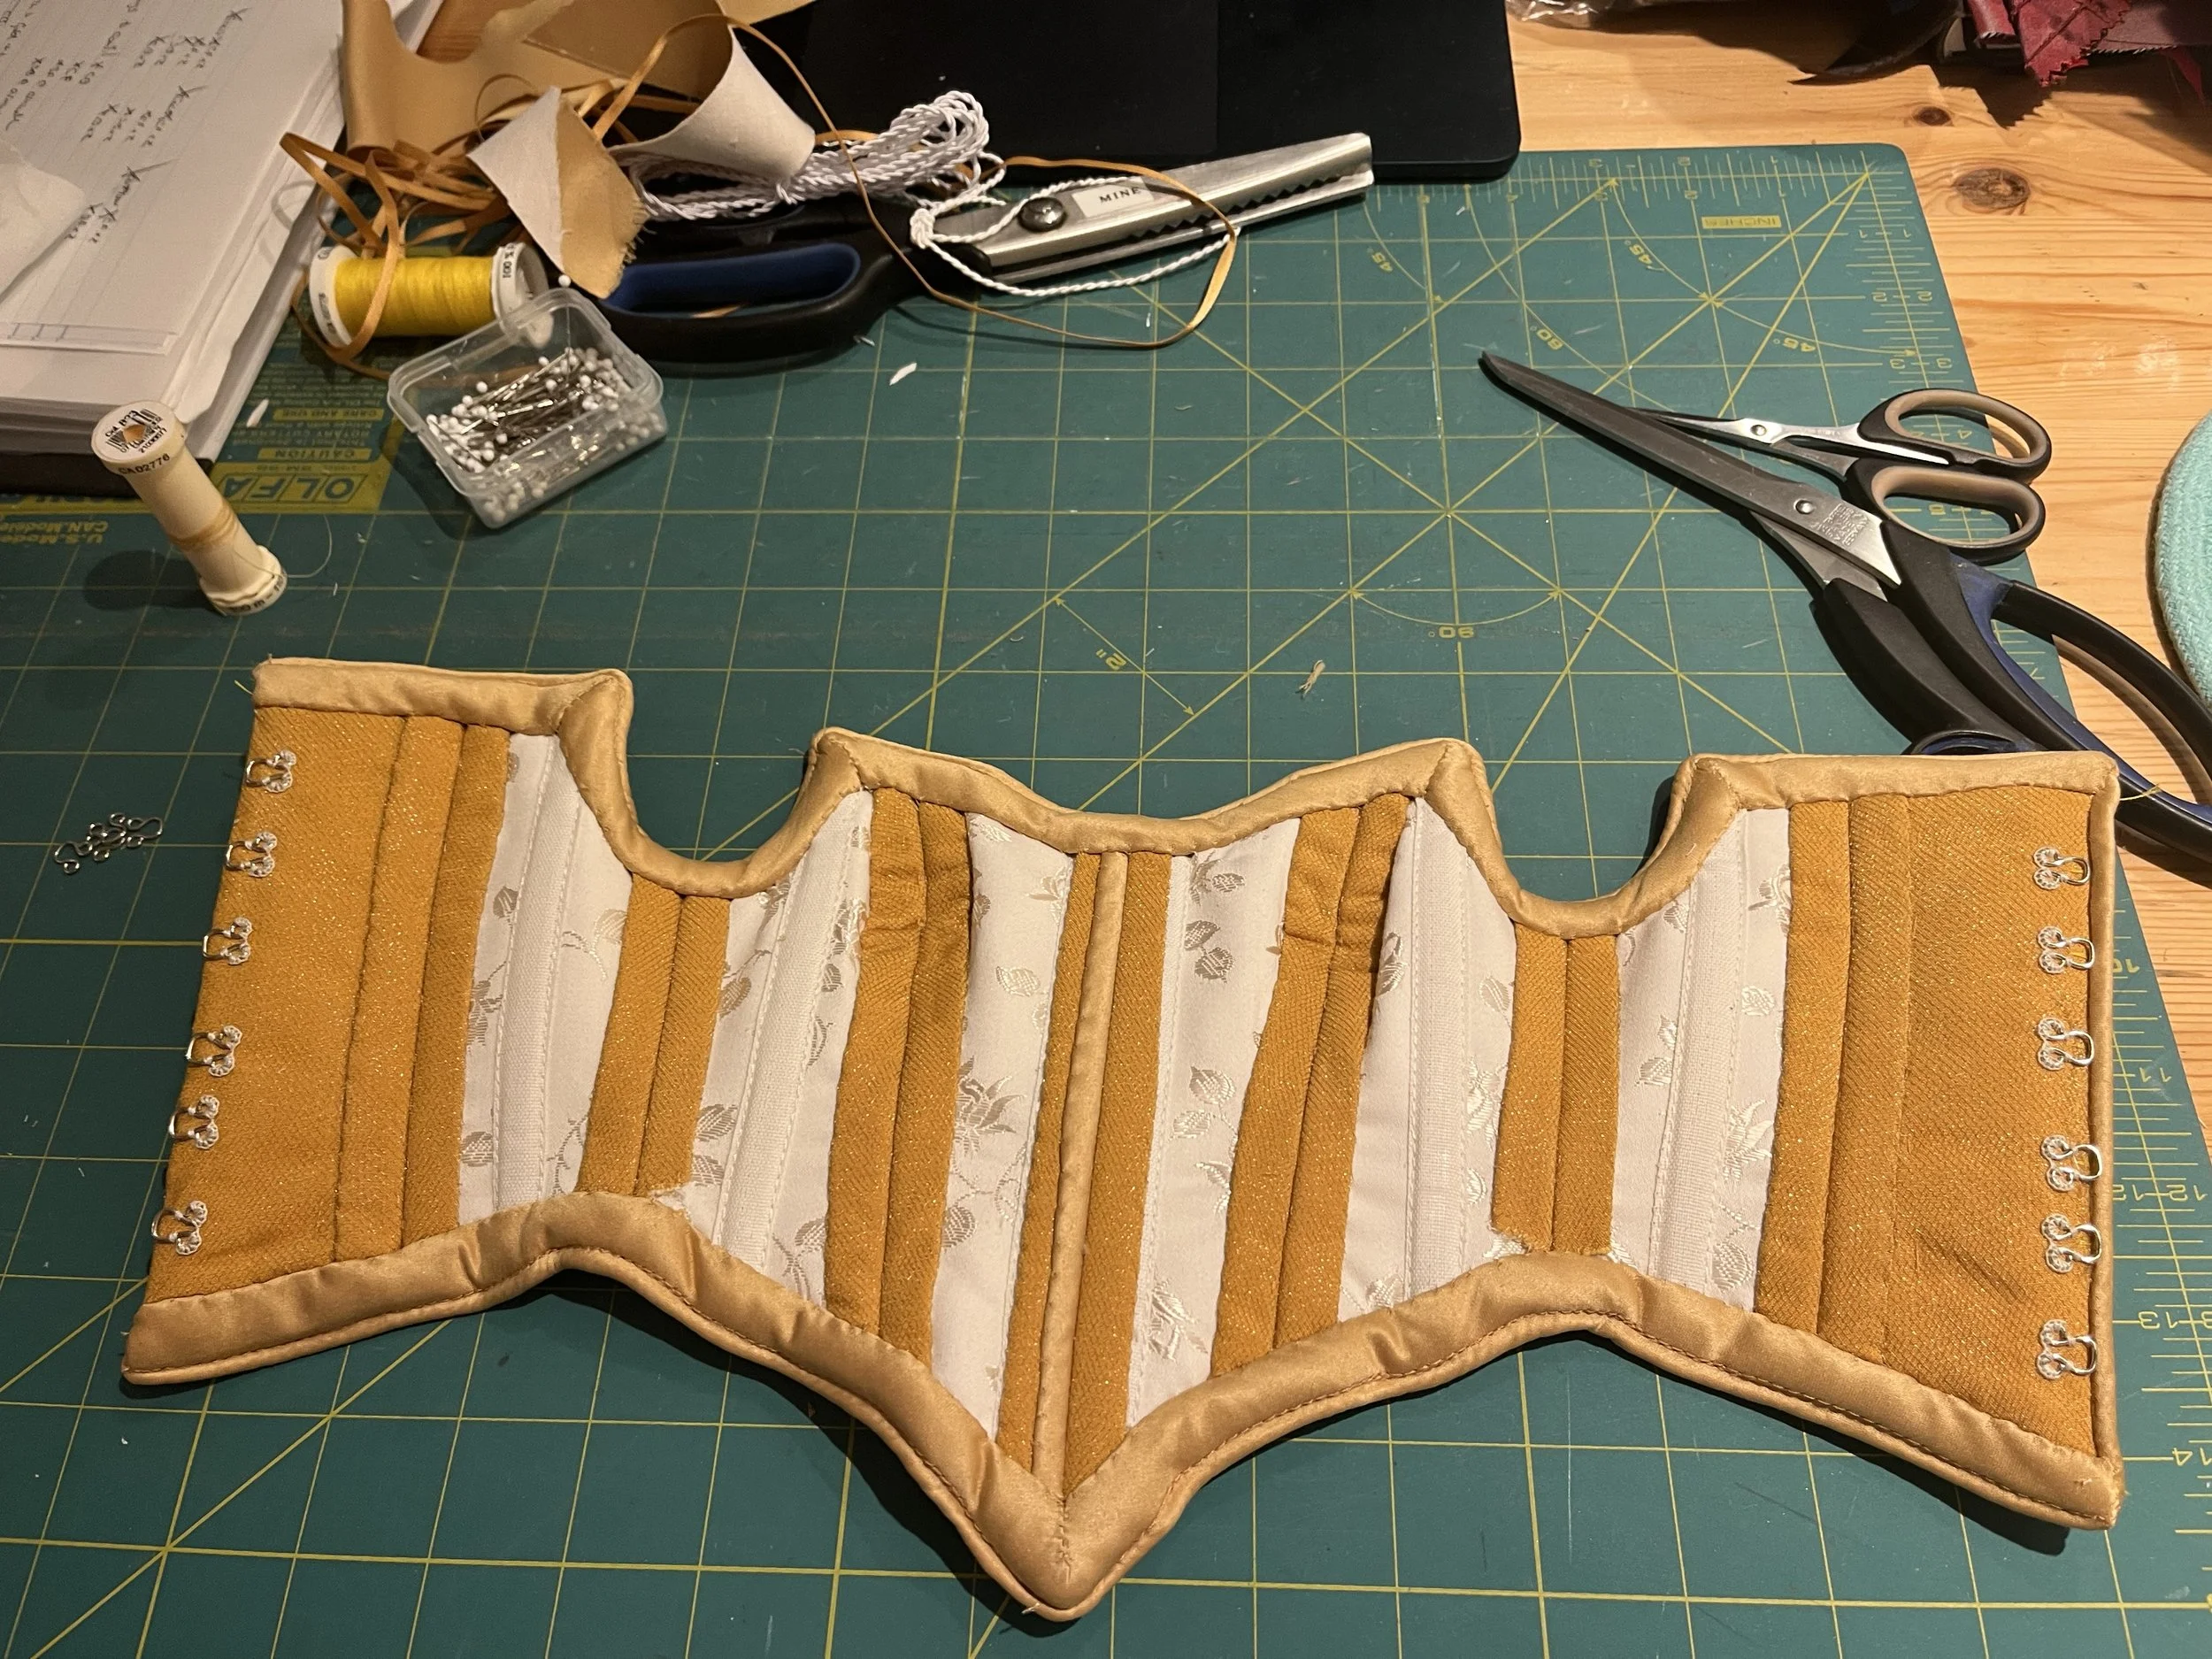
I took the current mock up apart to use for the final build, and began by applying tape for the bone casings. I ultimately decided not to add a bone to either of the princess seams as it seemed unnecessary for the back and on the front it would only have added bulk as it was not needed for support. I kept the centre front and back bones and moved the side panel bones closer to the armholes to help keep that edge upright (this would probably also be more important and necessary on a real person in full scale).
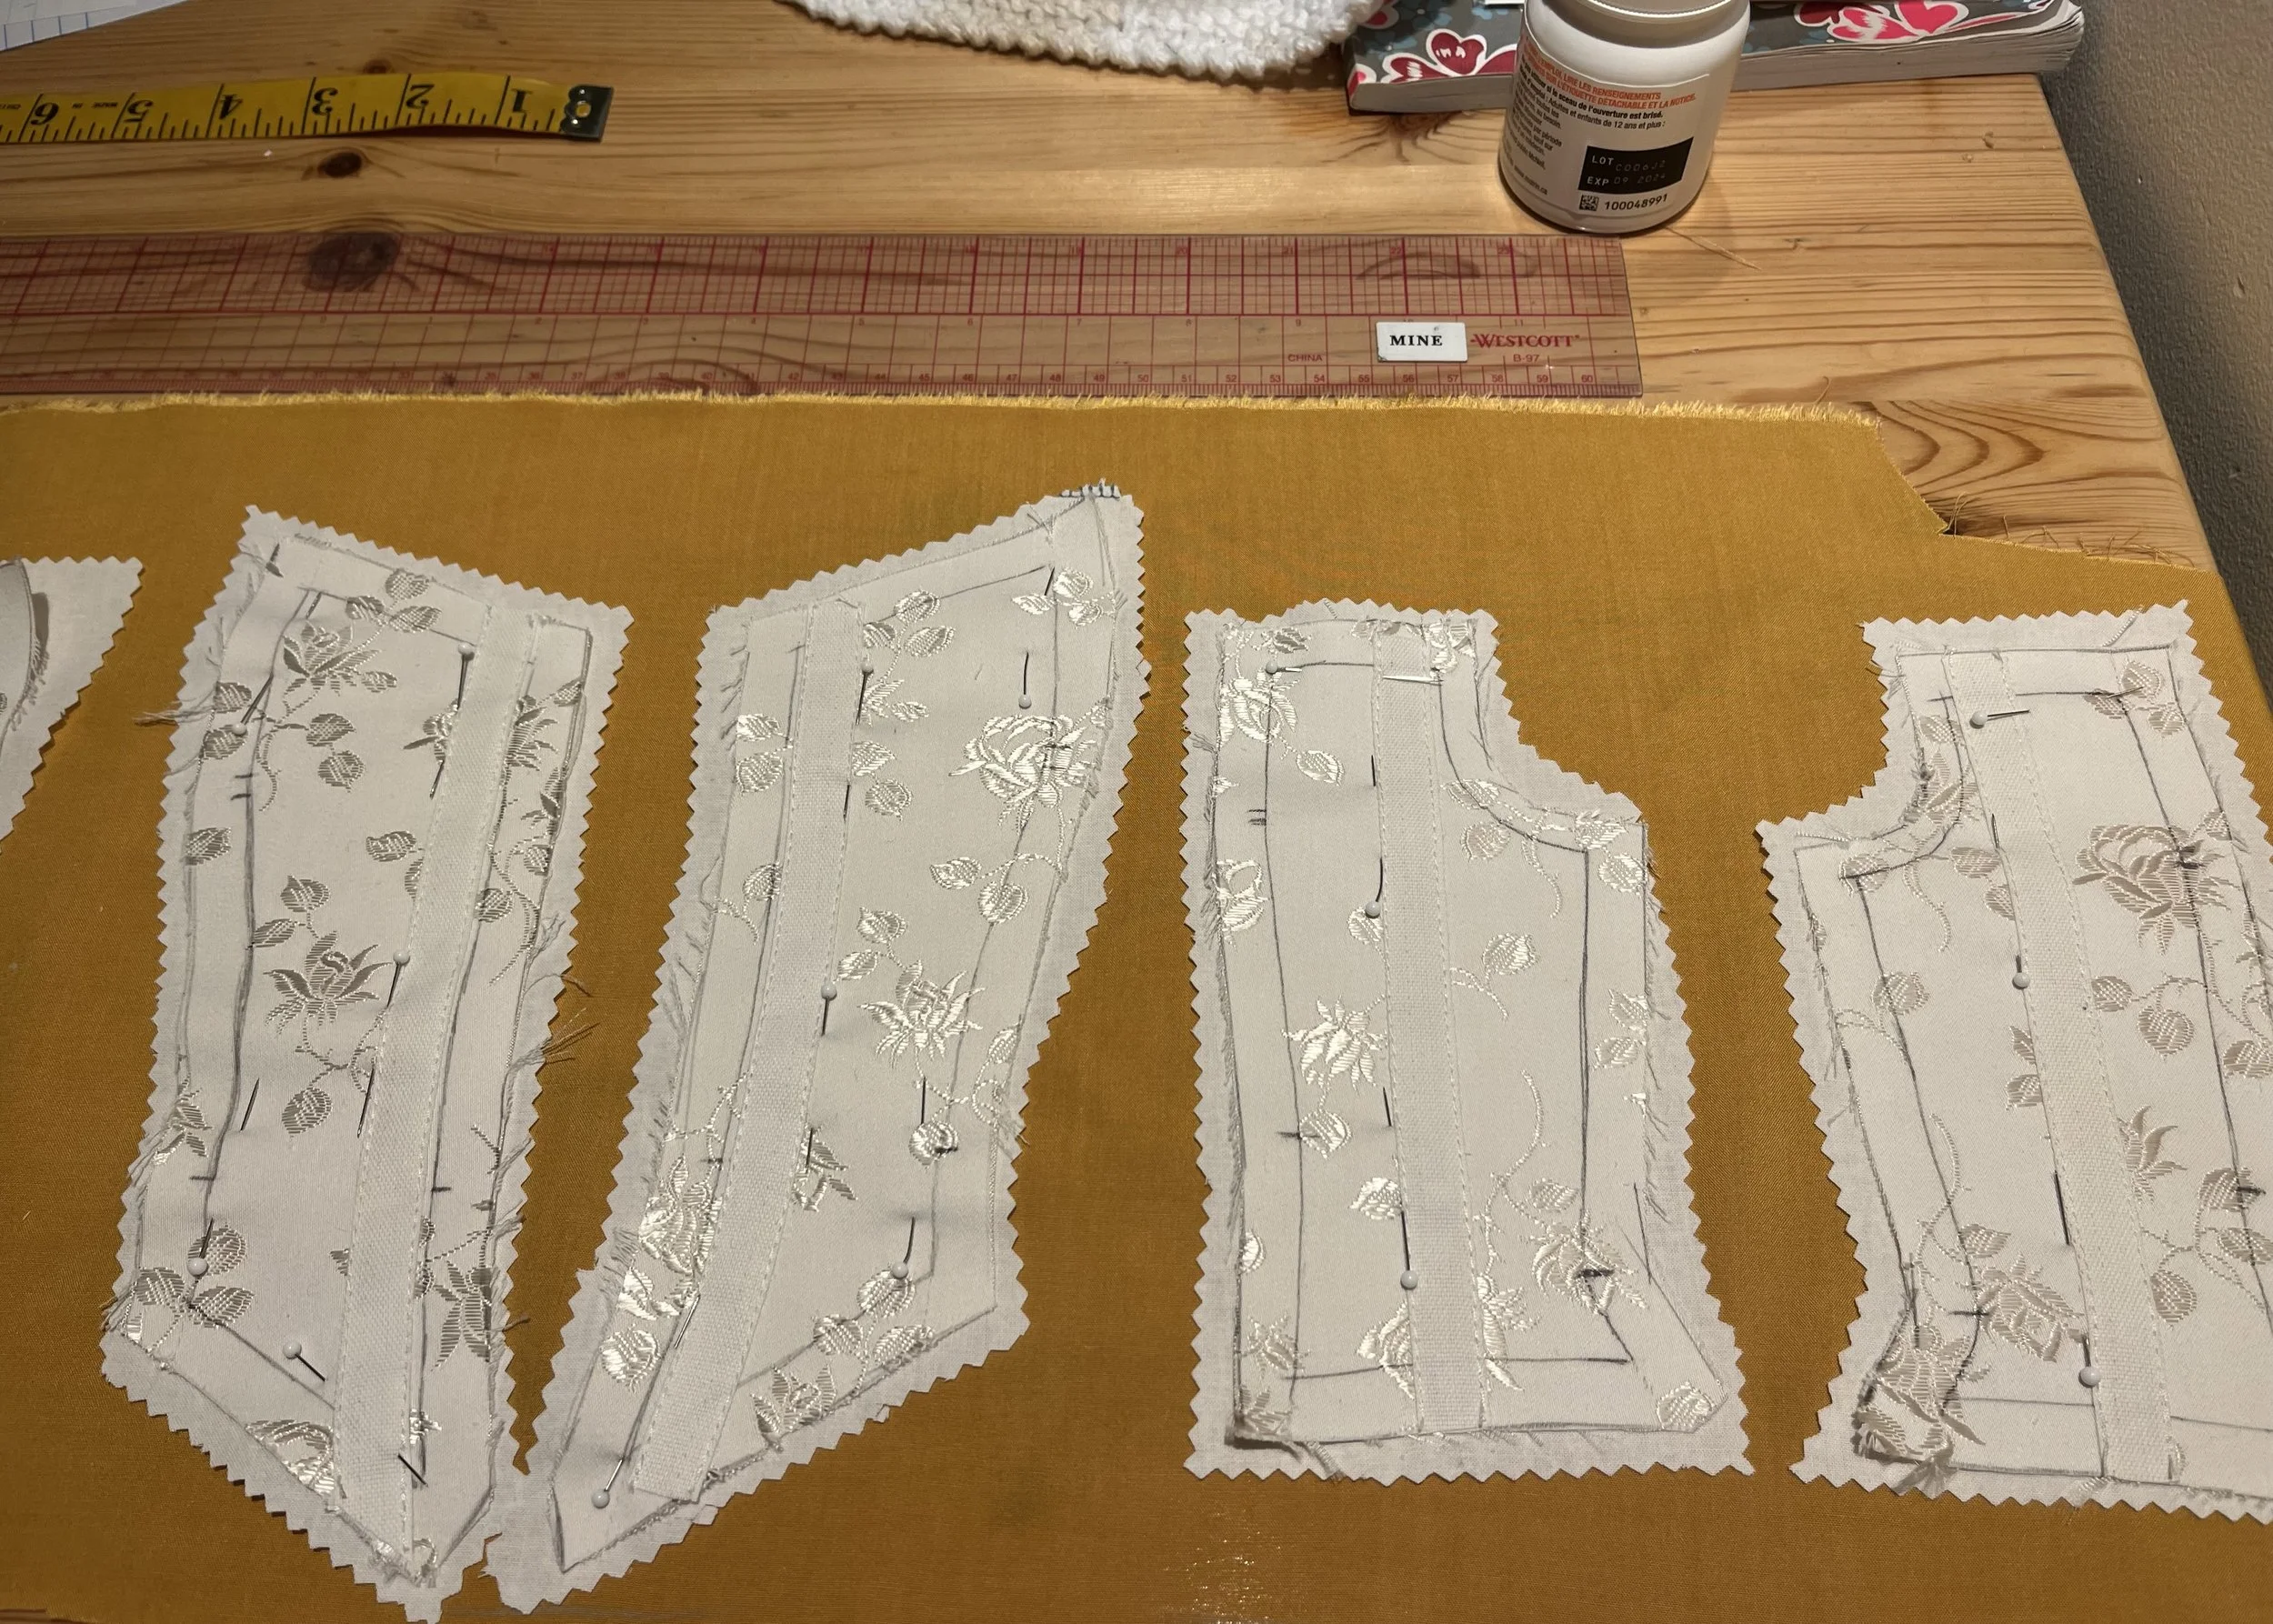
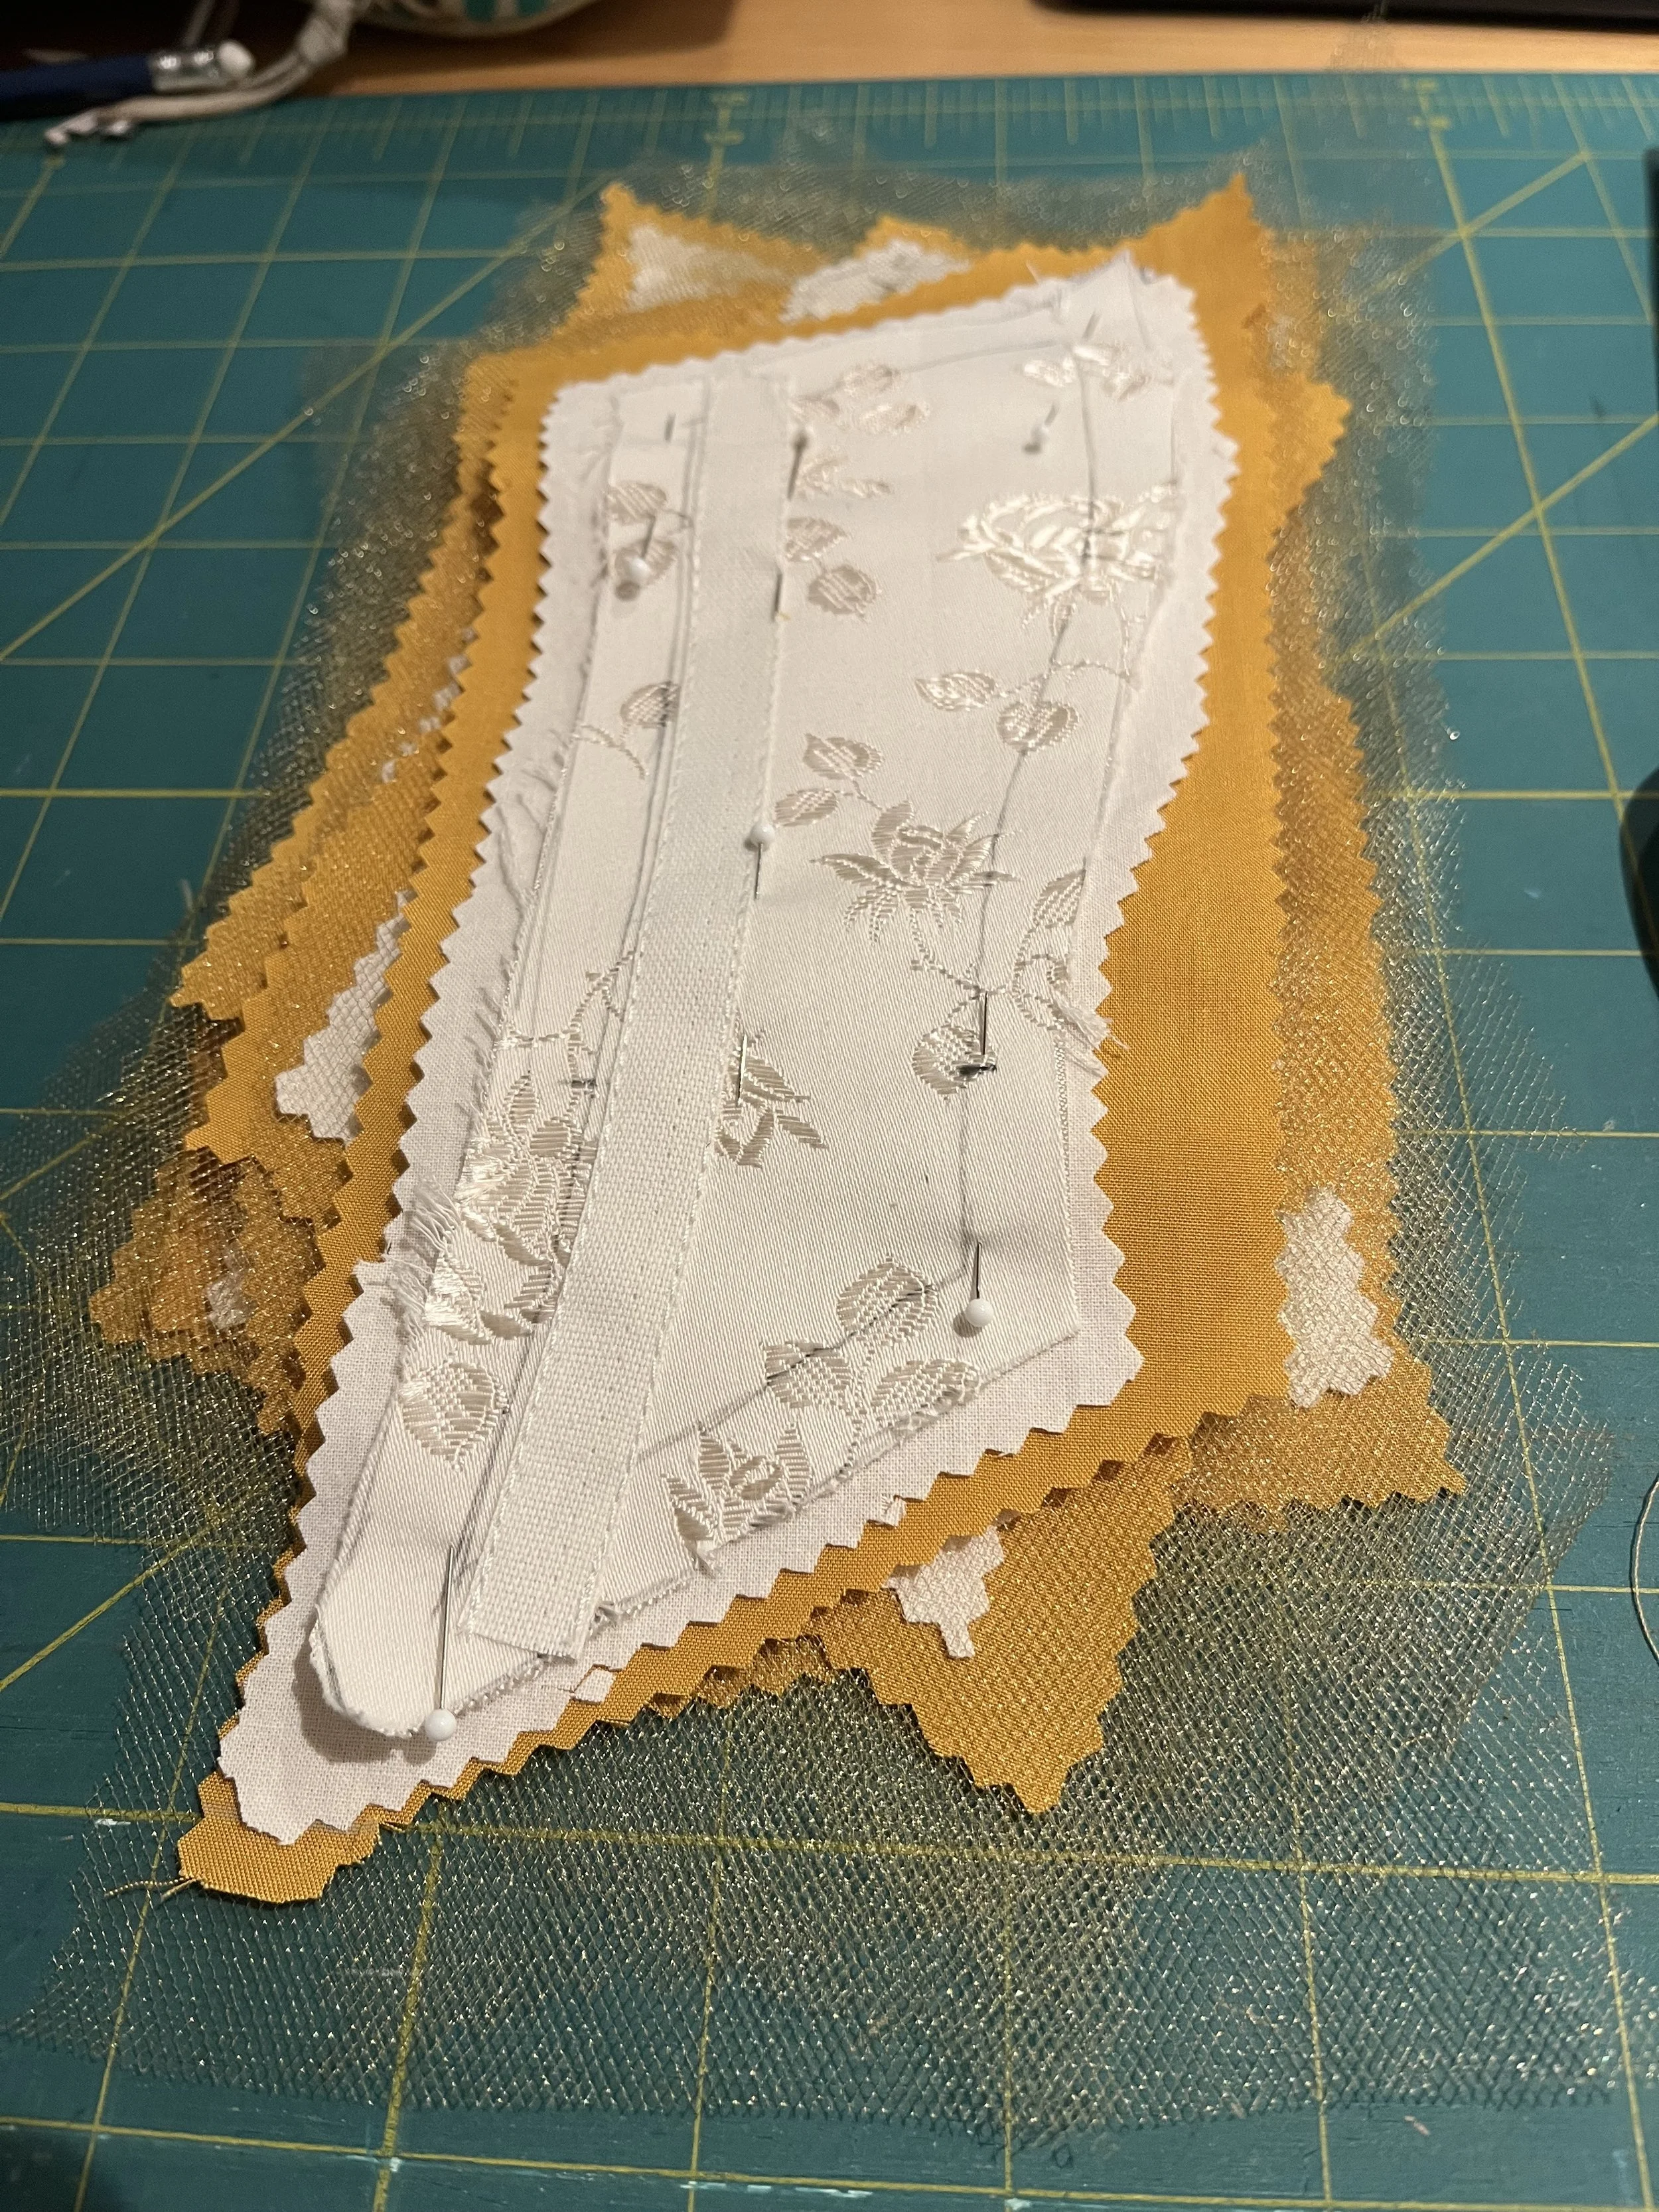
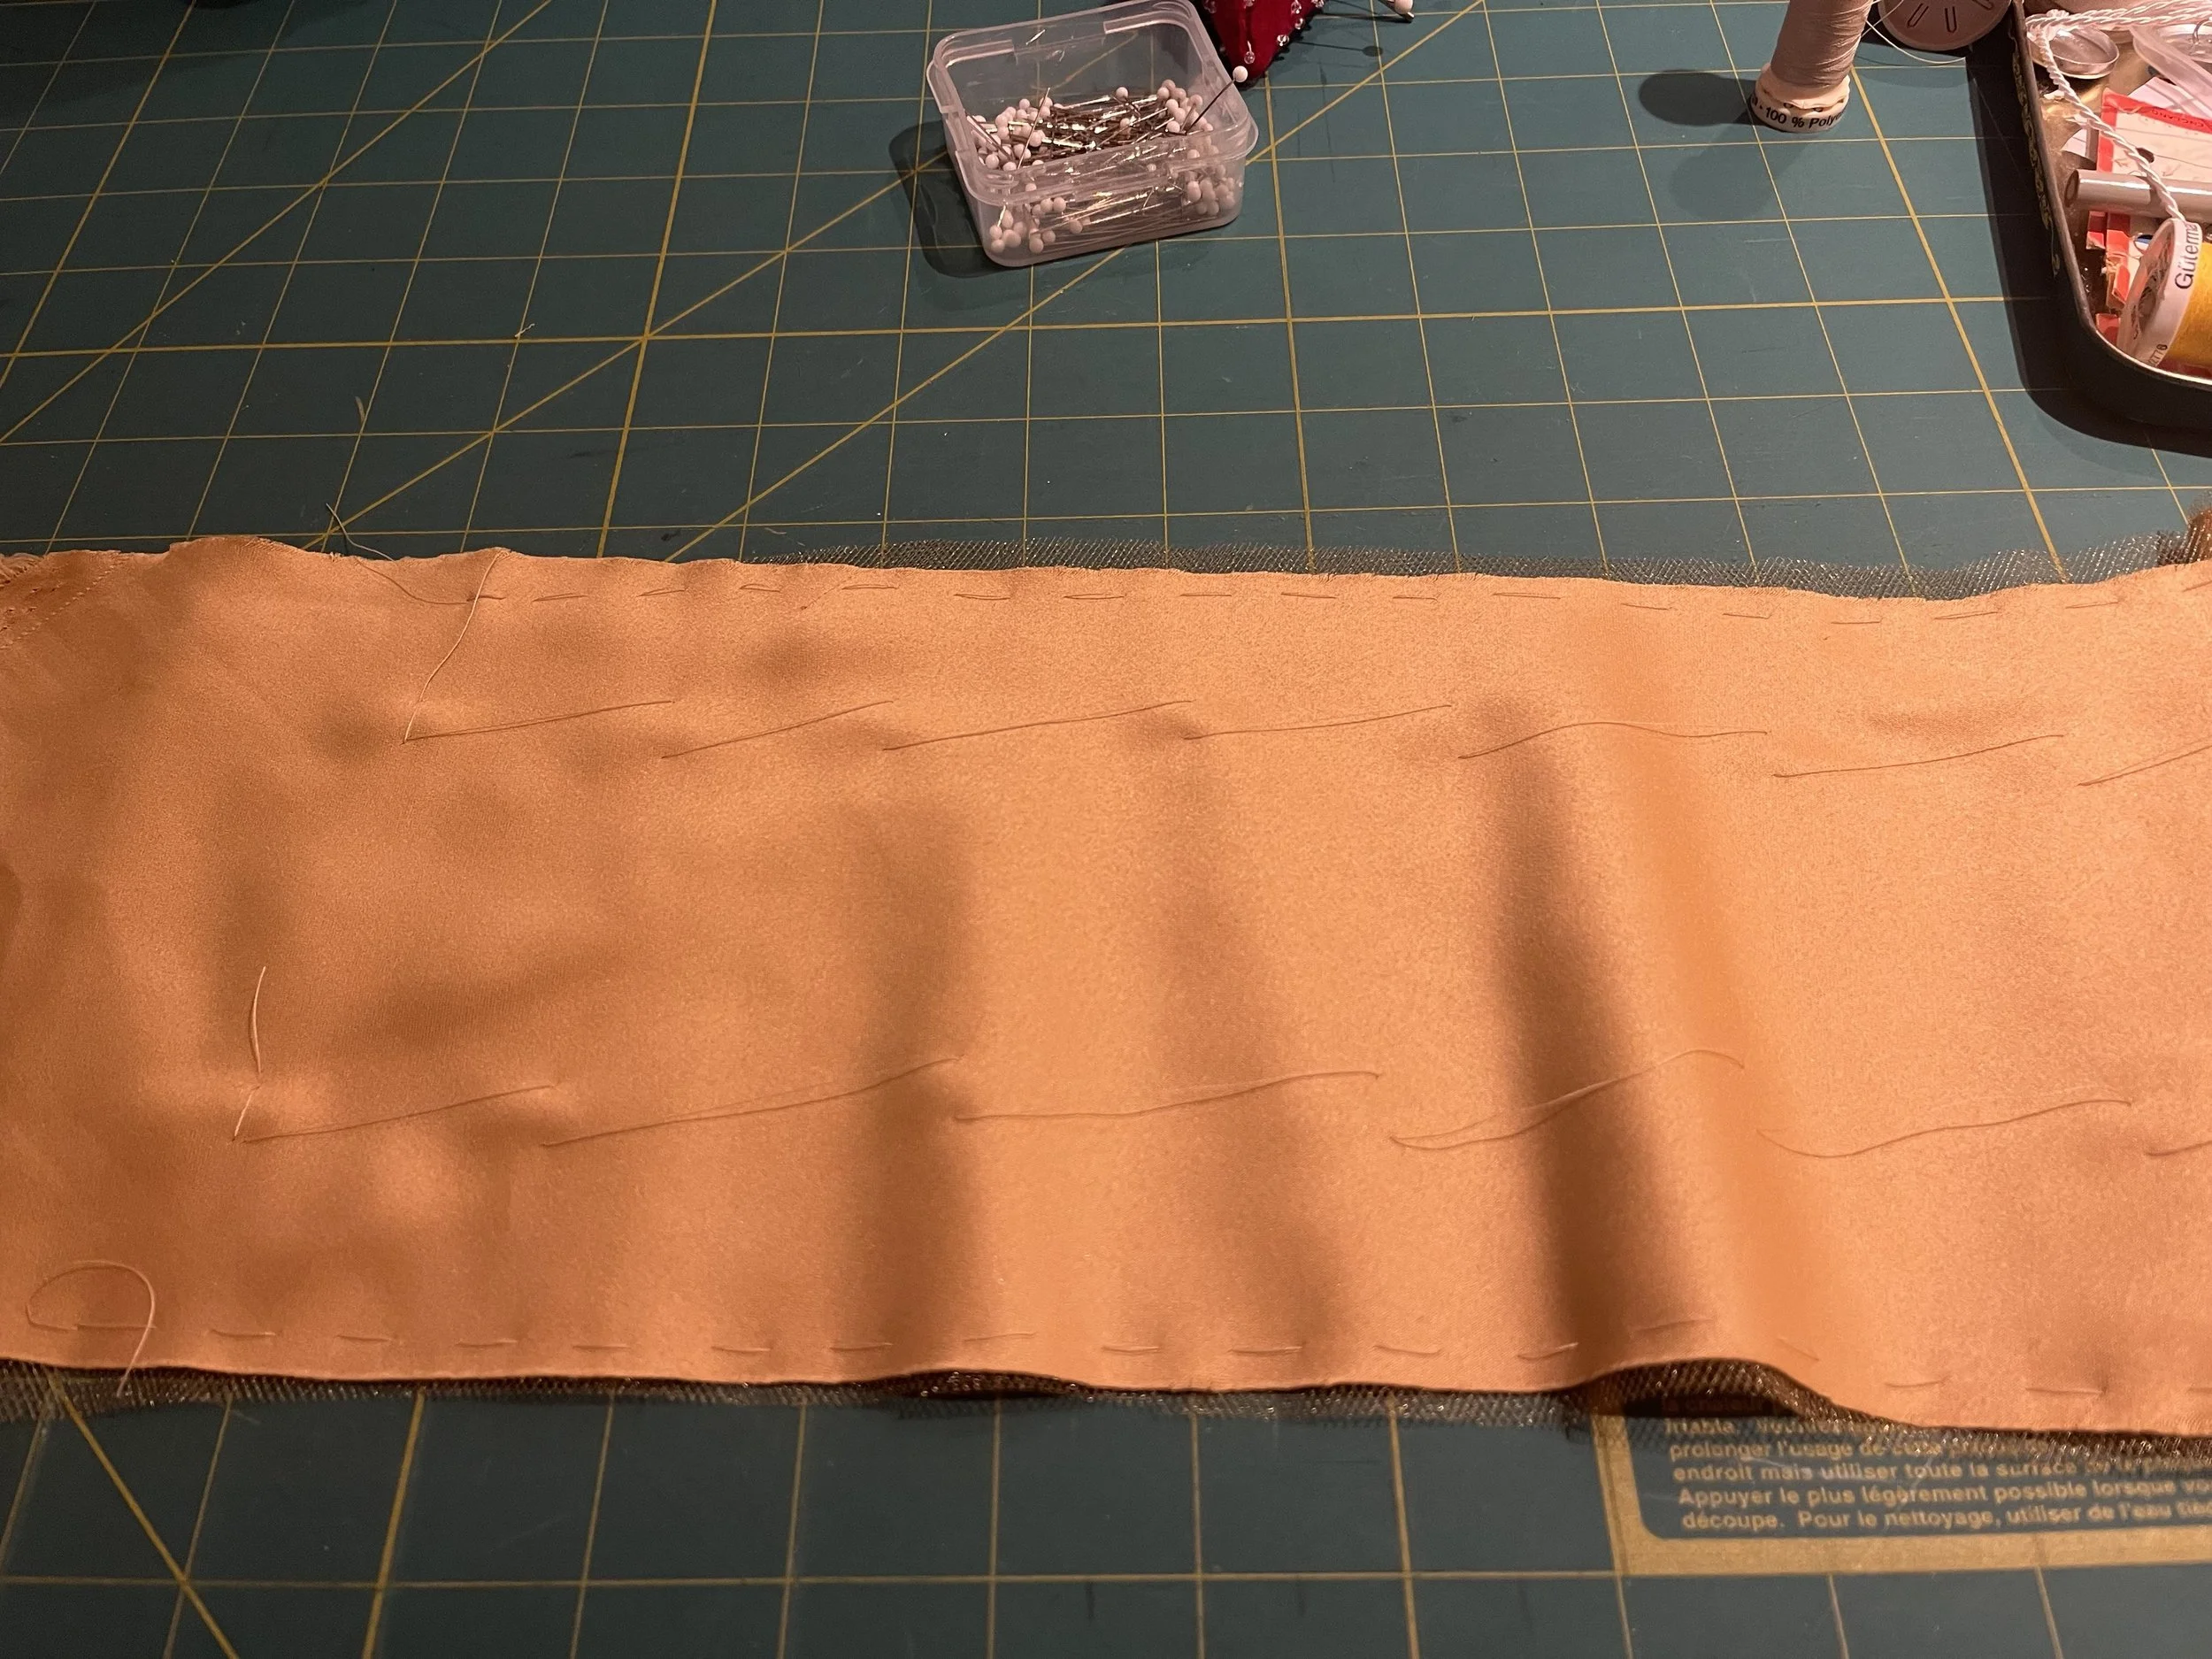
Next was to cut the remaining three layers of the bodice. First was a layer of a light cotton; this was basically padding to soften the coutil under the rayon. Second was the rayon and finally the gold tulle. With all these layers cut, I flat mounted them together and trimmed the outer layers a little bit to tidy them up.
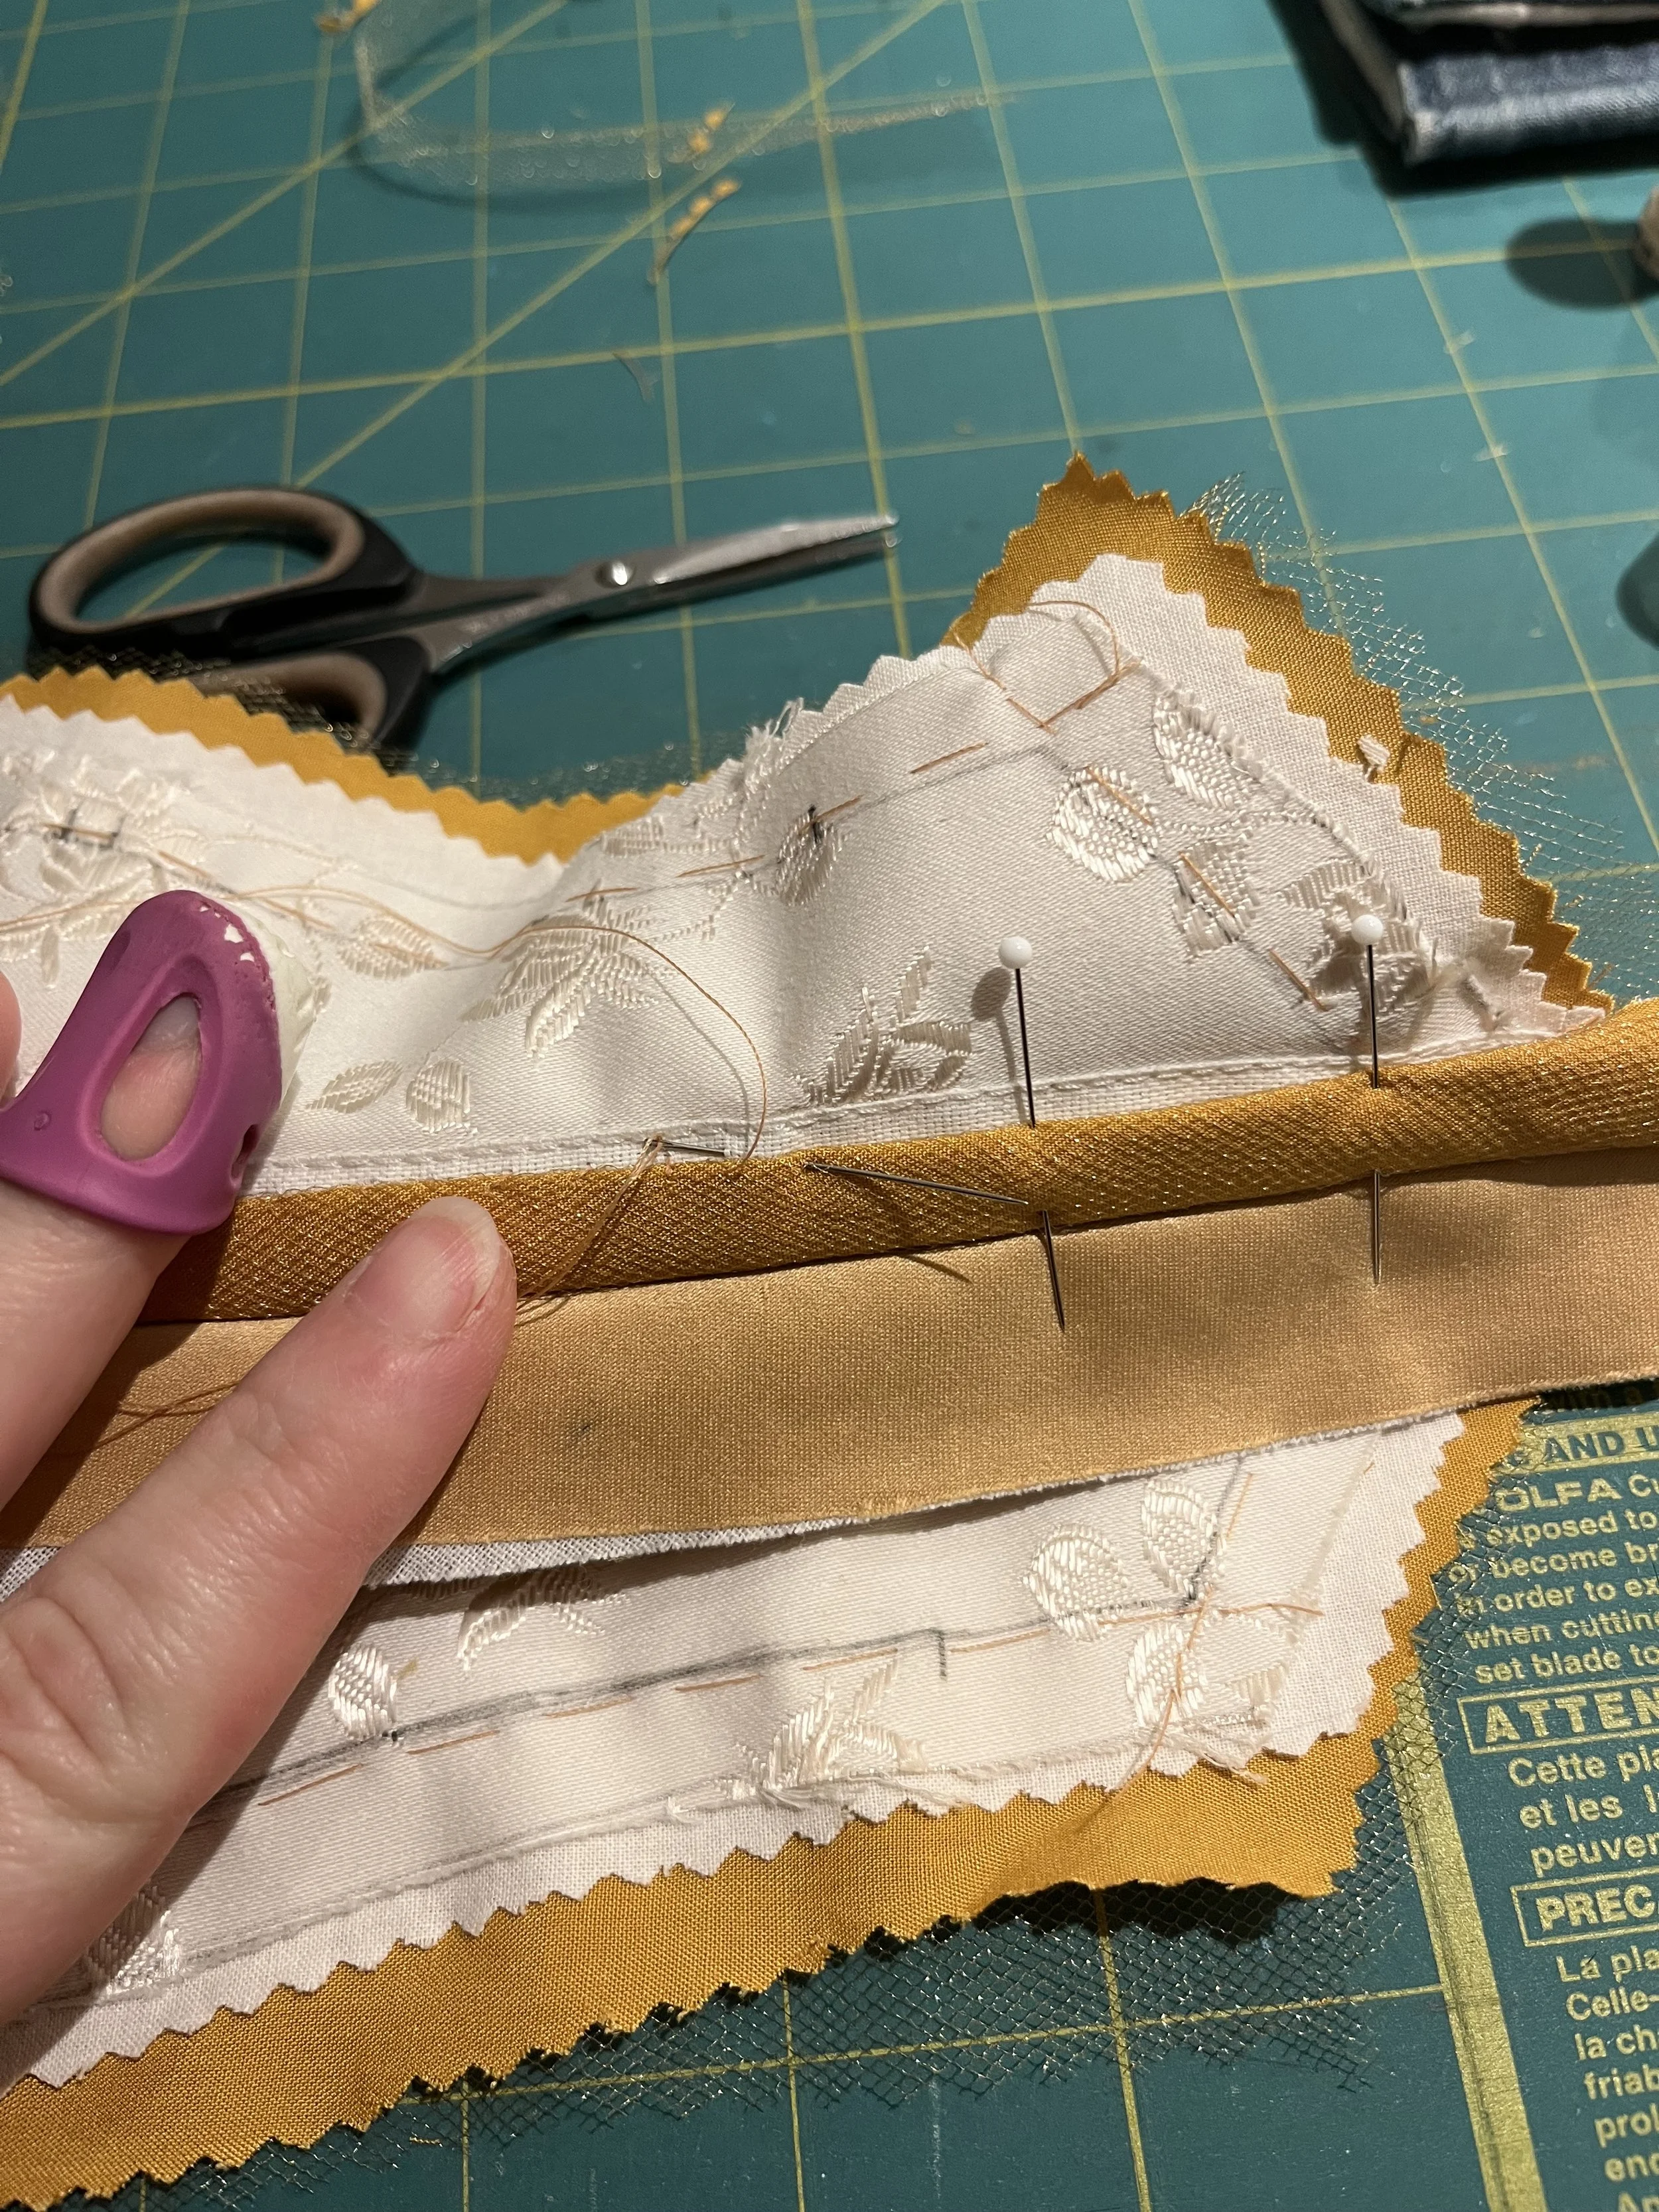
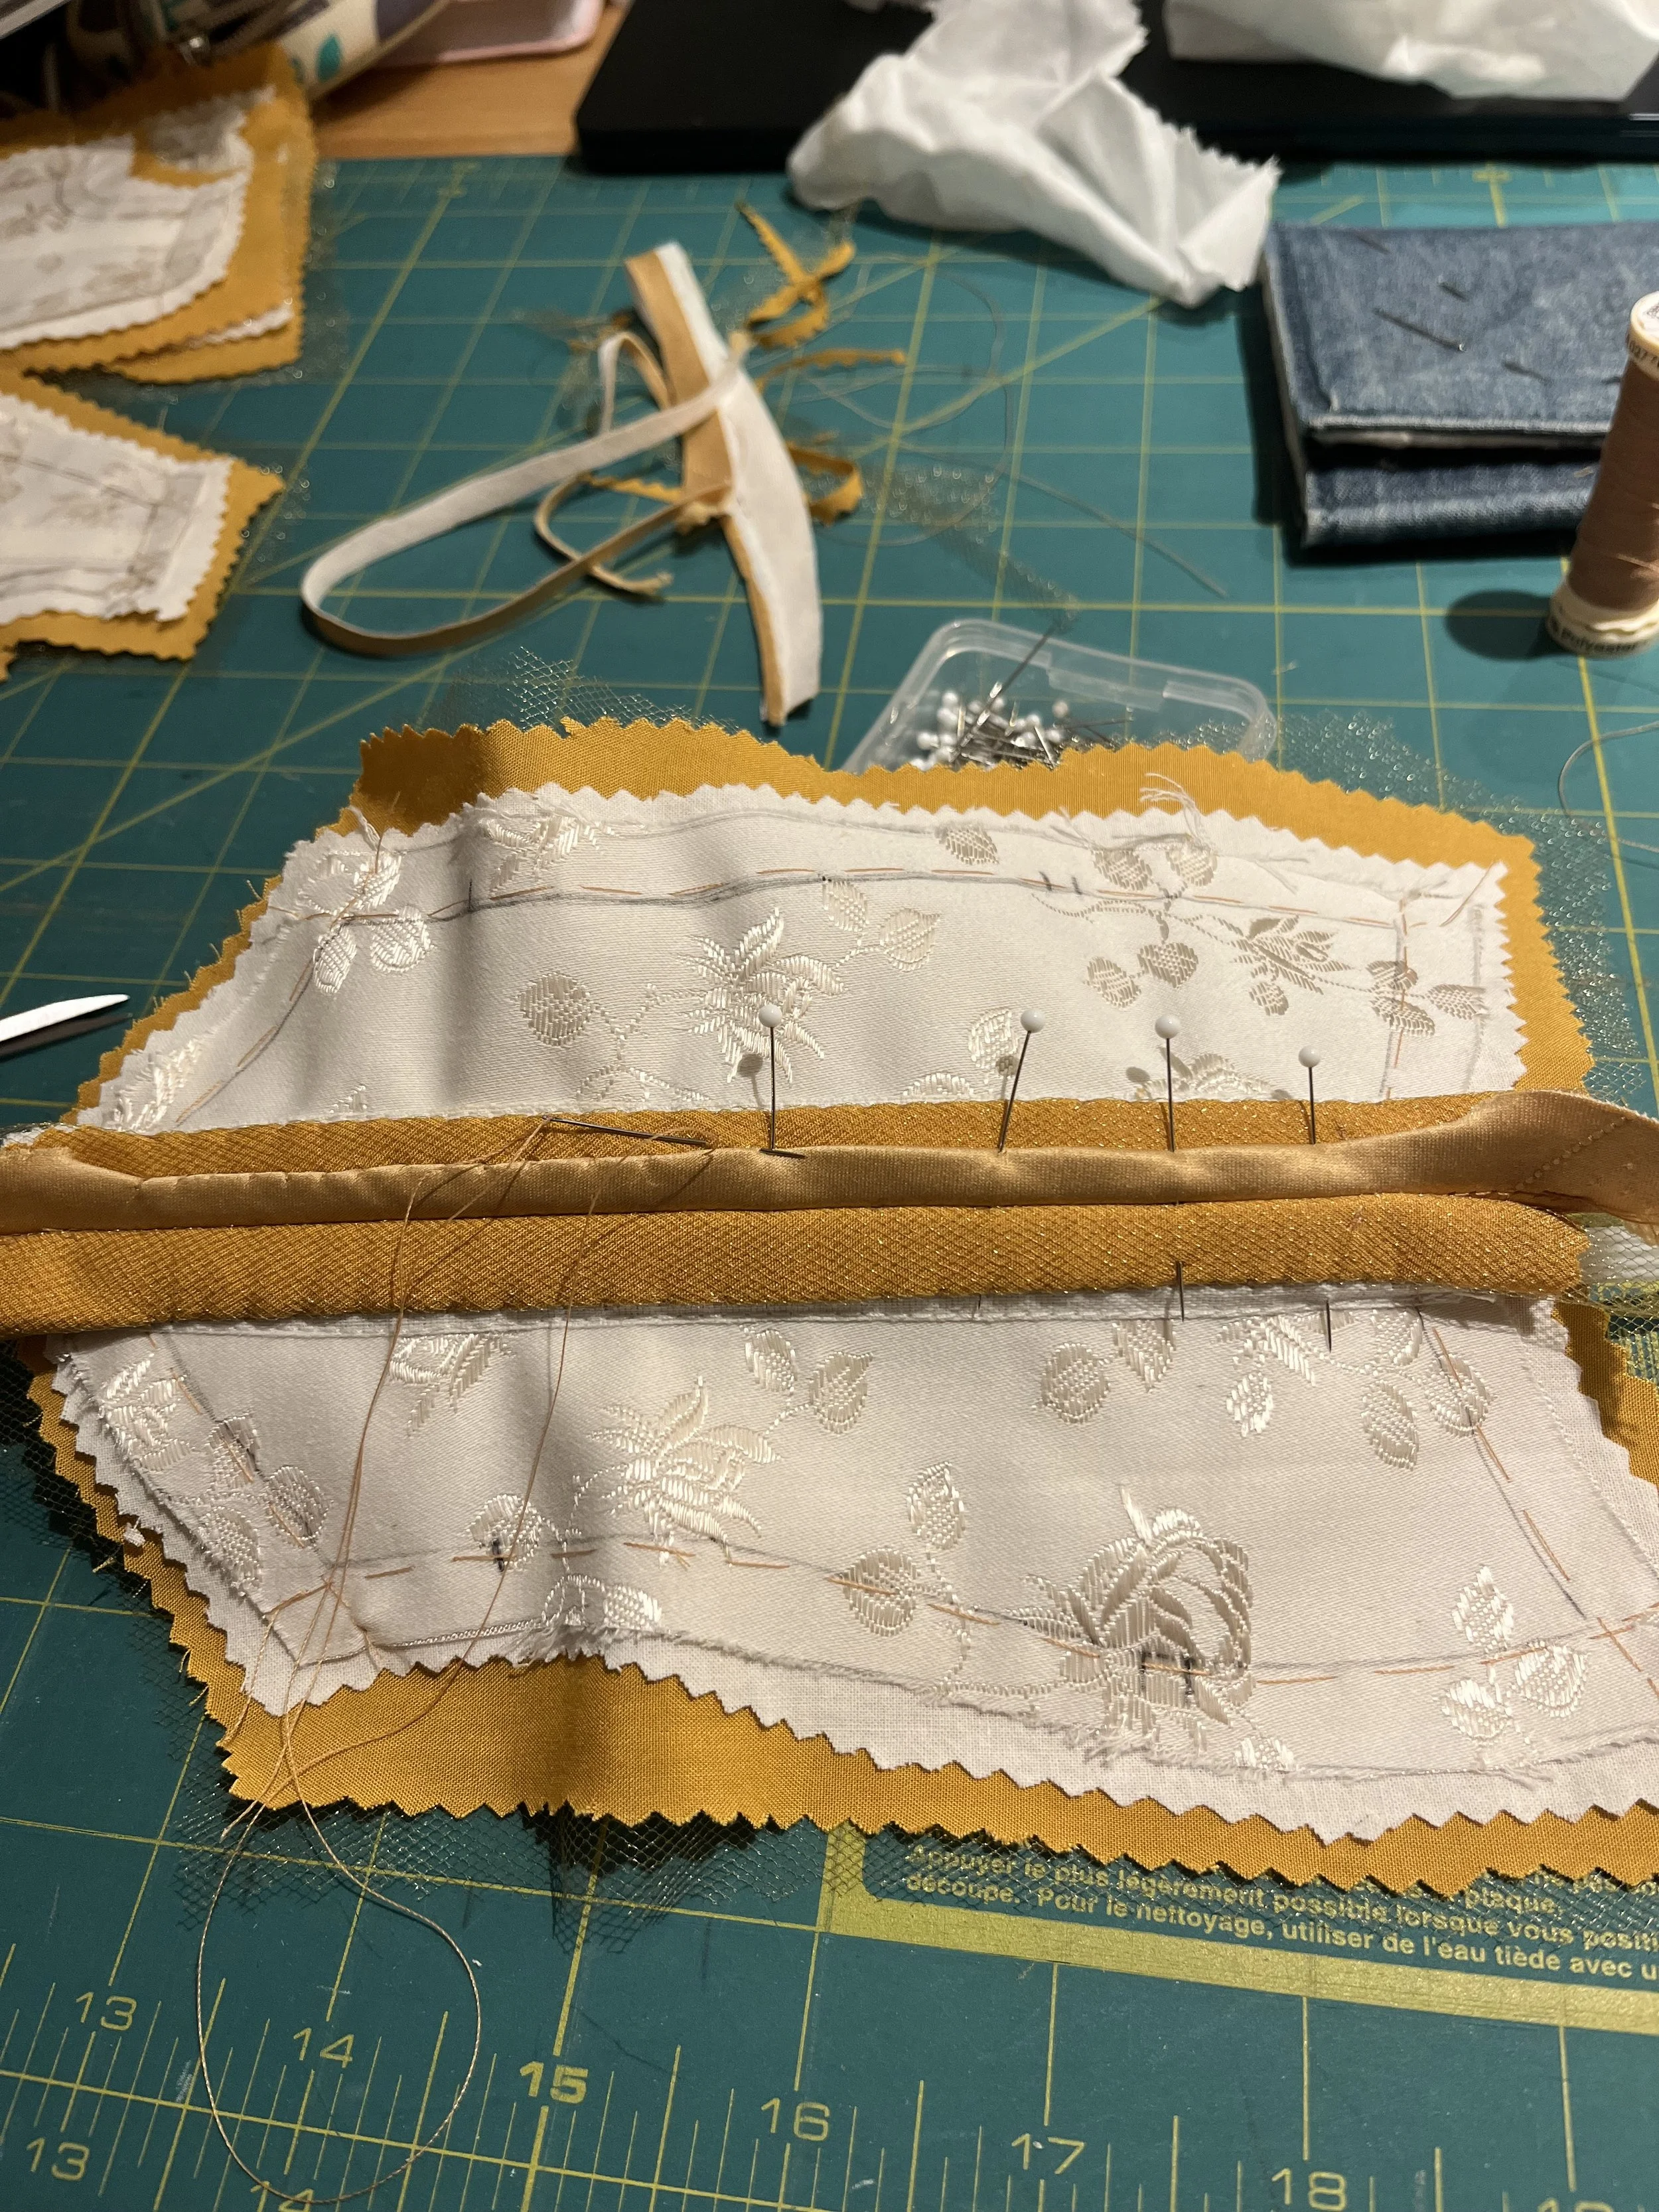
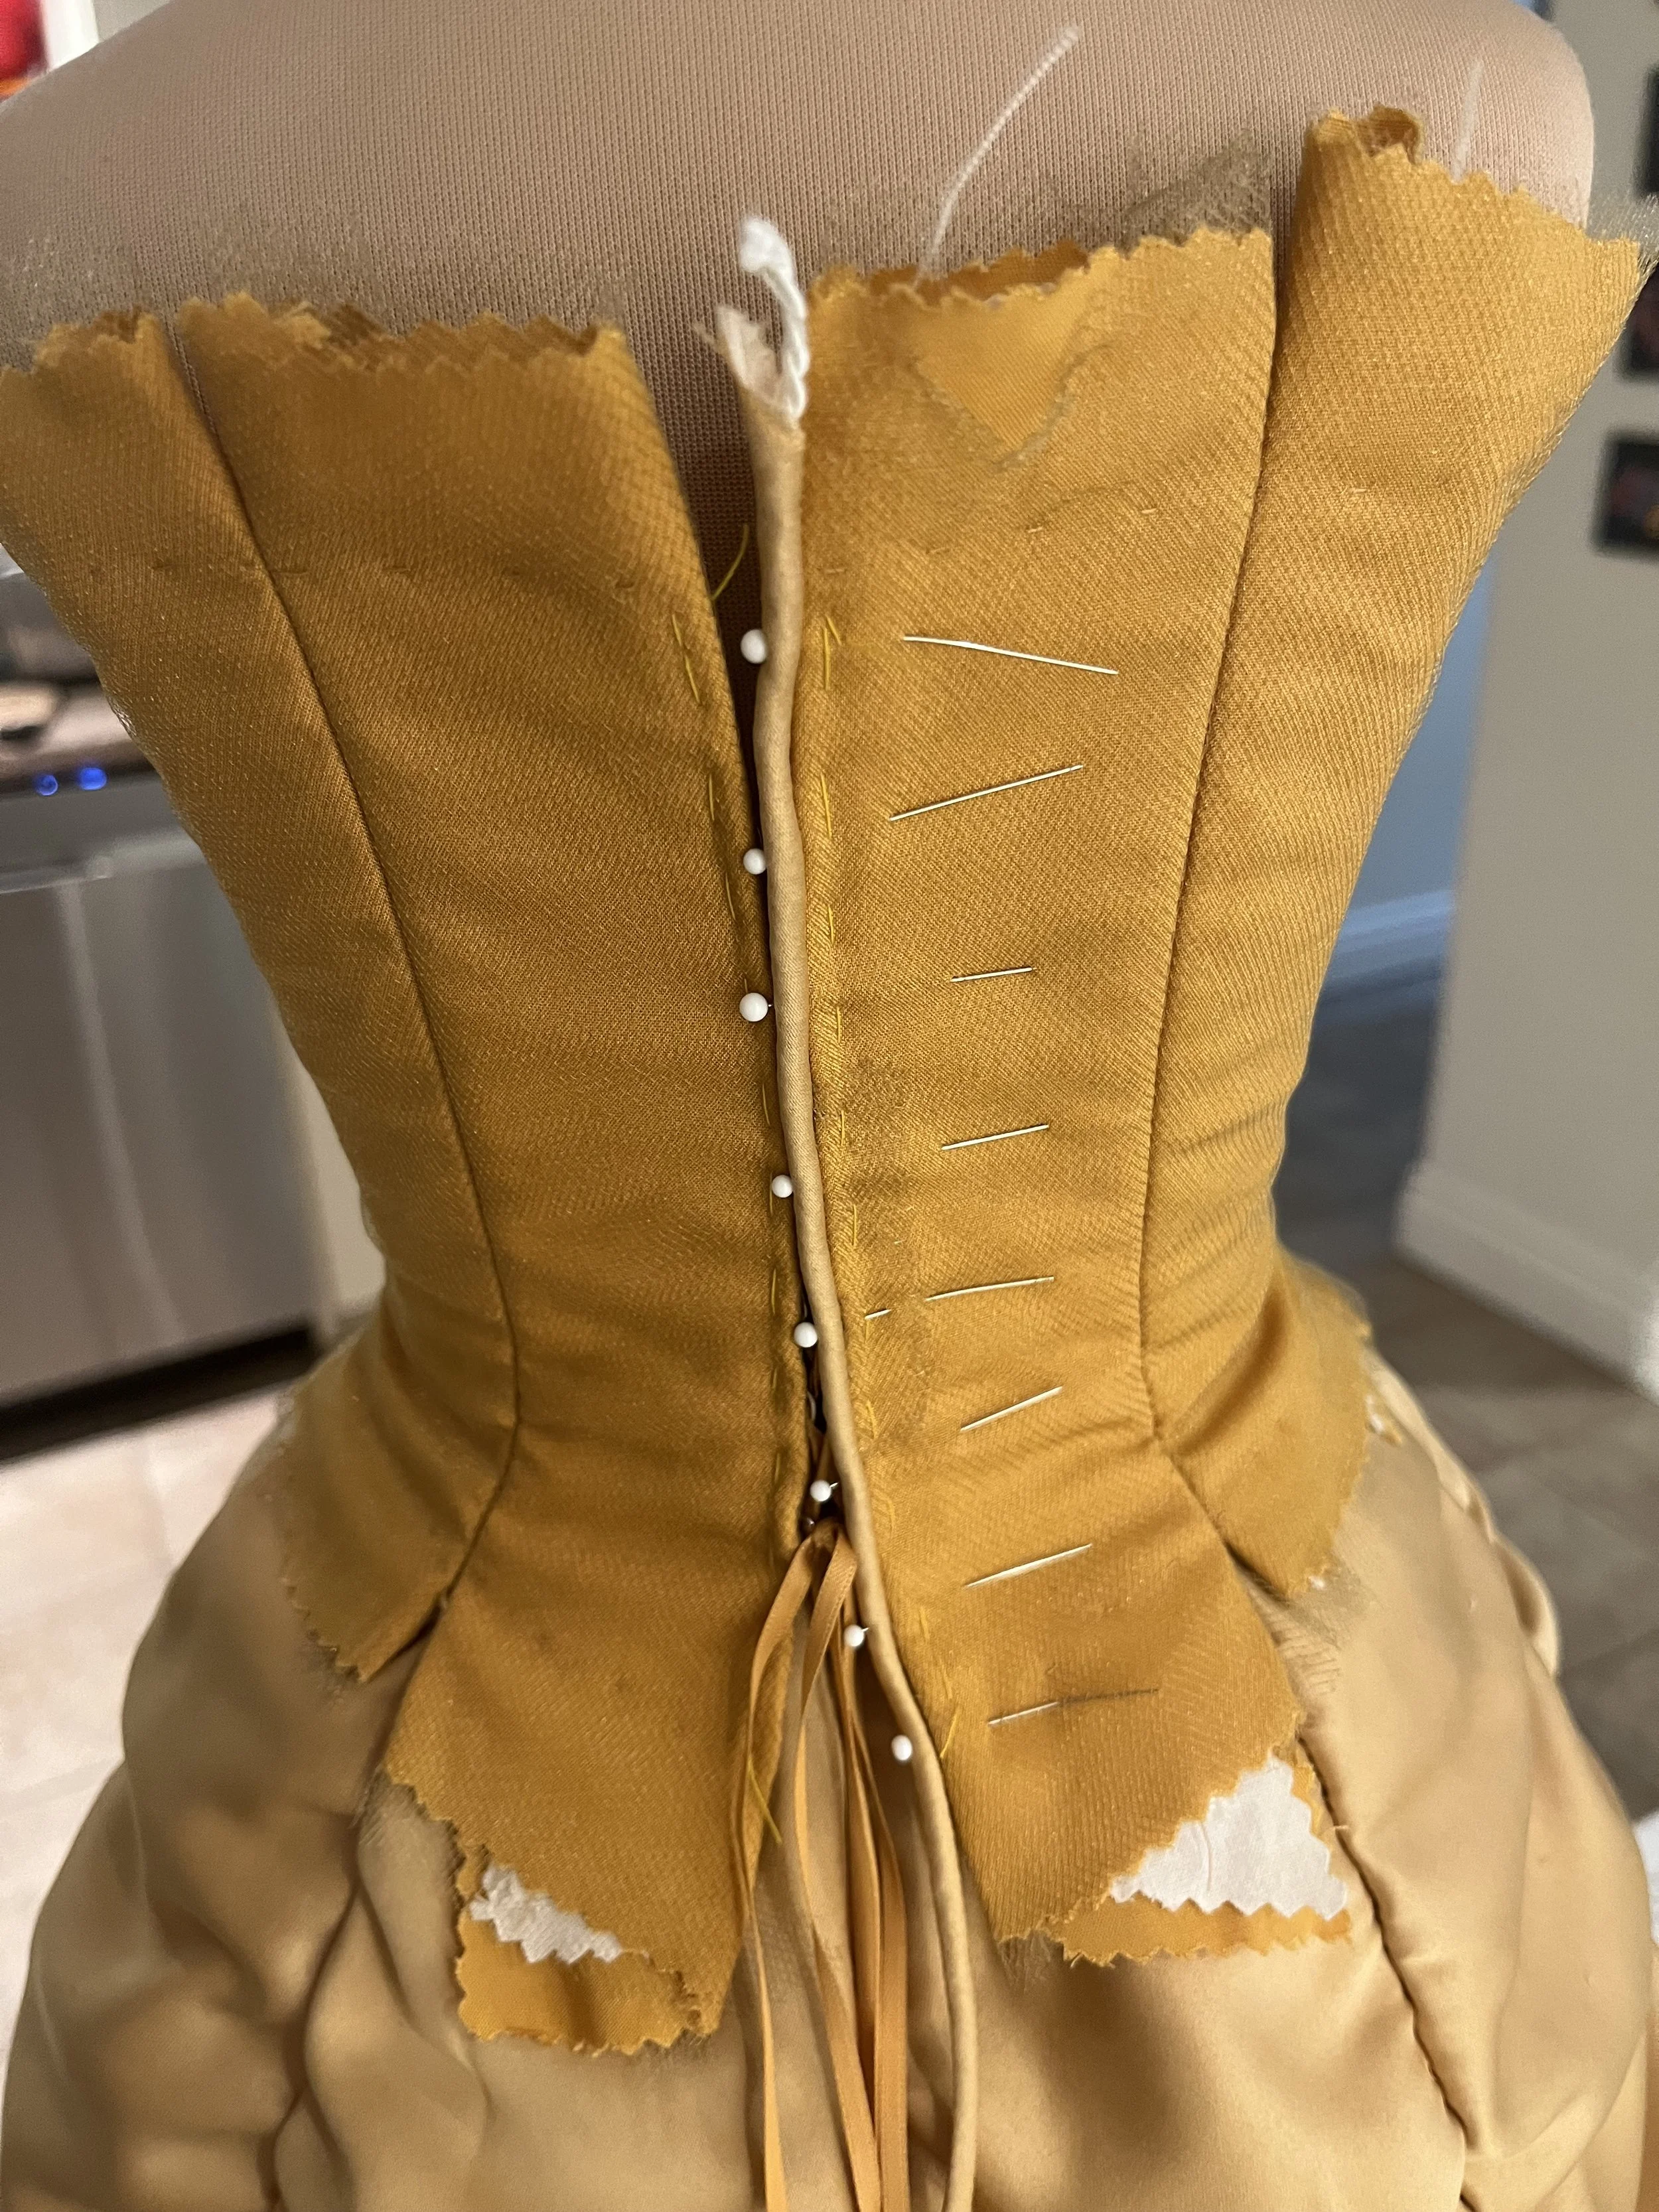
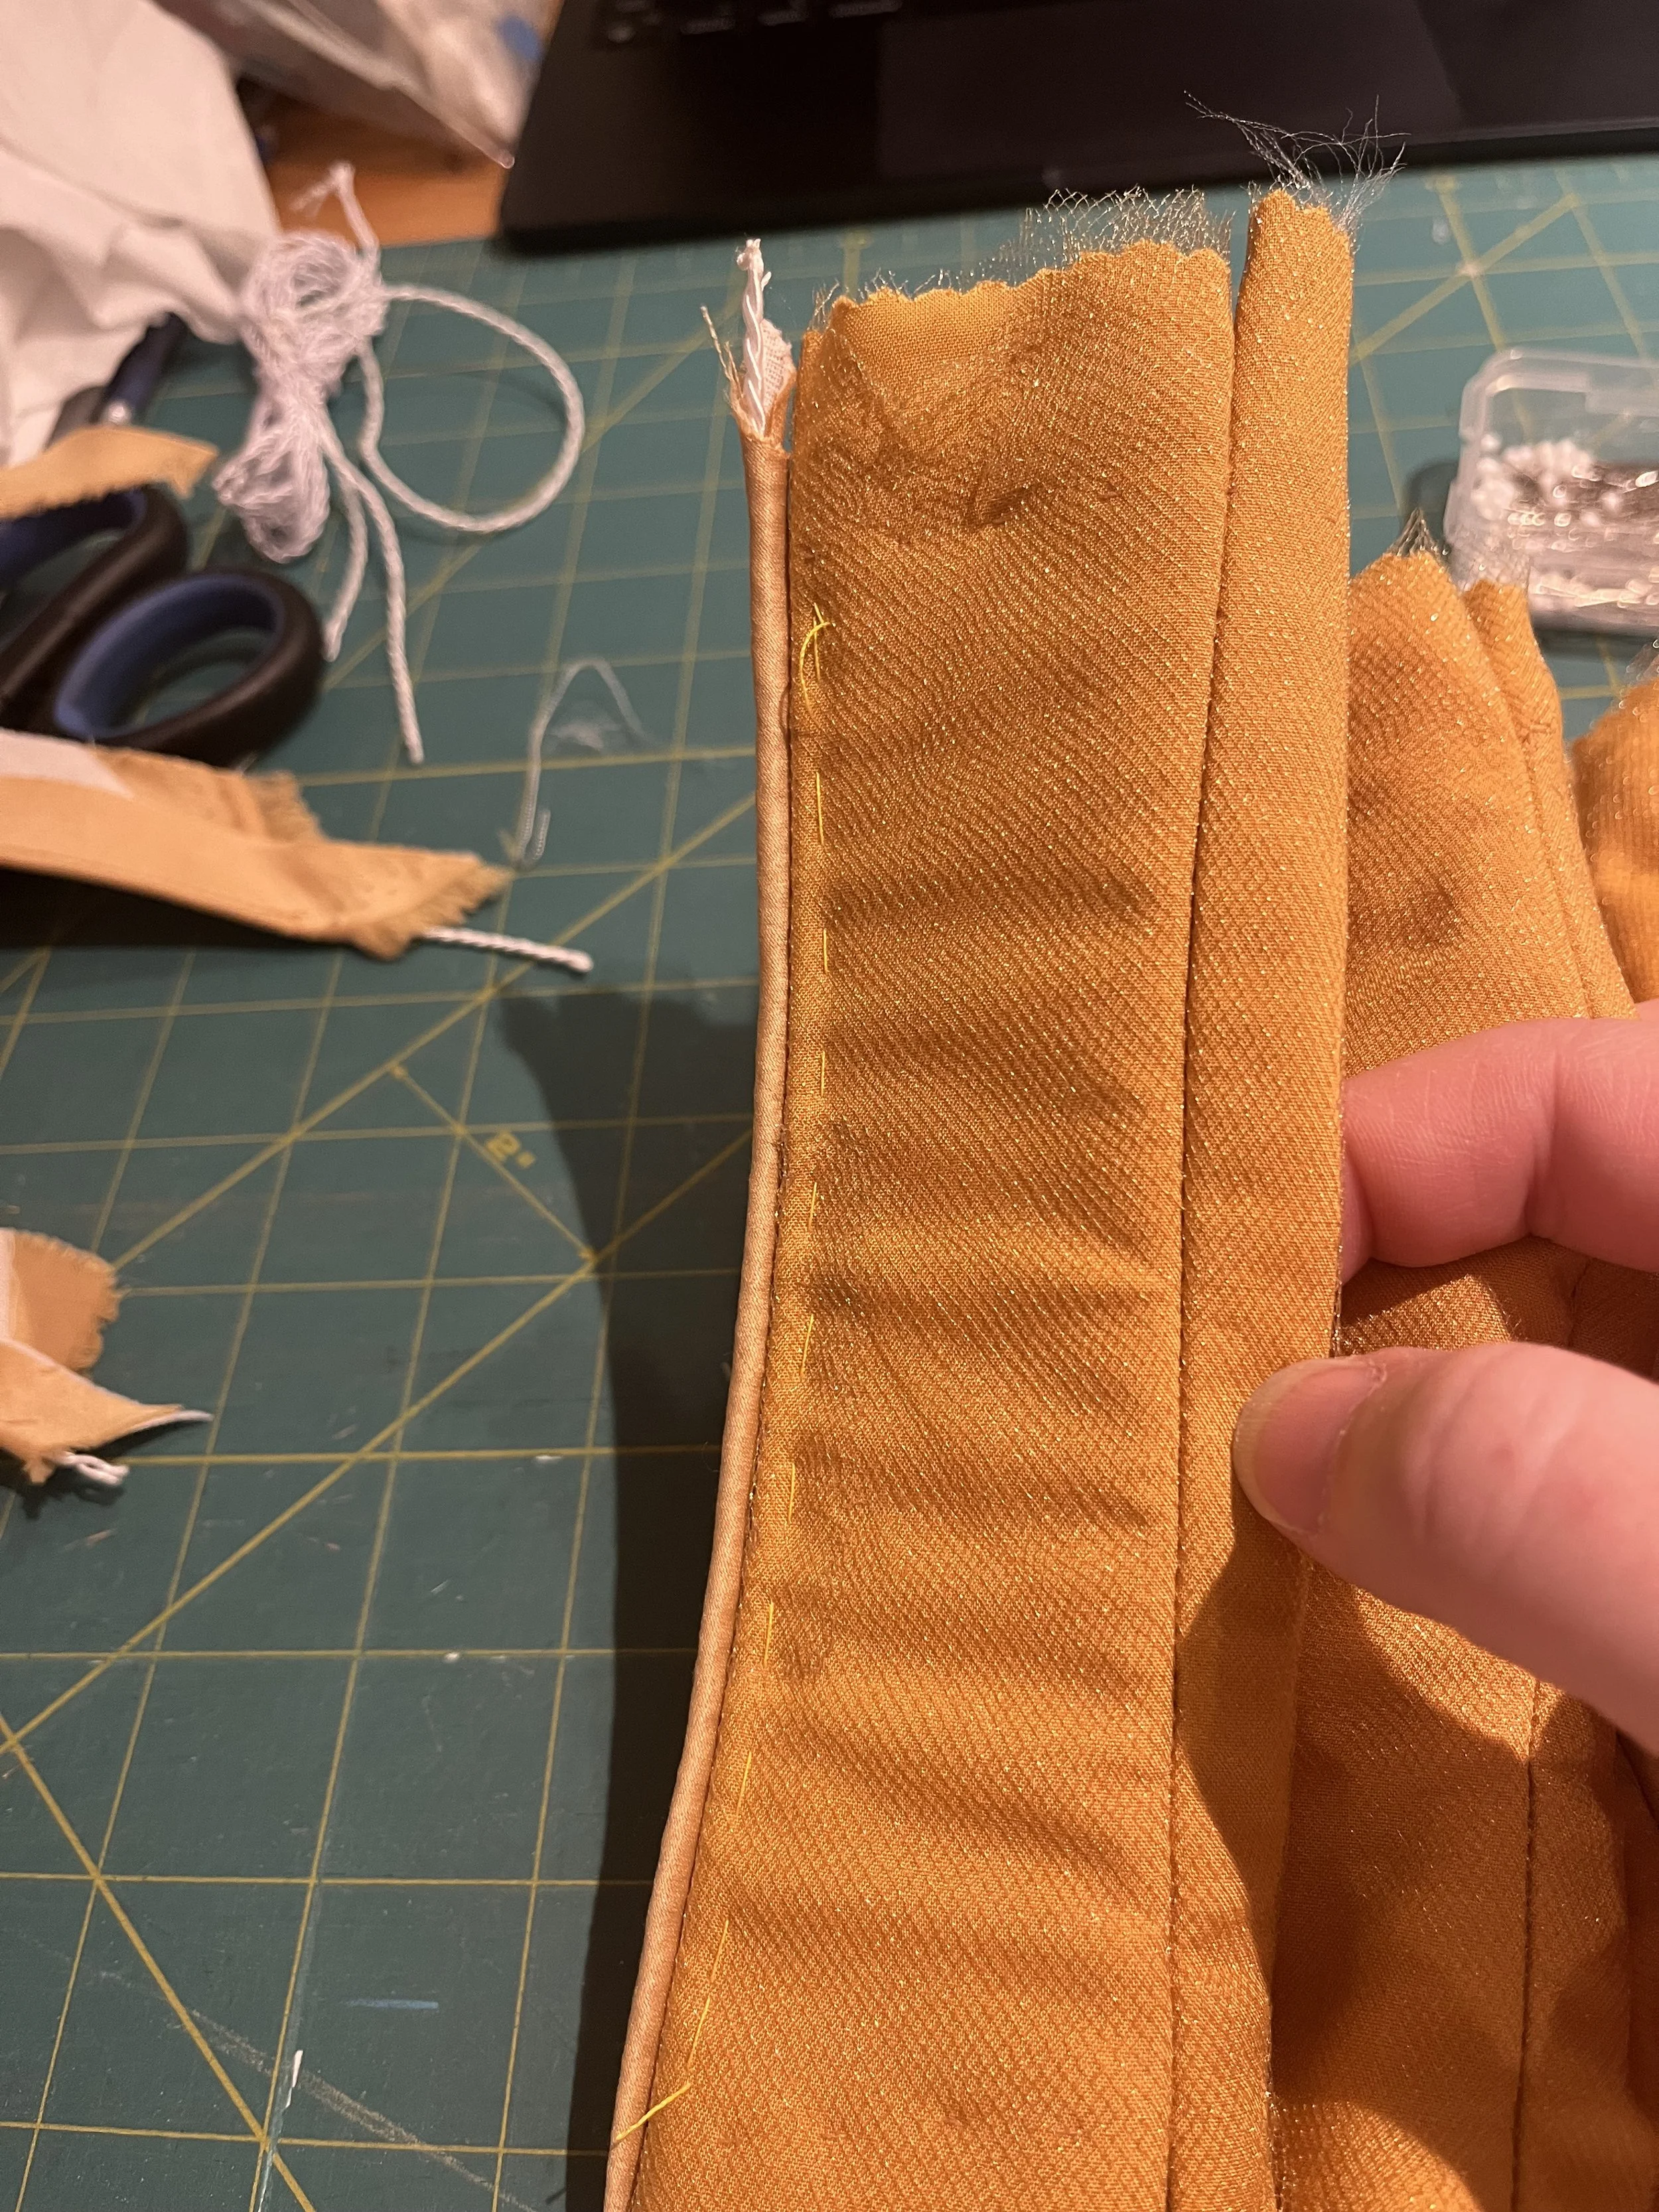
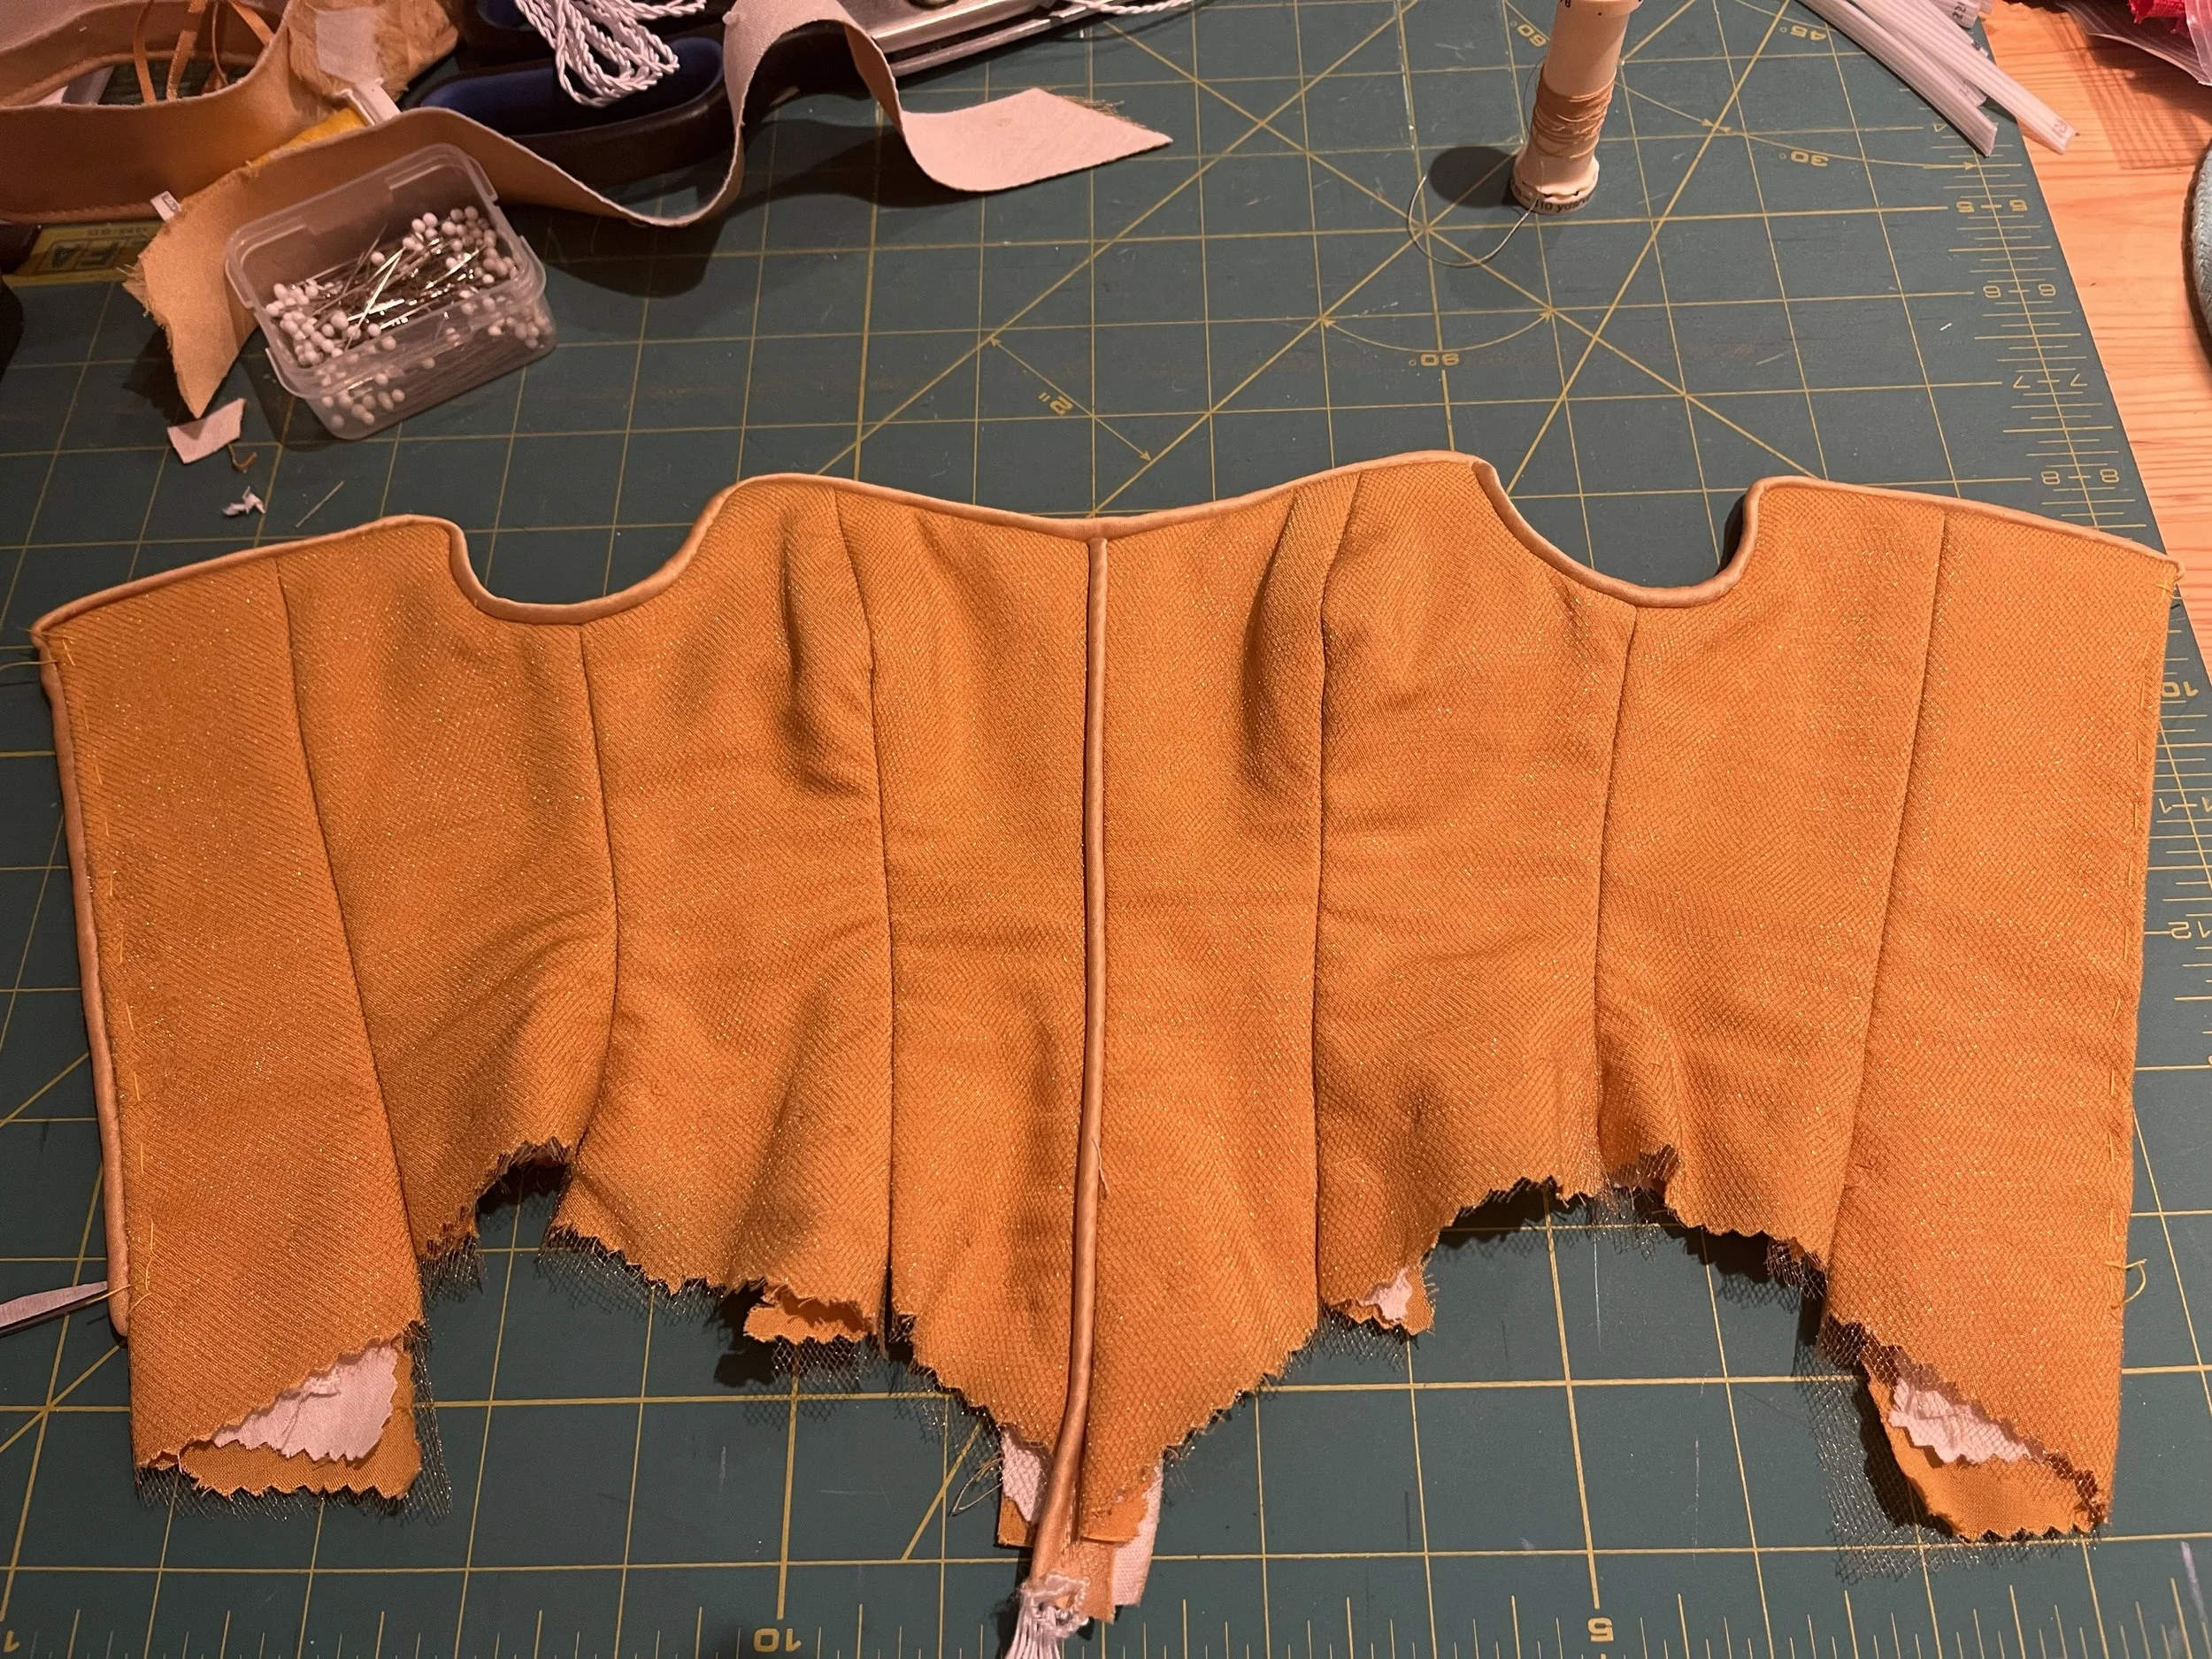
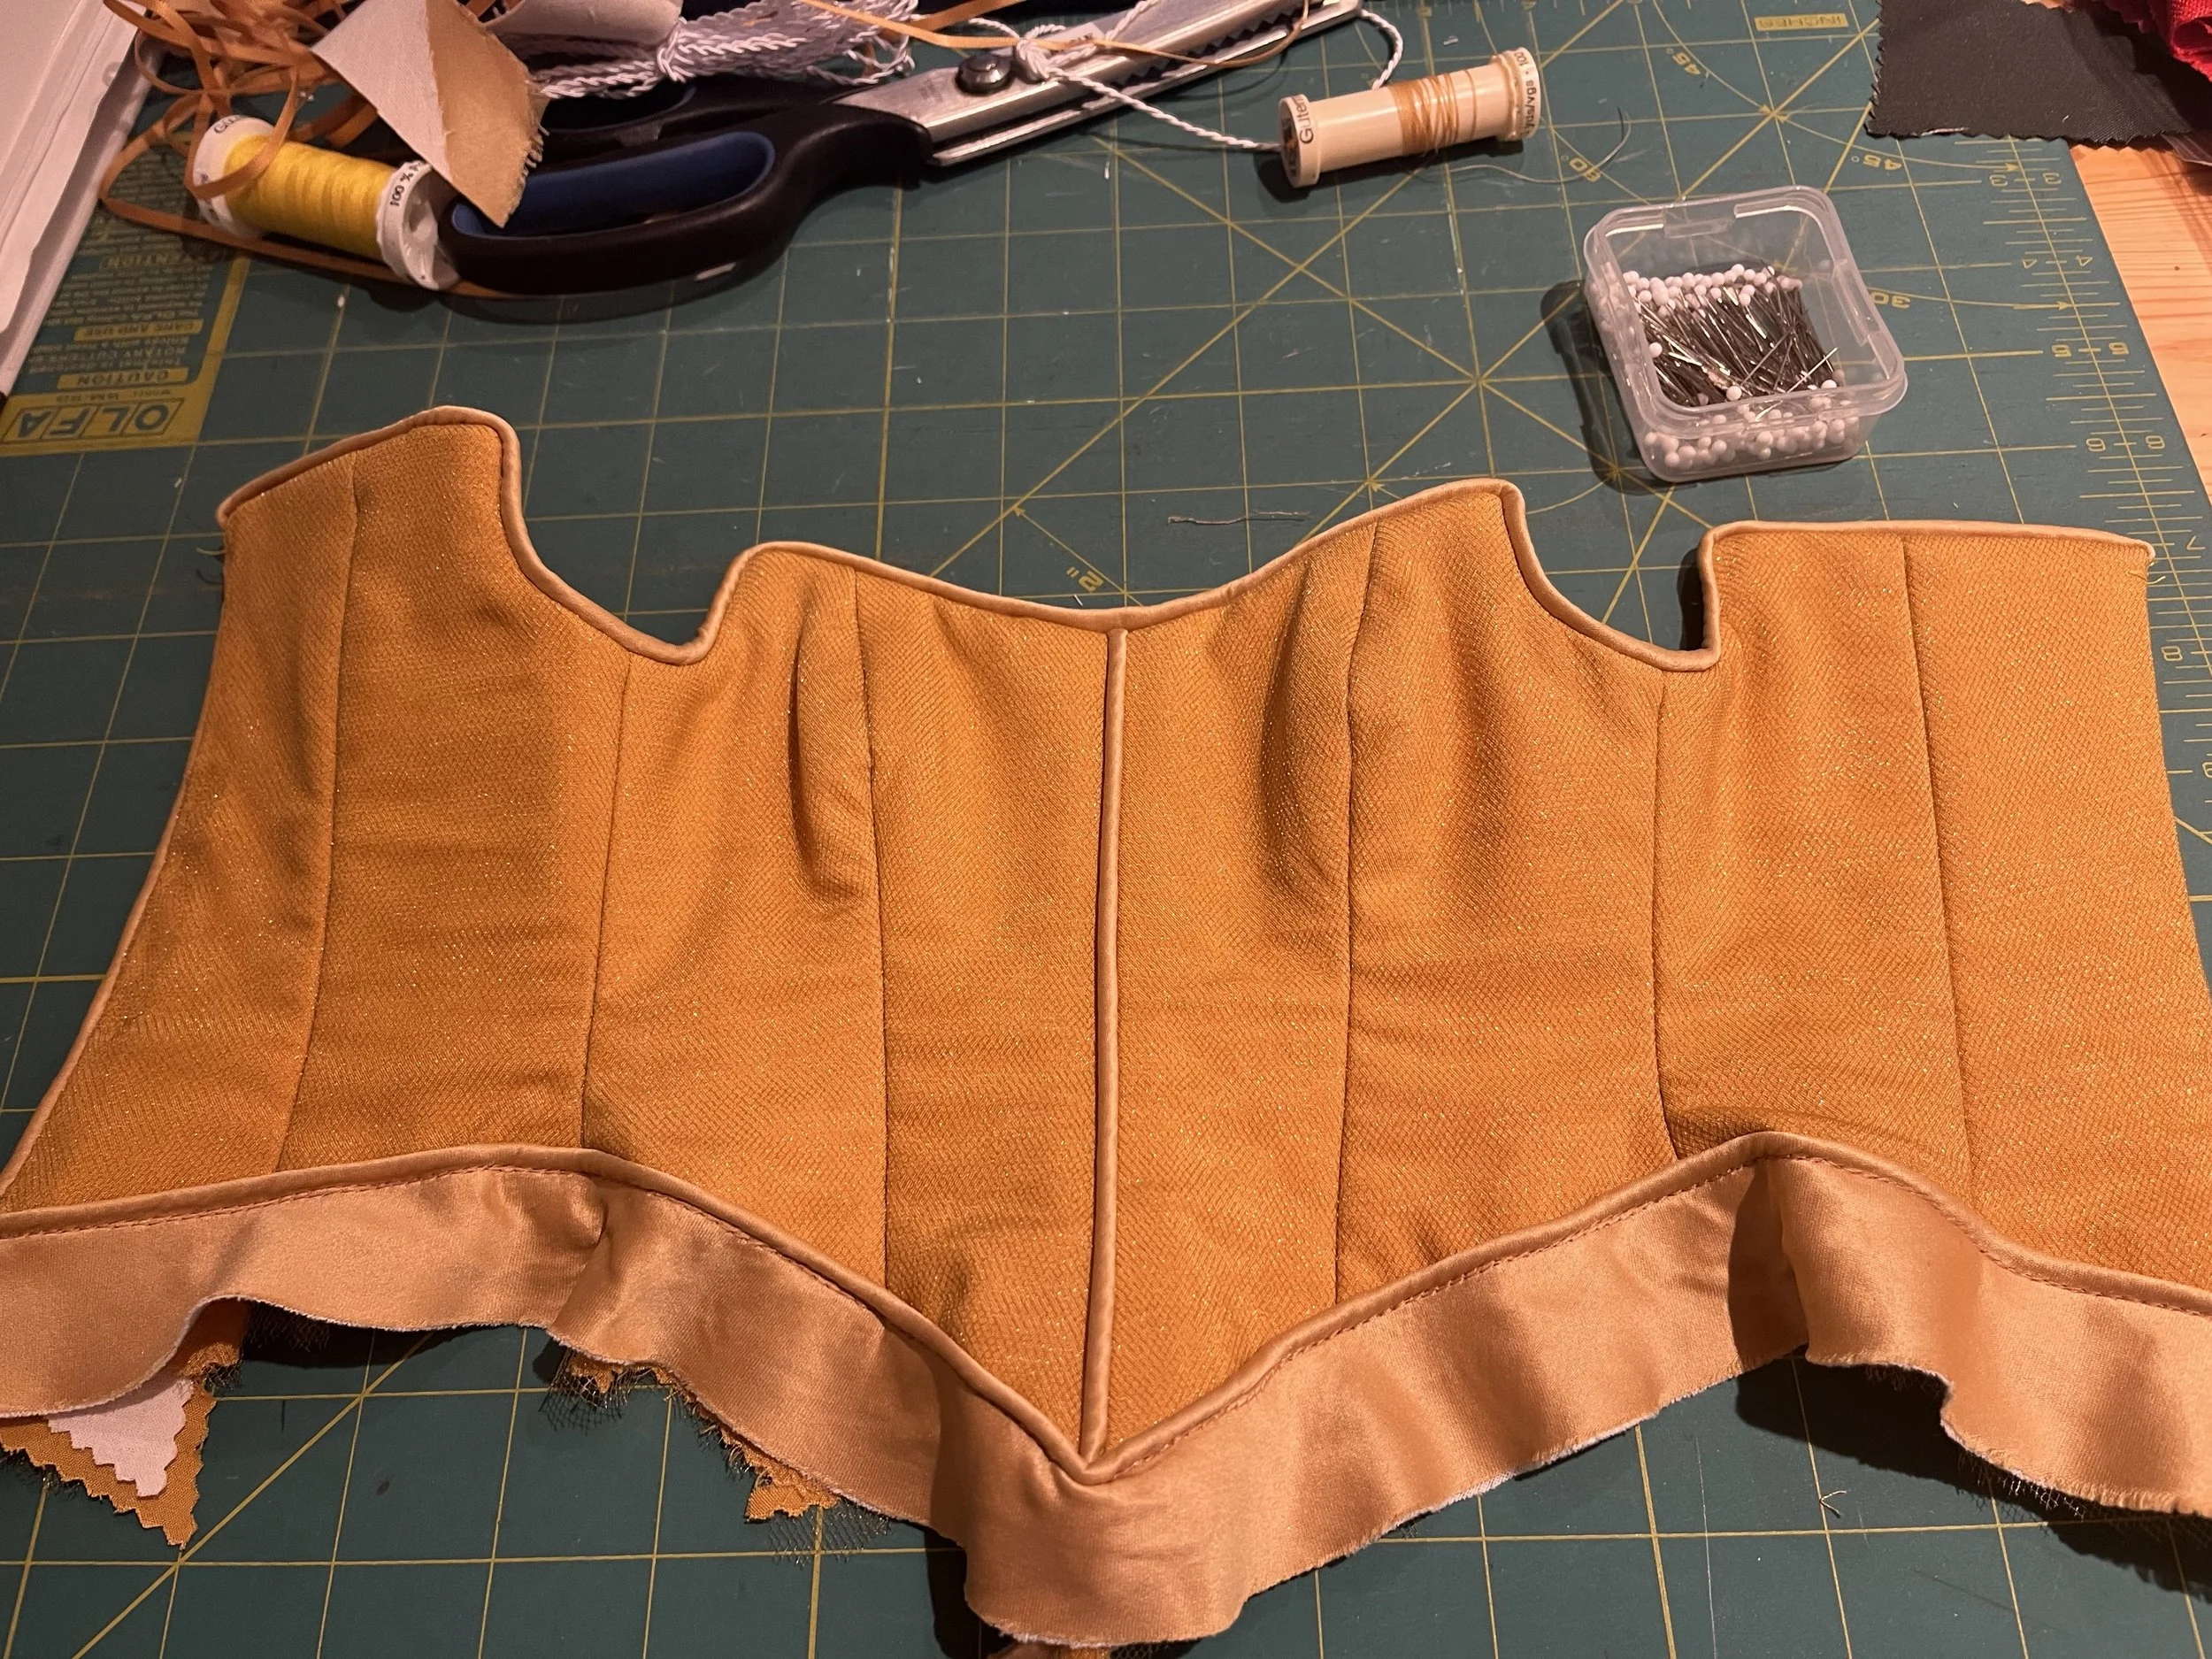
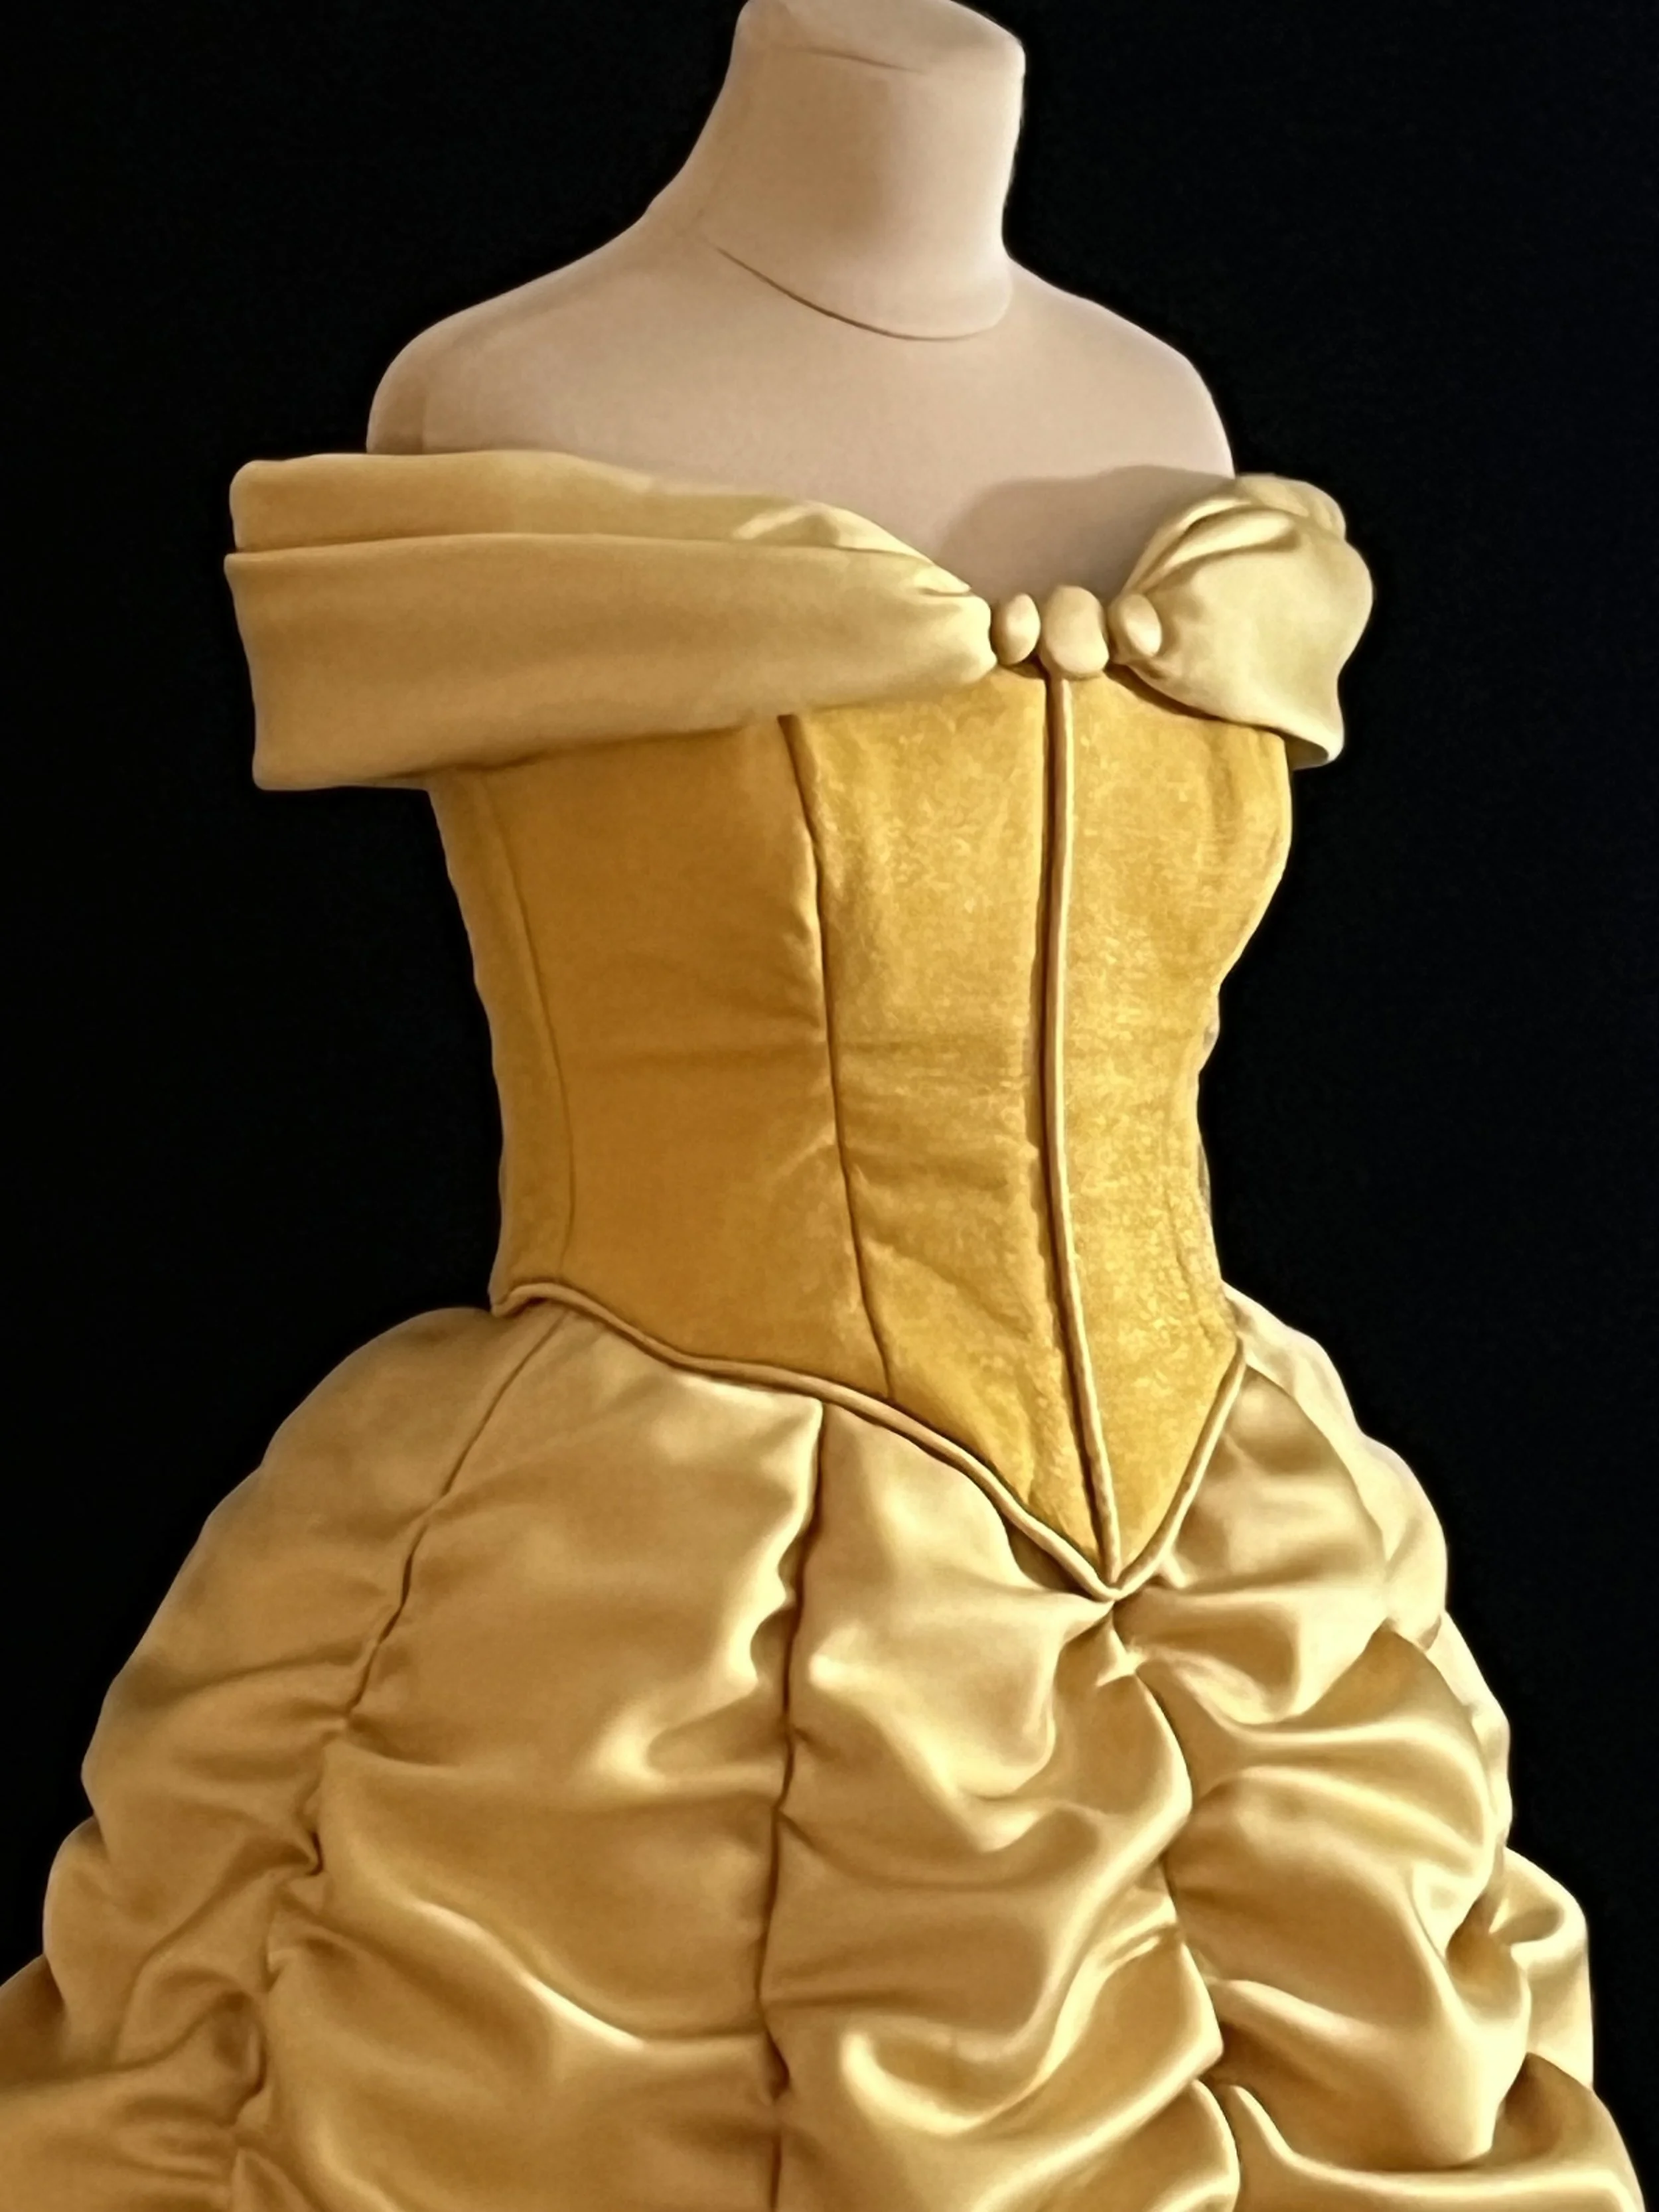
The first seam I put together was the centre front. After making piping with the gold satin of the skirt, I stitched this seam, sandwiching the piping between the two layers. I then pressed the seam open and finished each side with the extra fabric I had left on the other layers.
When pressing the seam, I tried to keep from pressing the piping too much to one side or the other and to keep it upright so it wouldn't create a lip between the two sides. Next, I stitched the side fronts to the fronts and finished those seams in the same way, pressing them open as well to keep the seam from looking too bulky on one side. On a person, I might press both seam allowances to one side, as in full scale, the bulk would probably not be so visible.
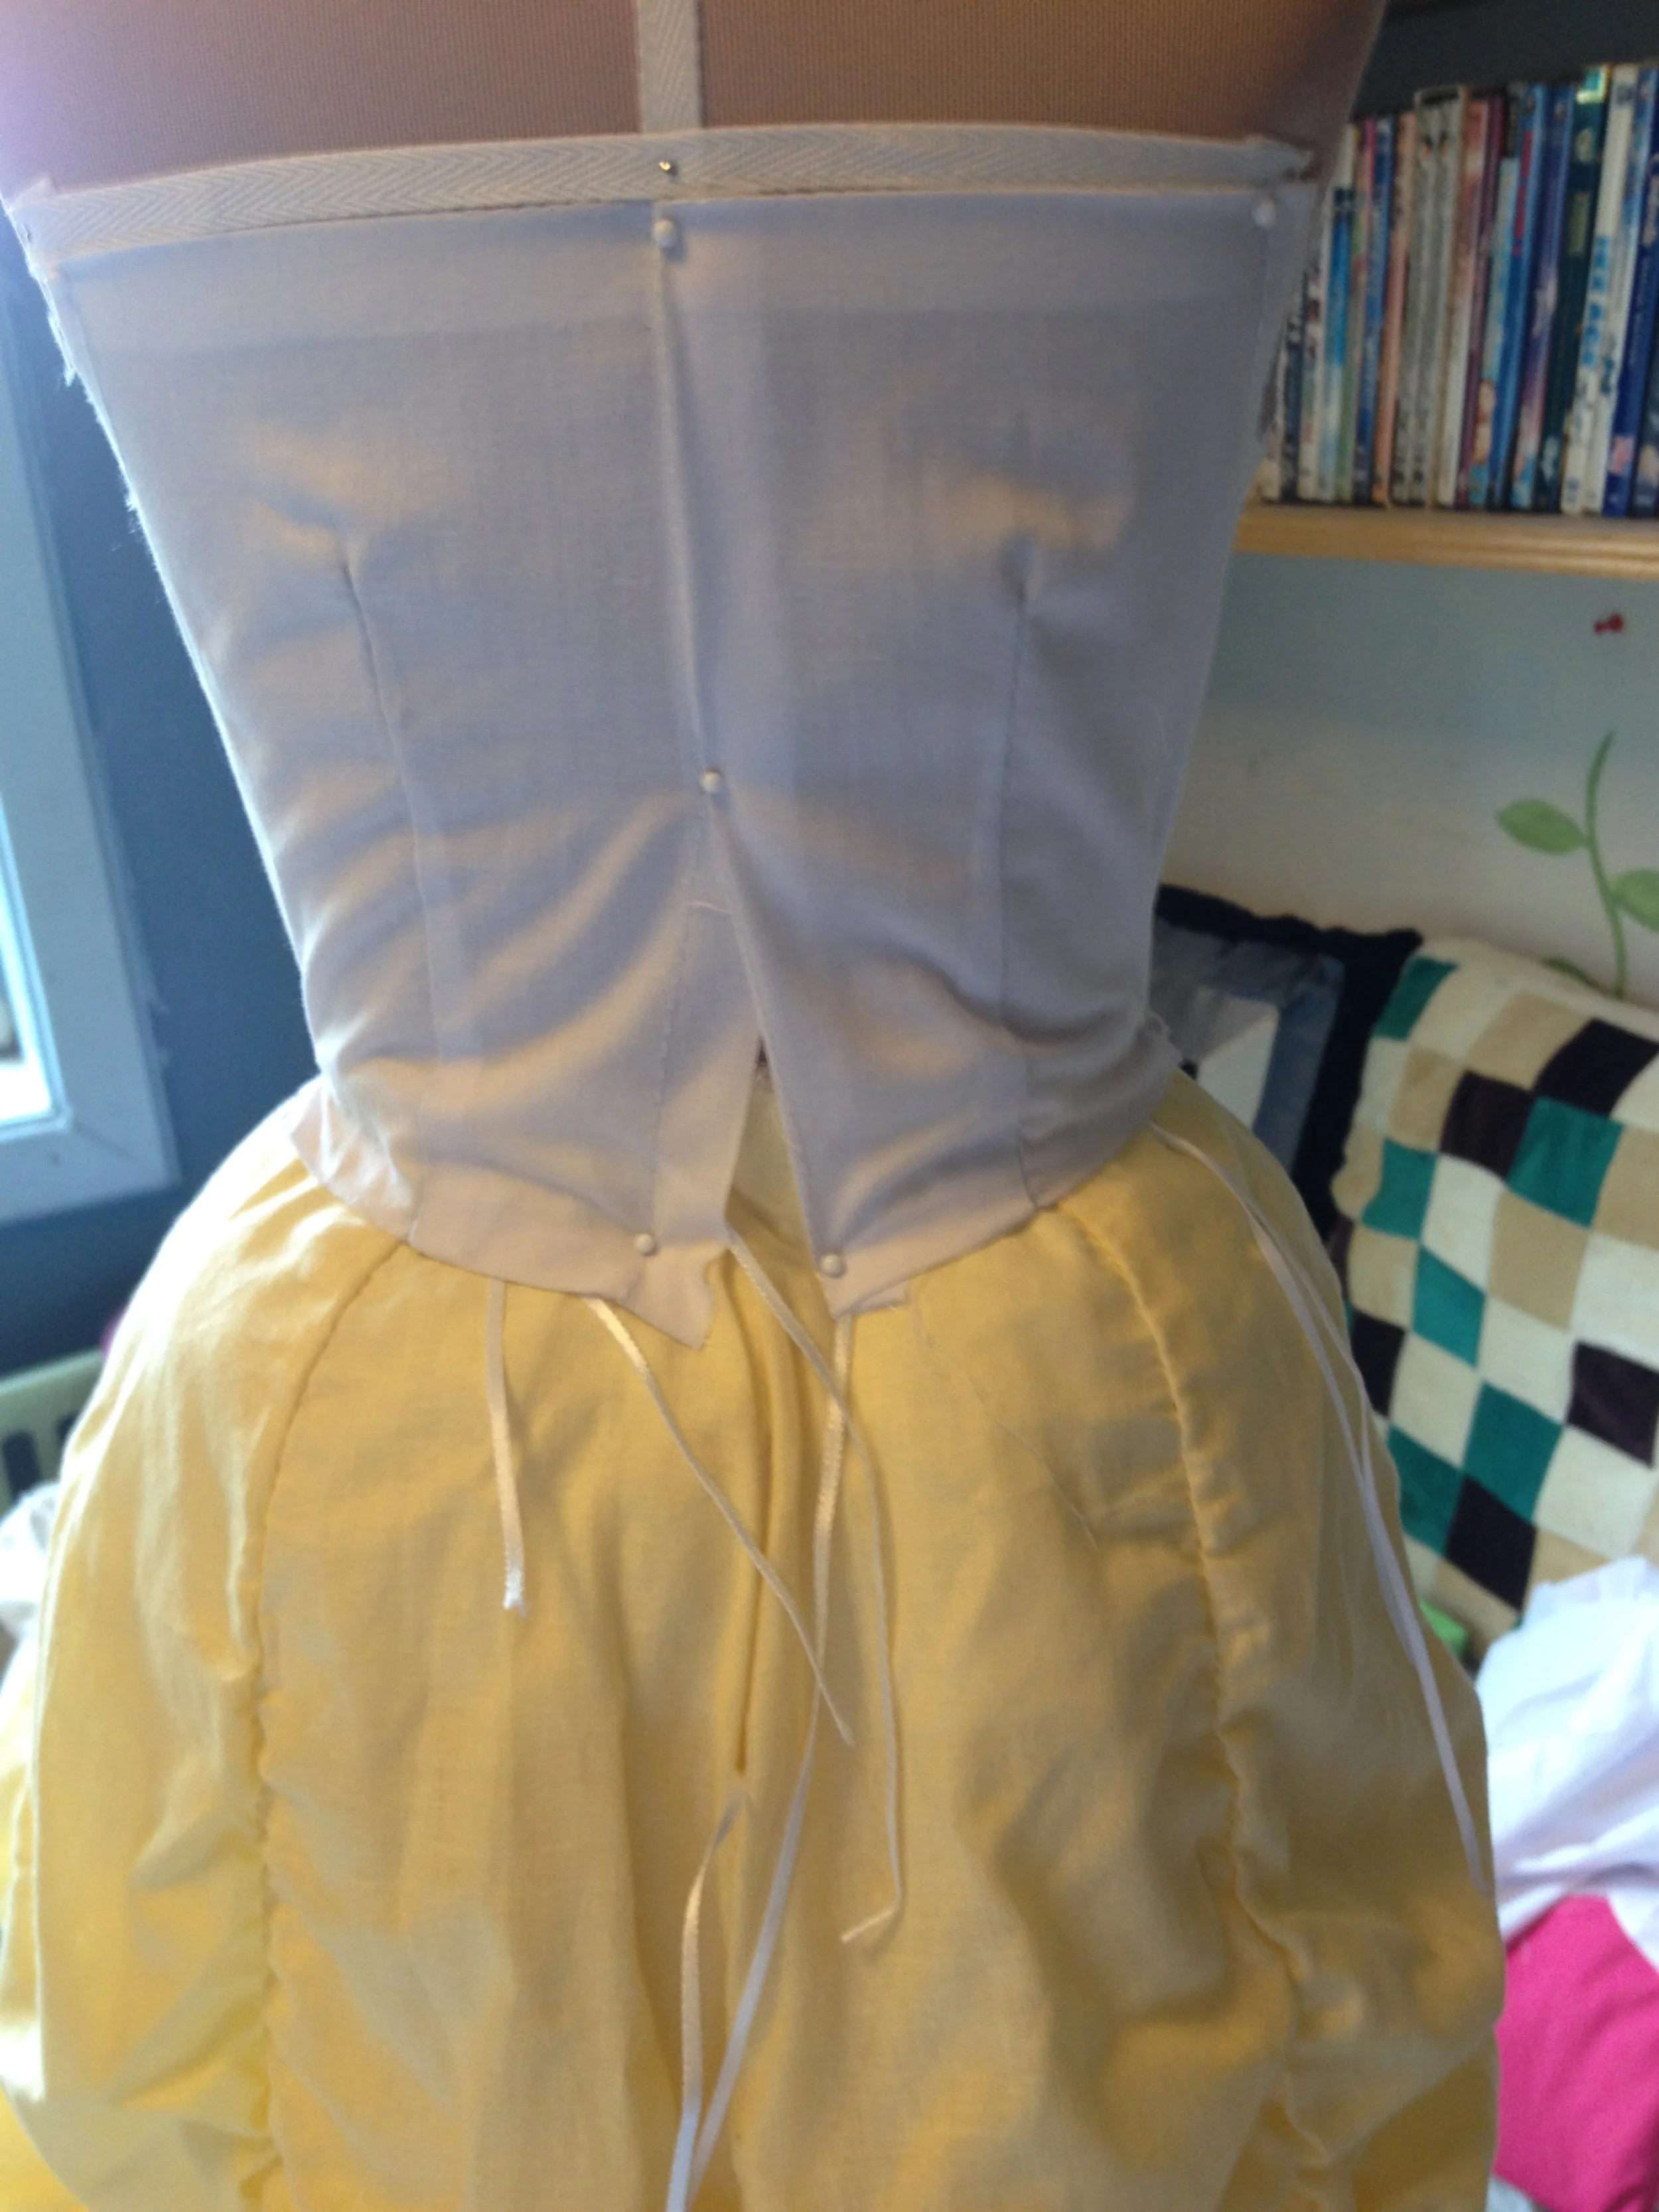
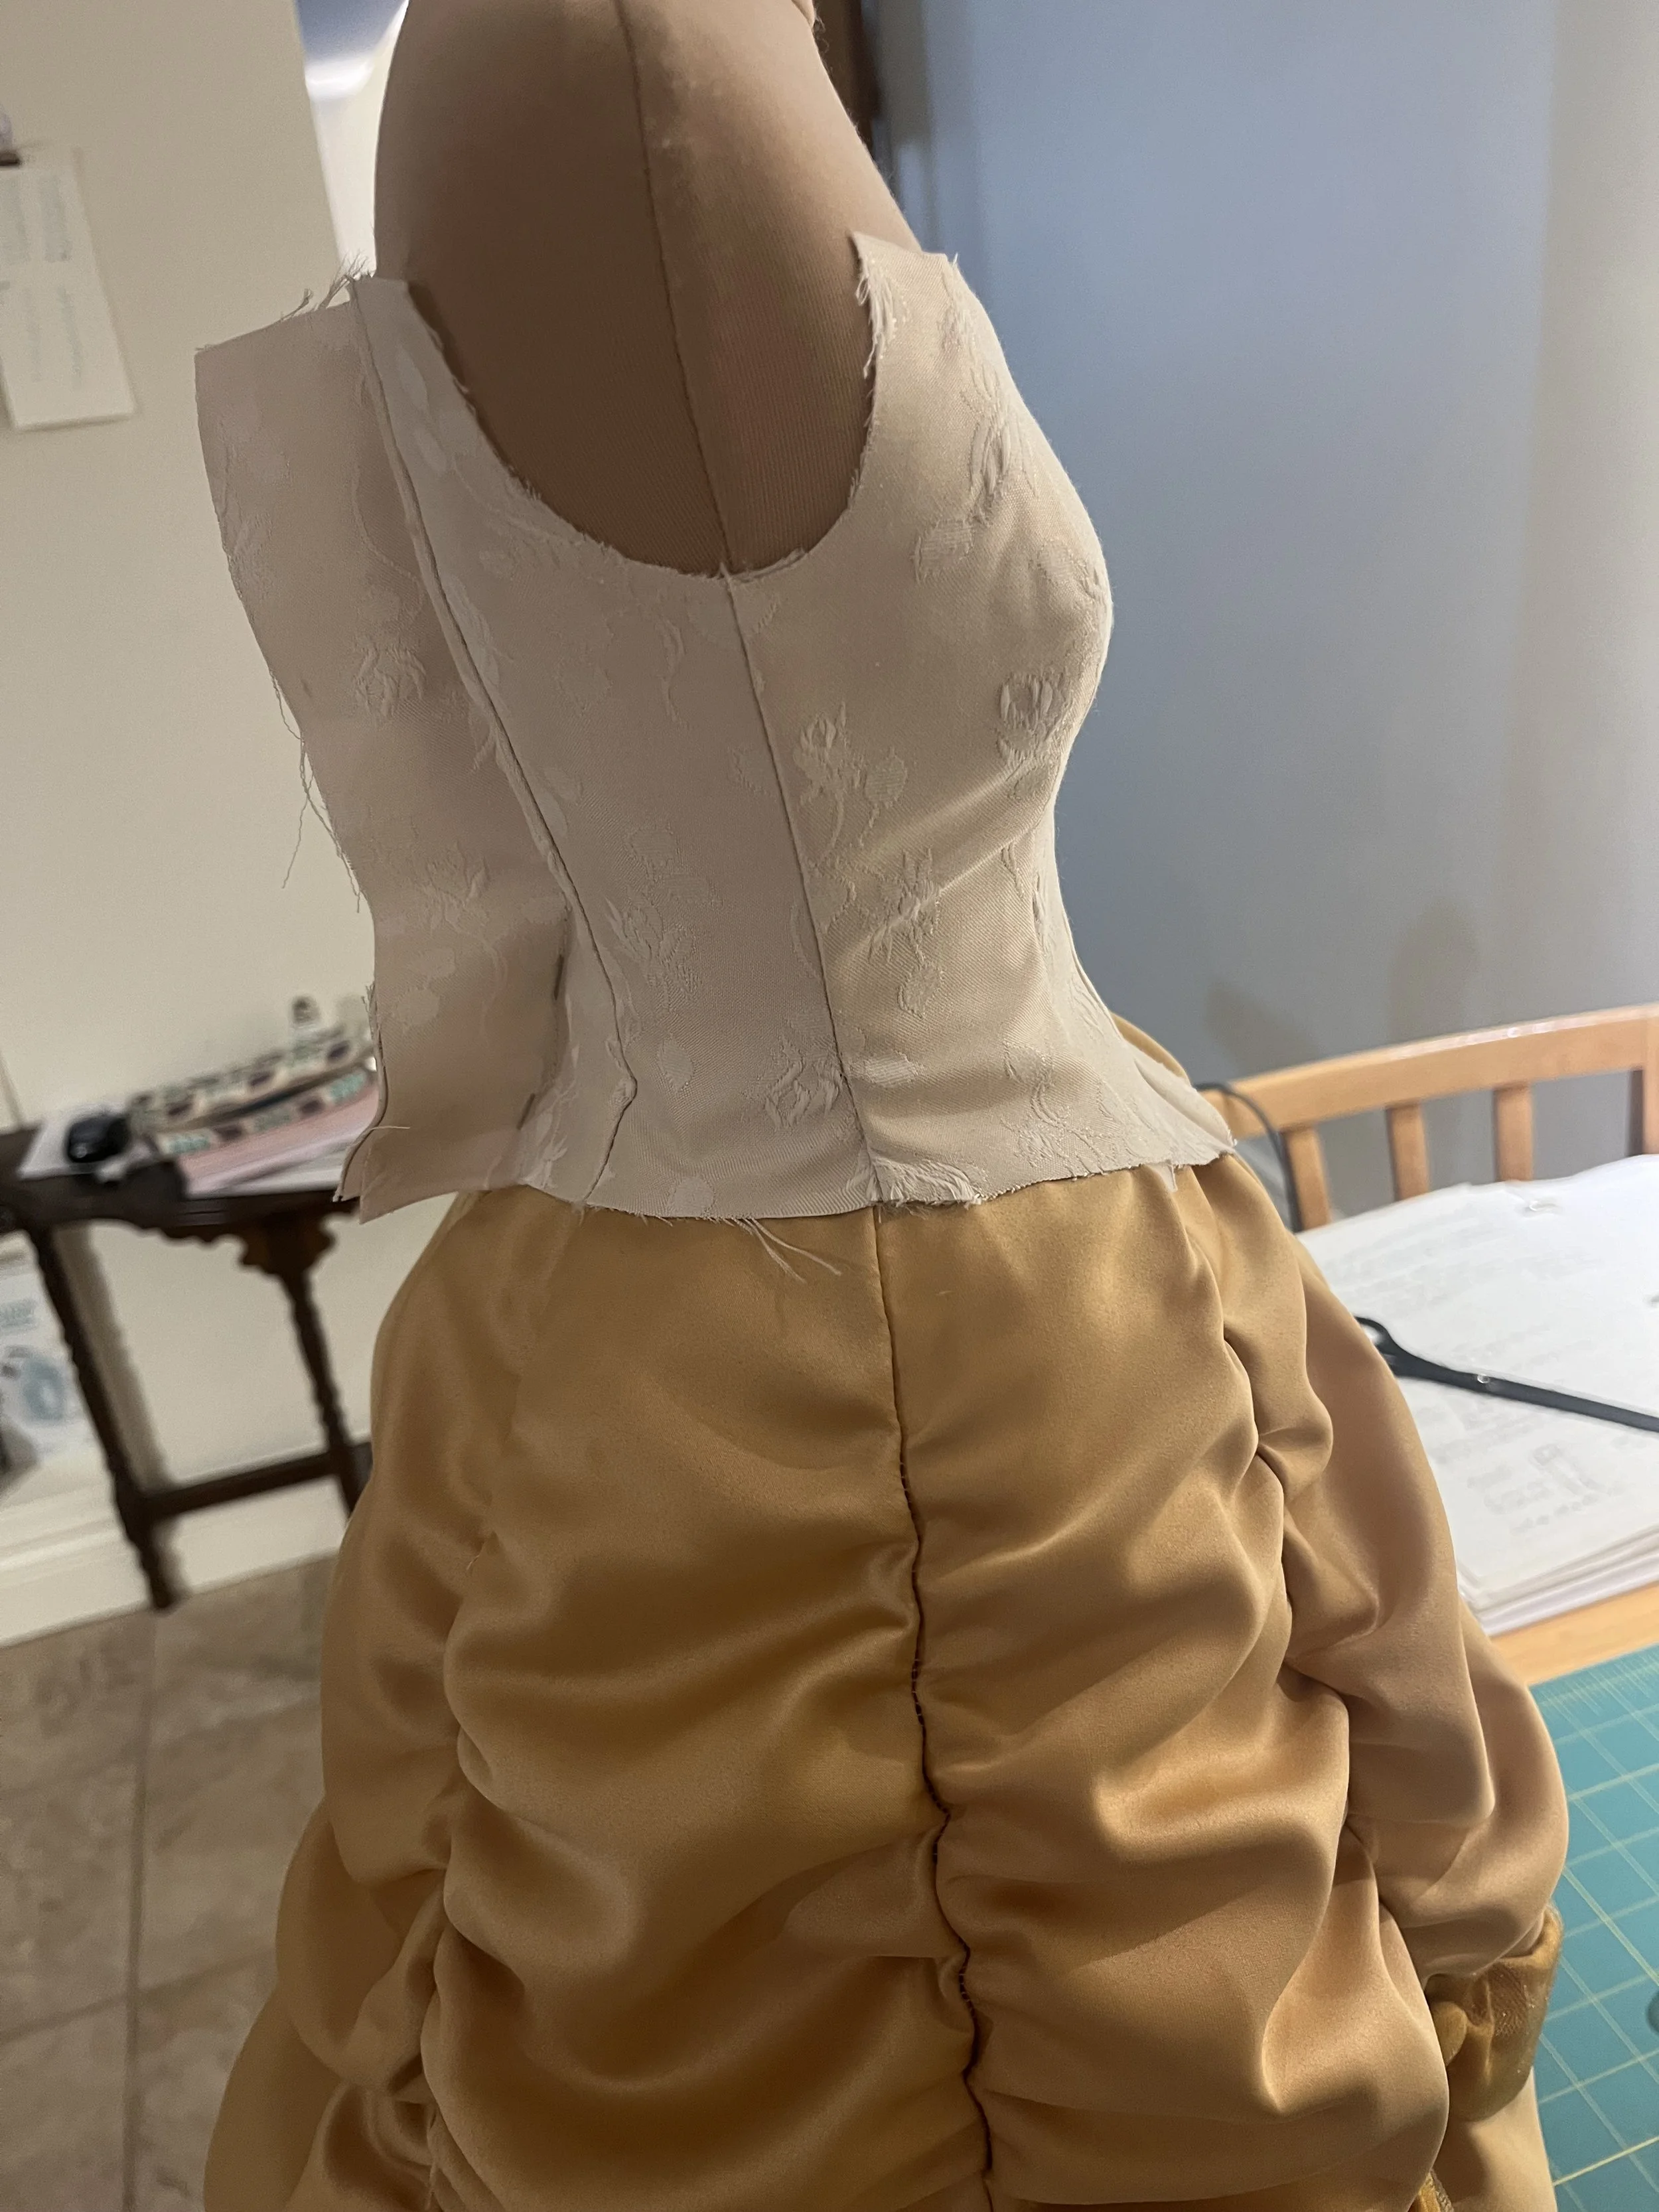
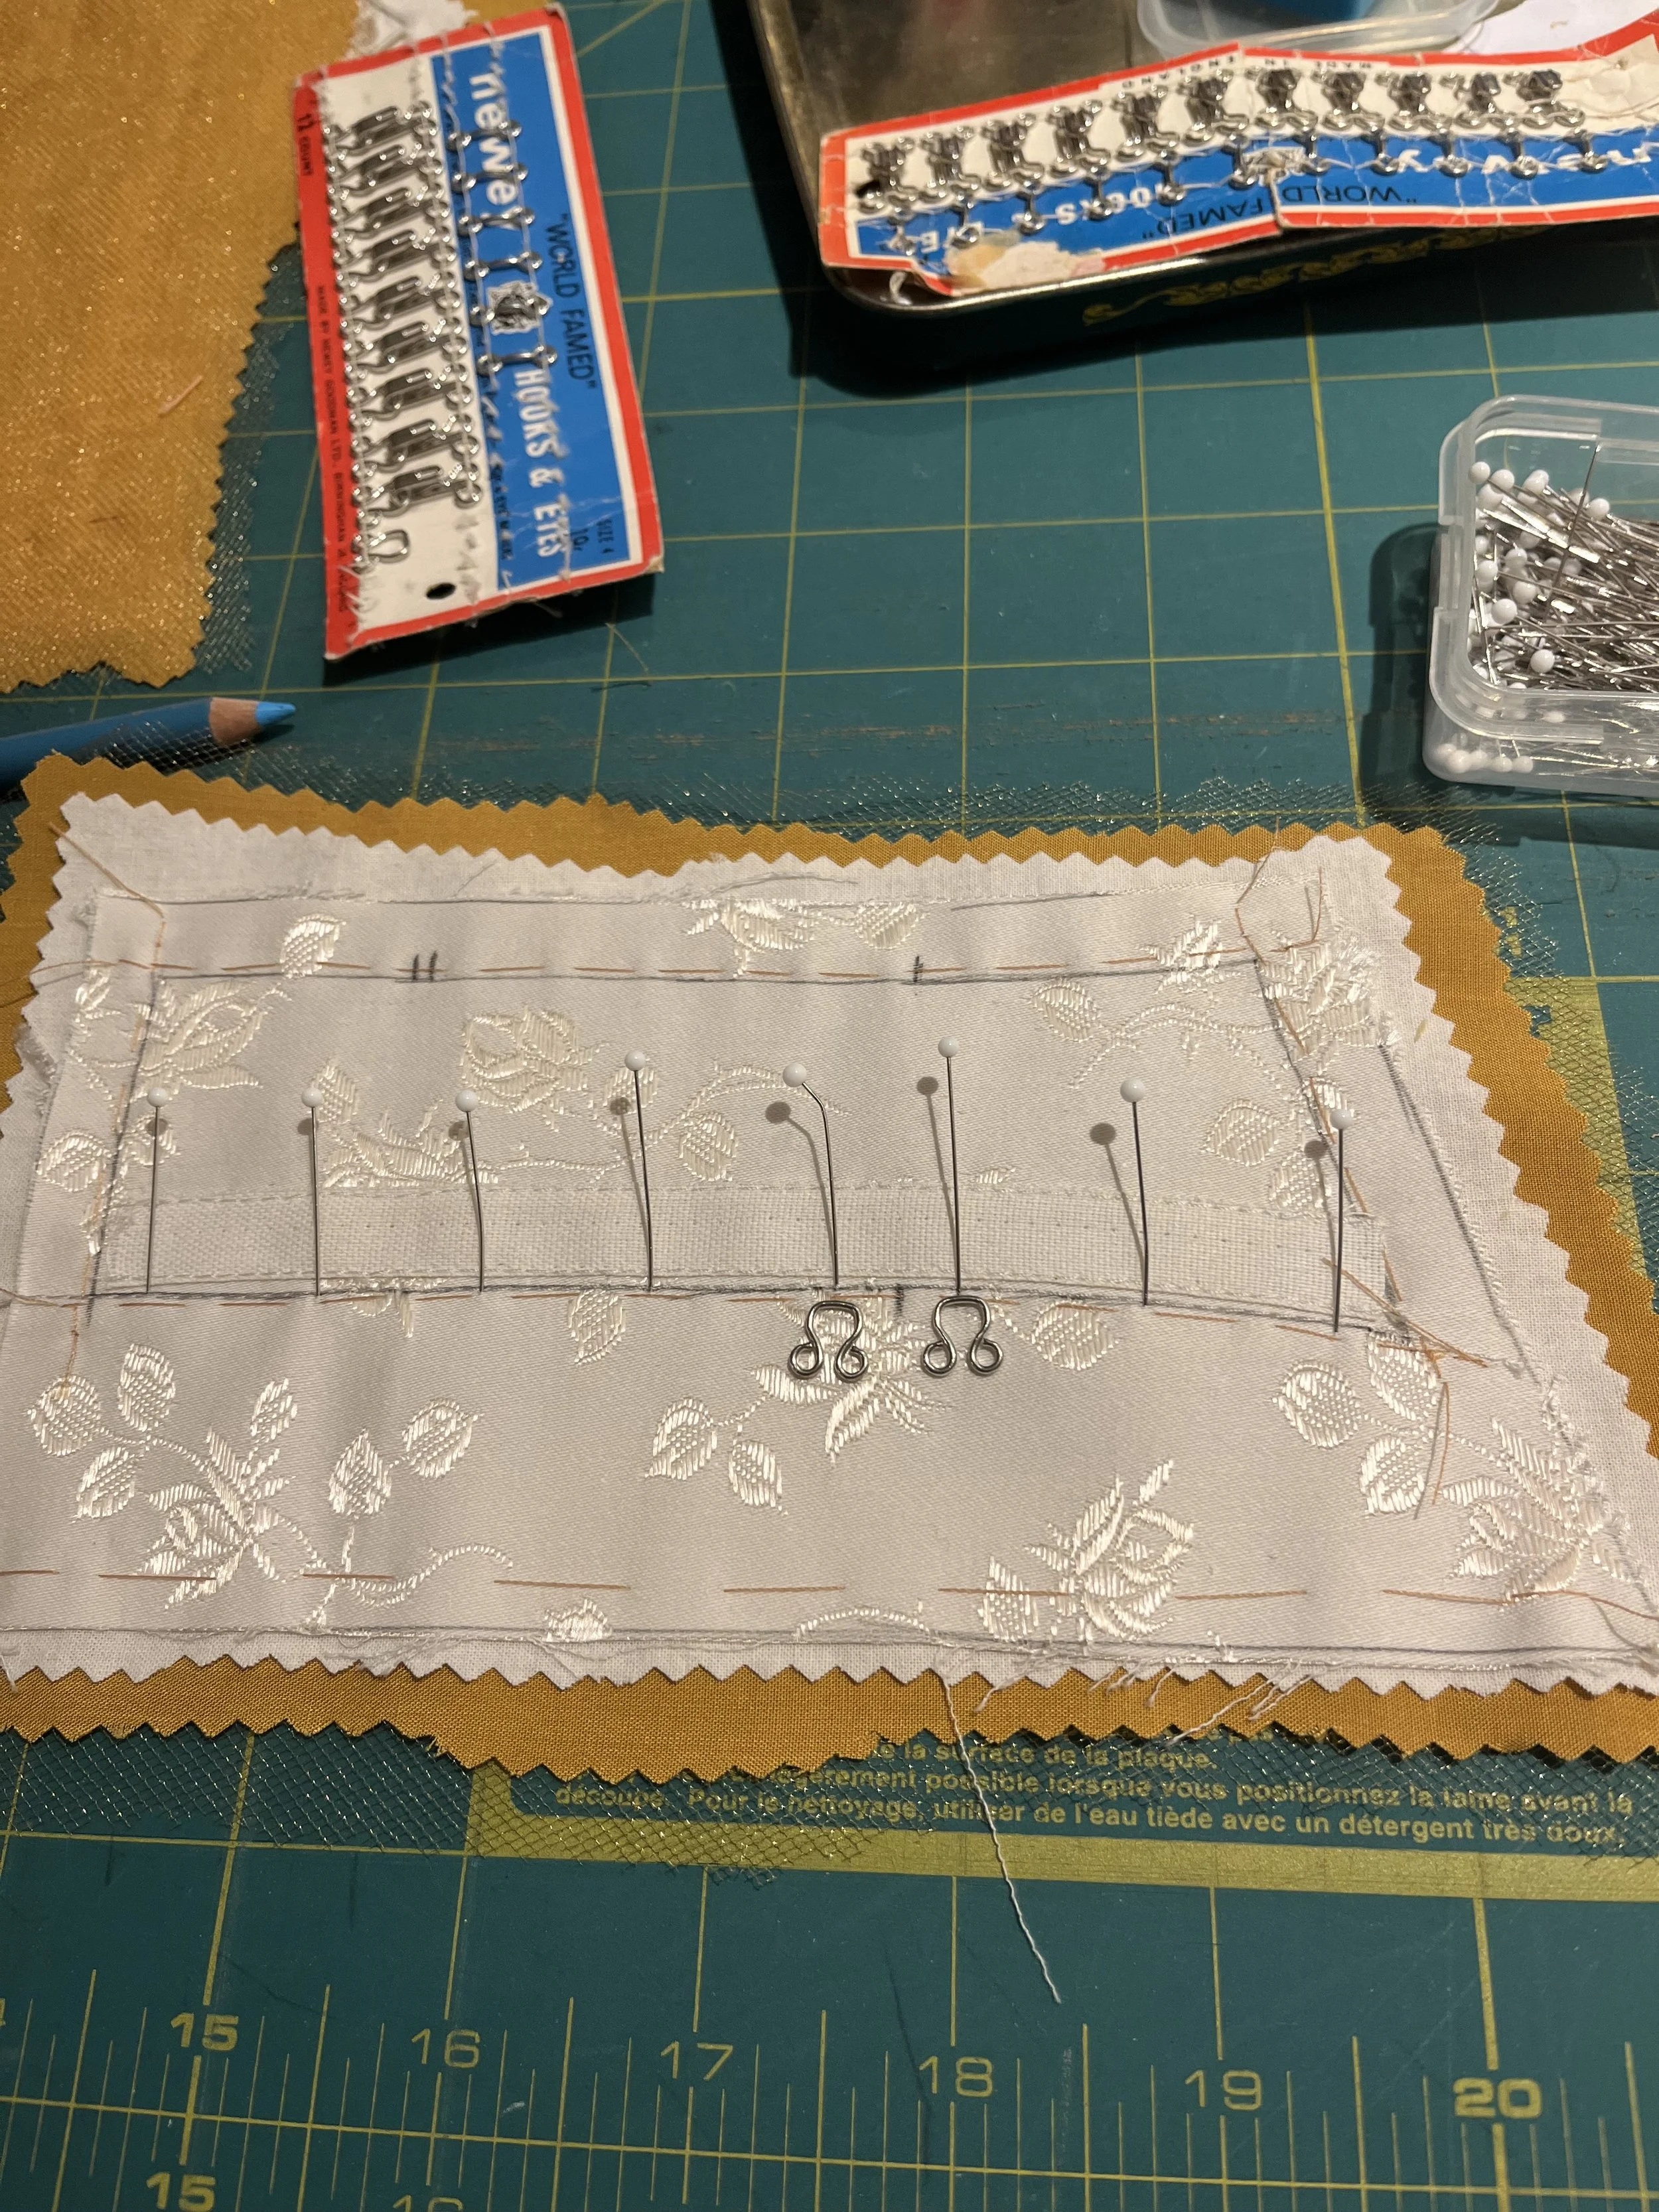
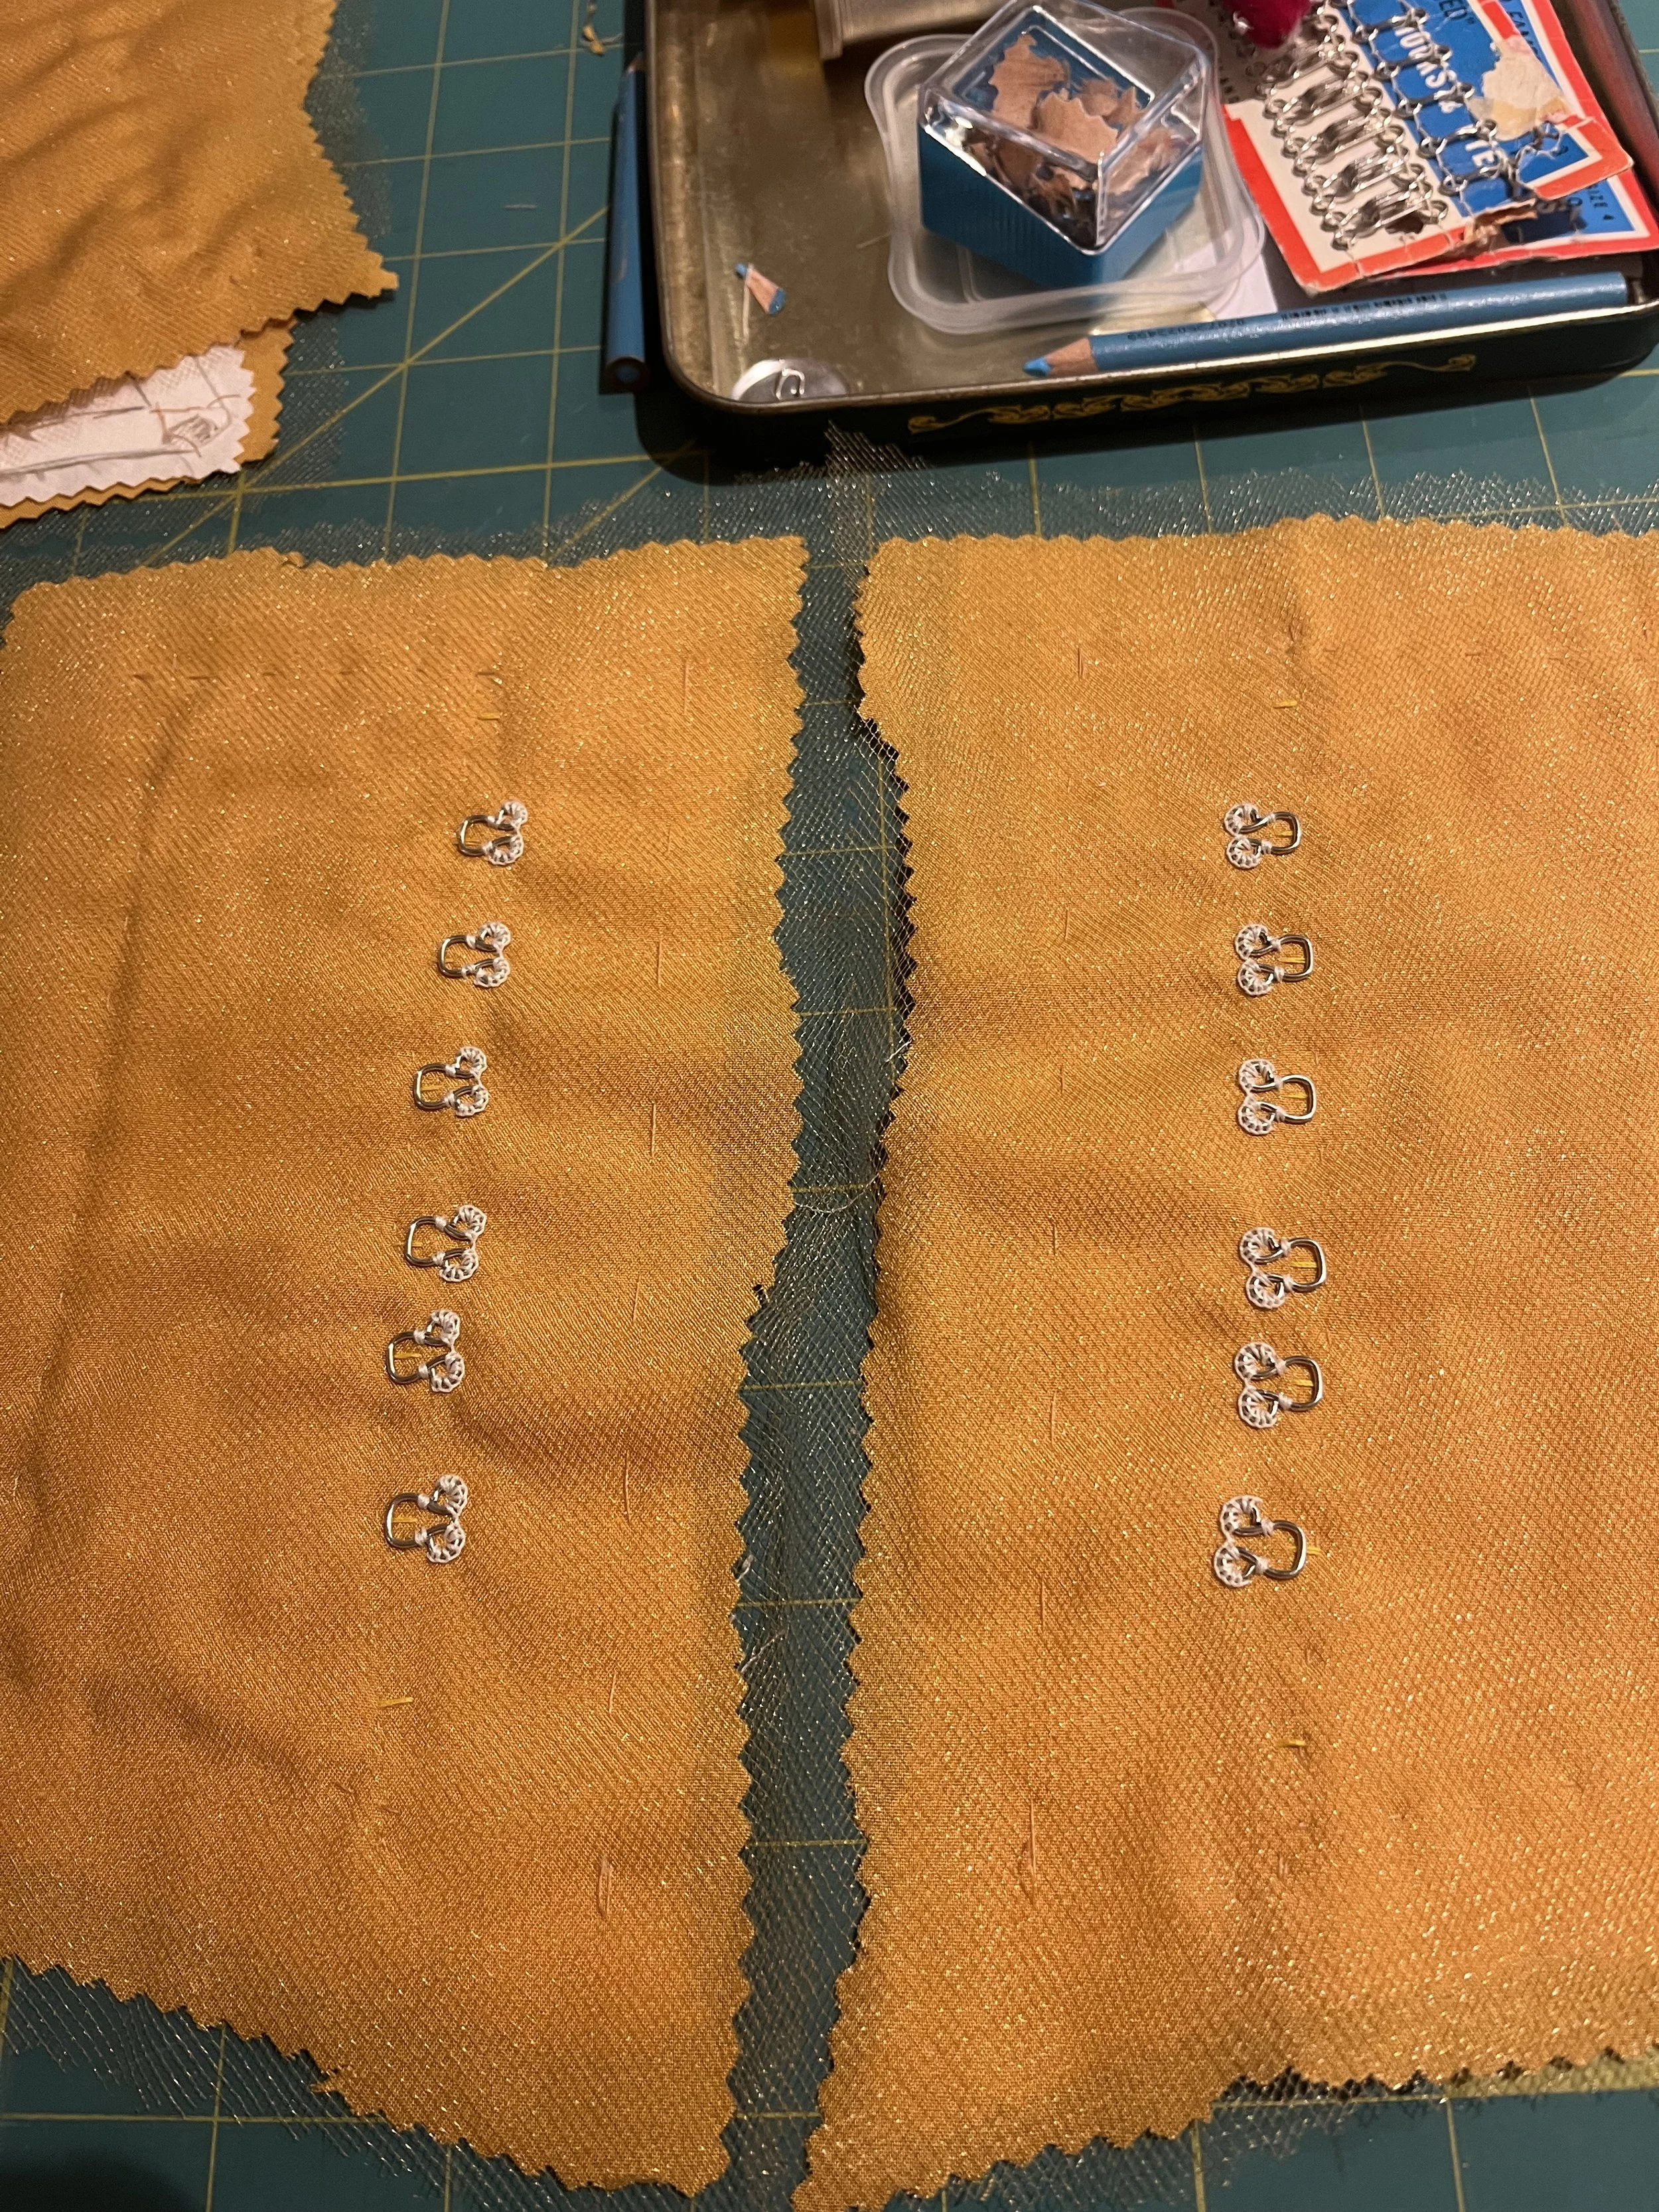
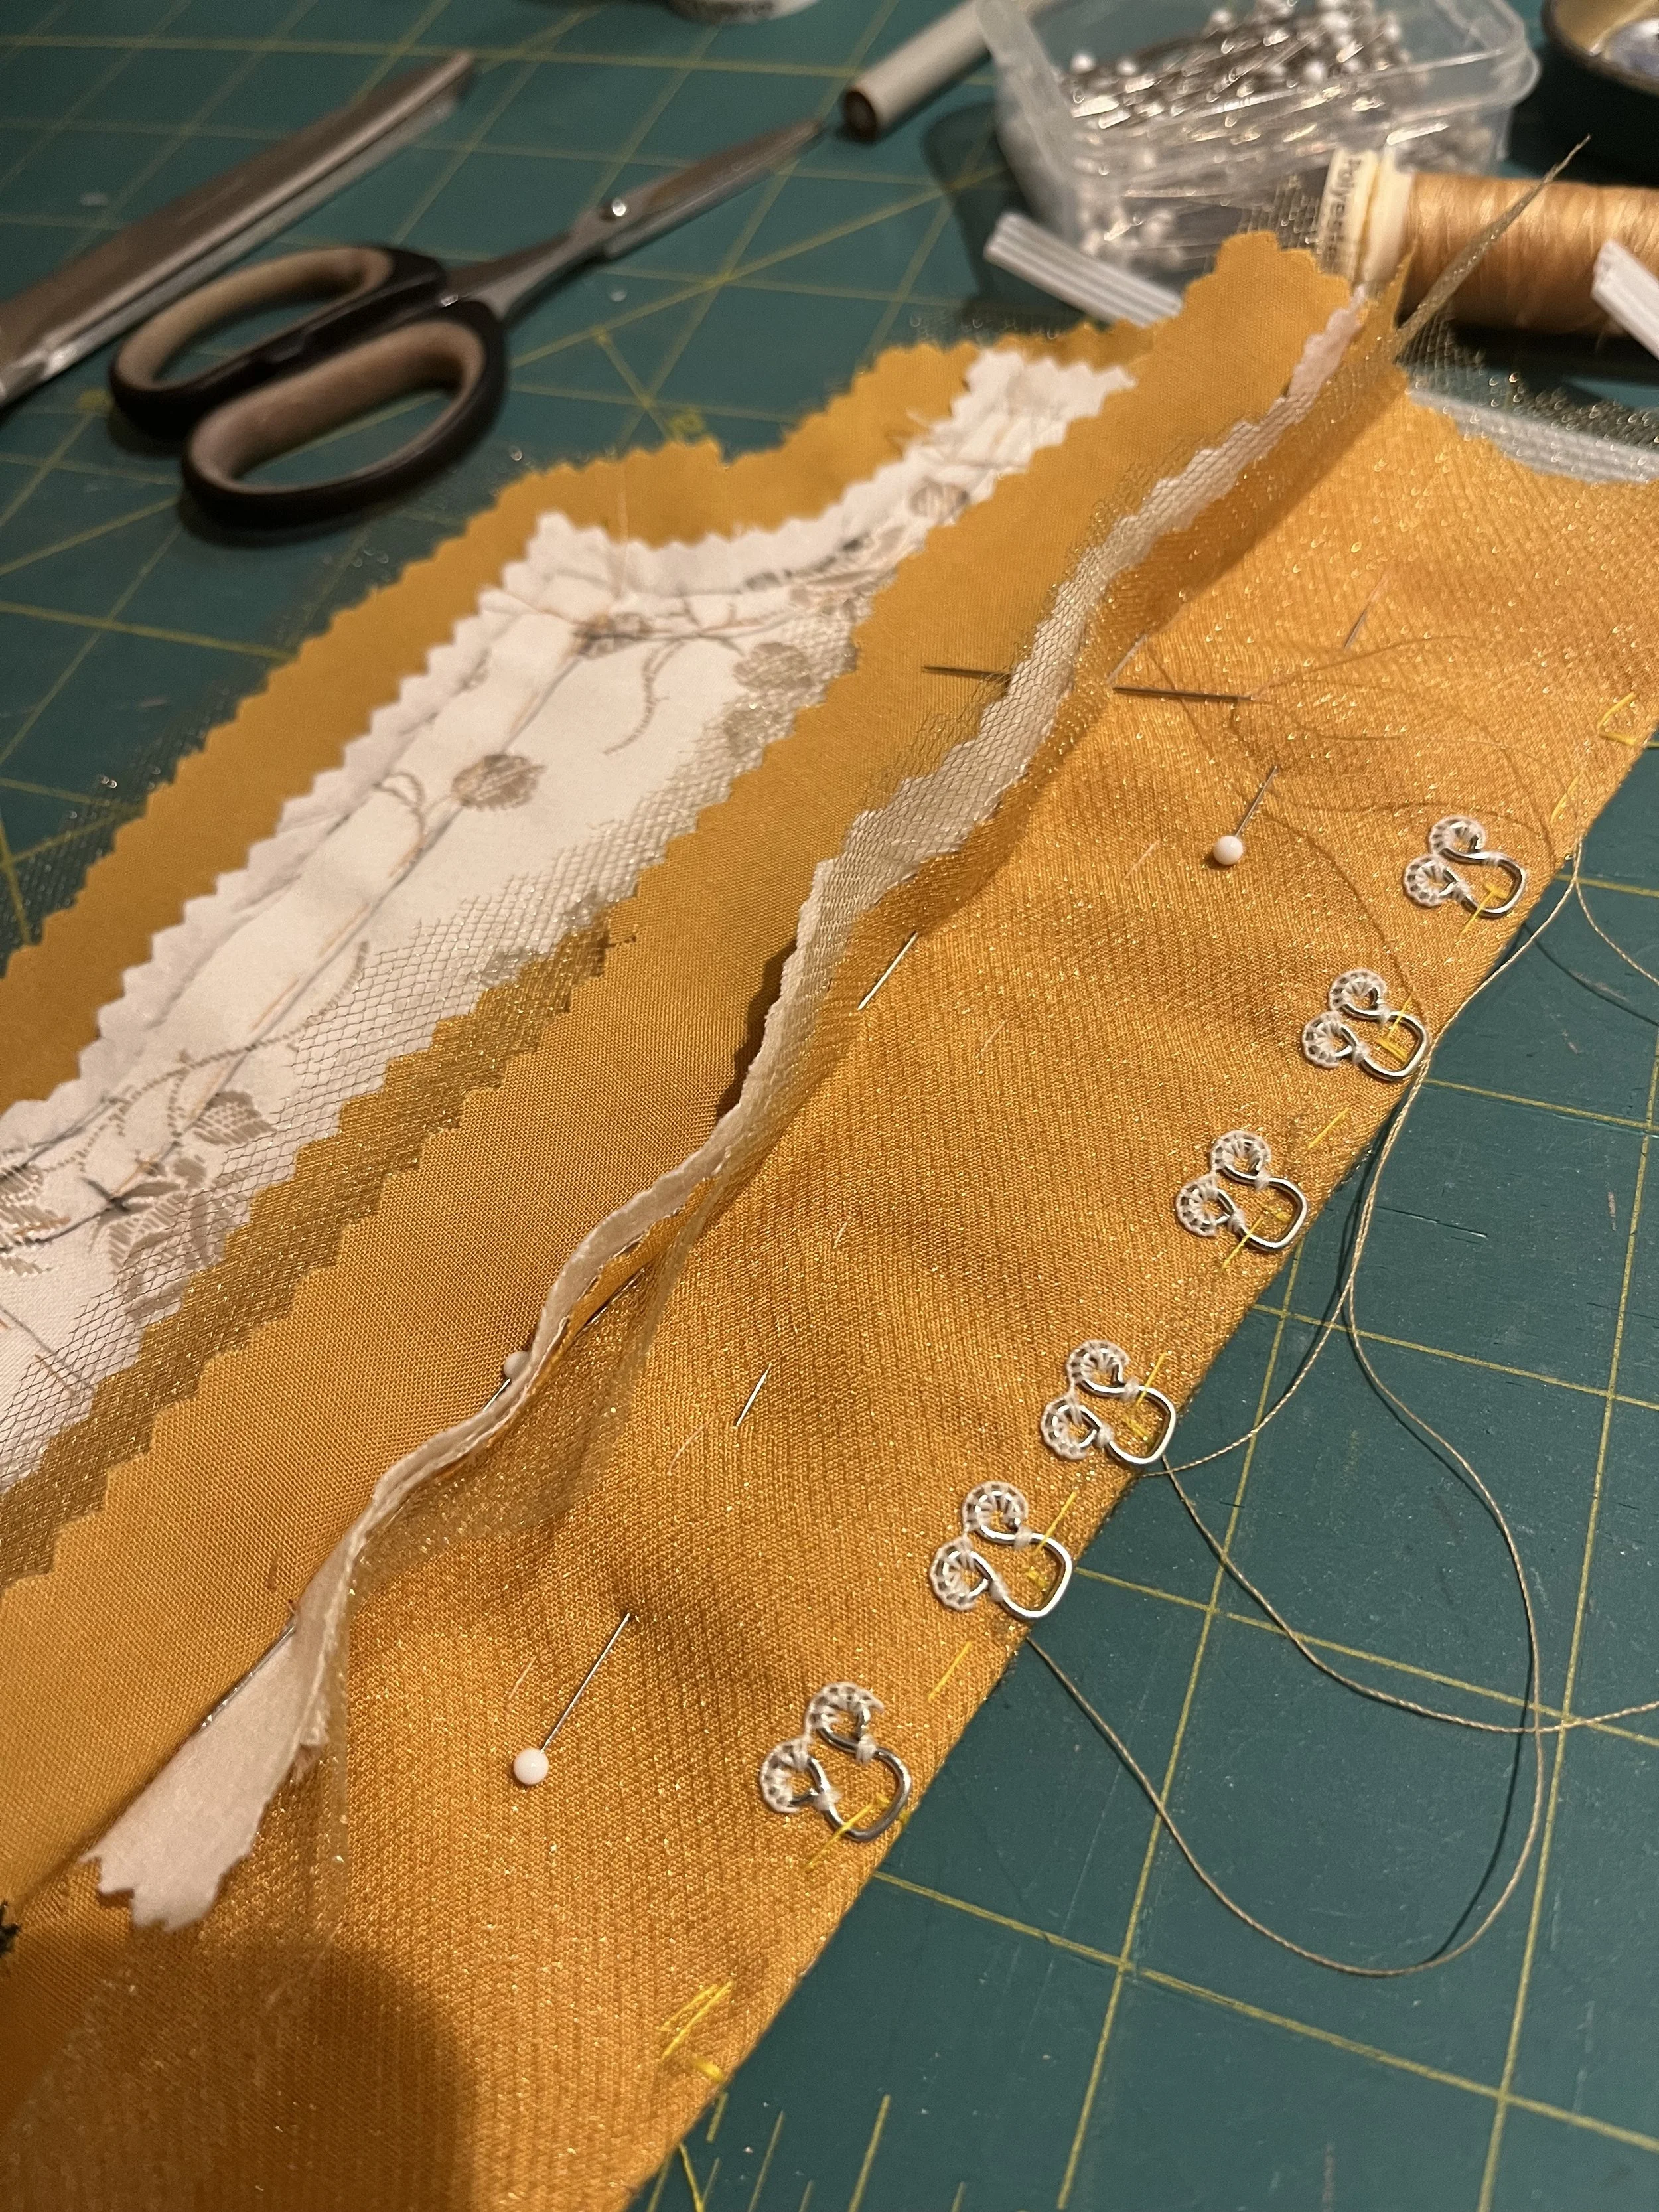
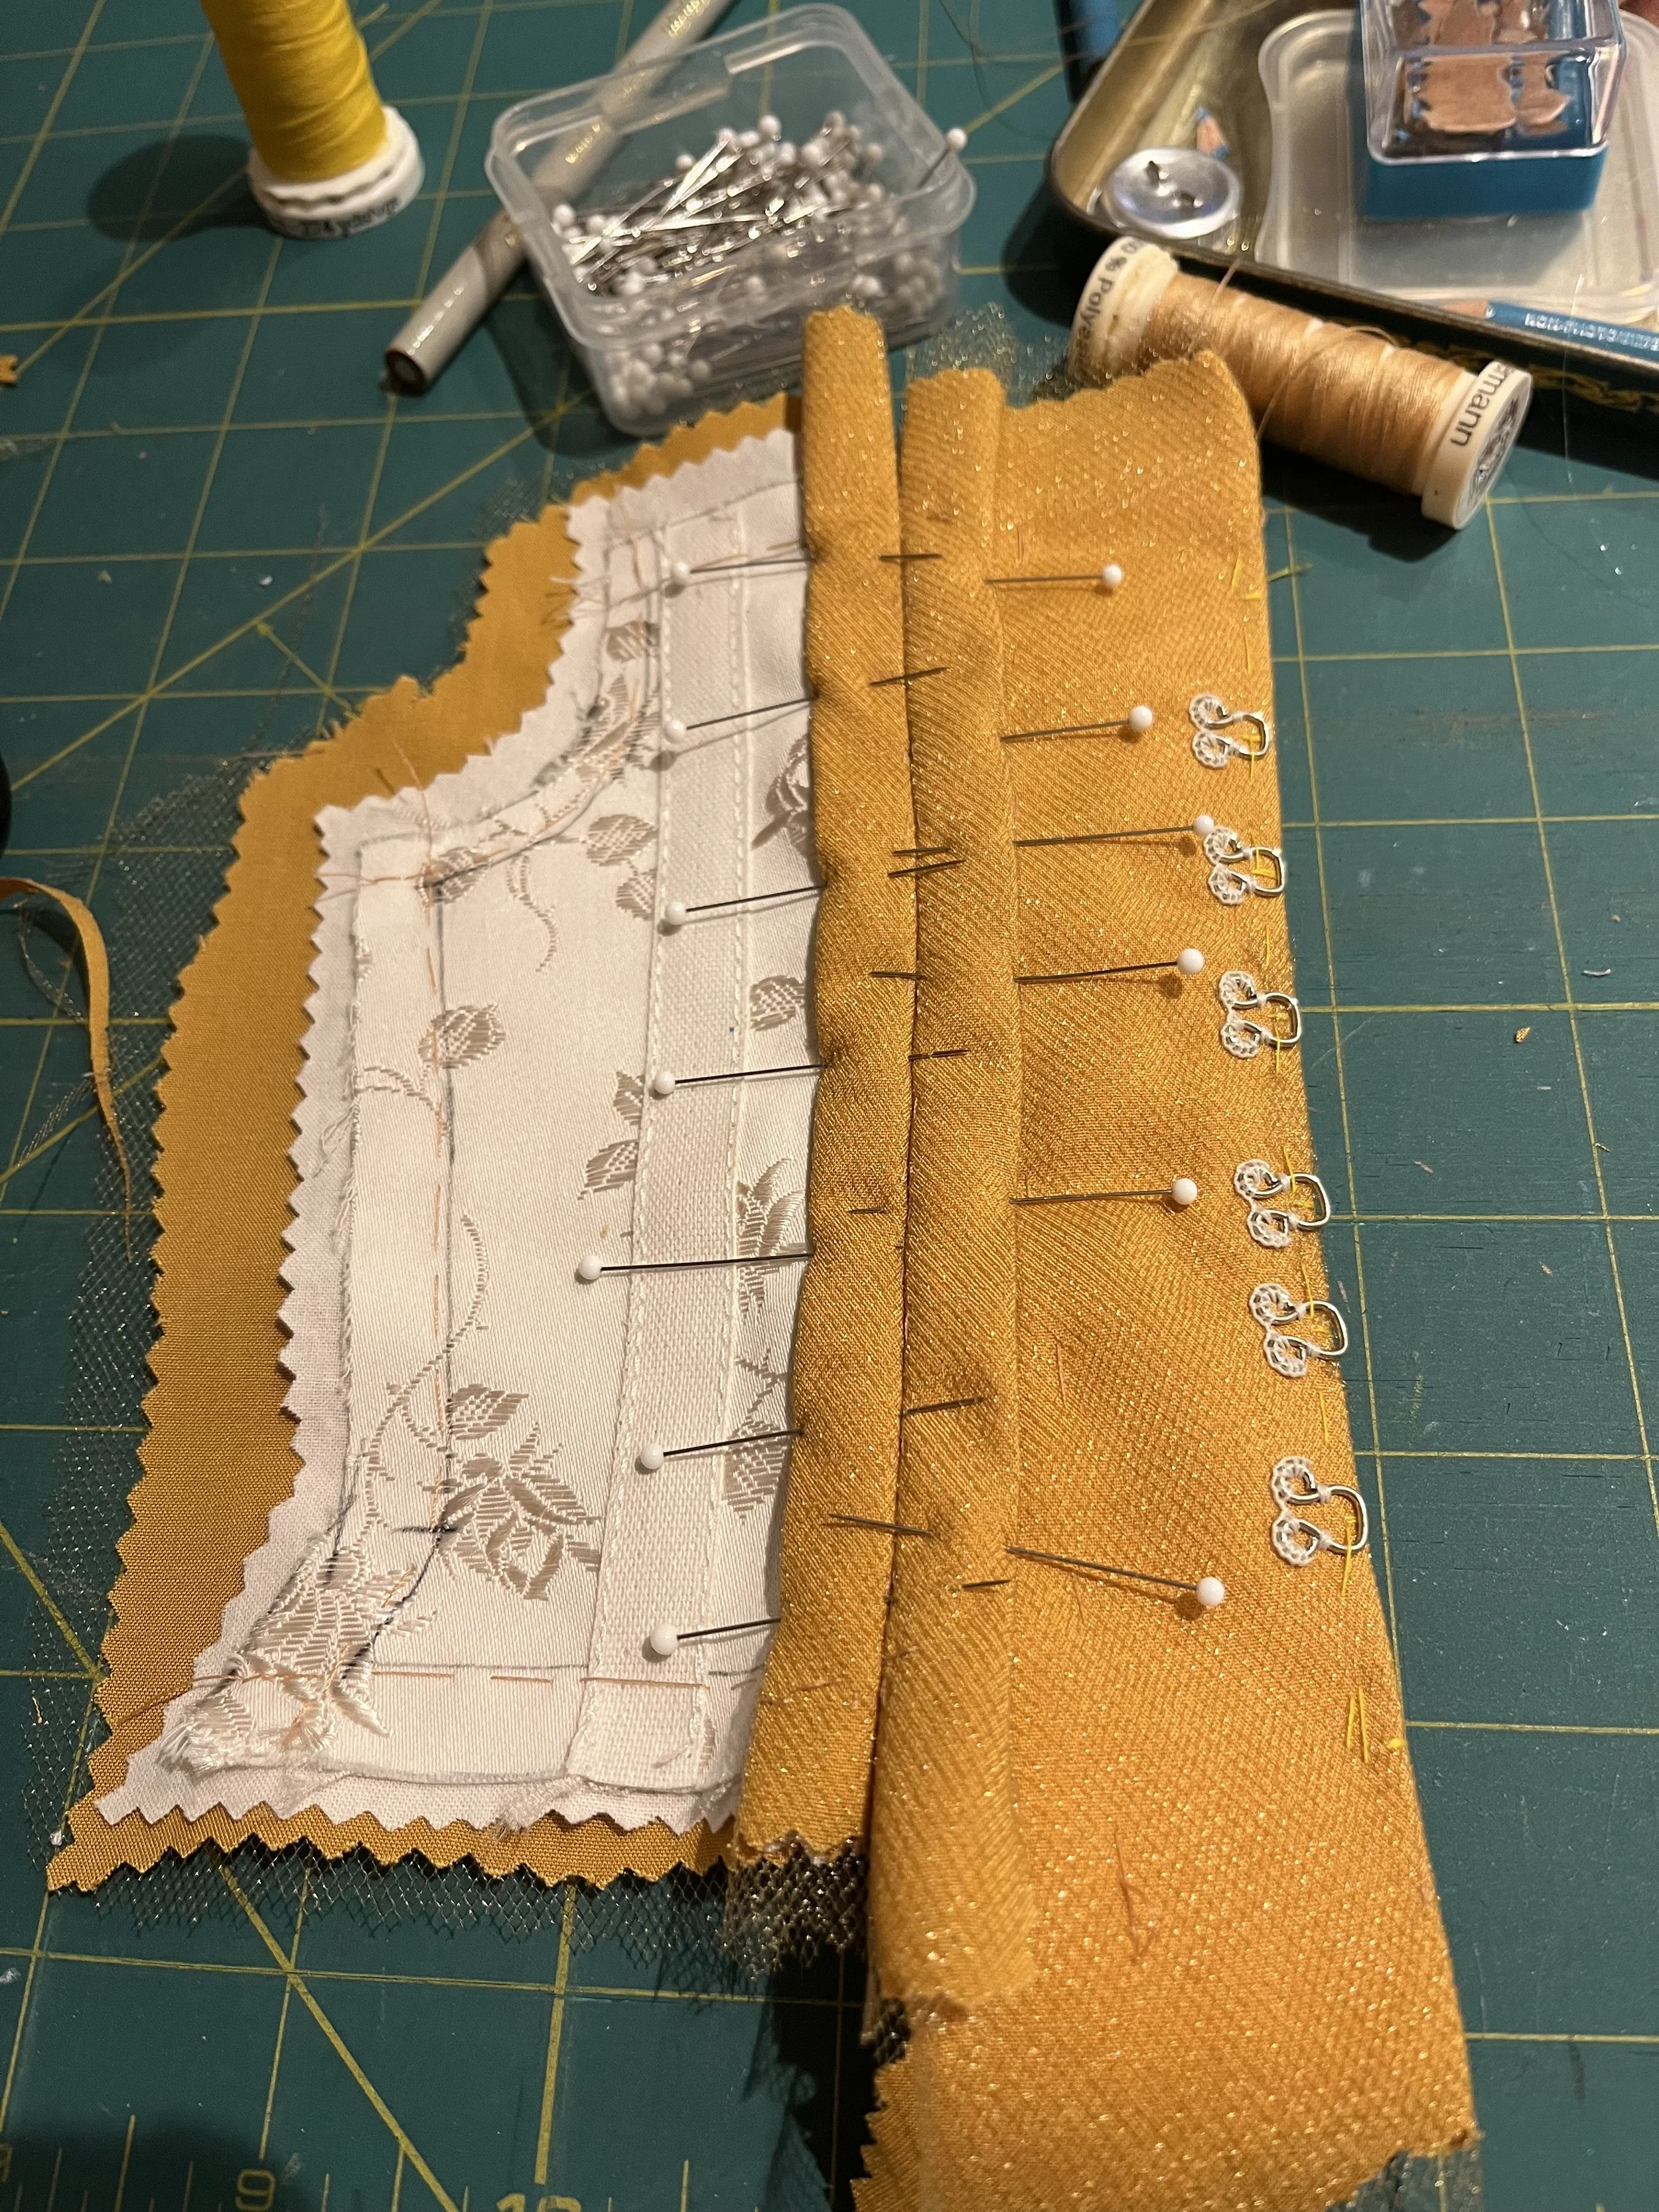
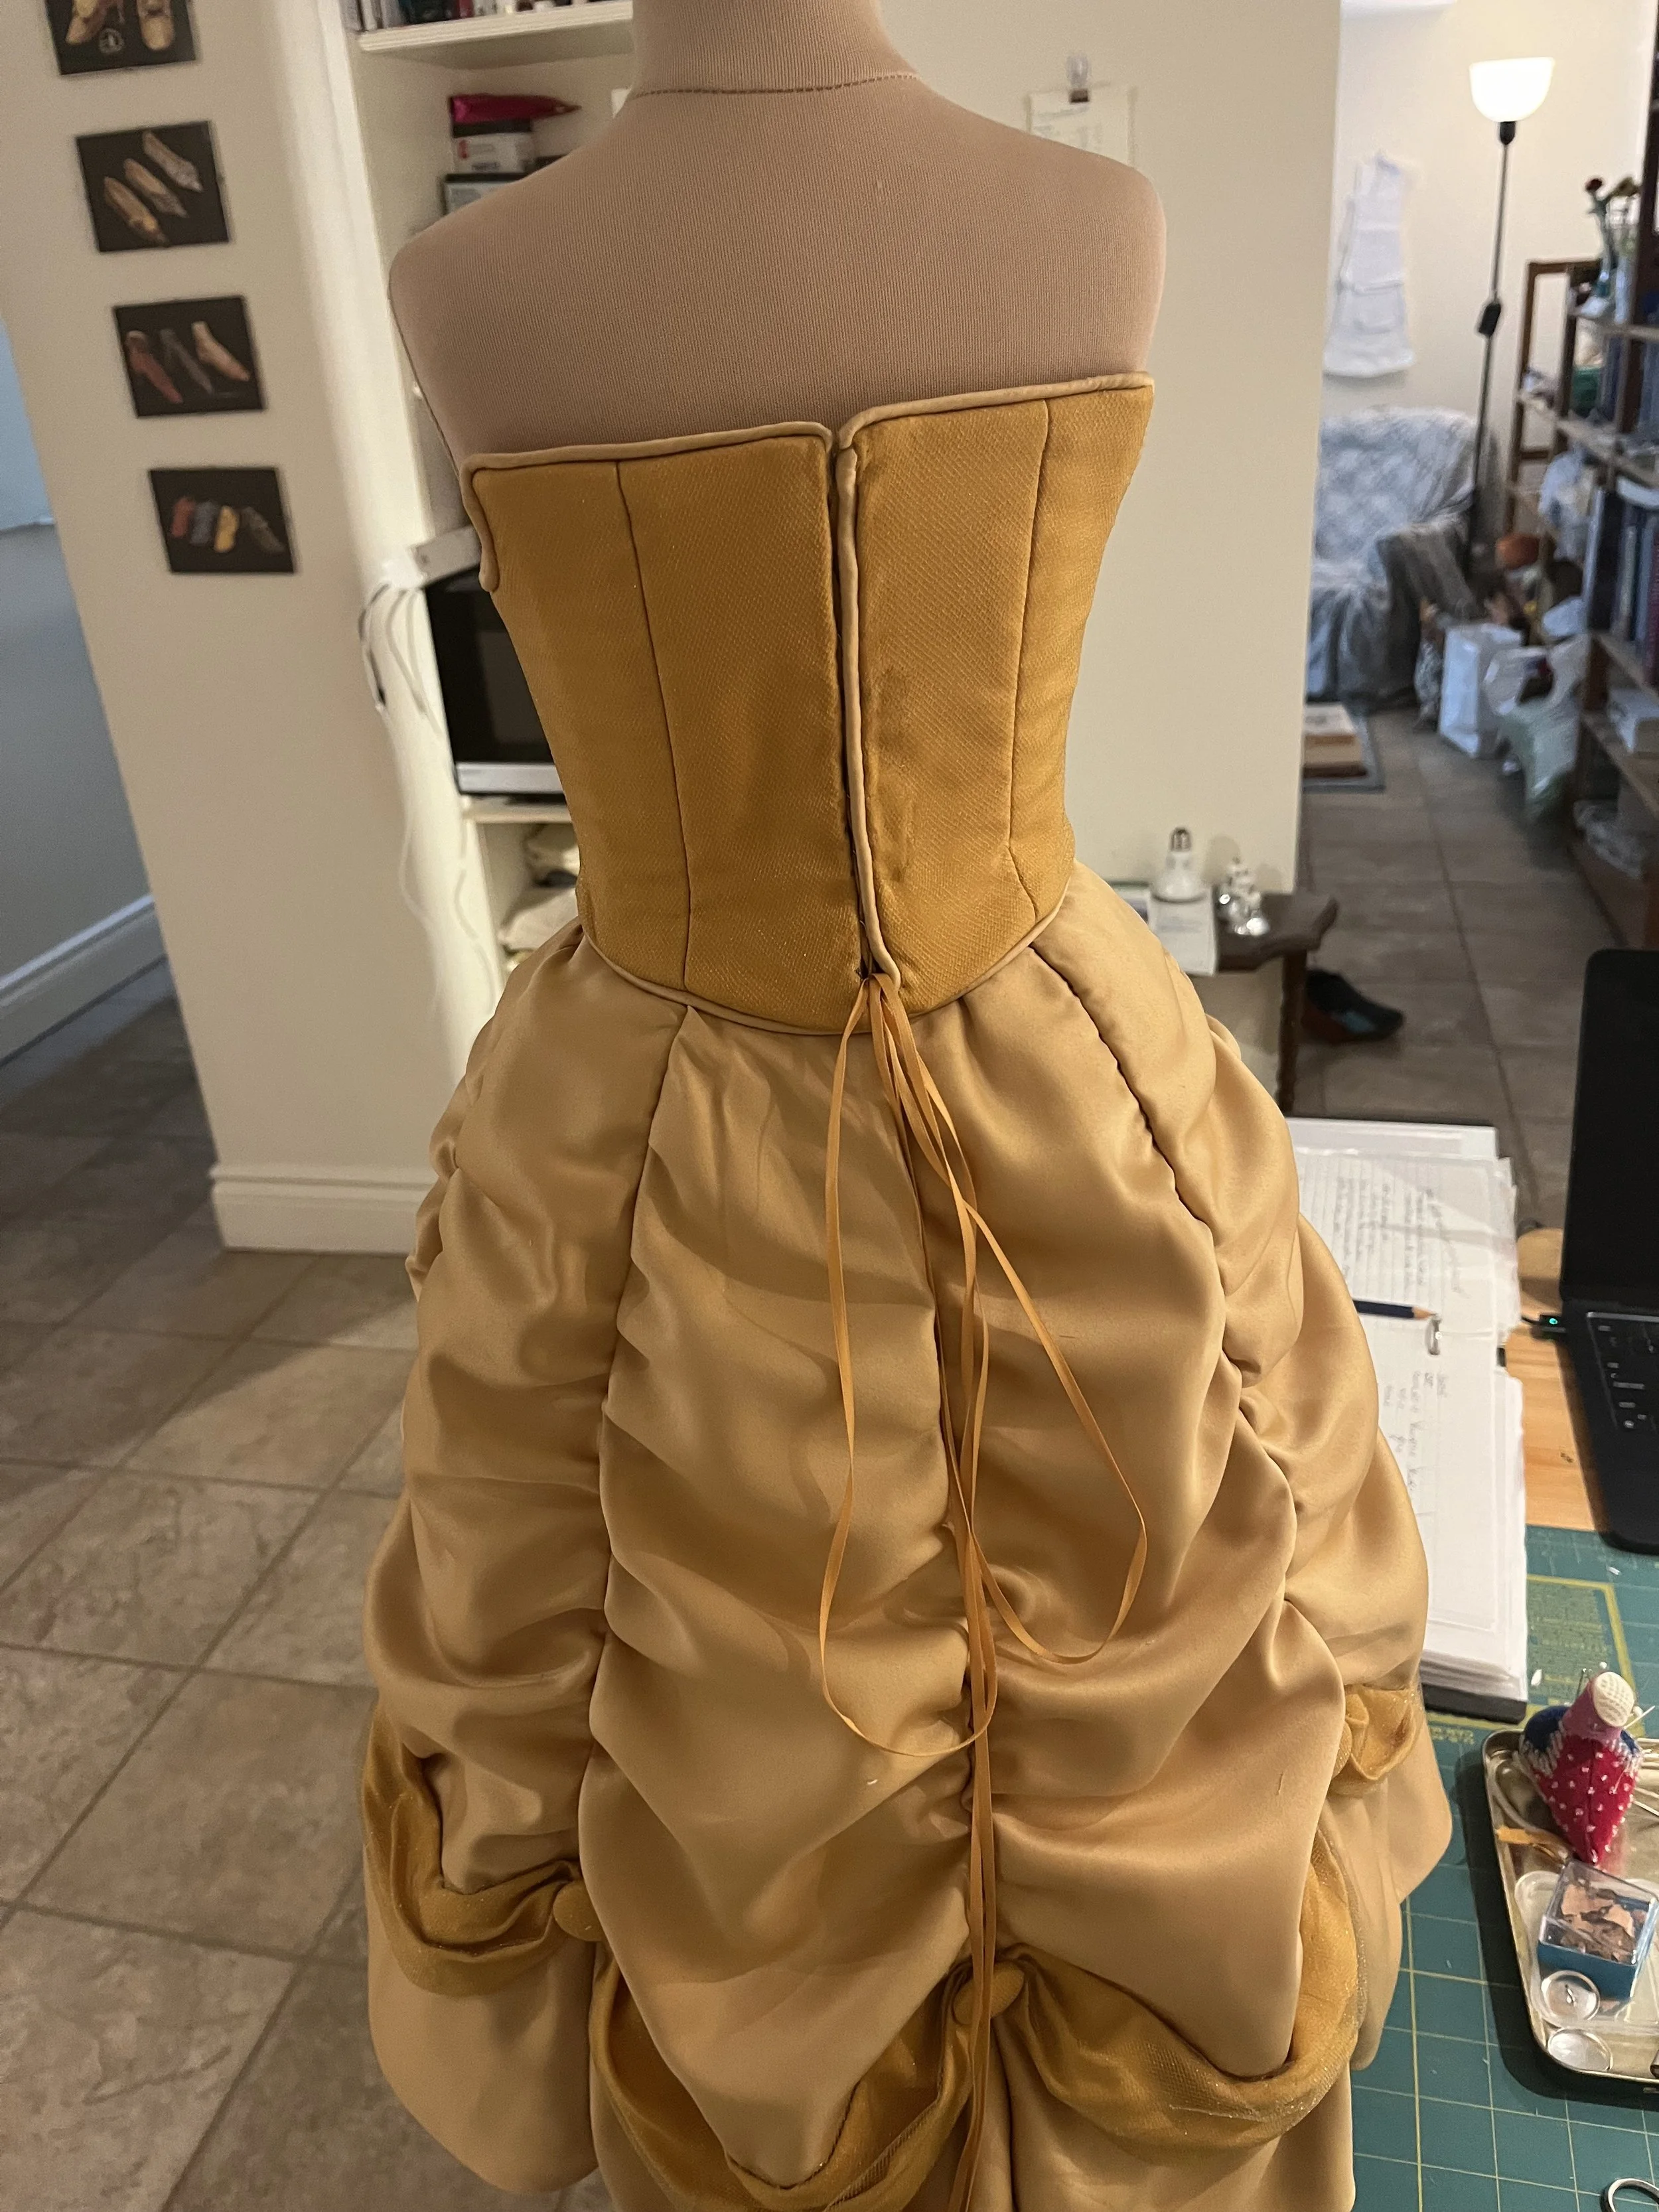
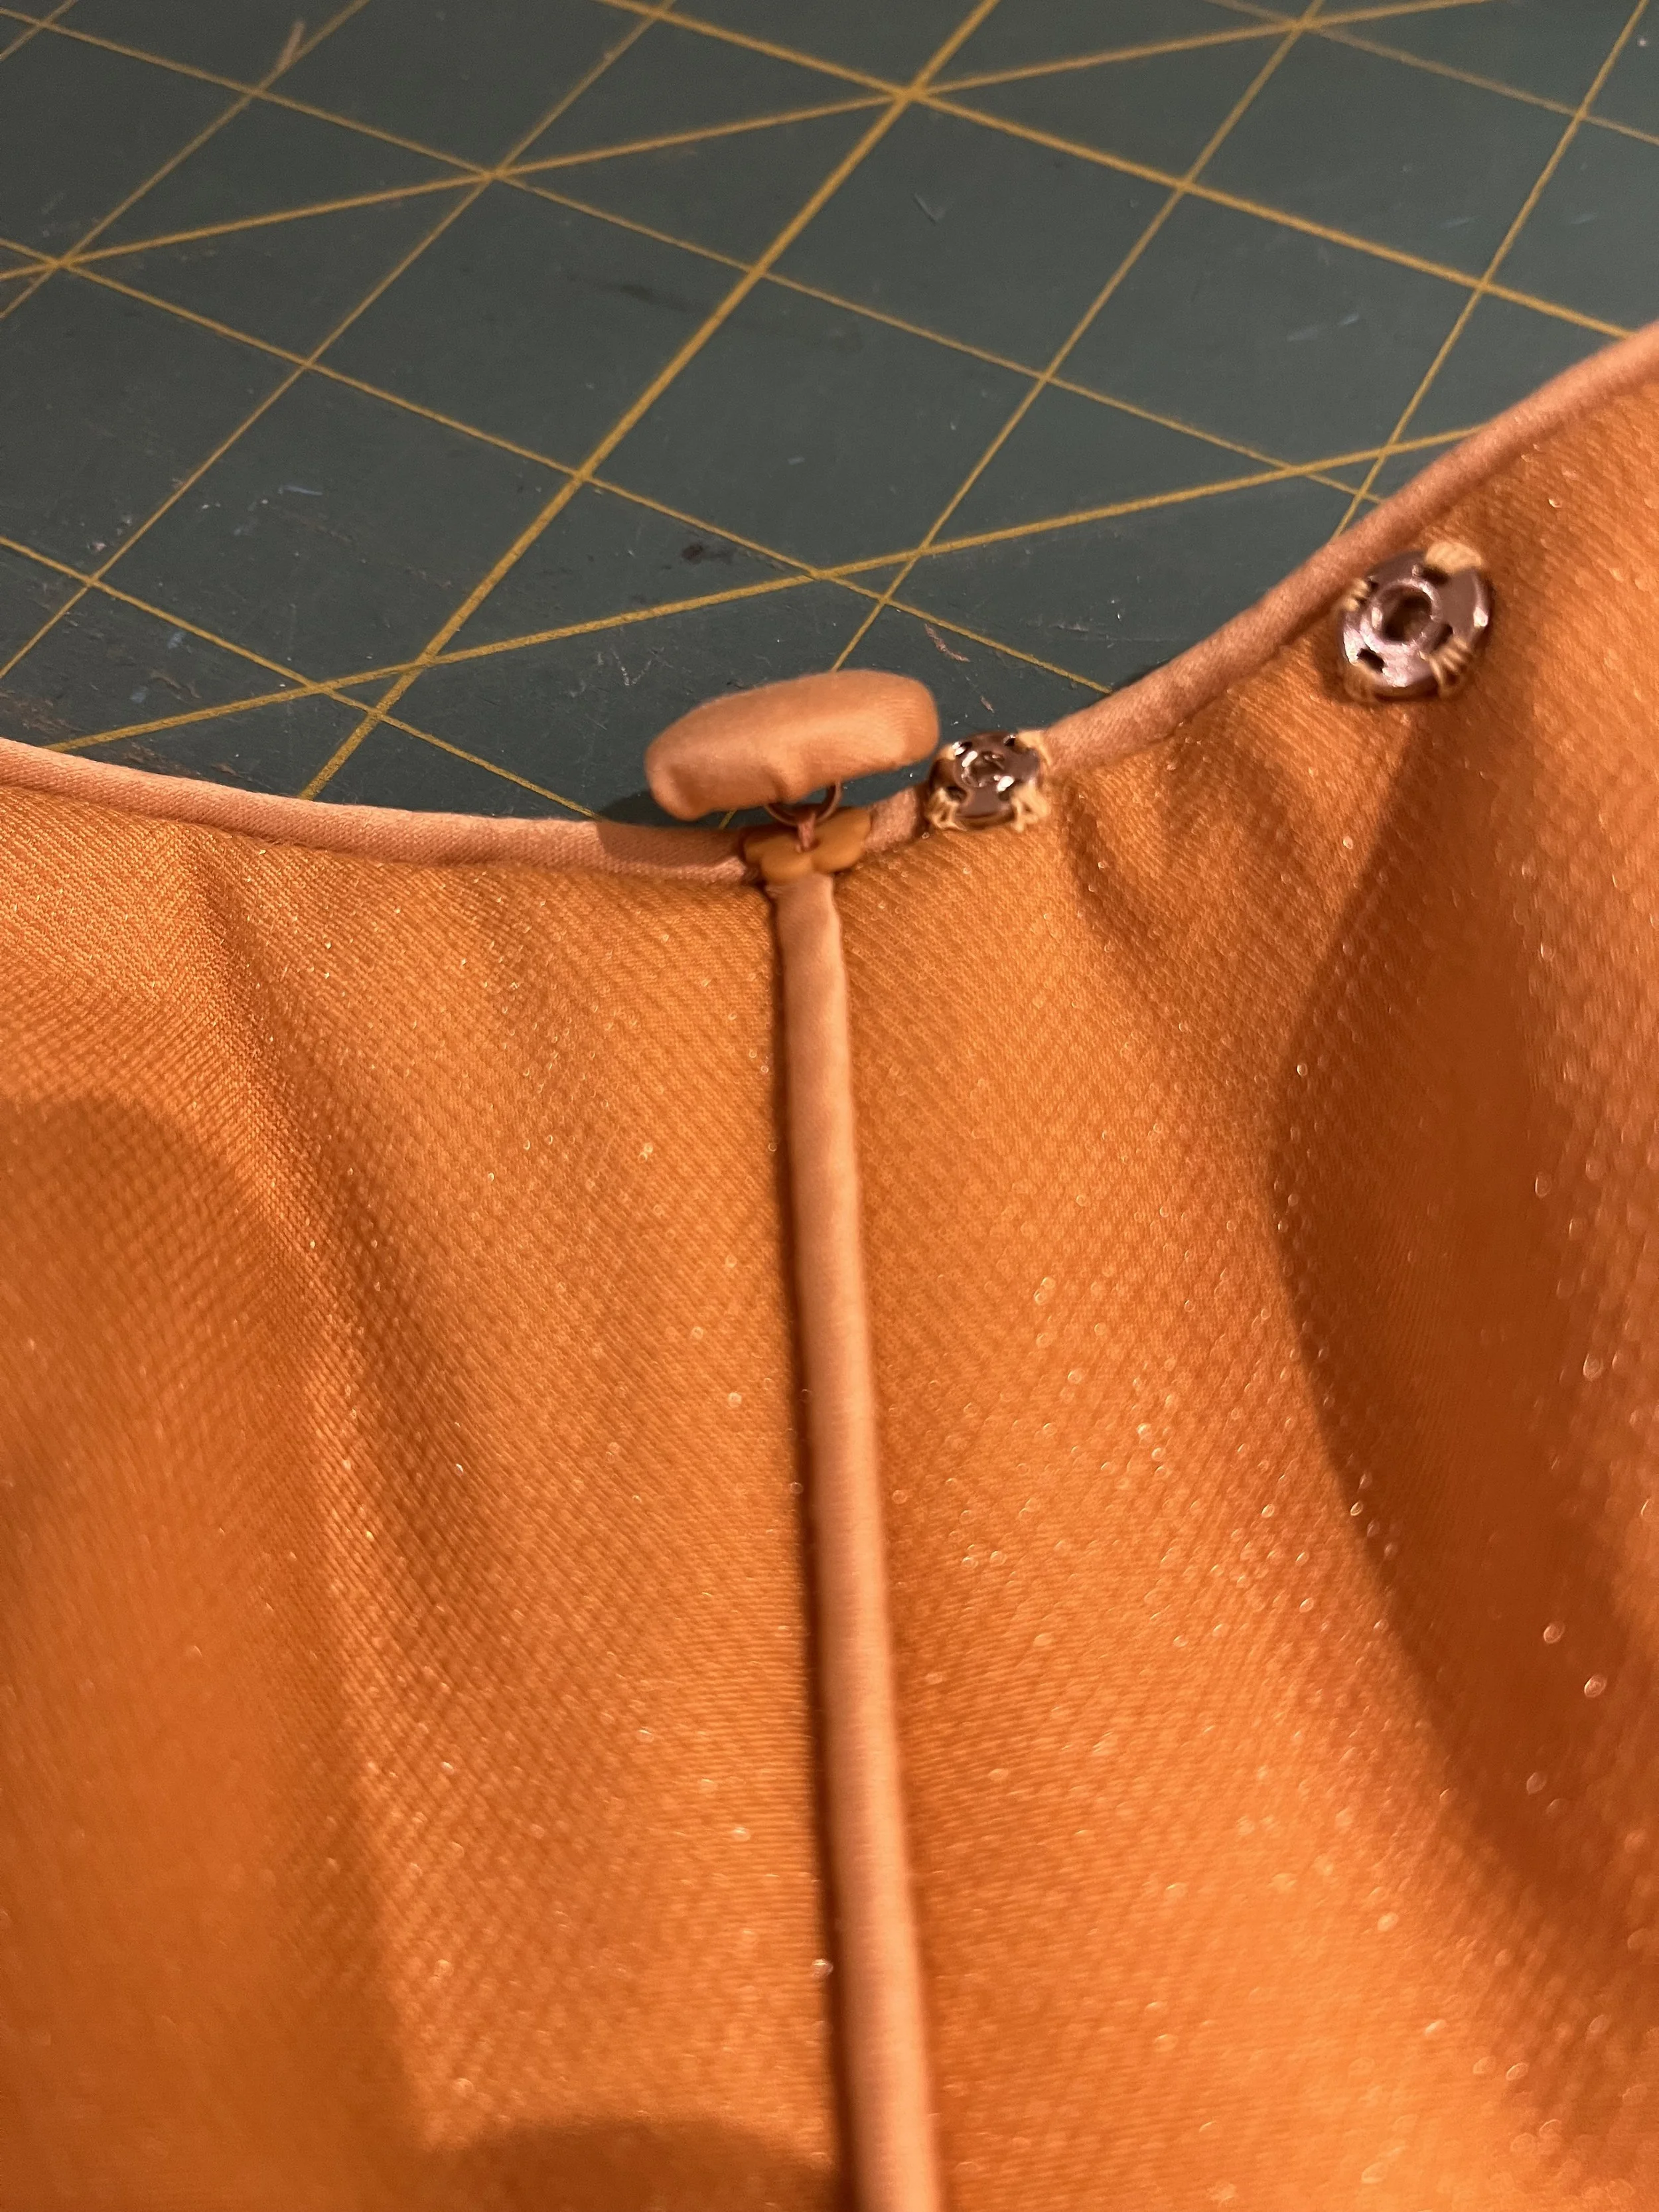
Before assembling the back, I took the opportunity to apply most of the closures. I opted to stitch a row of eyes to each side of centre back which I would use as eyelets to lace up the back. I chose to add them at this point as it was easier to sew them on while the centre back piece was separate from the rest of the bodice and I could easily stab through and ensure that the eyes were attached sturdily and could withstand the pressure of the lacing. In retrospect, I wish I had set them a bit further back, but they ended up working pretty well anyway. Like I would do with a corset, I also left the top and bottom eyes off so that they would not interfere with the hem and neckline finishing. I then stitched the side back seams and folded the centre back seam allowance into place to catch it into the seam finishing. With the front and backs finished, I stitched and finished the side seams.
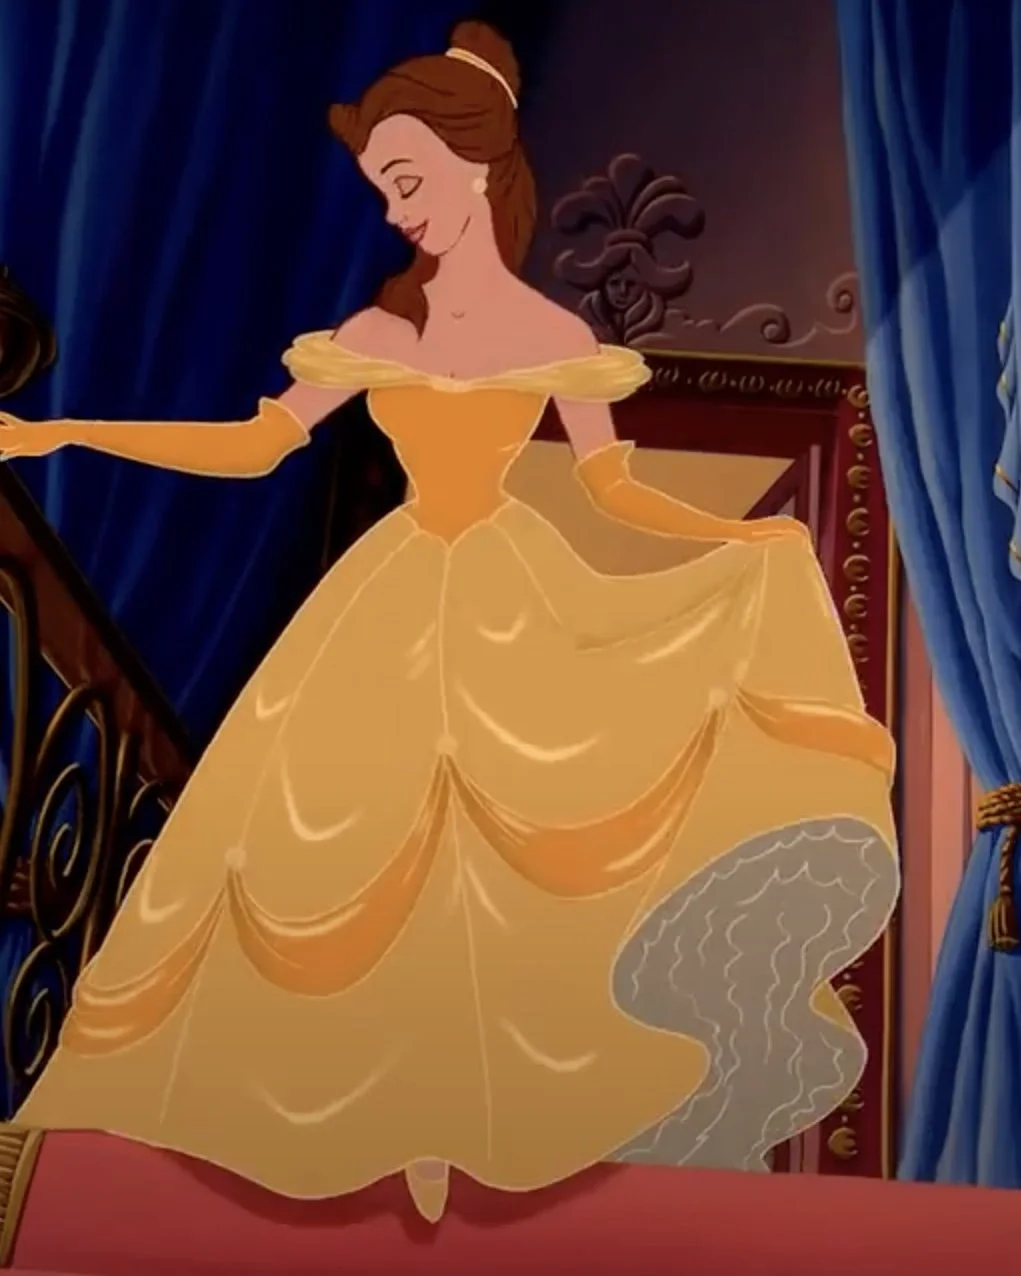
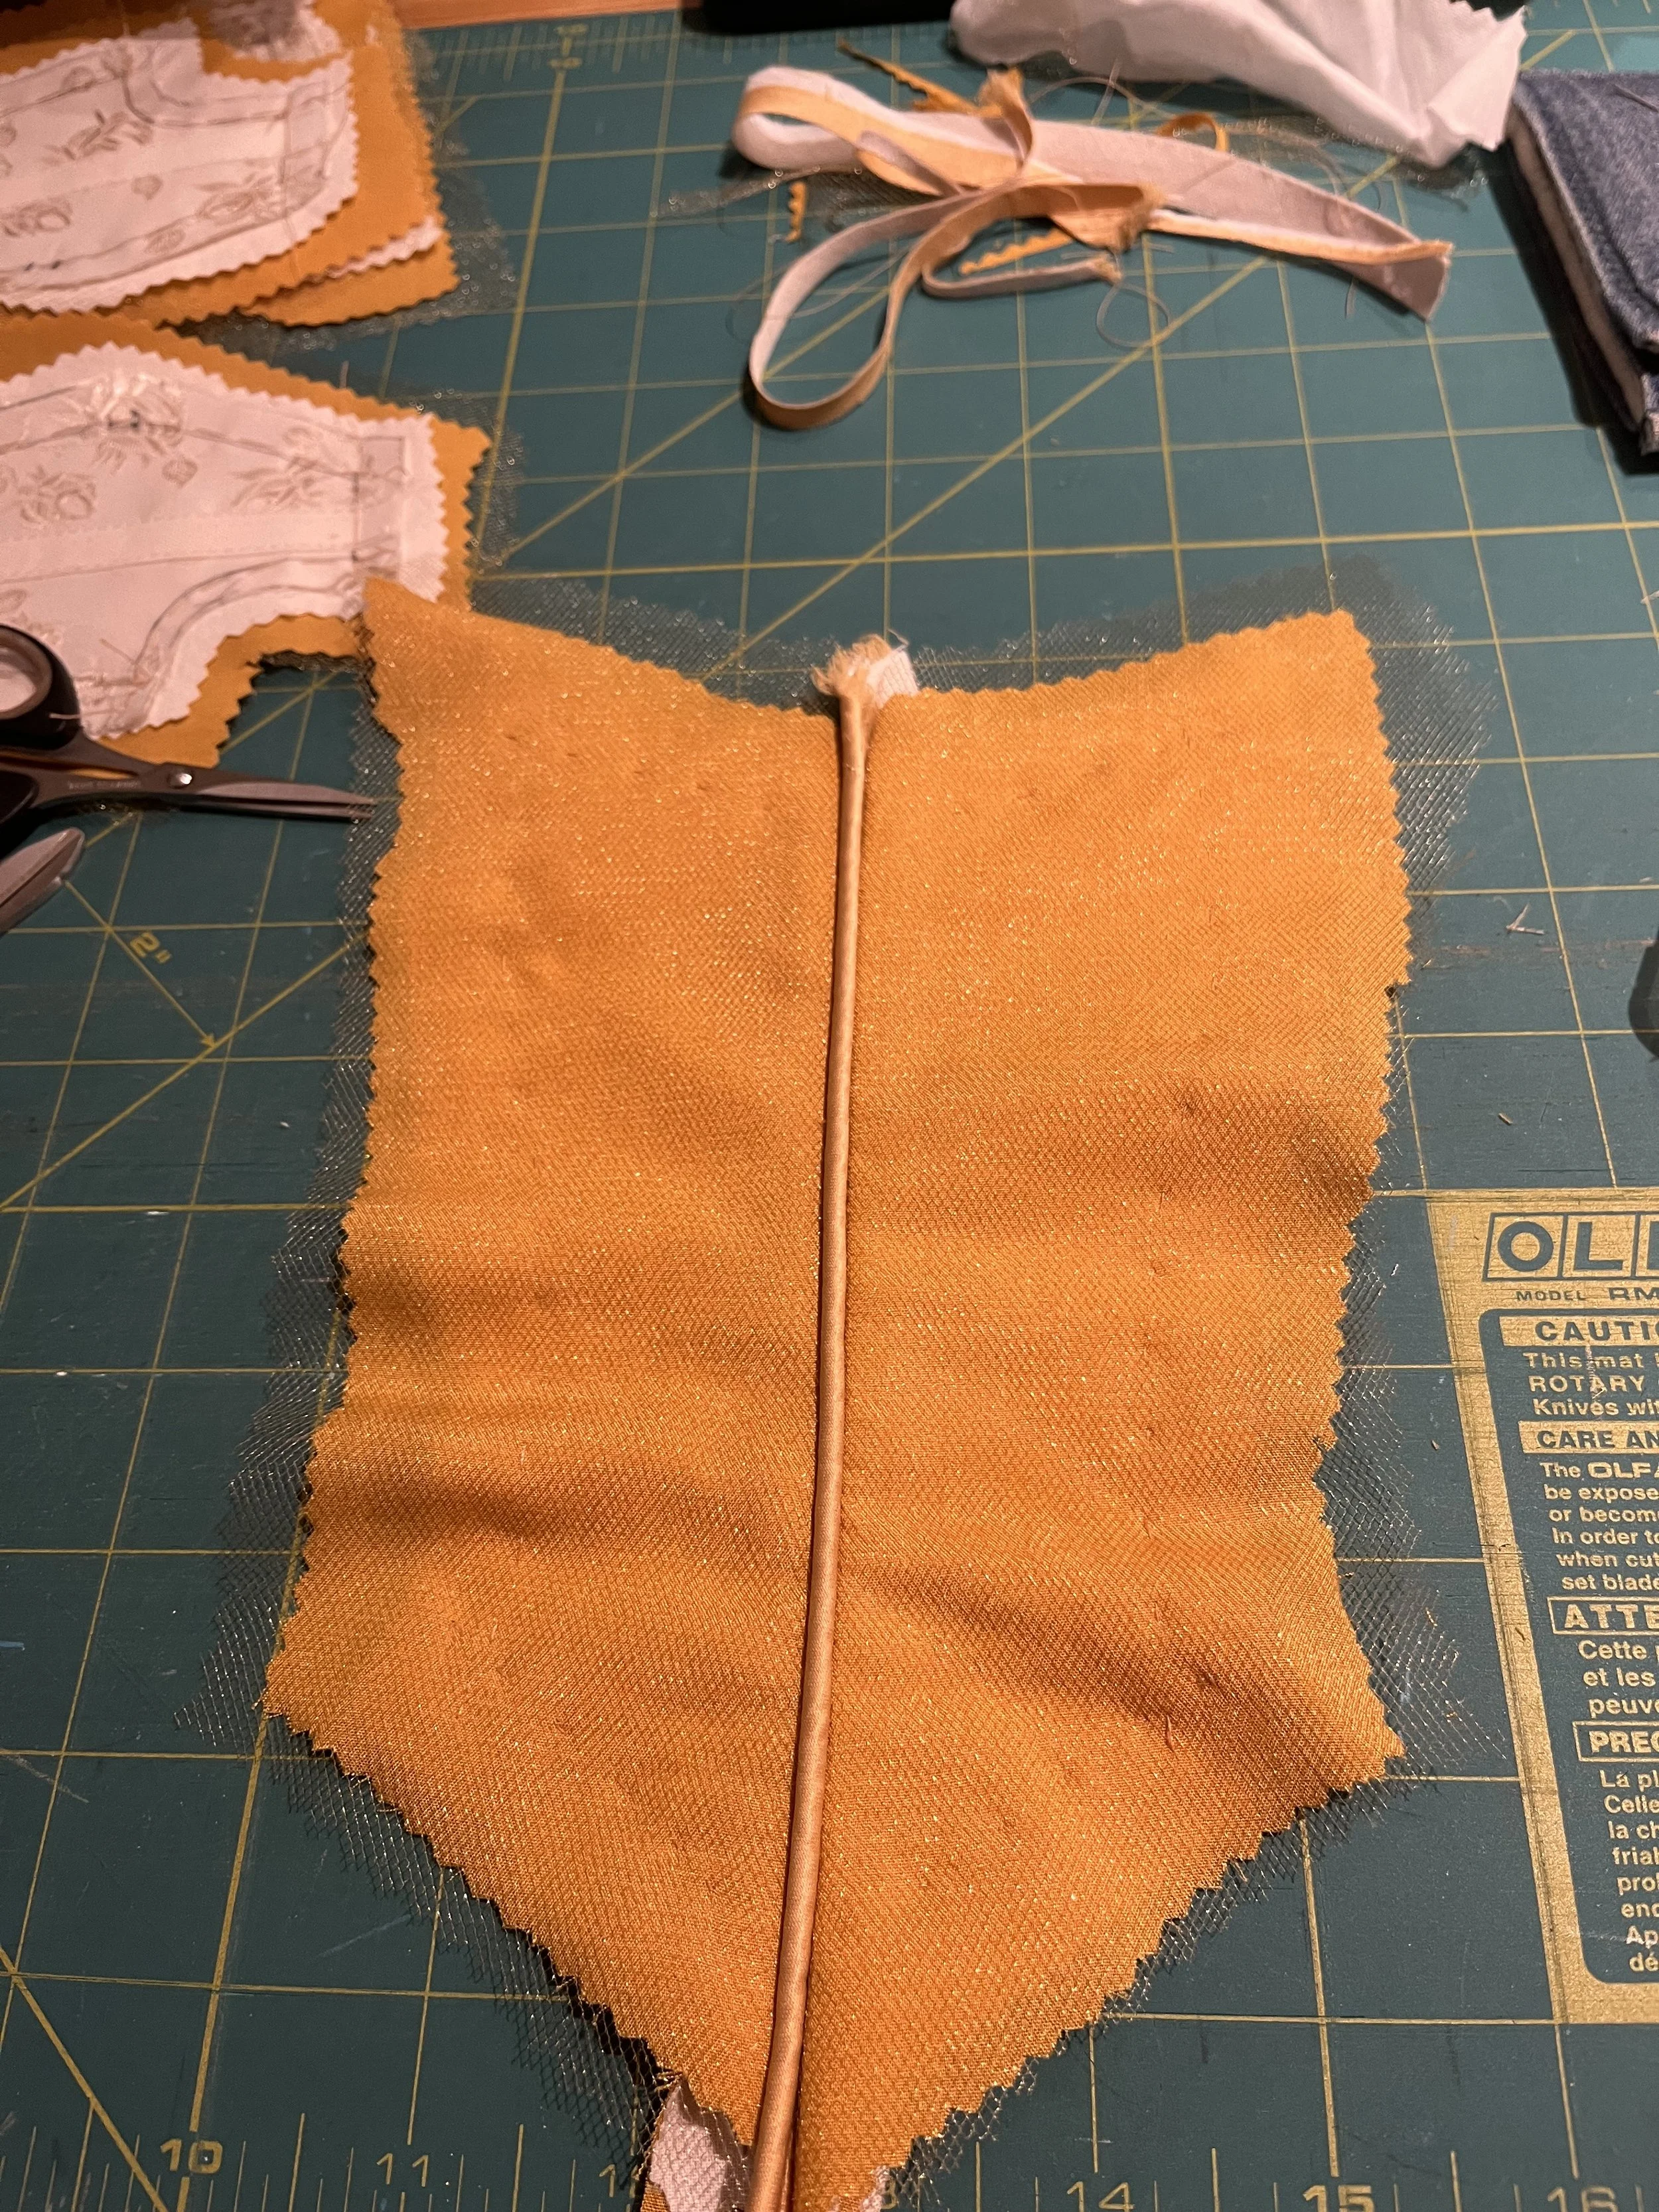
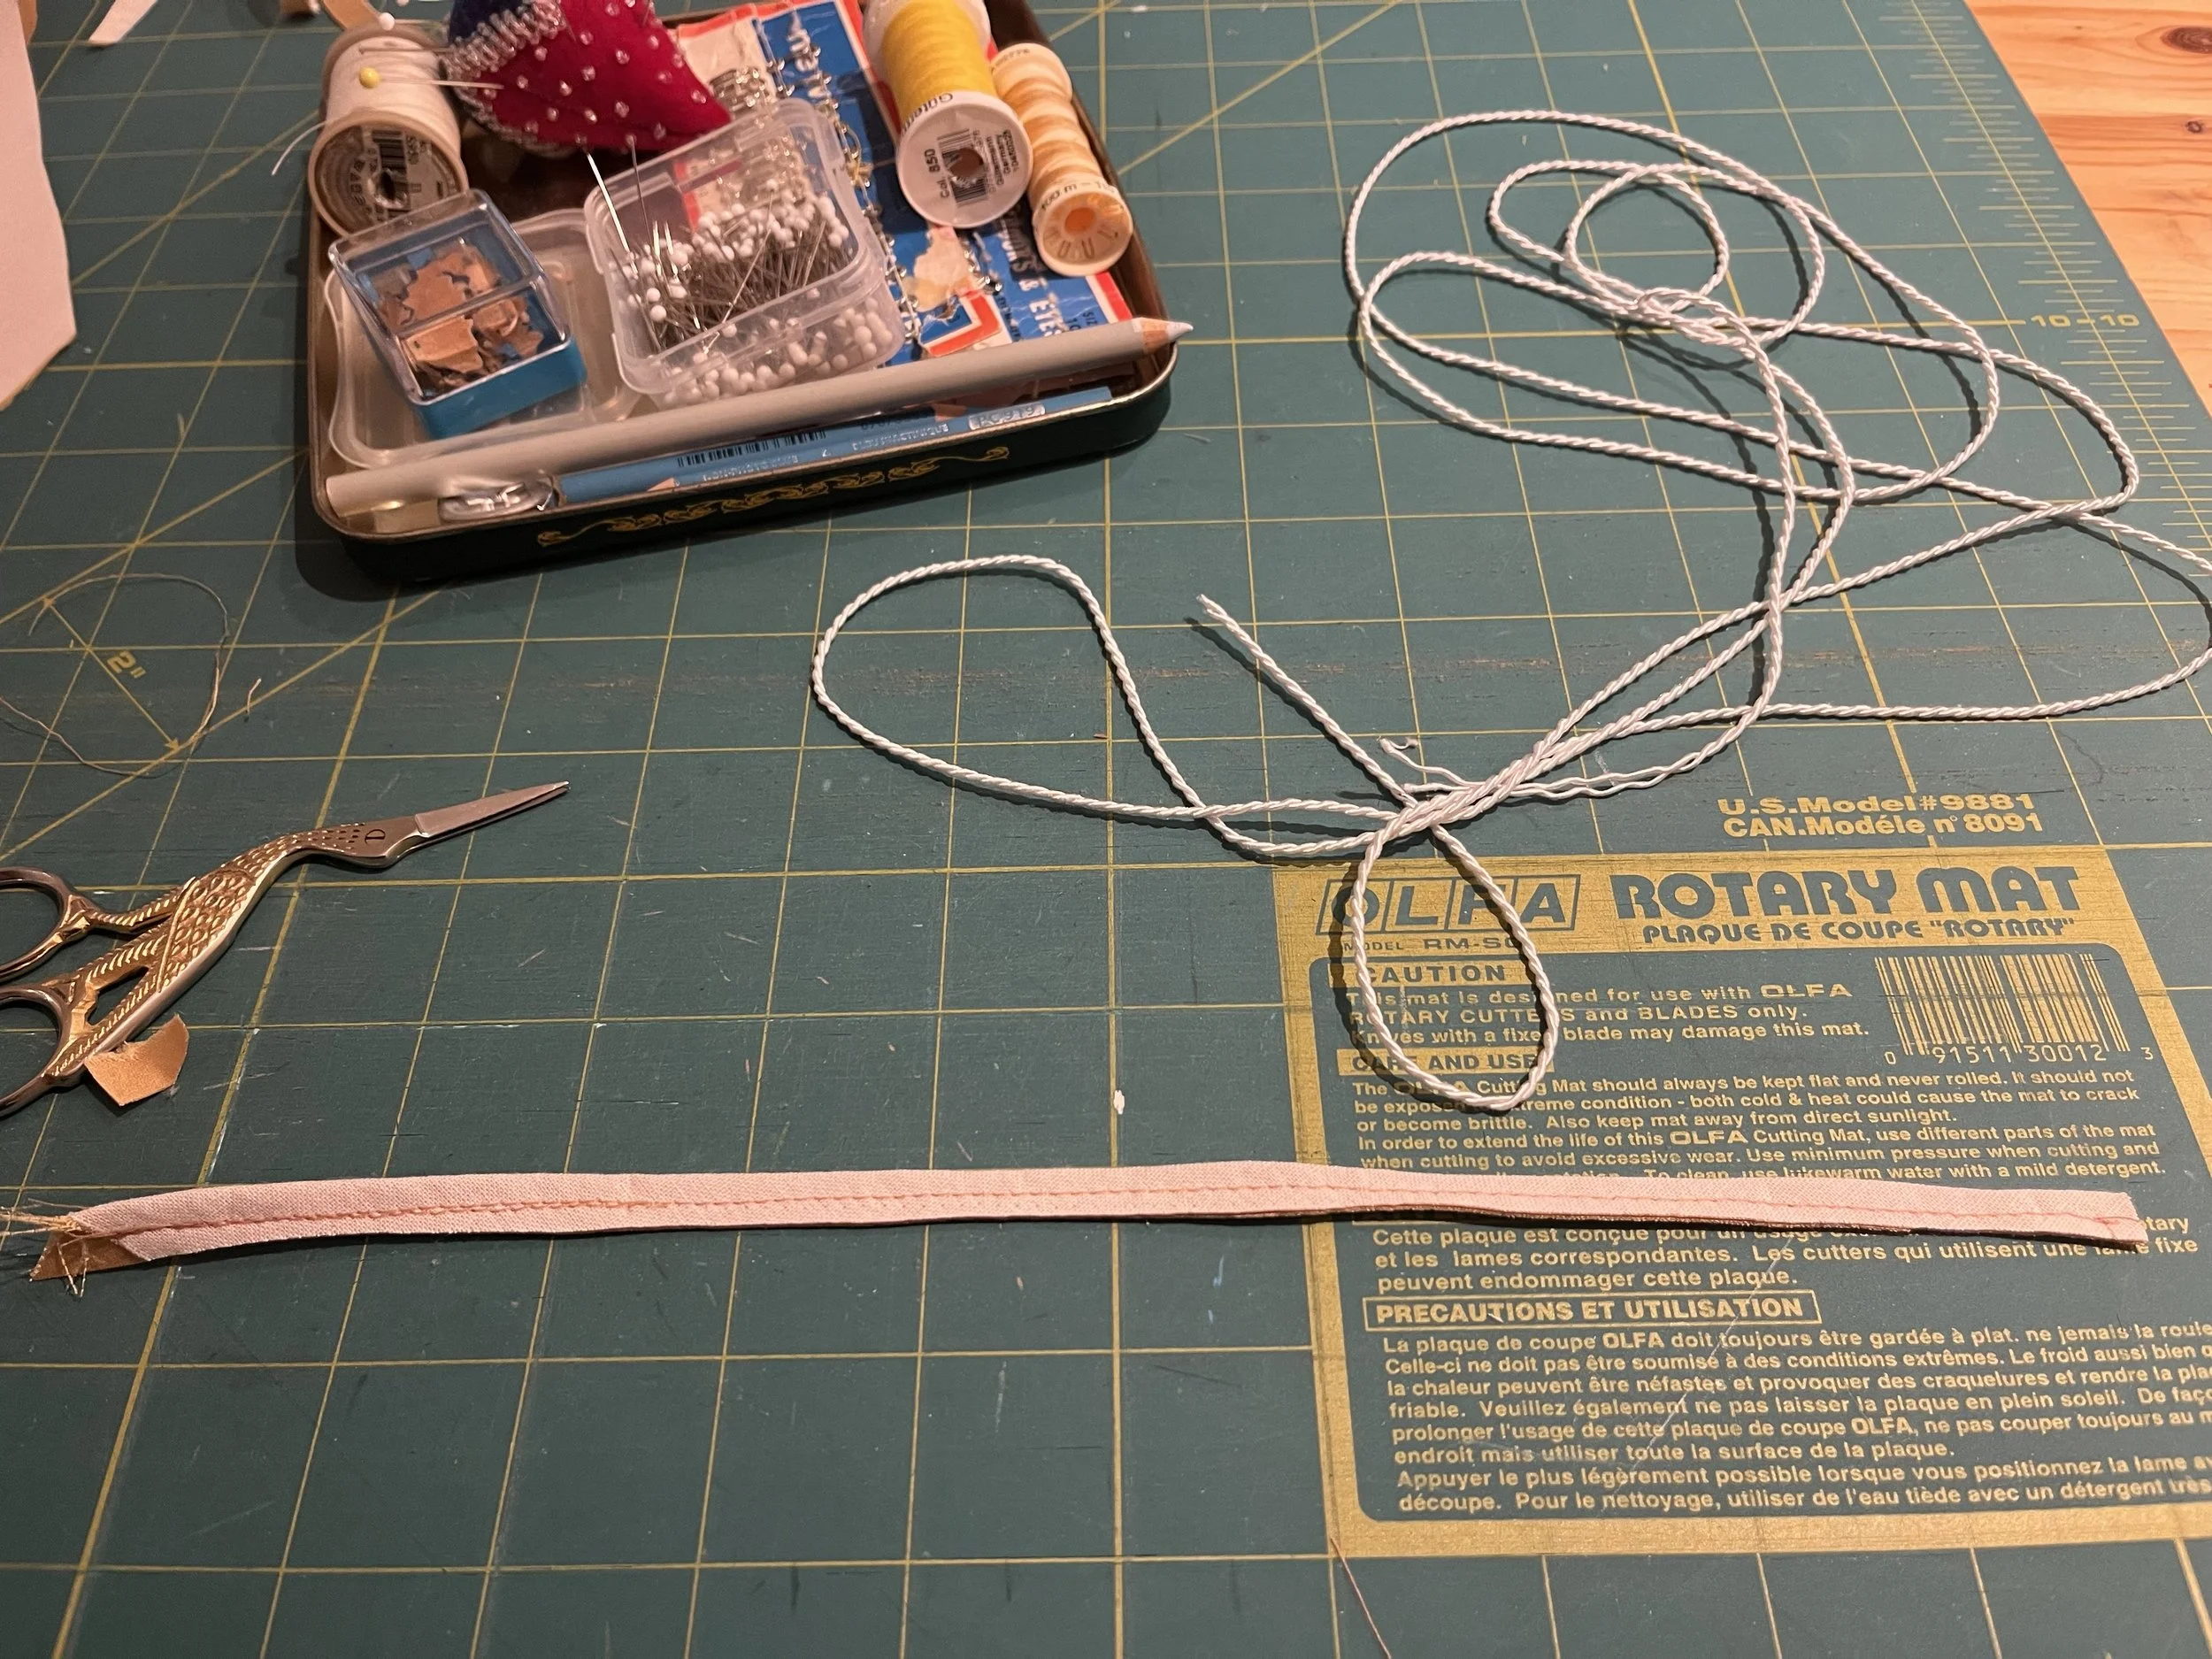
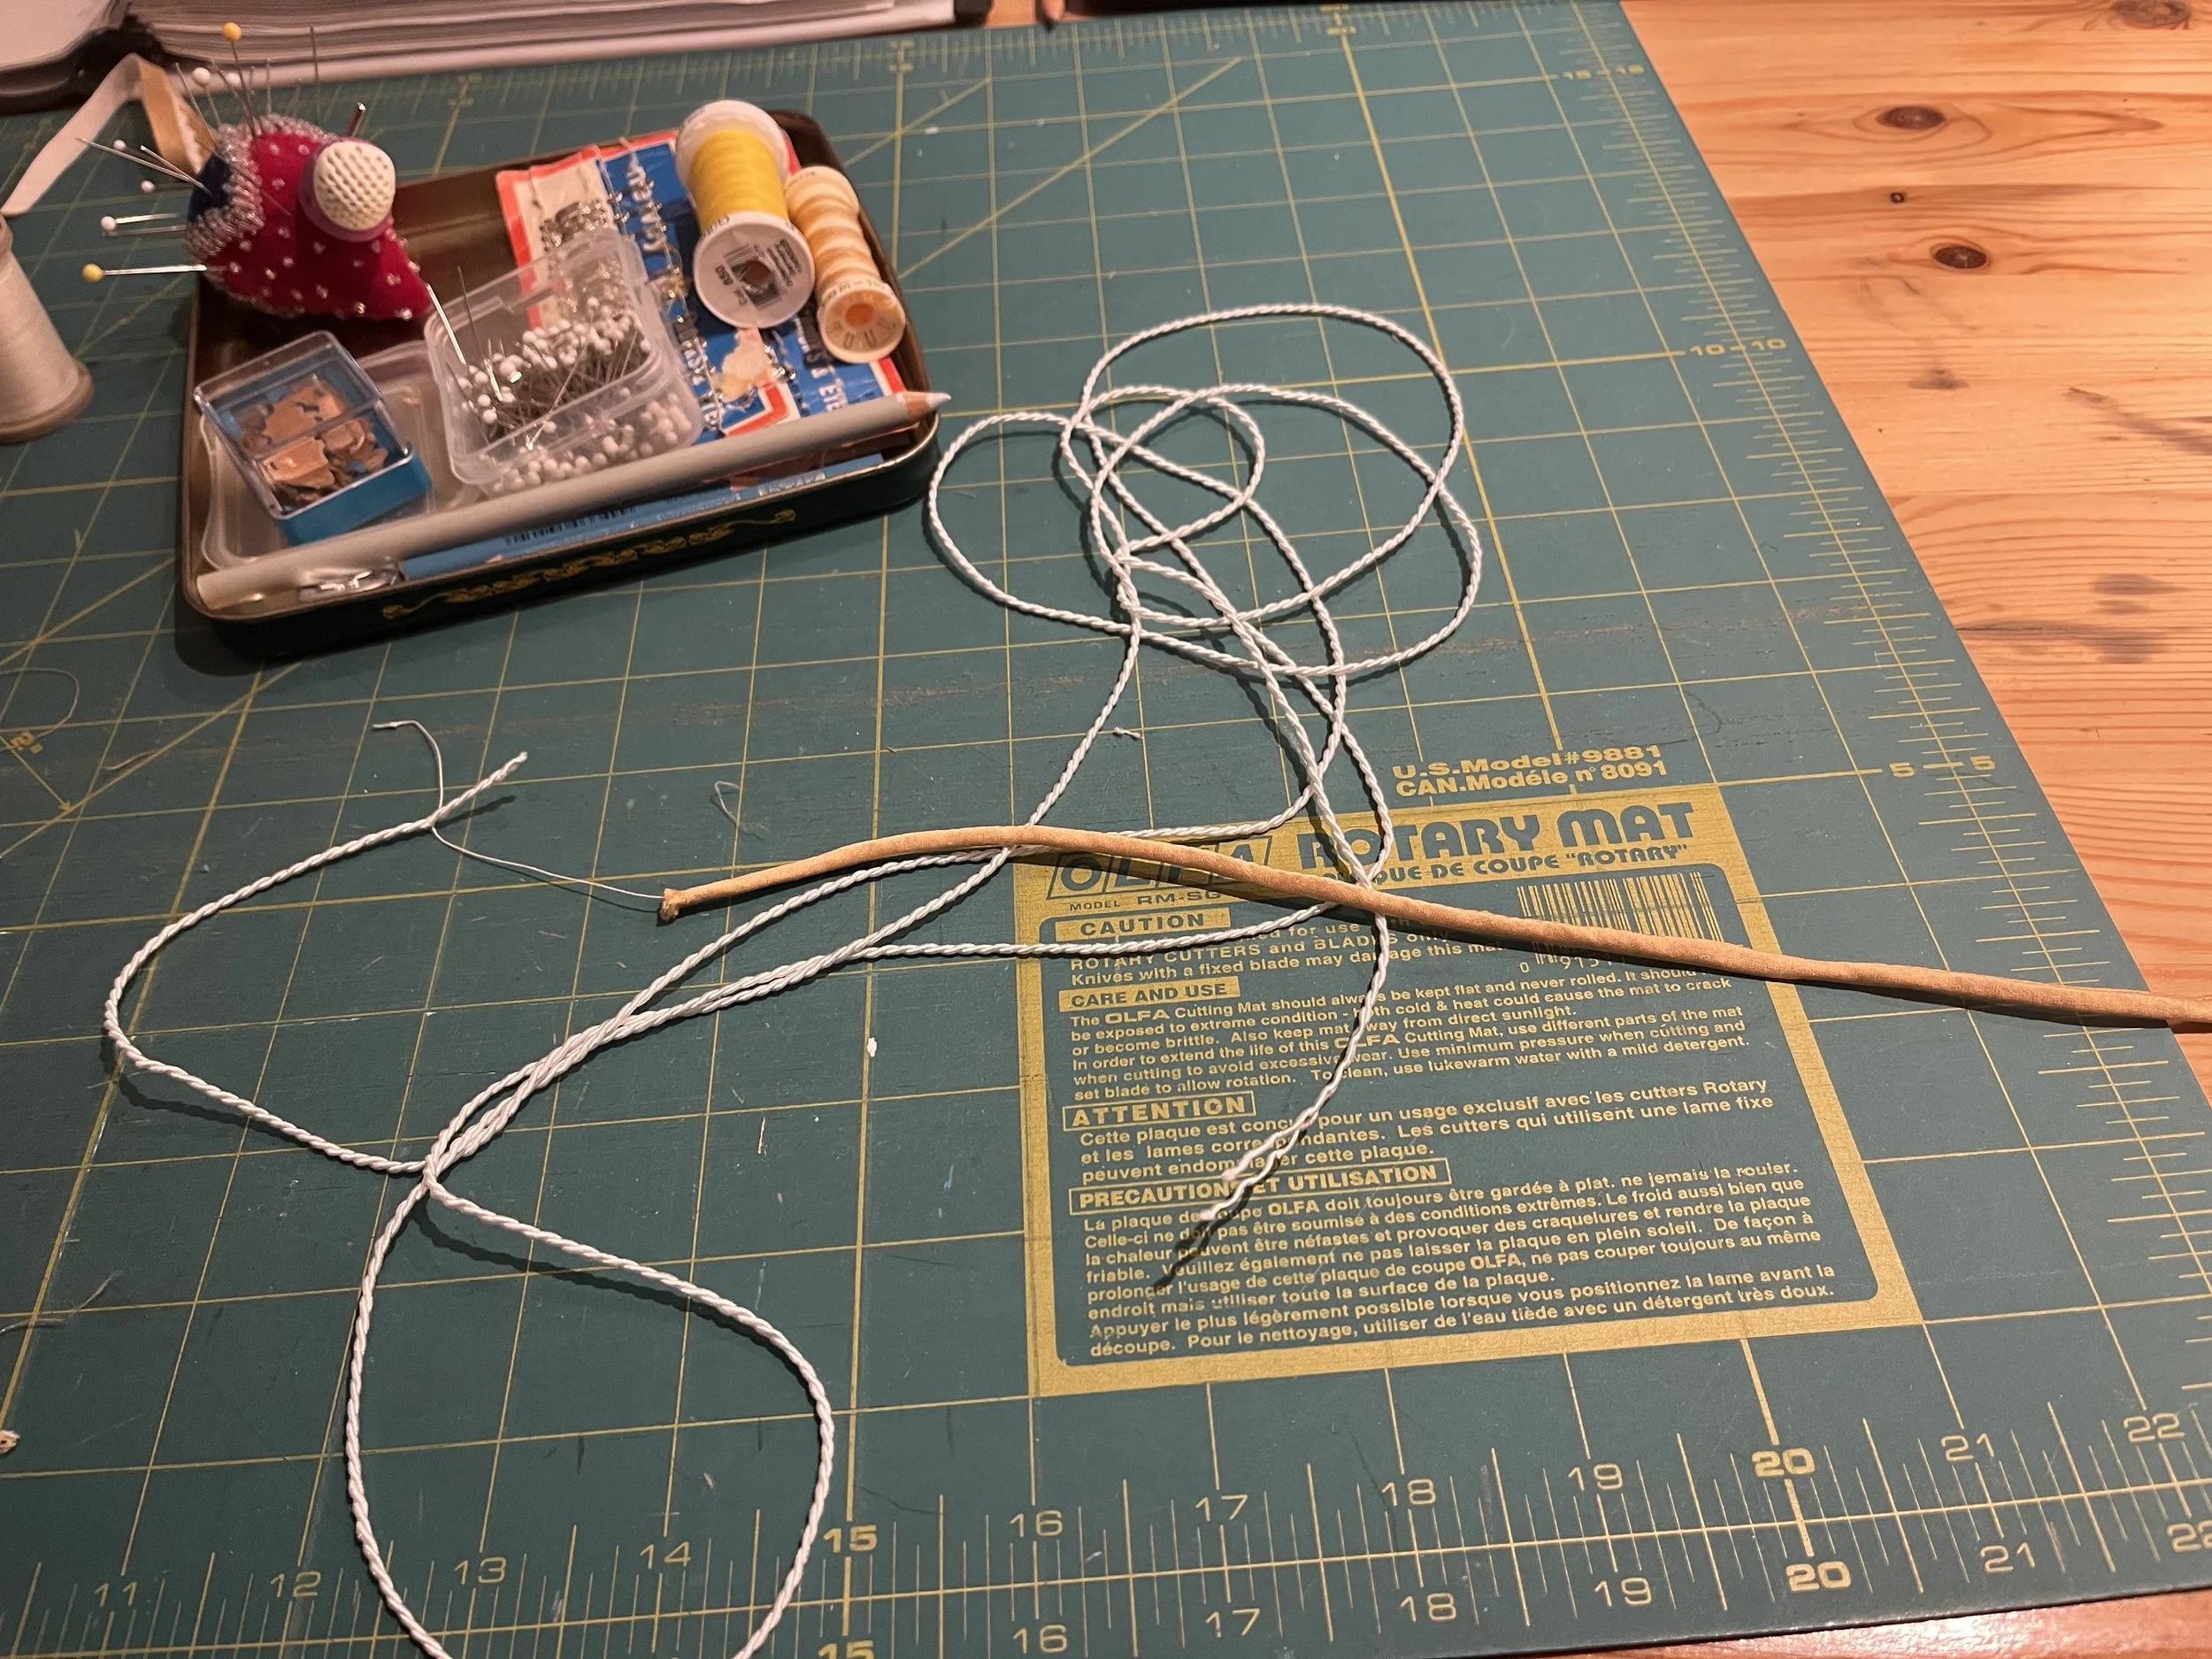
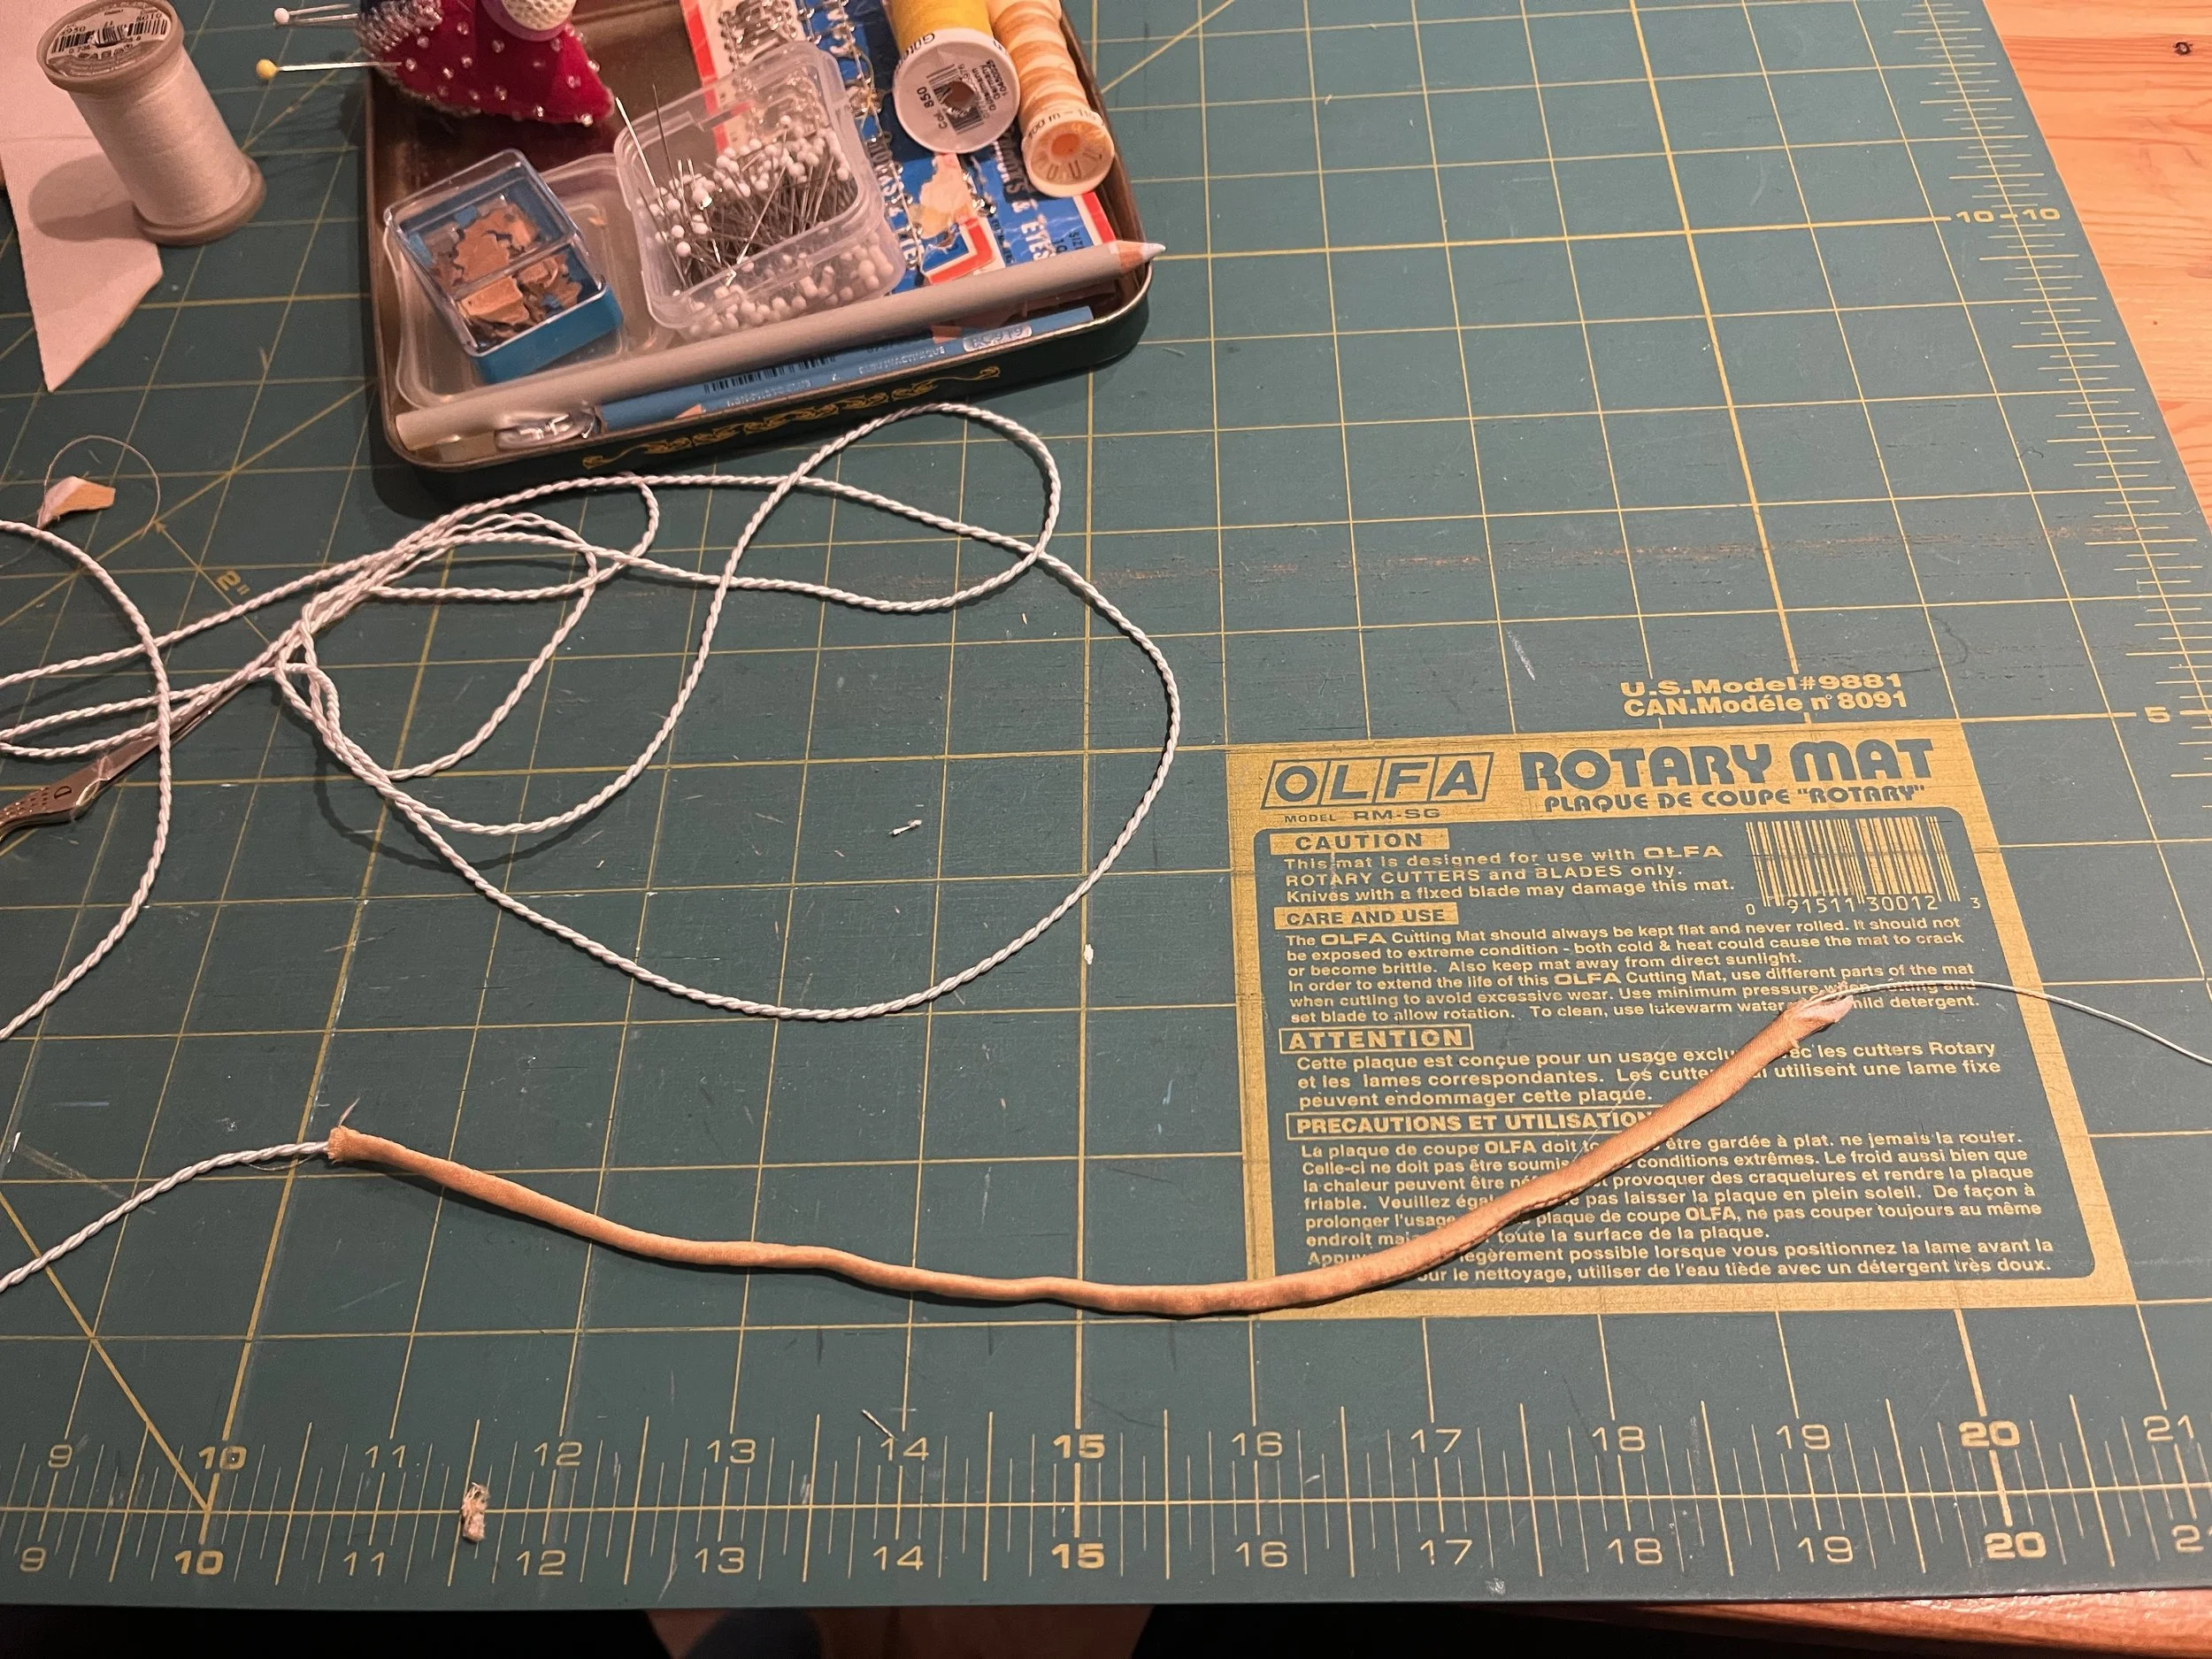
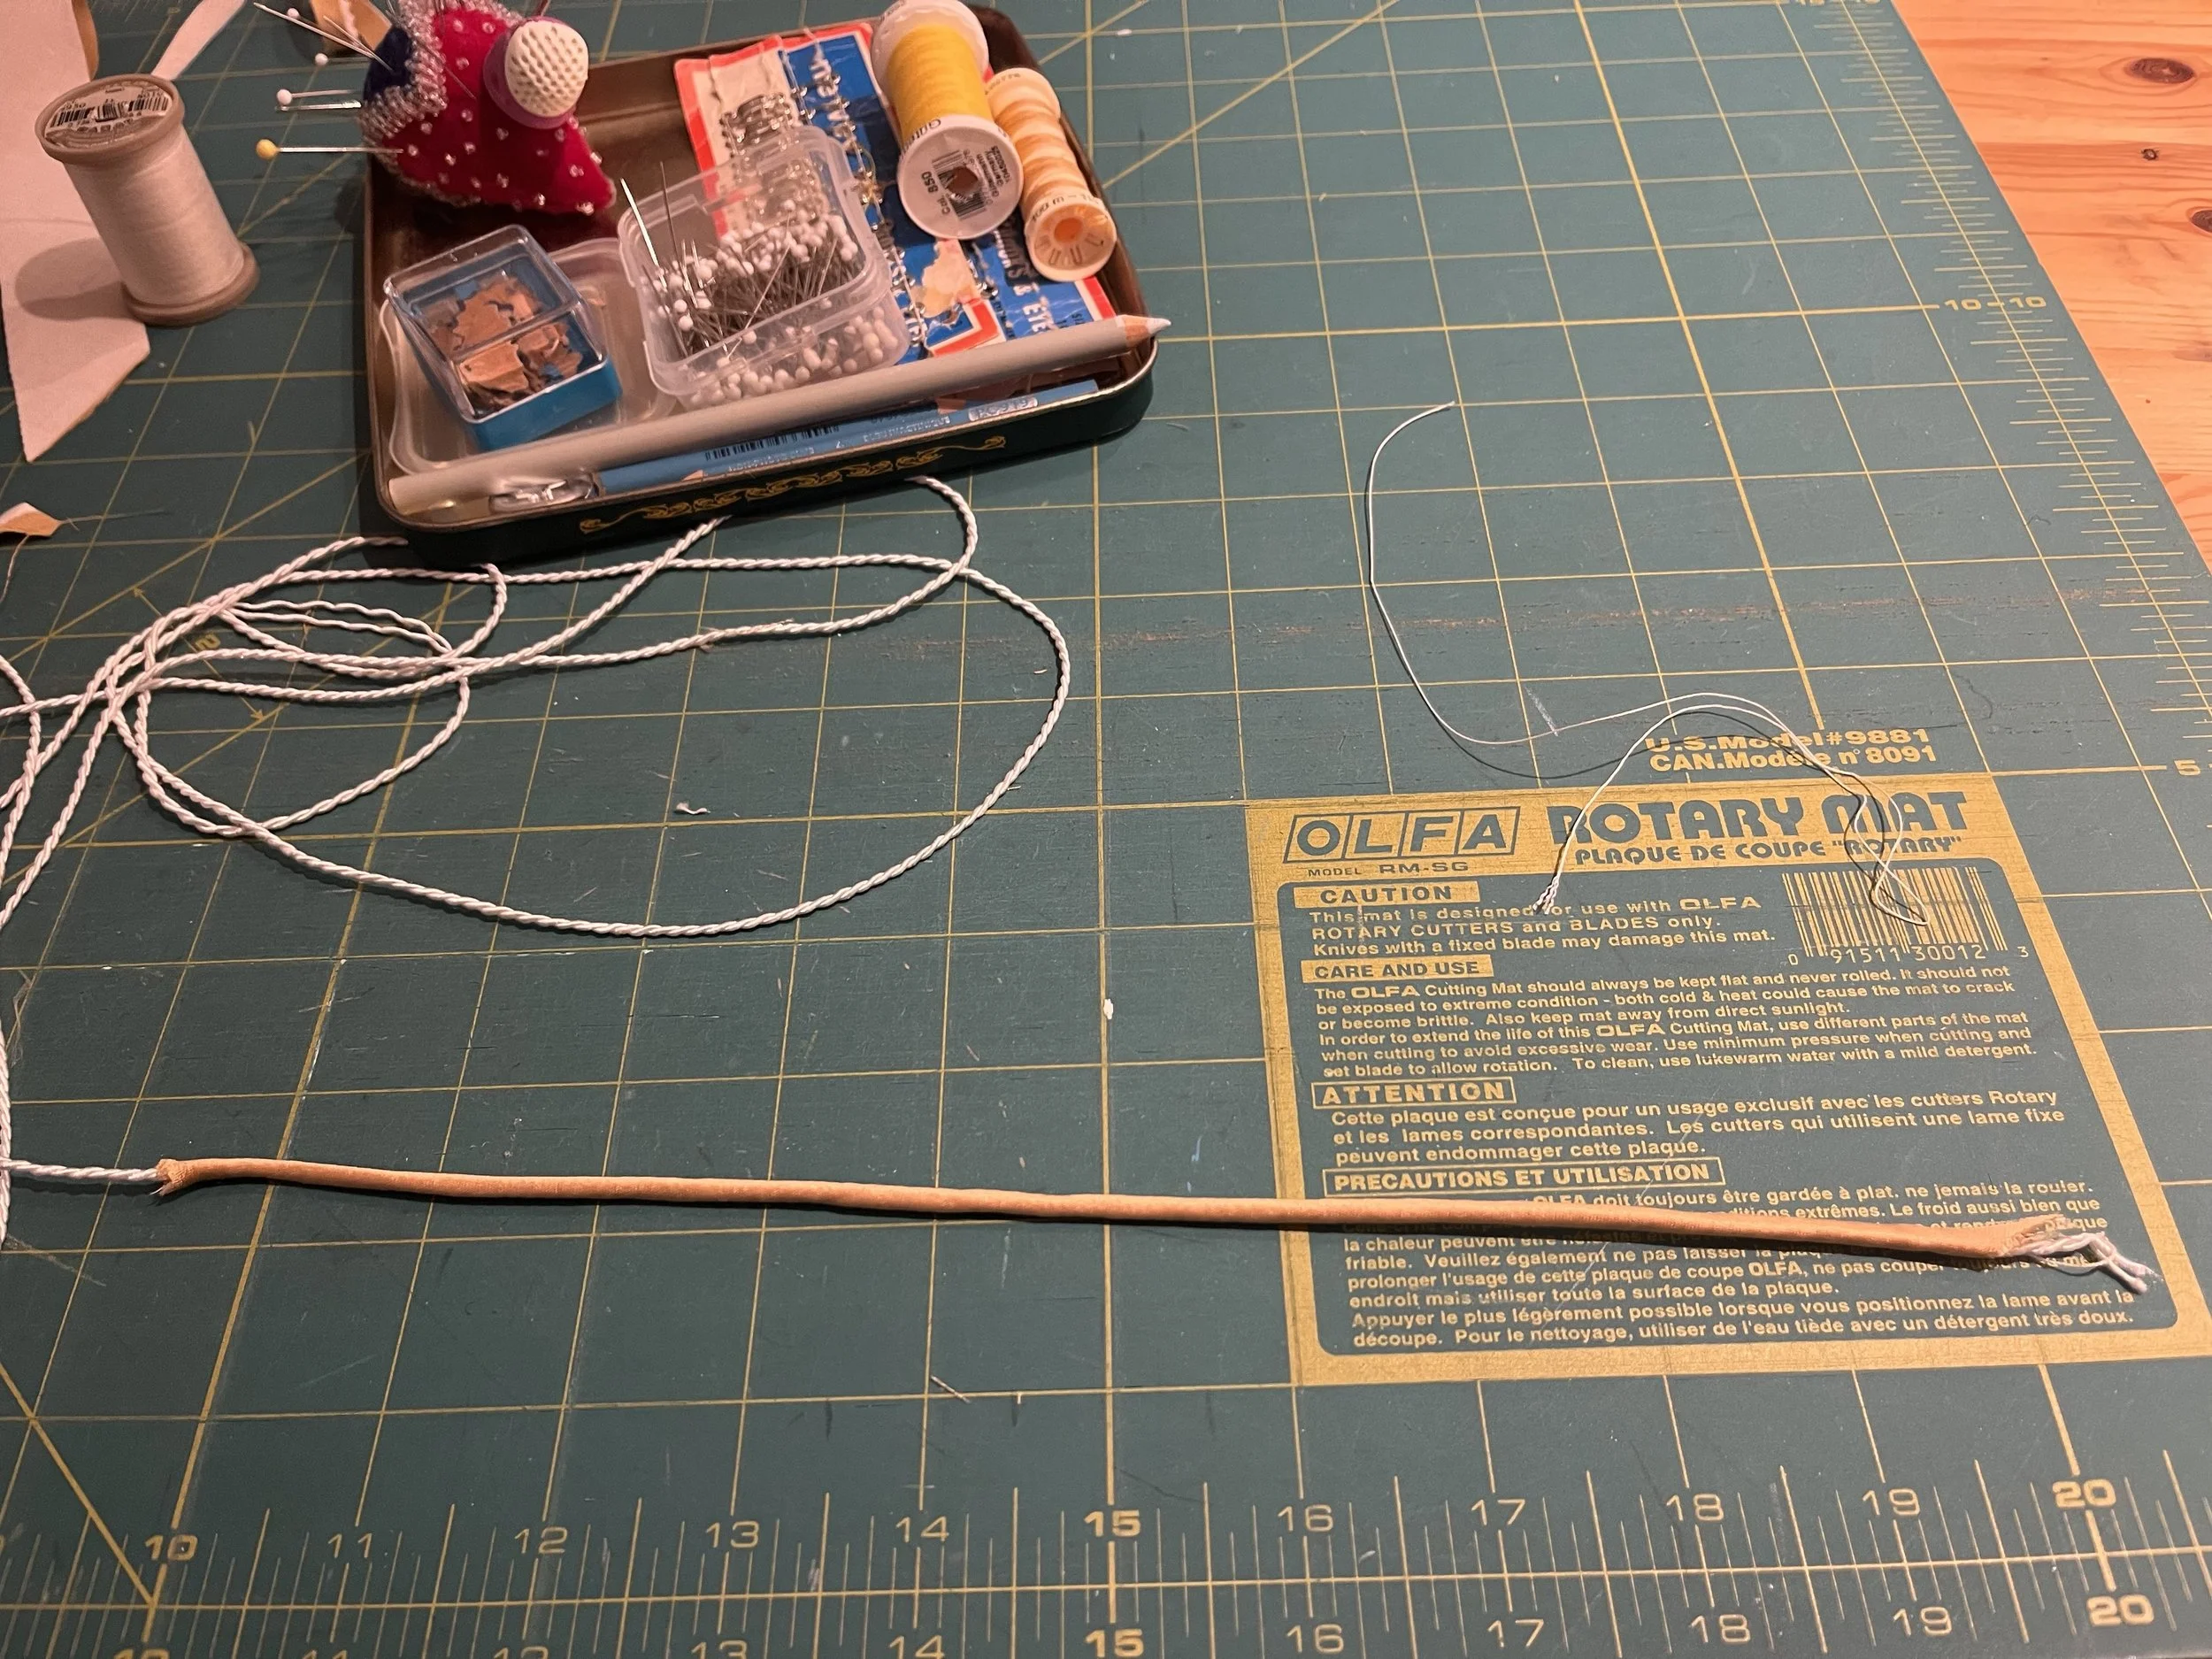
At this point, I had to make a decision about which I had been waffling a bit. Another inconsistency in the way the dress was drawn is the presence or absence of the line of lighter gold down the centre front and back. I had clearly already made a choice about the front, it shows up enough and felt like an appropriate finishing touch. However, I was less sure about adding it to the back, partly because of the question of how to add it to a closure rather than a seam. With the bodice assembled, there seemed to be a bit of a gap at the back which a bit of piping would fill and finish nicely. I decided to try making rouleau and the pulling a piece of piping cord through it to achieve a covered cord which didn't have any seam allowance sticking out.
Turns out that this is probably a pretty common thing as it worked pretty easily. I don't know if I went about it in the most efficient way, but I was happy with the final product which I proceeded to slip stitch to one side of the closure.
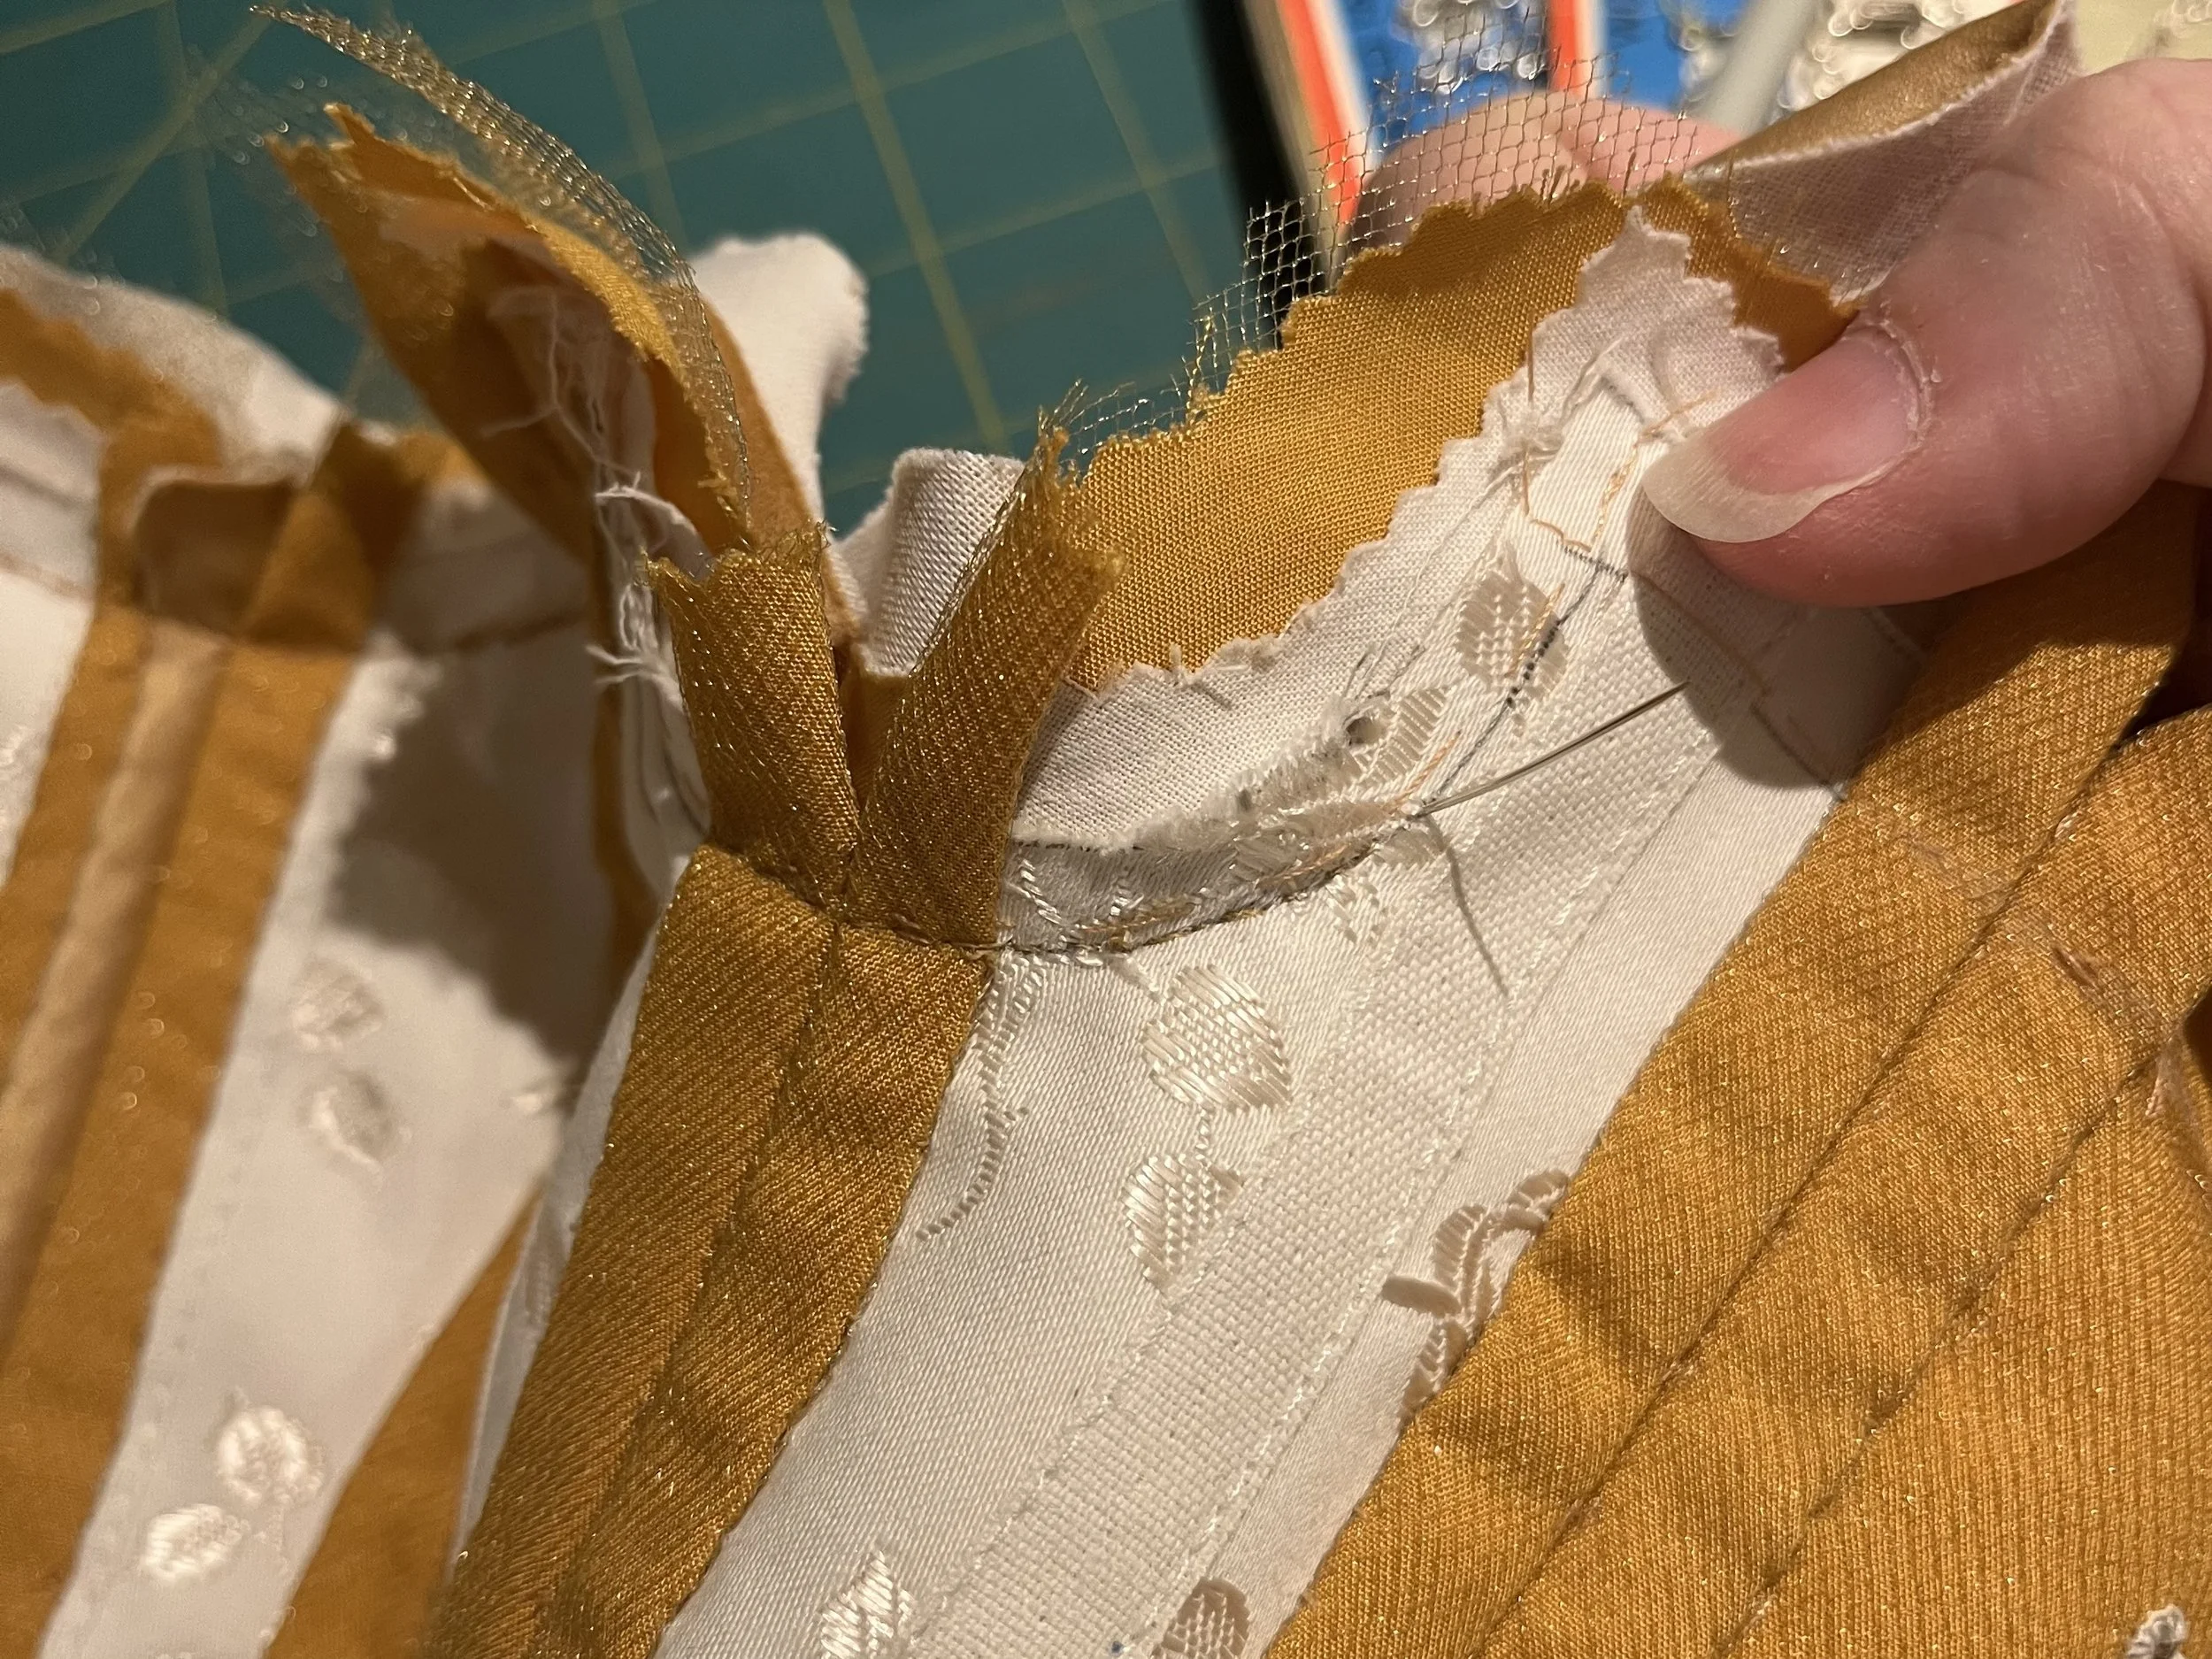
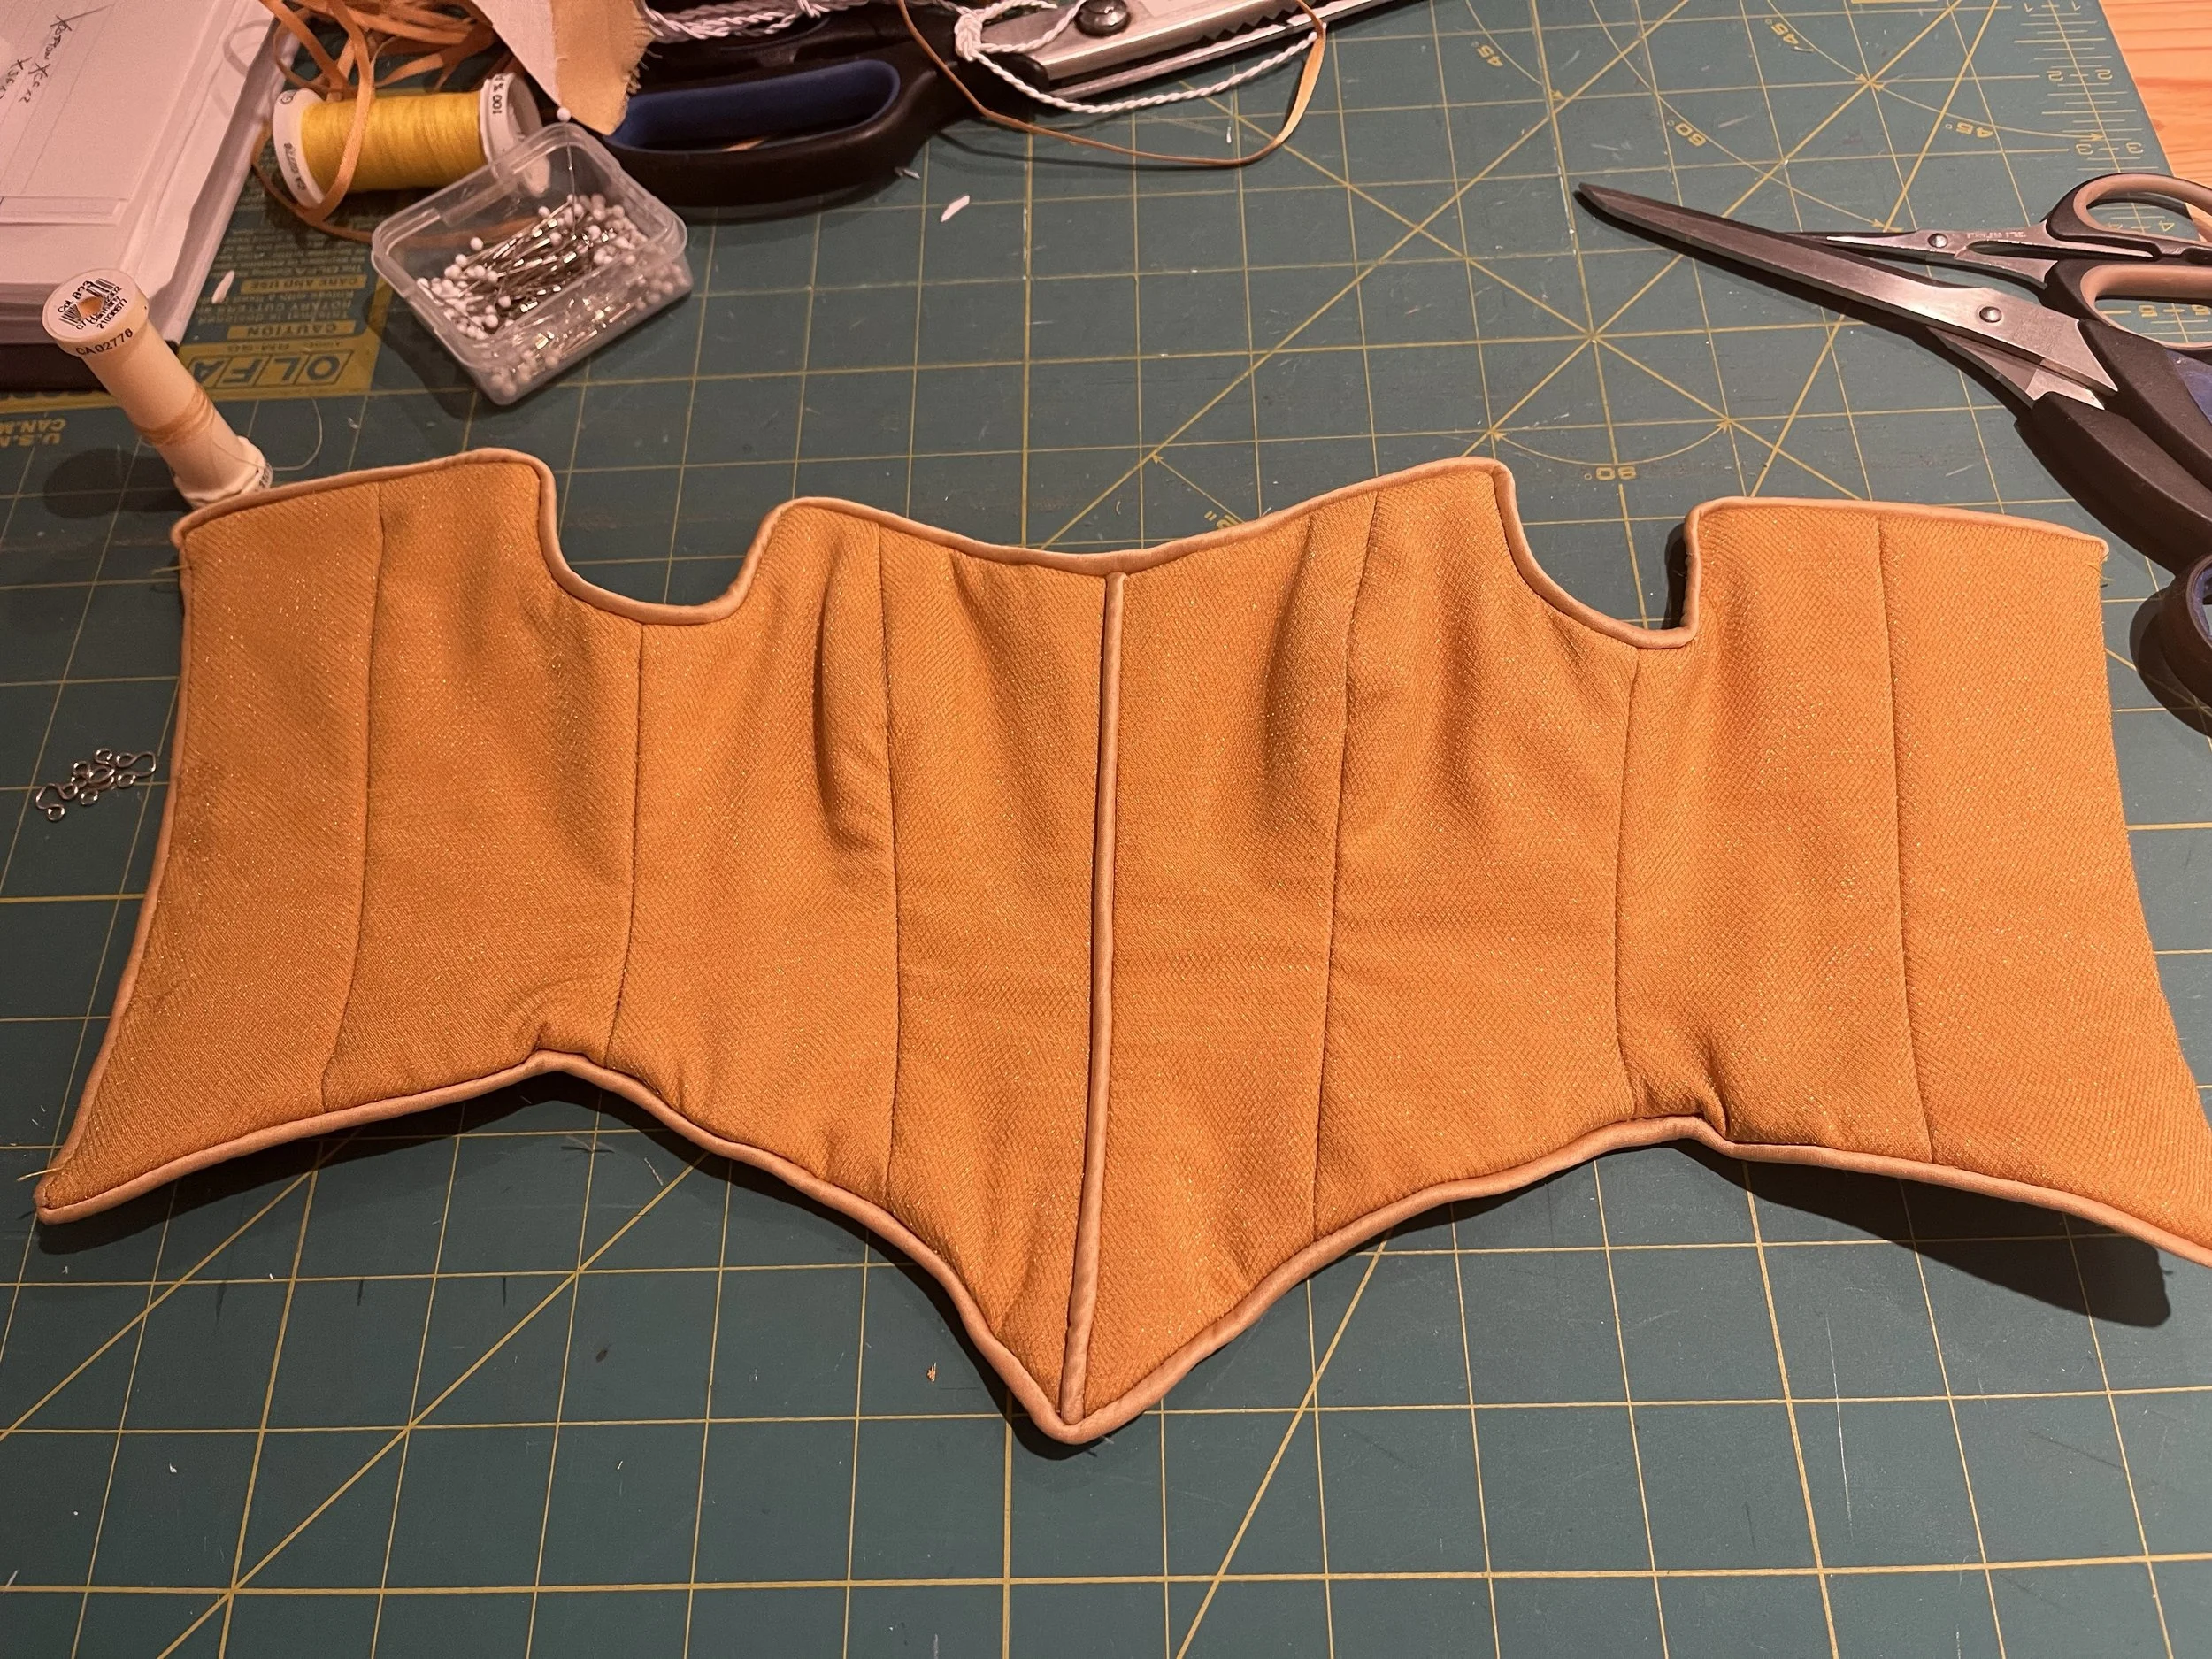
Now I was ready to move onto finishing this little bodice. I chose to pipe the neckline and hem; this is how I would finish this kind of bodice in full scale as it gives a nice clean finish on both the outside and inside of the garment, though for a costume I would probably finish some of the panels separately for easy alteration.
With the top edge finished, I inserted the bones and applied the piping to the hem. After adding the last eyelets to the back I had a finished bodice ready for sleeves!
At last!
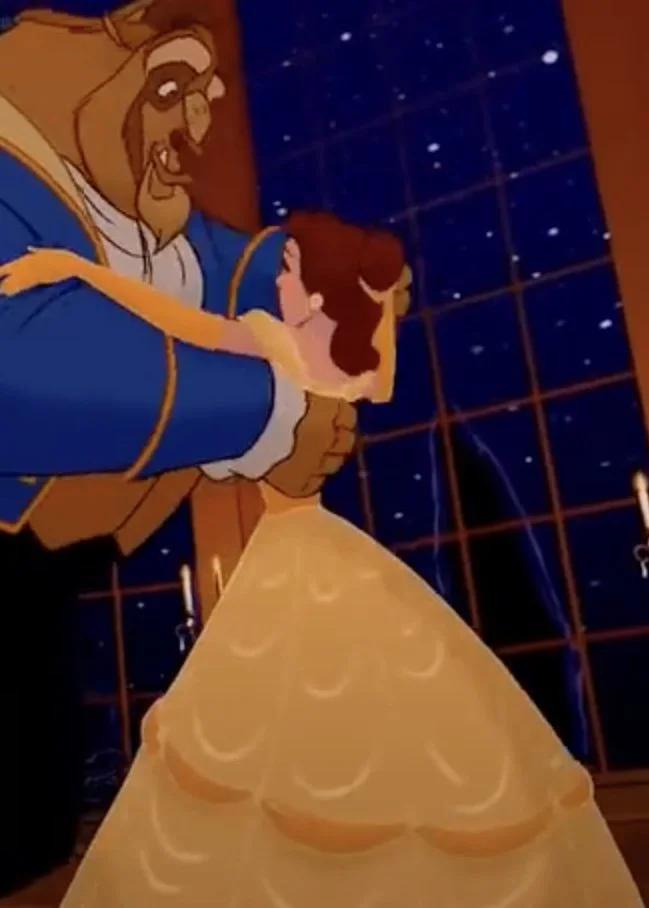
At last, it was time for the final piece! One of the elements which would really make it look like the movie.
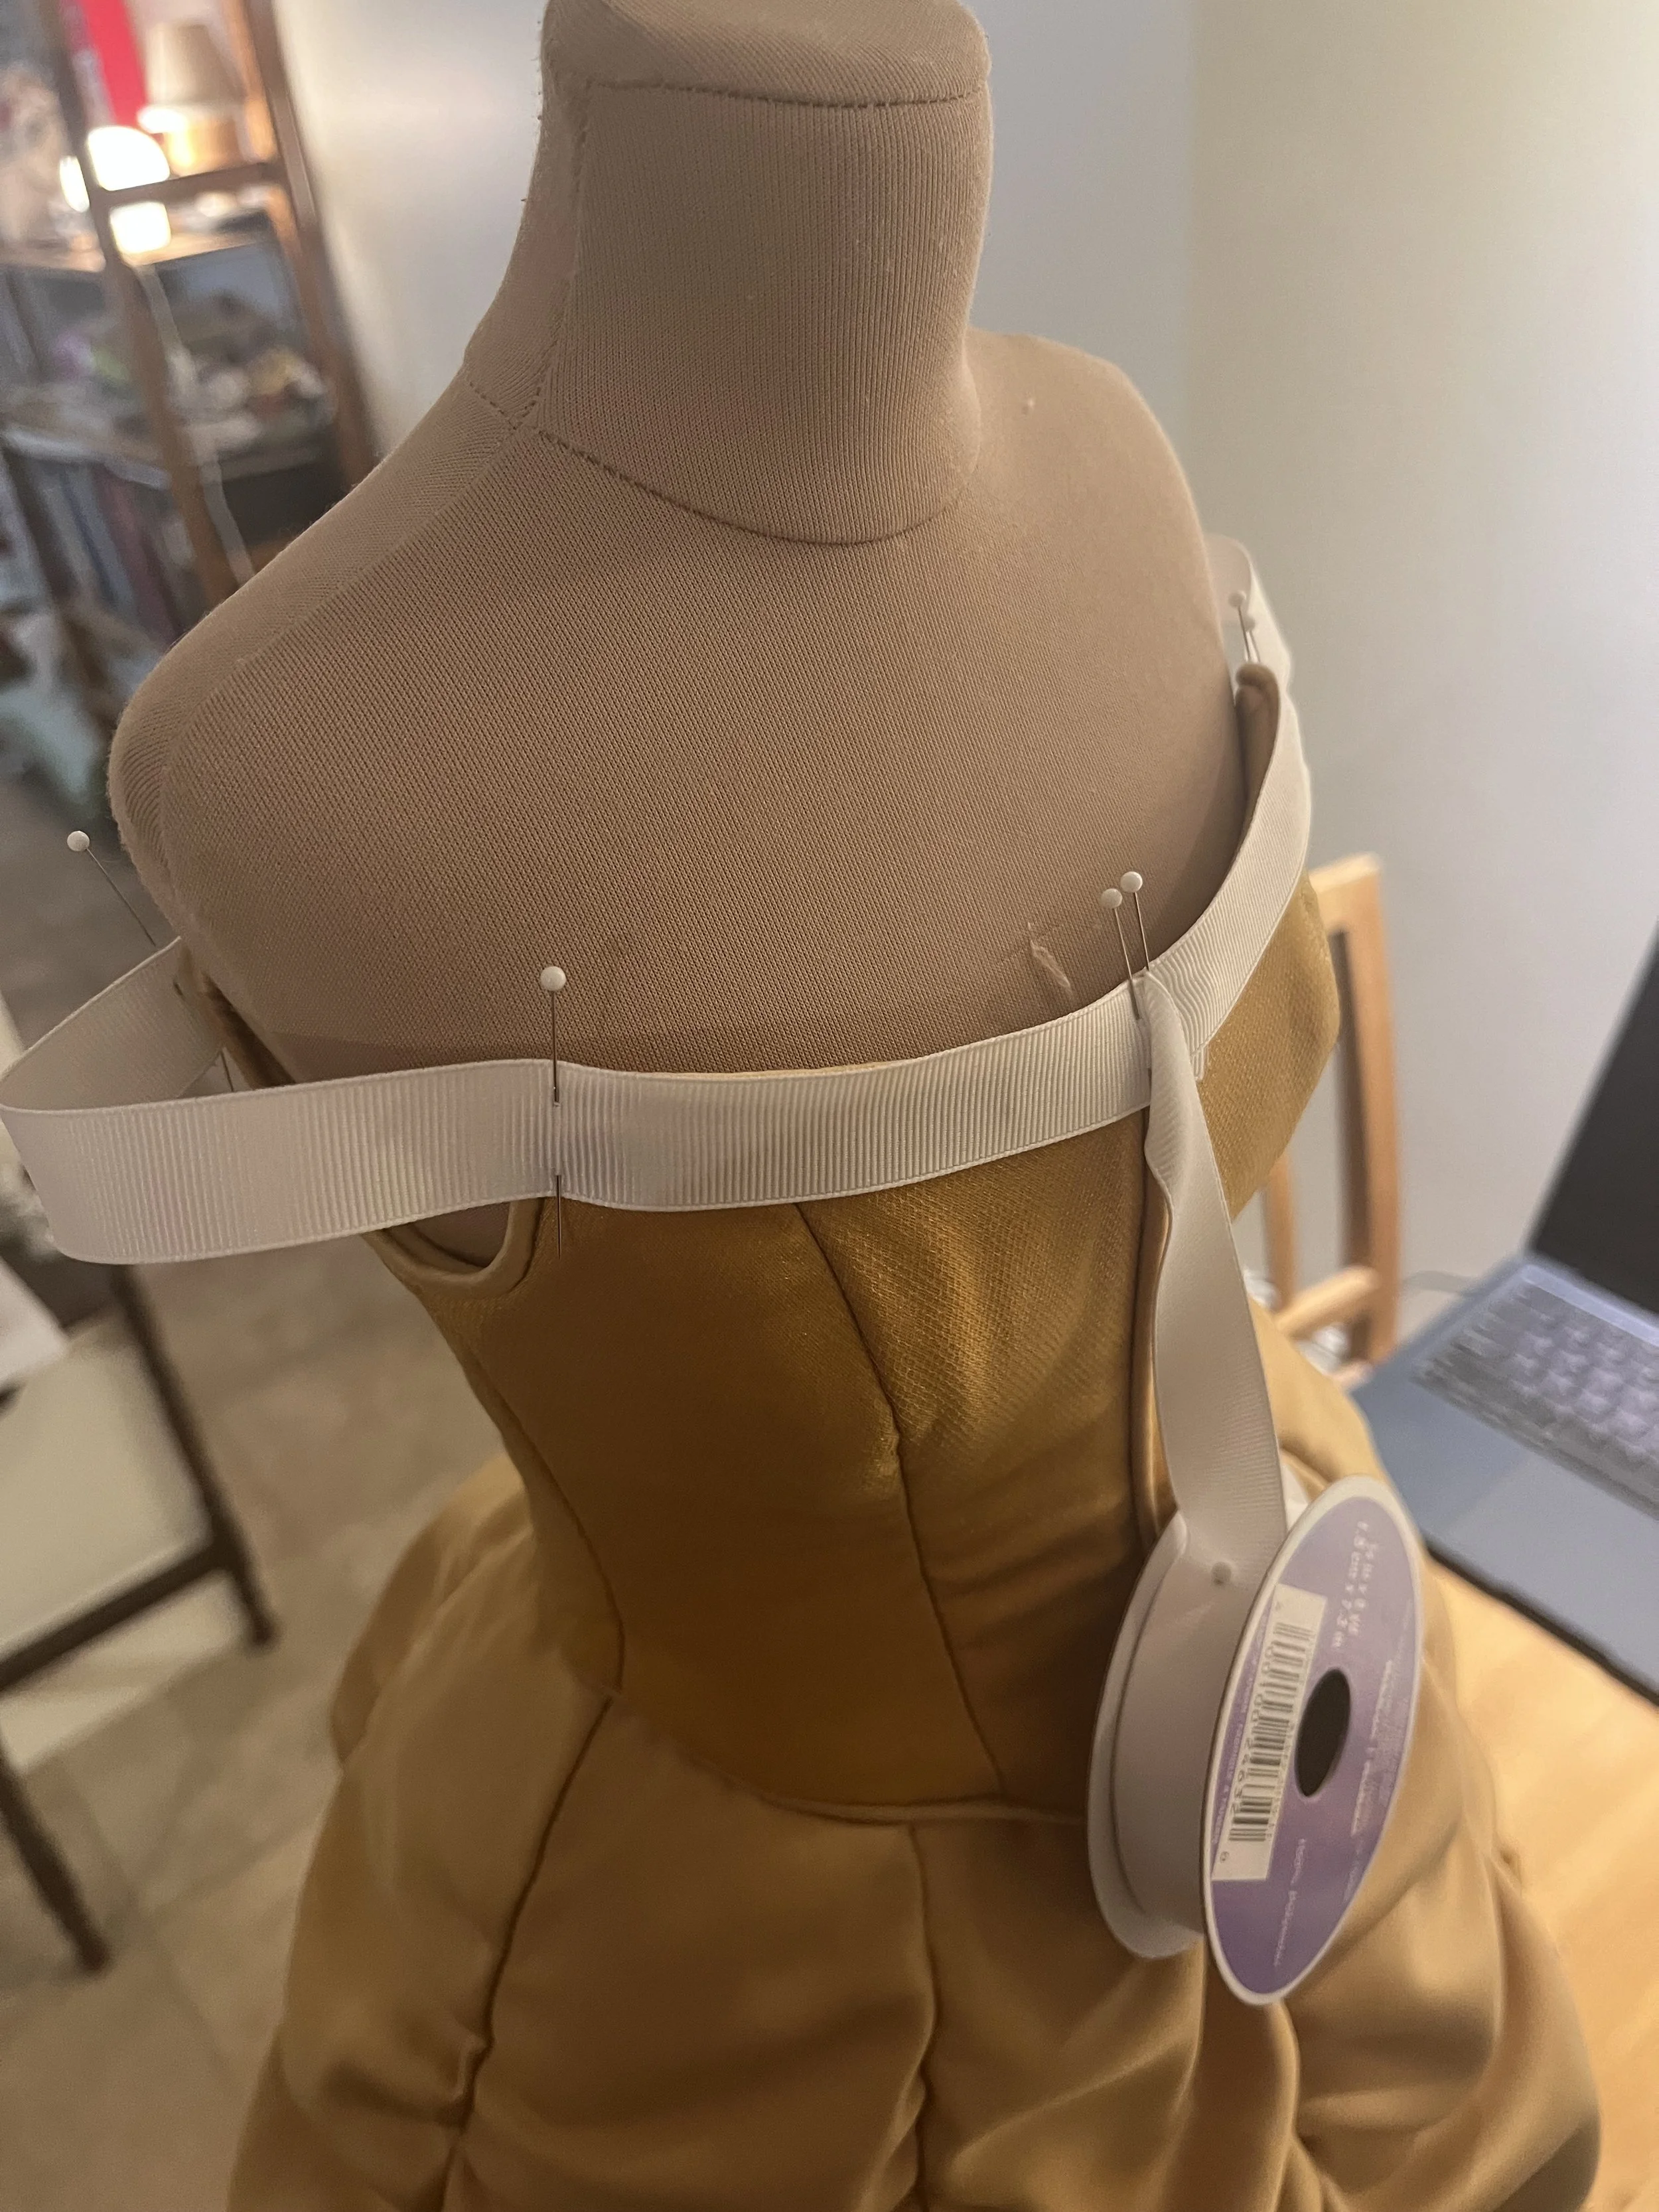
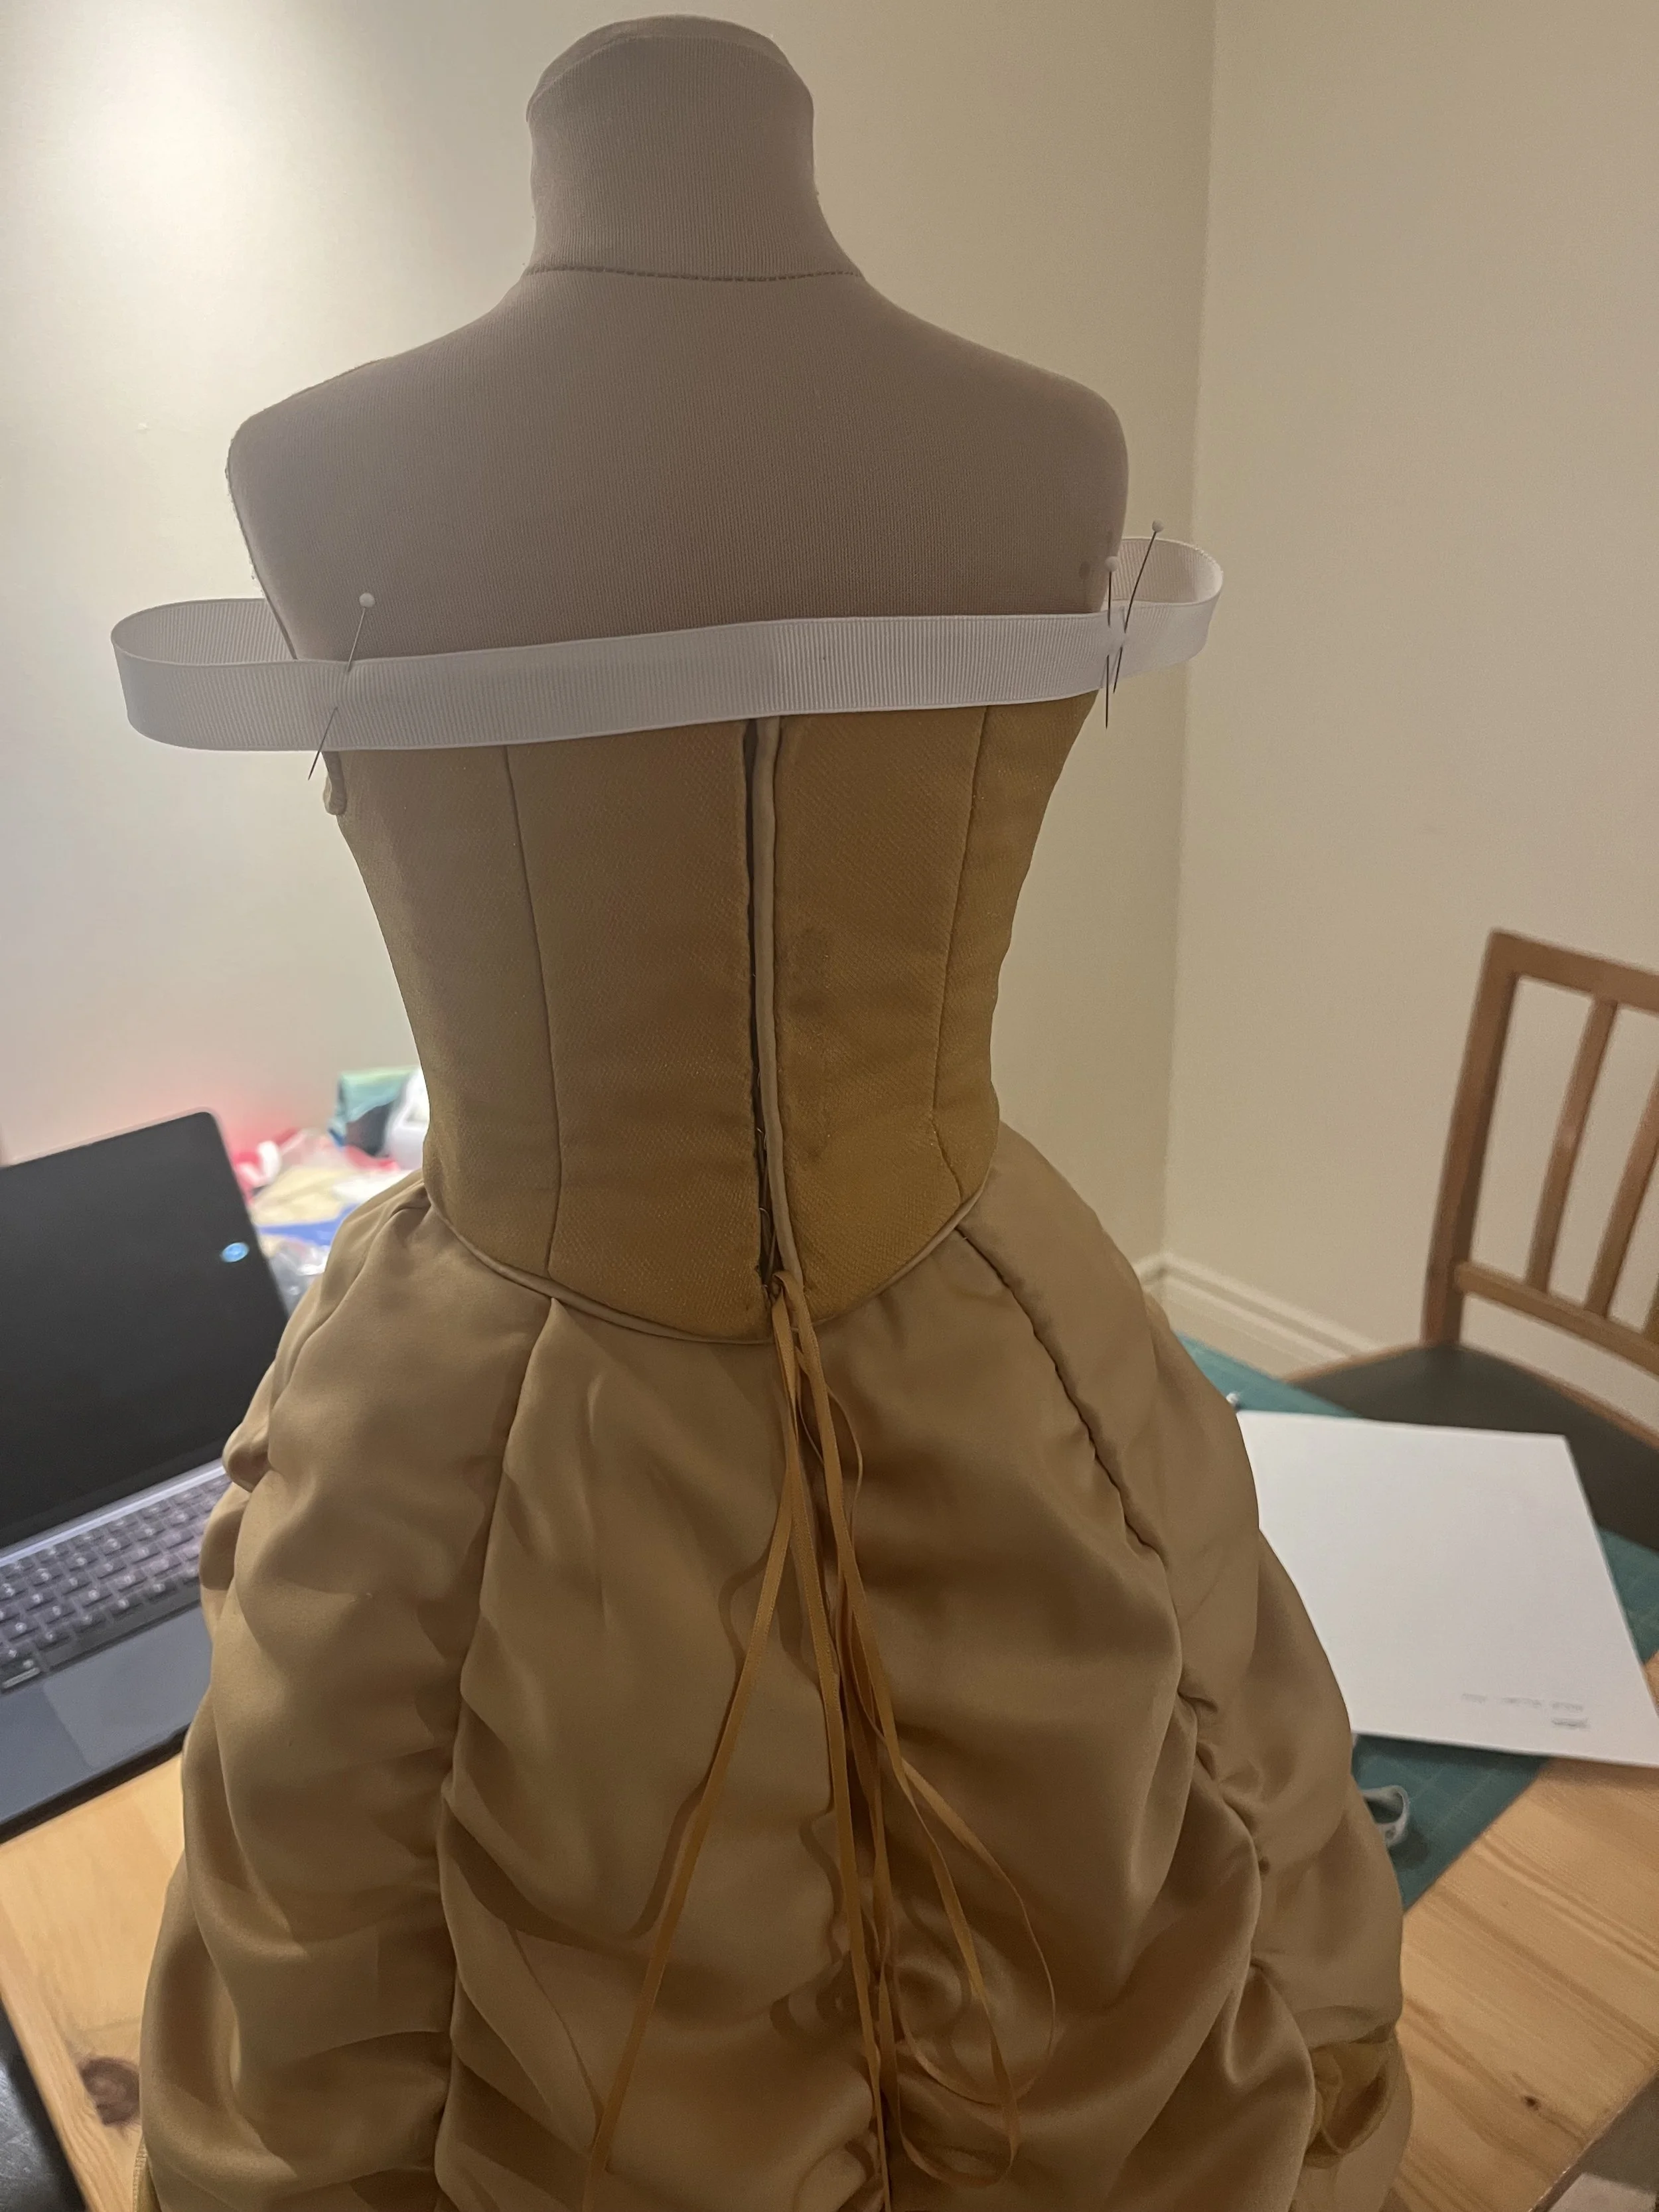
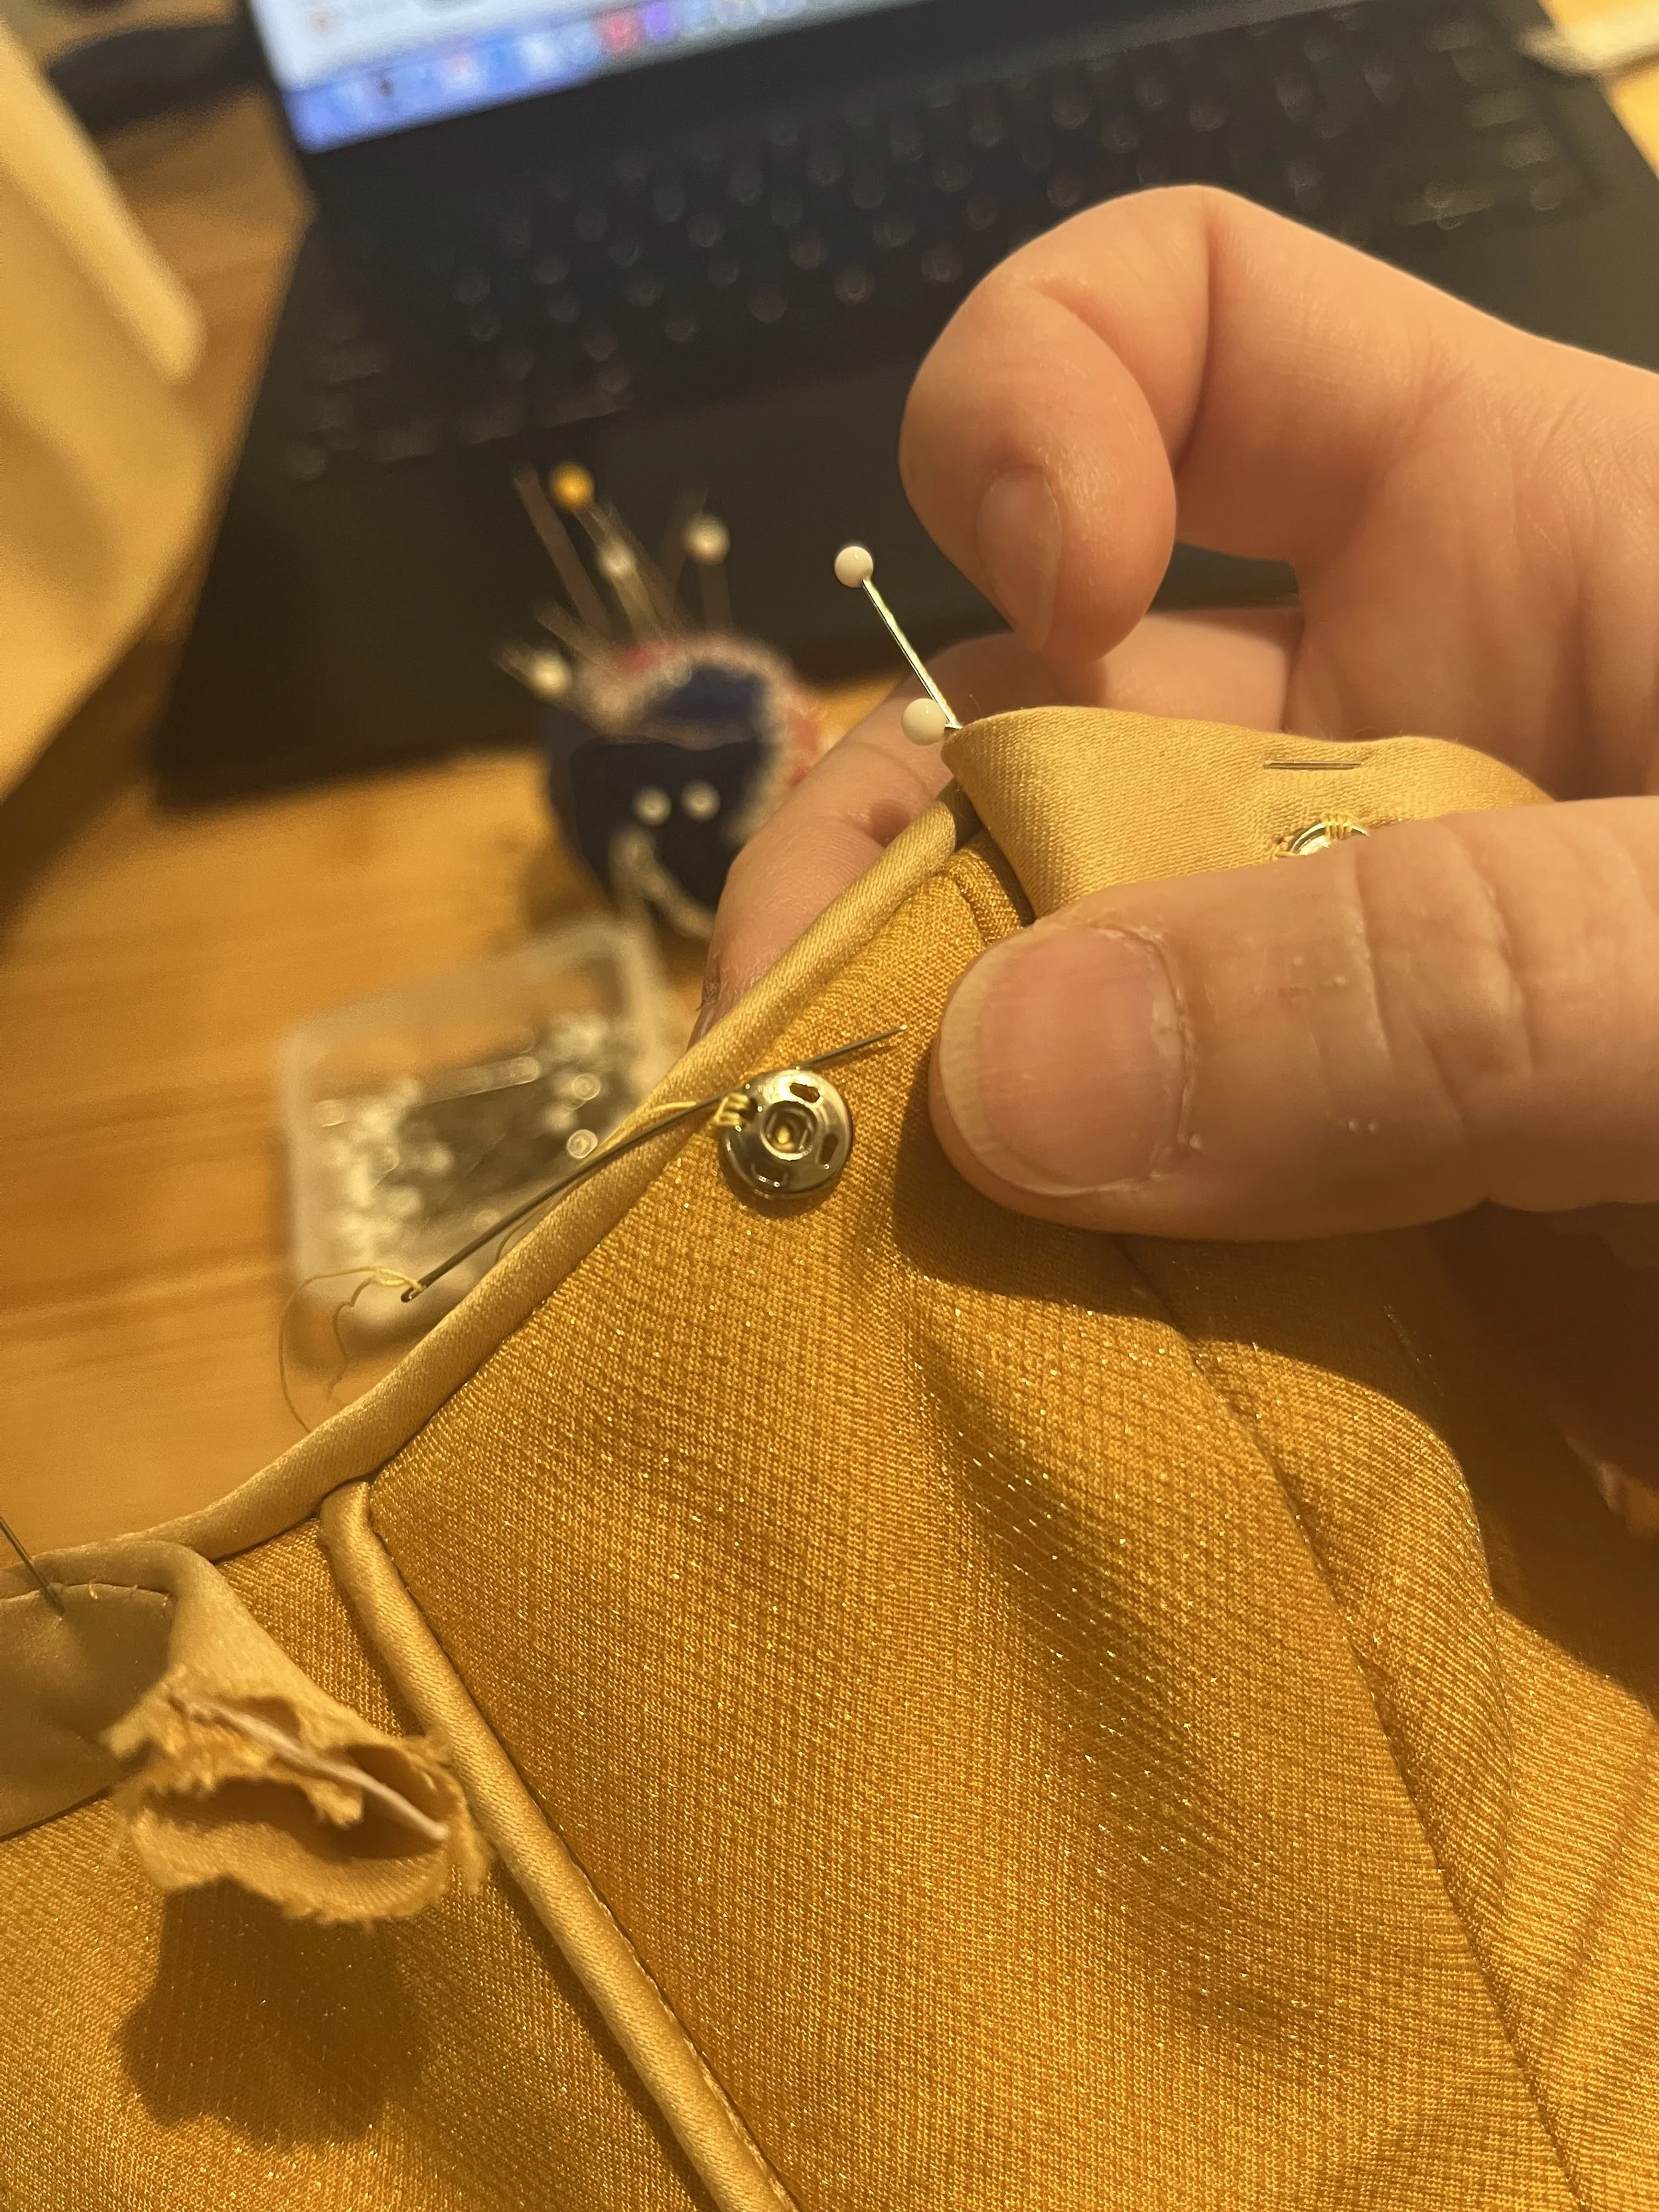
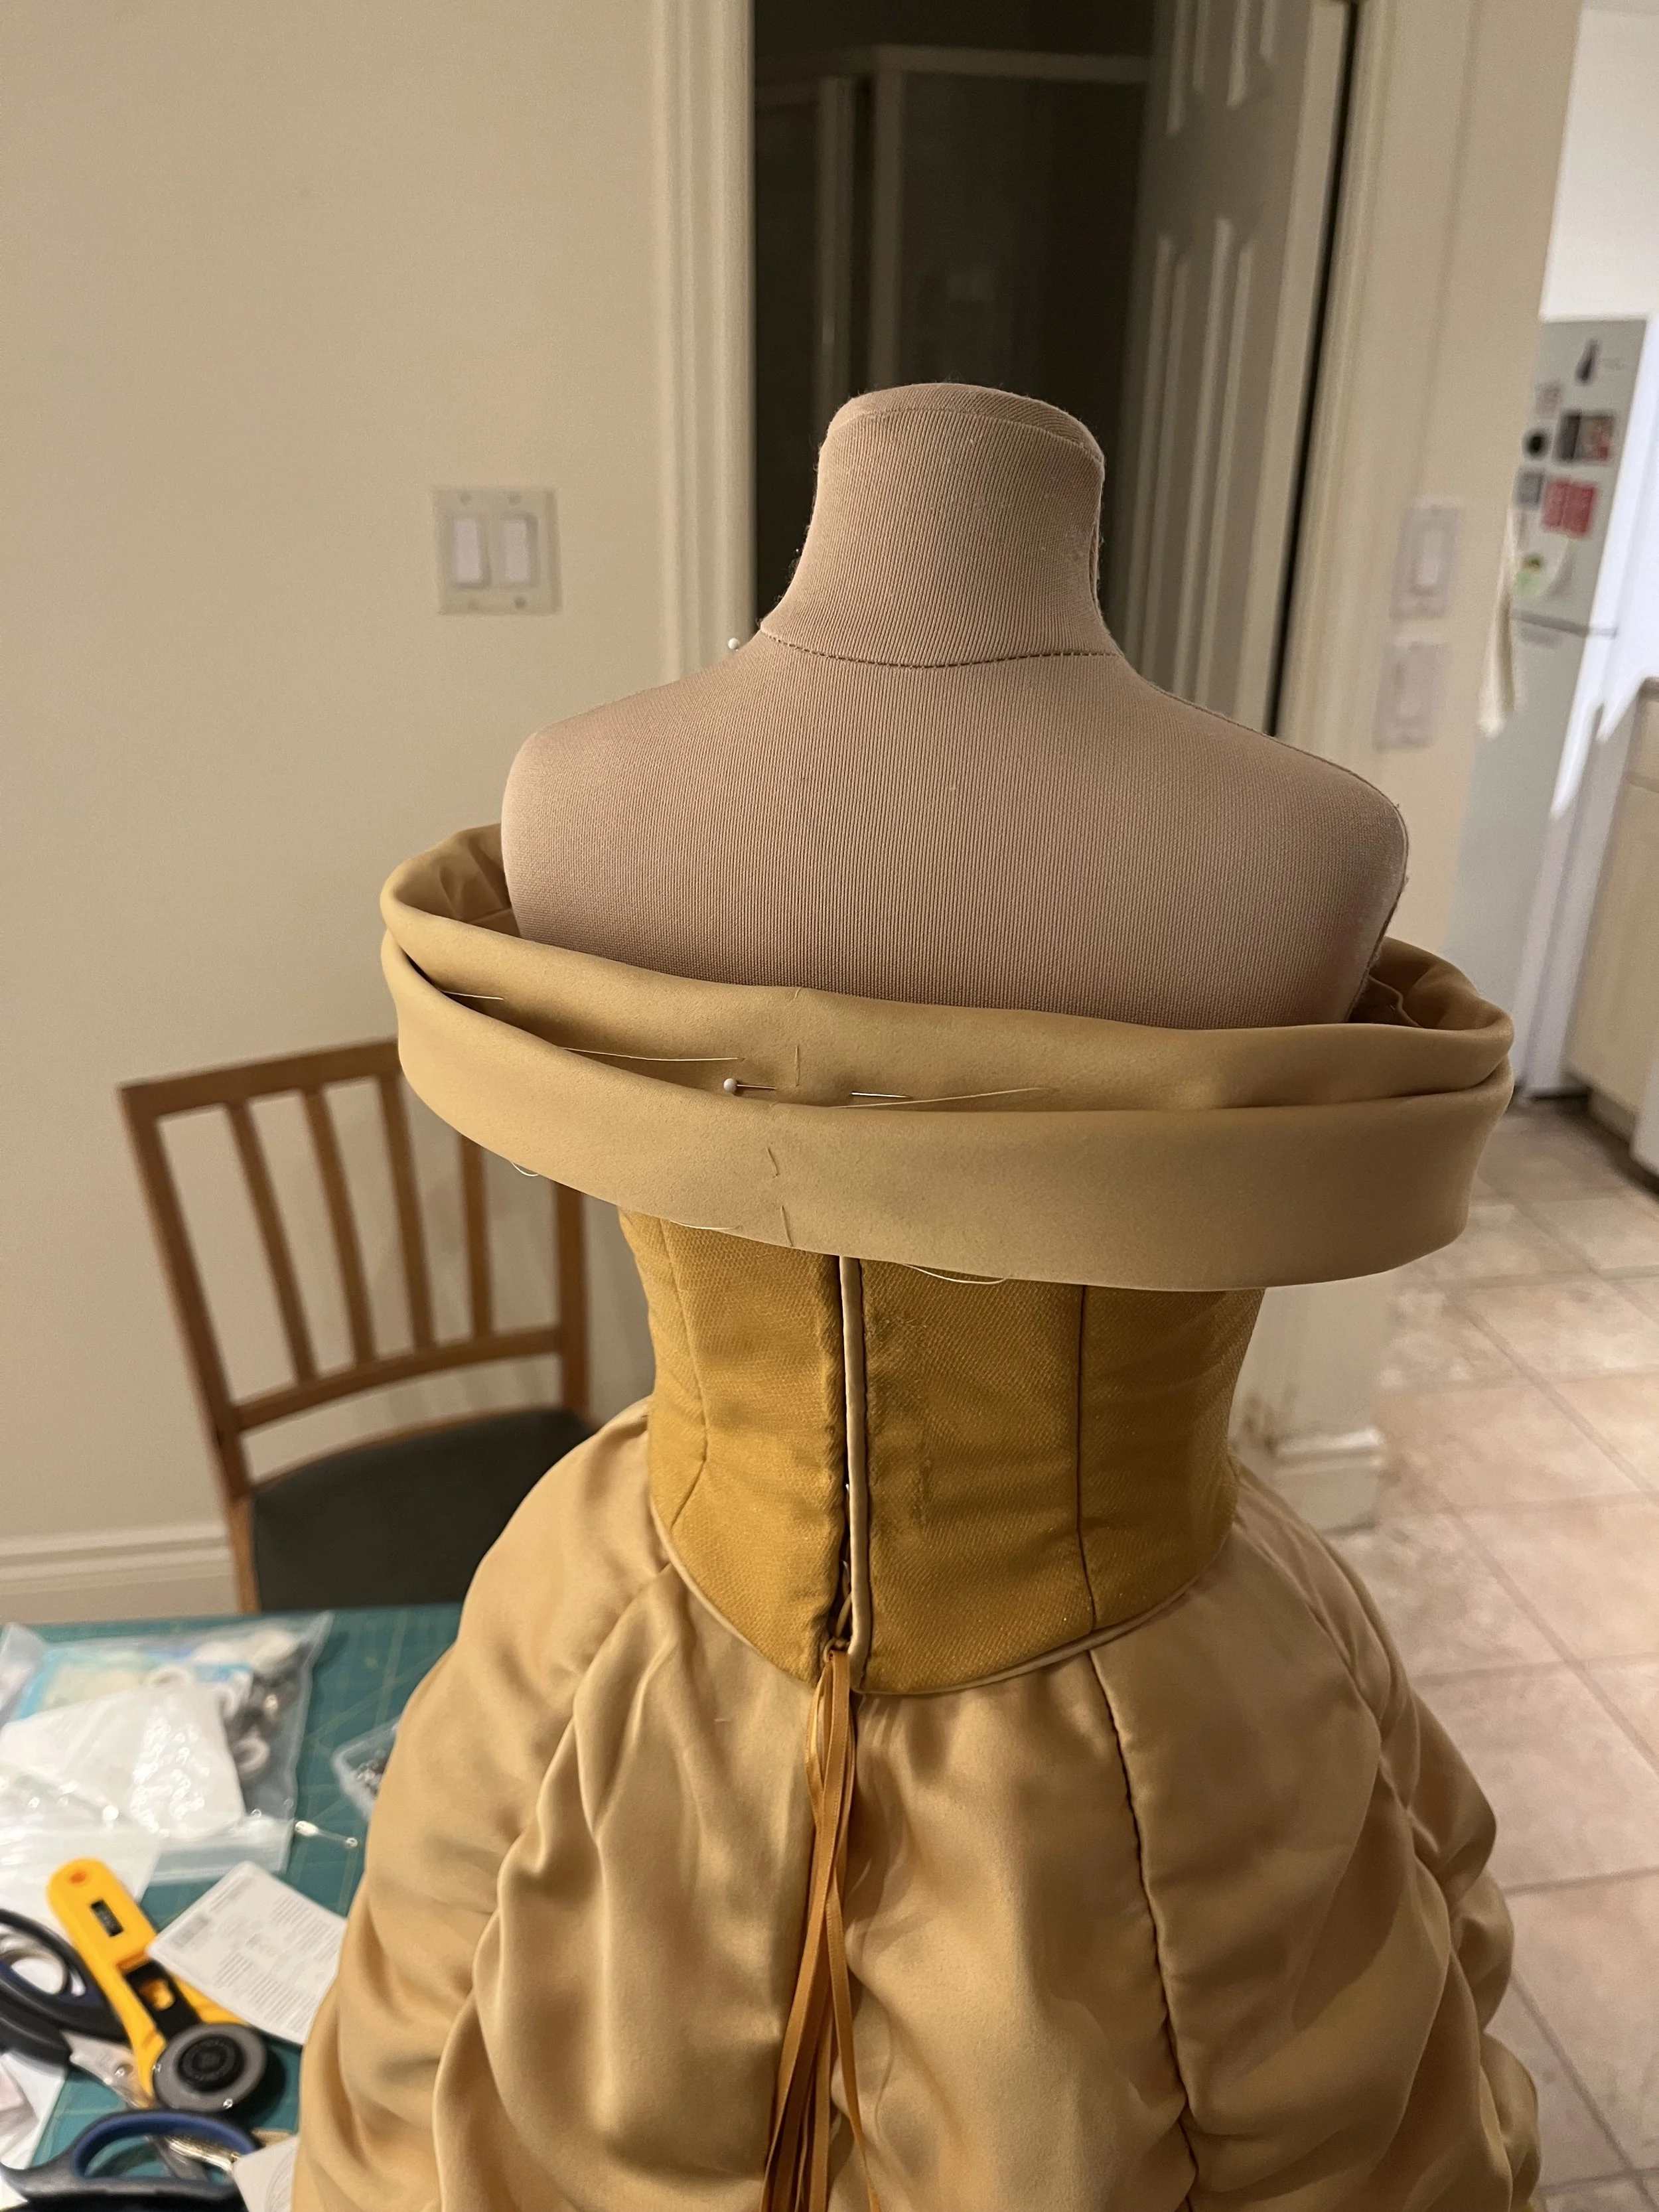
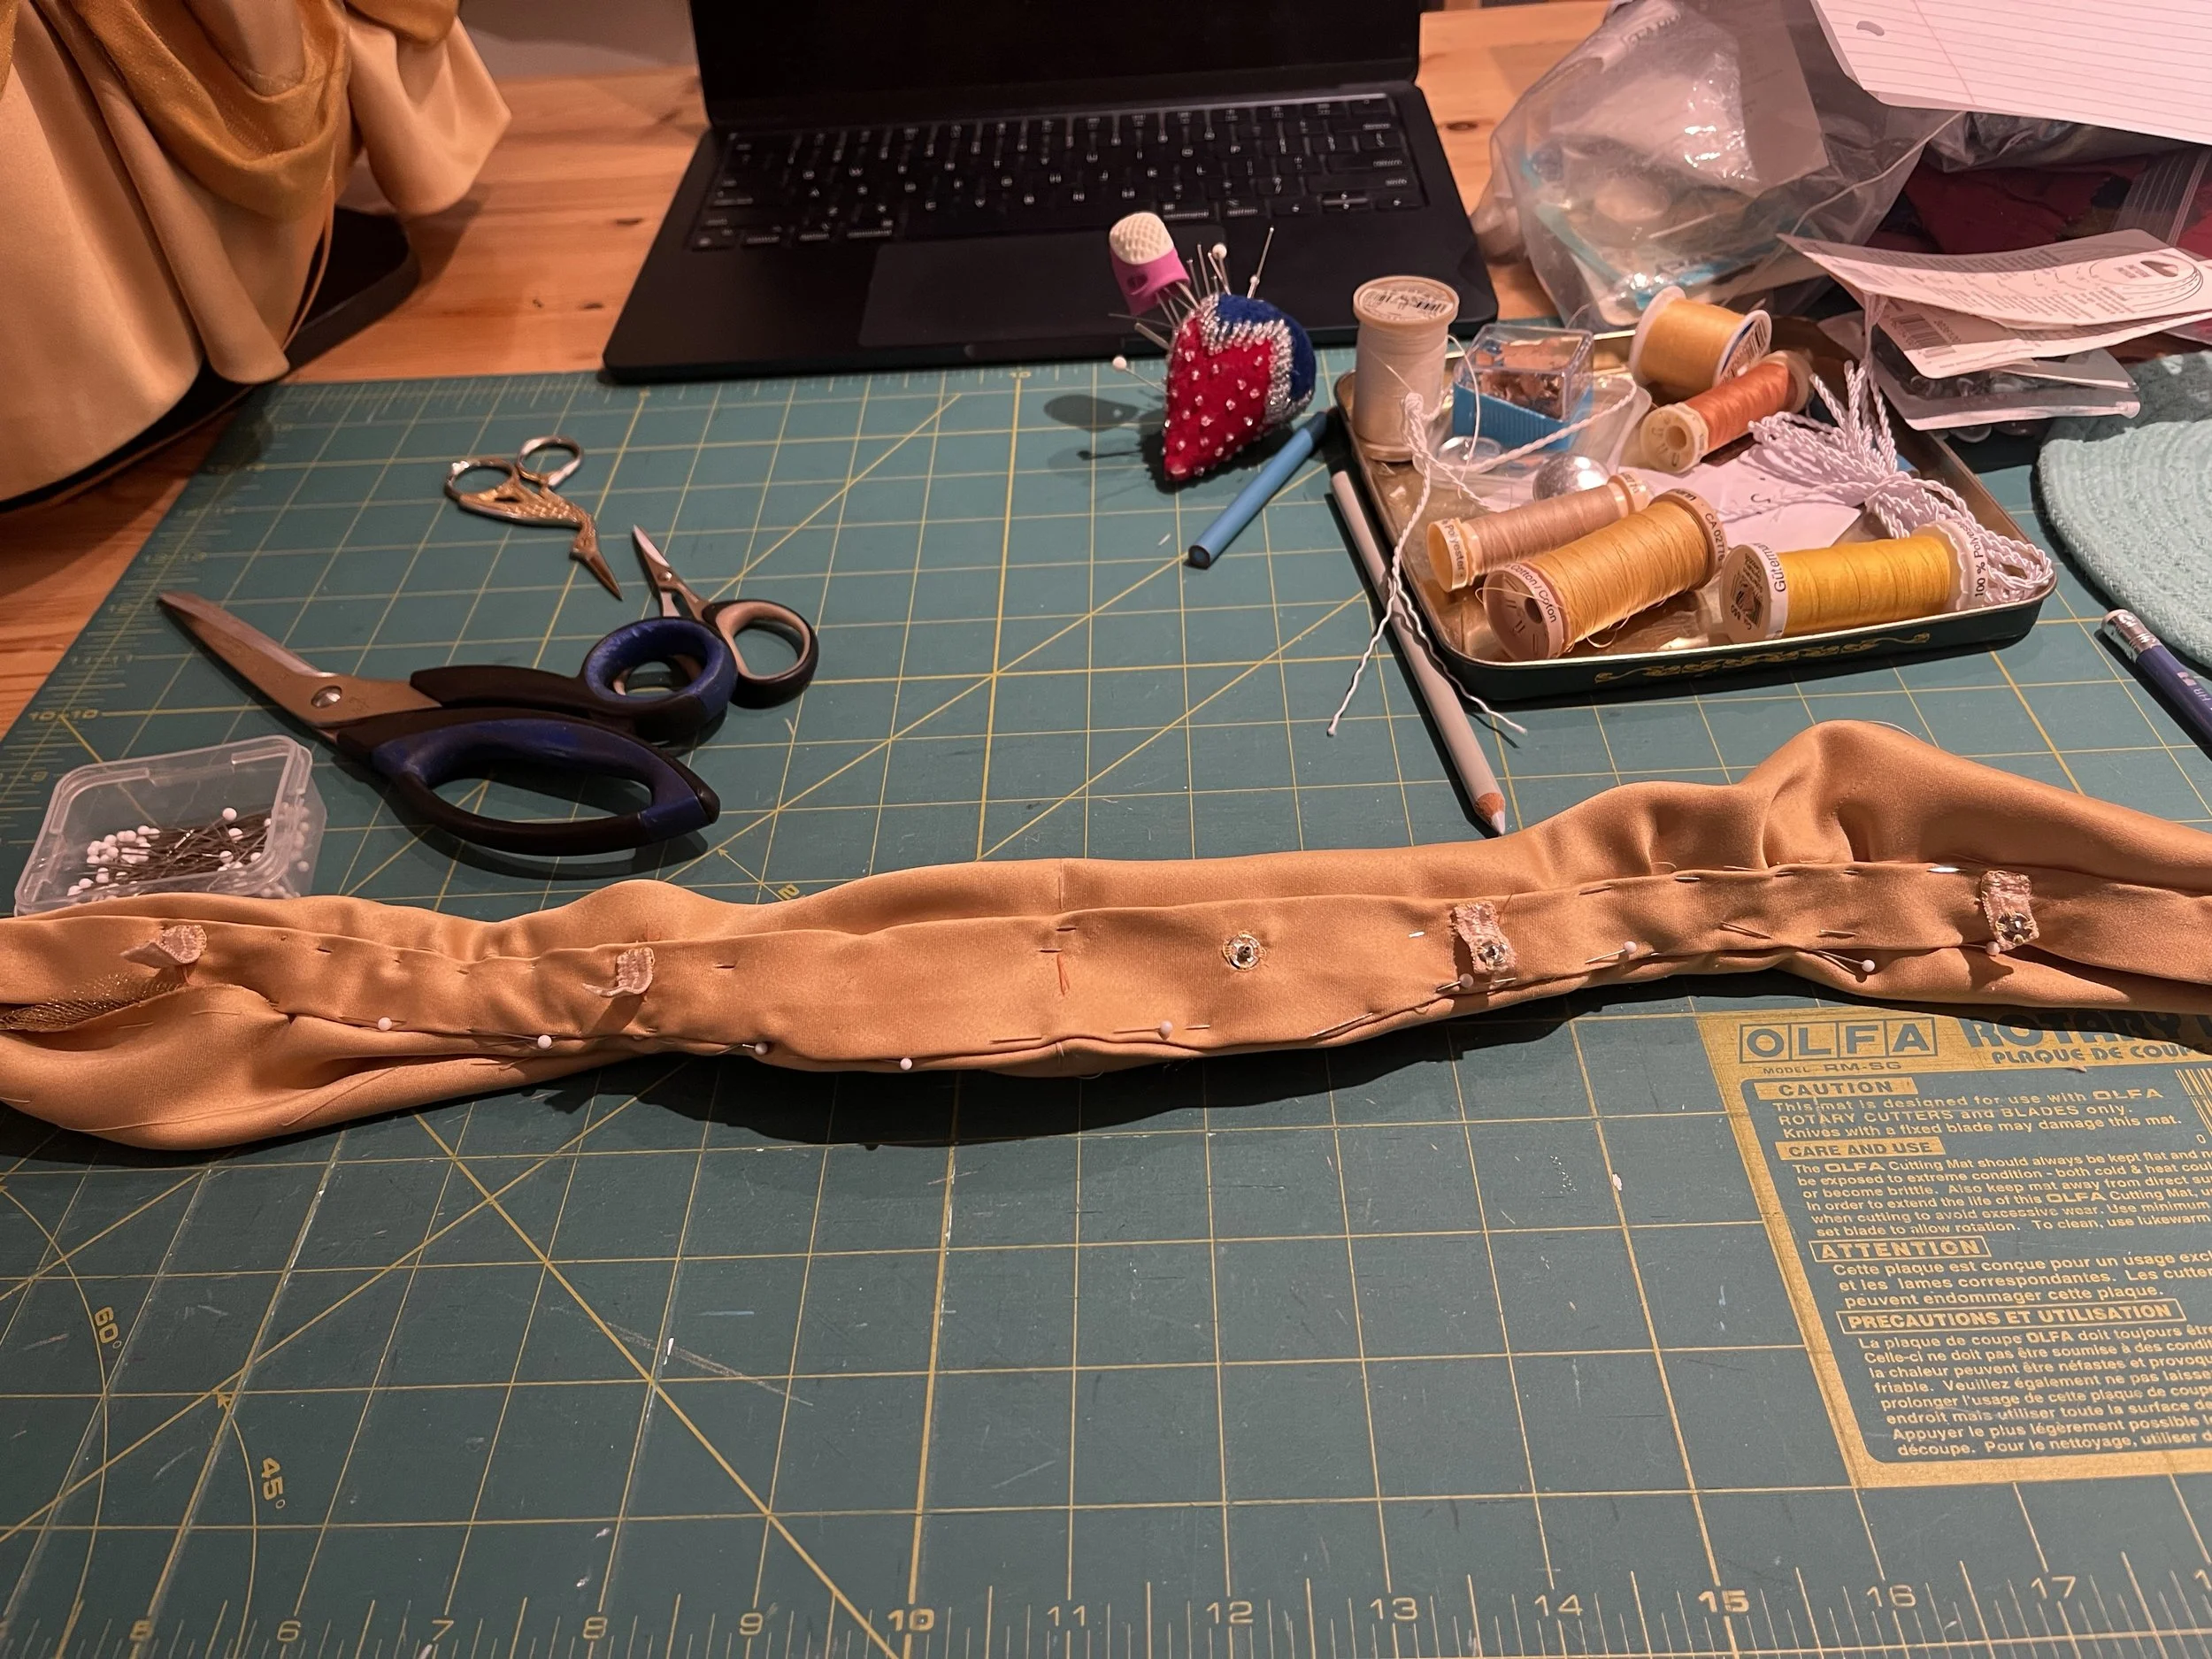
So, the method I eventually settled on was to make a separate piece which would be applied to the finished bodice with tacks or stitching on one side and snaps on the other so that it could be seamless at the centre back.
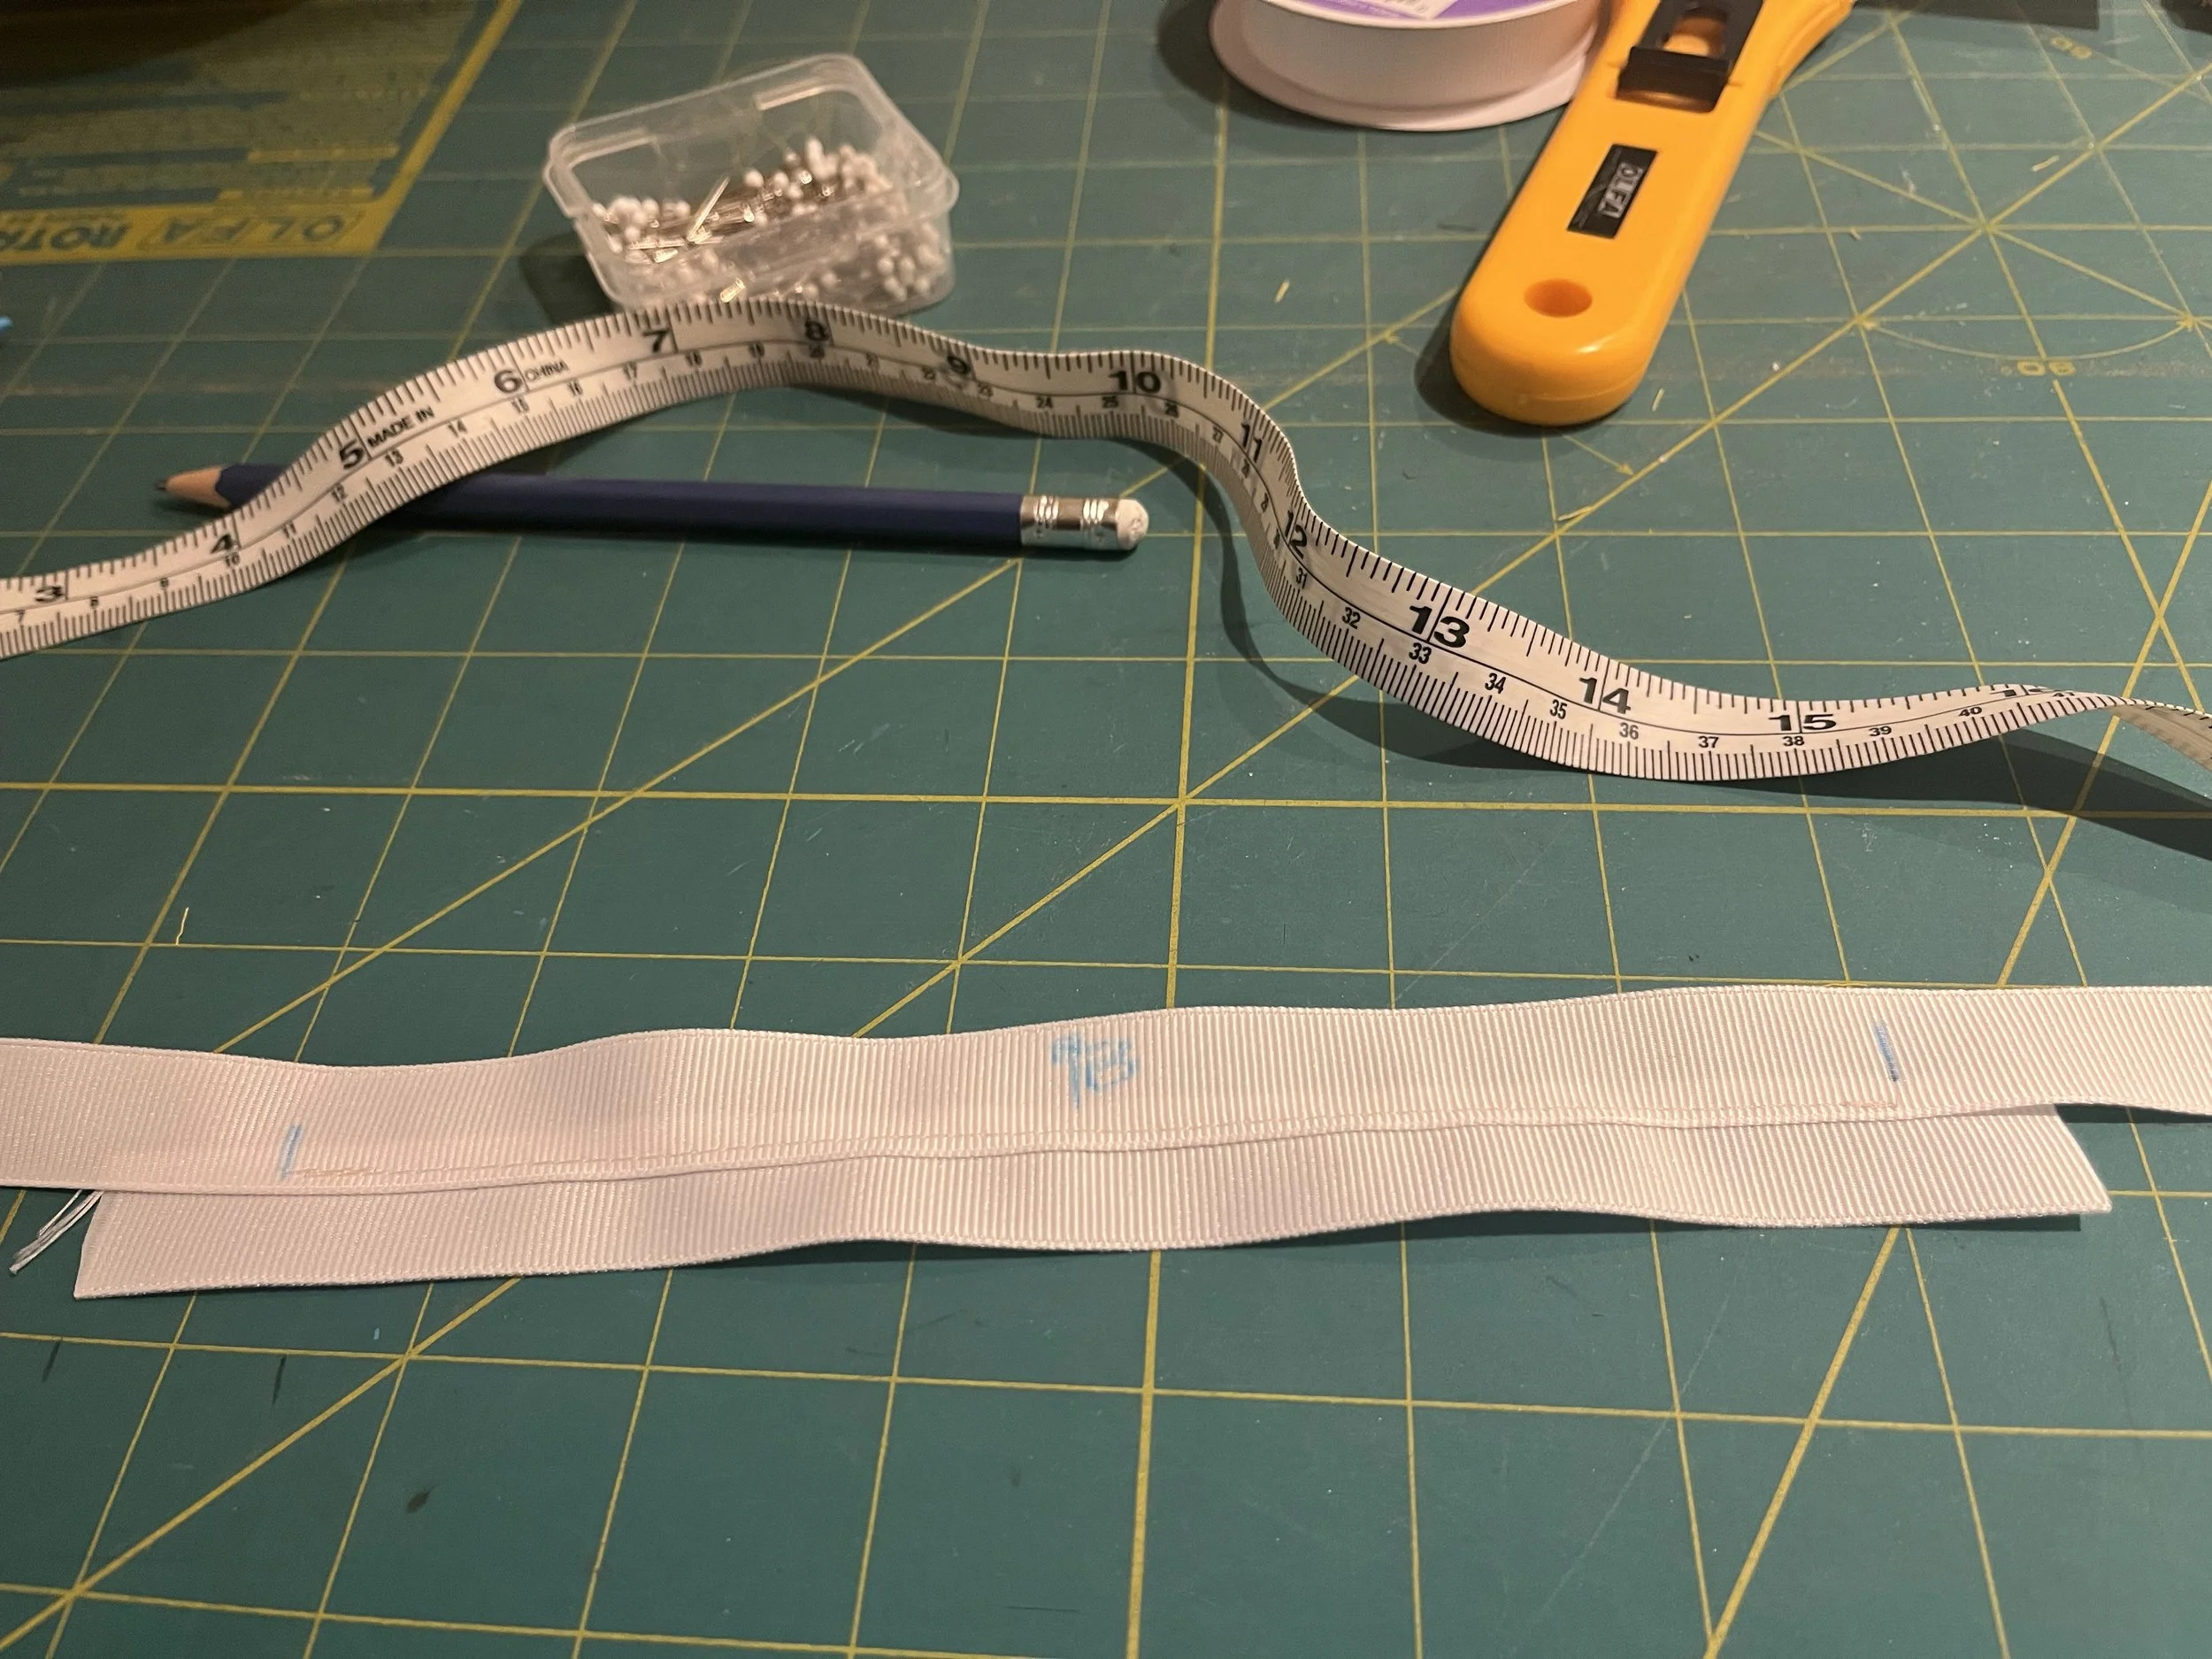
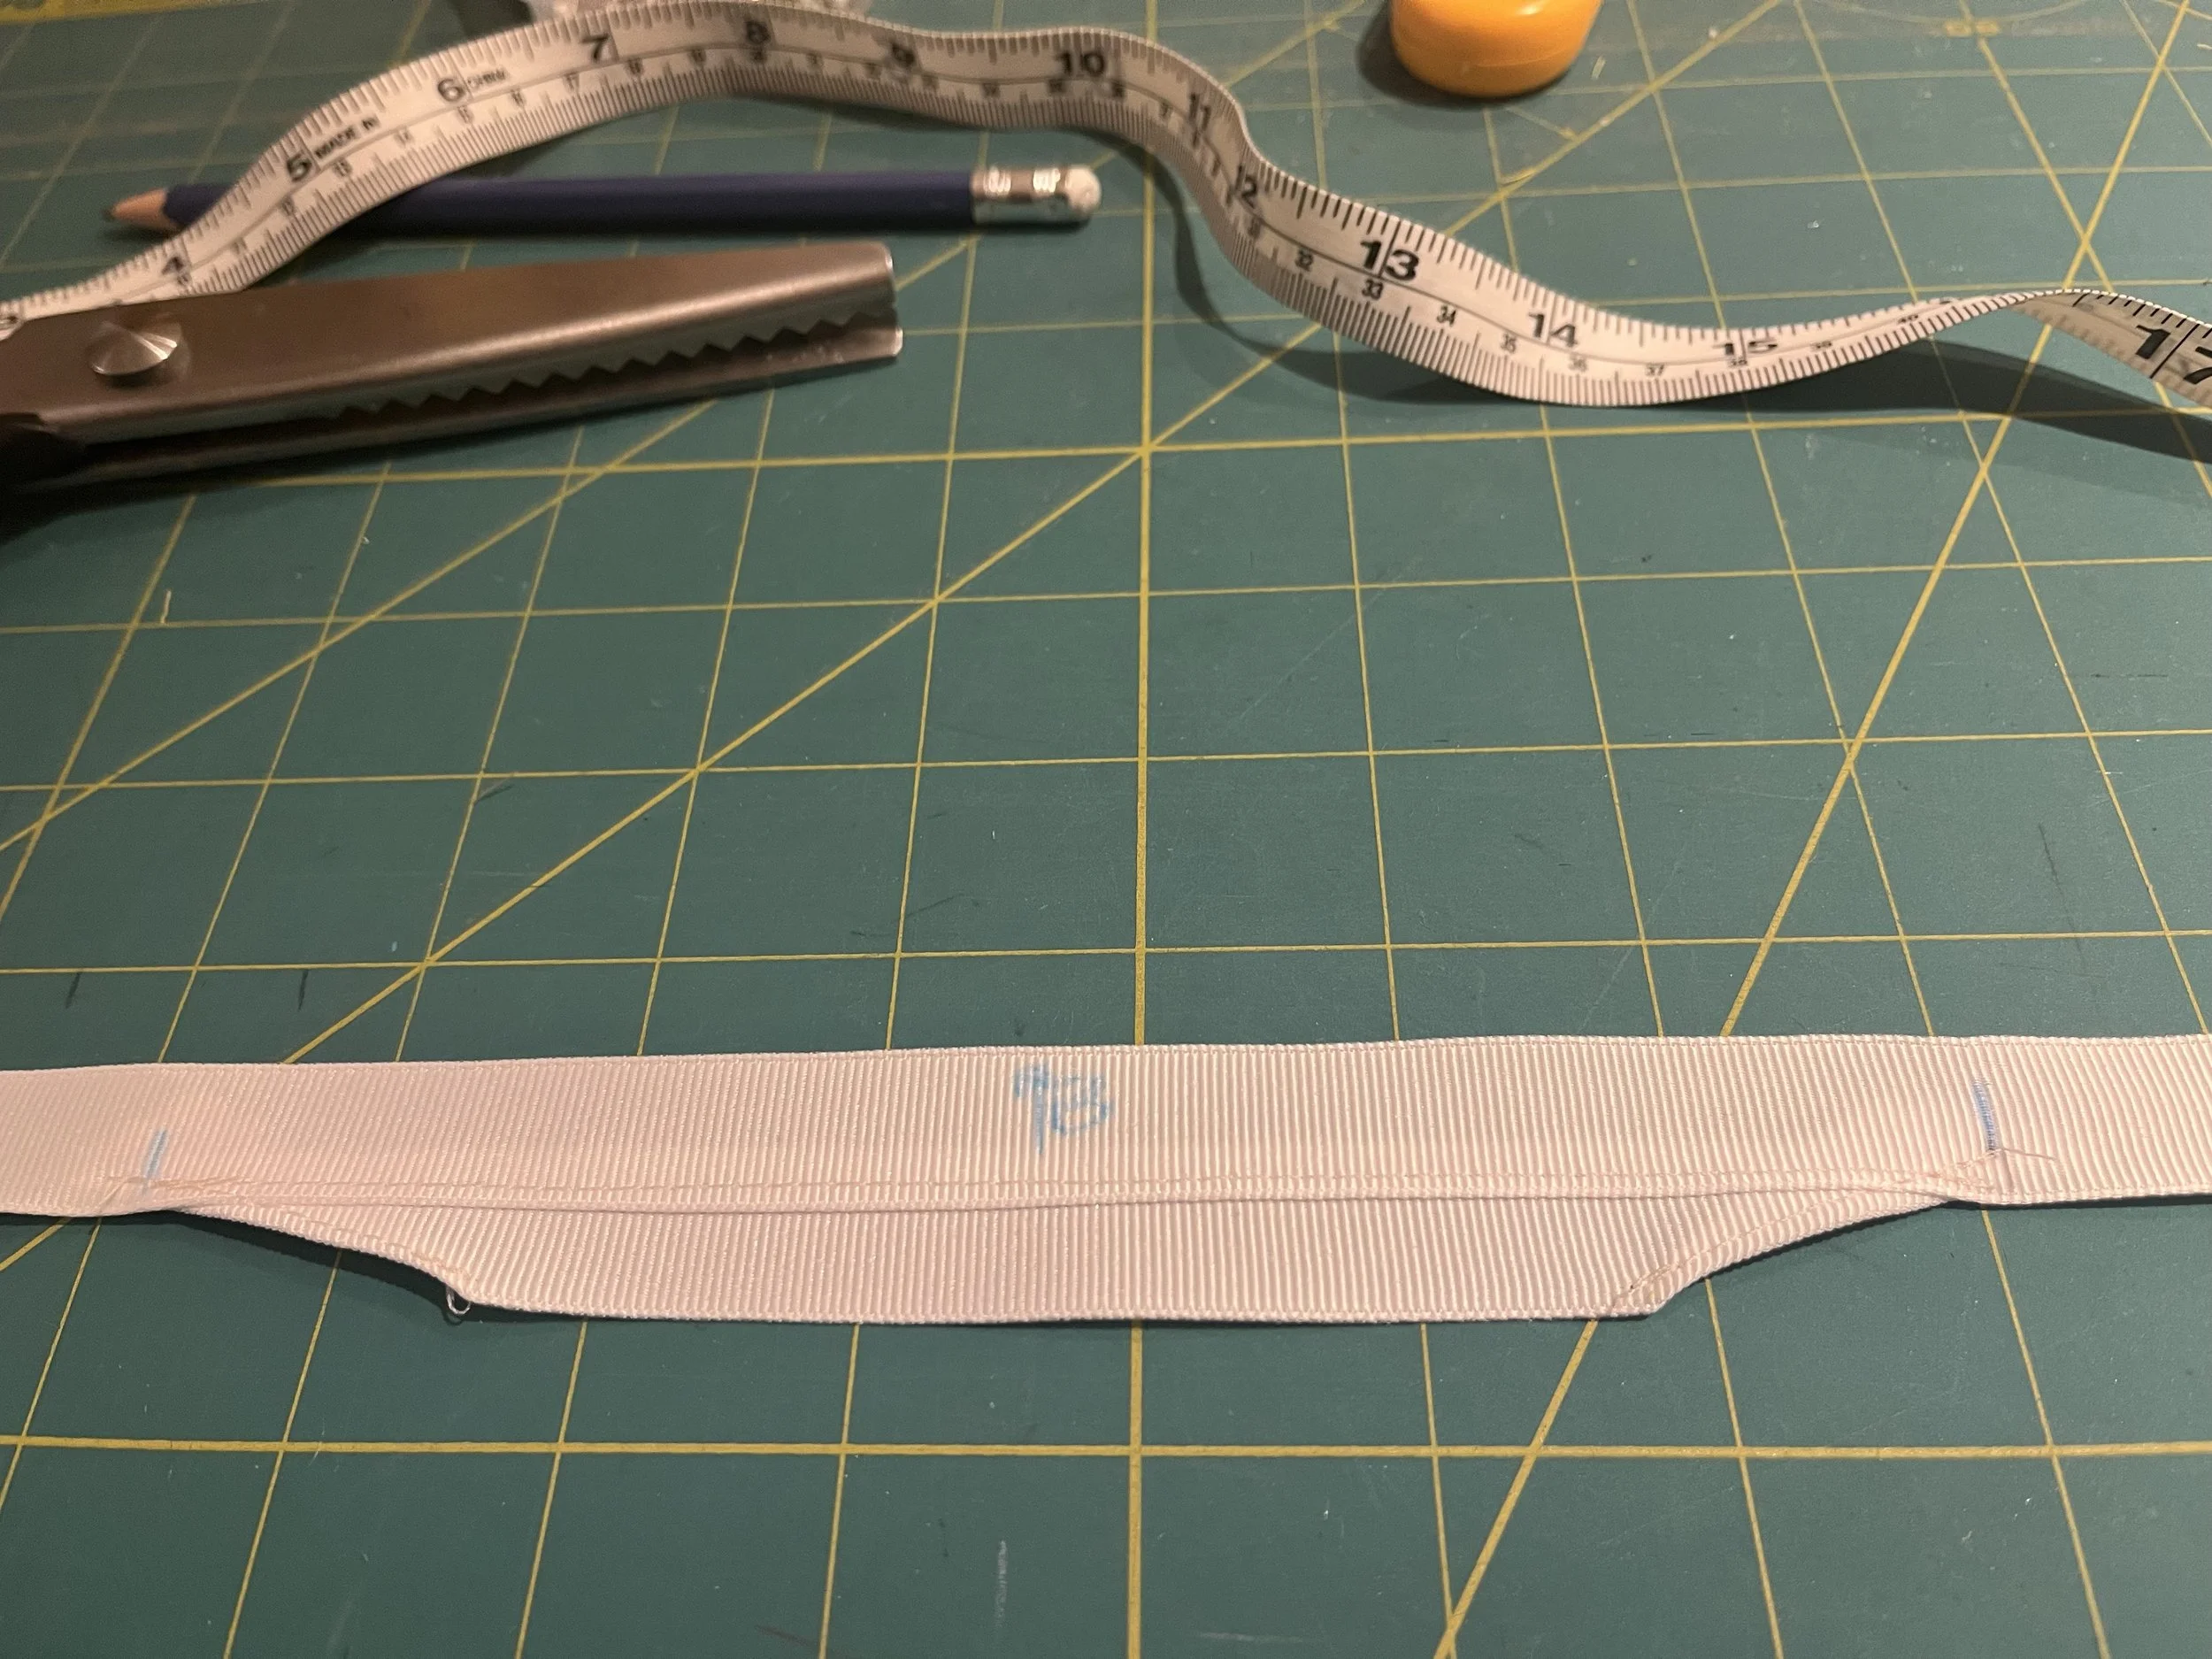
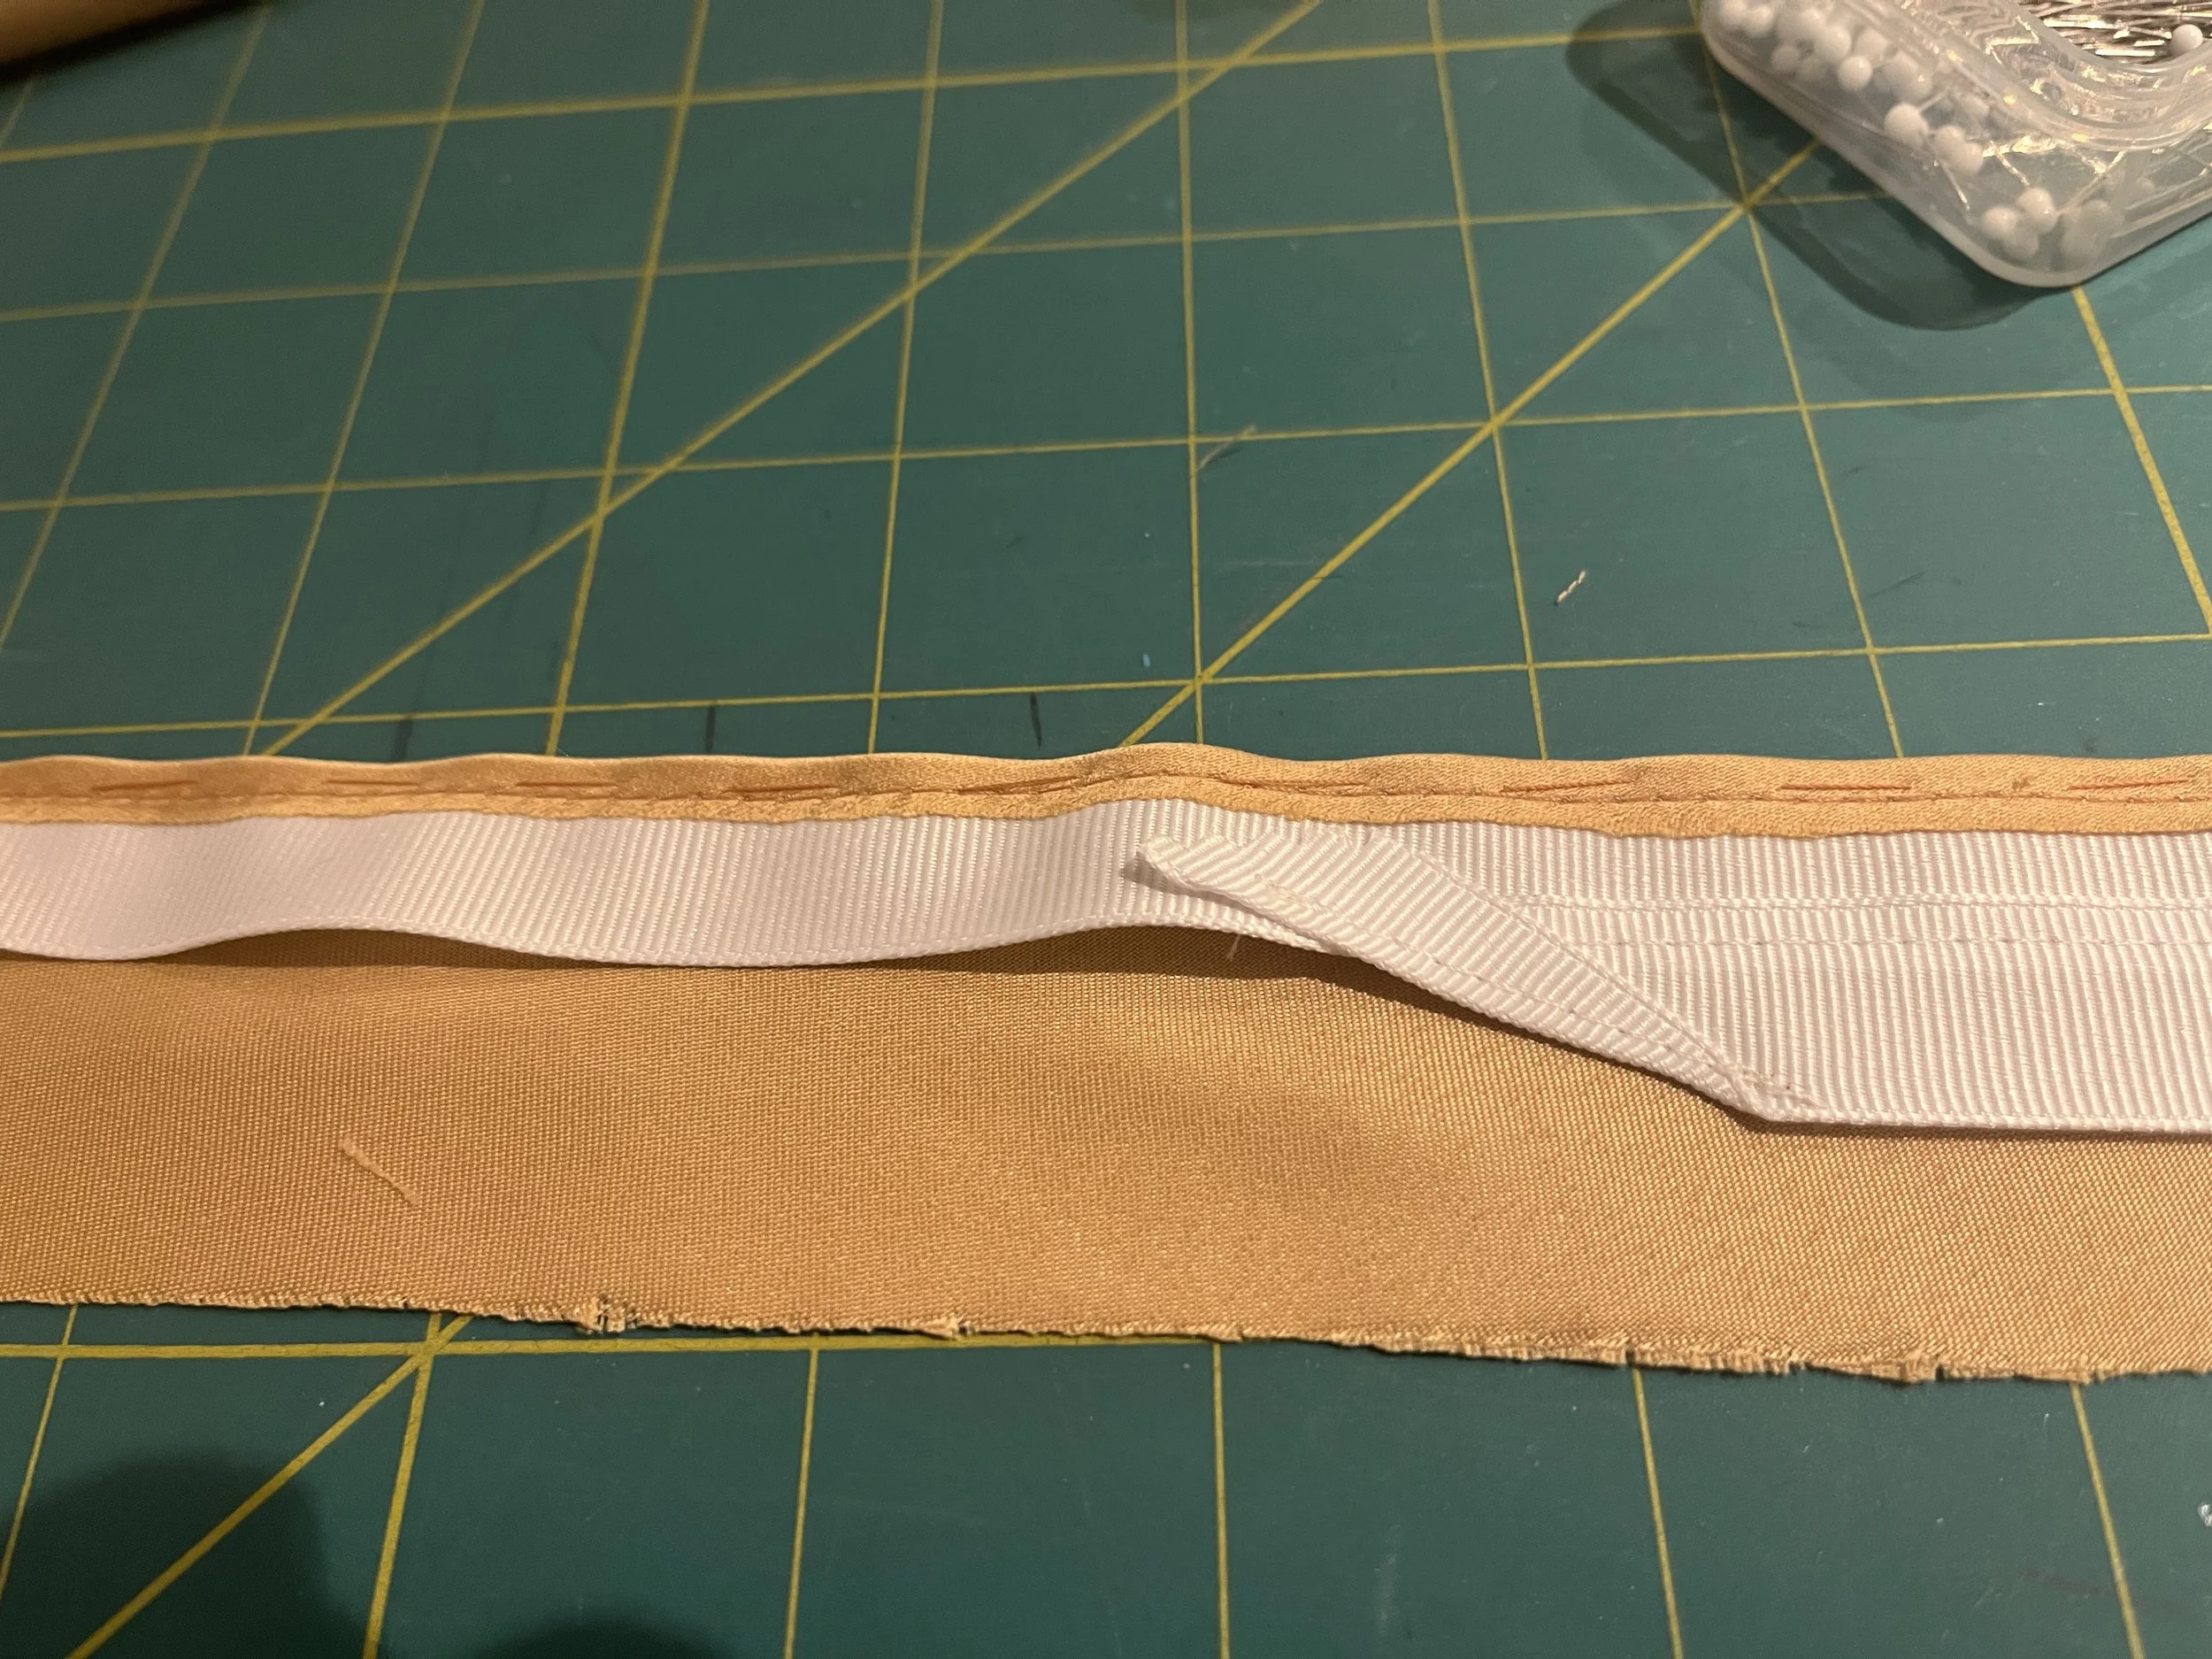
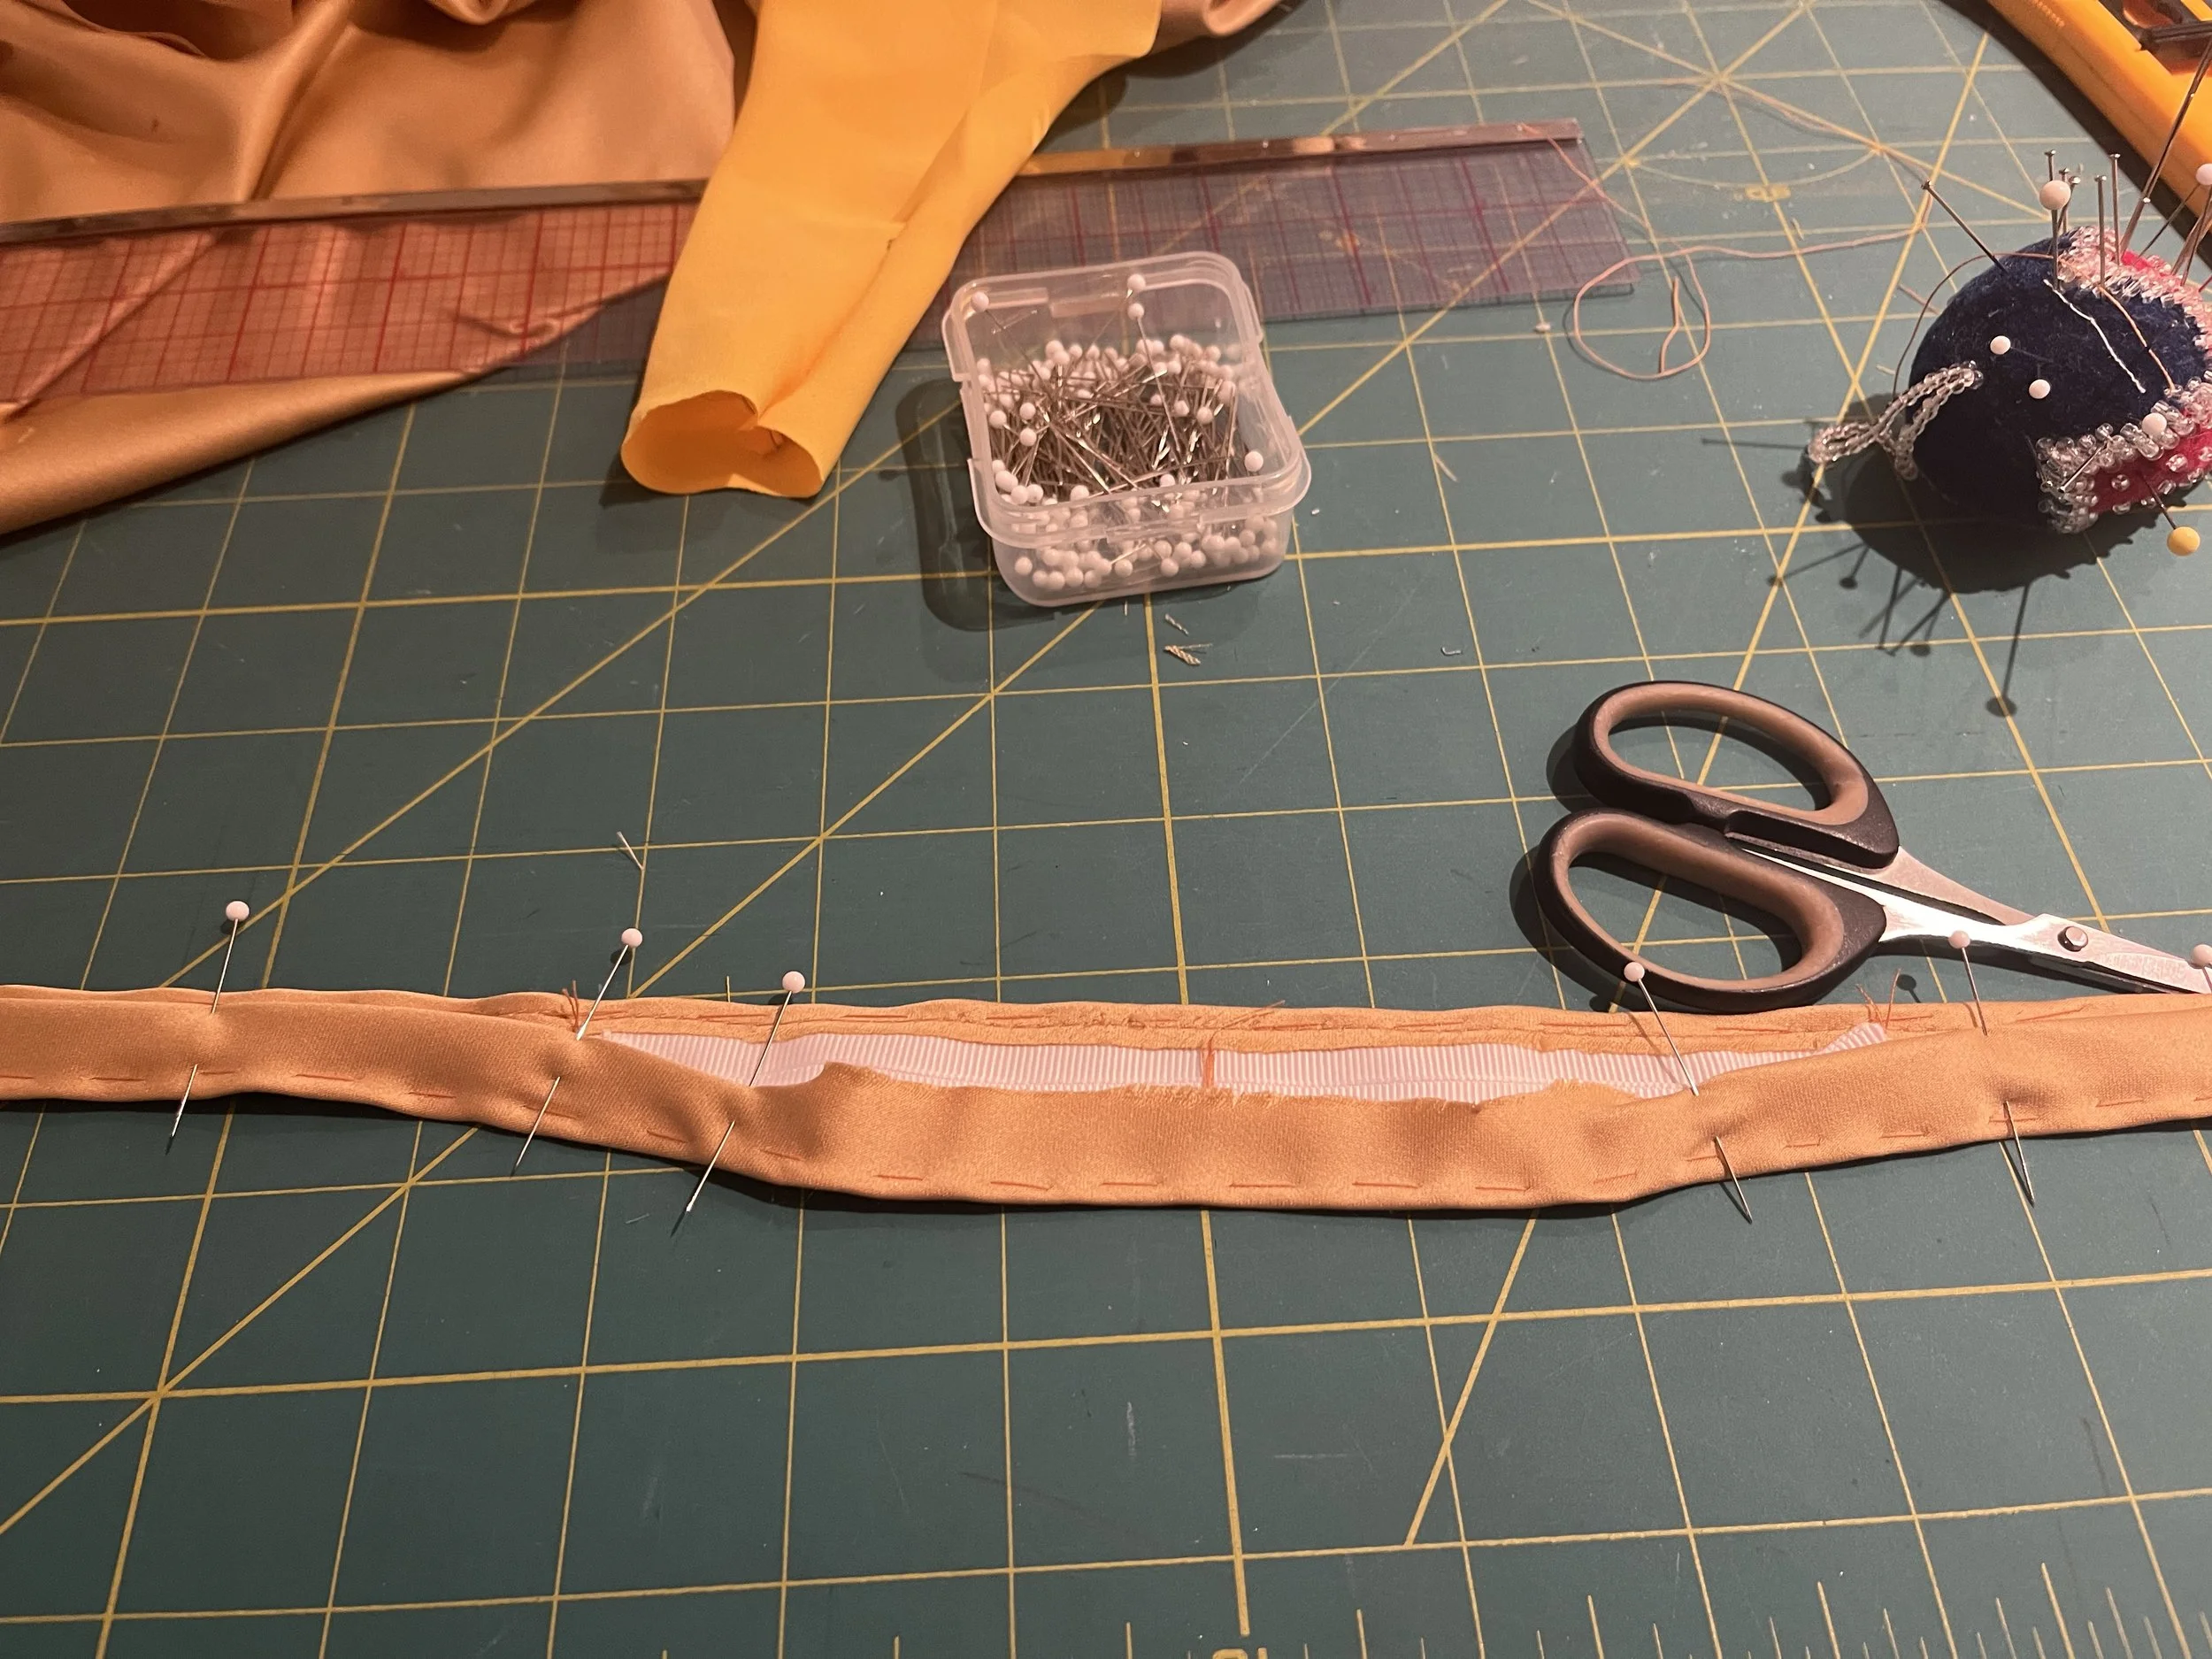
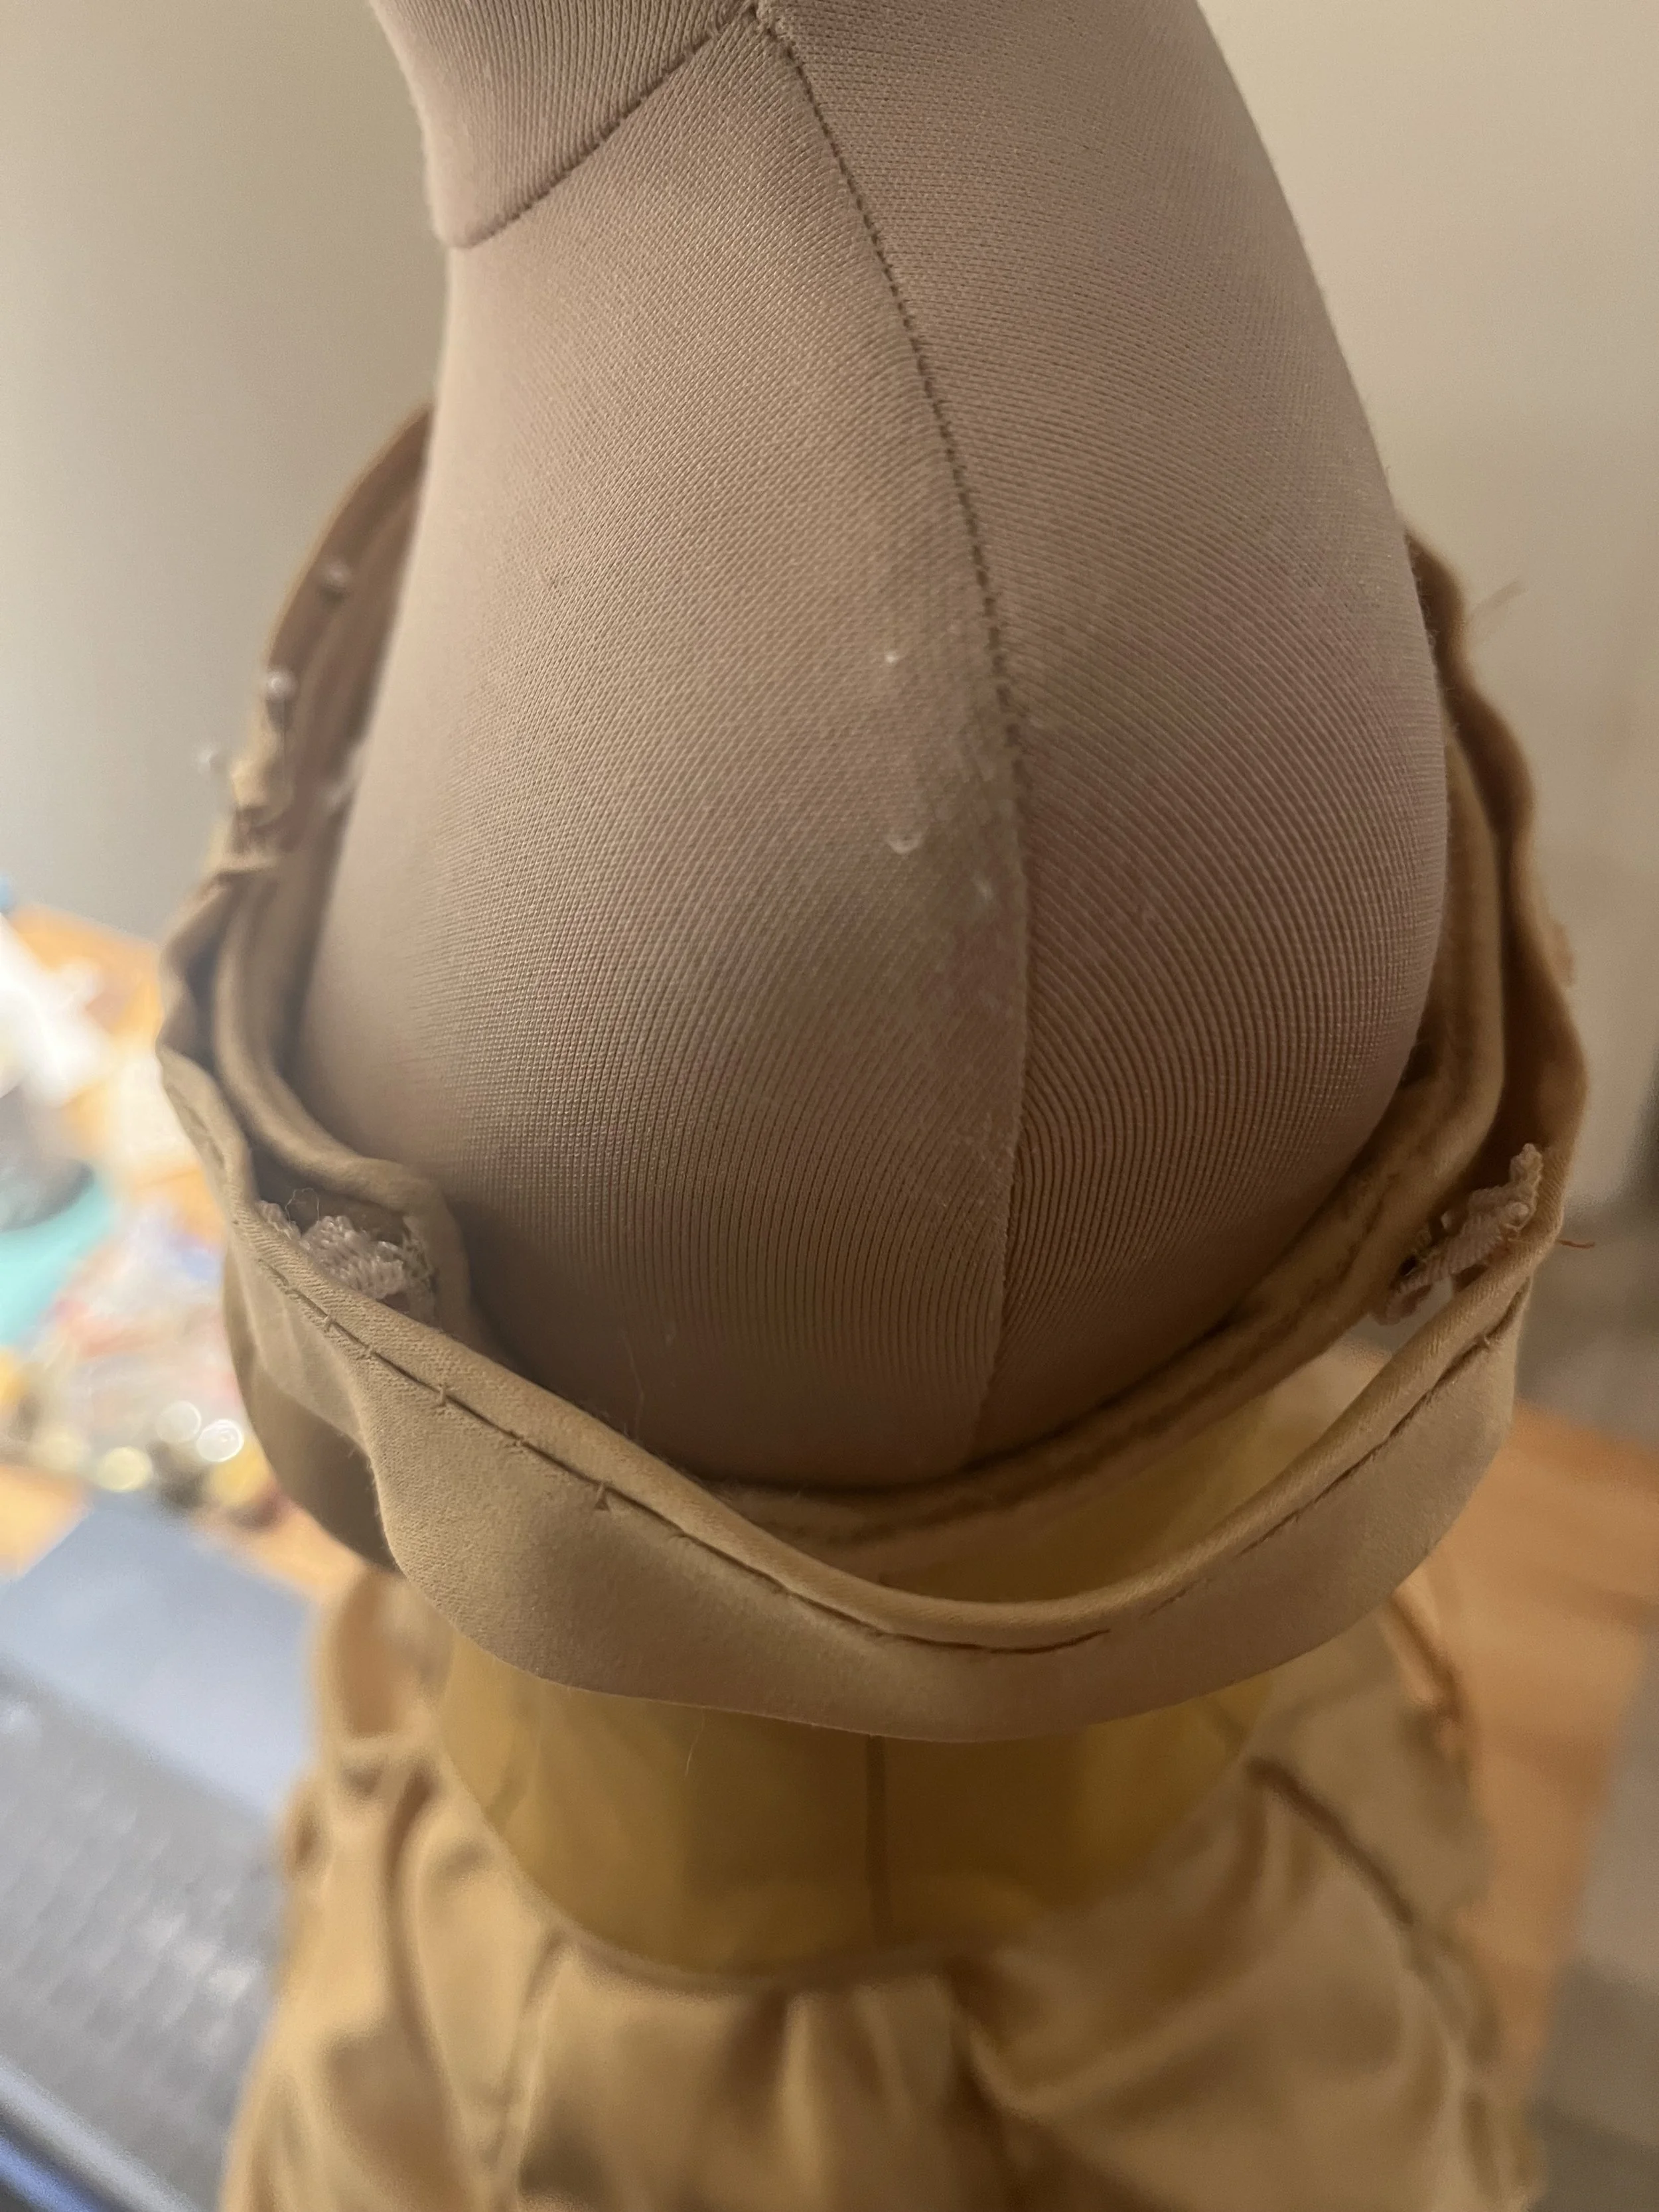
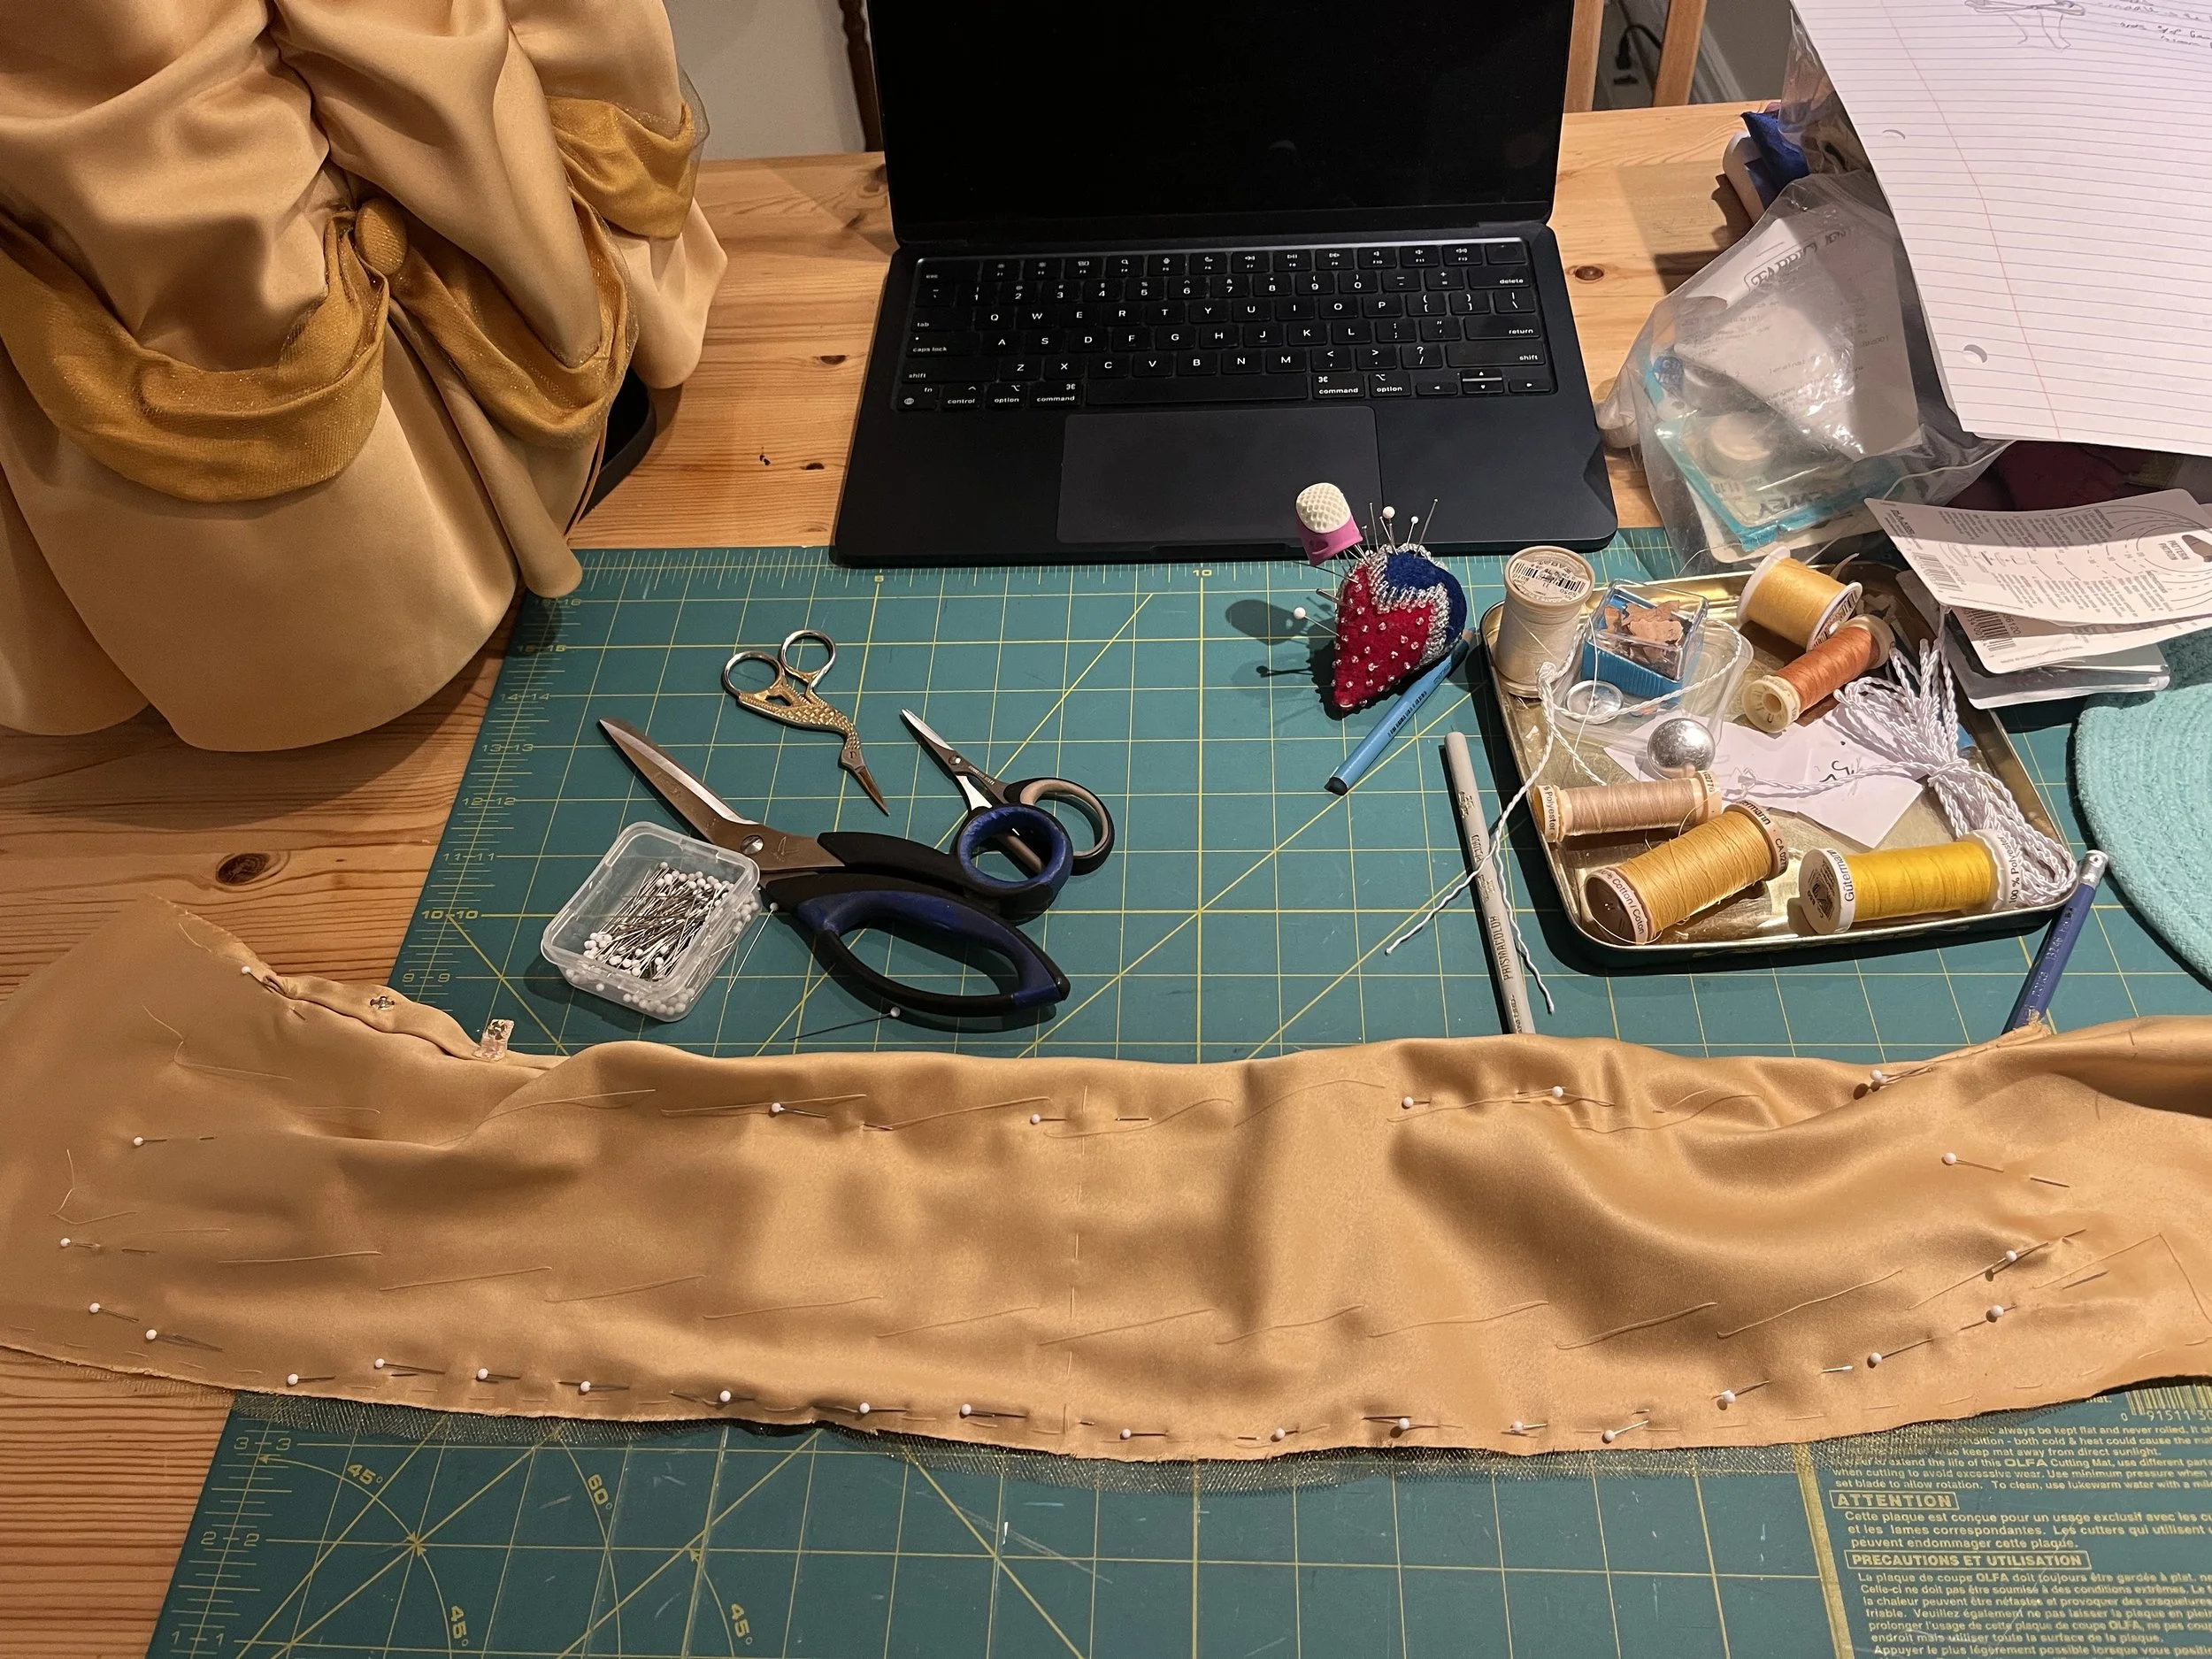
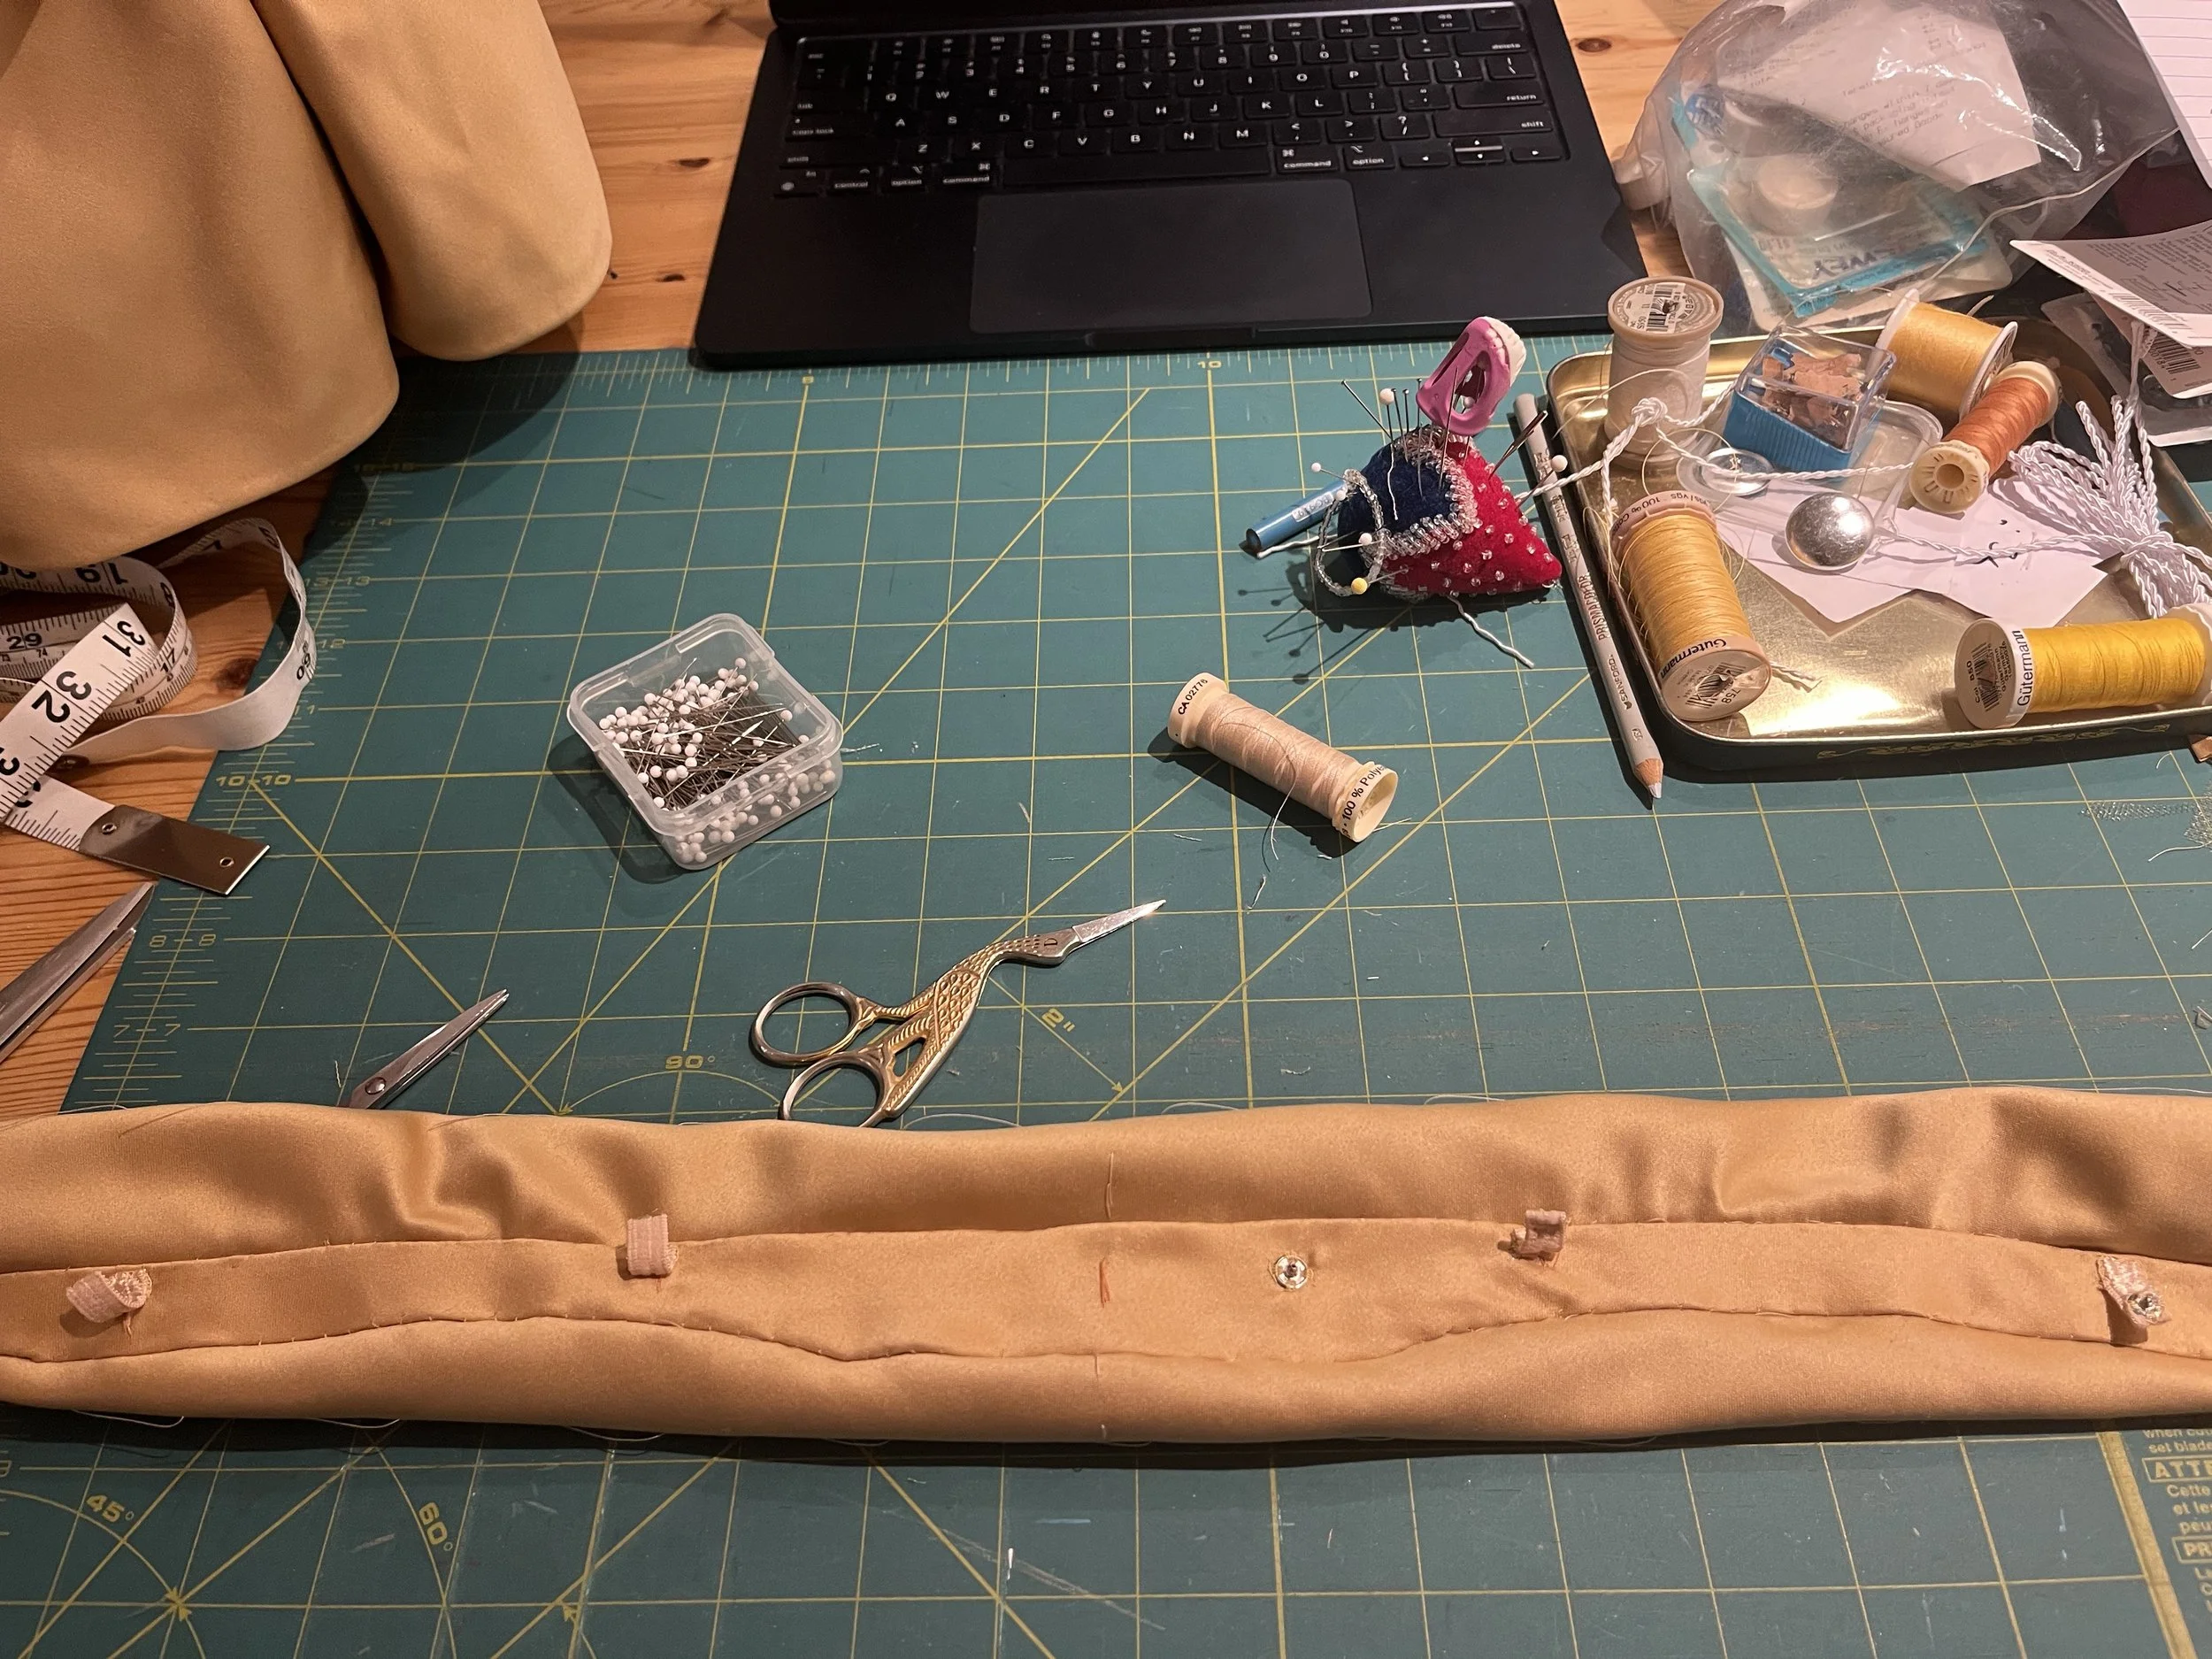
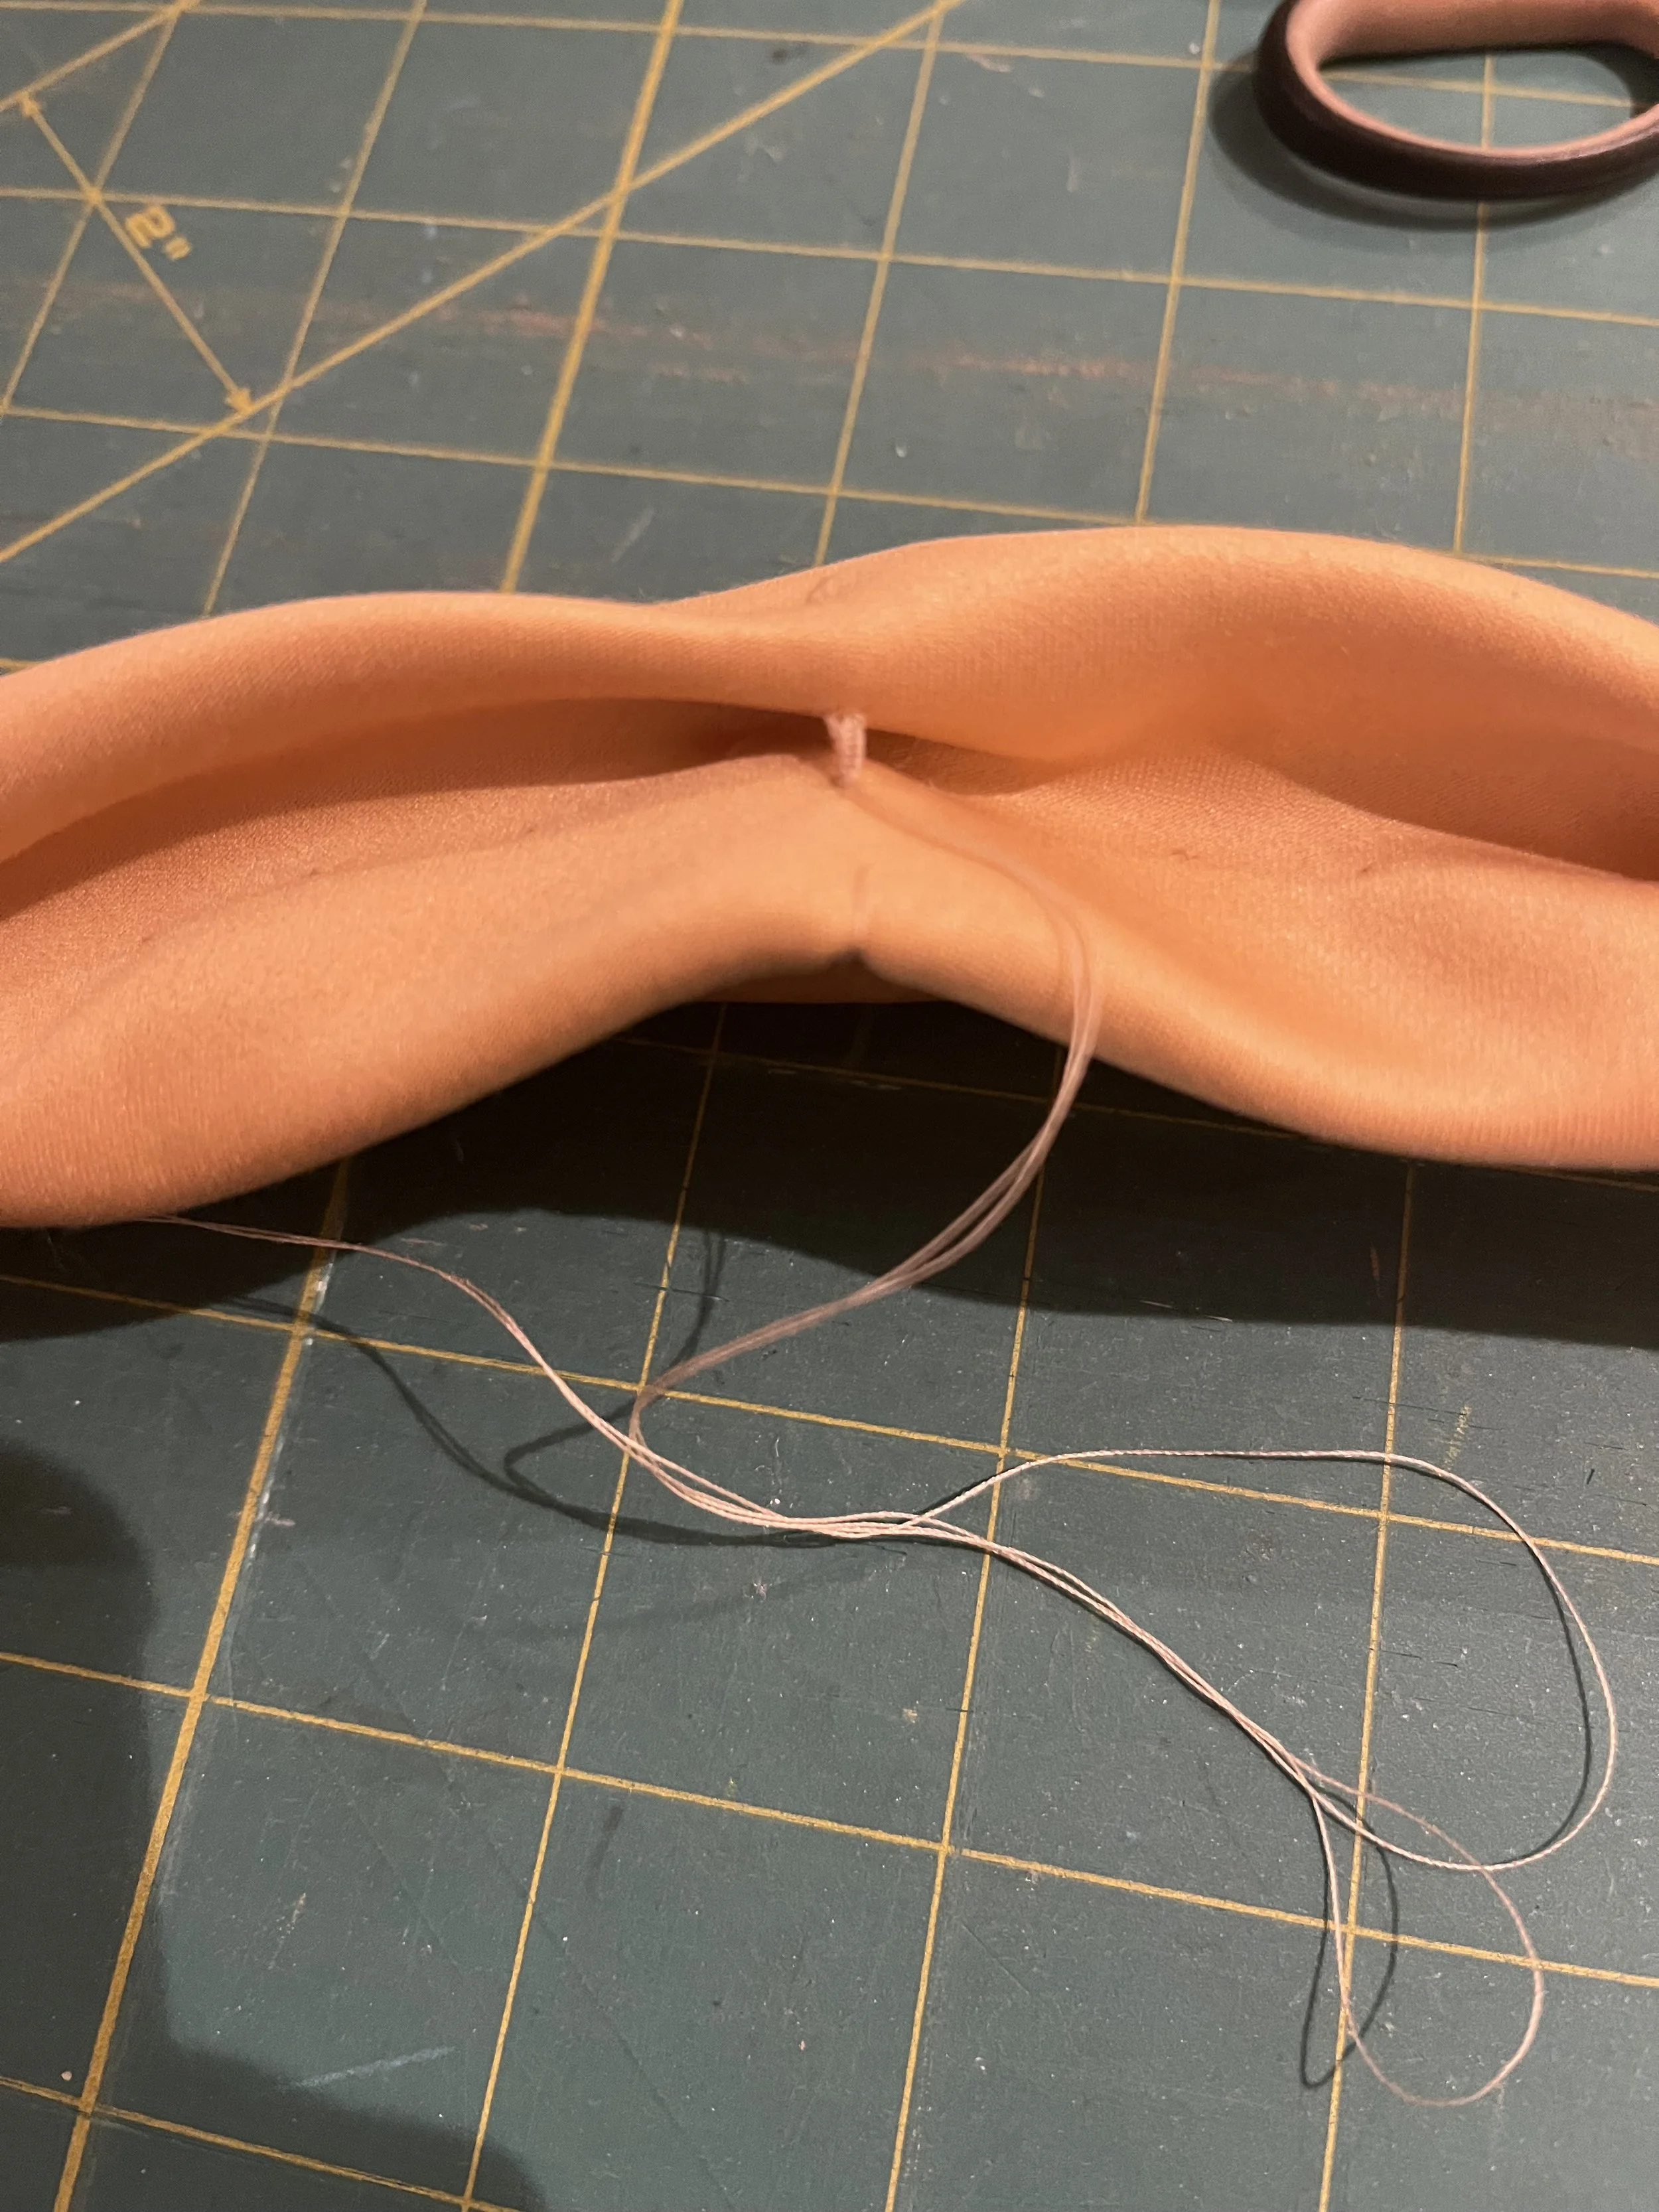
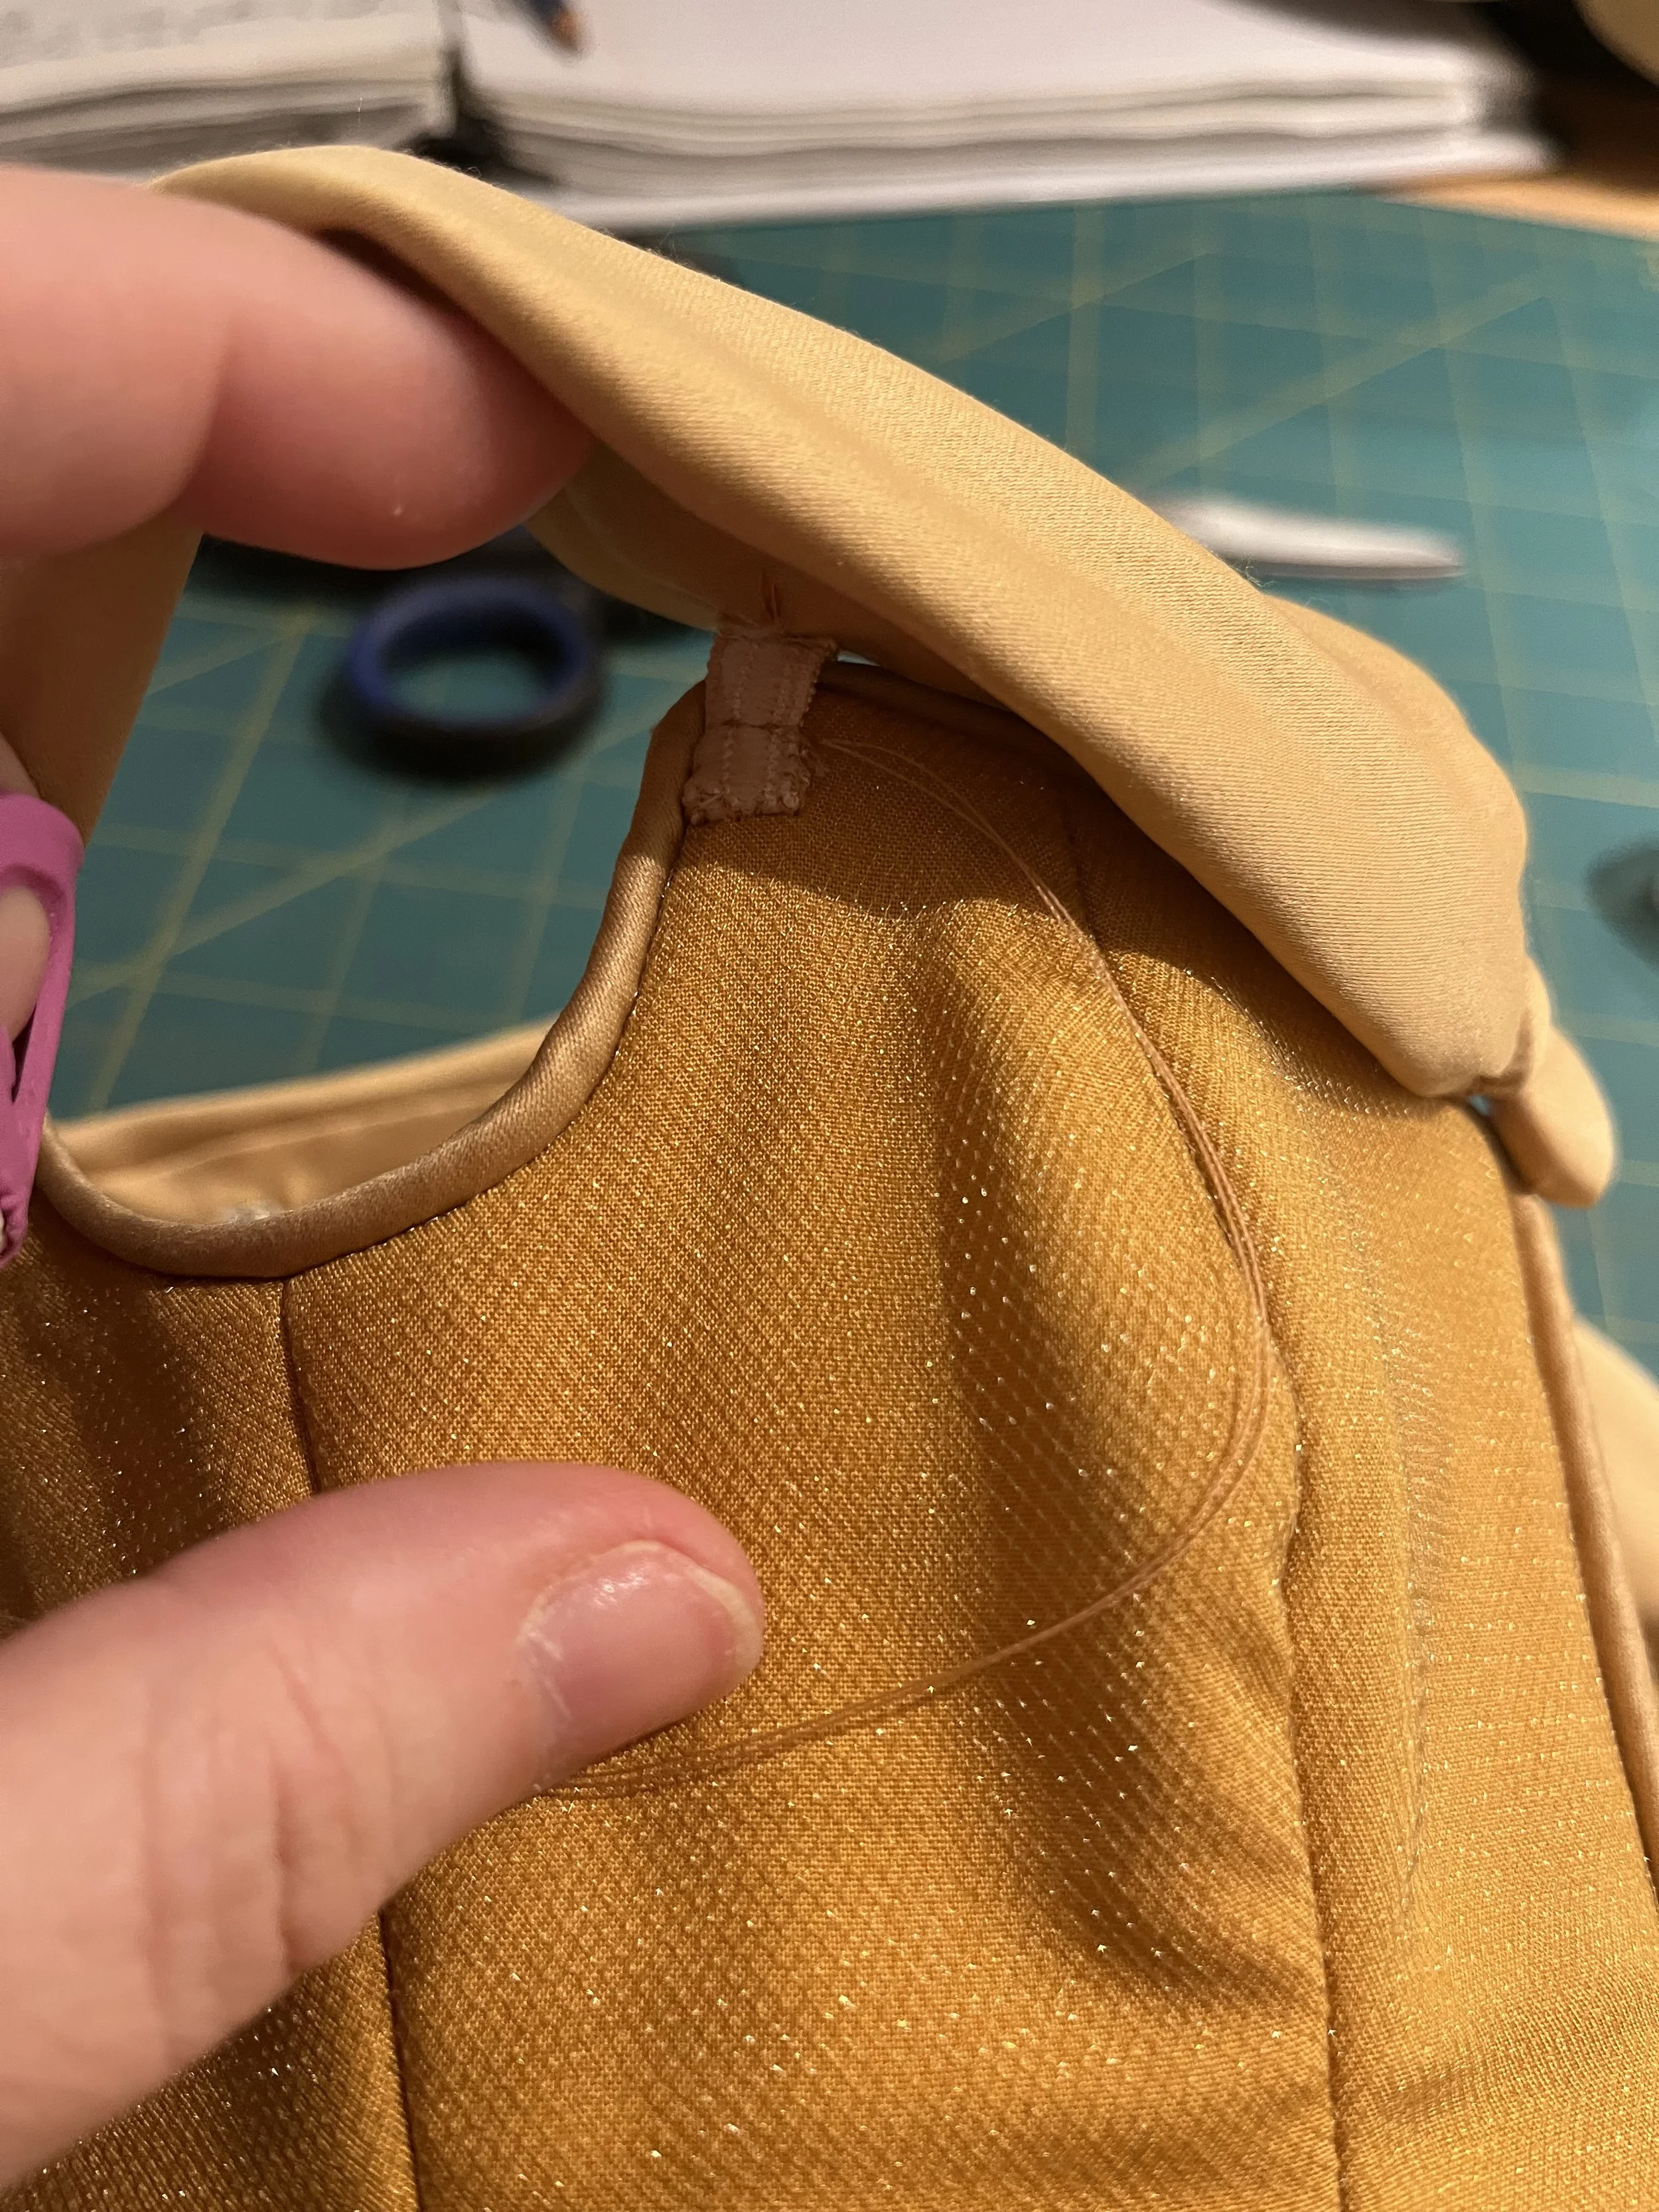
For the structure, I chose grosgrain ribbon which I covered with the satin after adding a second width across the back. I also added most of my snaps at this point; similar to the lacing, it was easier to stitch them at this point and I could stab through without having stitches showing on the outside. For the joins at the armholes I used a piece of elastic which would give the sleeve the desired flexibility and stretch but pull it back down into the correct position when arms were lowered.
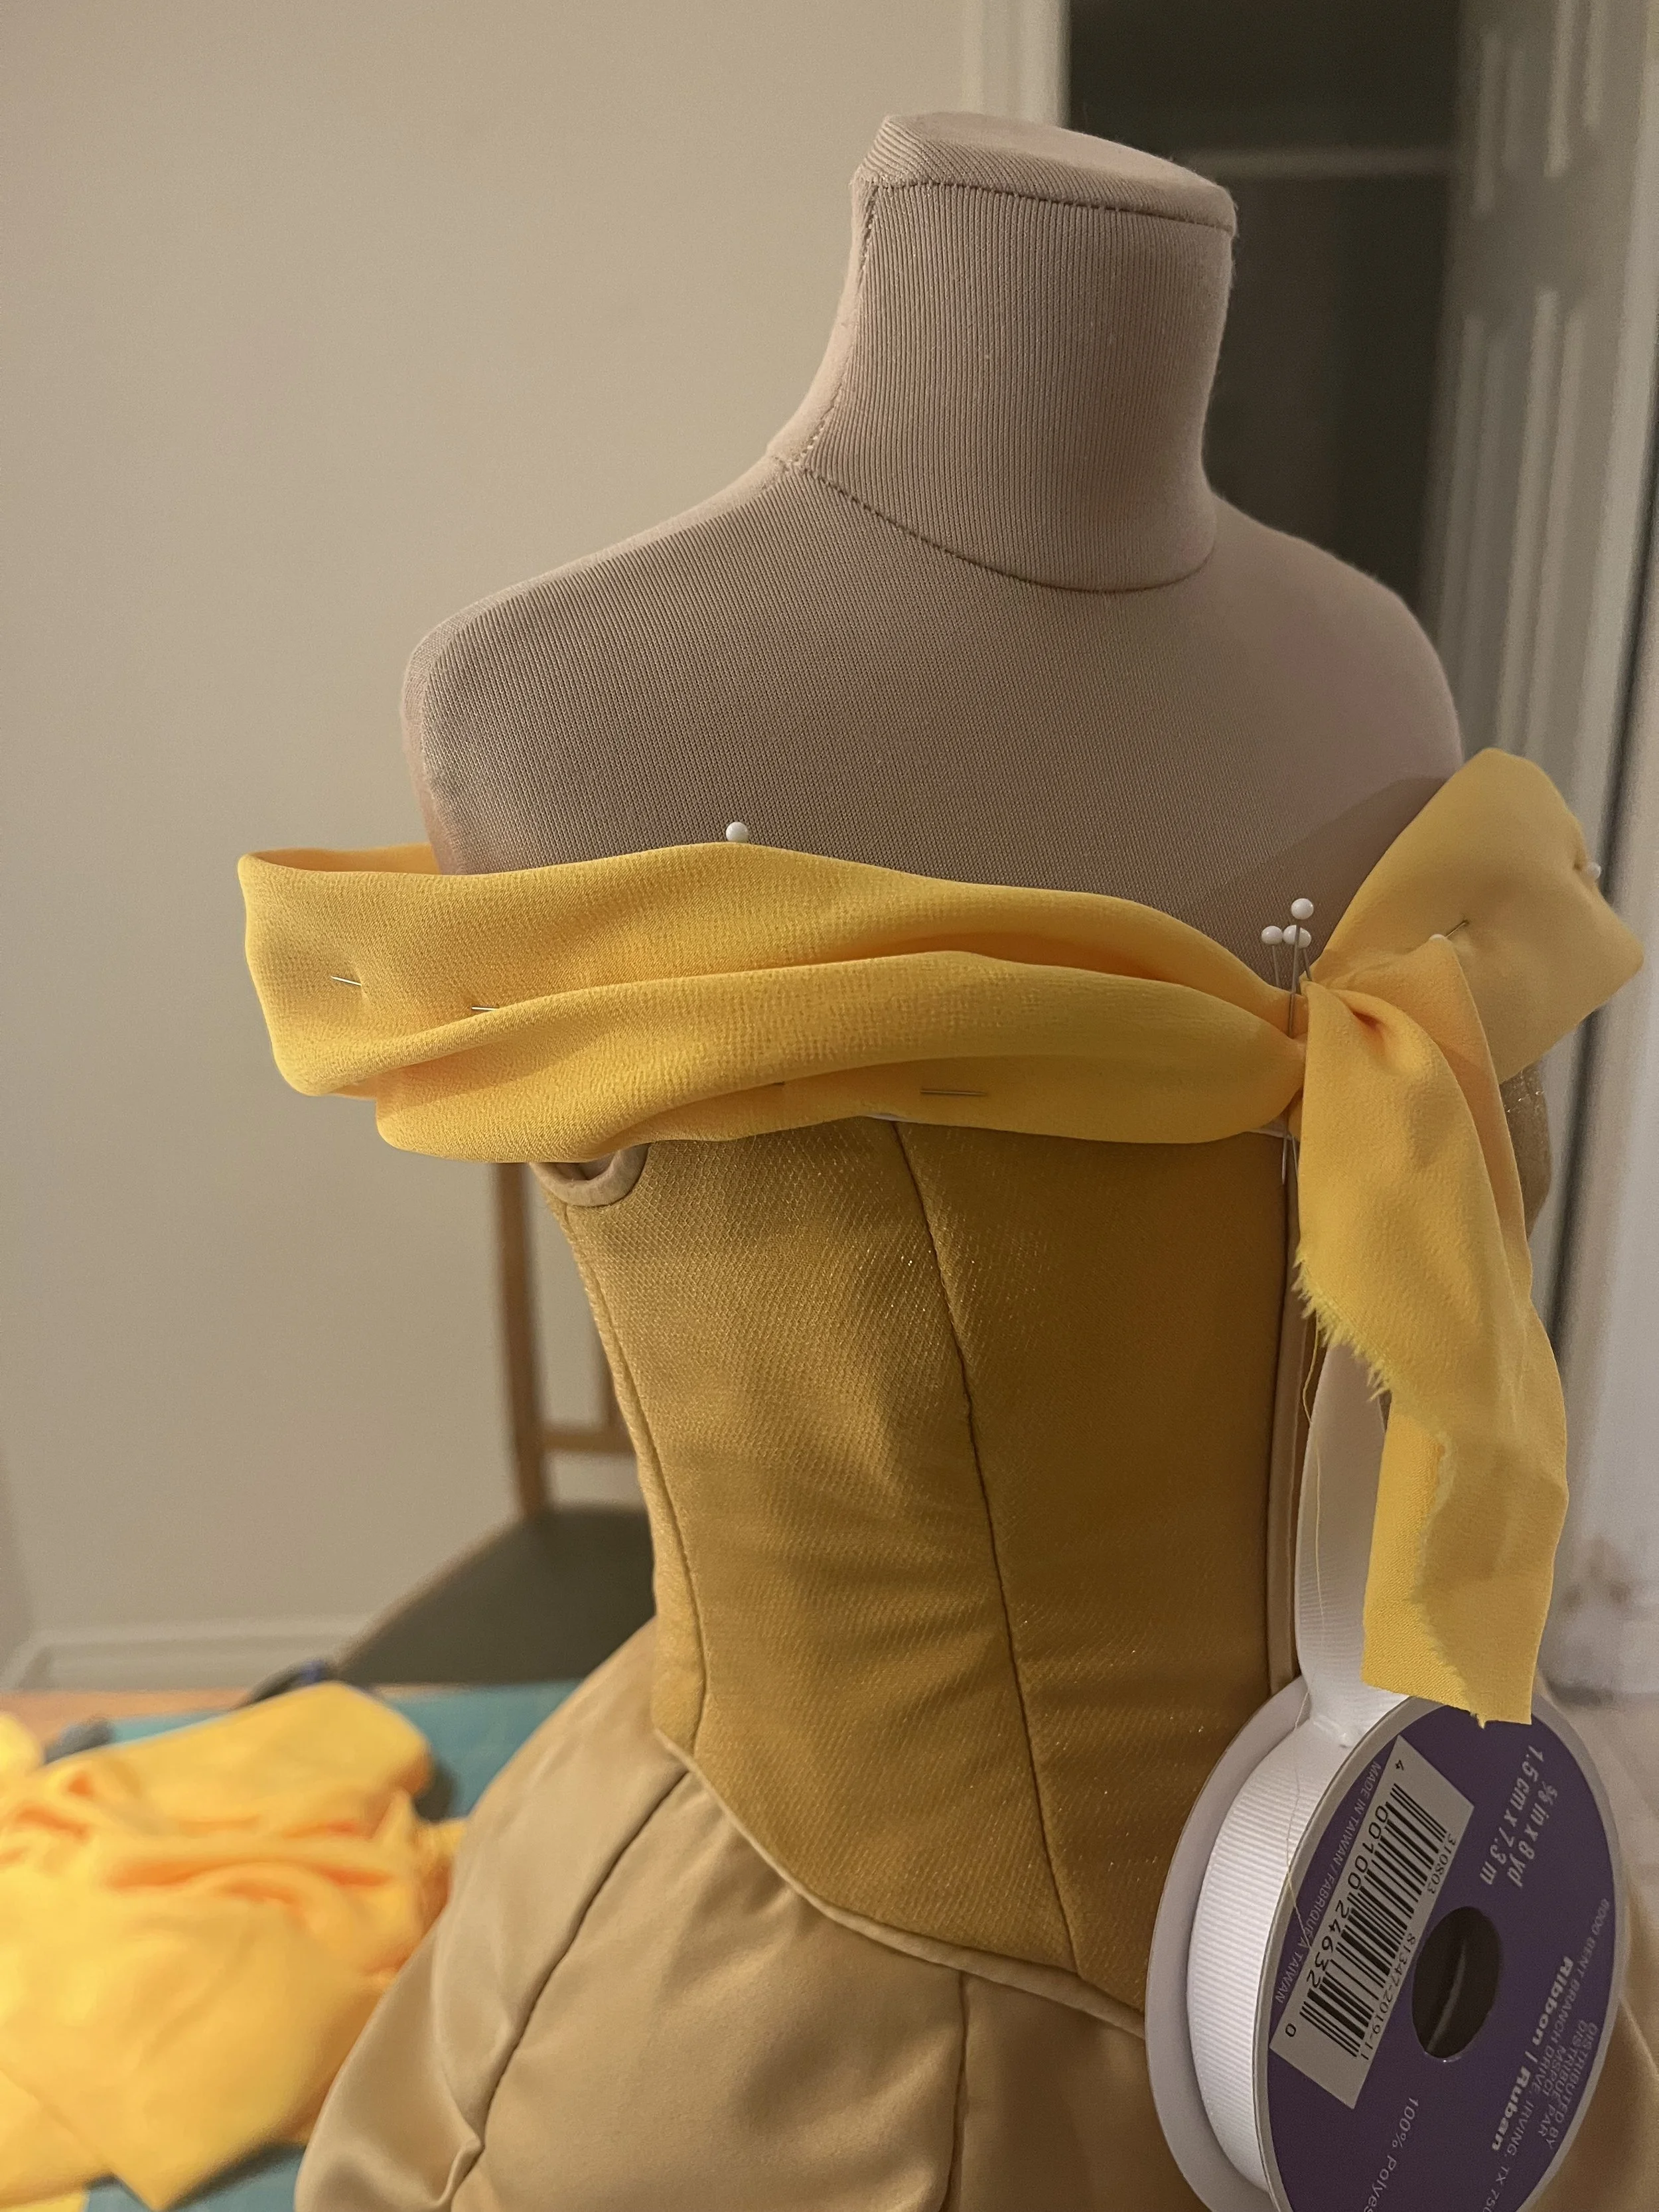
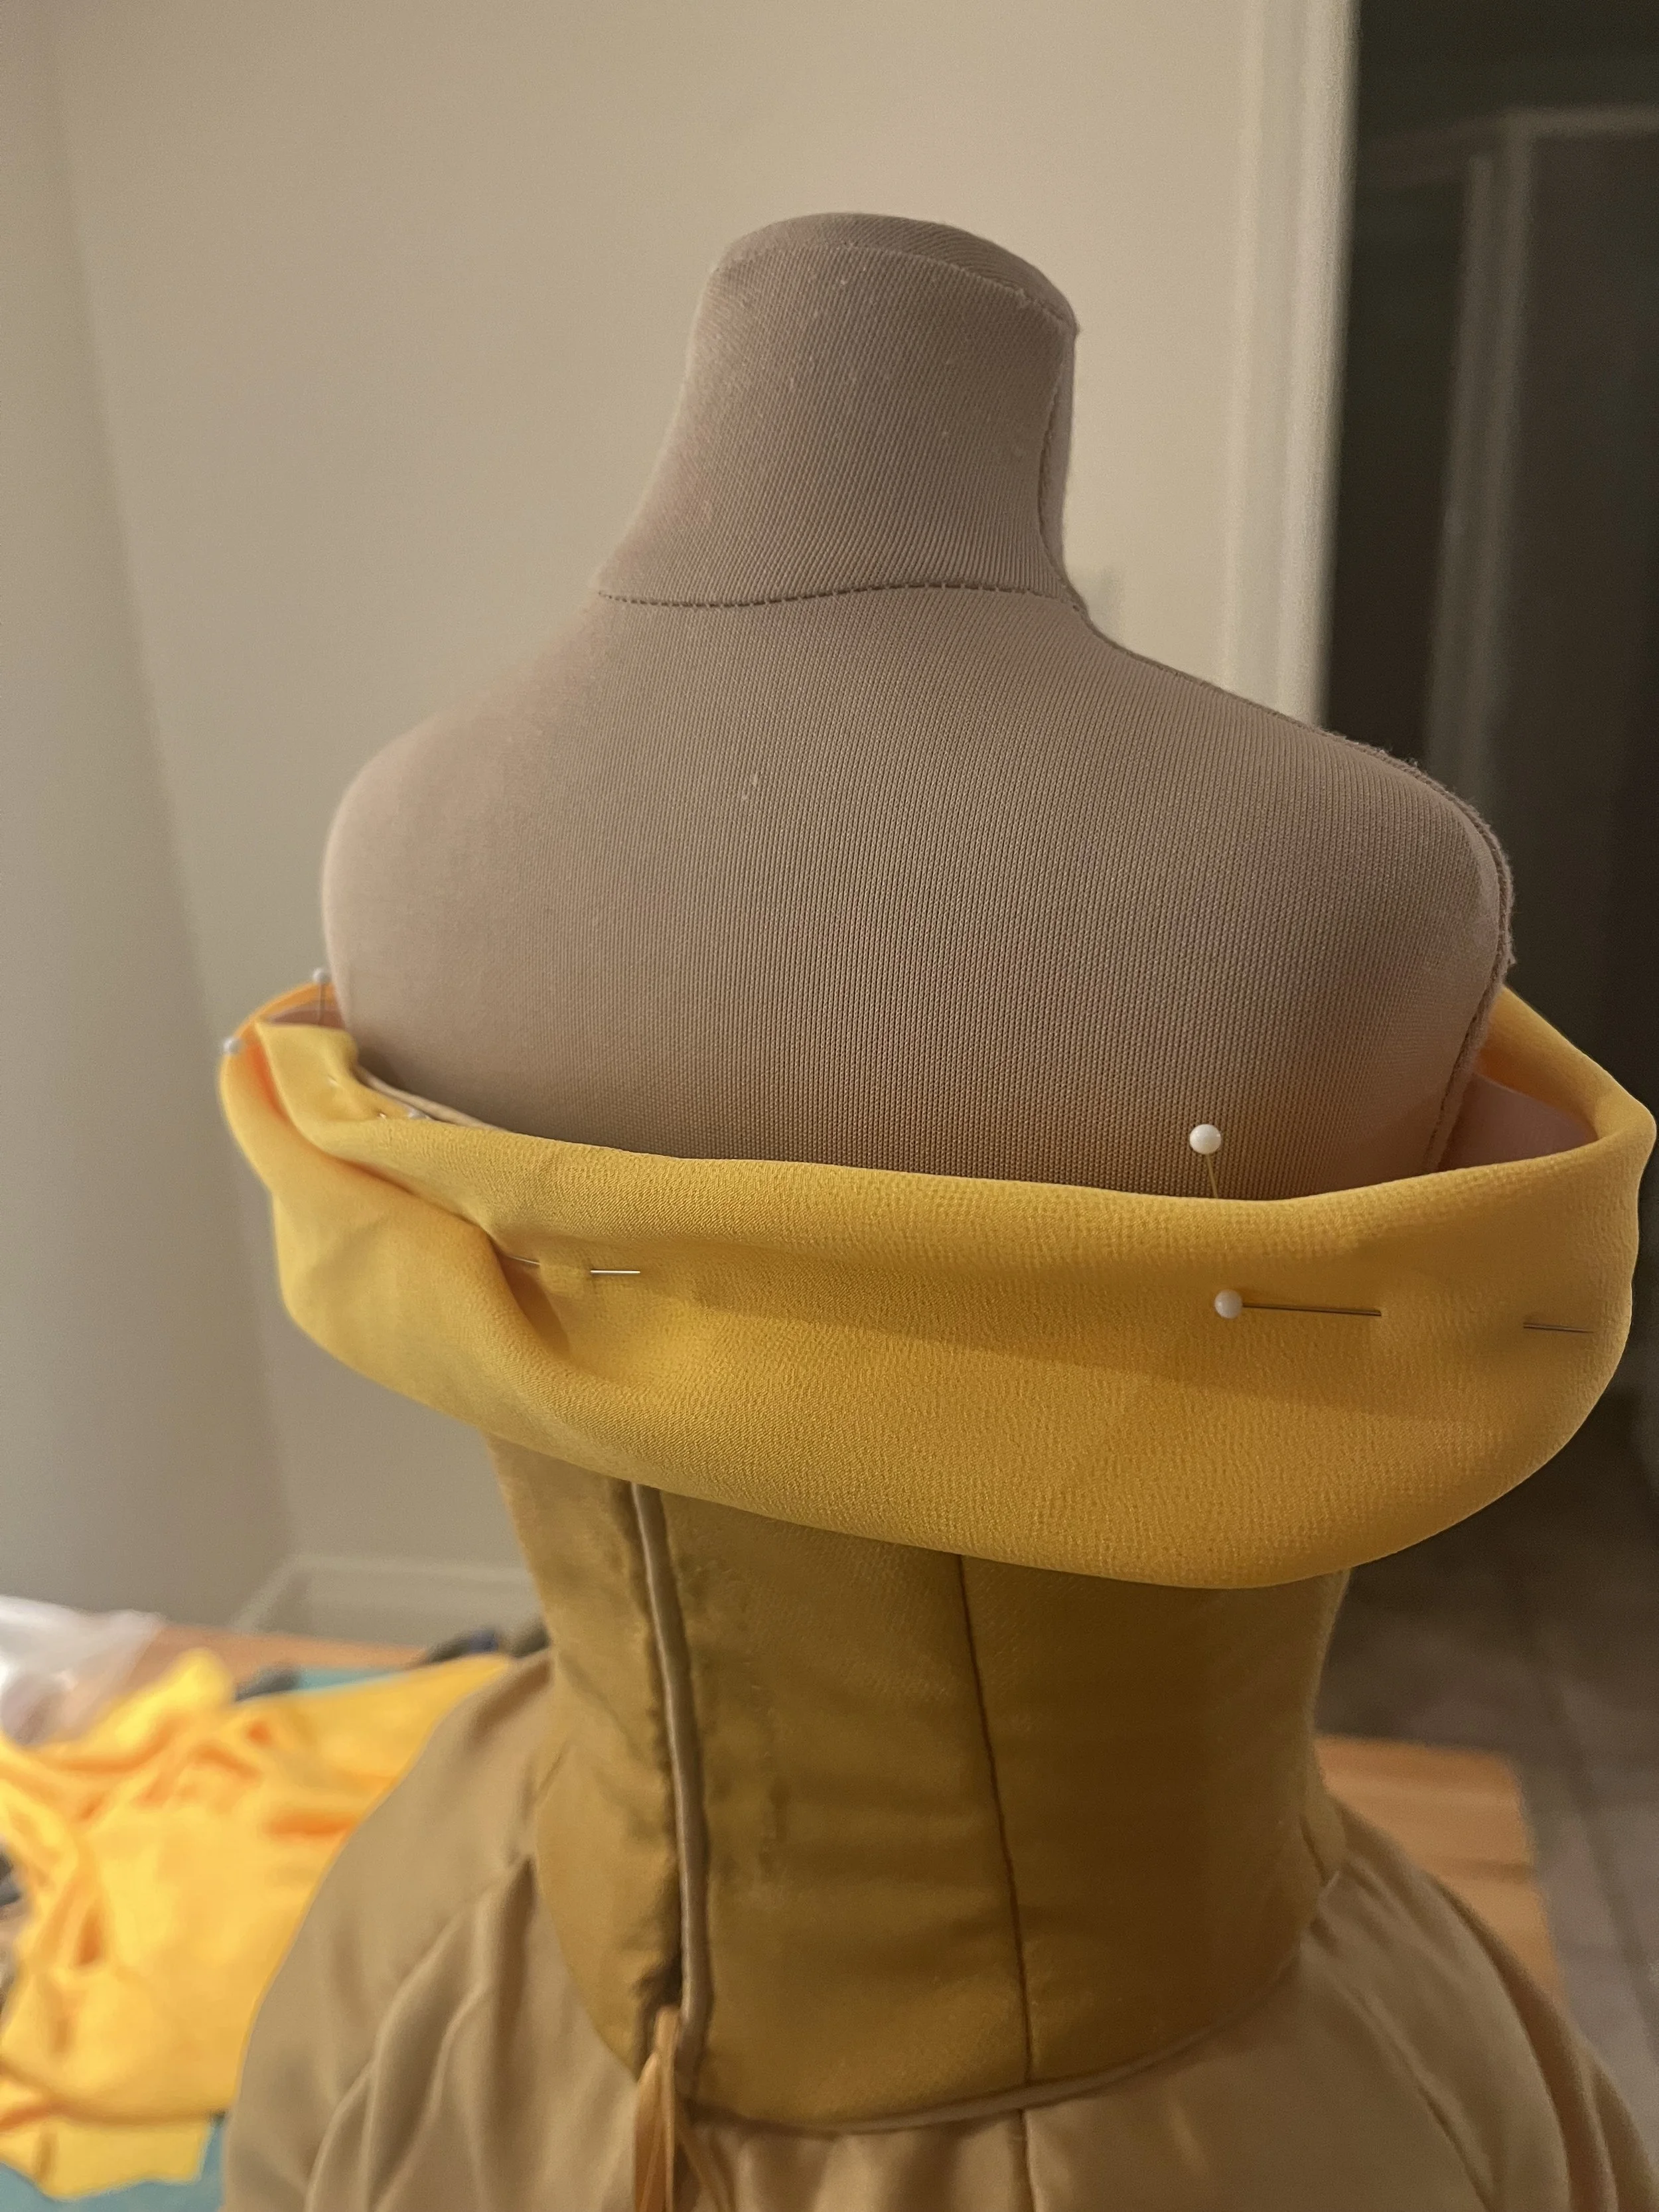
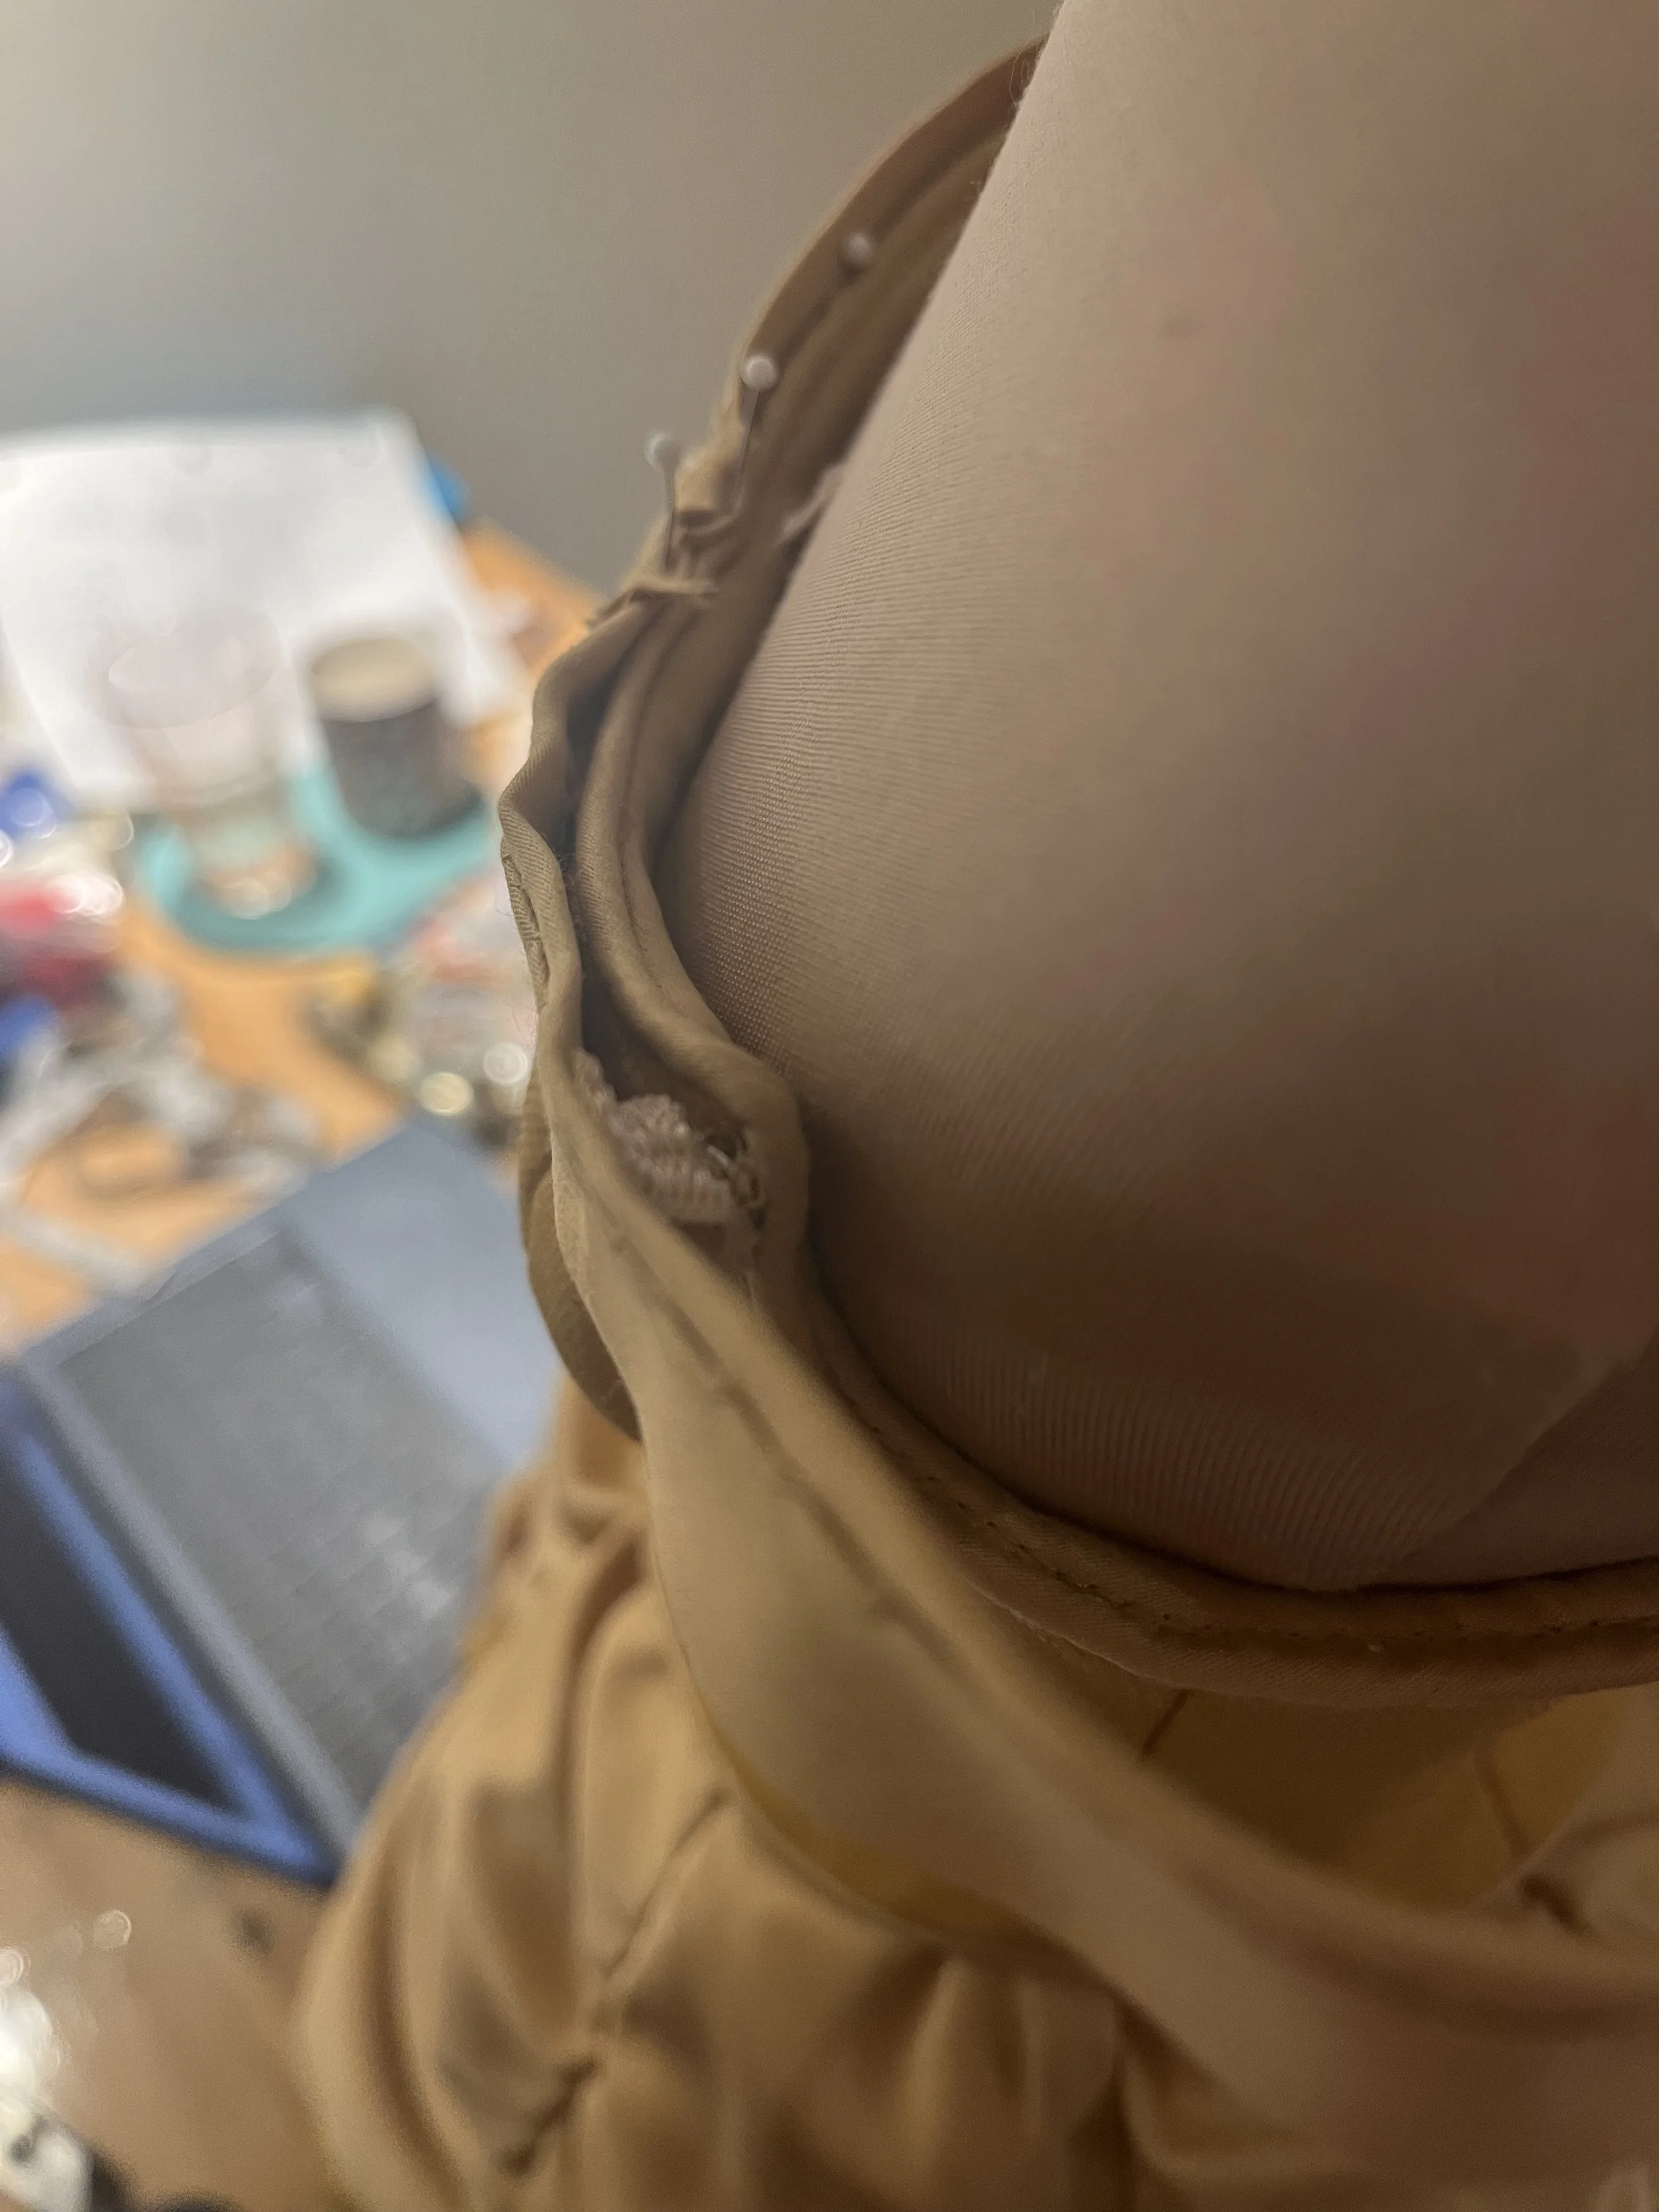
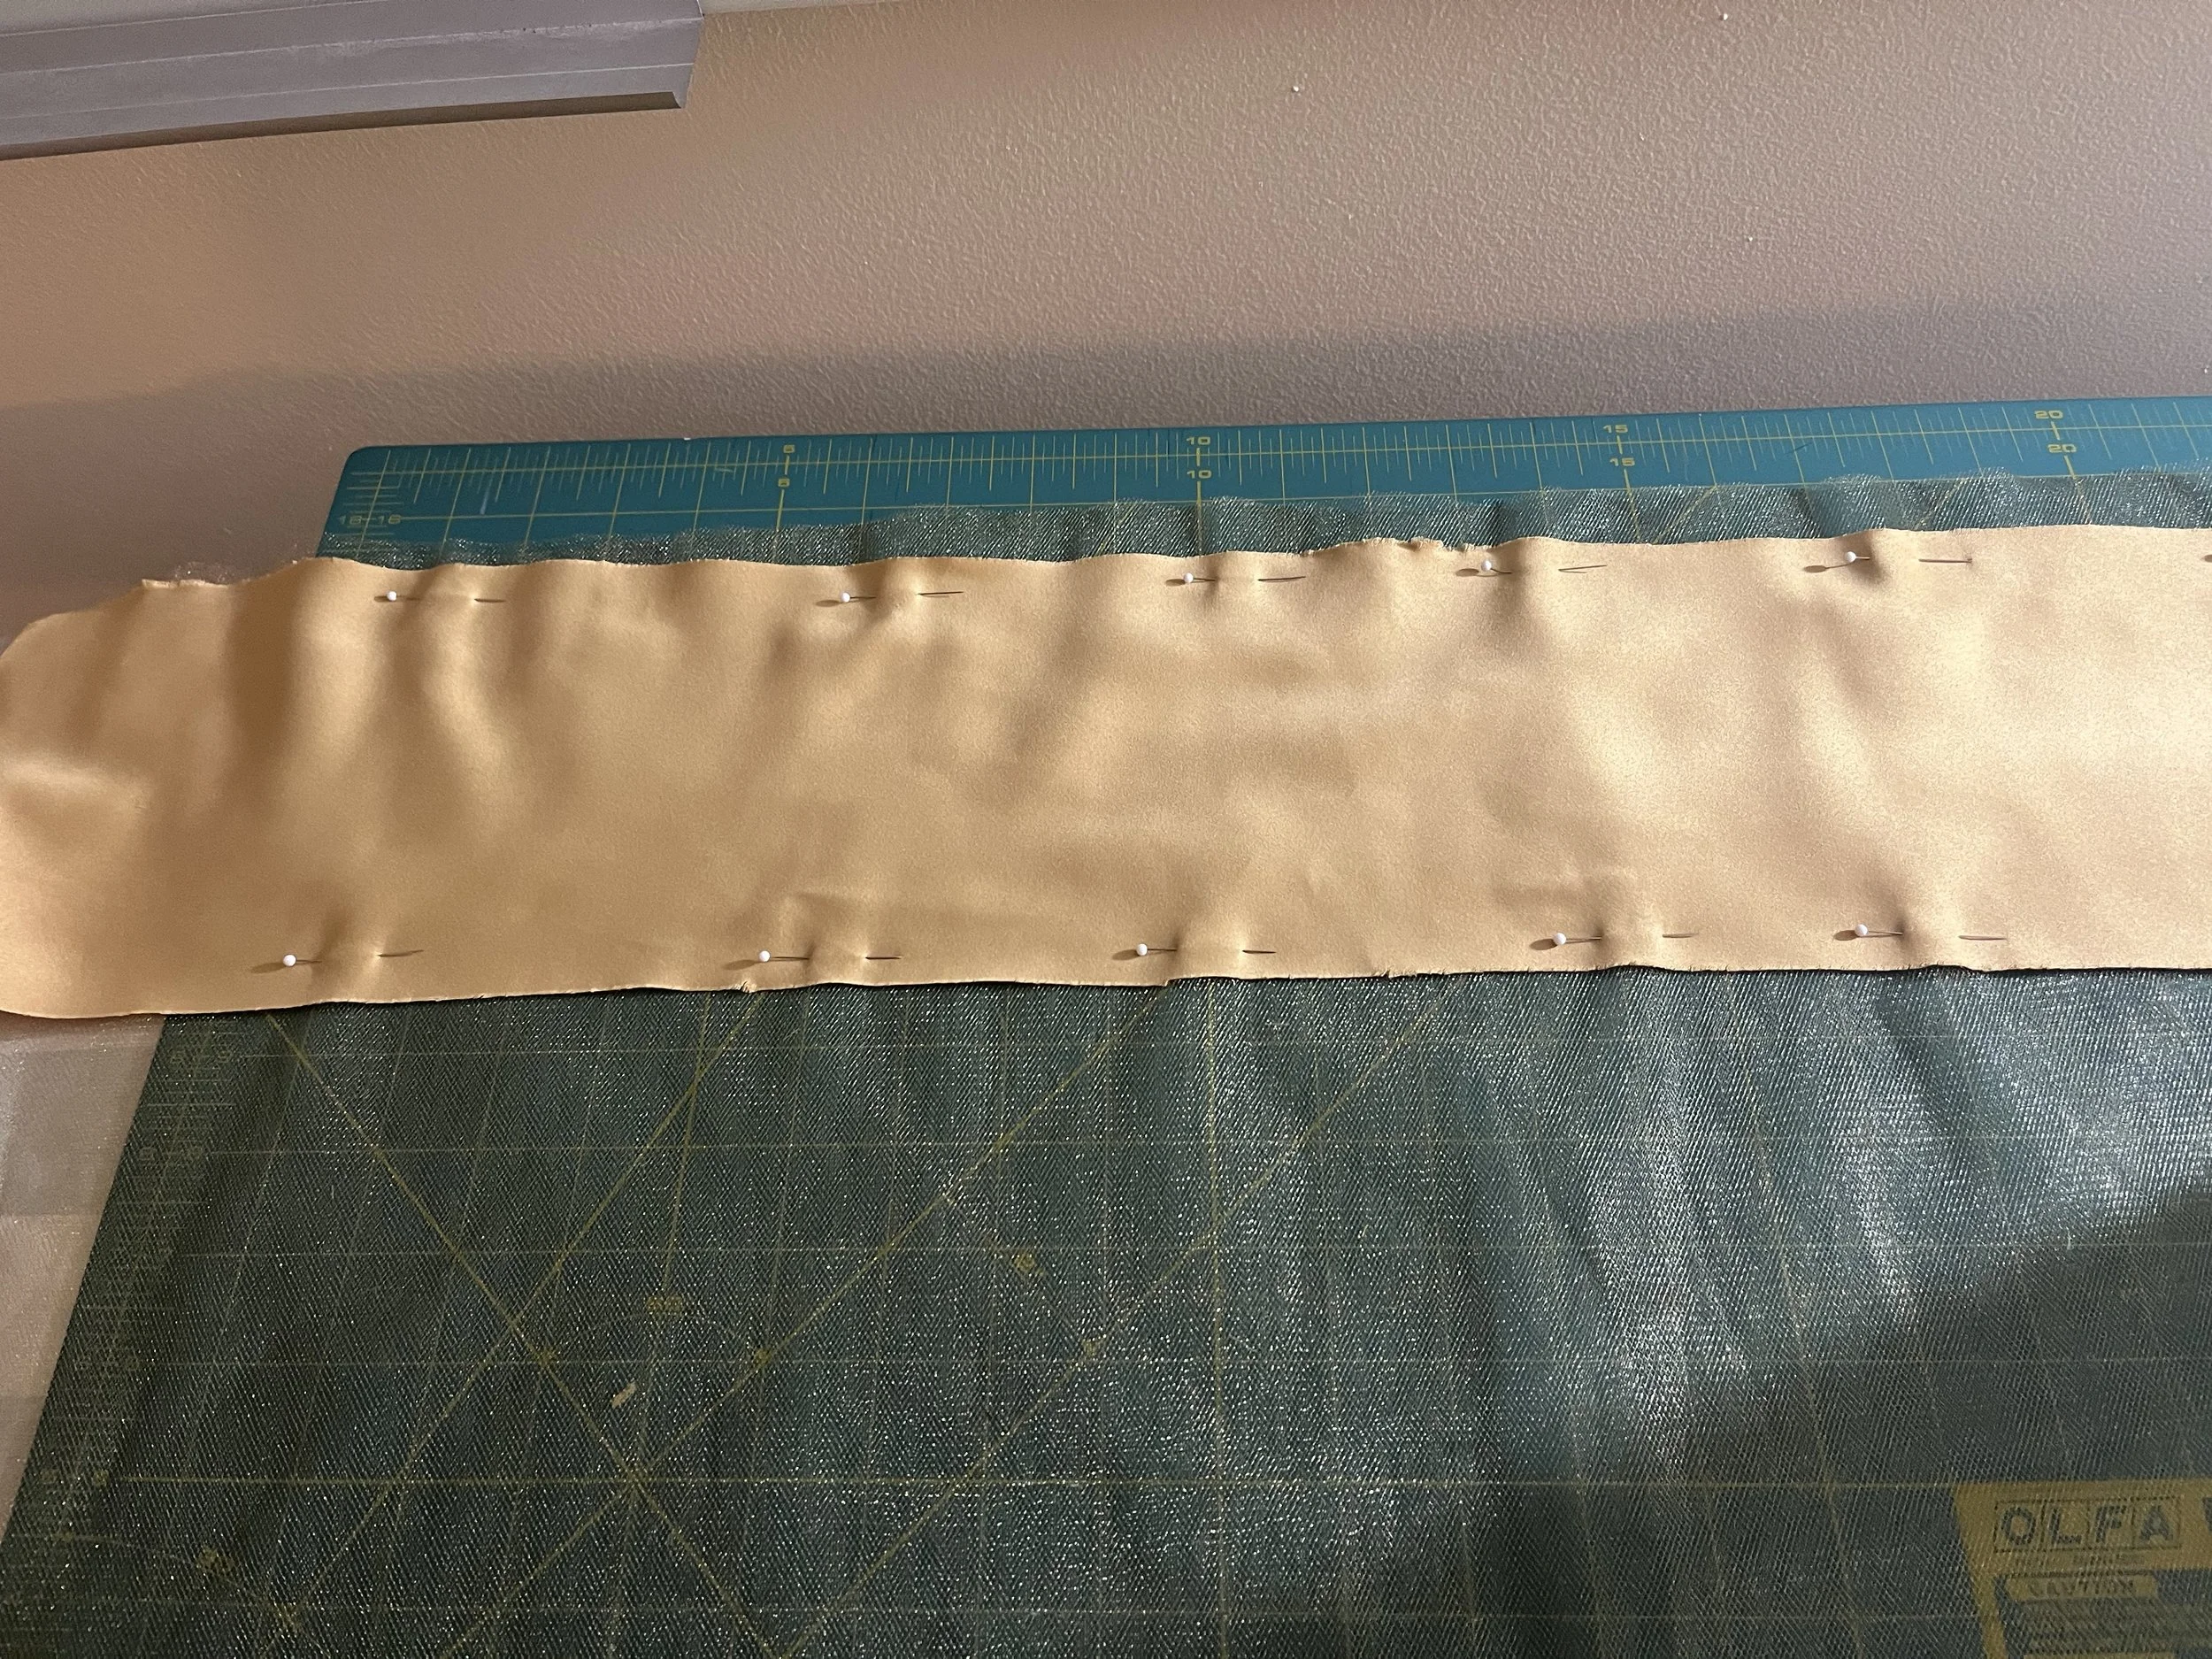
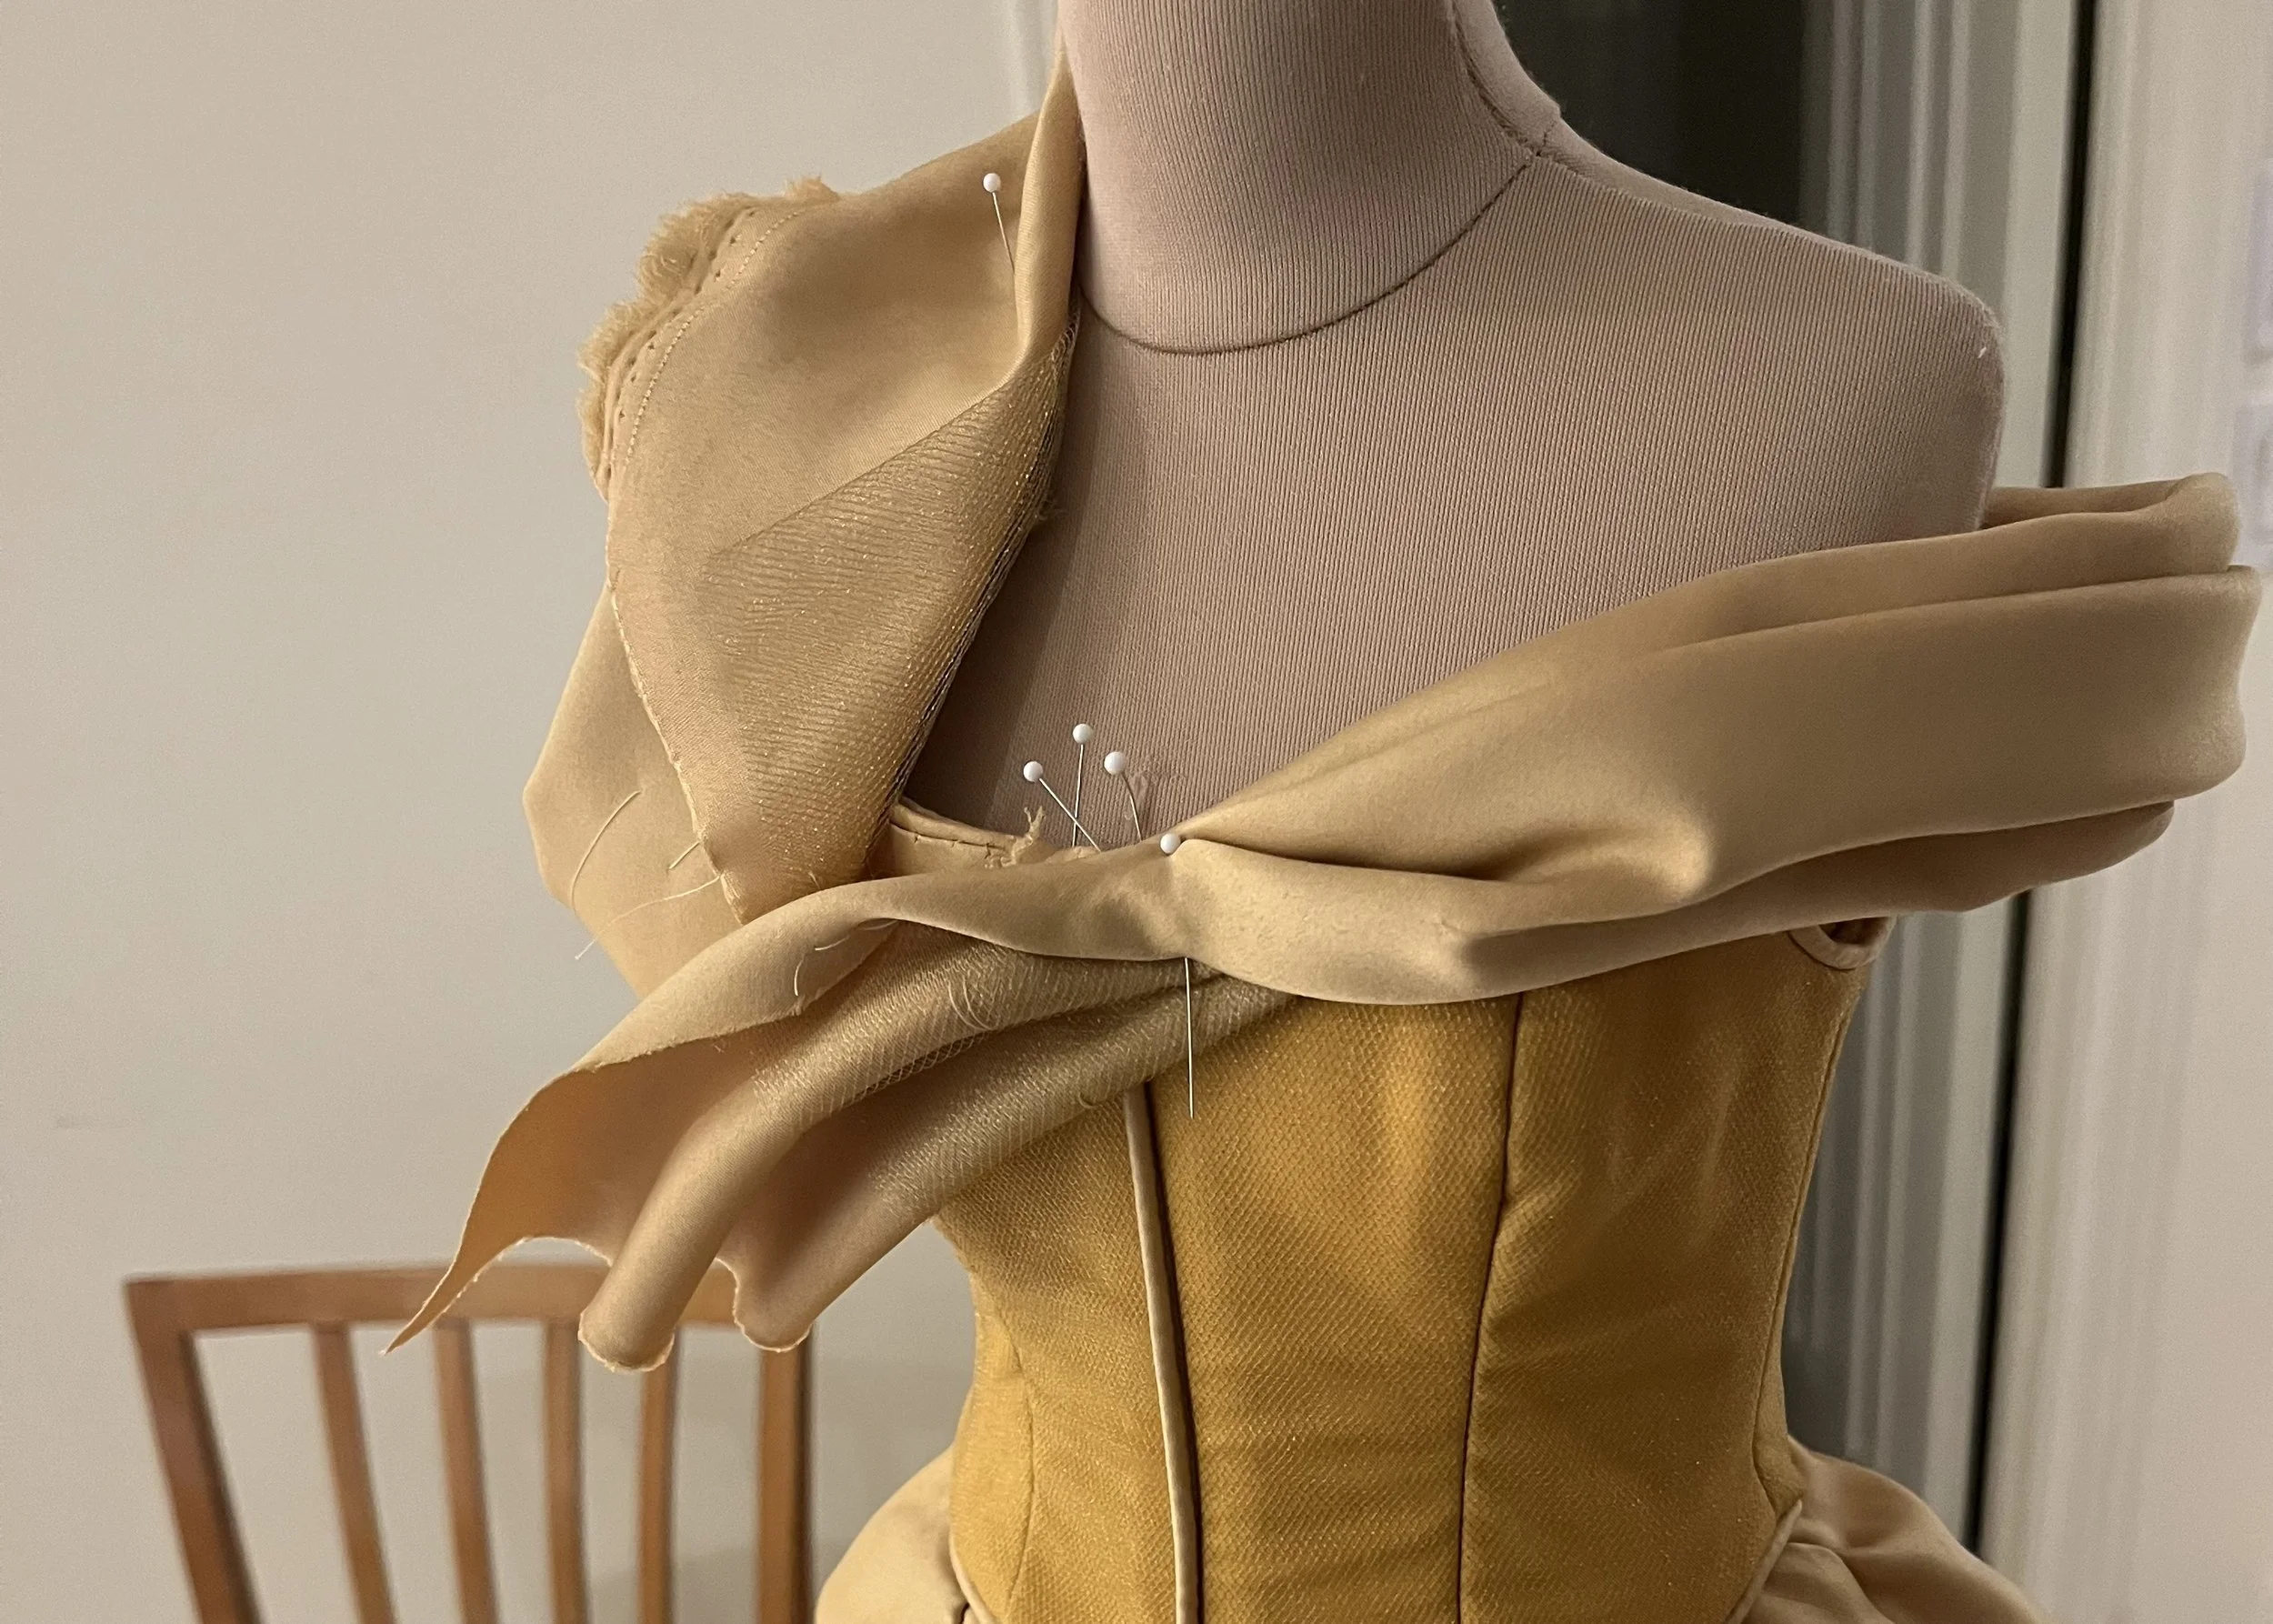
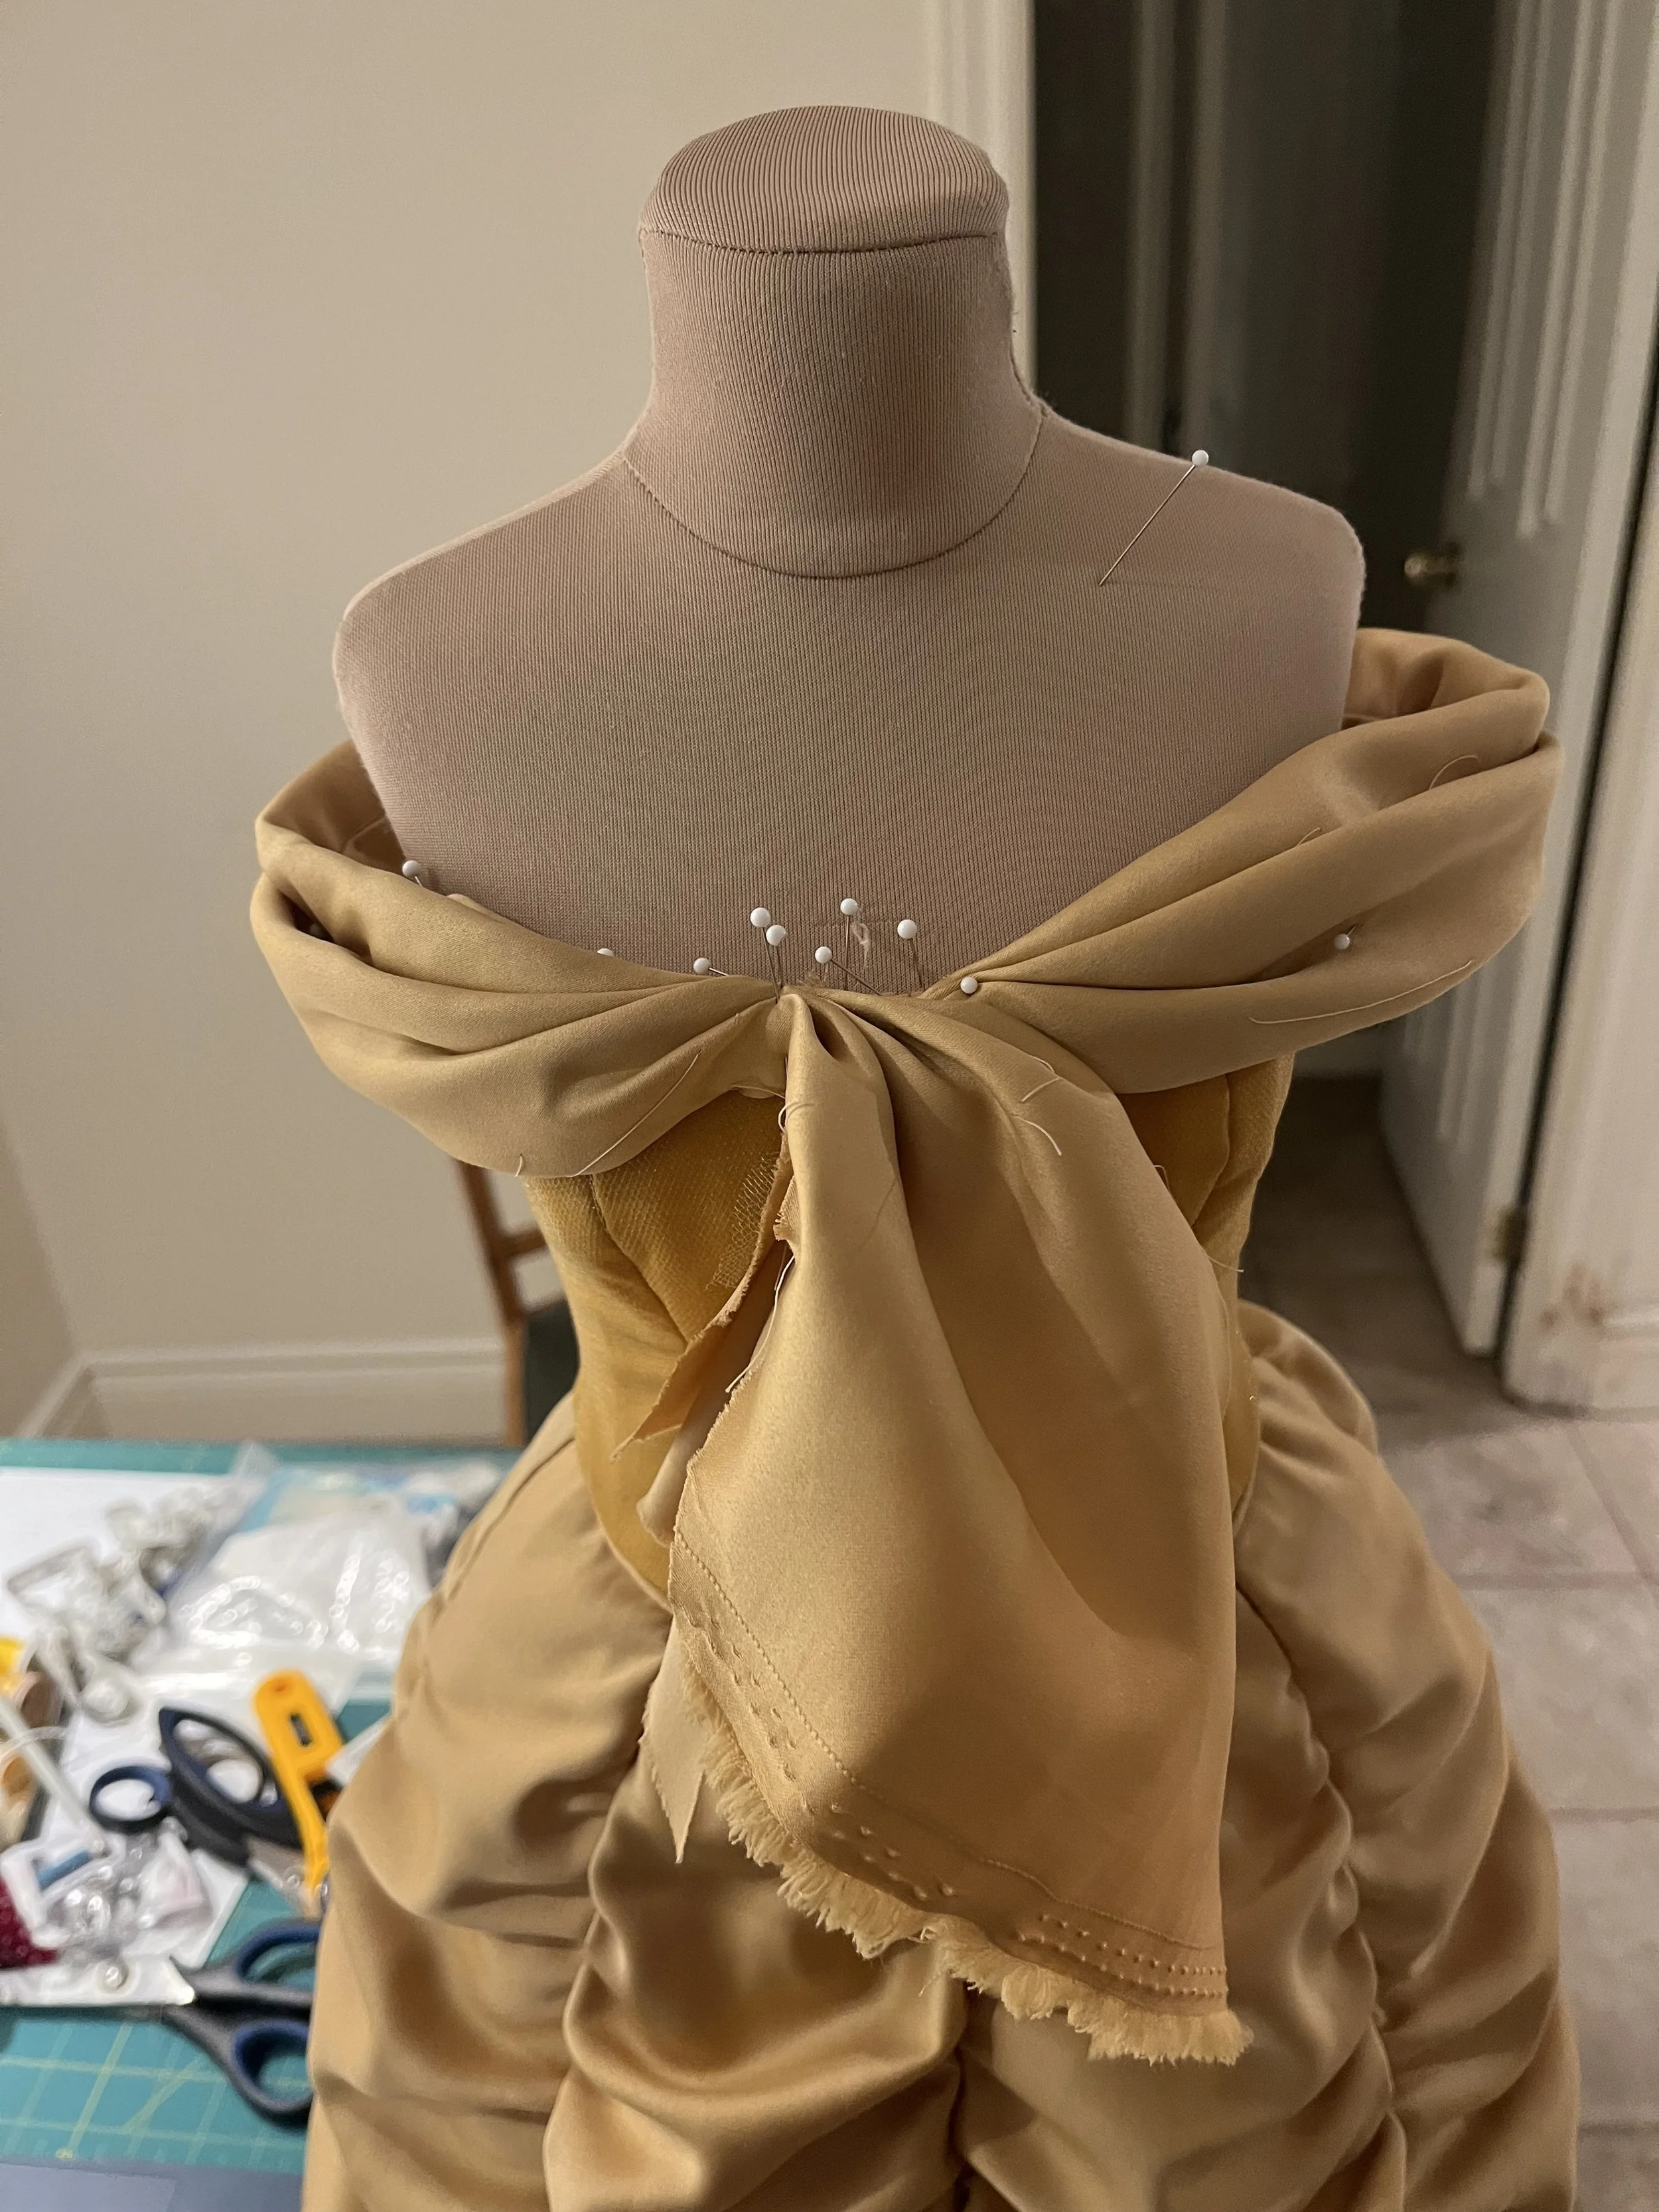
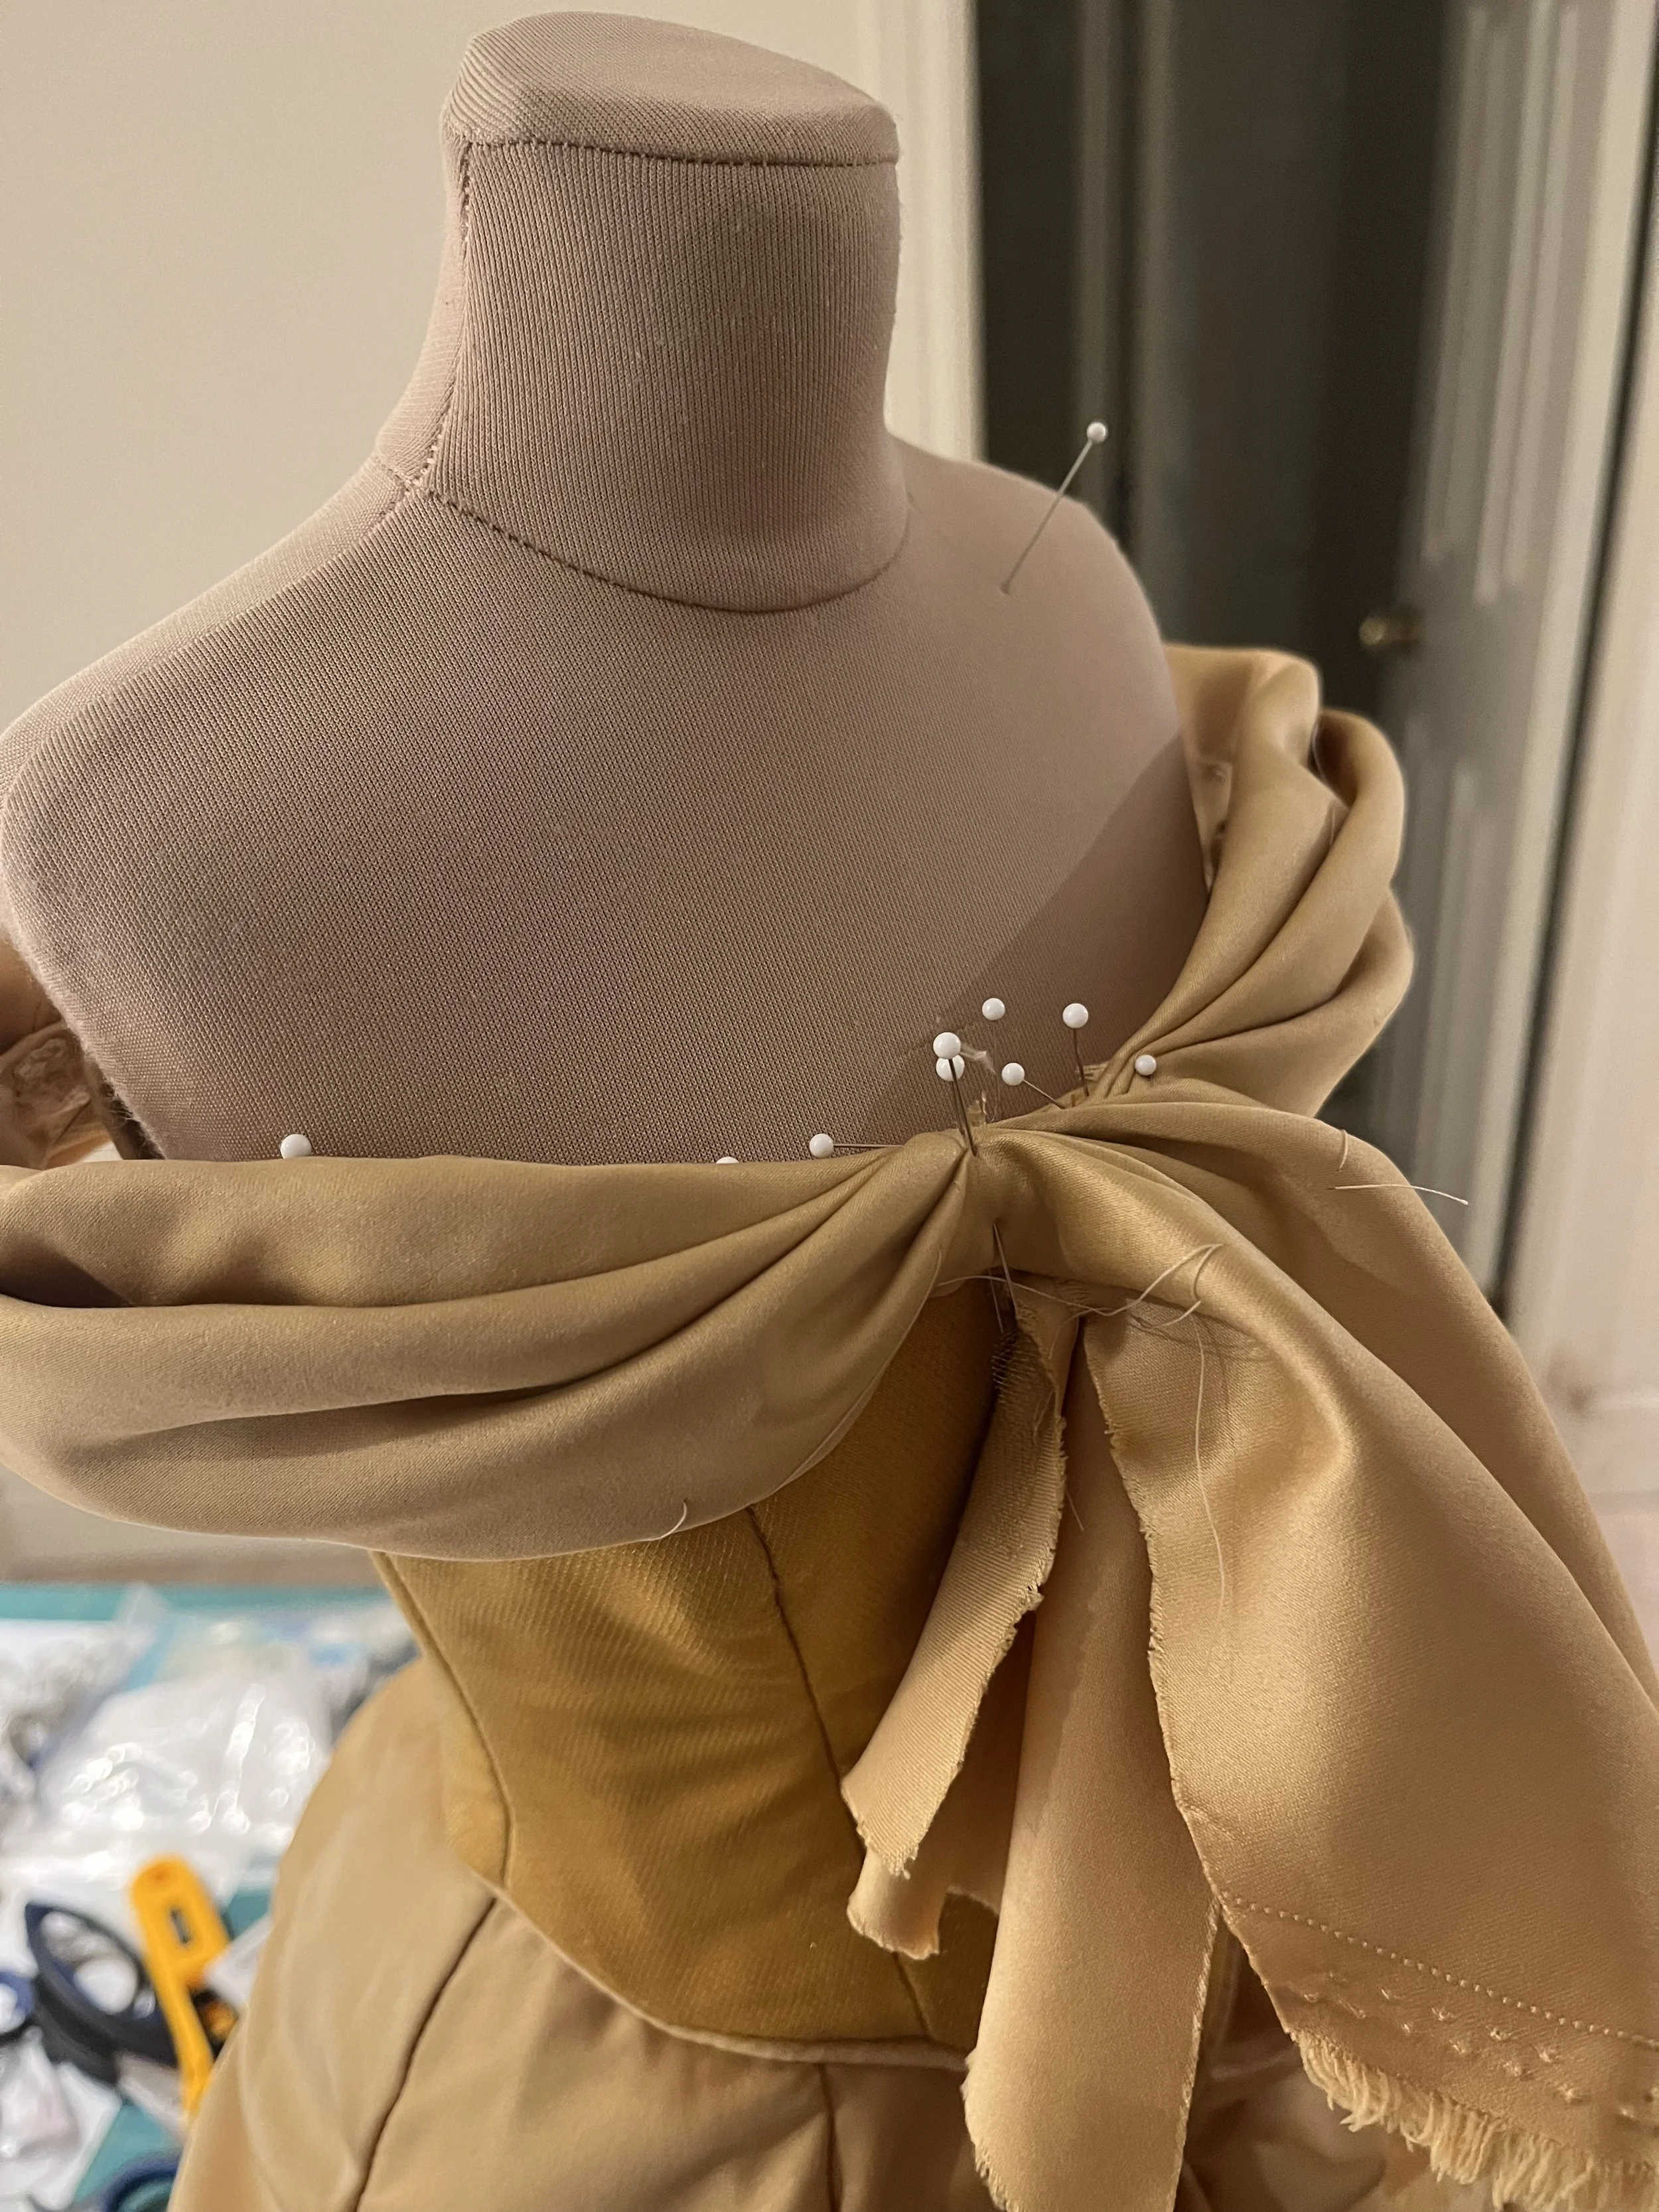
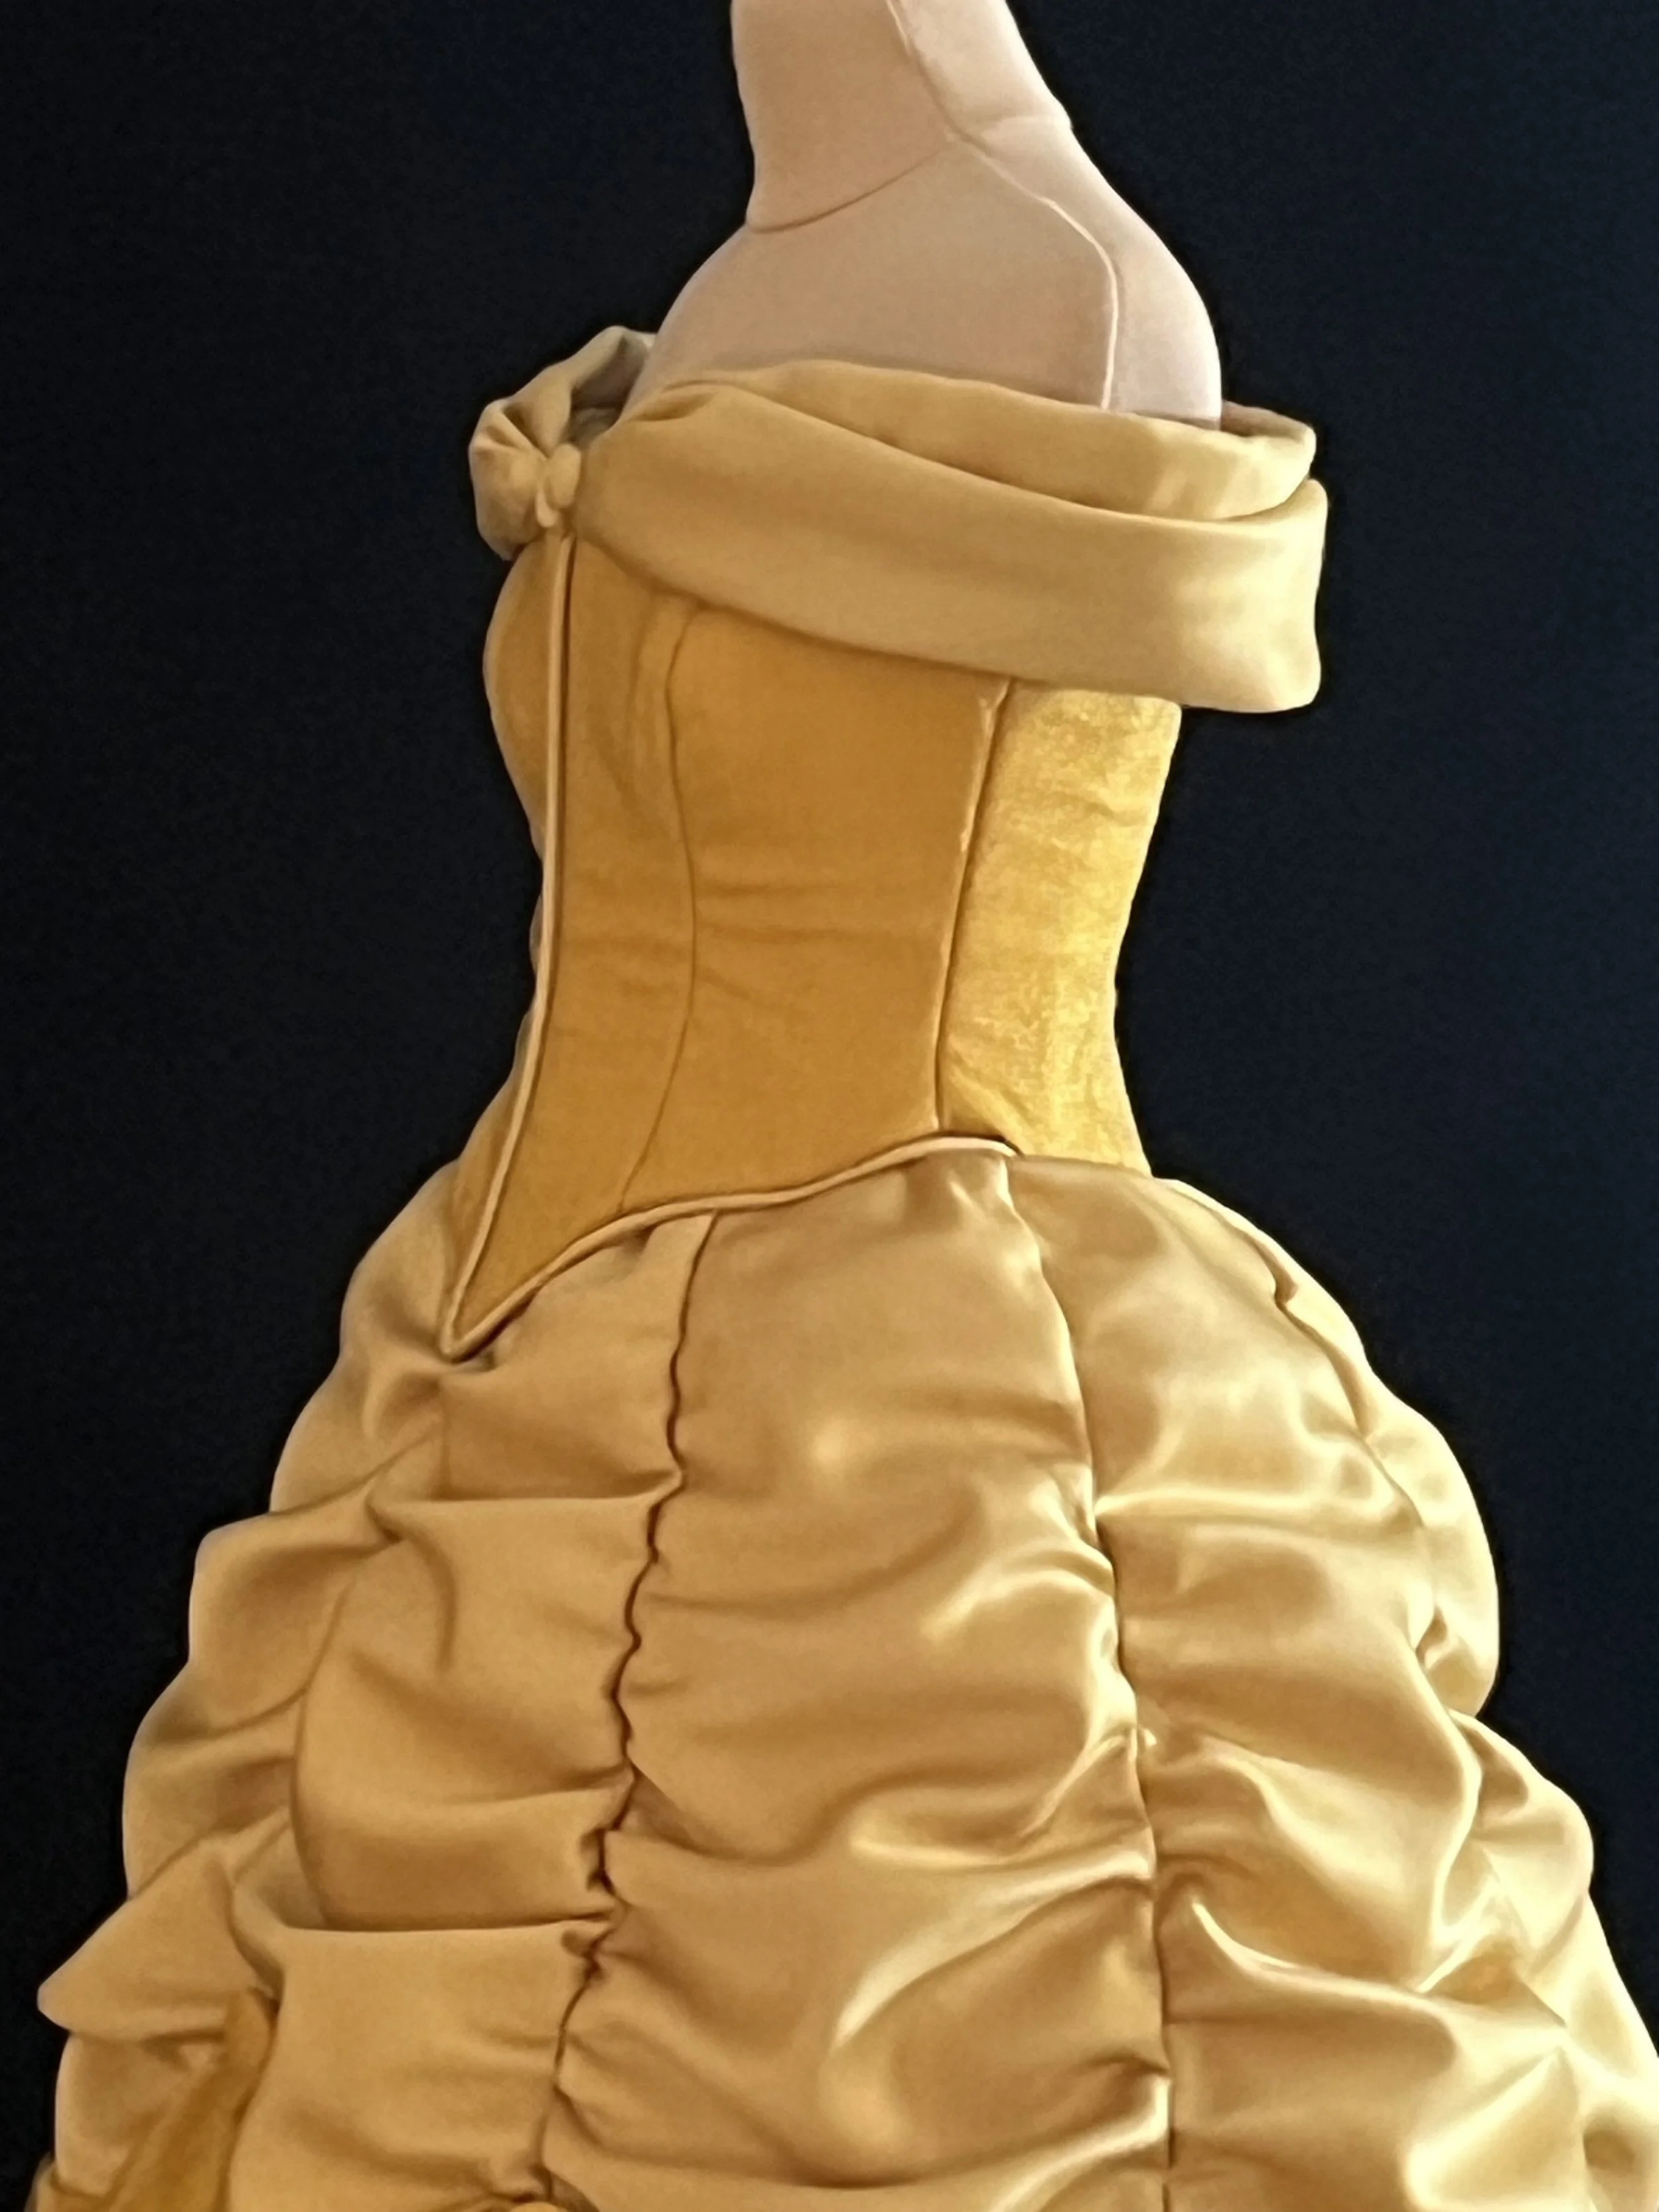
Now it was time to drape the sleeve. I had done a quick trial with a piece of mock up fabric but soon realized that I just kind of had to go for it. I cut a piece of the satin on the bias, backed it with some tulle to help it stand up and look a bit more poufy and started to drape. Like the swags on the skirt, I had to lower my expectations about how much it would look exactly like the movie; fabric doesn't always behave the same way in real life as it does in cartoons. While I wasn’t able to achieve a perfect replica of the draping as it’s drawn, I do think I ended up with some very pretty folds and I don’t think it’s unclear what I was going for.
I began to attach the bias piece by slip stitching it to the base along the top edge. I then curved the bottom edge a bit at the ends (the centre front) and slip stitched it closed. At this point, I put the whole piece back onto the bodice and arranged the folds once again and began to figure out how I would finish them.
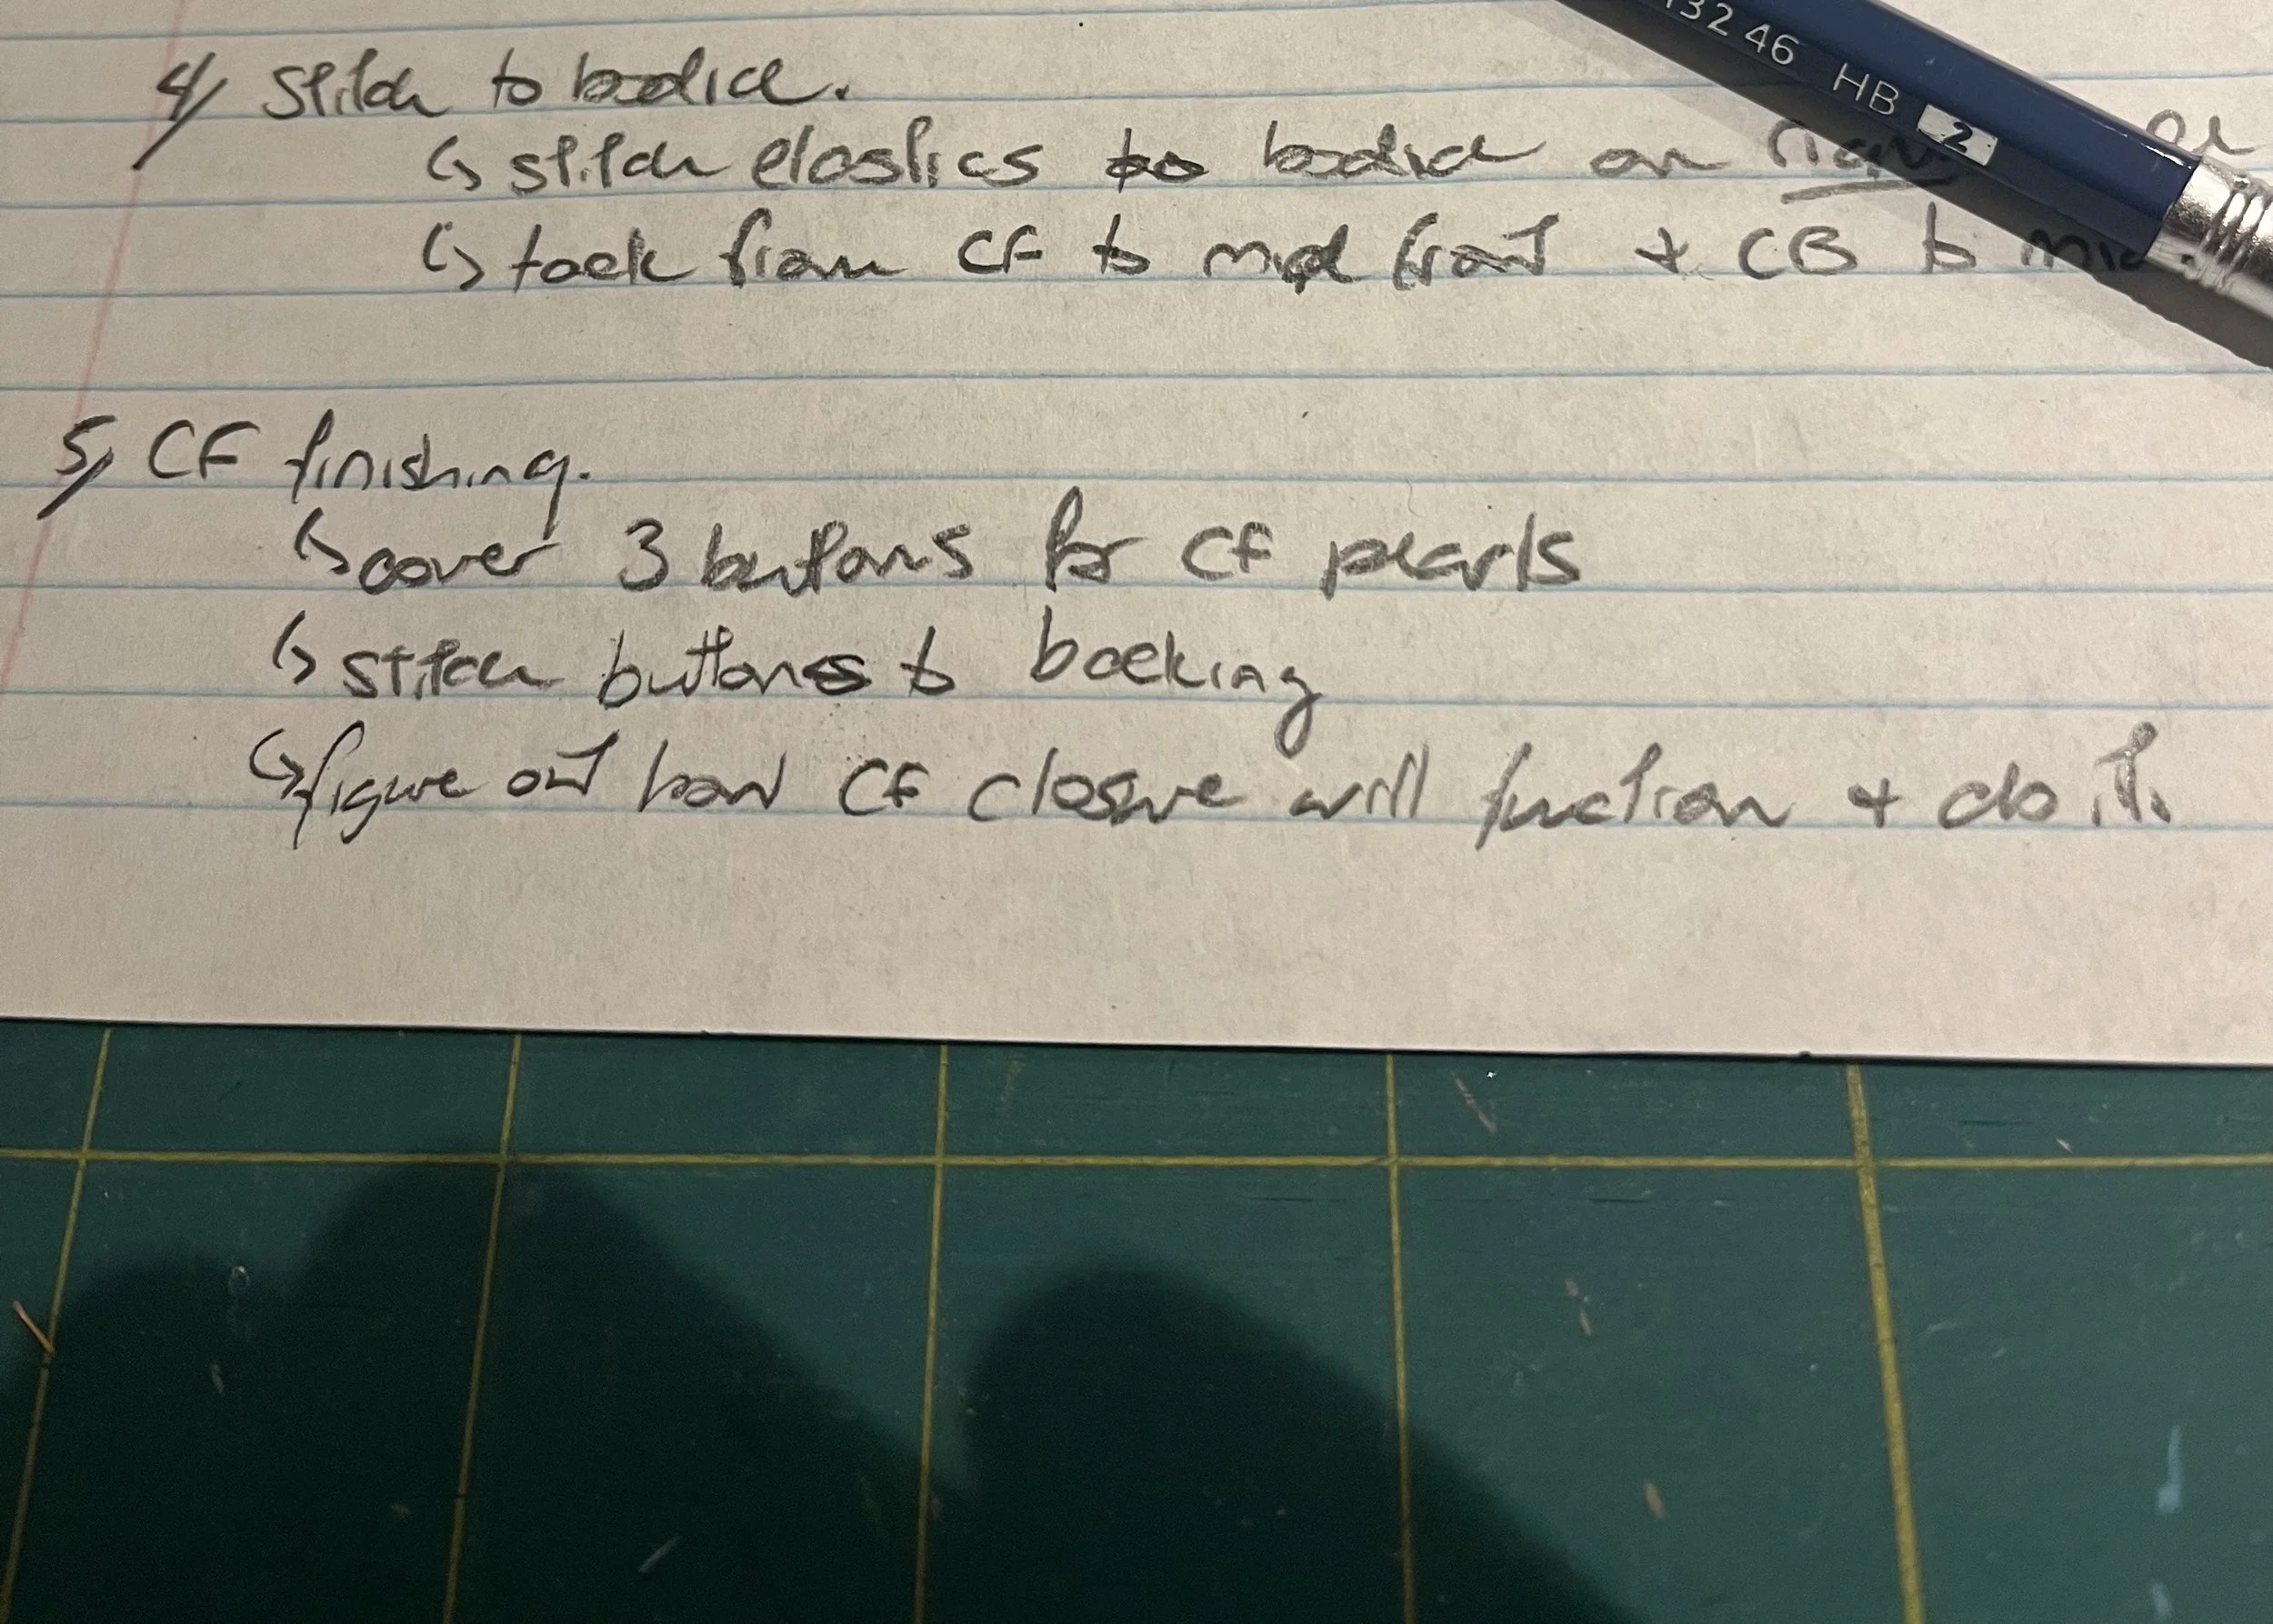
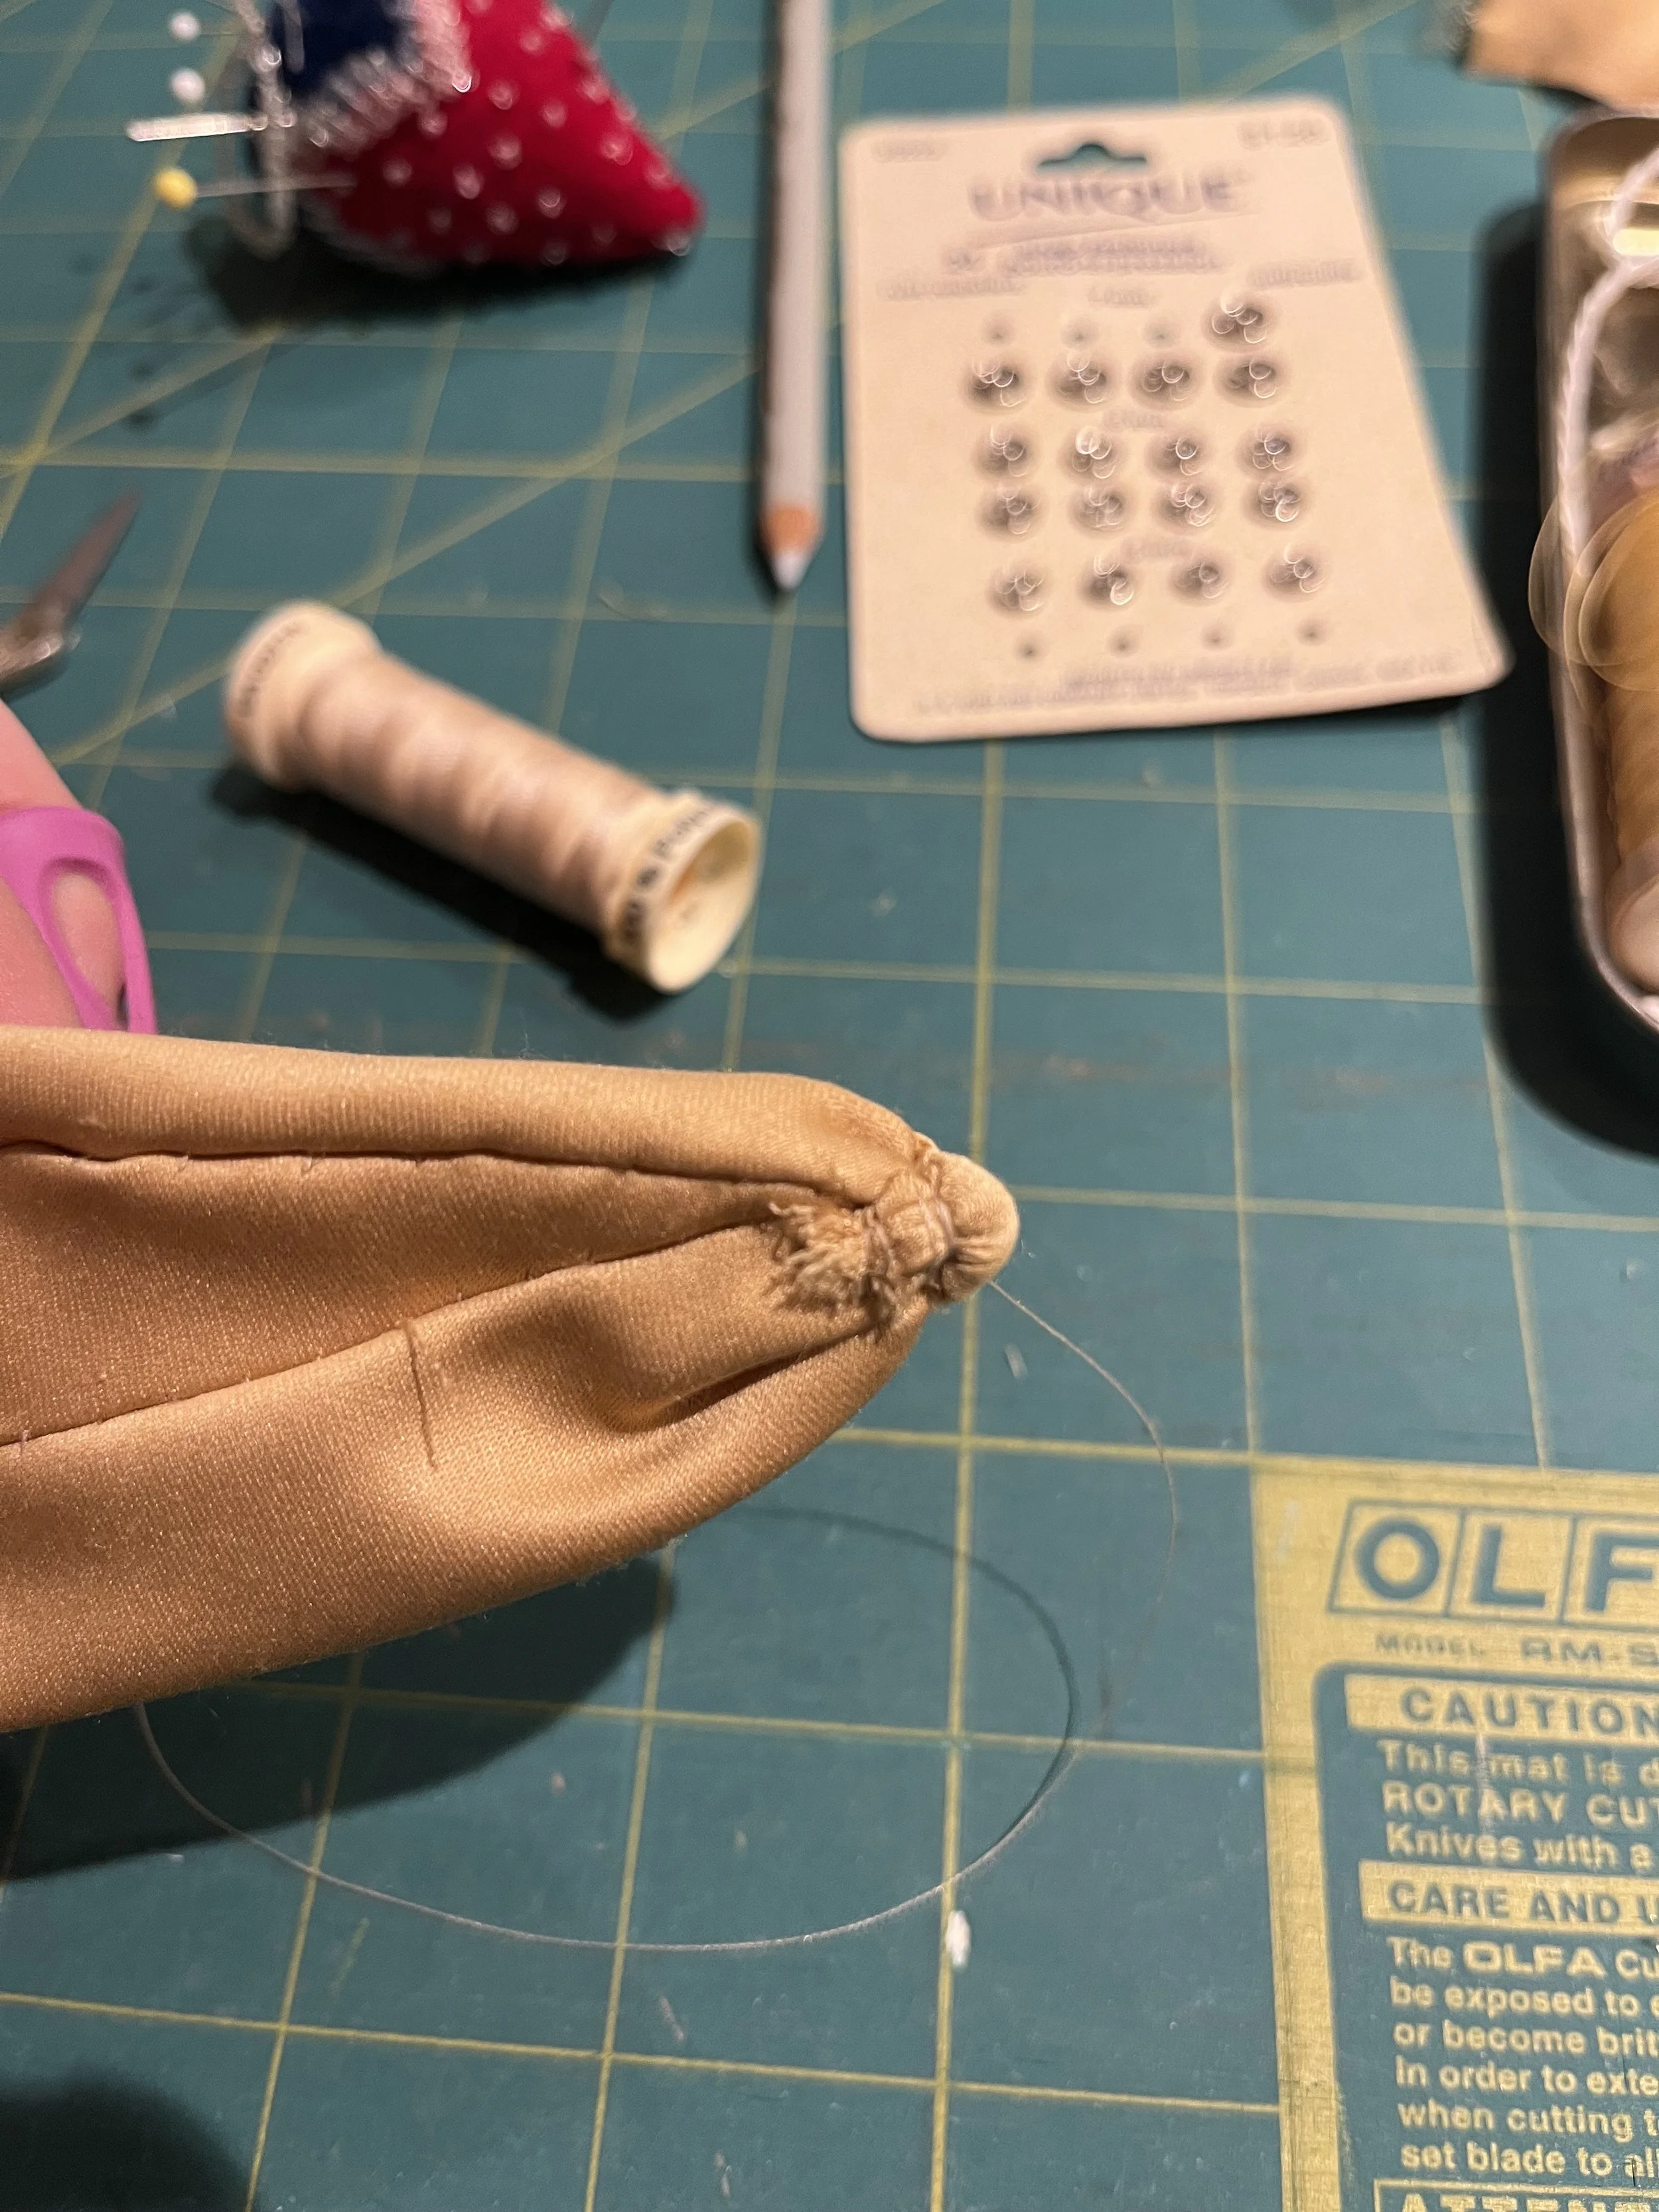
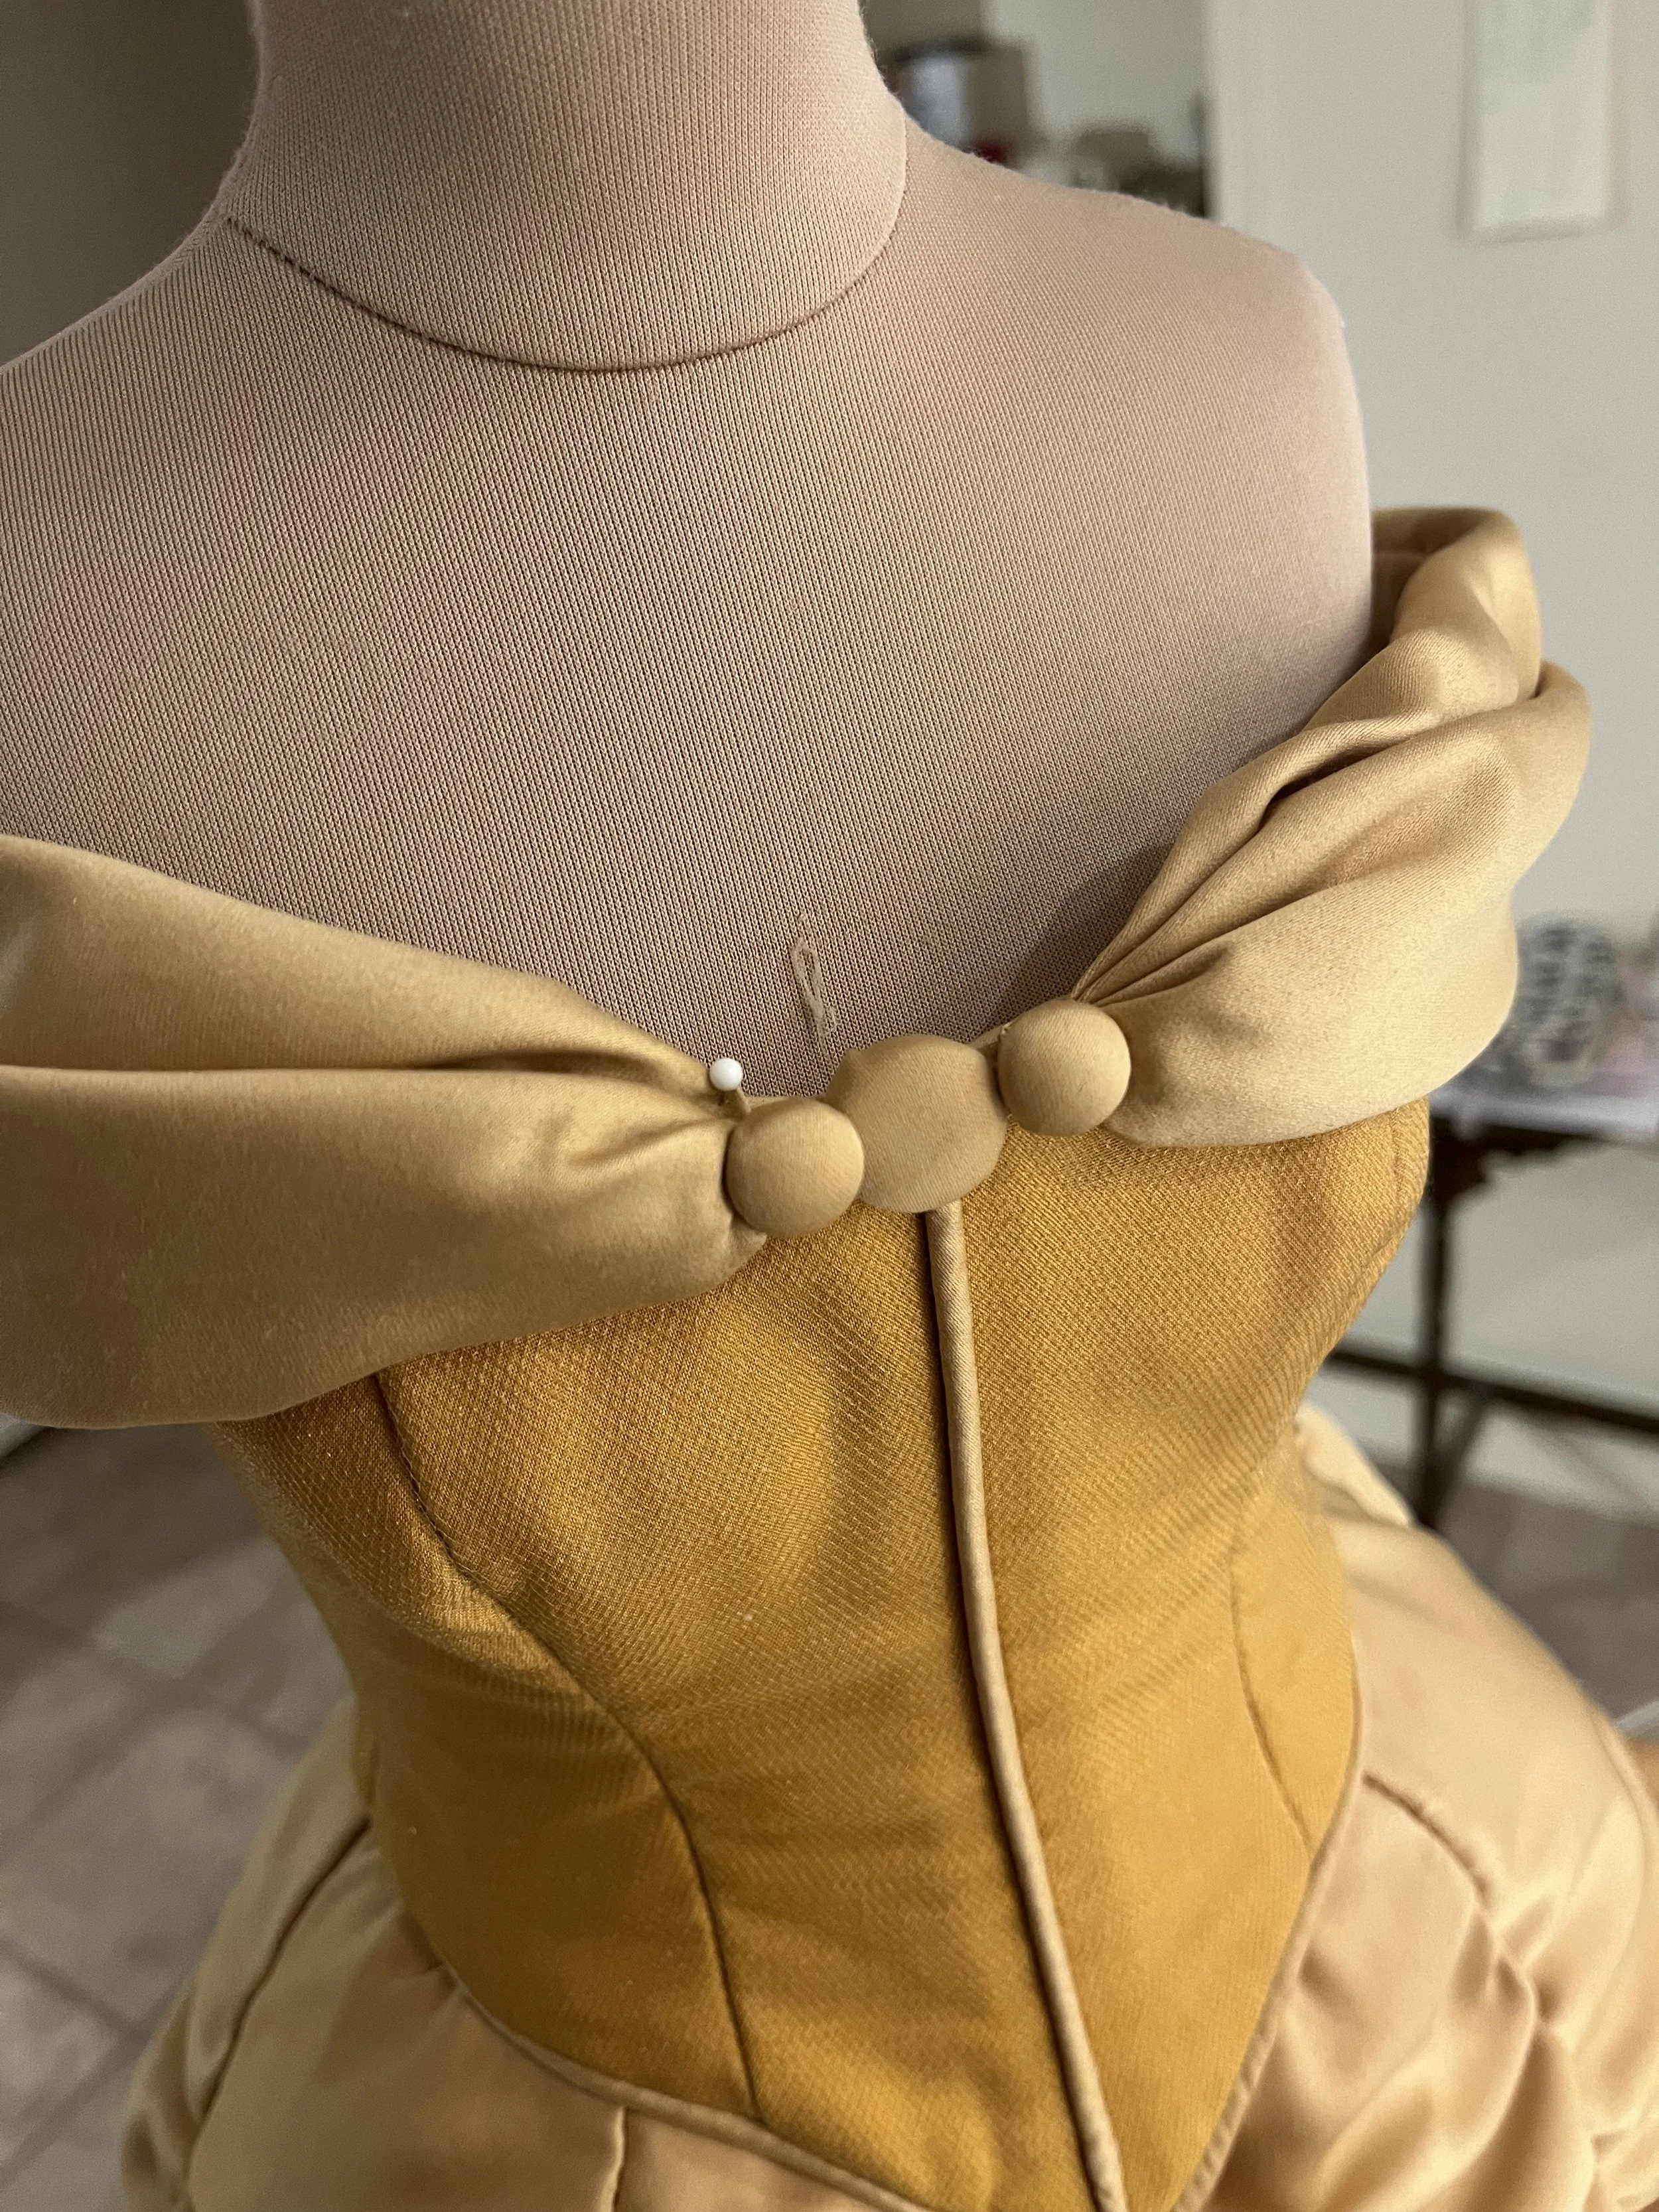
In the movie, the sleeve comes to a pretty narrow and abrupt end, which I tried my best to replicate while still having some attractive folds. I briefly tried gathering up a small running stitch, but quickly abandoned that idea. After bringing the ends to what I can only describe as a nub, I stitched a small covered button to each as well as a snap on the left side. I also applied the larger button to the centre (I would later go back and do it again, adding another small button underneath to try to help it sit a bit higher).
To finish the sleeve, I added some tacks to hold the folds in position and then joined it to the right side of the bodice with tacks corresponding to the snaps on the left.
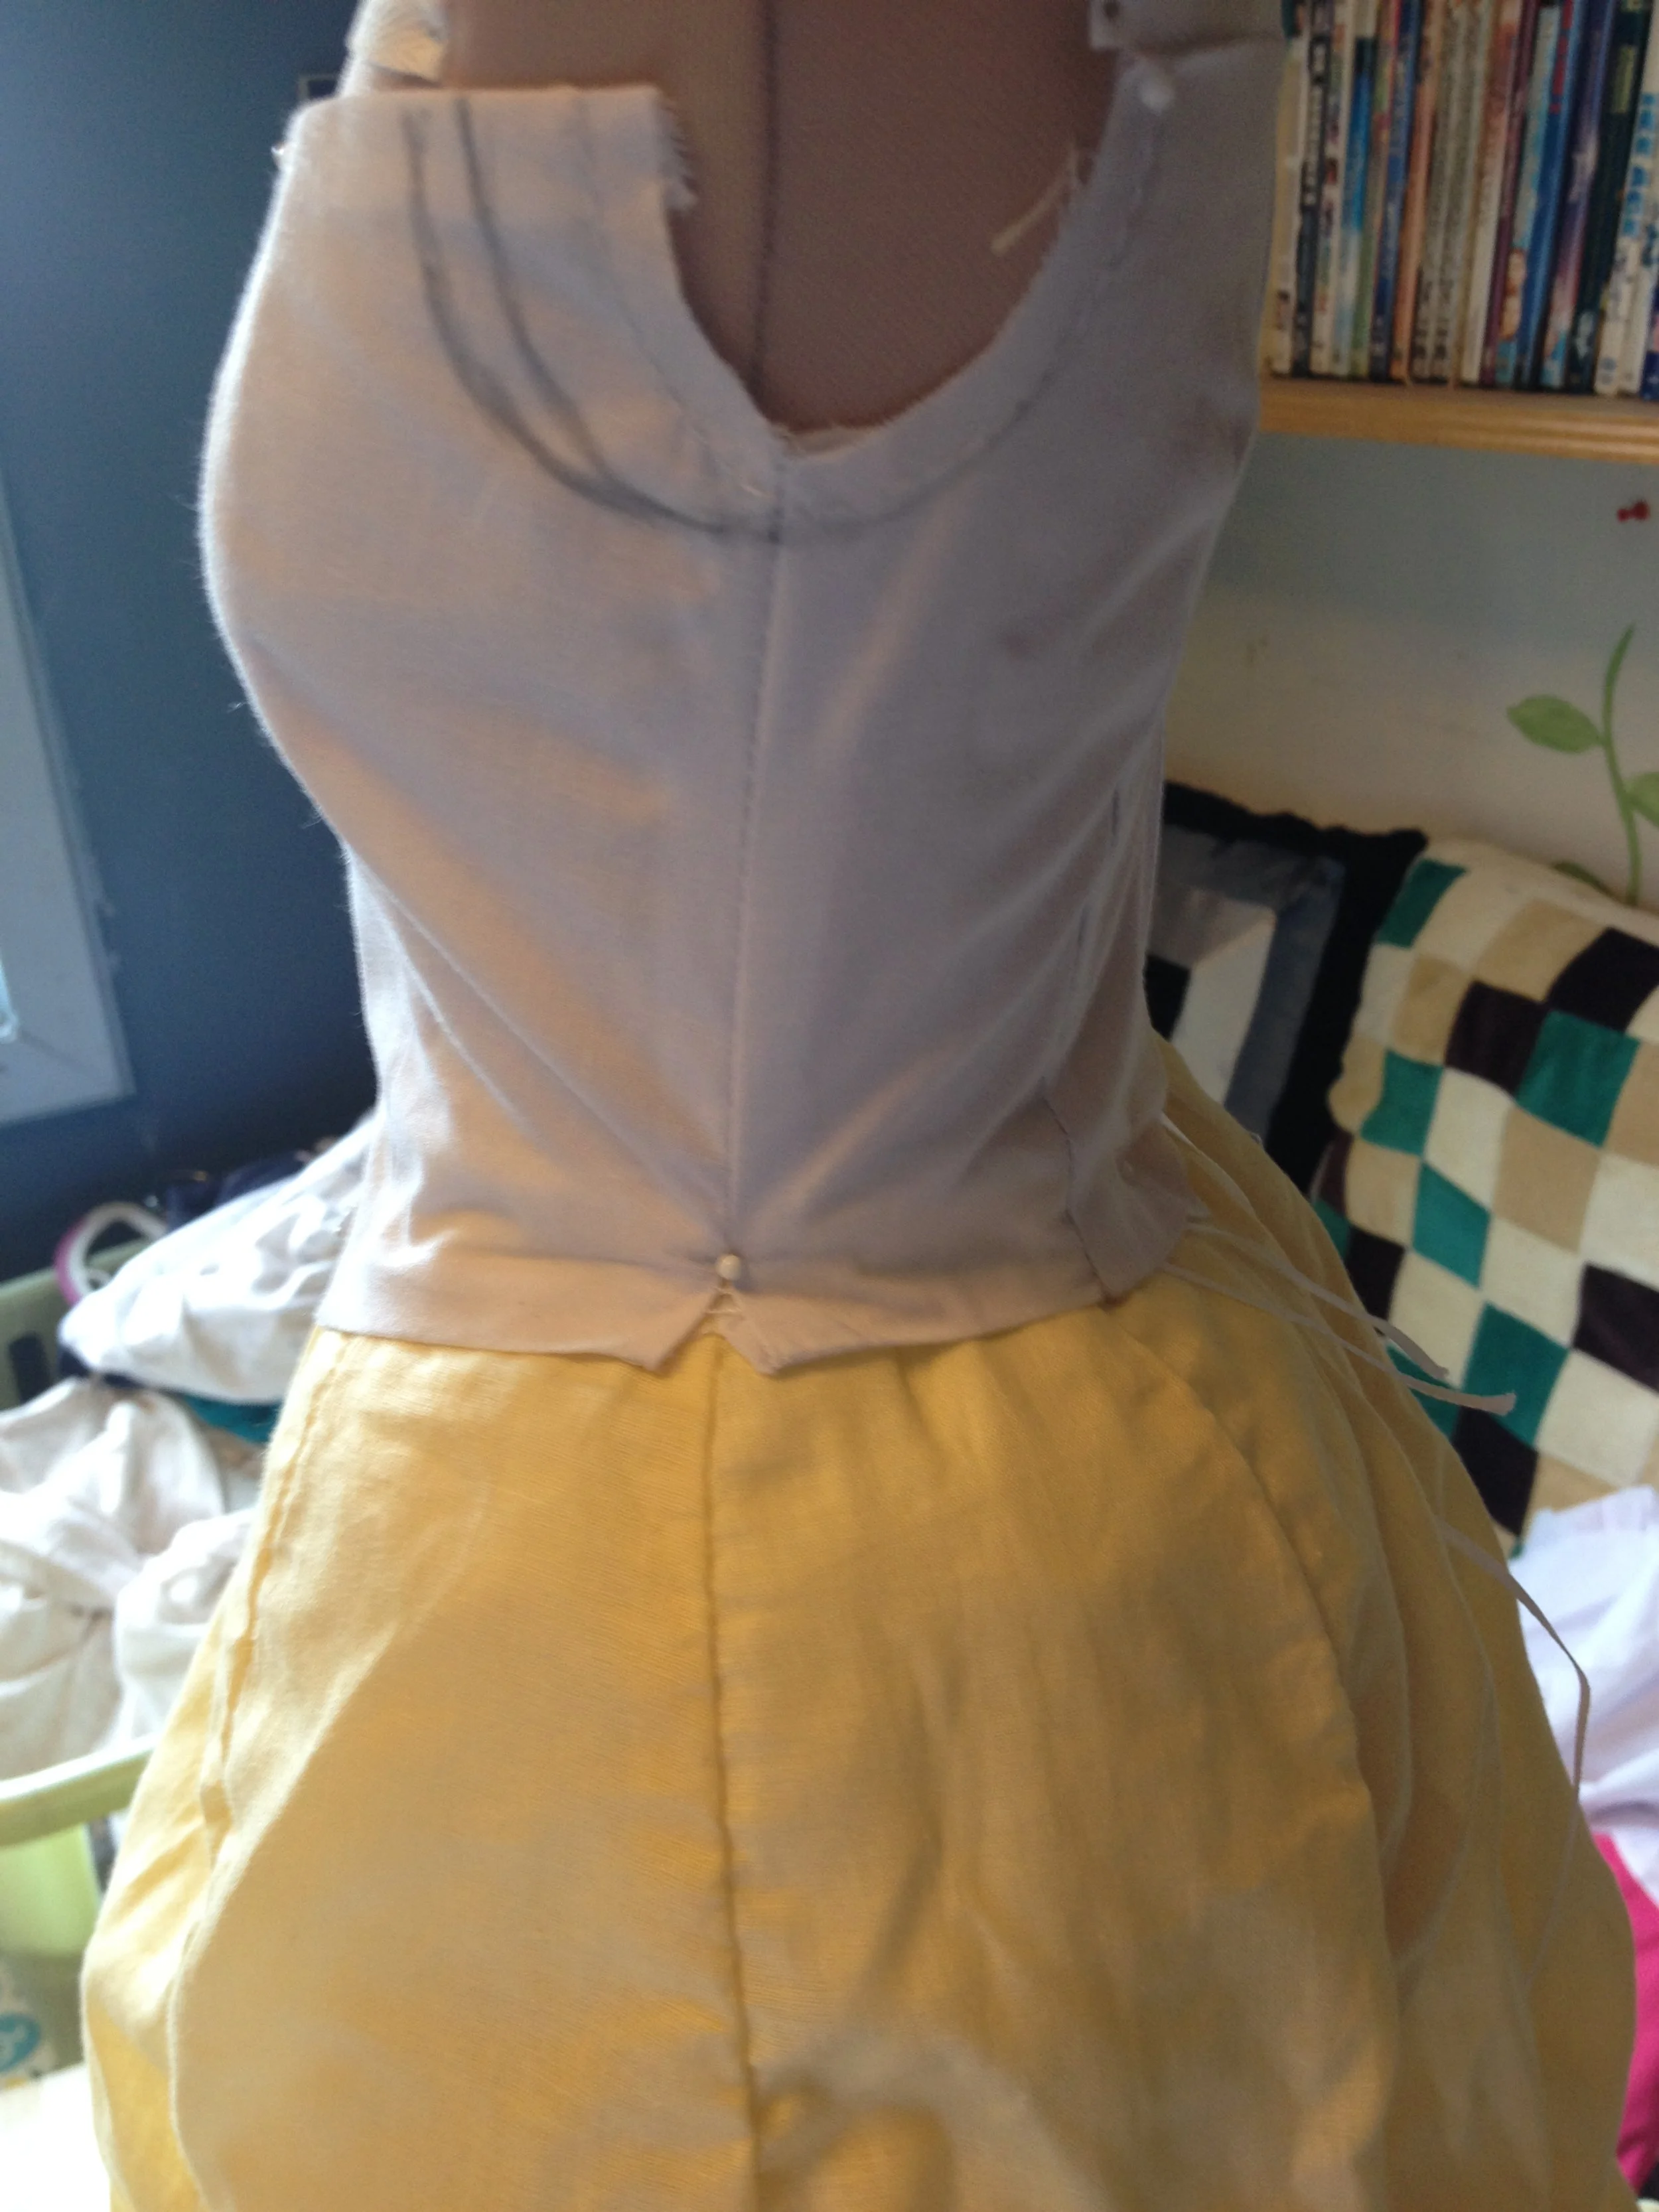
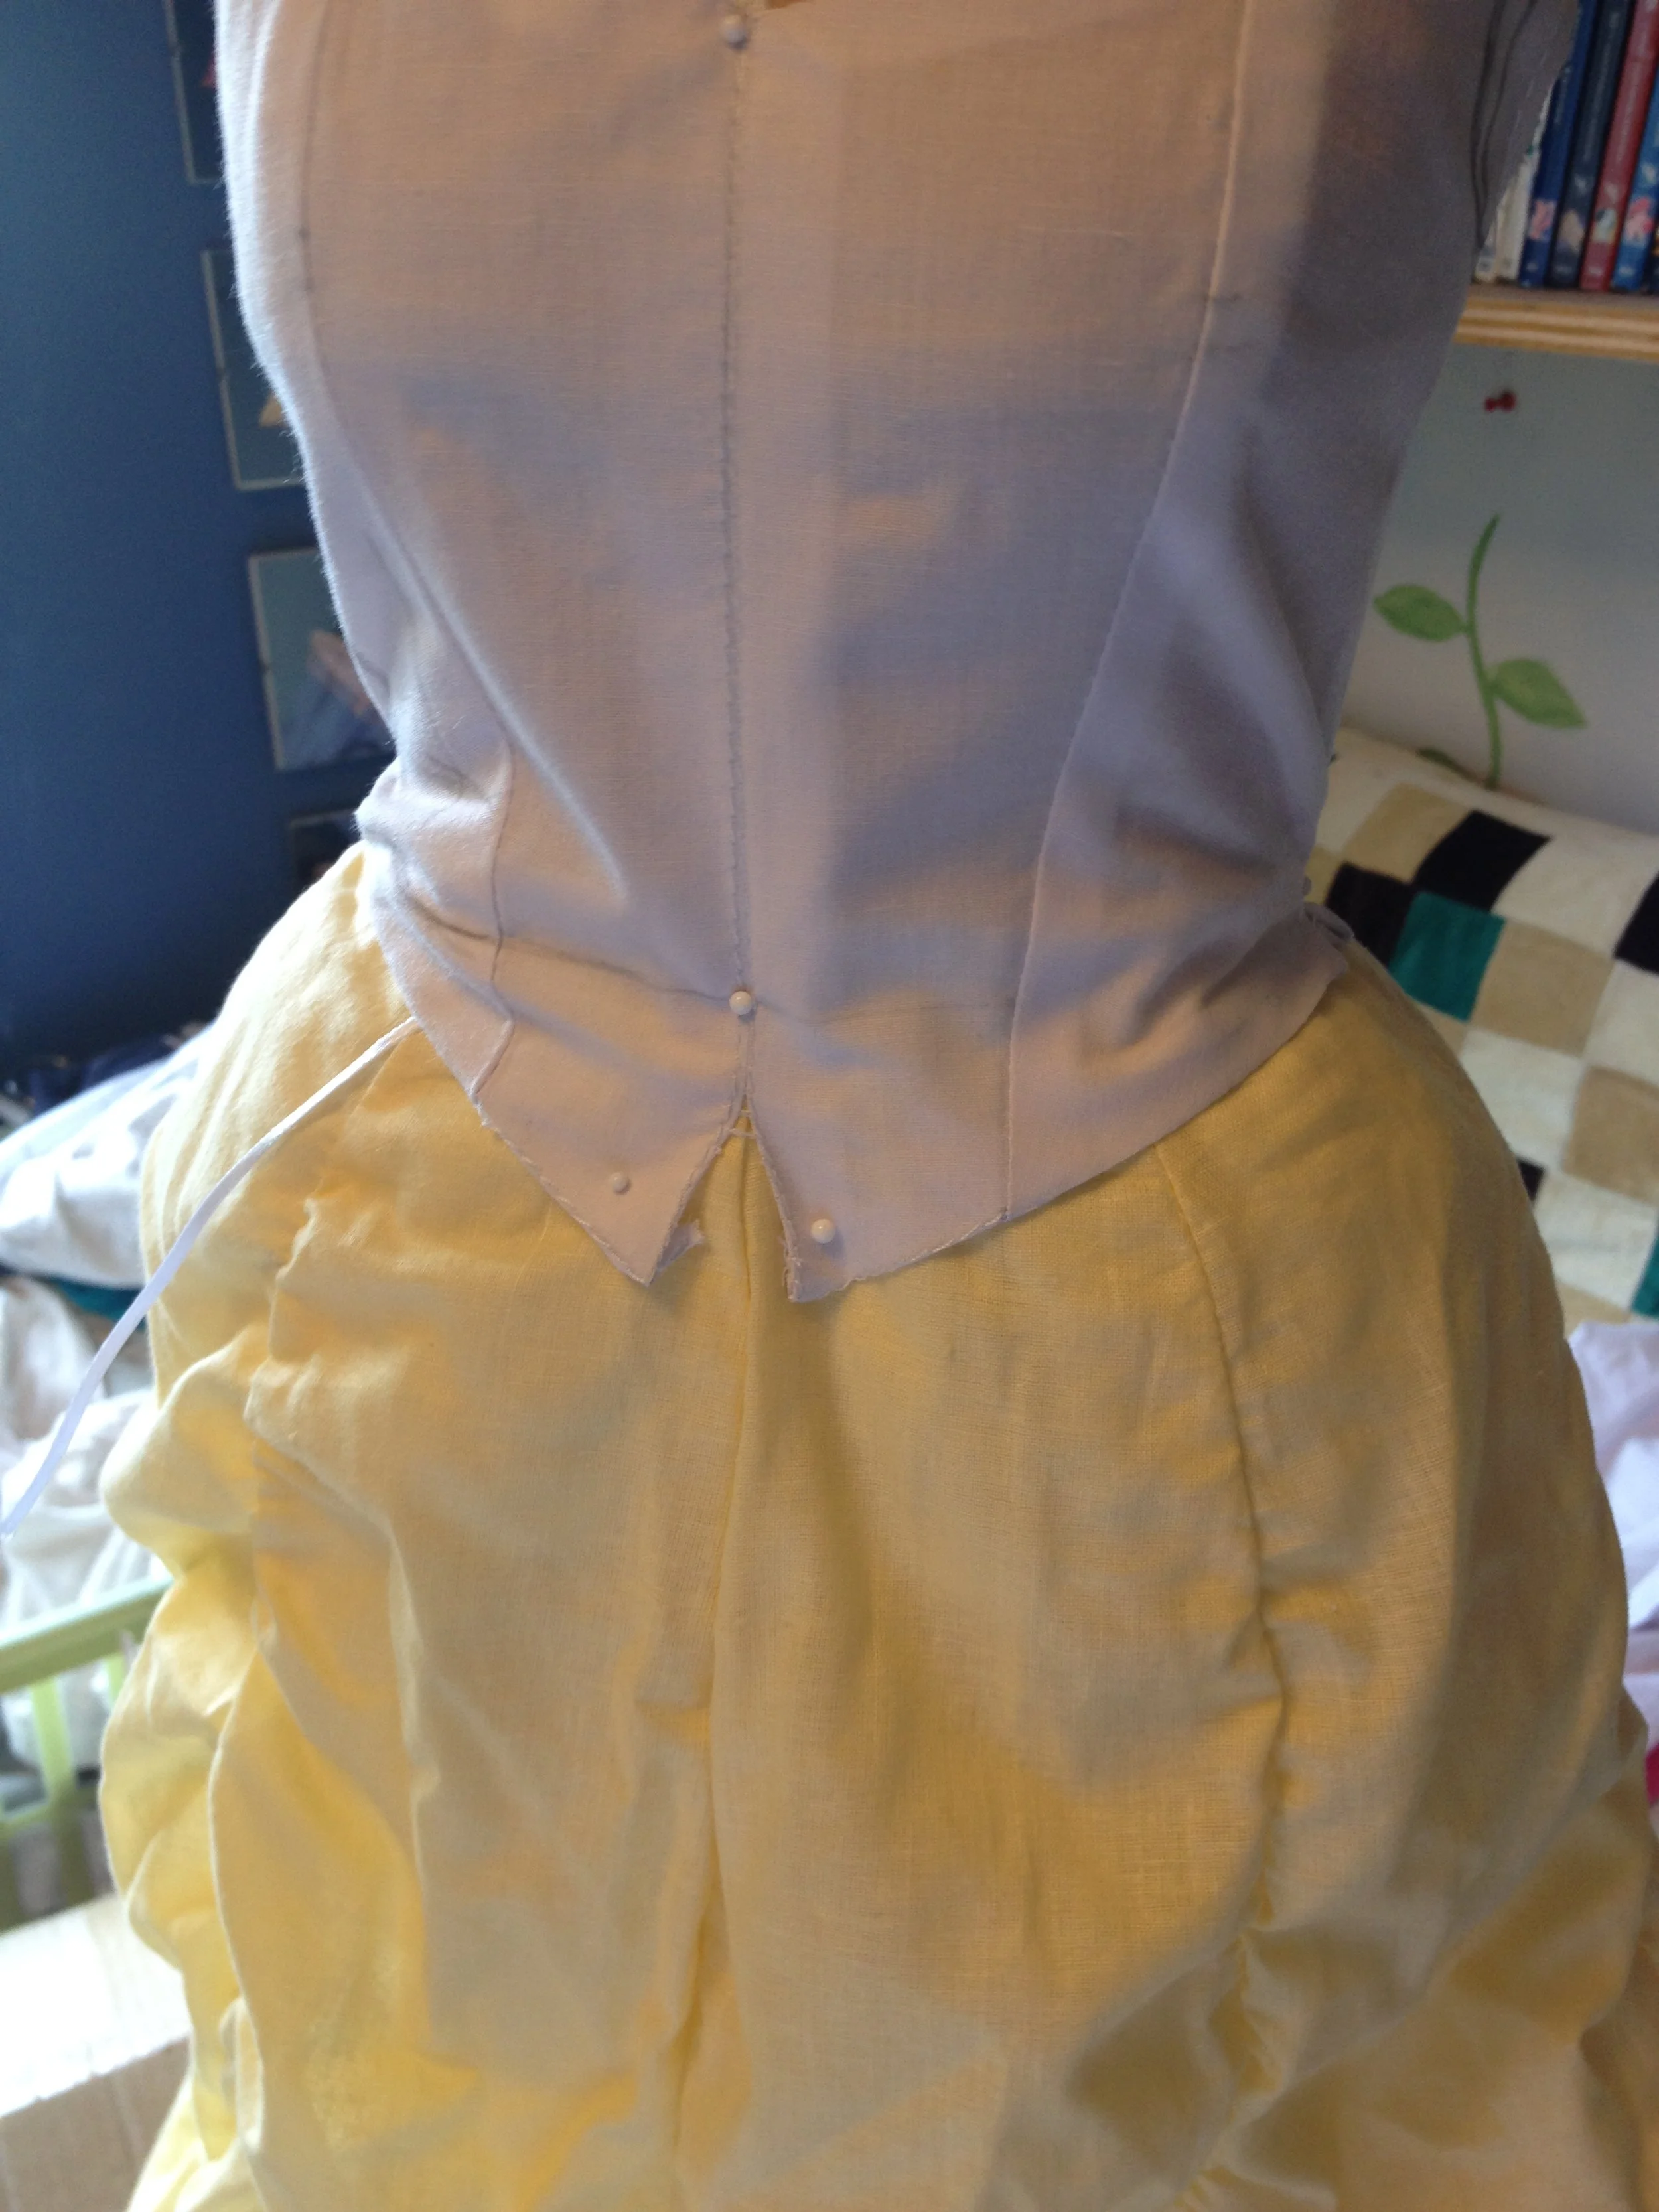
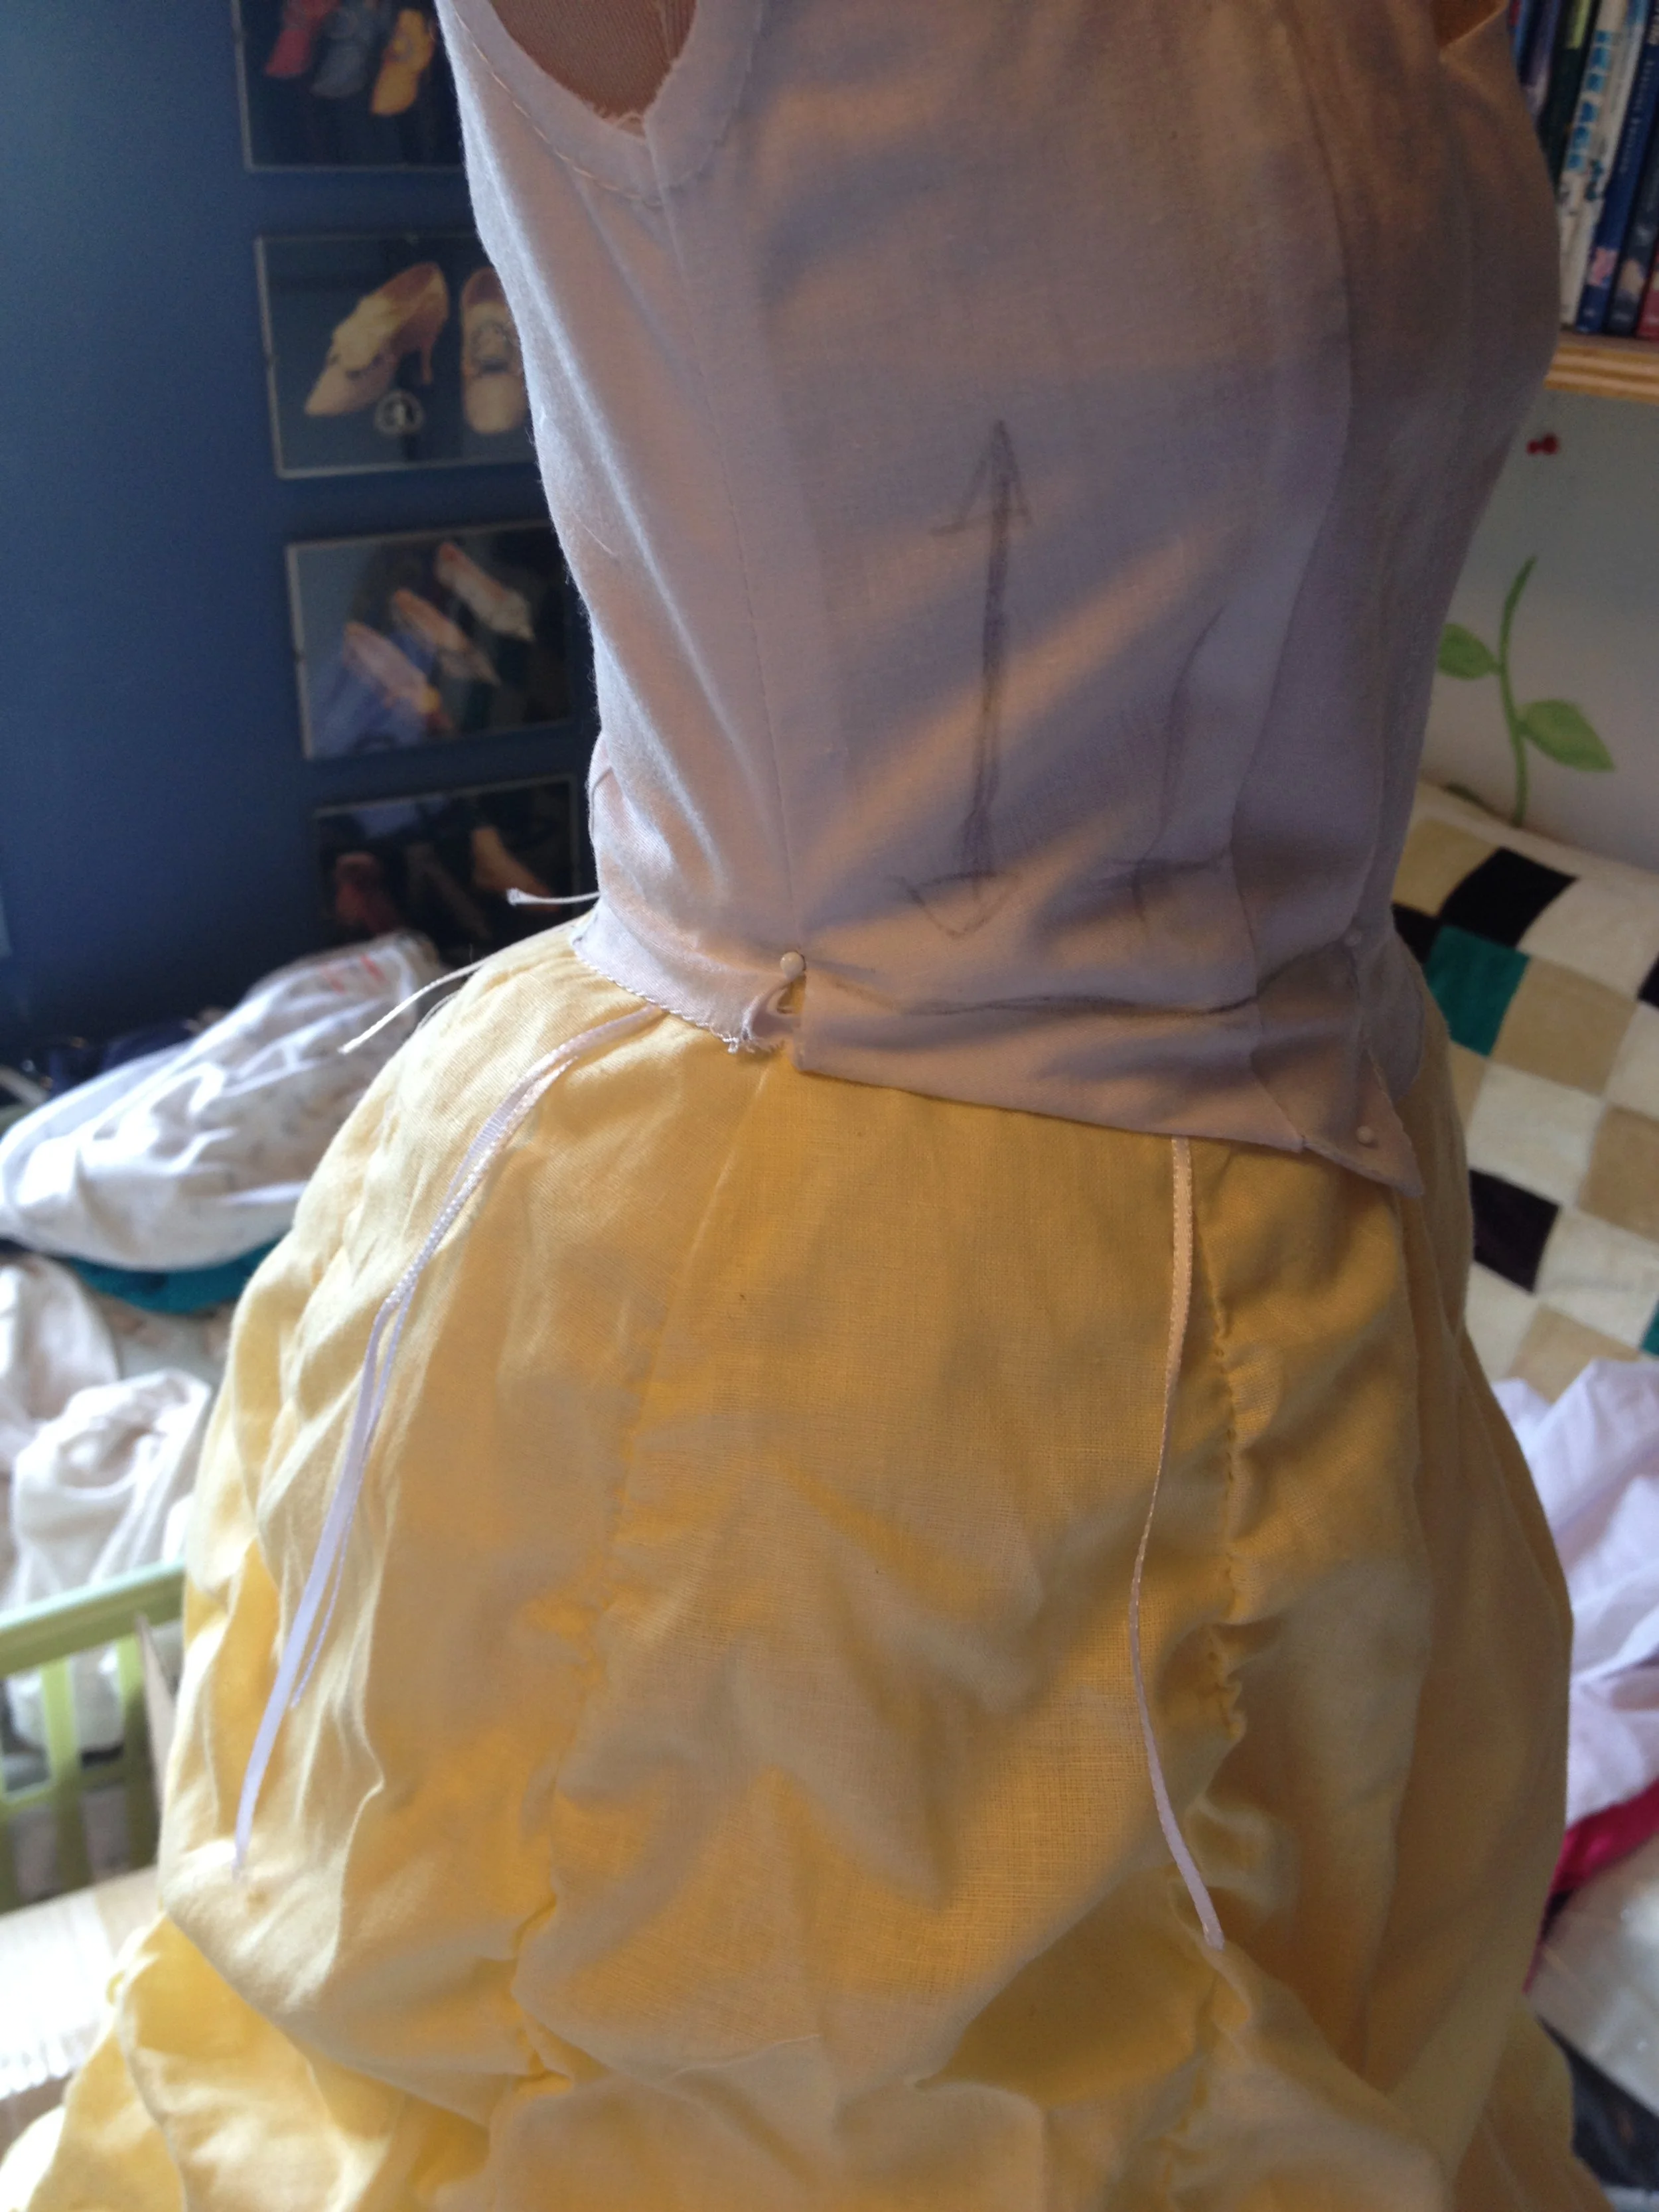
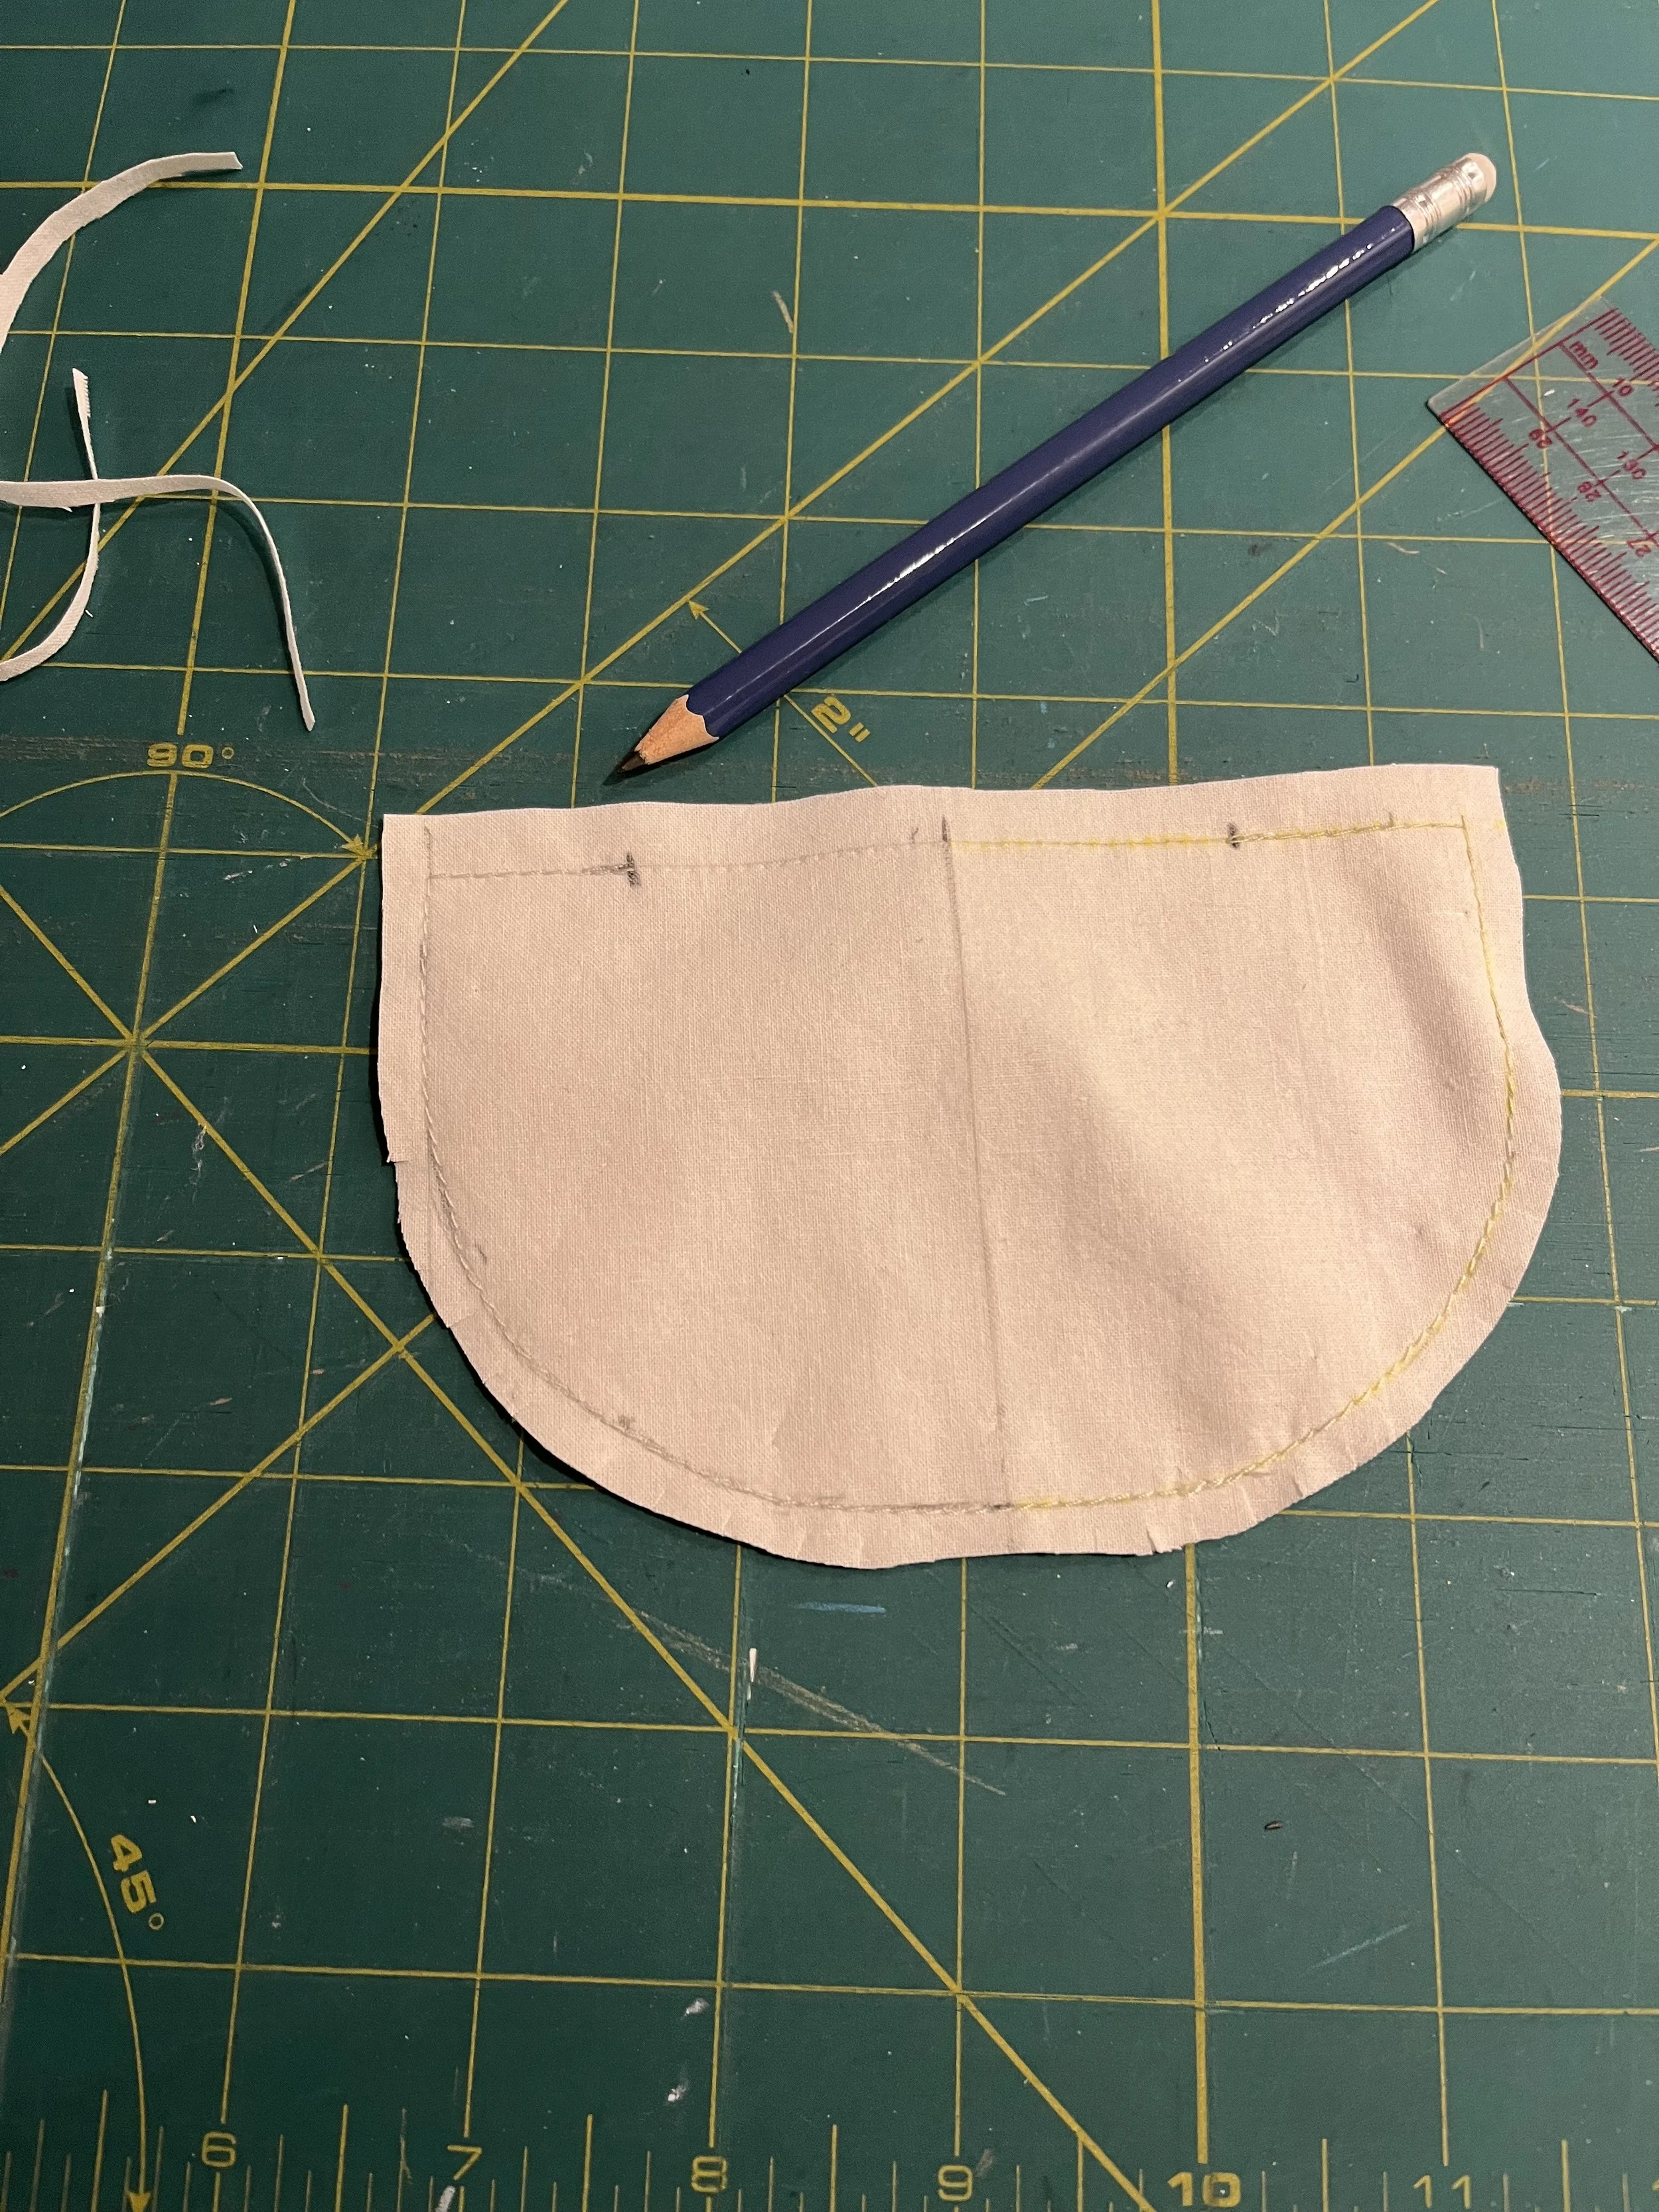
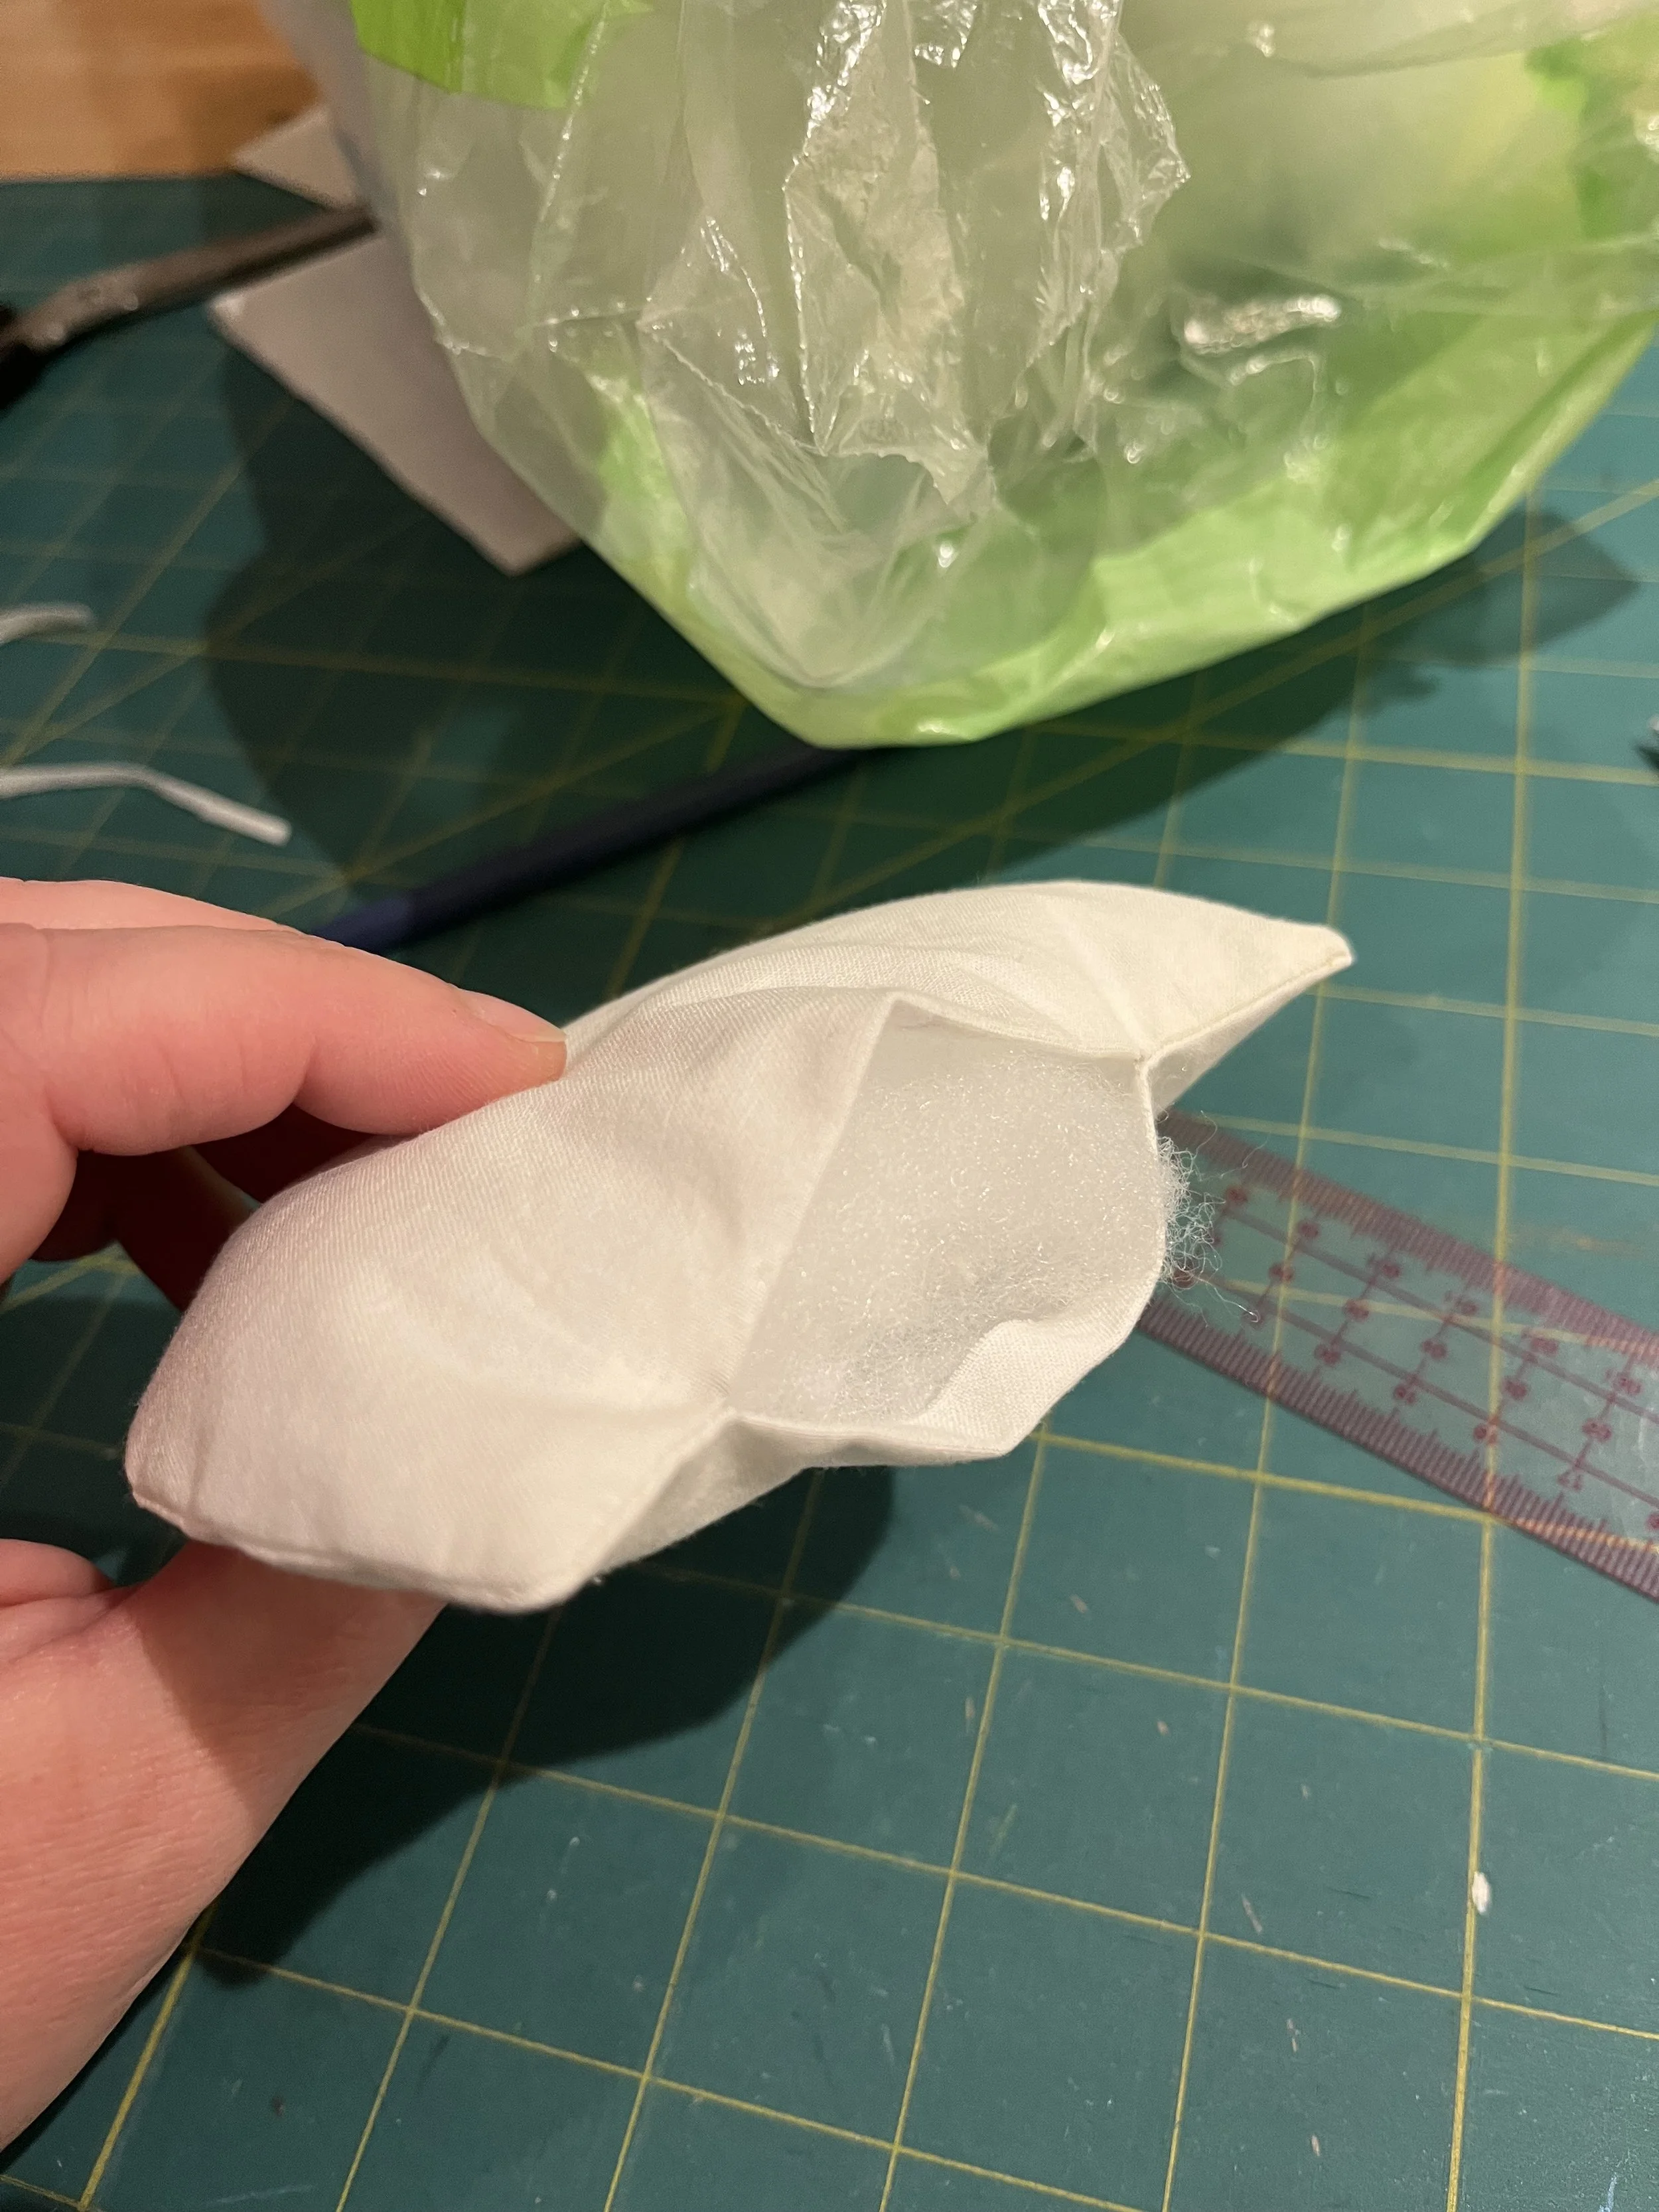
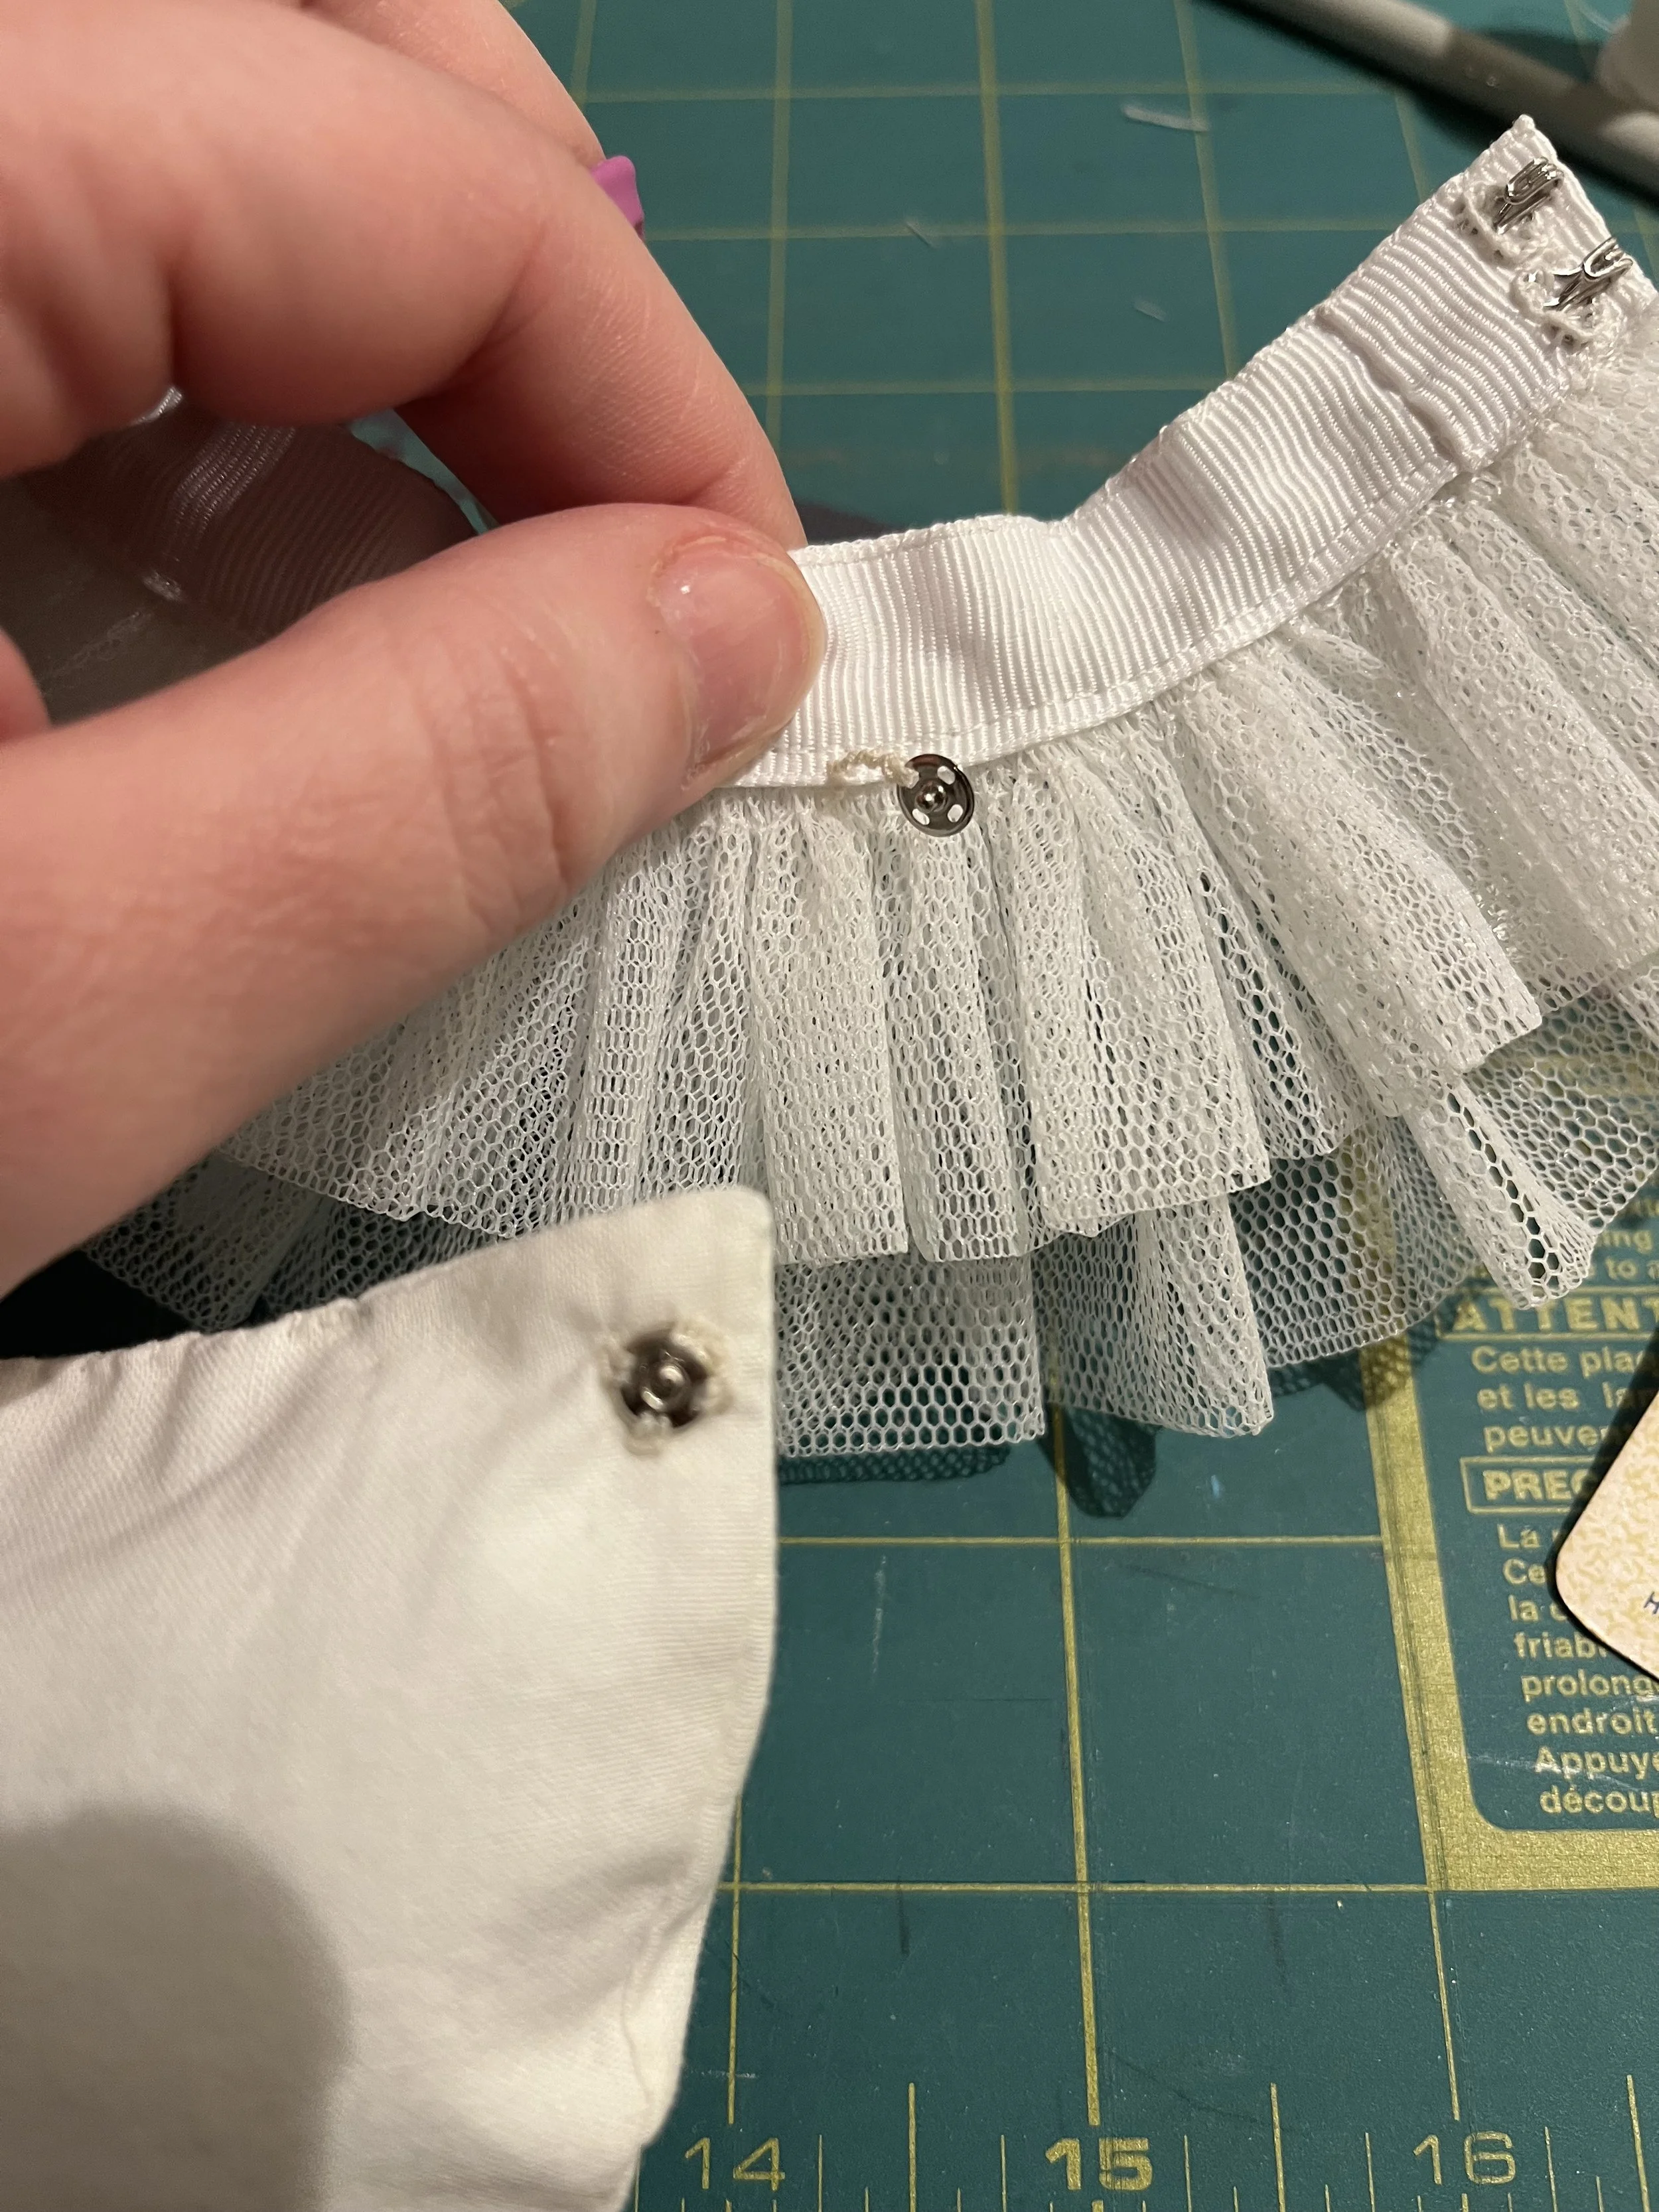
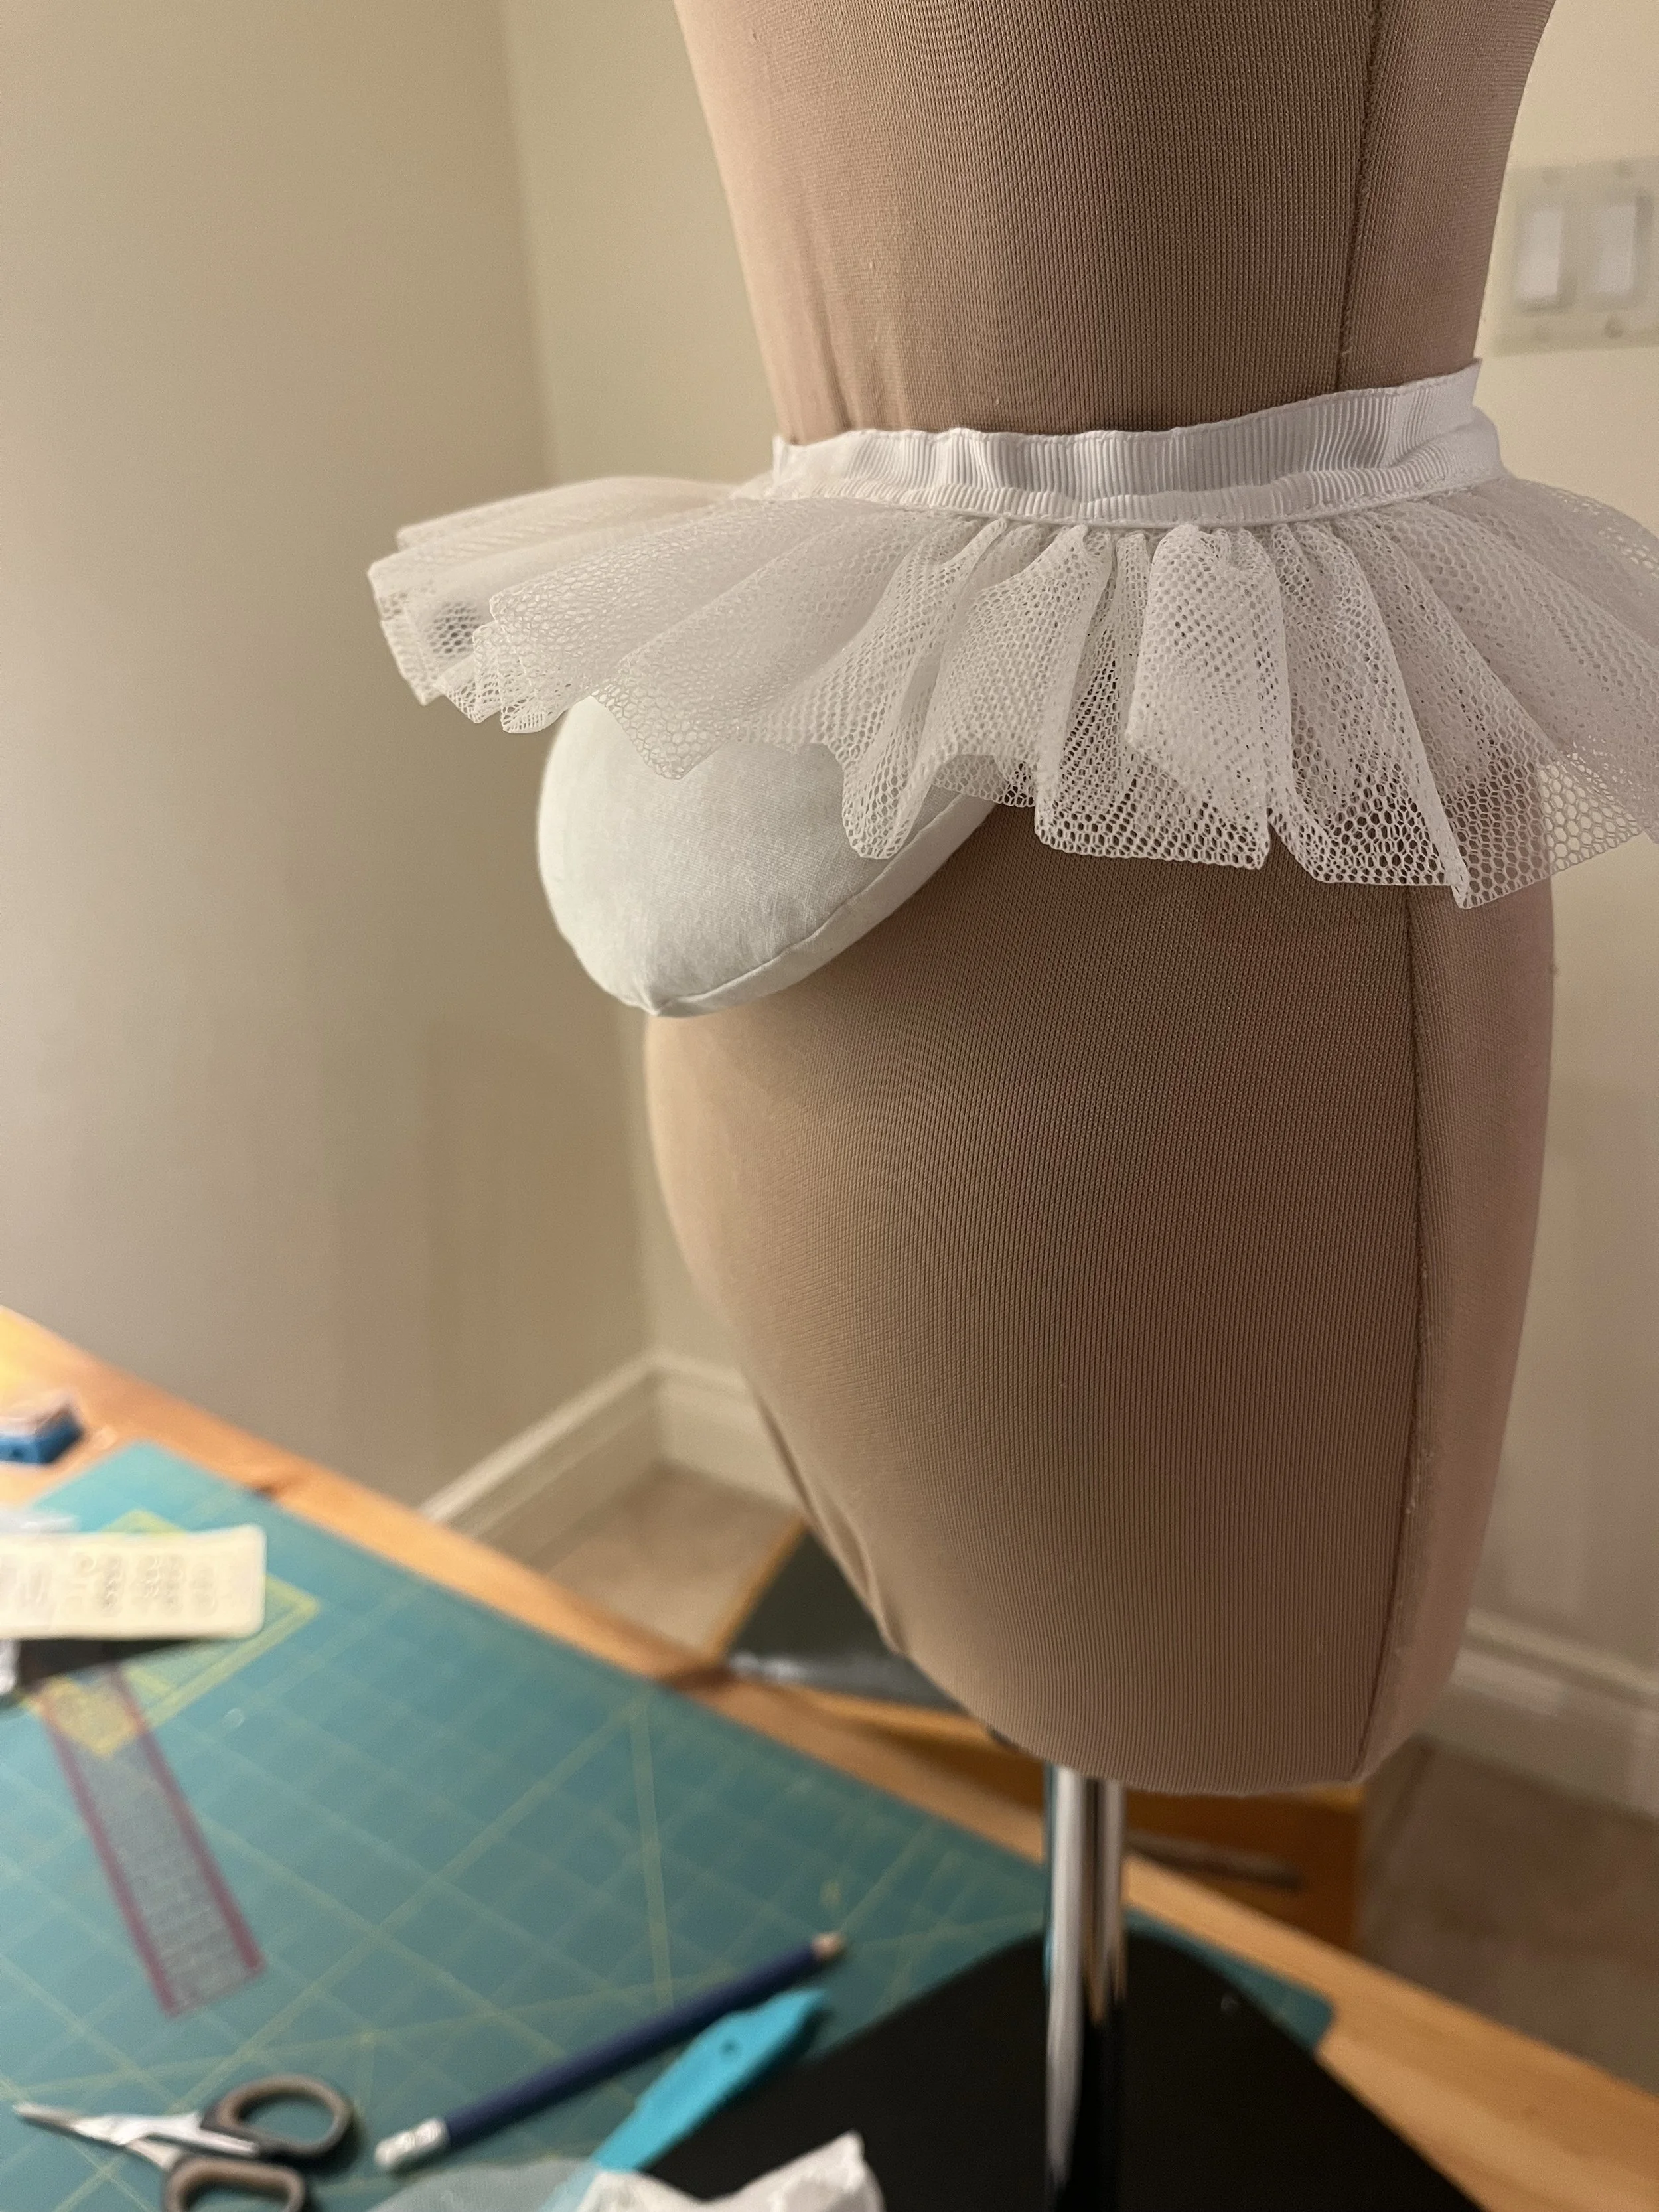
The surprise final, final step was to go back and add a little bum pad. I don't know if the net padding had gotten a bit squished since I had made it or if the bodice pushed it down a bit more than I had anticipated, but the back was looking a bit flat.
I had to be careful to keep it small as too much padding would push it up too much and the hem would look wrong (I really should have done this before I finished the skirt, live and learn) but I was still able to give it a little something.
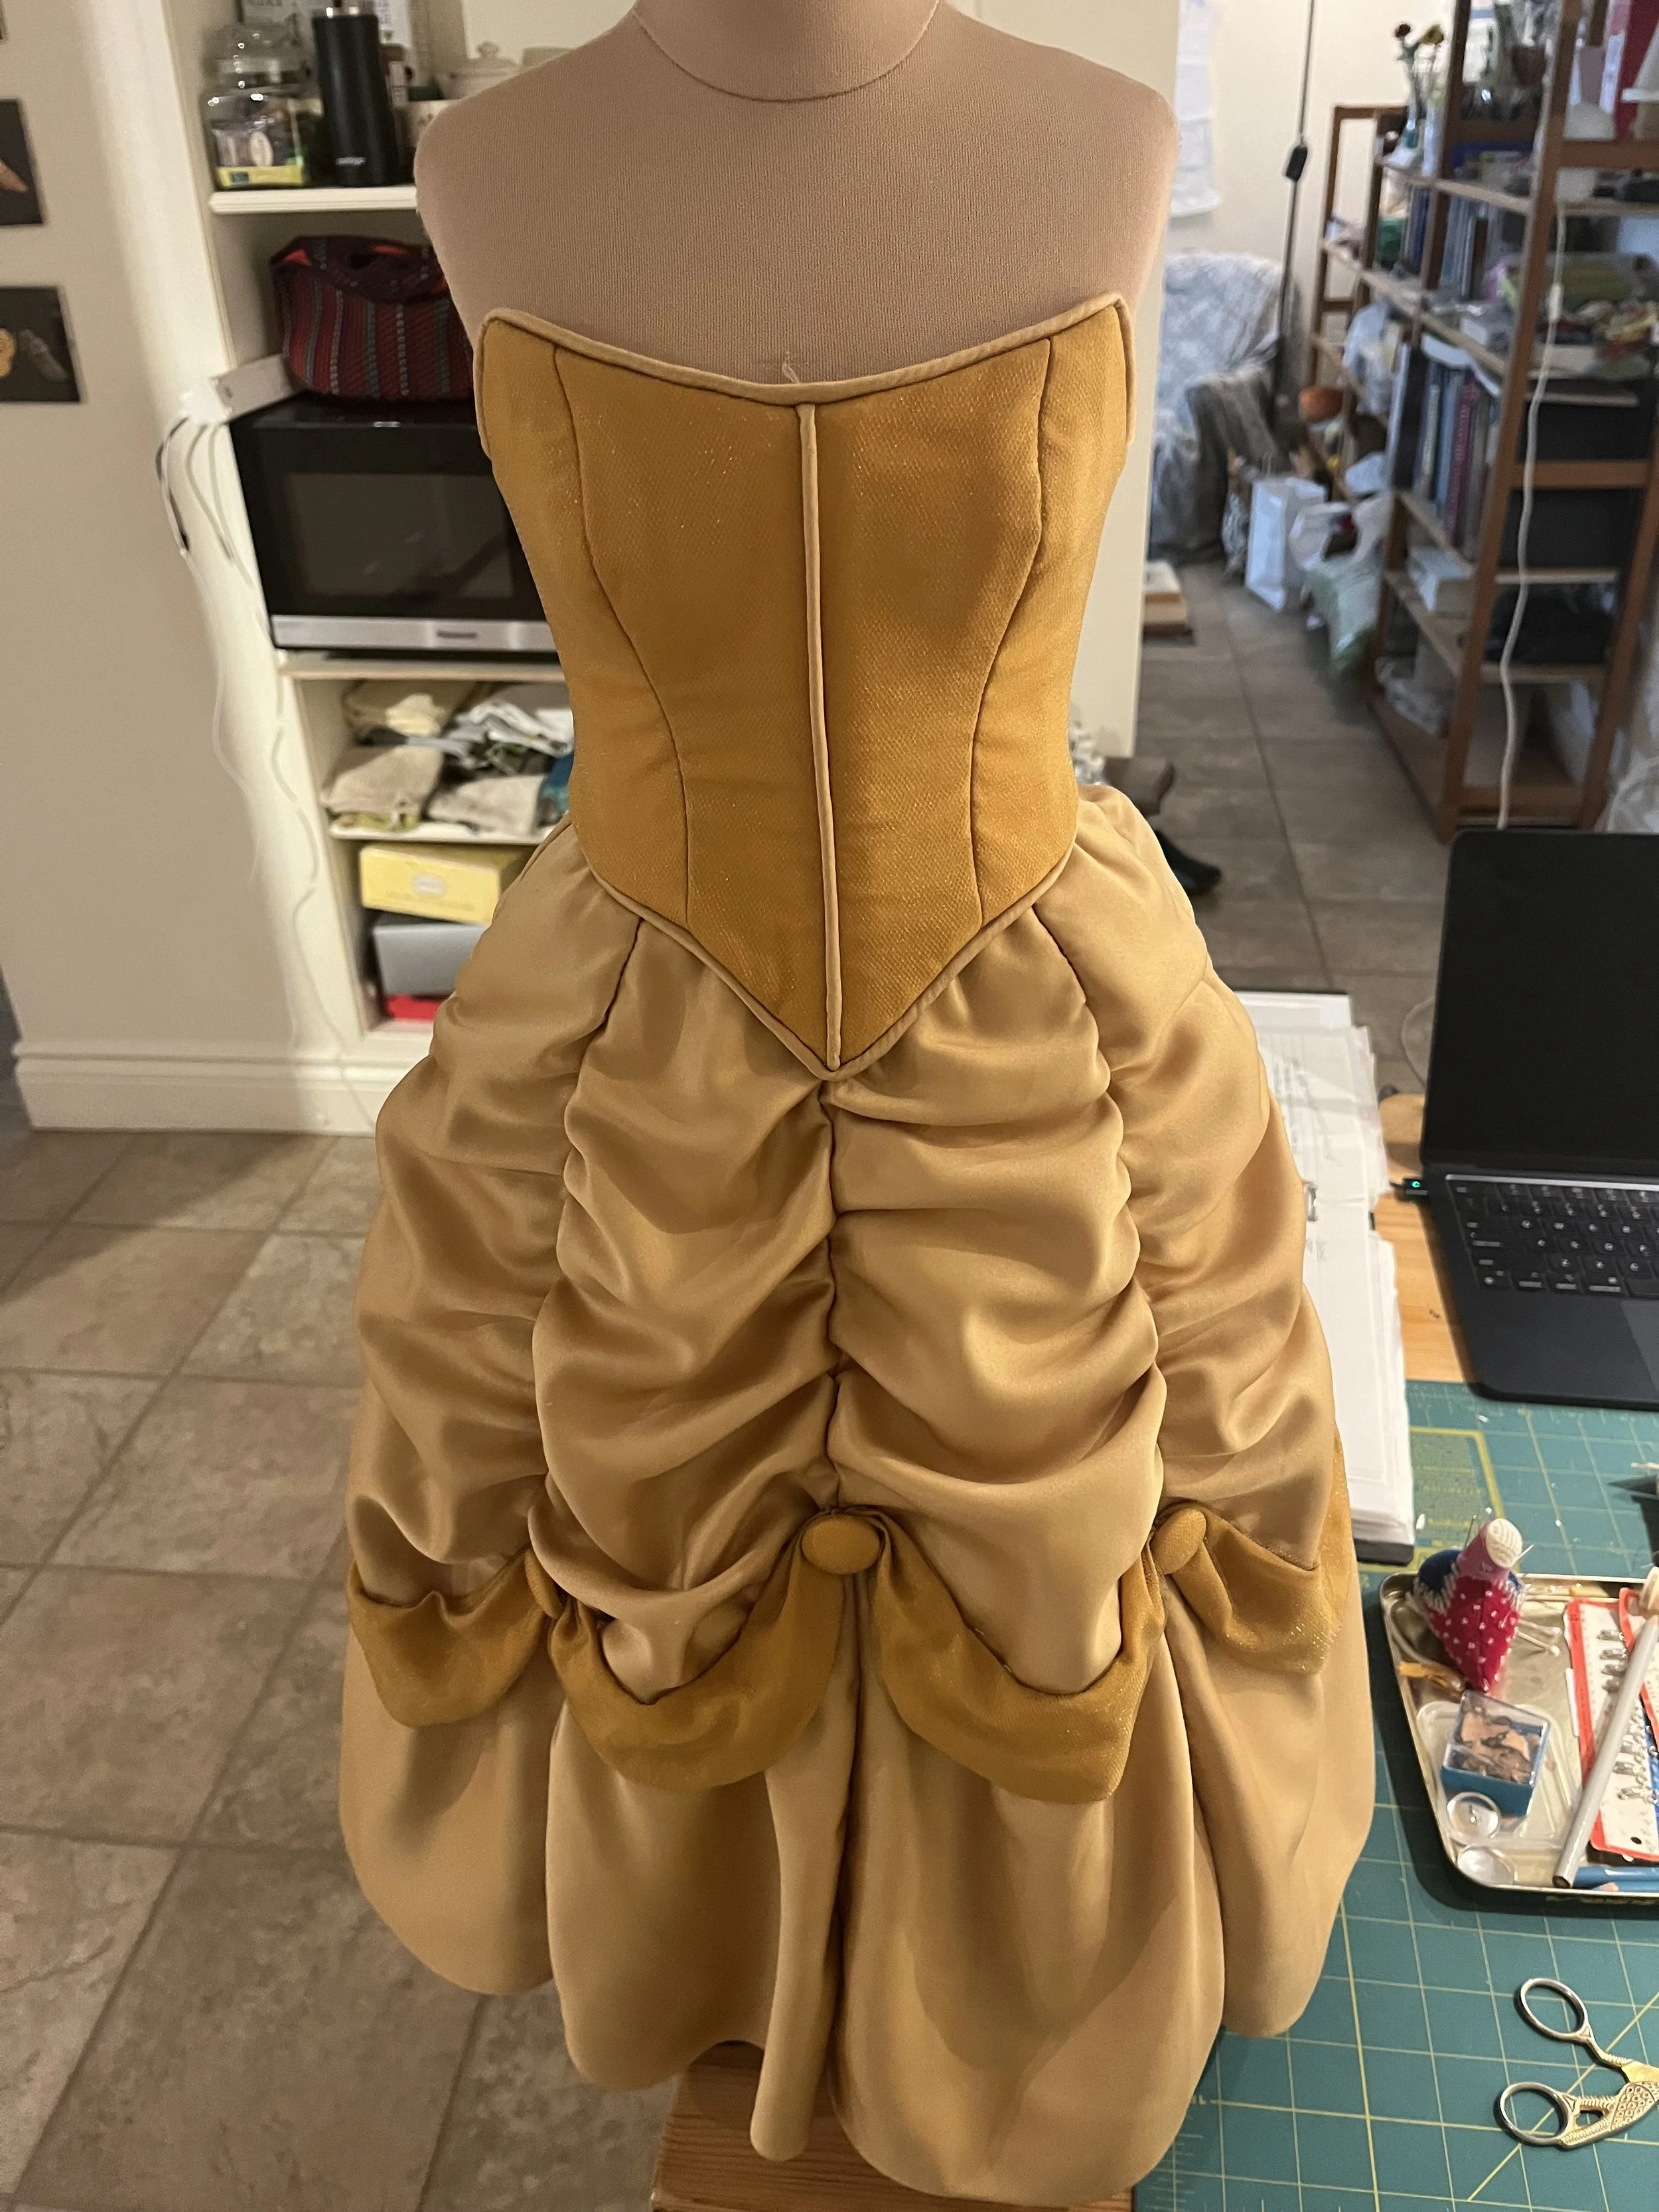
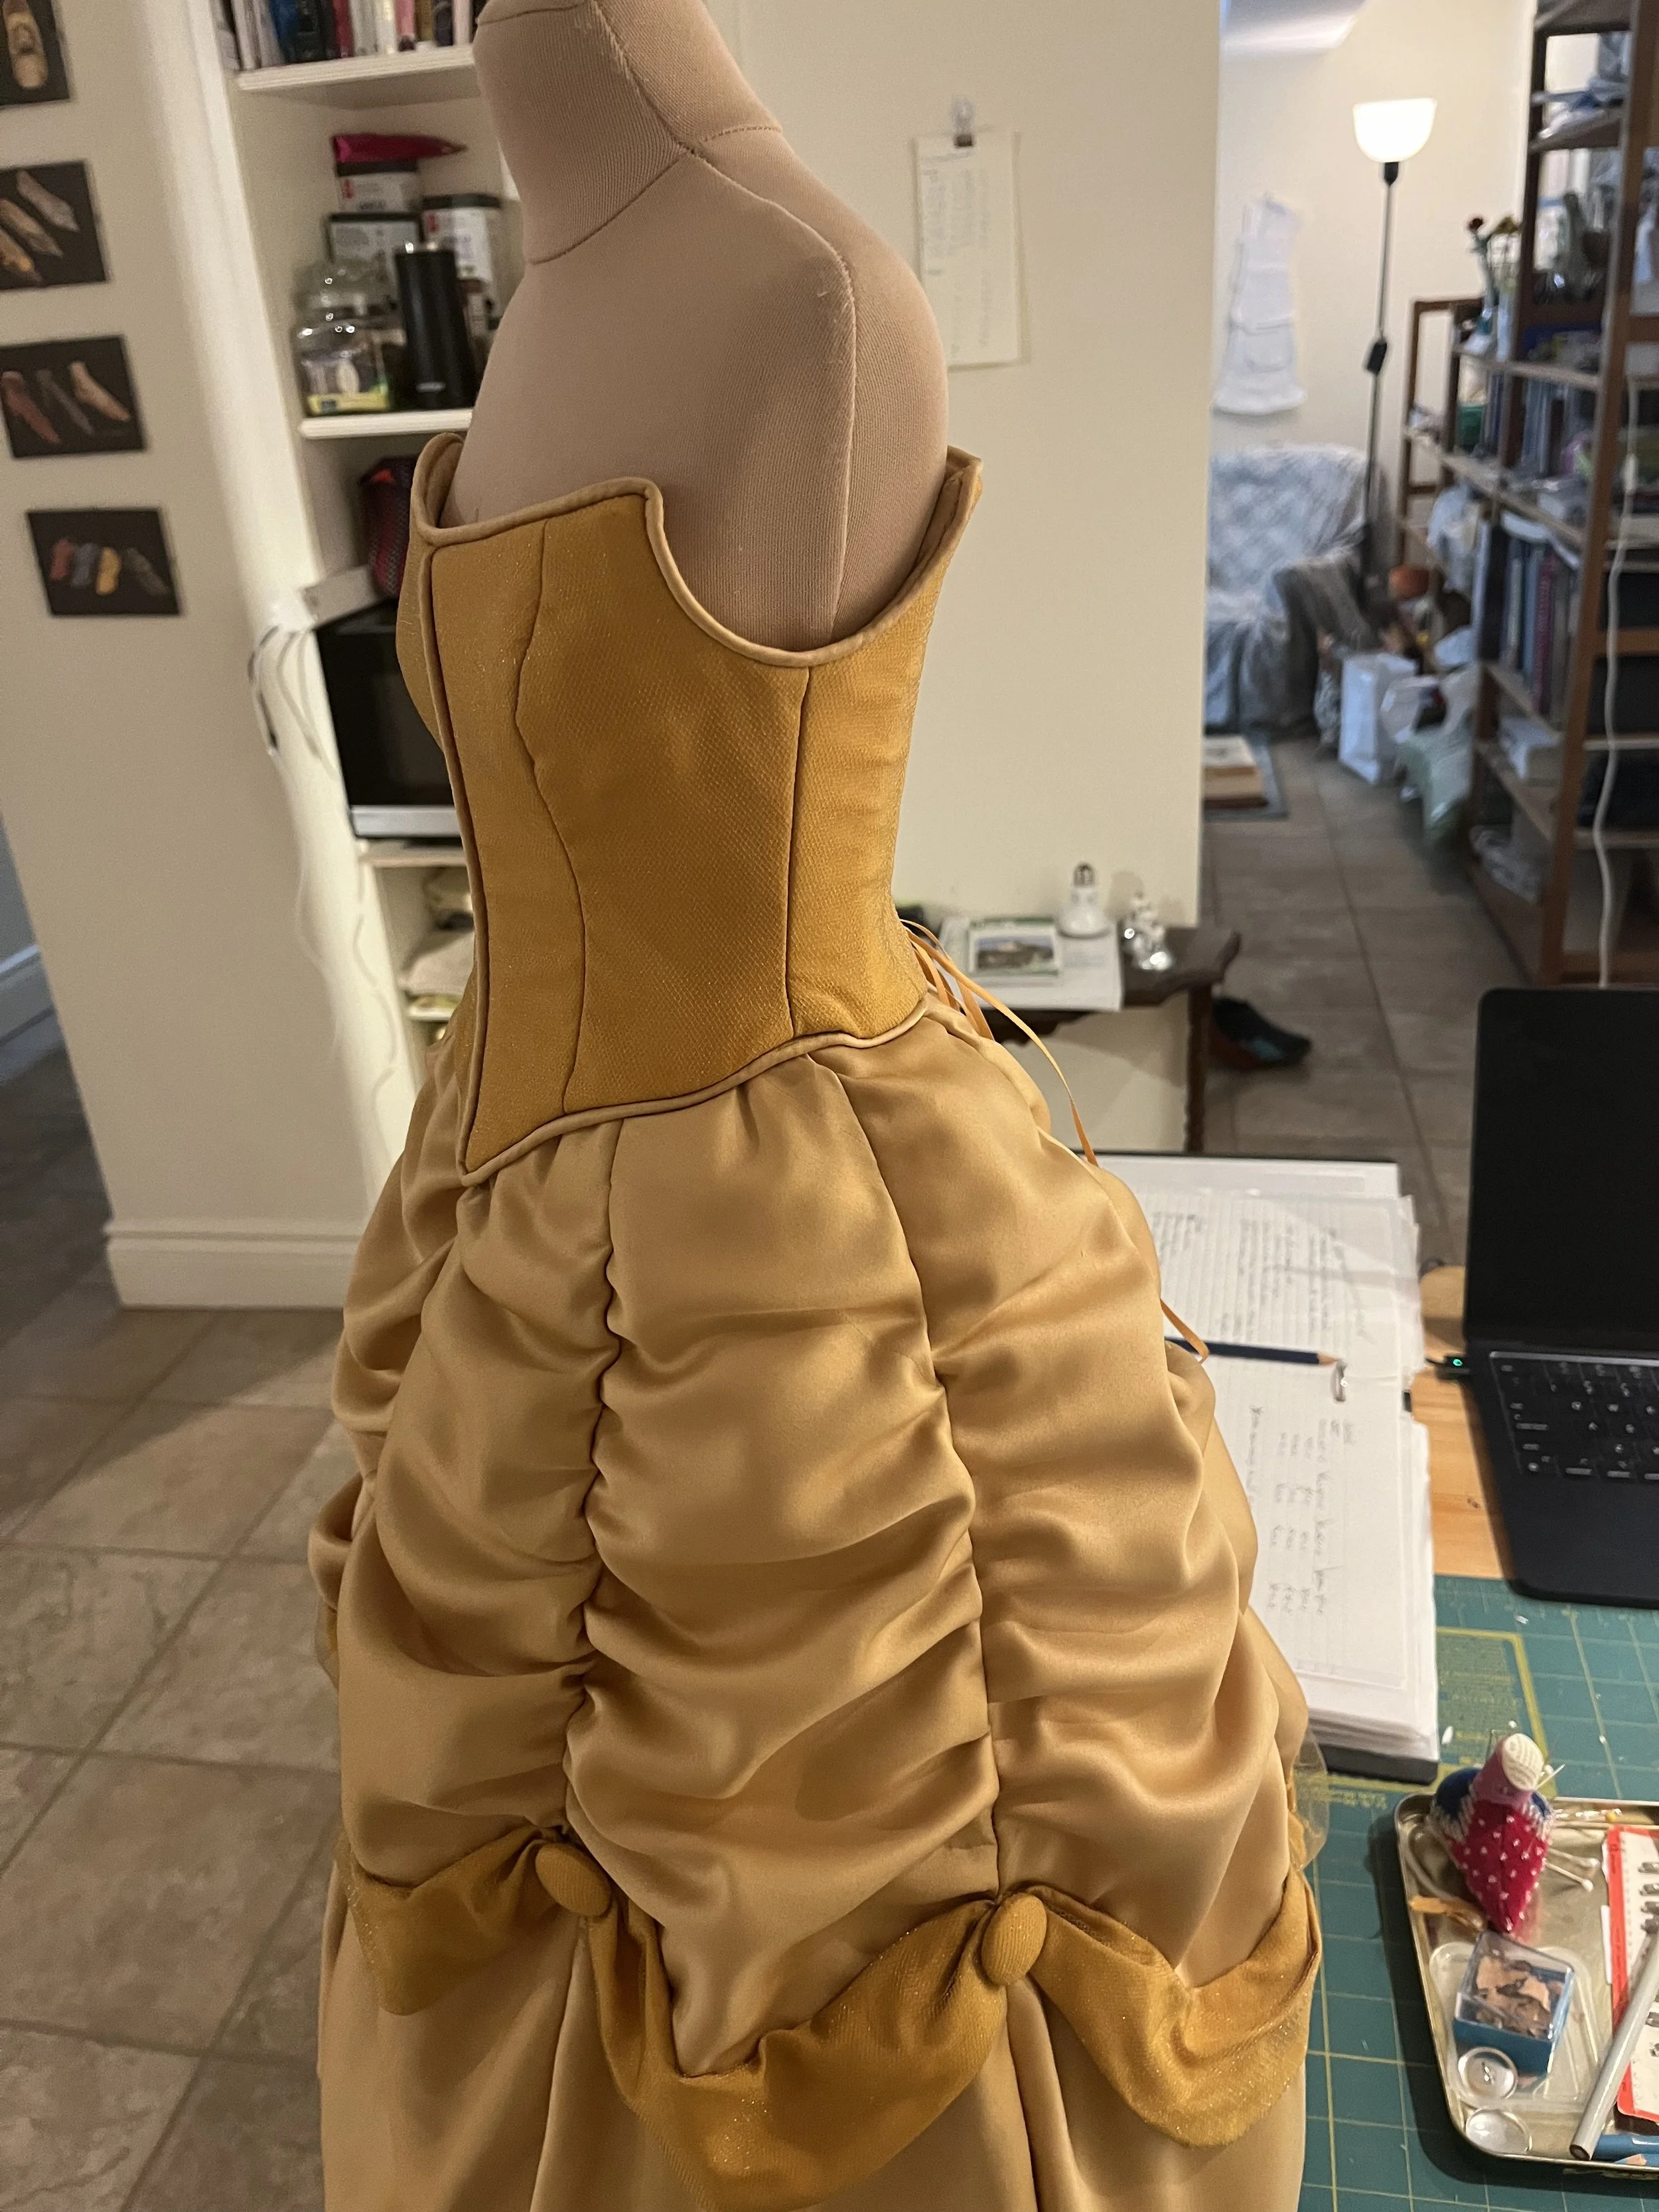
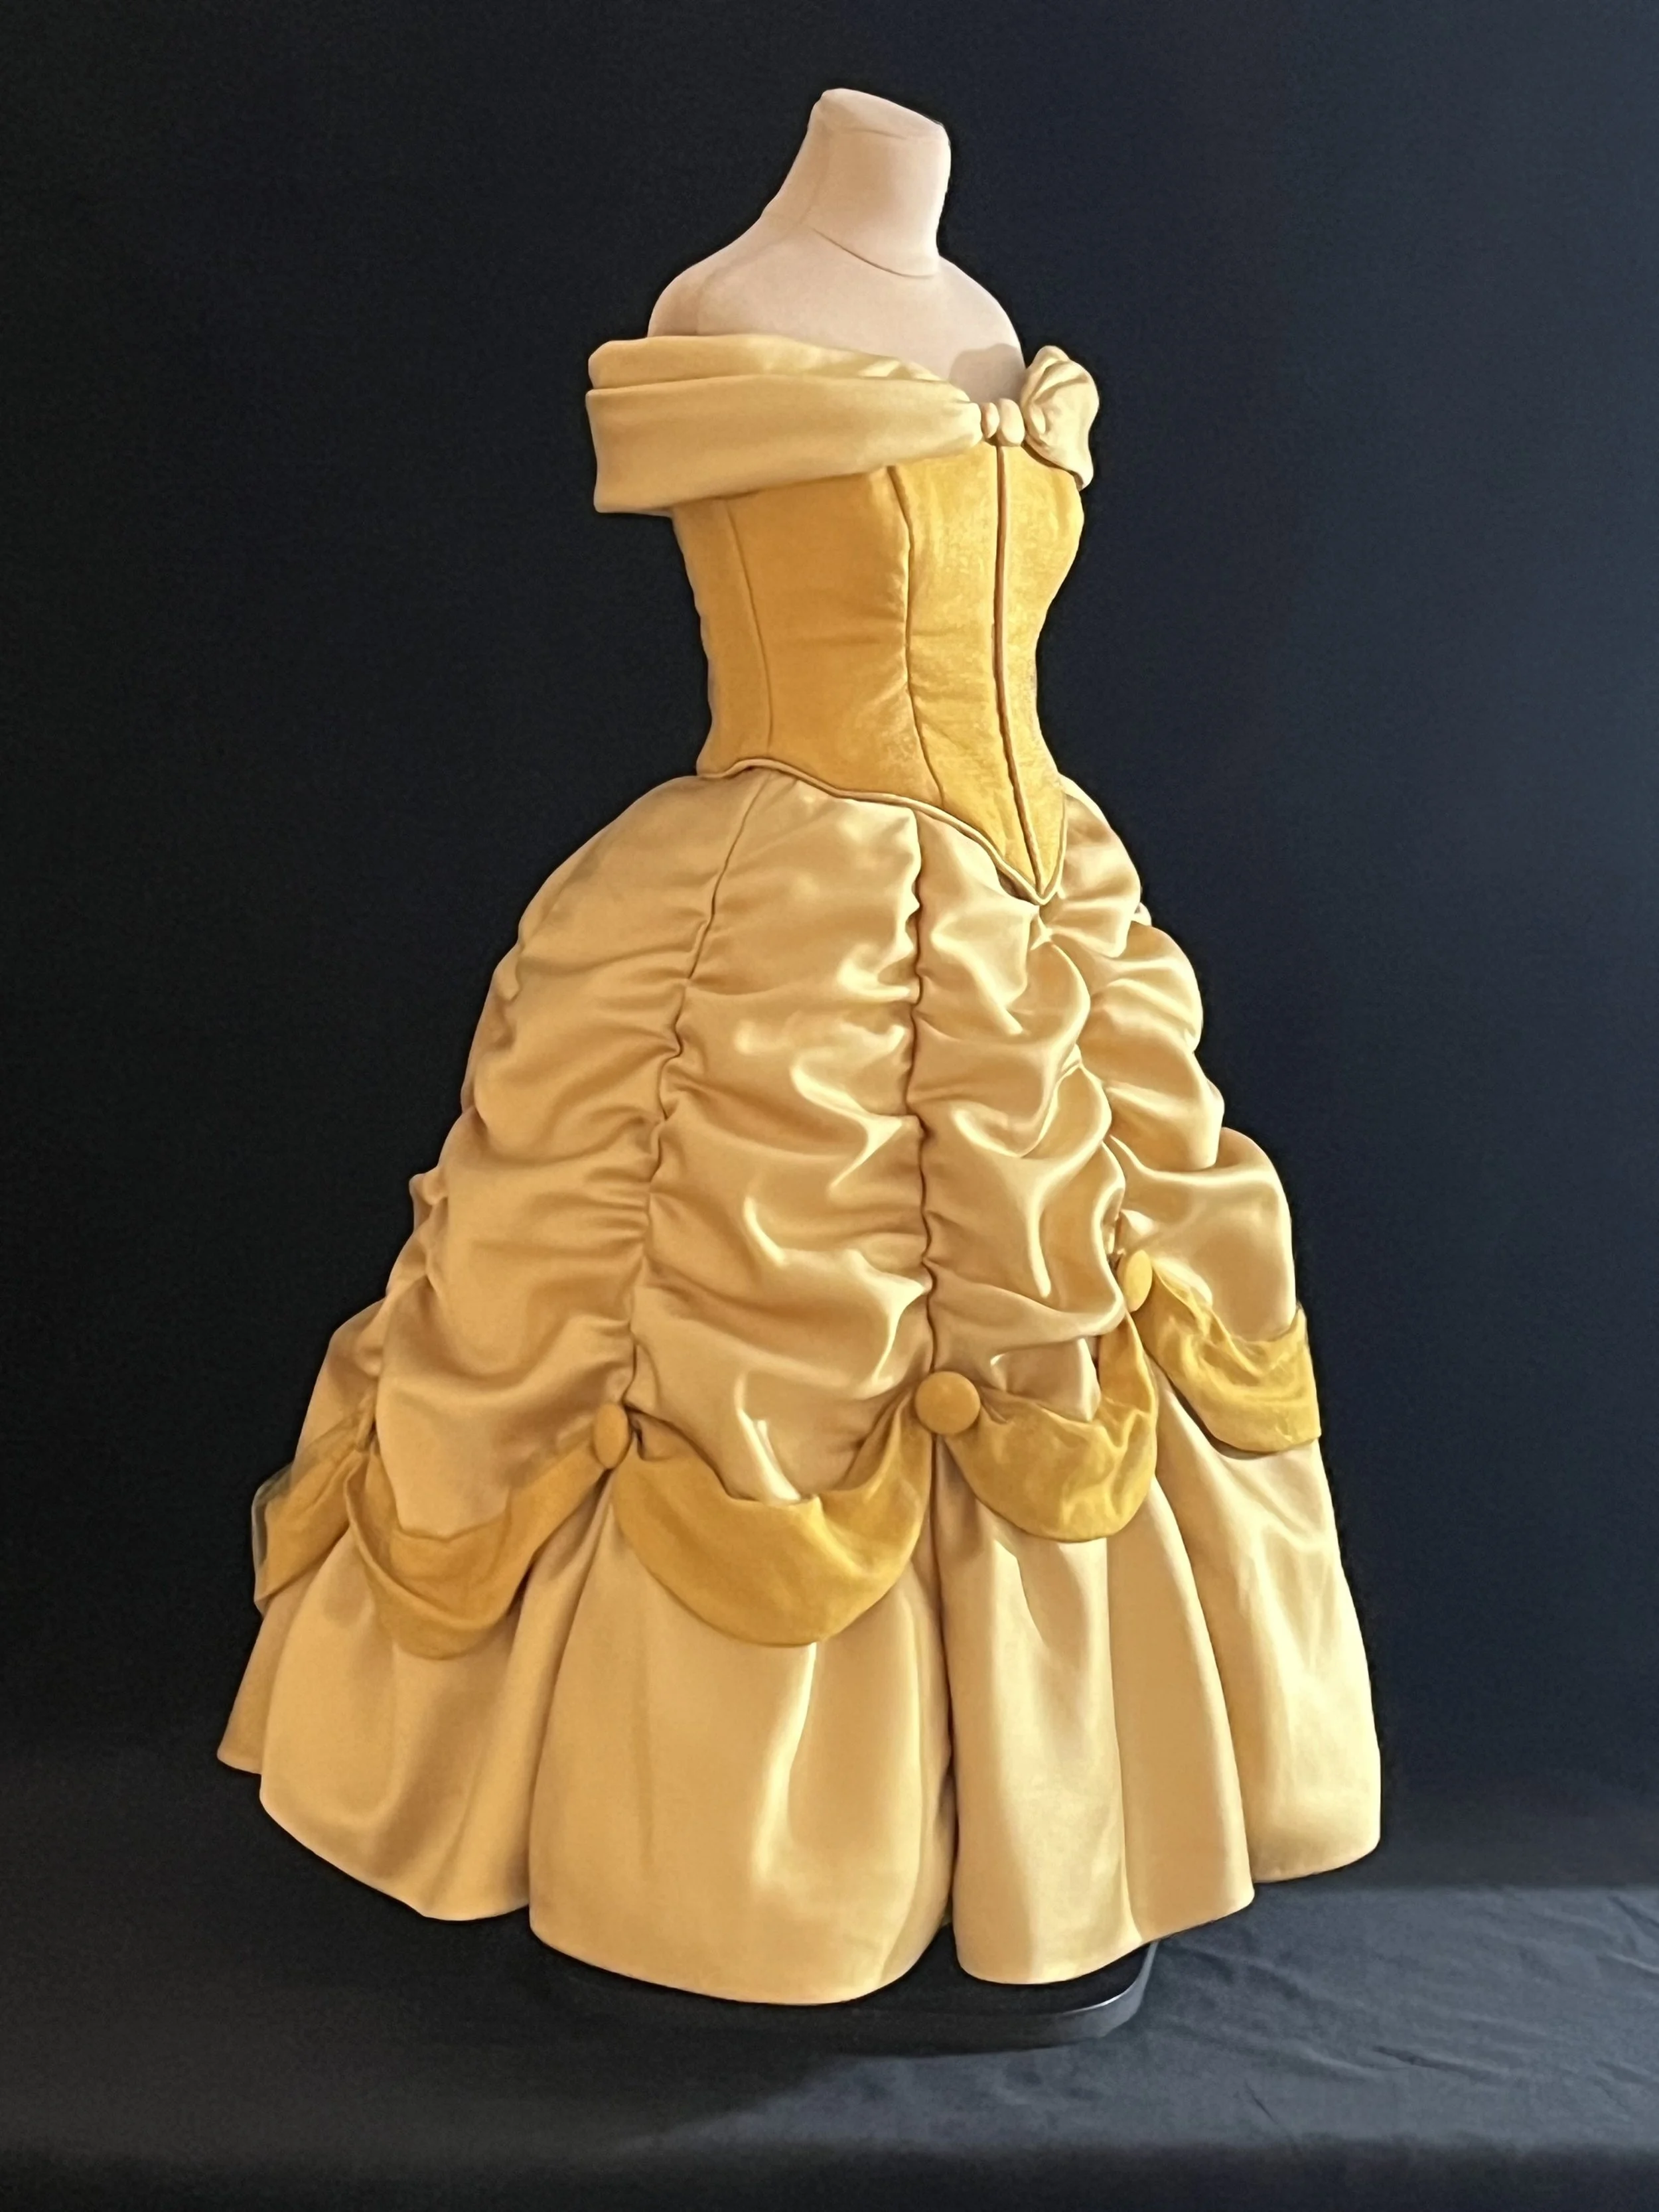
So, there she is.
Done.
DONE!
I've been dreaming about this for so long and here it is! Kinda sorta pretty much what I was aiming for! Huzzah! There are definitely things I've learned and figured out which I would do differently if I were to make this again, but I don't think that'll be anytime soon.
Belle's bodice took 47.75 hours in total. I spent 13 hours on the pattern and mock up and 34.75 hours on the final build. The dress took 104 hours in total. Including the petticoat, this entire projects has taken 141.5 hours. It began in July of 2020 and was completed in February of 2024 (hence the ‘finally’ theme running through this post).
