1880 Dress Part Three
The Corset: Part One
I didn't do quite as much hemming and hawing over what would be accurate when it came to the corset as the desired shape was not as much in flux at this time as the other elements of ladies' clothing were. The longer, hourglass shape, popular for the cuirass bodices of the 1870s, was still being worn and had not yet evolved into the straight fronted, S-curve of the late 1890s and the turn of the century.
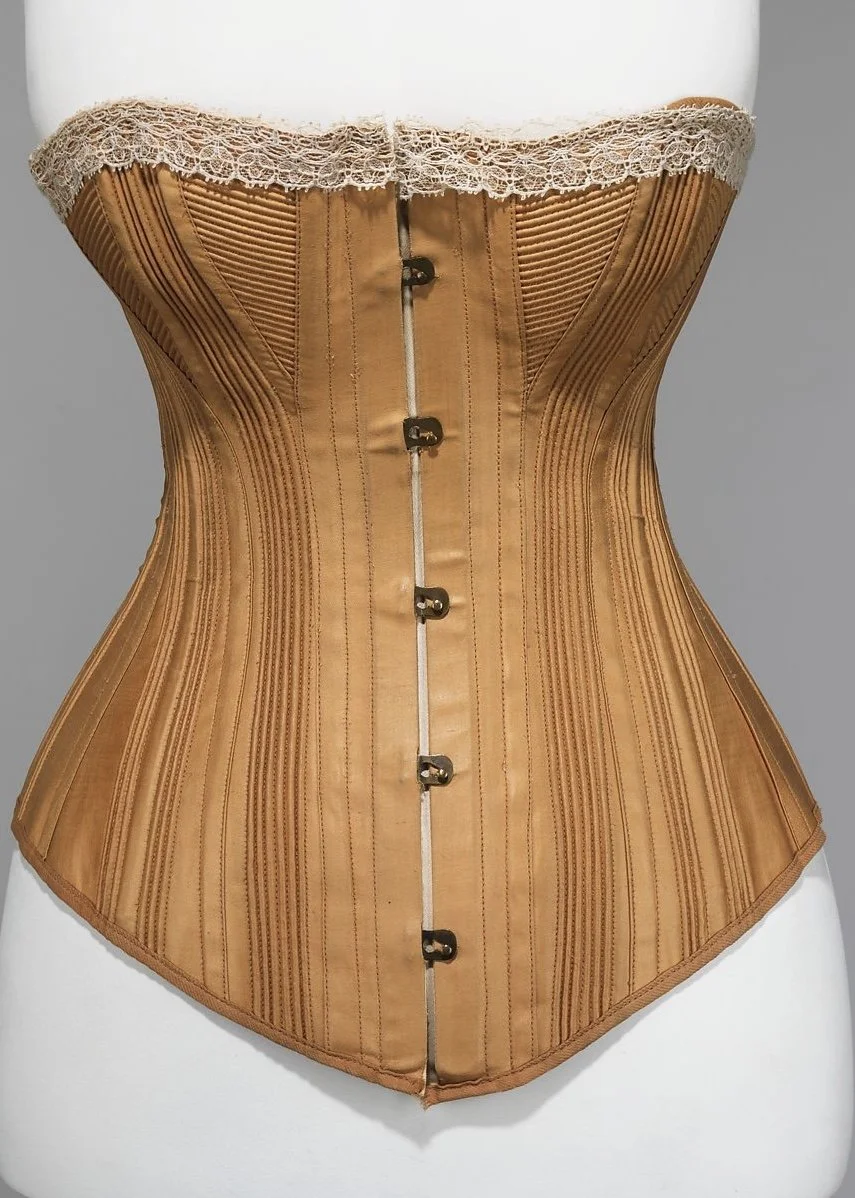
BCN. Corset. ca. 1880. Brooklyn Museum Costume Collection at the Metropolitan Museum of Art, https://www.metmuseum.org/art/collection/search/157938?searchField=All&sortBy=Relevance&deptids=8&ft=1880+corset&offset=0&rpp=20&pos=12
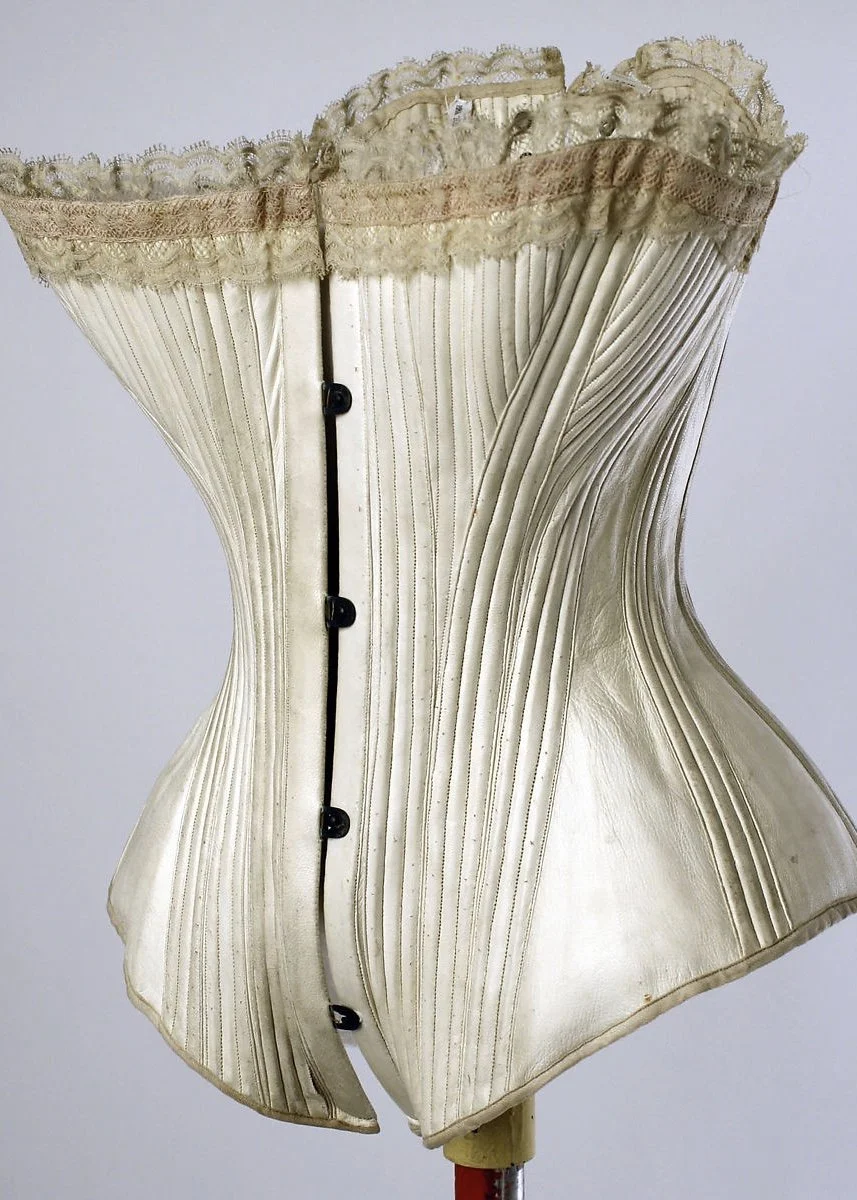
La Sirene. Corset. mid 1880s. Metropolitan Museum of Art Costume Institute, https://www.metmuseum.org/art/collection/search/87377?searchField=All&sortBy=Relevance&deptids=8&ft=1880+corset&offset=0&rpp=20&pos=14
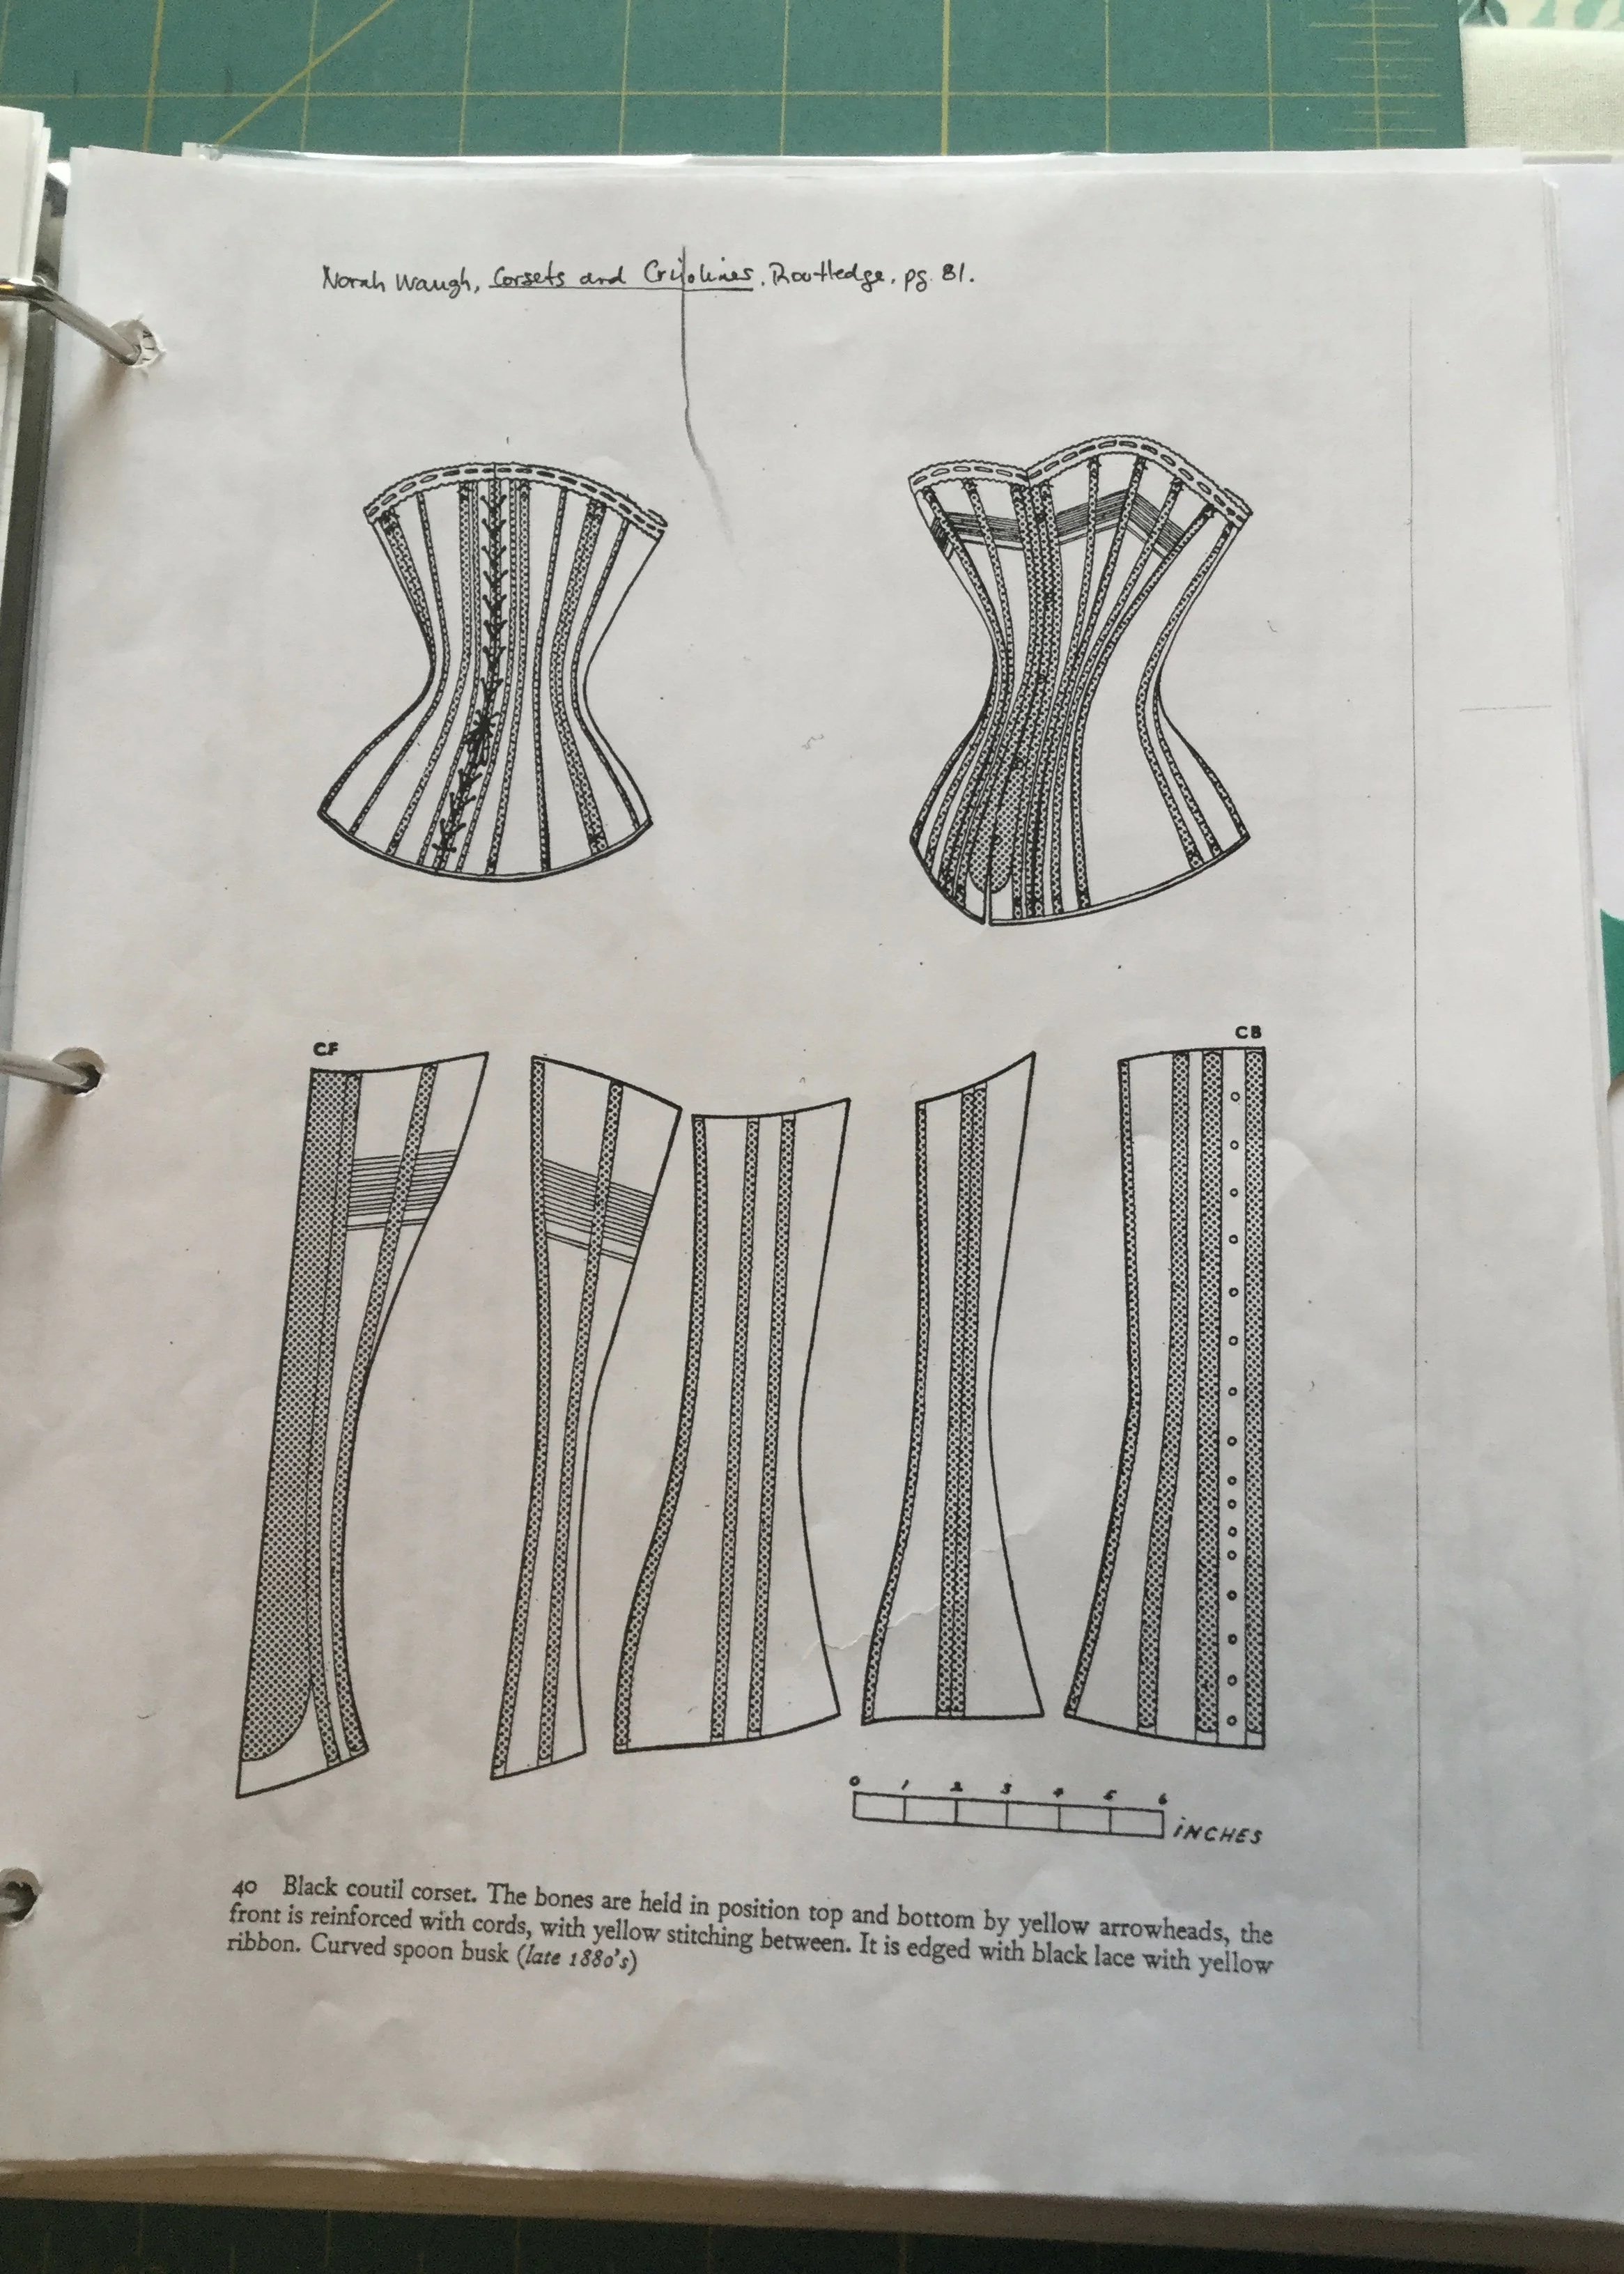
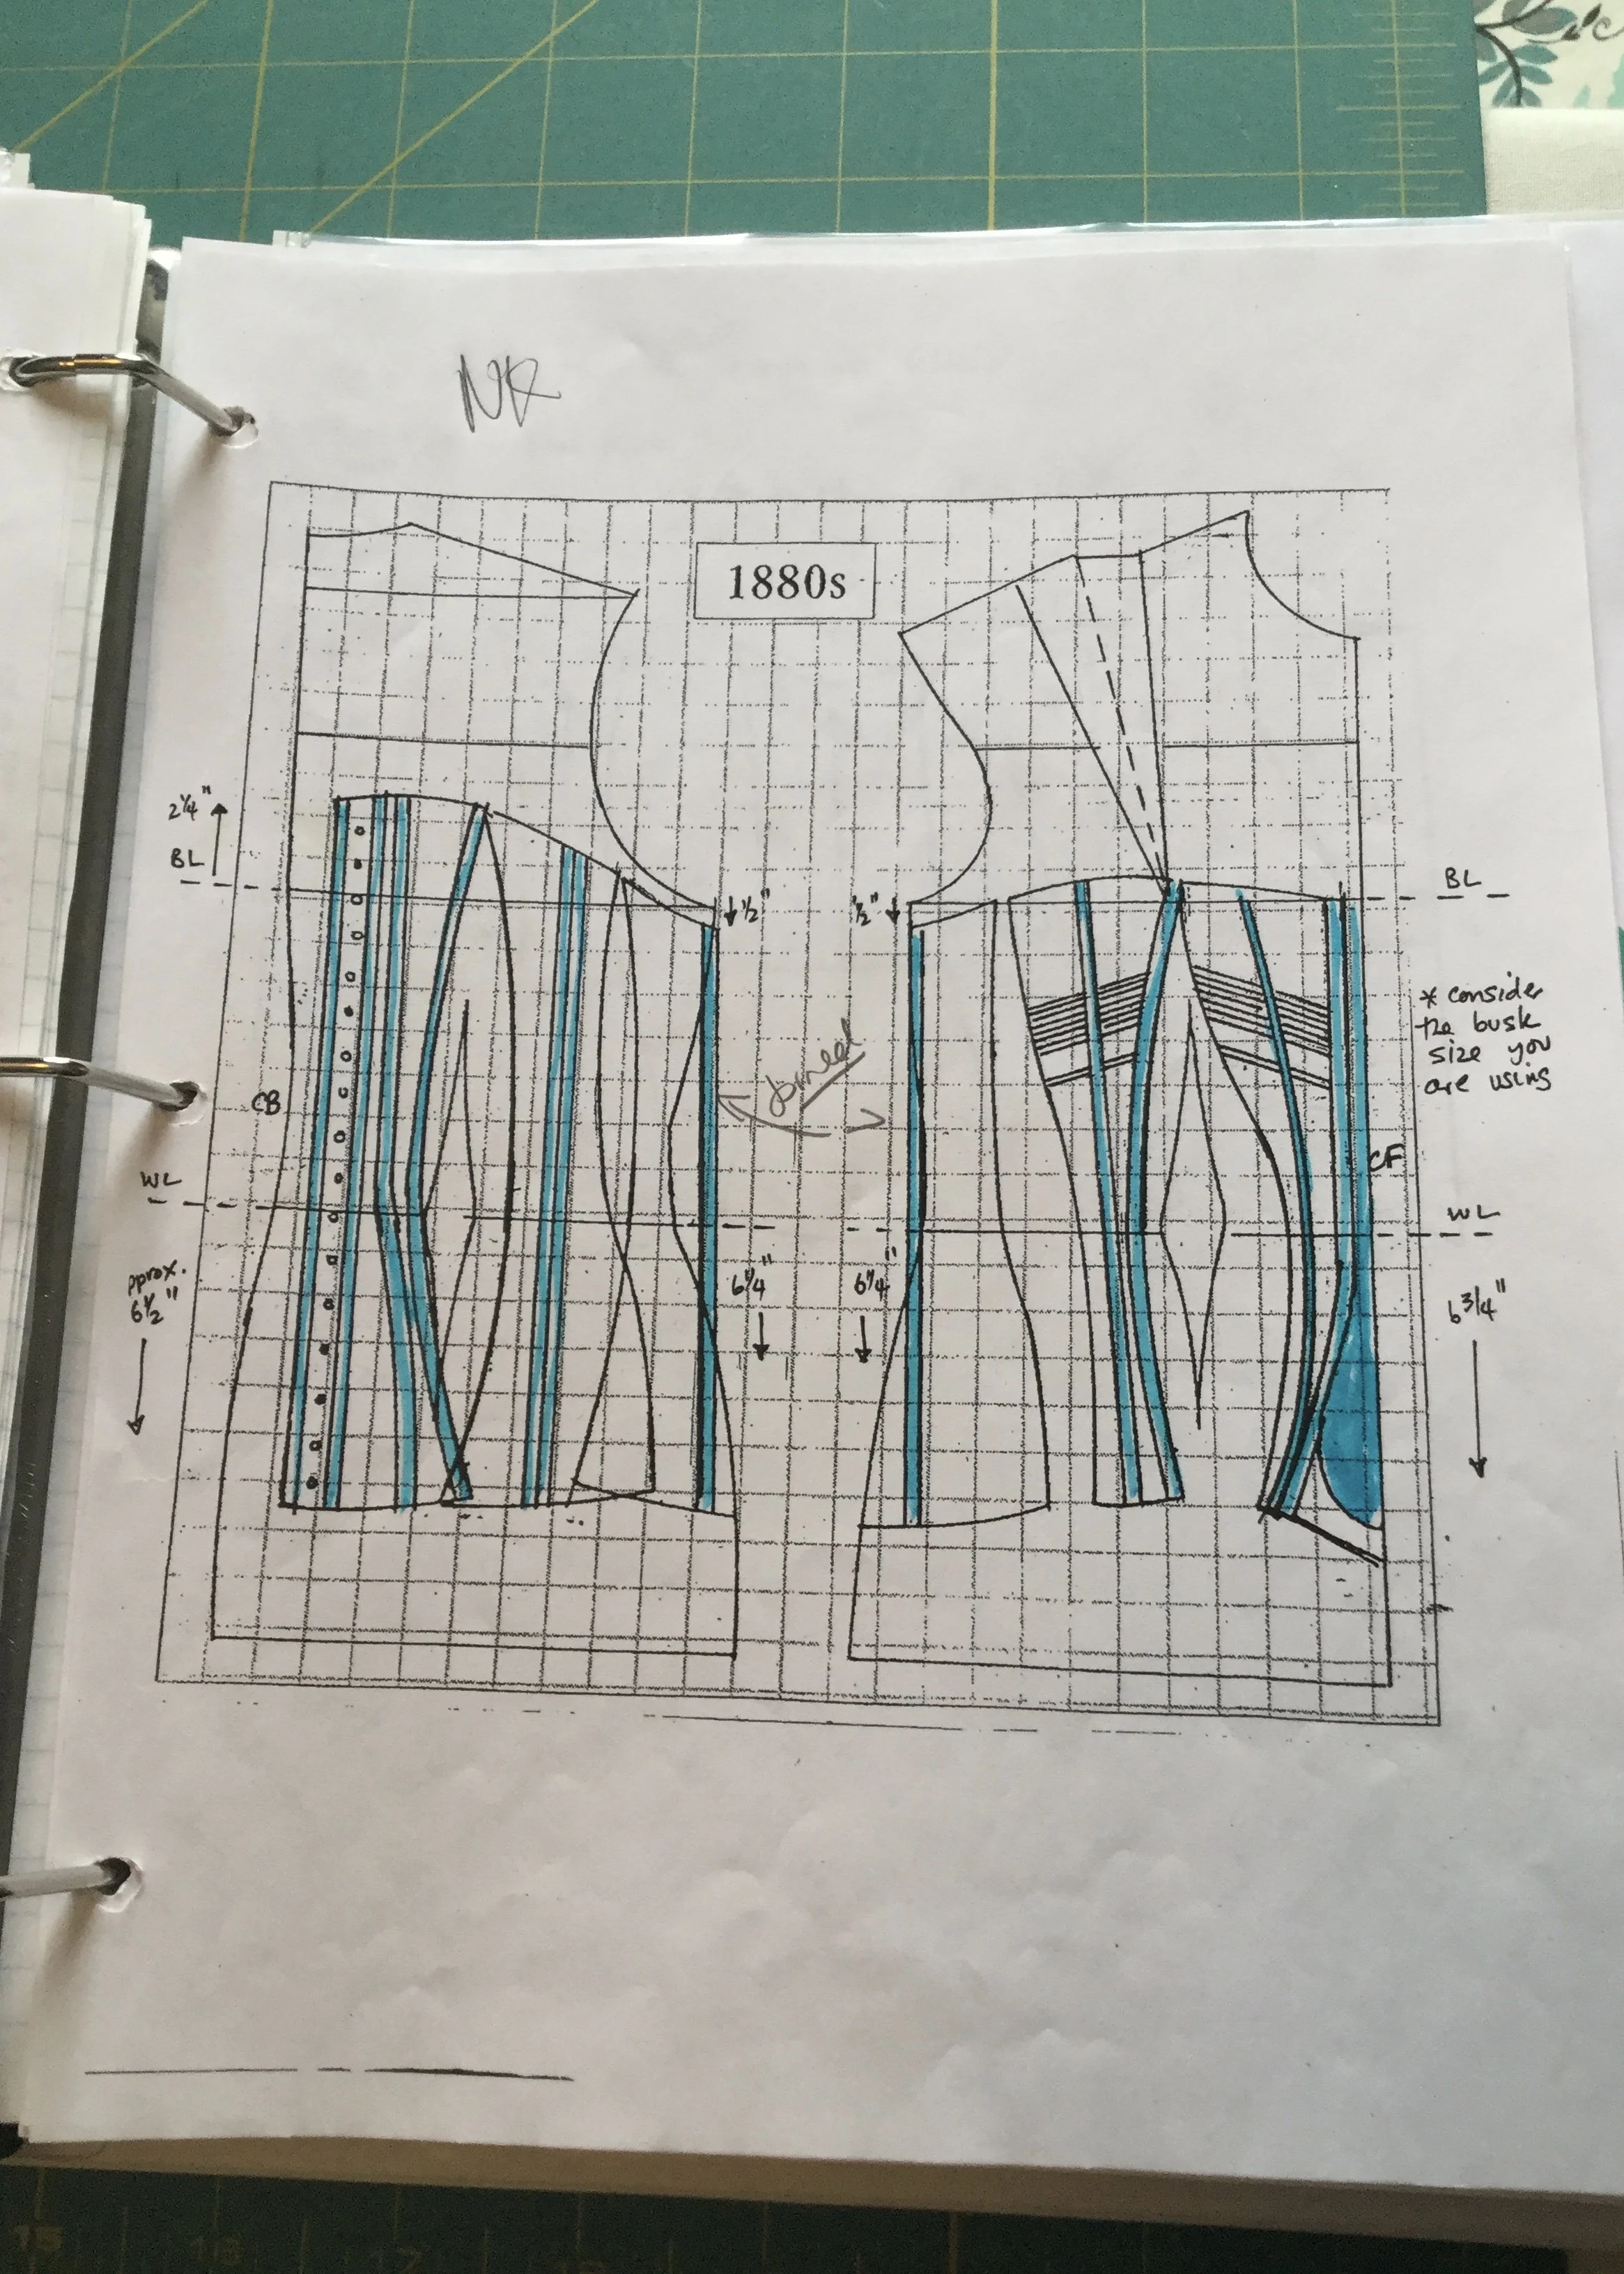
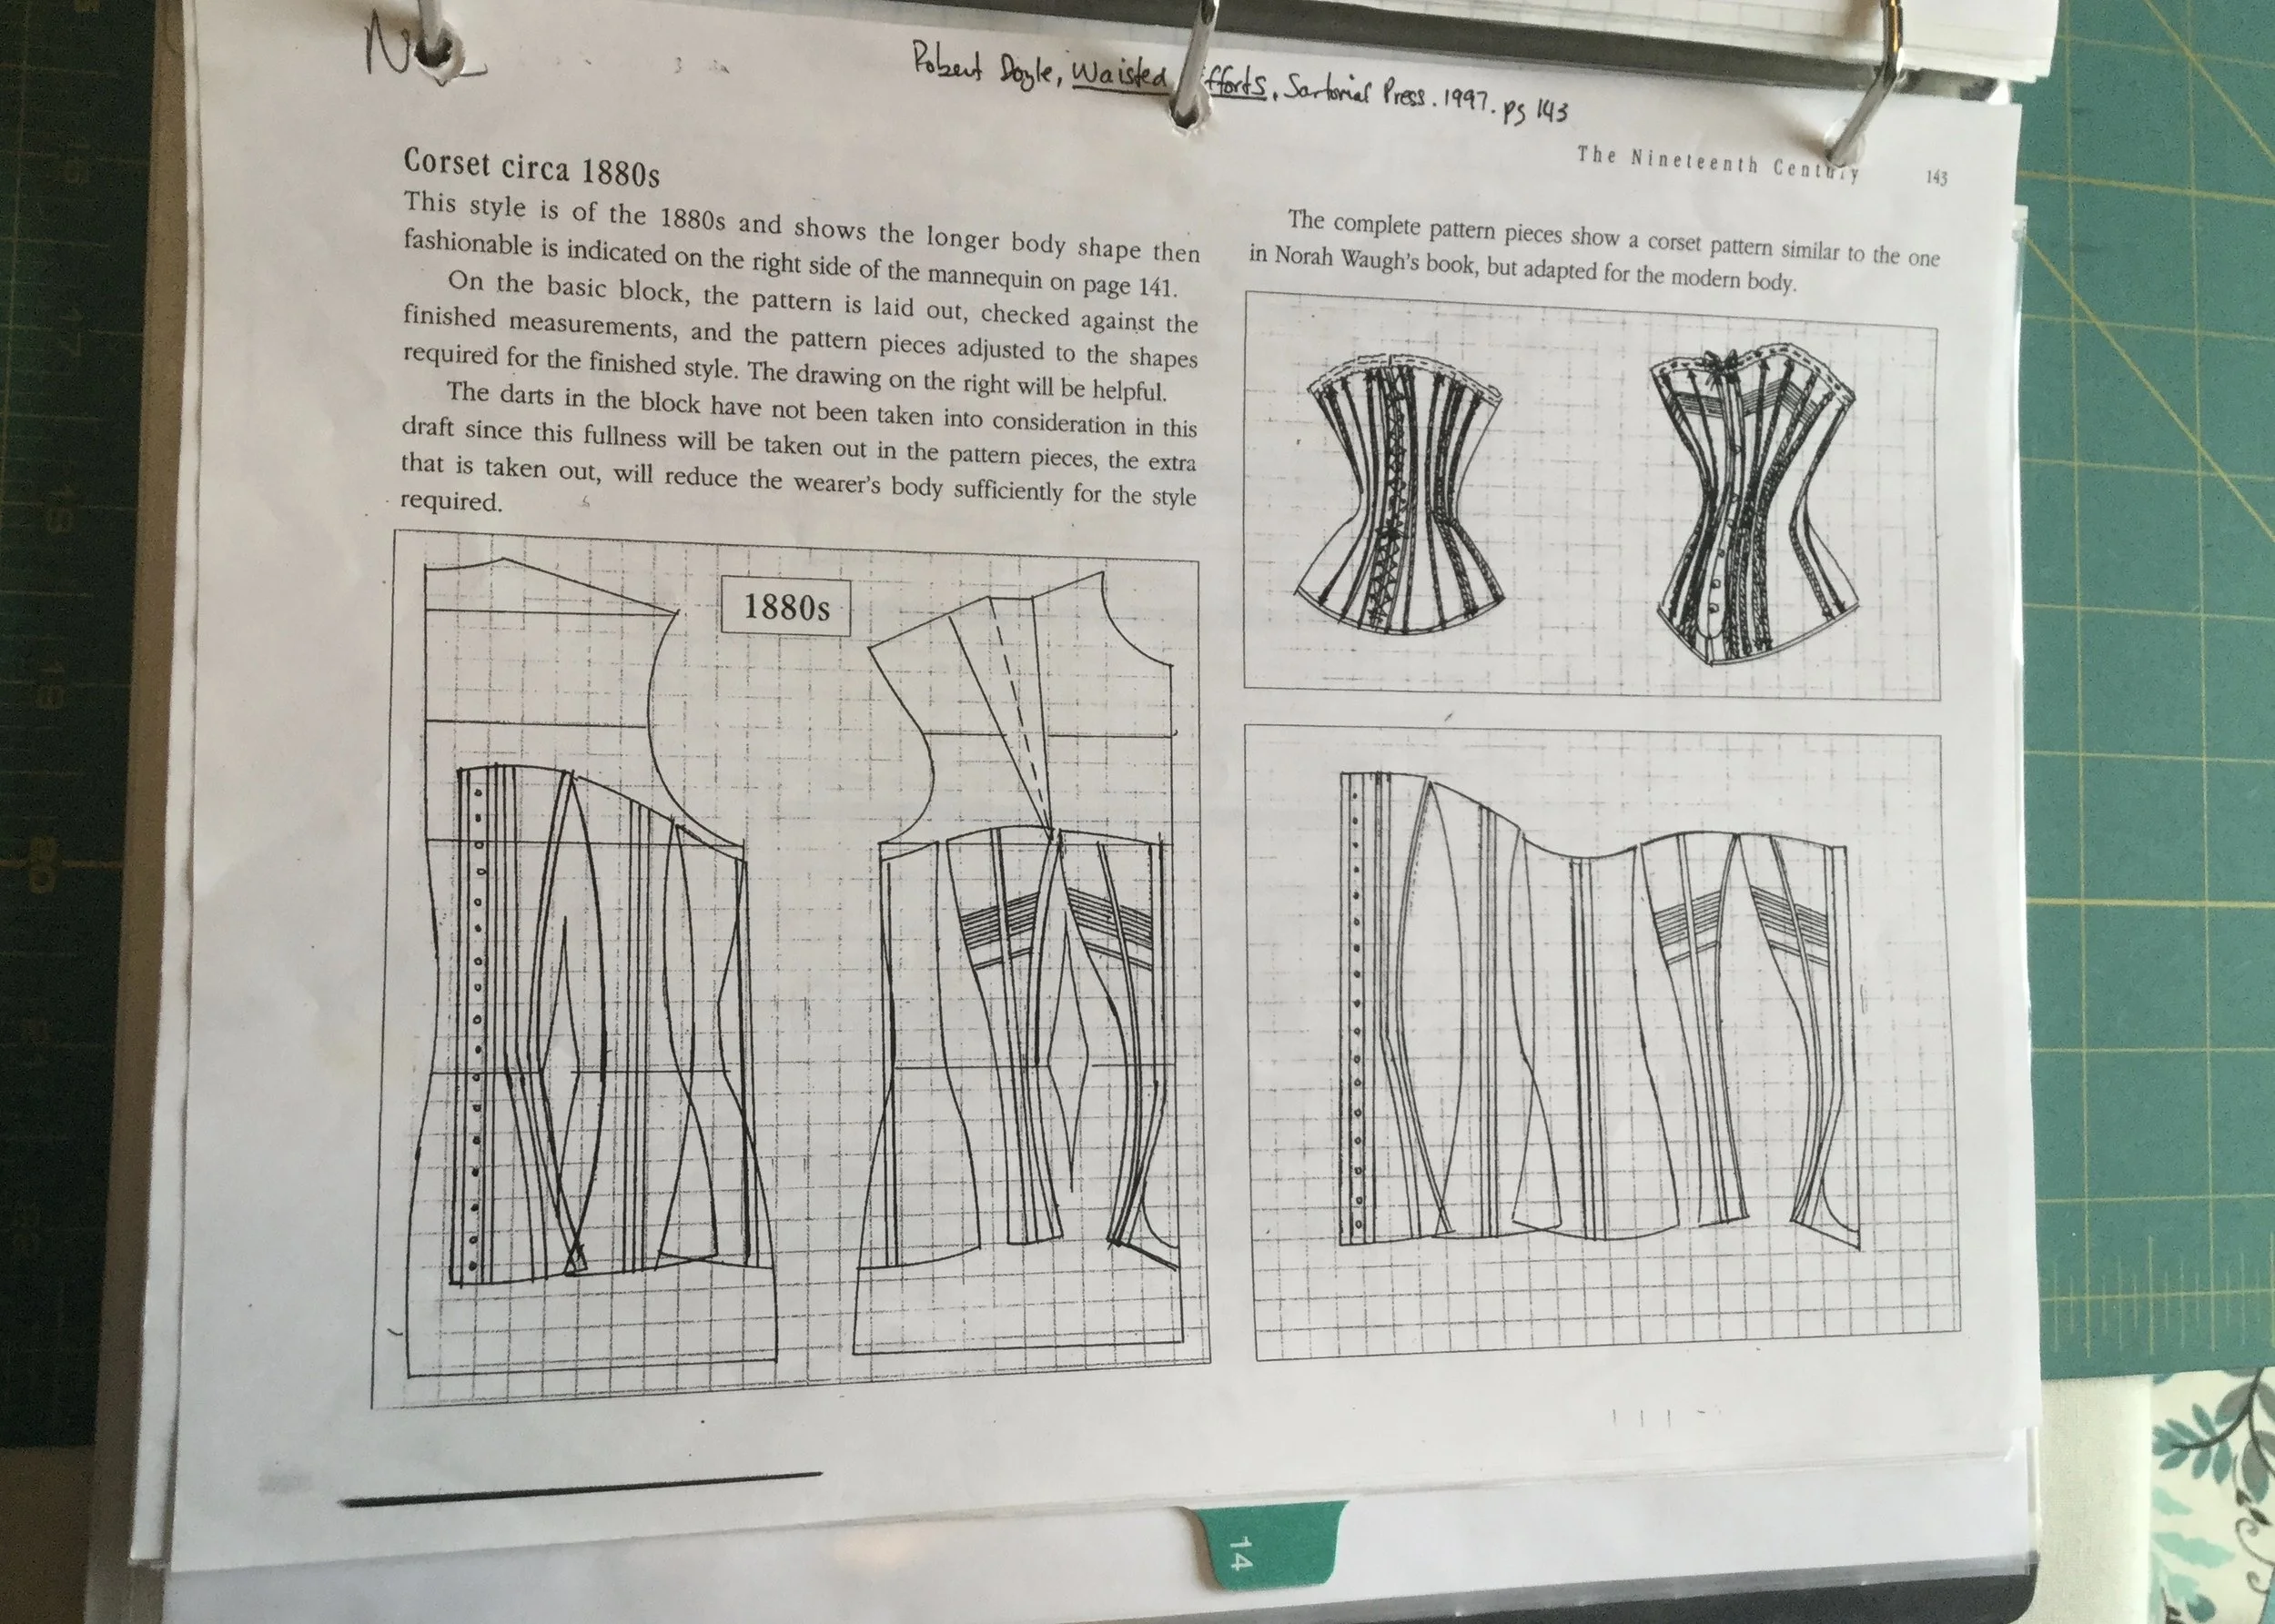
For a clear idea of what I would try to make, I actually began with a quick look through some old notes from school. In my second year at Dalhousie, the theatre department mounted a production of Lady Windermere's Fan, for which the students in costume studies built the costumes, including corsets for all the ladies. As luck would have it, the references we had used for those corsets were for the period of time I was looking for. From these notes, my main source for the shapes of the various pieces was from Norah Waugh's Corsets and Crinolines; specifically a diagram of a corset from the late 1880s (a bit late but the shape is still right). I also referred to diagrams by Robert Doyle in his book Waisted Efforts to get a sense of where each piece sat in relation to the basic block.
Page from Corsets and Crinolines by Norah Waugh.
Page from Waisted Efforts by Robert Doyle.
Page from Waisted Efforts by Robert Doyle.
I have used this design in part because I have clear drawings of the pieces to refer to, but also because of its use of a spoon busk. I've never used a spoon busk as they are rather pricey and I've never made a corset where a regular busk wouldn't work. Now, busks in general don't come in half scale (even thought that would be so cute!) and spoon busks definitely don't but as I was casting my mind over the various materials I would need and what I had available in my stash, I remembered that I had a random little piece of wonderflex which would probably be big enough for a busk. I must admit that the idea of making my own tiny spoon busk filled me with so much glee that I could barely stand it.
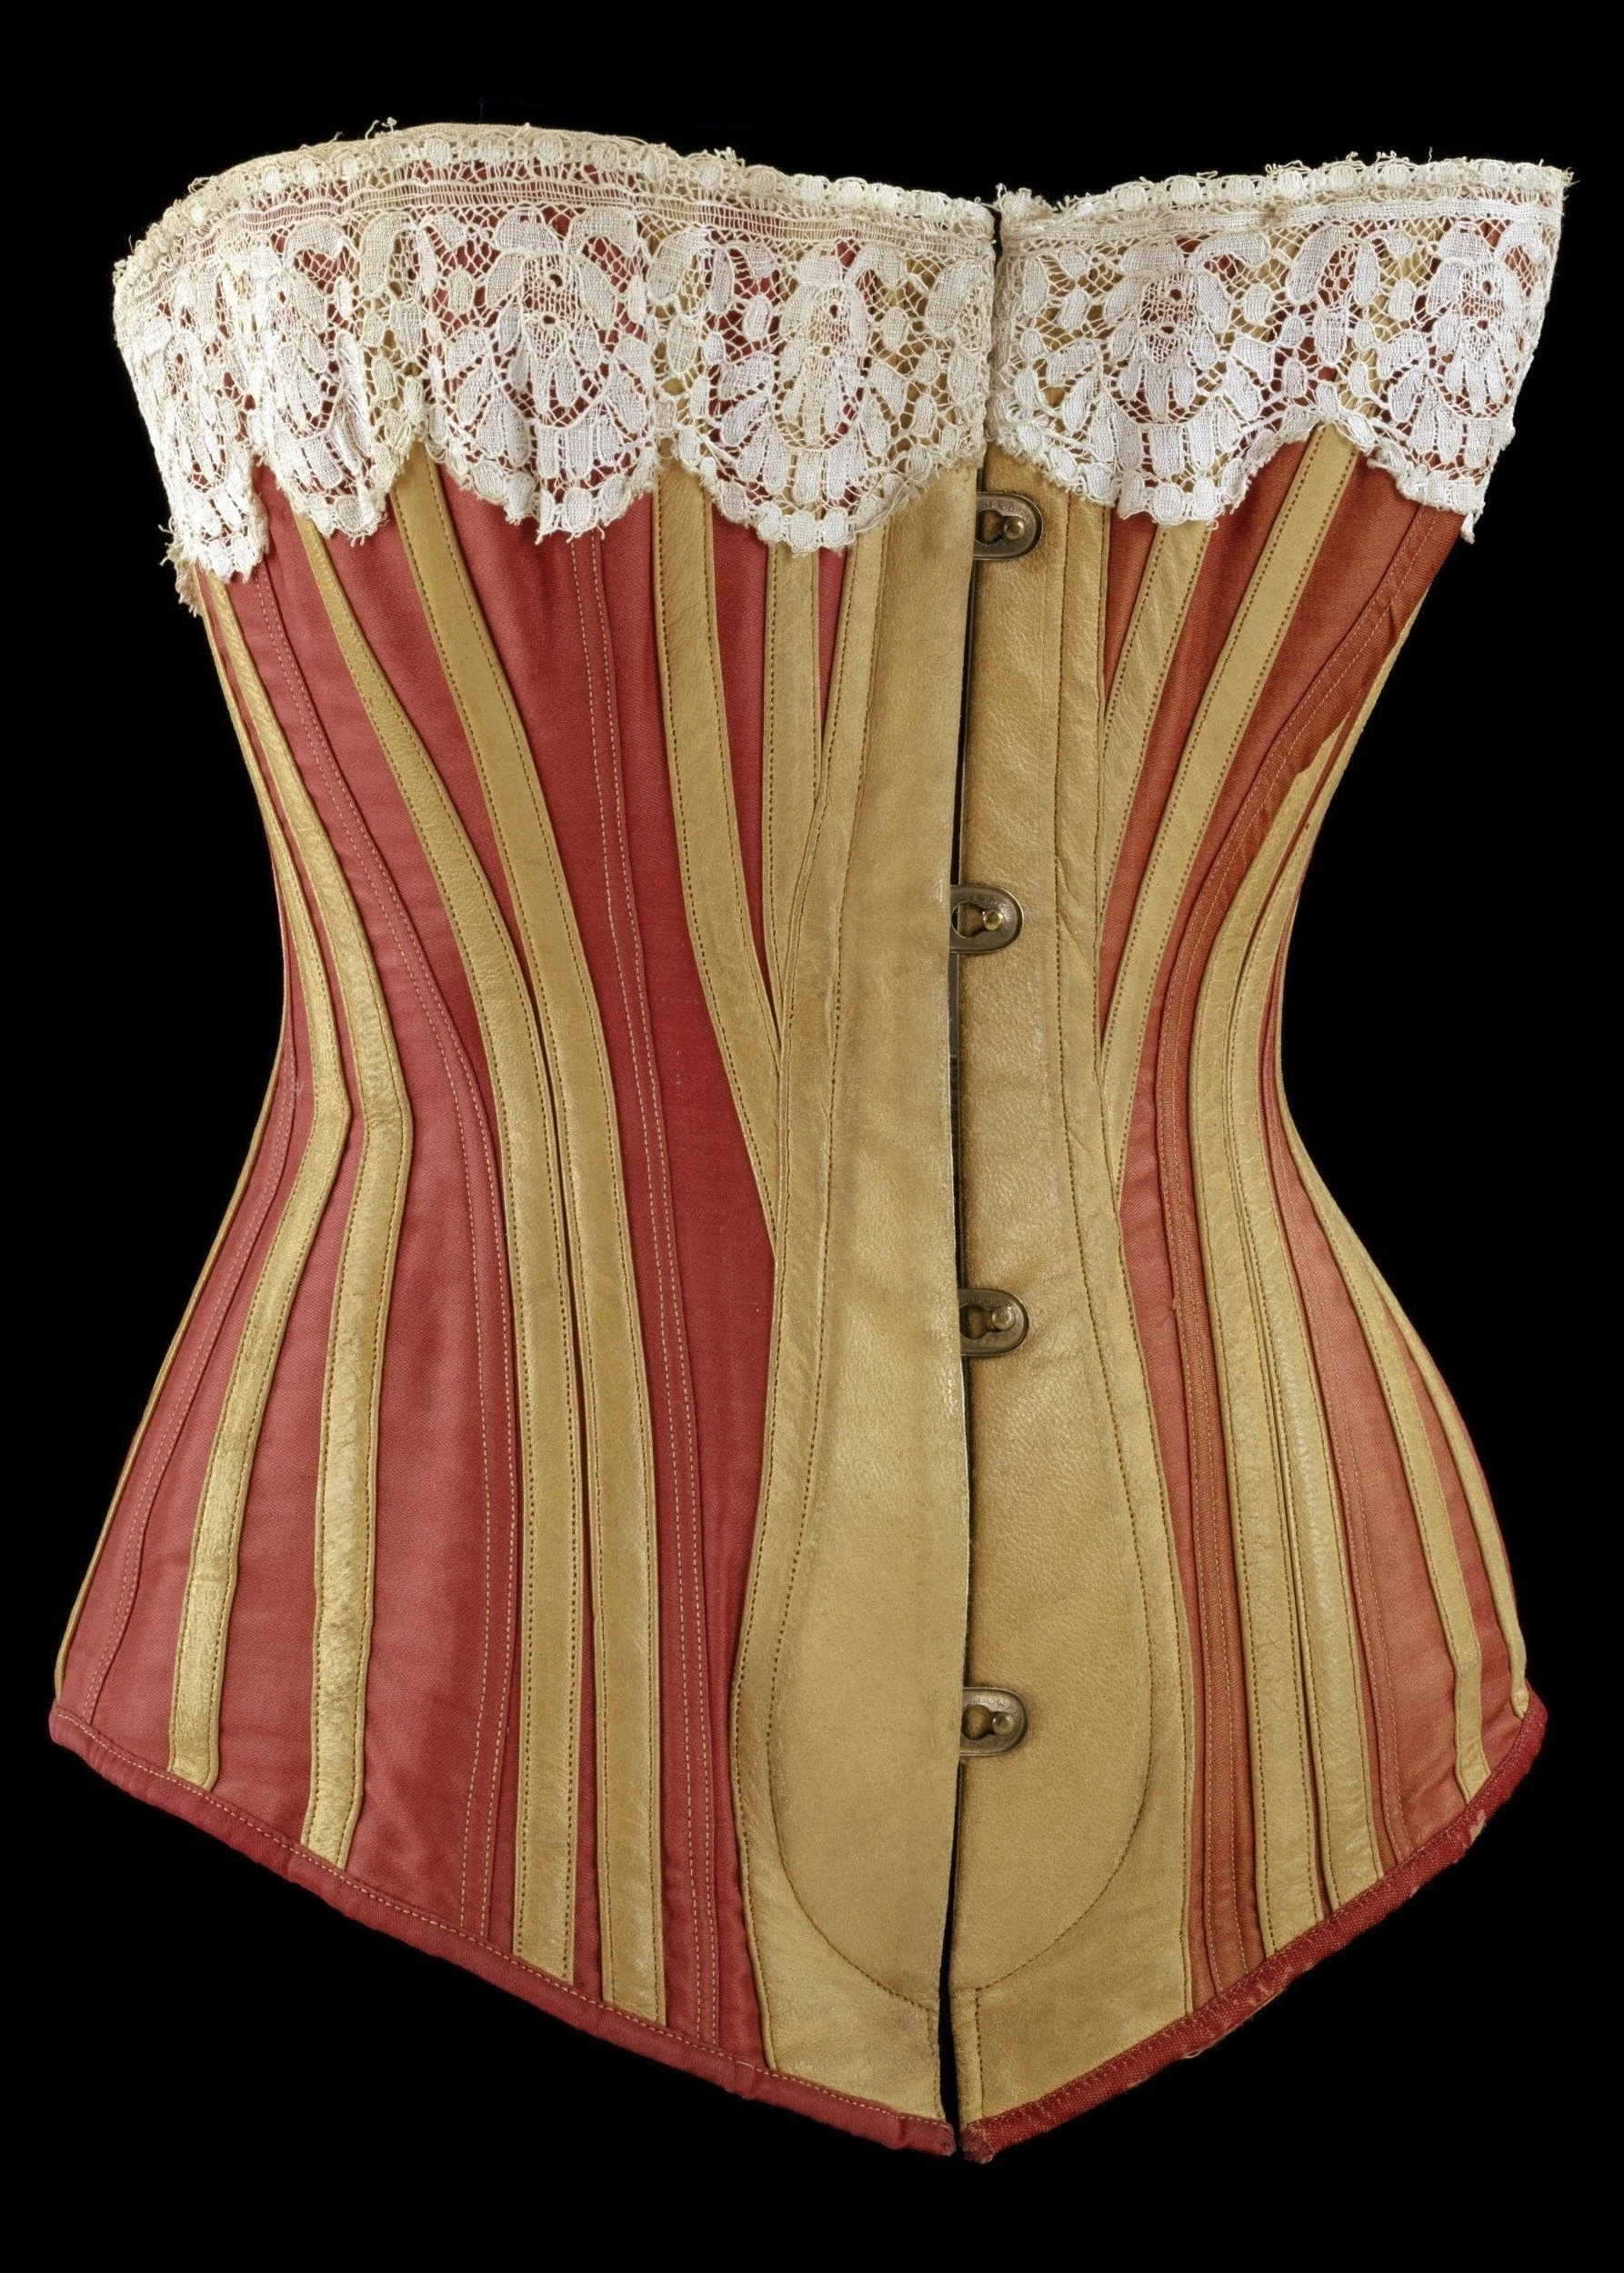
Another aspect of this project which pleases me greatly is that it has been made almost exclusively form materials I had in my stash; the only item I purchased specifically for this corset was the ribbon I used for the lacing. I used a piece of coutil I had gotten from a friend a few years ago (finally using corset fabric for a corset!), covered it with satin I had left over from one of the mock ups of the Belle skirt and used another piece of coutil left over from another project (actually, the last tiny corset I made) to create the bone casings. I was inspired to use a more striking colour combination by a corset owned by the V&A which is made from orange sateen and uses tan coloured leather for the casings. There's something bold in the fabric choices which I like, particularly with the wide lace across the top. With my plan in place and the combinations finished it was time to actually make this corset.
Corset. 1883. Victoria & Albert Museum, https://collections.vam.ac.uk/item/O58915/corset-unknown/
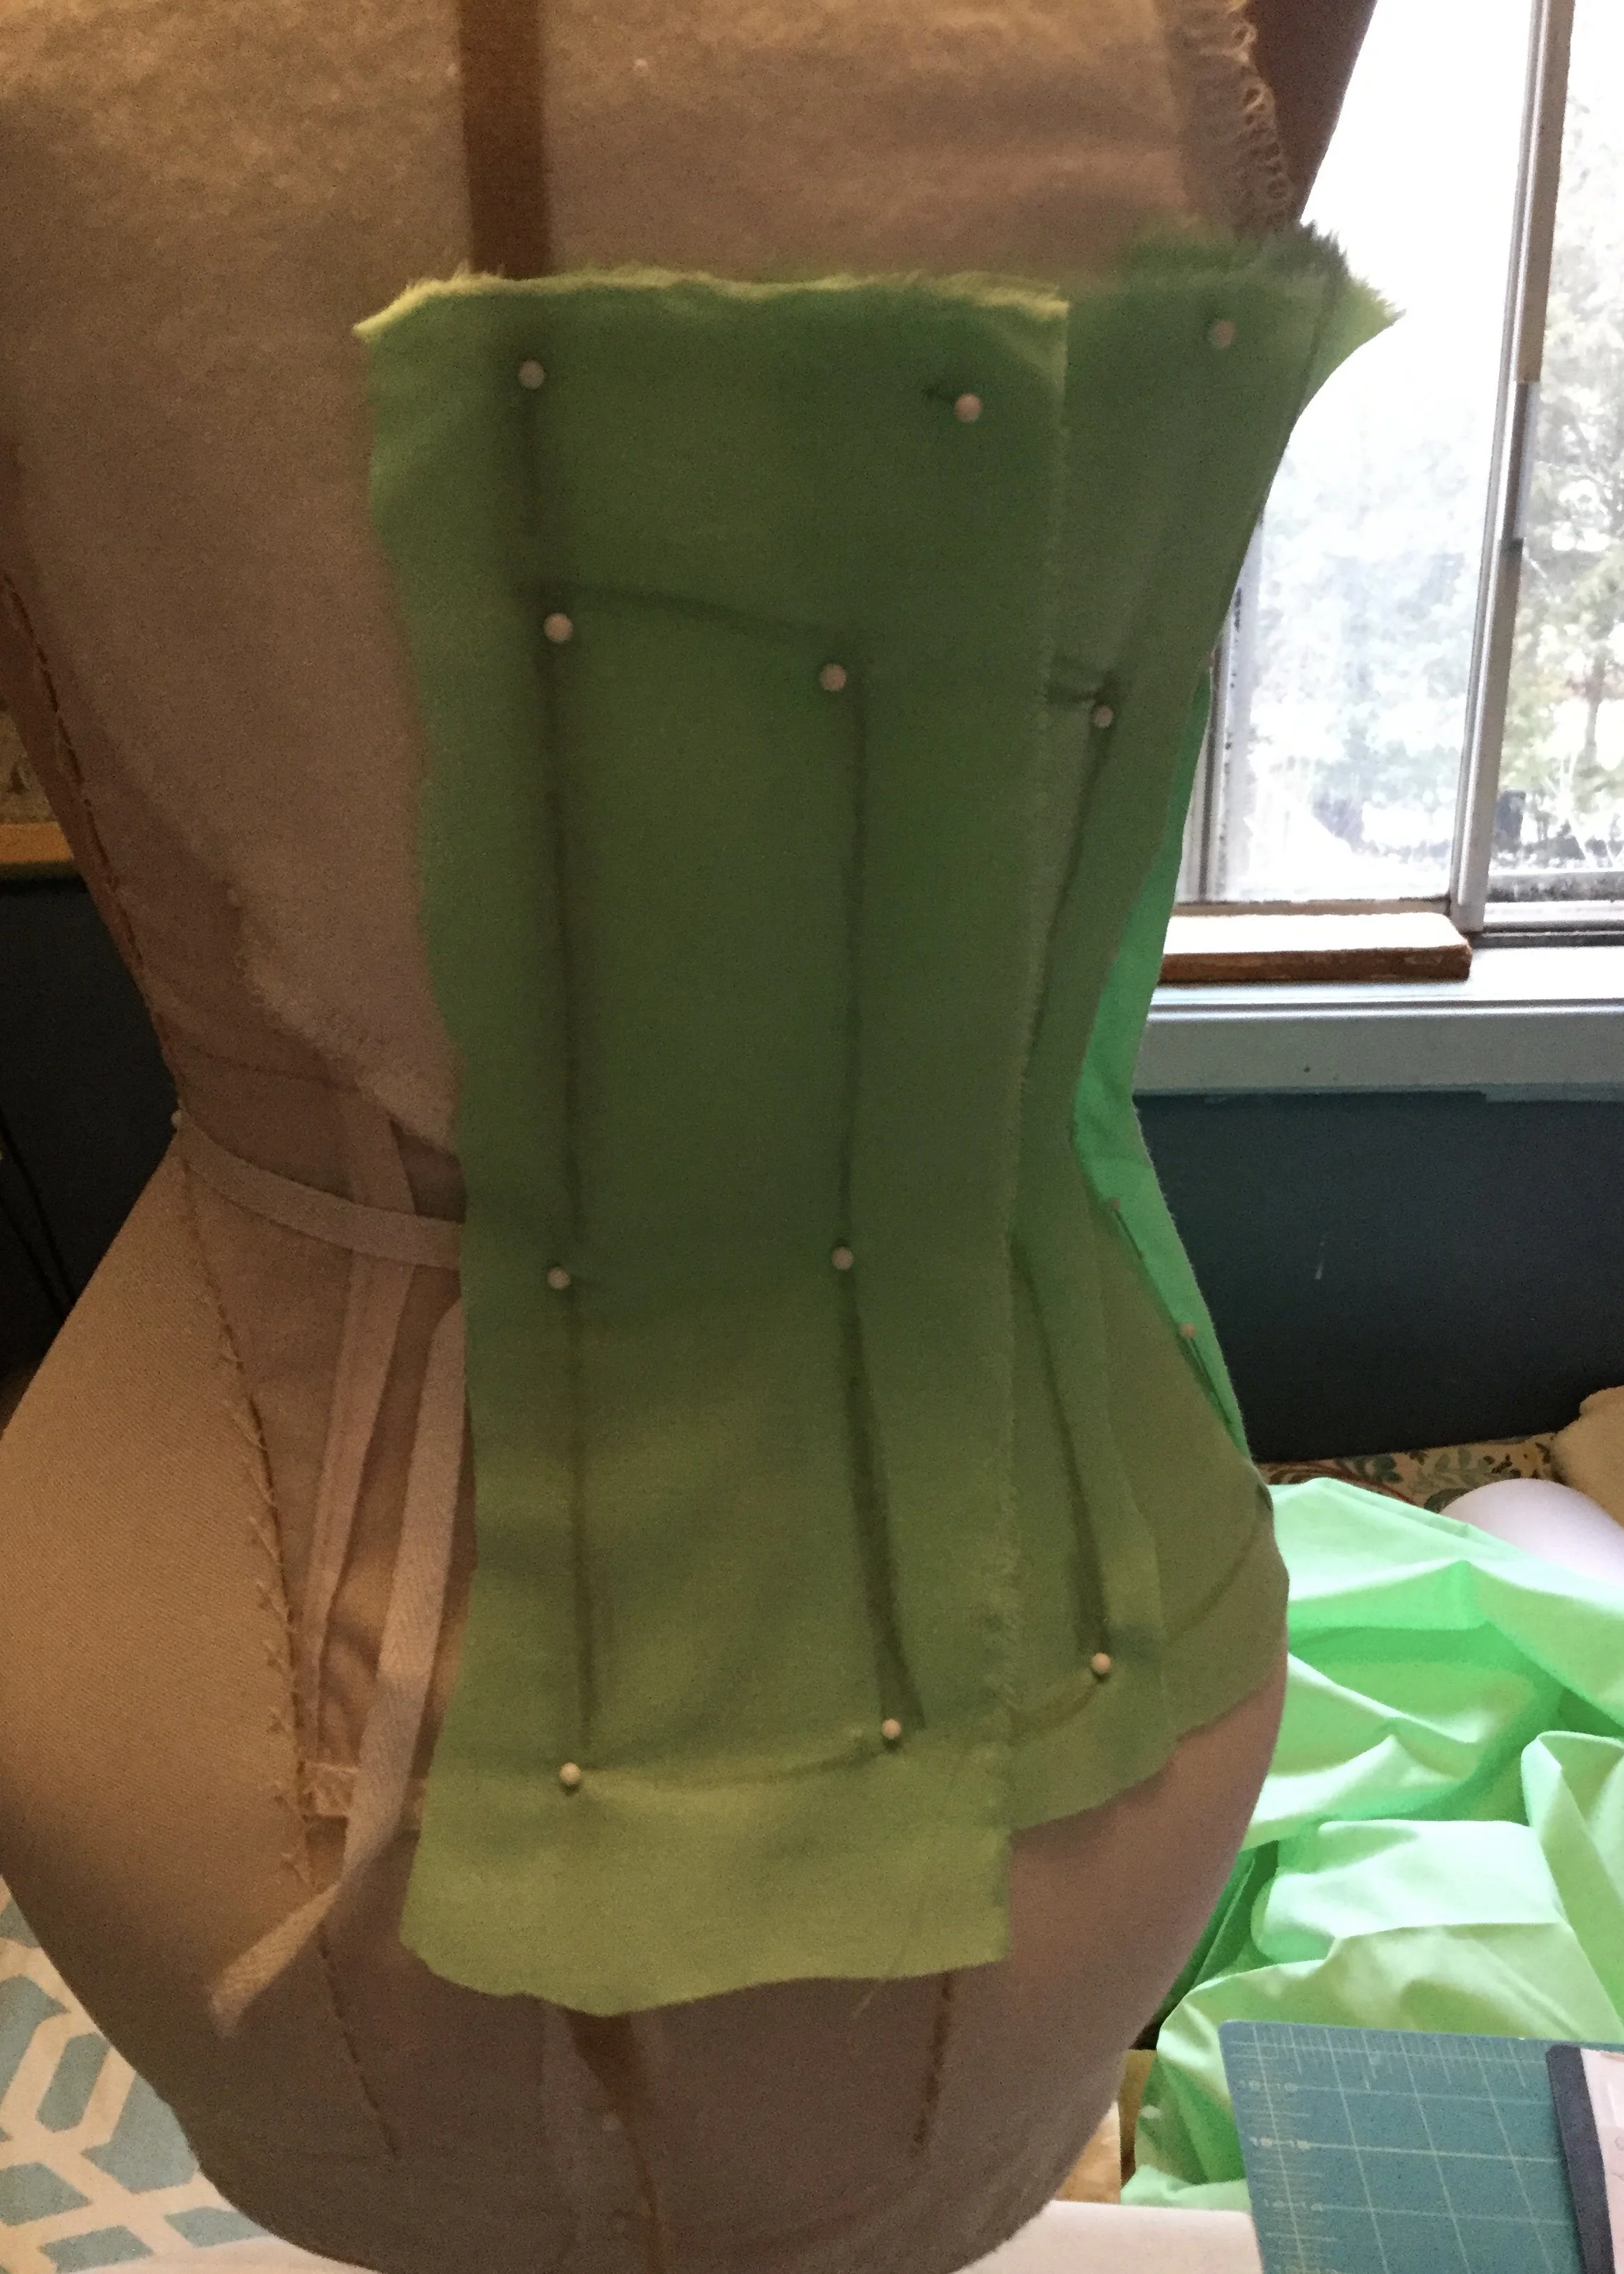
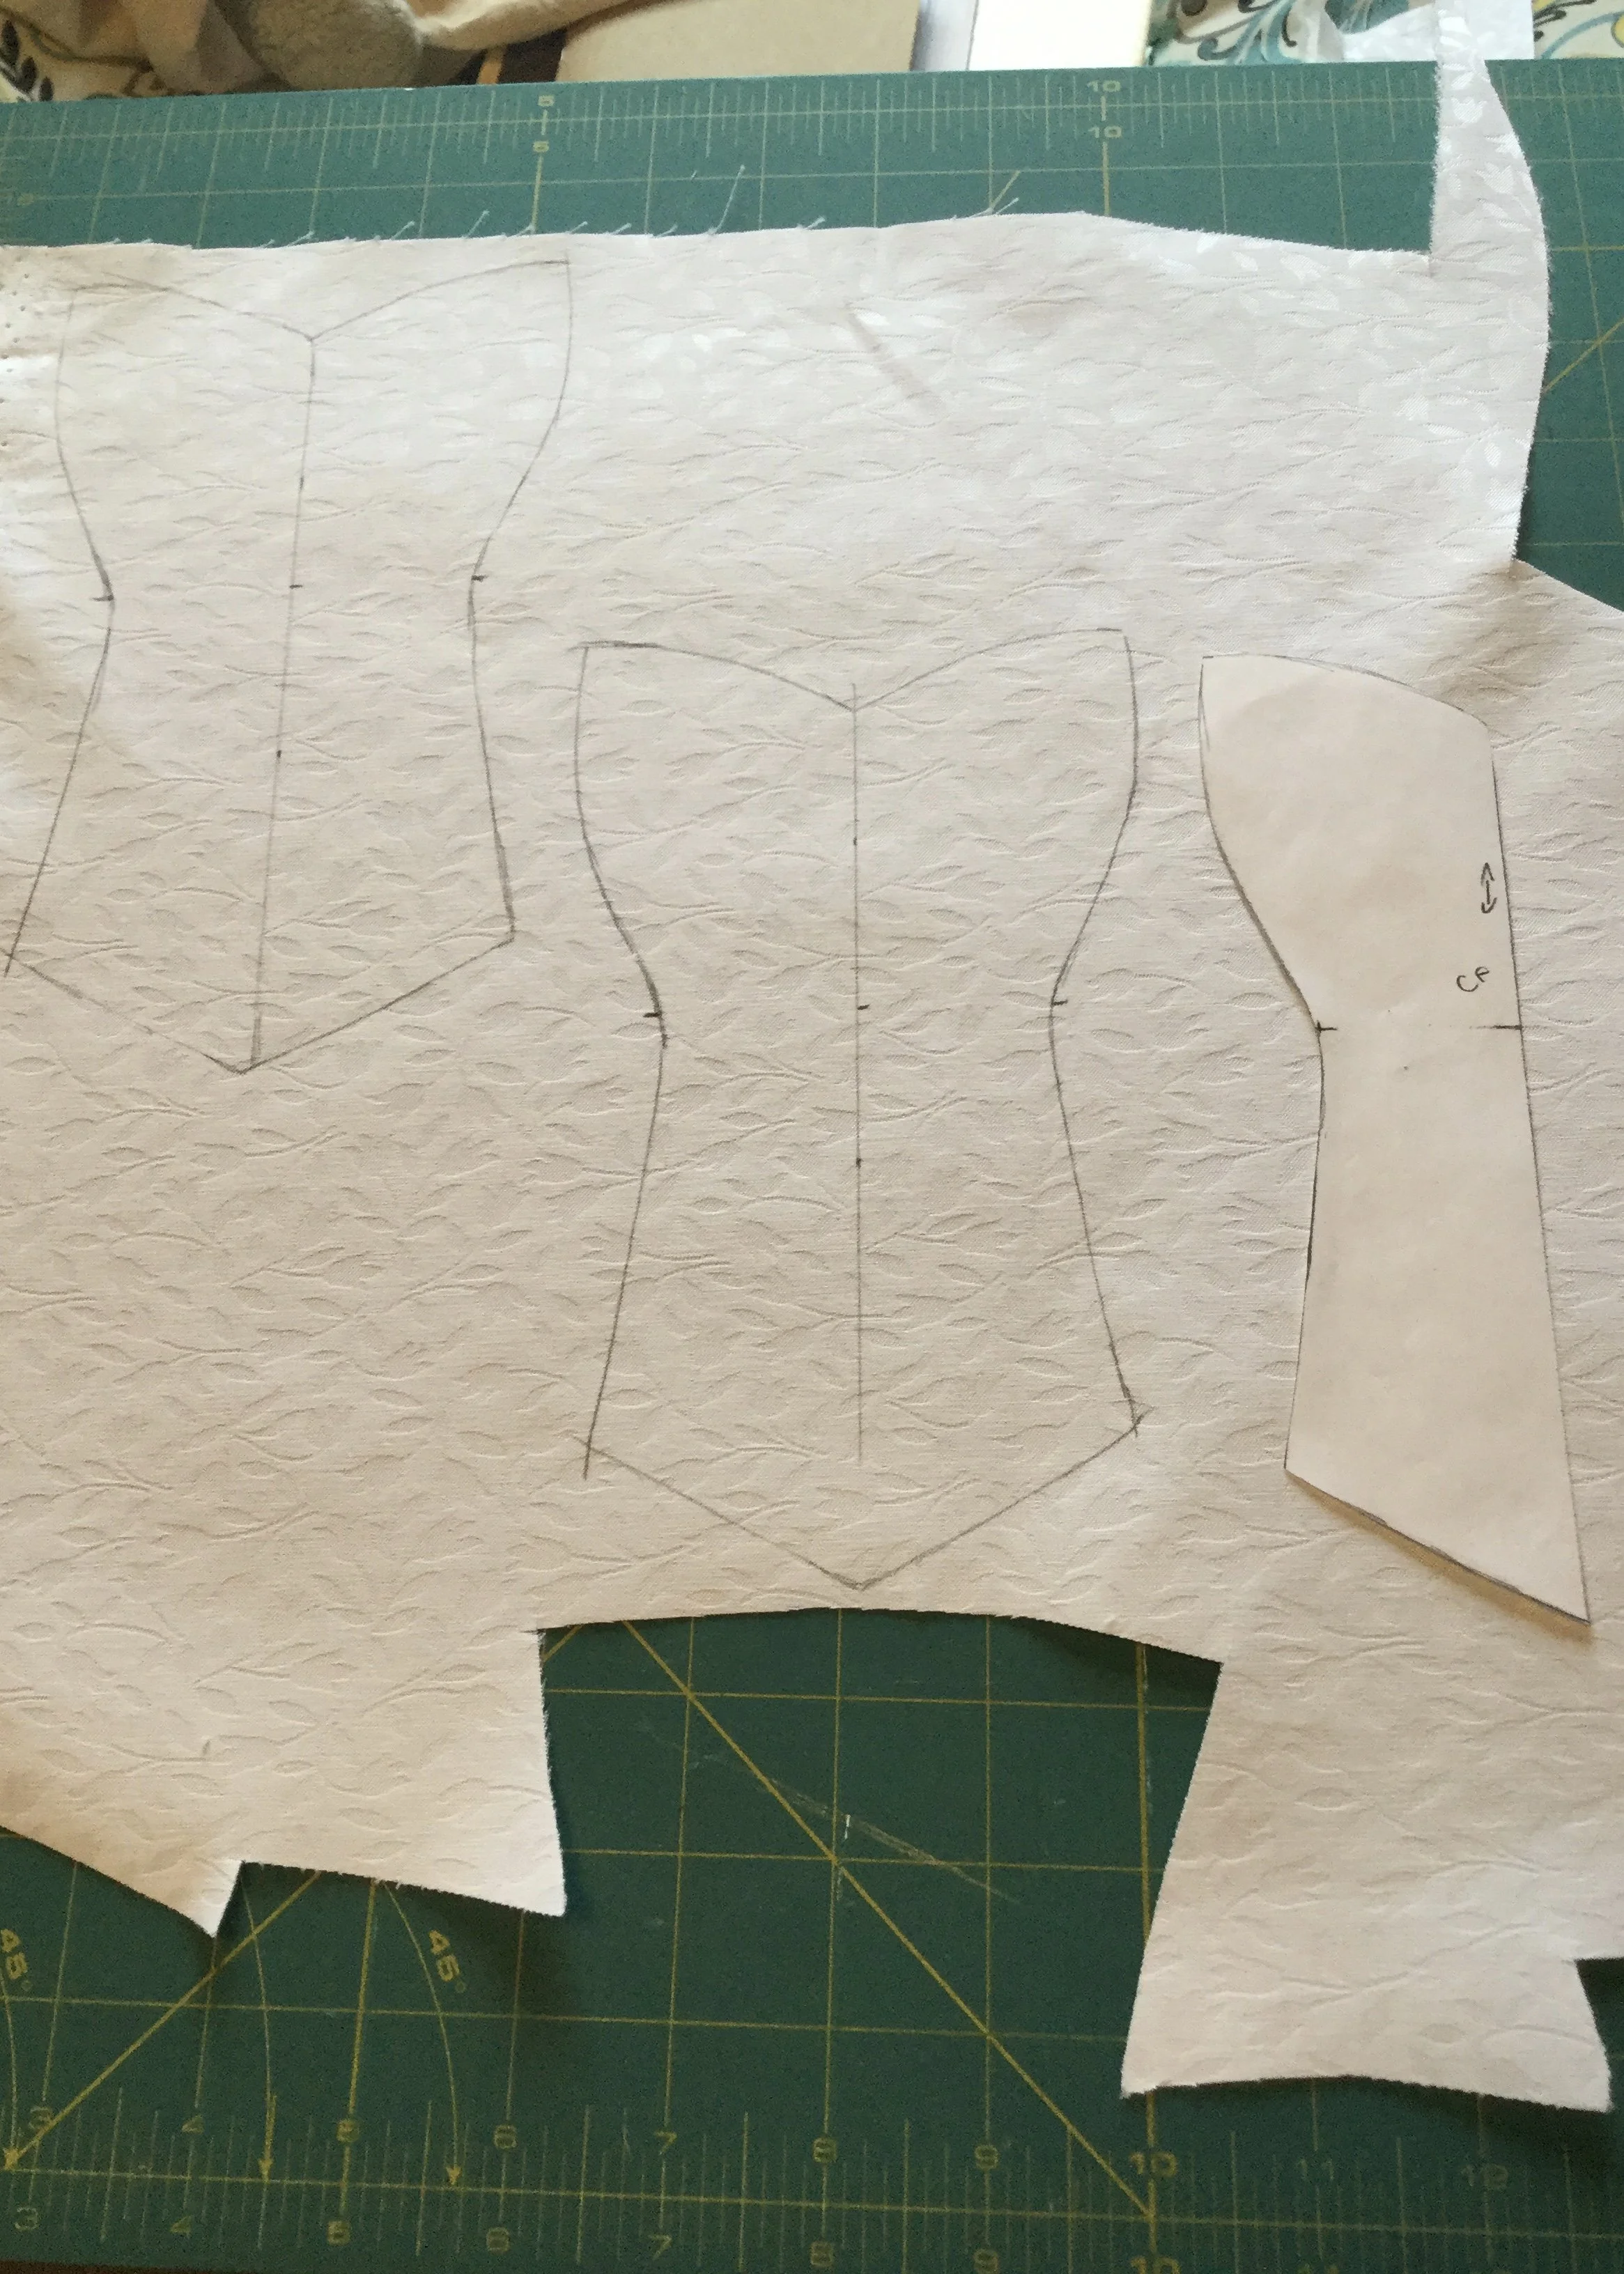
To create the pattern, I ultimately decided to drape it. This was partly out of laziness and the desire to skip the step of drafting a whole new block for the padded Judy, but I do think it was ultimately the best way to go about it. Since I had padded her to look like she was already wearing a corset, I was not aiming to use the corset to alter her shape at all and so taking the pattern pieces directly from the padded Judy made the most sense. (I also decided to remove the combinations for the entire process as I wanted to be able to freely mark and pin the drape and any mock ups without them interfering and the fabric I used for them is so light I wasn’t worried that it would affect the final fit.)
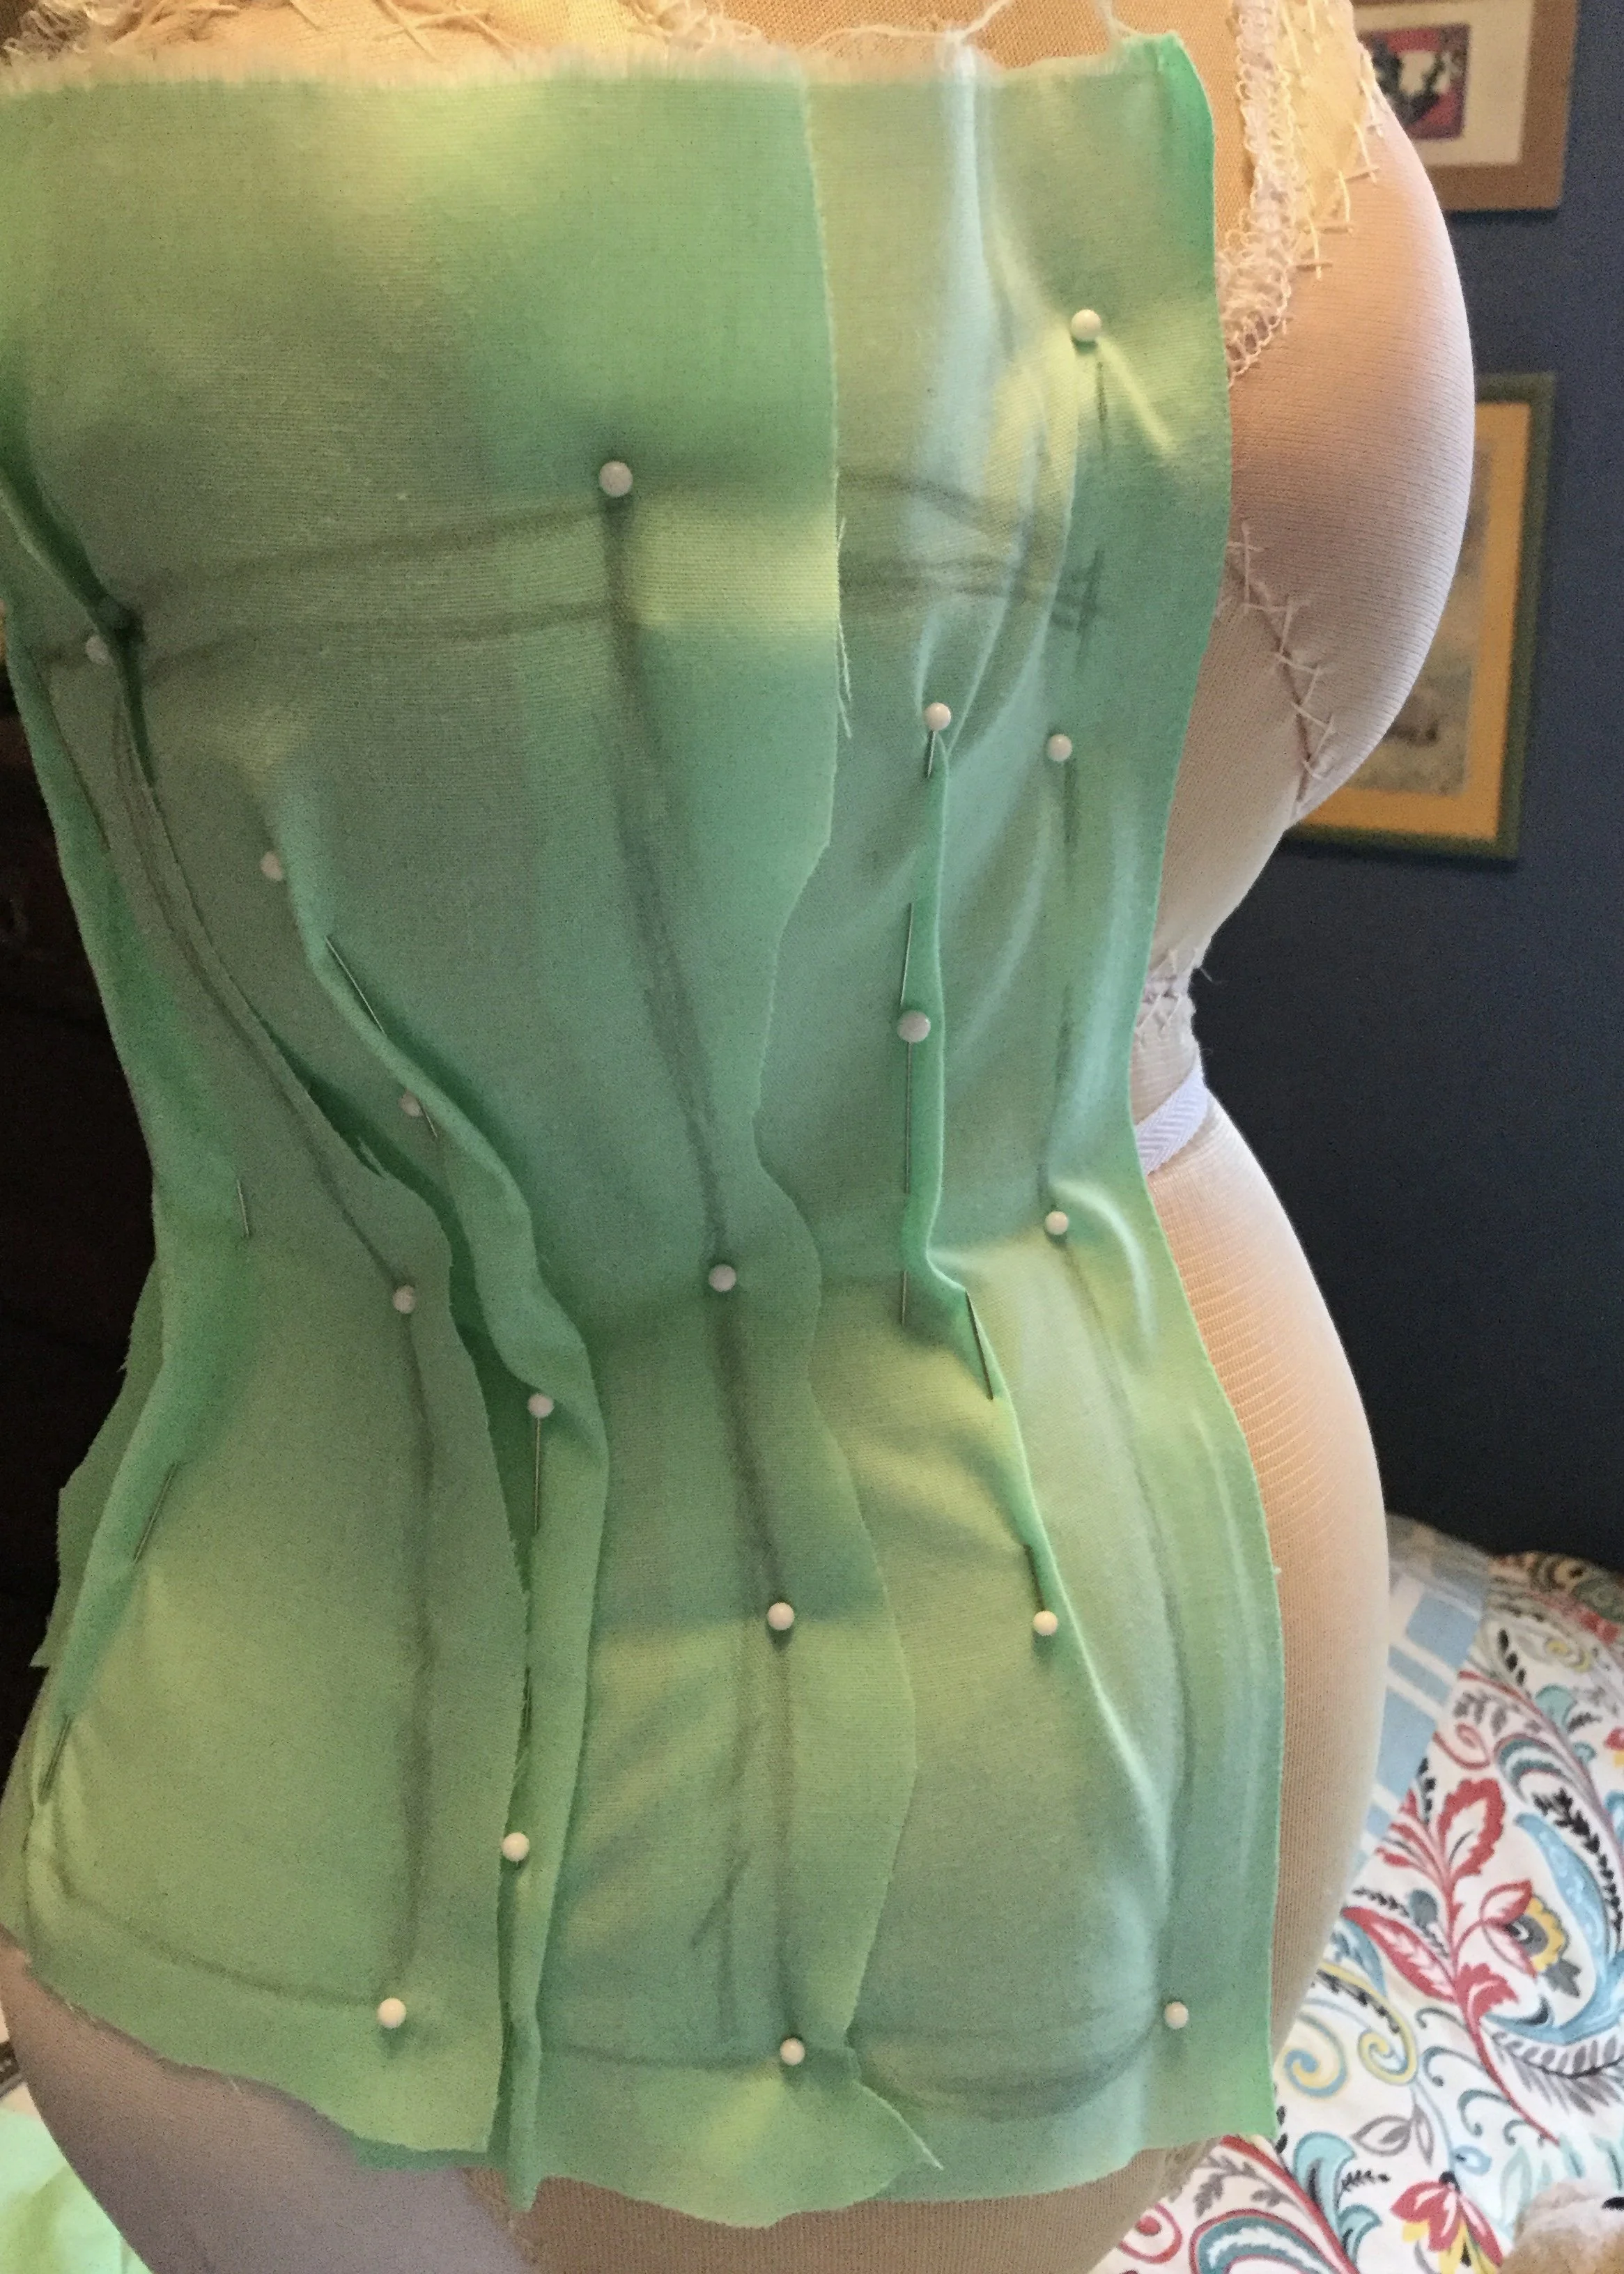
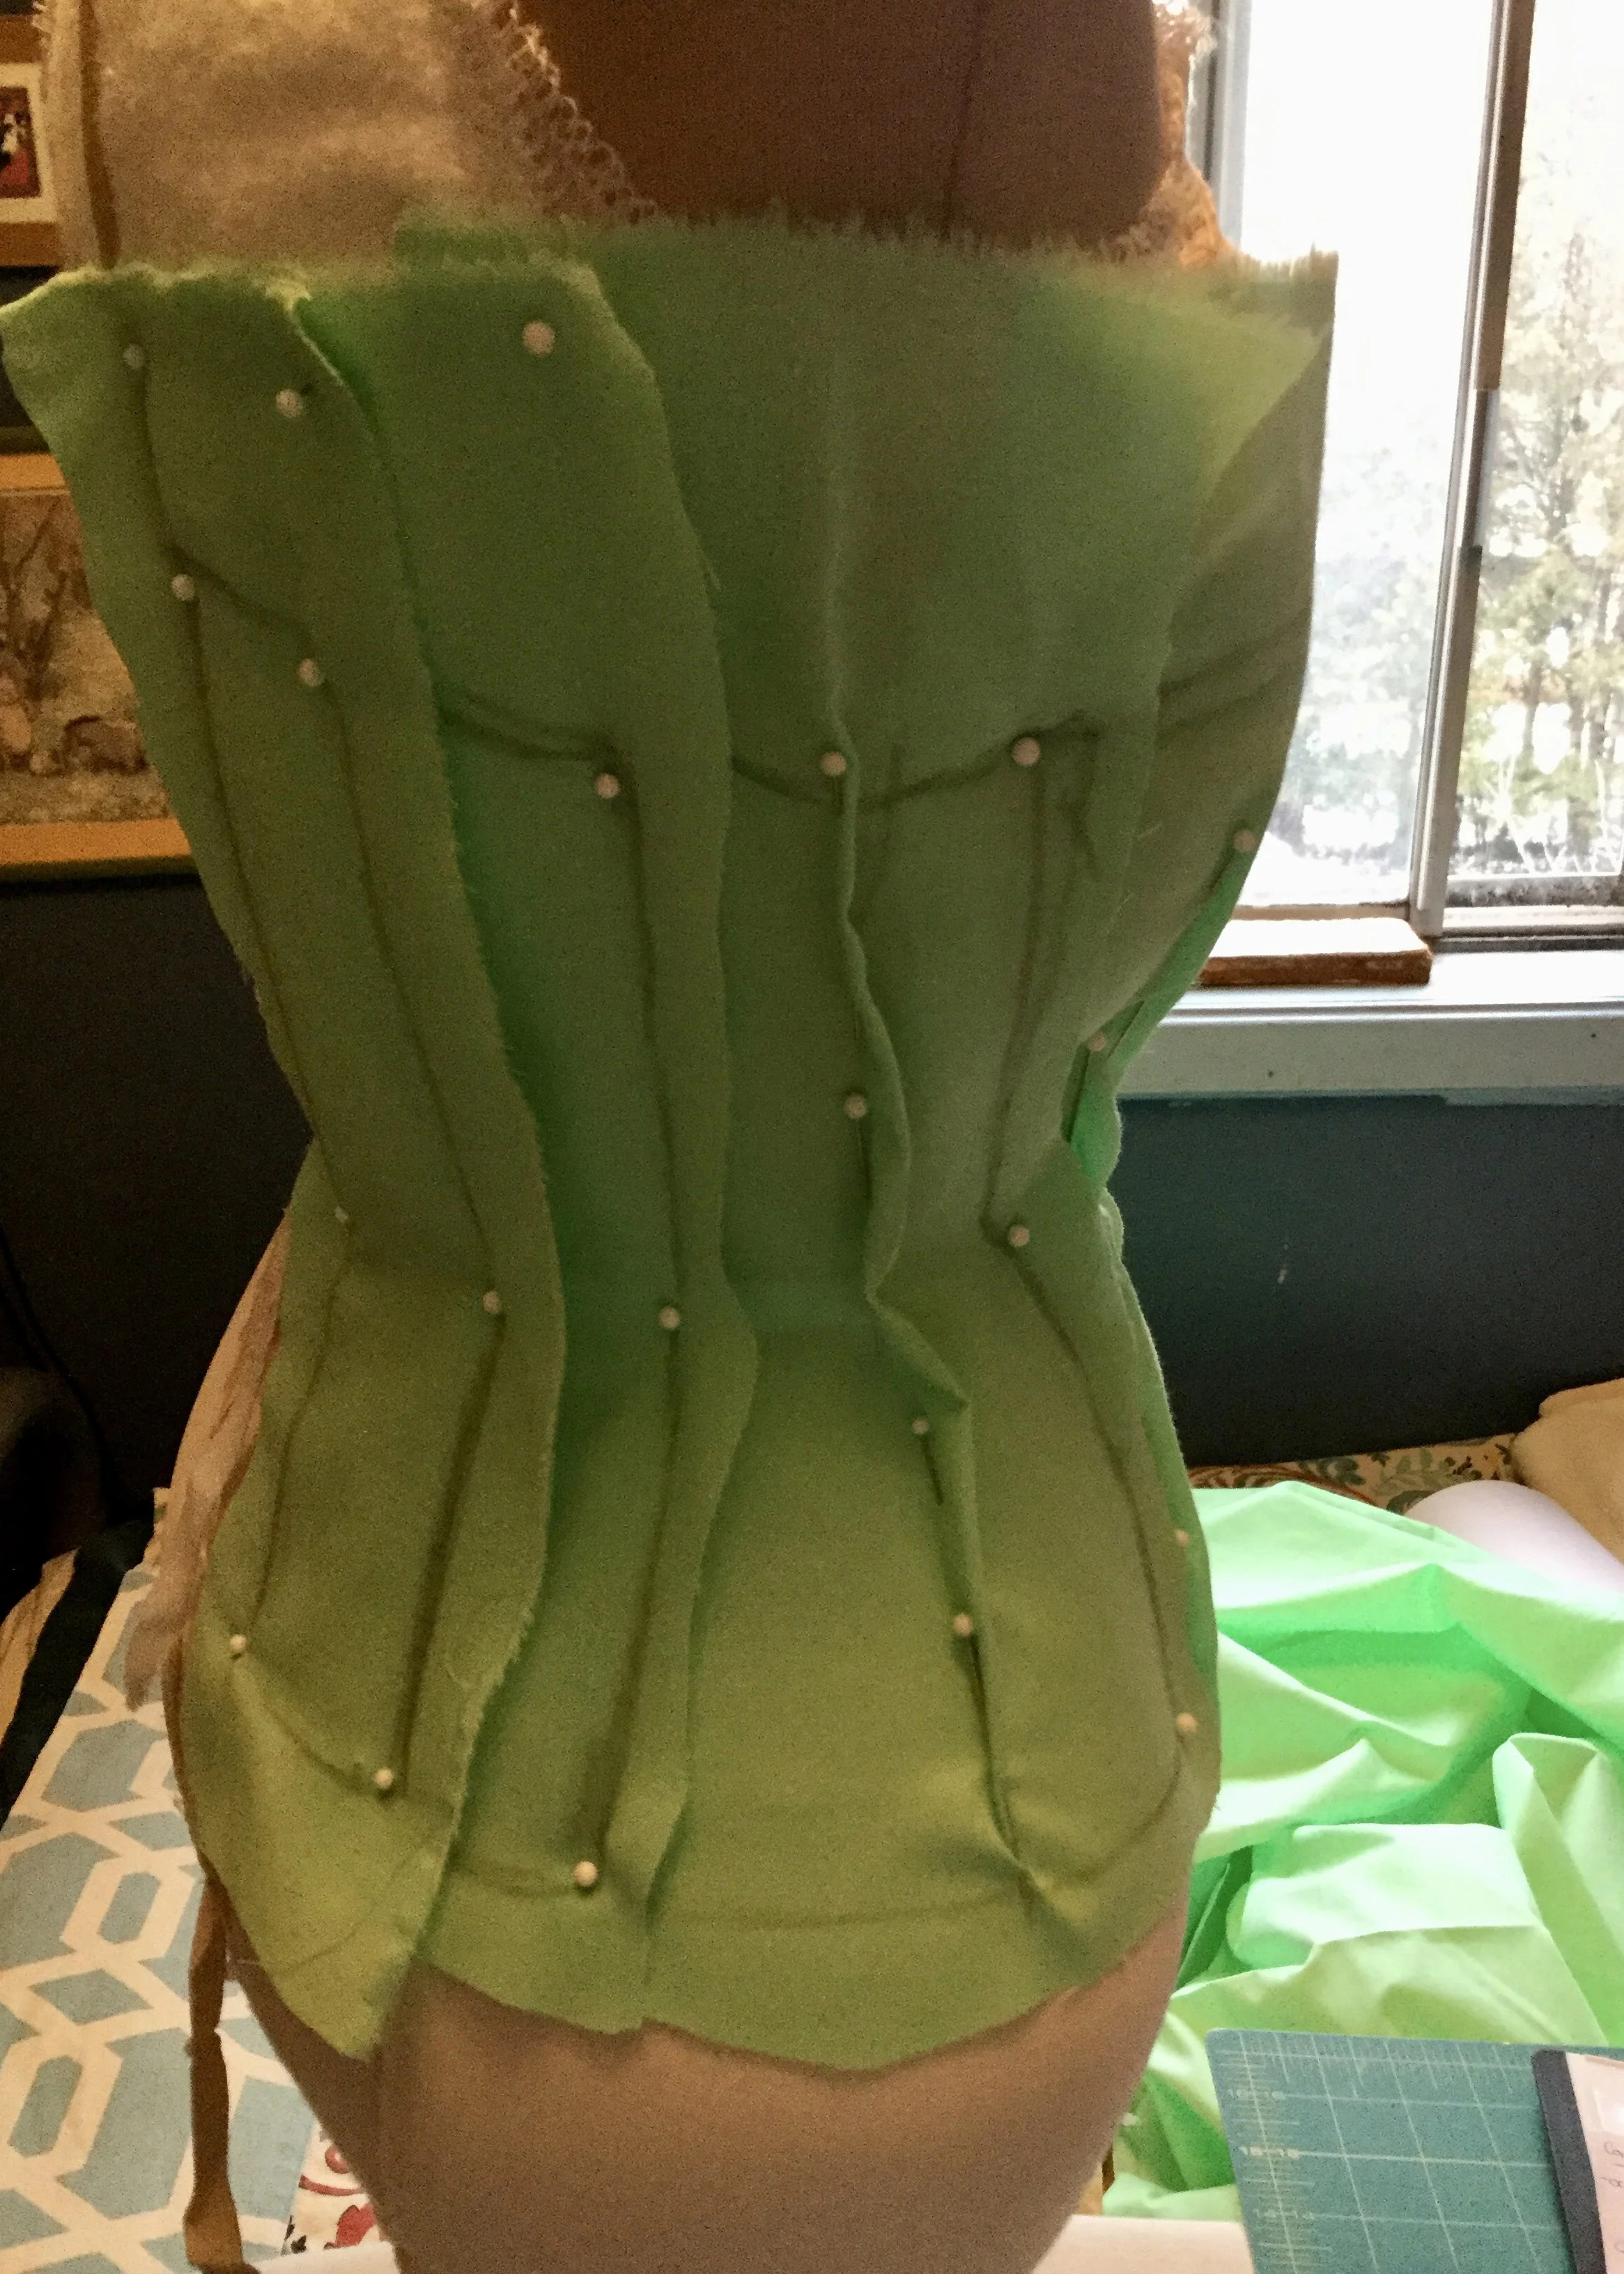
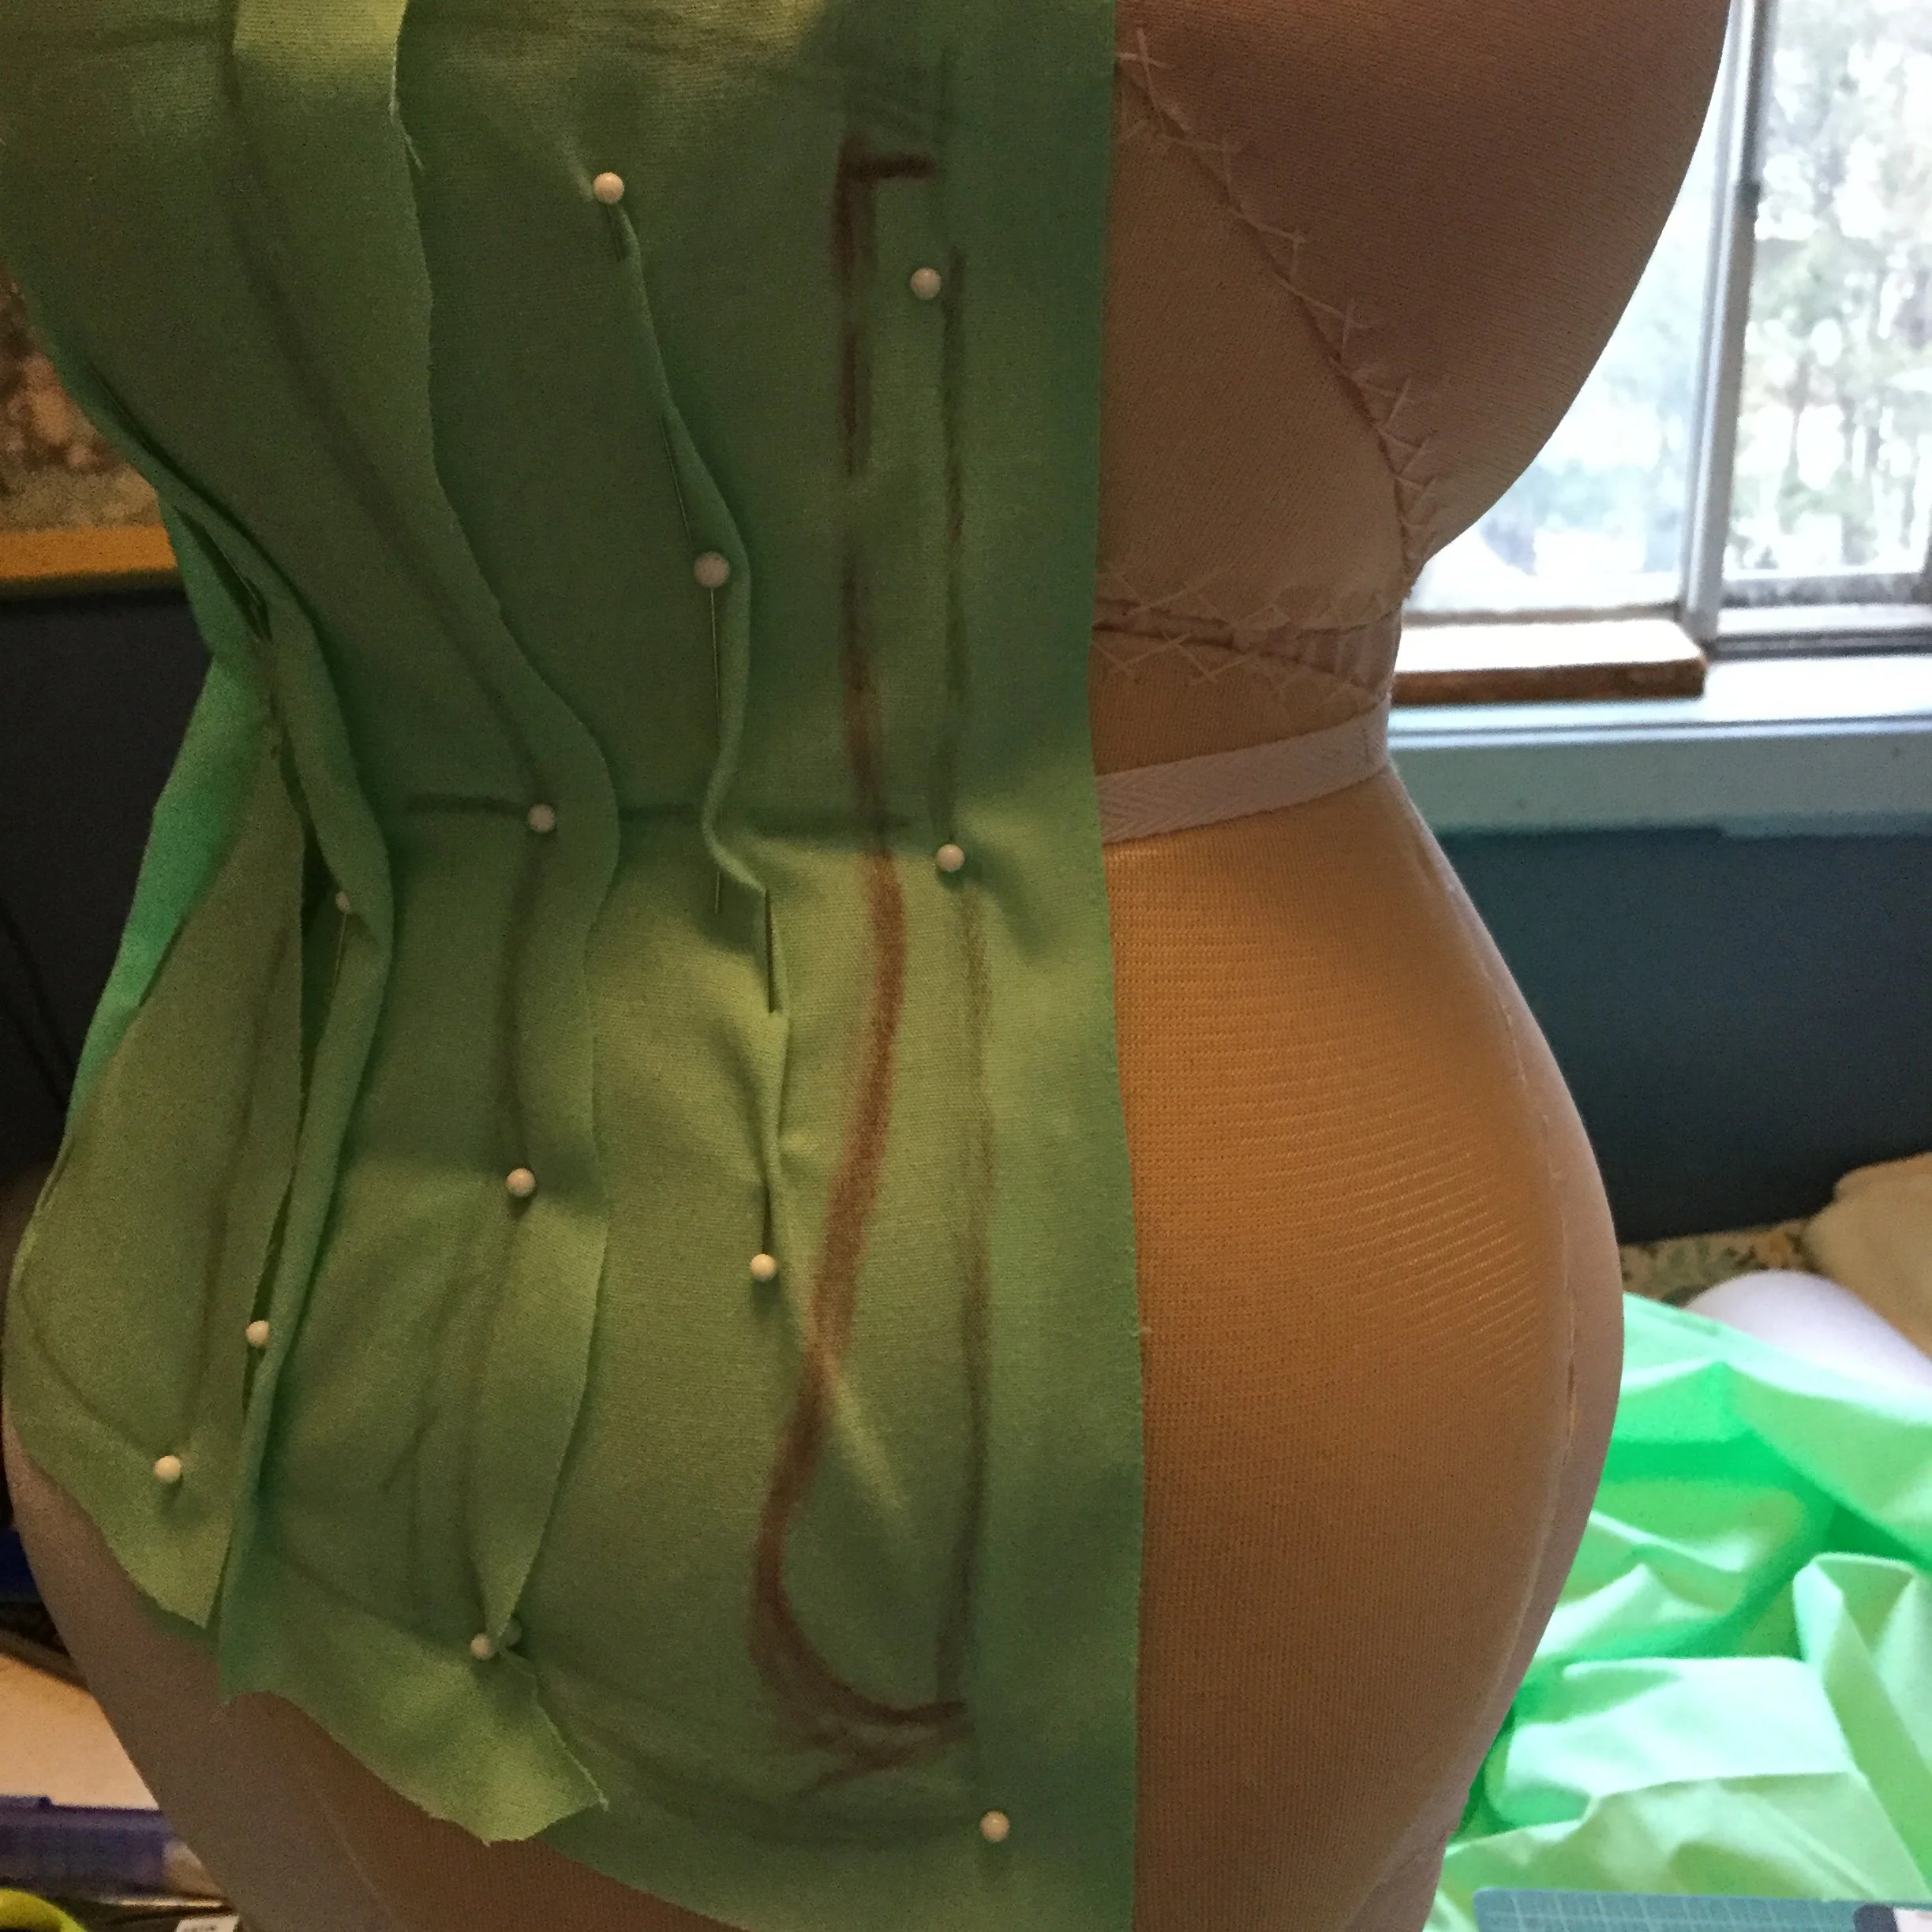
After applying twill tape for the waist and centre lines, I worked my way from the centre front to the centre back, pinning out excess where necessary to make the piece lay smoothly on the Judy and drawing the seamlines as I went. I also made sure to mark the waistline on each piece, which is a really obvious and basic thing to do but it’s exactly the kind of obvious and basic thing I have a knack for forgetting to do so I am pleased with myself for remembering. I also drew in the size, shape and placement of the spoon busk.
Drawing the busk shape on the drape.
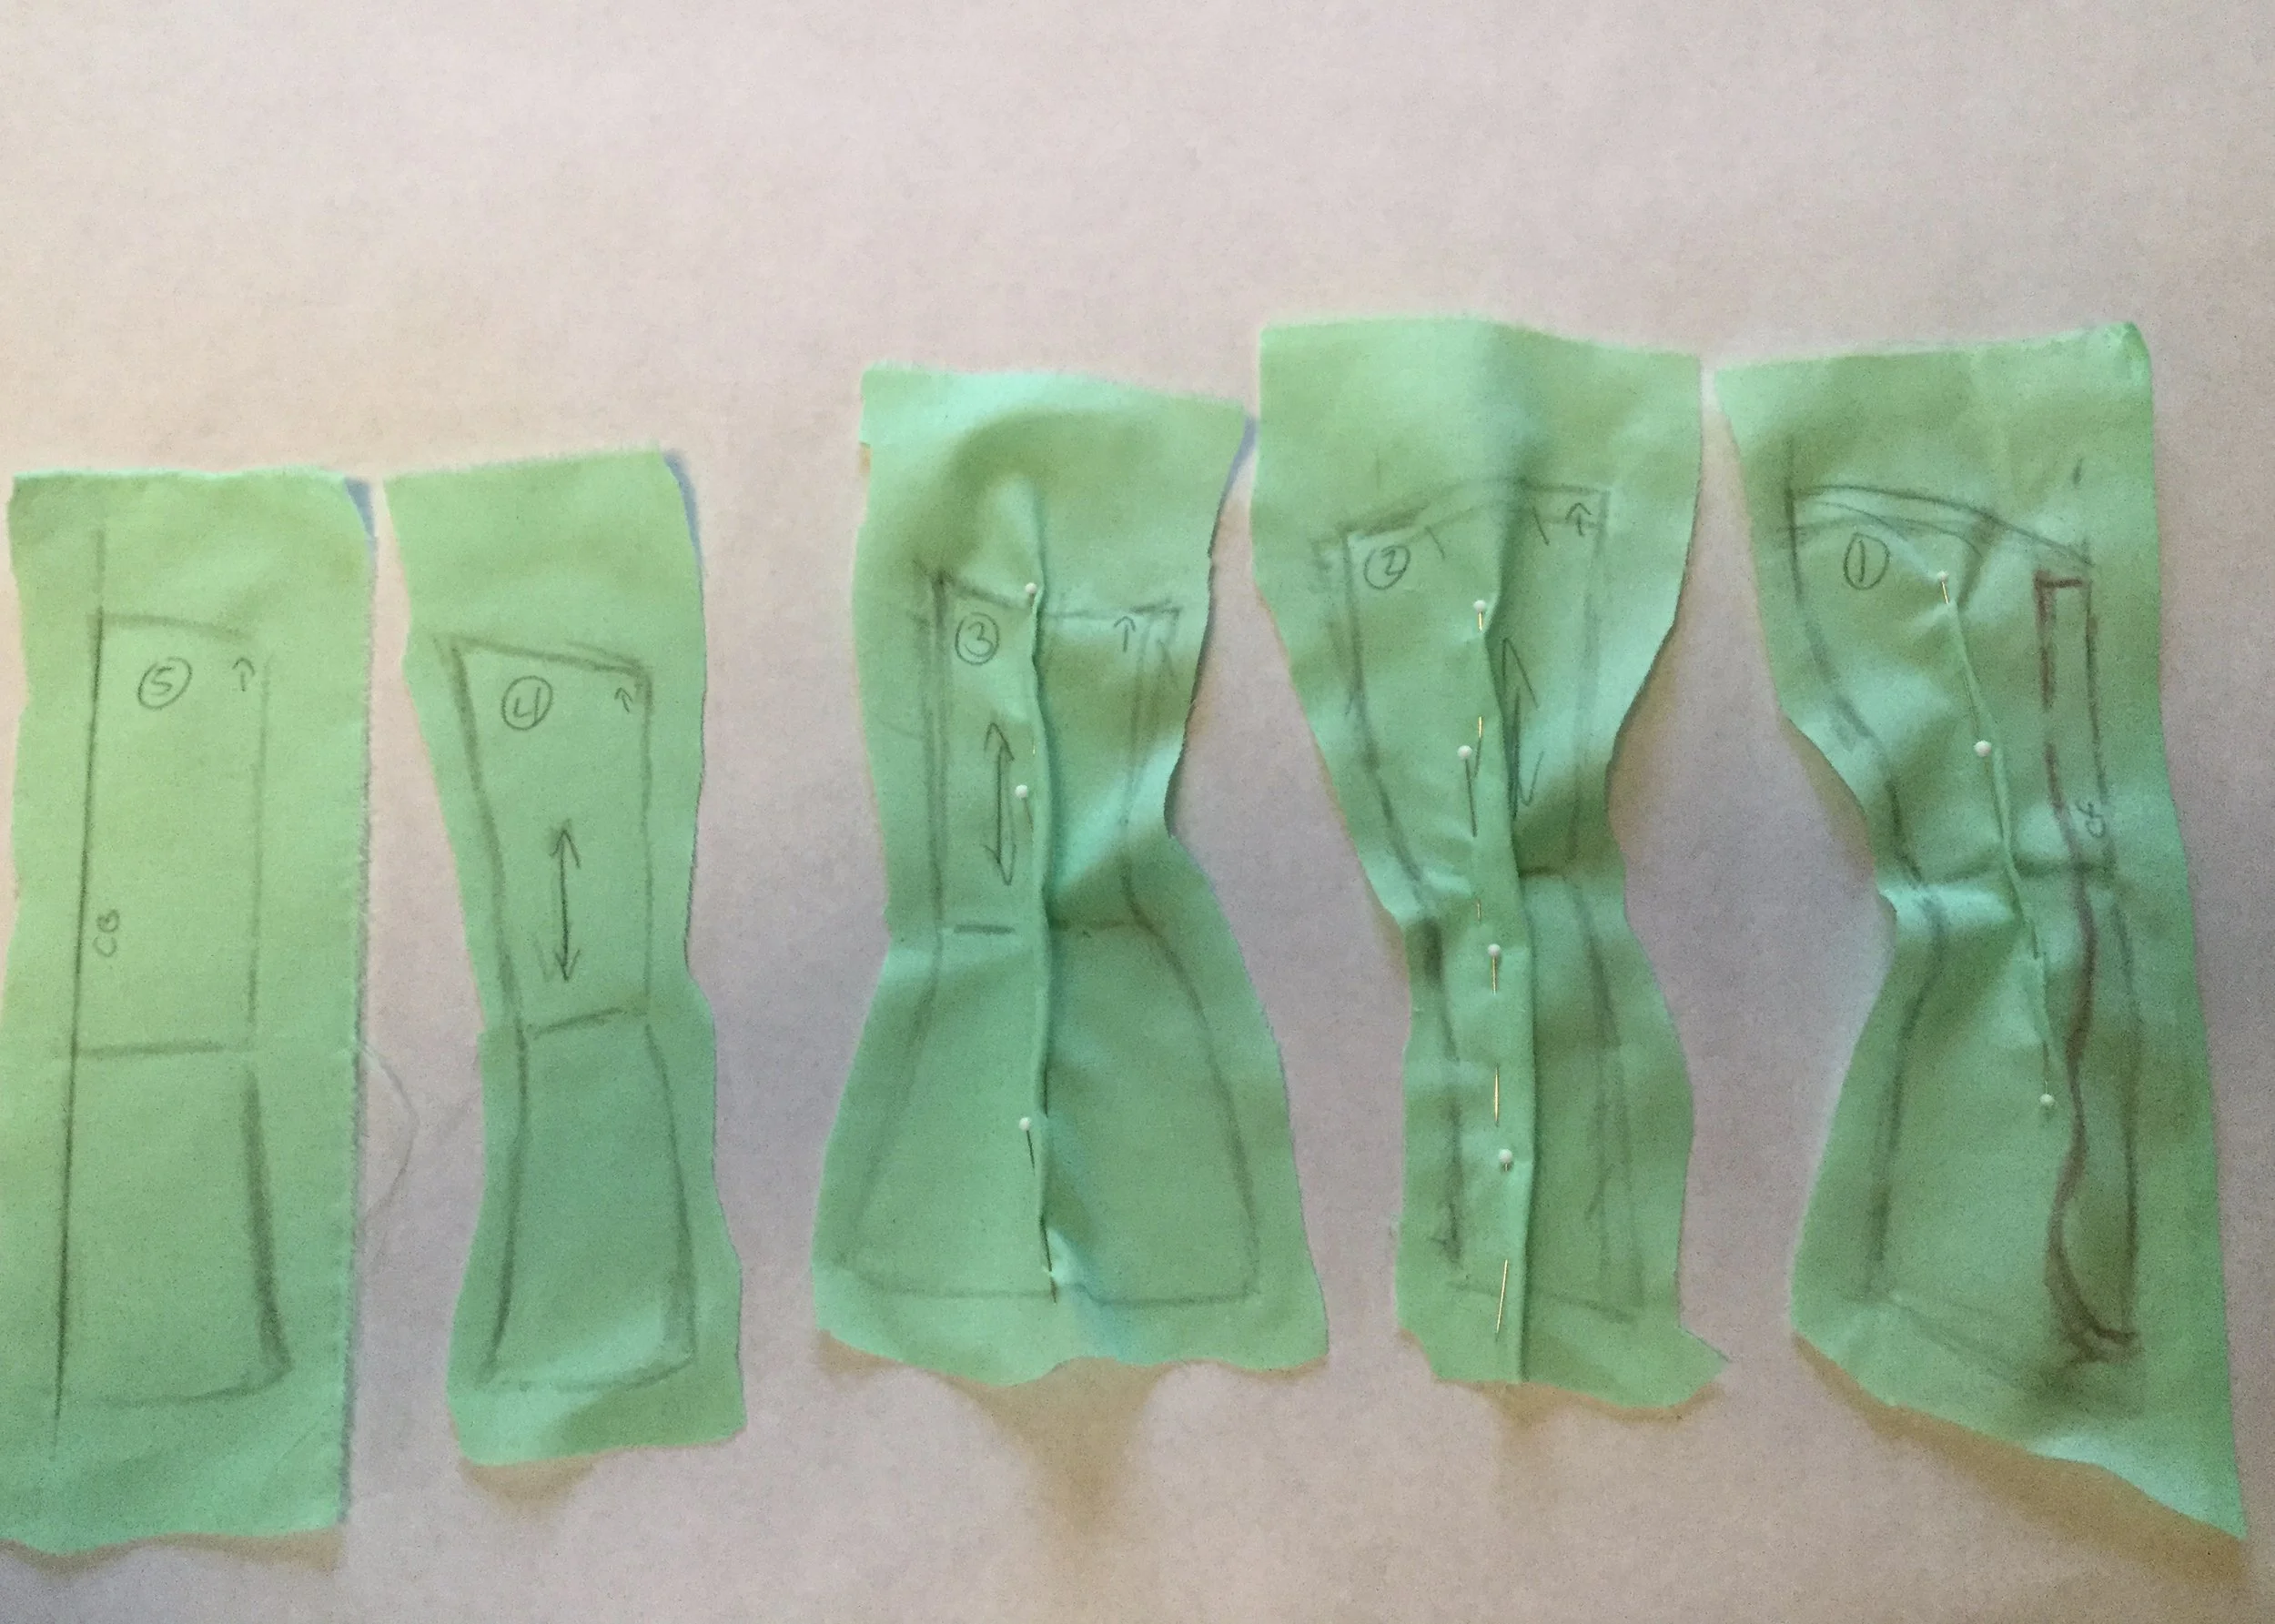
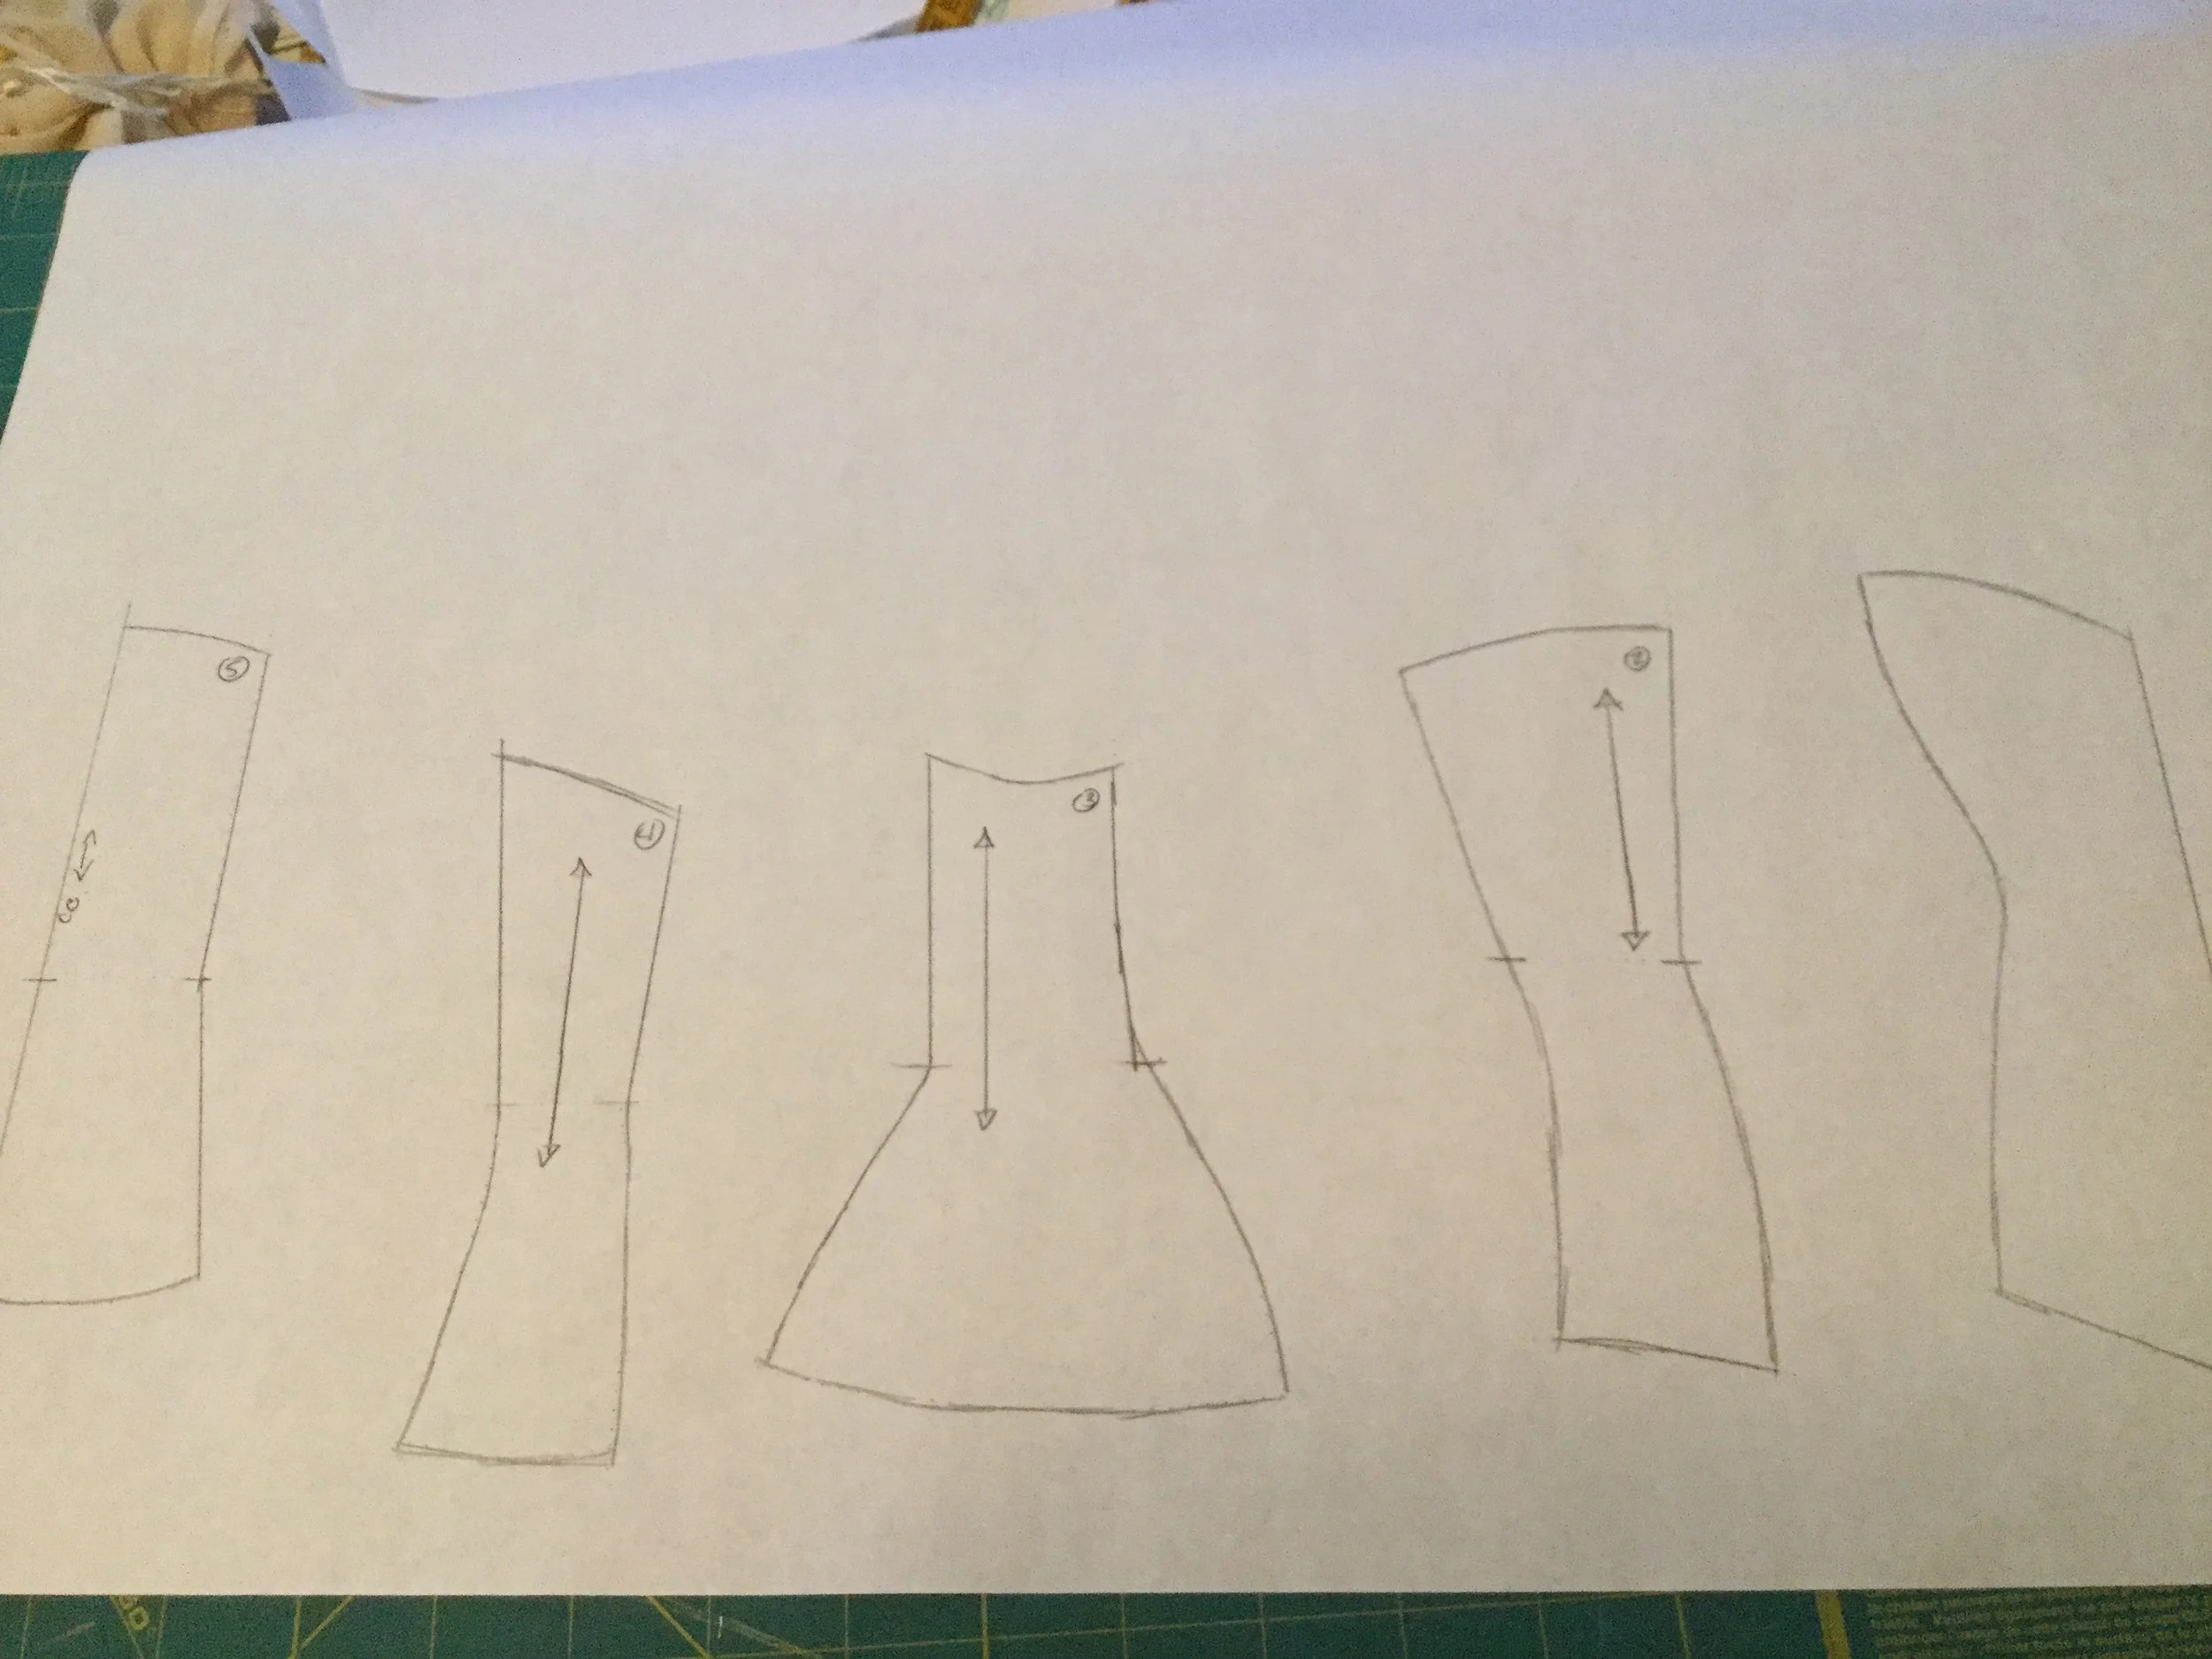
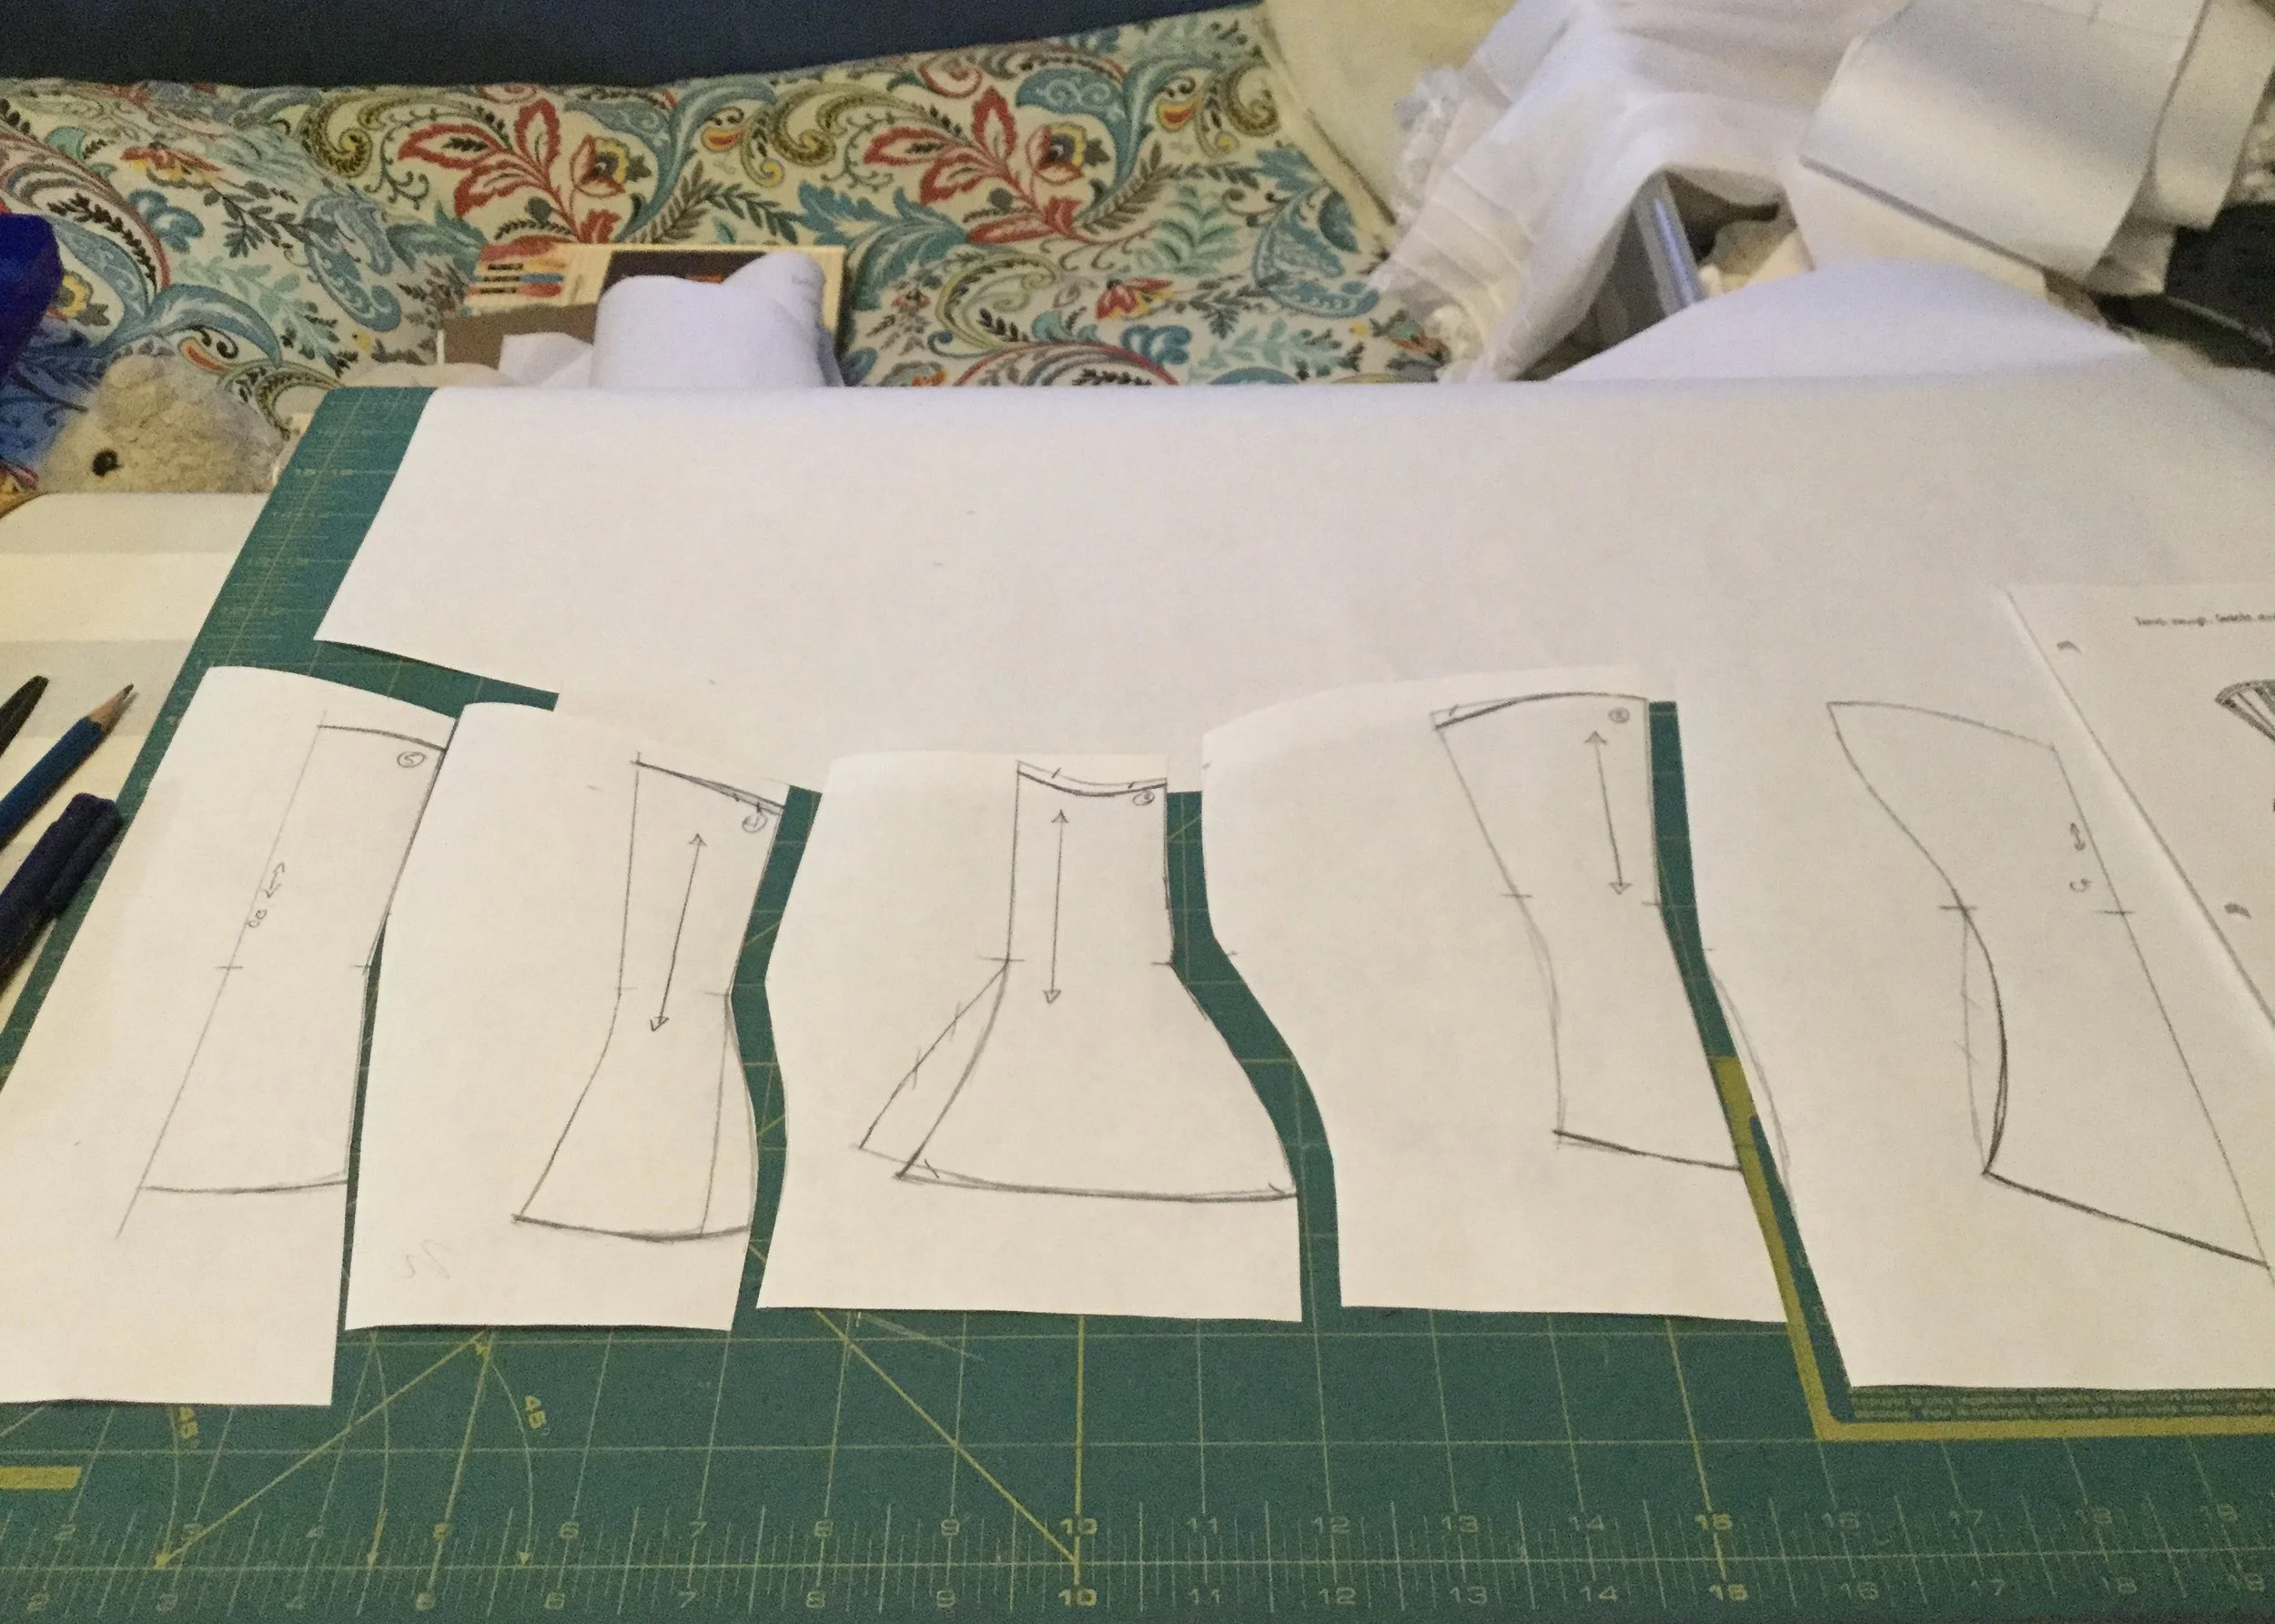
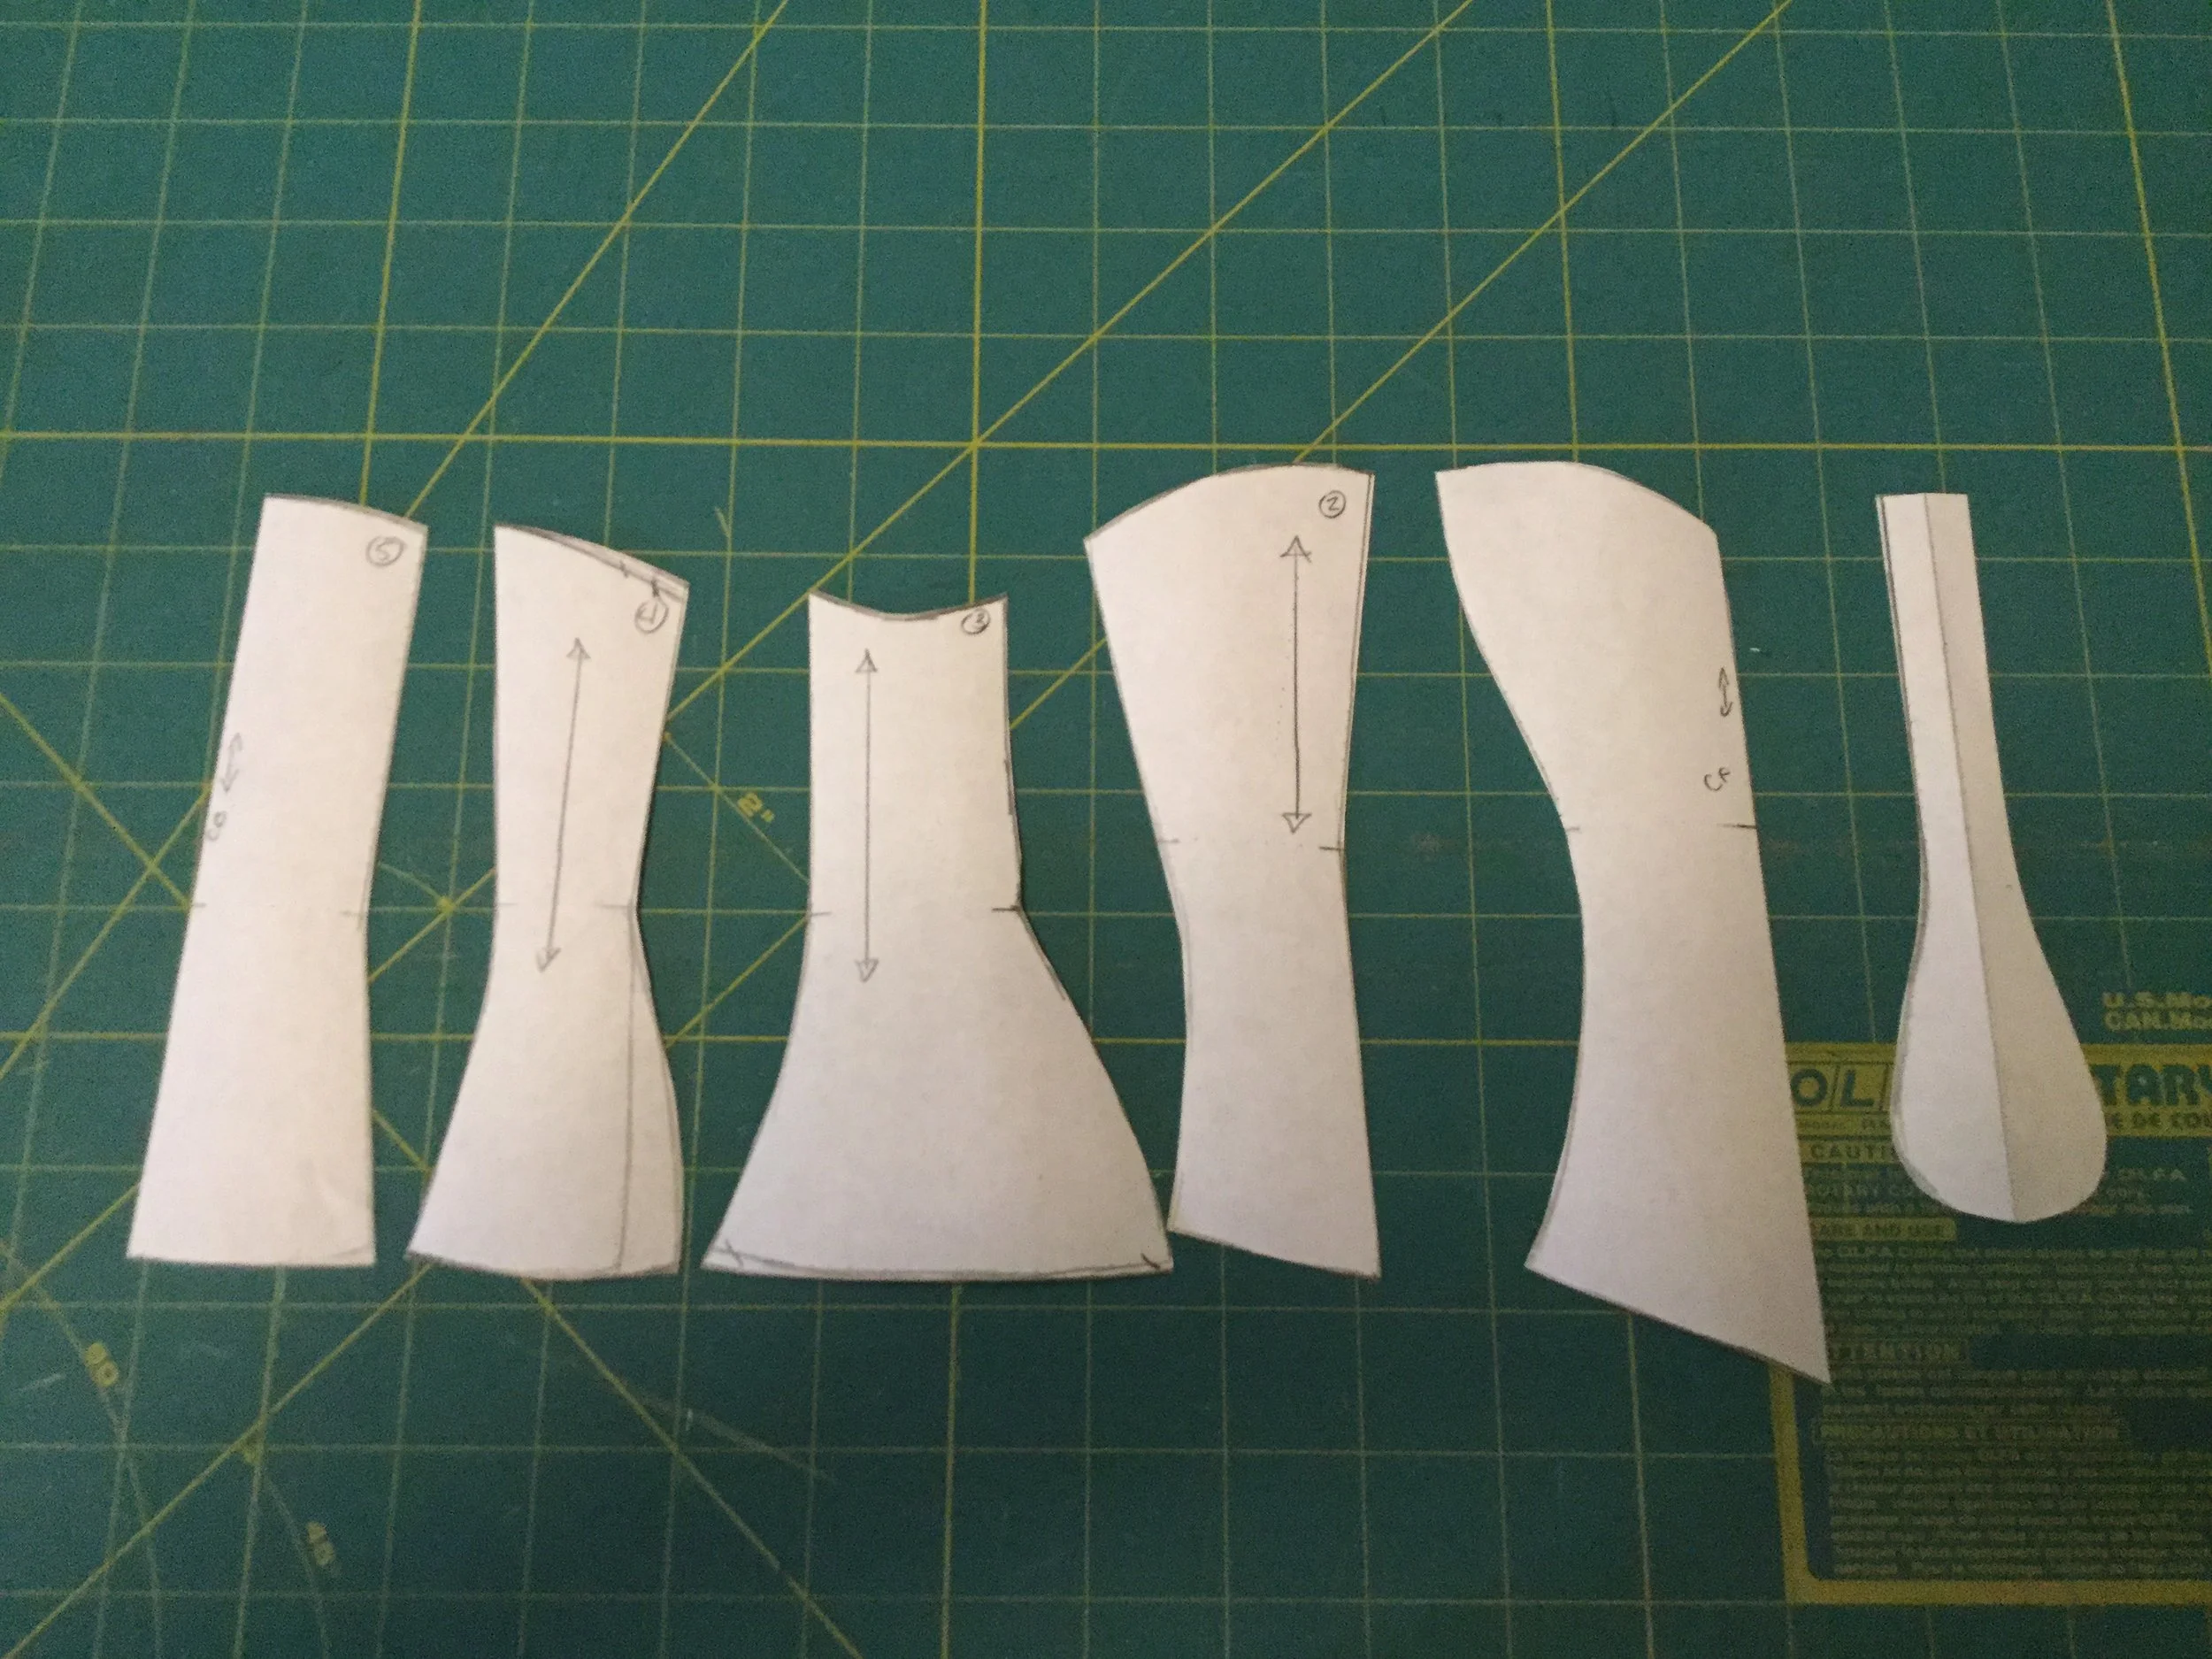
I took my draped pieces and used a sharp tracing wheel to trace them onto paper where I cleaned up the lines, marked the grain lines and waist notches and trued up each of the seams so they would match. I also adjusted the shape of a few of the pieces to better resemble the shapes of the pieces in the original design.
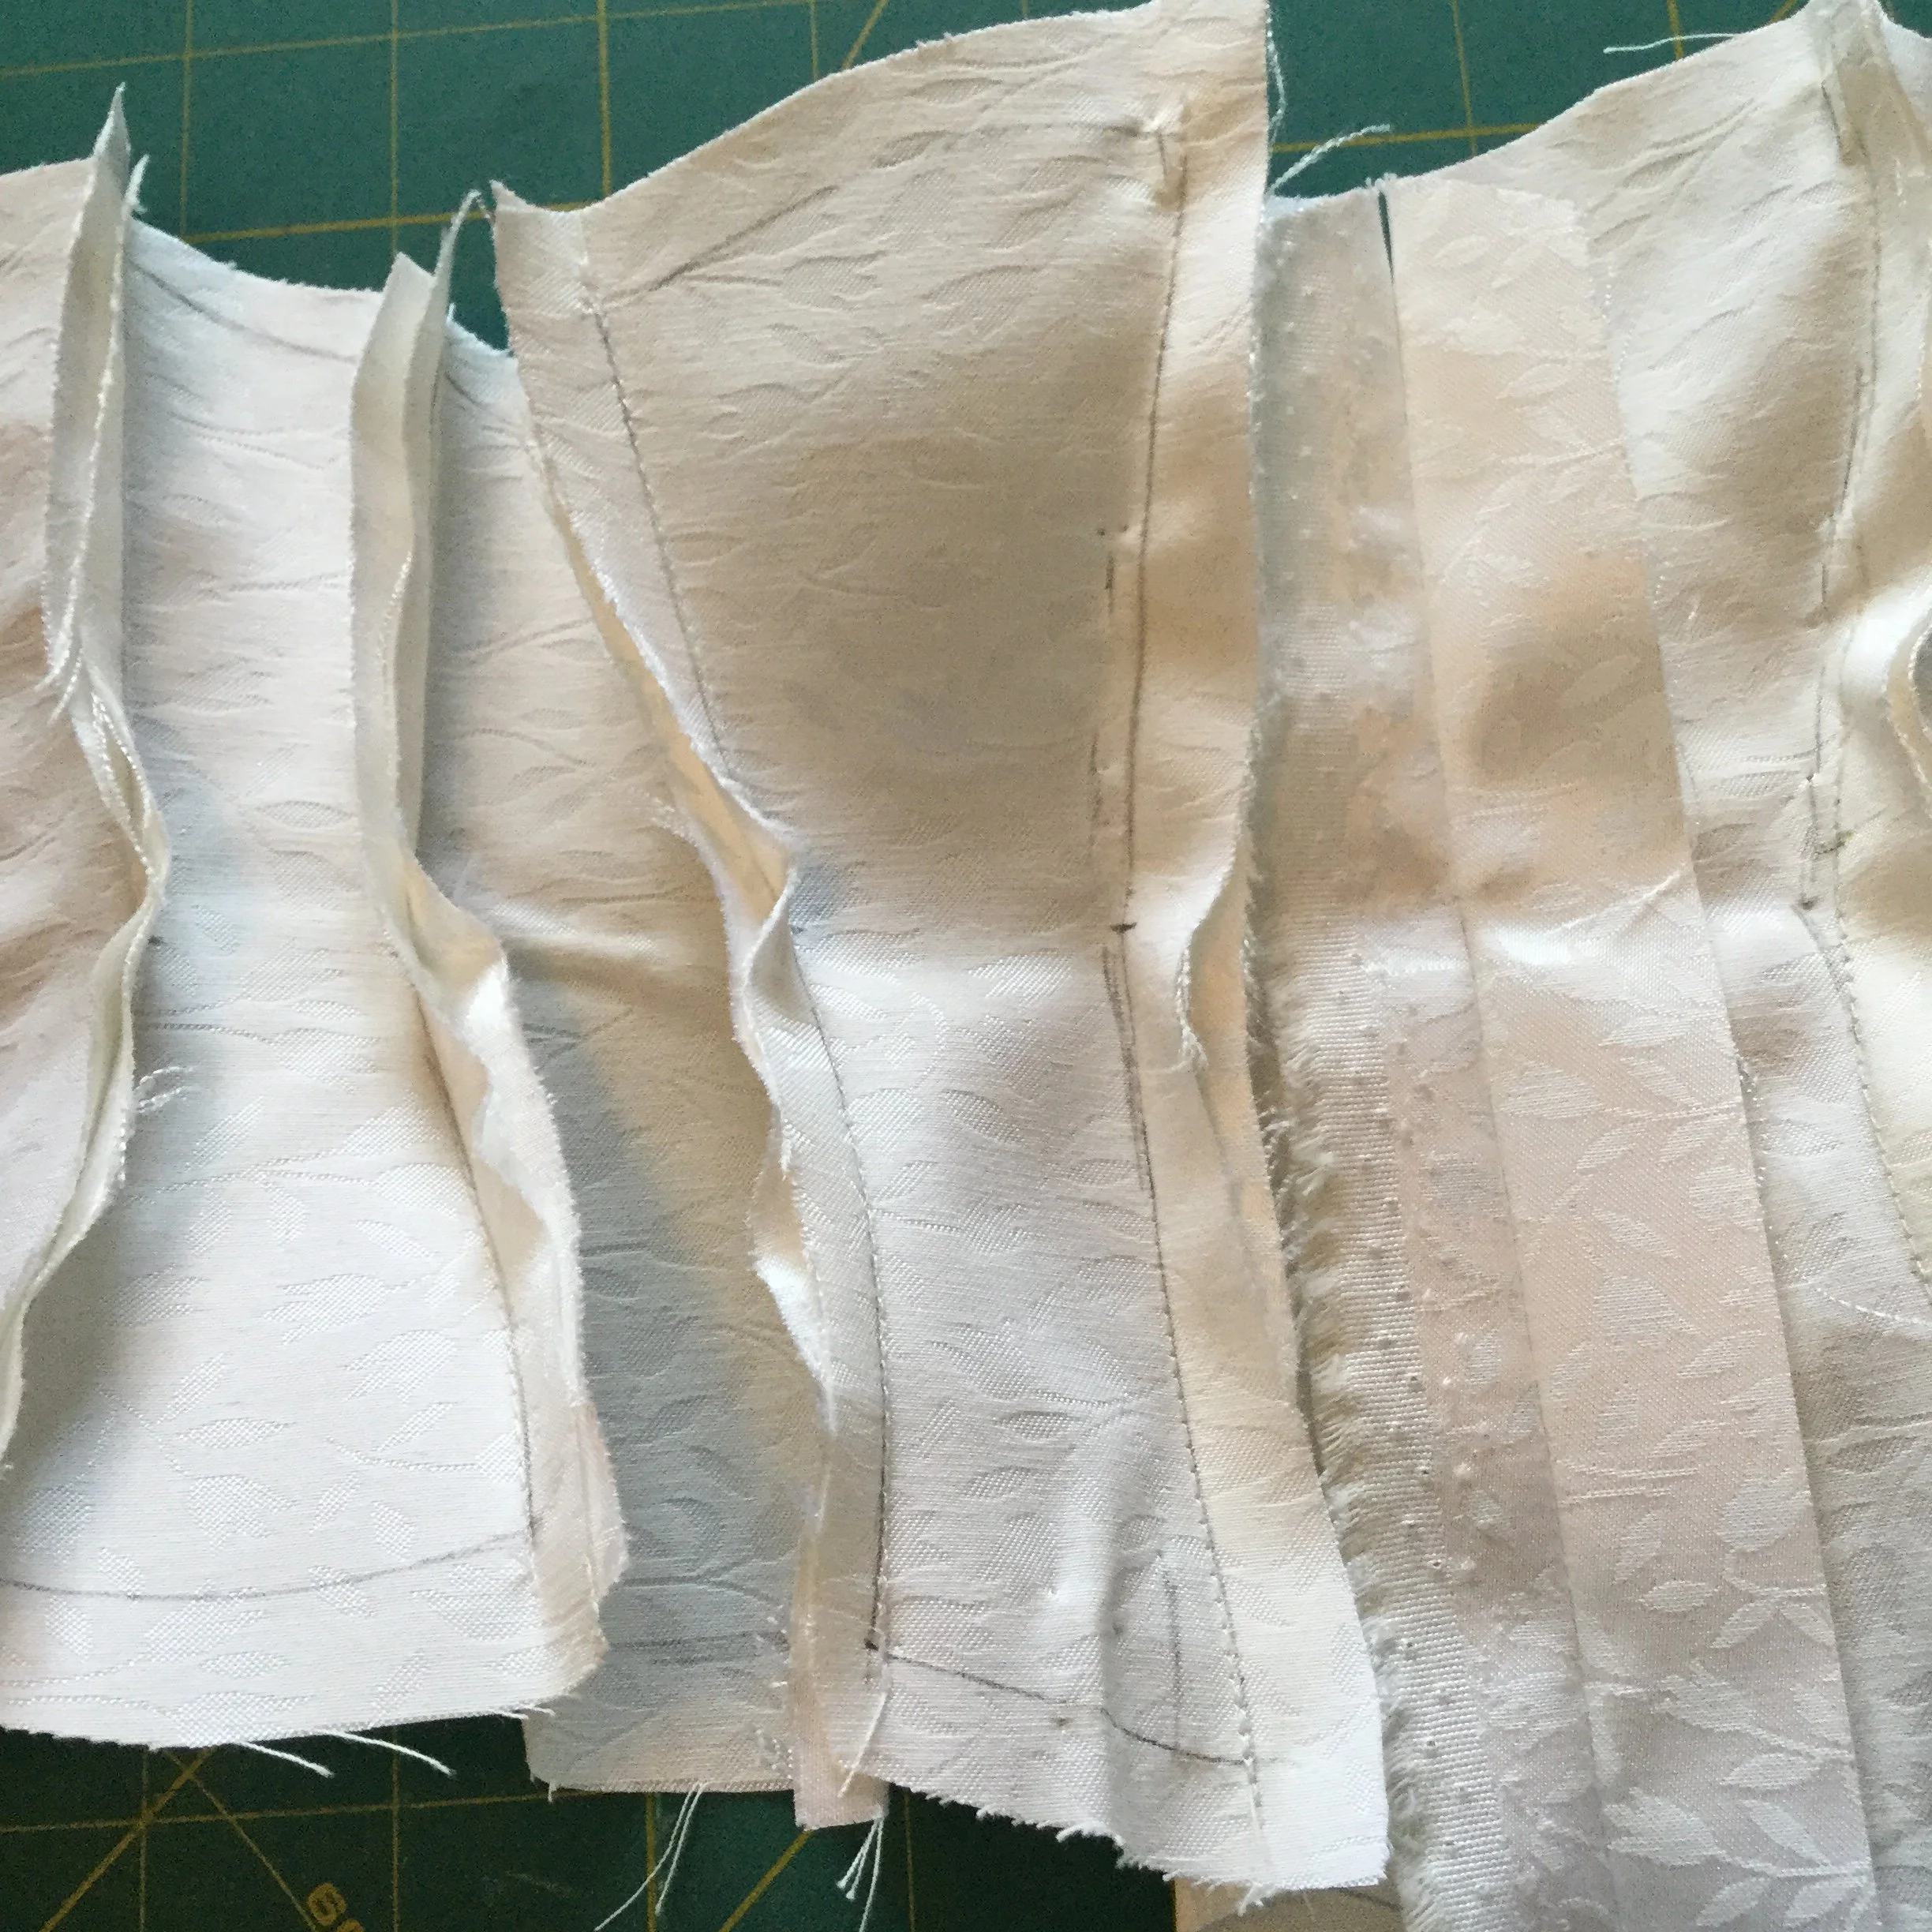
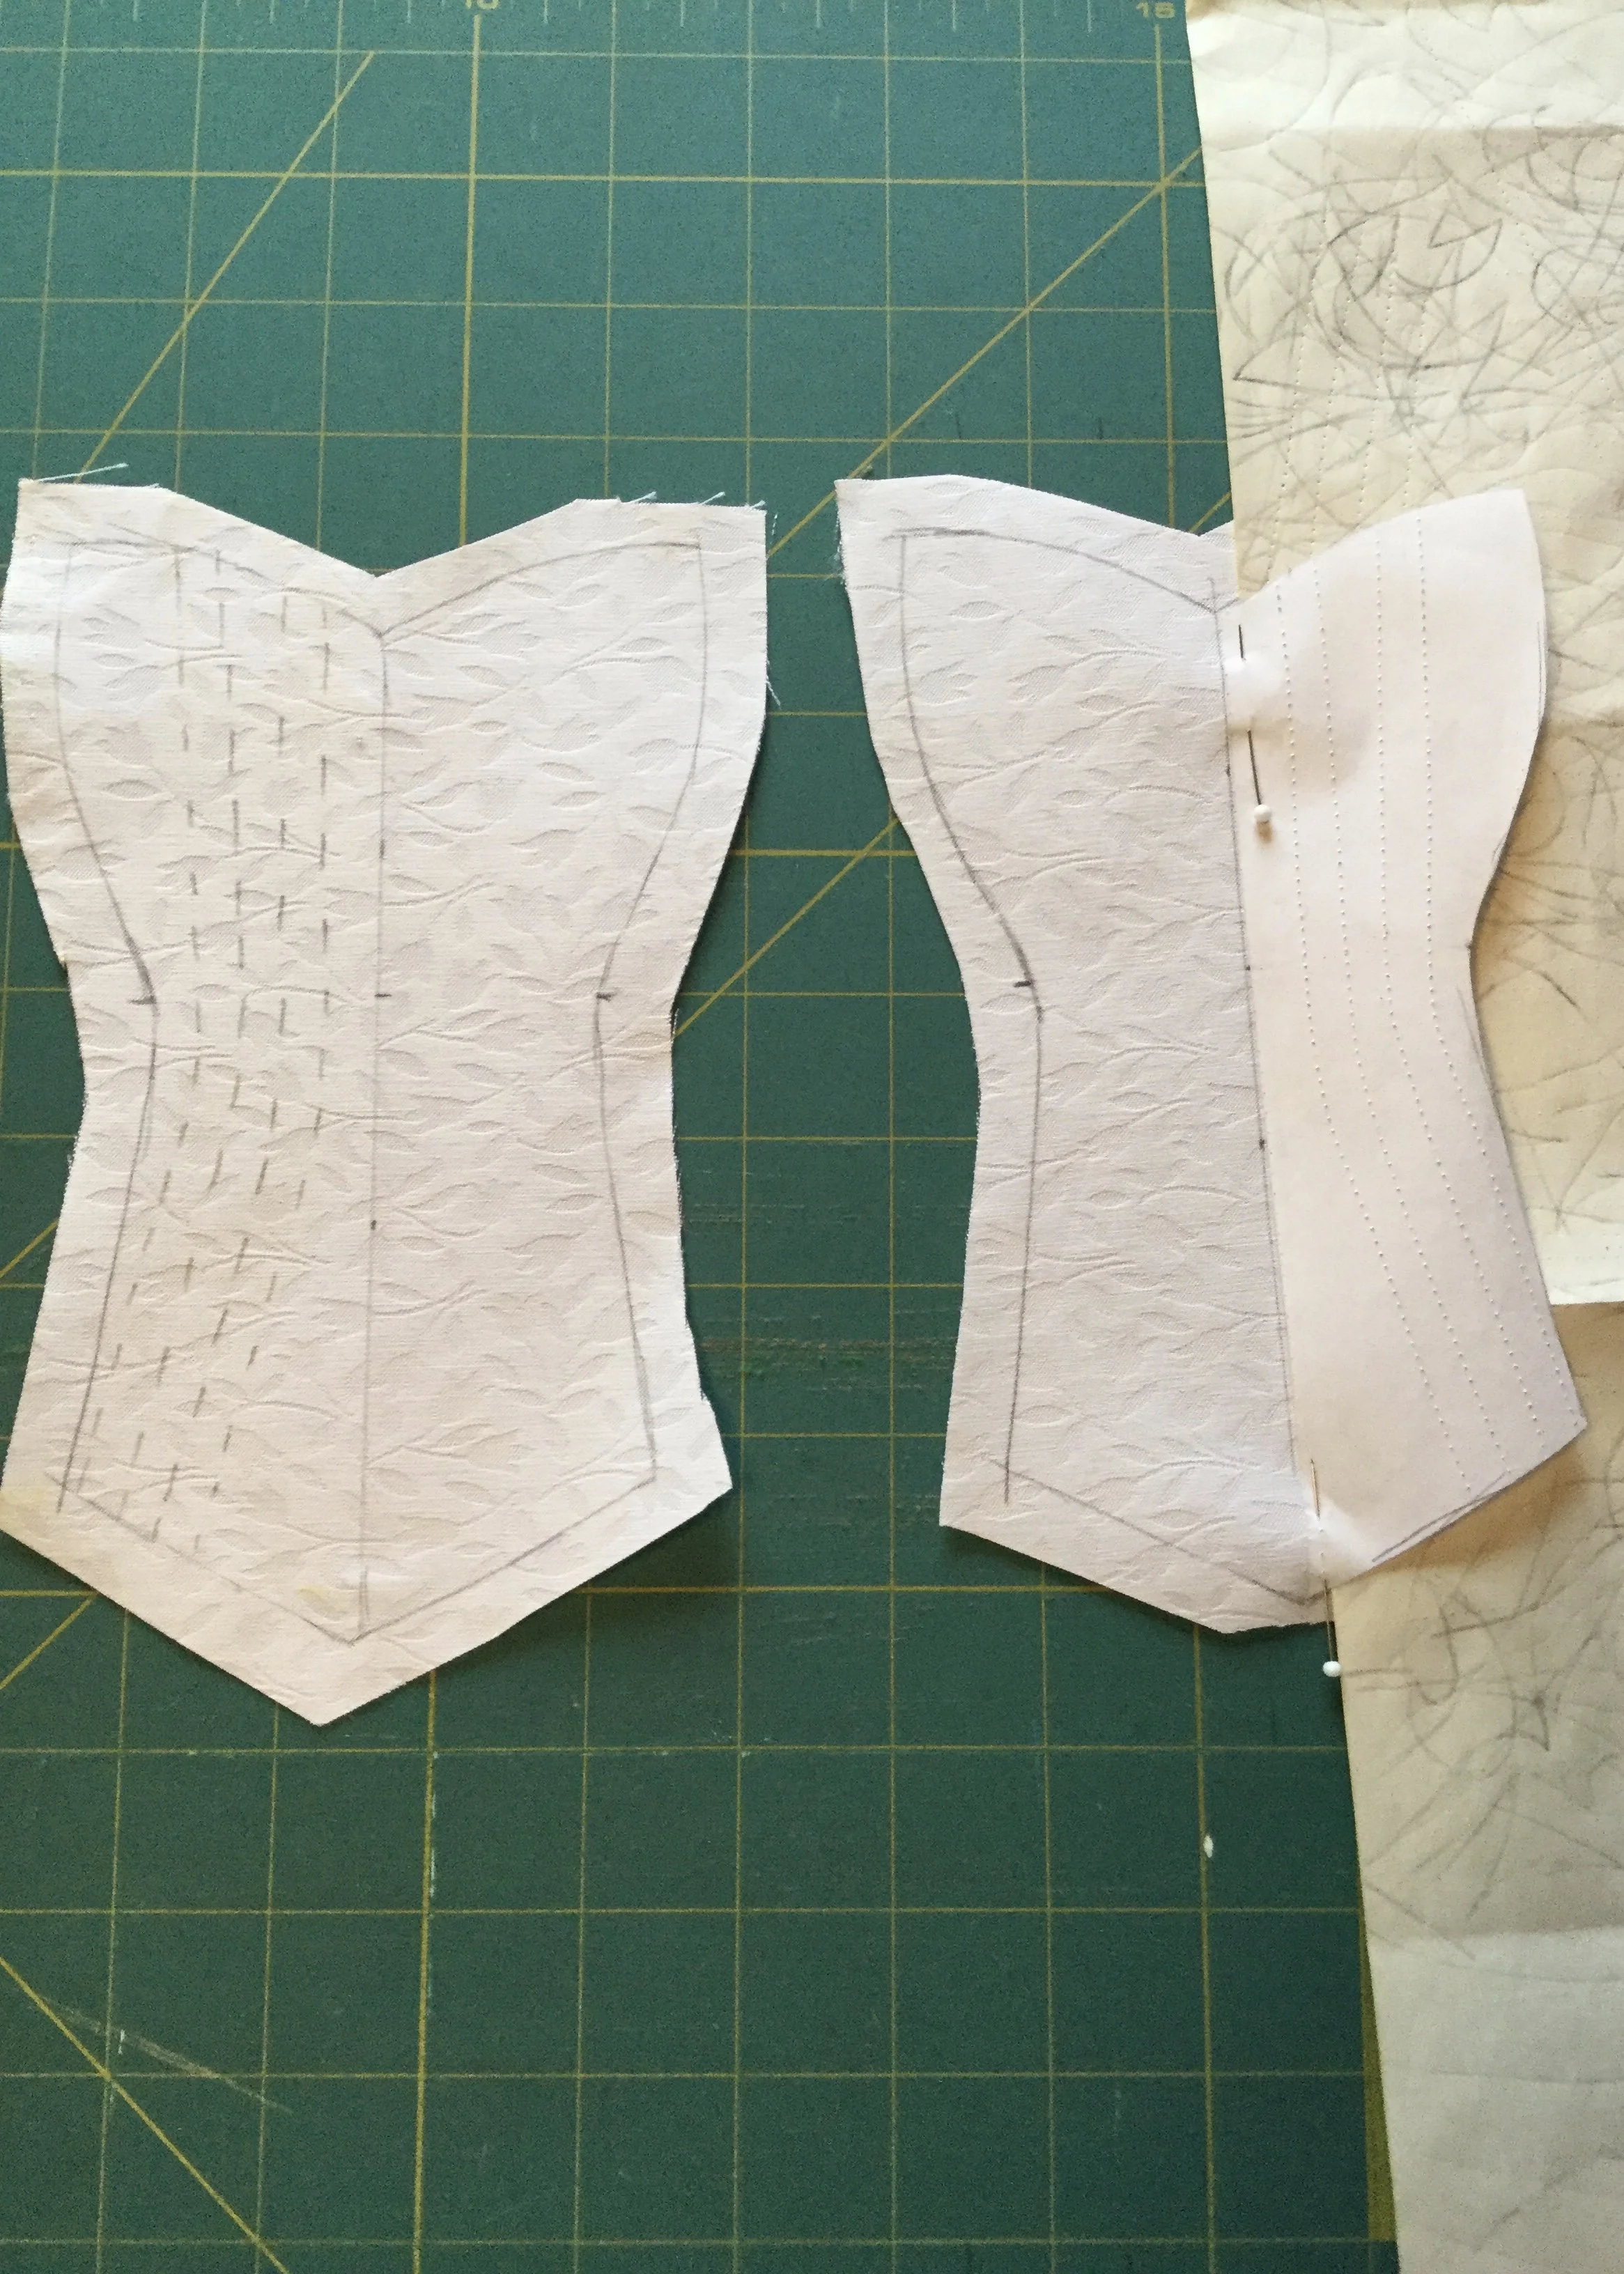
With a pattern ready, I cut a mock up from coutil to further fit it and check the alterations I had made. Overall, it fit quite well and there were only a few small tweaks to make around the bust and tummy (always trickier areas). With the seam allowances on the outside, it was a bit harder to see the overall shape, but if I held them down I could see that I was on the right track.
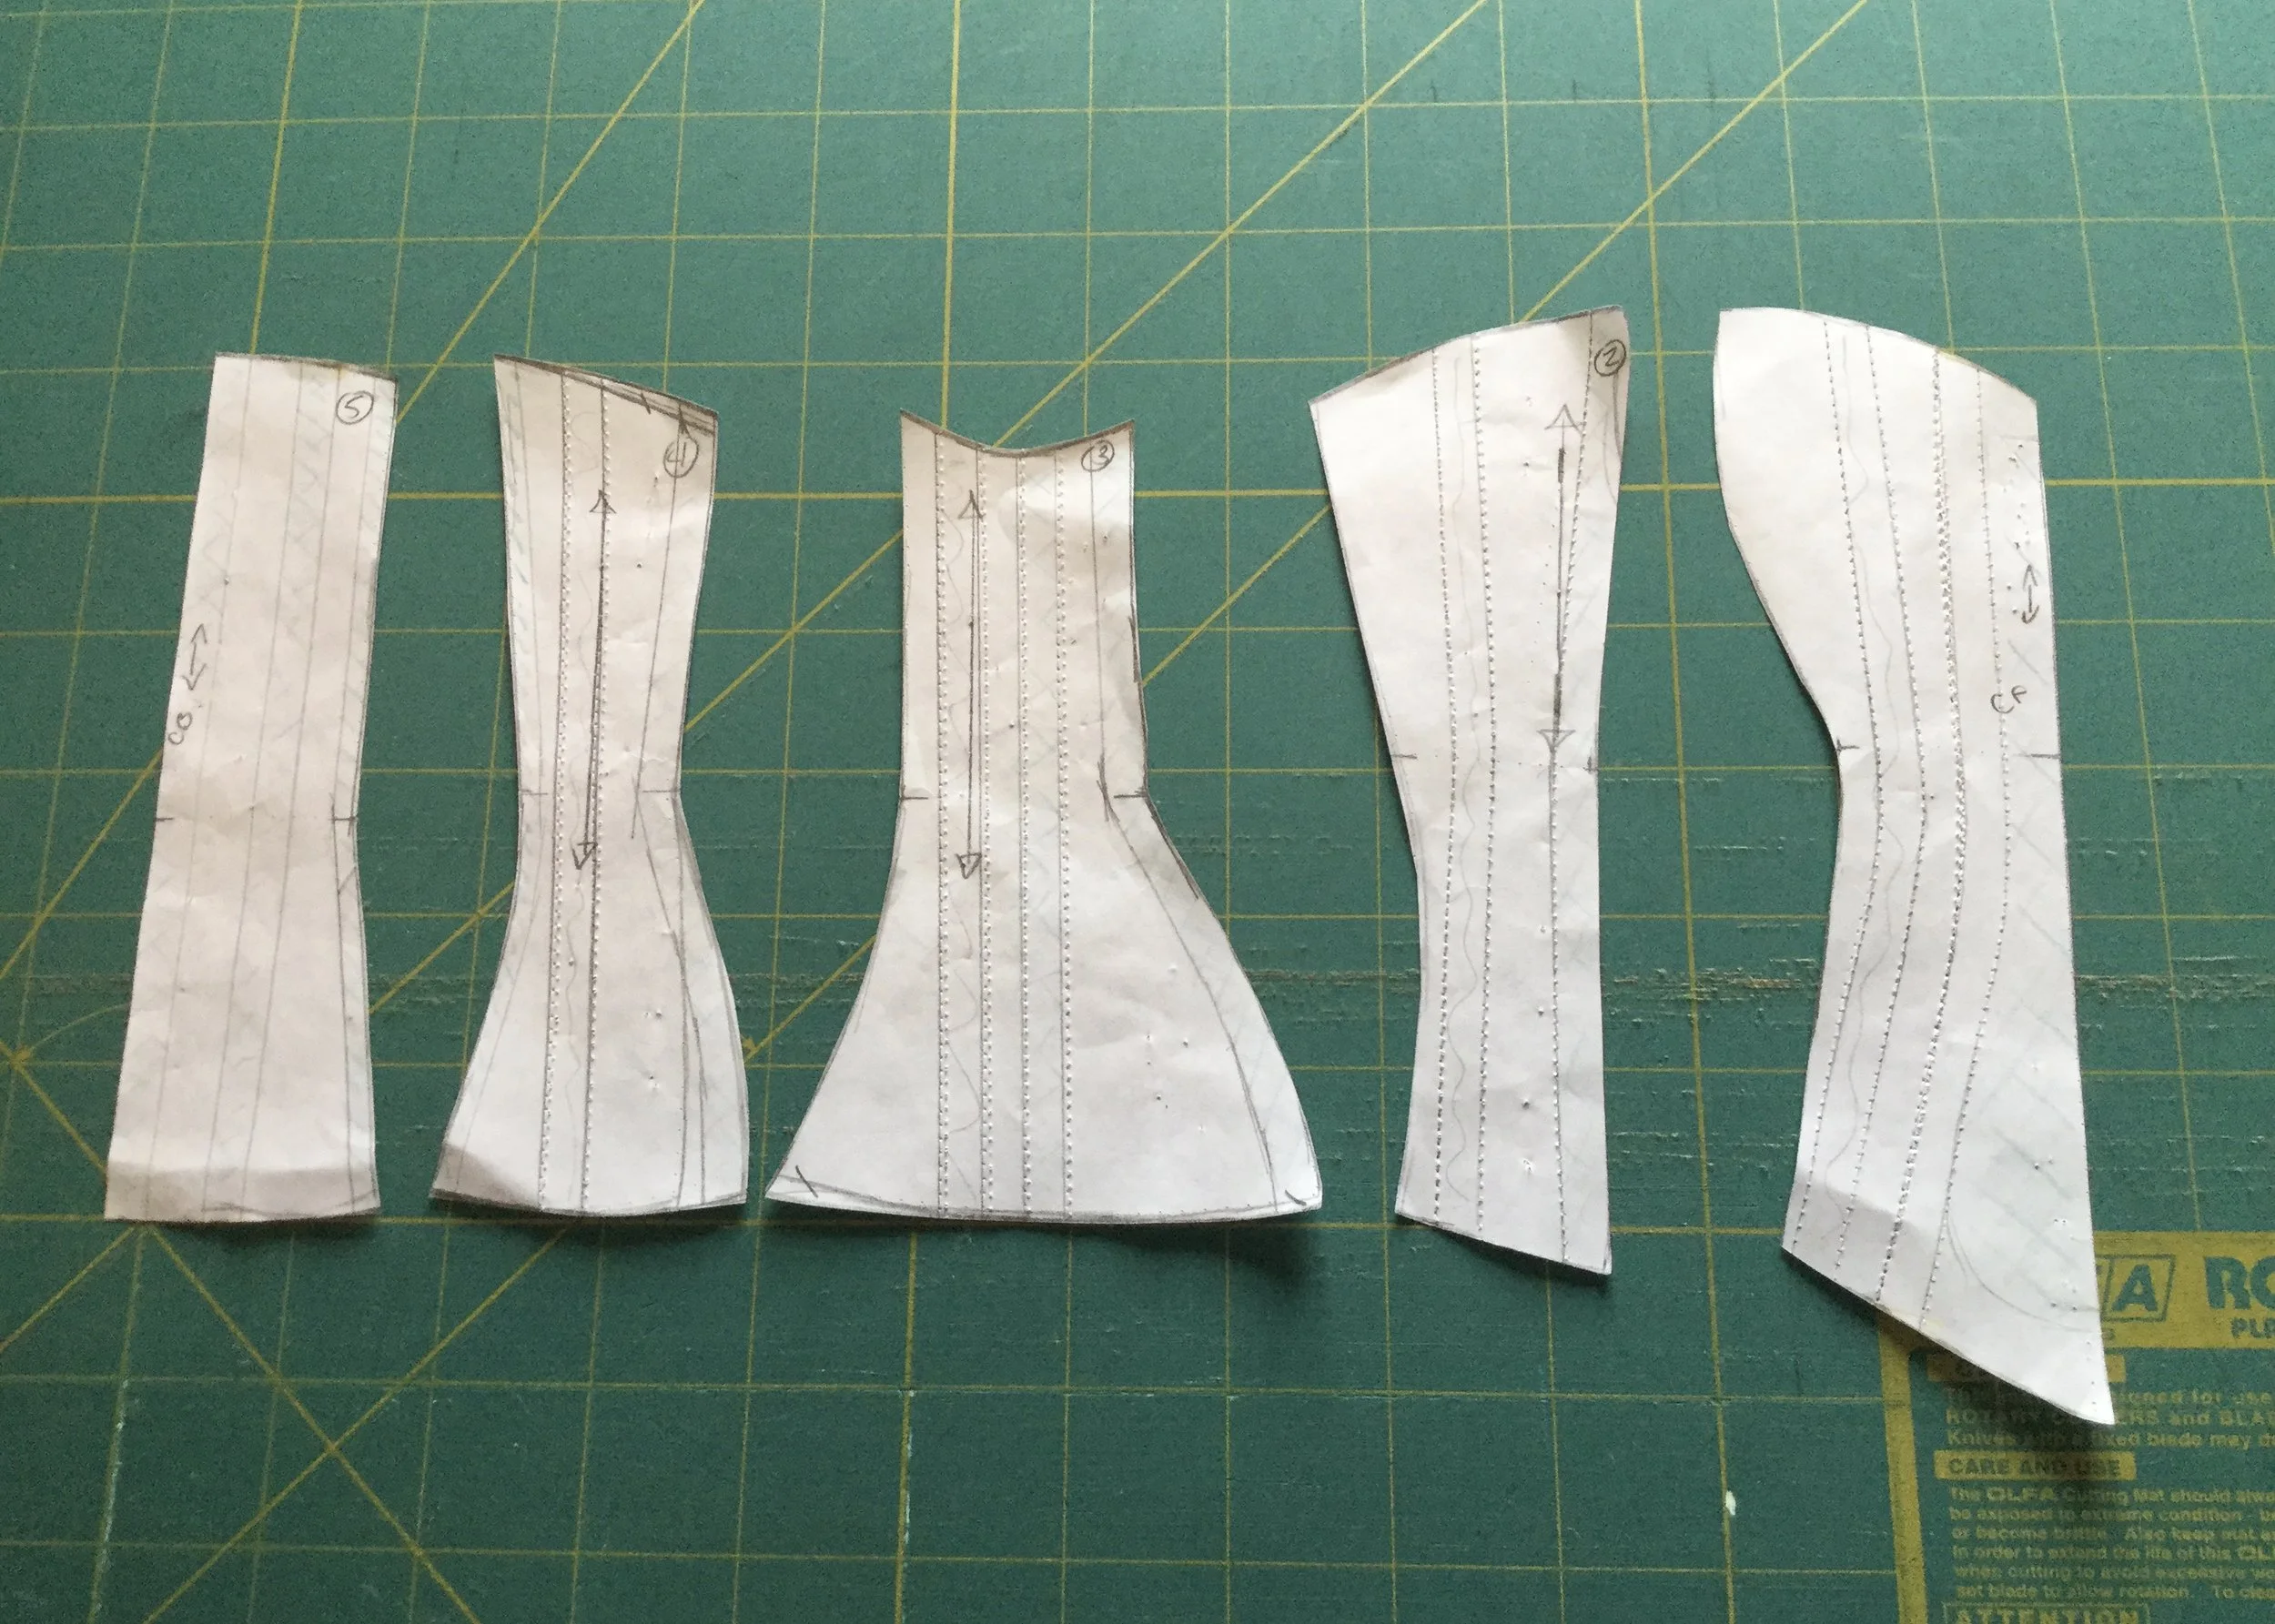
Final pattern with bone placements.
Given how well the mock up worked, I decided to reuse it as the base of the final corset and only recut the centre front and back pieces as I needed them to be on the double to create the casings for the busk and the bones on either side of the eyelets. (In hindsight, I actually did not need the entire piece to be on the double and I was a bit stuck in the how you cut and make corsets for real people headspace, but live and learn.) After drawing the bone placement on the pattern pieces, I cut my new fronts and backs, took apart and pressed the mock up and traced the bone placement onto the coutil.
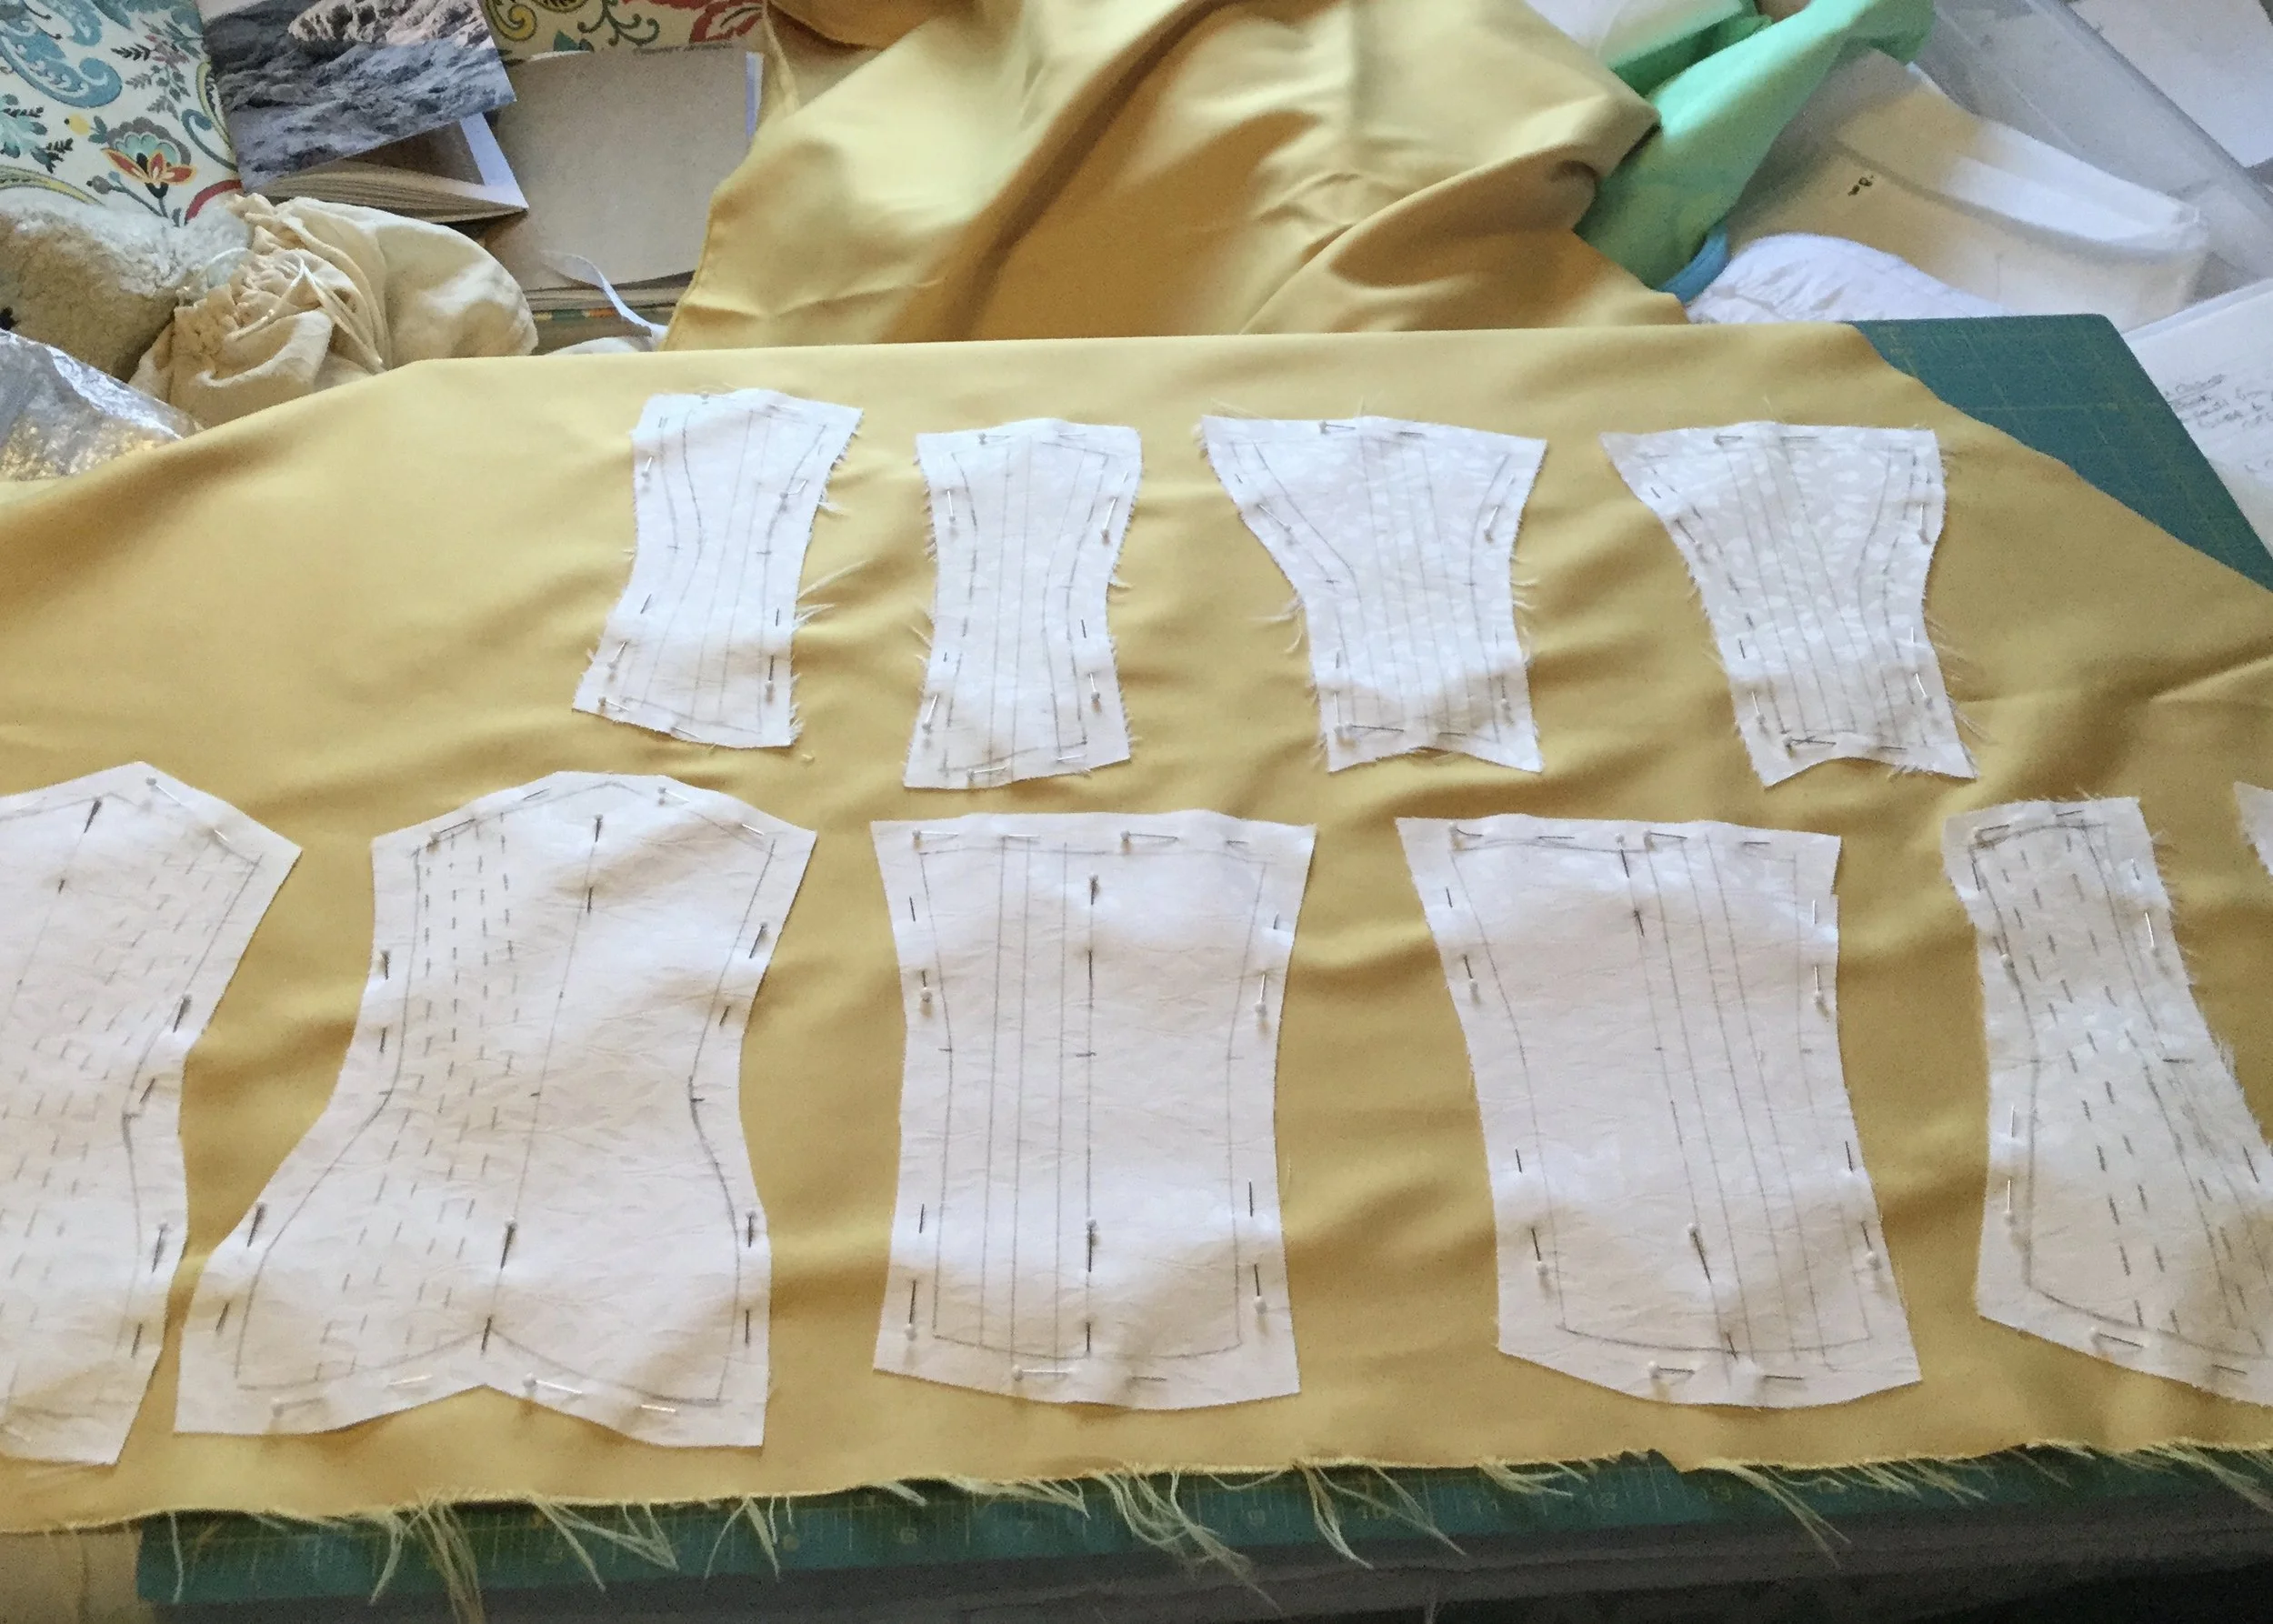
I then laid the coutil pieces onto my satin, pinned them together and cut the satin. I also cut the casings for the centre fronts and backs out of the contrast coutil. It was here that I realized the piece I had wasn't quite as big as it had been in my mind and that the fronts and backs would take more fabric than I had imagined they would.
Laying the coutil pieces onto the satin.
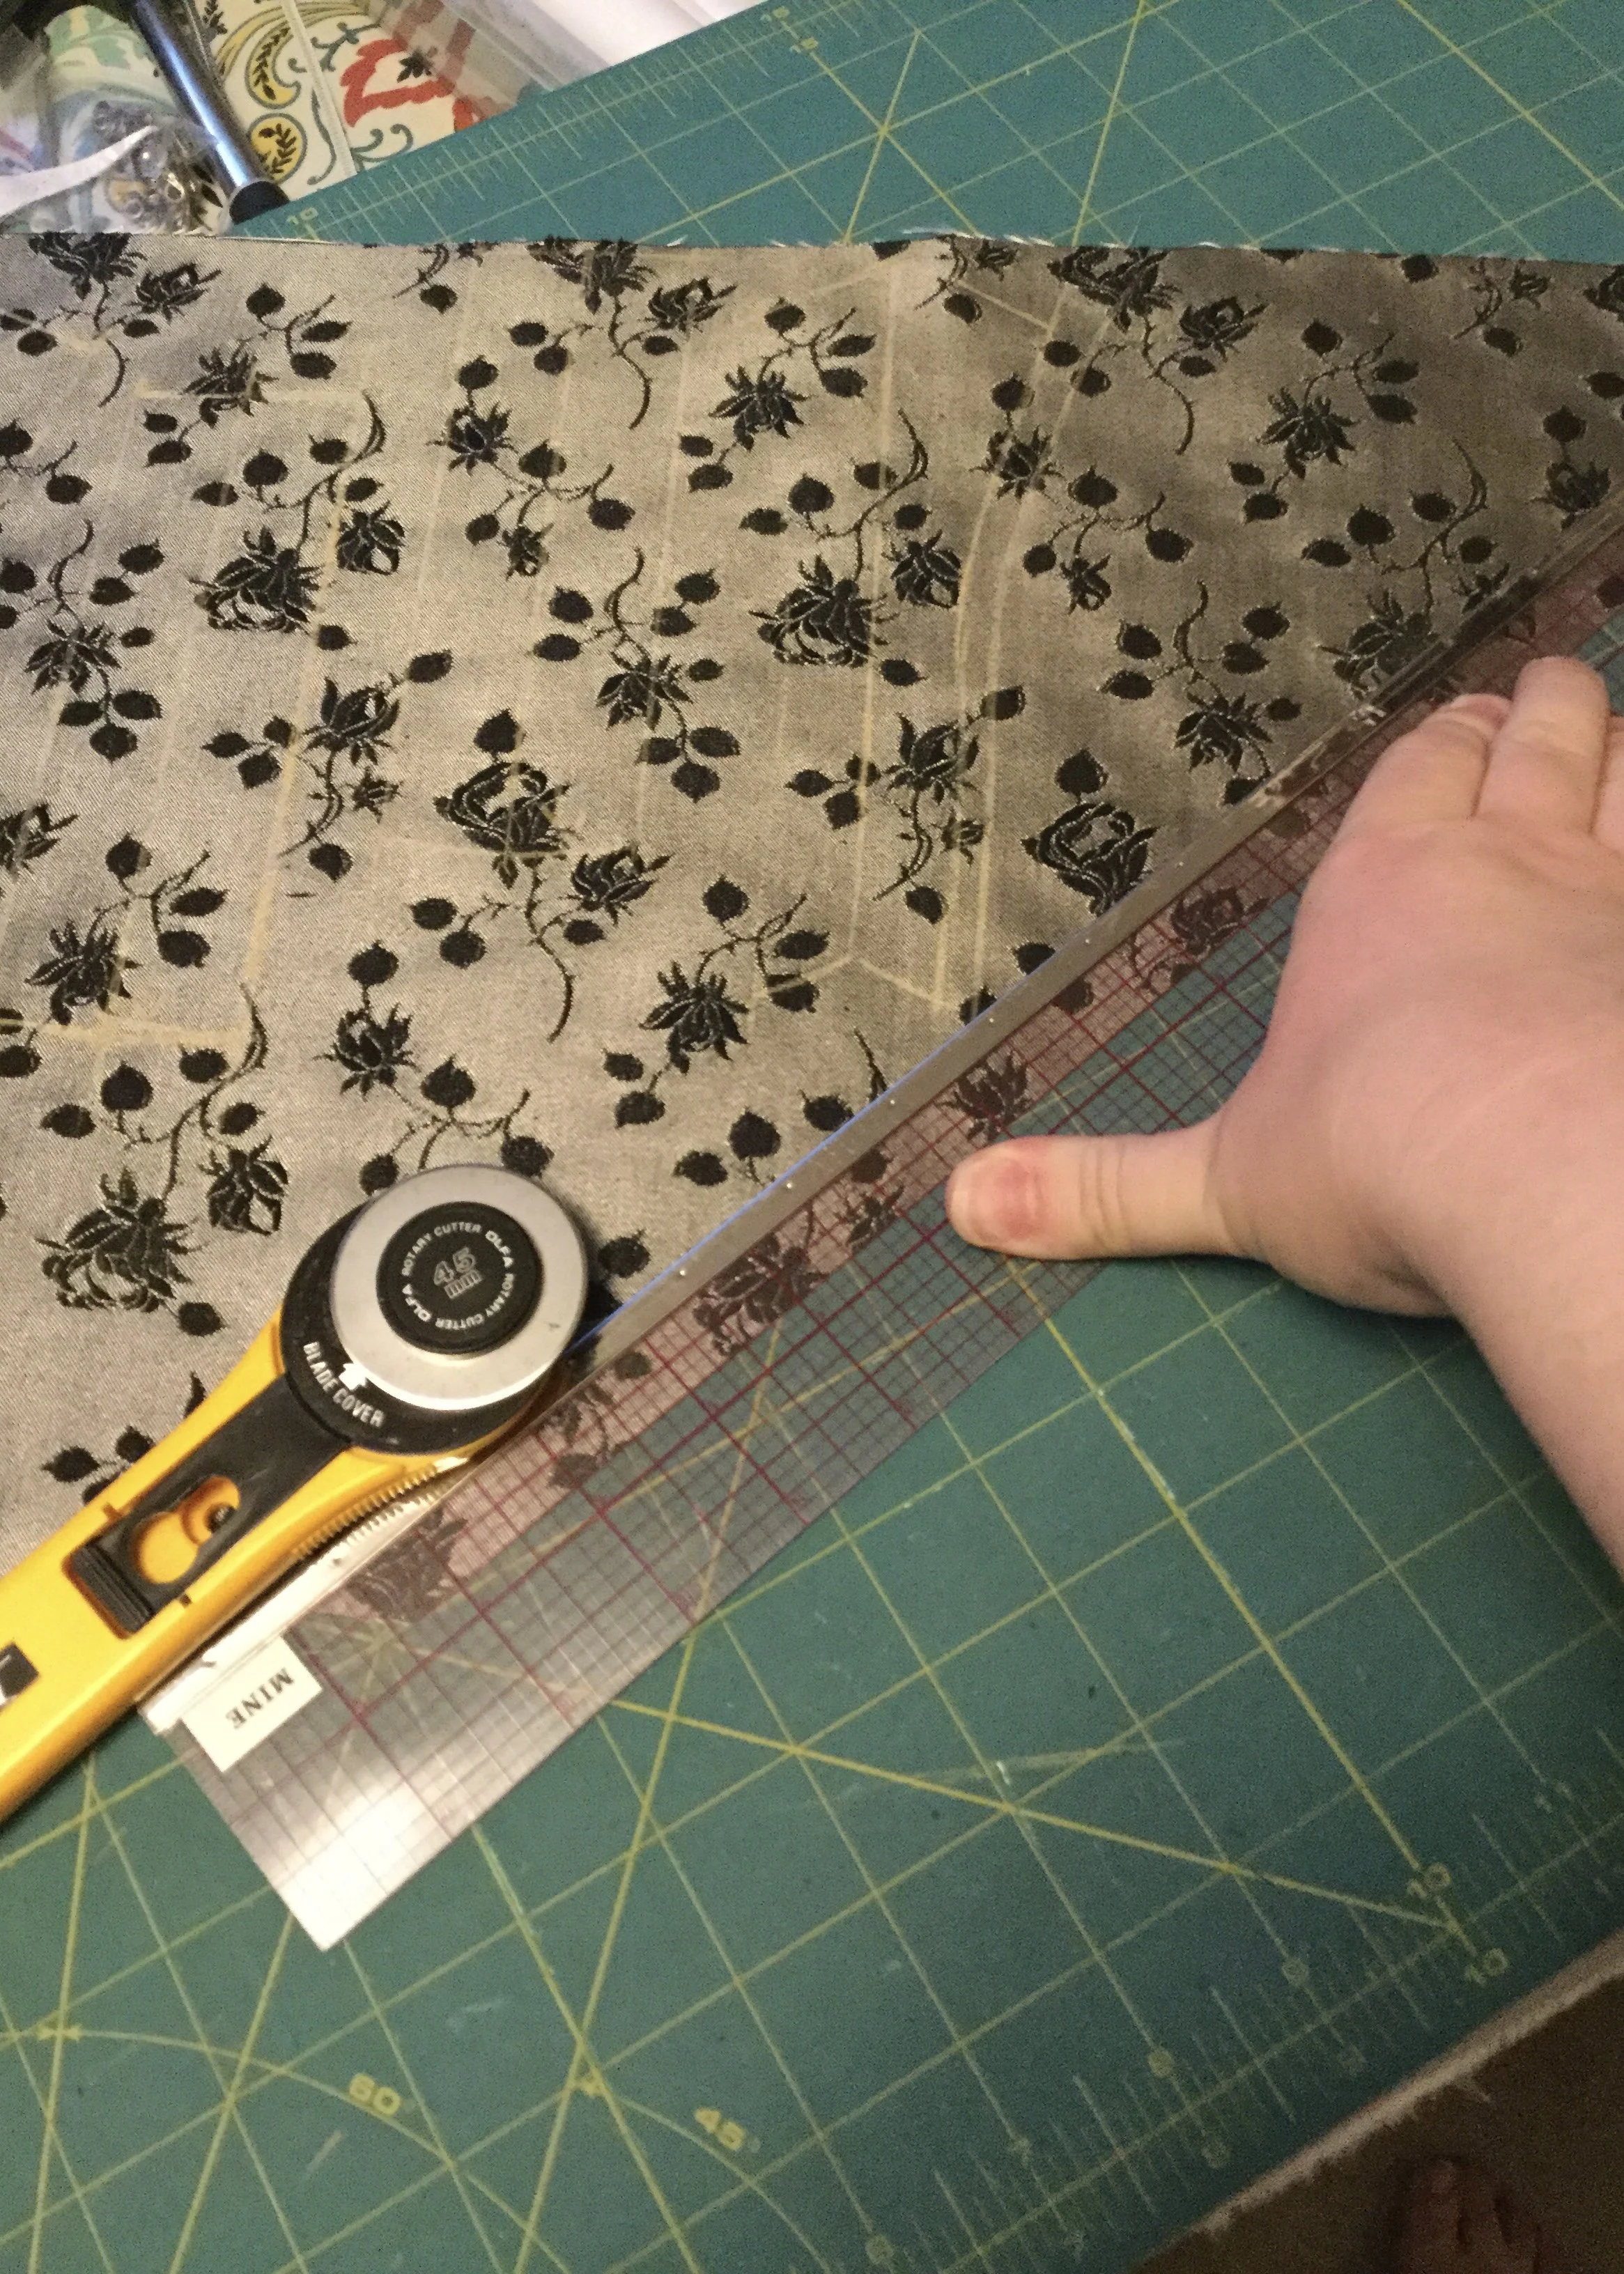
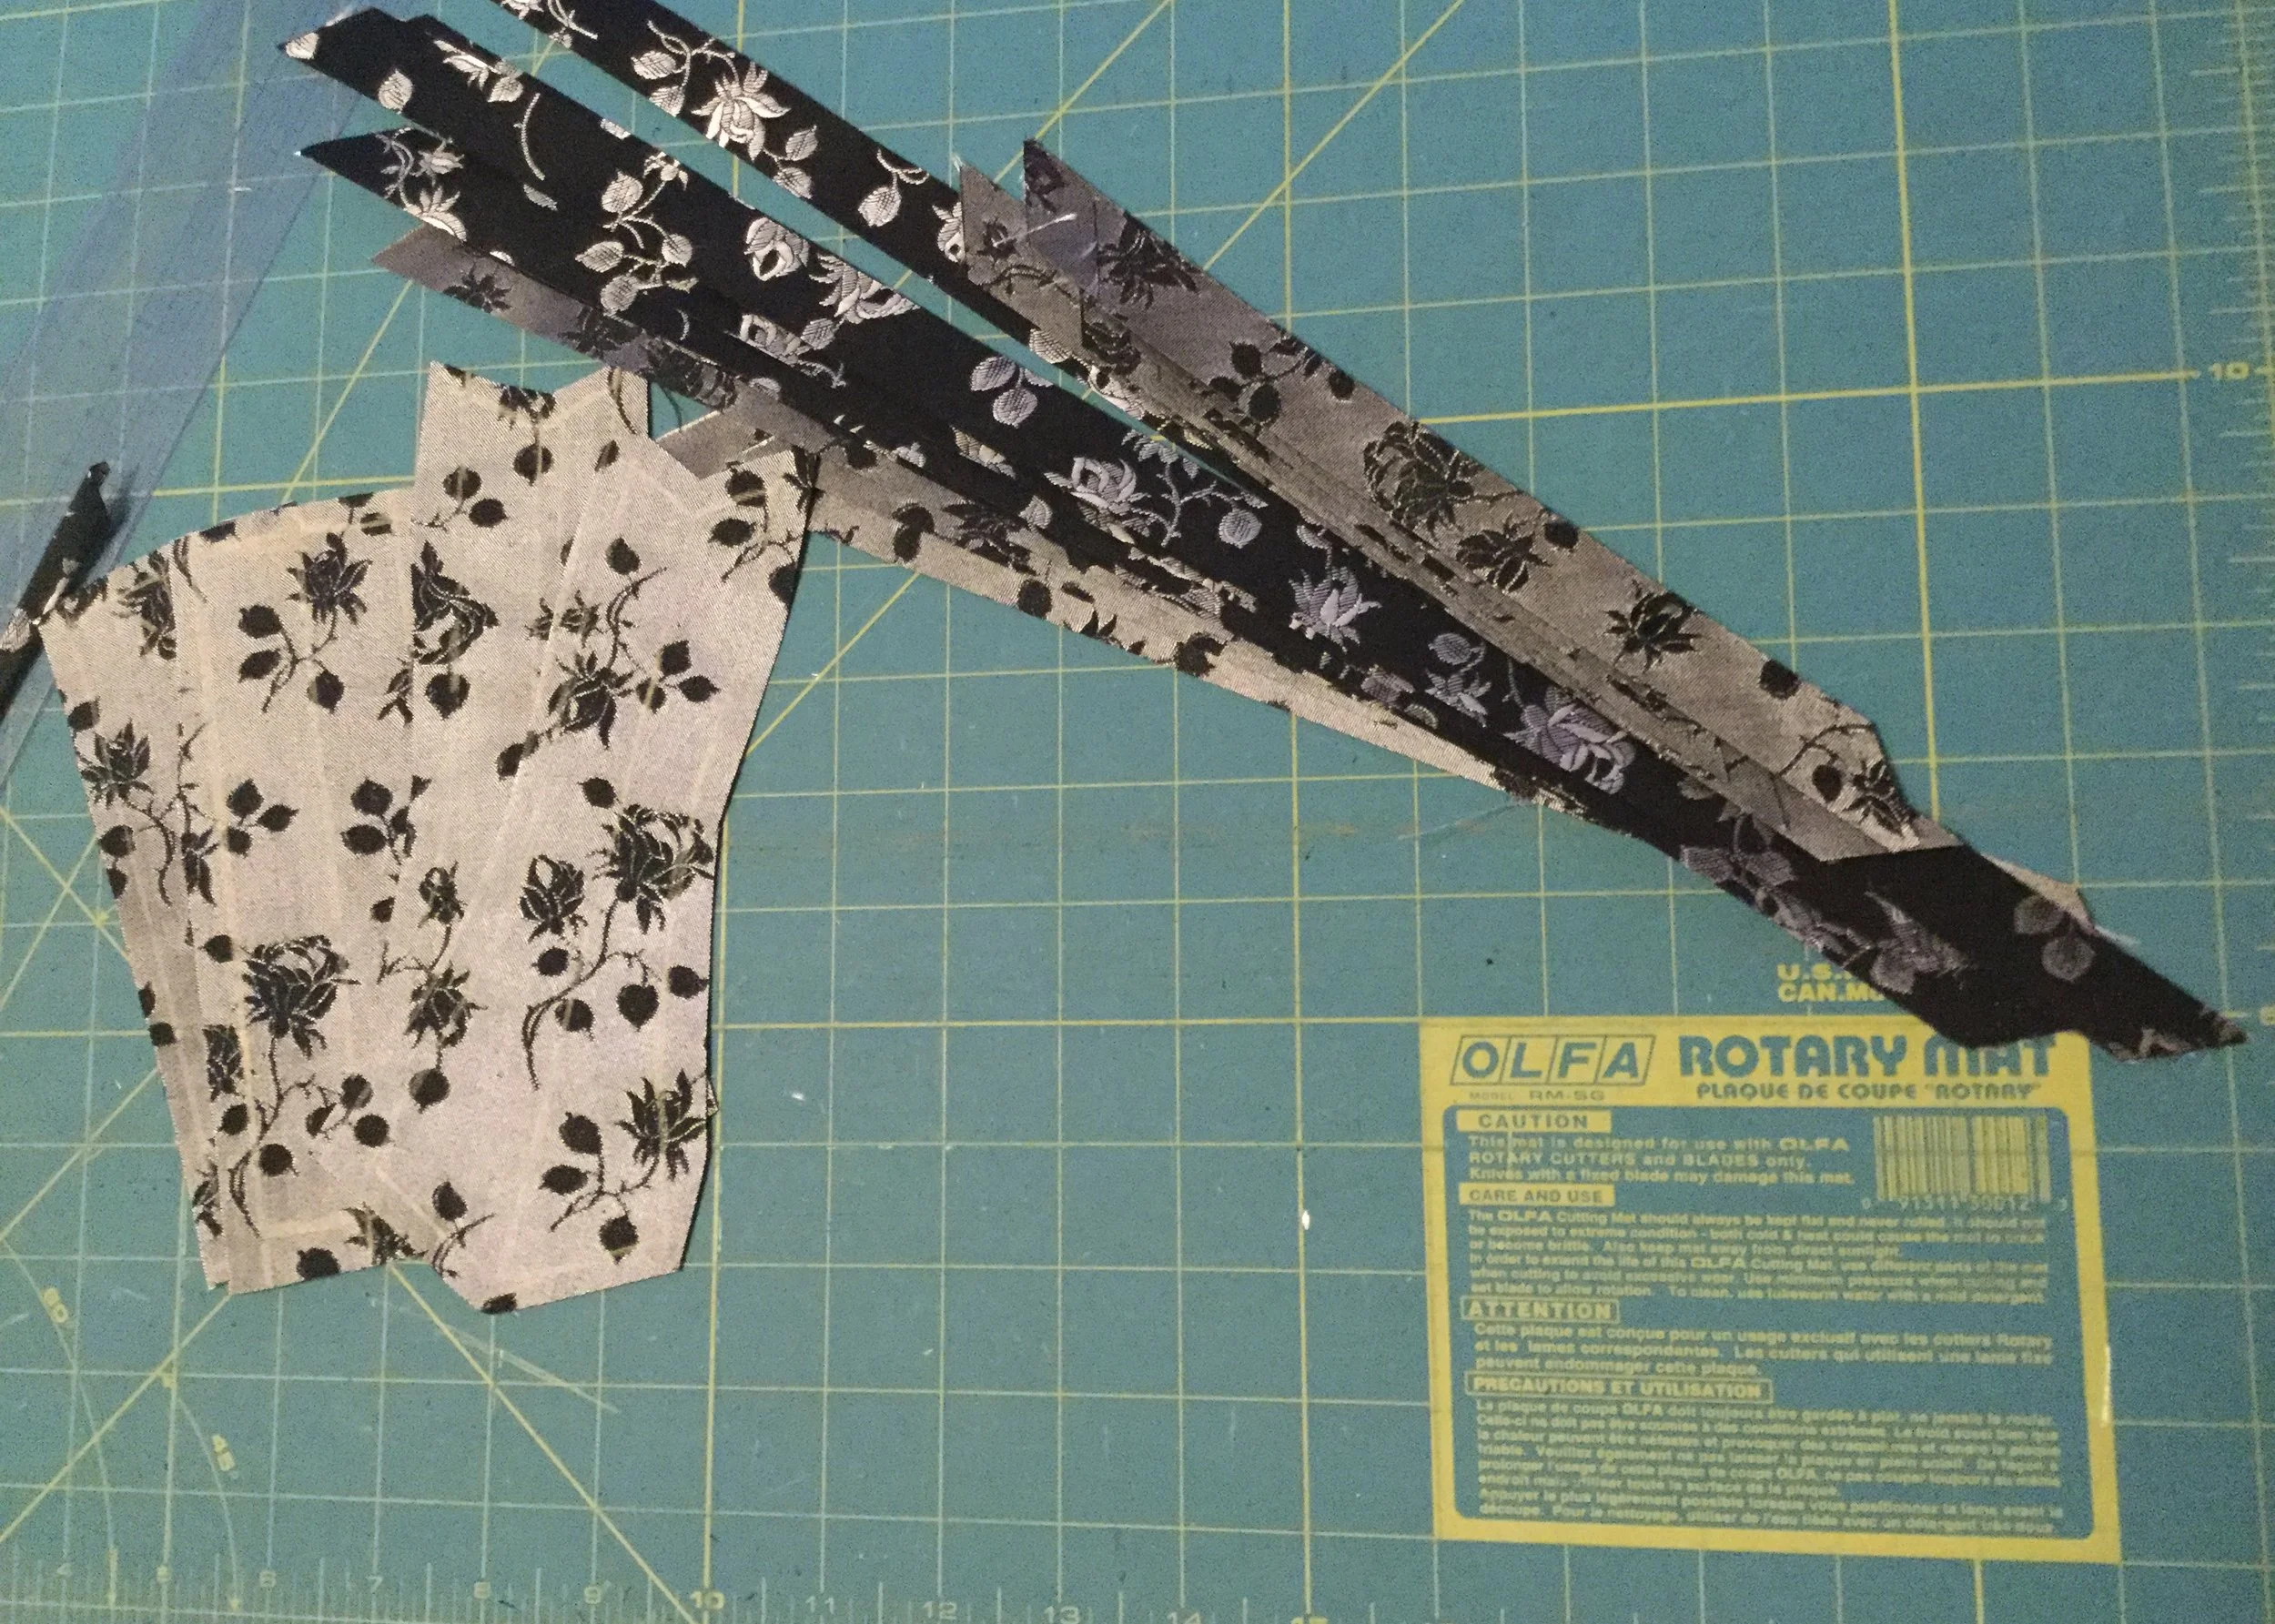
Cutting the front and back facings and bias for bone casings.
I traced off the front and back facings but before cutting them out, I cut my bias for the bone casings. I was a bit stingy with the seam allowance for the front and back facings which would give me a bit of grief later, but for the moment I had them cut and as much bias as I could get and if it wasn't enough...well, I'd cross that bridge when I came to it.
Fingers crossed!
With all the pieces cut, it was time to start putting the corset together!
