1880 Dress Part Two
Undah Pahnts!
With her new, more voluptuous figure, my little lady needs some new underwear. The emerging theme of this project is that I have made it more difficult for myself by not choosing a distinct moment in fashion history but rather aiming for something between two very distinct styles. I've been doing a lot of extrapolating what I think could be realistic with a heavy dose of “most people made their own underwear and did what they wanted with it” thrown in.
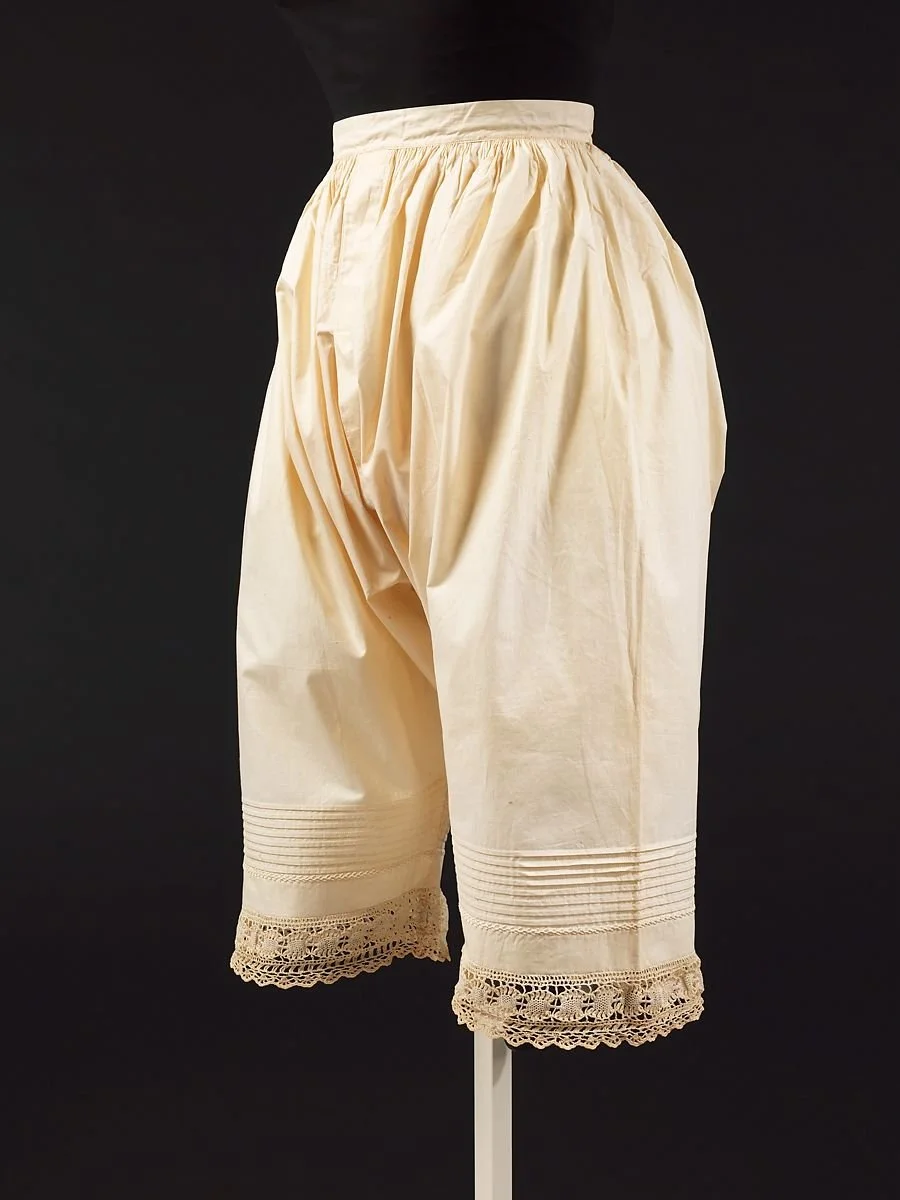
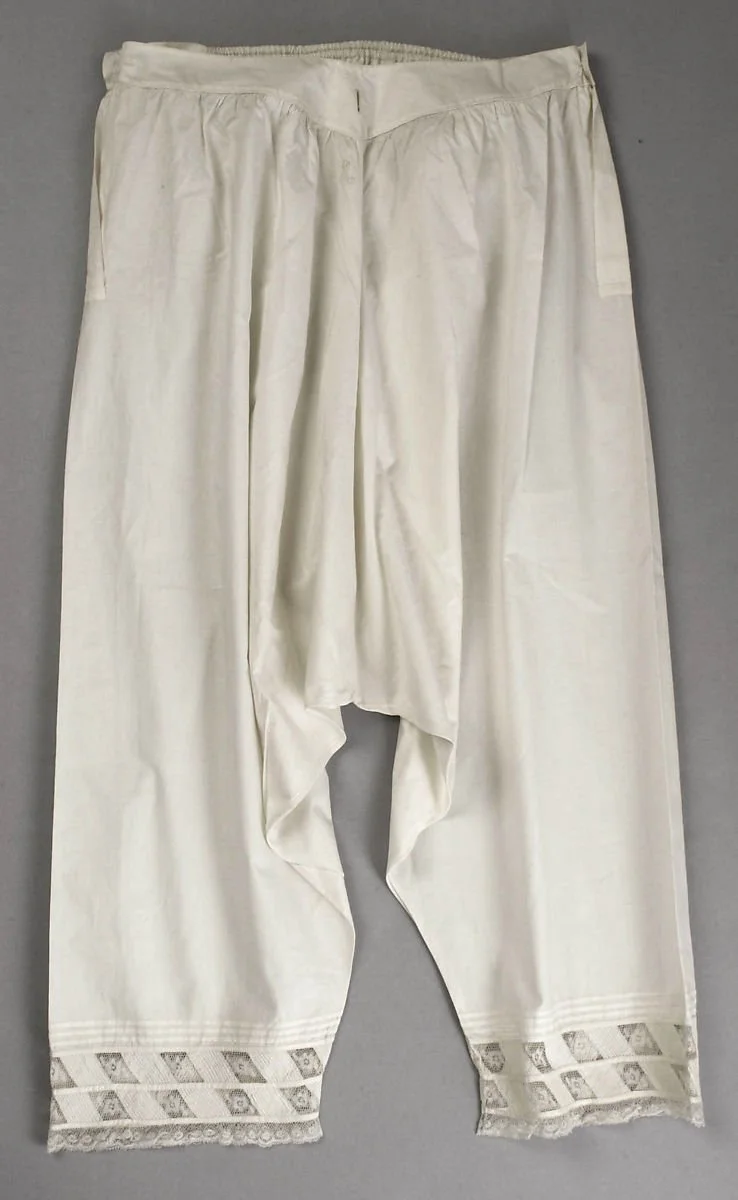
So, what can I know? Well, I know that by the beginning of the 1880's, drawers were commonly worn and had been for some time. They had become a little shorter than they had been earlier in the 1860s and 70s and were starting to incorporate a little more embellishment, such as lace frills, but were not yet as short and frothy as they would become by the 1890s and the turn of the century. From the examples I looked at, there is usually some gathering or at least some fullness around the hips and bum for comfort, but the legs would still be fairly straight and slim as the skirts of the late 1870s sat quite close to the body.
Drawers. 1876. Metropolitan Museum of Art Costume Institute, https://www.metmuseum.org/art/collection/search/158415?searchField=All&sortBy=Relevance&deptids=8&ft=1876+drawers&offset=0&rpp=80&pos=1
Drawers. 1880s. Metropolitan Museum of Art Costume Institute,https://www.metmuseum.org/art/collection/search/109205?searchField=All&sortBy=Relevance&deptids=8&ft=1880+underwear&offset=0&rpp=80&pos=17
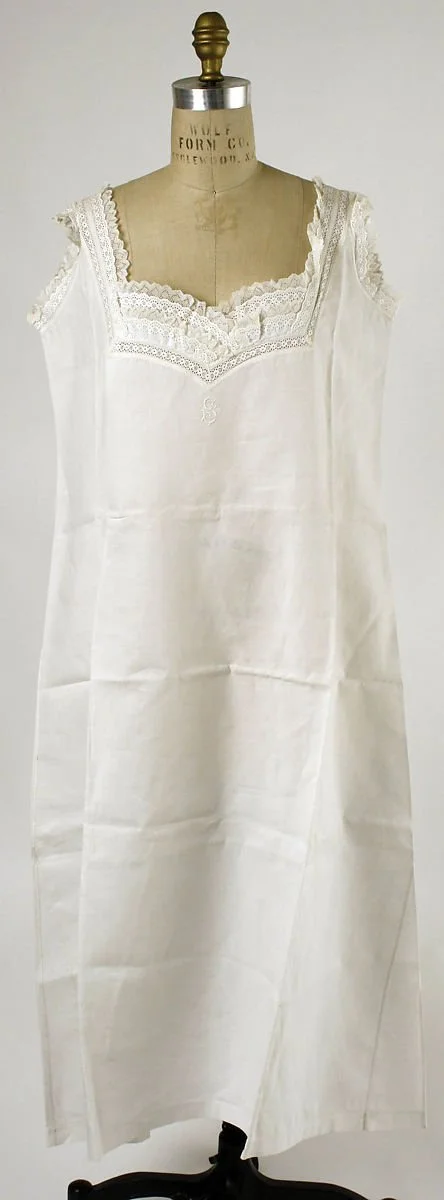
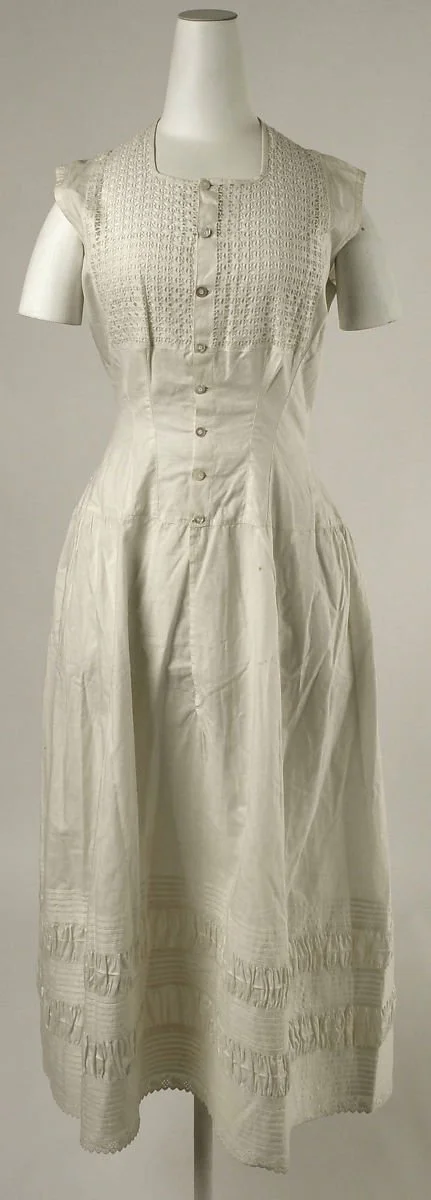
A chemise would also be worn and most of the examples I could find looked to be about calf or knee length. Like the drawers, lace and embroidery are common additions, but the garment overall is still somewhat restrained. Most of the chemises I found were fairly roomy, but I did find one which had been shaped with several darts around the body and I found references to chemises with shaping to reduce bulk under the corset. (Cunnington, 174)
Chemise. 1880s. Metropolitan Museum of Art Costume Institute, https://www.metmuseum.org/art/collection/search/101162?searchField=All&sortBy=Relevance&deptids=8&ft=1880+underwear&offset=0&rpp=80&pos=10
Chemise. late 1880s. Metropolitan Museum of Art Costume Institute, https://www.metmuseum.org/art/collection/search/109237?searchField=All&sortBy=Relevance&deptids=8&ft=1880+underwear&offset=0&rpp=80&pos=8
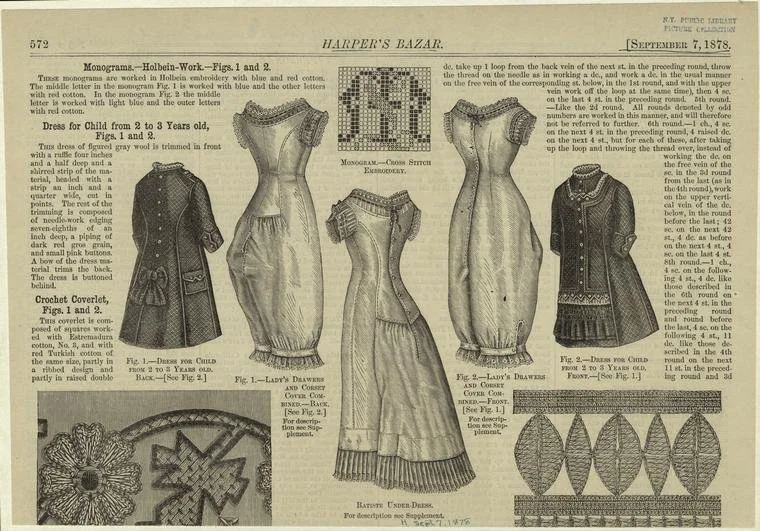
By this time combinations, a garment which combined the chemise and drawers into one piece as the name would suggest, were also being worn, often with the goal of further reducing bulk and interference with the desired long, straight line of the gowns (Cunnington, 176).
Dresses and Underwear for Women and Children, 19th Century. 1978. Harper’s Bazaar, New York Public Library Digital Collections,https://digitalcollections.nypl.org/items/510d47e1-1ebb-a3d9-e040-e00a18064a99
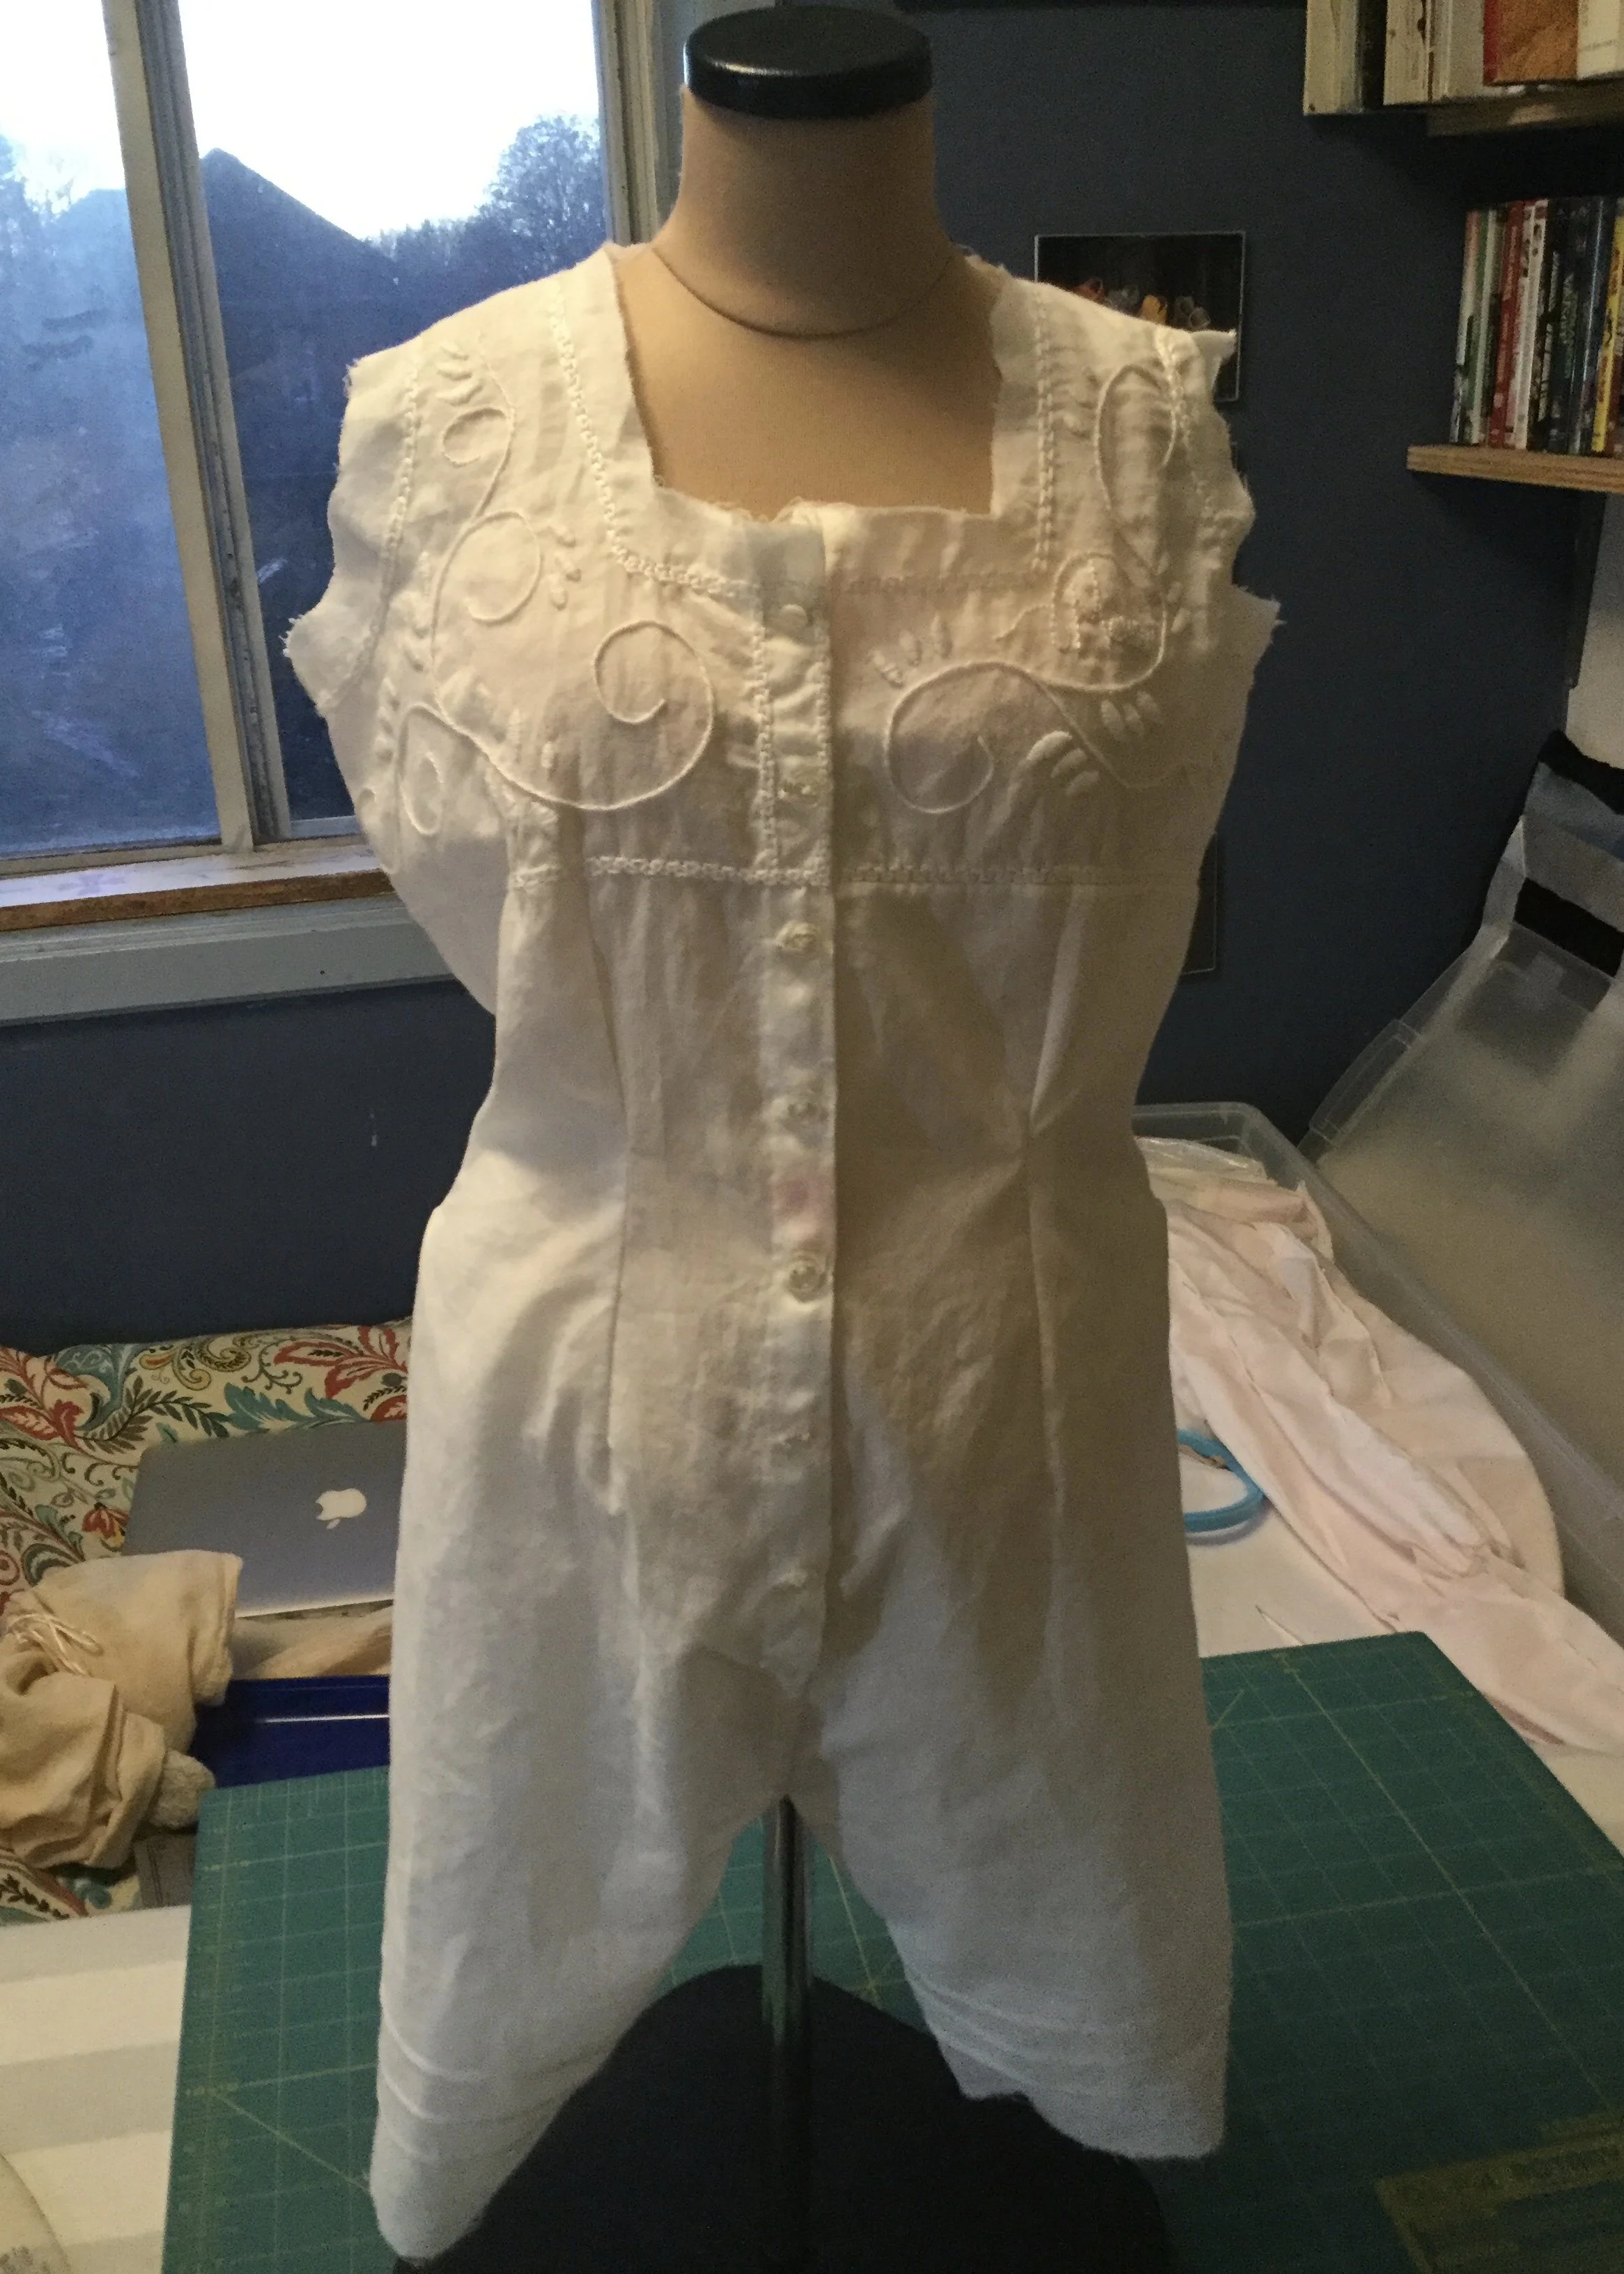
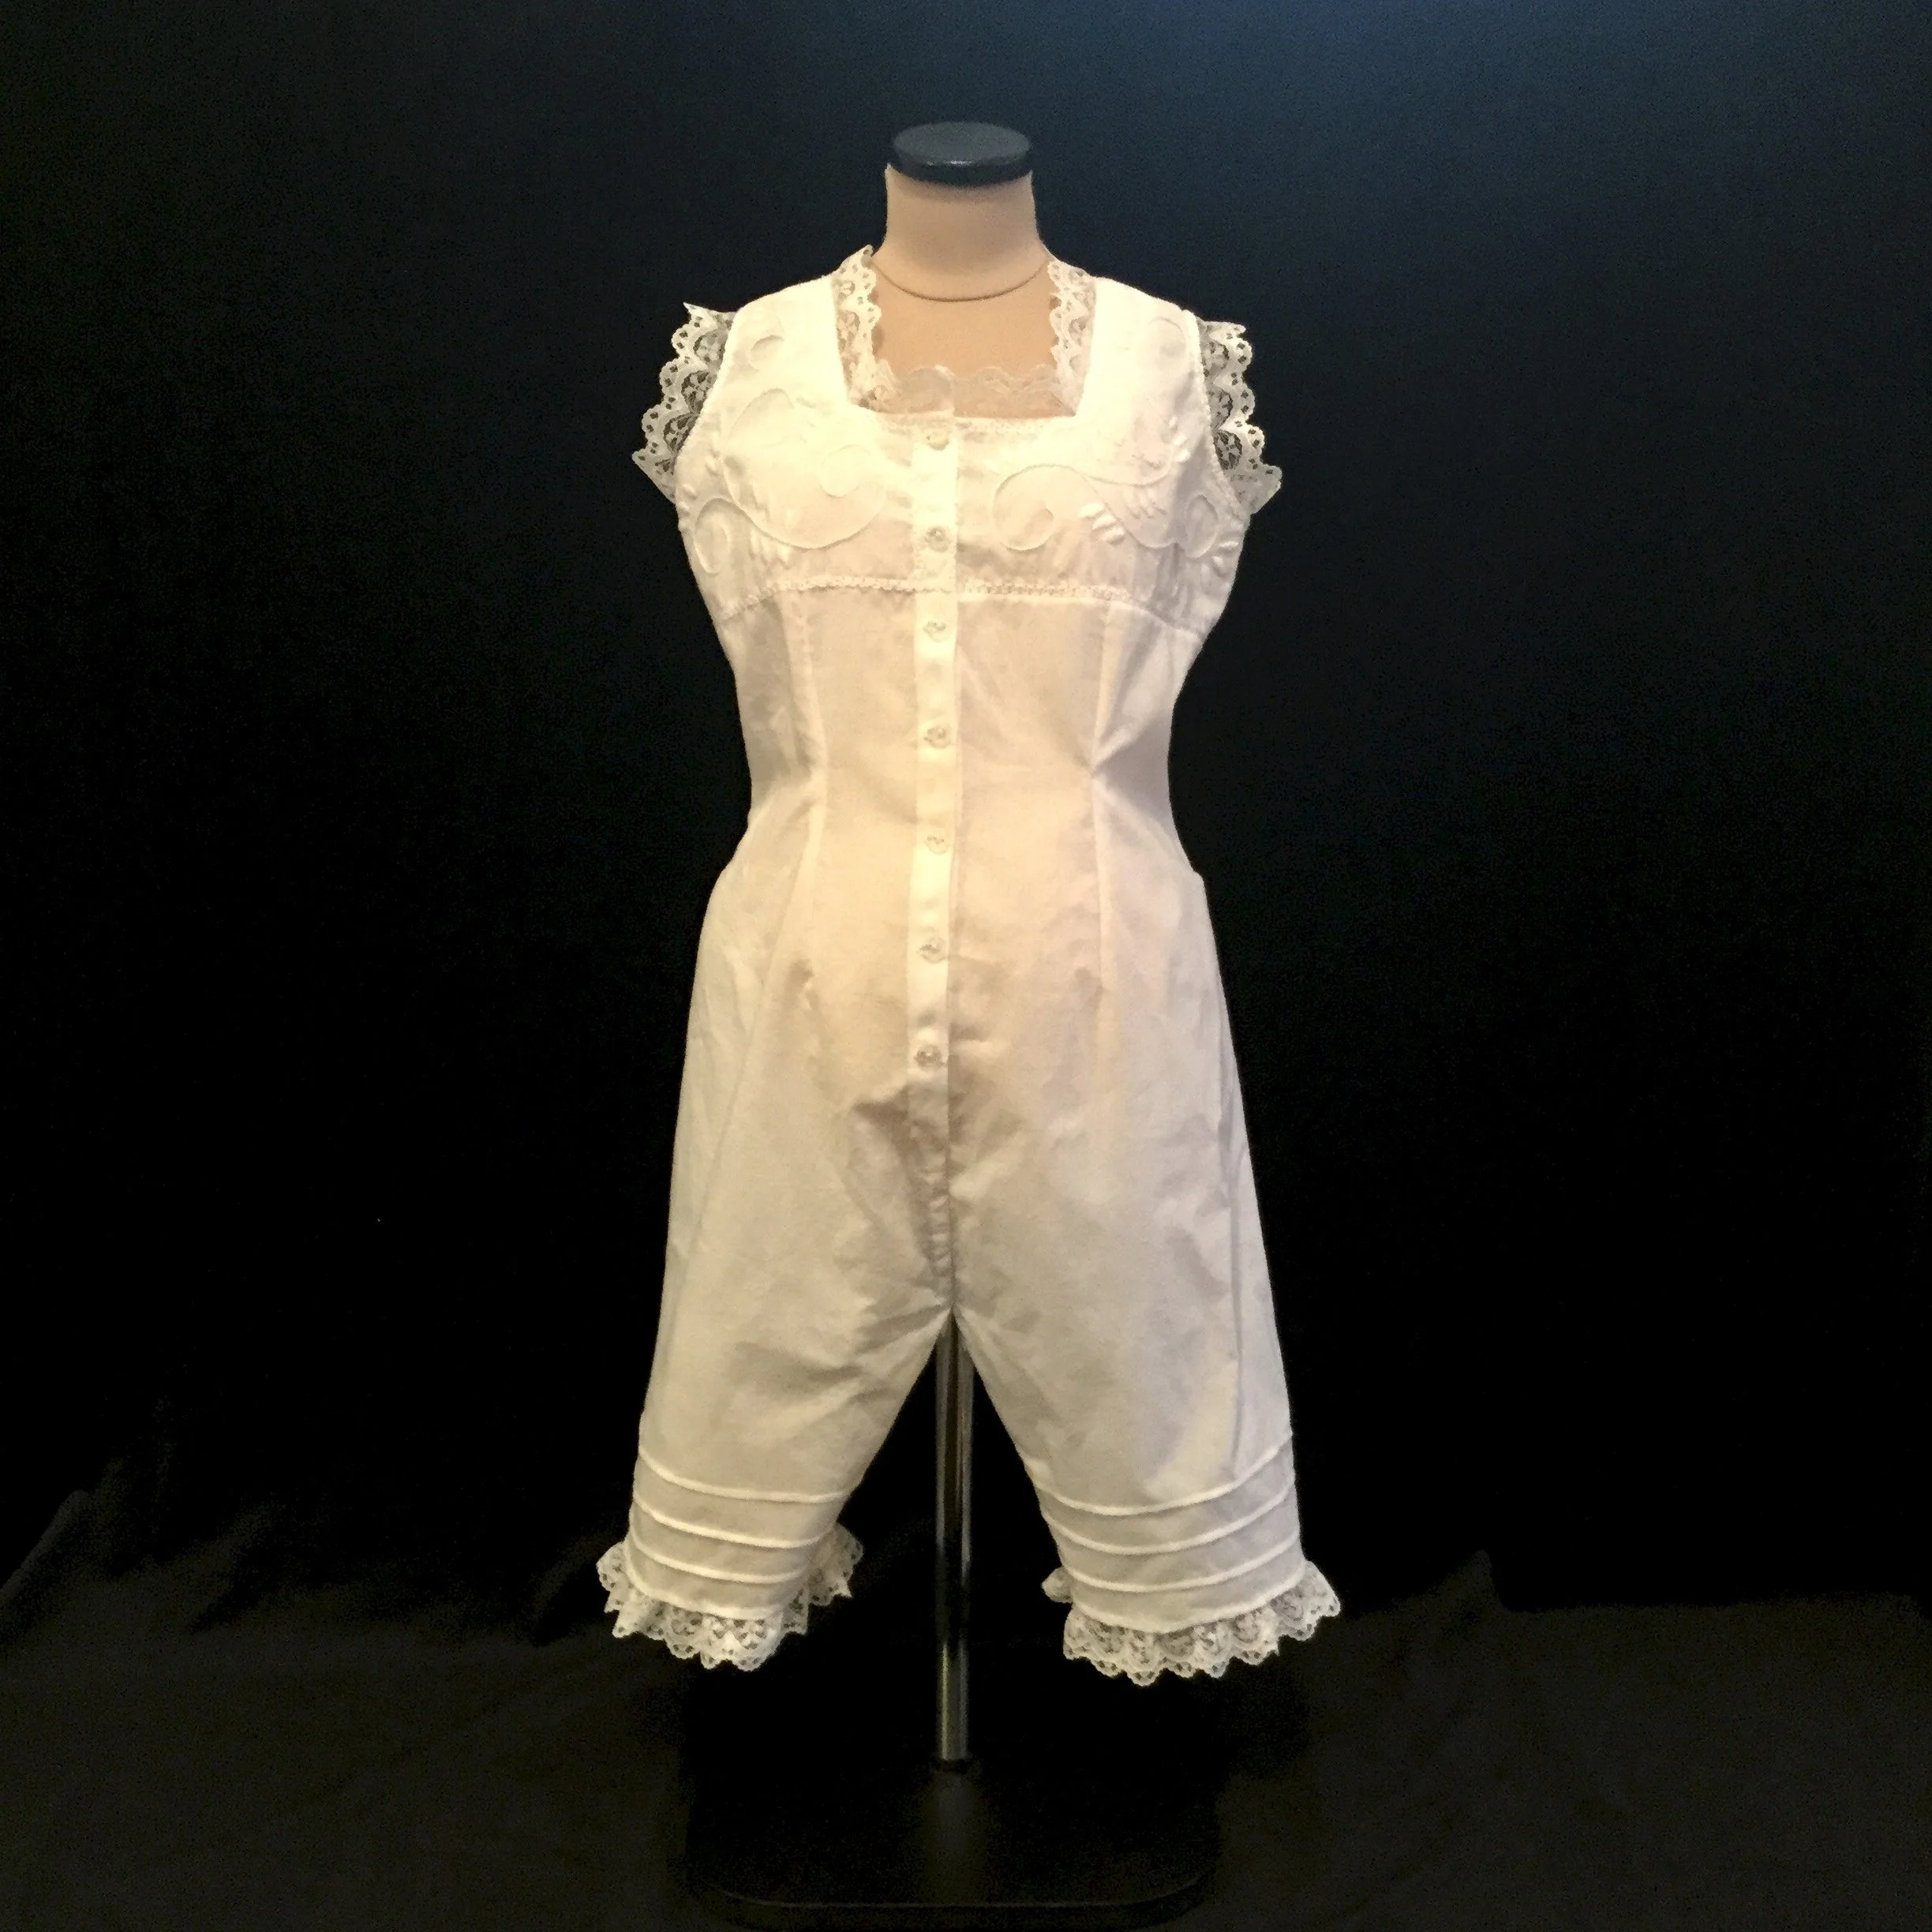
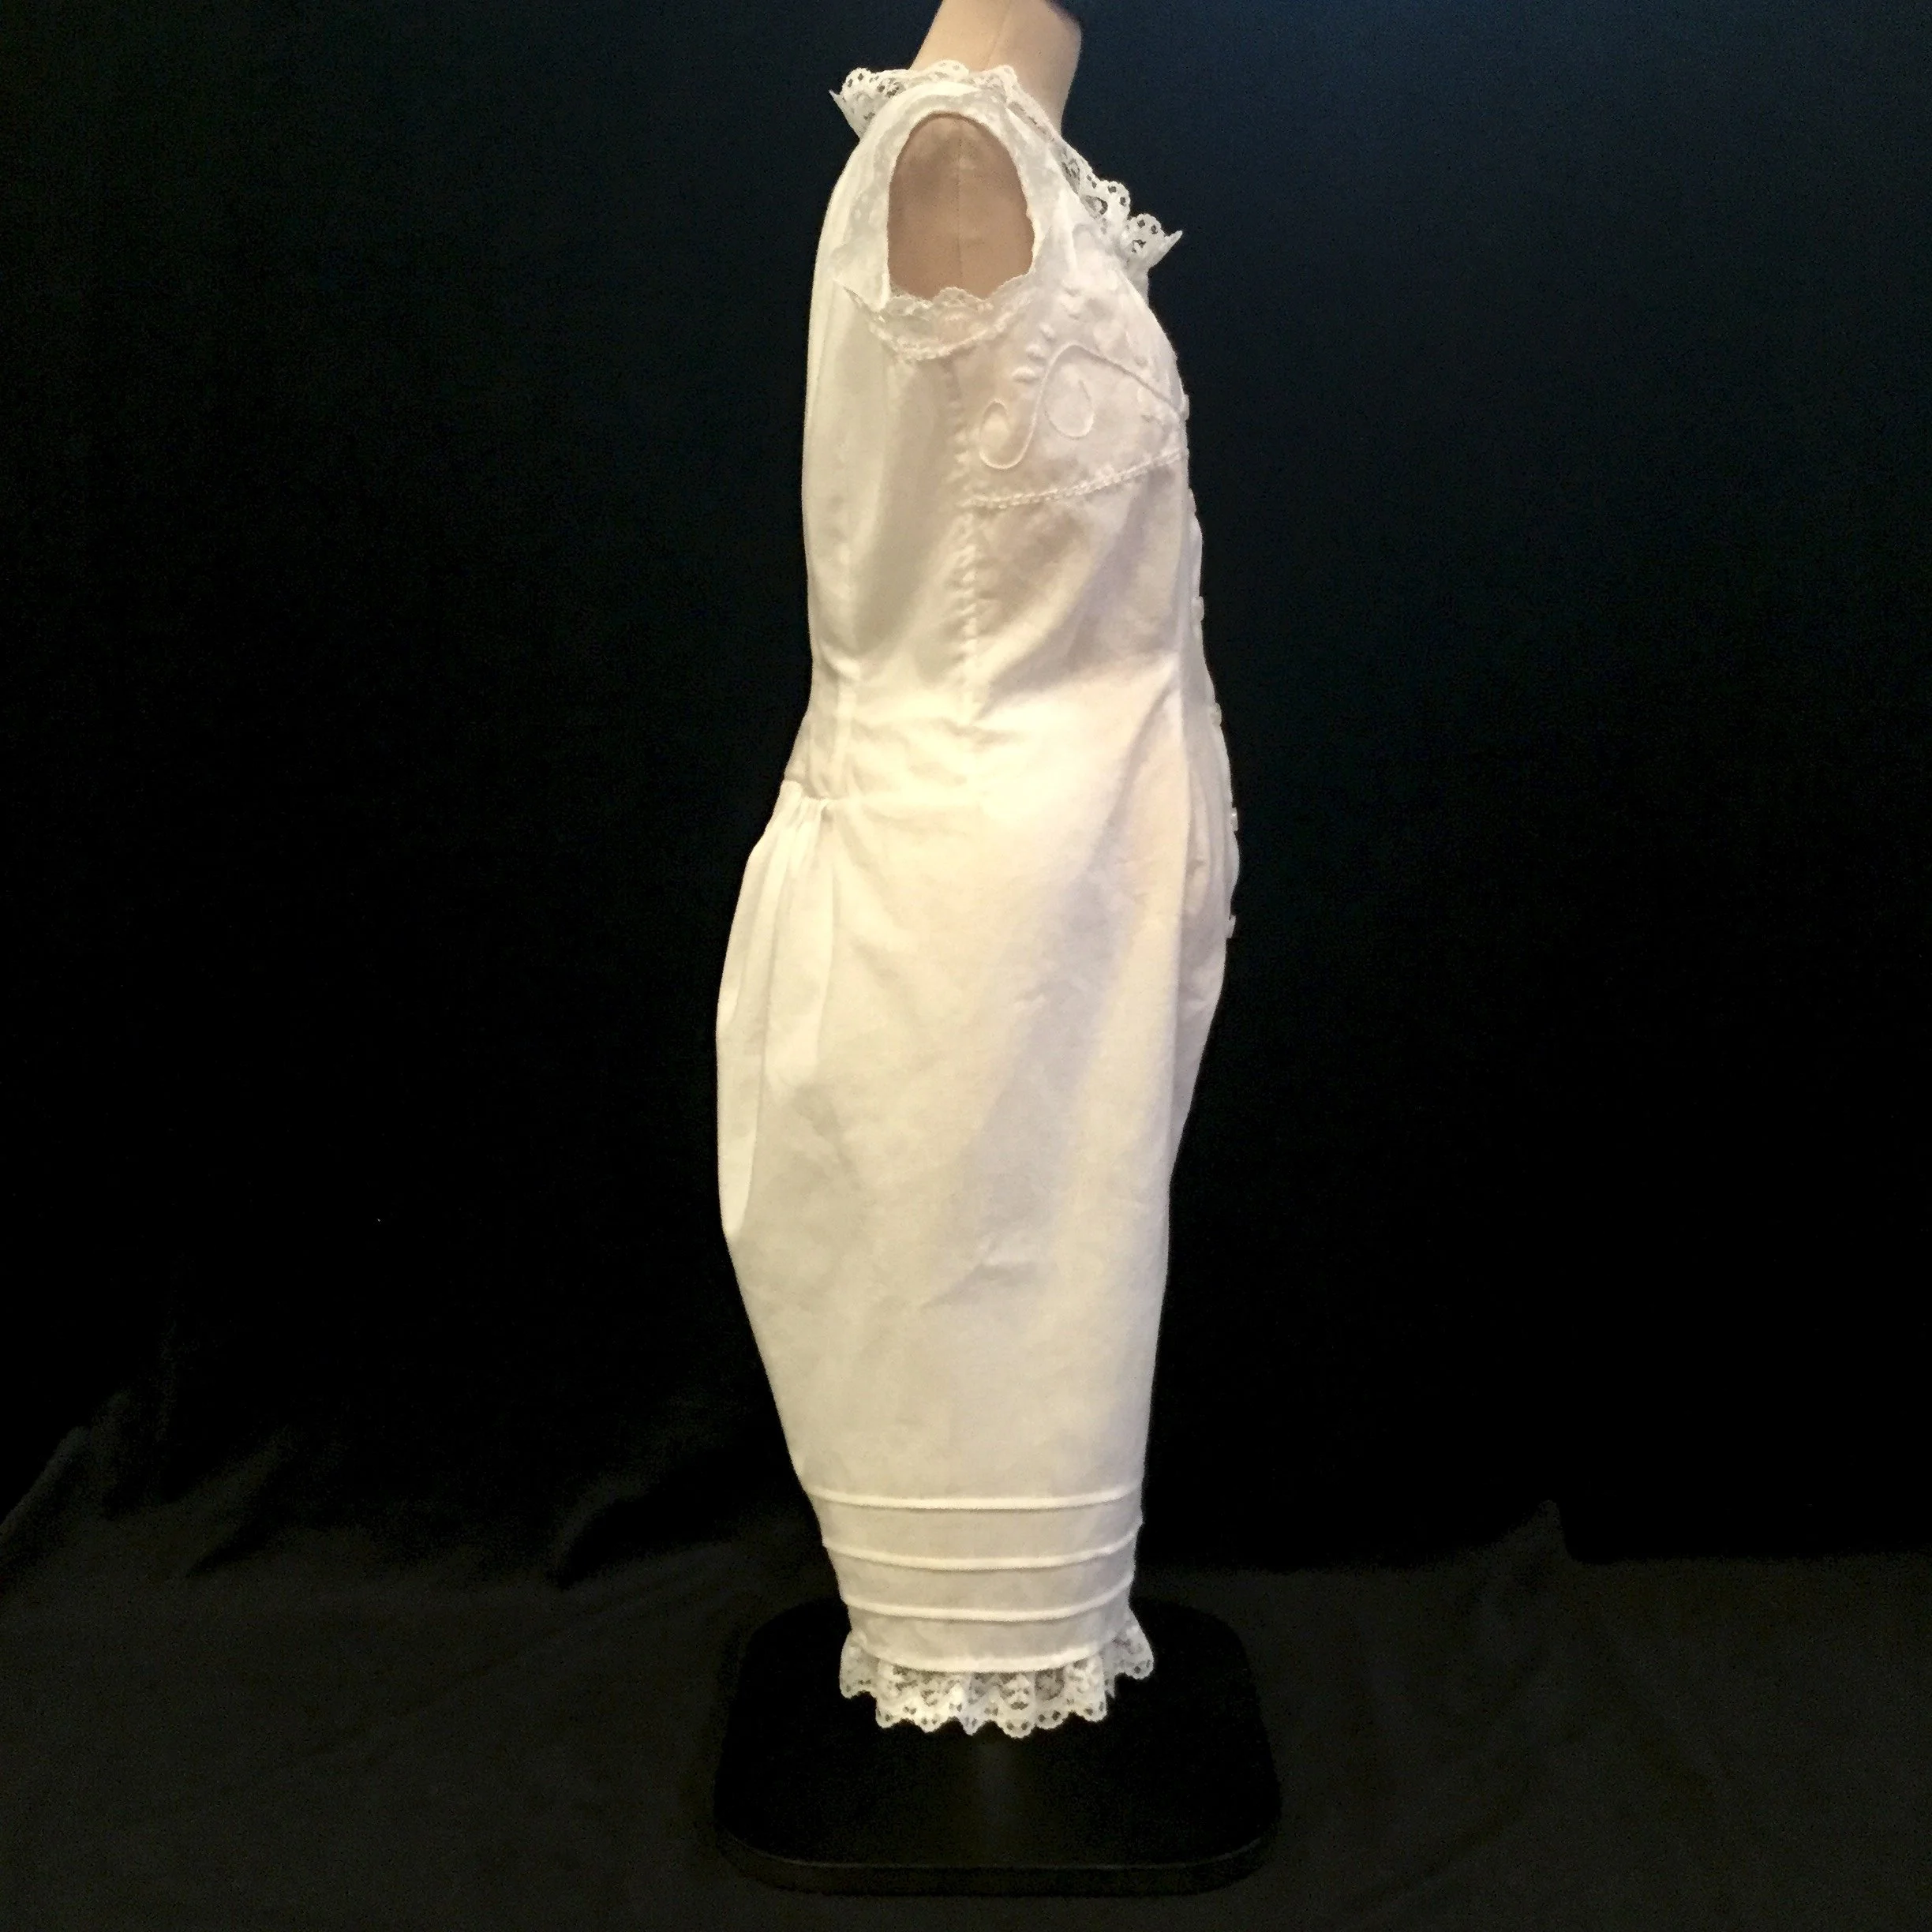
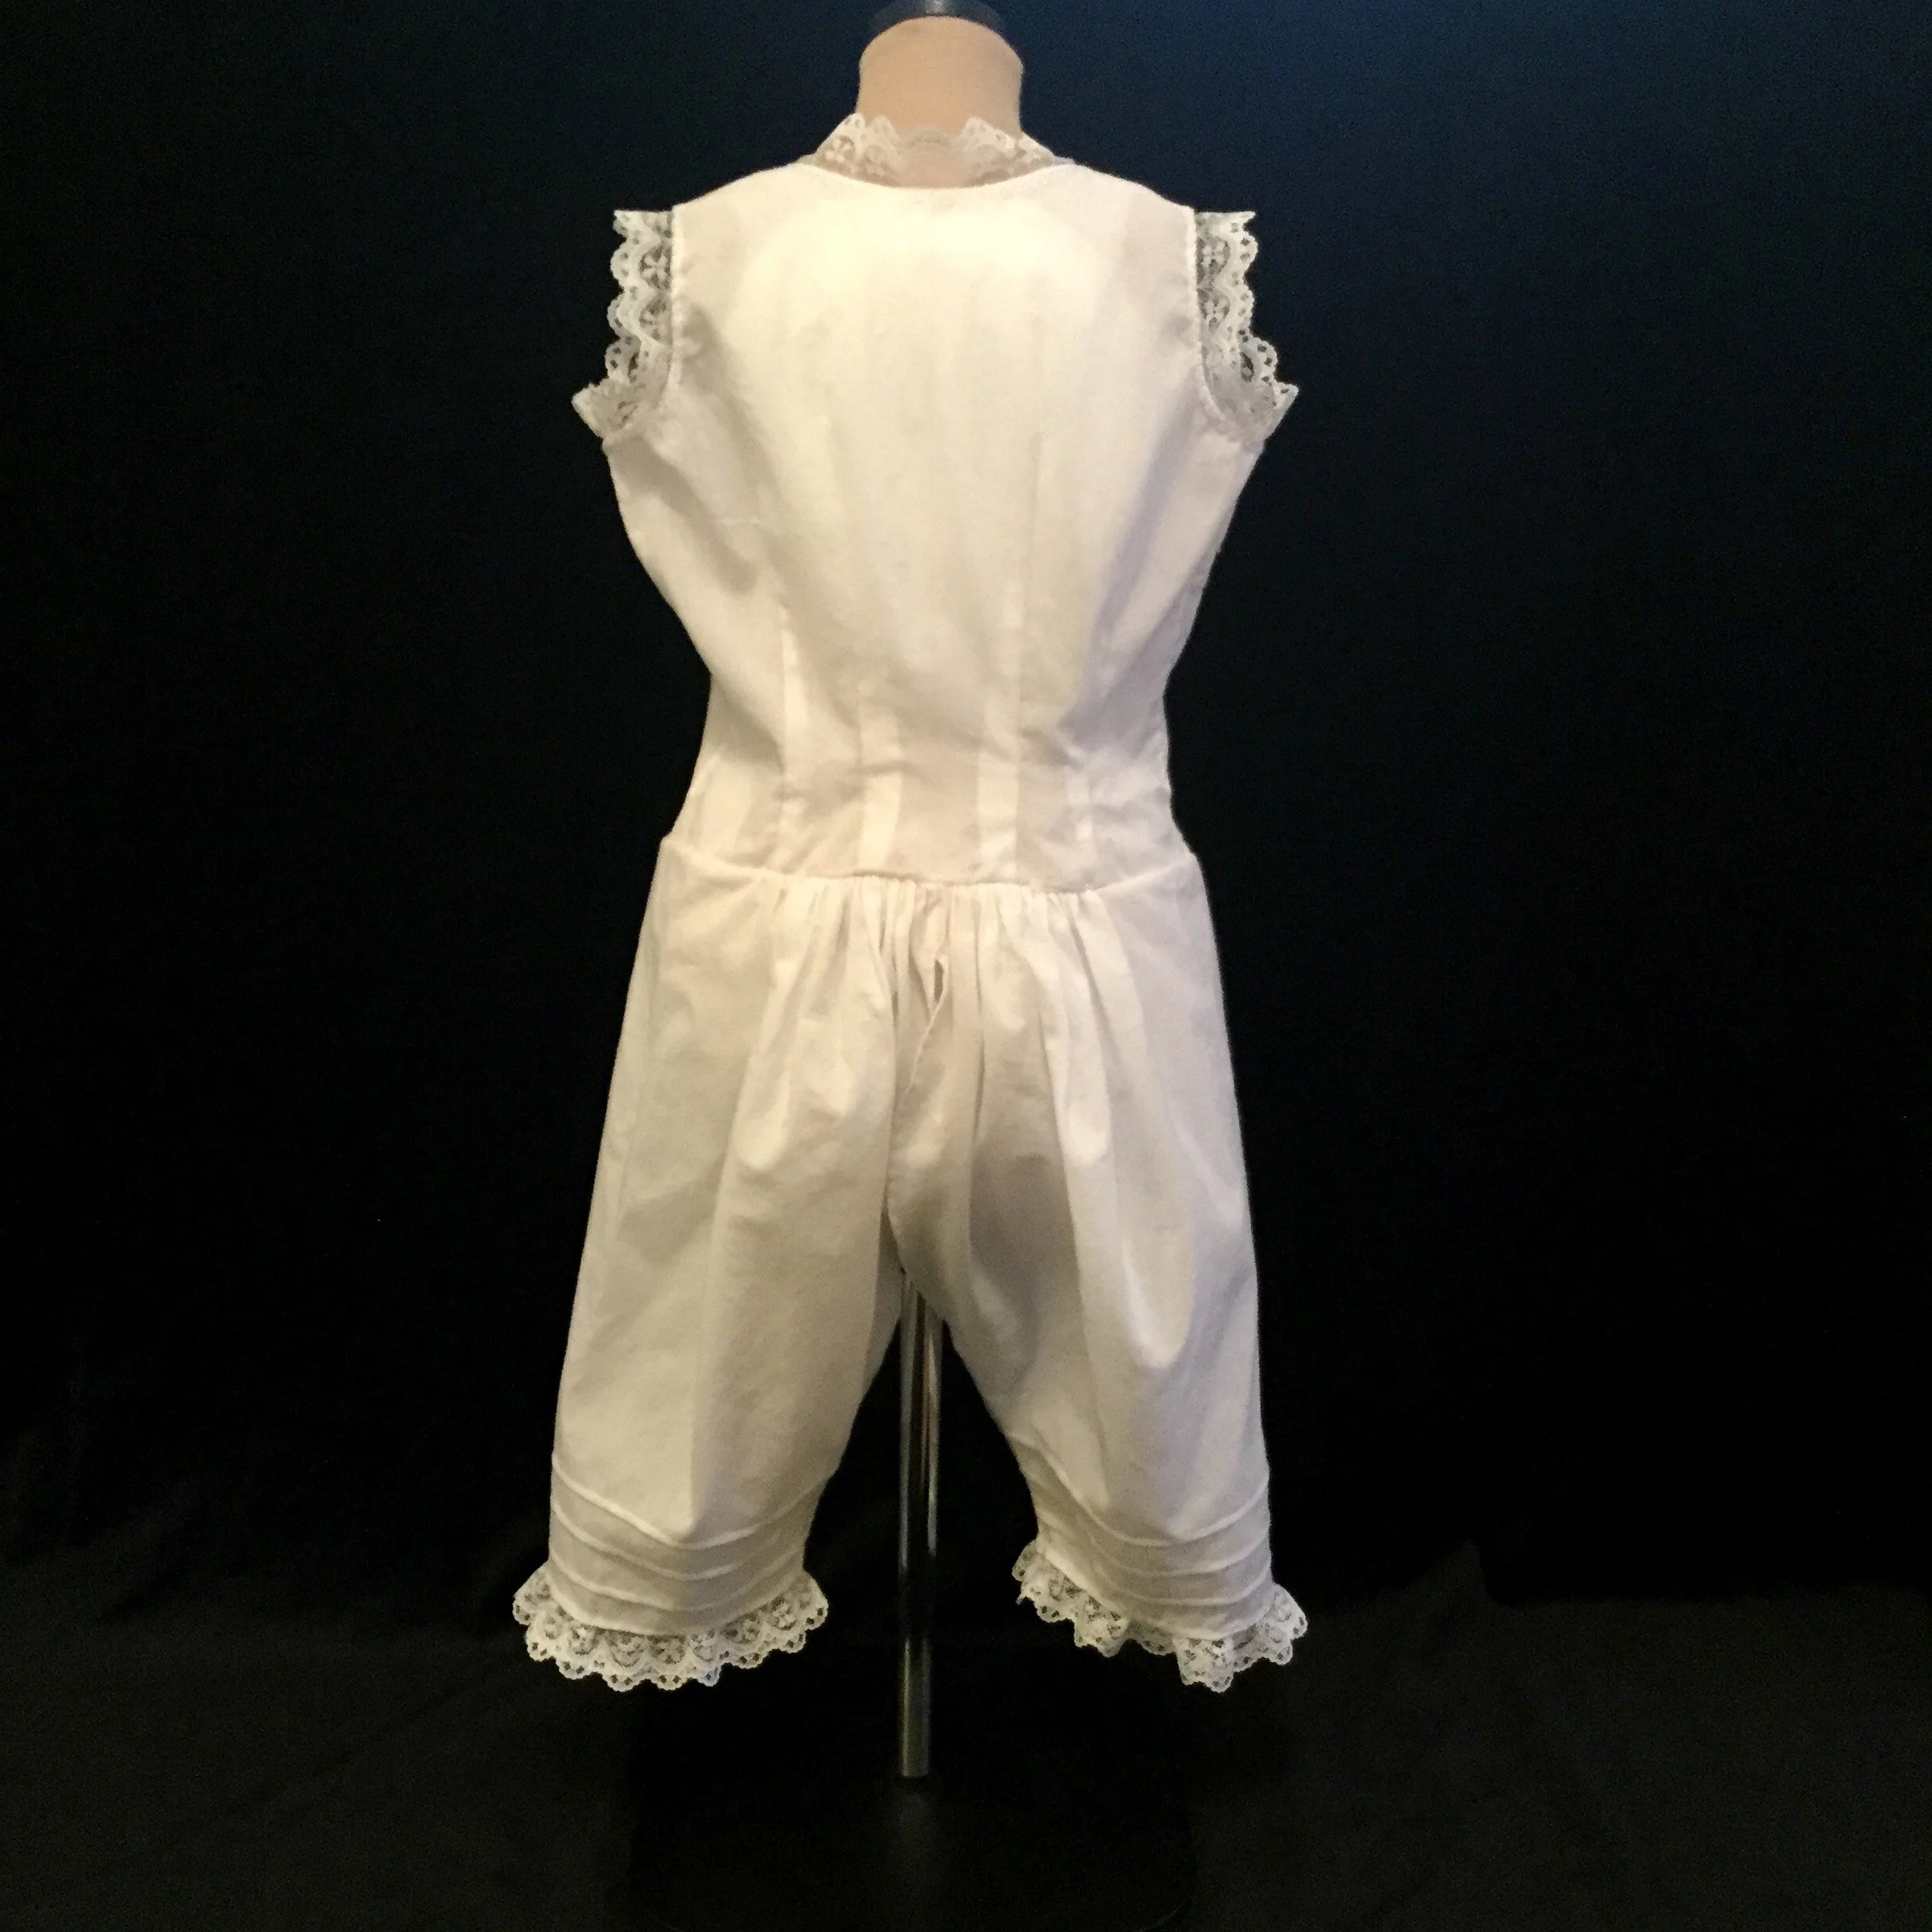
For my project, I wanted to make a pair of combinations. Not for any particular reason other than that I just wanted to. The plan evolved a little over the course of the build, but my aim was to make something which was fairly simple without a lot of embellishment but which still had a little floof (I can't resist floof entirely, that would just be too sad).
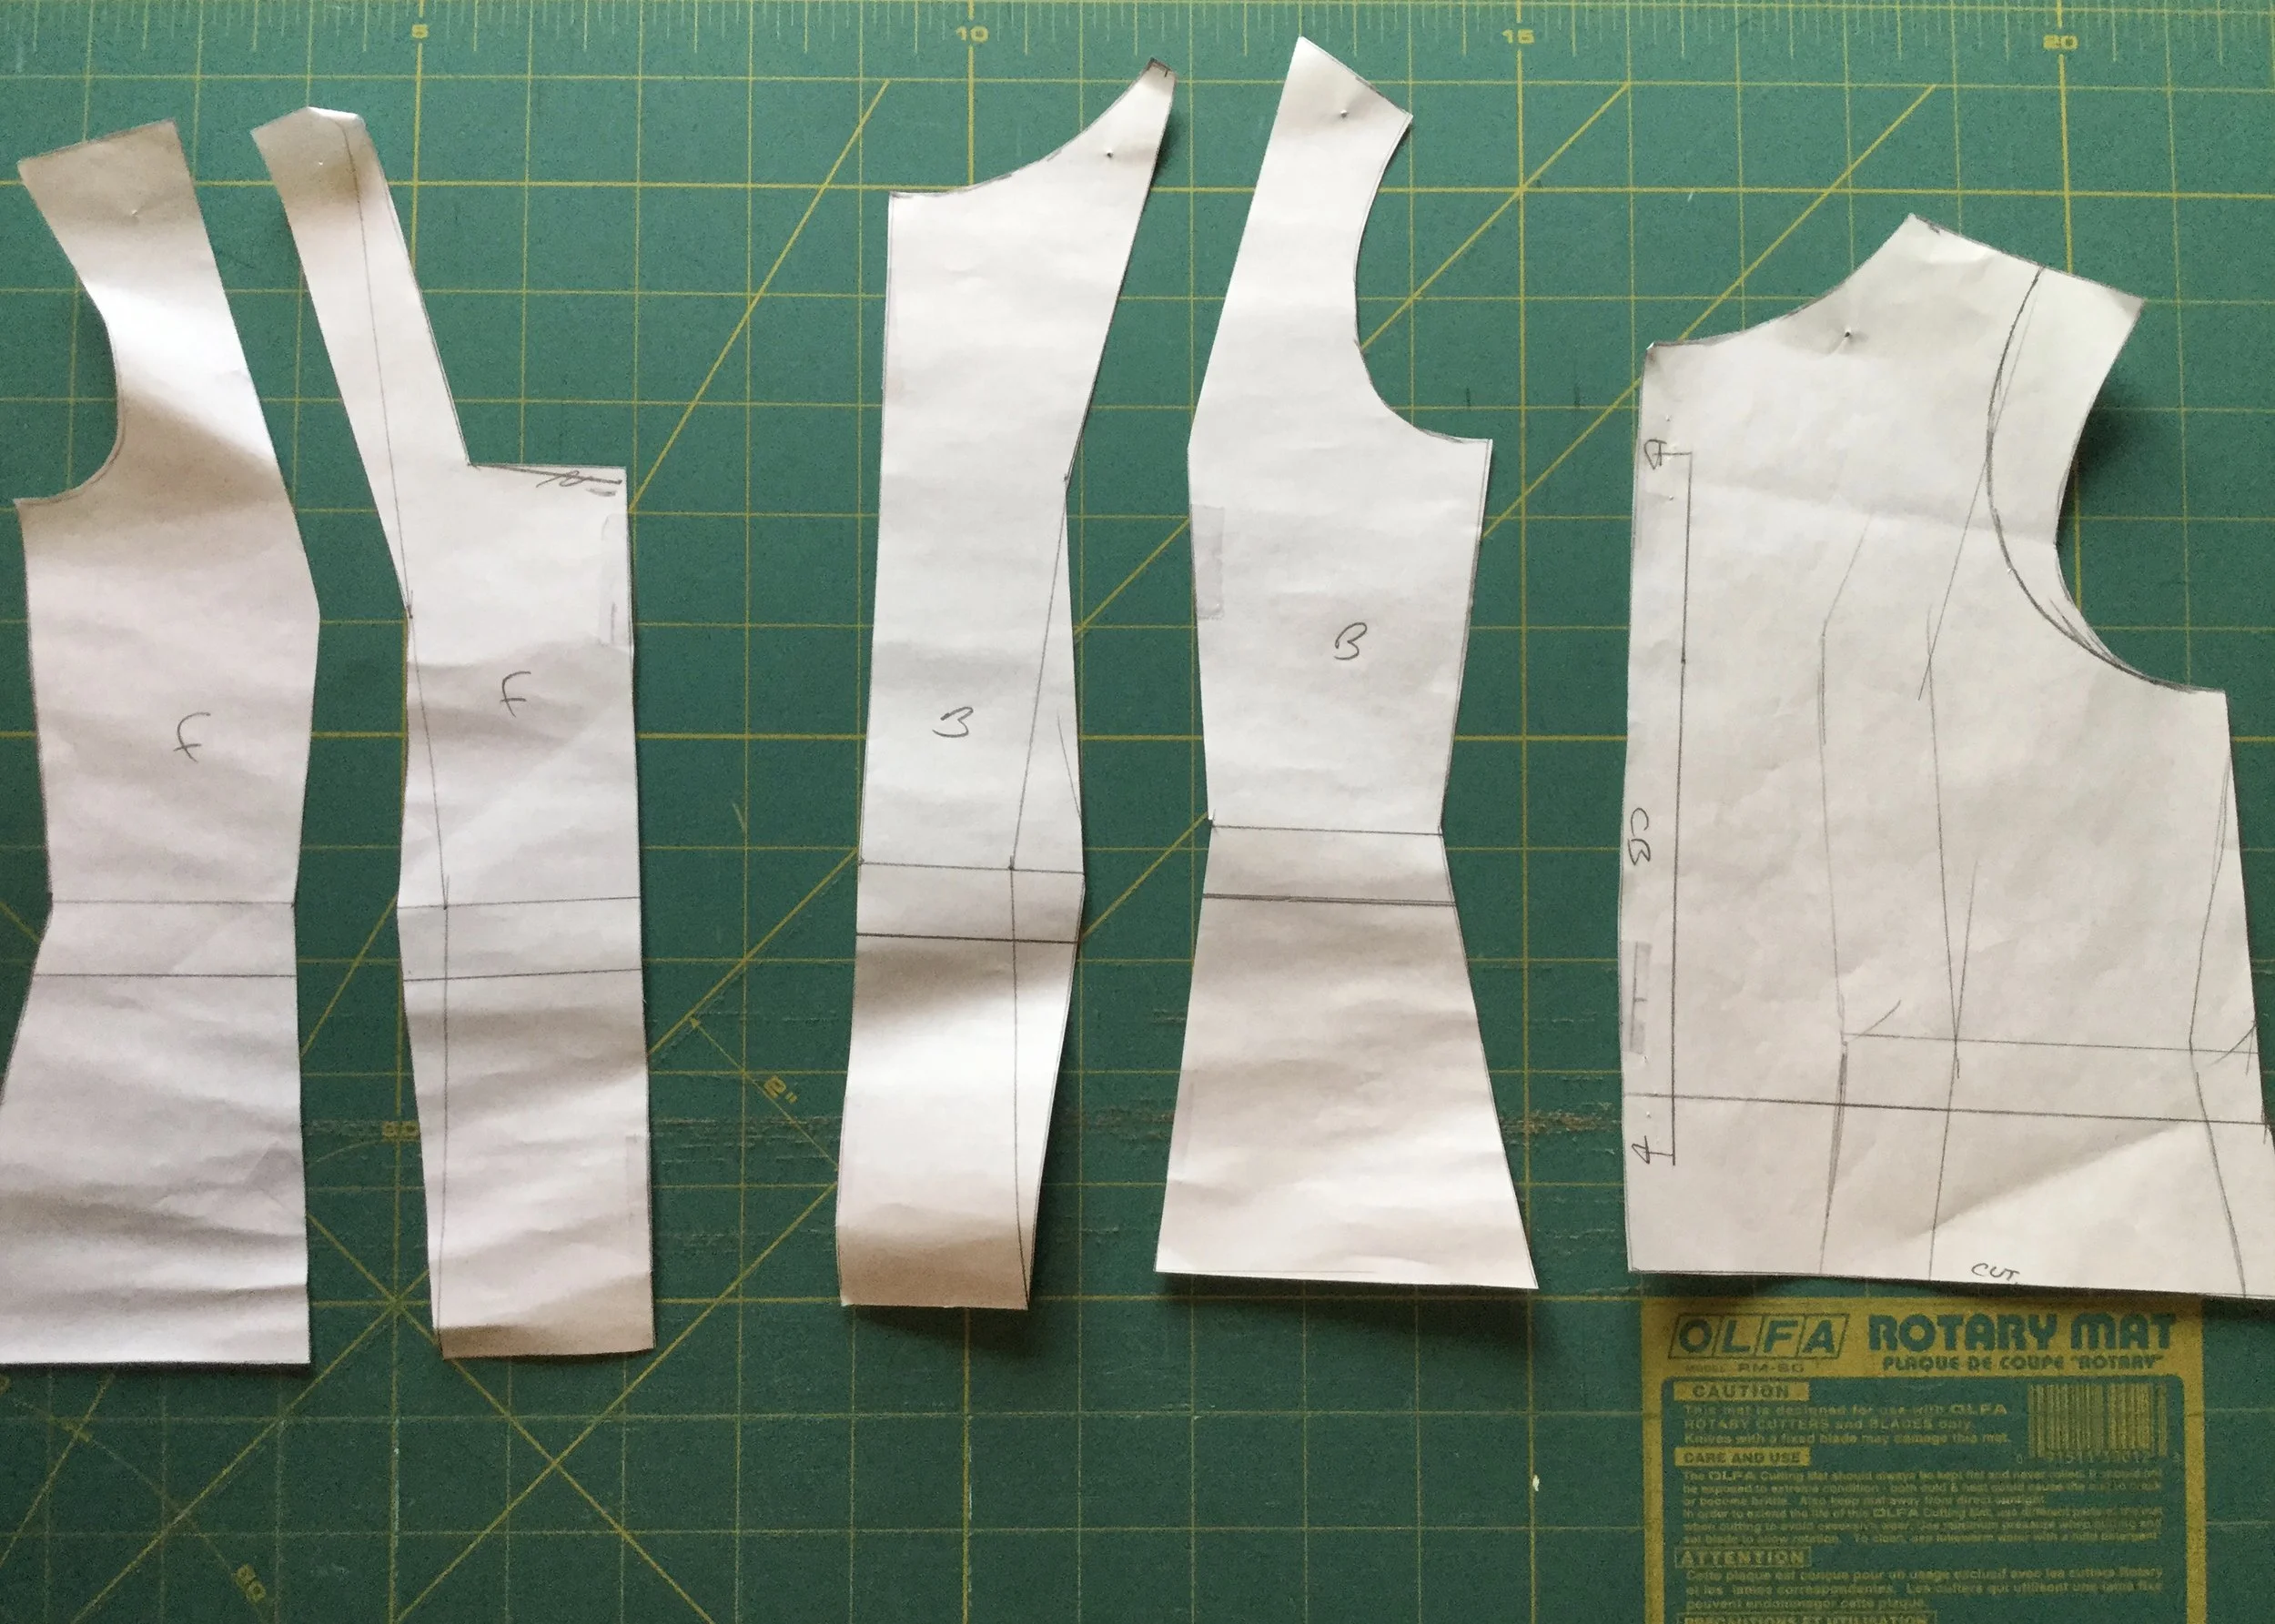
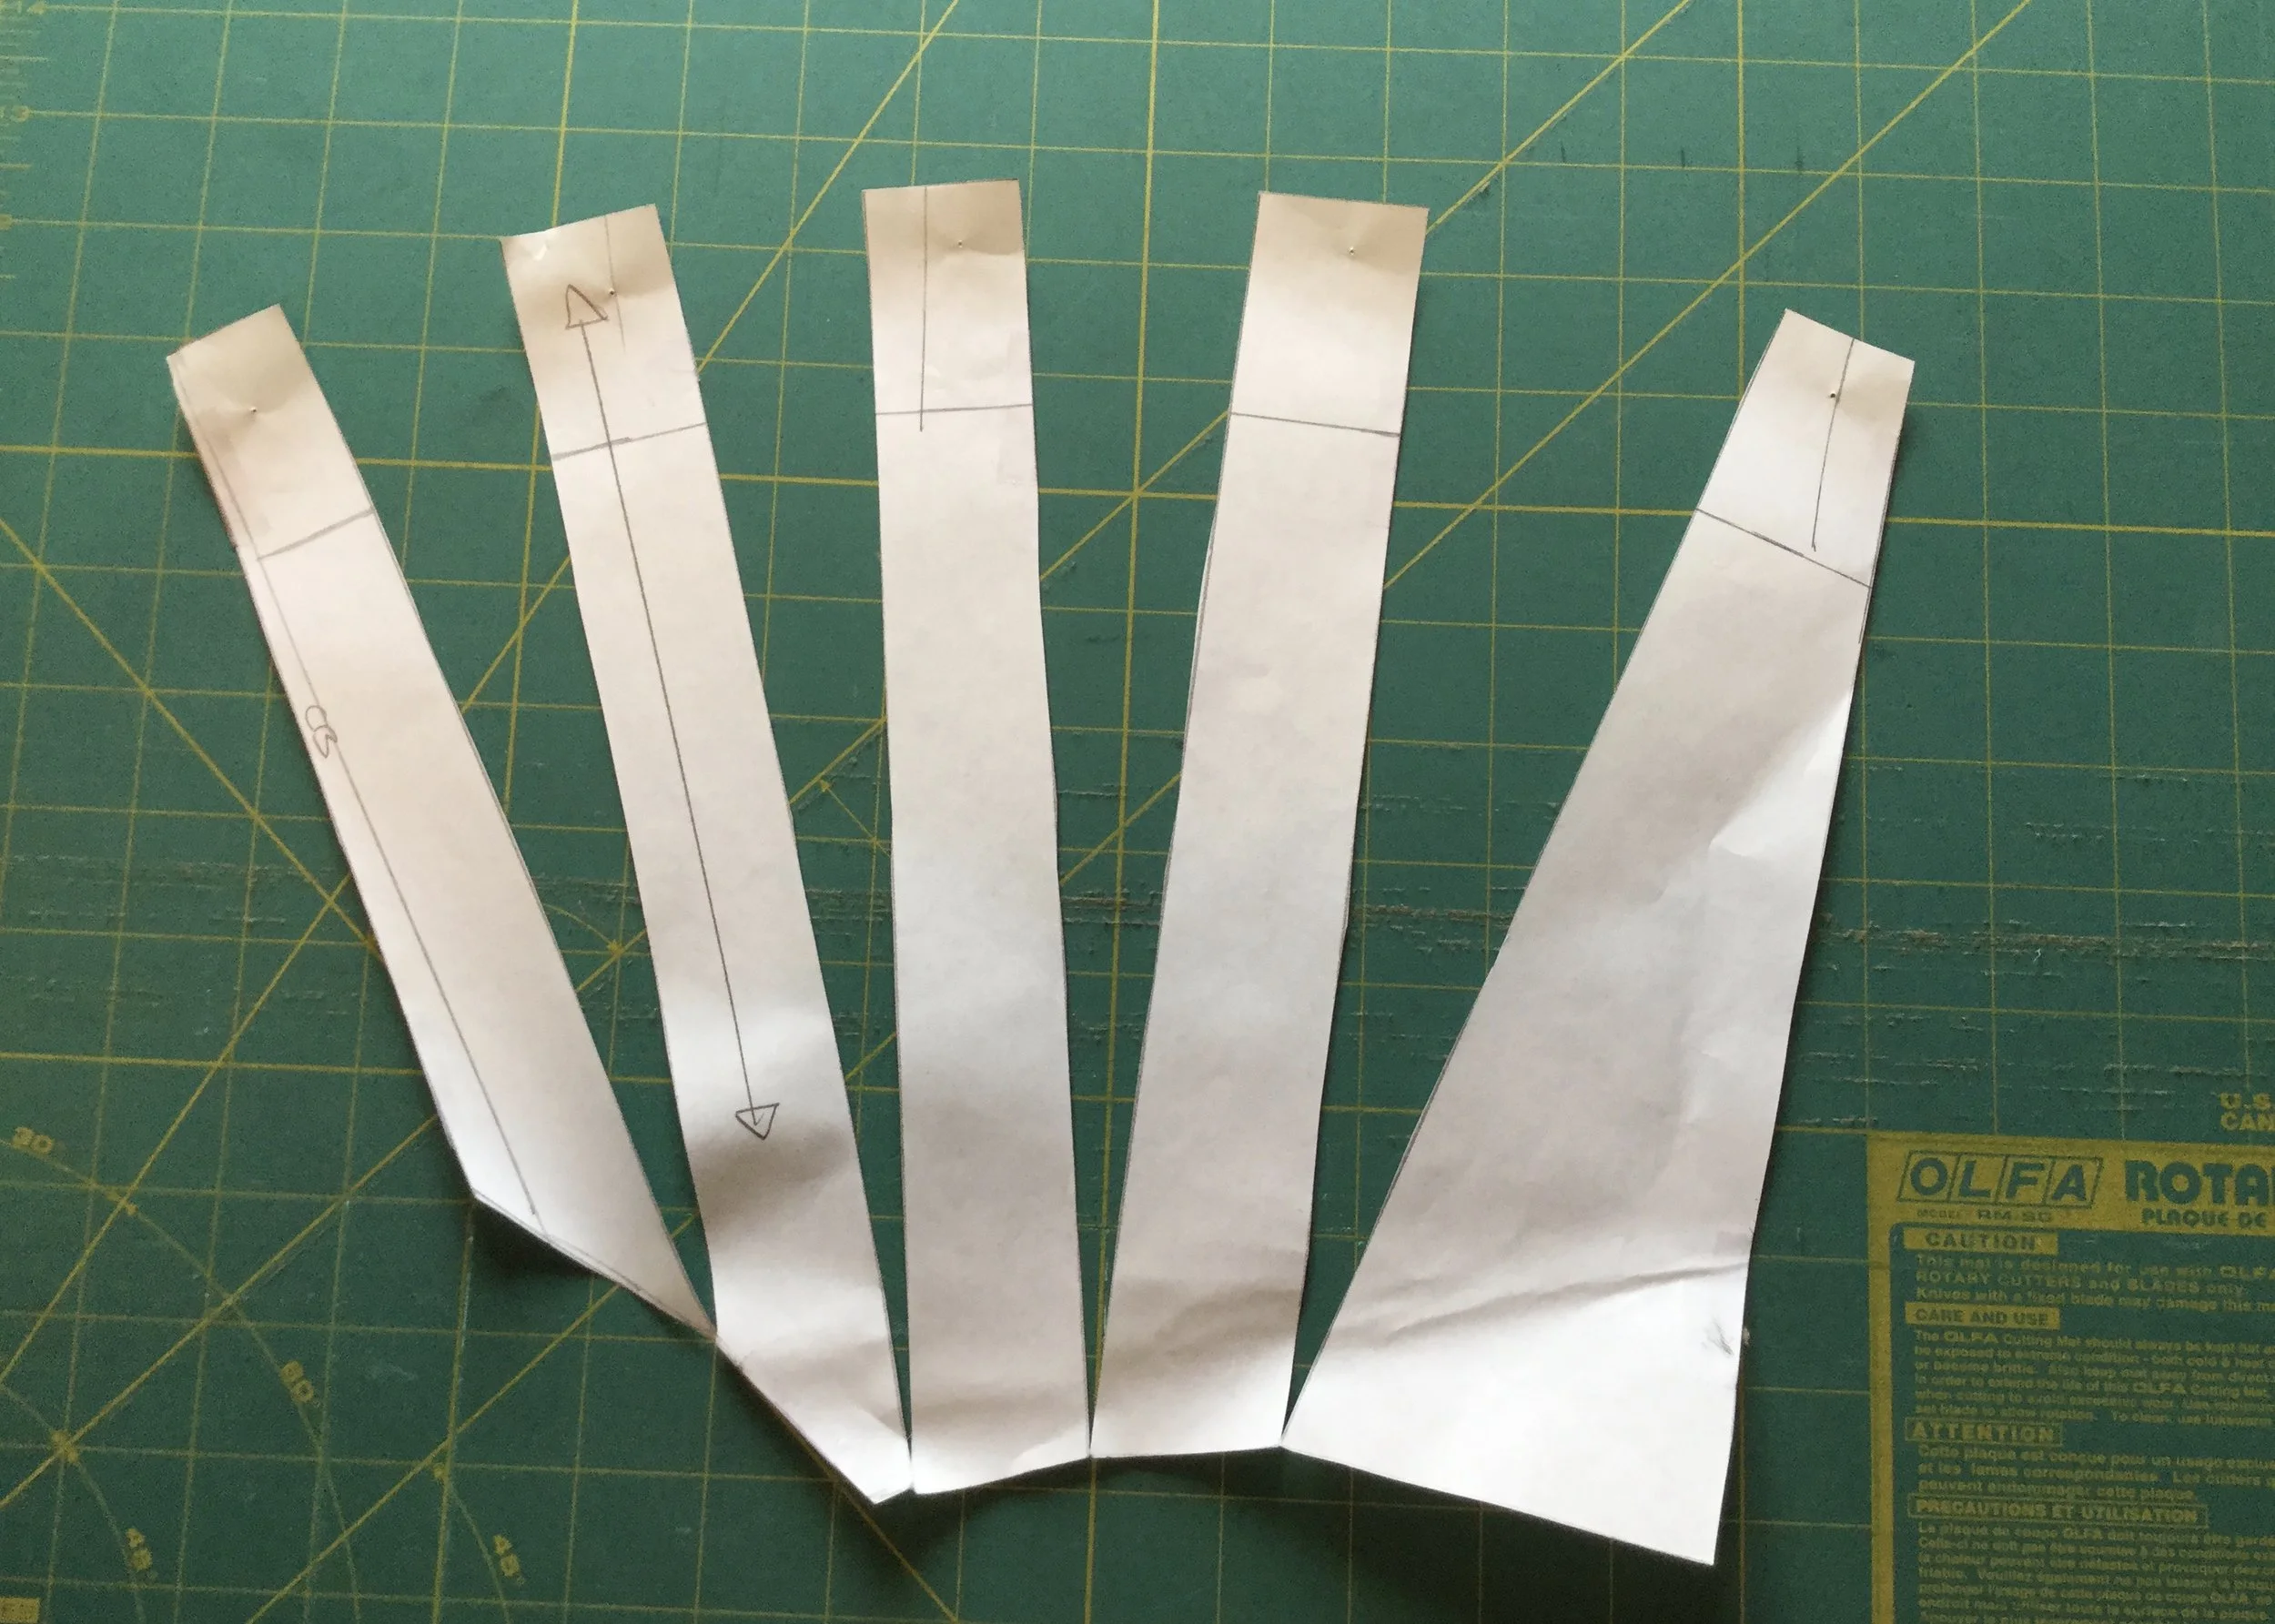
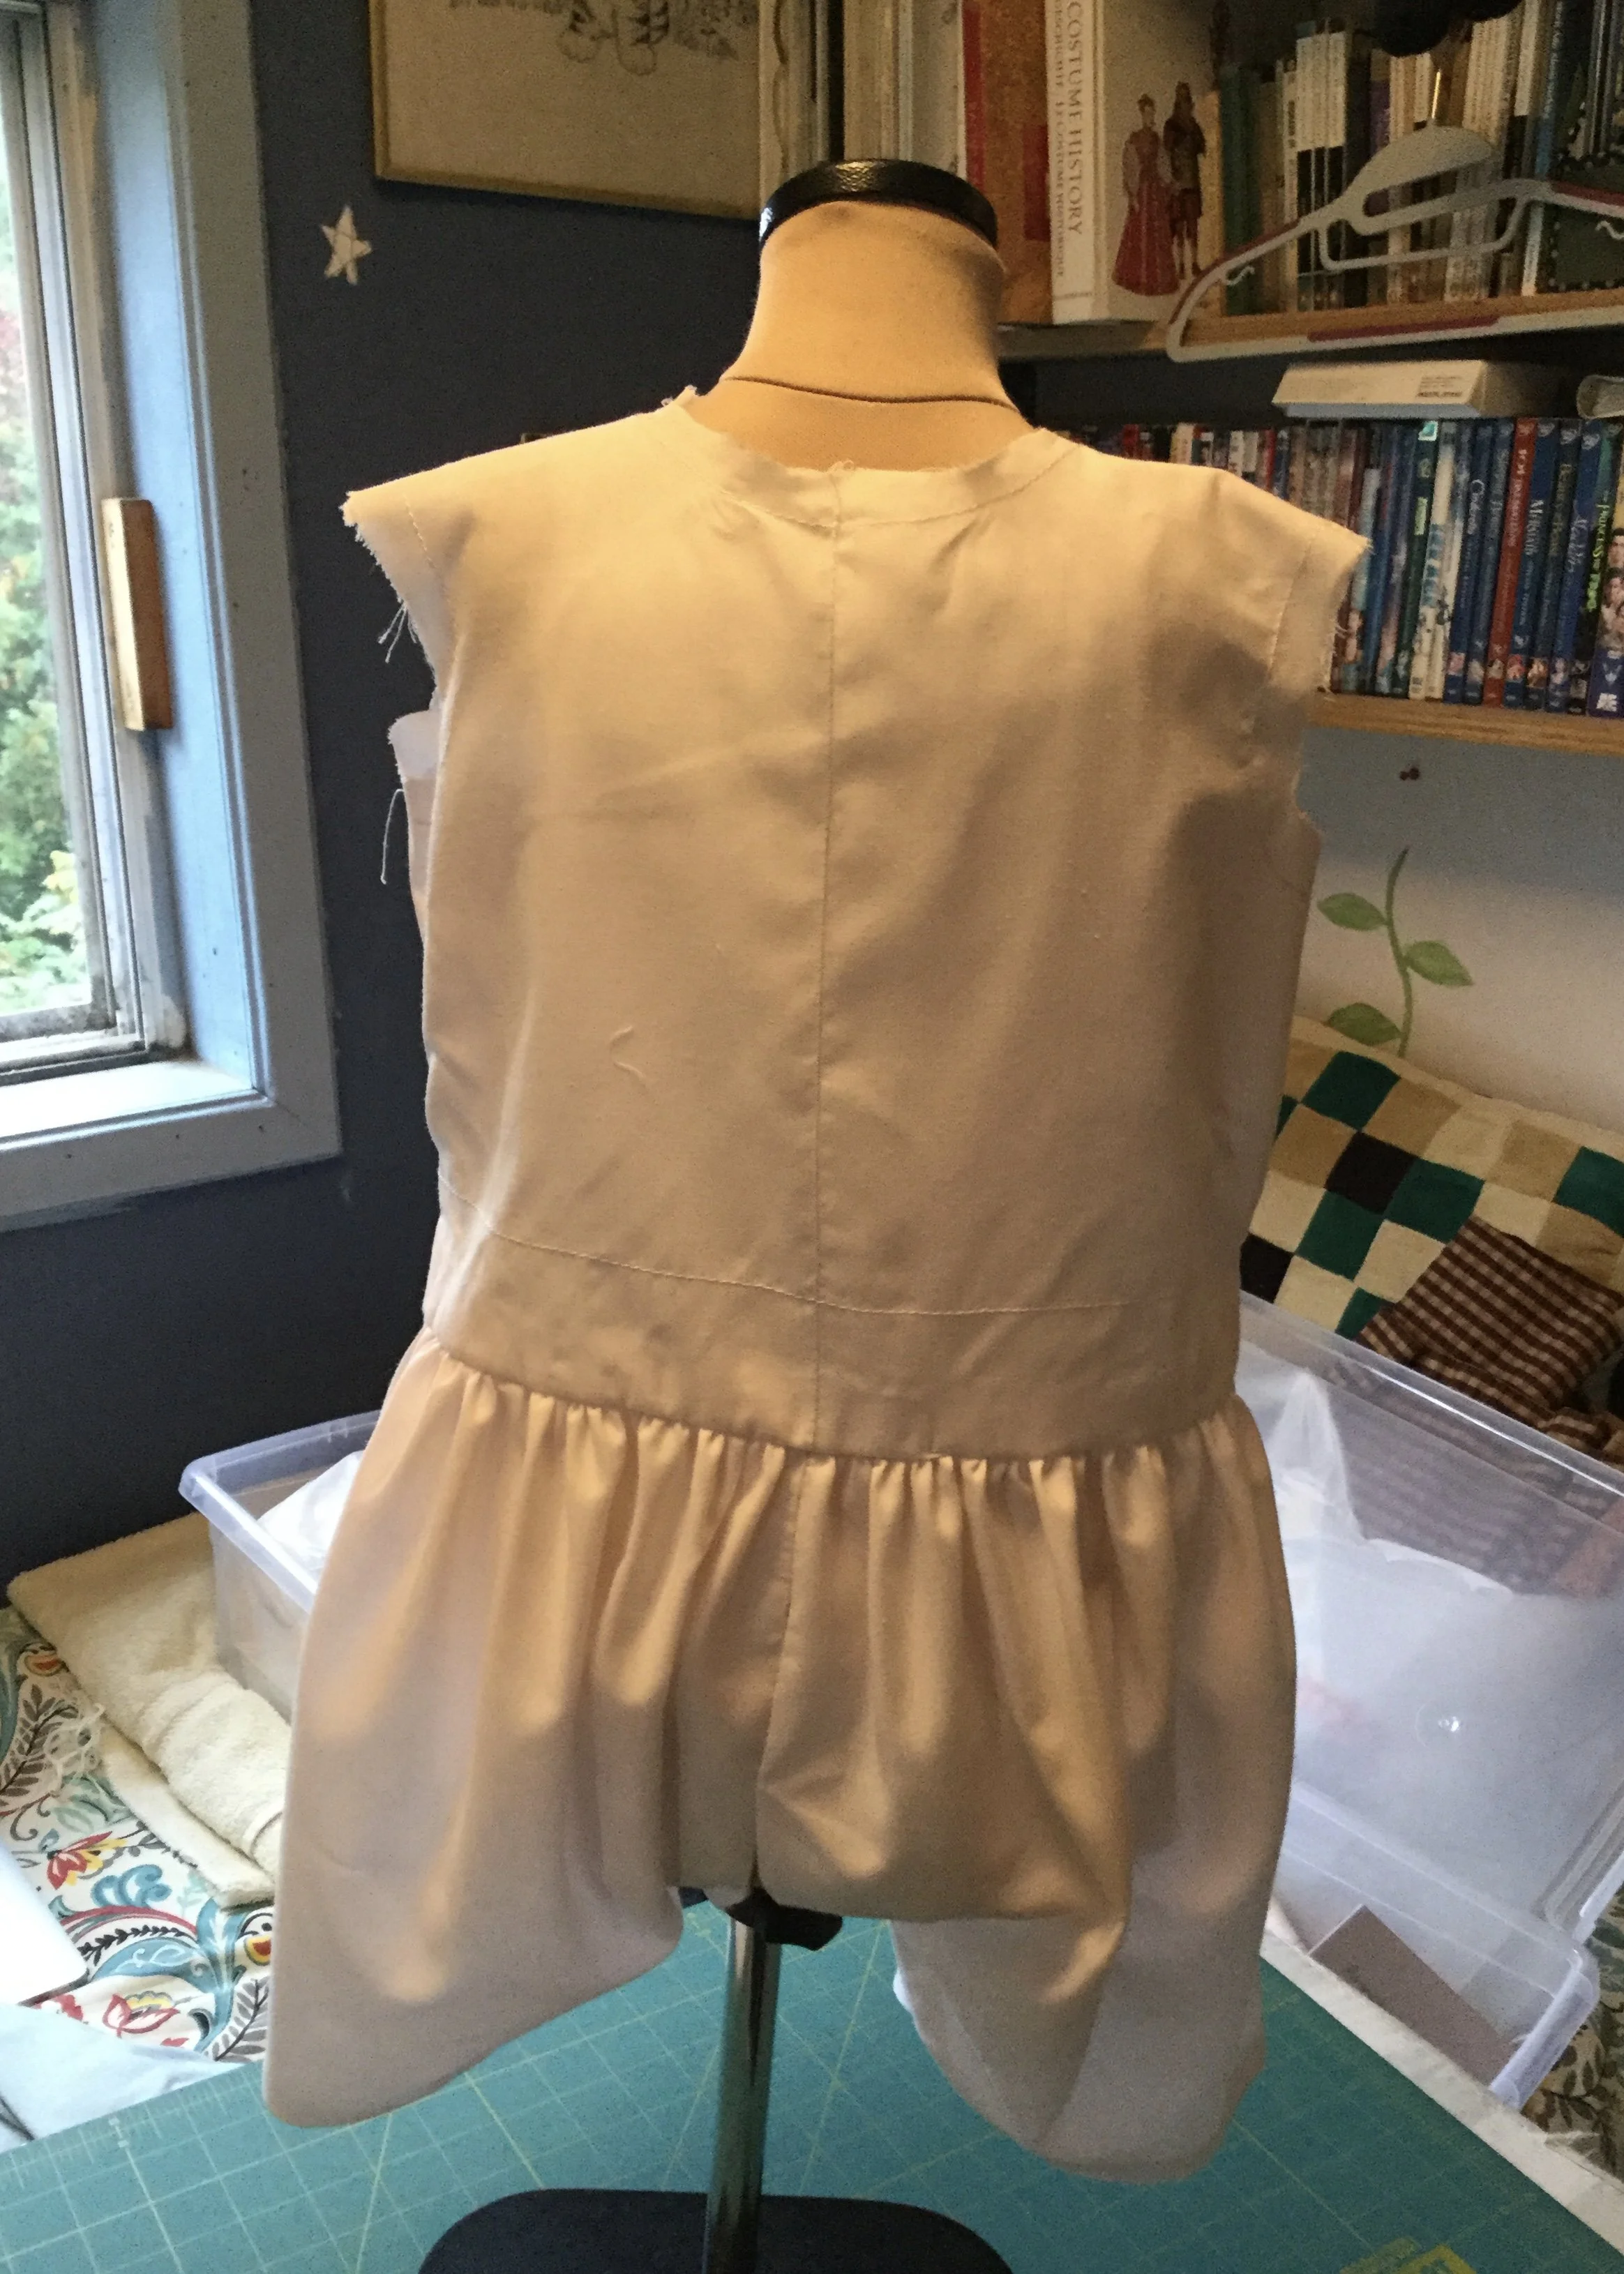
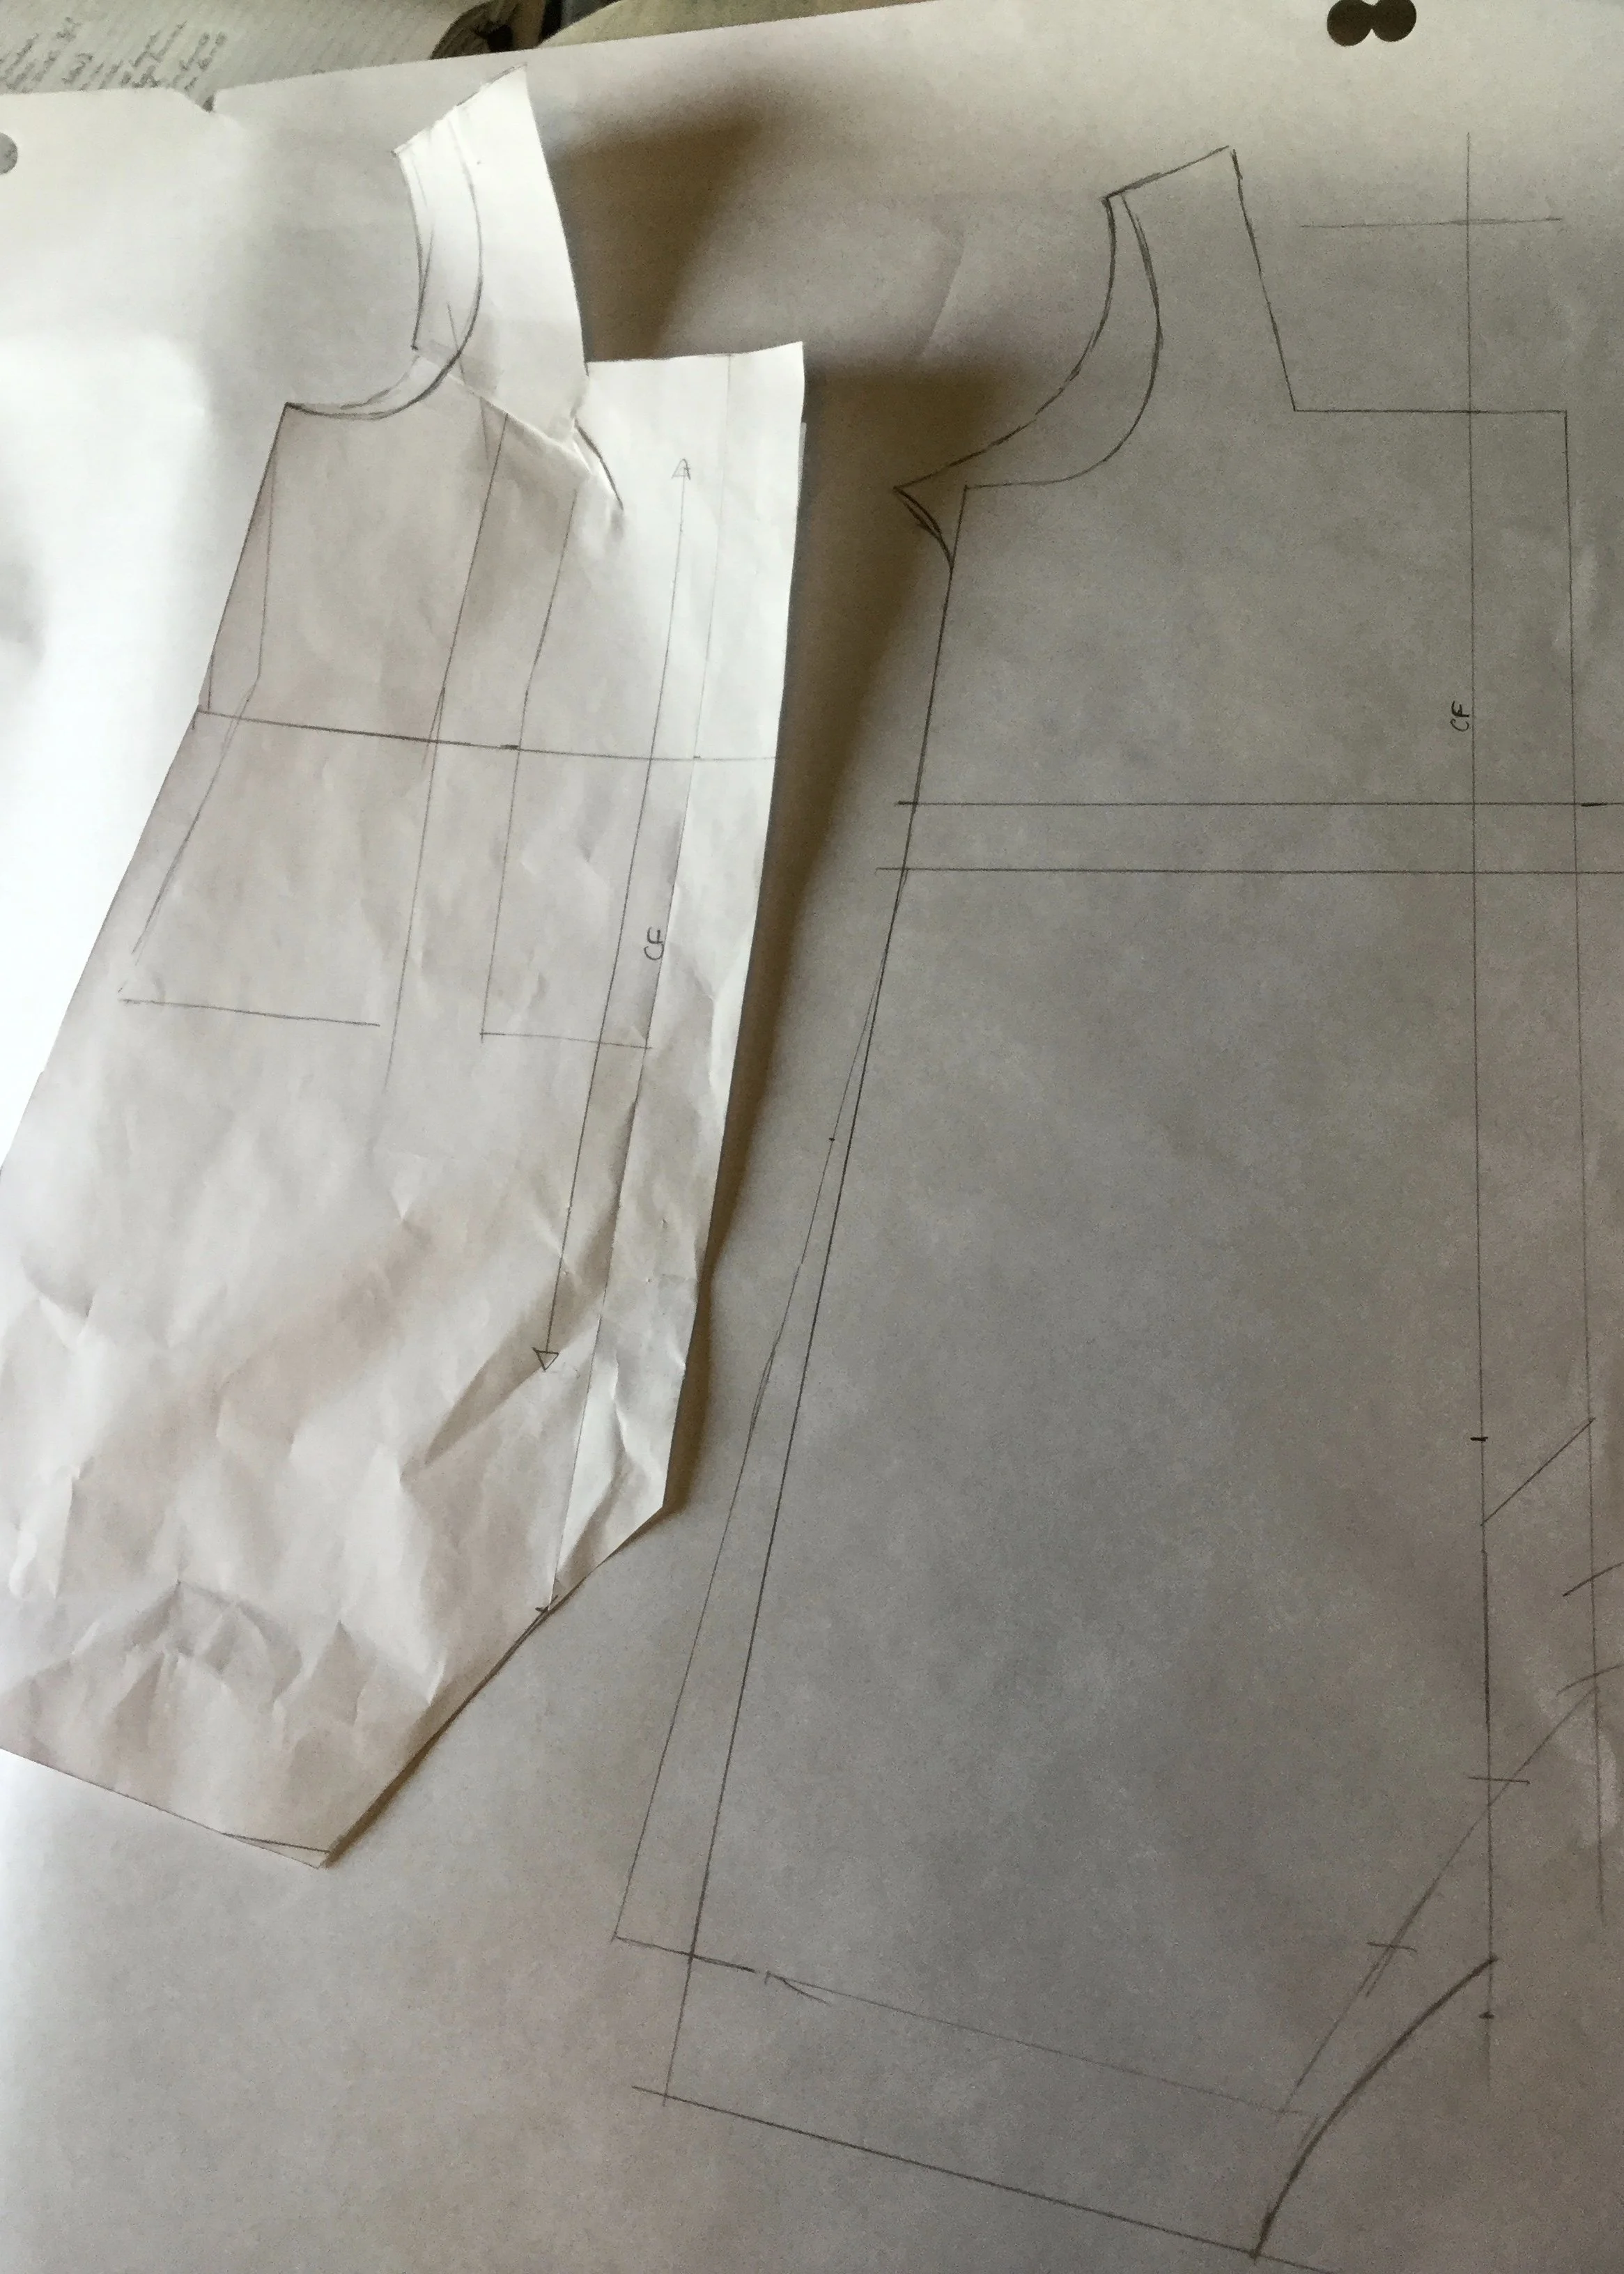
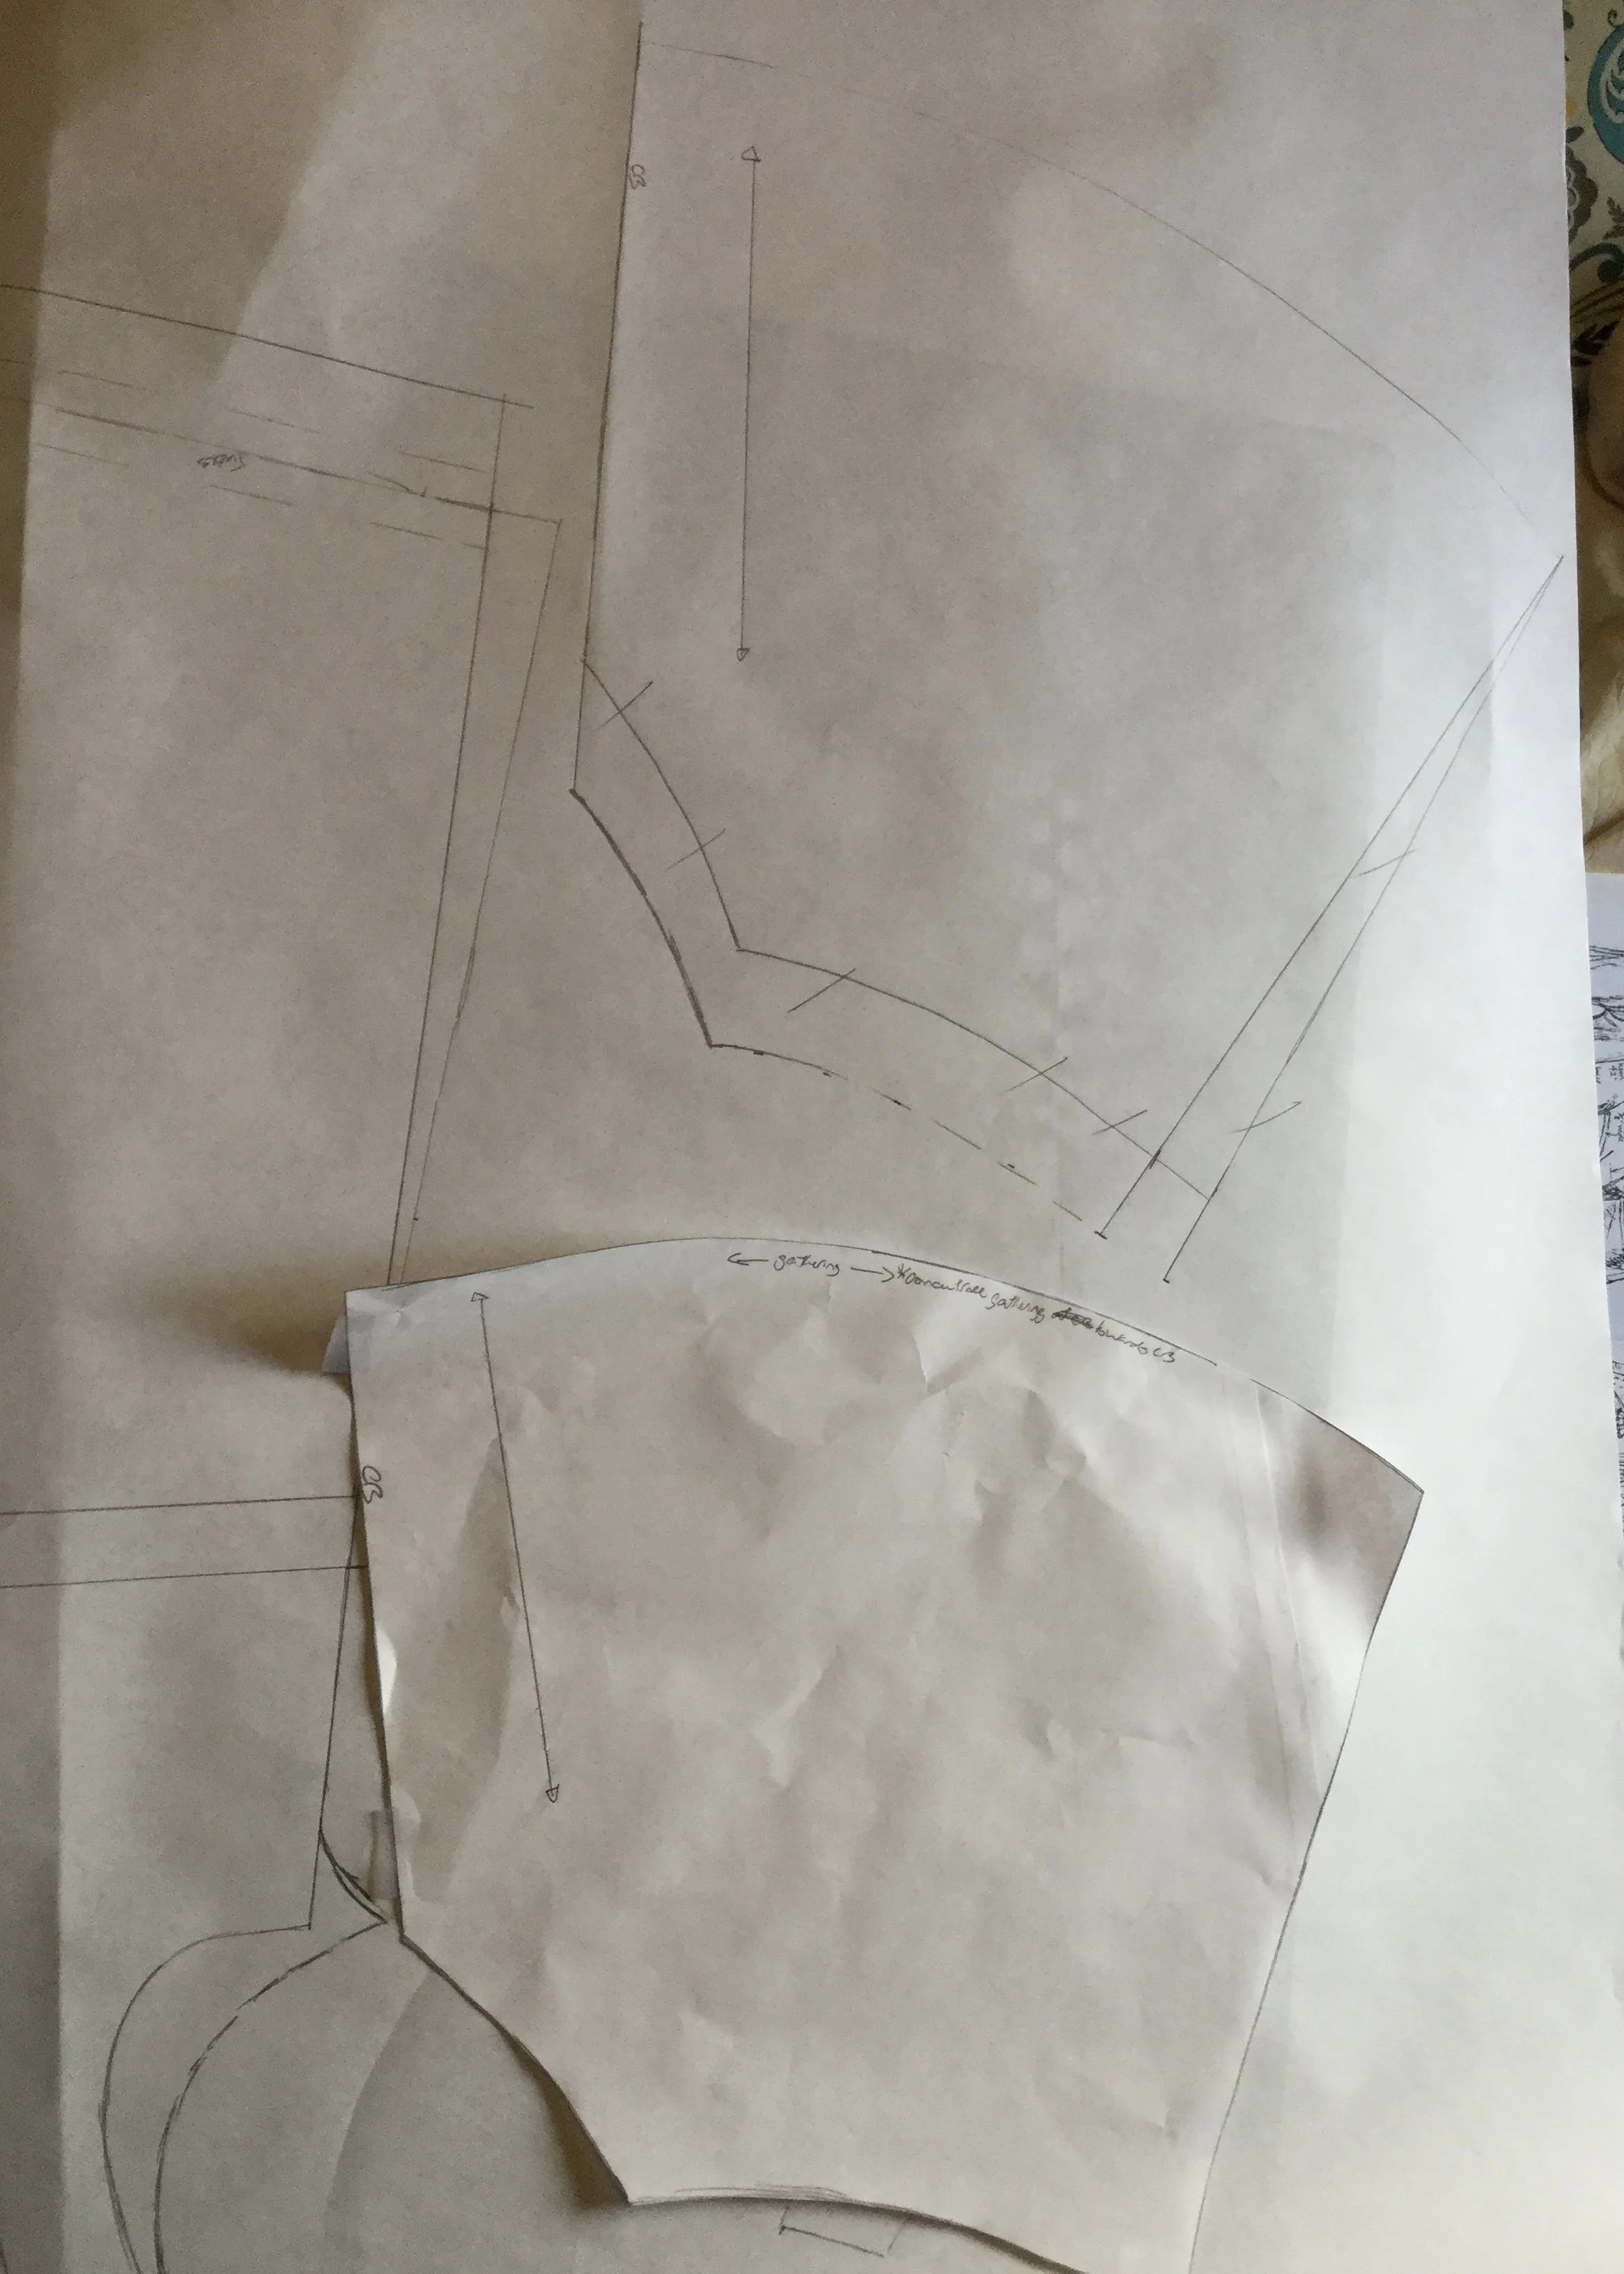
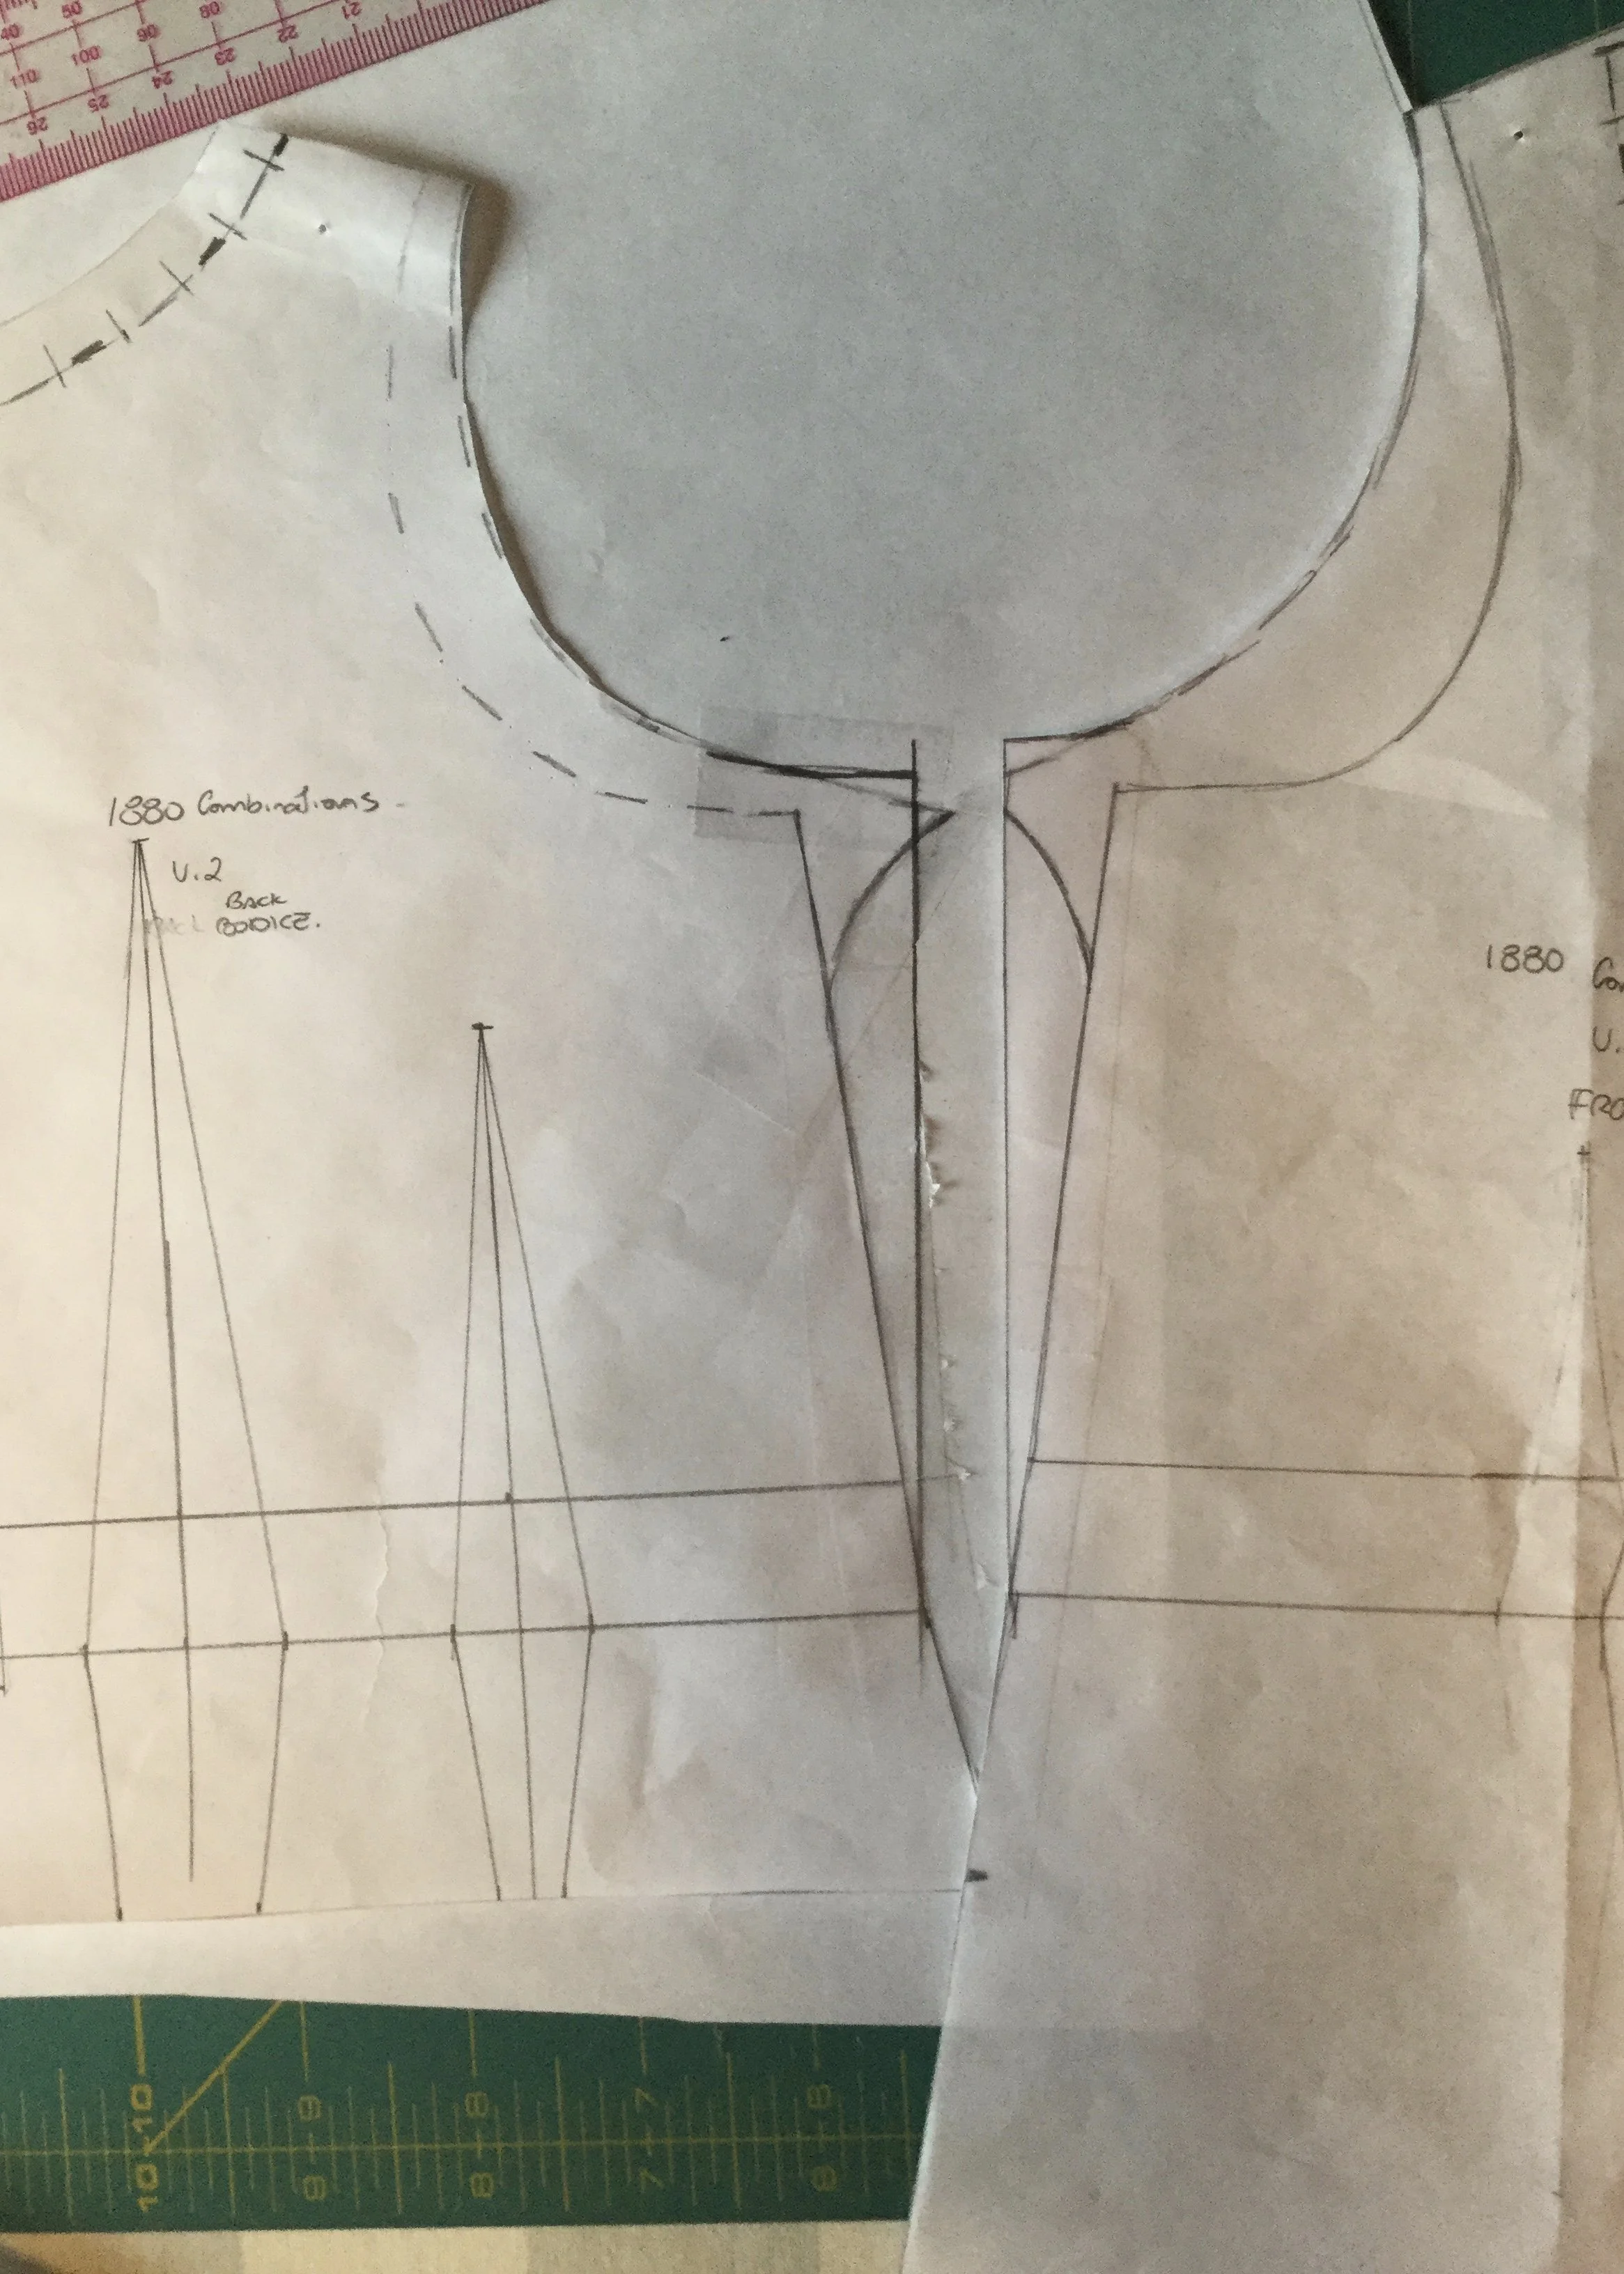
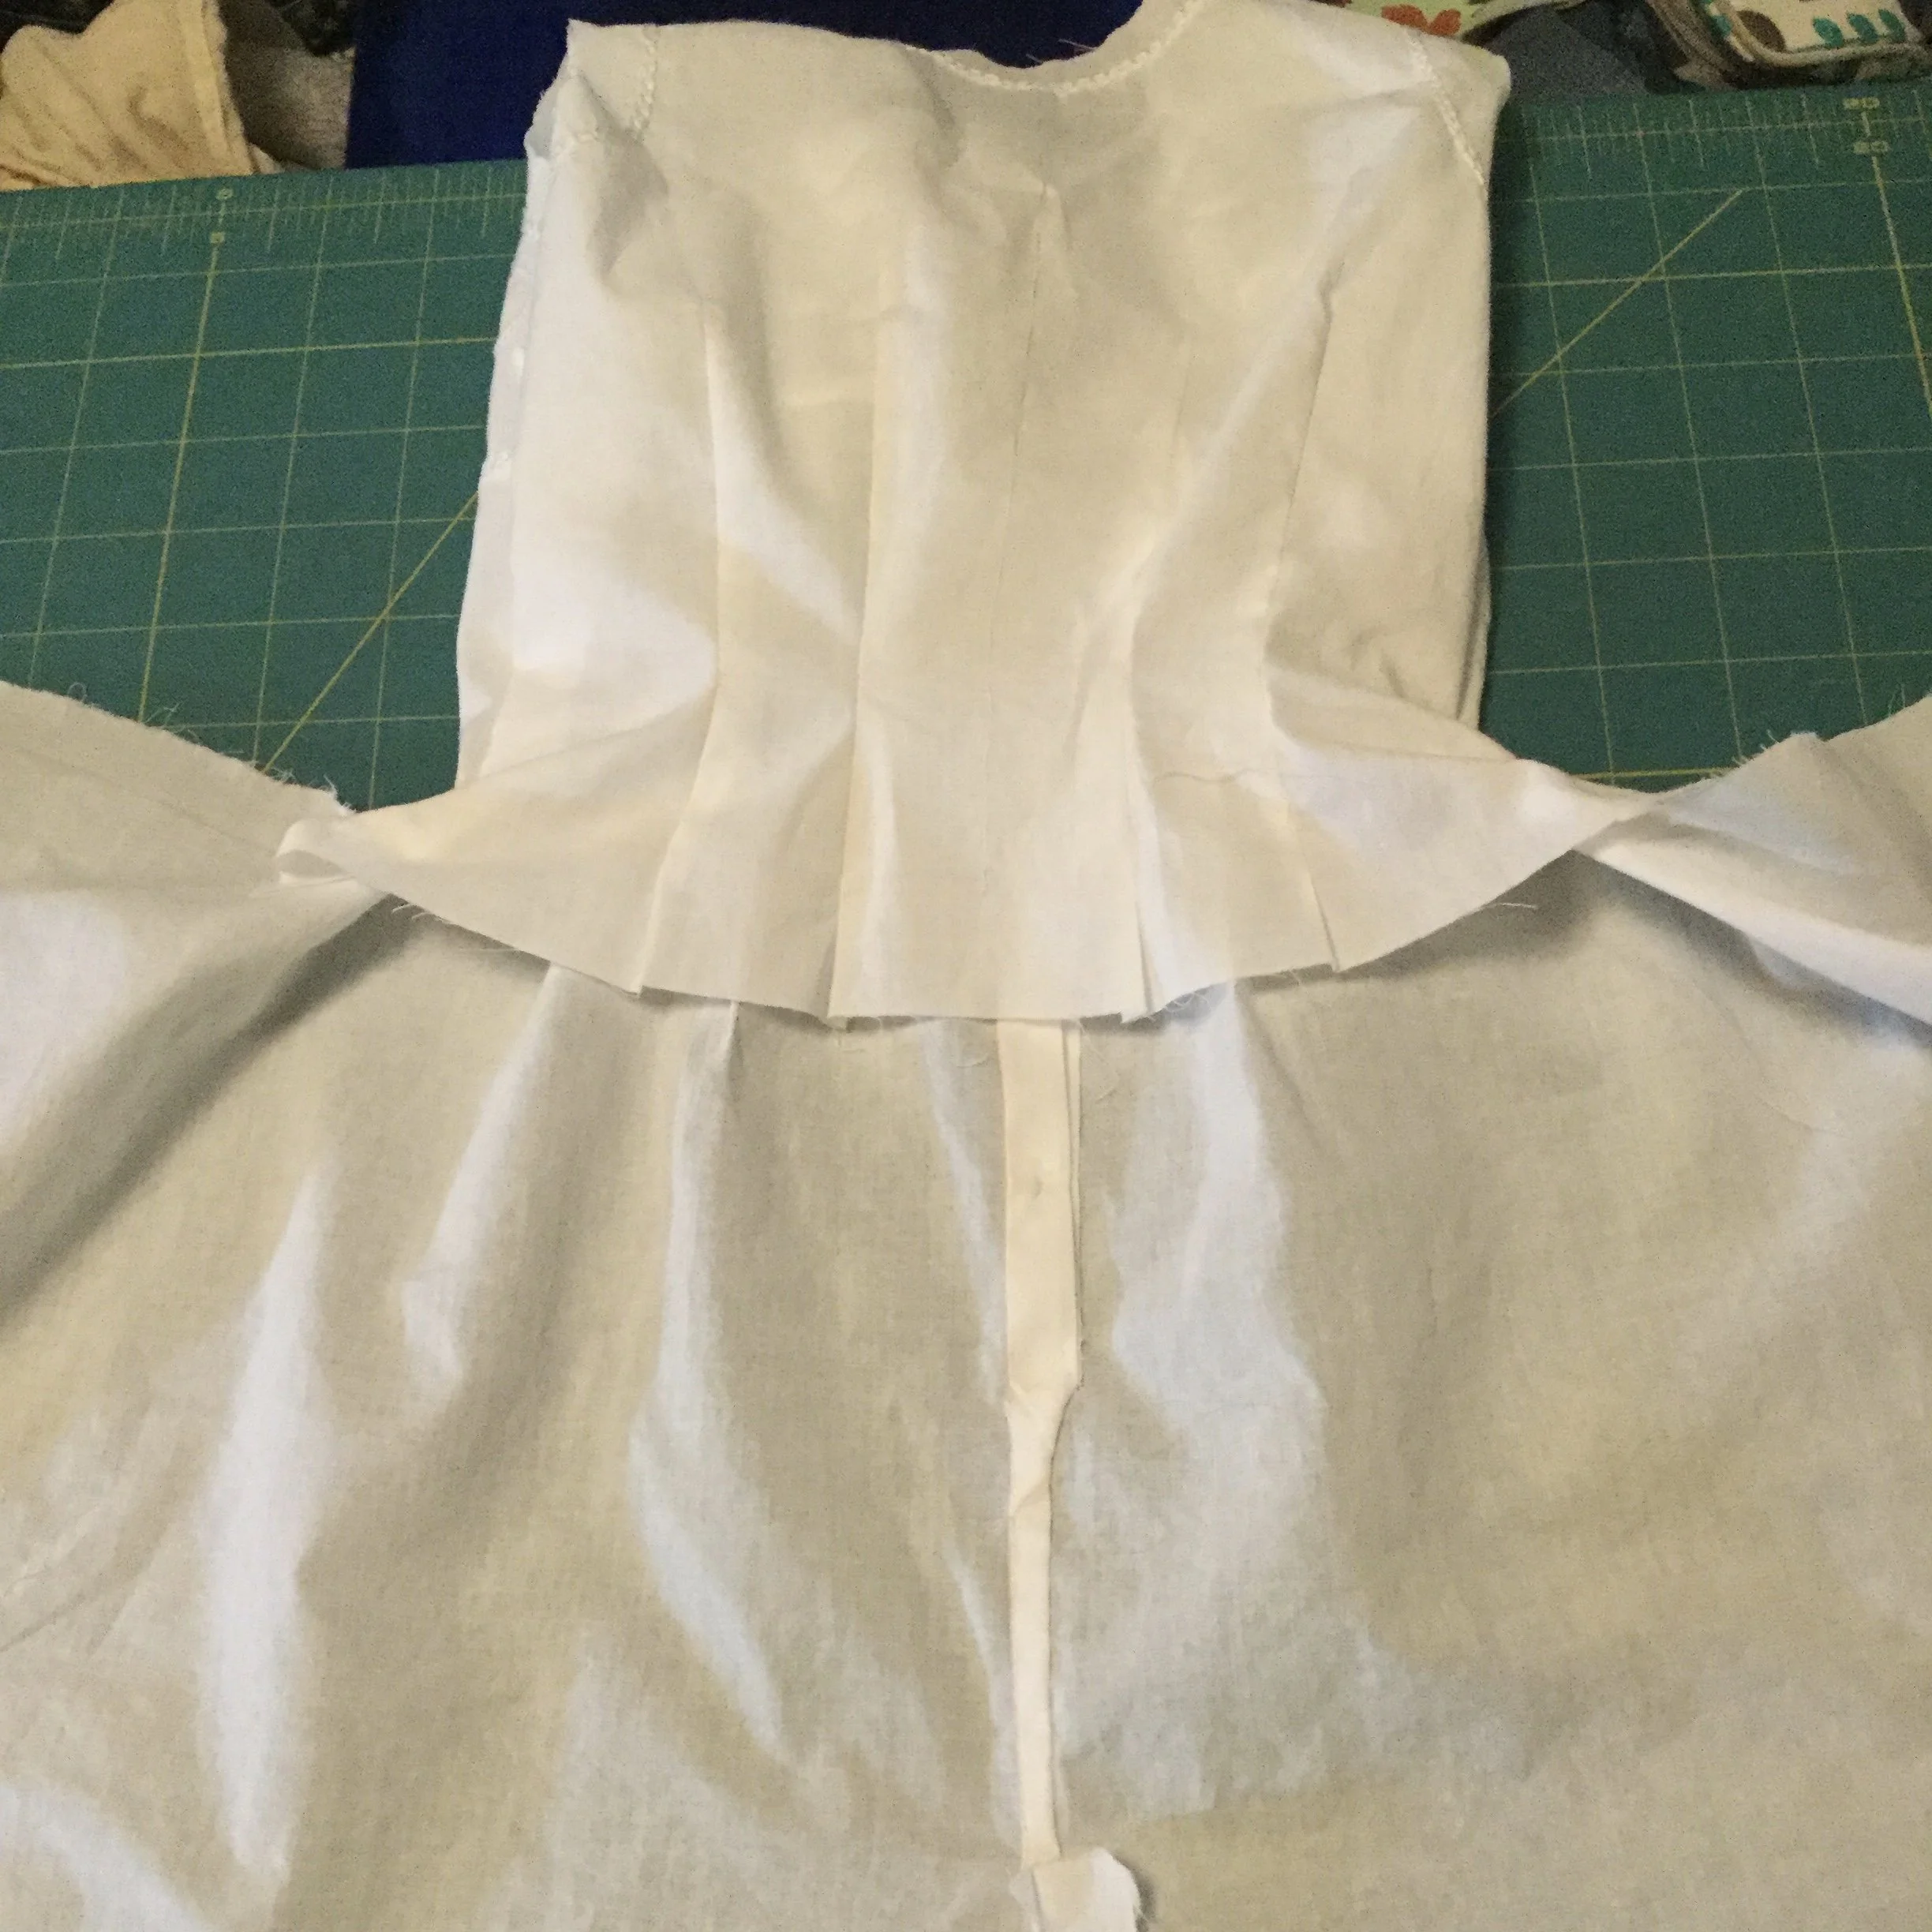
To begin, I traced off my block and added several centimetres of ease along the waist darts and on the side seams. Initially I had been thinking of making them quite fitted, with sets of waist darts on the front and the back, so my plan was to make the mock up pretty loose and pin the darts on the Judy. I also extended the front downward to create the front of the legs. I'd love to say I had a proper method to creating the shape of the leg, but really I was just drawing what I thought looked right based on images from museums. I drew the shape of the back leg in much the same way (truing it up with the front as I went) then separated the leg from the bodice along the waistline and slashed and spread it to add fullness over the bum.
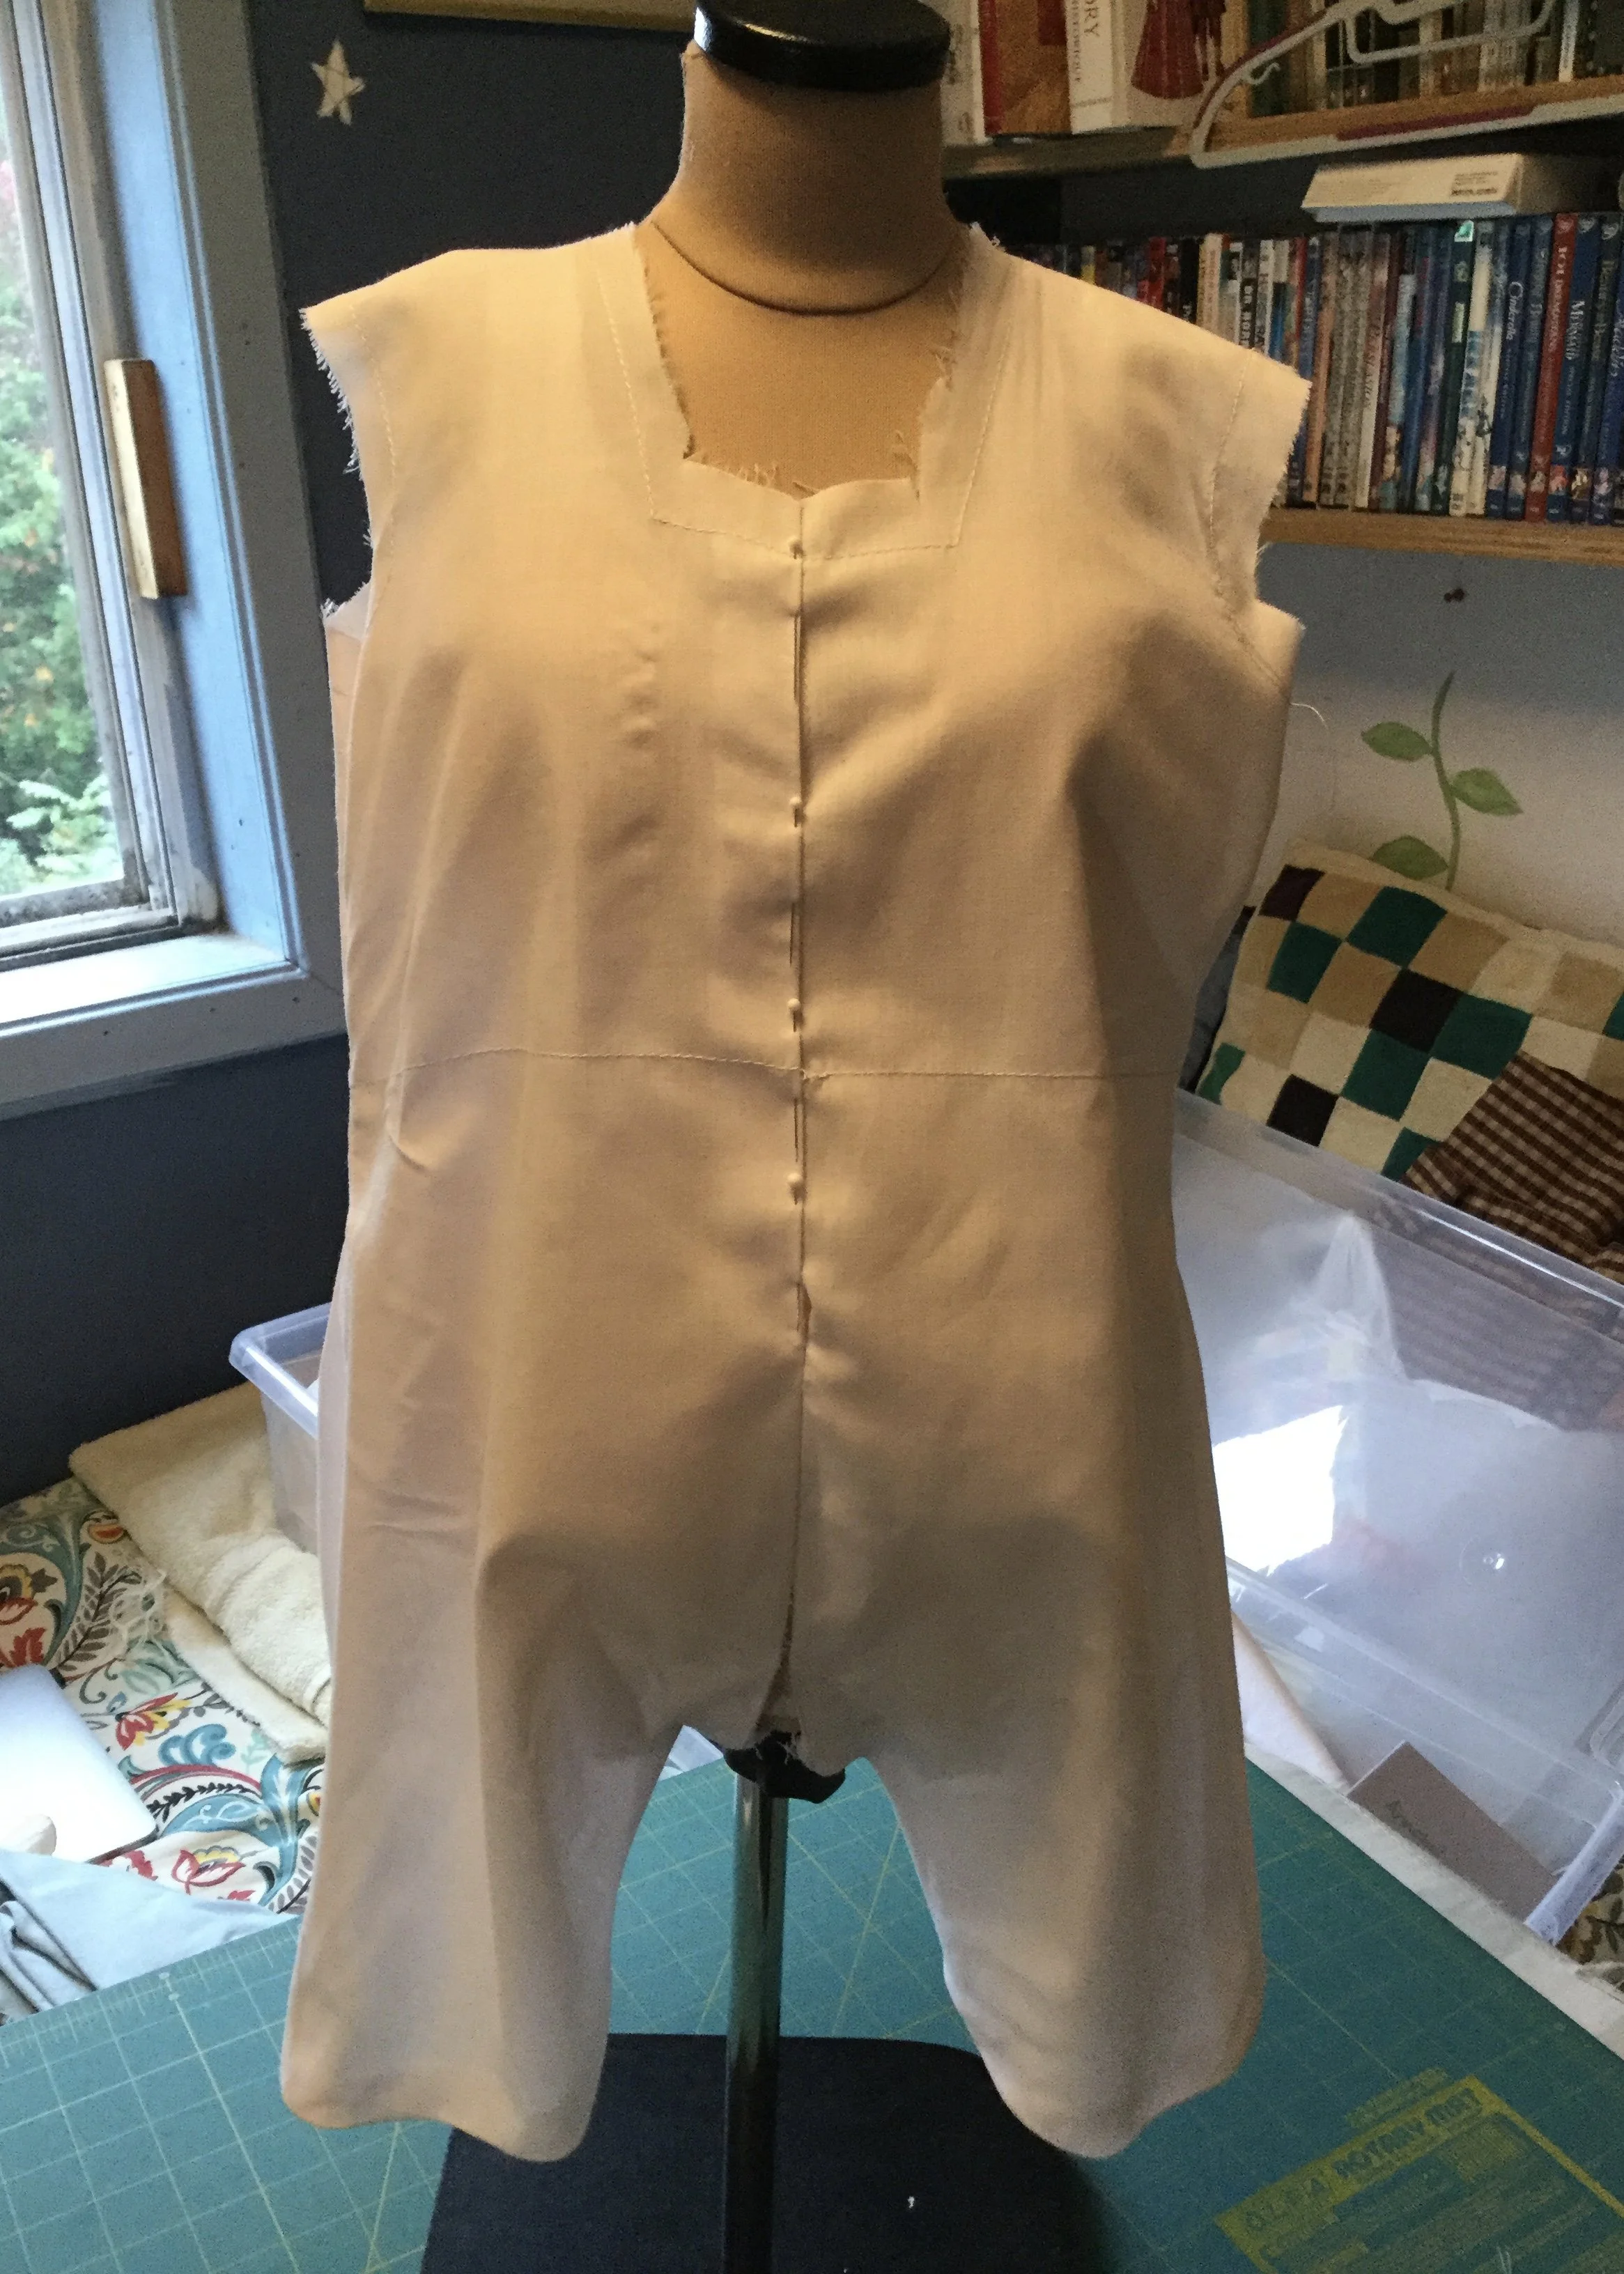
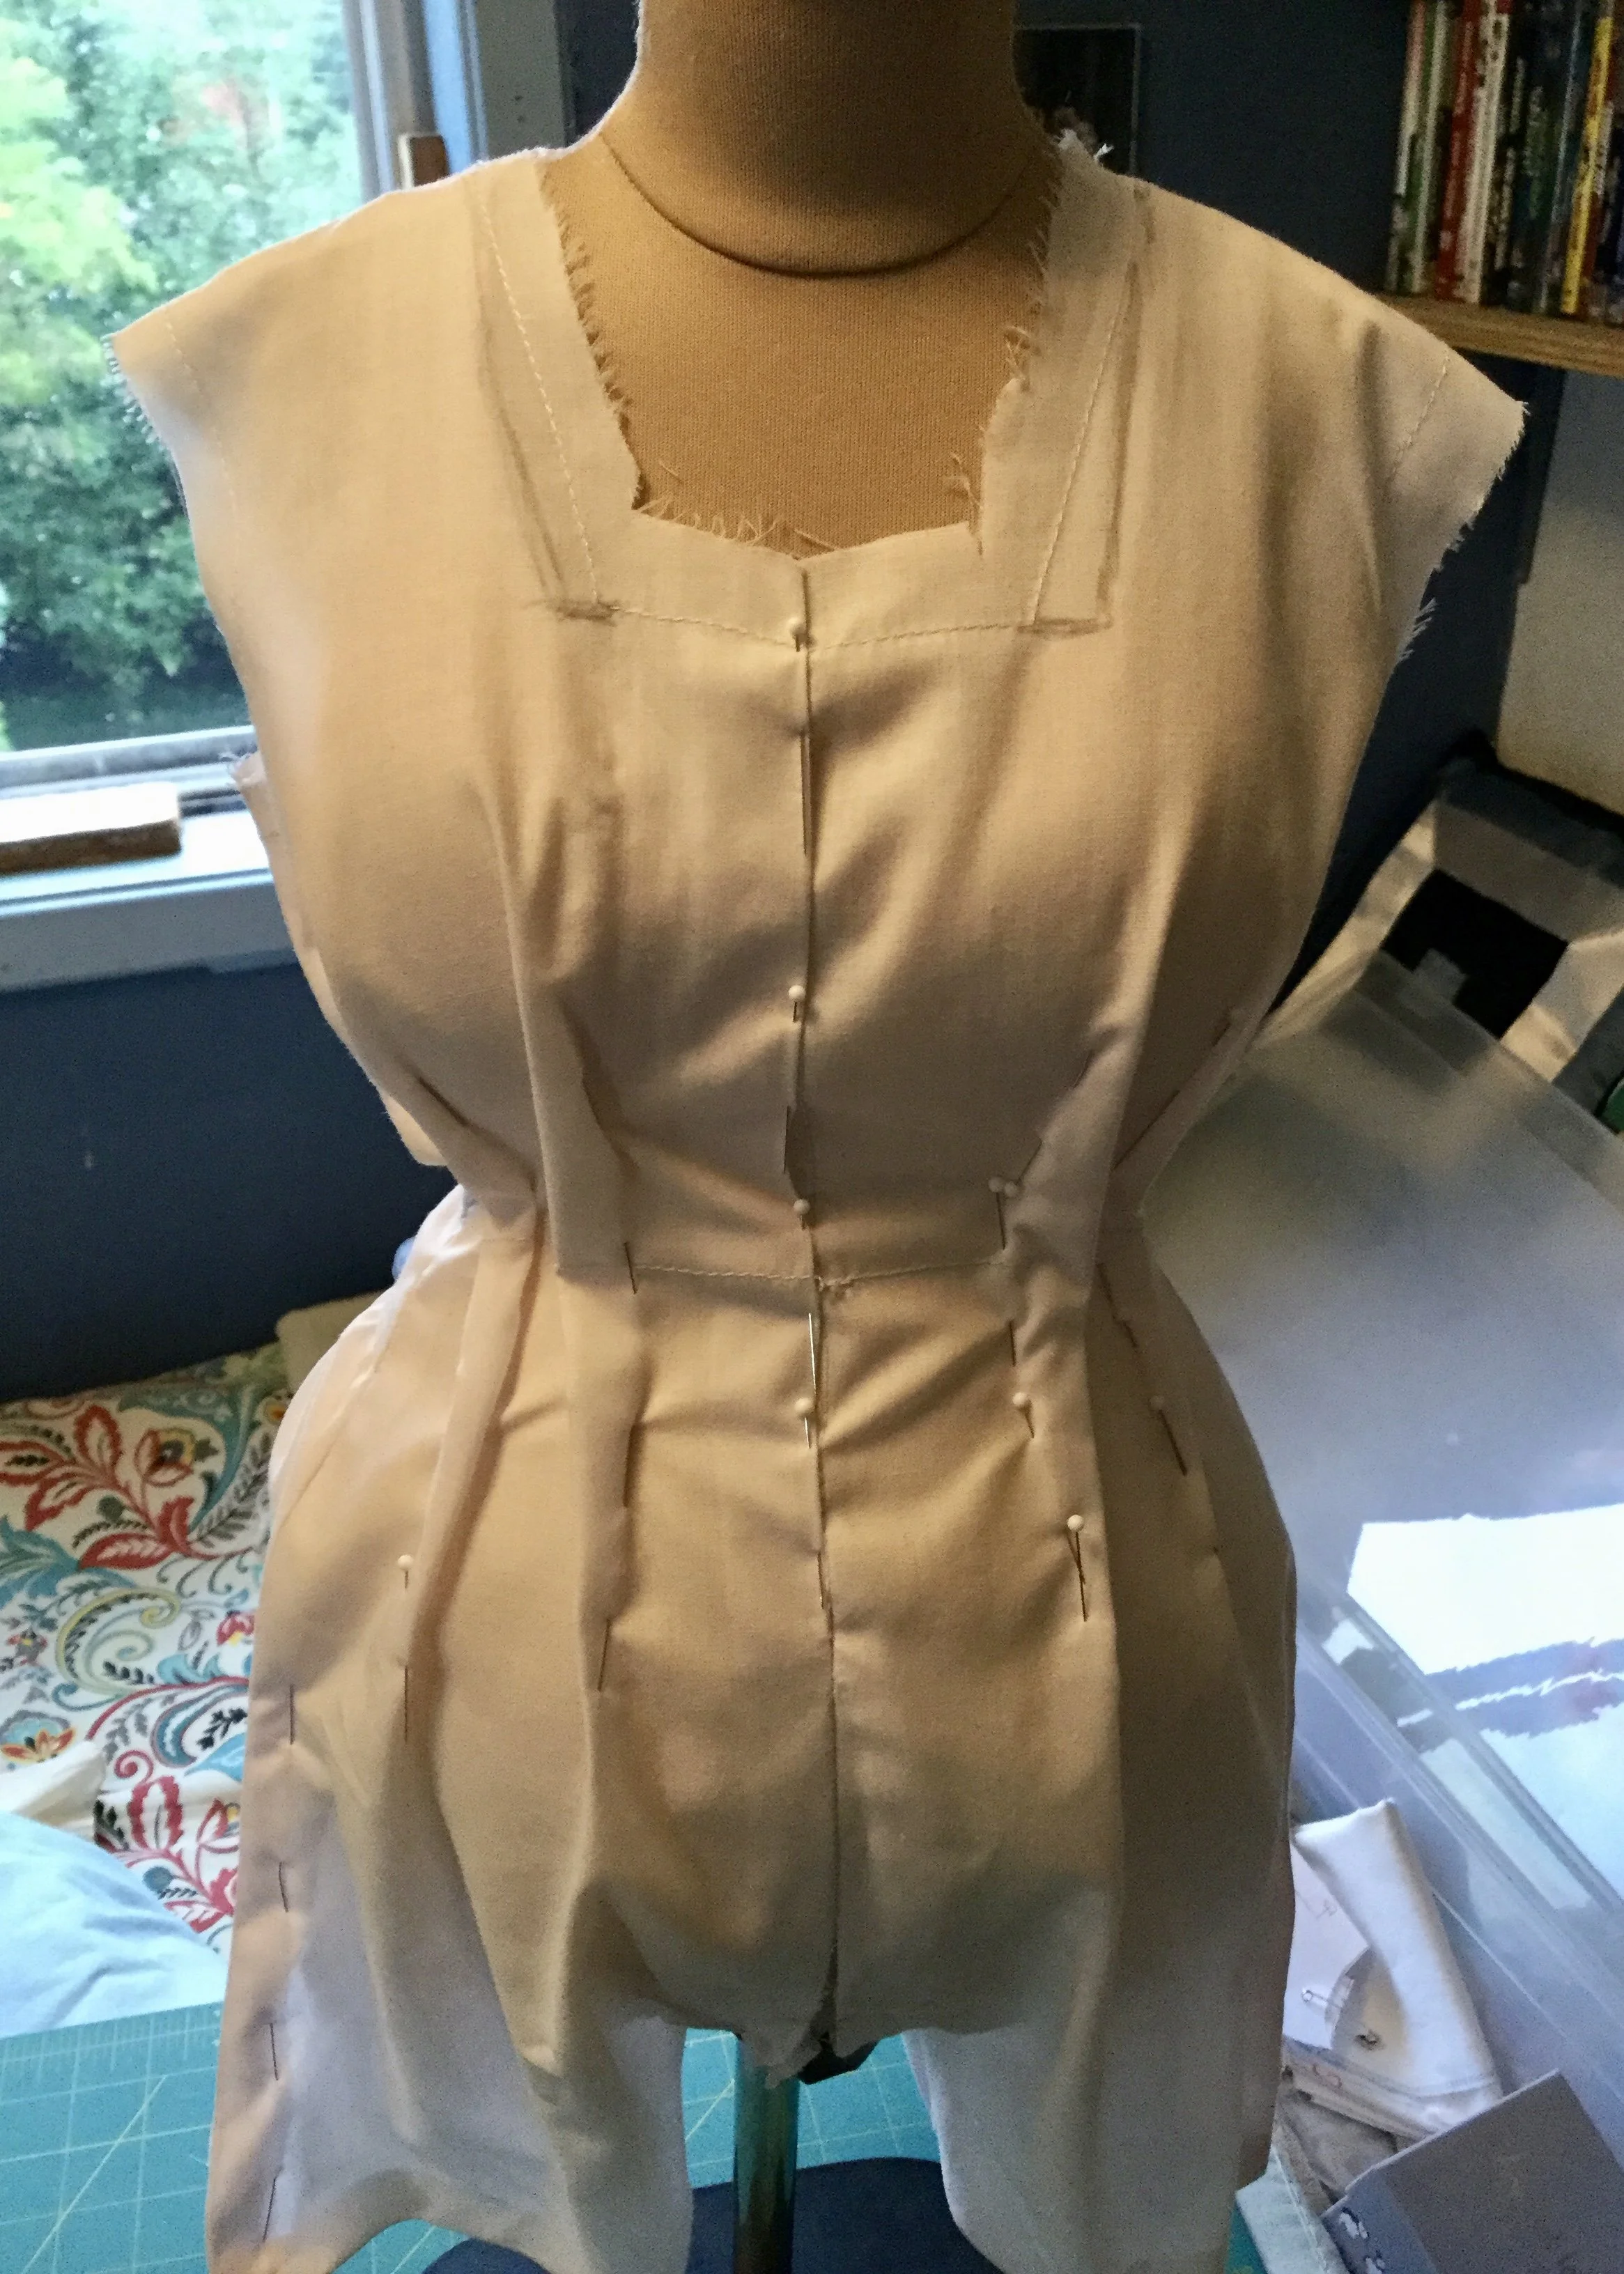
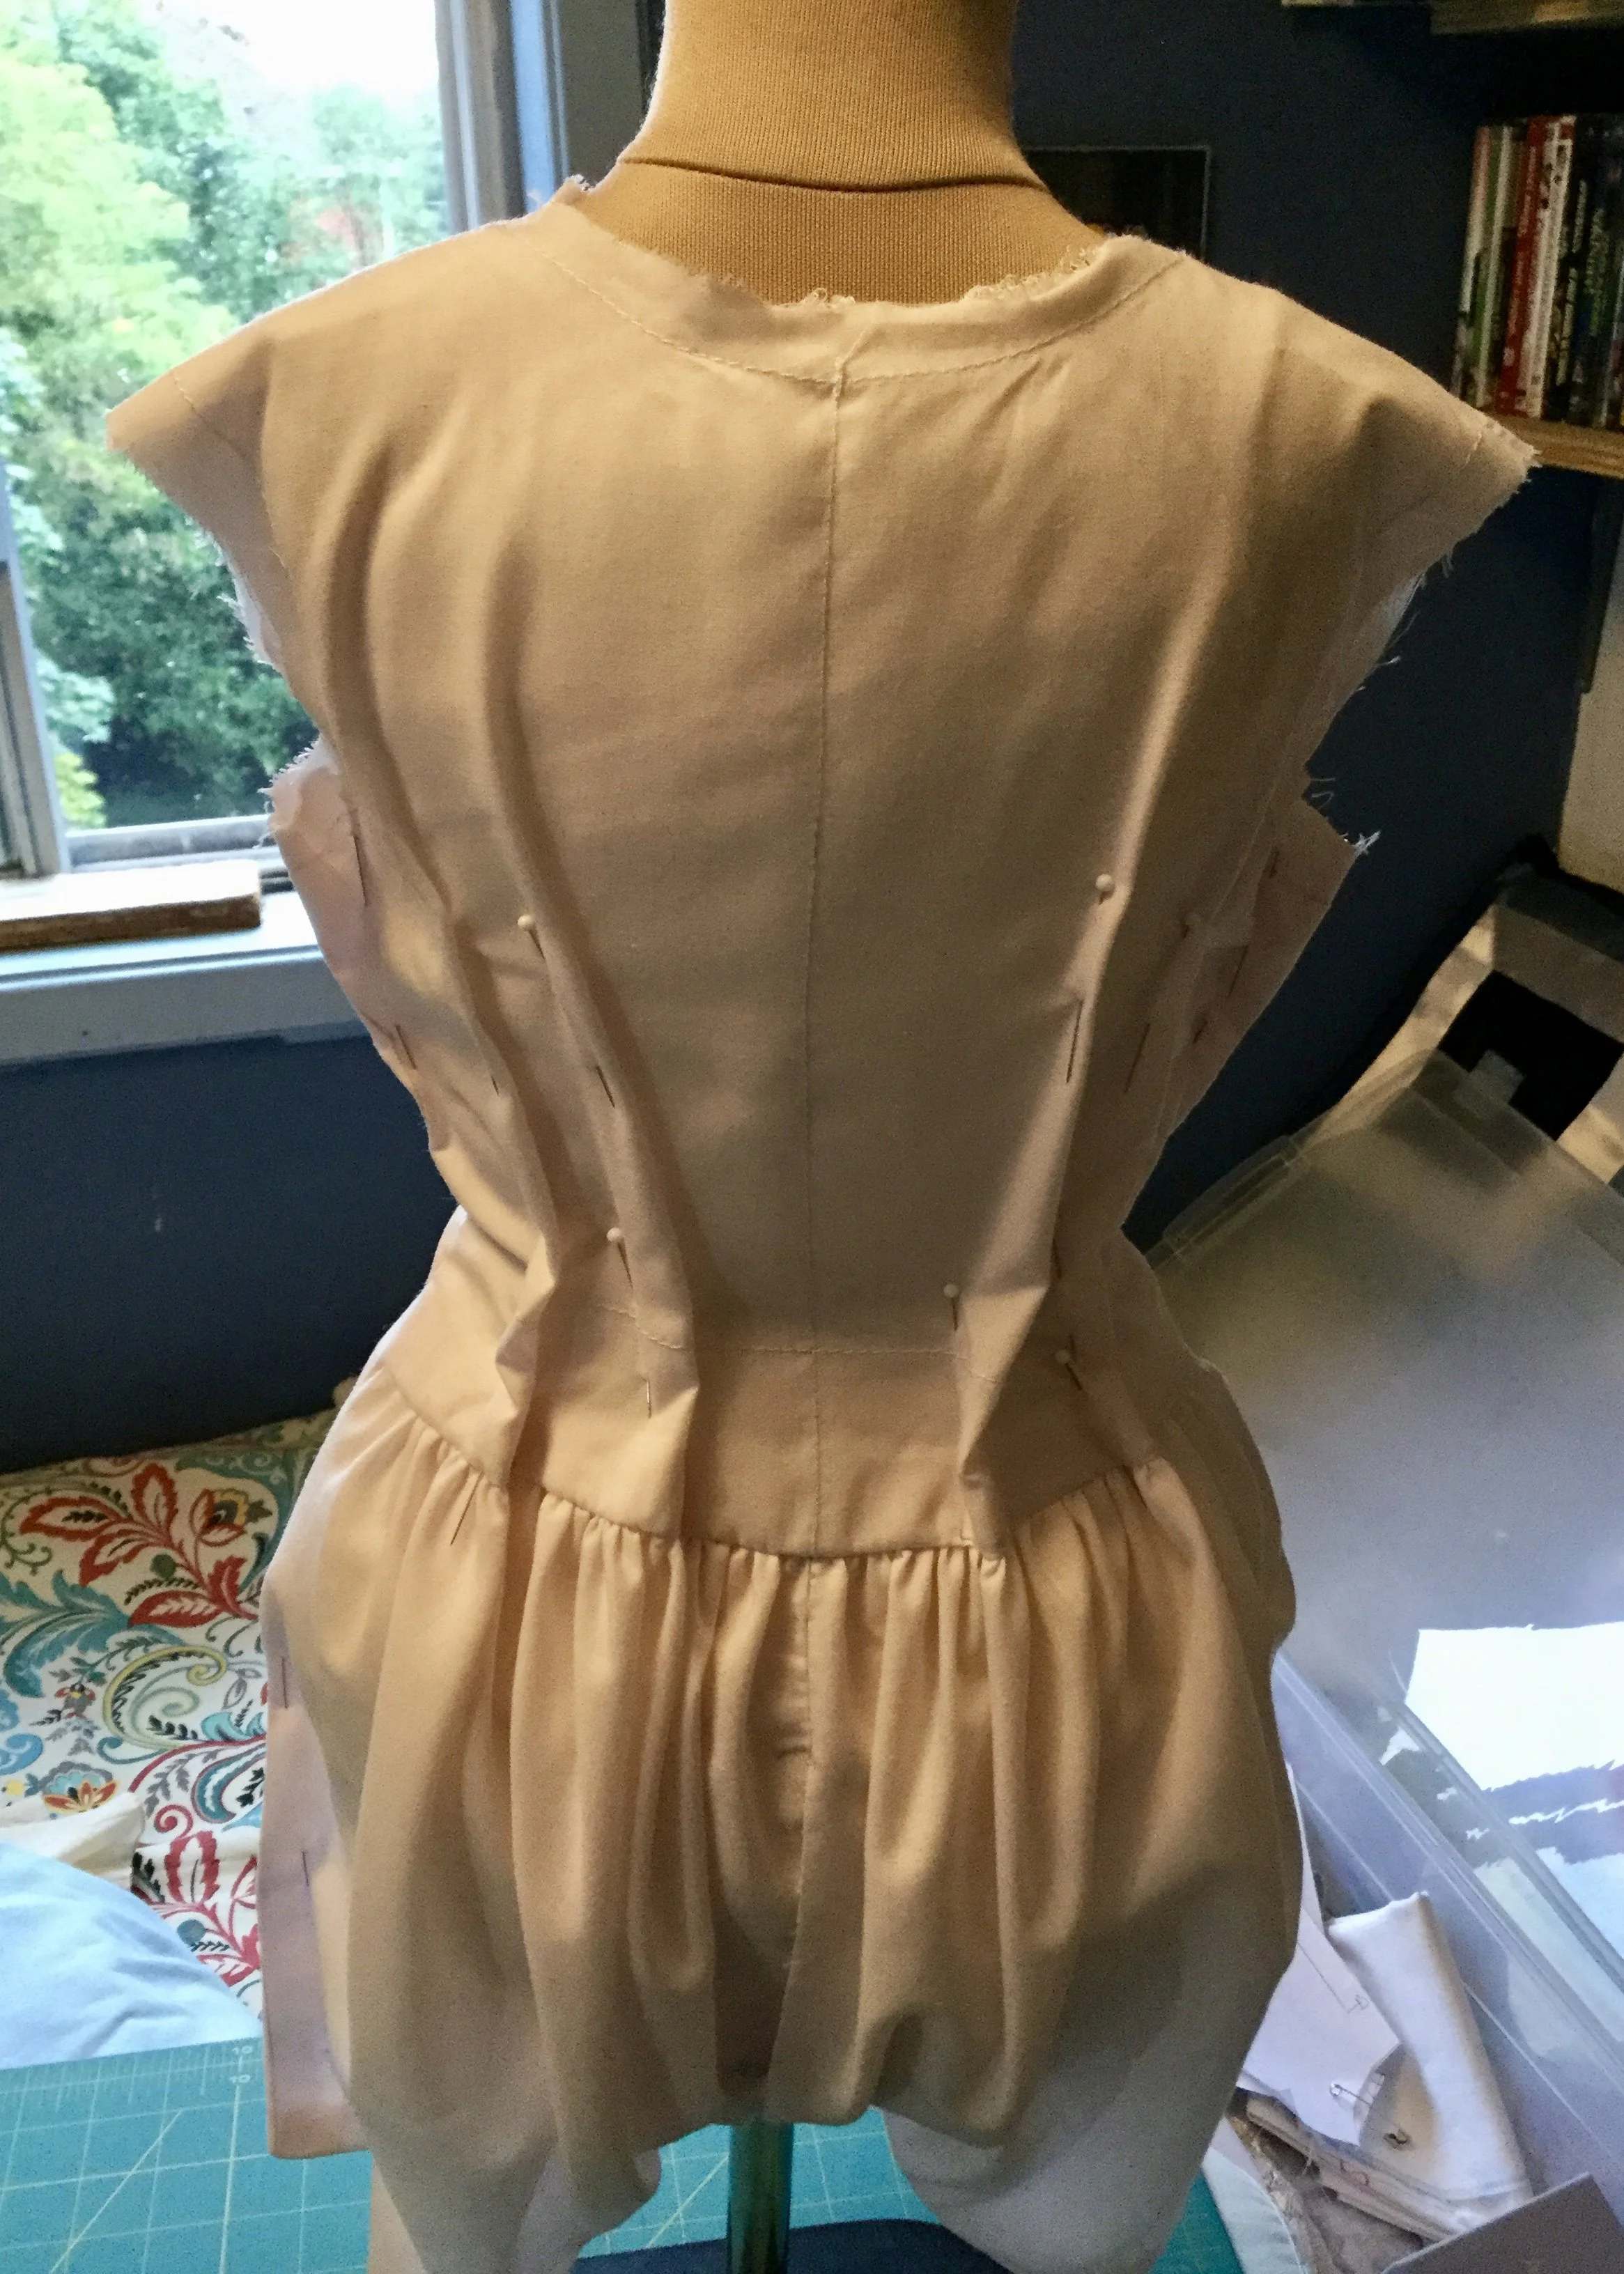
The mock up which came from this first pattern was...well, a bit funny looking. I had left it intentionally loose and as the first iteration, of course it needed some tweaks, but I hadn't been expecting it to be giving her a wedgie. That one caught me by surprise a bit. I did have to open up the inseams of the legs a bit so that the whole garment would hang properly.
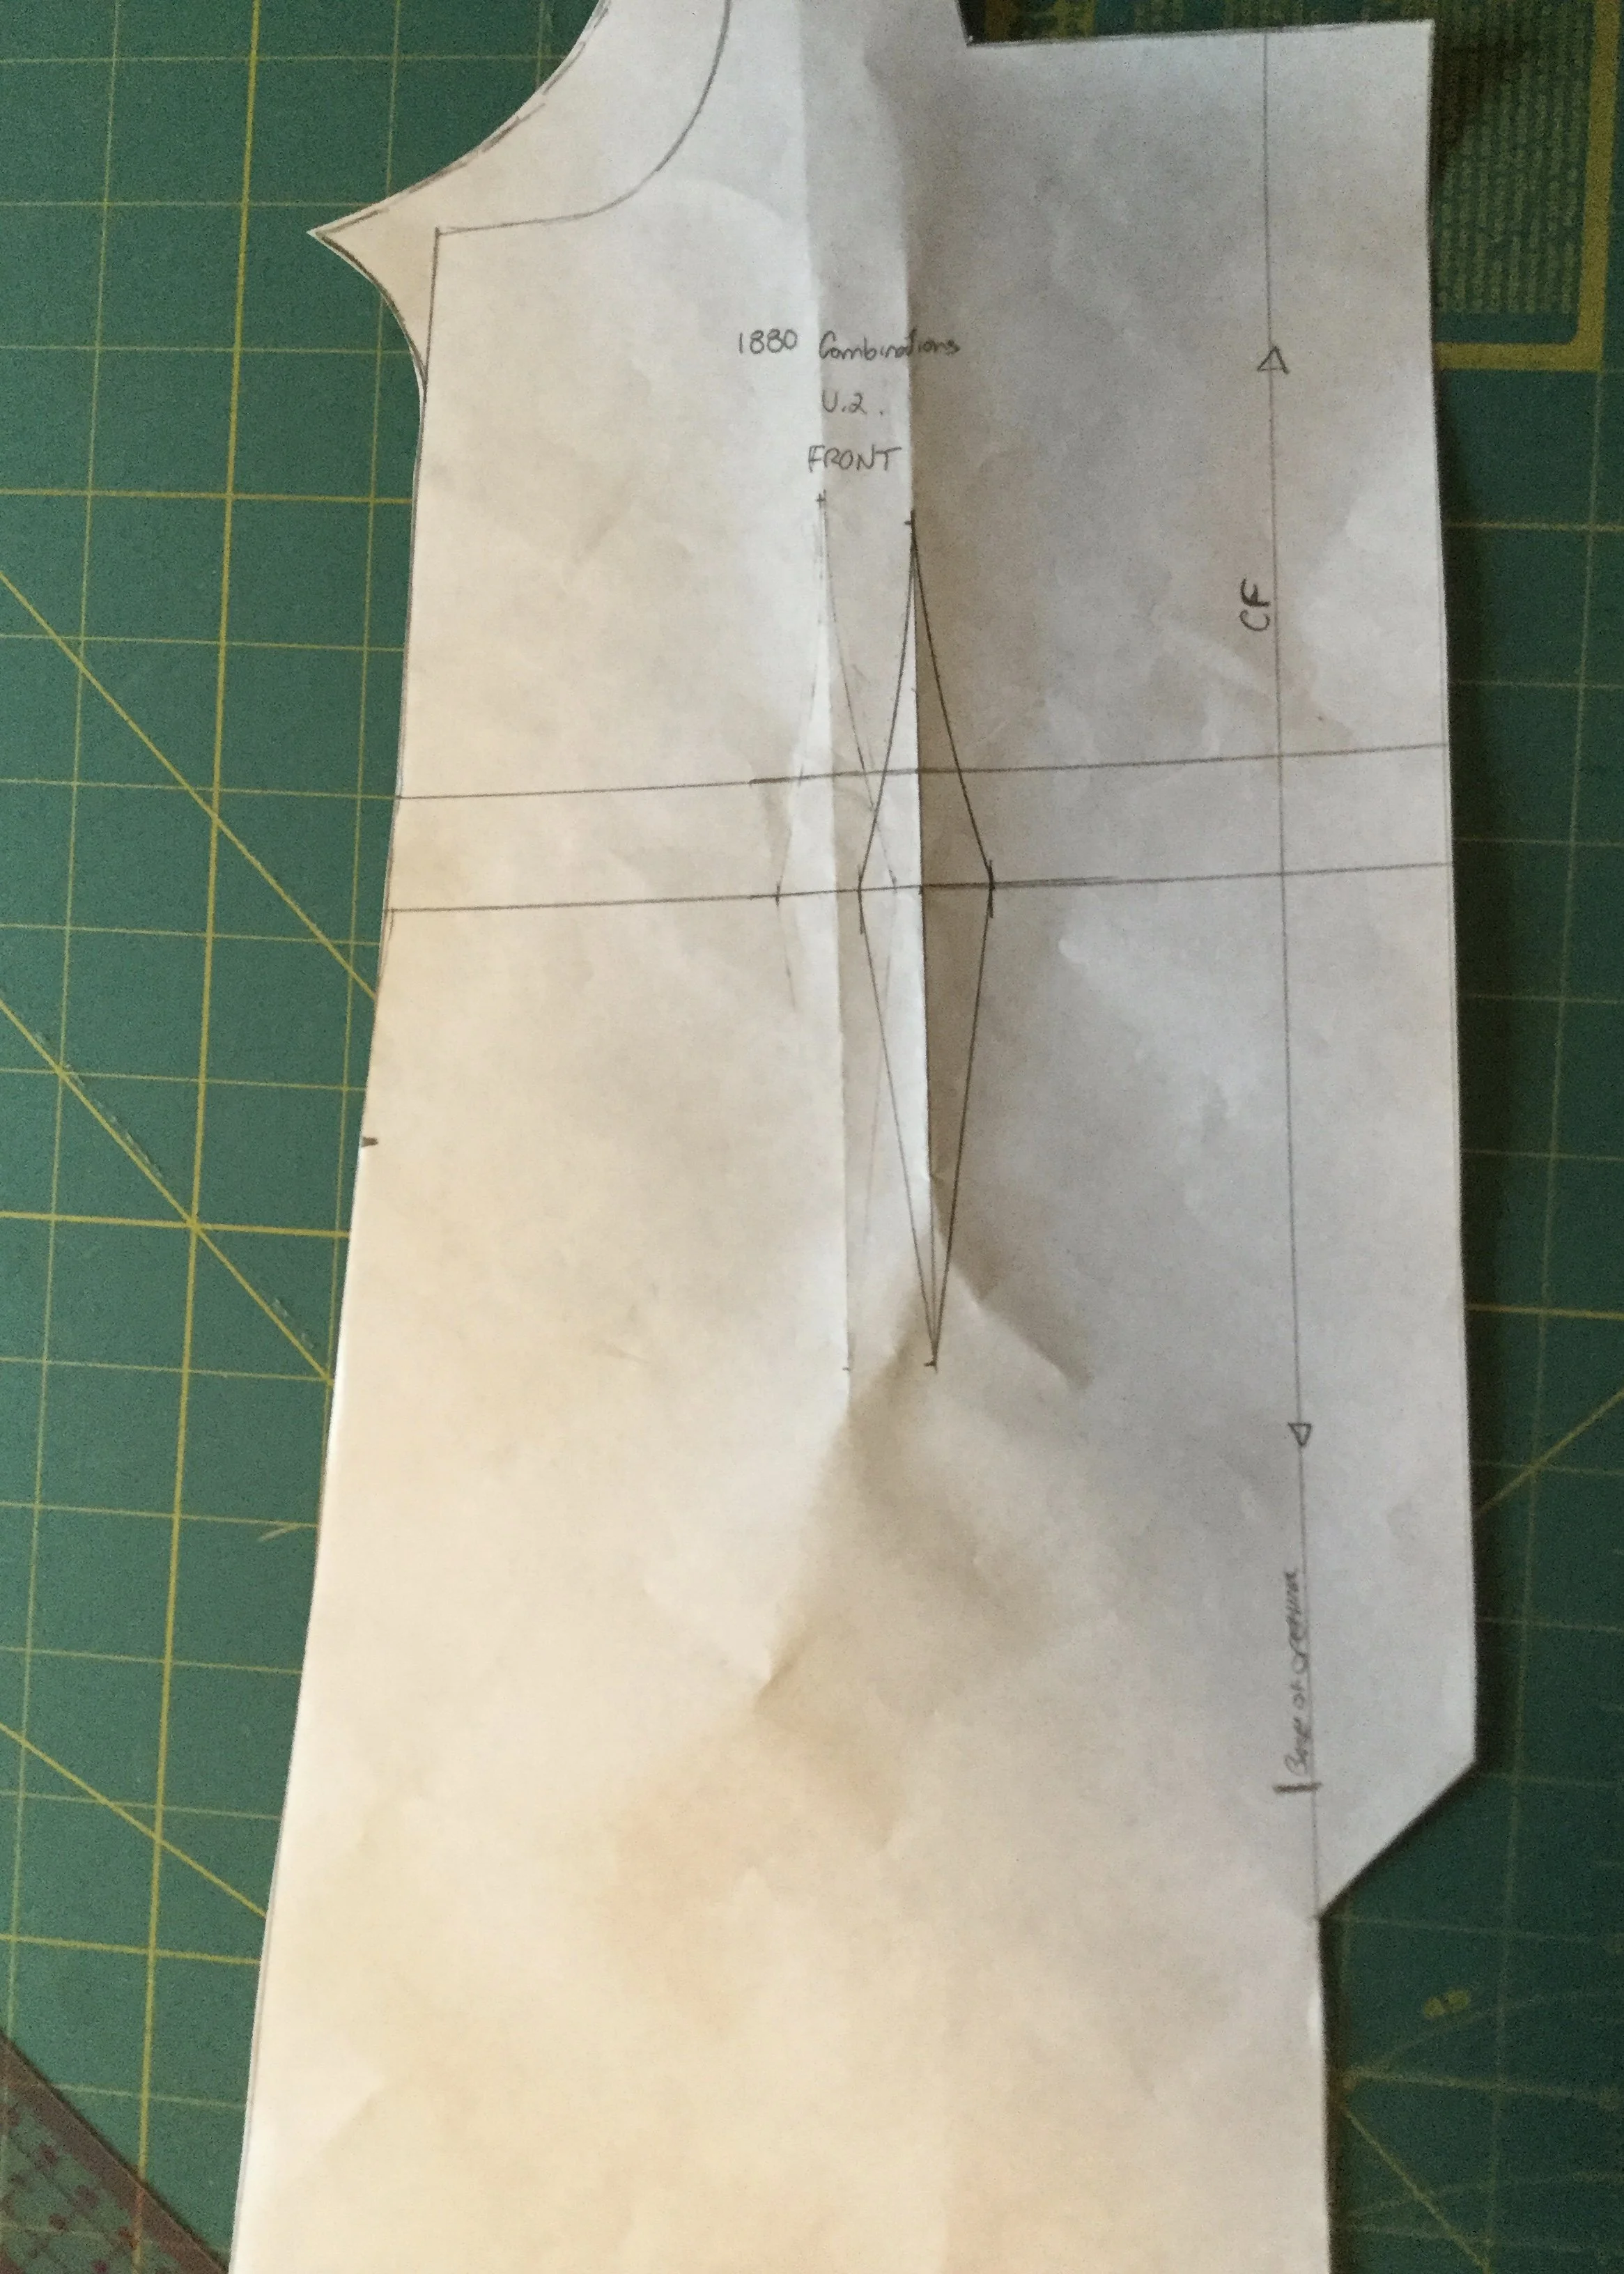
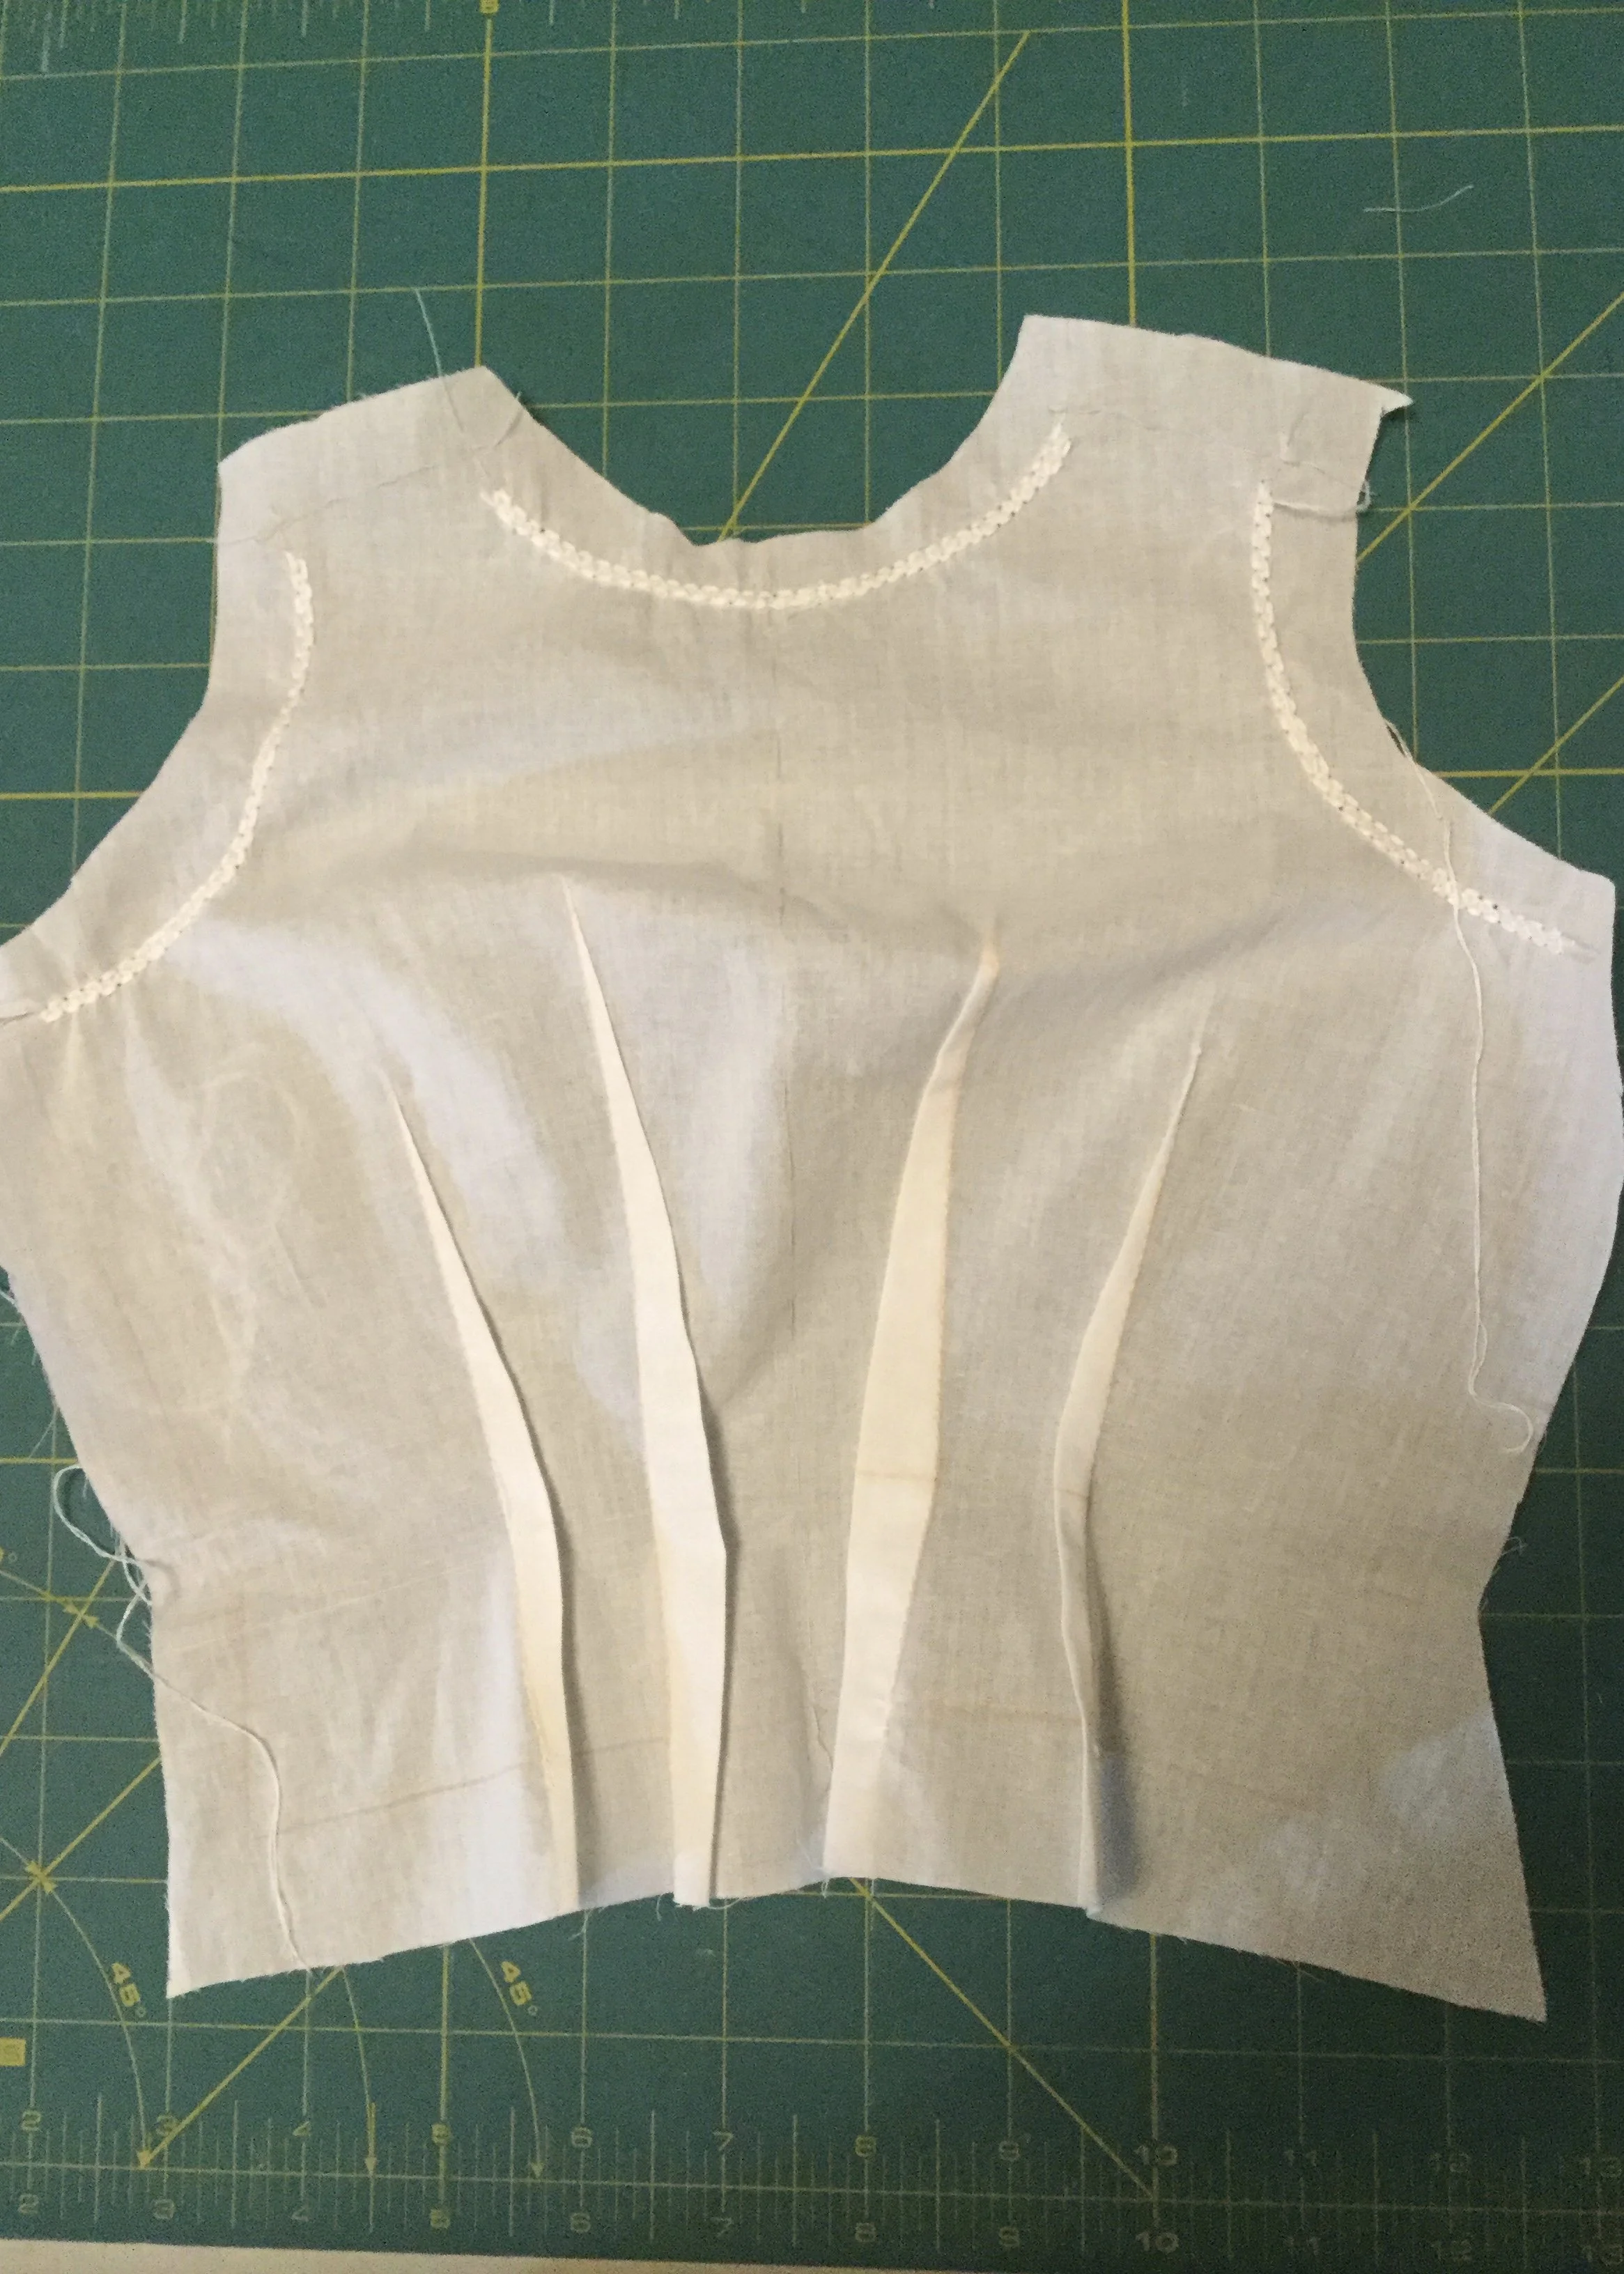
The first alteration I tackled was to pin out the waist darts and pinch out a little on the side seams under the arm. Once the whole thing was looking a bit more shapely, I turned my eye to smaller adjustments.
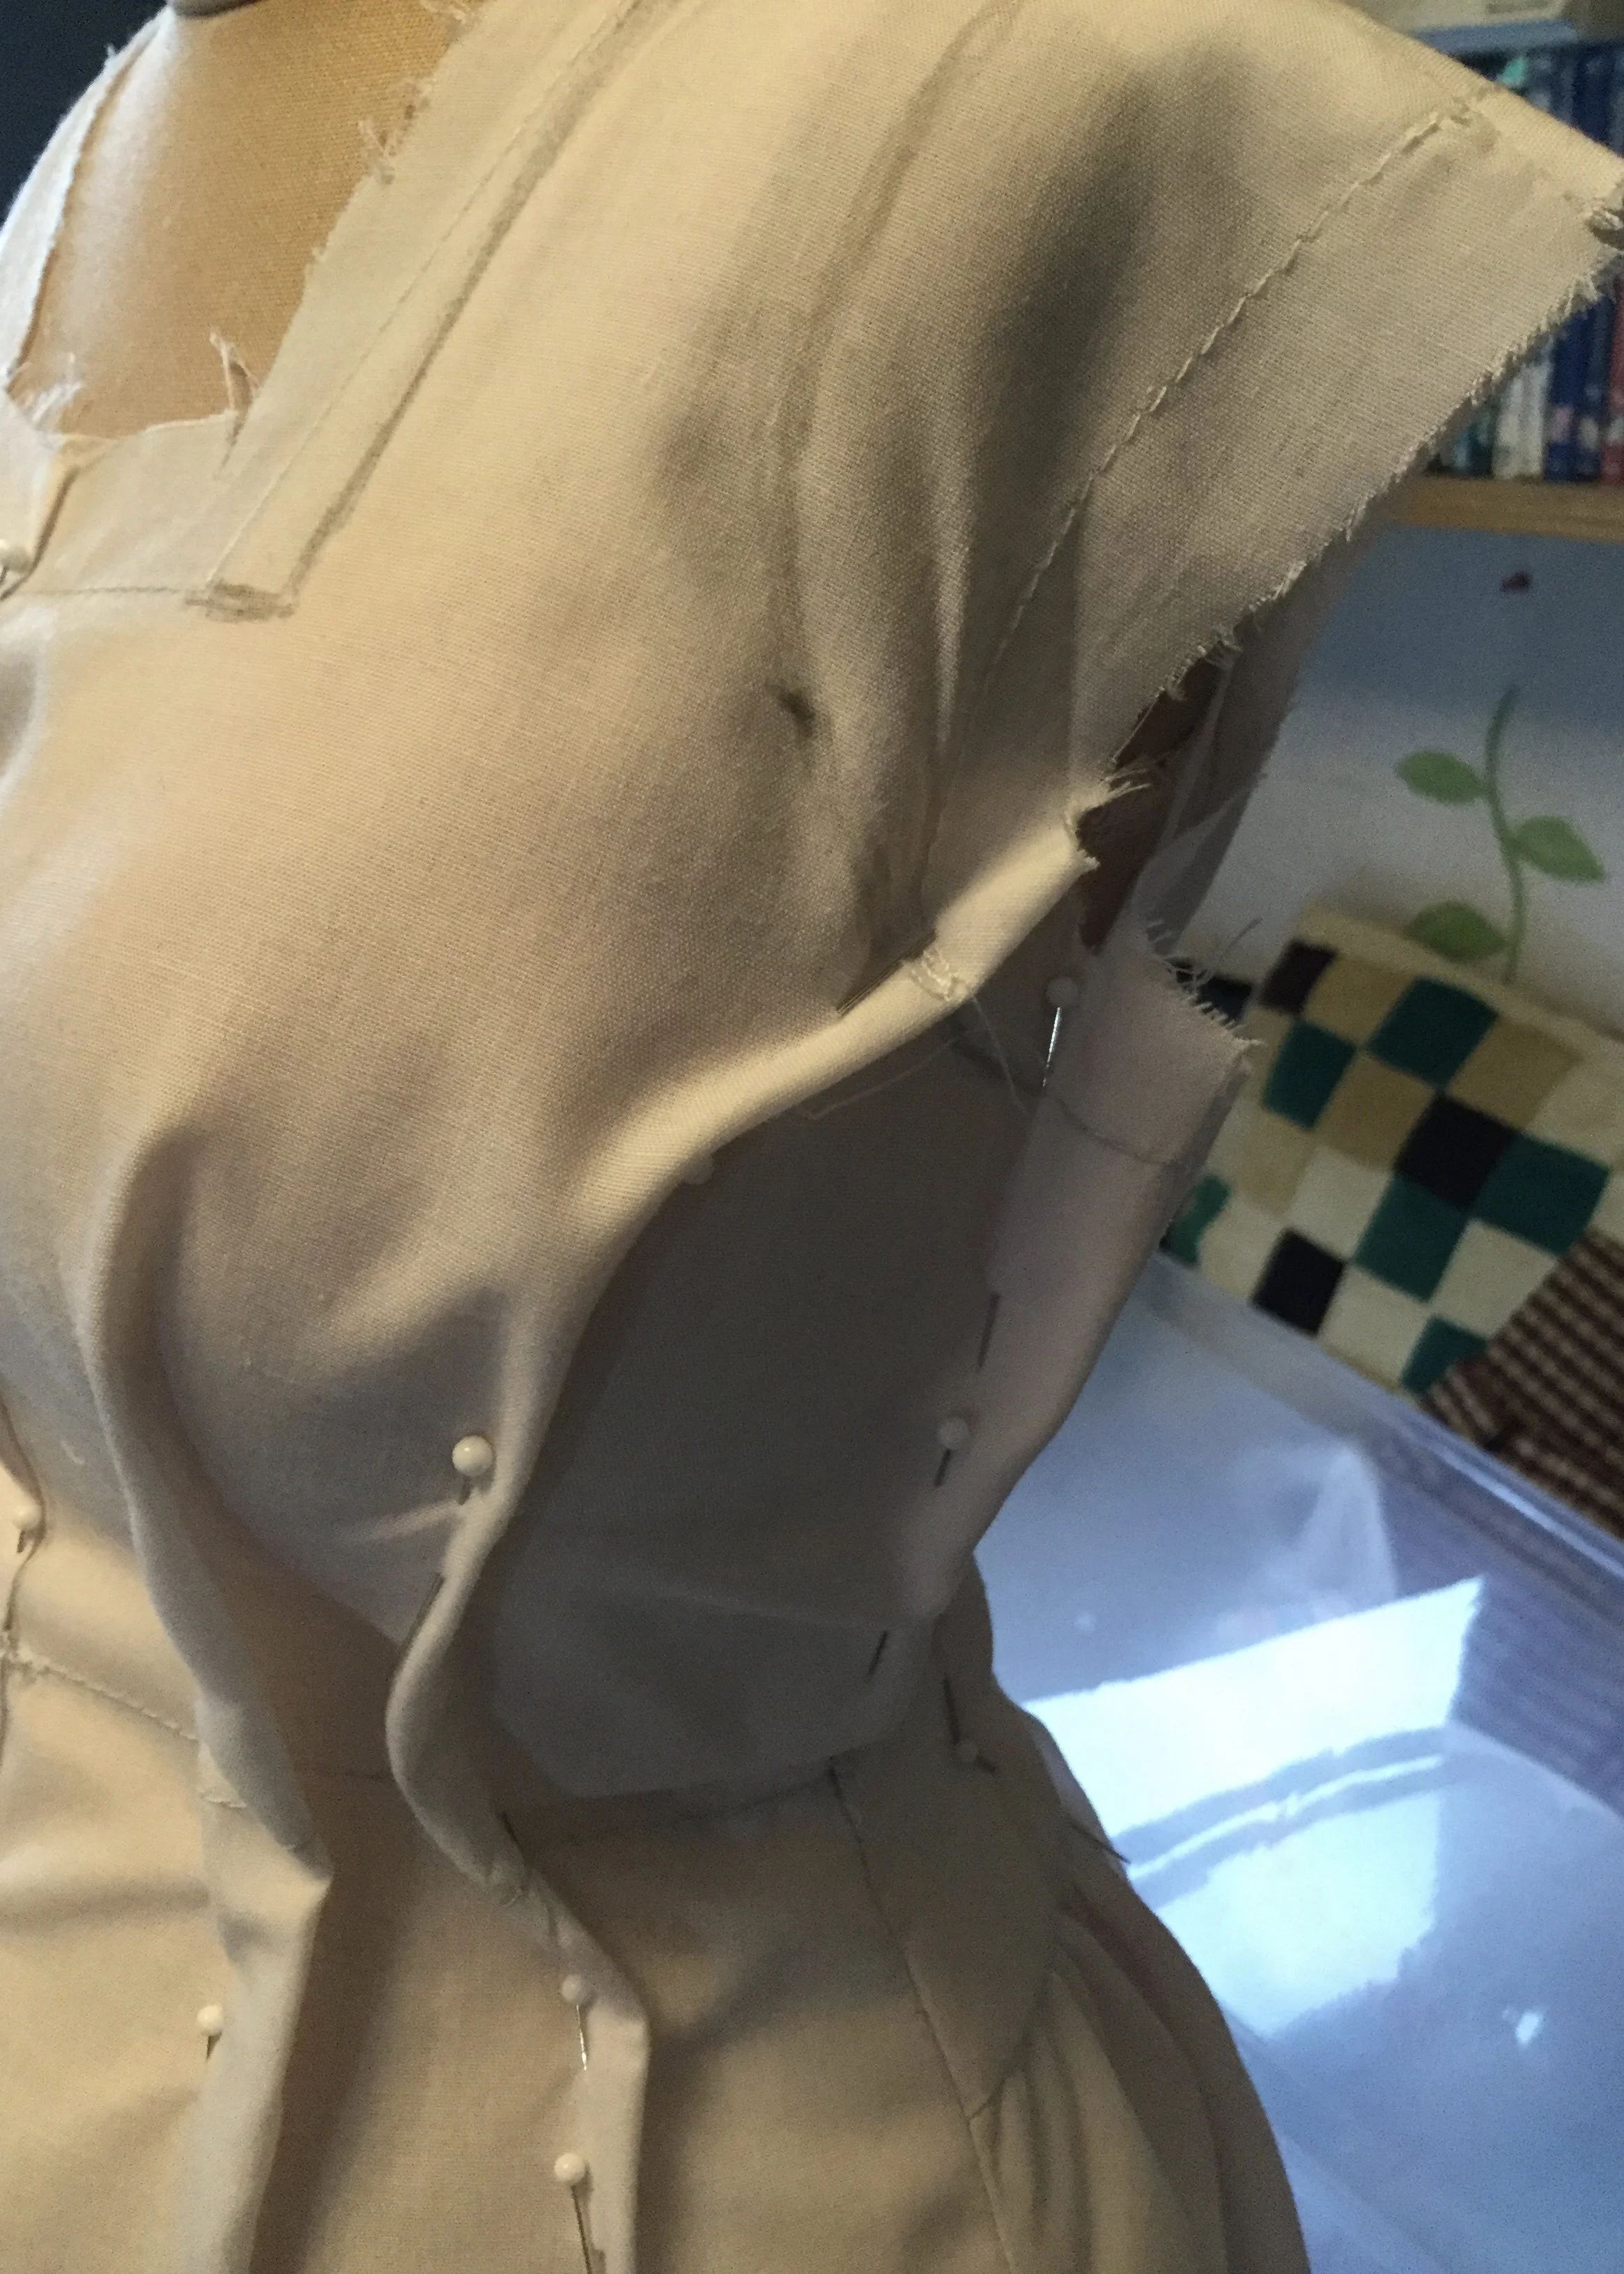
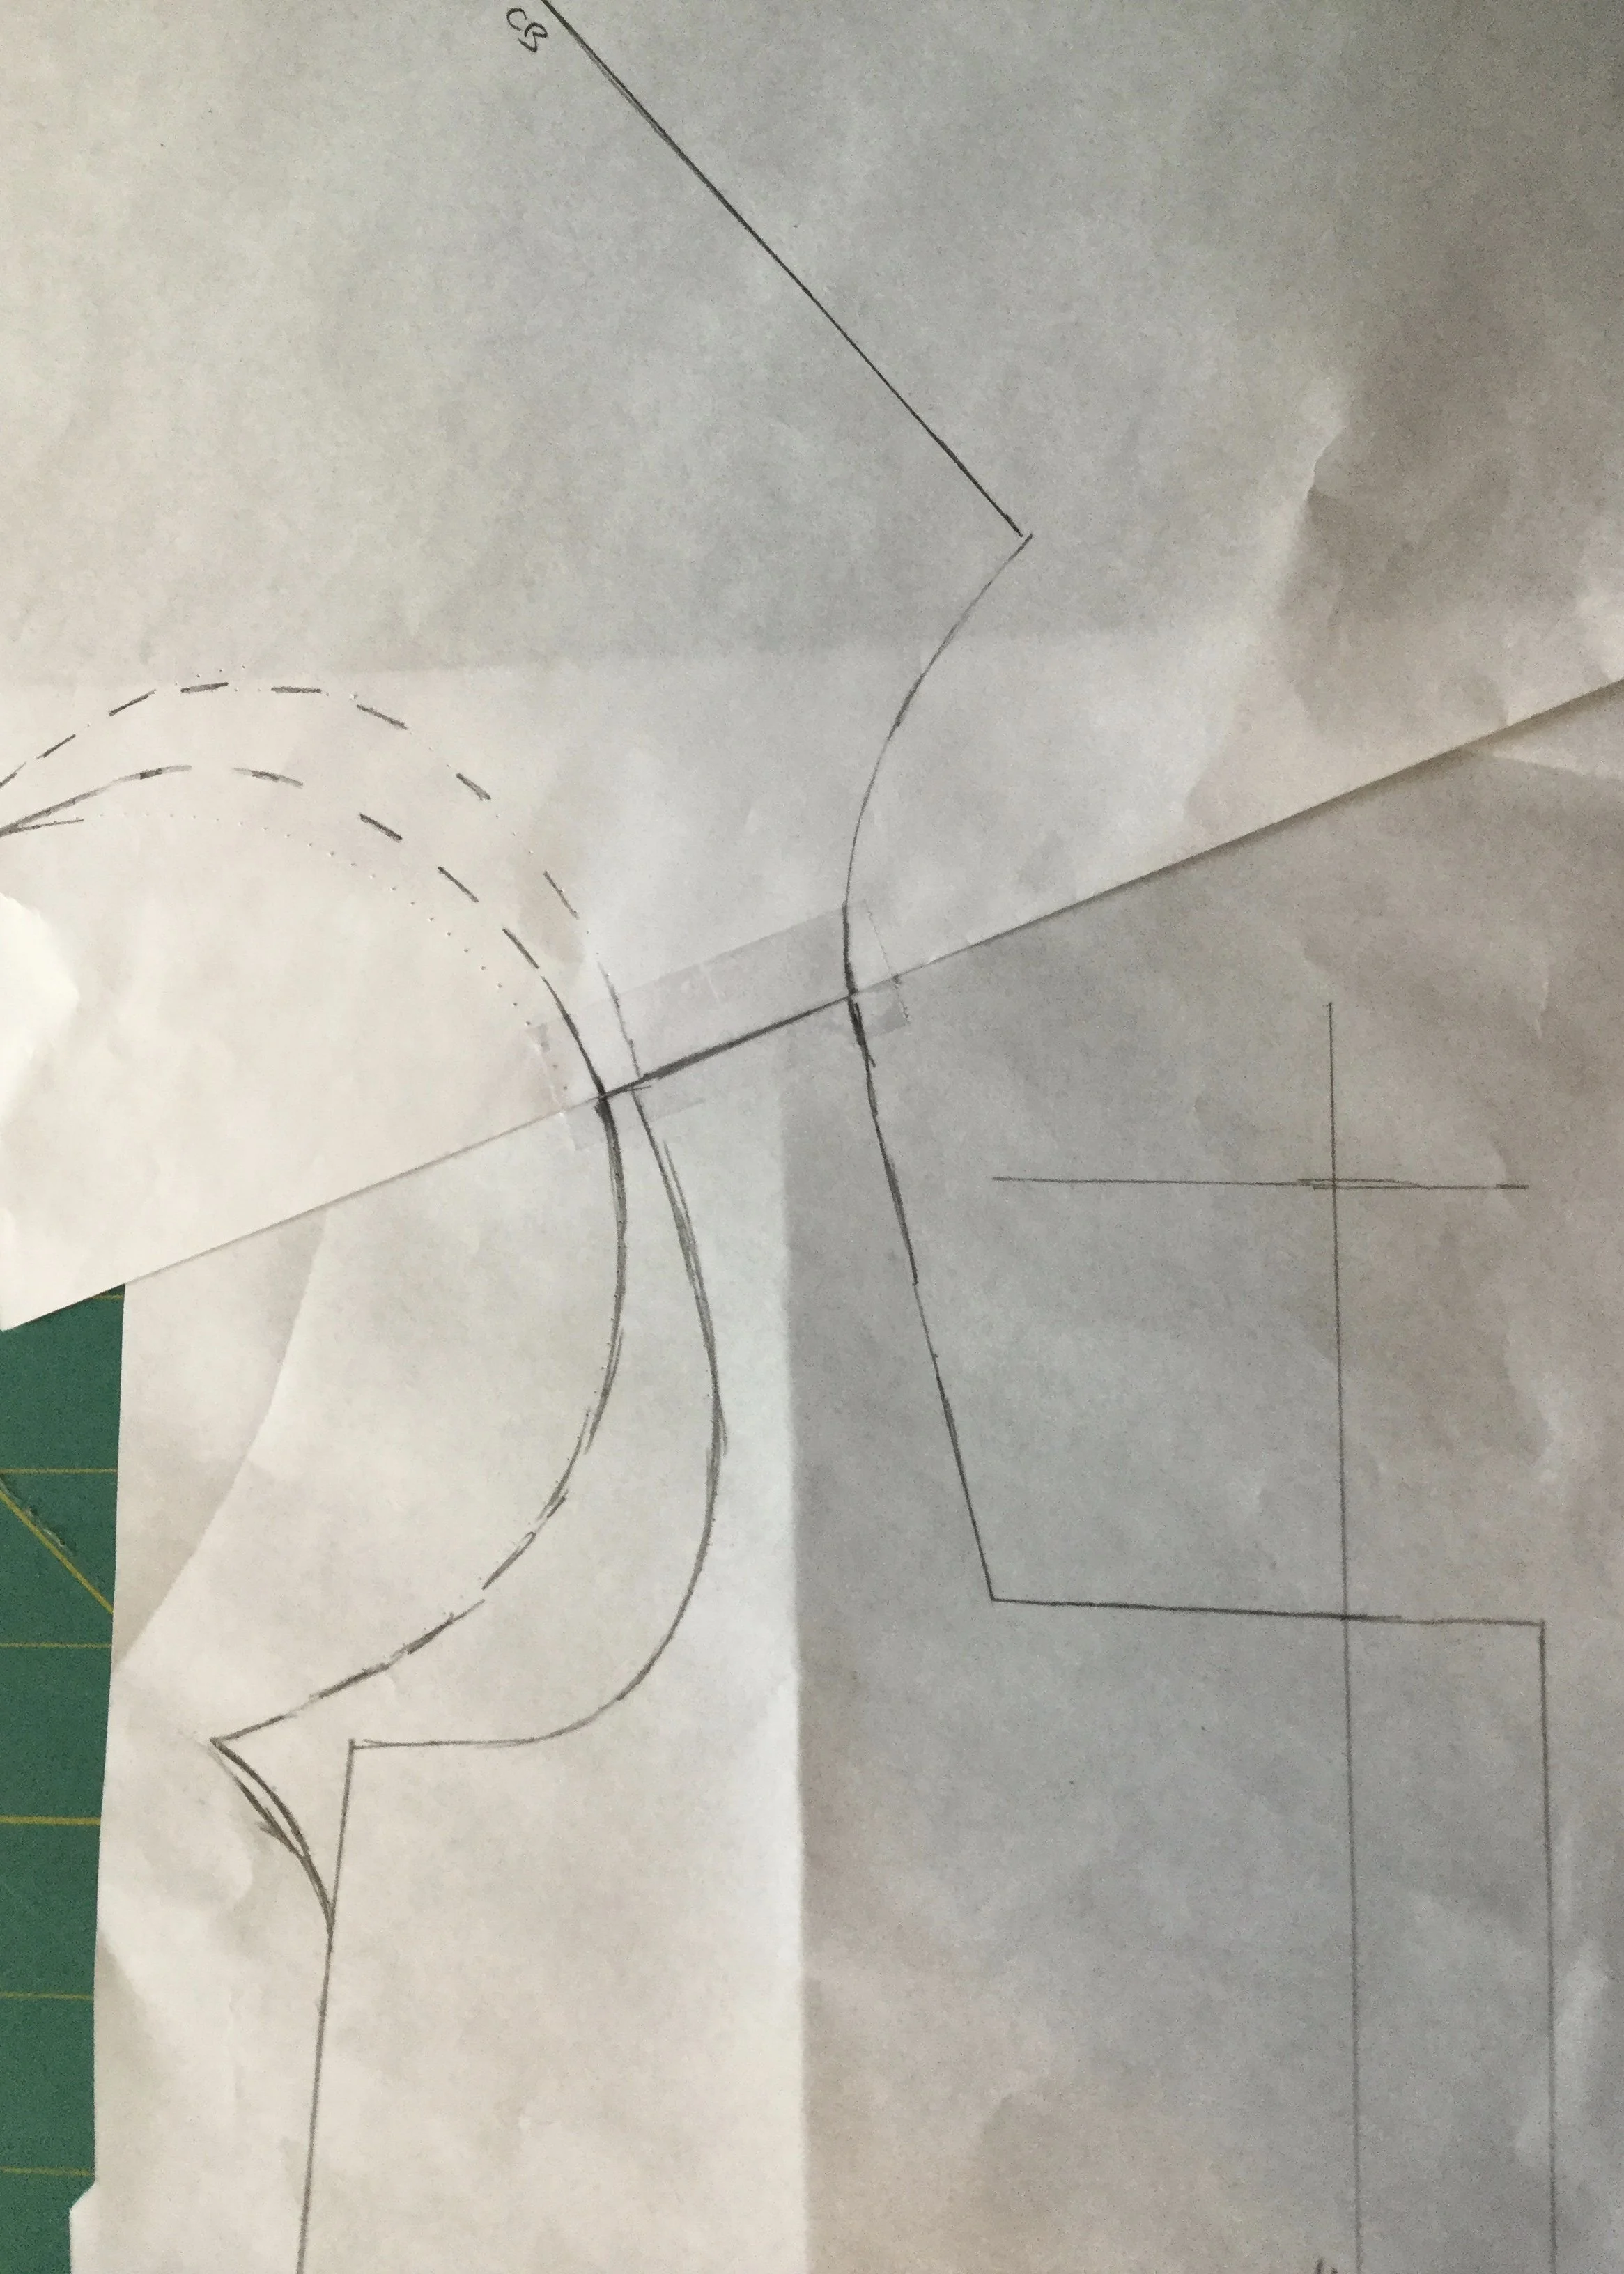
The new armhole.
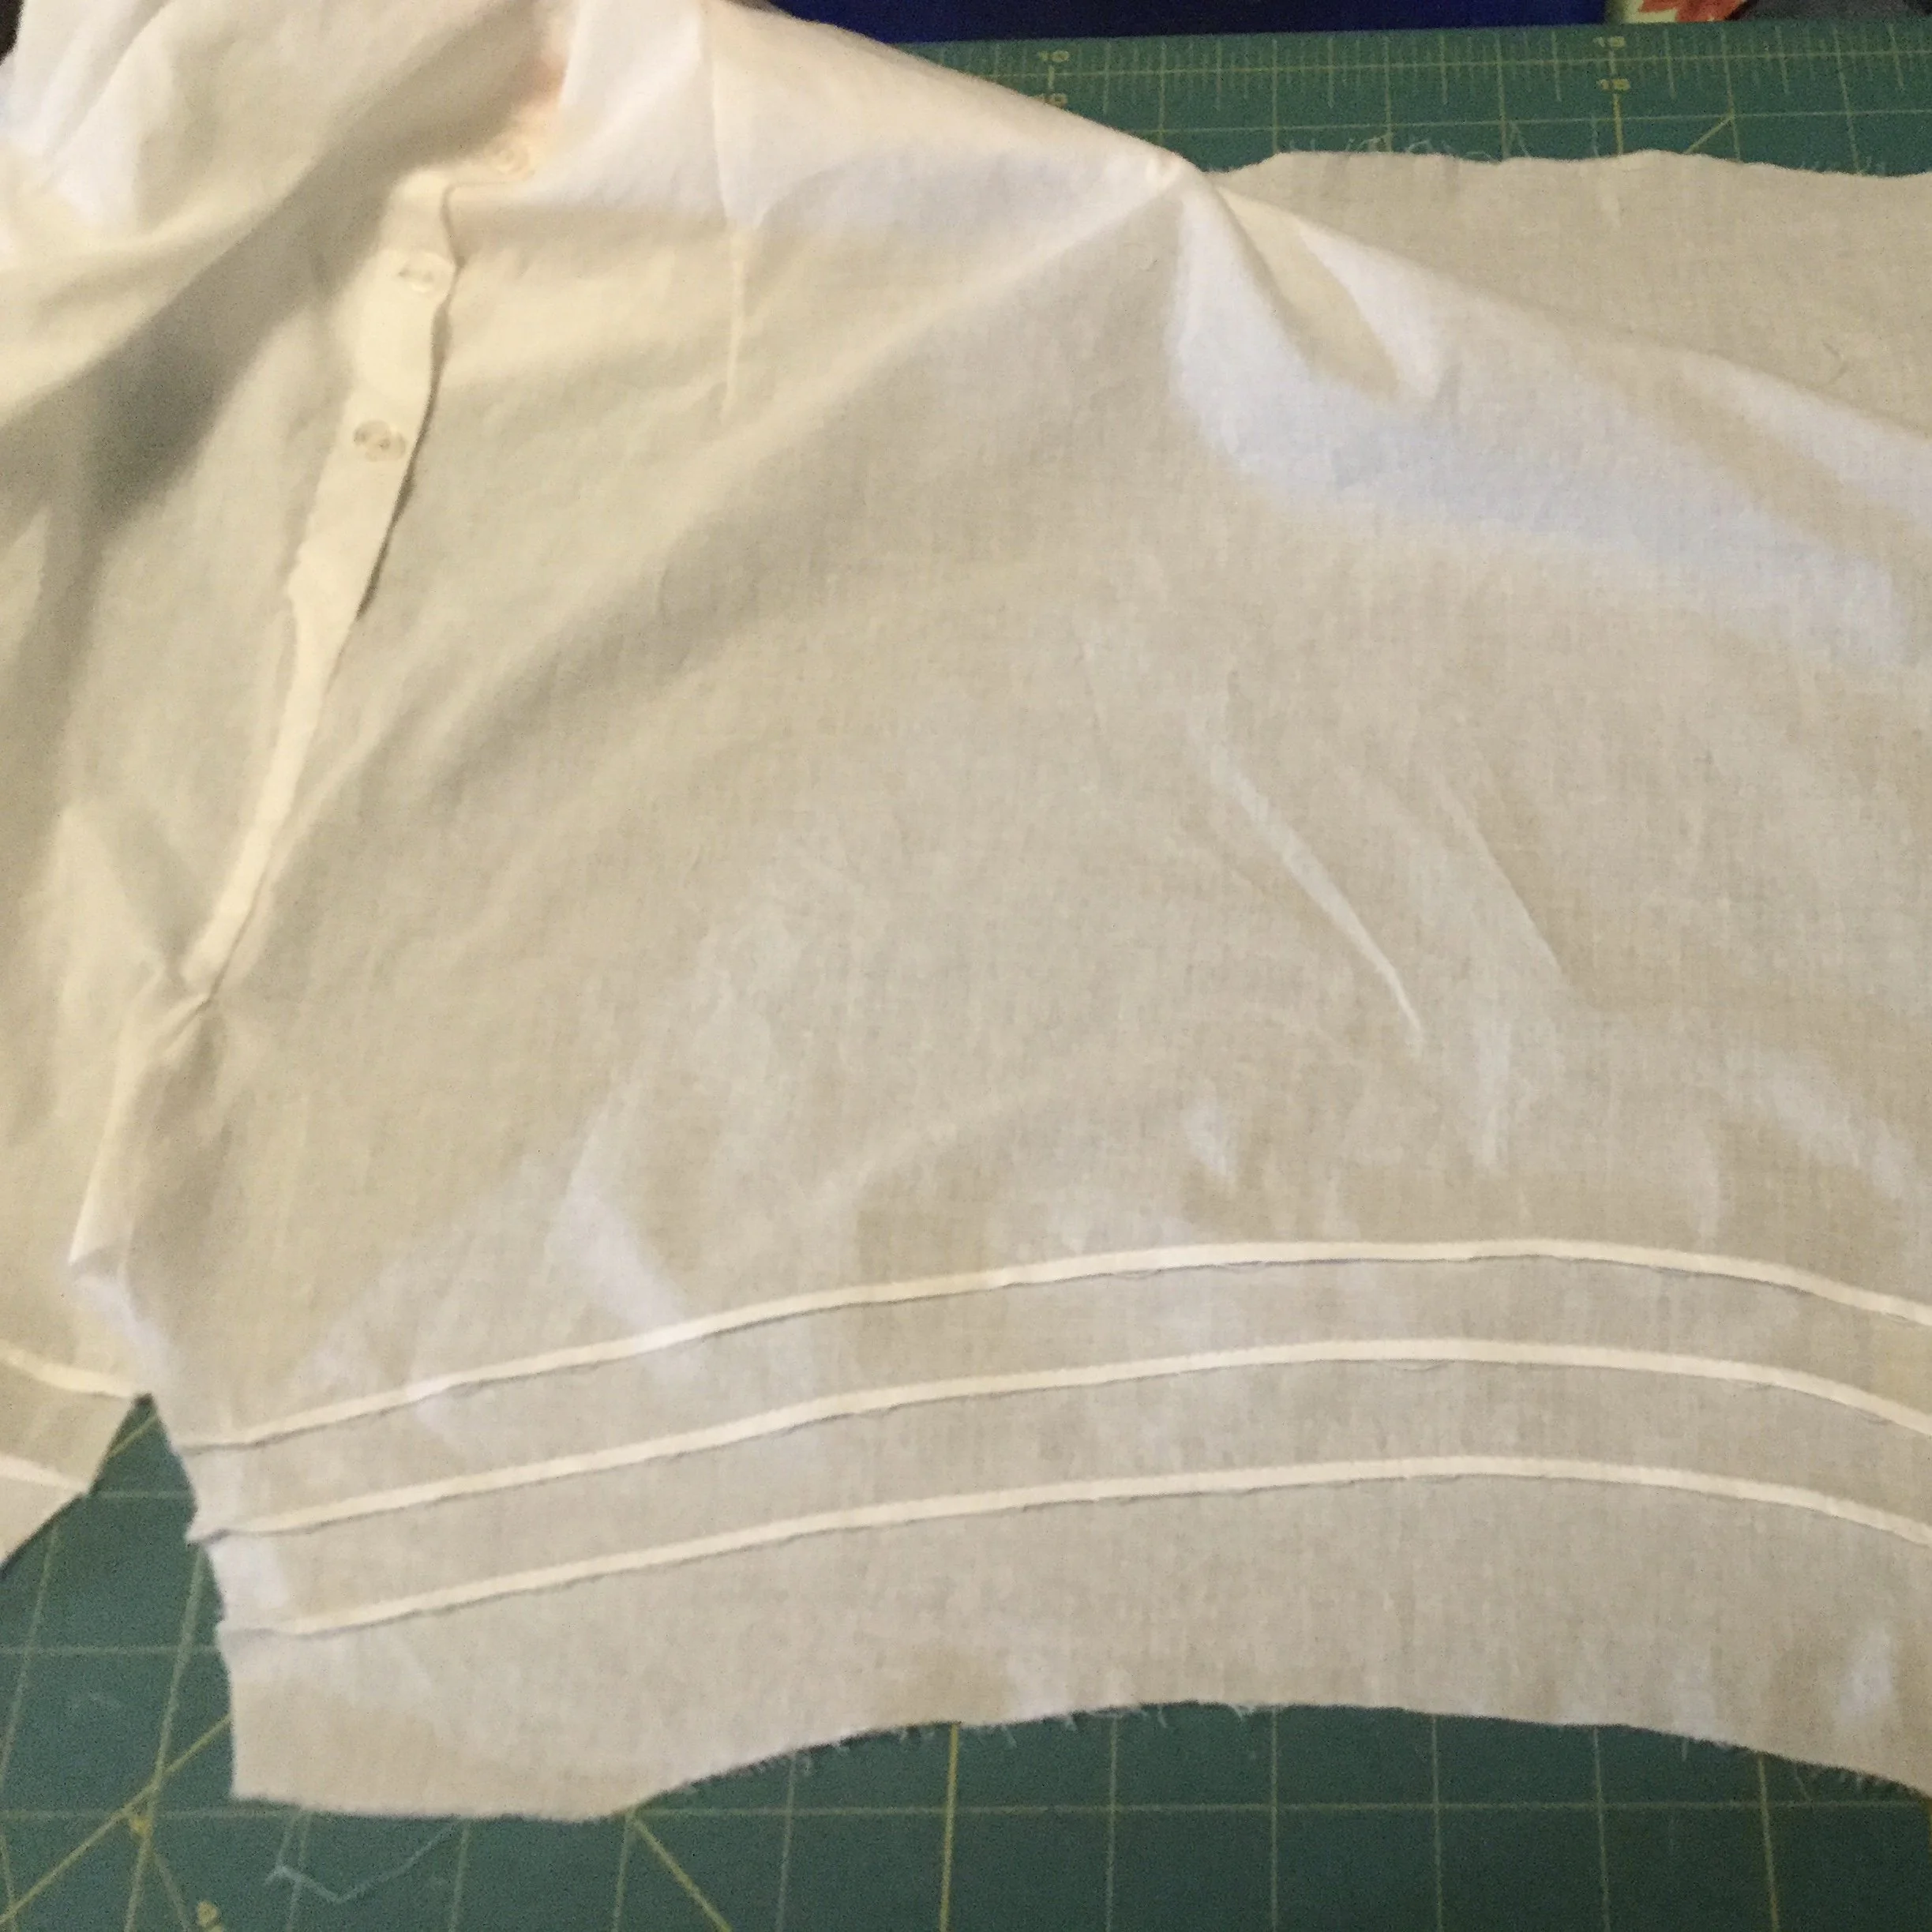
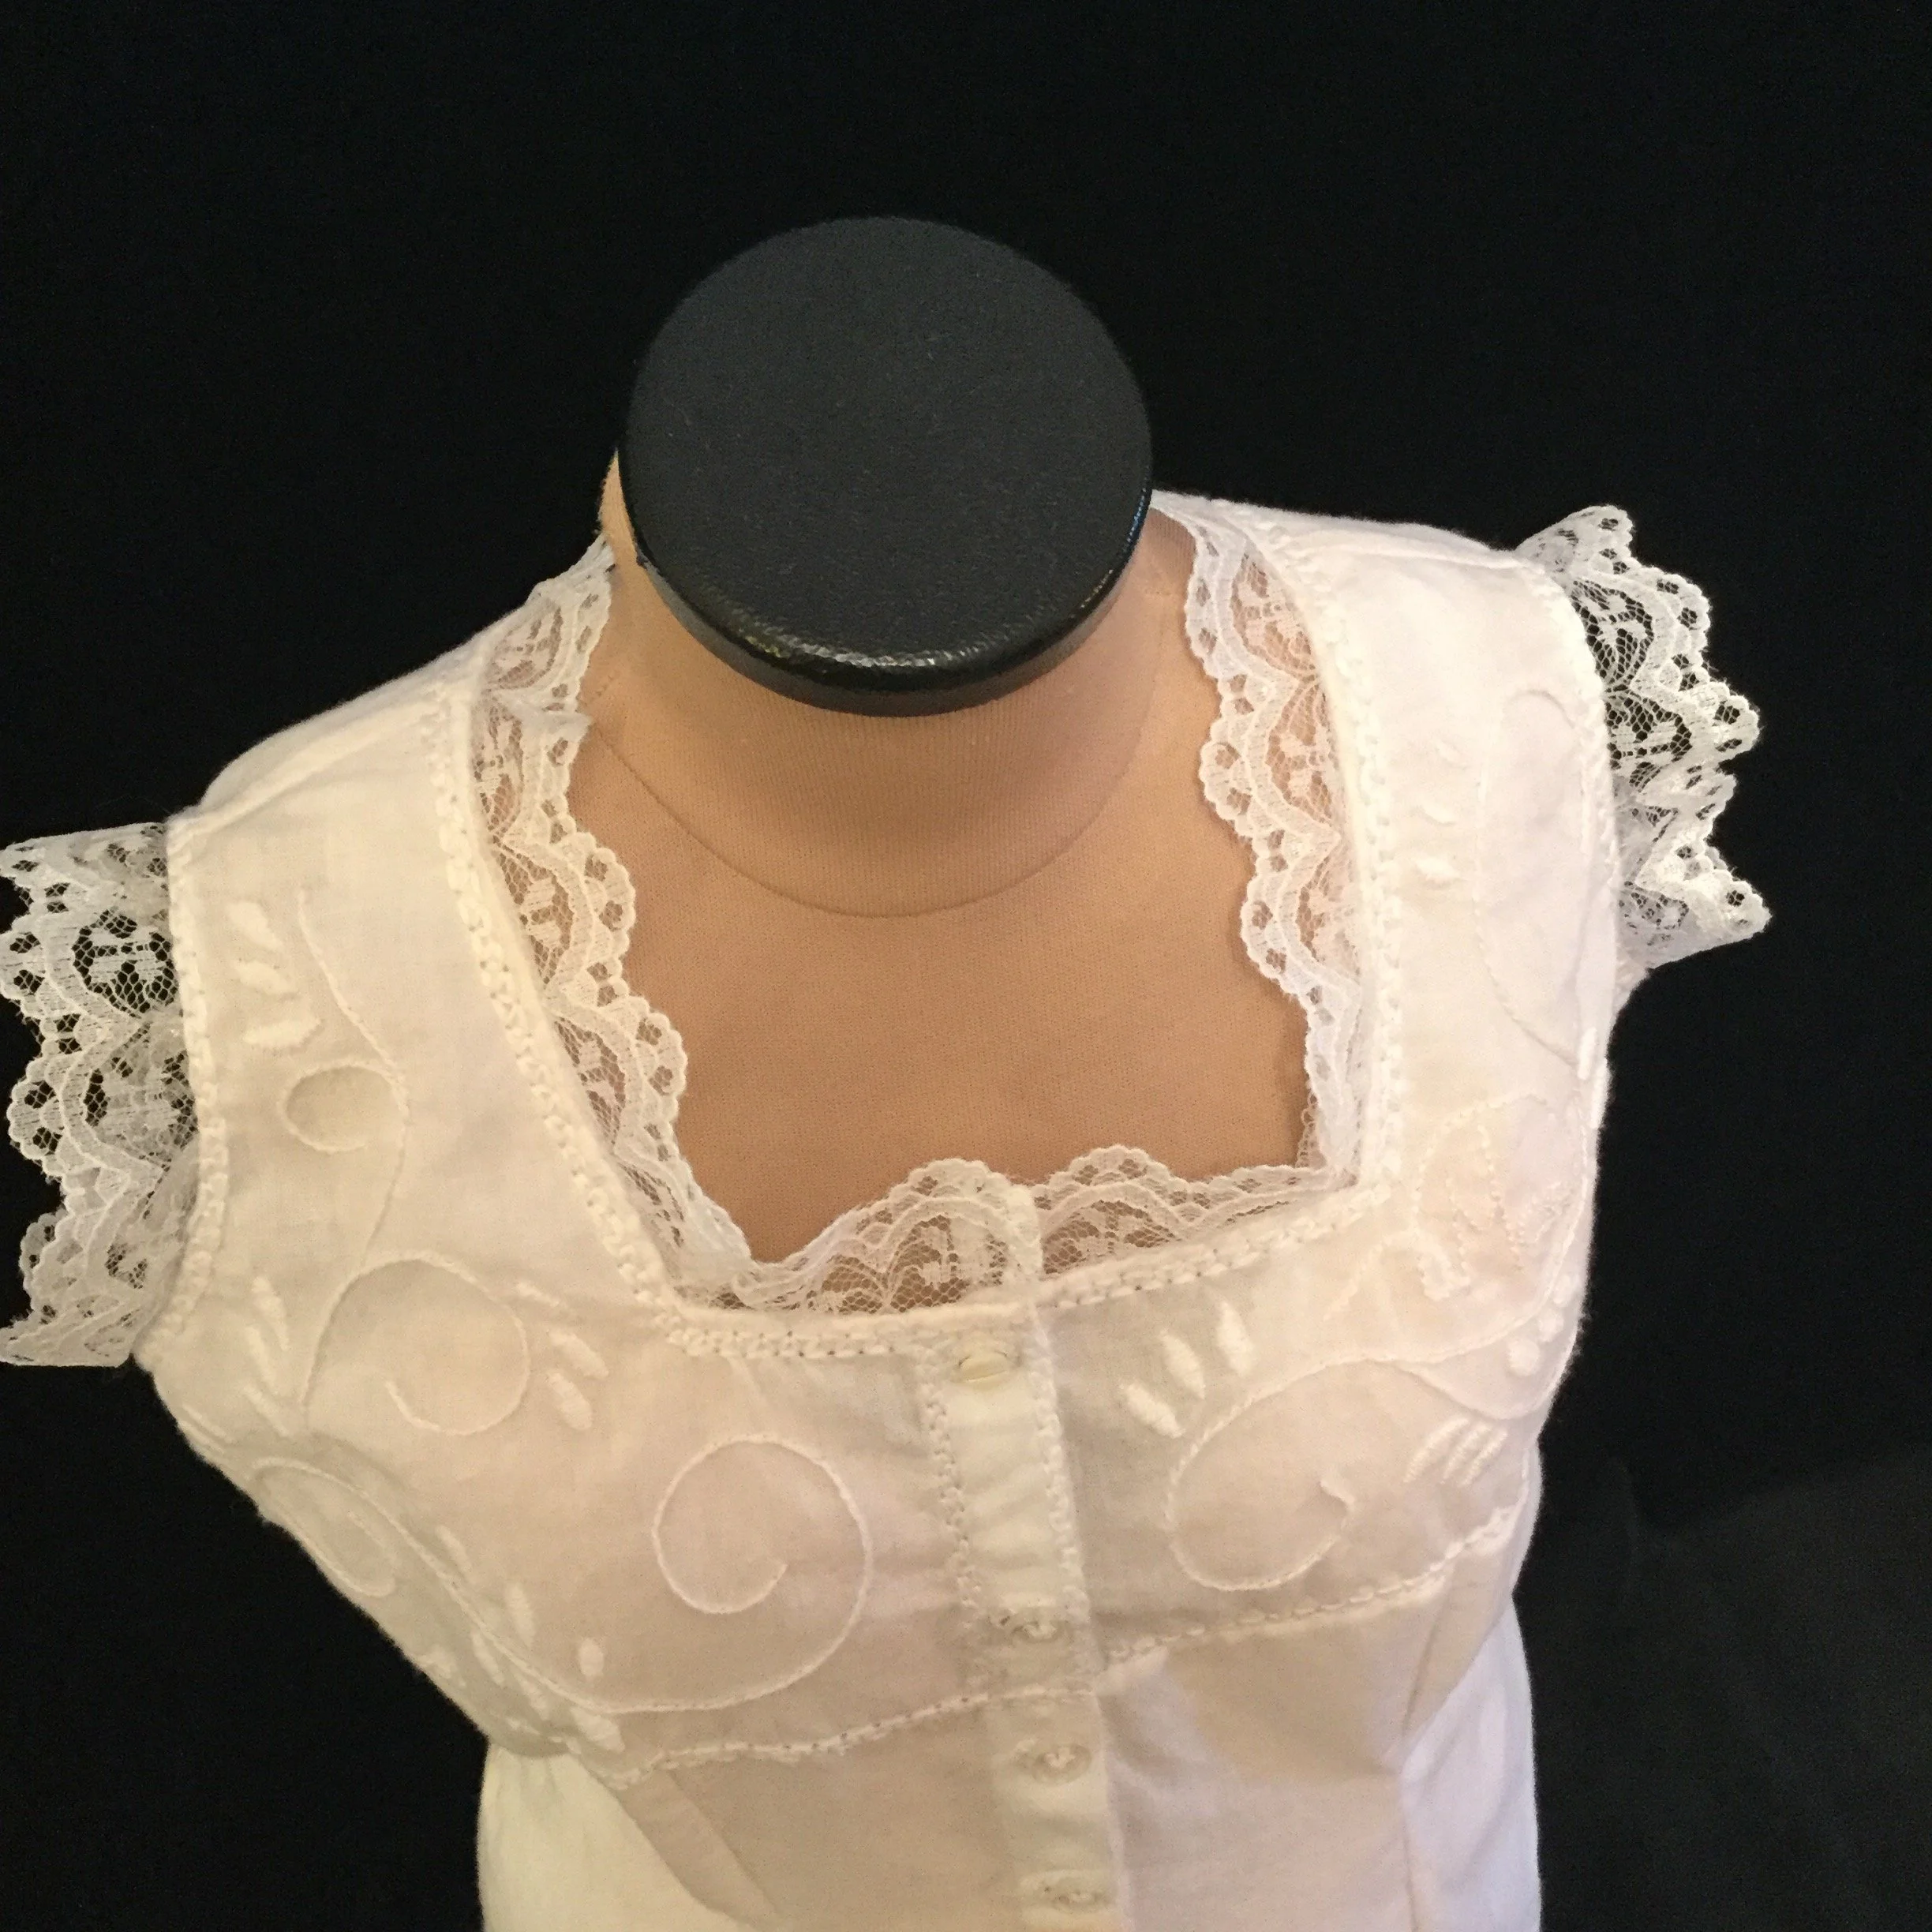
I liked the square neckline but decided to widen it a bit on the front. I also redrew the armhole to be a little narrower which prompted forcing out a small dart in the front armhole. I also narrowed the outside of the legs a bit as the whole thing was still looking a bit poufier than it should. While I was working on the legs, I lengthened them a bit to accommodate some small tucks close to the hem.
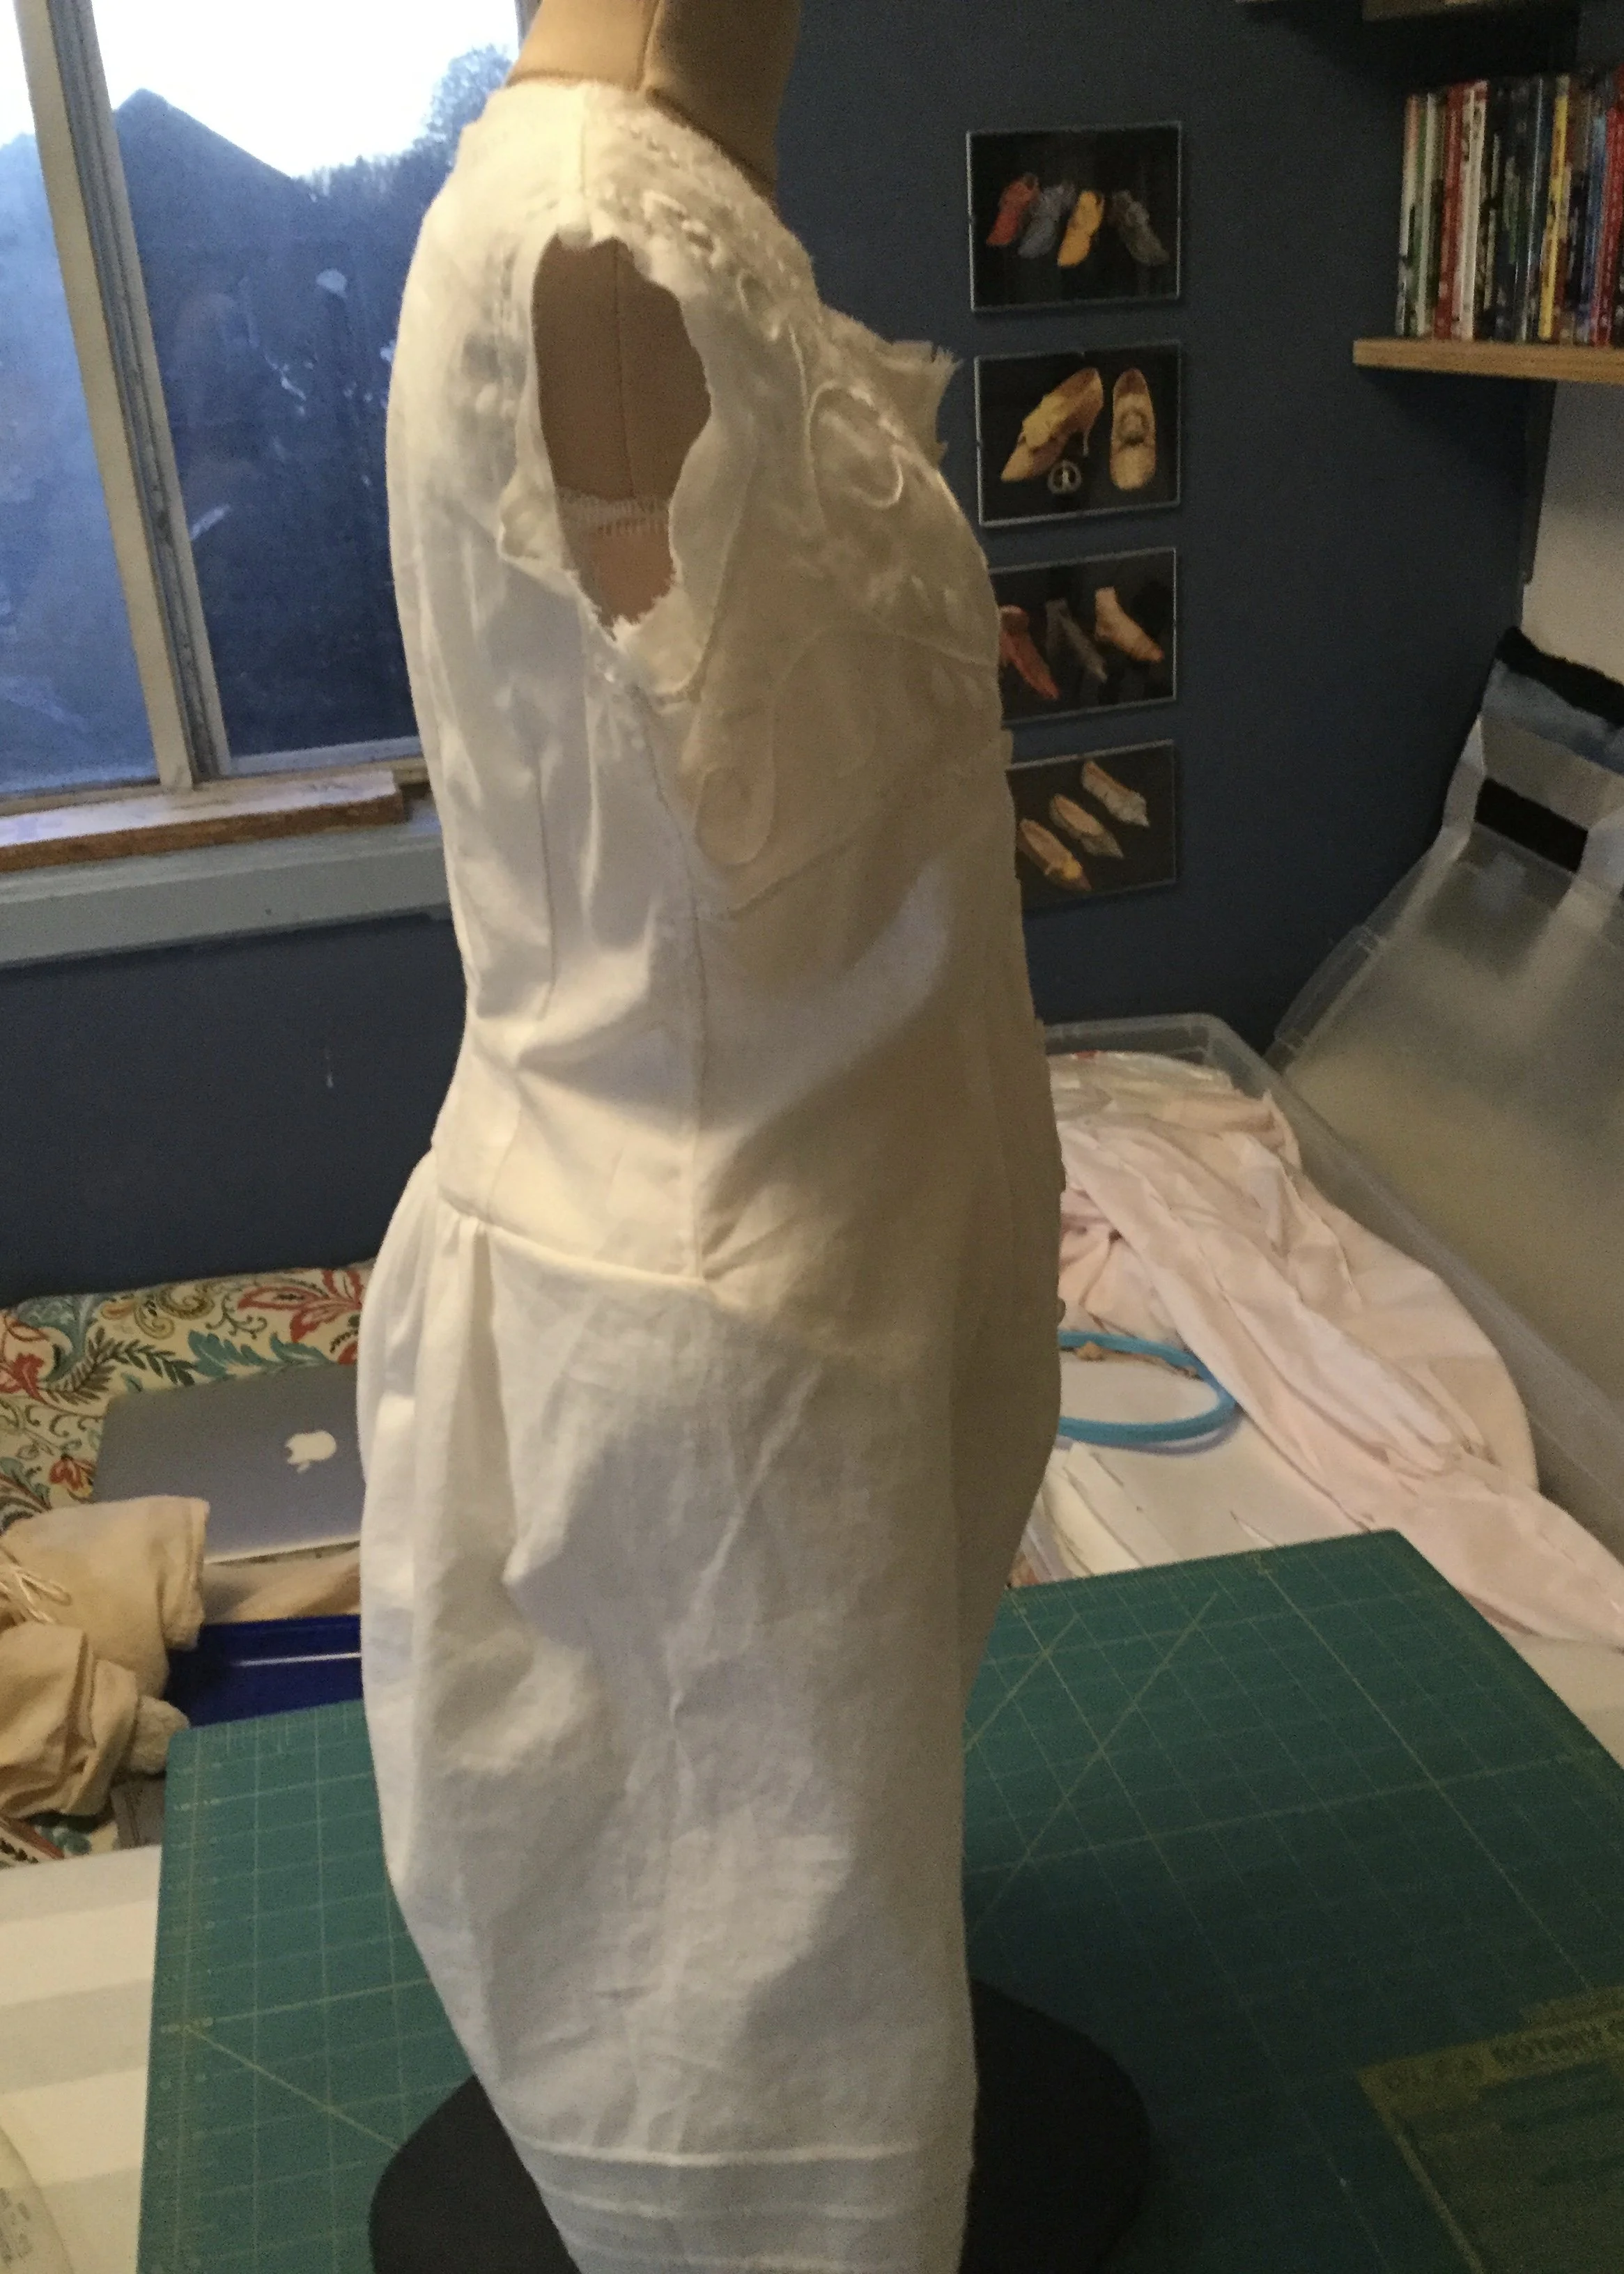
With all this pinning done, I began to transfer my alterations to the pattern. To prevent another wedgie situation, I not only dropped the crotch a bit but I also opened up the whole pattern at the waistline and lengthened it by 3/4''. I also redrew the side seam of the bodice to curve out a bit under the arm; in my research I had read and seen that a lot of chemises were cut or had sleeves added to sit in the underarm to absorb sweat and protect the outer garment, kind of a built in pit pad. I ended up straitening it out again later, but still leaving some excess for that purpose (altogether far too much effort for someone with no arms, let alone armpits).
At this point, I also decided that I didn't want all four darts on the front. I liked having more shaping across the back, but for some reason, I preferred the idea of the front still having a bit of room. Perhaps I was imagining wearing it and how a bit more room in the front could be useful, perhaps I didn't want to sew eight darts. Something about it just looked better to me.
Time to cut!
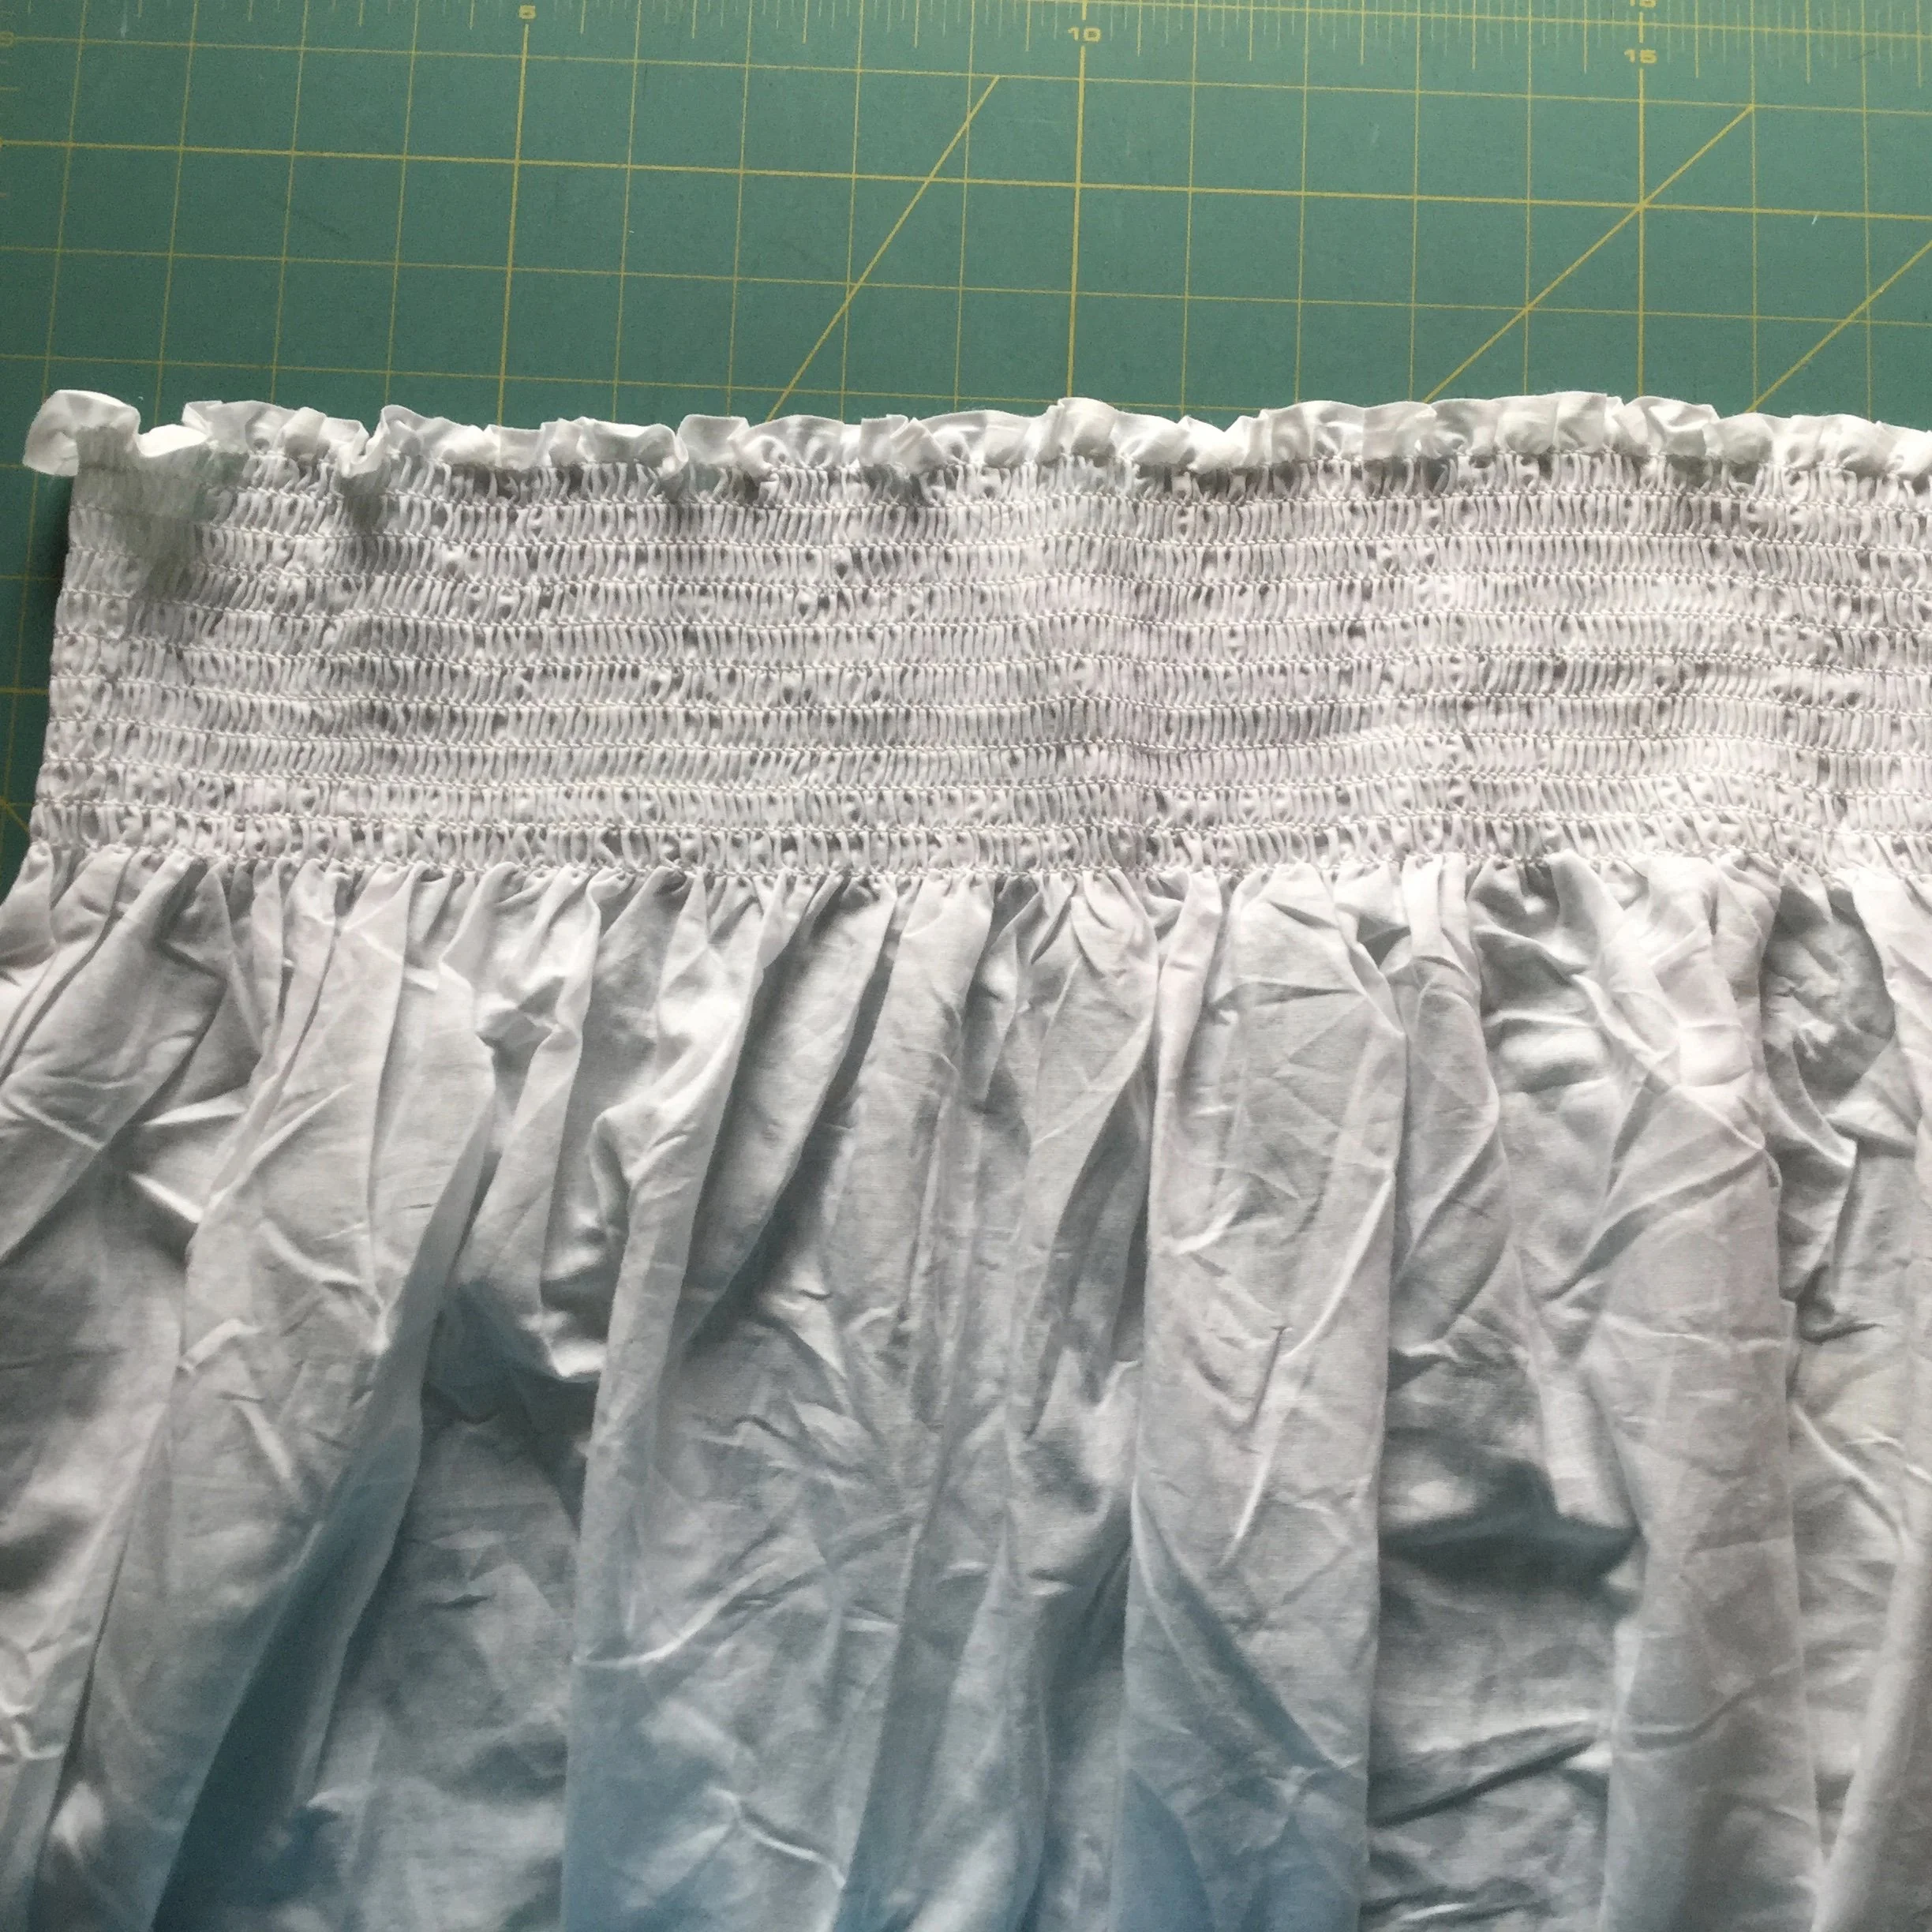
Perfectly nice cotton trapped behind a bunch of elastic!
For material, I used a light cotton that I had found at fabricland. While on a routine wander through the den of temptation, I happened upon a bin full of rolls of cotton with elastic shirring (the kind of fabric where you can buy a meter, stitch one seam and have a dress or skirt you'll be adjusting all day). They were all 100% cotton in a fairly light weight and there was a roll of solid white, this had potential.
Once I removed the elastic, which was a mercifully easy task, and gave it a good hot wash, I found myself with a lovely, lightweight cotton; perfect for under garments and not stupidly expensive. I'm really annoyed that I hadn't found this while looking for fabric for the Belle petticoat.
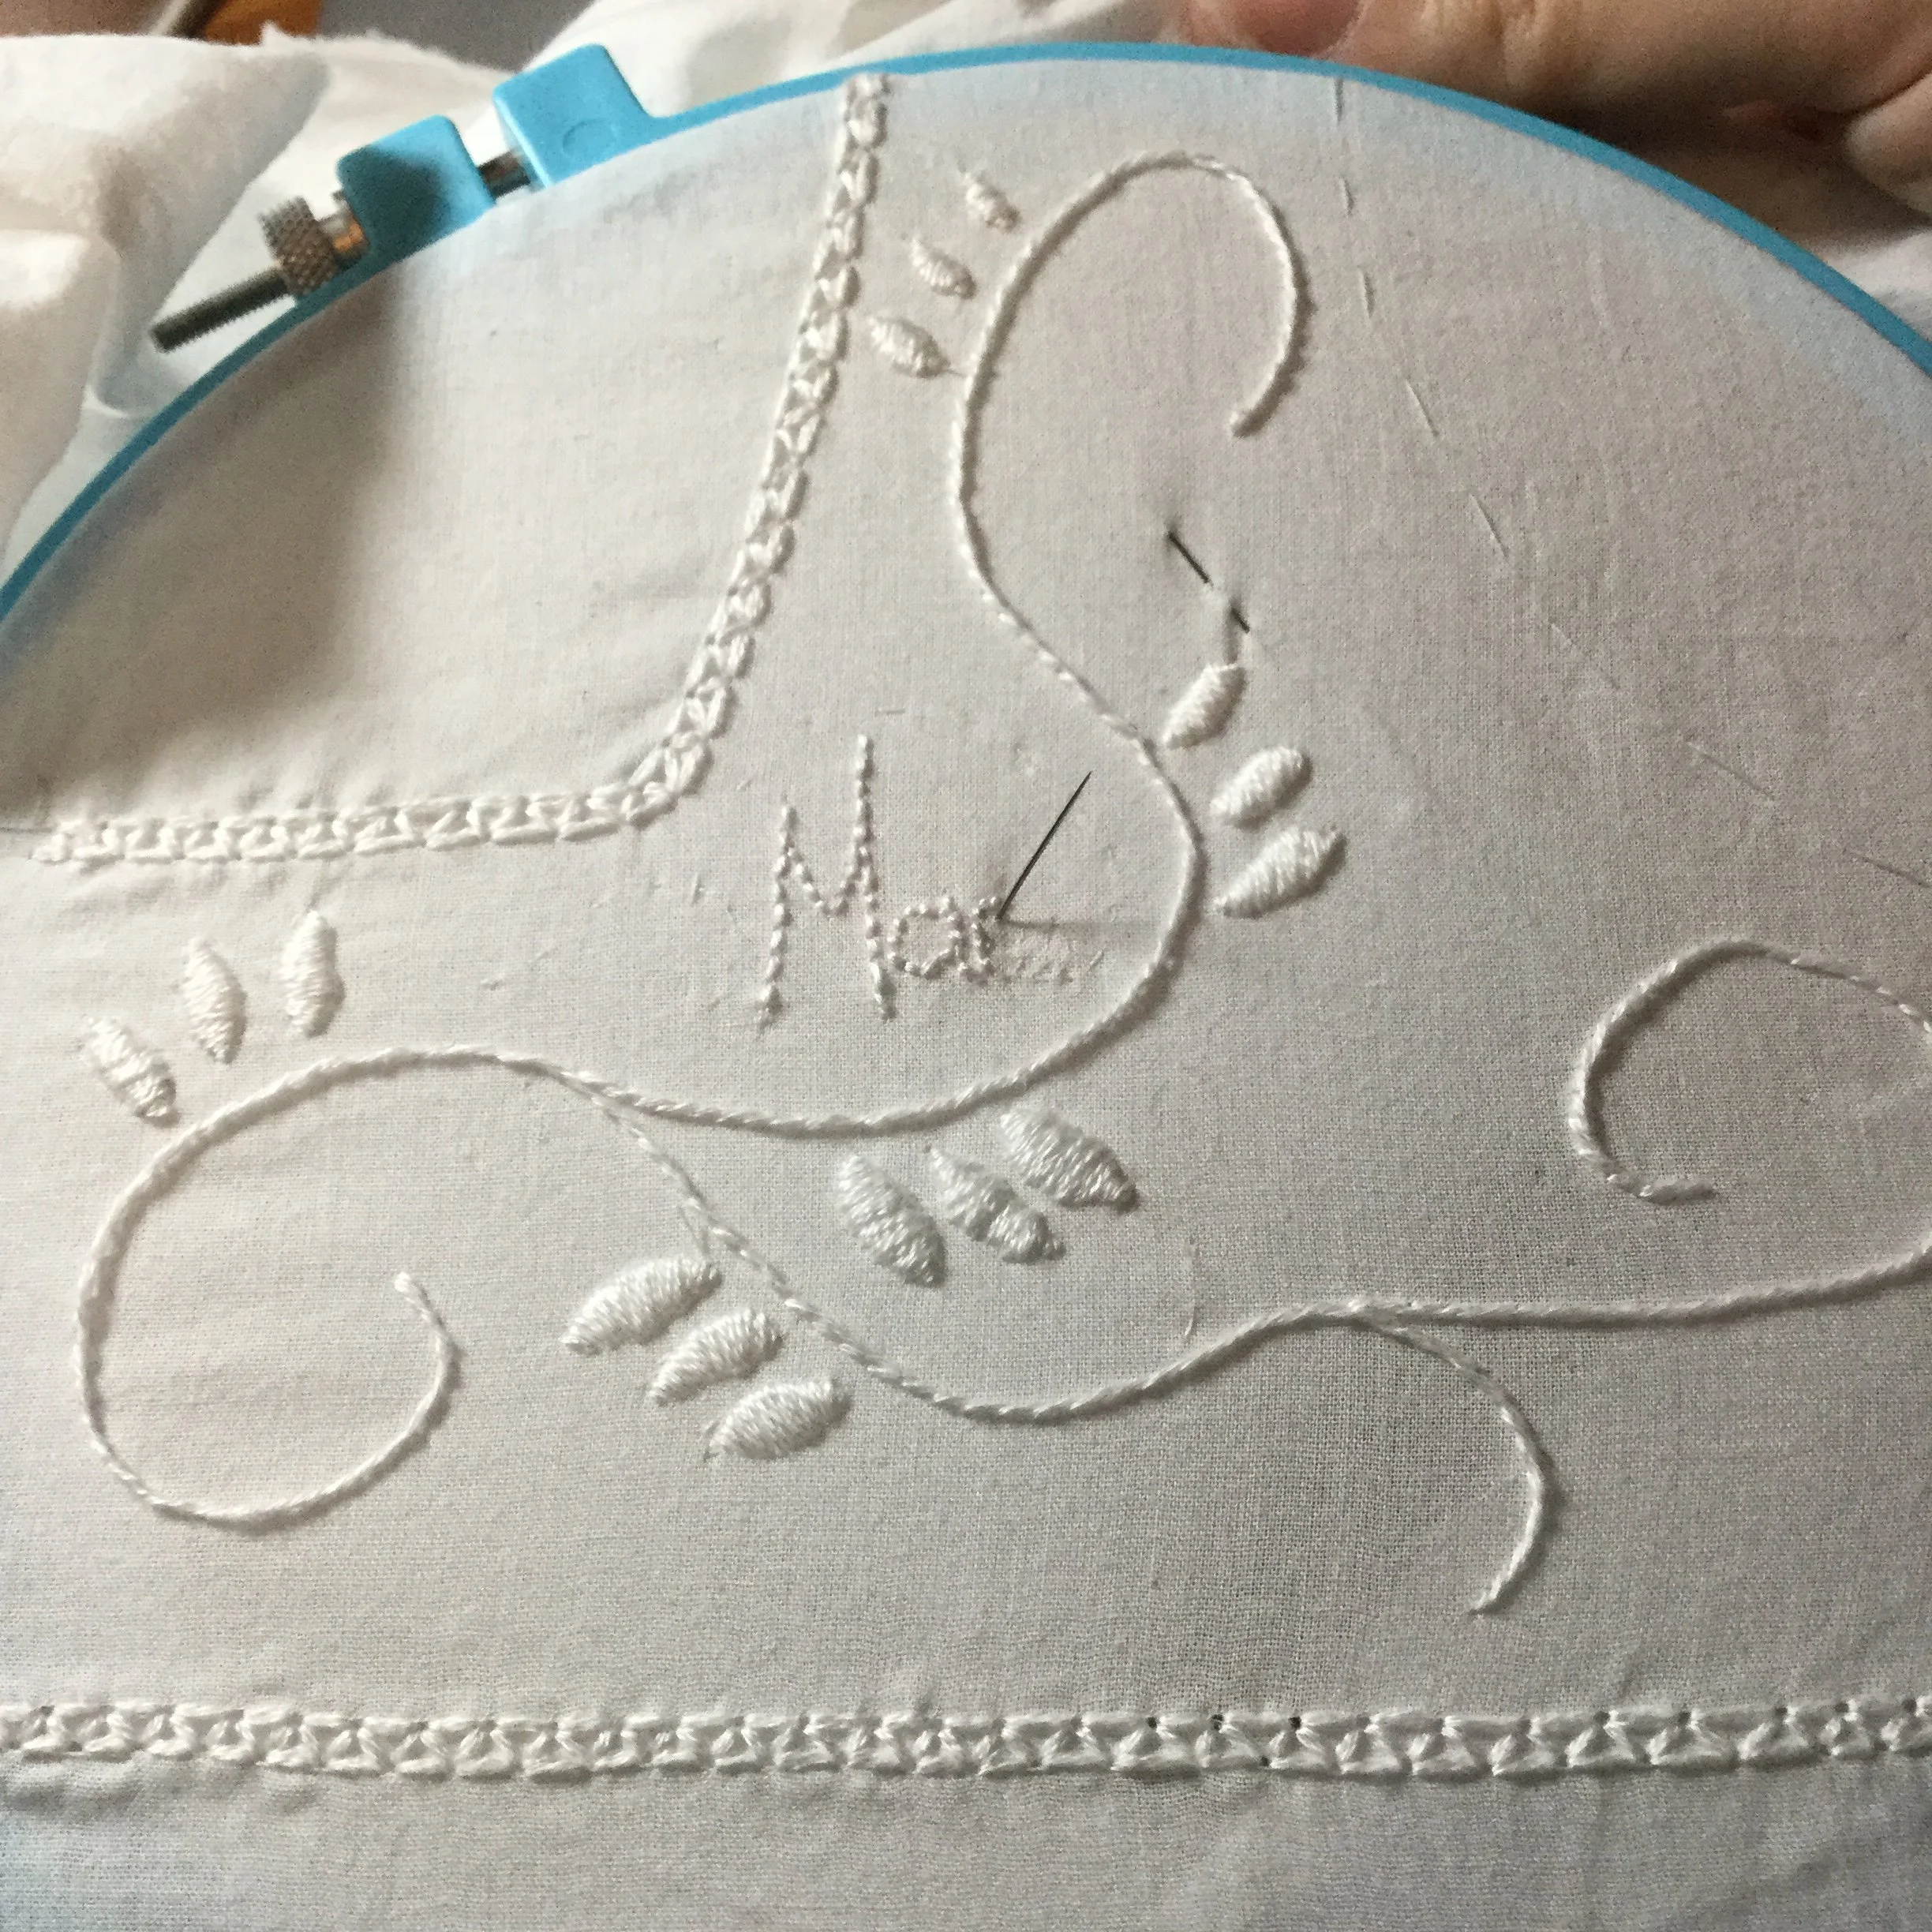
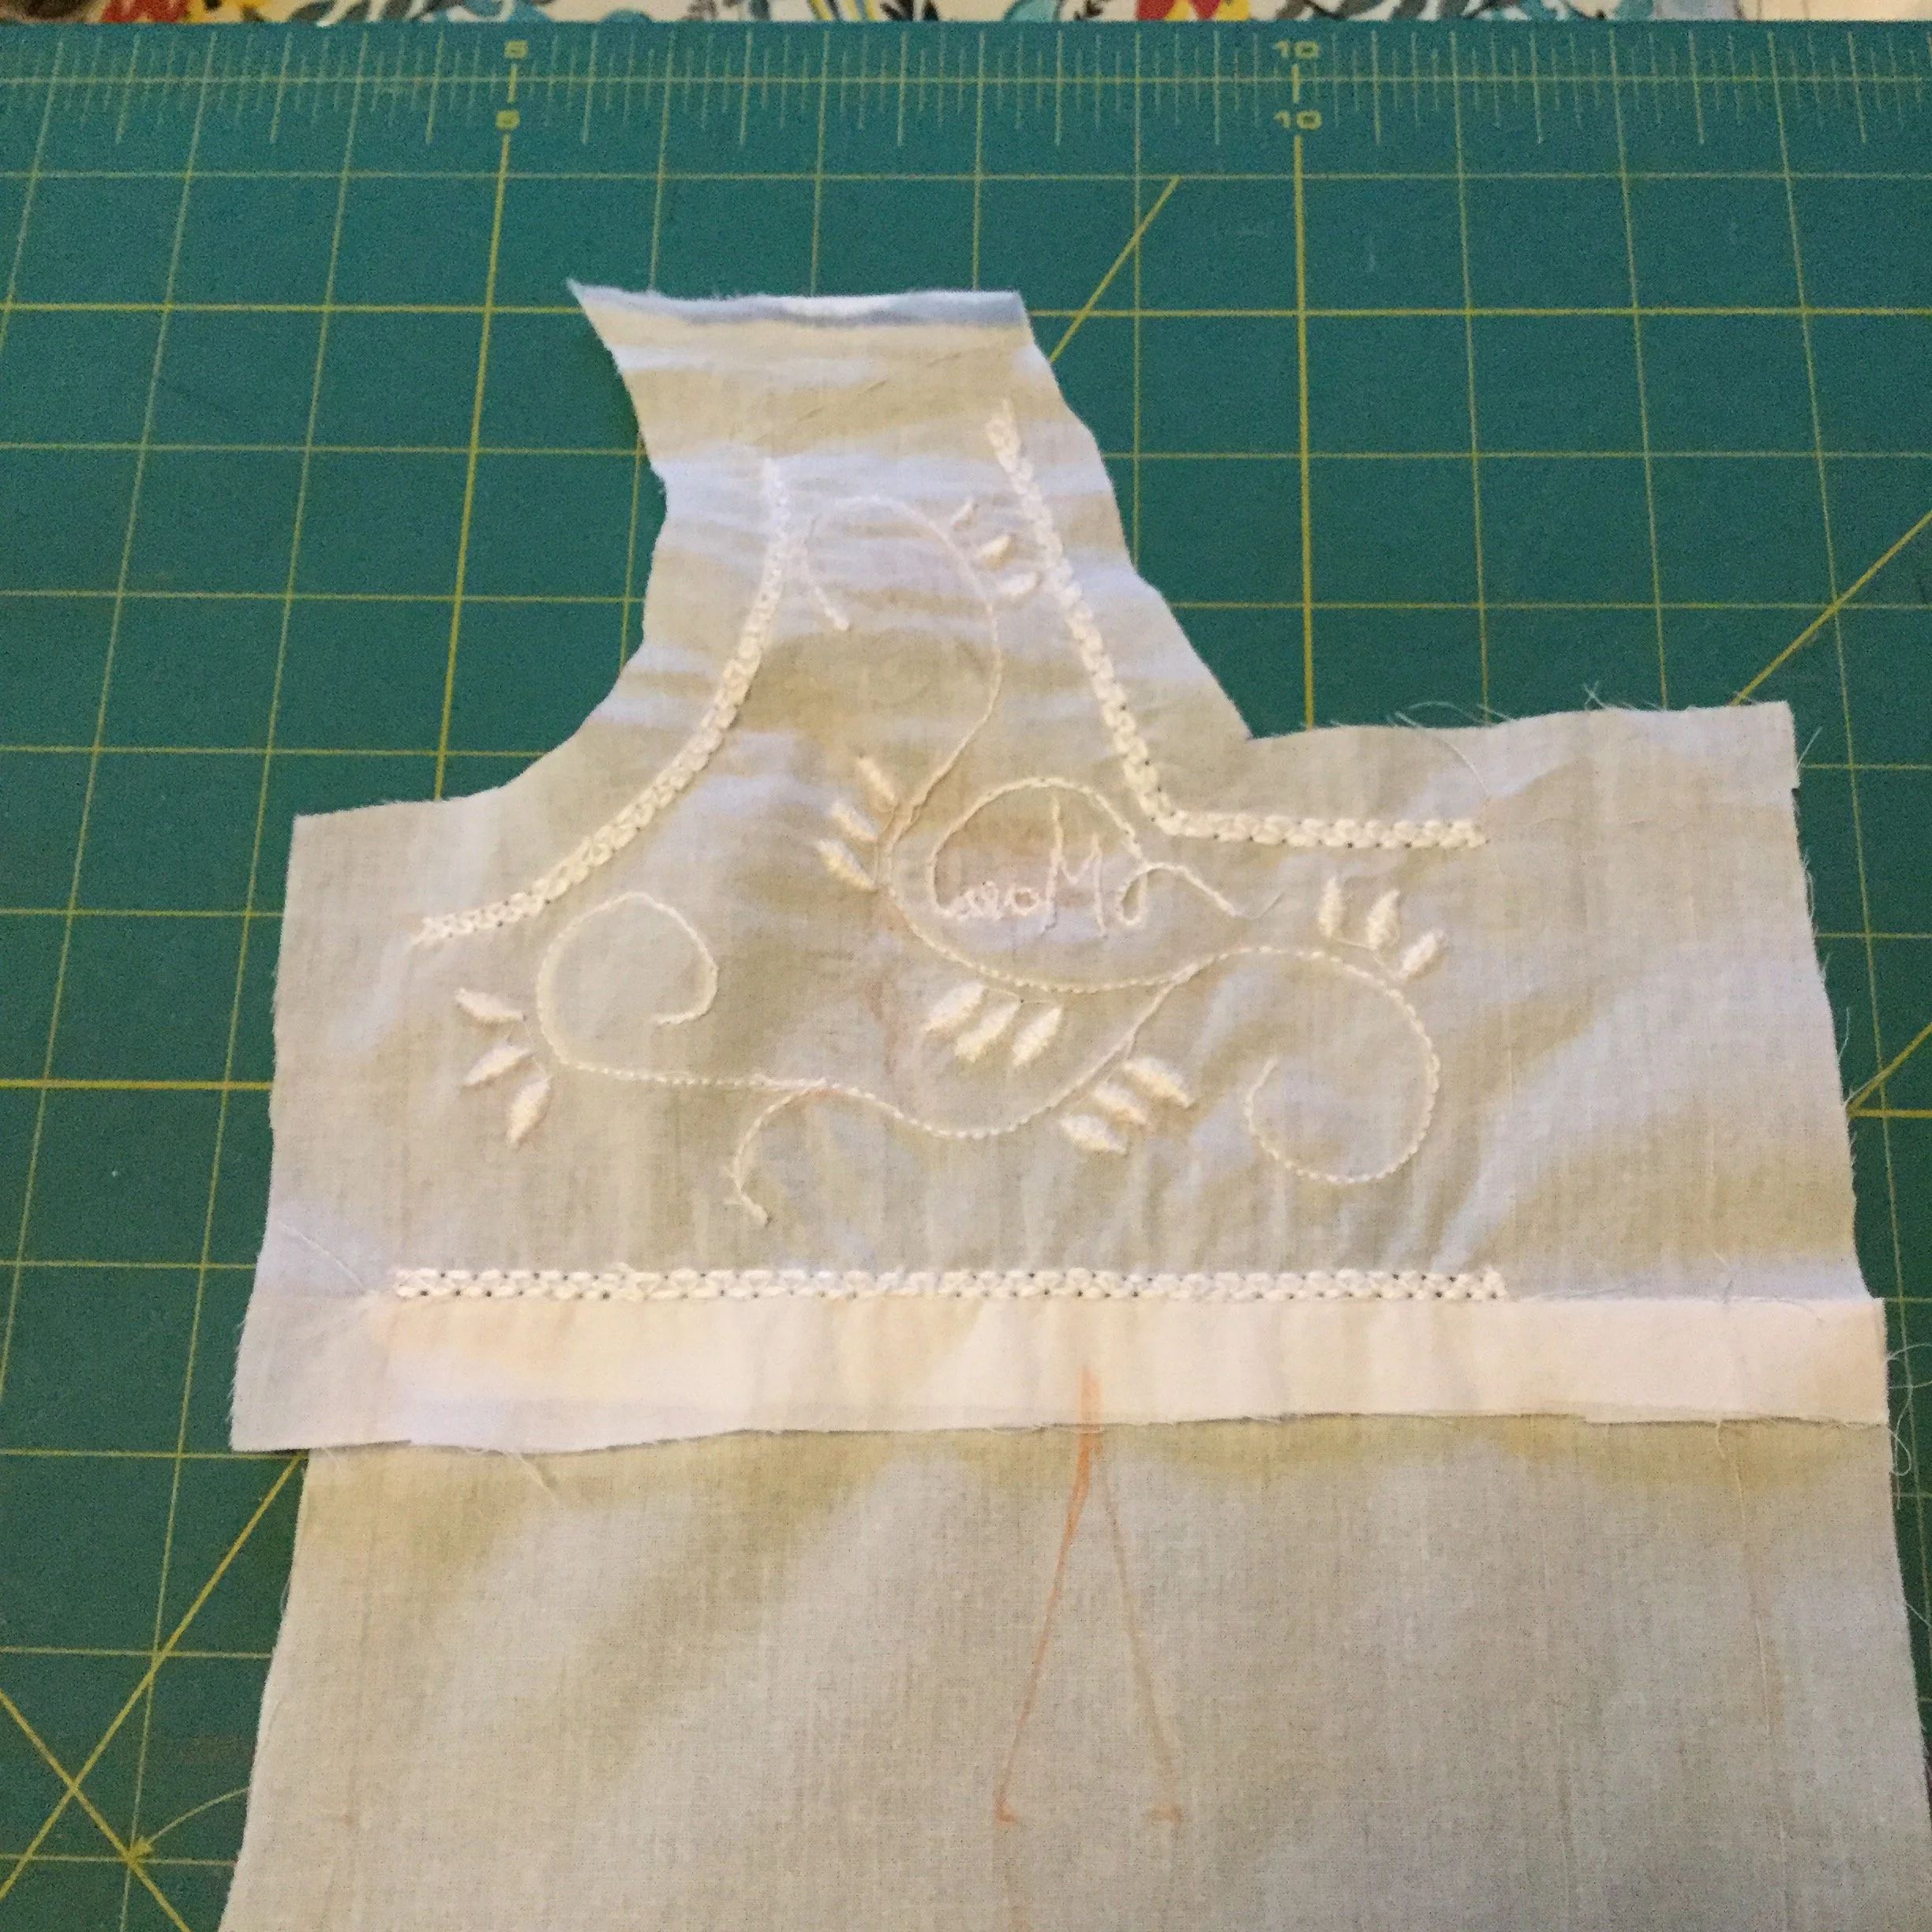
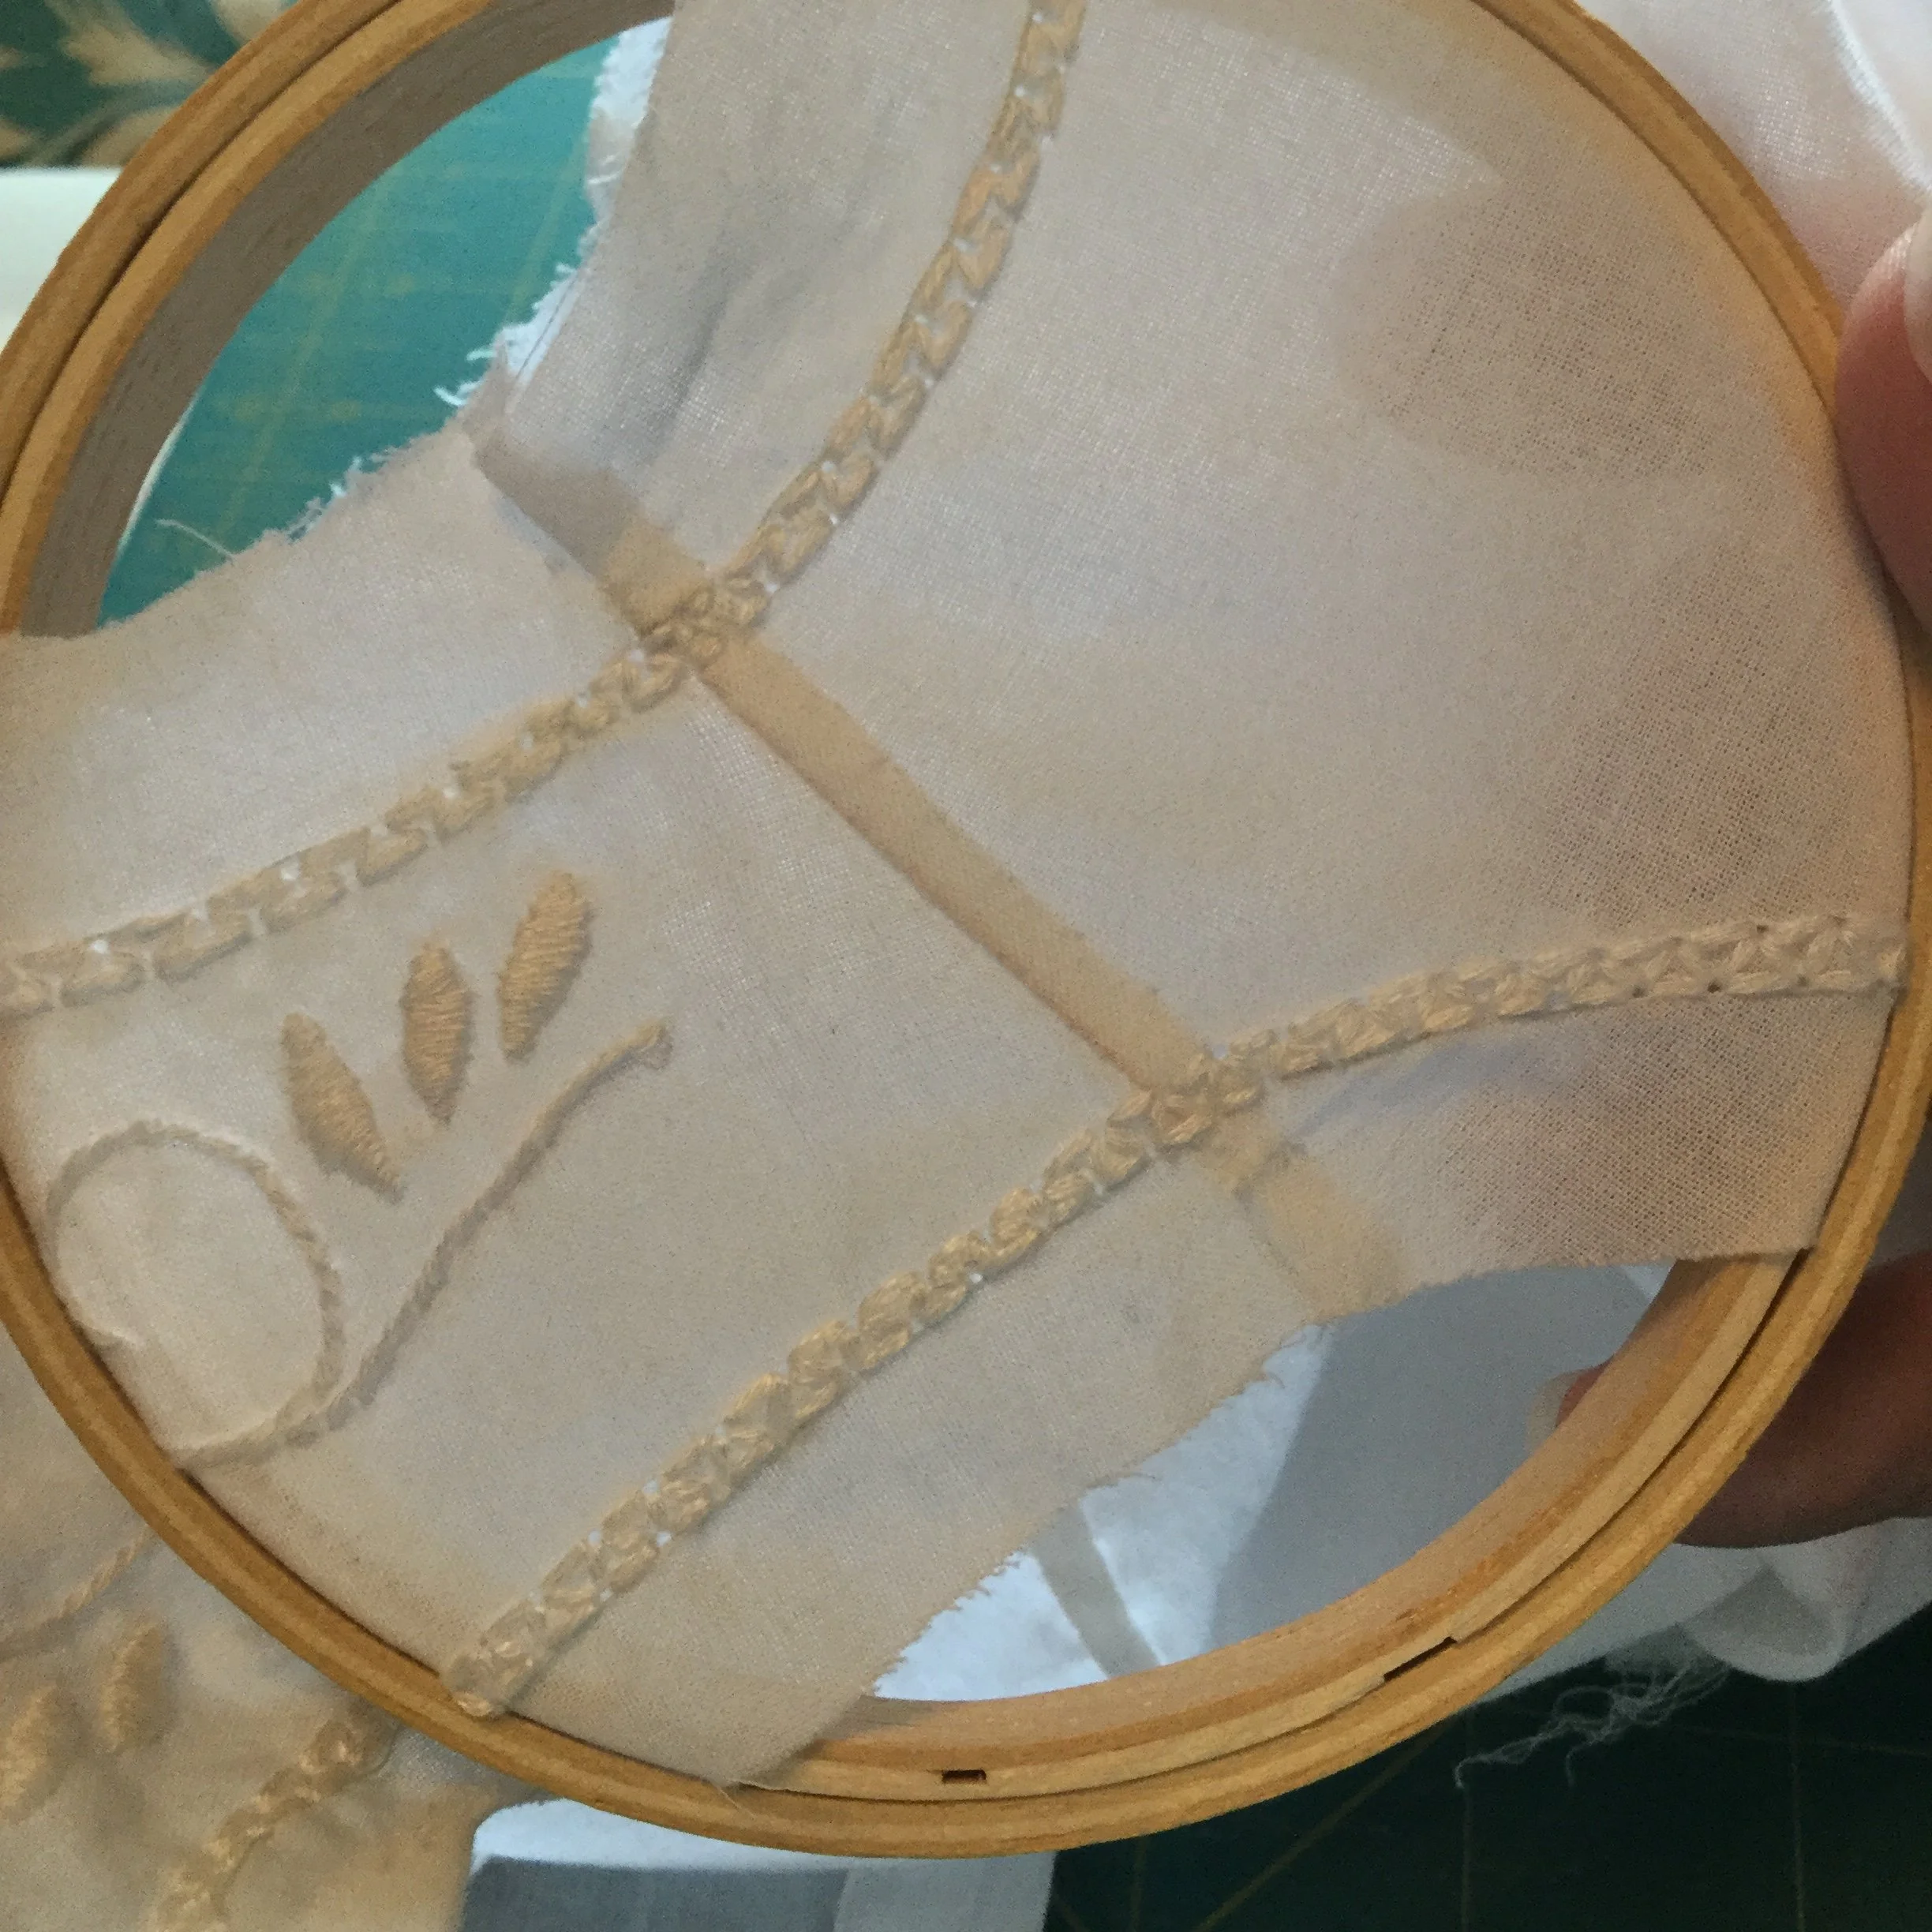
I began construction by tracing off the fronts and the back bodice and running a basting stitch along the neckline, armholes, centre fronts and across the fronts where I wanted to end the decoration. I did the bulk of the embroidery before cutting the pieces out so that I could stretch the pieces evenly in my hoop.
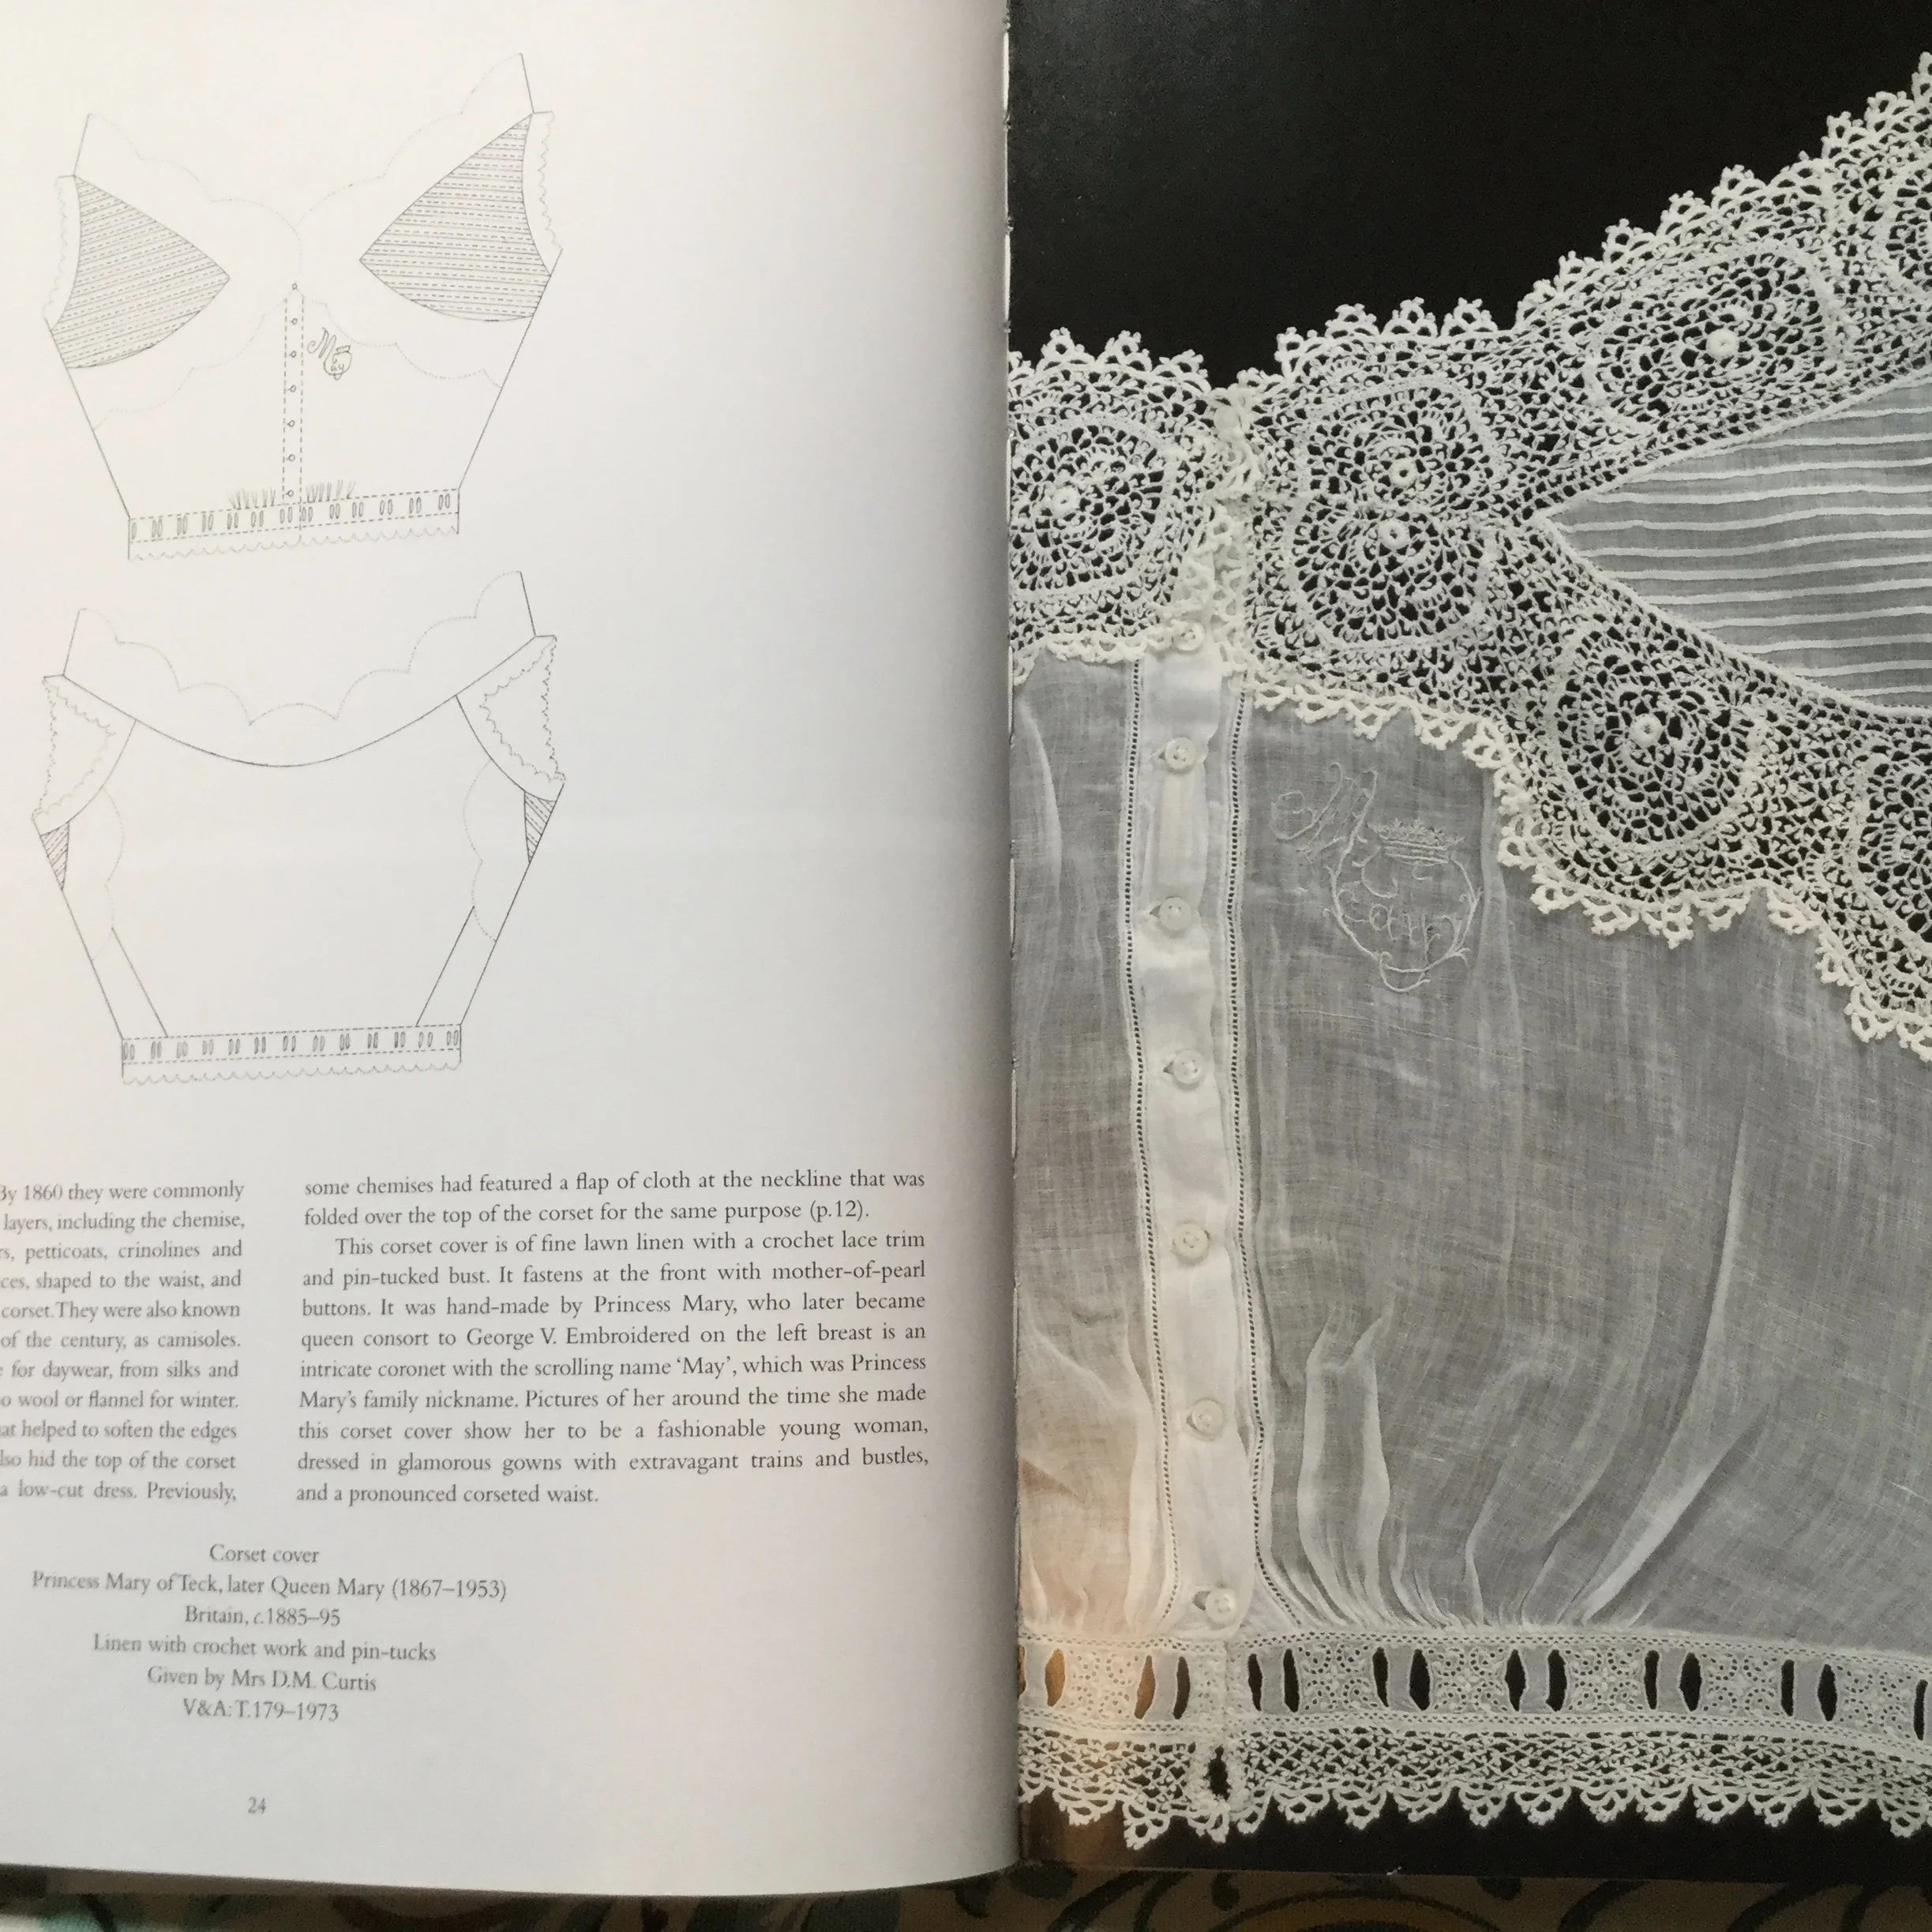
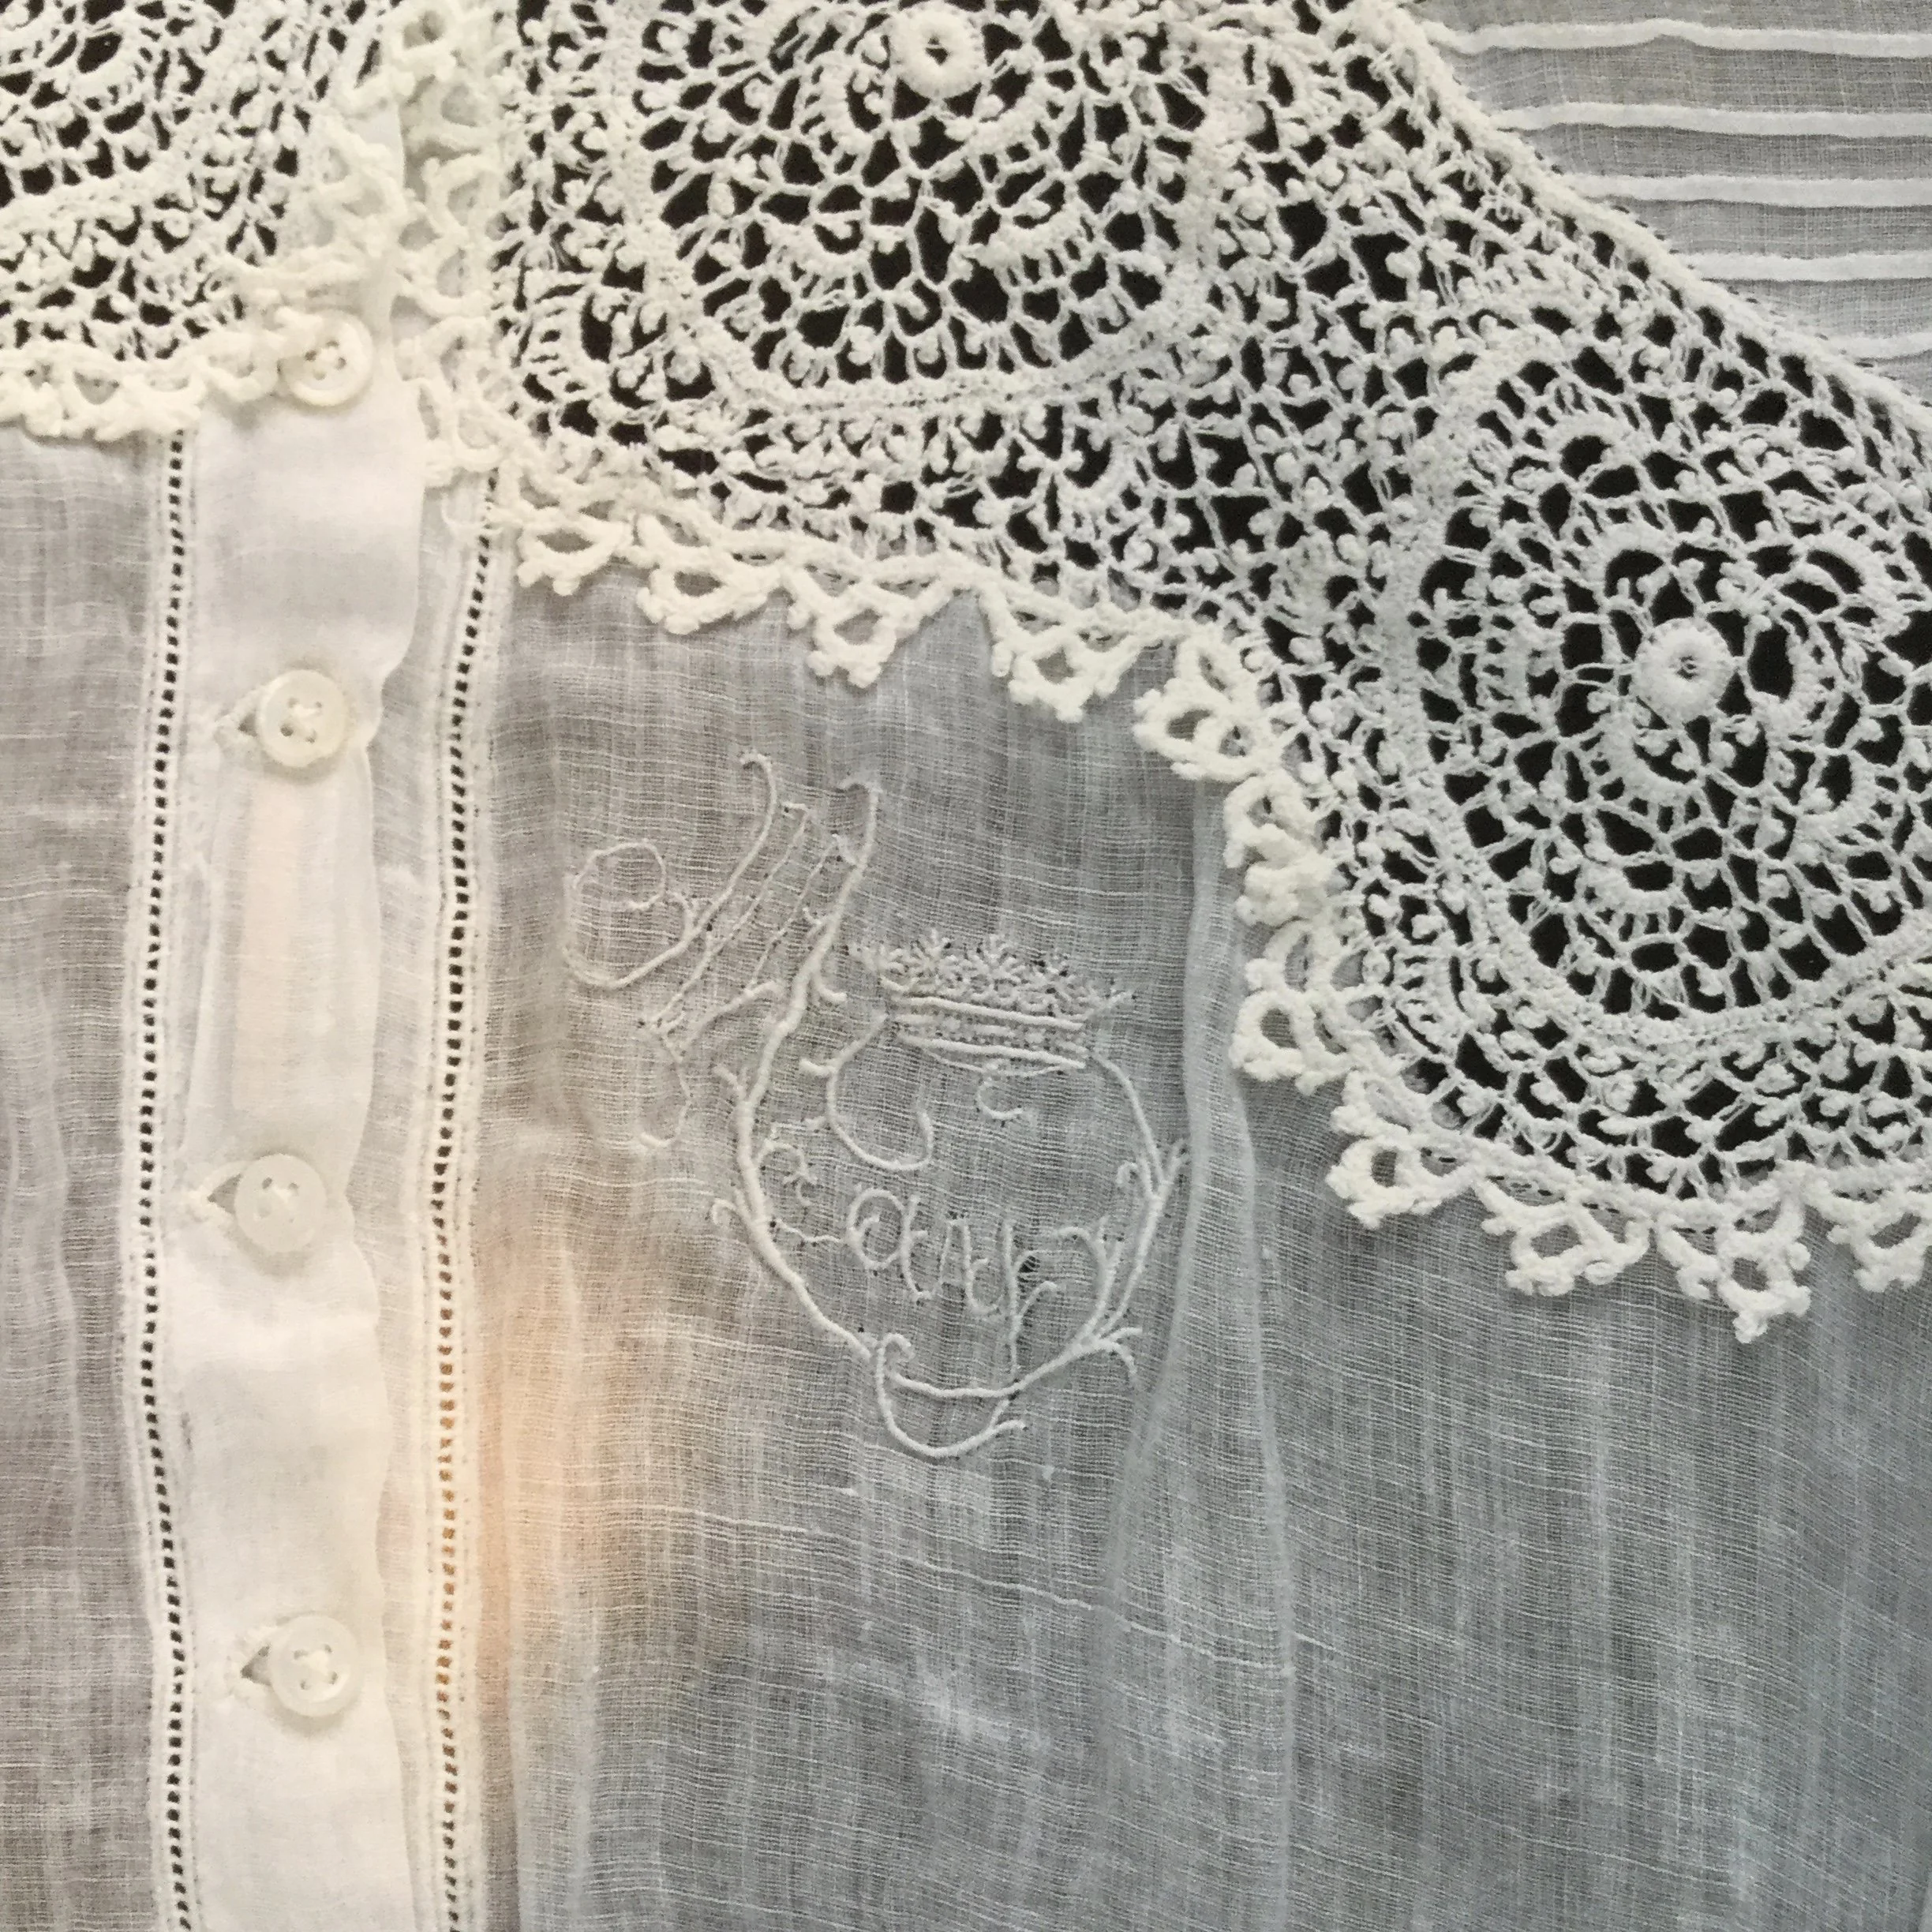
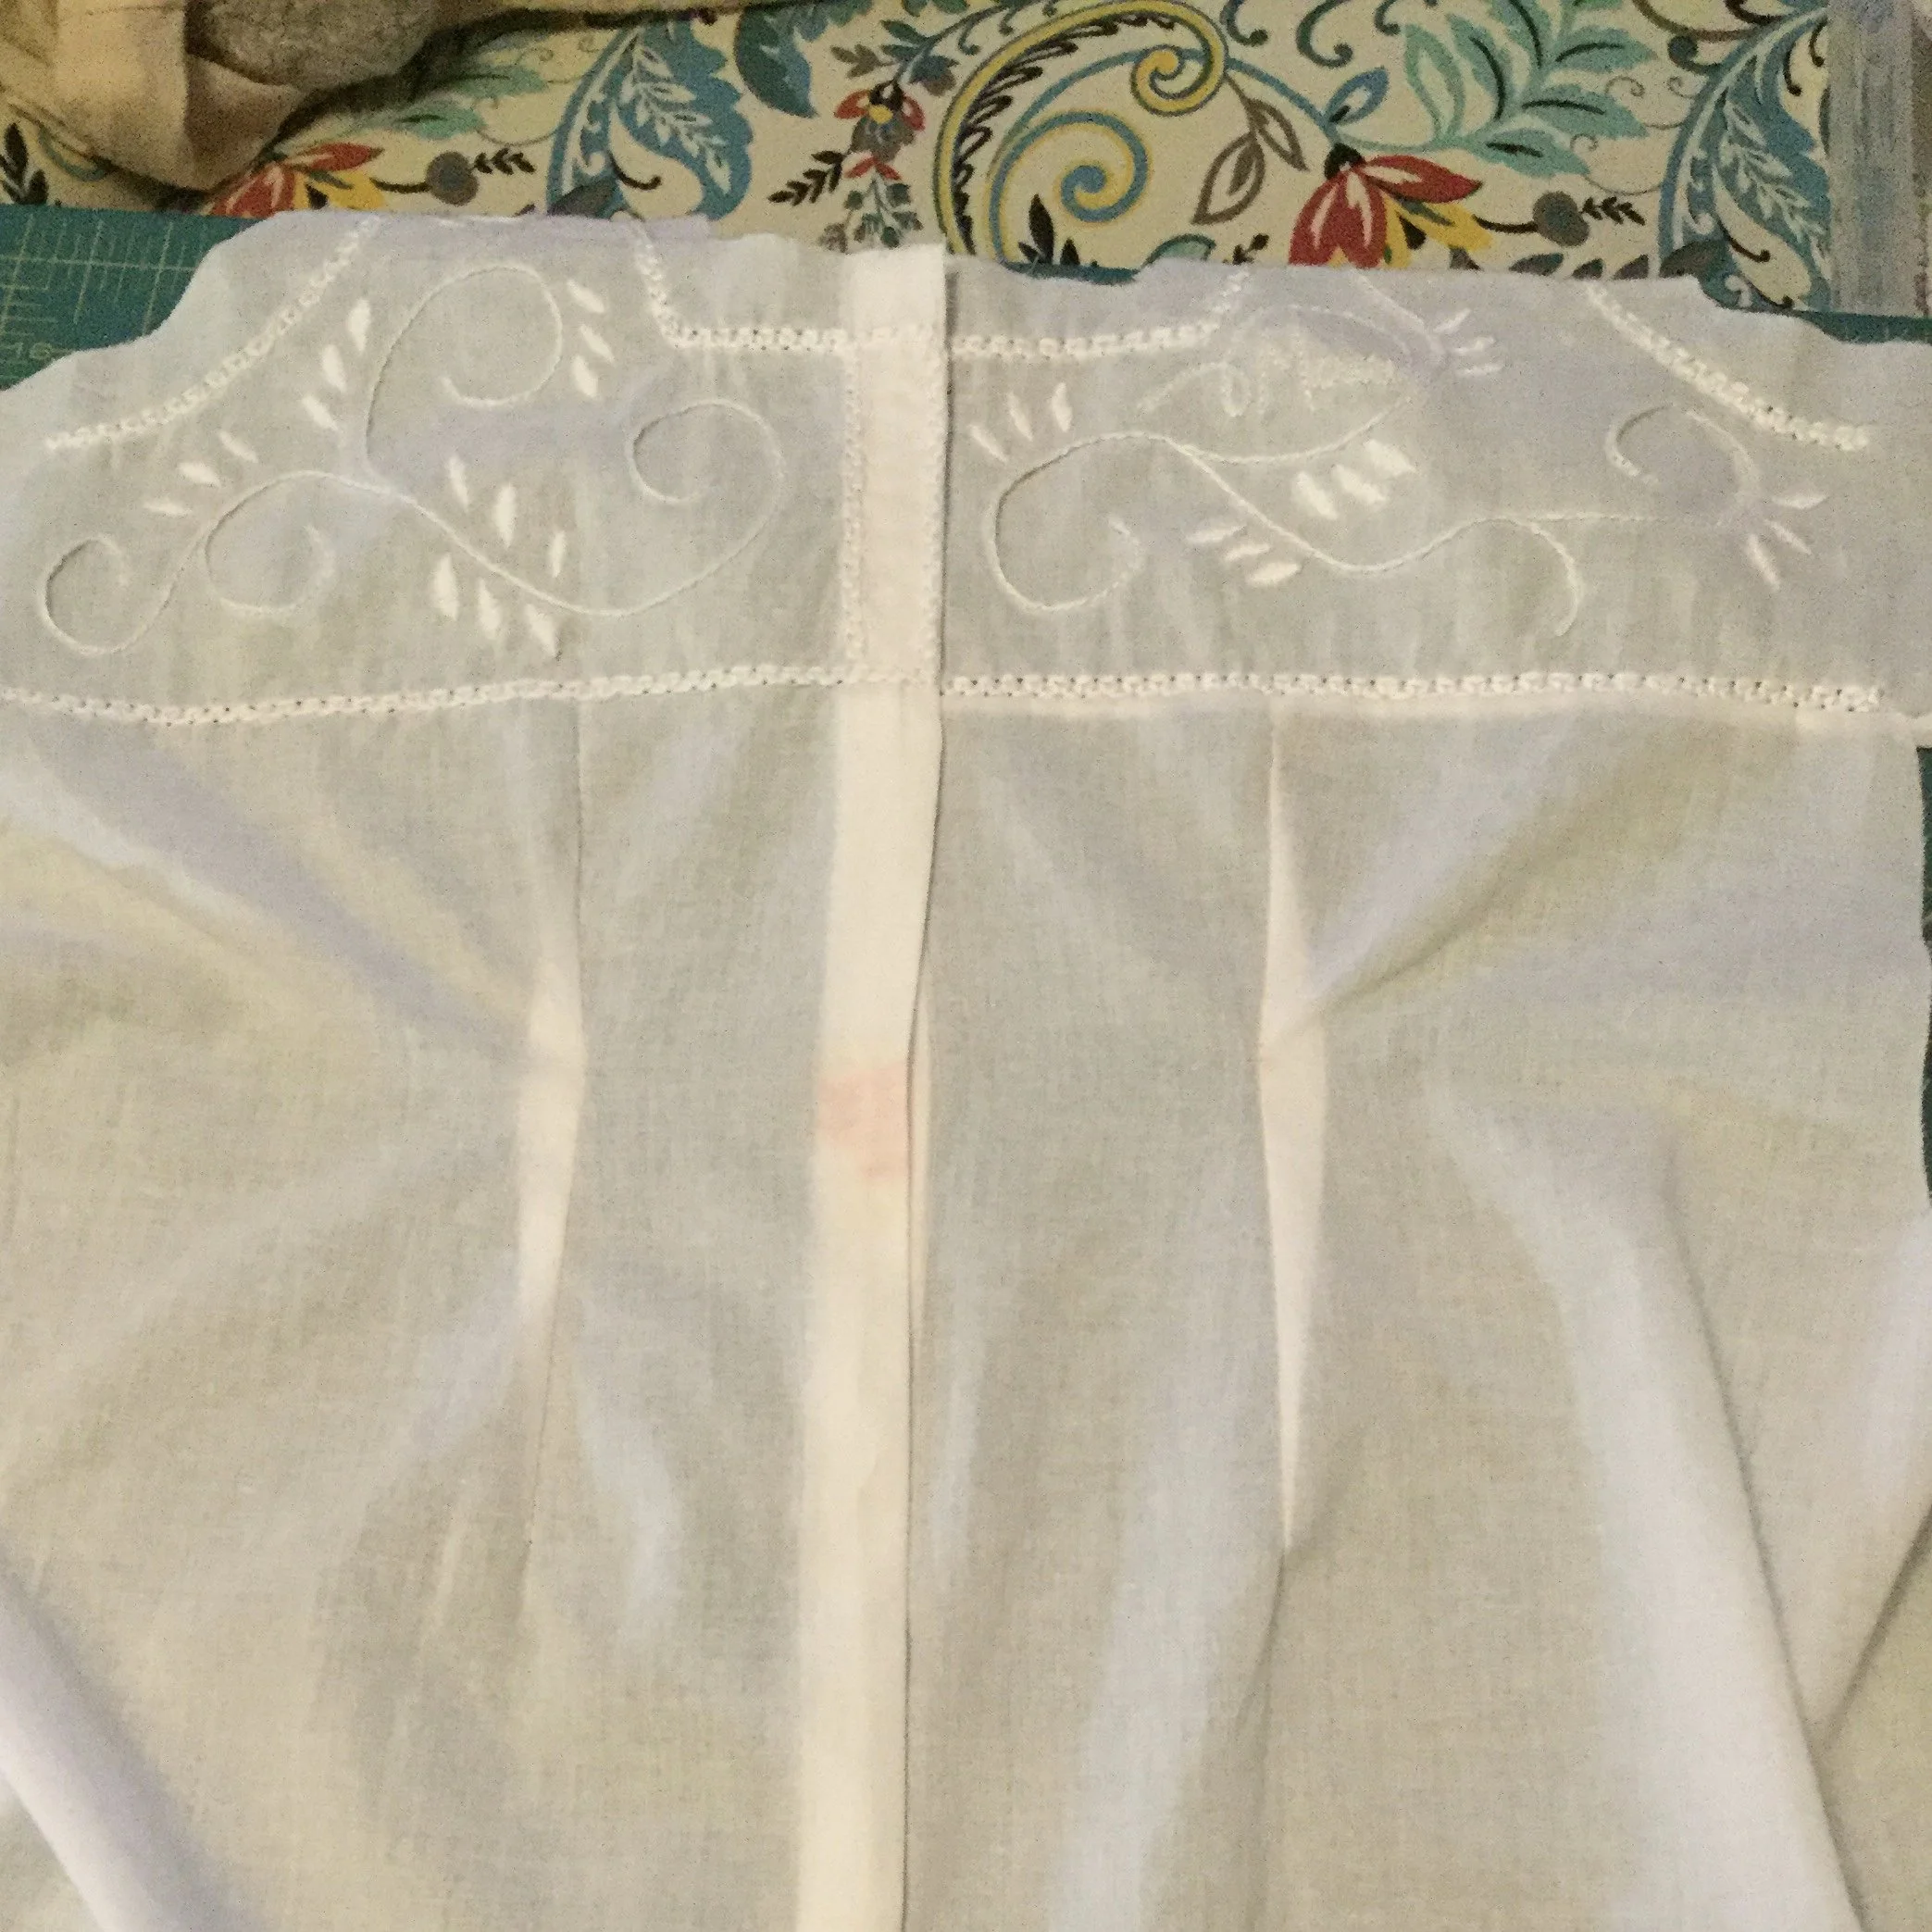
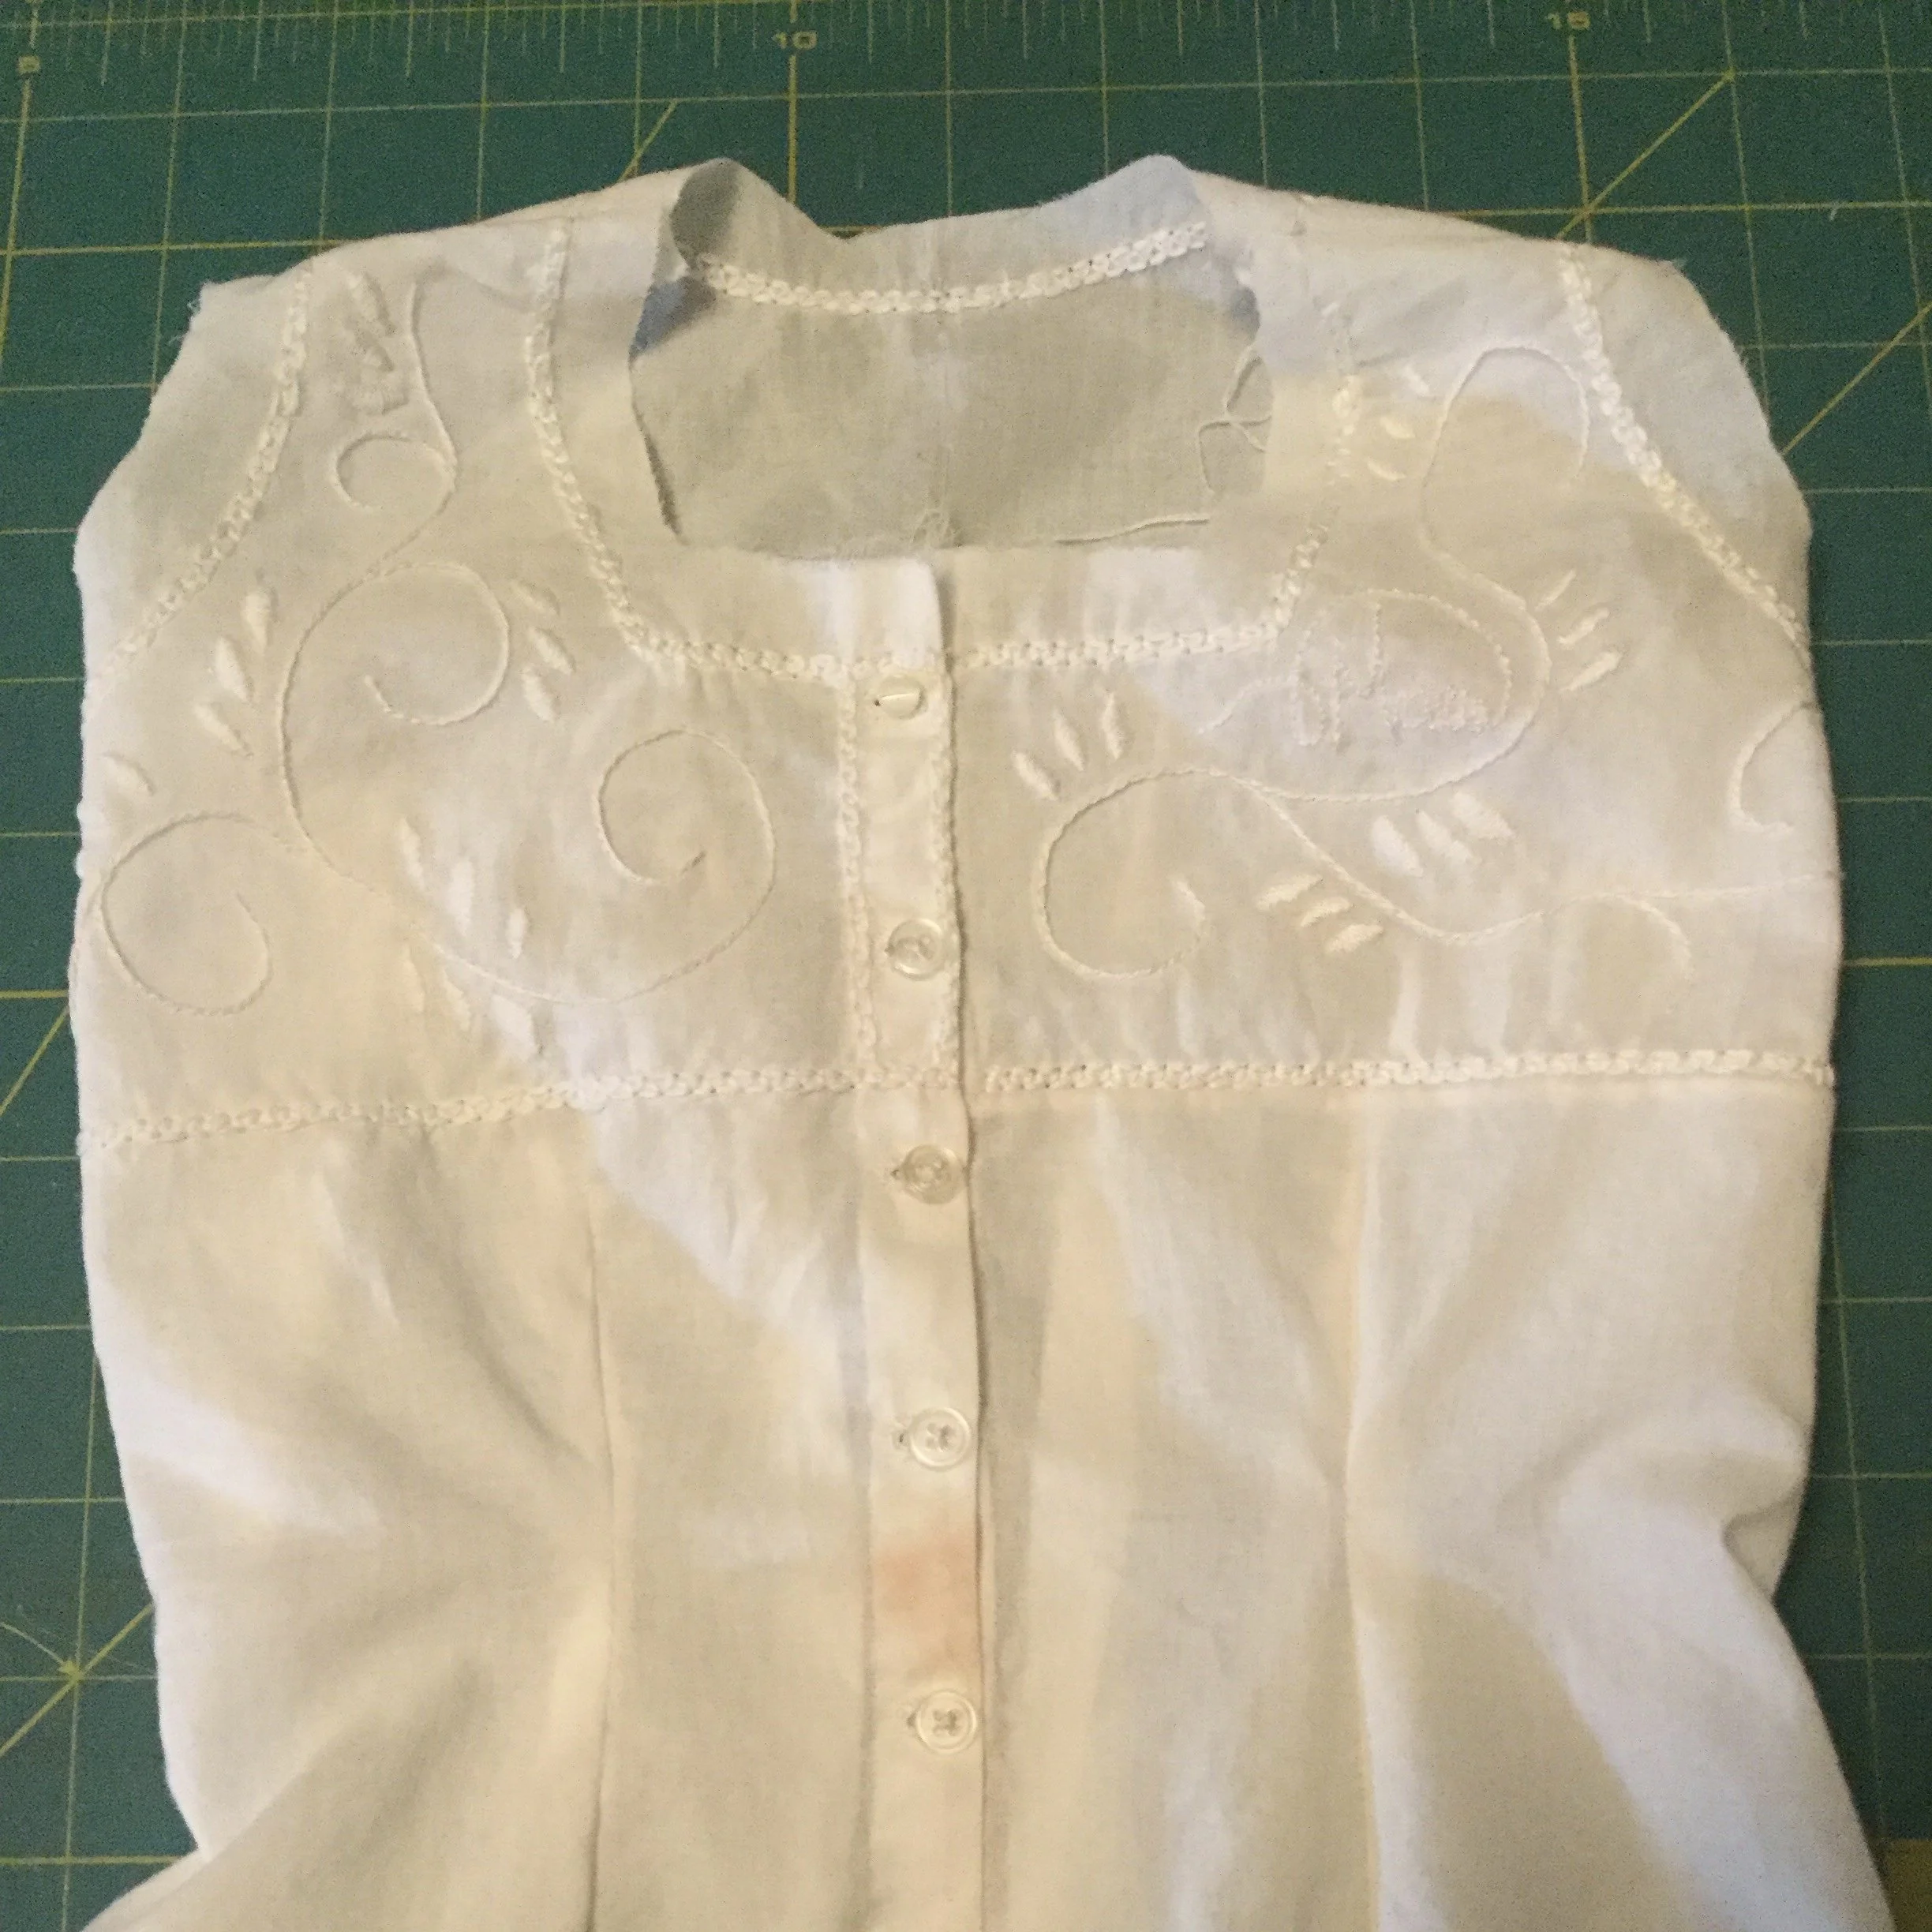
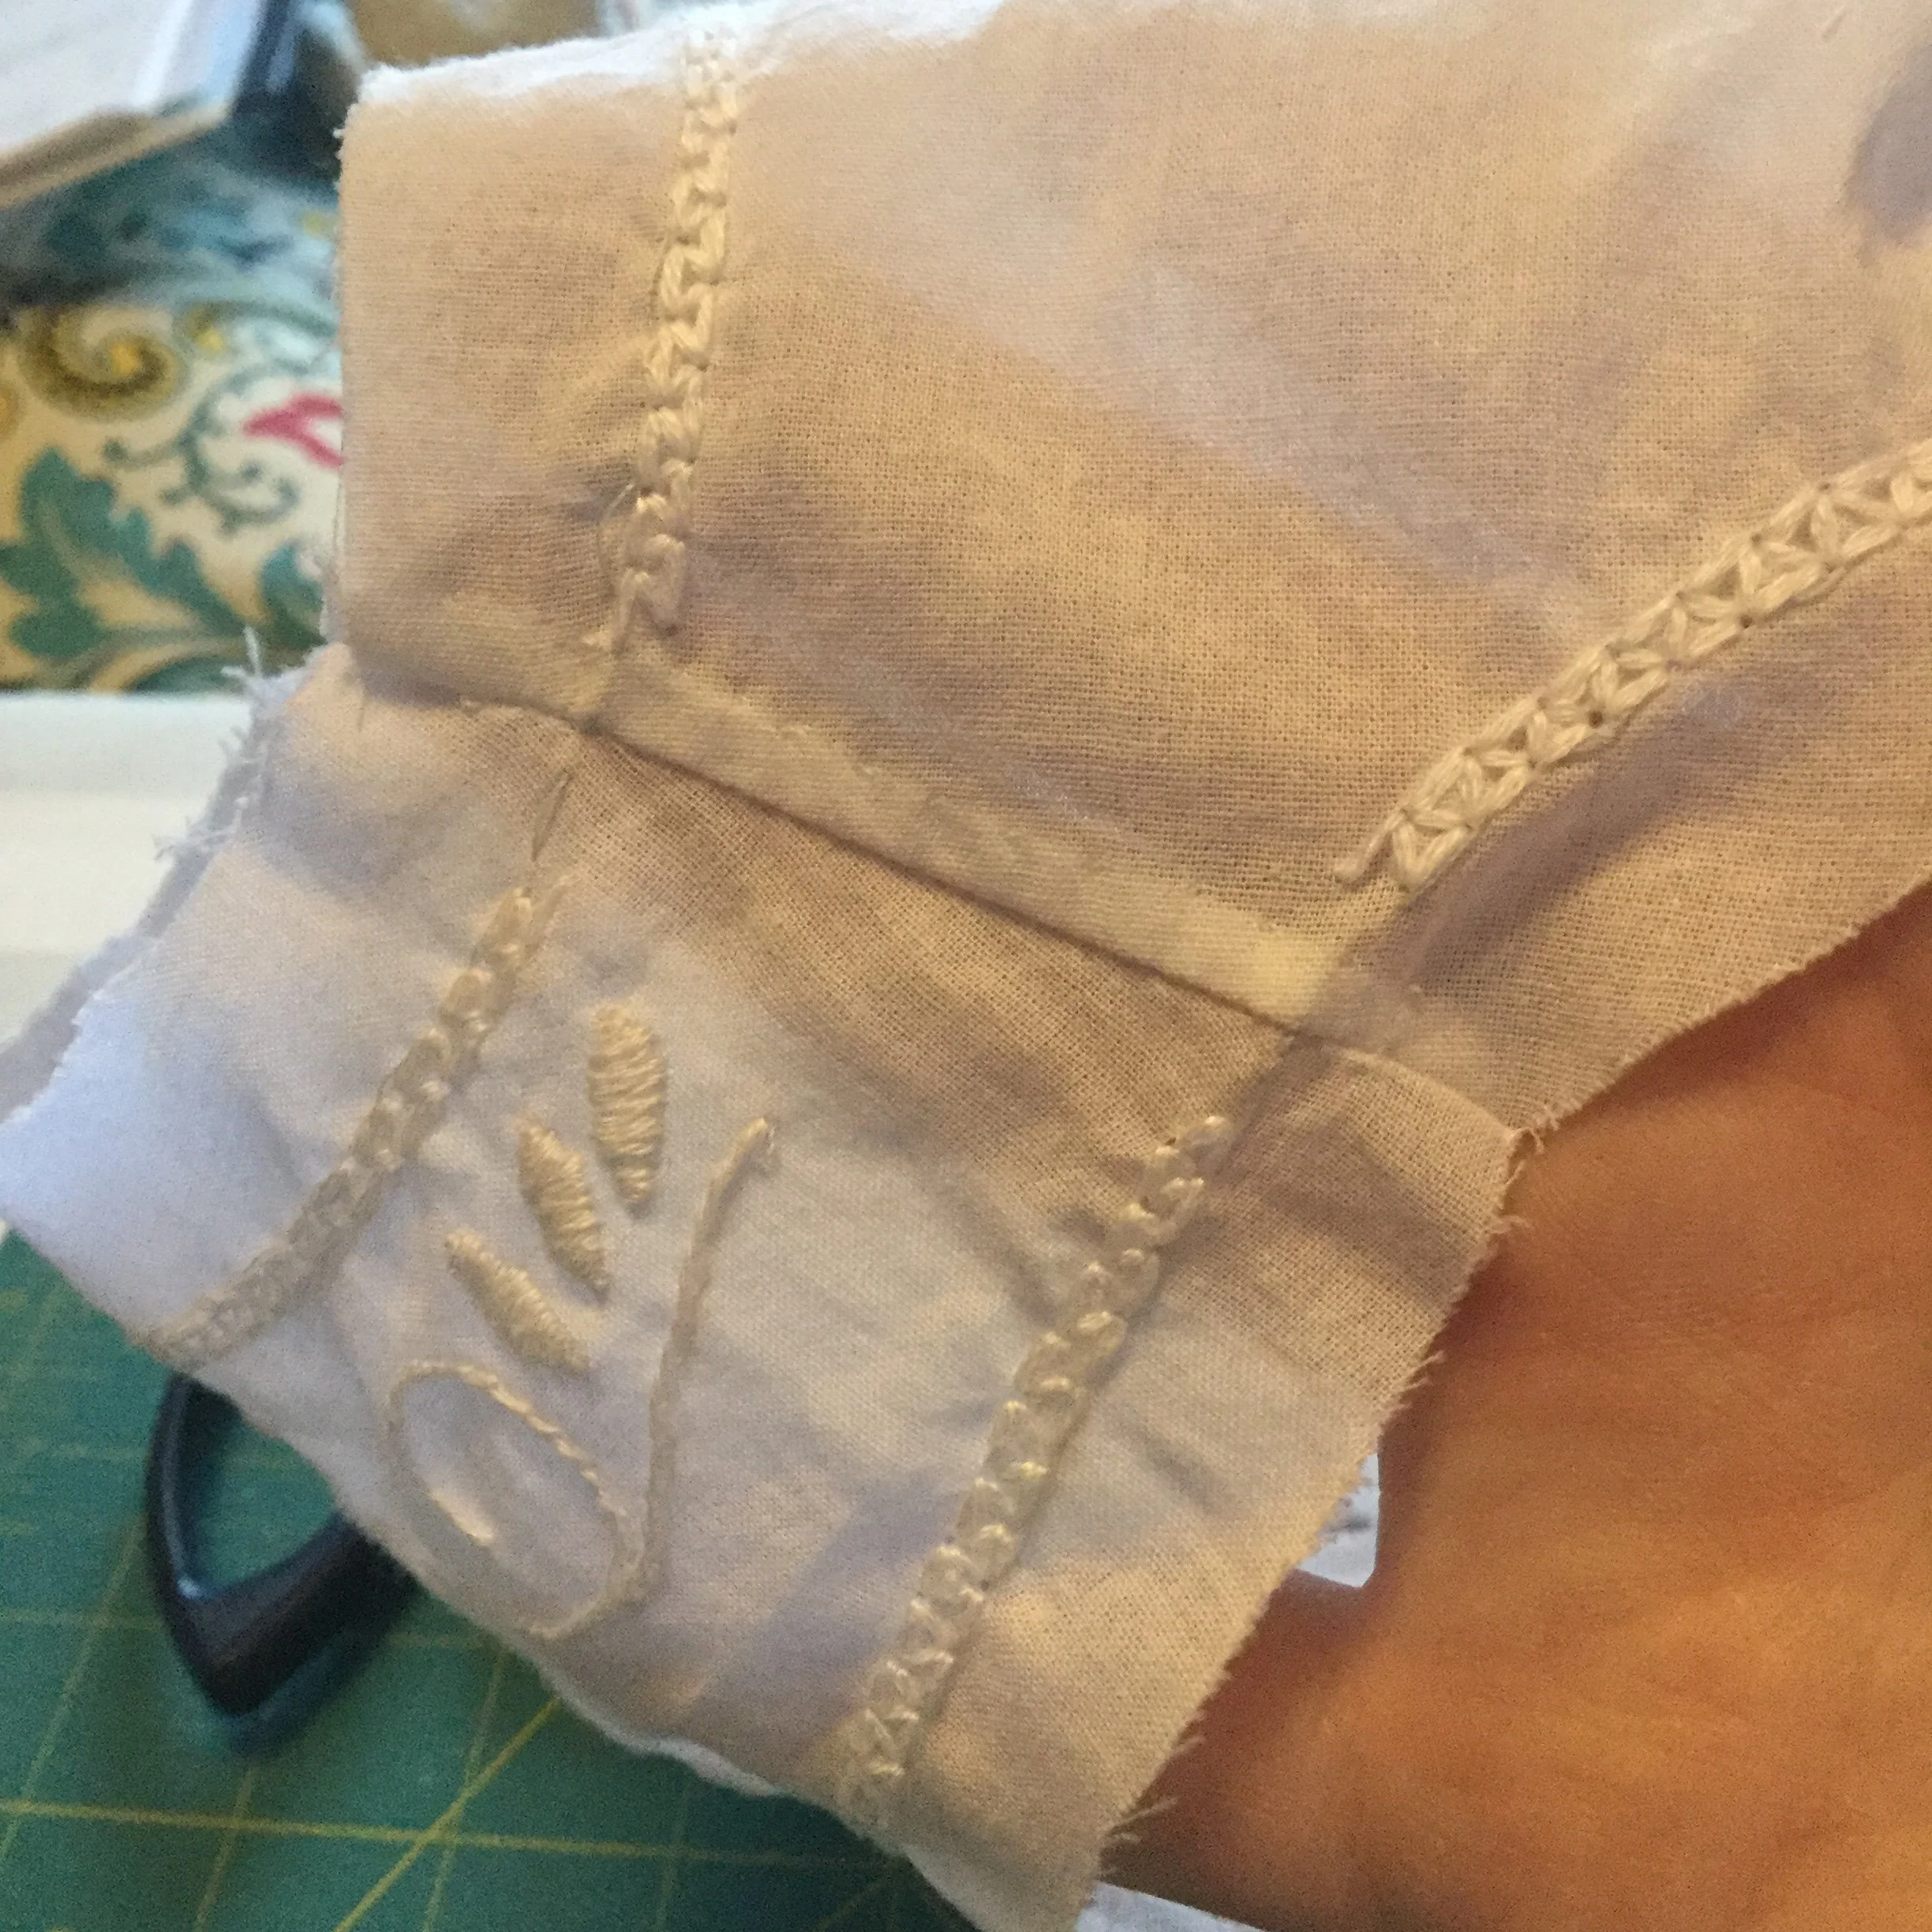
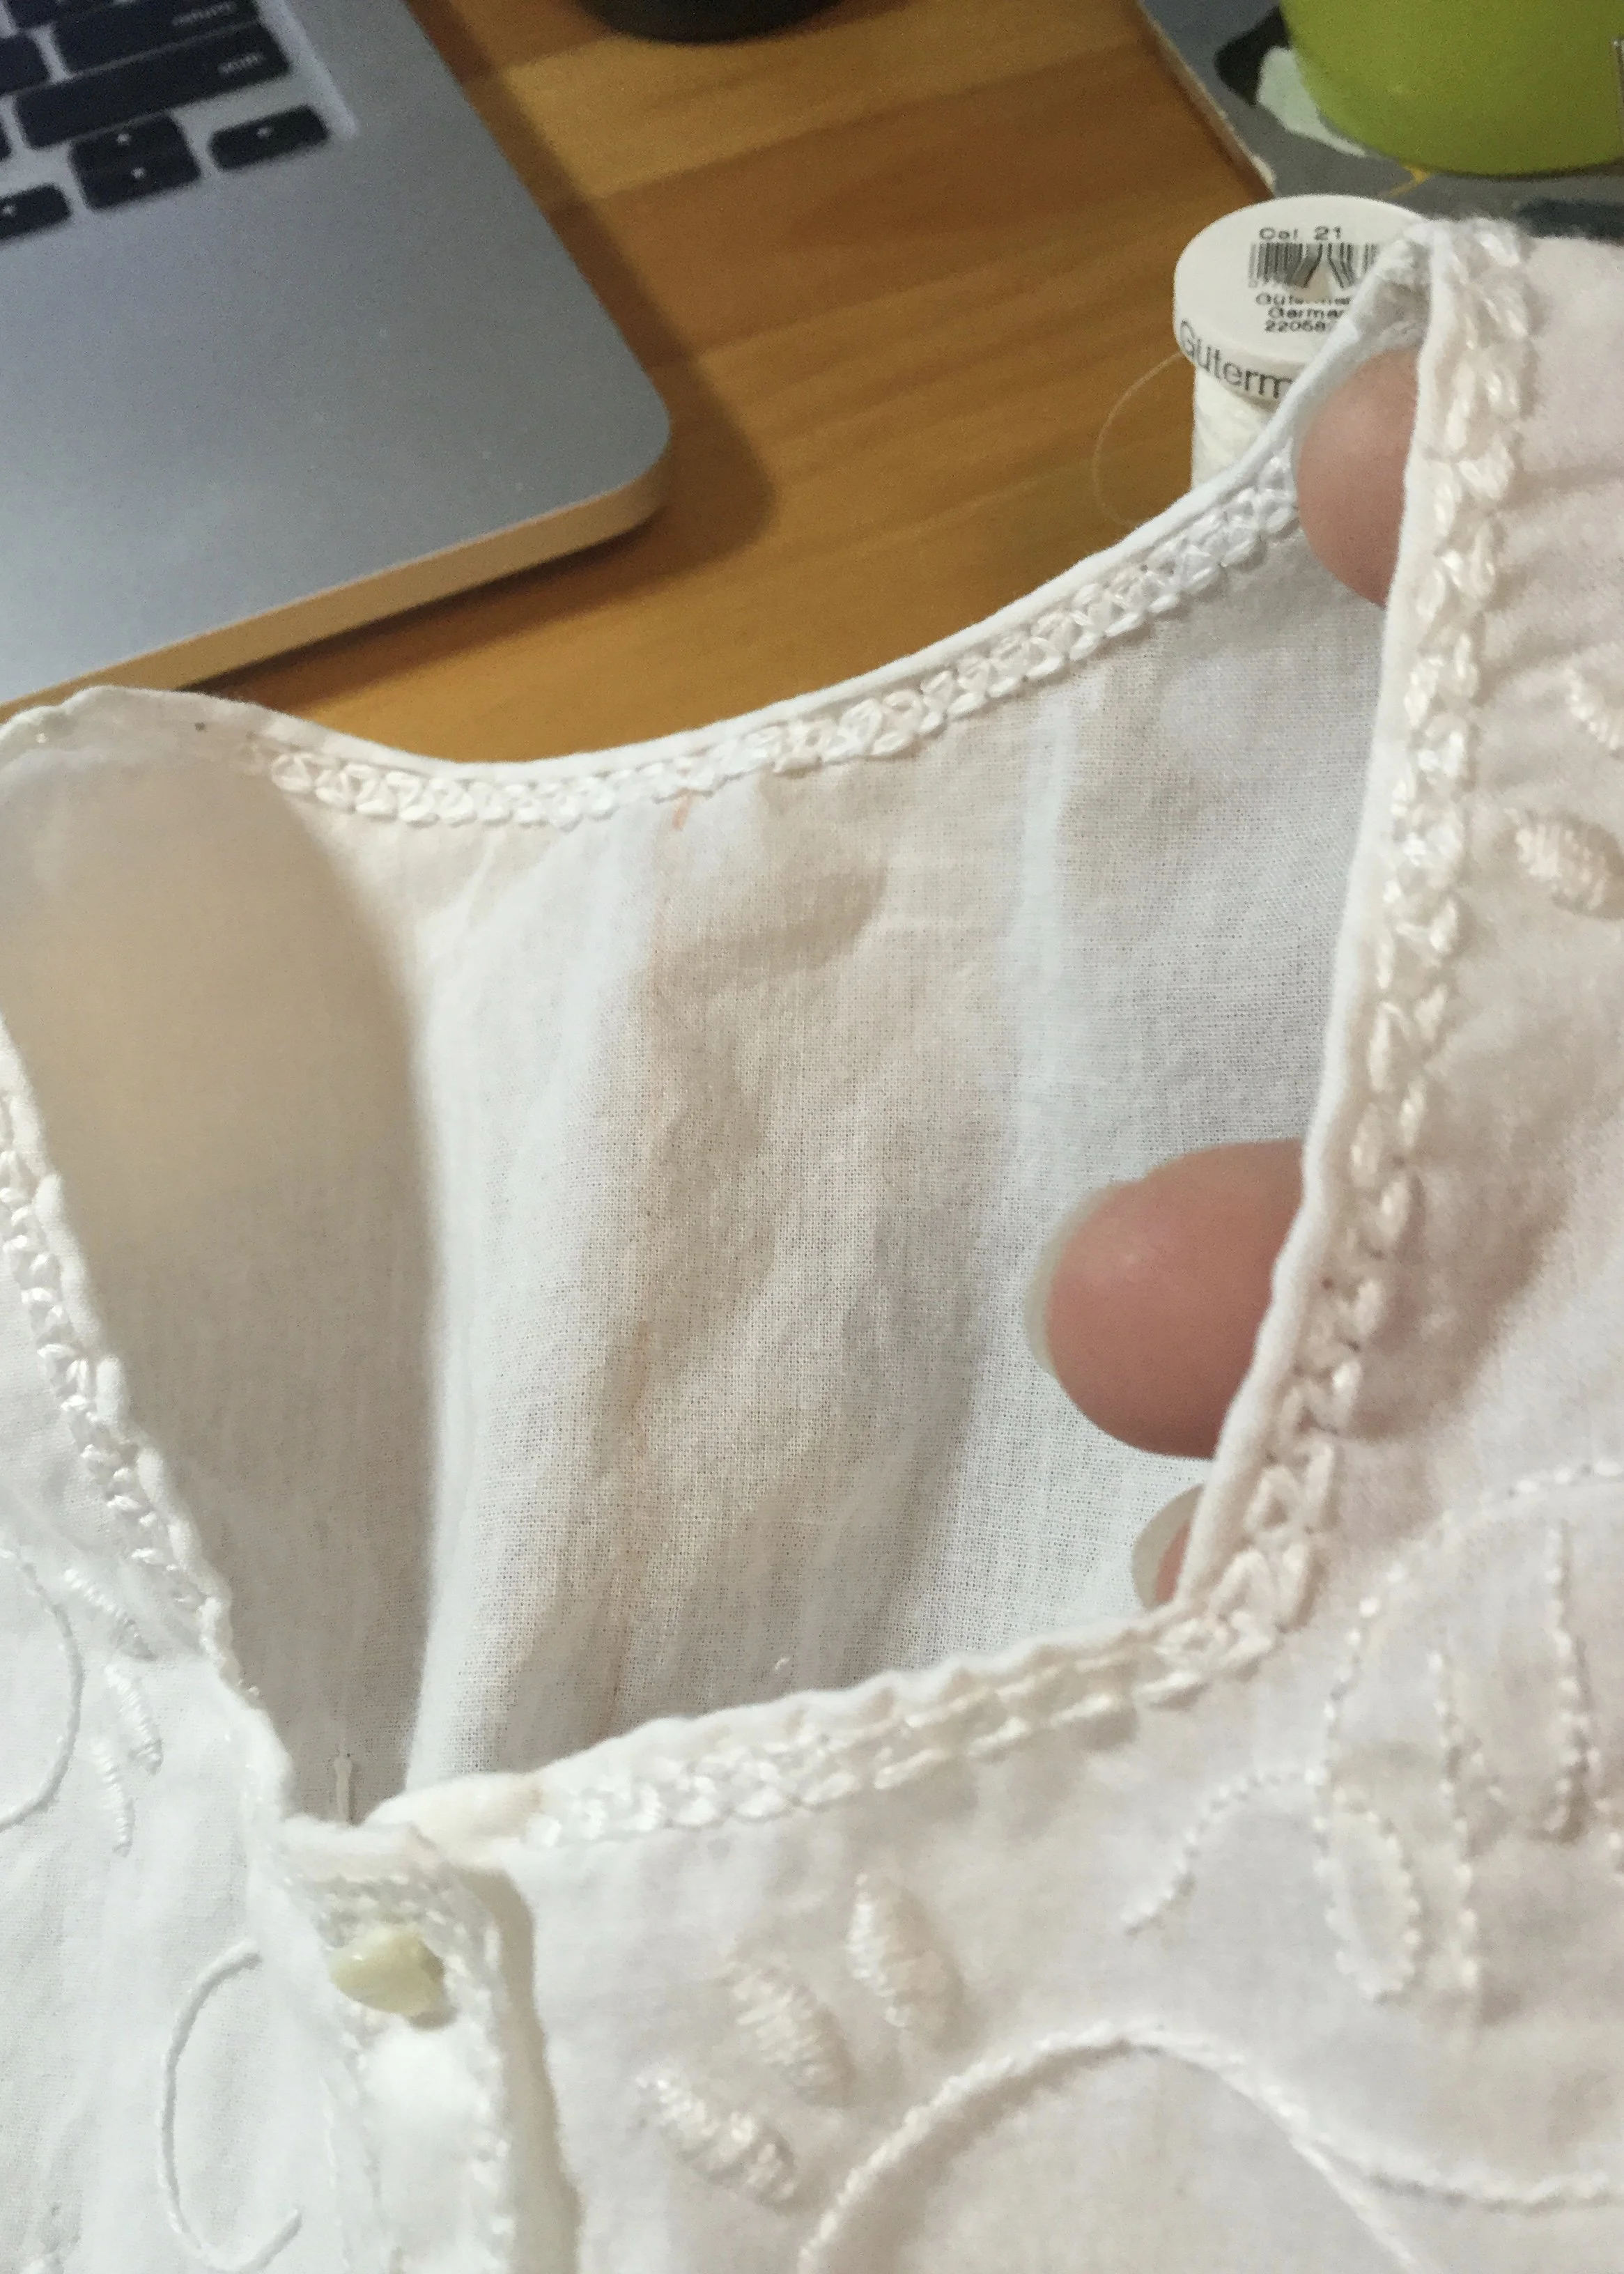
For embellishment, I chose my usual random, swirly lines and a few leafy shapes. It's not particularly interesting, but I think it looks pretty. I also added a row of a three sided pulled thread stitch along the lines I had basted earlier. It was while I was working on the embroidery that this project got her name: Marie. I was inspired by a corset cover made by Mary of Teck on which she had embroidered her name and thought that adding that kind of personalization would be a nice touch. I don't know why I decided on Marie, but when I looked at my list of potential names that one seemed right. I've embroidered it onto her combinations now, so the deed is done.
Embroidery in progress. (You can tell that I was definitely not measuring my border stitches by counting threads.)
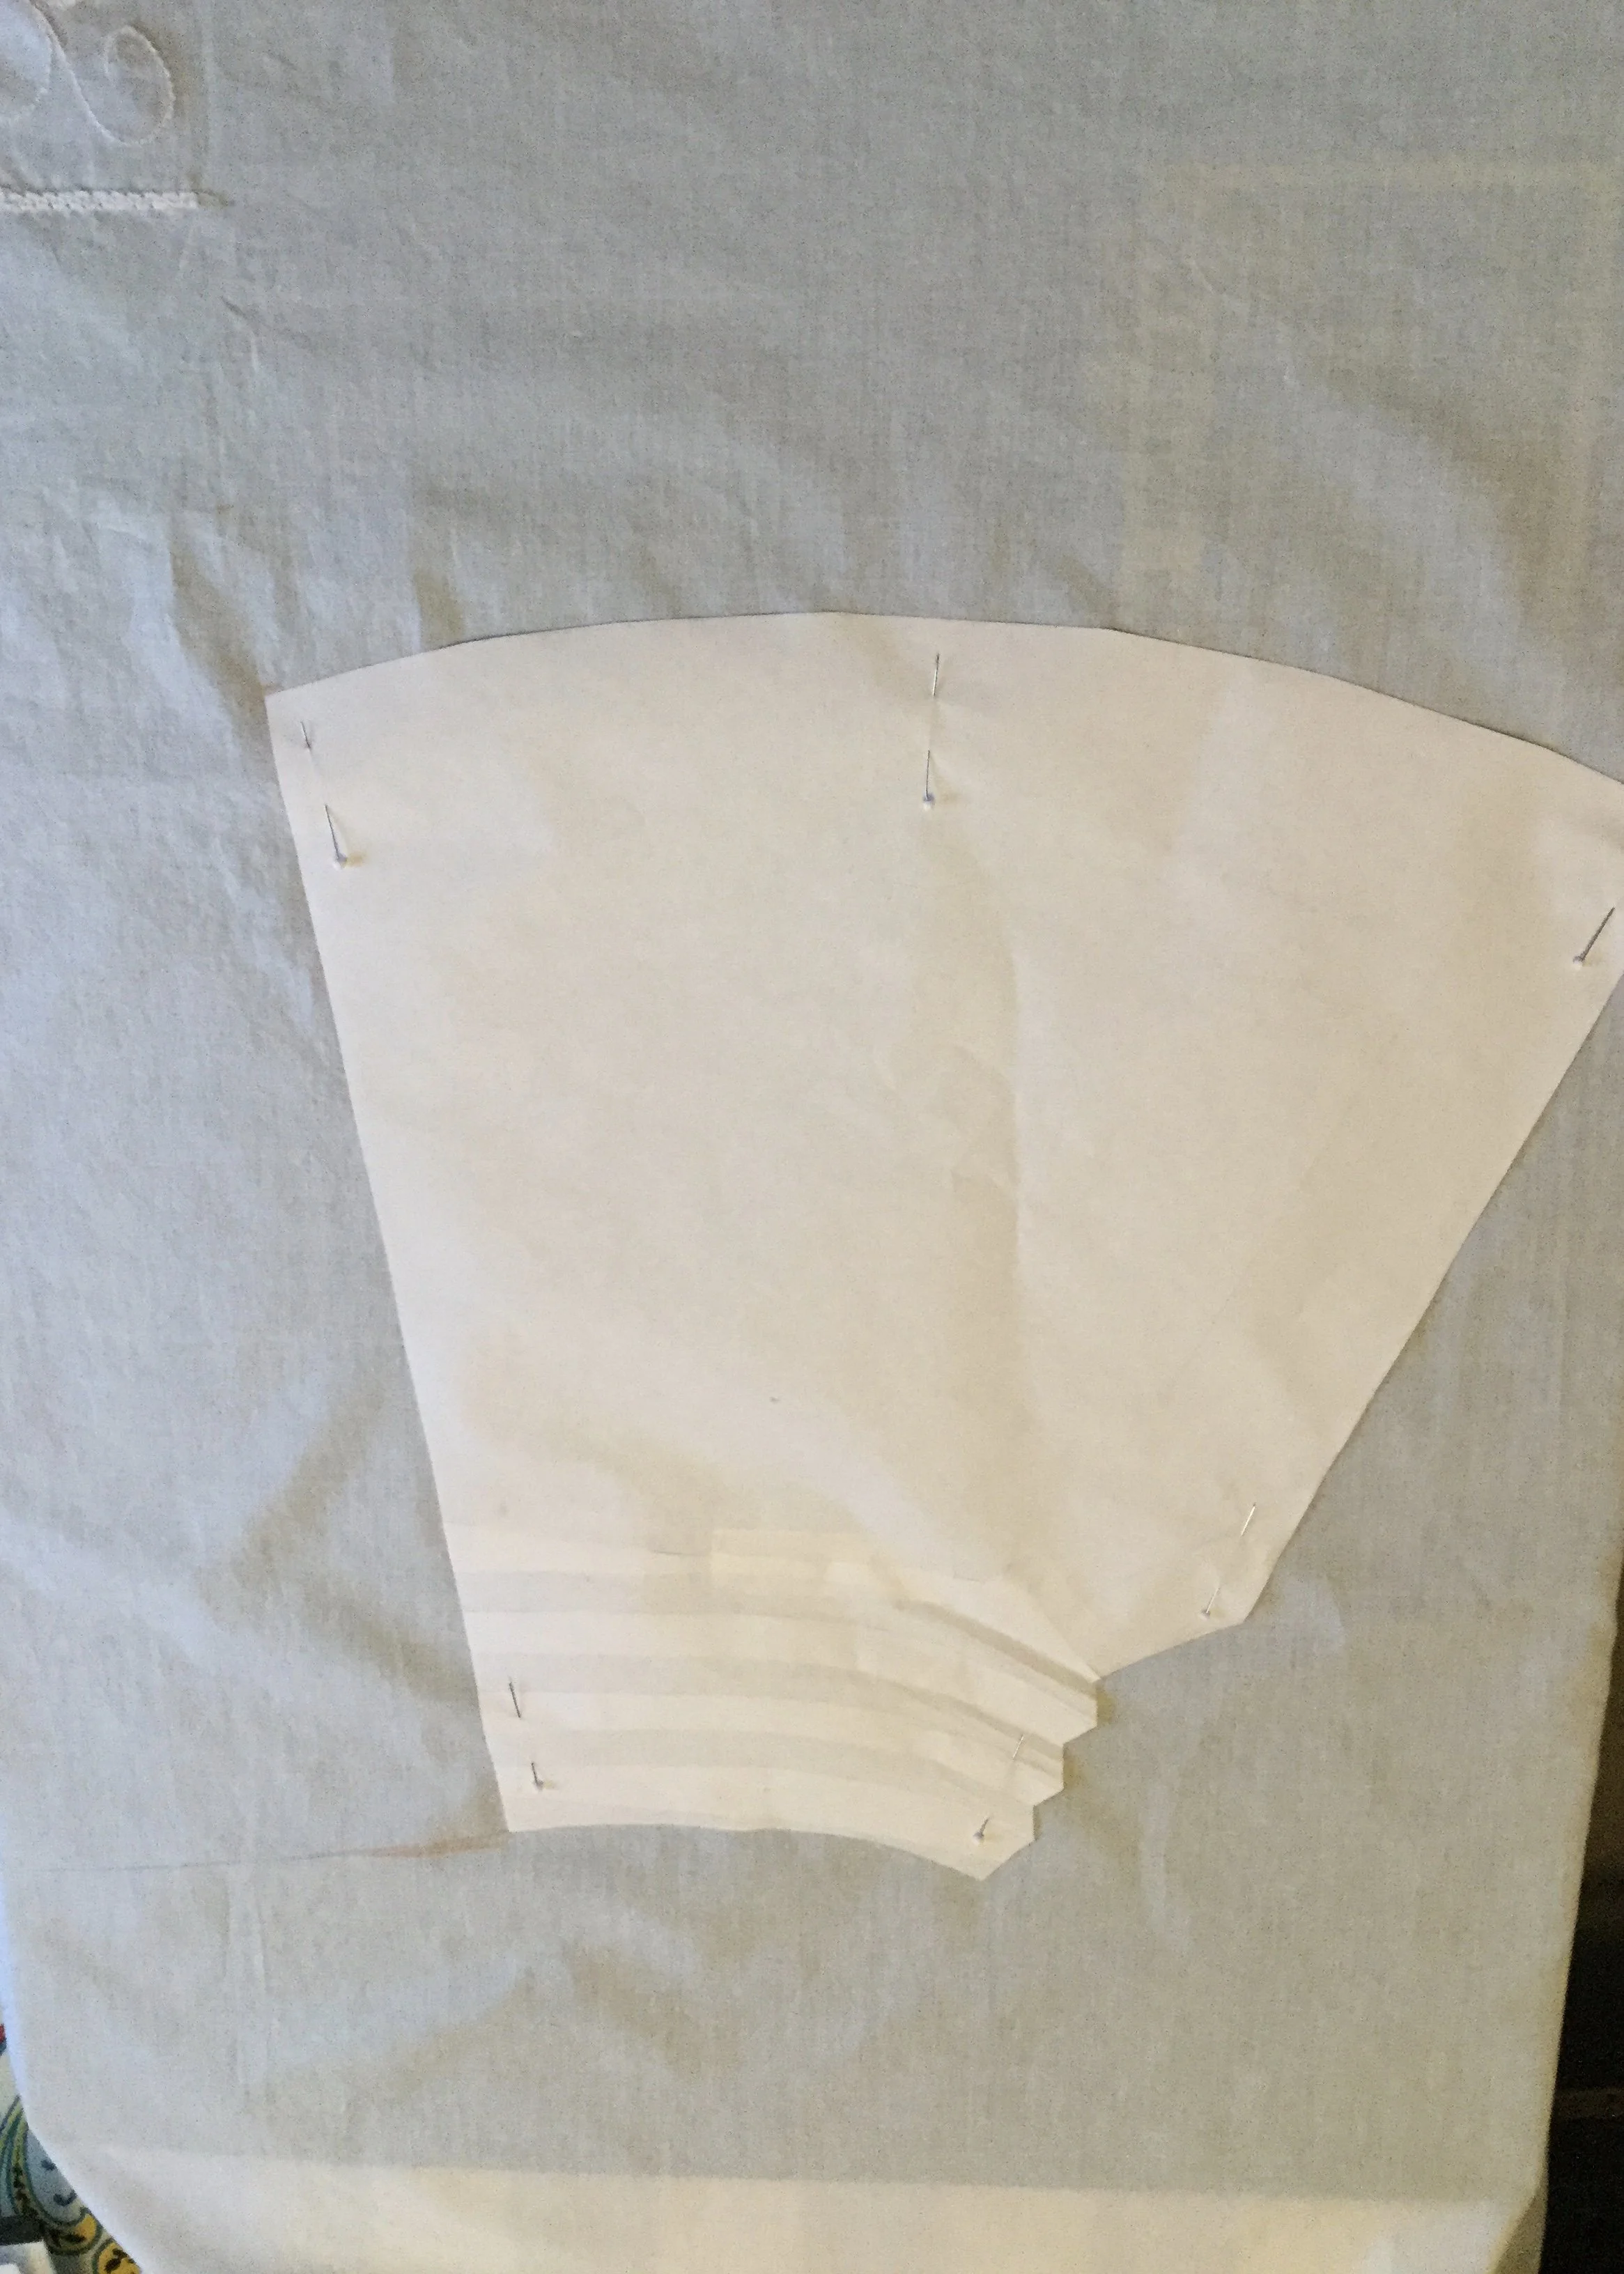
Tracing off the back leg as one piece with the front.
Once the embroidery was done, I went to cut the pieces out. It was at this time that I remembered/noticed that most of the drawers I had looked at hadn't had outseams; the fronts and backs would be cut in one piece and wrap around the wearer's sides to meet at the centre front and back. This was a pretty easy fix, I could just butt the back leg piece up against the front piece and cut it as one... except, one of the fronts was too close to the edge of the fabric to do this.
Crud.
I was not about to pick out ANY of the embroidery, but now that I had realized my mistake, I had to fix it.
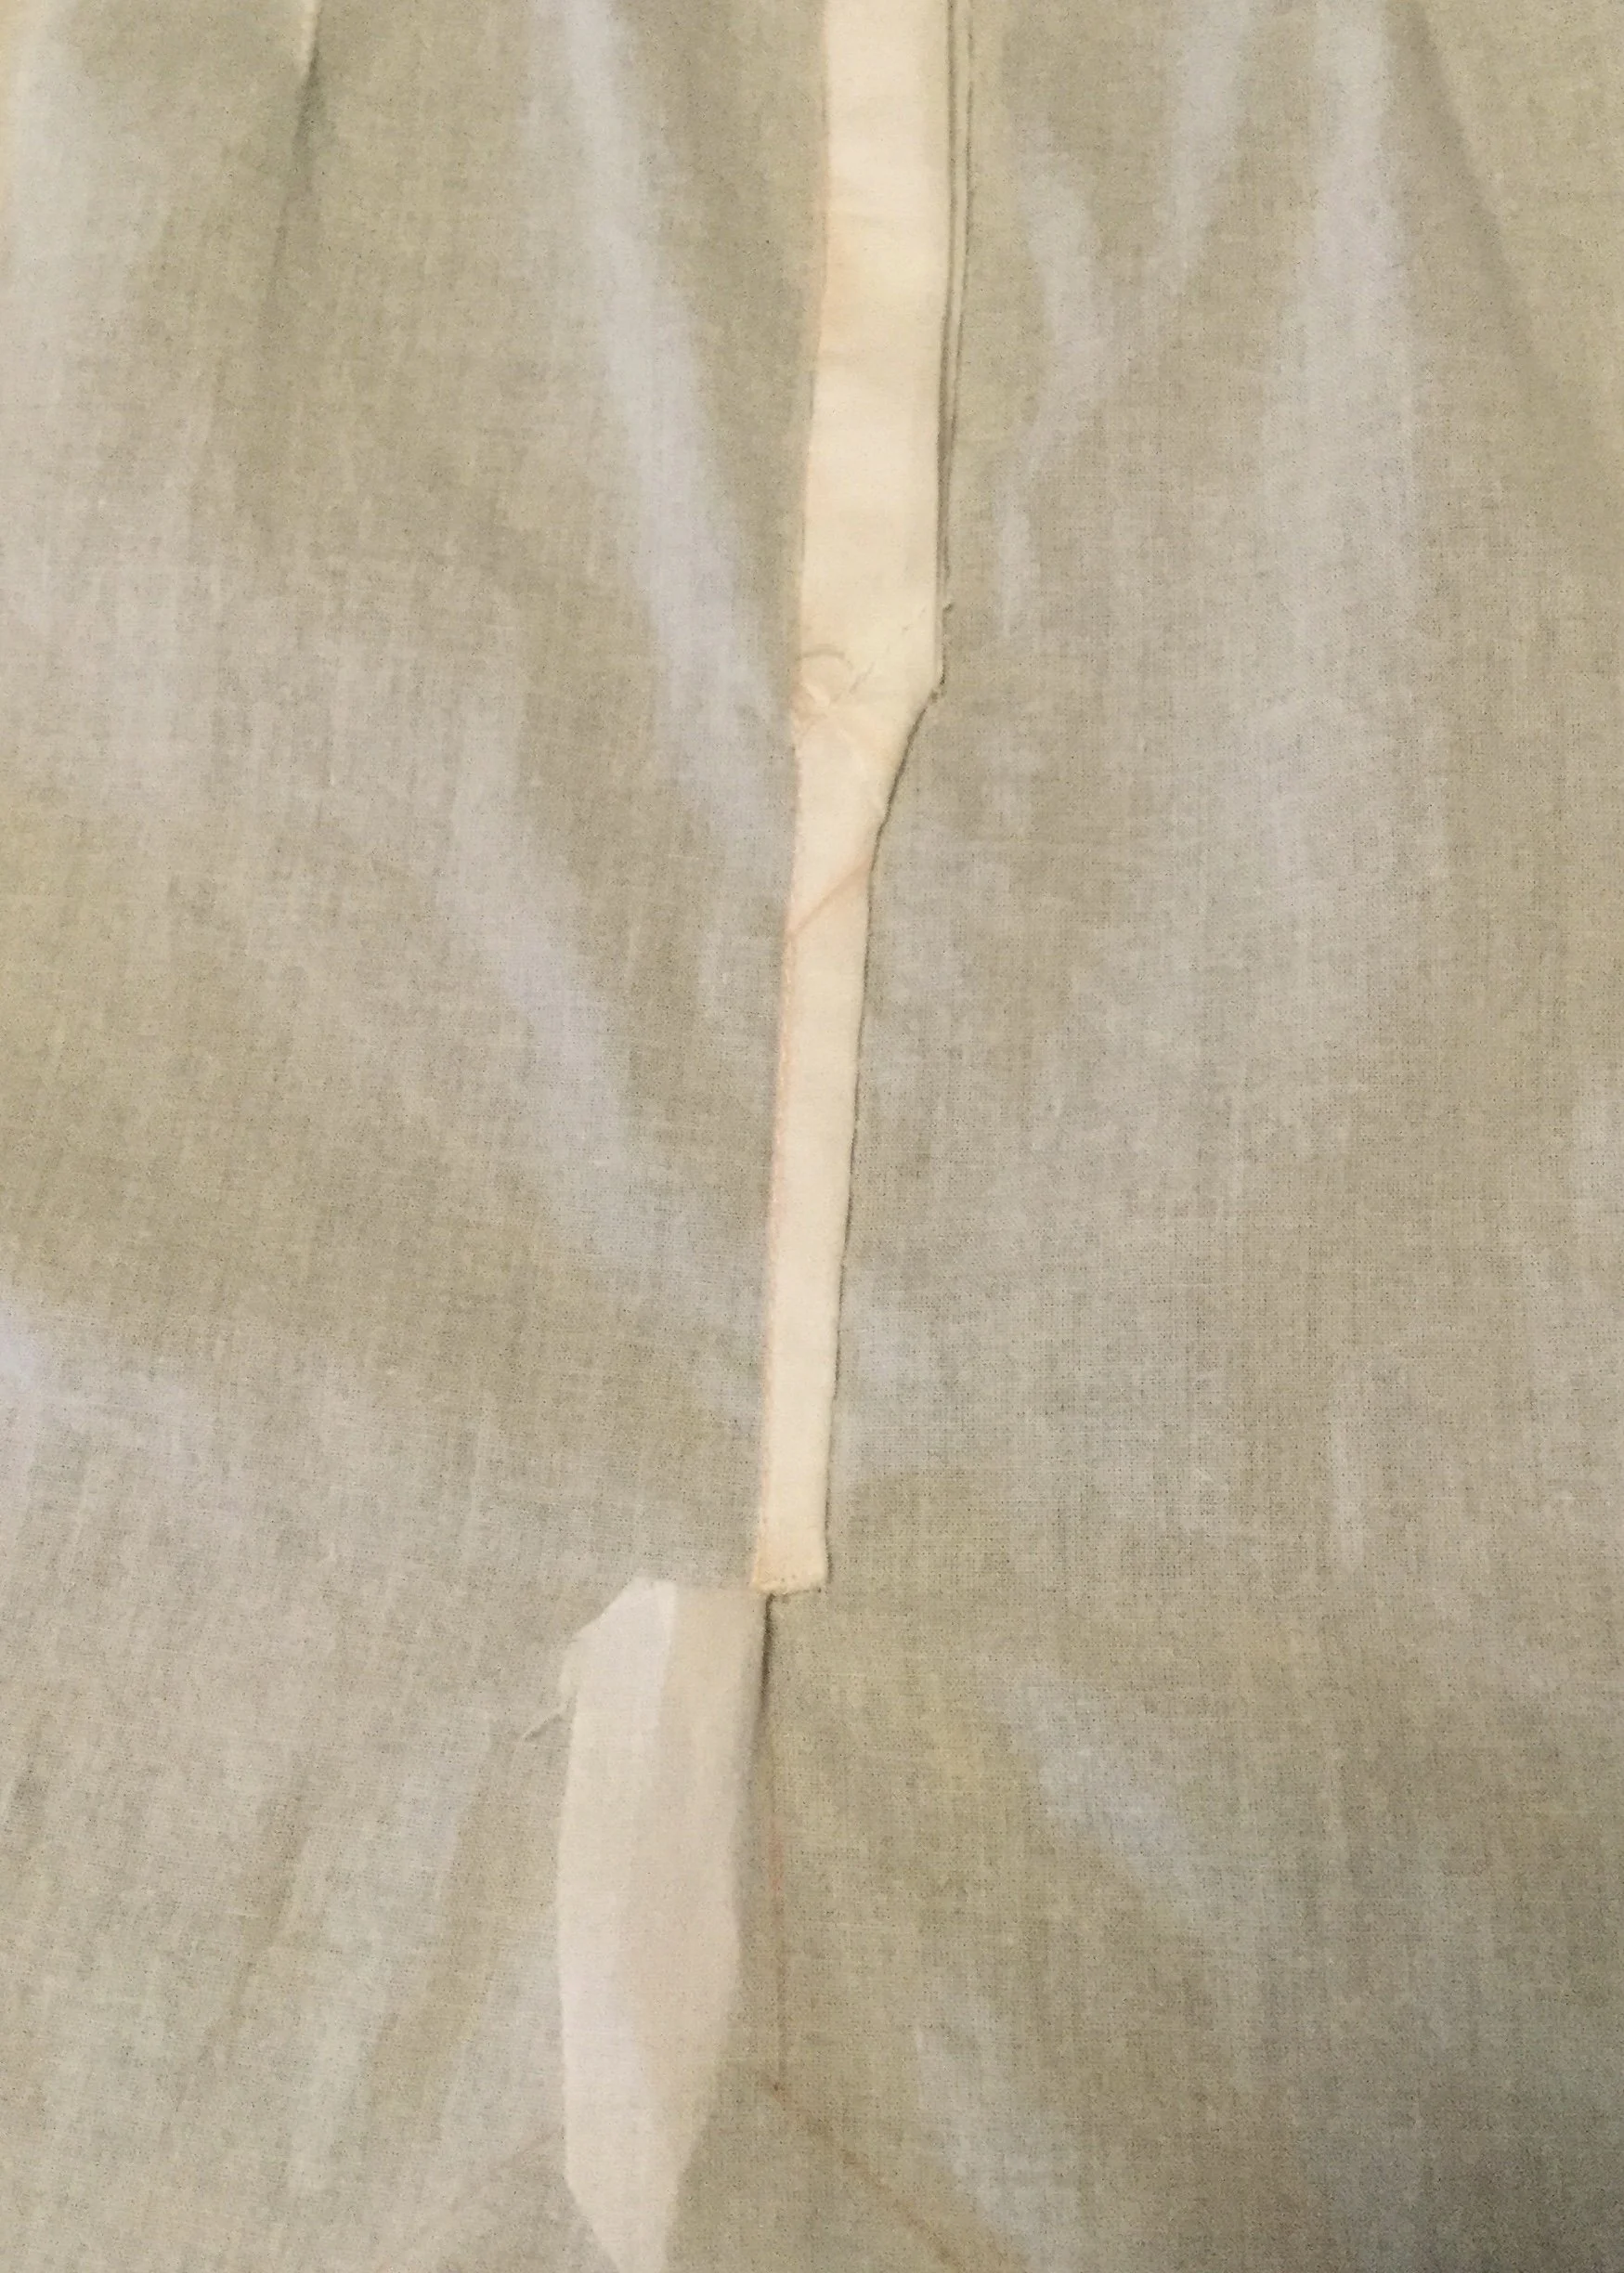
In the end, I had enough fabric to cut a second left front, with the back leg, and save my embroidery if I had a seam along the bottom edge of the embroidery. It's not completely invisible, but it's also not an entirely inelegant solution.
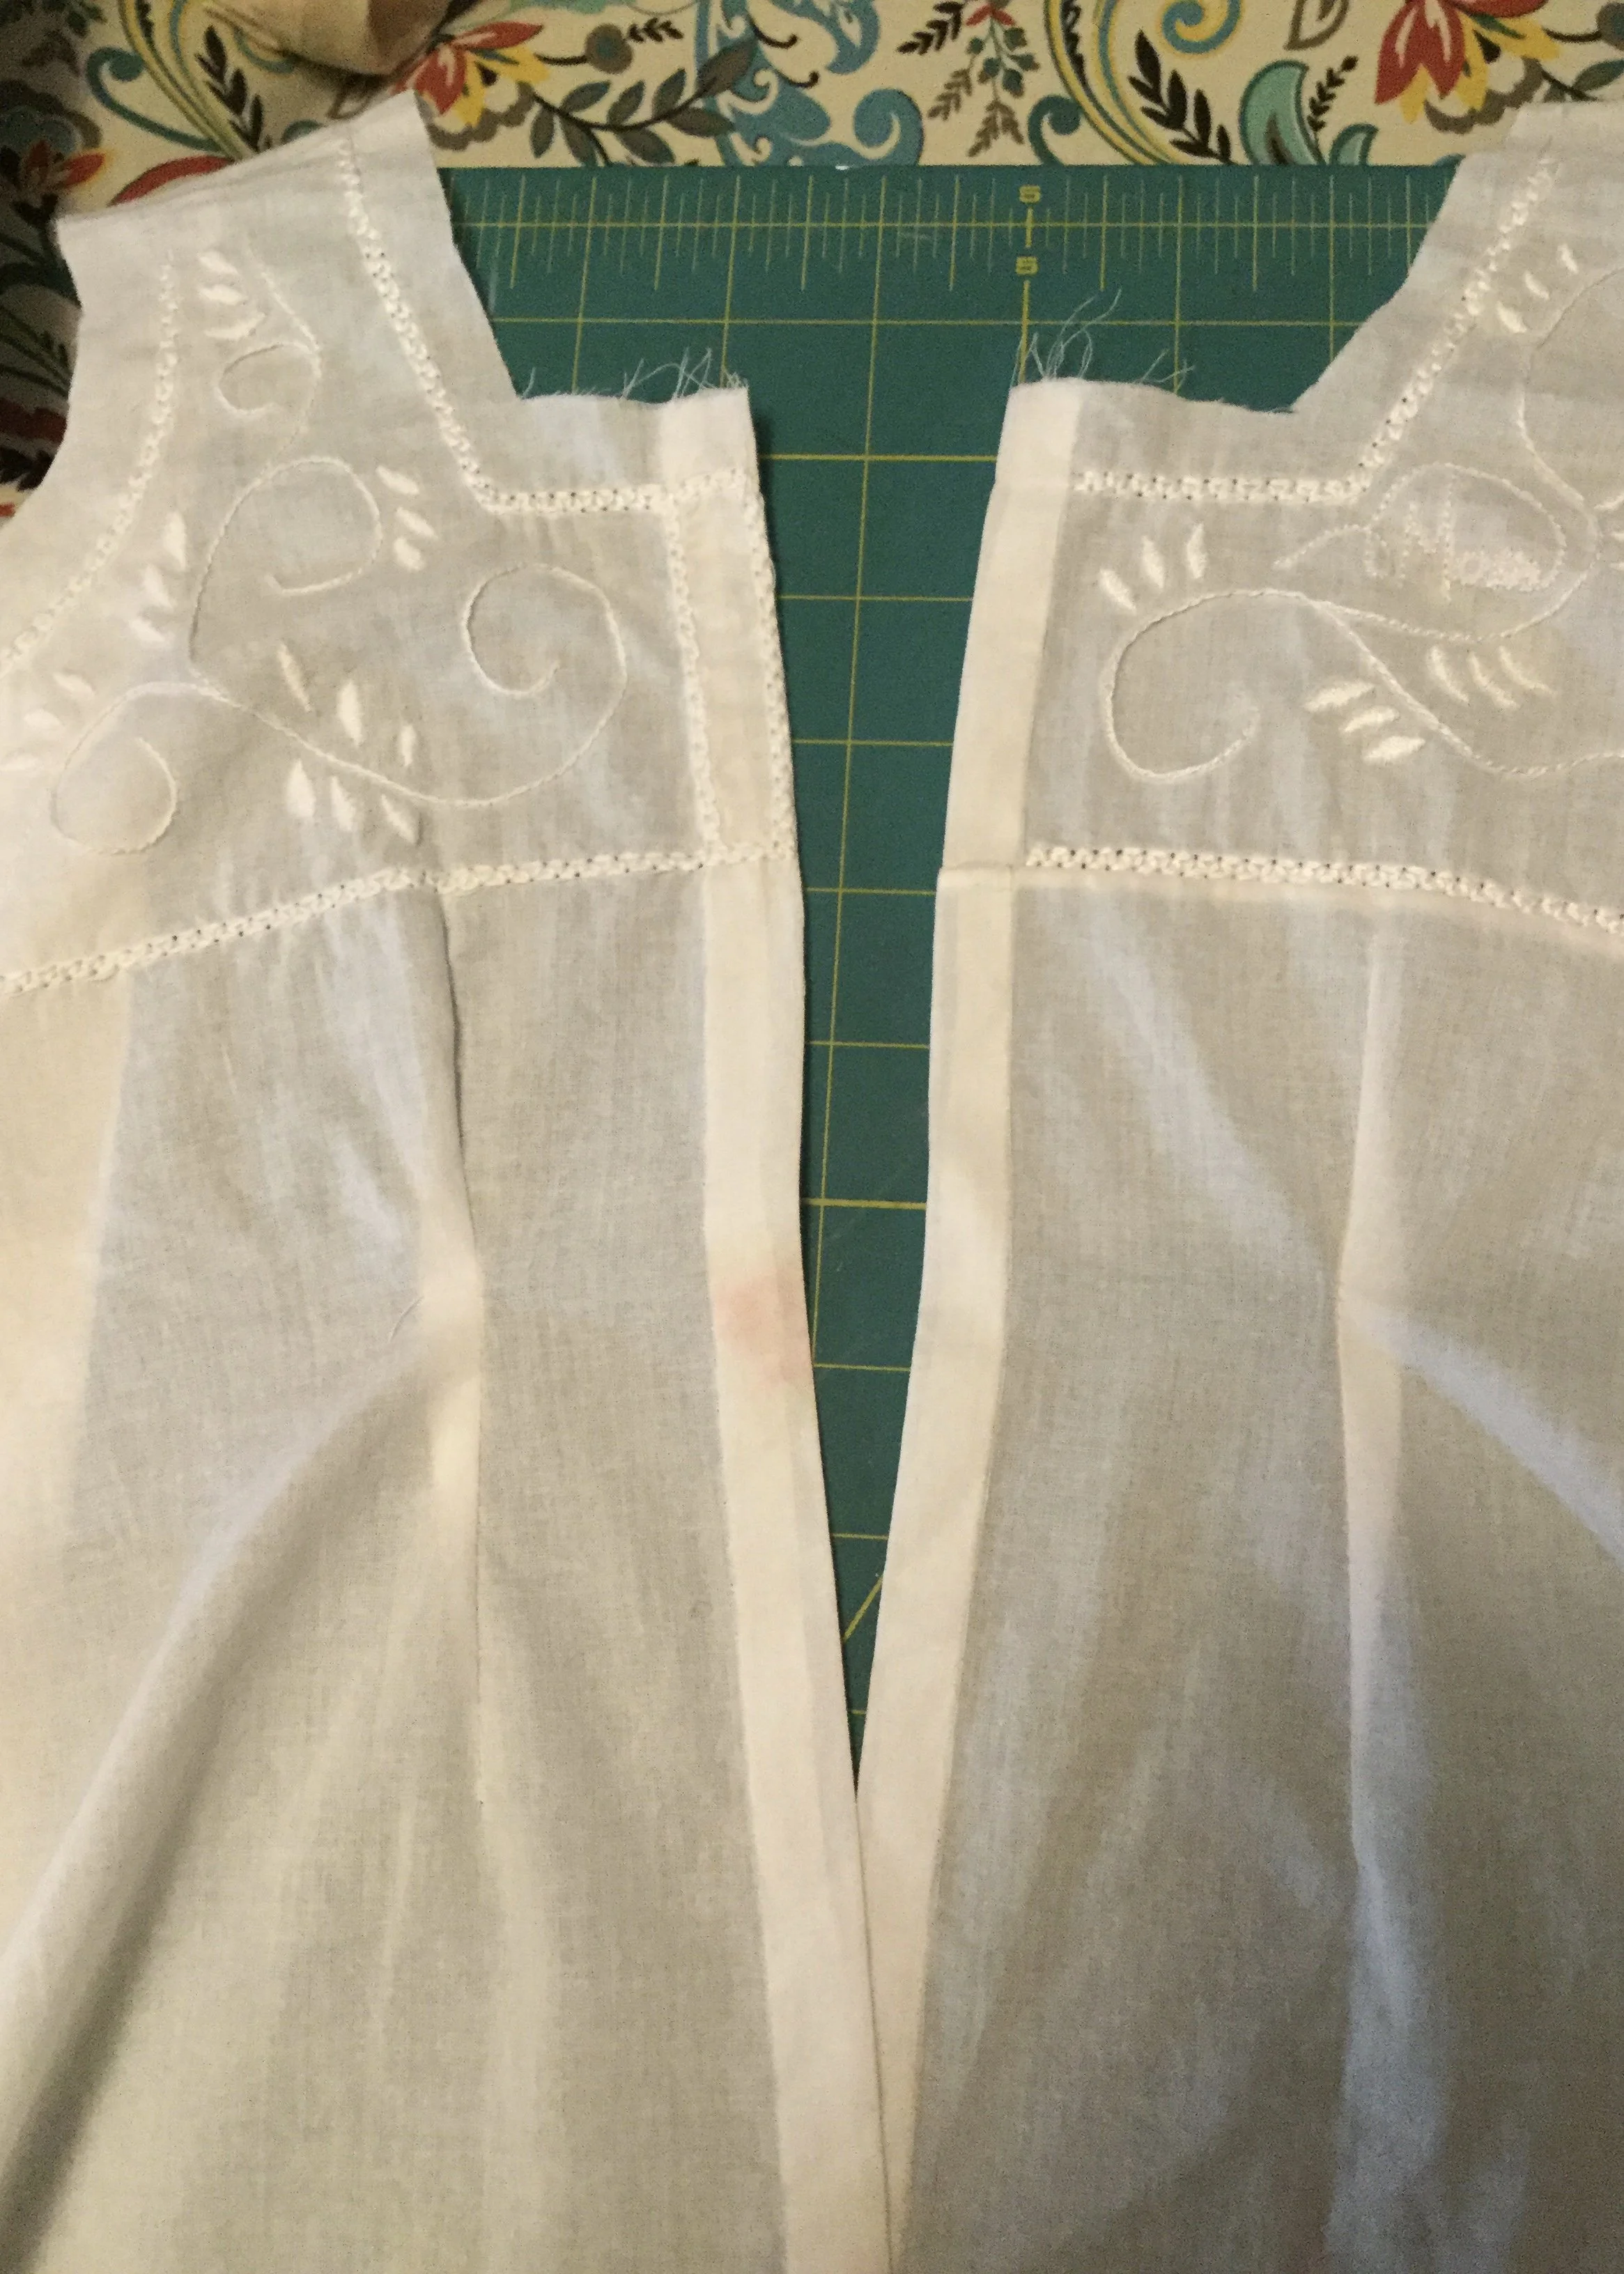
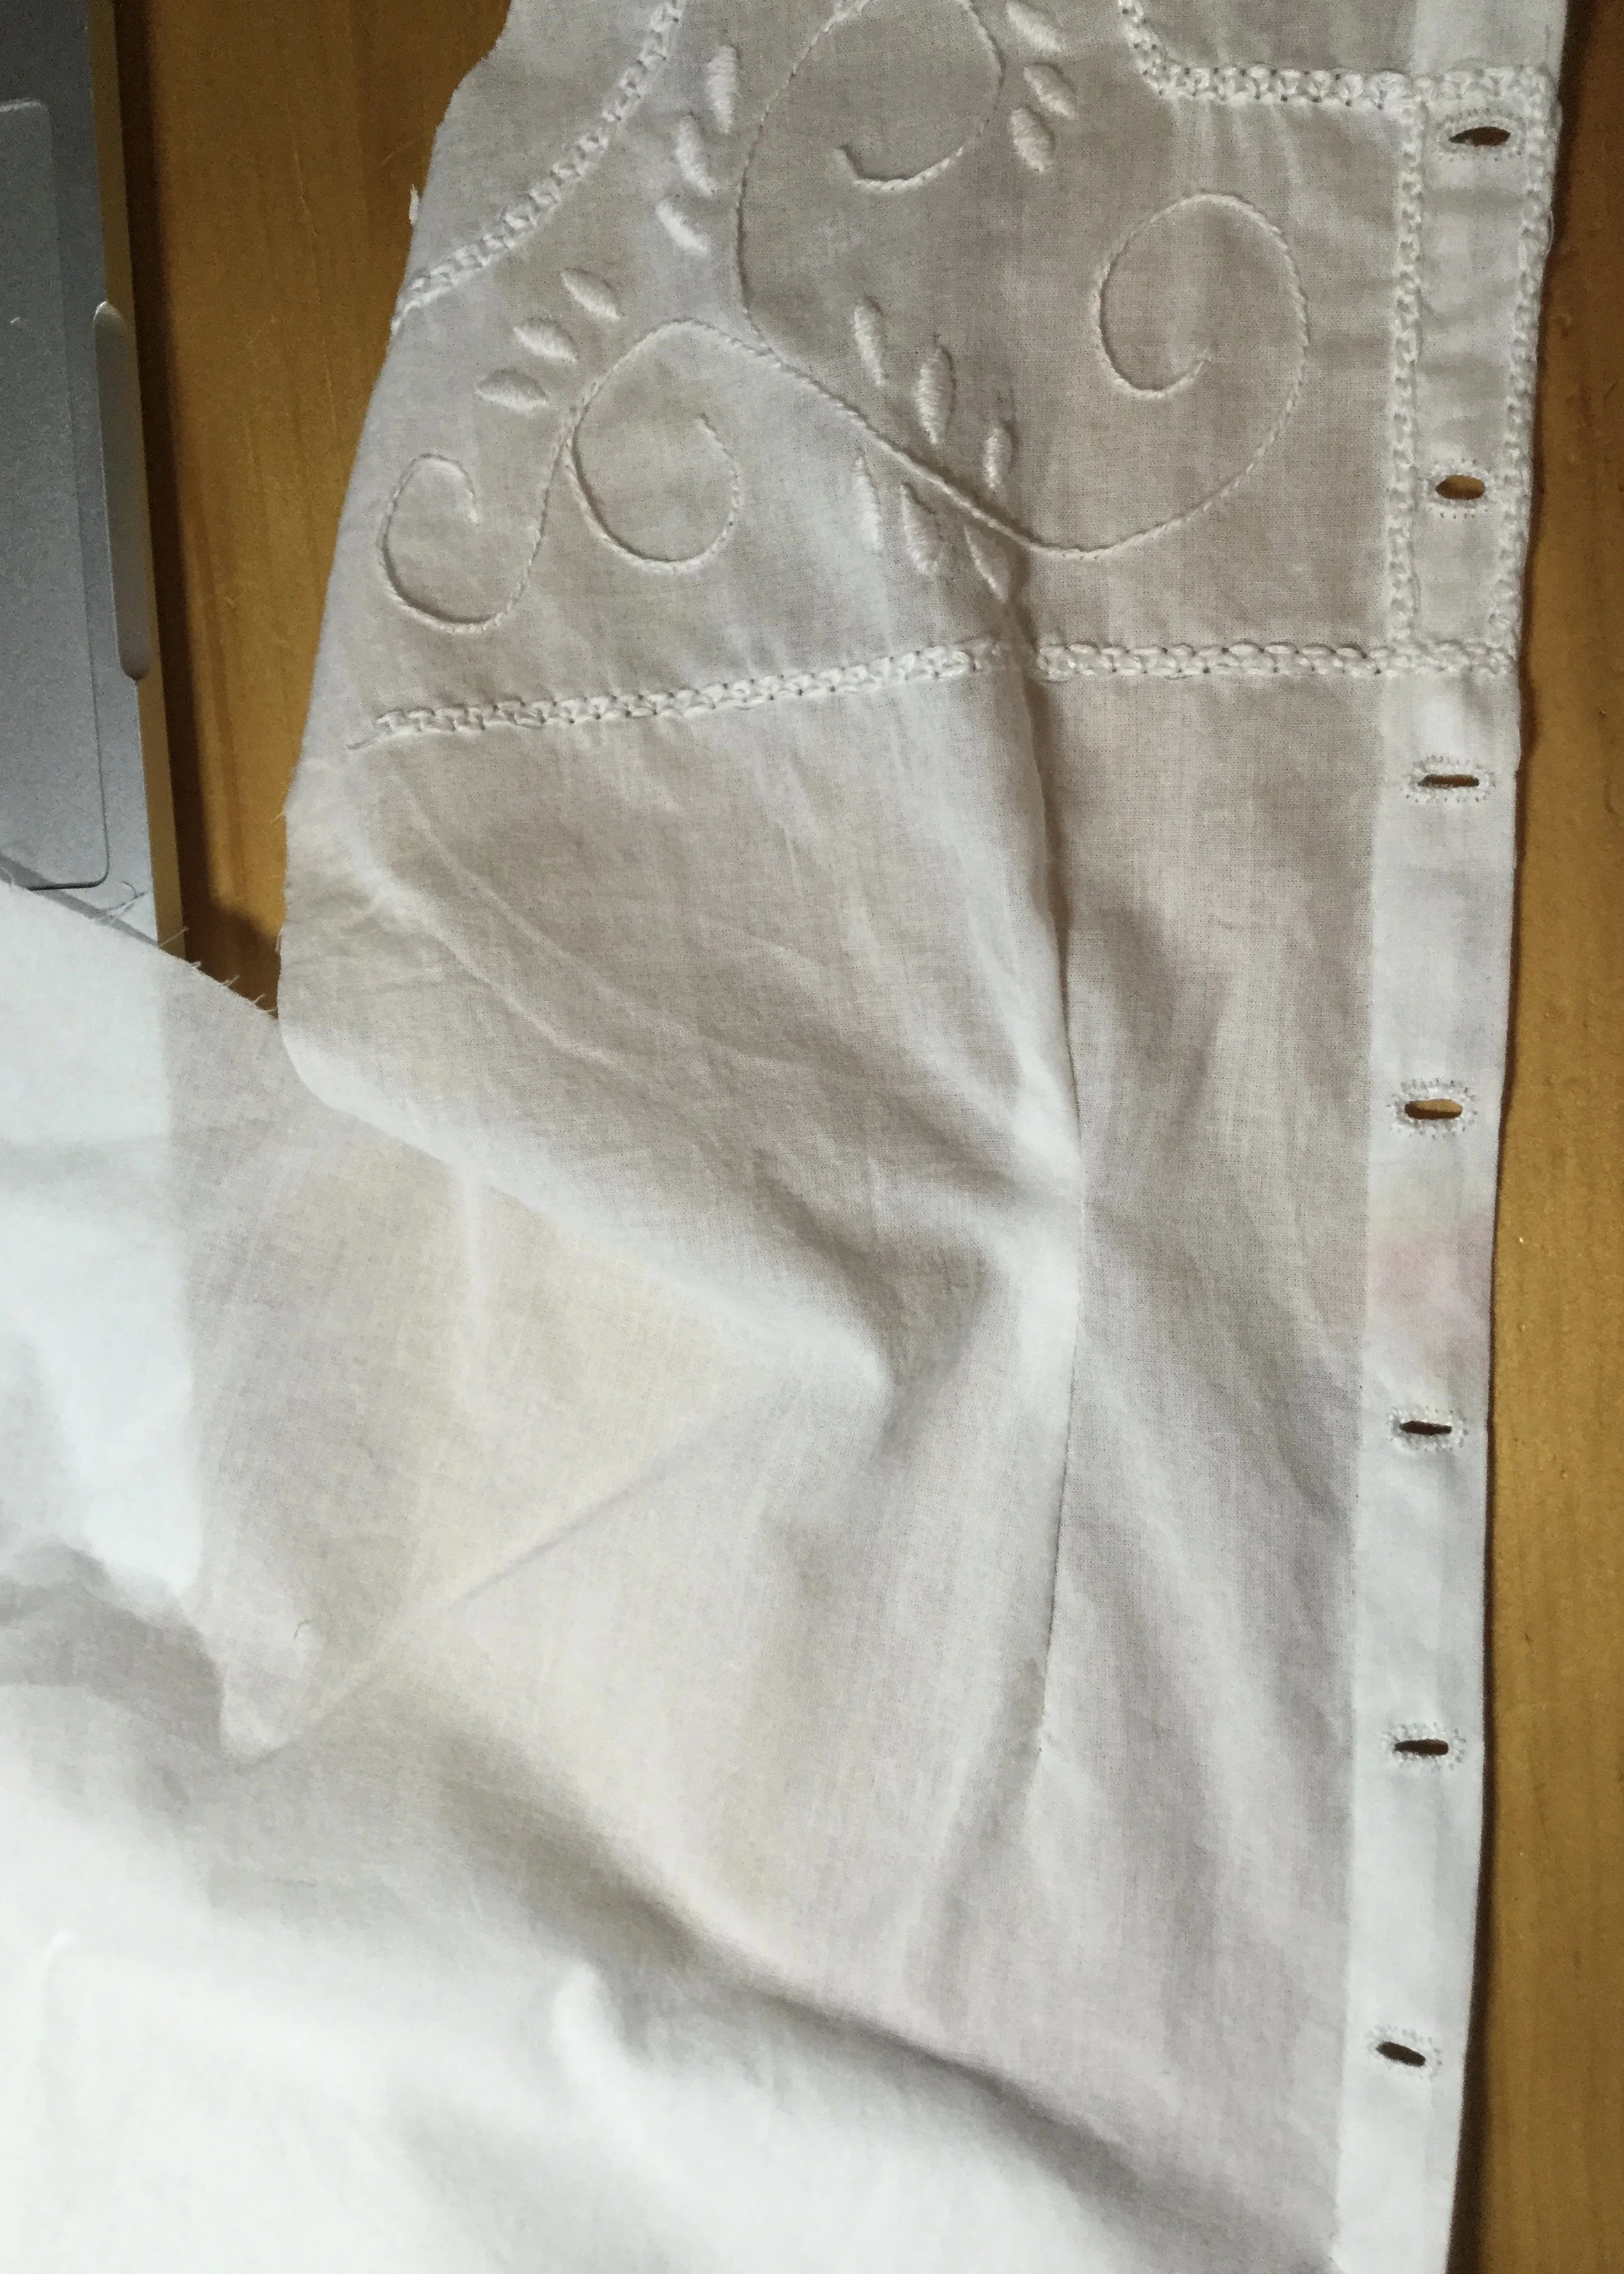
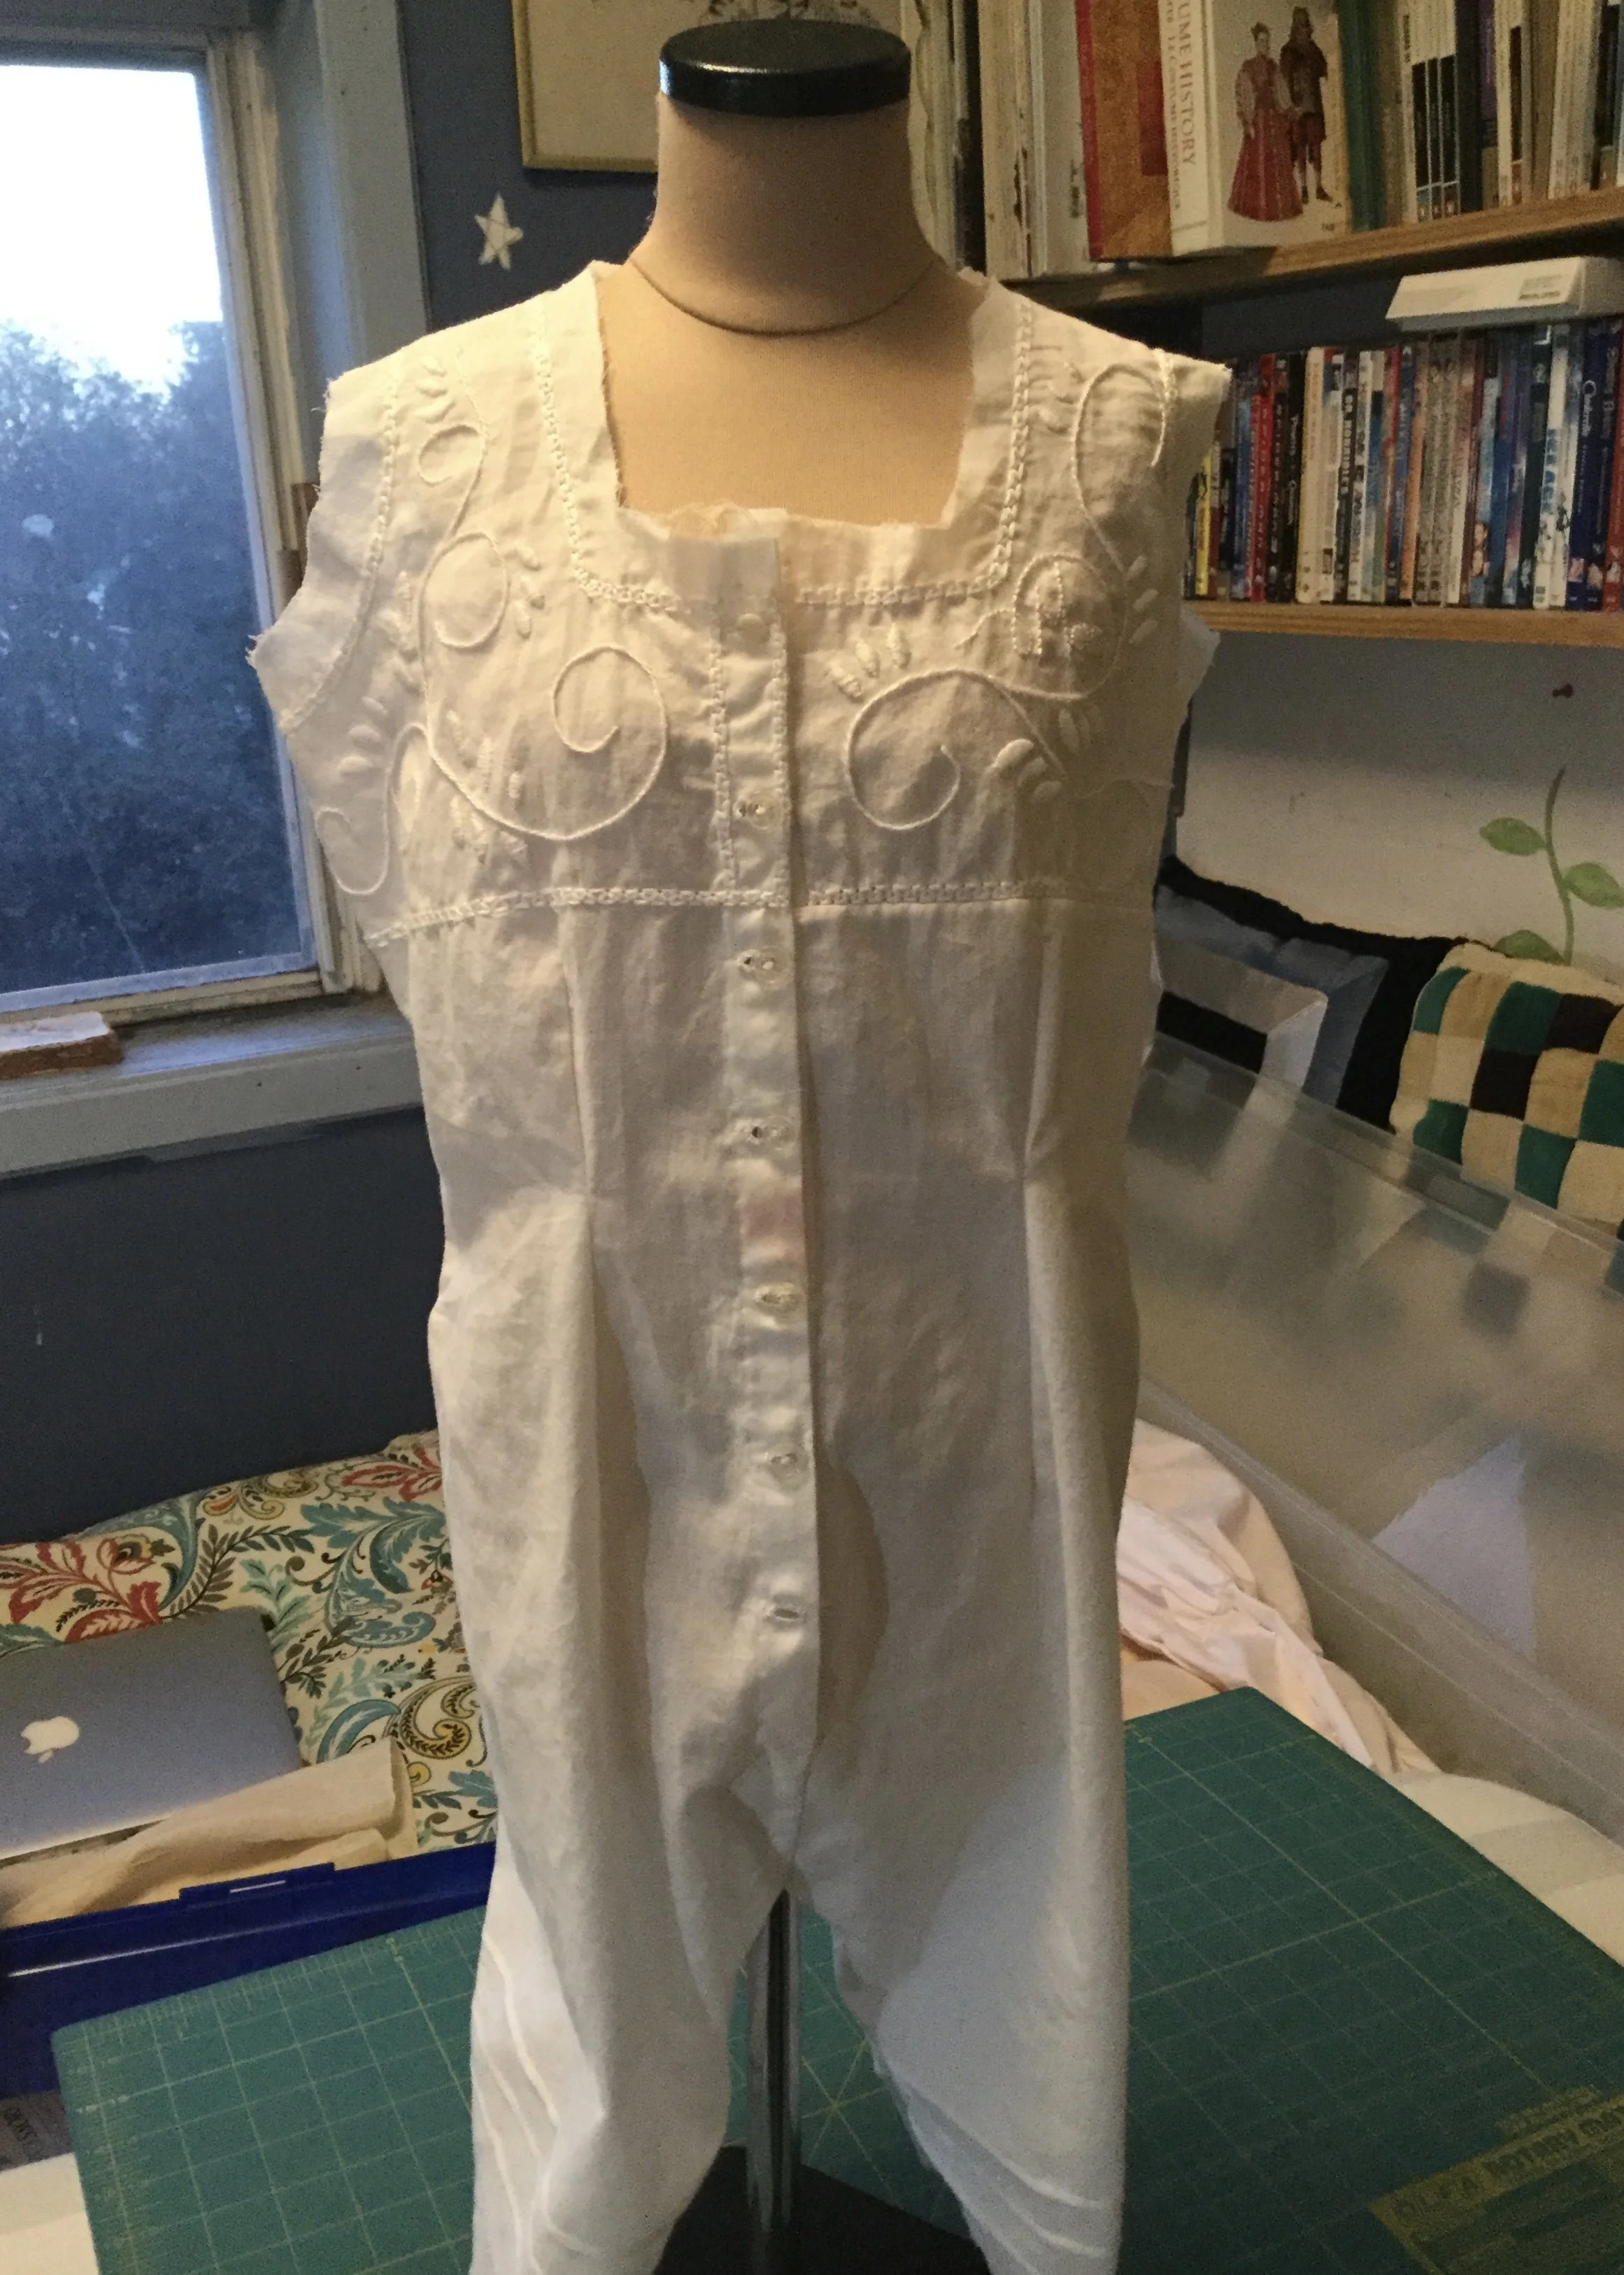
Putting the whole thing together was pretty straightforward. I began with the centre front and placket, including little hand worked buttonholes, stitched the rows of tucks along the legs and closed the darts before stitching the side and shoulder seams.
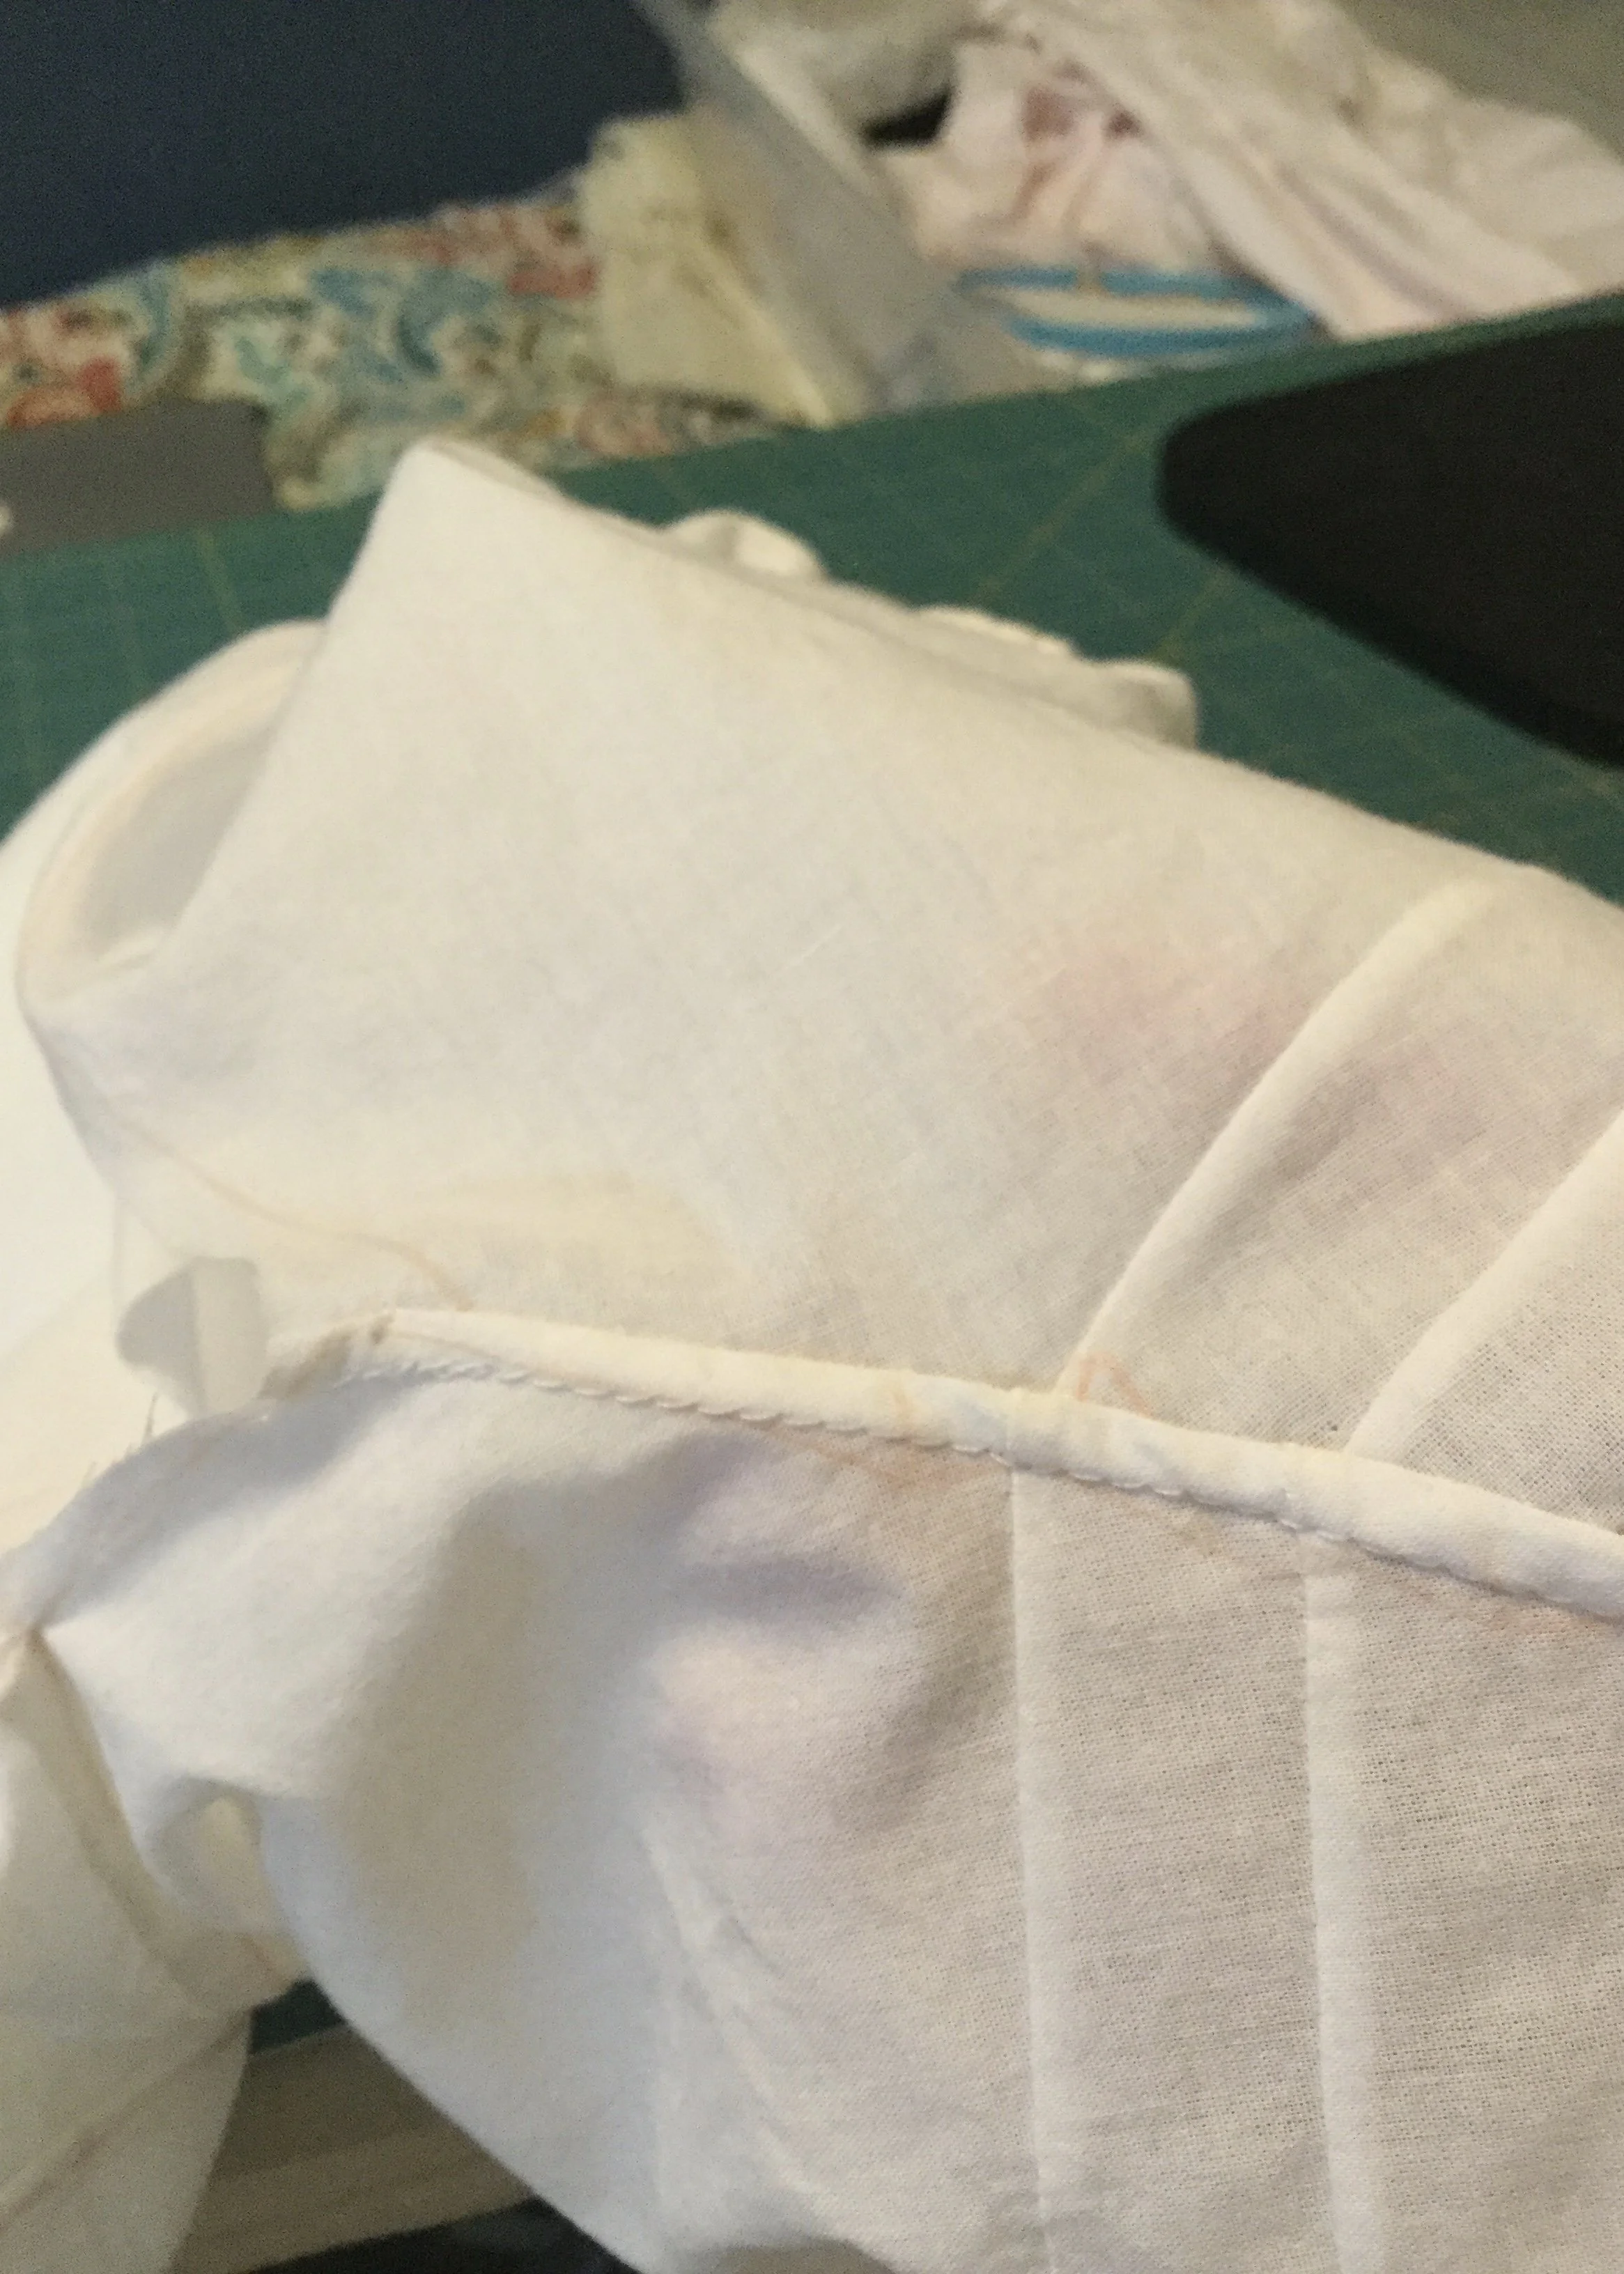
At this point, you may notice a reddish smudge has appeared on the placket on the front. If you’ll indulge me, I have a small rant about this.
*deep inhale*
I’M SO MAD ABOUT THAT! IT CAME FROM MY MOTHER’S PRESSING HAM; A HAM, I MIGHT ADD, WHICH IS PROBABLY AS OLD AS I AM SO ANY EXCUSE IT EVER HAD FOR BLEEDING DYE SHOULD BE LOOOOOOONG GONE. COUNTLESS THINGS HAVE BEEN PRESSED ON THAT HAM! COUNTLESS WHITE THINGS! SO WHY? WHY NOW? WHY RIGHT IN THE MIDDLE OF THE FRONT OF MY LOVELY WHITE COMBINATIONS THAT I WANT TO BE ABLE TO PROUDLY SHOW OFF? WHY?
WHY?????
*sighhhhhh*
Anyway, that’s what that is.
With the bodice assembled, I finished my seams by hand felling my seam allowances and connected the border stitch along the neckline and armholes.
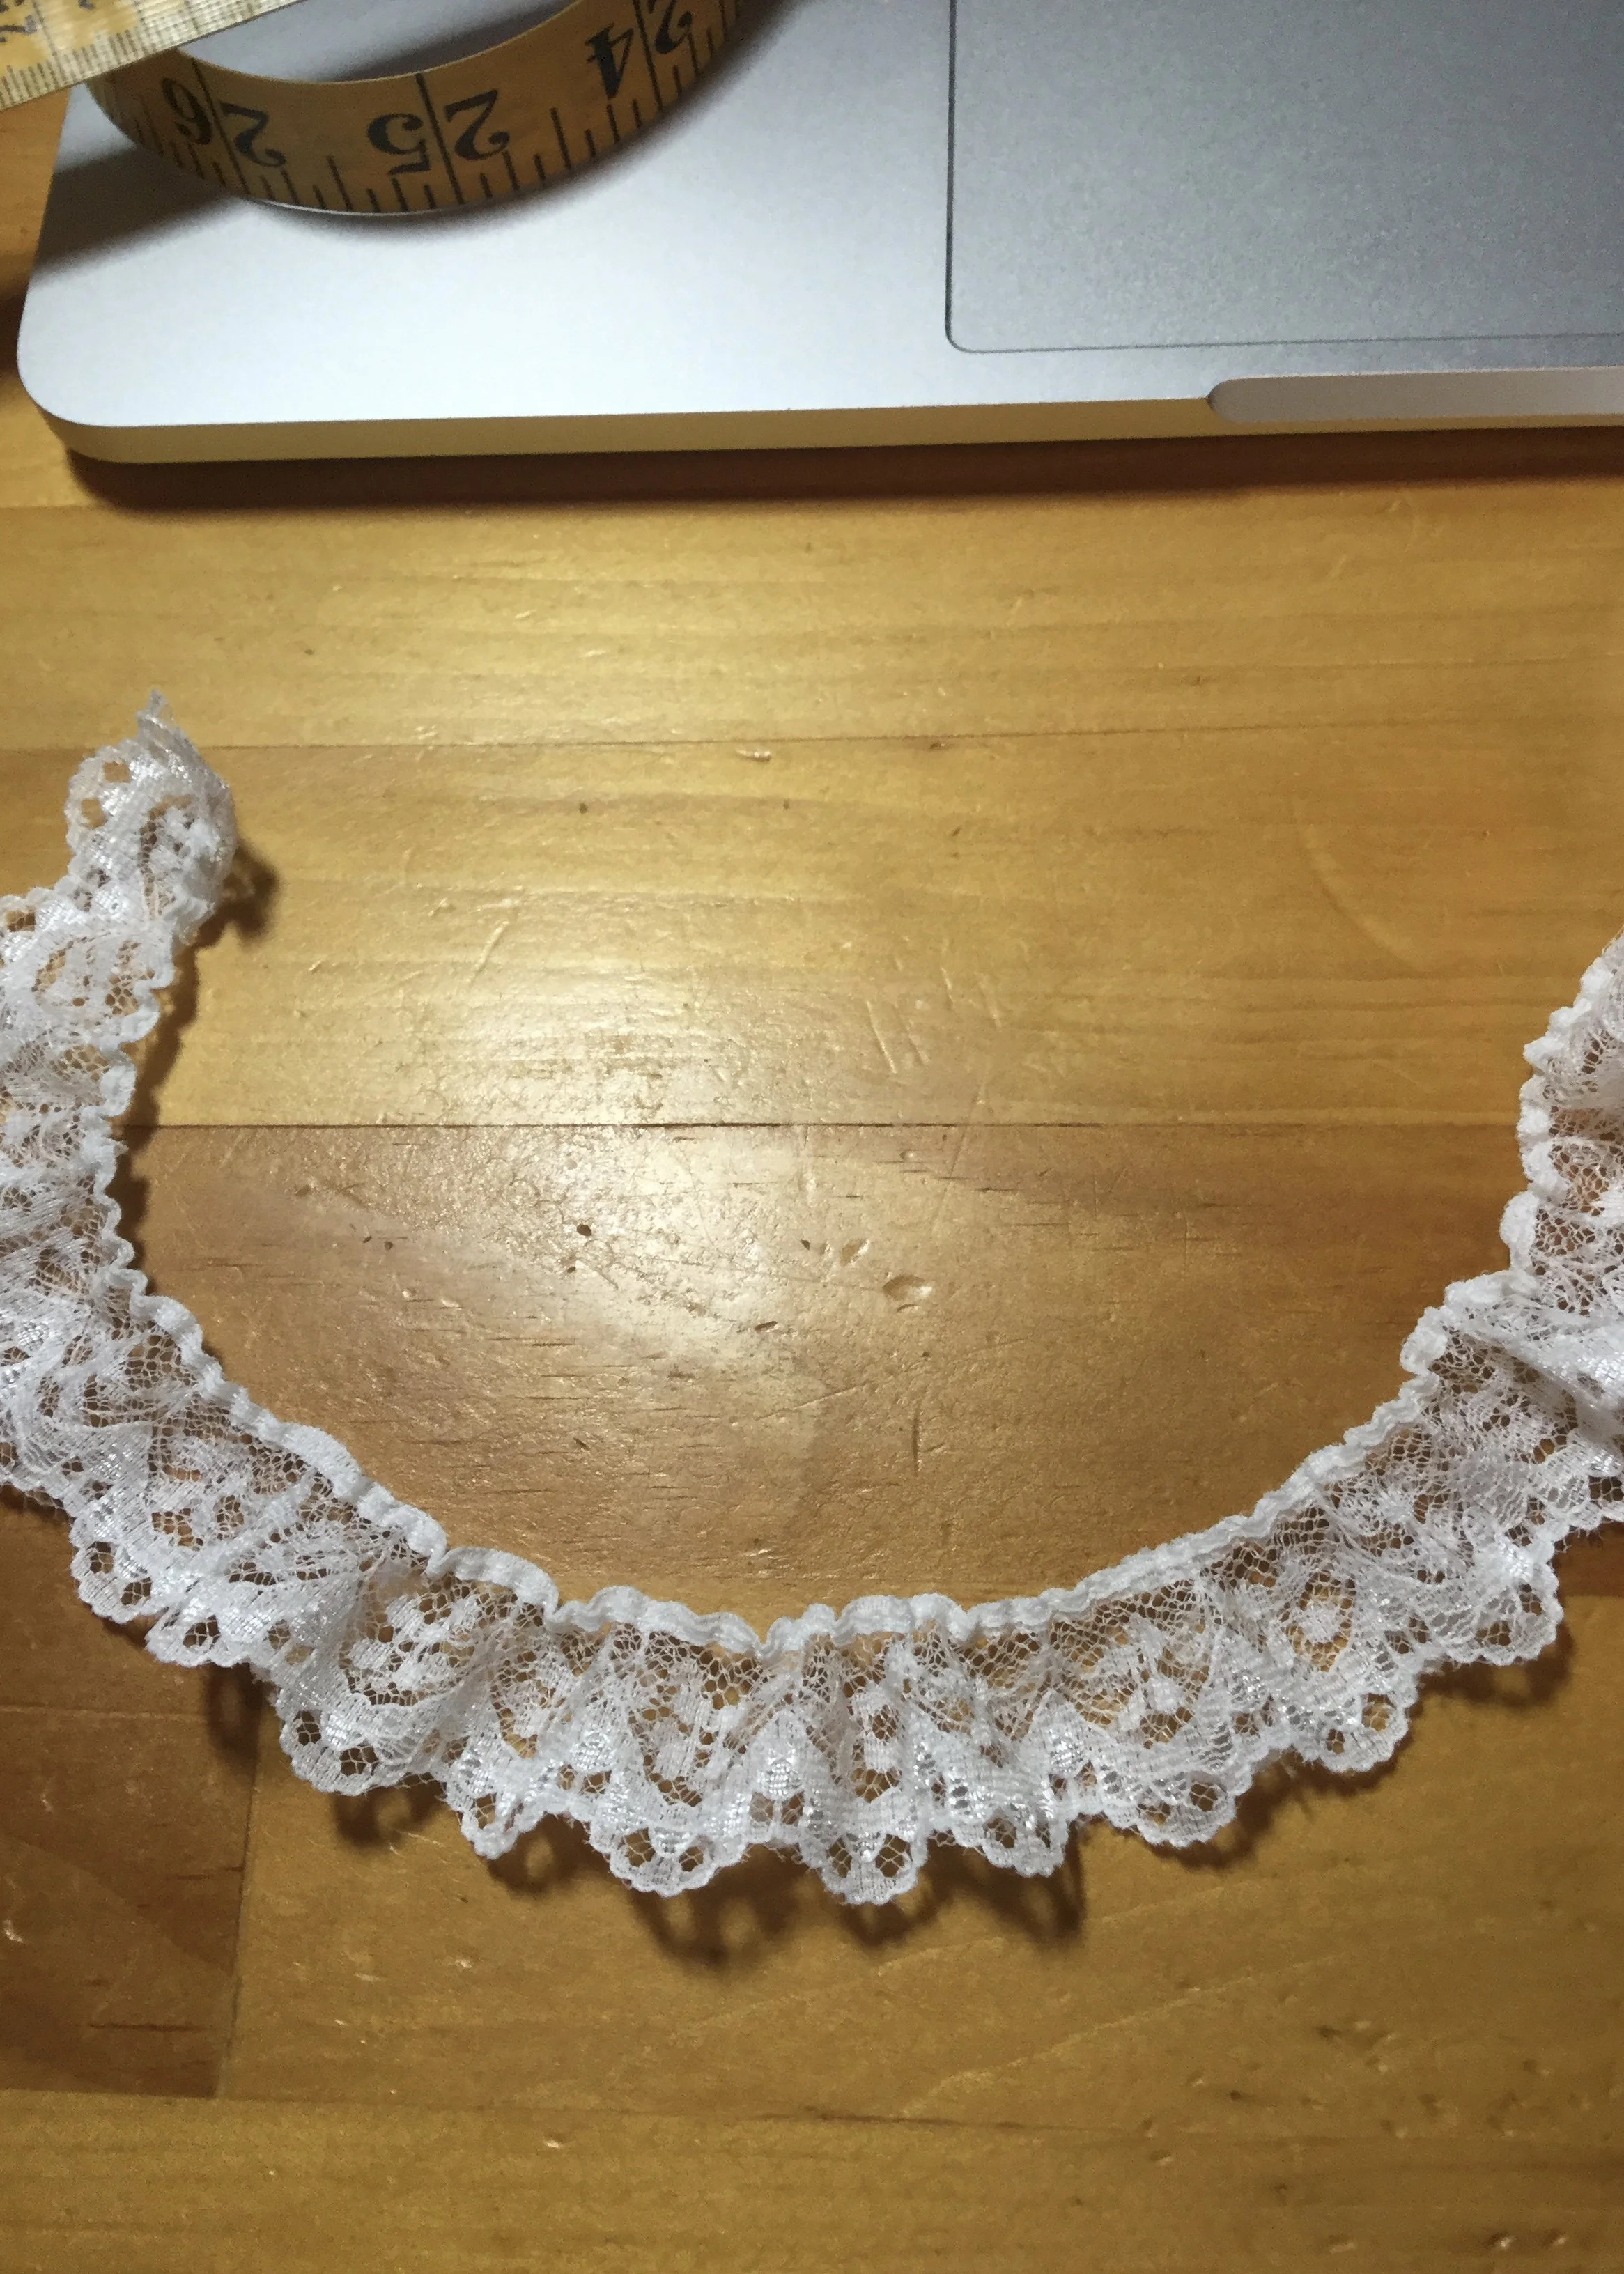
I joined the two legs together at the centre back with a short seam and ran gathering stitches along the seam joining the legs to the back bodice. For the final combinations, in a continuing effort to keep the silhouette a bit narrower, I decided to concentrate the gathering a little more at the centre rather than across the entire back as I had done for the mock up. I stitched the legs to the back bodice and finished the seam with a hand rolled hem; this would encase the raw edges with the ungathered bodice layer but would not have to be stitched down to the gathering. After closing up the inseams I was ready to finish the edges of the neckline, armholes and legs and apply some lace.
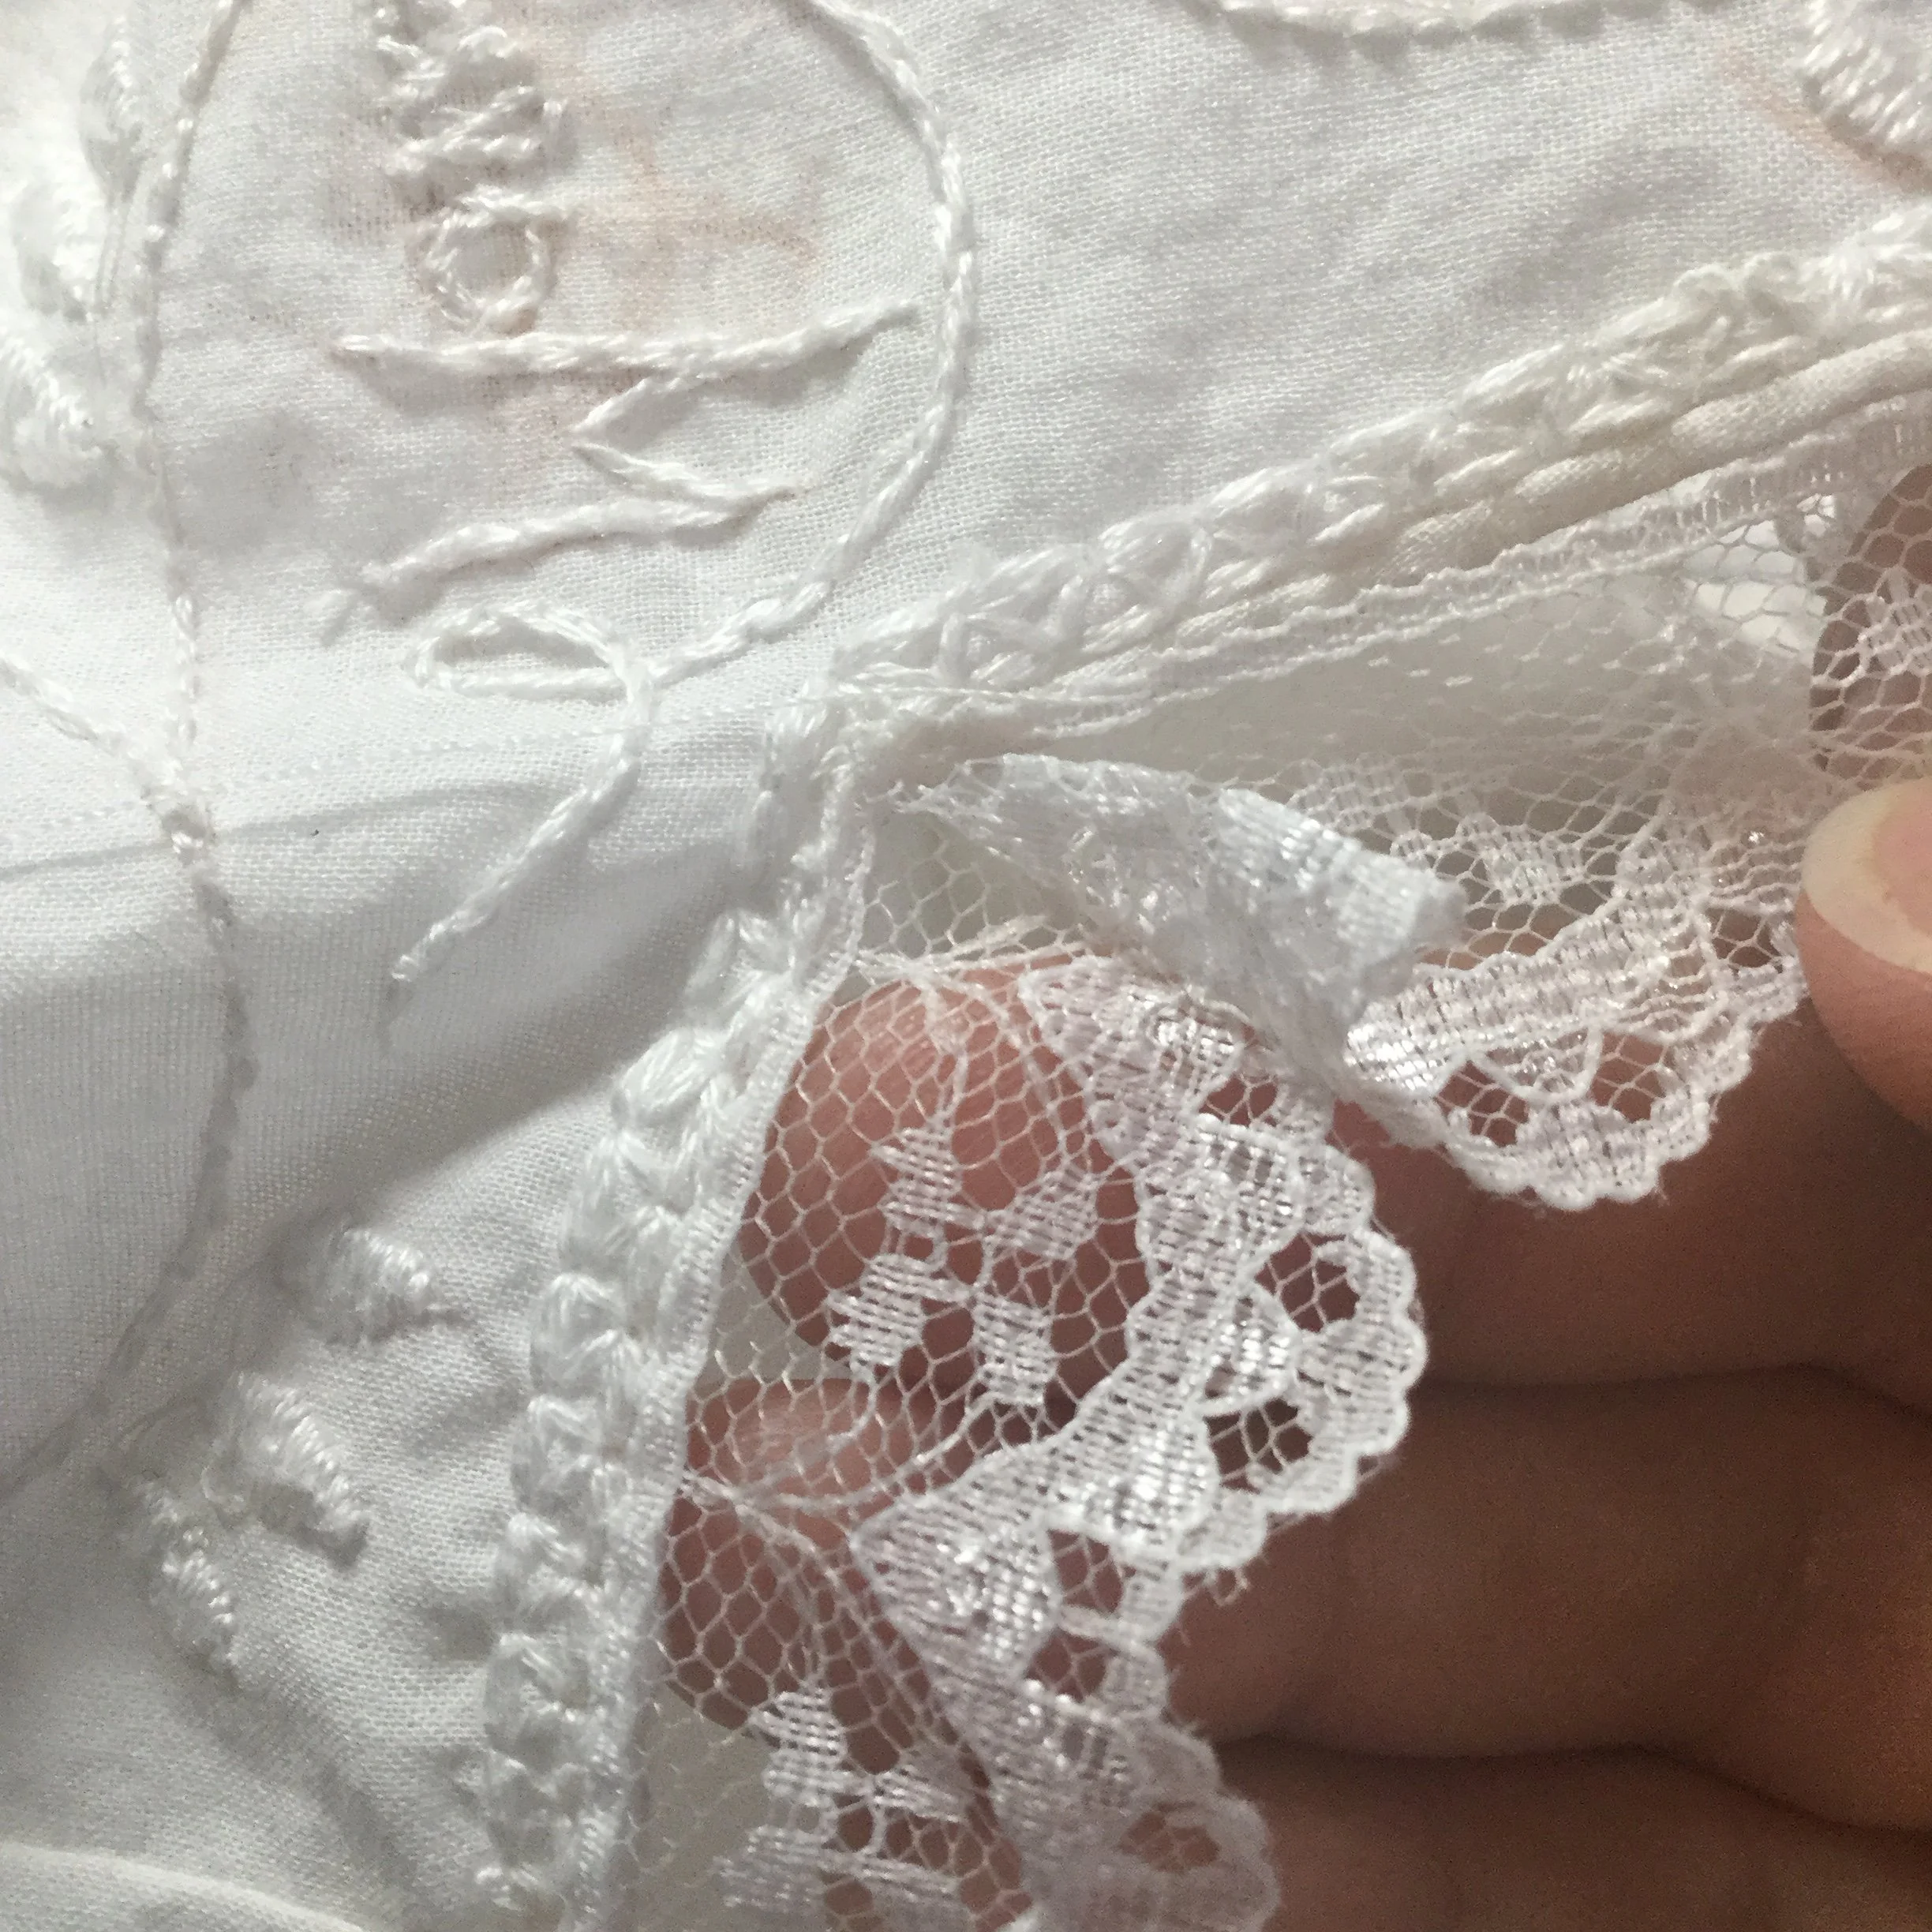
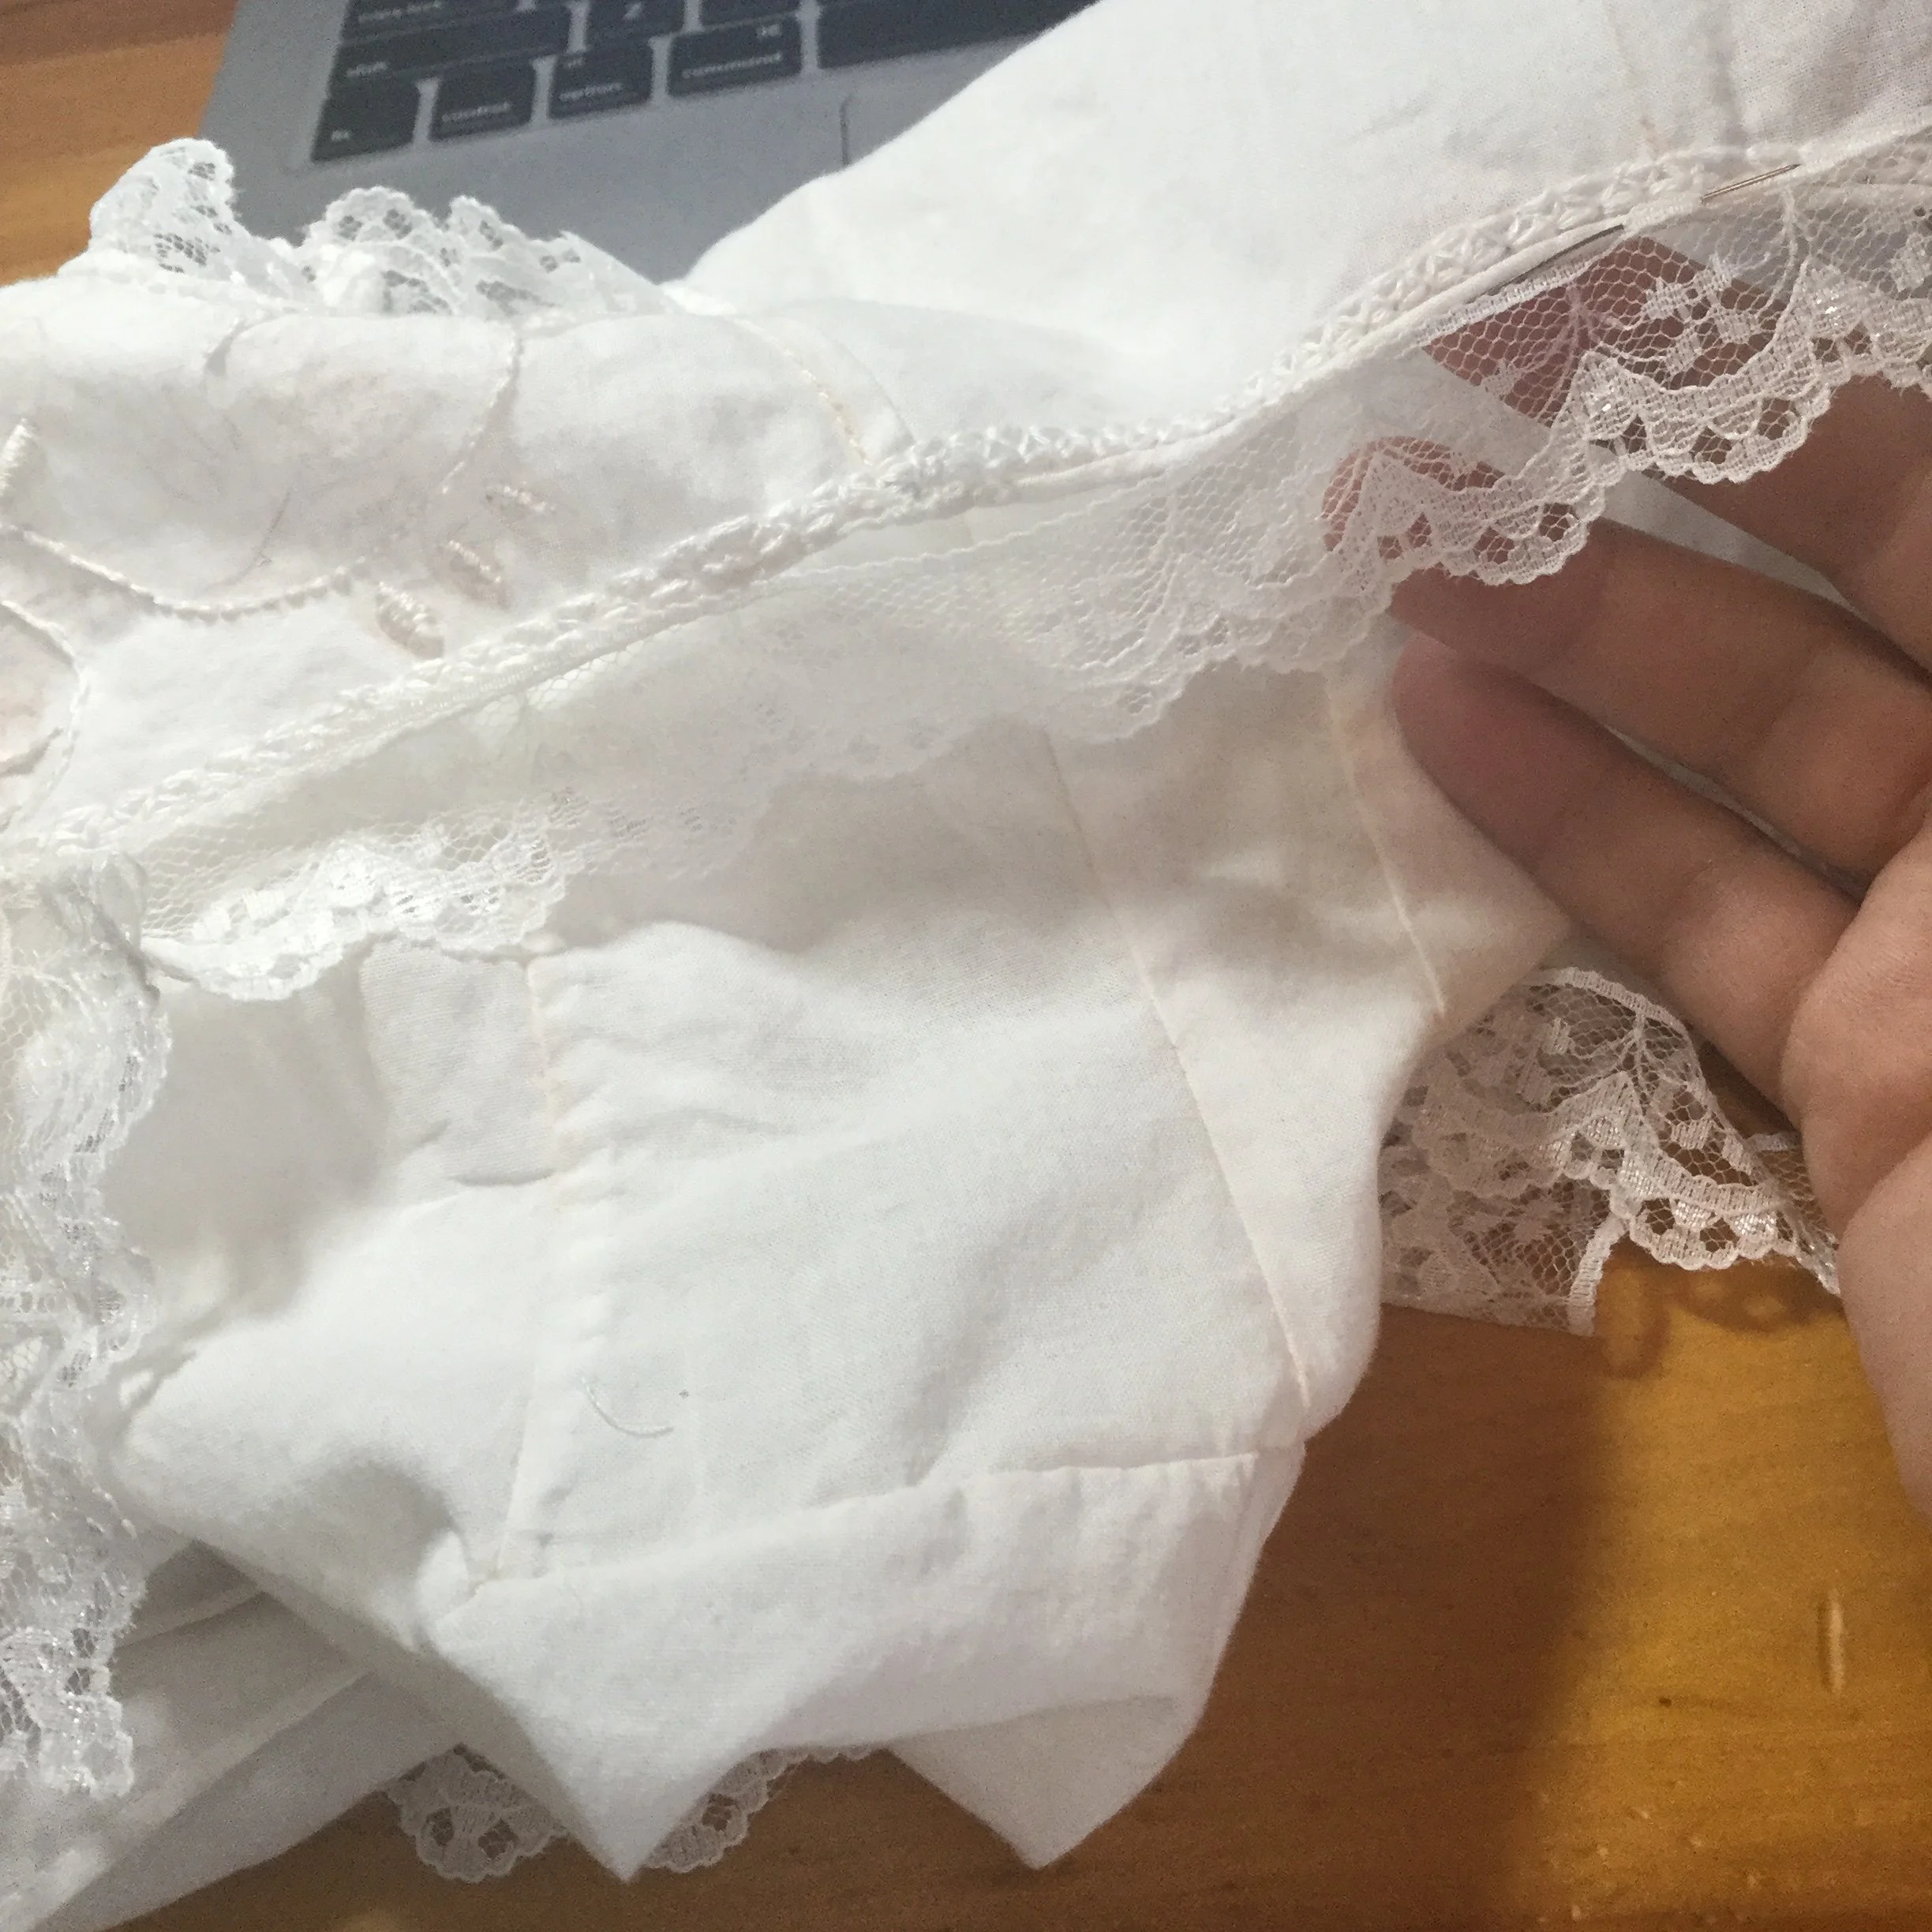
I finished the neckline and cuffs with a rolled hem and had intended to do the same with the armholes before I cut away a bit too much seam allowance. Oops. For the armholes, I folded the seam allowance to the inside of the combinations, whipped it down and covered the raw edge with the lace.
I also applied lace to the neck line and cuffs, opting to add a second layer and gather it up a bit at the cuffs.
With these finishing touches, the combinations are done. I contemplated adding a bit more embroidery around the neckline and cuffs, perhaps in a colour to give a bit of interest, and I may still do that at some point, but for now I want to keep moving forward on the rest of the project and maybe take a break to work on some other things.
Marie’s combinations took 45.25 hours in total. So far this project has taken 56 hours.
Works Cited
Cunnington, C. Willet and Phillis Cunnington. The History of Underclothes. Dover Publications, 1992.
“Digital Collections.” The New York Public Library, 2021, https://digitalcollections.nypl.org
Lynn, Eleri. Underwear Fashion in Detail. V&A Publishing, 2010.
“Search the Collection.” The Metropolitan Museum of Art, 2000-2021, https://www.metmuseum.org/art/collection/search#!?department=8
