1880s Dress Part Four
The Corset: Part Two
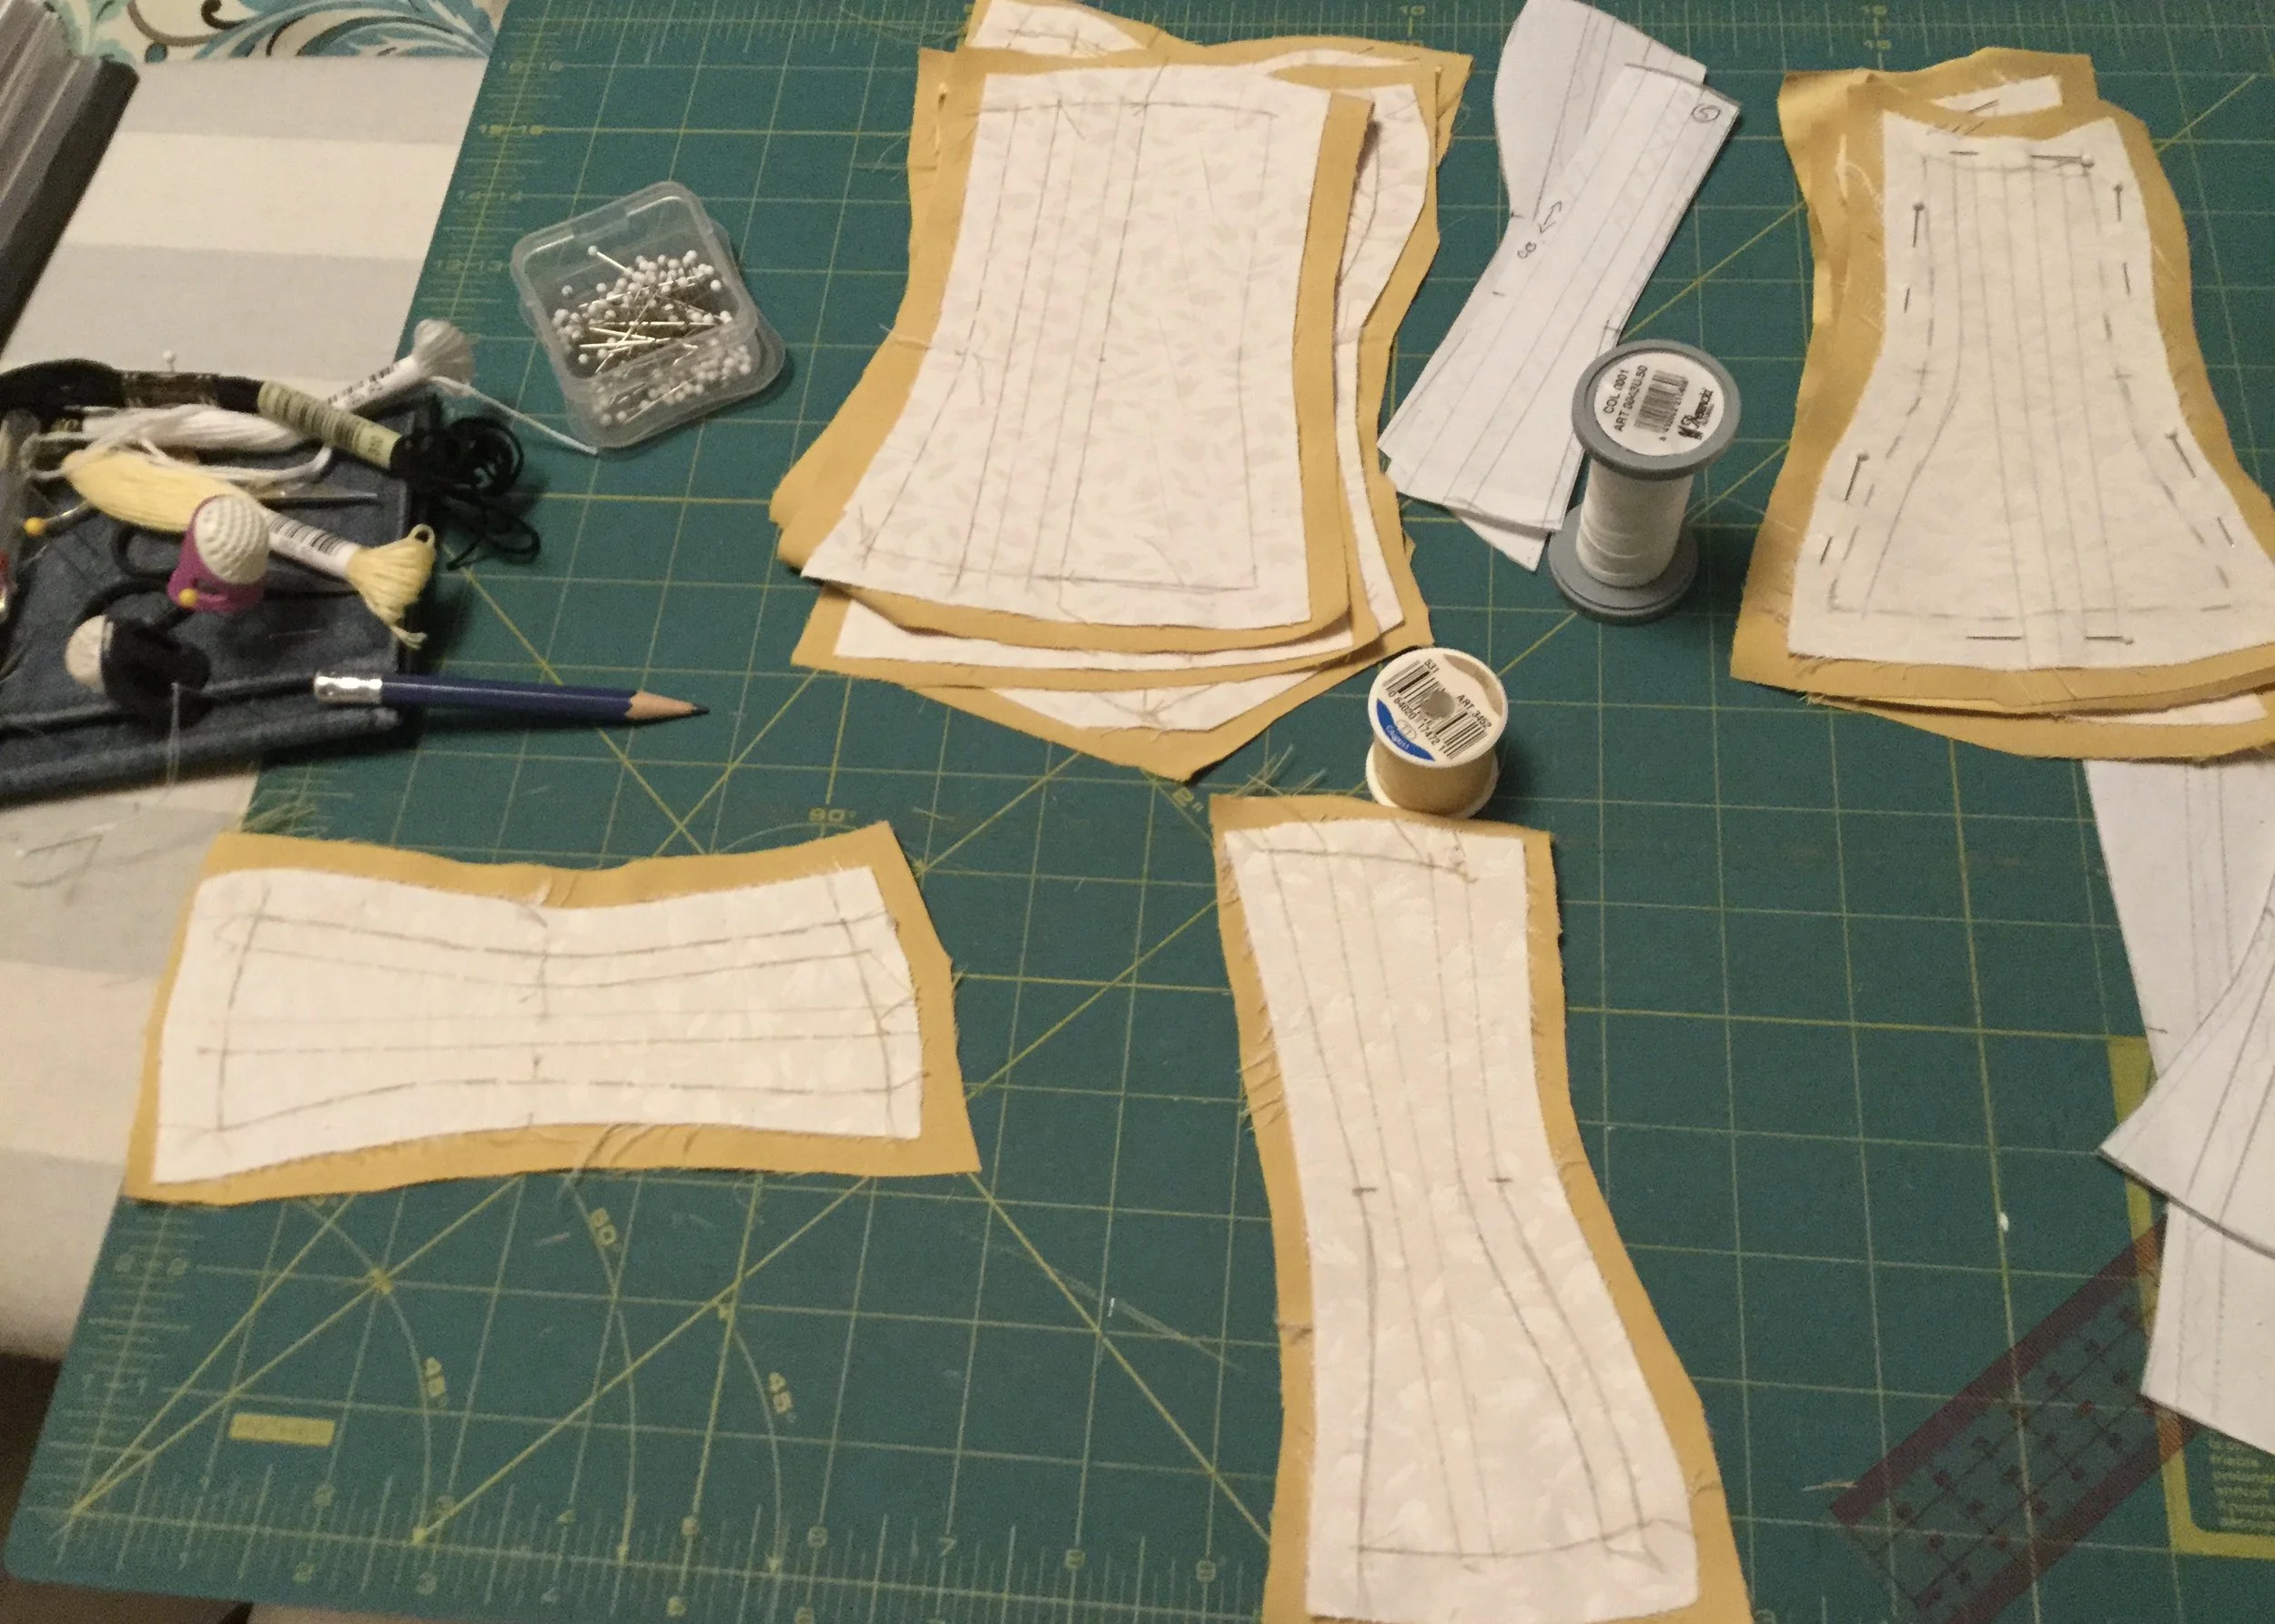
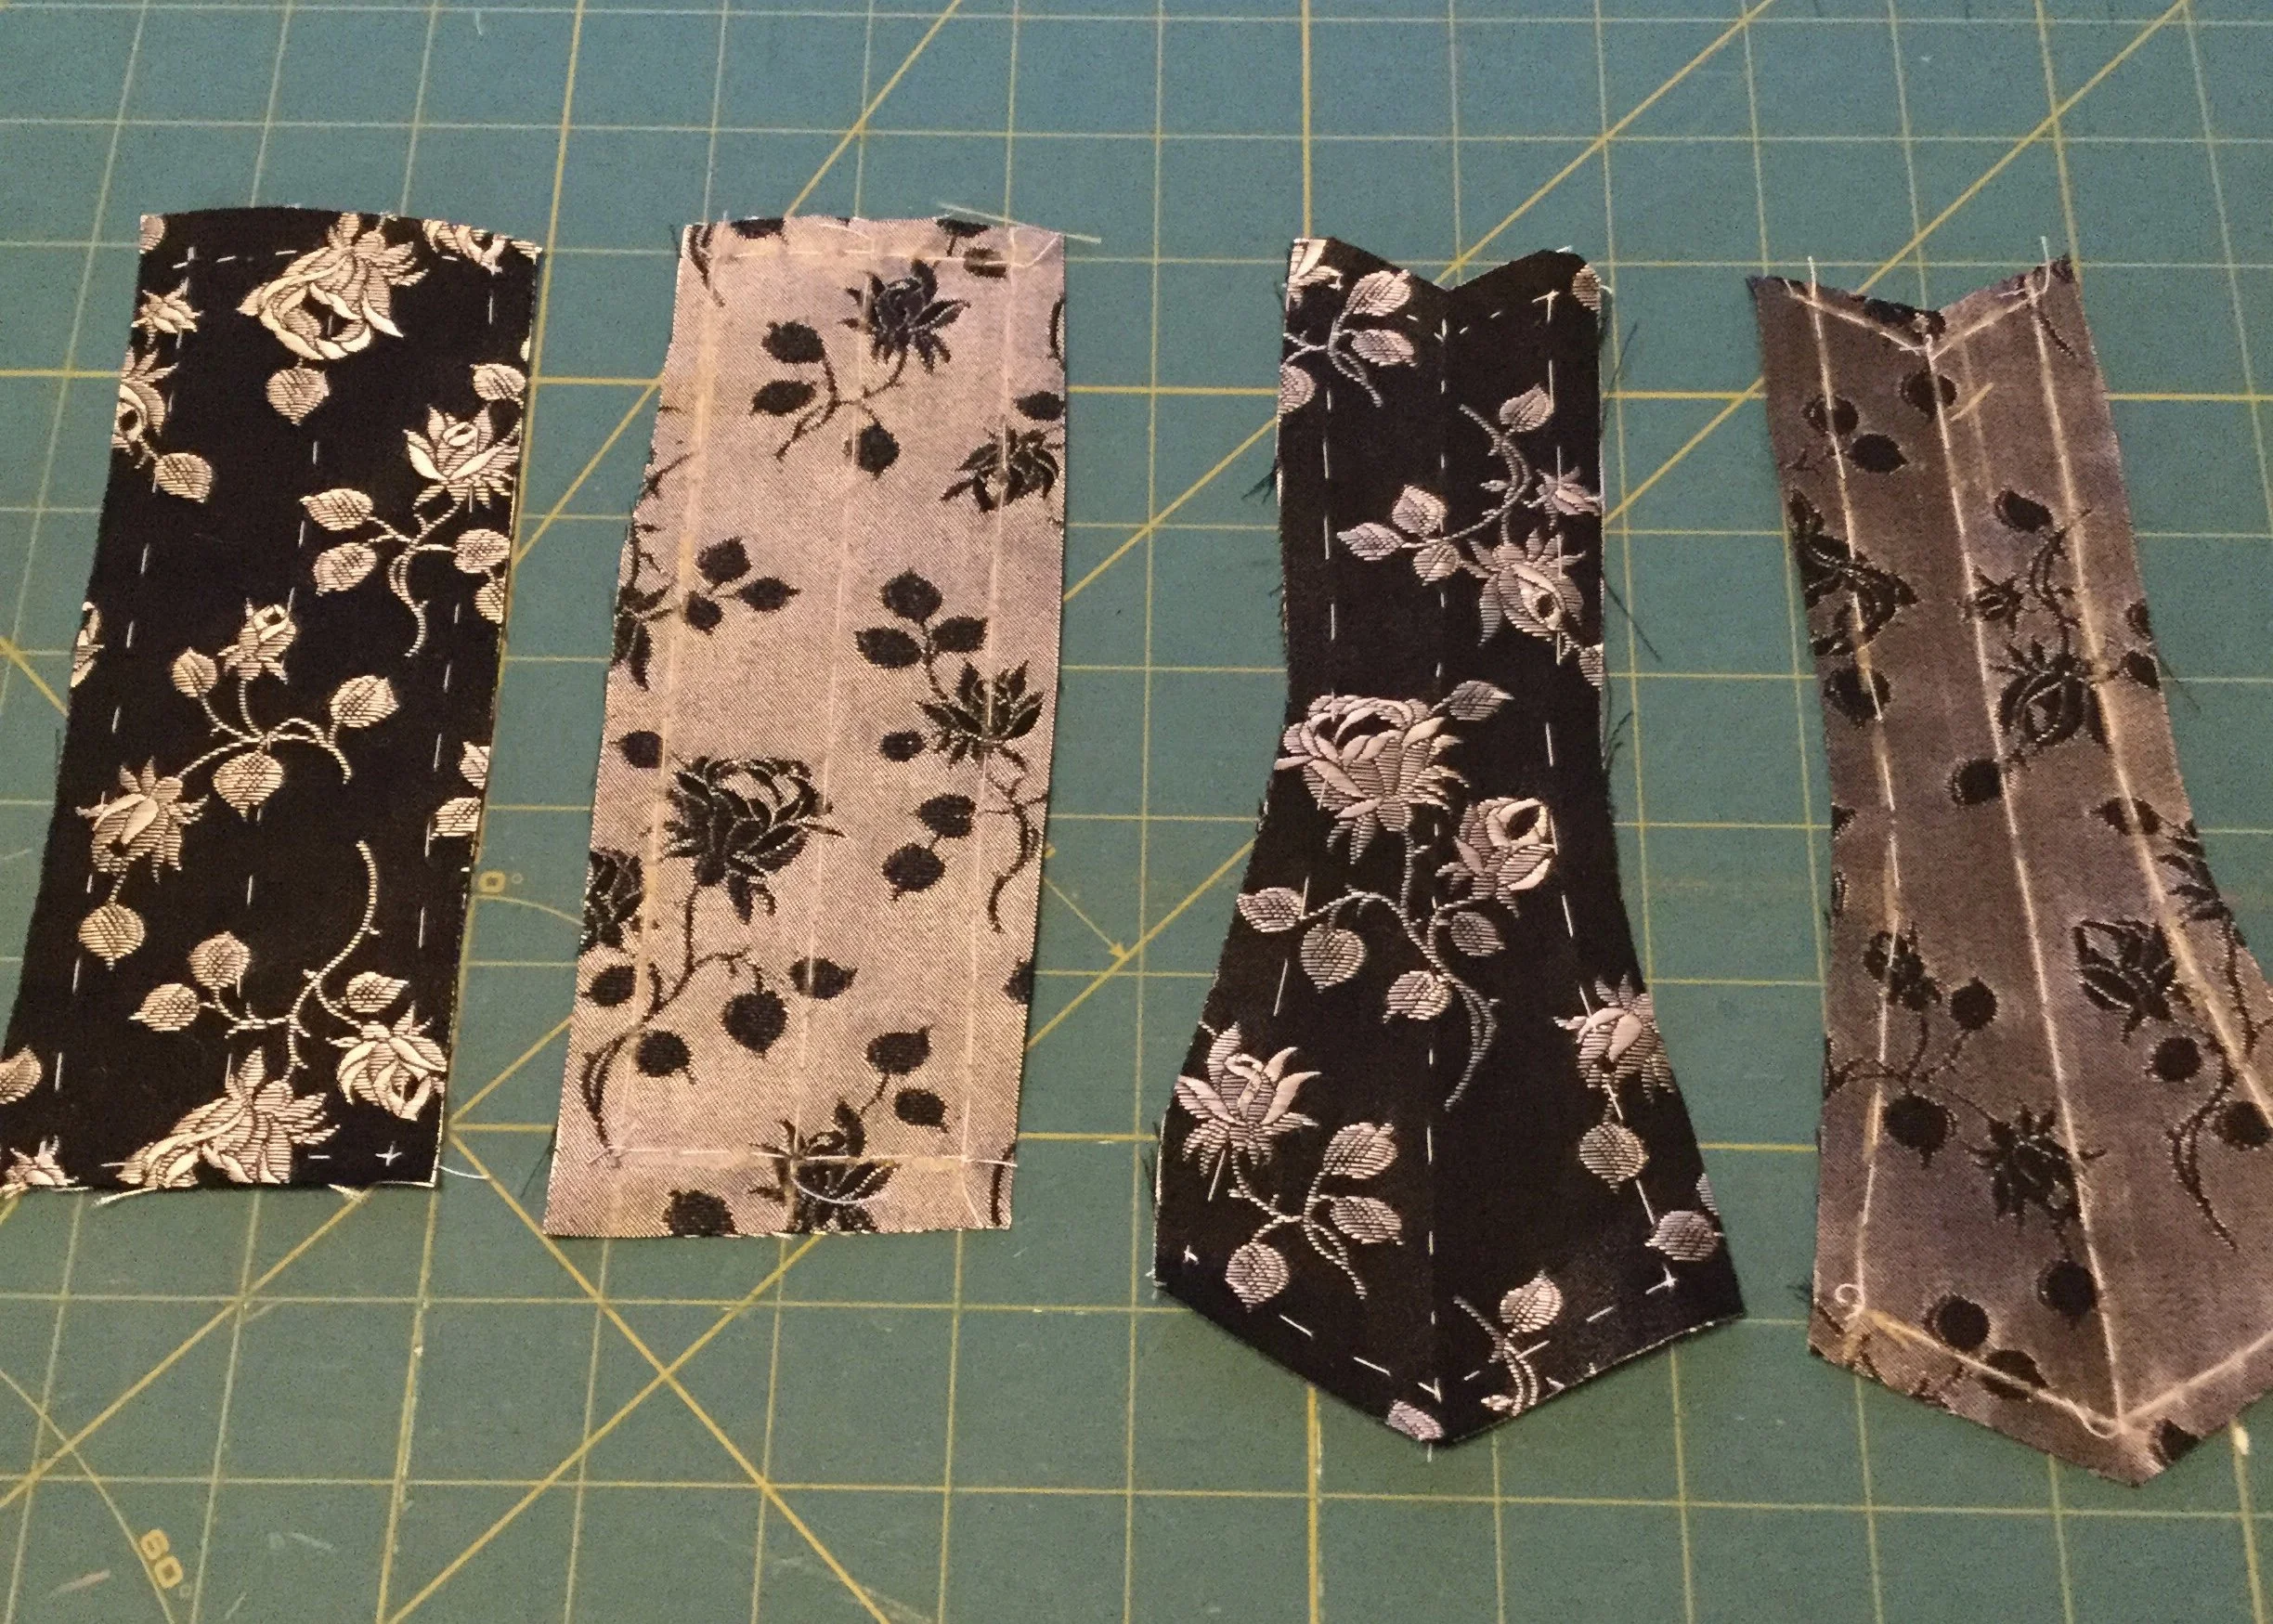
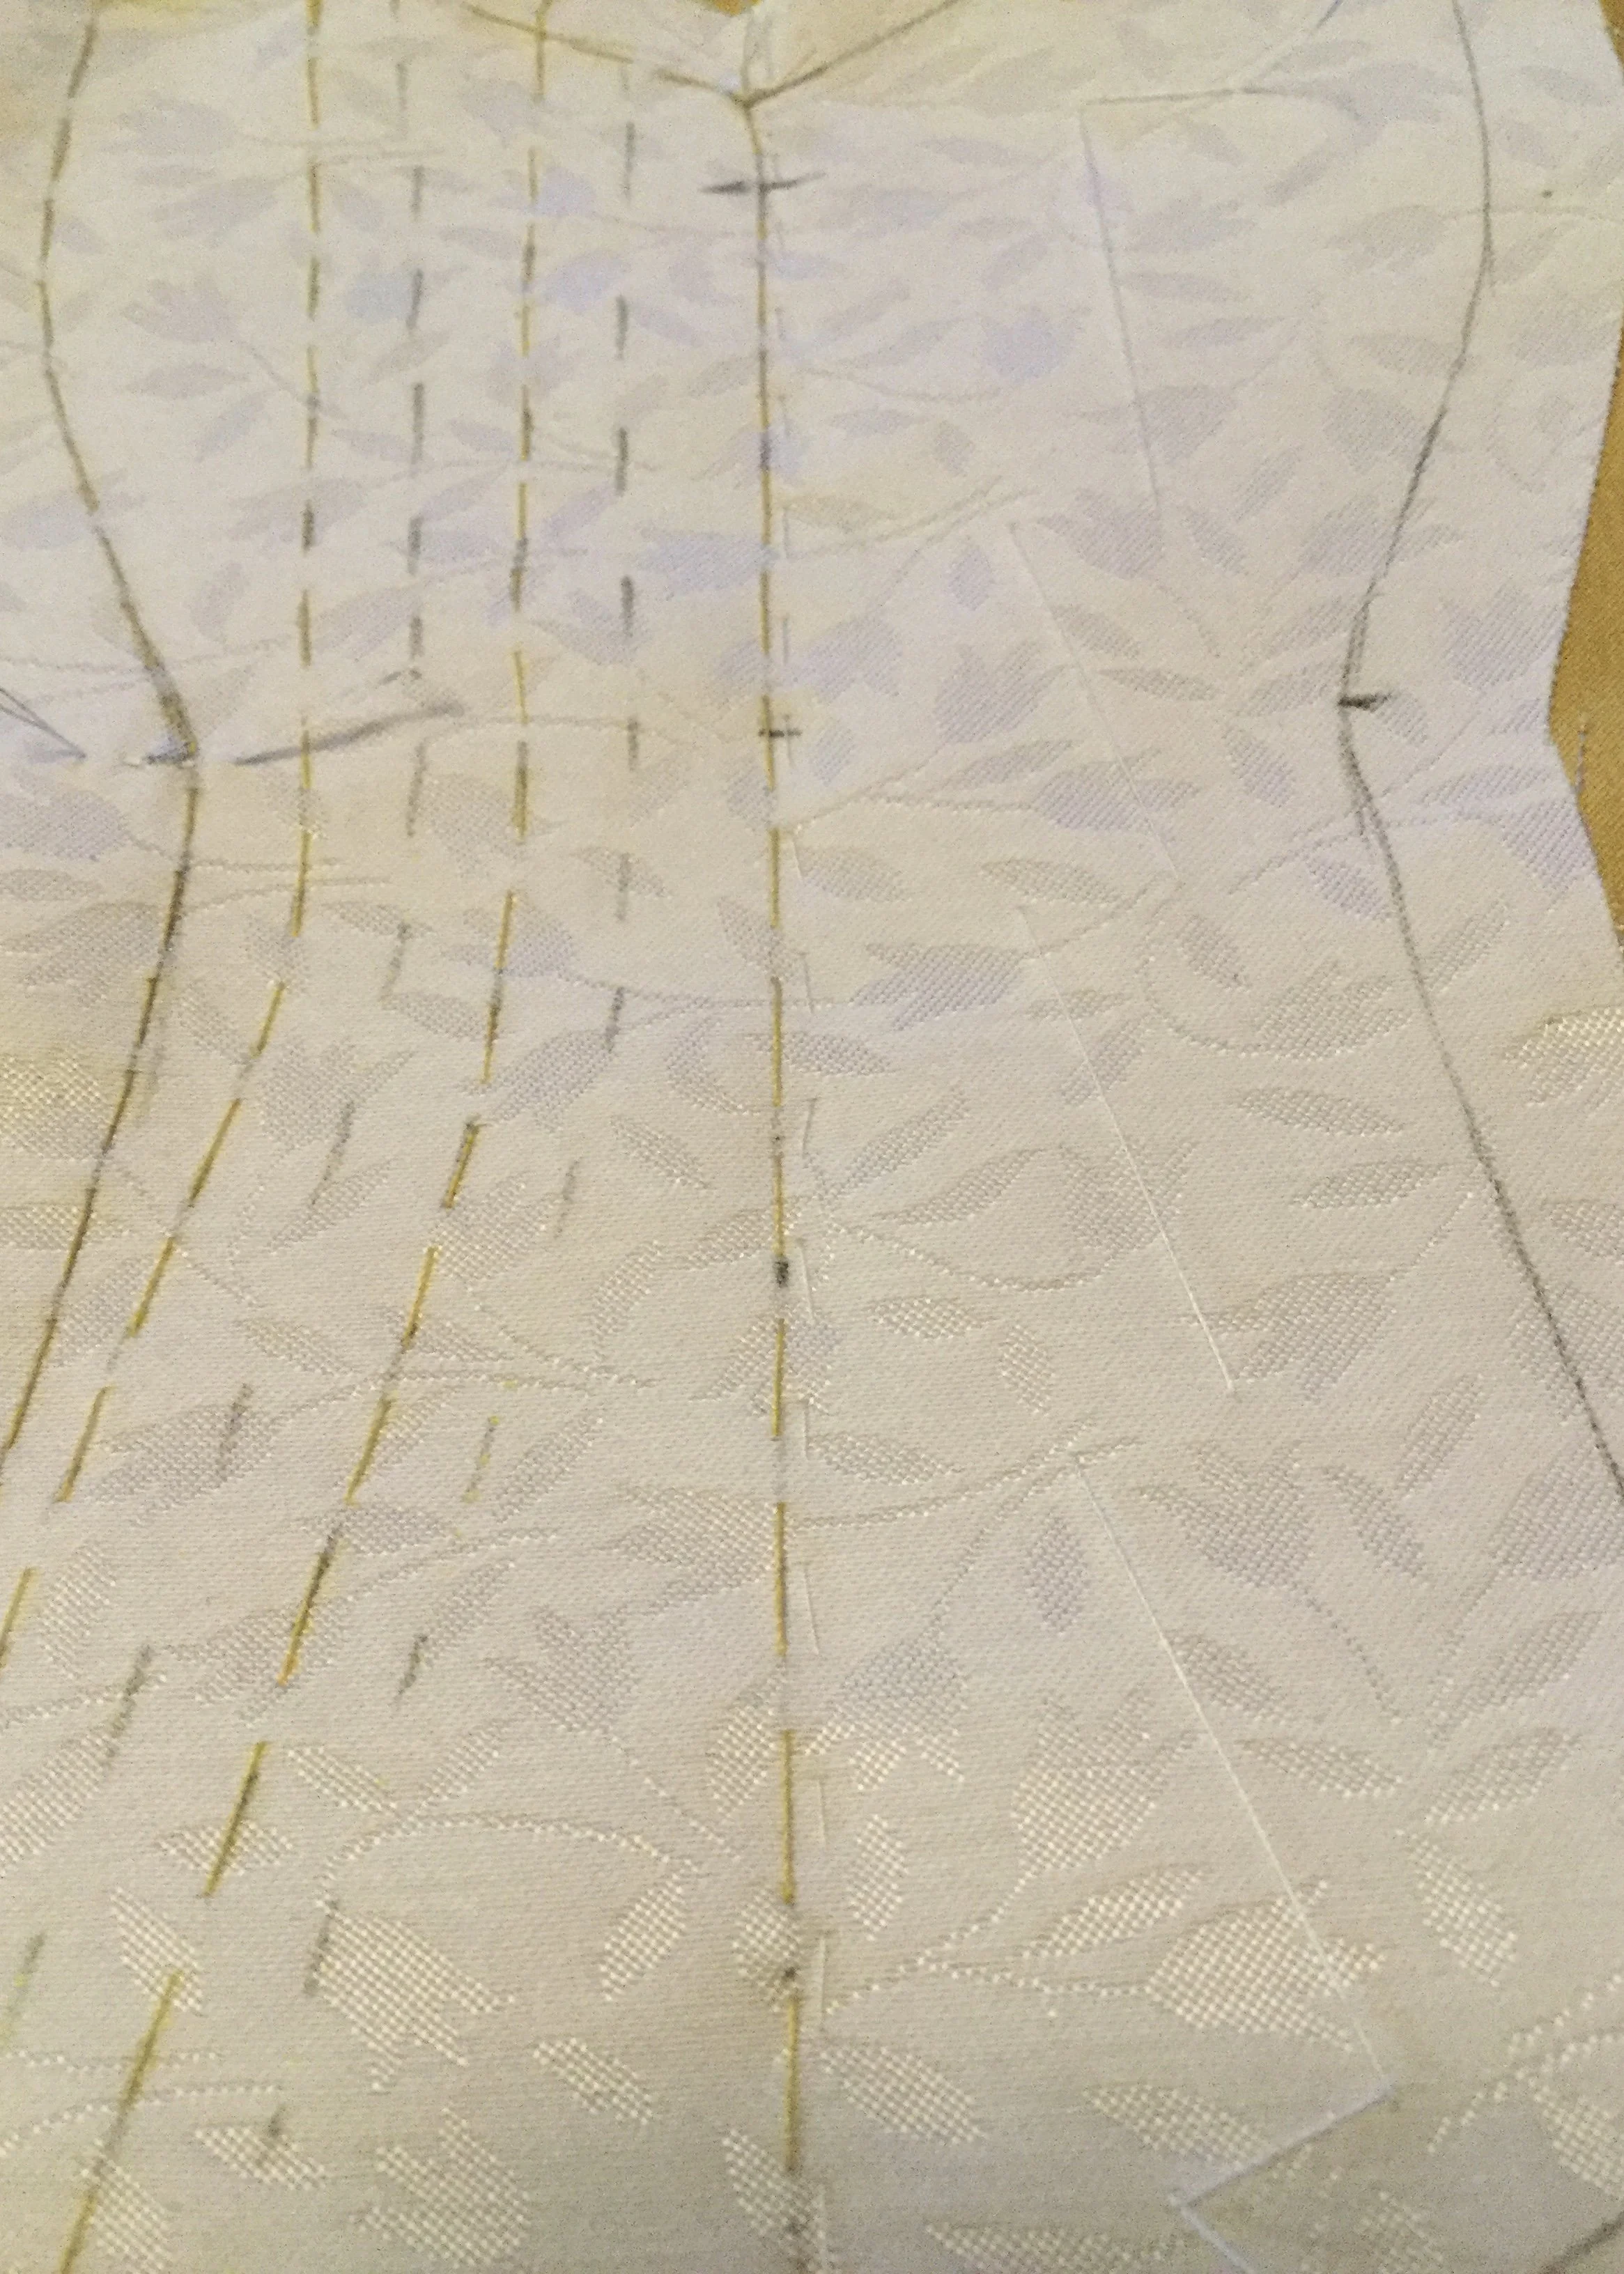
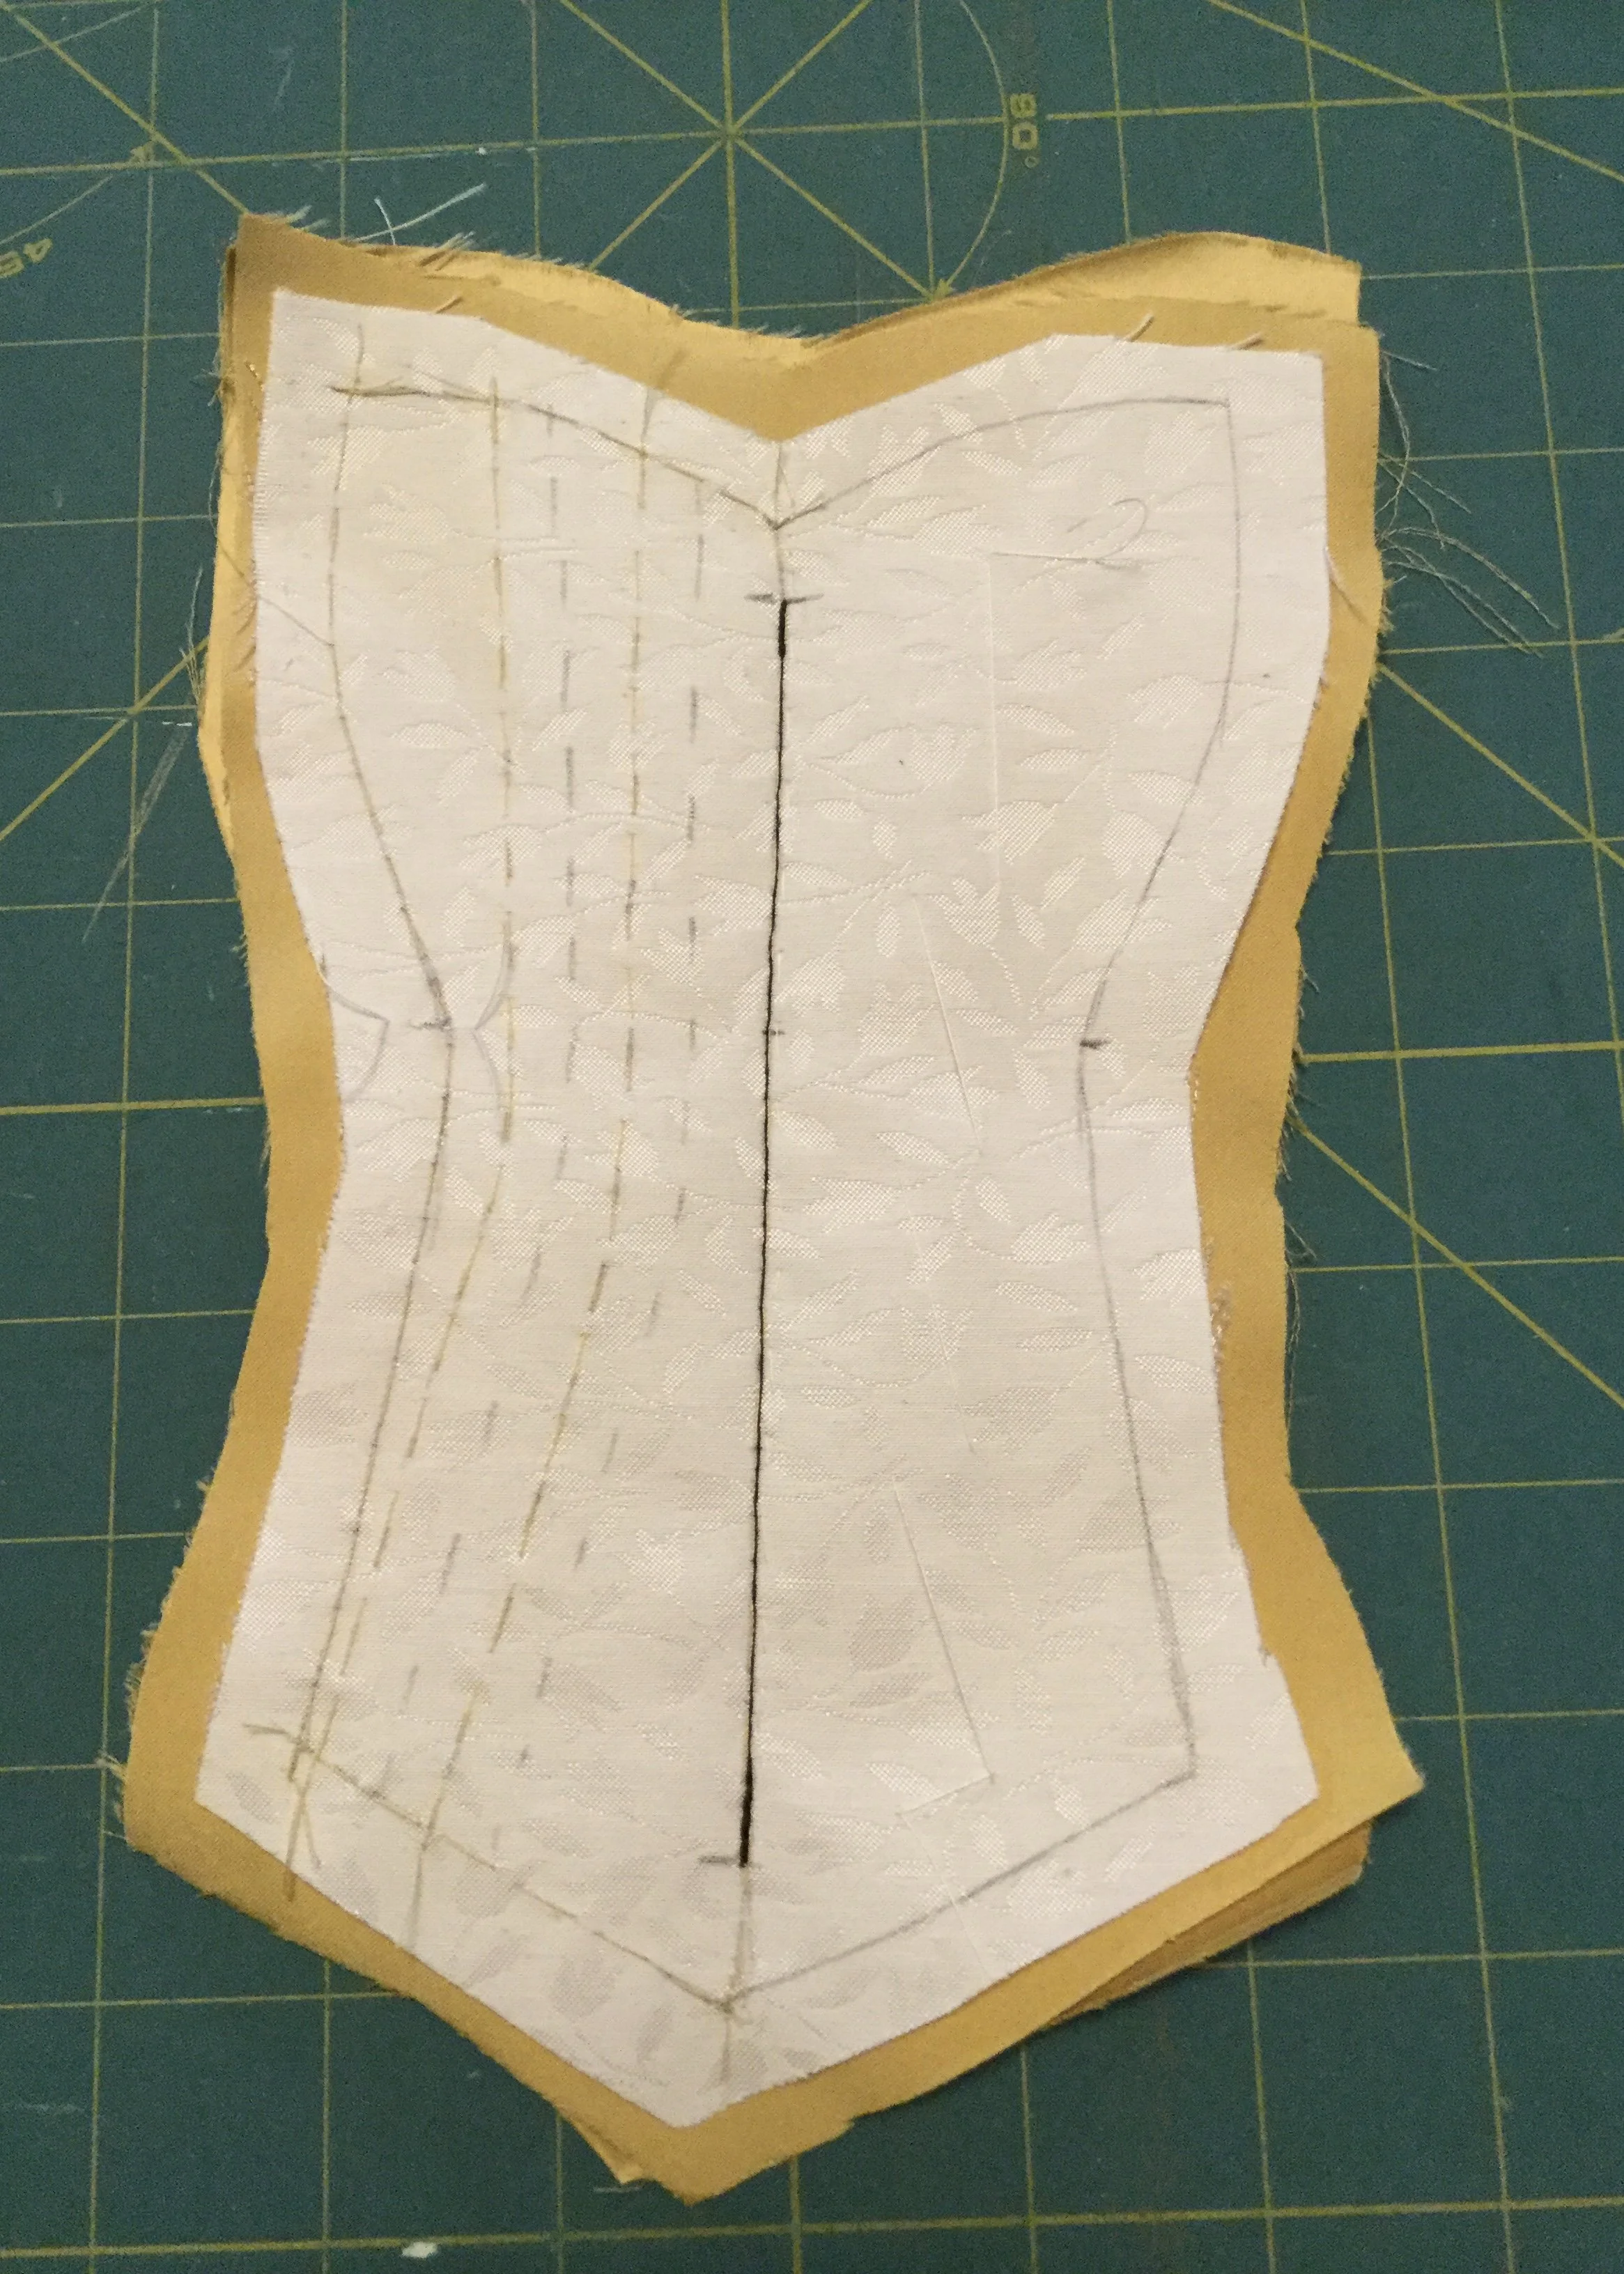
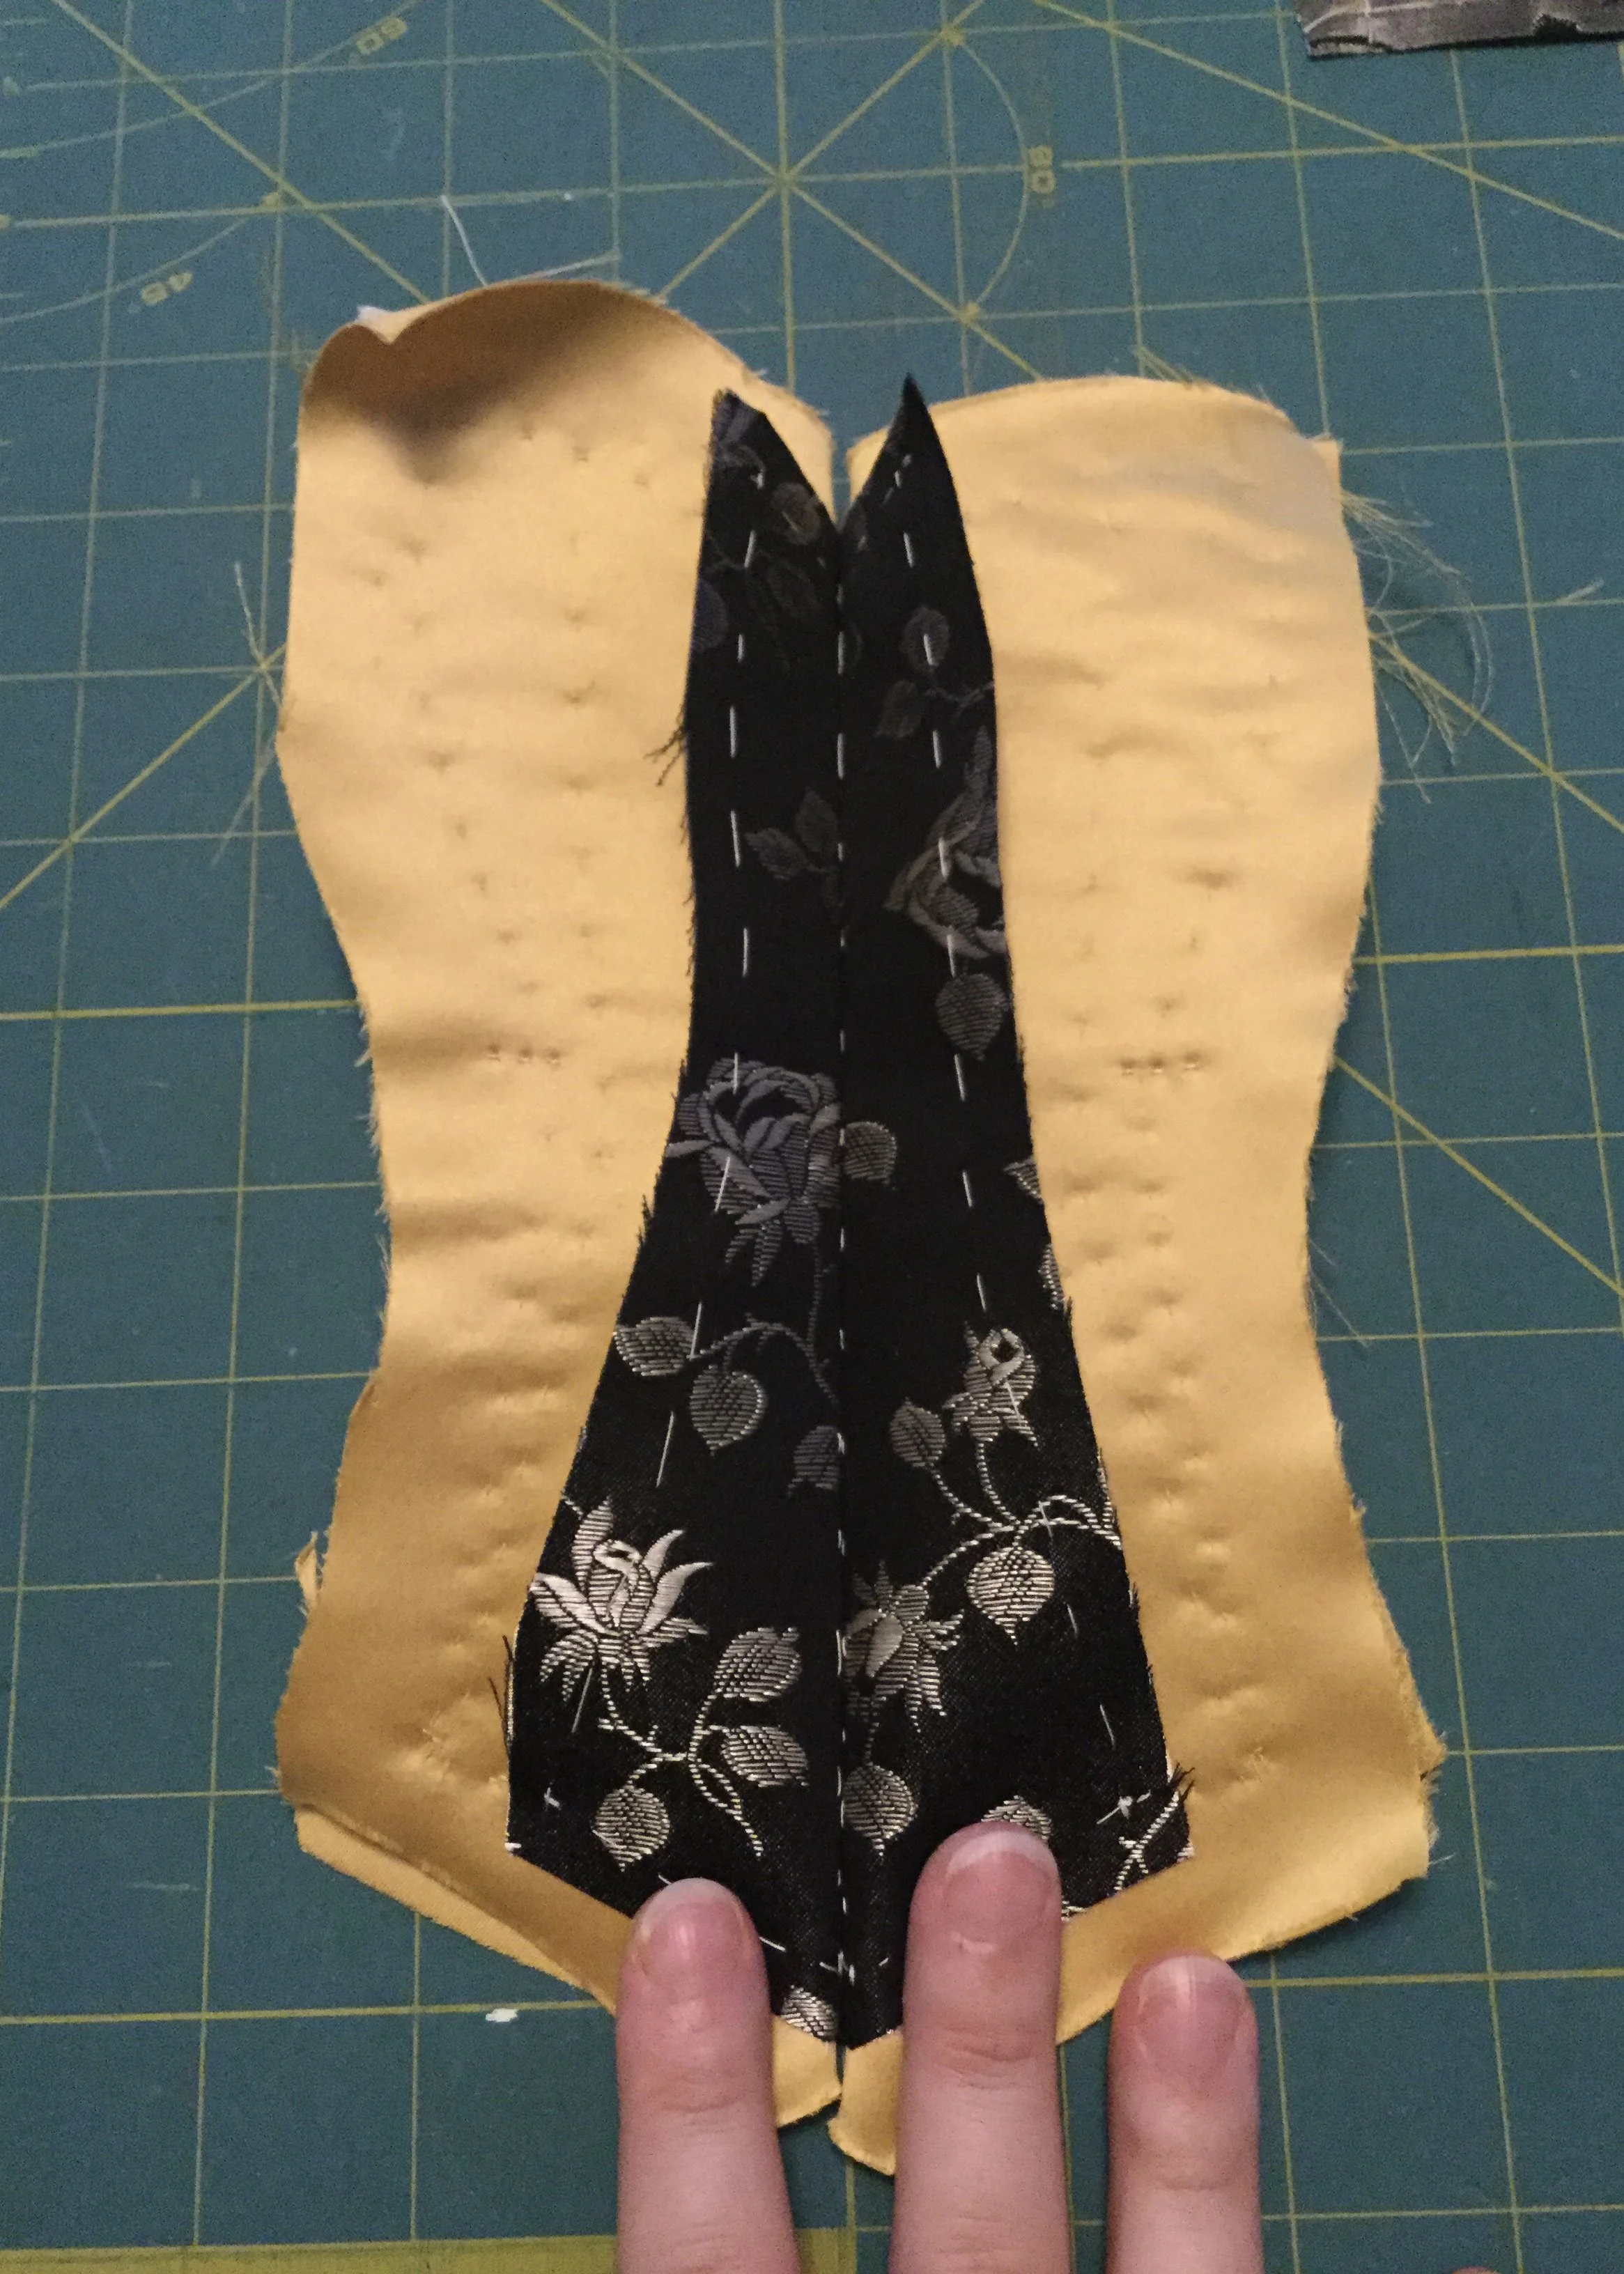
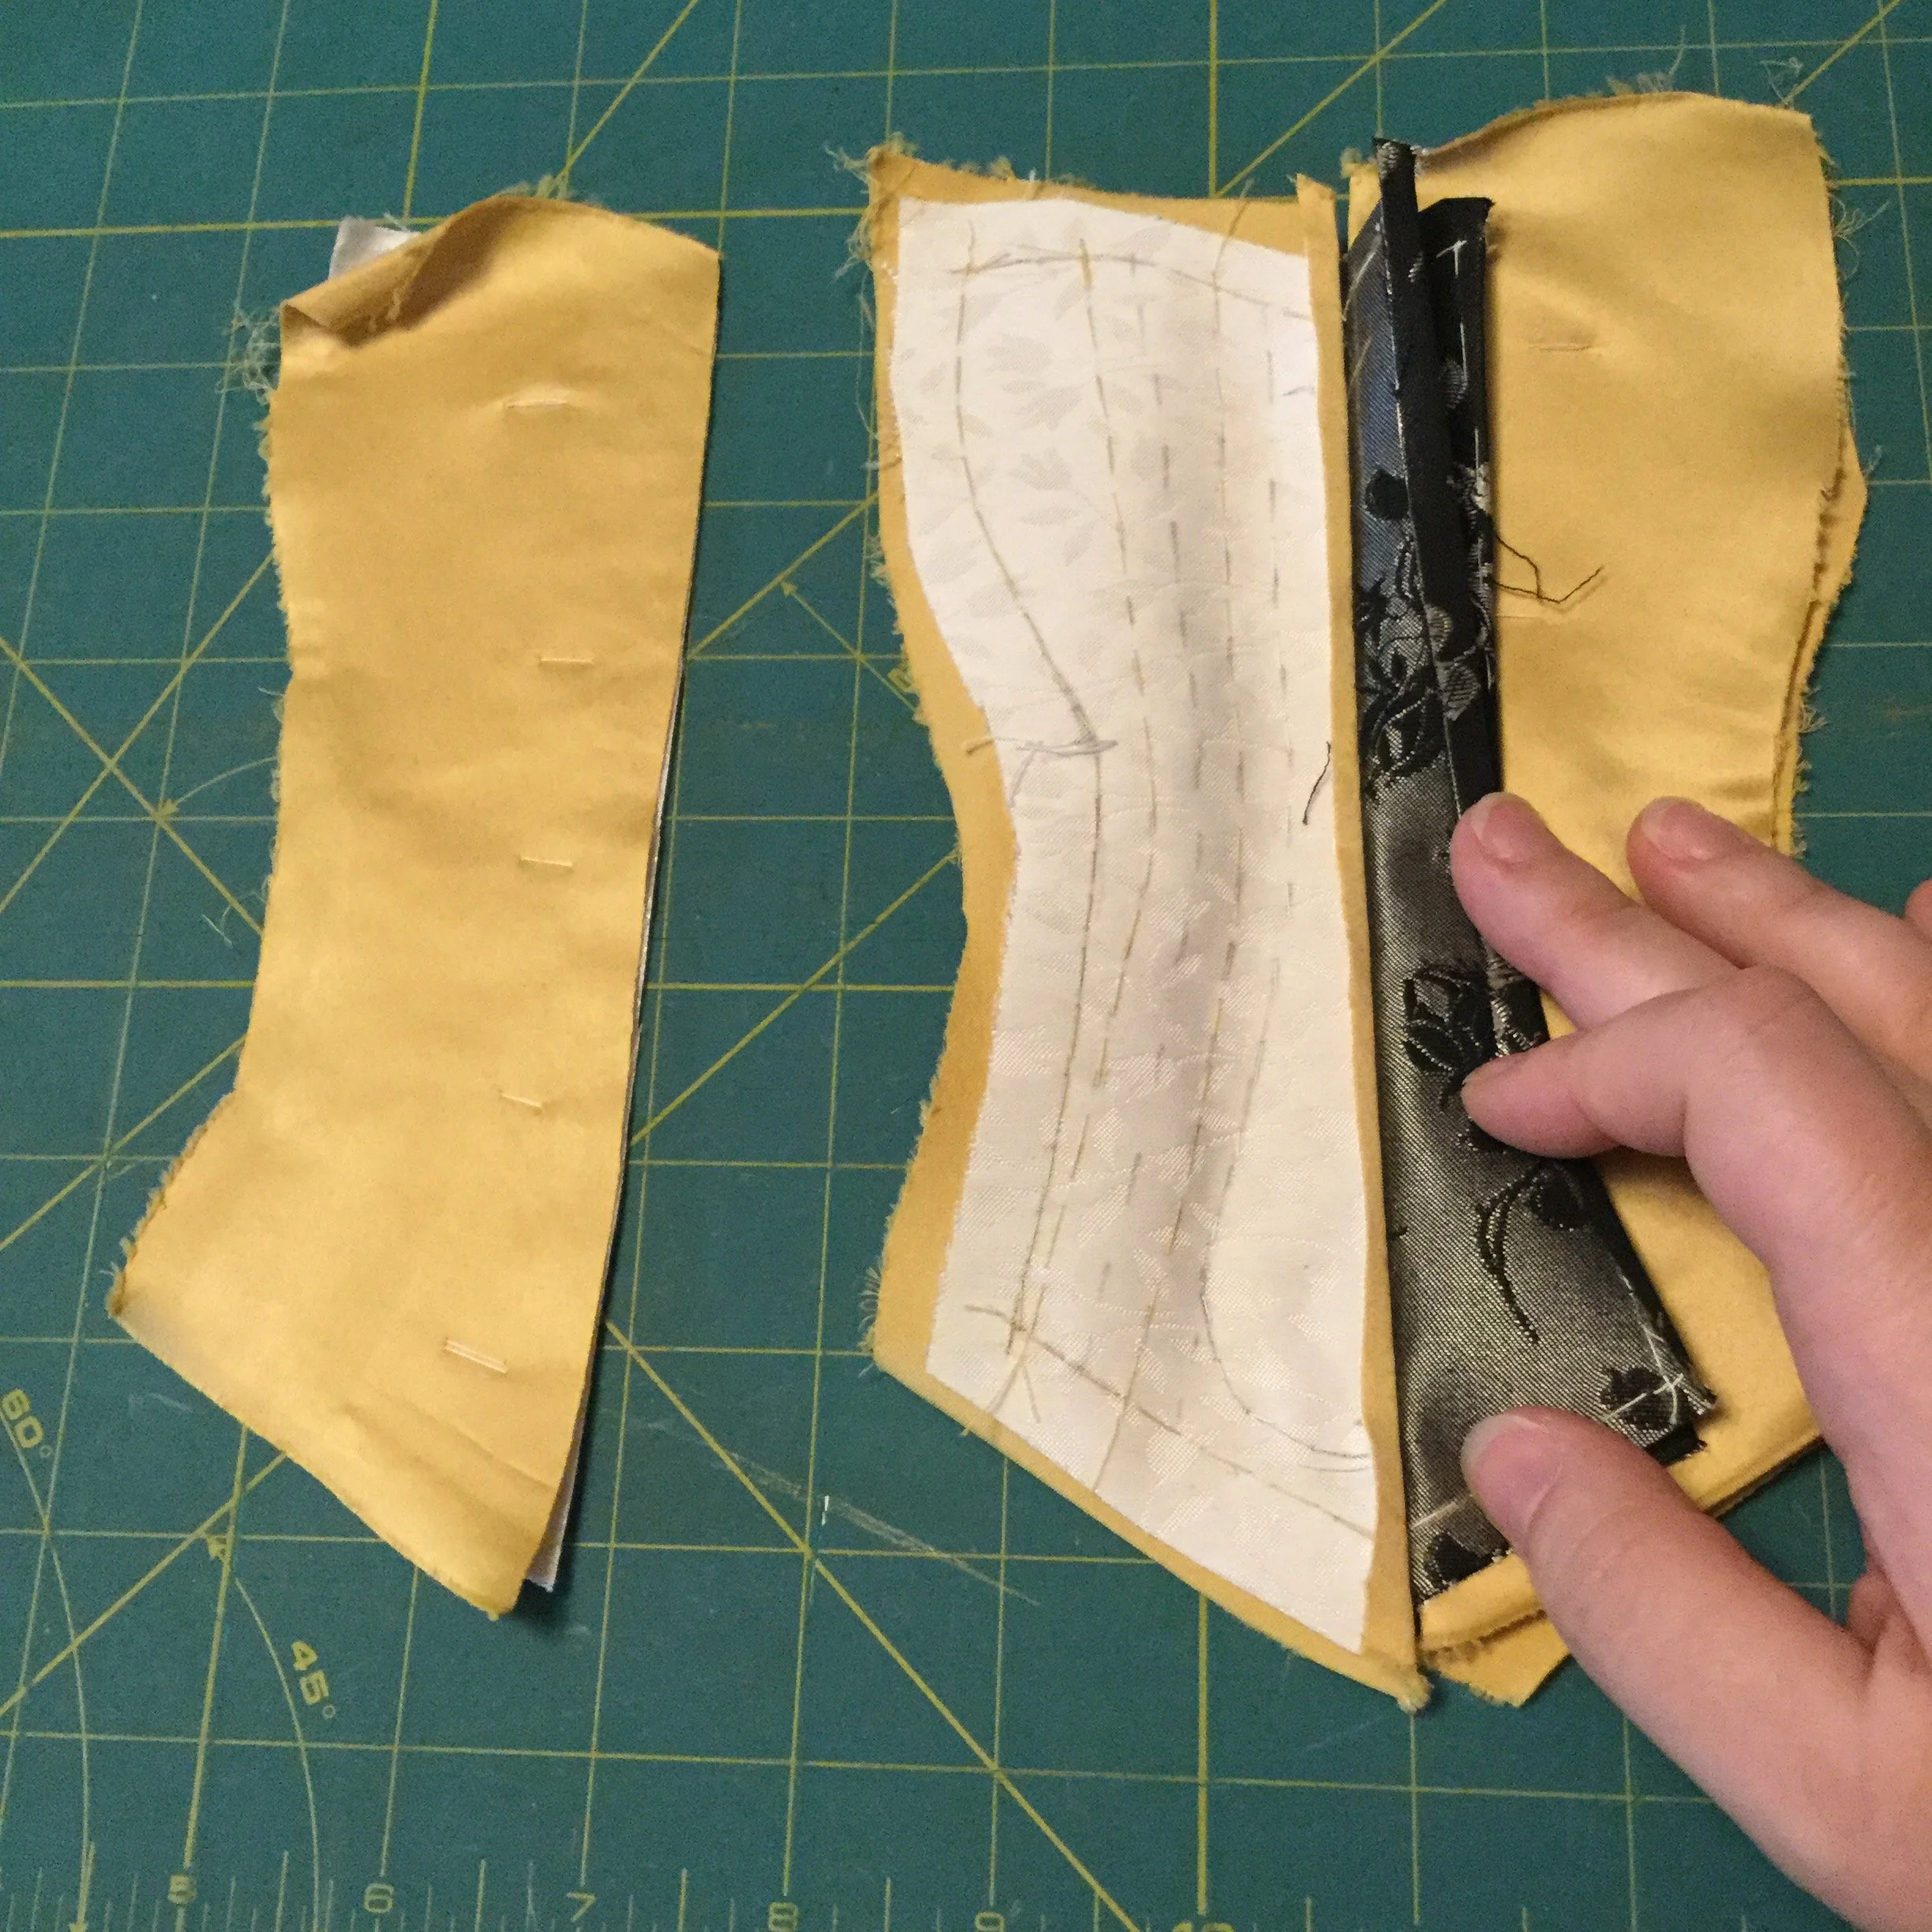
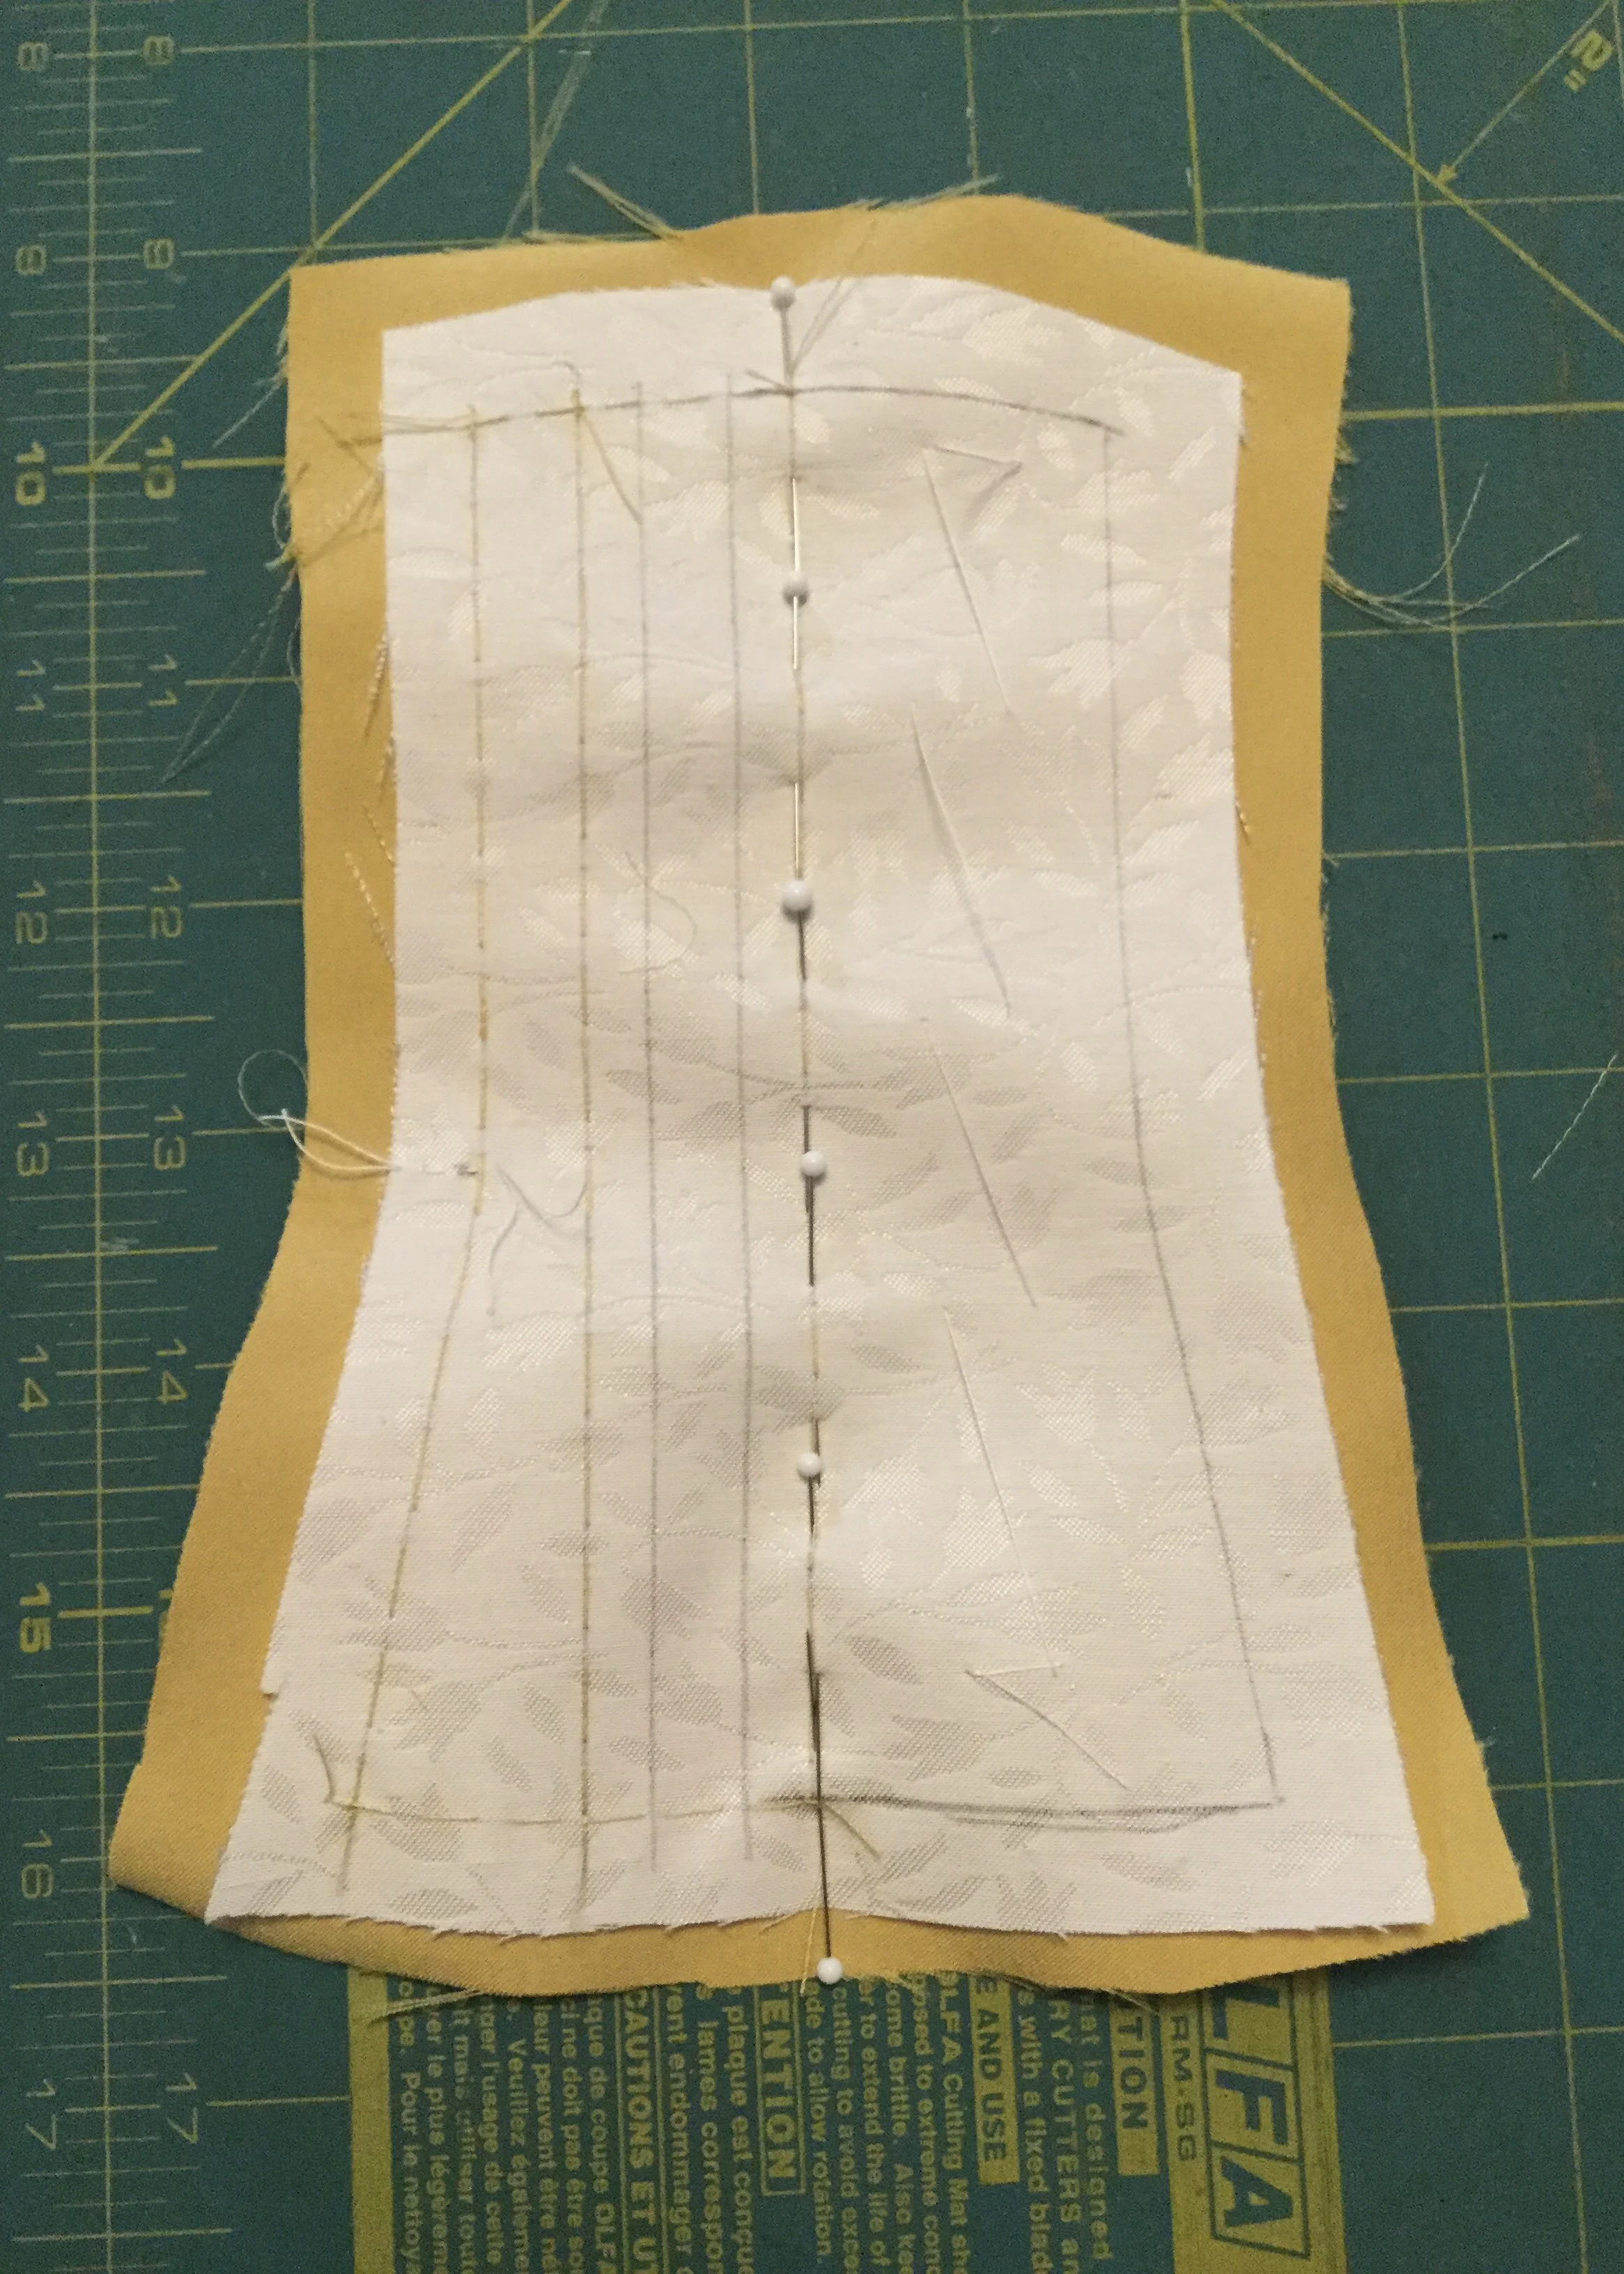
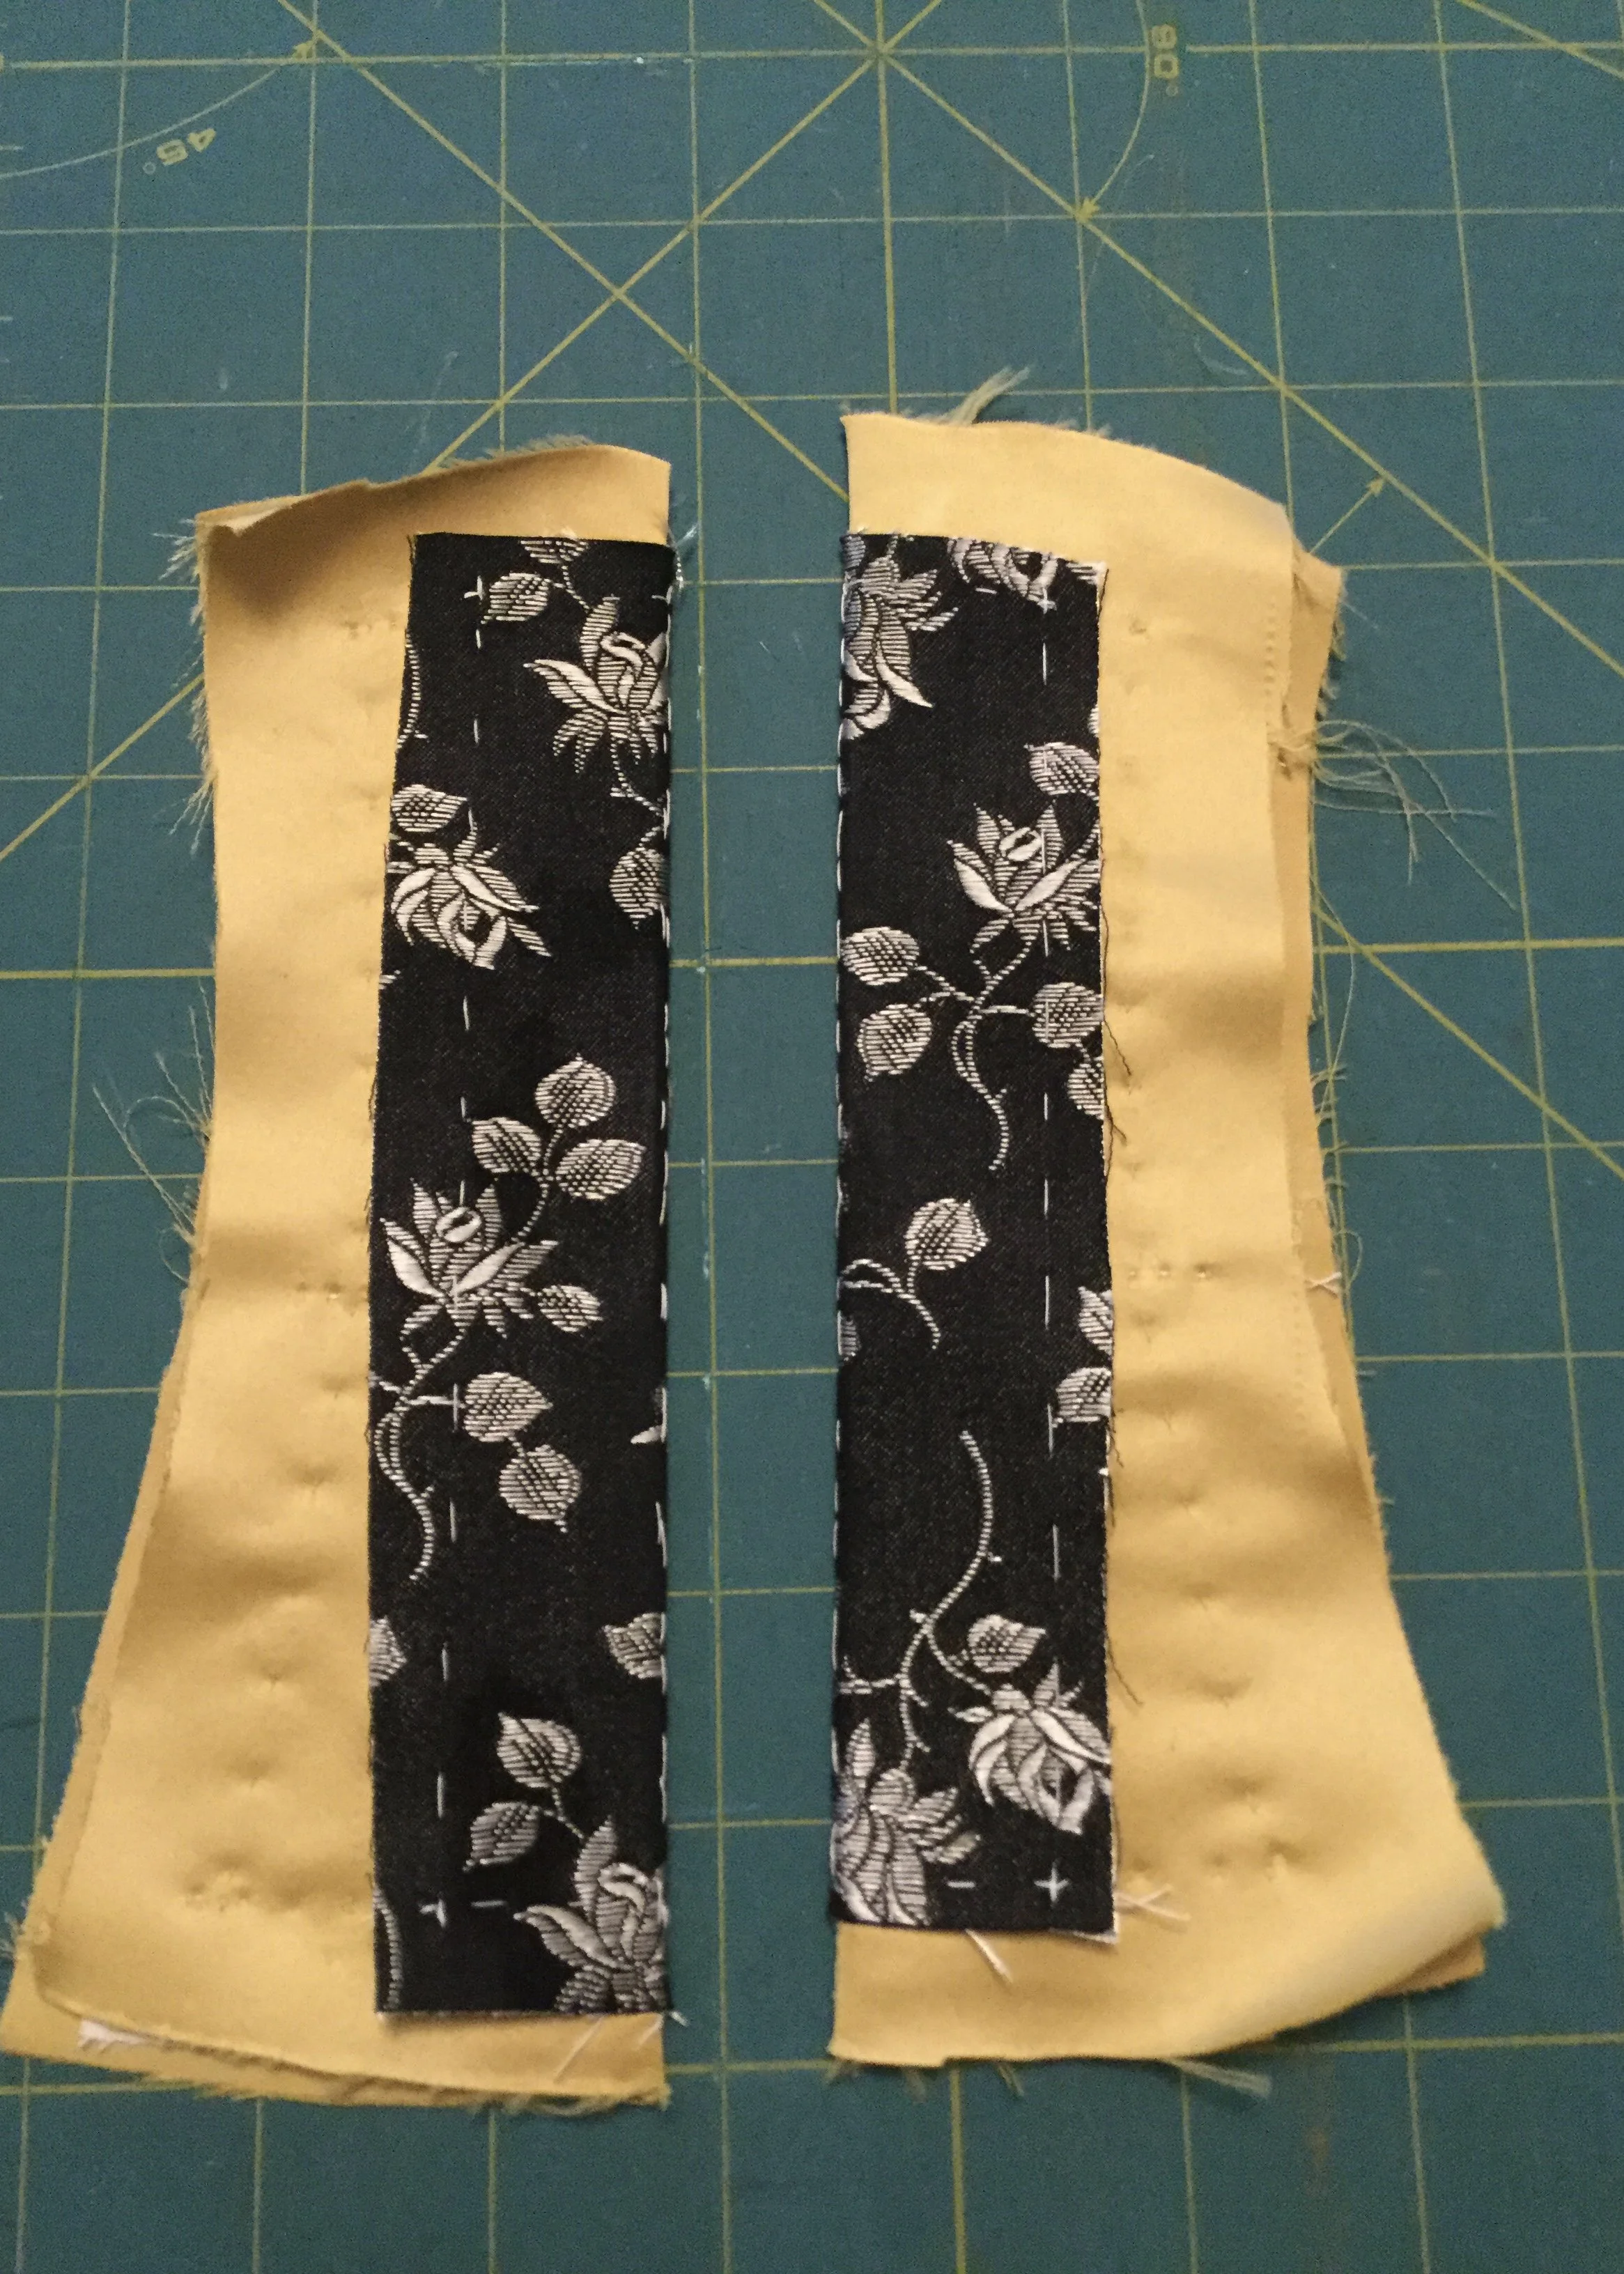
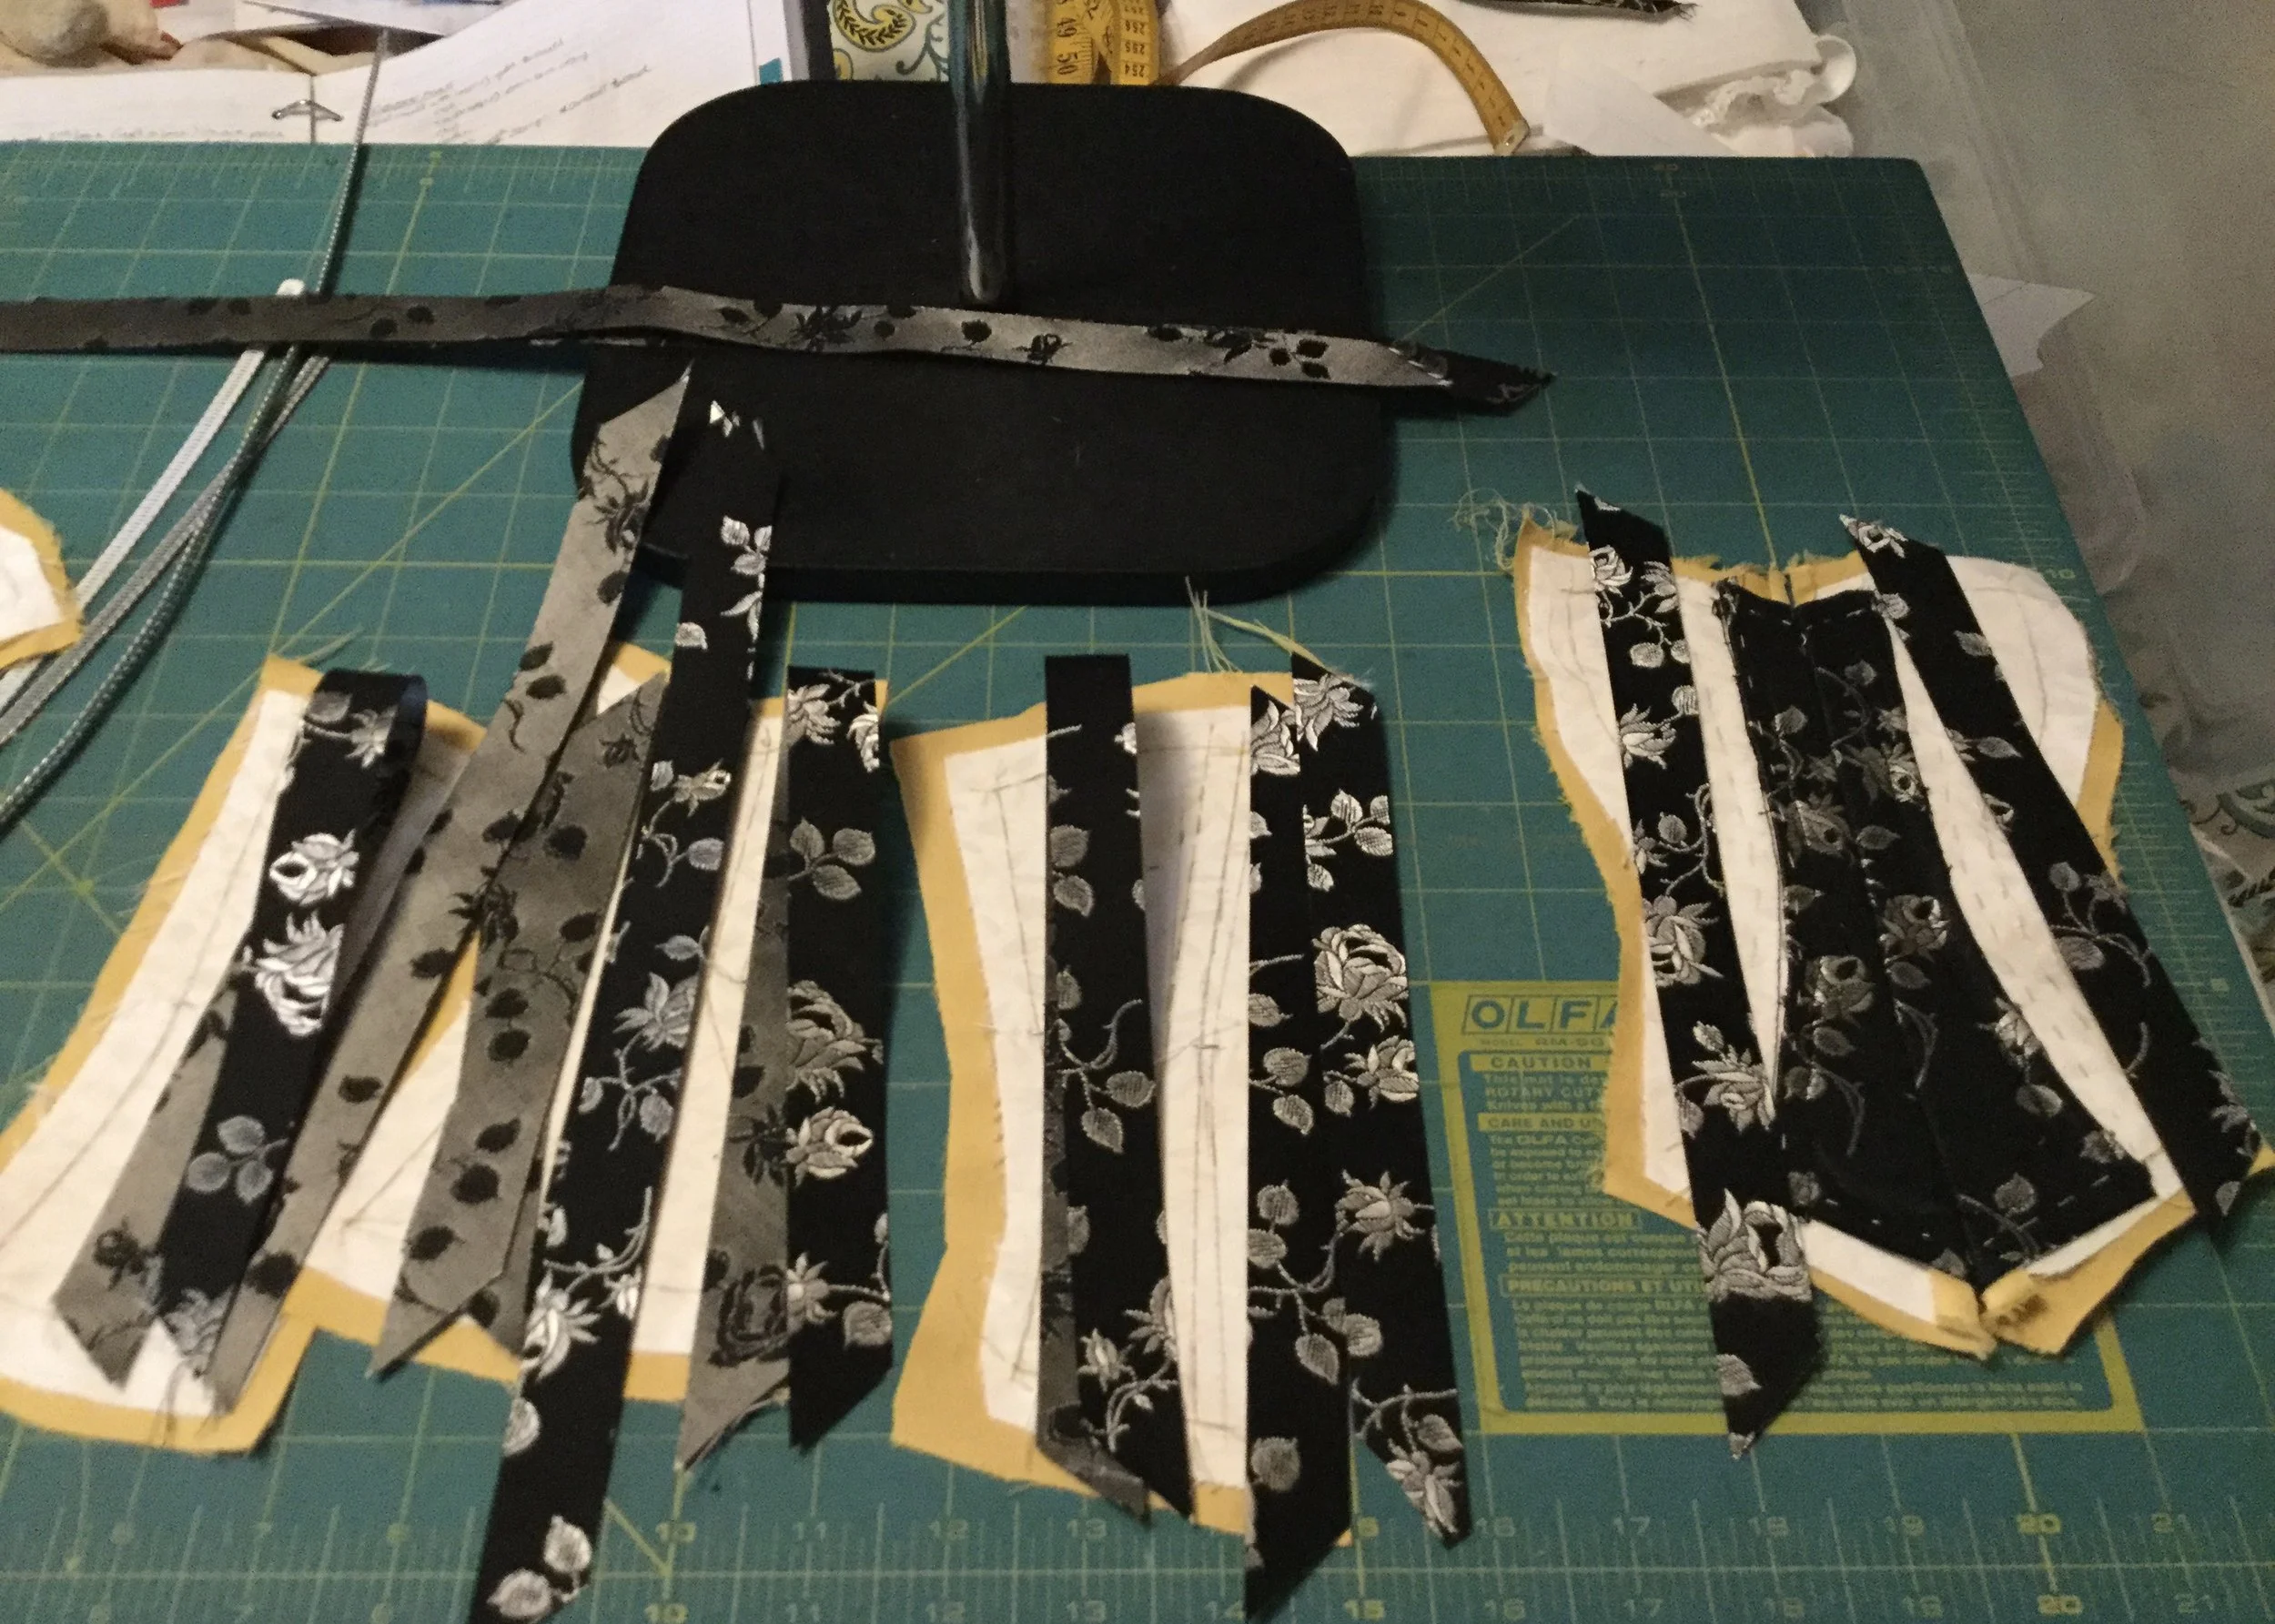
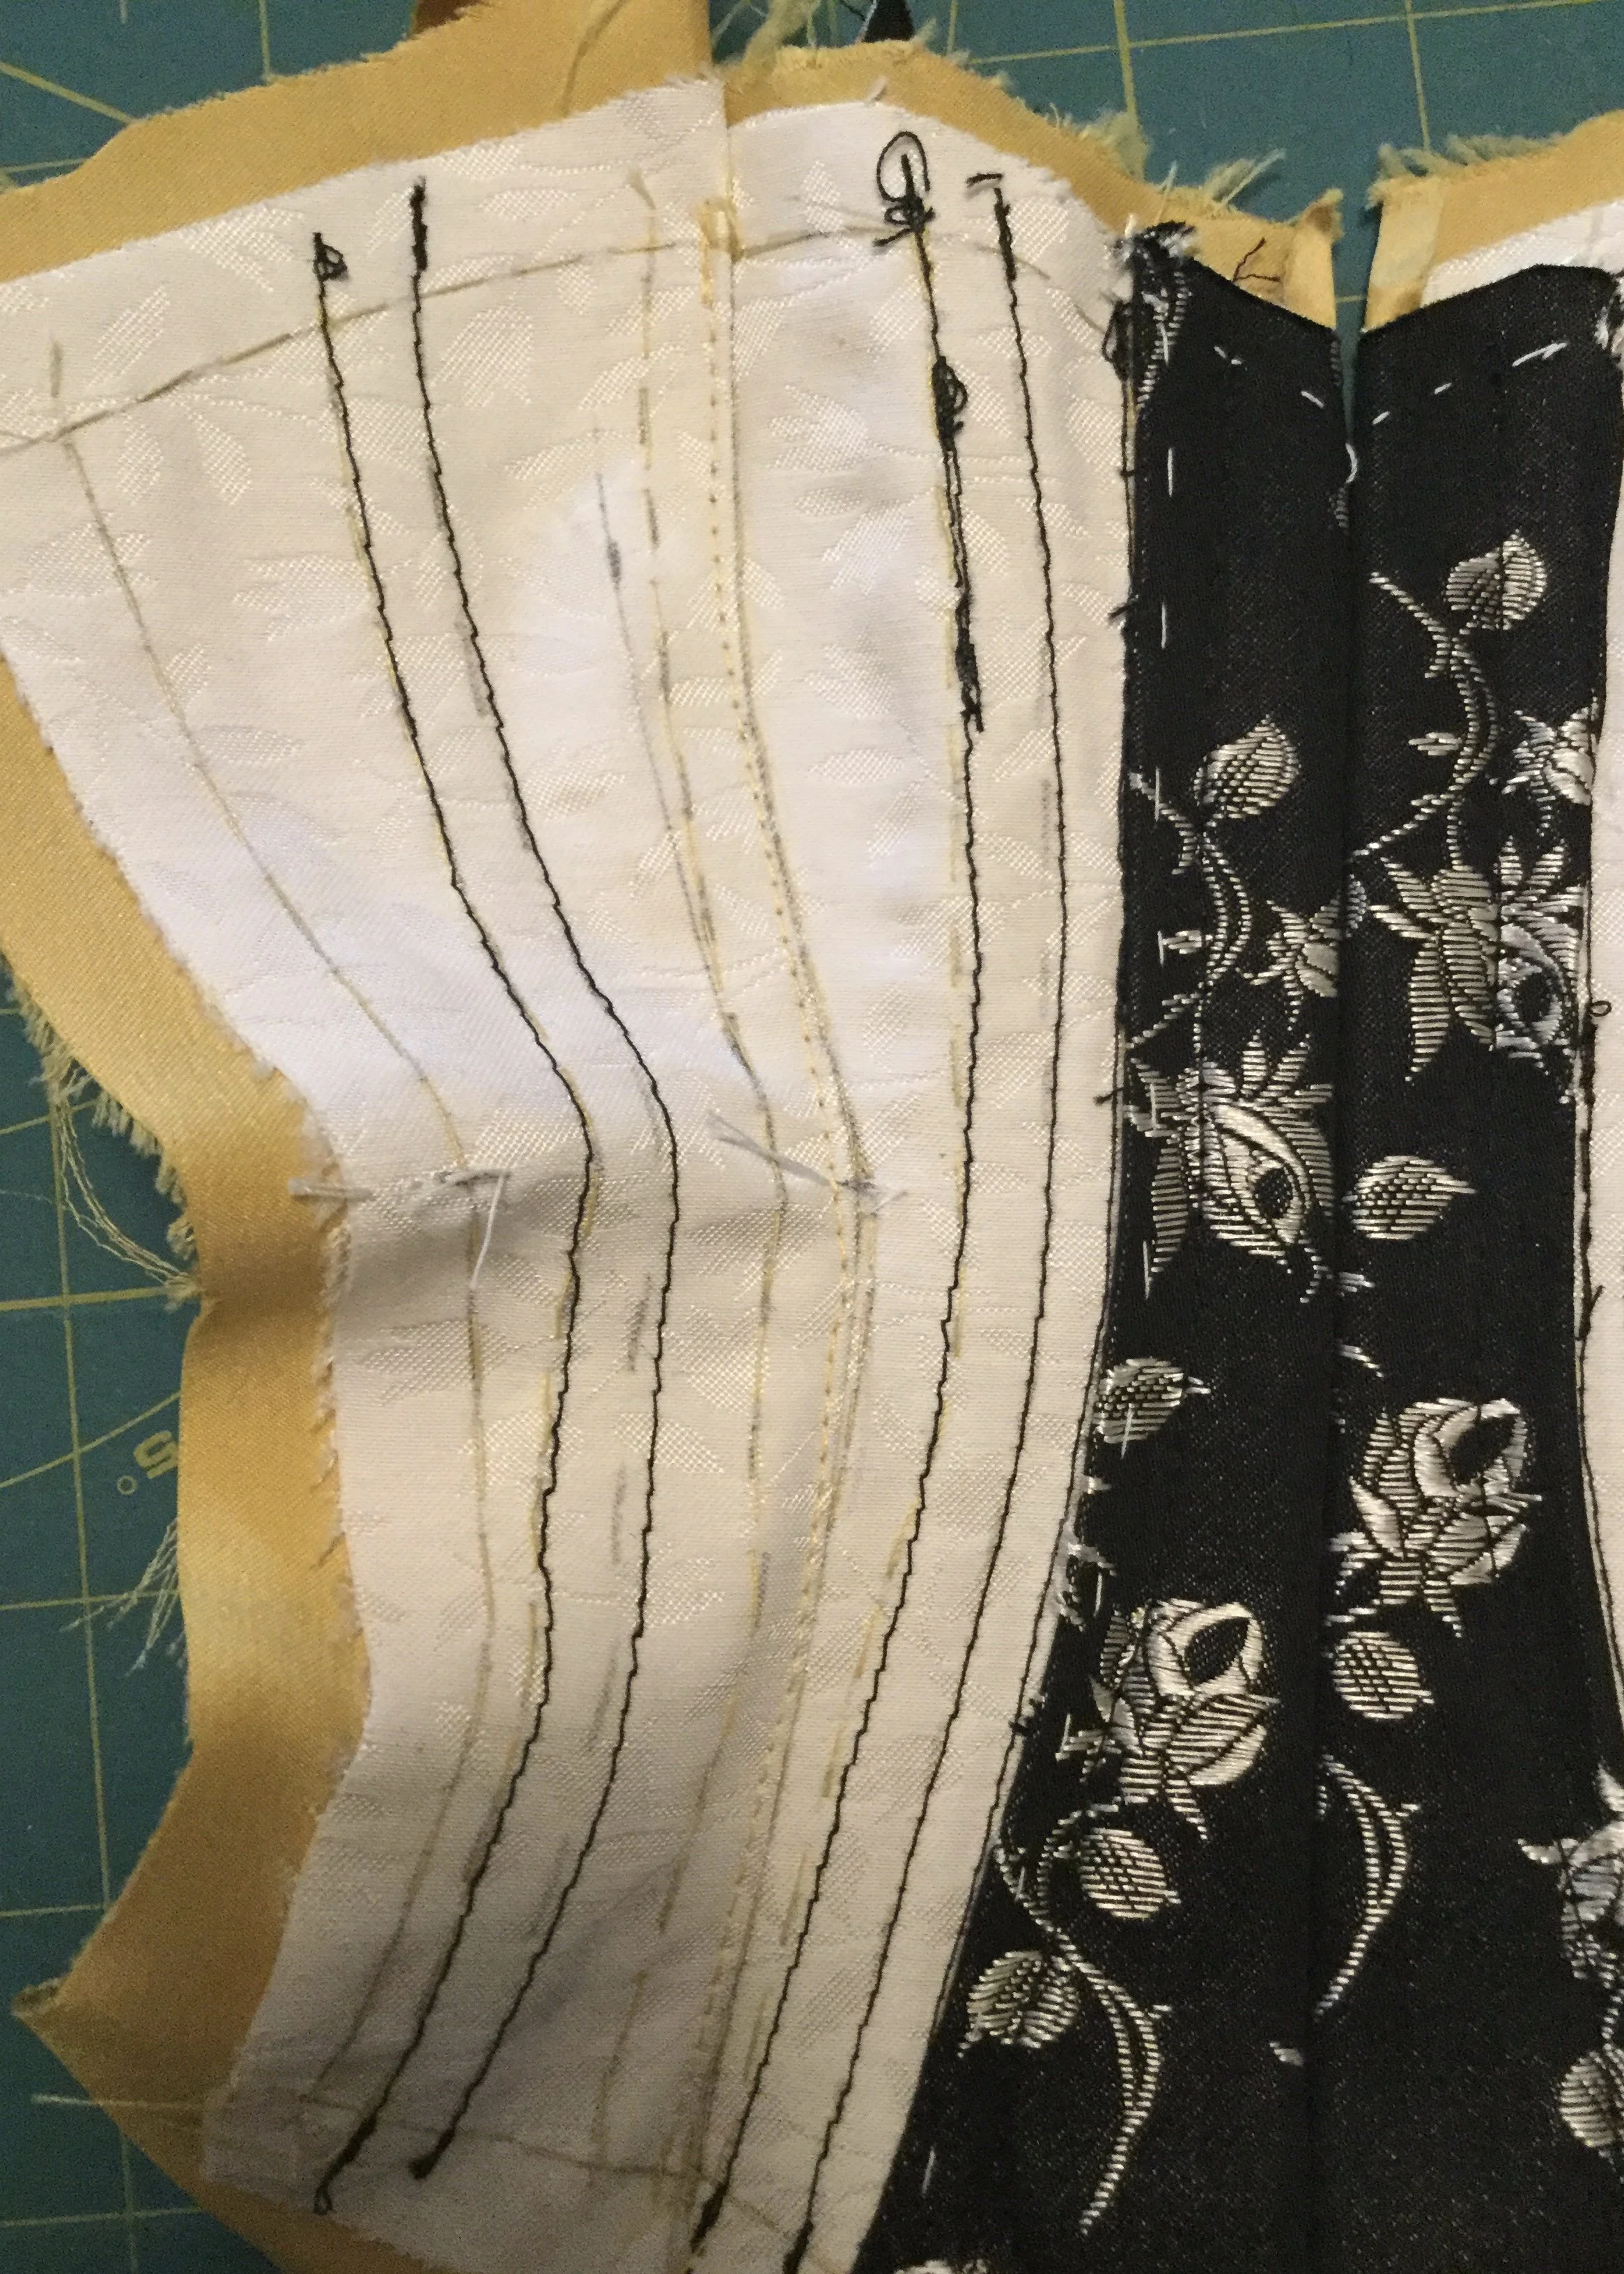
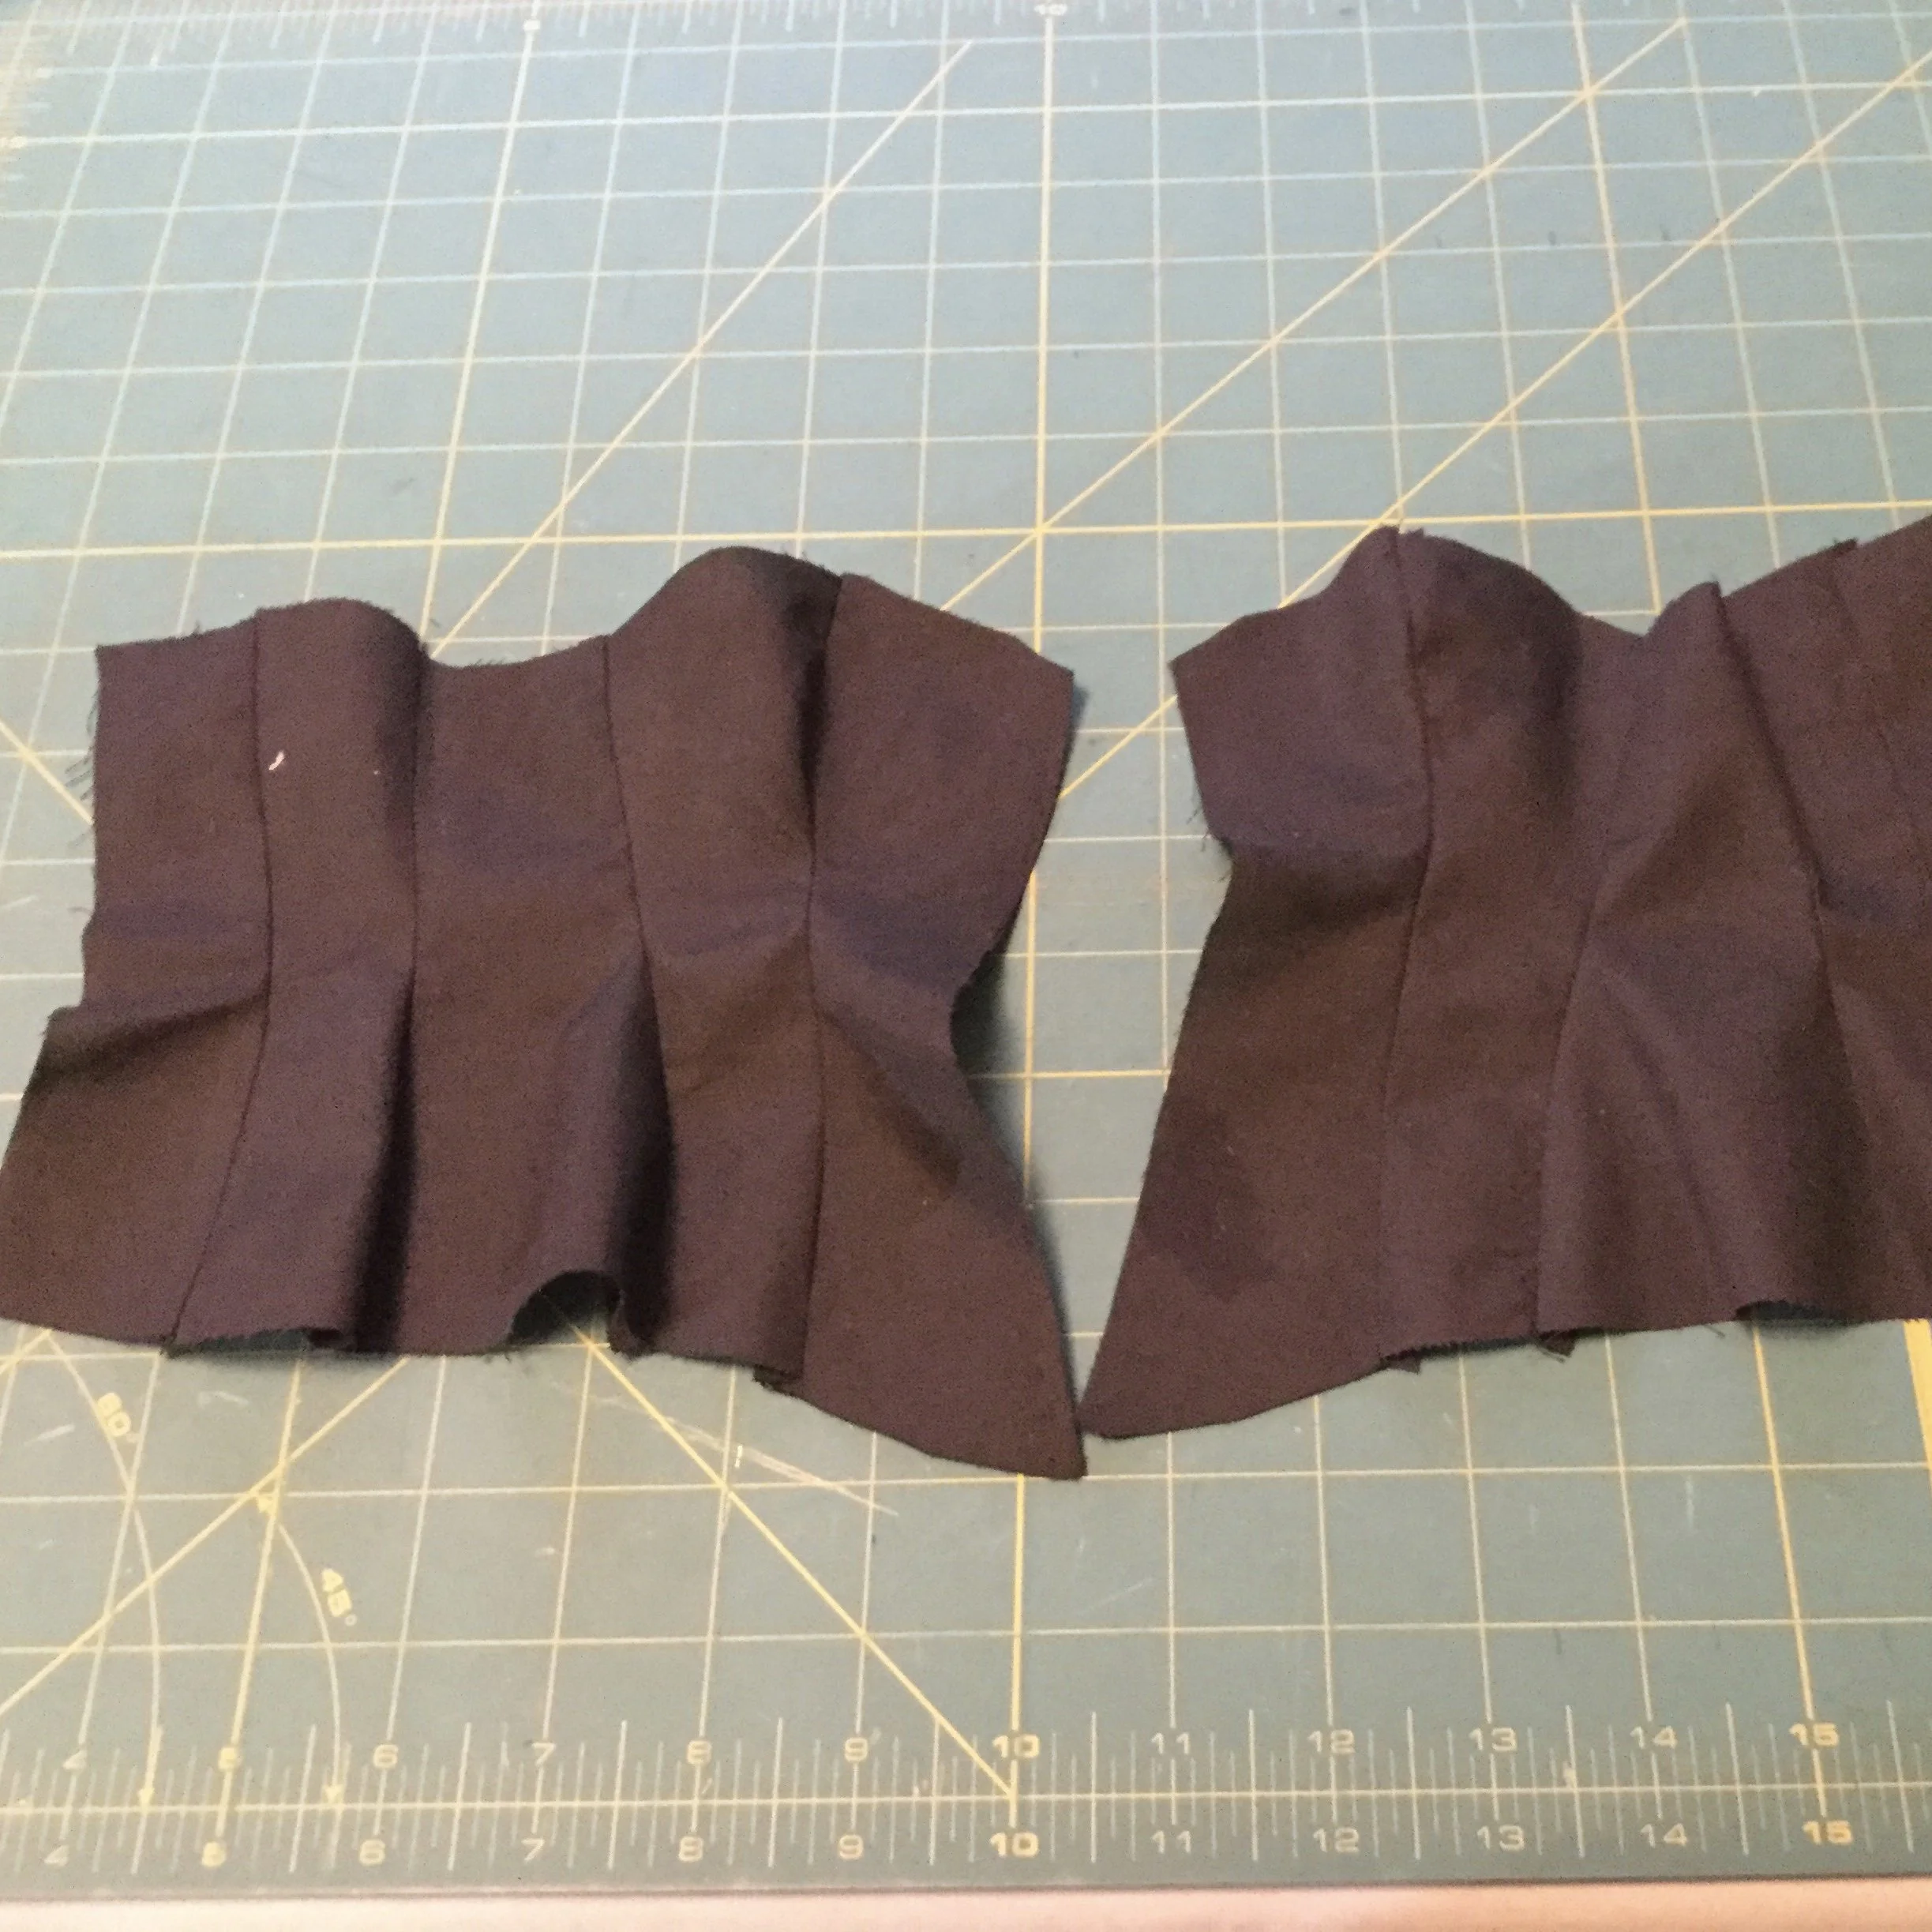
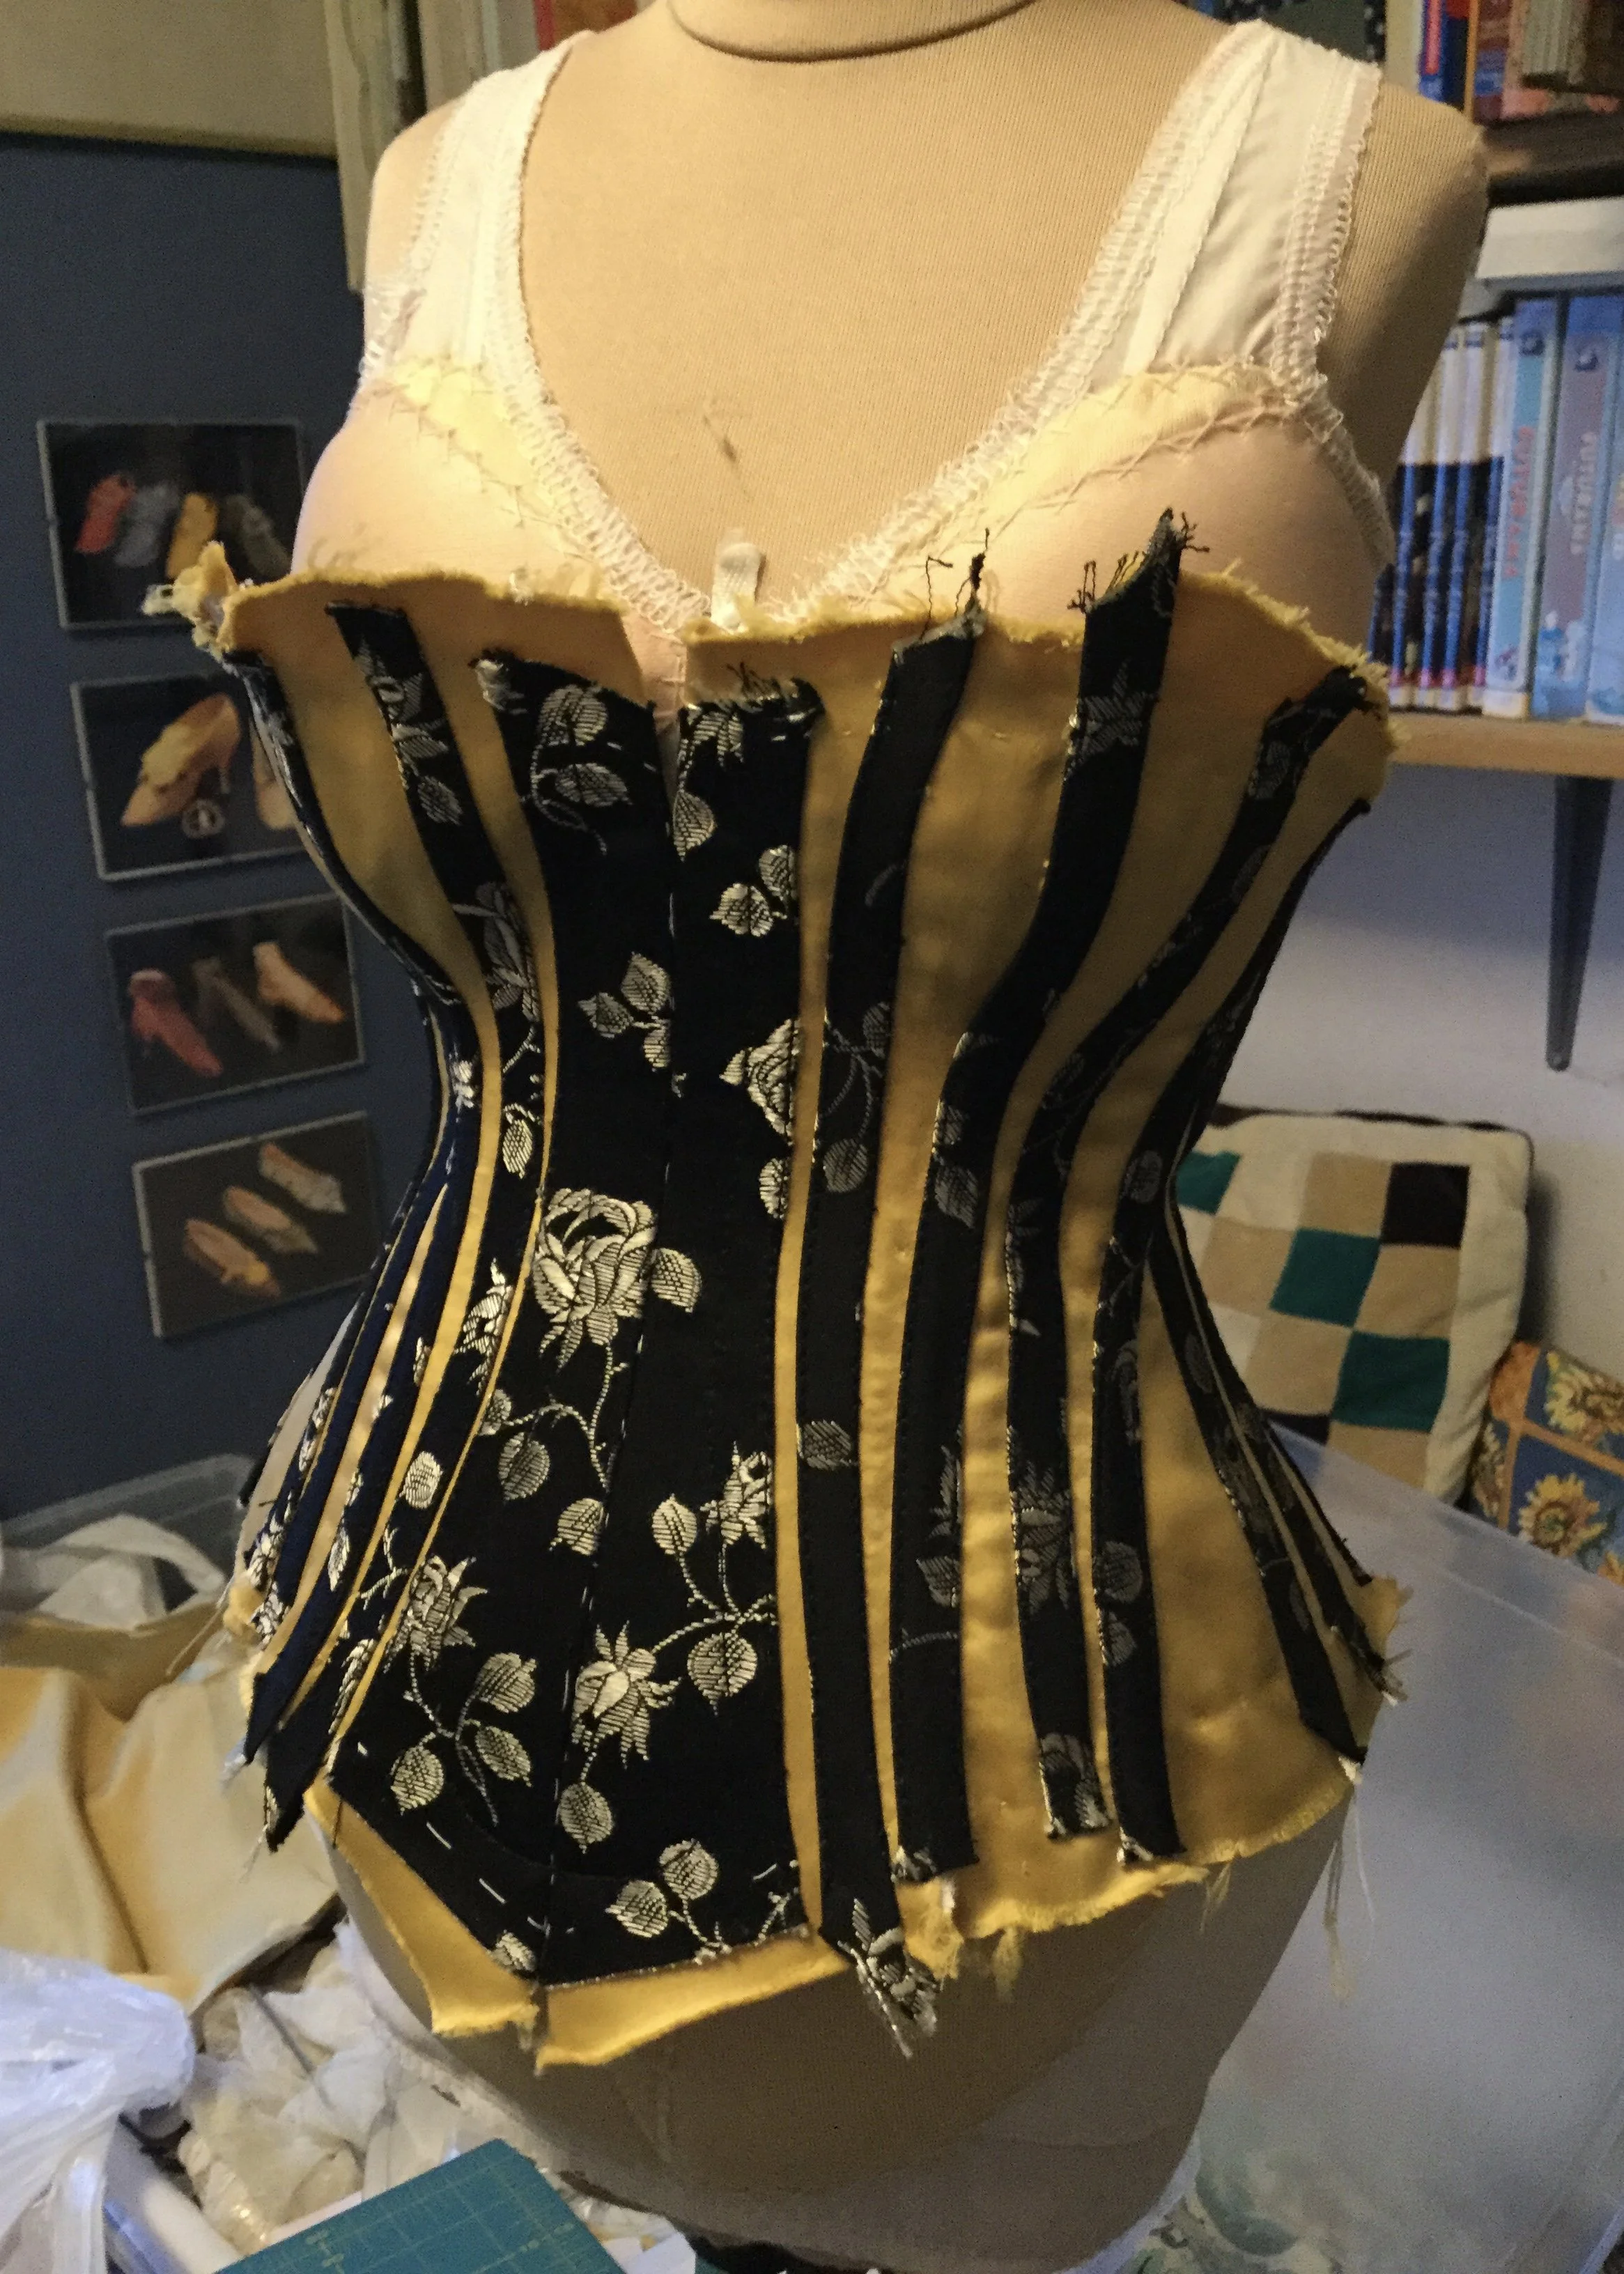
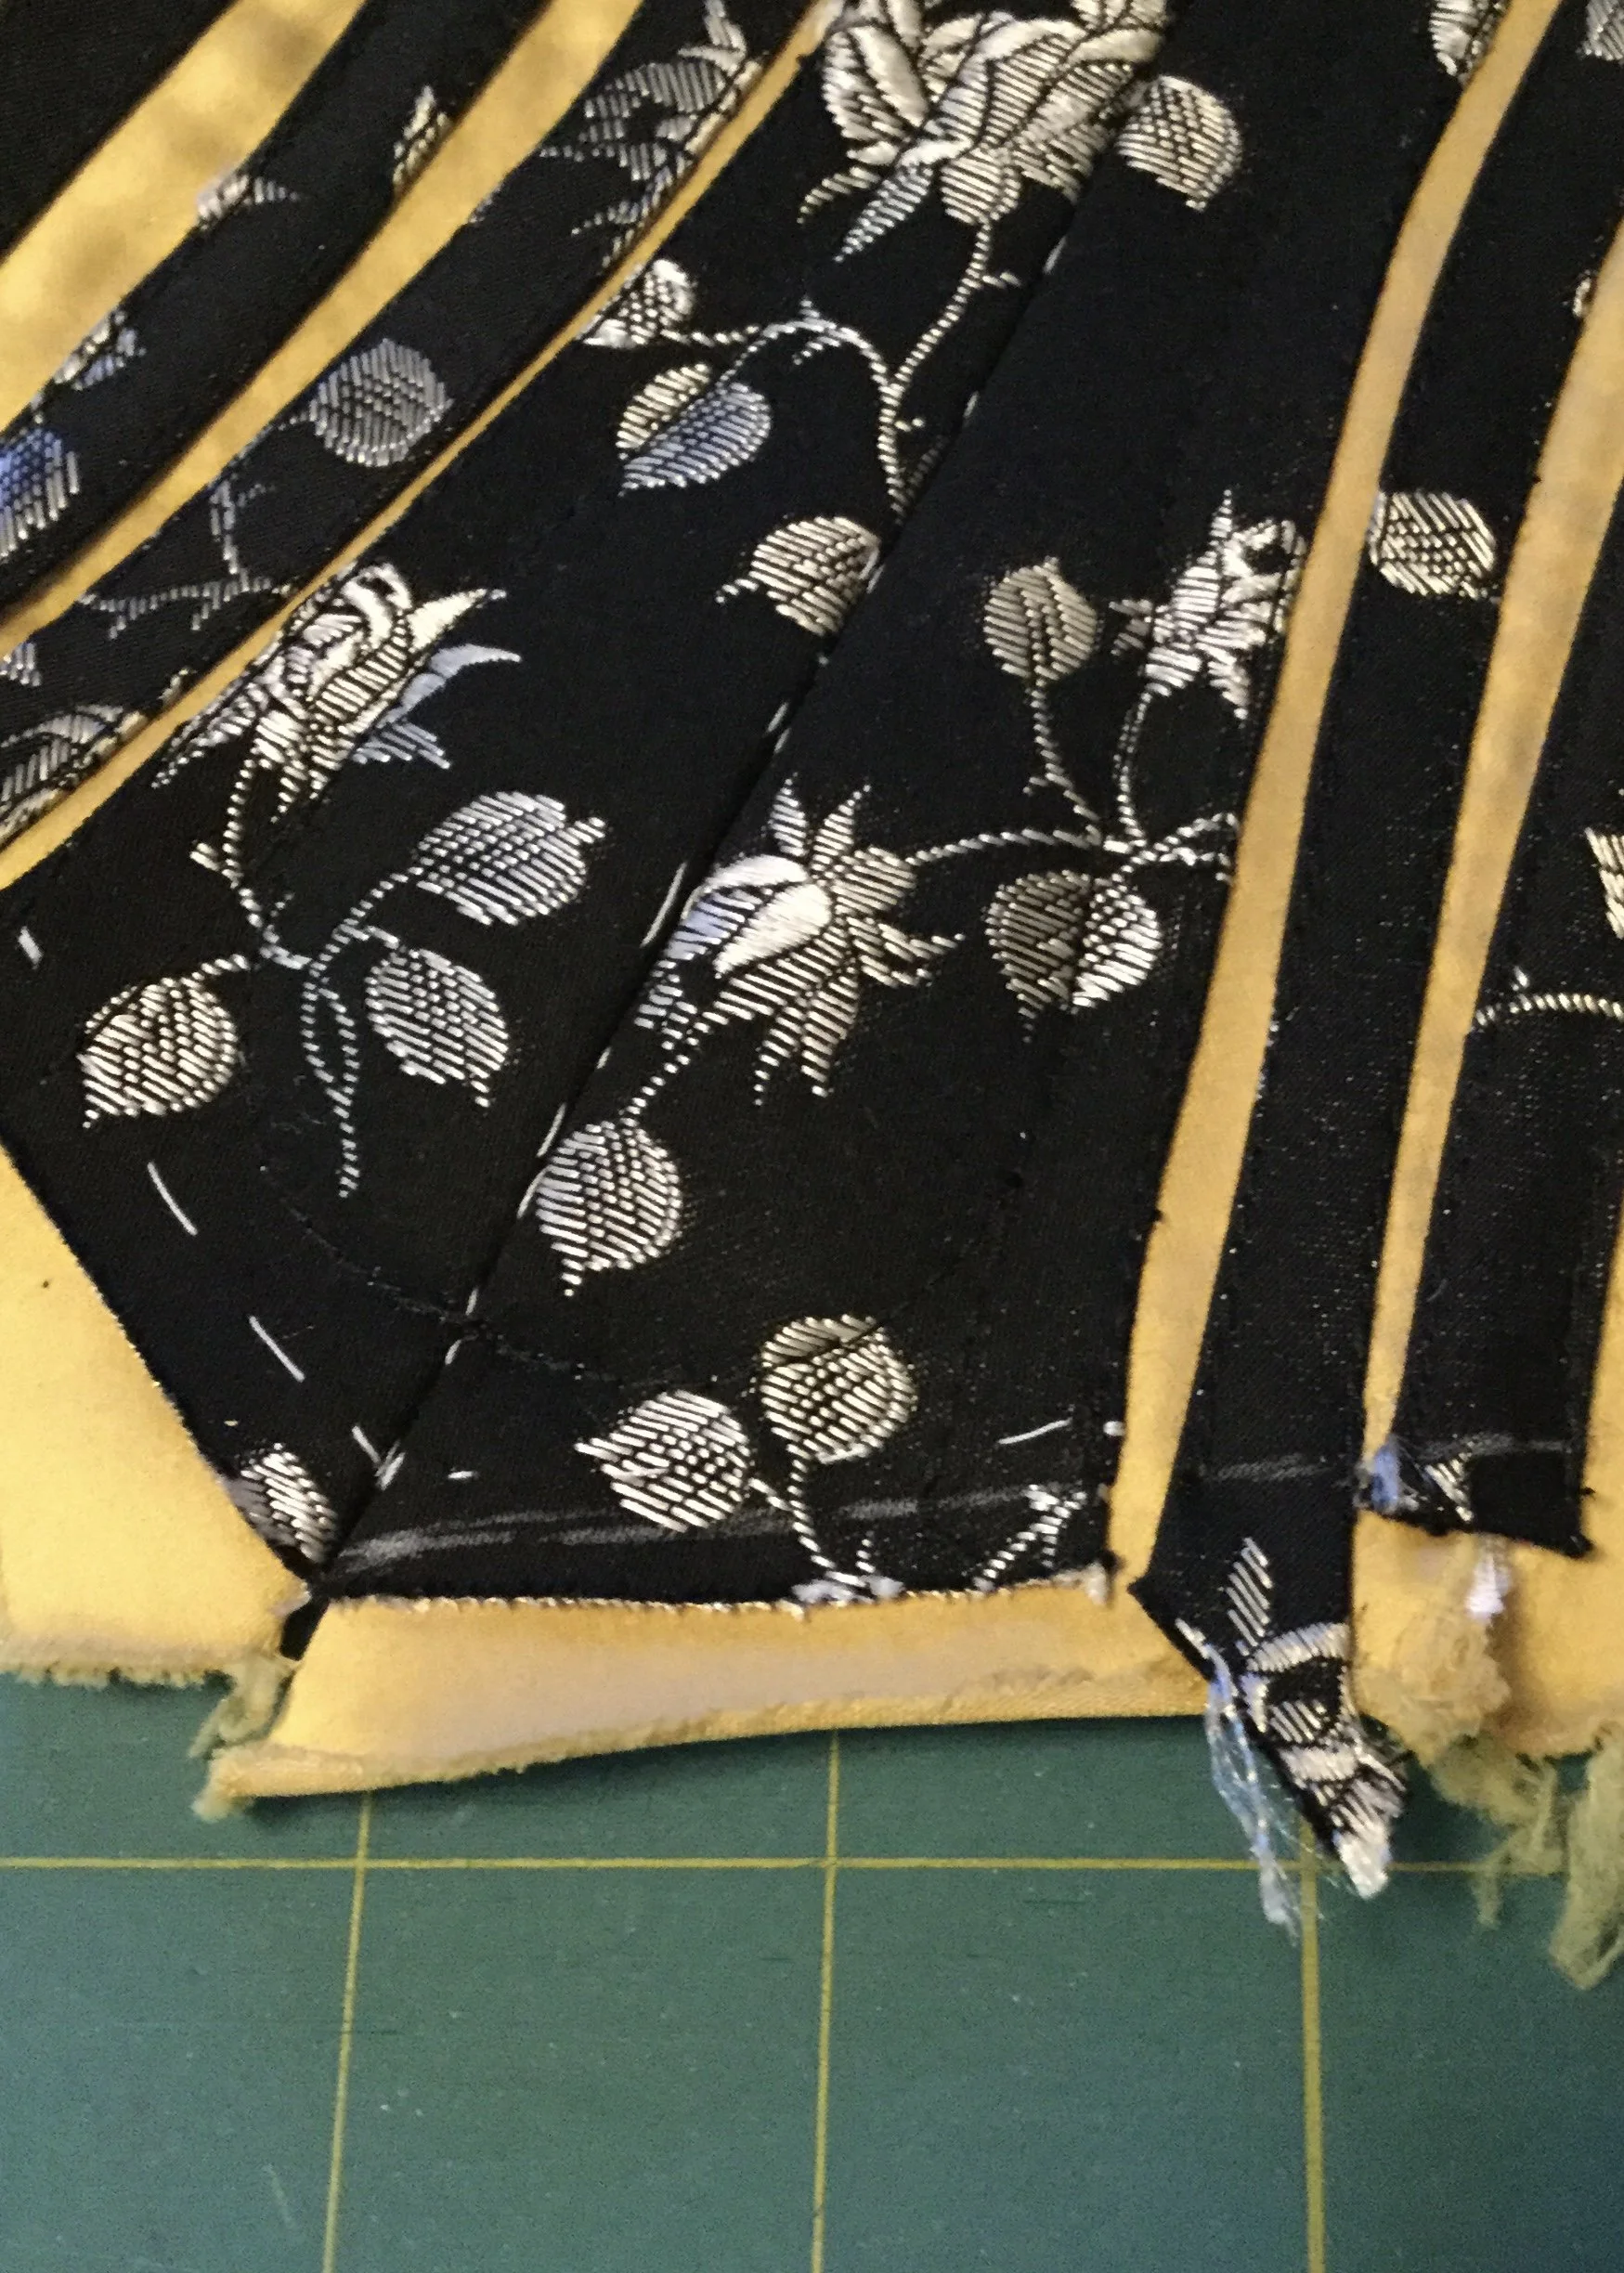
The first step of the body of the corset was to flat mount the satin to the coutil. I hand stitched it along the seams, top and bottom edges and one side of each bone to act as a guide when I applied the casings. I also basted the centre and seam lines of each of the facing pieces.
Flat mounting the coutil to the satin.
Front and back facing pieces with edges basted.
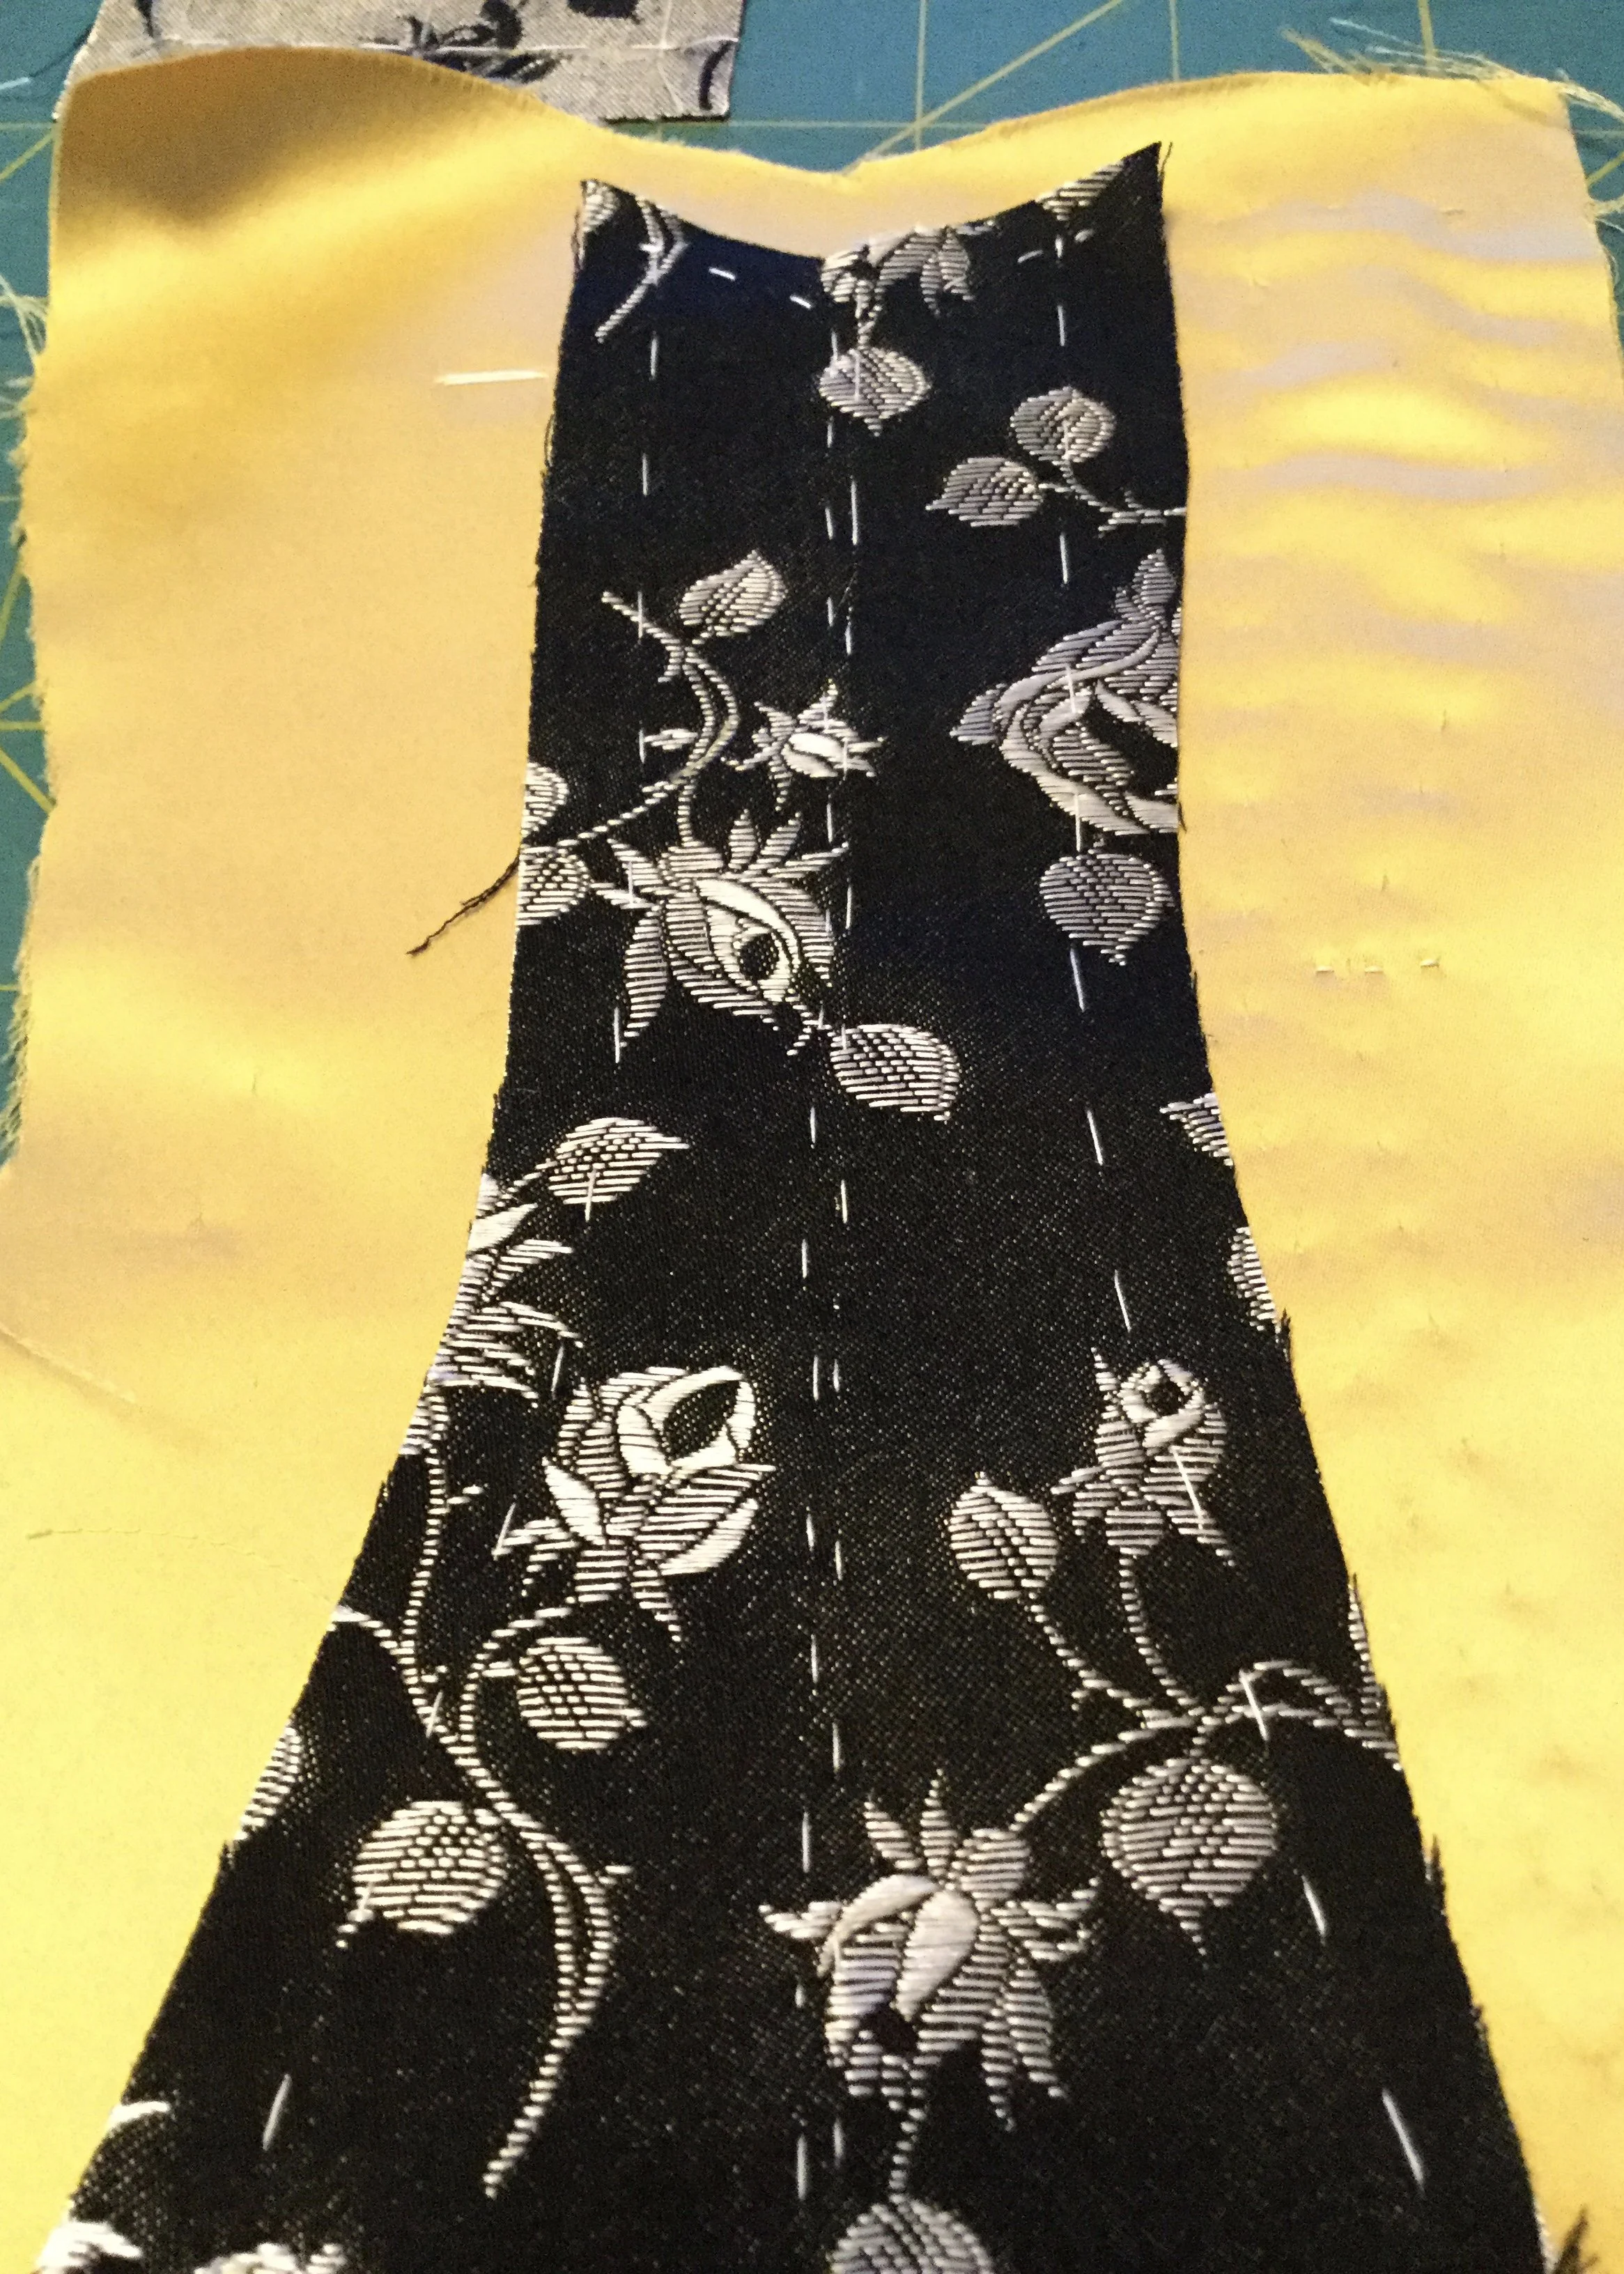
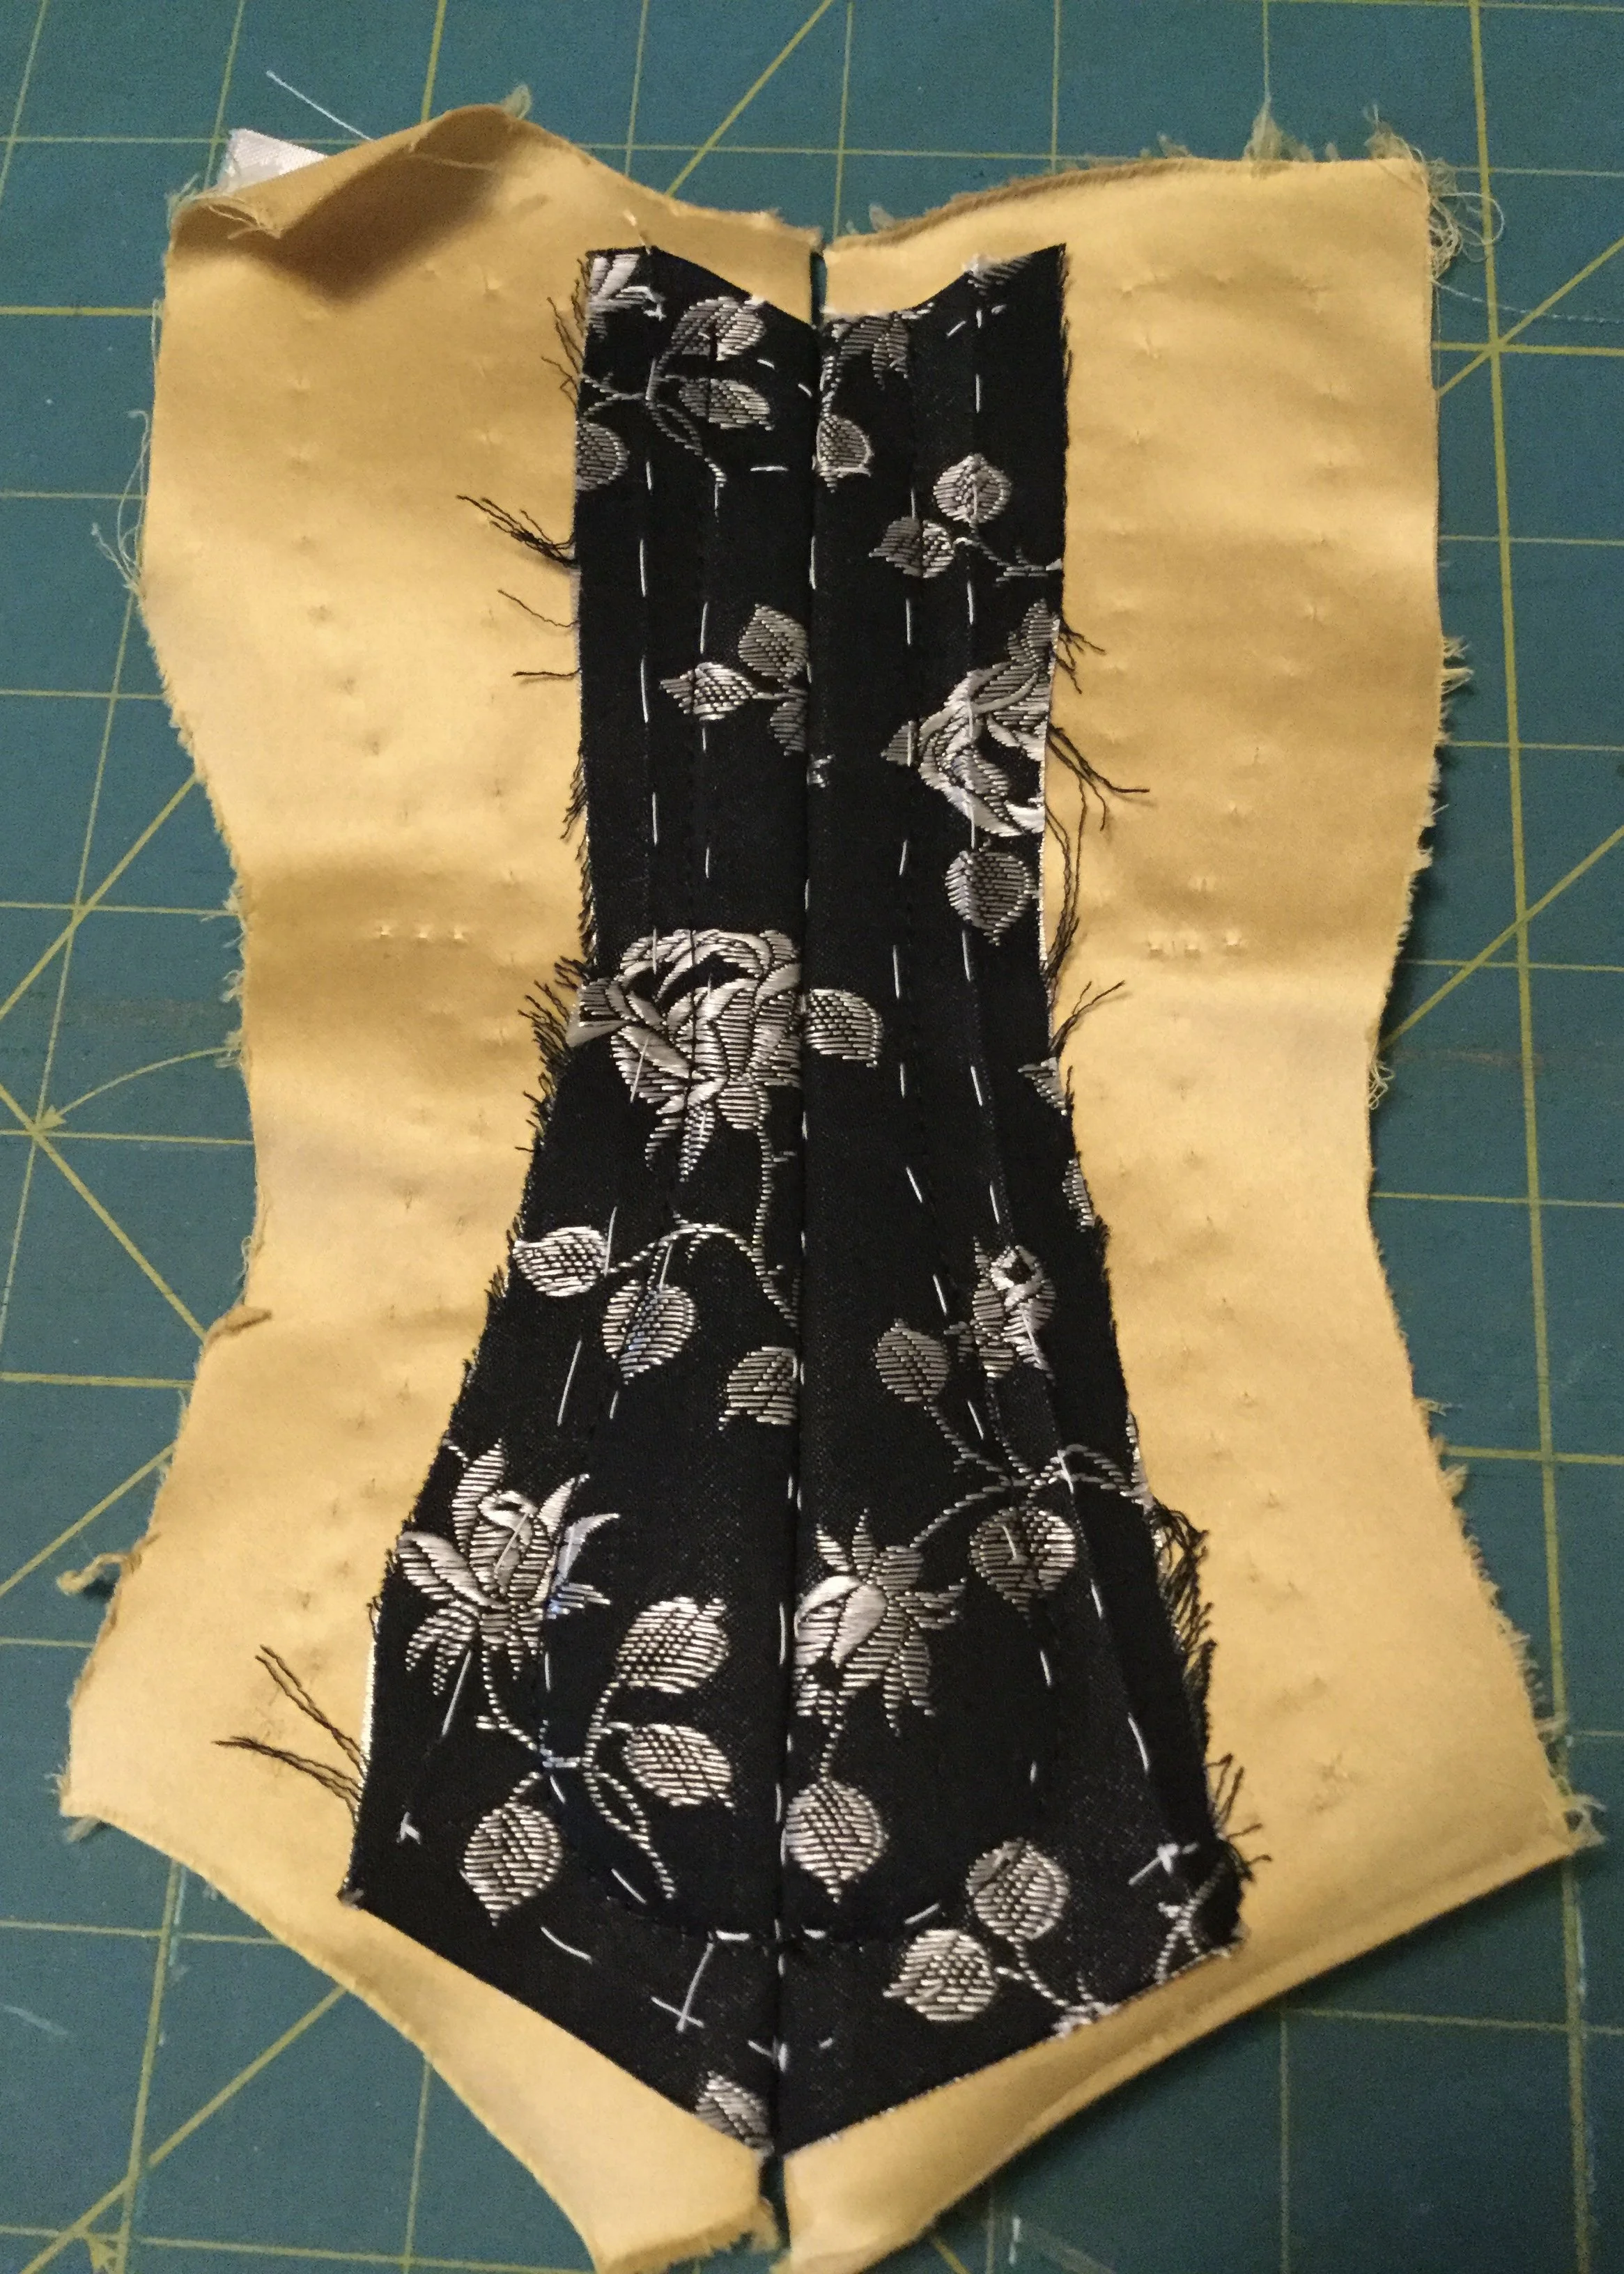
The first section I put together was the centre front. Since they don't make tiny busks (again, could be so cute!) the two fronts are stitched together and there is no functioning front closure. To start, I basted the facing to the satin along the fold line at the centre, offsetting the stitch by a wee bit so I didn't catch it in the final seam. After prepping both fronts, I stitched them together, leaving a centimetre or so open at each end to make binding the edges easier. I then pressed the seam open.
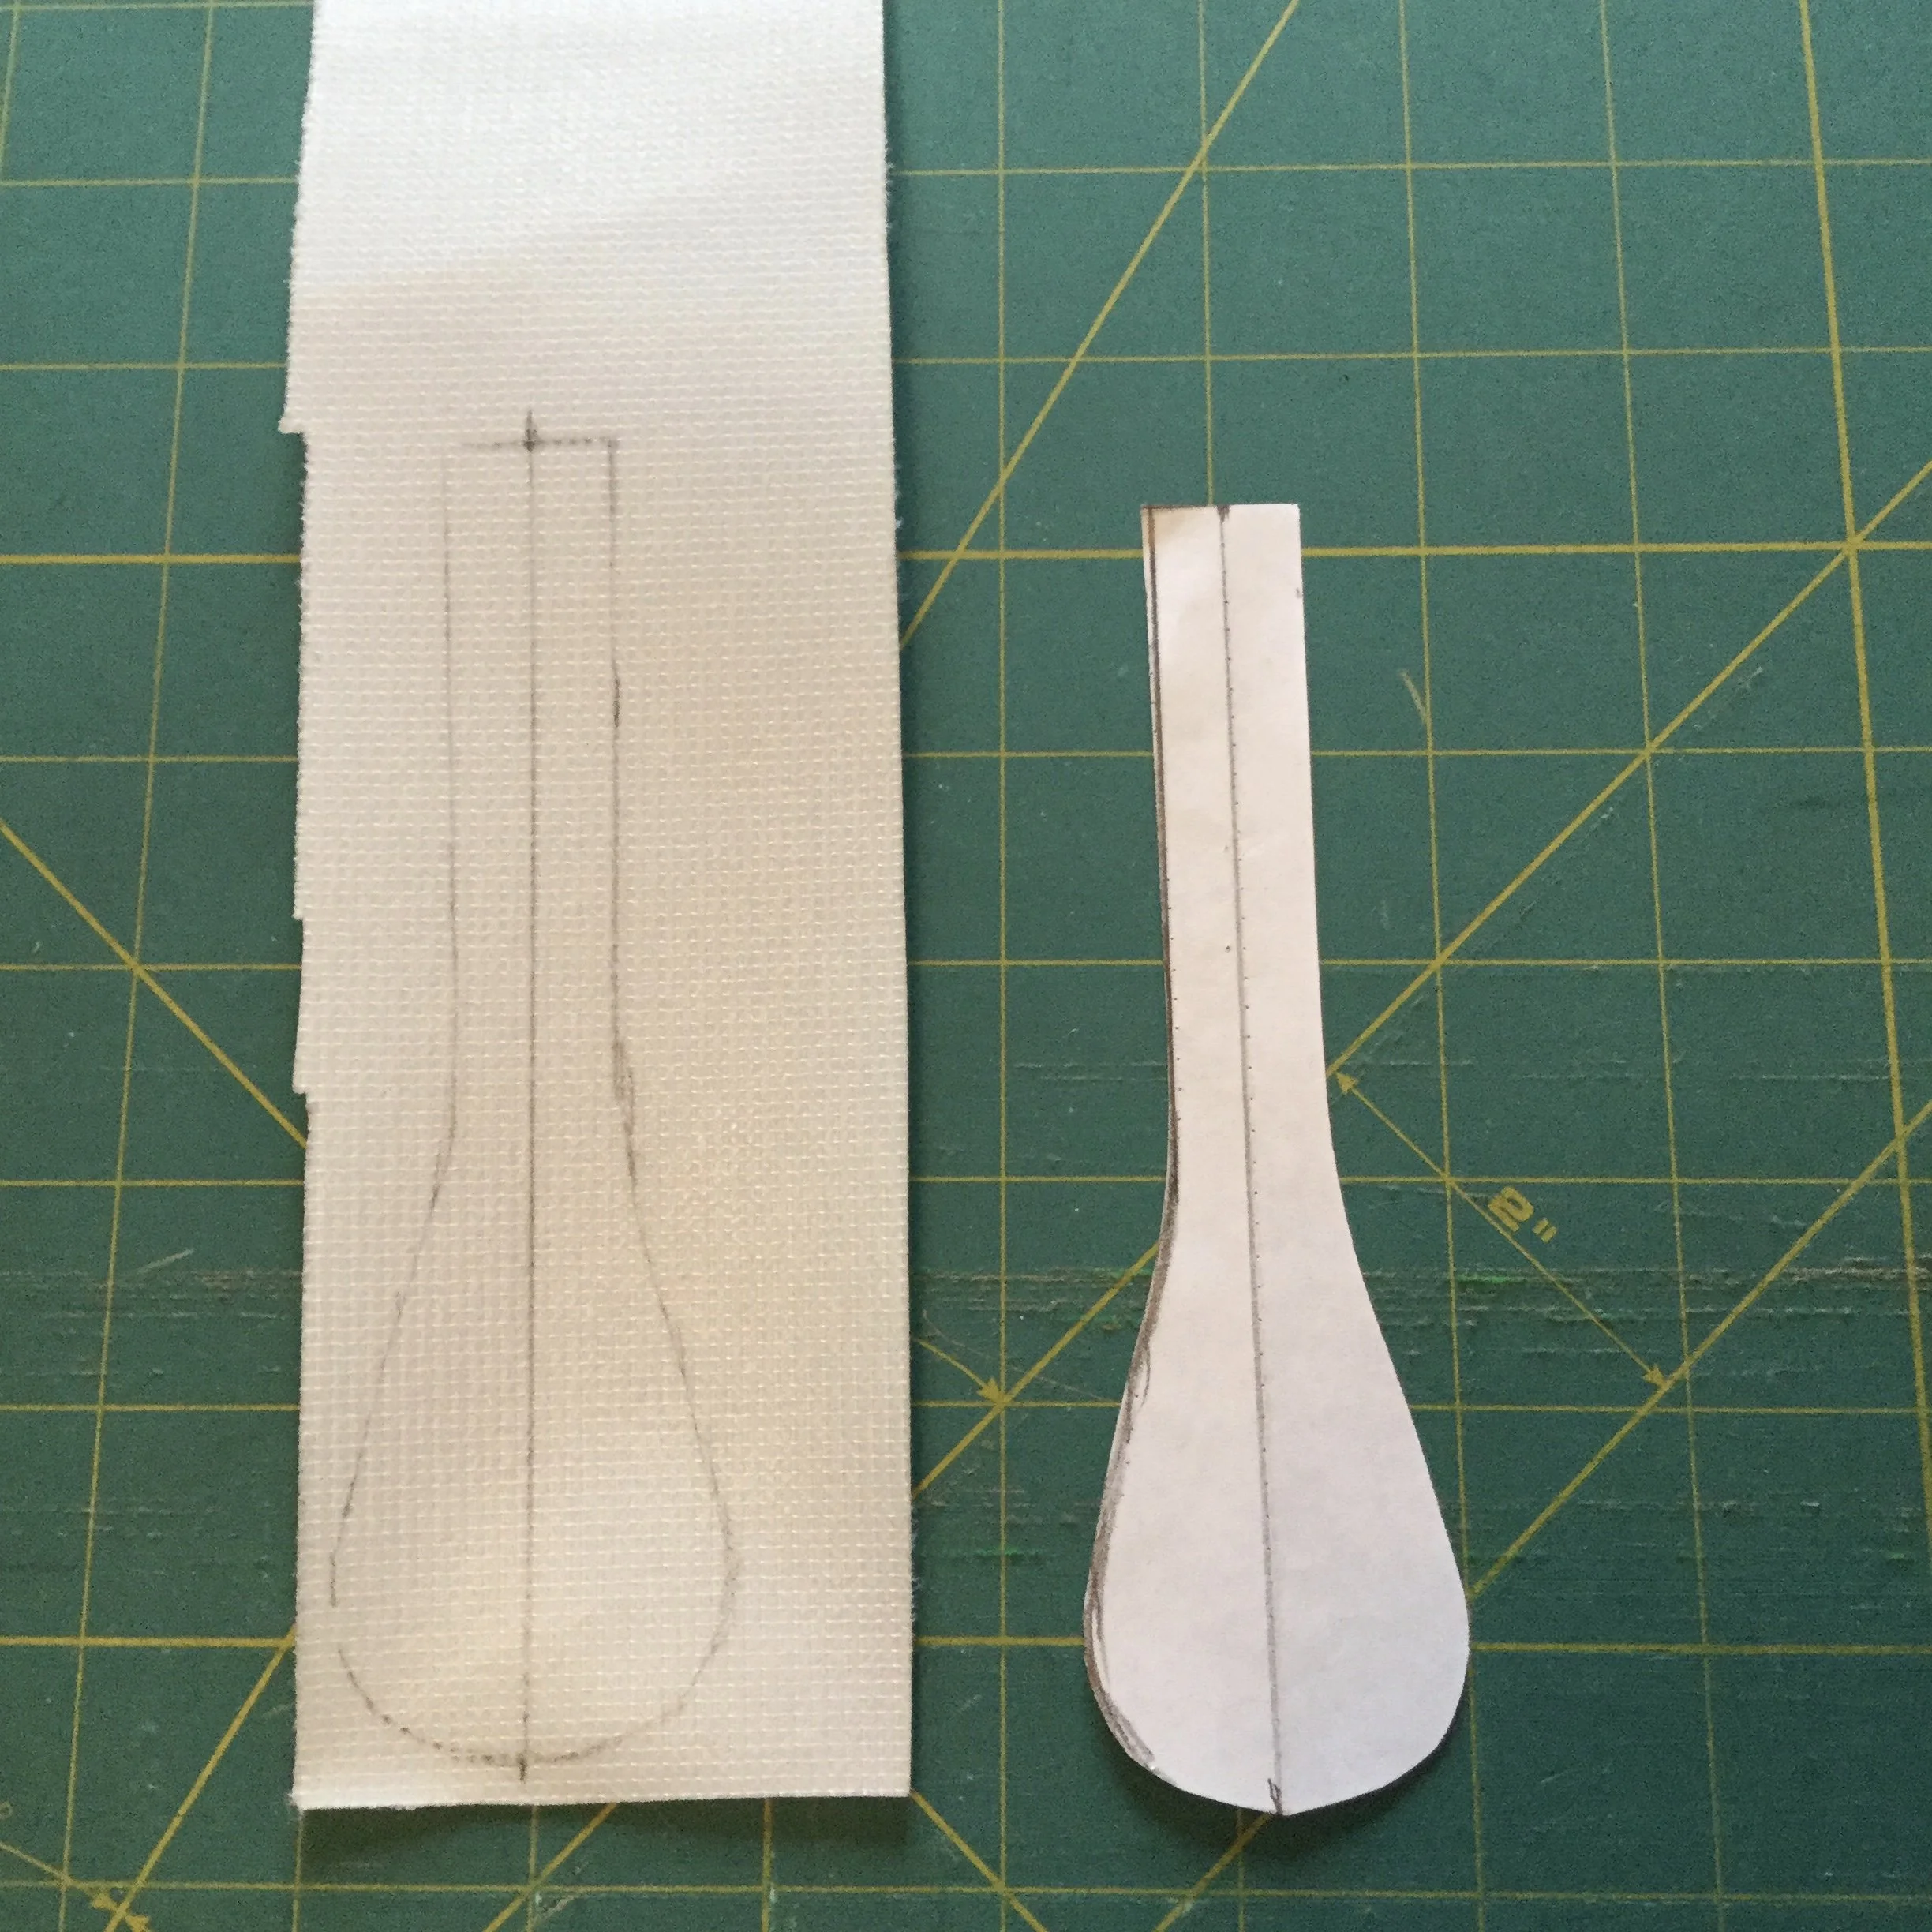
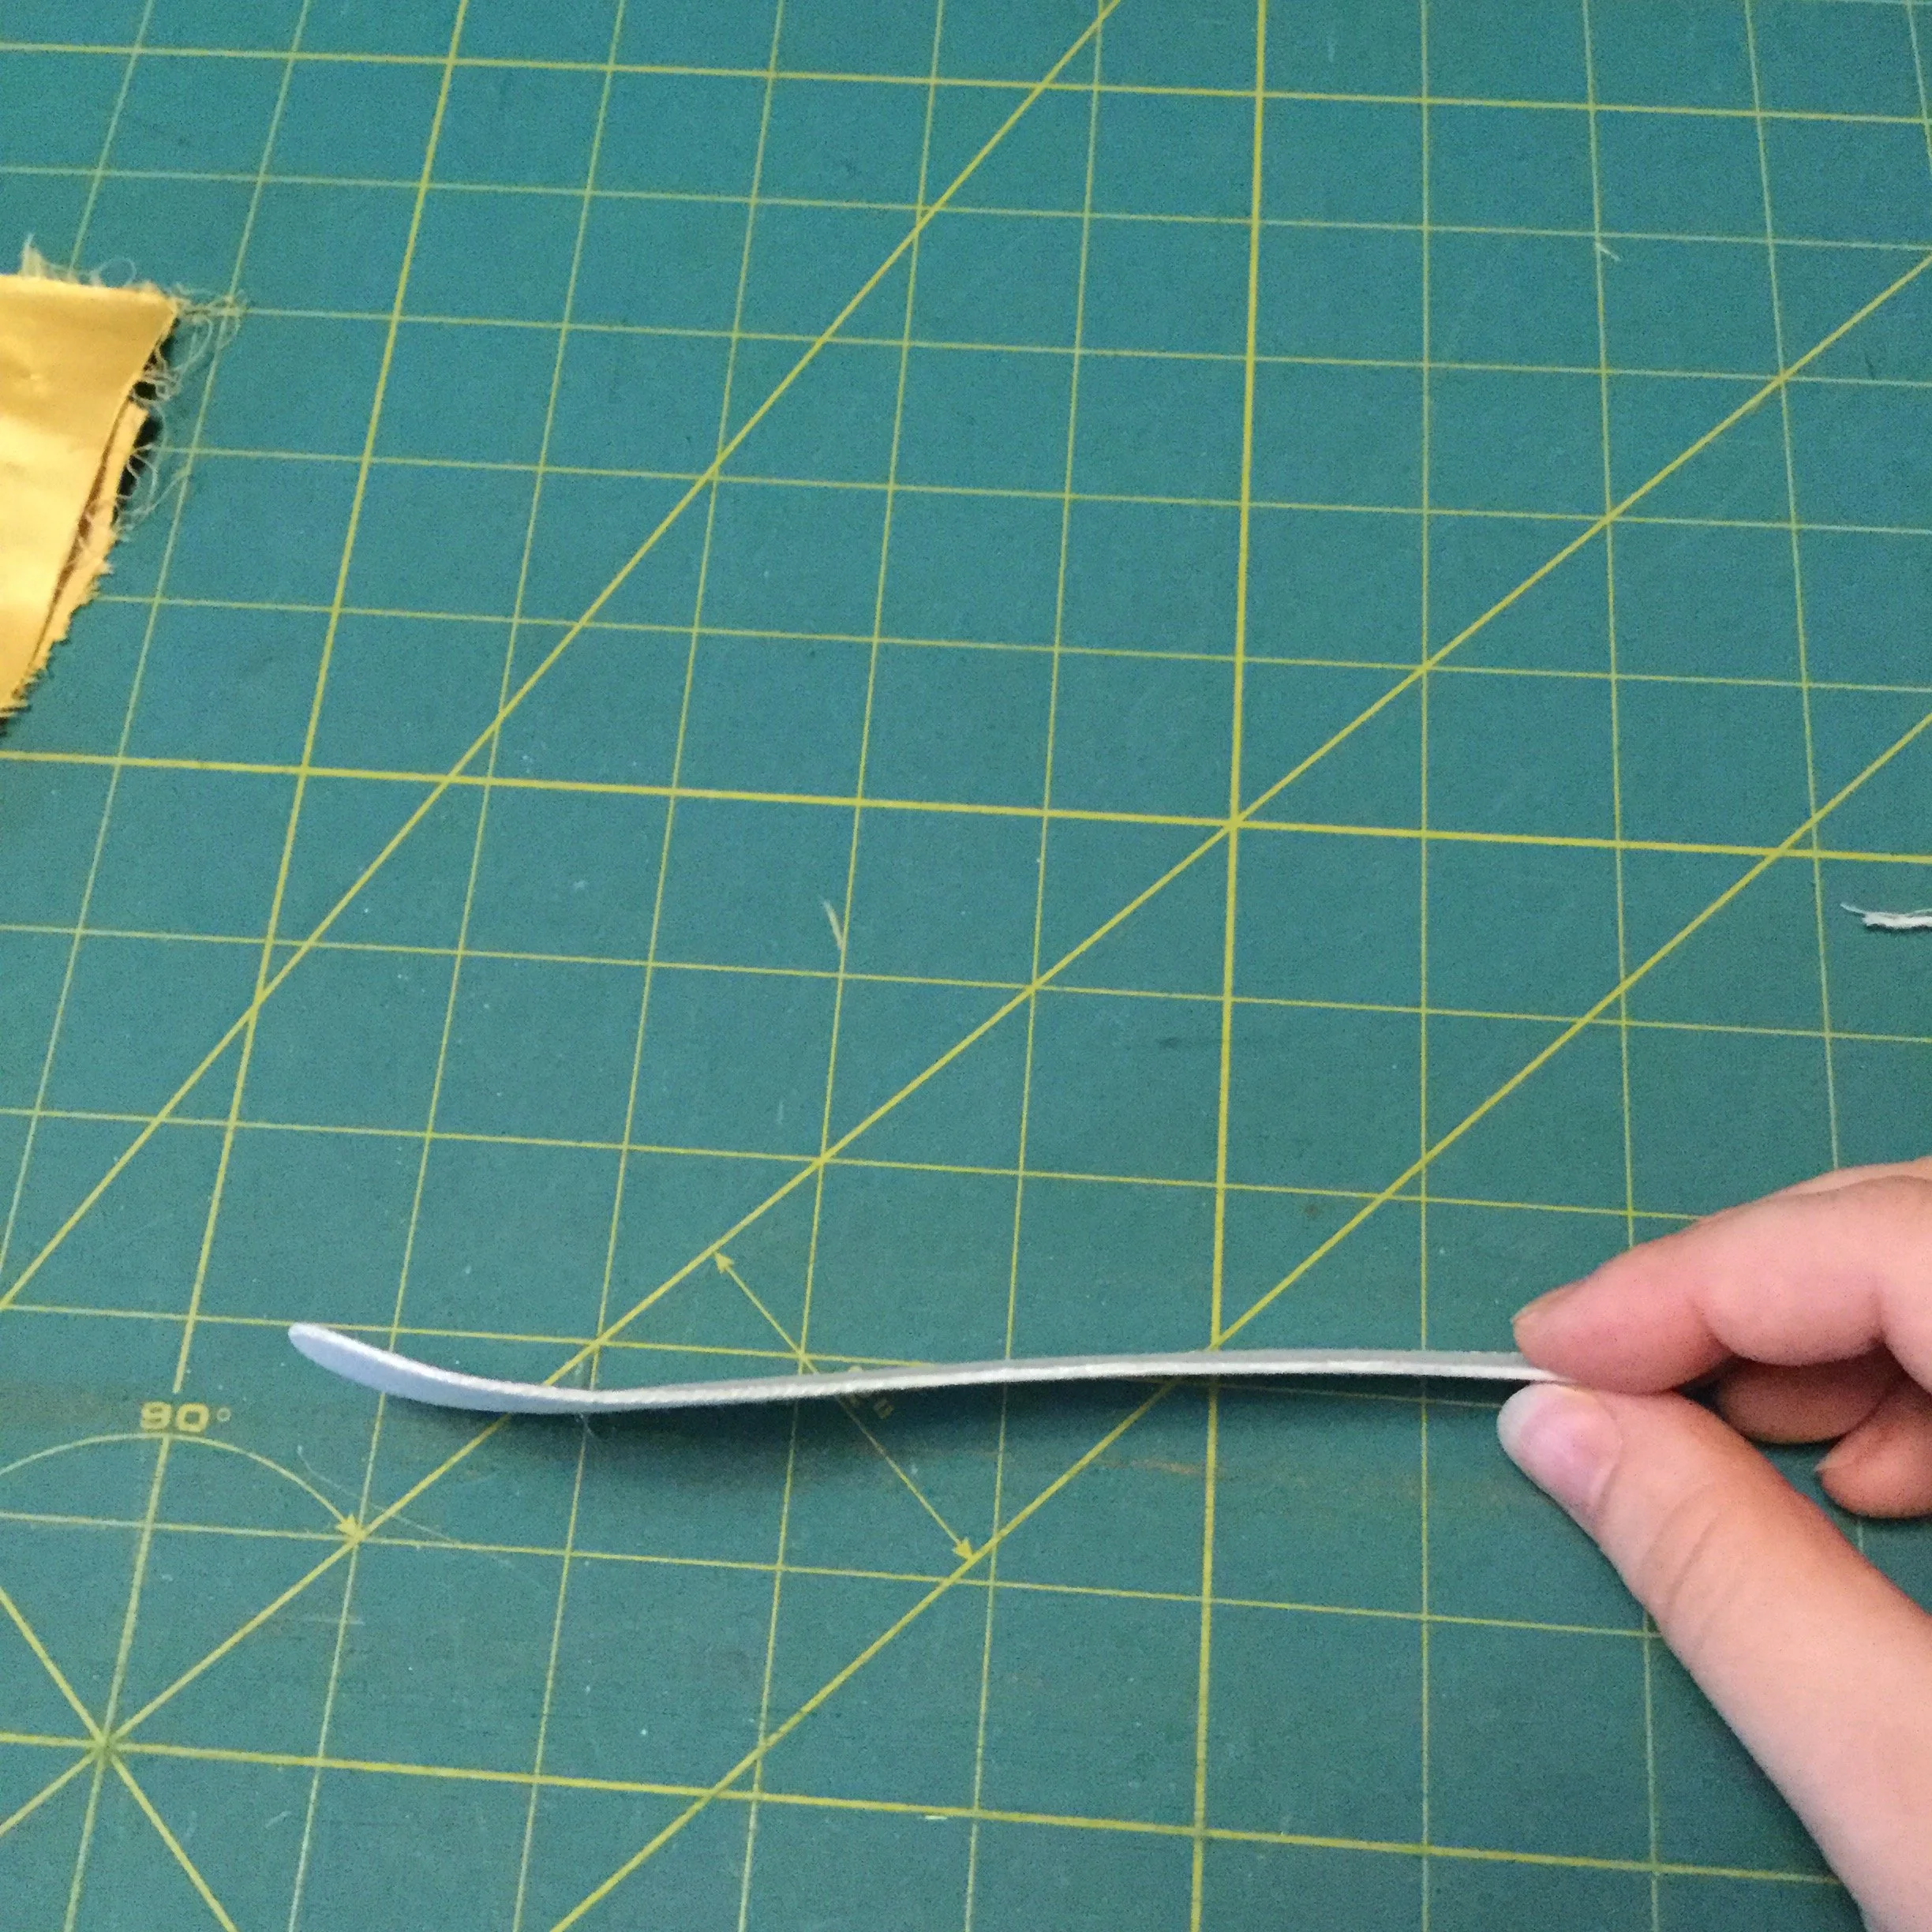
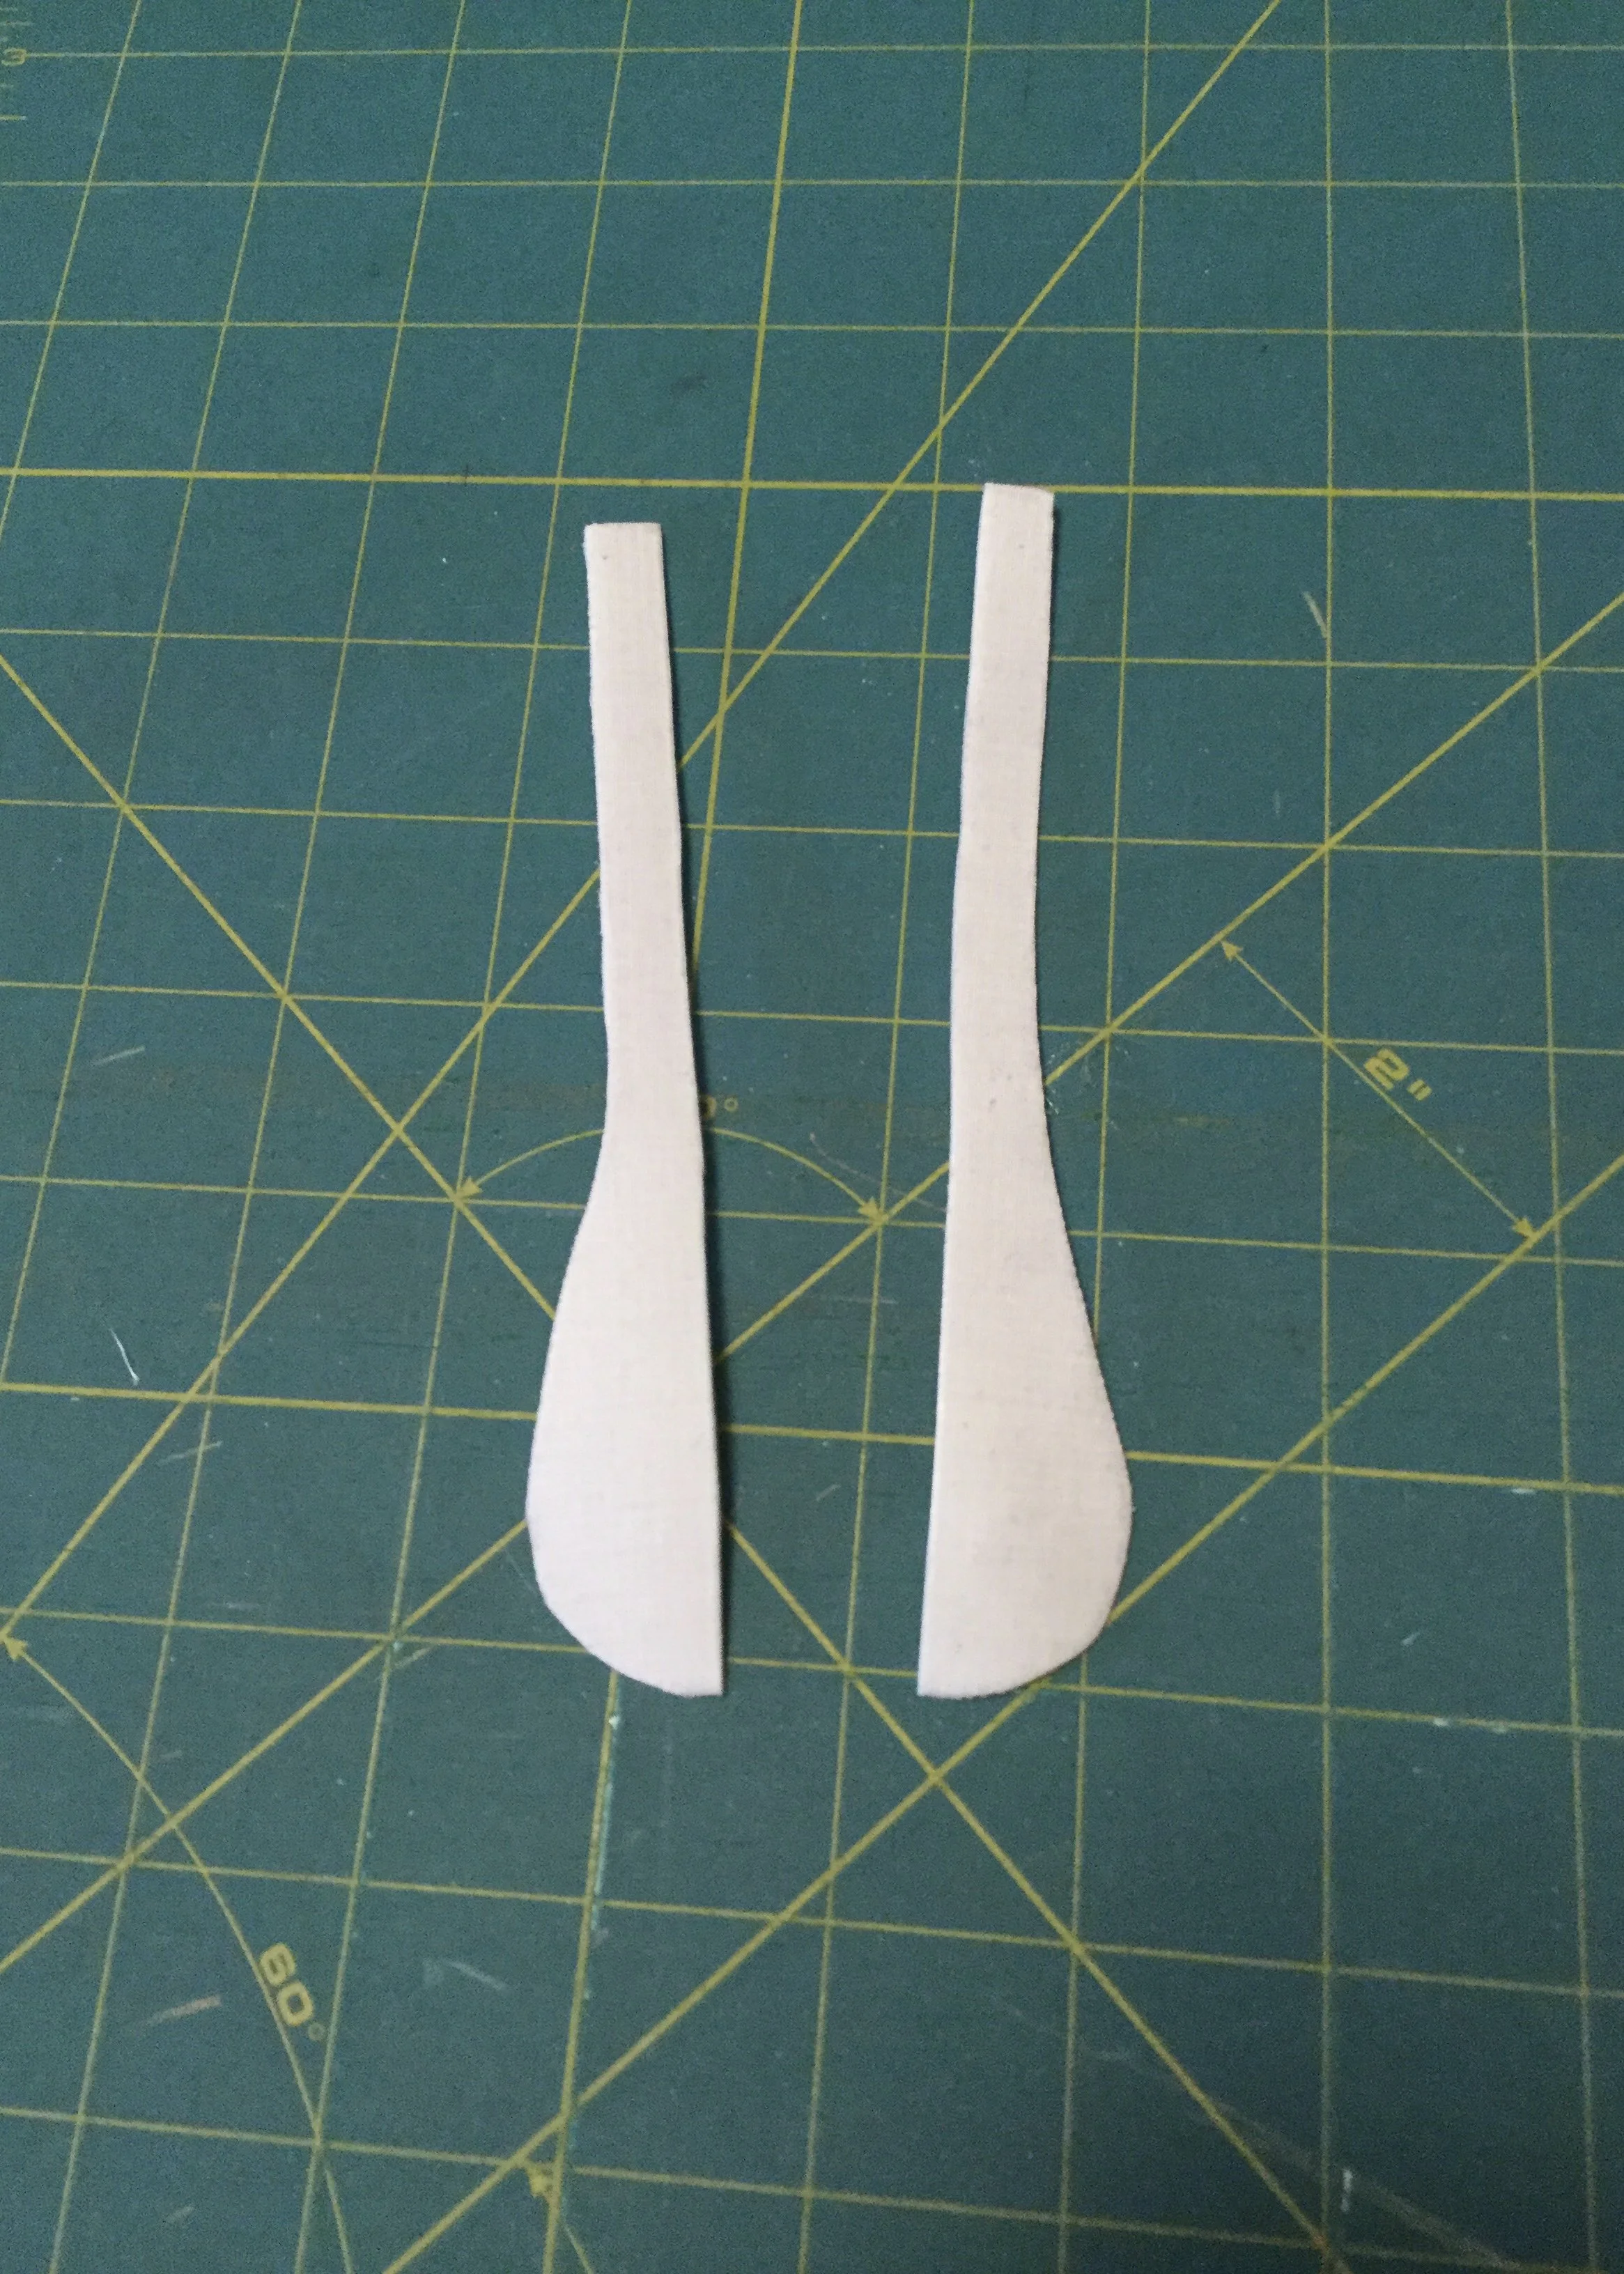
At this point I also made my busk. I traced my pattern onto the wonderflex and used my iron to heat it and shaped it over the end of the ham (I still haven't quite forgiven it for leaving a red smudge on the combinations.)
Finished busk.
After leaving it to cool completely, I cut out the busk and split it down the middle. Overall, I'm happy with the final product but I wouldn't say that it's really doing any heavy lifting. It has the right shape and even gives the front a wee bit of a curve though so I'm still glad I did it.
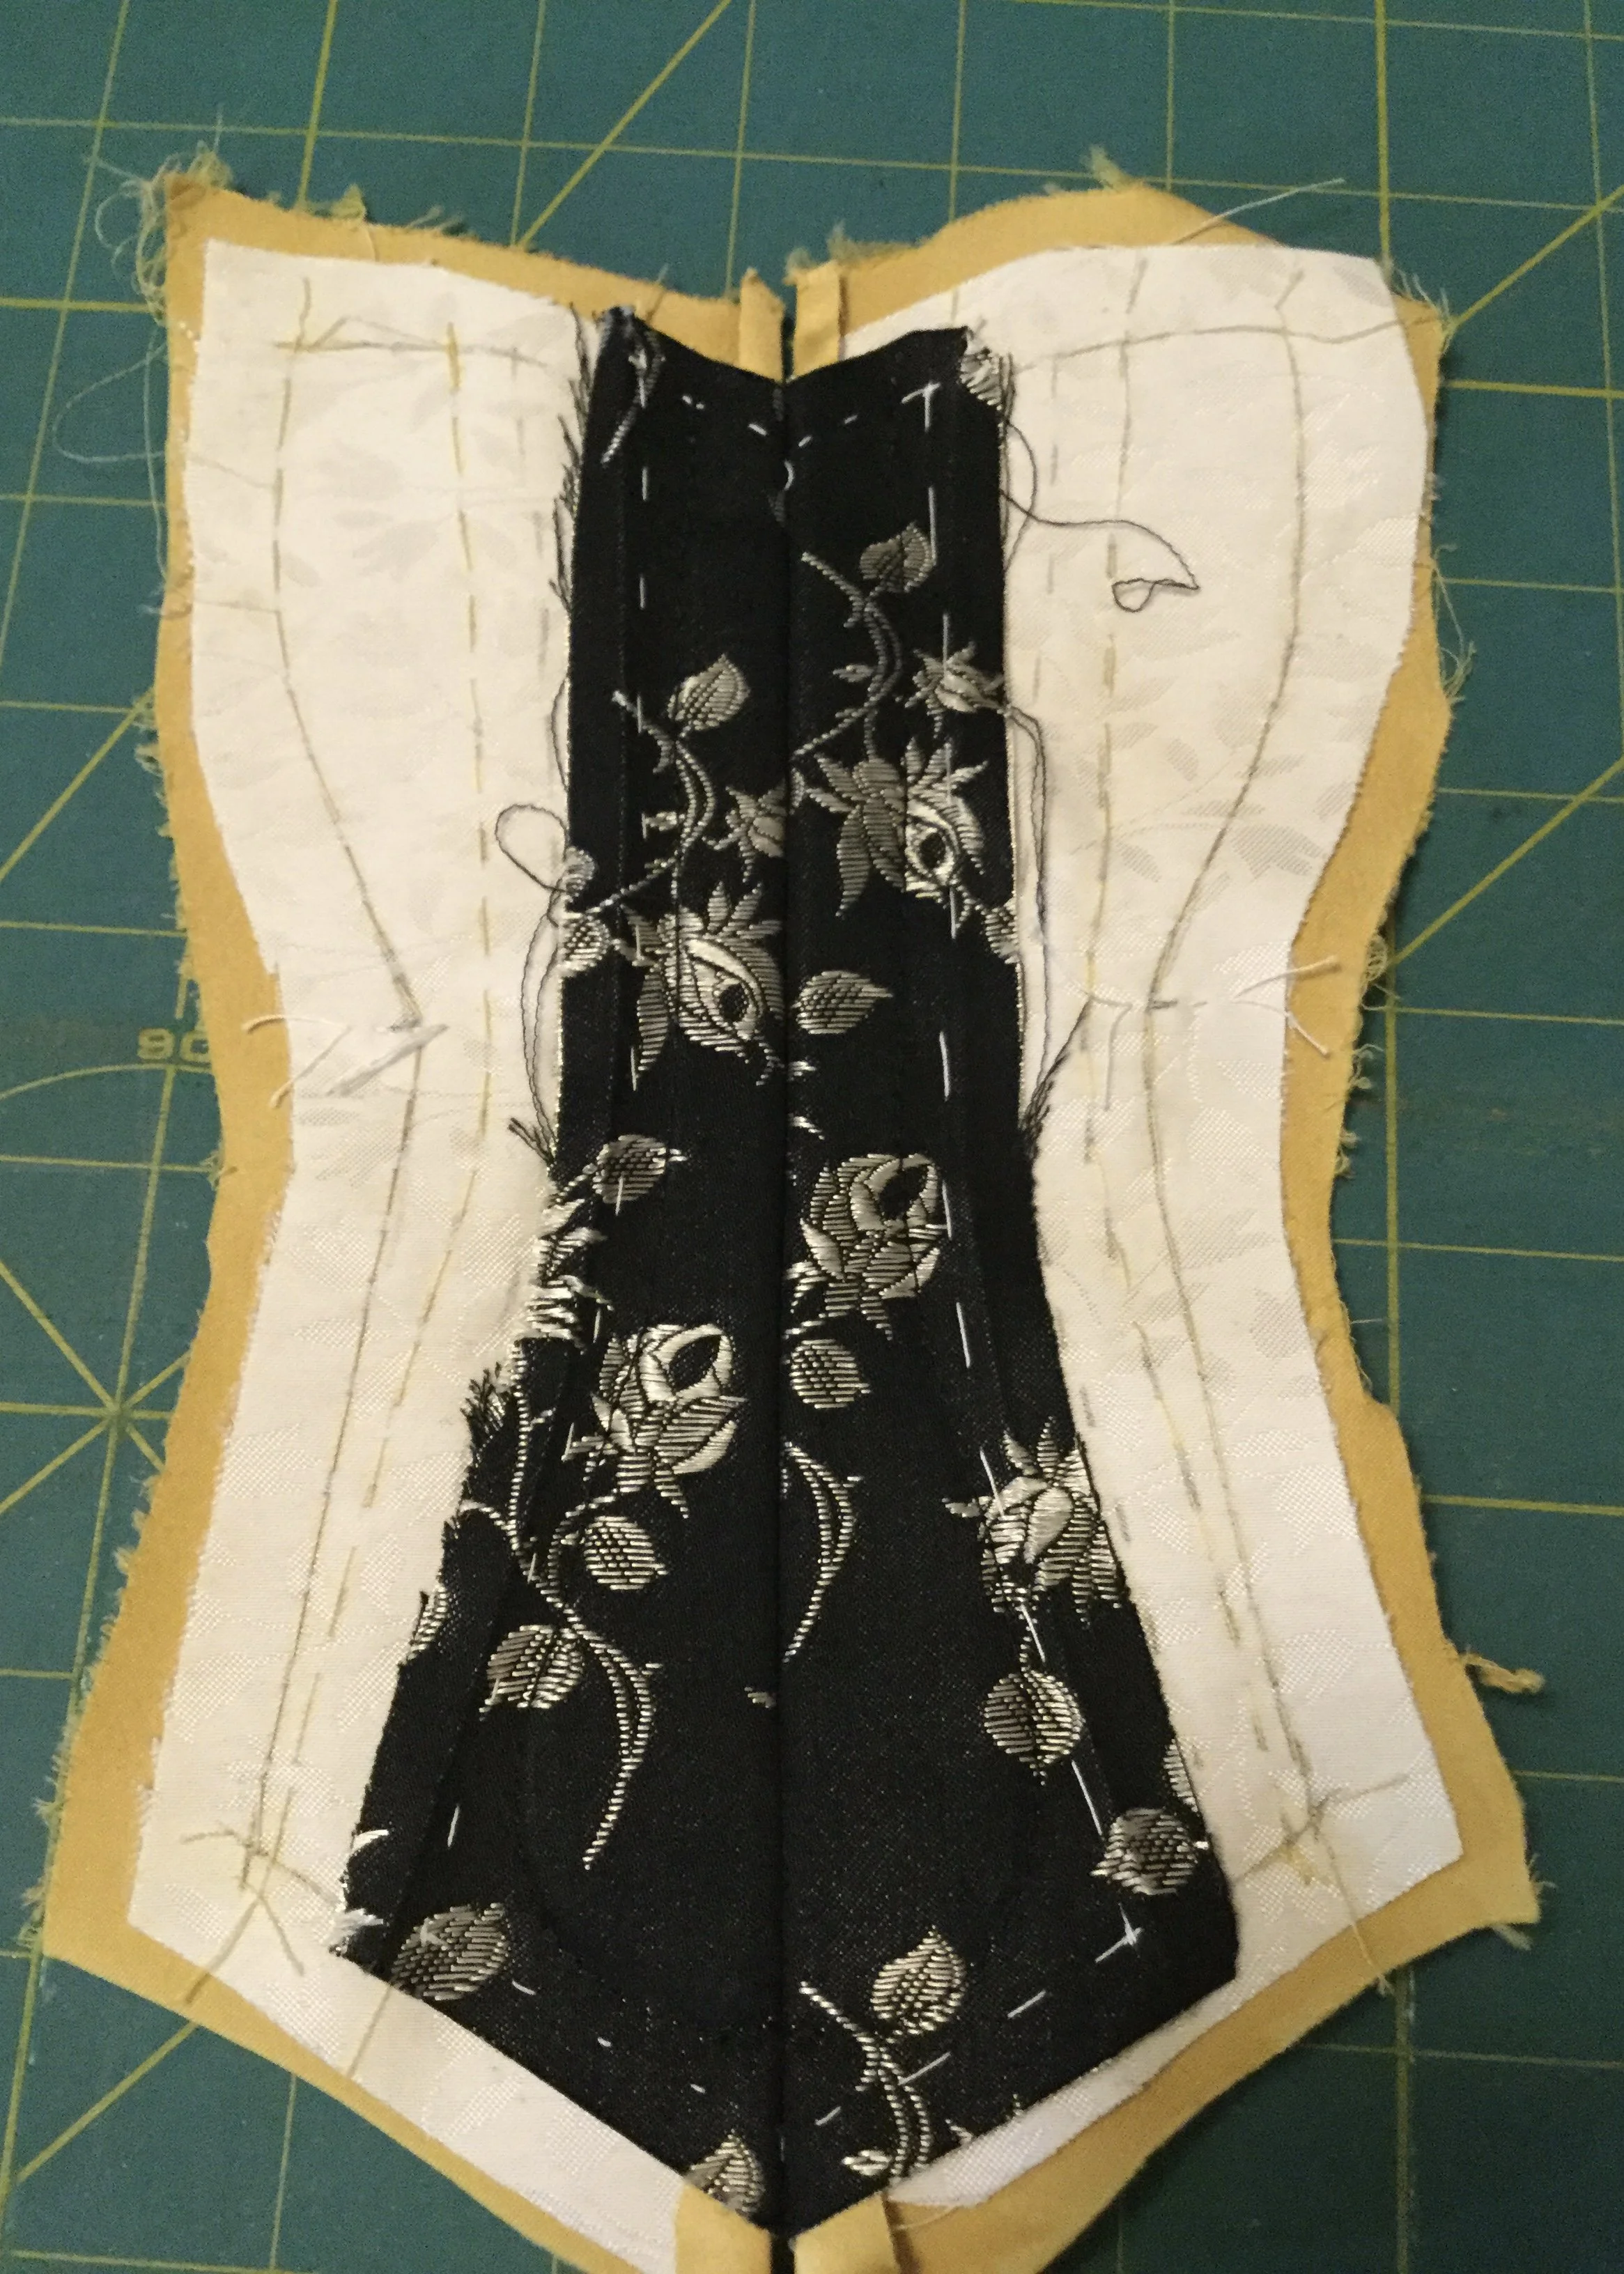
Since the finished busk is still soft enough for a needle to get through, I decided to trace the busk and baste my stitching line rather than relying solely on the edge of the busk to guide the stitching line. It was also at this point that I realized that I didn't actually need the whole second half of each front piece and trimmed it off so that the raw edge would be concealed and protected within the facing.
Tracing the busk and trimming excess from the front.
After stitching the busk in place, I folded under the edge of the facing to stitch it down and create a casing for the bone next to the busk, a task of great fiddliness which ultimately didn't go very well. Here is where my earlier stinginess with seam allowance came back to bite me in the ass. I ended up focusing on it looking good on the outside and resolved that any rough bits on the inside could be dealt with later, possibly with lining.
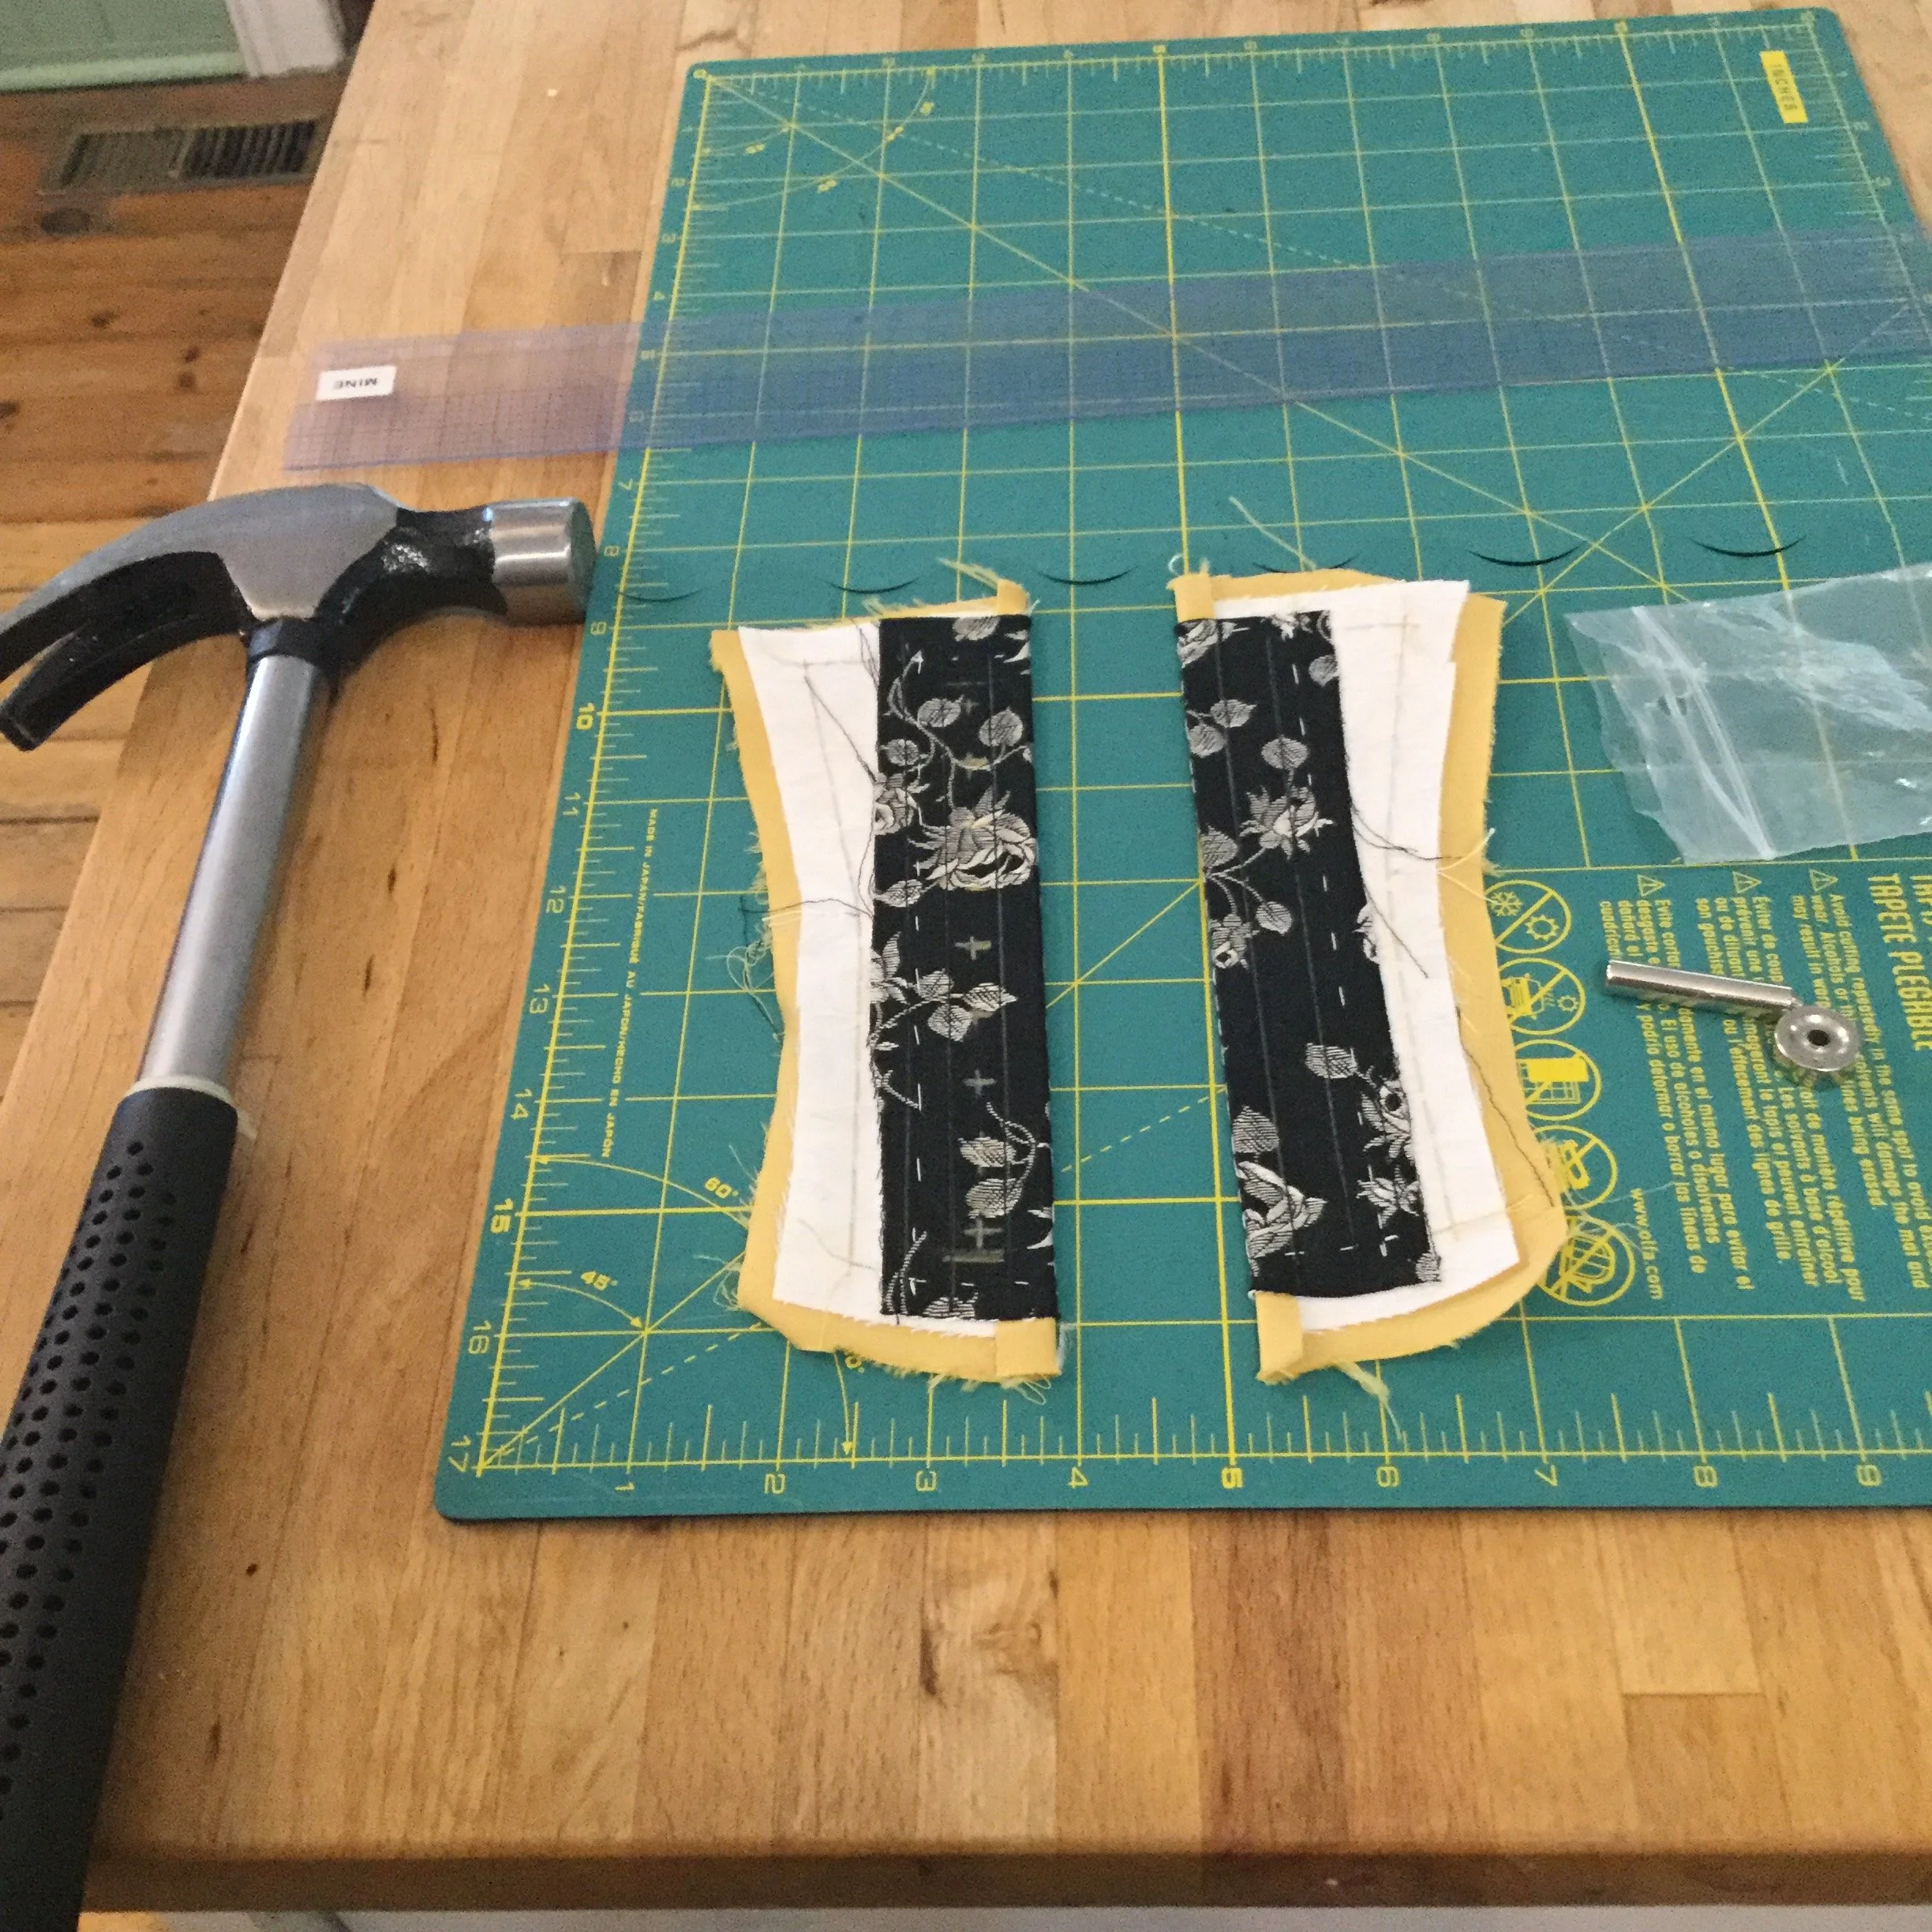
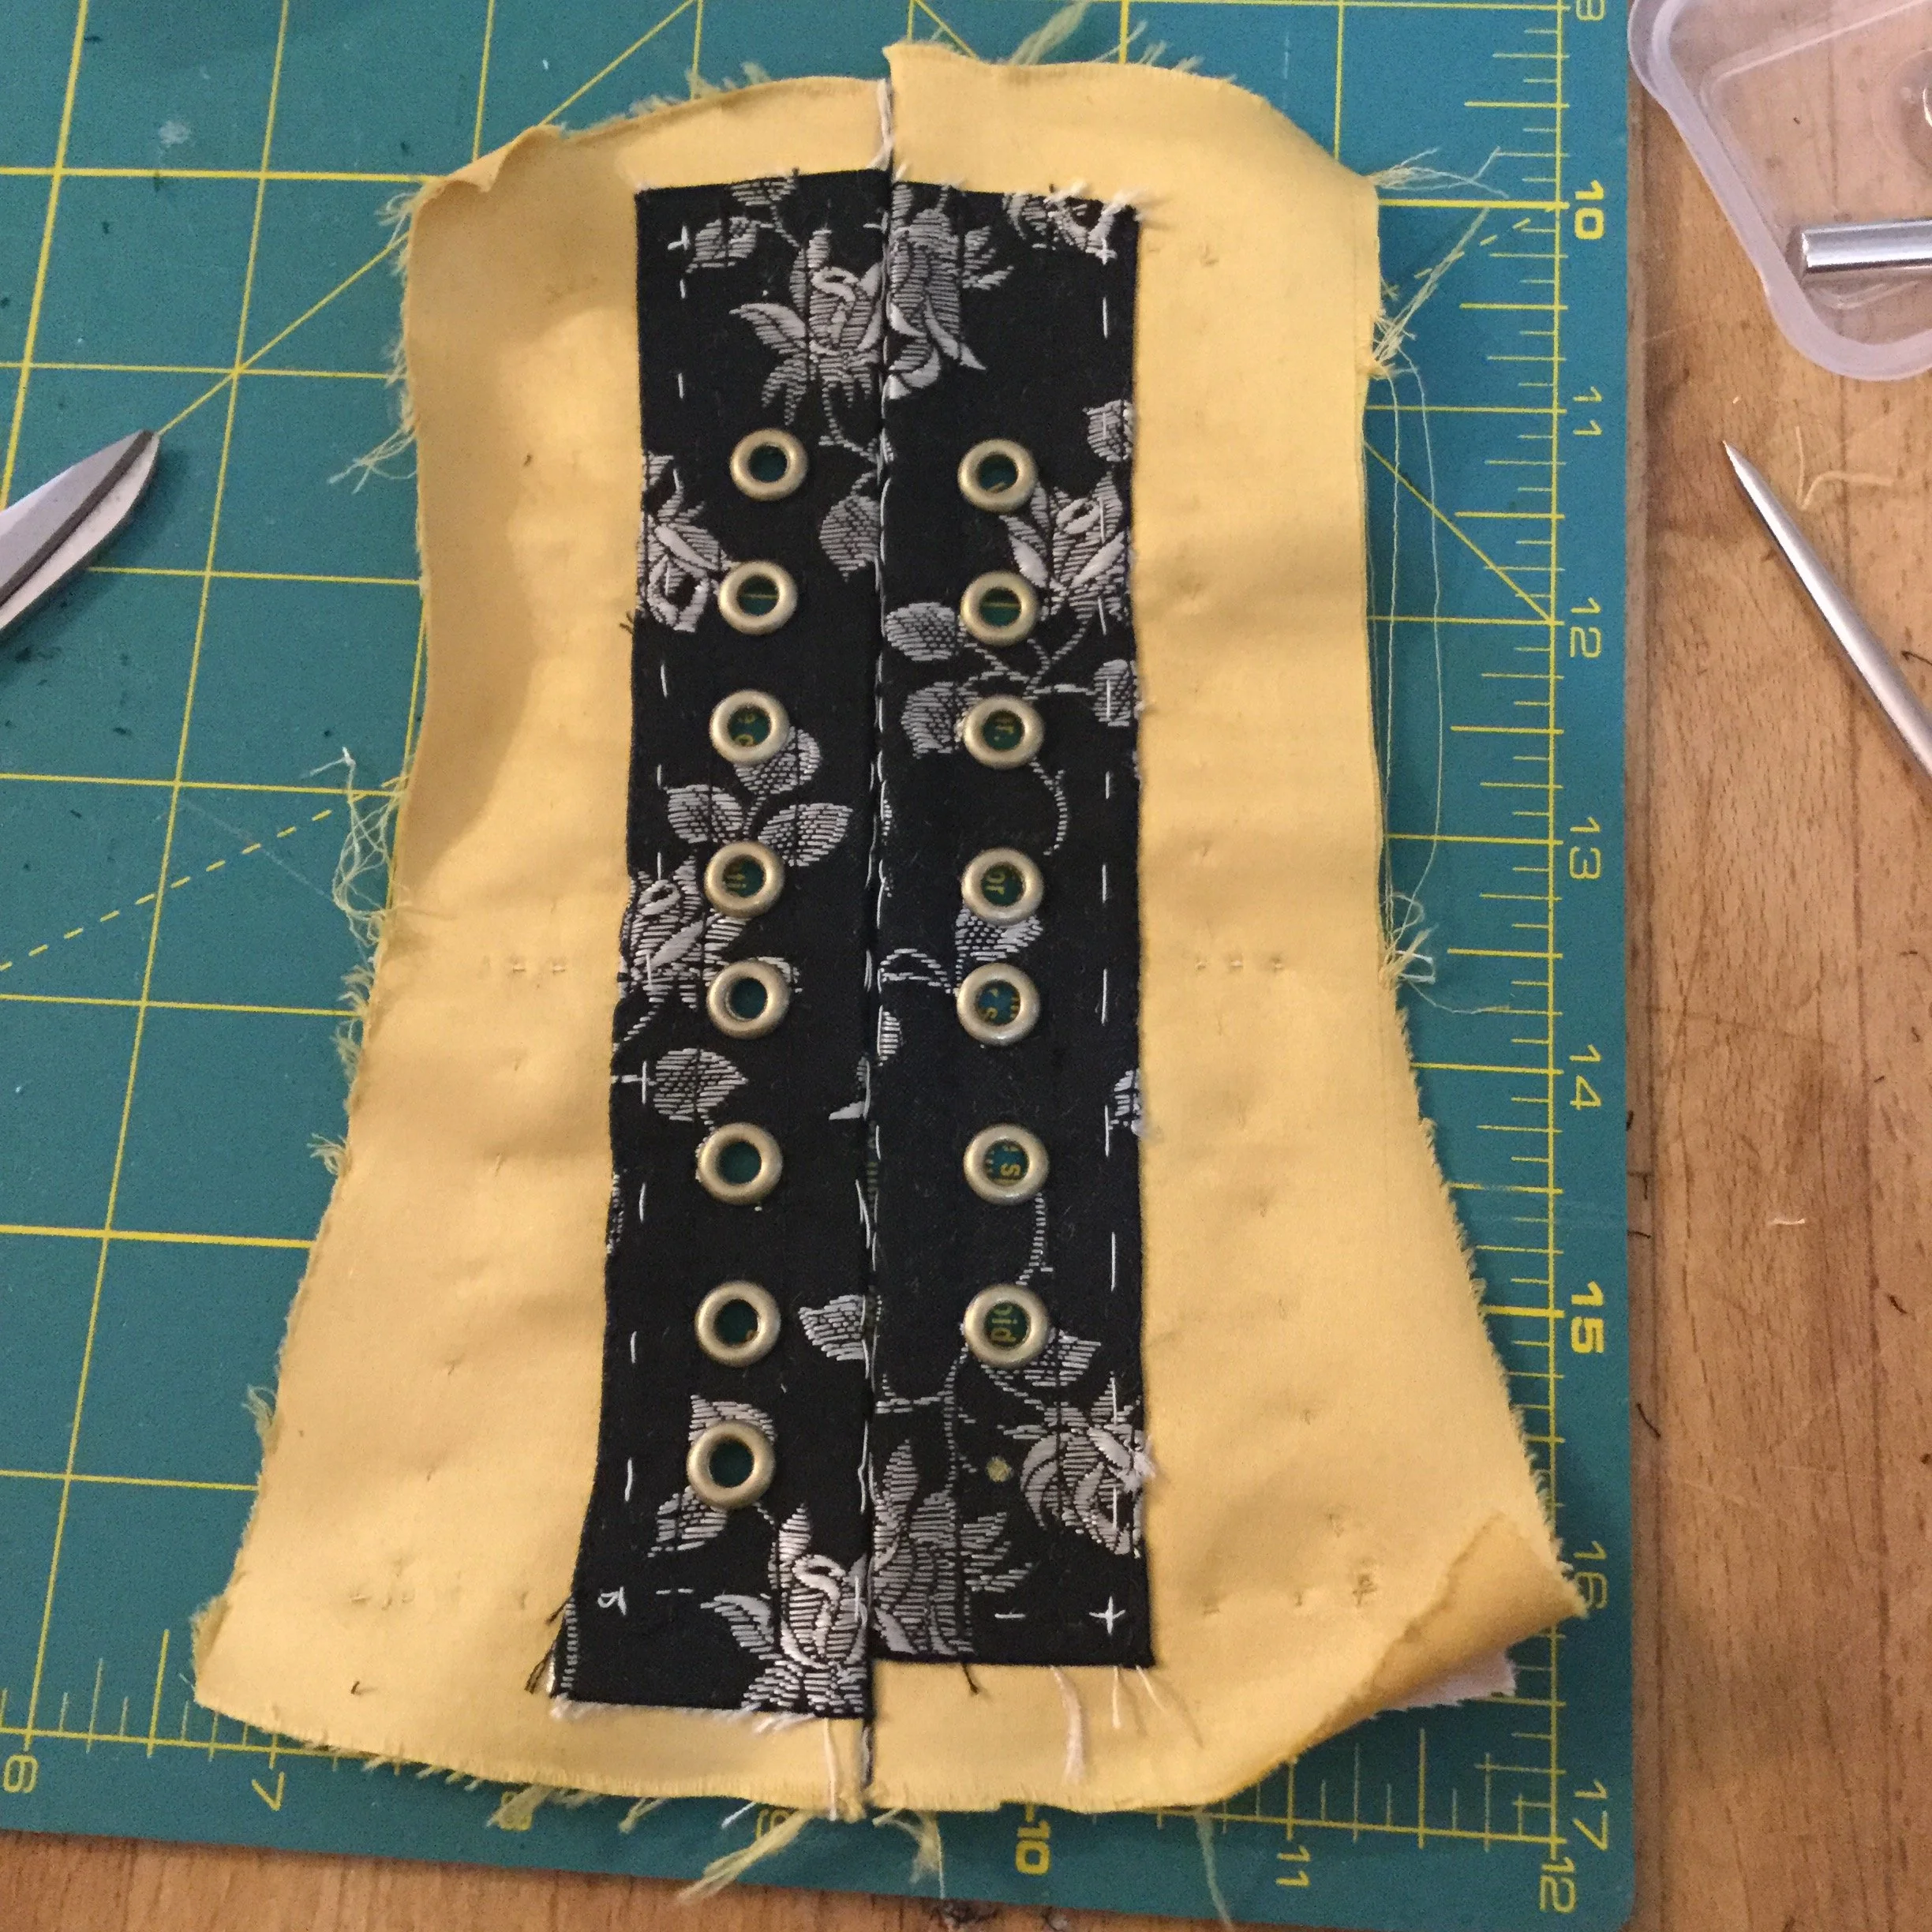
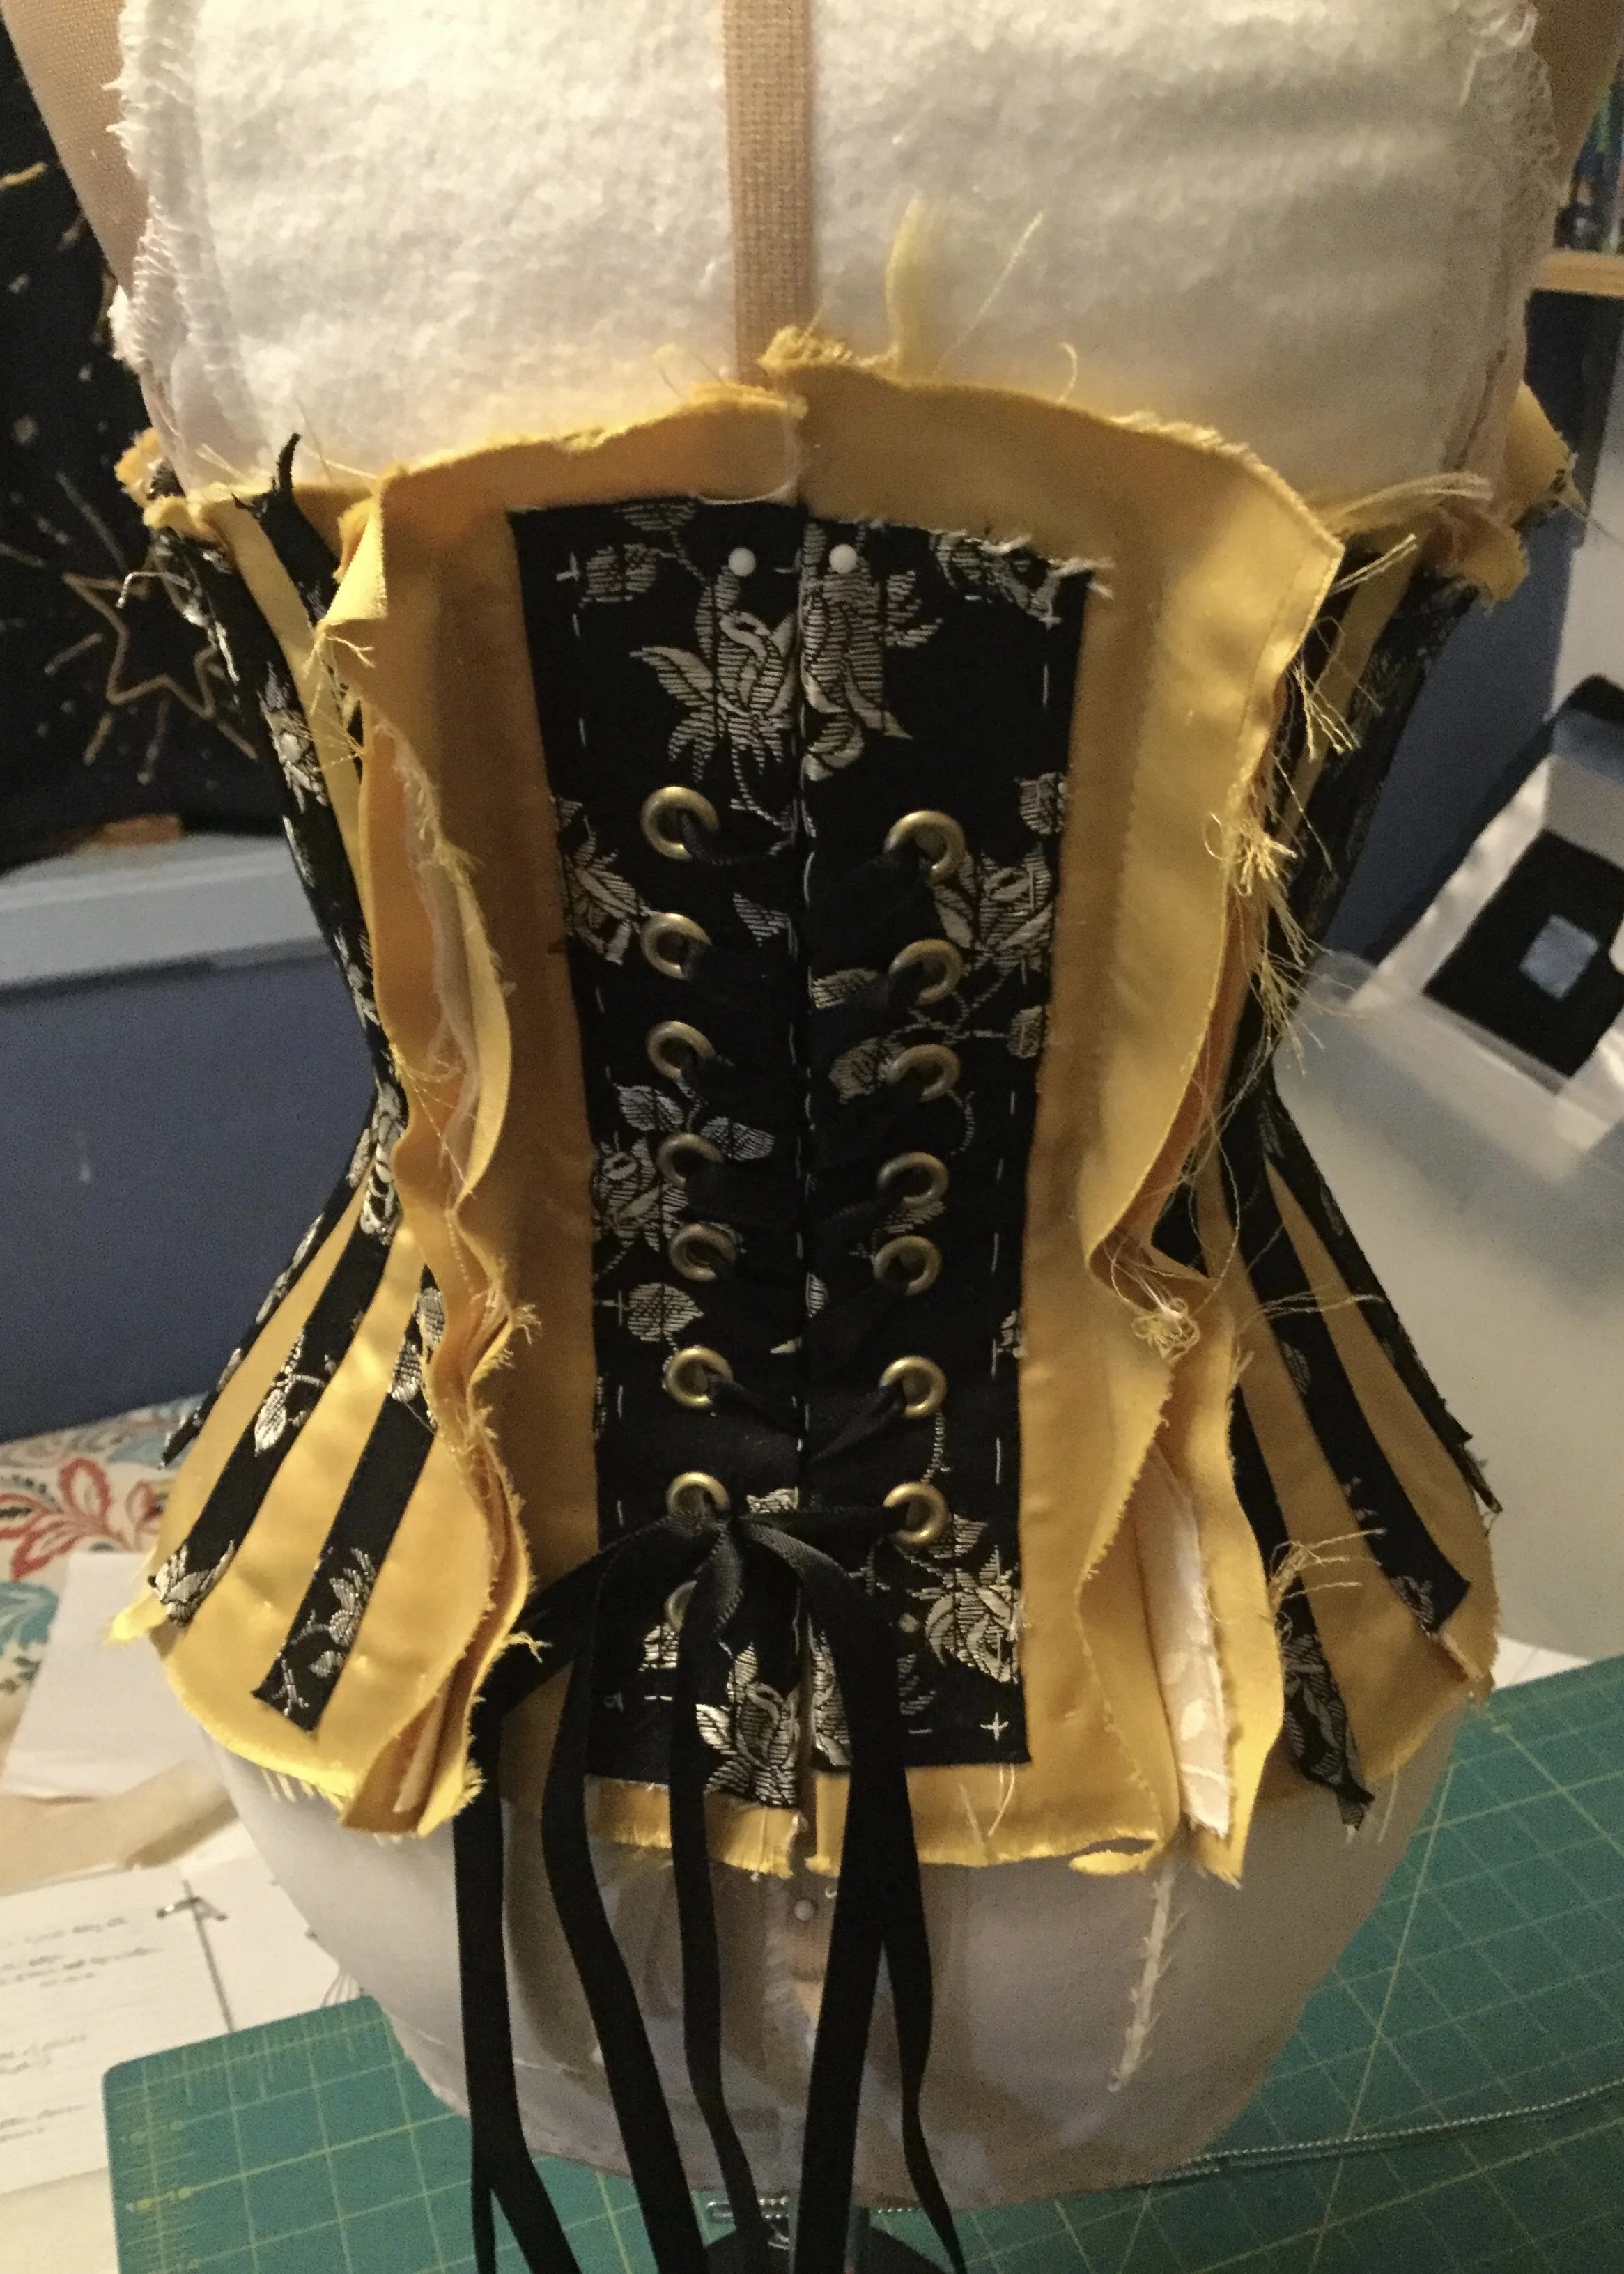
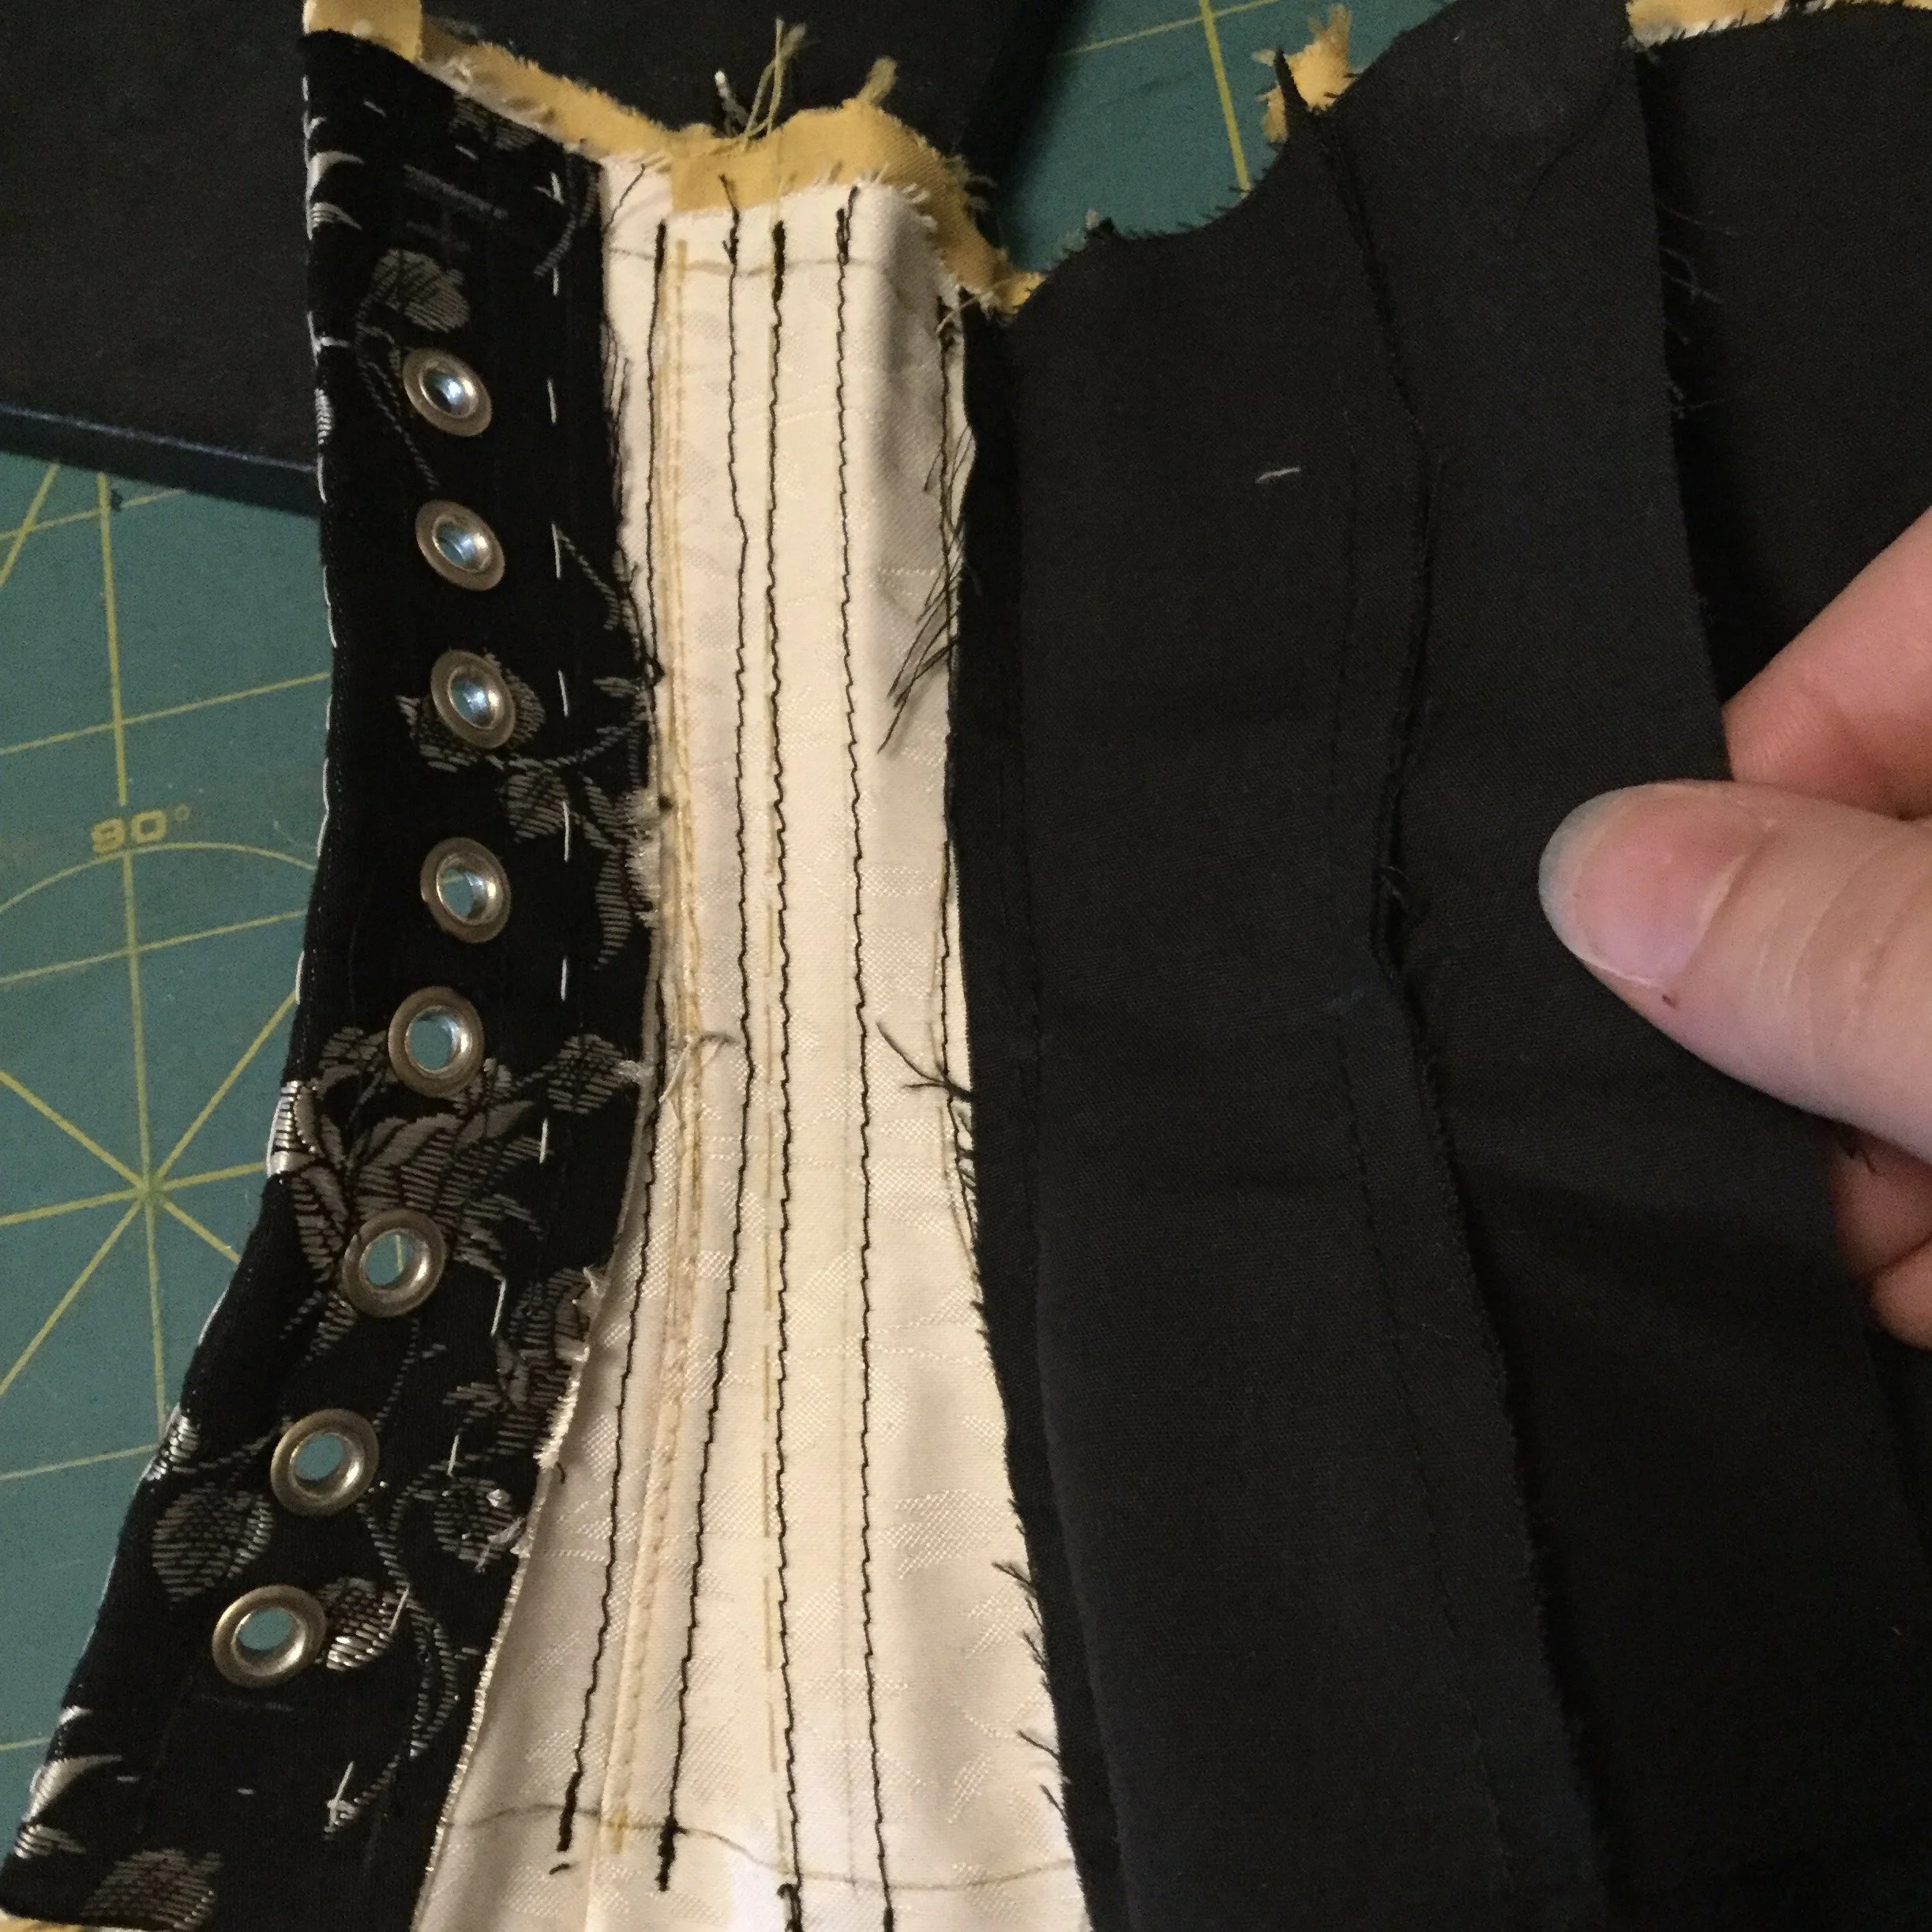
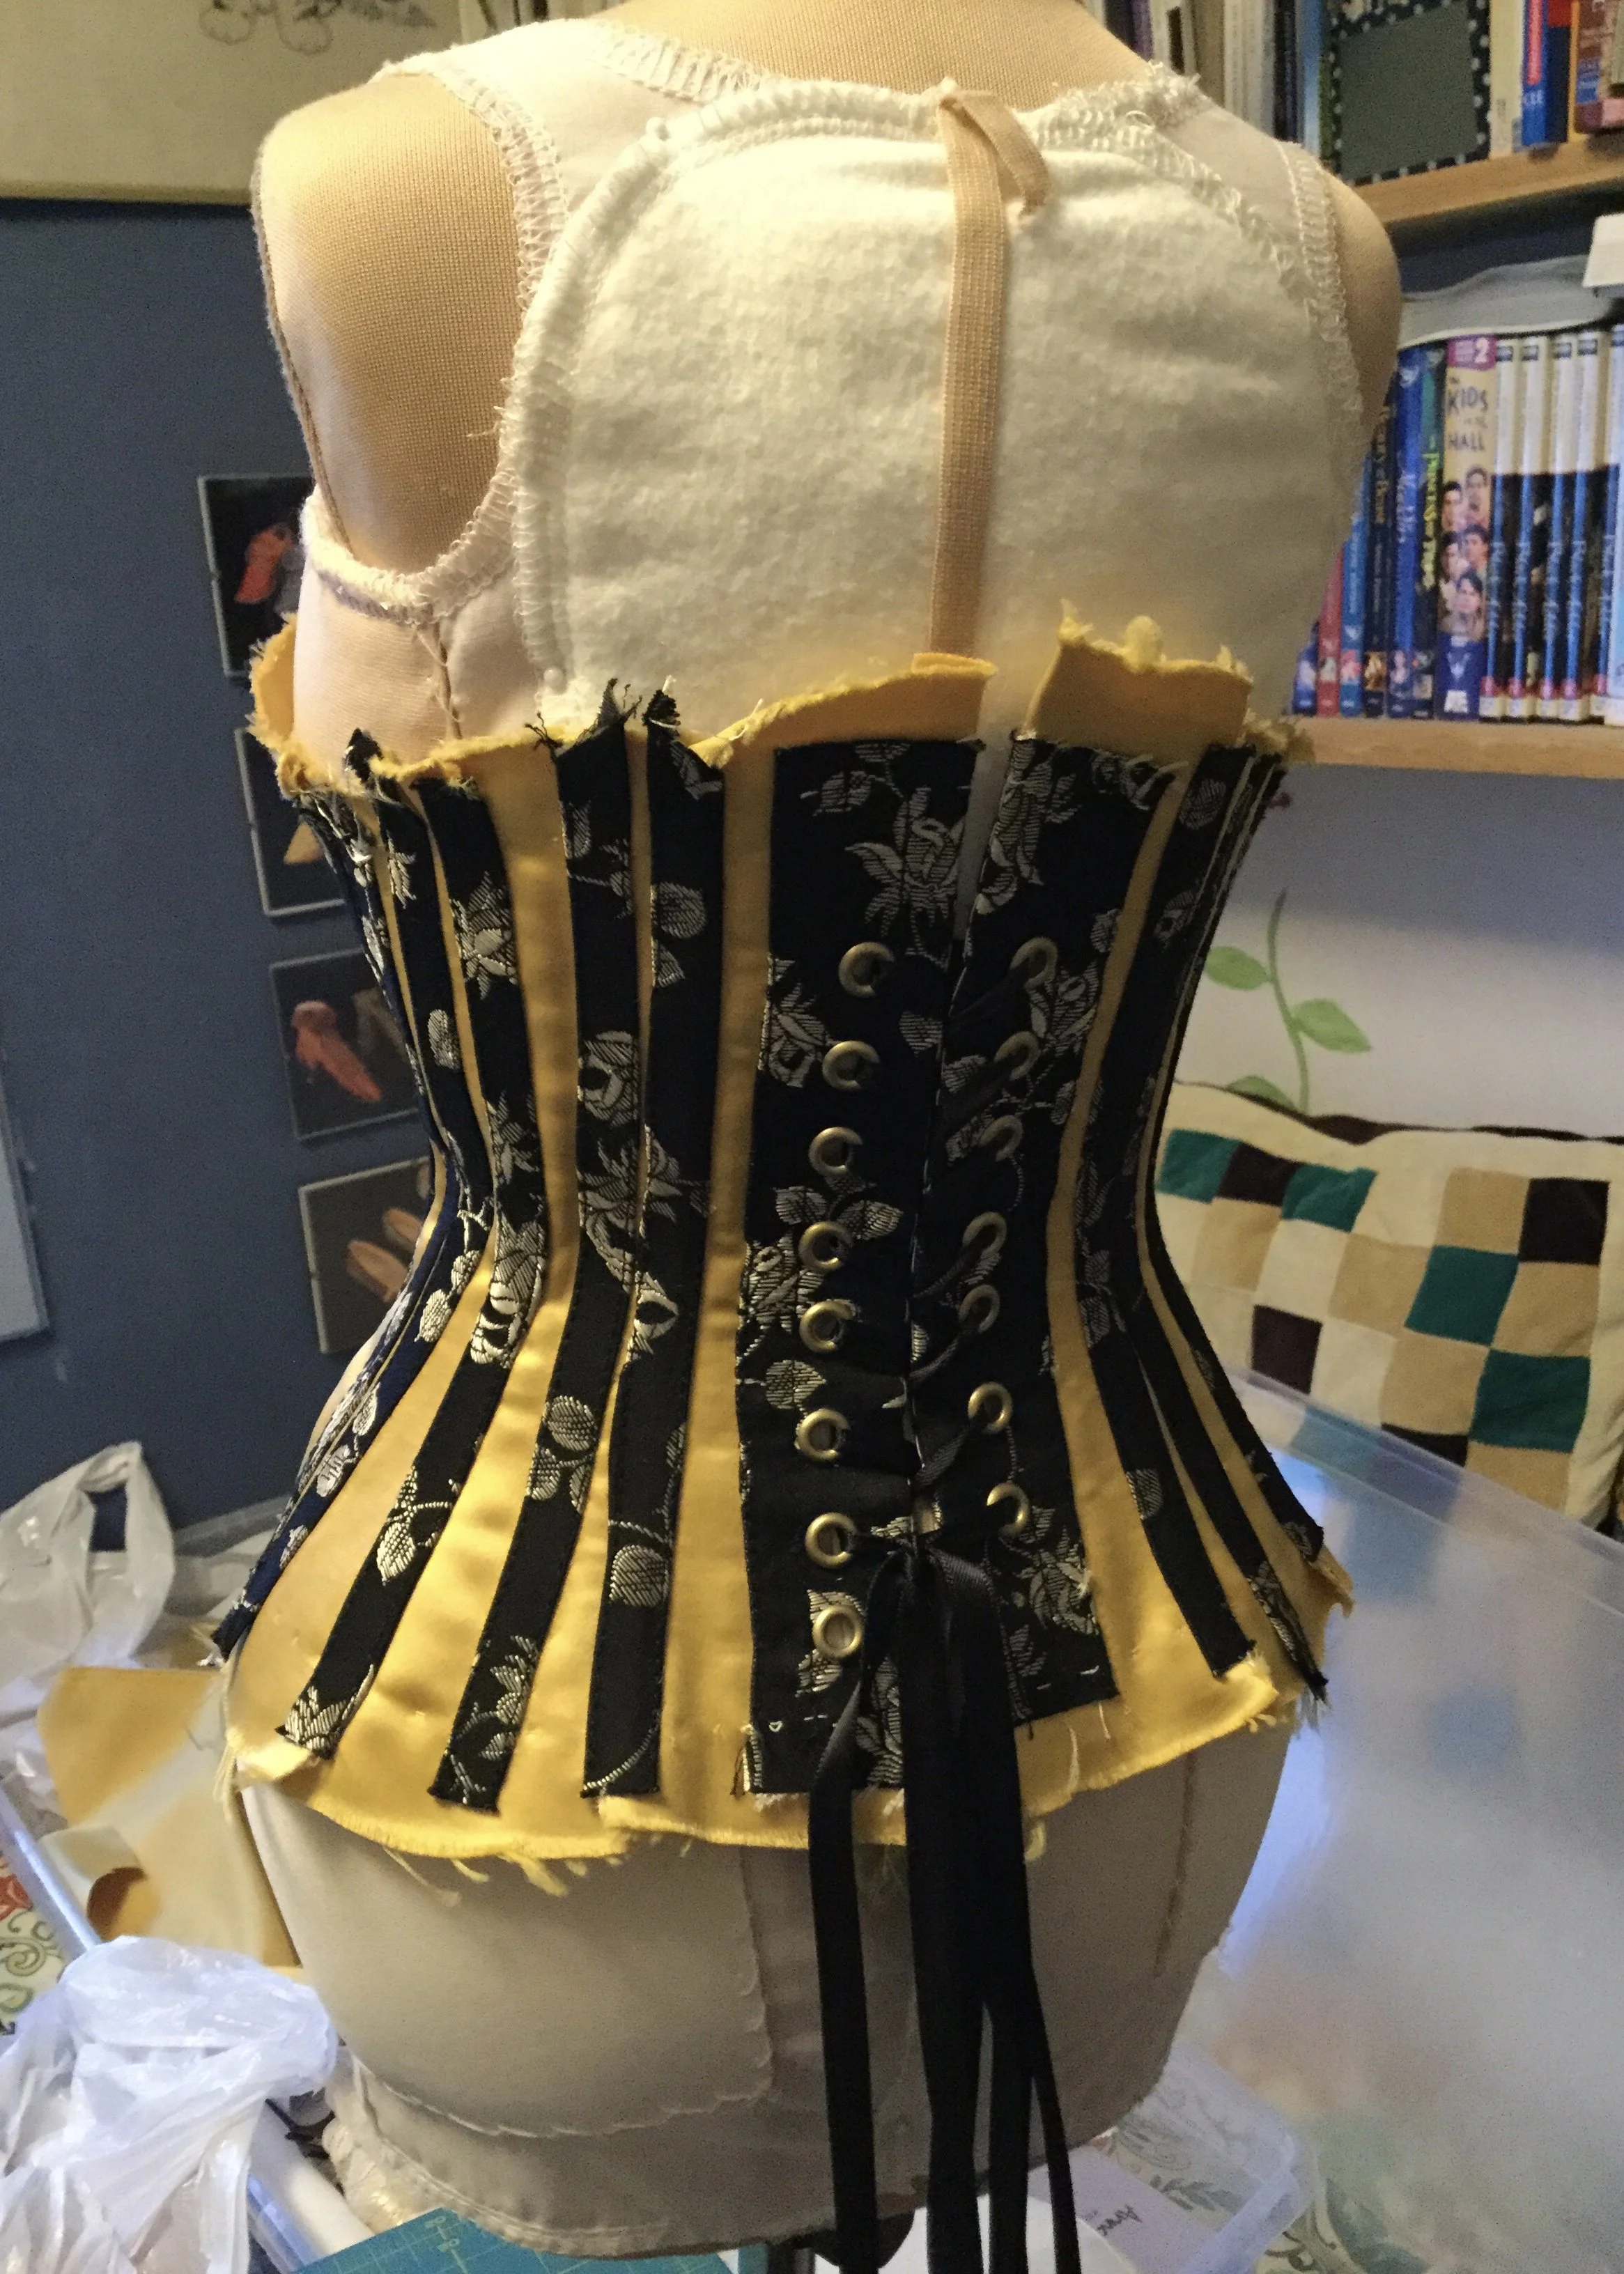
The centre backs were assembled in very much the same way as the fronts, the main difference being that they are not stitched together. When it came to finishing the back facing, I just left the seam allowance out on the inside; at this point I was pretty certain I'd end up lining the corset. With the facings in place, I inserted the eyelets as it's easier to do that before the backs are attached to the rest of the corset.
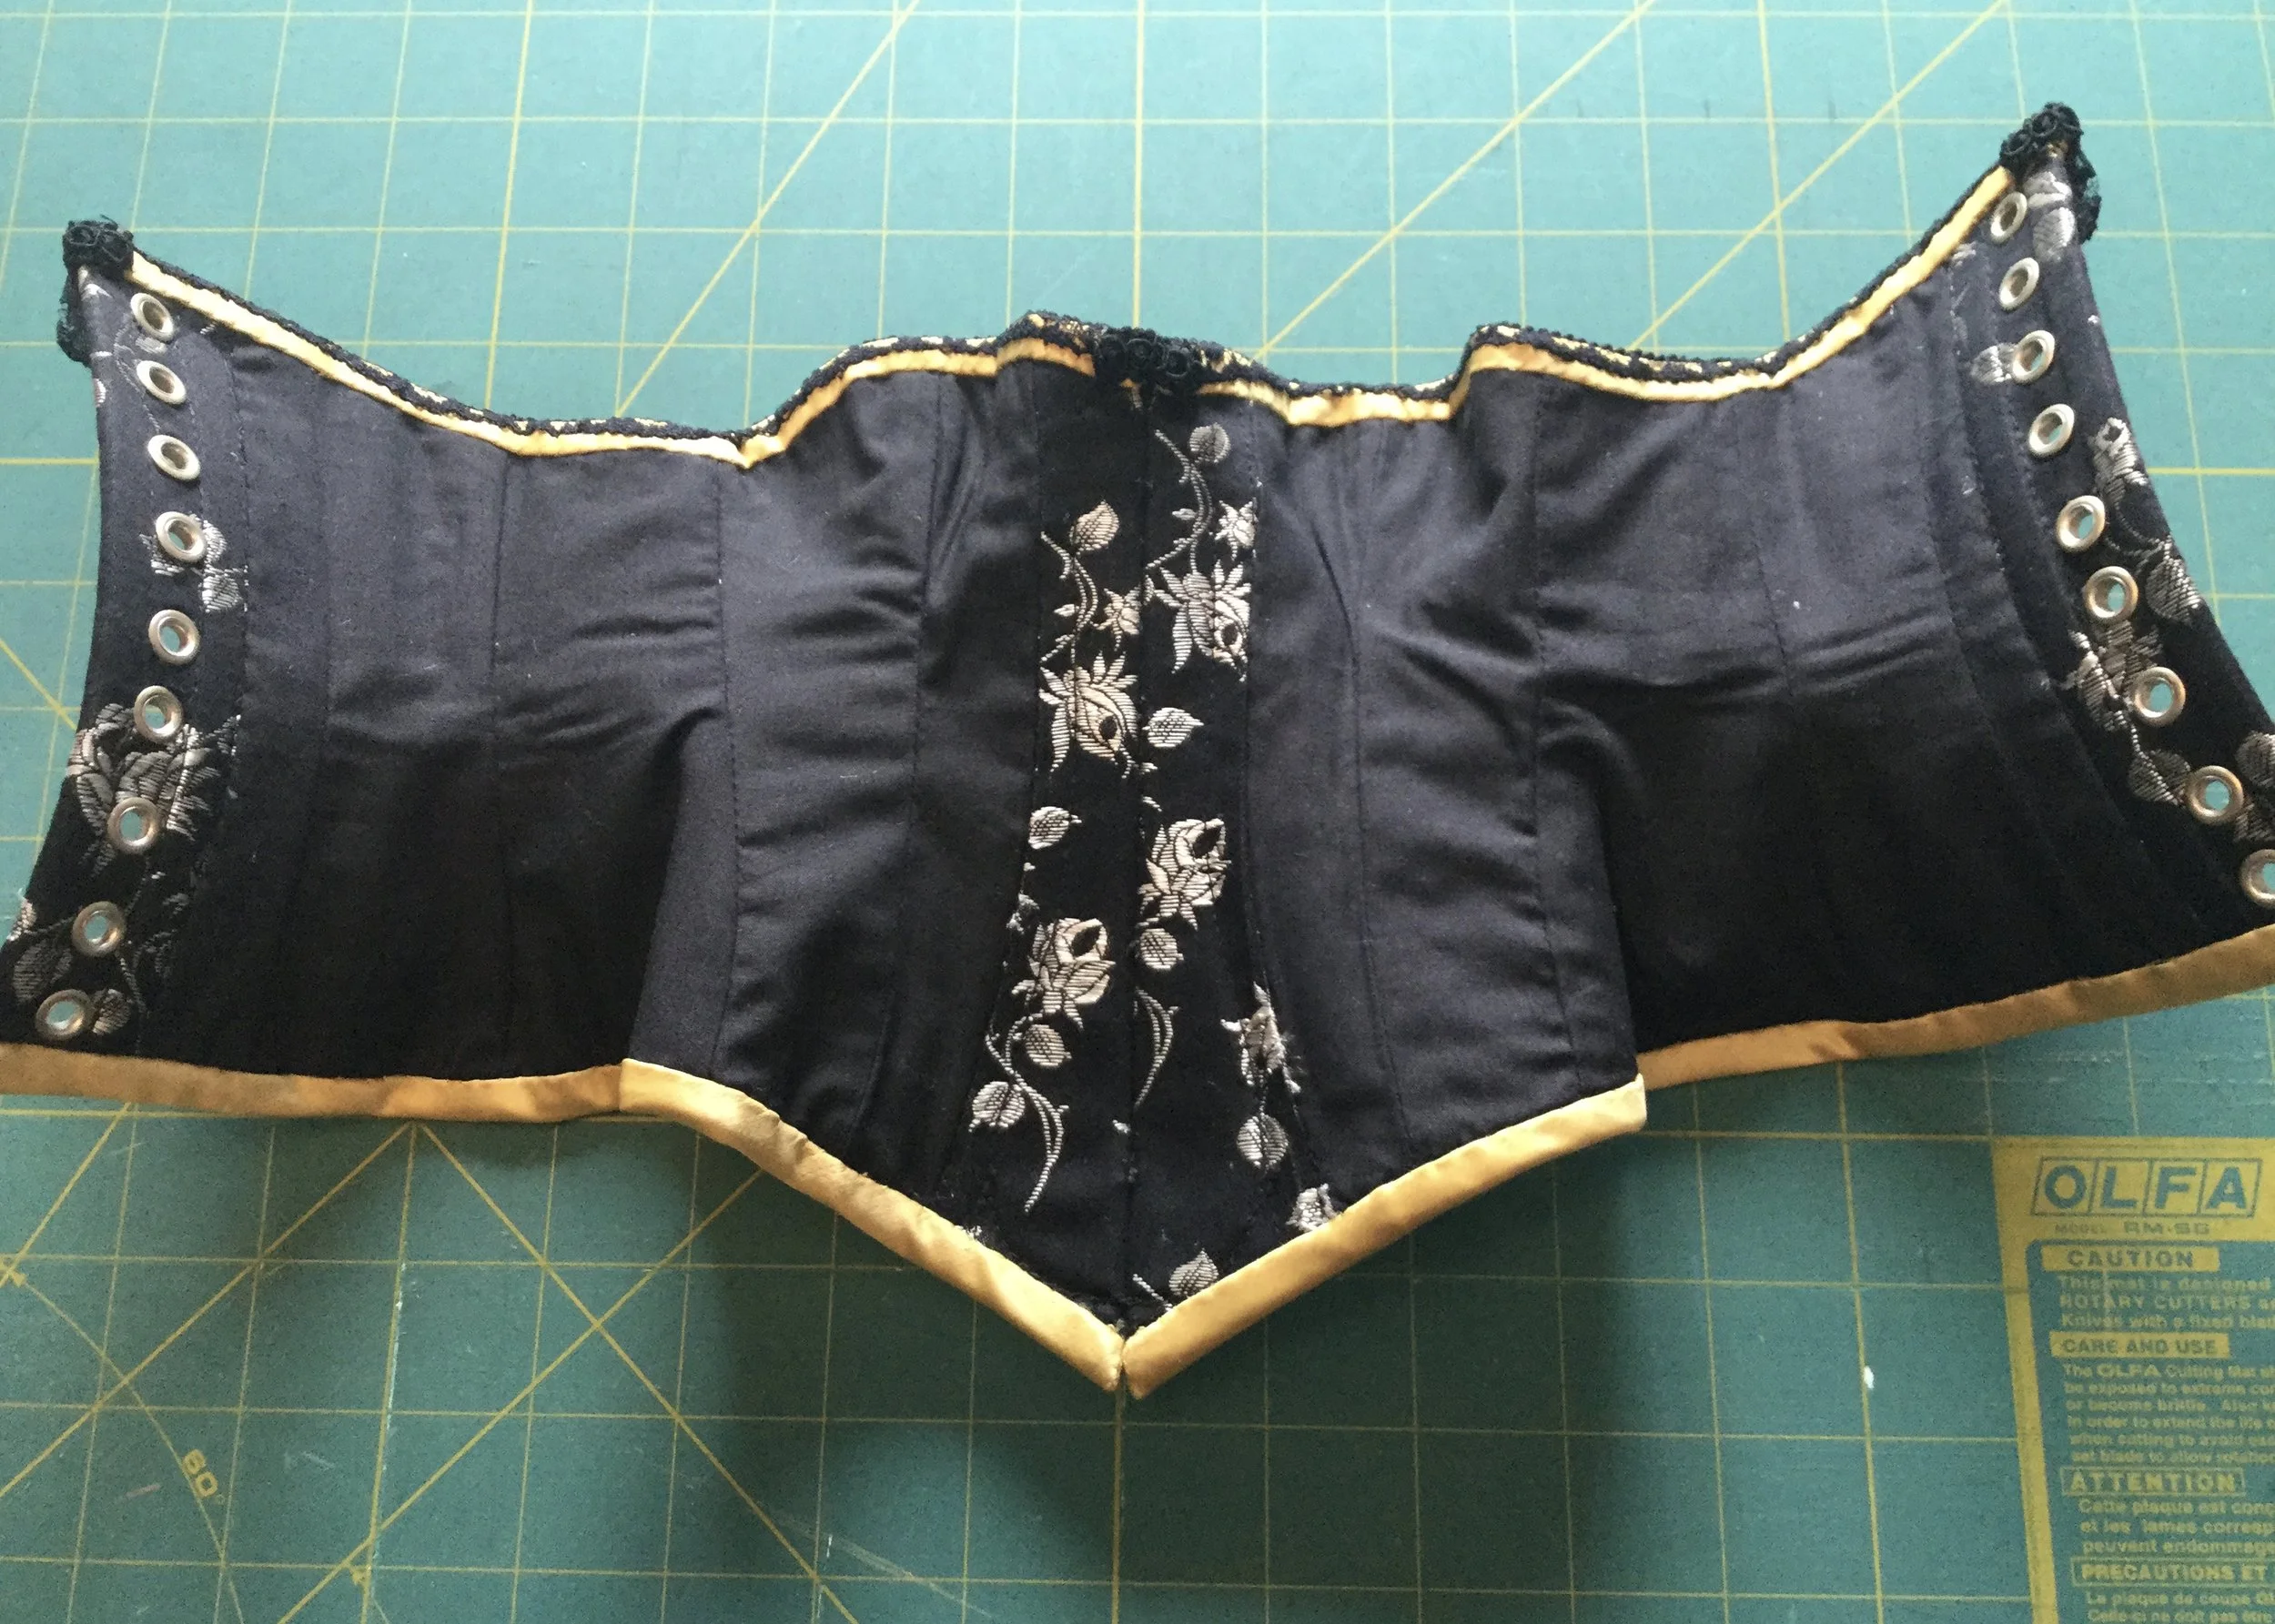
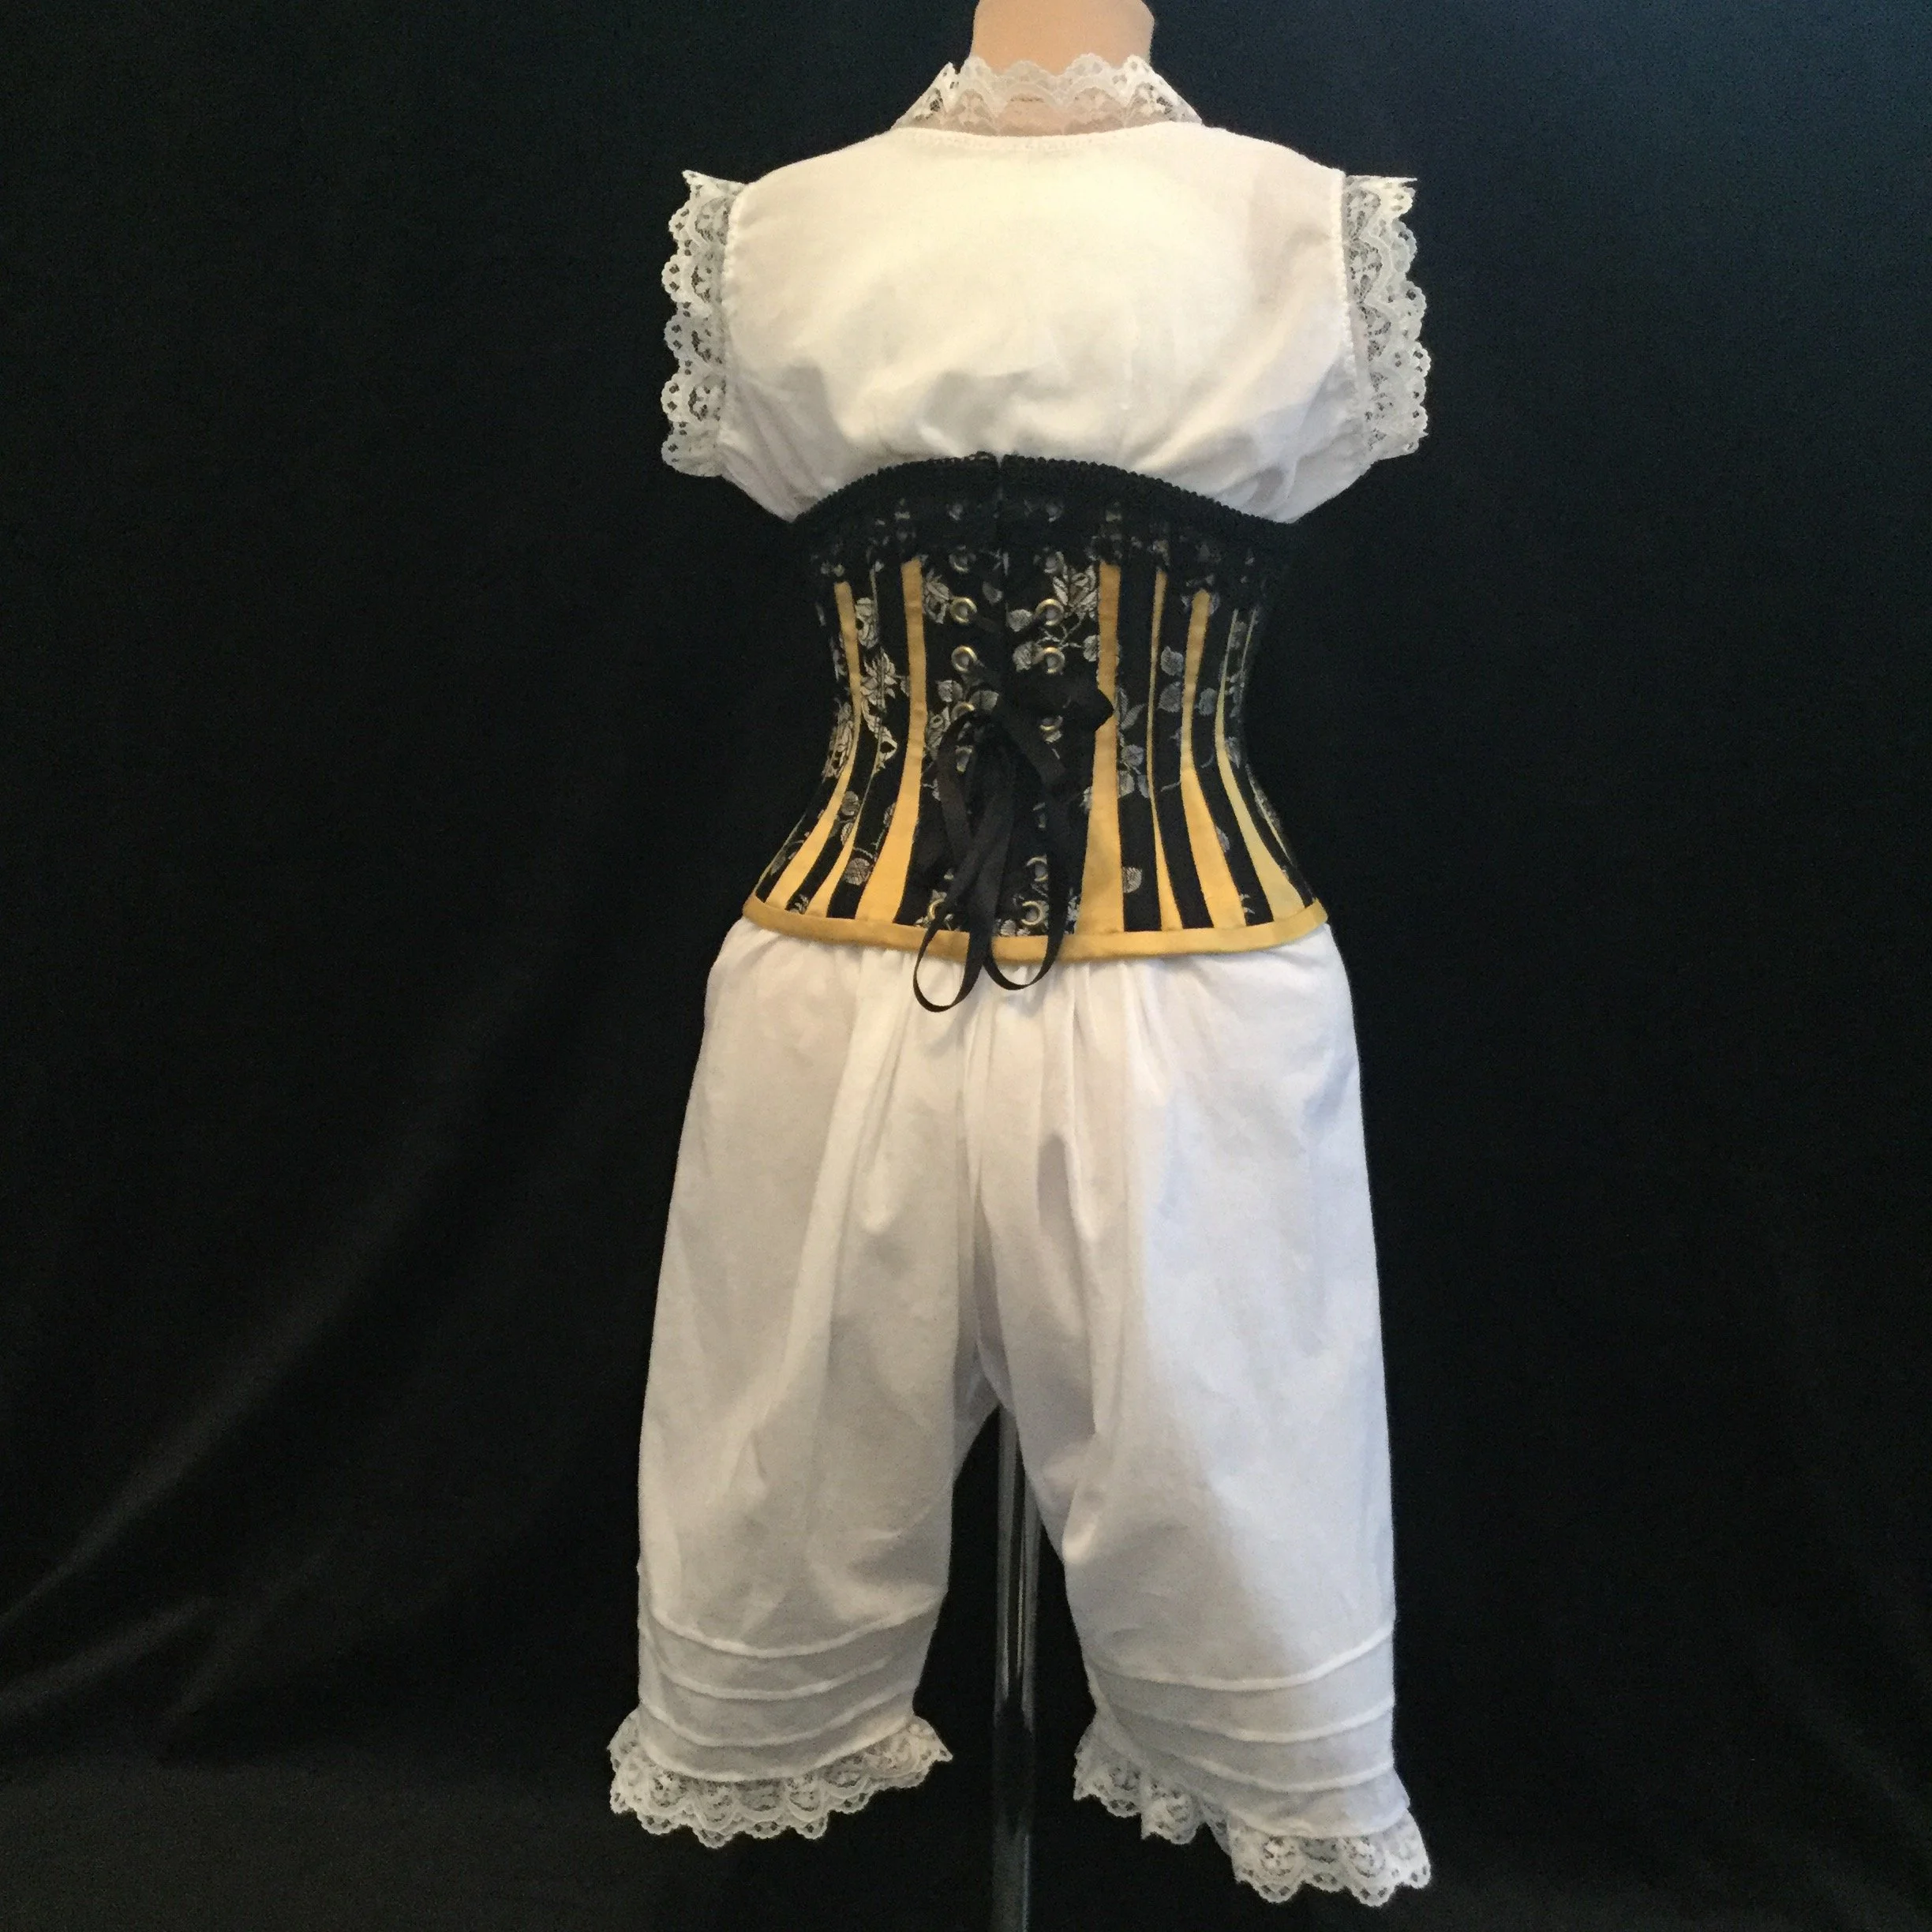
In my stash, I did have some nice eyelets left over from a different corset, but they were a little more stubborn about going in, so I ended up using the other, far cheaper, far less nice eyelets I had gotten years ago at Fabricland (though, ultimately, their colour is a bit closer to the gold of the corset, so maybe it's not so bad...) When I insert eyelets into a corset, I leave the top and bottom eyelets off until the binding has been applied (although, here you can see that I got onto a bit of a roll on one side and forgot.) I also placed the eyelets at the waist a bit closer together to help keep the lacing tightest at the waist.
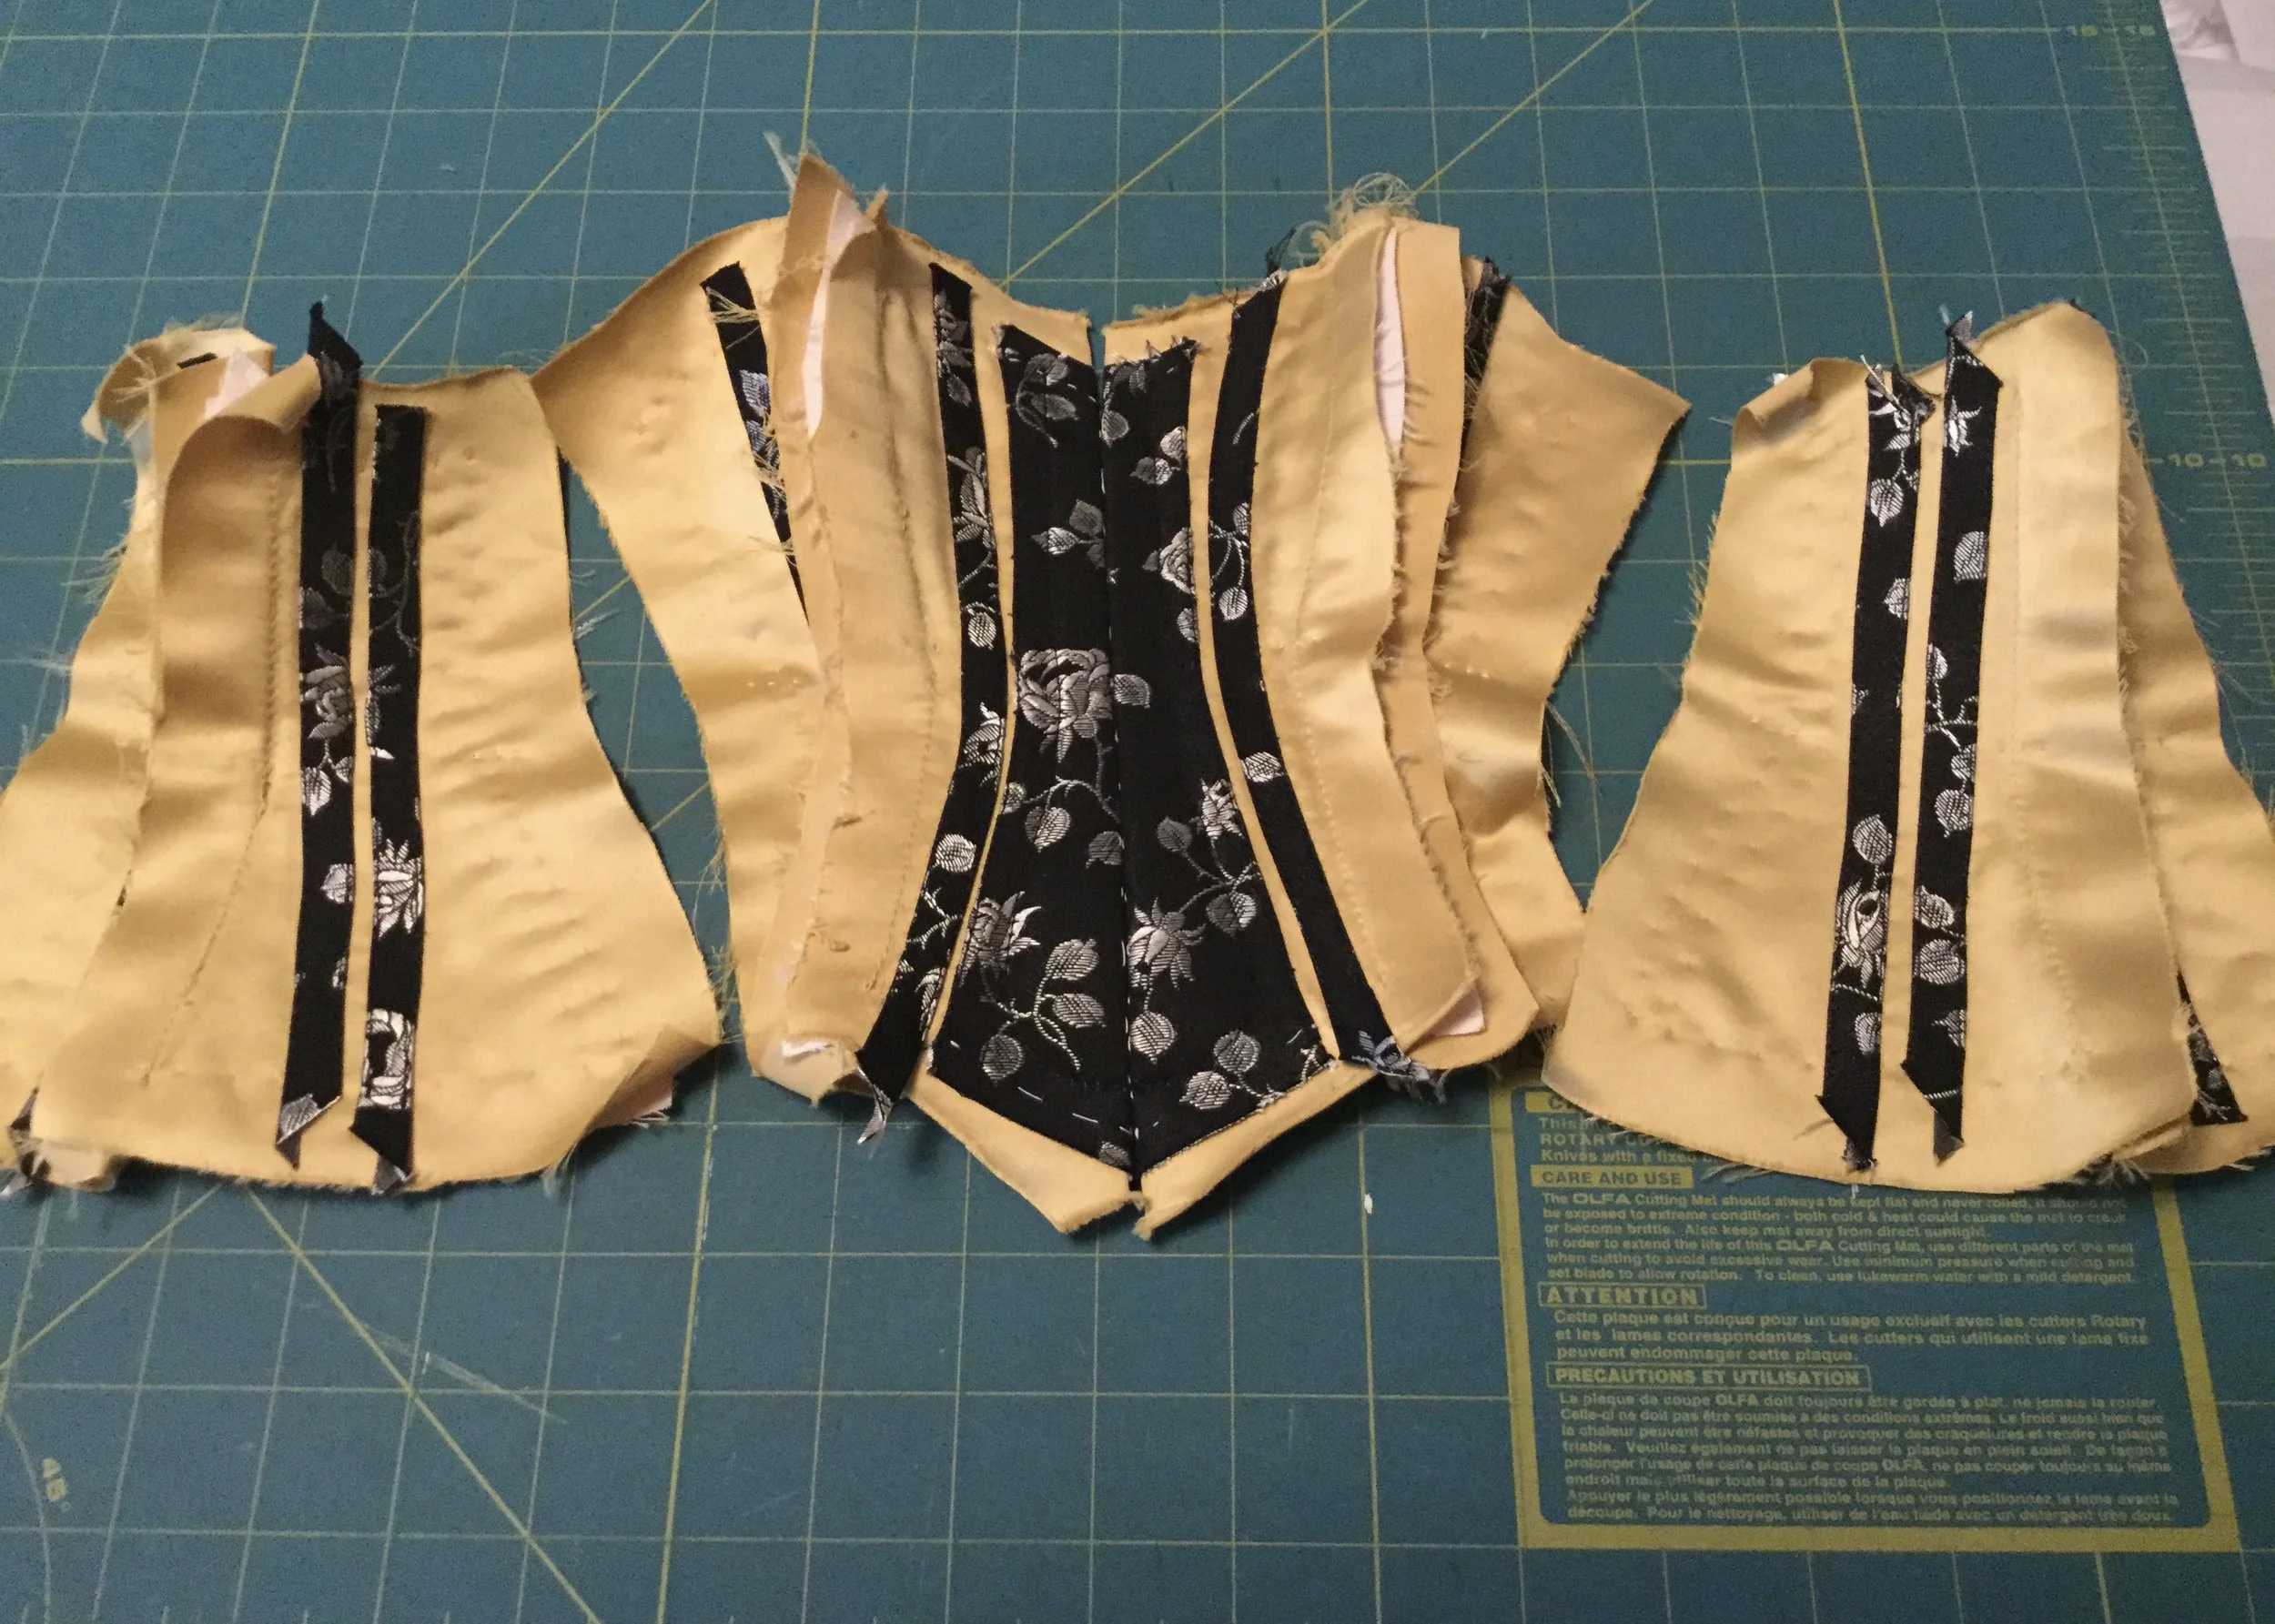
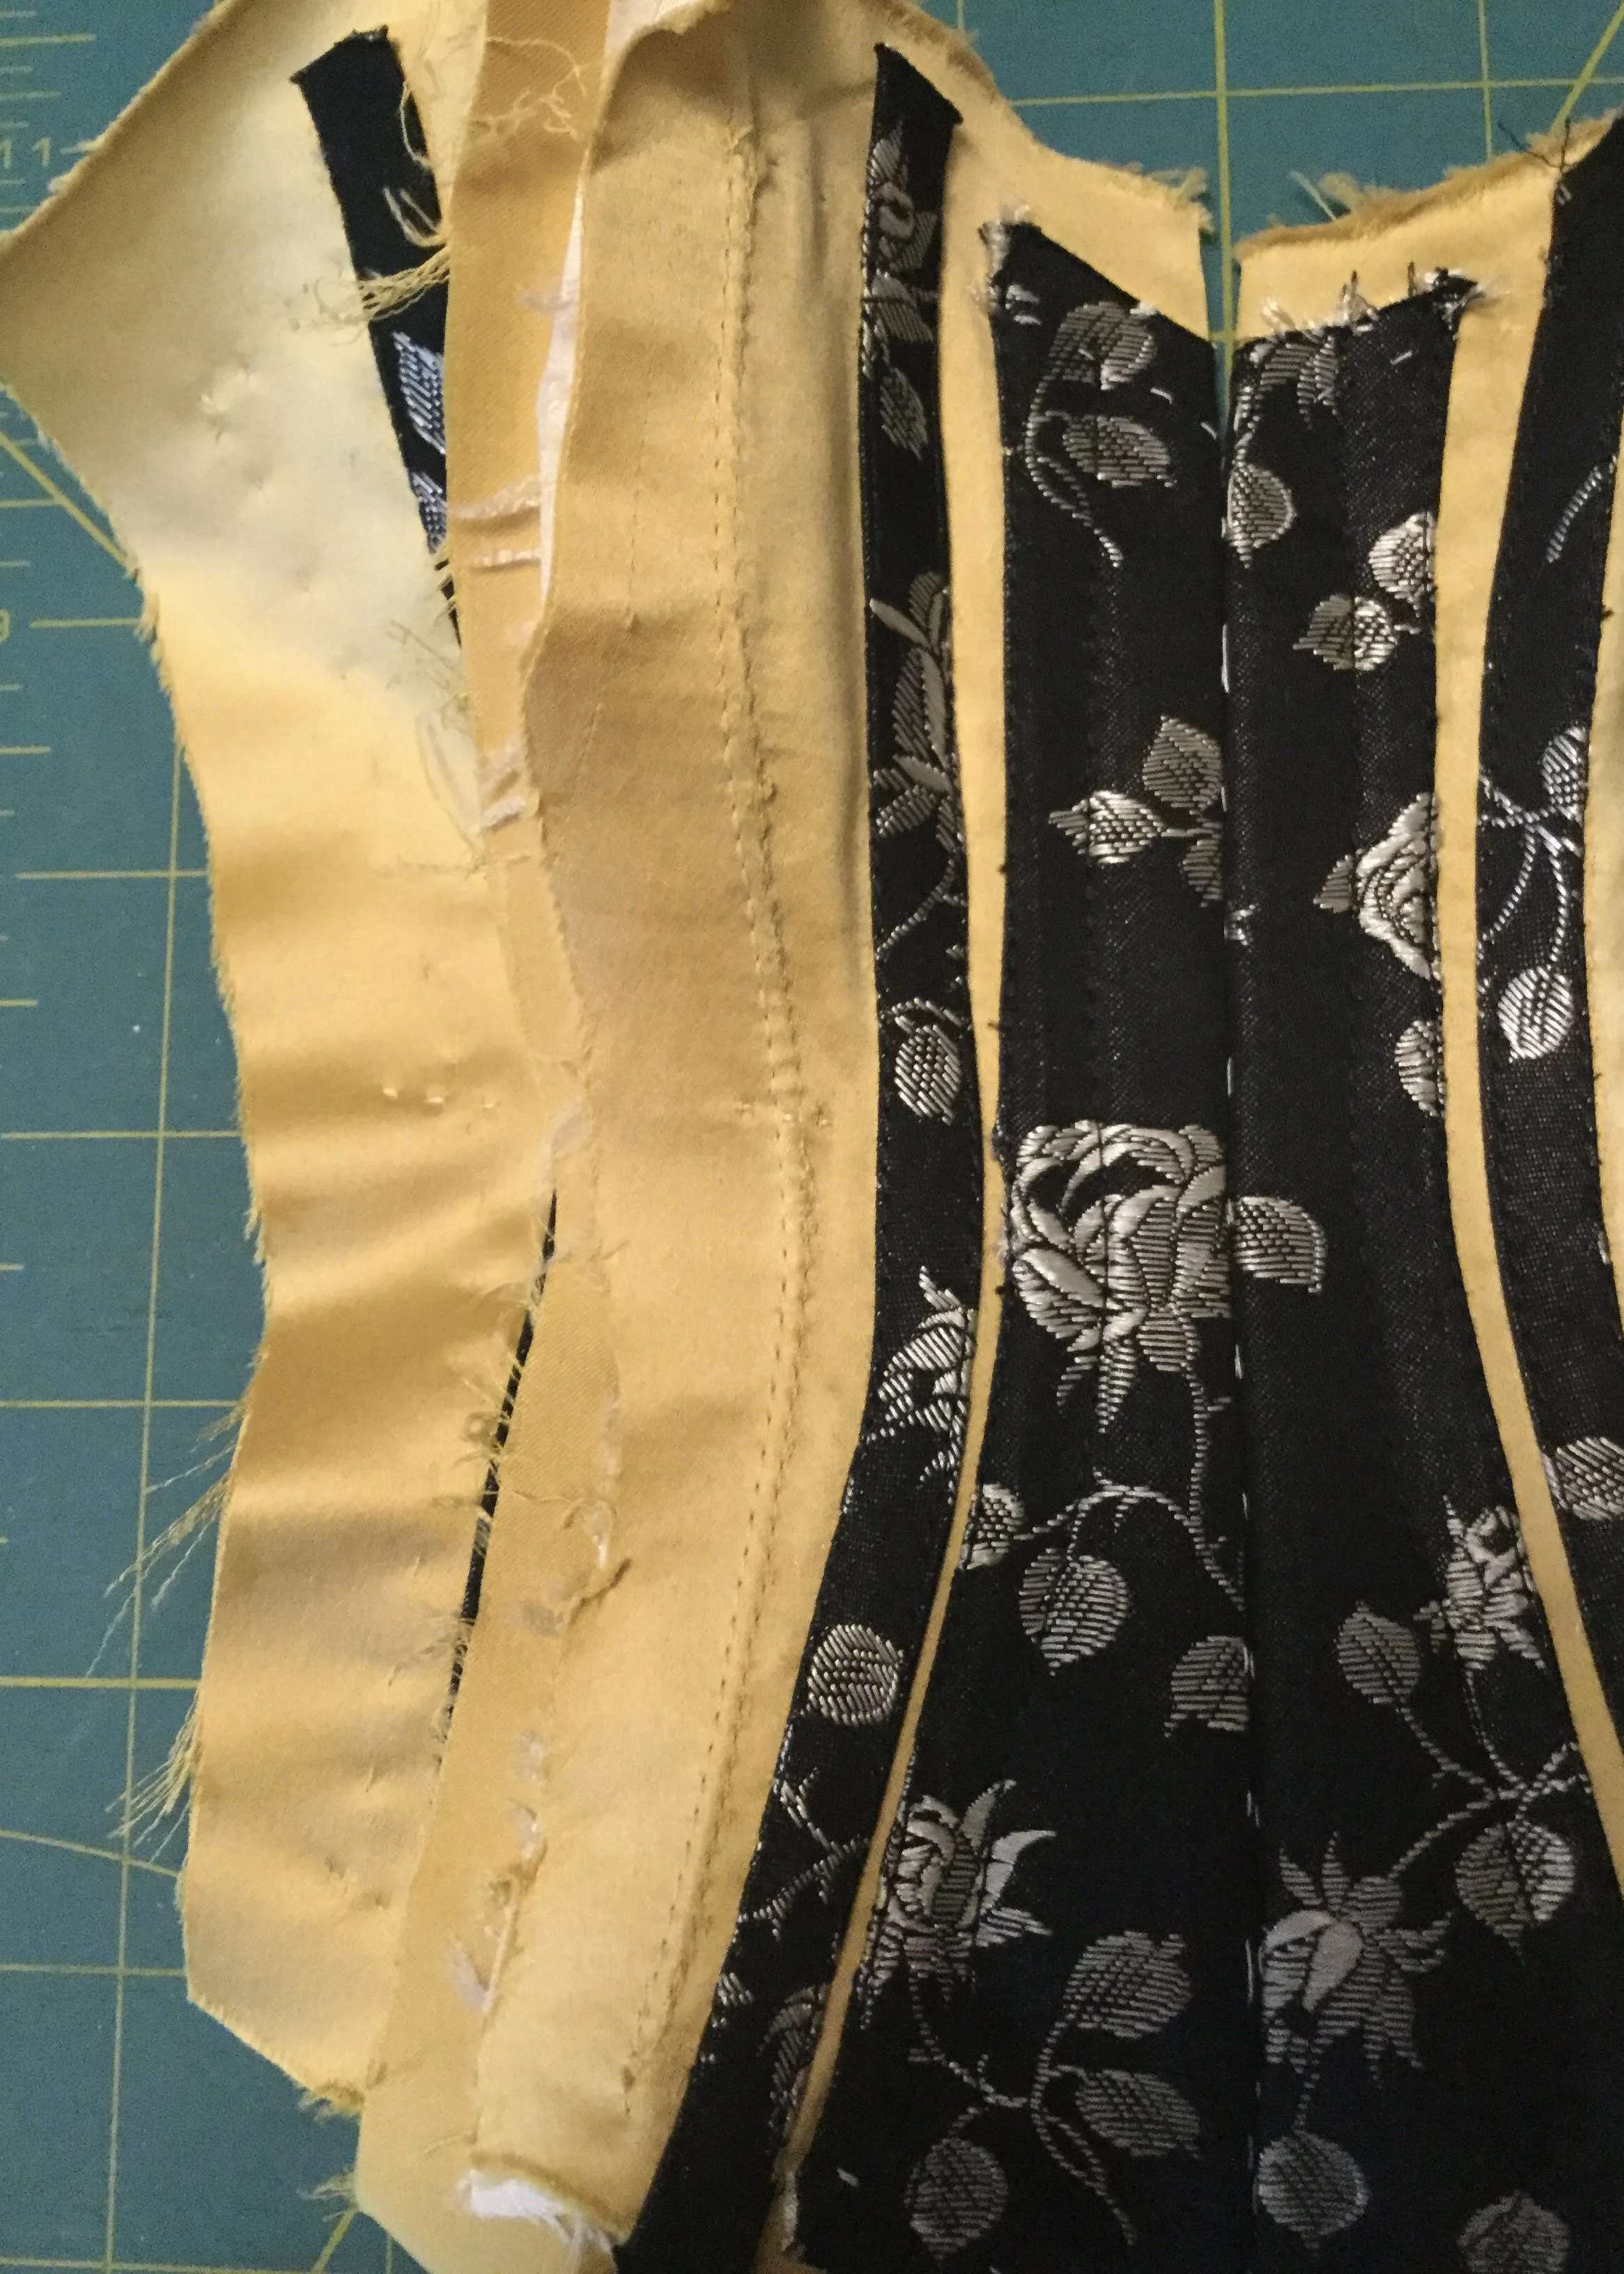
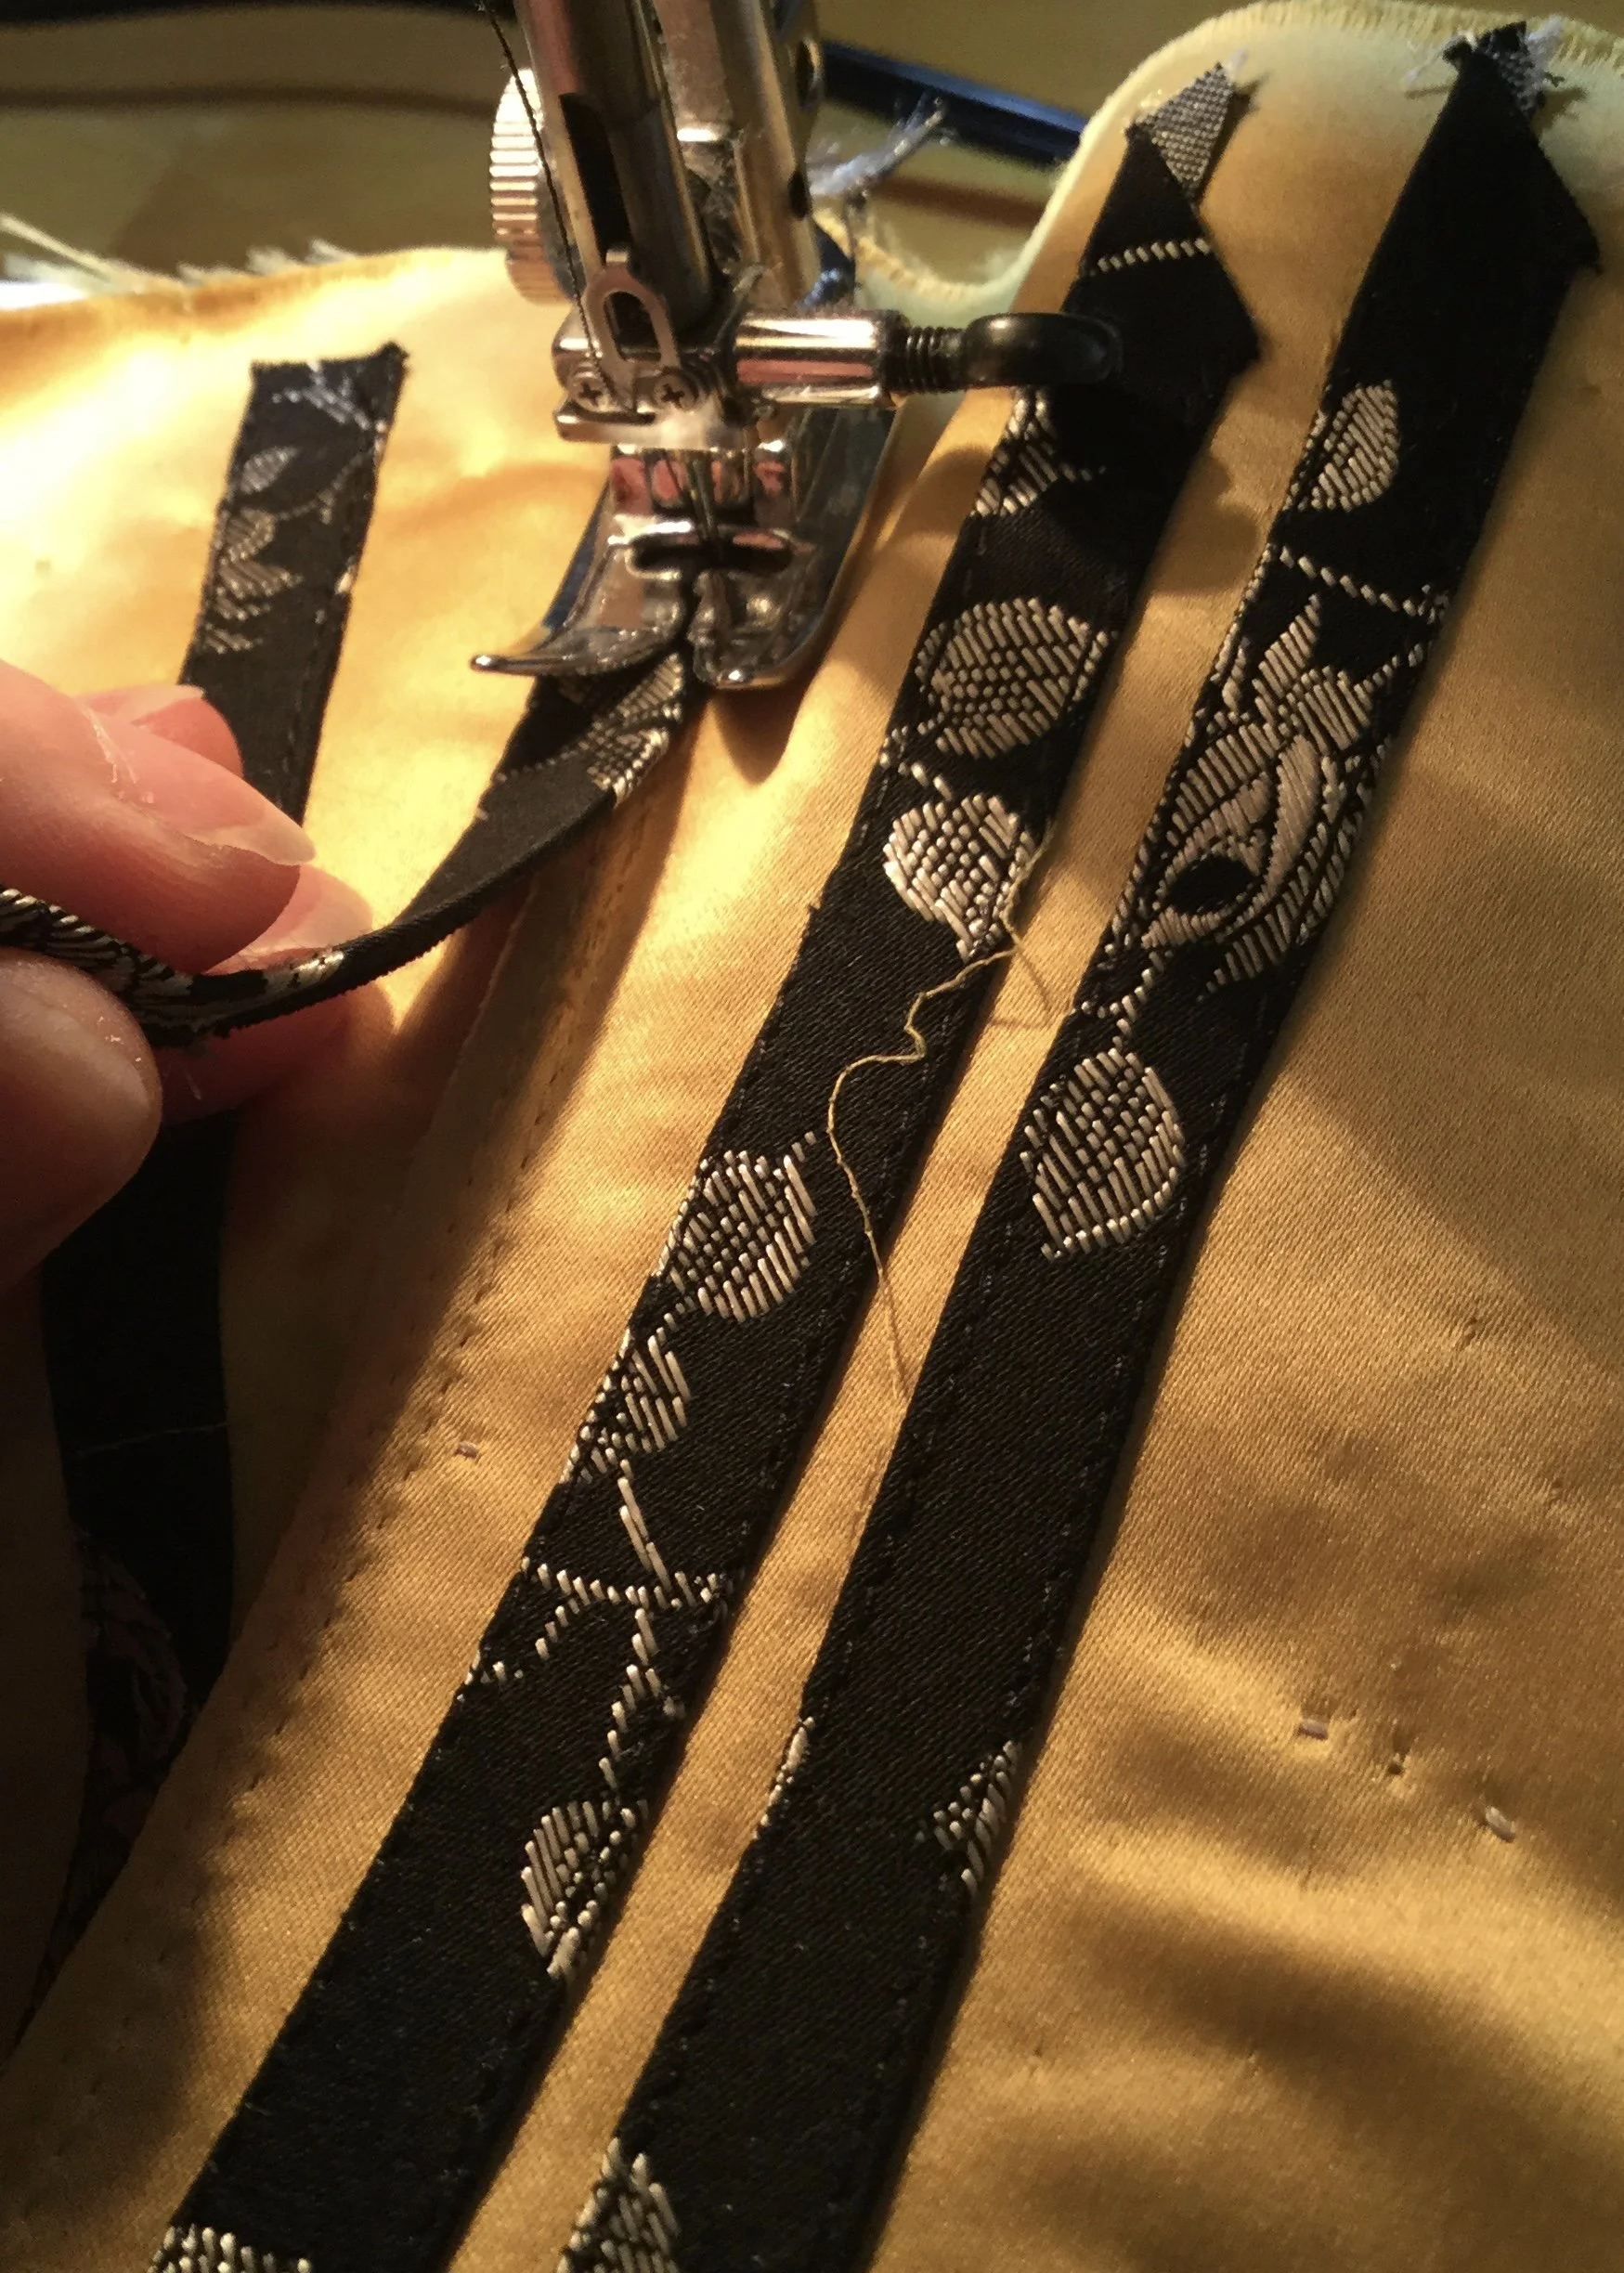
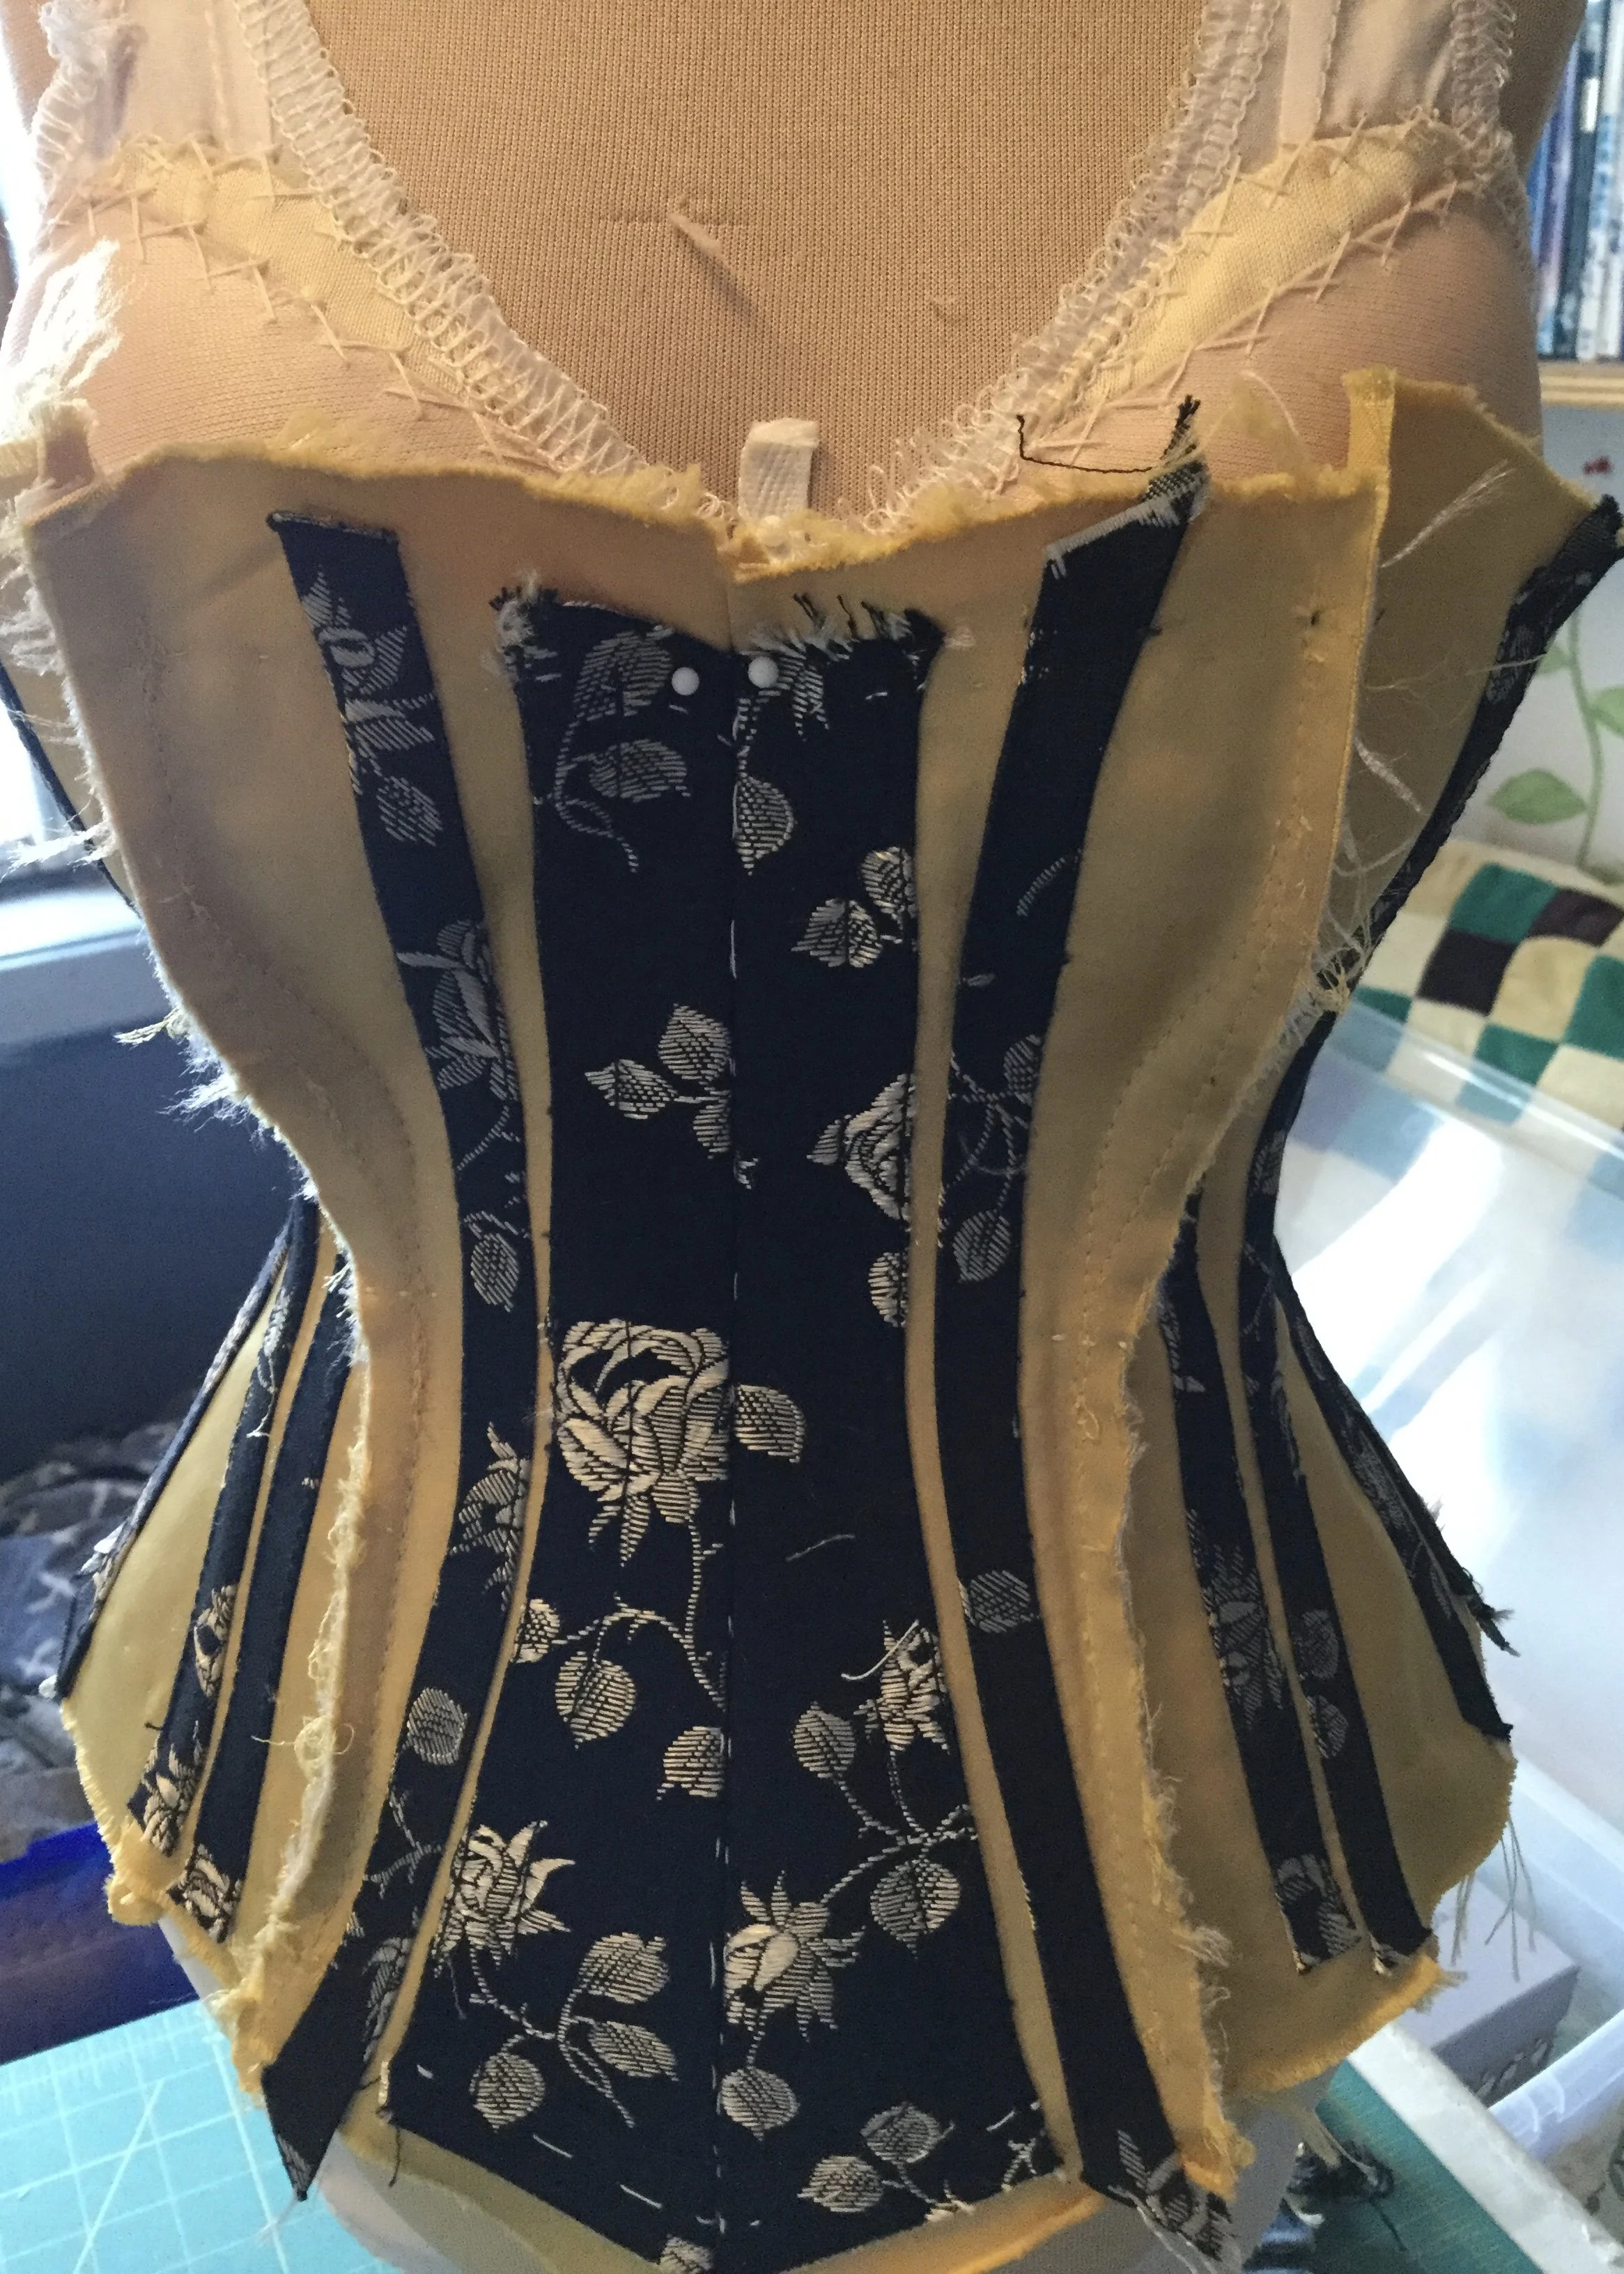
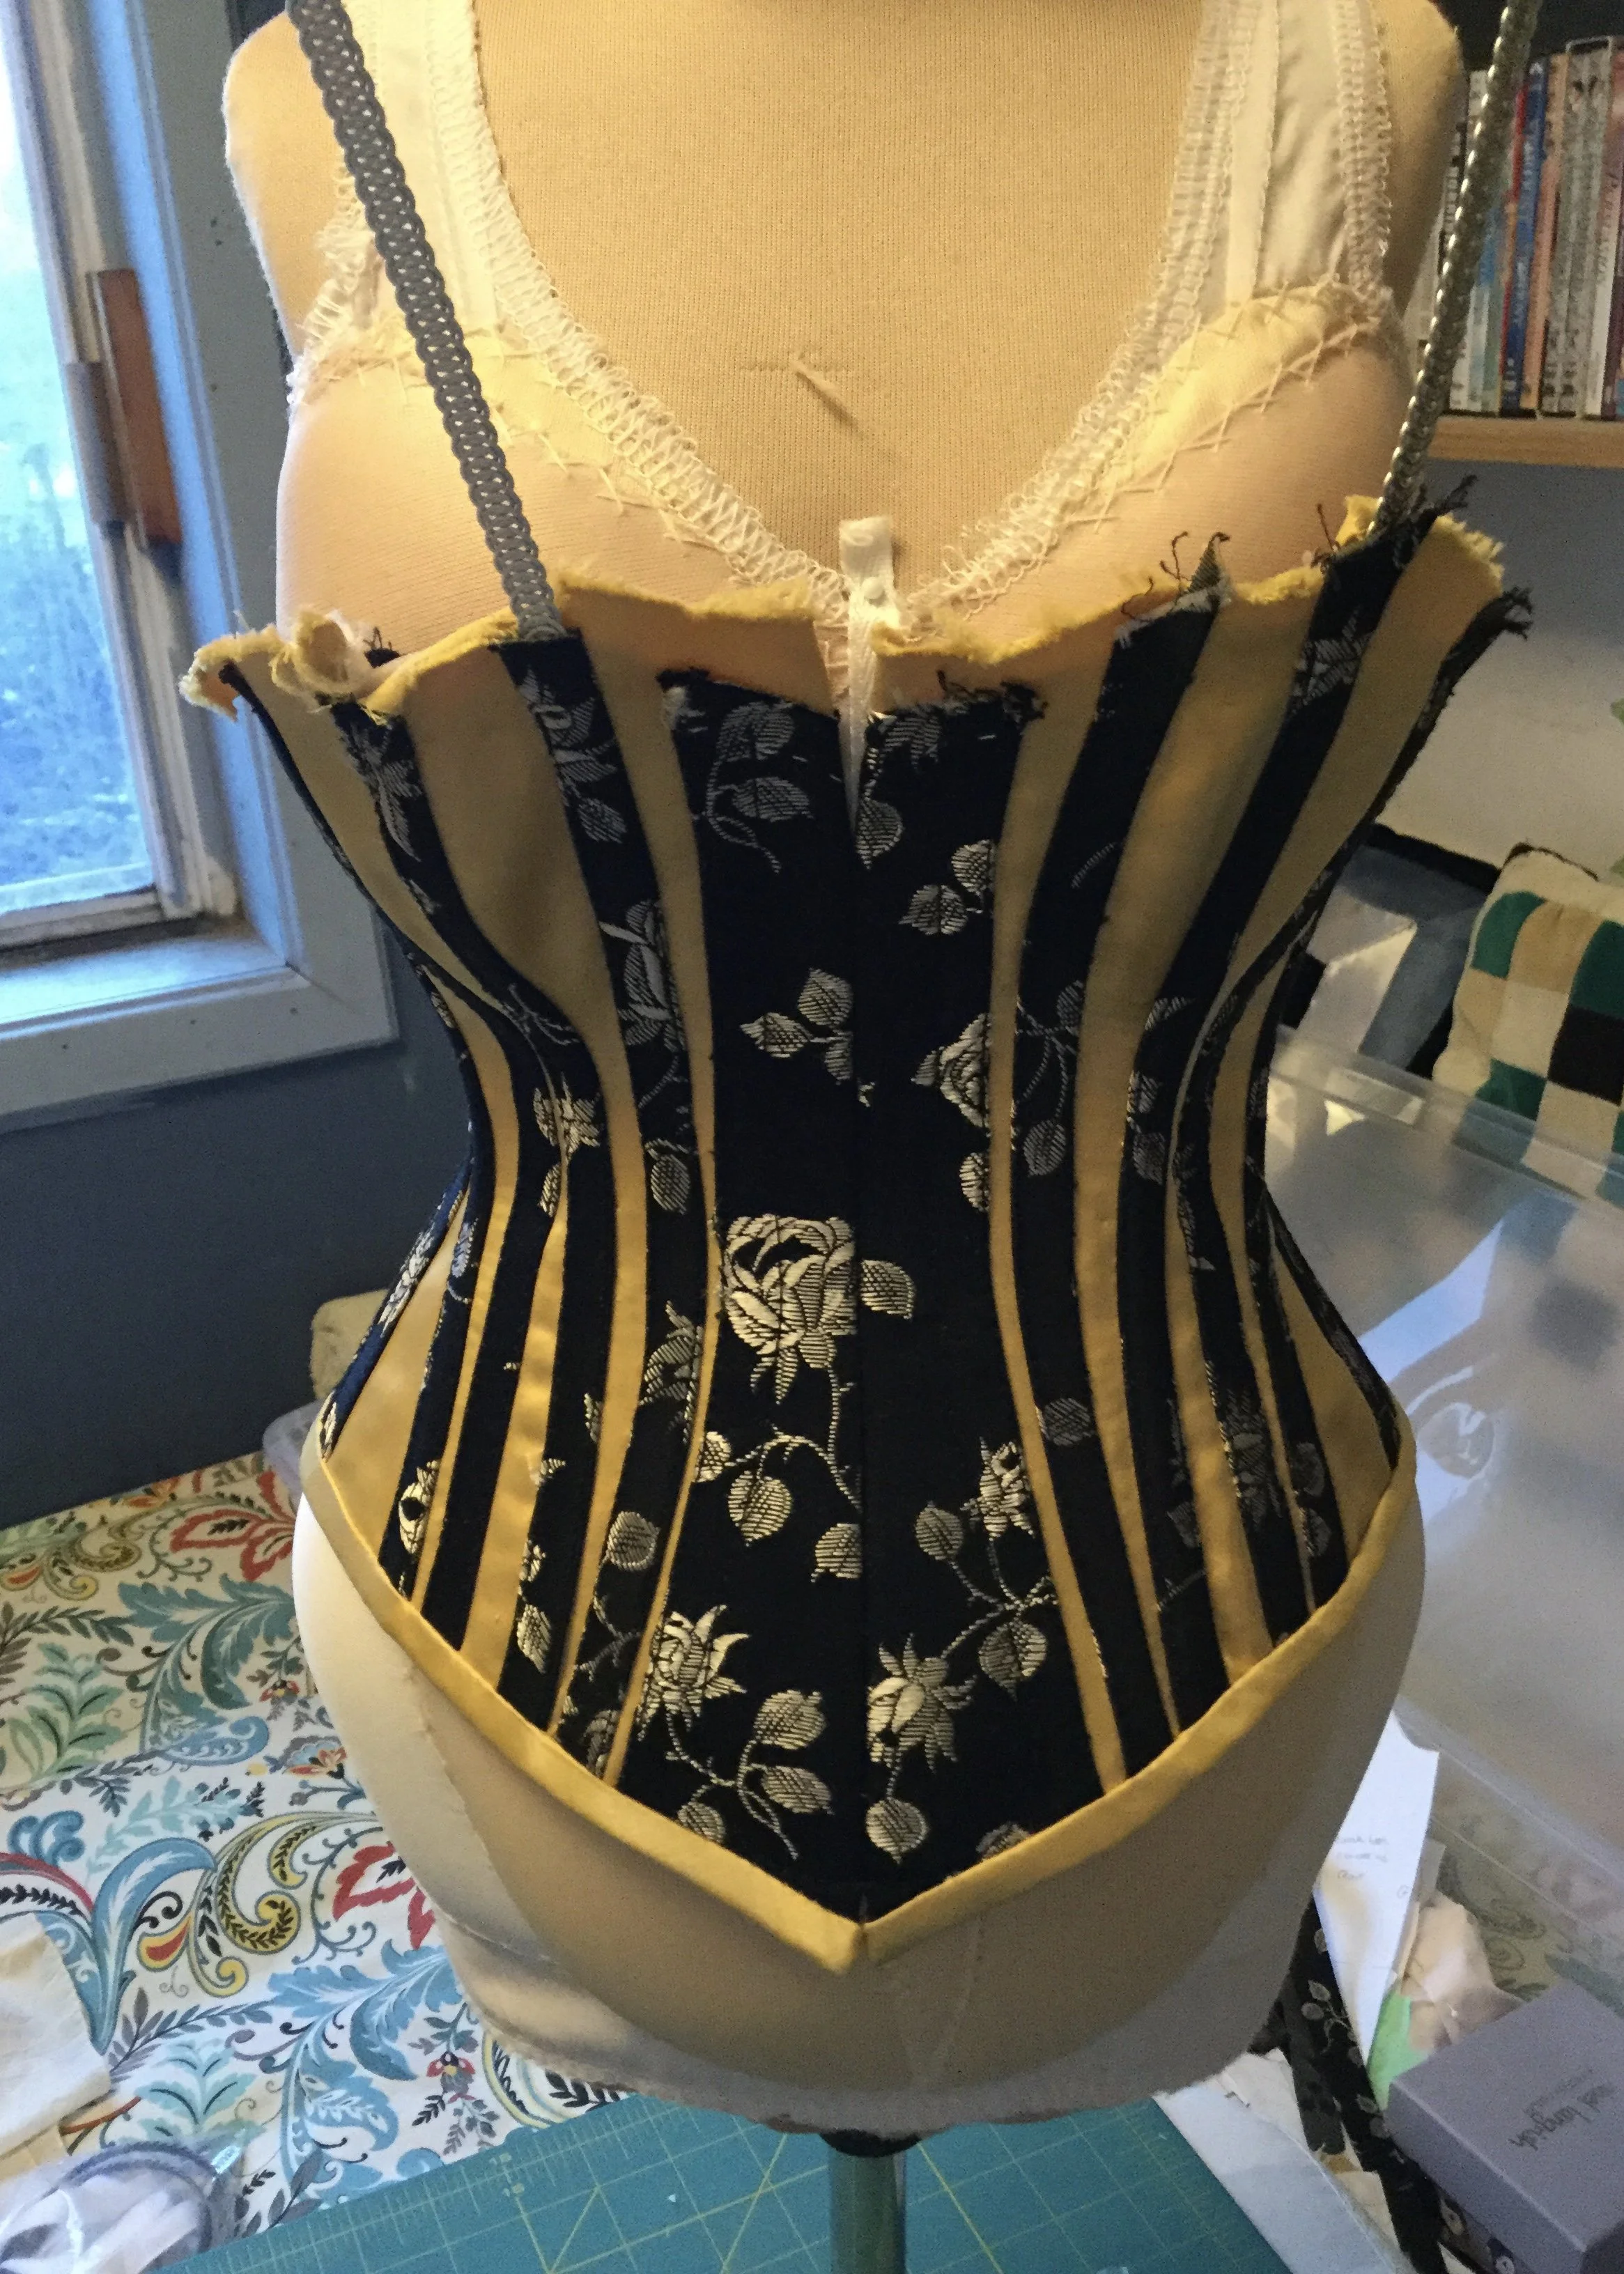
Before putting the corset together, I applied the bone casings which would sit on the body of the piece rather than the seams. To assemble the panels of the corset together, I stitched my seams with the wrong sides together then topstitched all the seam allowances down to one side before trimming them down to a skinny quarter inch(ish). To finish the seams, I covered them with the remaining bone casings.
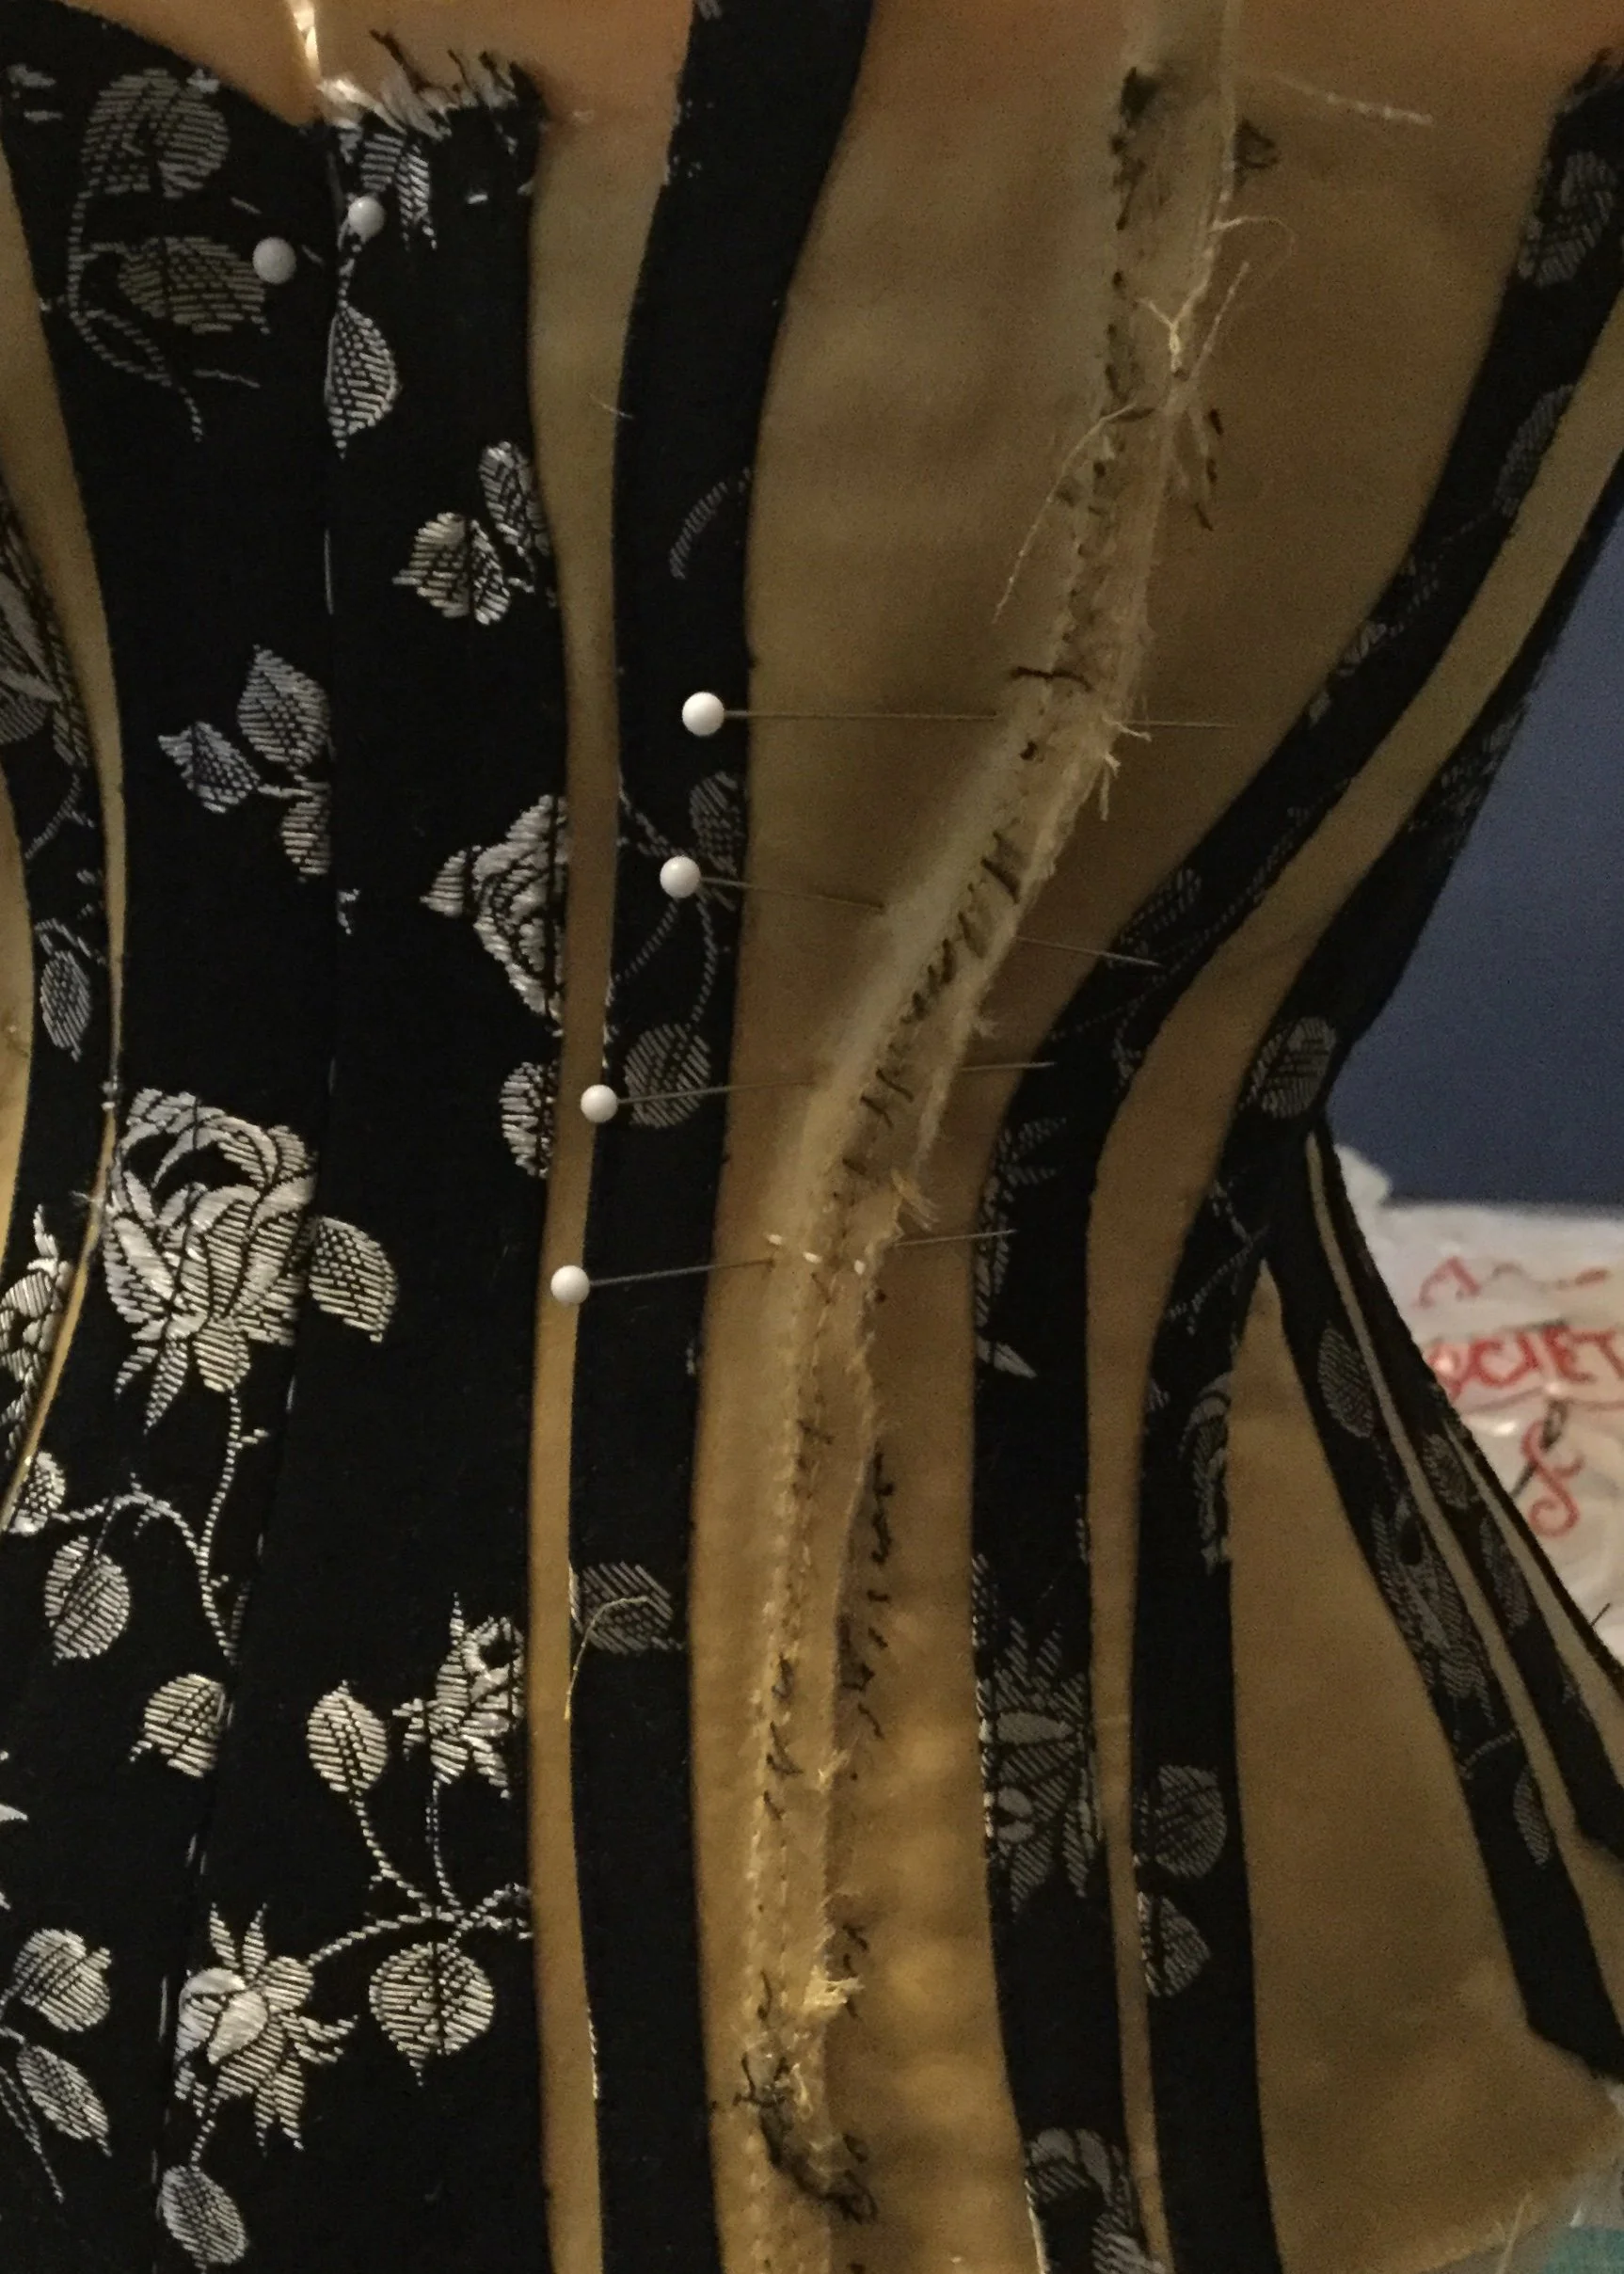
In hindsight, I wish I had left off covering all the seams until after doing a quick fitting, but I was all cocky after the mock up. I did leave the back seams unfinished until after a fitting, but those were not the seams I ended up altering. When I was able to put the corset on her and lace it up a bit, I noticed that there was still a bit of roominess under the bust and that the seam between the centre front and the side front could be shaped a little more.
With no small sigh, I took the casings off those seams, unpicked the top stitch and marked the new line. It really wasn't that hard and didn't take that long, none of these seams are all that long after all, and I was feeling more dumb about my cockiness than anything.
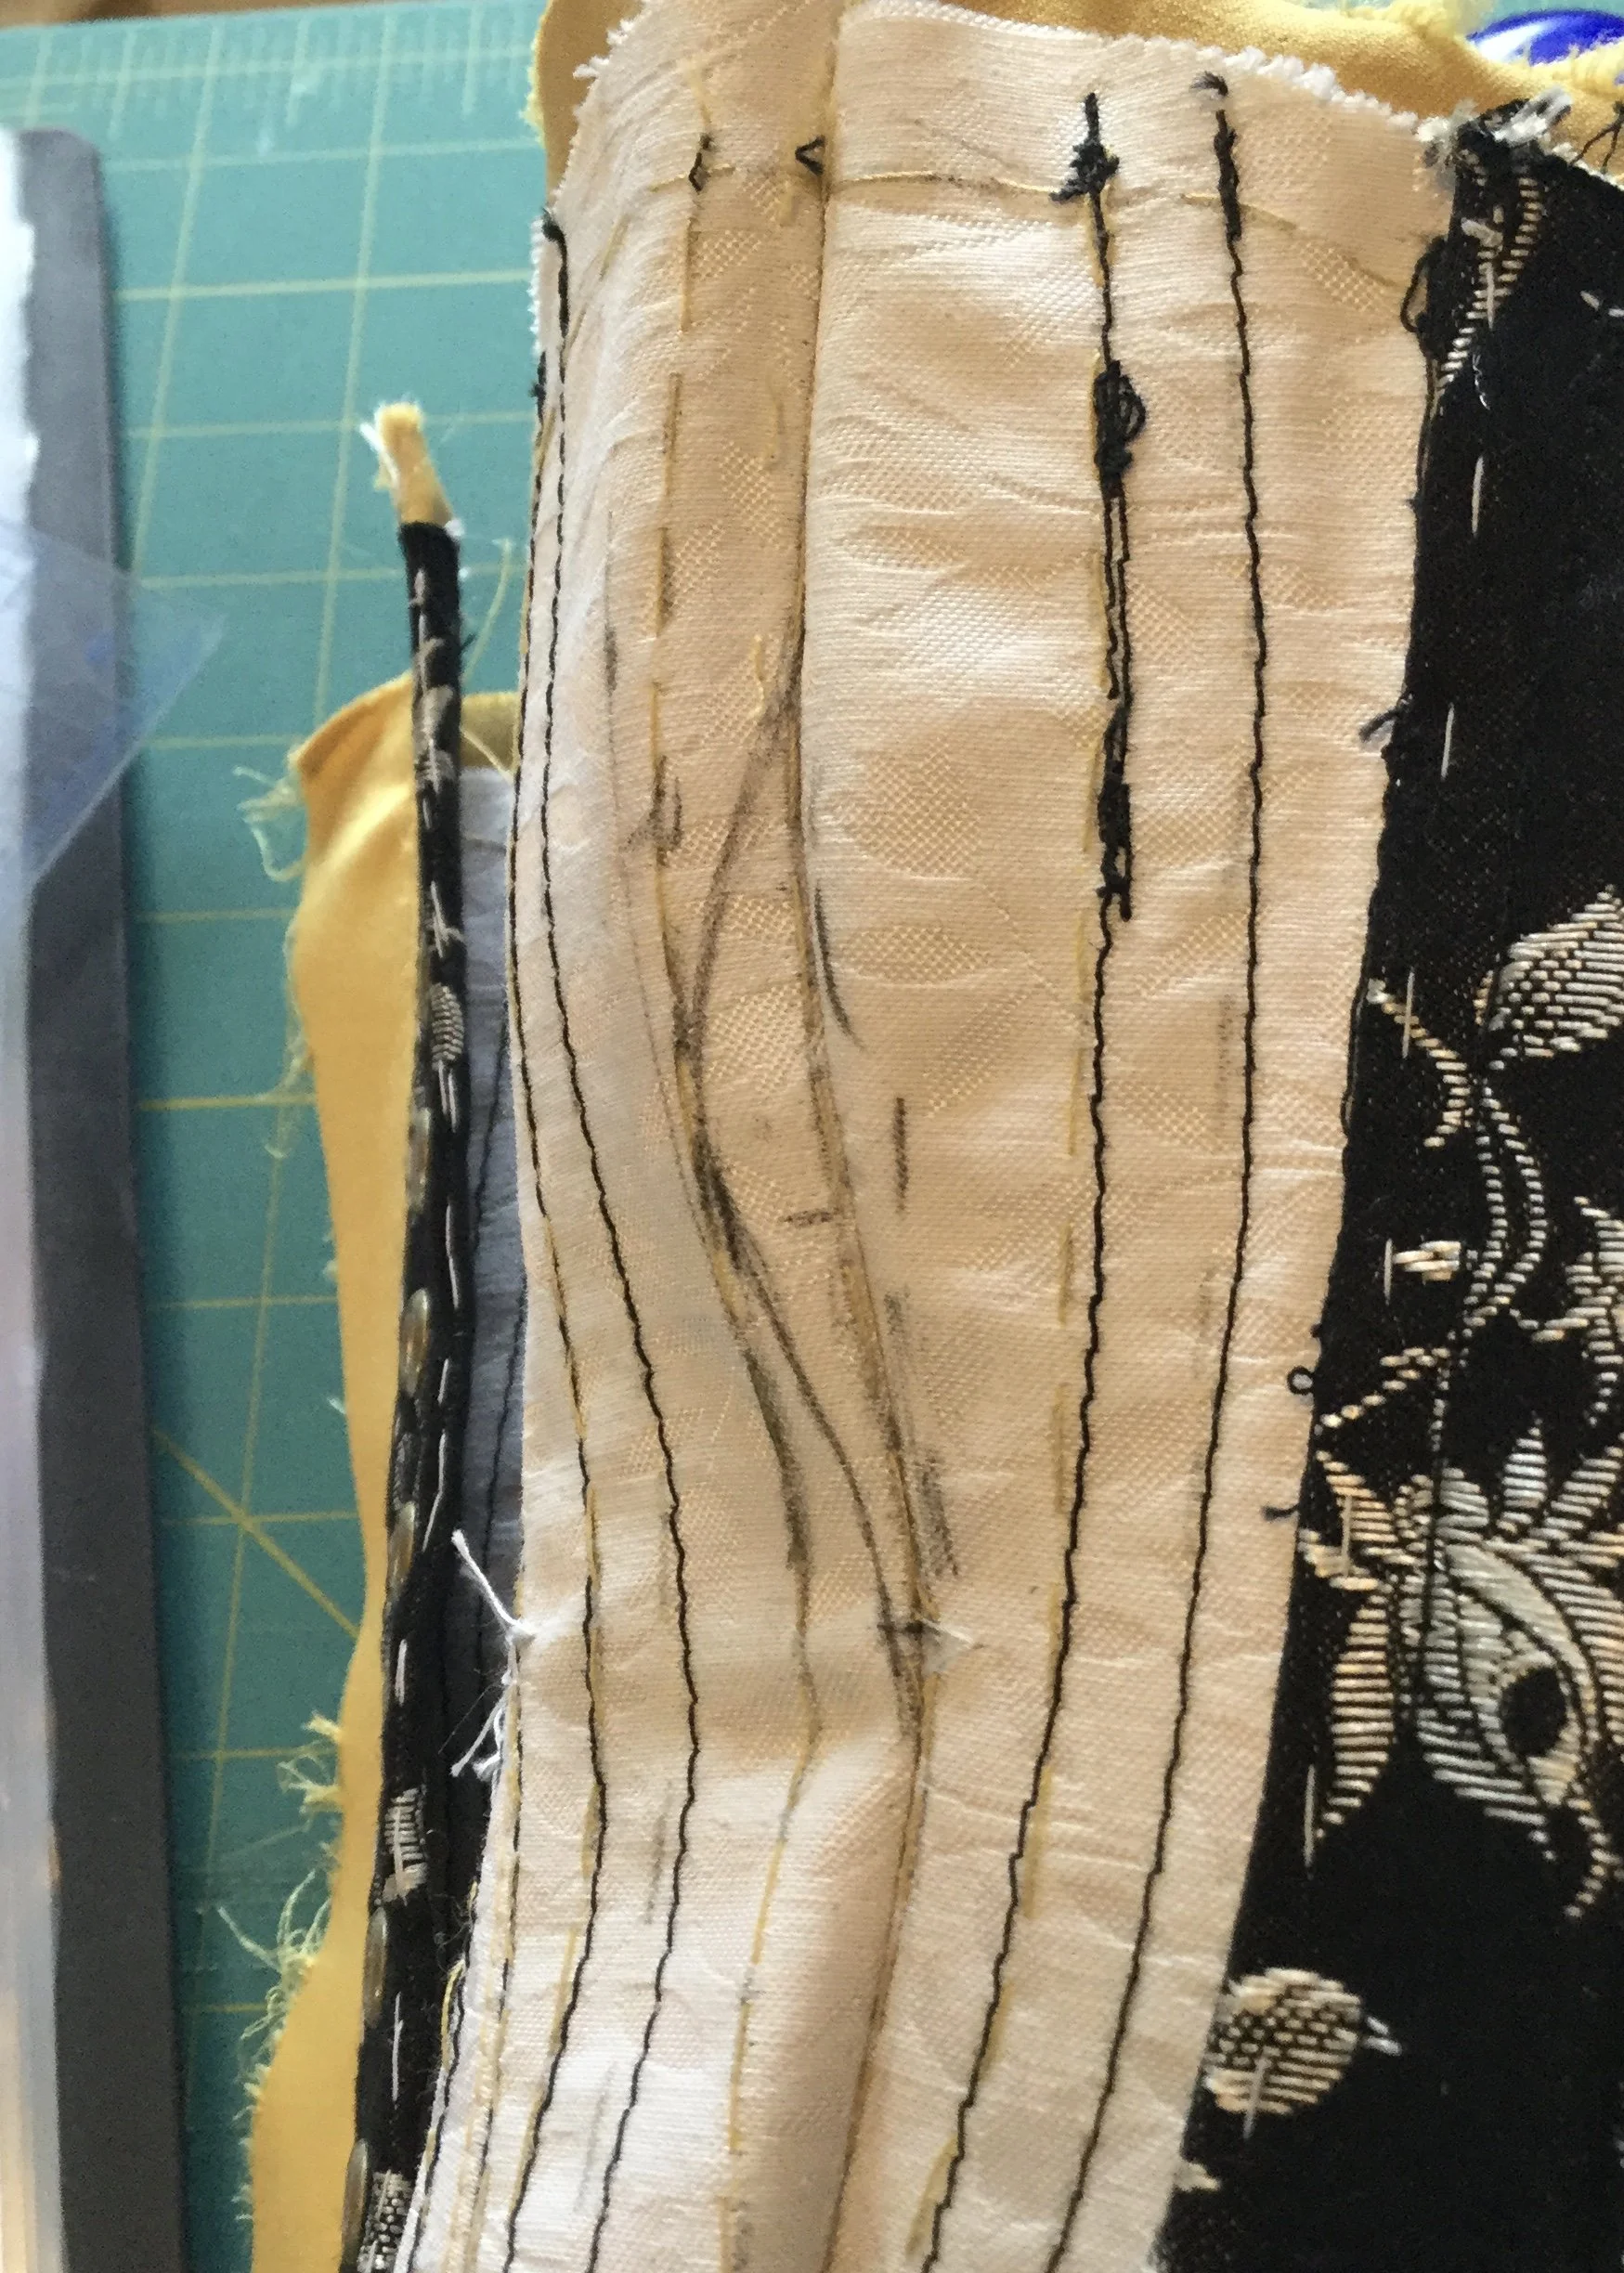
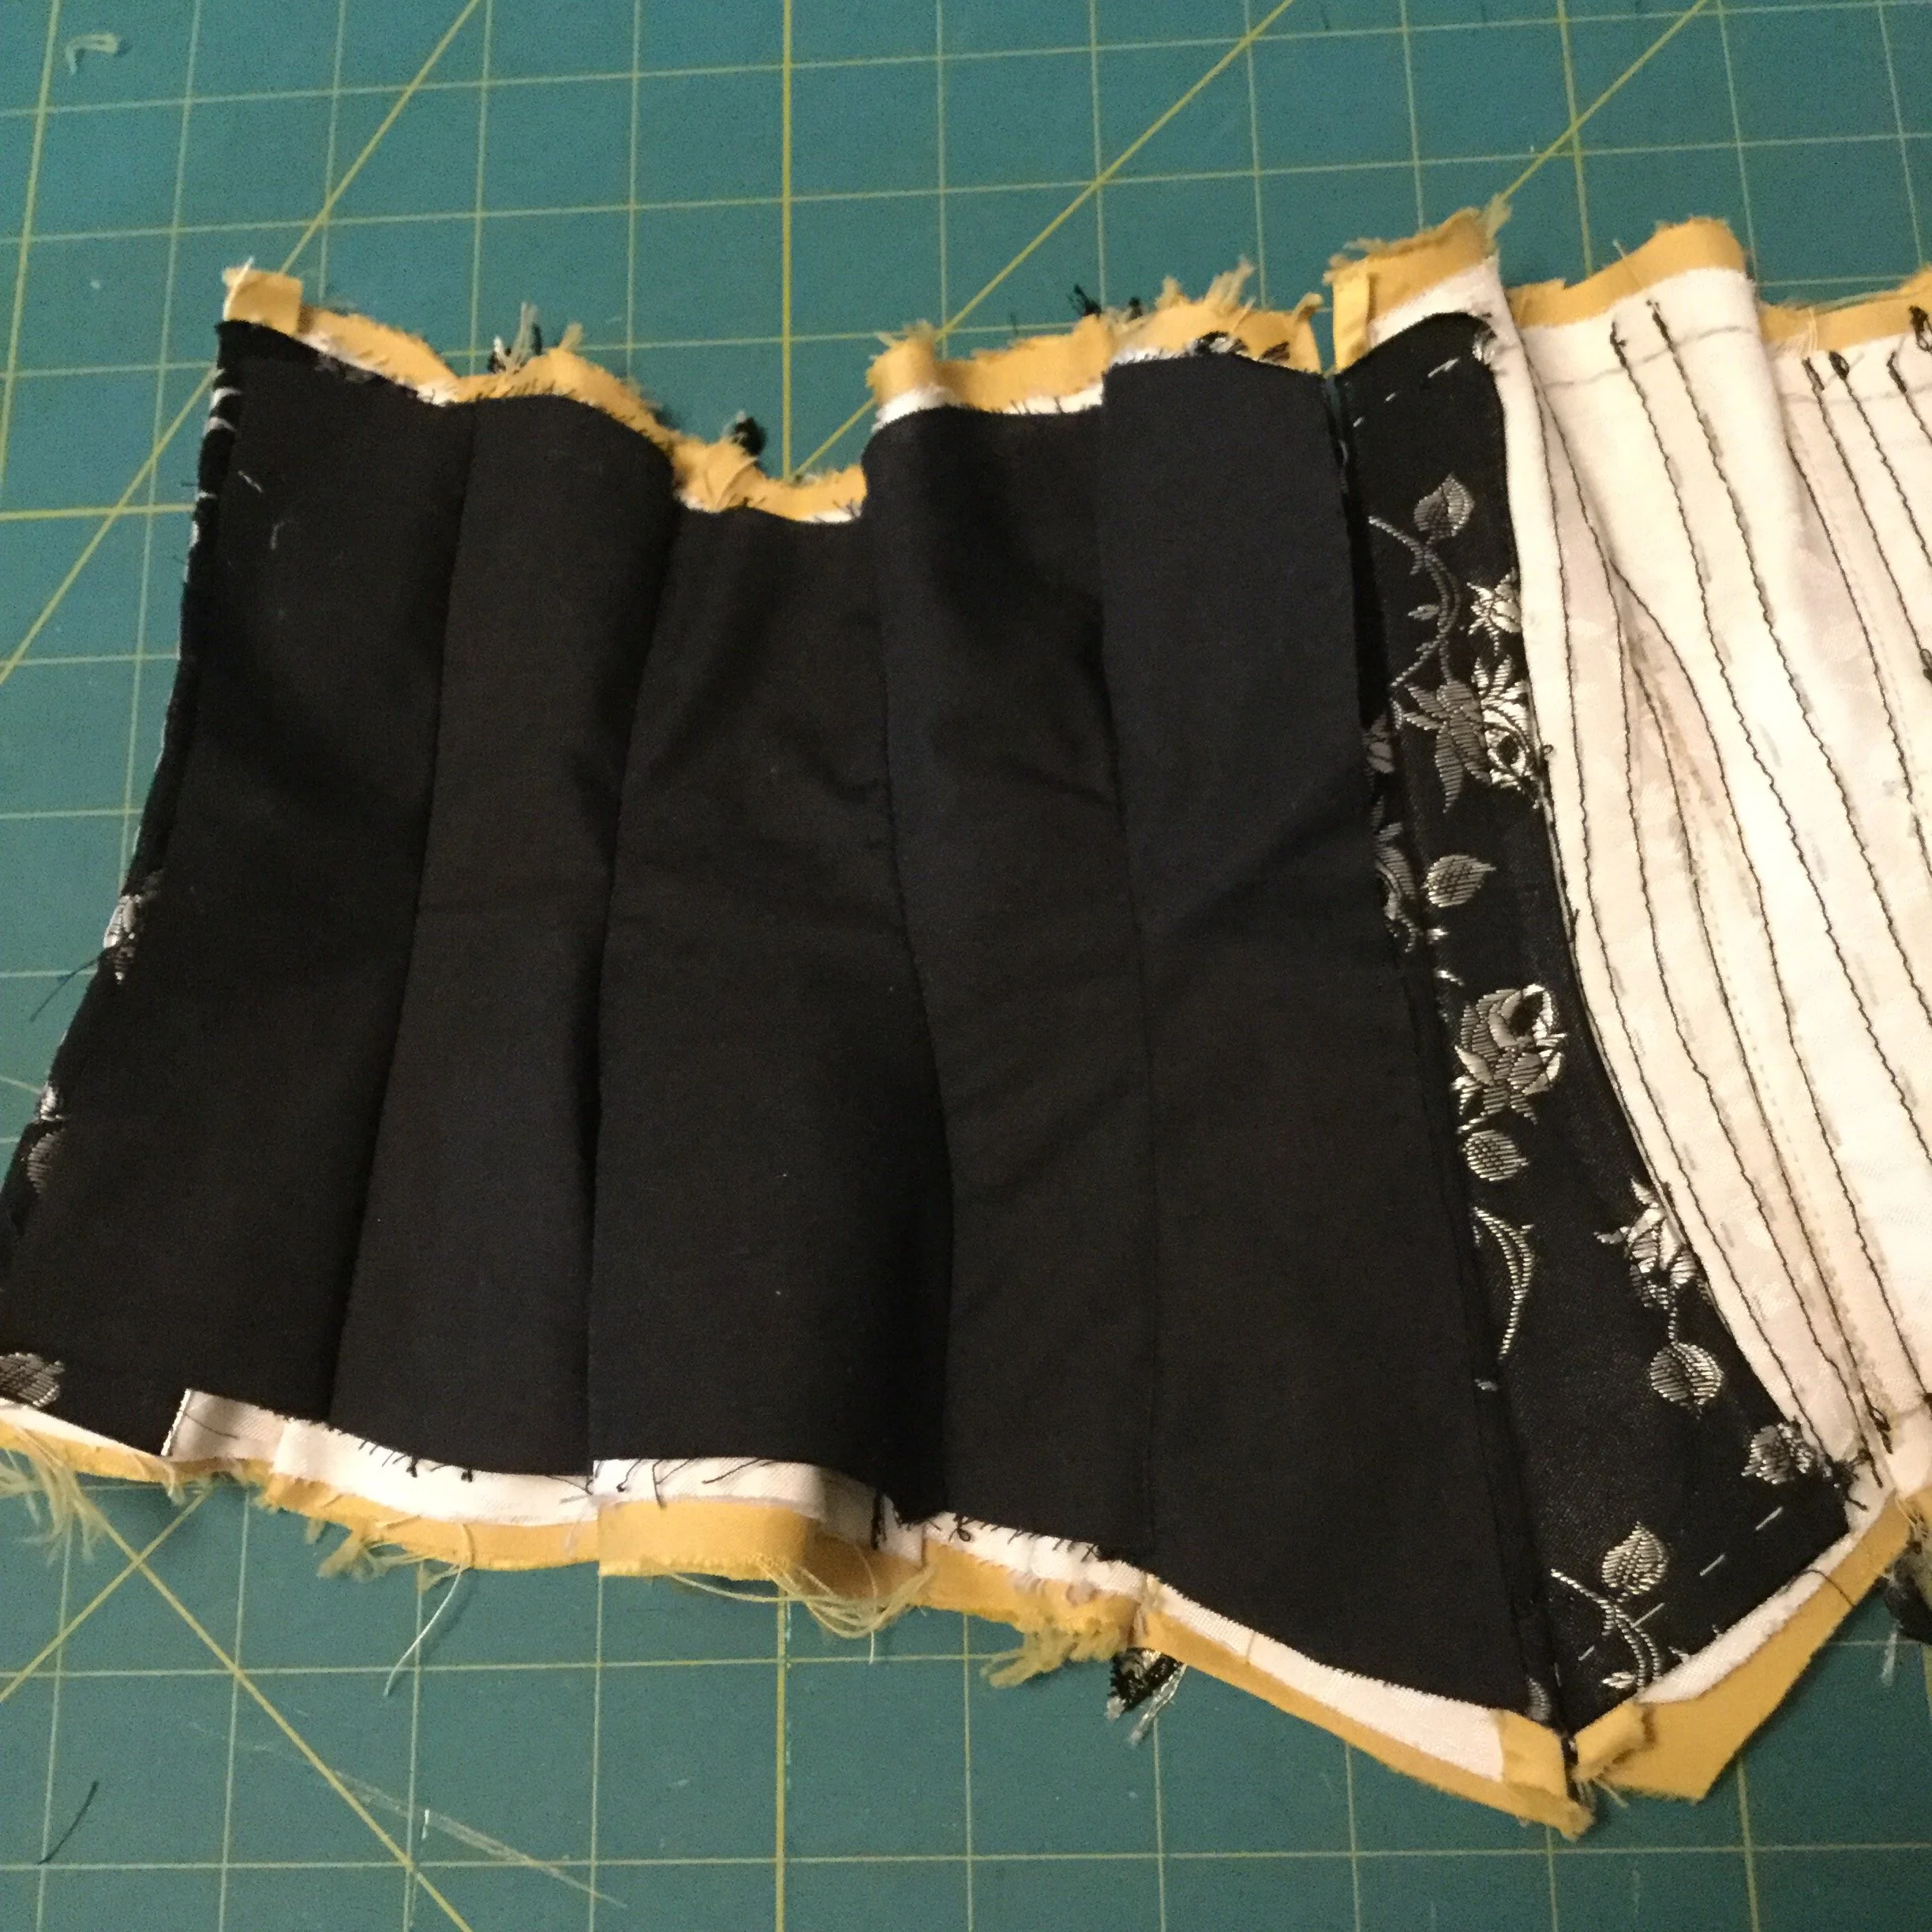
Anyway, with this last minute alteration done and all the seams finished, I quickly cut and made a lining from some cotton I had laying around. To stitch the lining to the corset, I stitched each lining seam allowance to the corresponding seam of the corset body and used it to cover and finish the edges of the front and back facings.
After binding the bottom edge with some of the gold satin it was time to add the bones. Since this corset is not for a real person and is not going to be actually shaping a body or even providing support I did not add bones to every casing.
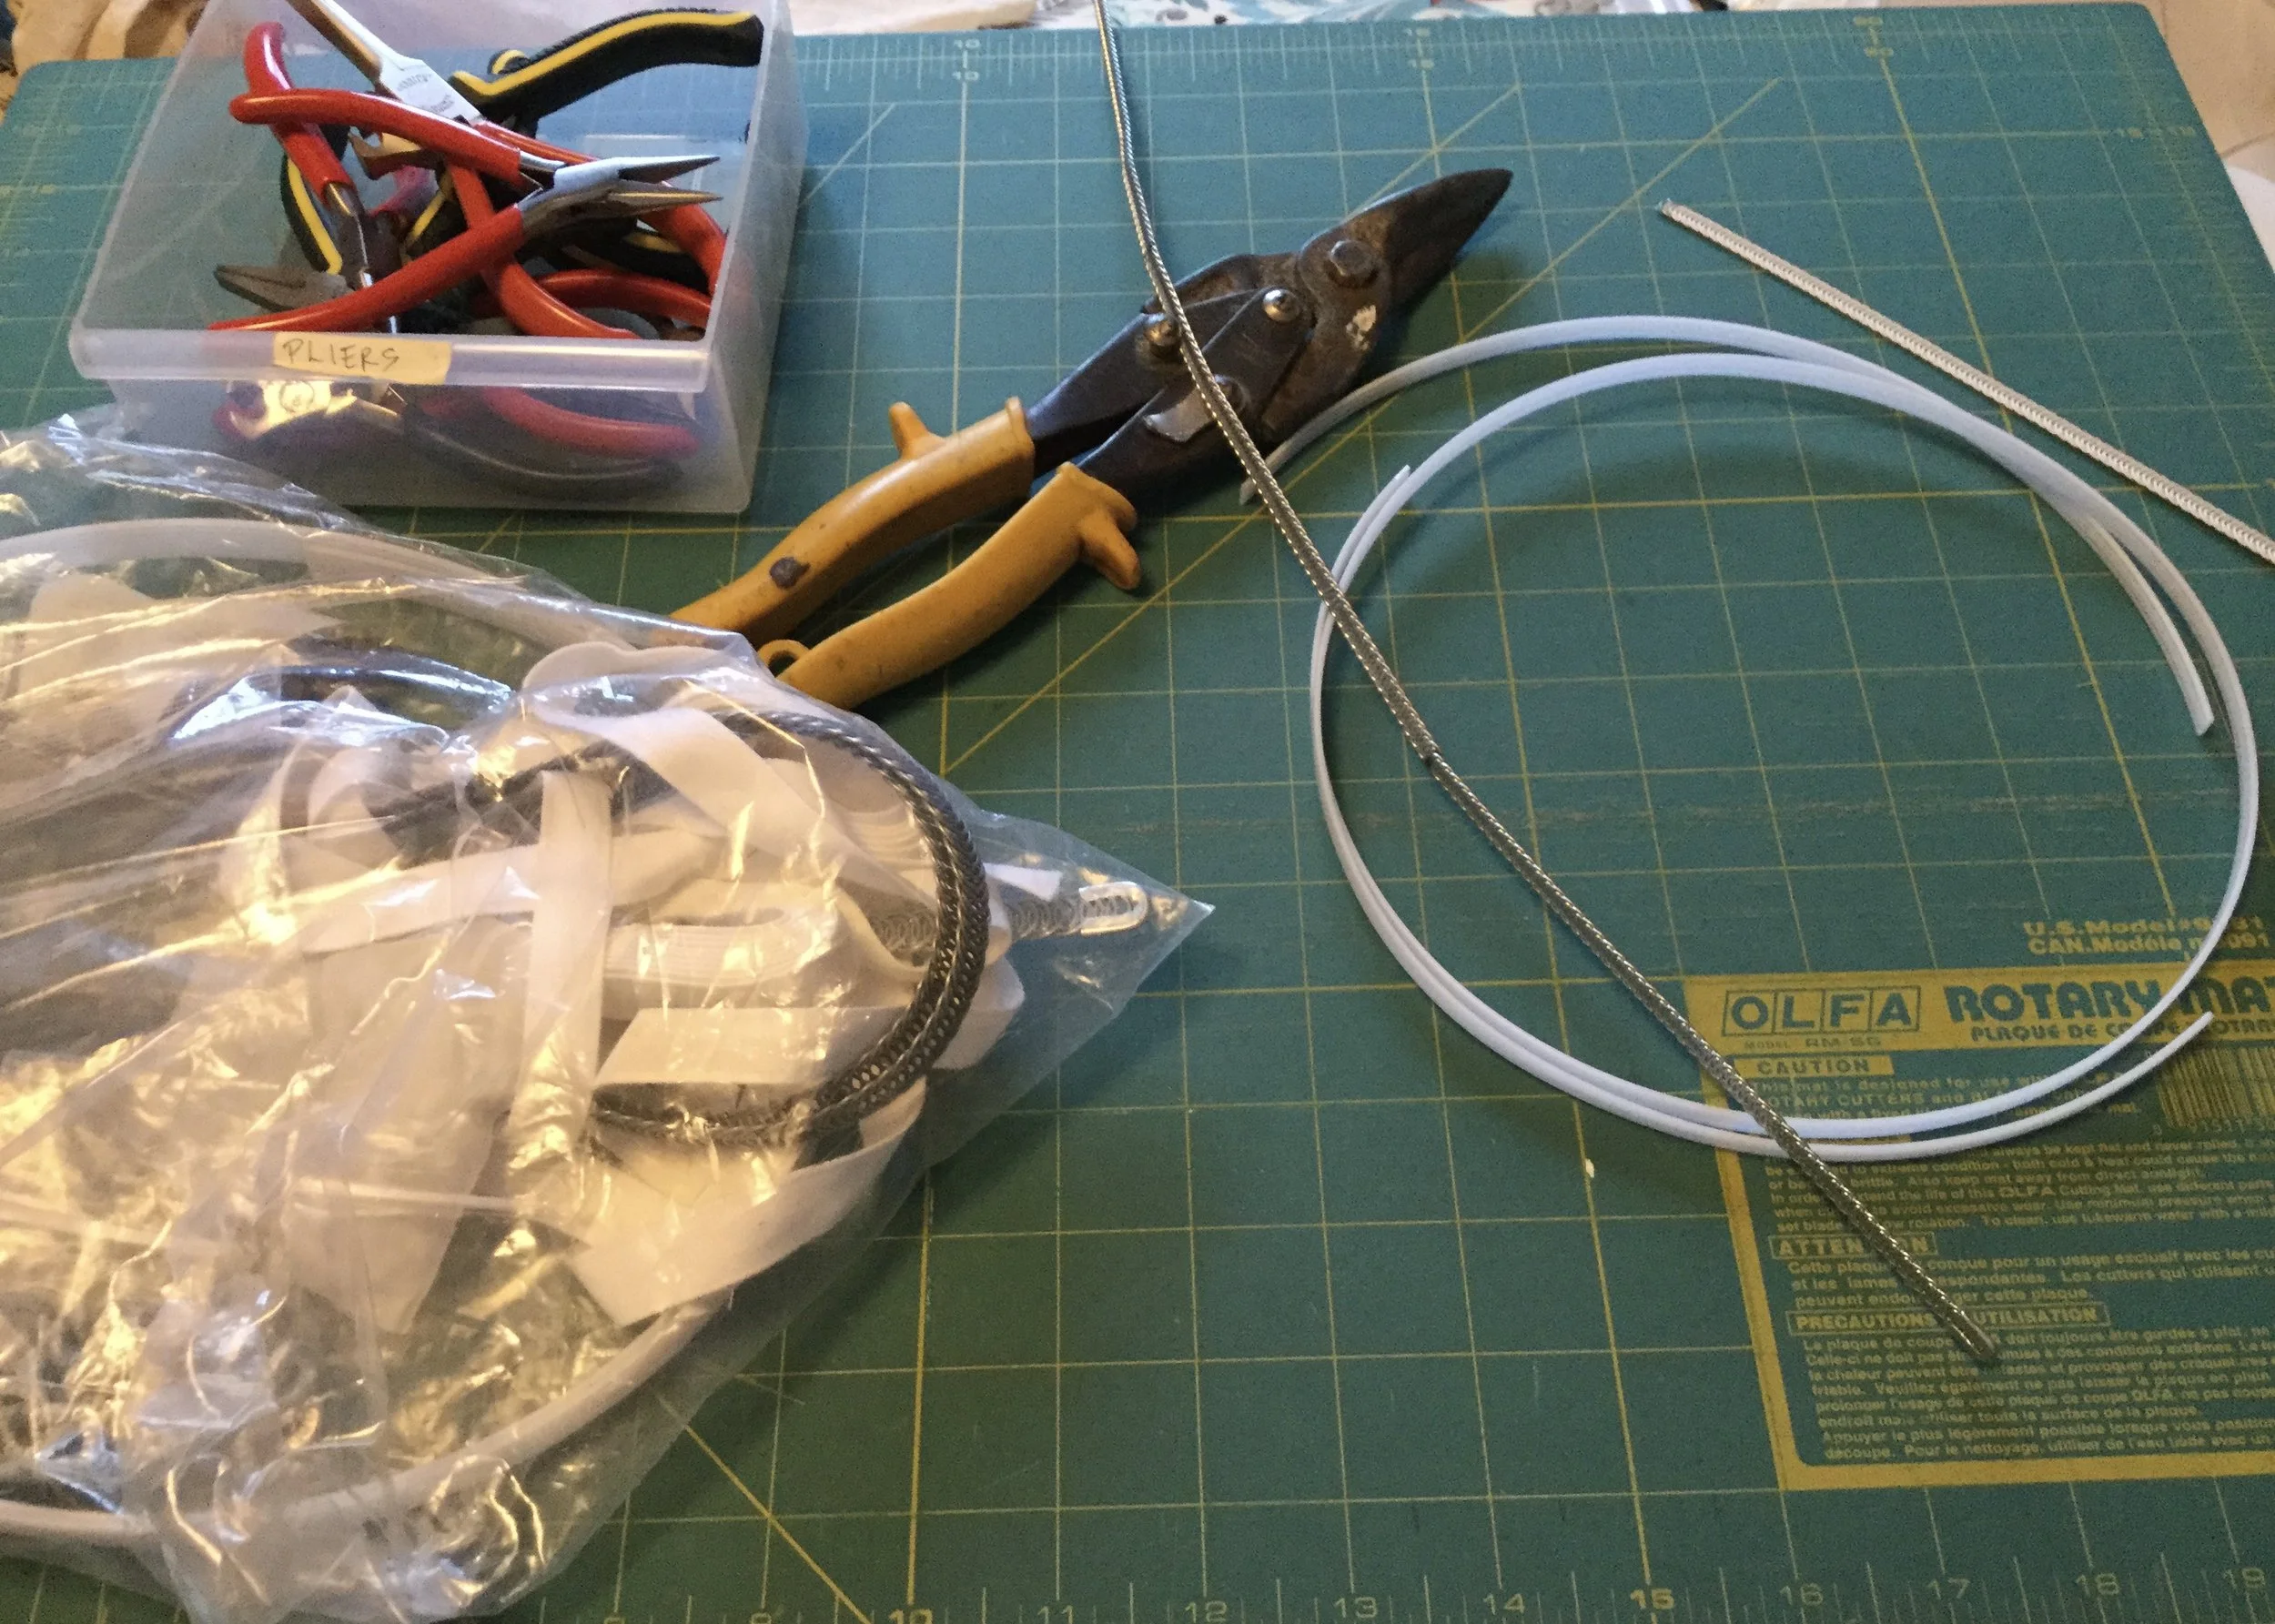
Preparing bones!
I ended up leaving almost every other casing empty and only adding bones where they would help the corset sit correctly. For the boning I used quarter inch spiral bones for any curved bone channels and quarter inch german plastic boning for the straight casings. With the bones in, I bound the top edge and added the top and bottom eyelets.
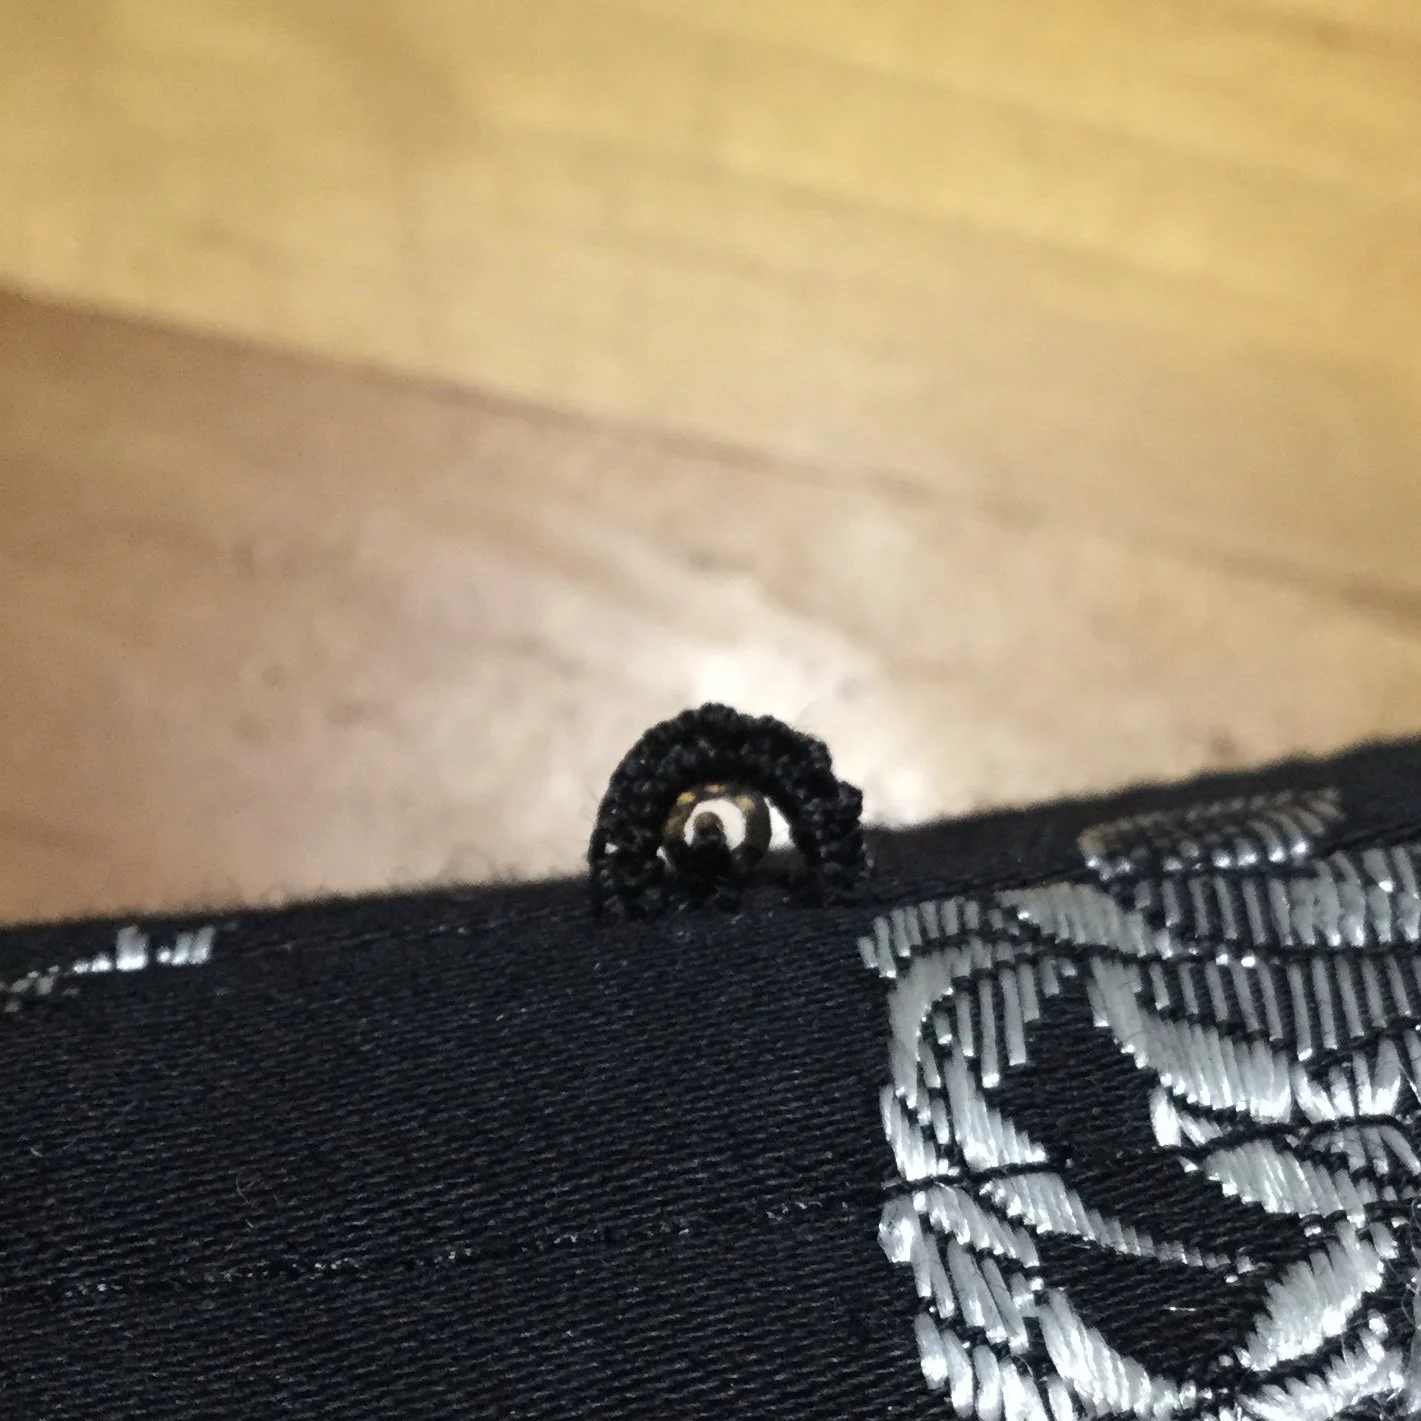
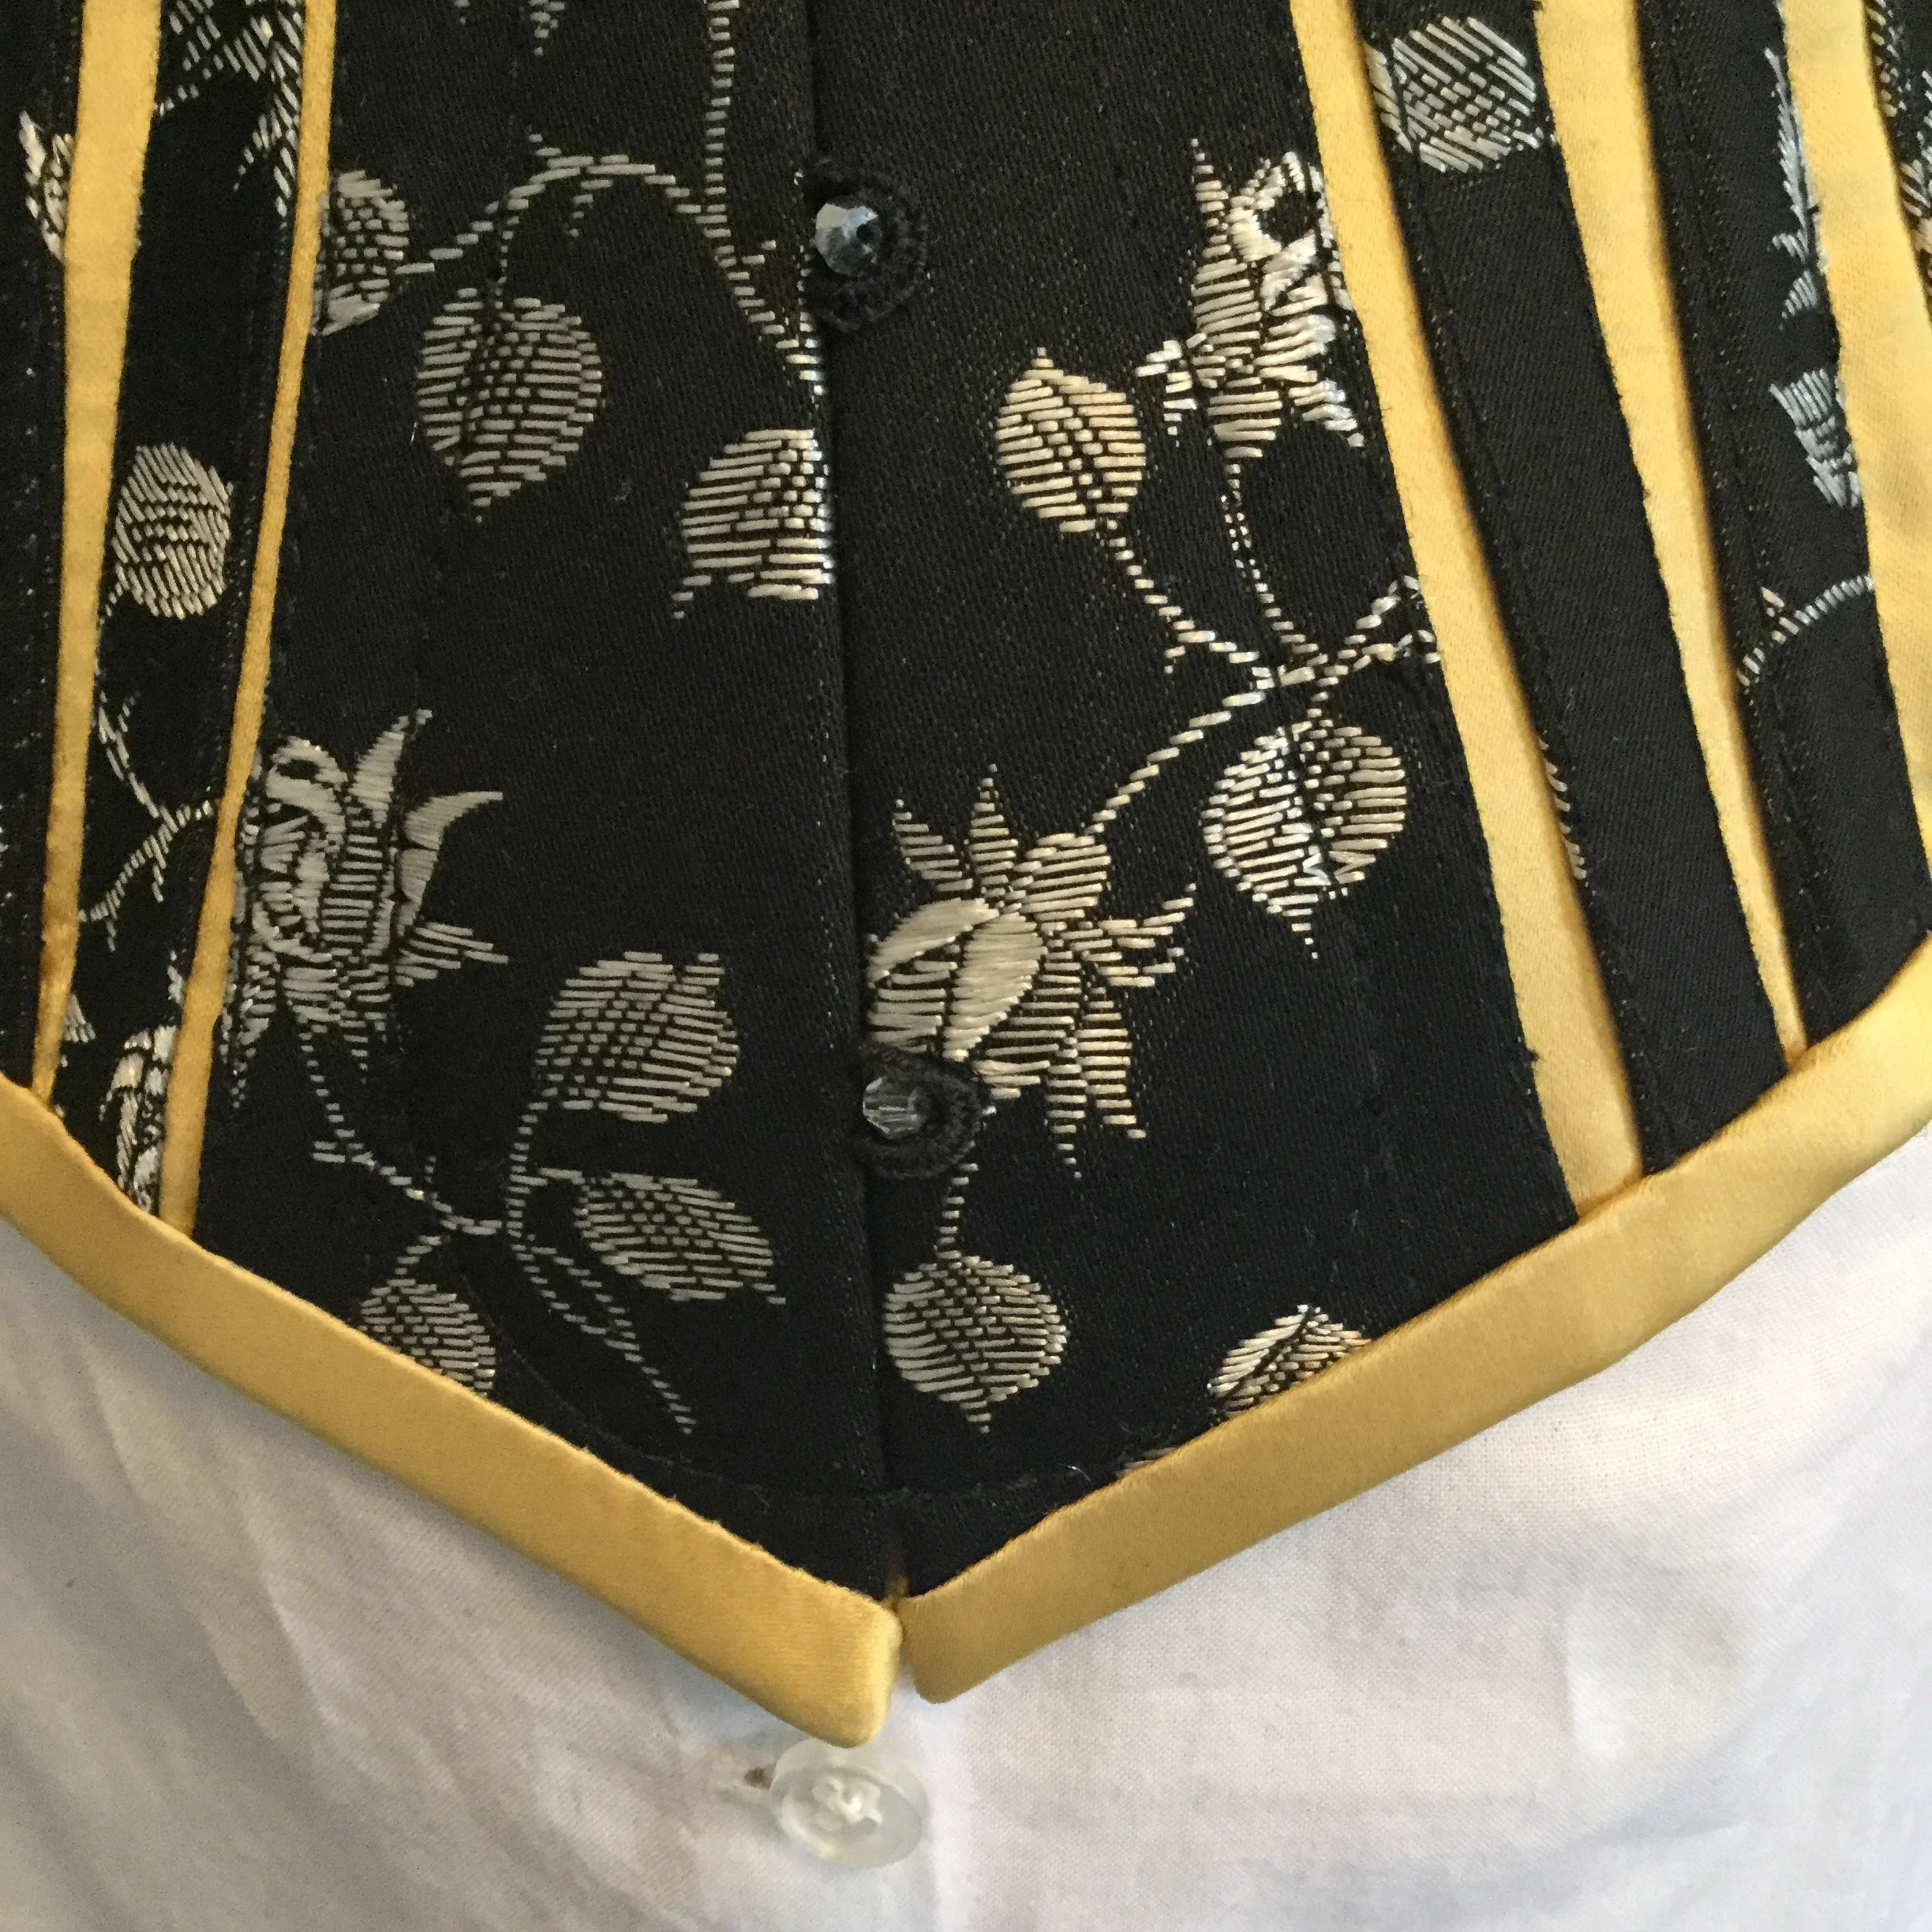
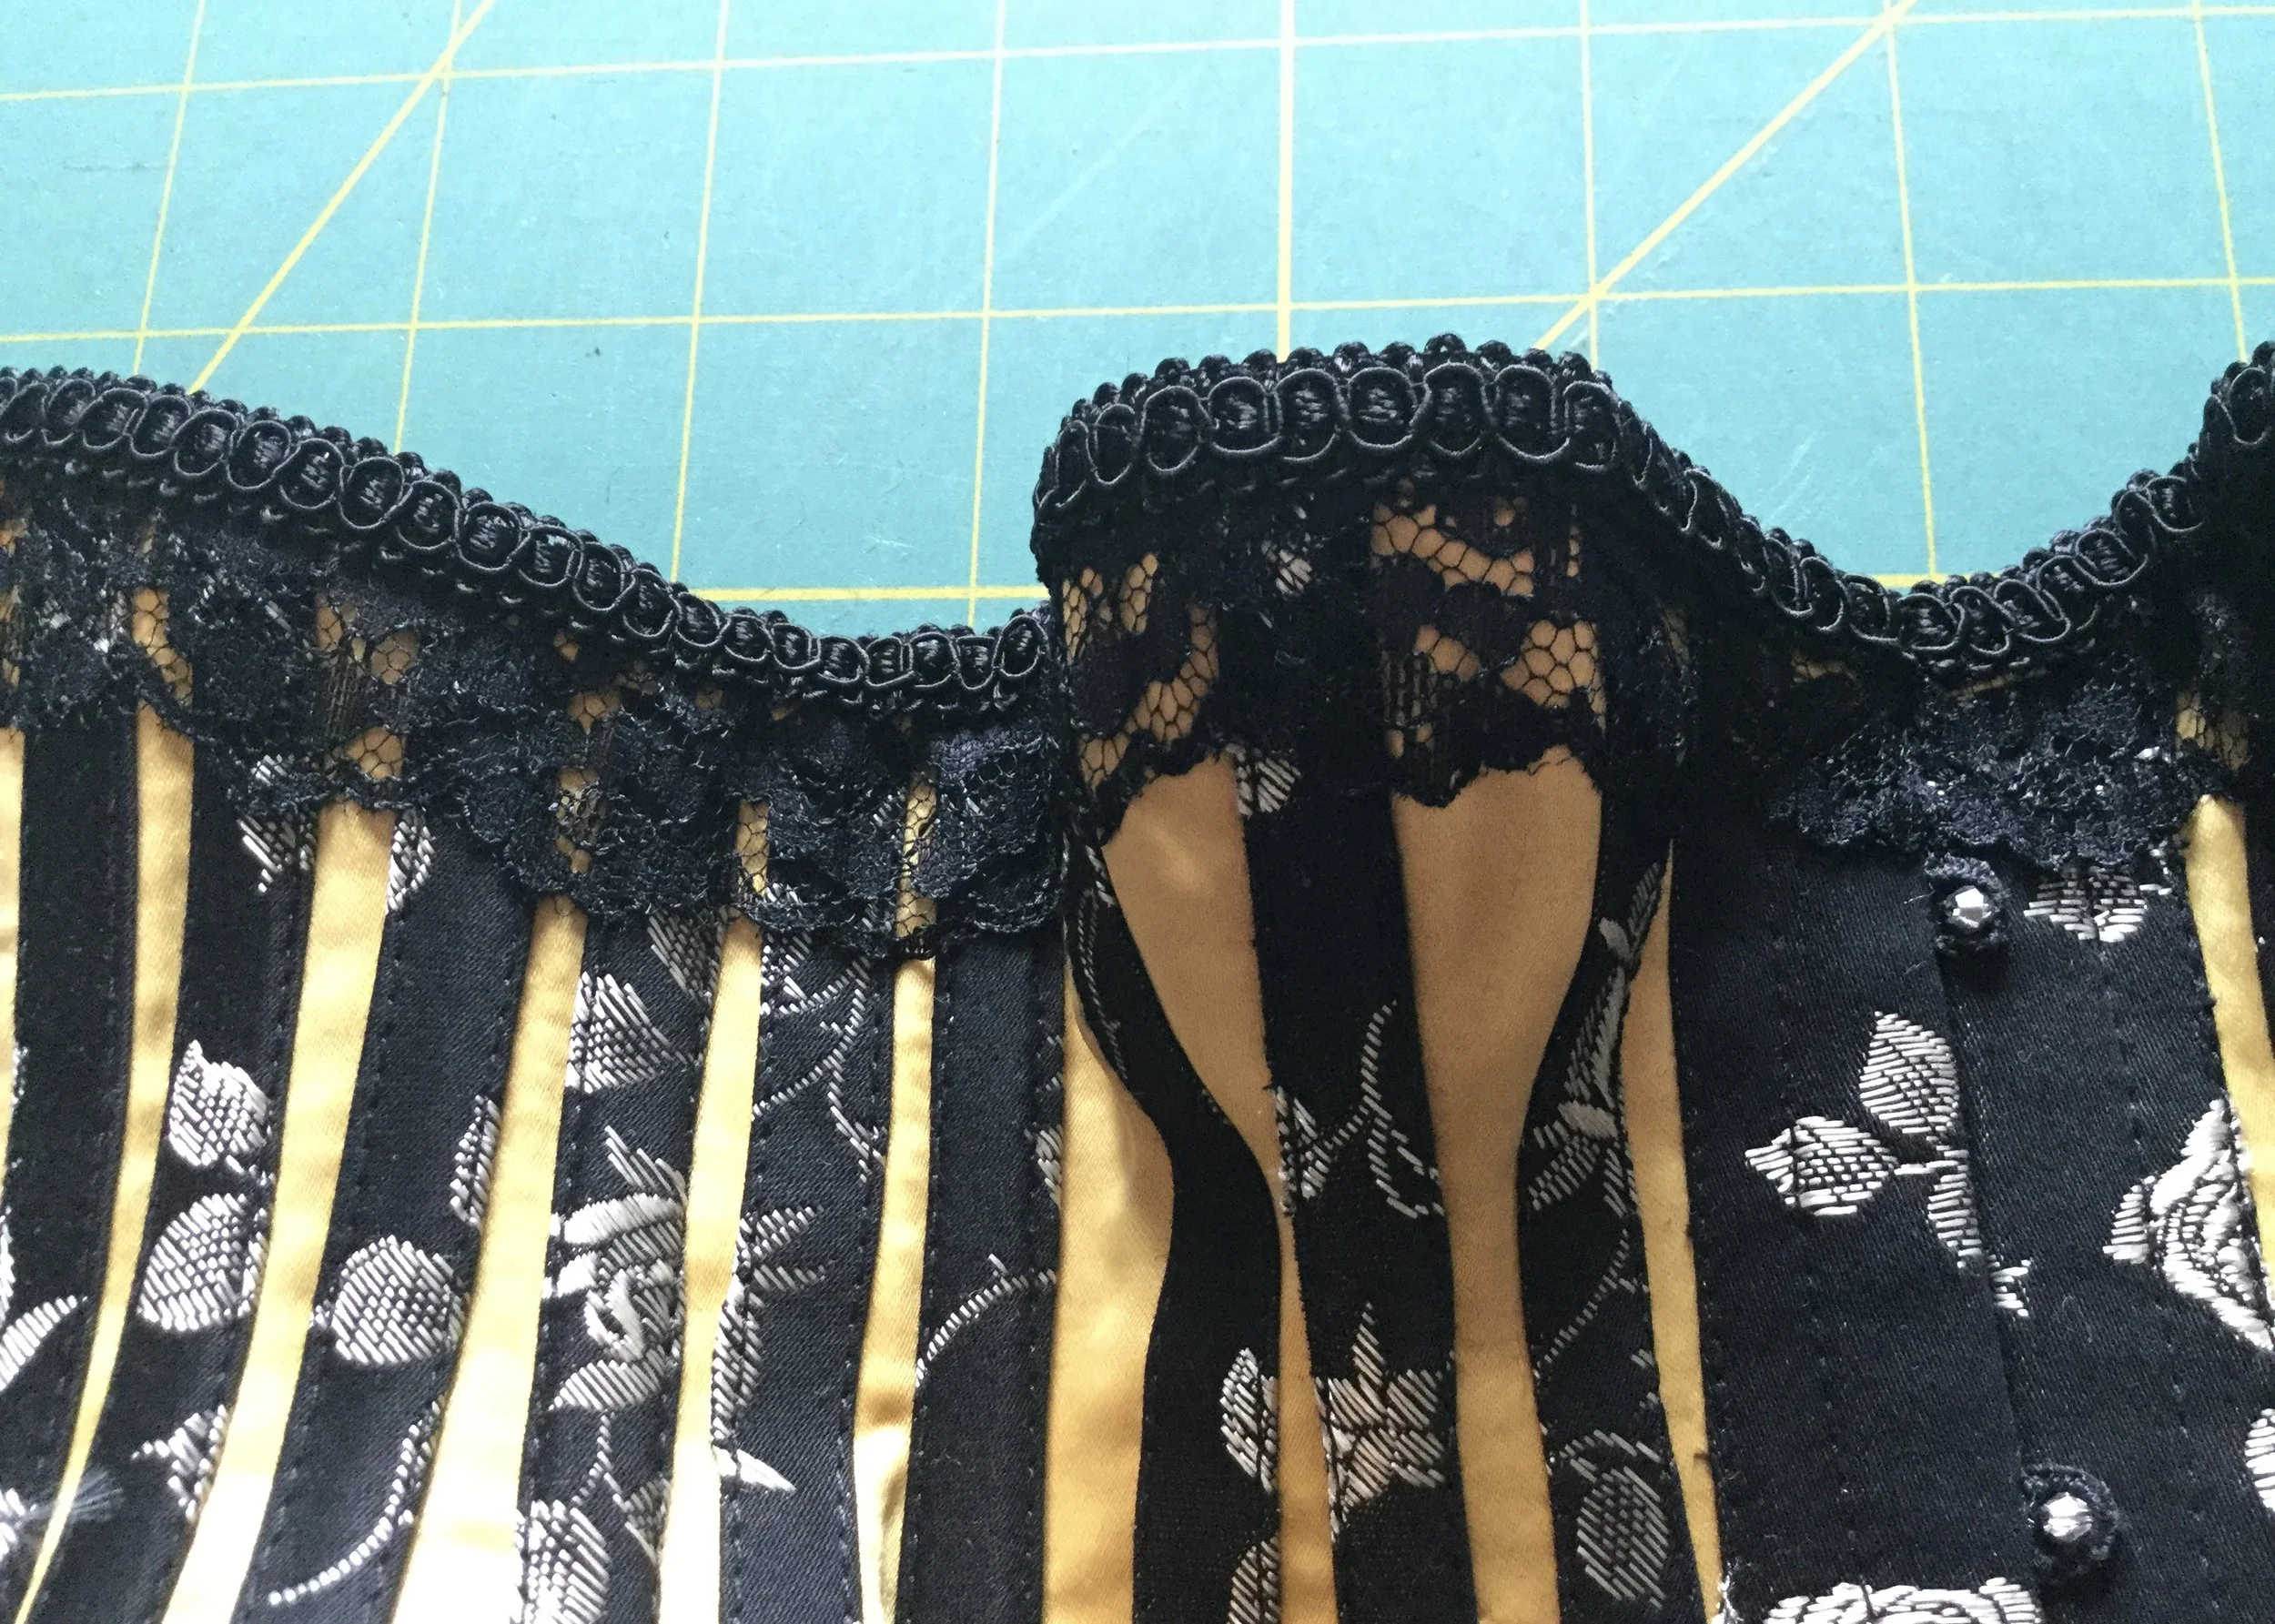
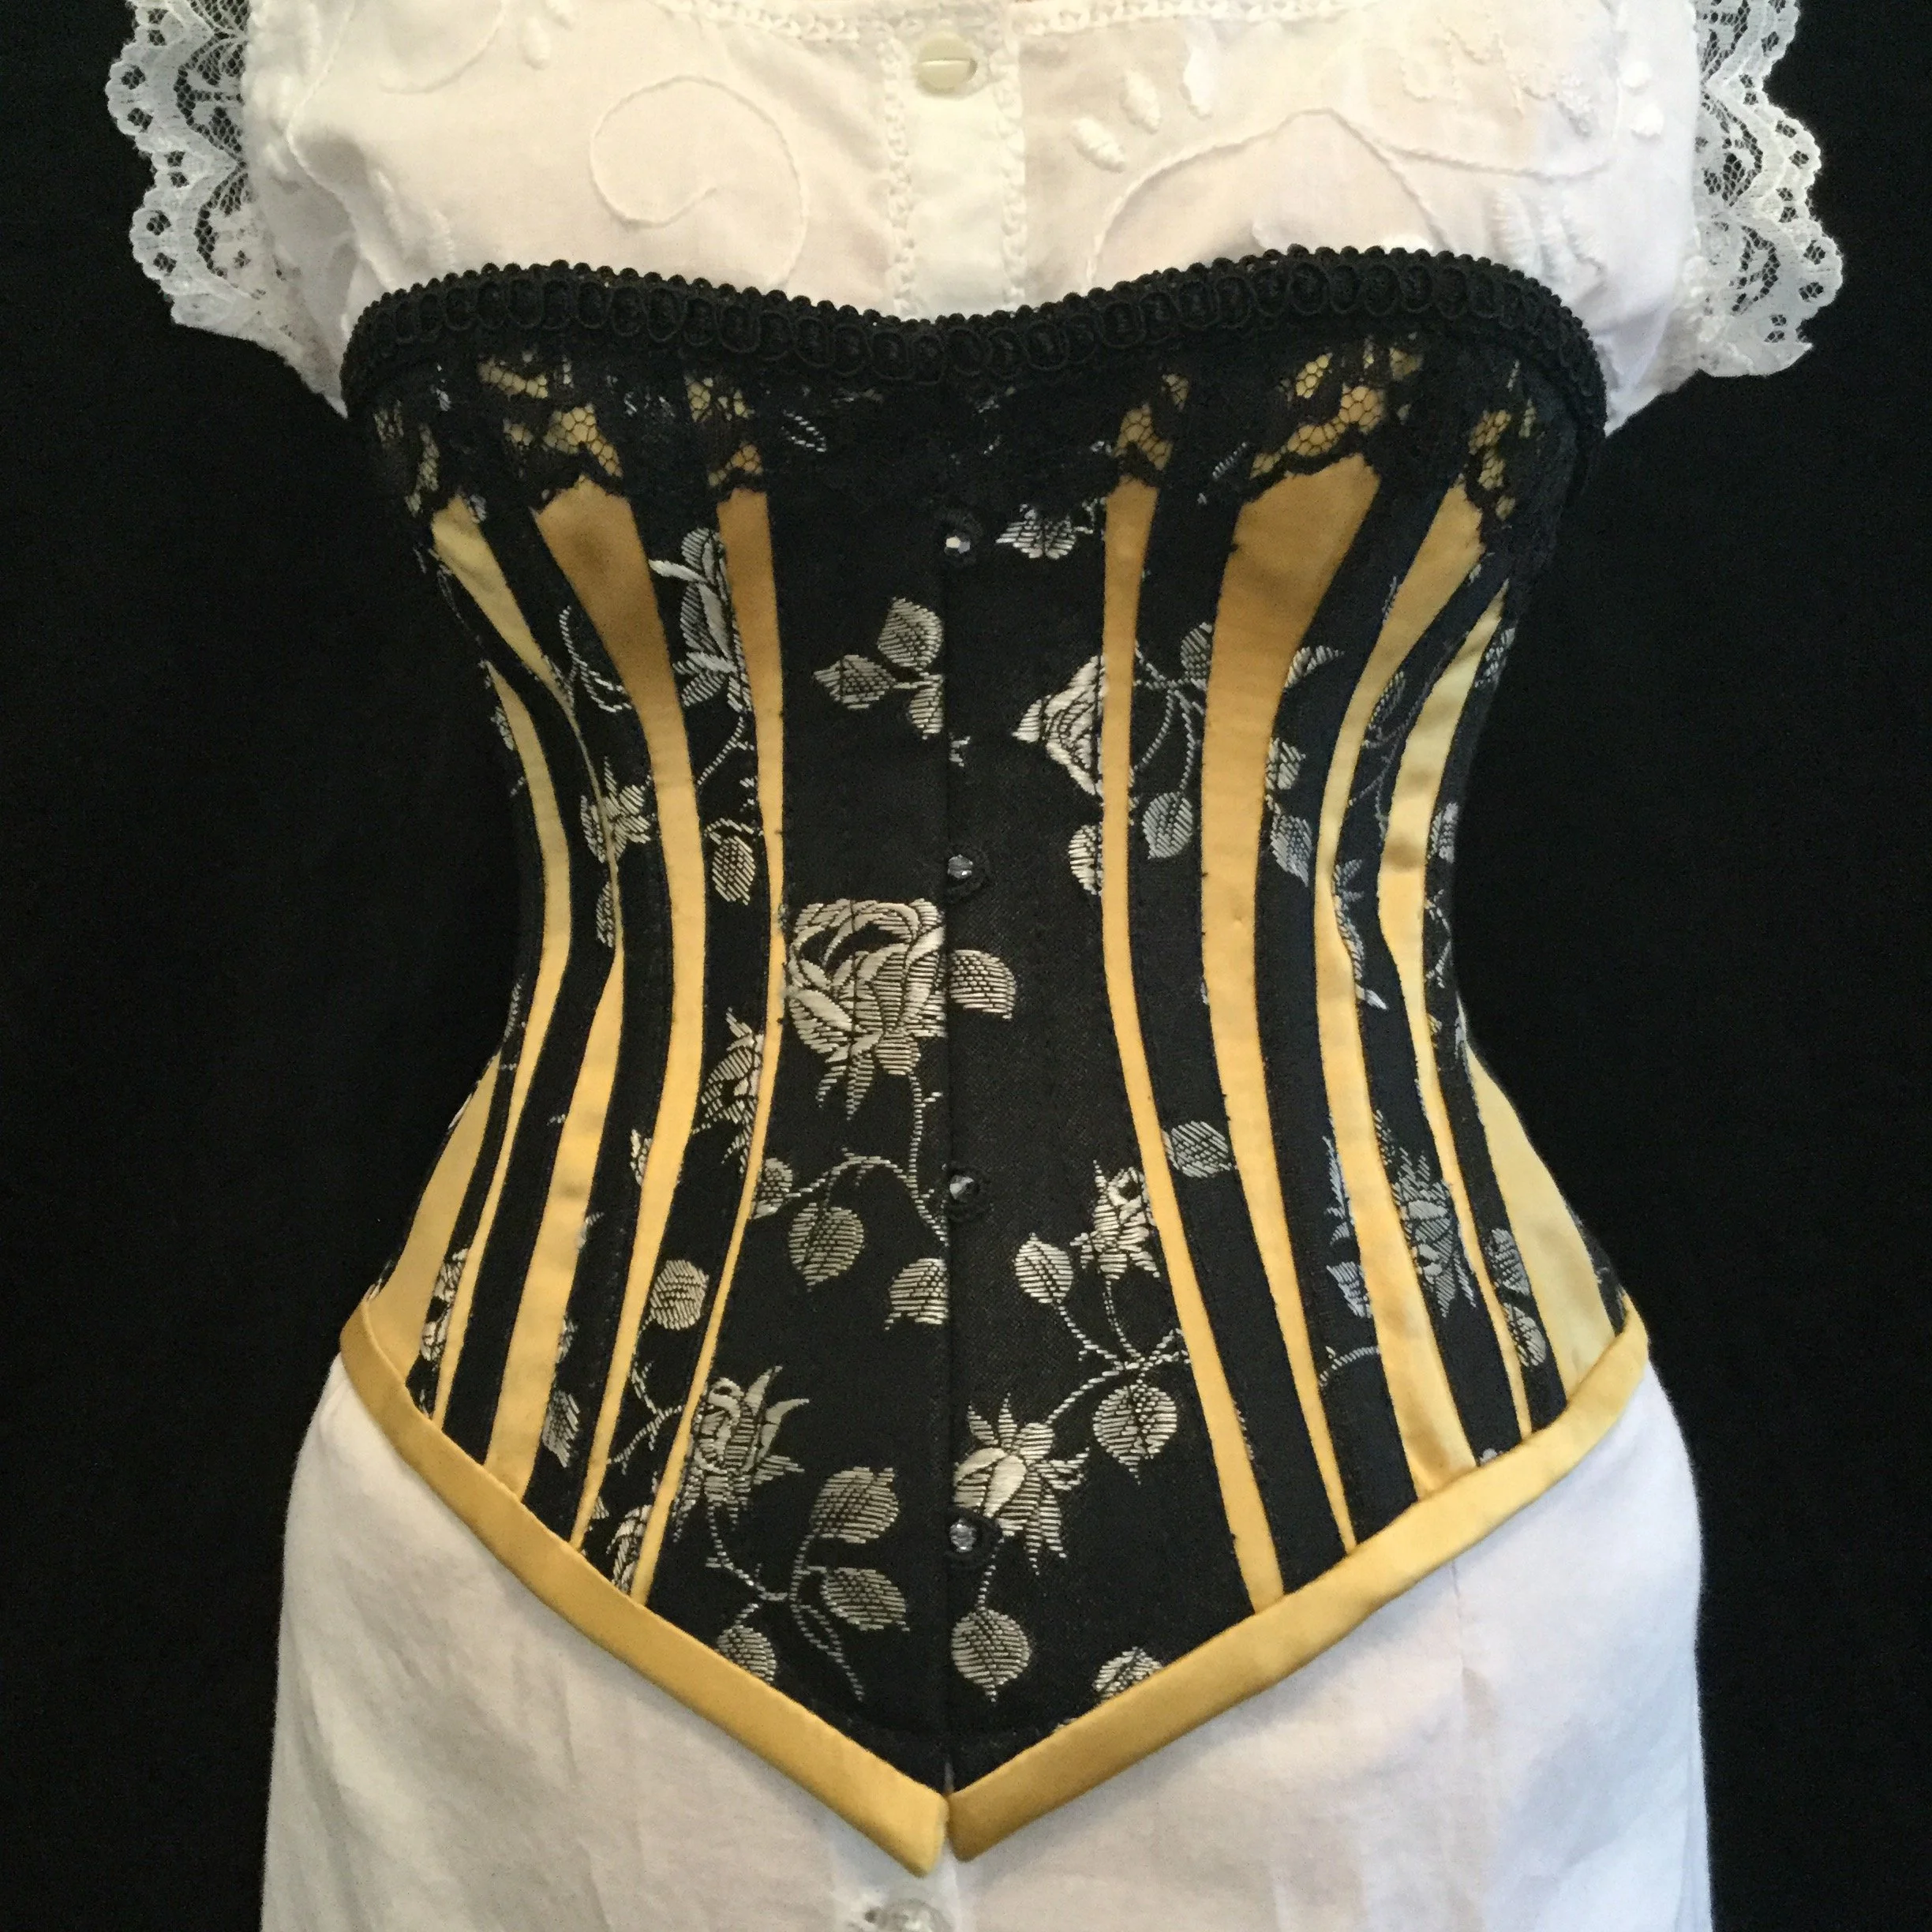
For finishing touches, I decided that I wanted to make some kind of fake closure; I found some small beads in my stash, to act as the knob, and then created a loop out of a bar tack to act as the hook. Thinking again of the corset which had inspired my design, I added a piece of wide (well, wide on the half scale) black lace and some braided trim I had along the top edge.
Typically the top eyelets would go through the lace as well, and if I had been cutting the holes for the eyelets with a slick hole punching tool, I would have done that. However, my tools were an awl, scissors and stubbornness which do not produce as clean a hole and I was concerned that however carefully I stitched and basted the lace, it would still manage to shift or I'd cut a hole which would turn out to be in the completely wrong spot.
With the trim applied and the last eyelets in, I laced her up and she was done!
As usual, there are things I would do differently if I were to make it again, but overall I'm actually really pleased with how it turned out. There were moments that I would look at it from a certain angle and think that the shape really looked like the original drawings I had used for reference and I would become extremely pleased with myself and my cleverness.
Marie’s corset took 37 hours in total. I spent 7.5 hours draping the pattern and making and fitting the mock up and the final build took 29.5 hours.
The next step of this project will be more undergarments, namely a bustle and petticoat. For the moment, I think I may take a break to work on a few other projects. I’m working on a dress inspired by the 1960’s and Doris Day and I finally bought fabric for the Belle dress so that might make some progress.
