Katherine Part Two
The battle continues.
Part Two
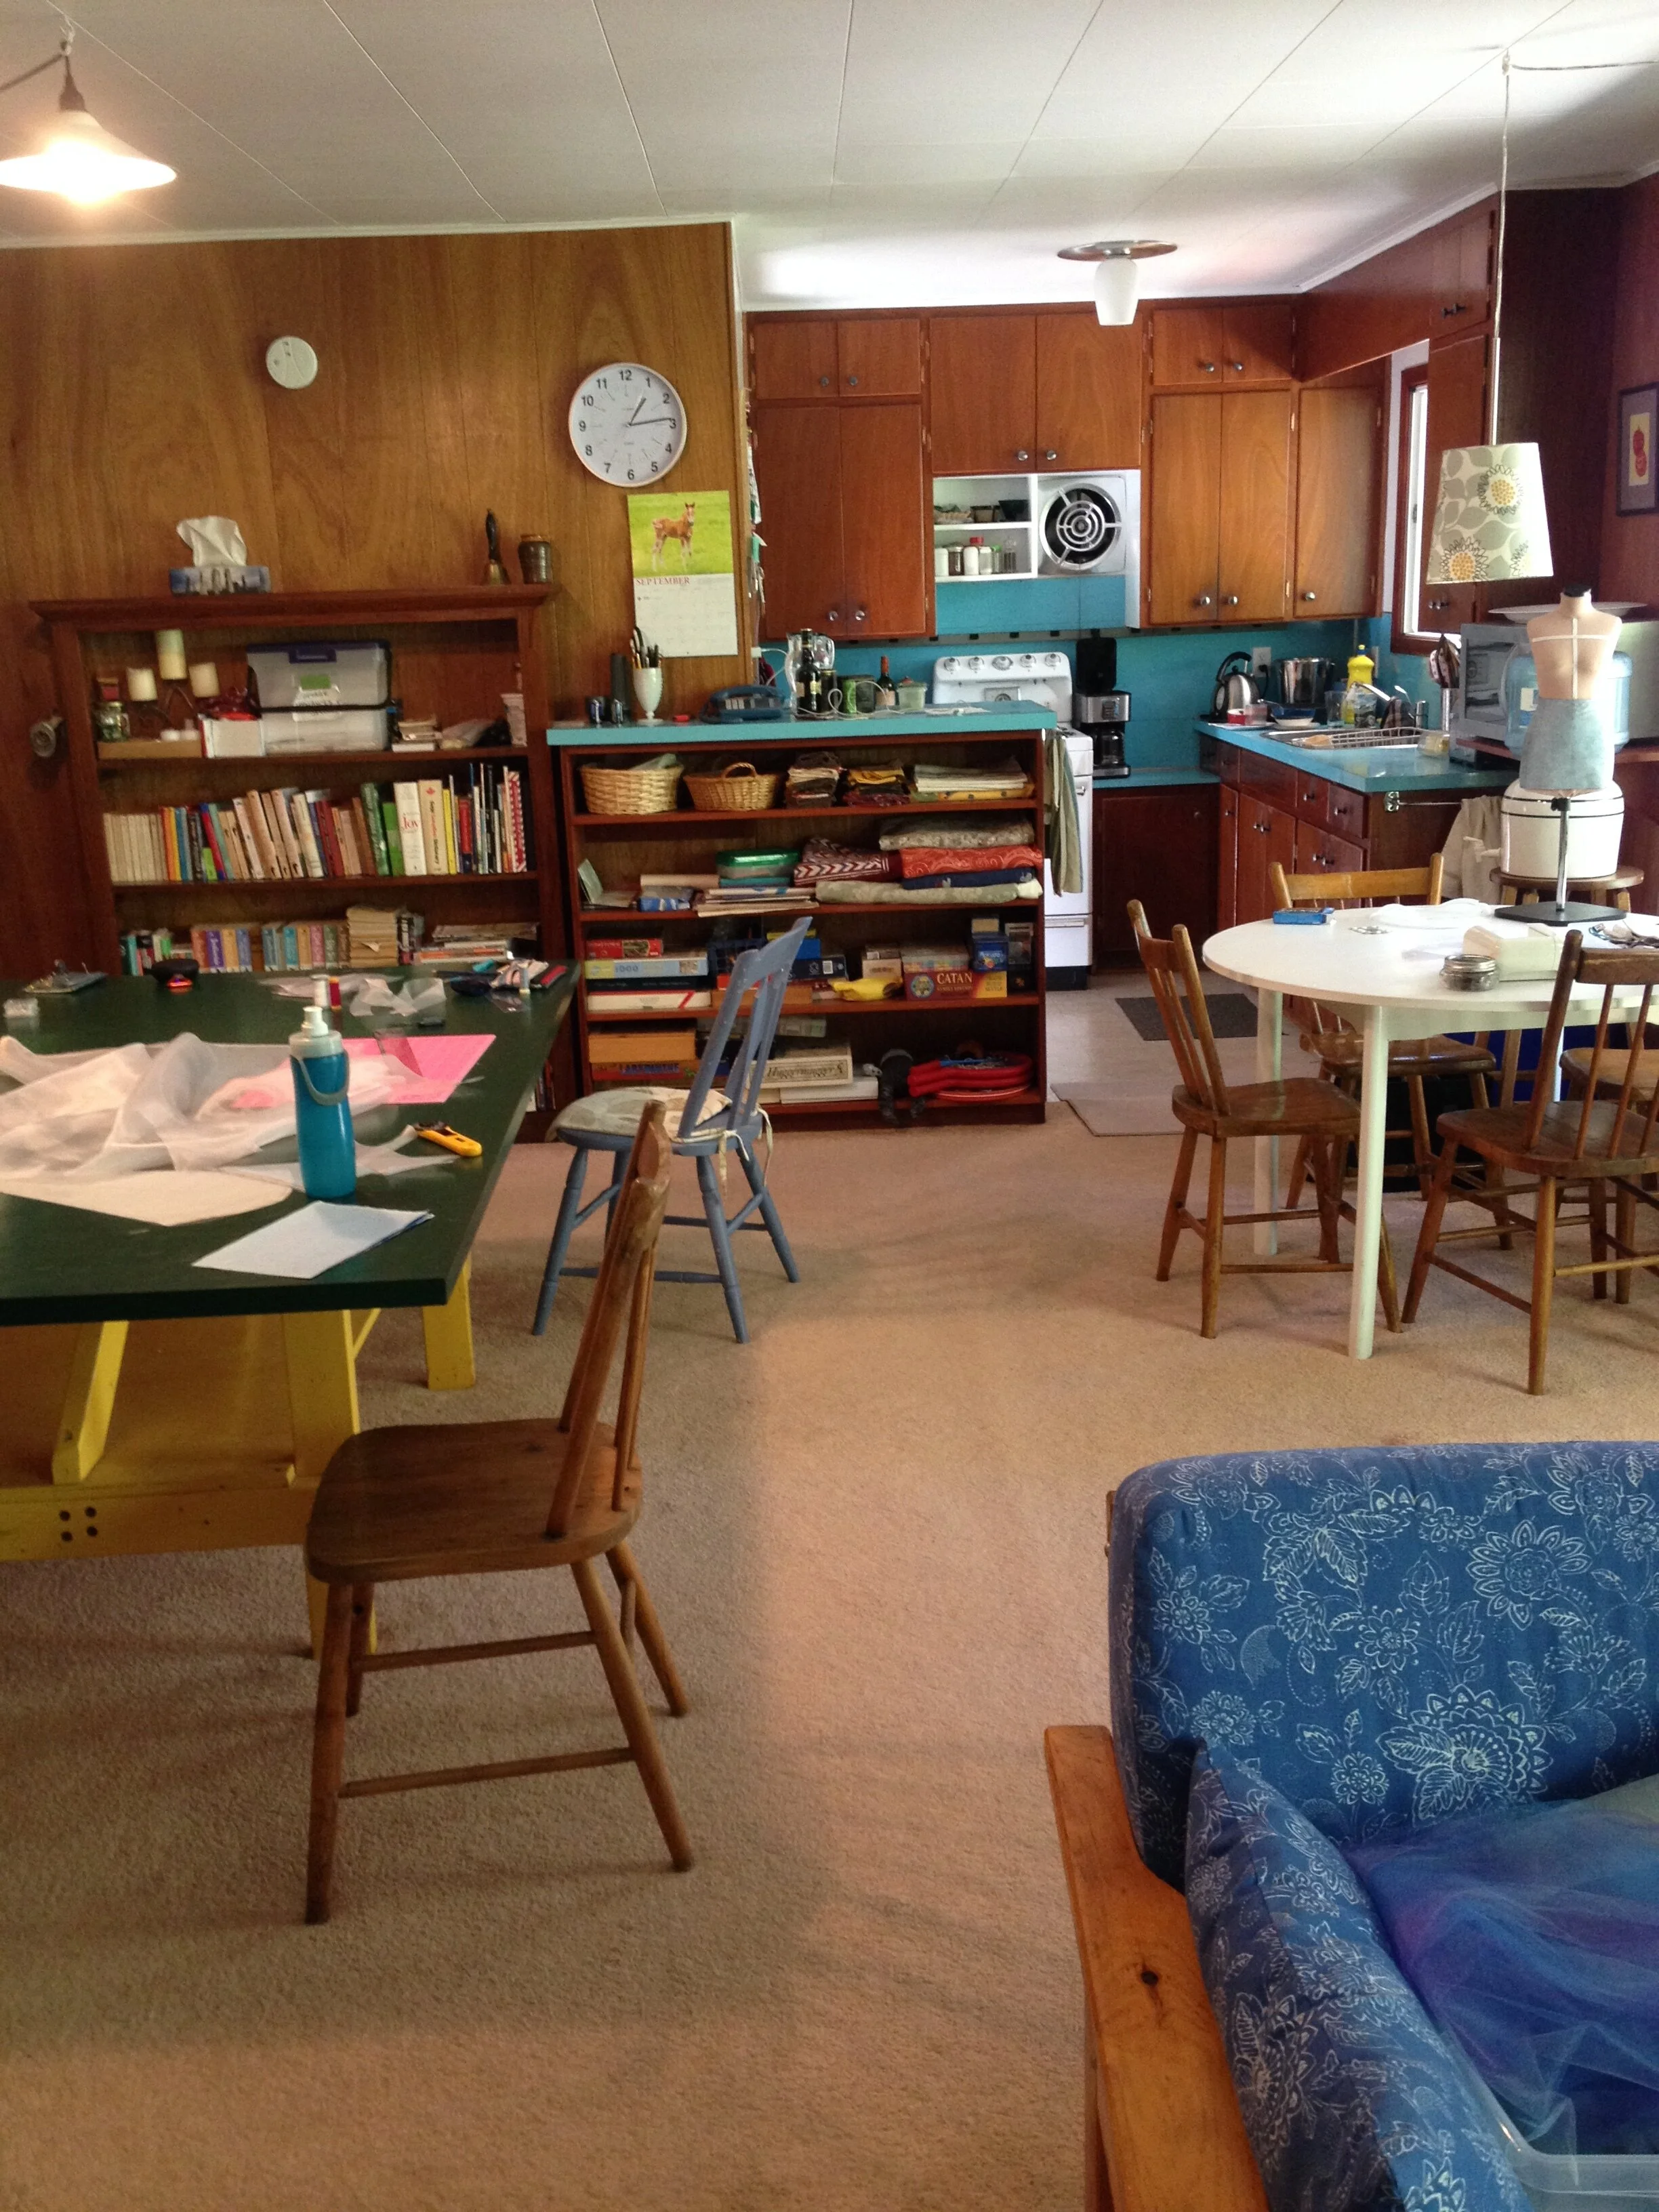
To get started, I took Katherine to the family cottage for a few days. There's a nice big table and an absence of people.
Given half a chance, I will take over every surface in a space.
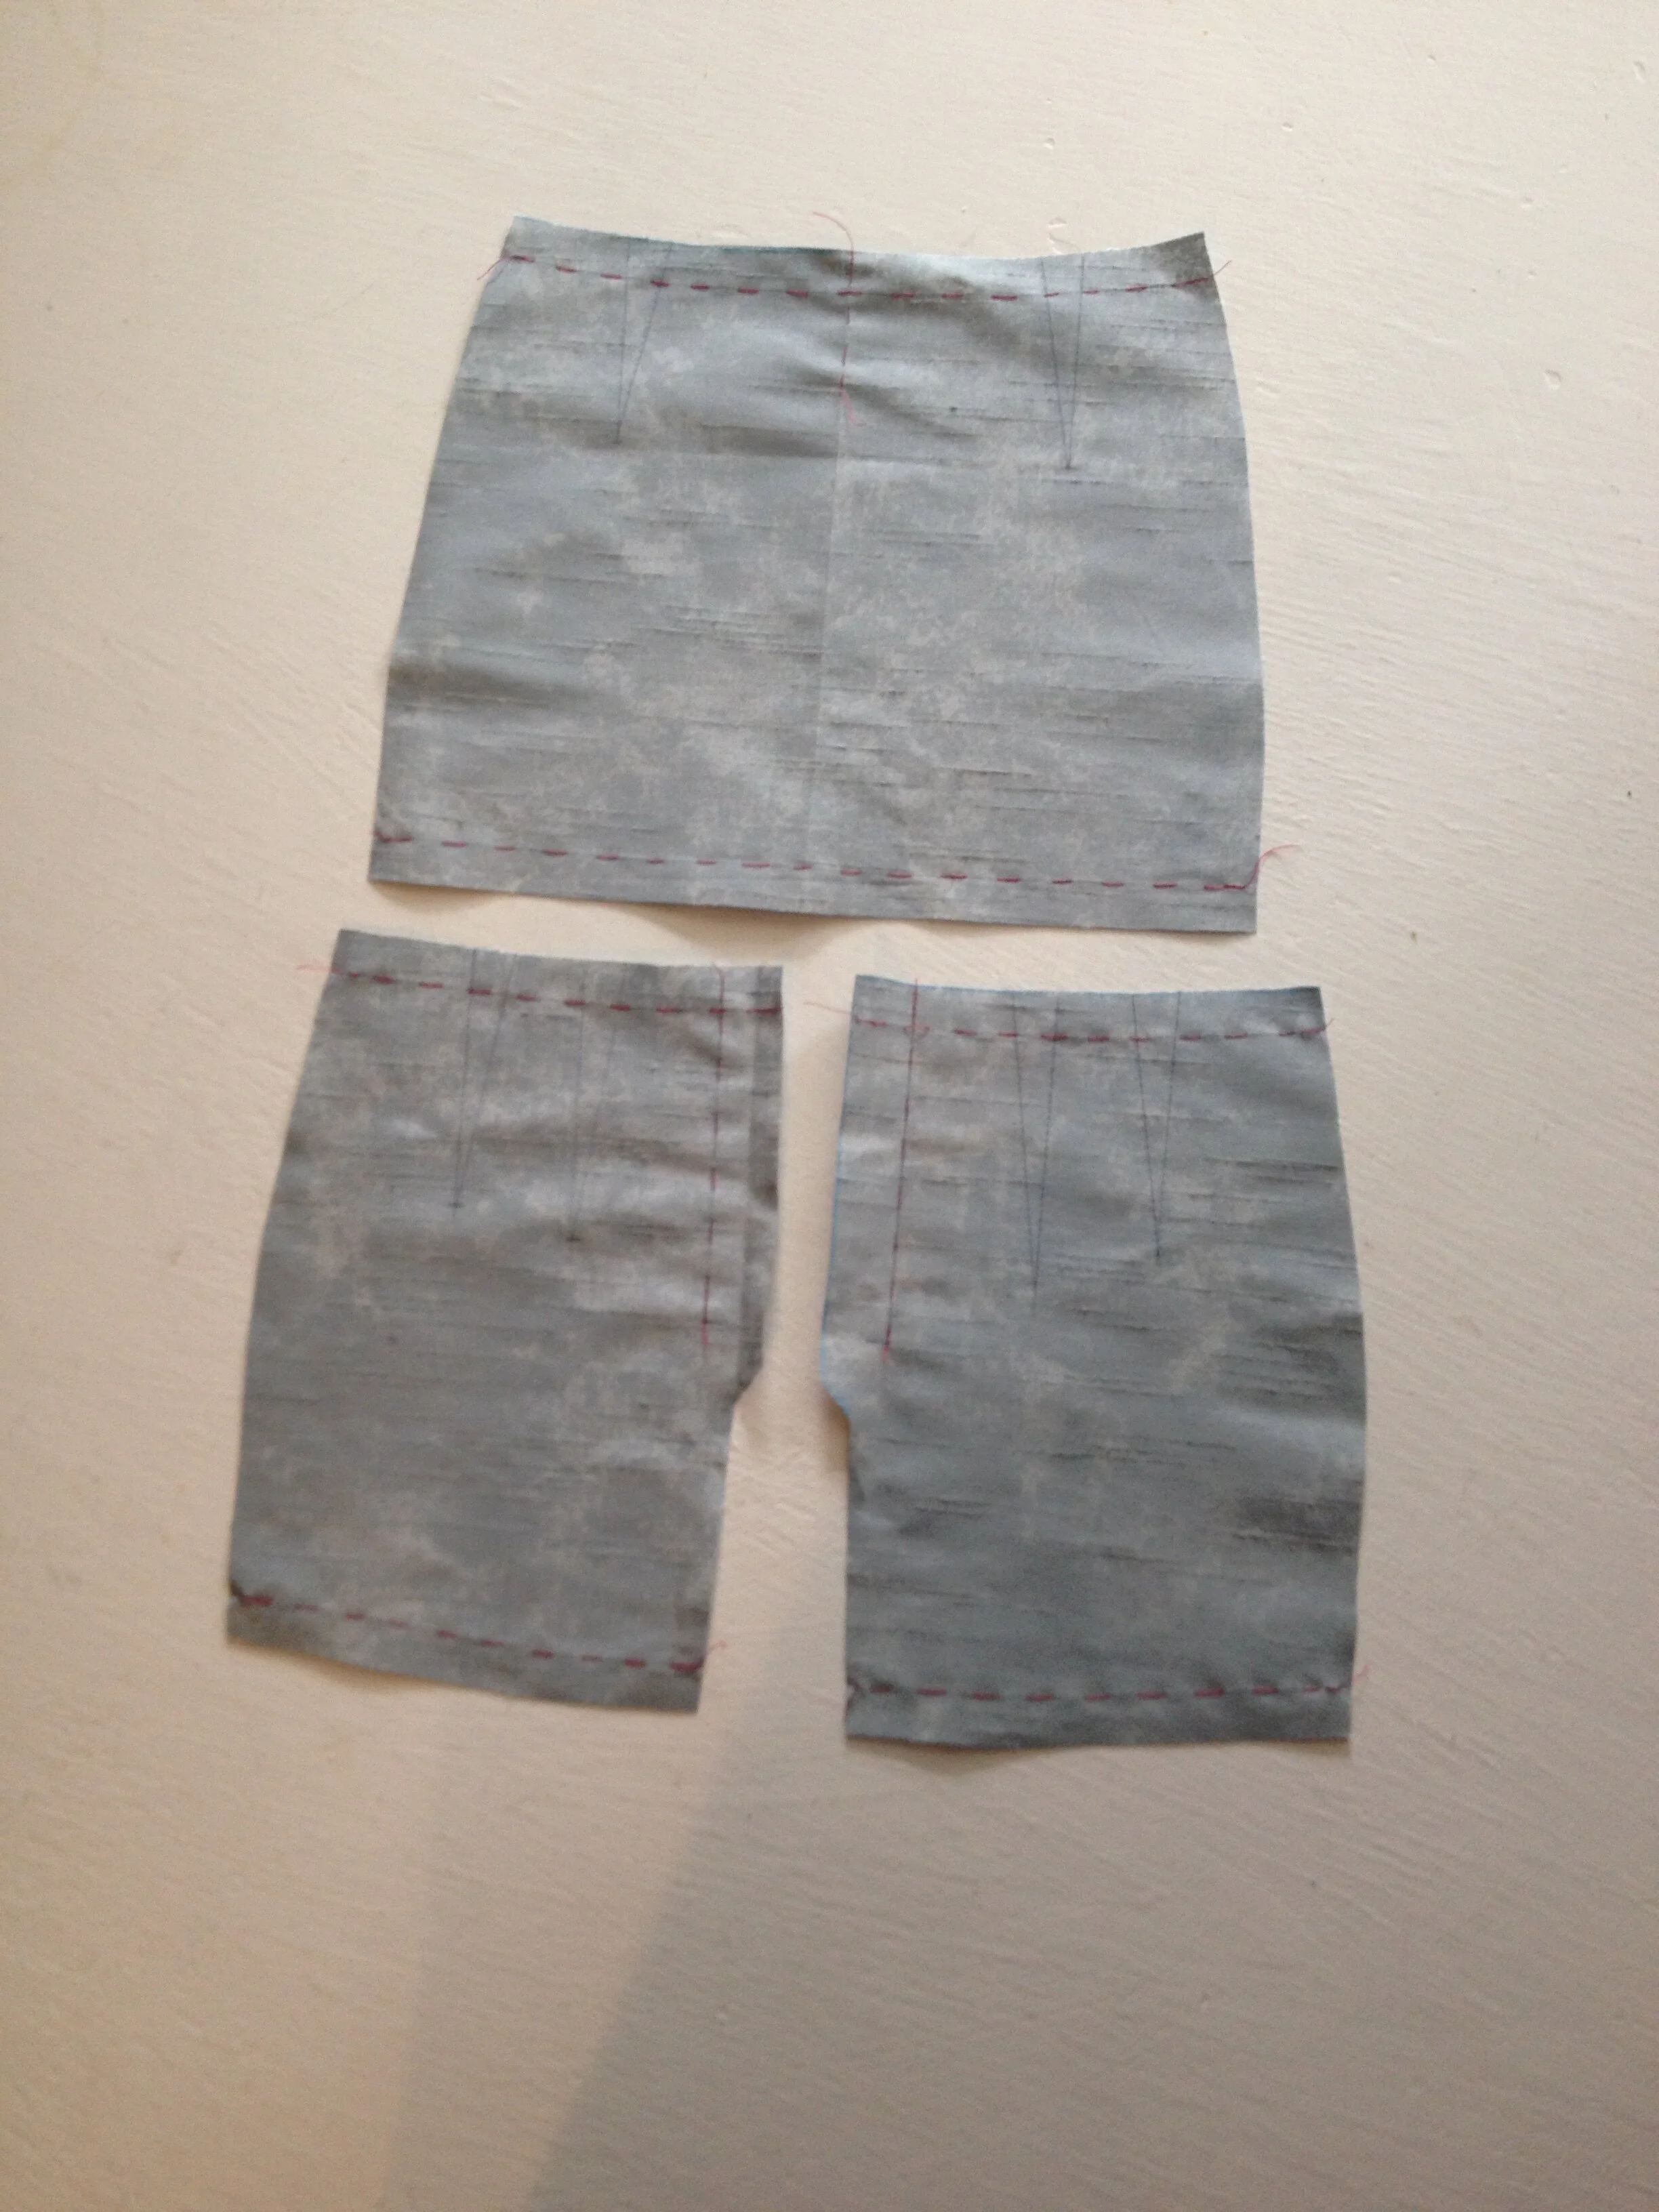
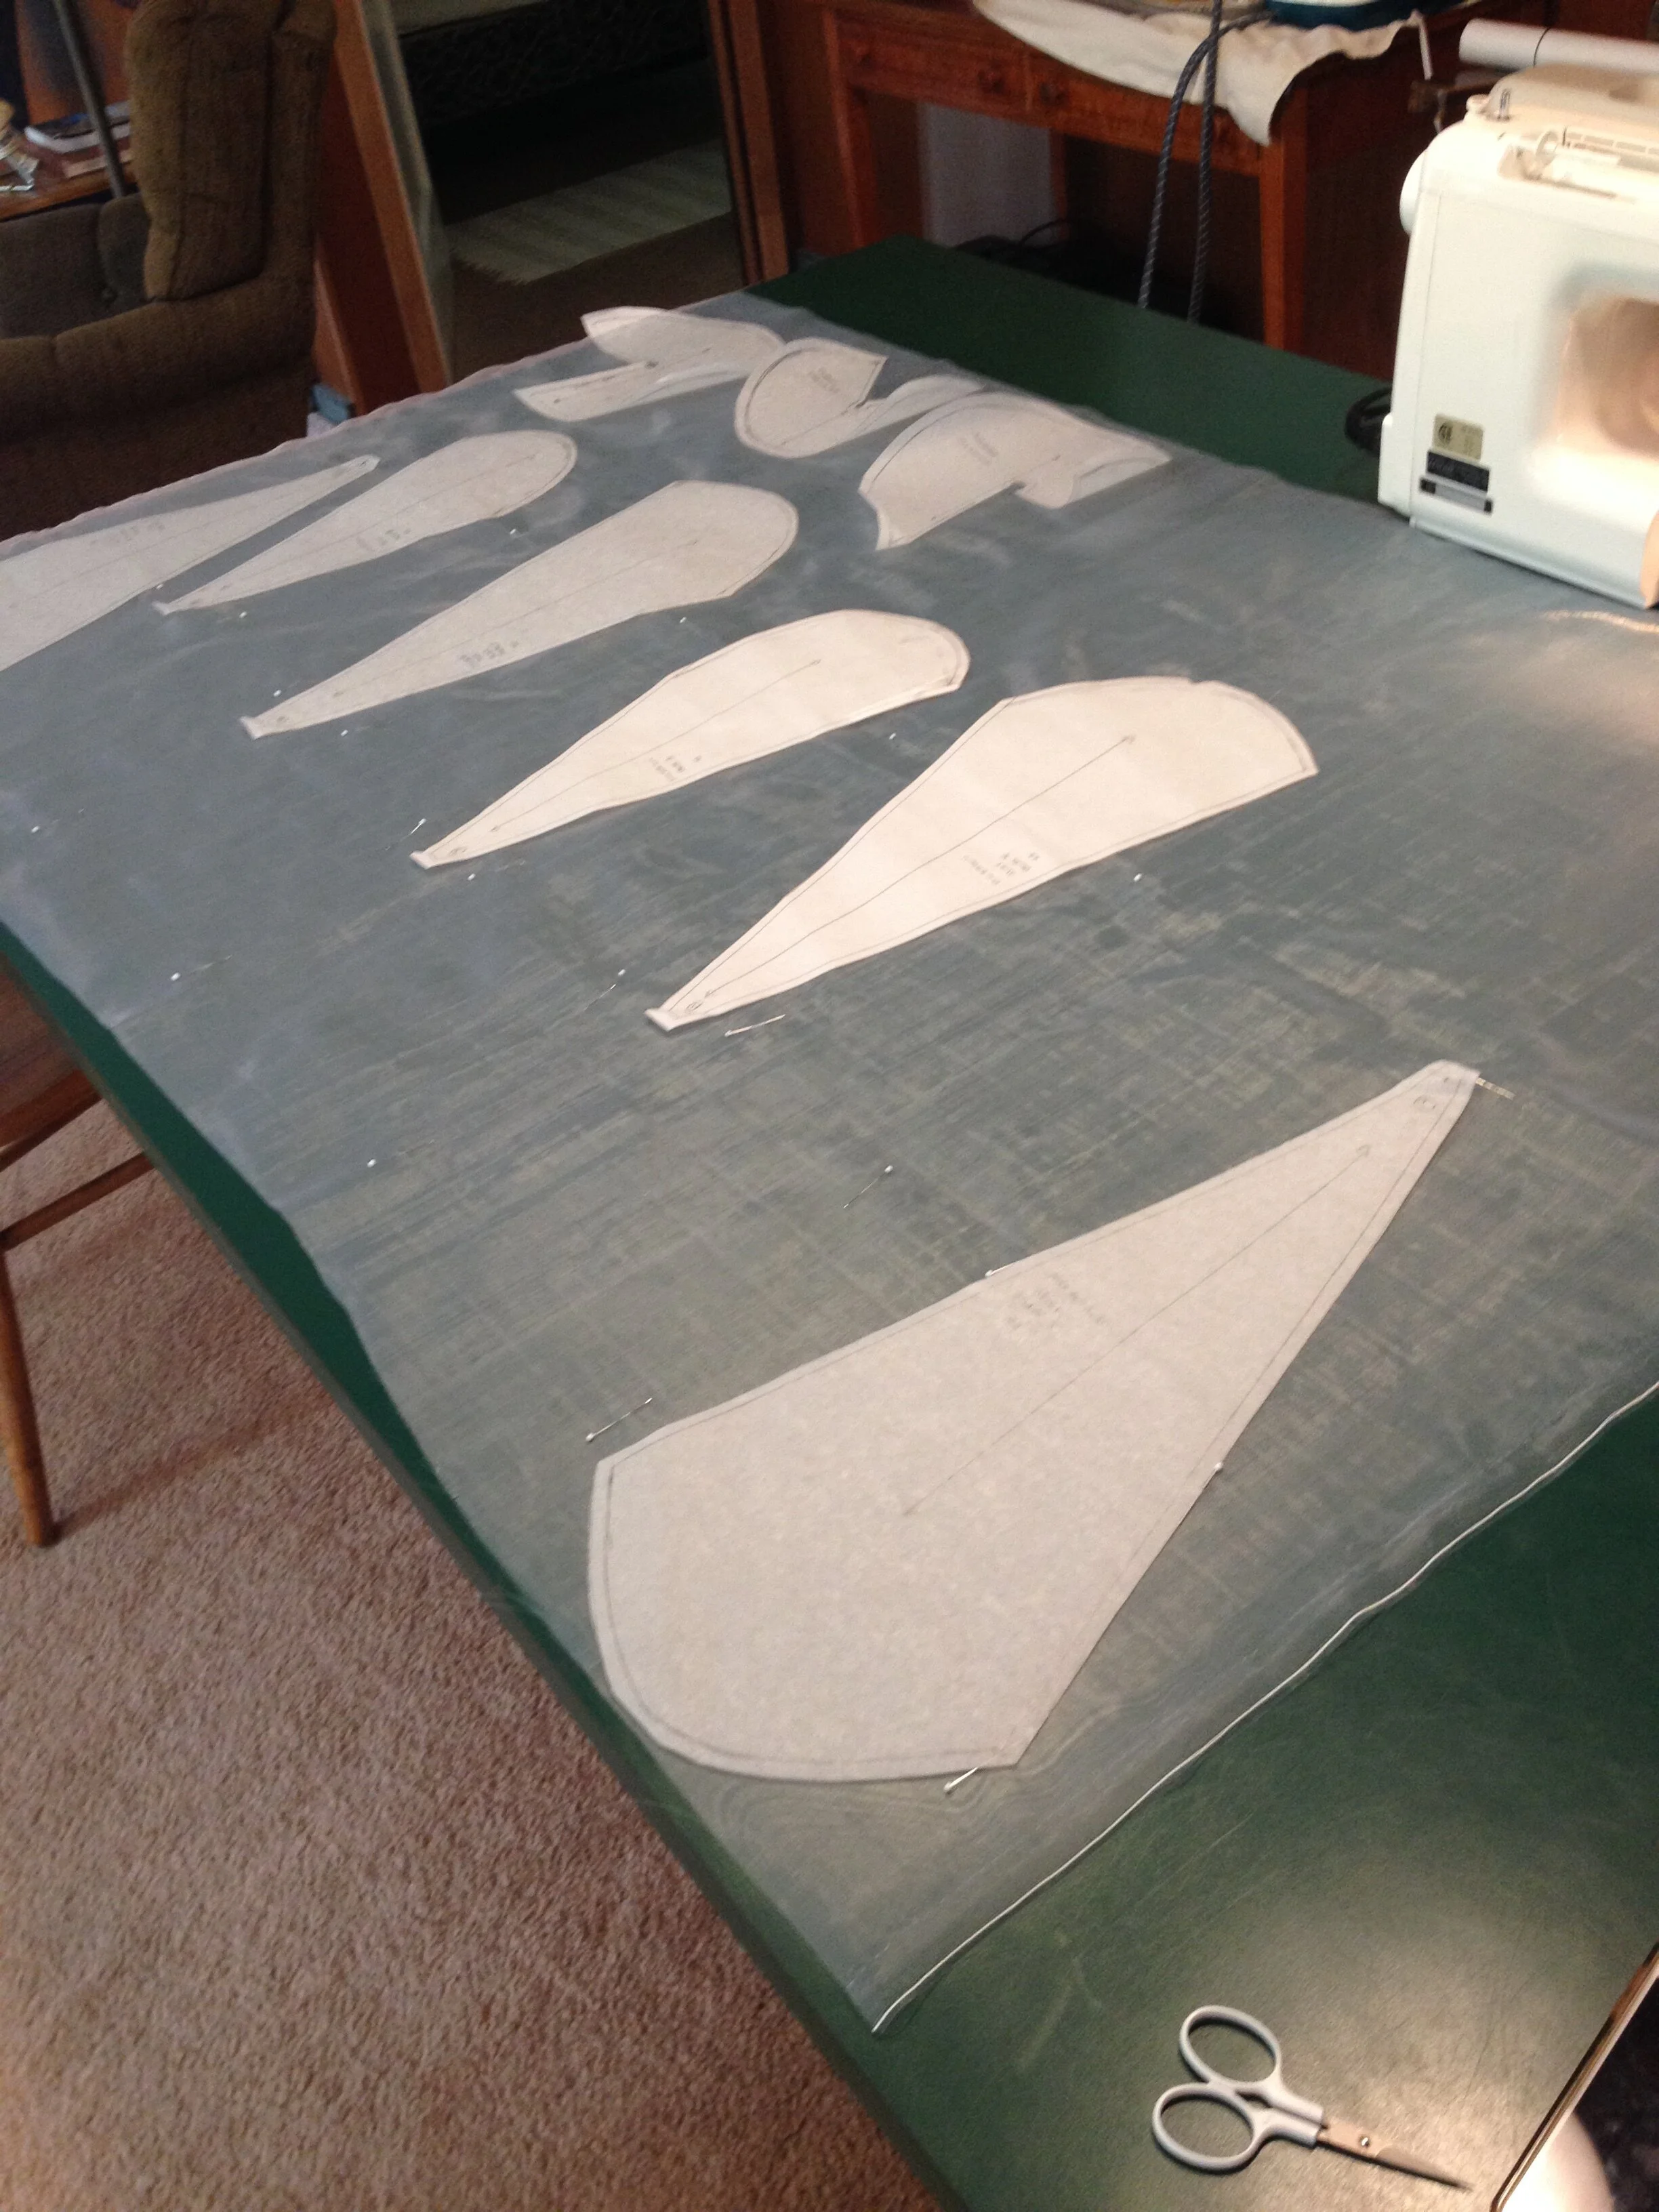
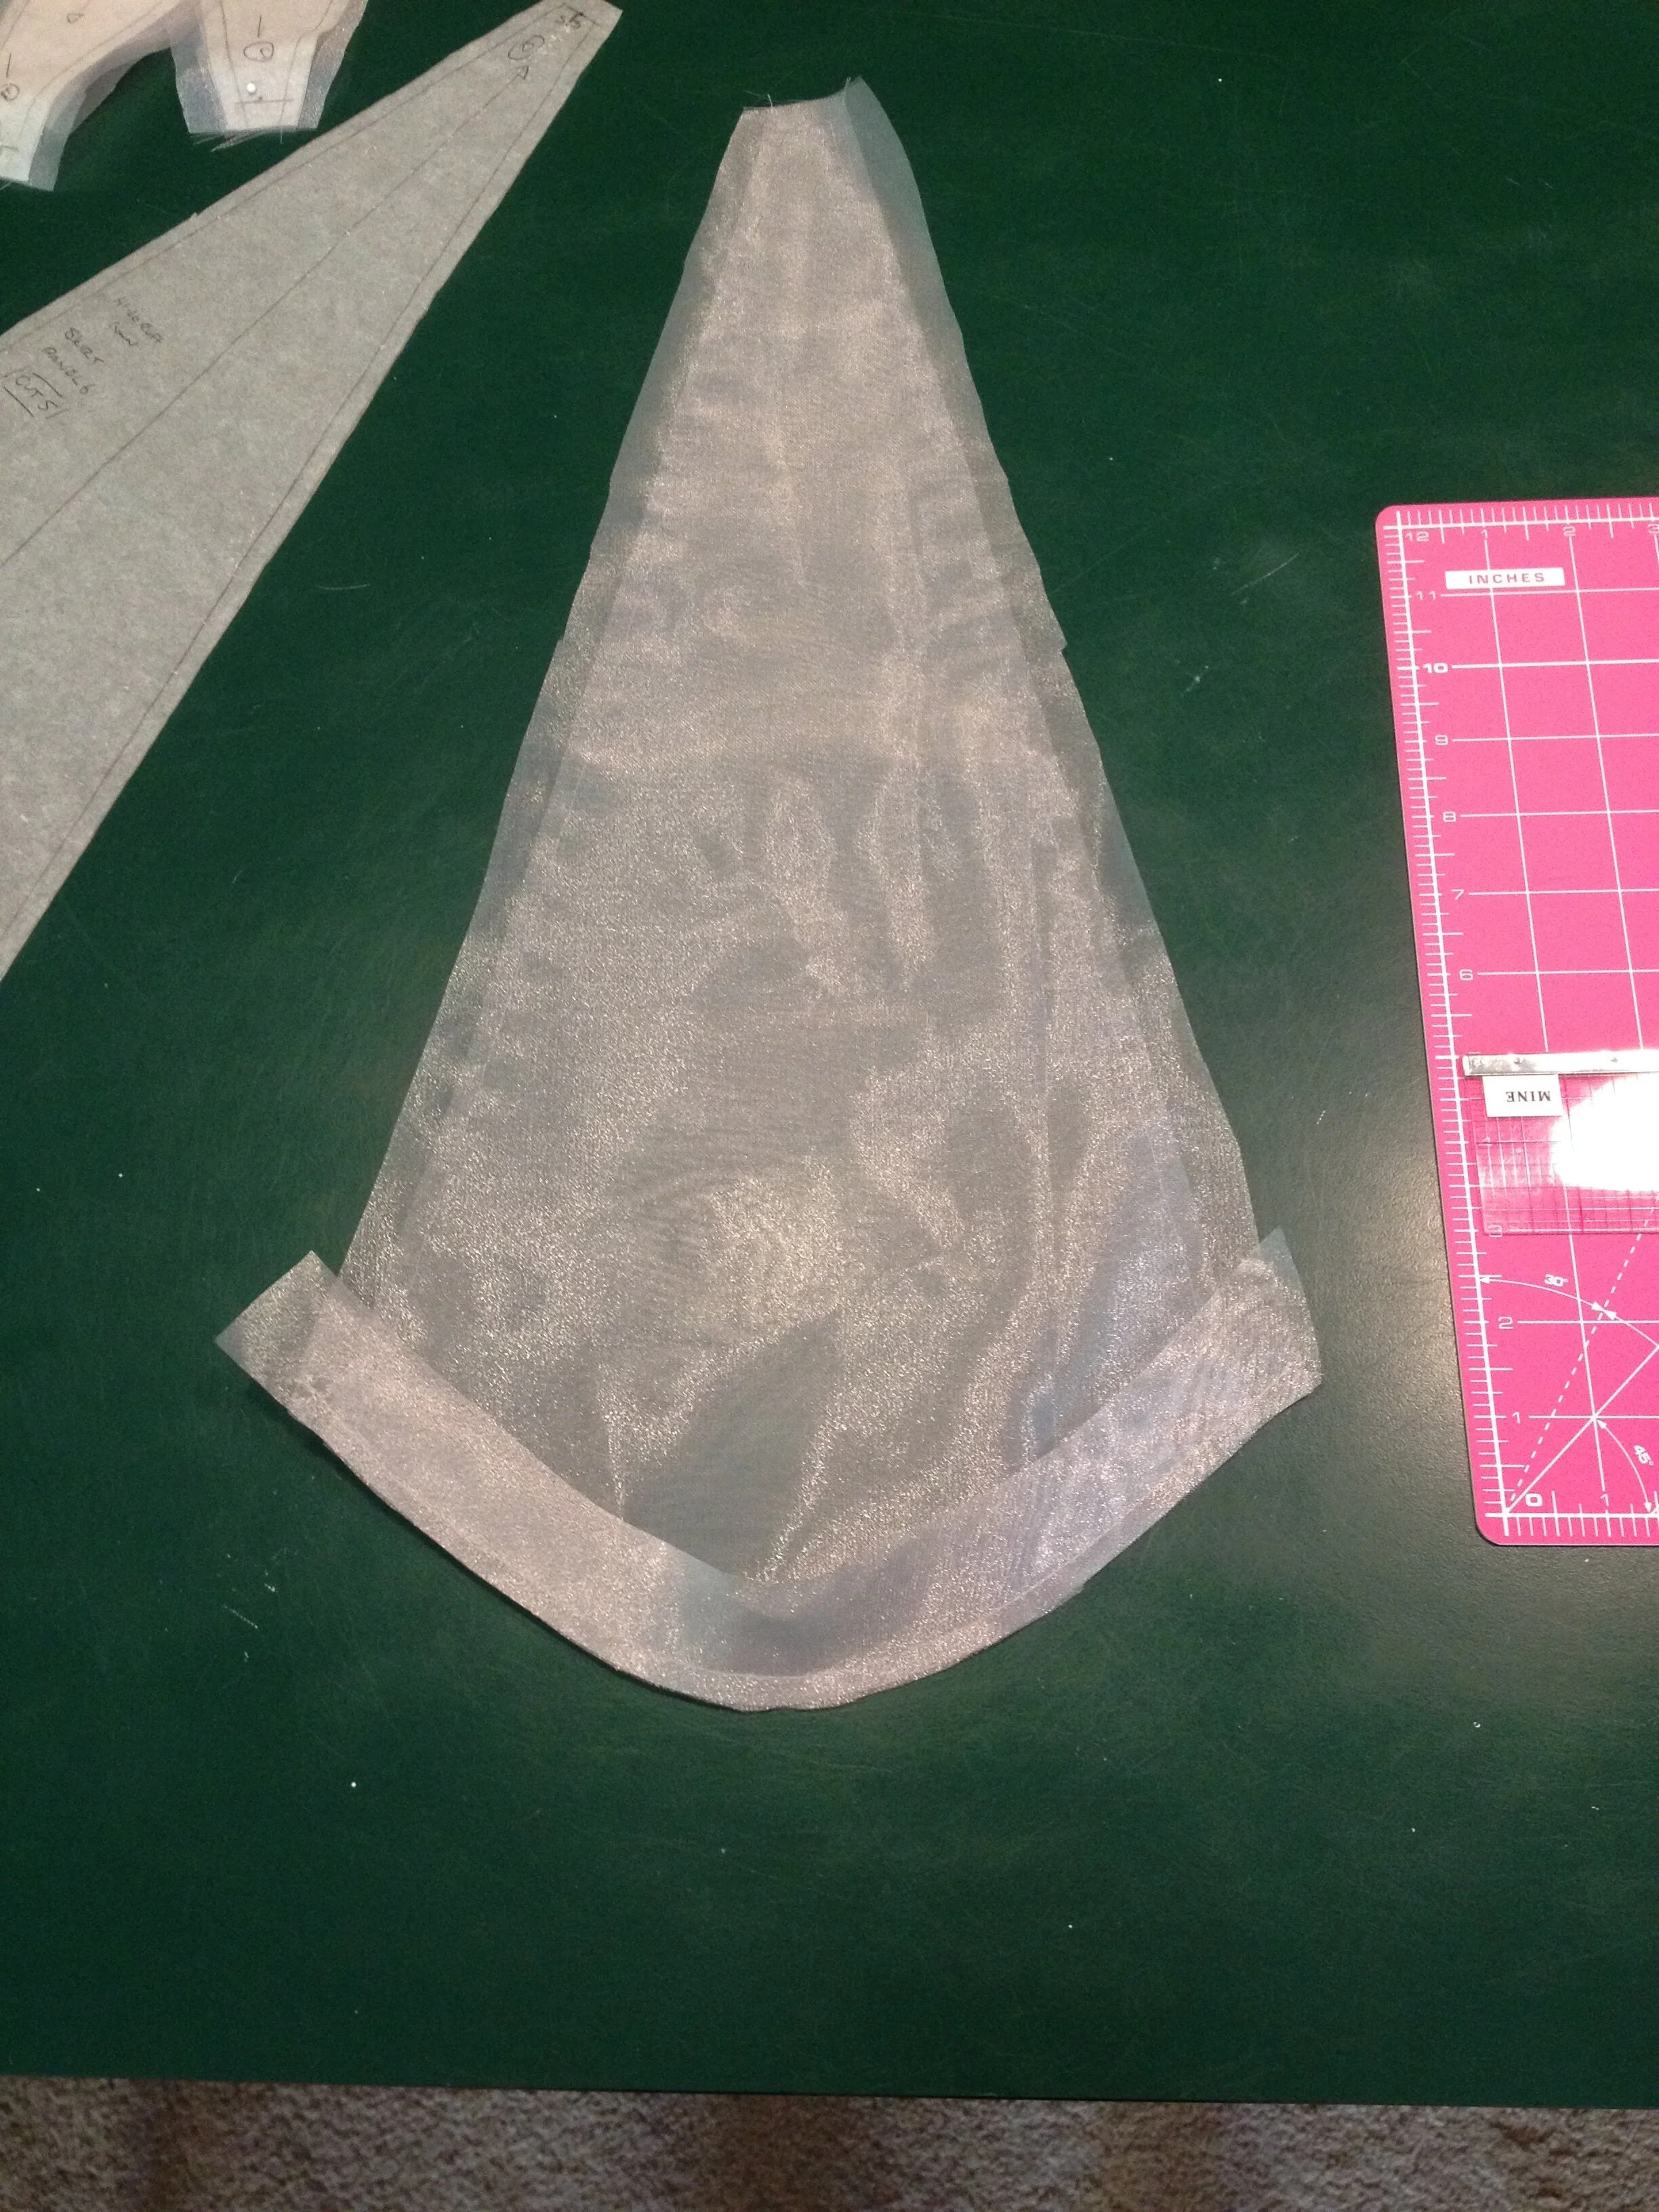
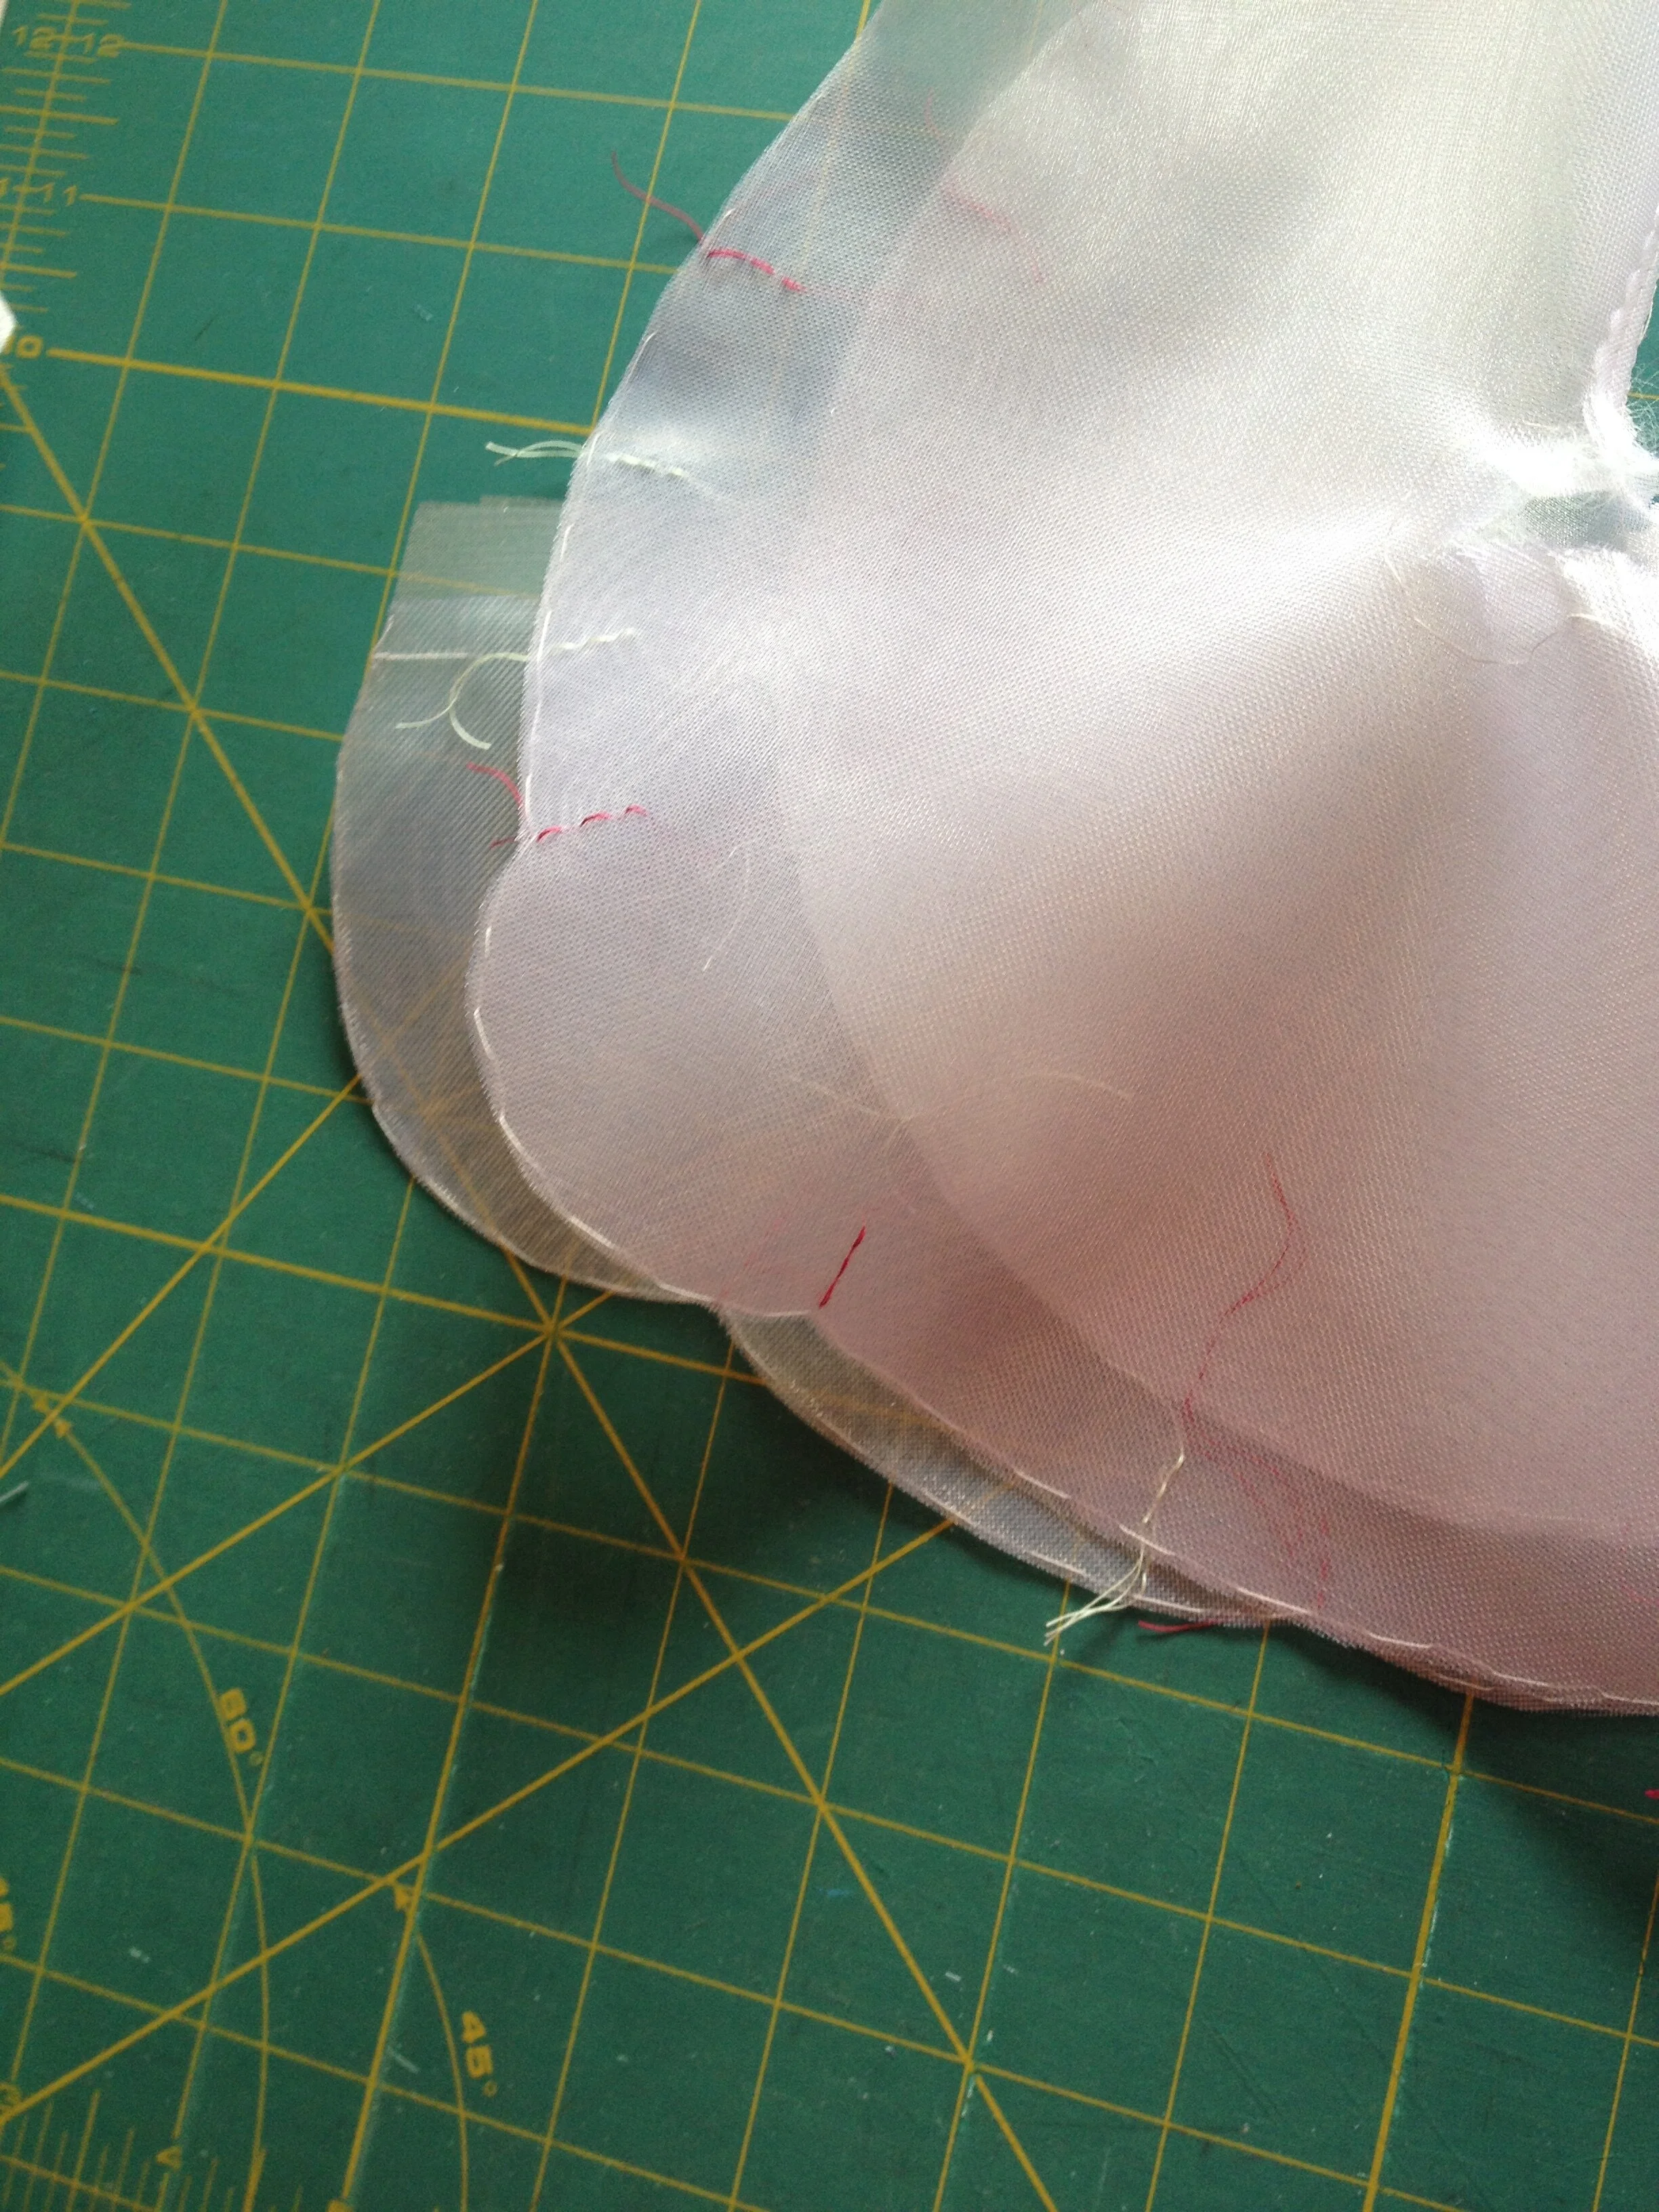
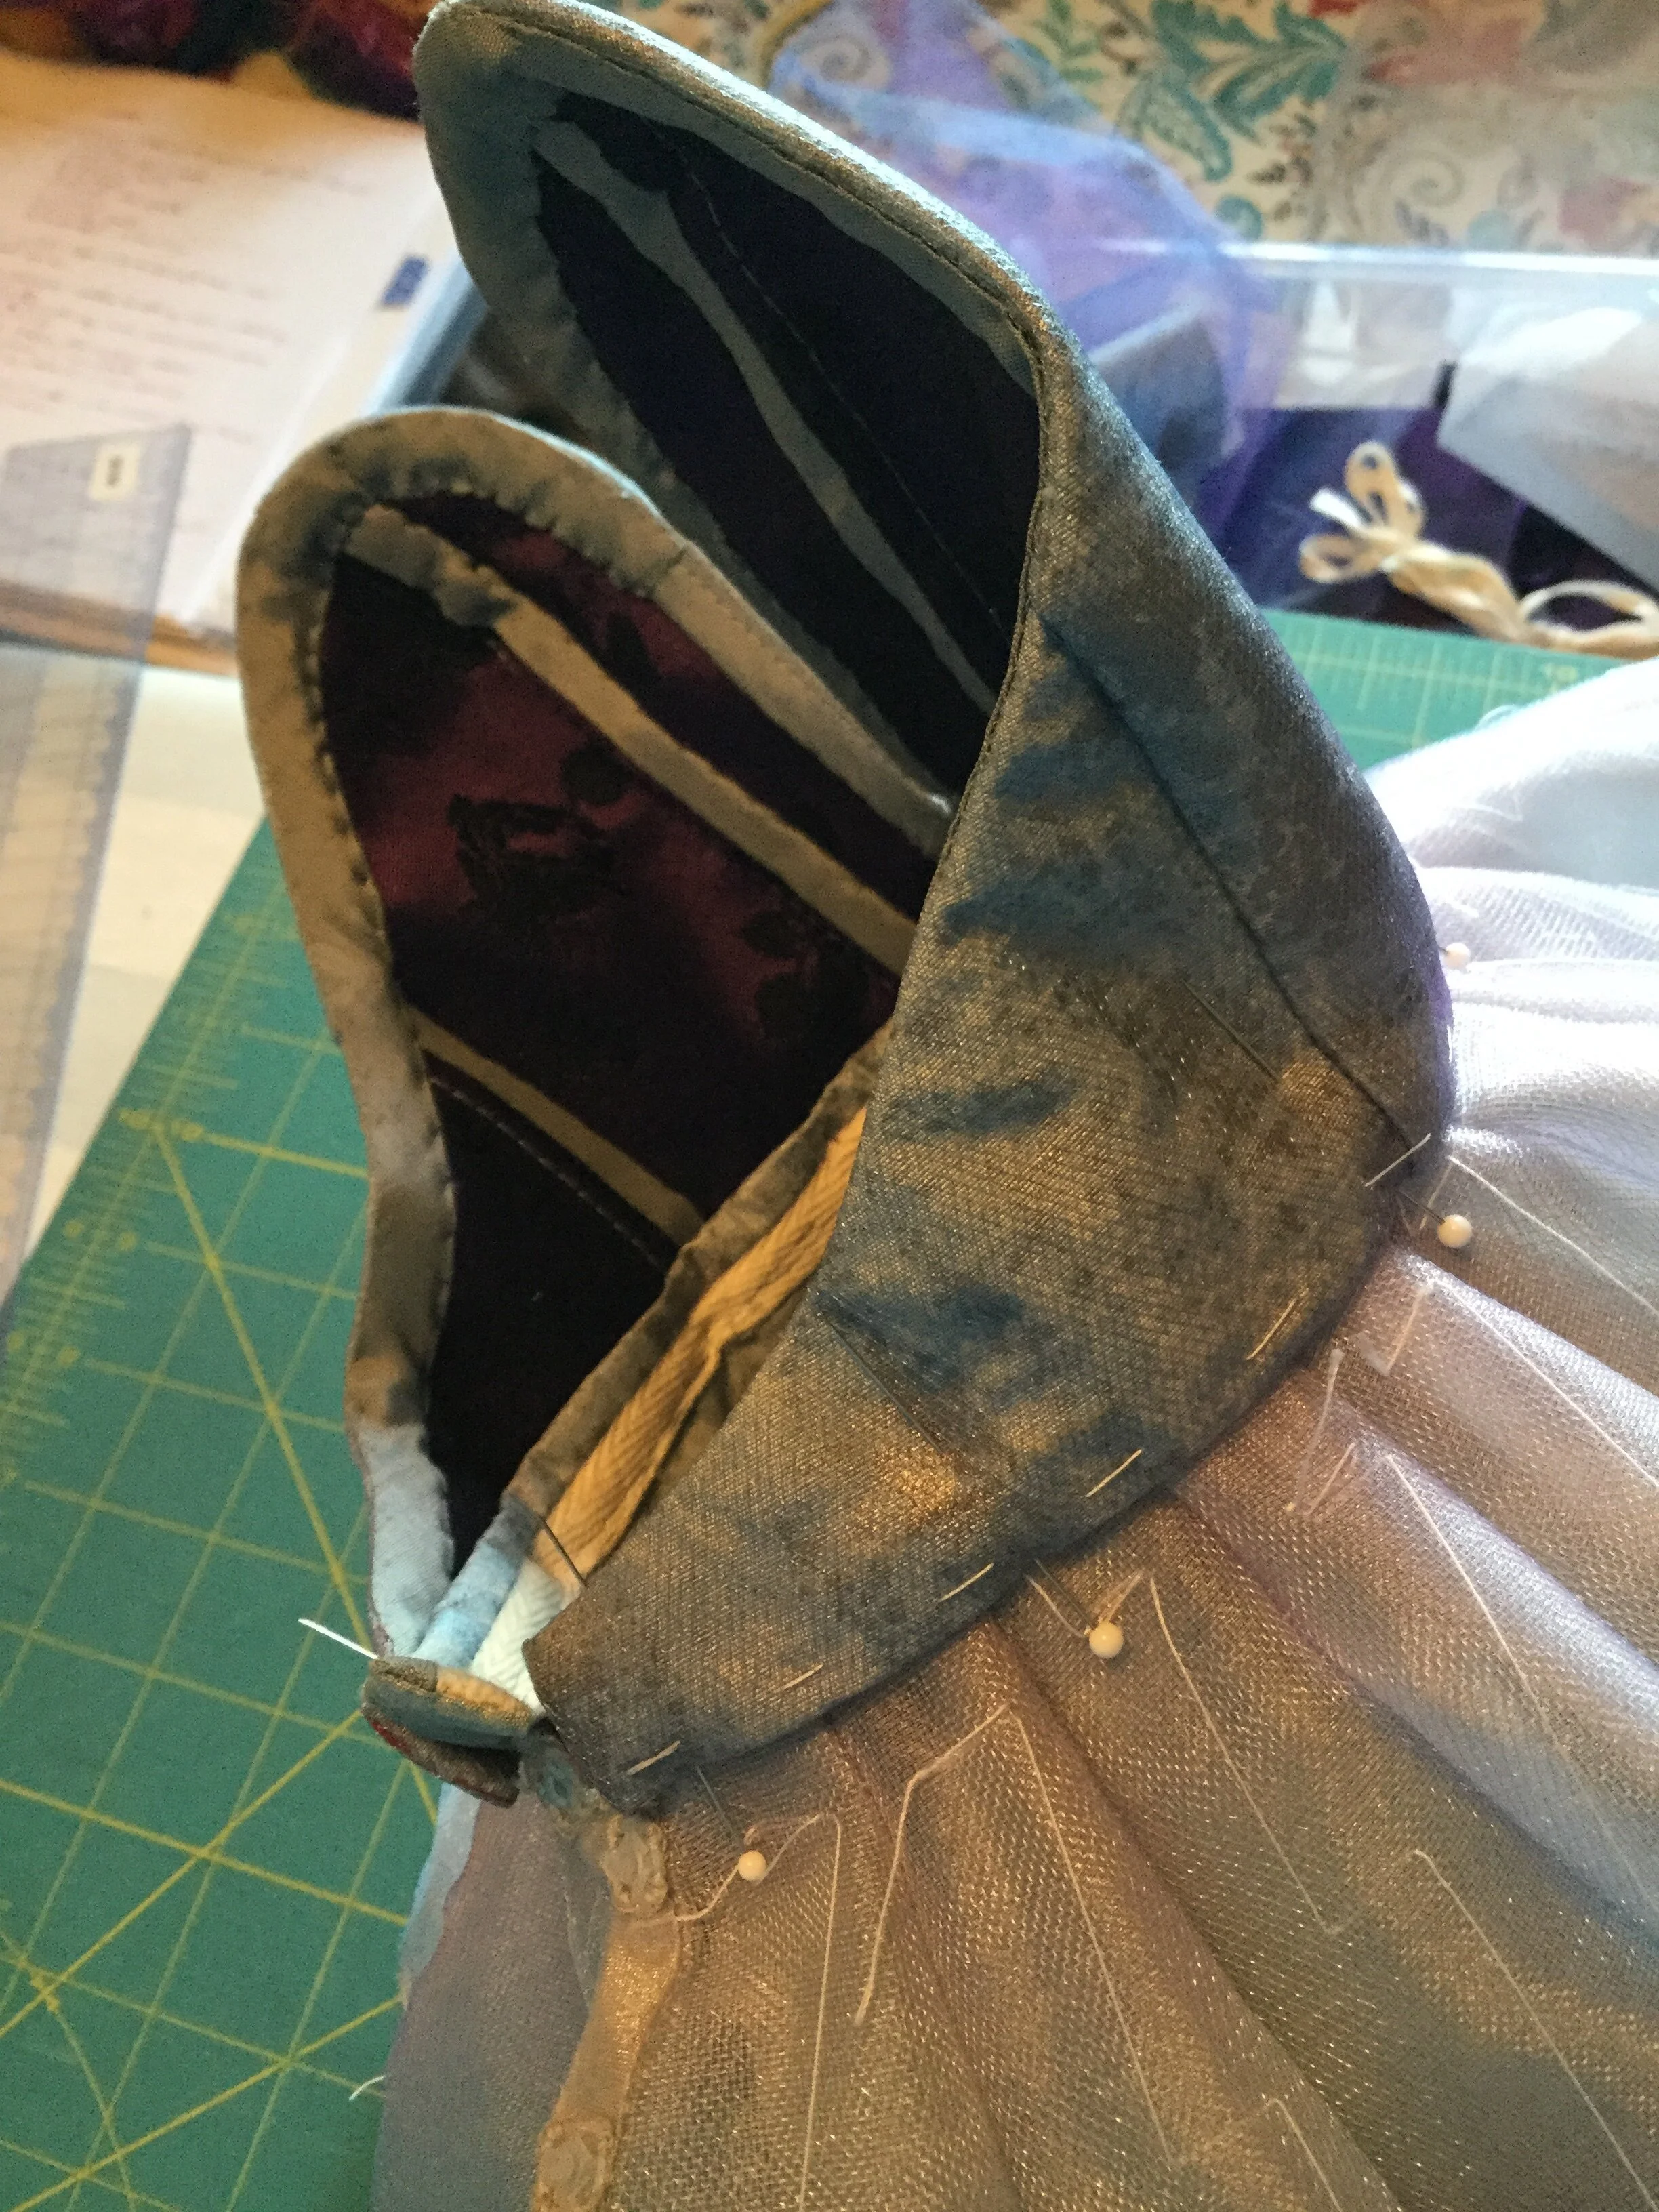
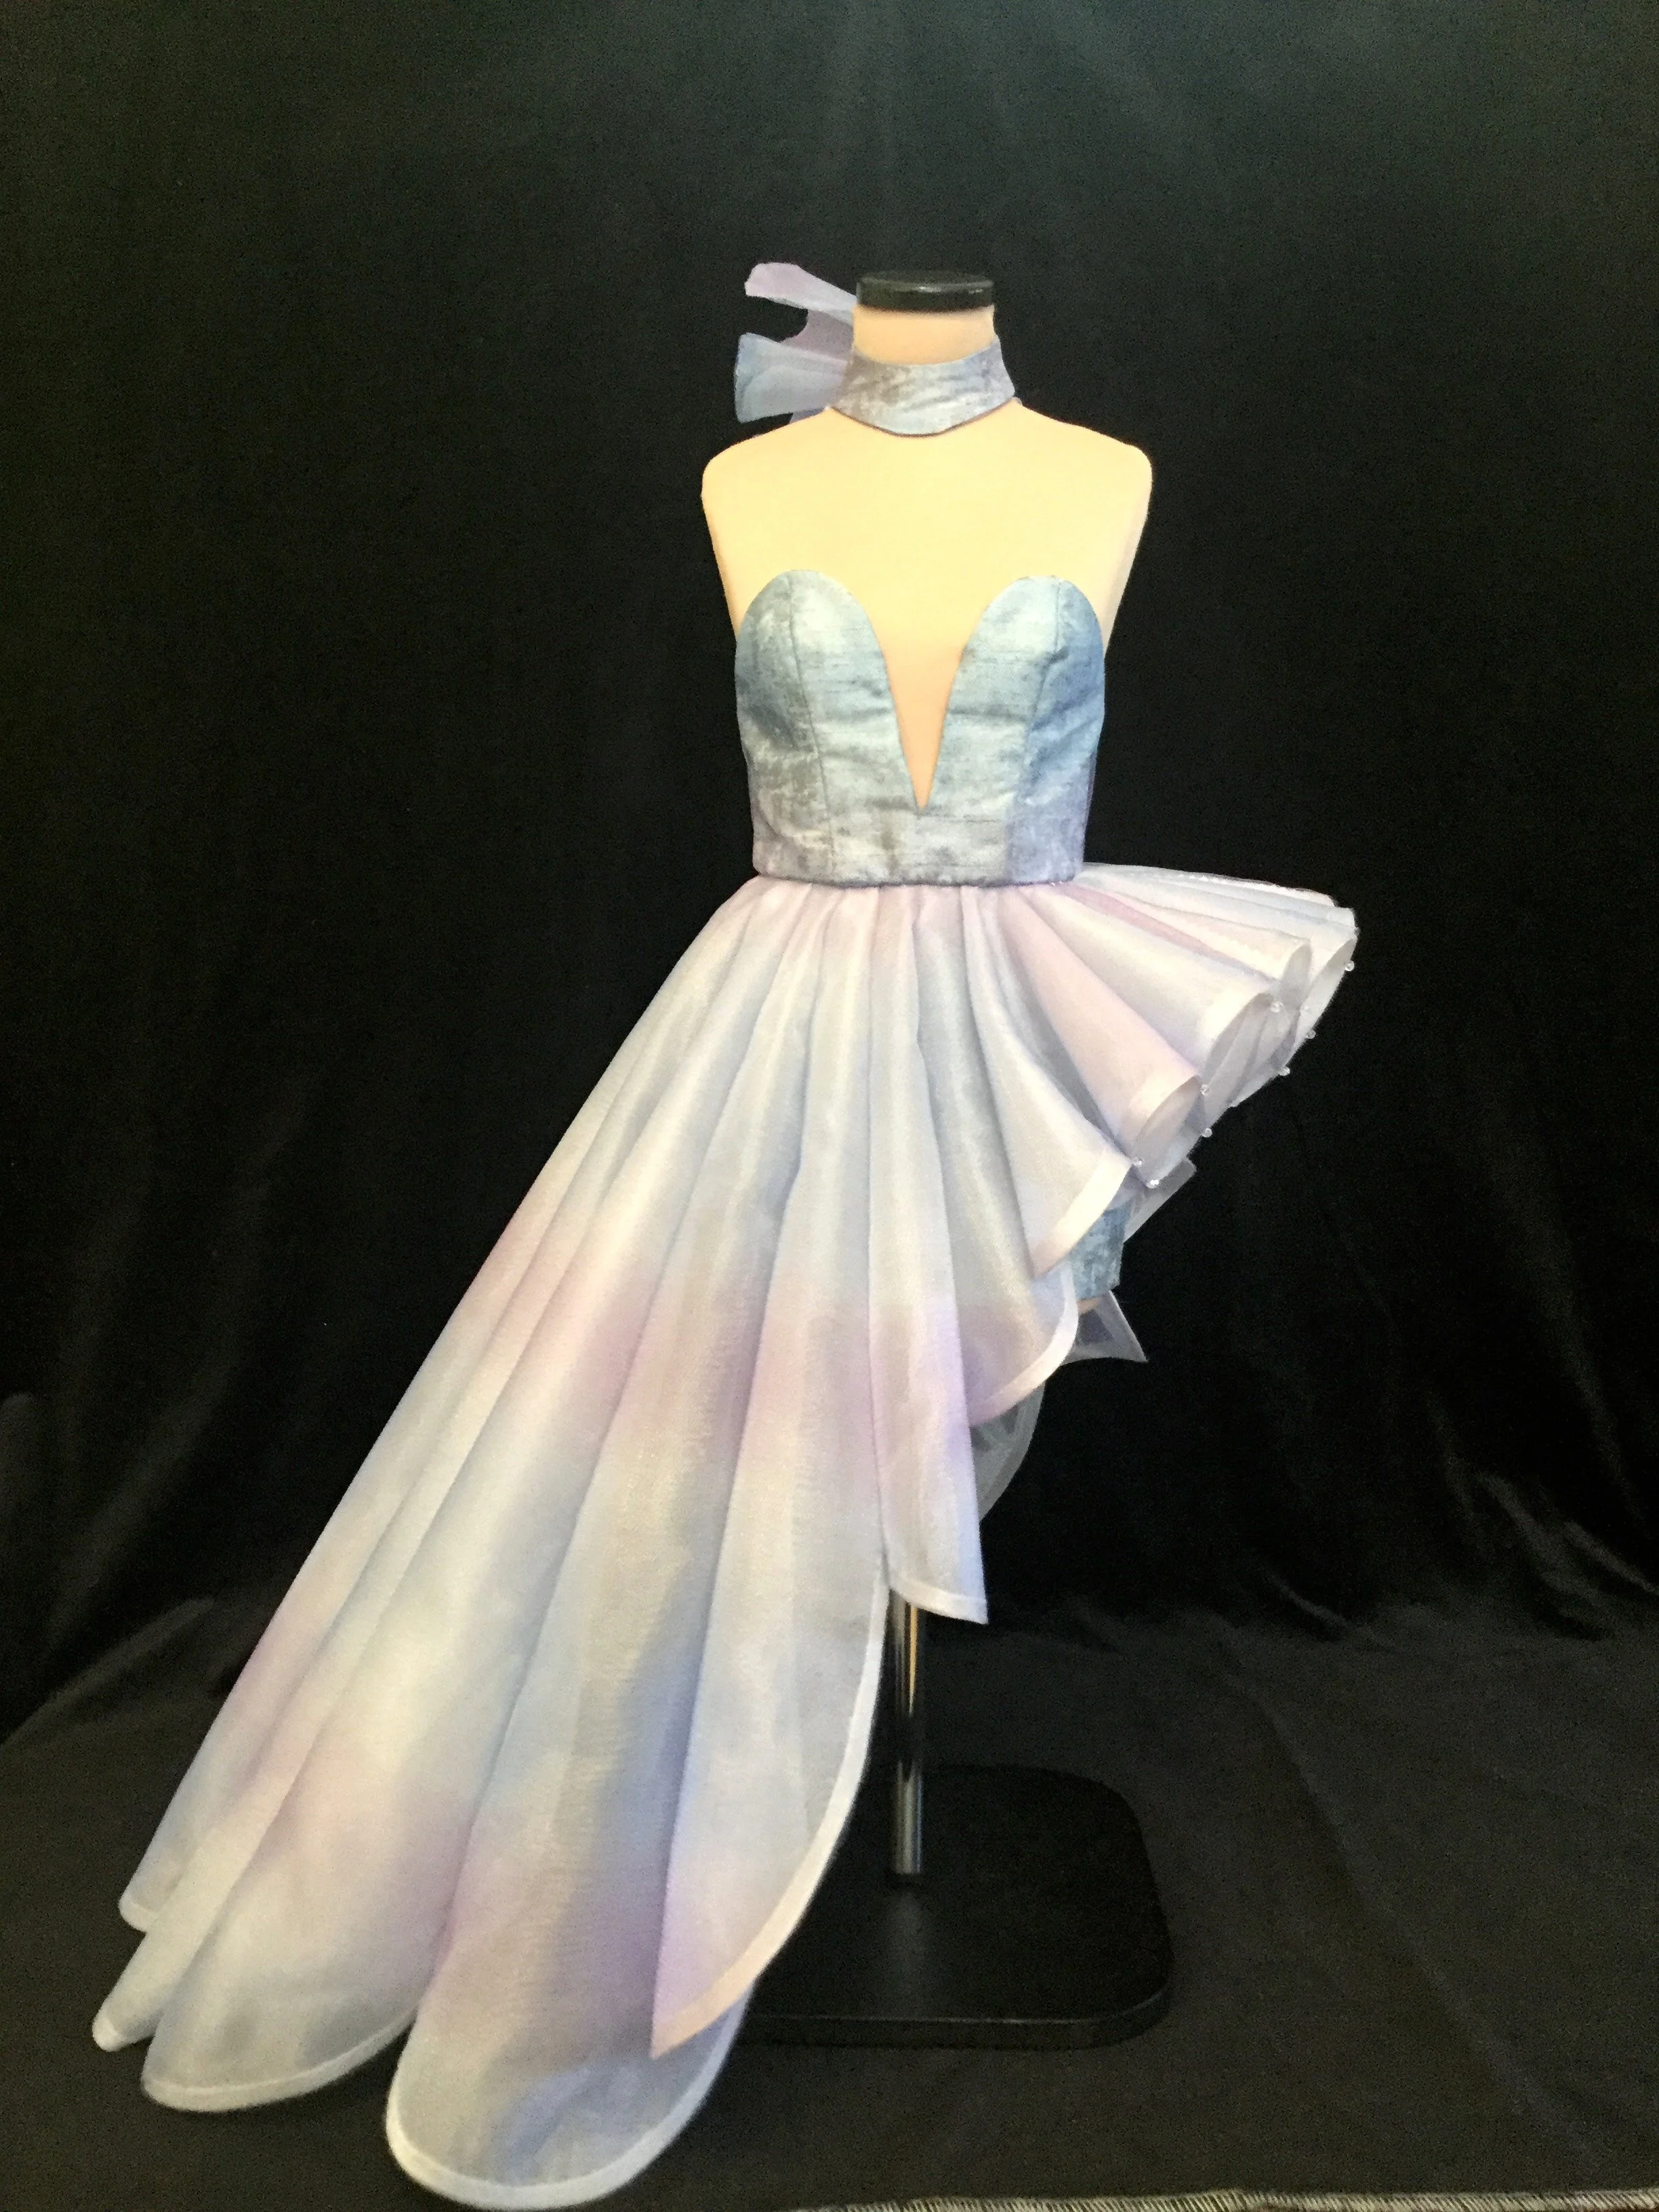
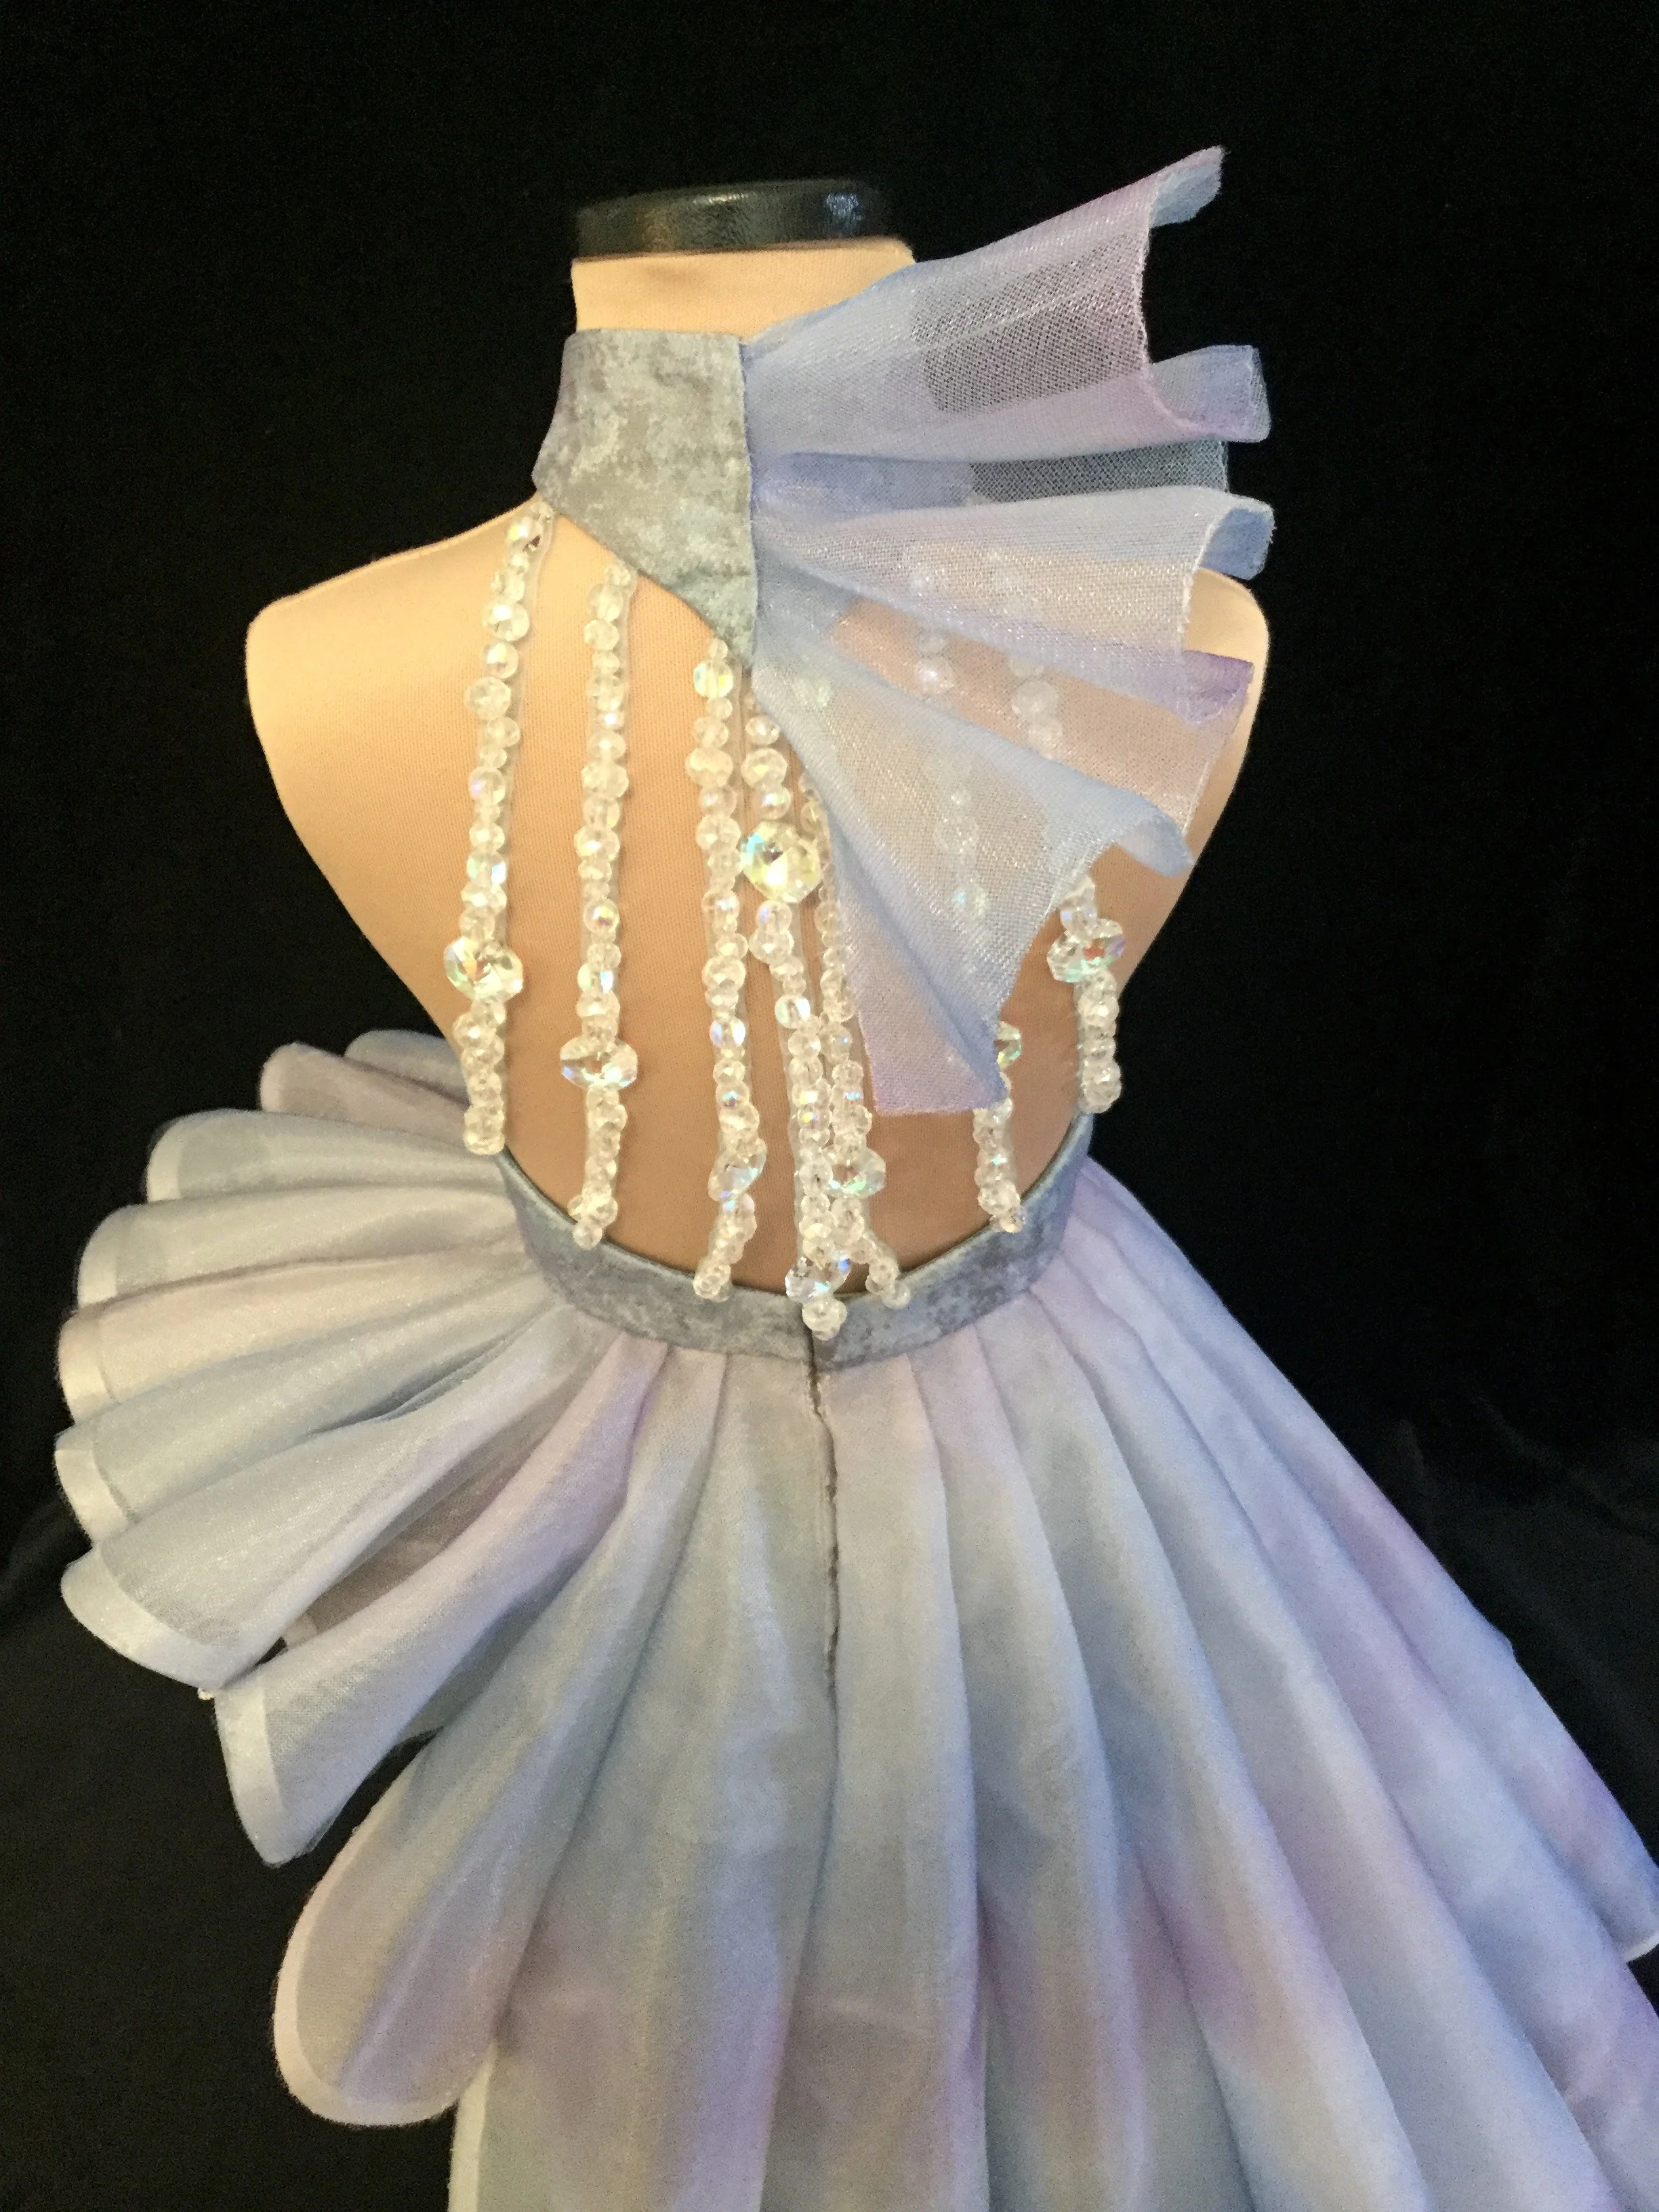
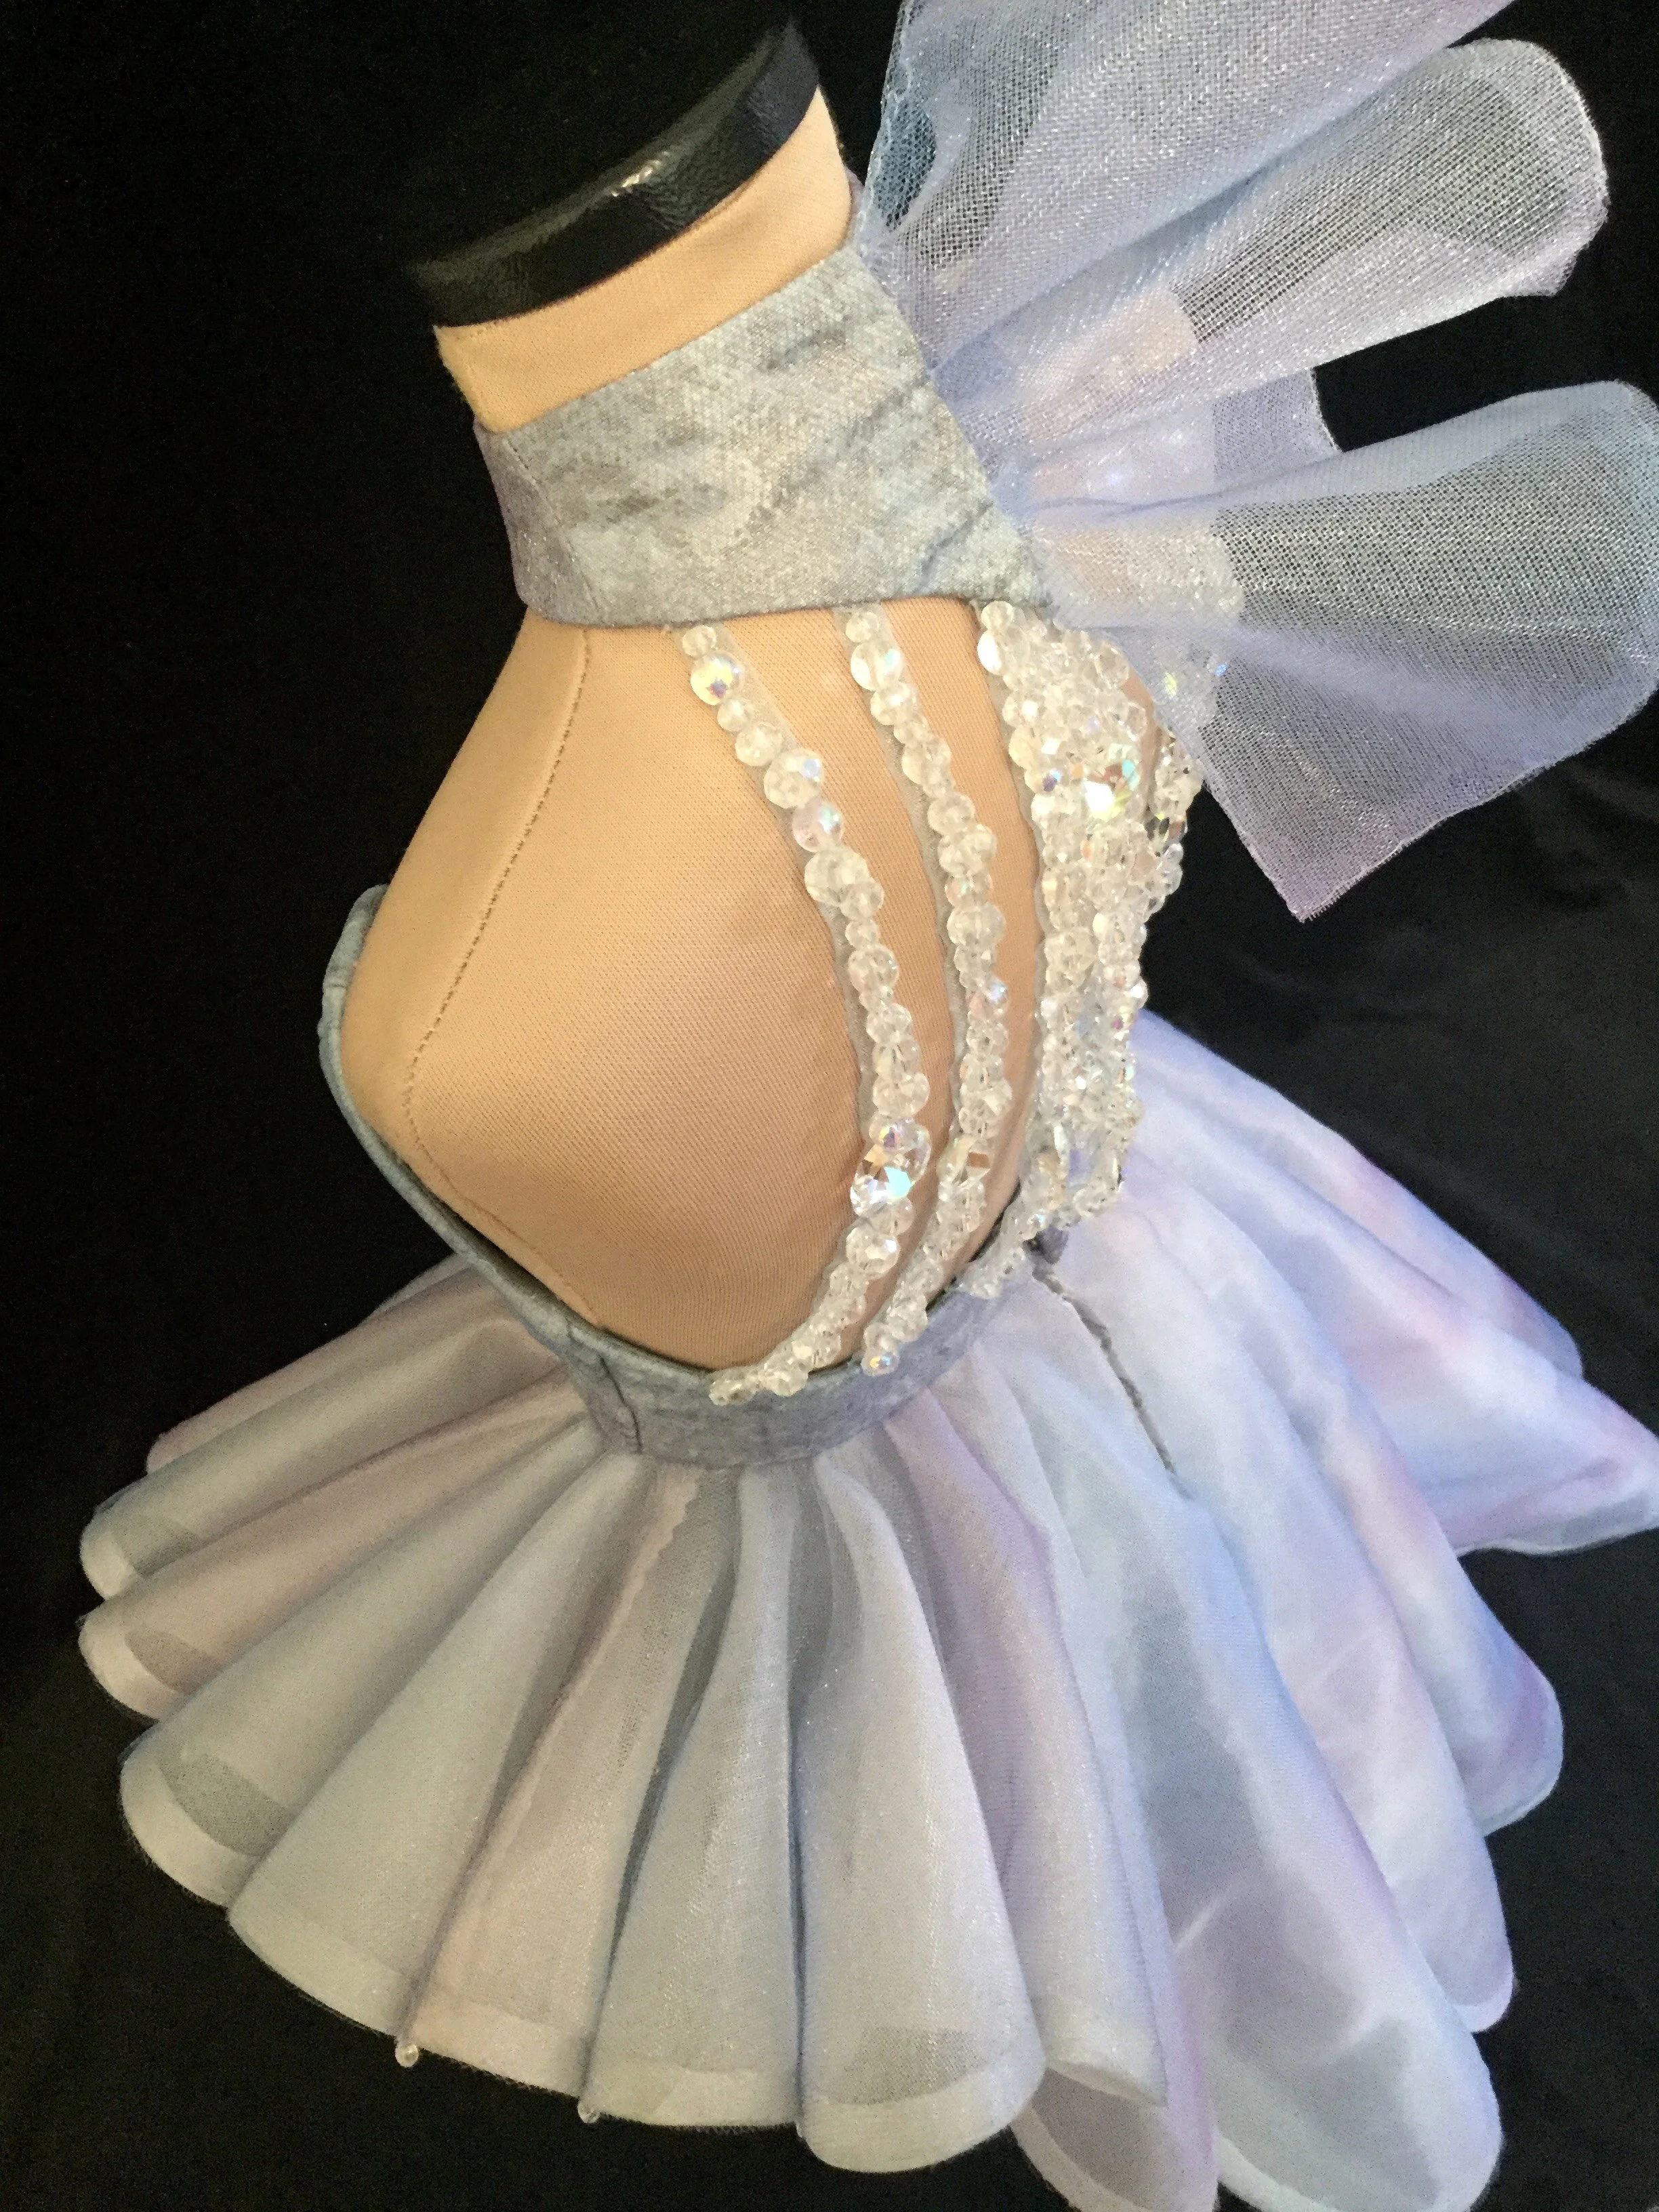
Her little mini skirt came together fairly quickly and I moved on to cutting the overskirt. I had settled on three layers that all together would still be pretty sheer: a blue and purple ombre tulle and a silver grey organza interlined with white corset mesh. The next question, of course, was how on earth to finish all the many many seams and the hem, every bit of which would be extremely visible on the finished product.
Ideally, I wanted to finish the hems before stitching the panels together; binding the mesh with the organza then laying the tulle over top would look good...but I would have to sew the organza into the seams with the mesh and tulle... but then I'd have to bind the seams somehow...but is that what I want the inside to look like?...but really how else am I going to finish the hem?...but...but... ugh. This door needs hinges on both sides.
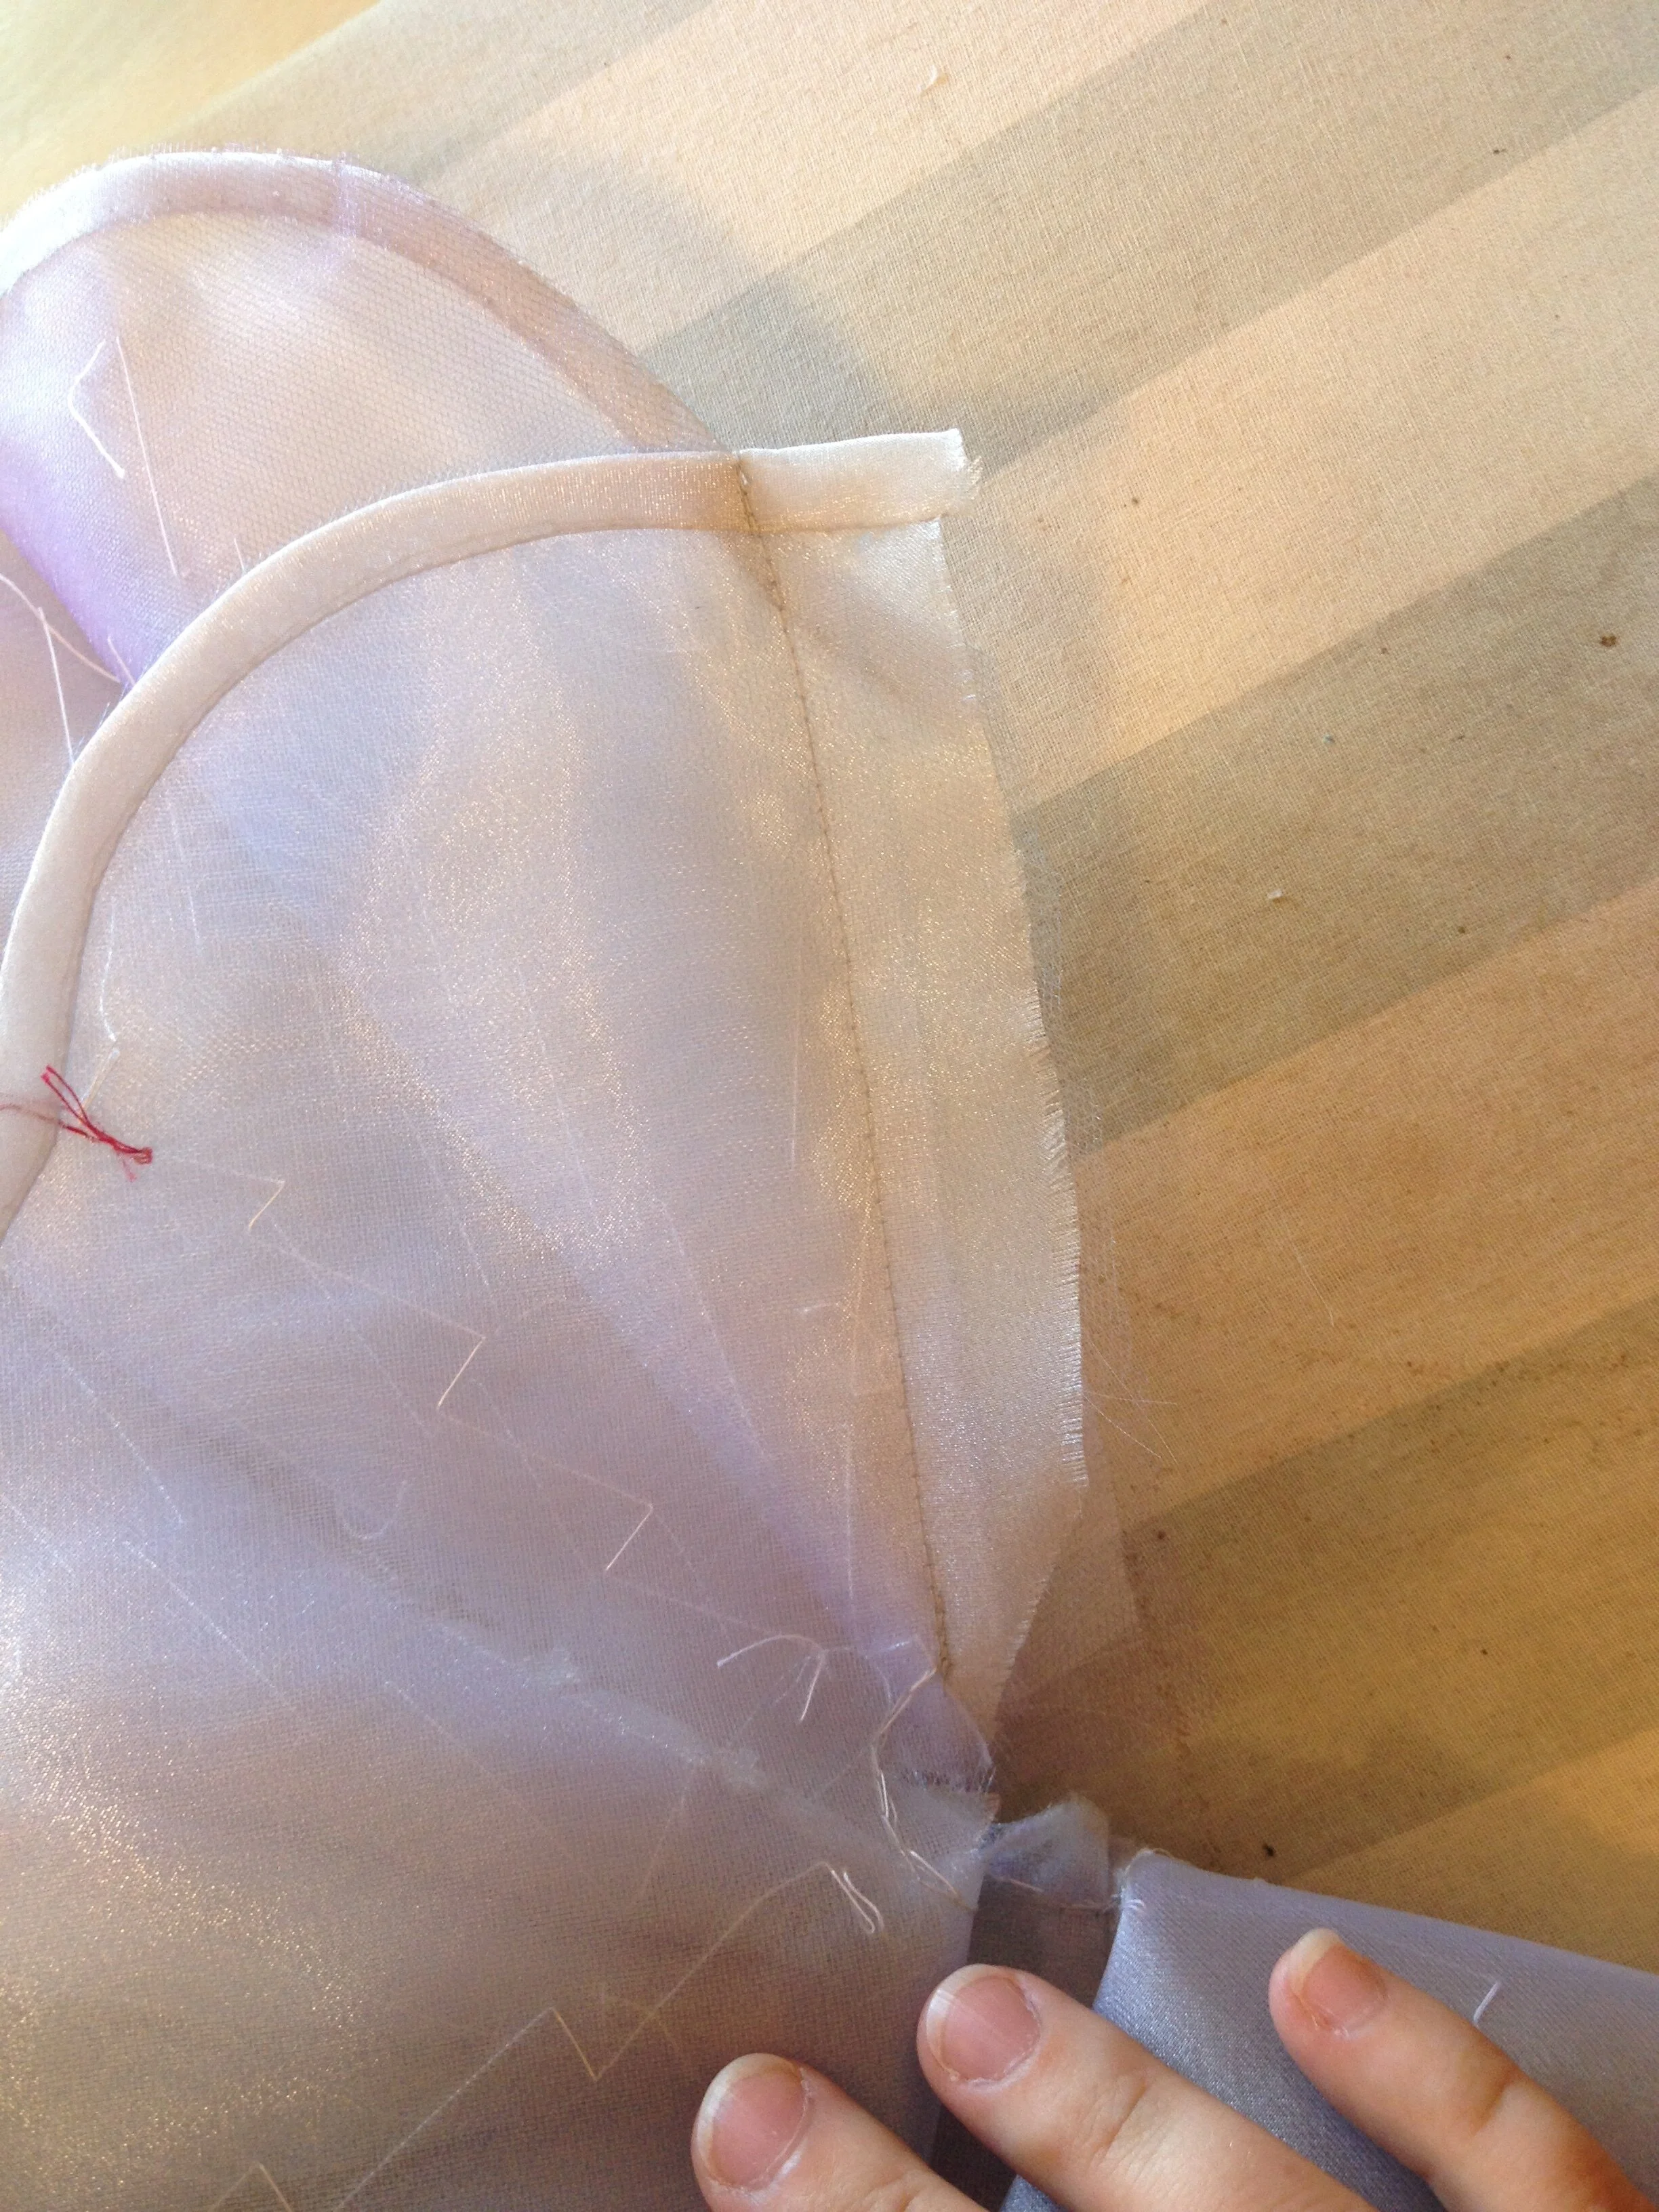
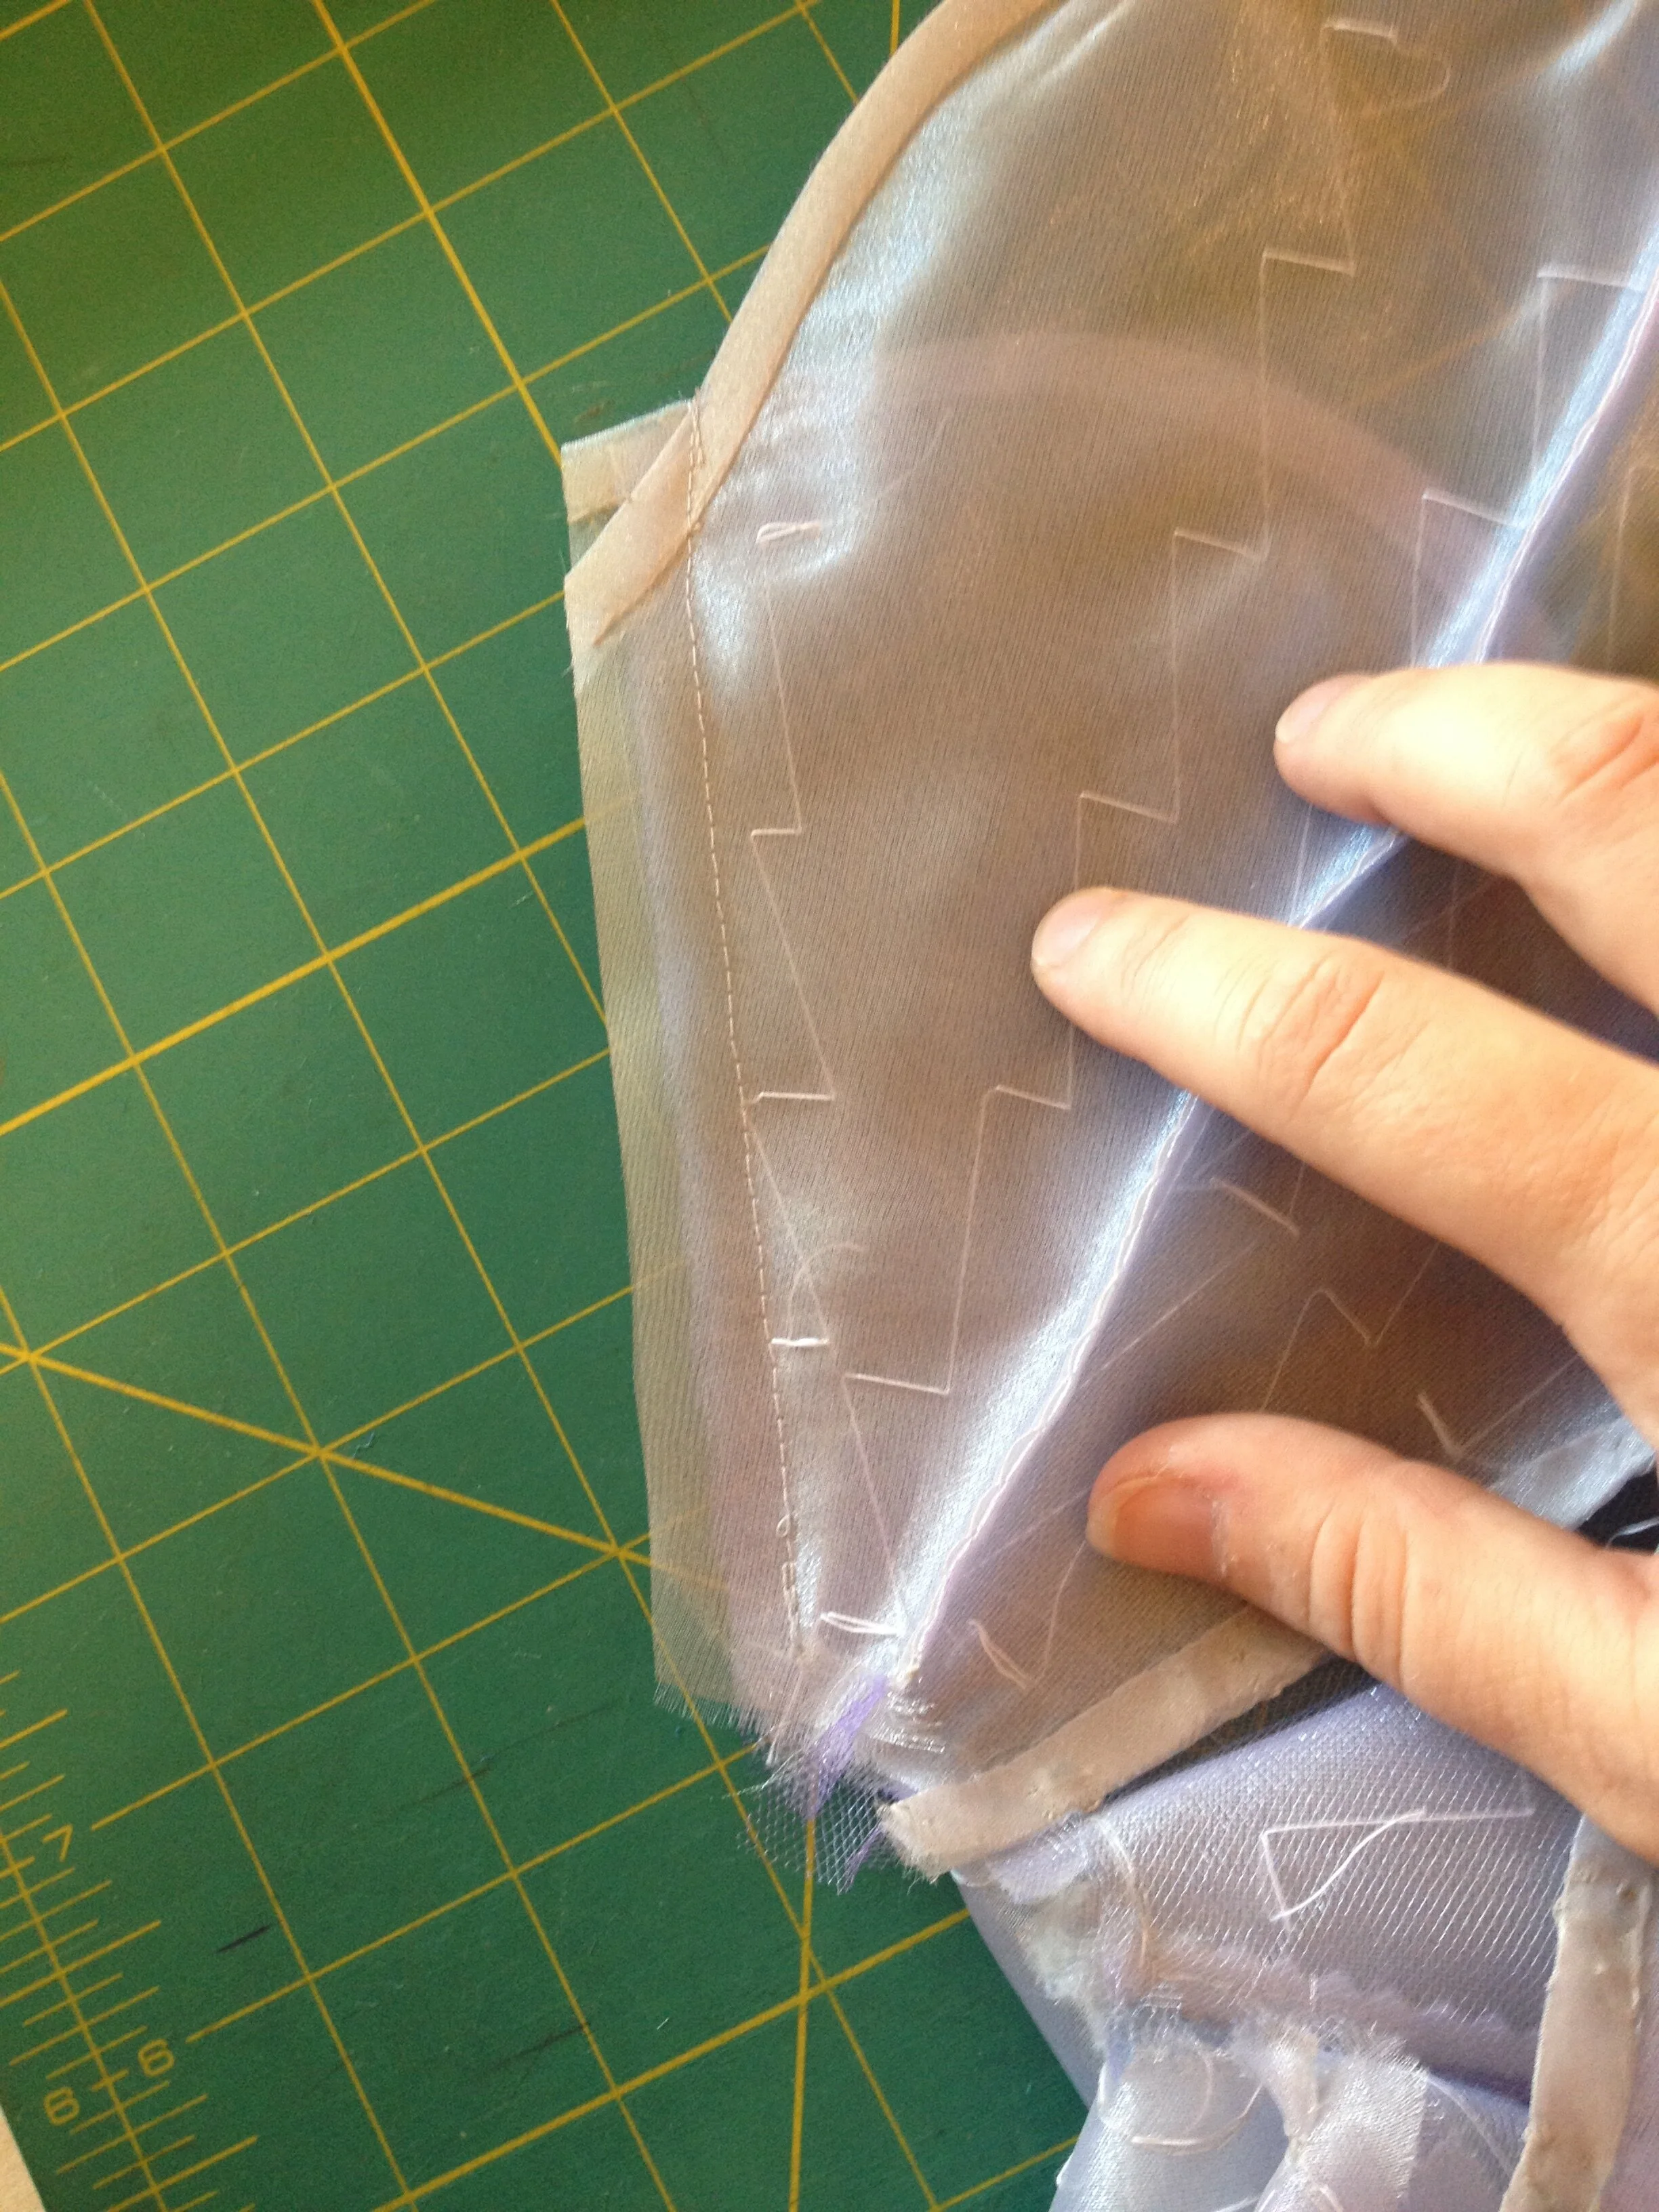
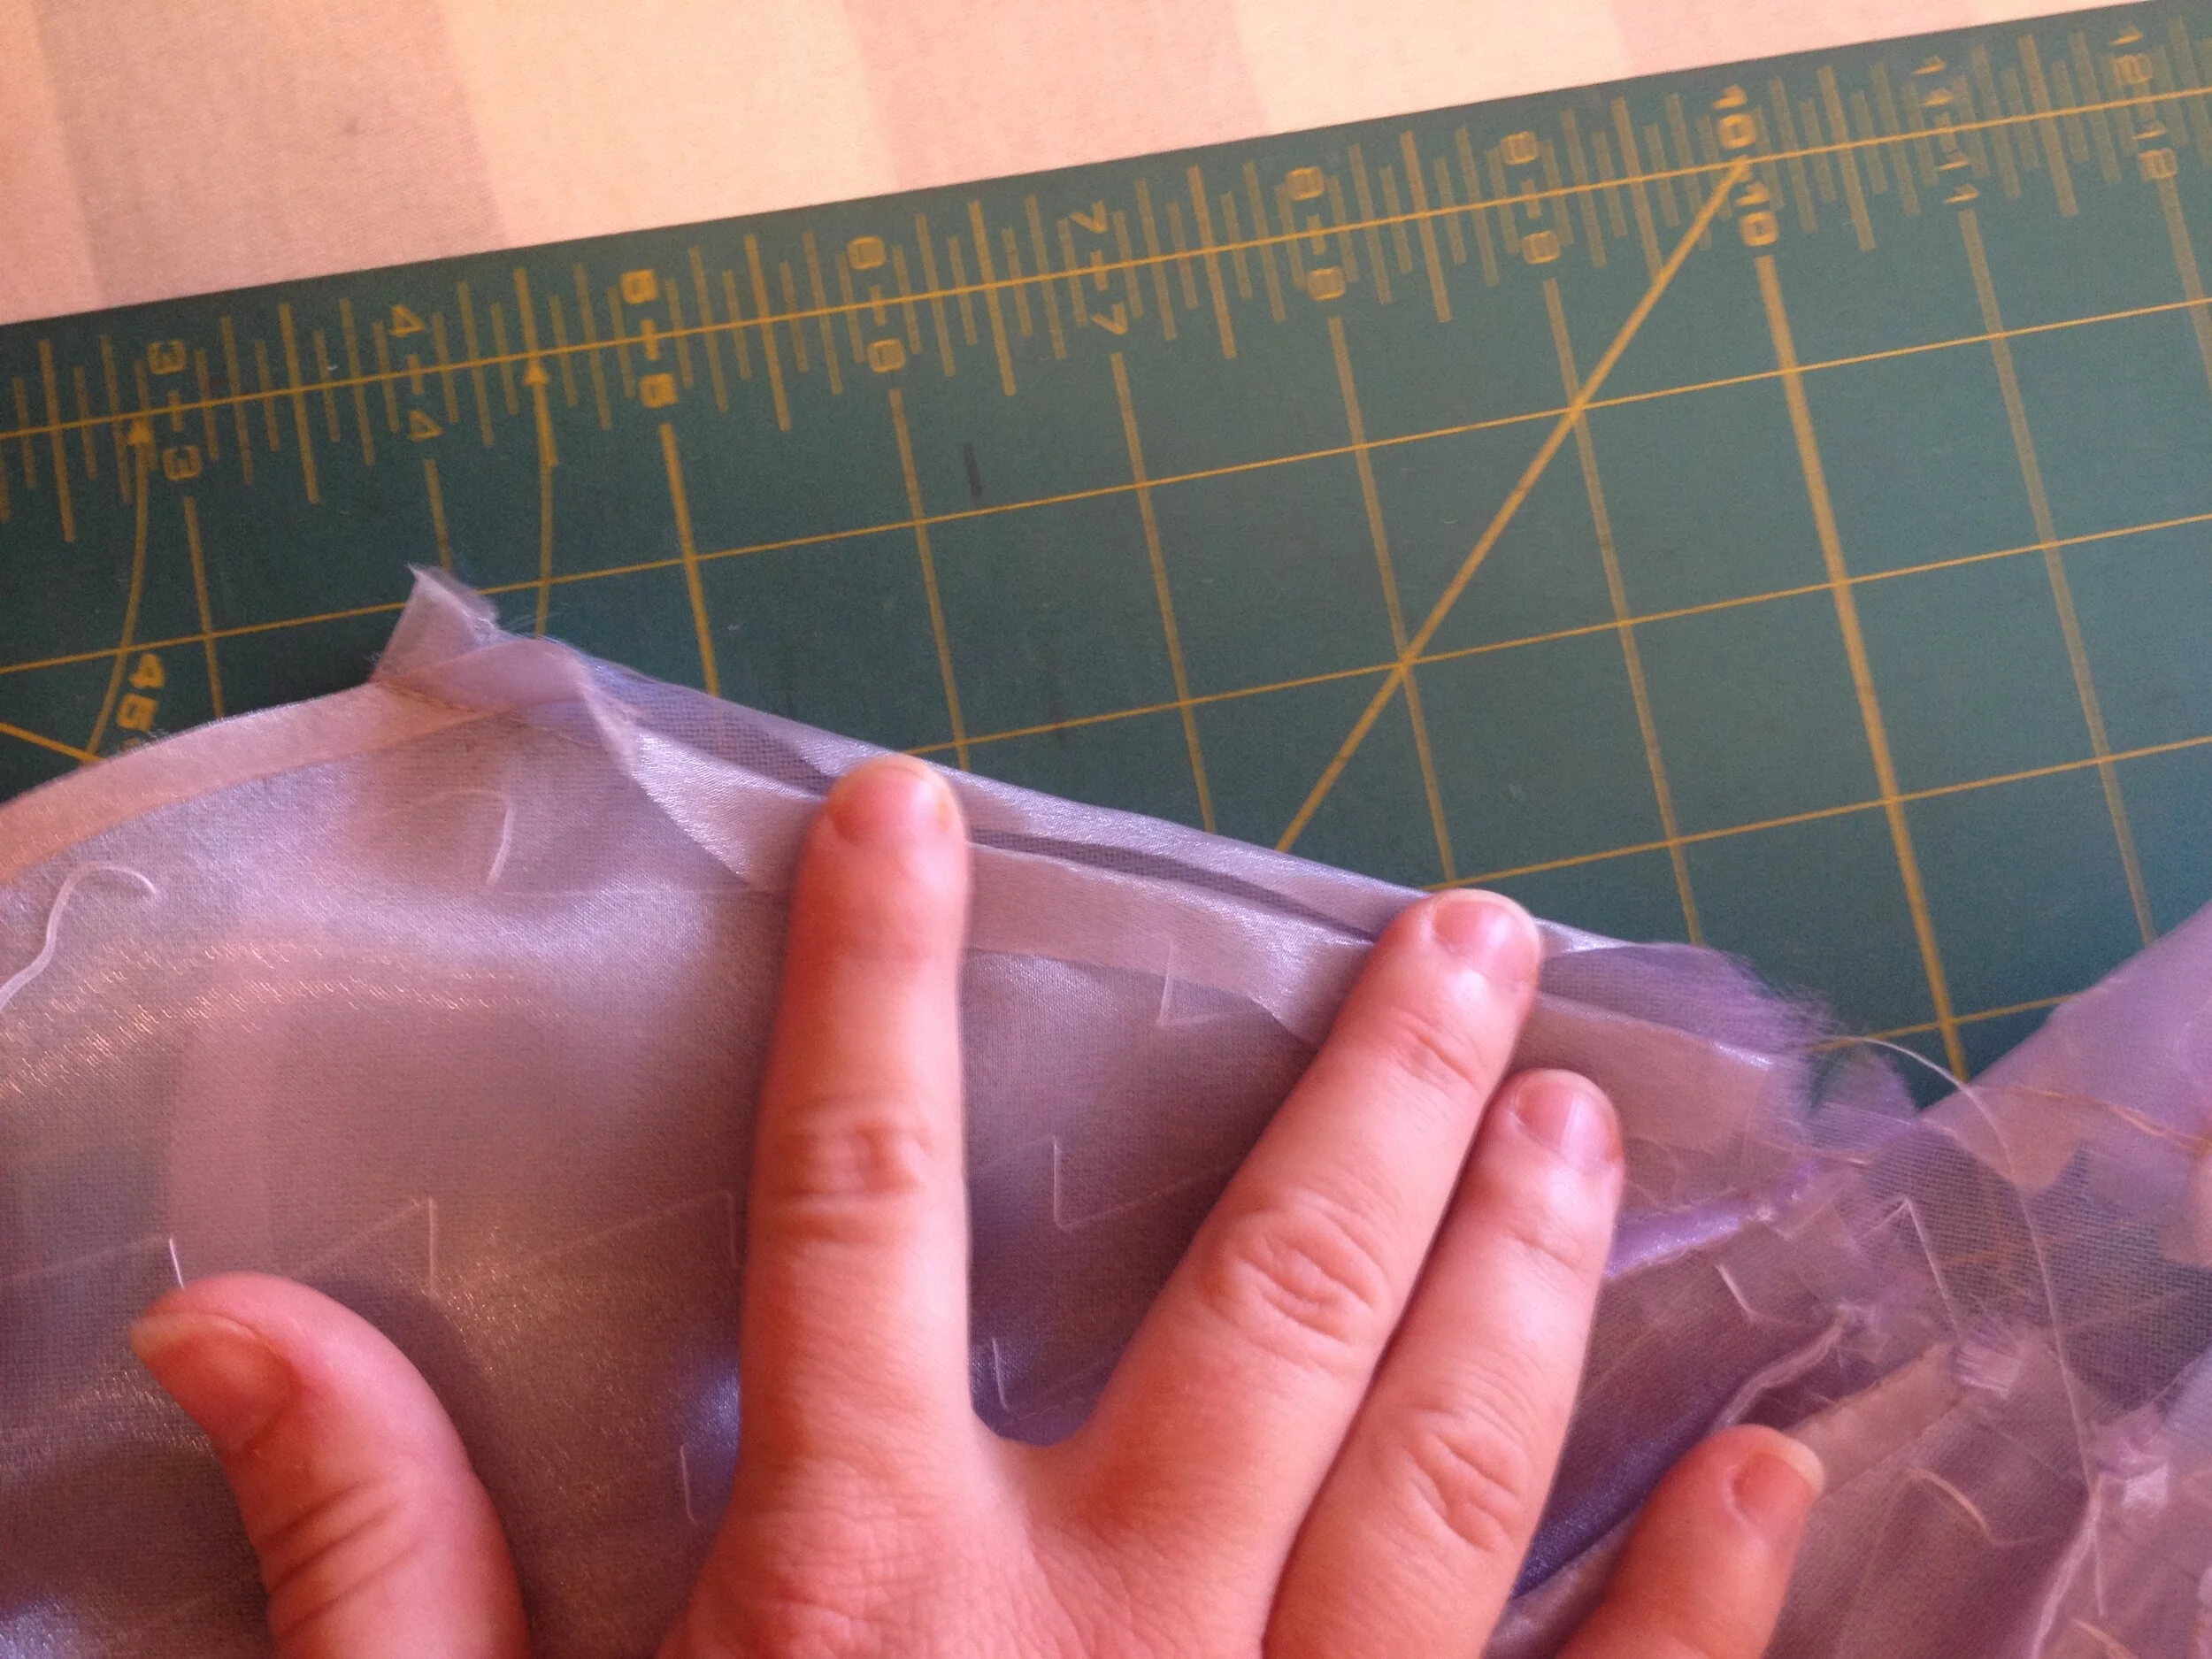
Something had to give and that something proved to be the notion that the skirt would be lined like a normal skirt which would hide the seam allowances. Binding the organza and the mesh together at the hem and then adding the tulle and stitching it together was really the cleanest way to do it. To finish the seams I trimmed the seam allowances of the tulle and organza then wrapped the organza around the seam allowance and closed it by hand, essentially creating a french seam. This also afforded me the control to tuck the ends in at the hem as necessary.
No seams finished, but all the panels together and by golly this might work!
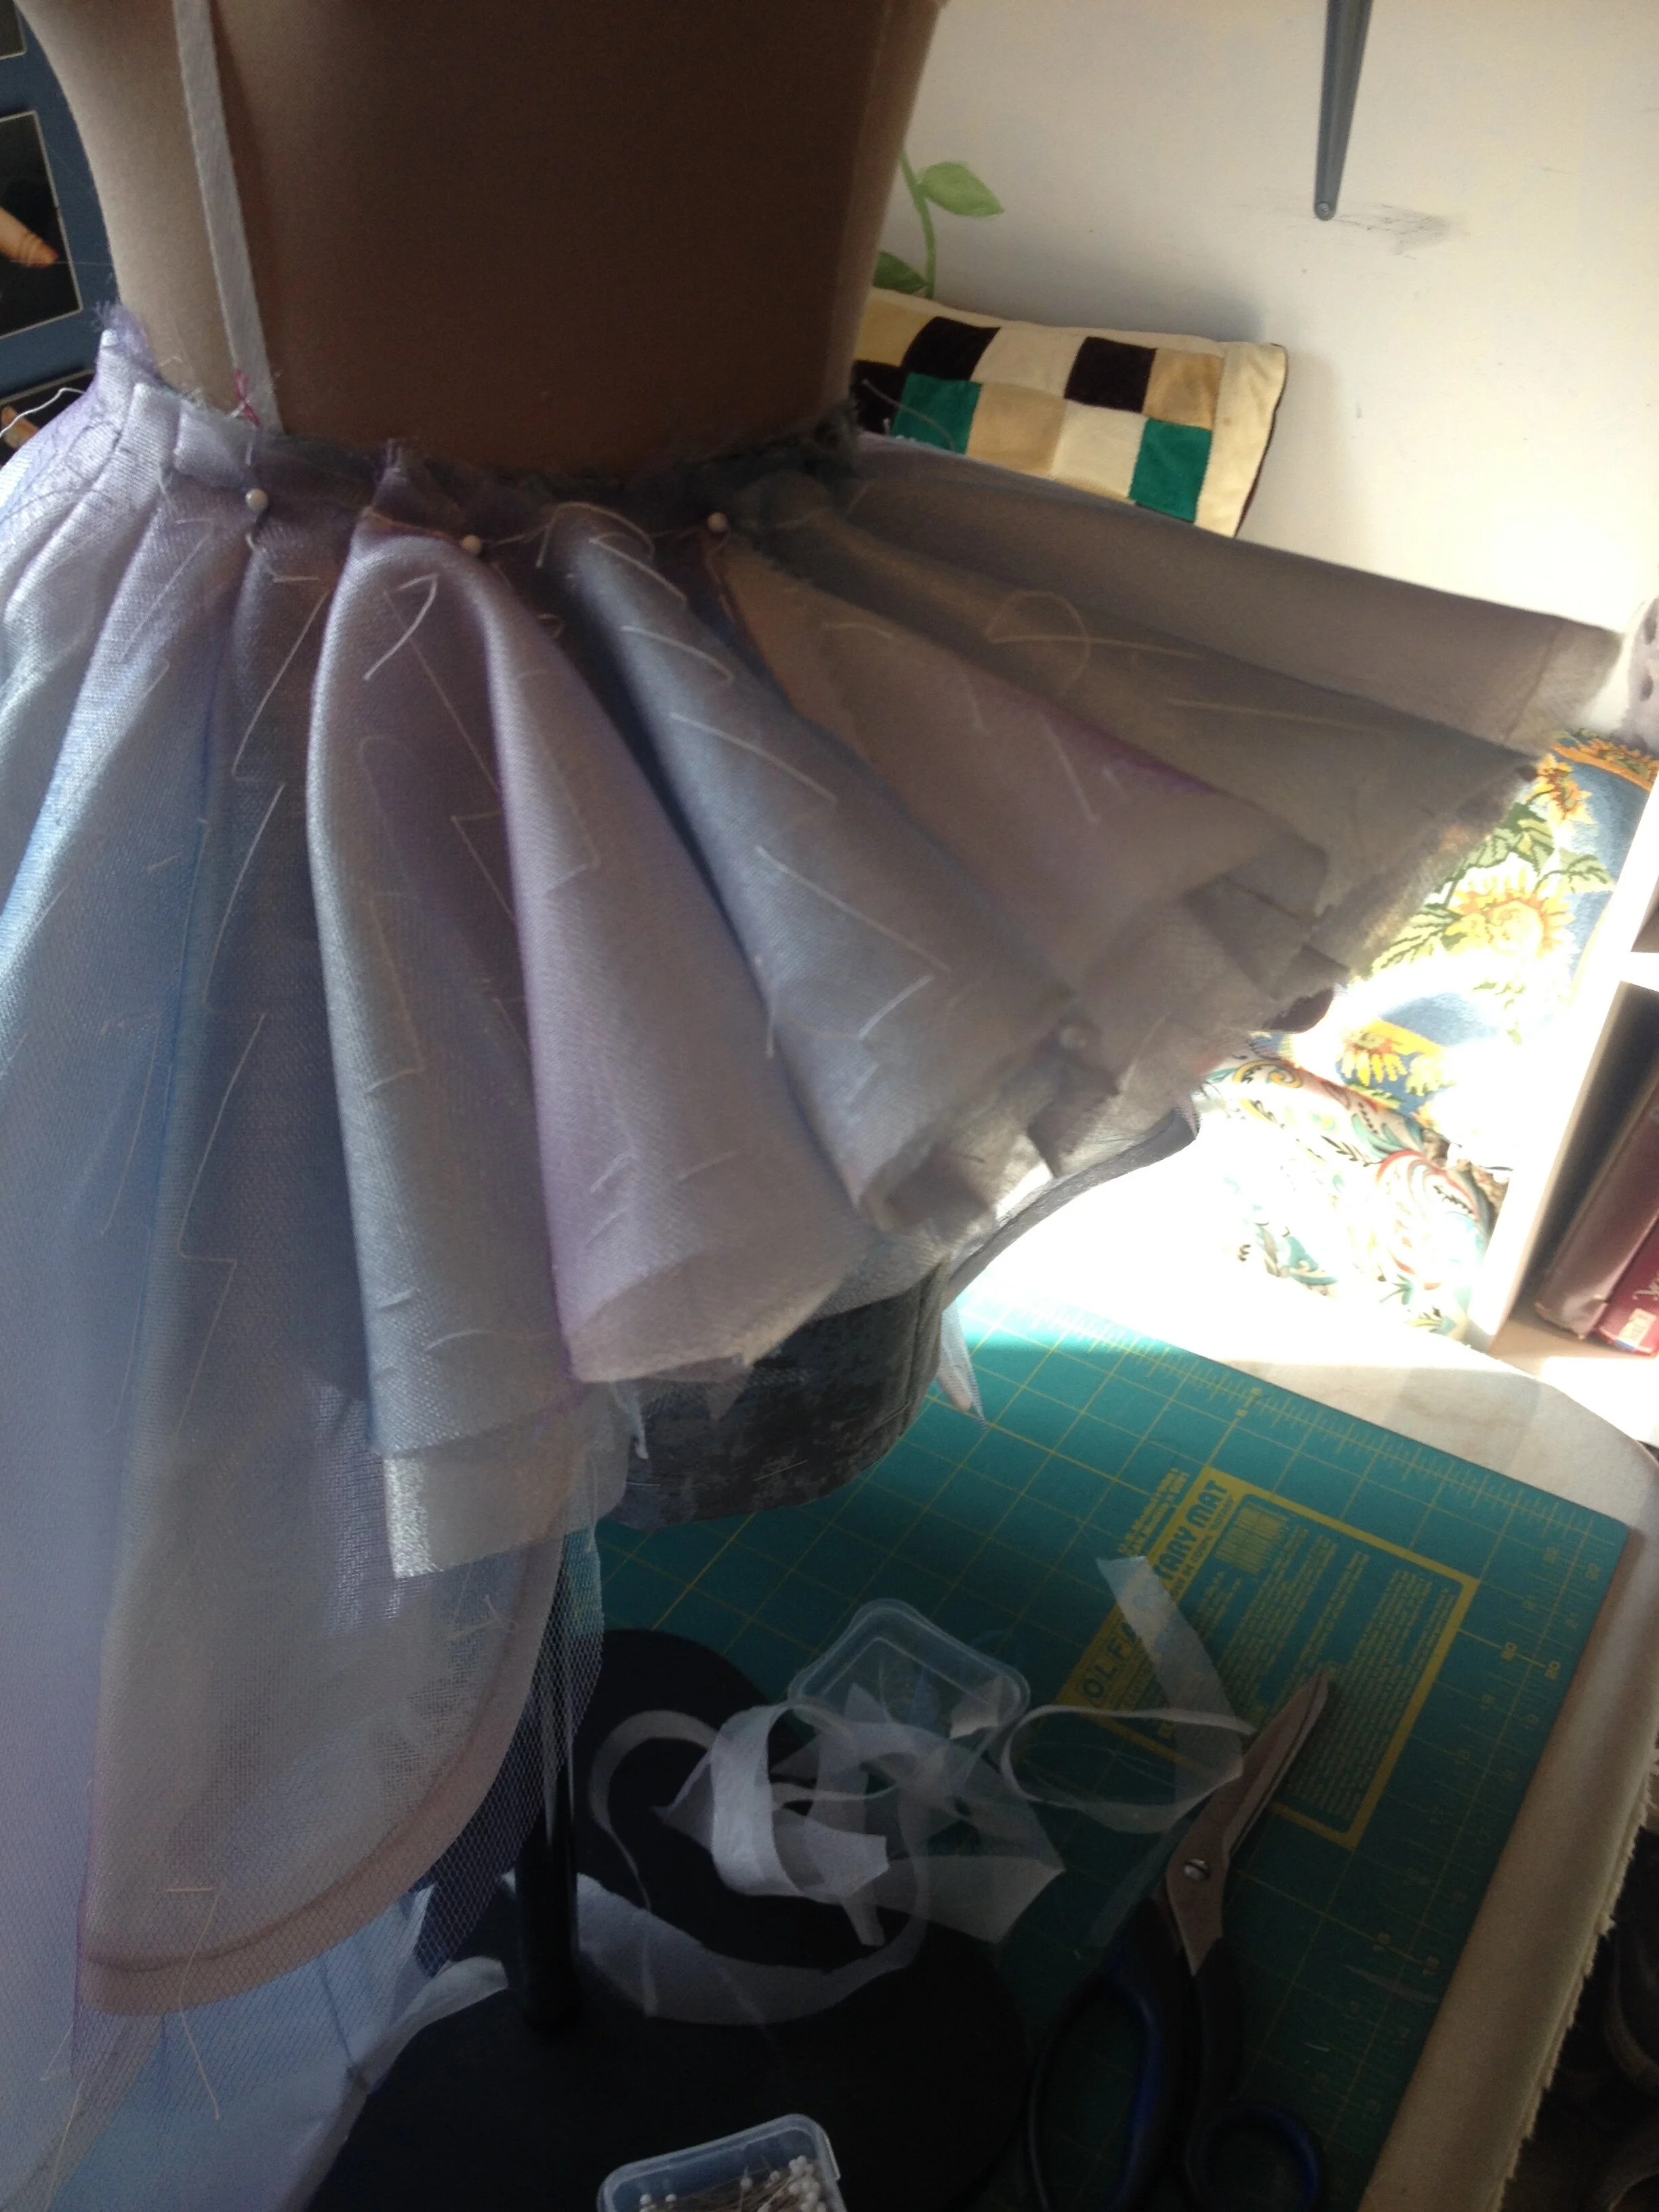
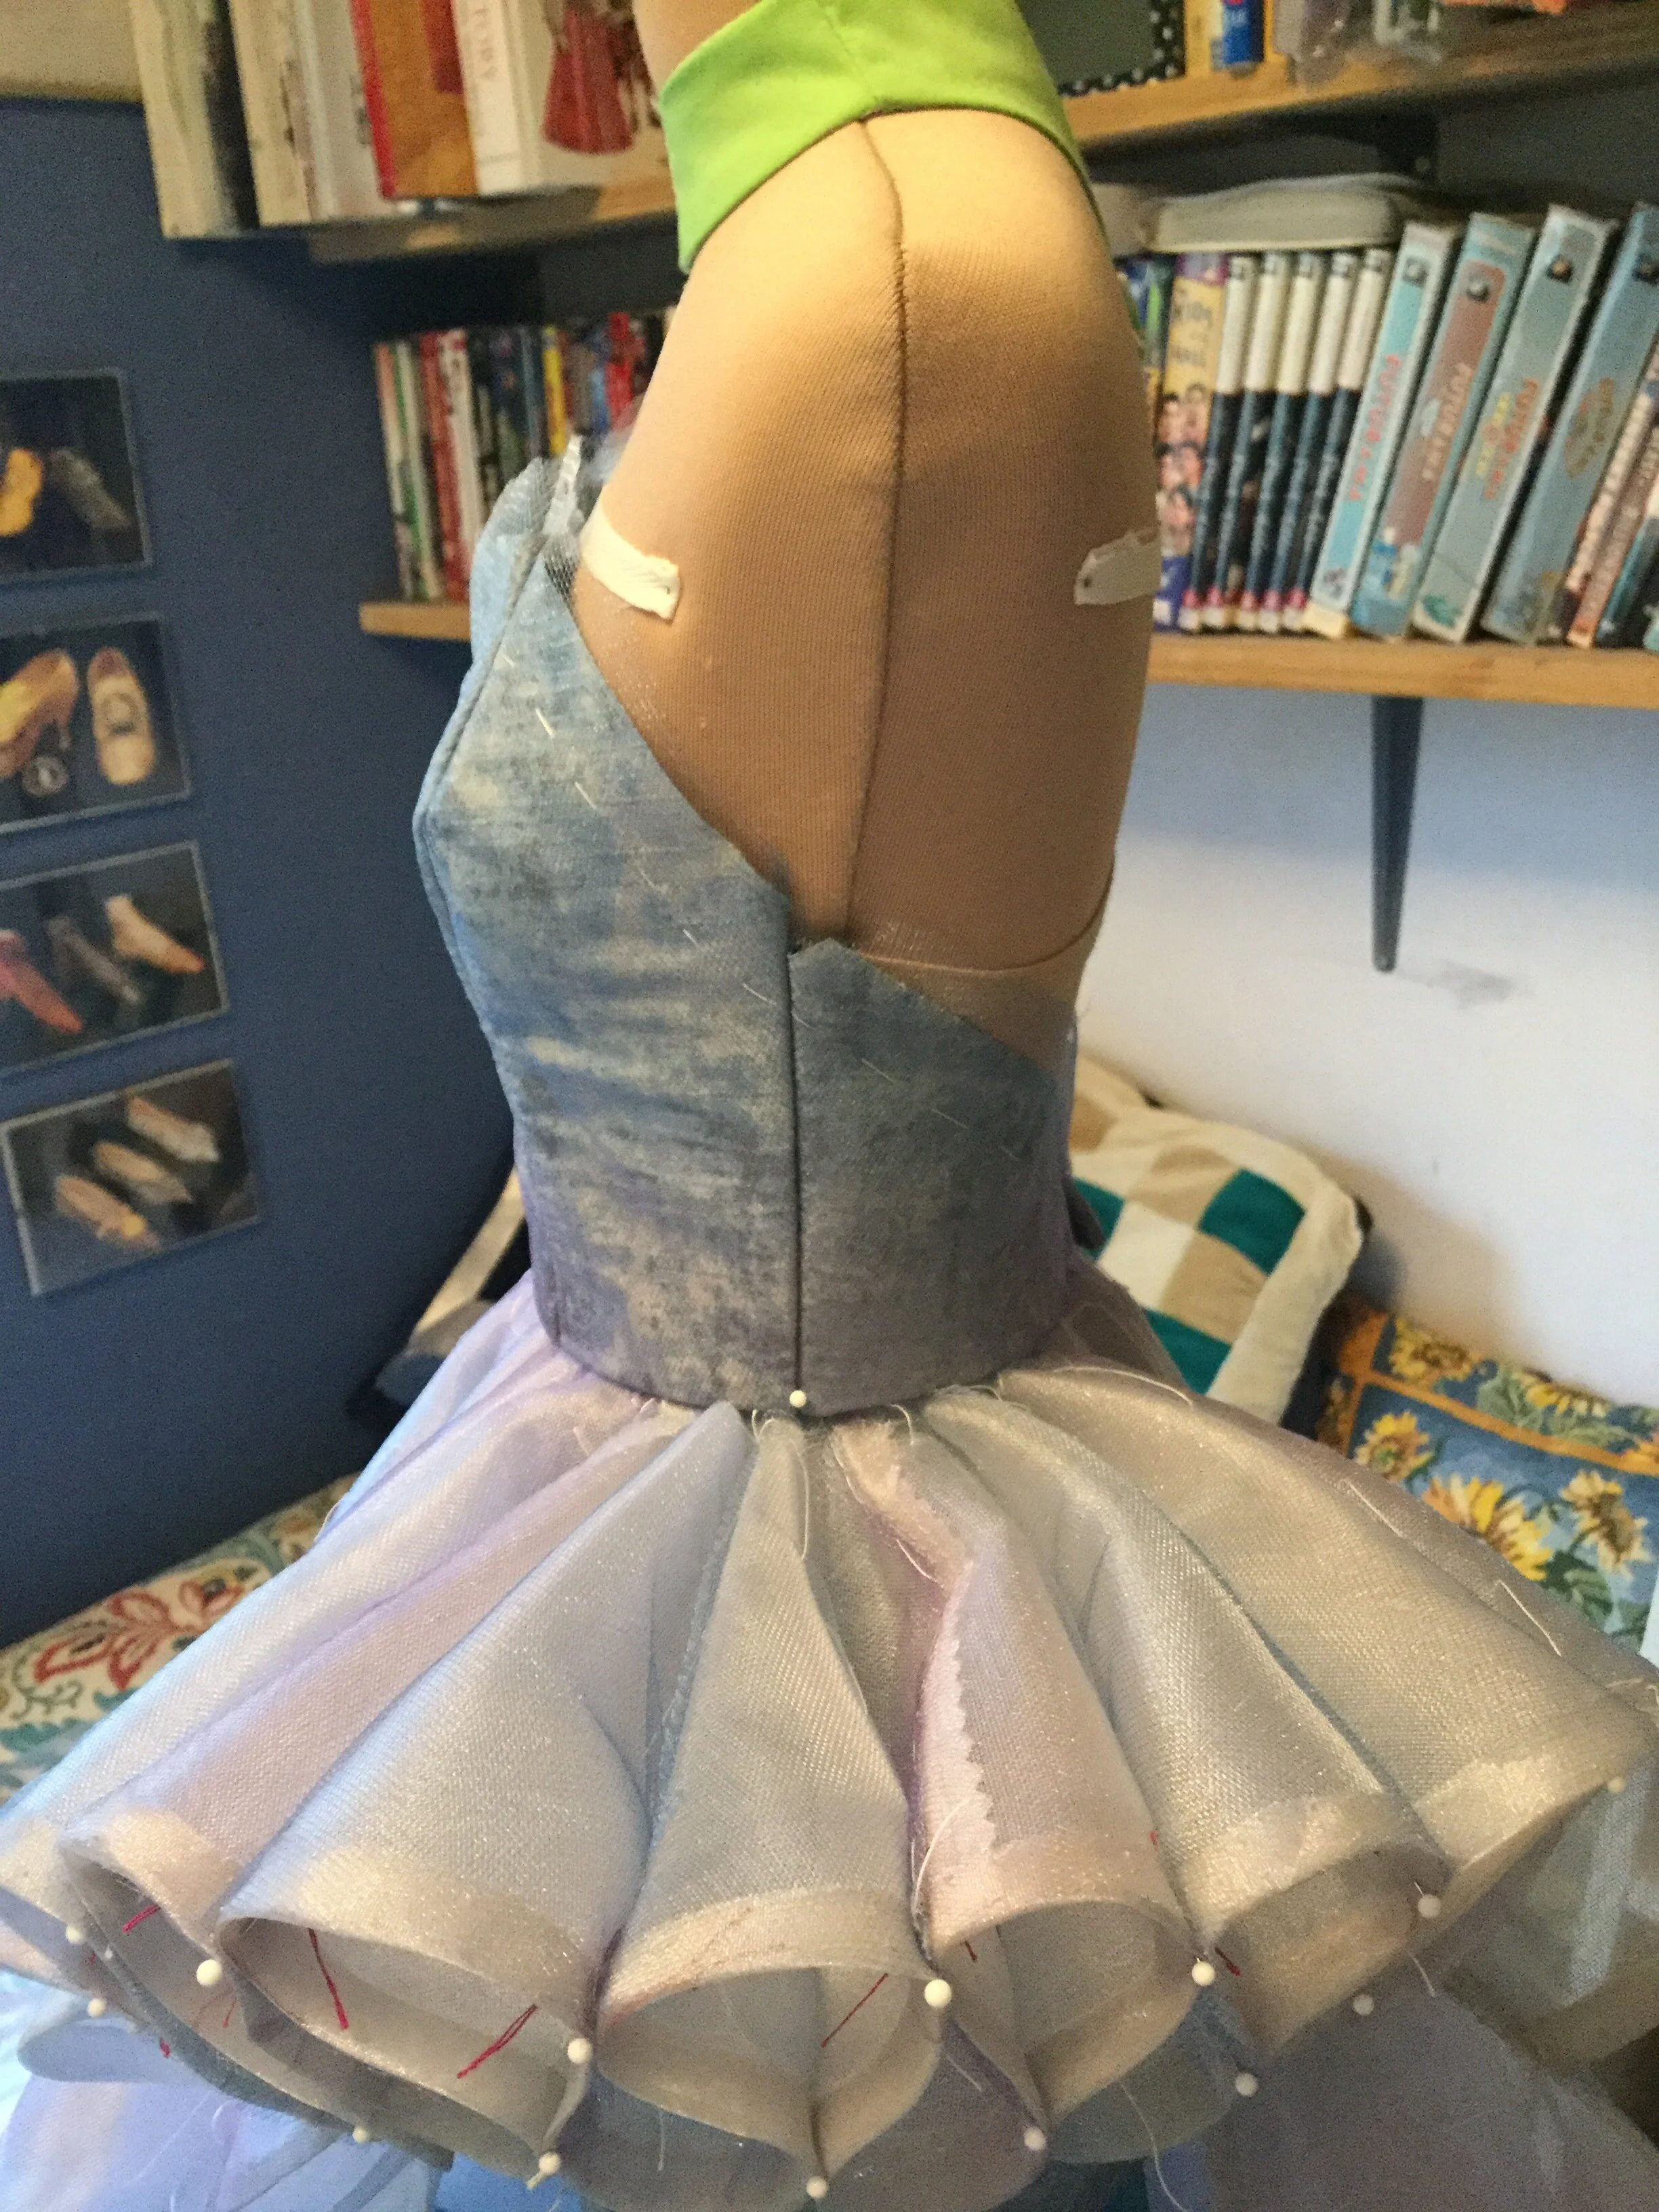
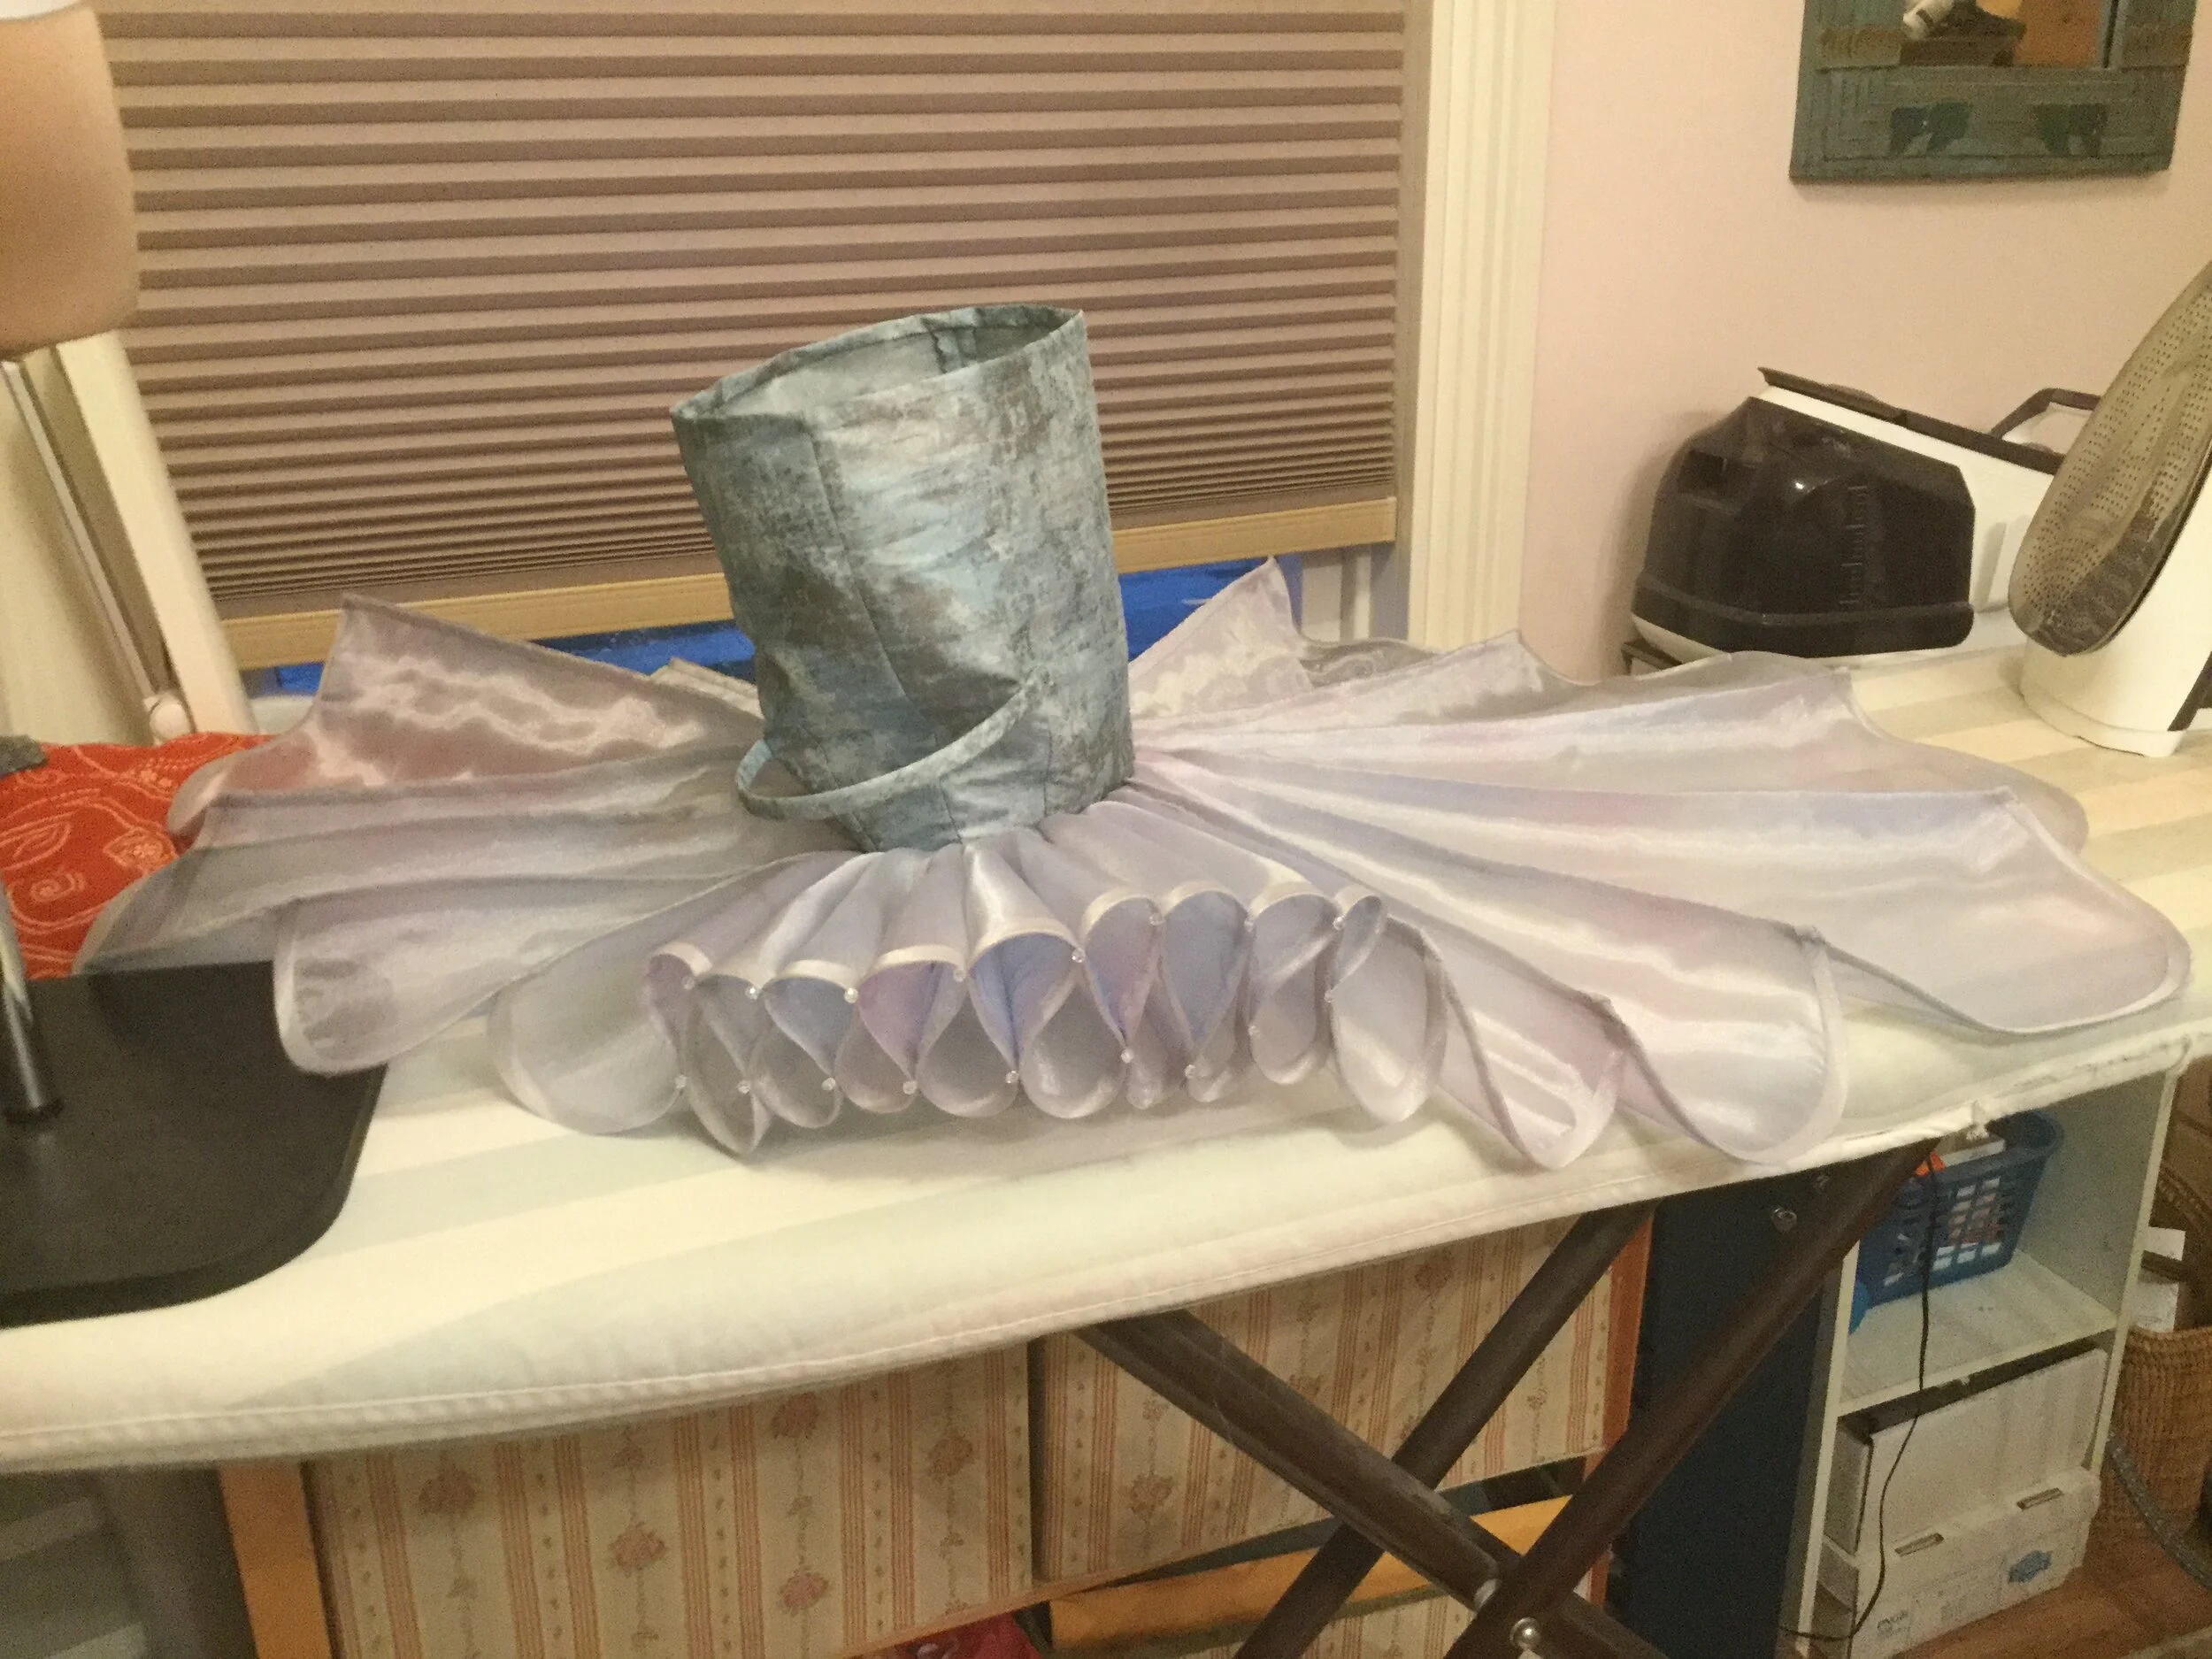
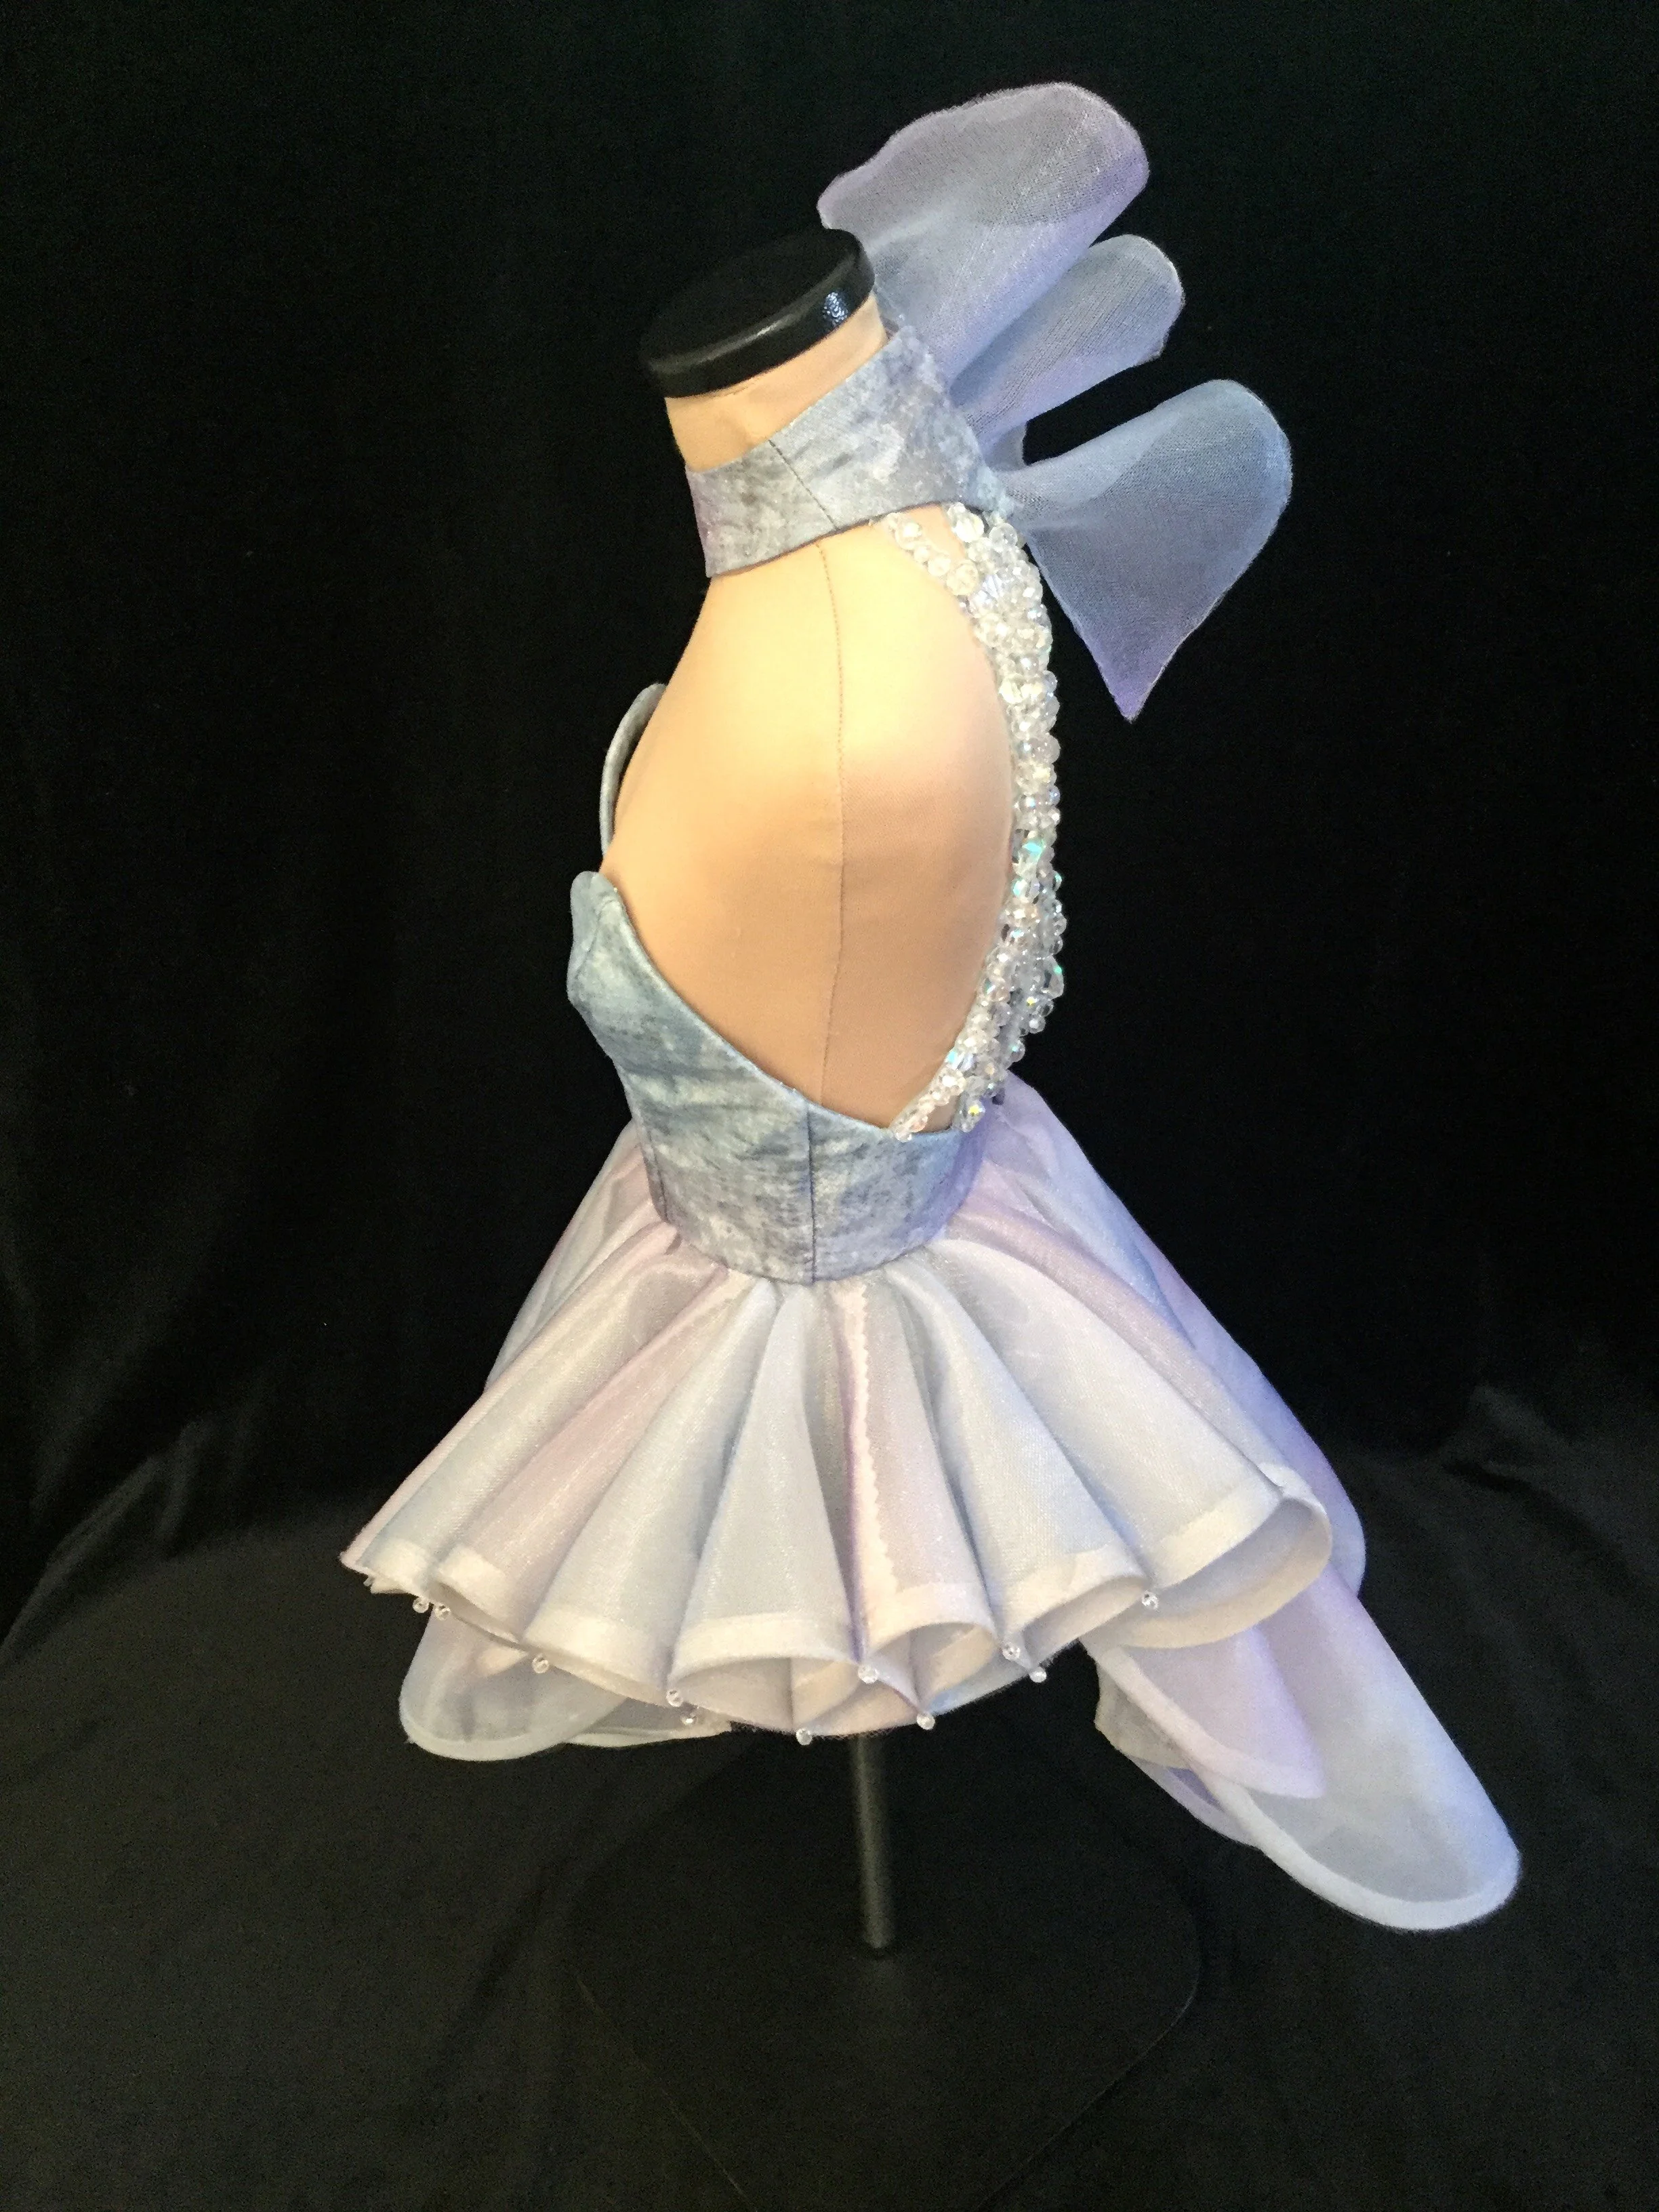
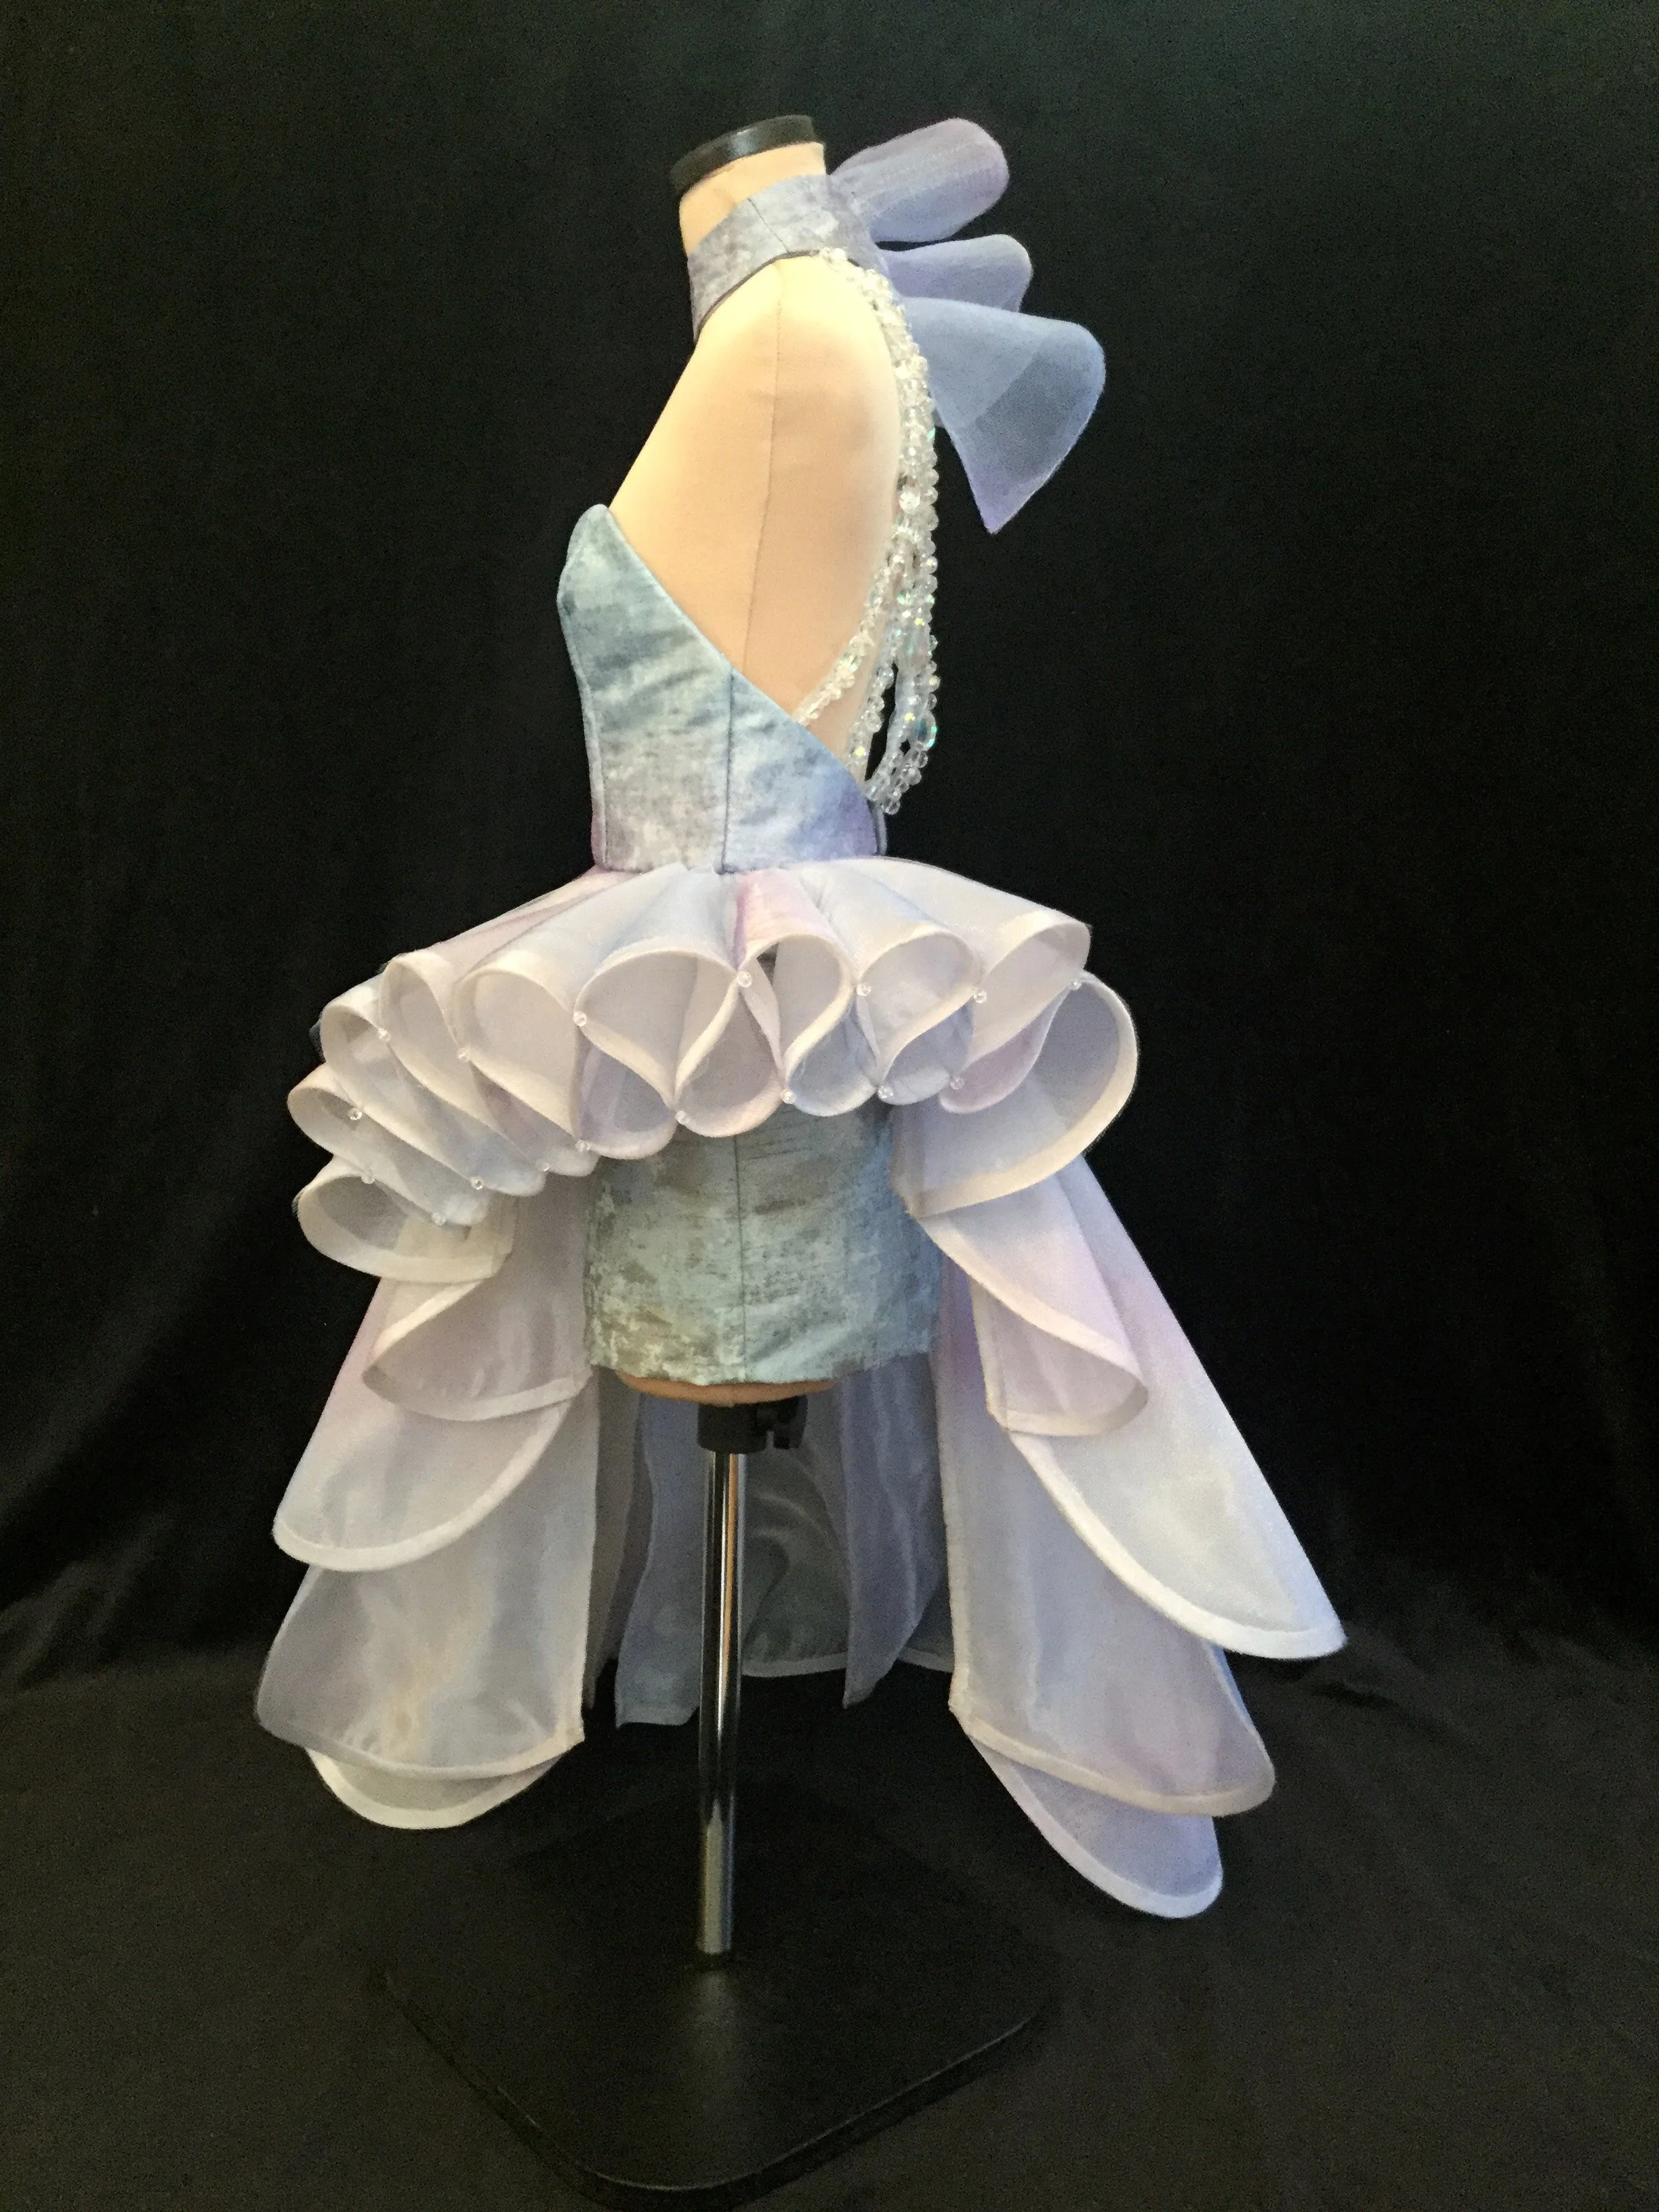
At home again, the ruff reared its ugly head once more. I went to add the pieces I had so carefully prepared (much basting, un-basting, careful pinking, re-basting...) only to find that some more shaping needed to be done to make the transition from the panelled part of the skirt to the ruff look a bit less like two completely different shapes.
*siiiiiigh*
Oh well, I had enough fabric to do it and by this point I had a defined process so there wouldn’t be the going forwards and backwards like the first attempt. Silver linings. Here is also where all my colour coded fold lines really went out the window.
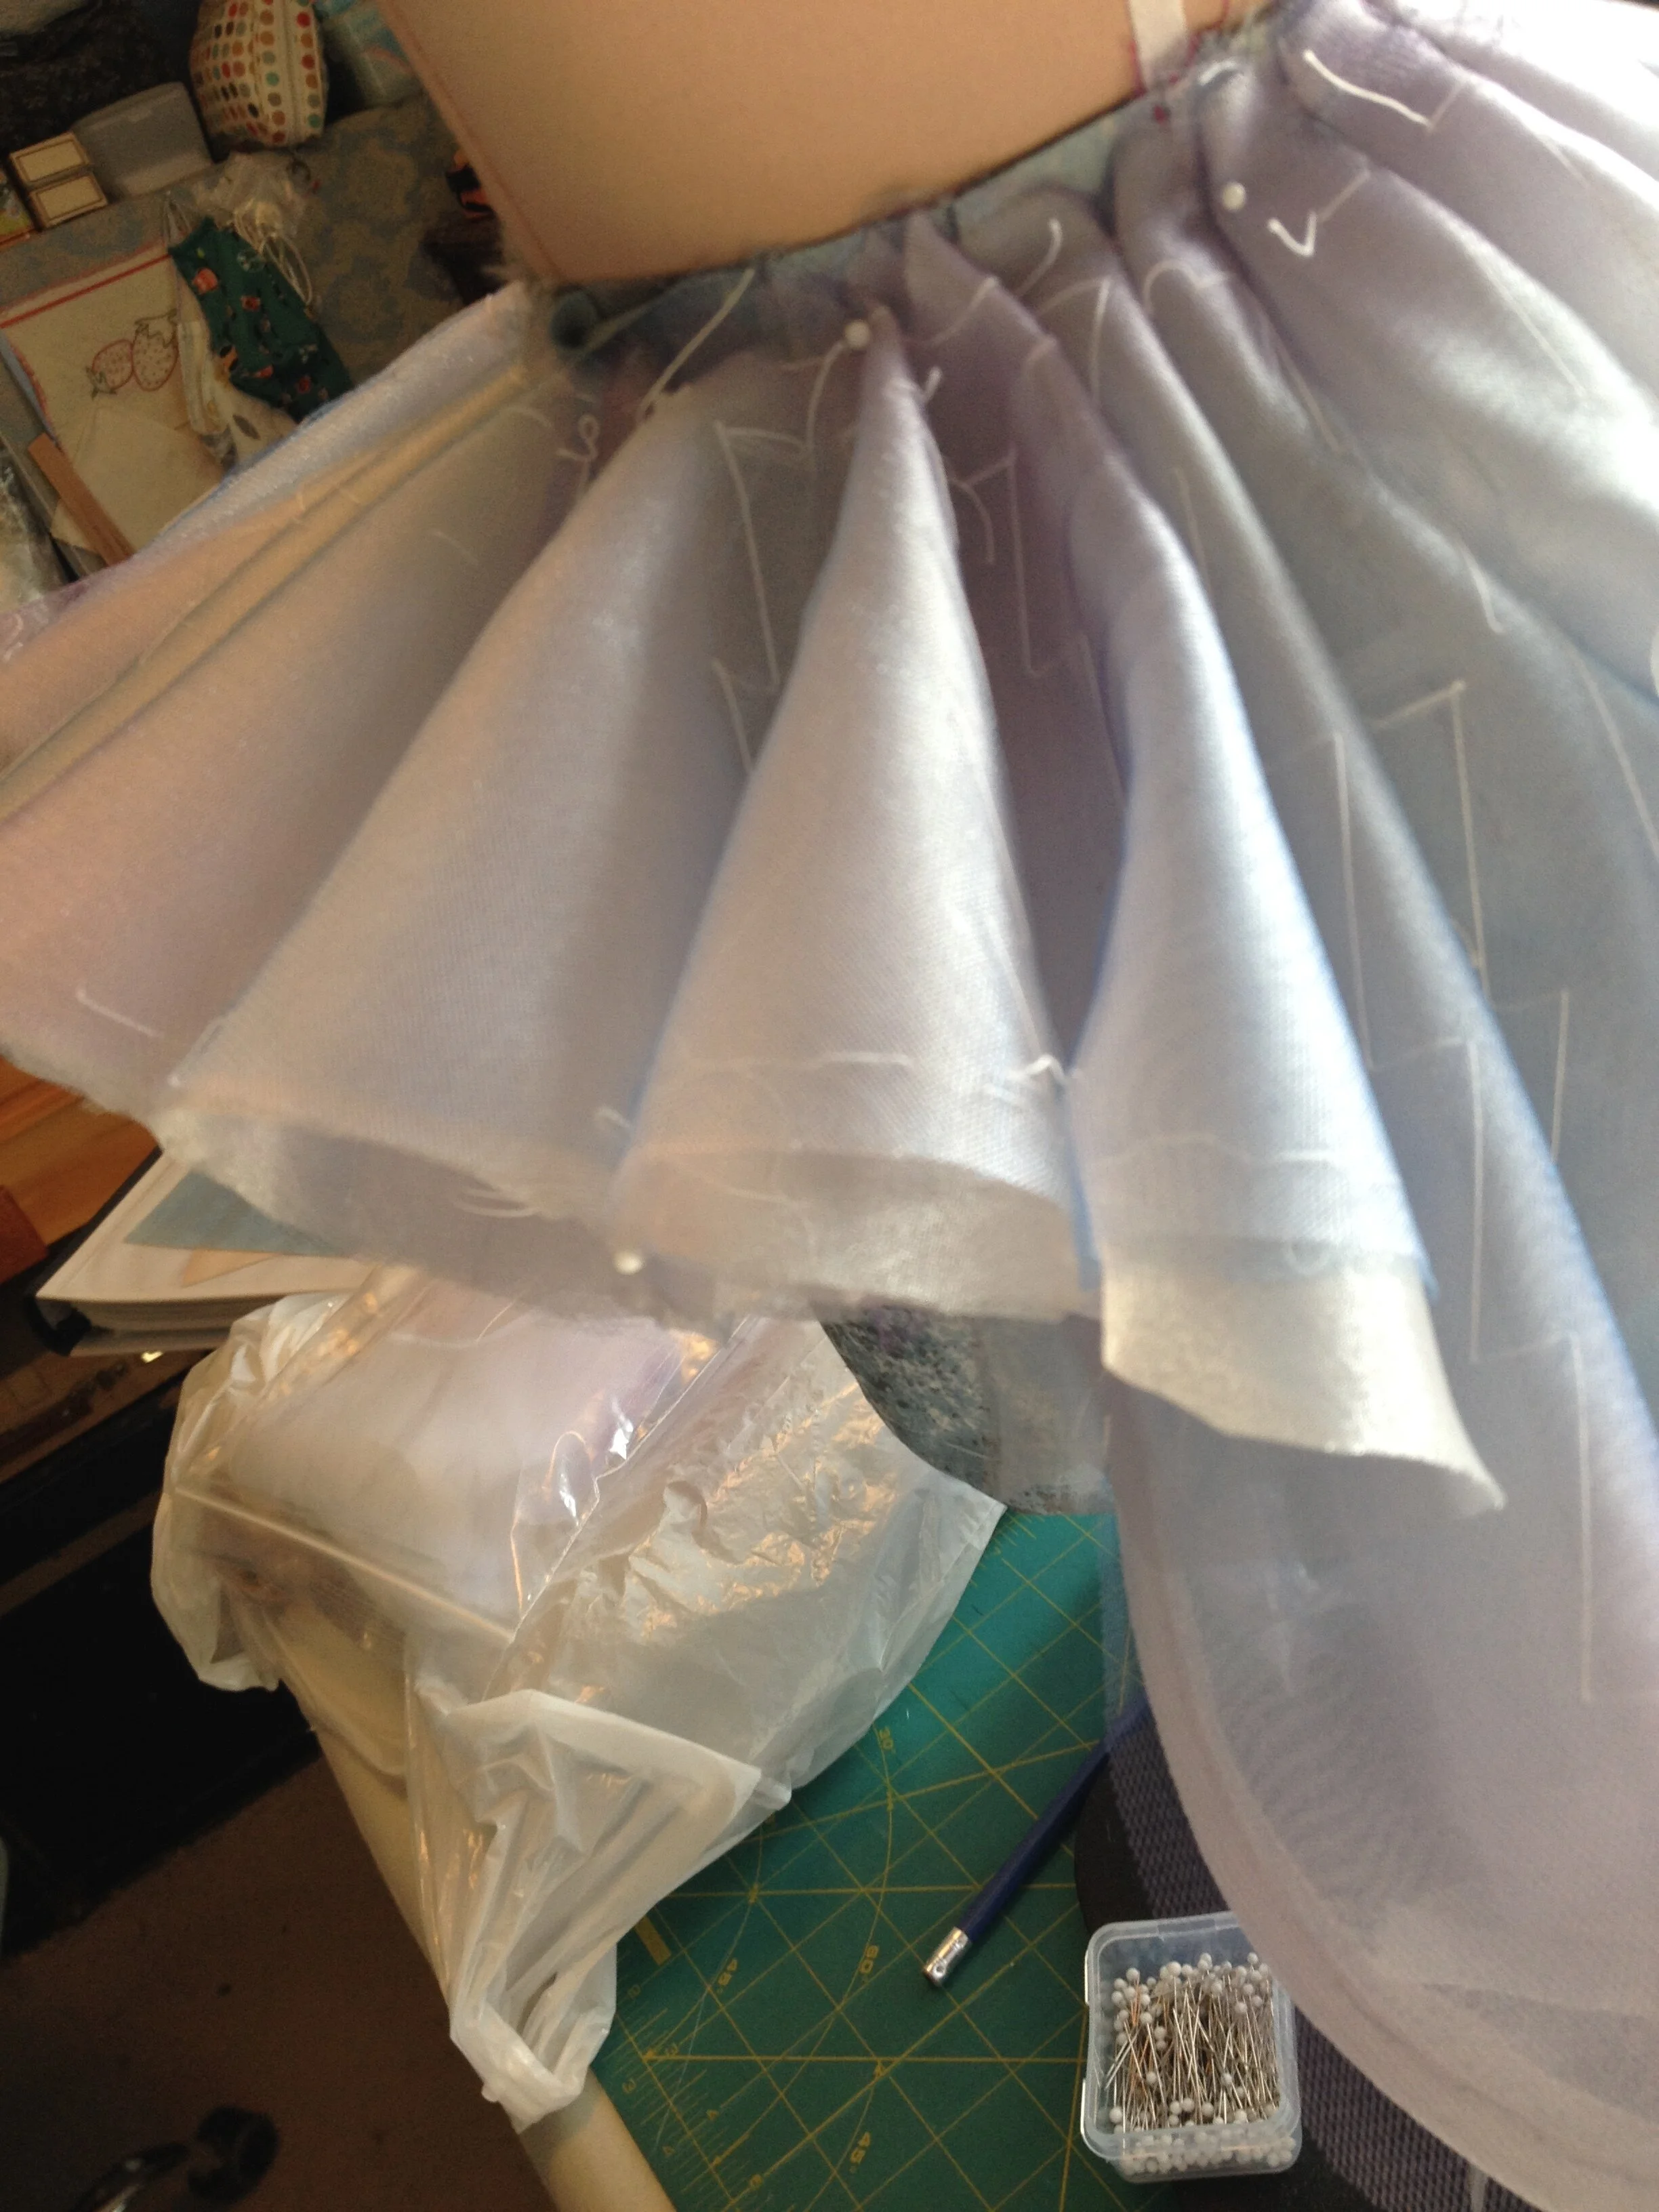
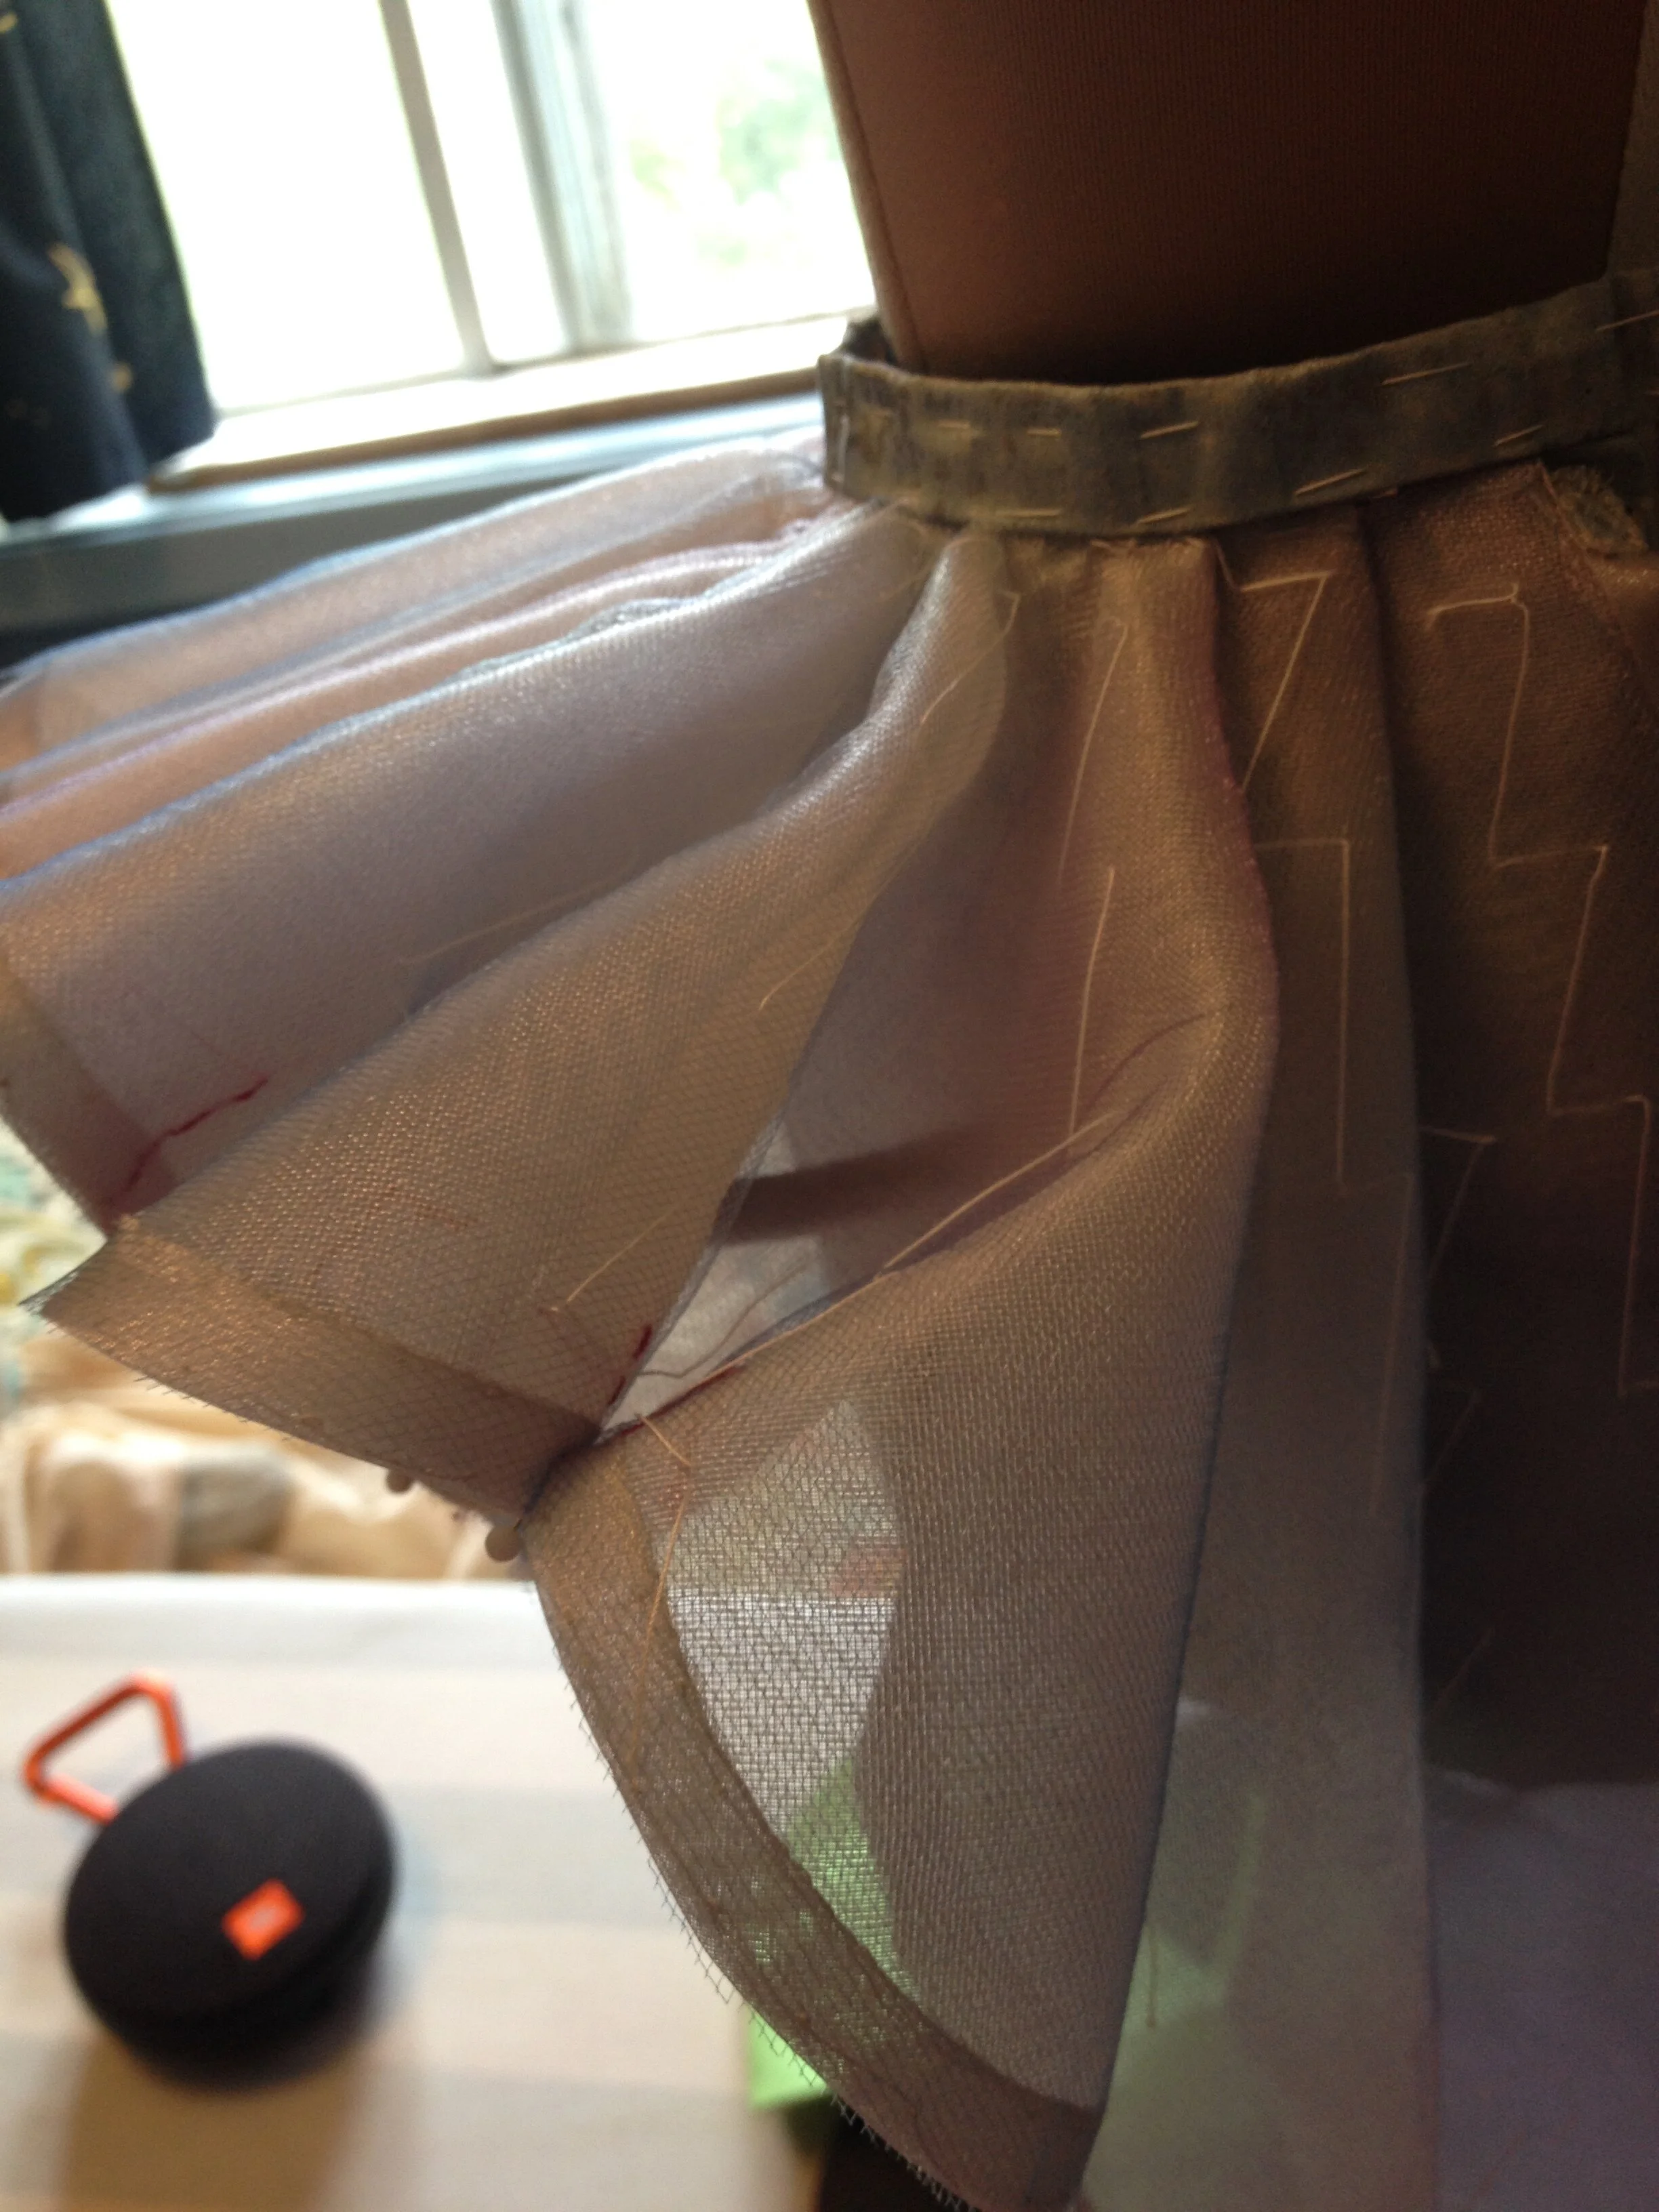
I used my existing pieces to create and mark the new folds and redraw the hem edge where the ruff part meets the rest of skirt. I added a deeper curve to a few places along the edge which mimics the curves at the hems of each of the panels.
Once happy with the shape (finally *eye roll *), I finished the ruff pieces in the same manner as the panels and the two components could at last be made one! Huzzah! There was still fiddling to be done with the folds before stitching them in place, but for the time being I needed a minute.
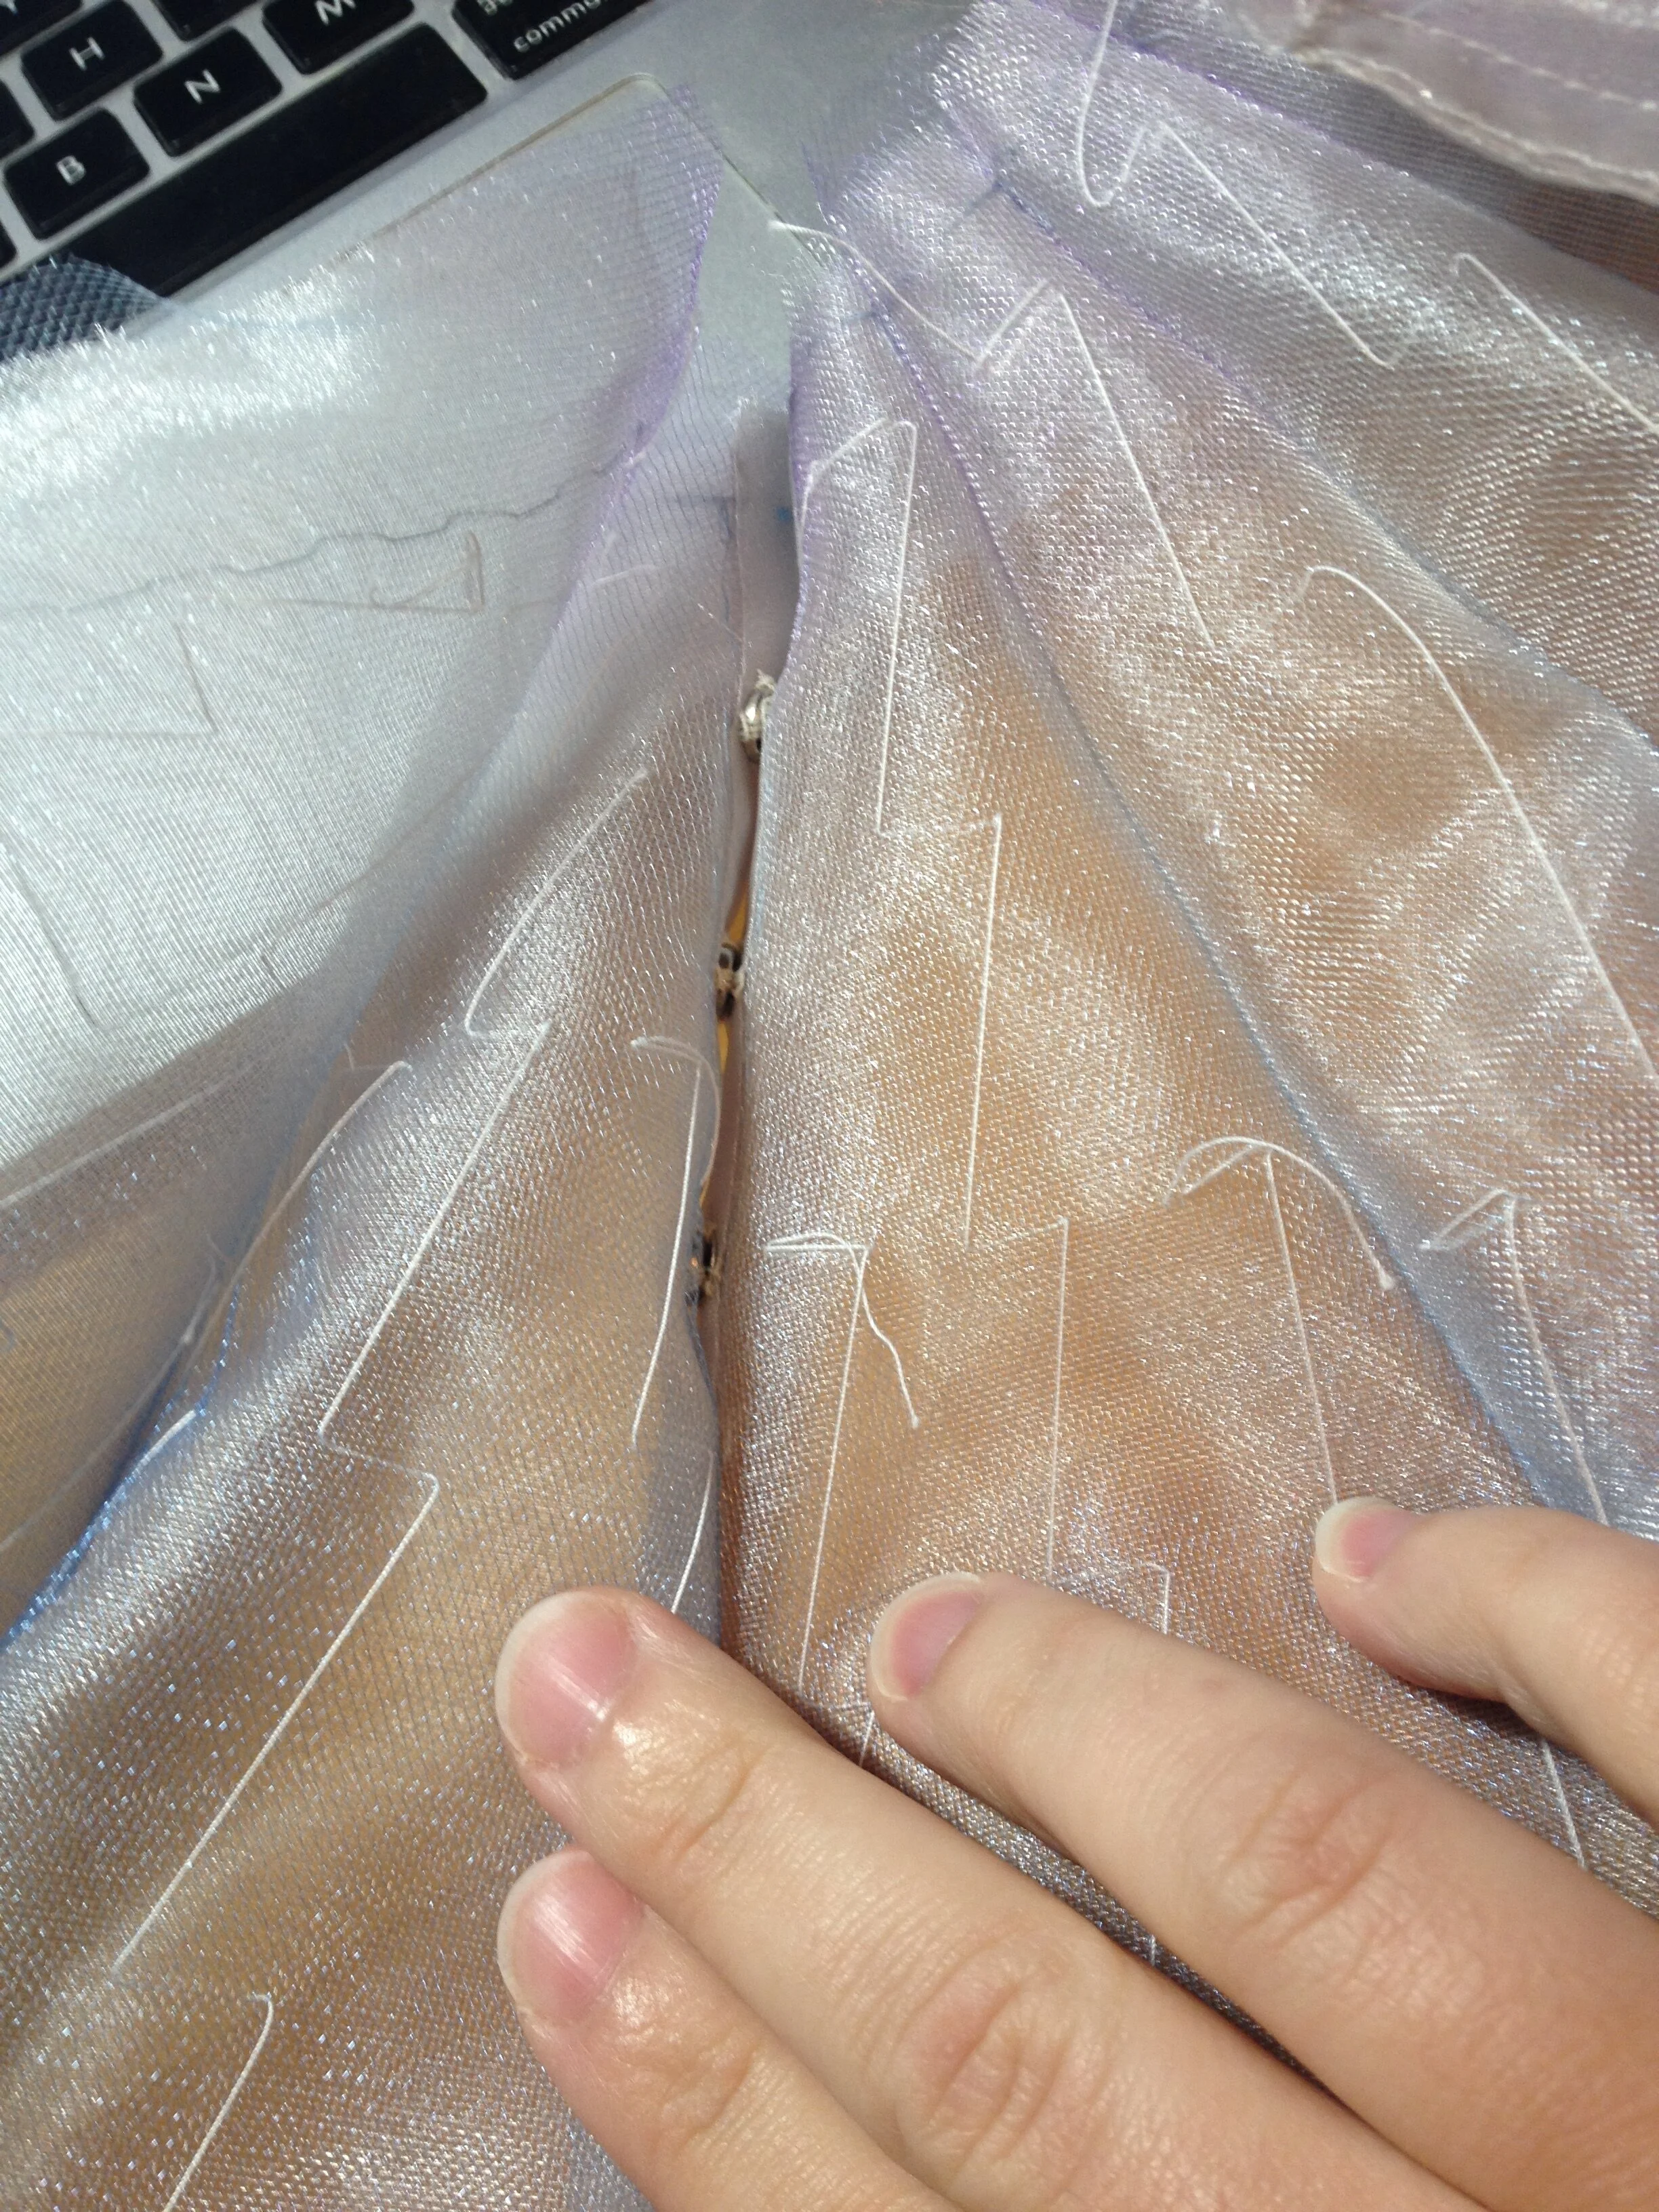
I moved on to closures and the waistband. I opted to use snaps for the plackets of both the under and over skirts. Initially I had used very small silver metal snaps on both layers, however even the really tiny ones proved to be more visible than desired on the overskirt so tiny clear ones were acquired and applied.
Before stitching the two layers together and applying the waistband, I did two more small things. The first was to clip into the seam allowances at the waistline on the over skirt so that they would not have to be folded to one side when I stitched the two skirts together. The other was to cover a length of 1/4” plastic boning and stitch it to the hip of the underskirt on the ruff side. This is to support the ruff and keep it in position. For the waistband I used a strip of 1/2” twill covered with the blue fabric. With the waistband finished, I could move on to the bodice.
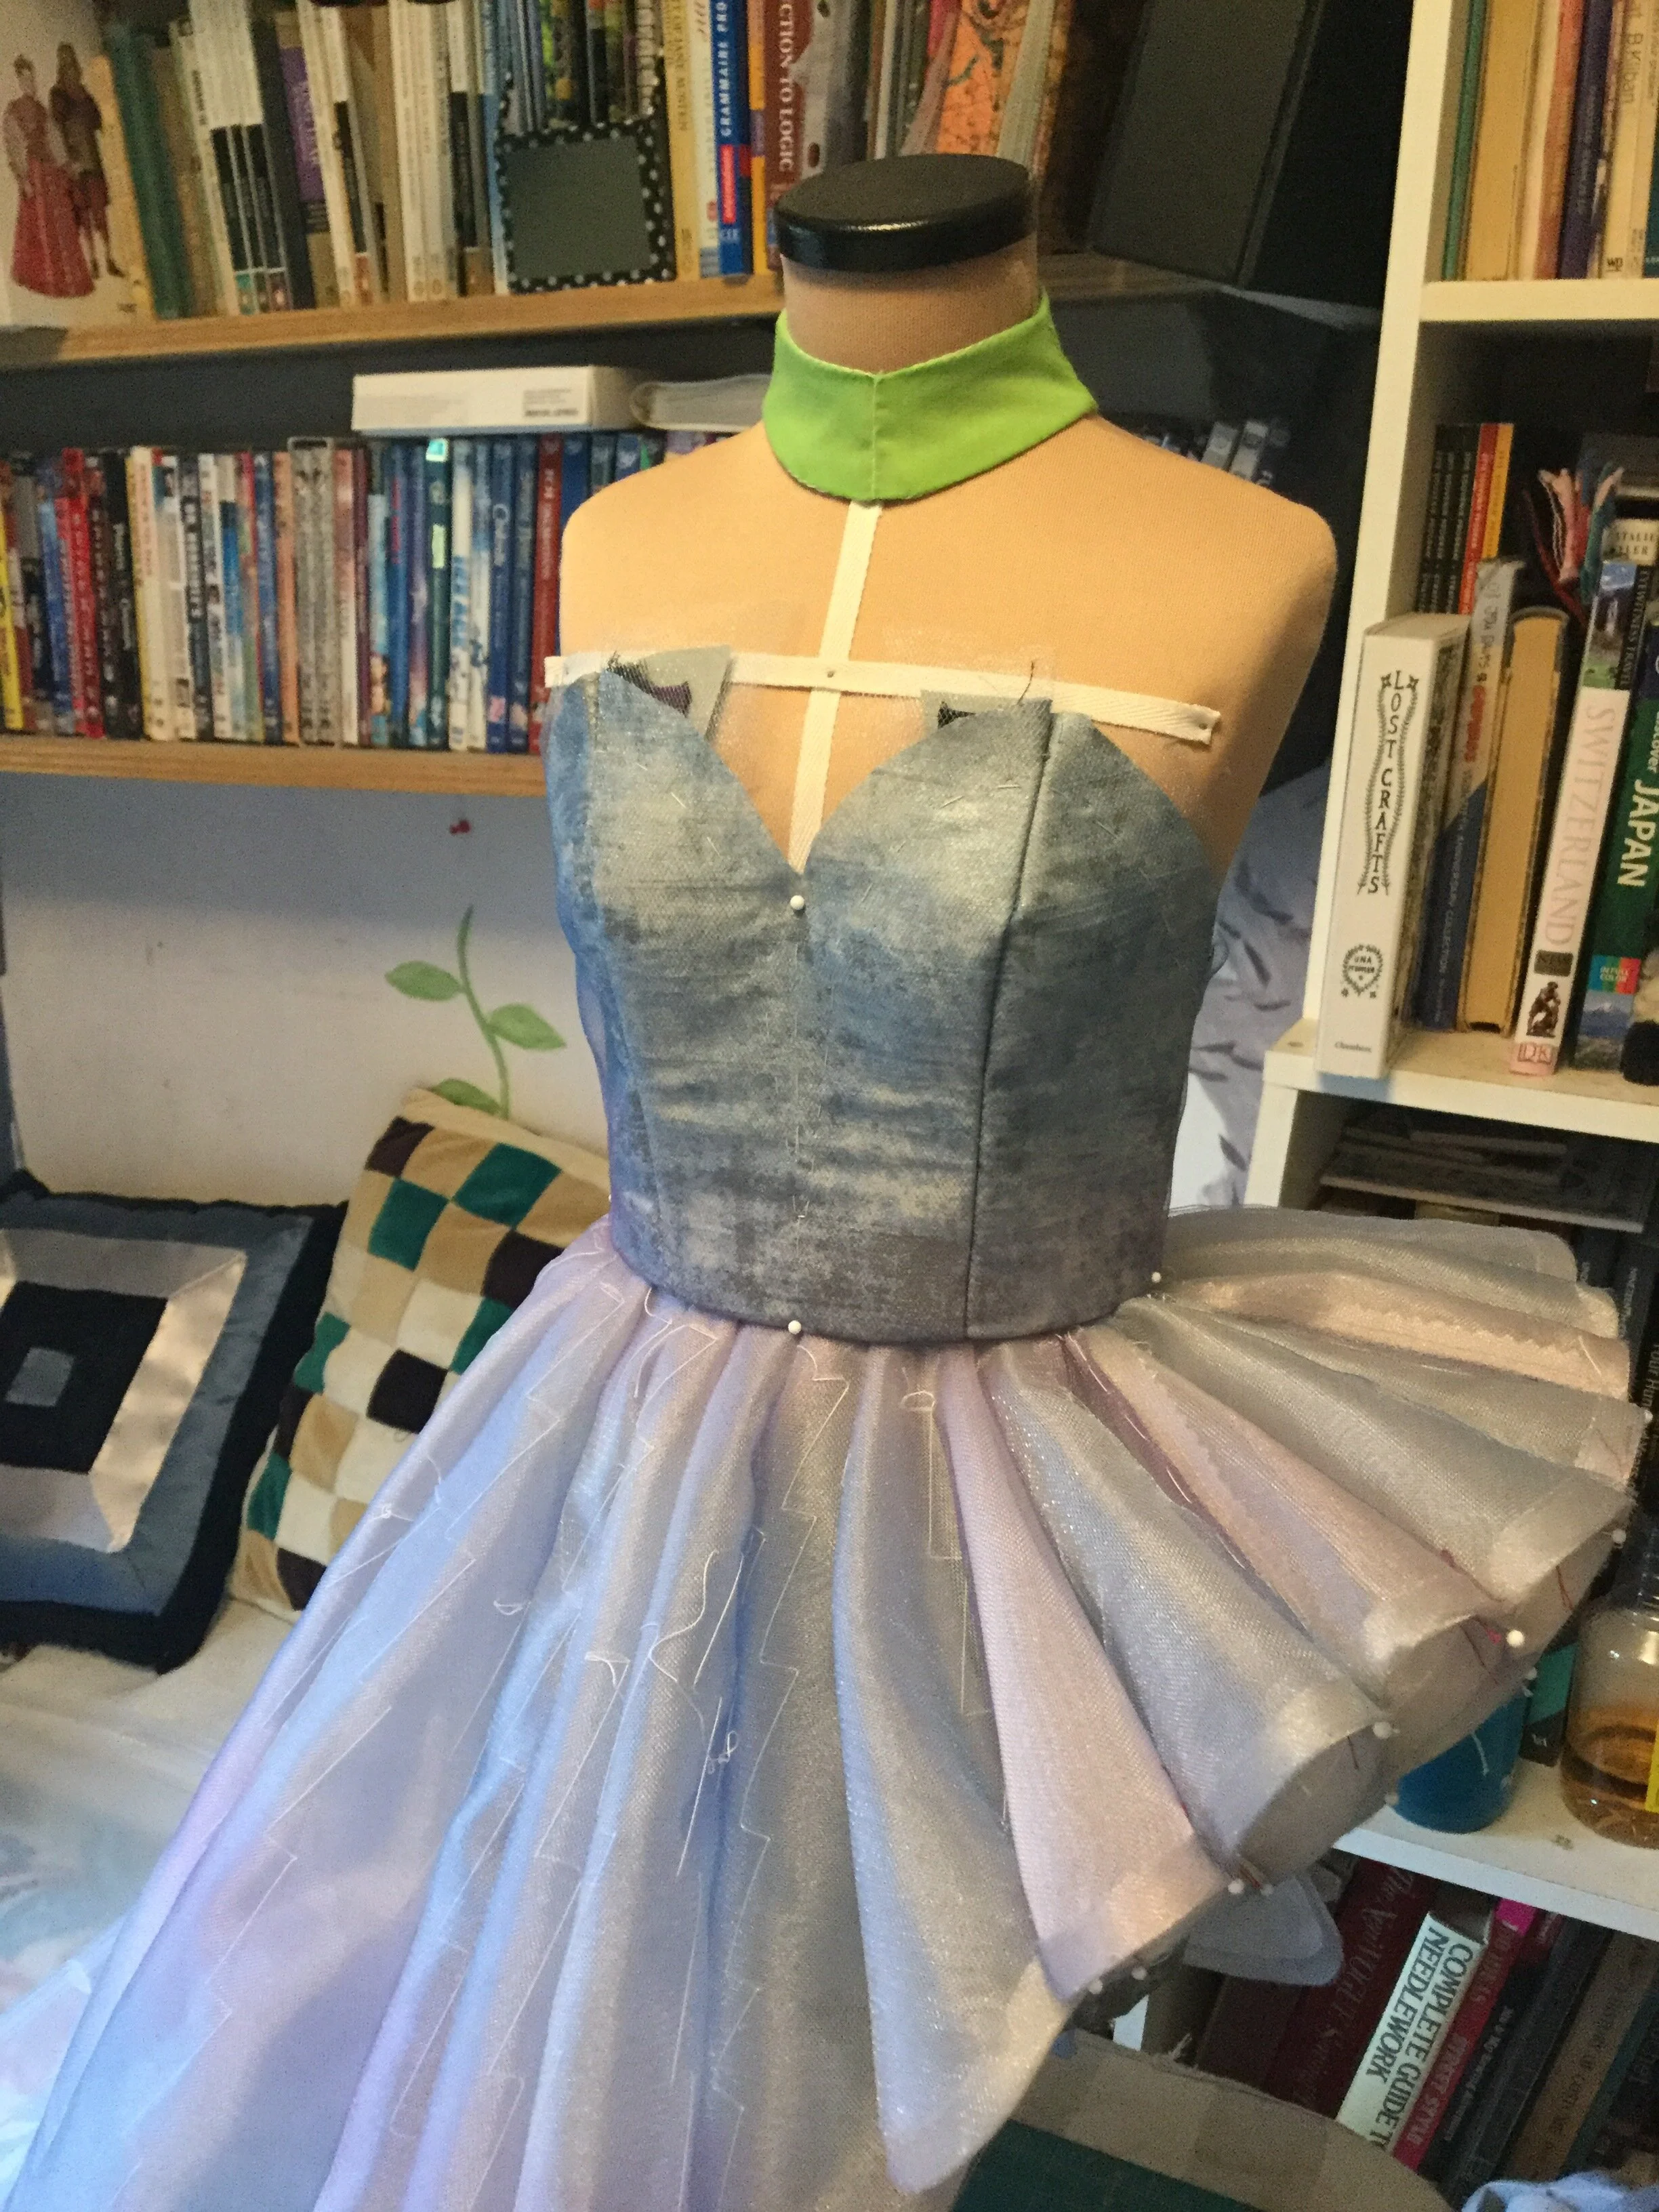
I hadn't done a final fitting of the bodice yet as the bulk and depth of the waistband would affect the final size and shape. I checked with my cotton mock up and decided to go forward with the coutil foundation. At this point I also decided to change the front; rather than achieving the shape through darts alone I changed it to a princess seam.
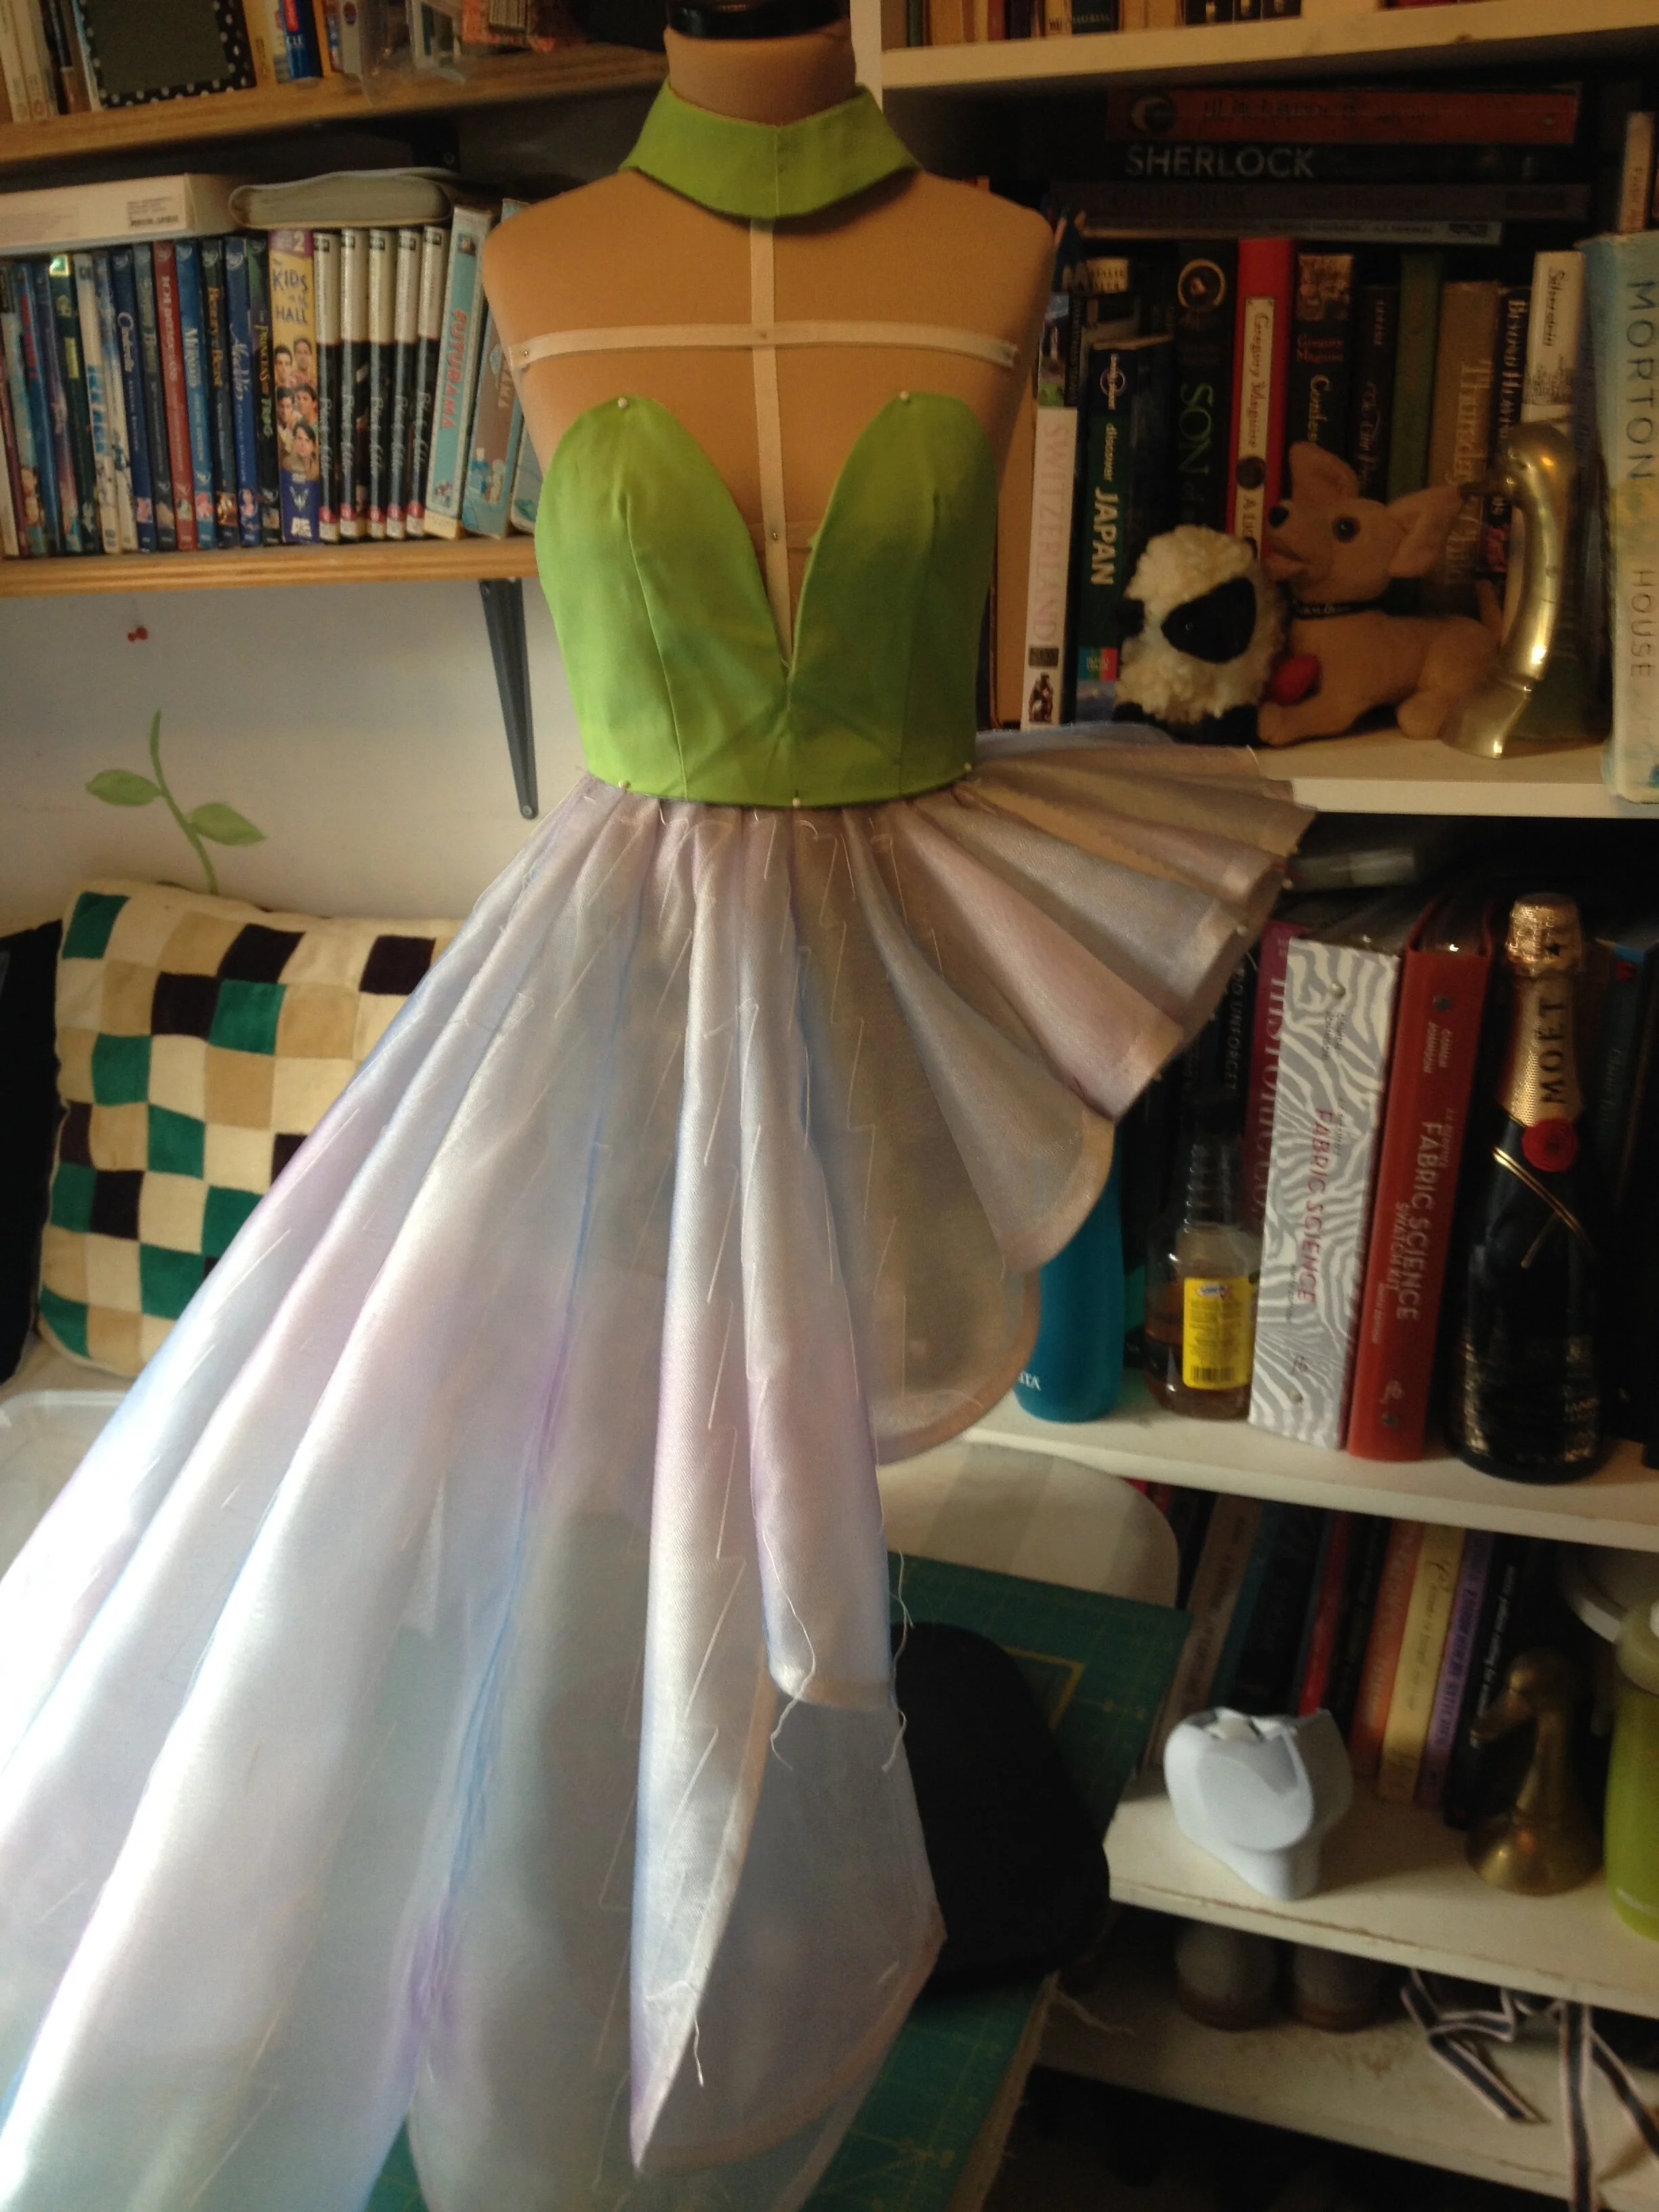
Checking the bodice mock up with the finished skirt. (Also pictured, my DVD collection and all the junk I keep on my bookcase.)
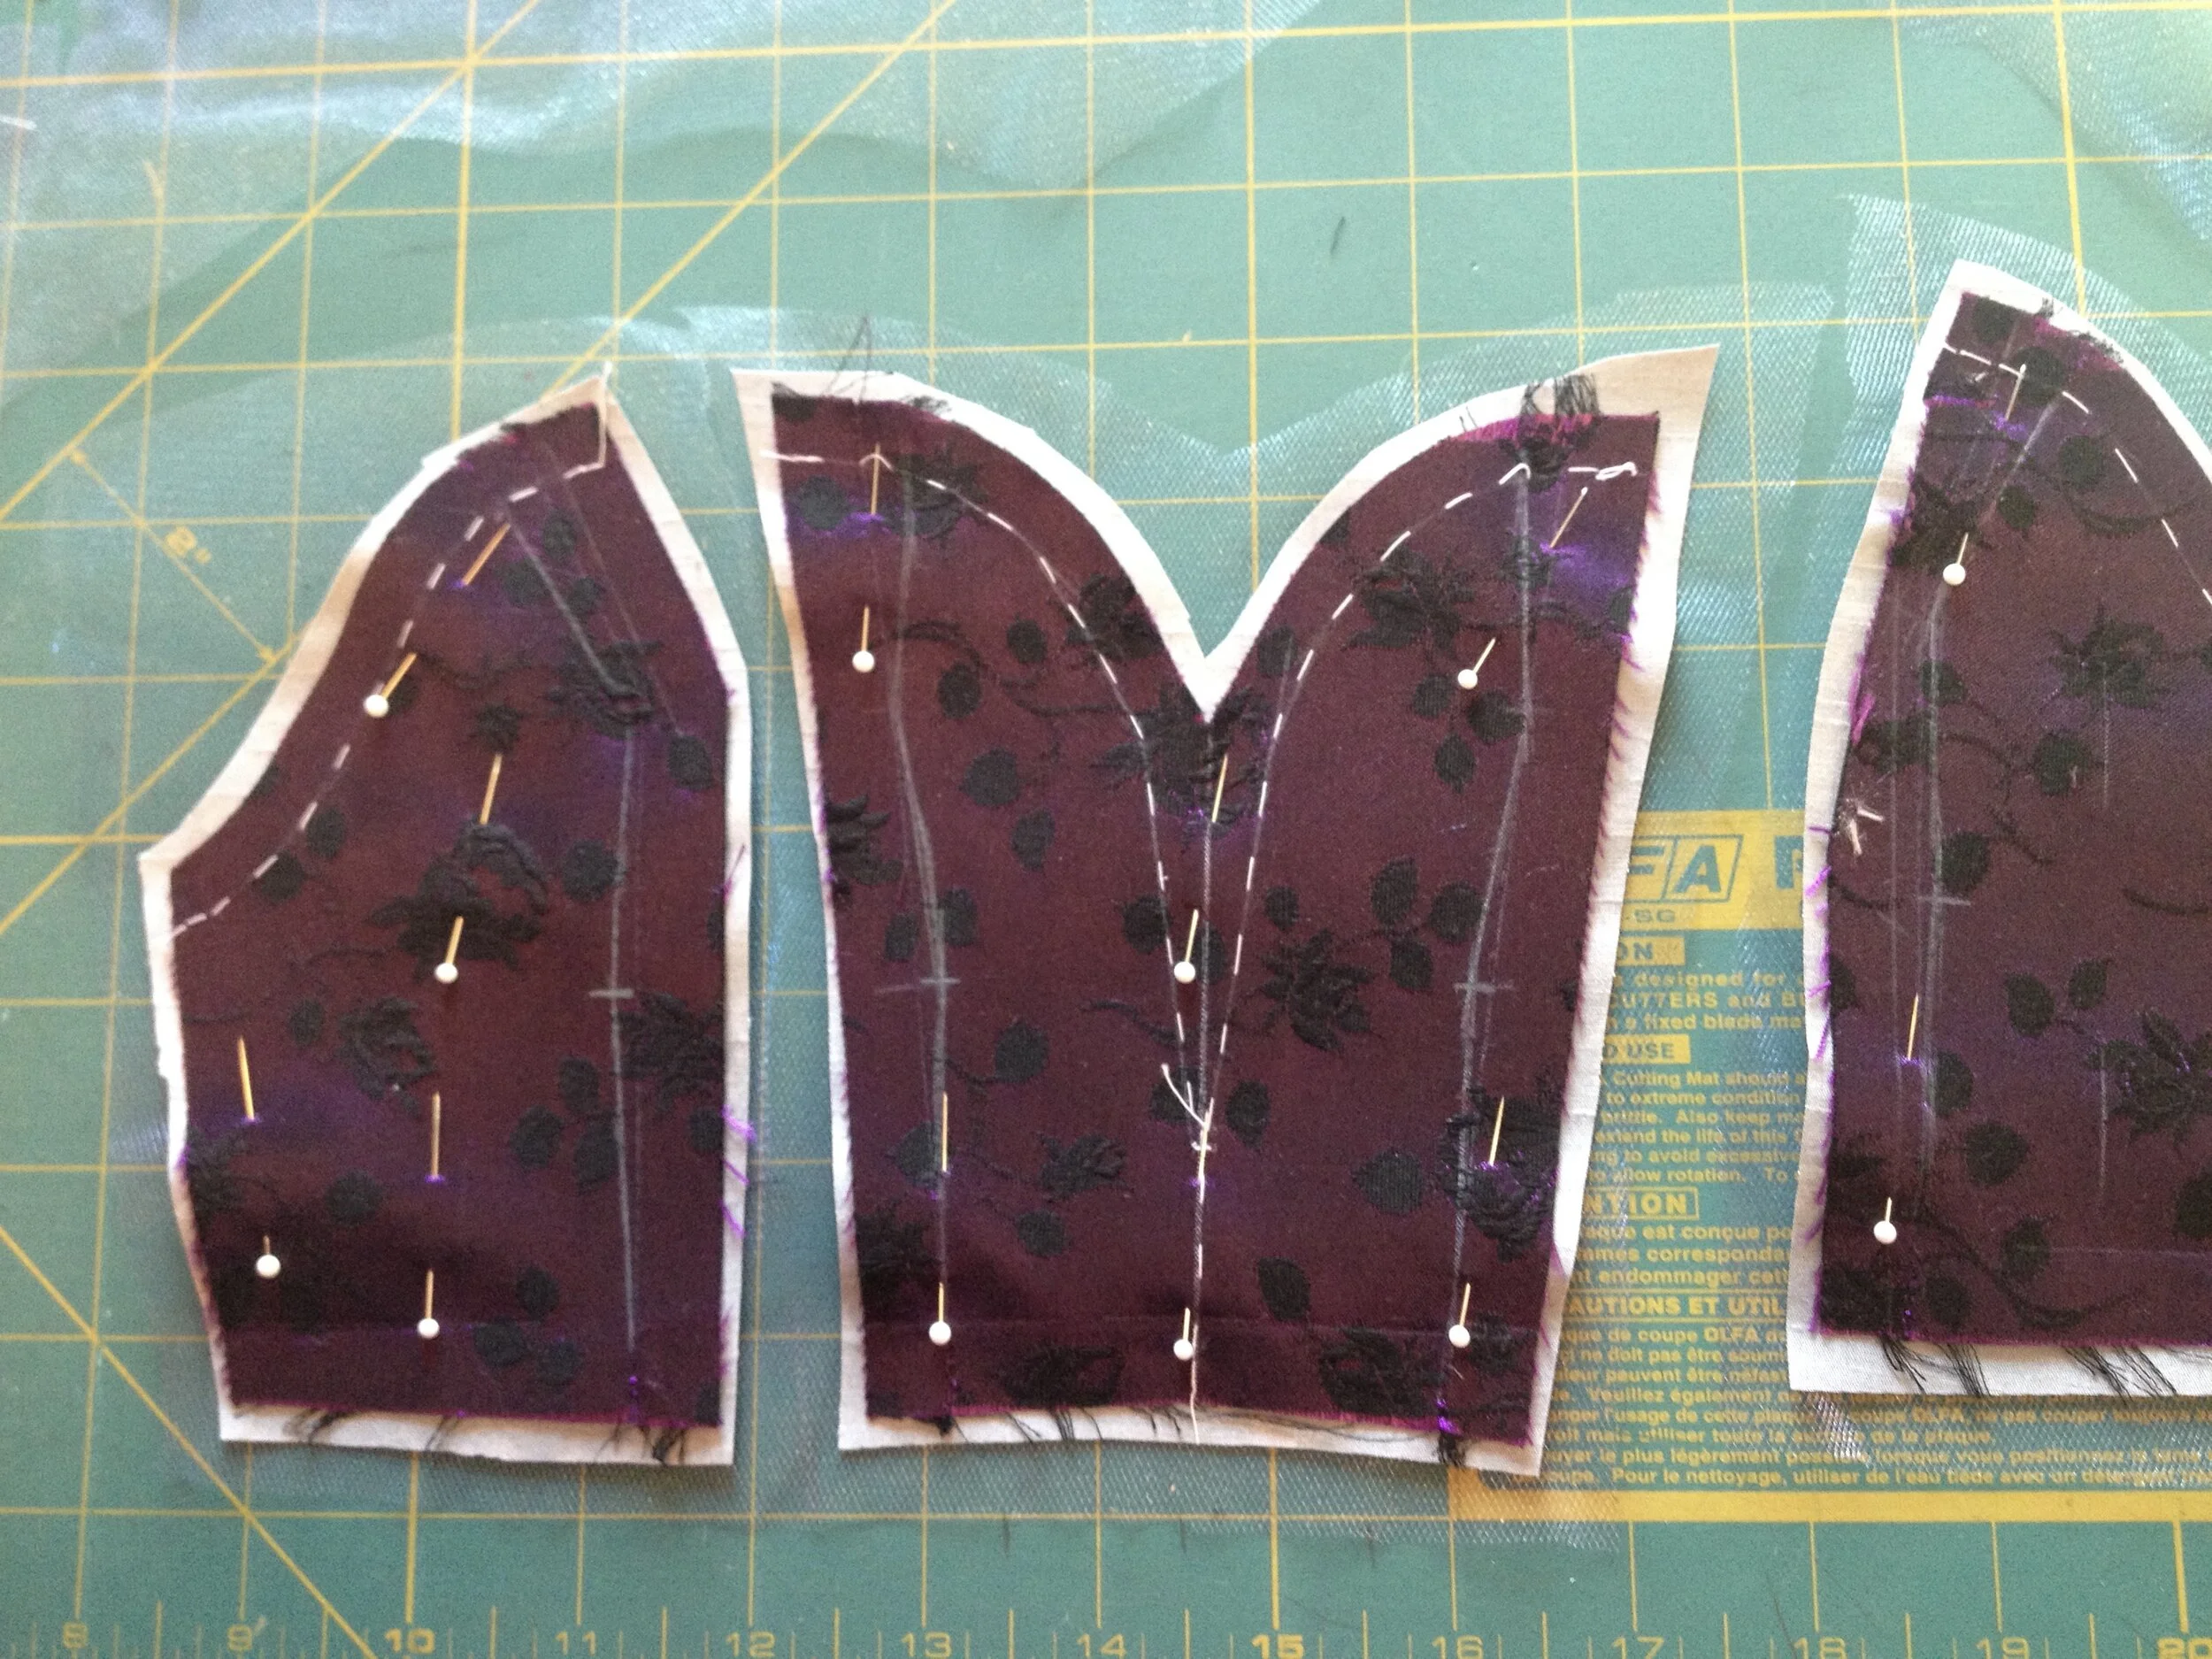
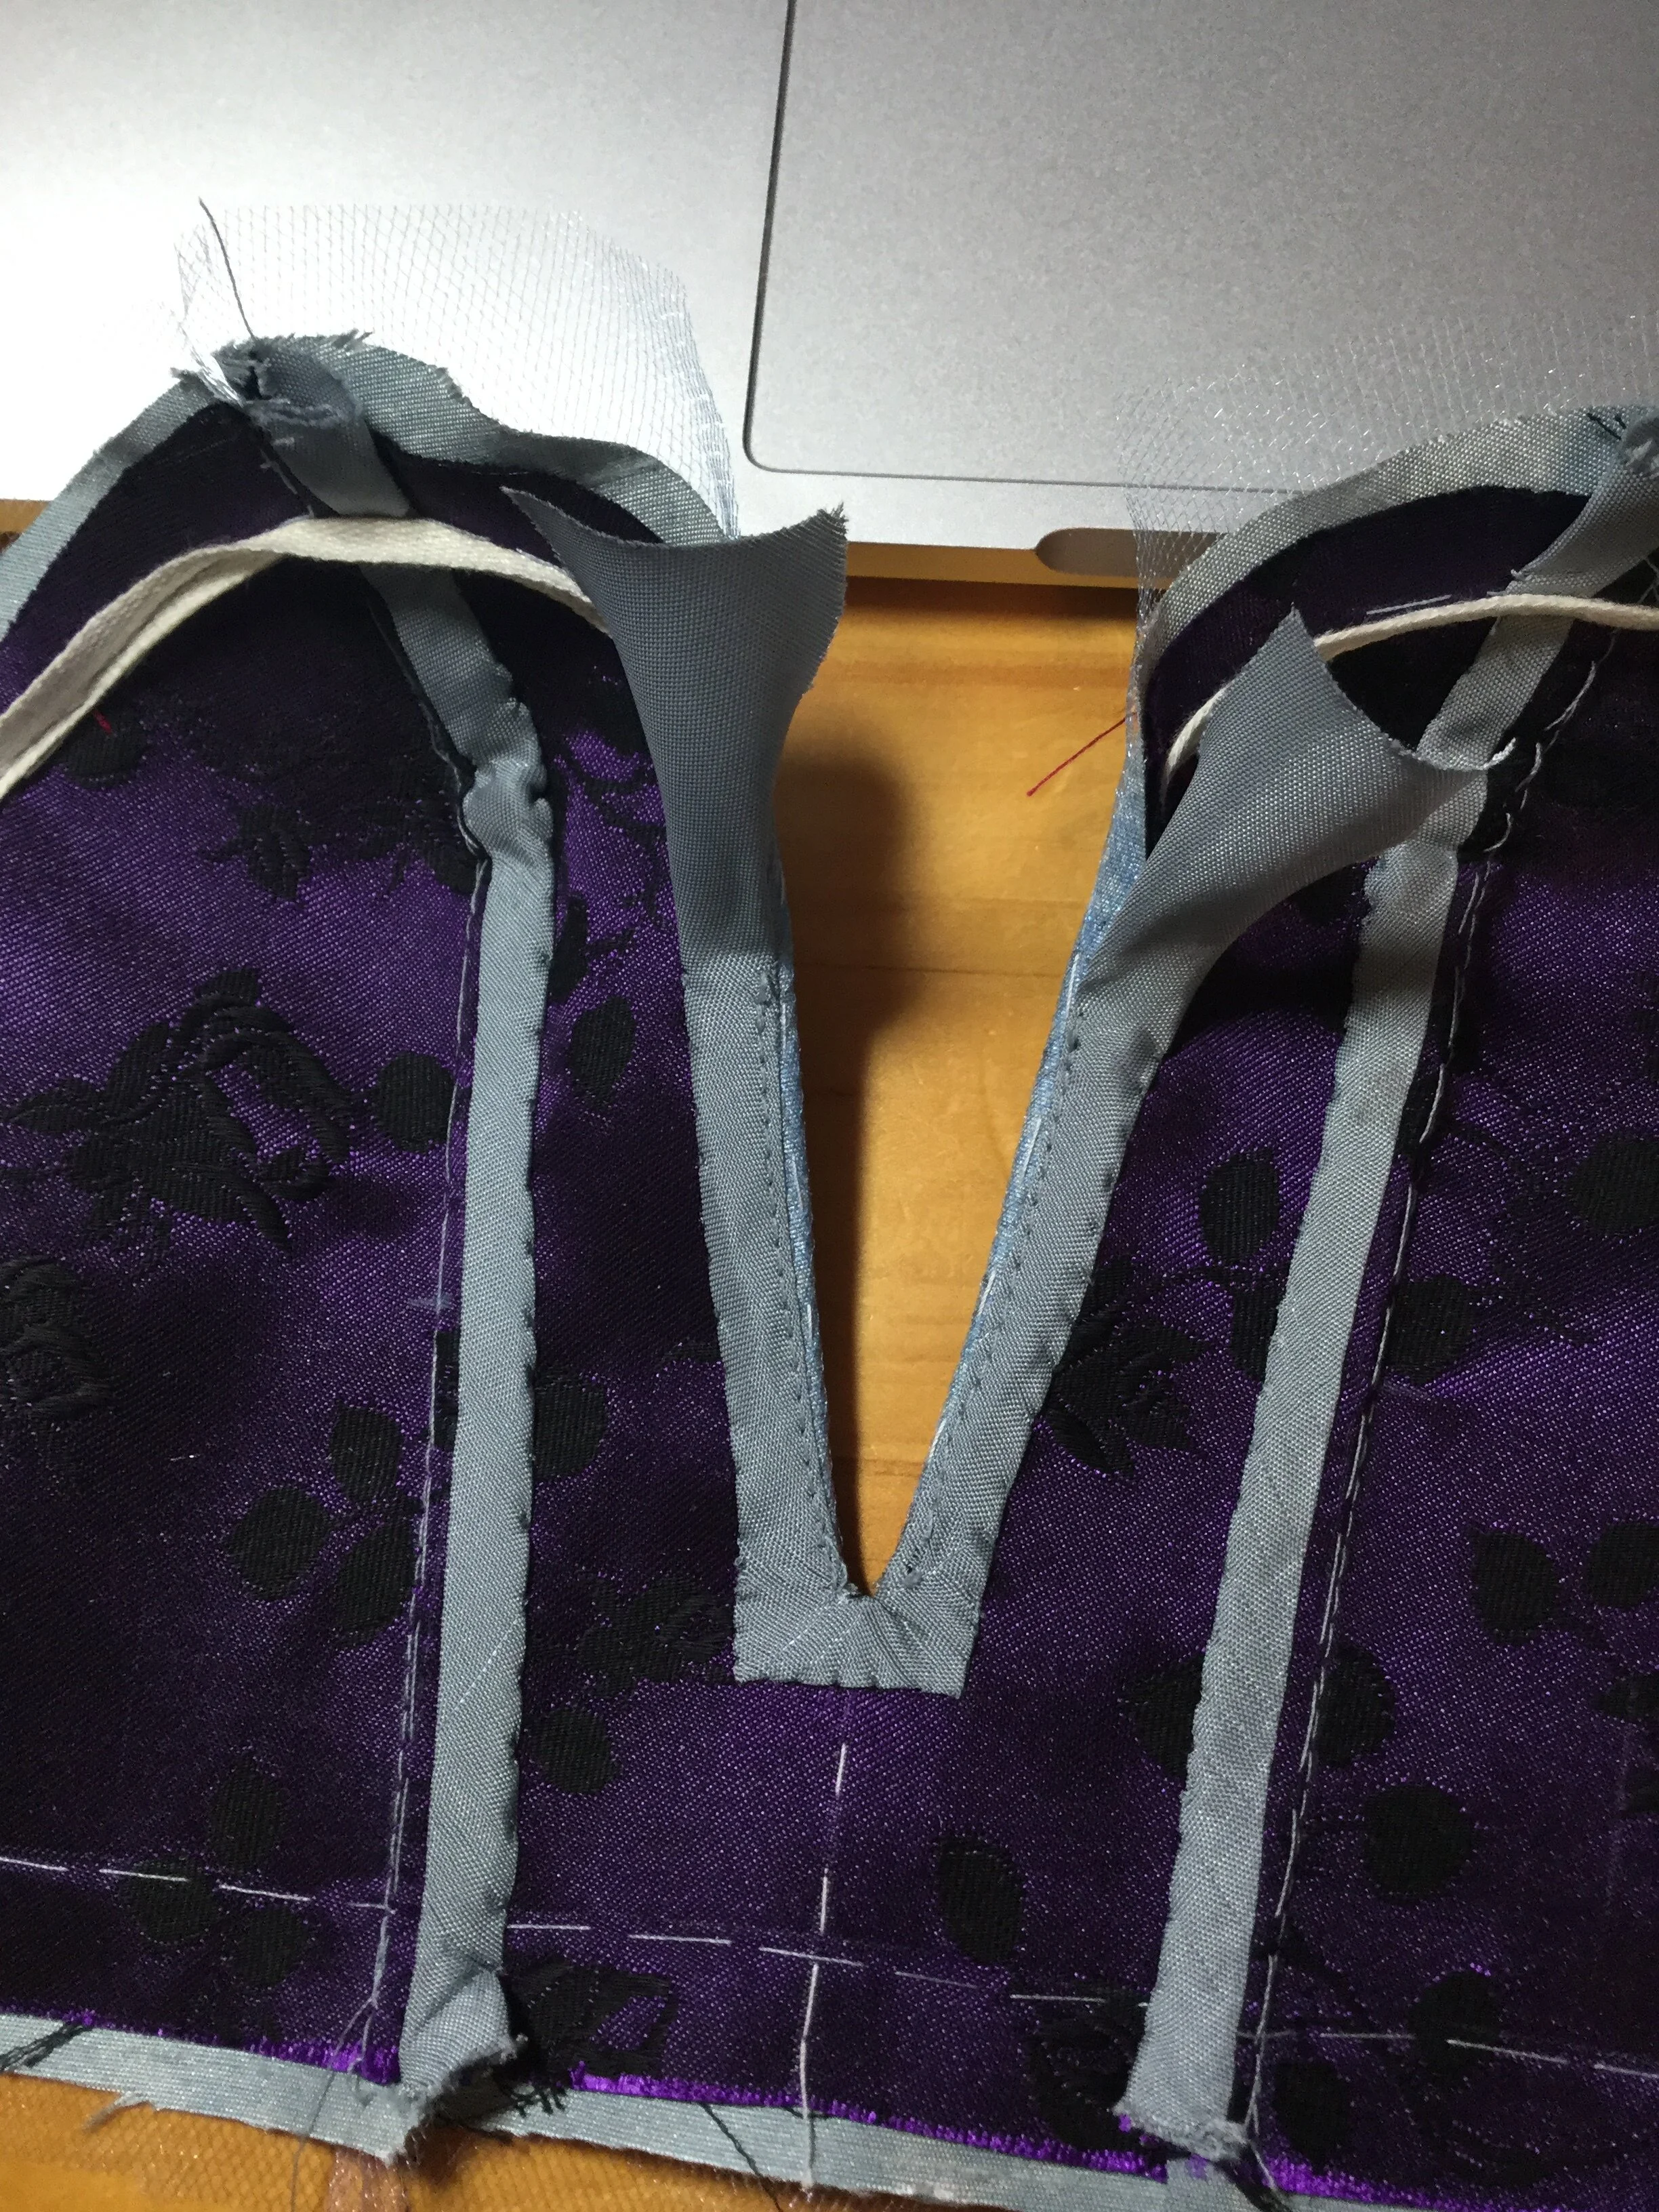
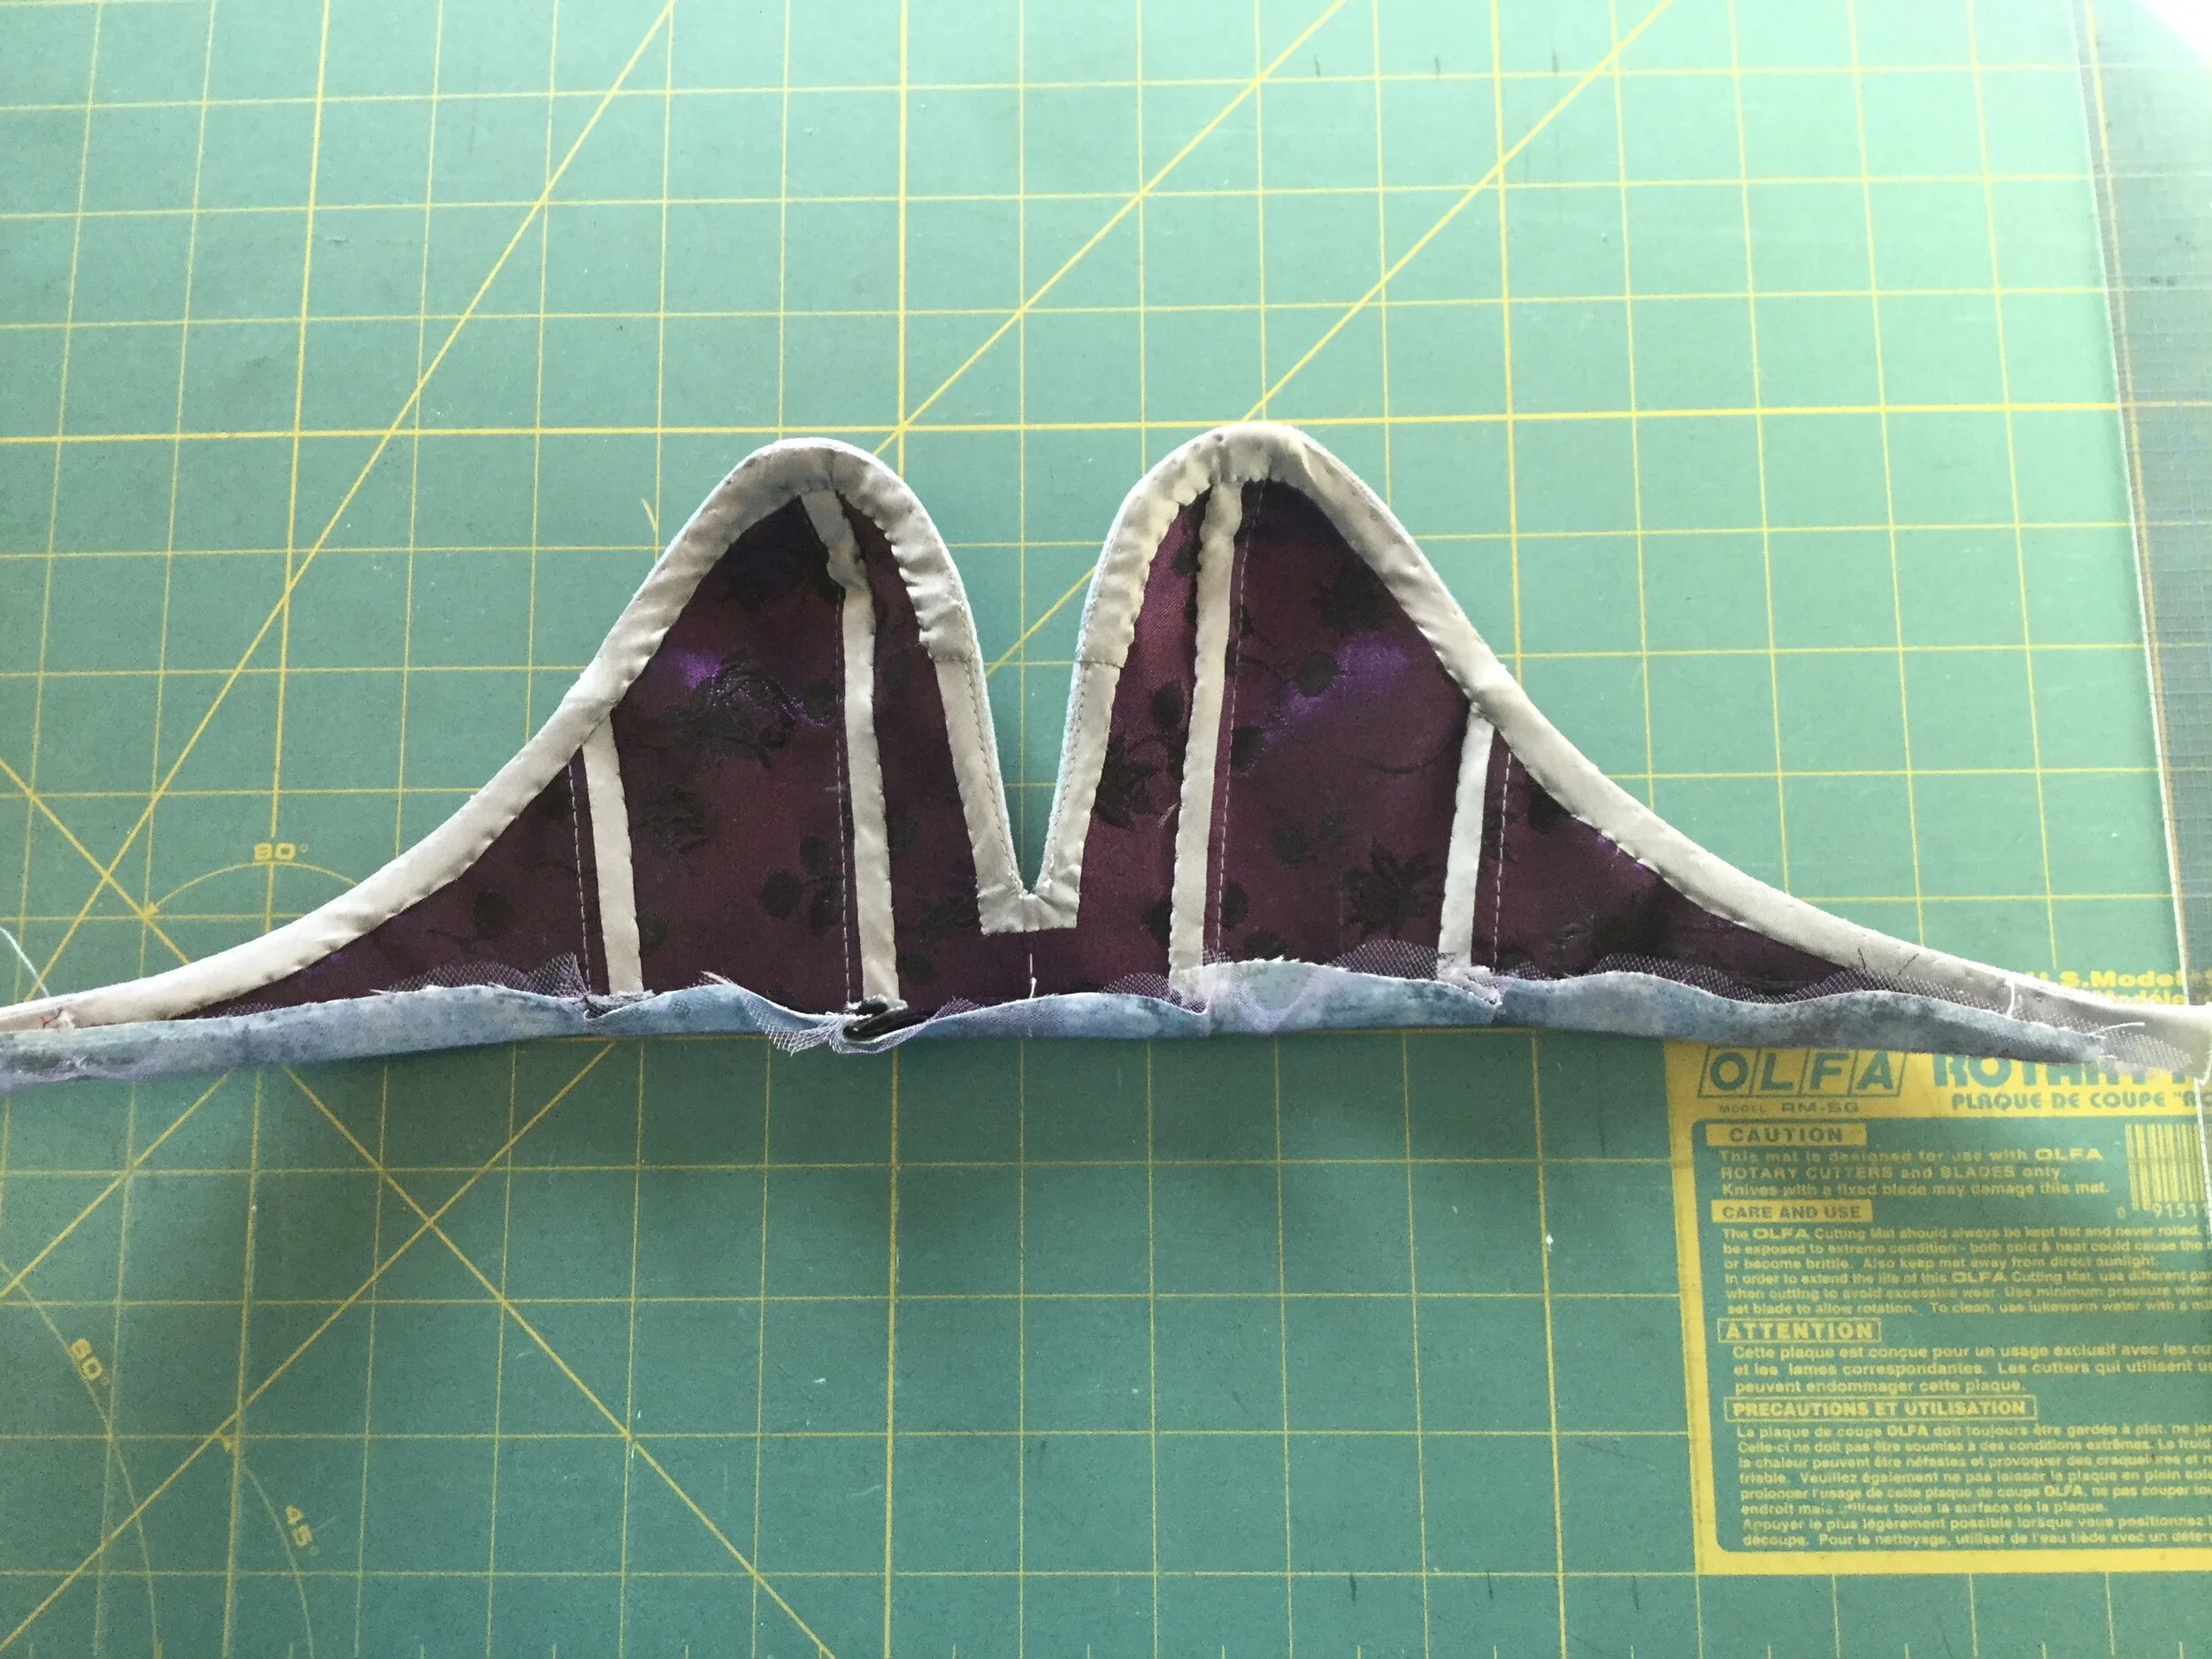
For the final bodice, I used coutil as a base so that it would be stiff and have some structure to hold it up. I happened to have some scraps of a black and purple floral which were big enough for the pattern pieces; the colour is ultimately much darker than any of the other fabrics and doesn't totally go with the colour scheme but I thought it more fitting with the overall design than white or beige. After a few last tweaks to the shape of the bust seam, I cut the bodice.
I decided to add a layer of the tulle over the blue, it just made it go a little better with the skirt, and to bind my seam allowances rather than lining the bodice so as to avoid having yet another layer. I considered adding some boning to the princess seams, but ultimately concluded that on the half scale they weren't necessary and without straps or anything to pull the bodice back into the body, boning would be more likely to straighten out the seam rather than conform to such a shallow curve. If I were building this in full size I would definitely have boned the bodice, probably including a bone or a wire at the base of the V, and added some cups or cookies at the bust. Even with all that, you'd probably still have to bust out the double sided tape to be really secure. But it looks cool and that's what matters, right?
I used some tailor tape along the top edge of the bodice to stabilize it and ease it in a little so that the bodice would curve around and in towards the body. Coutil is very stiff and therefore kind of difficult to apply ease to, particularly in such a small space, but I think I had some success. I finished the top edge with a bias facing which was mostly applied by hand. I had found the tight curves tricky to navigate when applying the tape so I preferred the control of hand stitching for shaping the final edge.
To apply the bodice to the skirt, I pressed the seam allowance up at the waist line, trimmed and graded a bit, and laid it over top of the finished skirt waistband. I stitched it on by hand with rows of stitching along the hem of the bodice on the outside and the top of the waistband on the inside.
At this point you'd think it would be the home stretch. Hah! There's still beaded straps and a collar!
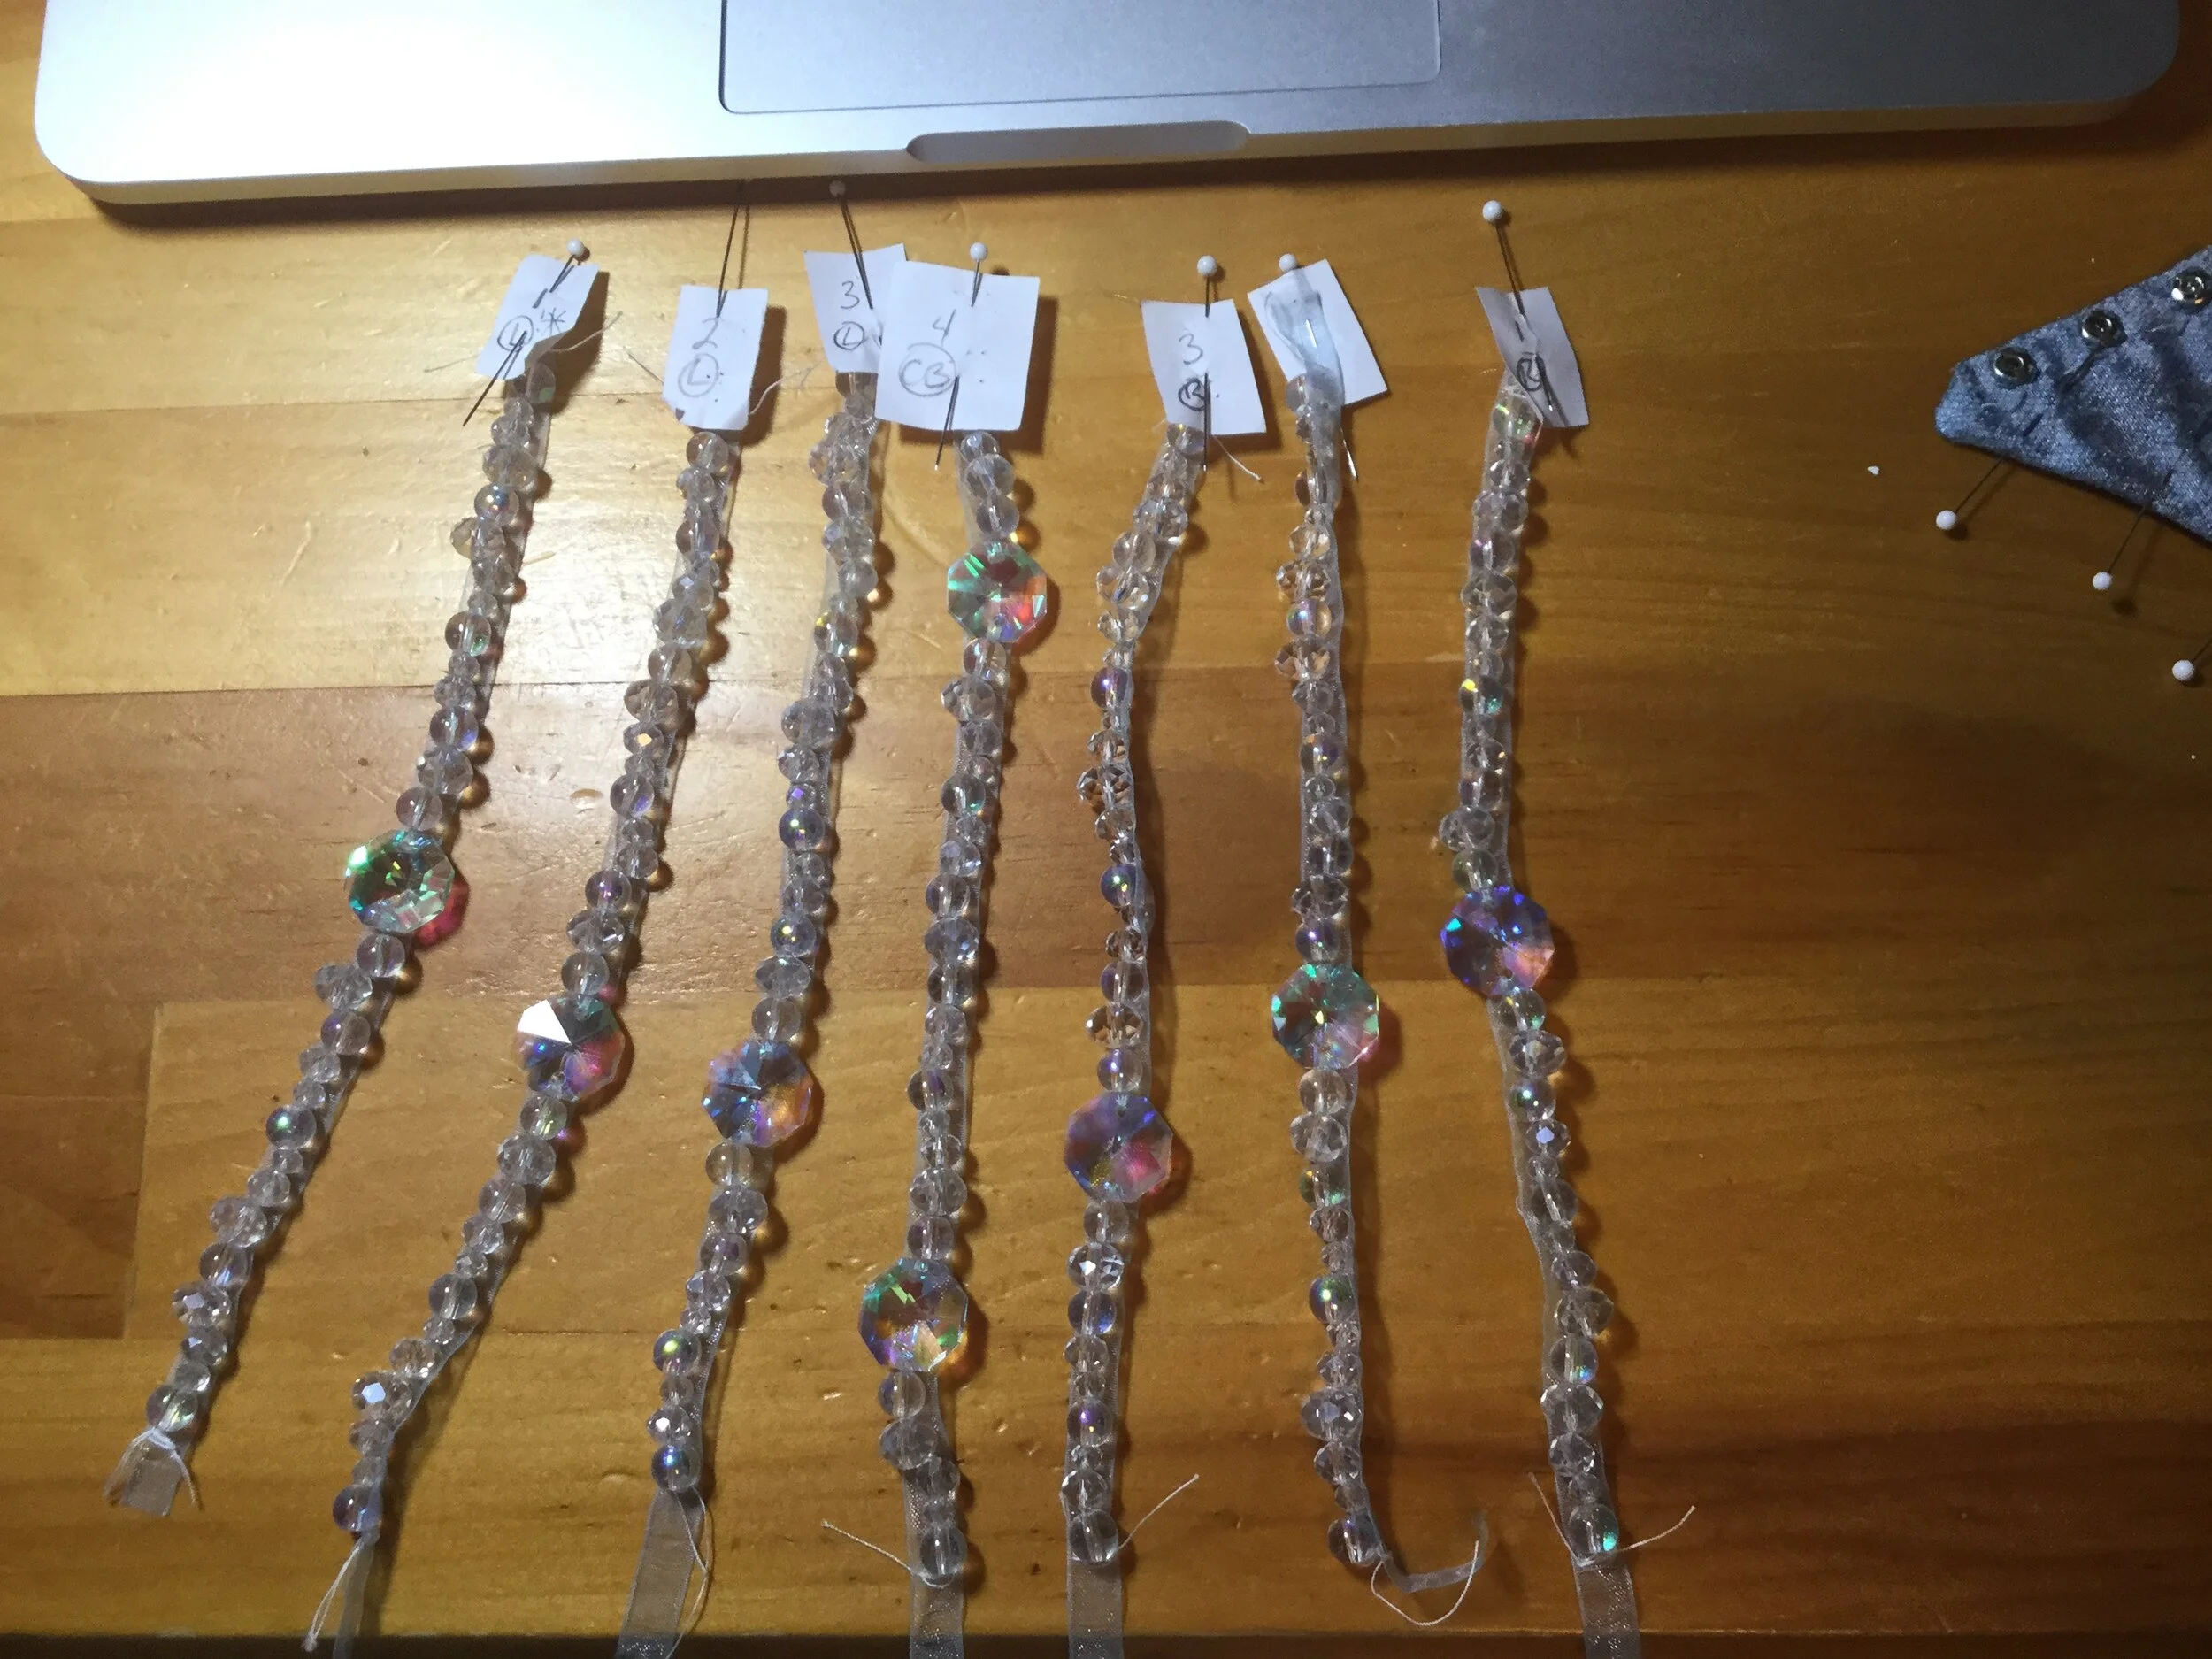
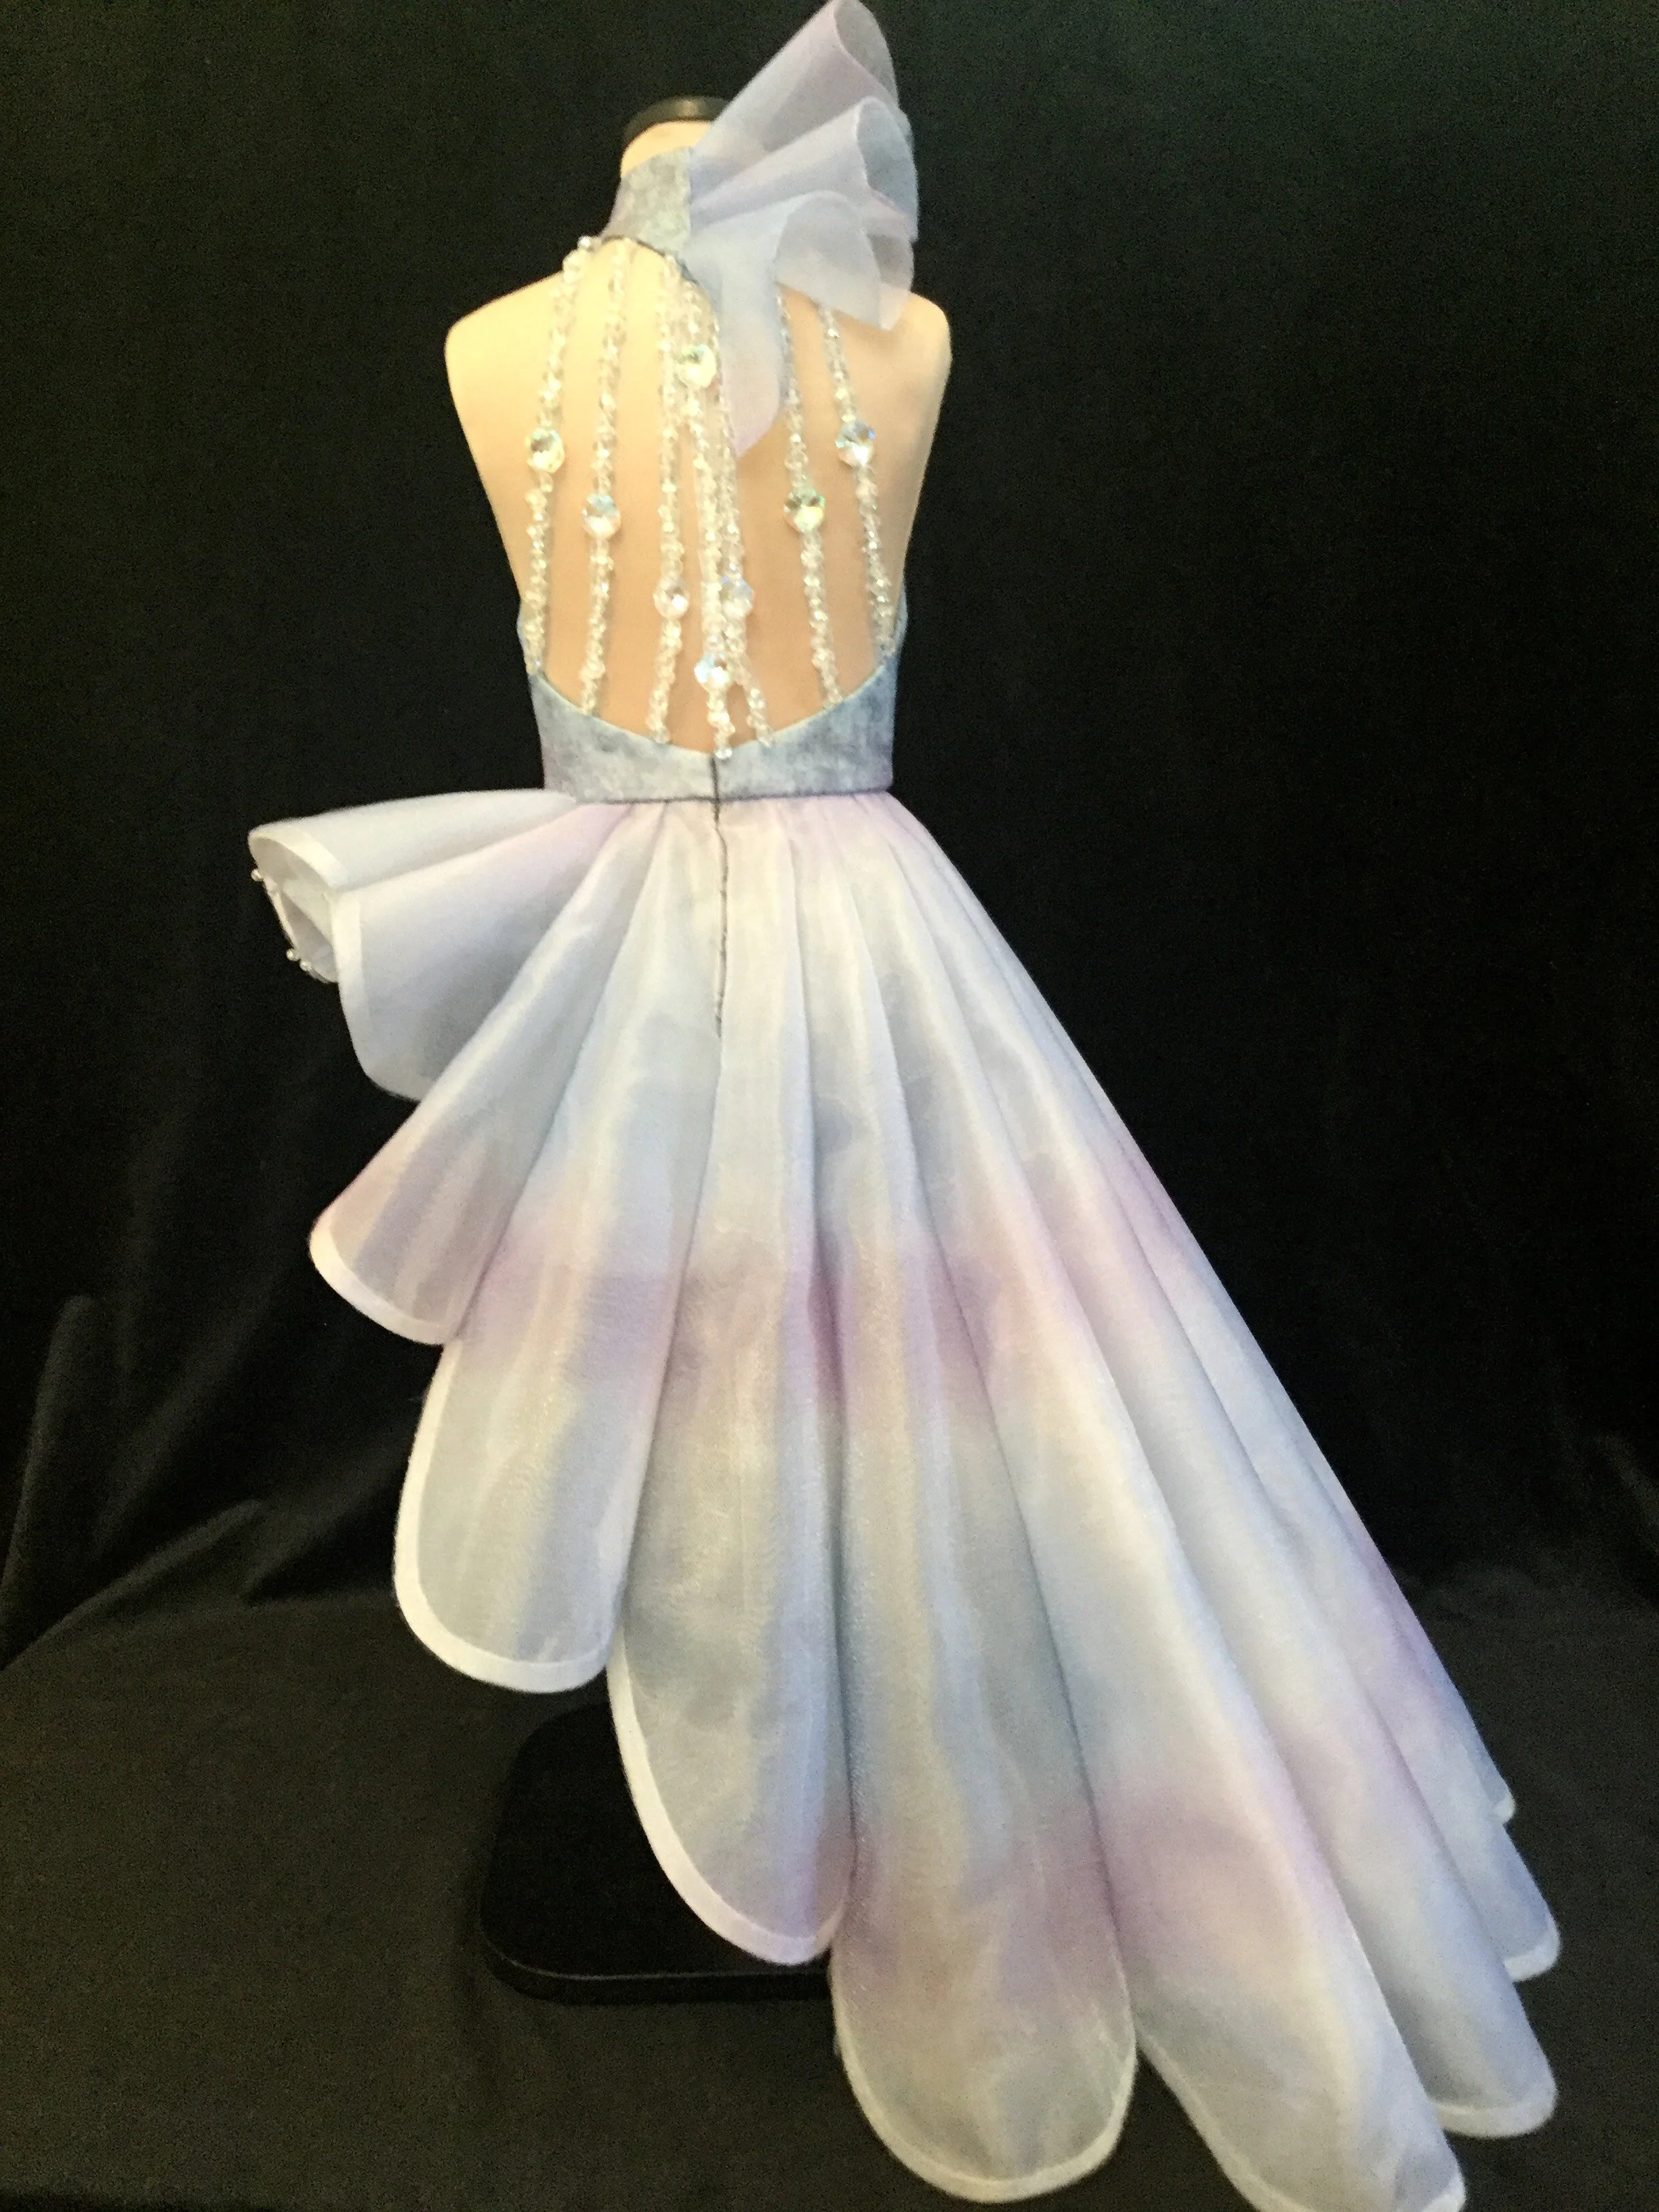
For the straps, I determined their number and placement and also laid out where I wanted to put the largest beads to create a design. Then I got to beading. This wasn't a huge job really, but I'm not the world's most expert beader so it was more fiddly than it probably needed to be. It may not seem like it at first glance, but I did devise a pattern for the beads and was at least successful enough to make sure that each strap matched the corresponding strap on the other side of the centre back. With the beading done, I made the collar; actually, I made it twice as after finishing the collar once it occurred to me that there was a better way to finish the edges at the centre back opening and I ought to make it again. So I did. The fun never stops.
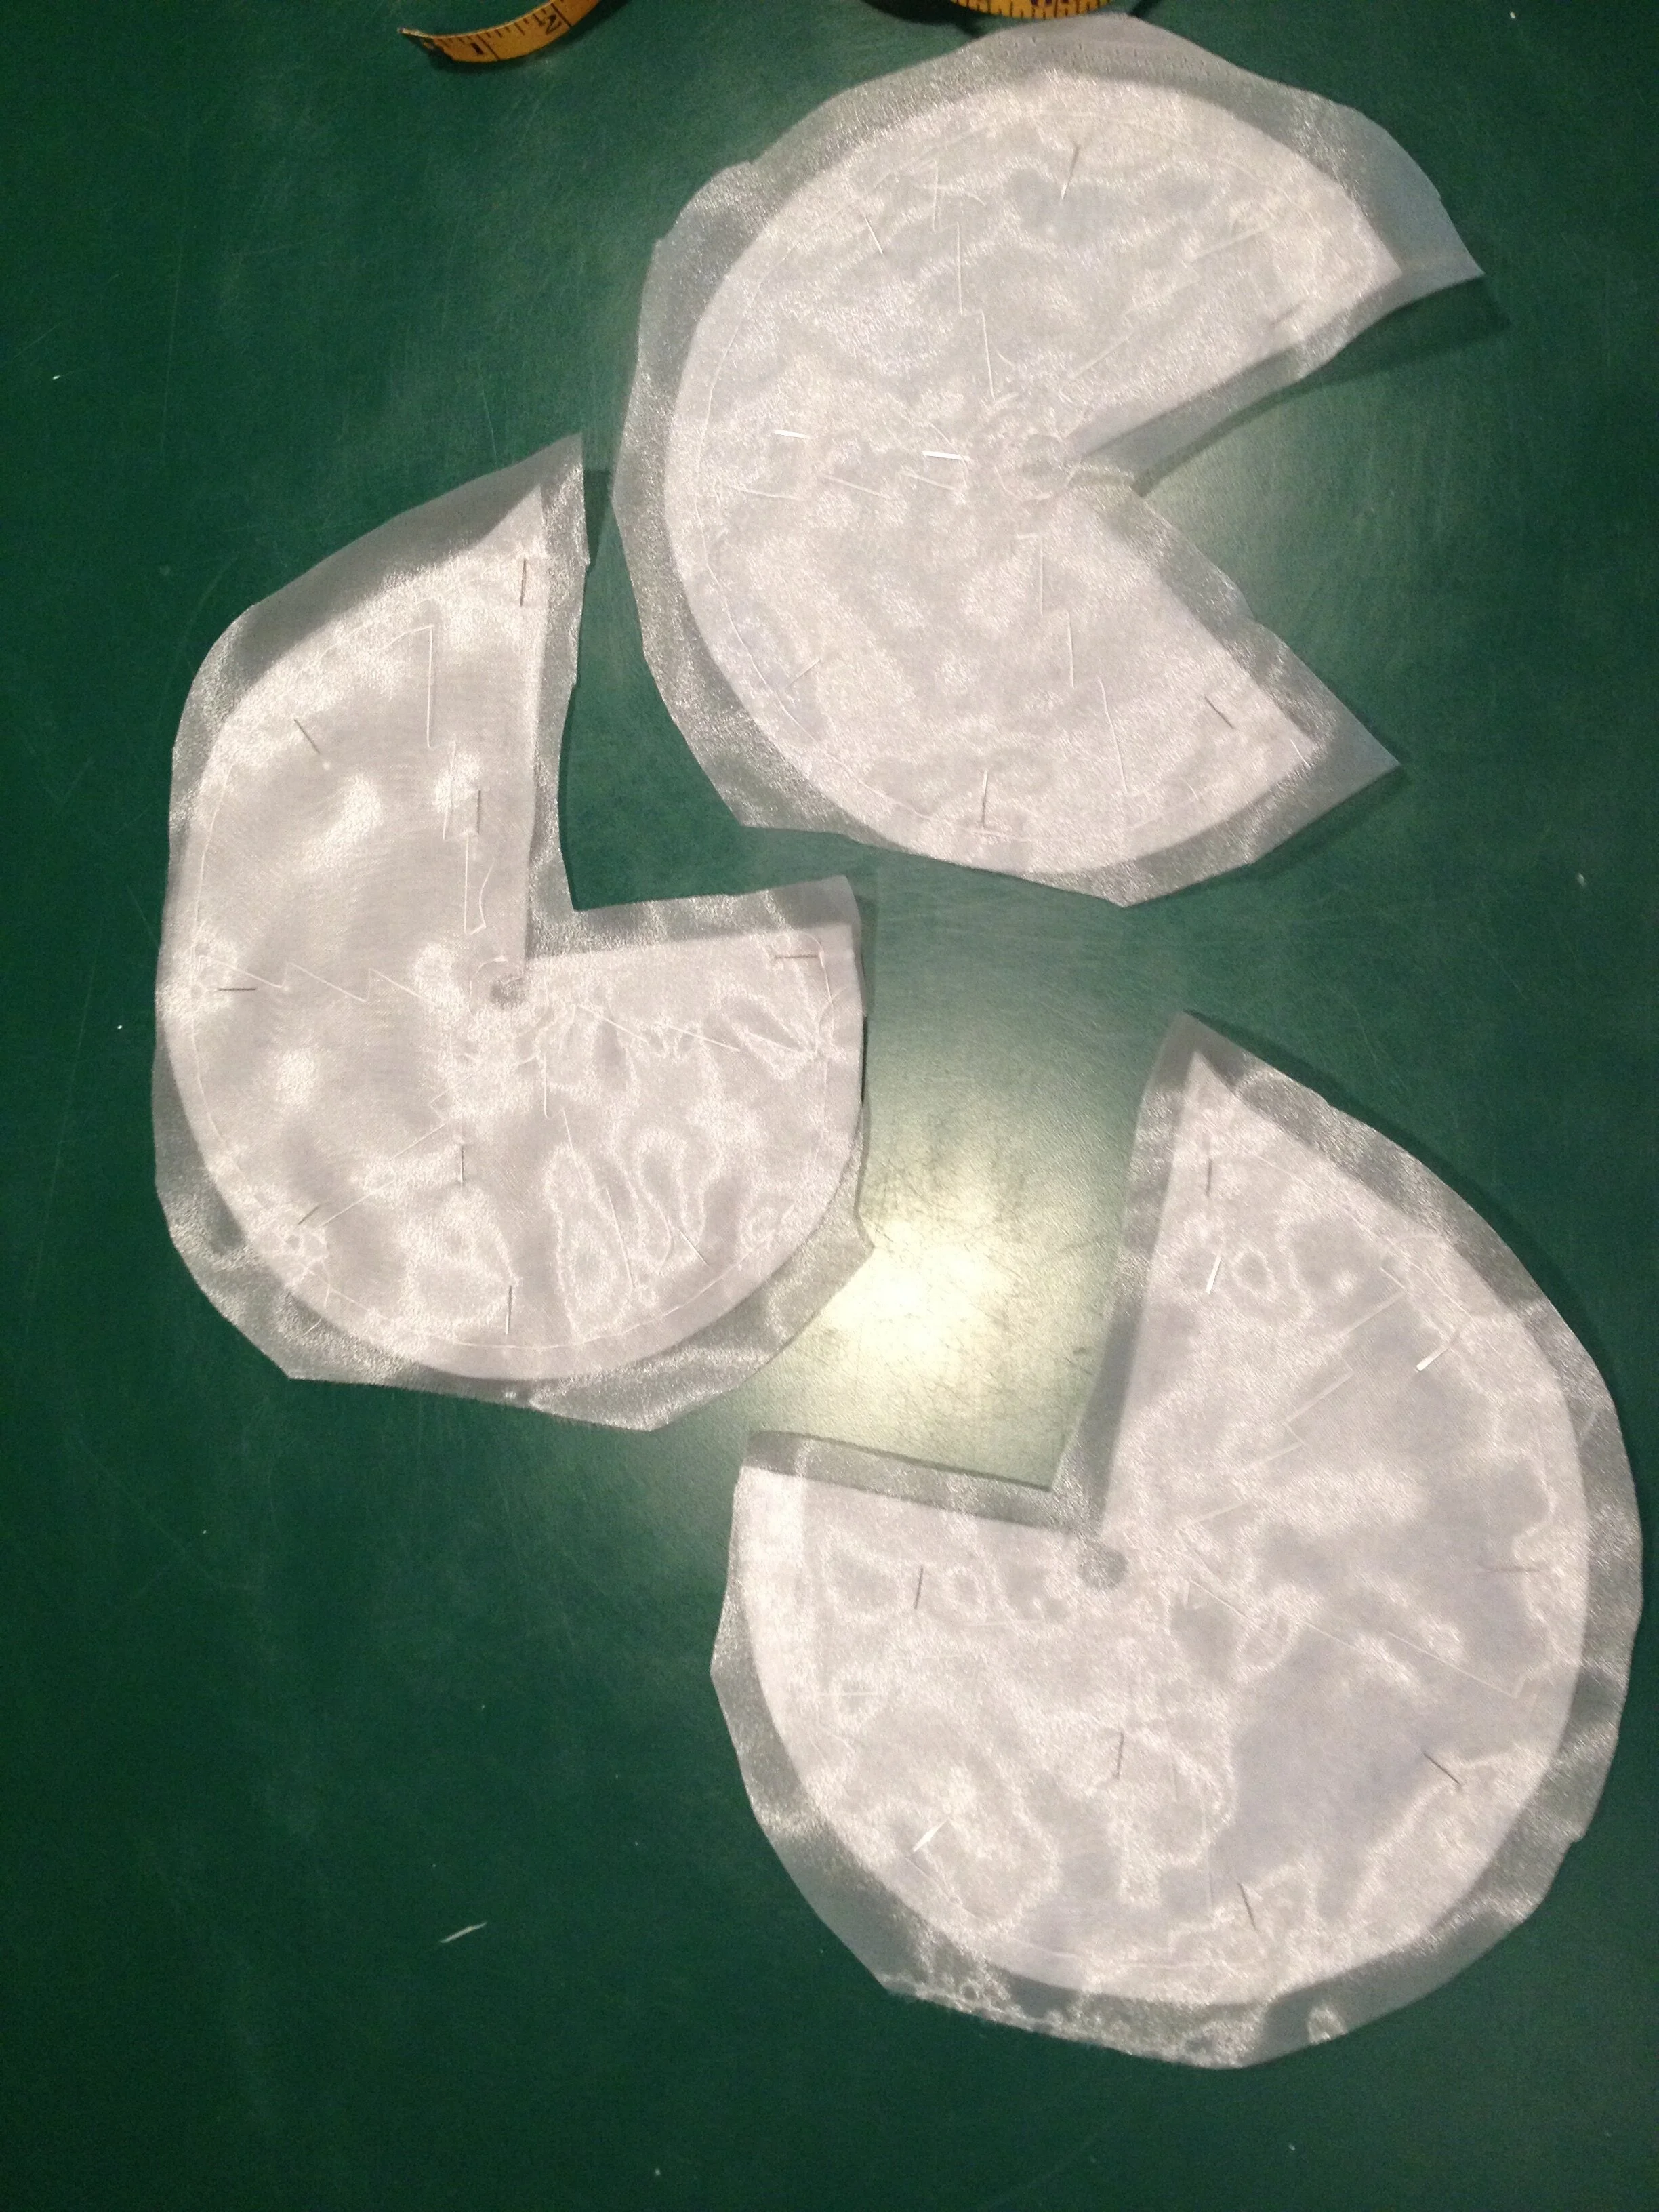
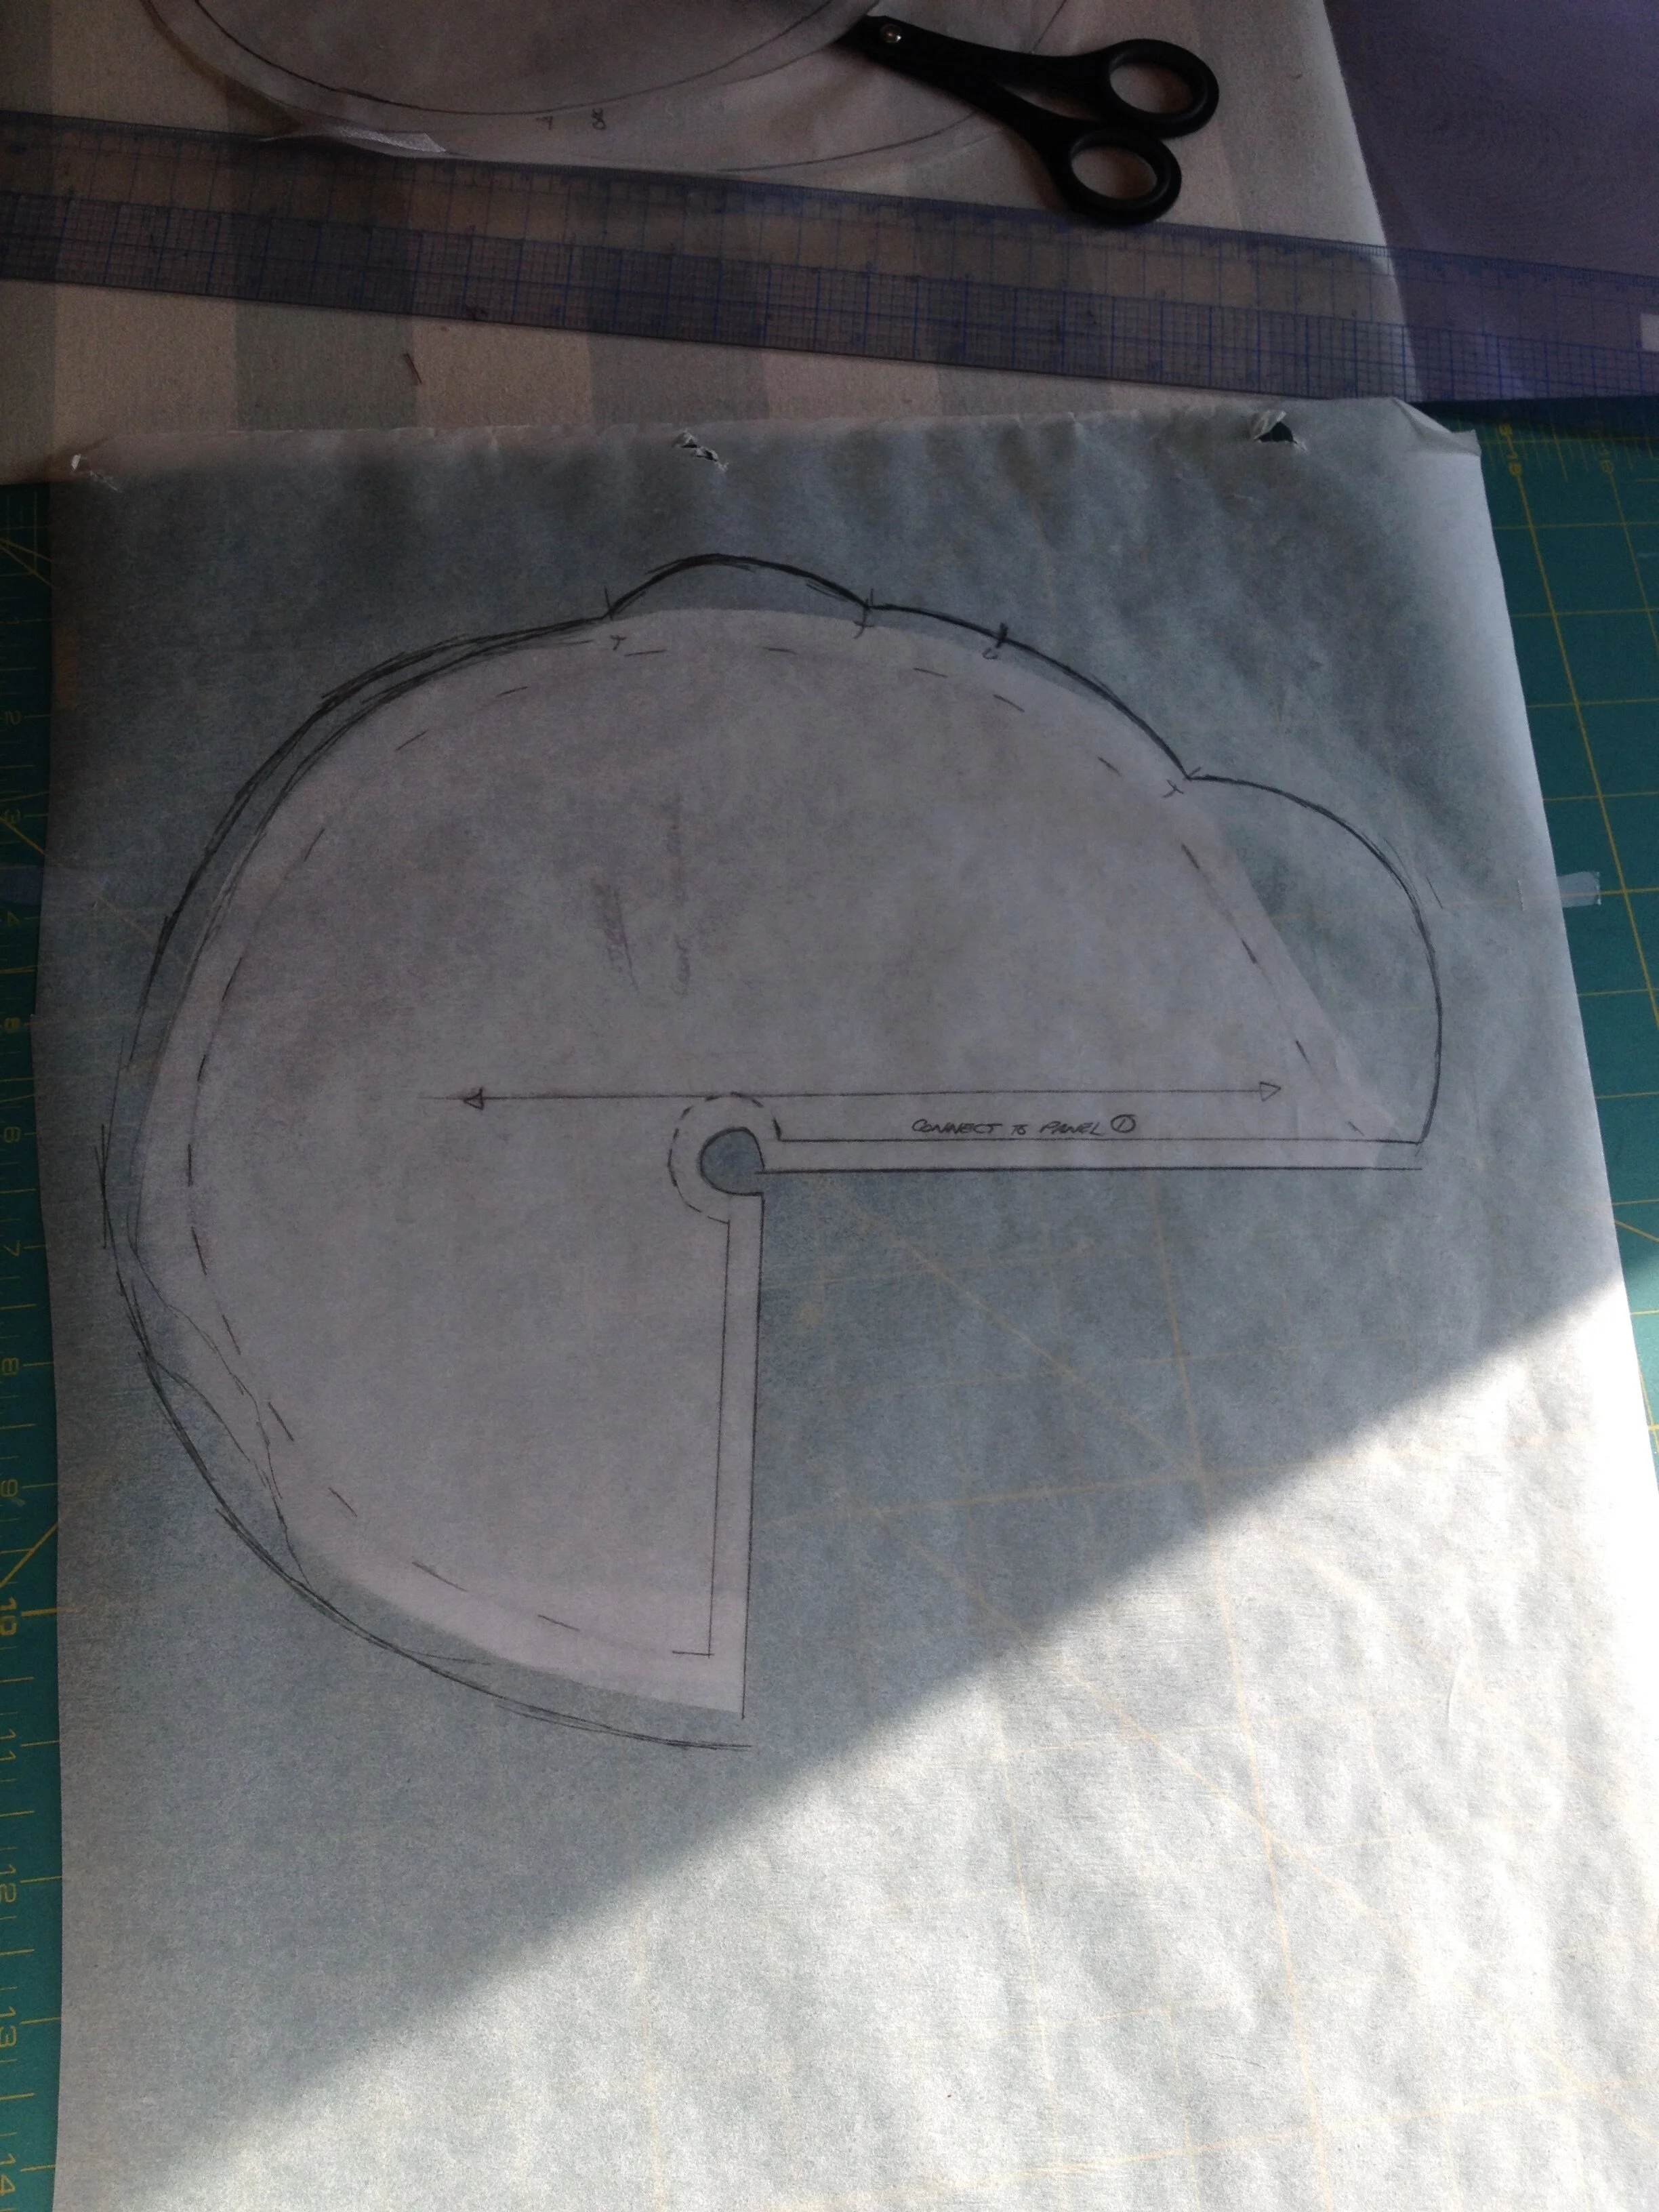
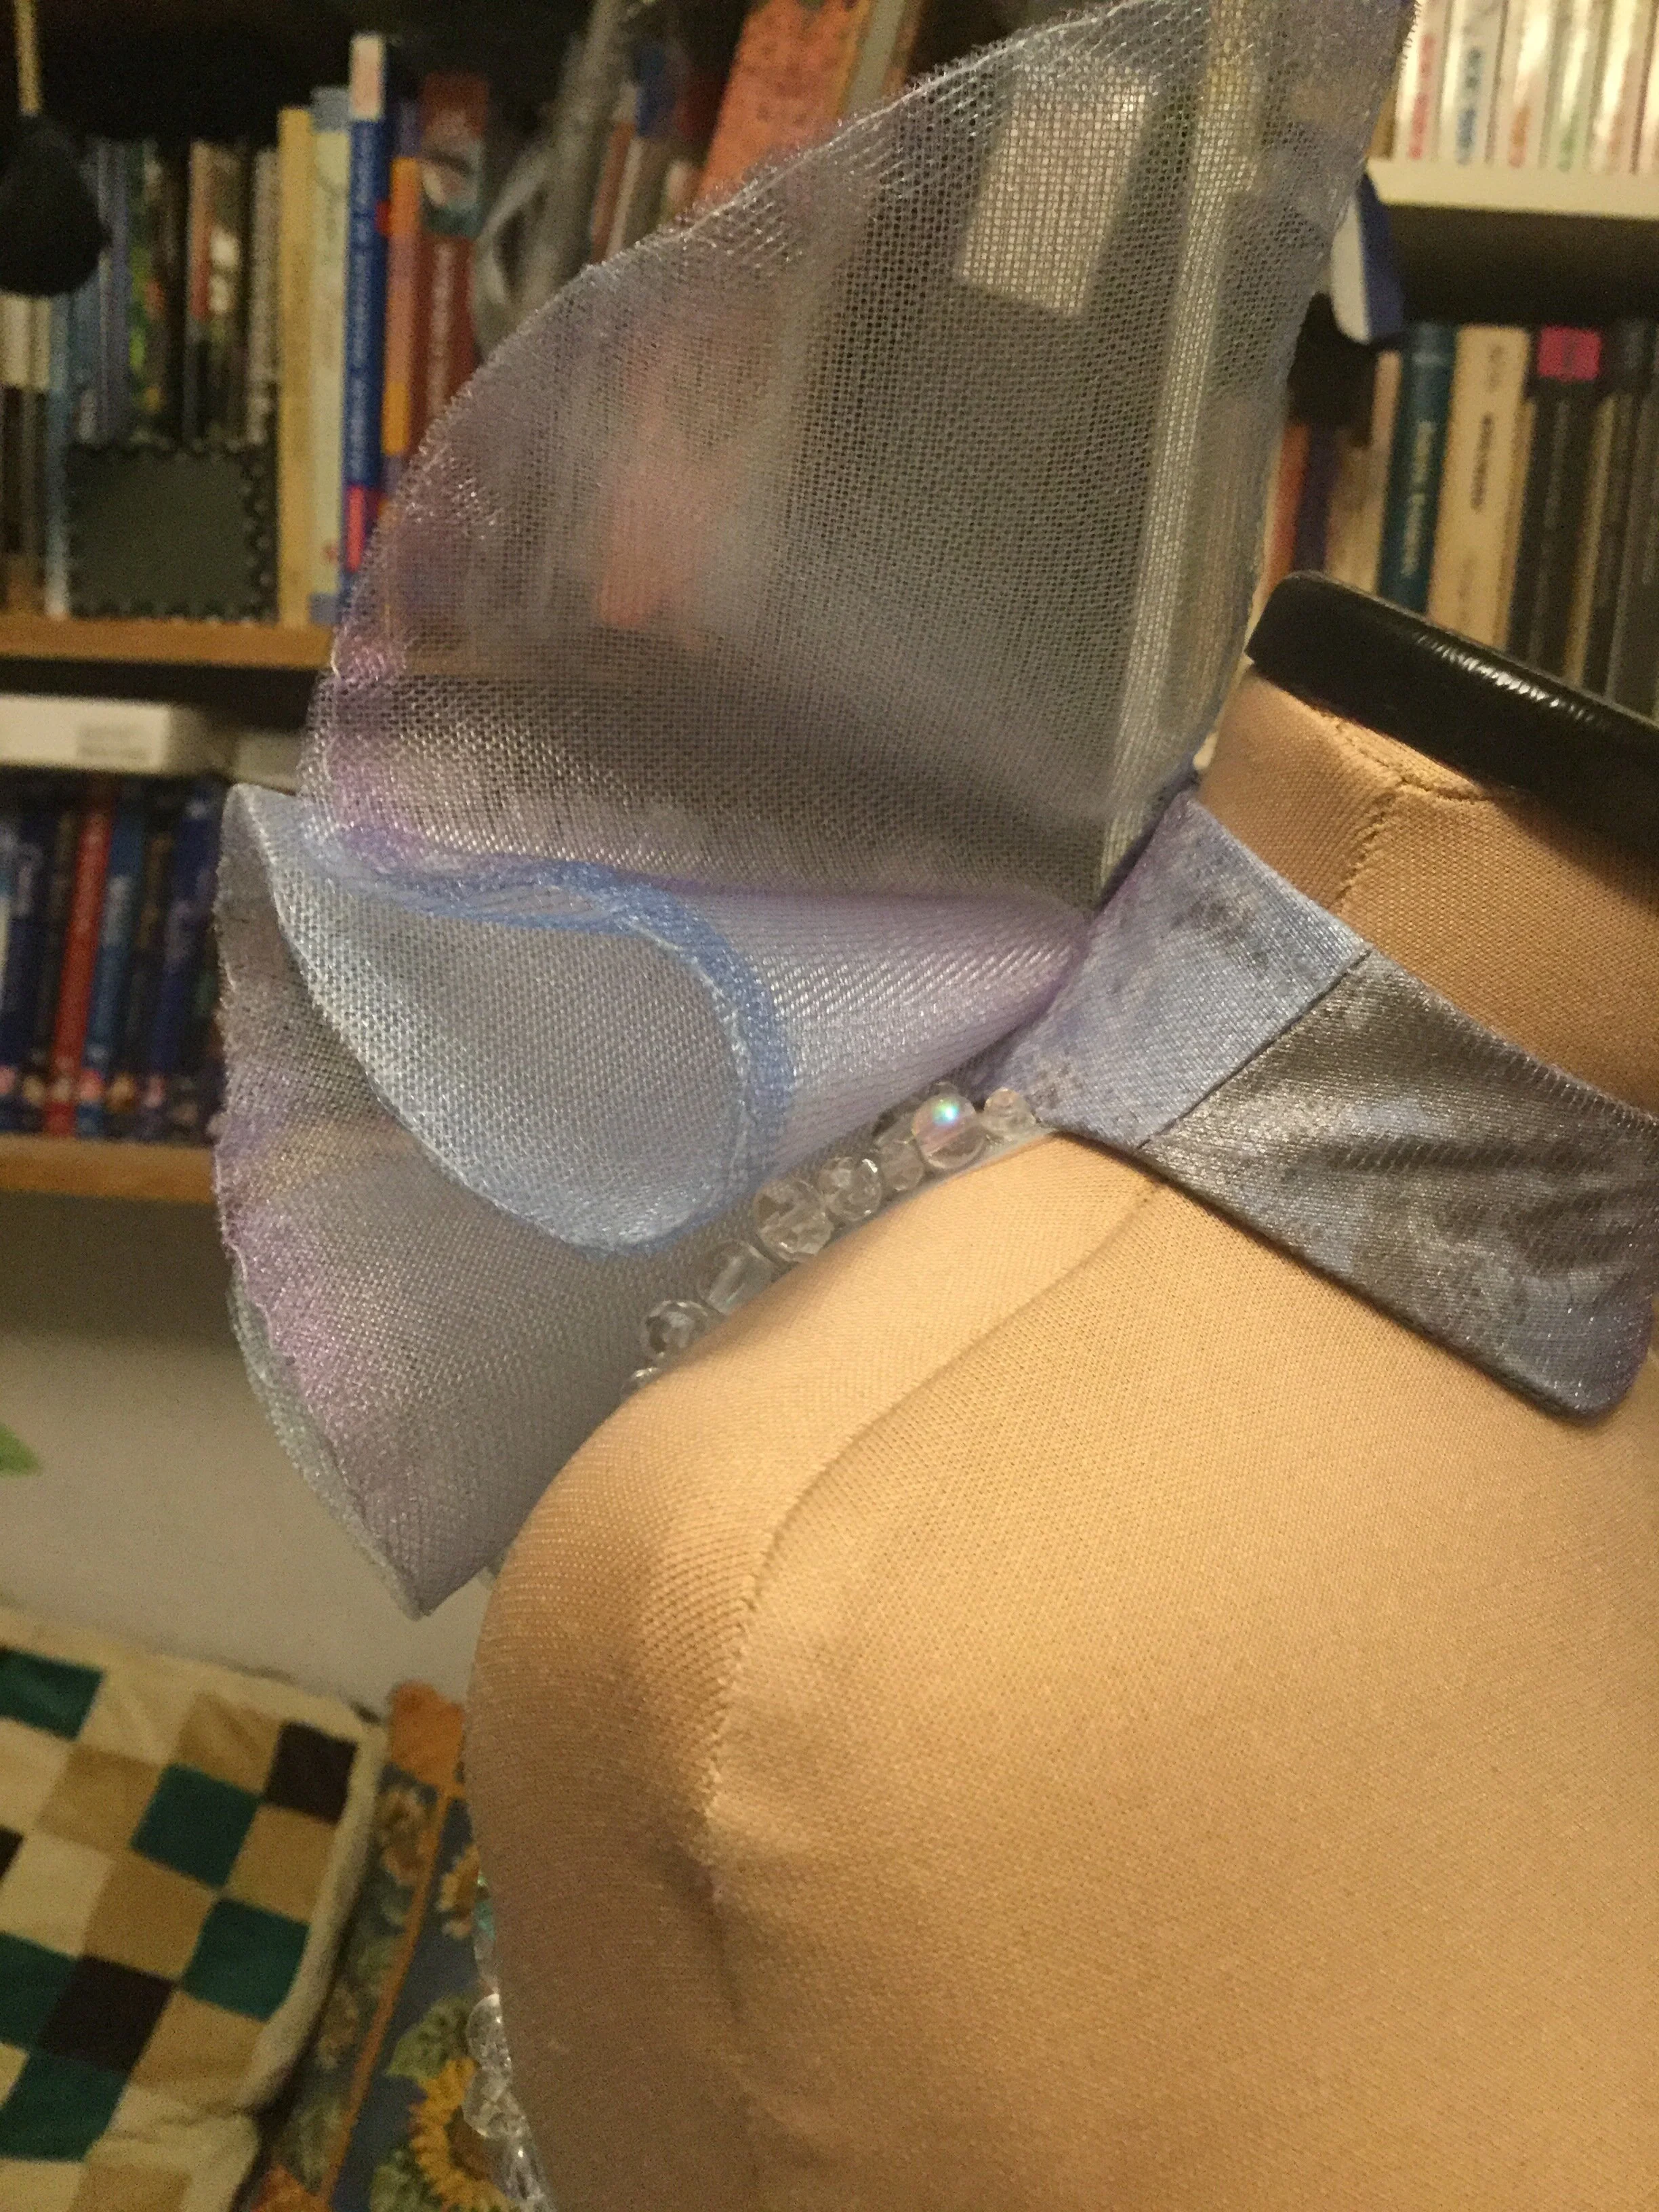
There was also one more last minute addition of a ruffle on one side of the collar, a semicircle of corset mesh encased in the tulle. One of the nice things about corset mesh is that with some heat and steam it will take and hold a shape, something particularly useful for this design but most visibly so on the ruffle. I was able to pin the folds of the ruffle into a shape that I liked and apply some heat to keep them in place. I wanted it to be a bit more open and less structured than the skirt, but still be somewhat controlled as in real life this would be sitting right behind the head.
I stitched the straps into position on the collar and the back of the bodice then added hooks and a snap for the bodice closure. I also accepted that the folds of the ruff looked about as good as they were going to and finally stitched them into place. With the construction complete, I gave the poor thing some love from the iron to try and make her pretty again after all the handling she had been through.
Whoopsie daisies!
She’s not perfect and there are still ways I would like to tweak the pattern, but overall I’m happy with her. I proved that the skirt could exist in reality and wasn’t simply some absurd fever dream. If I were to make her again, I would like to return to something a little closer to the original design and use opaque fabrics for the skirt, perhaps even tackling the asymmetrical waistline on the bodice. Maybe one day.
Dolled up for the photoshoot!
Katherine took 125.25 hours from beginning to end. 35.5 hours were spent on drafting, mock ups and working on the pattern and 89.75 hours on the final build.
