Helena
Adventures with bias.
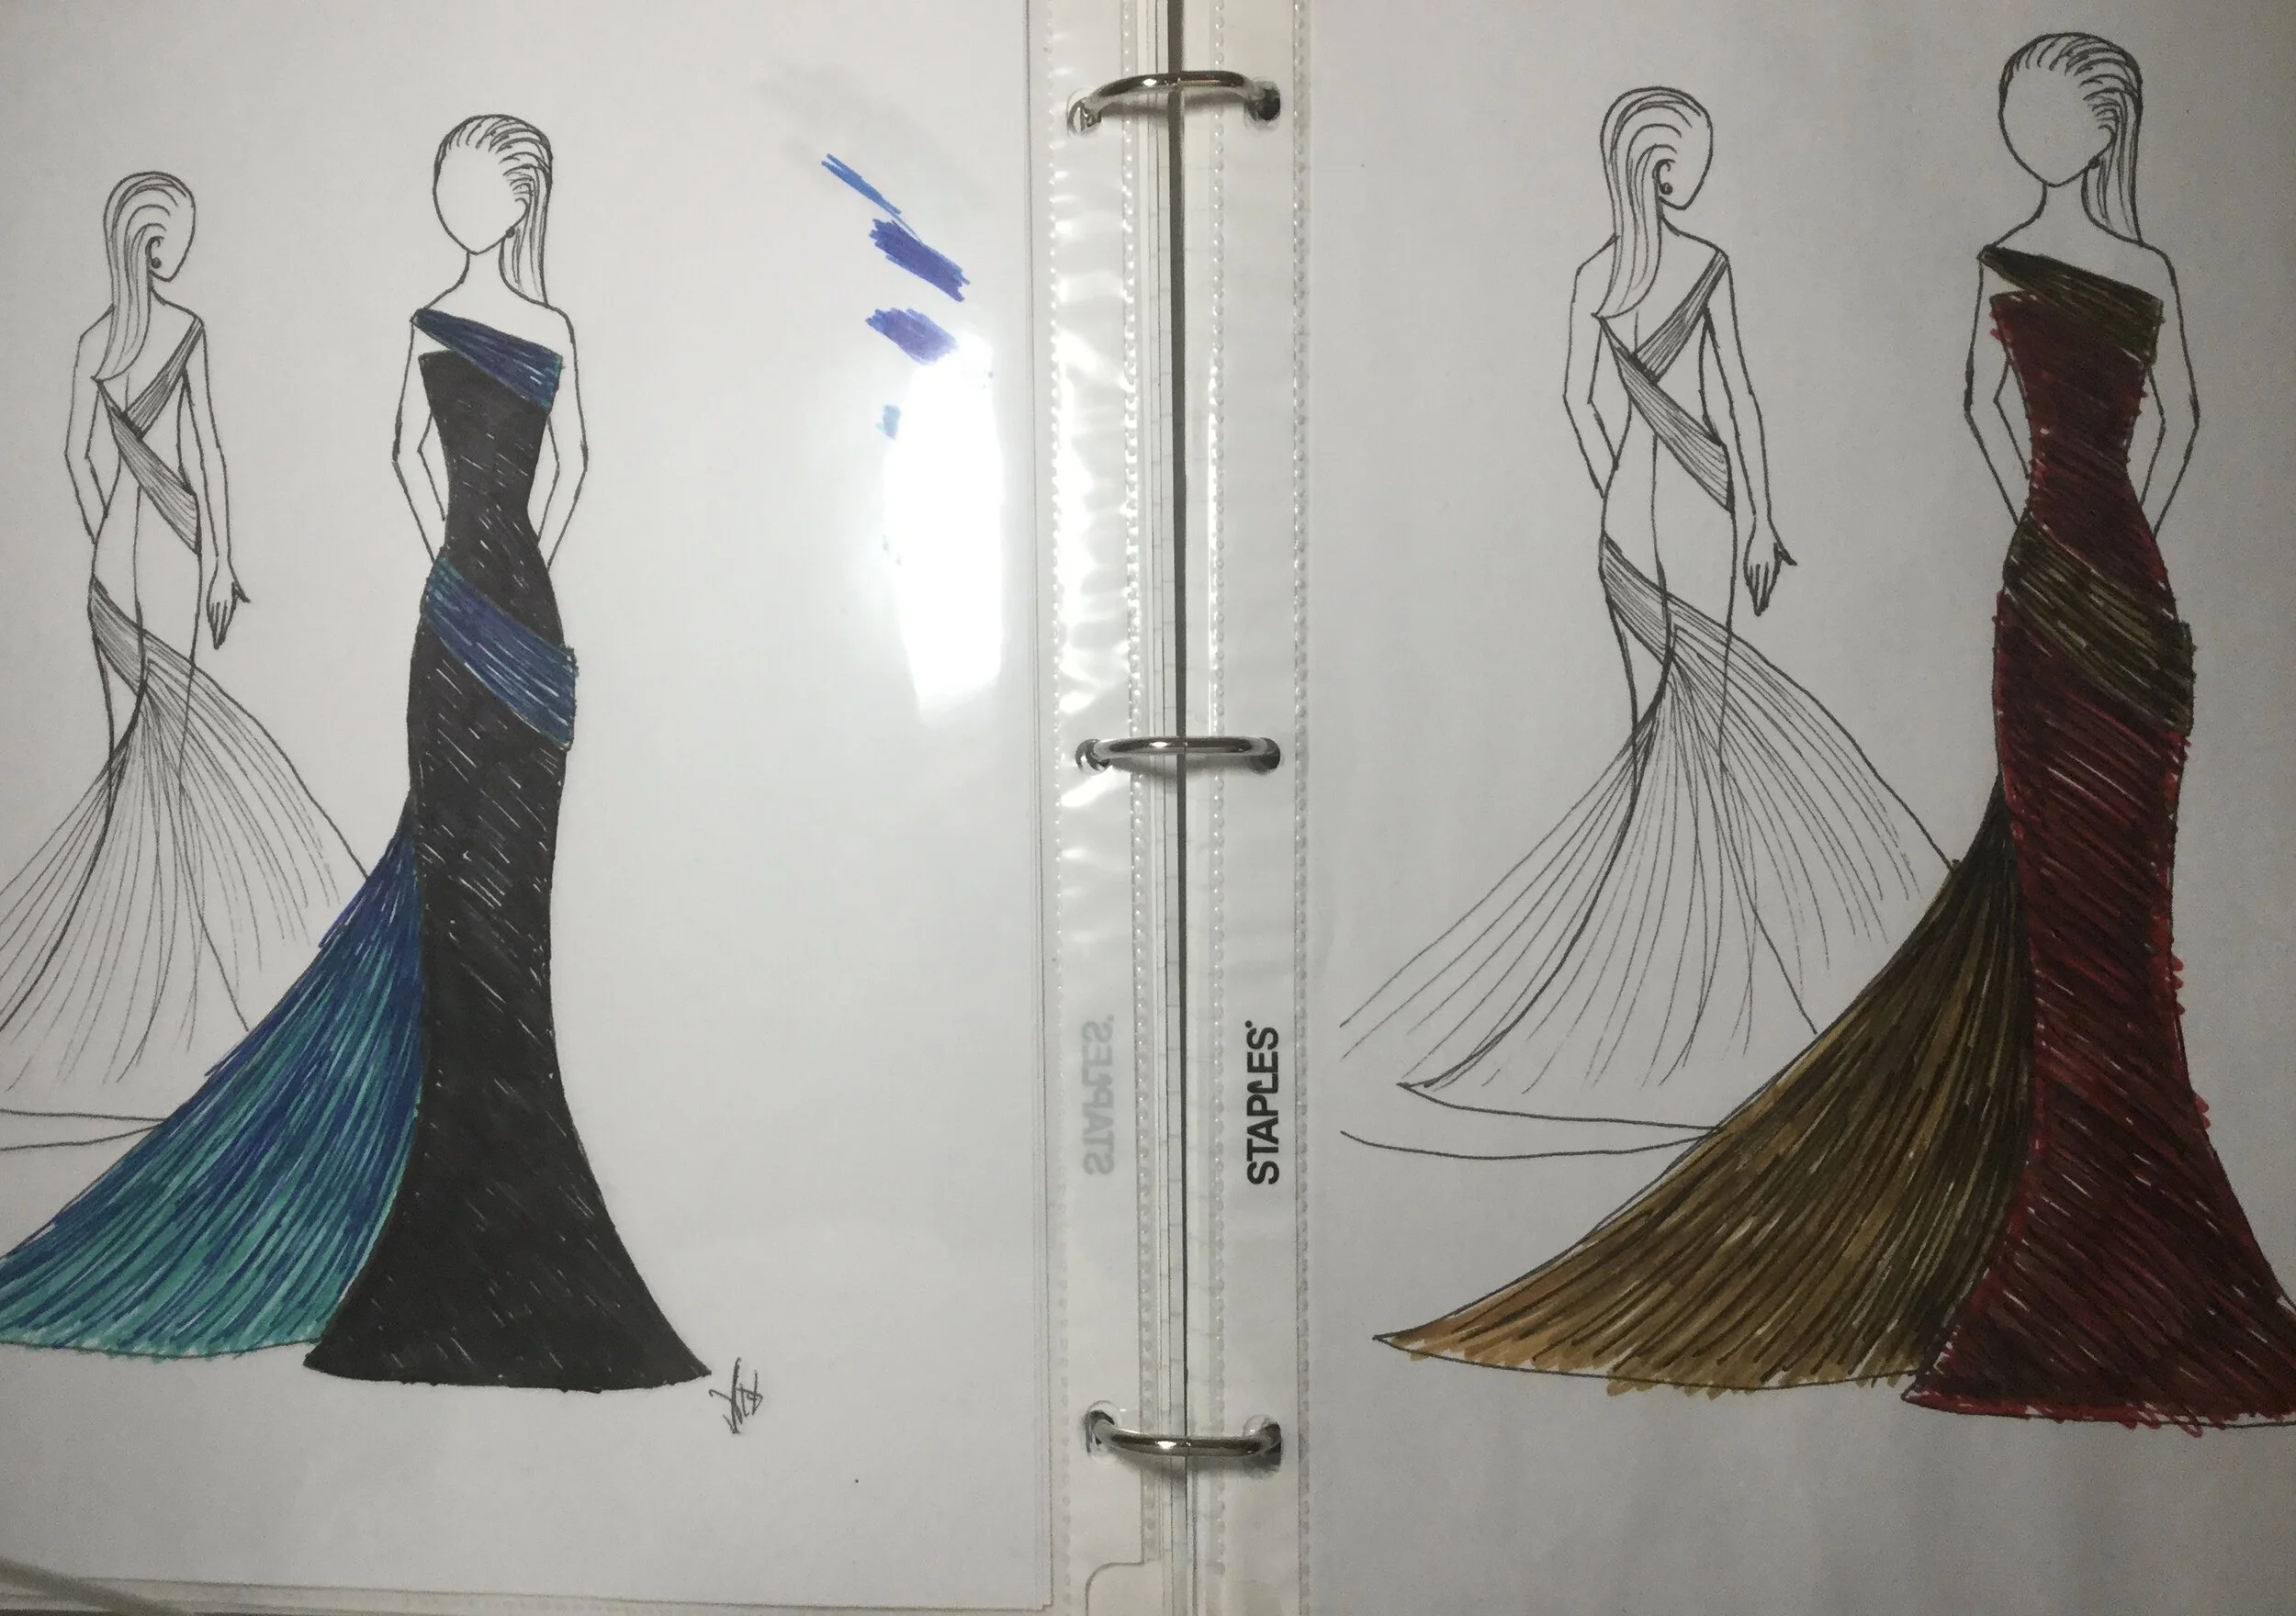
It's not possible to tell from the finished dress, but my original inspiration was the evening gown worn by the title character in the film of the musical Gigi. If you know this movie and the dress I am referring to you are probably confused by that statement. Lemme 'splain.
I was amusing myself one day by thinking of how one might design one's own version of Gigi’s iconic white satin evening gown with the birds on her shoulders. (I sometimes return to the dreams of my younger self and pretend to design various shows.) The challenge would be to give it a clear nod to the original, which is what people would remember and want to see, but to also make it distinct and not merely a copy of another designer's work. I’d probably do, as I know other designers have, a similar combination of a white gown with black details around the neckline.
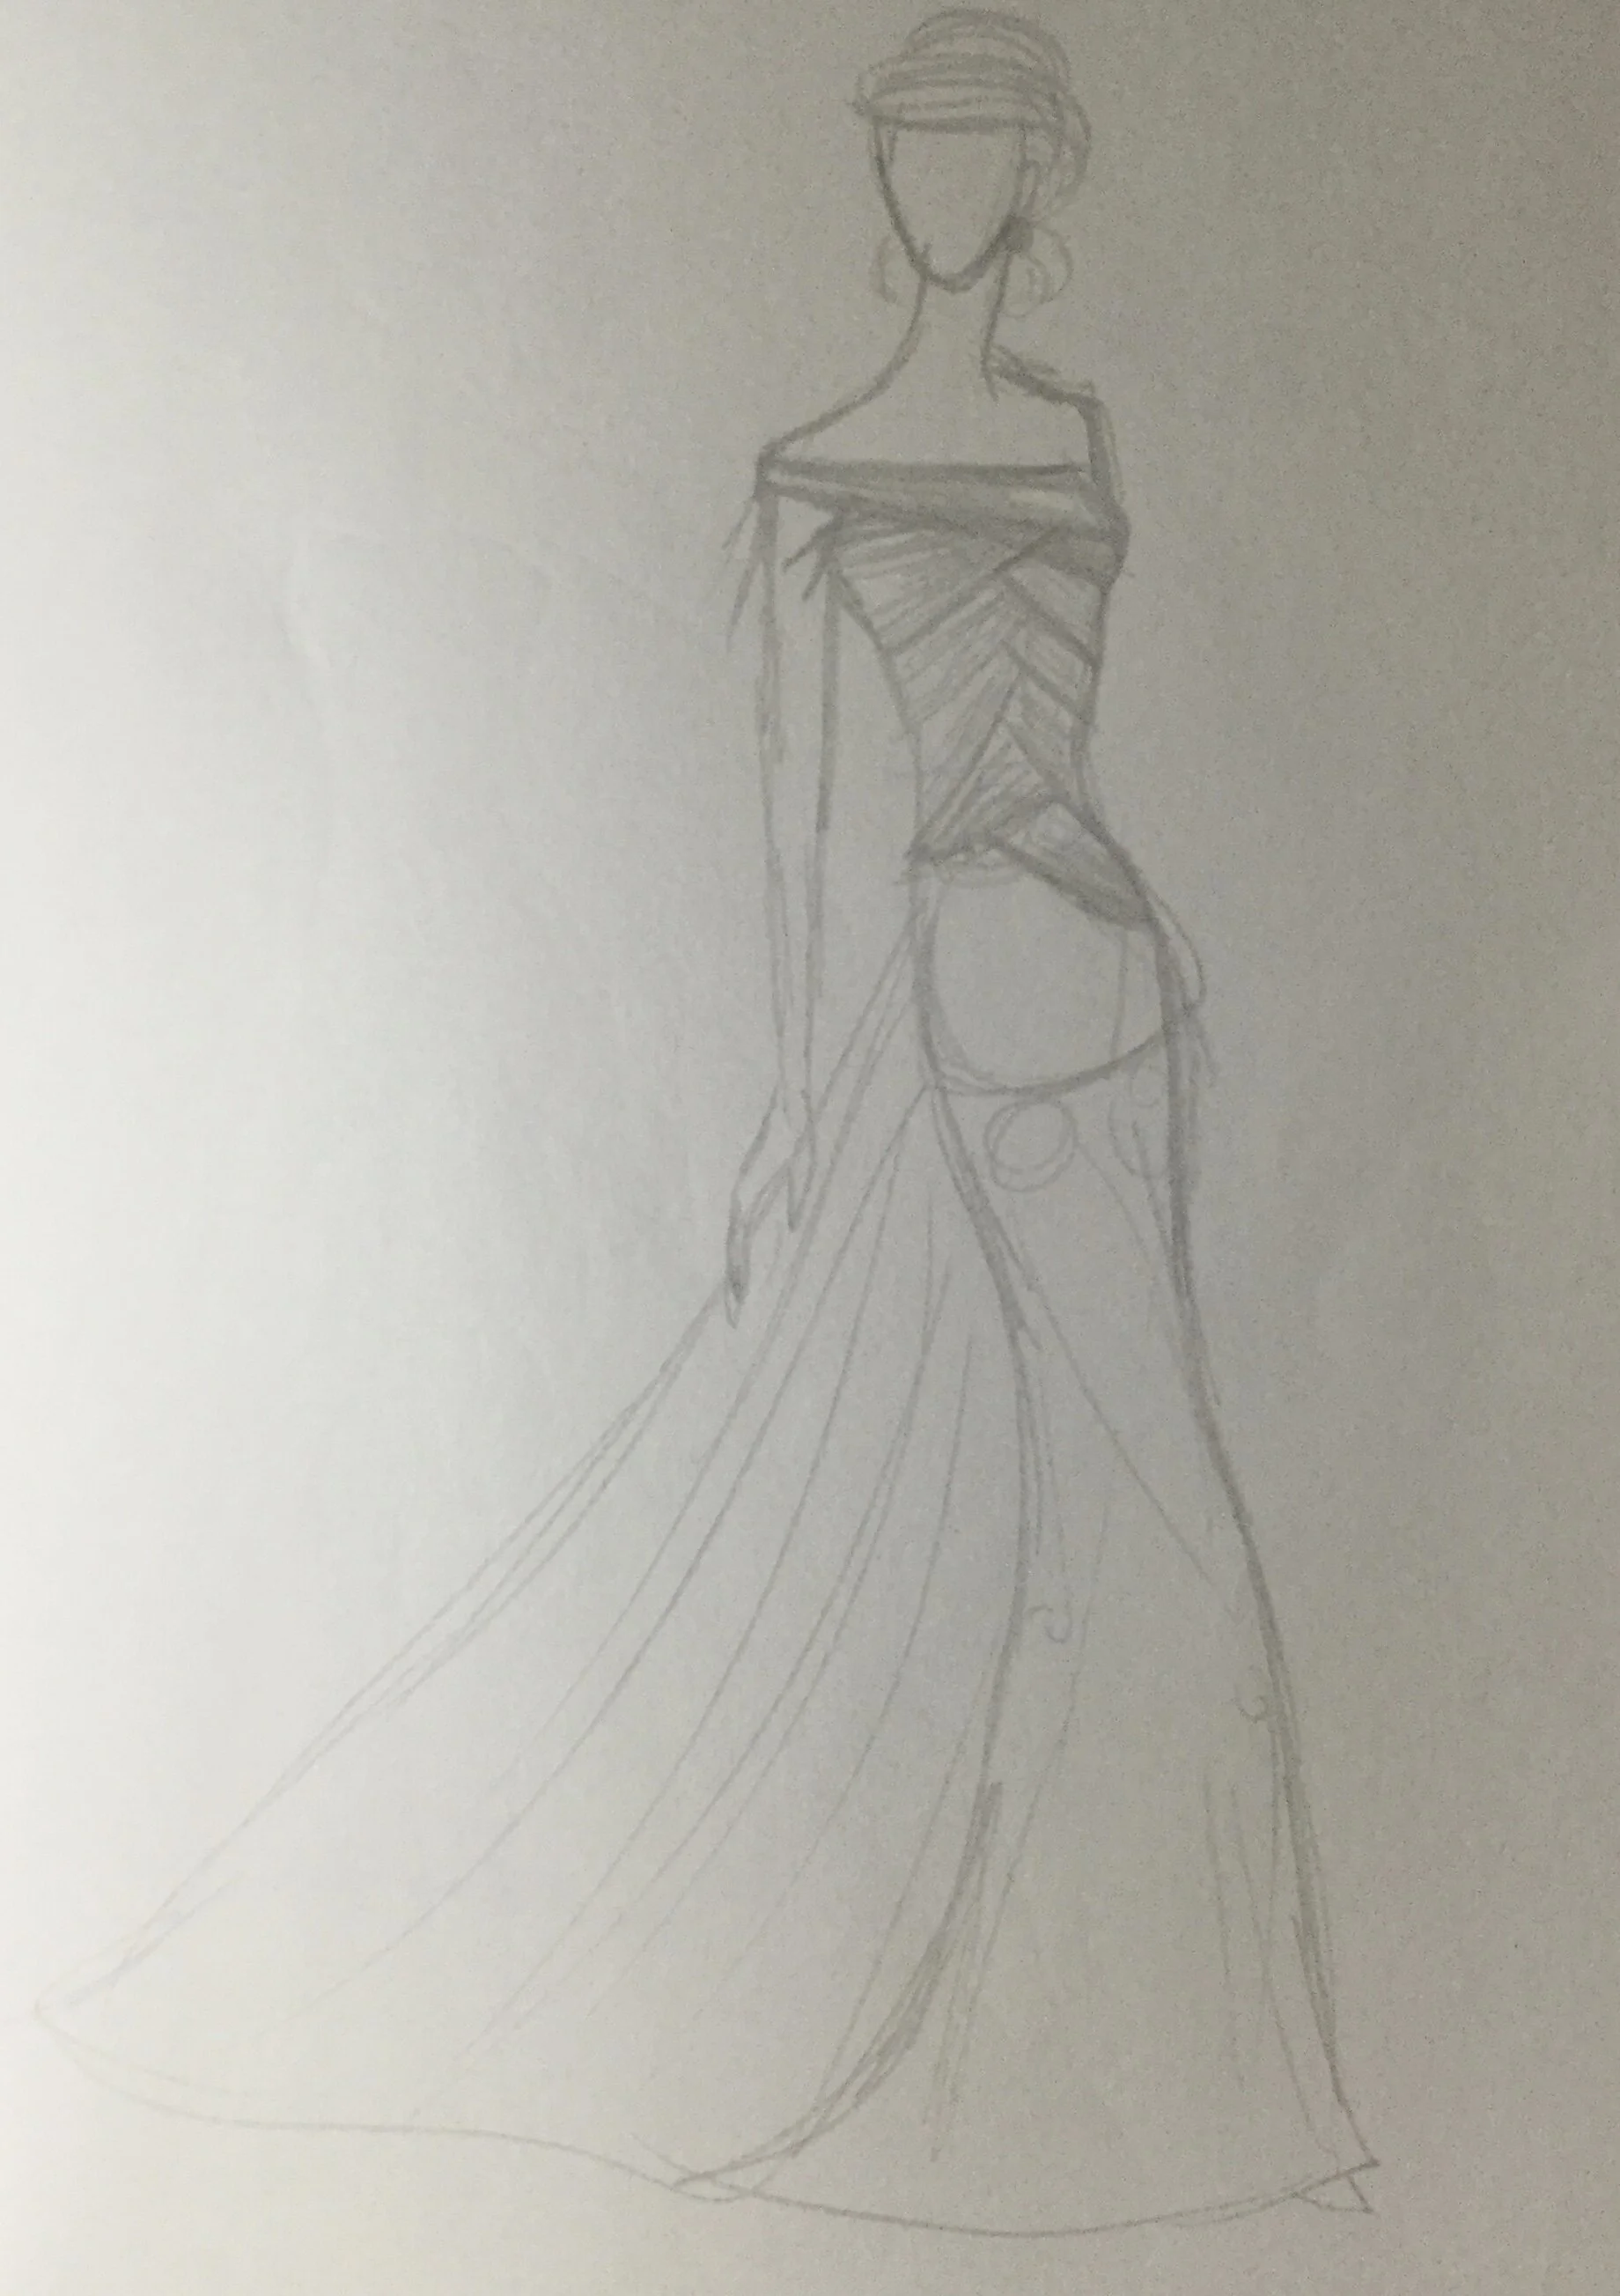
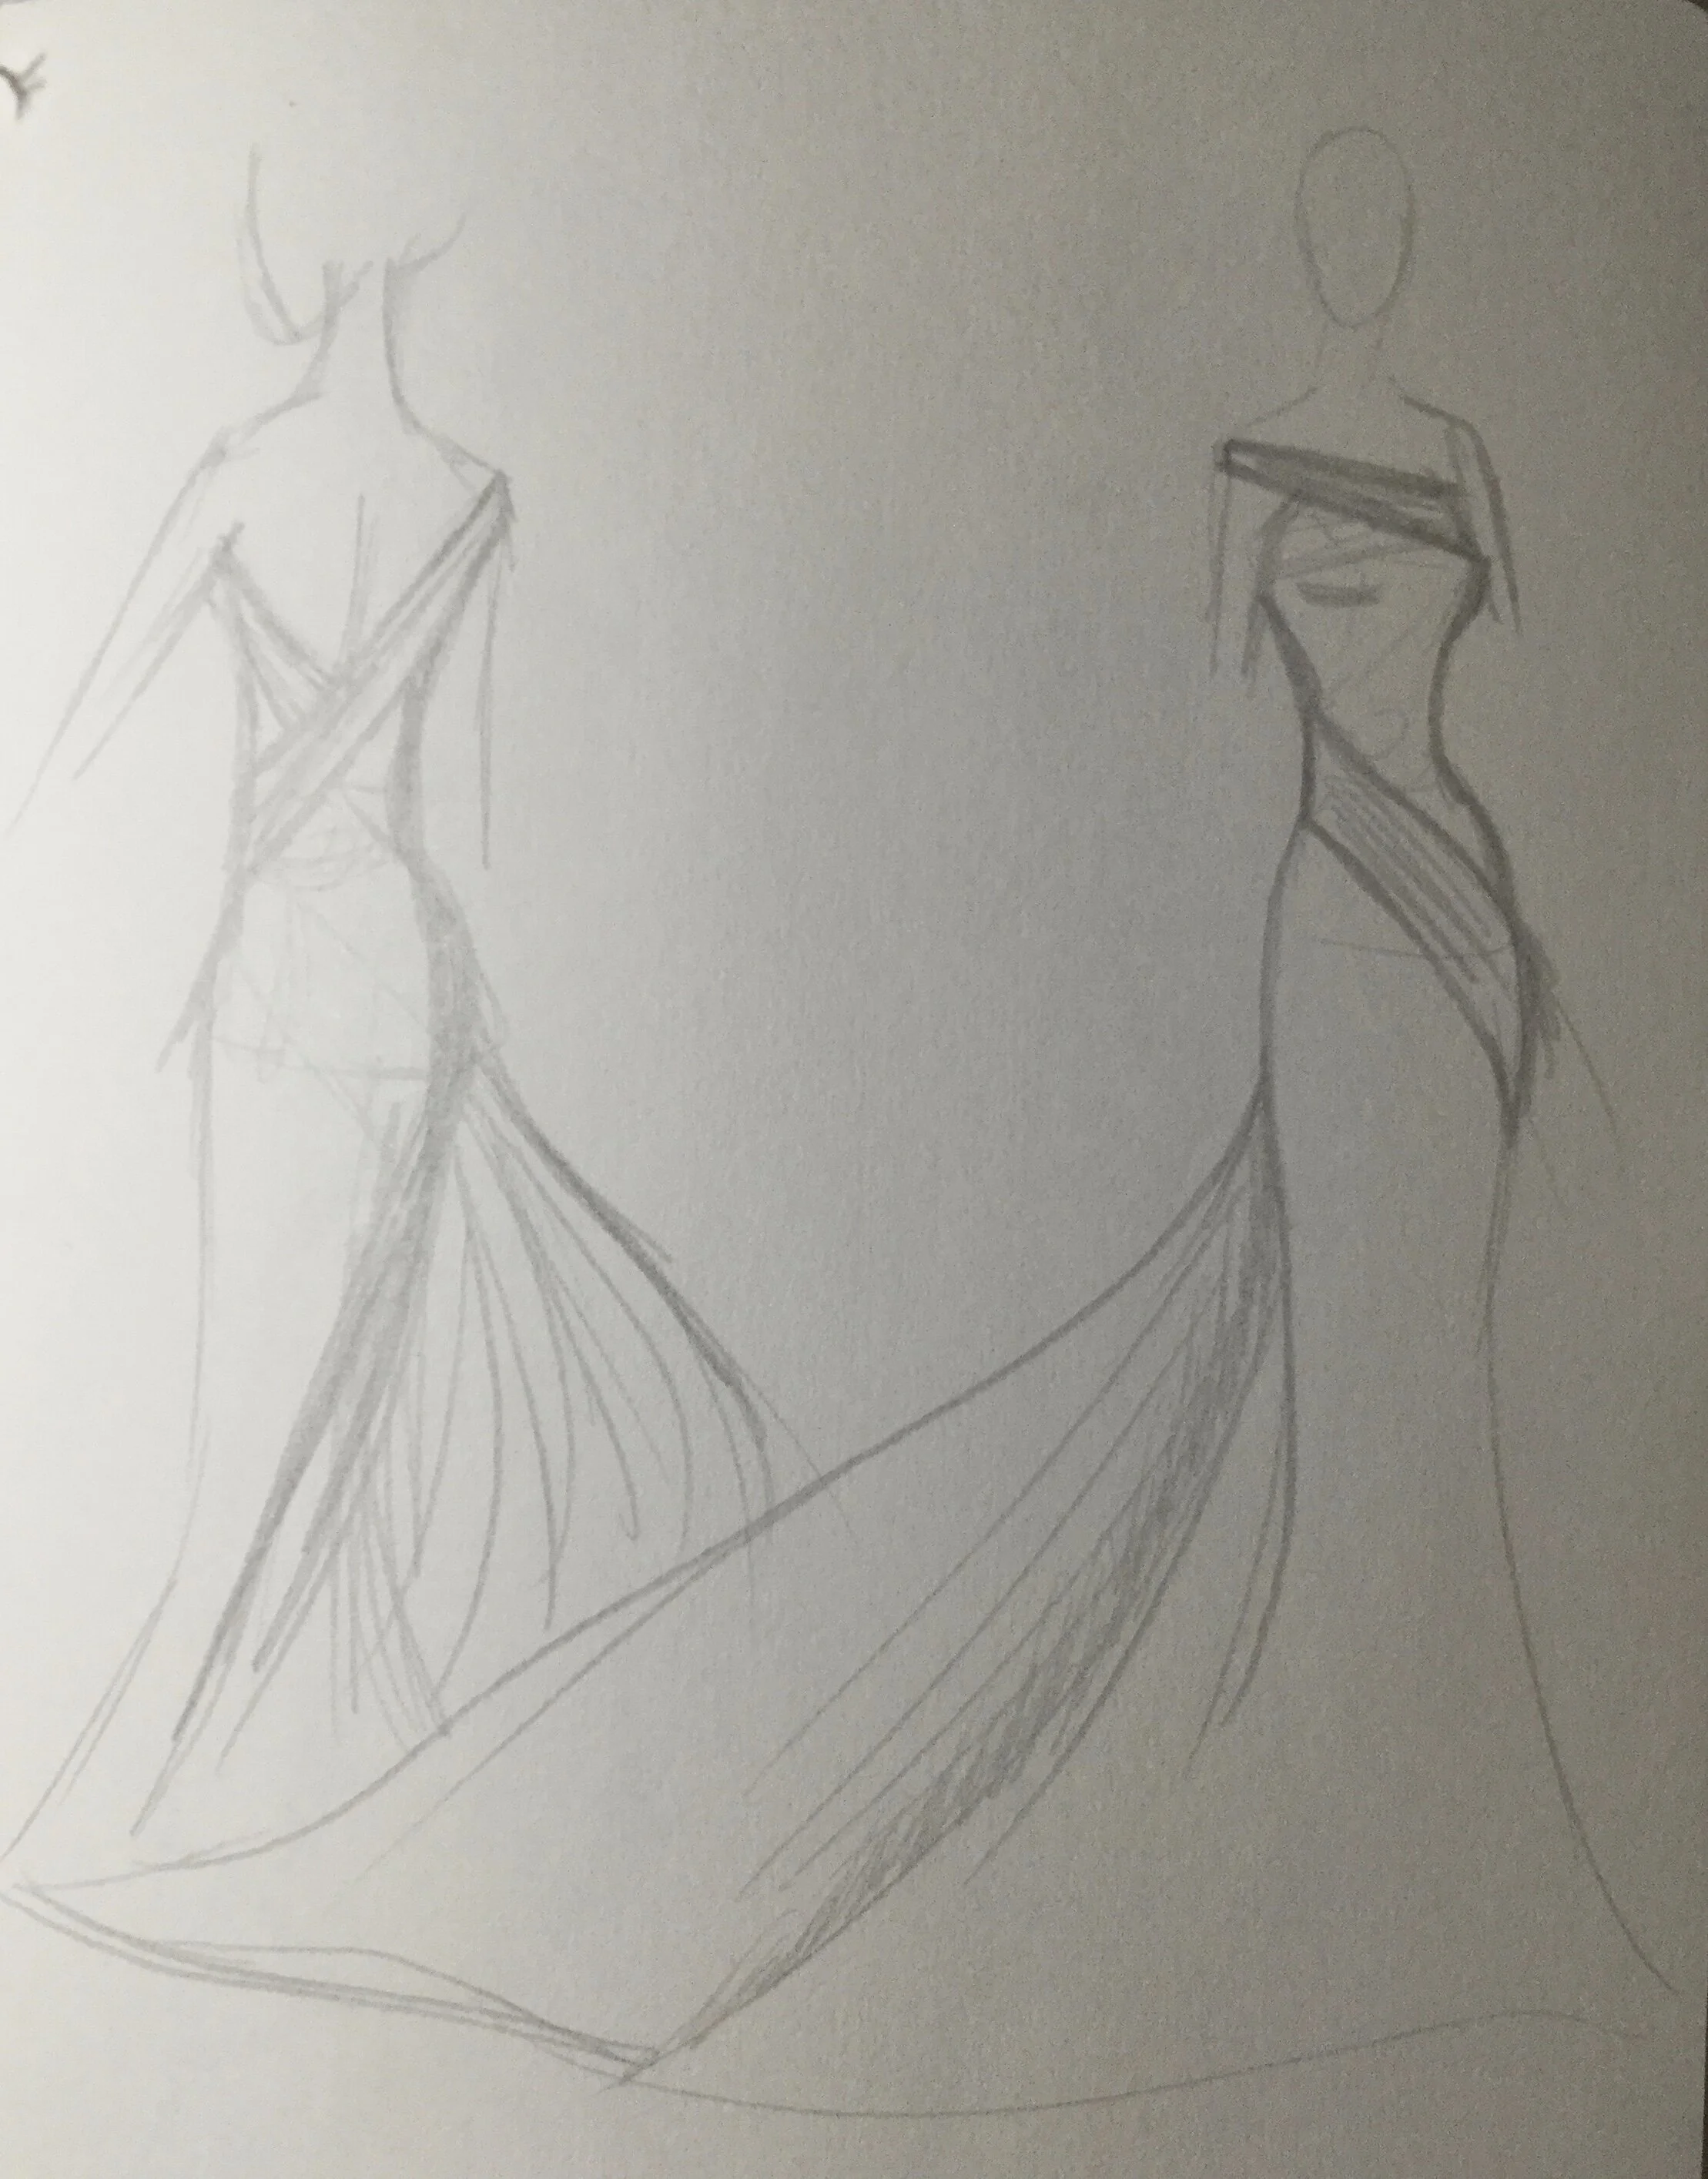
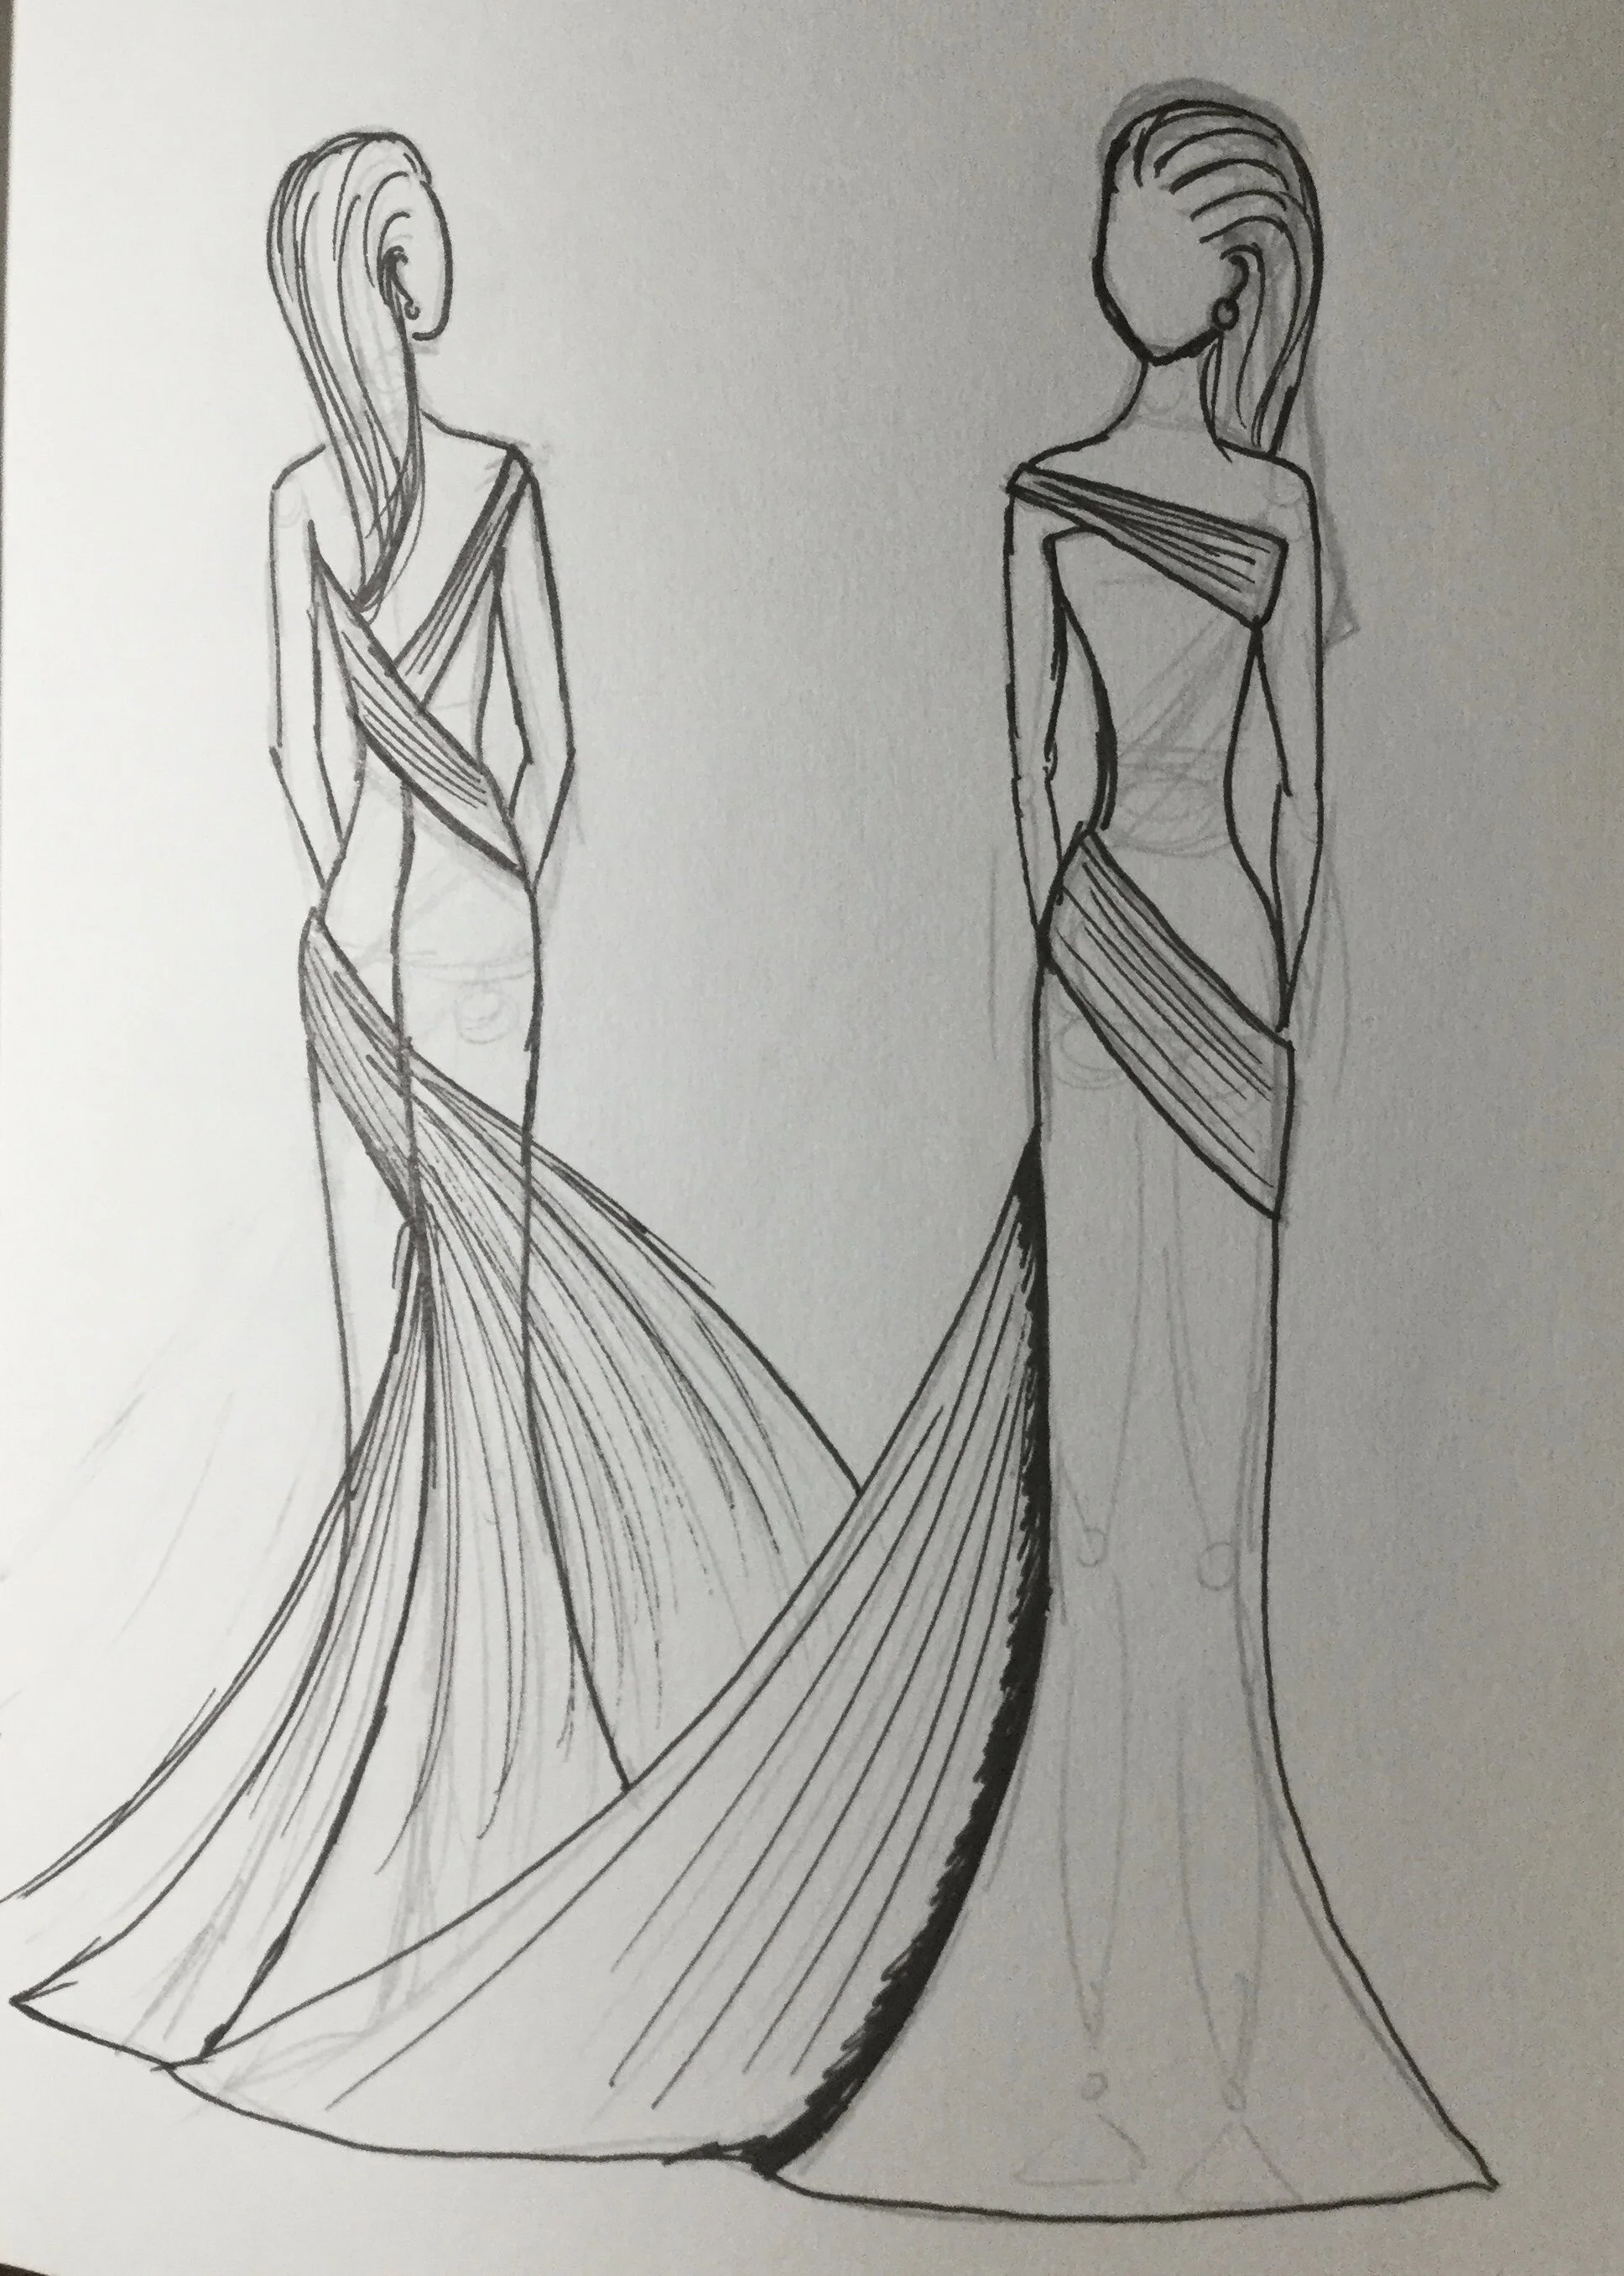
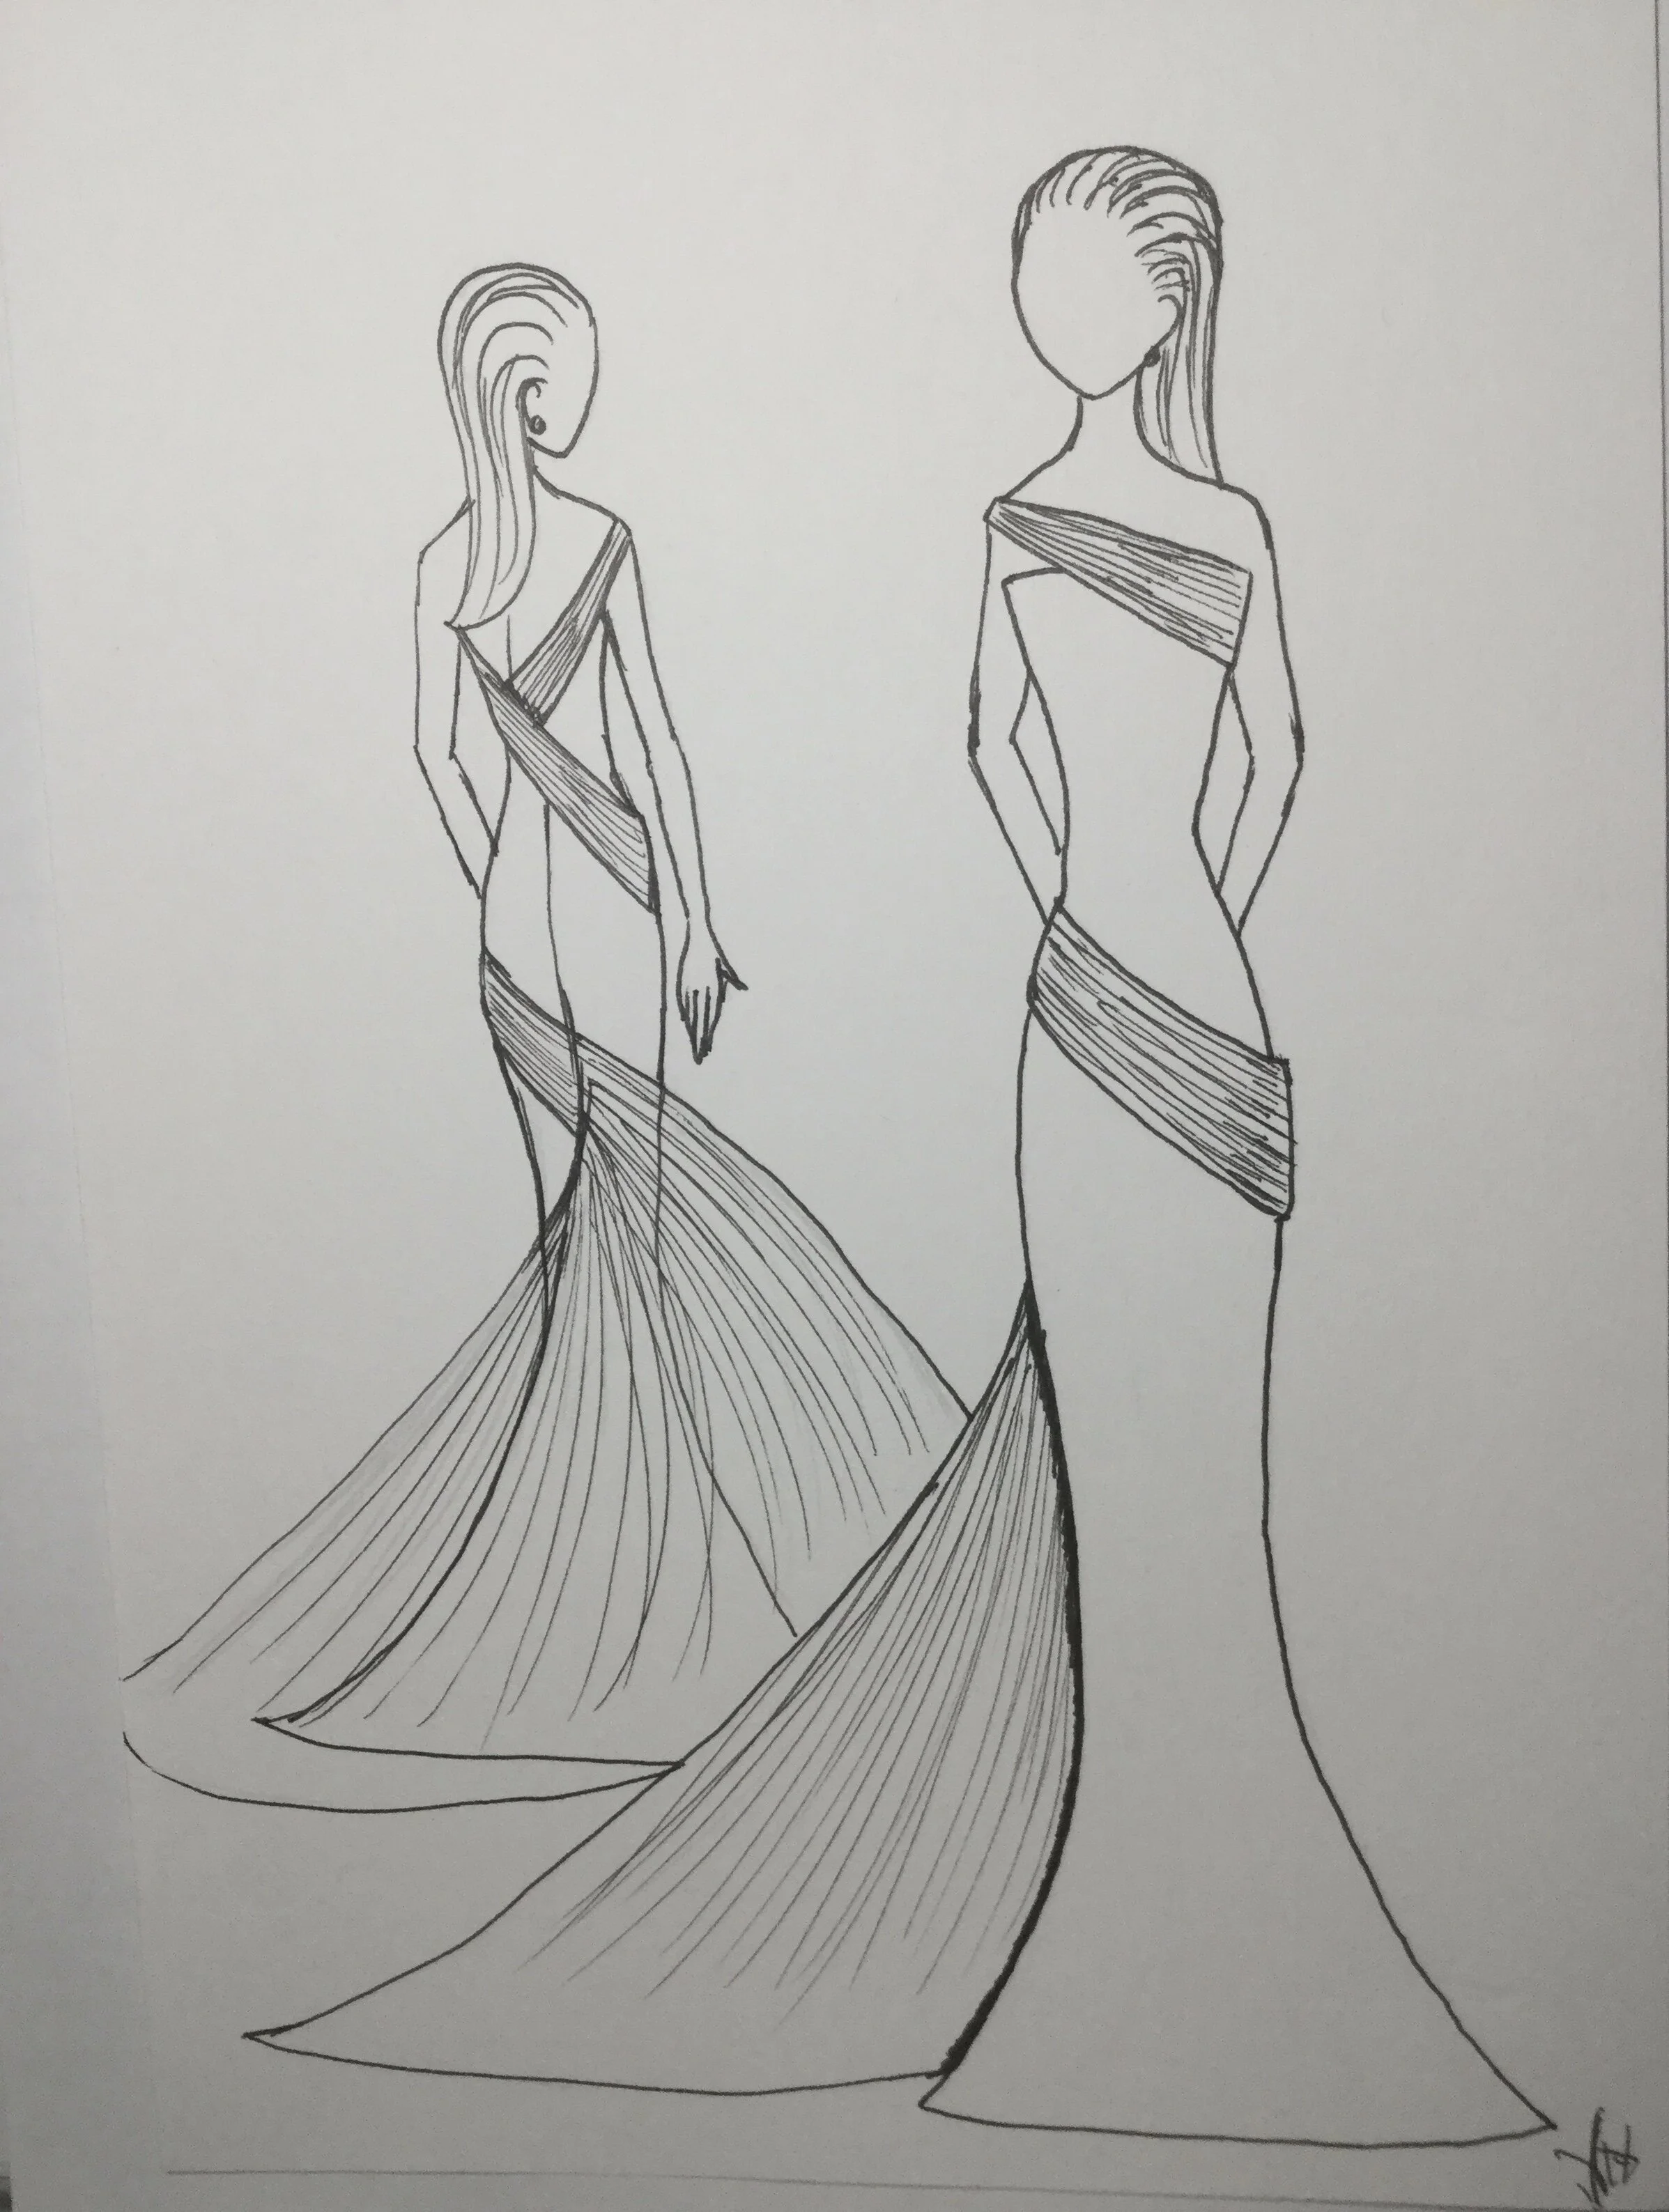
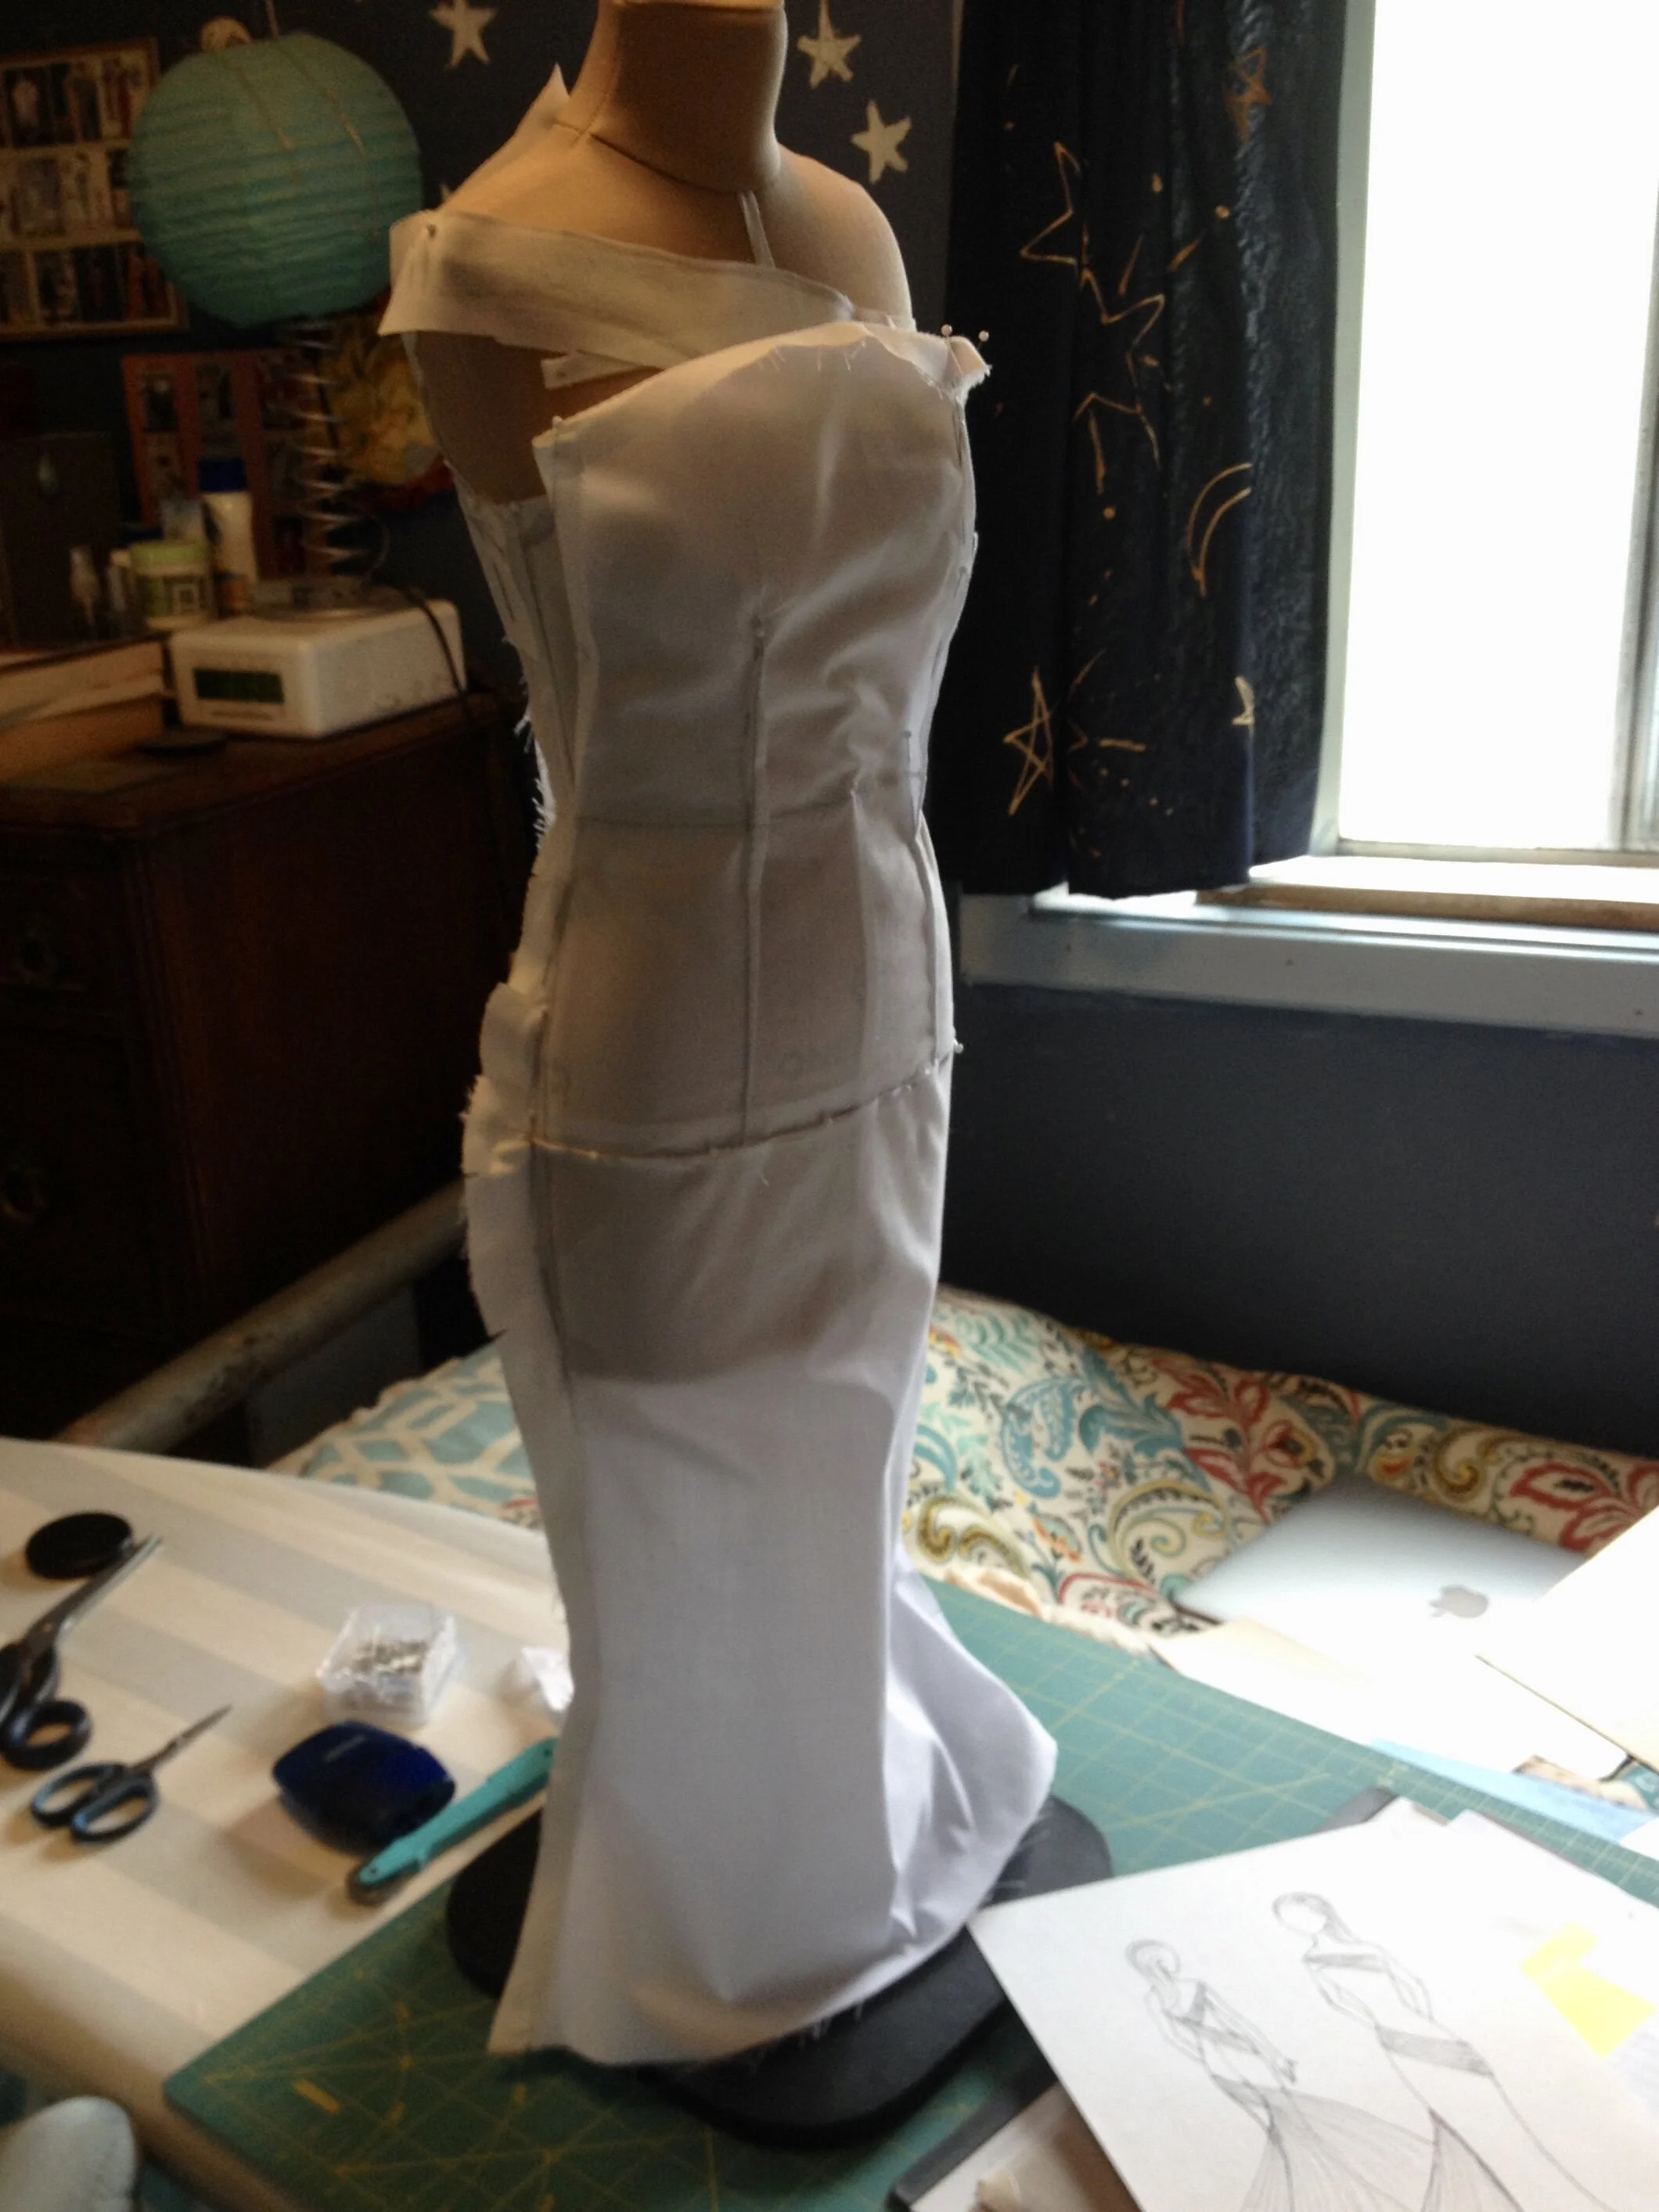
My musings on this idea evolved into some doodling of gowns with a bodice of overlapping panels and an off the shoulder neckline. This looks nothing like turn of the 20th century evening wear, by way of the 1950's or otherwise, and frankly I don't think the first sketch is even that good but I did kind of like the idea of a gown with a swath of fabric coming from one shoulder, wrapping around the body and becoming a train. After a few more tweaks I settled on a design which I thought would look kind of cool albeit nothing like the dress I had been inspired by.
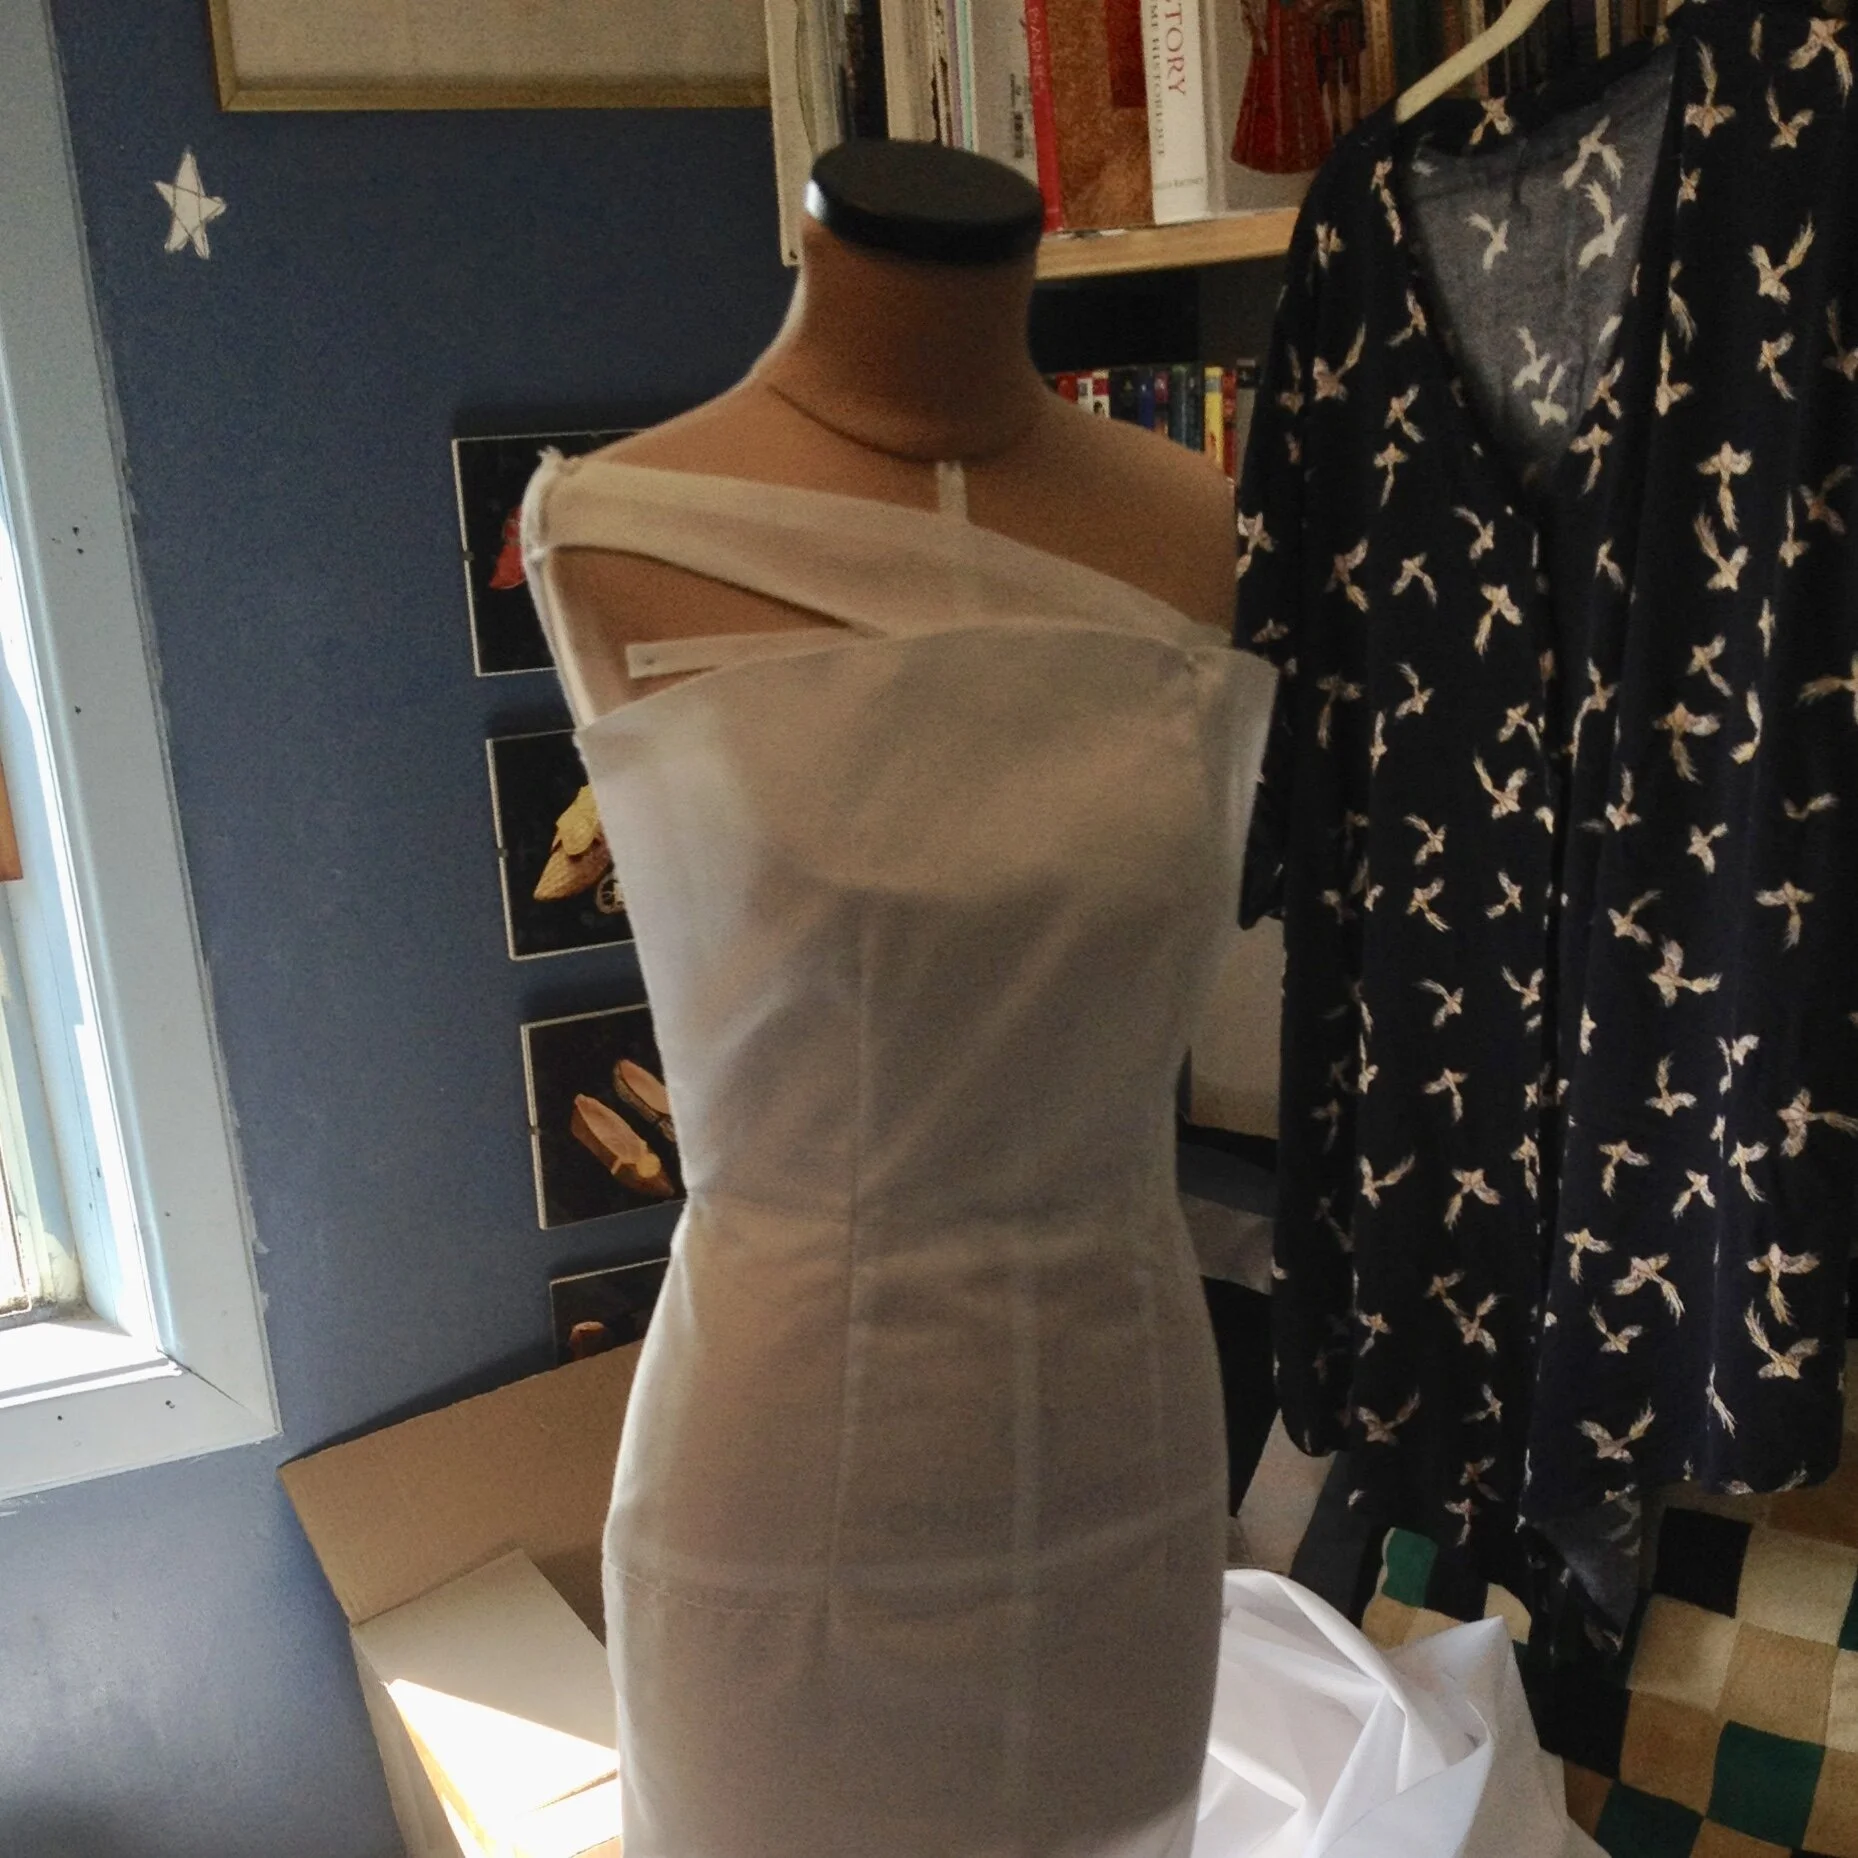
She had quickly evolved from something that might be soft and flowy to a gown that would have a more structured base with something softer wrapped around it. The bodice of the final drawing also had some angularity along the top edge which I decided to embrace. I hadn't really been thinking of the bodice front as free standing while I was drawing, but when the idea occurred to me it seemed like a fun challenge. I could even use a flesh coloured material for the foundation underneath, in the case of my mannequin a sort of beige colour.
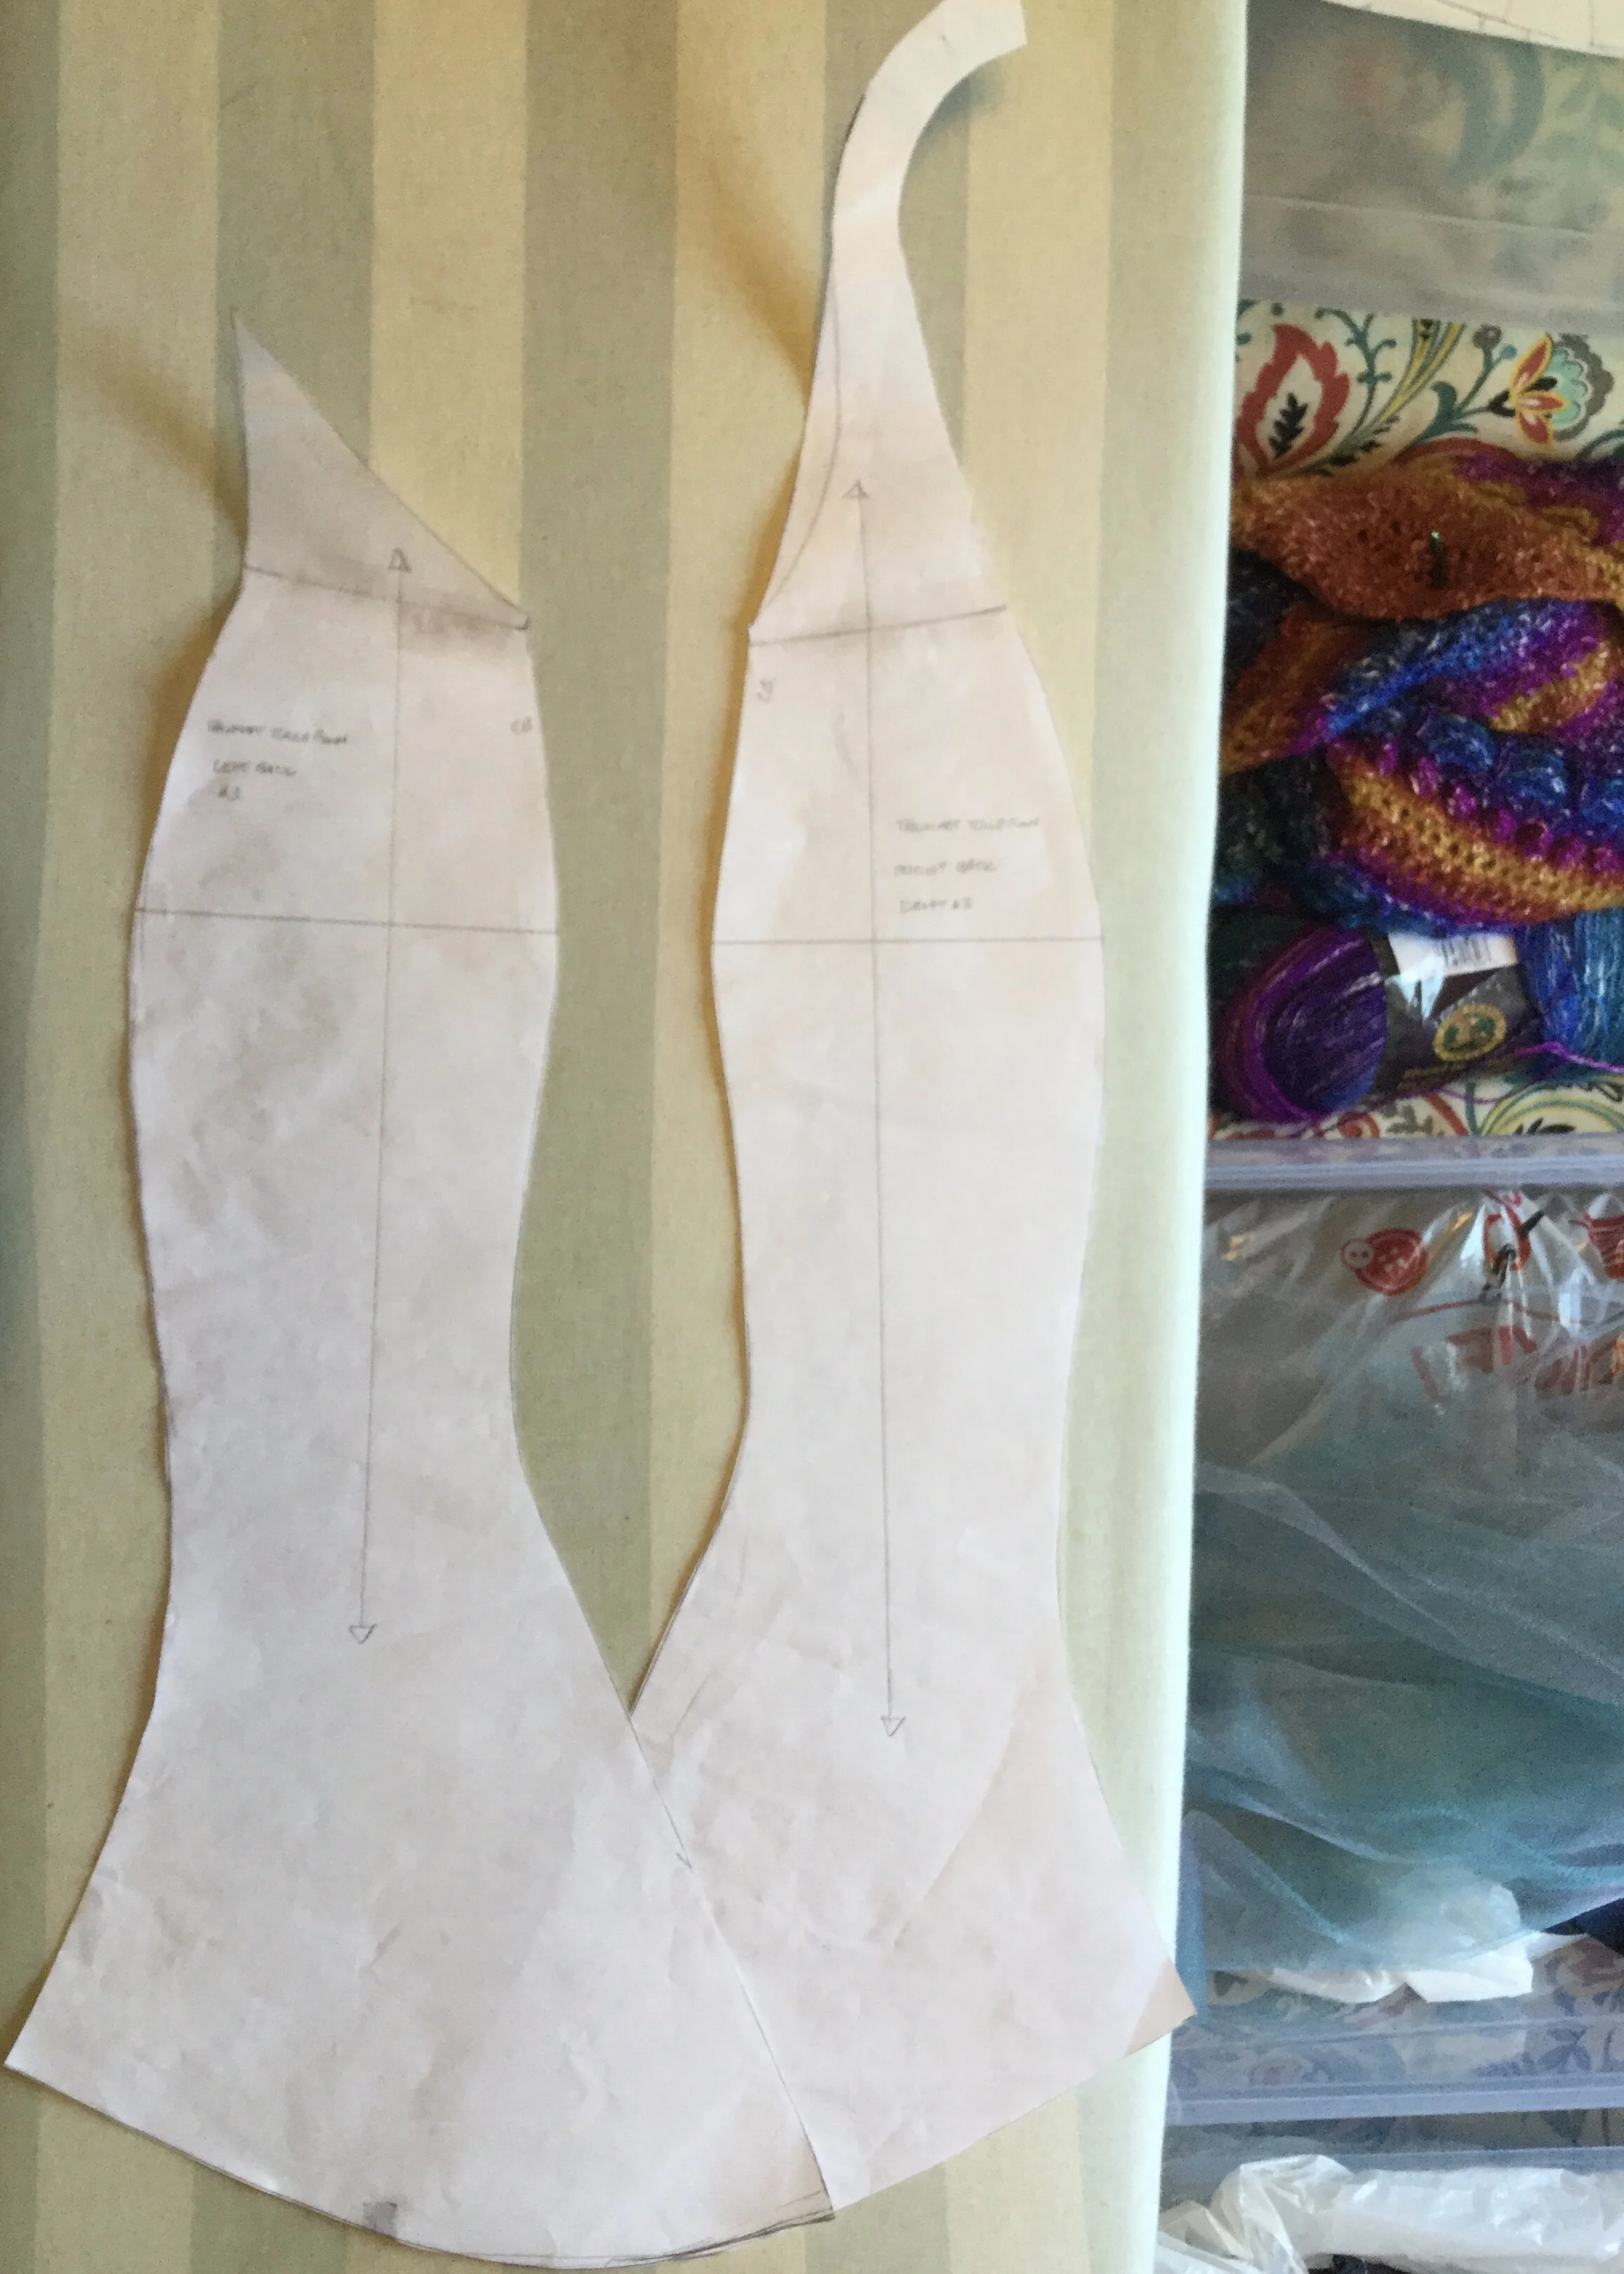
For the fist mock up, I drafted most of the pattern but I did choose to leave the back until I could draw the new shape by hand. I then transferred this line to my pattern and cleaned and trued it up before cutting a second mock up. I fit the first mock up inside out to make pinning and marking alterations easier. This was one of the first outfits I made for this mannequin I anticipated having to take in the sides and darts quite a bit; without the bulk of the seam allowance on the inside of the garment it’s easier to pin in as close as you’d like and see exactly how you are altering the line.
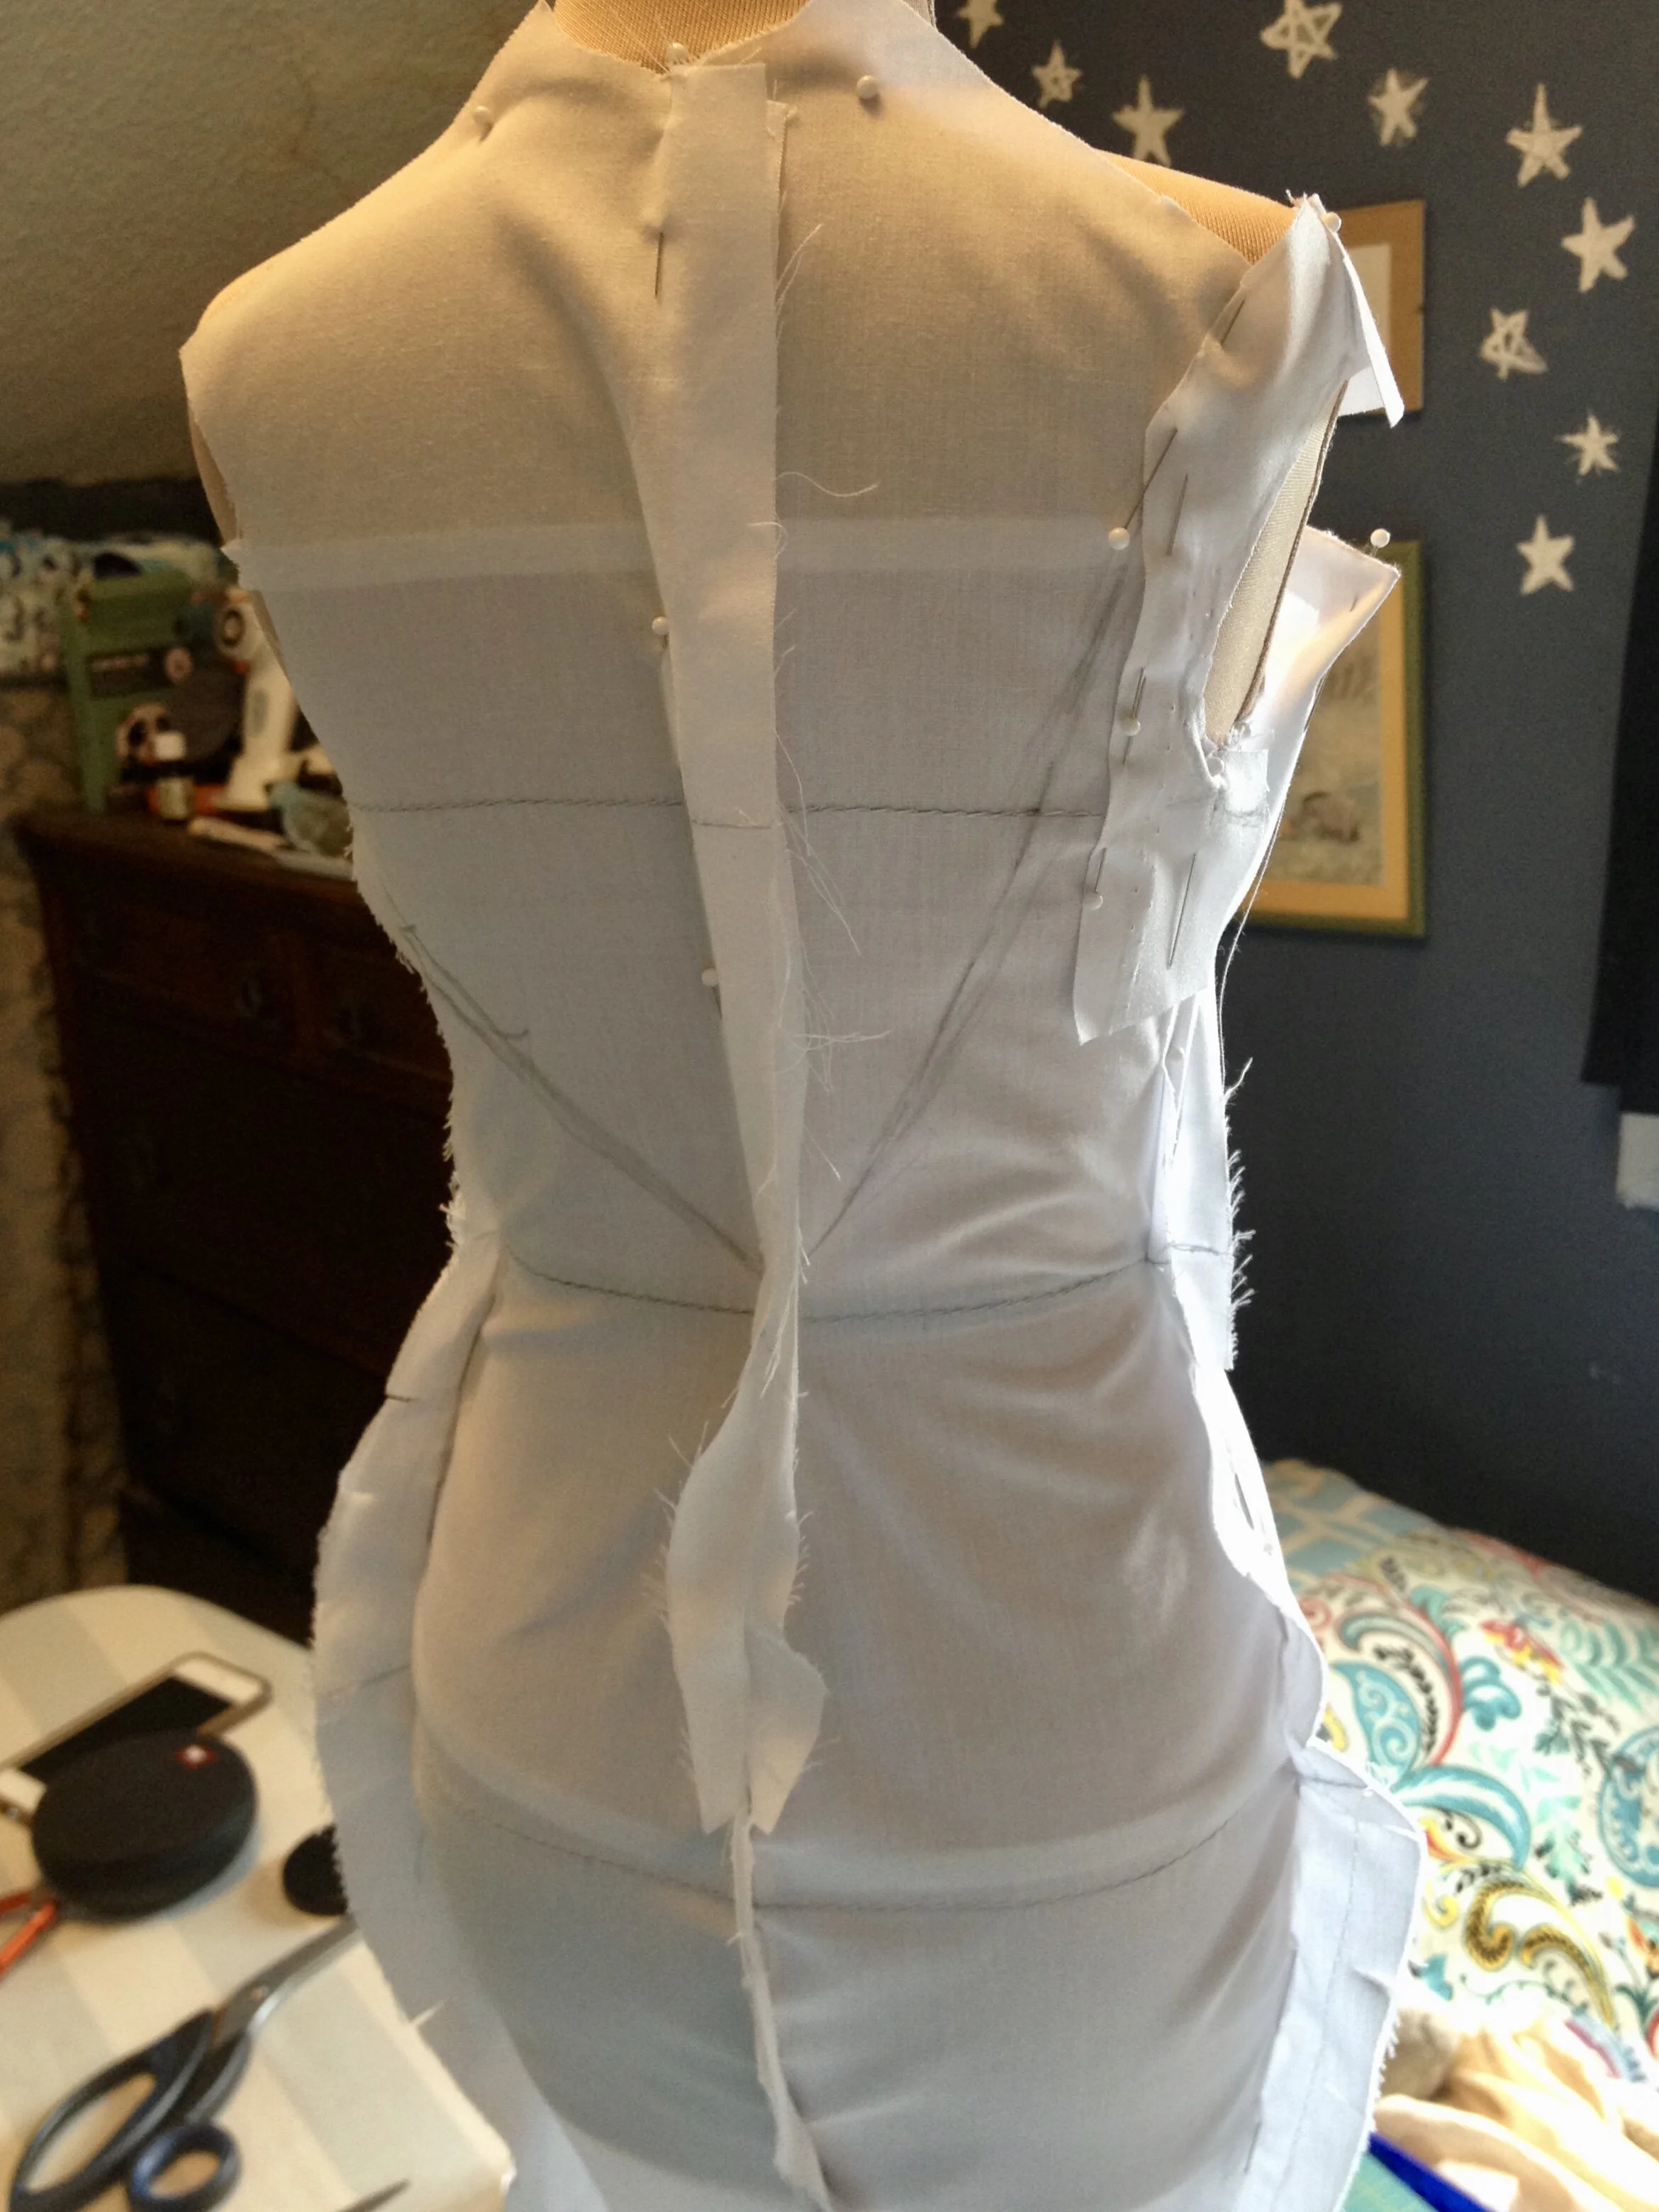
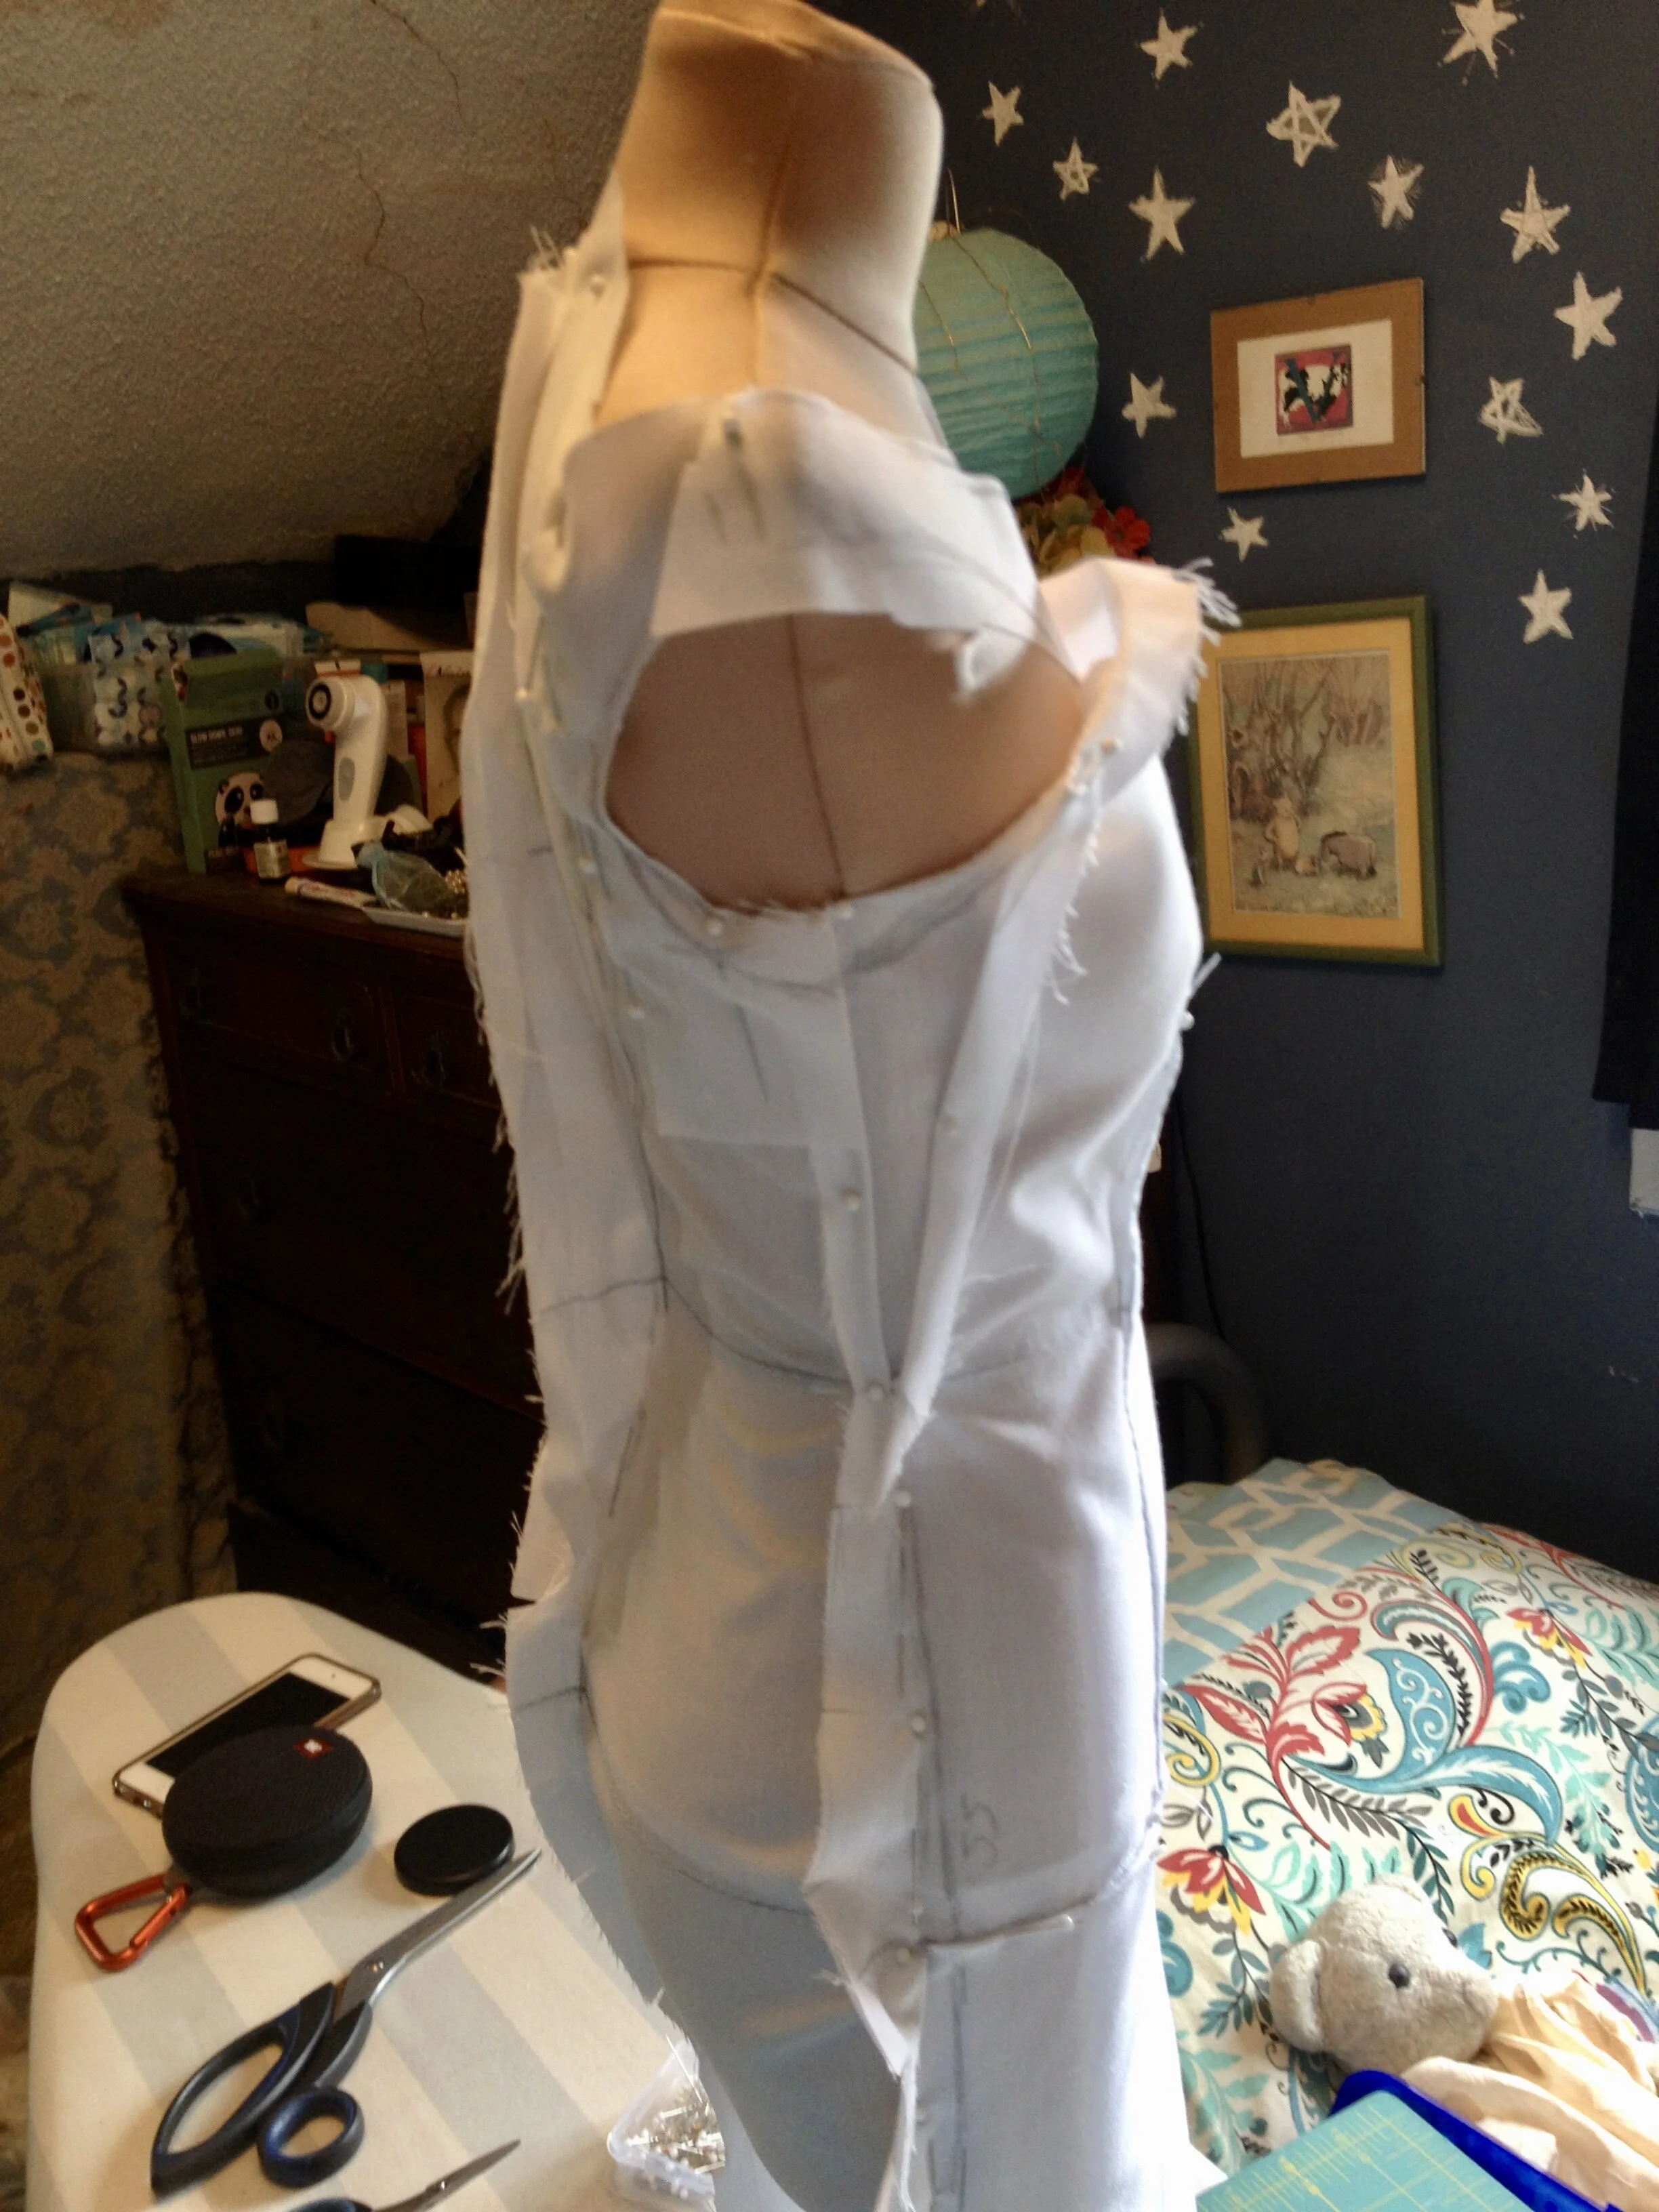
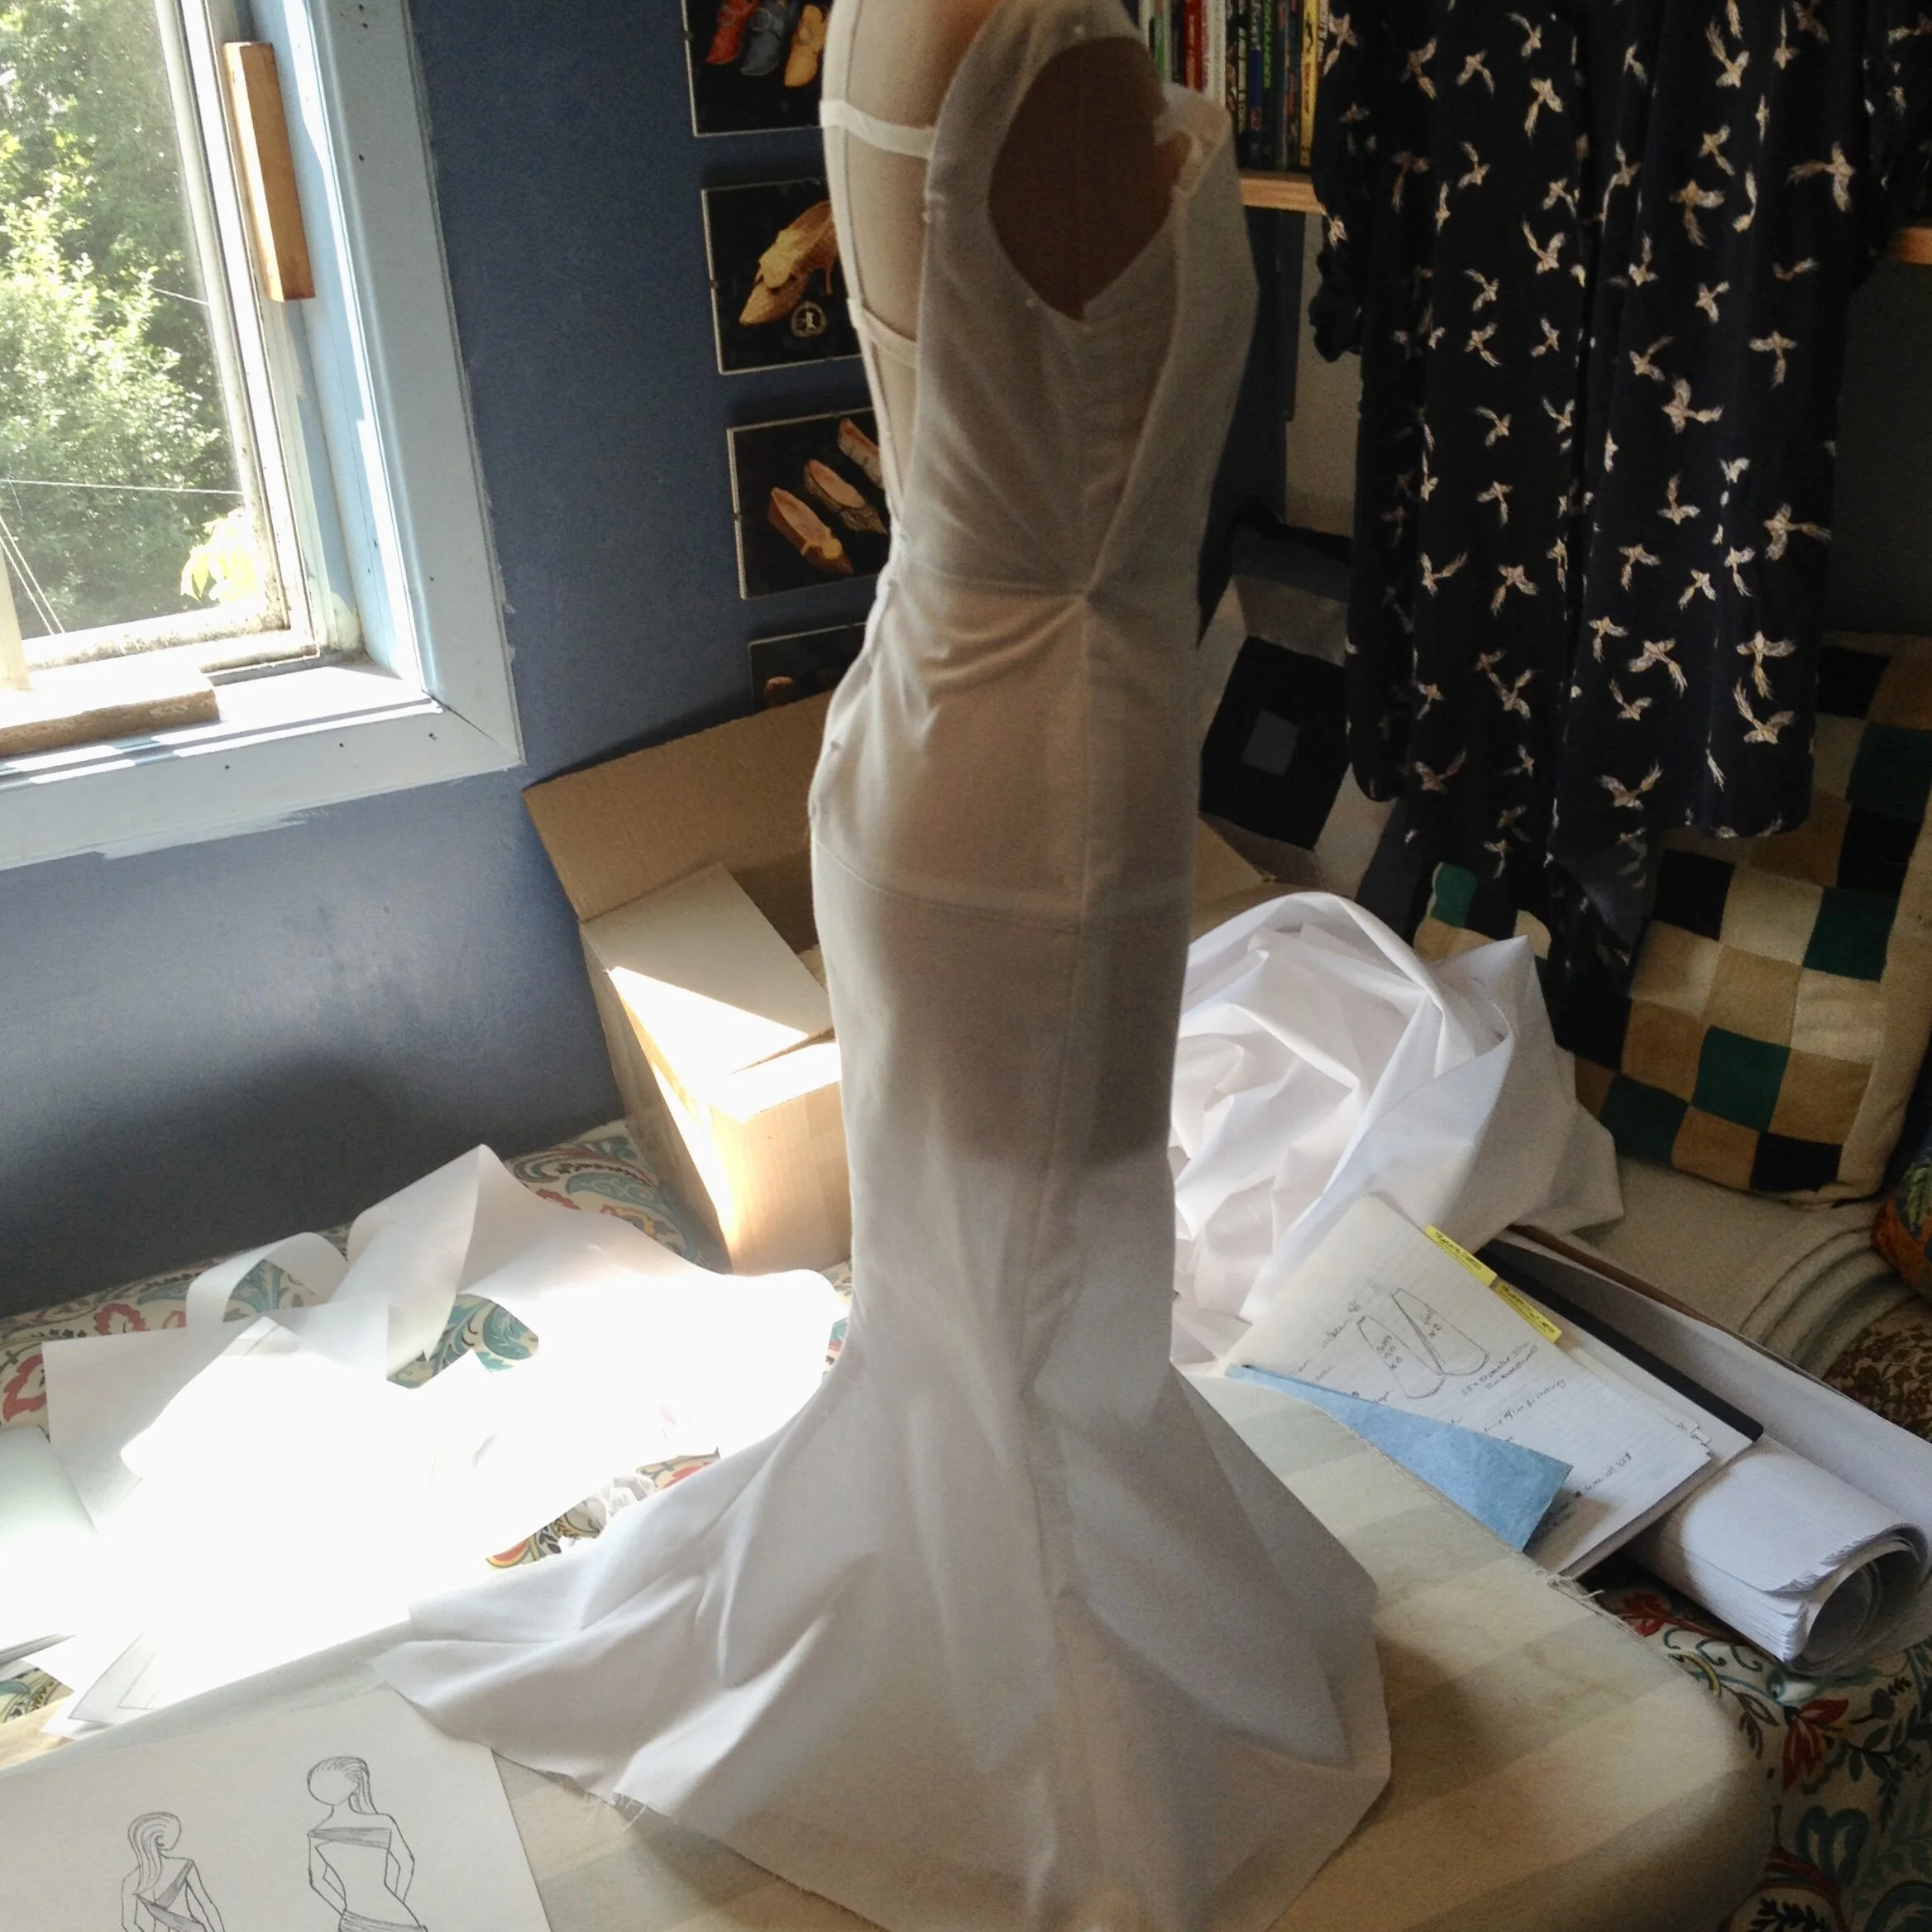
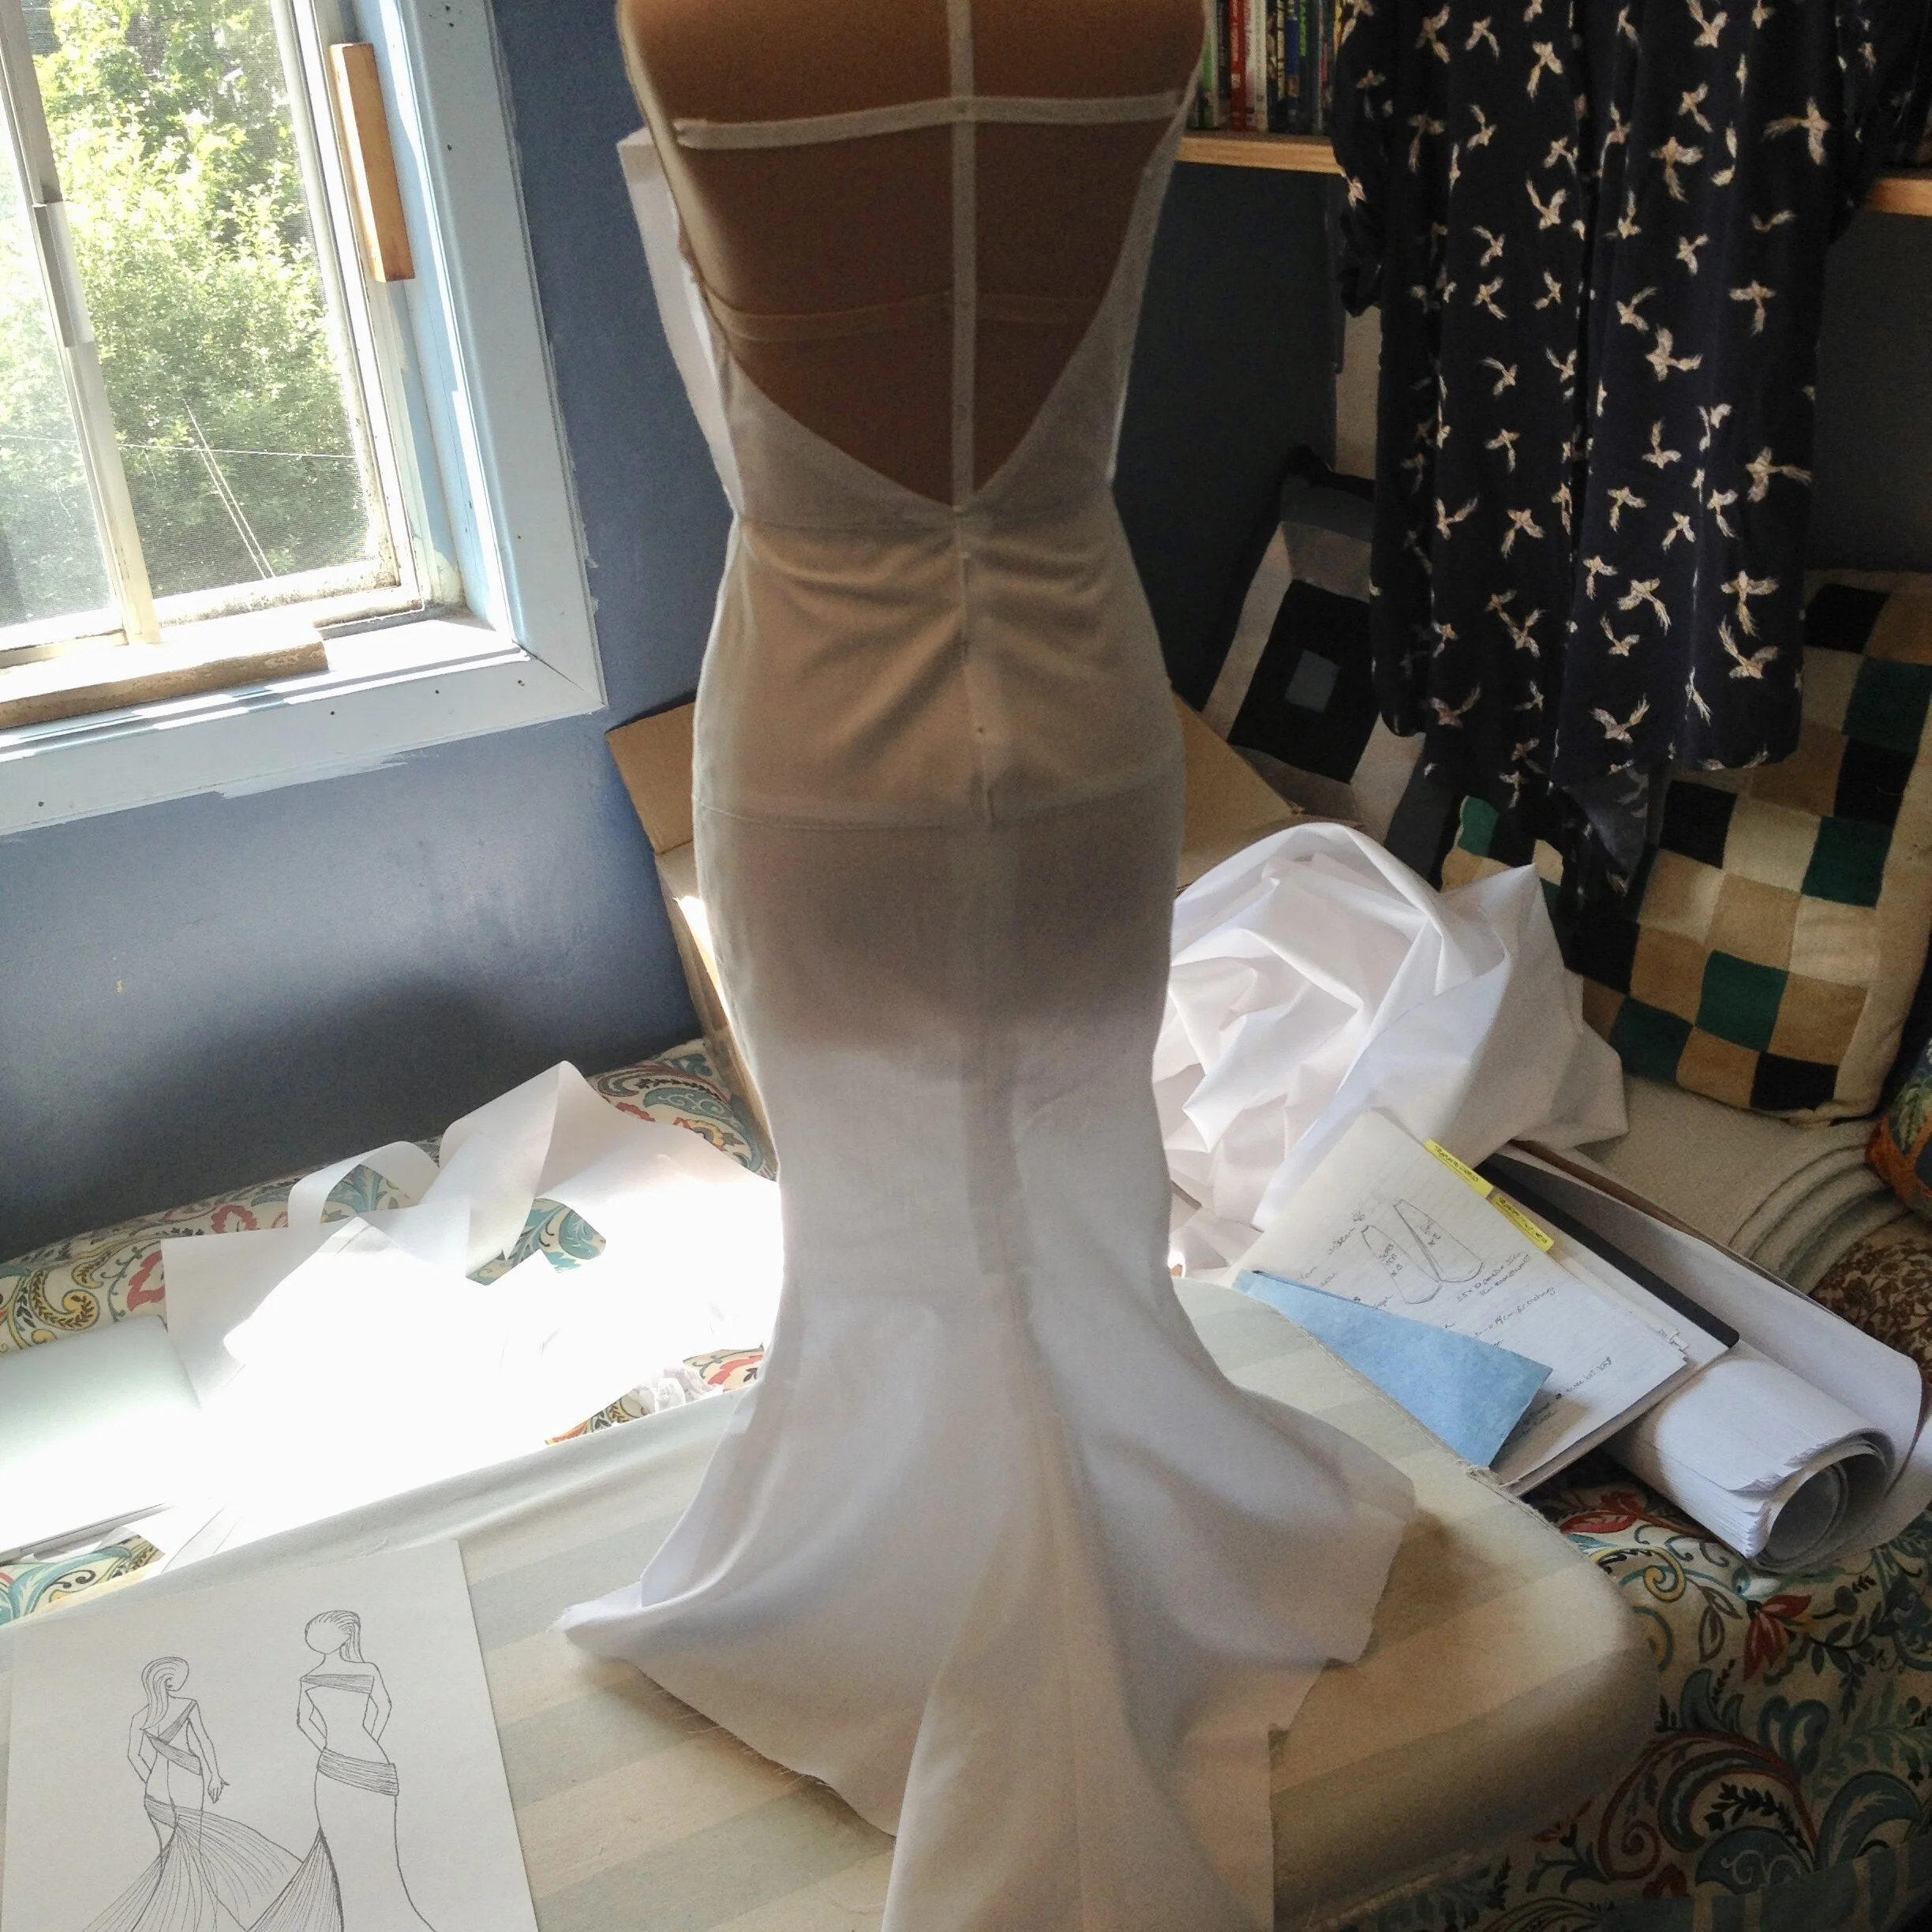
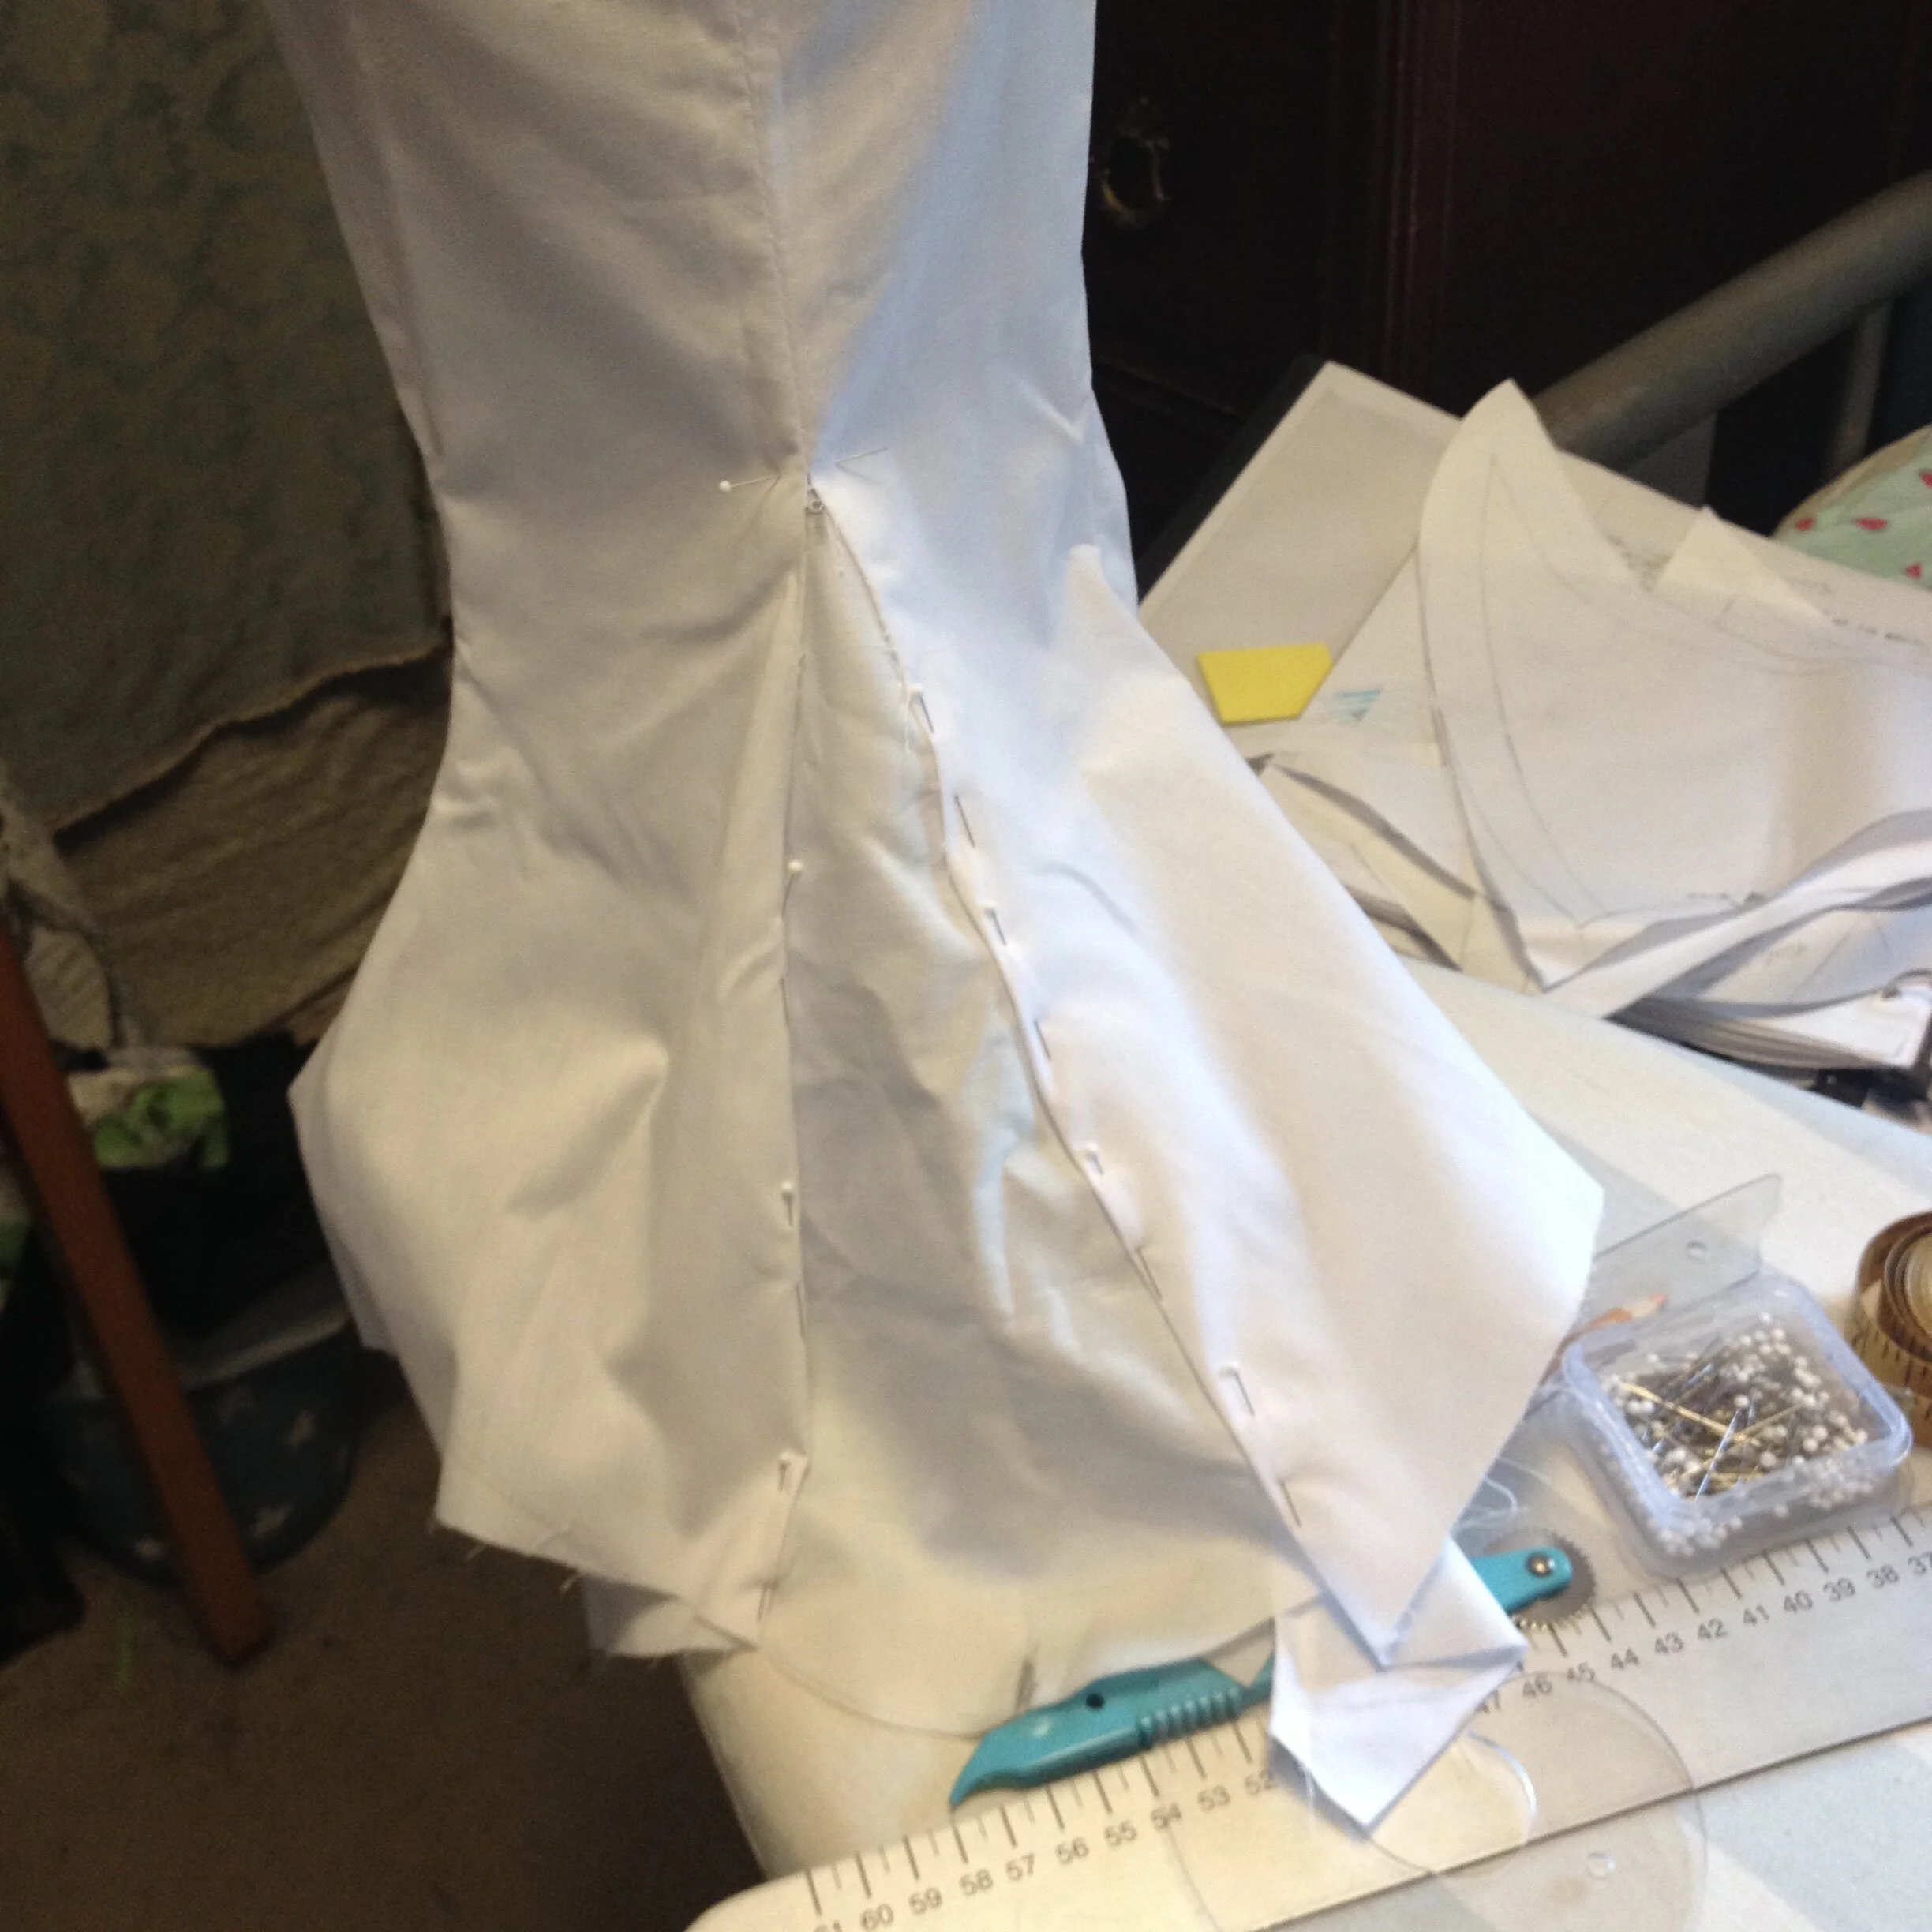
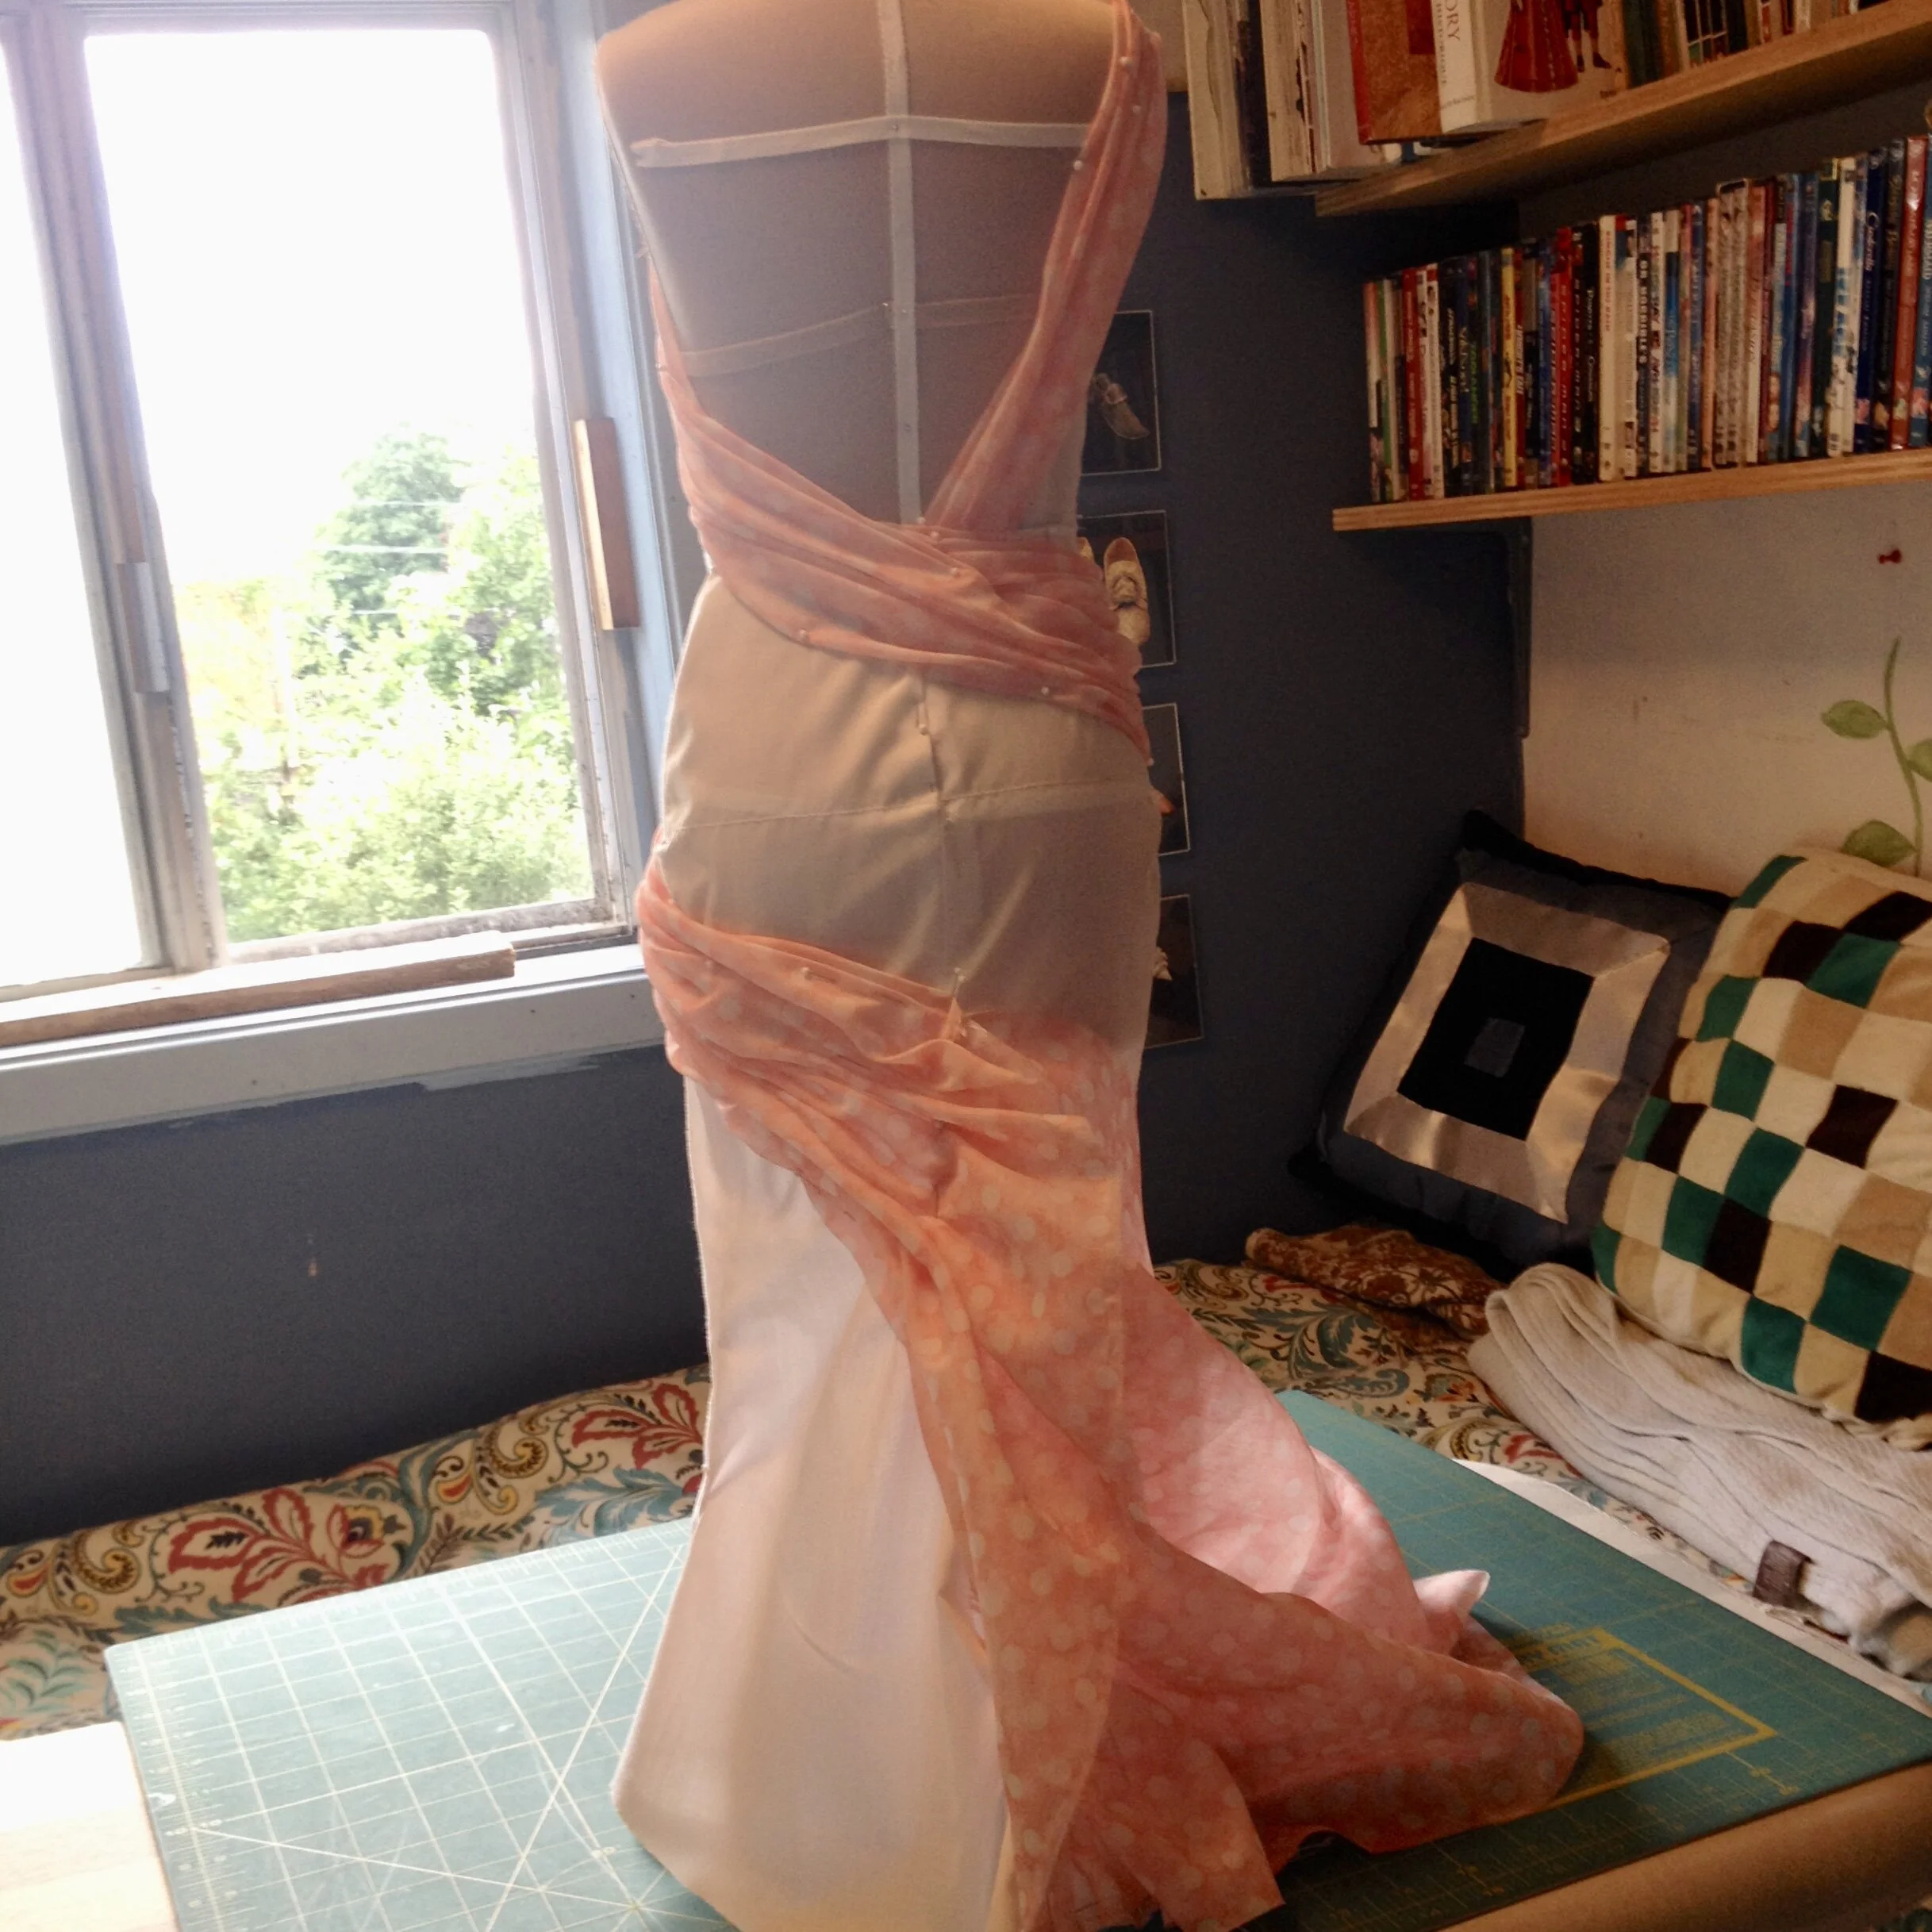
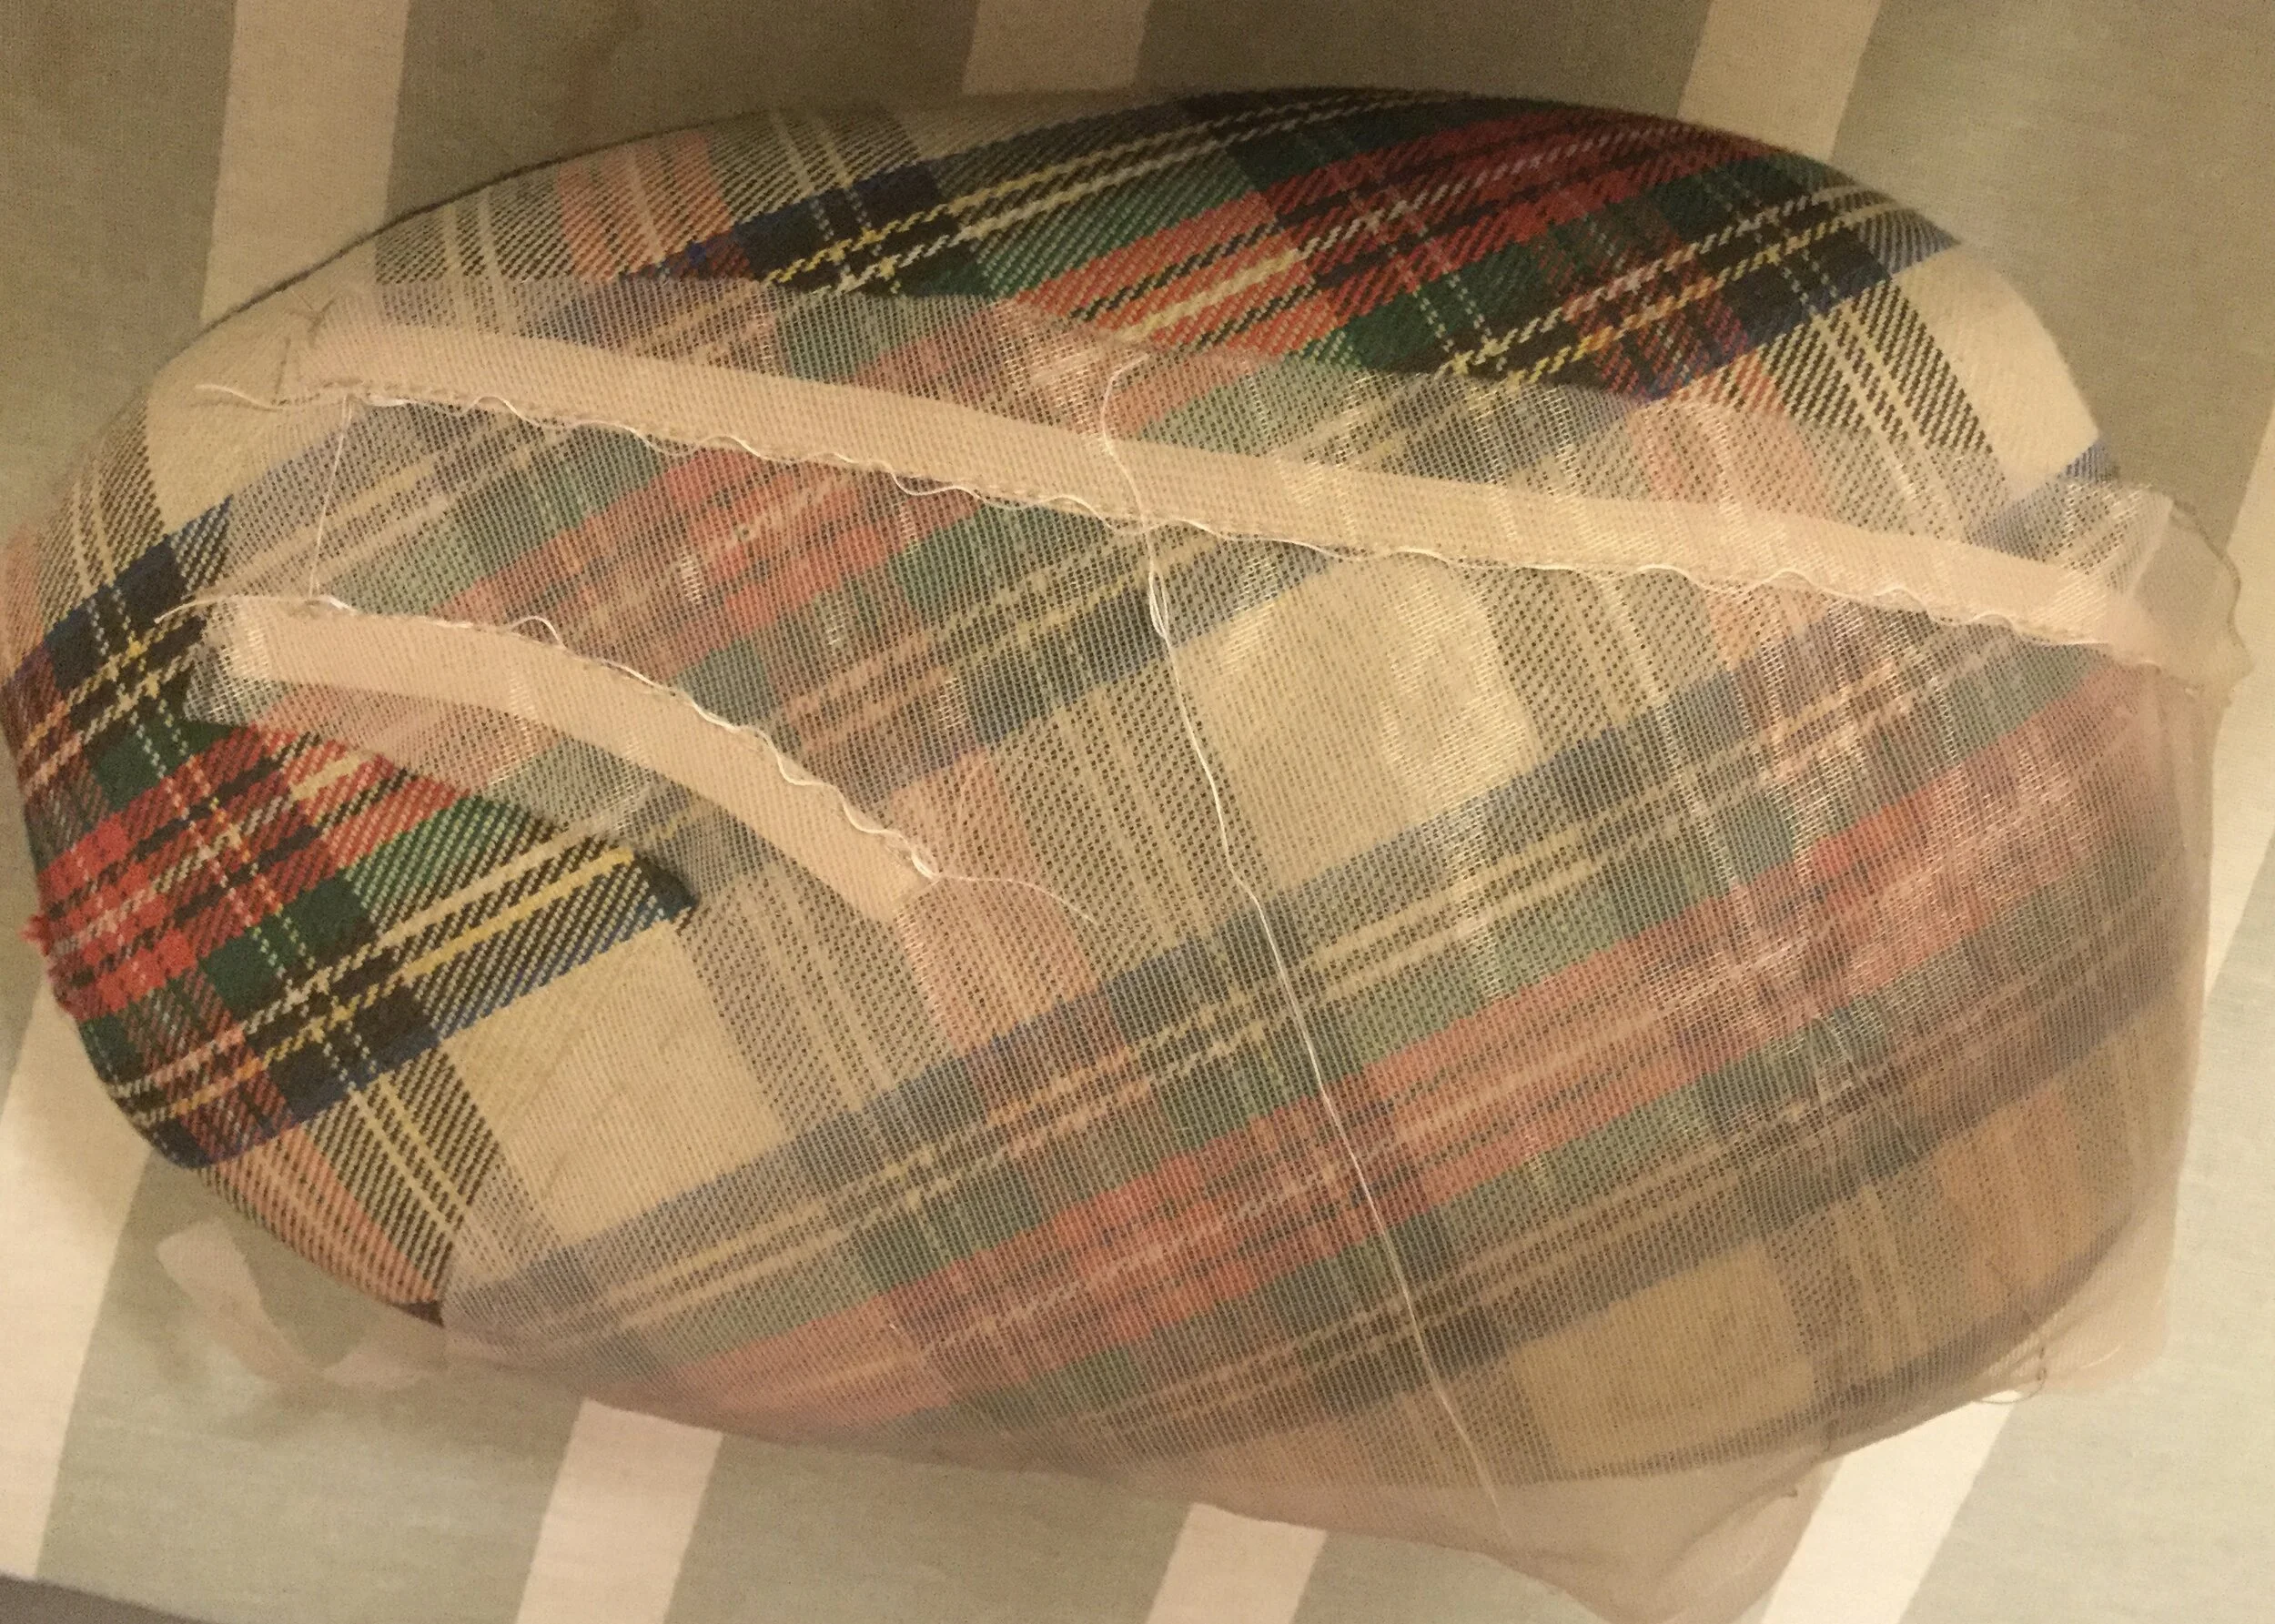
While the second mock up was fitting fairly well and looking a lot like the design, I did end up with a long list of little alterations to make, including forcing out darts on the back along the top edge and at the waist, as well as reshaping the strap and neckline of the bodice foundation. The trumpet shape of the skirt was also quite extreme and looking a bit silly so I reshaped the side seams to soften it a bit as well as opening up and reshaping the train. I decided to cut a third mock up, which was perhaps not strictly necessary but I guess I was suffering from an excess of caution. This also afforded me the chance to use some beige fabric for the bodice foundation which would match the beige of the mannequin and preview the illusion I was hoping to achieve with the free standing bodice.
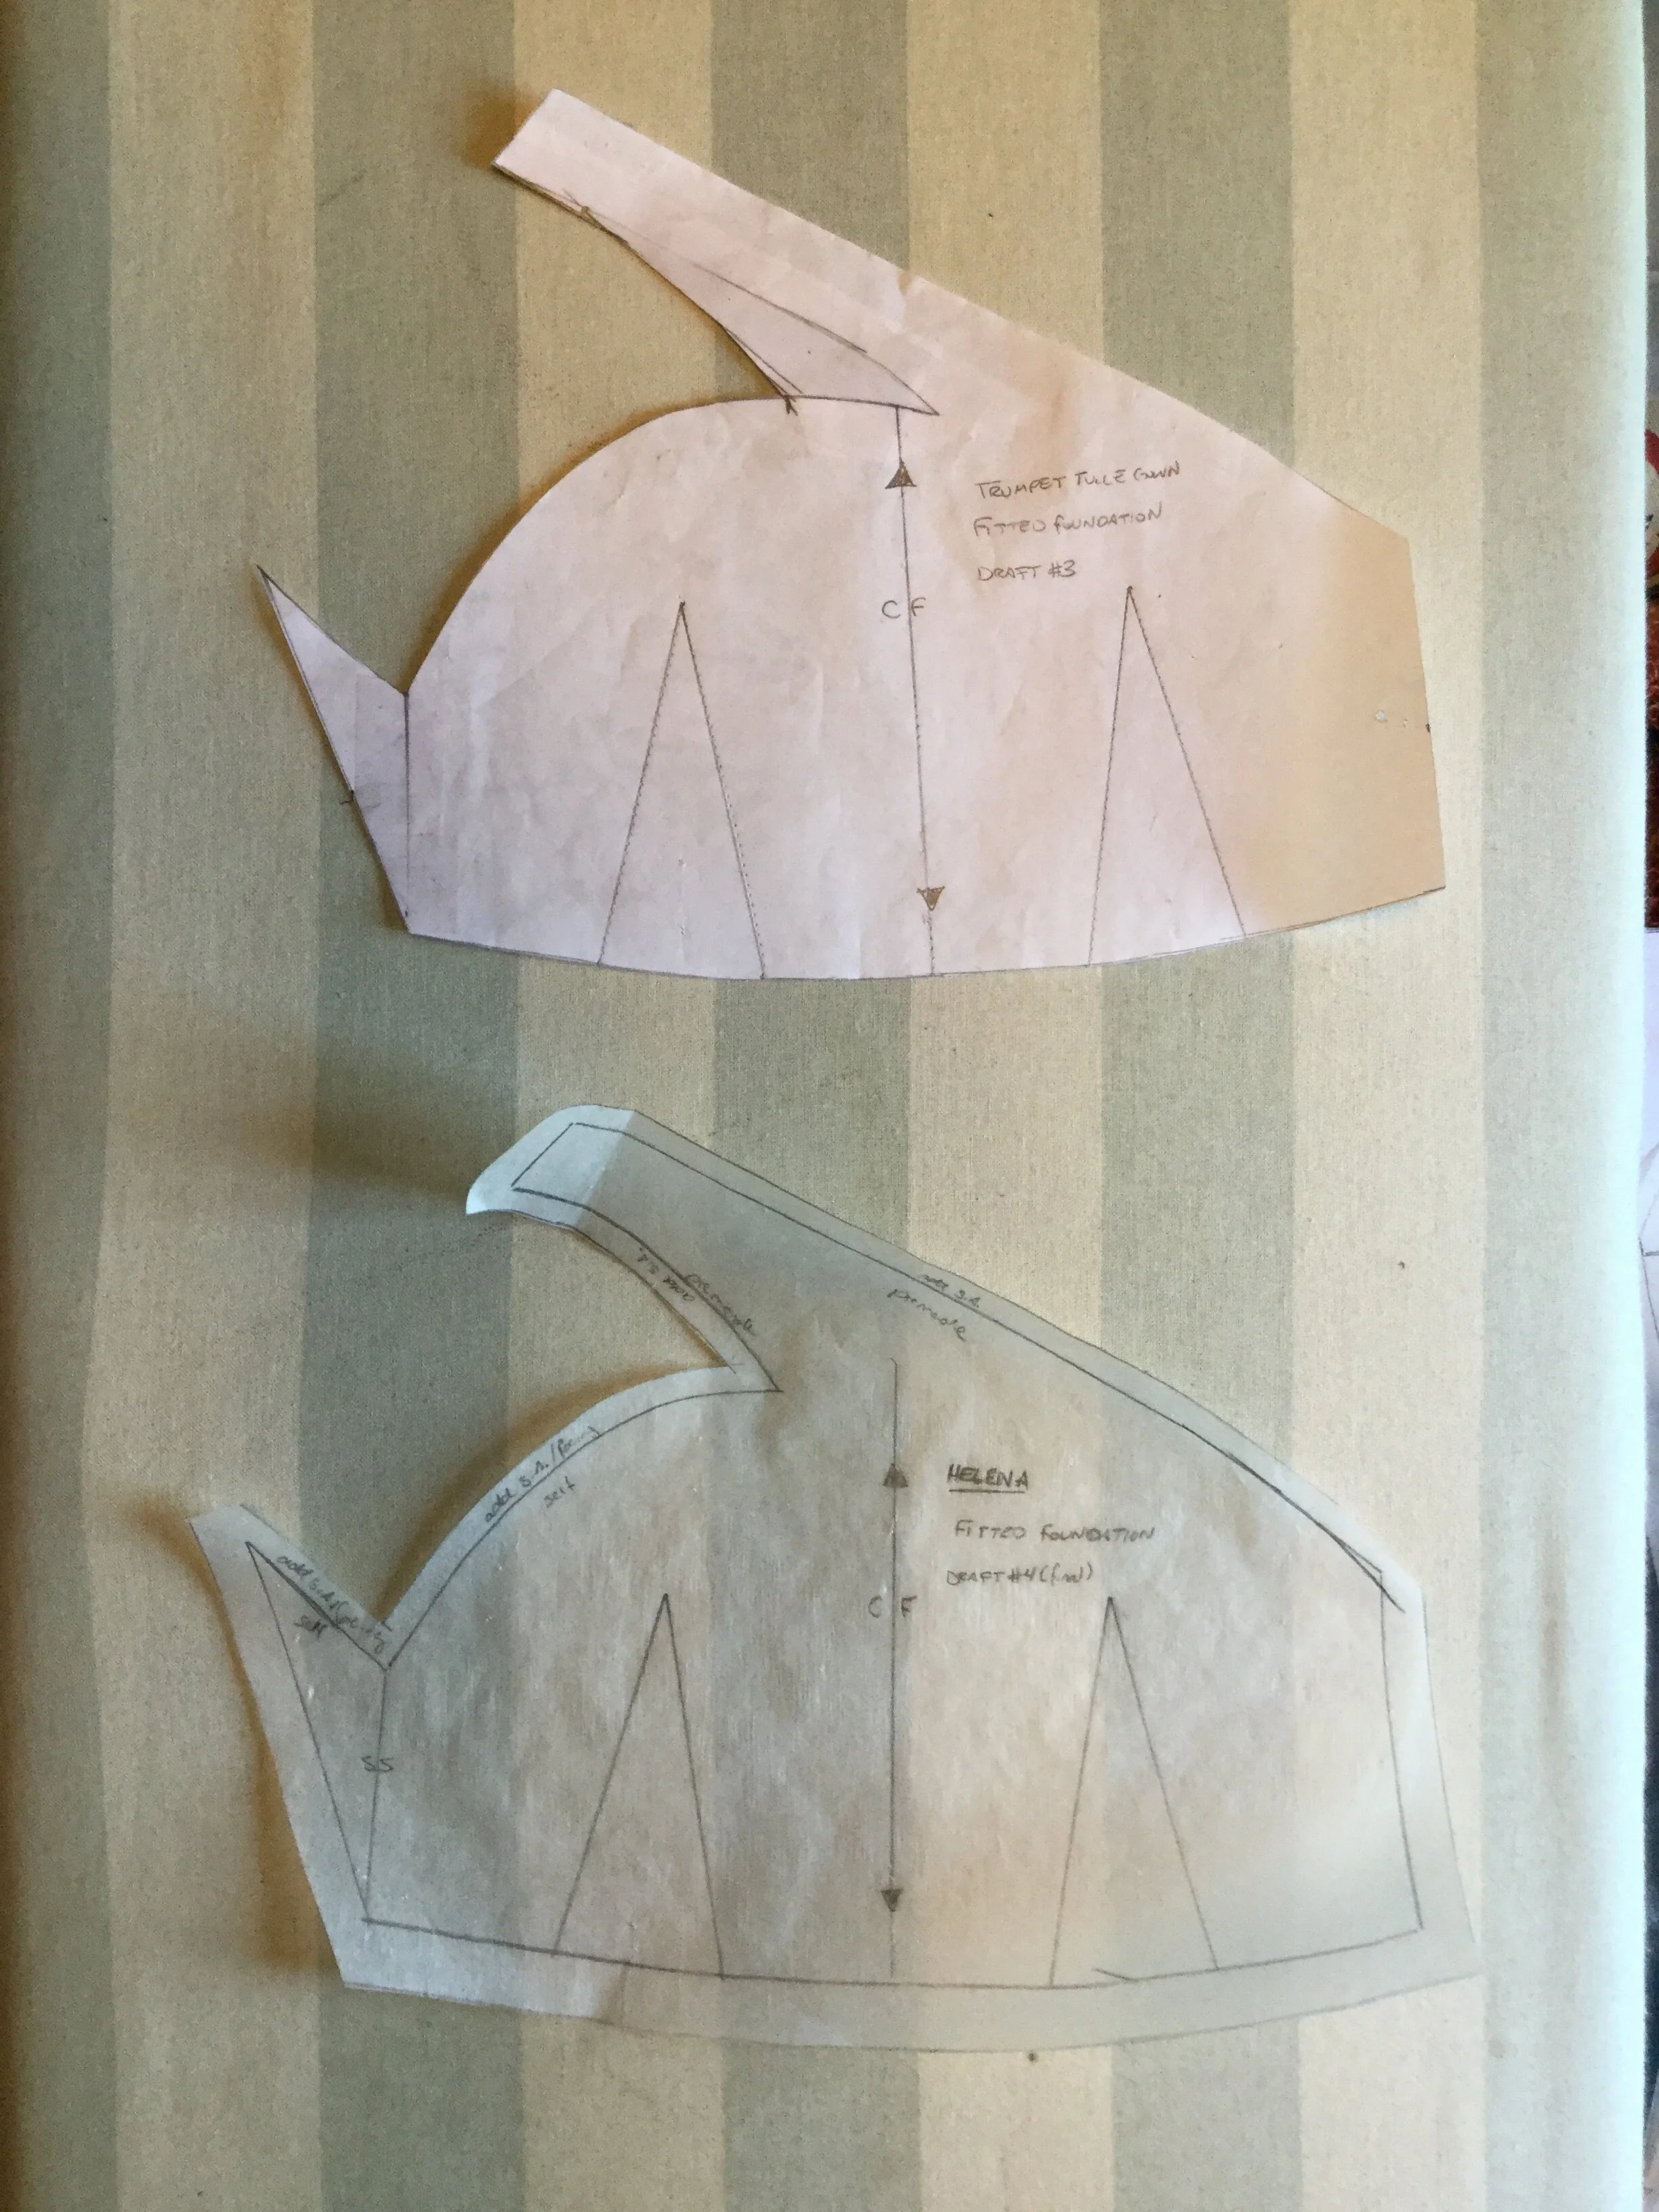
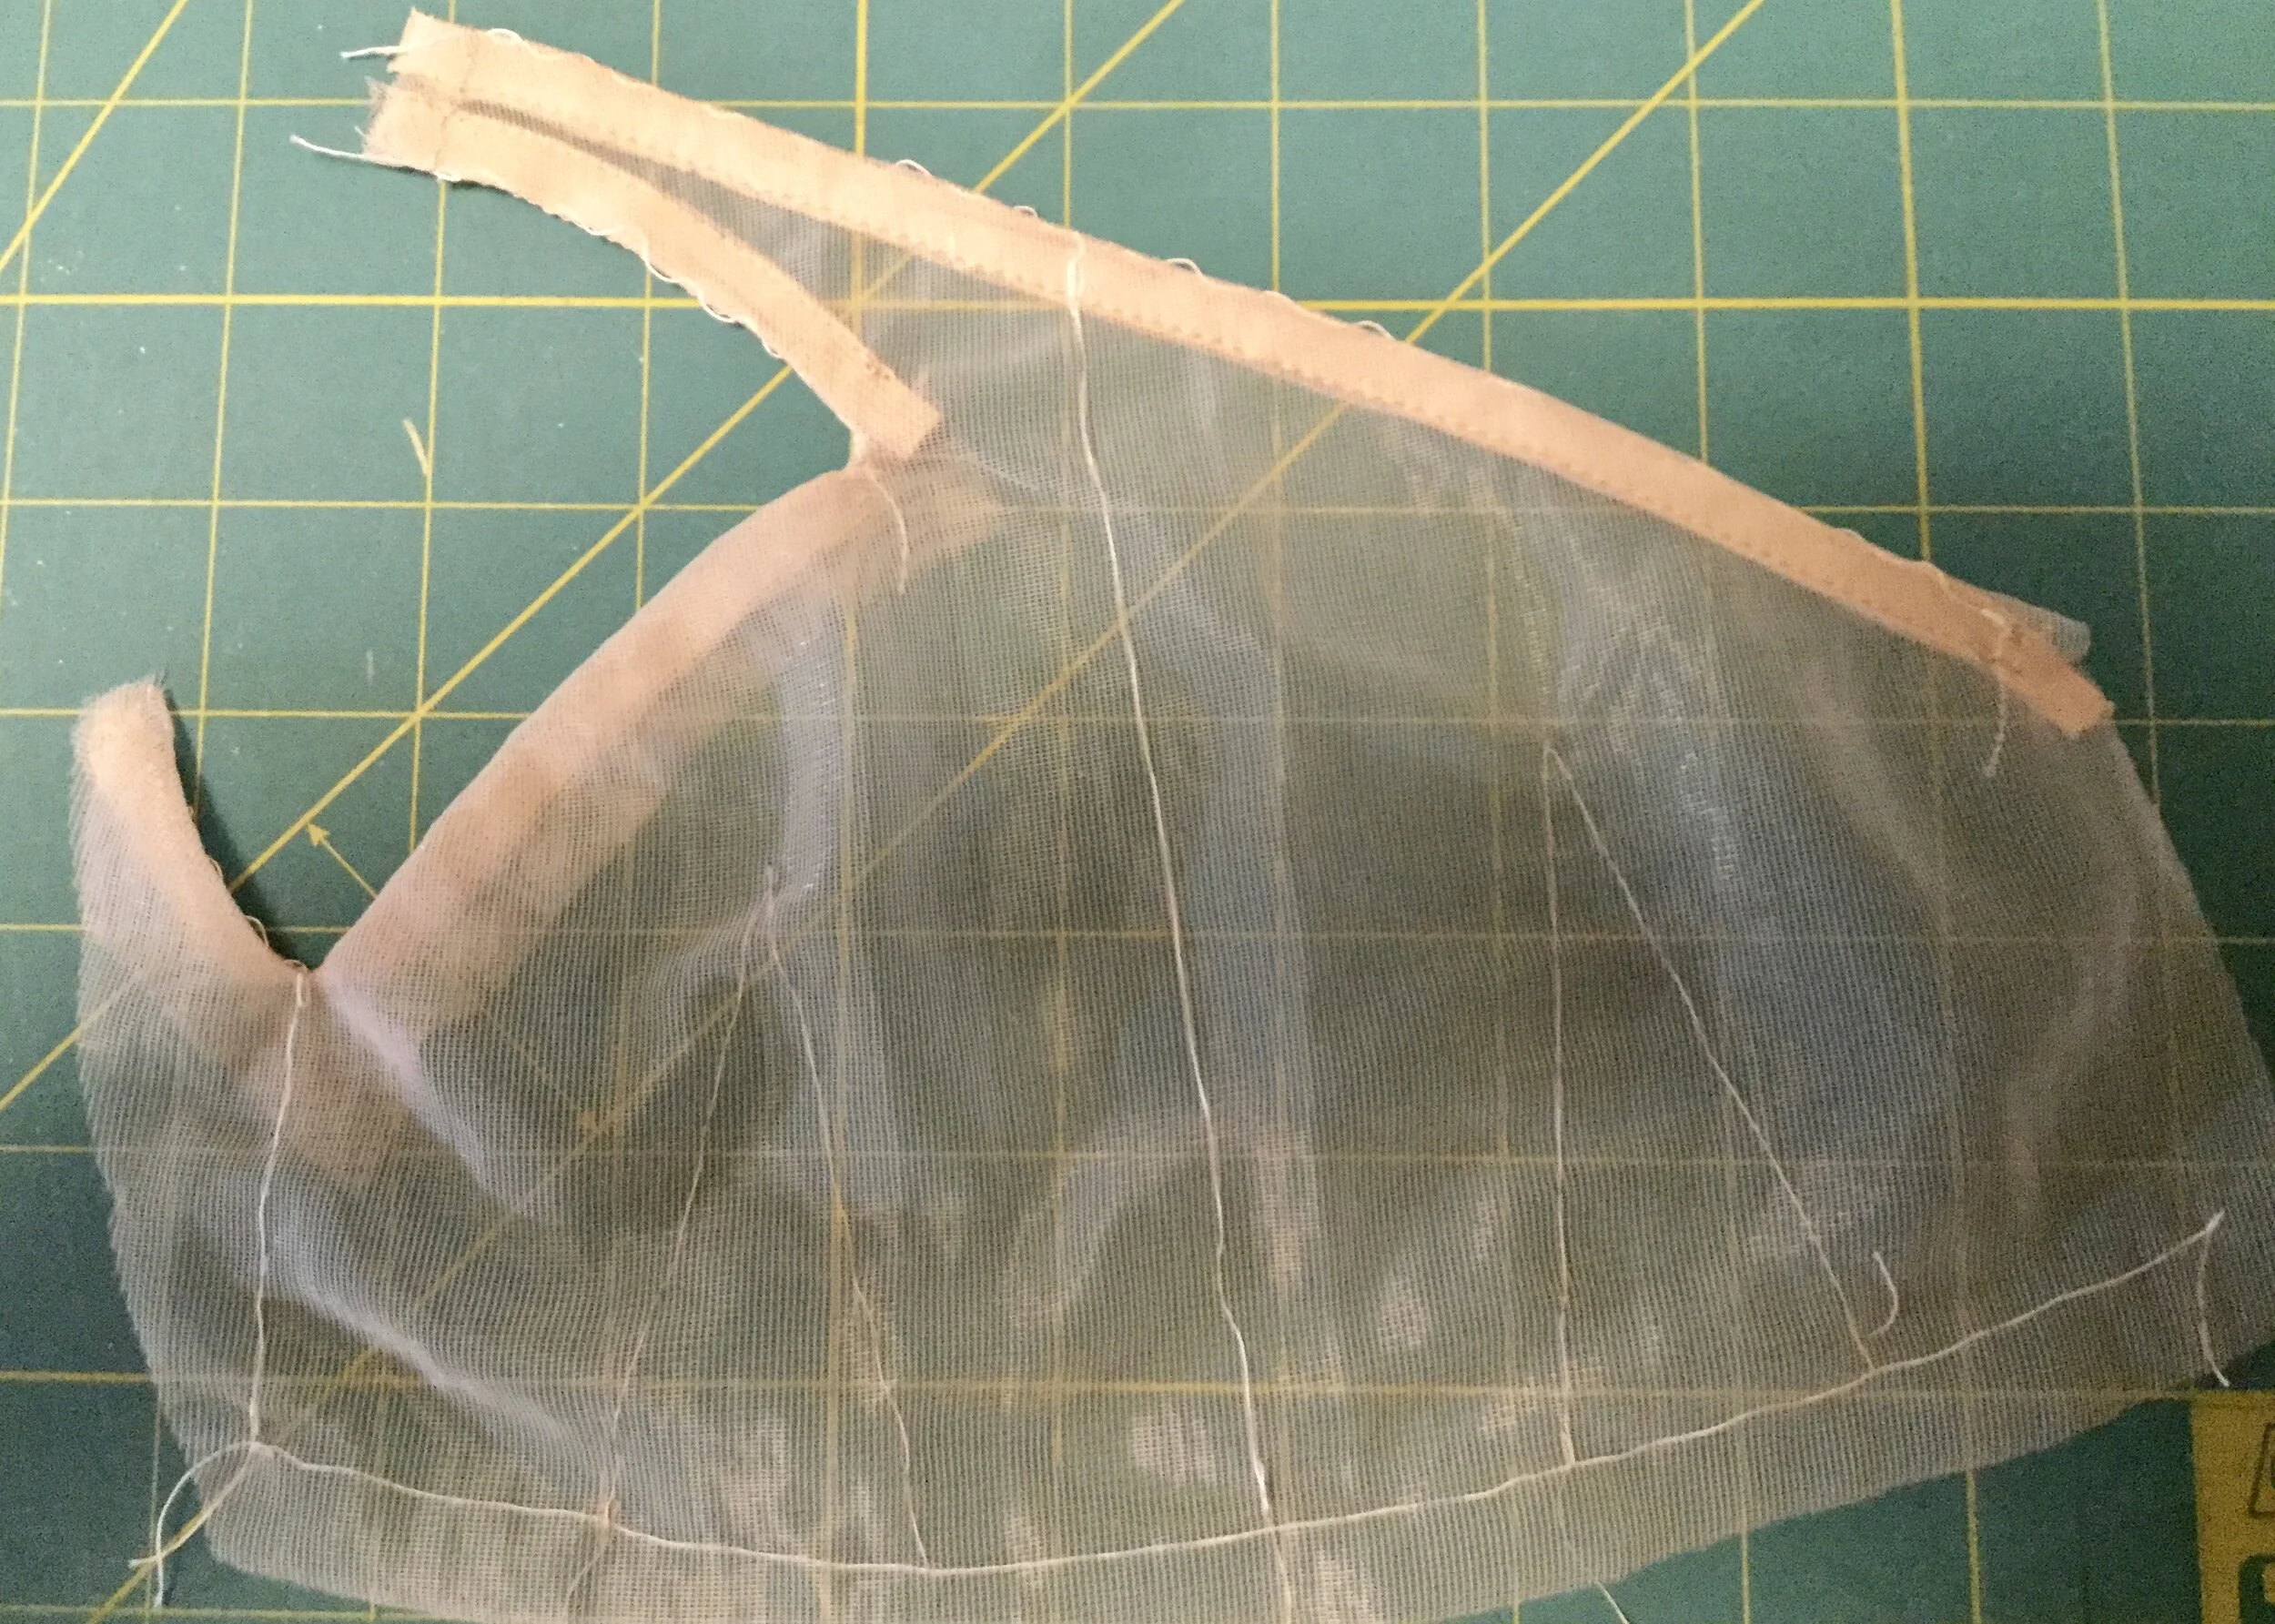
Redrawing the right side of the foundation.
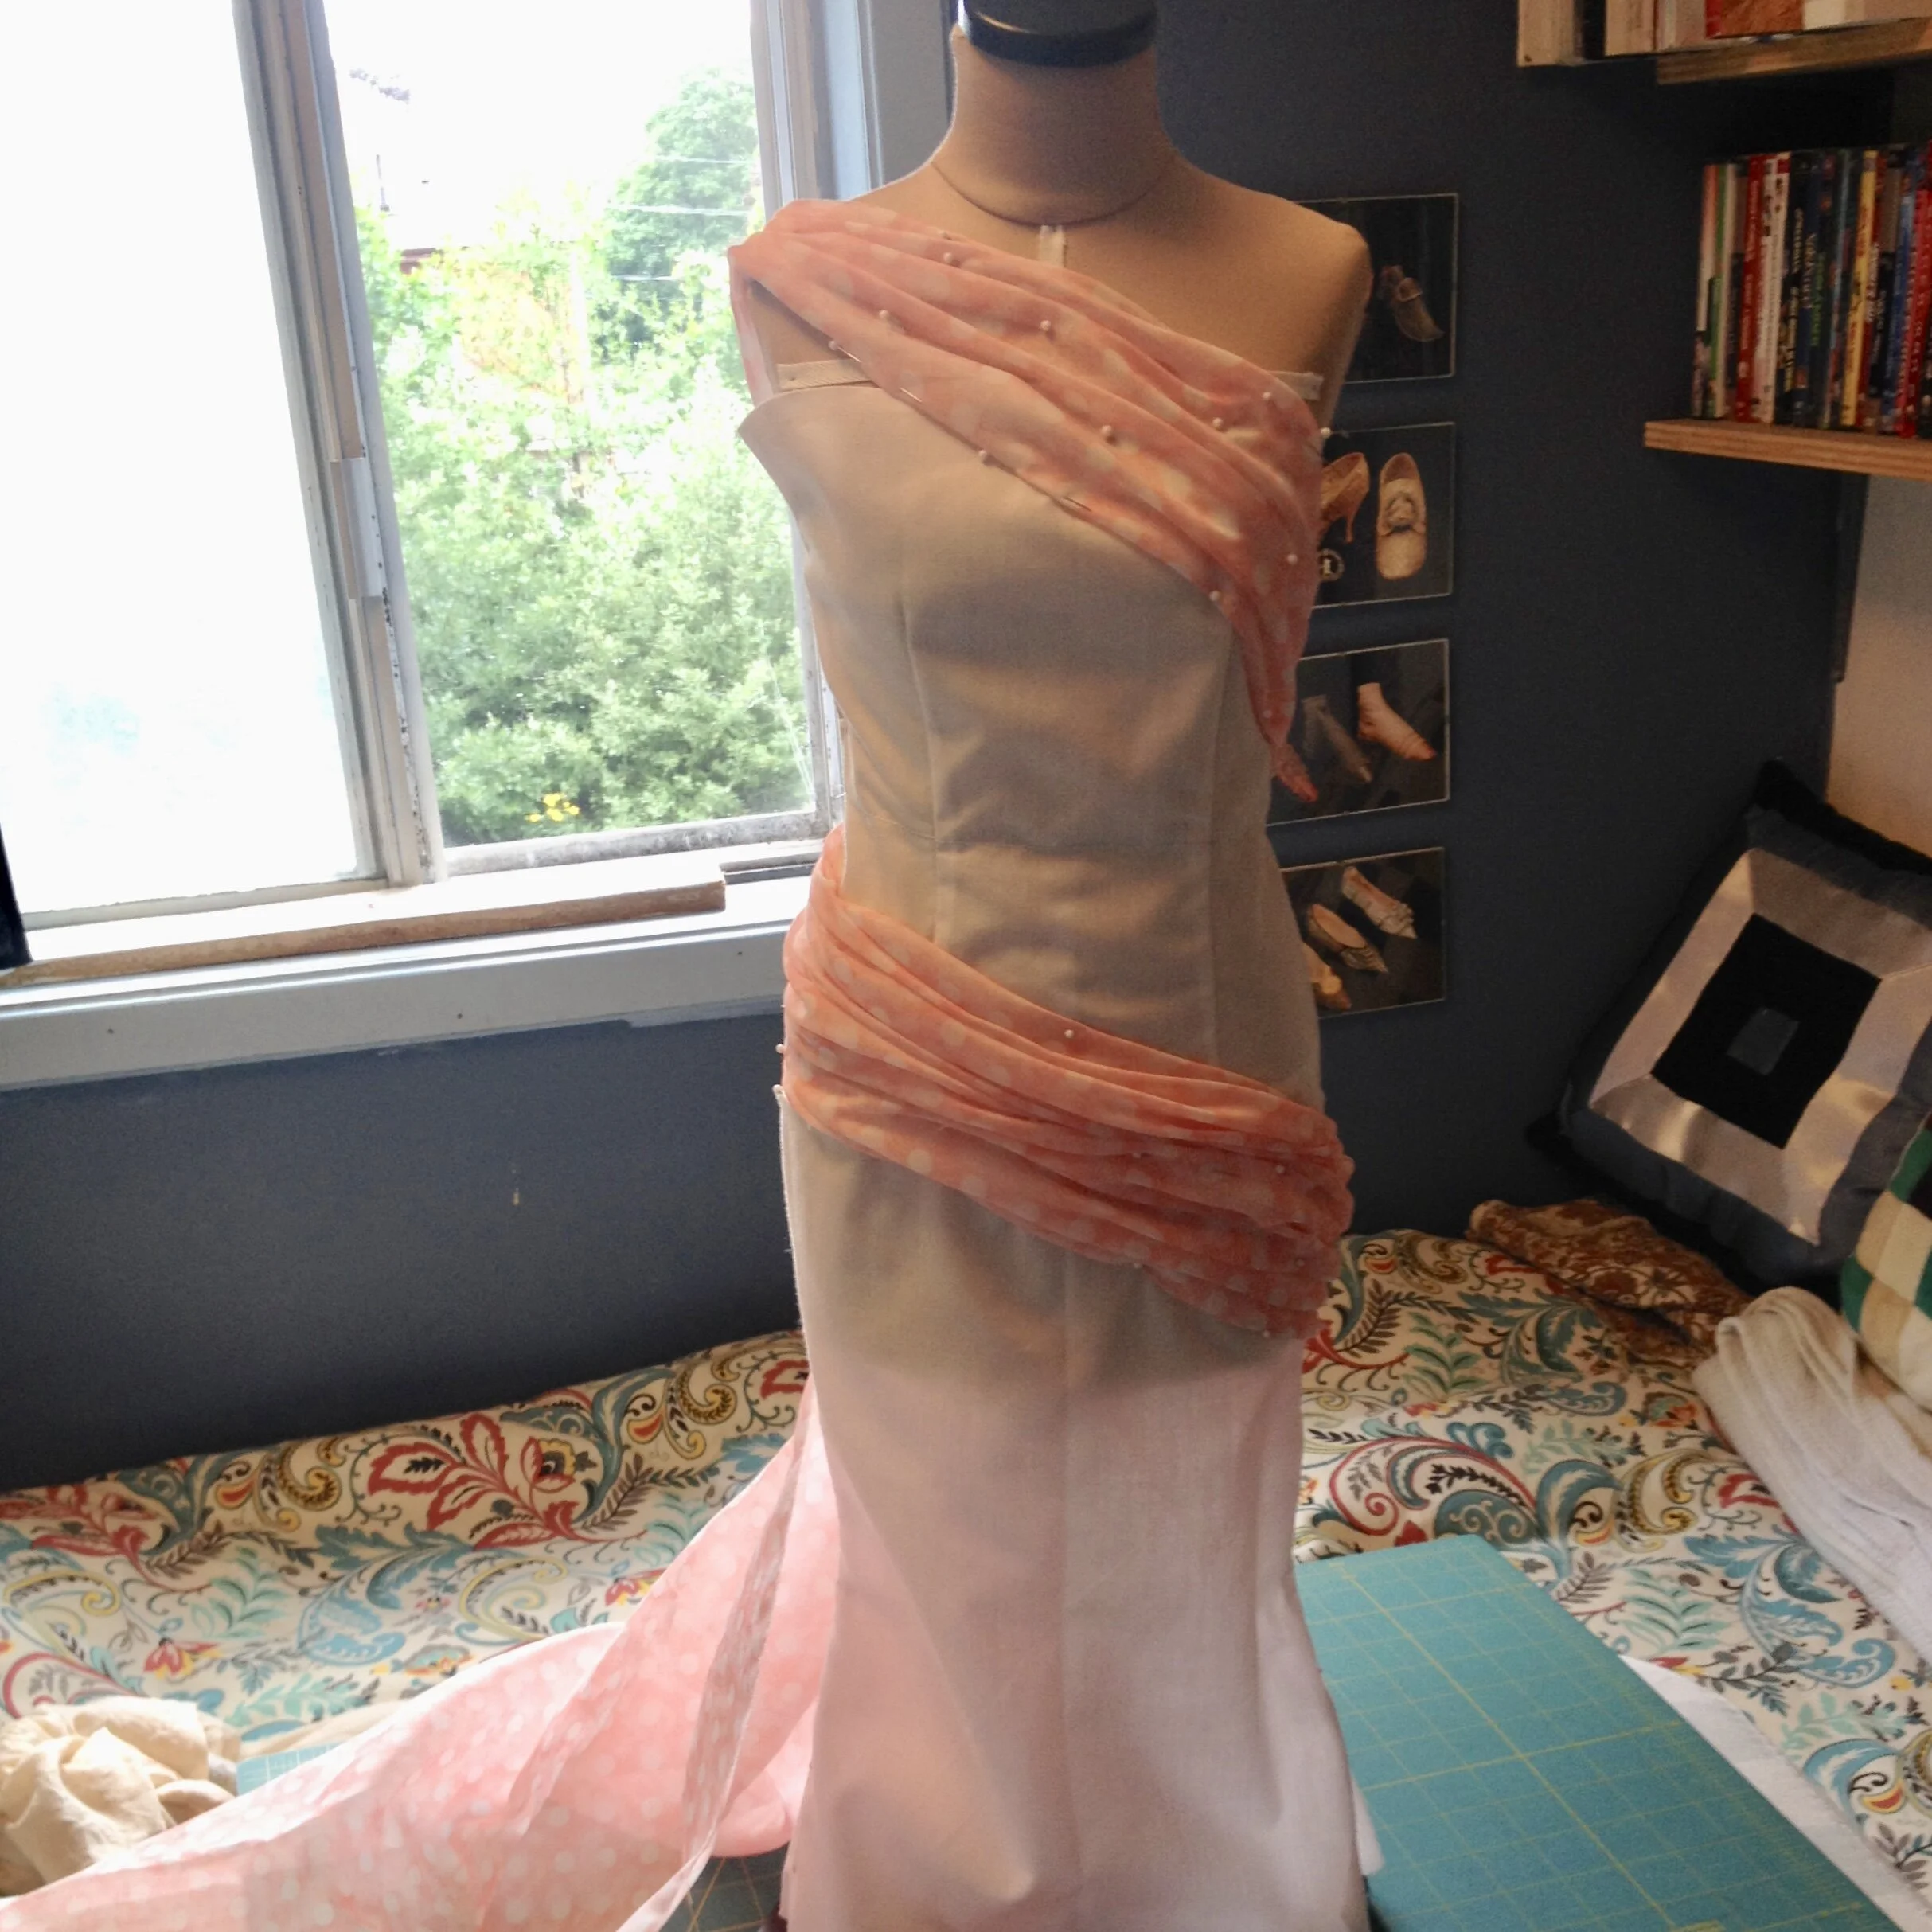
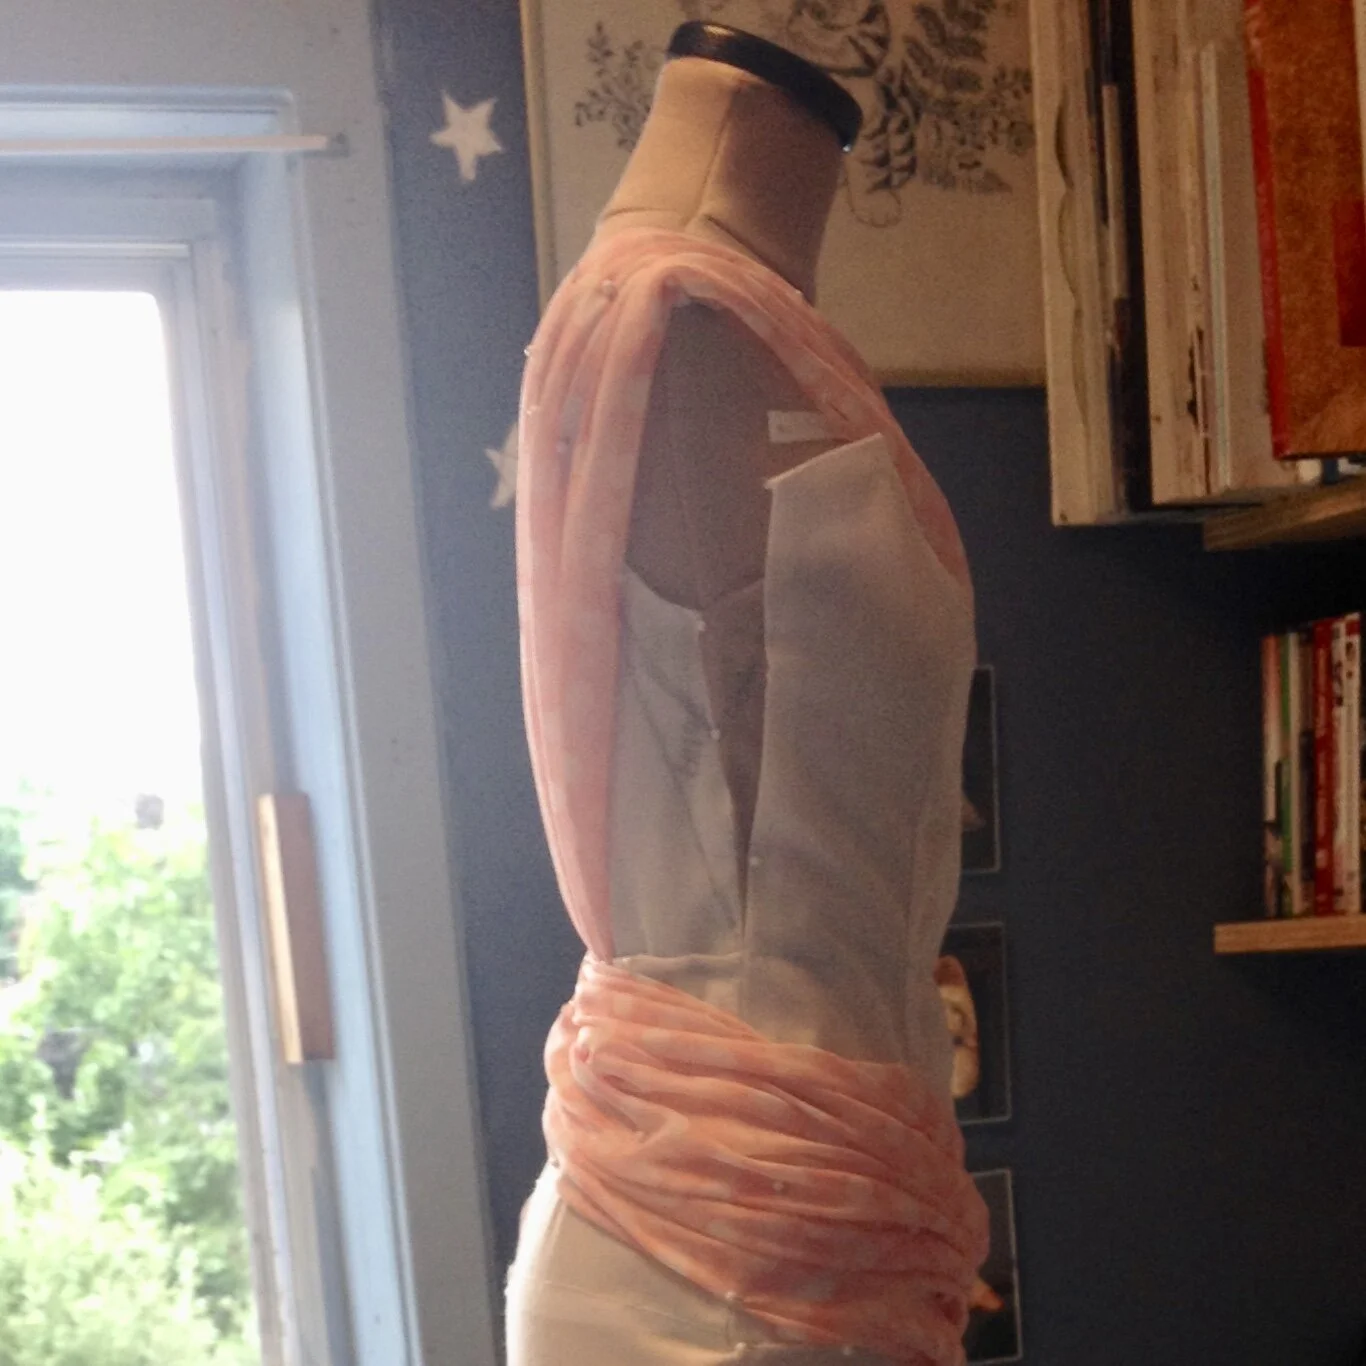
In the end, I'm glad I did this as I ended up reshaping the right side of the foundation where it meets the back to make the transition from one to the other less abrupt. In hindsight, I wish I had done this for the left side as well, but I hadn’t settled on fabrics yet and thought the left side wouldn’t be visible. I also took the opportunity to experiment a bit with the draping, using only the most attractive material the fine discount tables at Fabricland had to offer.
Sometime shortly after all this mock up fun, I did end up selecting my fabrics. When I drew my original sketch, I had kind of been thinking of it in white with a blue sash, but I did explore some other ideas and actually came to really like the idea of making it in a darker colour.
I settled on colours and fabric when I happened upon a bolt of a matte satin in navy blue (on sale too as a nice little bonus). Frankly, when I found the satin I didn't immediately think that it would be perfect for this dress so much as “ooh pretty, I'll have that.” I bought some on spec and decided later that it would be good for this project. I really enjoyed working with the matte satin; it has a nice medium weight and stiffness which suited the design quite well and it's not as slippery and wodgy as other satins. I also enjoy that the shine is subtle and ends up looking a bit richer than a bridal or crepe back.
For the sash, I wanted something that wouldn't be too bulky on the strap and around the body but could also provide some nice volume for the train. I found myself turning once more to my old friend ombre tulle; this time in a green and white colourway which I backed with silver.
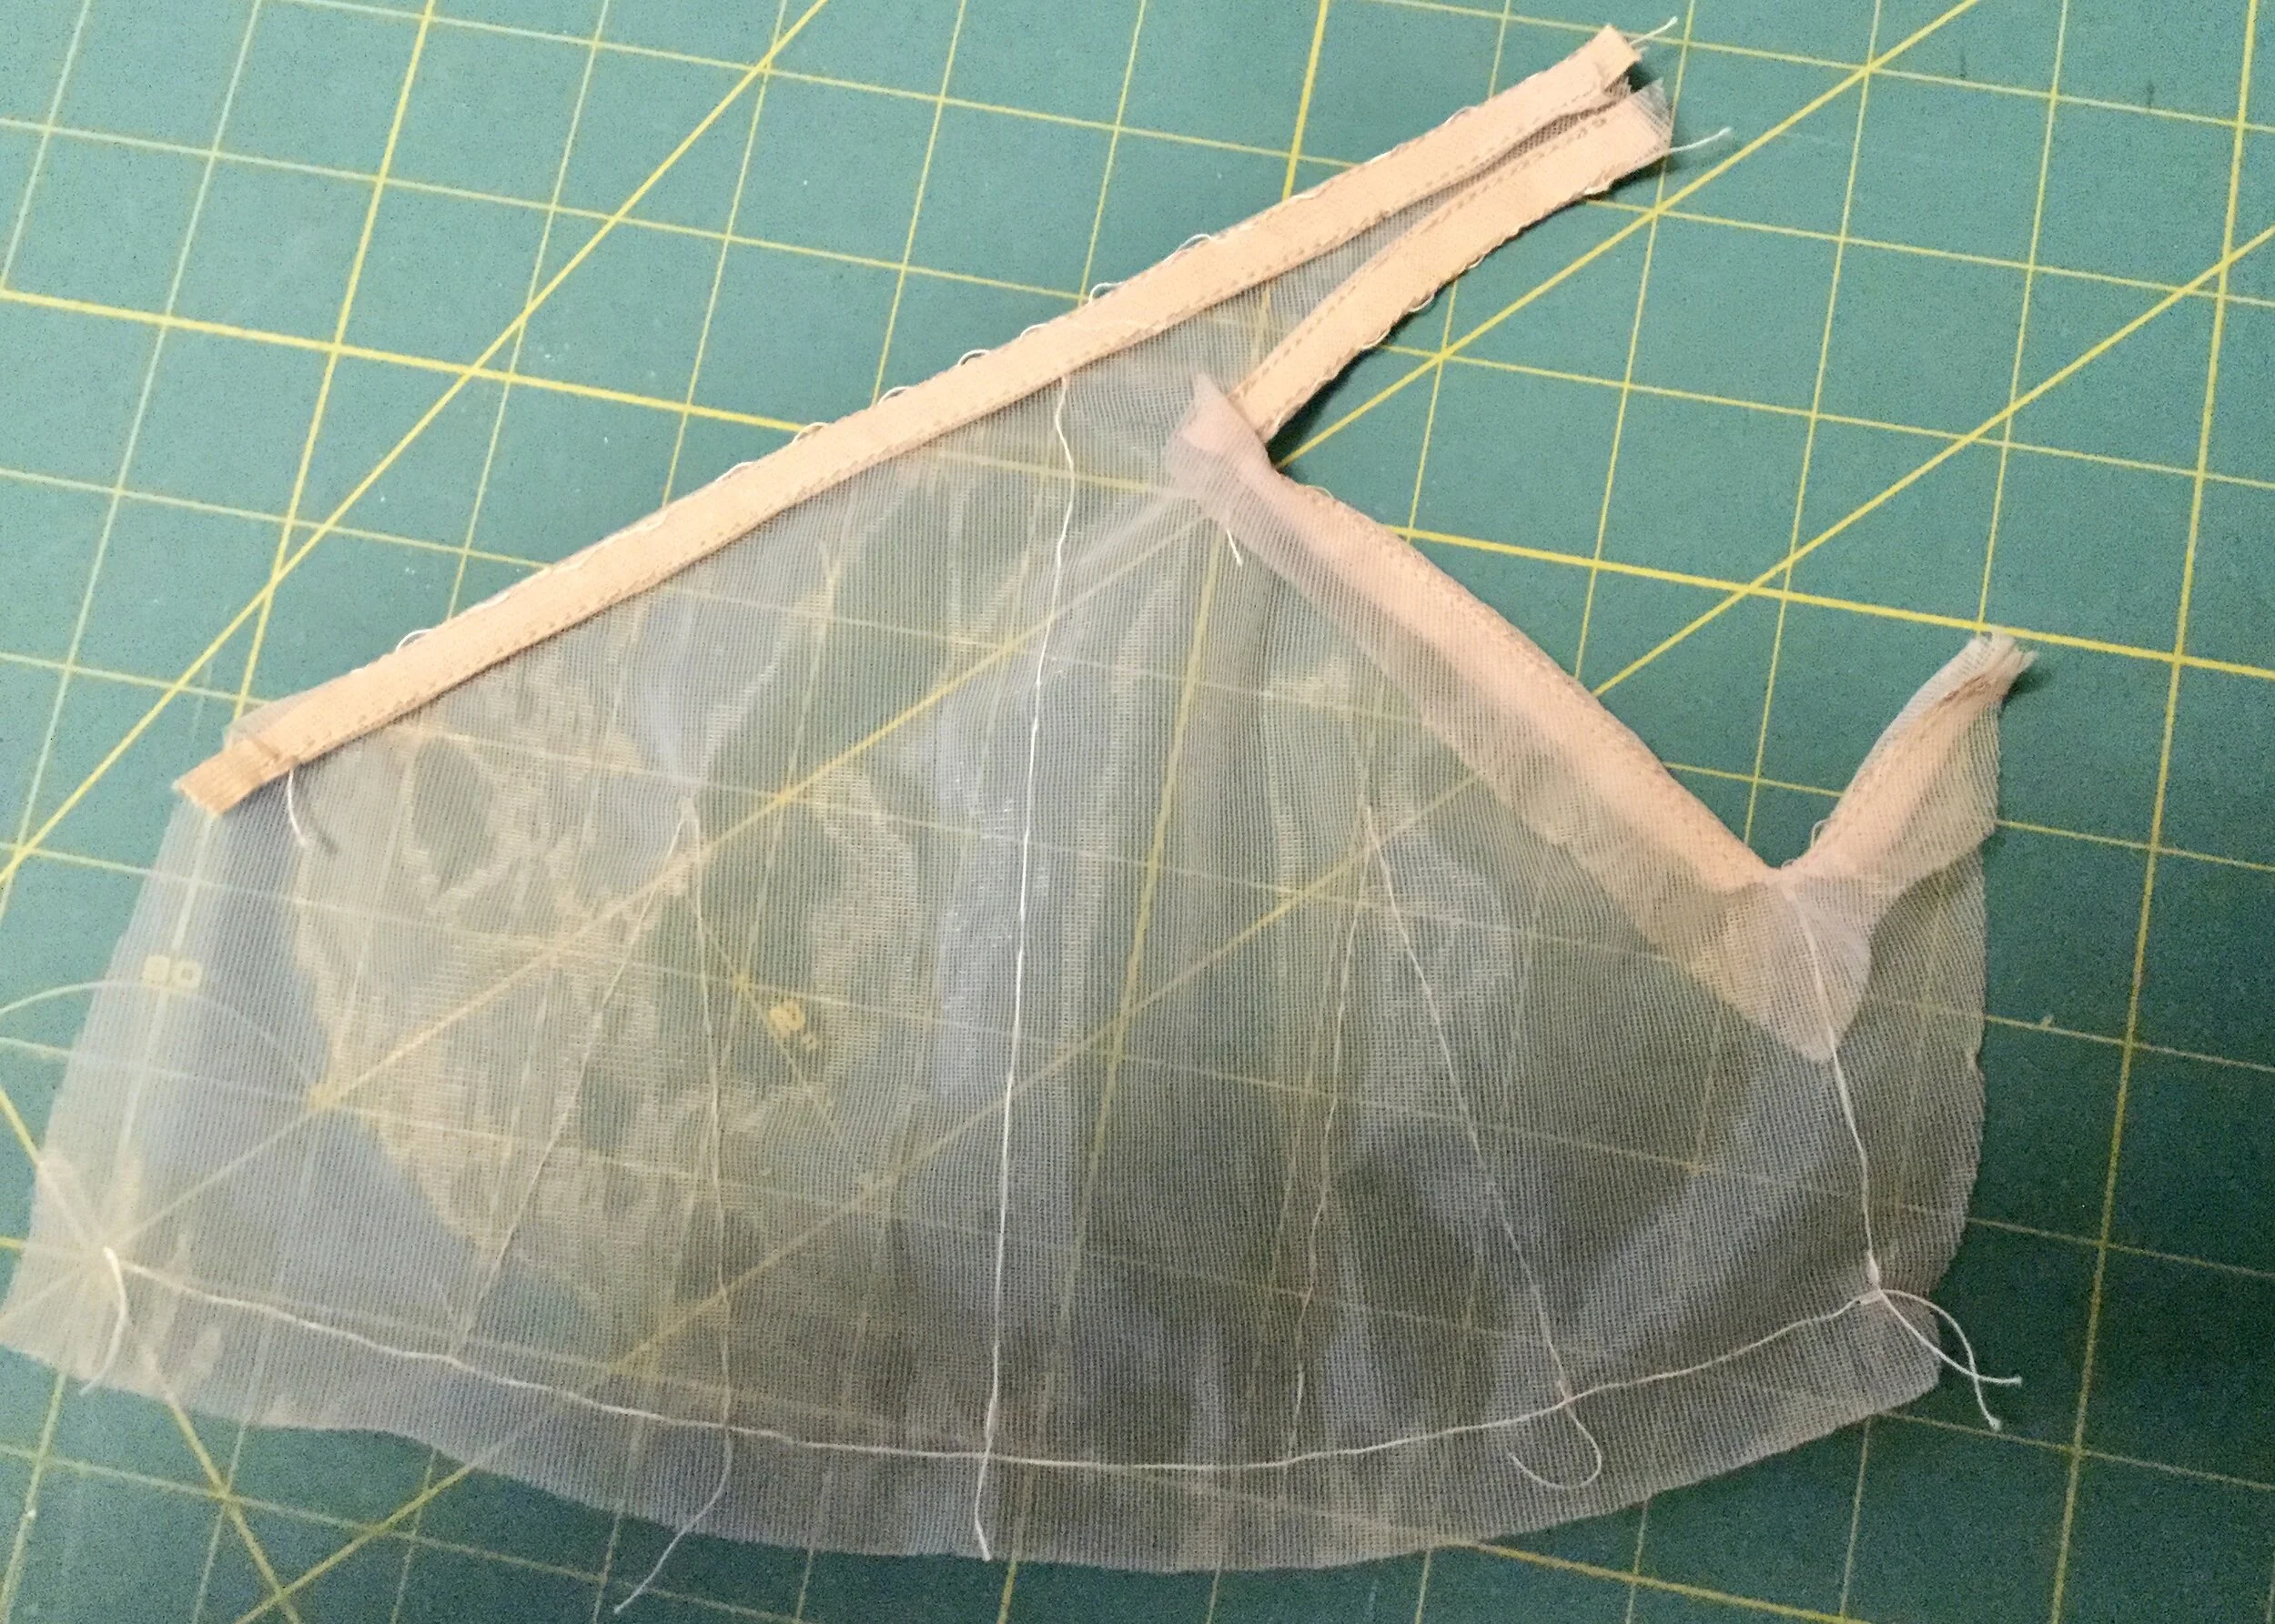
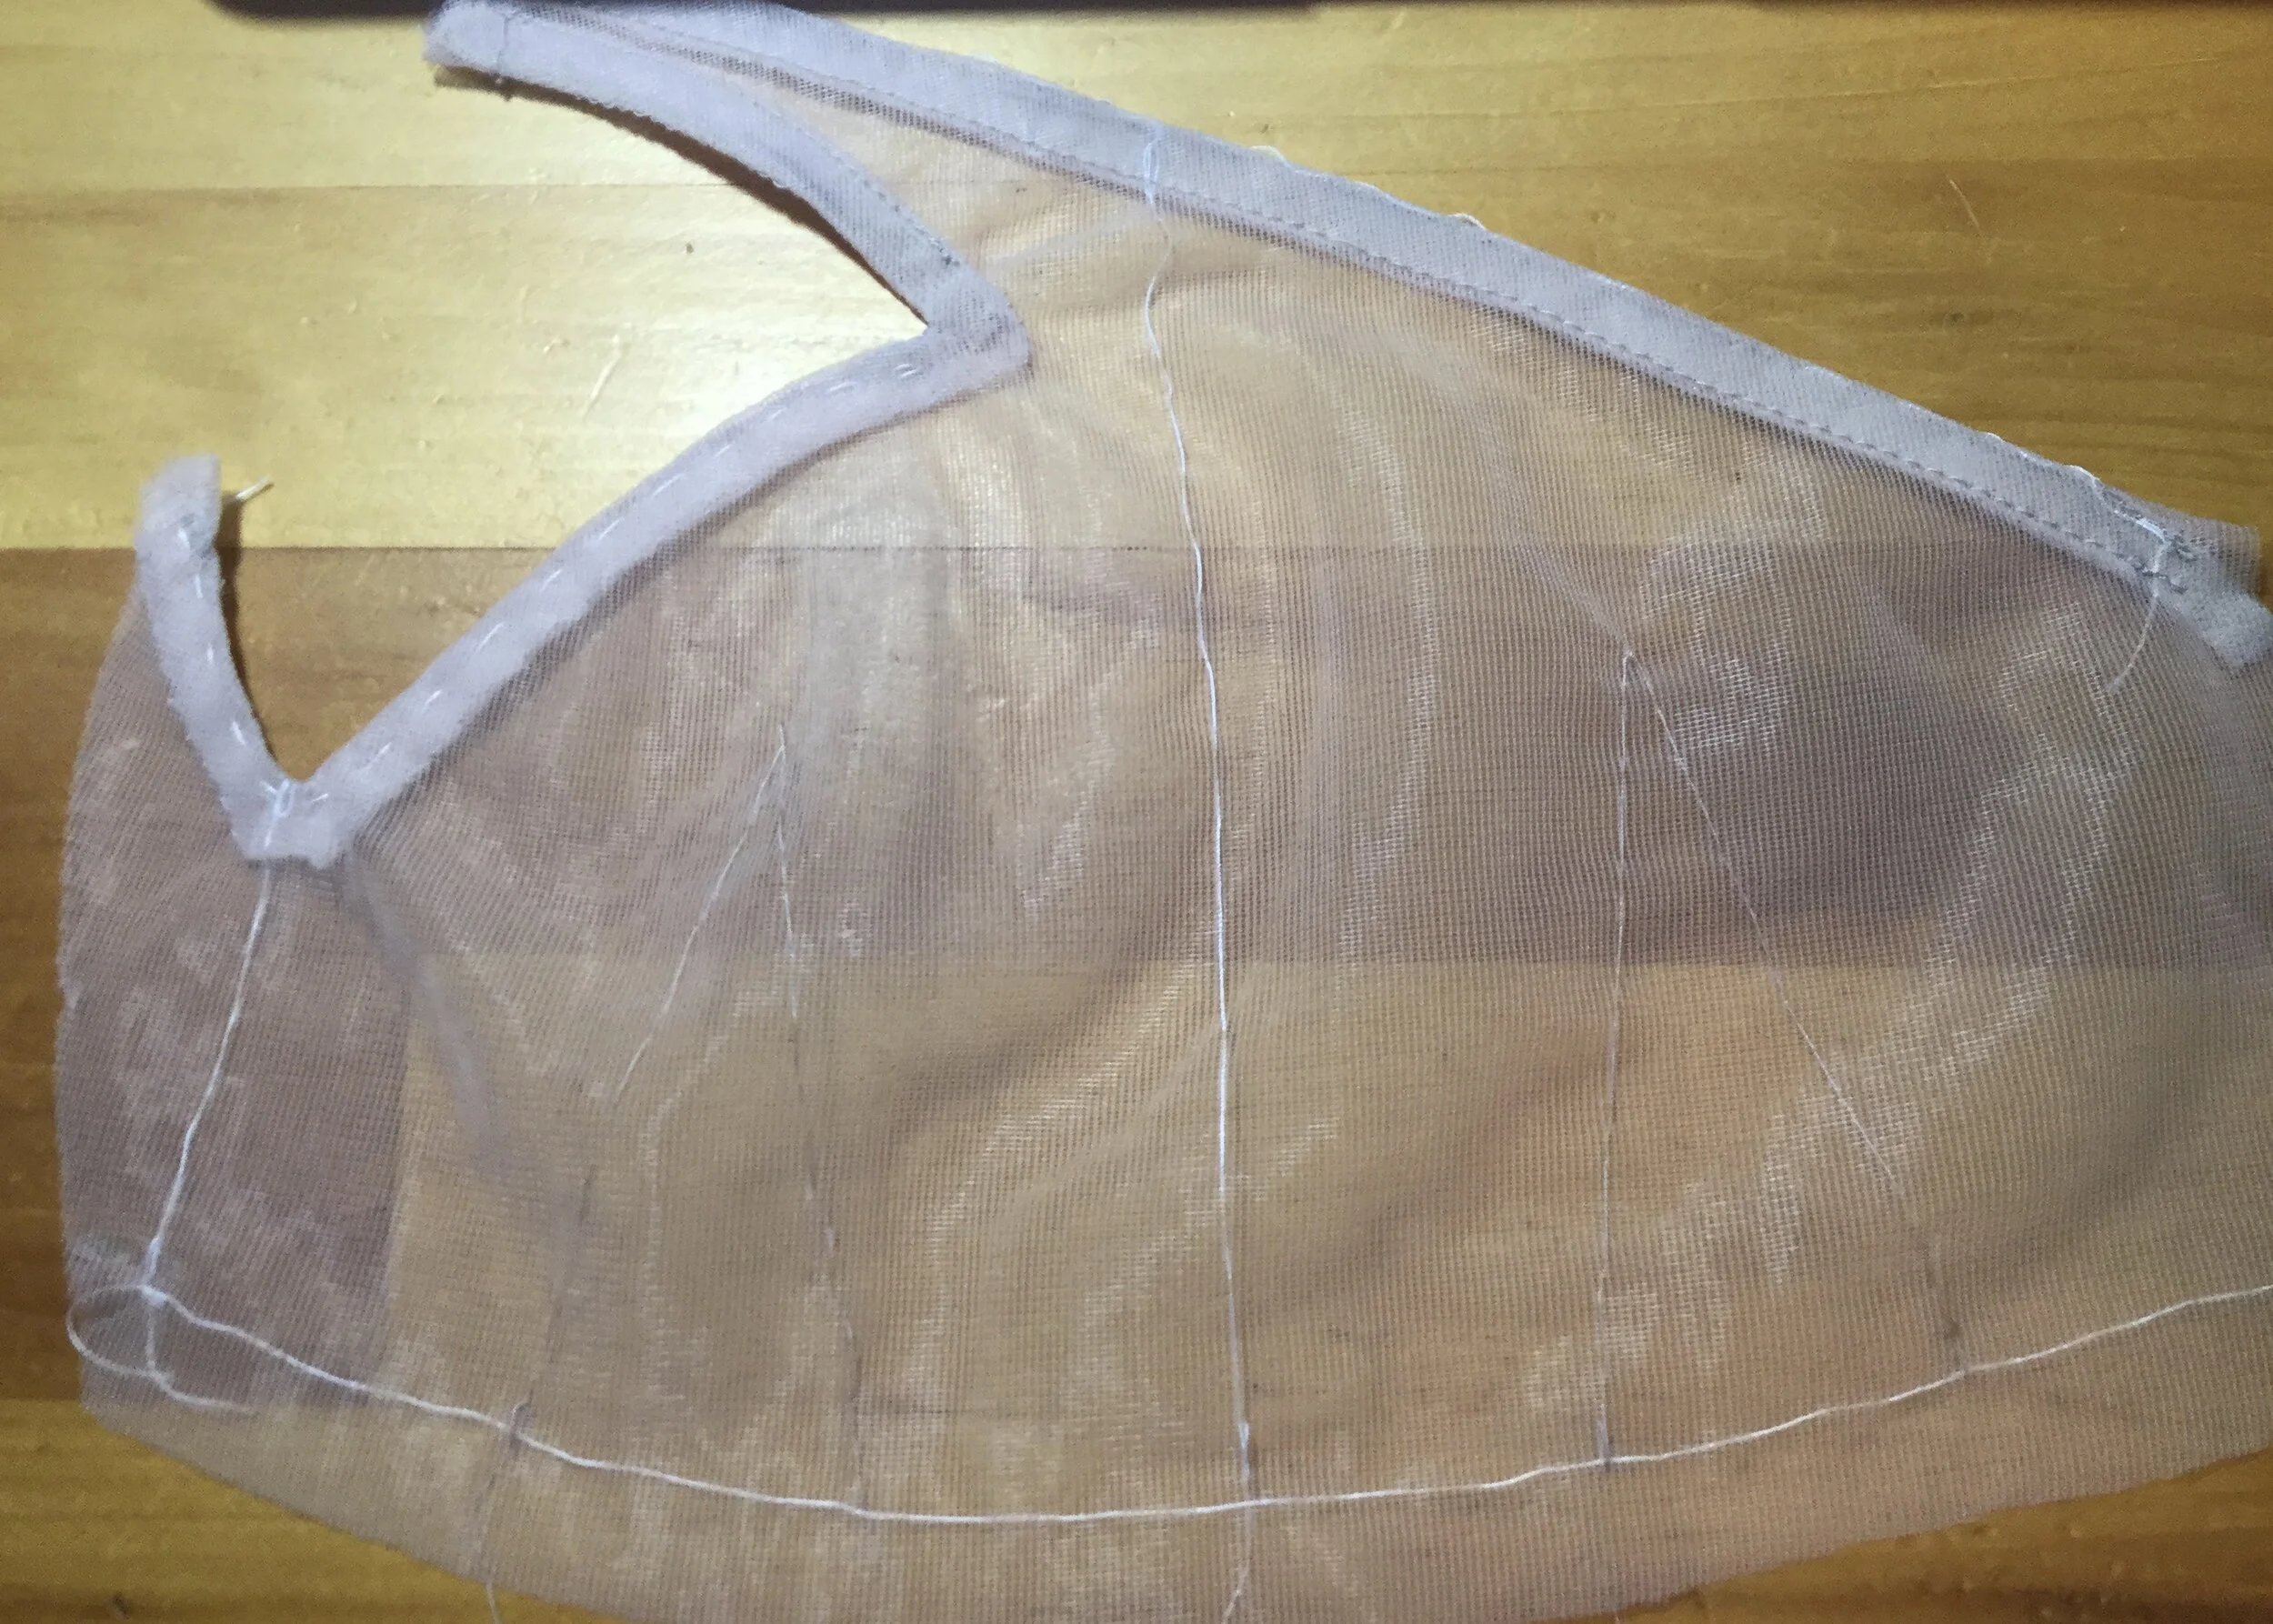
The first part to be constructed was the foundation piece. For this part I used a piece of sheer, beige bra lining I had in my stash. To stabilize the edges of the strap I used some beige tape I had lying around (I always get it in bra kits but can't figure out where I'm supposed to use it as there are no references to it in the instructions). While applying the tape, I eased it in a little along the top edge to encourage the piece to curve around and into the body and avoid any gaping. To finish, I wrapped the seam allowance around the tape and machined it down. As this part would be covered with the sash fabric, I wasn't concerned about visible stitches or how heavy the tape looked.
However, for the underarm part, I wanted something a little lighter. I still wanted something on a straight grain which would prevent any stretching, but it couldn't be as heavy as the tape as it would be visible, so I cut some strips of the foundation fabric to use as a tape. I decided to face the curve over the bust and the V shape under the arm so that the raw edges from the necessary clips at the side seam and base of the strap would be covered. In the end, all these layers may have defeated the purpose of not using the tape, but the finished product does still look at least a bit lighter.
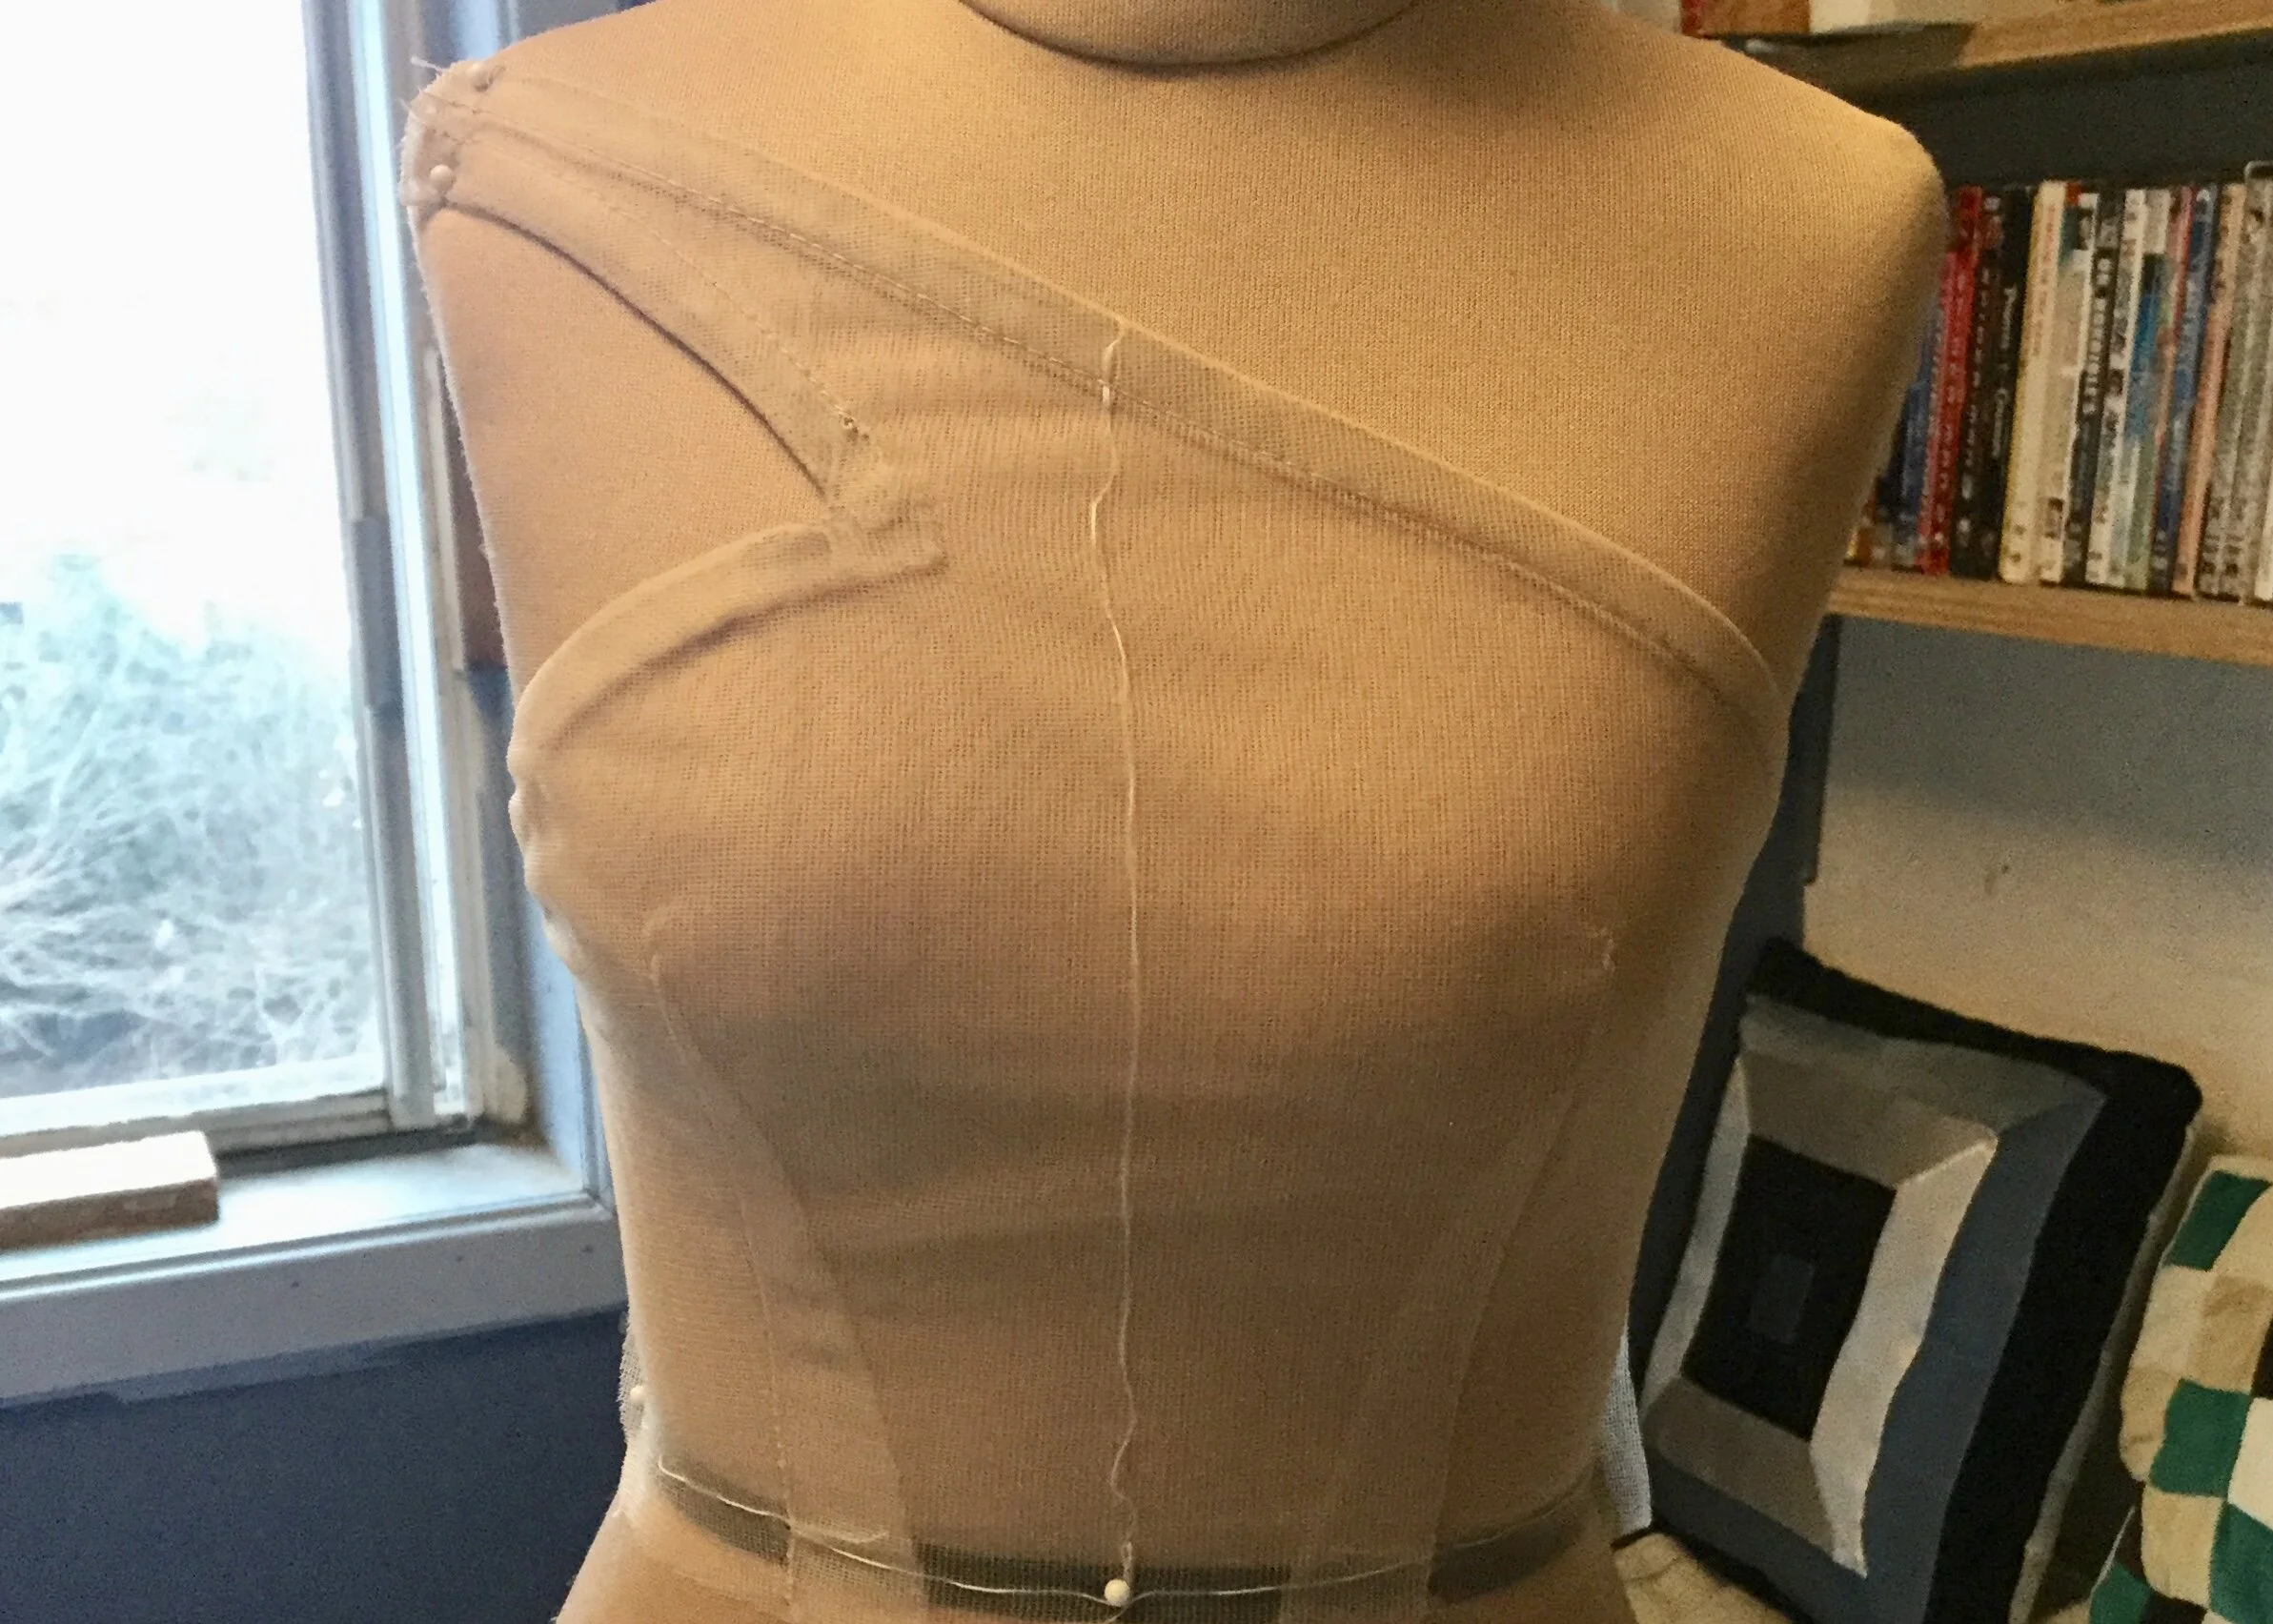
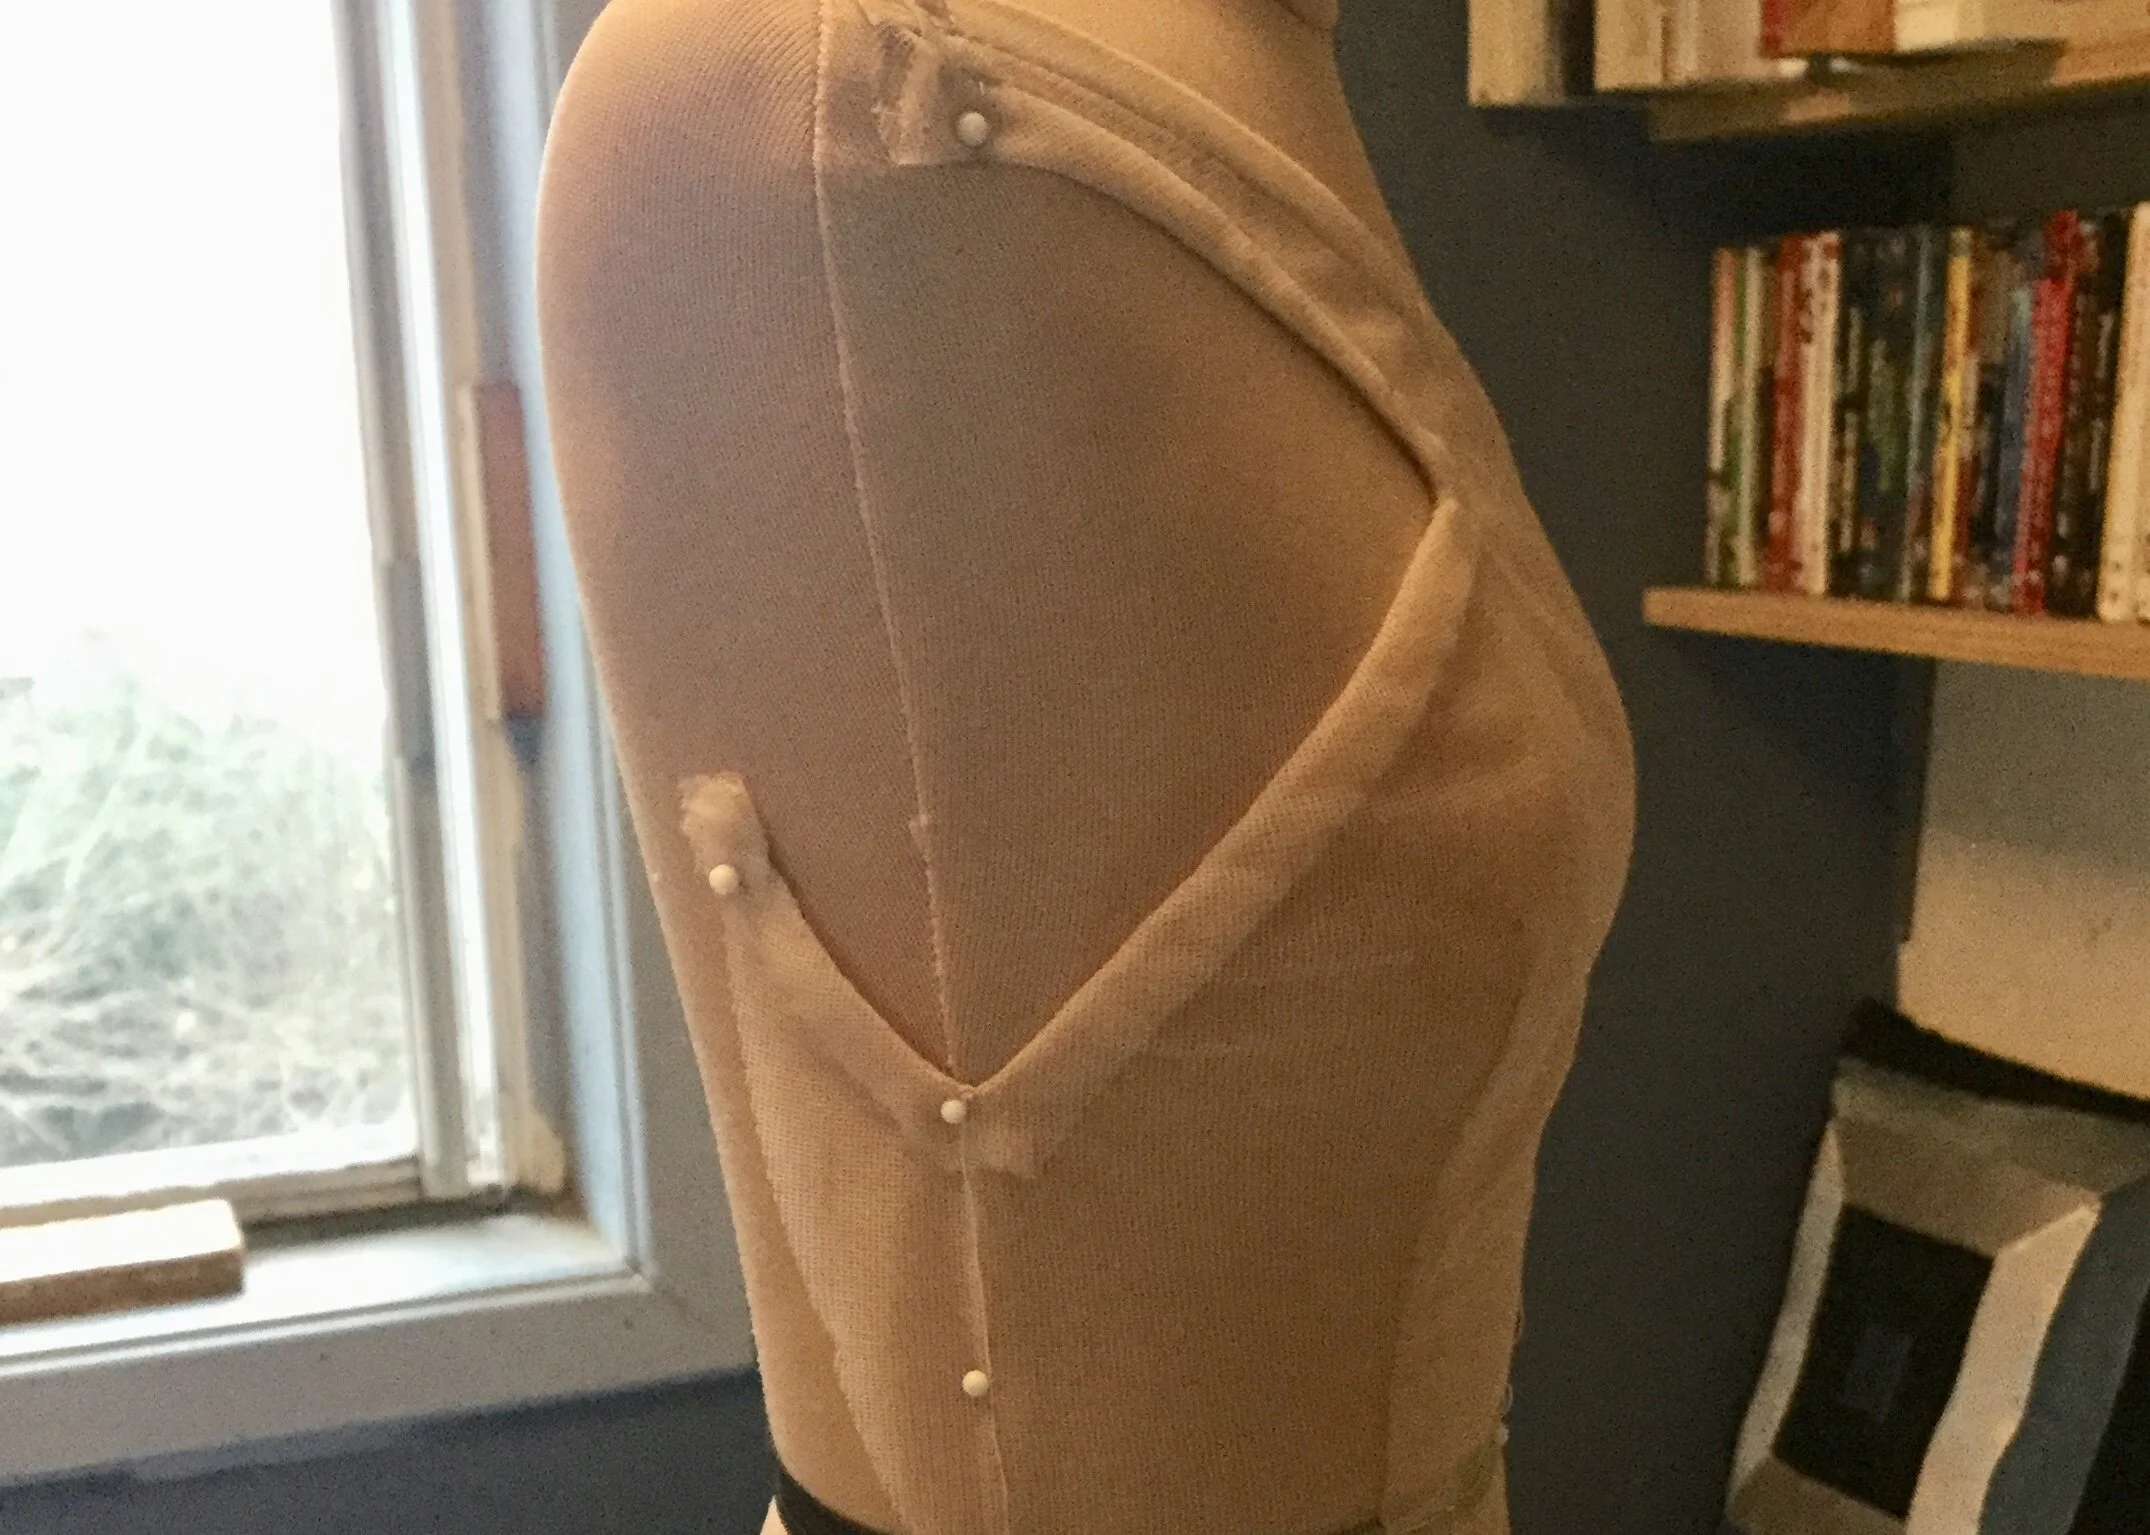
After closing the darts, I pinned the foundation in place on the mannequin and was pleased to discover that it fit quite well; all my careful taping and easing had worked and the edges of the foundation were hugging her tiny curves quite beautifully. If I was to build this in full scale, I might have chosen a different material or found a way to include a little more structure; possibly backing part of the piece with a heartier fabric and even finding a way to build in some cups. I was a bit worried that I should have cut the strap a little longer over the shoulder, but I could still make up for that with the back piece; it would be fine if the back had to come a bit farther to front as it would all be covered by the tulle anyway. Tulle isn't famously see through, right?
The next part to tackle was the front. The job so nice I did it twice.
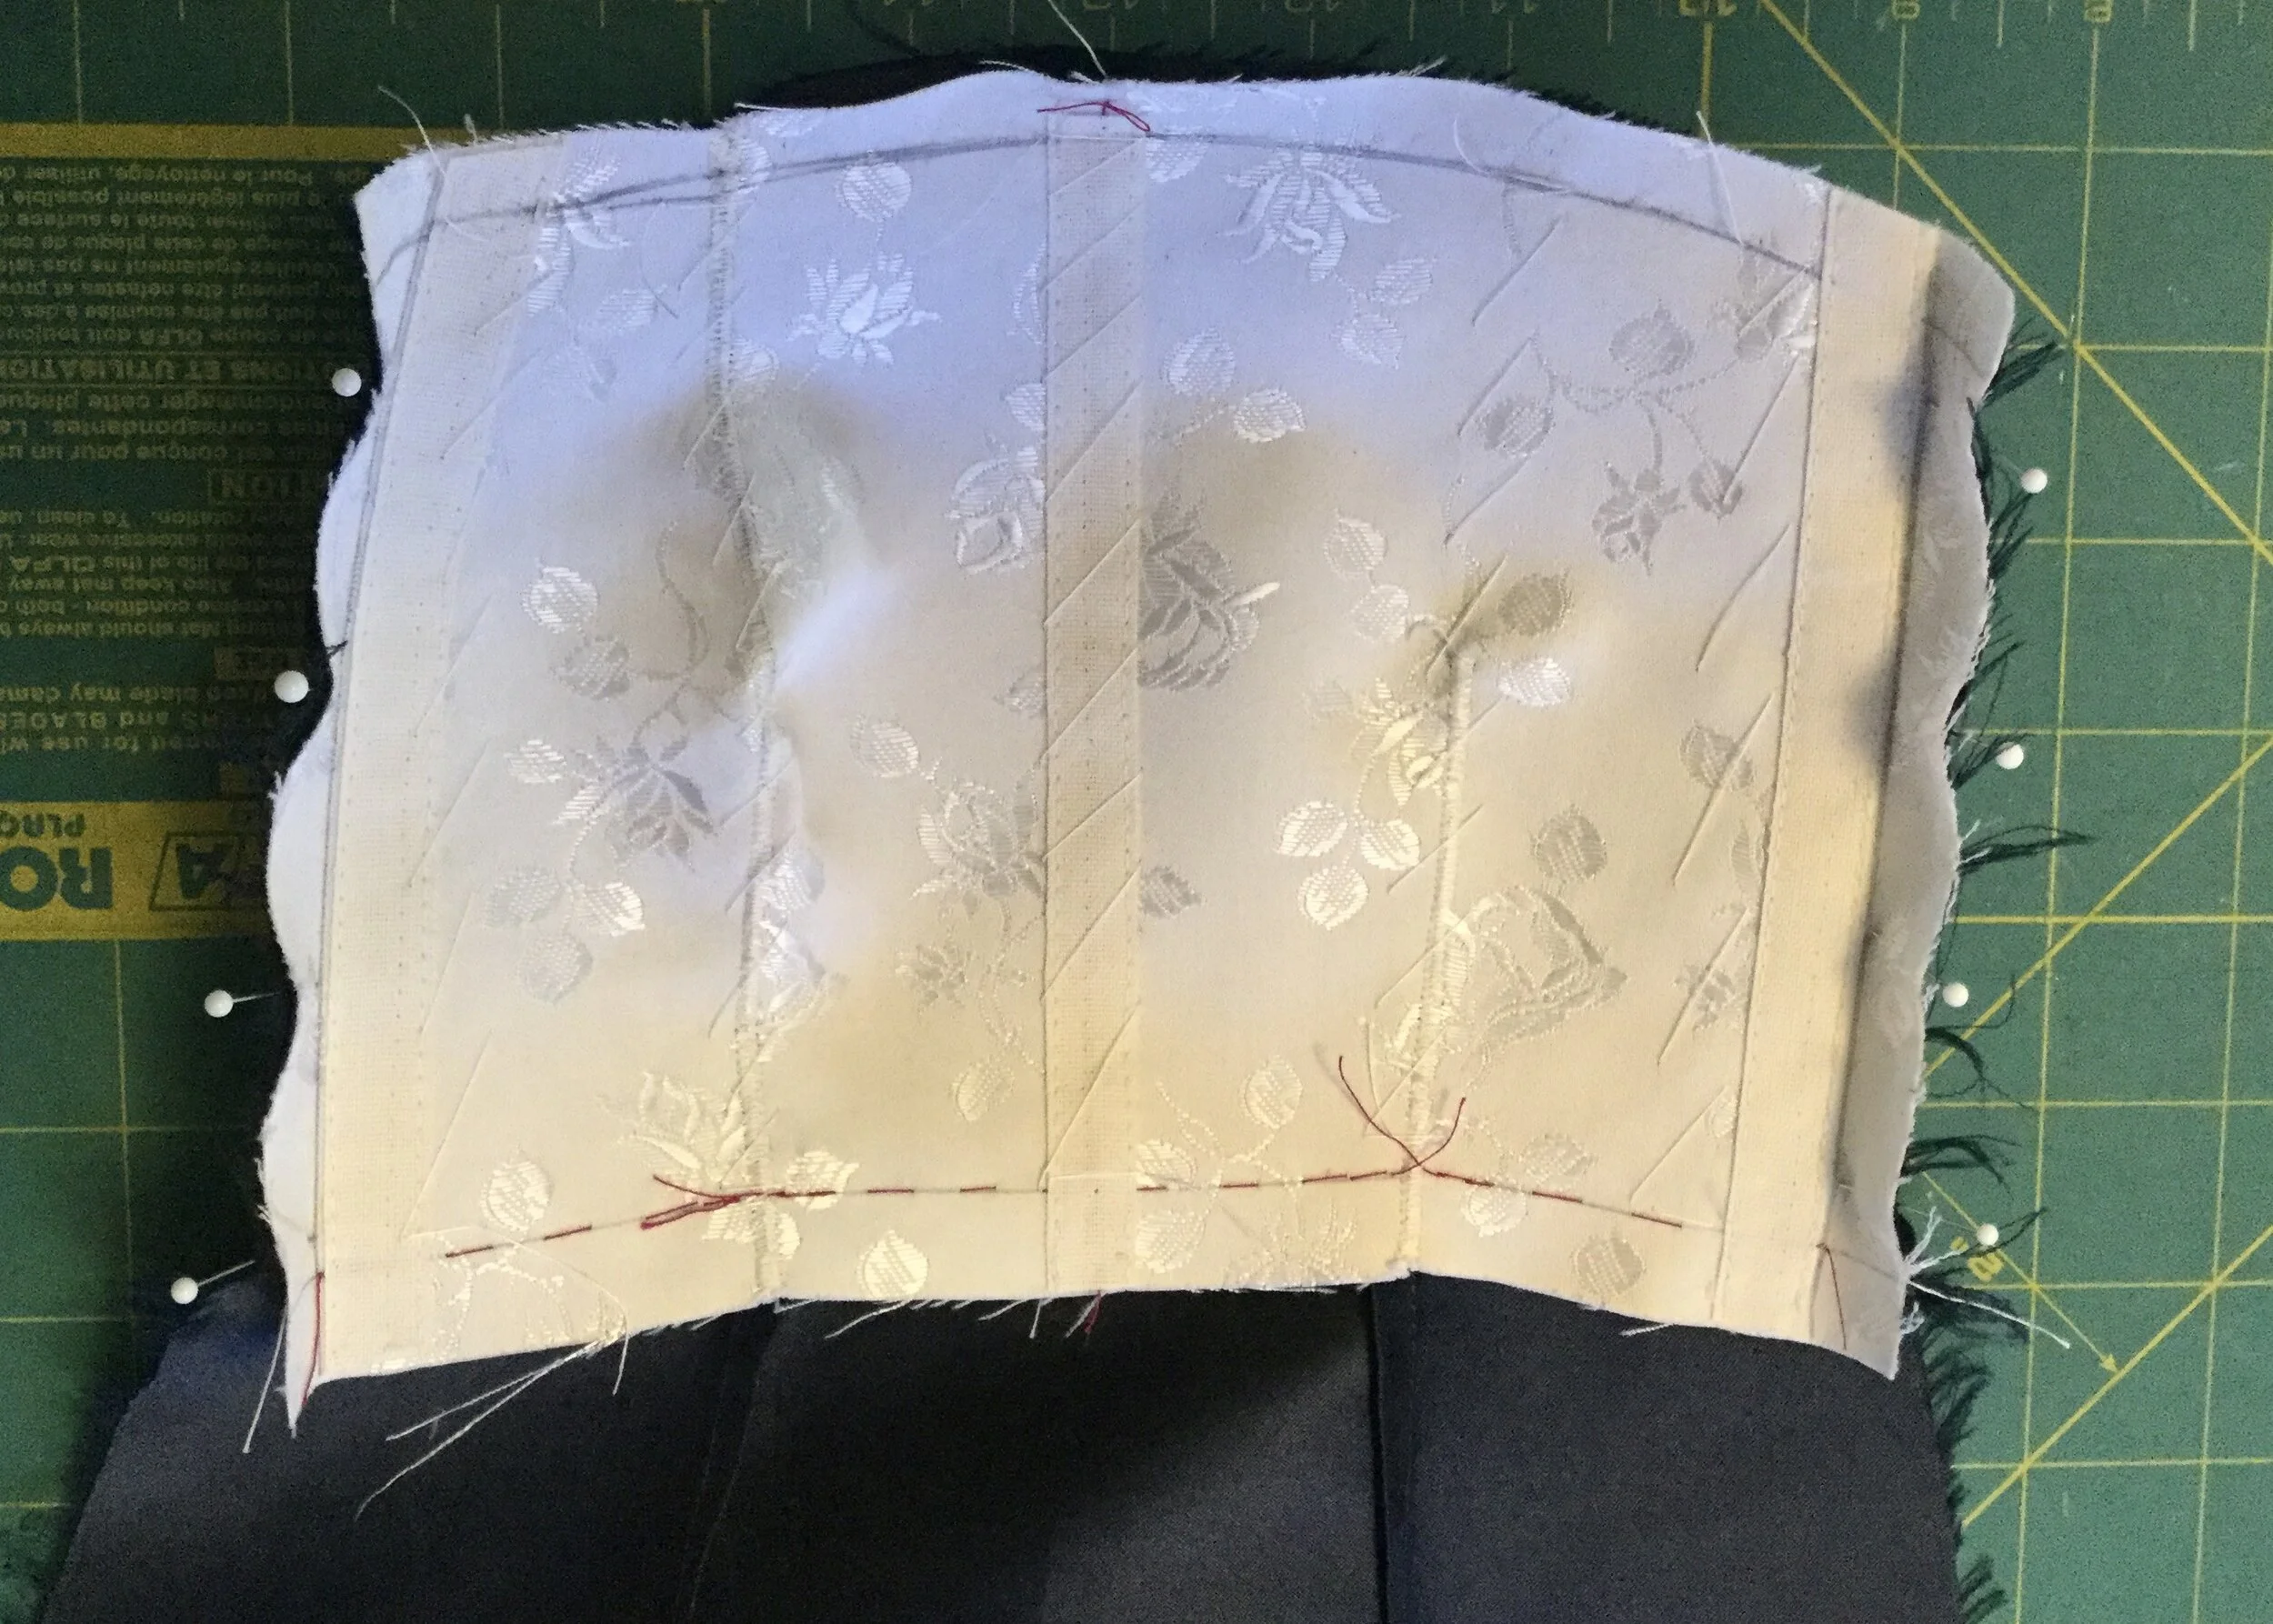
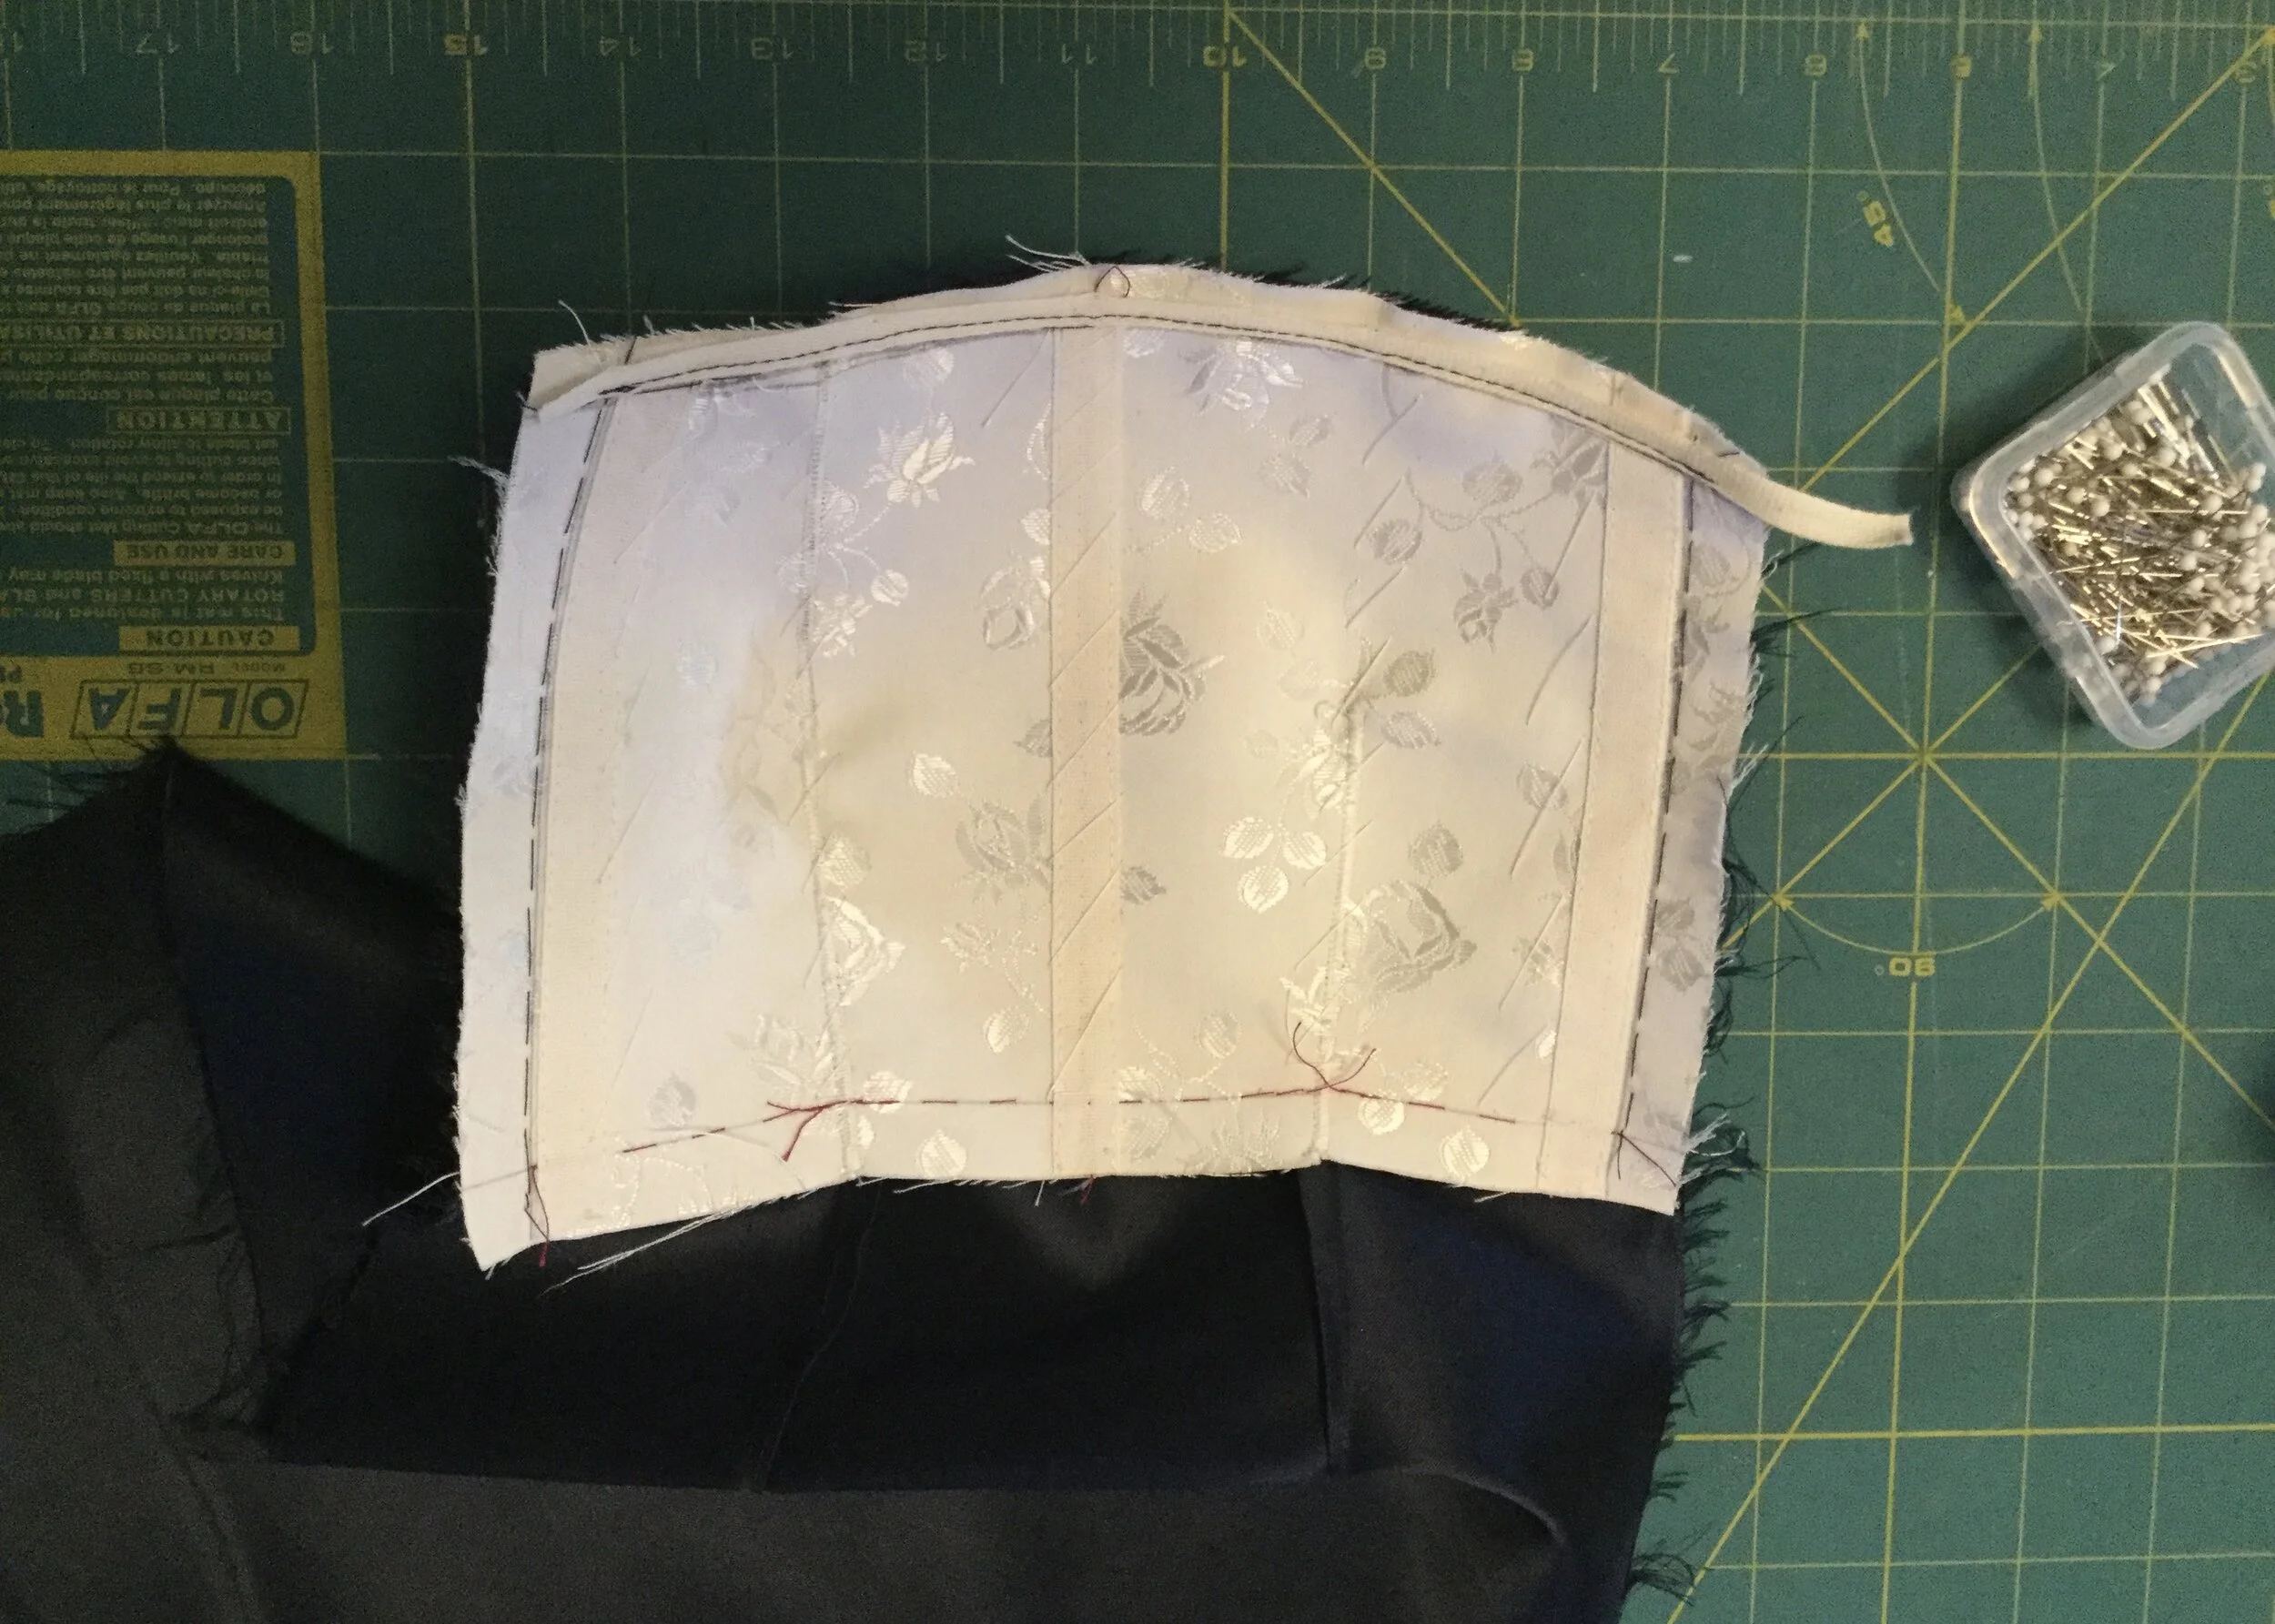
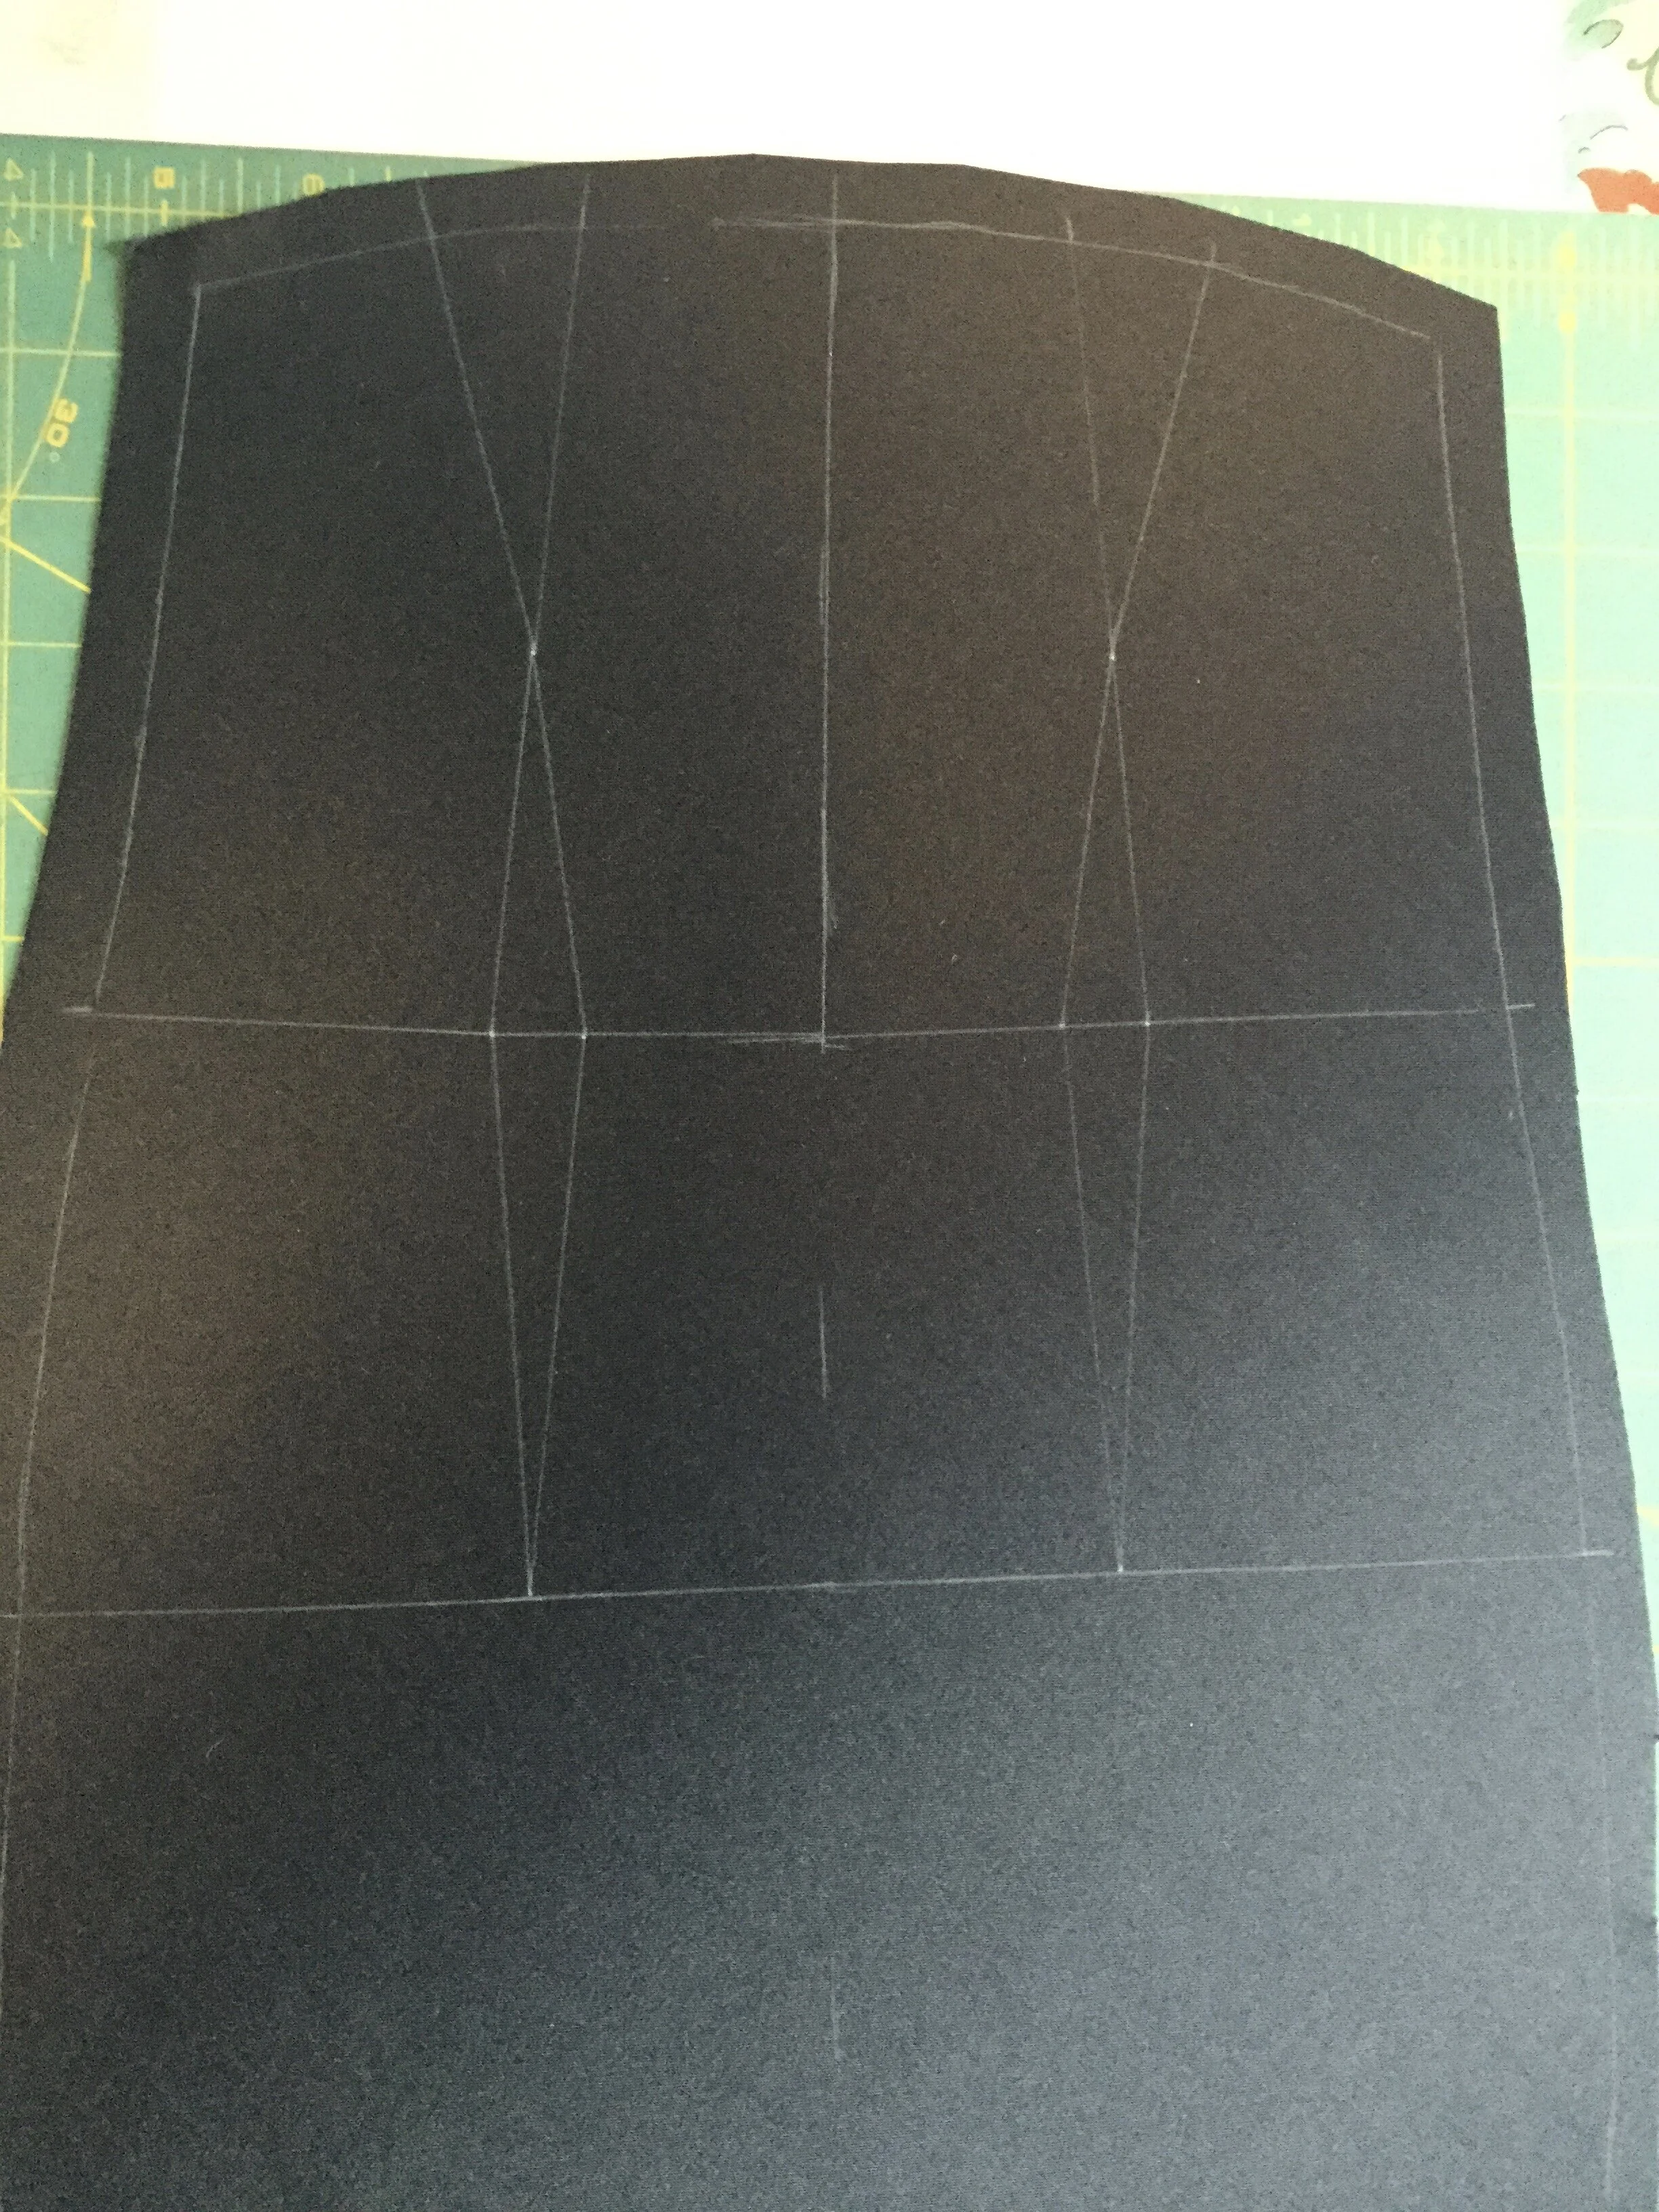
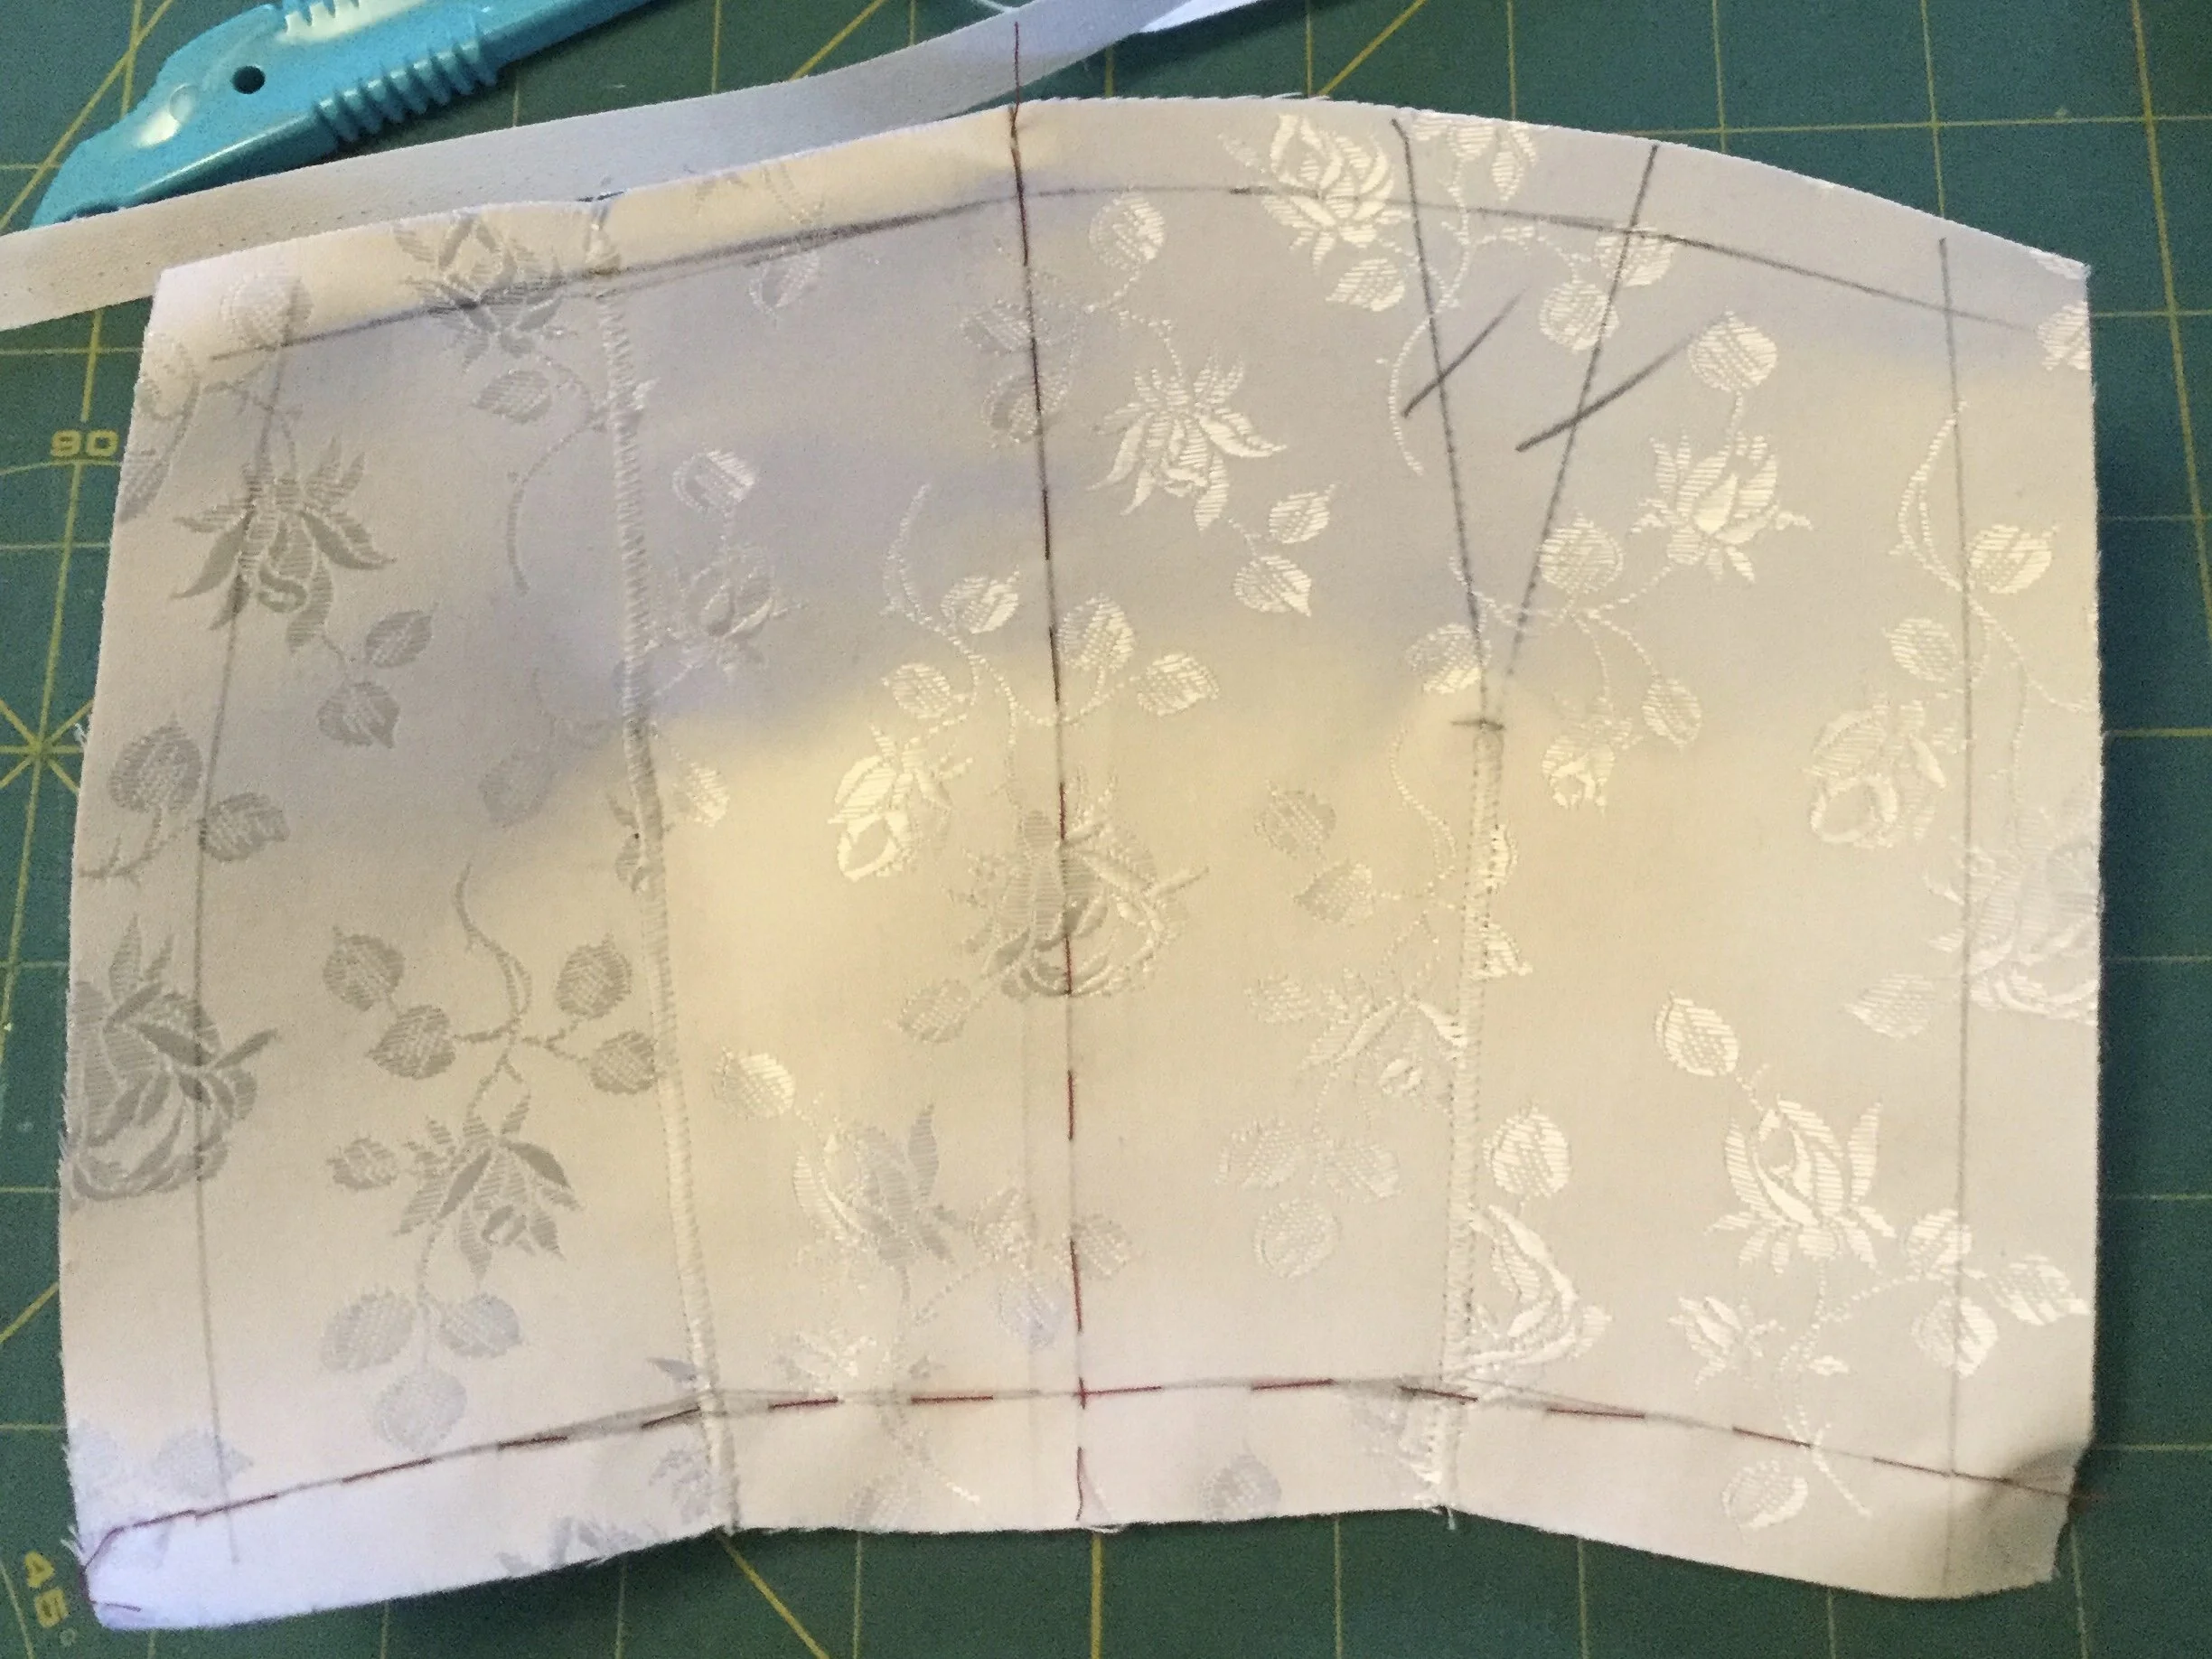
To begin, I built the support which would make the front bodice stiff and get it to stand away from the body a little. I turned again to coutil for this and cut a piece the same shape as the dress front but ending at the waist line. The shaping in the front comes from two continuous darts at the waist, the left of which also has a shoulder dart continuing up to the neckline. This is so that the bodice will curve over the bust where the sash comes around and under the left arm but will remain more freestanding on the right side where it will not be underneath the sash. To reduce bulk, rather than sewing regular darts in the coutil I cut away the fabric from the body of the darts and closed them by butting the cut edges against each other and stitching with a tight zig zag. I also applied casing tape for bones along the sides and down the centre.
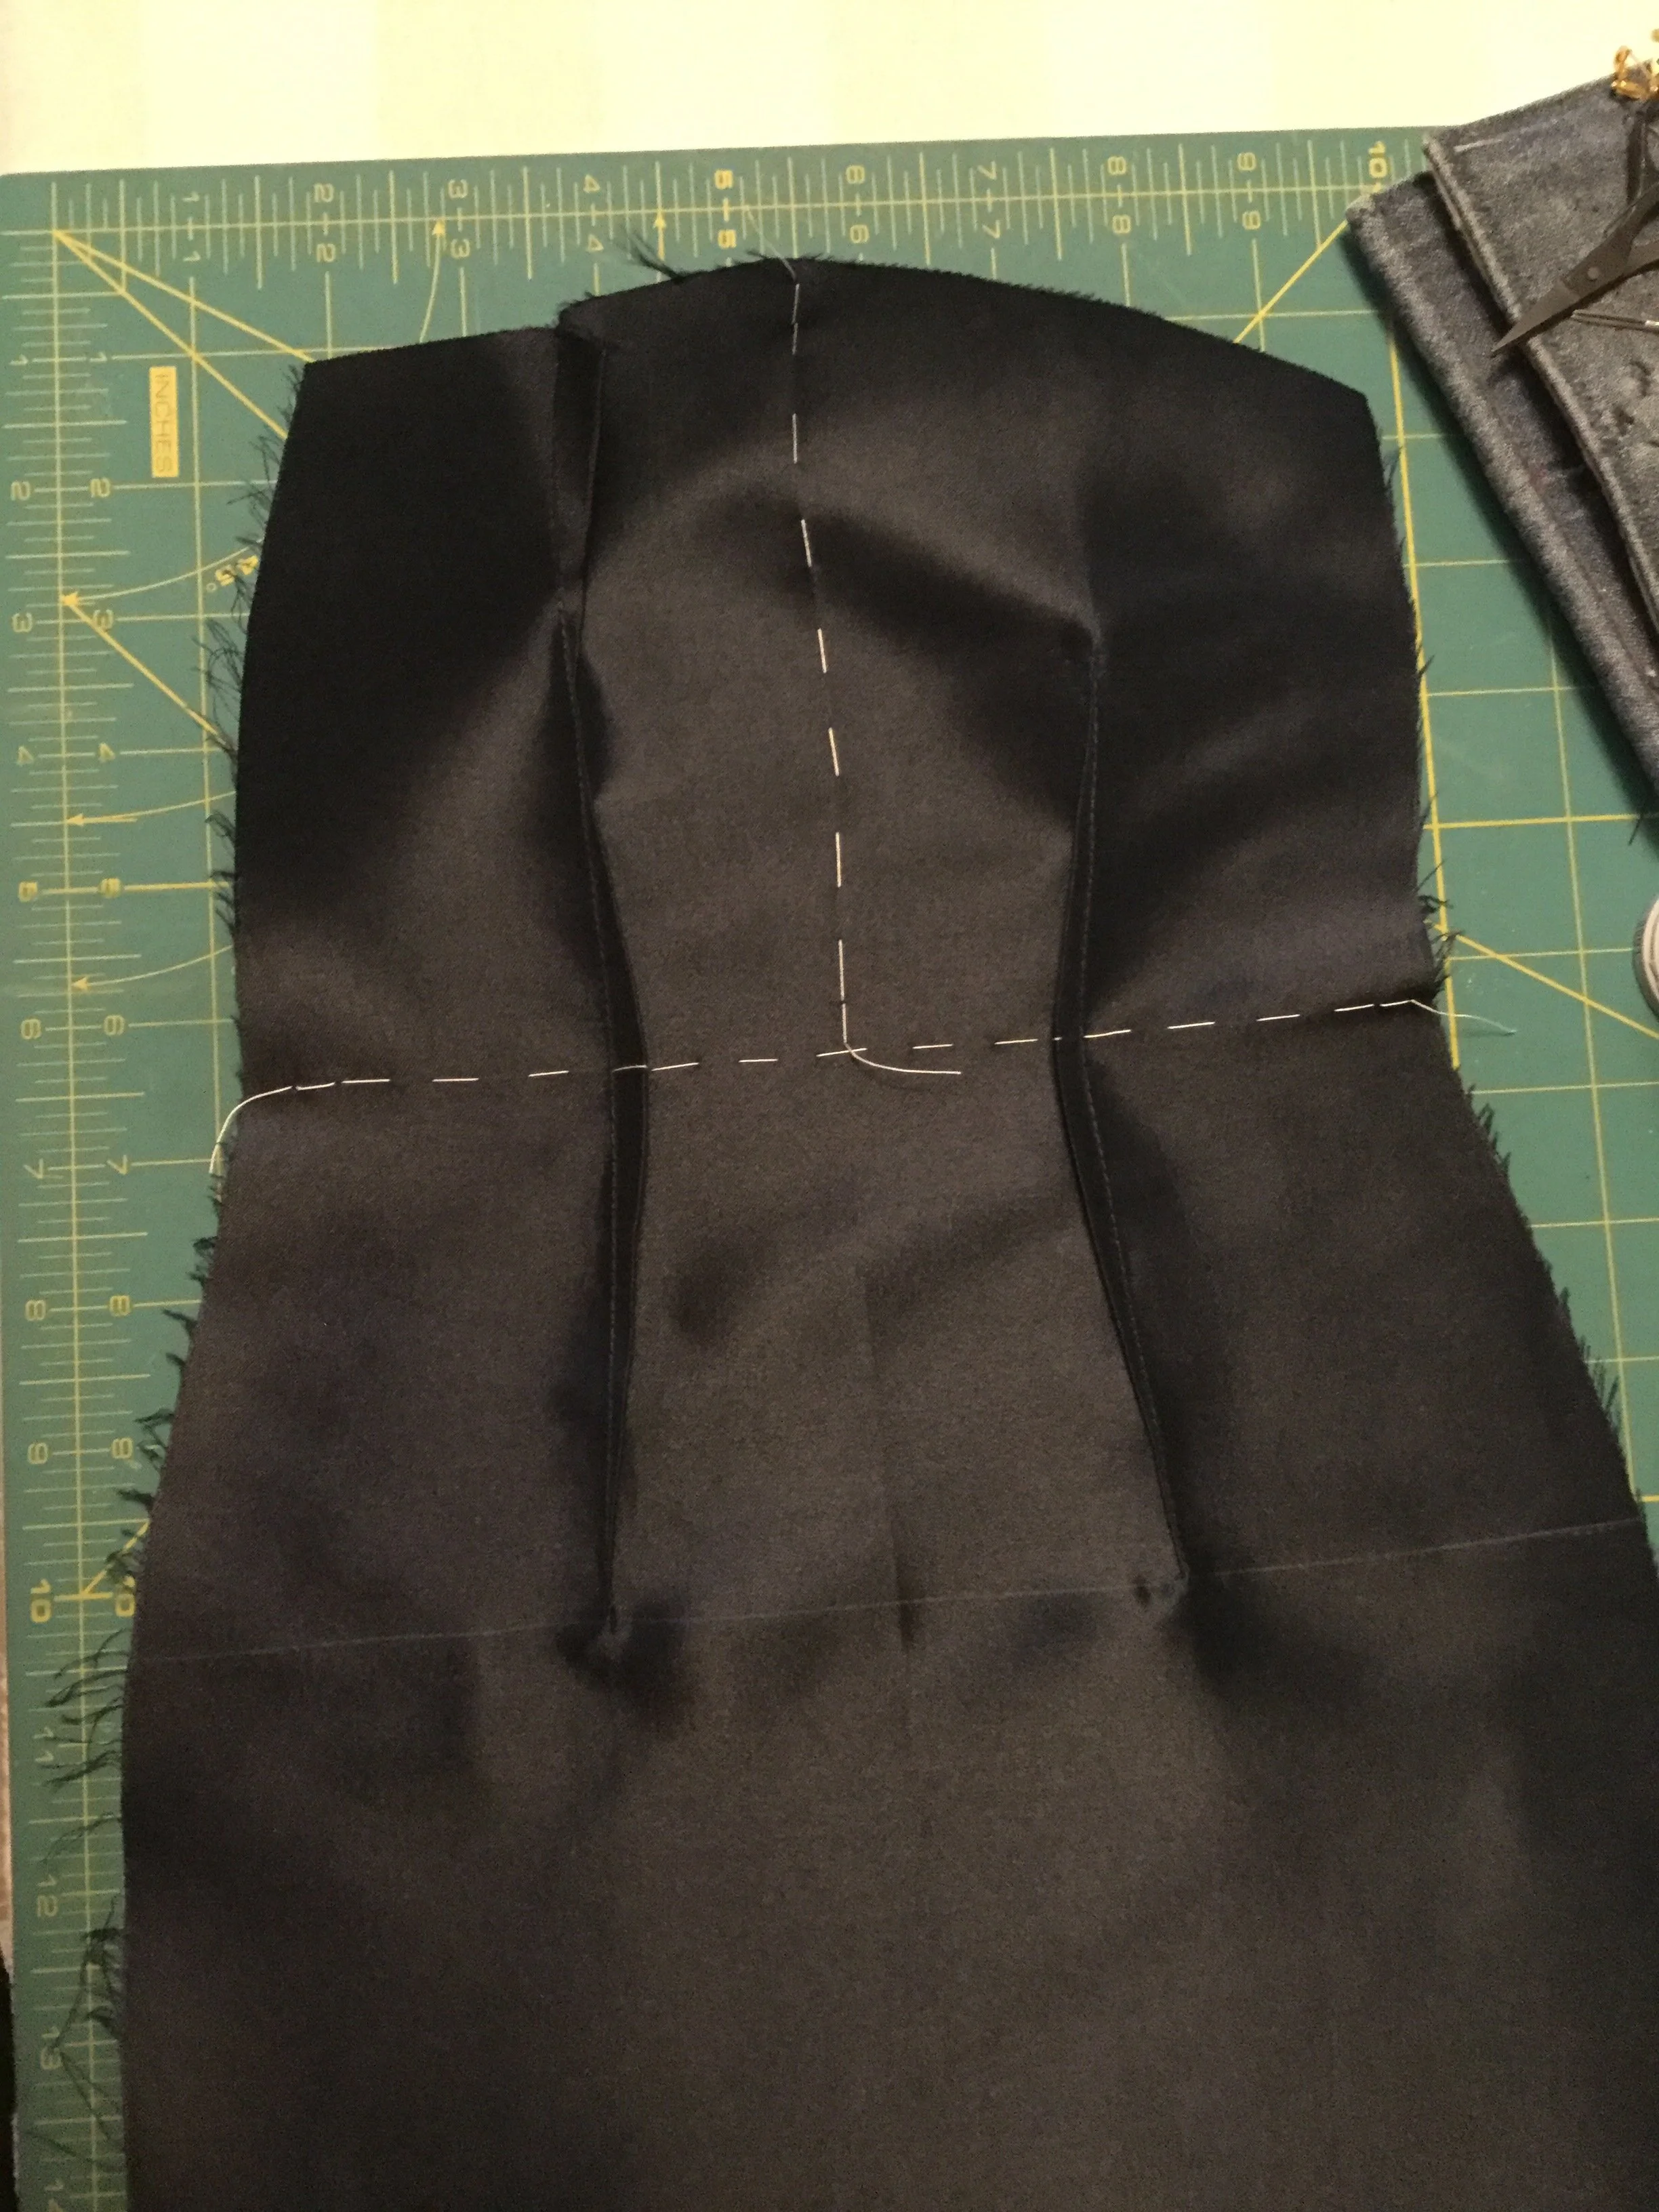
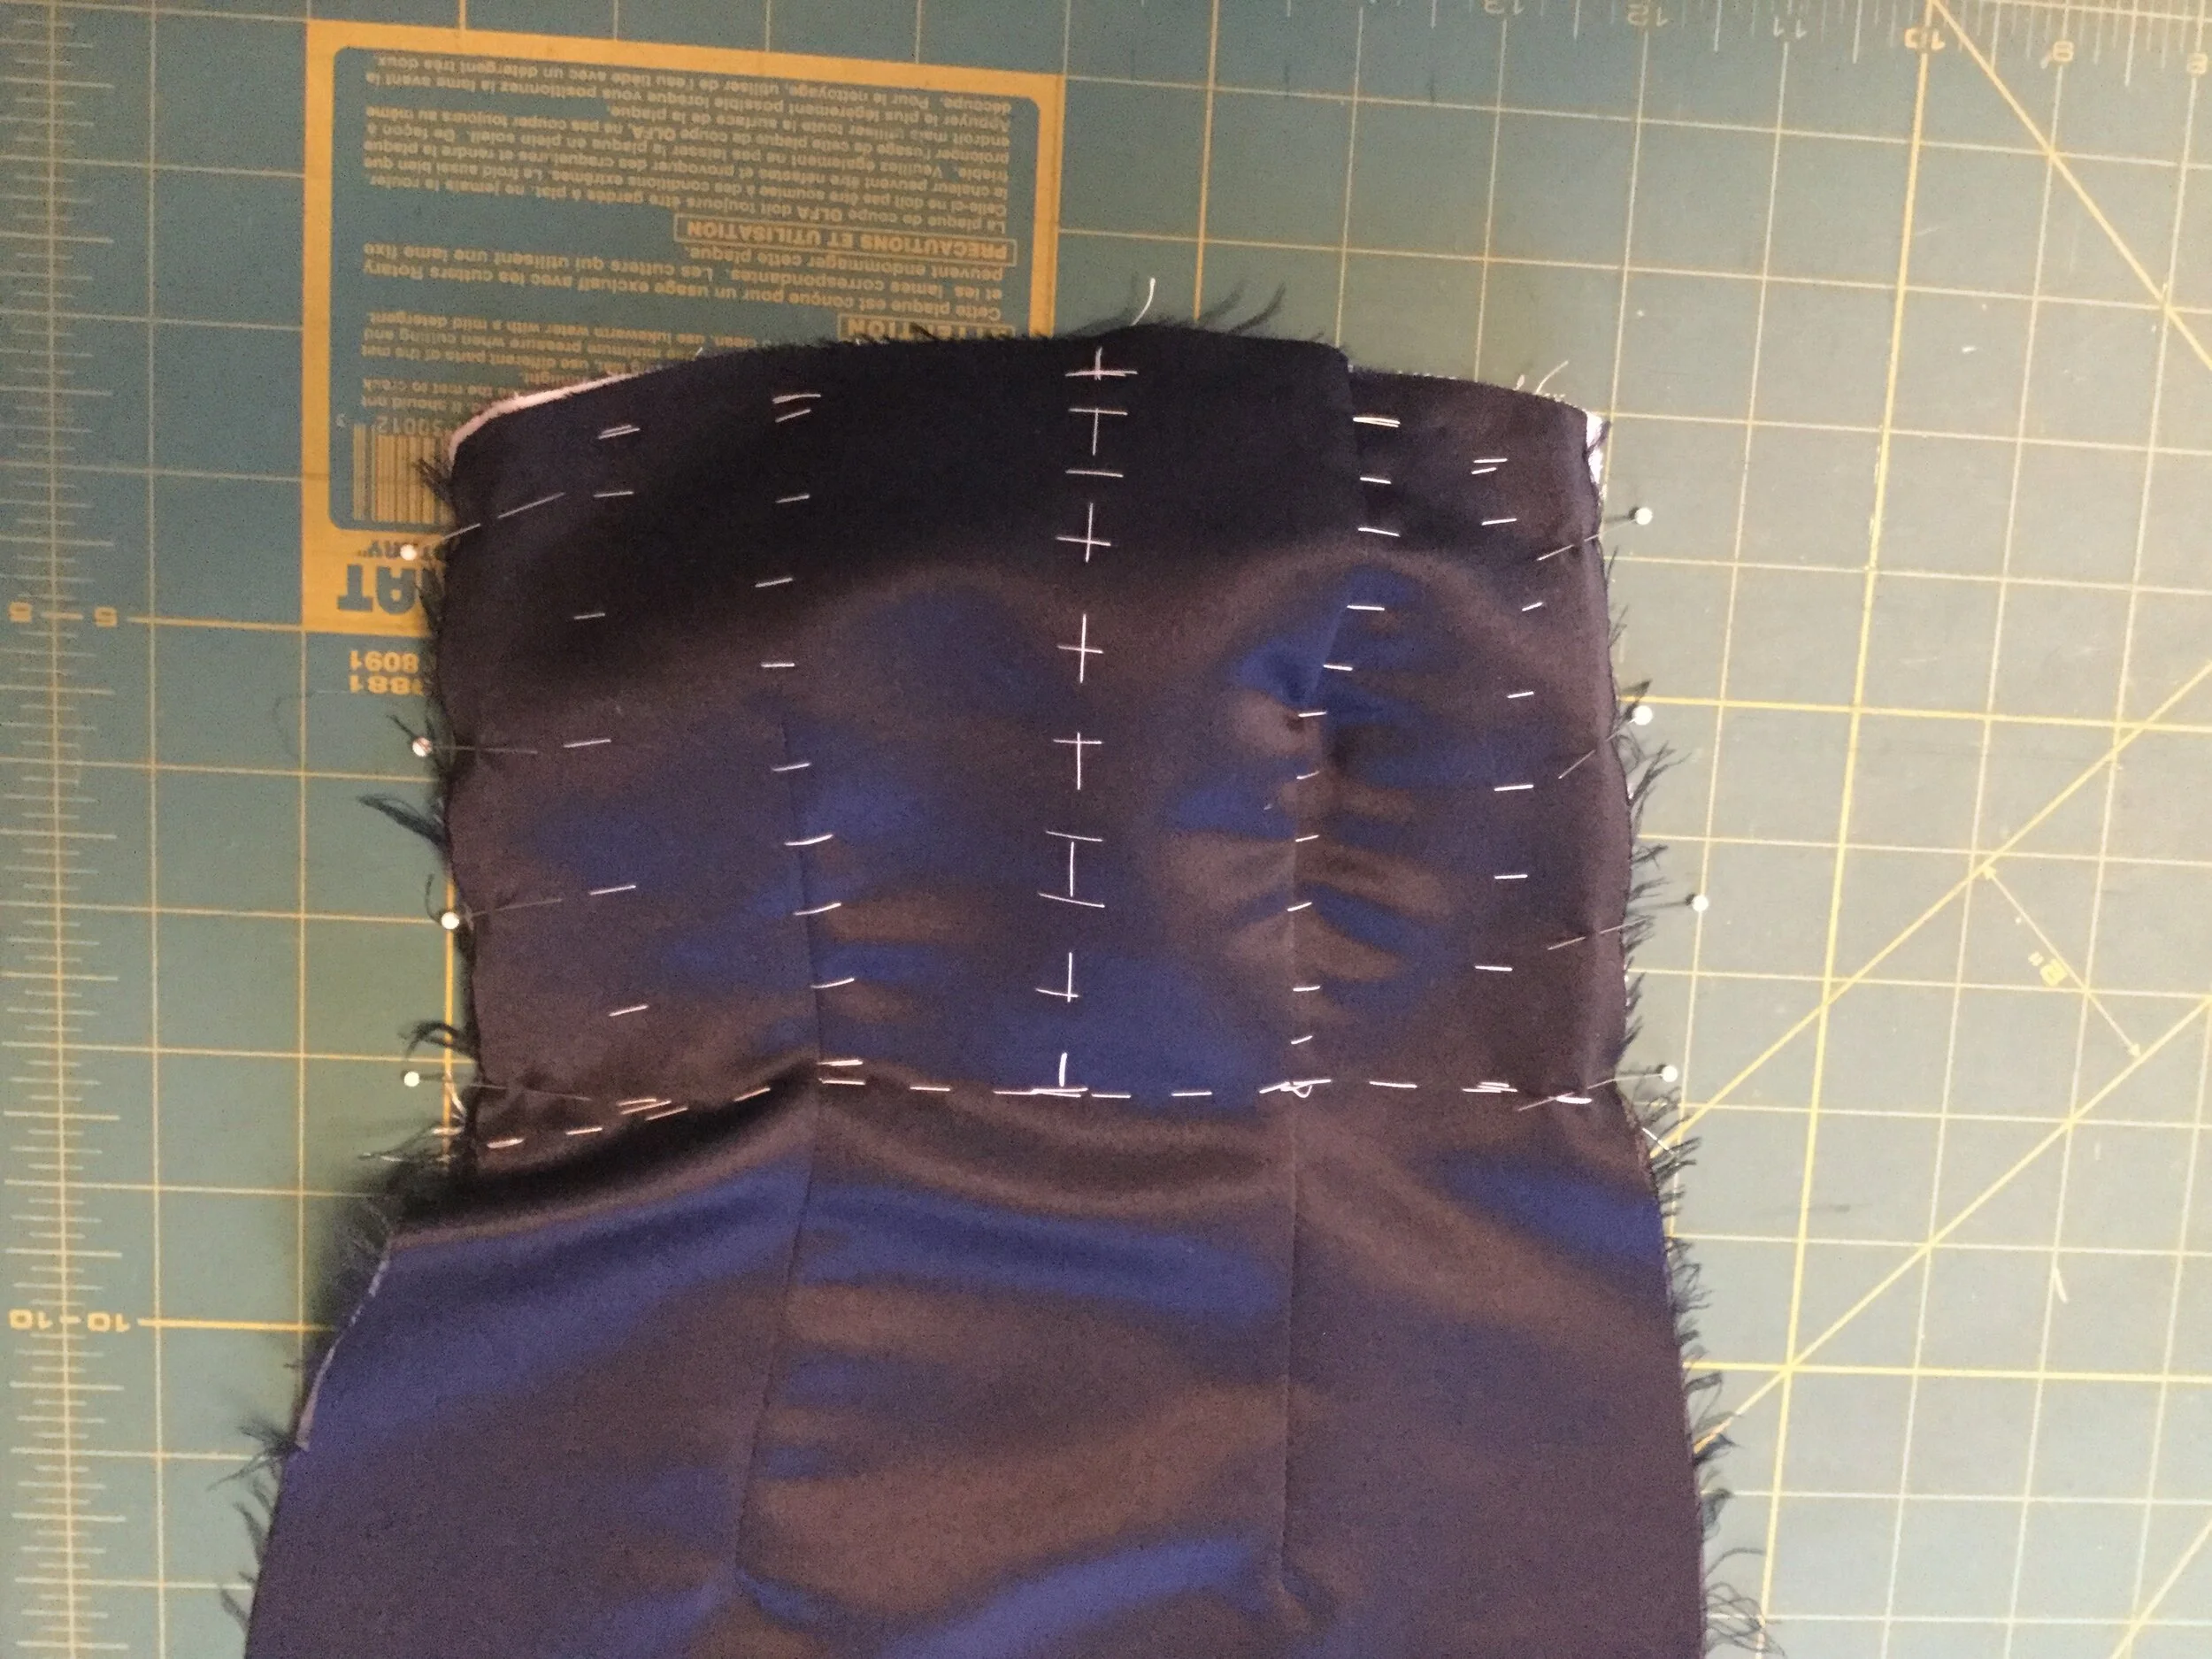
Darts closed, basted to the satin, pinned and ready for stitching.
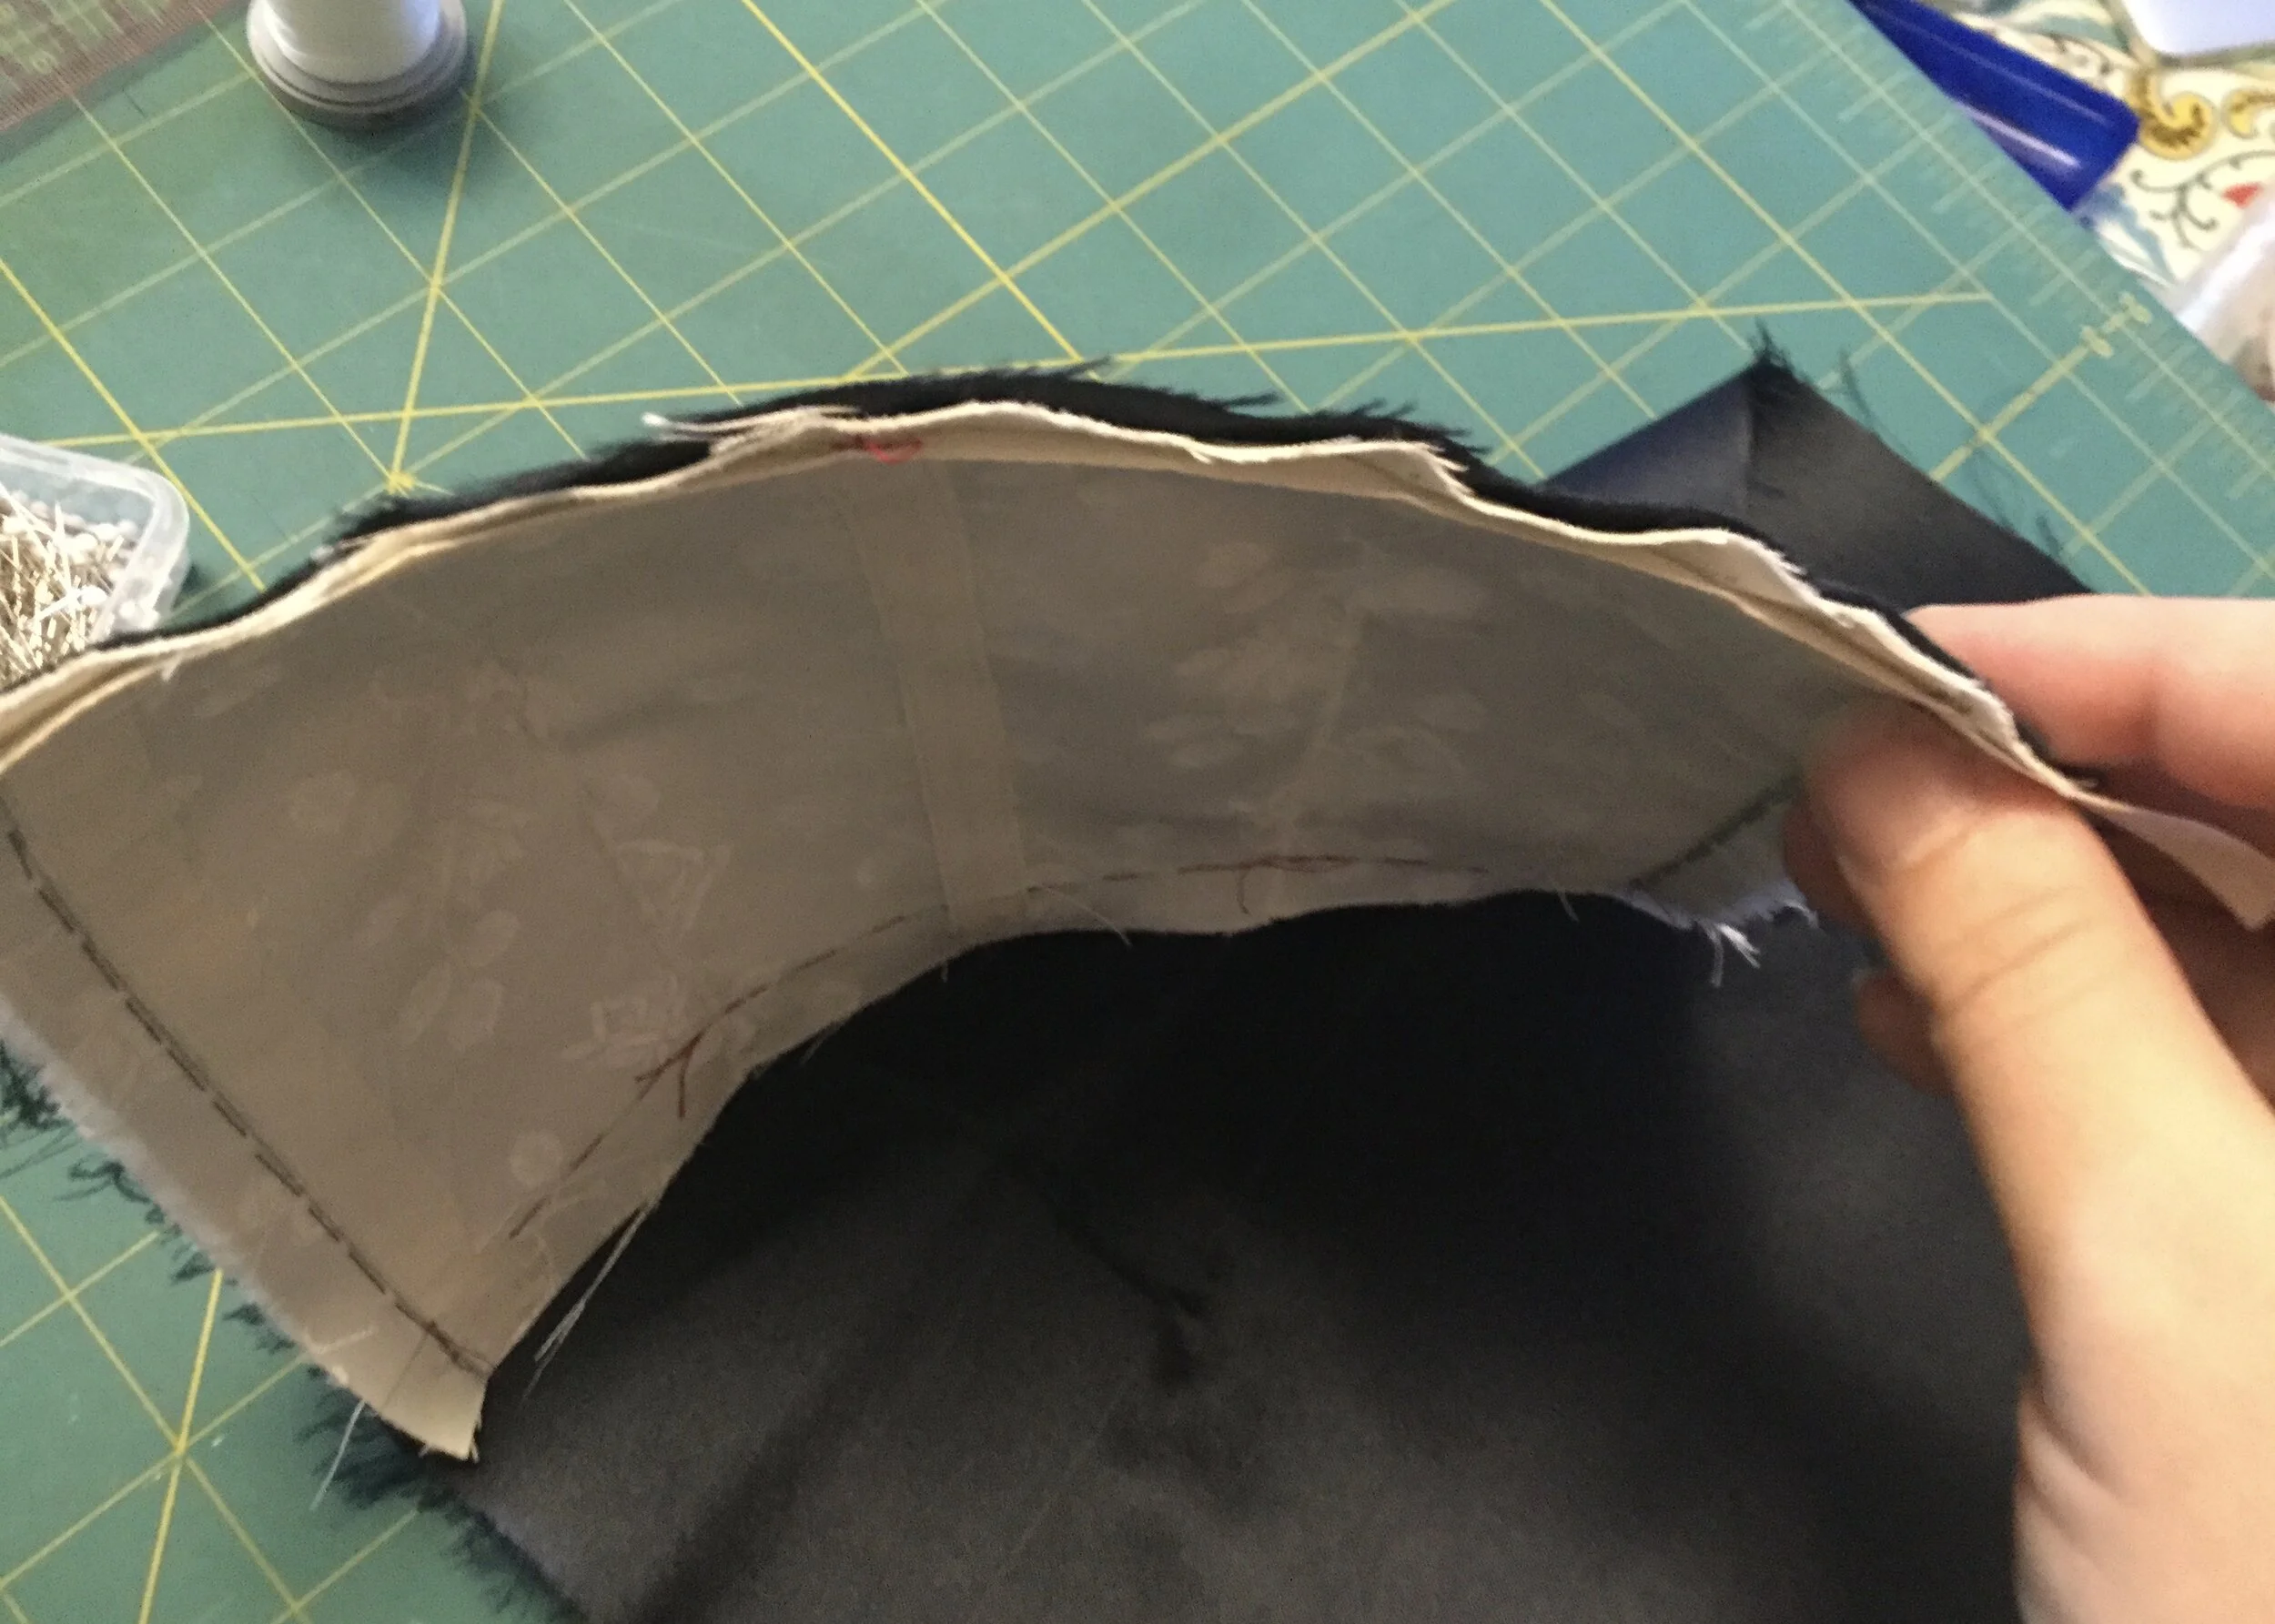
At this point I flat moutned the coutil to the prepared satin front. I started by lining up the pieces along the centre front line and worked outwards to the side seams, diagonal basting as I went. Along the top and side seams I folded in and pinned the seam allowances, using a ruler placed along the seam line to offset the two layers of fabric and create space for the boning, before stitching the coutil to the satin with an uneven basting stitch running just inside the seam allowance. Before inserting the bones, I stitched some tailor tape along the top edge, once again easing it in a bit to encourage the piece to curve a bit. Once the bones were in, I started to cross stitch the seam allowances down to the coutil layer. At this point, I had to face the sneaking suspicion I had been having: despite my best efforts to prevent it, the two layers were not working together as one. The coutil was clearly buckling and creating a pulled and bubbly texture on the satin. Not good.
Luckily, I still had plenty of the satin so I decided to try cutting the front on the bias to see if the stretch that provided would help it sit flat over the coutil. Long story short: it did. Time to make the whole bodice again.
*long suffering sigh*
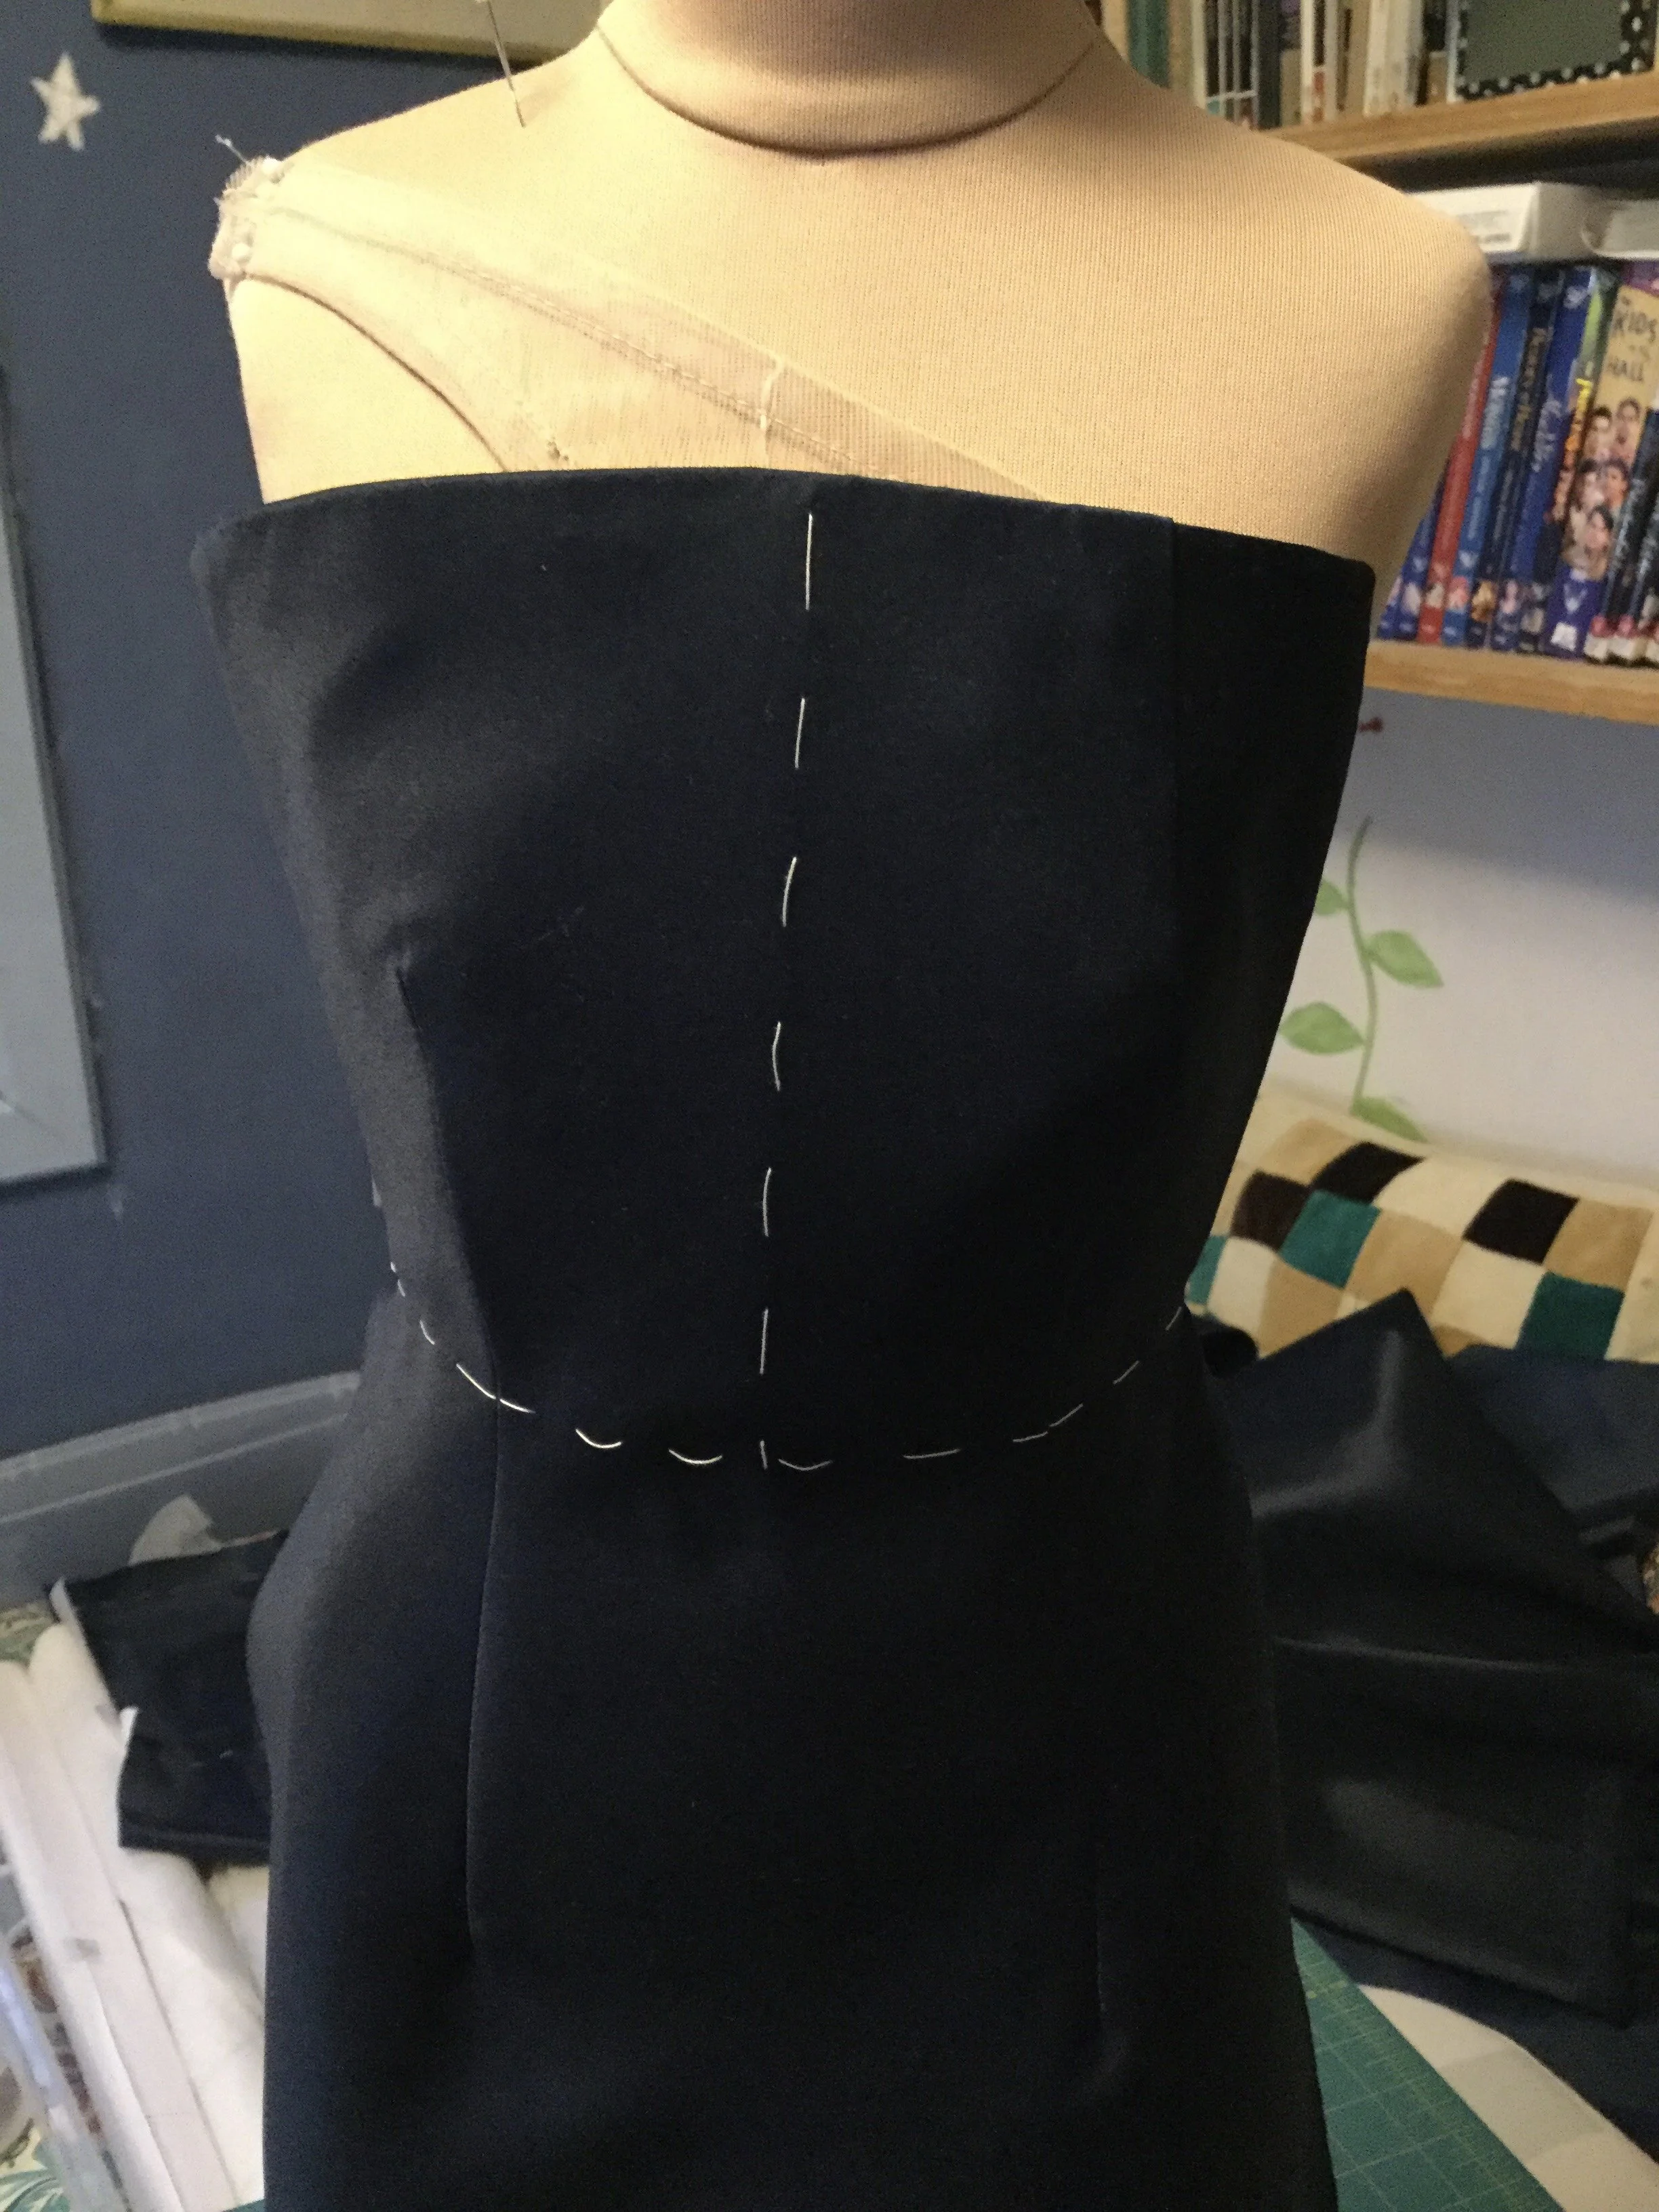
I'm glad I did though; it looks much better.
Muuuuuuch better.
Well...guess the whole dress is on the bias now. This'll be fun.
